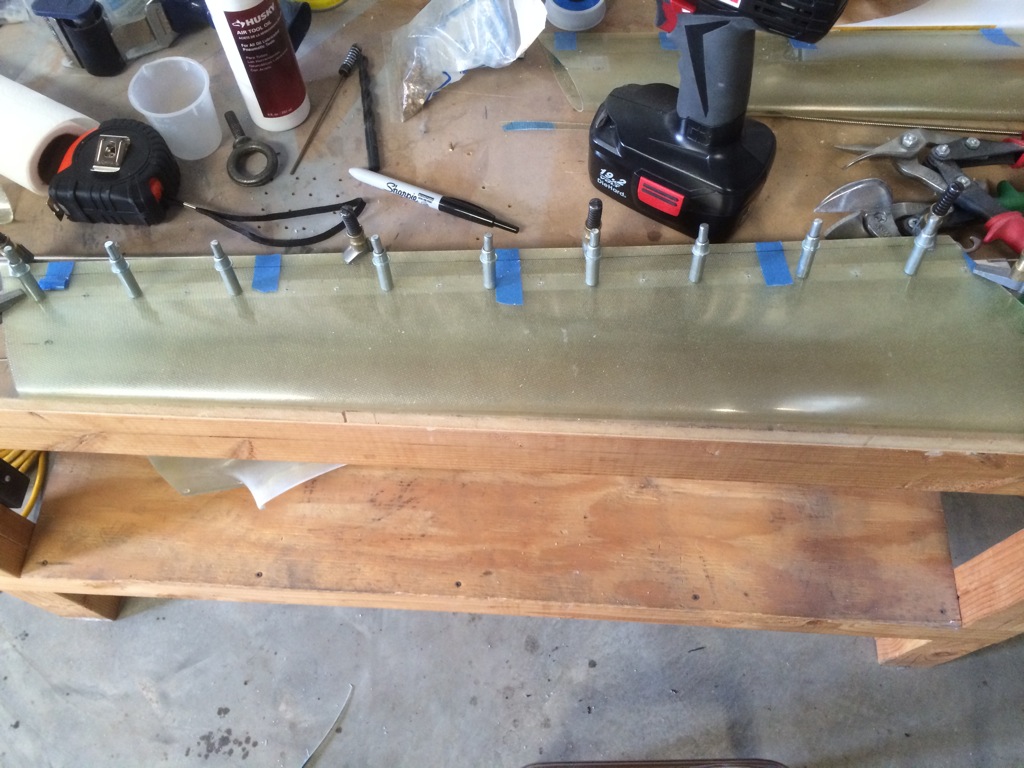
Polished Canopy

I spent an hour or so polishing the canopy.  I’ll probably spend some more time on it later to get every last mark off of it, but it looks fantastic now.  I cleaned it inside and out with some Plexus, so it’s ready for flight.

I then trimmed and sanded the glasswork that I did on the lower empennage fairings.  I think they’re ready for filler, but I’m going to fly with them like they are now and deal with that later.

Transition Training with Mike Seager

My buddy Greg and I flew up to Portland, OR early this morning and made it over to Vernonia, OR a little after 10 am to start our transition training with Mike Seager.  Here’s a little intro video about Mike:

We spent about an hour and a half going through ground instruction which covered the various V speeds for the airplane and then talked about the speeds and configs for the various parts of the traffic pattern. Many of the speeds are similar to the Bonanzas we fly, so that will make it a little easier to transition between them.Afterward, we grabbed lunch in town and then came back out to start flying.

Despite the rain and low clouds, we each got 1.8 hours of flight time in the plane. The flight started with a takeoff from his soggy grass strip and then a flight out to the practice area underneath the overcast. I got a chance to play with the controls and learn how sensitive they are. The plane is far more responsive than anything I’ve ever flown, but it’s not twitchy. You do have to be careful because it’s really easy to over control the plane.Once we got to the practice area, we slowed the plane down and did some slow flight at 80 and 70 MPH. Although the controls were mushy, there is still far more control authority even at this speed than most planes have in any configuration.

Once we finished slow flight, we moved on to power off and power on stalls. The power off stall break is rather abrupt with little warning but has little tendency to drop a wing as long as the ball is relatively close to center. The power on stalls were even more docile, but they were at a ridiculously high pitch attitude. Even at only 23 squared, the break happened at over 30º nose up. A full power stall would be at a truly extreme angle even in his 160 hp RV-7. In our nearly 200 hp RVs, the angle will be even higher.

After we wrapped up the air work, we headed over to the Scappoose airport for some pattern work. We did half a dozen stop and go landings, and I was starting to get a pretty good feel for the handling and site picture near the end. This is the first taildragger I’ve flown where I can’t see the far end of the runway over the nose in the flare. His technique is to look down the side of the cowl and sight the far left corner of the runway. I still need to practice his technique to make it more automatic. Assuming the weather holds, we’ll get a few more flights in over the next couple of days, so I should be feeling pretty solid by Friday.

Finished Transition Training

Greg and I wrapped up our transition training today.  We each got between 8-9 hours total, and I’m feeling pretty comfortable in the airplane.

We did a little more air work today including more slow flight and stalls.  We also did some power off landings as well as short and soft field landings.  The weather was substantially better than yesterday, so we were able to climb a bit higher and do some acro.  Thanks to Mike’s excellent instruction, I’m ready for first flight.

Continued Transition Training

Today was a full day of training, and we each got 2 flights in.  Although the weather was forecast to be better in the afternoon, it was actually worse with some really low clouds through the hills that we need to fly over between Vernonia and Scappoose.  Fortunately, Mike knows the terrain like the back of his hand, so we were able to scud run between the hills and the low-level clouds and get through.  We did have to try a couple of valleys before we found one where we could make it through though.

The first flight in the morning was mostly takeoff and landing practice like yesterday with stop and go, three-point landings.  I still bounced a few, but I’m quickly getting the hang of landing the plane.  During the second flight, we moved on to wheel landings and power off approaches.  The wheel landings are a little more sensitive than the Decathlon I’ve been flying, but two out of the three I tried were pretty good.  Power off approaches were interesting as the descent angle is very steep at 85 MPH, full flaps, and no power.  We started our base turn abeam the touchdown point and that worked out well.  I was able to nail all of those without a problem.

Tomorrow, weather permitting, we’ll wrap up with short and soft field takeoffs and landings and maybe a bit more air work.

First Flight!

I just had a couple of things to do this morning before the plane was ready for first flight.  I installed the cowl inlet seals and then installed the cowl.  I also reinstalled the lower empennage fairings.  Finally, I got the GoPro cameras ready and changed into my Nomex flight suit.  Jenn grabbed this picture of me for posterity.

Several people wanted to get some last minute pictures before the flight.

Here is a video of the first flight.  The flight itself was a non-event.  Everything went beautifully and the plane flew hands off.  My buddy Greg flew chase in his Bonanza and we were able to check airspeeds and altitudes.  My buddy Andre and Jenn manned radios on the ground.  Thanks to everyone who came out for this momentous milestone.


After the flight, Jenn grabbed another picture of me to prove I survived.

I did a very thorough post-flight inspection and found a couple of minor things to change.  The silicone wrap I used here had rubbed through, so I used a layer of spiral wrap and some electrical tape to provide a wear layer here.

There was a missing tie-wrap here.  Not sure if it broke or I had just missed it.

My oil pressure was high.  I swapped the oil pressure regulator and have it turned all the way down, so I was starting to suspect the sender.  I rigged up a secondary gauge and confirmed the sender is correct.

Second Flight

I wrapped up the inspection from yesterday and turned the oil pressure regulator all the way down.  I pulled the plane out and took it for its second flight.  This was mostly a duplicate of the first flight to get a little more confidence in the engine and other systems, but I stayed up for nearly an hour instead of 30 minutes.  I kept the power up over 75% for most of the flight, but slowed down to do a few more stalls and a couple of power on stalls (both in the video below).  You can see the power on stall by how high the nose is above the horizon.

I also had a chance to test the autopilot a bit.  Since I was mostly flying racetrack patterns around the airport, I engaged the altitude hold mode at 5,000′ and used the heading bug to drive the plane around.  I also tested the vertical speed hold mode and altitude intercept, and everything worked beautifully.  On the descent, I tested the roll hold mode which keeps a constant bank angle.  This was great for spiraling down to pattern altitude.

The plane ran great, and the oil pressure is down a bit, but I’m still getting over 95 psi at takeoff.  This is the red line that AeroSport recommended I set, but Lycoming allows up to 115 psi for takeoff.  I’m running about 85 psi in cruise, so I may be just fine.

I also had a chance to test my oil cooler butterfly valve effectiveness, and I’m very pleased with how well it works.  In cruise, I was running 185º F with the valve wide open.  I closed the valve and the temp climbed up to 223º F within just a couple of minutes.  It was still climbing, but the engine monitor was complaining about the high oil temp, so I opened the valve back up.  The temp rapidly dropped back to 185º F.  This should be really useful in cold temps to keep my oil temperature up.

I remembered to turn on the forward facing GoPro camera in the cockpit, and I also hooked up a camera under the tailwheel spring.  That provides a nice view of the main wheels during takeoff and landing.

More Work on Empennage Fairings

I’m going to start working on my gear leg fairings and wheel pants soon, but I need to get the plane up in the air in a level flight attitude to do that.  I could use the plane jacks I made, but those jack behind the CG, so you need to hold the tail down when jacking.  Any screw up here could tip the plane onto its nose.  Instead, I picked up a shop crane from Harbor Freight so that I can lift the front of the plane by the engine mount and then jack up the aft end of the plane using one of my plane jacks.  This required some assembly, so I knocked that out tonight.

While unscrewing one of my lower empennage fairings, the Click Bond nutplate I was using popped loose from the inside of the horizontal stabilizer skin.  I managed to fish it out using the hook on the end of my inspection camera.  Unfortunately, this is not made of a ferrous metal or I could have just used a magnet.  I’m going to replace this with a rivnut which should be much more secure.

The left side lower empennage fairing was still sitting a little bit below the level of the upper fairing, so I added a bit more glass.  Once it’s really close, I’ll use some filler on both pieces to make a totally smooth joint.

Riveted Hinge to Right Gear Leg Fairing

I wasn’t able to spend much time at the hangar today, but I did get down there for a bit in the afternoon.  The winds were way too strong to fly (at least until I get more practice in the plane), but I did get a chance to resume work on the gear leg fairings.  I had previously trimmed them to size and put strips of tape along the aft edge as reference points to ensure they’re straight.  I then clamped the trailing edge with some cleco clamps and drilled the hinges to the inside of the fairing.  After countersinking, I removed the hinge and deburred it.  I used some of the G/flex epoxy from West Systems to bond the hinge halves to the inside of the fairing and then riveted into place with some soft rivets.  I only had time to do the right fairing today, but hopefully I can knock out the other one tomorrow.

I had been planning on fabricating some jacking points for a while now.  Even though I’m going to lift the plane by the engine mount using the shop crane I bought, I need something under the wings to keep the plane from swinging.  Since I fabricated aircraft jacks awhile ago, using them to support the wings seemed like the best plan.  I bought some 1″ galvanized pipe caps and drilled them for a 3/8″ bolt.  I then inserted a 2″ long 3/8″-16 bolt through and tightened it down with a washer and nut.  This is screwed all the way down to the stop I installed in the wing tie-down point.  I might trim about 1/4″ off the bolt to reduce the bending load a little further.

The cap just fits over the end of the ram on the jack.  It has just enough room to move around that I can insert it over the ram without having to be perfectly aligned with it.

Riveted Hinge to Left Gear Leg Fairing and Flight Testing

I wrapped up the hinge on the other gear leg.  I’m probably going to end up shortening these since they’re a bit longer than necessary.  I need to fabricate the clamping pads at the top of the fairings, and then I can align them to the longitudinal axis of the plane.

The clouds lifted enough in the afternoon that I could take the plane up for another flight.  I took the opportunity to calibrate the AOA system.  On the SkyView, this is done by doing a series of stalls in various flight configurations and hitting a button on the EFIS each time.  I also took the plane up to 8,000 ft to measure the true airspeed.  I’m still slow because the wheel pants and gear leg fairings are not installed, but I saw 162 kts.  I expect to be near 175 kts after the fairings are installed.

I also intentionally ran my right tank dry in flight so that I can do the final fuel gauge calculation. The SkyView system annunciated “fuel pressure” just a second or two before the engine started stumbling.  I switched tanks and hit the boost pump, and the engine surged back to life within 3-4 seconds.  The experience was very different than when I’ve run a tank dry in my Bonanza.  In the Bonanza, the engine power winds smoothly down with no surging or stuttering.  After changing tanks, the power winds smoothly back up.  In the RV, the power loss was much more abrupt and there was quite a bit of stumbling before power was smoothly restored.

Calibrated Right Fuel Tank

After burning off the four gallons in the right tank, I calibrated it in the SkyView system.  I’m using a scale that has 1 gram accuracy, and I’m measuring roughly 1 gallon at a time.  Given the accuracy of the scale, I should be able to measure the fuel capacity within one-tenth of a gallon over the 21 gallon capacity of the tank.

I added two gallons at a time up through 20 gallons, hitting the add button at each point on the SkyView.  I used the opportunity to calibrate my dip-stick at the same time.  Finally, I filled the tank to the very top and measured the amount of additional fuel I added.  I ended up with 20.43 gallons of usable fuel.  The claimed fuel capacity is 21 gallons, so there’s only a little over 1/2 gallon of unusable fuel.  That’s more than I was expecting, but the flop tube pickups may leave a little more fuel in the tank than the standard pickups.  I still need to do some in-flight checks to determine unusable fuel in all normal flight attitudes including full slips.

Unfortunately, I almost completely drained my battery in the process.  I was down to 10.2 volts before I shut everything down and hooked the plane back up to the trickle charger.  I’m planning on flying again in a couple of days, so I hope the battery is charged enough.  I’m thinking I might need to replace the battery anyway since I killed it at least twice during the build (so dead that the trickle charger wouldn’t bring it back).