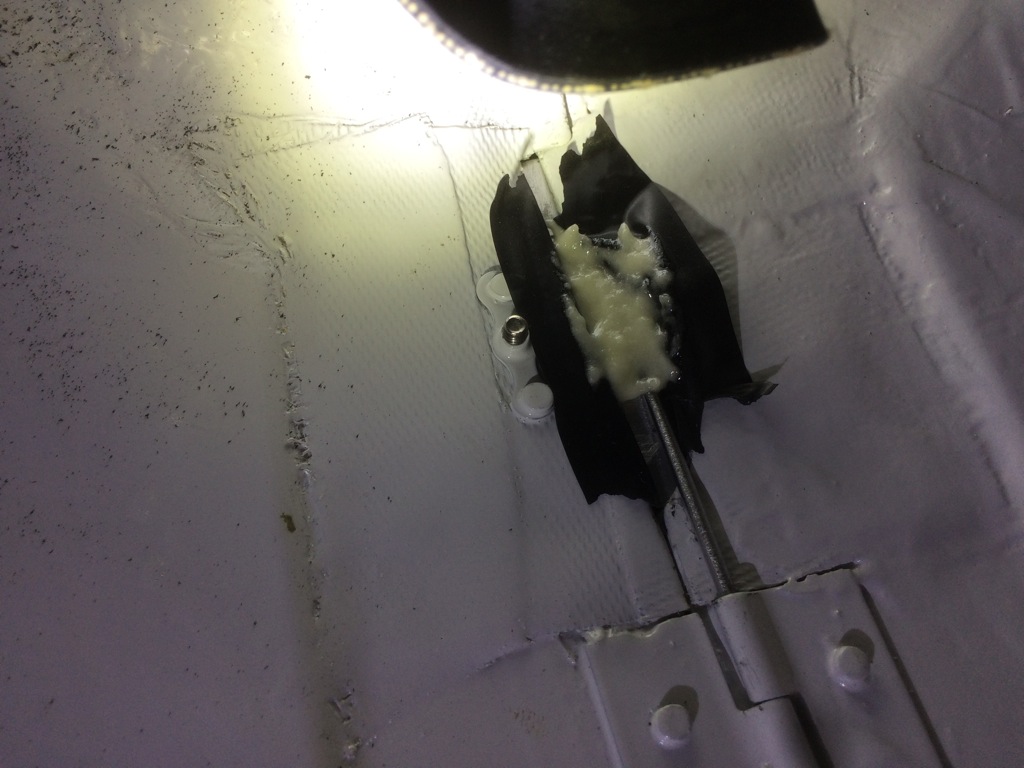
Fortunately, I was able to pop off the extra glass and flox mixture I used for the gear leg fairing attachment.


Fortunately, I was able to pop off the extra glass and flox mixture I used for the gear leg fairing attachment.


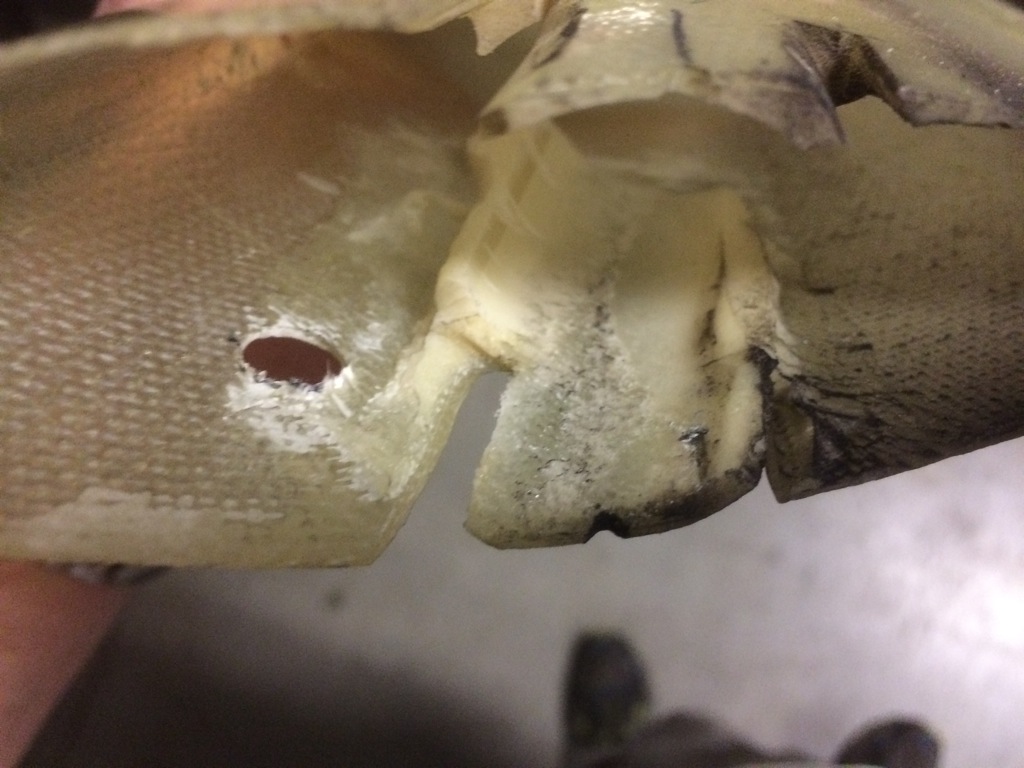
One of the fiberglass ears at the top of the gear leg fairings broke off on the left fairing.

The one on the right is cracked all the way through and is likely to break soon.

I had used electrical tape to hold the brake hose to the gear leg. This broke in most of the spots, so I took it all off. I didn’t get a picture of it, but I just wrapped the electrical tape around the gear leg and then used some zip ties to secure the brake hose.

I pulled the tailwheel fork off to clean and lubricate it. While it was off, I swapped the control arm with one that has a hole for a tie-down hook.

I cleaned out the coking that occurs in the check valve that dumps into the exhaust pipe. It was maybe 20-30% blocked and is easily scraped out.

Since I added the tee into the breather line to add an extra check valve as a safety measure, the hose clamp on the upper side of the tee was rubbing against the engine mount. I shortened the hose below the tee to get the hose clamp to clear the mount.

This allowed me to just use the adel clamps to secure the check valves to each other and to the hose. You can also see that I painted the place on the engine mount that was scratched.

One of the two welded brackets for the heat shield near the alternator also broke. I’ll have to order another one of these.

It’s been a long time since I updated the blog, and I’m trying to fix that. I have around 157 hours on the plane now and it’s time for its second condition inspection. I know it’s Valentine’s Day, but Jenn had a bunch of work to do today, so she joined me at the airport while I got started.
I started by draining the oil.

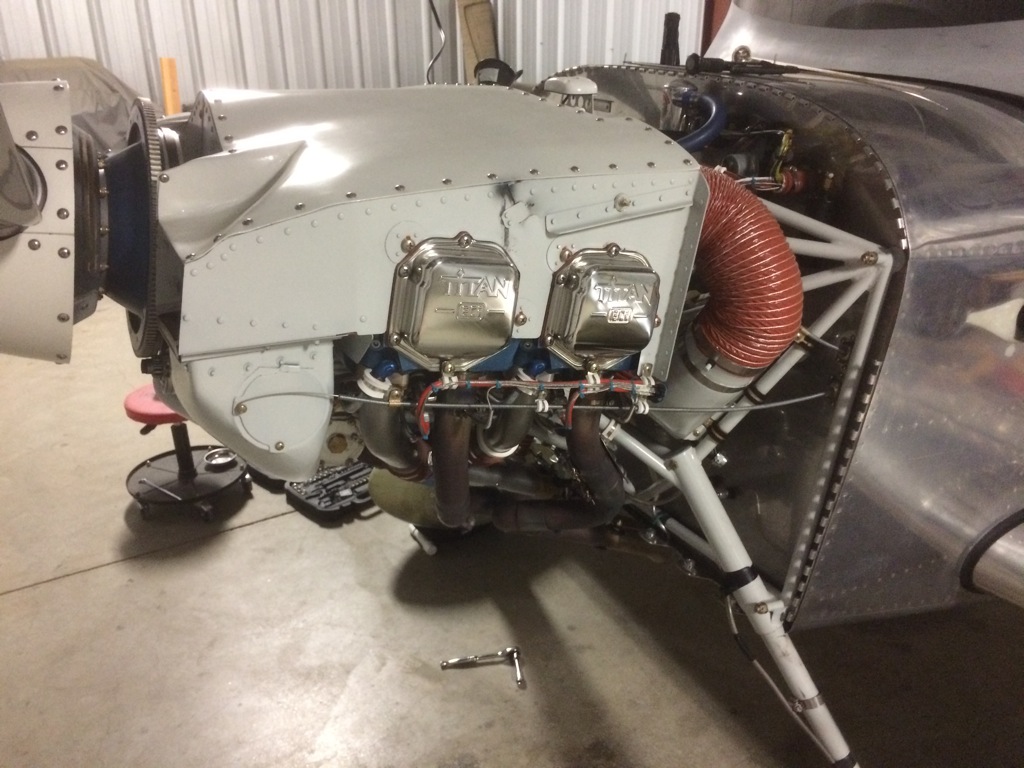
While the oil was draining, I inspected the engine and baffles. Surprisingly, one of the baffle attachment bolts on the #4 cylinder was missing. Fortunately, this didn’t seem to cause any problems (likely because the plenum keeps everything from moving).

One odd thing I noticed was that a couple of pieces of the chrome plating on the #2 cylinder’s intake valve pushrod cover flaked off. This is just cosmetic, but it’s peculiar that it happened and only happened in just this one little spot.

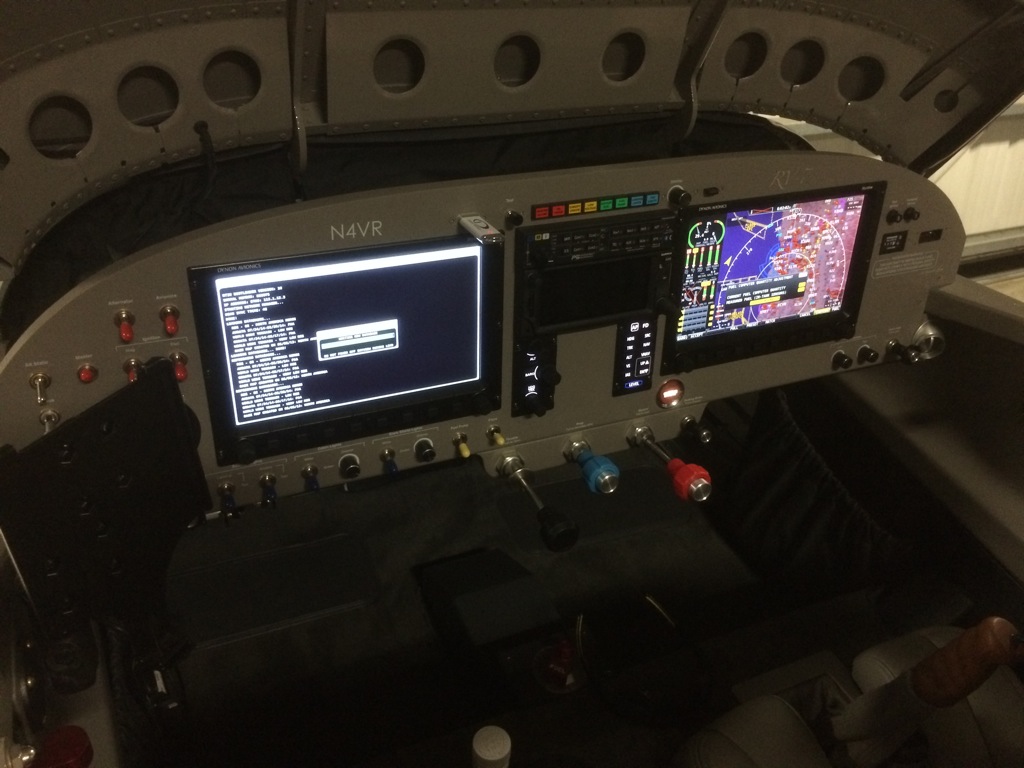
Dynon released version 12 of their software which adds auto-trim to their autopilot. To enable this, I needed to rewire the trim to go through the Dynon Autopilot Control Panel instead of through the Vertical Power VP-X. This entailed several hours of laying on my back under the panel rerouting wires.
The Autopilot Control Panel needed power and ground to run the trim servos. Fortunately, I still had a few extra power pins on the VP-X, so that was a quick addition. I then needed to reroute the four wires from the trim switch and the two pairs of wires to the pitch and roll trim motors. These eight wires all had d-sub pins or sockets, so I built a new harness that extended the wires from this point.
After finishing up the rewiring and upgrading the software, I ran the trim calibration routine and then flew Jenn to lunch in Half Moon Bay to test it out. The auto-trim worked great and kept the plane in trim the whole flight.

While taxiing in from a flight, I heard an odd clunk. I took off the cowling to do a careful inspection and found that both exhaust supports cracked all the way through right at the bend. Squeezing this tubing flat and then bending it clearly put too much stress in the metal.

The bottom of the support just has a flattened piece of stainless steel tubing bolted to a bent piece of mild steel. The mild steel is much tougher and can withstand the vibration without cracking.

I replicated this arrangement at the other end of the supports. Fortunately, it was a pretty quick fix and this should be much more durable.

There is a thread on Van’s Air Force about carbon build up in the breather tube. I pulled the tube off and there was some build up (maybe 10% of the cross-sectional area of the tube). Most could be easily removed with a pick, but I used a wire brush to get the inside of the tube totally clean. Here are all of the carbon bits that came out of the tube.

If this tube were to totally close off due to carbon buildup, it could pressurize the crankcase and blow out the front oil seal. To prevent this, I put a T in the breather line and ran that to a second vacuum valve positioned above the exhaust pipe to burn off any oil that might drip out.

Work has kept me busy the last couple of weeks, but I wanted to give the plane a thorough inspection after the trip. While I was doing the inspection, I upgraded the SkyView system with the version 11 software that was announced at the show. It included a new very-high resolution database, so it took quite a while to load.

I gave the engine compartment a thorough inspection. There were no surprises, and everything looks great.

One of the tabs on the upper gear leg fairing broke off. This allowed the clamp to loosen and the gear leg fairing to slide down a bit.

The side cowl hinge pin also broke loose from the hinge pin cover. I cleaned out the old JB Weld and mixed up some epoxy/flox. After applying some electrical tape around the opening to prevent the epoxy from adhering, I applied the epoxy. After it cured, I popped it off and cleaned up the excess. This seems quite a bit stronger than the JB Weld, so hopefully it will hold up. Other than these couple of issues, there were no faults on the plane.
