Attached Instrument Panel and Forward Top Skin

I fit the instrument panel to the forward ribs and clamped a straight edge to the panel to ensure it was flat, then match drilled the clip to the forward canopy decks.

Next, I fluted all of the substructure to ensure the holes were in line, then fit the top skin in preparation for match drilling it to the structure.

I clamped the firewall flange flush with the forward edge of the skin using the cleco clamps.  I had to adjust the flutes several times to get the edge of the firewall flange to follow the line of the top skin perfectly.

Finally, I match drilled the subpanel, firewall and ribs to the skin.

Finished Center Subpanel

I laid out and drilled the holes that attach the forward engine control bracket to the center subpanel.  The throttle, prop and mixture control cable housings are anchored here.

The top edge has a seal support angle mounted 1/8″ below the top flange.  This will hold a piece of weatherstripping that will seal the forward edge of the canopy.  I first laid out the holes according to the plans and used the rivet fan to drill them to #40.  To position it, I clamped a flexible aluminum ruler to the forward flange and then clamped the seal support angle to that with some 1/8″ spacers between them.  I then match drilled the subpanel and then opened the holes up to #30.

The seal support angle and engine control bracket are then riveted to the center subpanel.  I didn’t prime these parts because these will be visible when the canopy is opened, so I want to paint it with my interior color.  Since there is a lot of work in the upper forward canopy over the next 6 months or so, I’m going to hold off on painting this to avoid scratching it up.

I also riveted on the F-644-L/R forward fuselage channels.  These require flush rivets on the outside faces because the canopy hinge bracket rubs against an UHMW plastic block mounted here.  The plans also show the support seal cut off flush with the channel, but the plastic block is 1/8″ thick, so I left the support angle a little long.

Installed Autopilot Pitch Servo

I dug out the autopilot pitch mounting kit and installed the servo into the mounting bracket.  It took a couple of tries, but I got it safety wired.

I then installed the elevator bellcrank and hooked up the pushrod.

The servo comes with a limiting bracket to prevent the arm from going over center and binding the controls.  I installed it so that the arm can go about 80º to either side of the point where the arm is 90º to the pushrod.  In practice, the elevator will hit the control stop long before the servo arm hits the limiting bracket.  Update: This bracket is installed incorrectly.  Please refer to the Dynon installation instructions for the correct orientation.

Random Fuselage Tasks

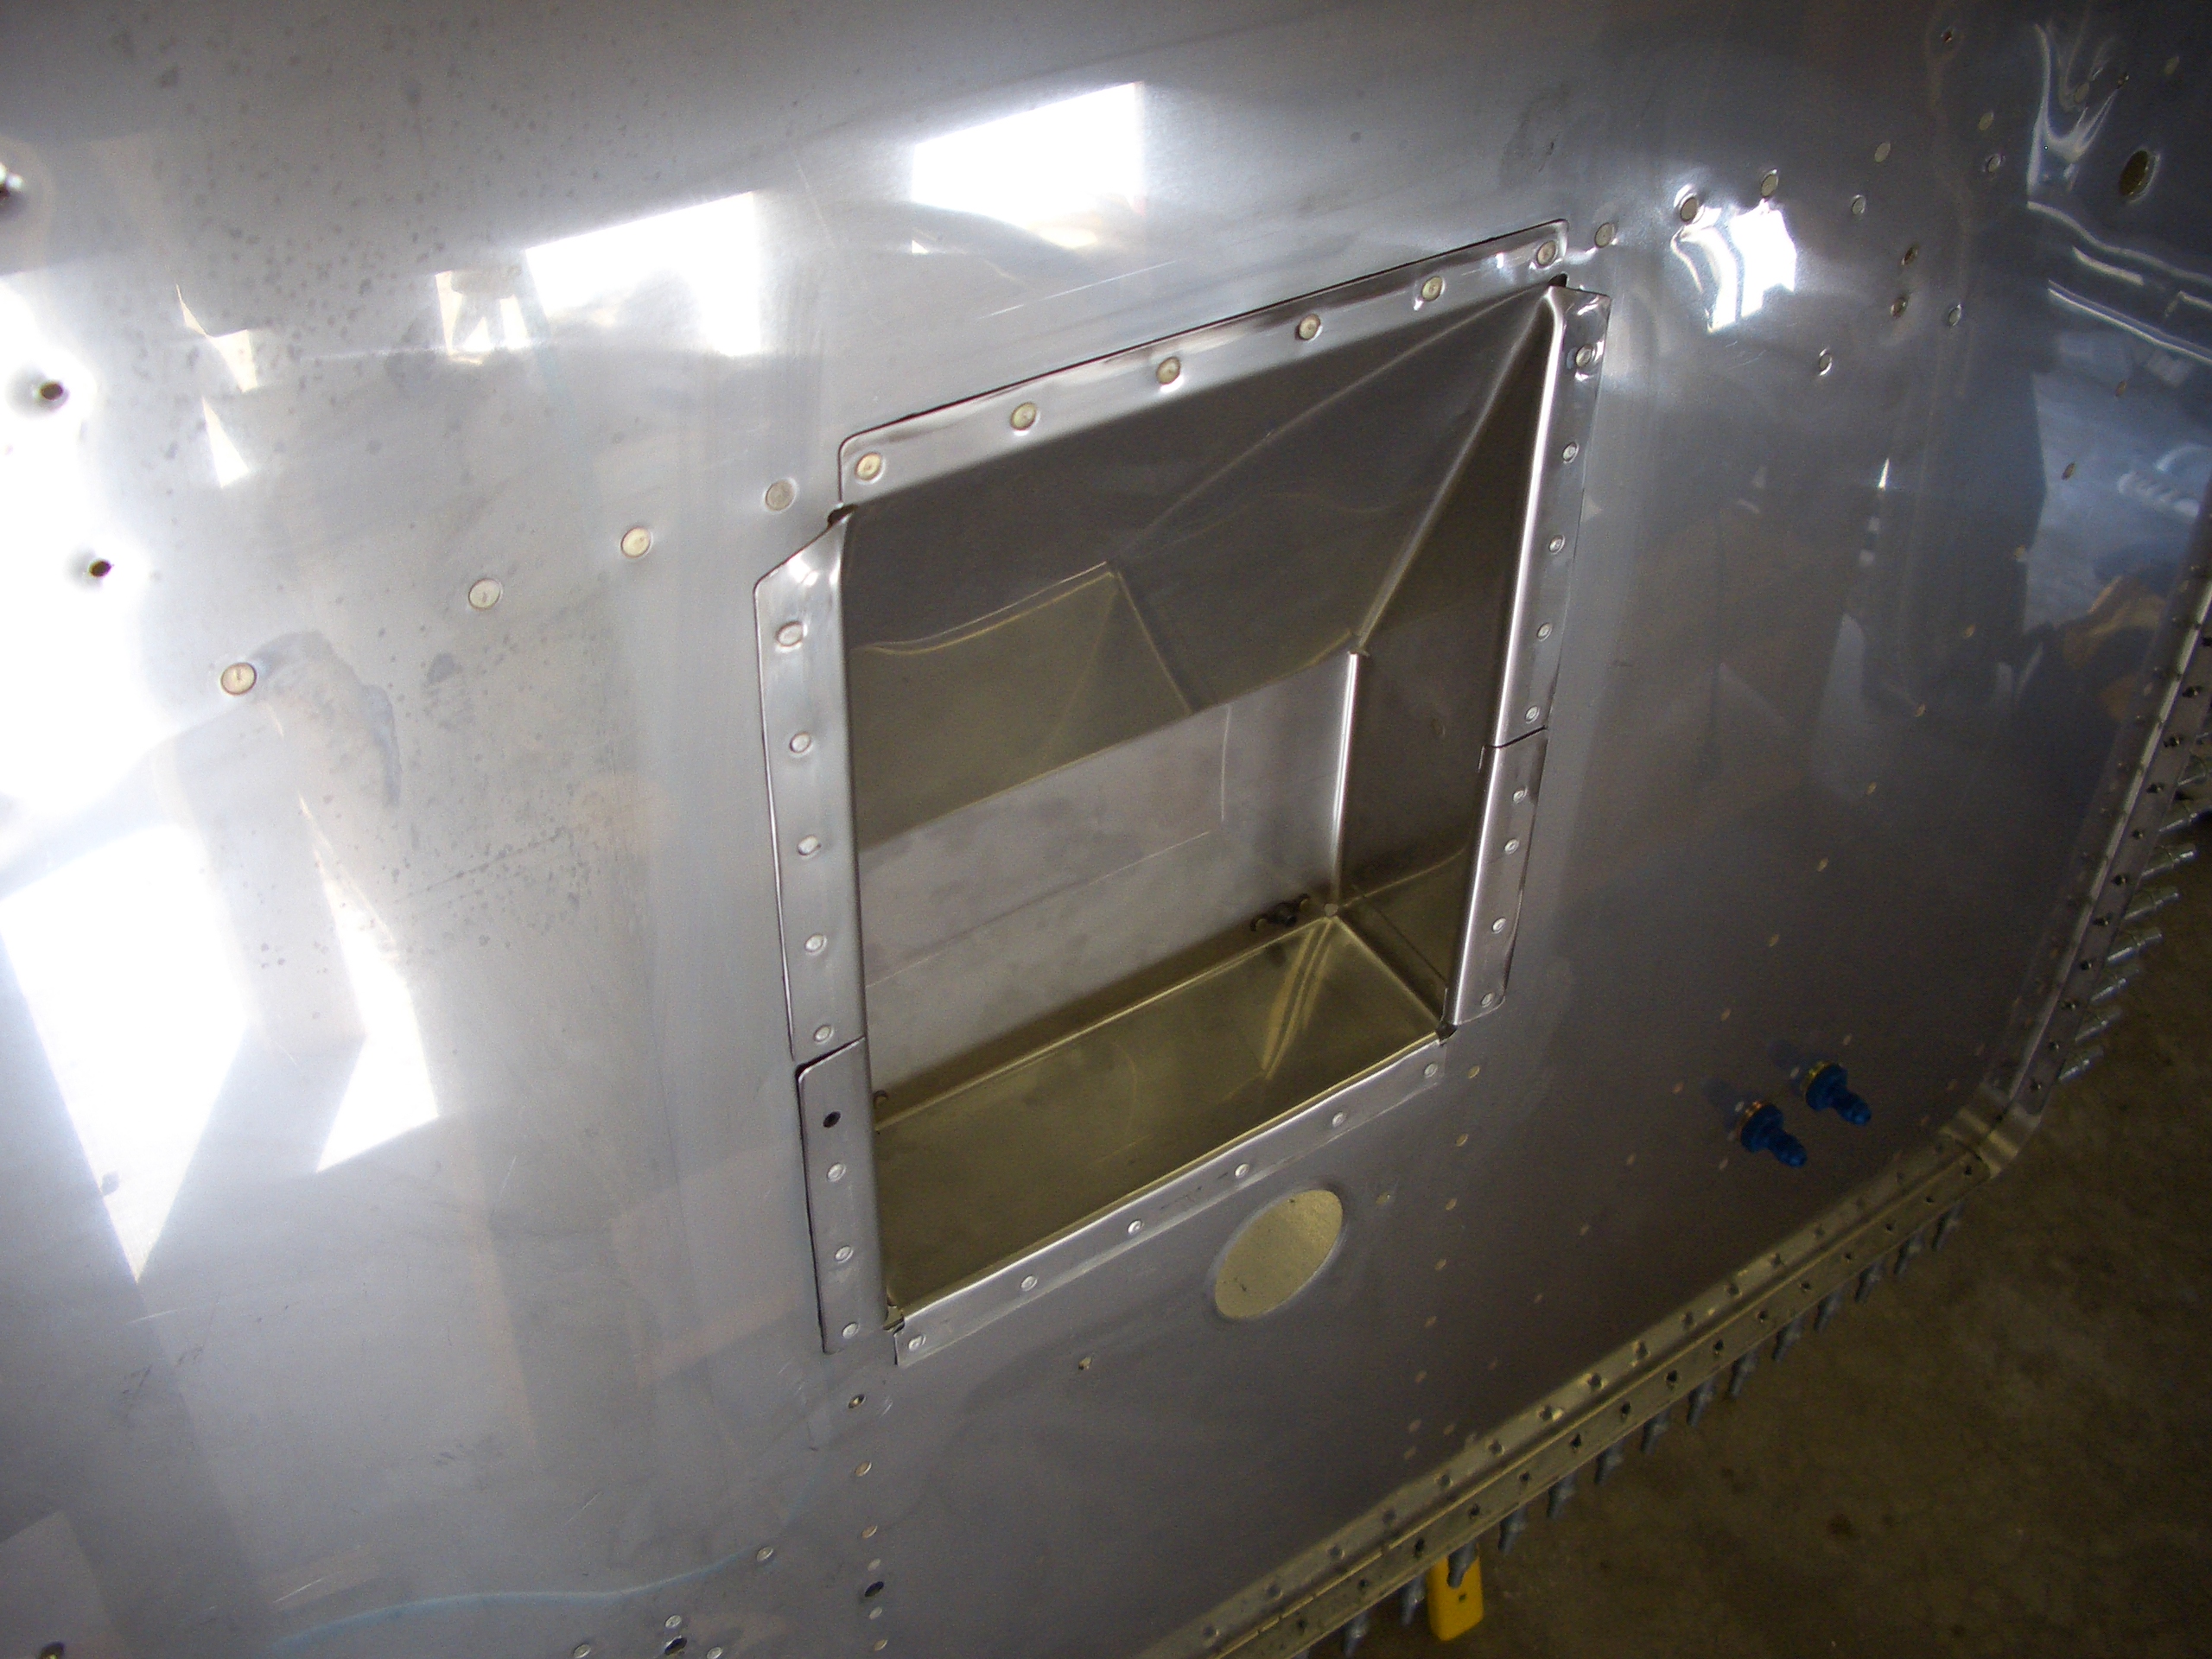
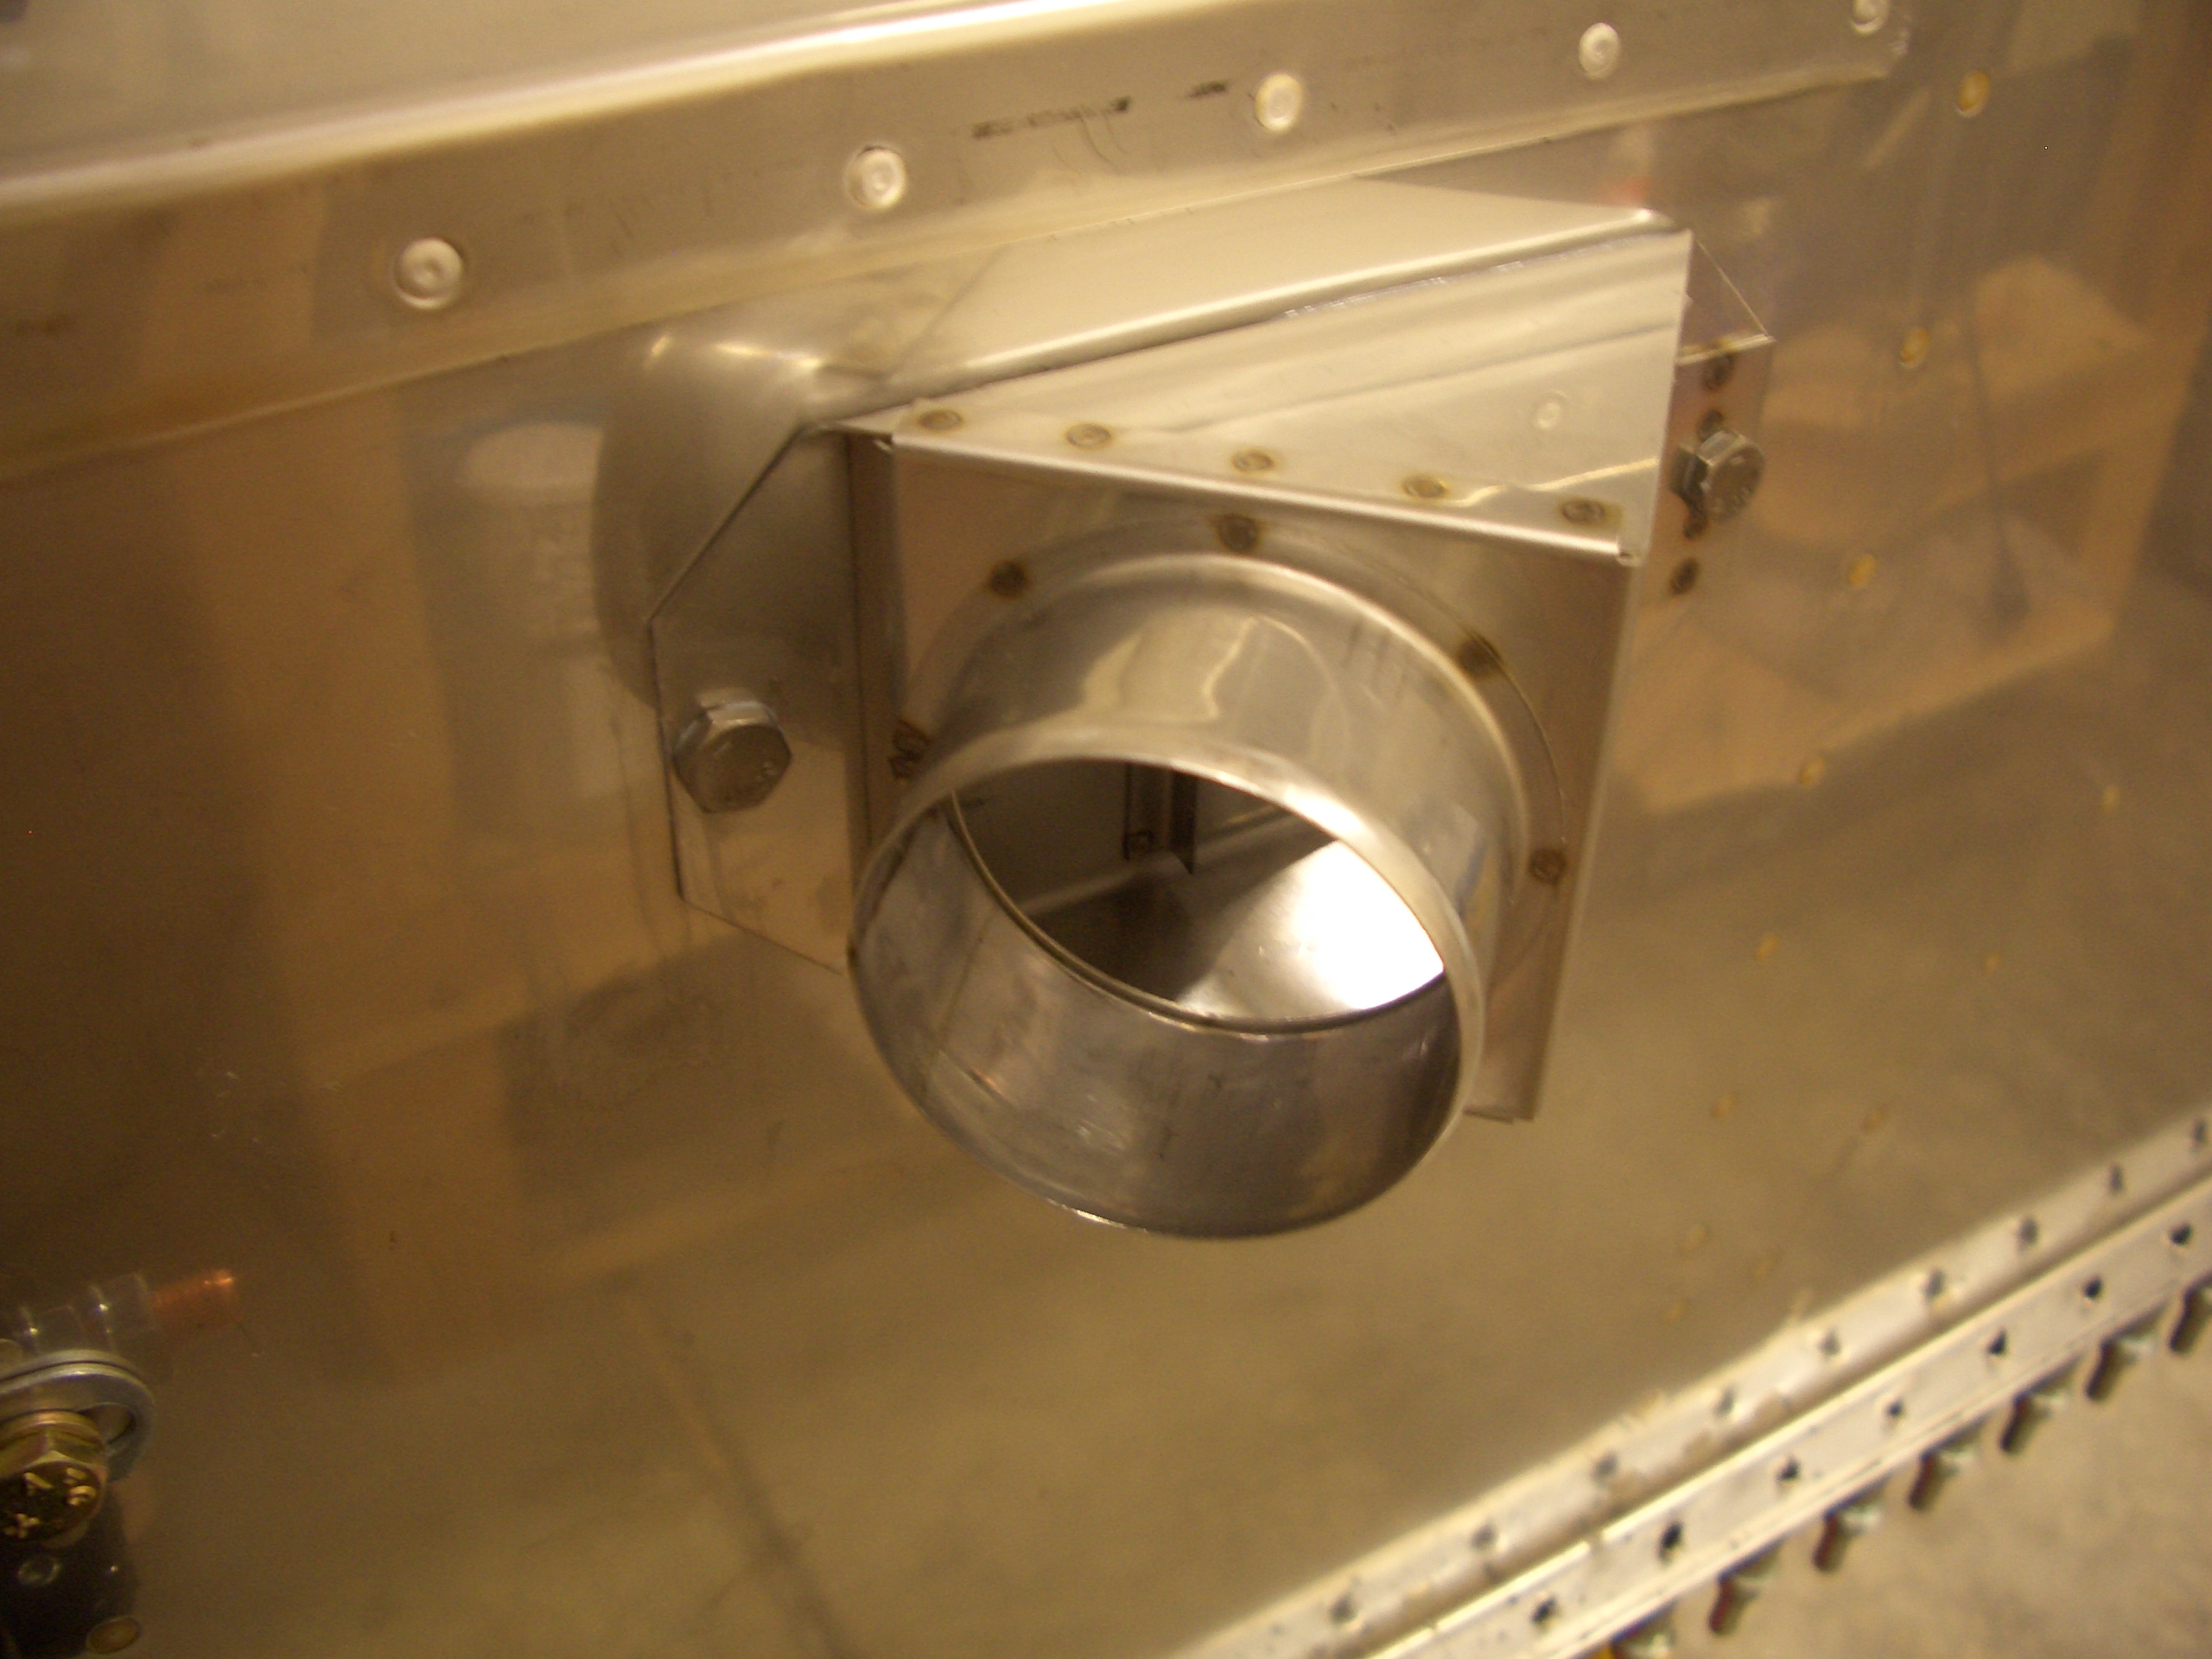
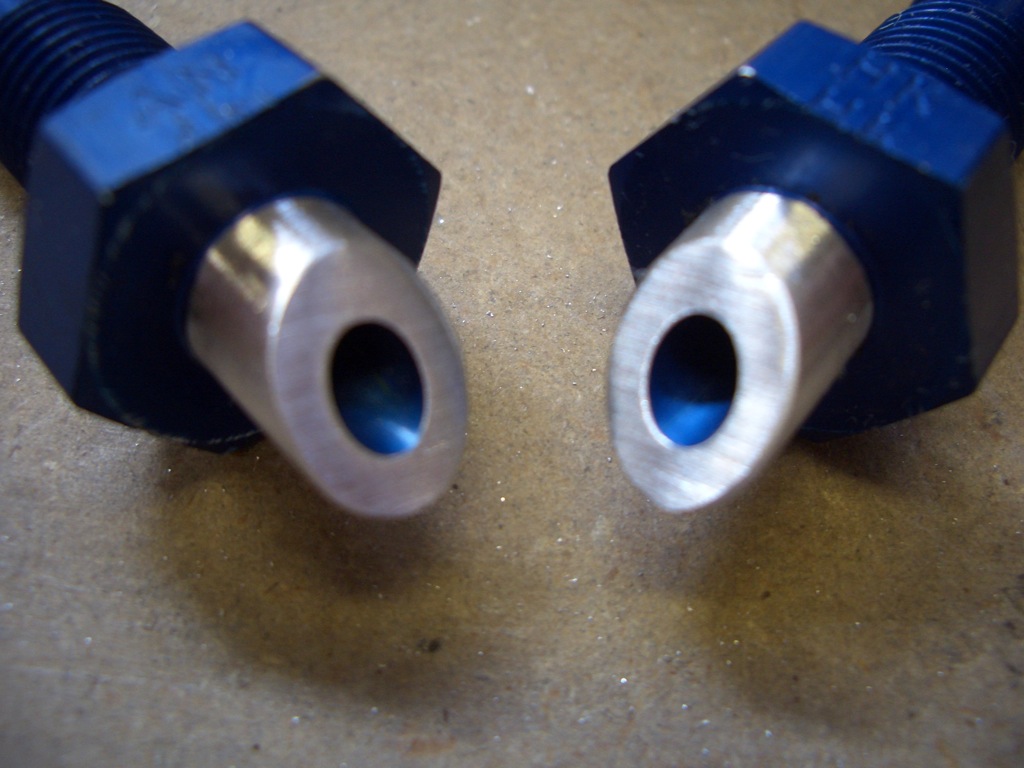
I knocked out the other fuel vent fitting this morning.  For freehand work, it looks nearly identical to the one I did yesterday.

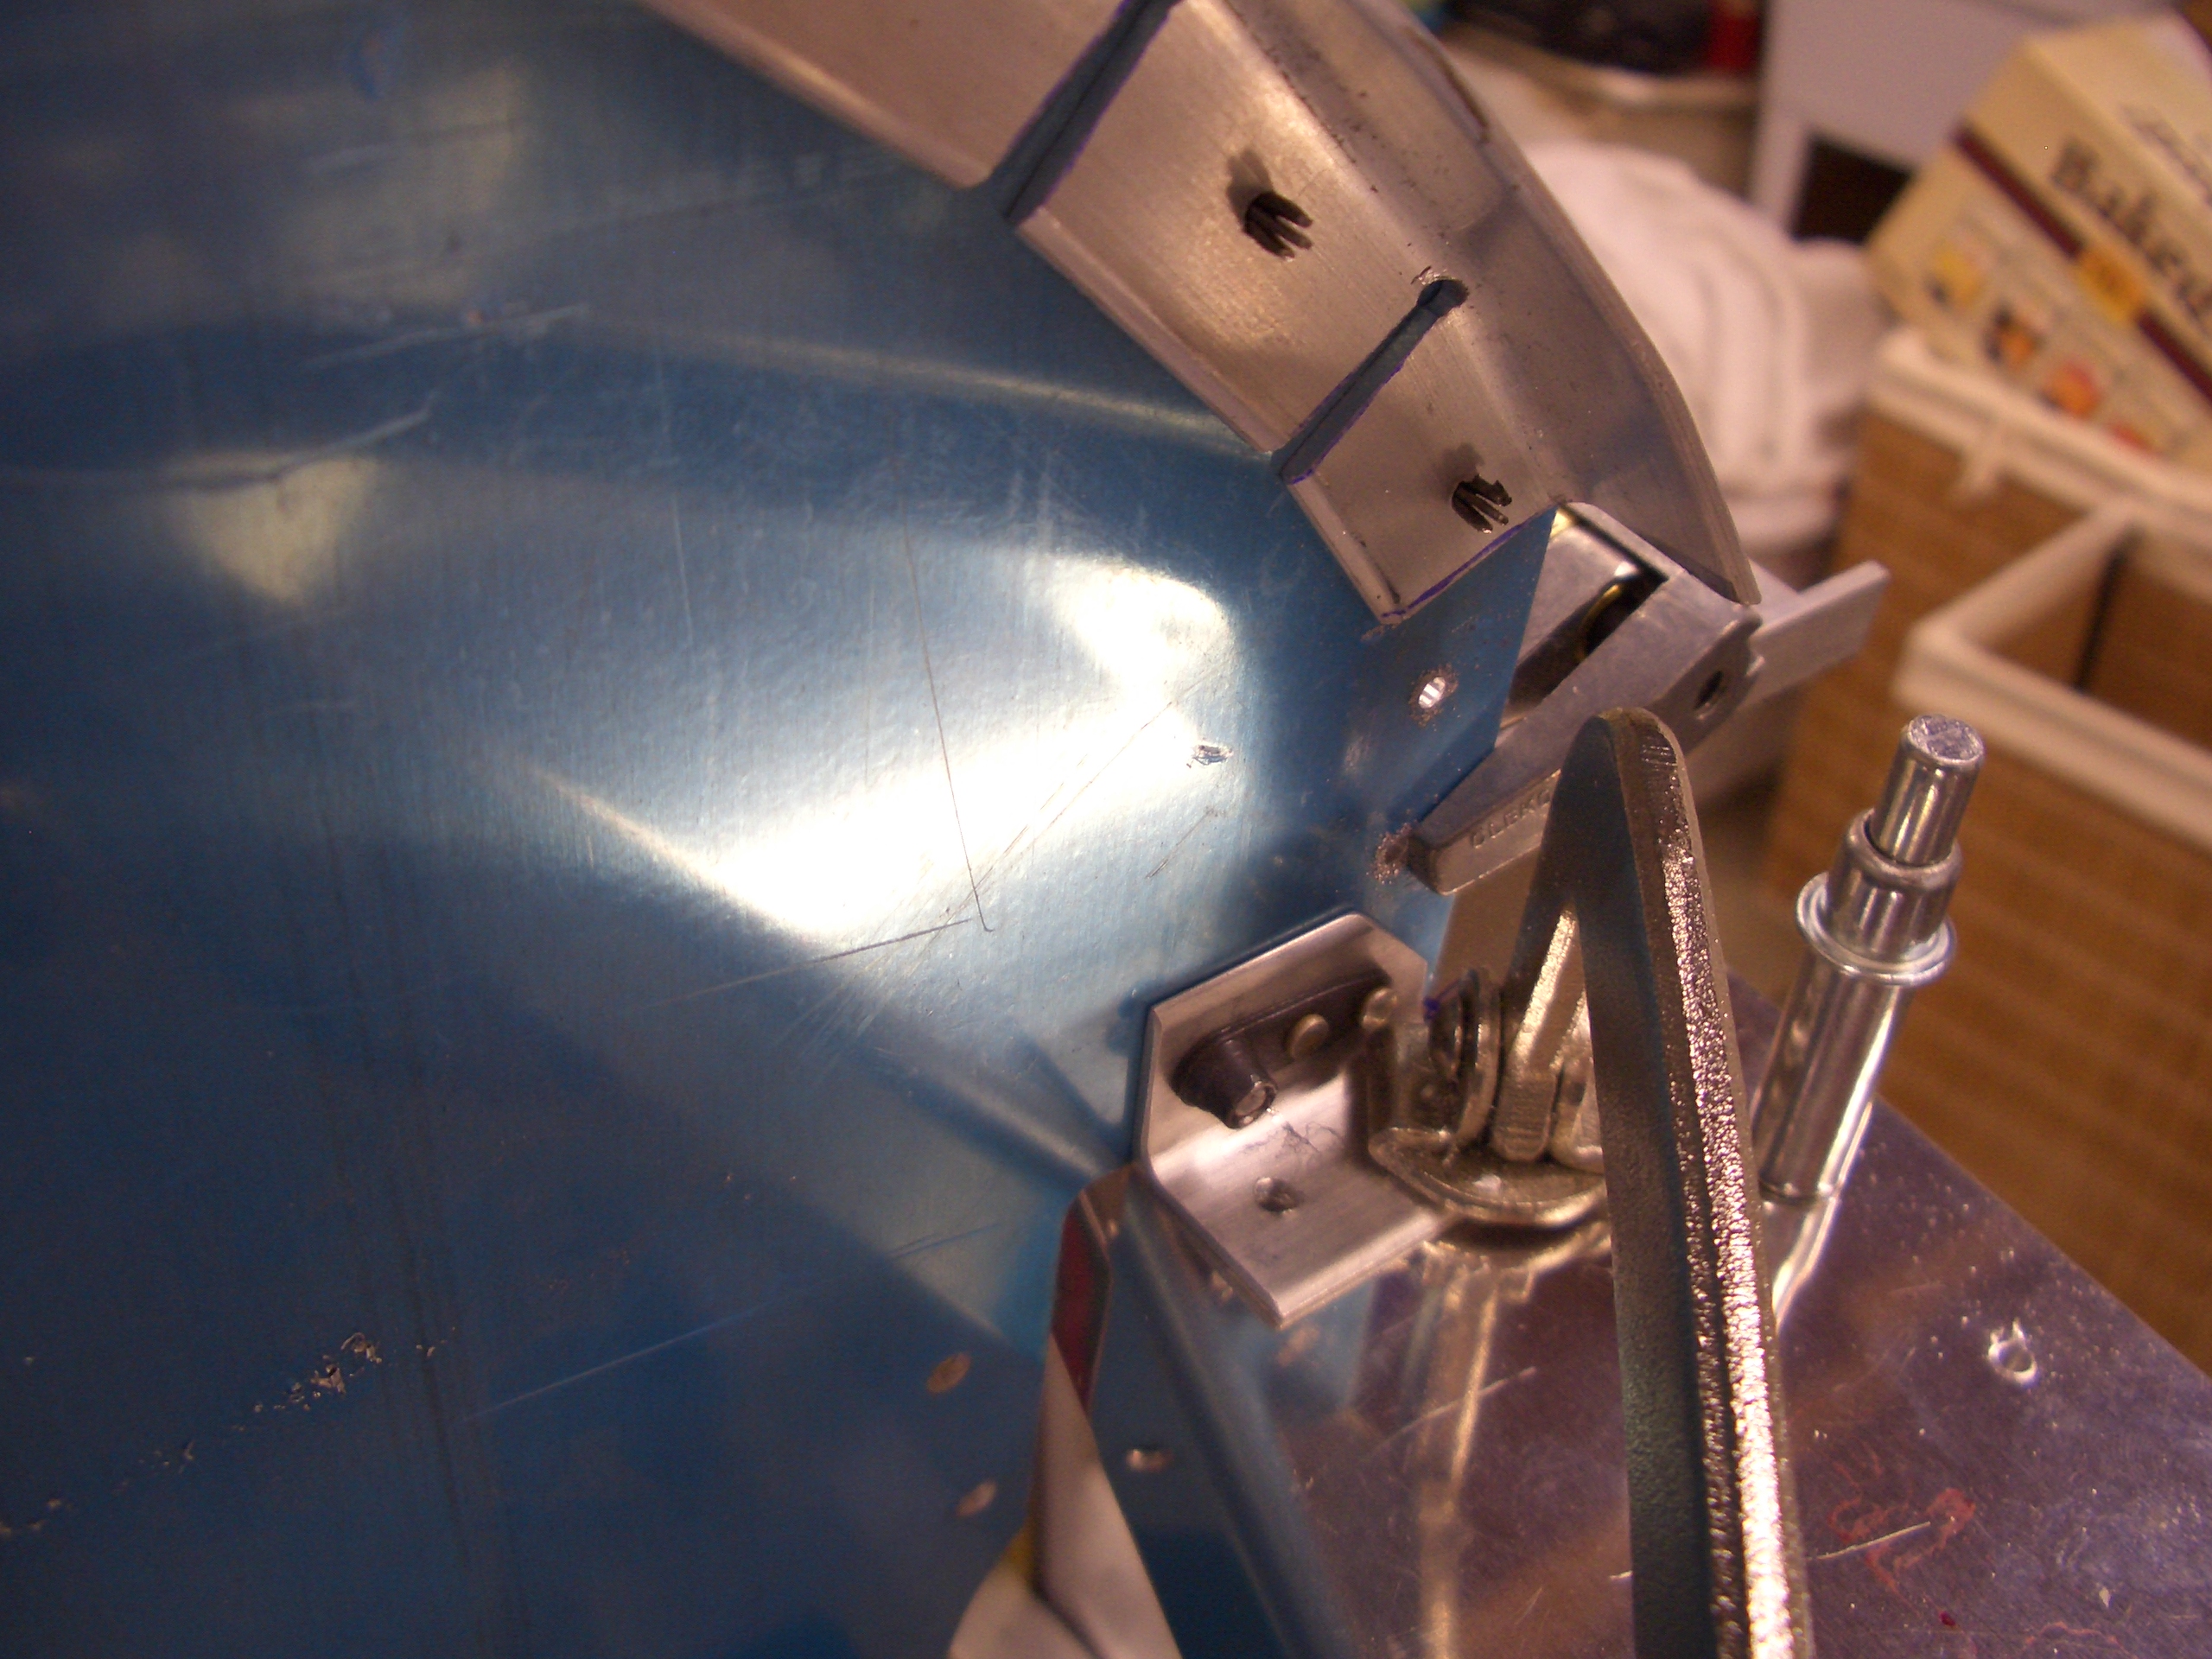
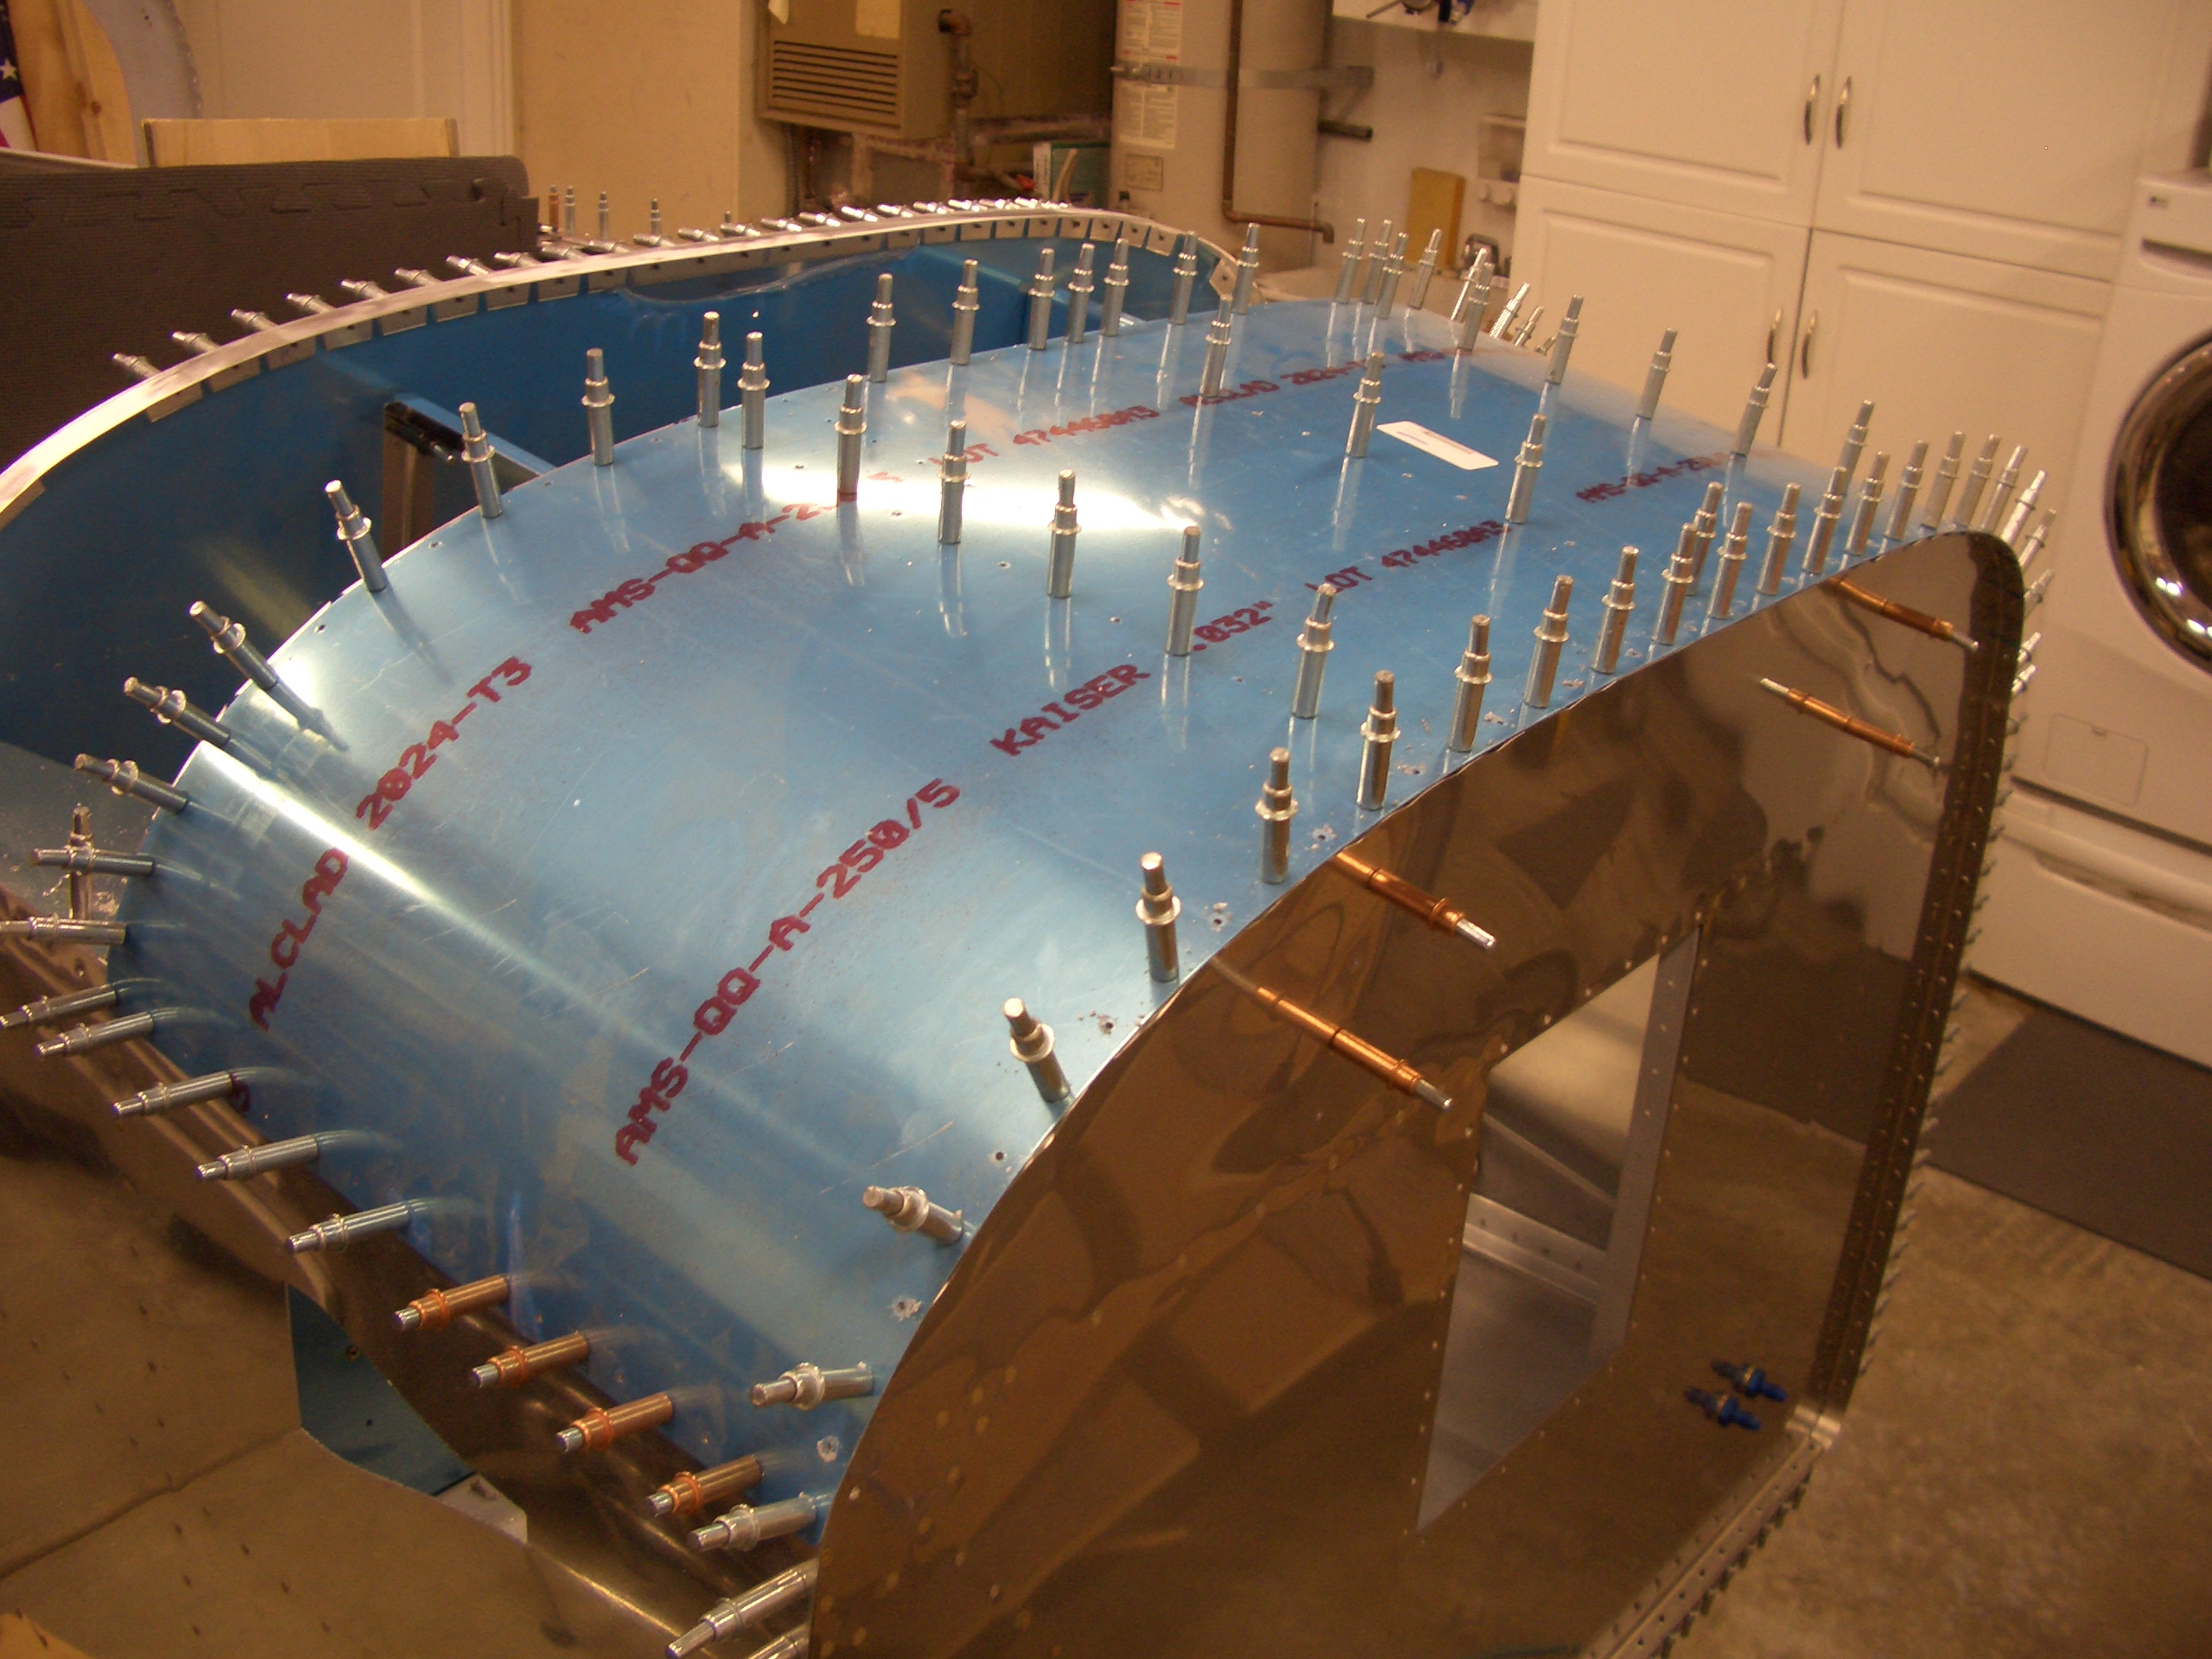
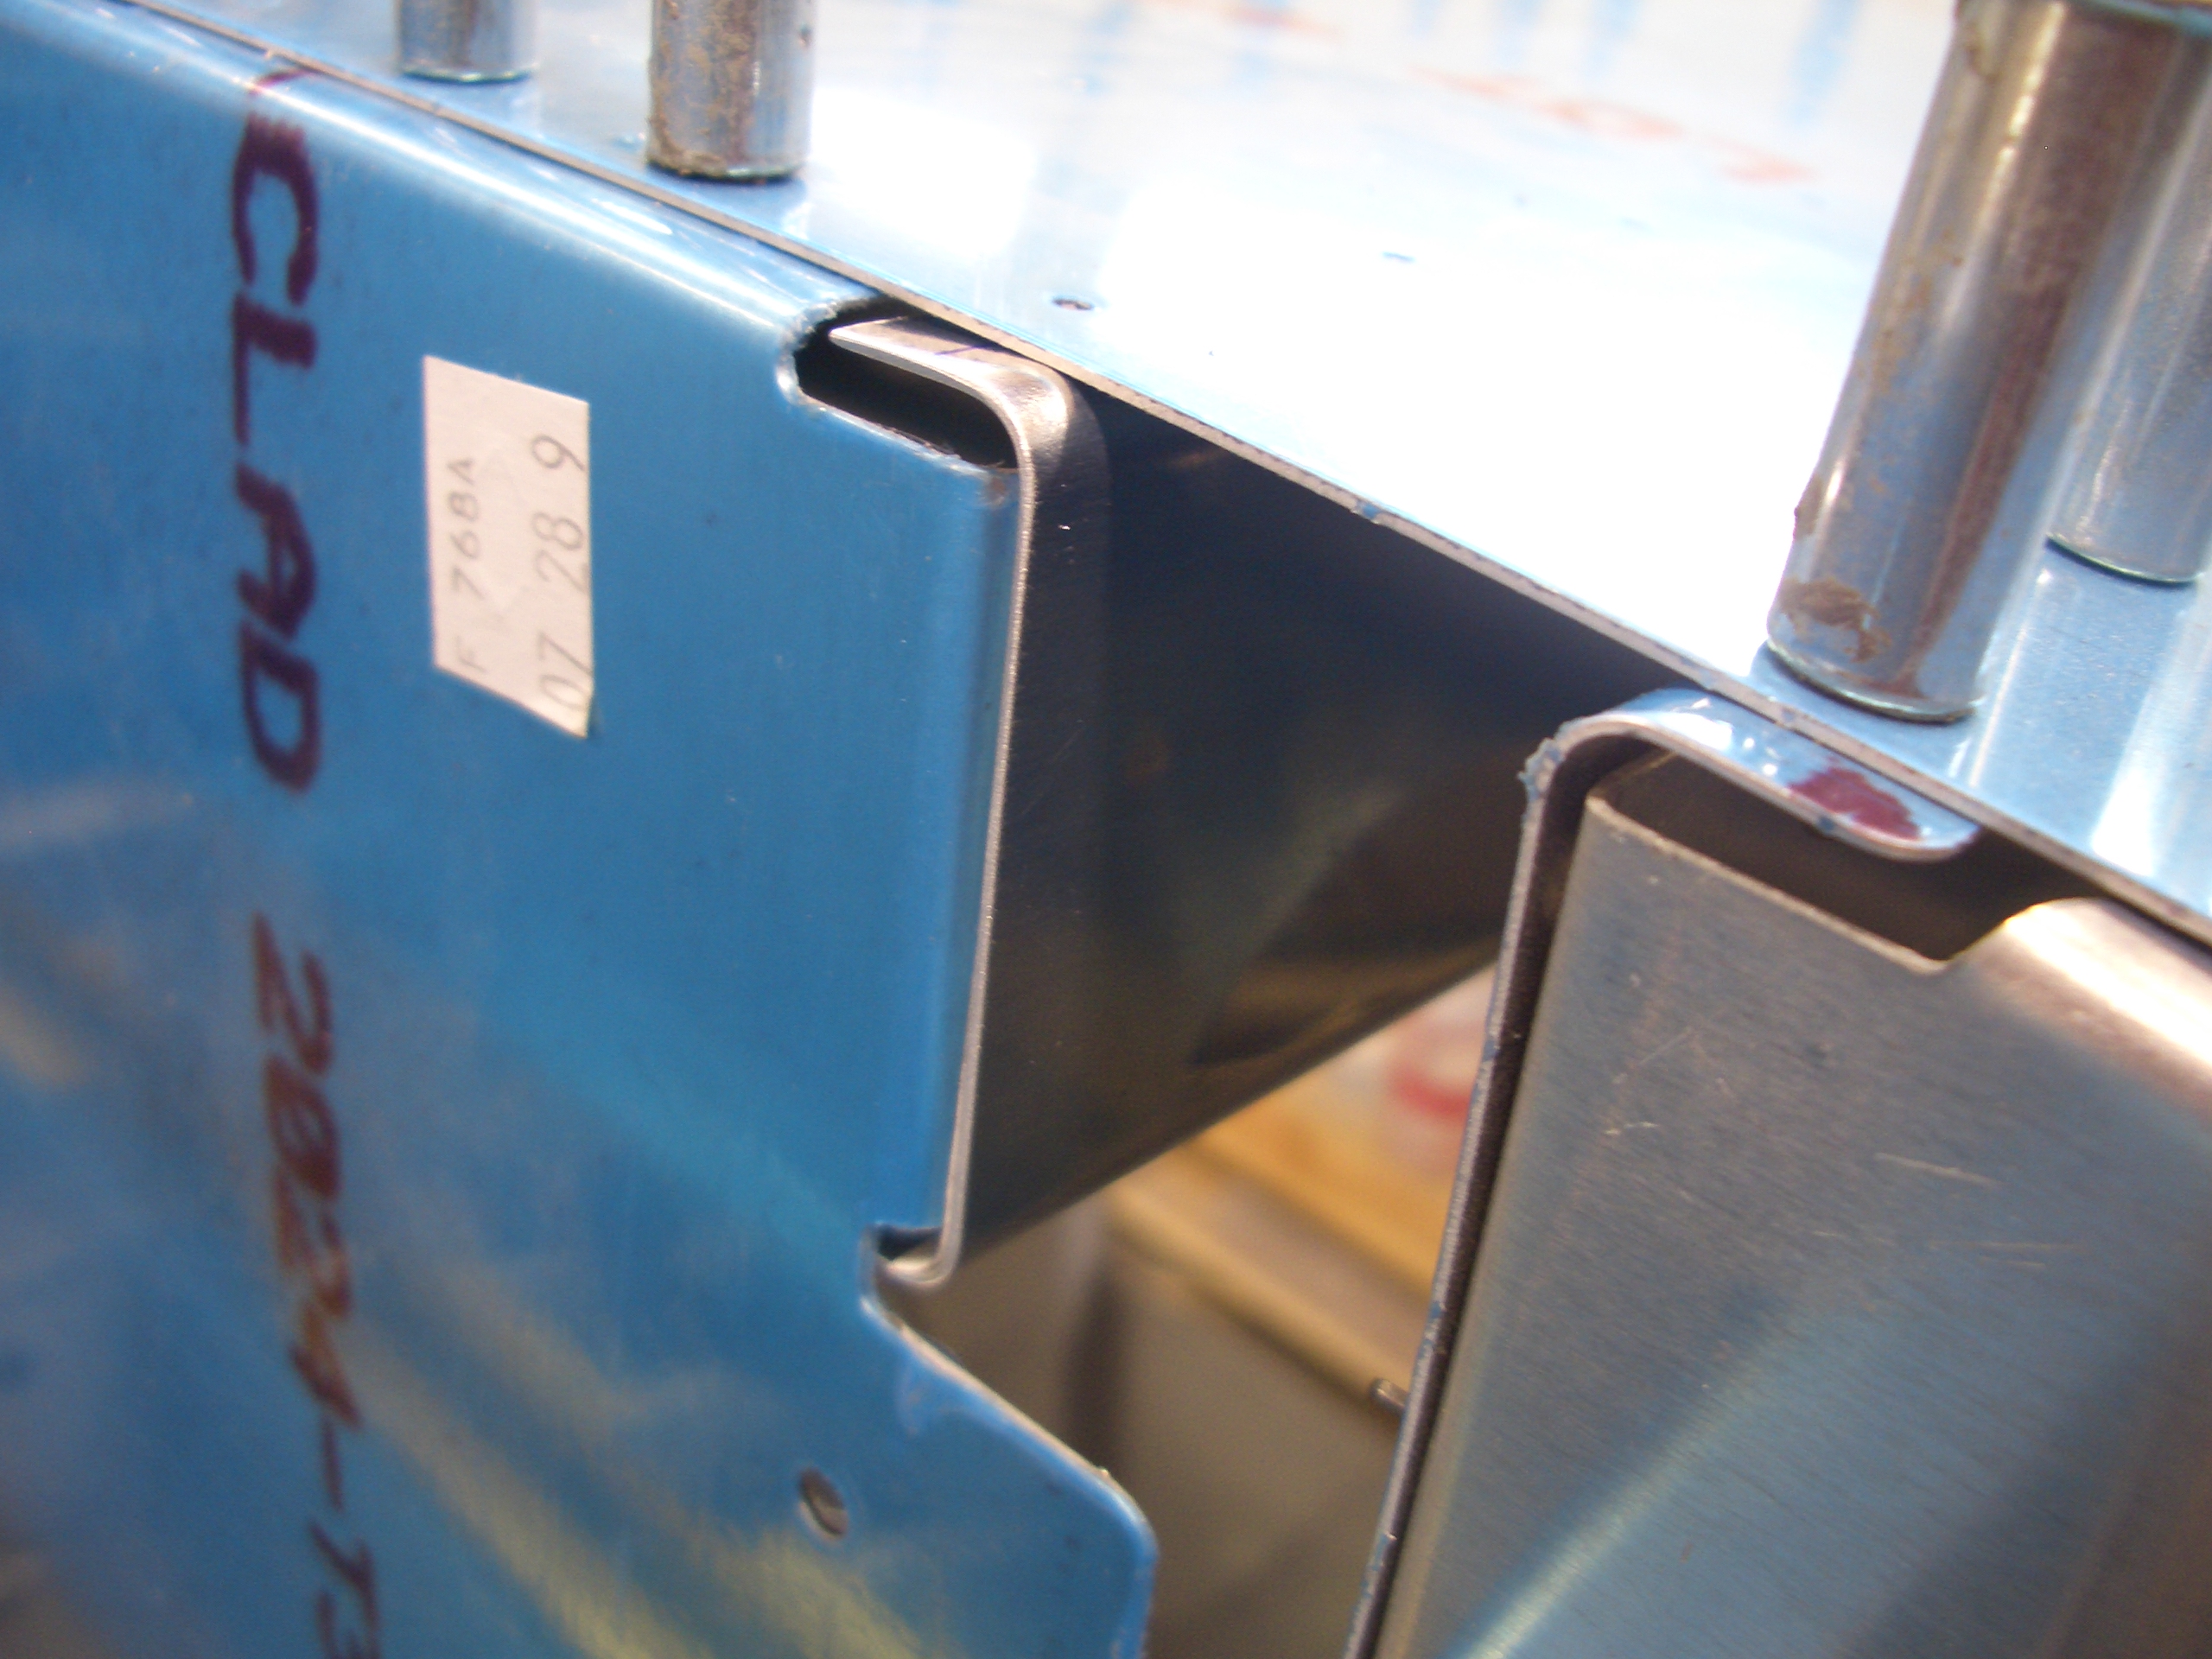
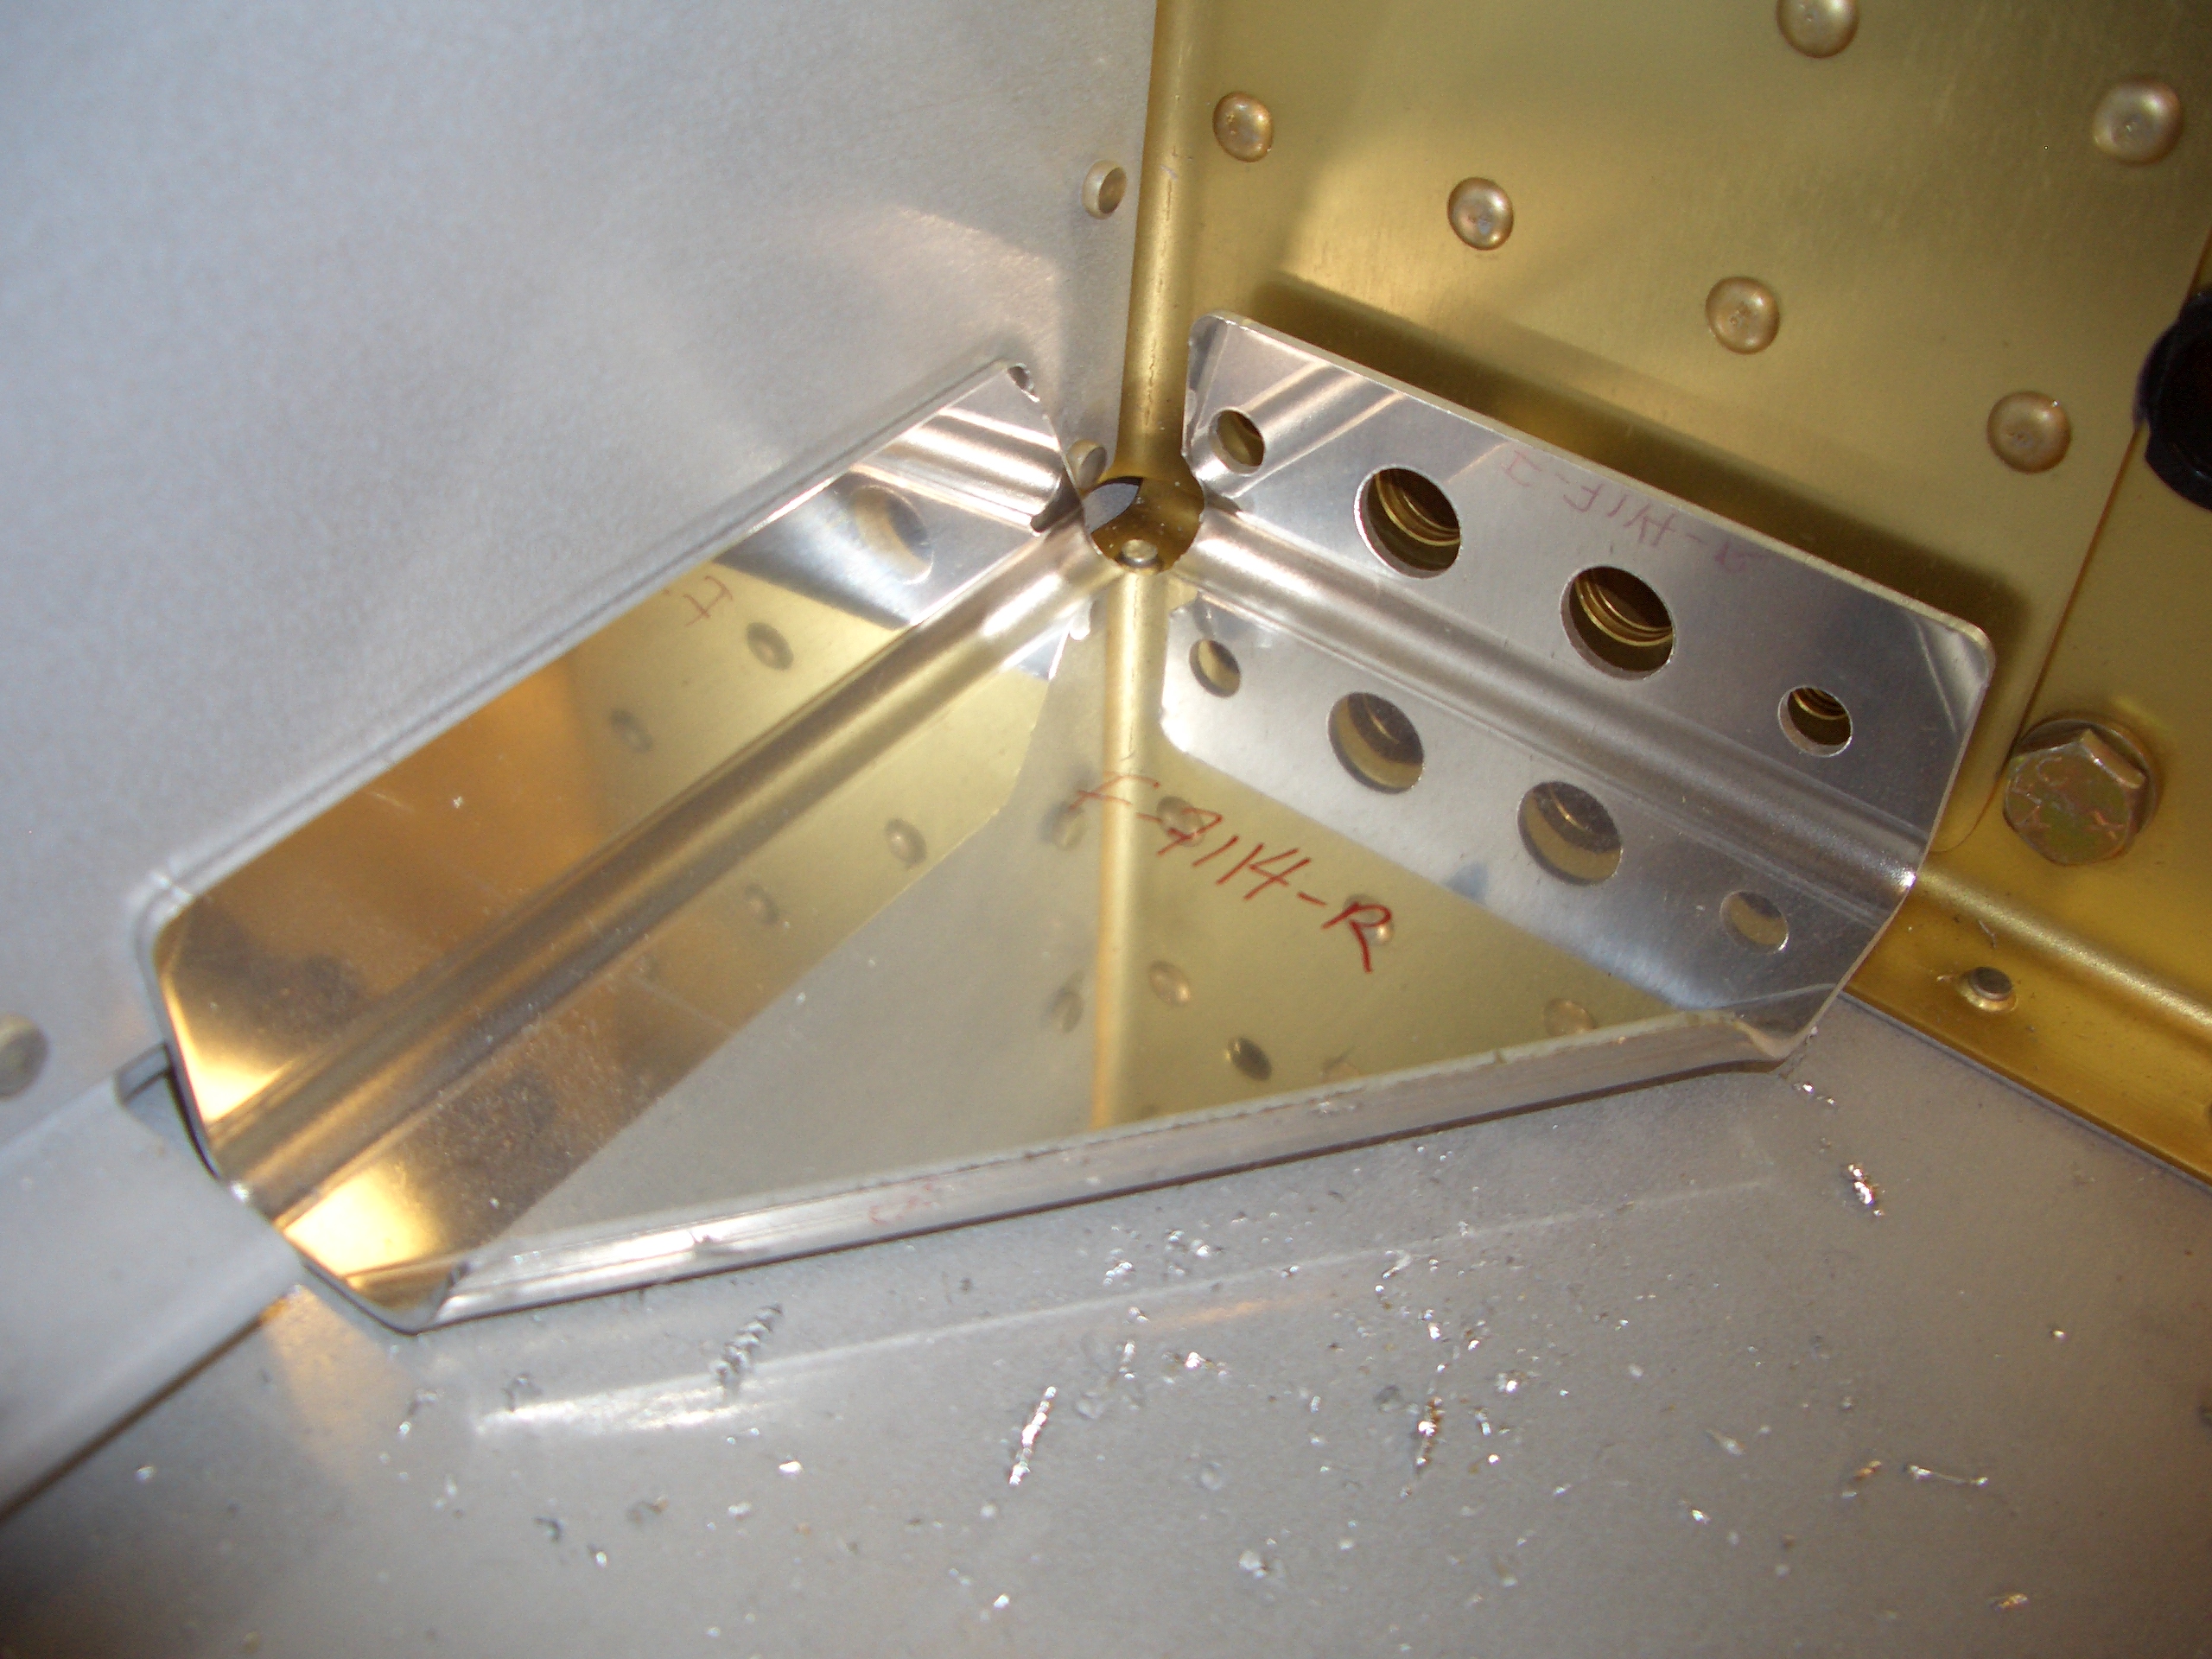
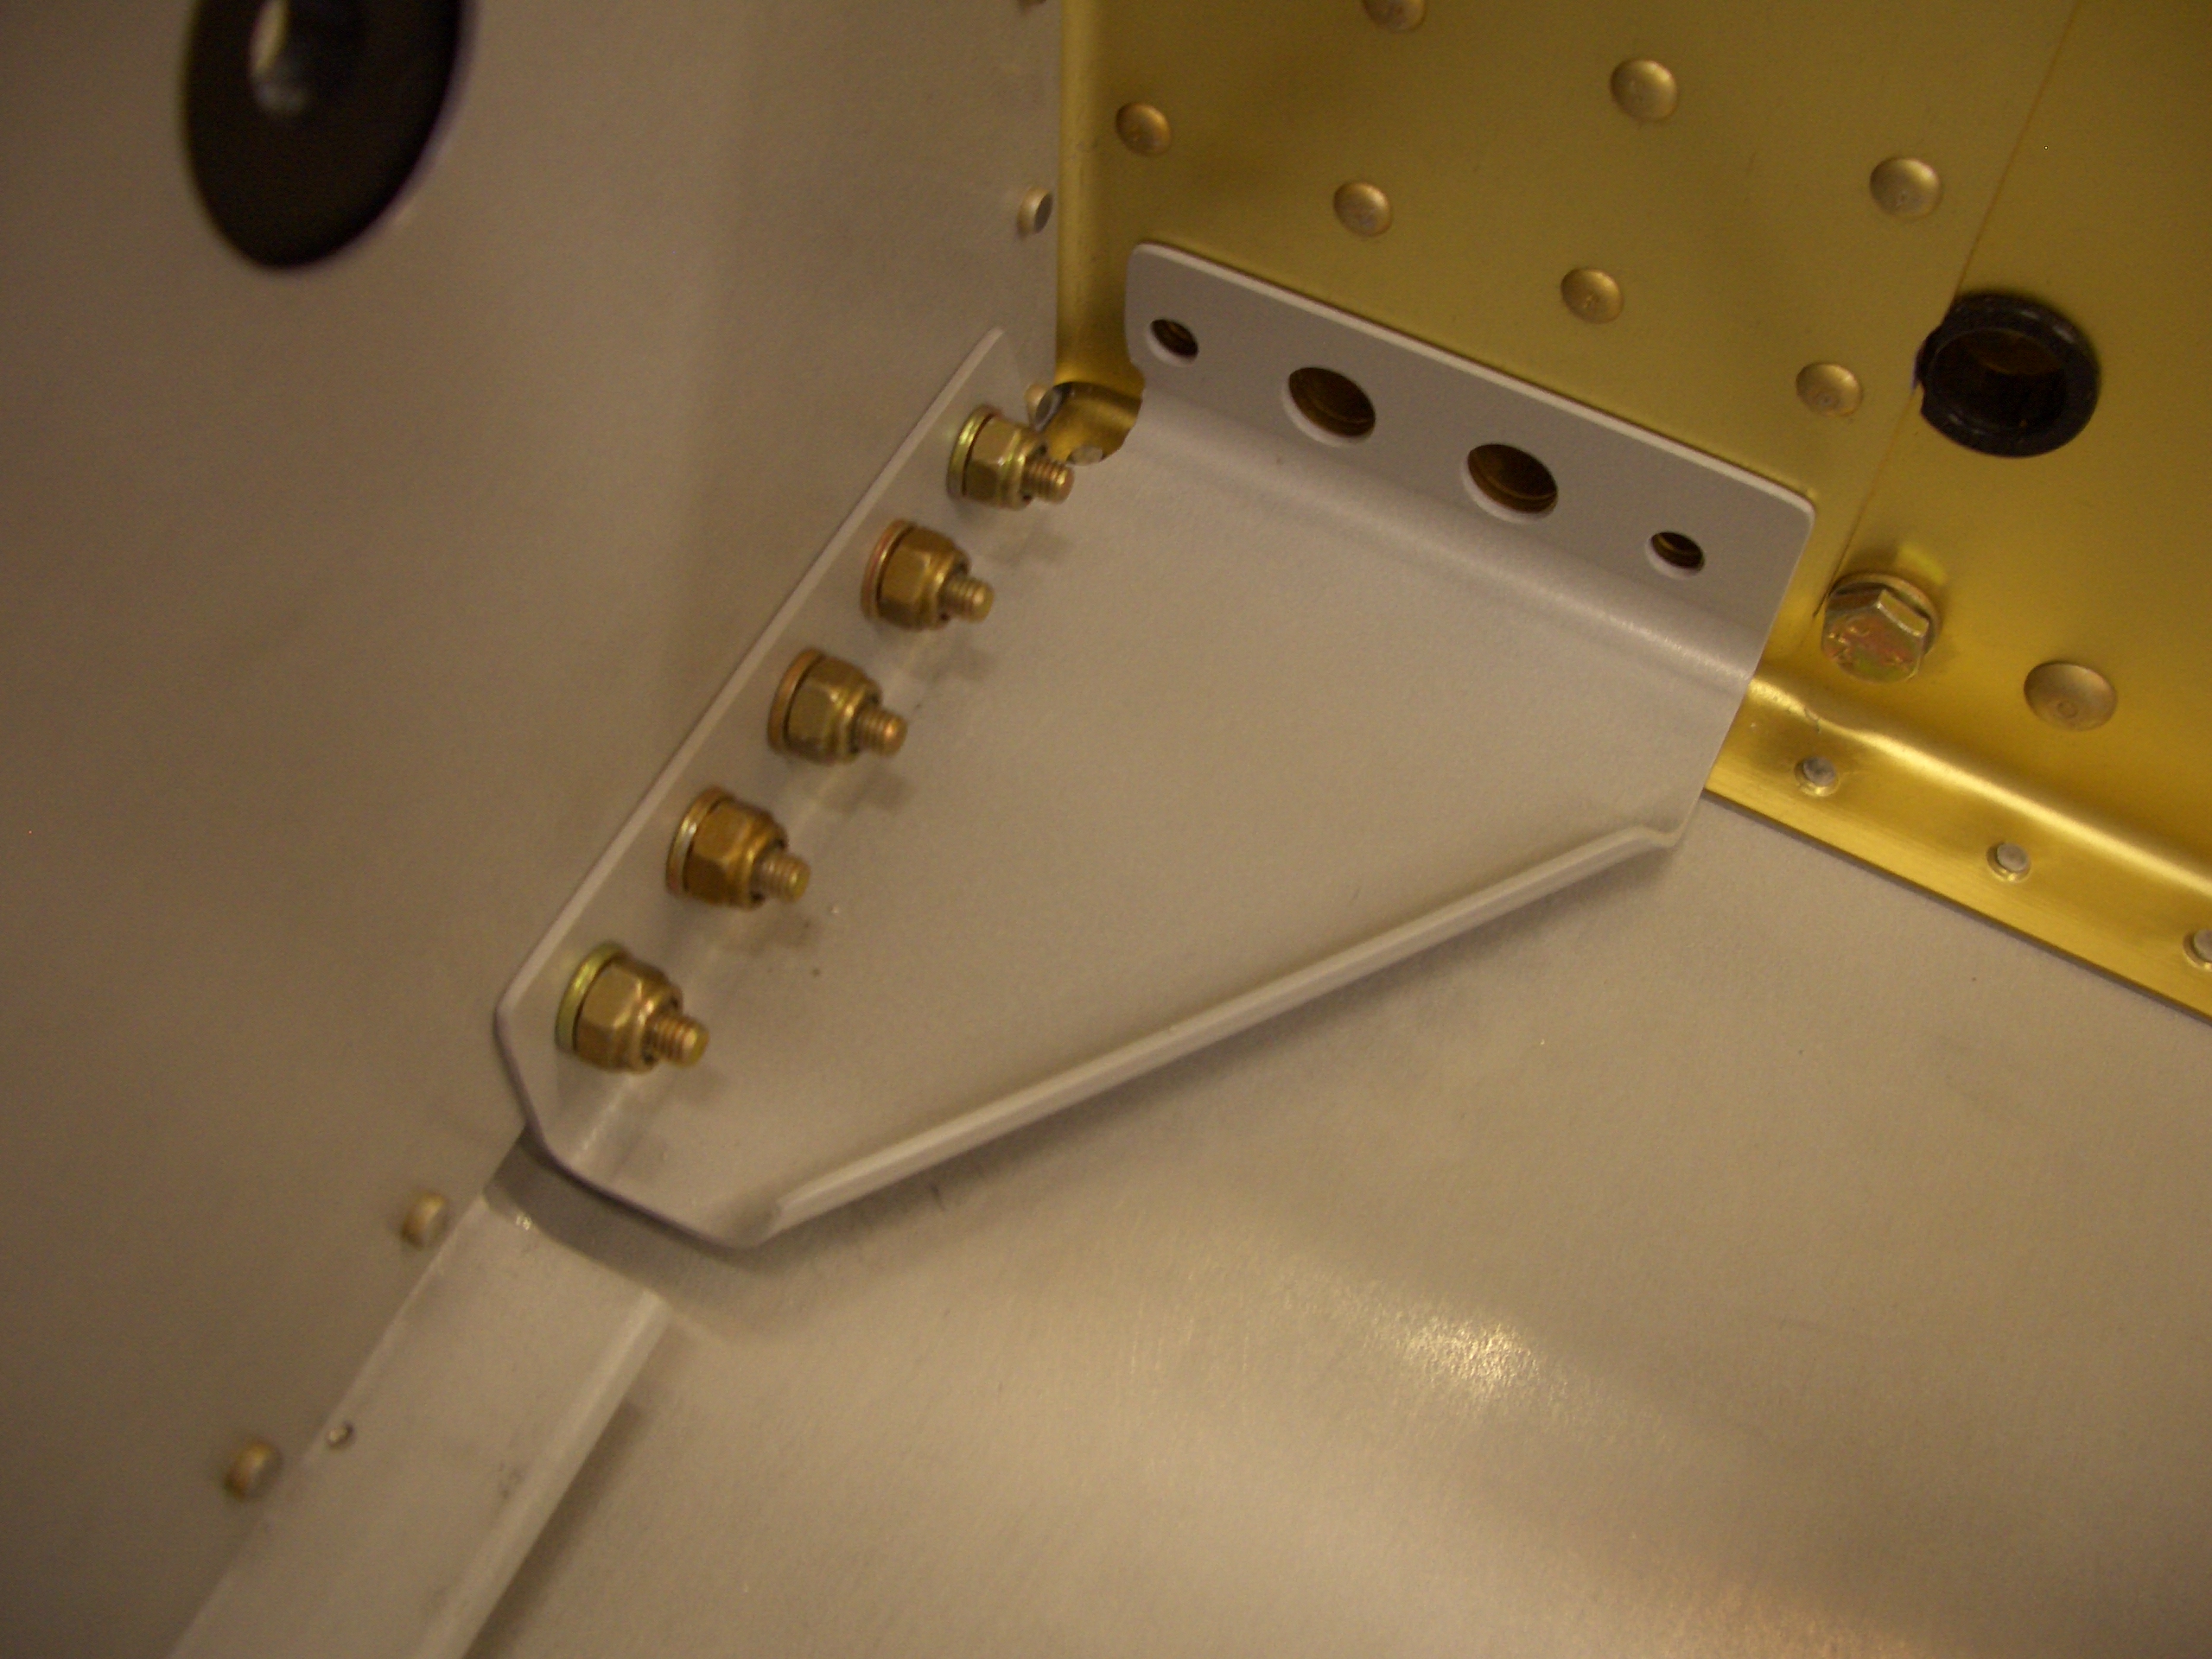
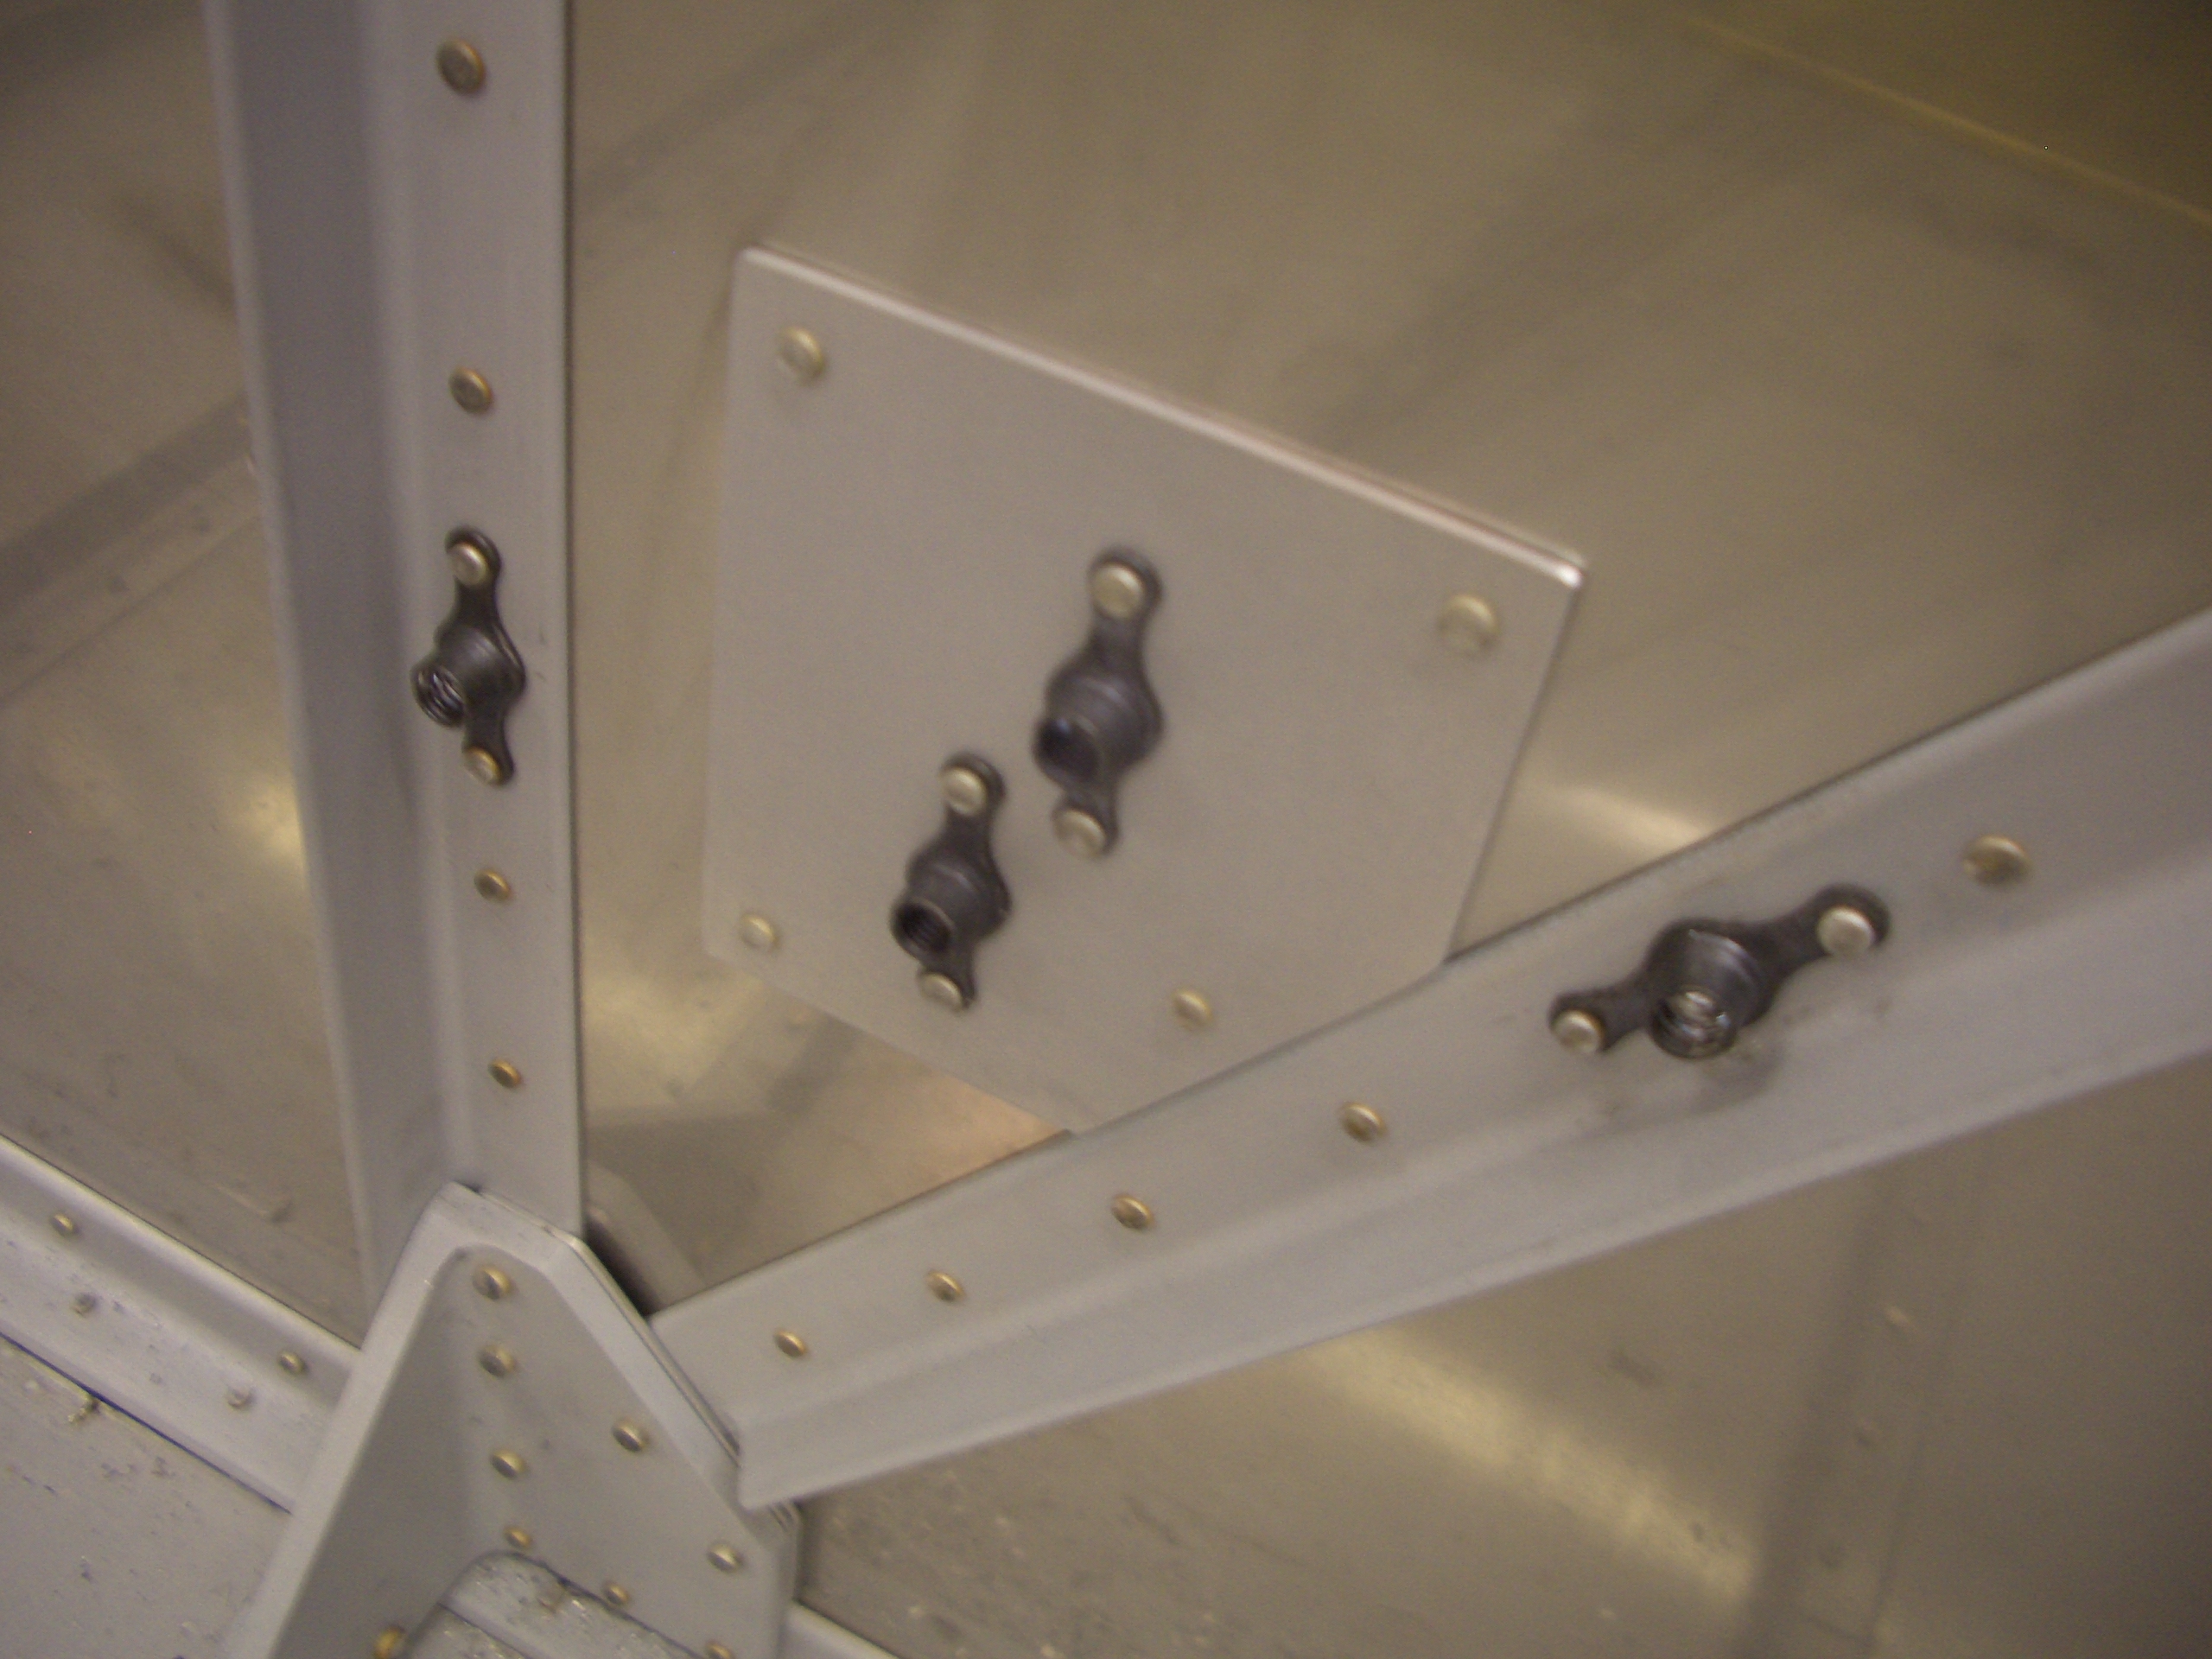
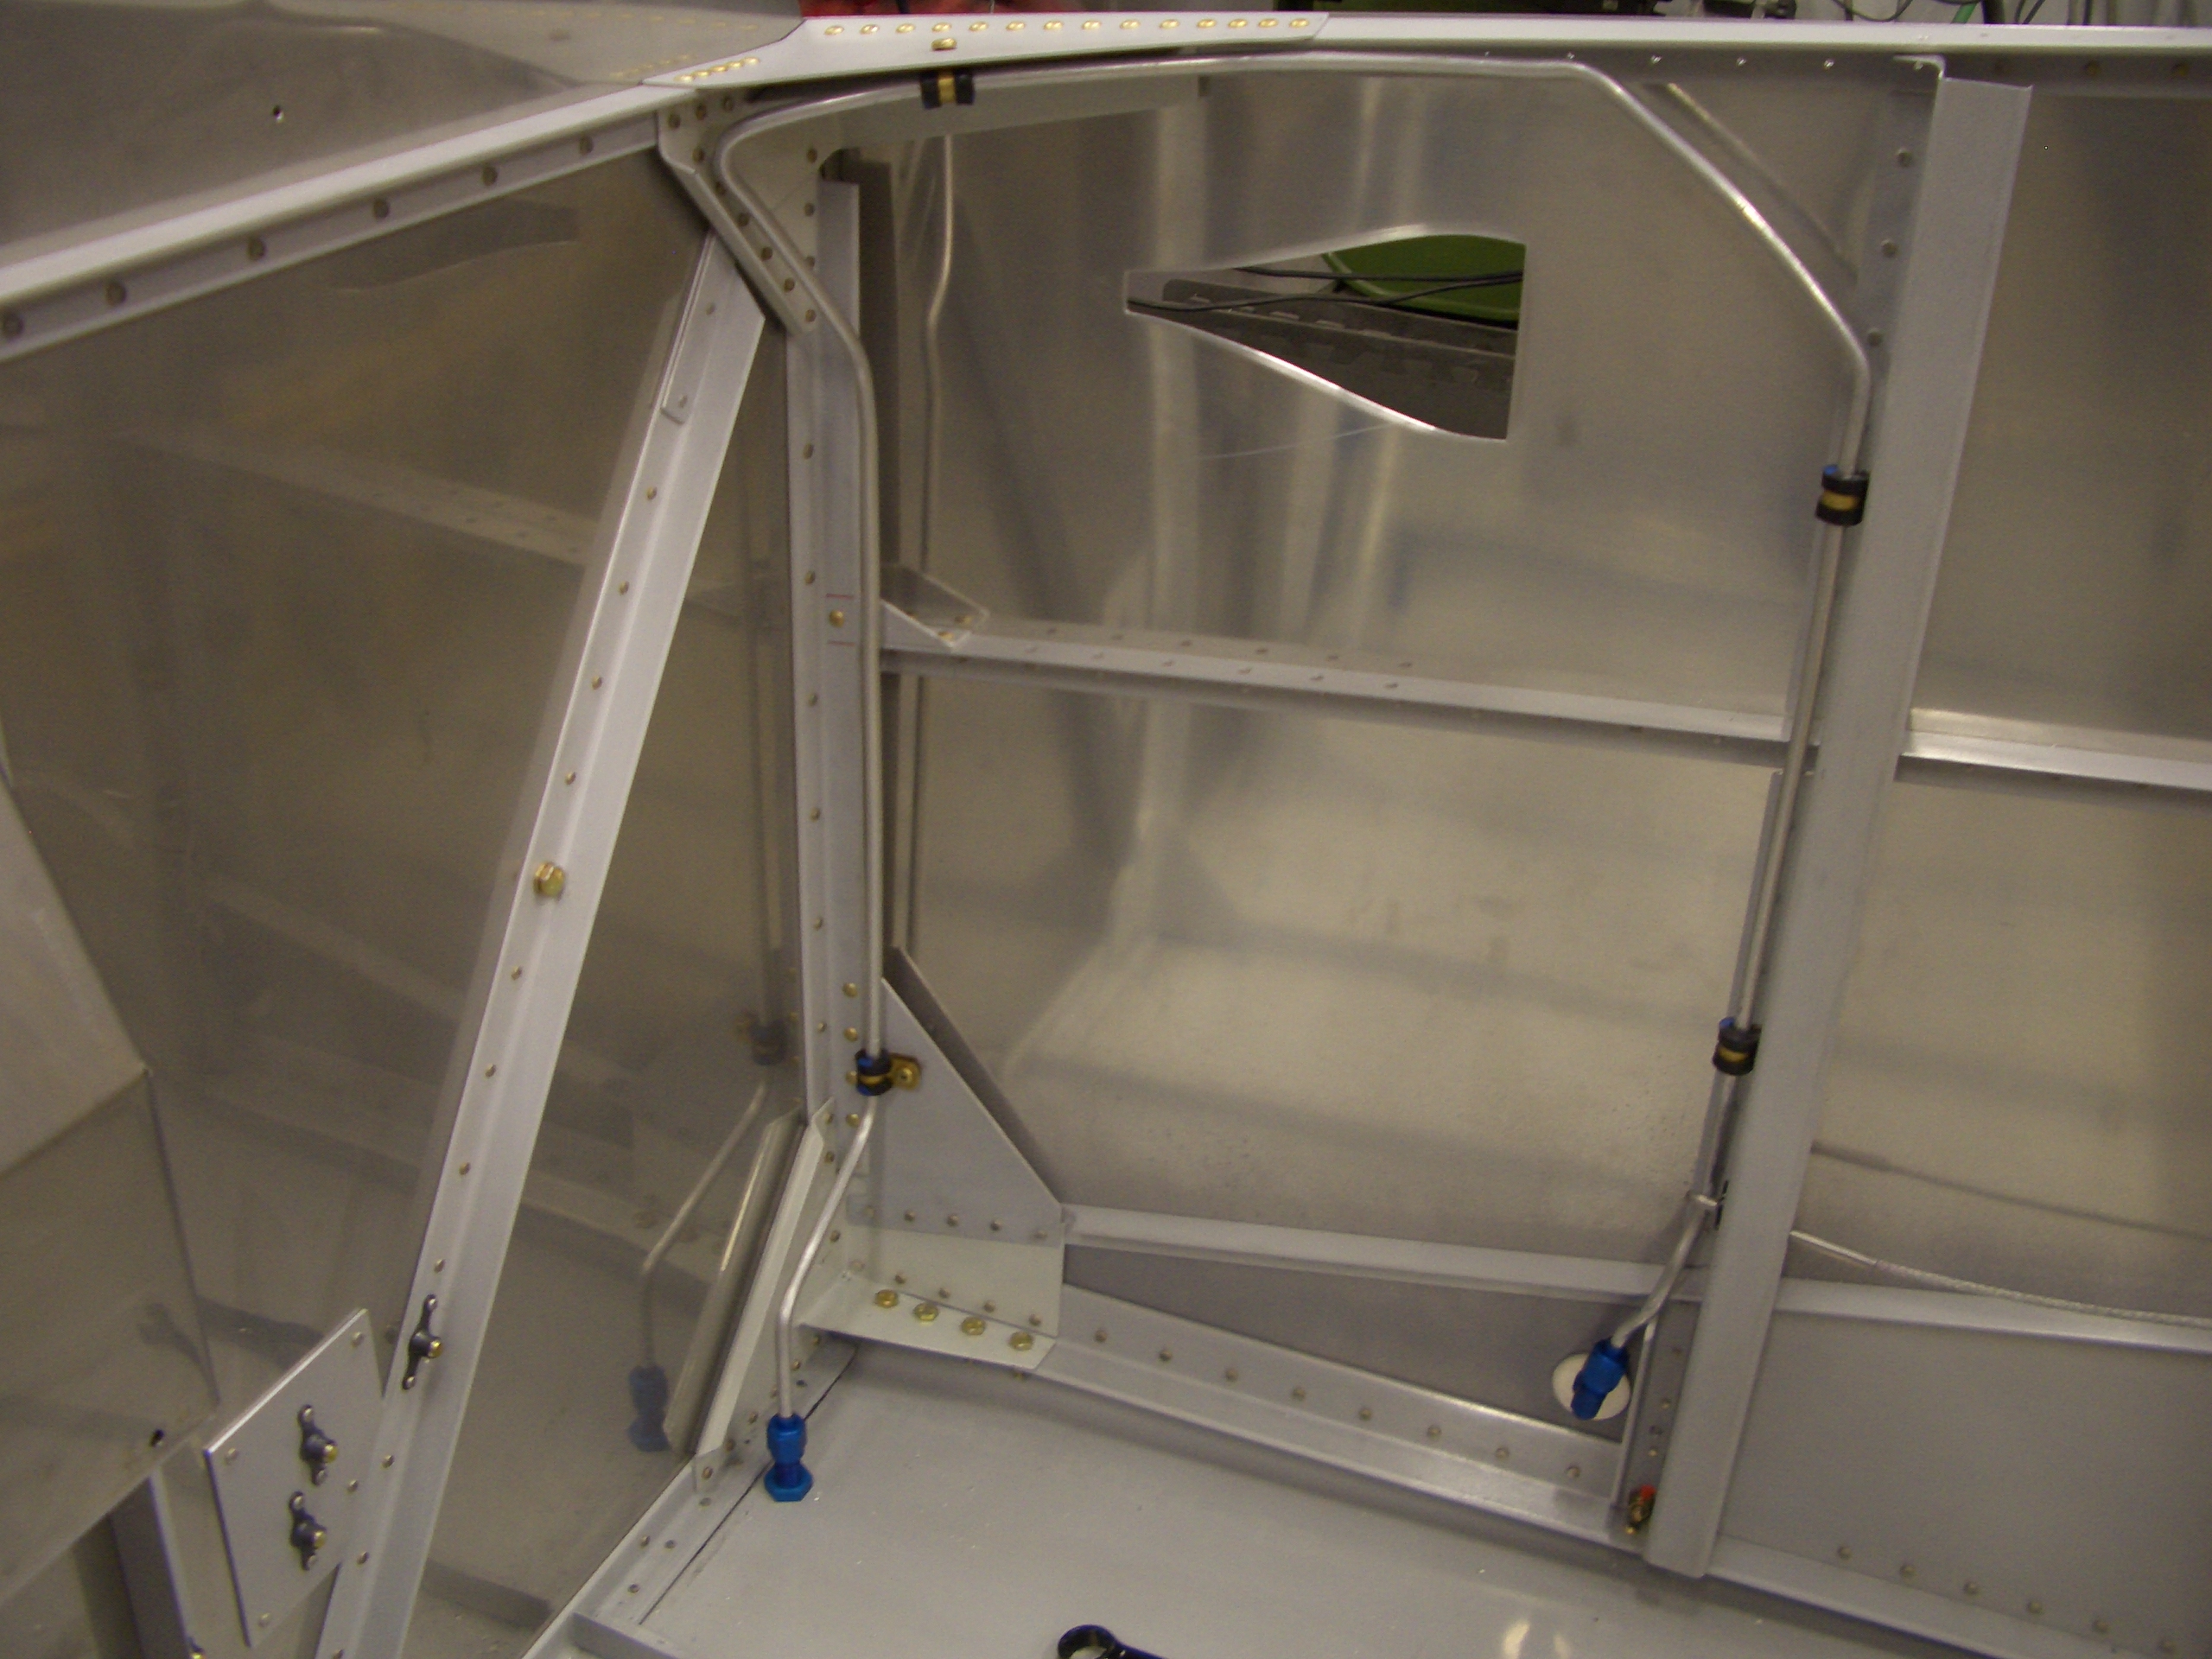
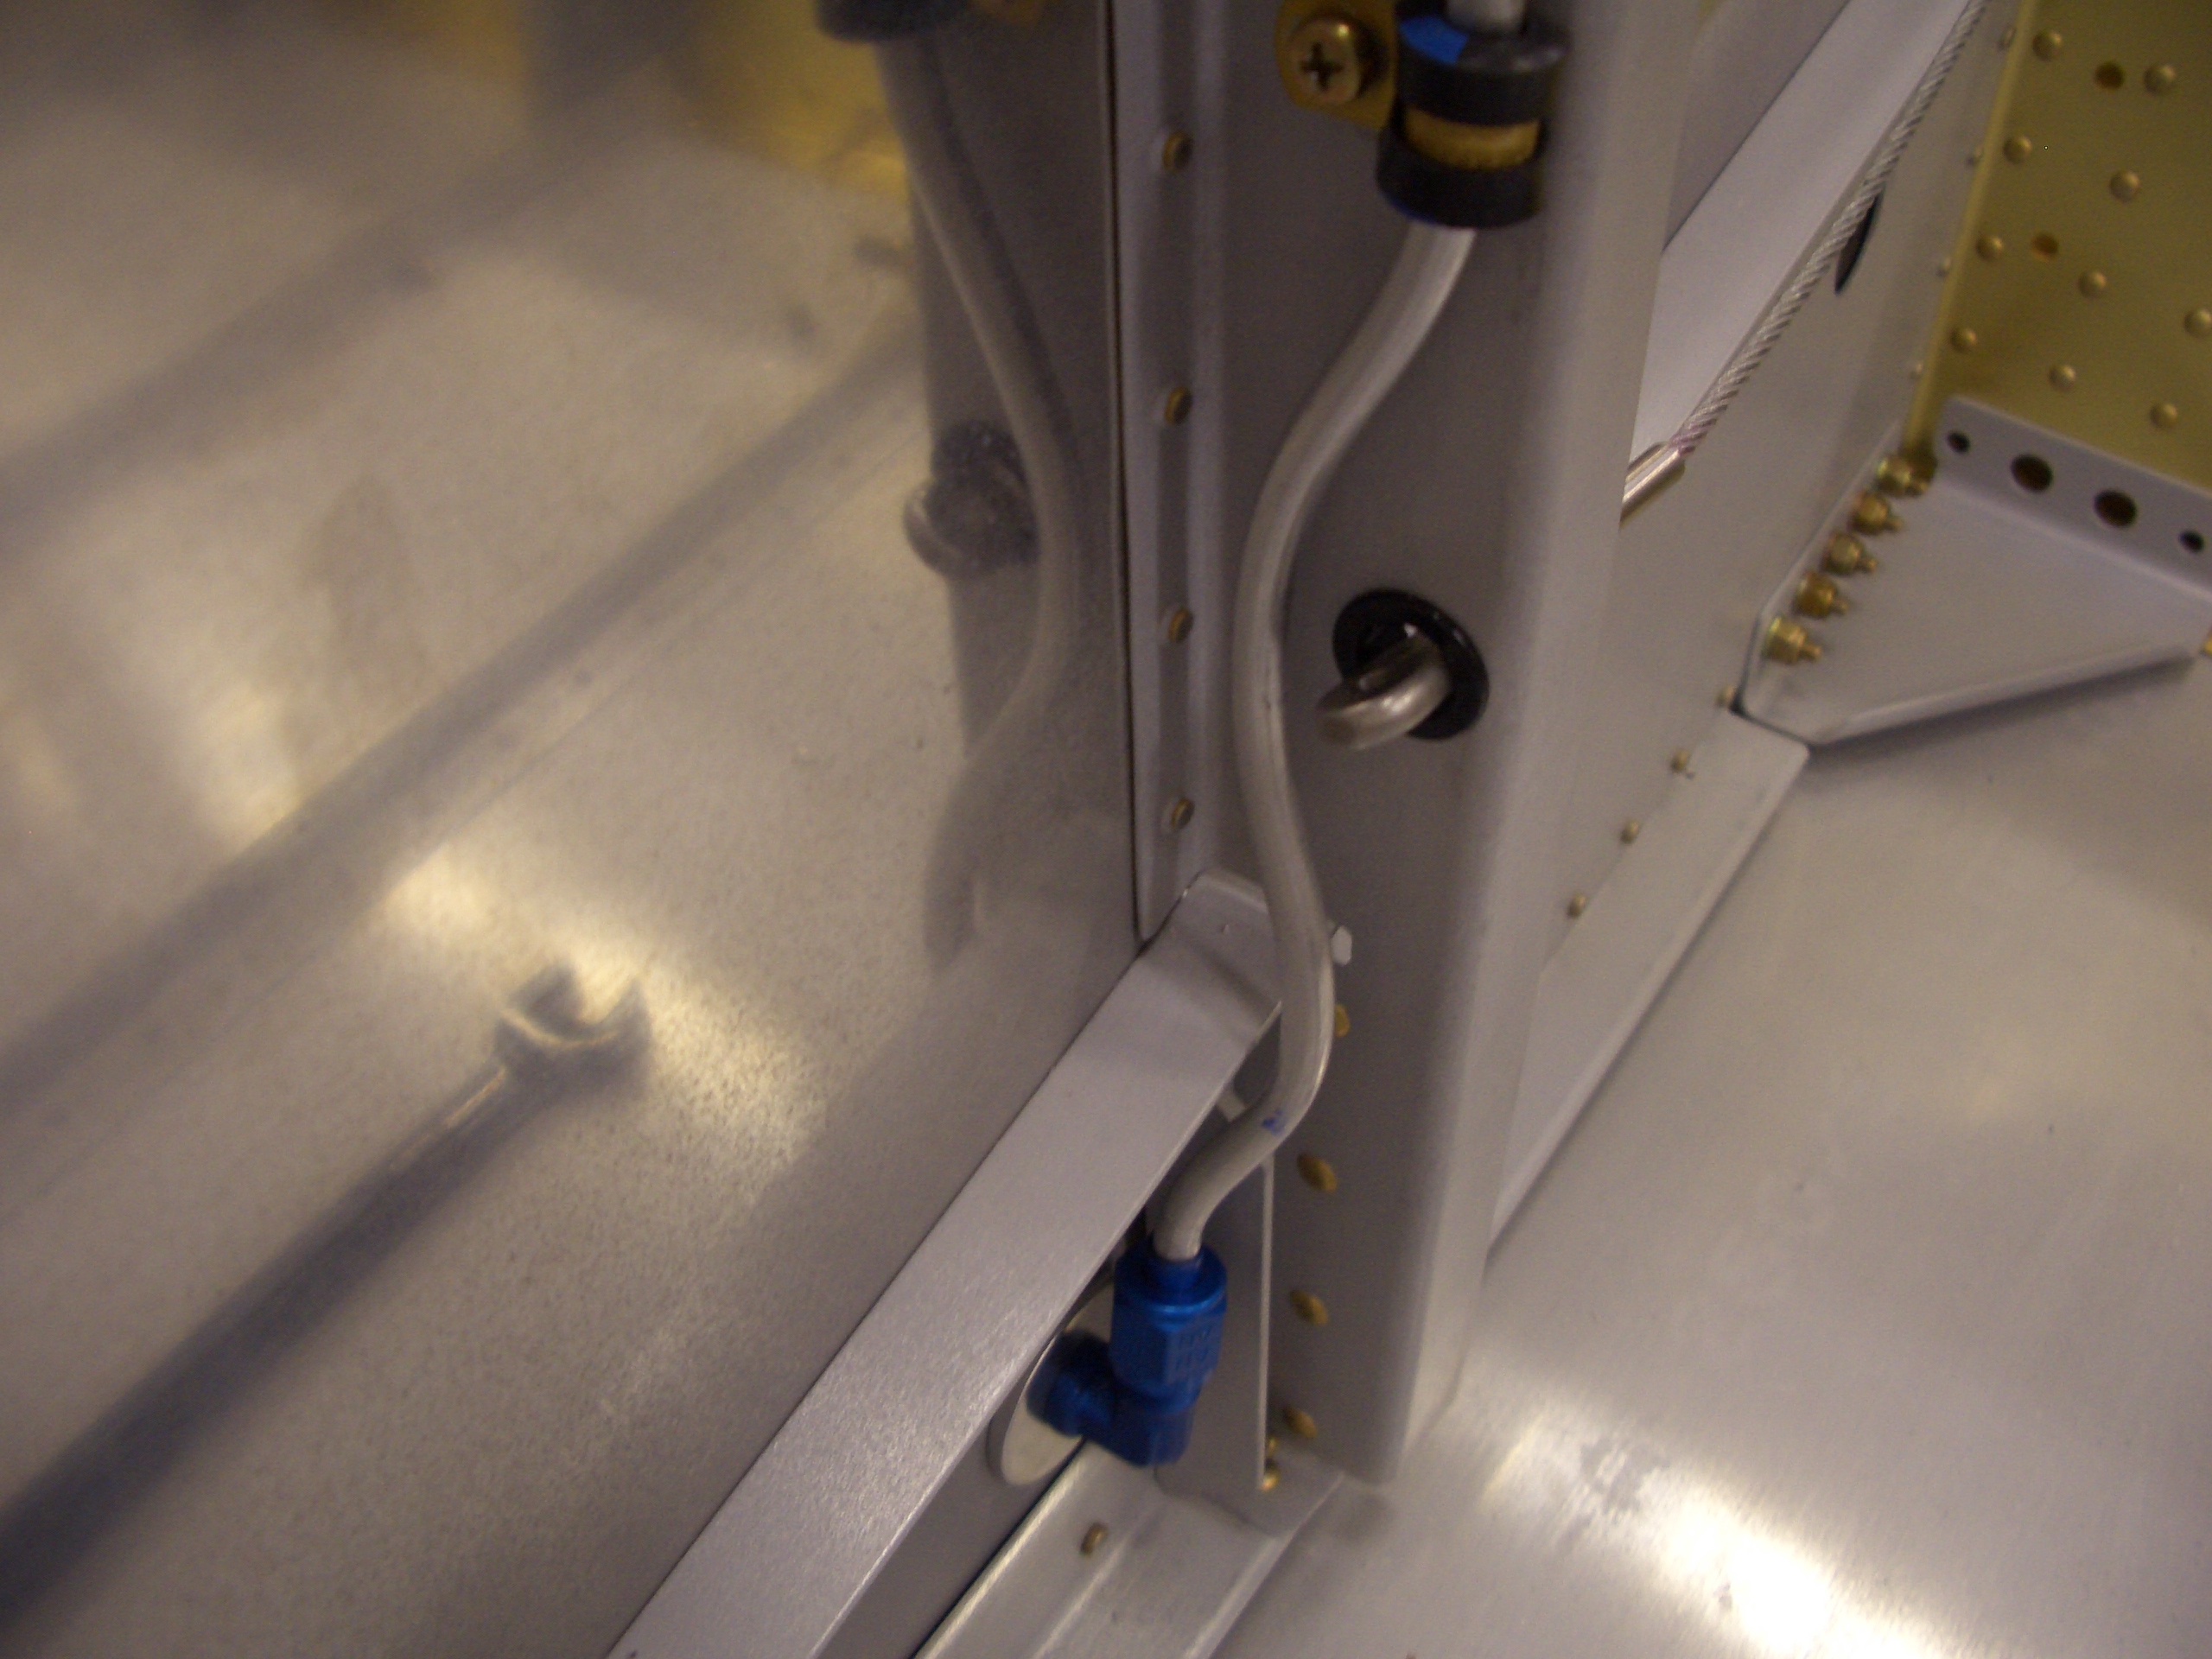
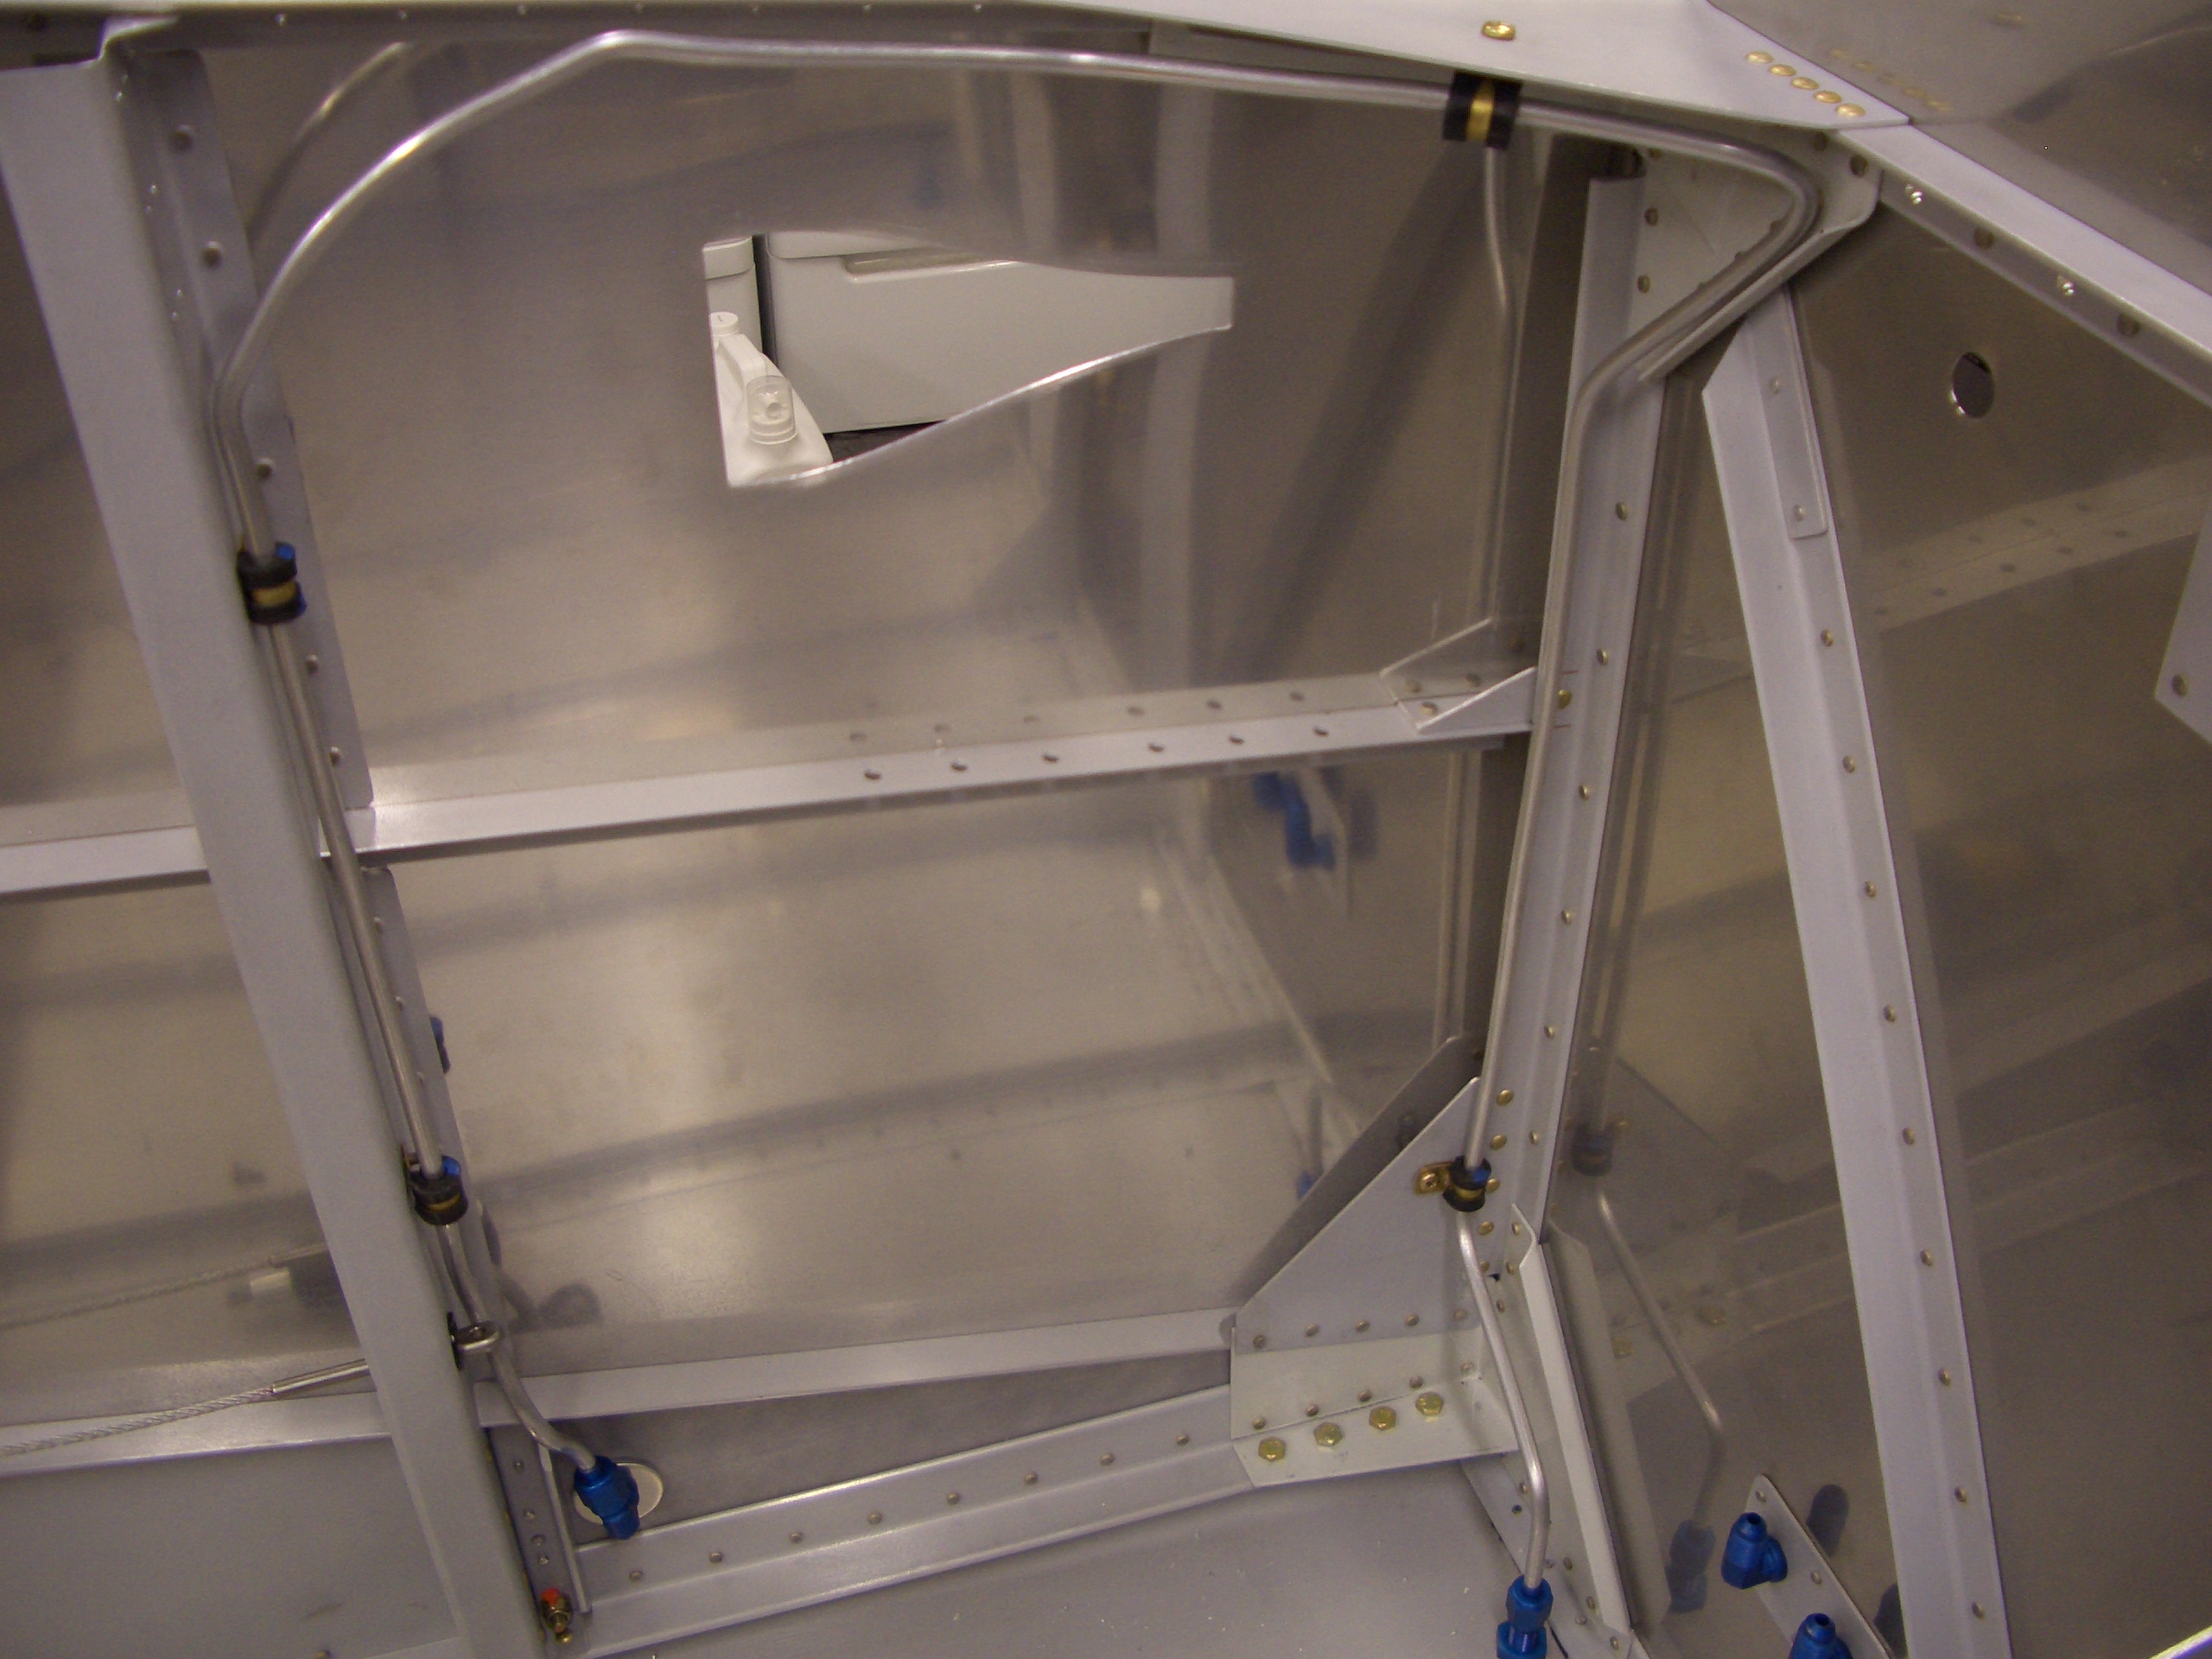
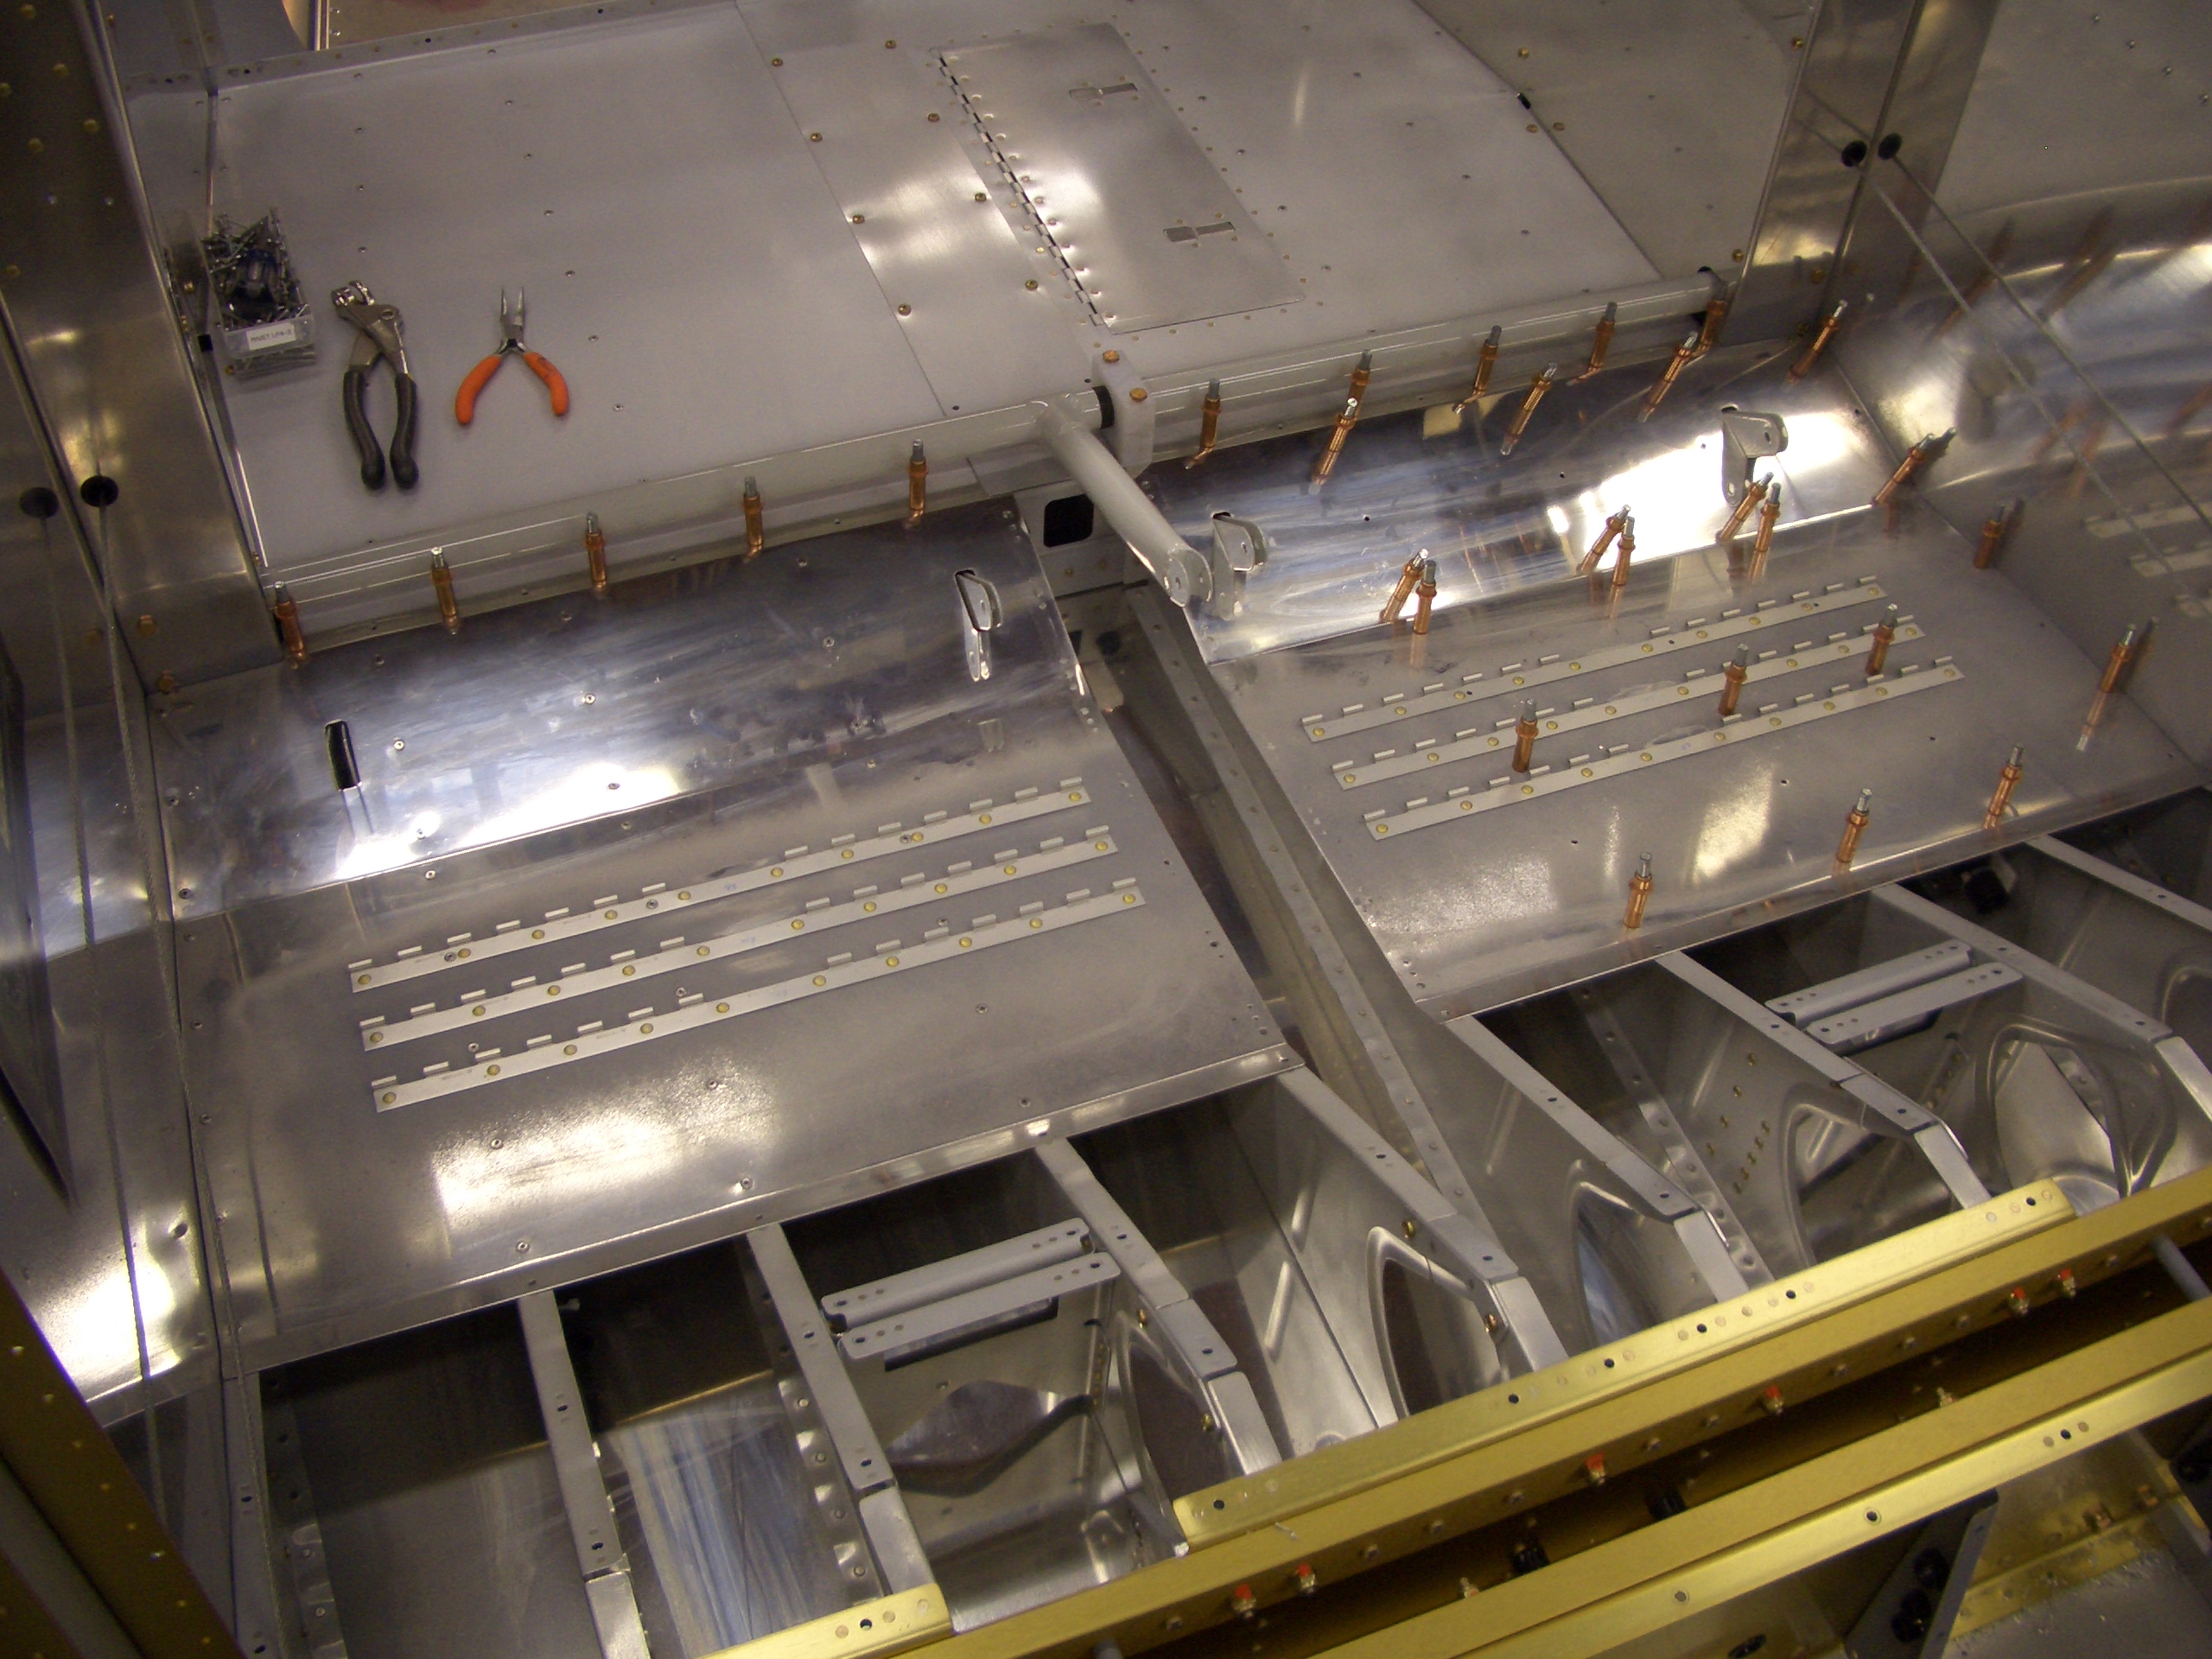
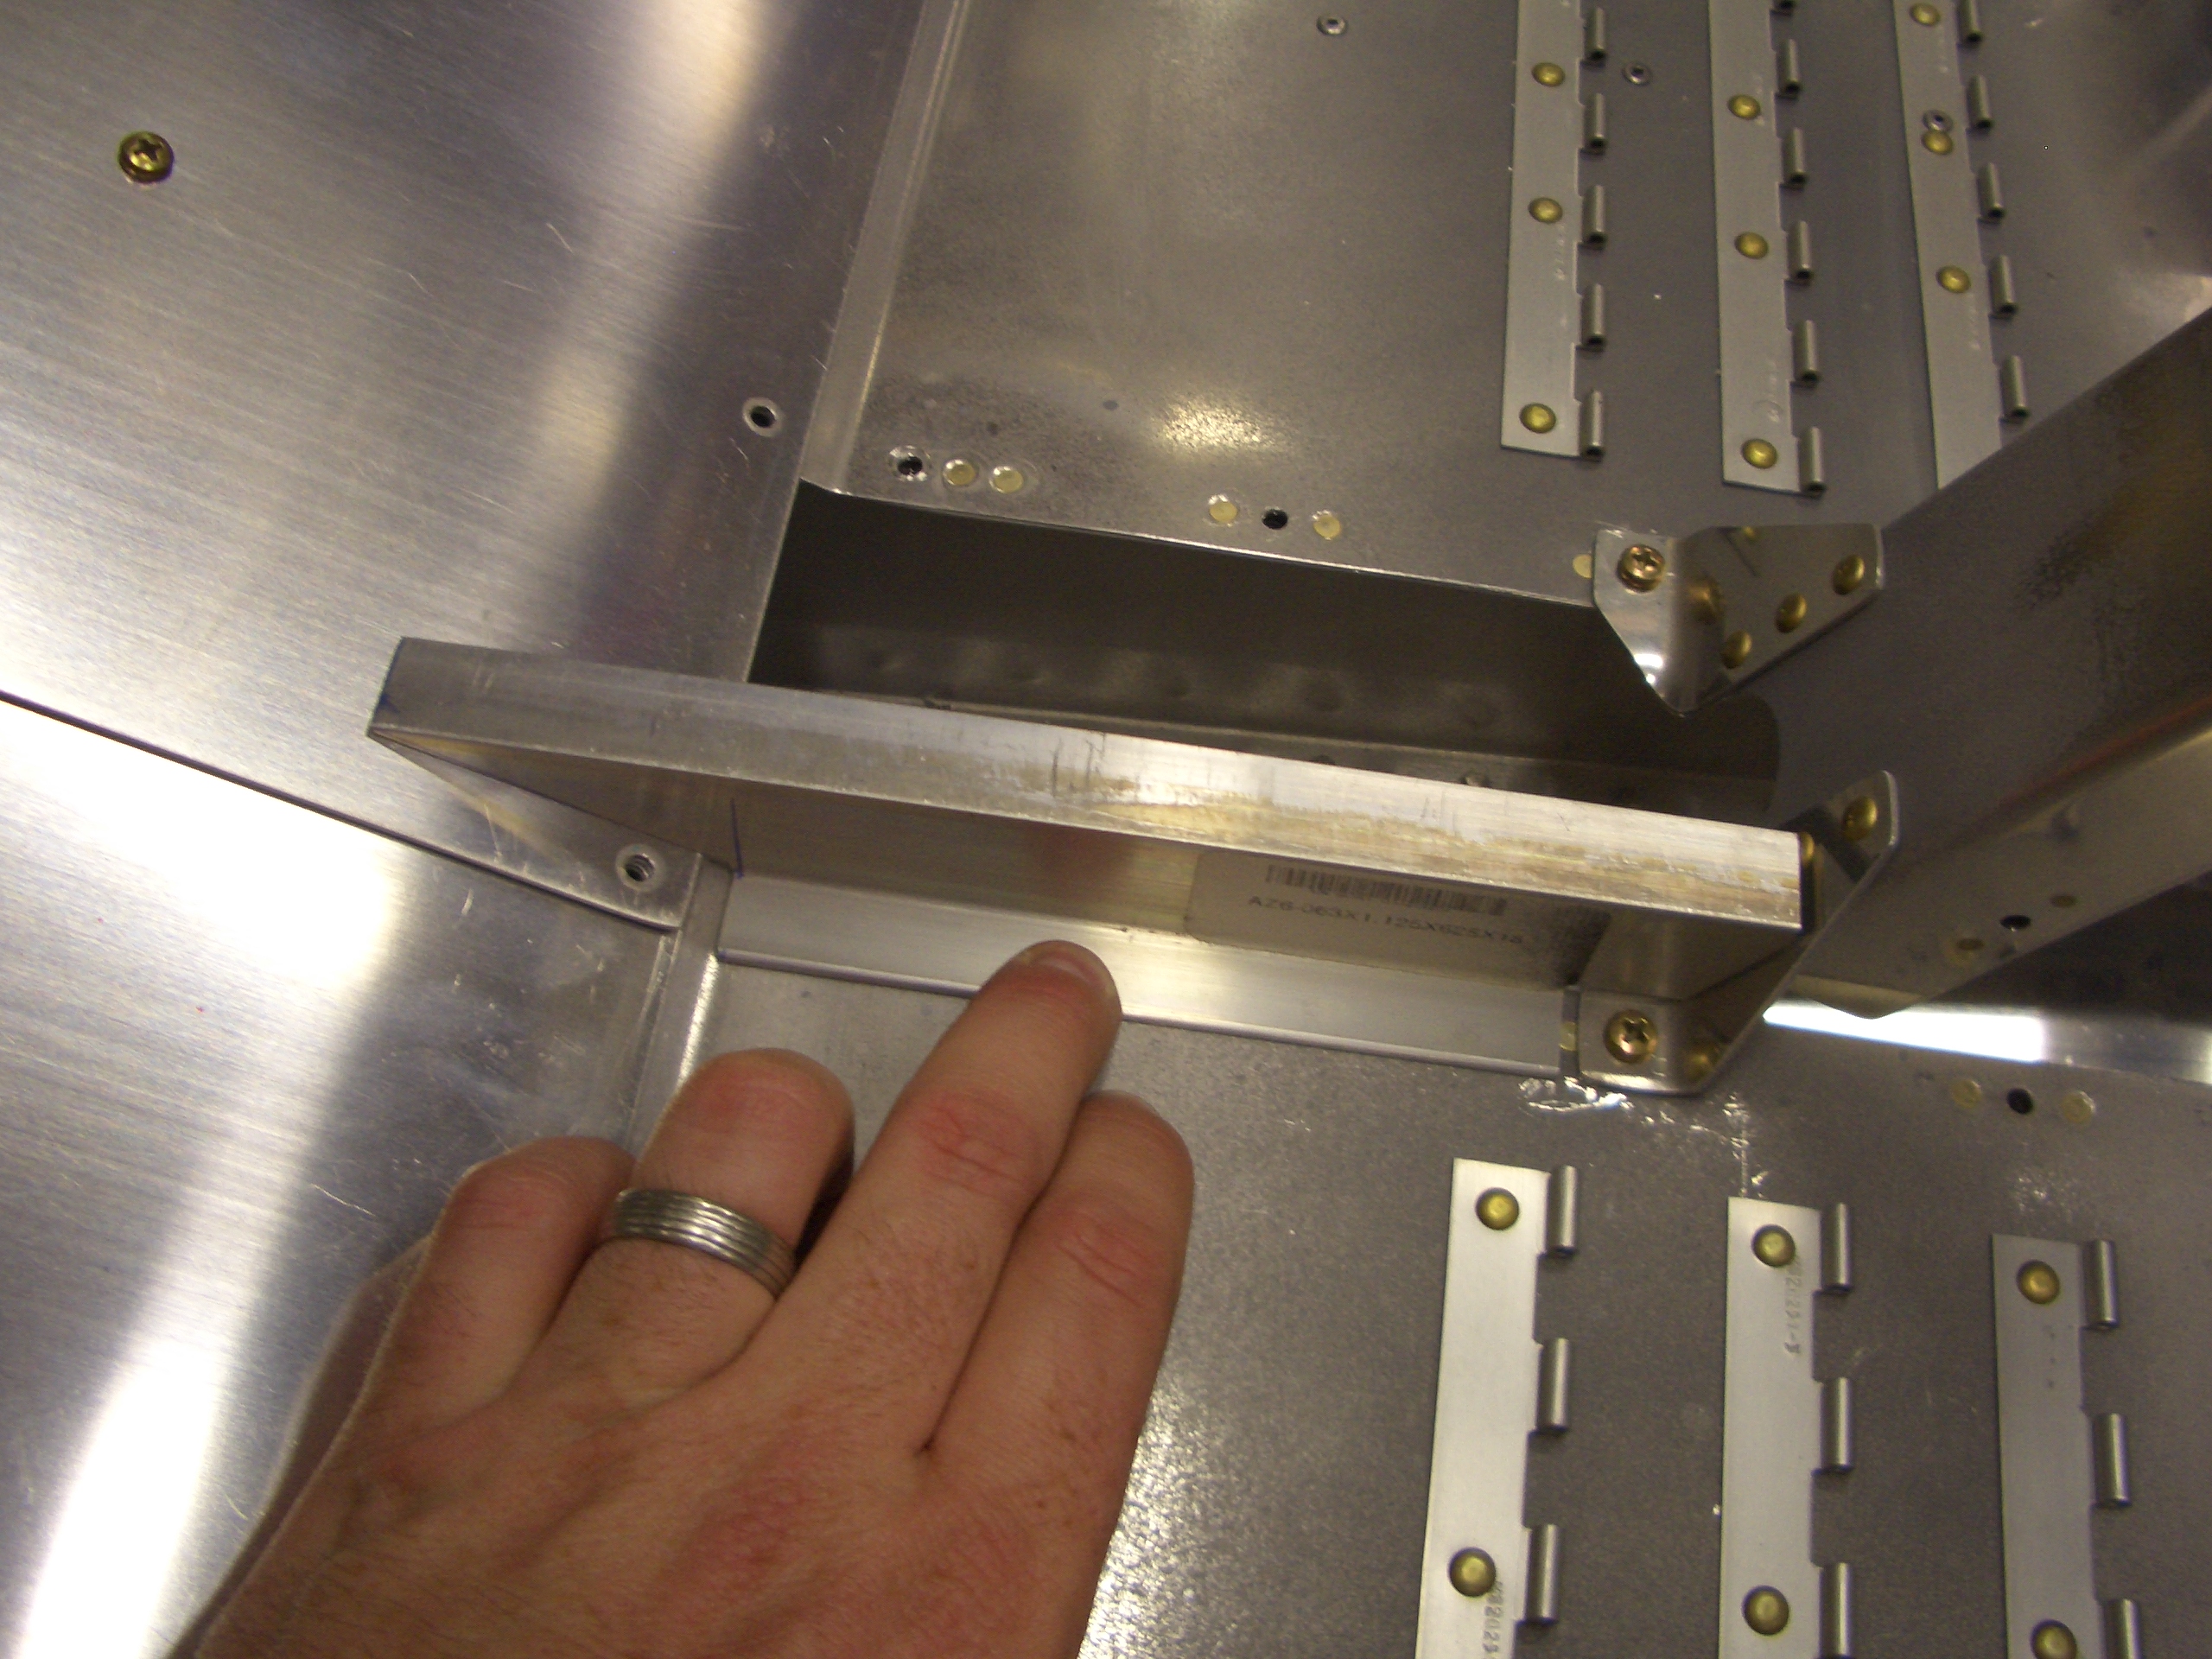
I started working on the F-7114 fuselage gussets.  As other builders have noticed, one of the rivets on the side wall (on the left) interferes with the flange of this gusset, preventing it from resting against the spar.

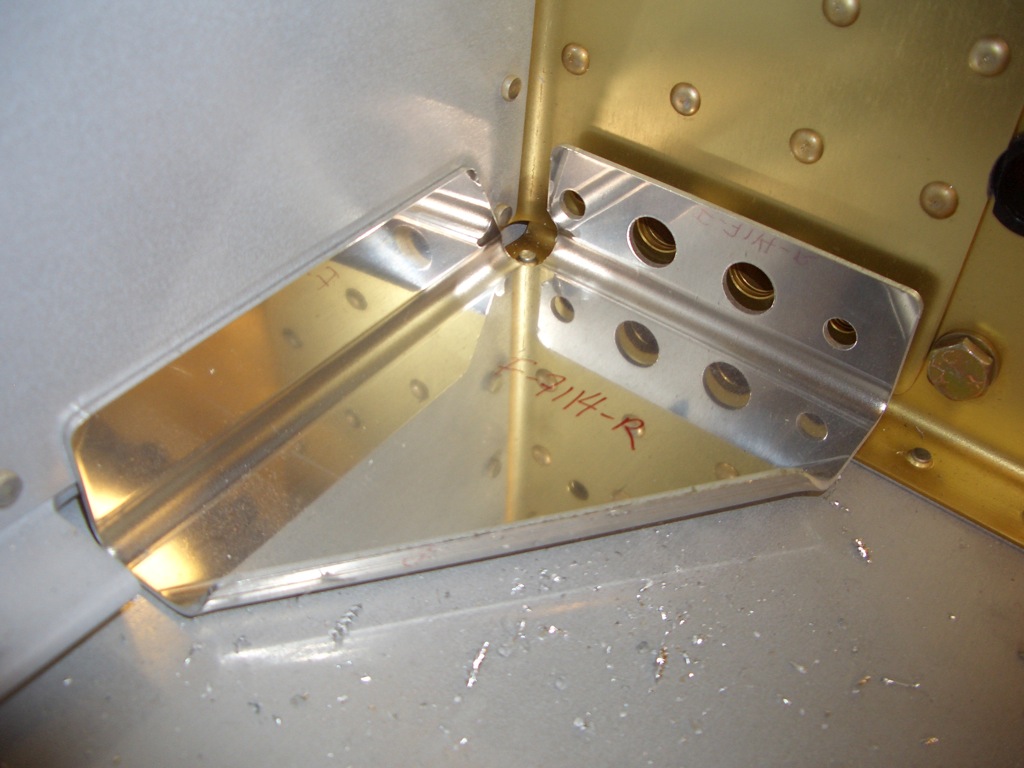
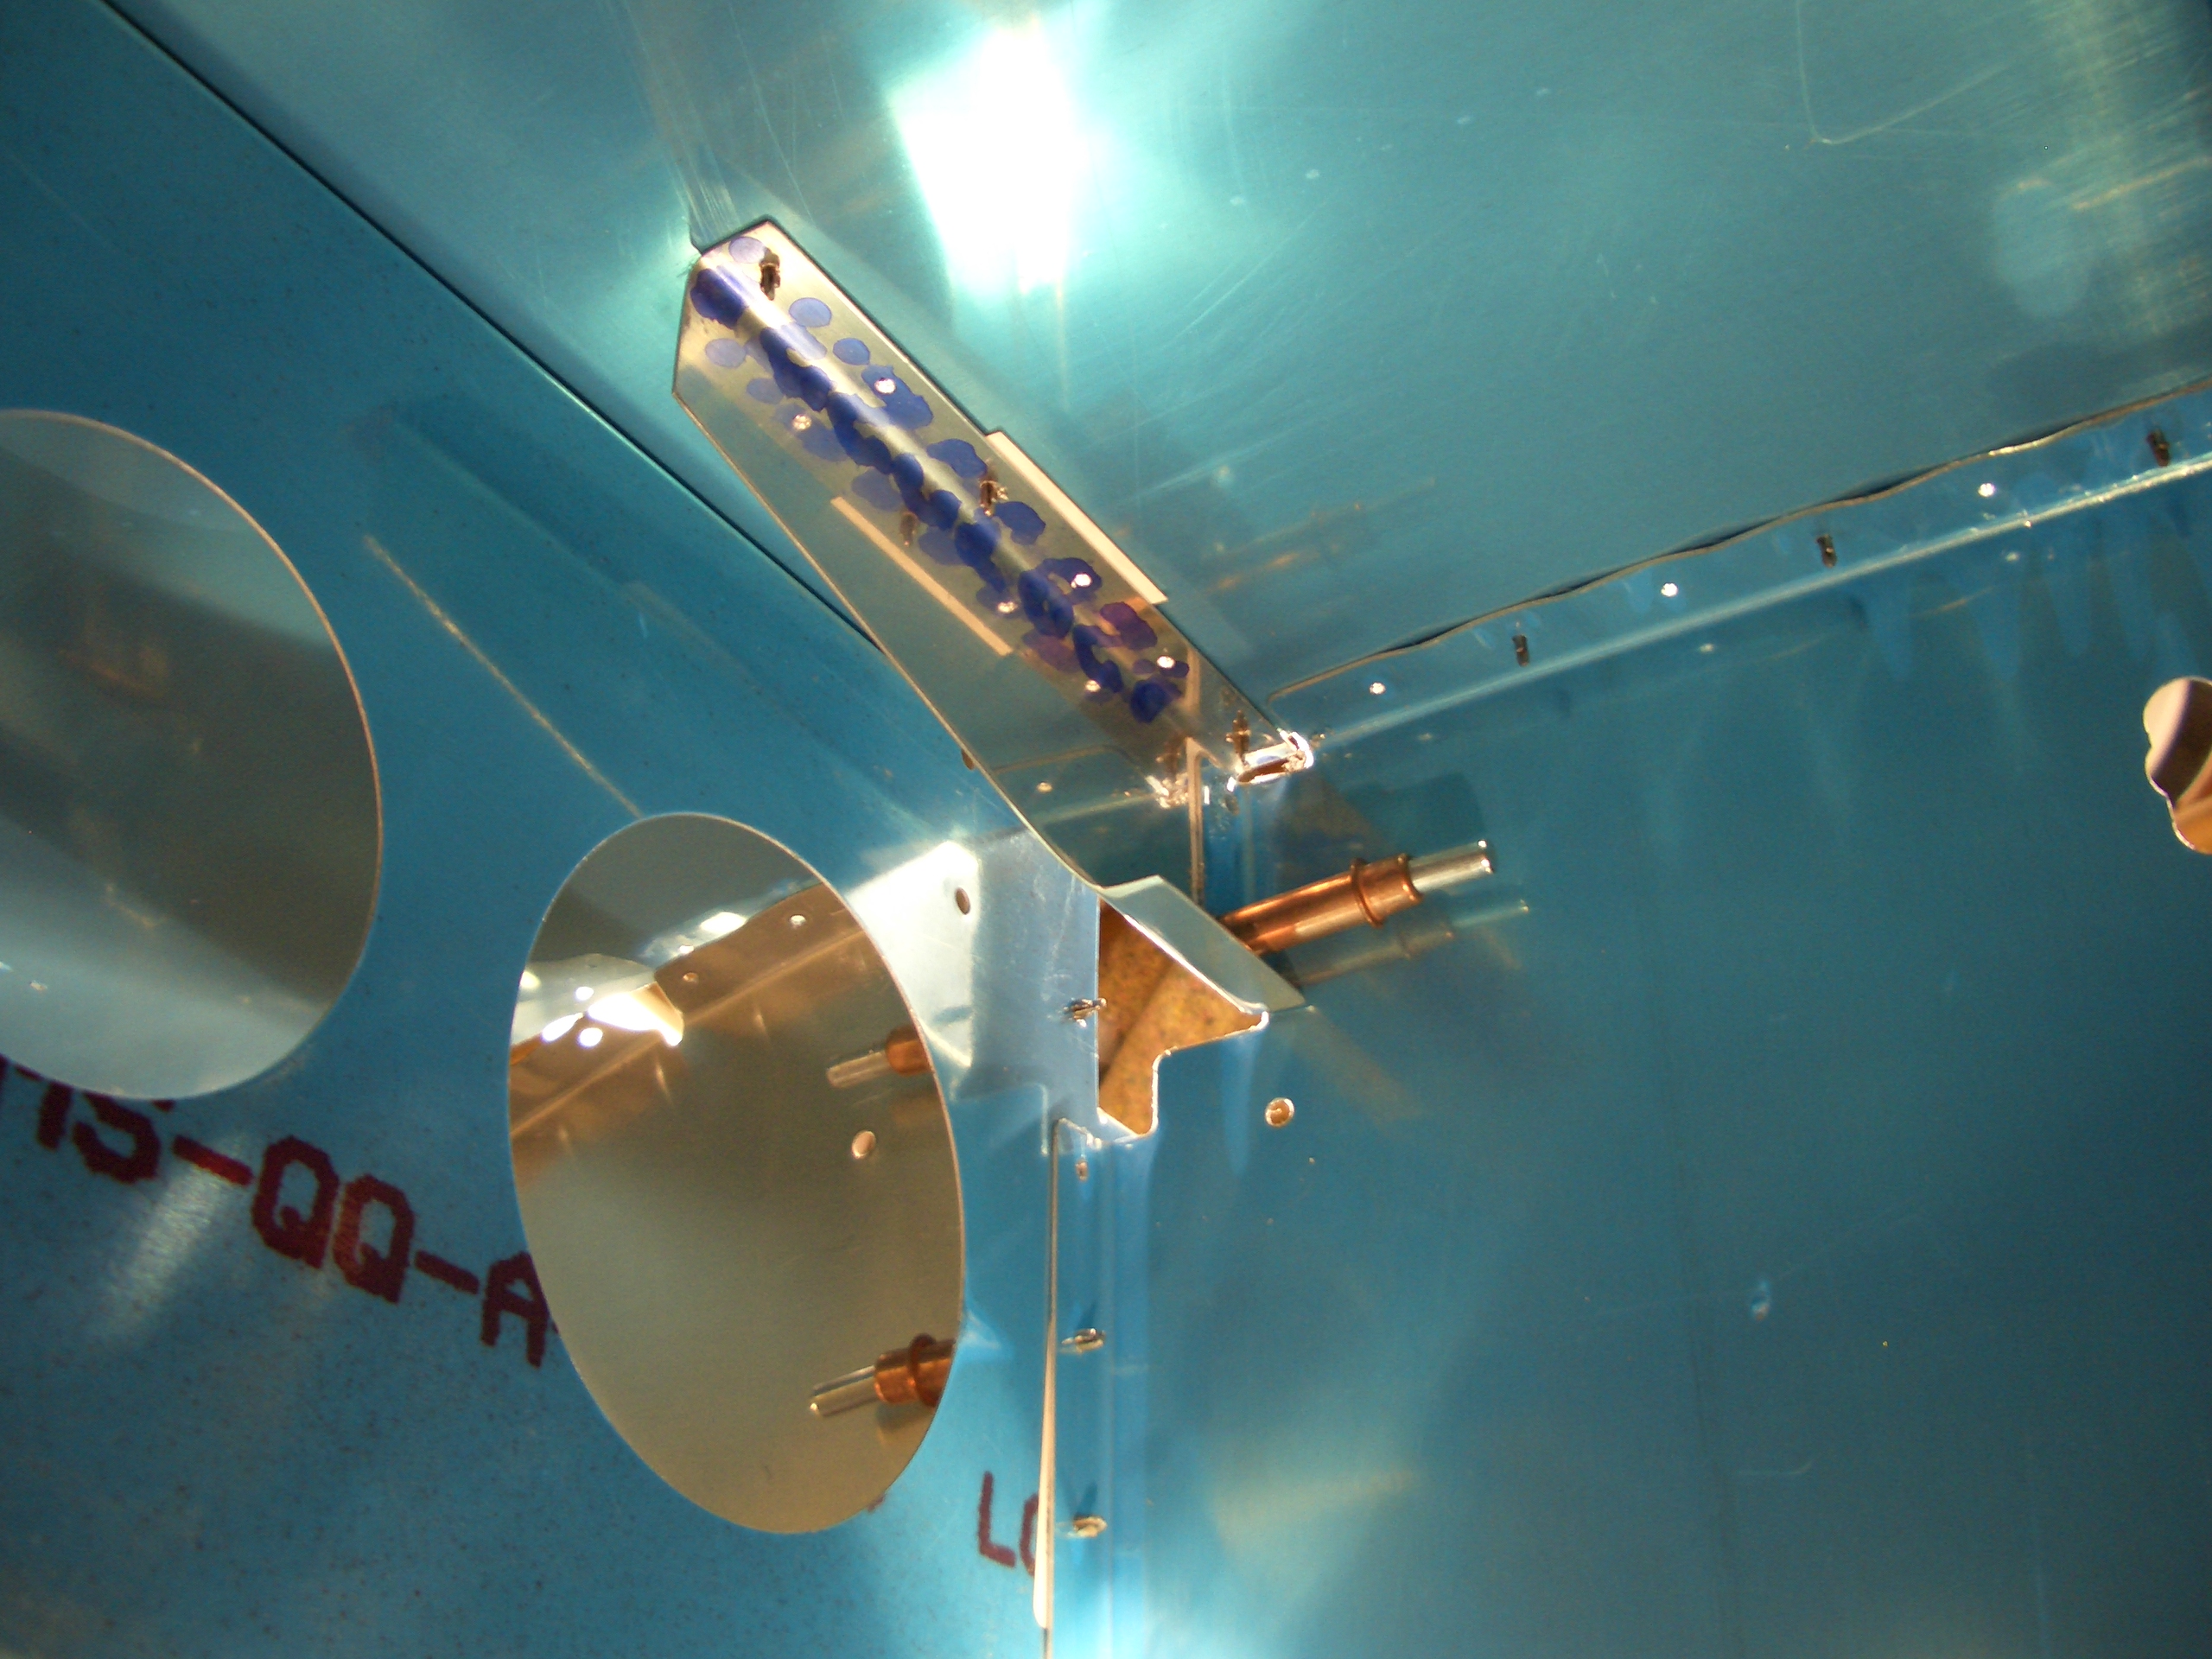
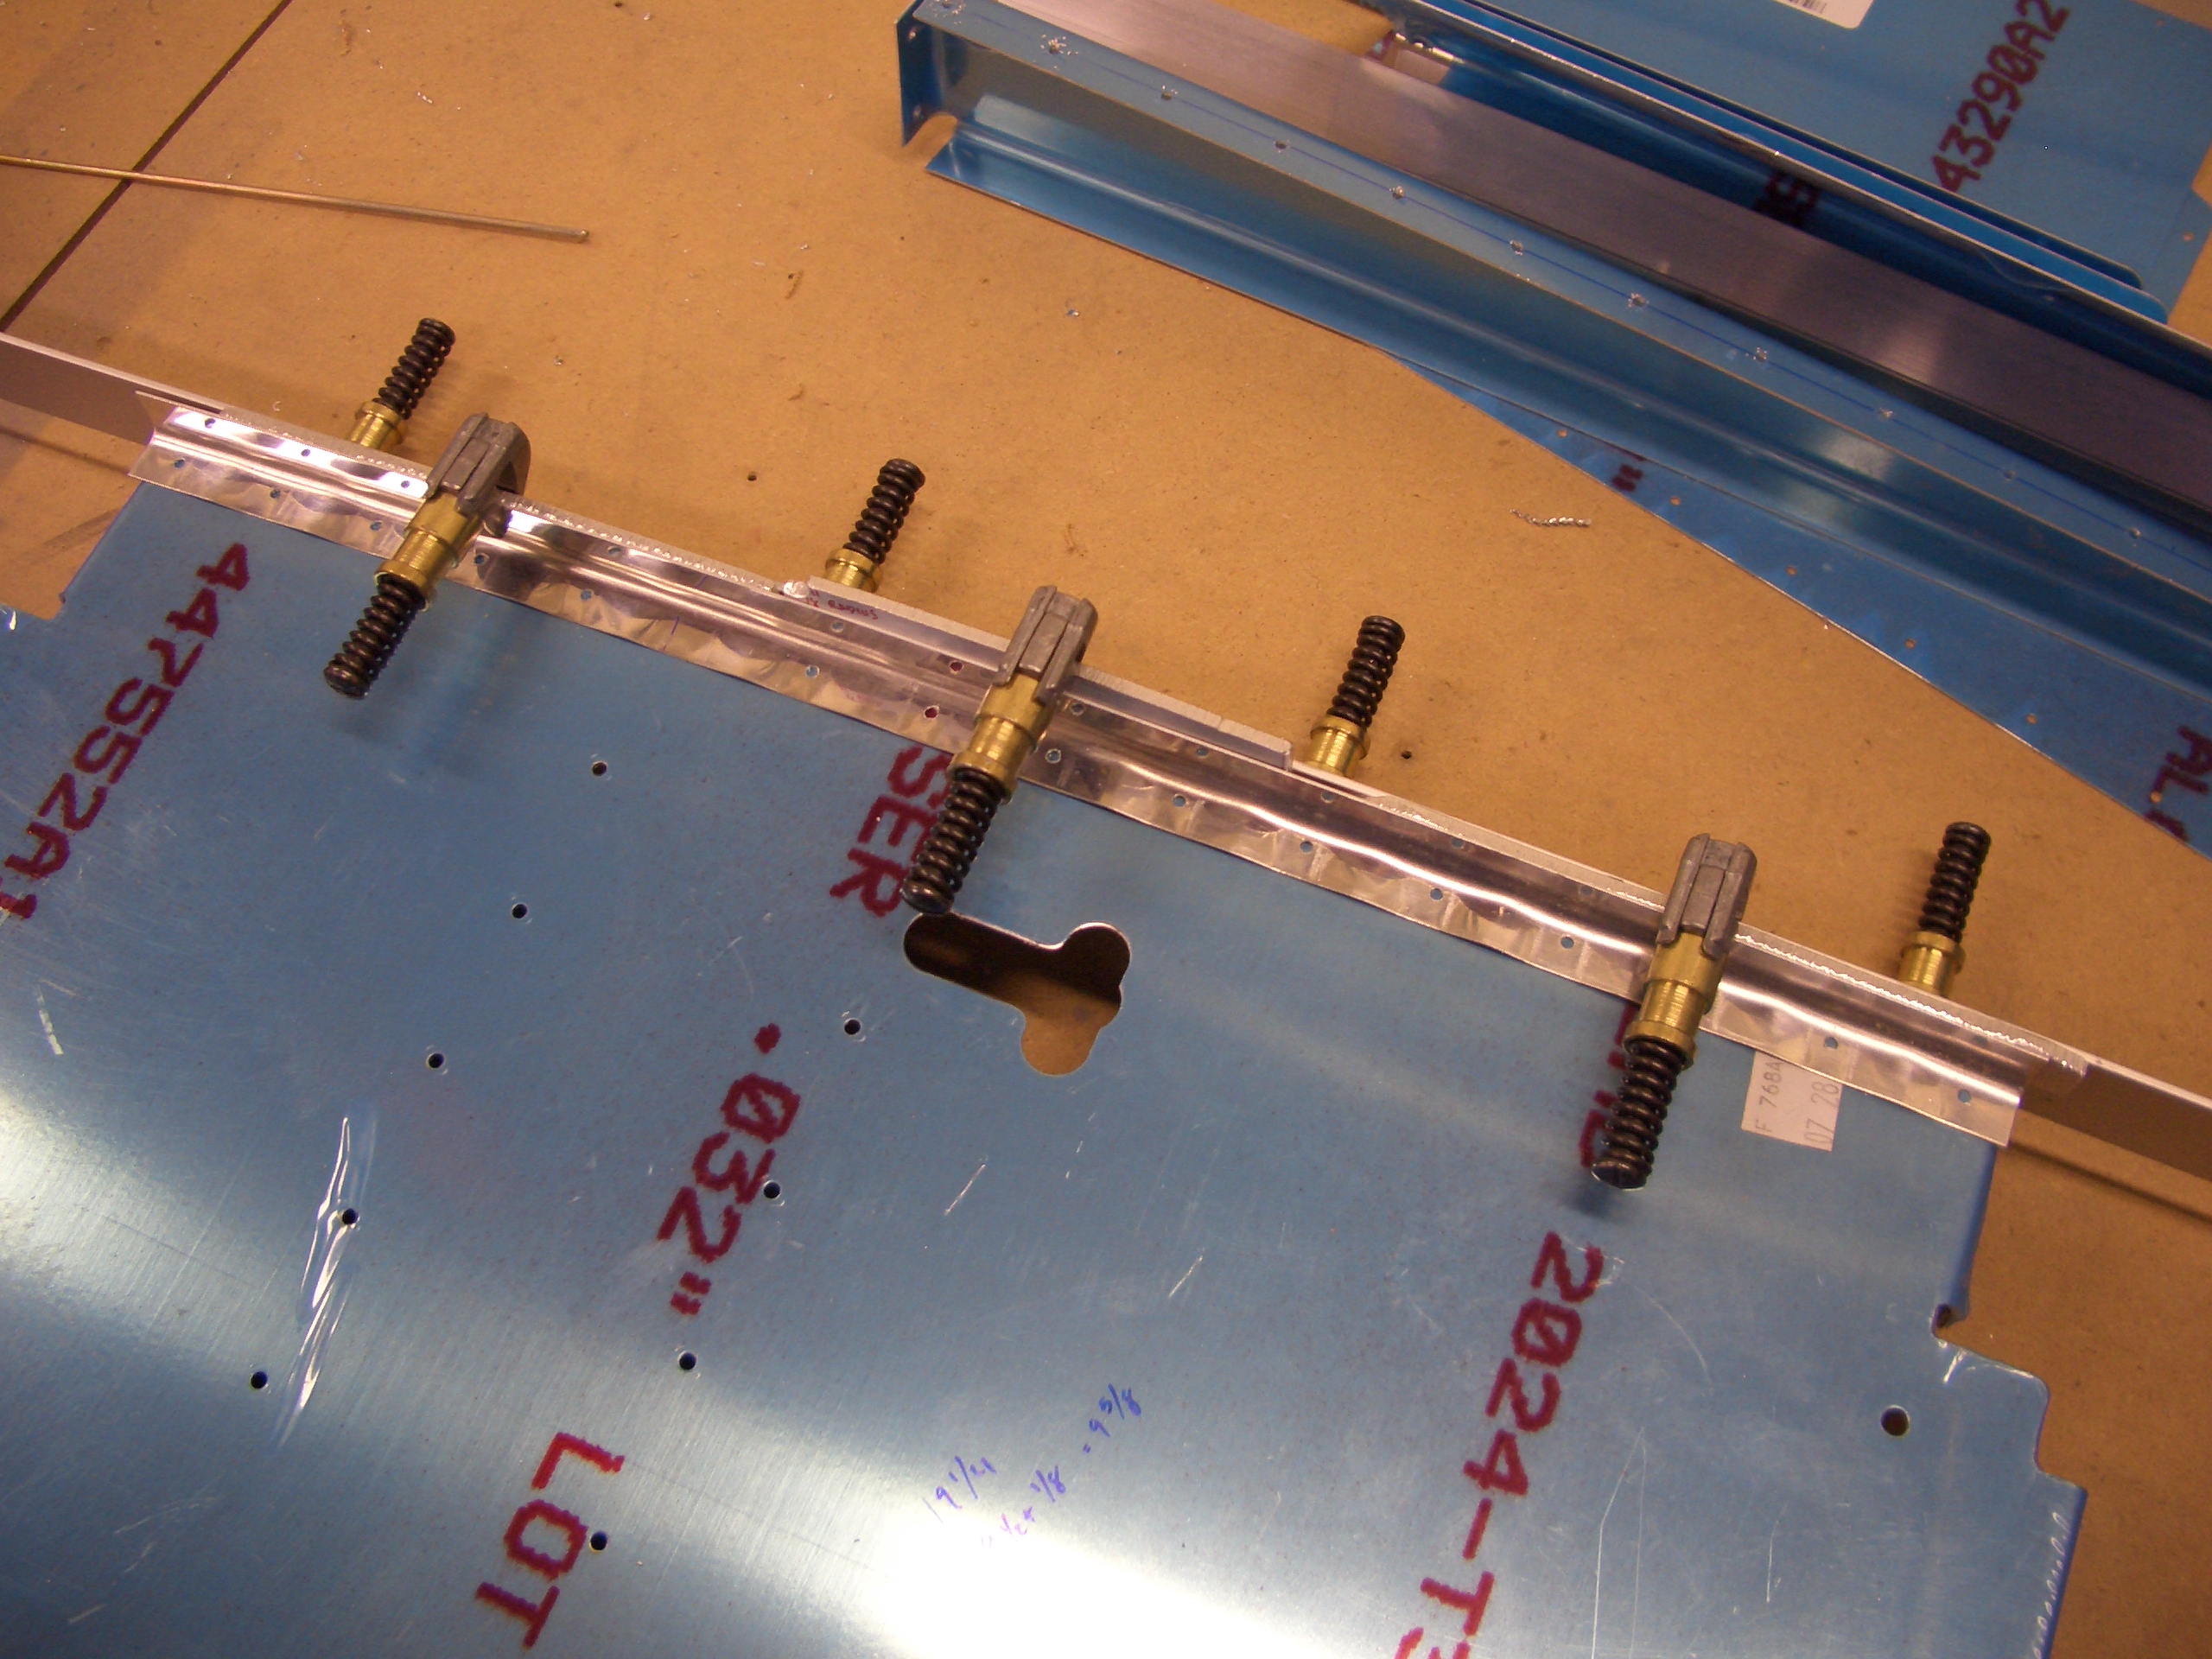
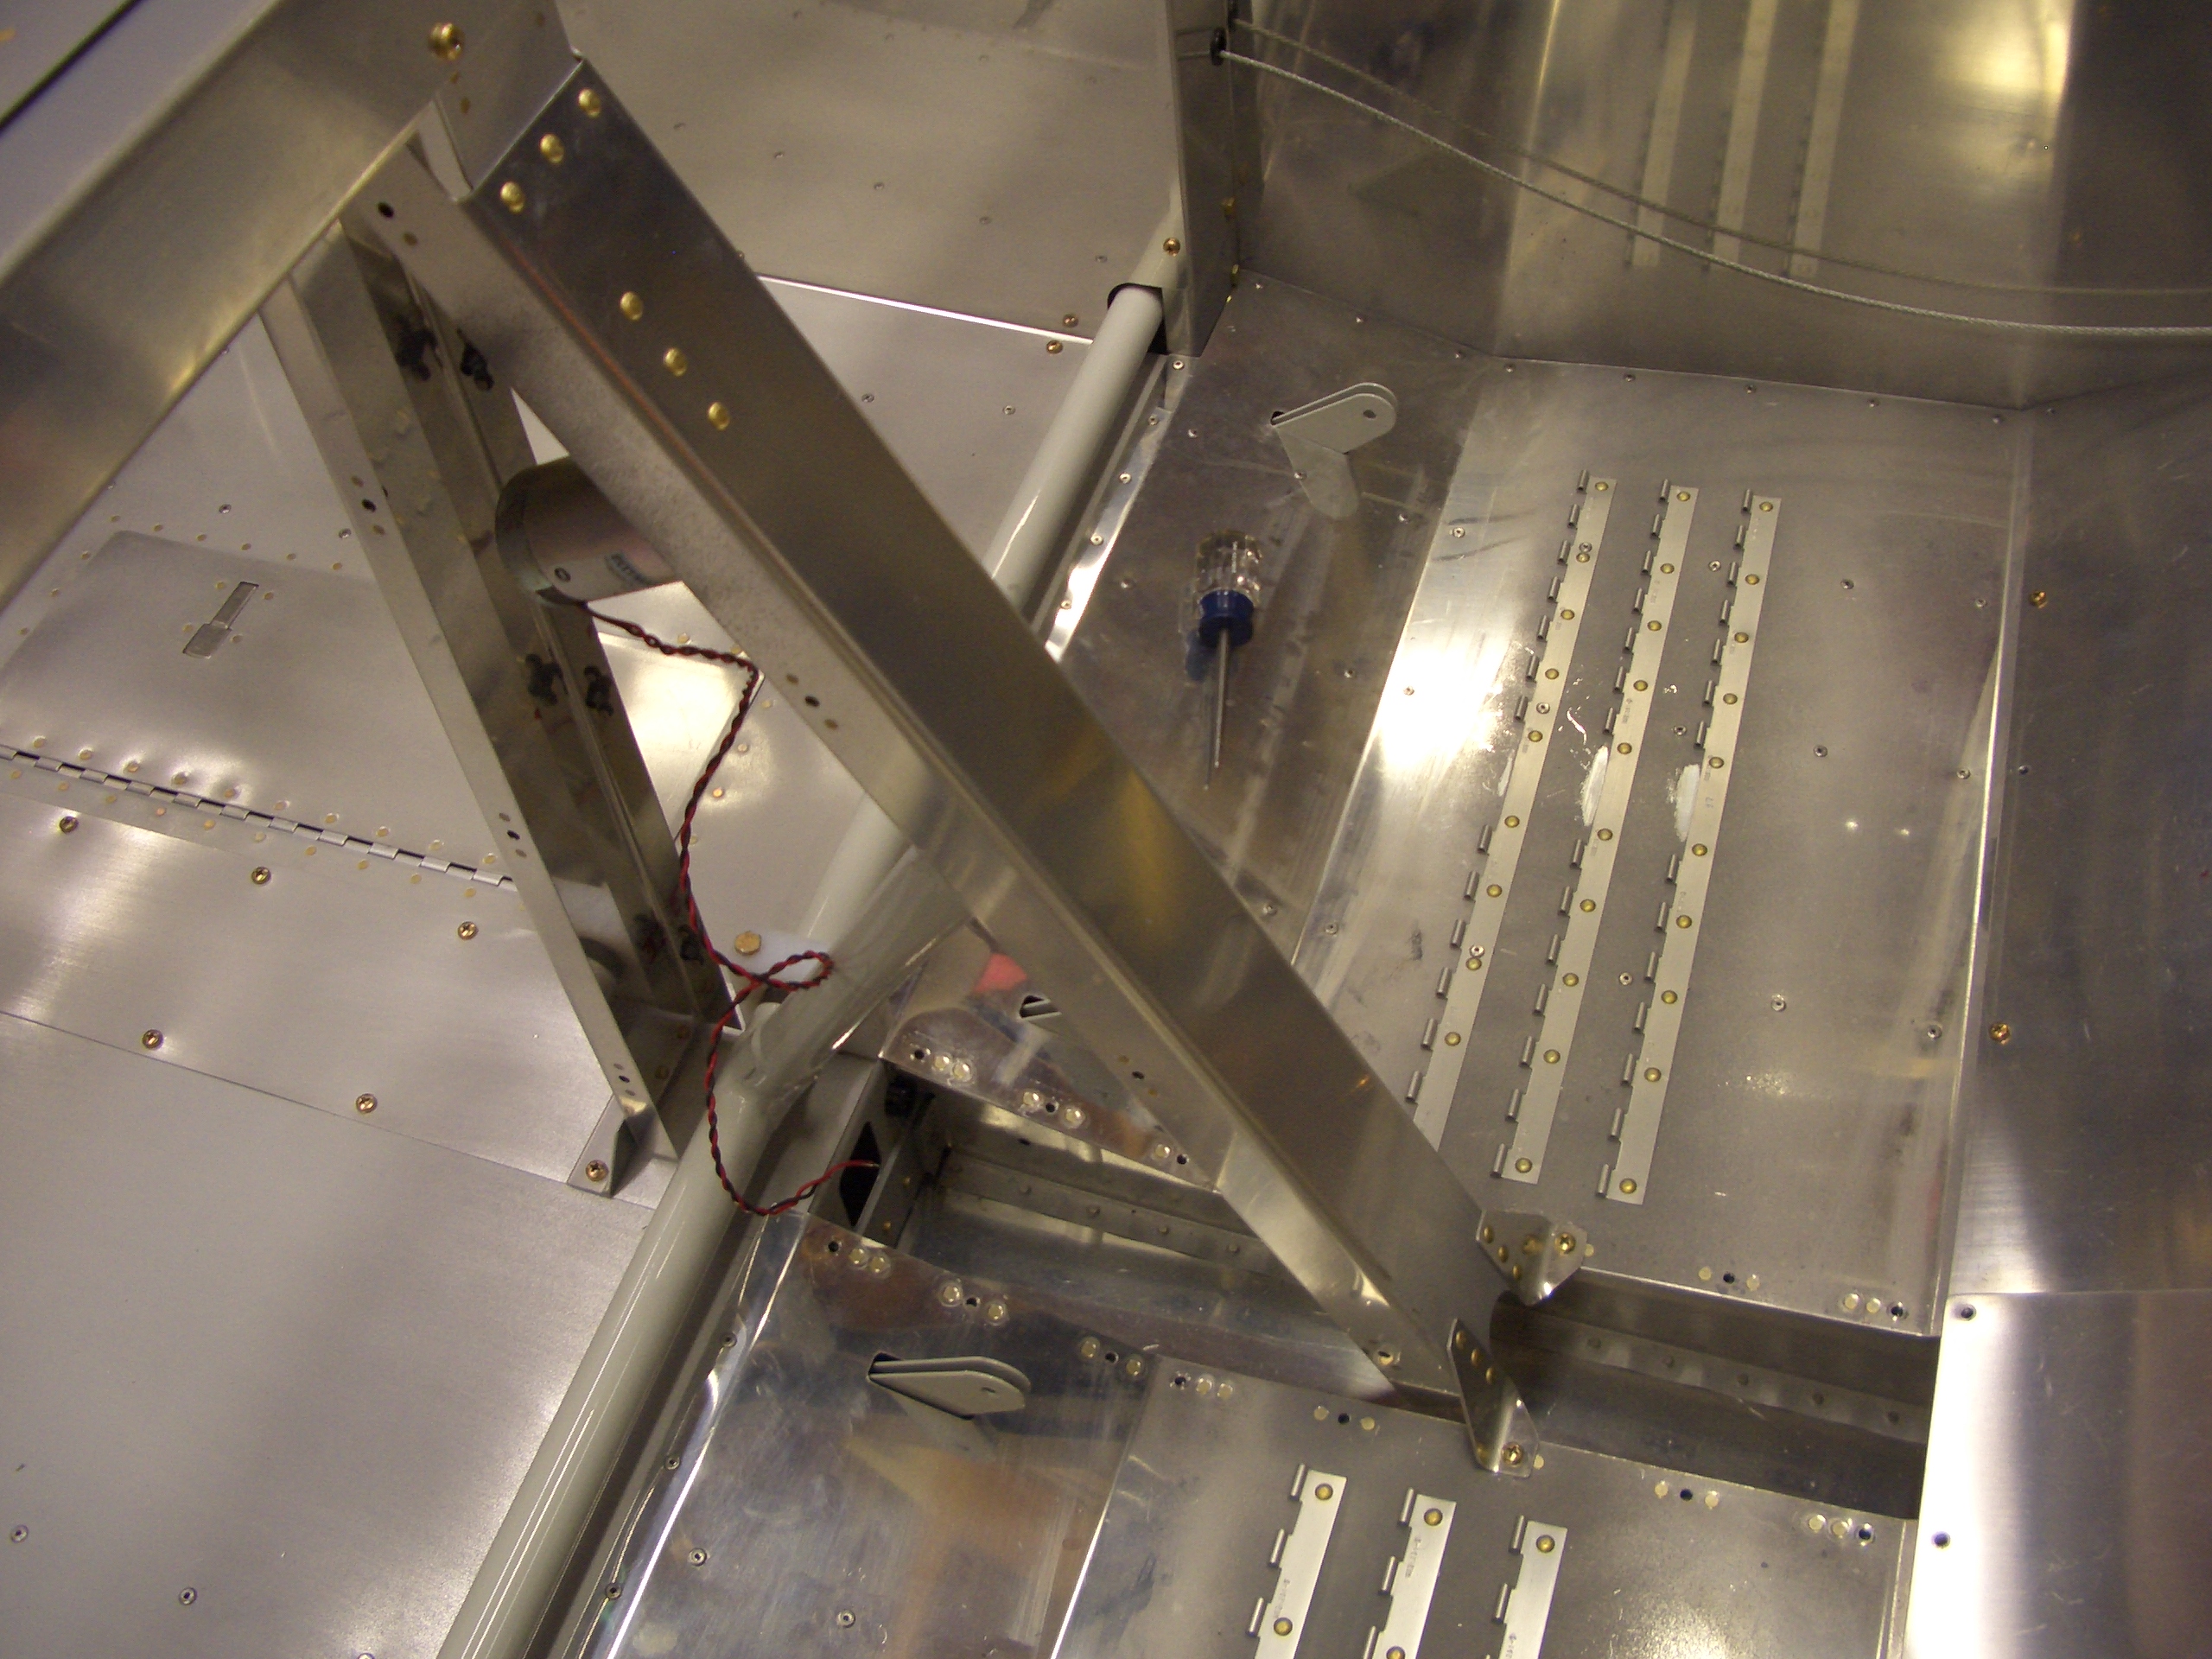
After relieving a bit of the gusset, I positioned it relative to the spar with some scrap bolts and drilled it to the side components.  There are five layers of aluminum here (the side and bottom skins, the lower longeron, the gear web, and this gusset.  This helps transfer load from the lower longeron to the spar.

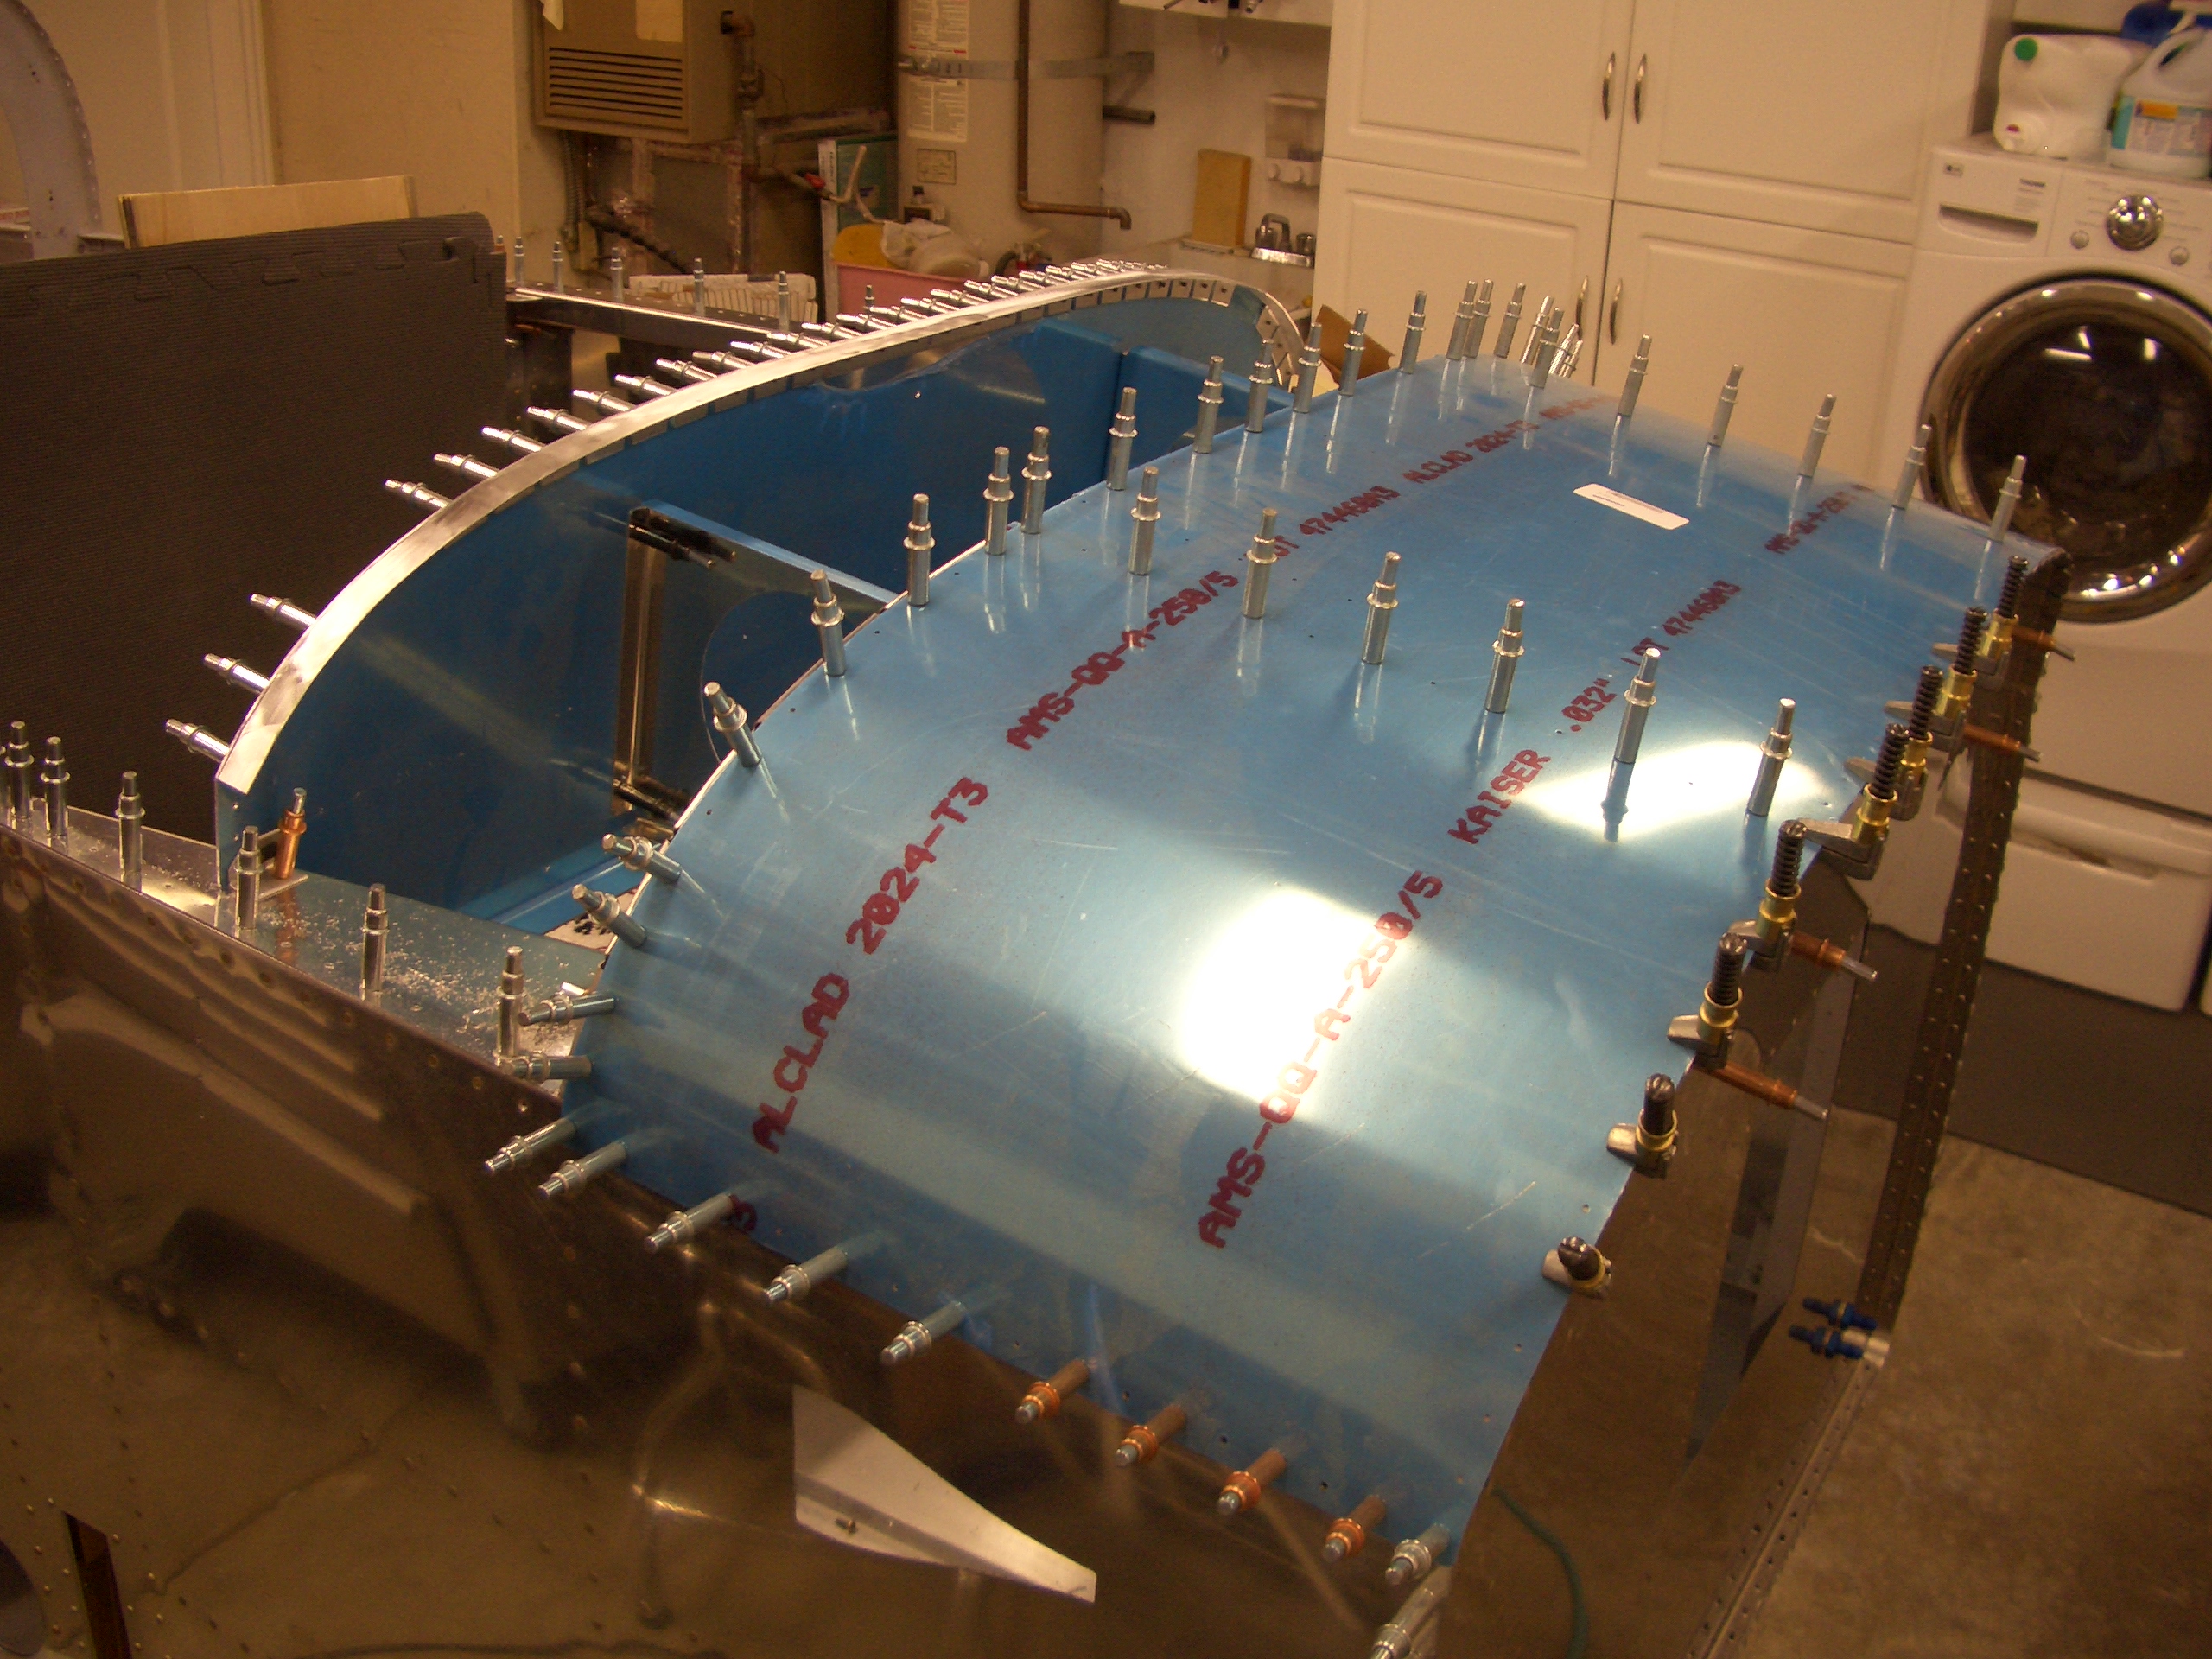
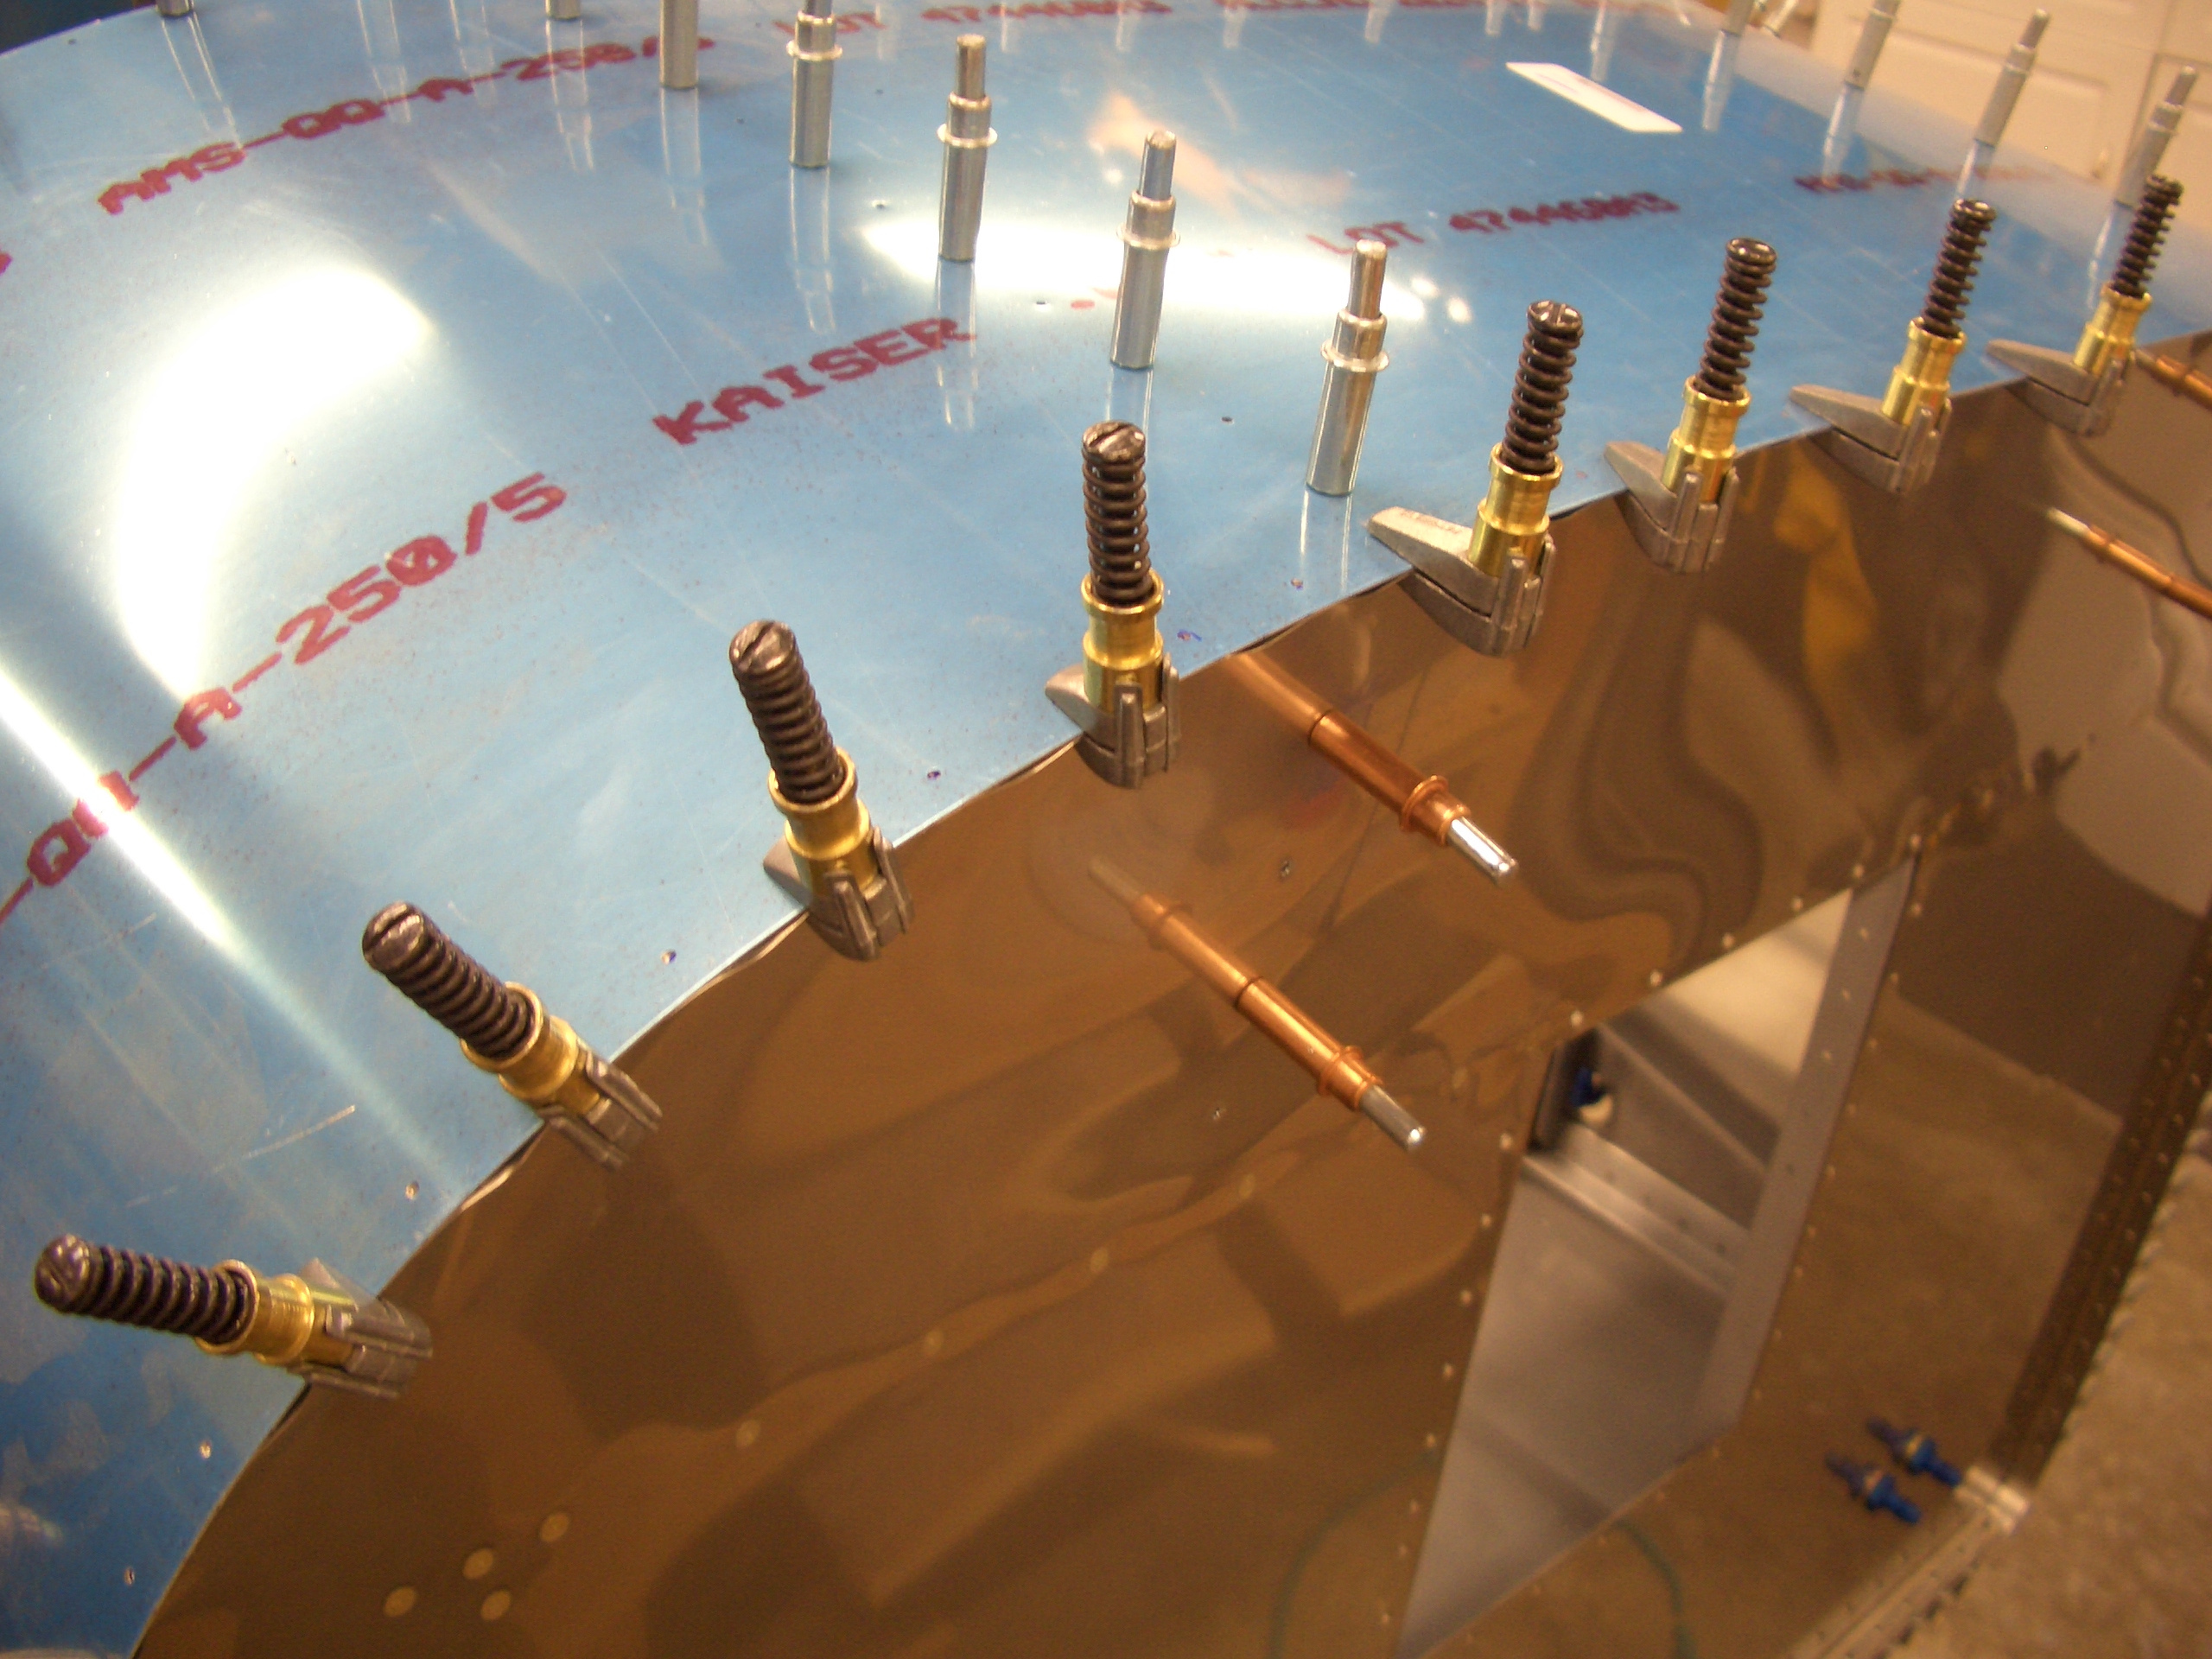
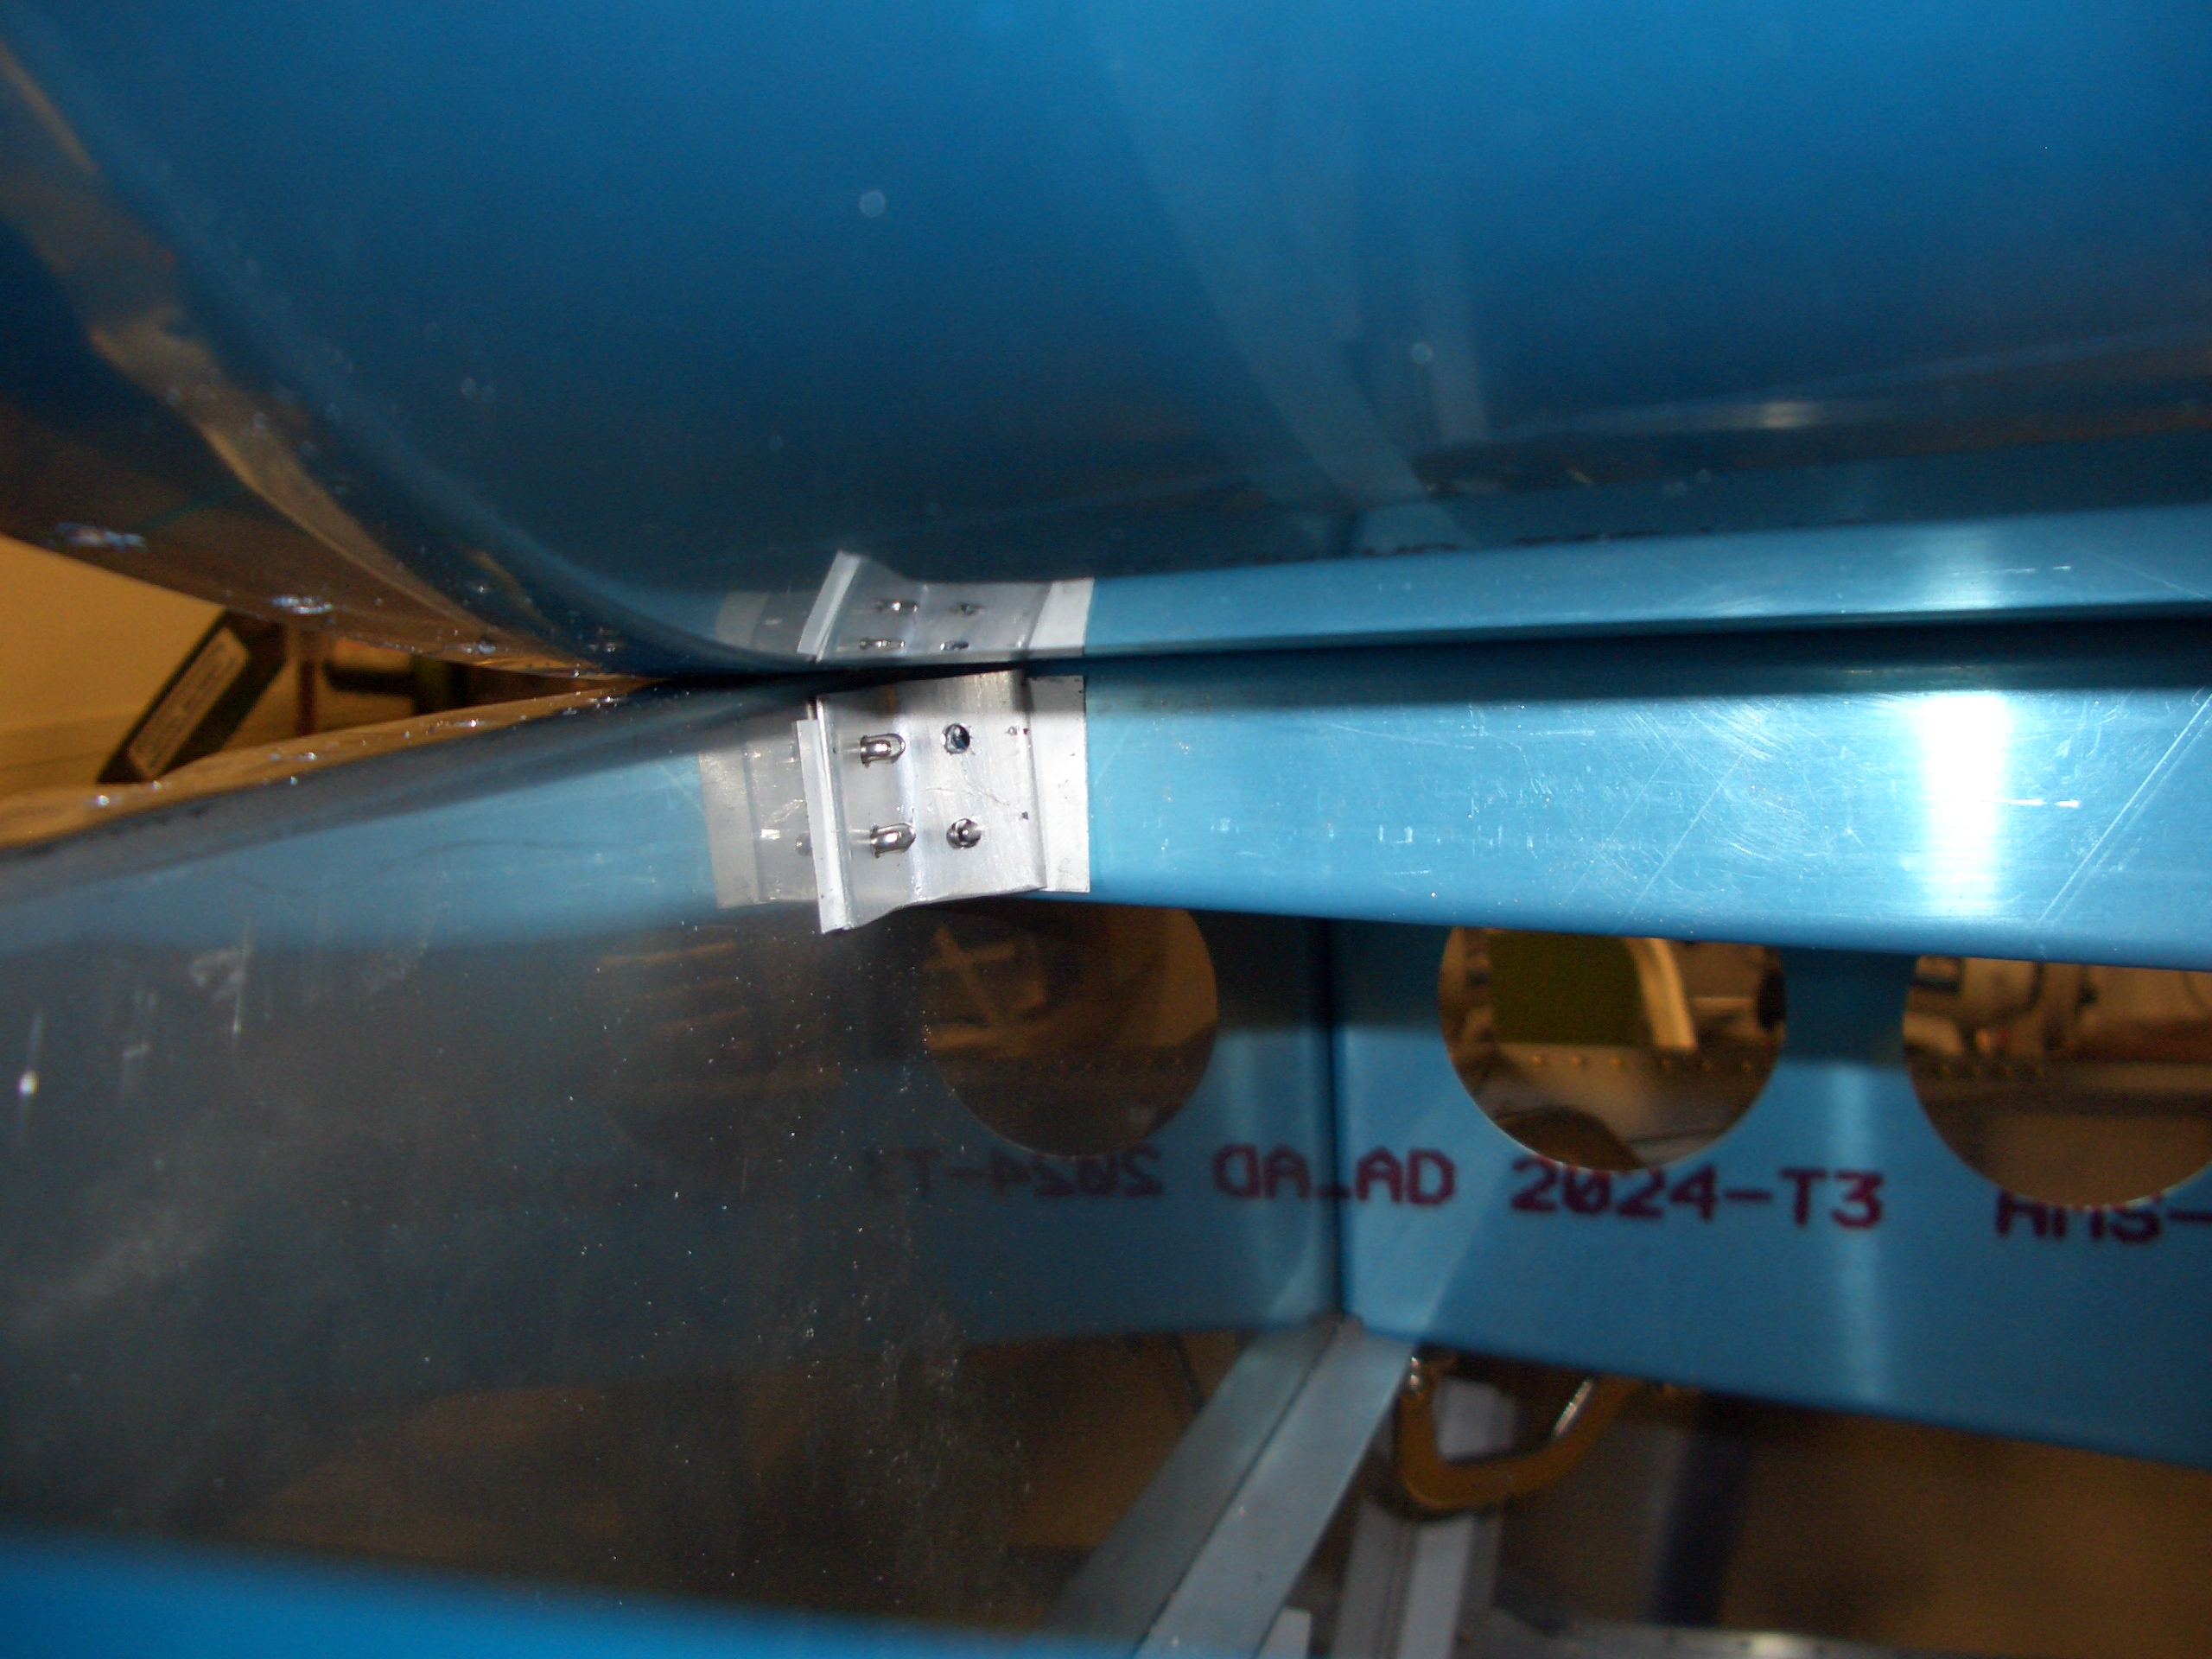
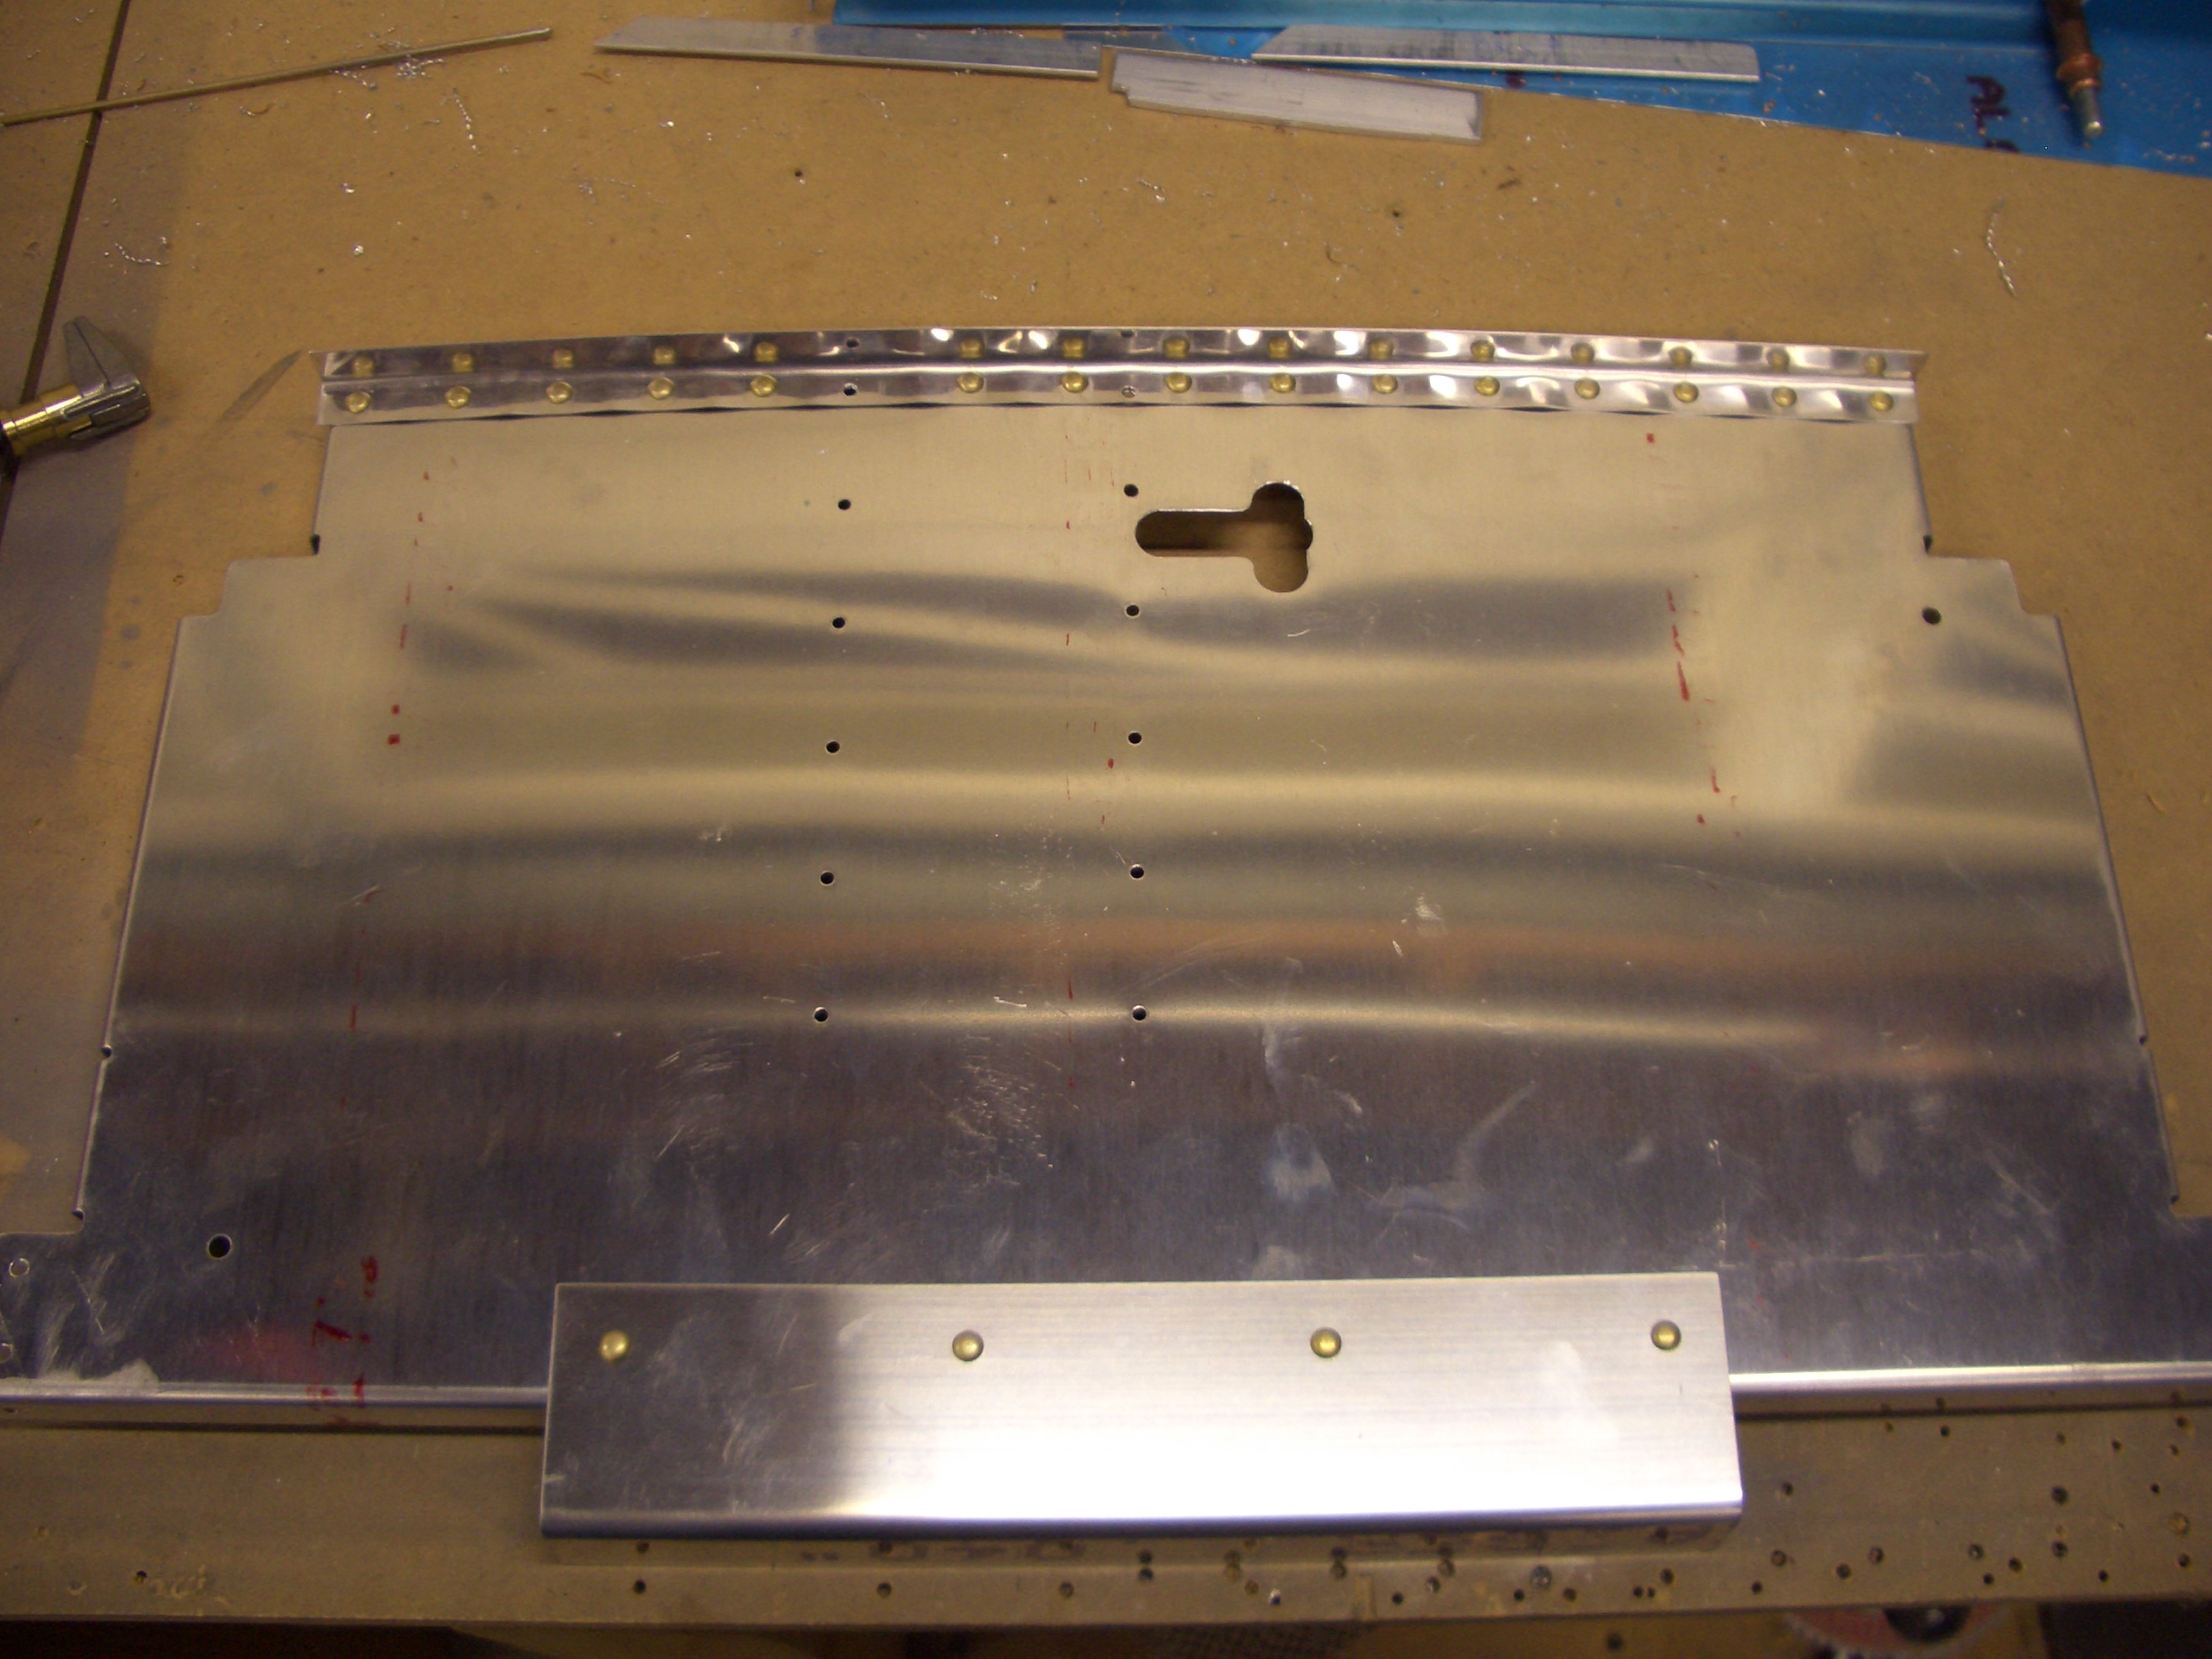
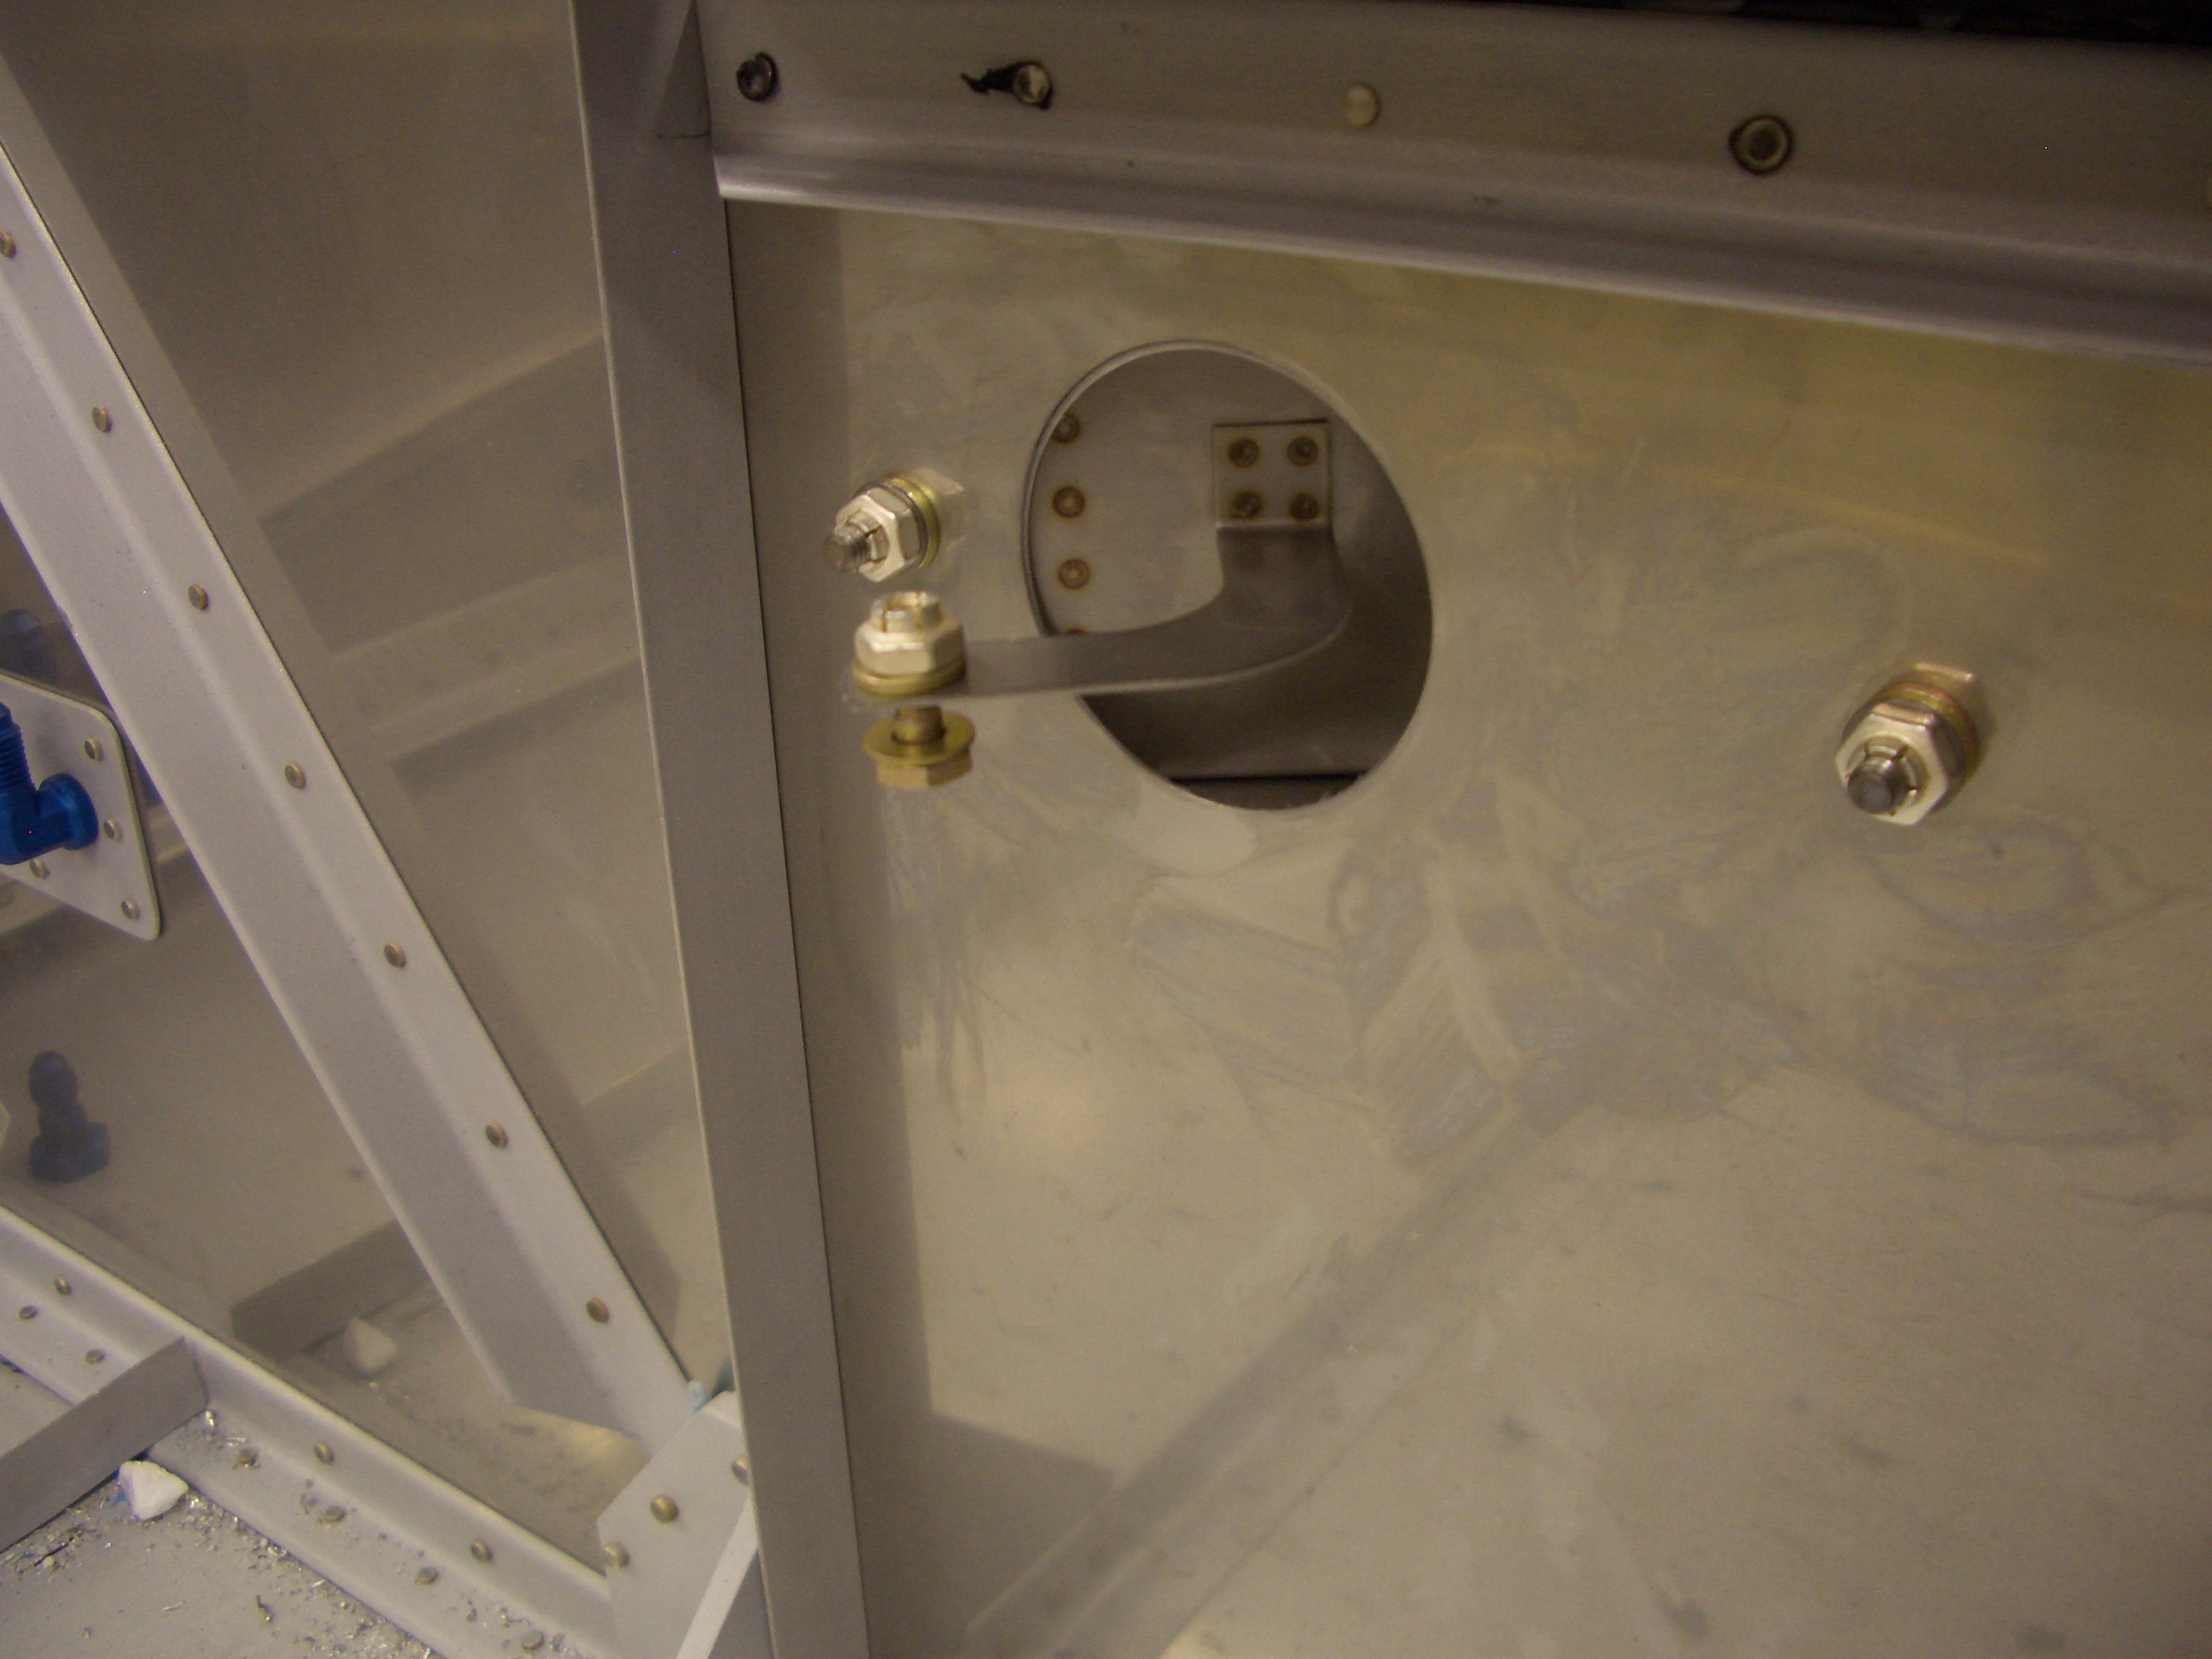
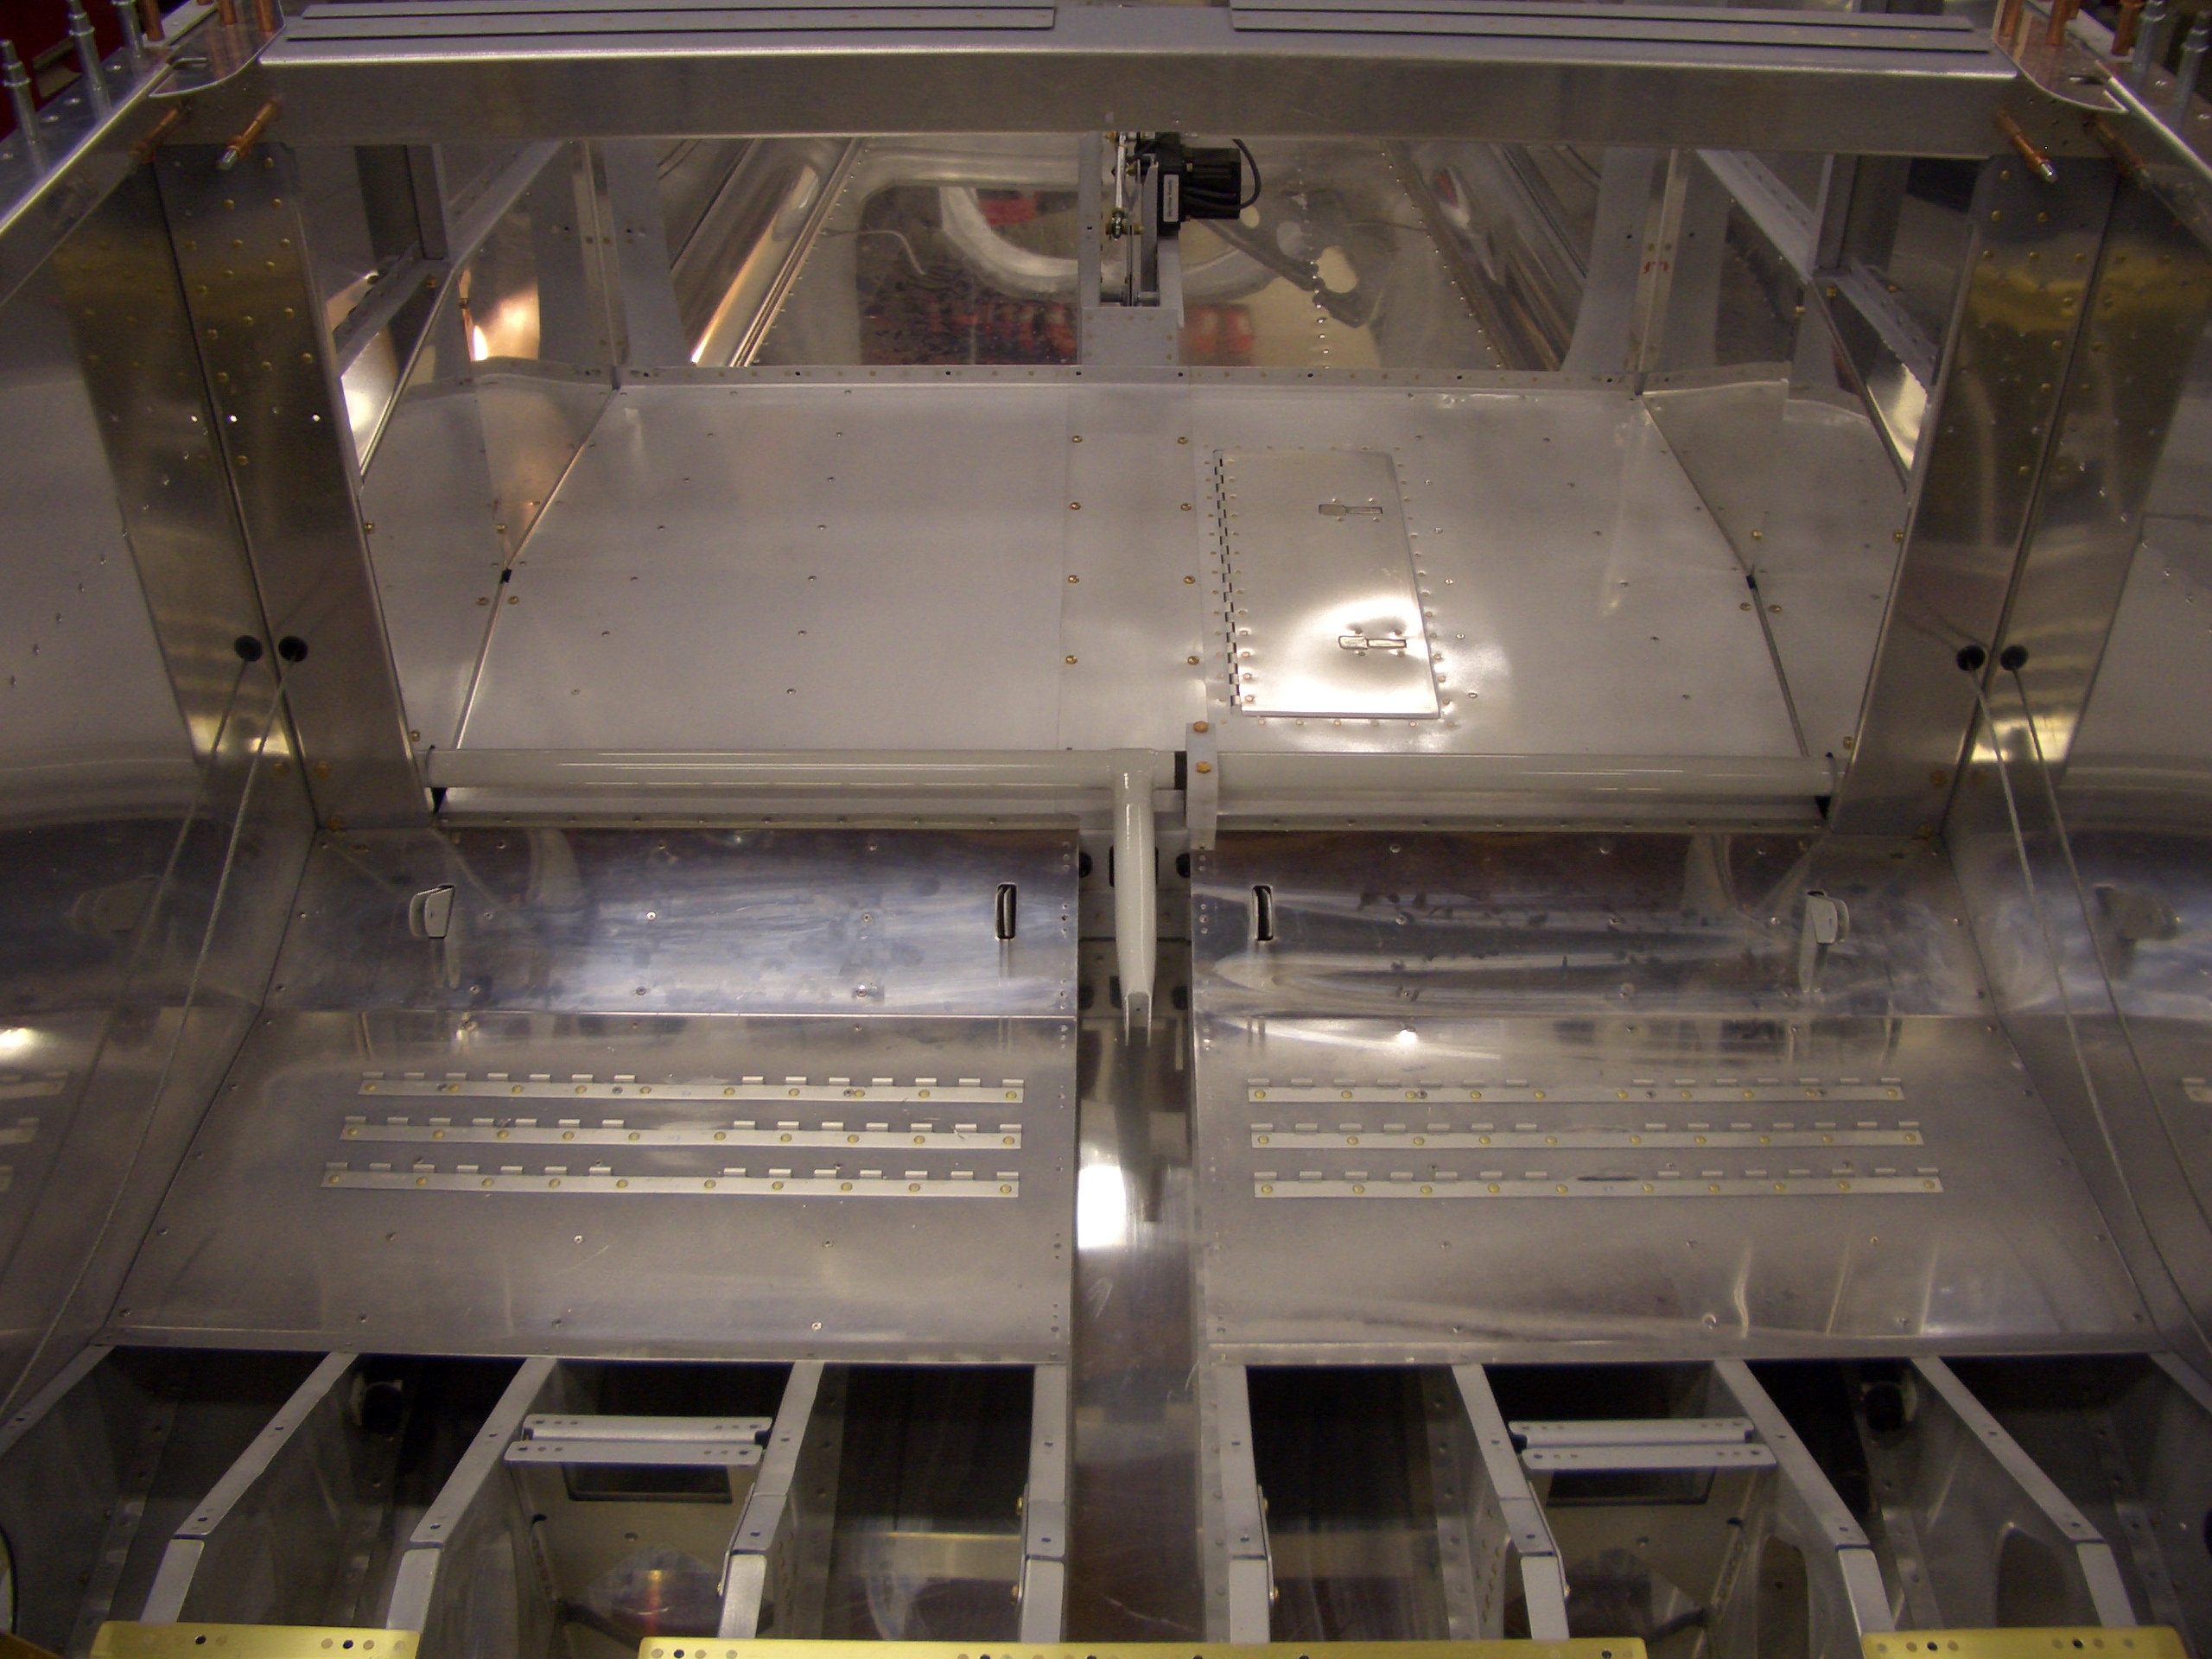
Here are these holes from the outside.  I’ve only drilled them to #40 so far so that I could cleco the parts together to keep anything from shifting.

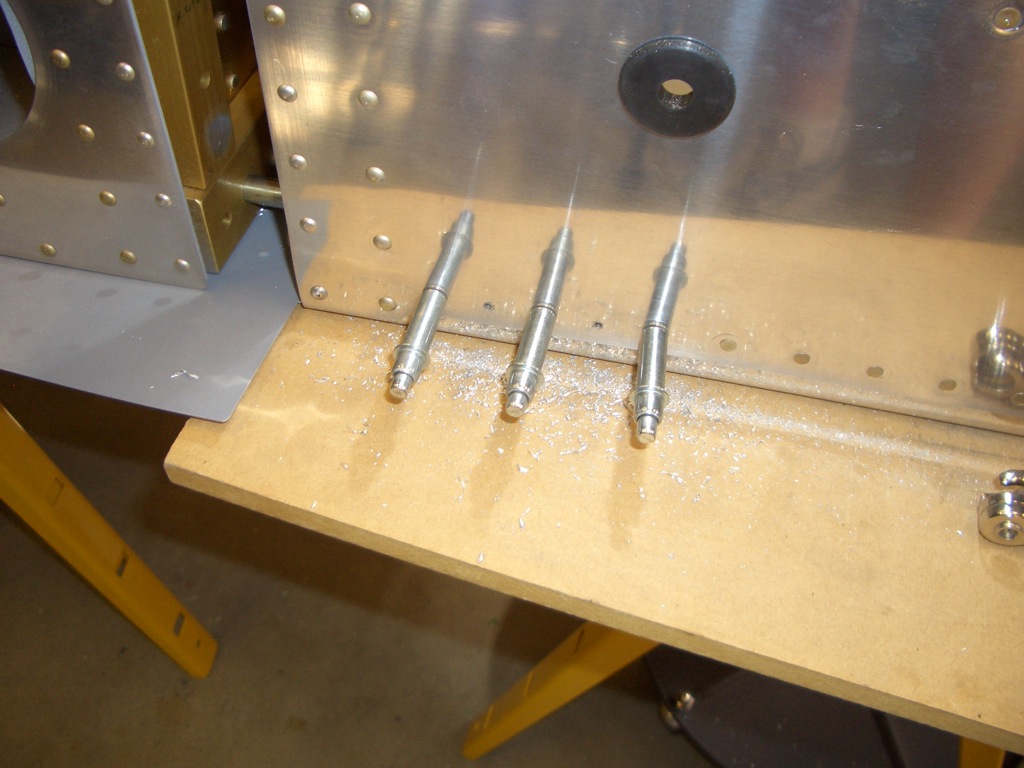
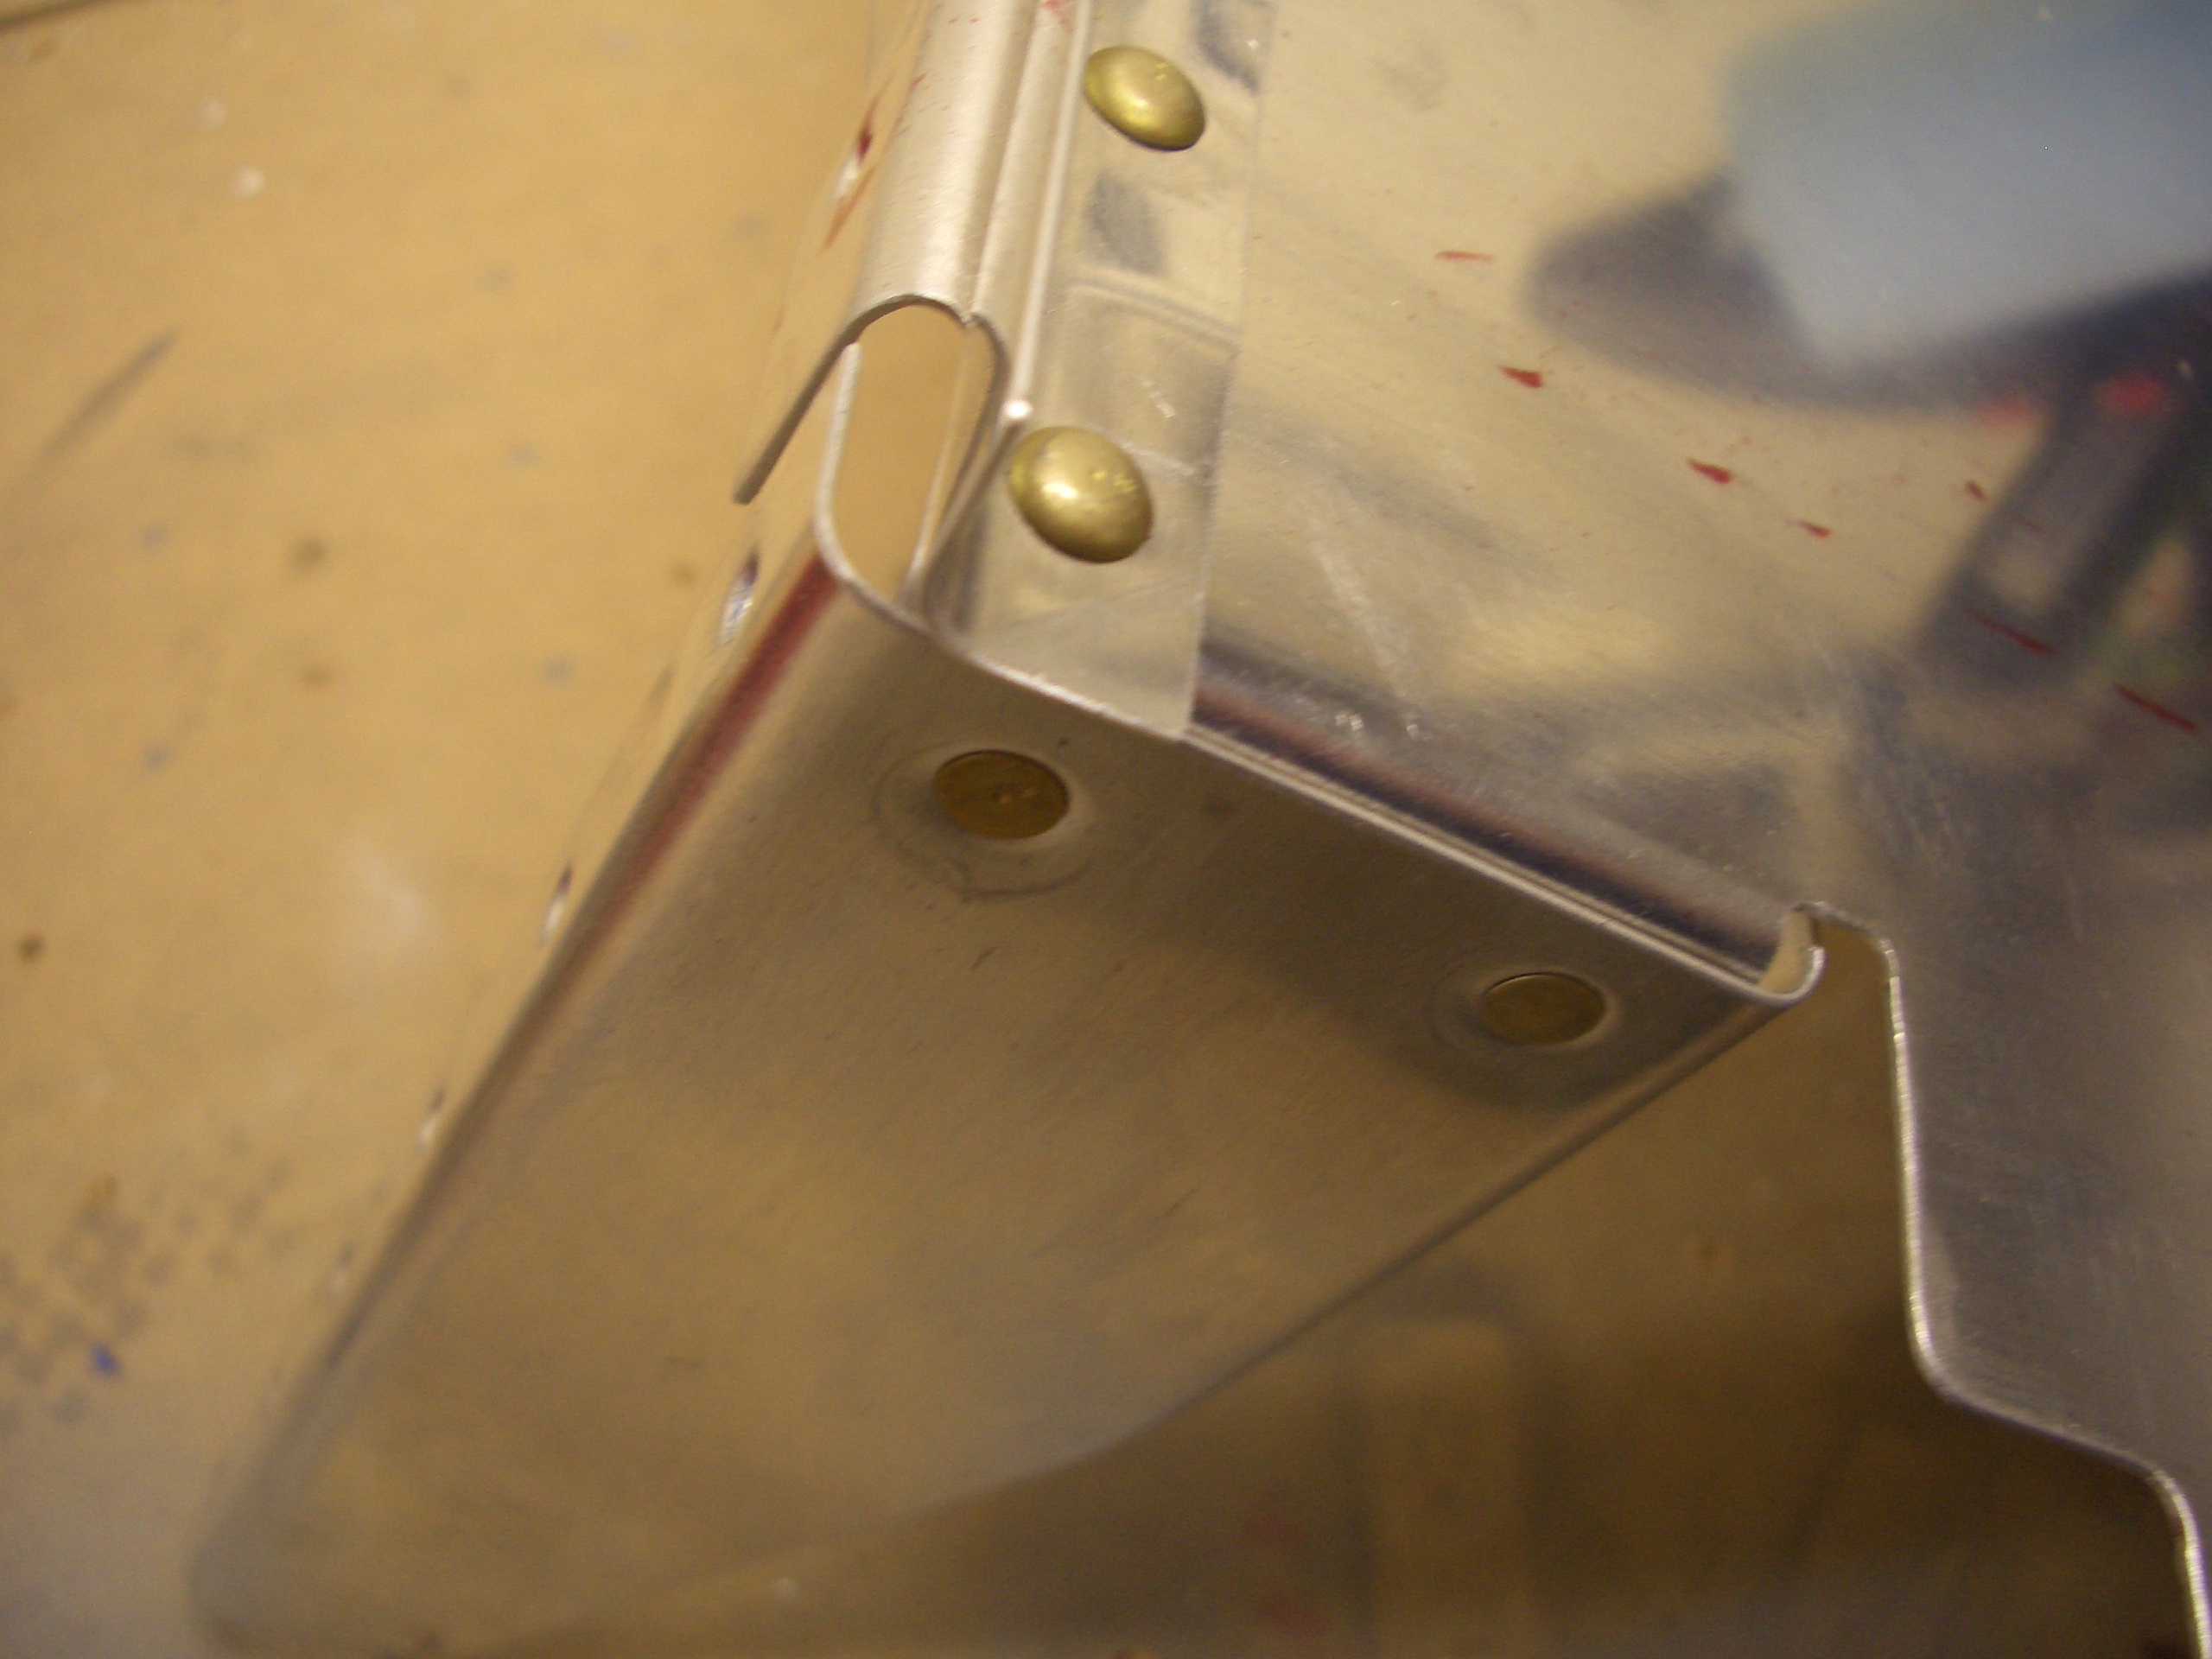
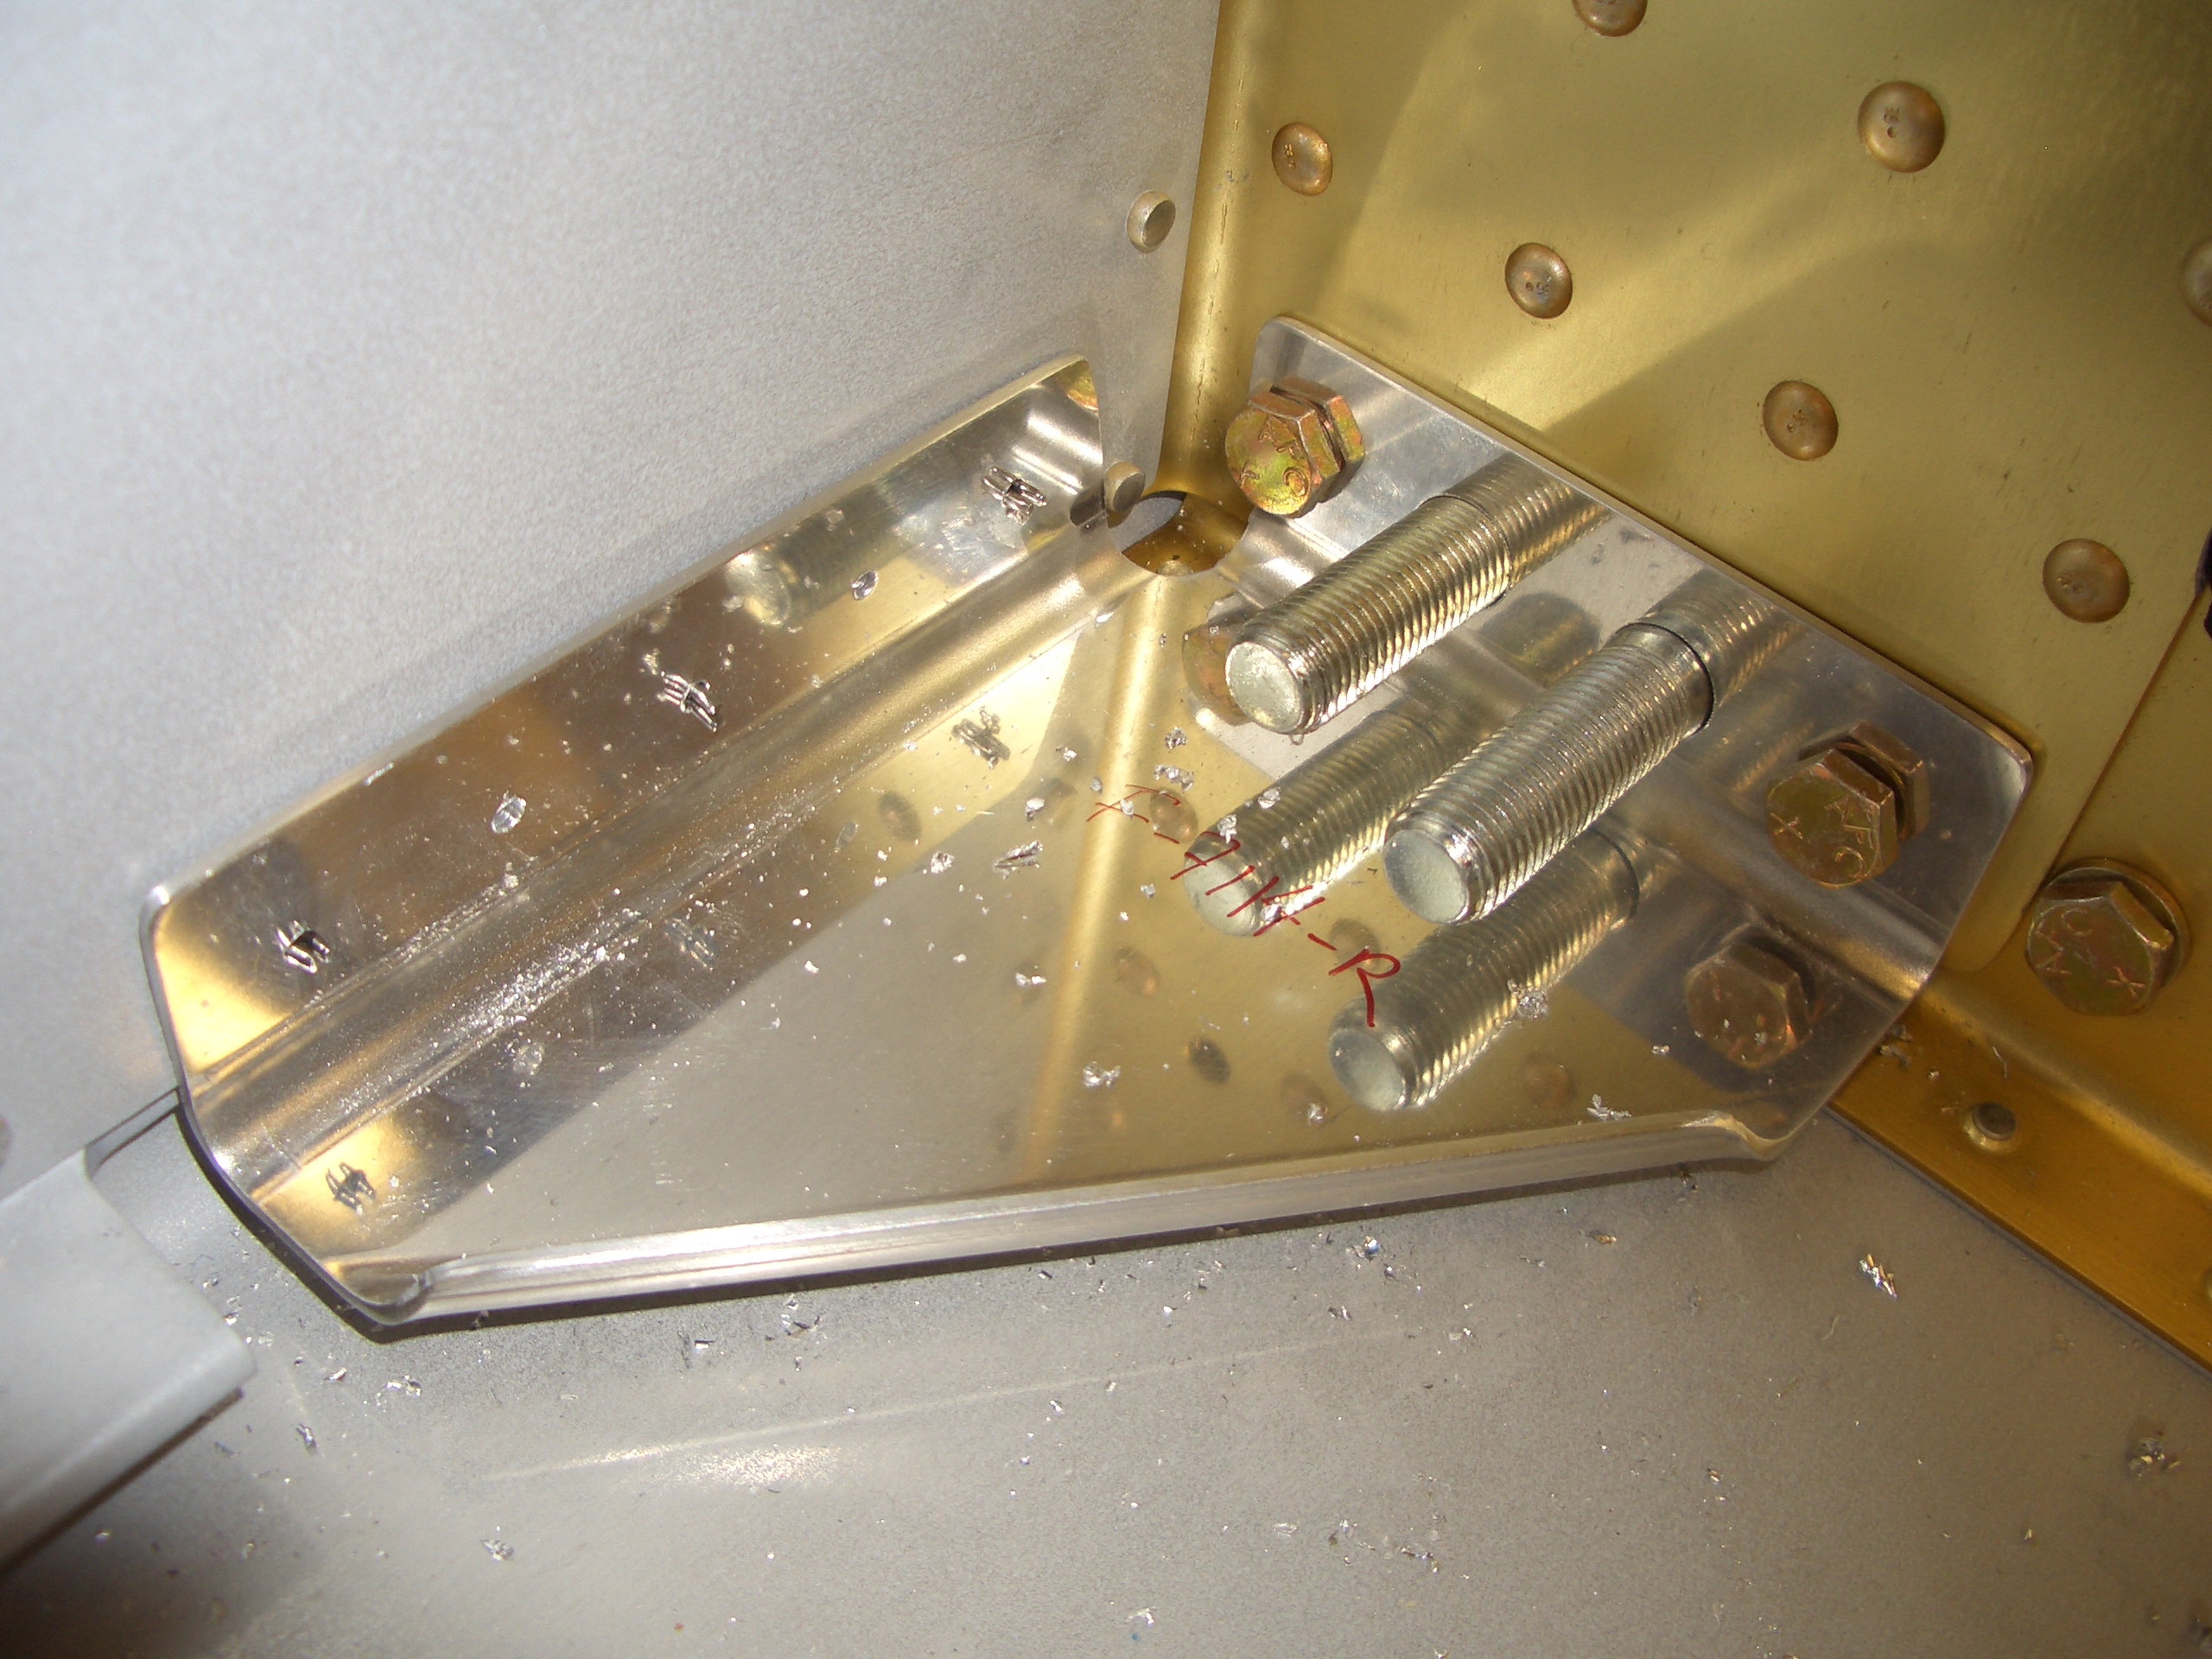
I then drilled/reamed the holes for AN3 bolts.

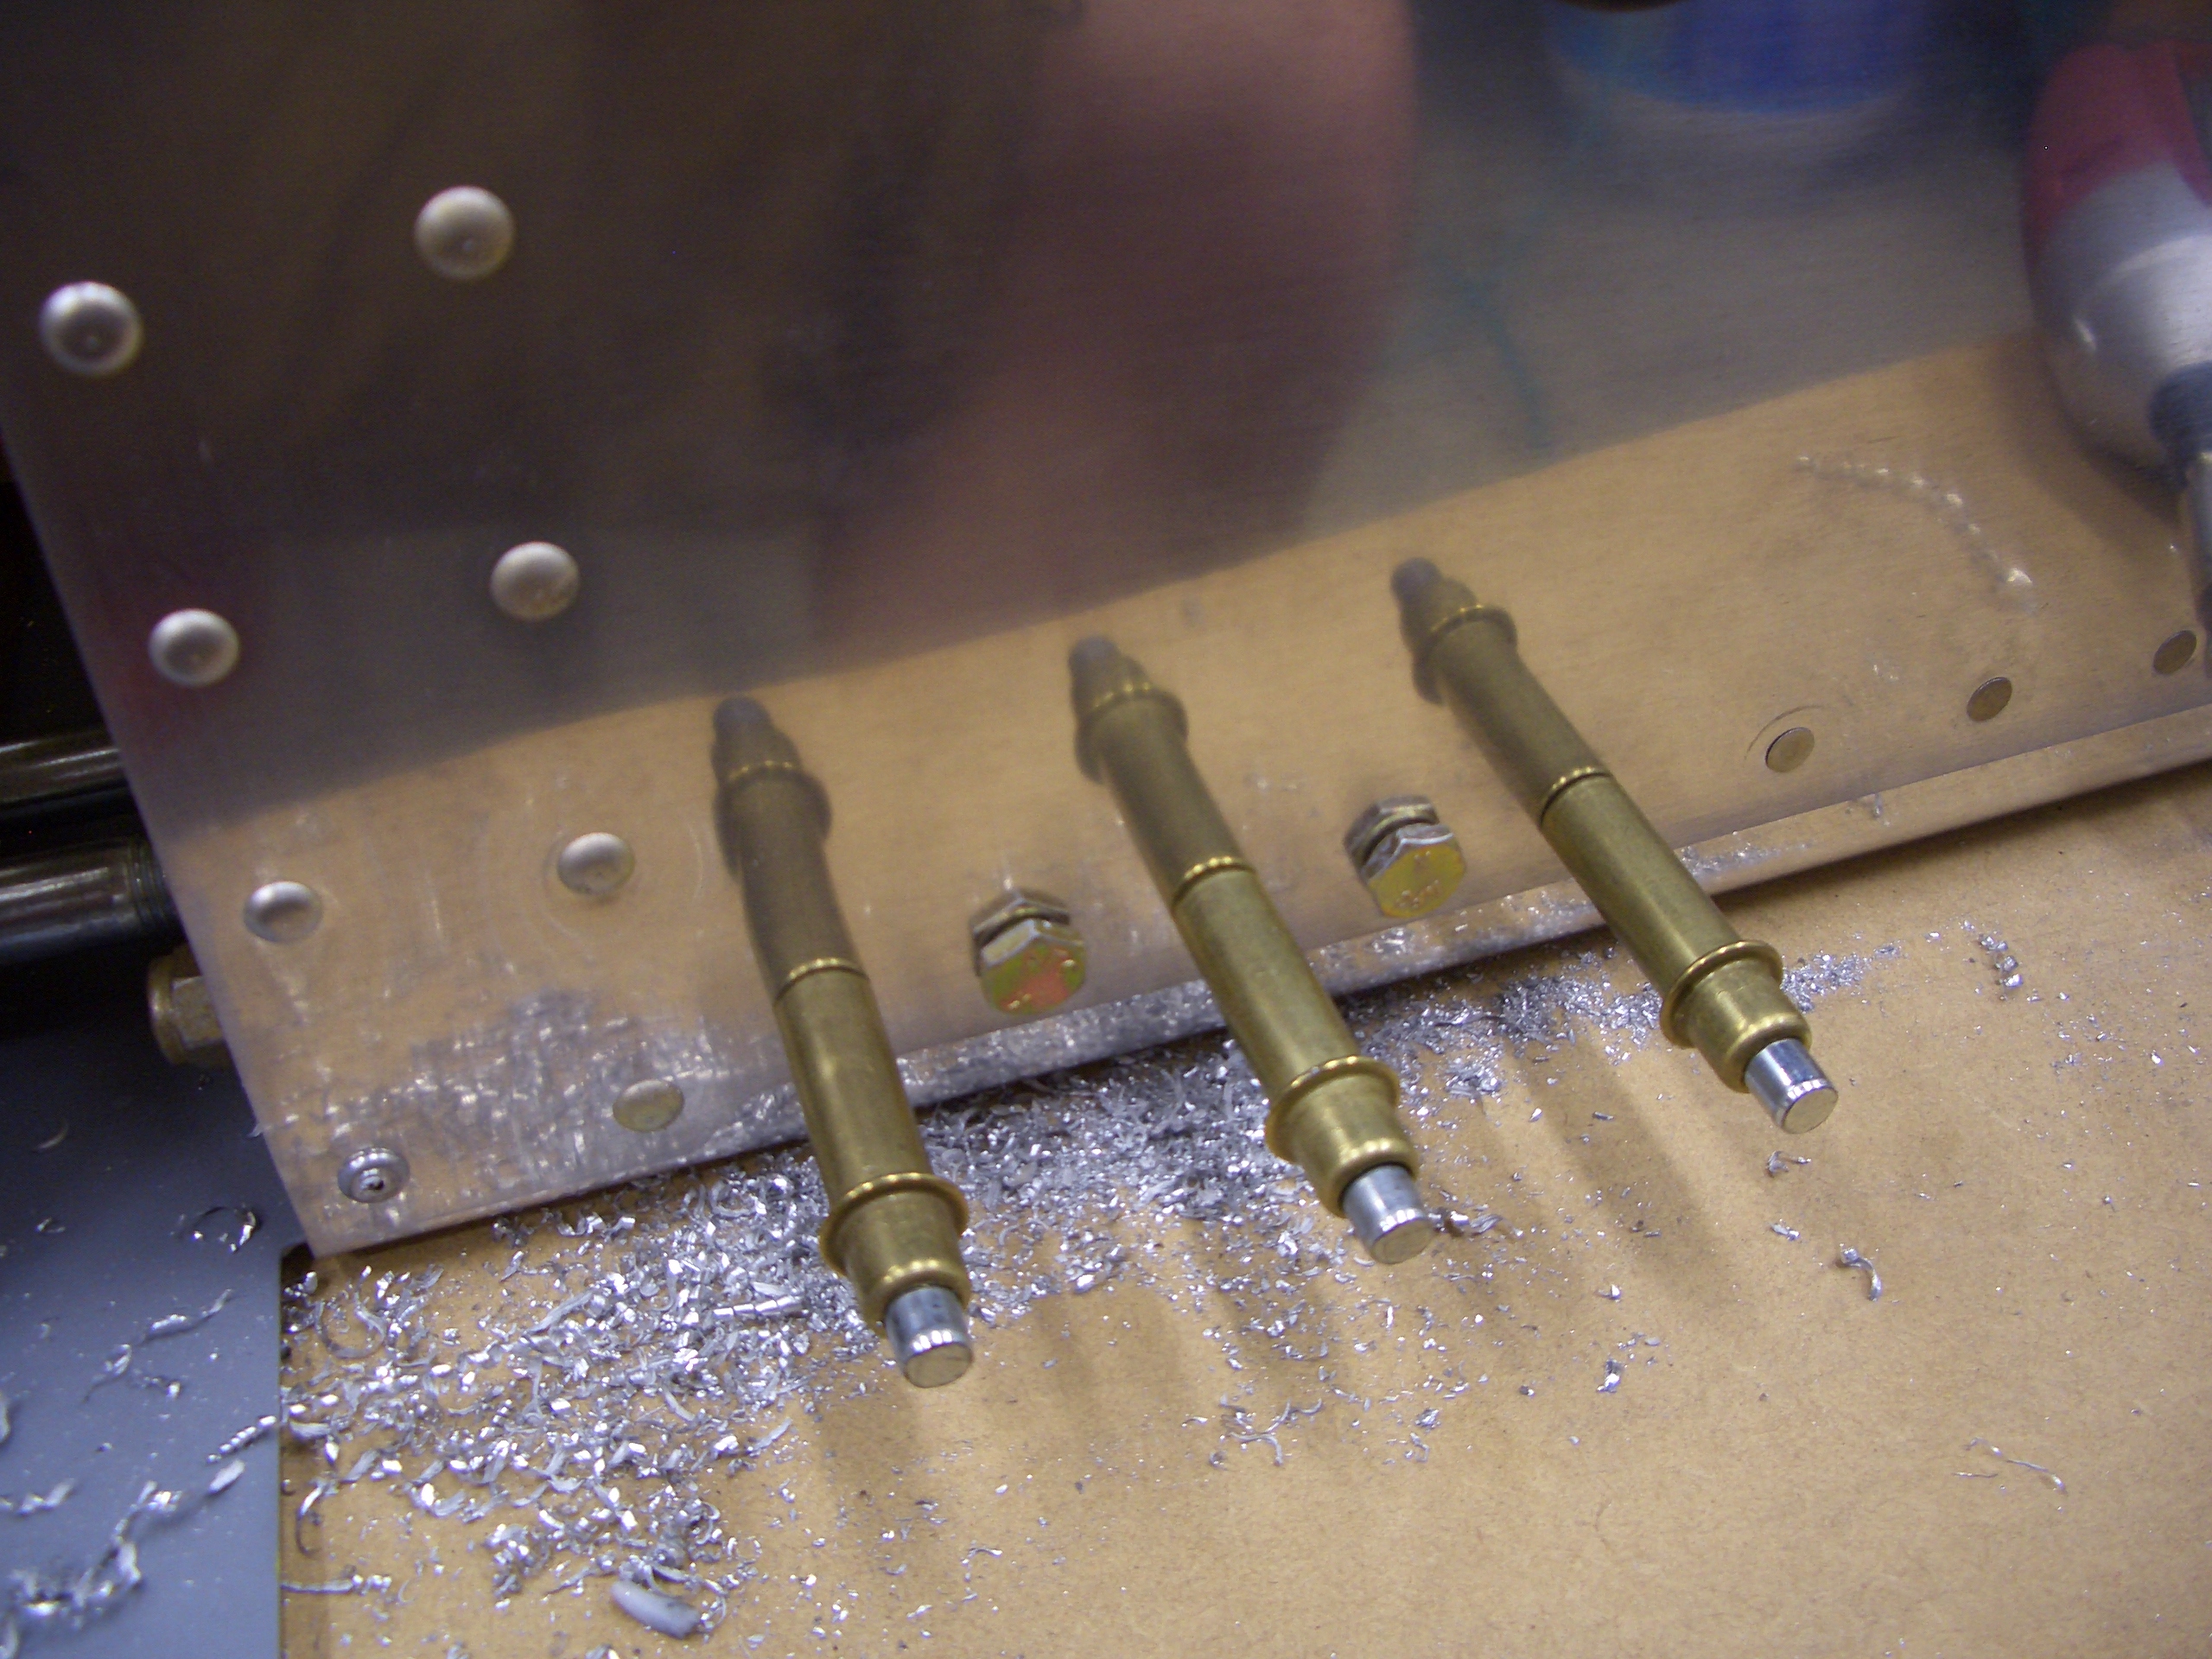
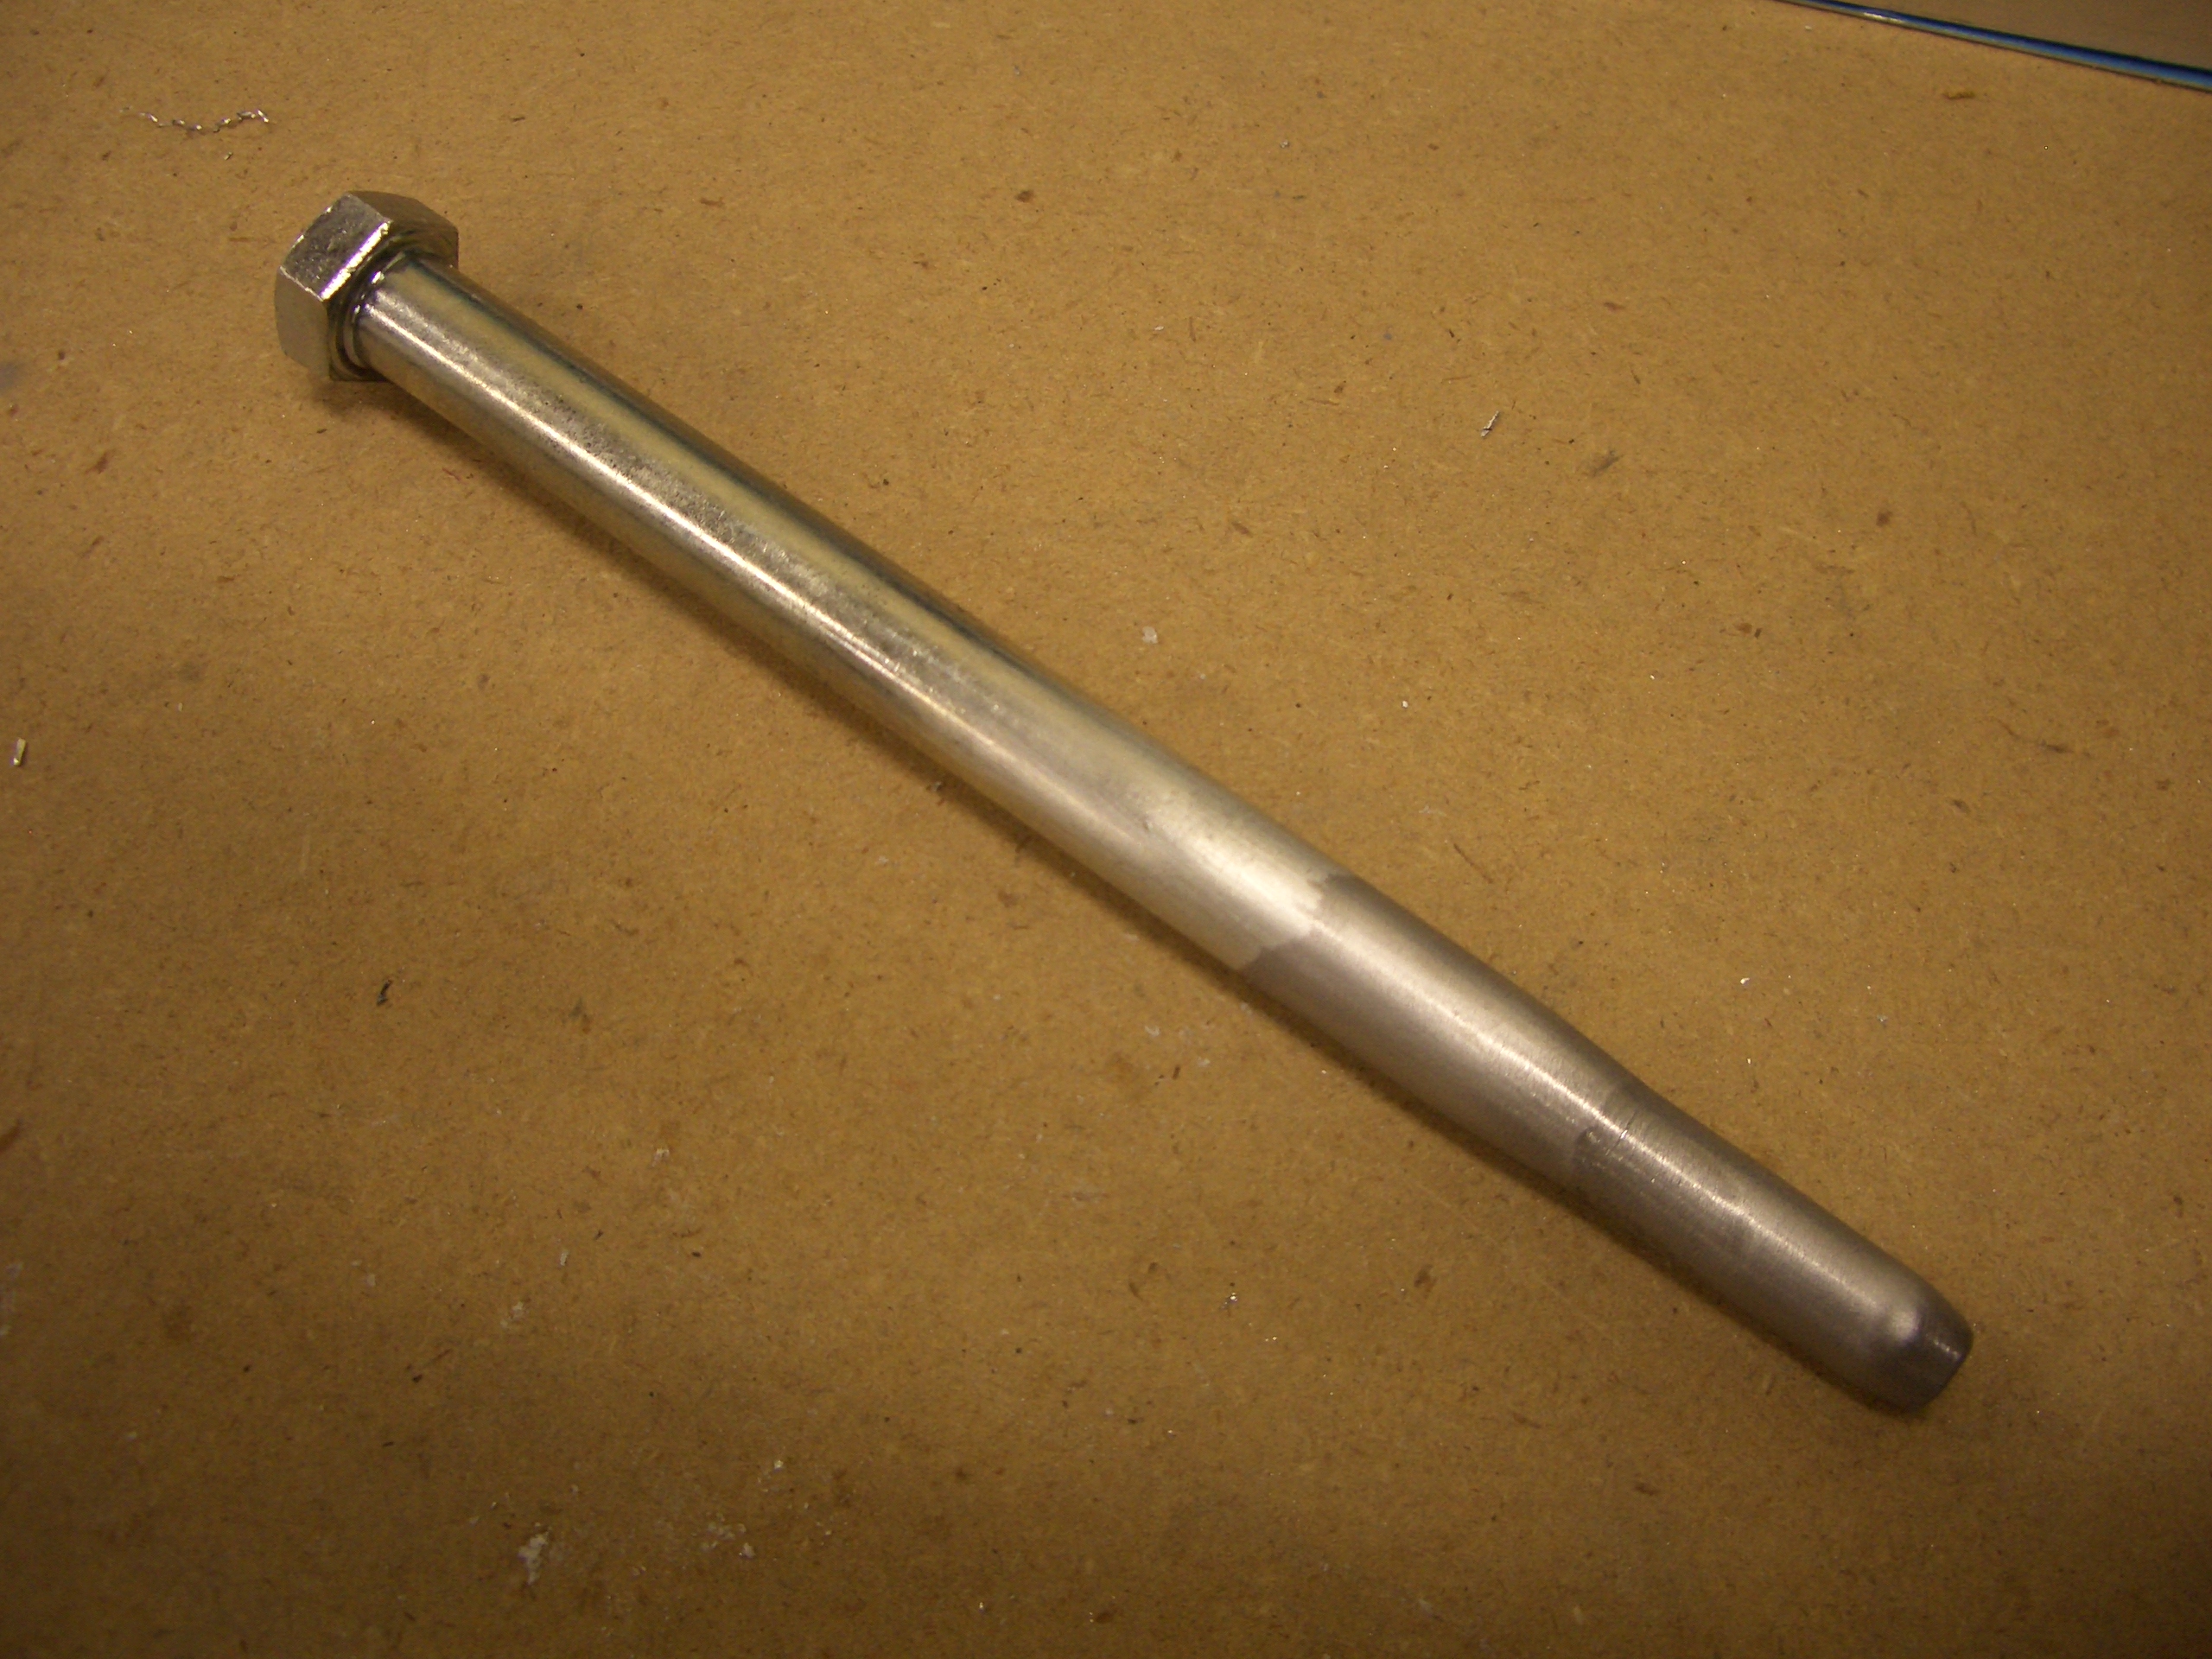
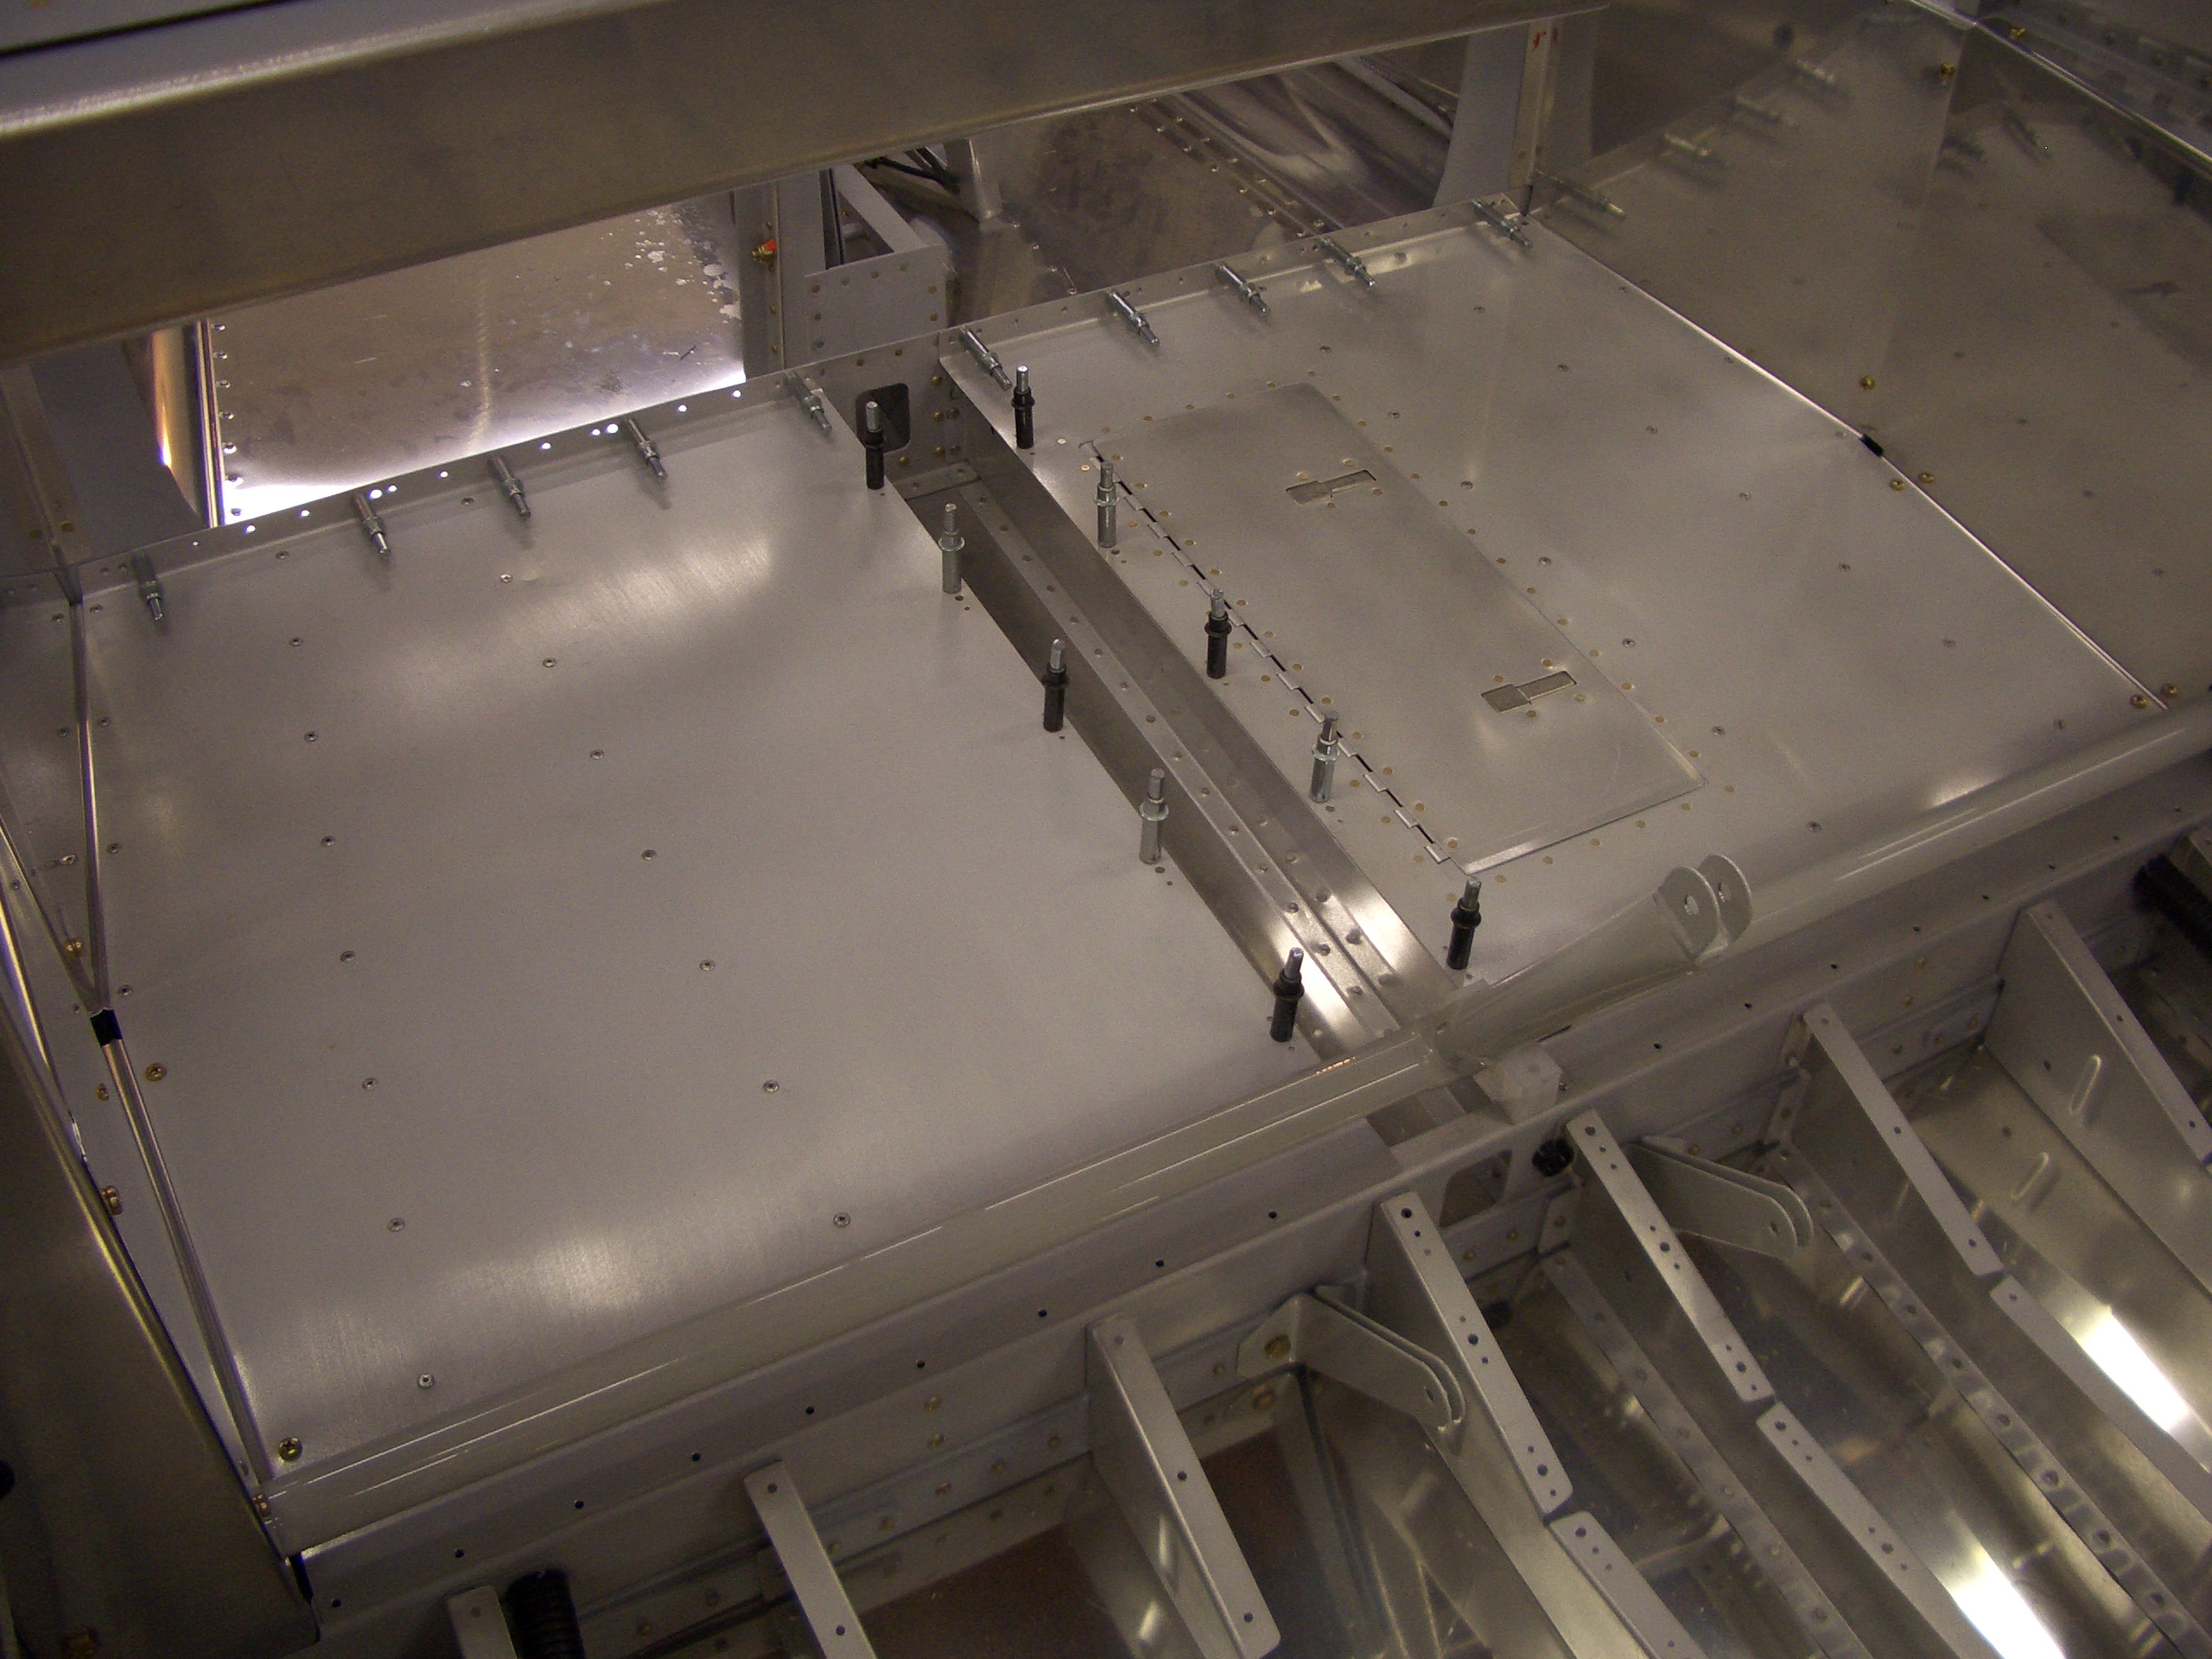
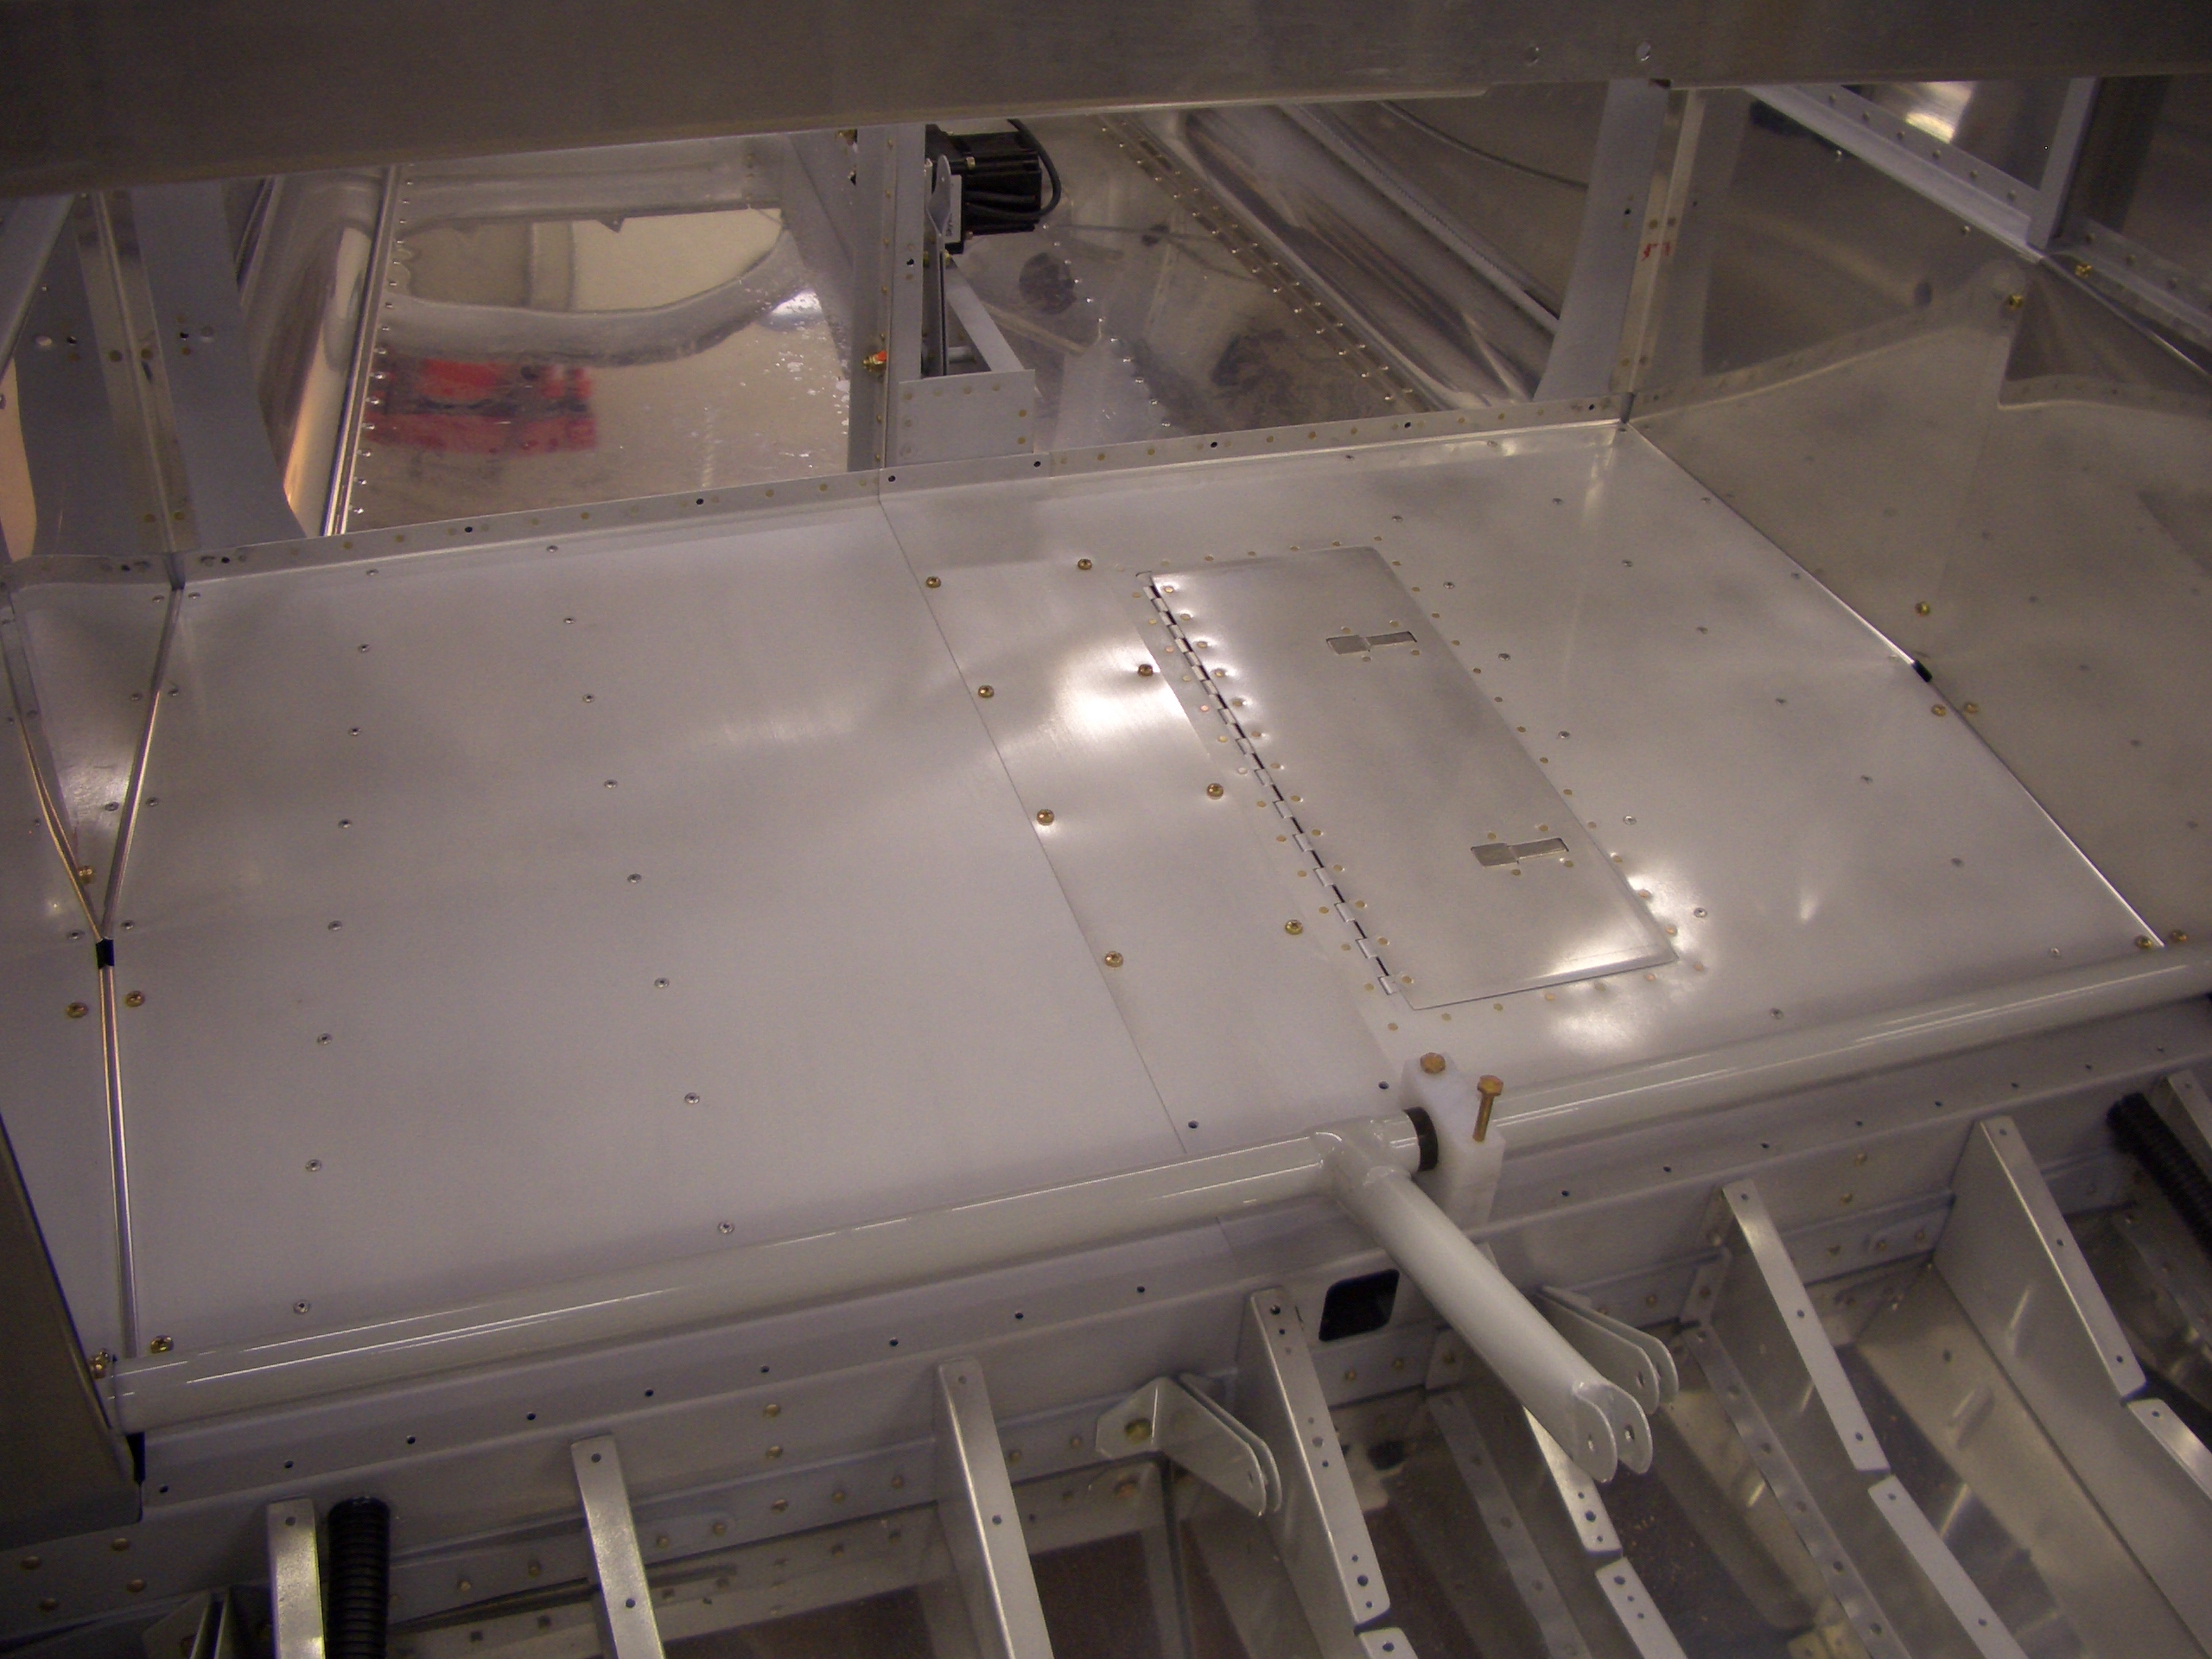
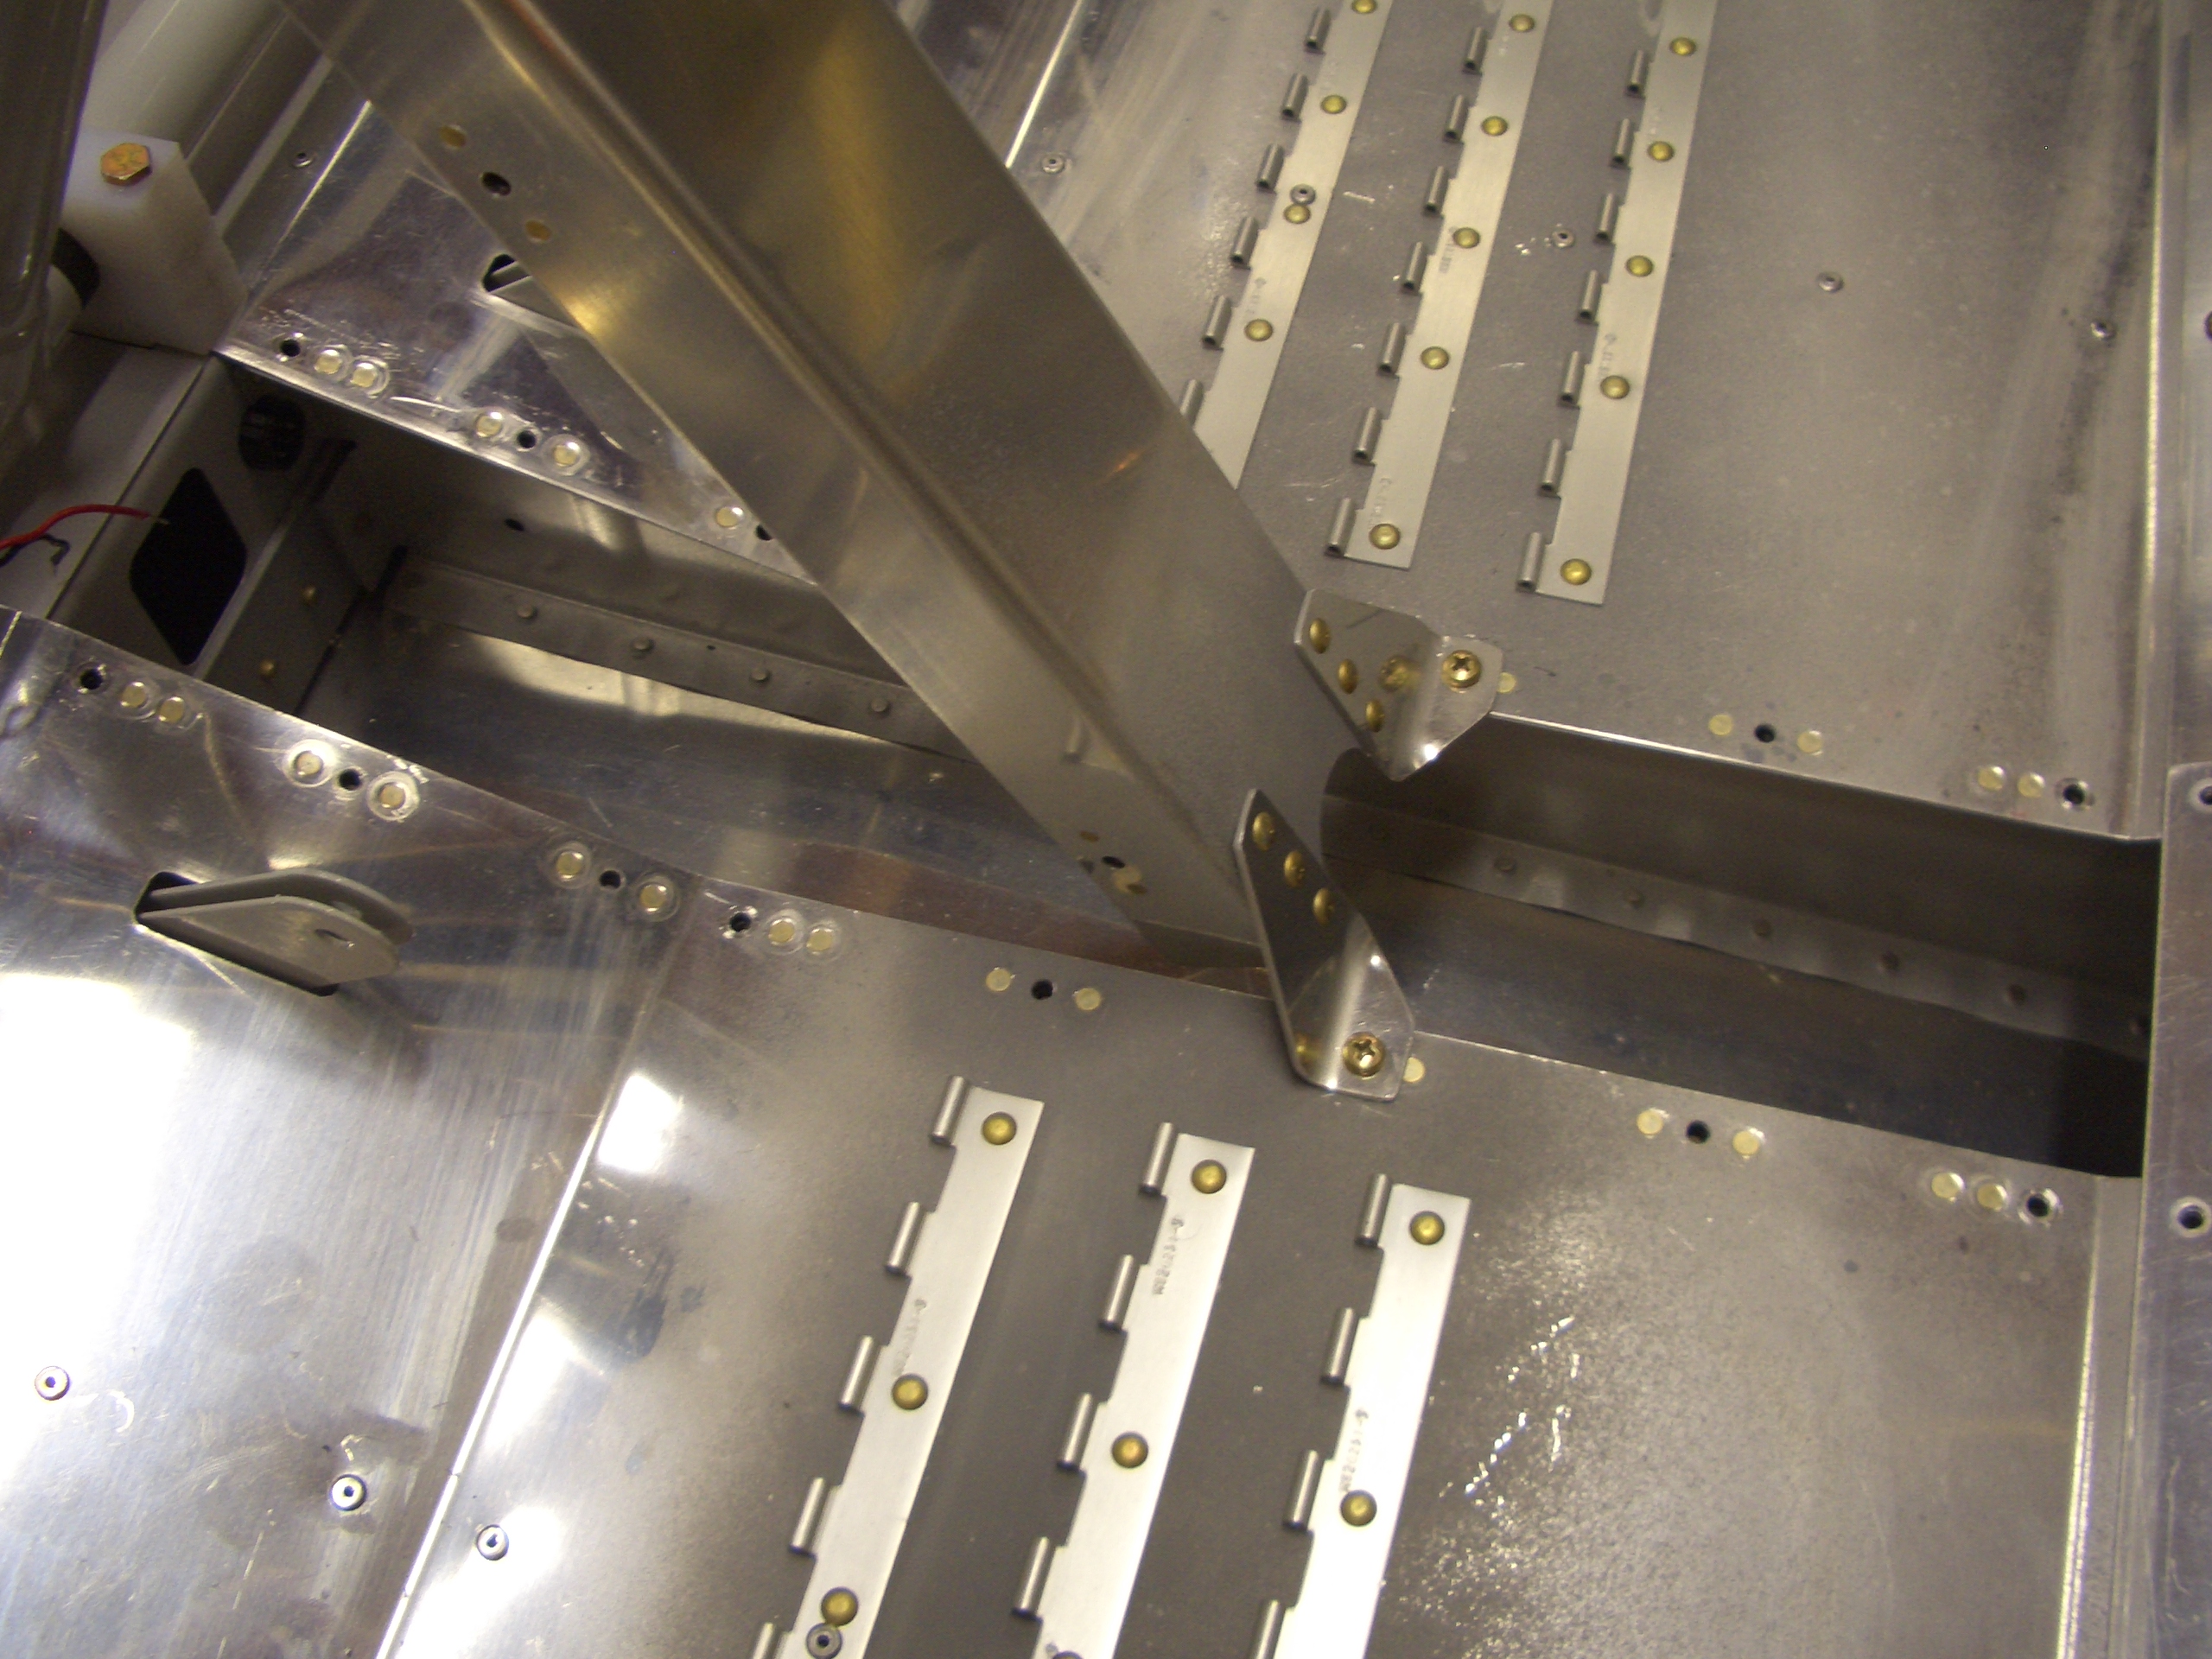
I purchased a long hardware store 7/16″ bolt a long time ago to make a drift pin to use when installing the wings.  For some reason, I decided to do that tonight.  I ground down the threads and beveled the shank in a couple of spots.  When the wings are installed, this can be lubricated and hammered into place to pull the holes into alignment.

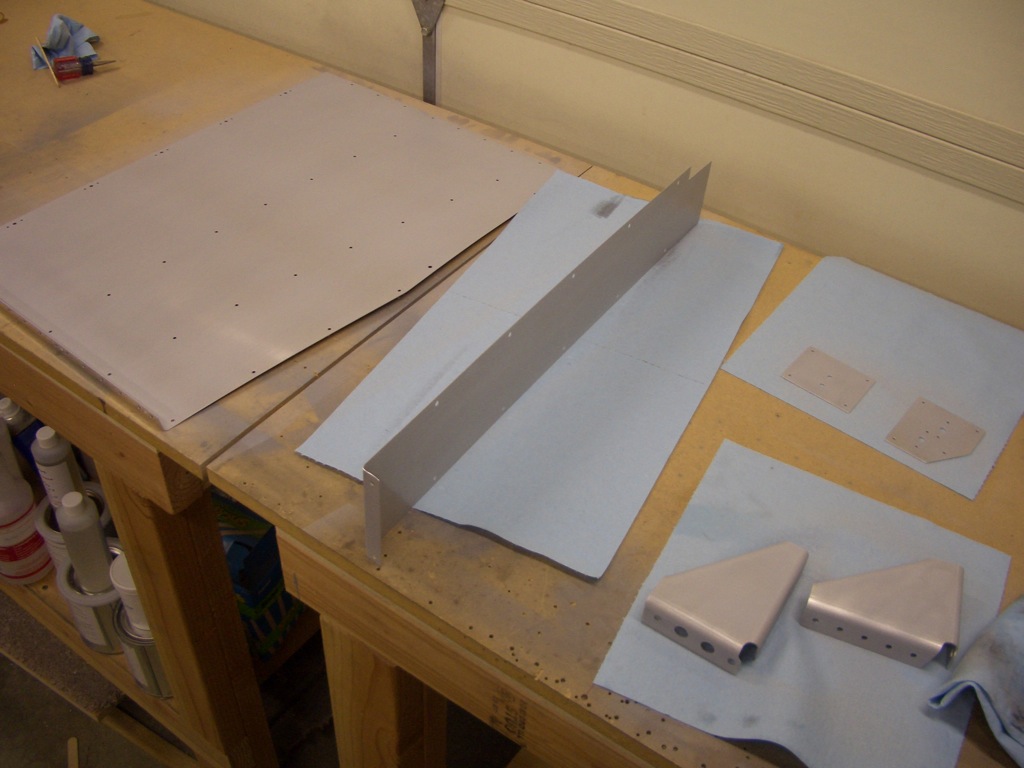
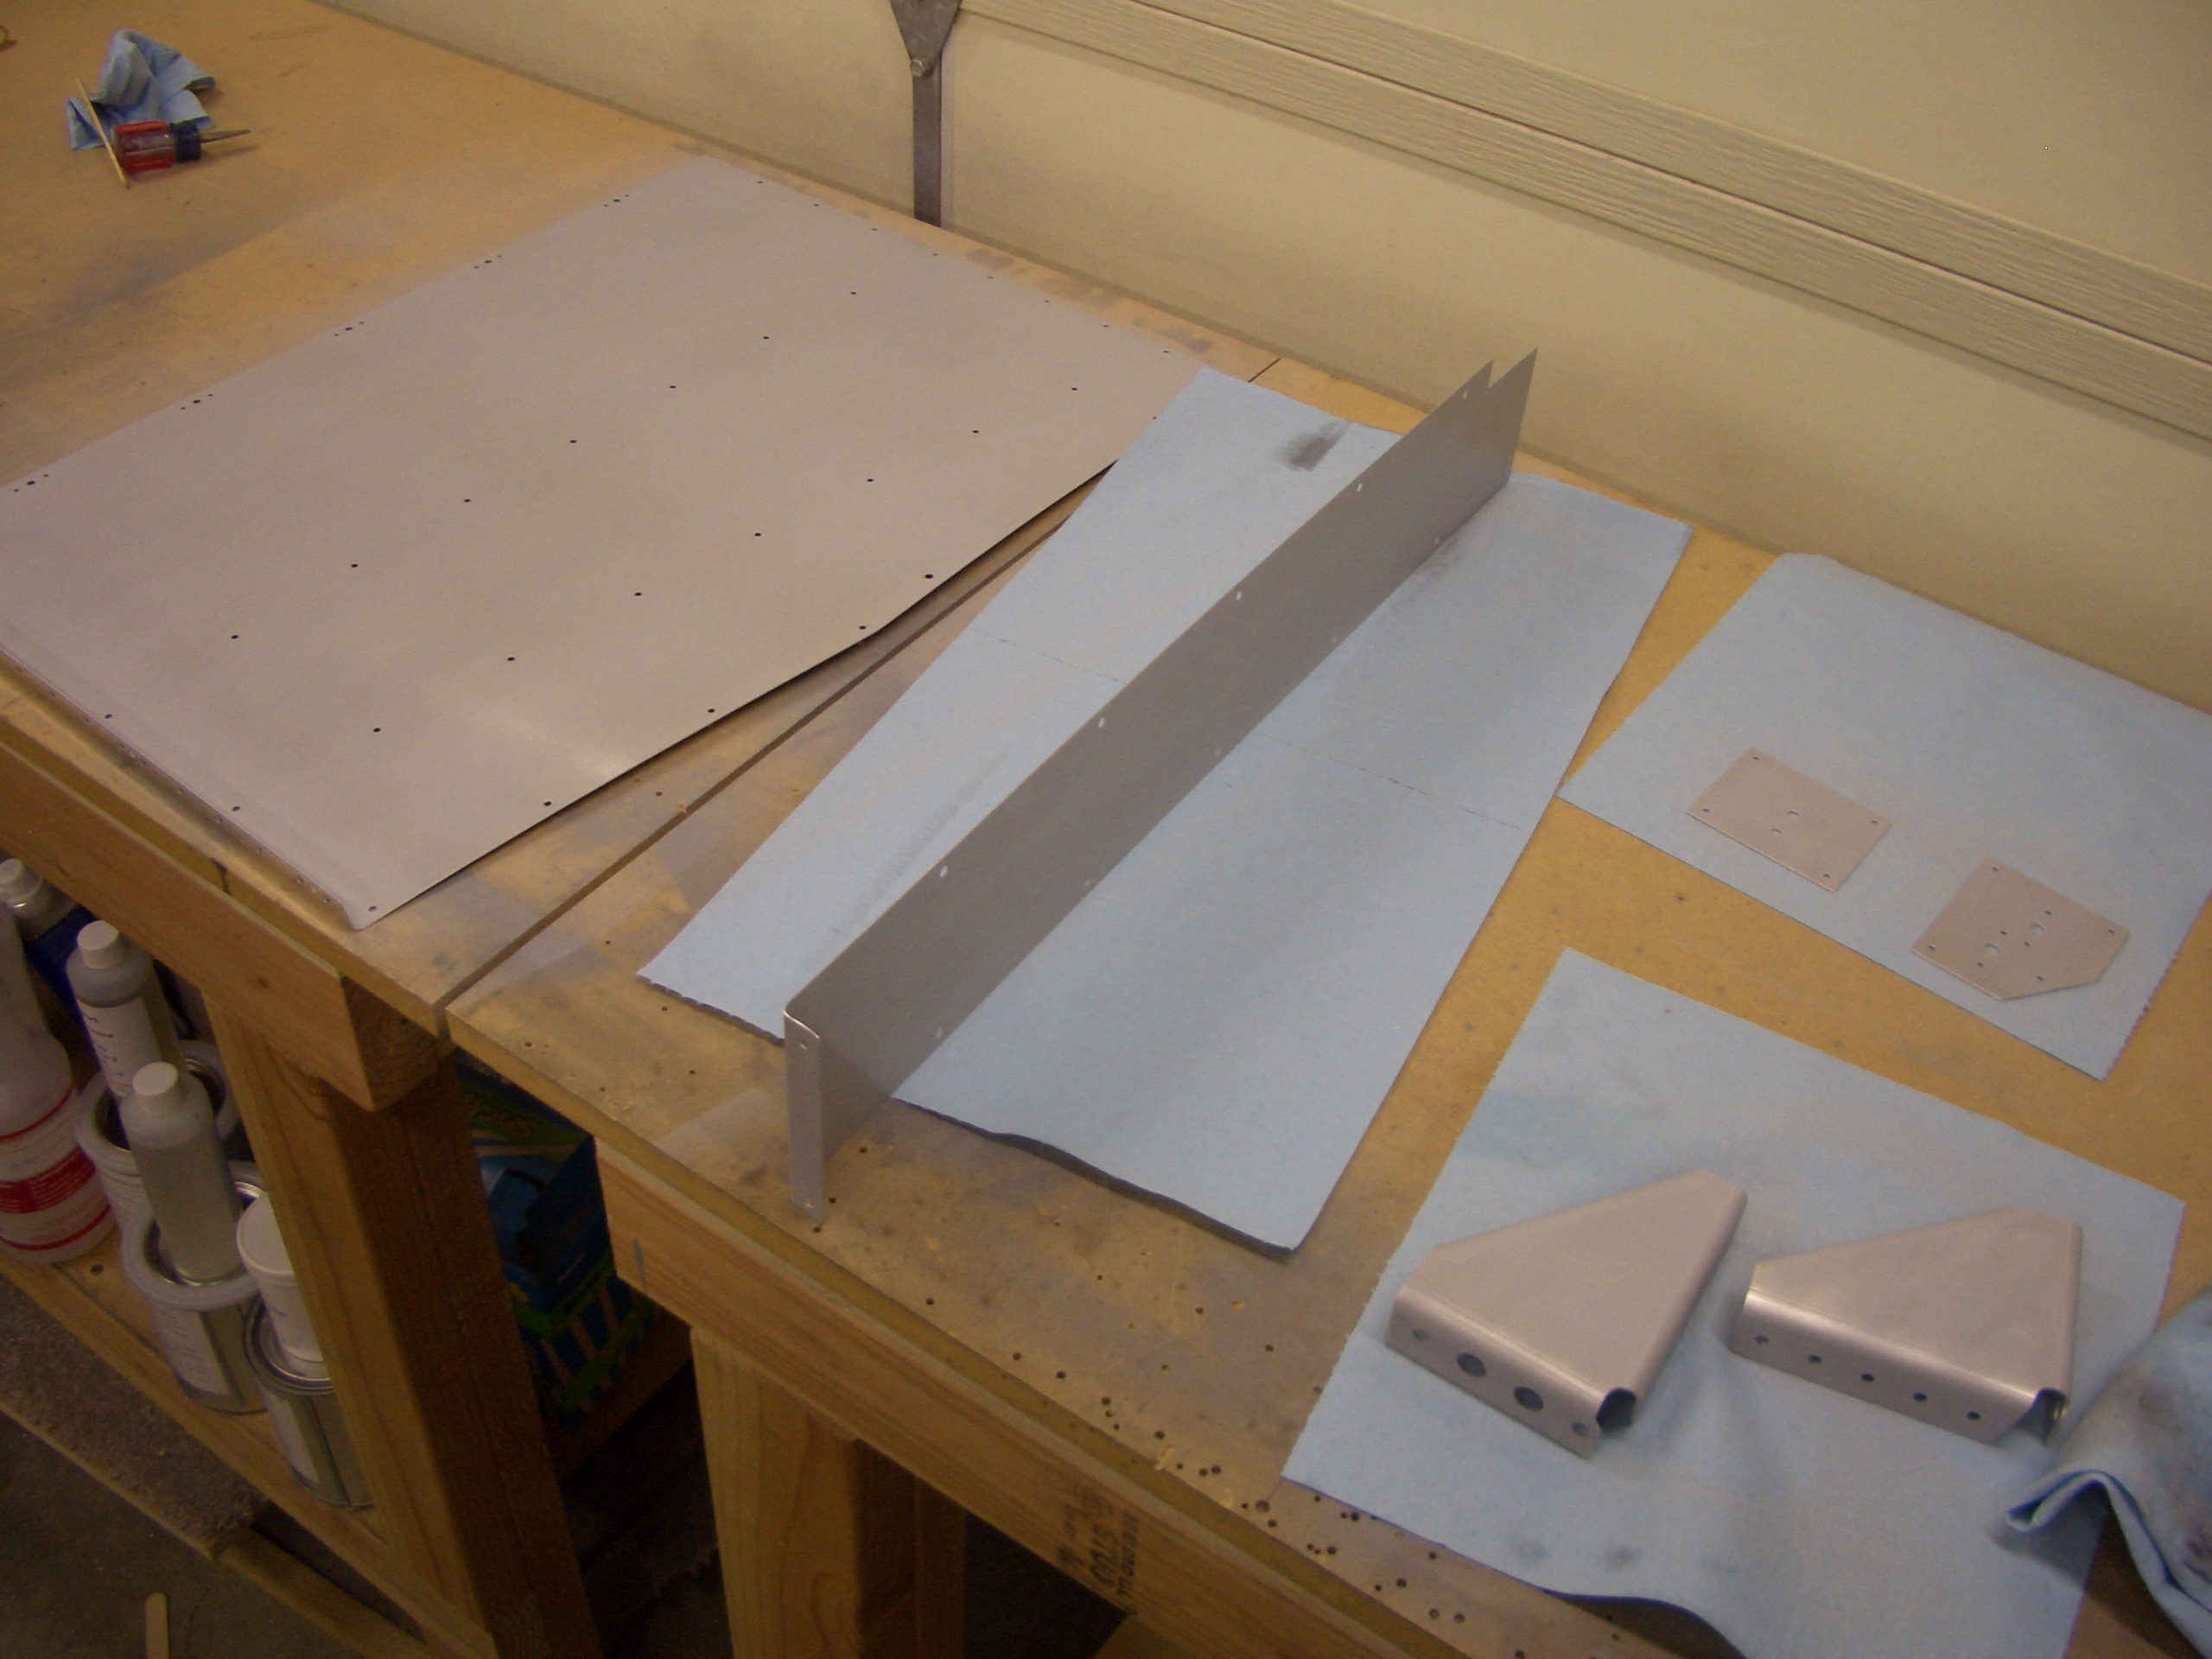
I finished the night by priming a small stack of parts that has been piling up.

More Random Fuselage Tasks

I bolted the fuselage gussets to the side walls and final torqued everything.

My buddy Andre stopped by and we knocked out a bunch of riveting including this doubler for the contactors.

We also riveted this doubler for the parking brake valve.

I wanted to rivet the firewall recess in place while I had his help.  Before that could be done though, the rudder pedal brace had to be riveted to the firewall stiffener.  All of these rivets could be reached with the squeezer.

Here is the firewall recess riveted into place with firewall sealant under the flange.  Be sure you include the stiffener on the bottom edge of this hole.

Now that the doubler was in place, the contactors could be bolted to the firewall.

The battery box can also be bolted to the firewall and the battery installed.  I primed and painted the holddown components with flat black paint to match the powder coating.

I spent about 45 minutes tonight fabricating the fuel vent line for the right fuel tank.  It is a pain to get all the bends in the right place and my hands are killing me since this requires a lot of hand bending.  I’ll take care of the other one tomorrow.

Here is the most complex part of the line.  It has to curve around one of the skin stiffeners and then back the other way to go around the rudder cable.  You want to provide a little clearance here so that the parts don’t rub with vibration.

Heater Box, Vent Line, Baggage Floors

The stainless steel attachment hardware showed up from Aircraft Spruce today, to I gooped up the back of the heater box with the 2000ºF fire block sealant that came with this and bolted it to the firewall.  I probably spent more time cleaning off the excess that oozed out of the joint than I did actually attaching it.I have no doubts that it’s well sealed though.

Here is a shot on the inside.  The specified AN3C-4A bolts were a little long, so I had to stack up a couple of extra washers to be able to tighten them properly.  AN3C-3A bolts would have been perfect.  The stop nuts are MS21046C3.  I originally thought they sent me the wrong nuts because these looked like aluminum.  It turns out that these are silver plated.

I used the right vent line as a template and knocked the left line out in about 20 minutes.  I’ll probably wait until the subpanel is riveted in for good before installing these permanently.

Before installing the baggage and seat floors for good, I needed to take care of one last tasks that would be impossible once they’re riveted on.  I have two conduit runs under these floors that pass through the F-705 and F-706 bulkheads.  Vibration can cause the aluminum to cut through the conduit over time, so I used some E6000 adhesive to secure the conduit to the bulkheads.  This will prevent any relative motion that could damage the conduit.

Finally, I put the baggage floors on for good and pulled all of the blind rivets.  I really wish I had bought a pneumatic rivet puller; my hand is killing me.  If you’re just getting started, do yourself a favor and spend the $35 to pick up one from Harbor Freight.

I still have to install the nutplates along the back and center tunnel, but I’m beat.

Finished Baggage Floor, Started Aft Seat Pans

I finished the baggage floors by installing the rivets and nutplates along the back edge and along the center tunnel.

Next, I cleaned between the seat ribs and clecoed on the aft seat pans.  Immediately I ran into an interference issue.  Some of the shop heads for the rivets that hold on the hinges are bumping into the flanges of the seat ribs.  I had to relieve the flanges a little bit in a few spots to get the holes in alignment.  I got all of the right seat pan riveted (on the left in this picture) except for the aft edge.  I spent the last two hours bent over the longerons doing all of this.  My back and hands are aching.

Finished Seat Pans, Fired Up Dynon SkyView

I finished installing the aft seat pans.  These aren’t primed like the baggage floors because these will get painted with a paint that matches the carpet color since part of these may be seen around the edges of the carpet.

I got my Dynon SkyView 10″ screen and associated extras (ADAHRS, backup battery, EMS and probes, GPS antenna, etc.).  I hooked up the appropriate power and ground pins in the D-Sub 37 pin connector as well as the ADAHRS and backup battery, and powered it on.  After a quick configuration, I had the attitude display up and running.  There is no synthetic vision yet because the GPS isn’t hooked up so it doesn’t have a position fix, but it was cool to play around with moving the ADAHRS and watching the display change.  The screen refresh rate is quite high, so the movement is very fluid.

Installed Center Tunnel Nutplates

I installed the nutplates along both sides of the center tunnel in the seating area.  This uses a mixture of one and two legged nutplates.

Next, I reinstalled the front and rear flap motor covers so that I could fit the remaining parts of the center console.

Next, I started fitting the z-channels that will support the center tunnel cover.  There will be one of these on each side with a piece of 0.040″ sheet connecting them.