Miscellaneous Assembly

I repaired the bracket and got all of the wing attachment bolts final torqued.

I also finished installing the rear spar bolt and cotter pinned it.

My brother wrapped up the vertical stabilizer.

We also installed the prop and my brother spent some time learning to safety wire.  We ended up cutting off every try we made and we’ll try again later.

First Engine Start

My brother and I came out to the airport early and got final assembly taken care of.  We bolted on the elevators and rudder, torqued and adjusted the ailerons and hooked up the flaps.  My buddy Greg came down and we got most of the safety wire on the propeller done.  We did a very thorough pre-flight and then pulled the plane out for first engine start.

We tied the plane off to my car and chocked the wheels.  Greg and his son Nicholas were on handheld radios so I could be in contact with them.

We spent a little time trying to diagnose a problem with the Andair fuel pump, but it looks like it’s not working correctly.  I’ll have to call Andair tonight to see what they want to do about this.

We decided to go ahead and try the first engine start with just the engine-driven fuel pump.  We pre-oiled the engine by pulling the plugs and spinning the starter until we got oil pressure and fuel pressure.  Unfortunately, that killed the battery, so we had to hook it up to jumper cables for the final start.  After reinstalling the lower plugs, it fired up pretty quickly.  Here’s a video of the first engine run.


Everything about the start went beautifully.  The engine ran perfectly and we were able to verify all engine controls are working correctly, both ignitions are working correctly, all pressure and temperature senders are working correctly.  There is one small oil drip from the cap on the oil cooler, but other than that, everything is tight and there were no problems.

First Taxi

I fixed the oil leak we had yesterday and made another pass through every bolt and fitting firewall forward to make sure nothing had moved.  We got the spinner installed as well as the plenum.

Finally, we cowled it up and pulled it out for the first taxi test.

I spoke with Andair about the pump, and they’re sending me a new one (great customer service by the way).  Without the electric pump, the engine driven pump has to pull the fuel during engine start, so the engine takes a few extra revolutions to fire over what it will once the new pump arrives.  Anyway, my brother and I jumped in and did an initial taxi test.  Other than needing to finish seating the brake pads, I was able to accomplish all of the taxi testing goals in one engine run.  Here’s a video of the taxi test.

Control Sticks and Aileron Boots

I spent most of the morning cleaning up the hangar and organizing my shelves.

Next, I tried to tighten the set screw that anchors the pilot’s control stick grip, but ended up cracking the wood in the grip a little bit.  I flexed open the crack and filled it with epoxy before clamping it.  I also drilled a small hole where the set screw sits so that the set screw will screw into a hole instead of just applying pressure to the stick.  This should be a much more secure way to attach the grip and it can never loosen.

I also reattached the aileron boots.  I still need to apply the foam tape where the narrow end attaches to the push rod so that I can zip-tie that end.

Control Stick Grips and Wing Skin Screws

With the epoxy cured in the grip, I reinstalled them and tightened the set screws down.  The grips are rock solid now and don’t move at all.

Next, I installed the screws that tie the fuselage center section to the lower wing skin.  I had waited to do this until some shorter screws showed up.  Van’s uses -8 screws all over the airplane when shorter screws are sufficiently long.  I’ve tried to use shorter ones where I can to save weight.

Elevator and Aileron Pushrods

I’ve spent a bunch of time adjusting the elevator pushrods over the last couple of nights to eliminate some interference between the aileron pushrod and the ring supporting the boot that keeps cold air from coming in around the aileron pushrod.  With that done, I was finally able to install the elevator servo stop.  This fits around the elevator servo arm and prevents the arm from going over center and jamming the elevator.

With the interference eliminated, I could finally finish installing the aileron pushrod boots.  Without this, huge amounts of cold air will leak into the area under the seats and come up into the cabin around the control sticks and other small gaps.

Finalized Aileron Deflection and Canopy Sealing

I tried the modified tool and it works pretty well.  I’m going to do a little more adjustment on it so that it doesn’t hit the steel bracket and clears the universal rivet heads.

I wasn’t quite getting the aileron throw I wanted, so I switched to the smaller bushing I had.

Adjusting the aileron bolt required dropping the flaps.  I could almost remove the rod end that screws into the flap, but the pushrod hit the edge of the hole just before the bolt could slip out.  I sanded the hole a little bit larger, but kept it inside the black line I drew that showed where the flap overlap sits.  This covers the hole when the flaps are up.

In preparation for installing the weatherstripping that will seal the forward edge of the canopy, I fabricated a couple of strips to span the gap in the flange.  This way I can have a continuous strip of the weatherstripping across the entire edge.

Afterward, I used some Sikaflex to seal up all of the gaps.

Sealing around the canopy hinge is the most tricky, but I think this will do a pretty good job.

Miscellaneous Tasks

No pictures tonight, but I spent a few hours at the hangar knocking various tasks off of the to-do list.  First, I trimmed the excess sealant around the leading edge of the canopy and put a little bit more where there were a couple of small holes  Next, I finished torquing the vent line fittings in the cabin and zip tied the fuel sender coax to it on the right side.

Weatherstripping, Avionics Cover and Brake Safety Wiring

In preparation for wrapping up the canopy and getting it reinstalled, I applied the weather stripping to the flange and trimmed it to fit.  I also recently received my avionics cover from Flightline Interiors, so I installed the supplied velcro and tested the fit.  It works great and should hopefully help me keep my avionics dry.

Next up, I started working through the list of issues that were found in the inspection yesterday.  I safety wired both brakes since I don’t think there is any reason to remove the wheels now before first flight.  I also checked the two bolts identified yesterday as having too many threads showing, and they’re both fine.

New Fuel Pump, Wingtip Lights and Canopy Fairing

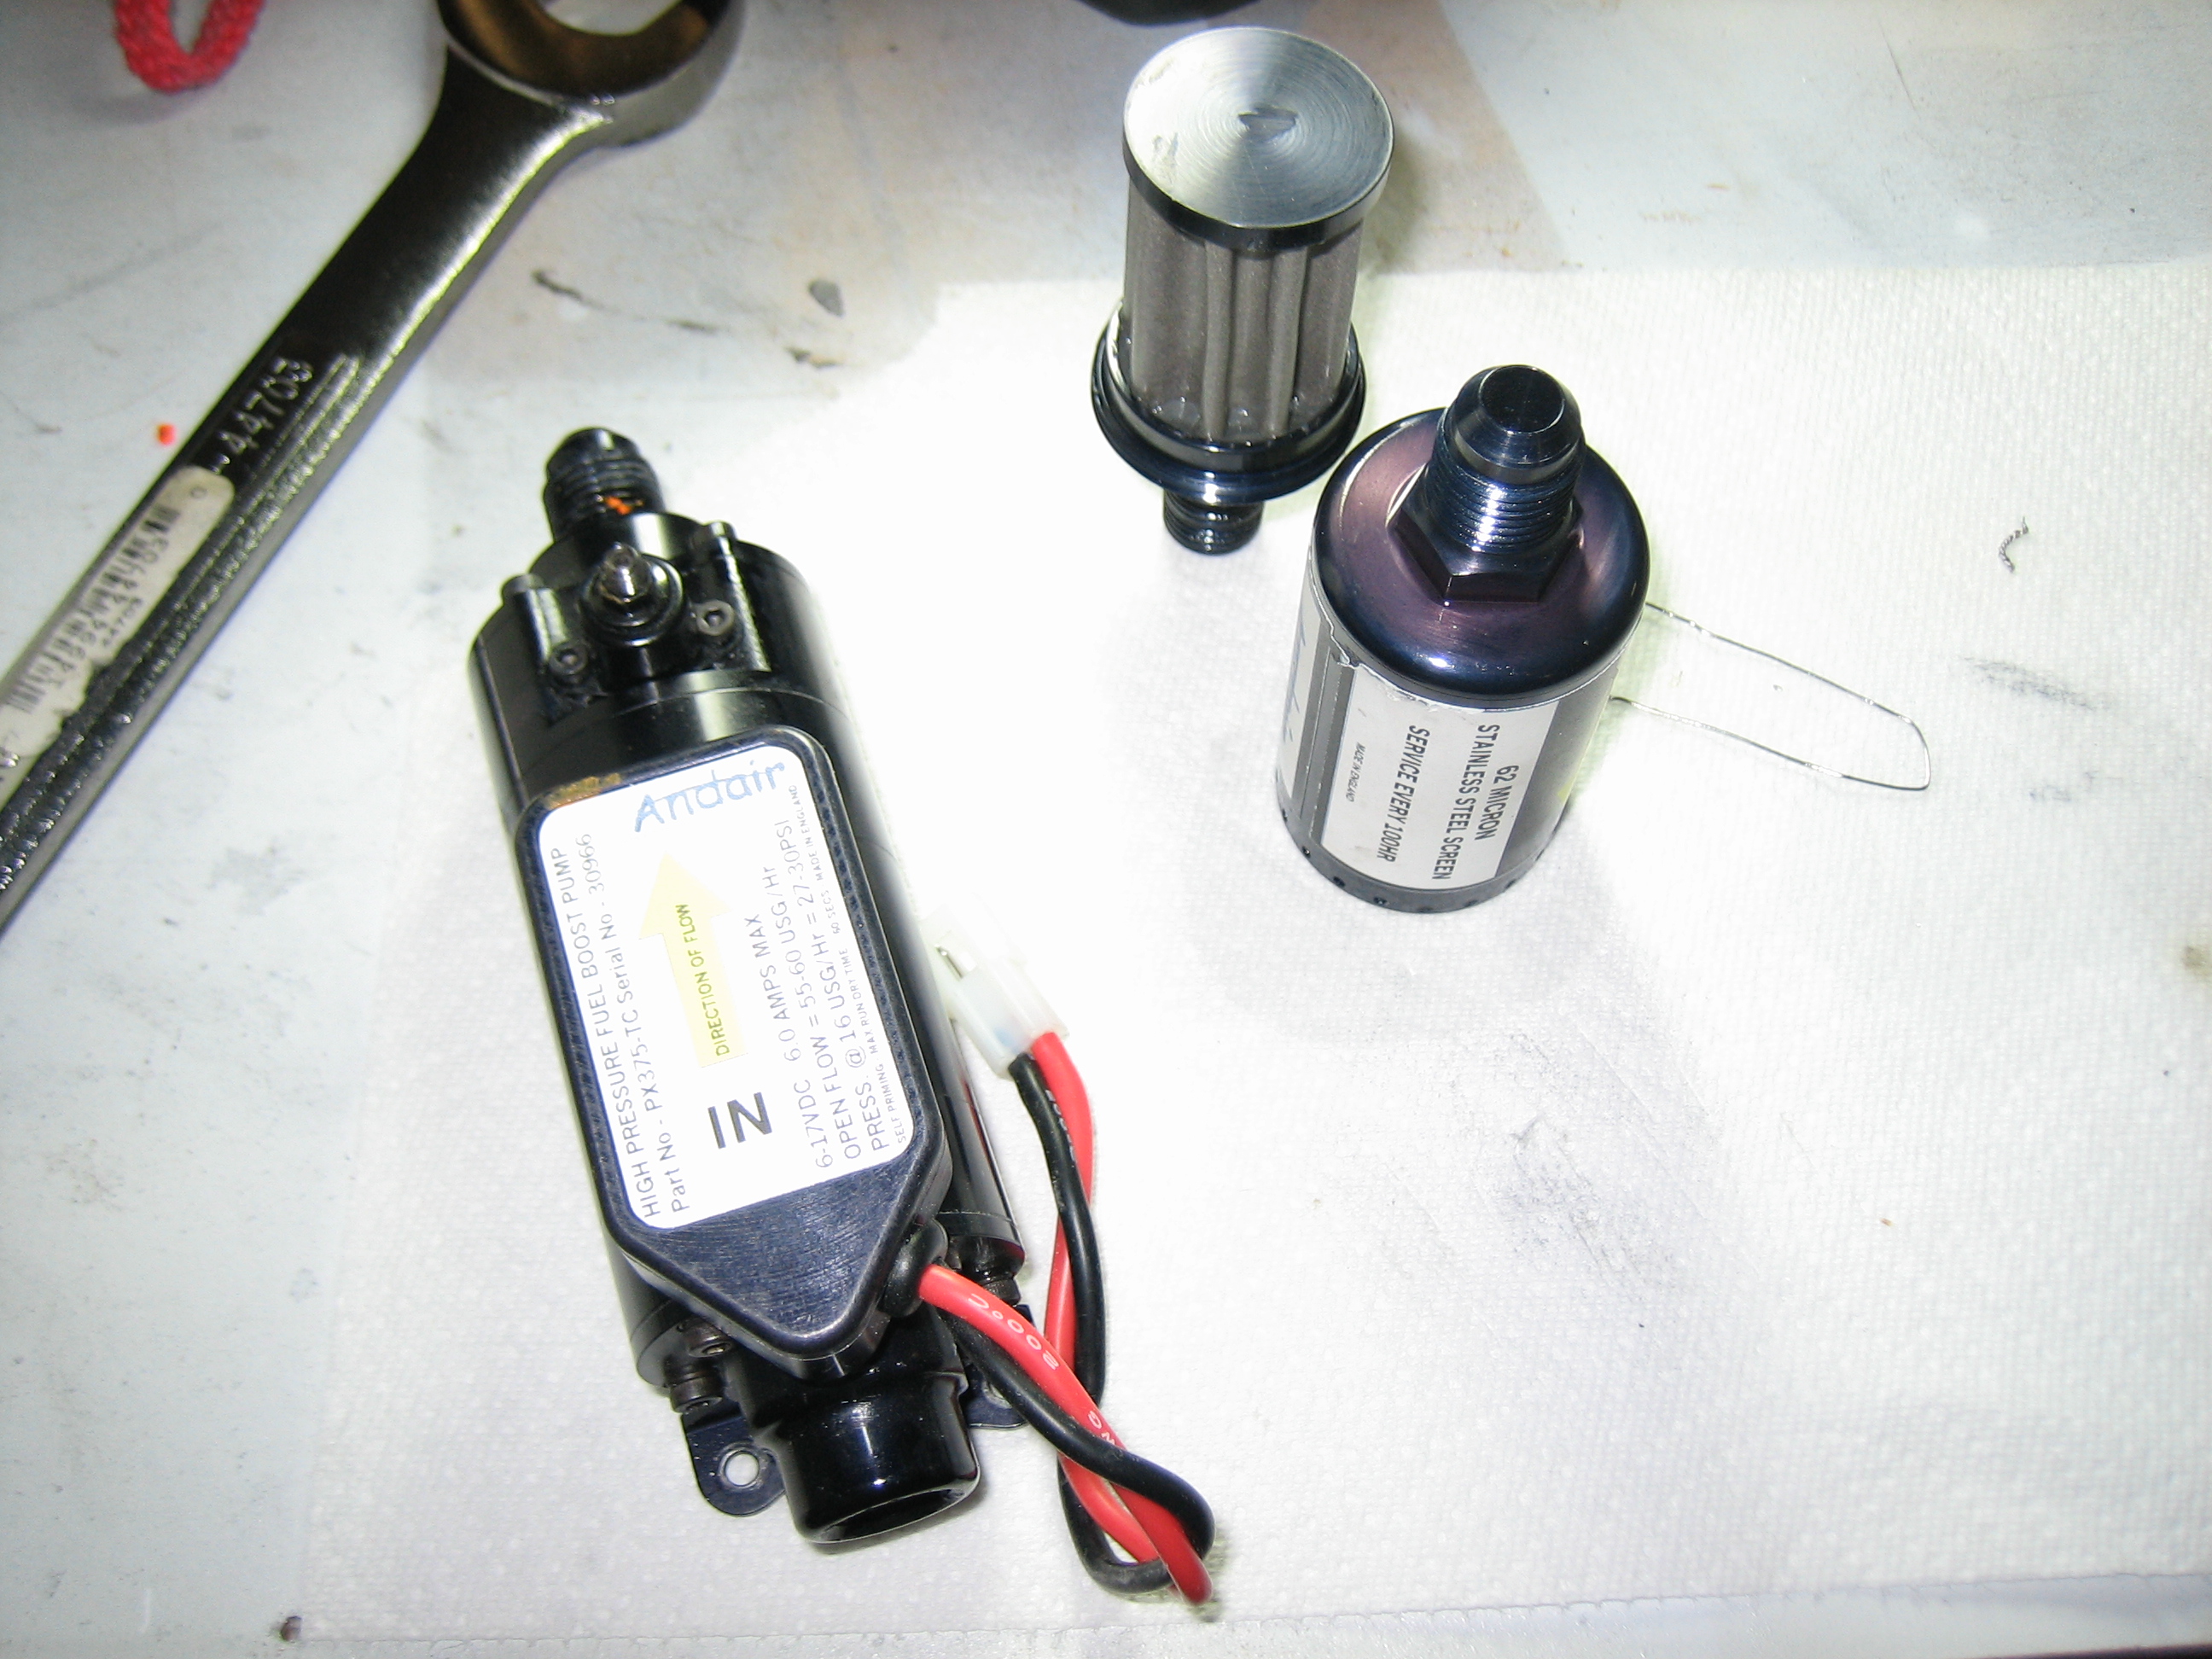
I got my replacement fuel pump from Andair, so I ran down to the hangar tonight to install it.  I pulled the old pump out and removed the fuel filter.  Since I’ve pulled fuel from both tanks, I wanted to clean the filter to remove any debris that might have made its way into the tank or fuel lines during construction.

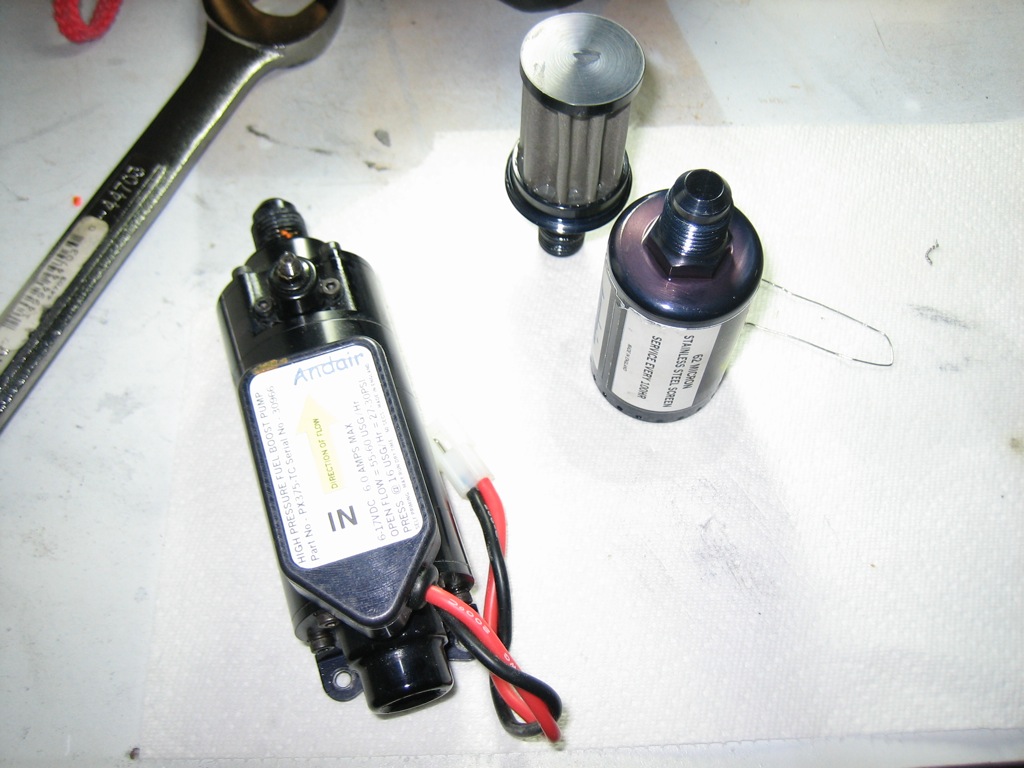
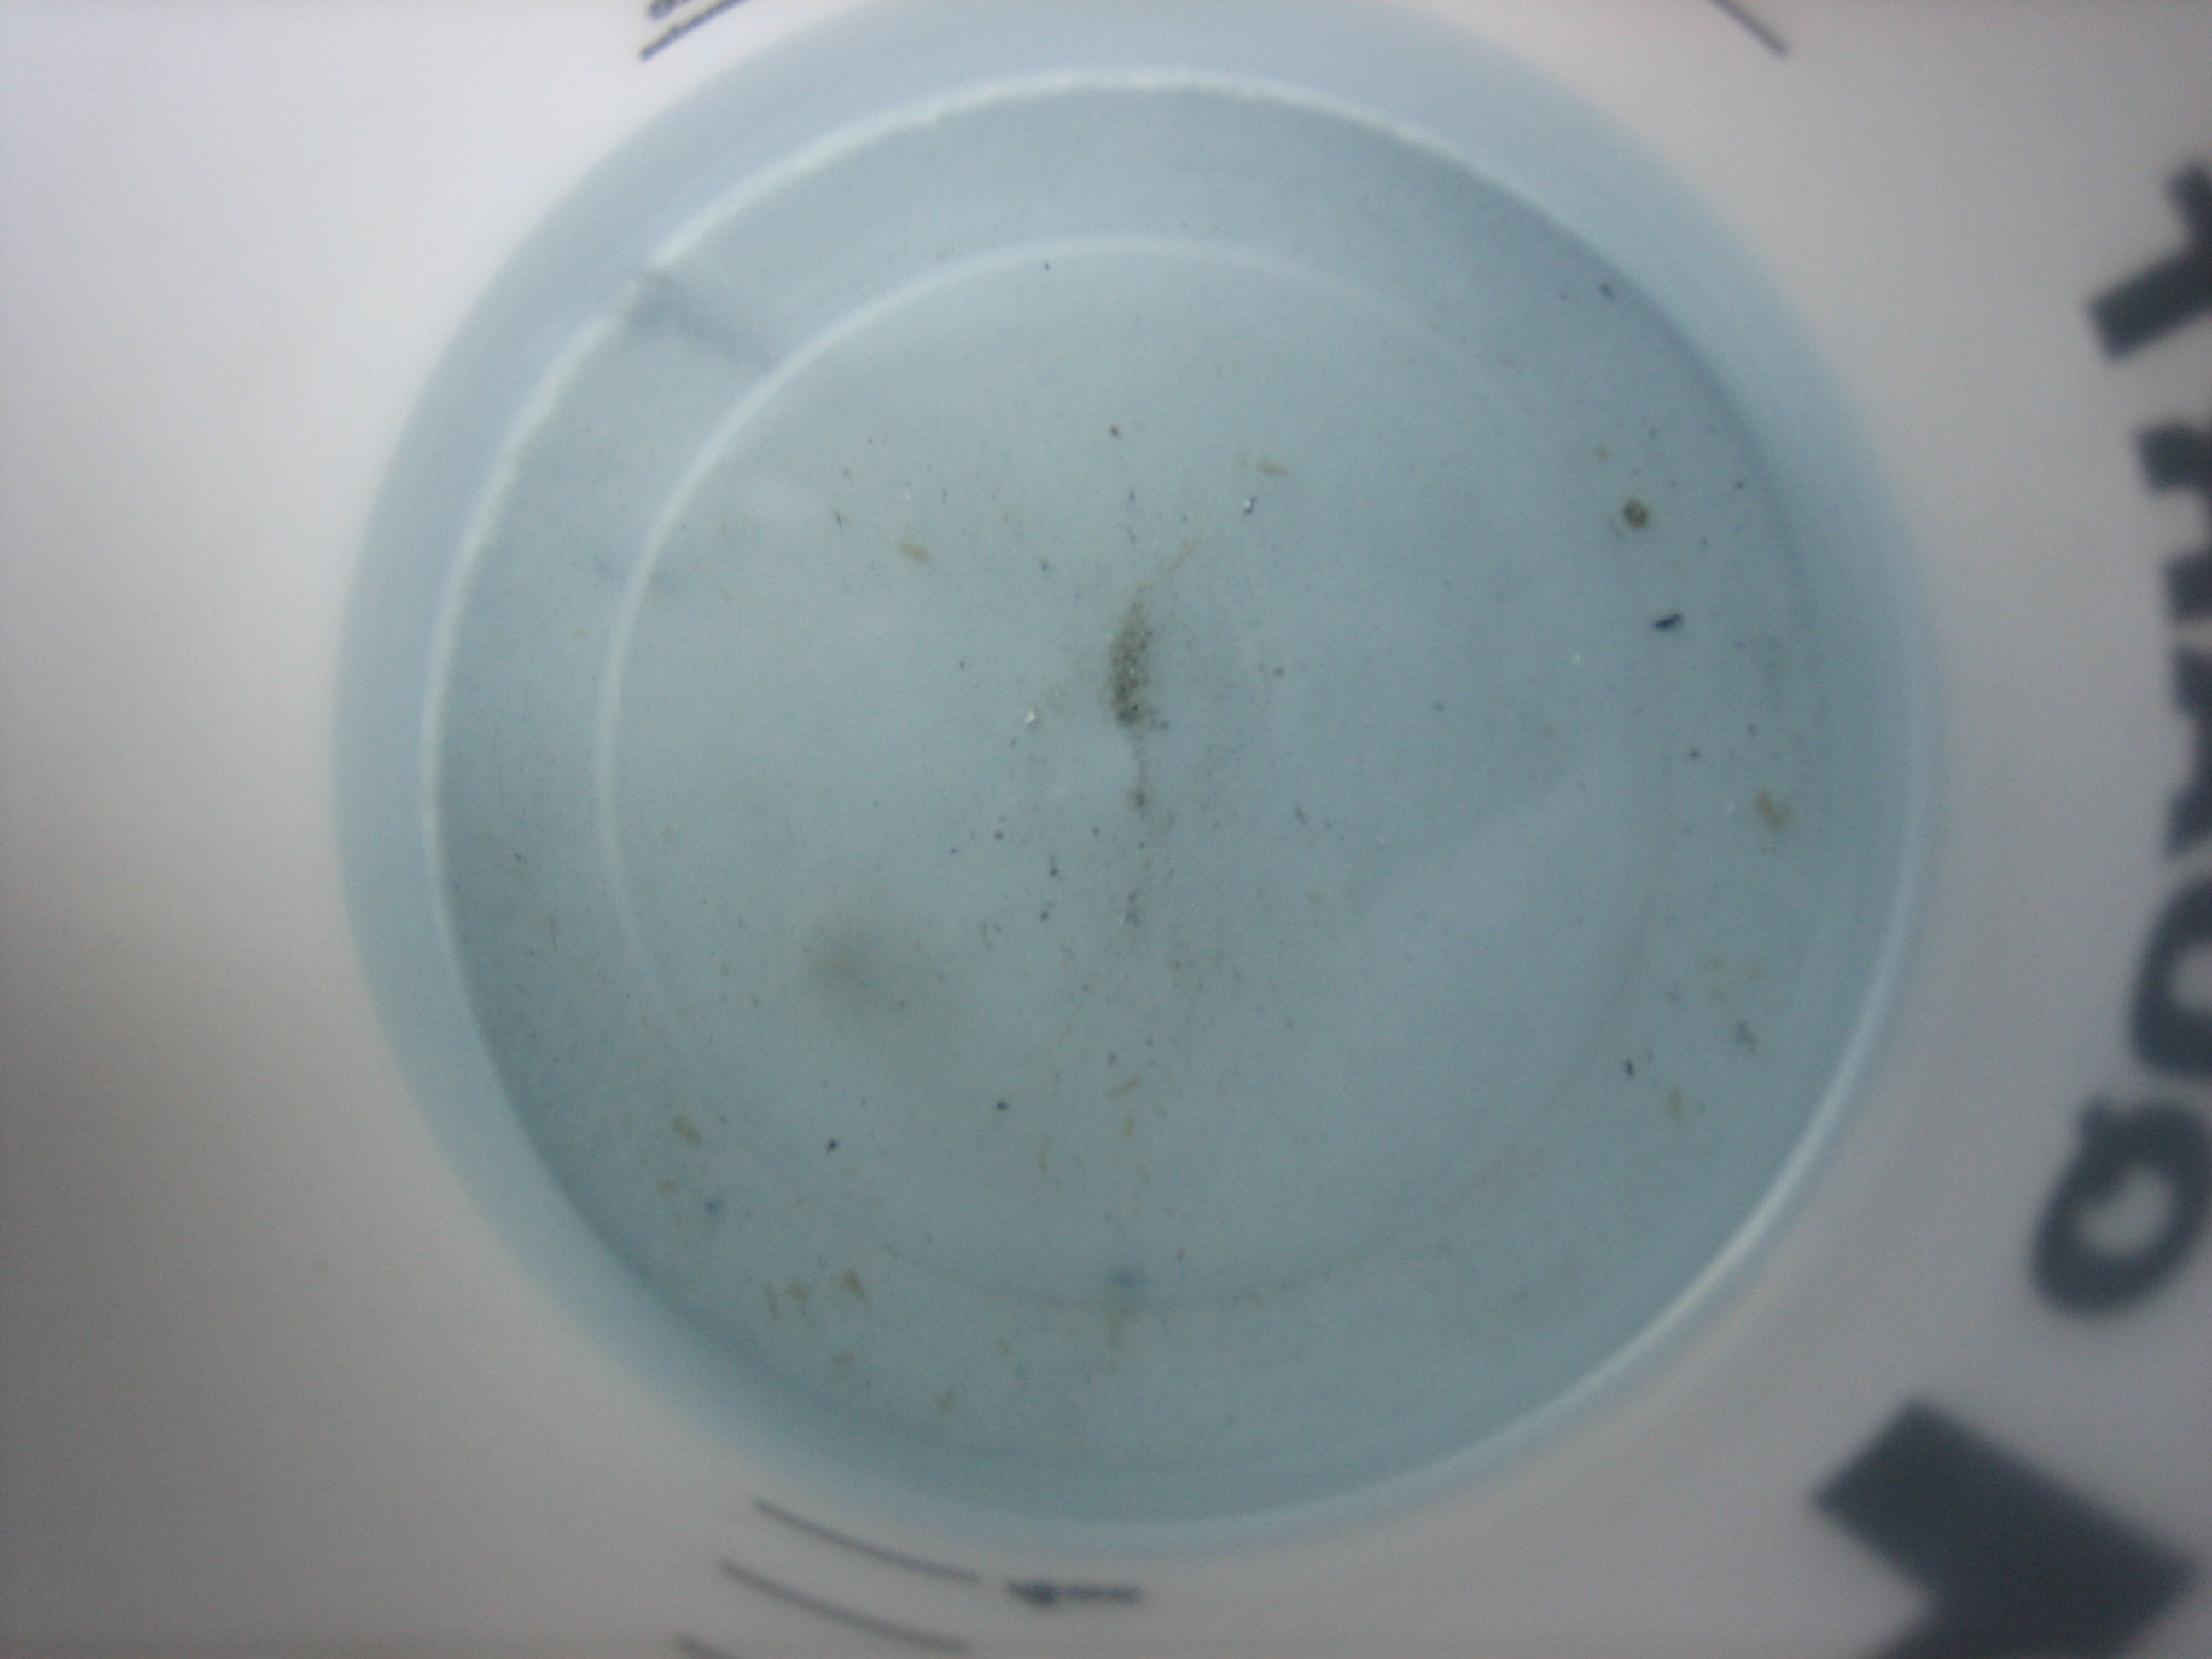
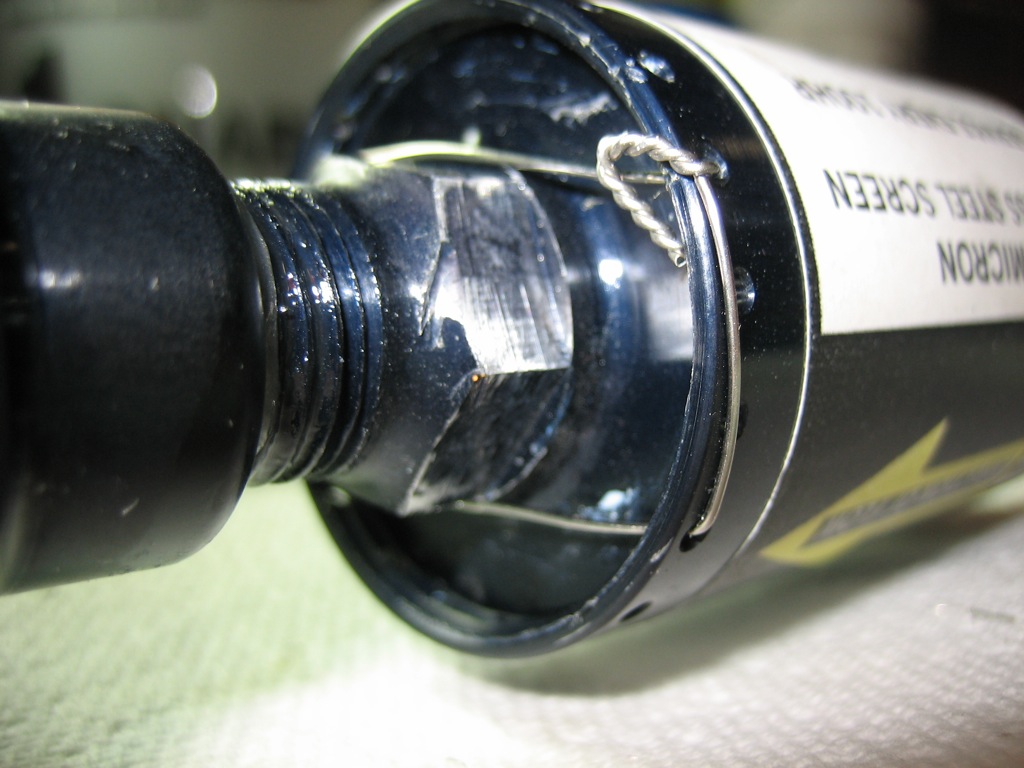
Despite my best efforts to keep the tanks clean and sealed and clean the fuel lines before installation, there was a surprising amount of junk in the fuel filter.  I rinsed everything in a few ounces of gasoline.  It looked like mostly dust and small sandy particles, but there were a couple of small metal particles mixed in.  It’s good to get all of this out of the fuel filter before the first flight.

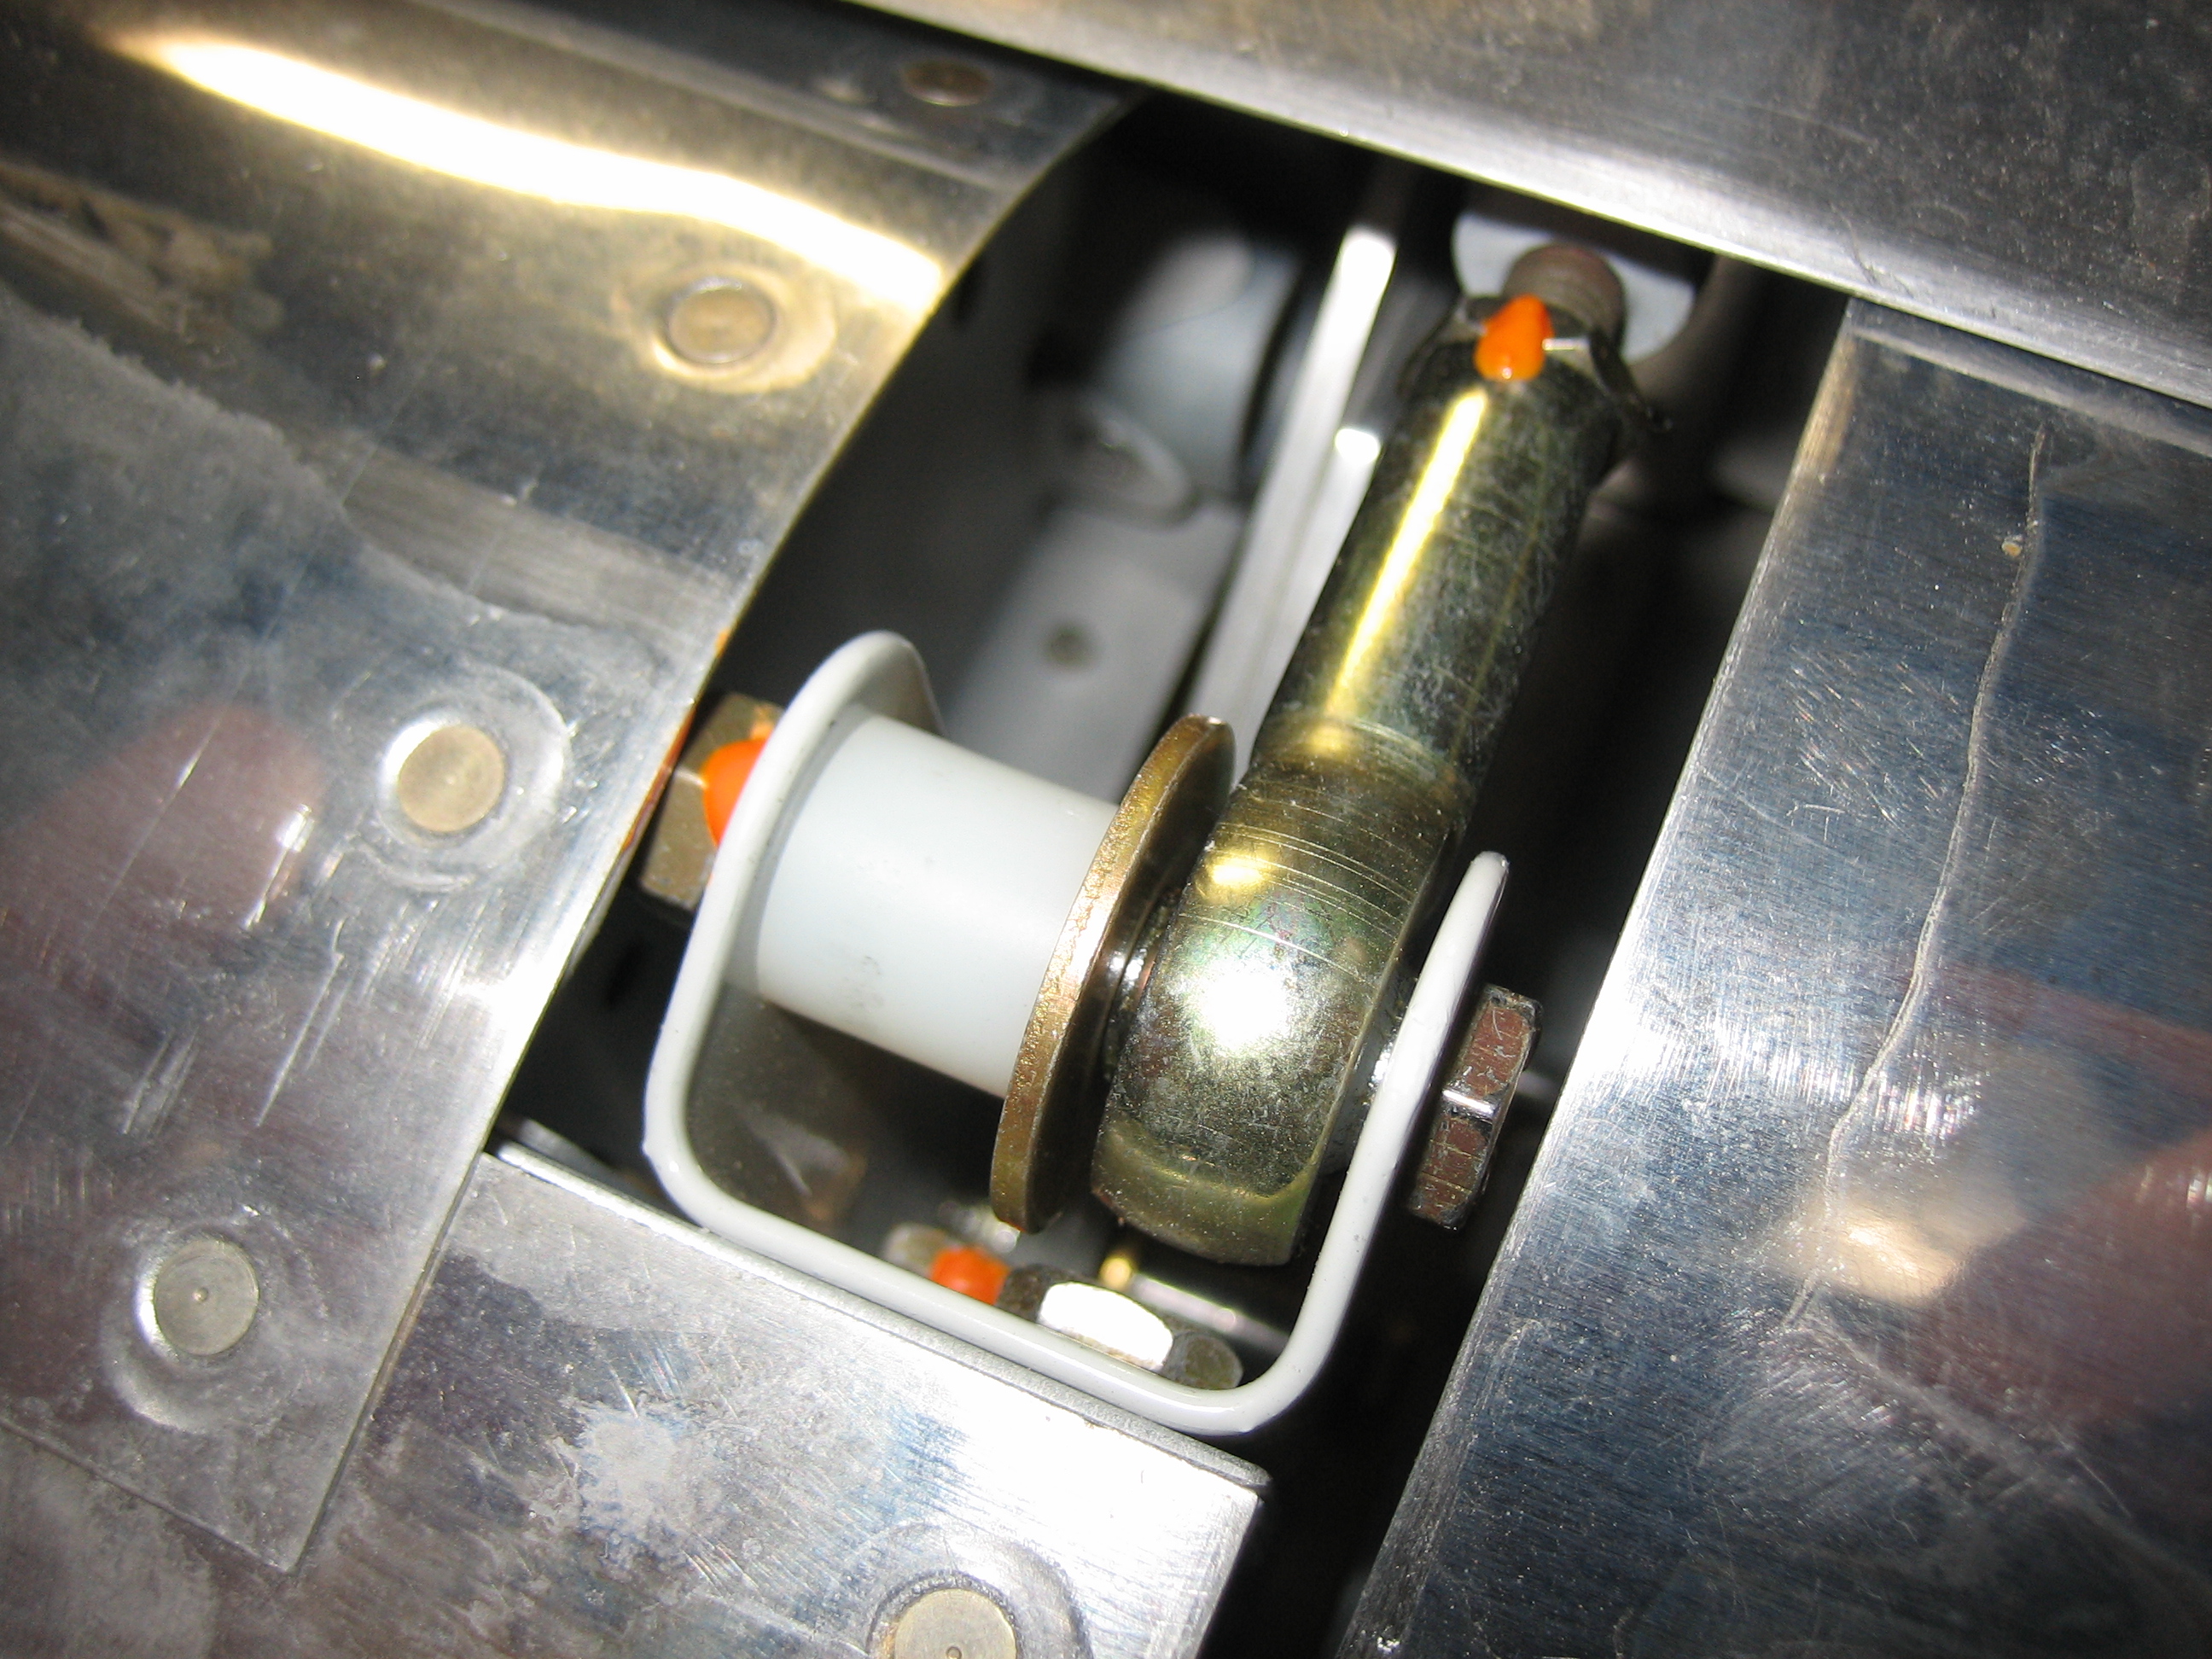
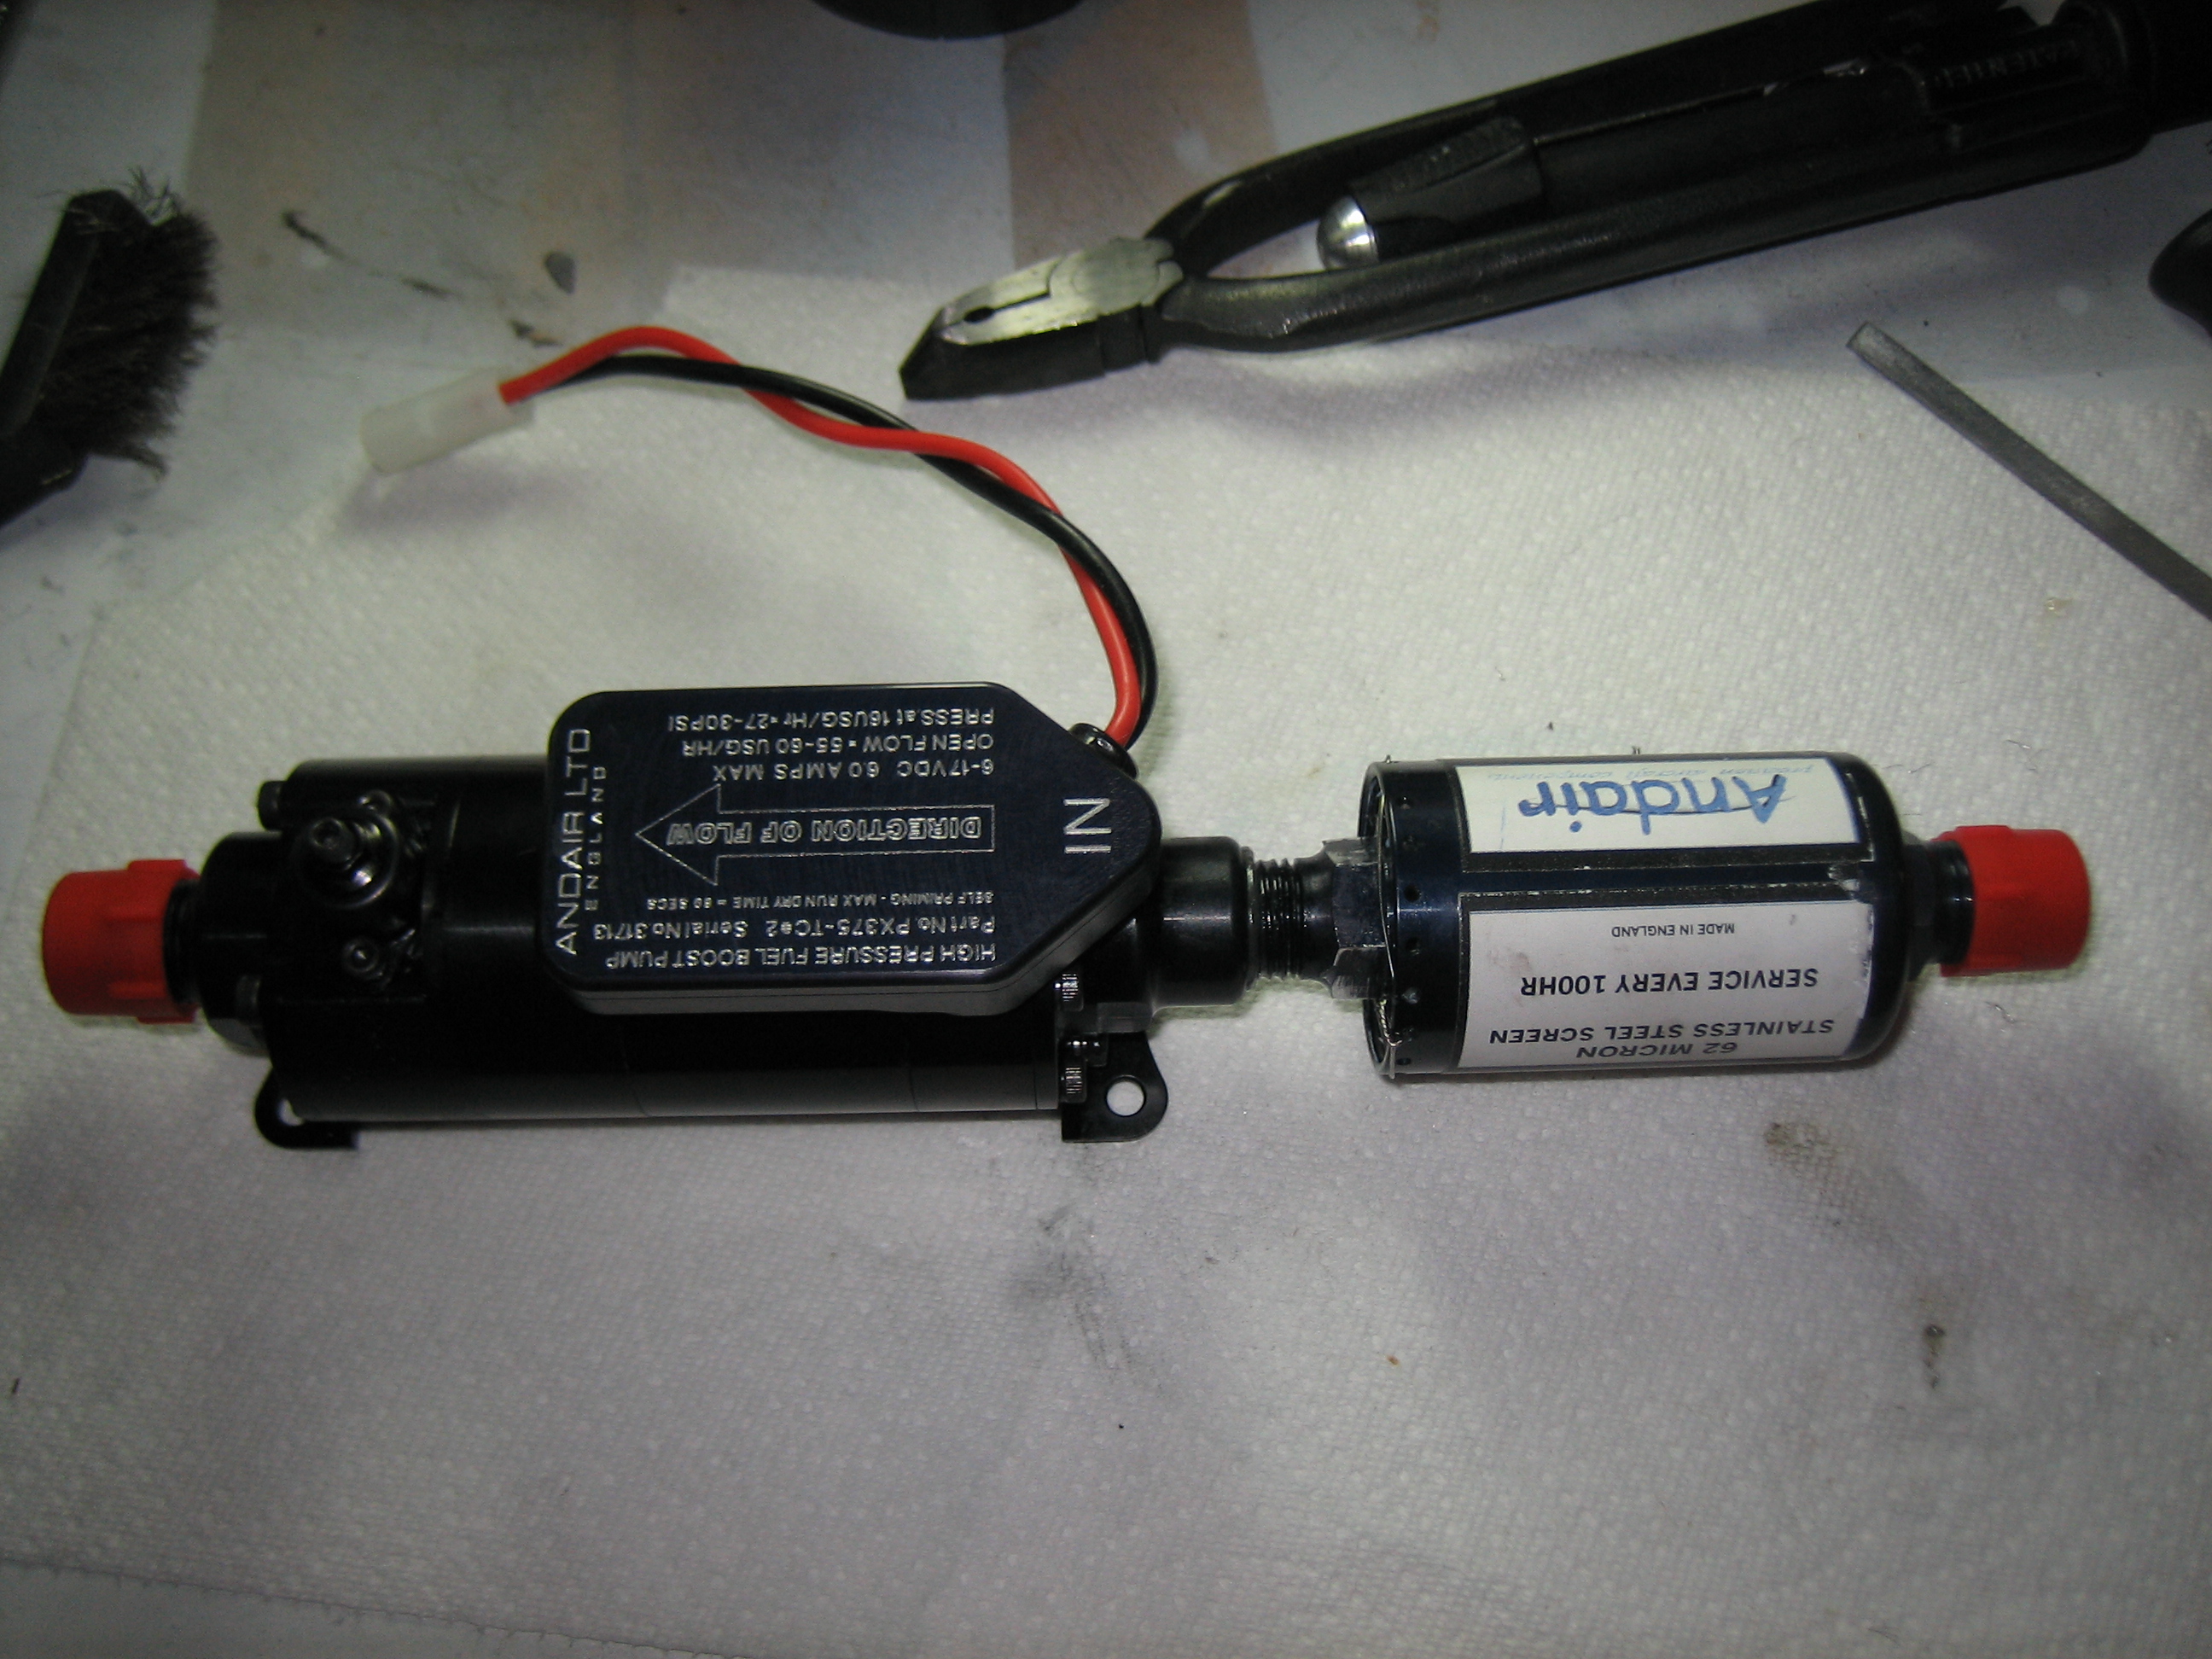
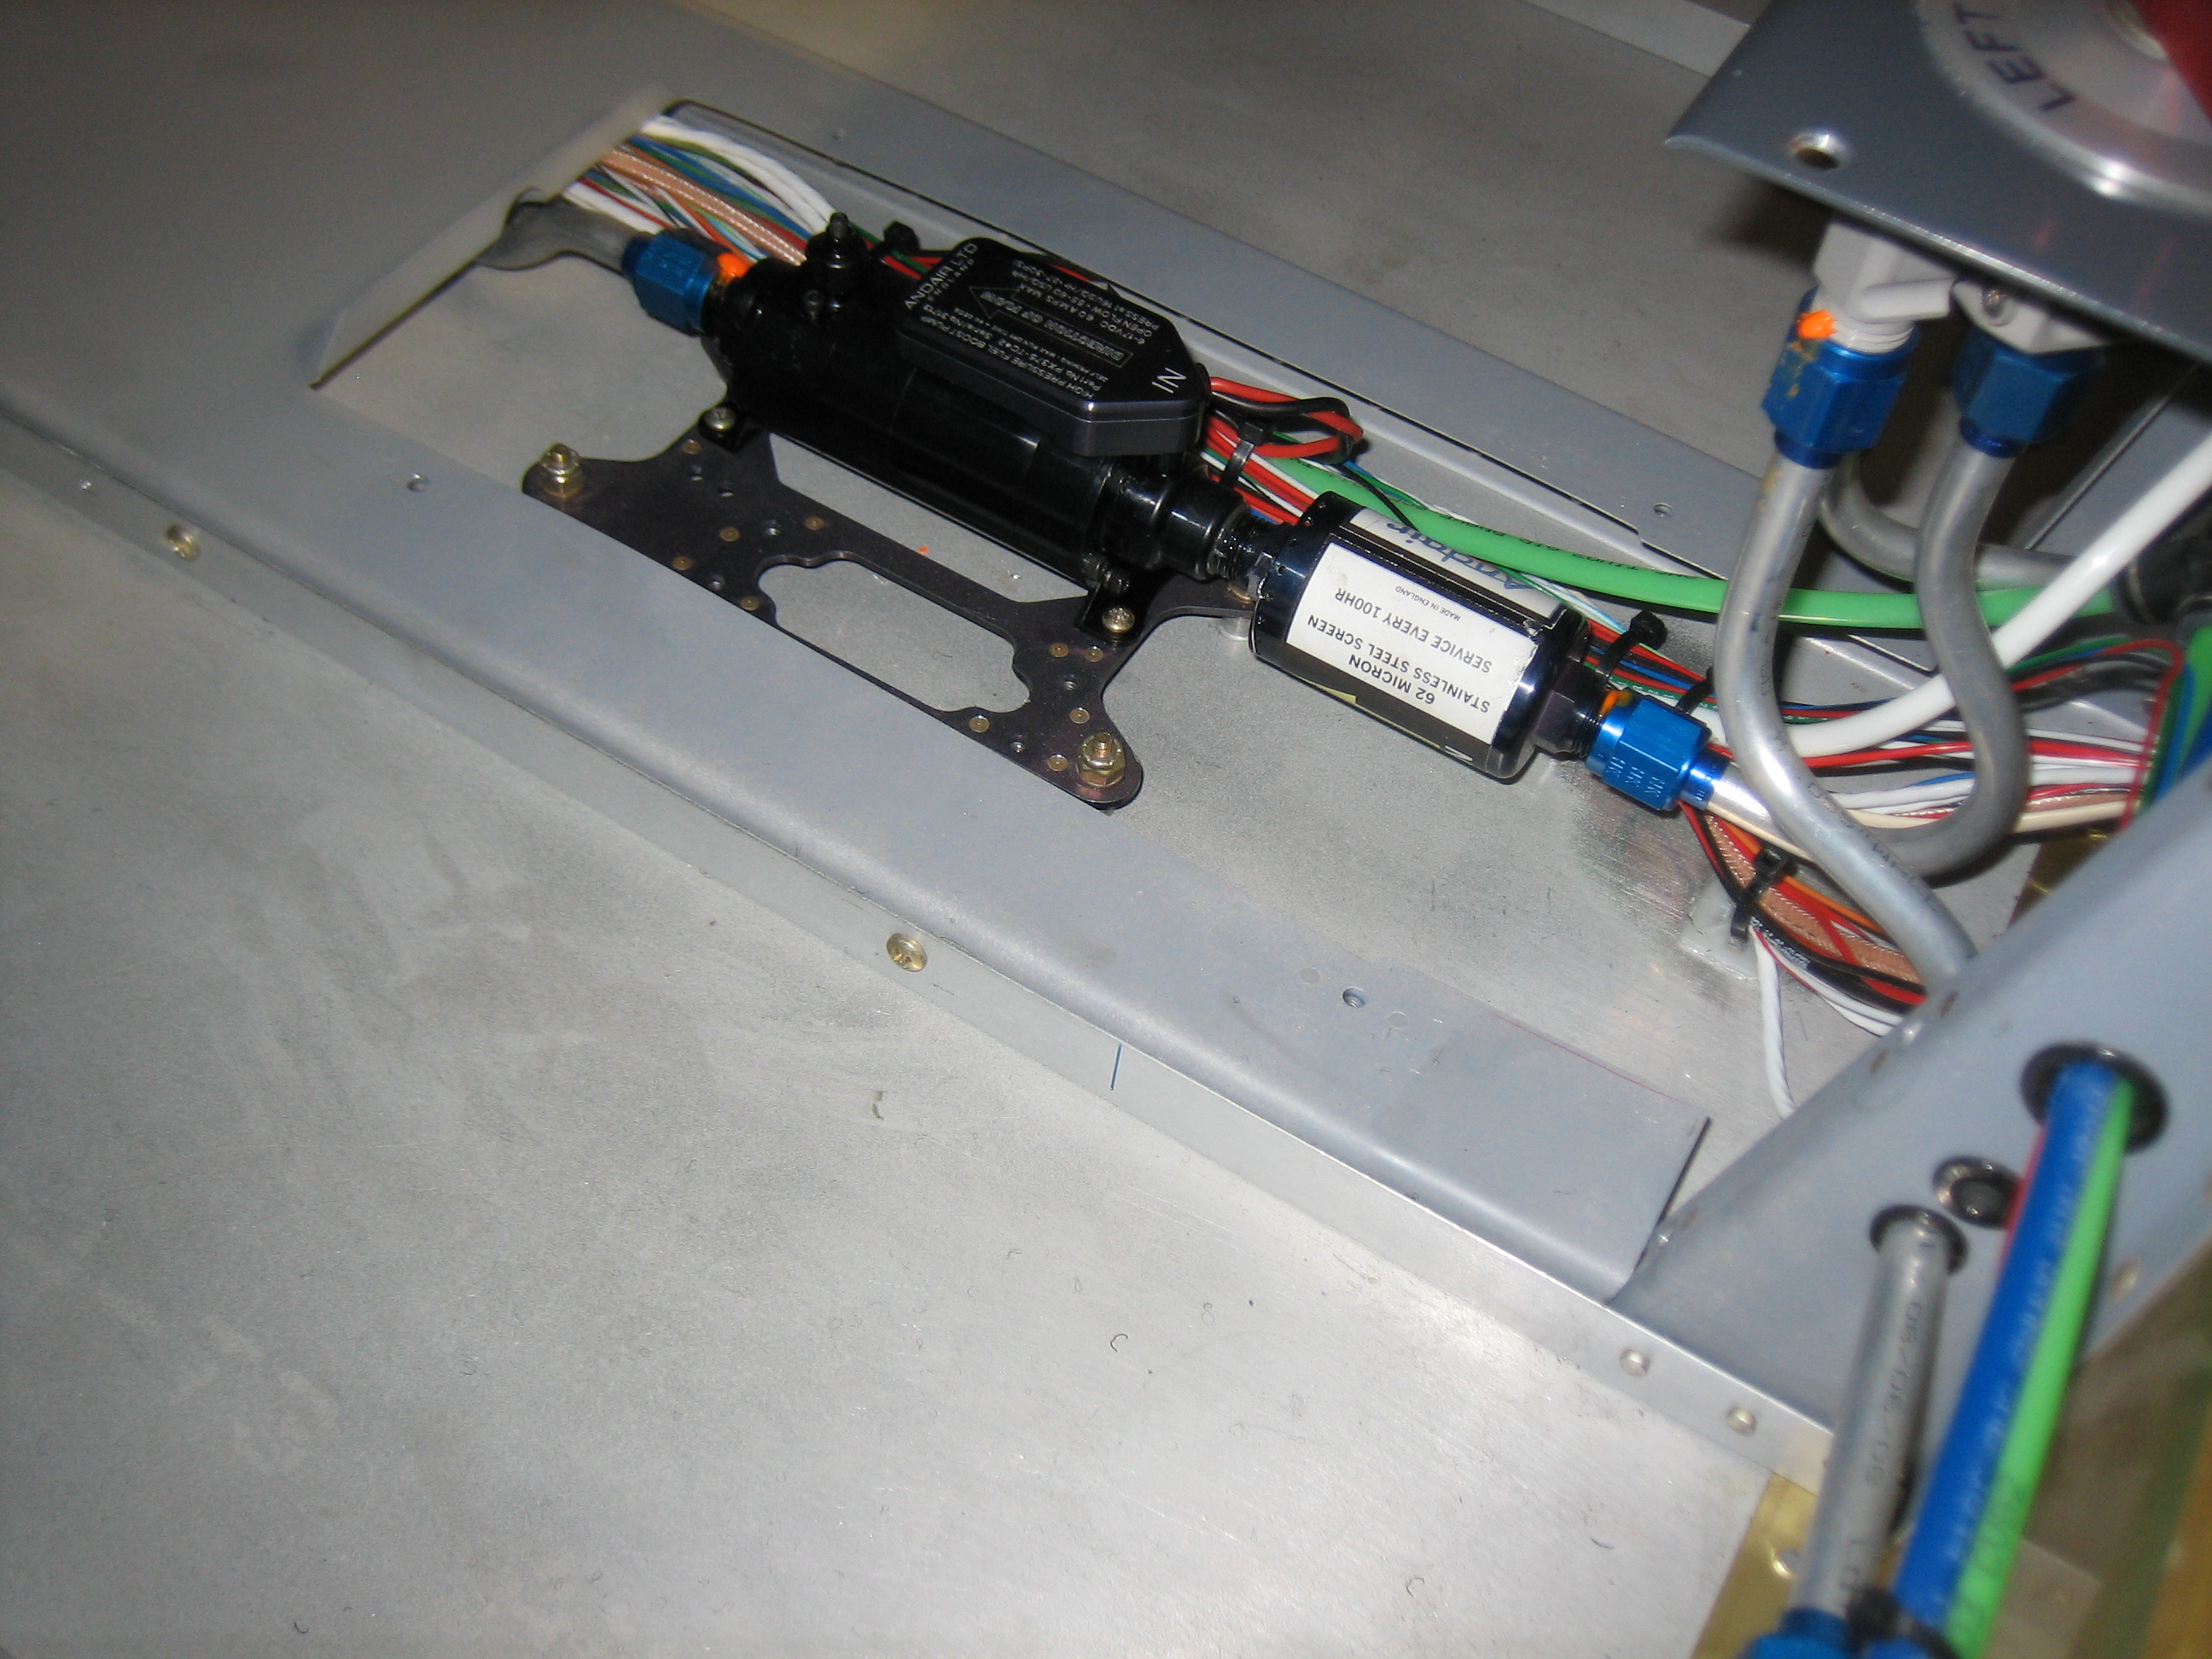
I lubricated the o-ring, safety wired the filter and reinstalled it on the pump.

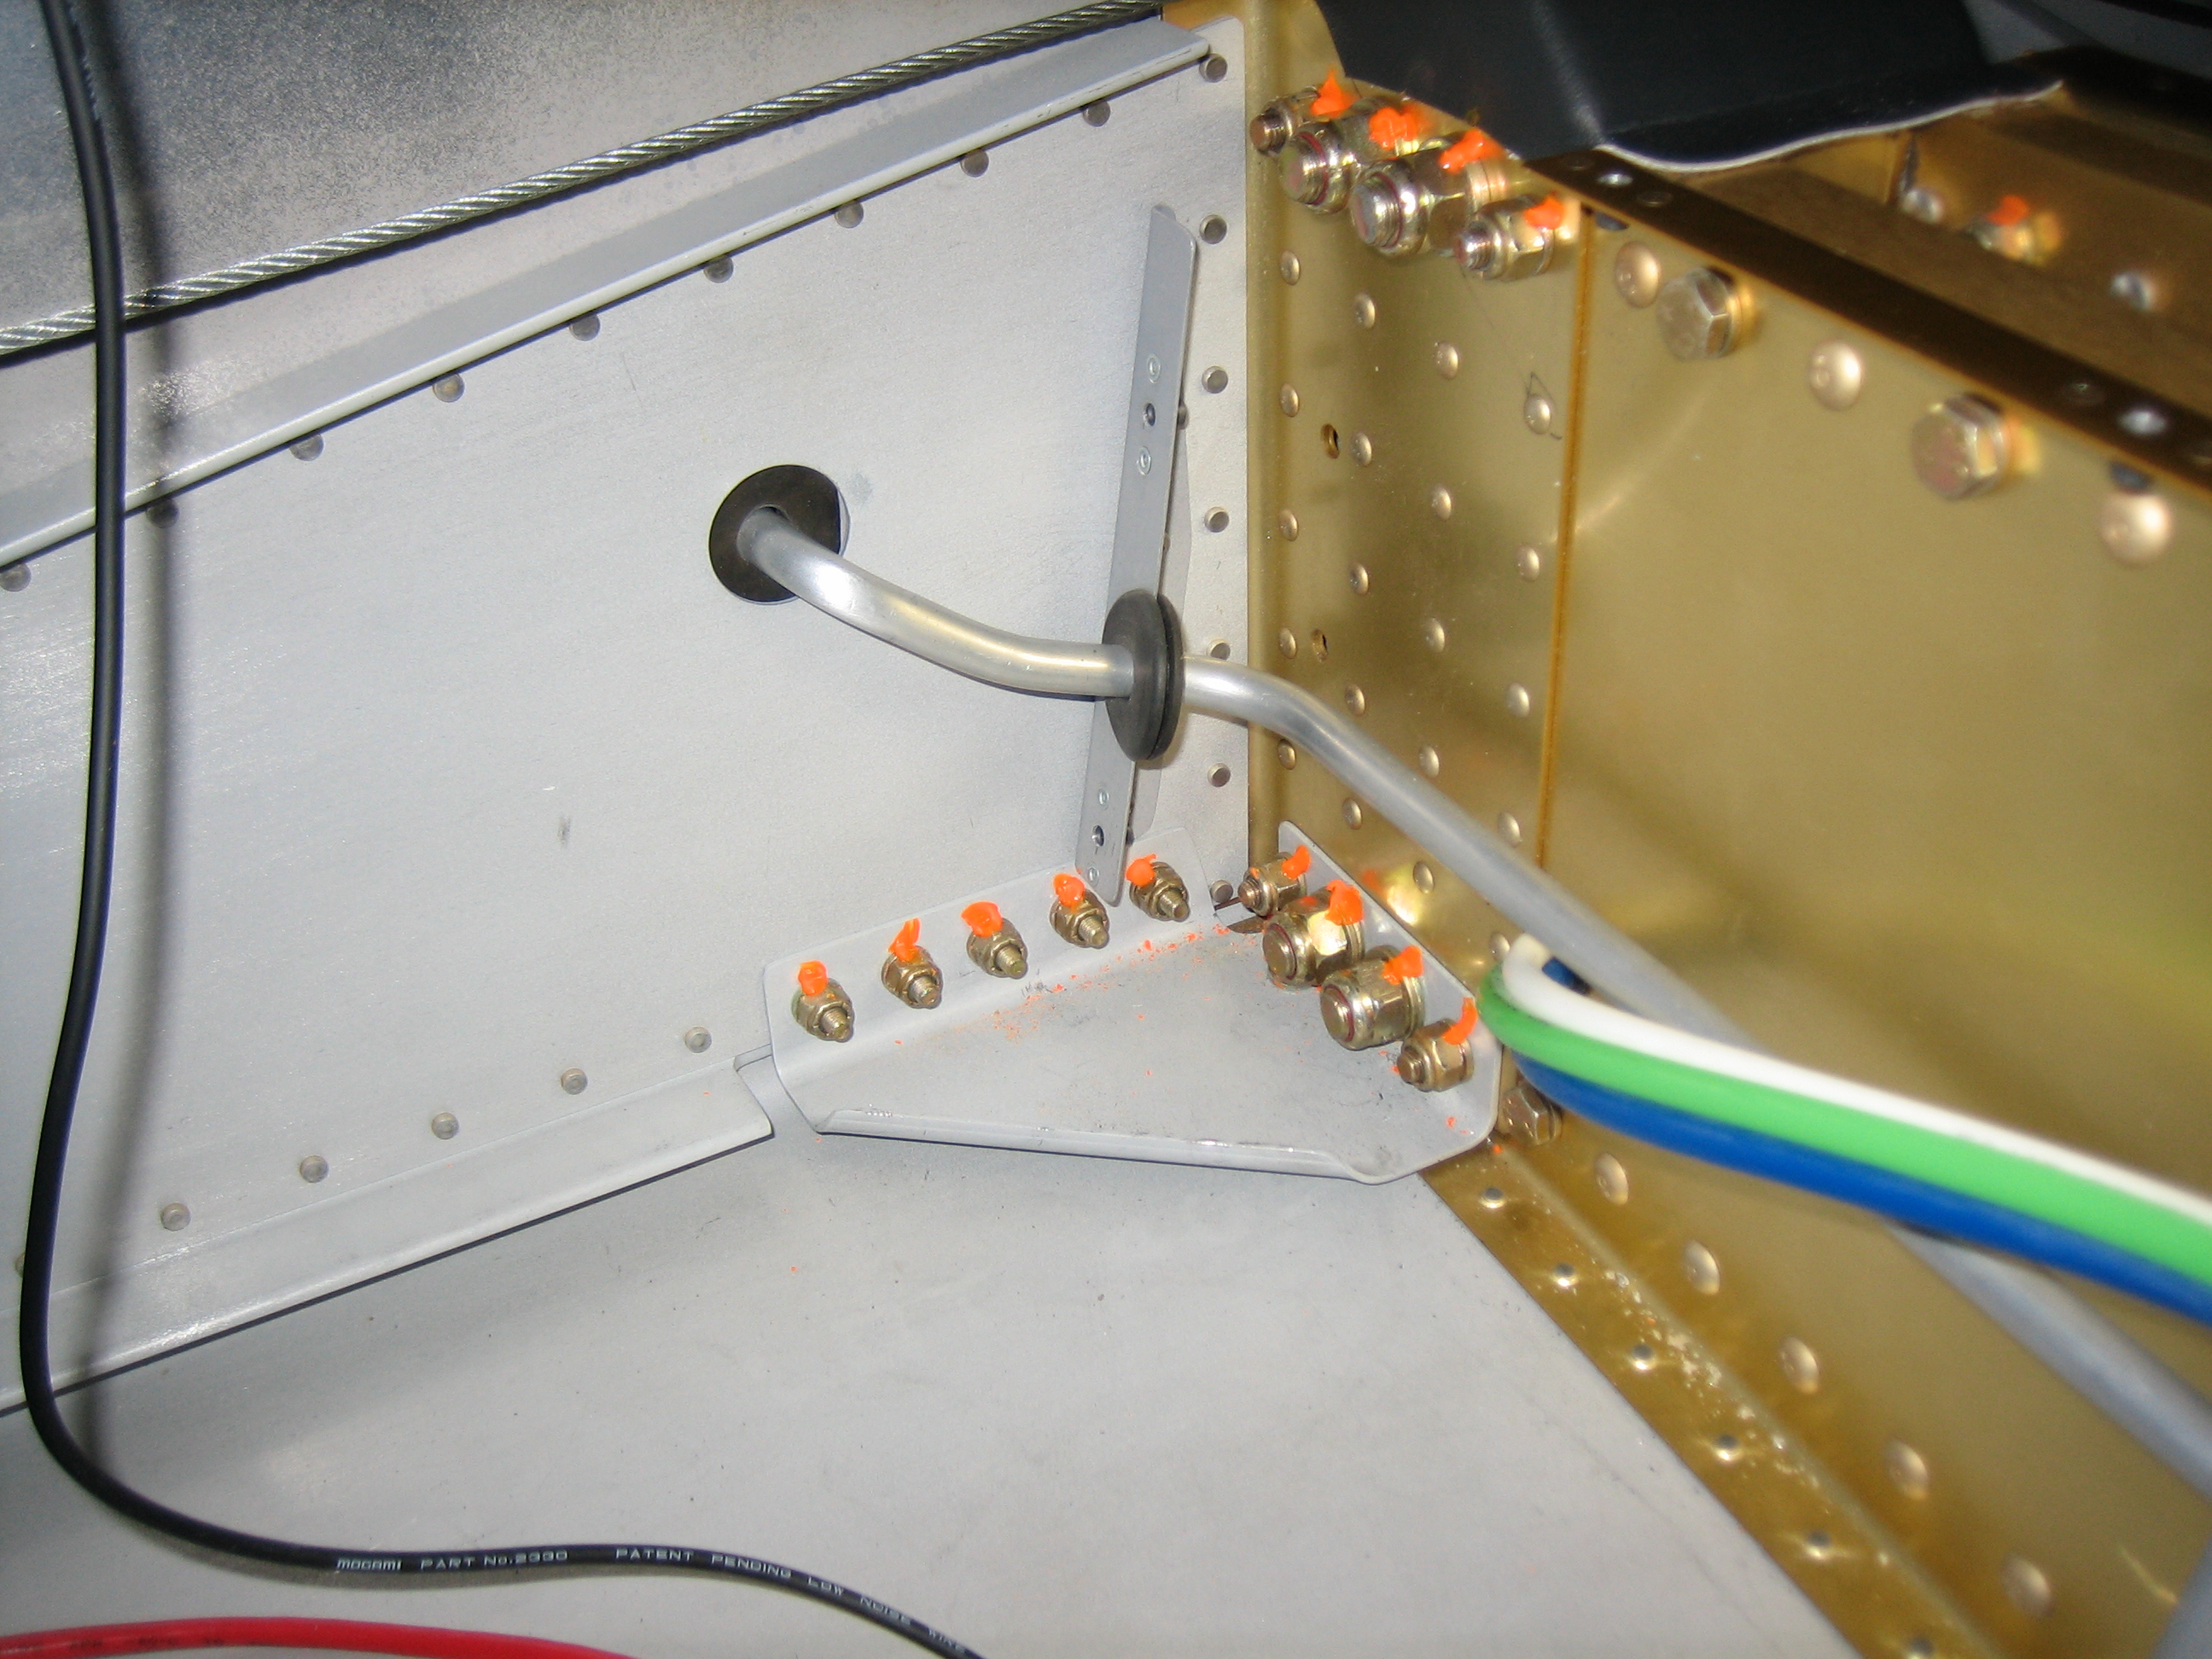
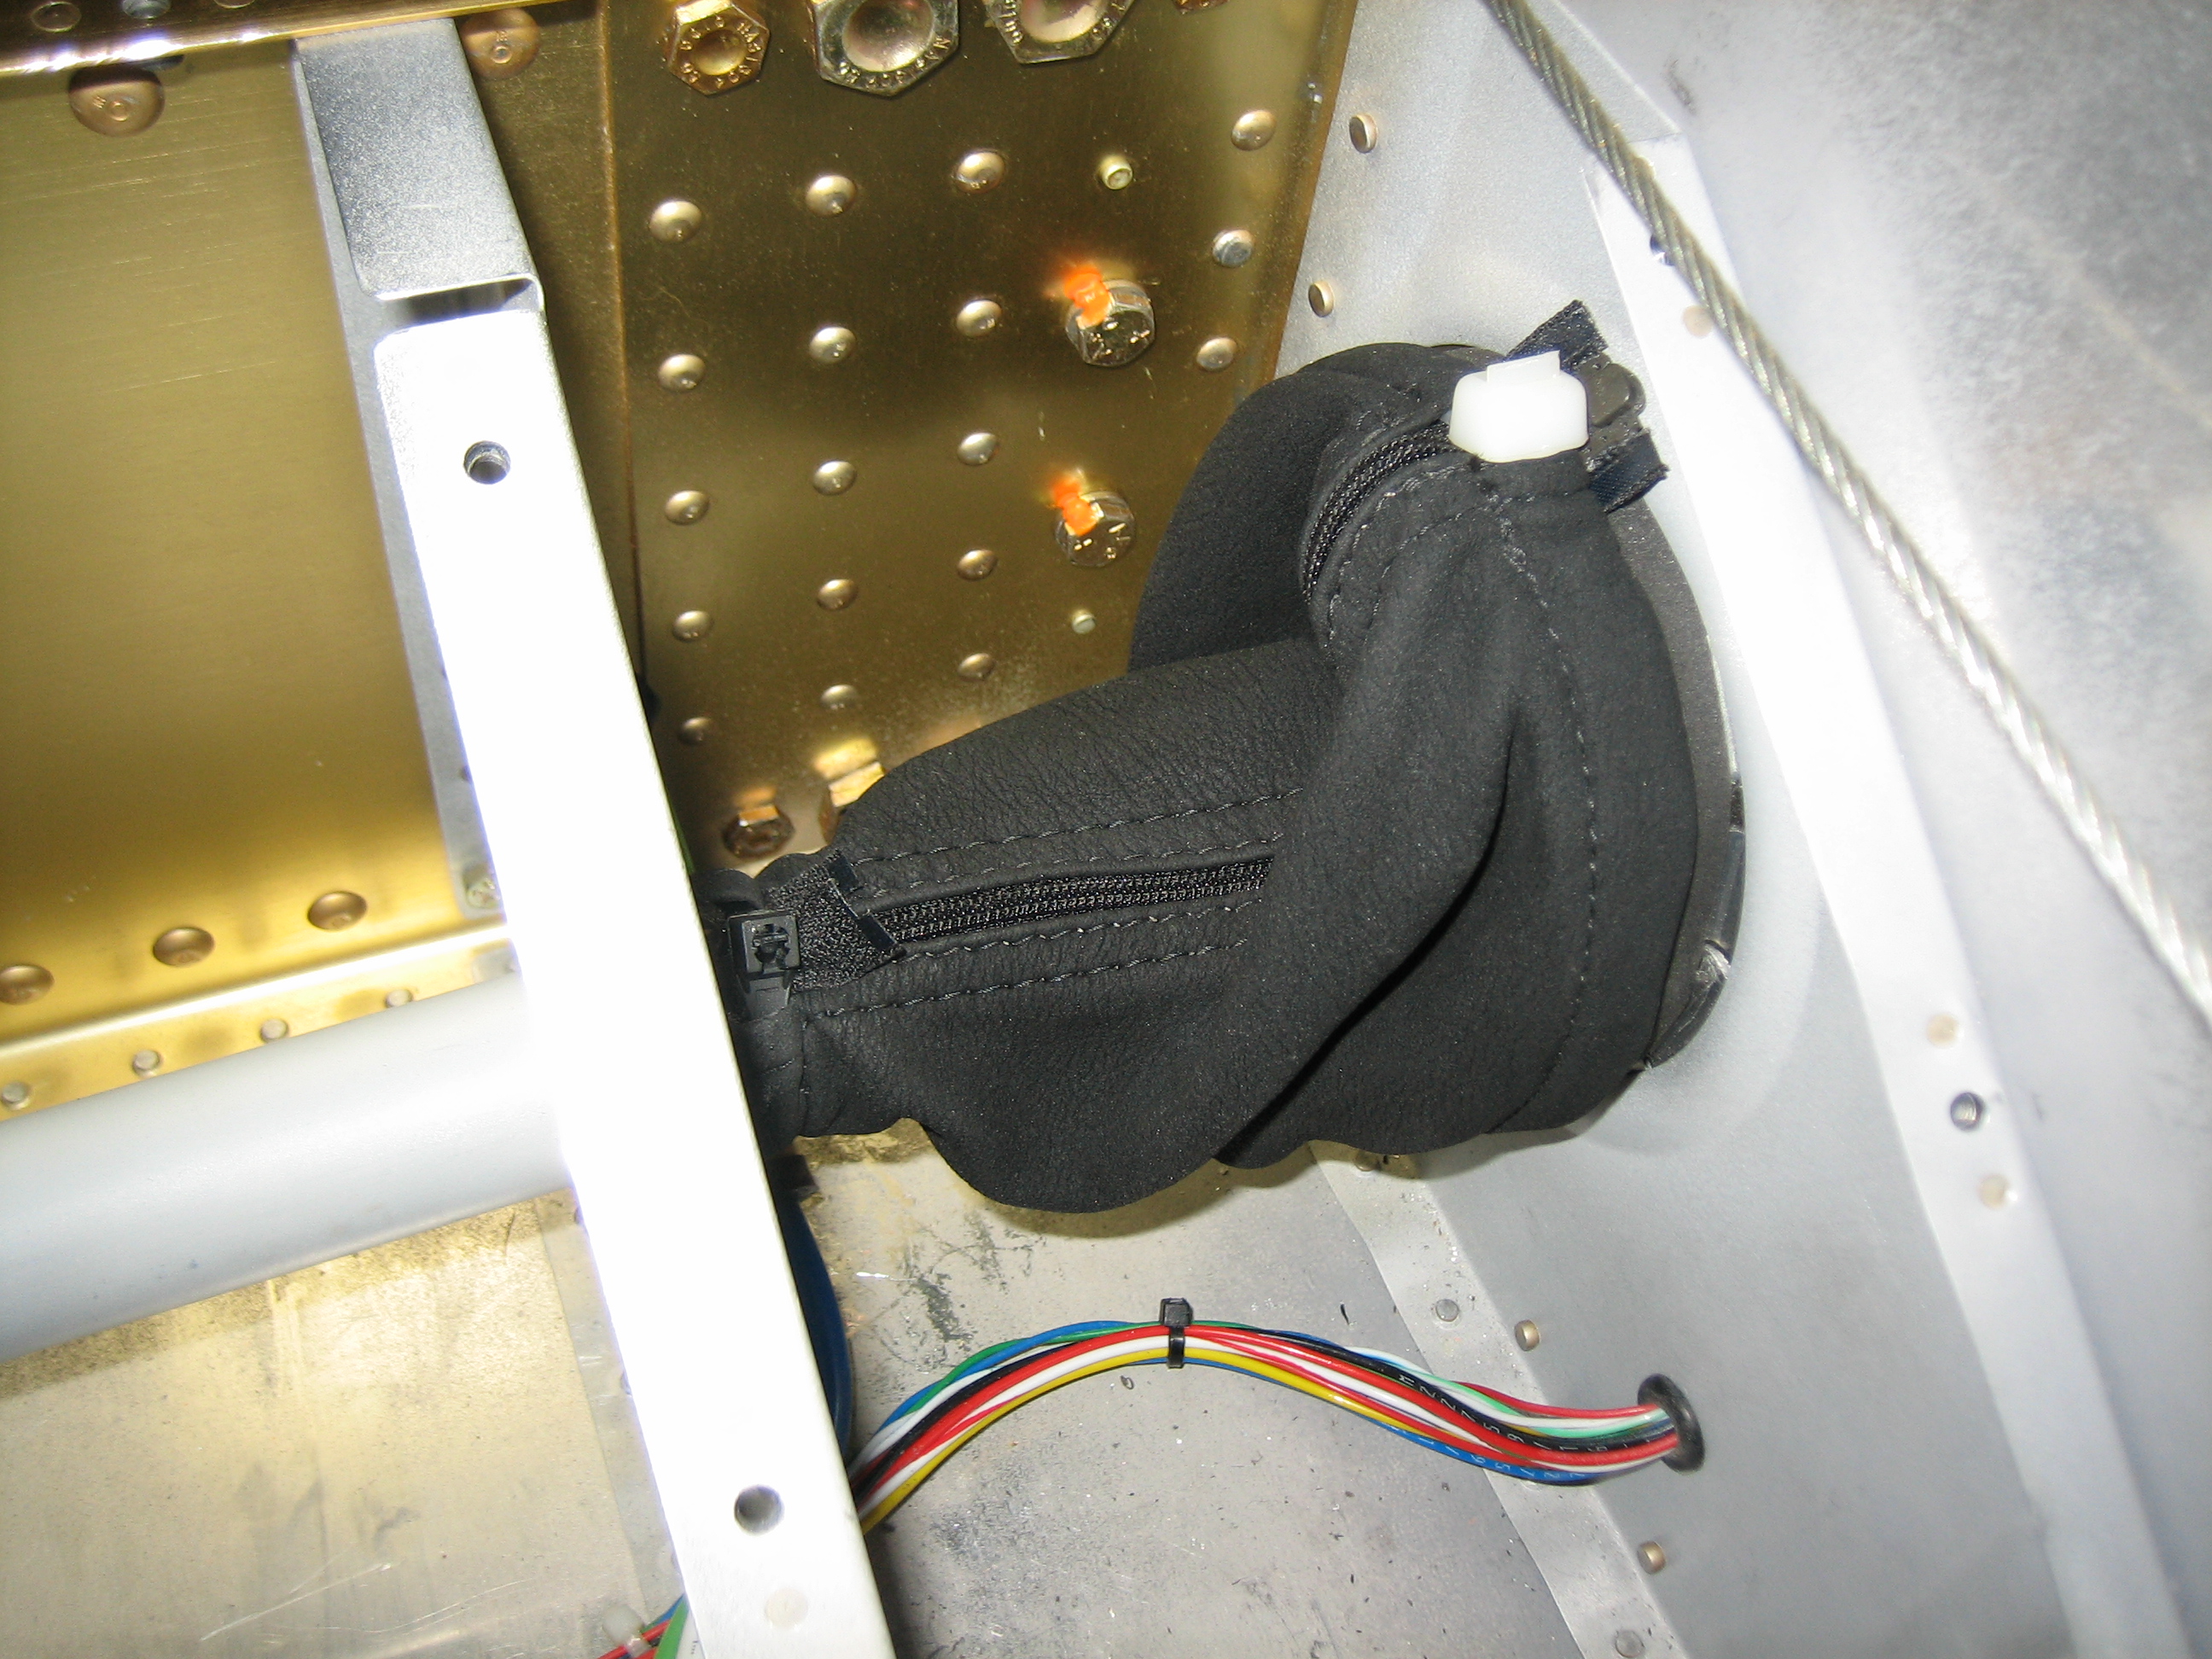
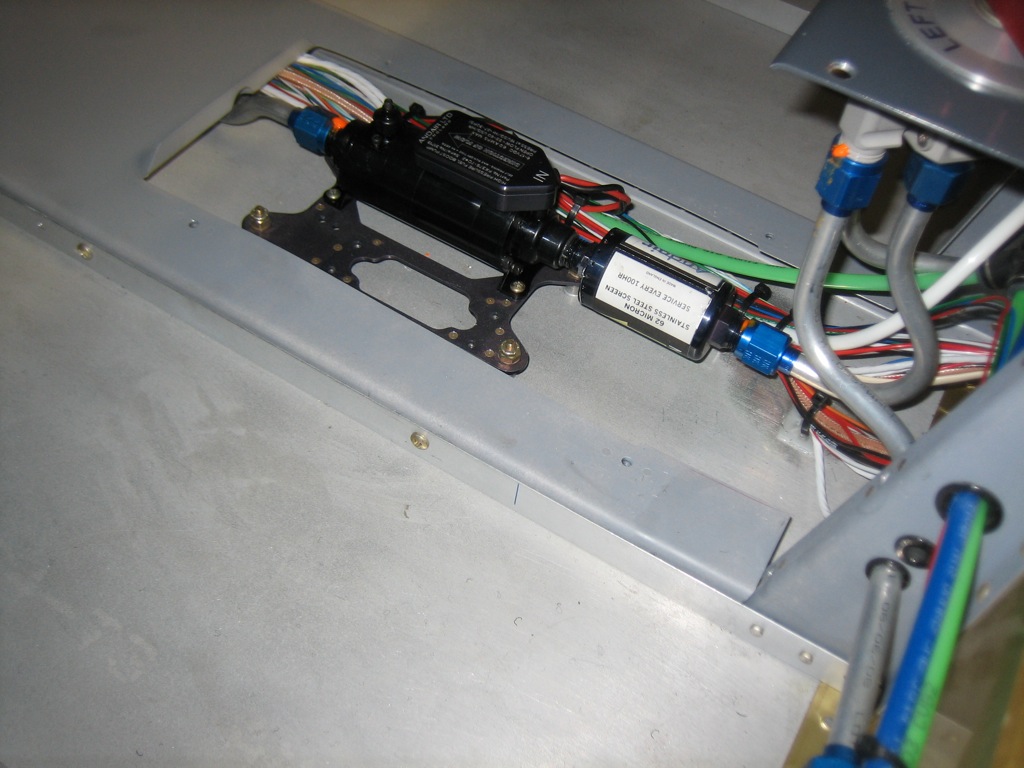
Here’s the completed pump assembly with wires cut to length and a molex connector installed.

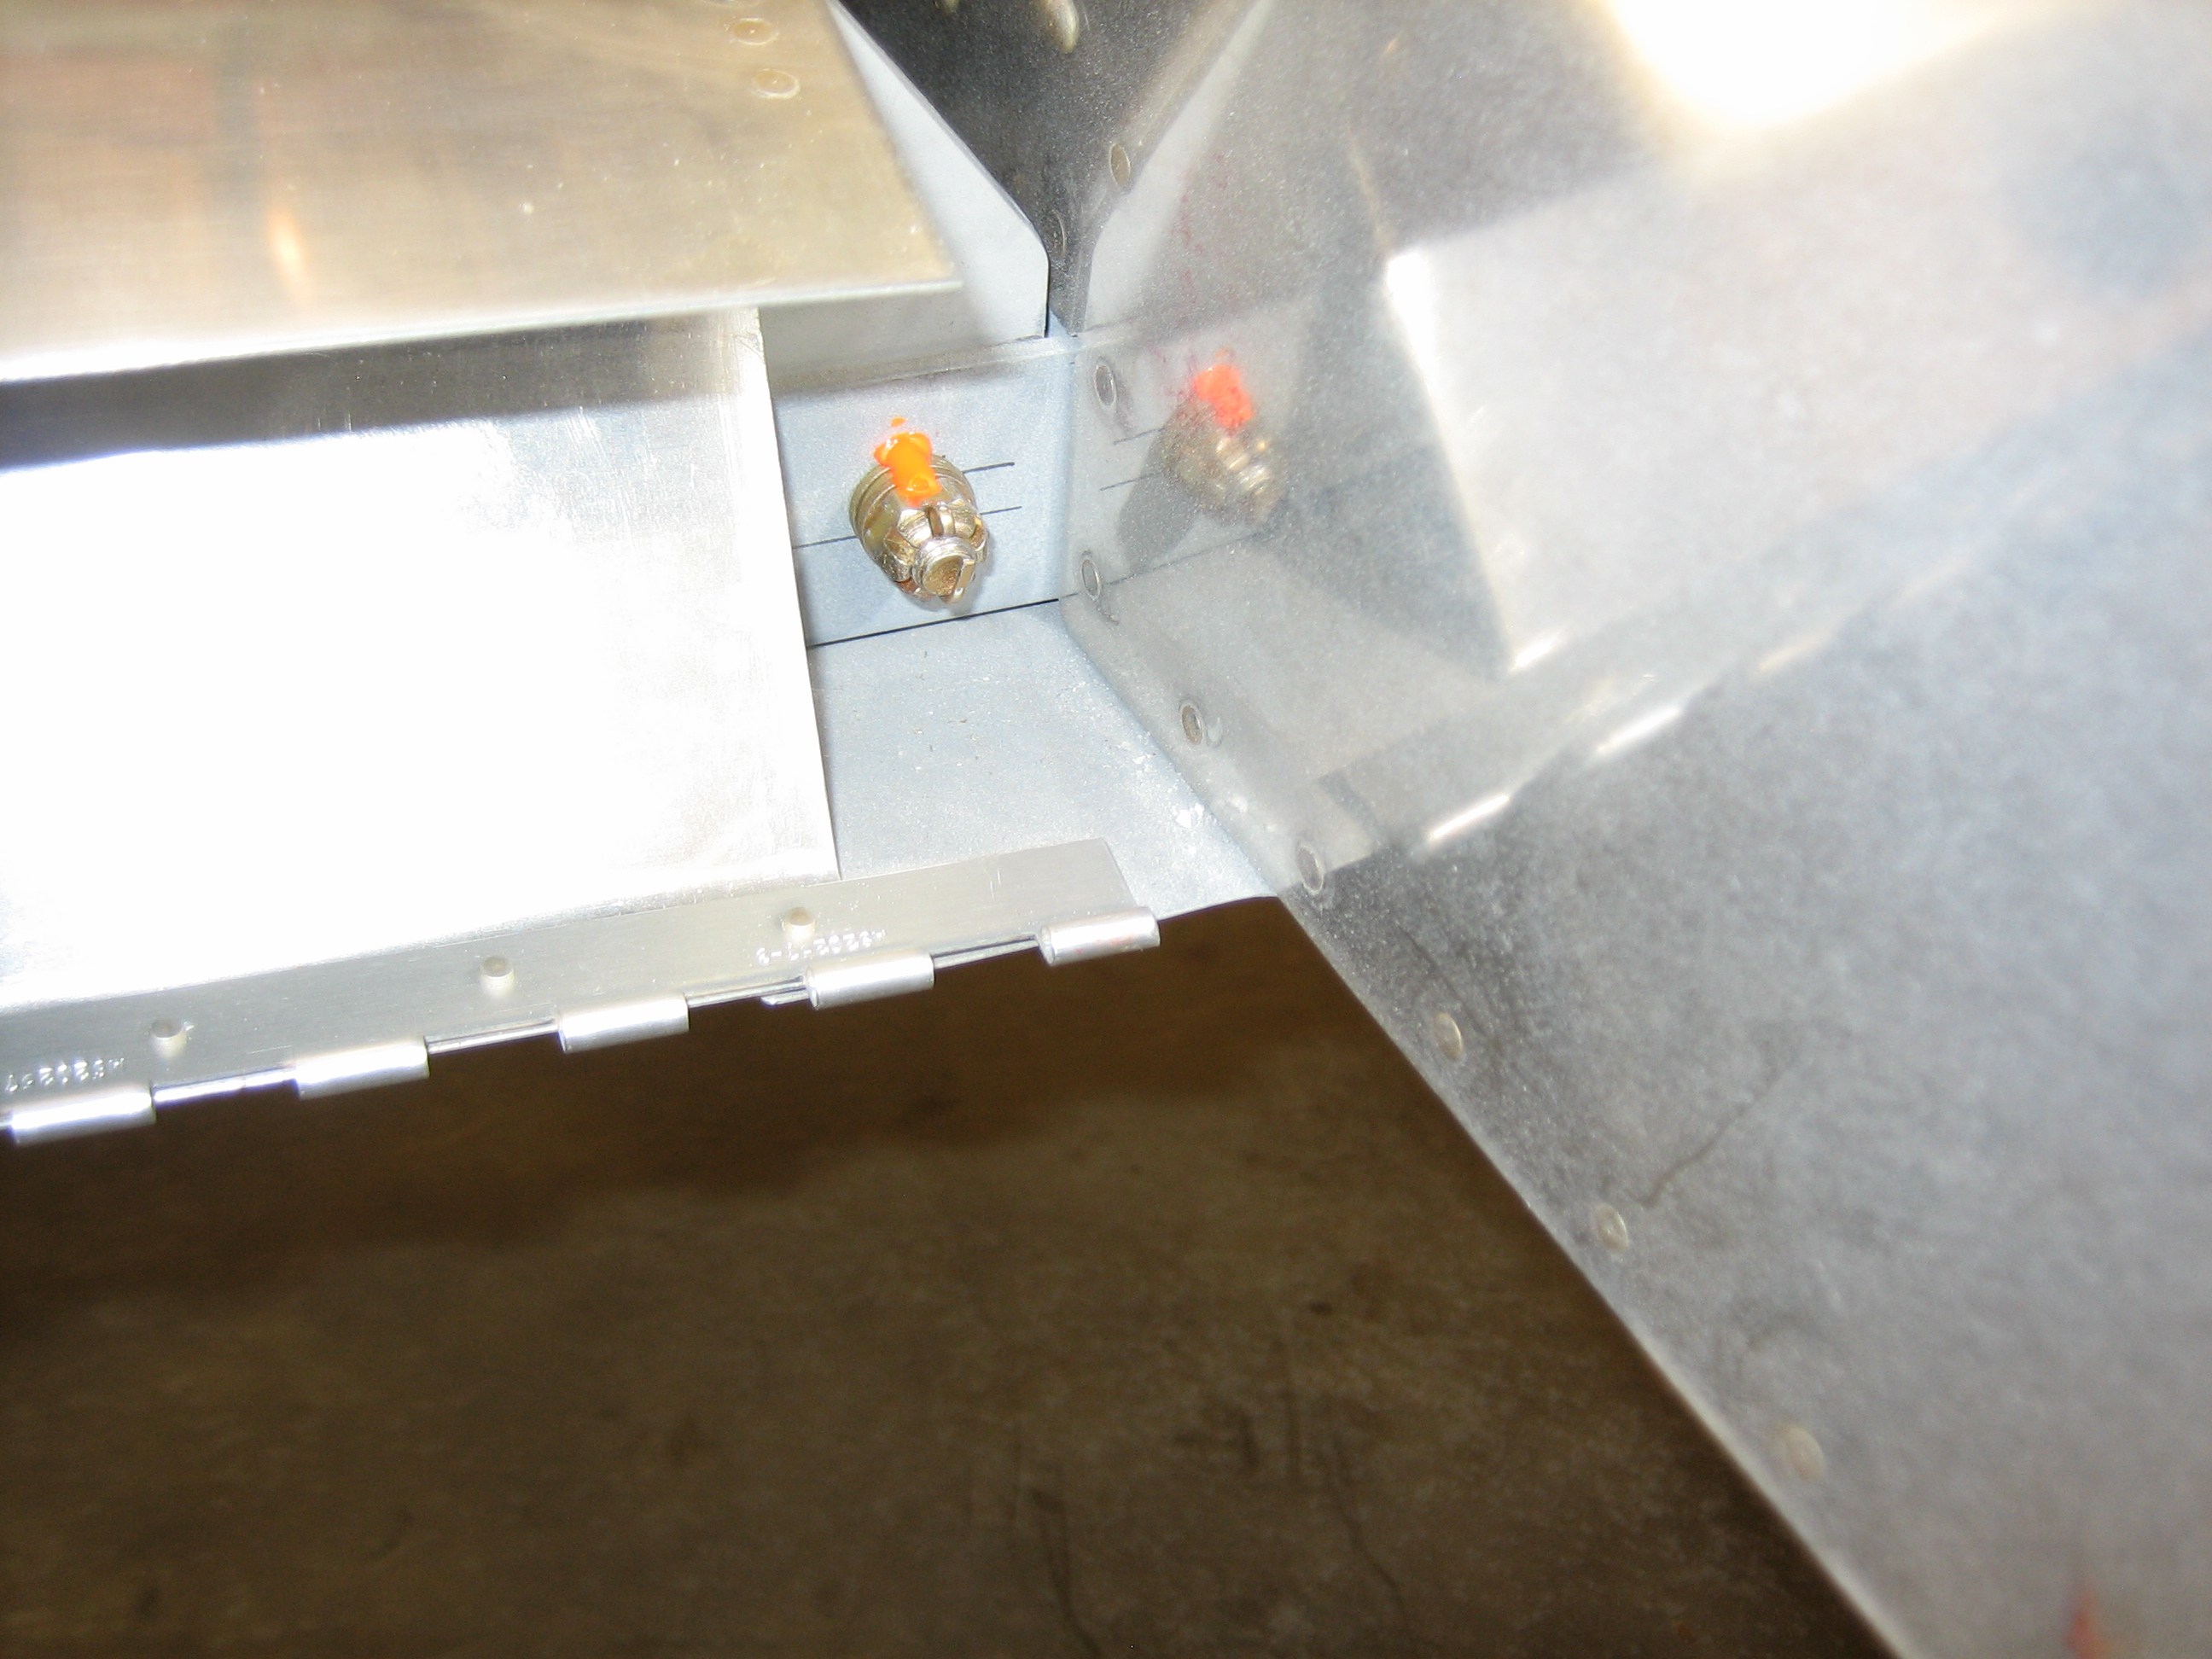
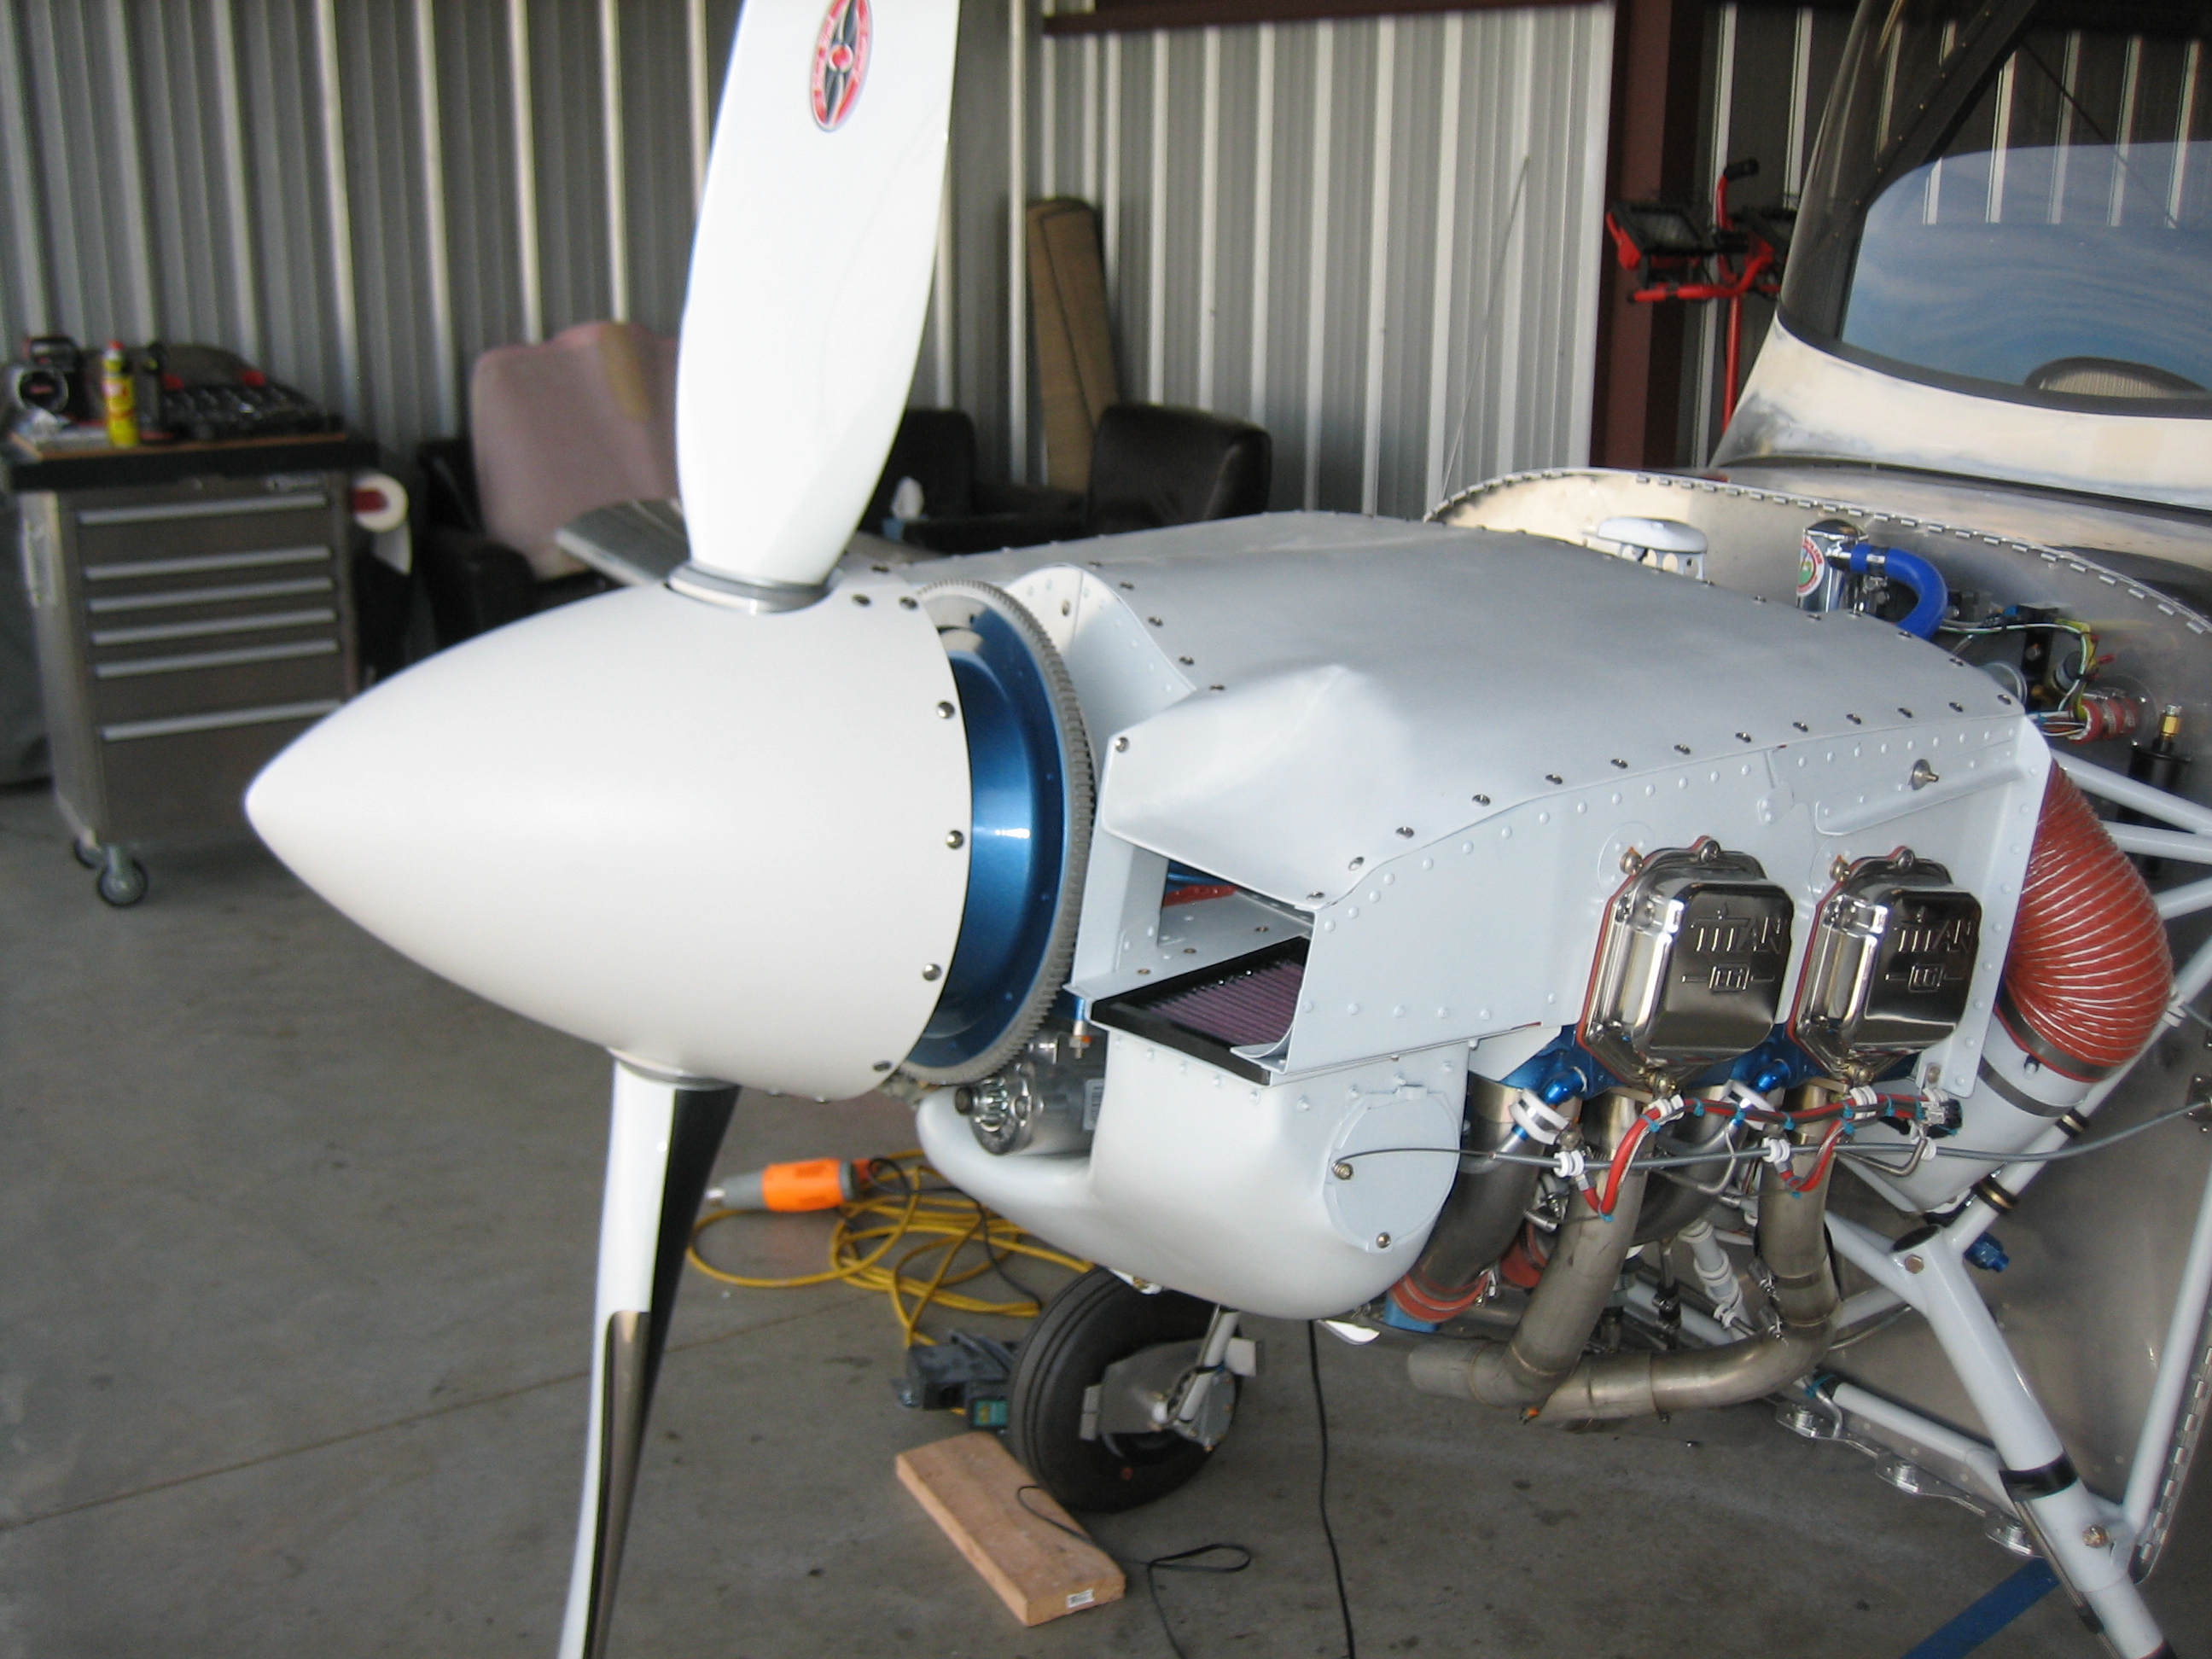
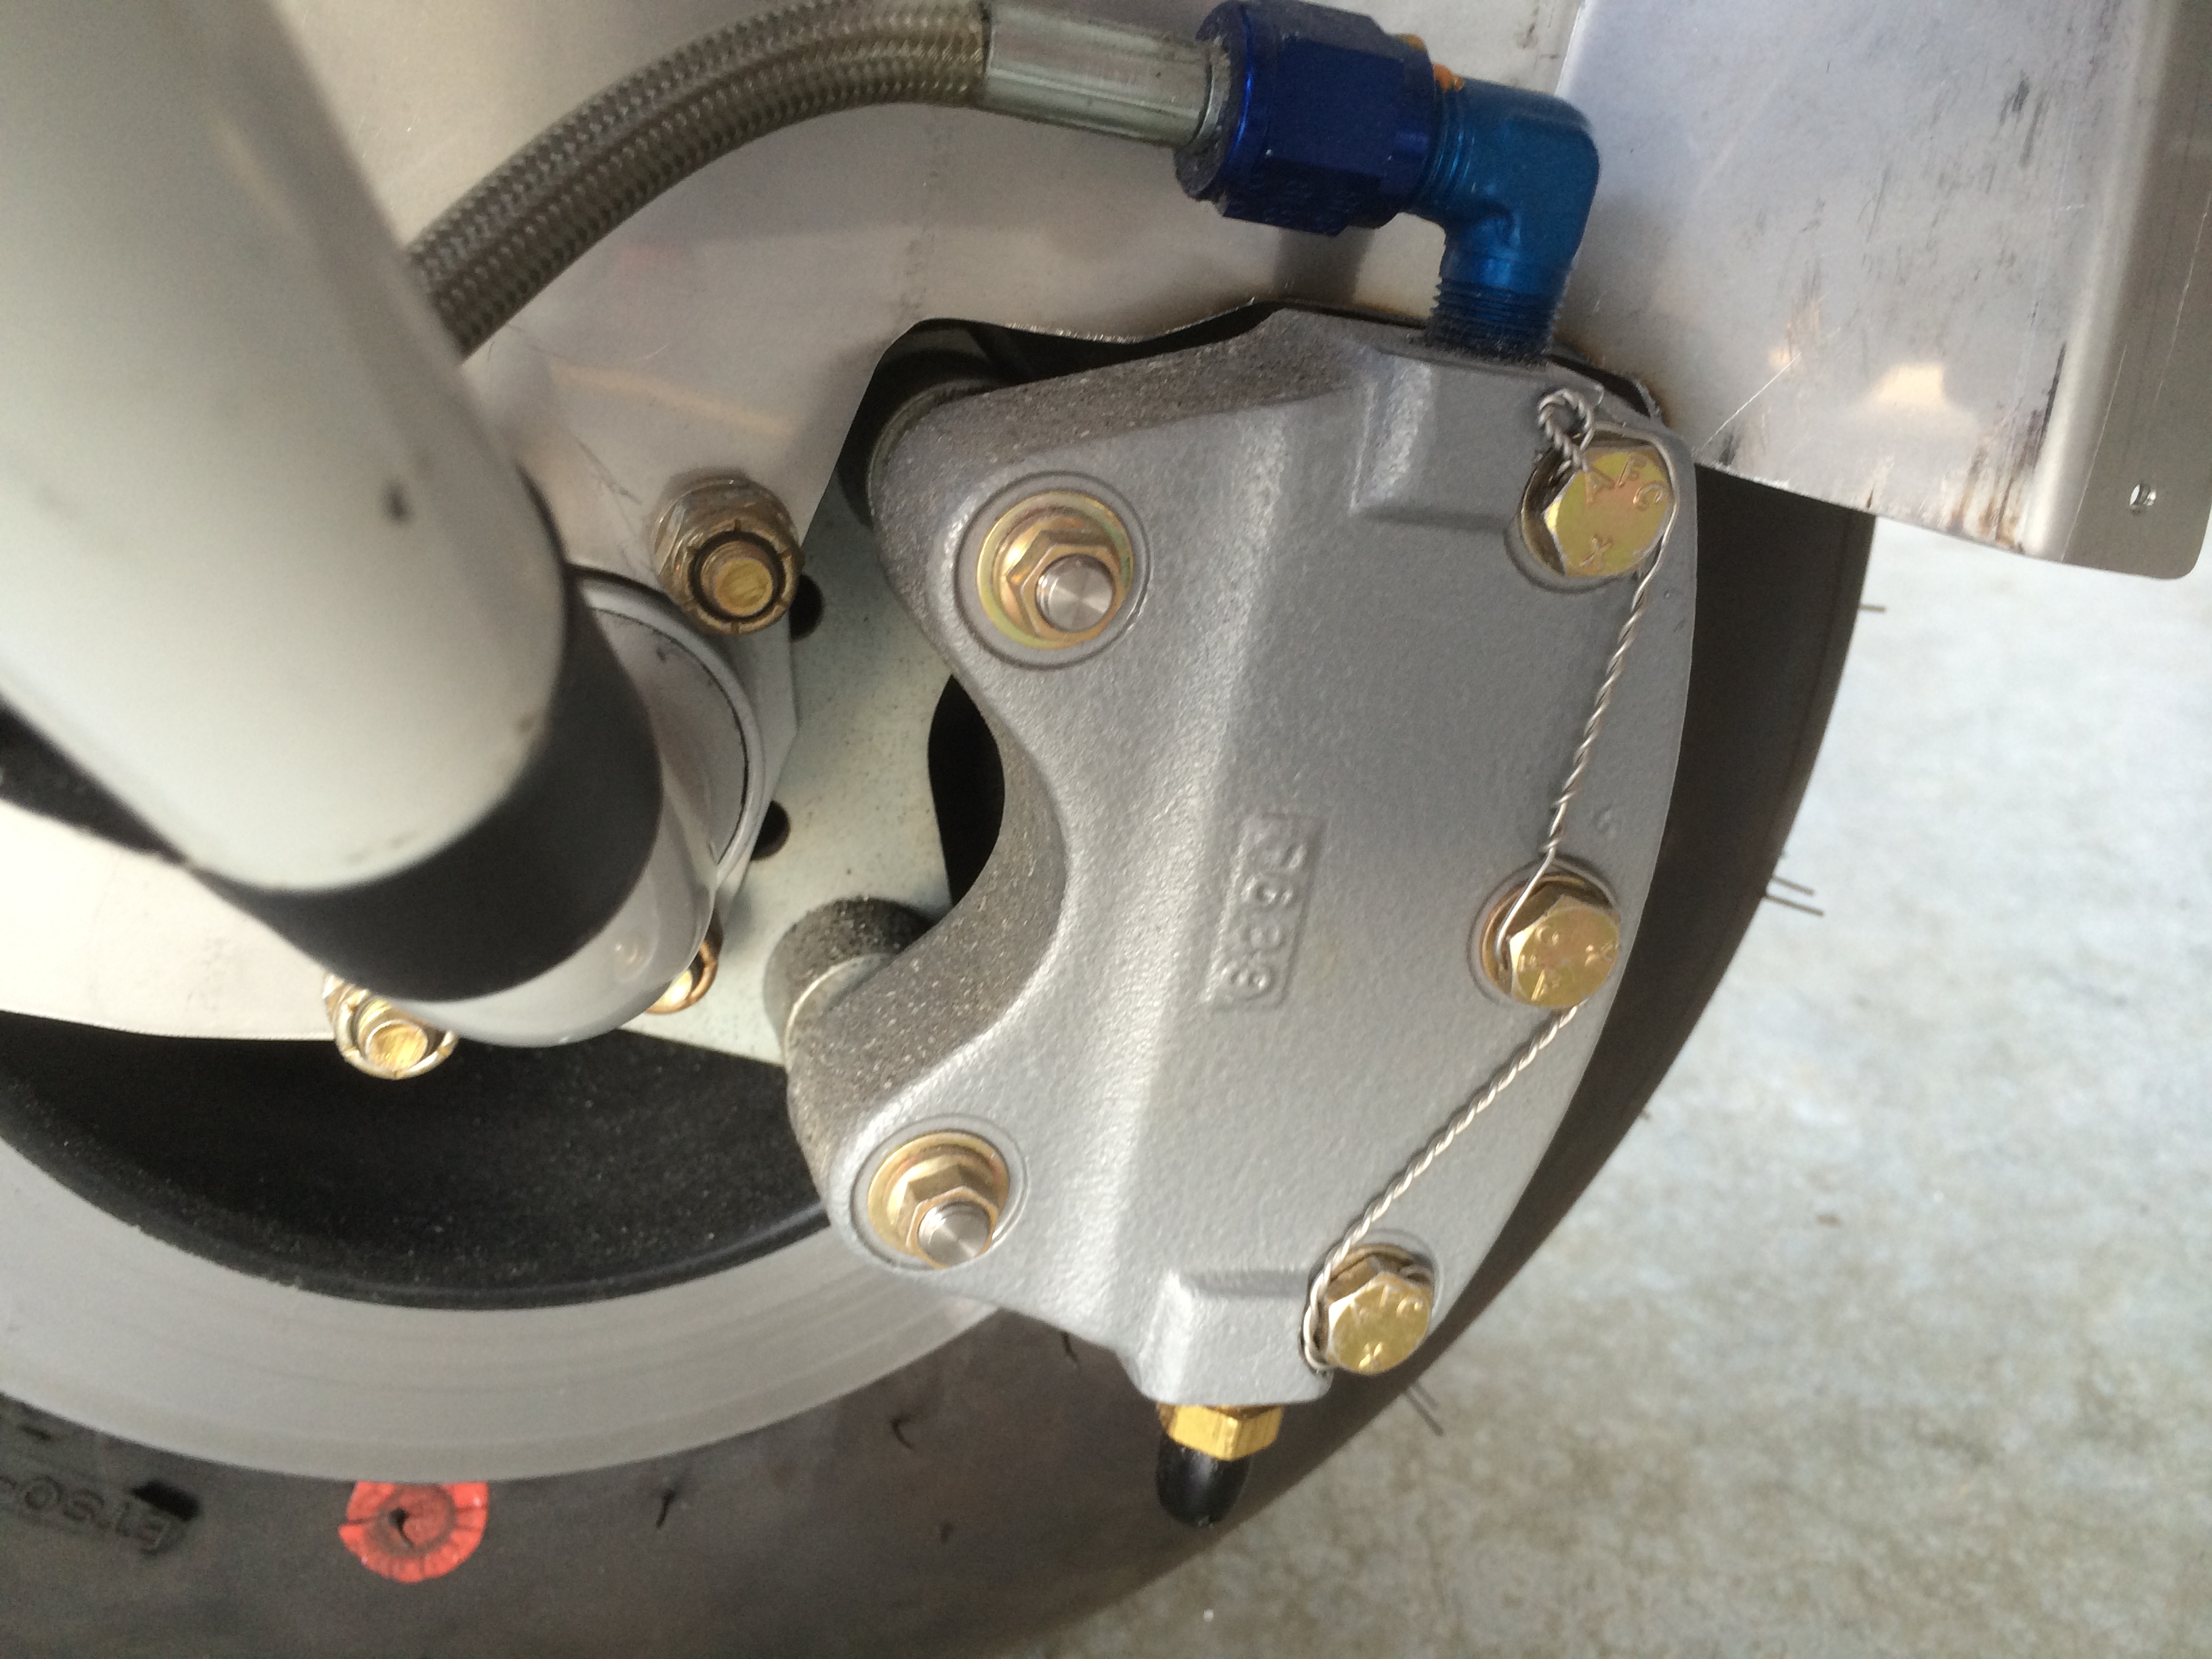
Finally, I reinstalled it in the plane and re-torqued all of the fittings.

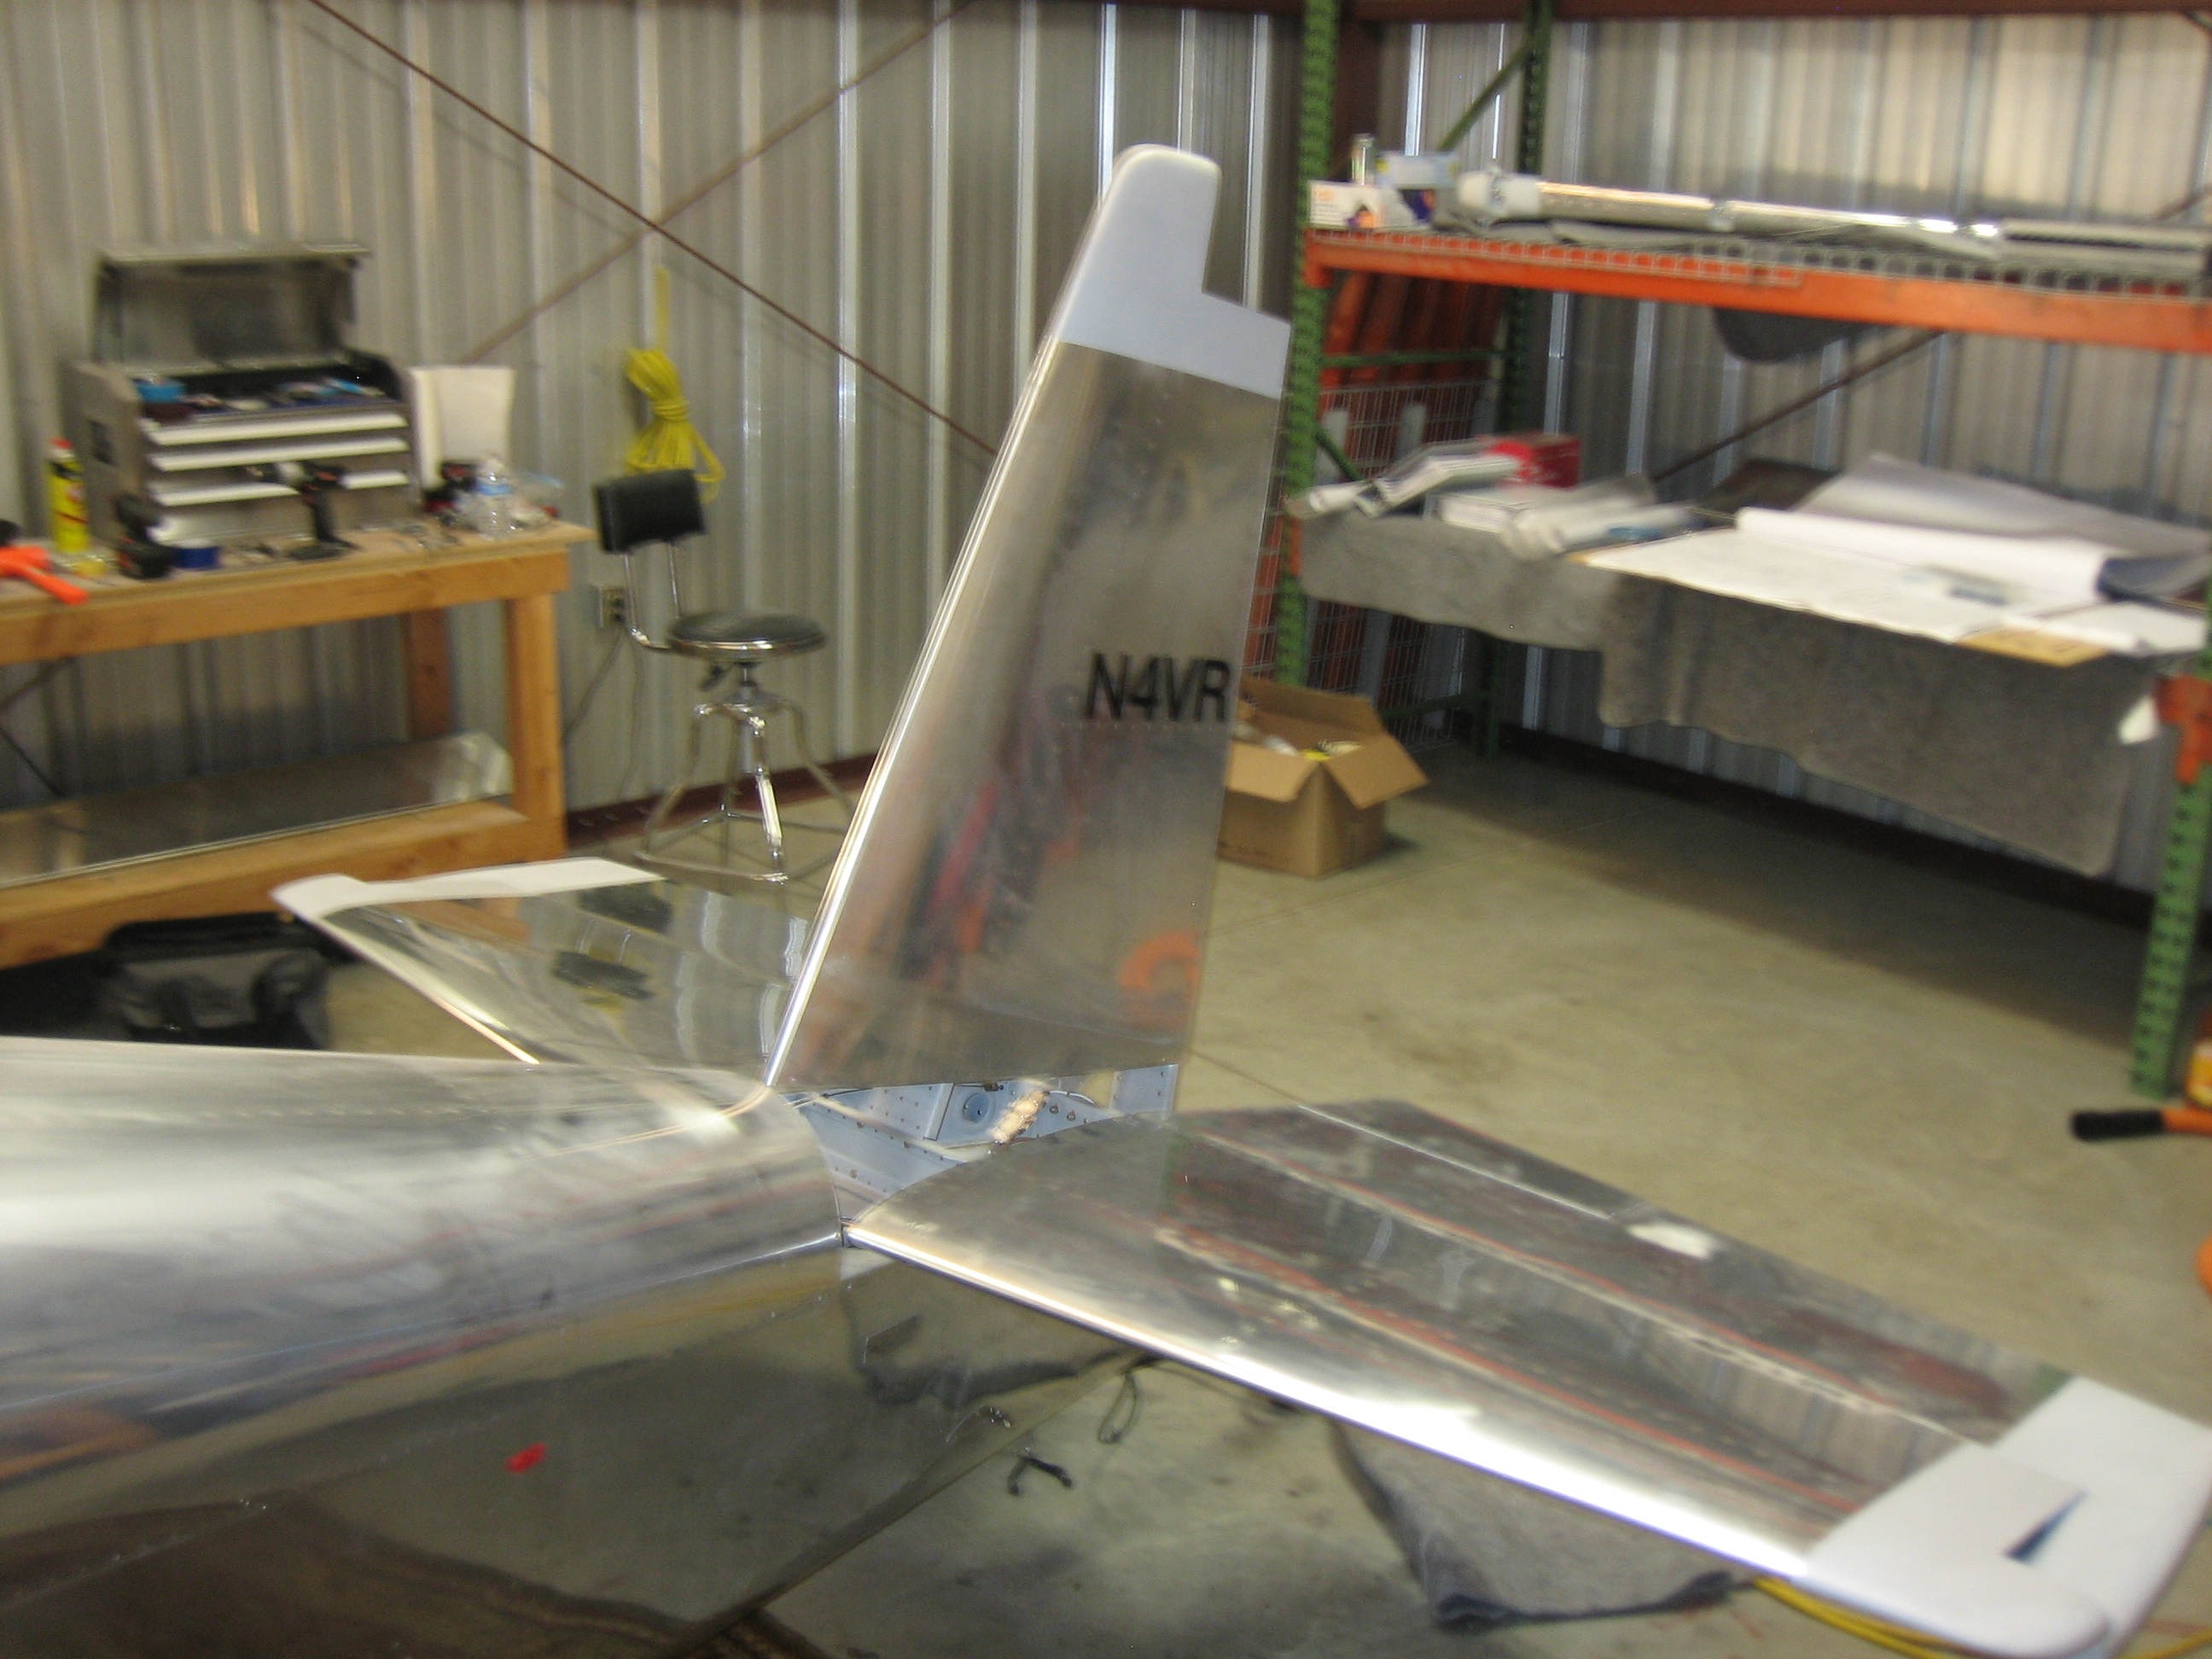
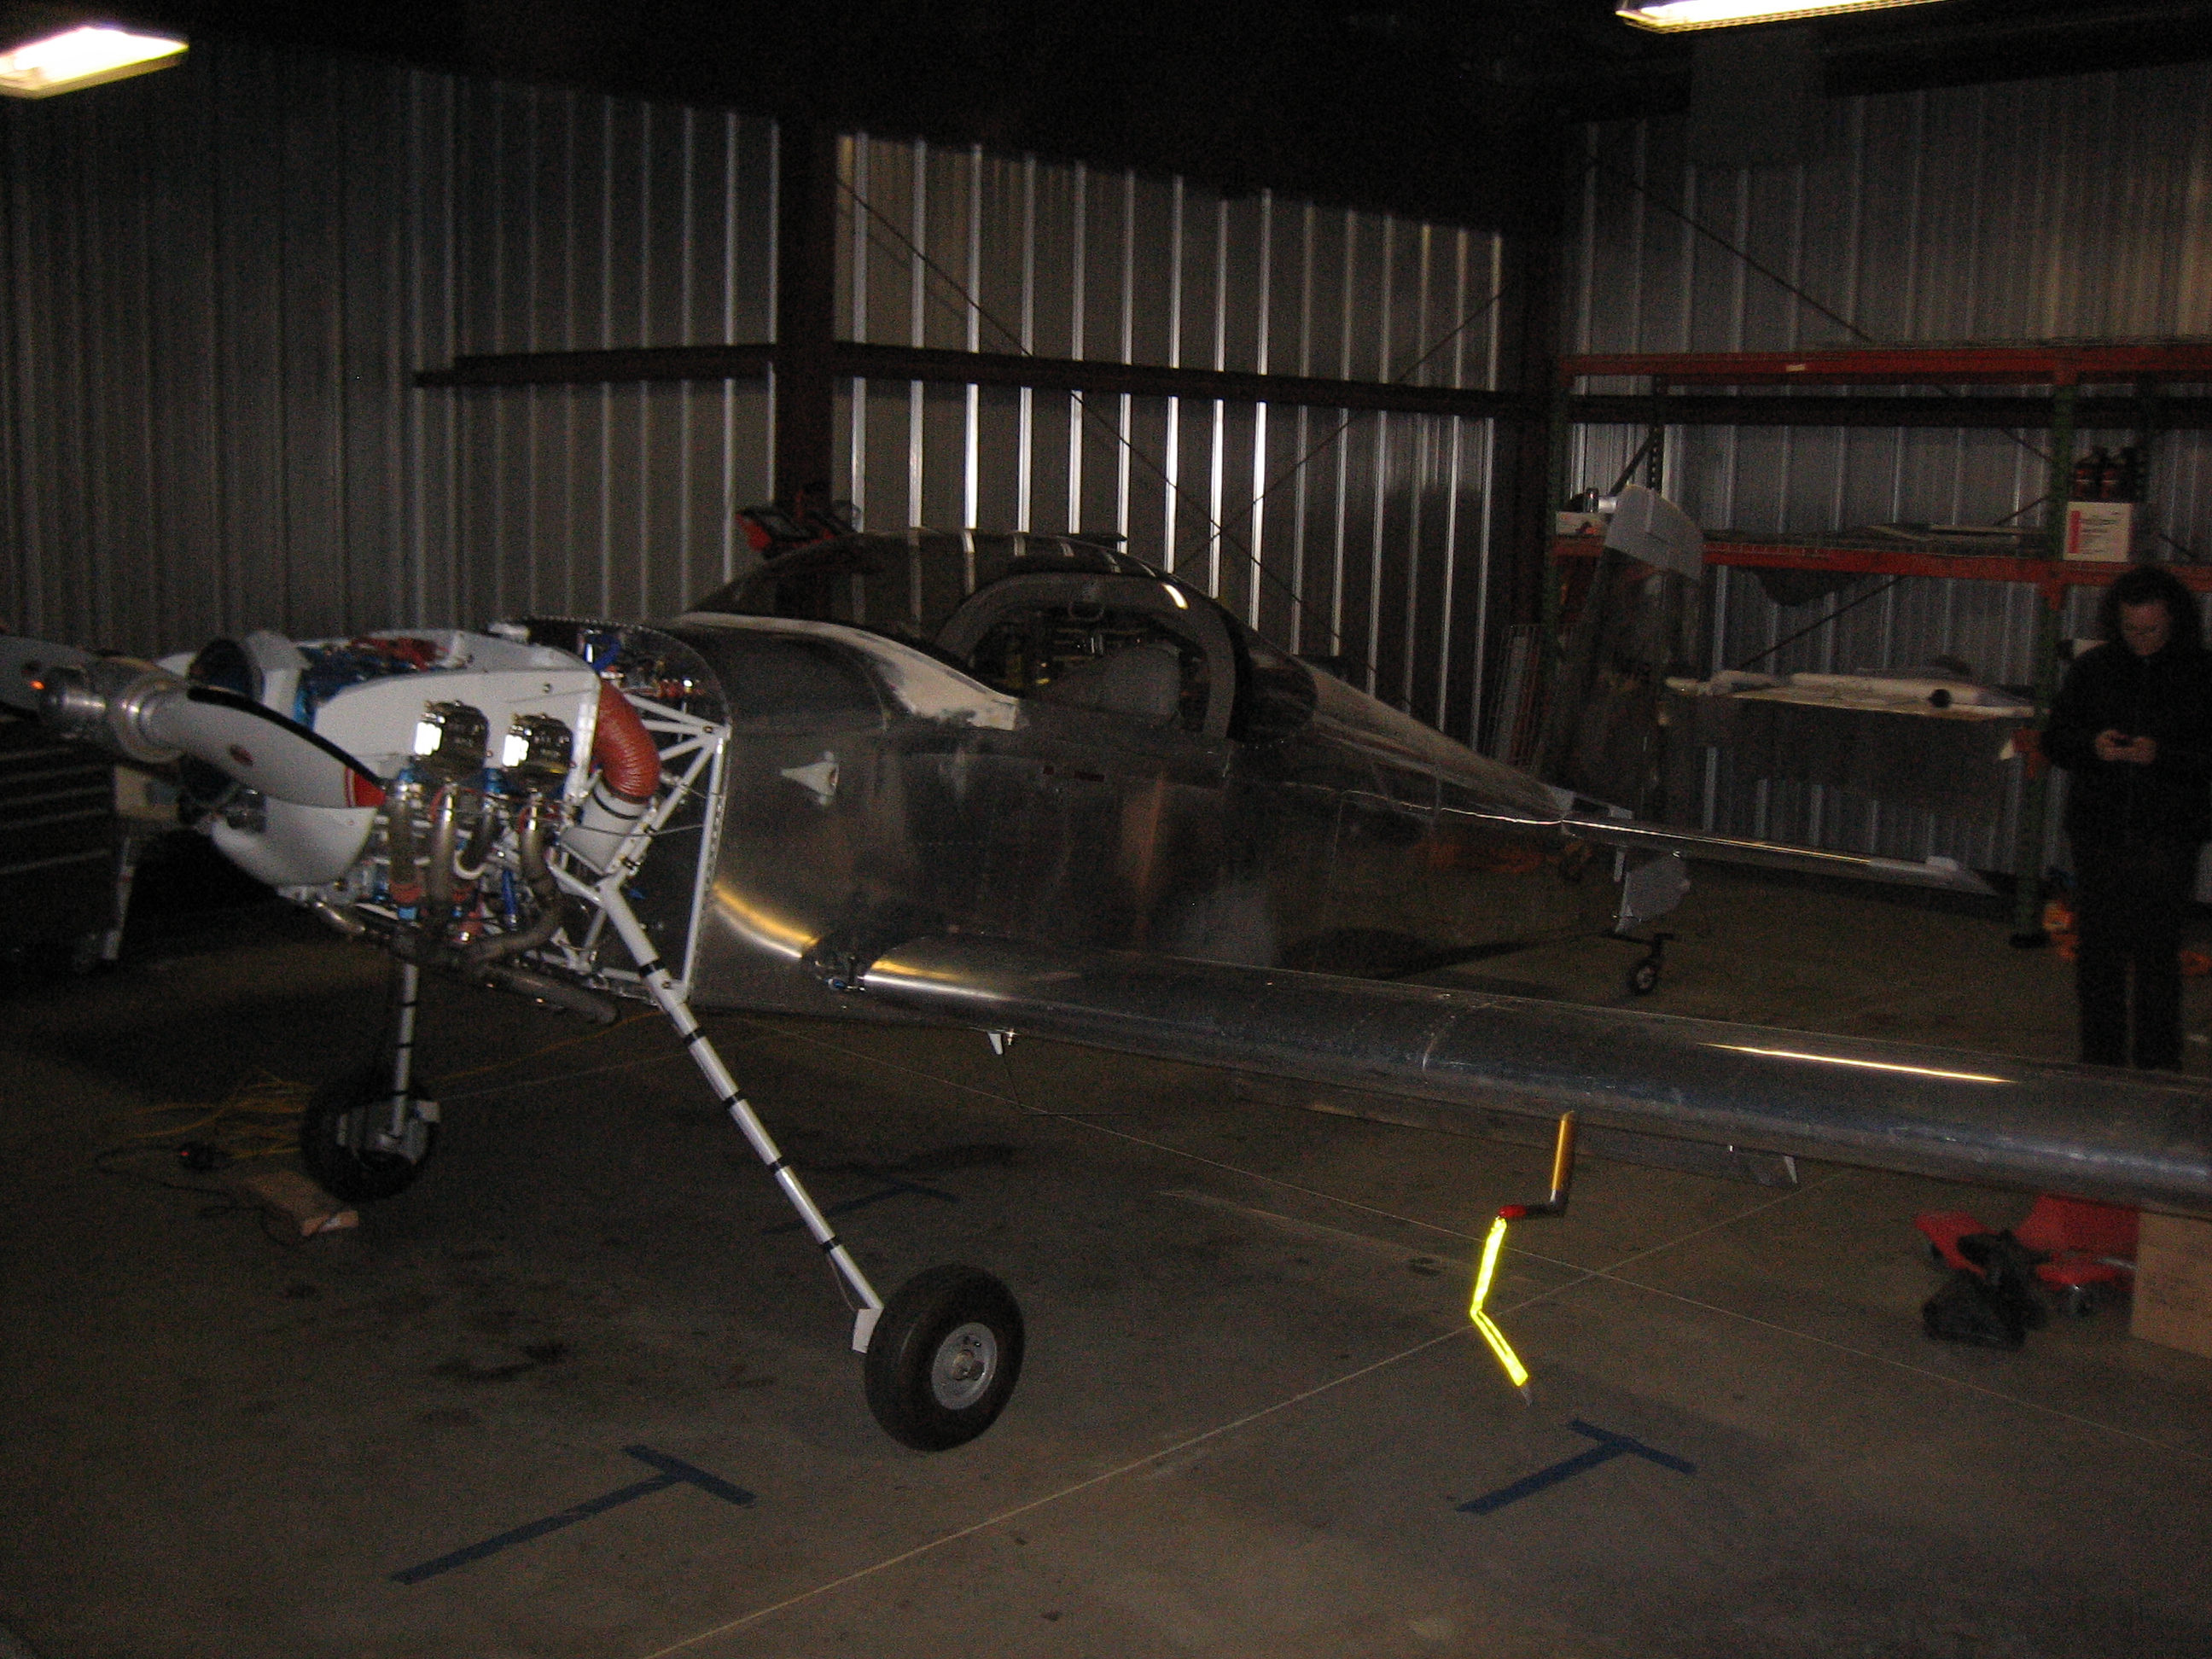
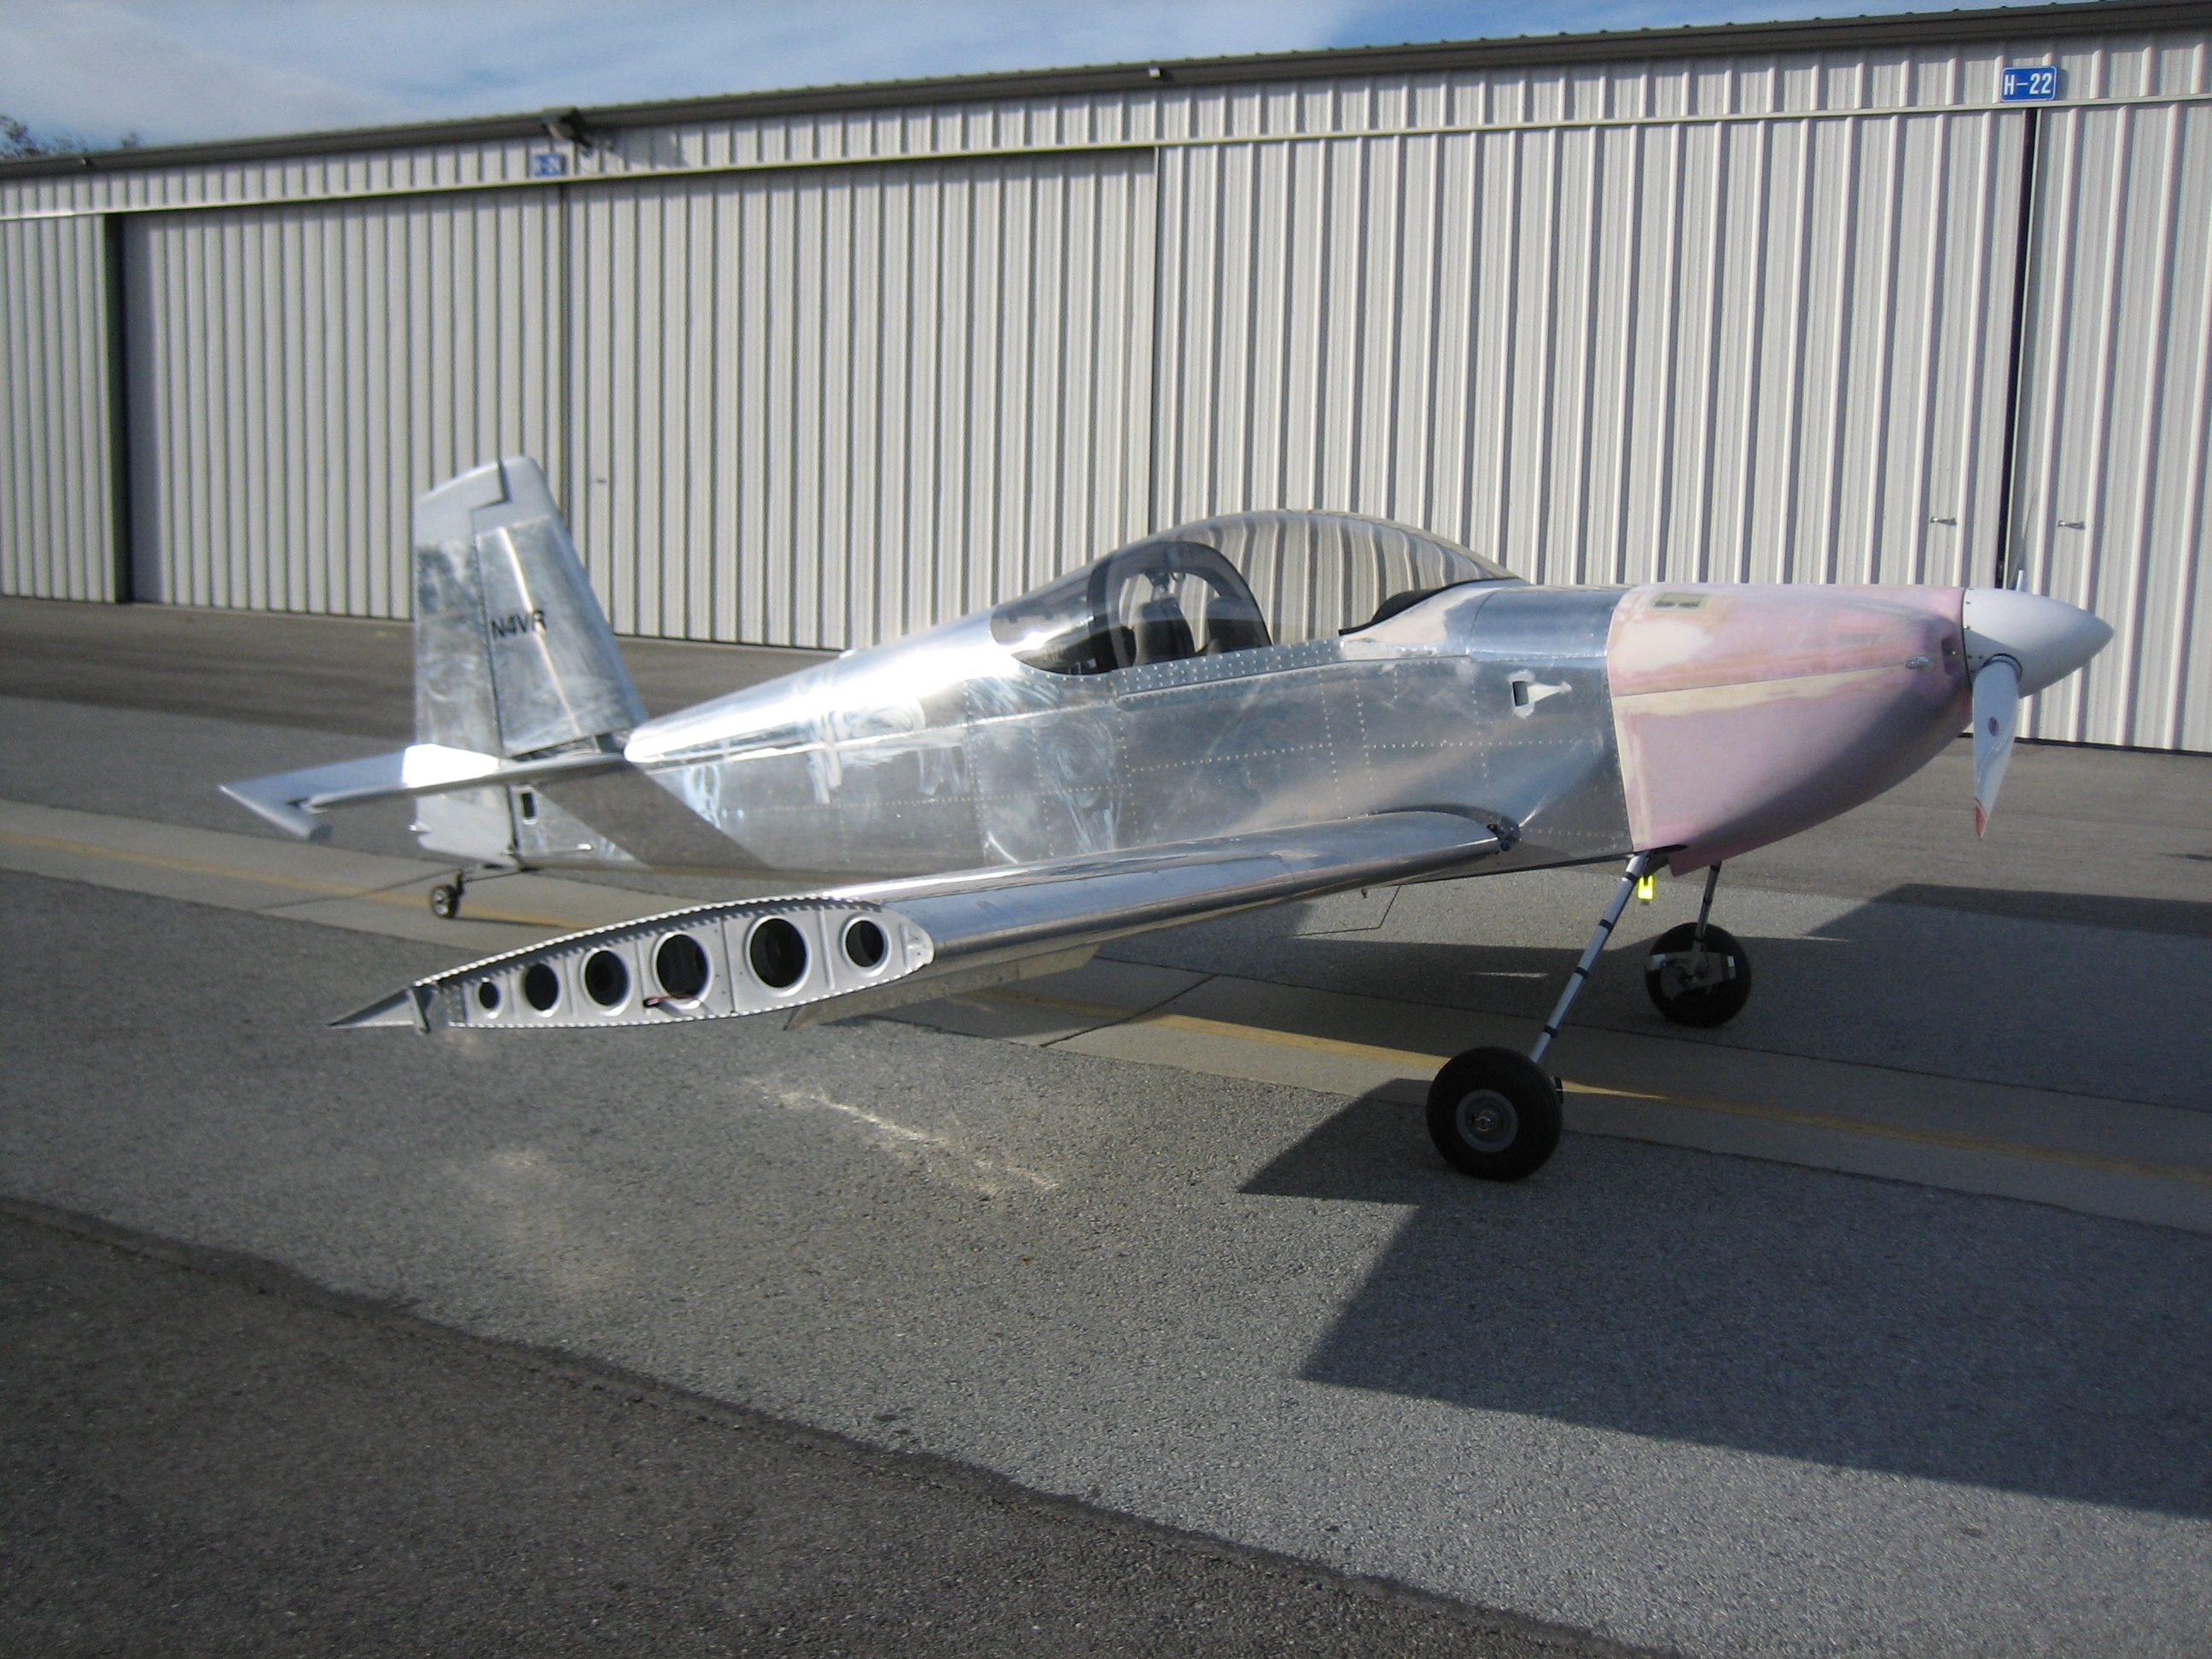
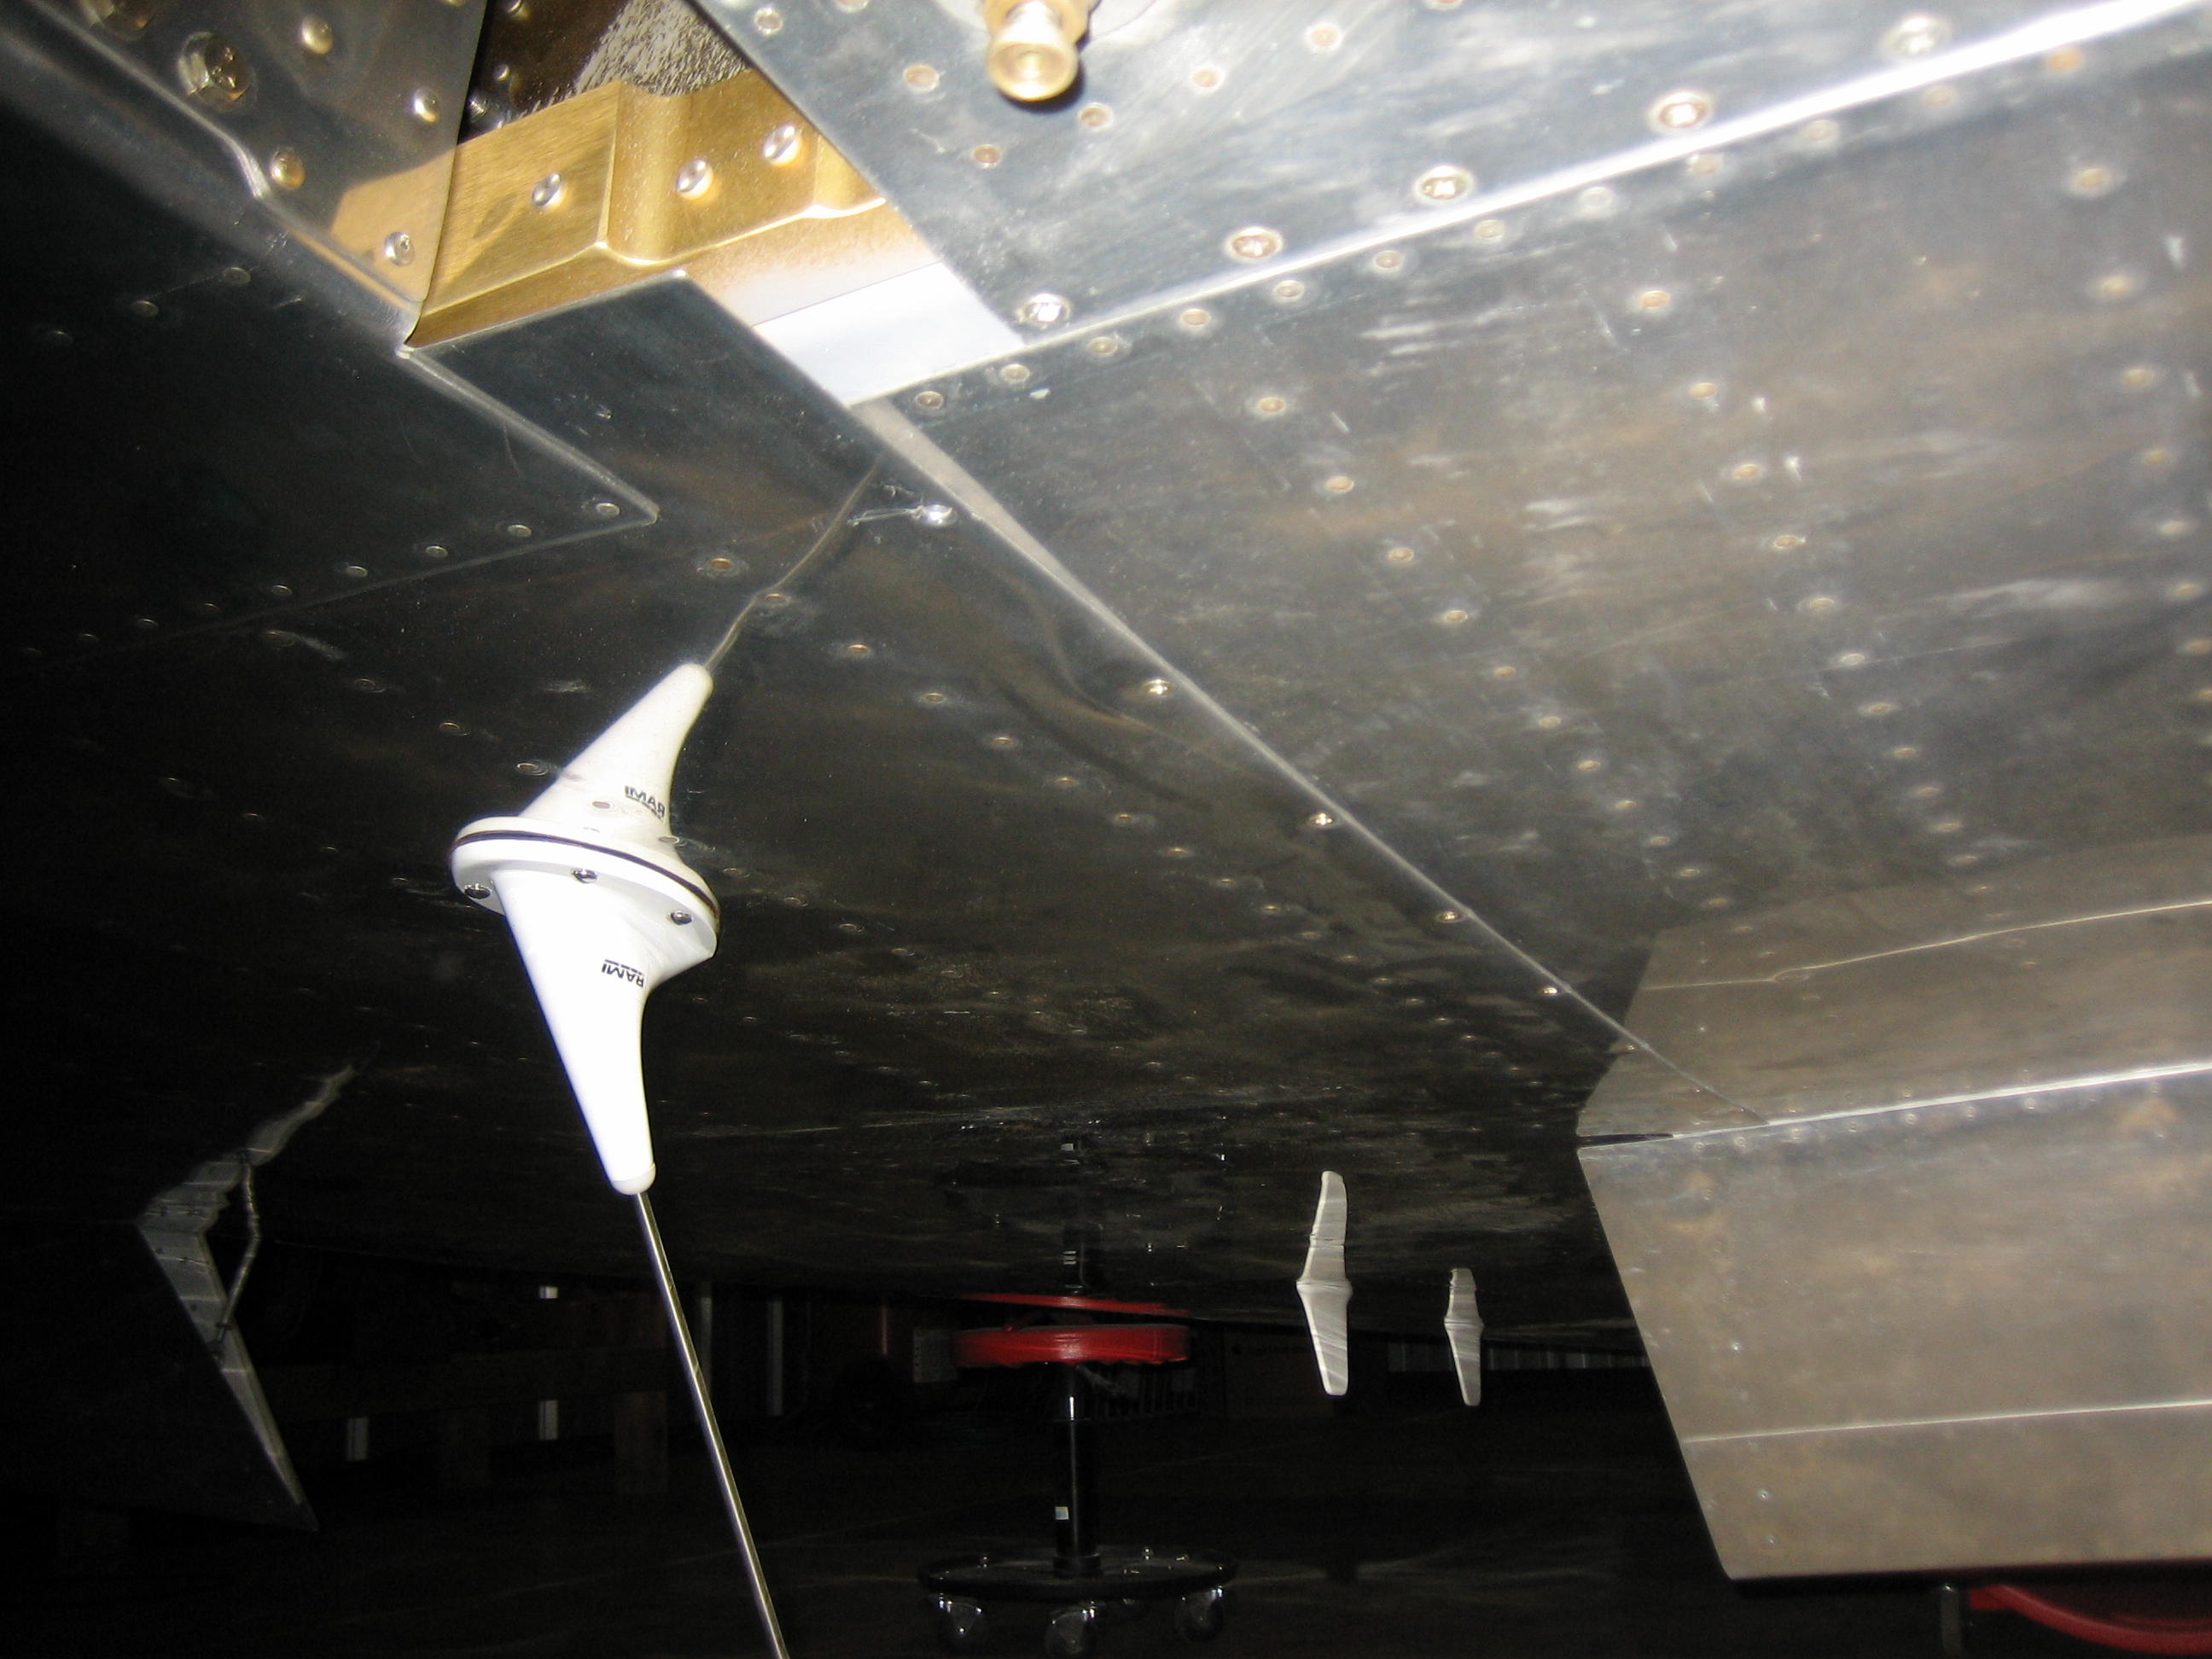
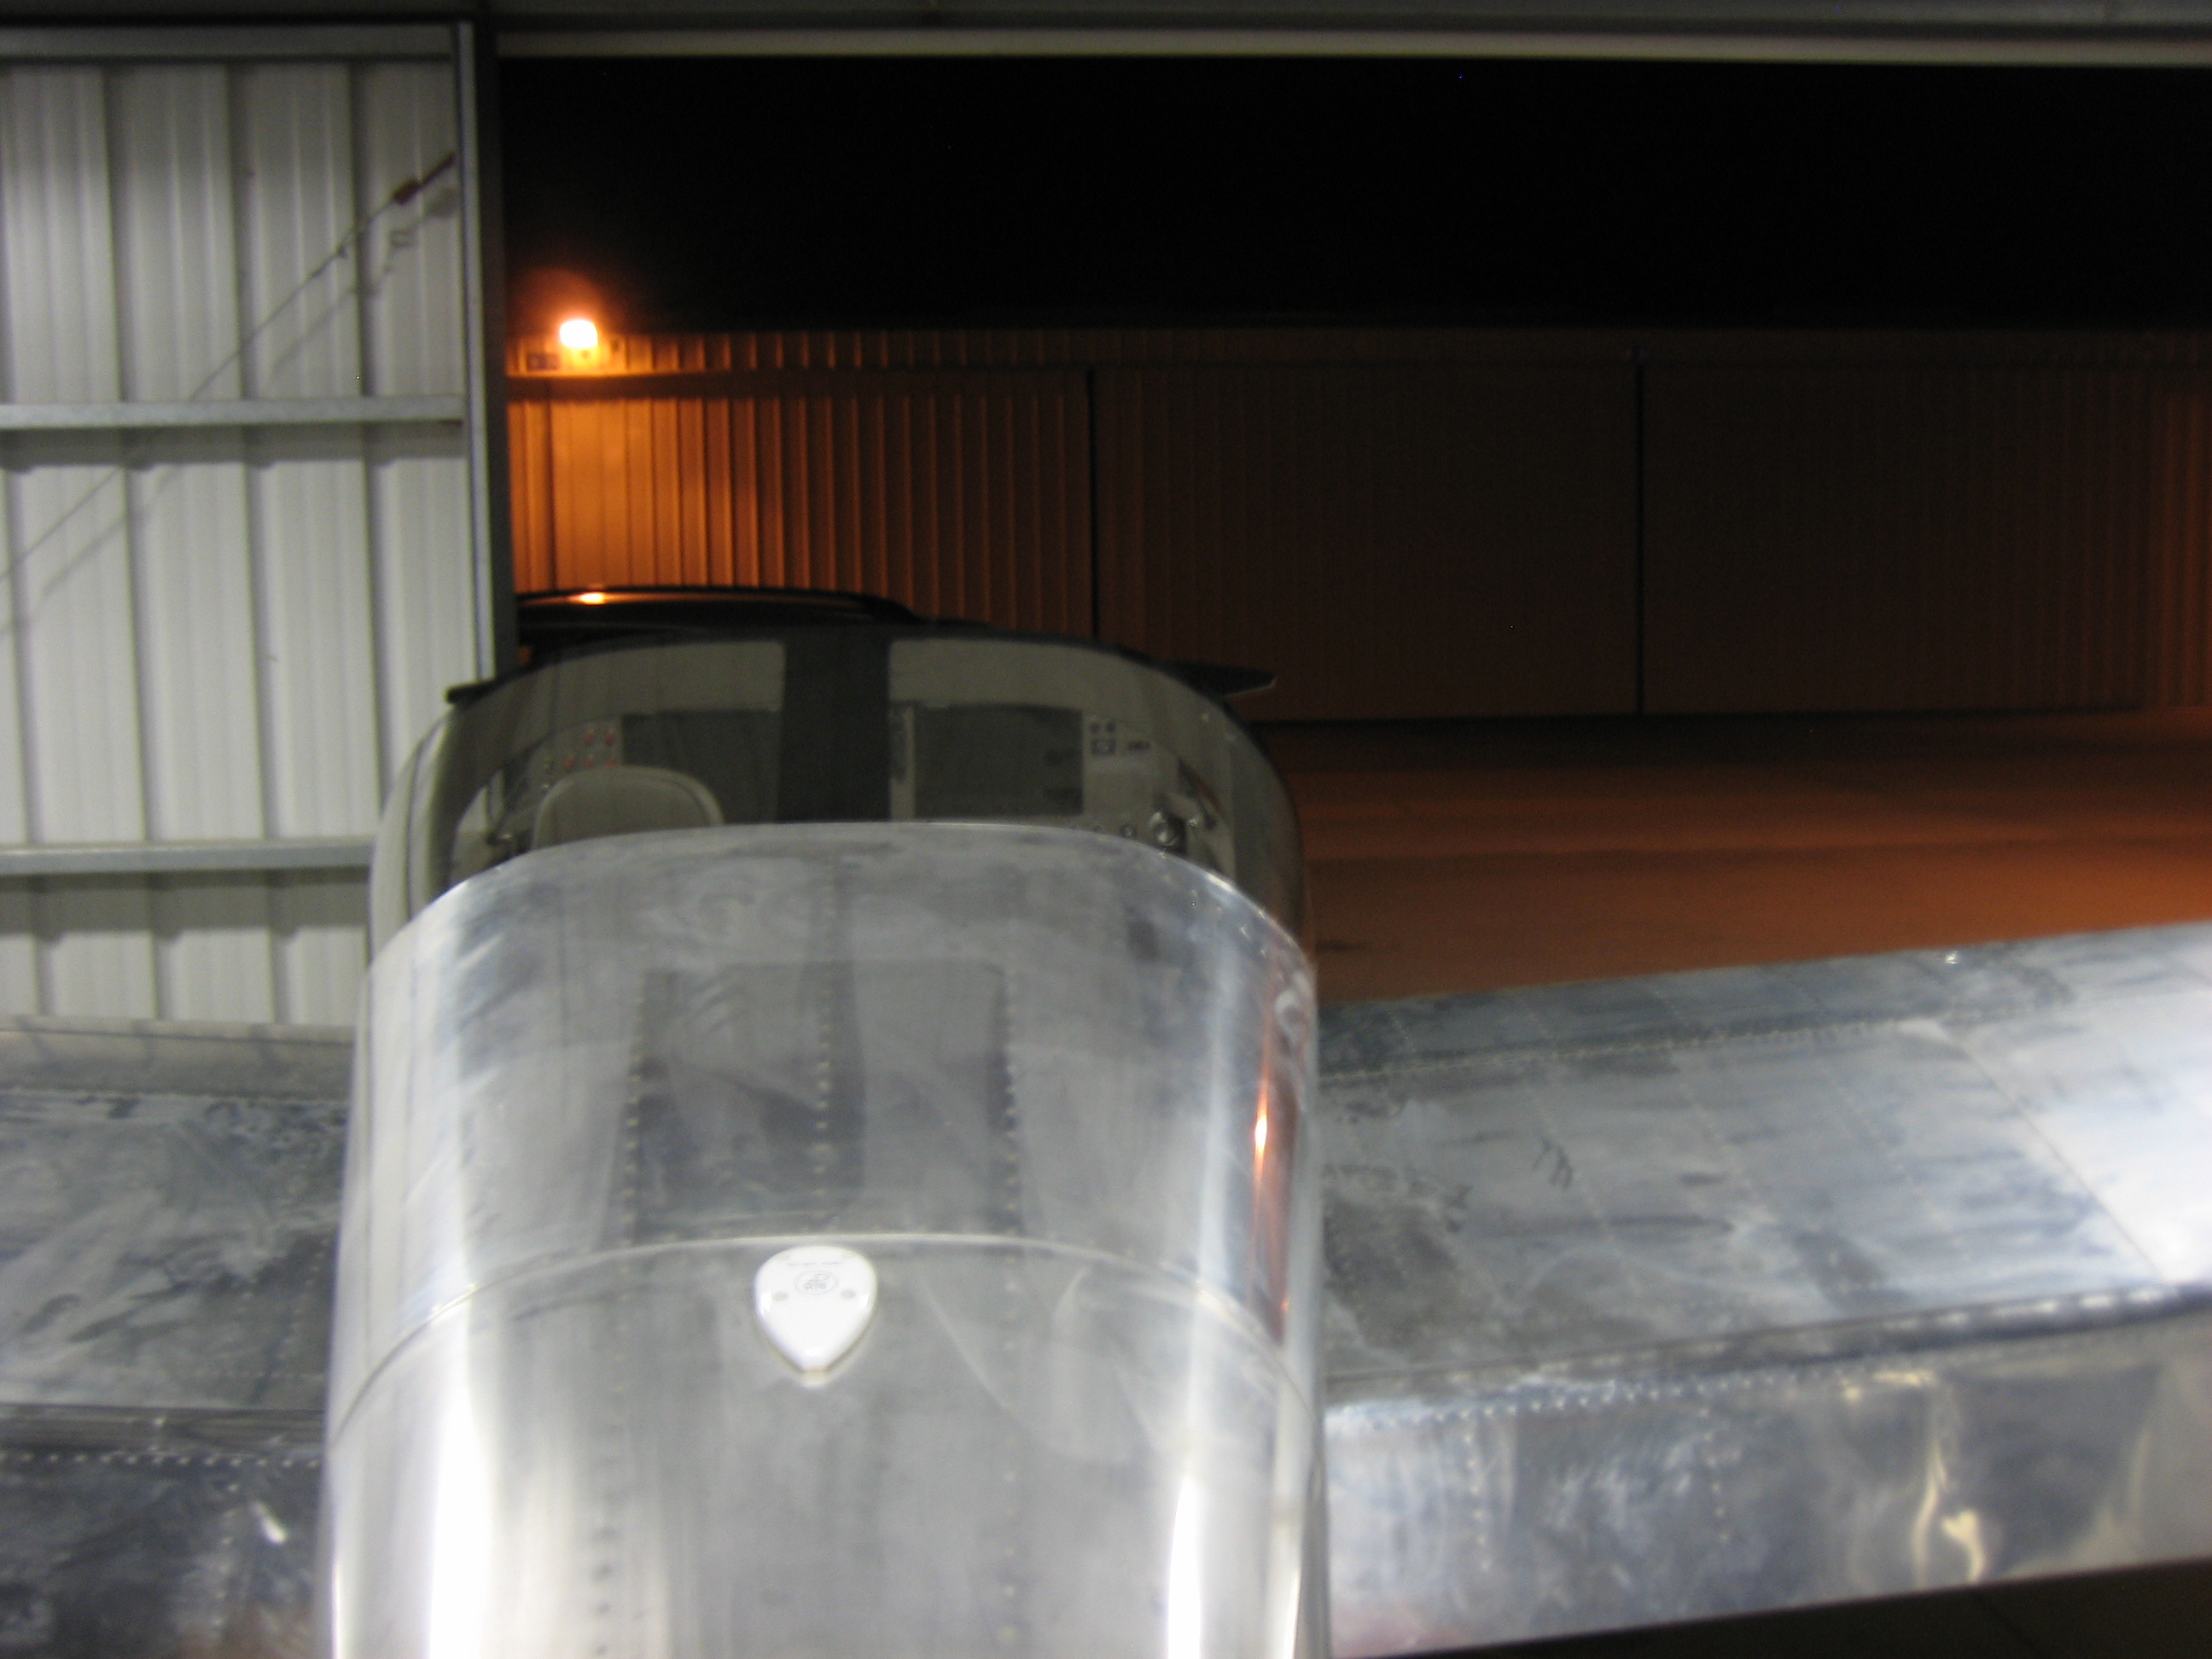
Next, I installed the wingtip so I could get an idea how the light was aimed.  It looks pretty high, but I’ll need to level the plane to be sure.  I’m pretty happy with how bright this is.  Here’s the hangar across the way with the light on.

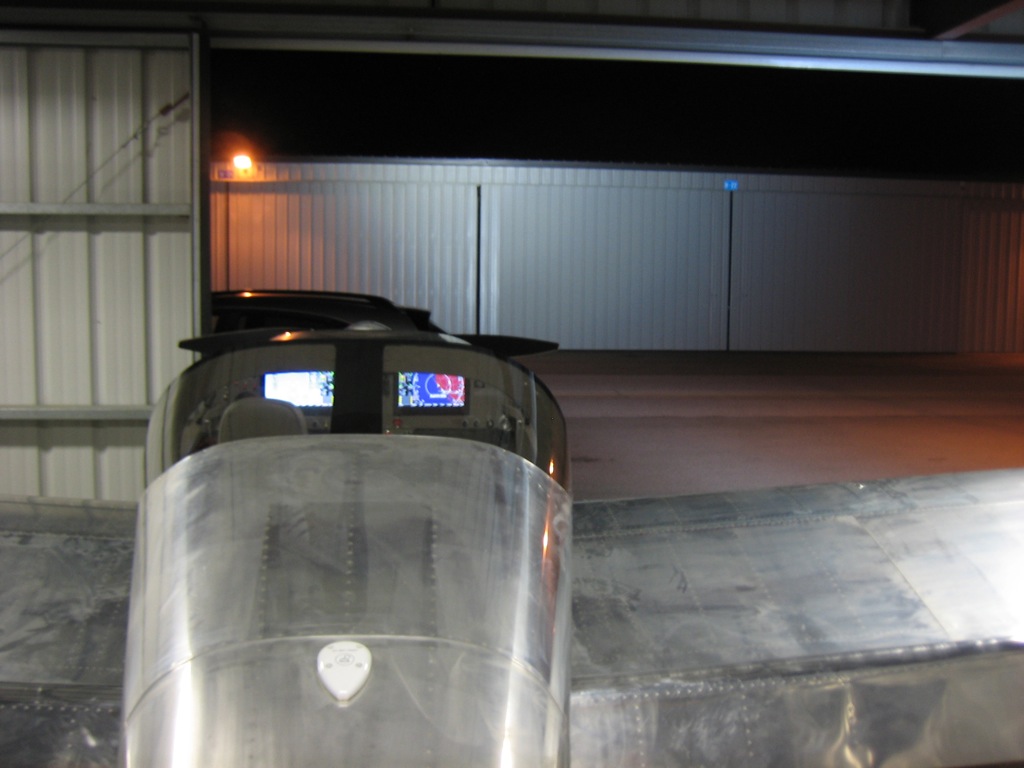
And here it is with the light off.

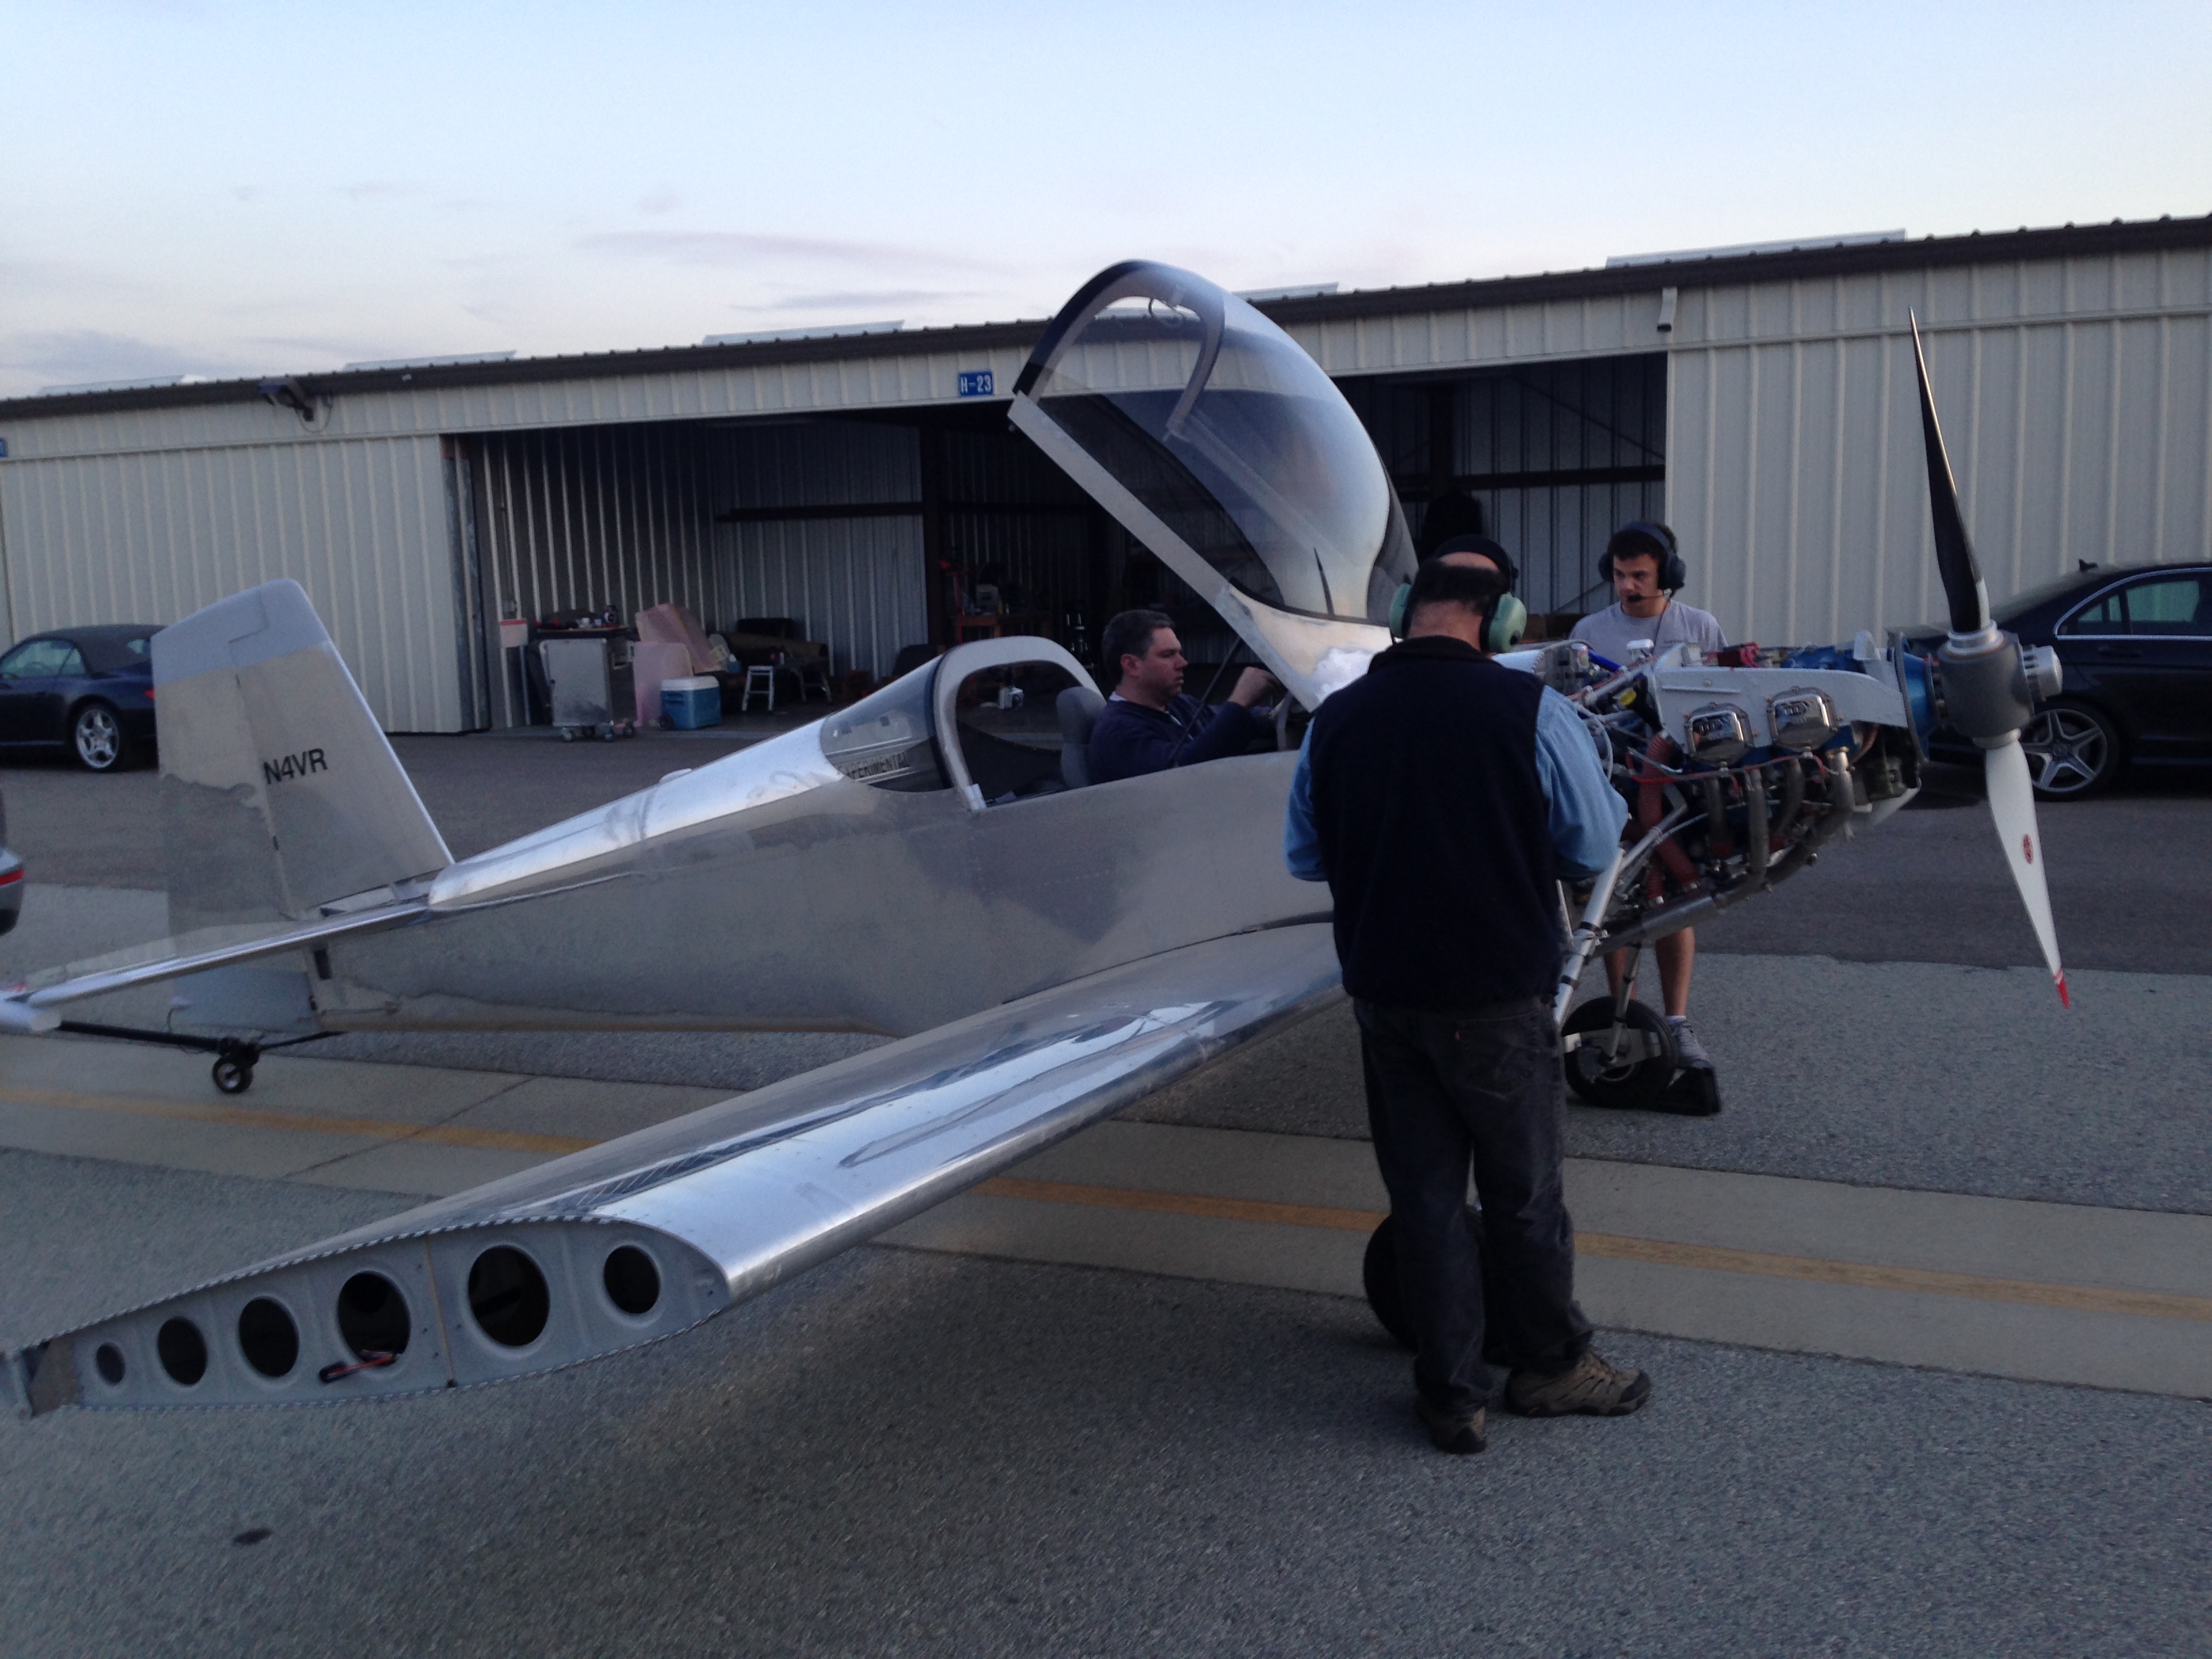
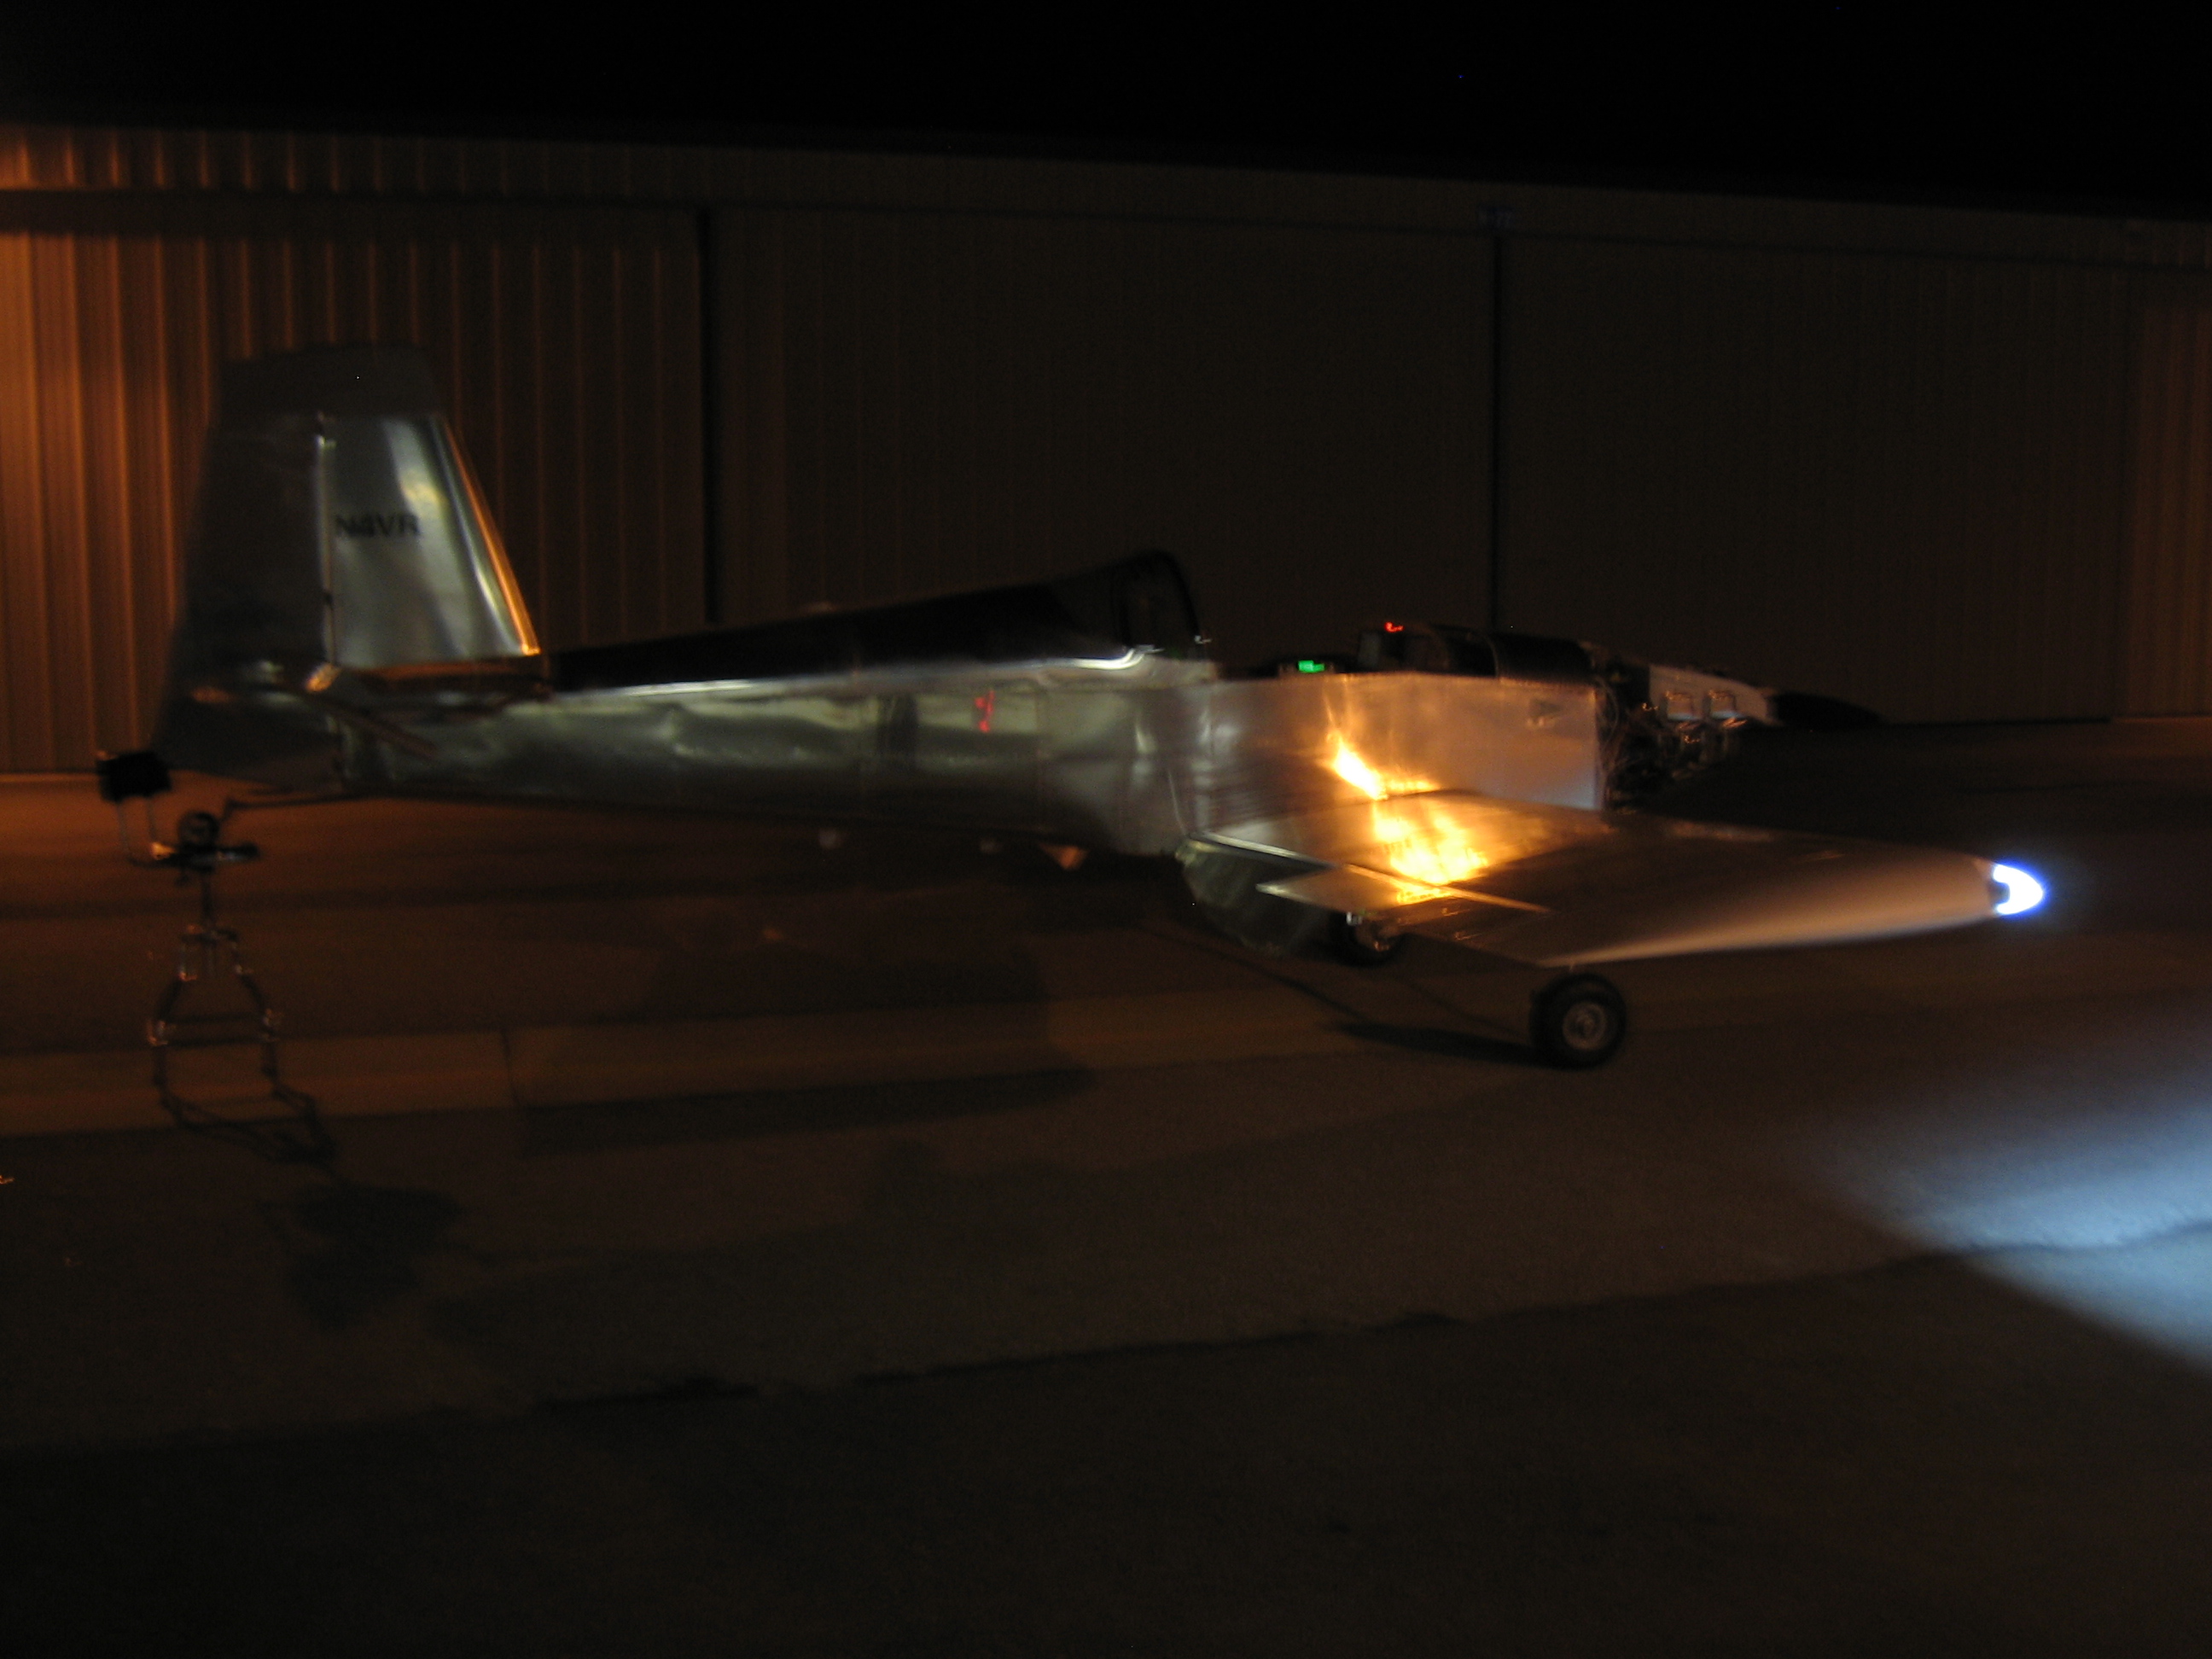
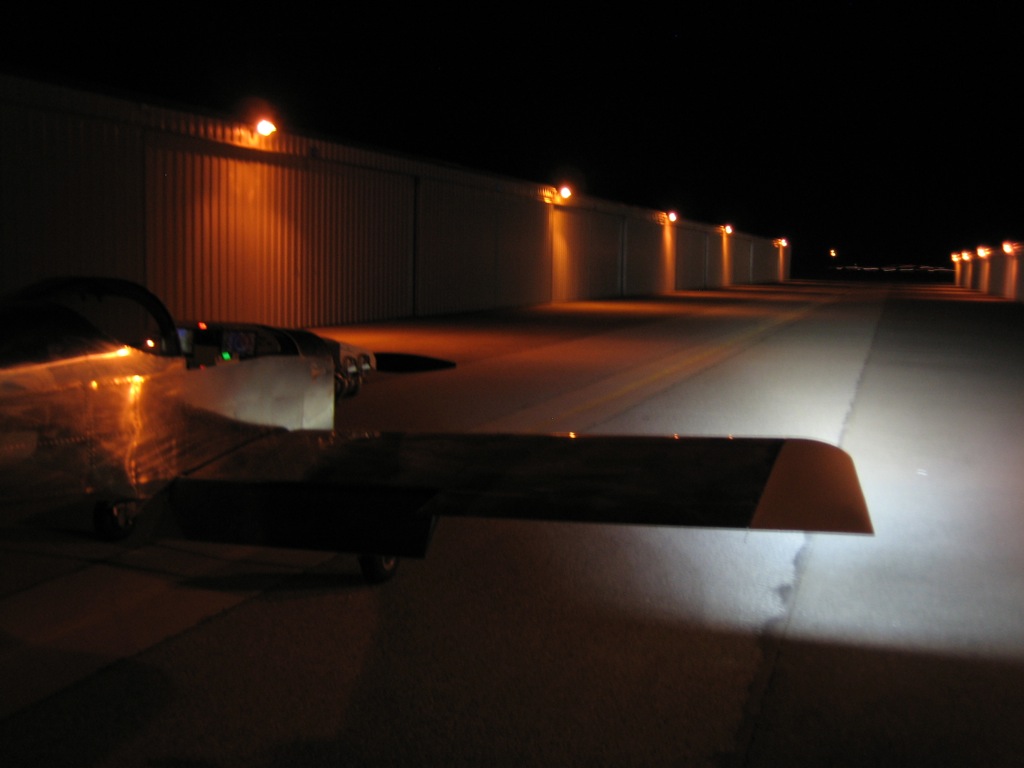
To get a better idea how the light is aimed, I pulled the plane out into the taxiway and put the tail up on my chair to get the fuselage level and then turned the light on.

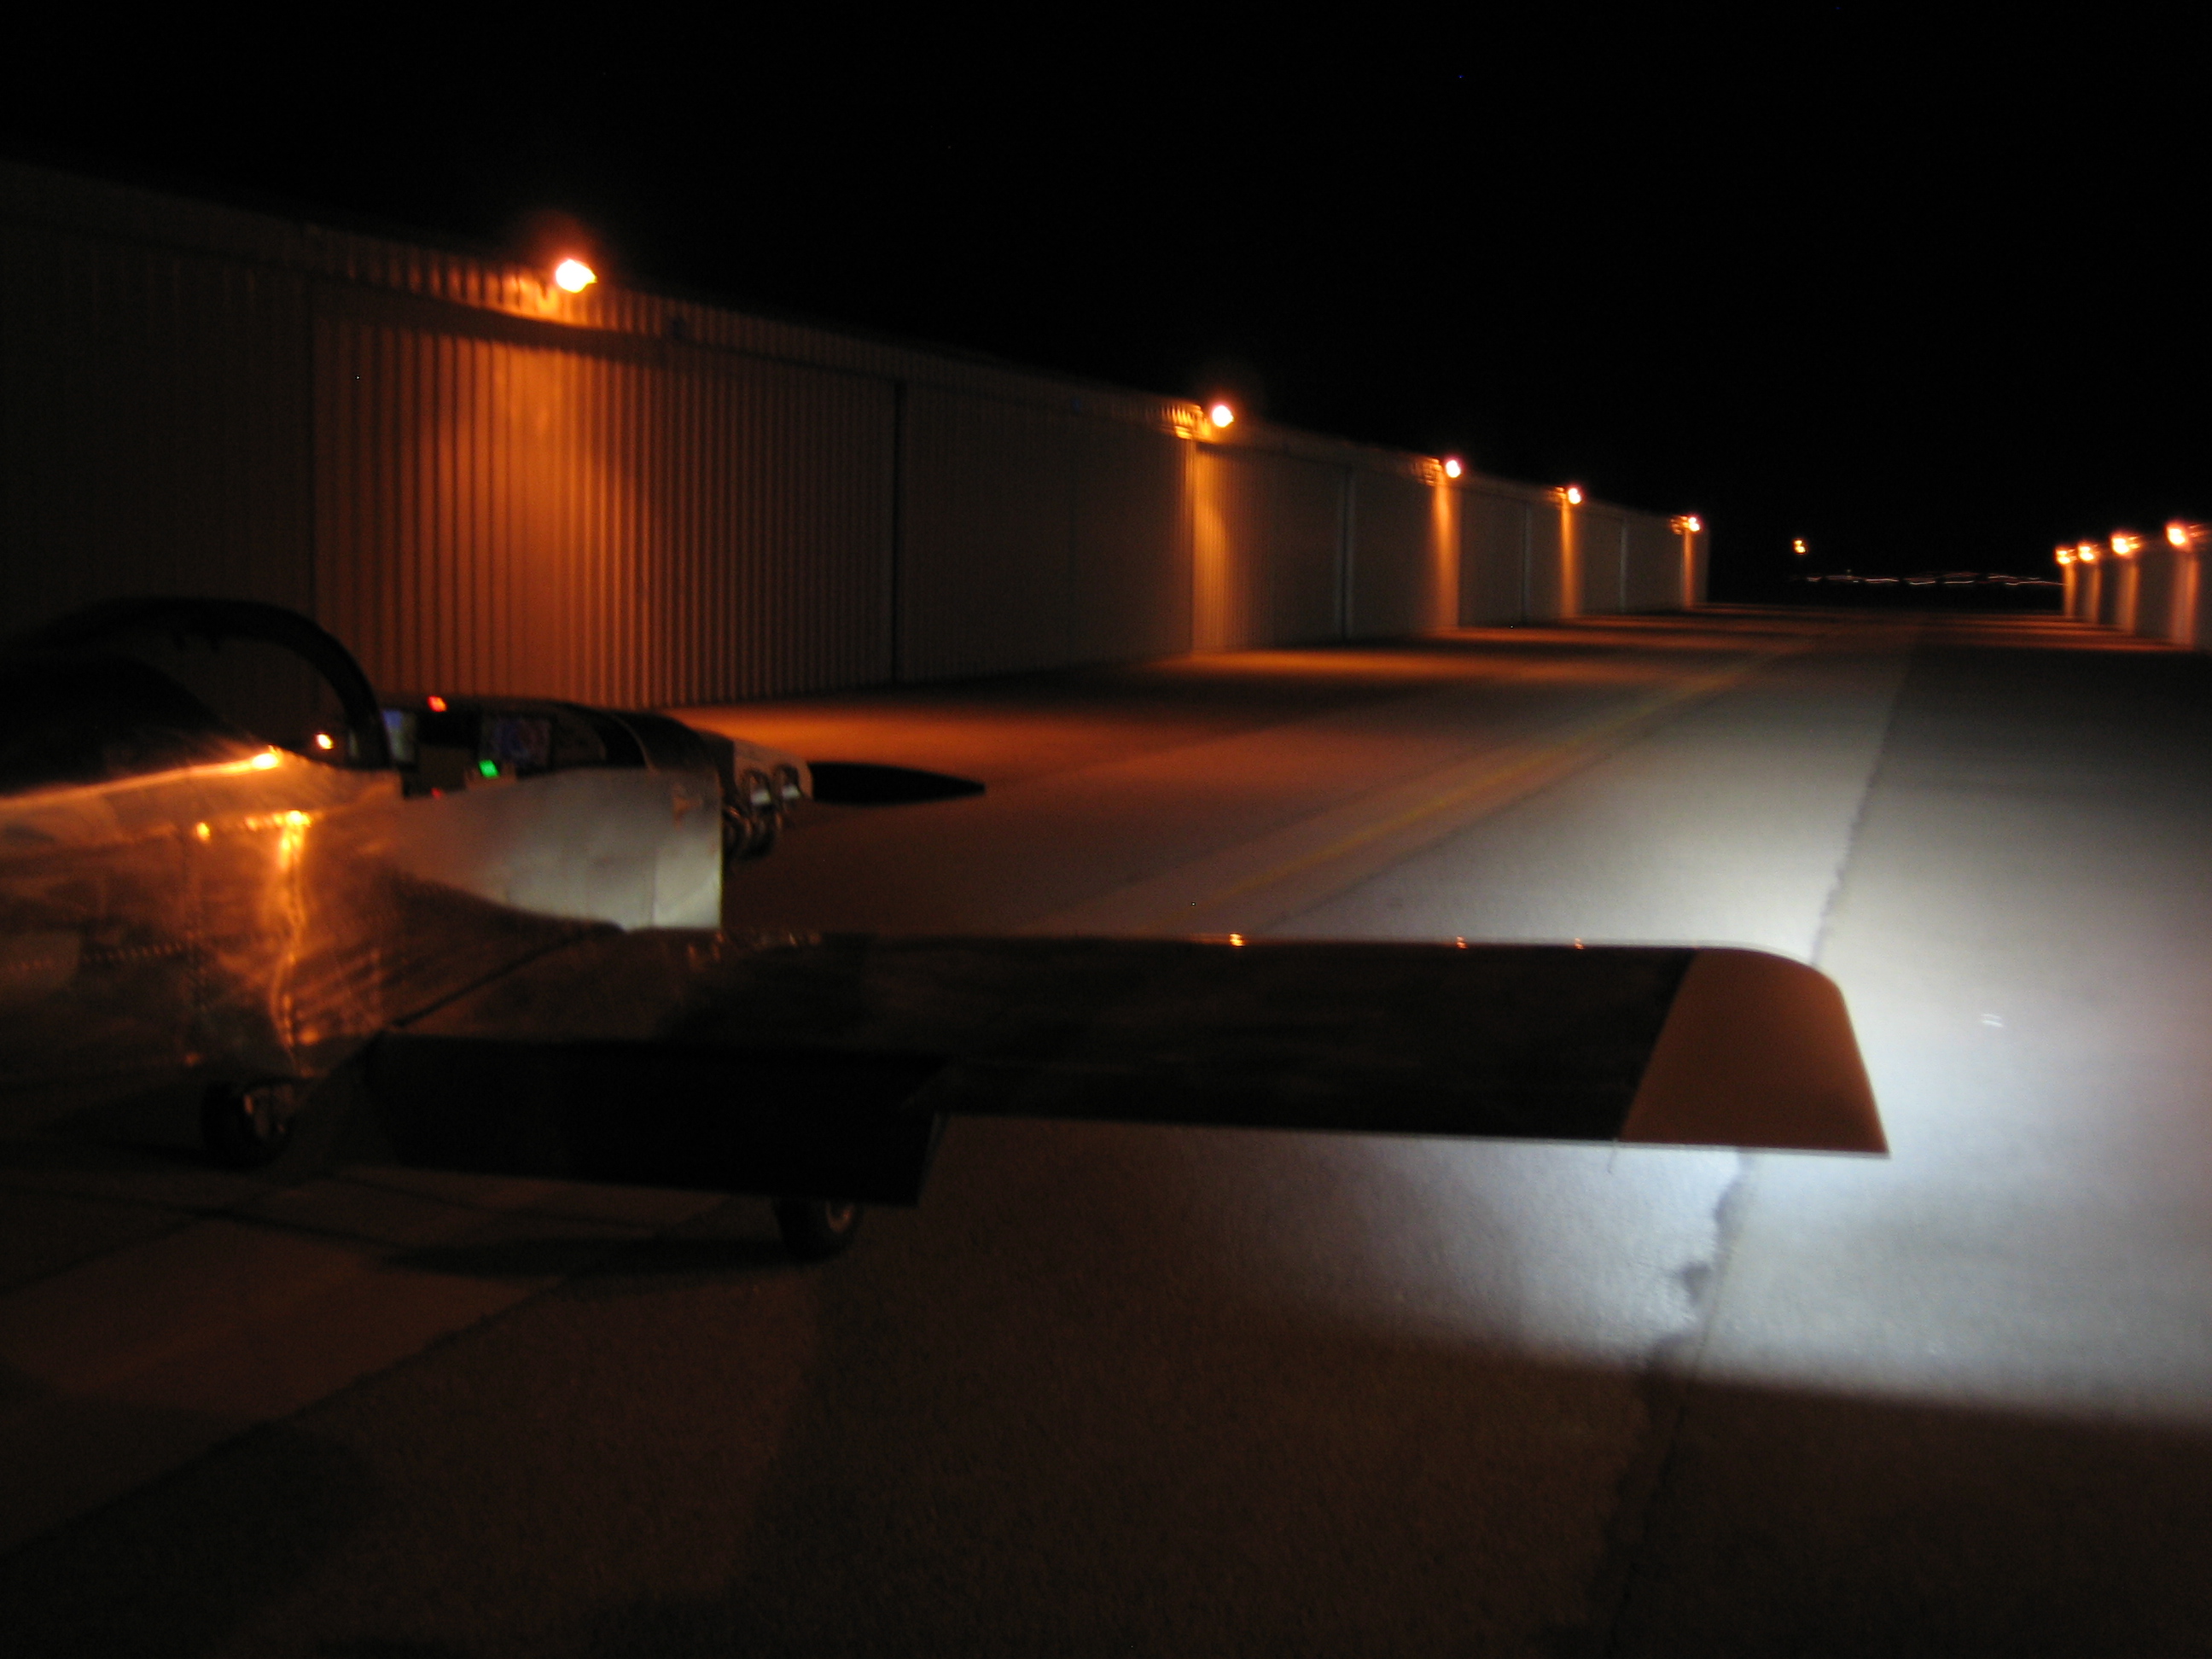
I adjusted the light until the beam was roughly level.  You can see it does a pretty good job of lighting up the taxiway.

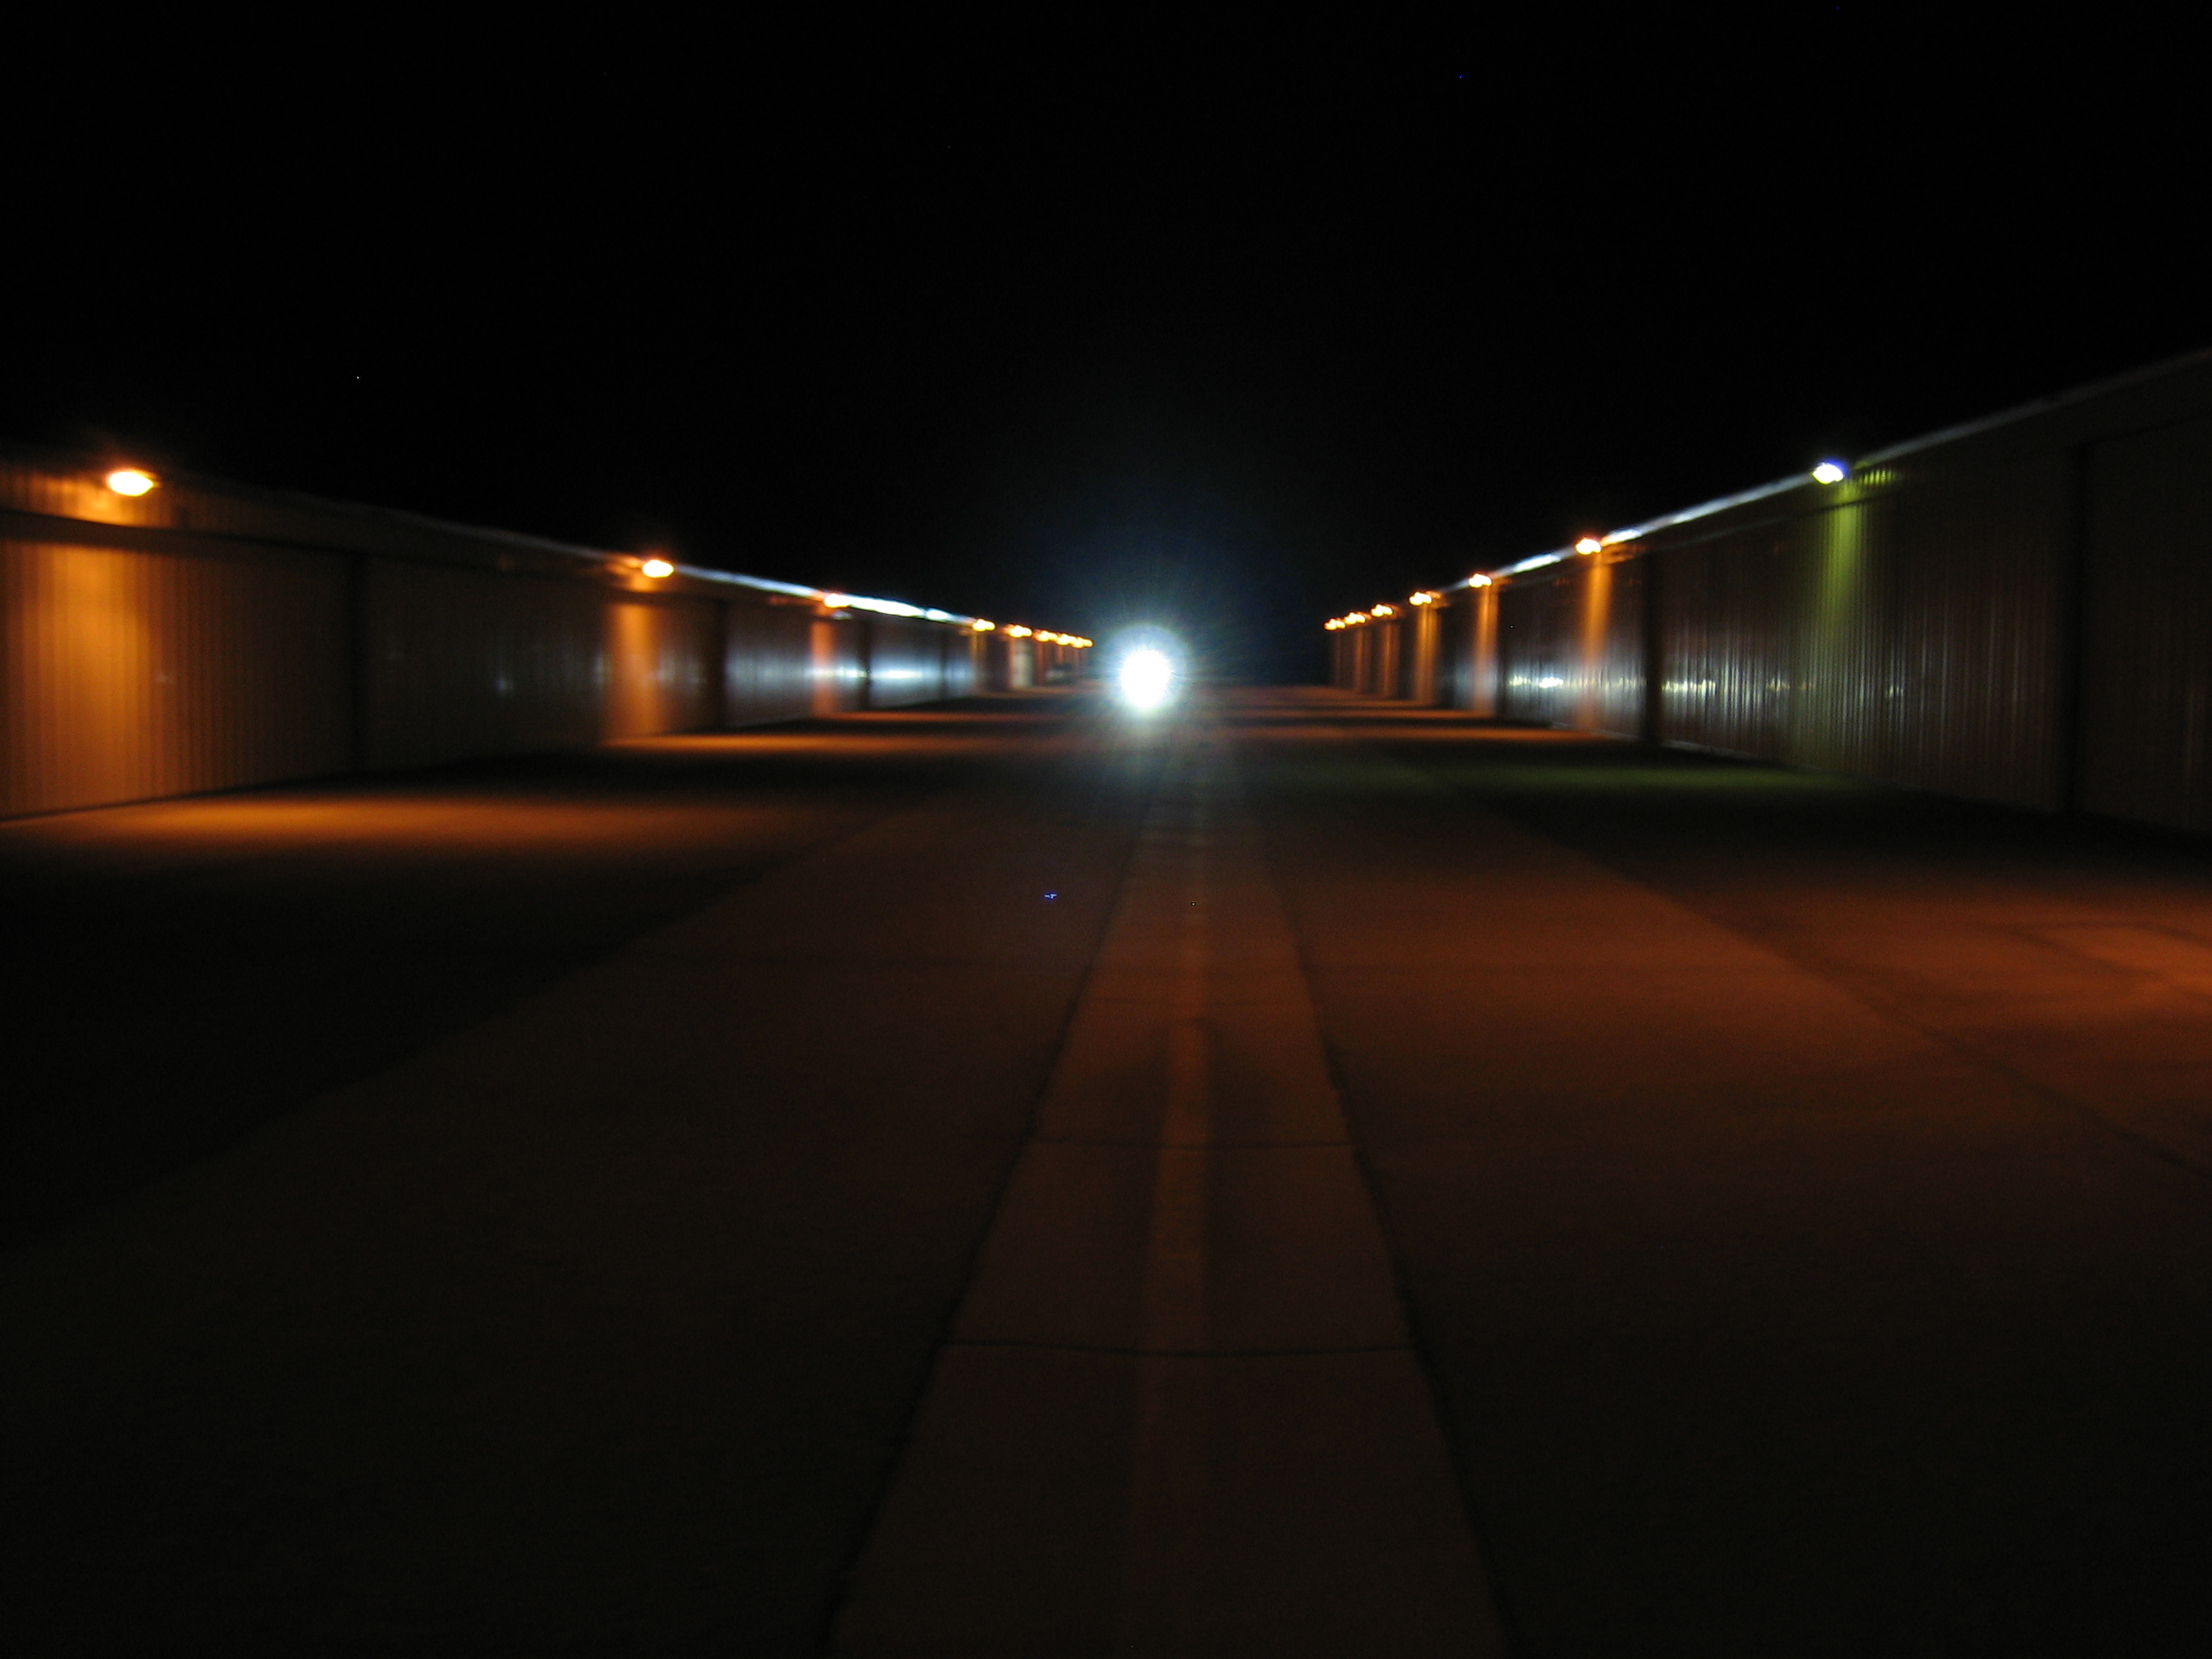
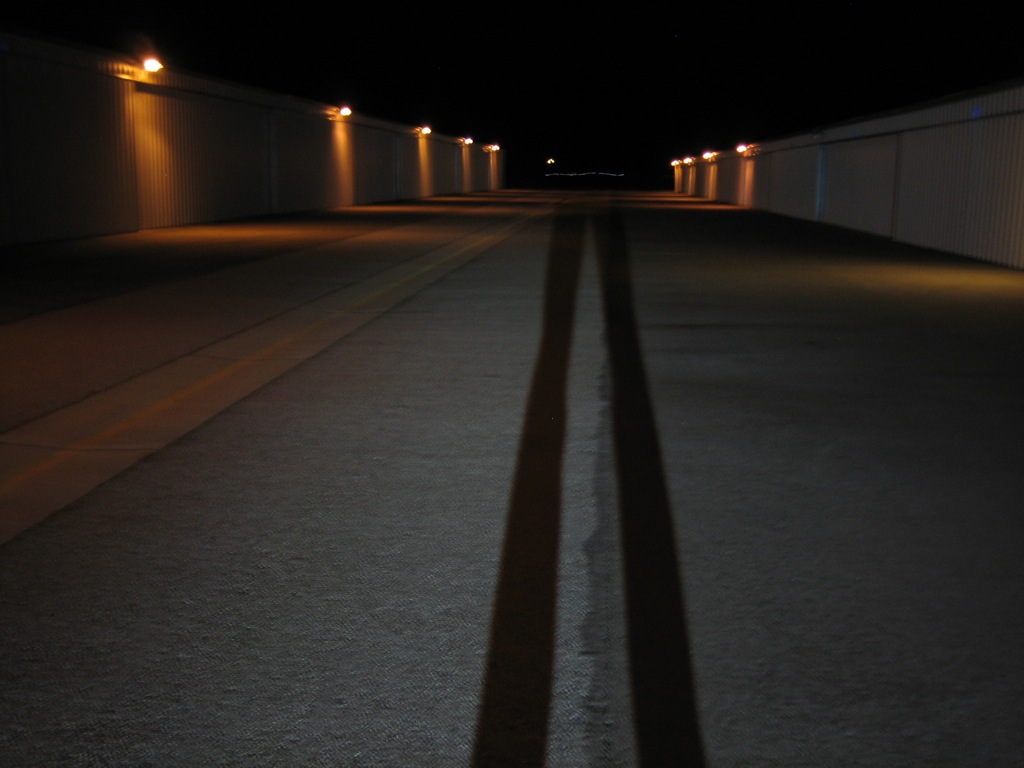
I walked to the far end of the taxiway to get an idea how much light was making it down there.  The picture doesn’t really capture it well, but it was uncomfortable to look directly at the light, even from this far away.

This picture of the shadows cast by my legs gives a pretty good idea how well the far end of the taxiway is lit up.

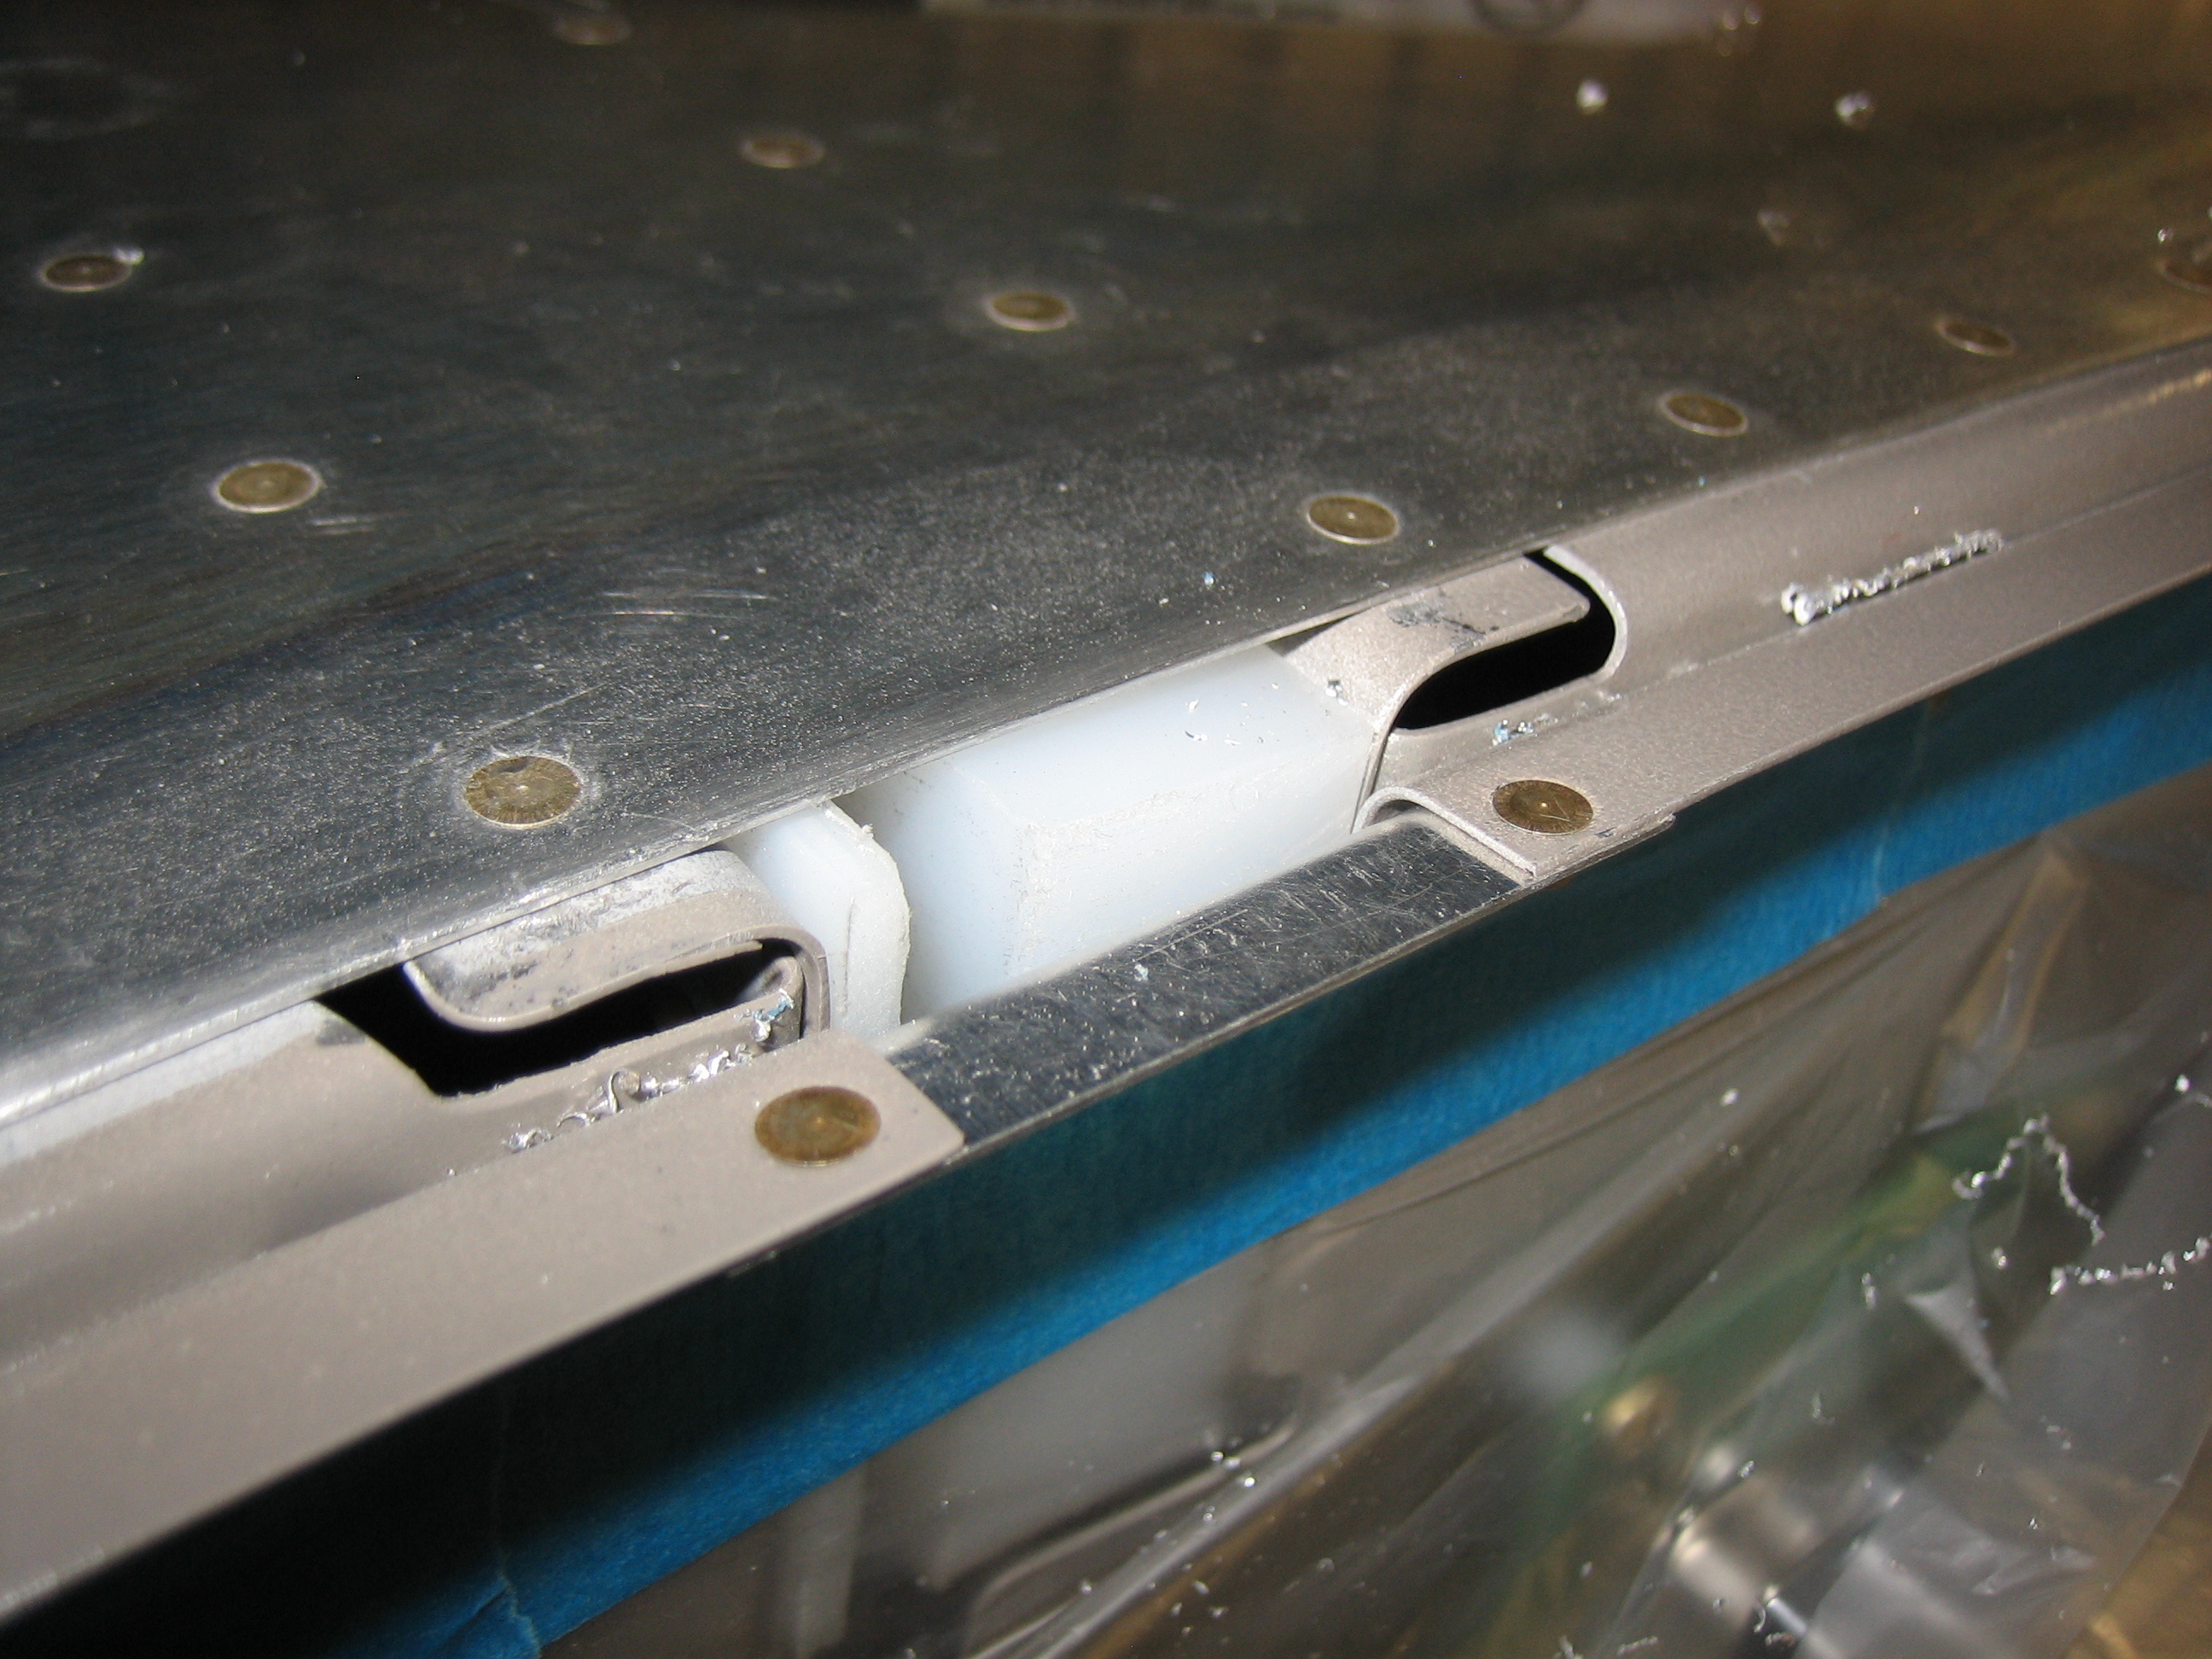
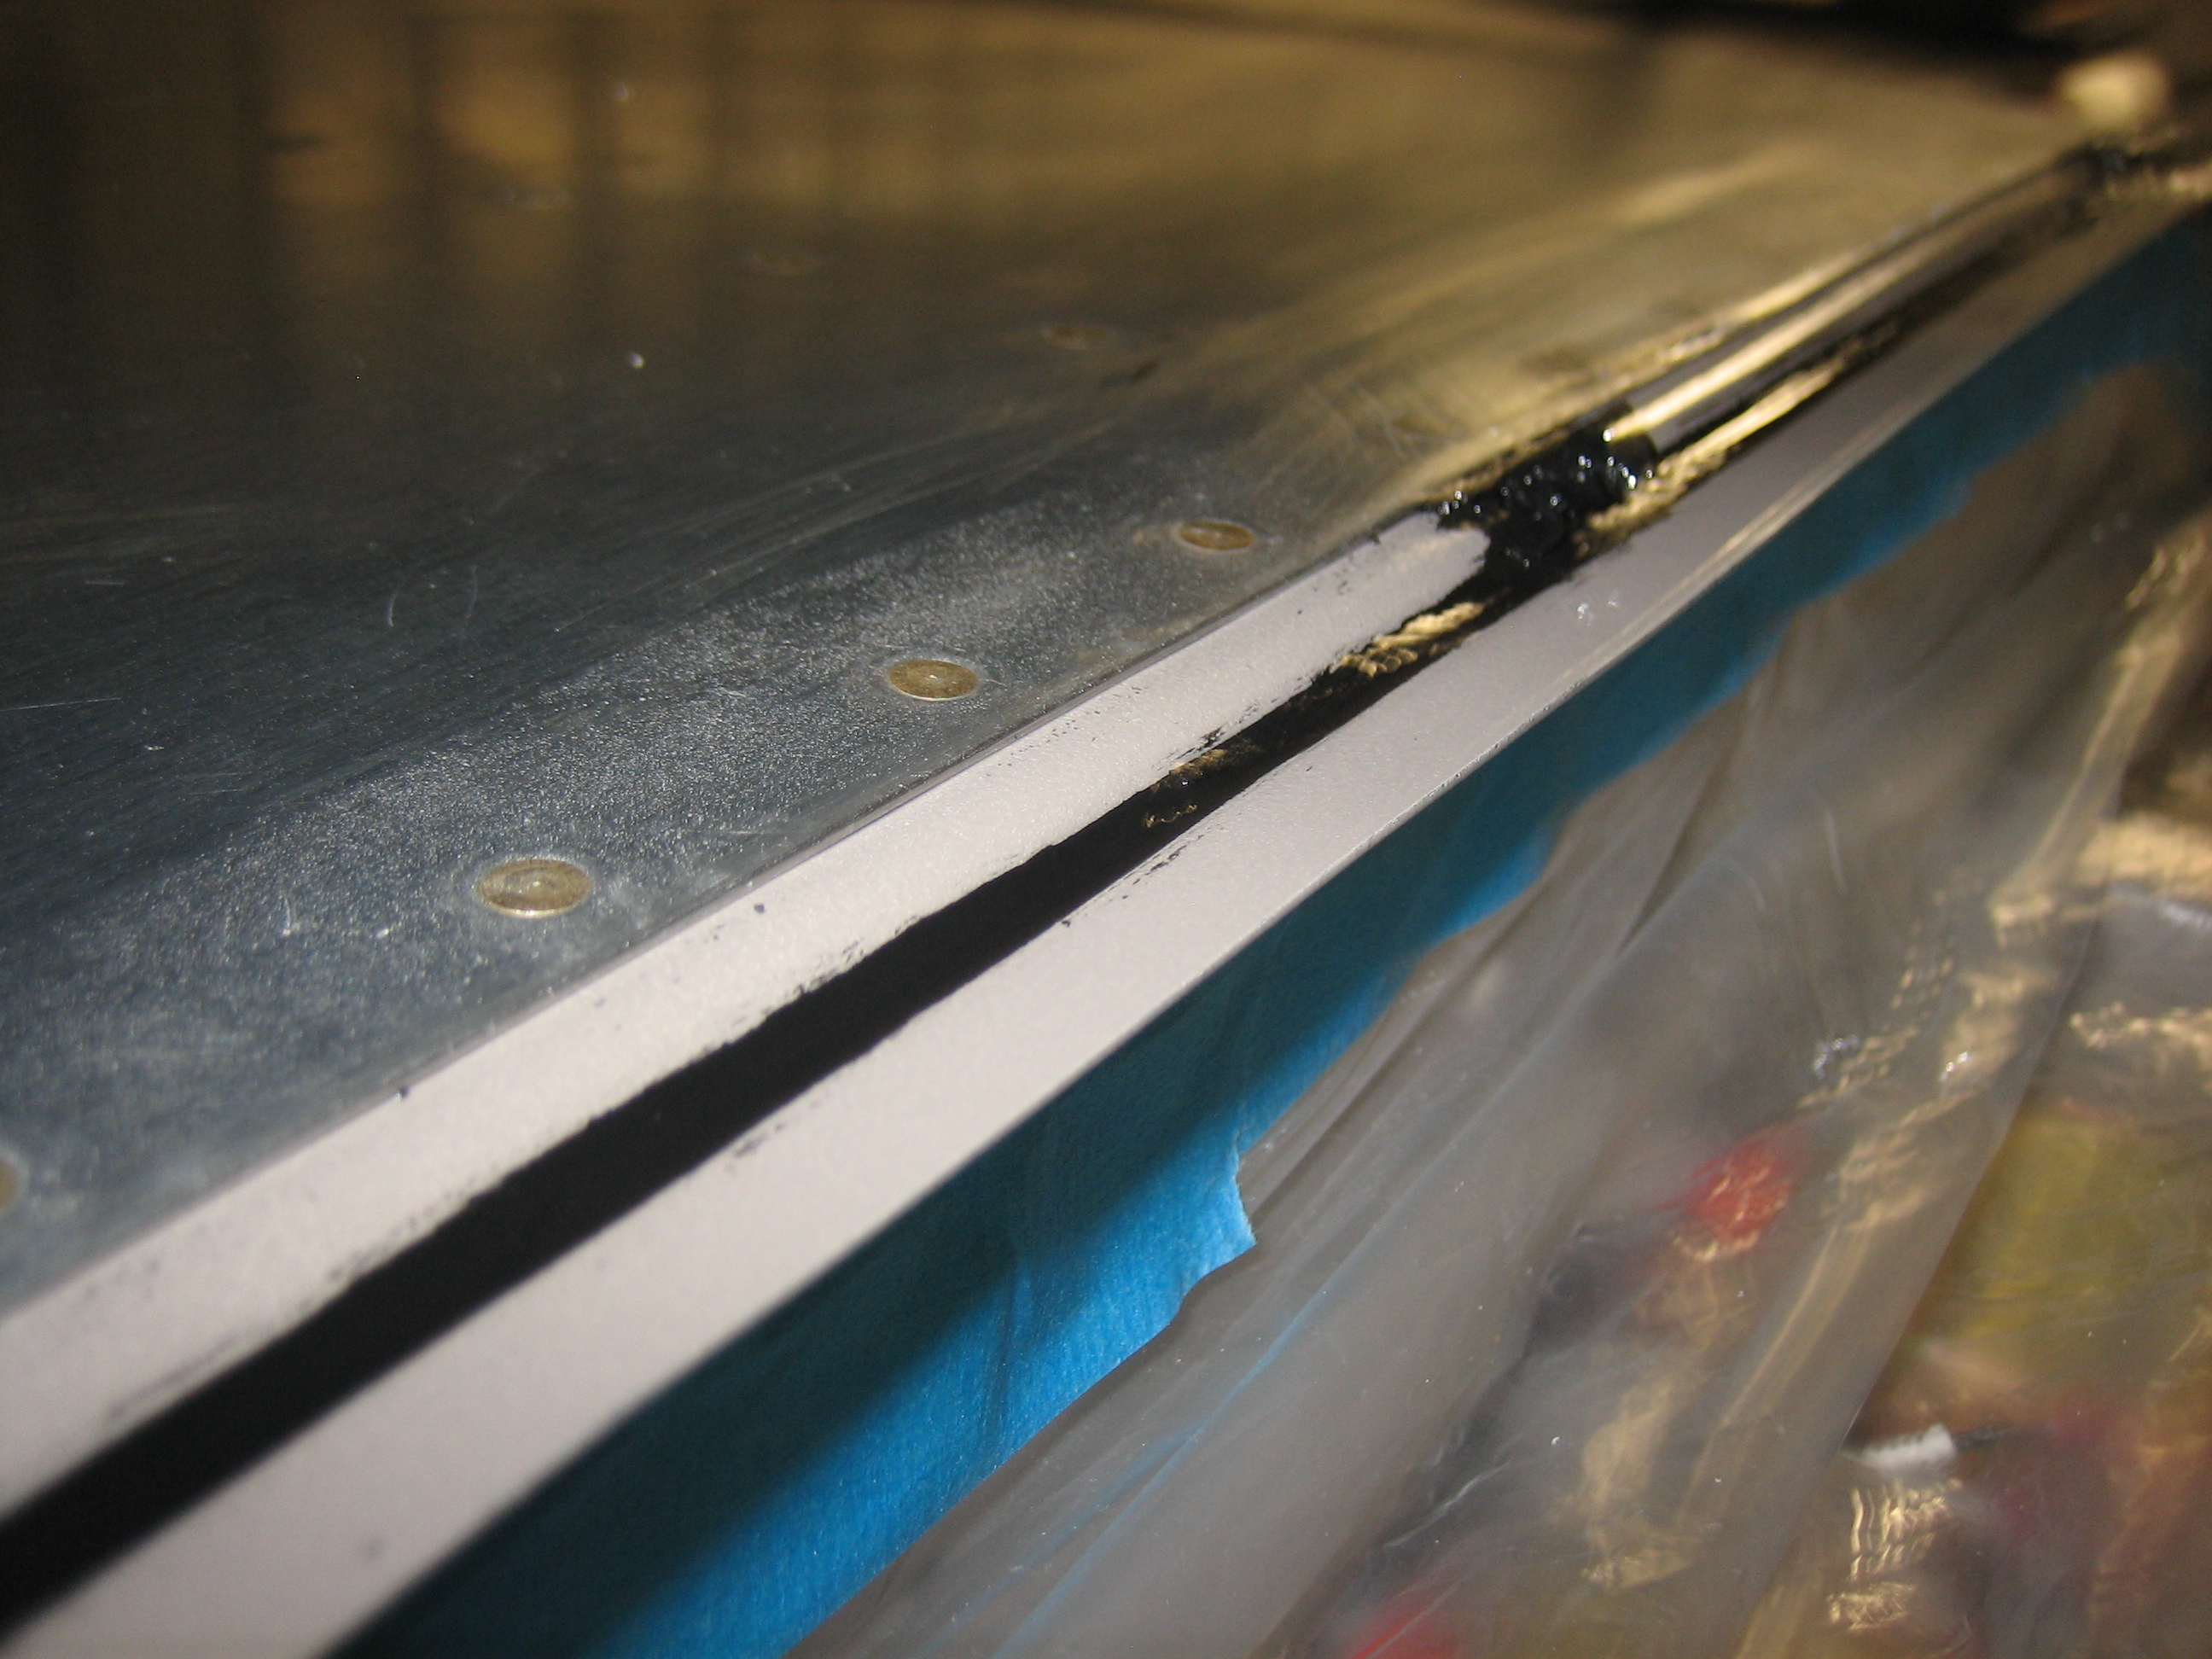
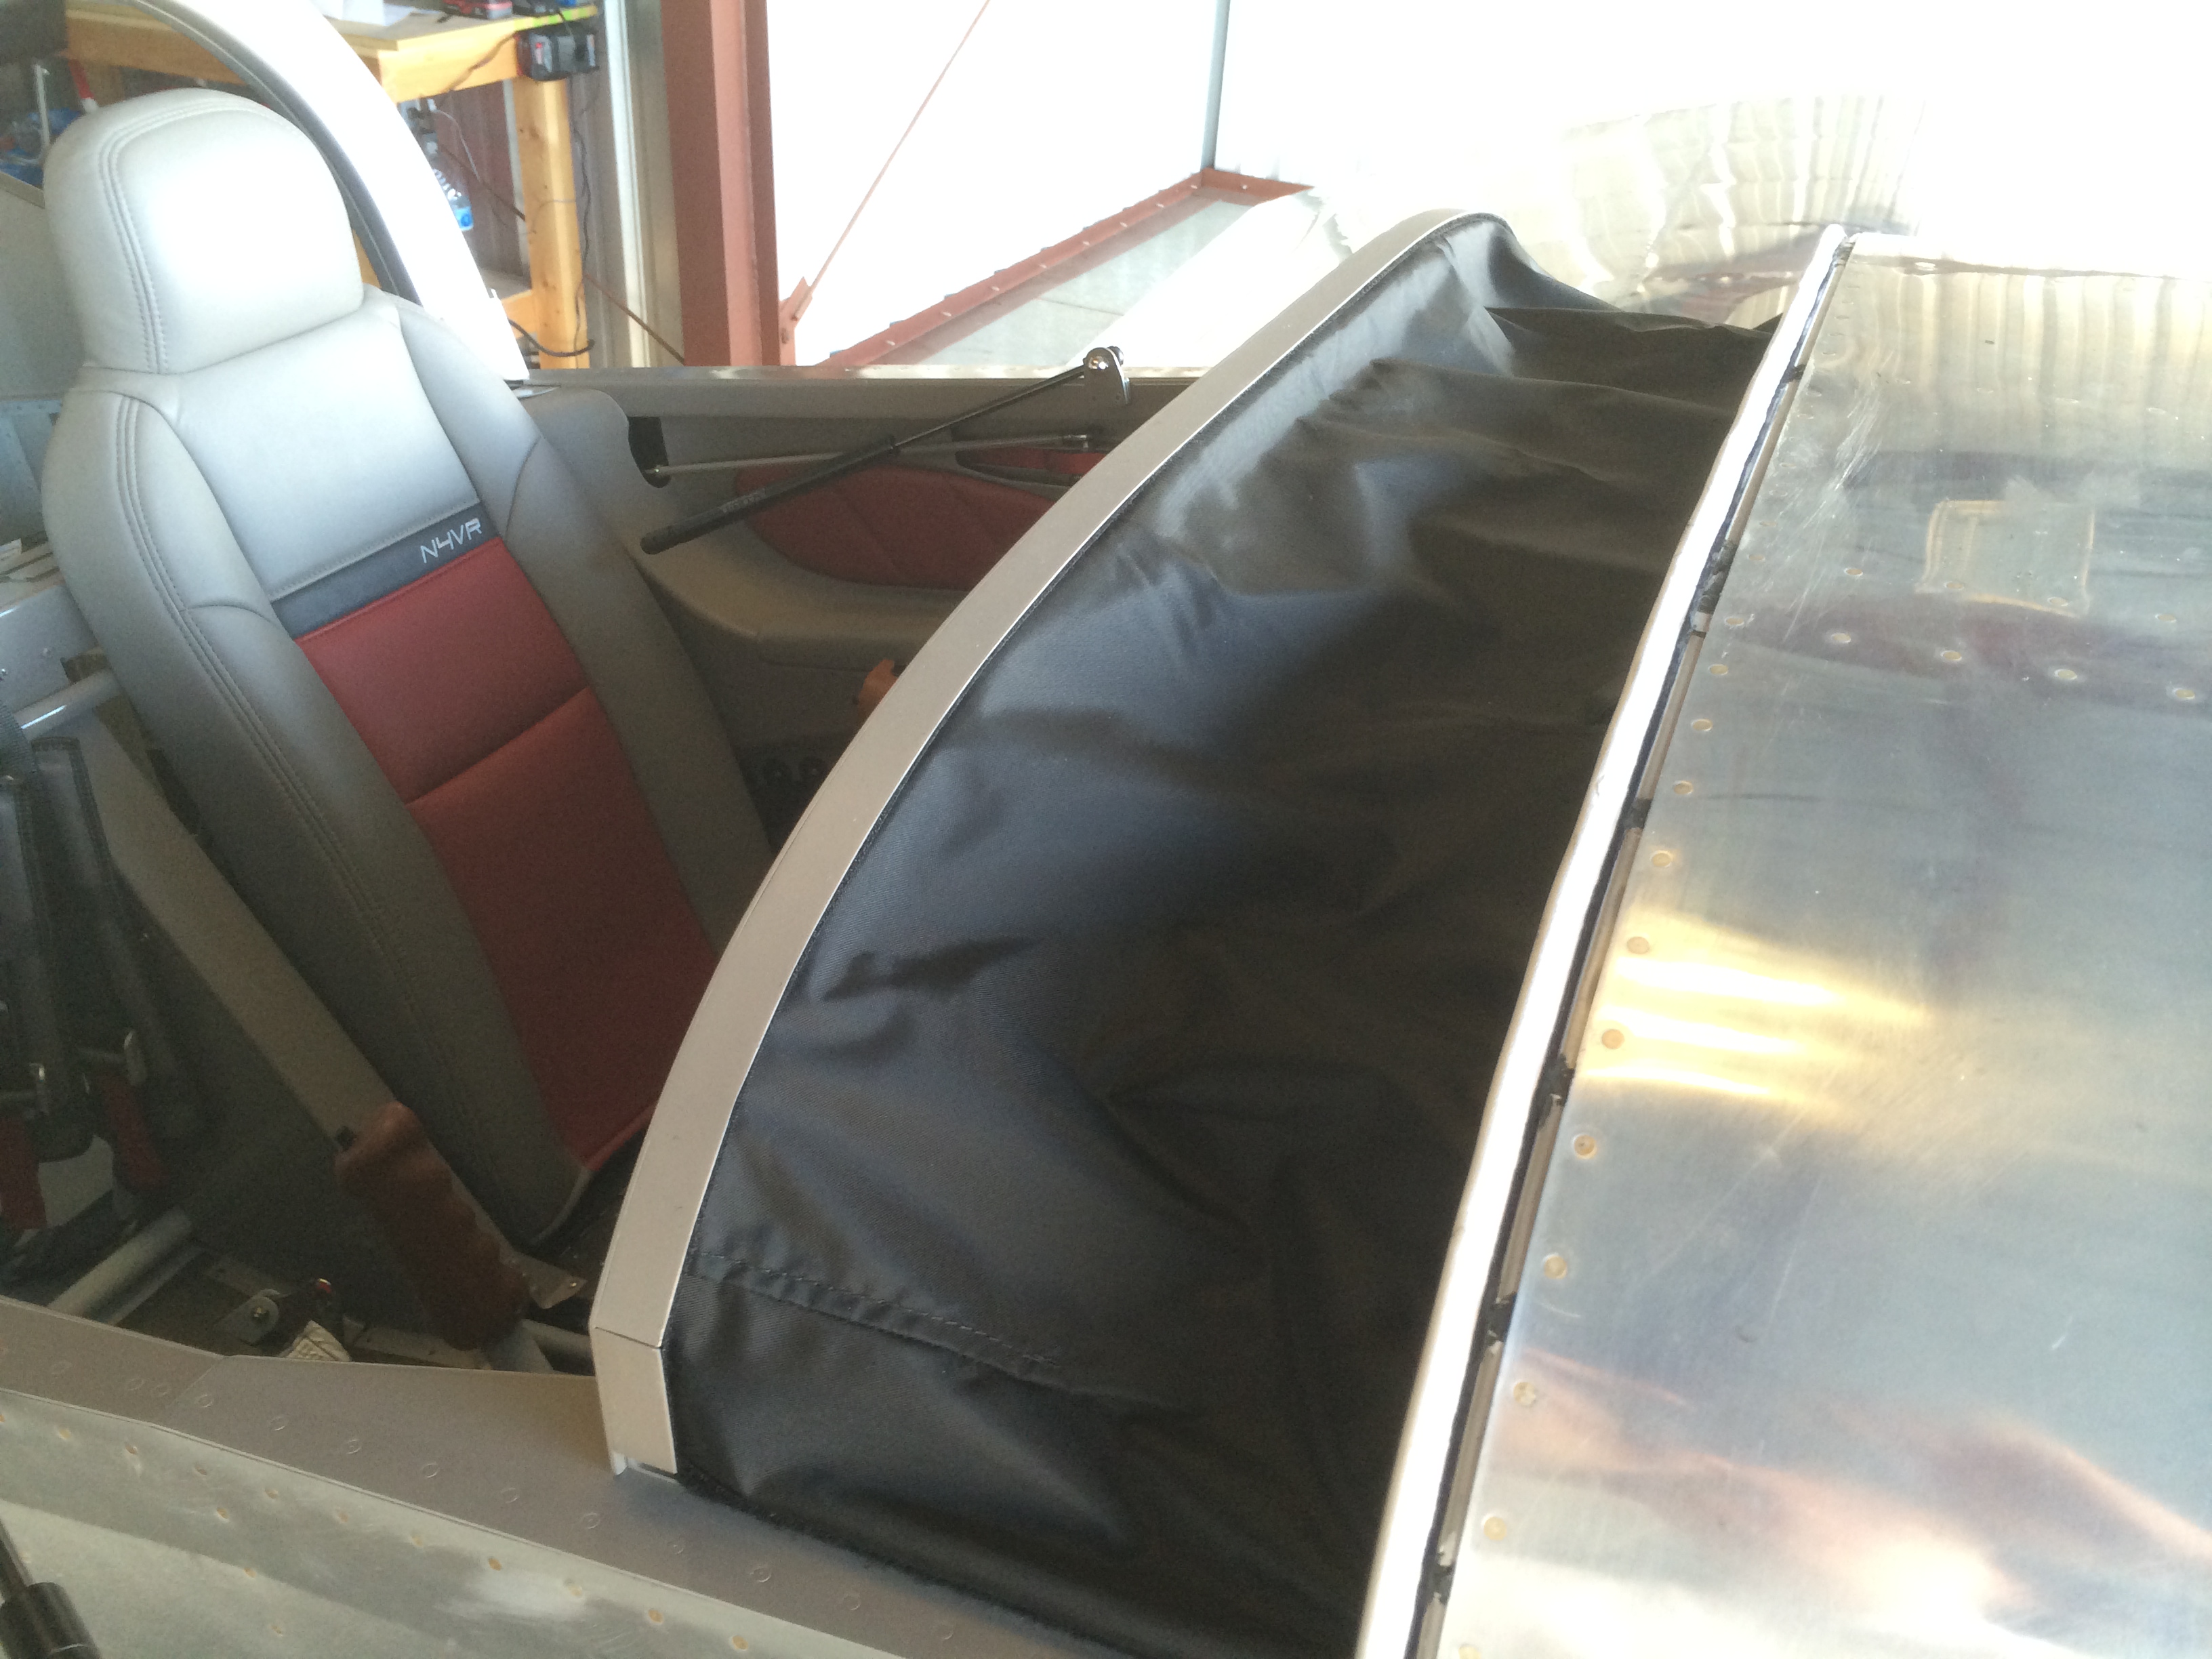
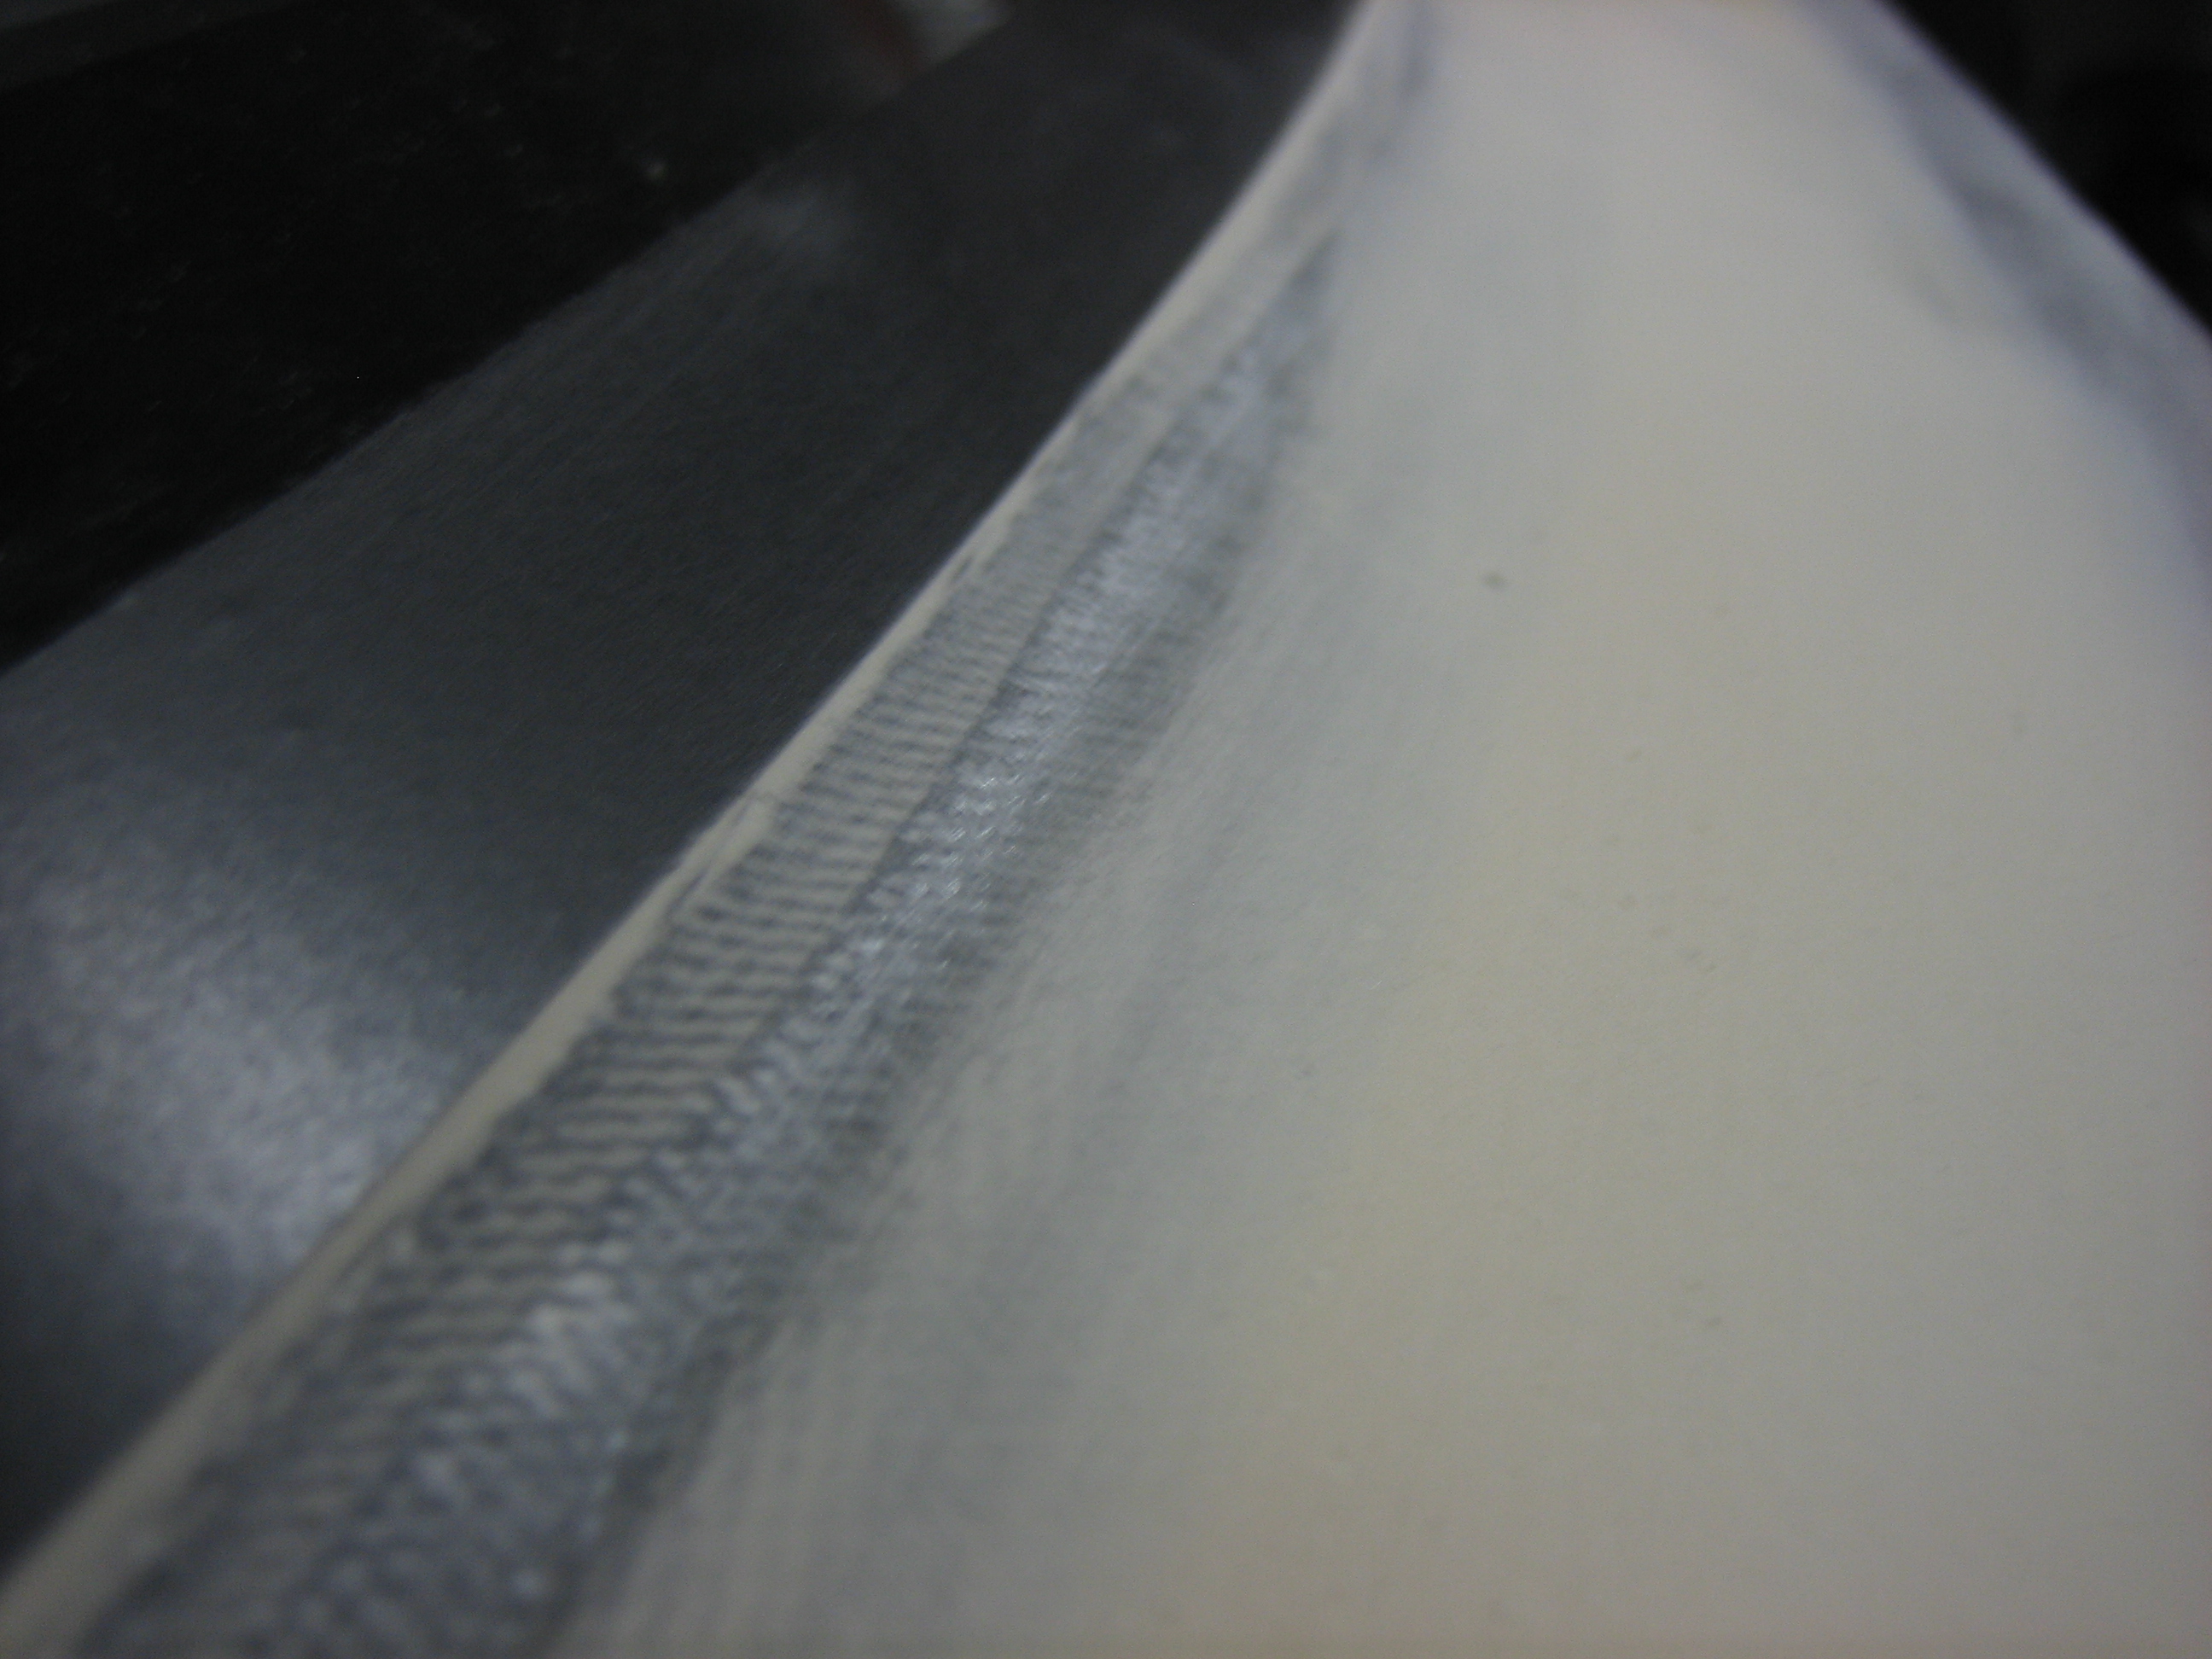
Finally, I resumed work on the canopy fairing.  I started with sanding the fairing down to be flush with the two layers of electrical tape and got the overall shape where I wanted it.  Next, I removed the upper layer of tape and sanded the fairing down again to be flush with the remaining tape.

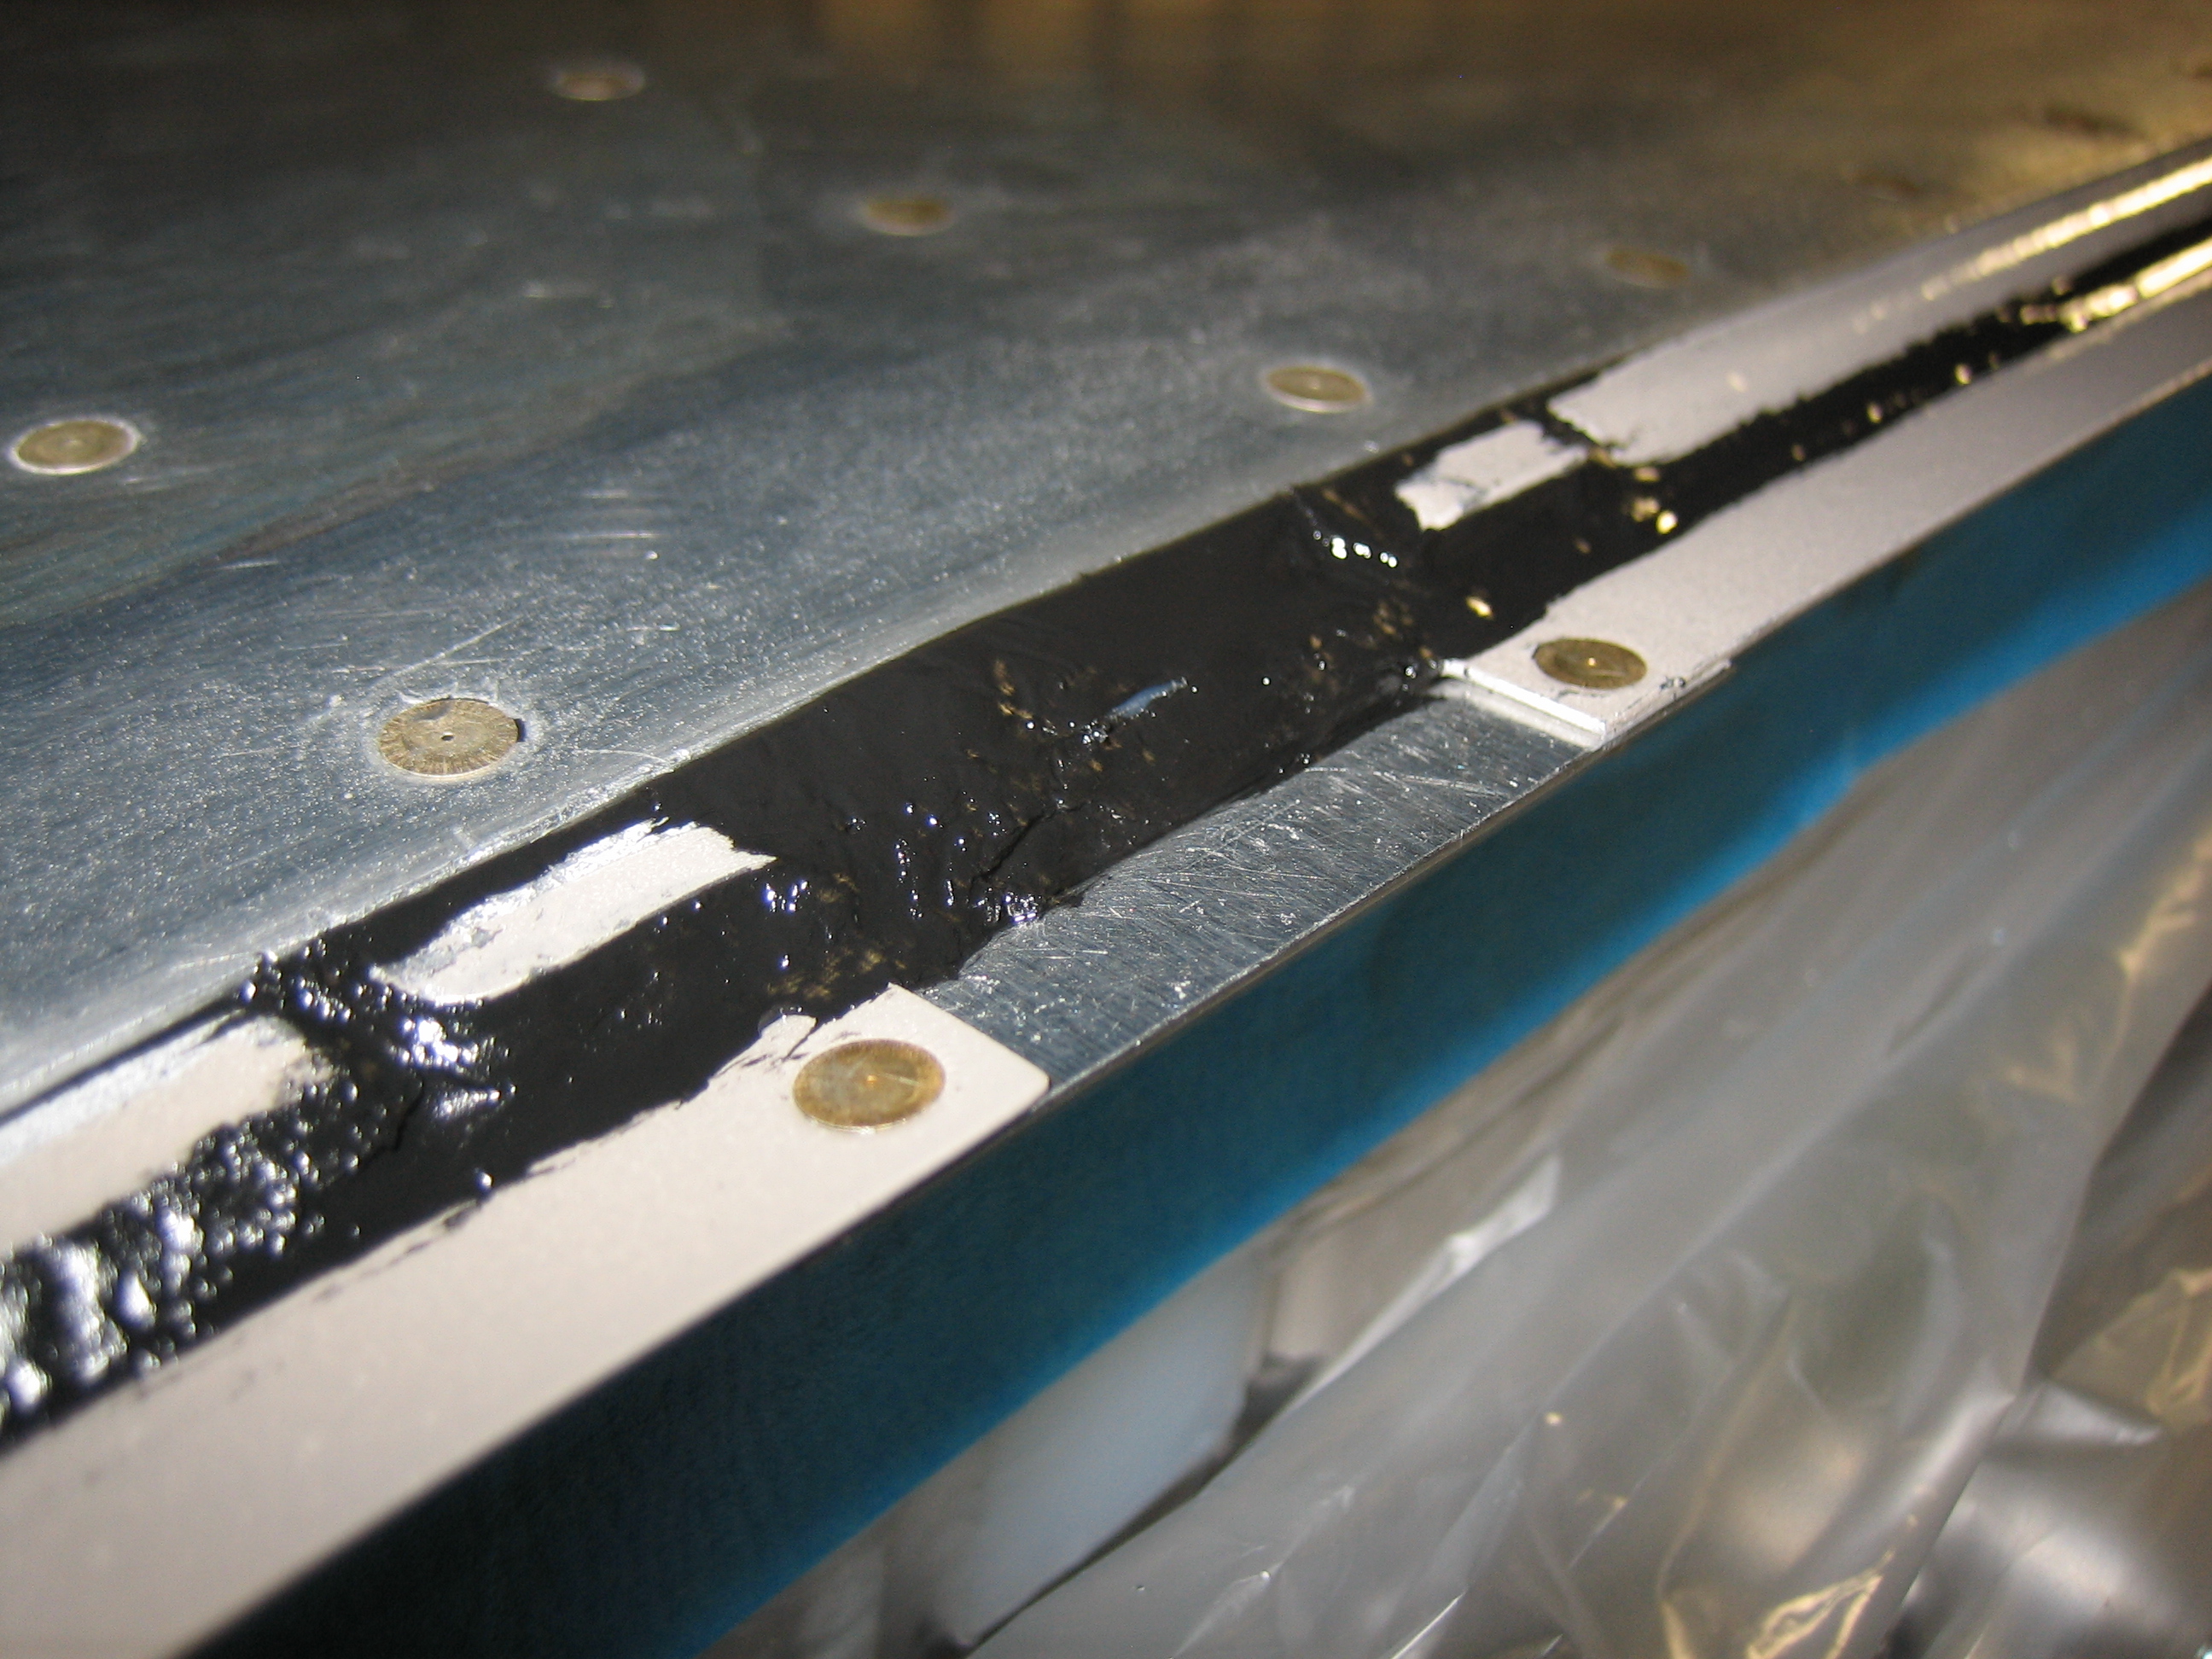
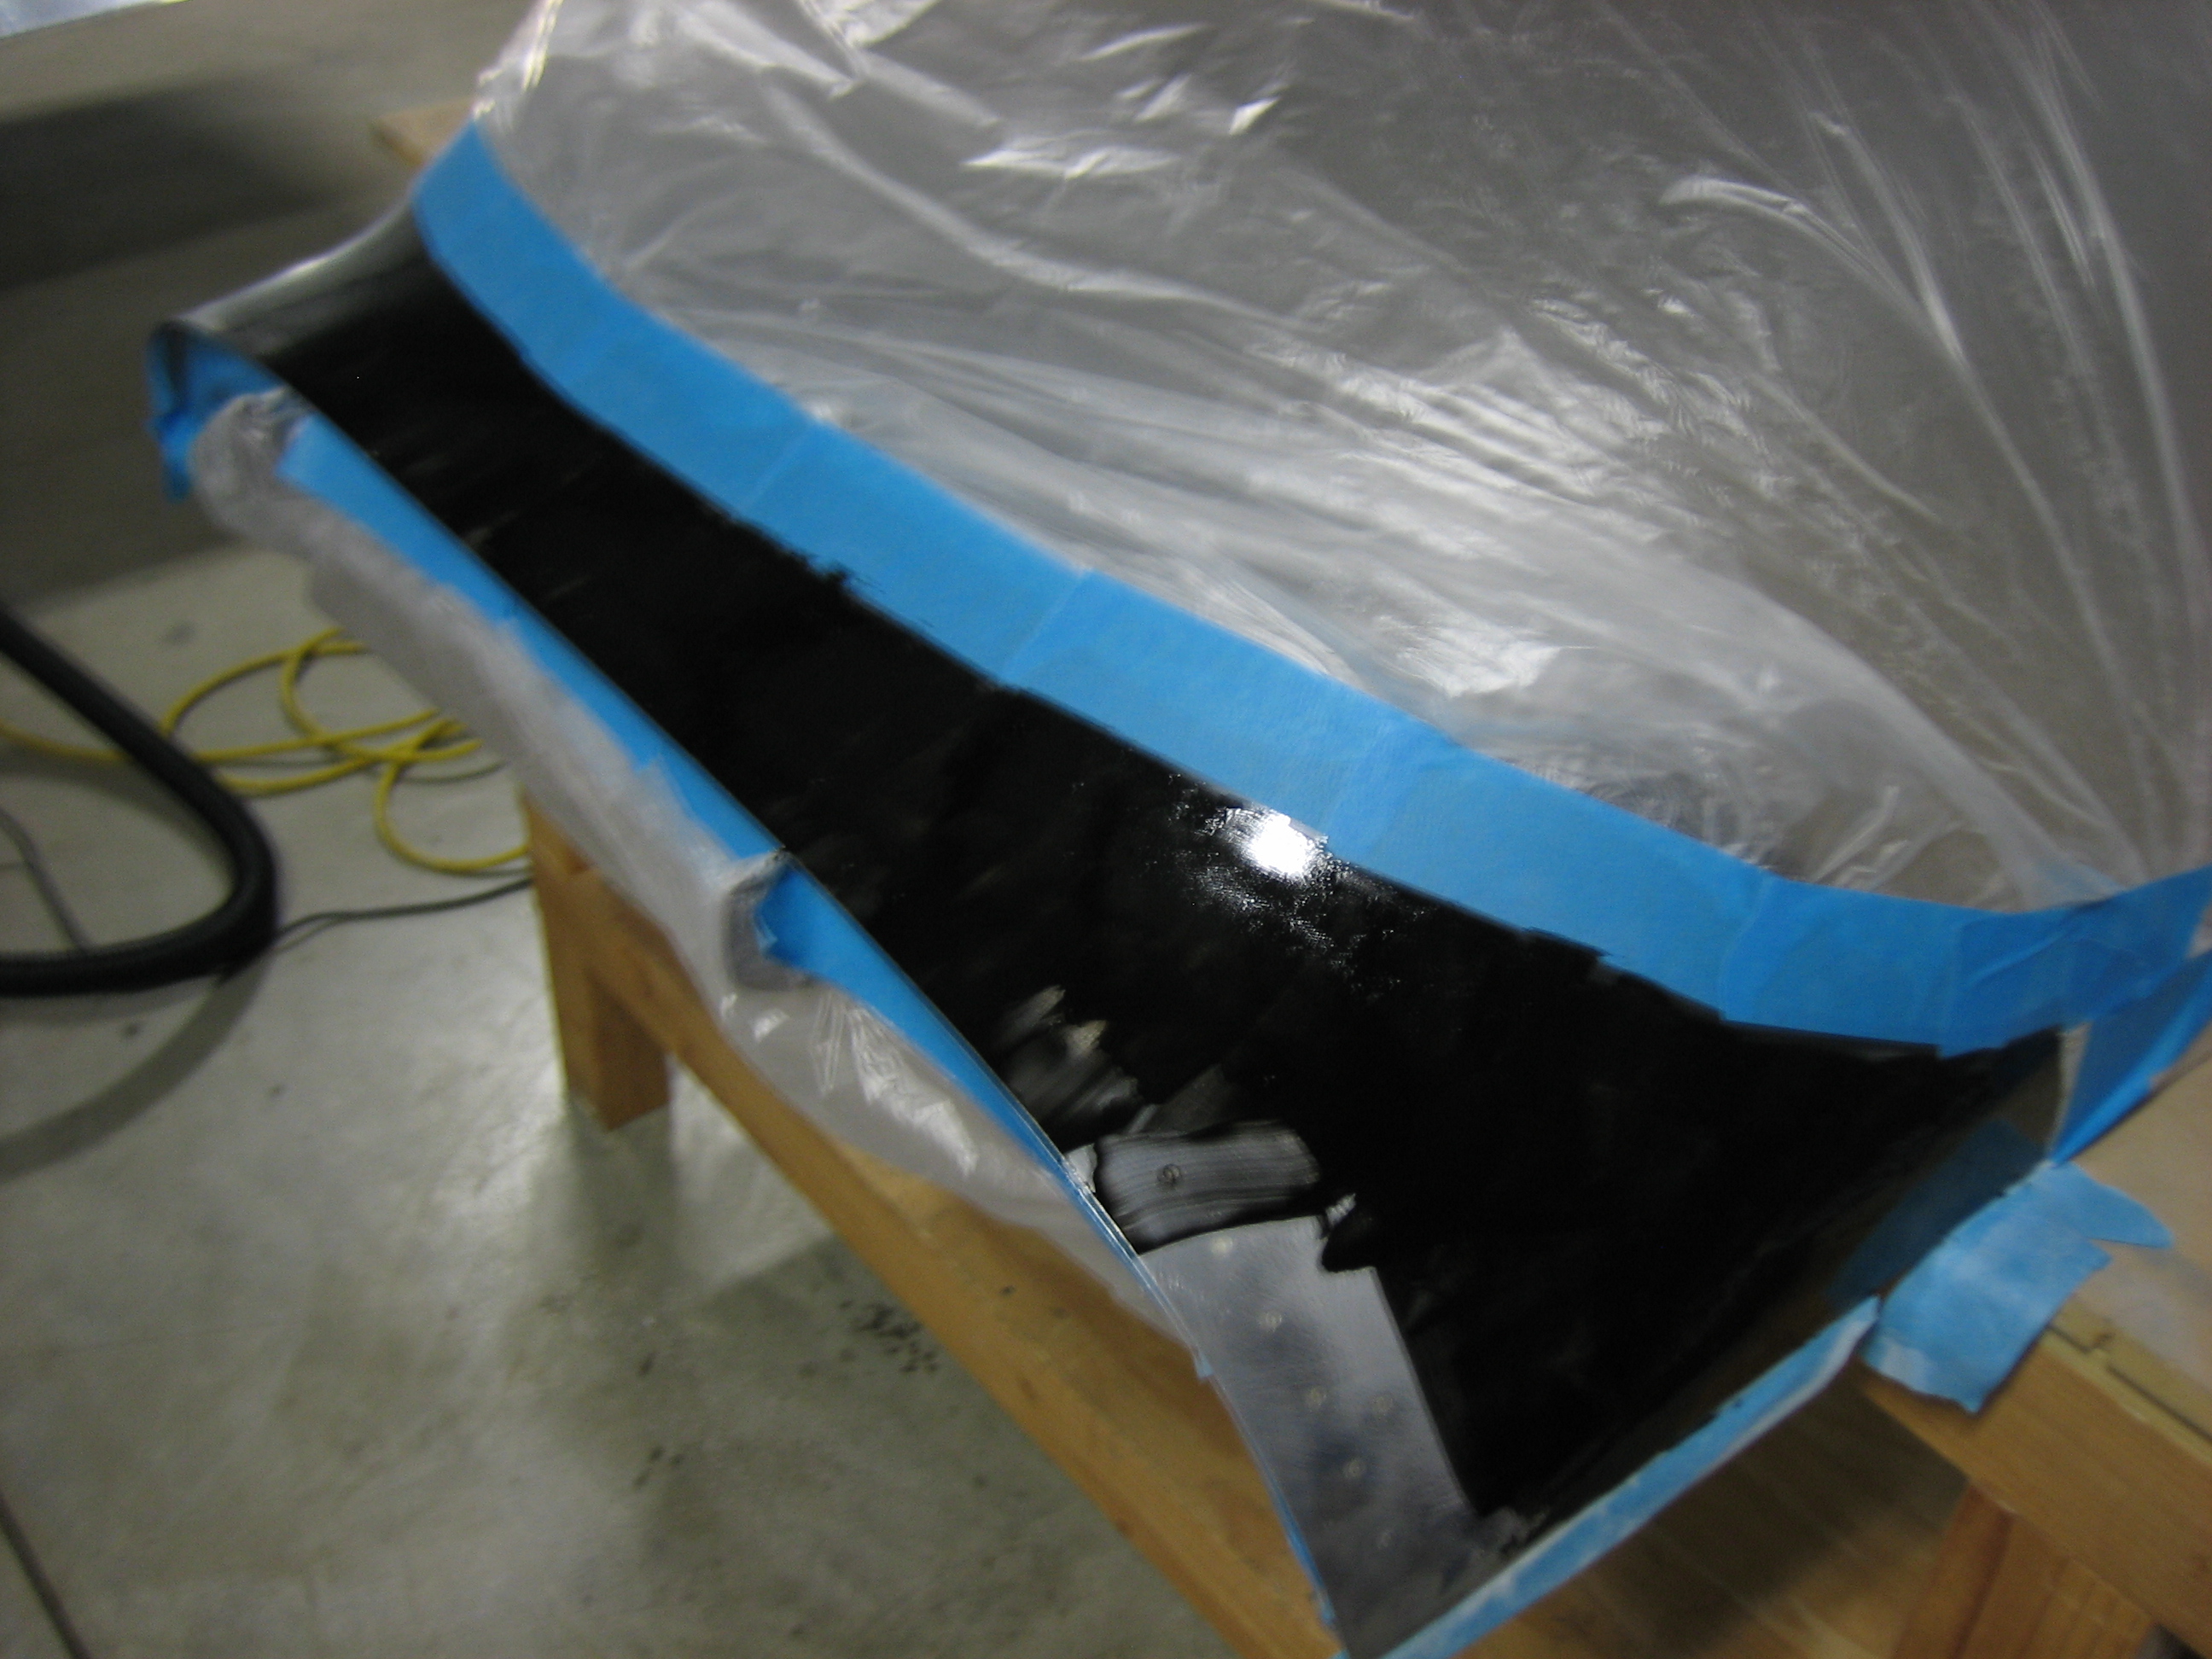
After taping over the exposed parts of the canopy bubble, I mixed up some epoxy with black pigment and applied a sealer coat on the fairing.  After this cures, I’ll sand it down and apply a coat of primer.