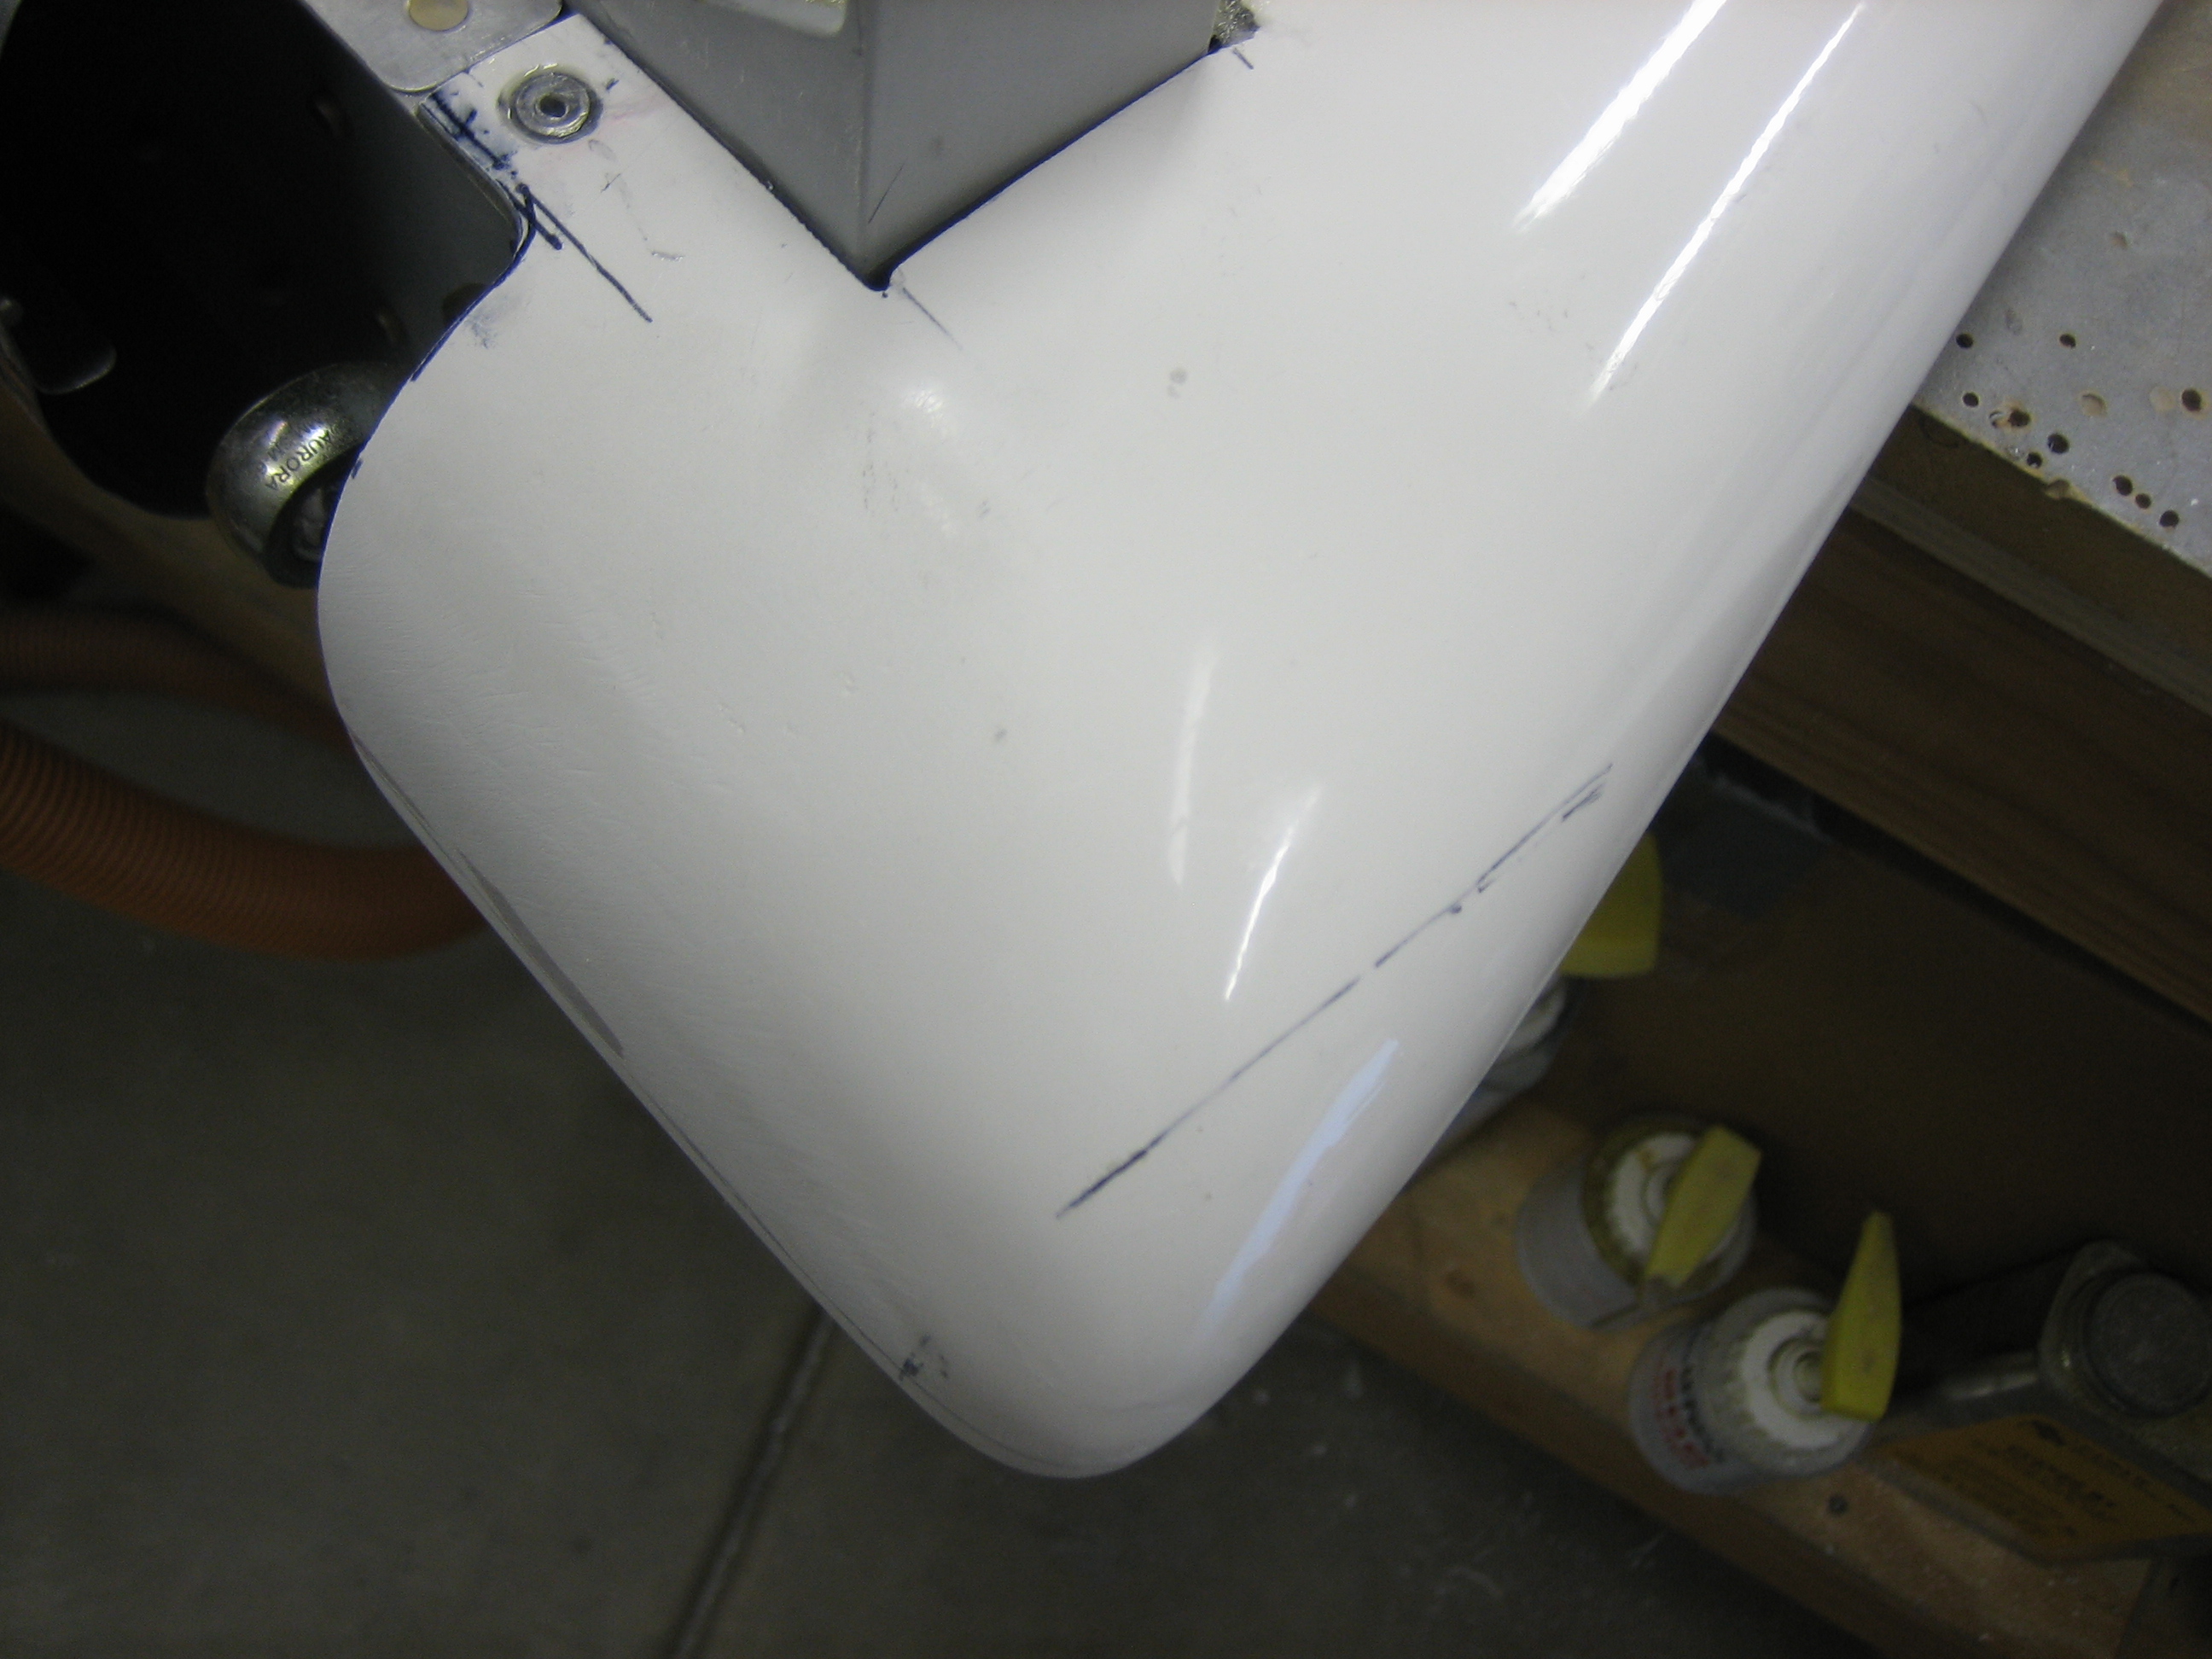
I spent about an hour sanding the empennage fairing and cleaning up the filler I put under all of the edges a couple of days ago. I need to add a little more filler underneath and some final trimming, and then It’ll be ready for paint.

I spent about an hour sanding the empennage fairing and cleaning up the filler I put under all of the edges a couple of days ago. I need to add a little more filler underneath and some final trimming, and then It’ll be ready for paint.
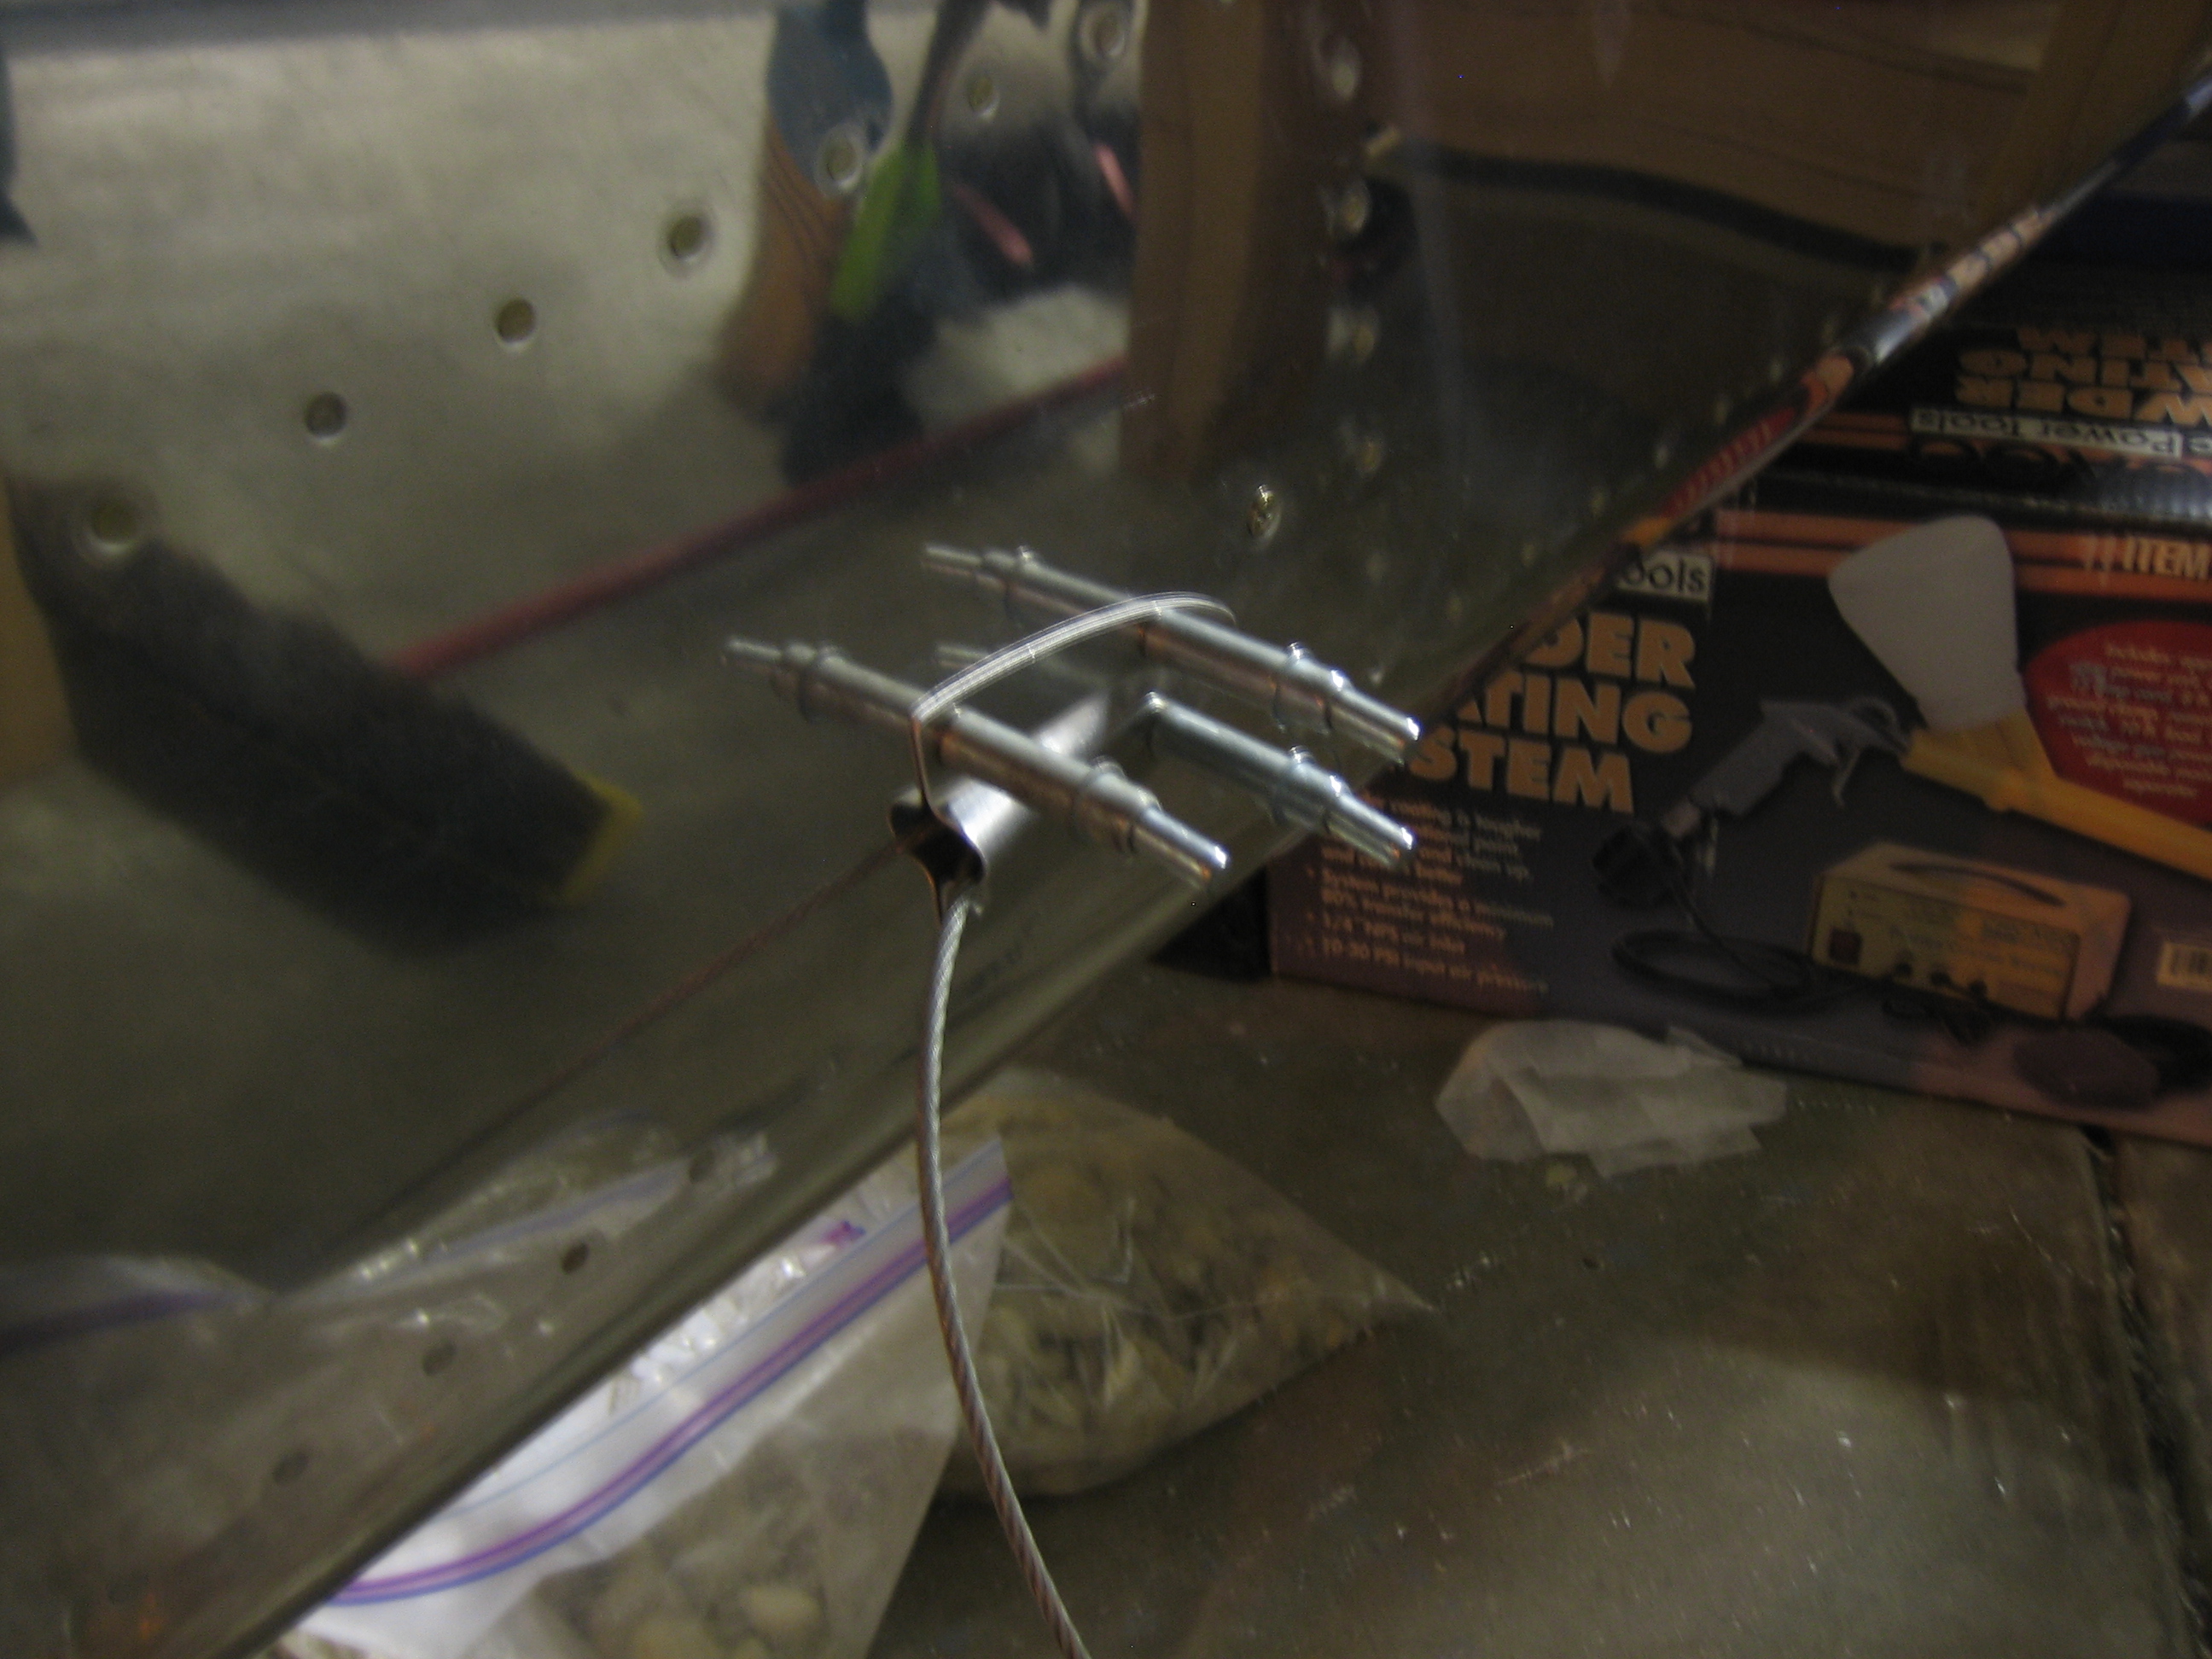
I drilled some holes through both pieces of the lower hinge bracket so that I could mount the rudder stop between them. I fabricated a little drilling template that let me get the holes in the right spot since the stop slides farther back when between the brackets than it does when above or below them.
There’s just enough room to use an AN960-10 washer above and below the stop to center the stop between the brackets. This should evenly transfer any load into the brackets, spar and aft bulkheads.
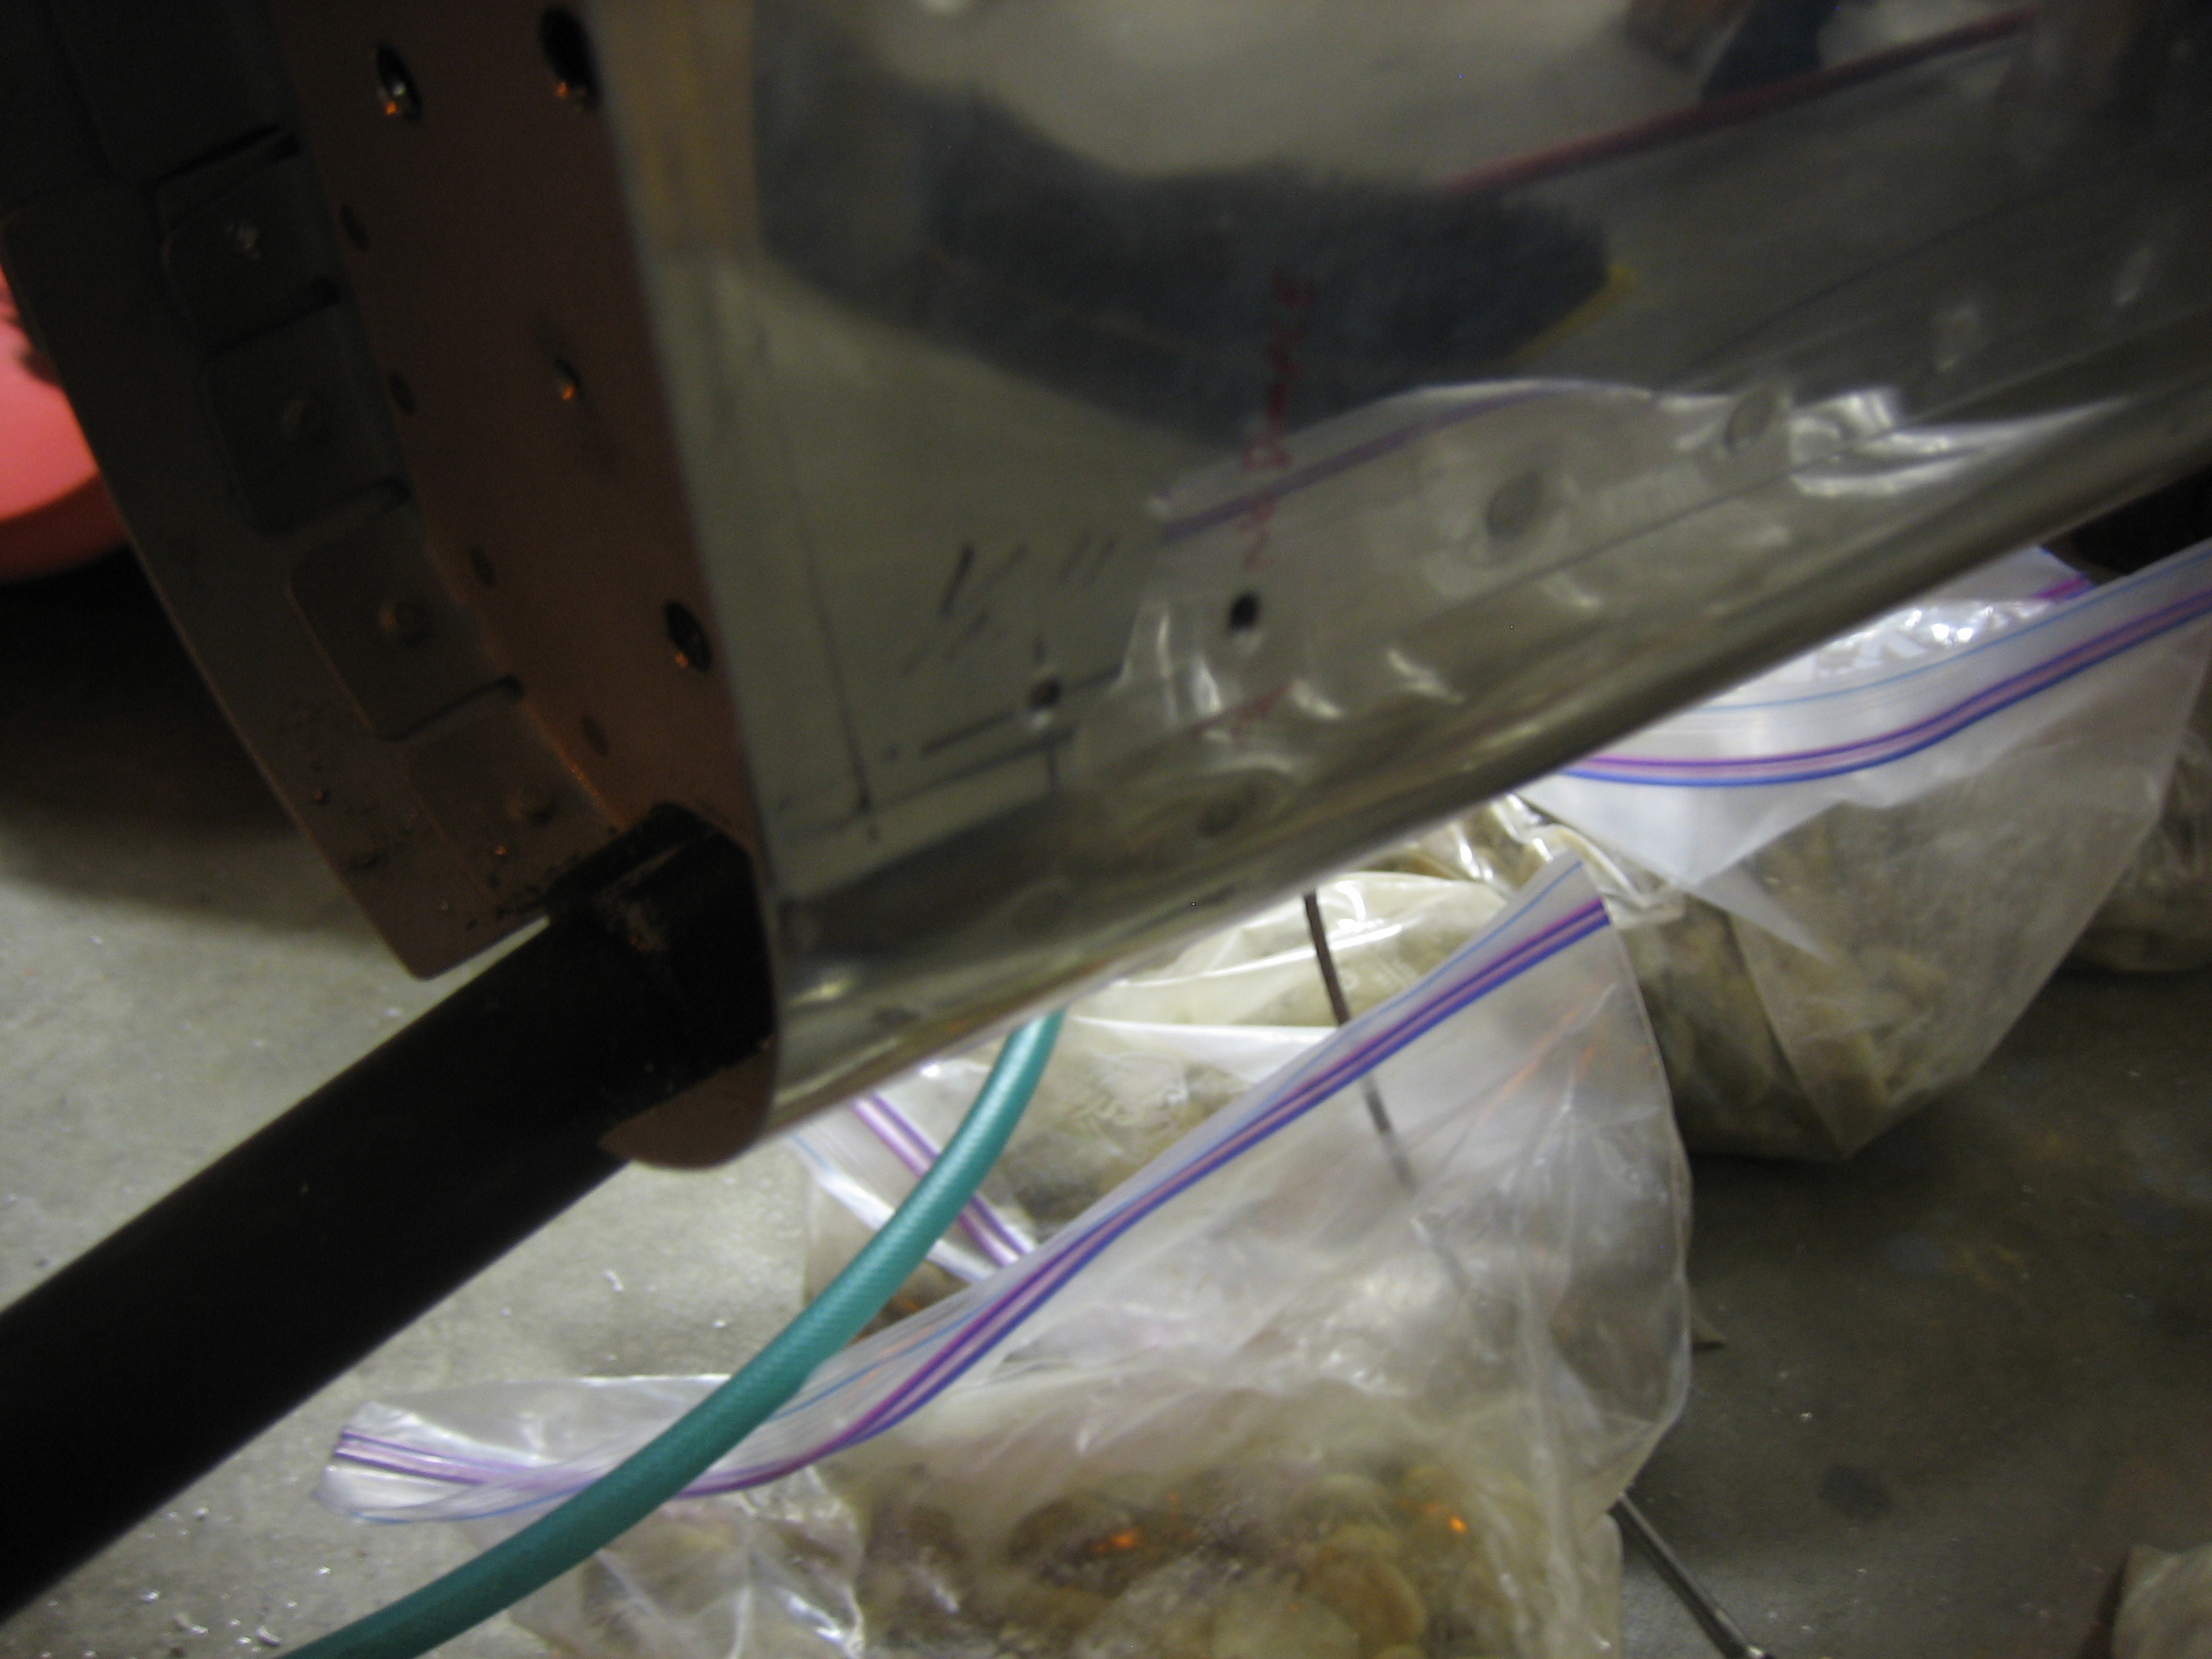
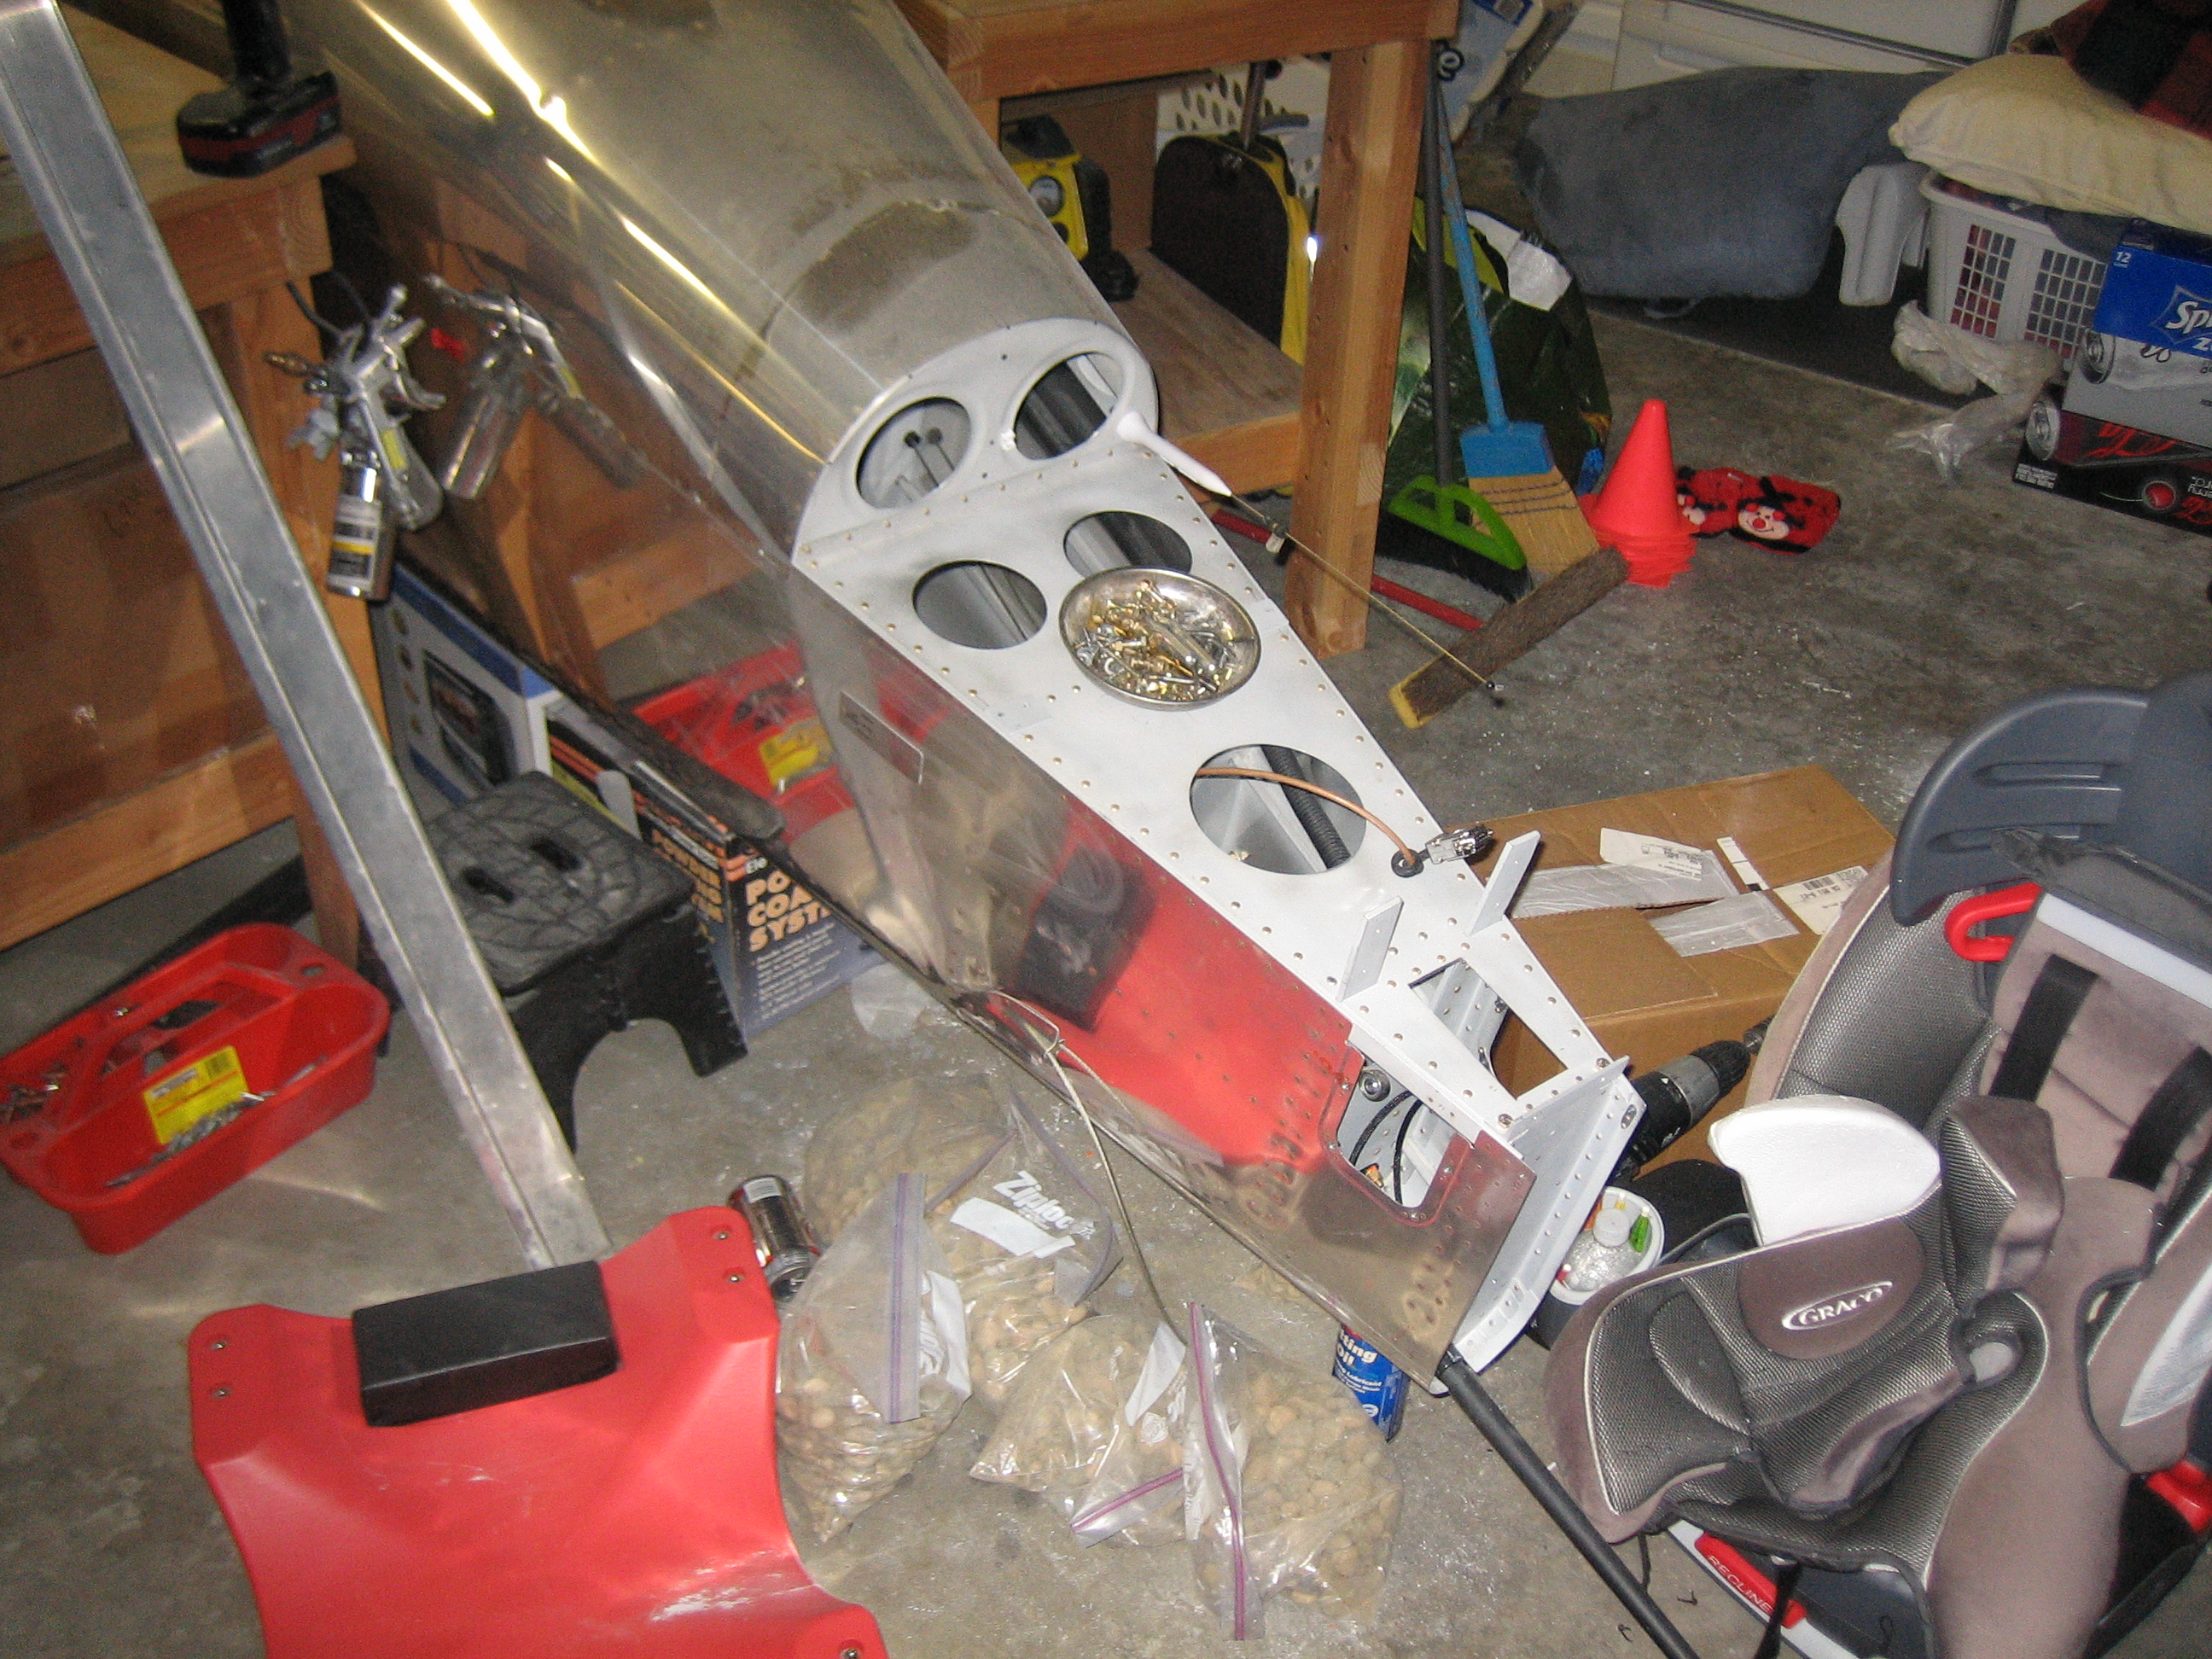
I removed the vertical stabilizer because I just couldn’t get my arms in comfortably to work on the rudder cable fairings.
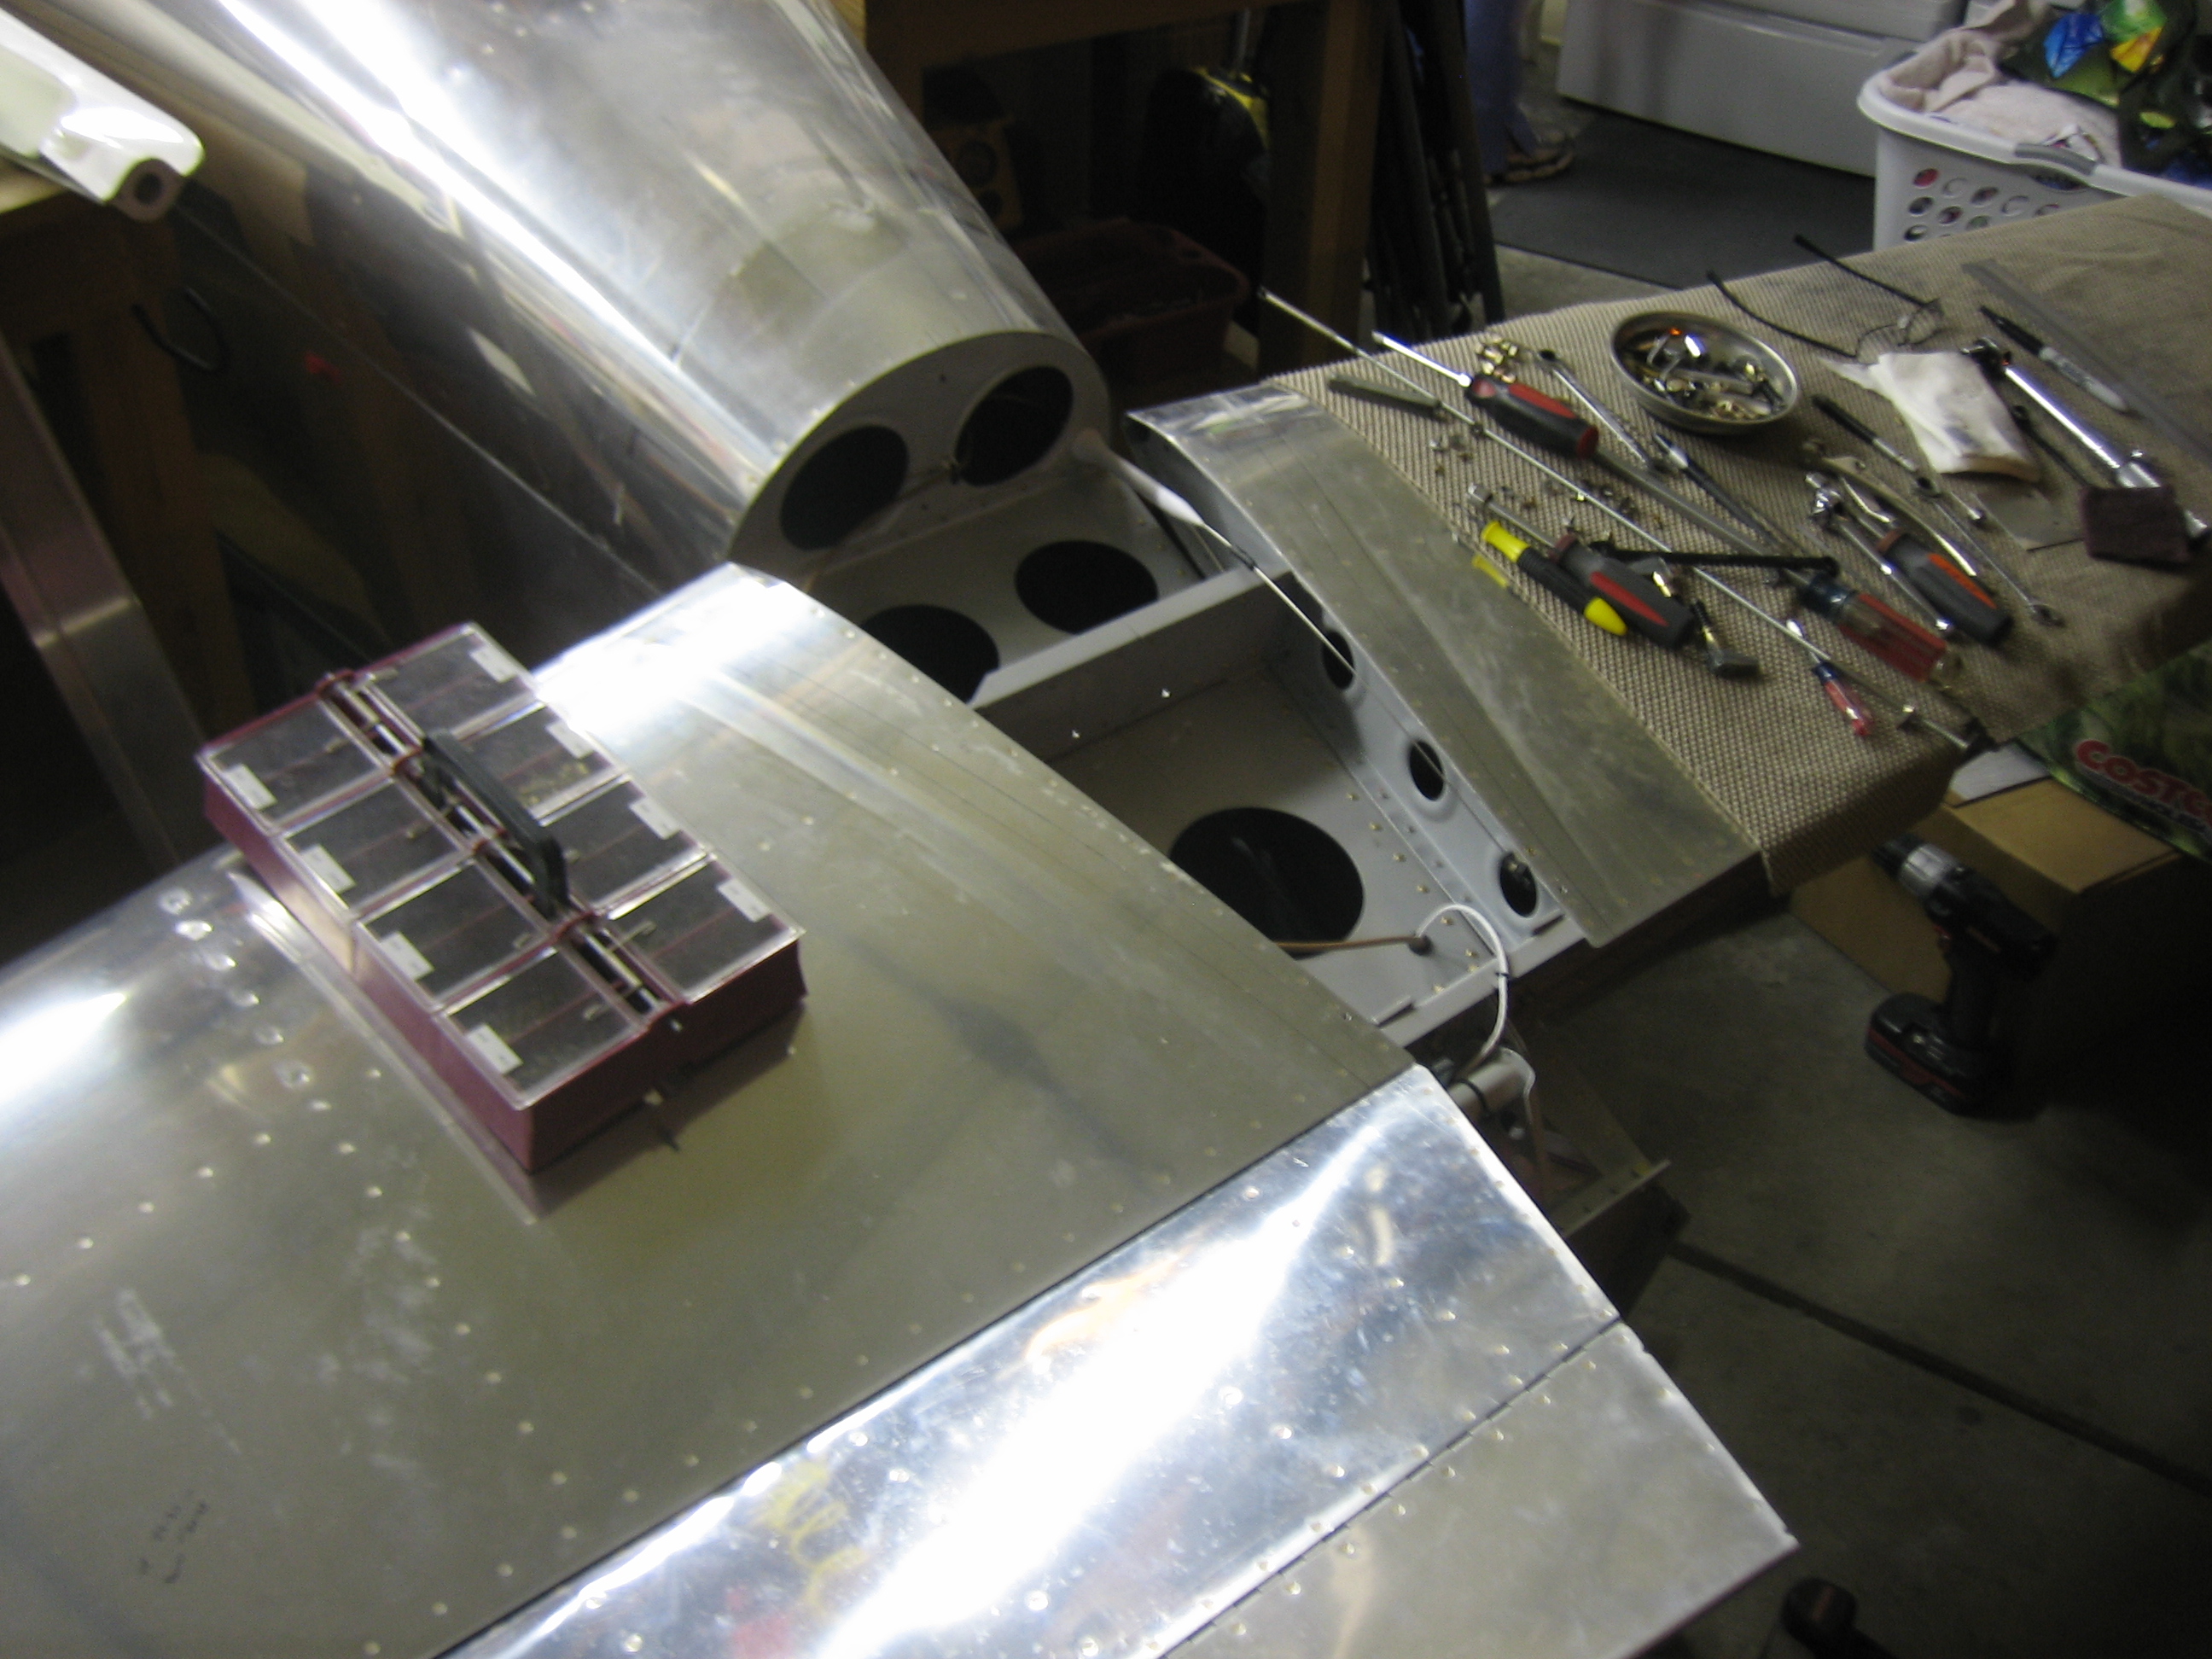
I used the pop-rivet dimple dies to dimply the fuselage and then clecoed the fairings on. I’ve pulled the tubing out of the way, for now, to make it possible to buck the rivets.
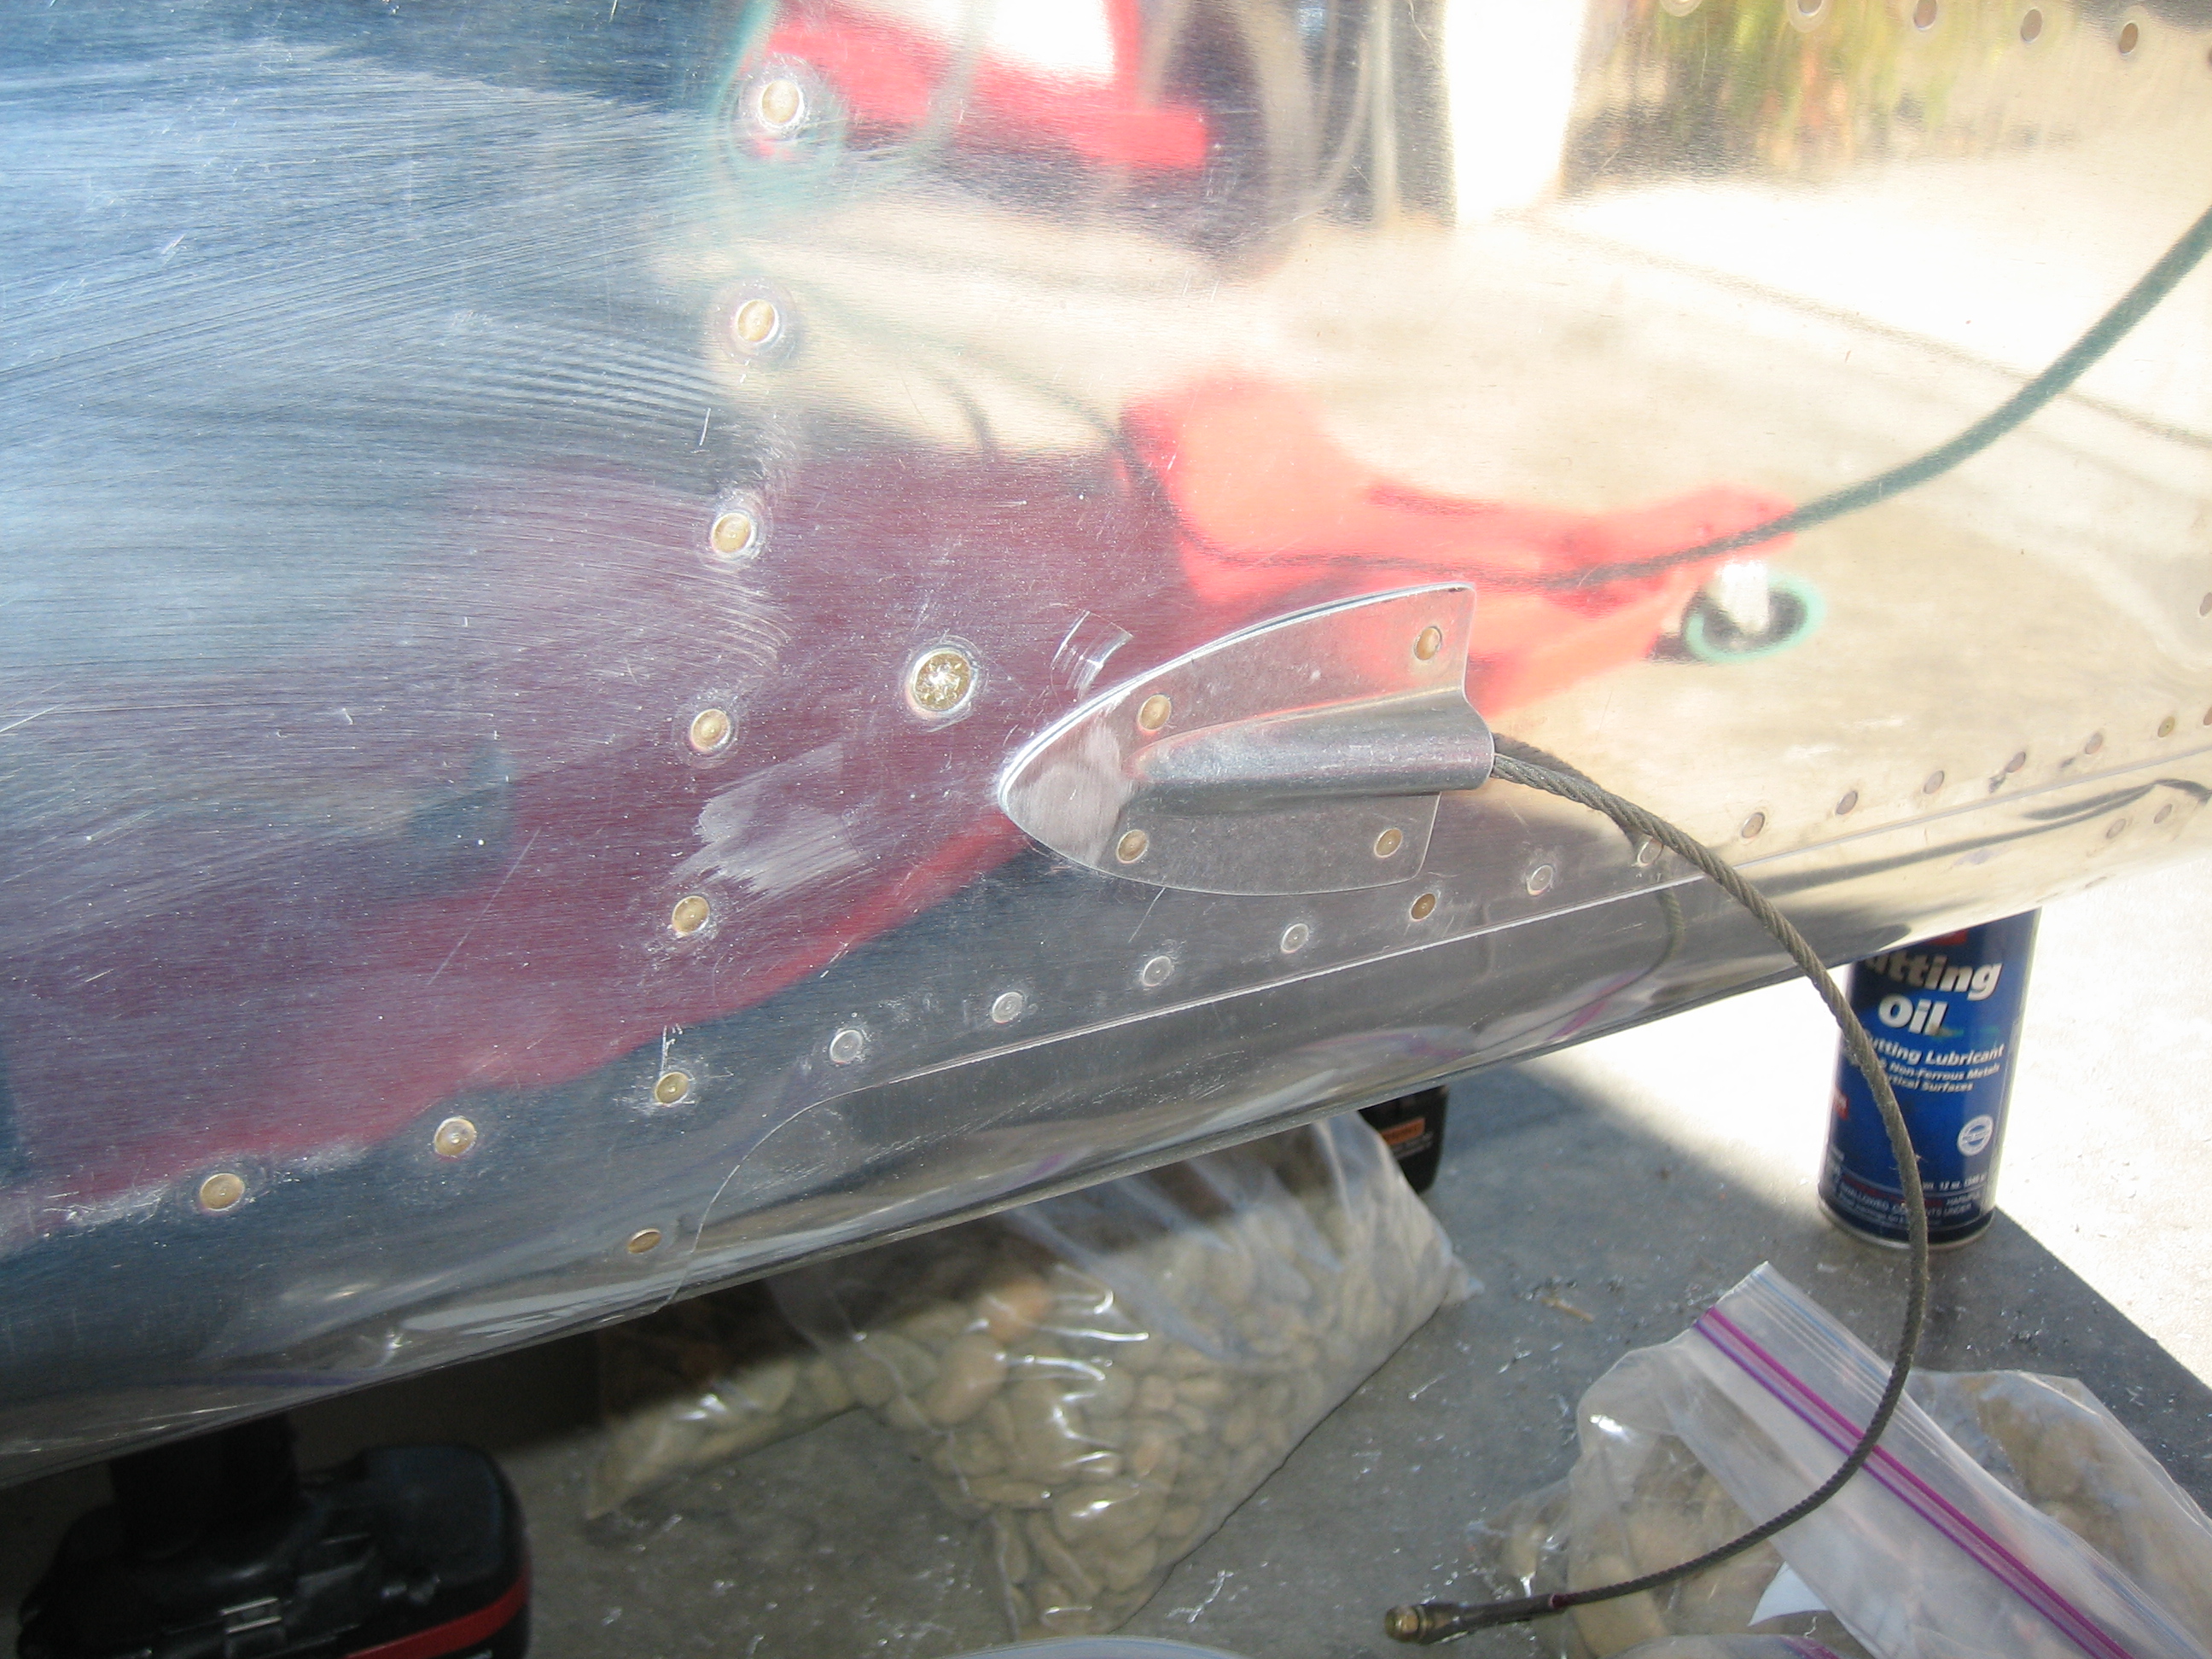
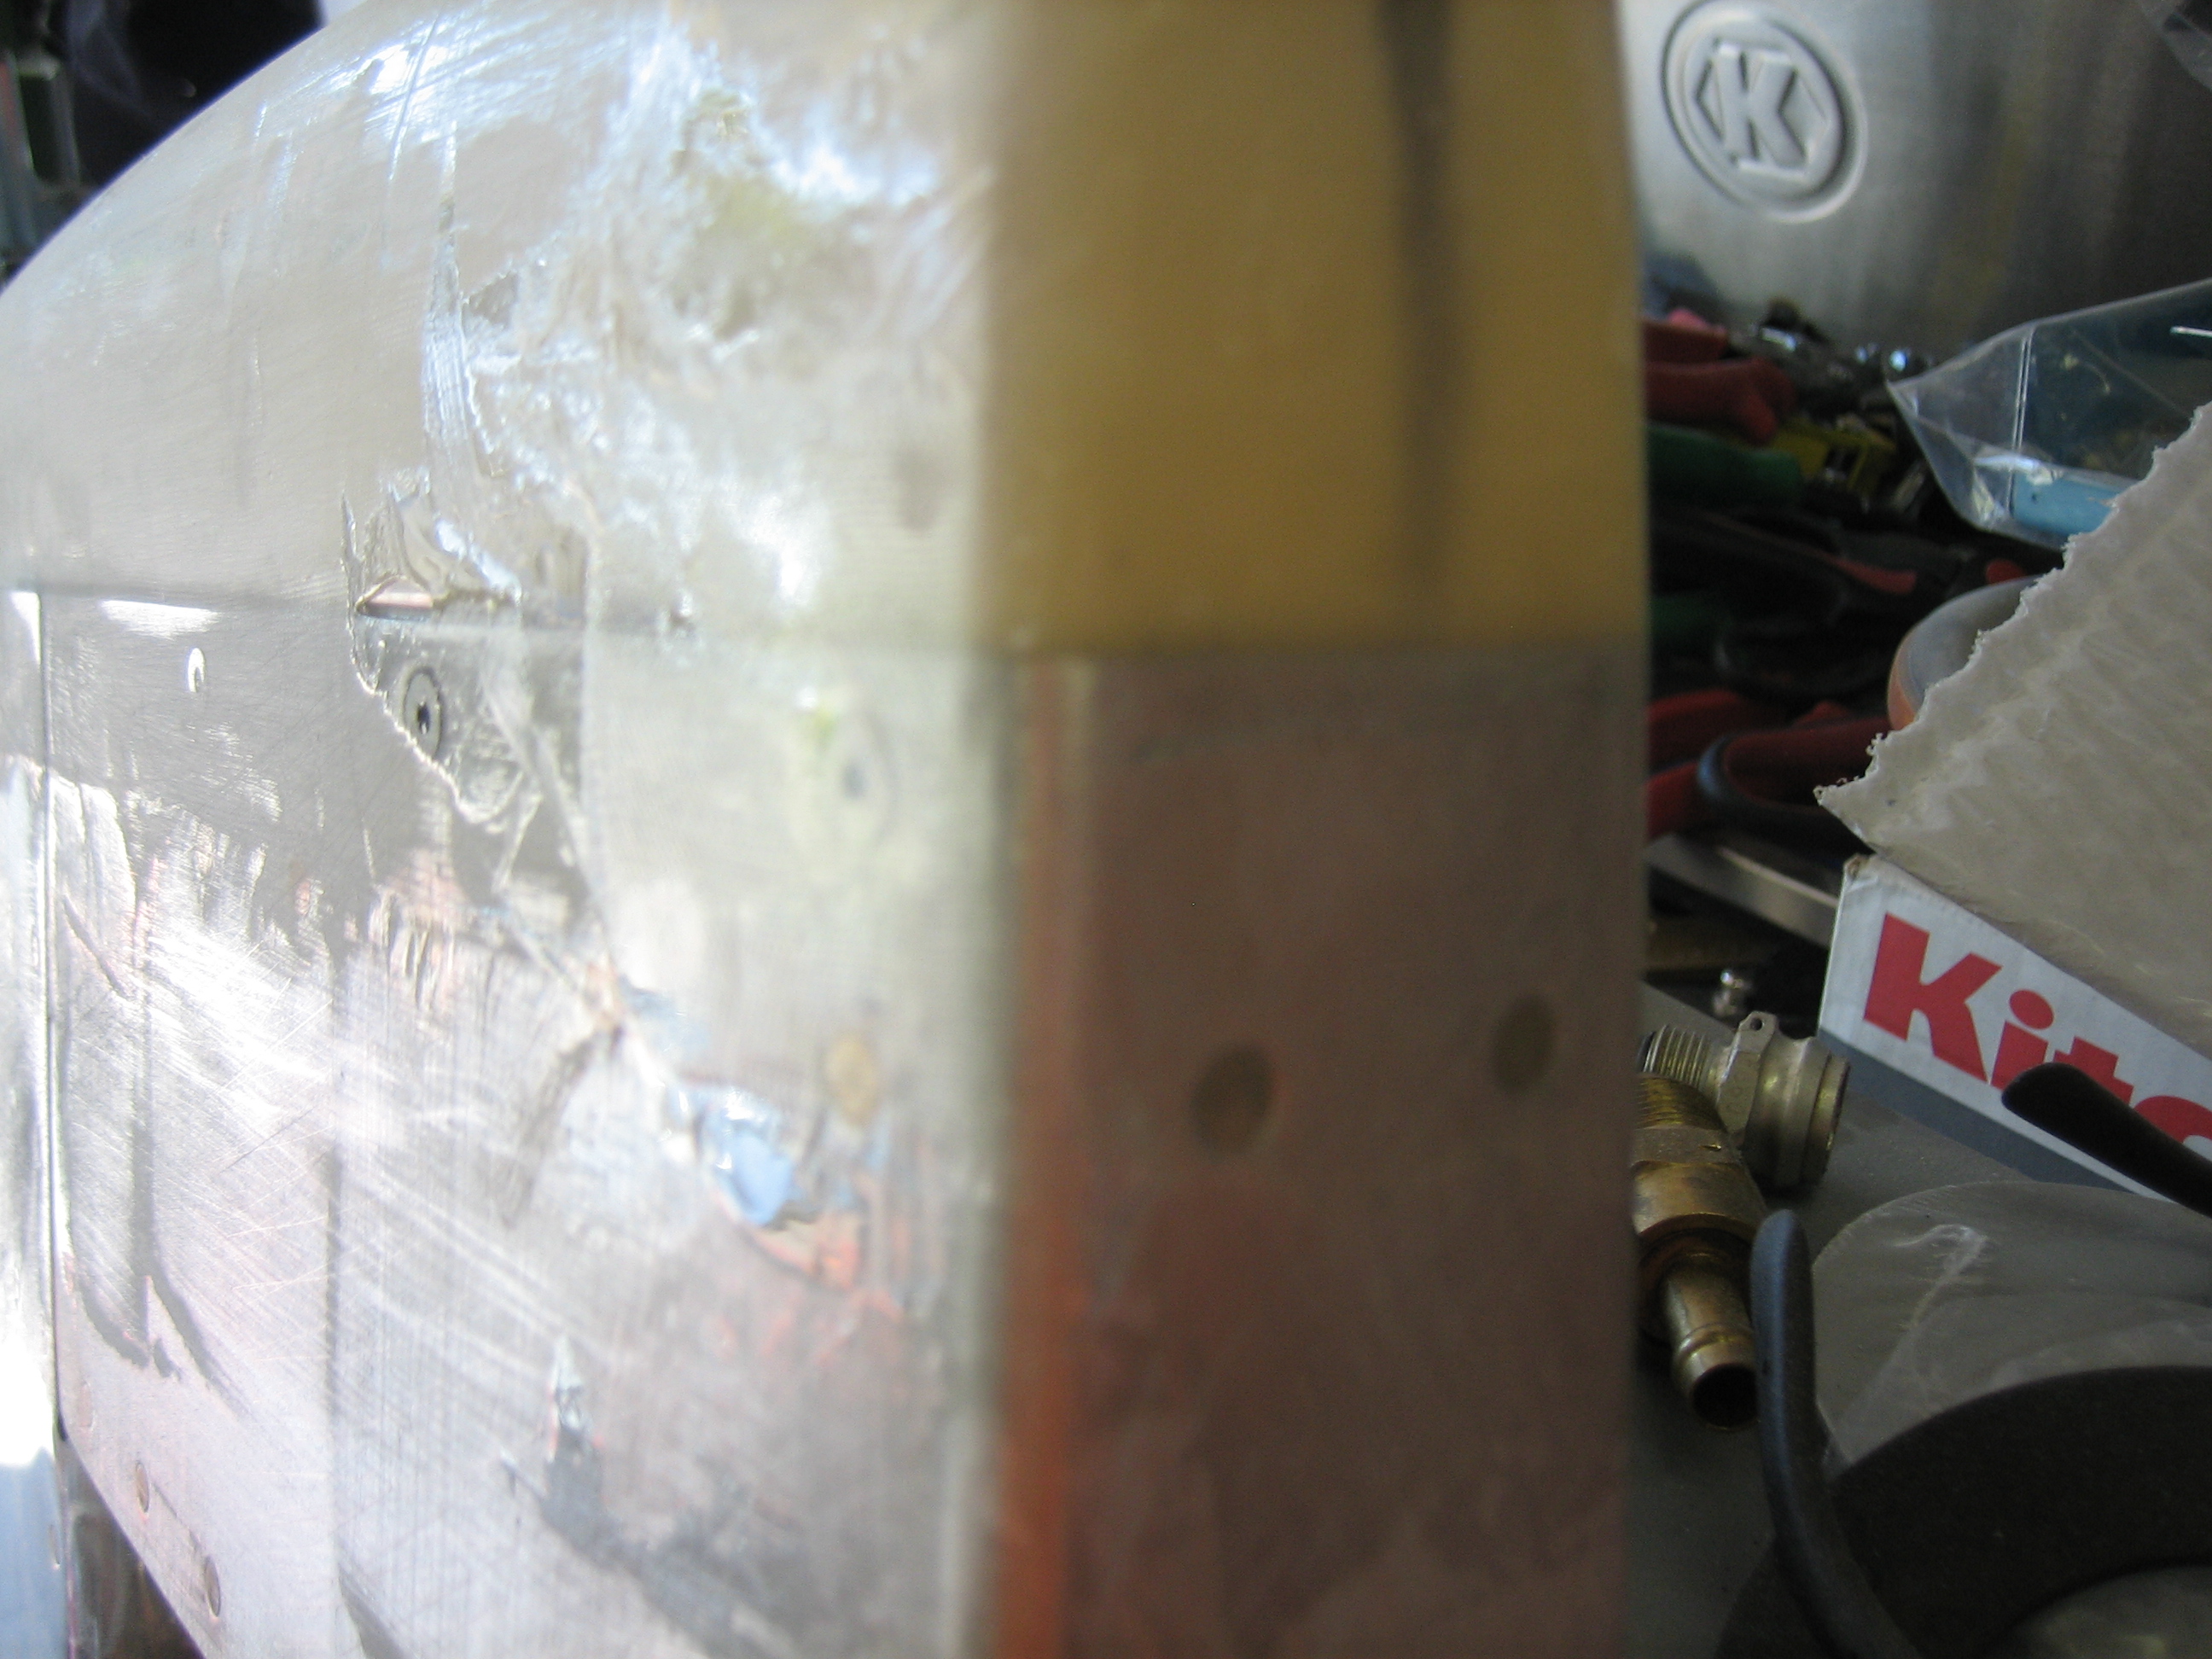
I also countersunk these two holes that are normally used to hold on the external rudder stop. It’s too late to rivet these on now, so I’ll do it tomorrow.
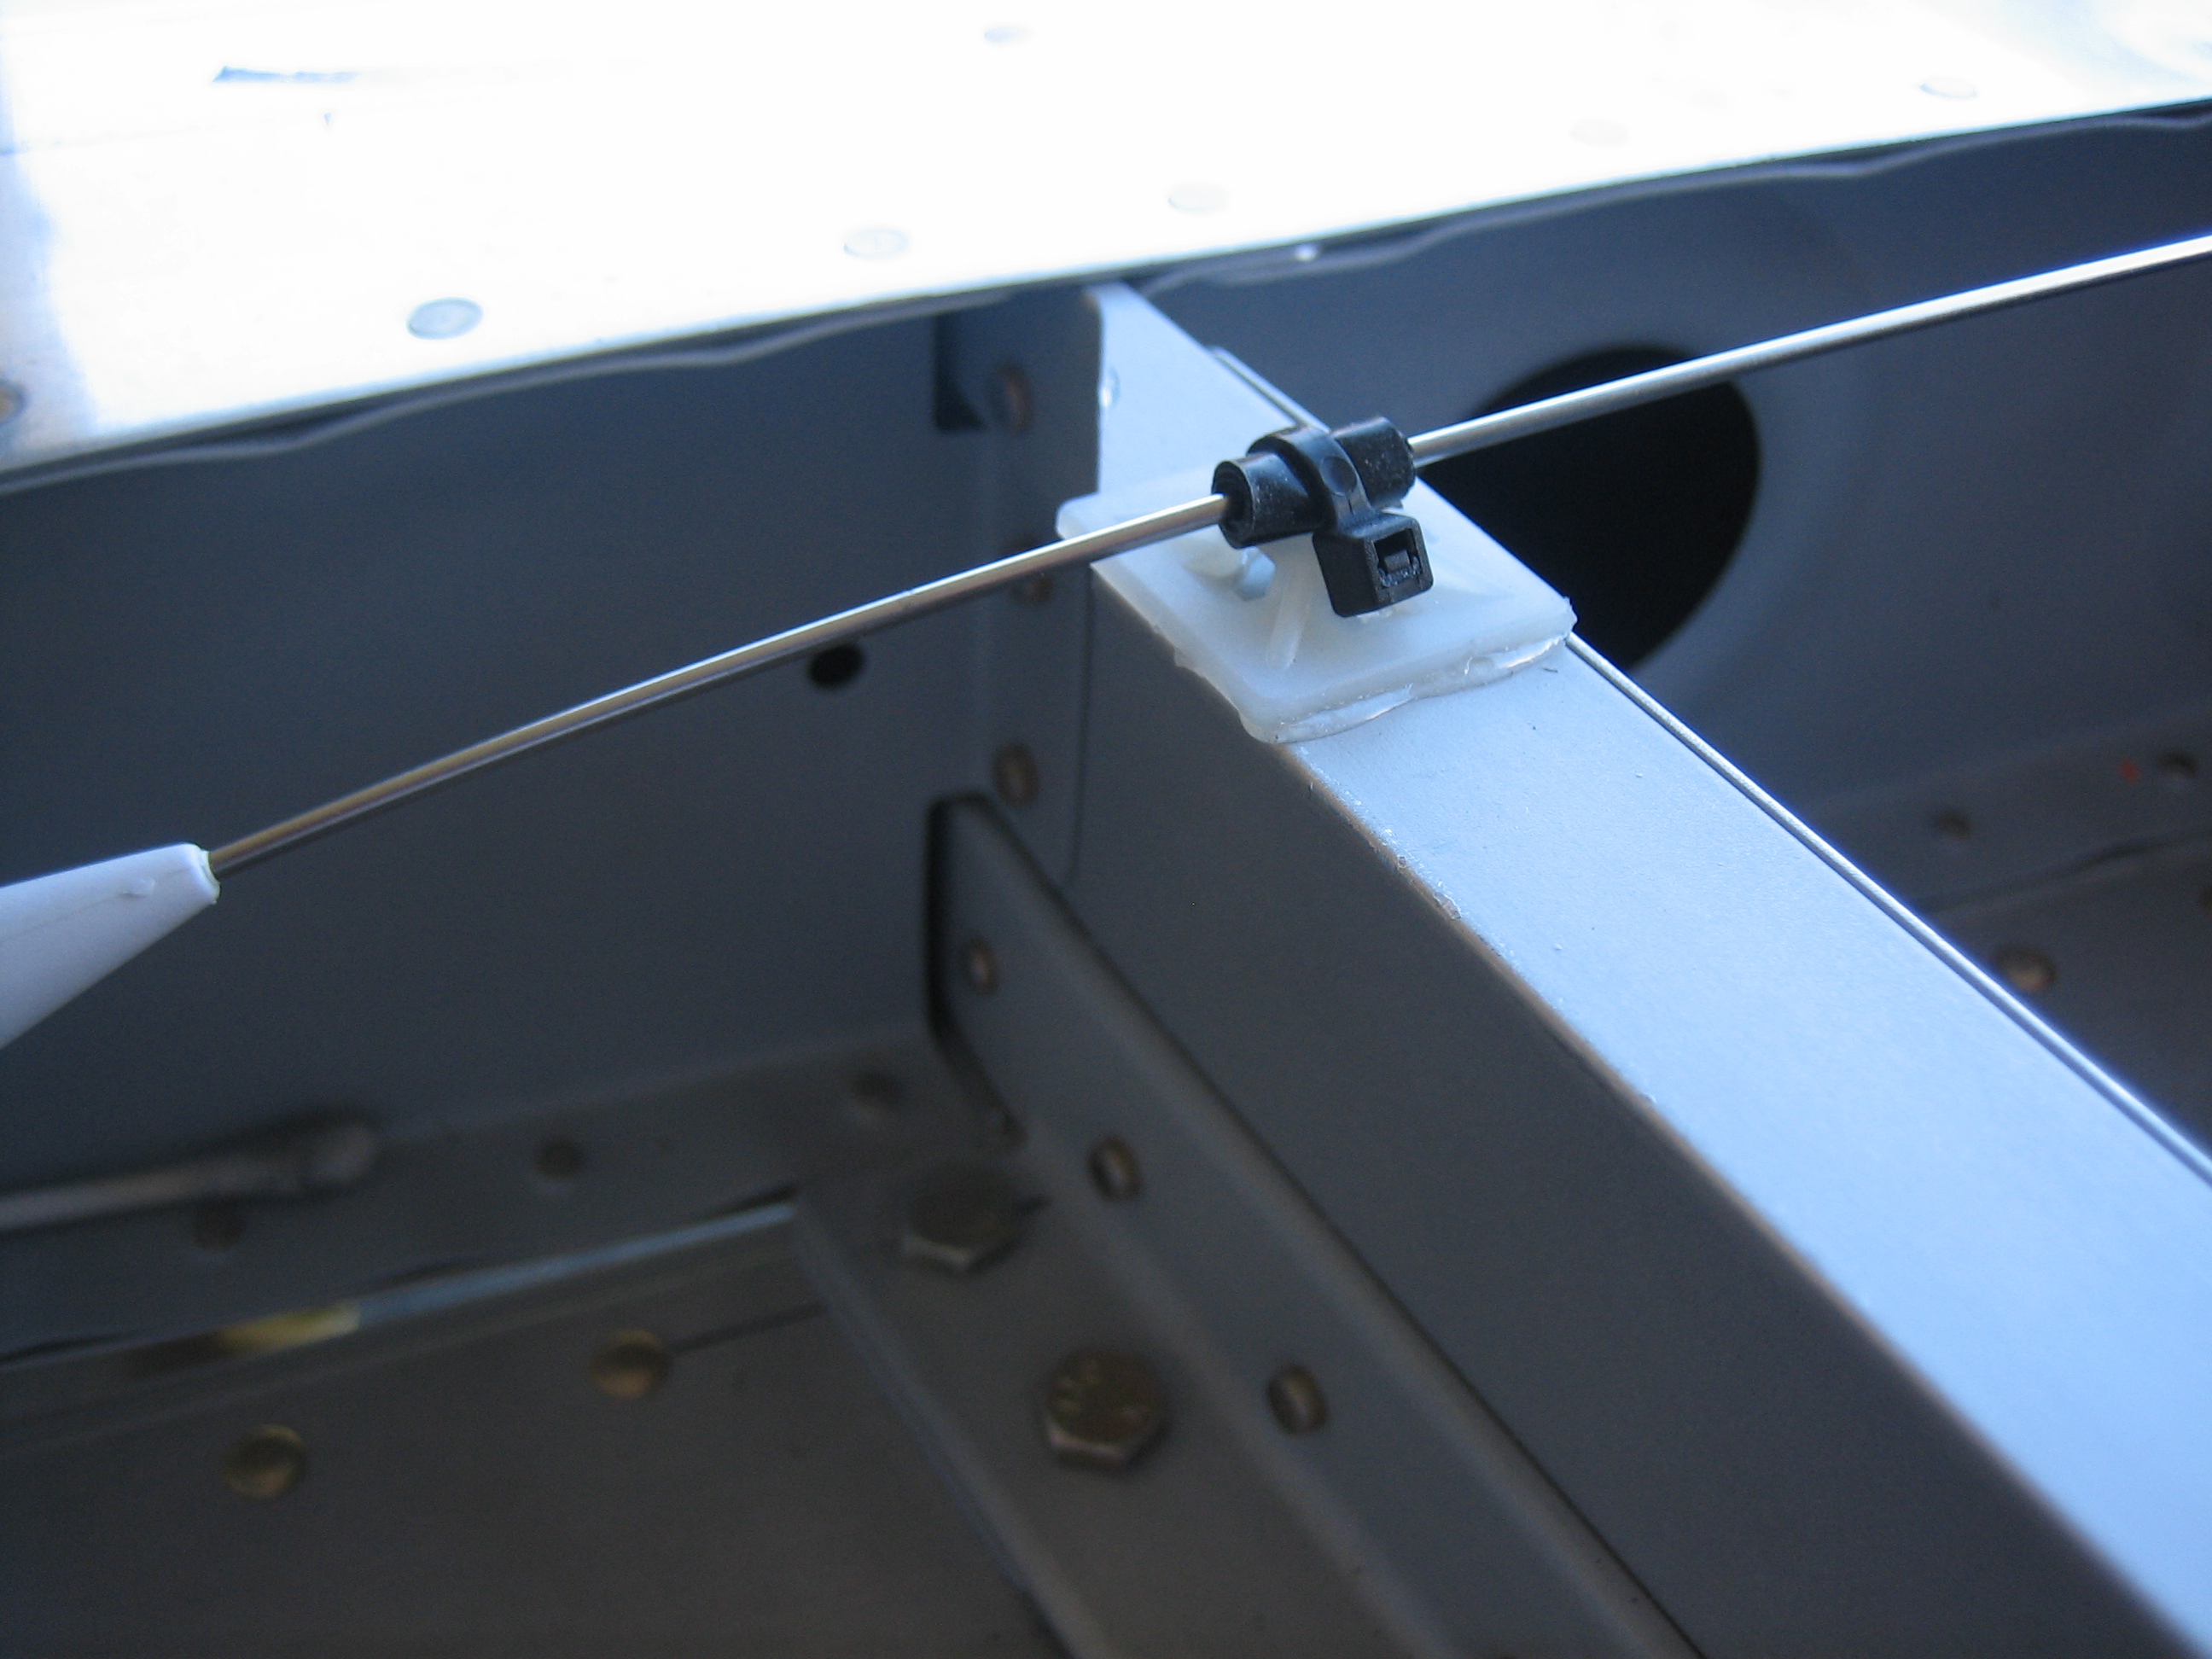
I didn’t like how the middle of the ELT antenna could flop around, so I adhered a zip-tie base to the forward spar of the horizontal stabilizer and anchored the antenna there.
With the vertical stabilizer out of the way, it was easy to rivet on the rudder cable fairings. After installing the lower rivets, I slid the plastic tube back in place and then installed the upper rivets.
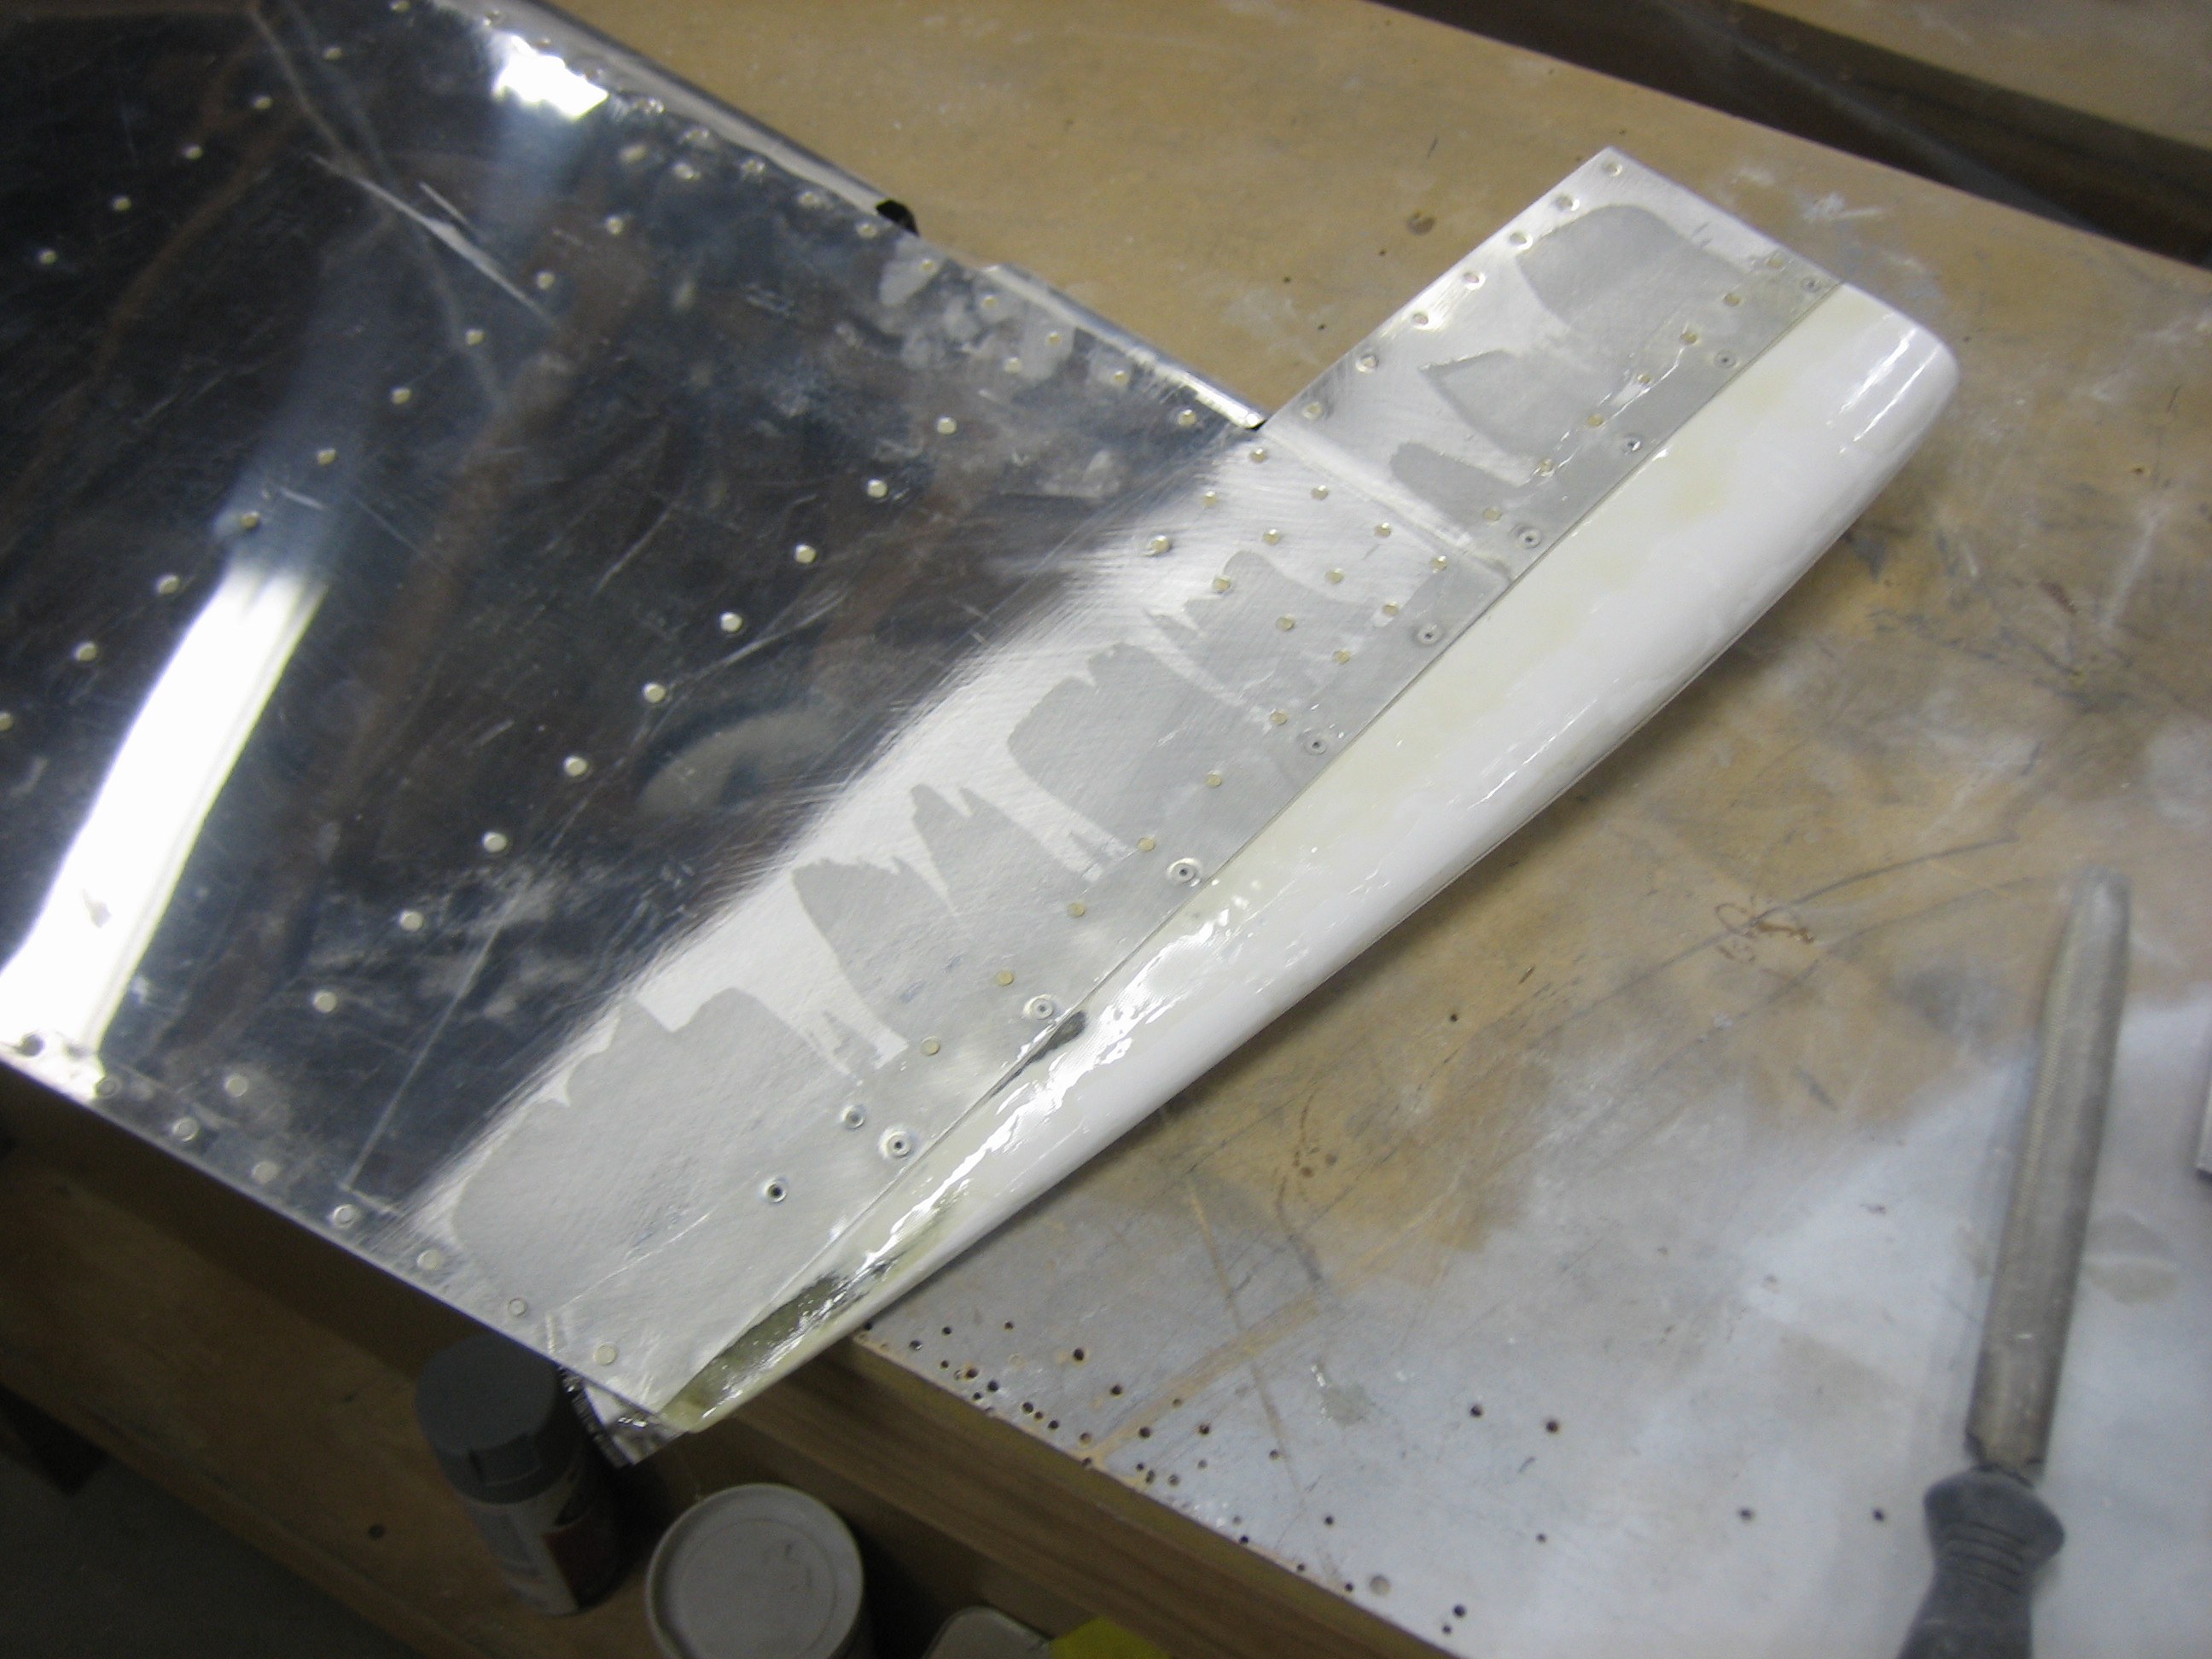
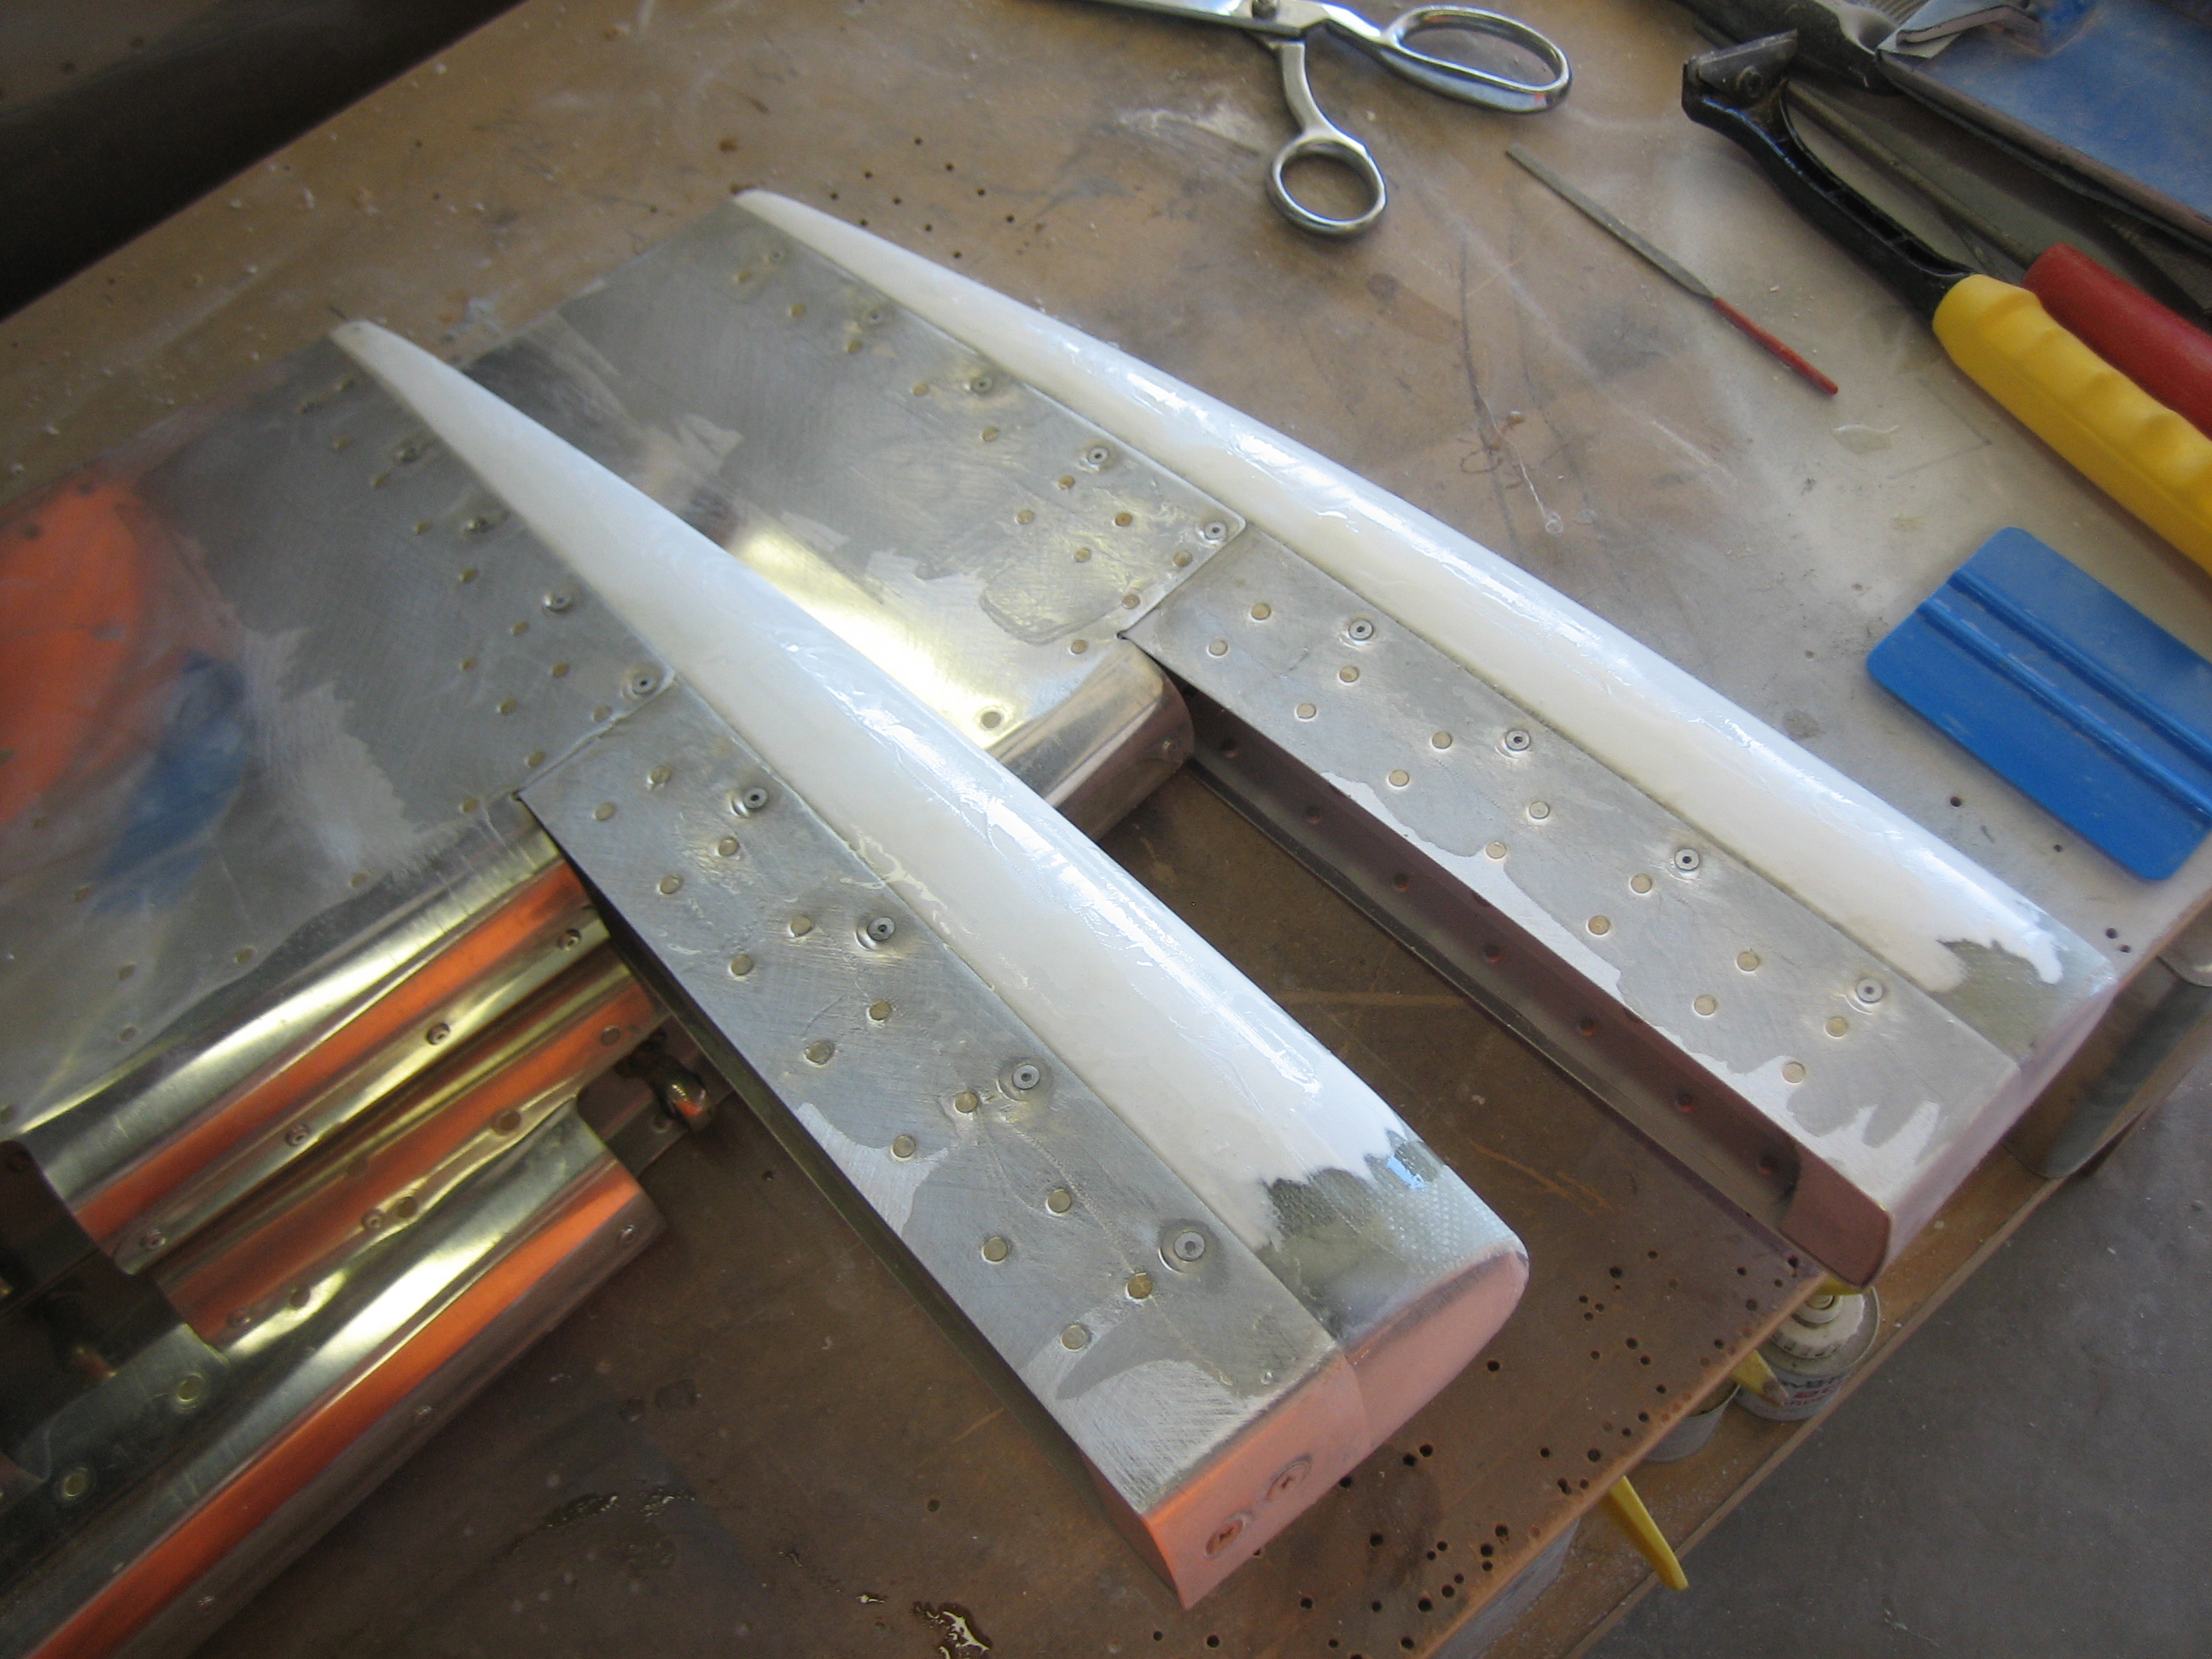
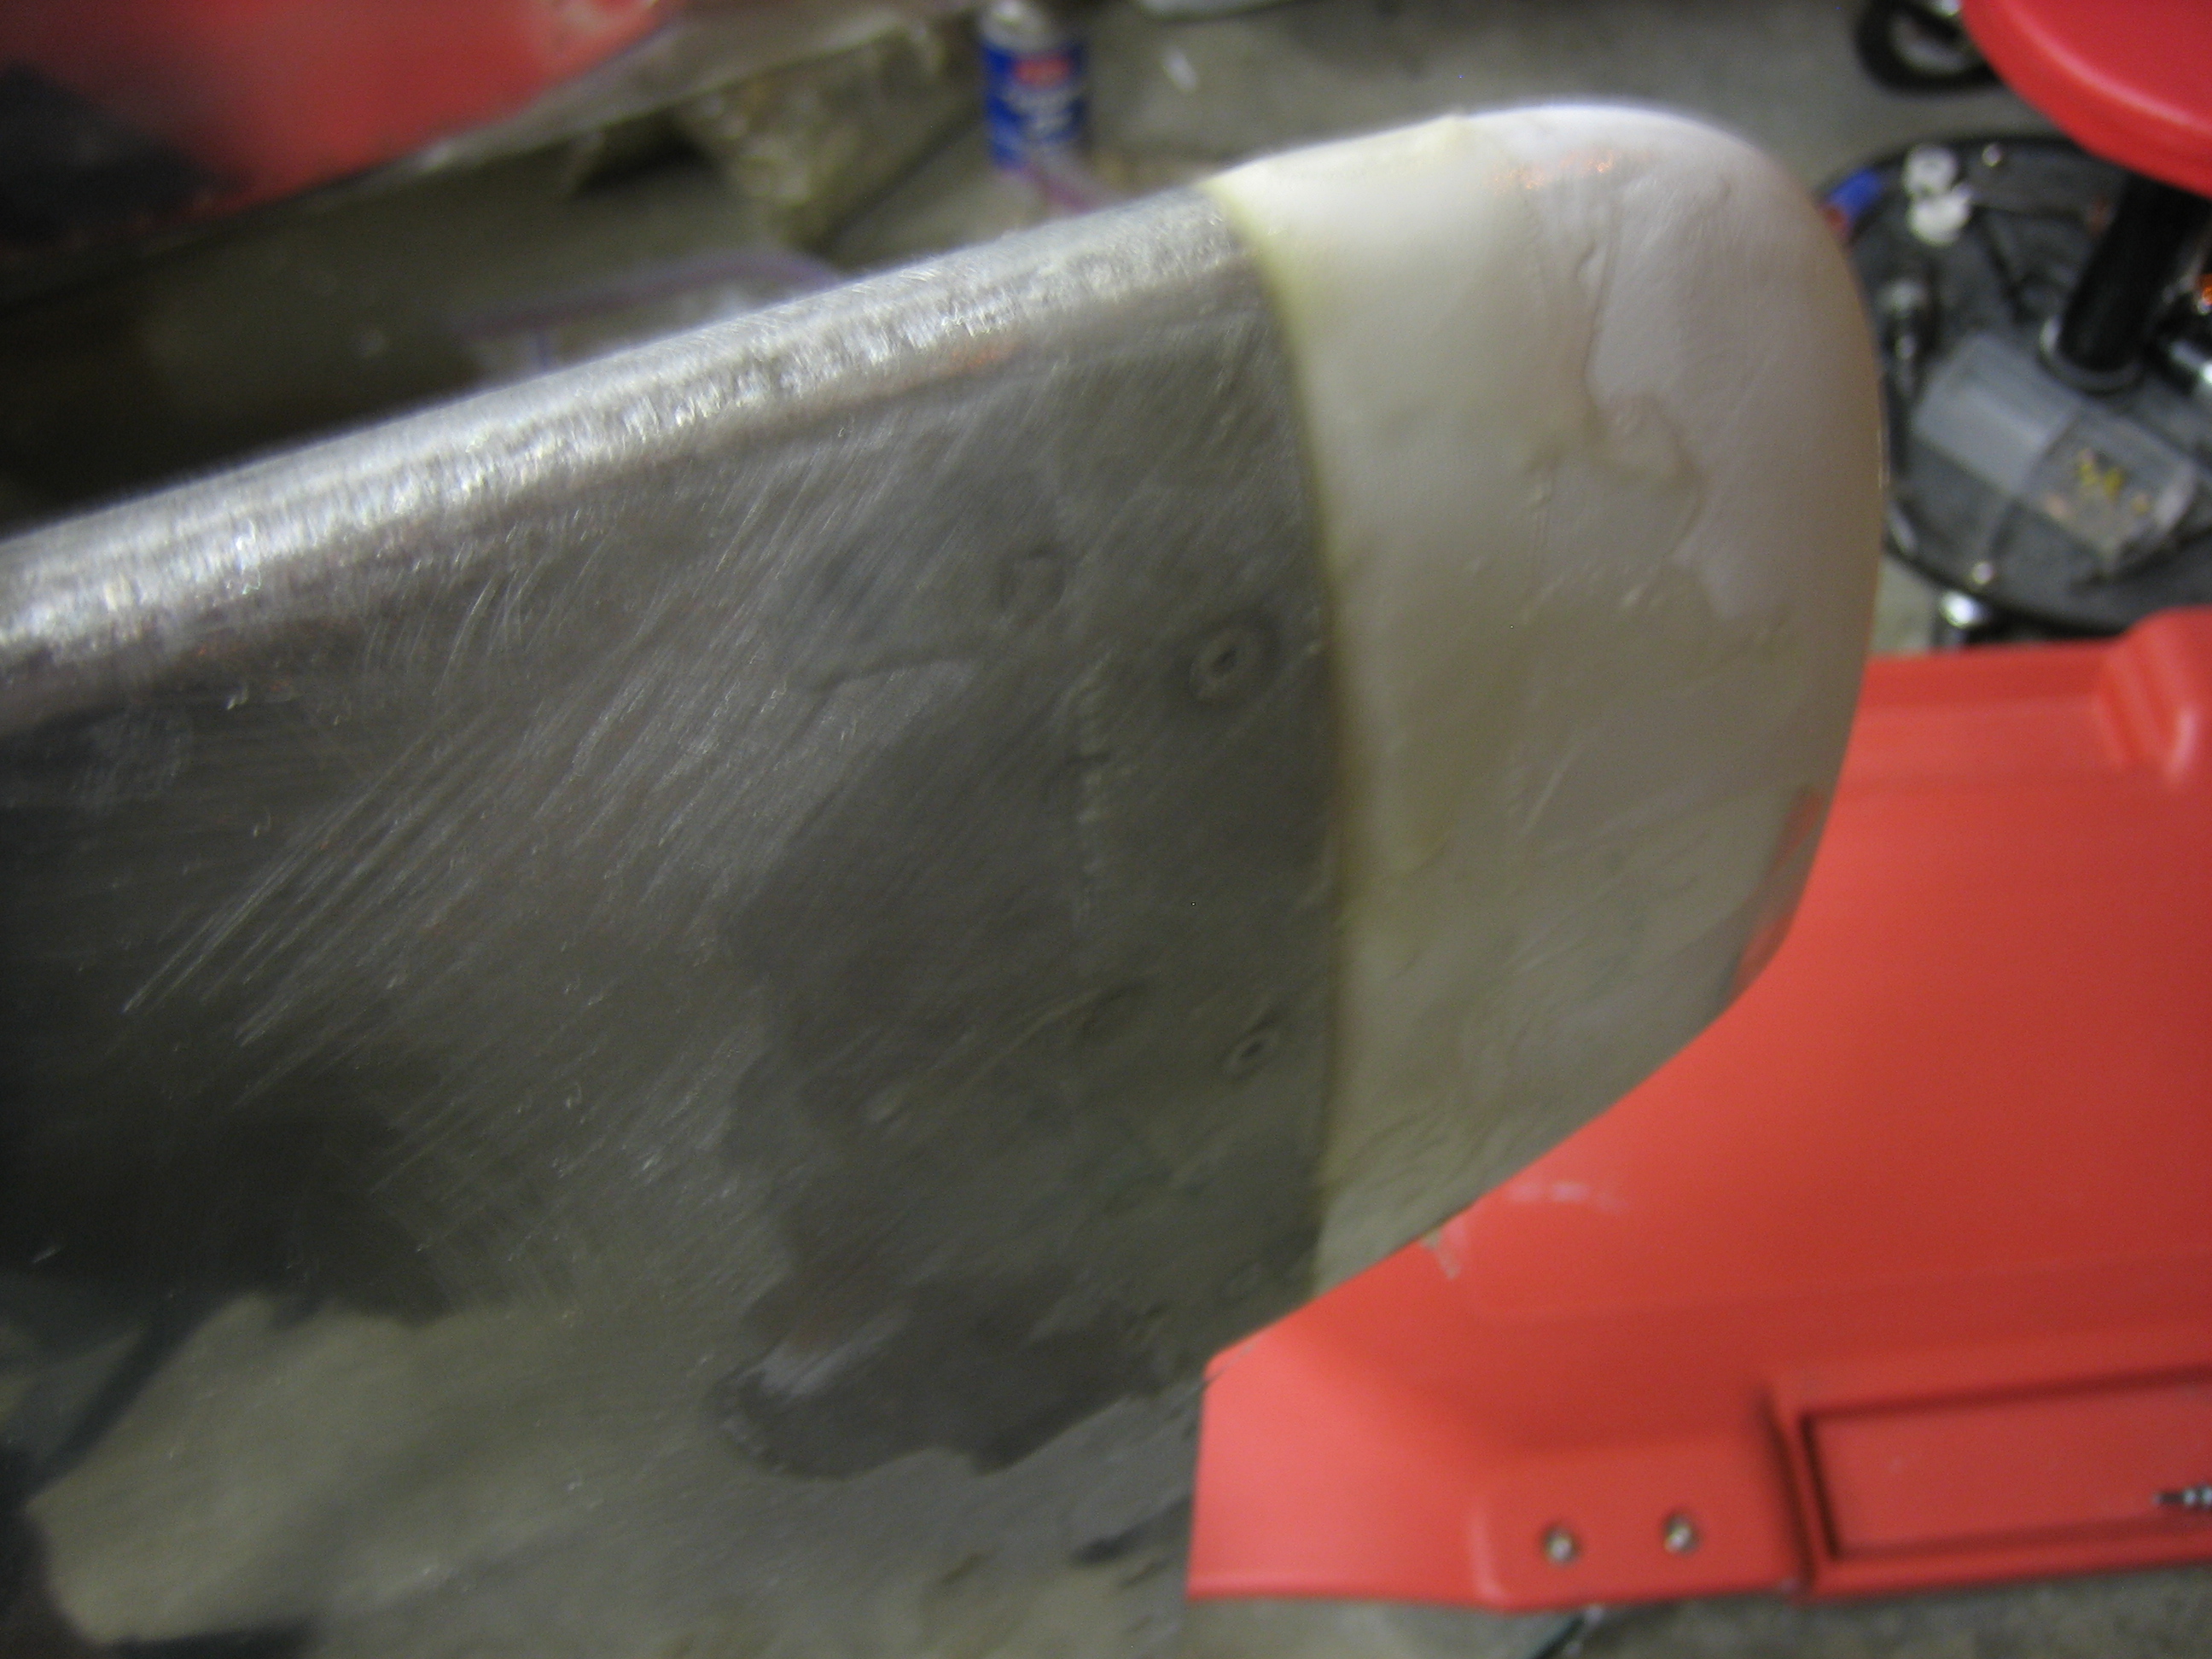
The upper fairing on the rudder was about 1/4″ too short and didn’t go all the way back to the trailing edge. I mixed up some epoxy/flox and extended the fairing.
The control surfaces will have to come off for paint (and will likely have to come off at other times), so I decided to add a connector to the trim cable so that I don’t have to fish the cable back out of the elevator each time.
I drilled the rudder bottom fairing to the rudder and then riveted it on with some epoxy/flox.
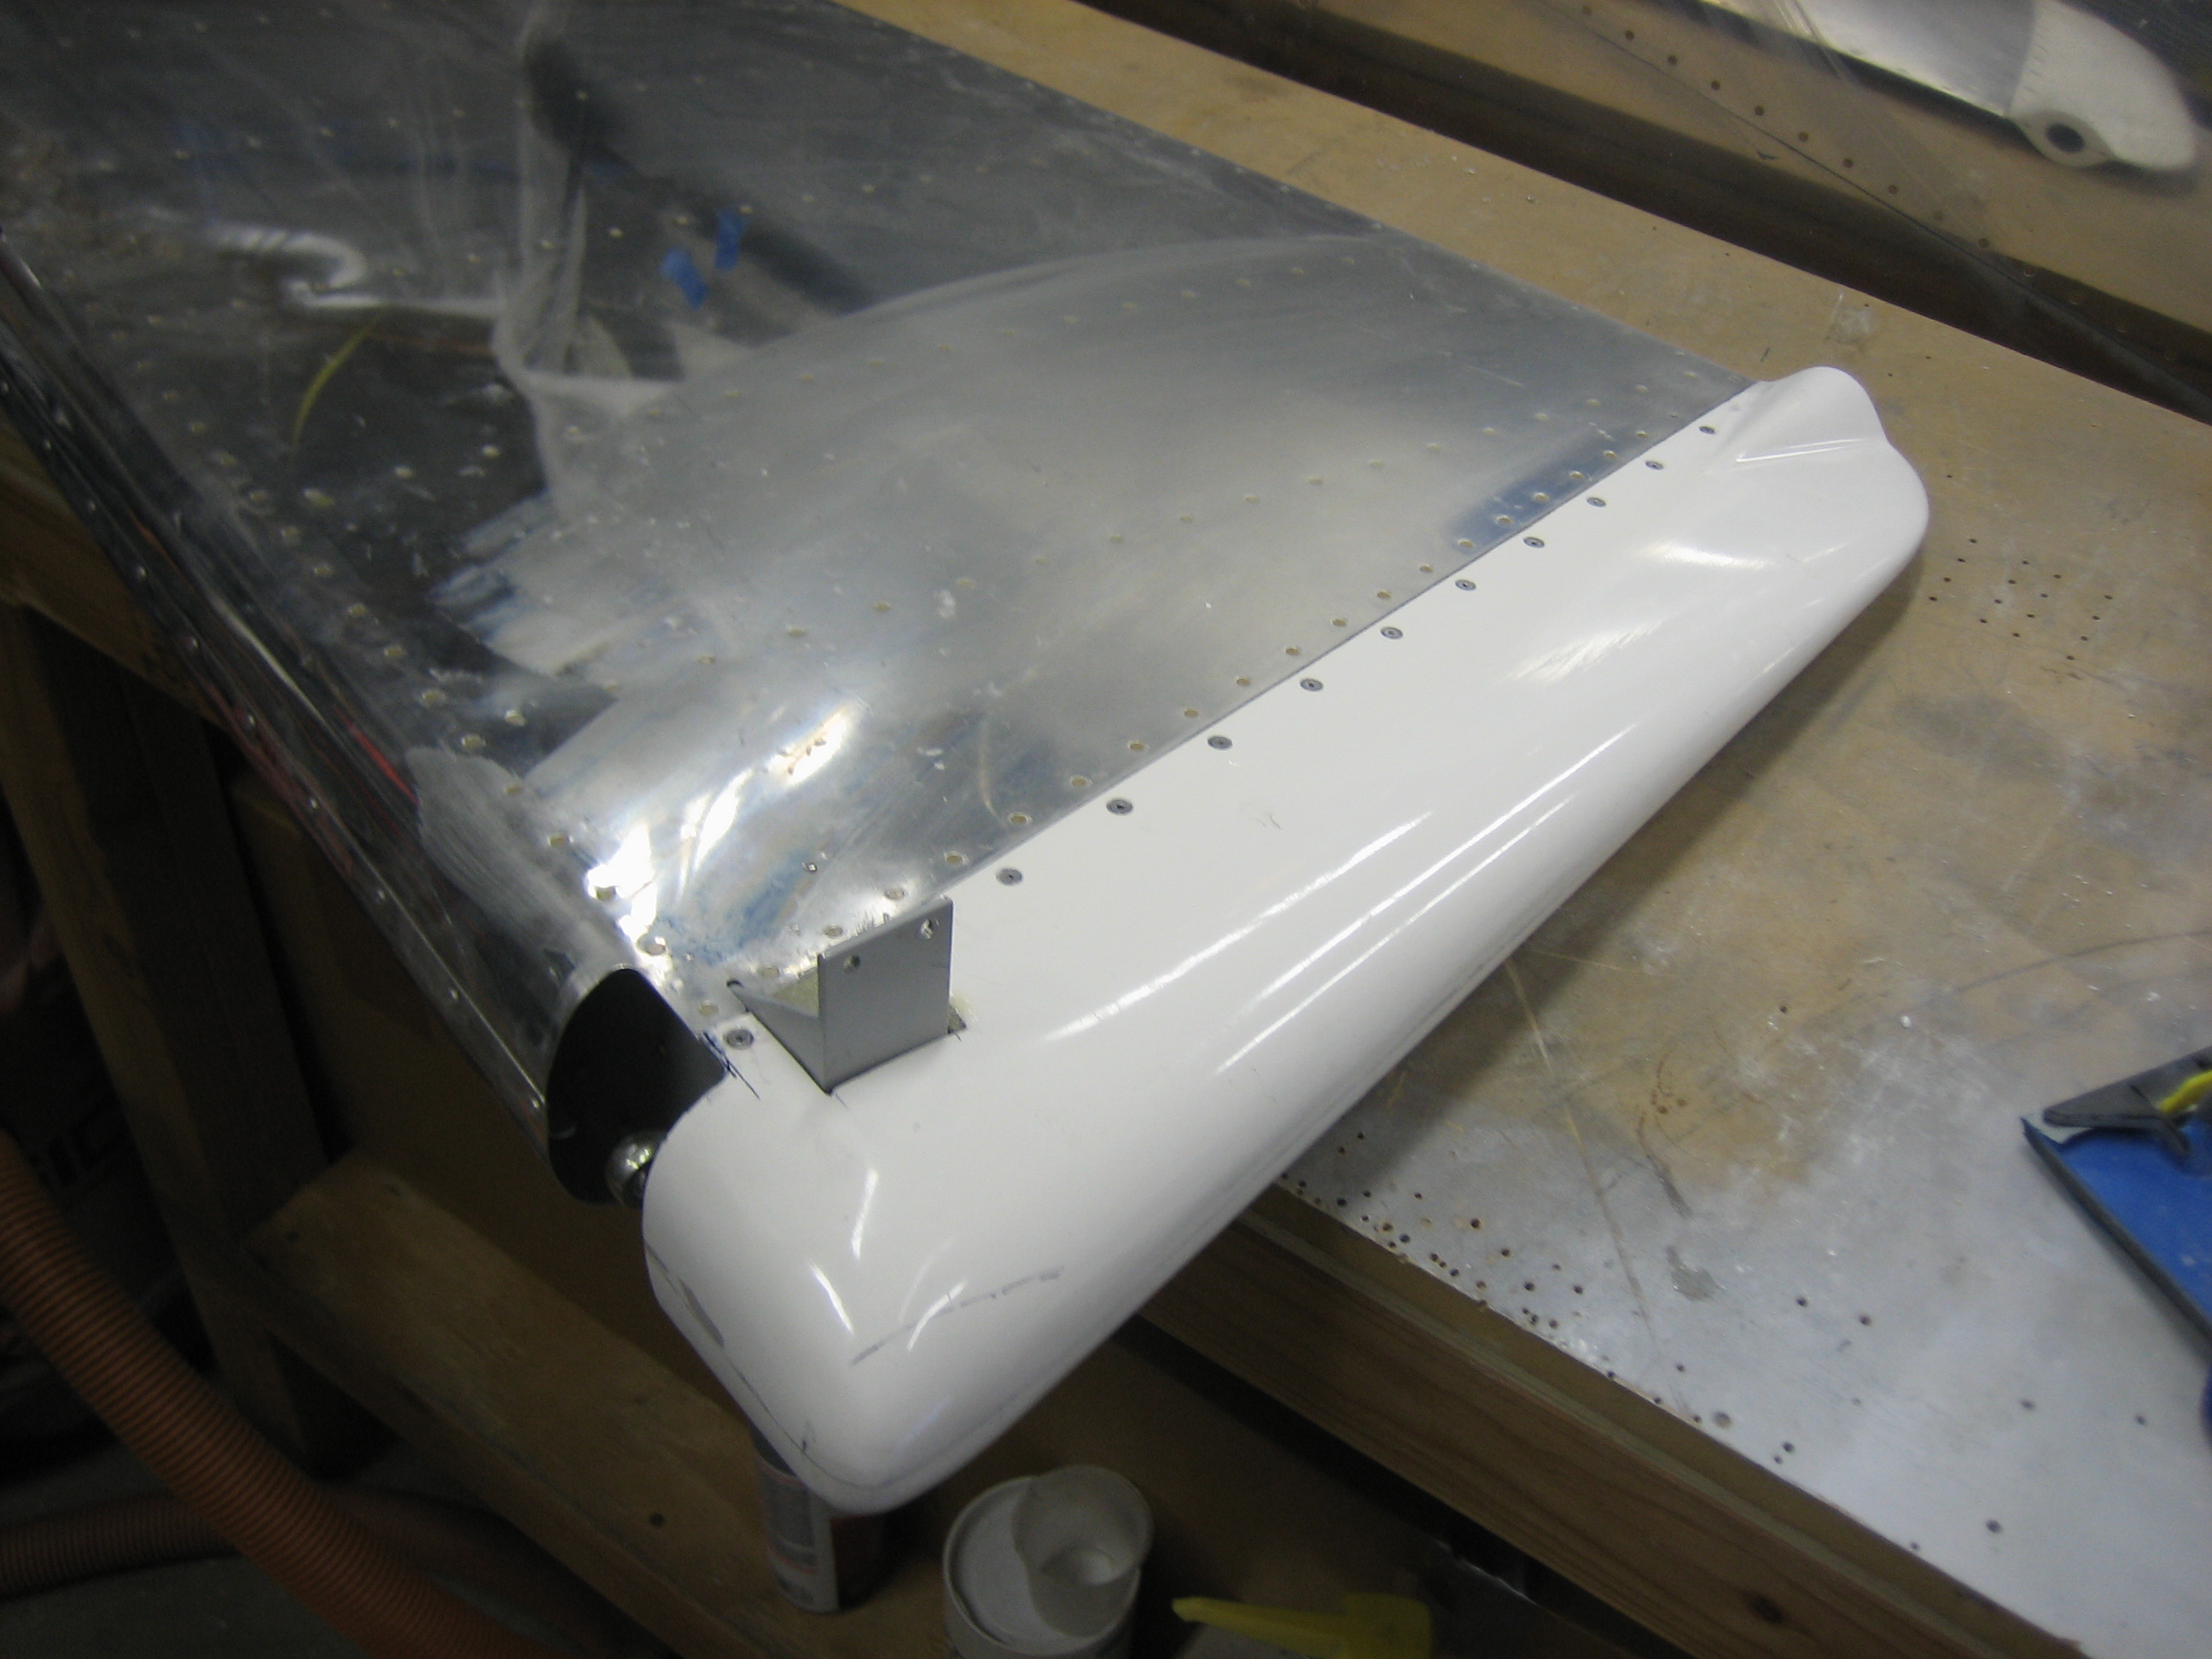
I’m going to need to trim the forward end of the fairing to clear the tail wheel spring, but I left it long so that the bottom edge will roughly align with the bottom of the fuselage. This should look better than shortening the whole fairing and making it not align with the bottom of the fuselage.
I laid in some fiberglass to fill in the gap around the control horn. I scarfed the fairing along the line on the left side and laid in four layers of 9oz glass. I also drilled a hole in the upper right that I’ll drill out and install another CS4-4 rivet through the fiberglass to prevent it from separating from the aluminum flange underneath.
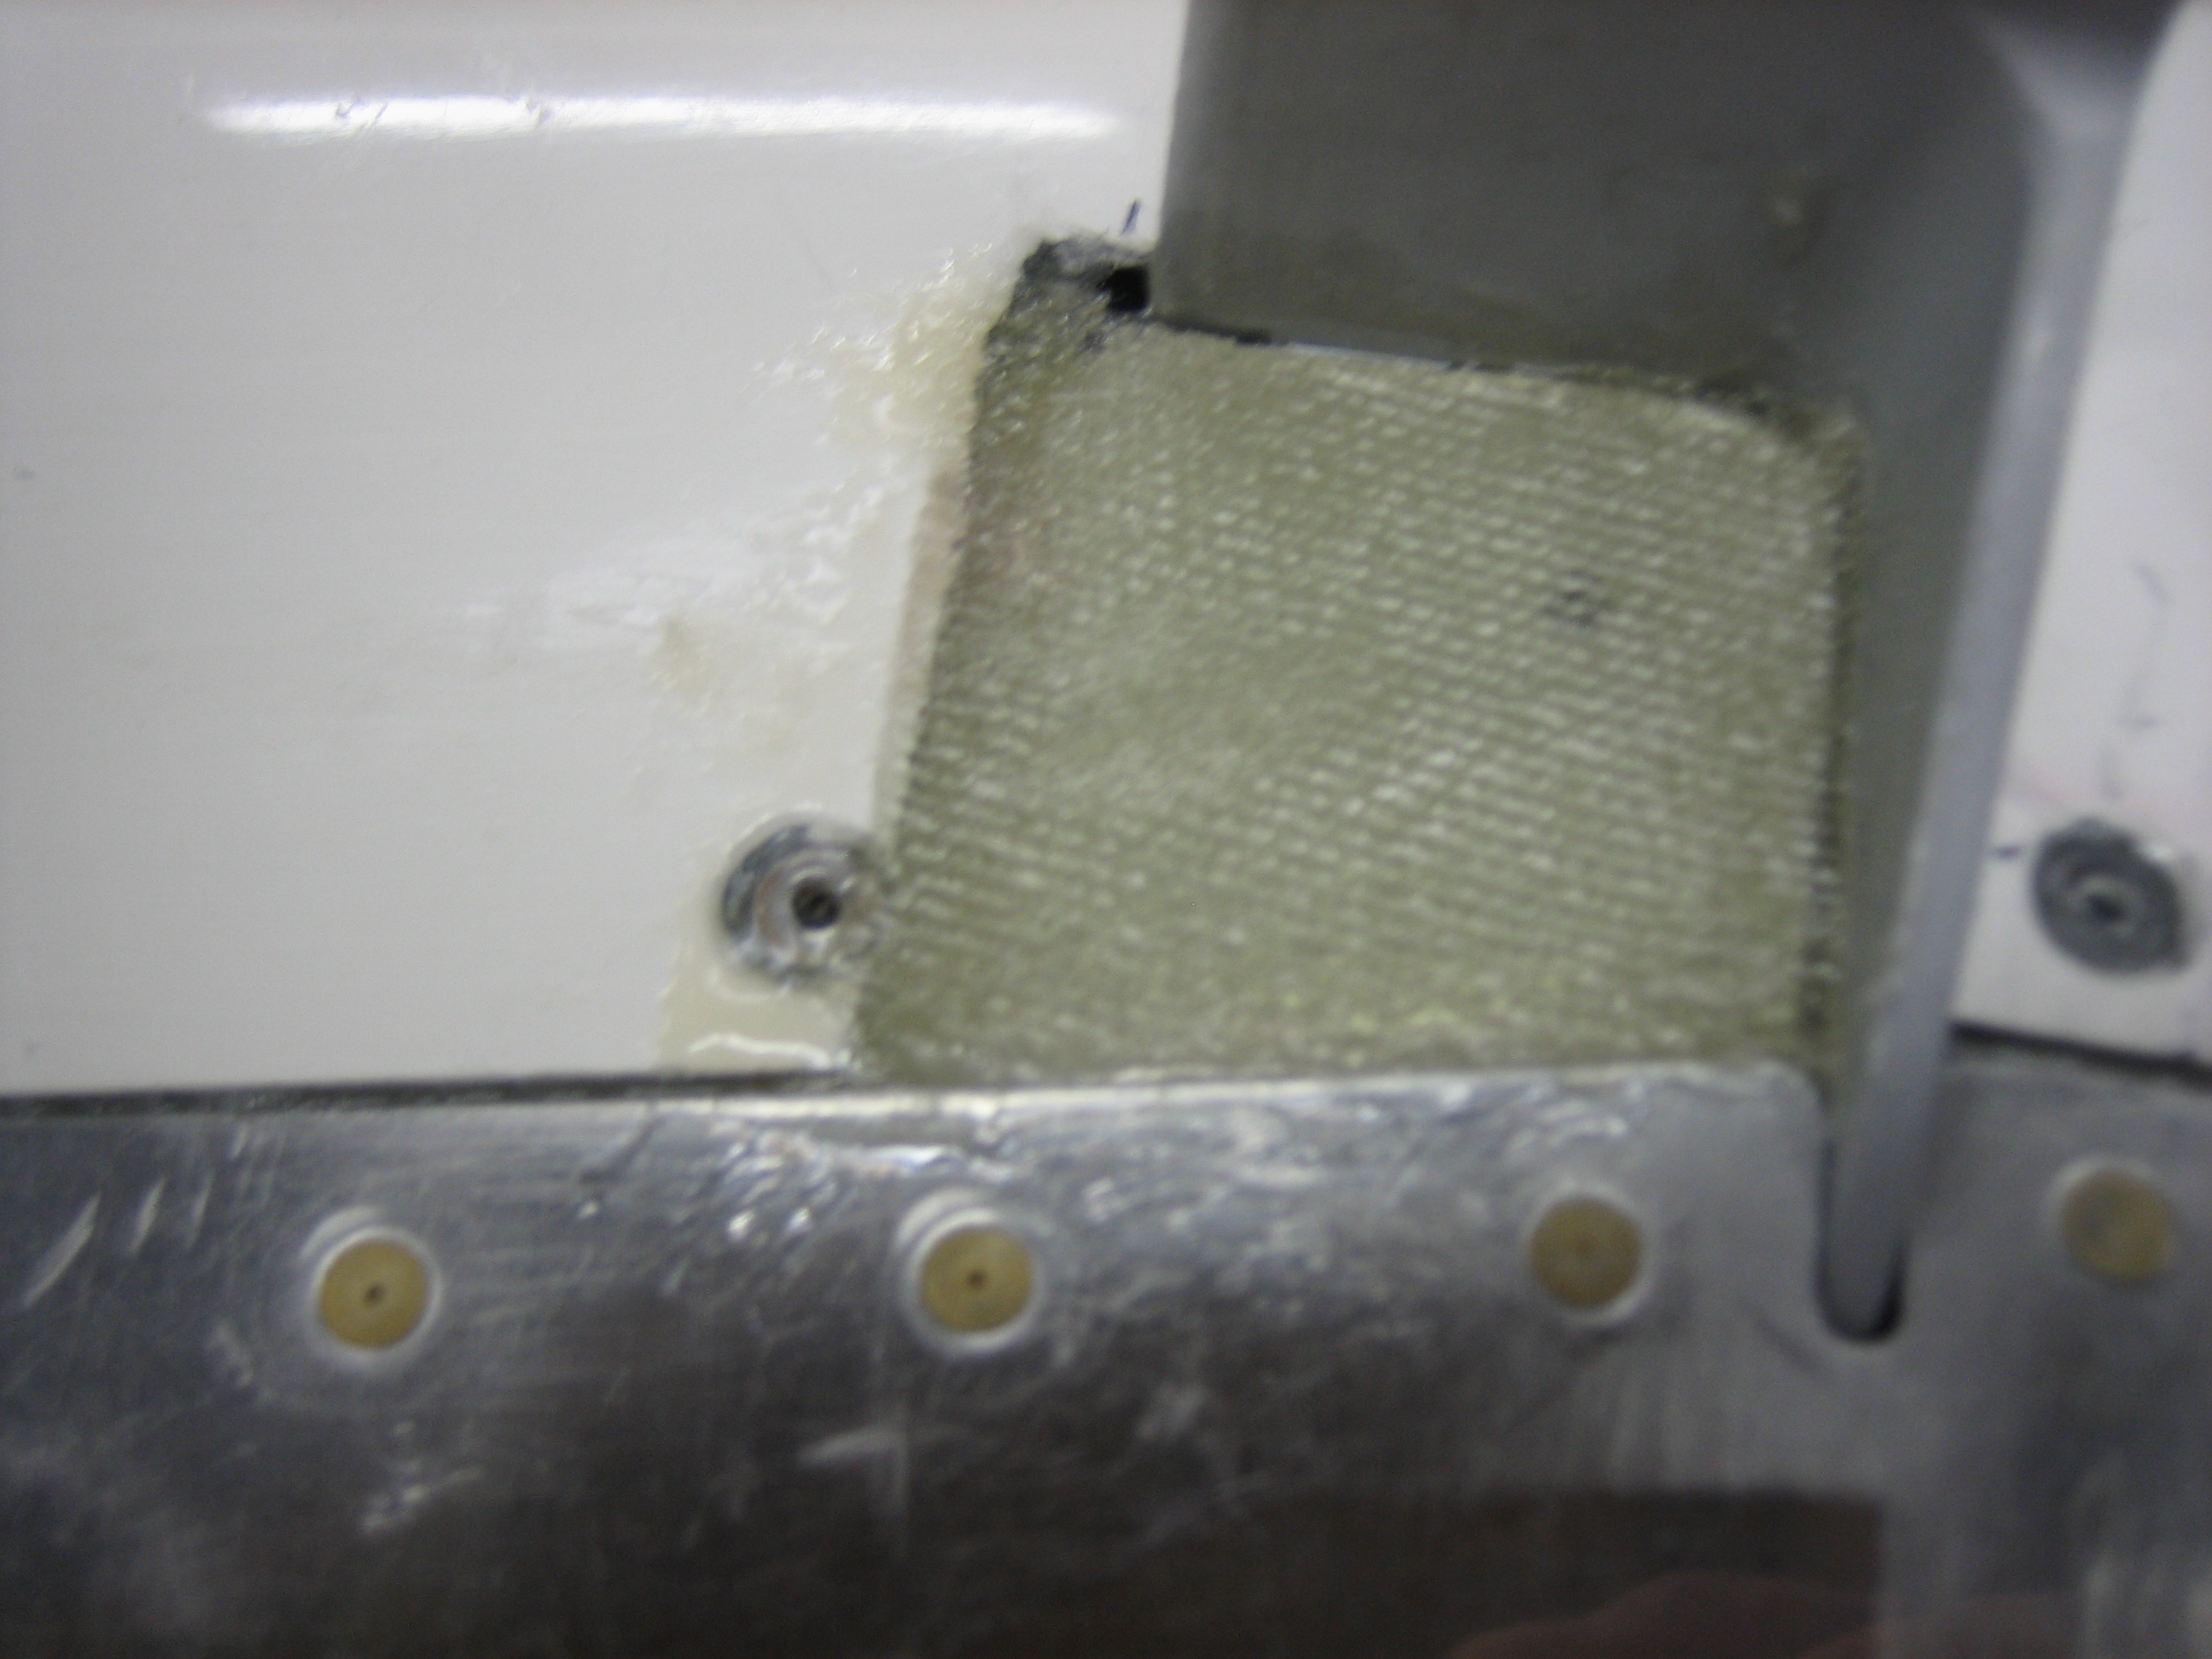
Finally, I filed and sanded the fairing flush with the metal and laid a strip of 1.5oz cloth over the joint and glassed it in place. I only did this on one side; I’ll have to do the other side tomorrow.
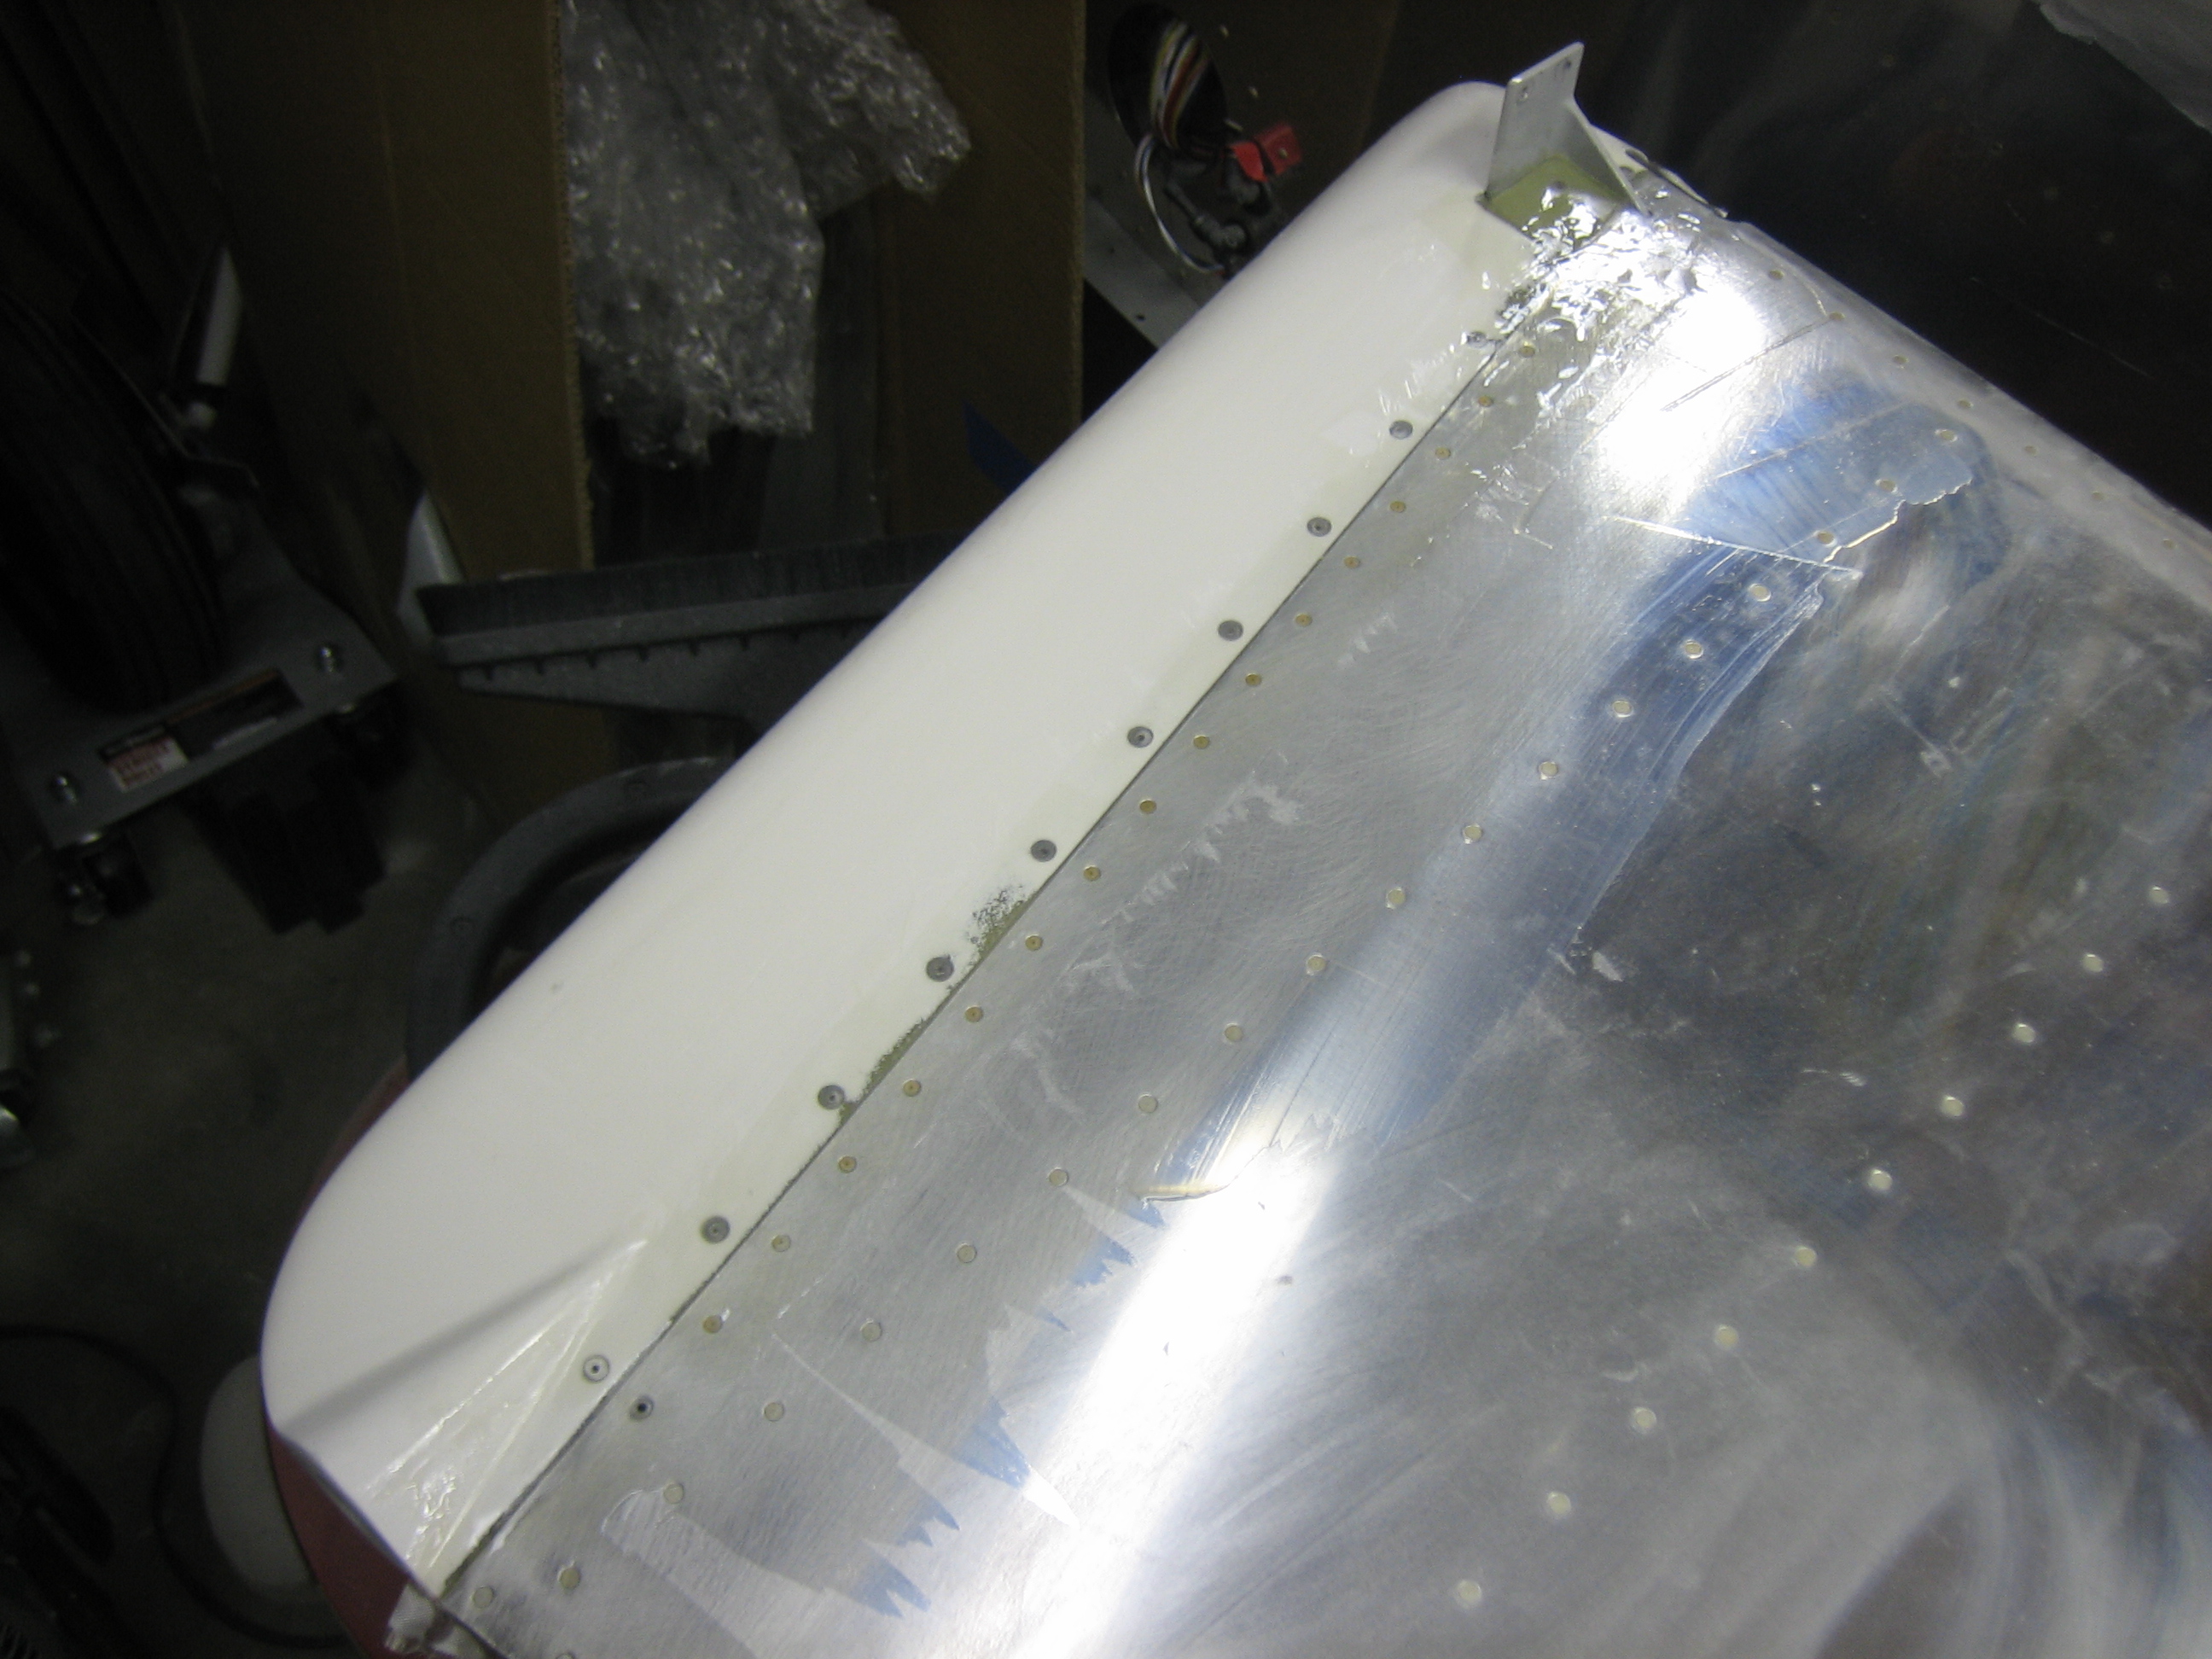
I also did the same thing at the top of the rudder. I’ll fair these in with some filler so that you can’t see the joint between the rudder and the fairings.
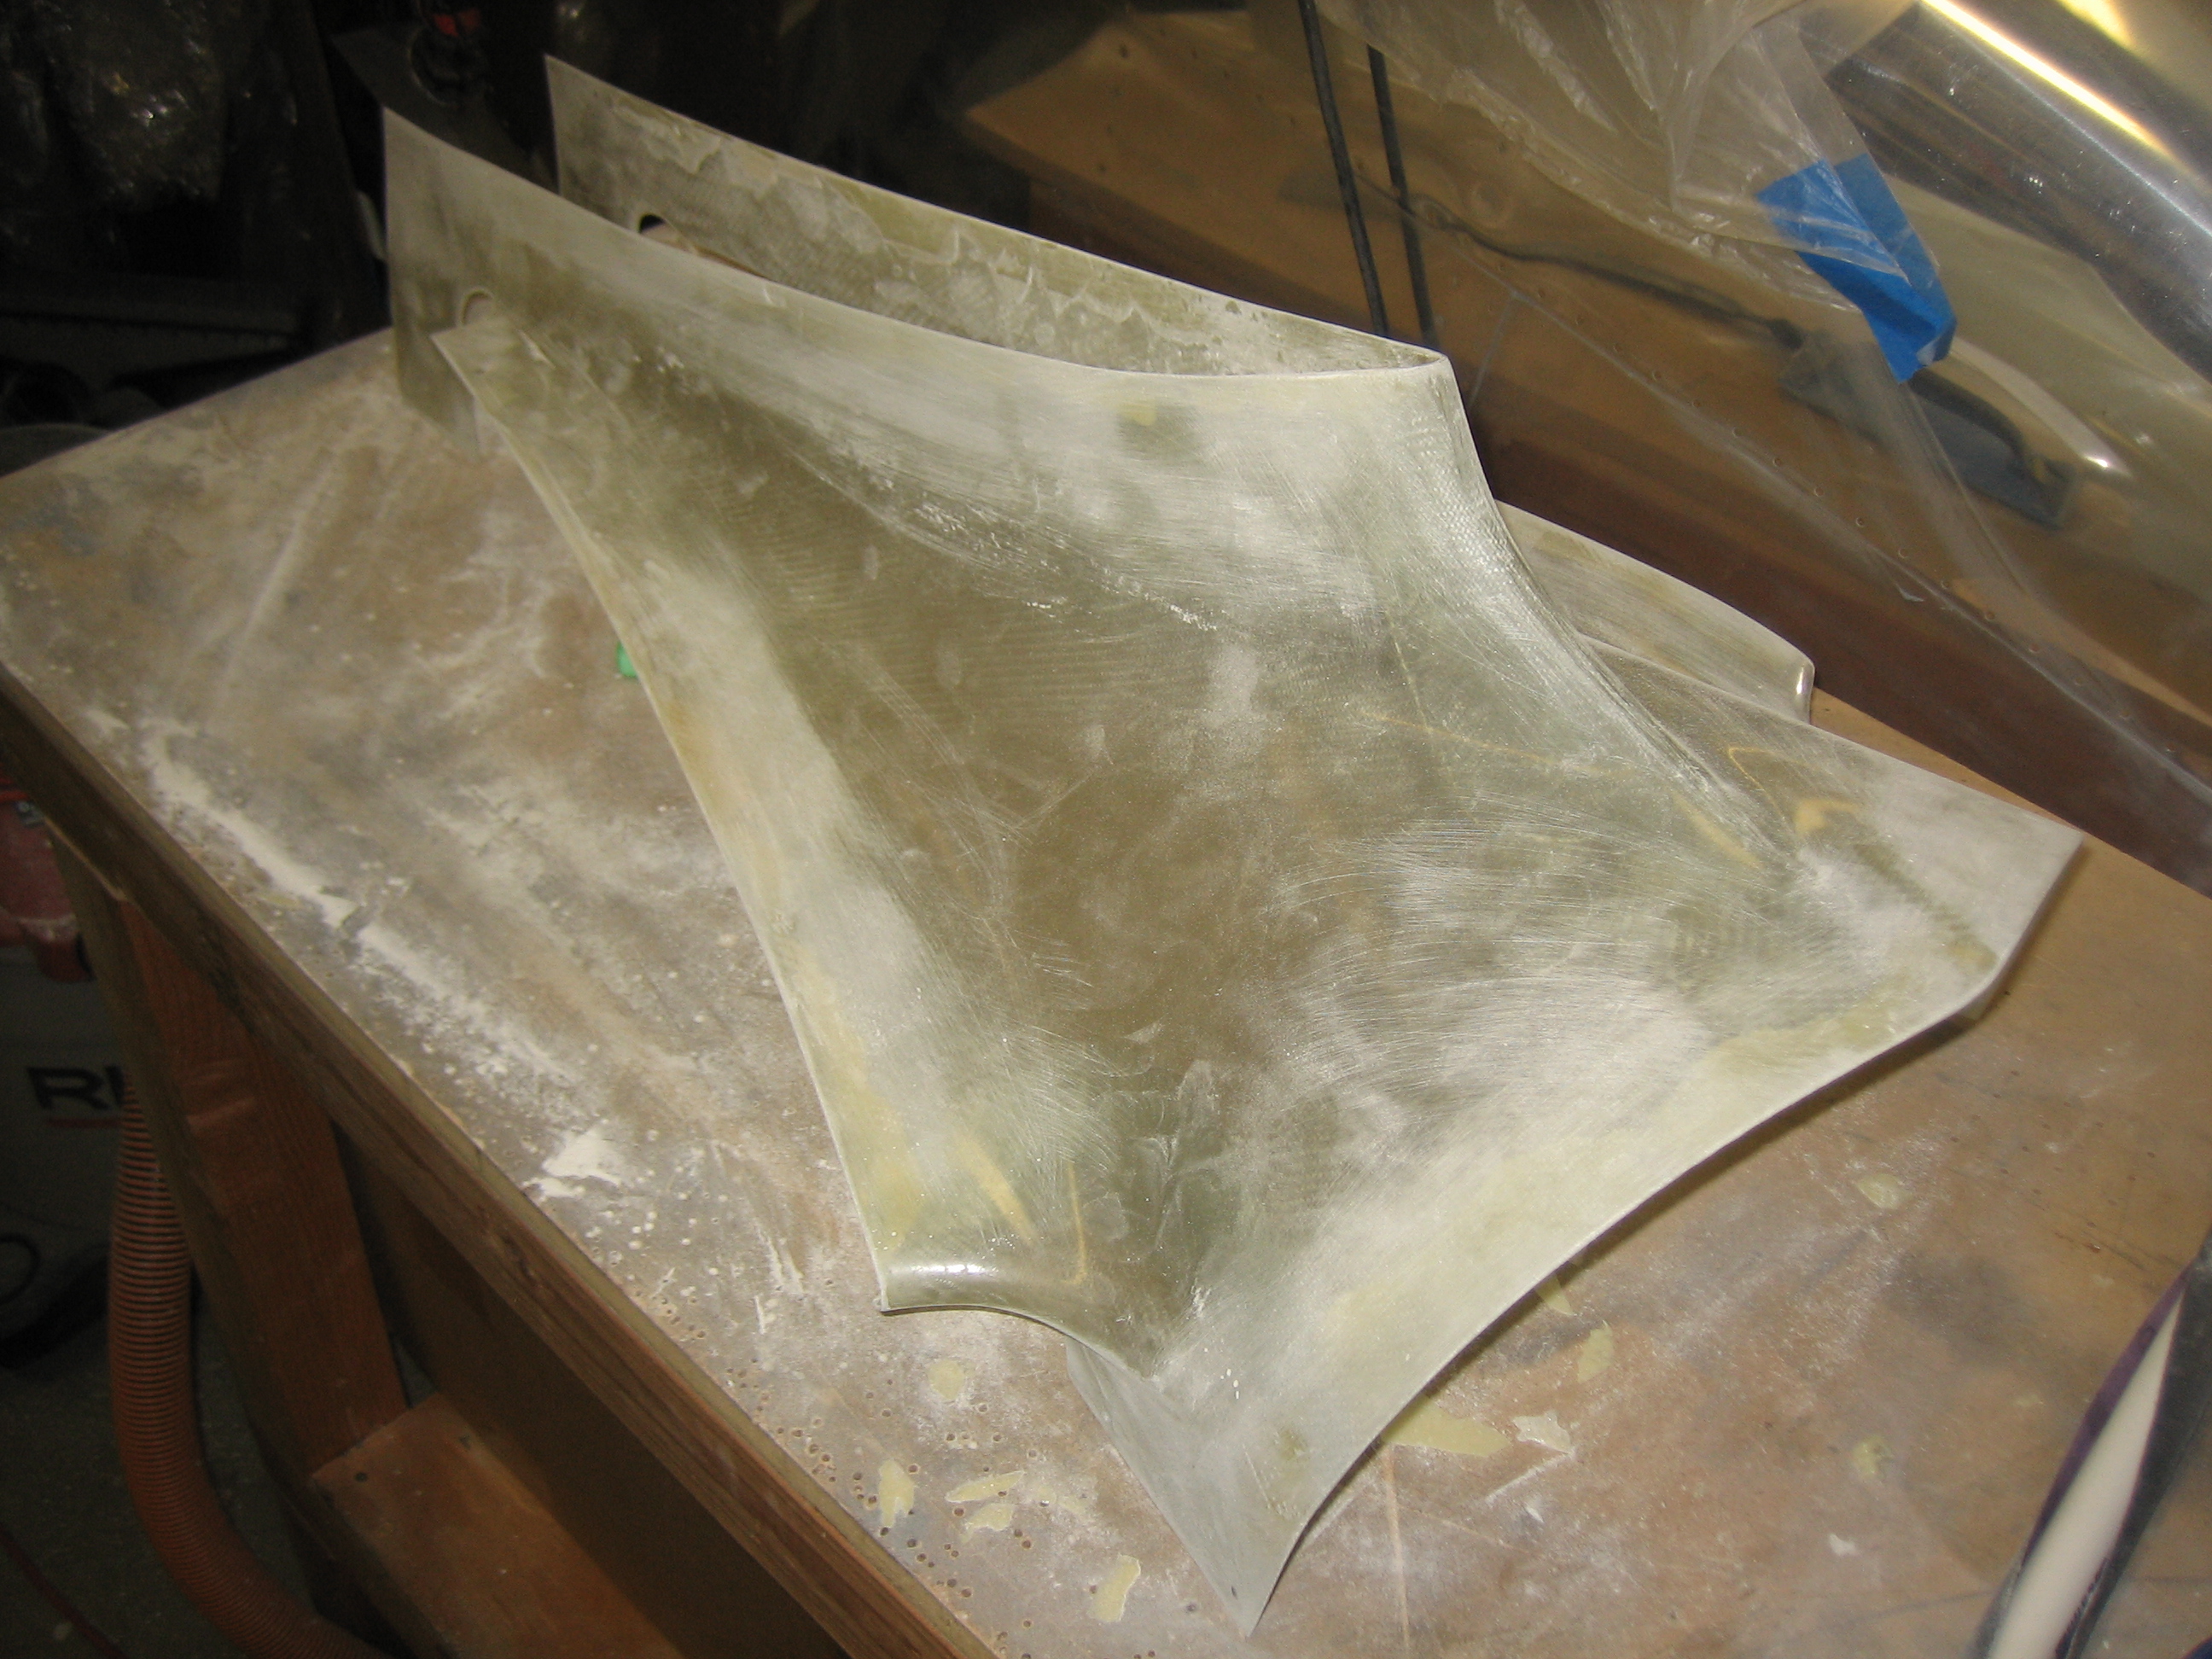
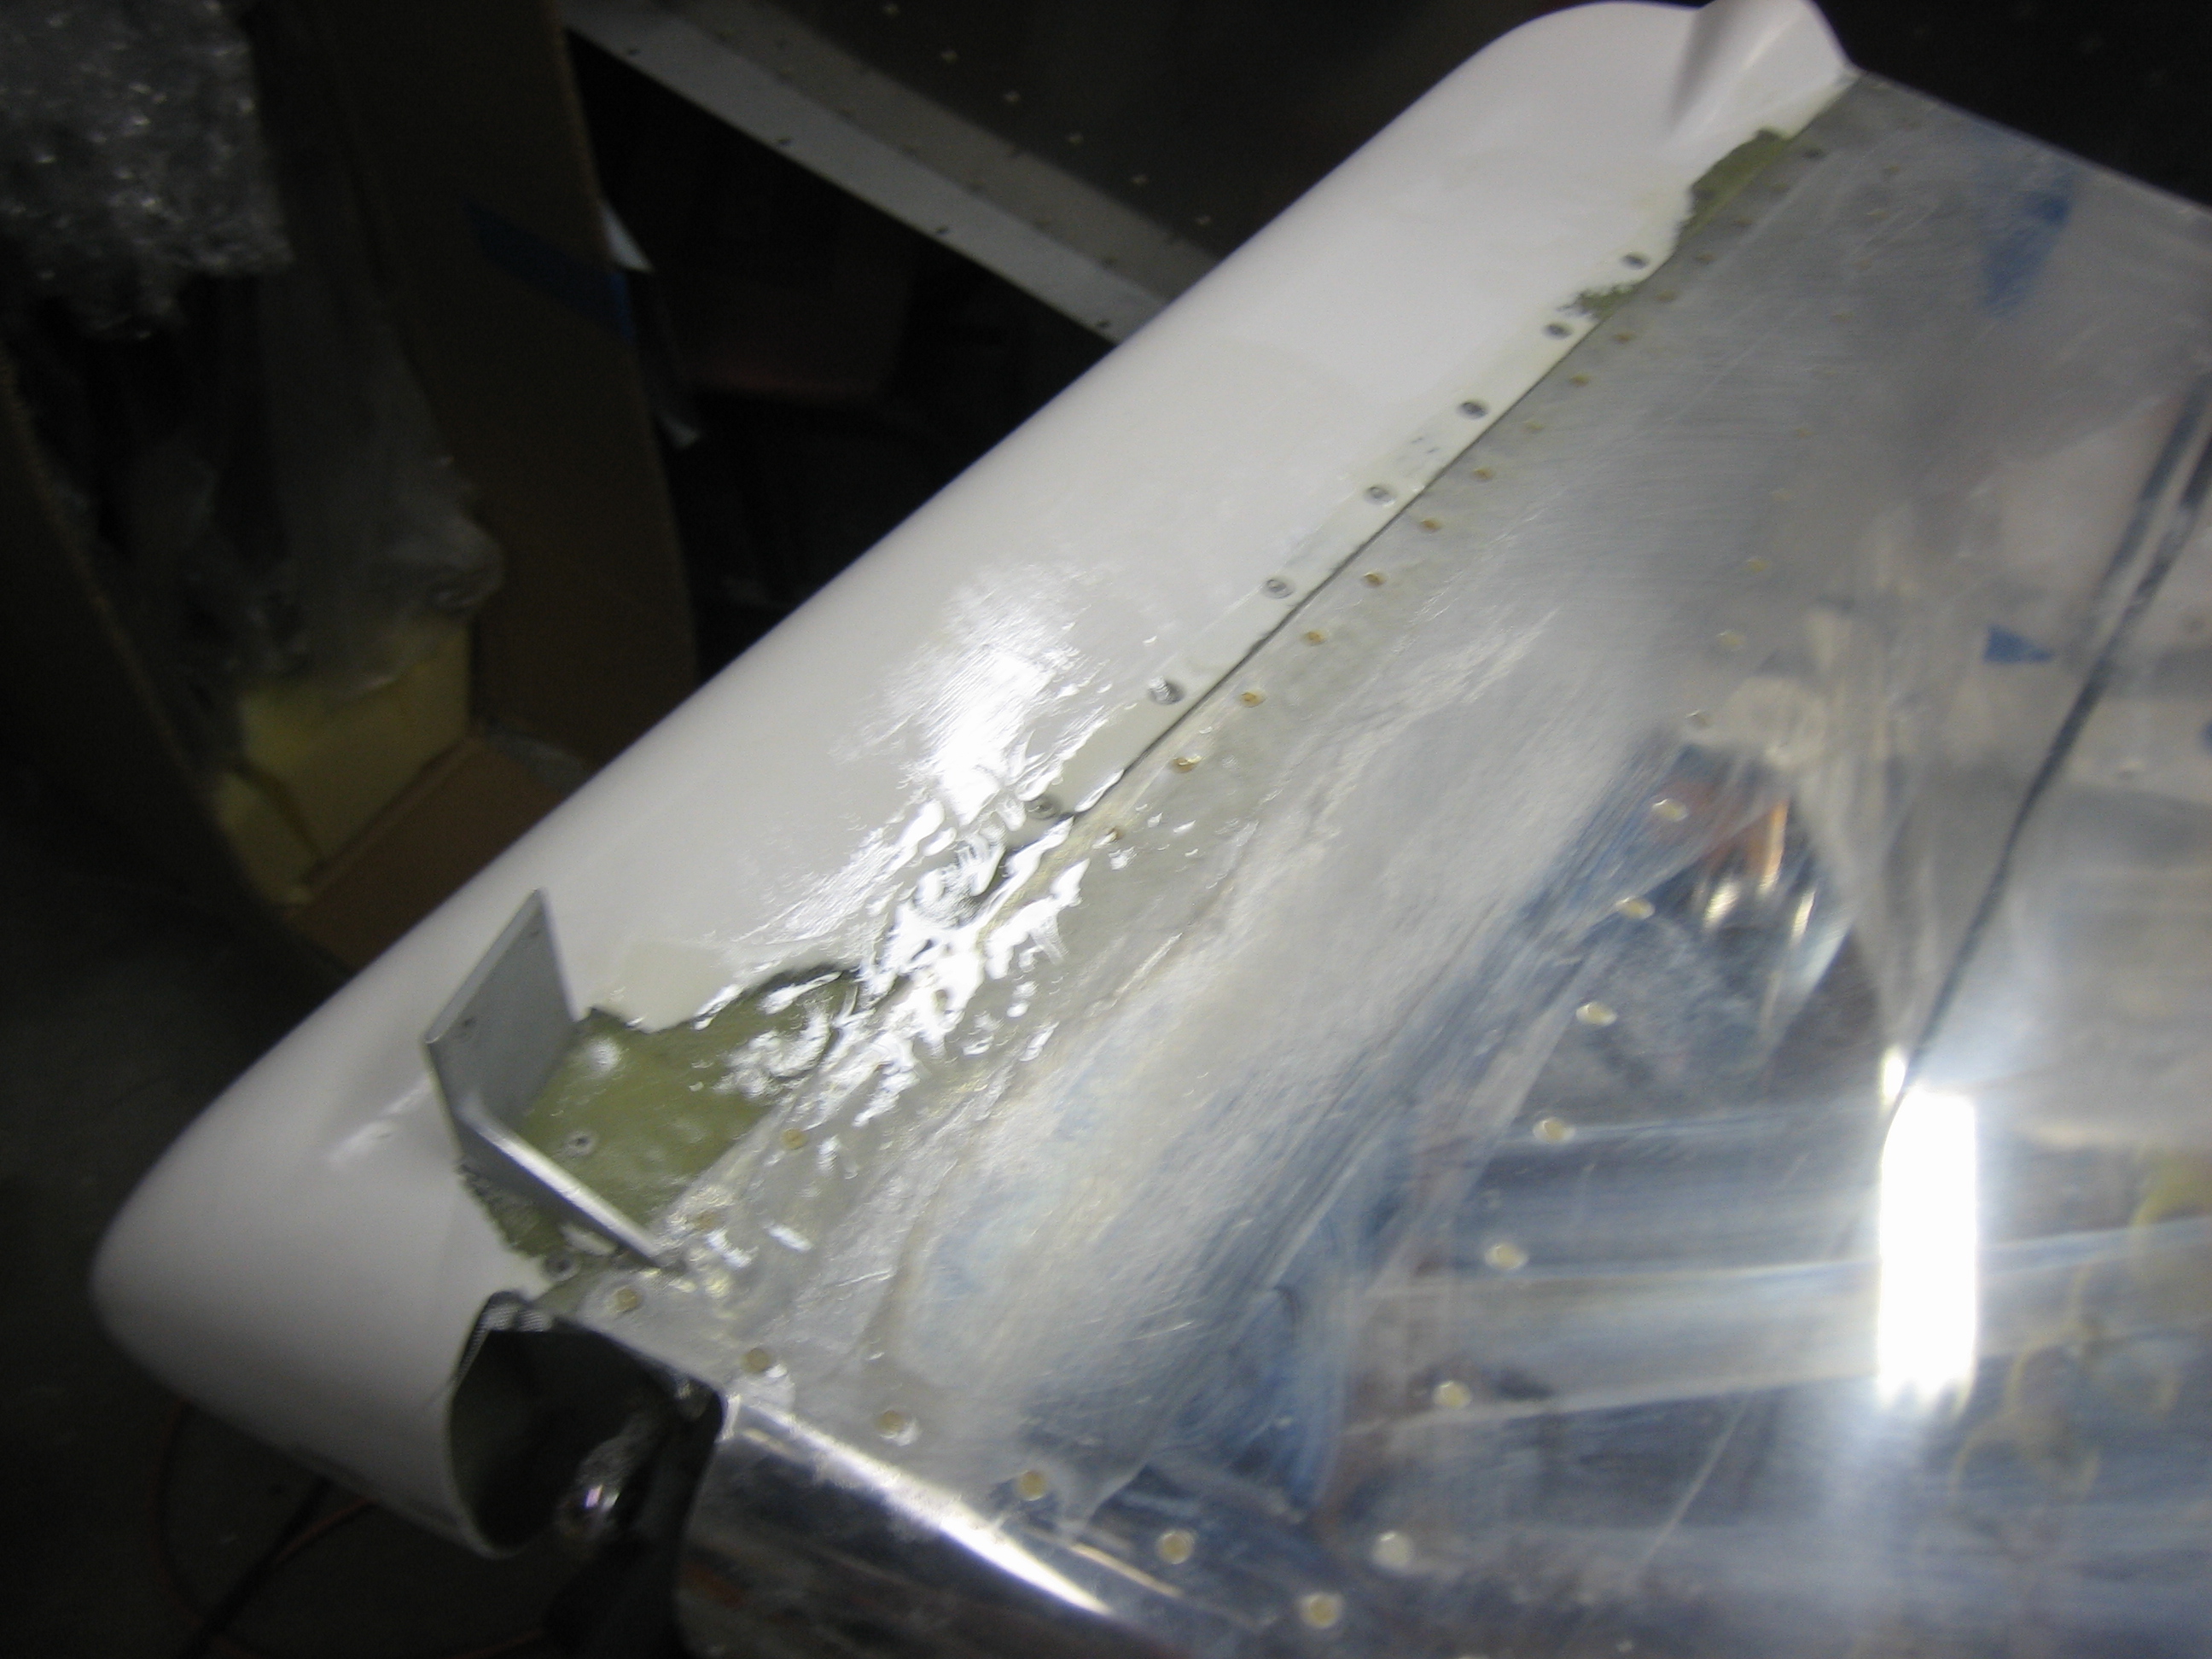
I glassed the other side of the rudder tonight. Here’s the top fairing.
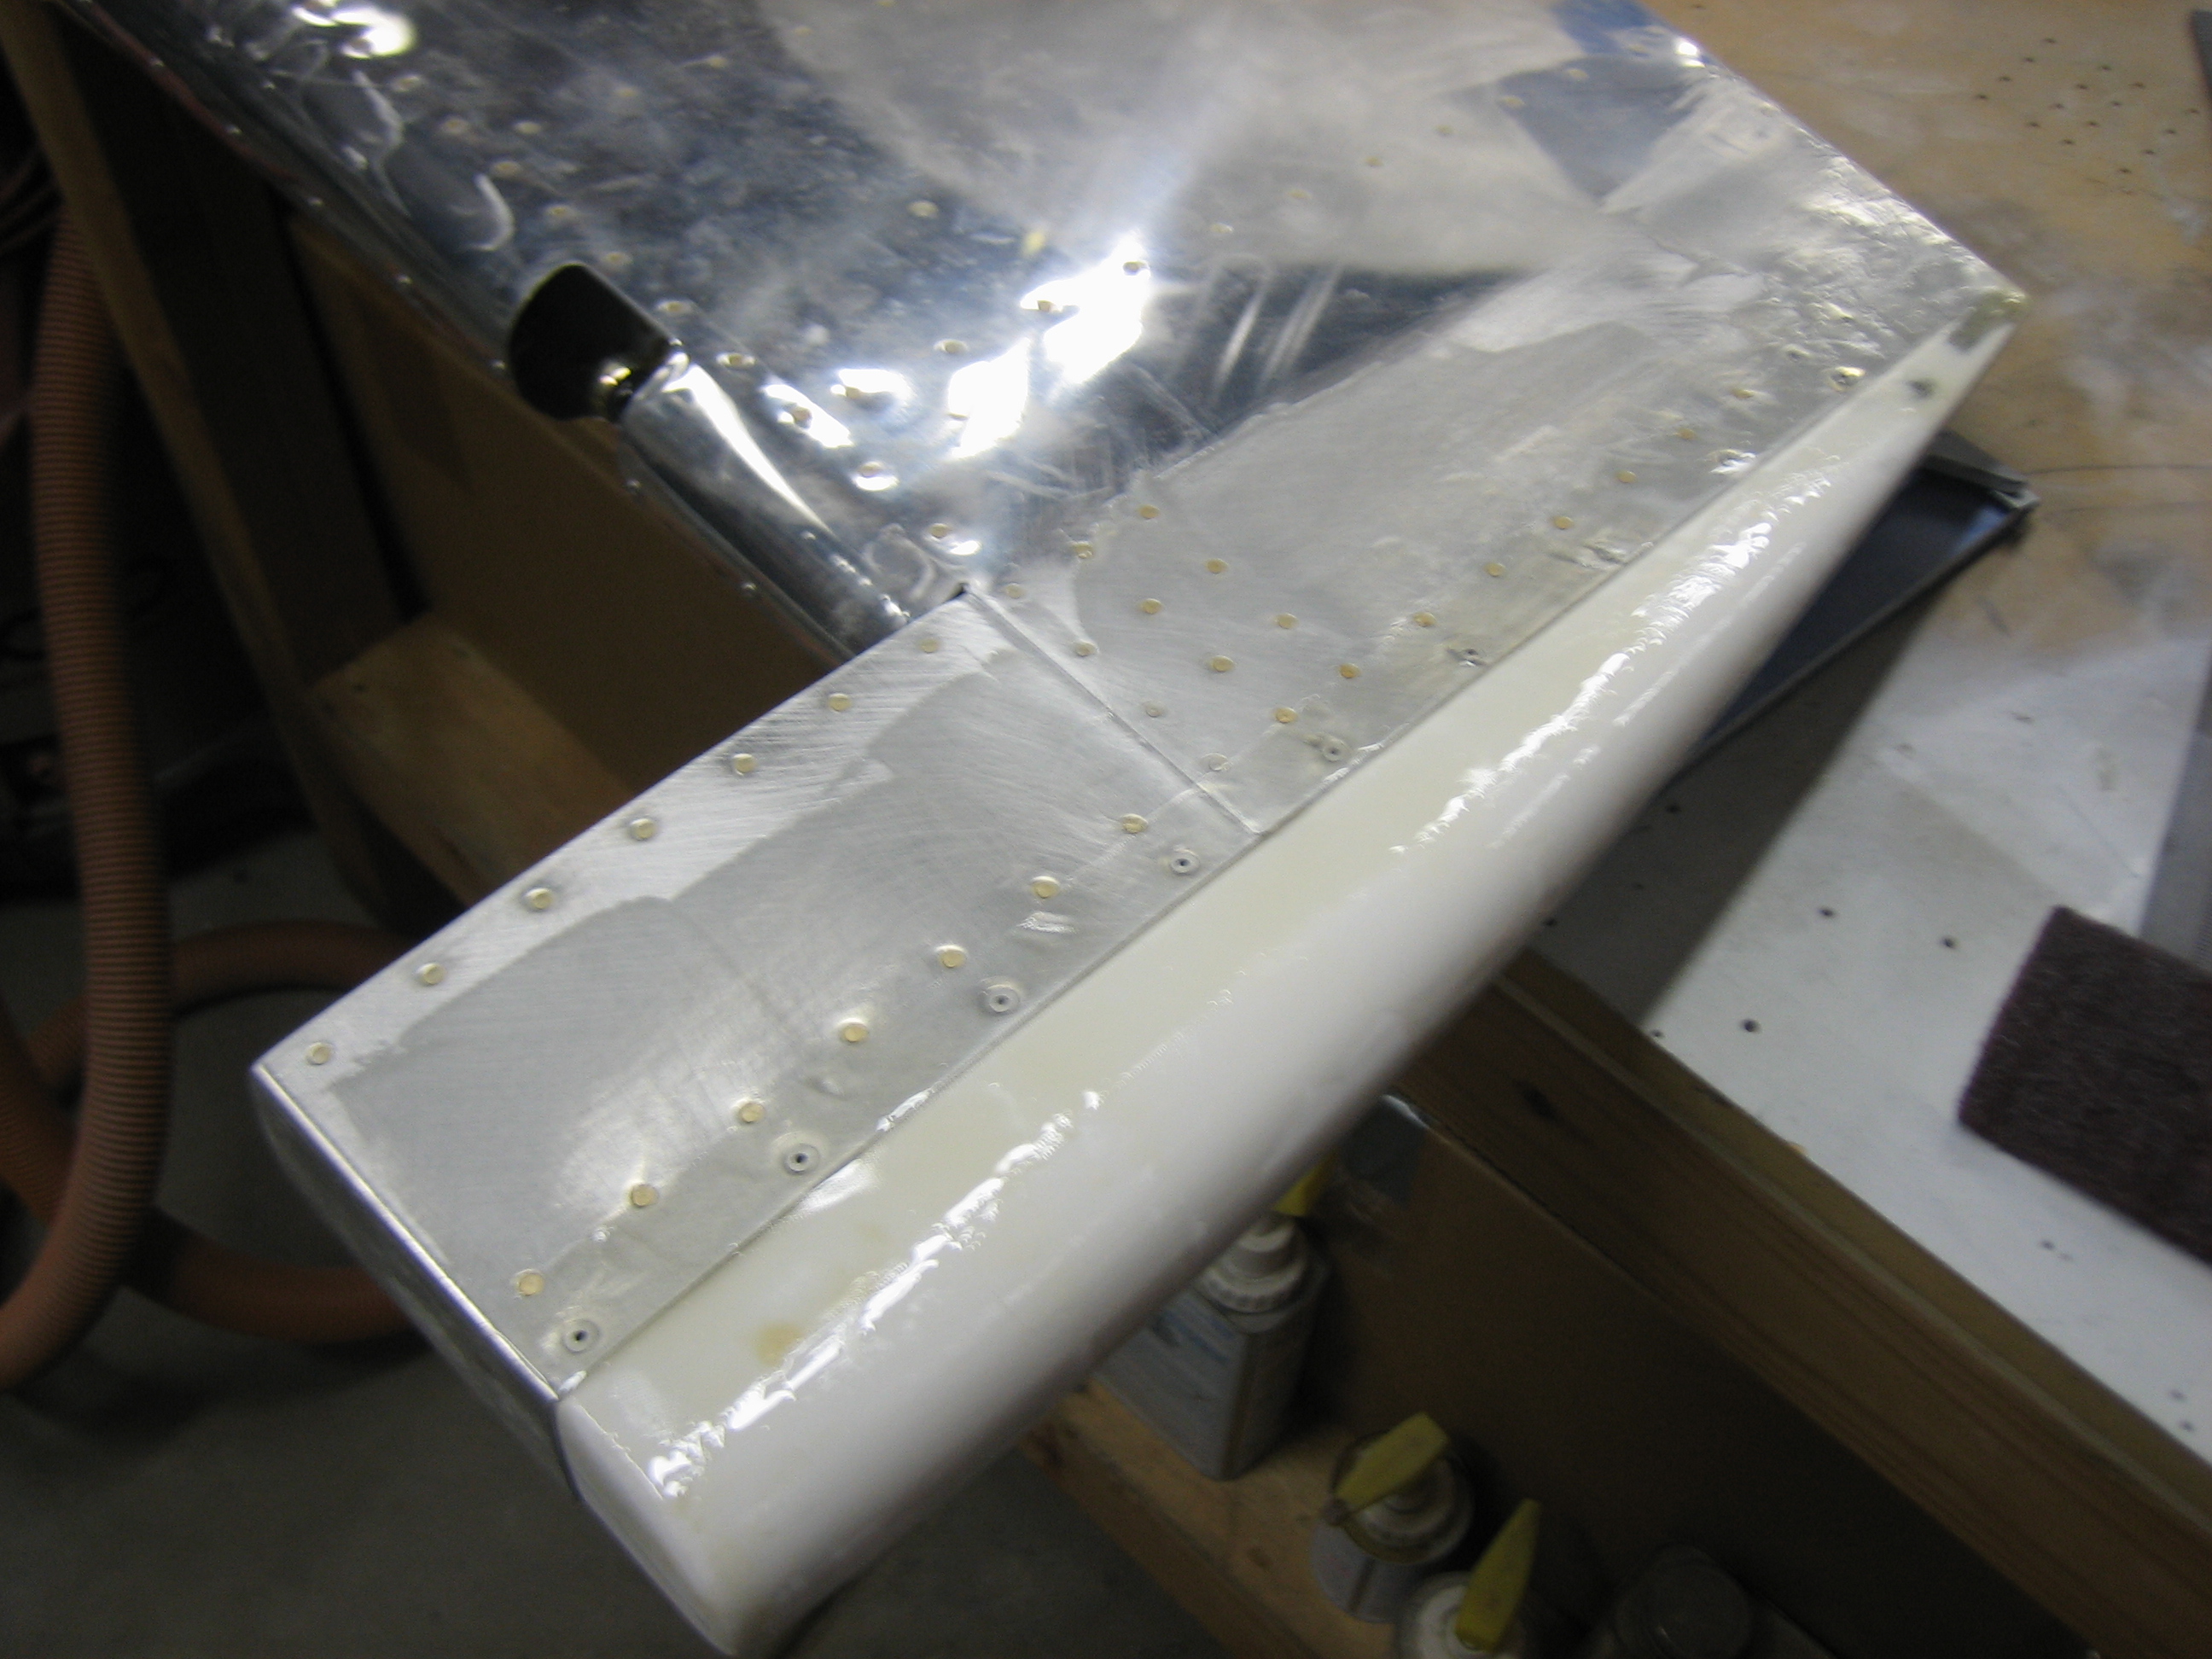
And here’s the bottom. I also got the right elevator ready for glassing as well but didn’t have time to put the glass on.
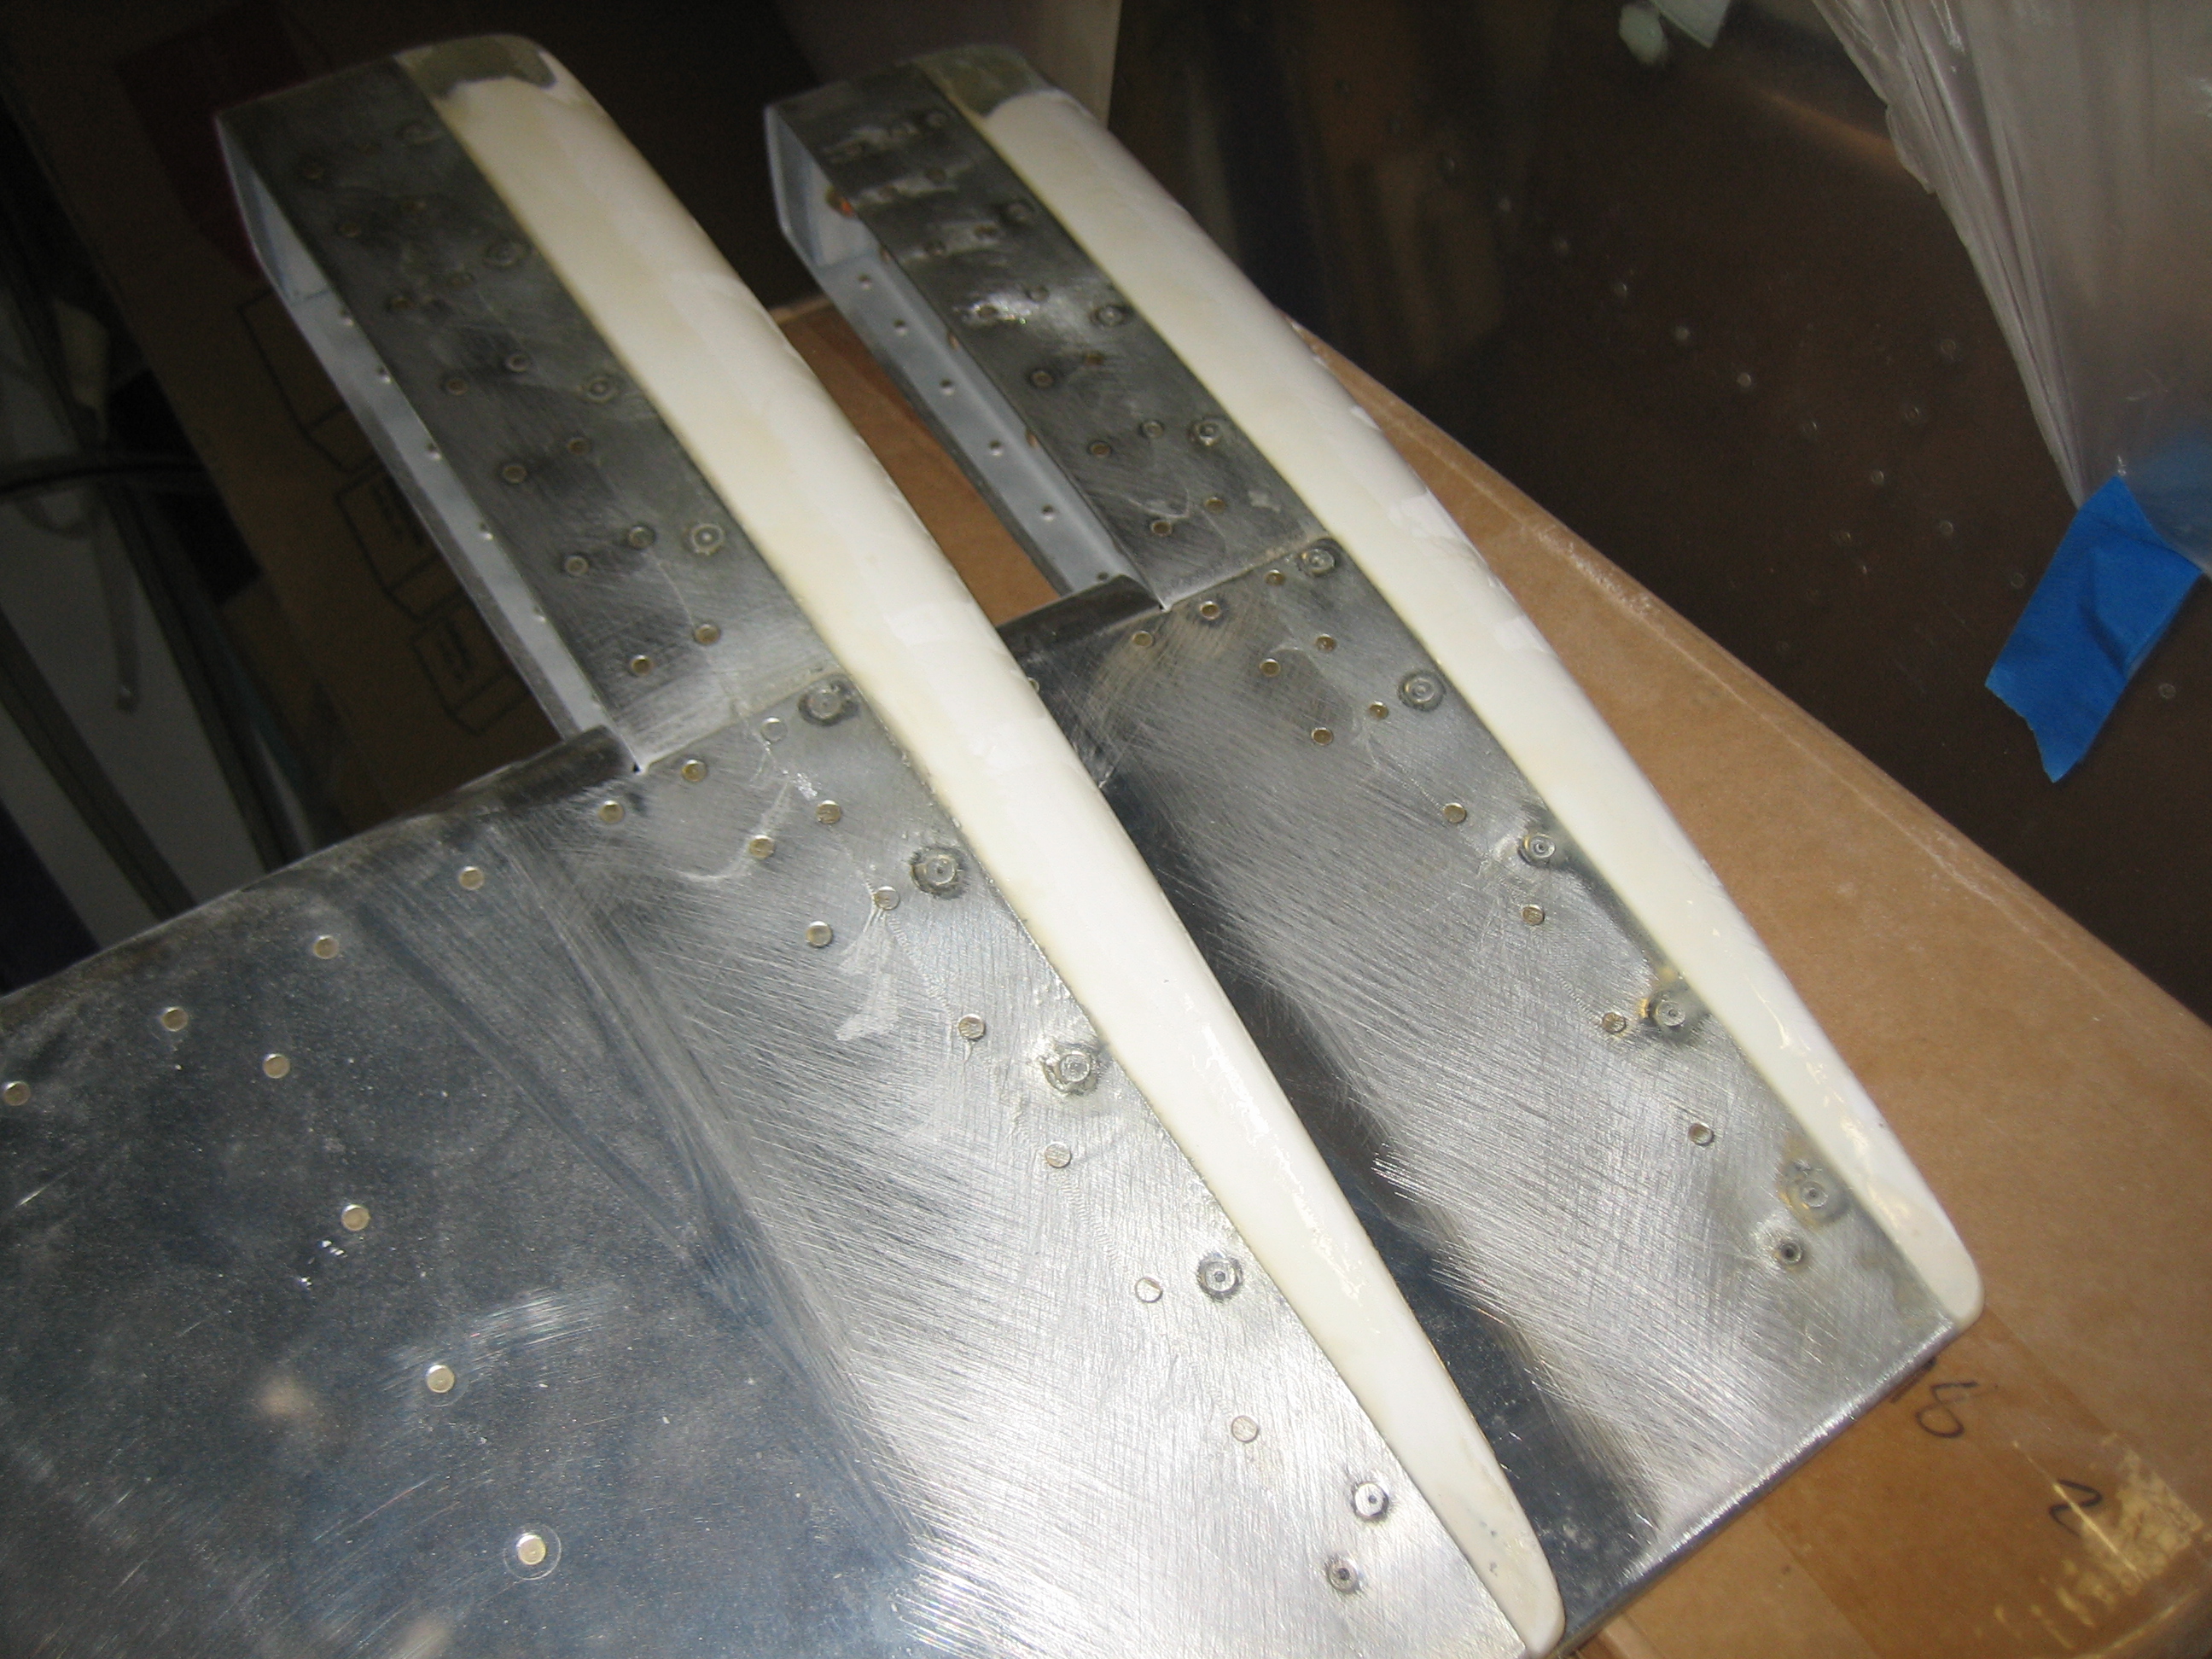
I only had a few minutes tonight, but I needed to take care of a bit of filler on the right elevator before laying up the glass over the joint. The trailing edge of the tip fairing didn’t go all the way back to the trailing edge of the elevator skin, so I mixed up some epoxy/flox and filled in the gap.
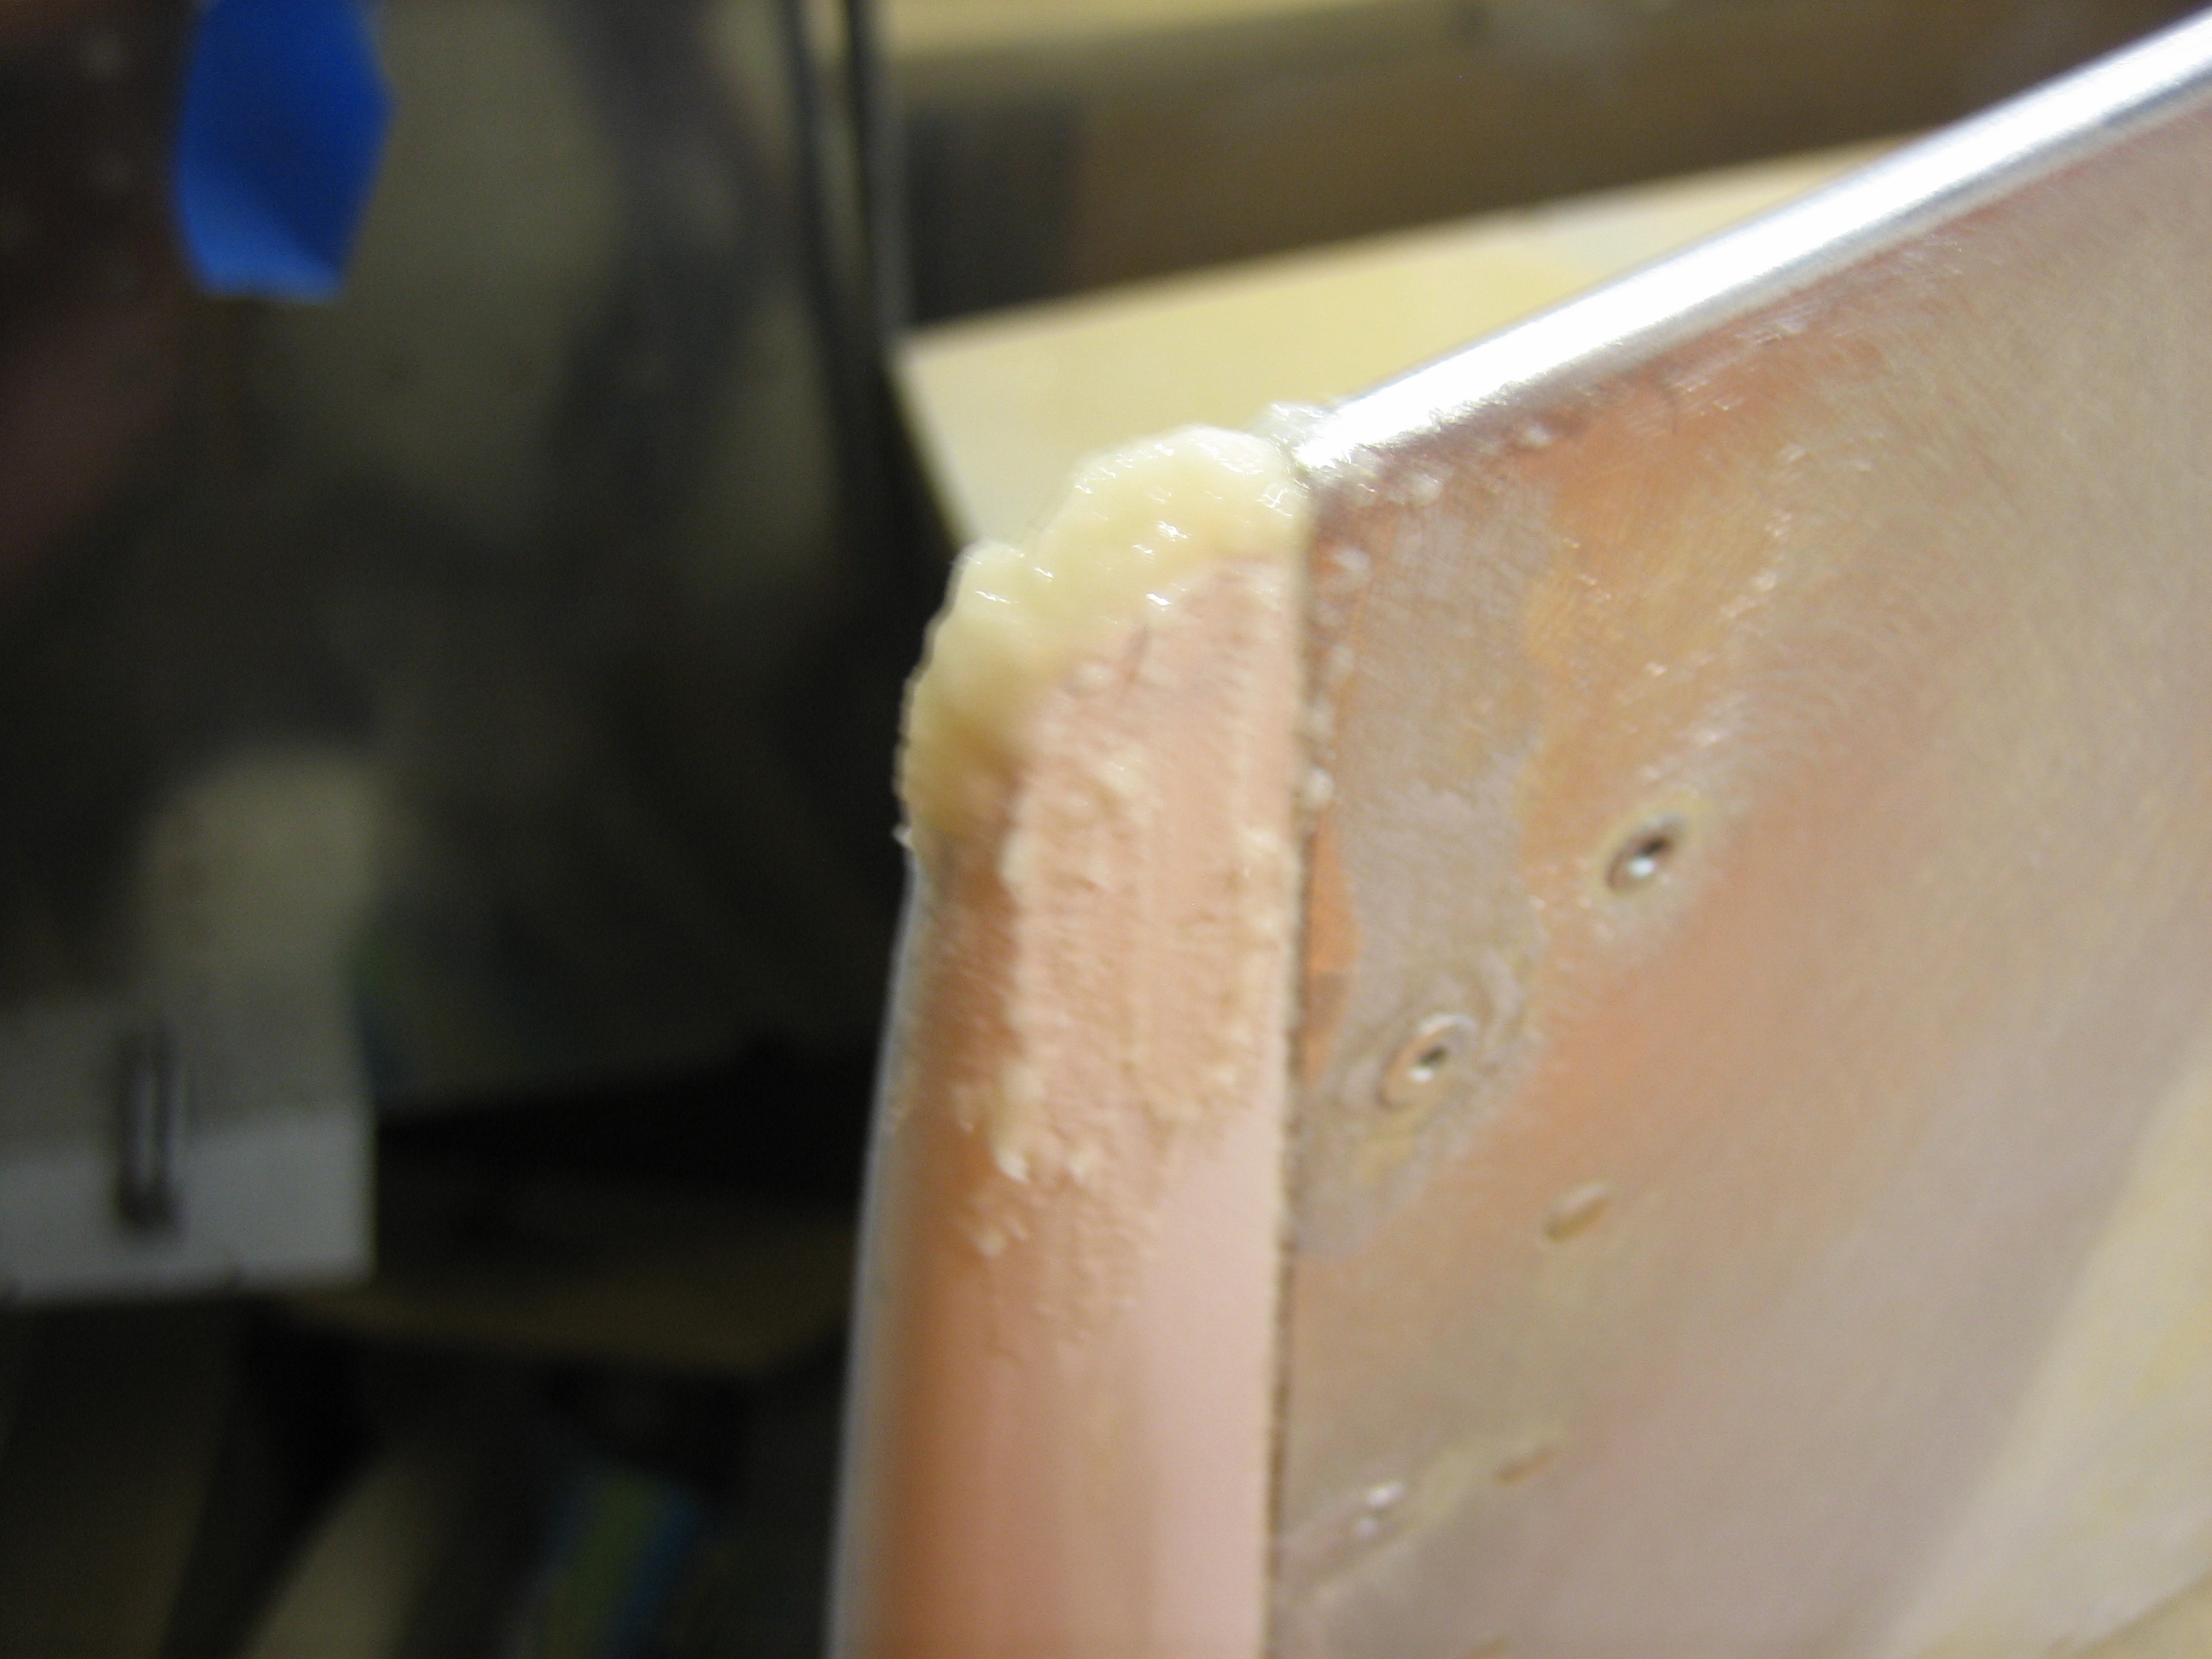
On the leading edge, the countersink weight didn’t align with the leading edge skin, so I applied some of the filler here to build it out. I’ll file this flush when it cures.
I sanded and applied a layer of glass to one side of each of the elevators. I also filed down the filler I applied yesterday, but I didn’t get a picture.
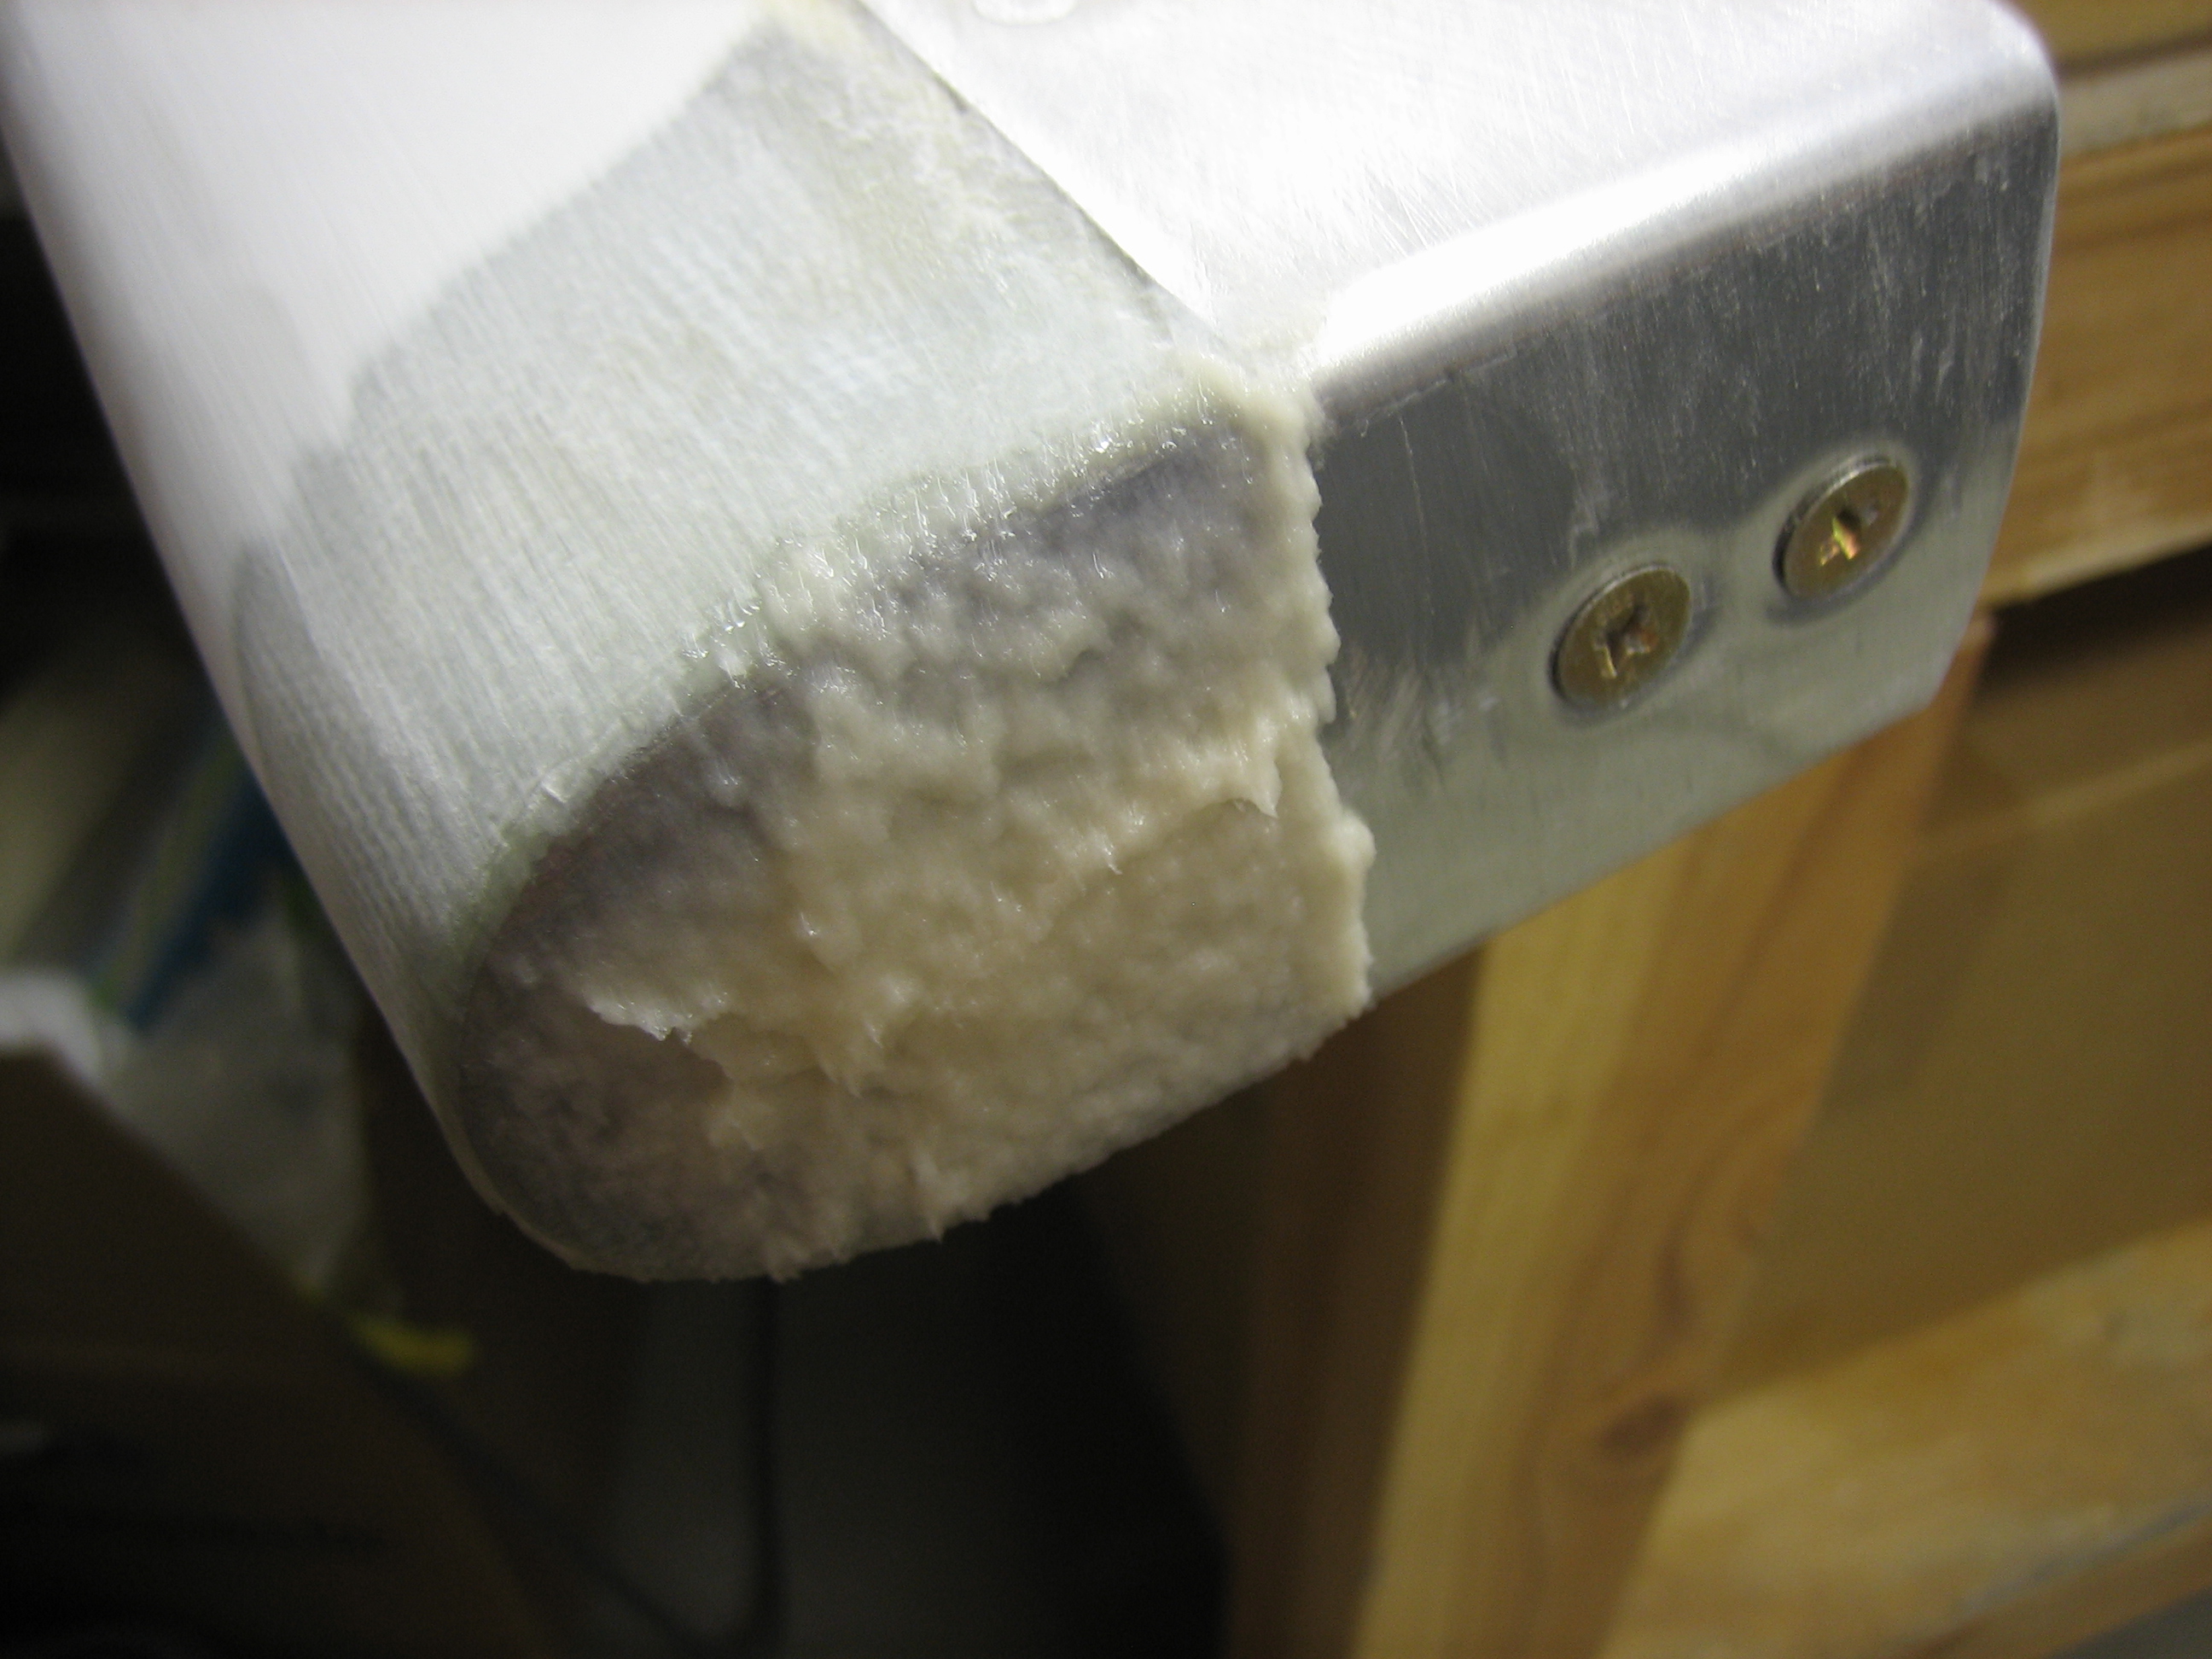
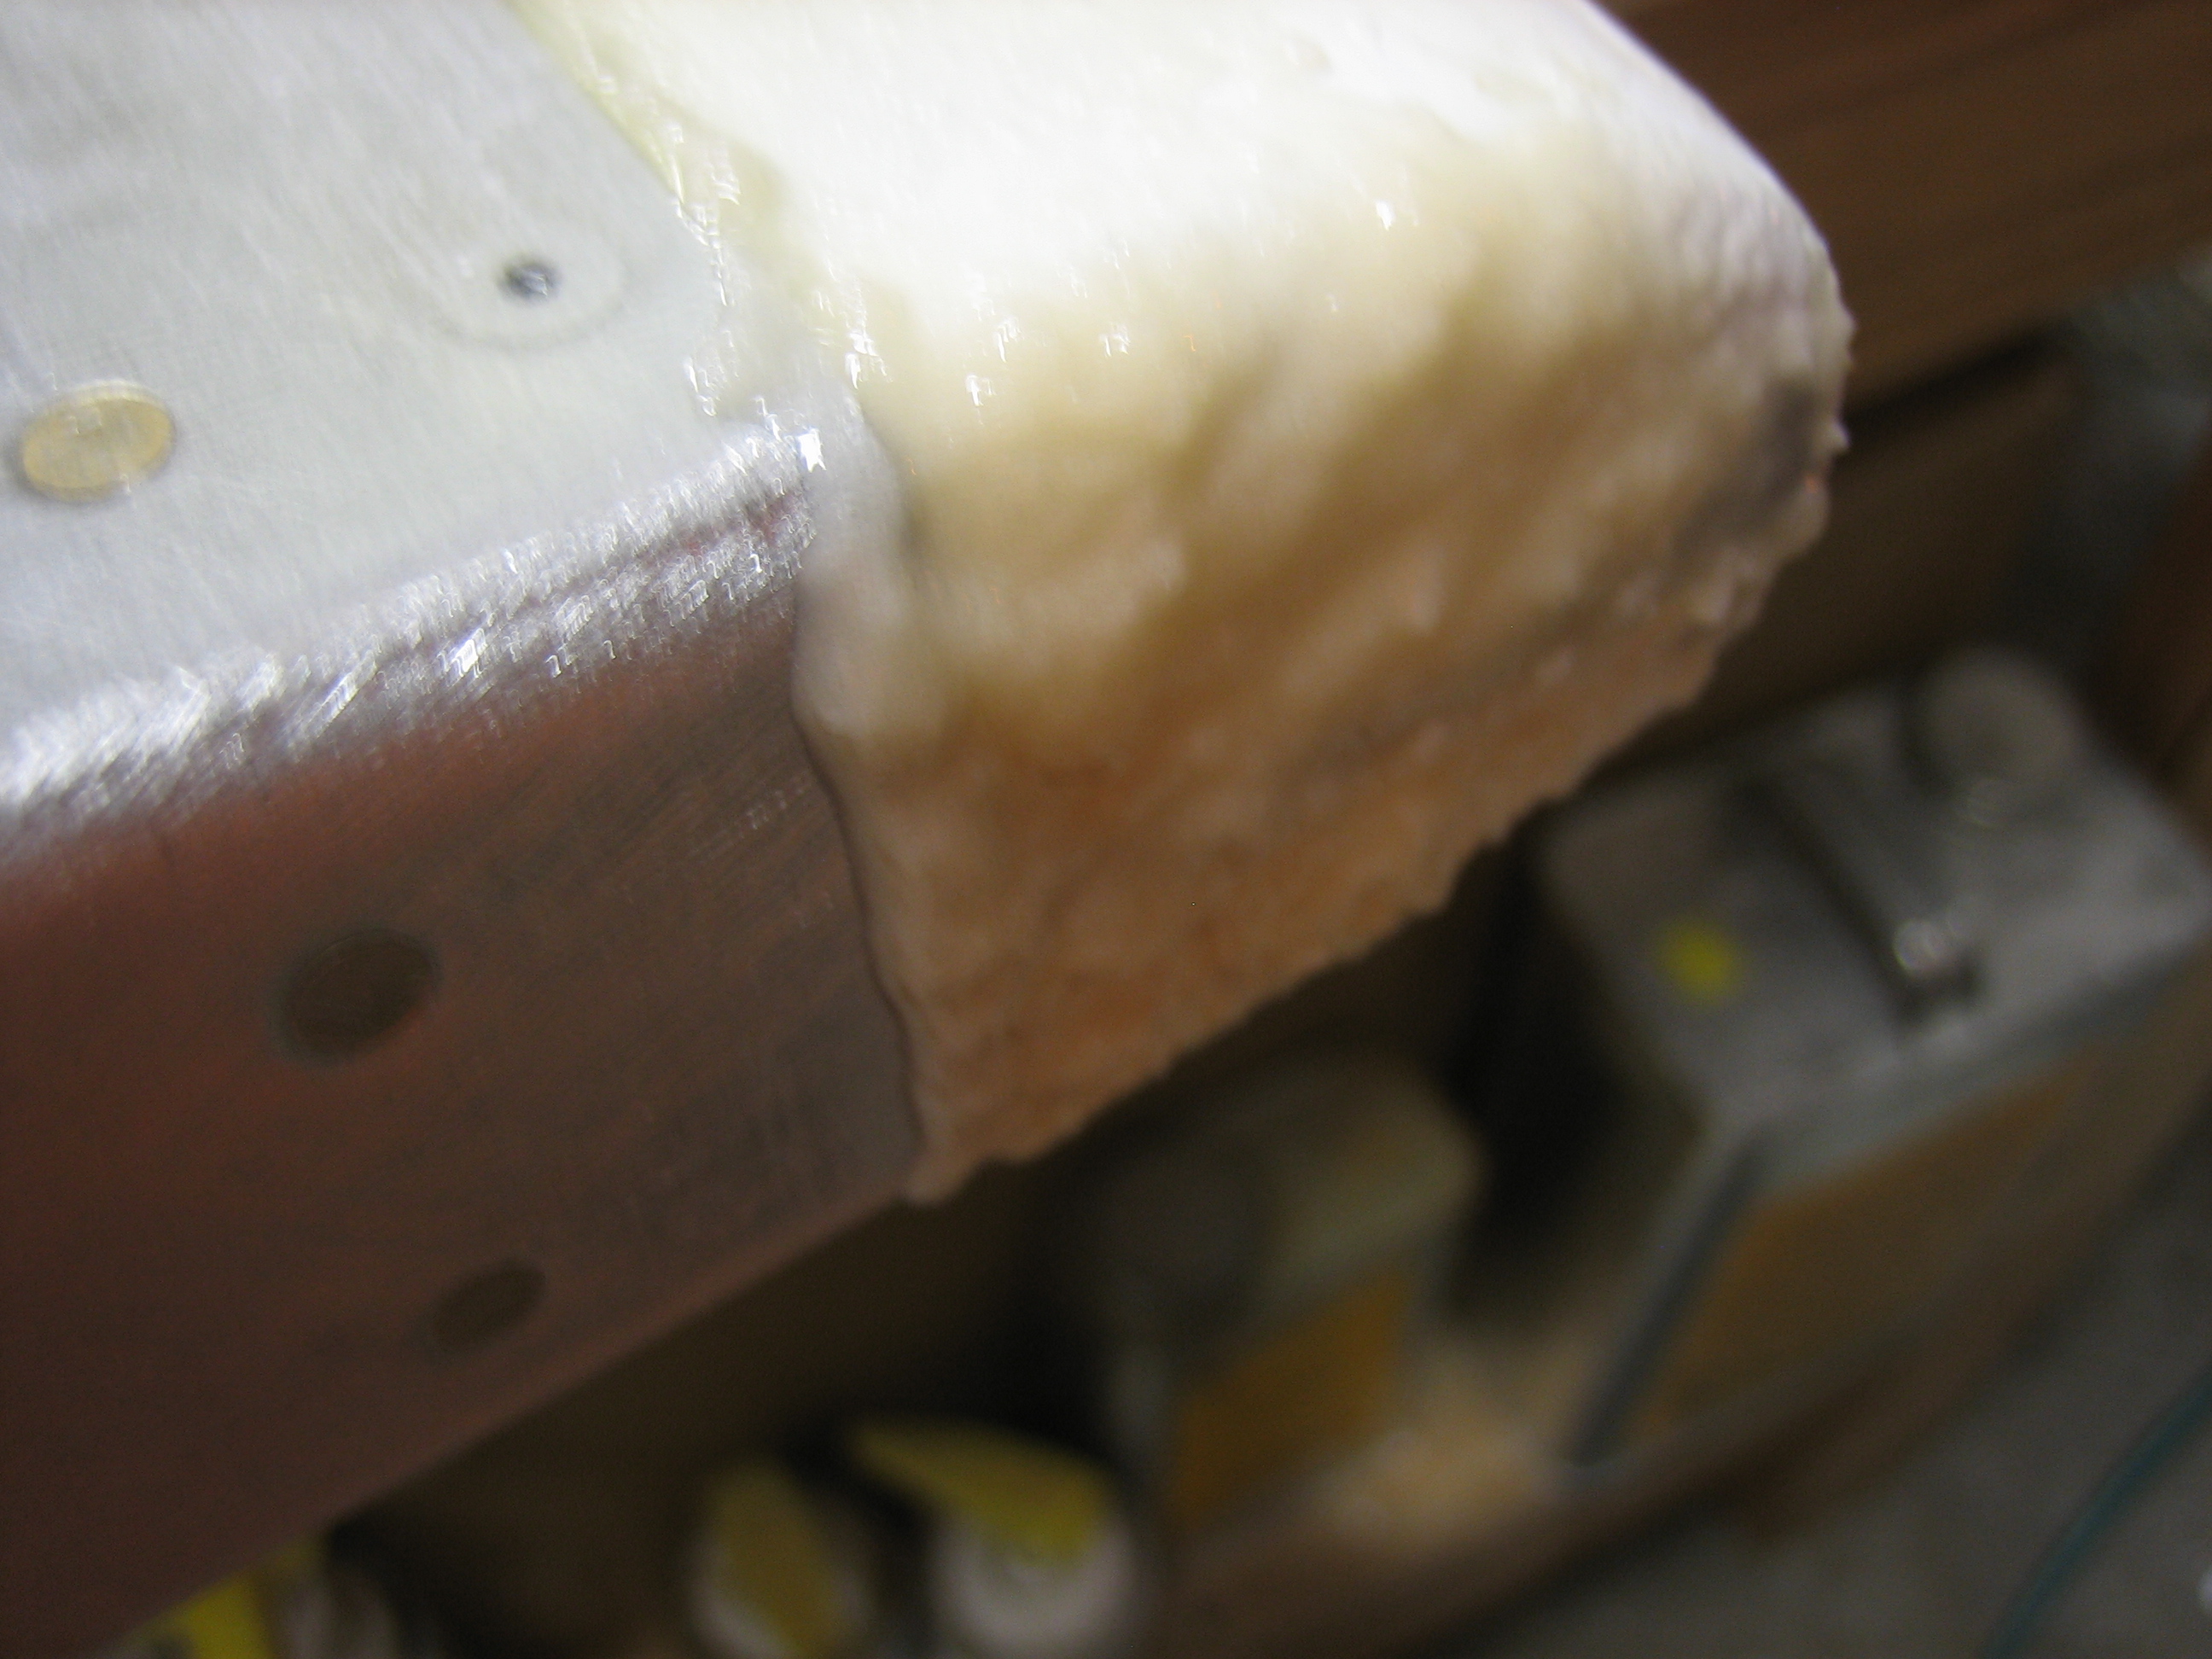
The rudder had the same issue, so I applied a little filler here.
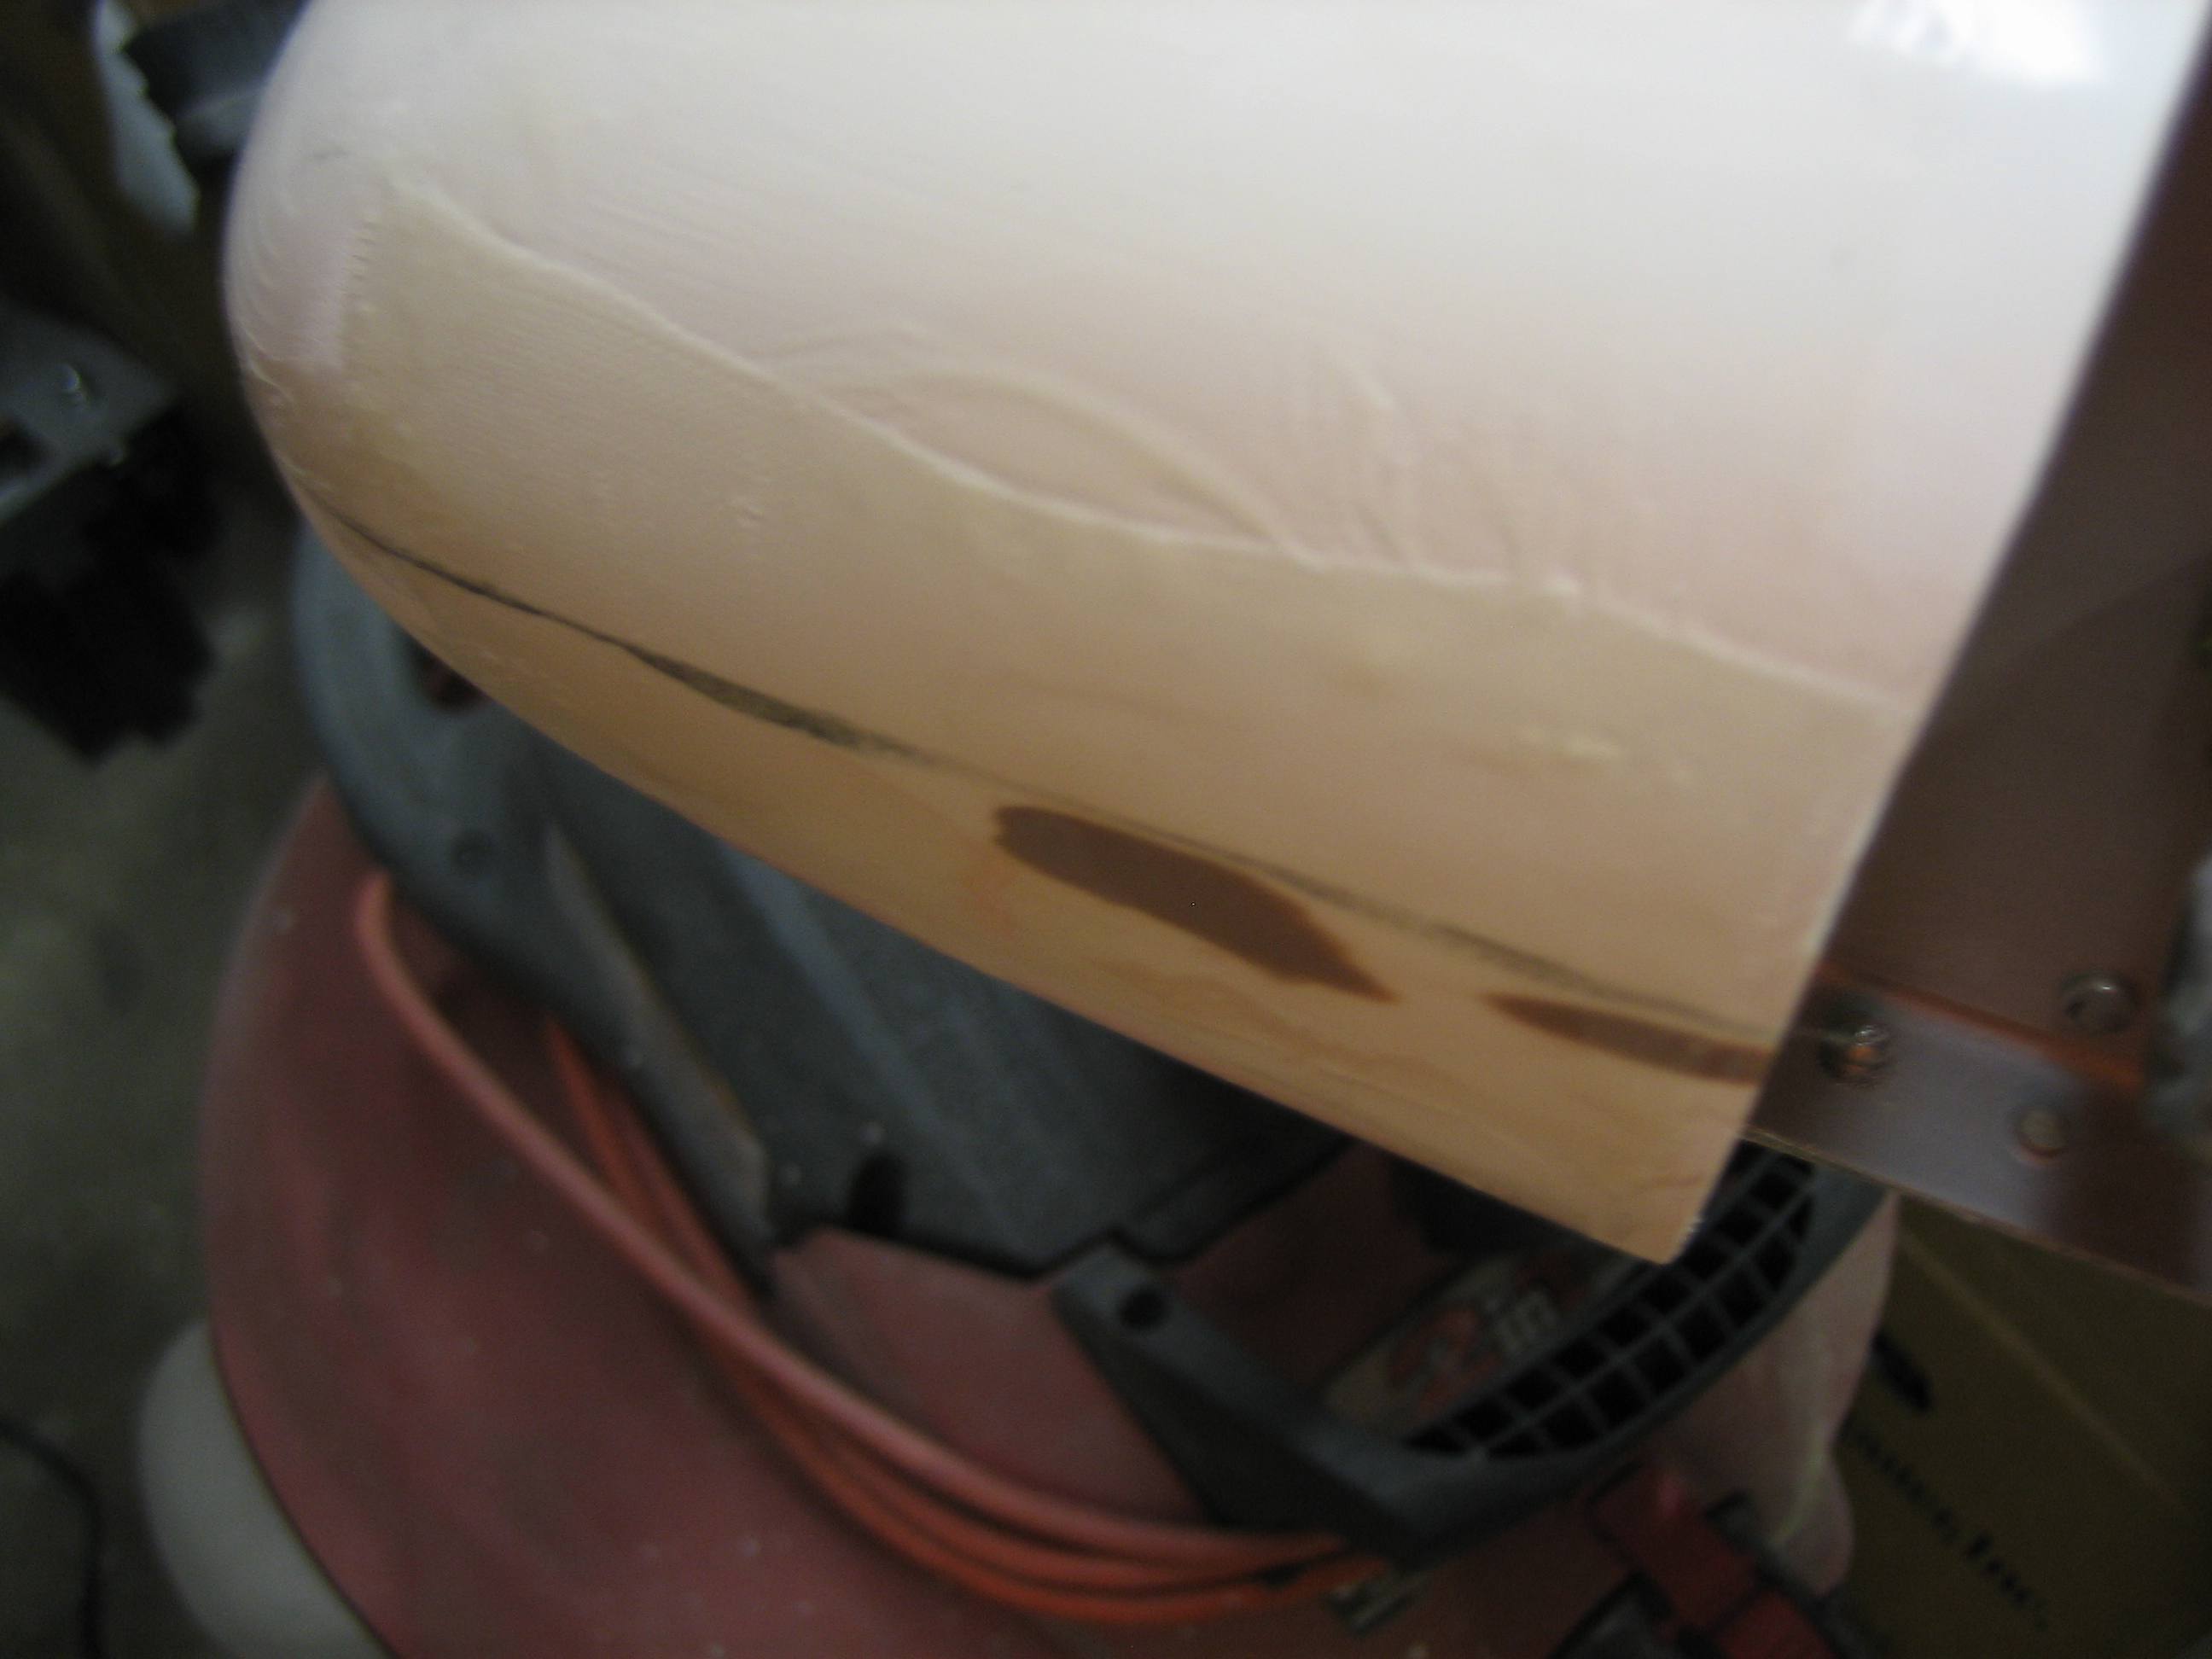
The leading edge of the lower rudder fairing had also cracked, but only the outer layer. I laid up a bit of glass over the crack to prevent it from growing.
I glassed the other side of the elevators tonight.
I also filed down the leading edge of the rudder and wrapped it in glass.
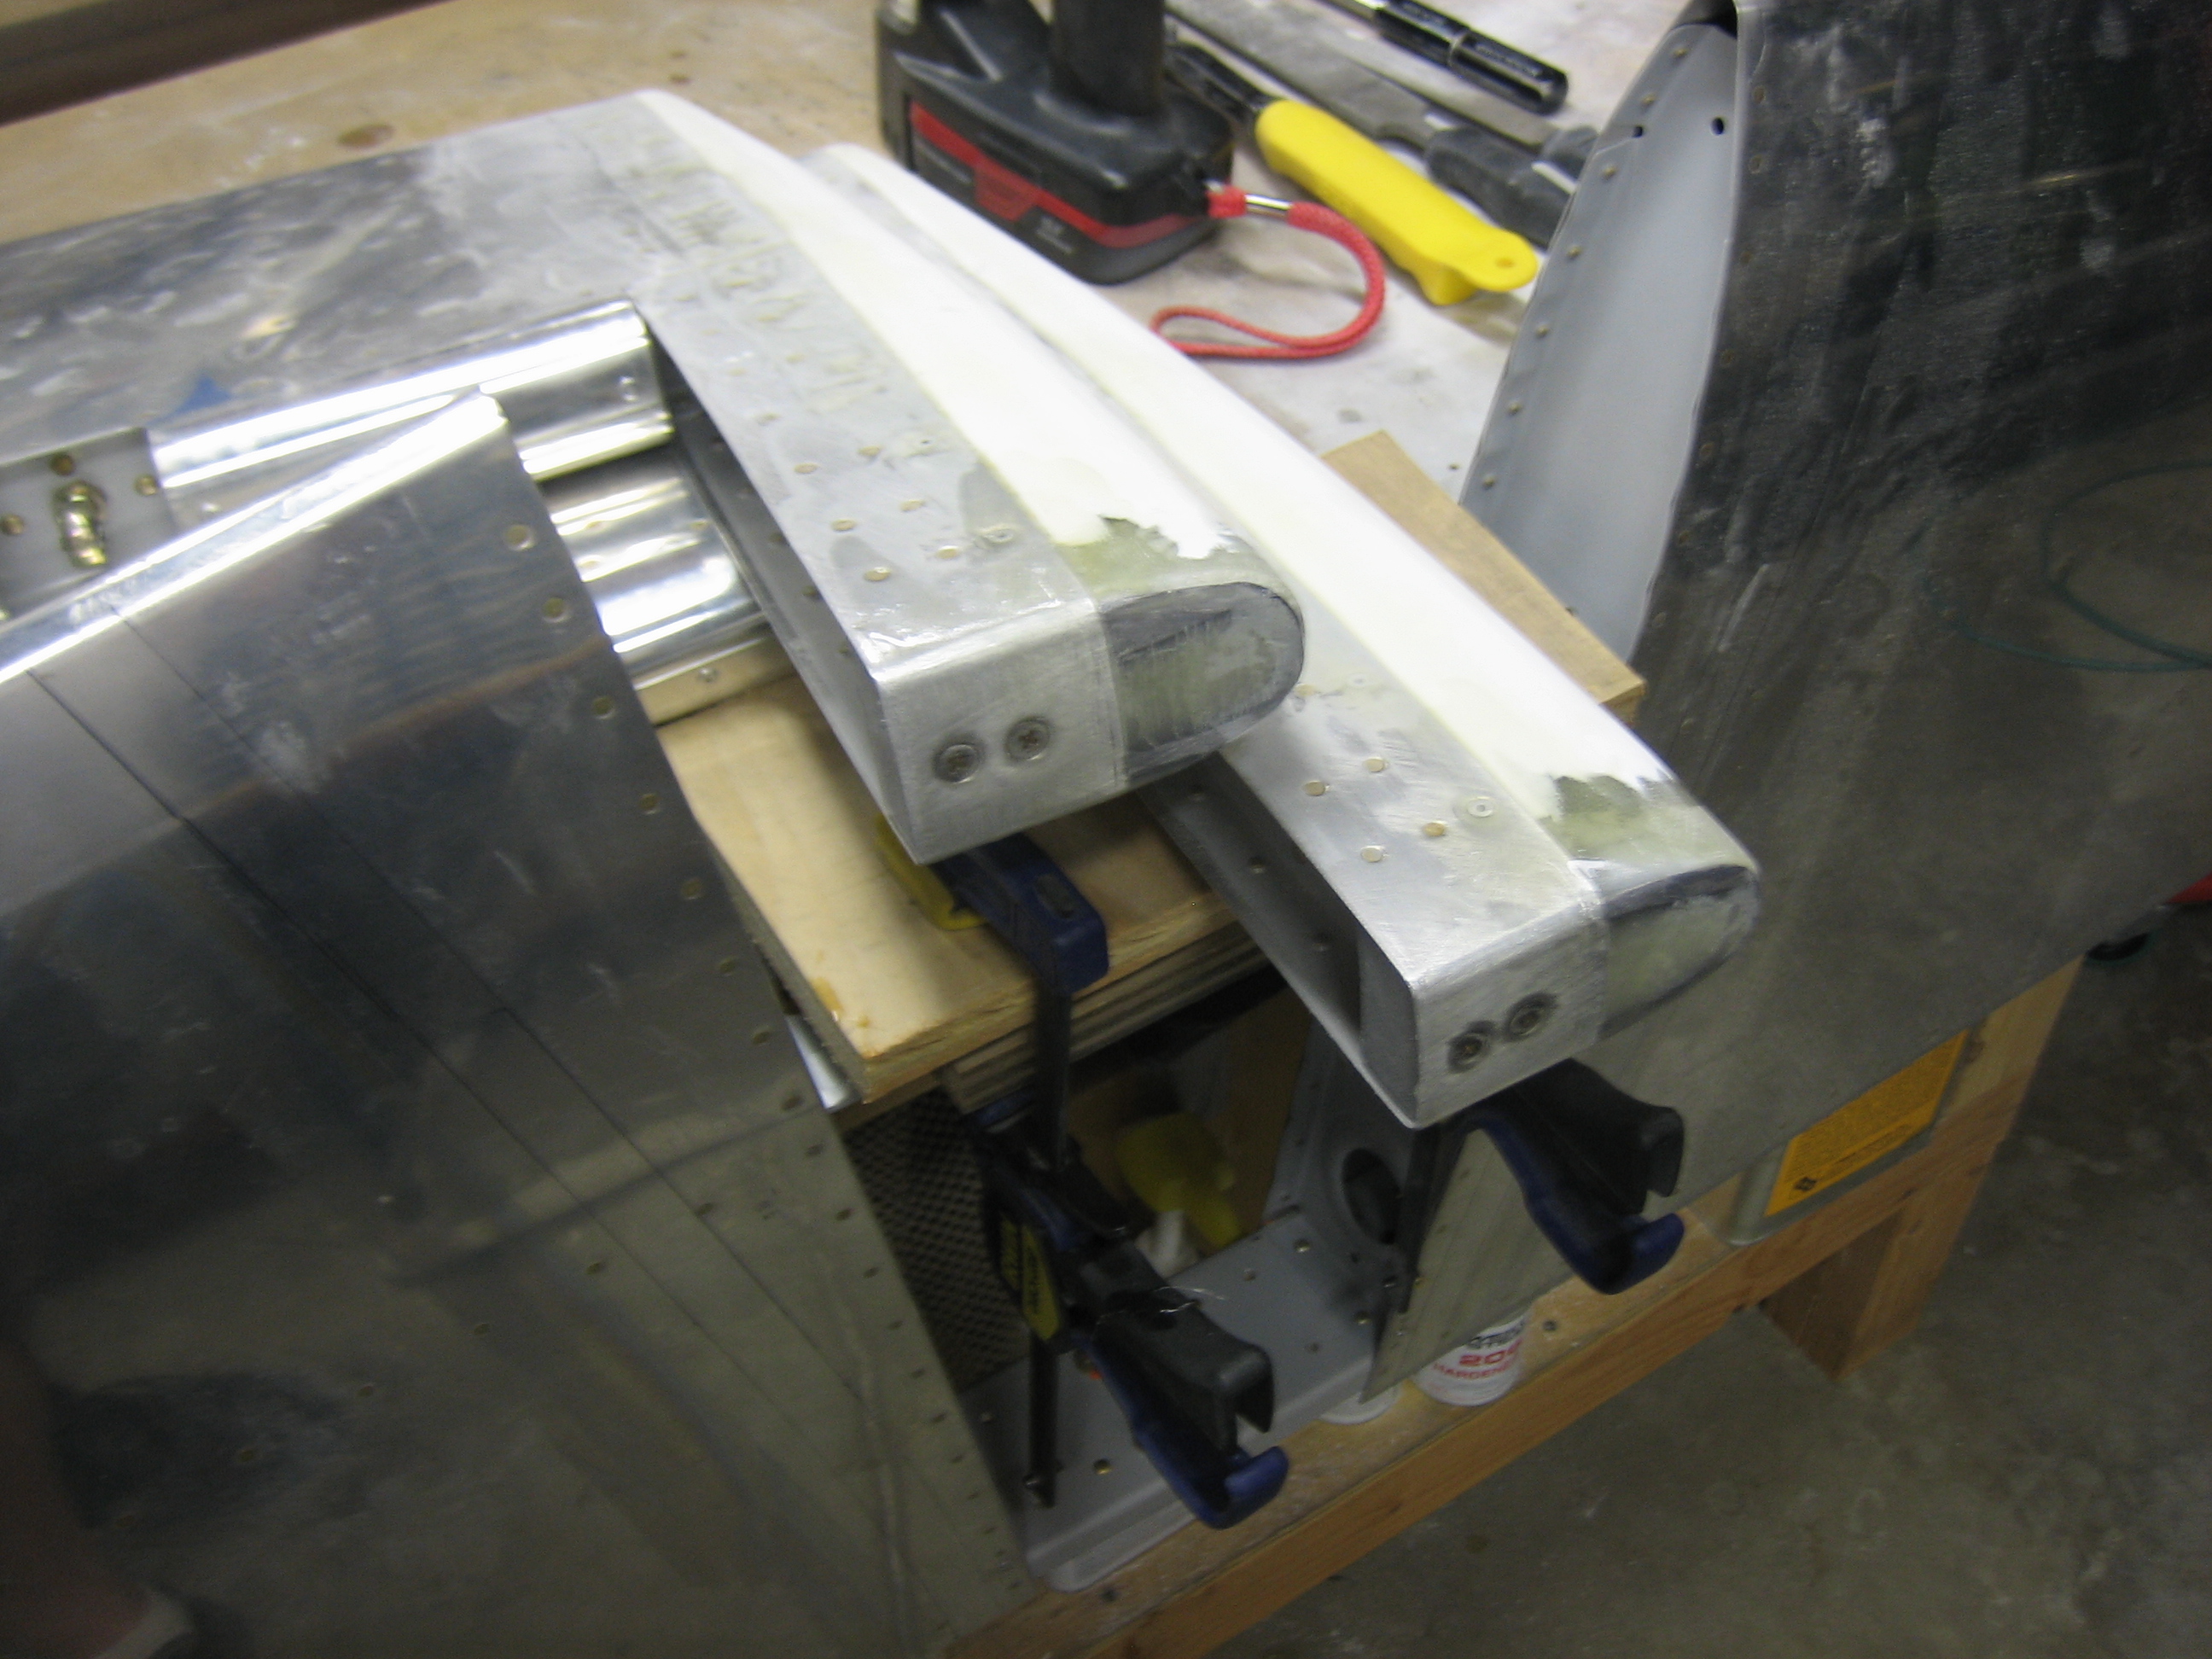
I had hoped not to do this, but I removed the horizontal stabilizer to make glassing the tips easier.
I had previously put a layer of glass over this joint way back when I first built the horizontal stabilizer, but I didn’t know that I needed to rough both surfaces up then, so I had to remove the old glass, rough up the surfaces with 80 grit sandpaper and re-glass them.
I also glassed over the leading edges of the elevator counterweight horns. You can also see here how I clamped my horizontal stabilizer to the bench. I screwed a small piece of plywood to the bench and then clamped the forward spar to it. I can hang the elevators from the horizontal stabilizer this way and fair the tips together so that they’re perfectly aligned.