Flap and Aileron Braces

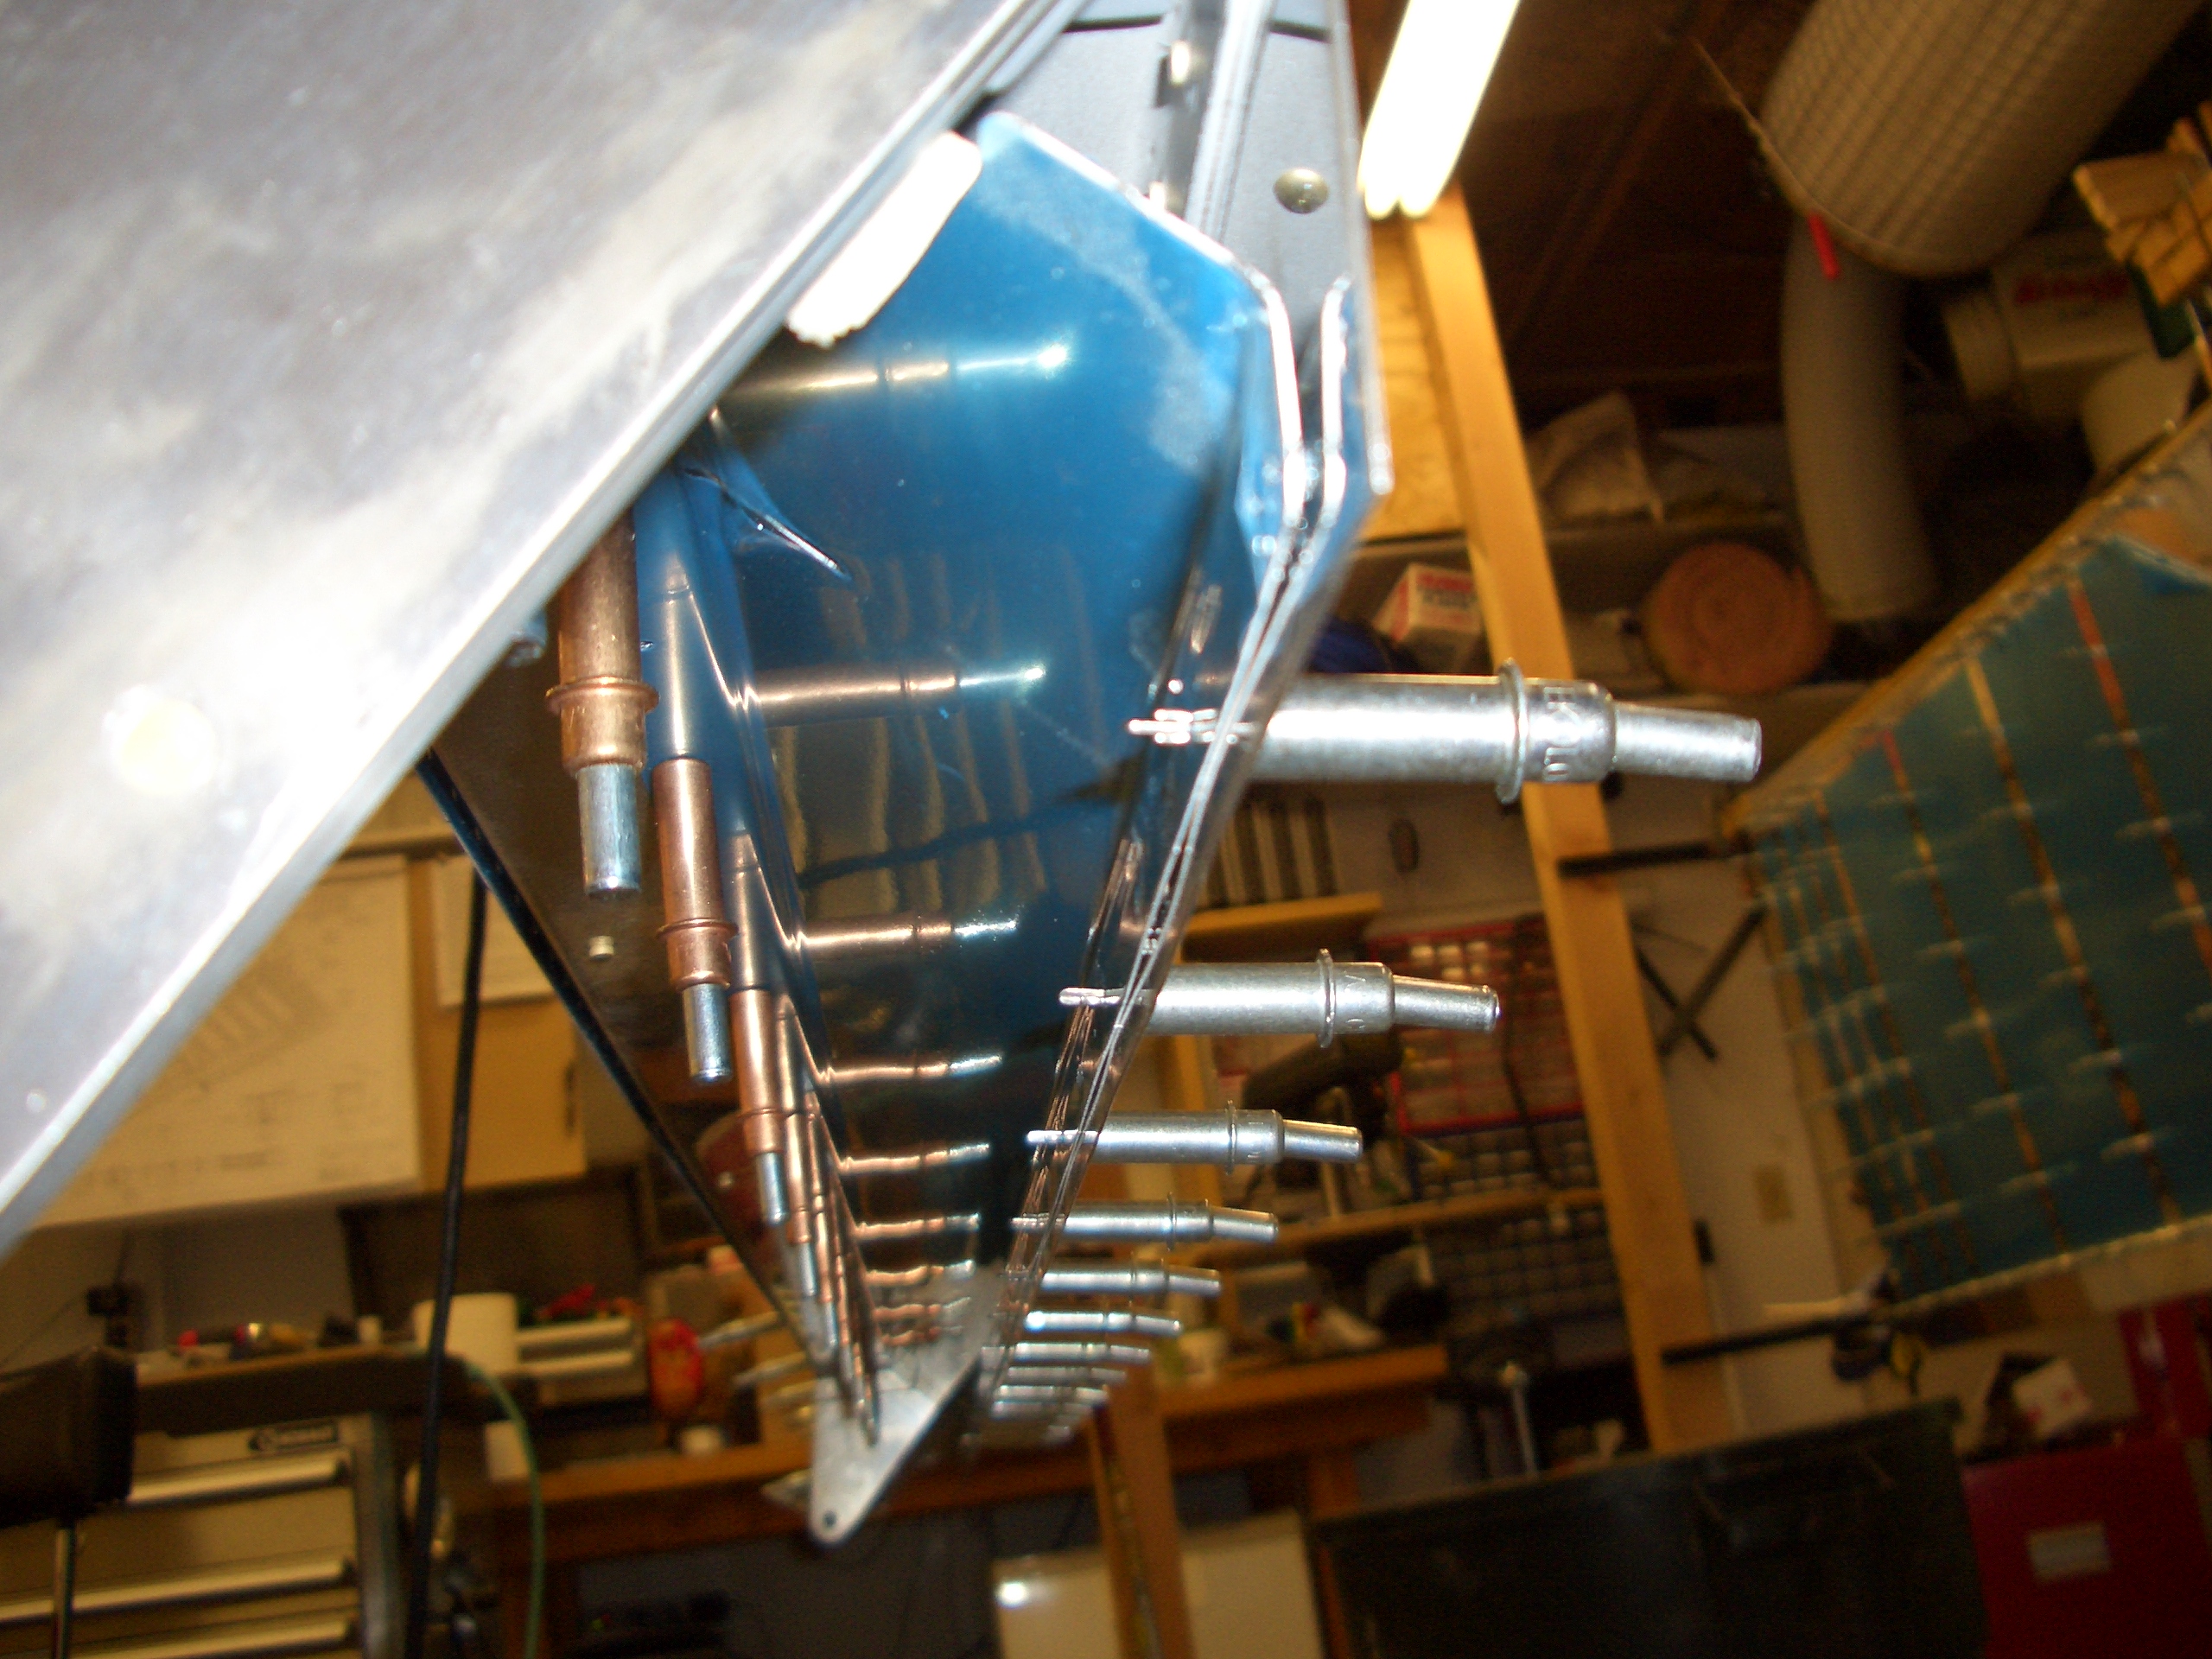
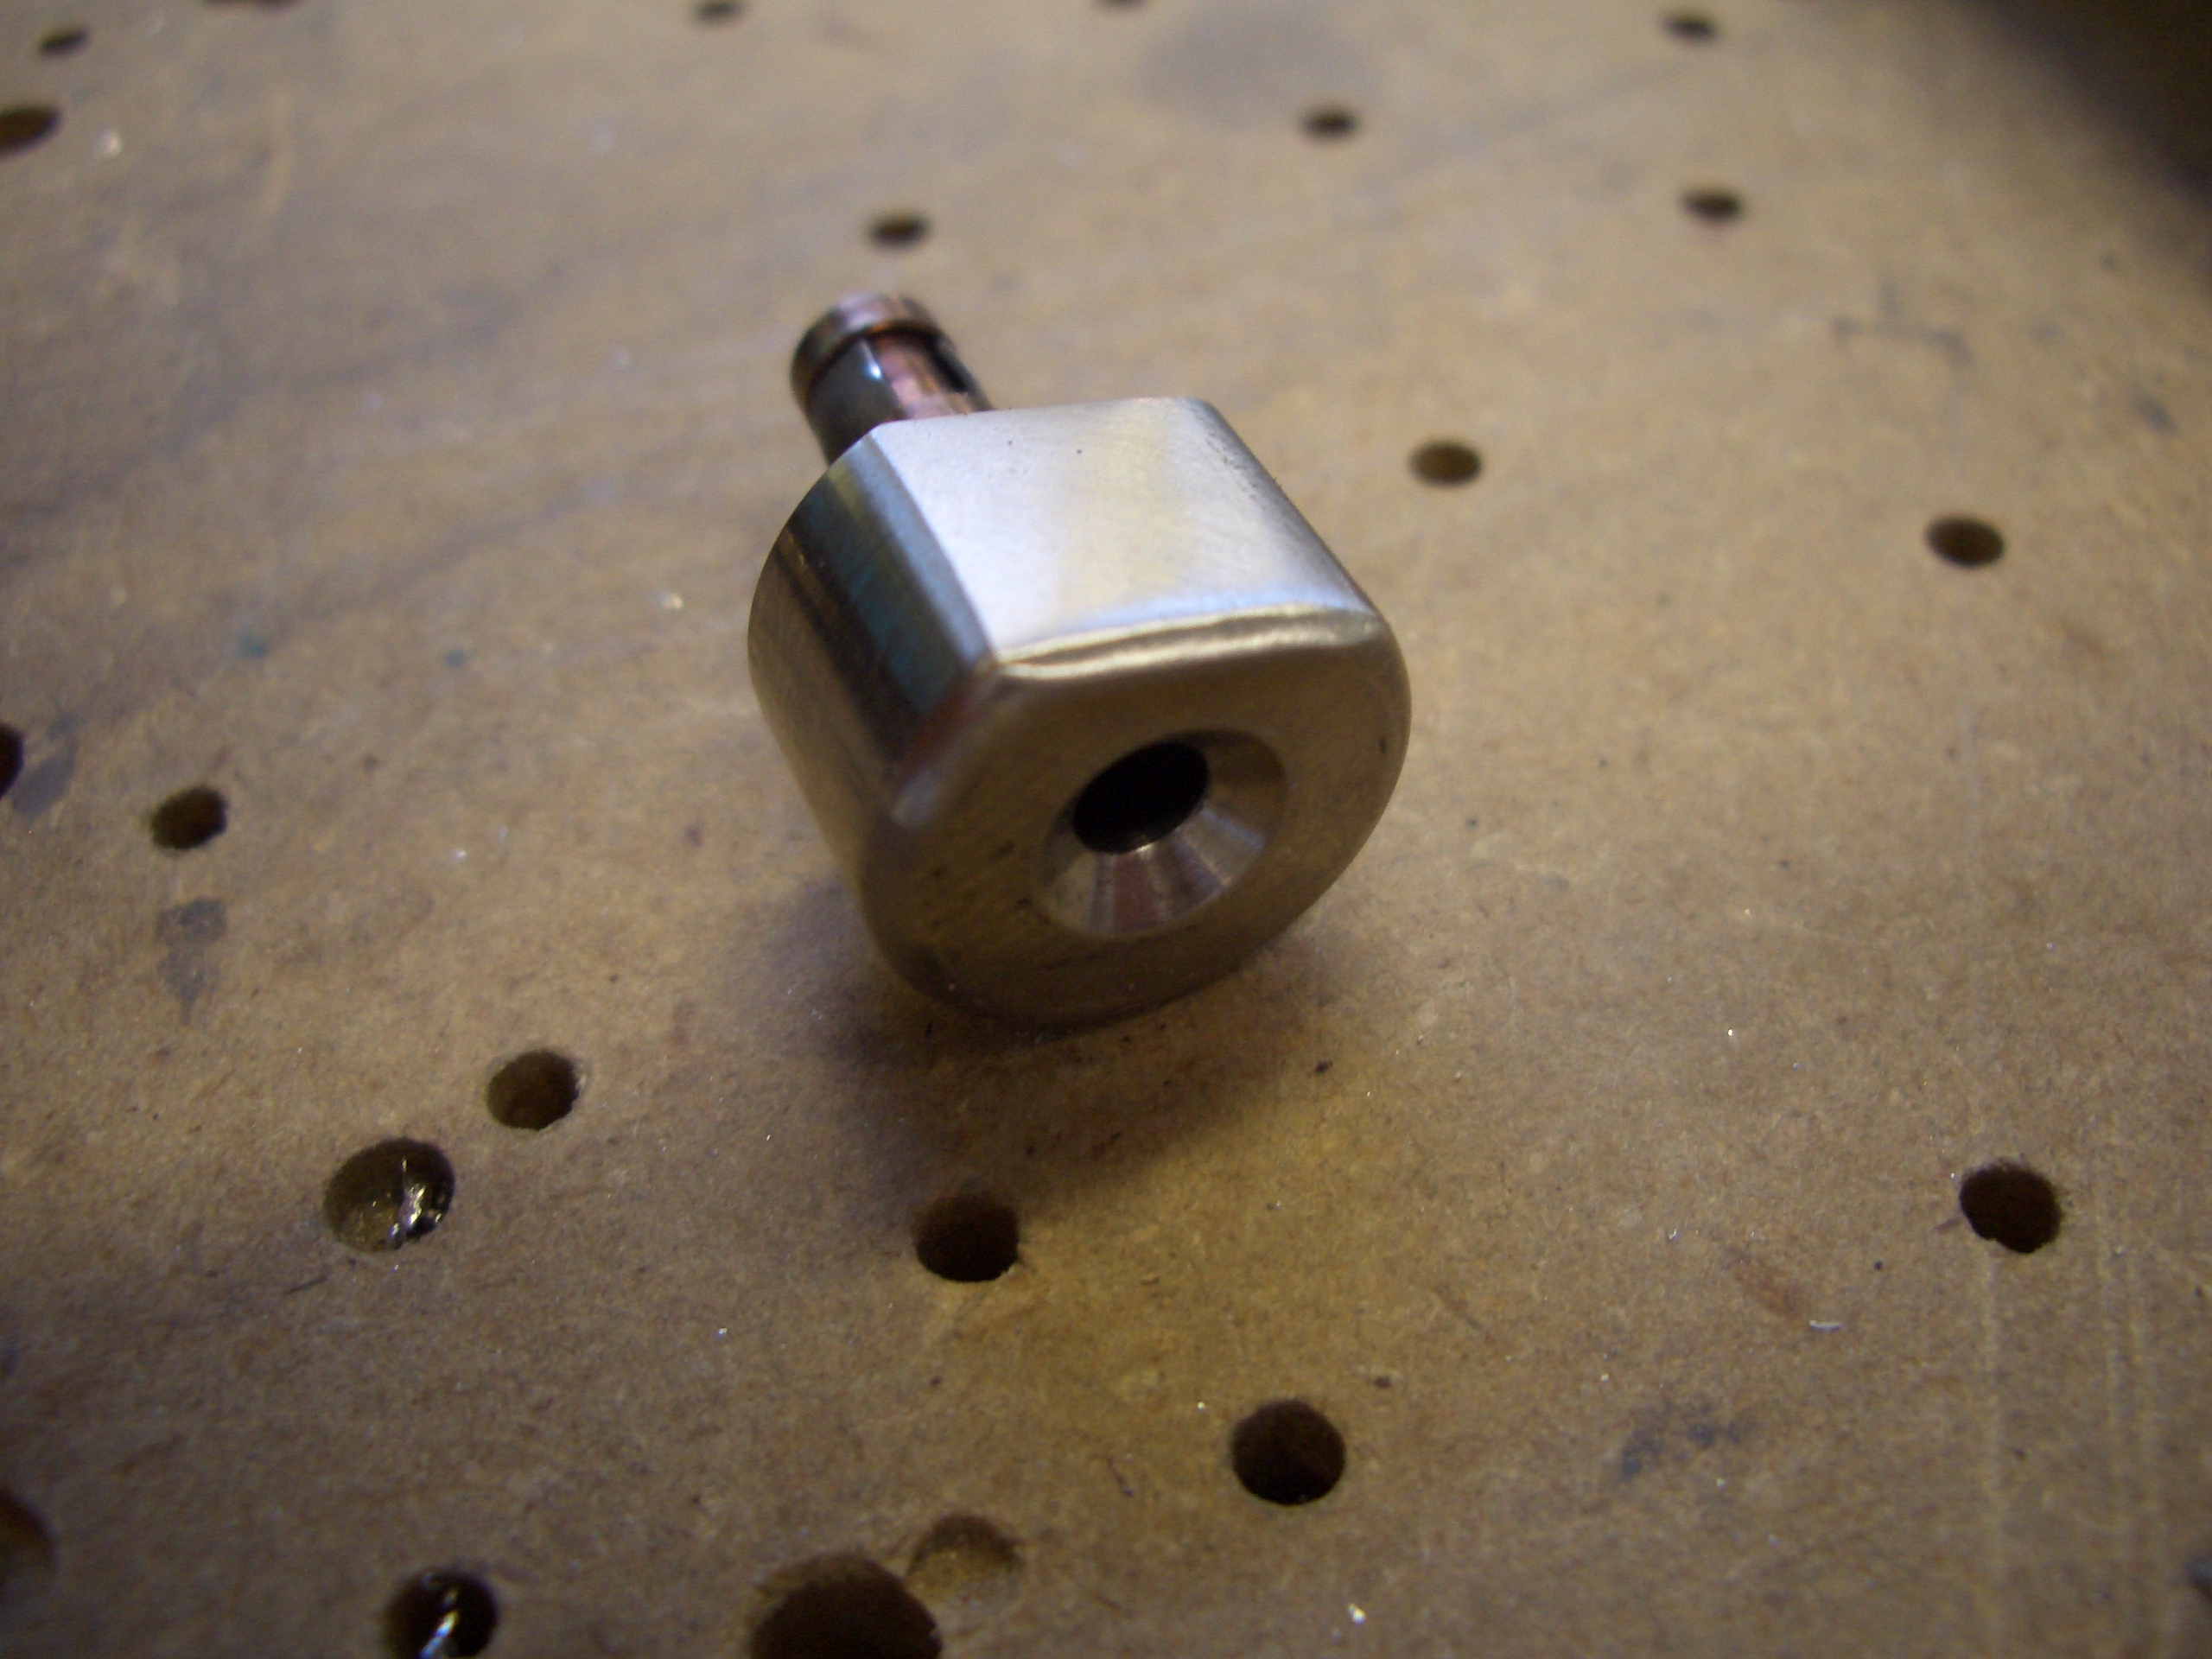
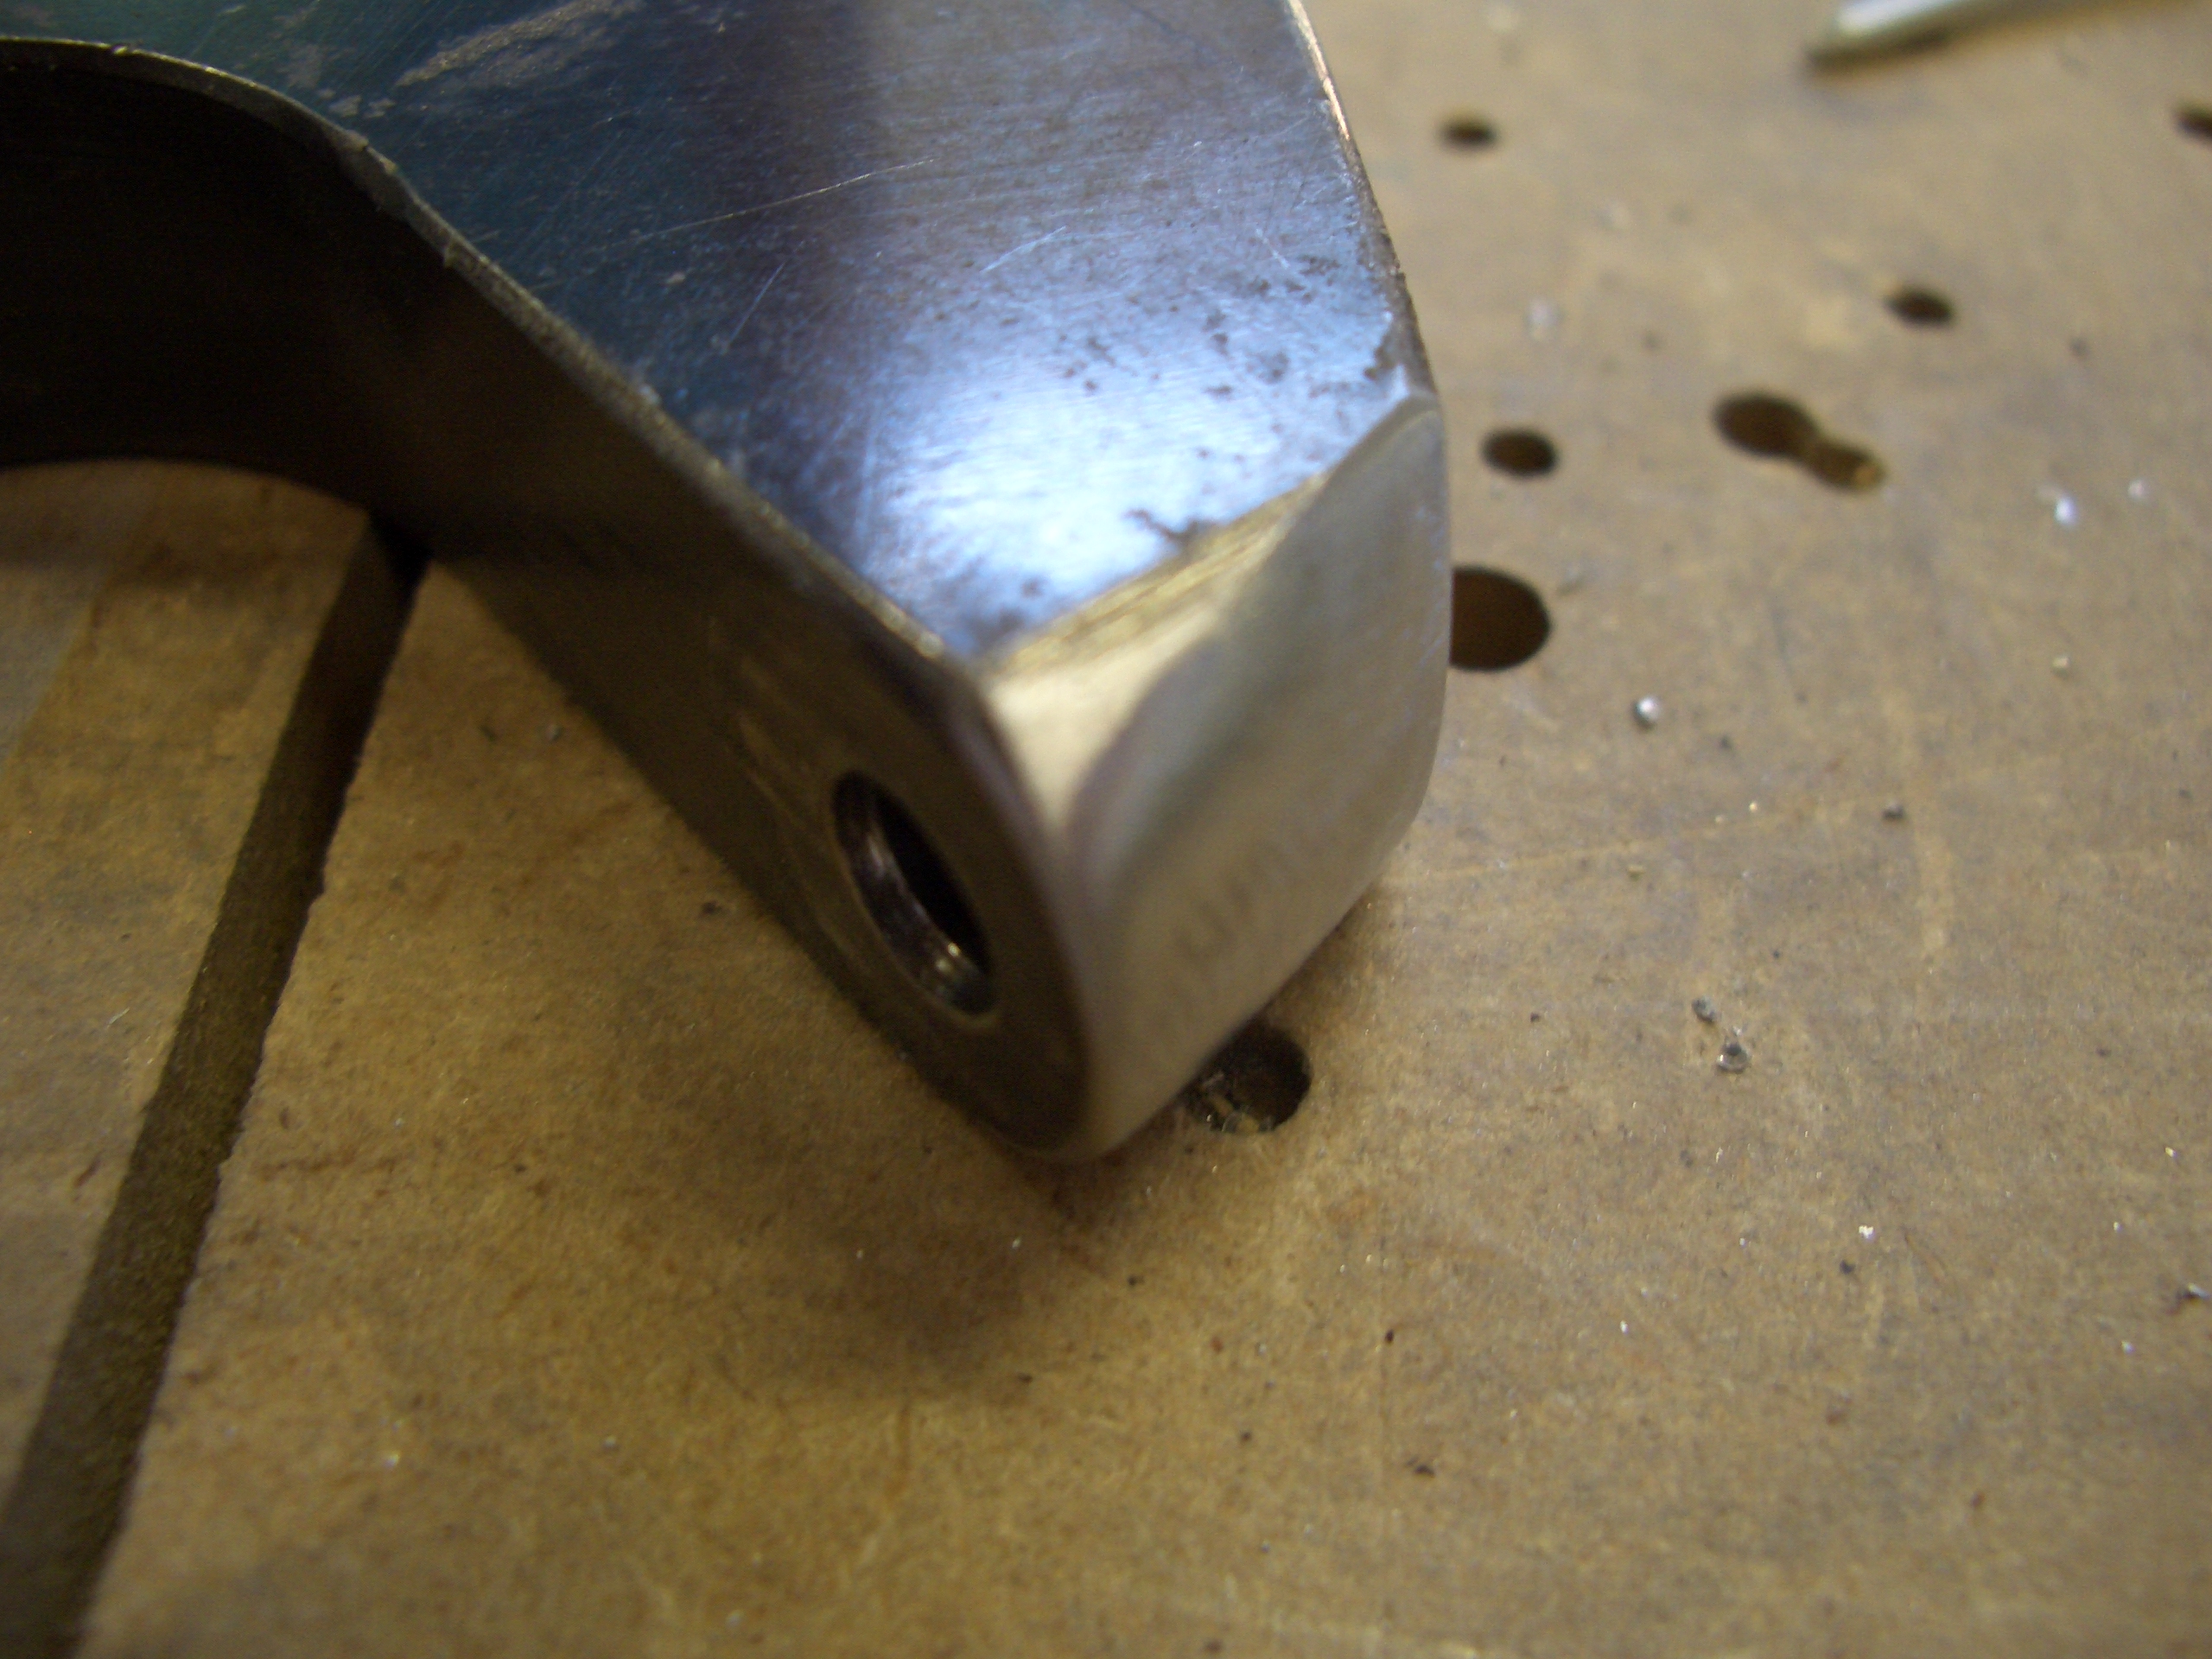
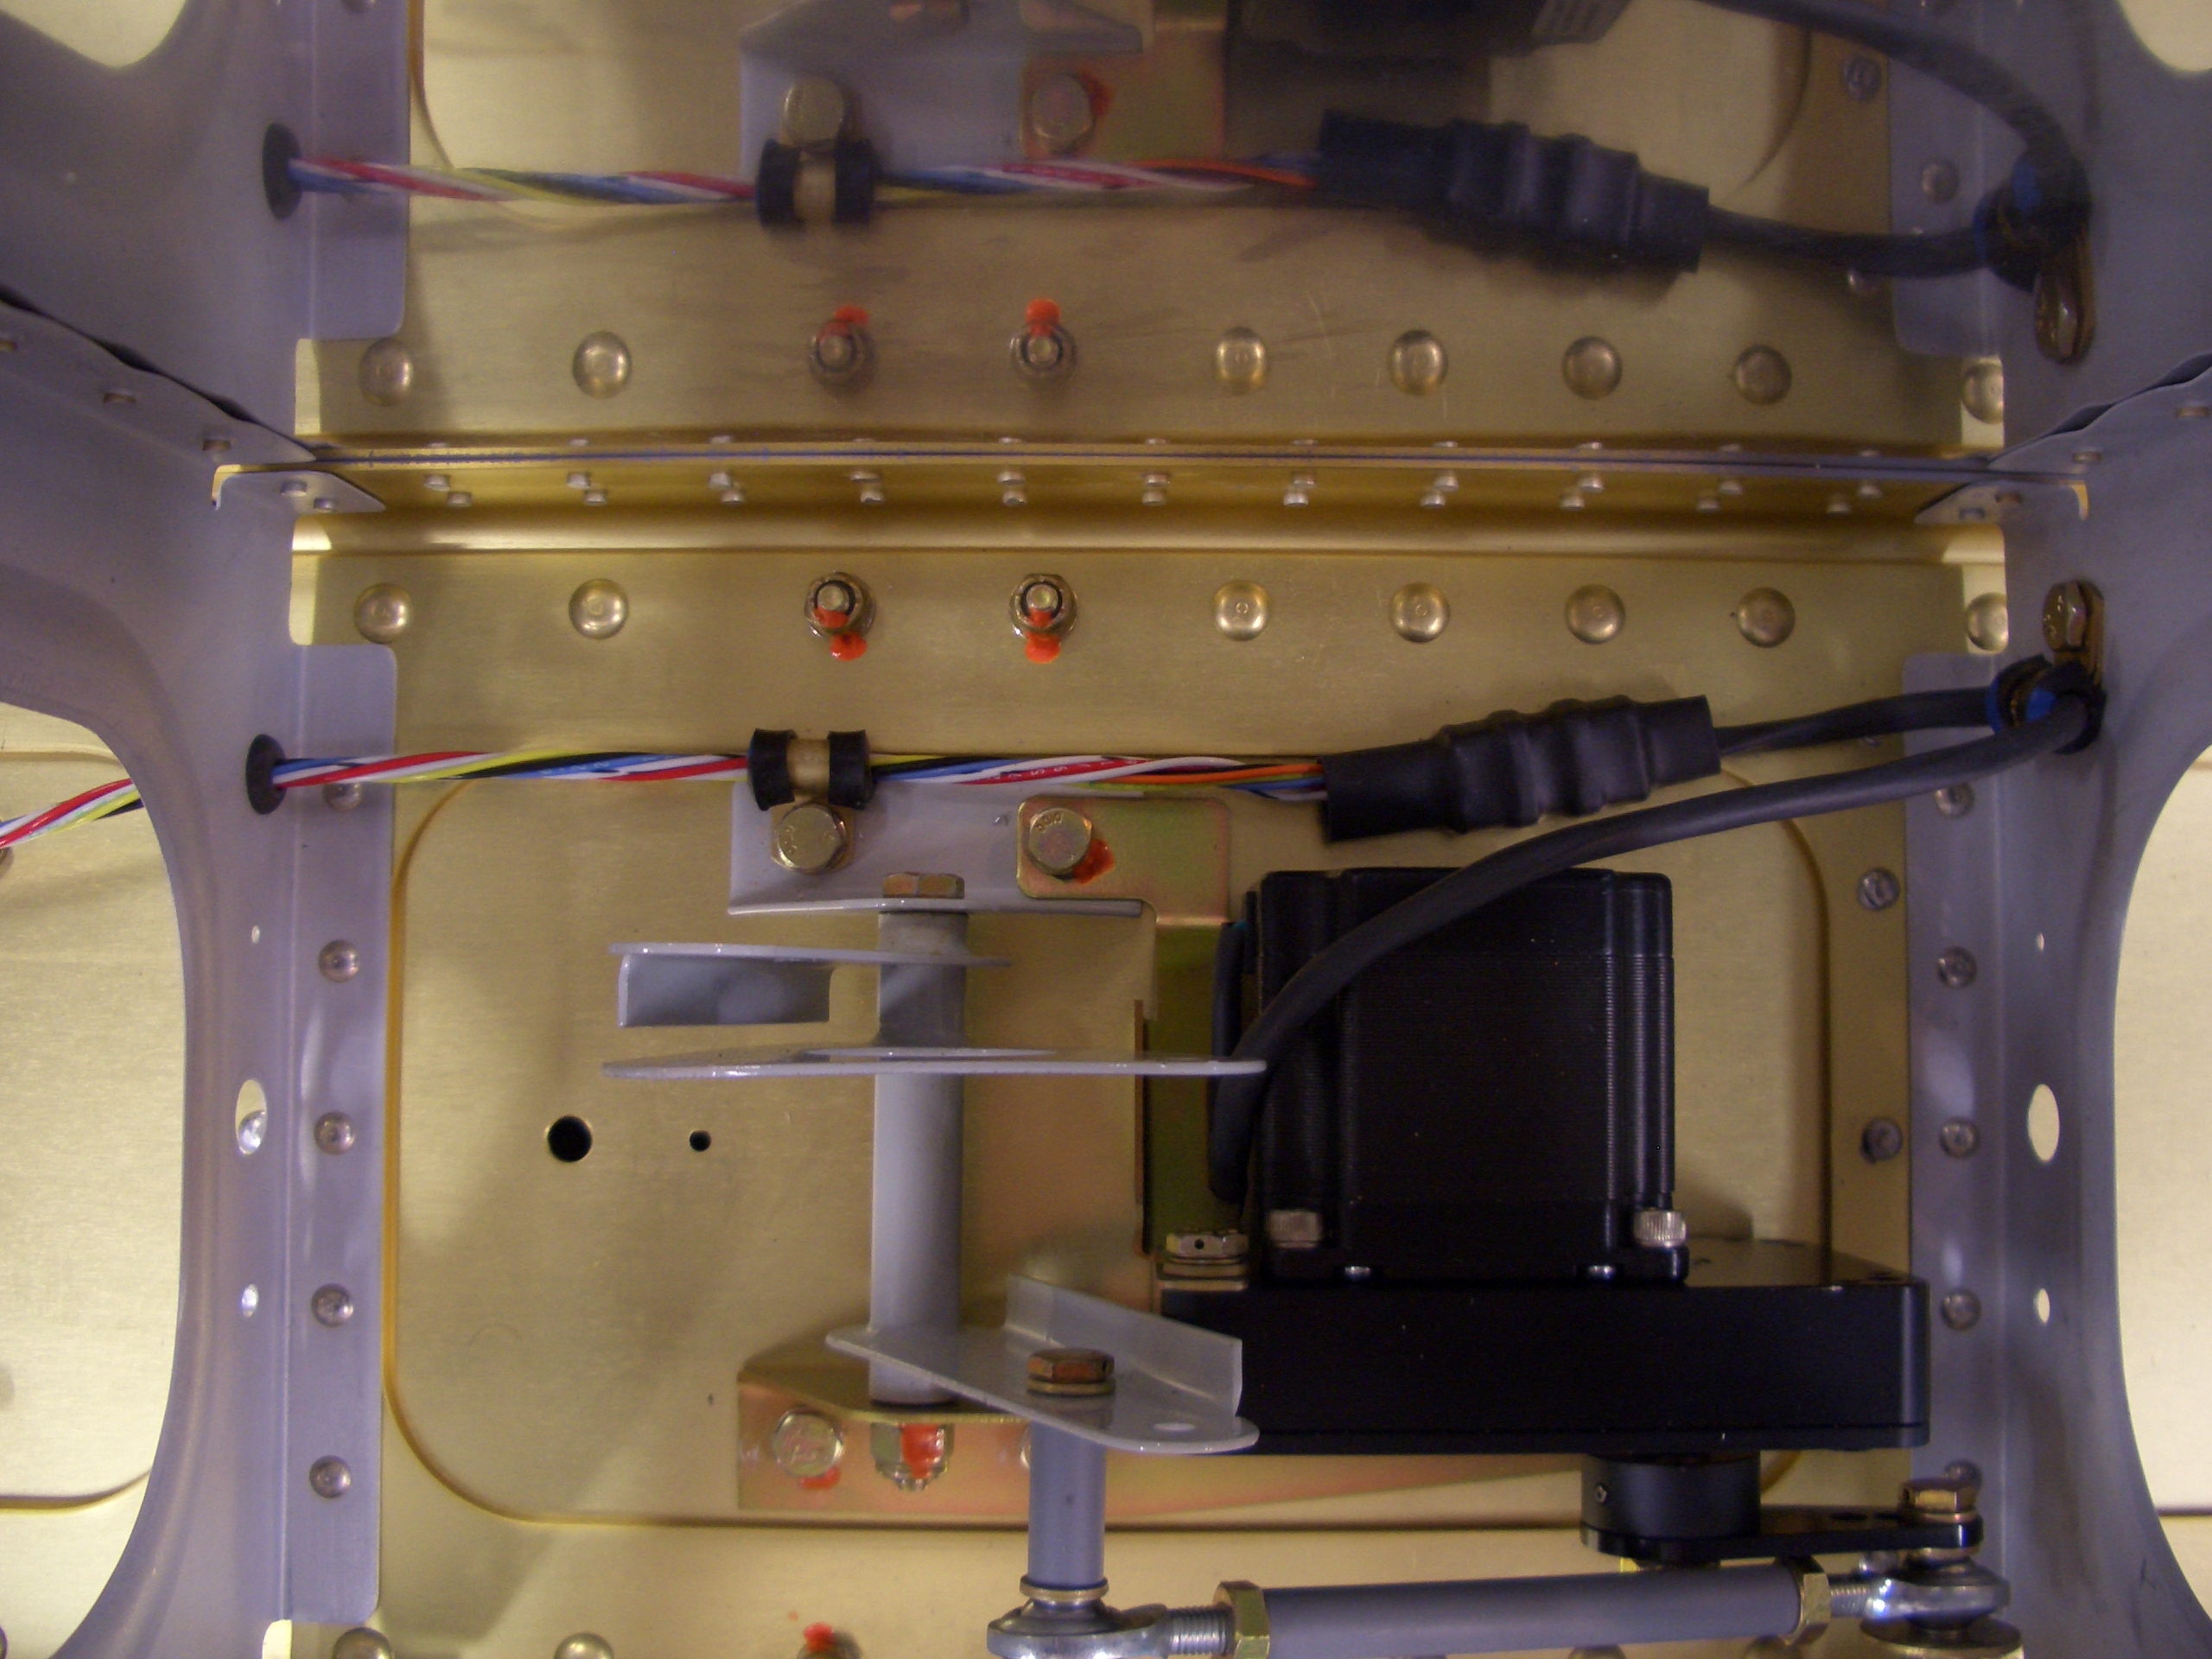
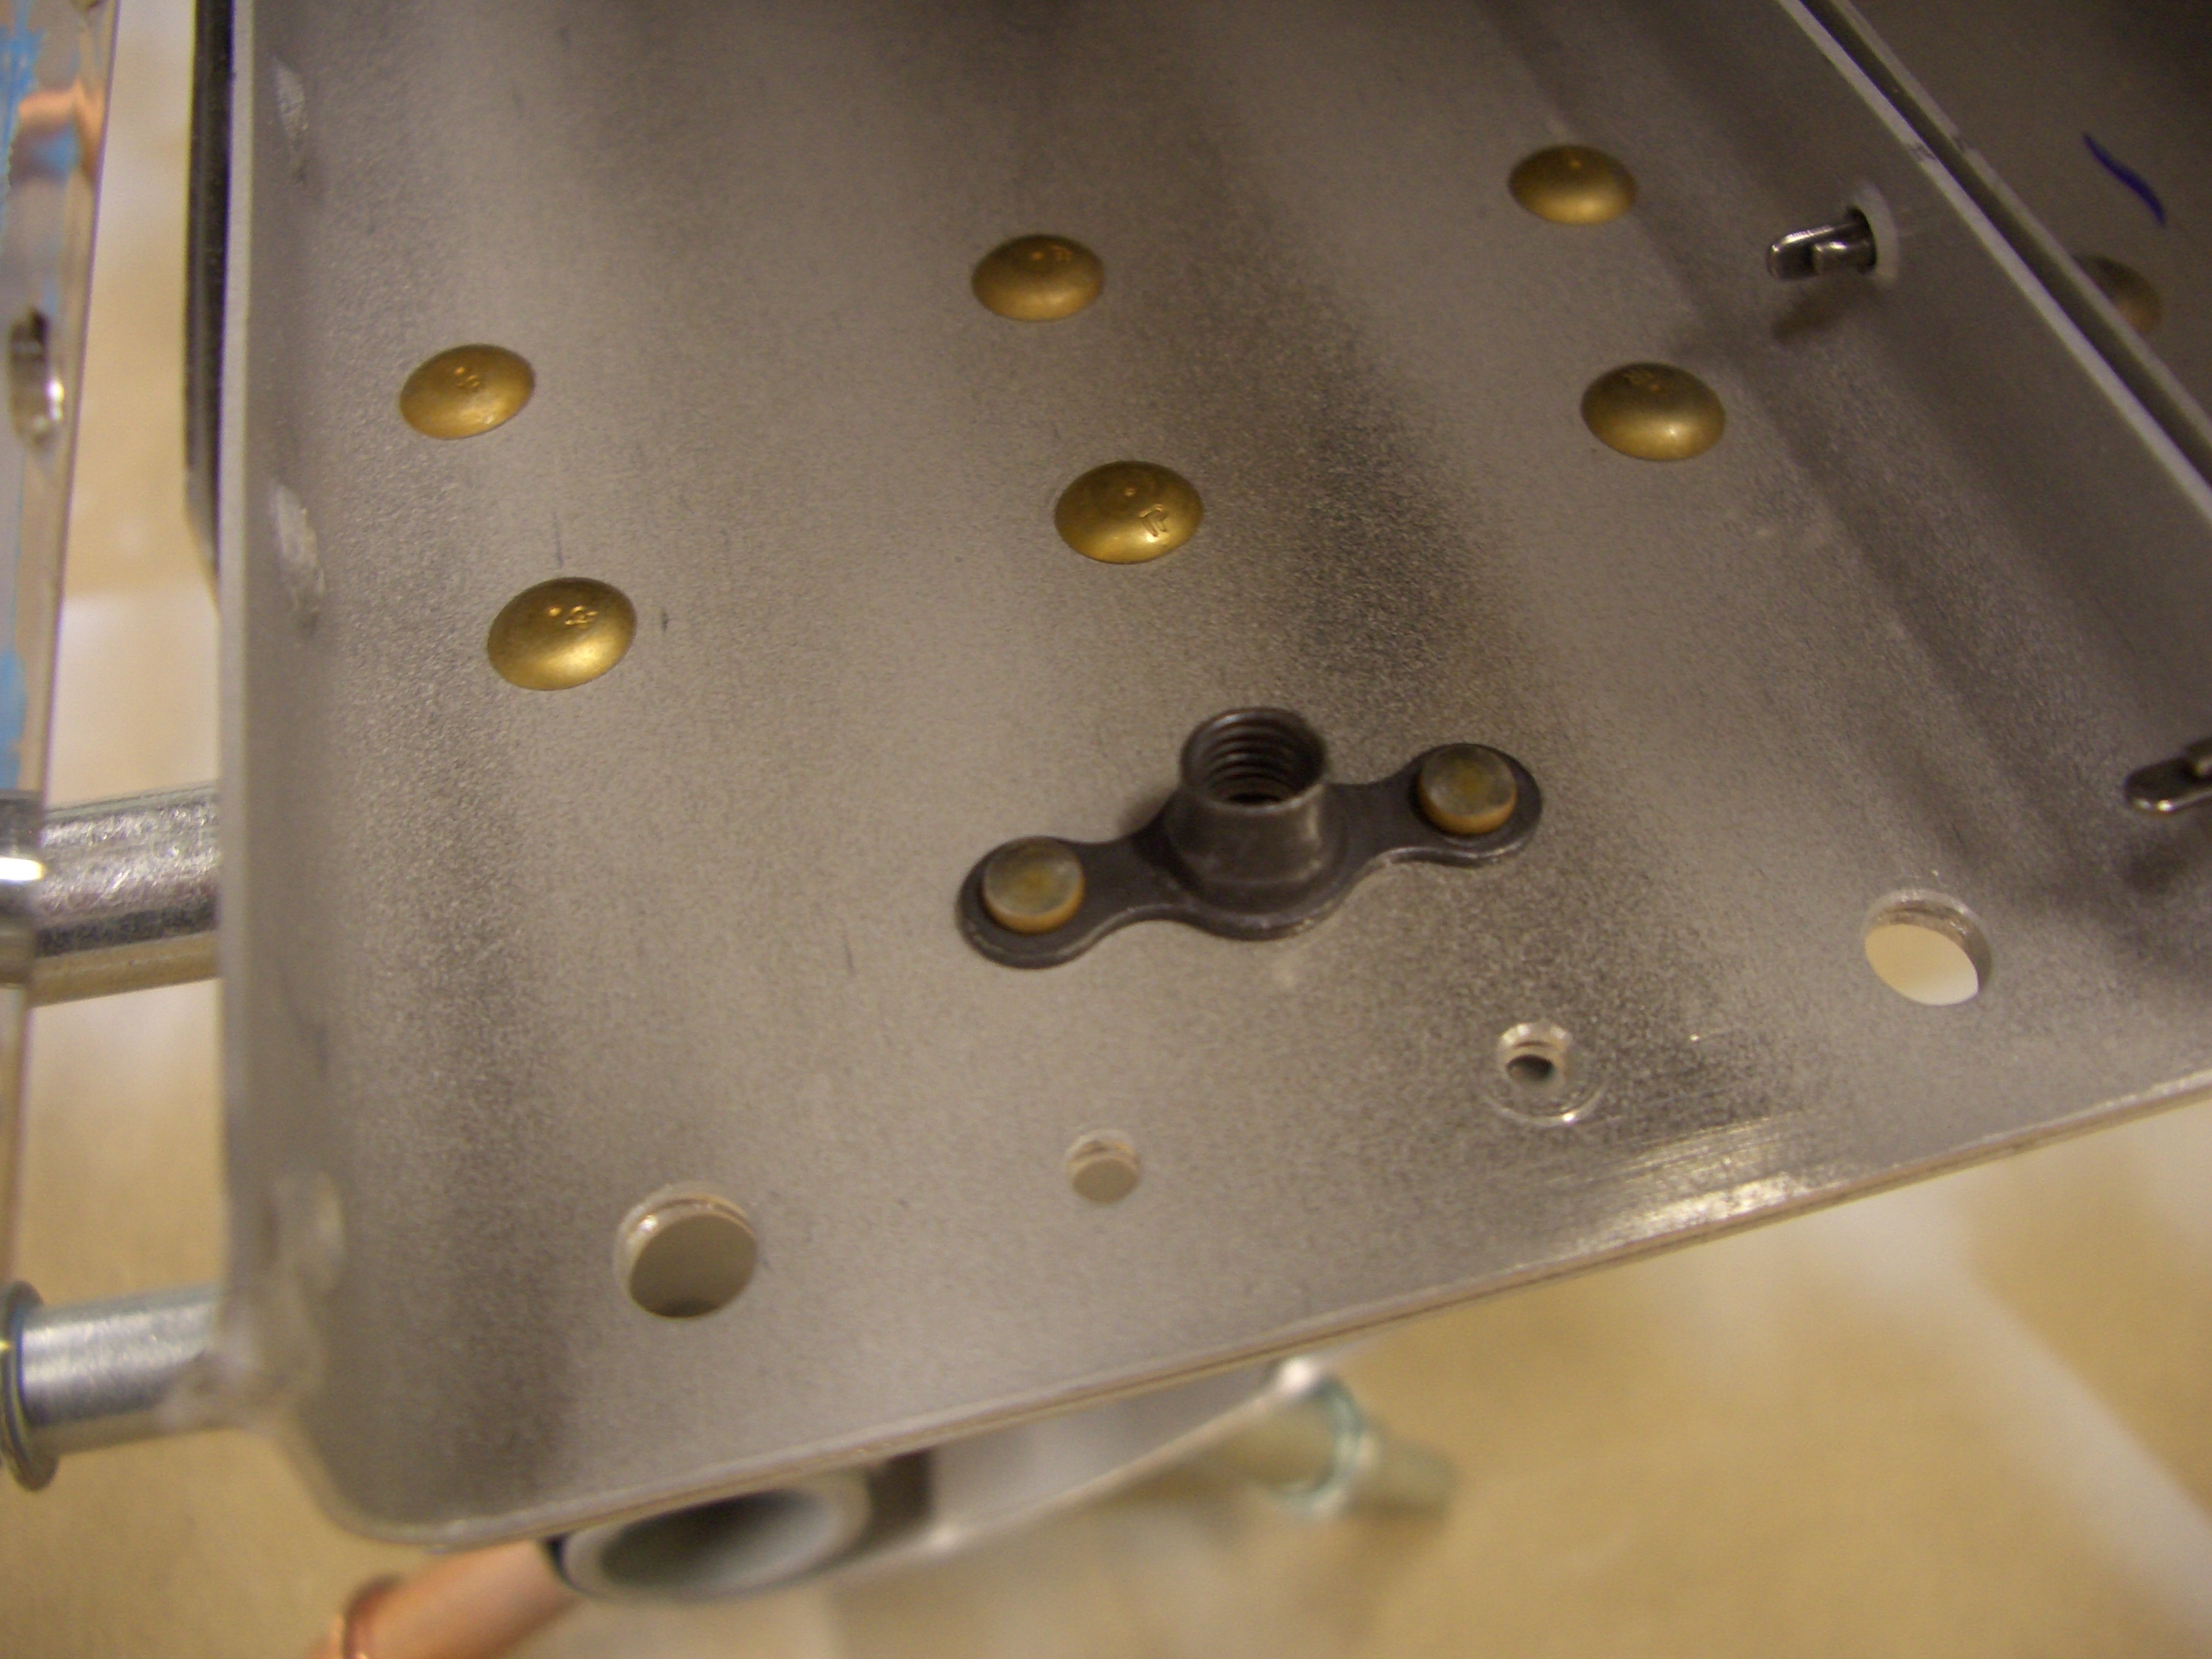
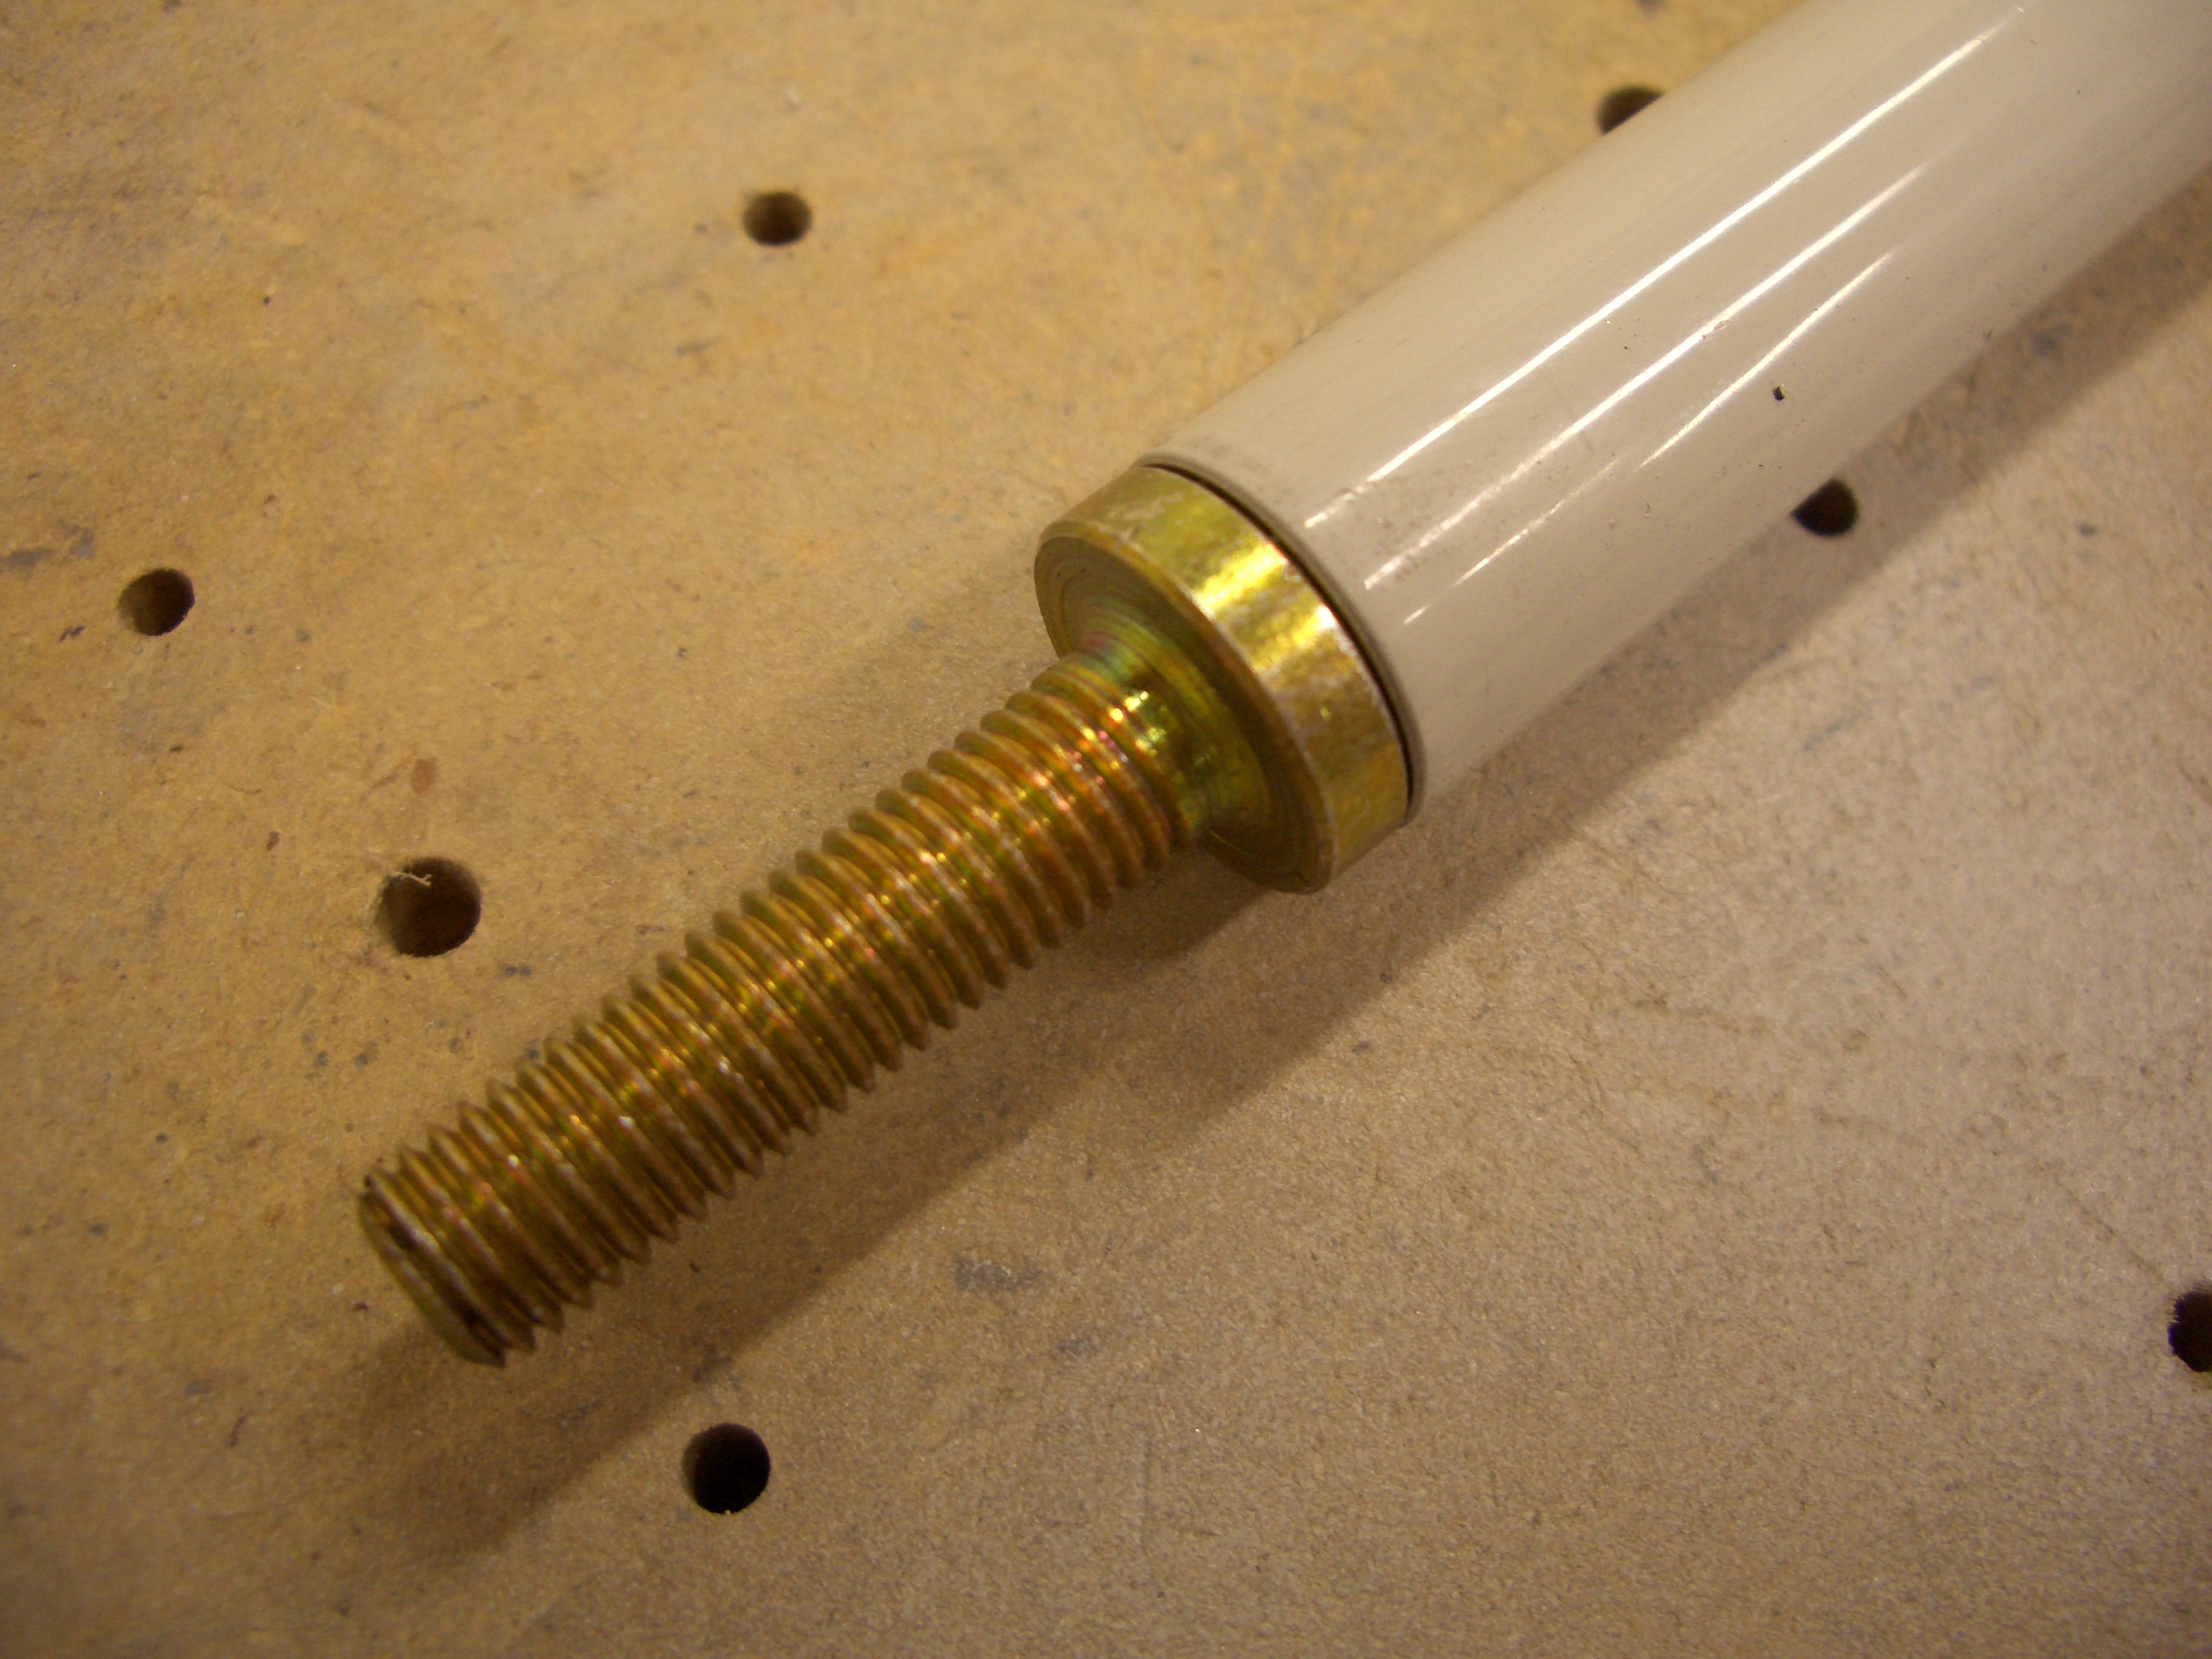
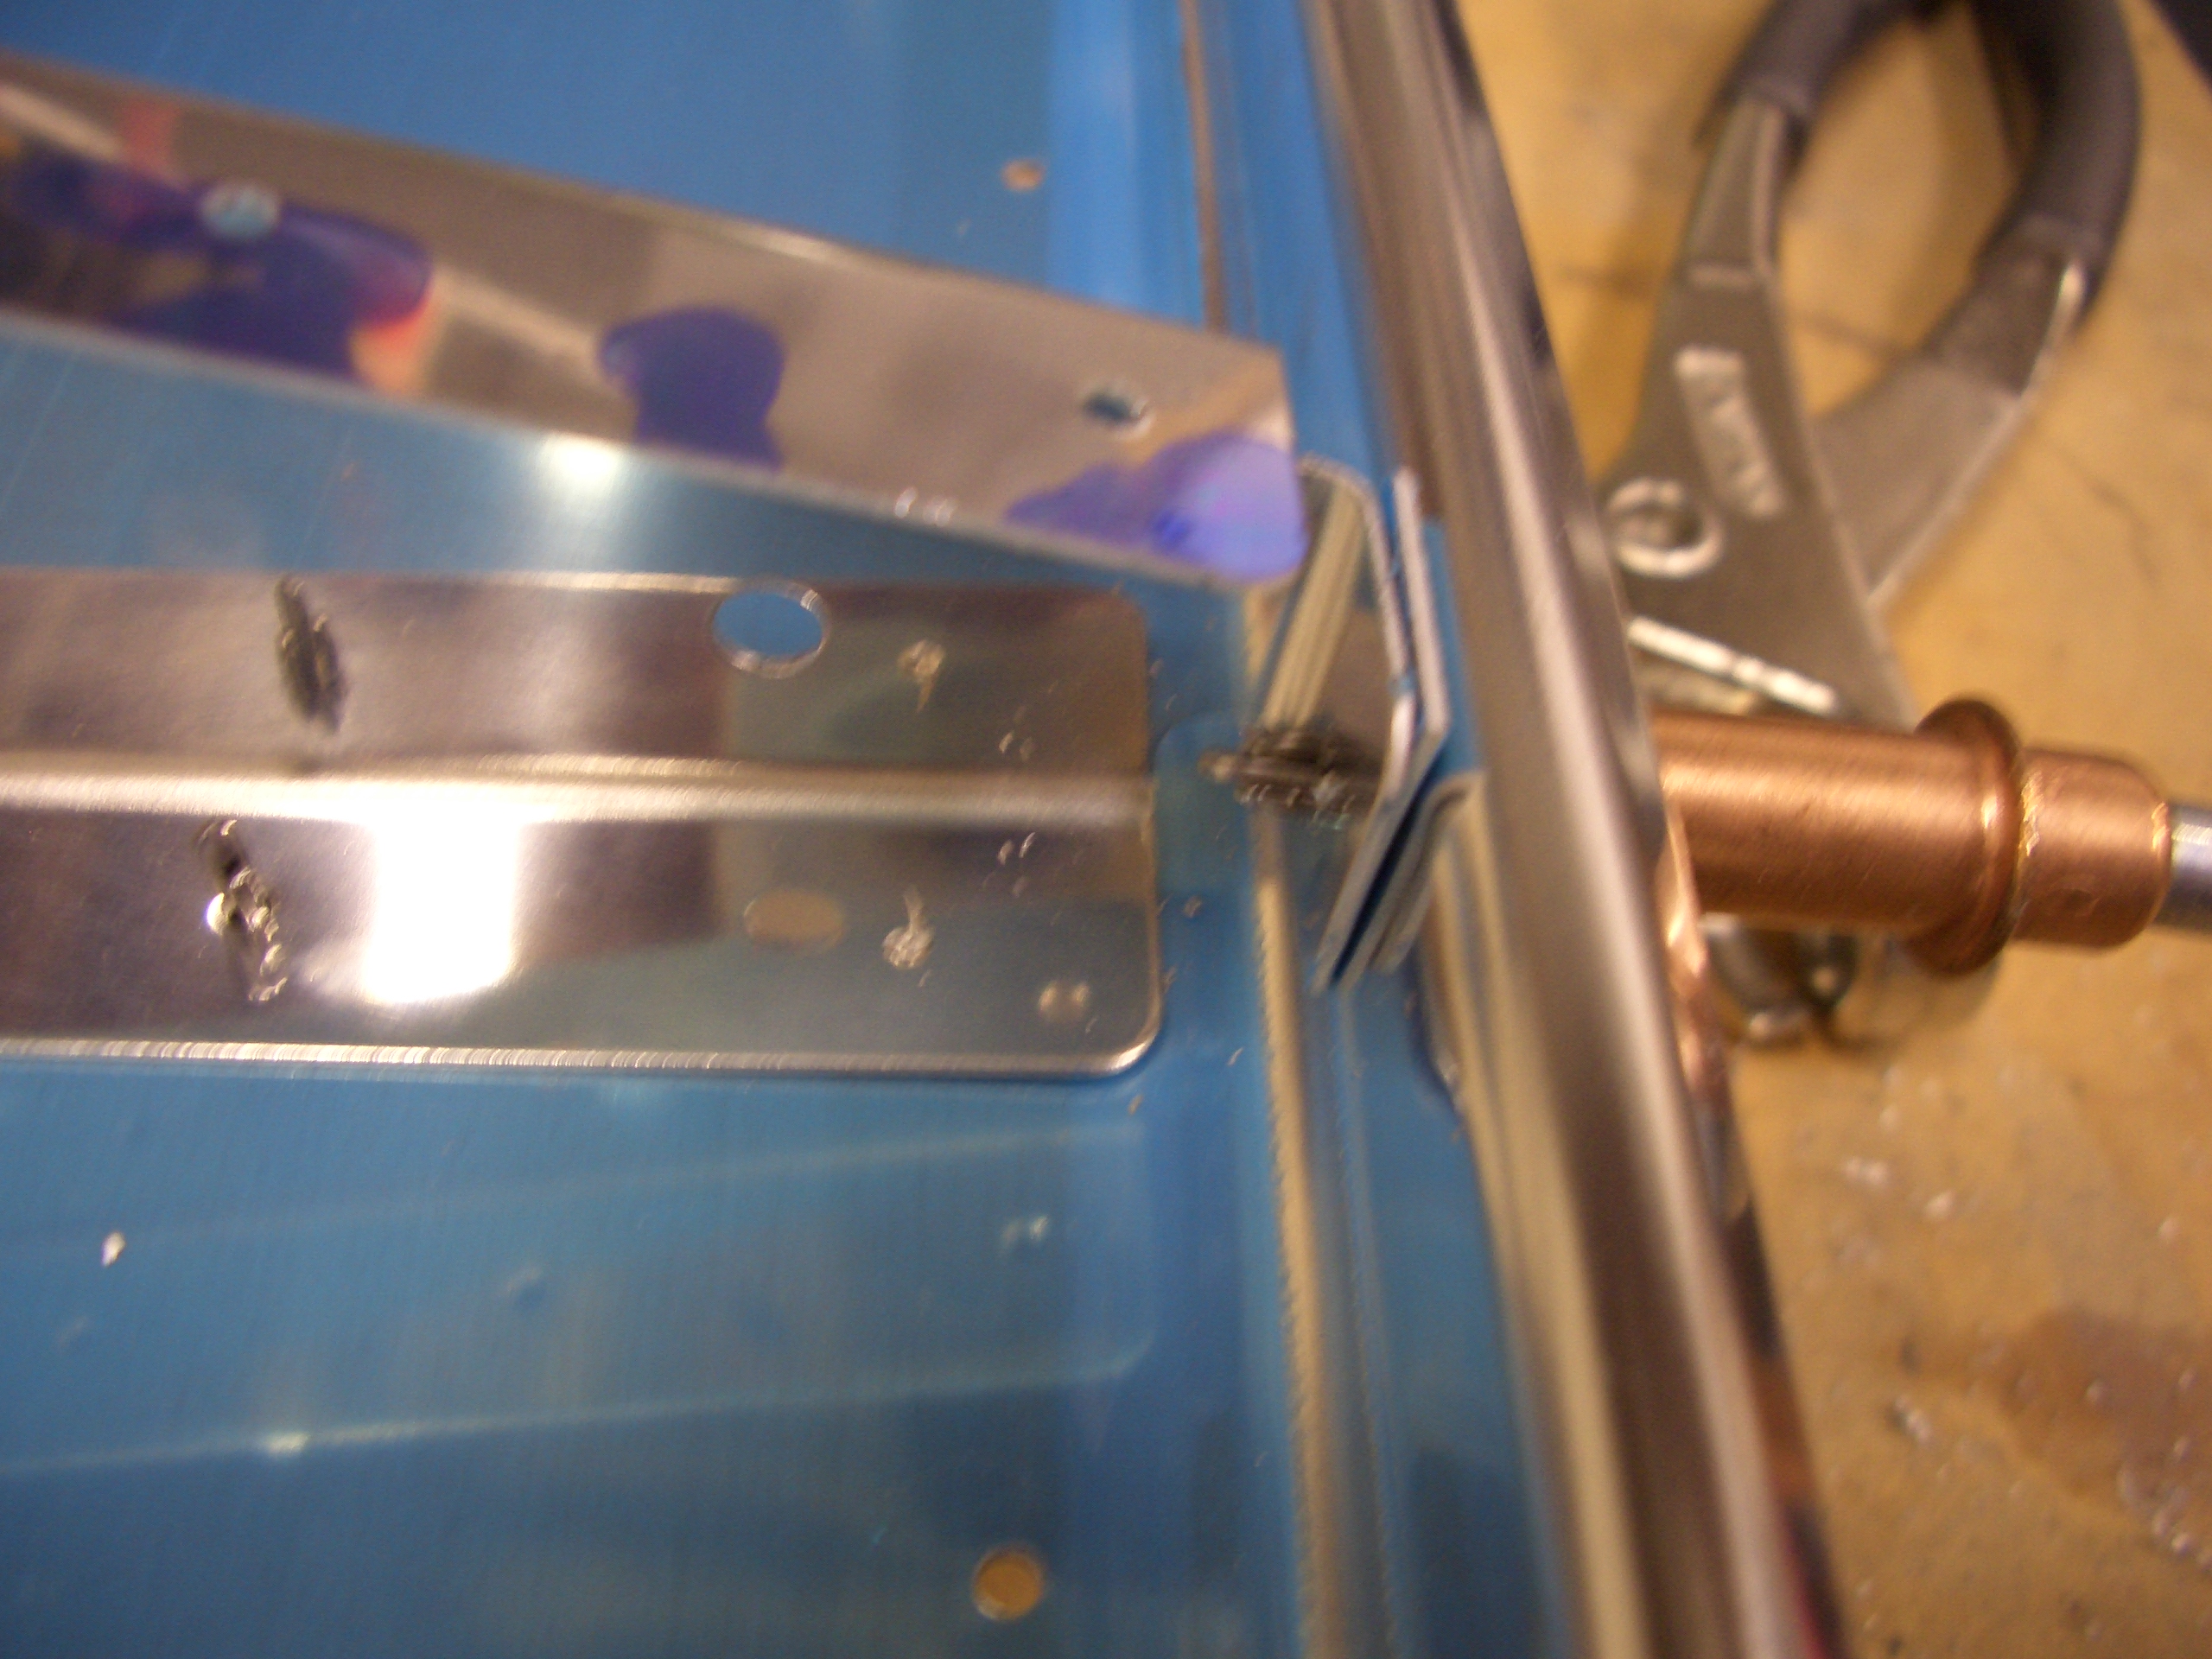
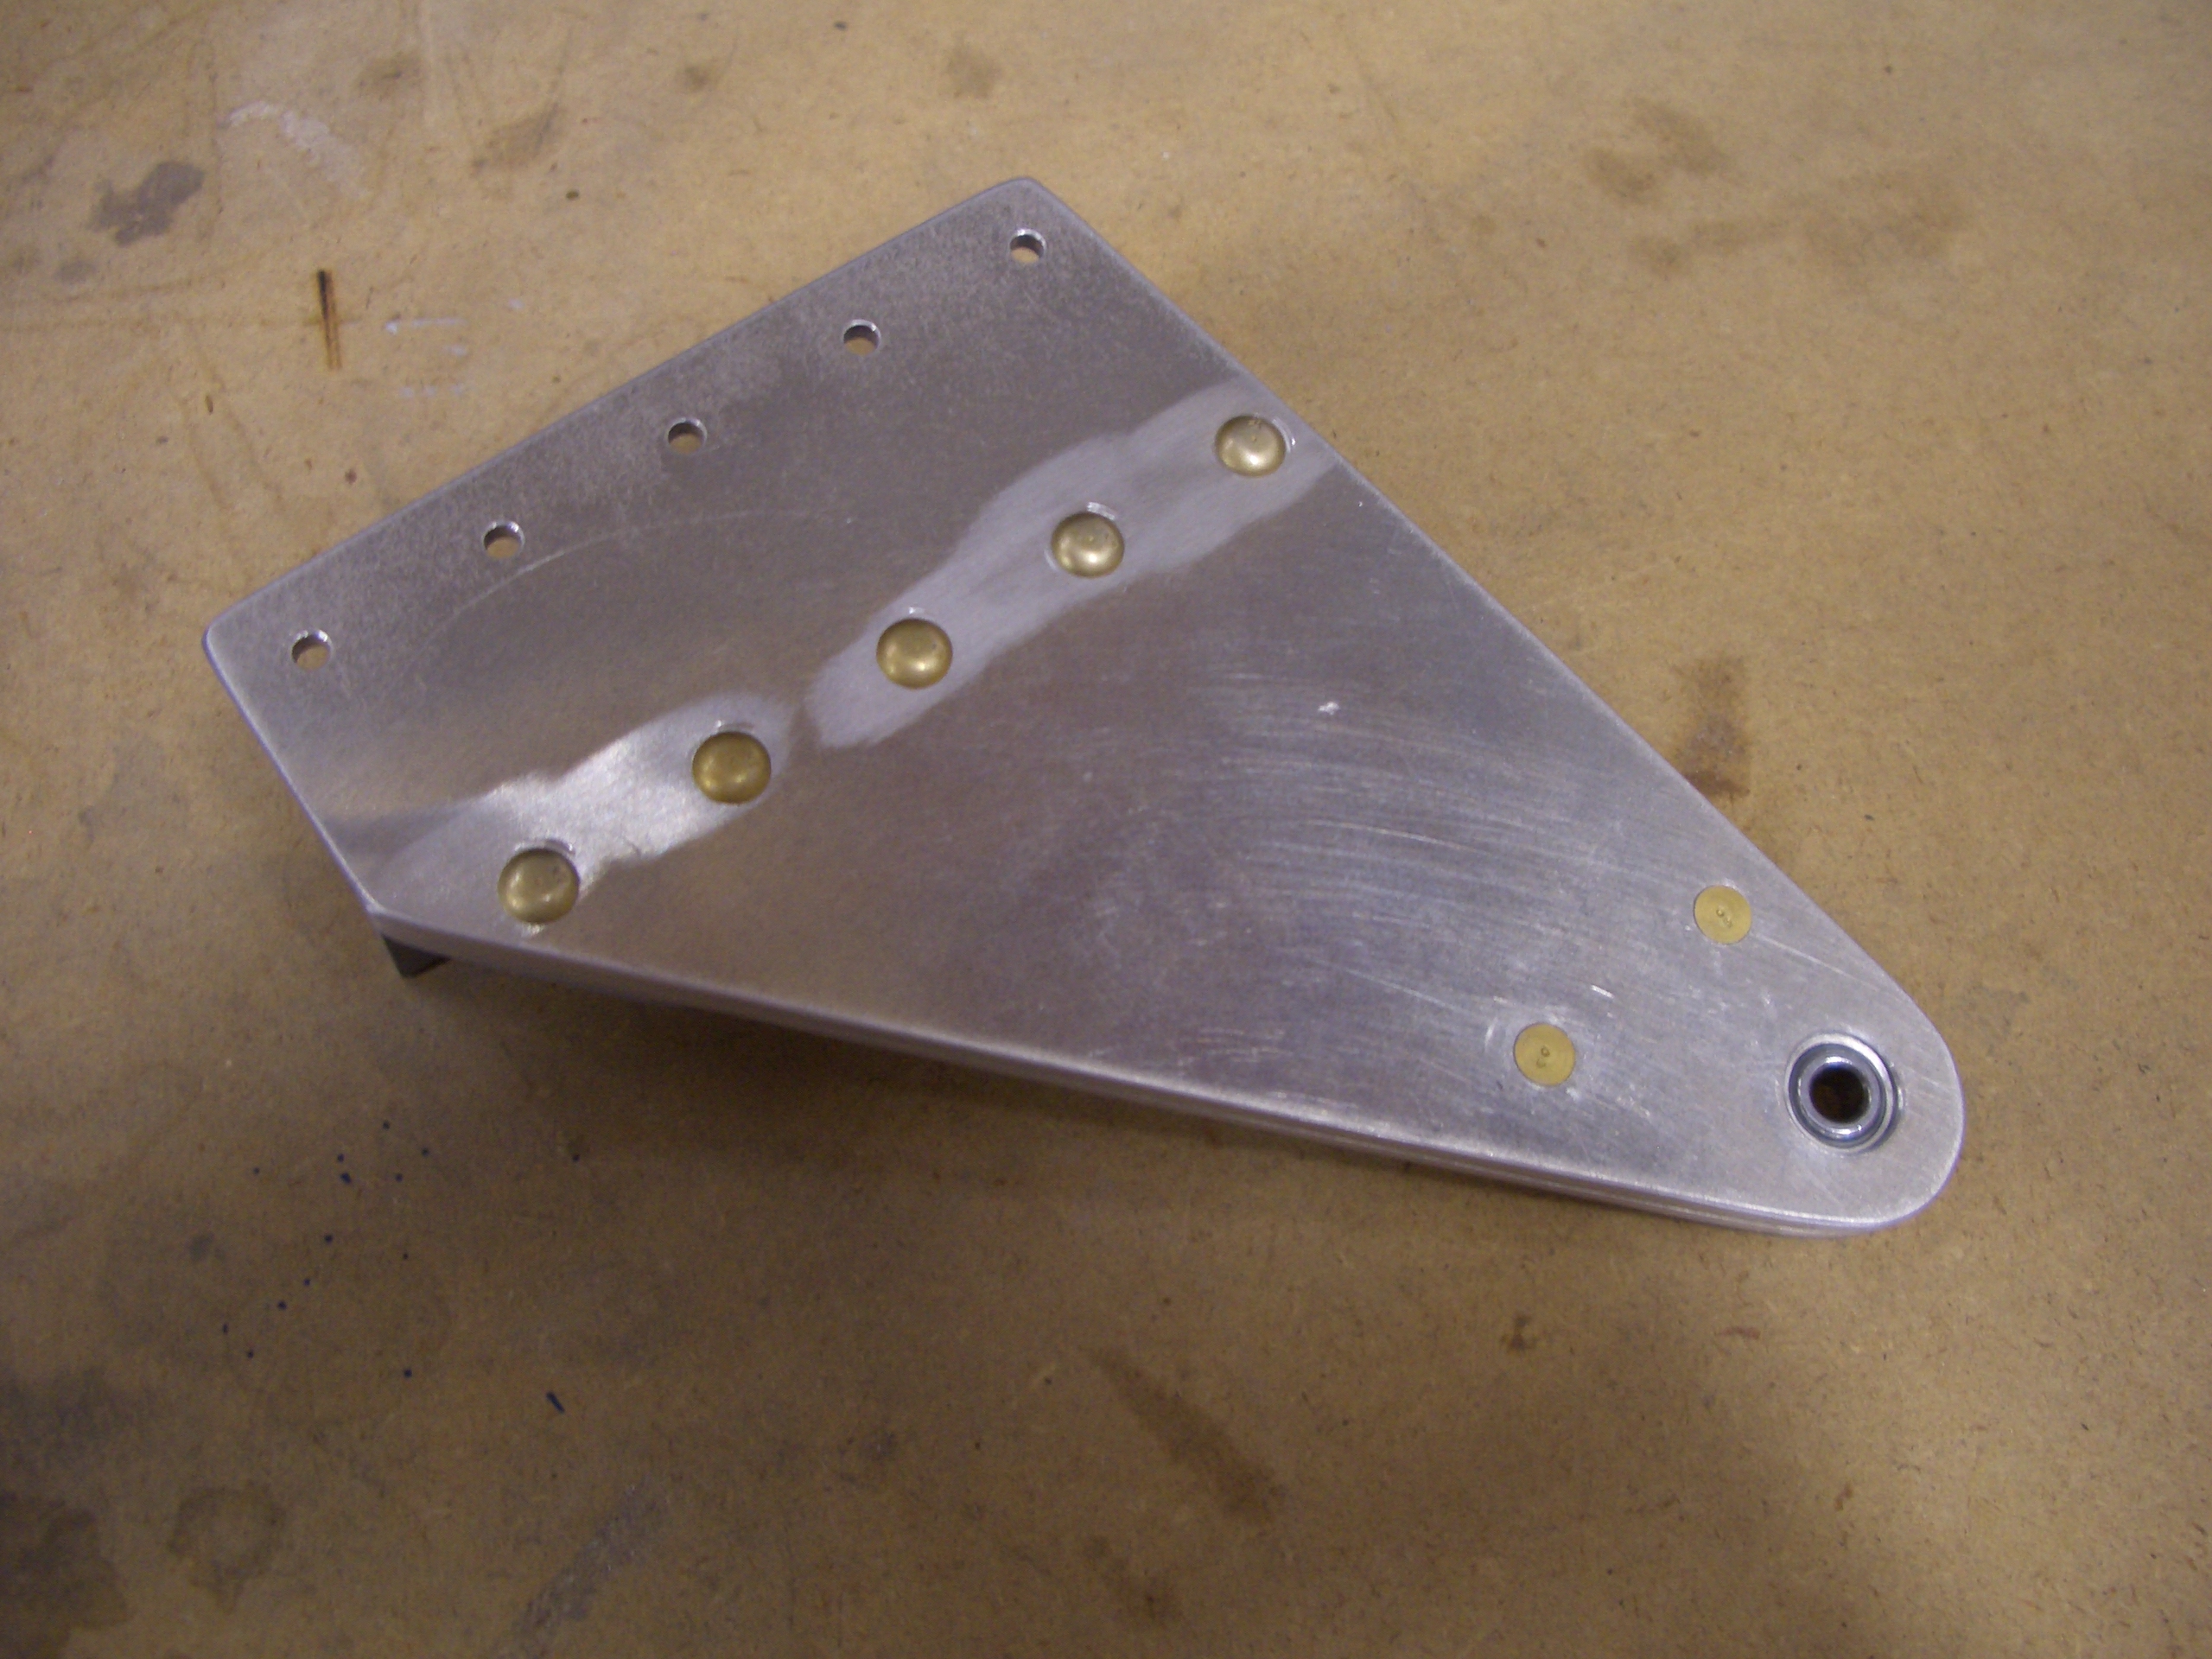
I noticed last night that the bearing in my right outboard aileron hinge bracket was binding.  I called Van’s about it today, and they happily sent out a replacement at no charge.  I went ahead and drilled out the rivets holding this together, which was a real pain in the ass since those top rivets are AN470AD4-9’s.  Even once you drill the head off, they’re nearly impossible to drive out.  I ended up having to drill nearly all the way through them before I could drive the rest out.  Fortunately, I didn’t elongate any holes.

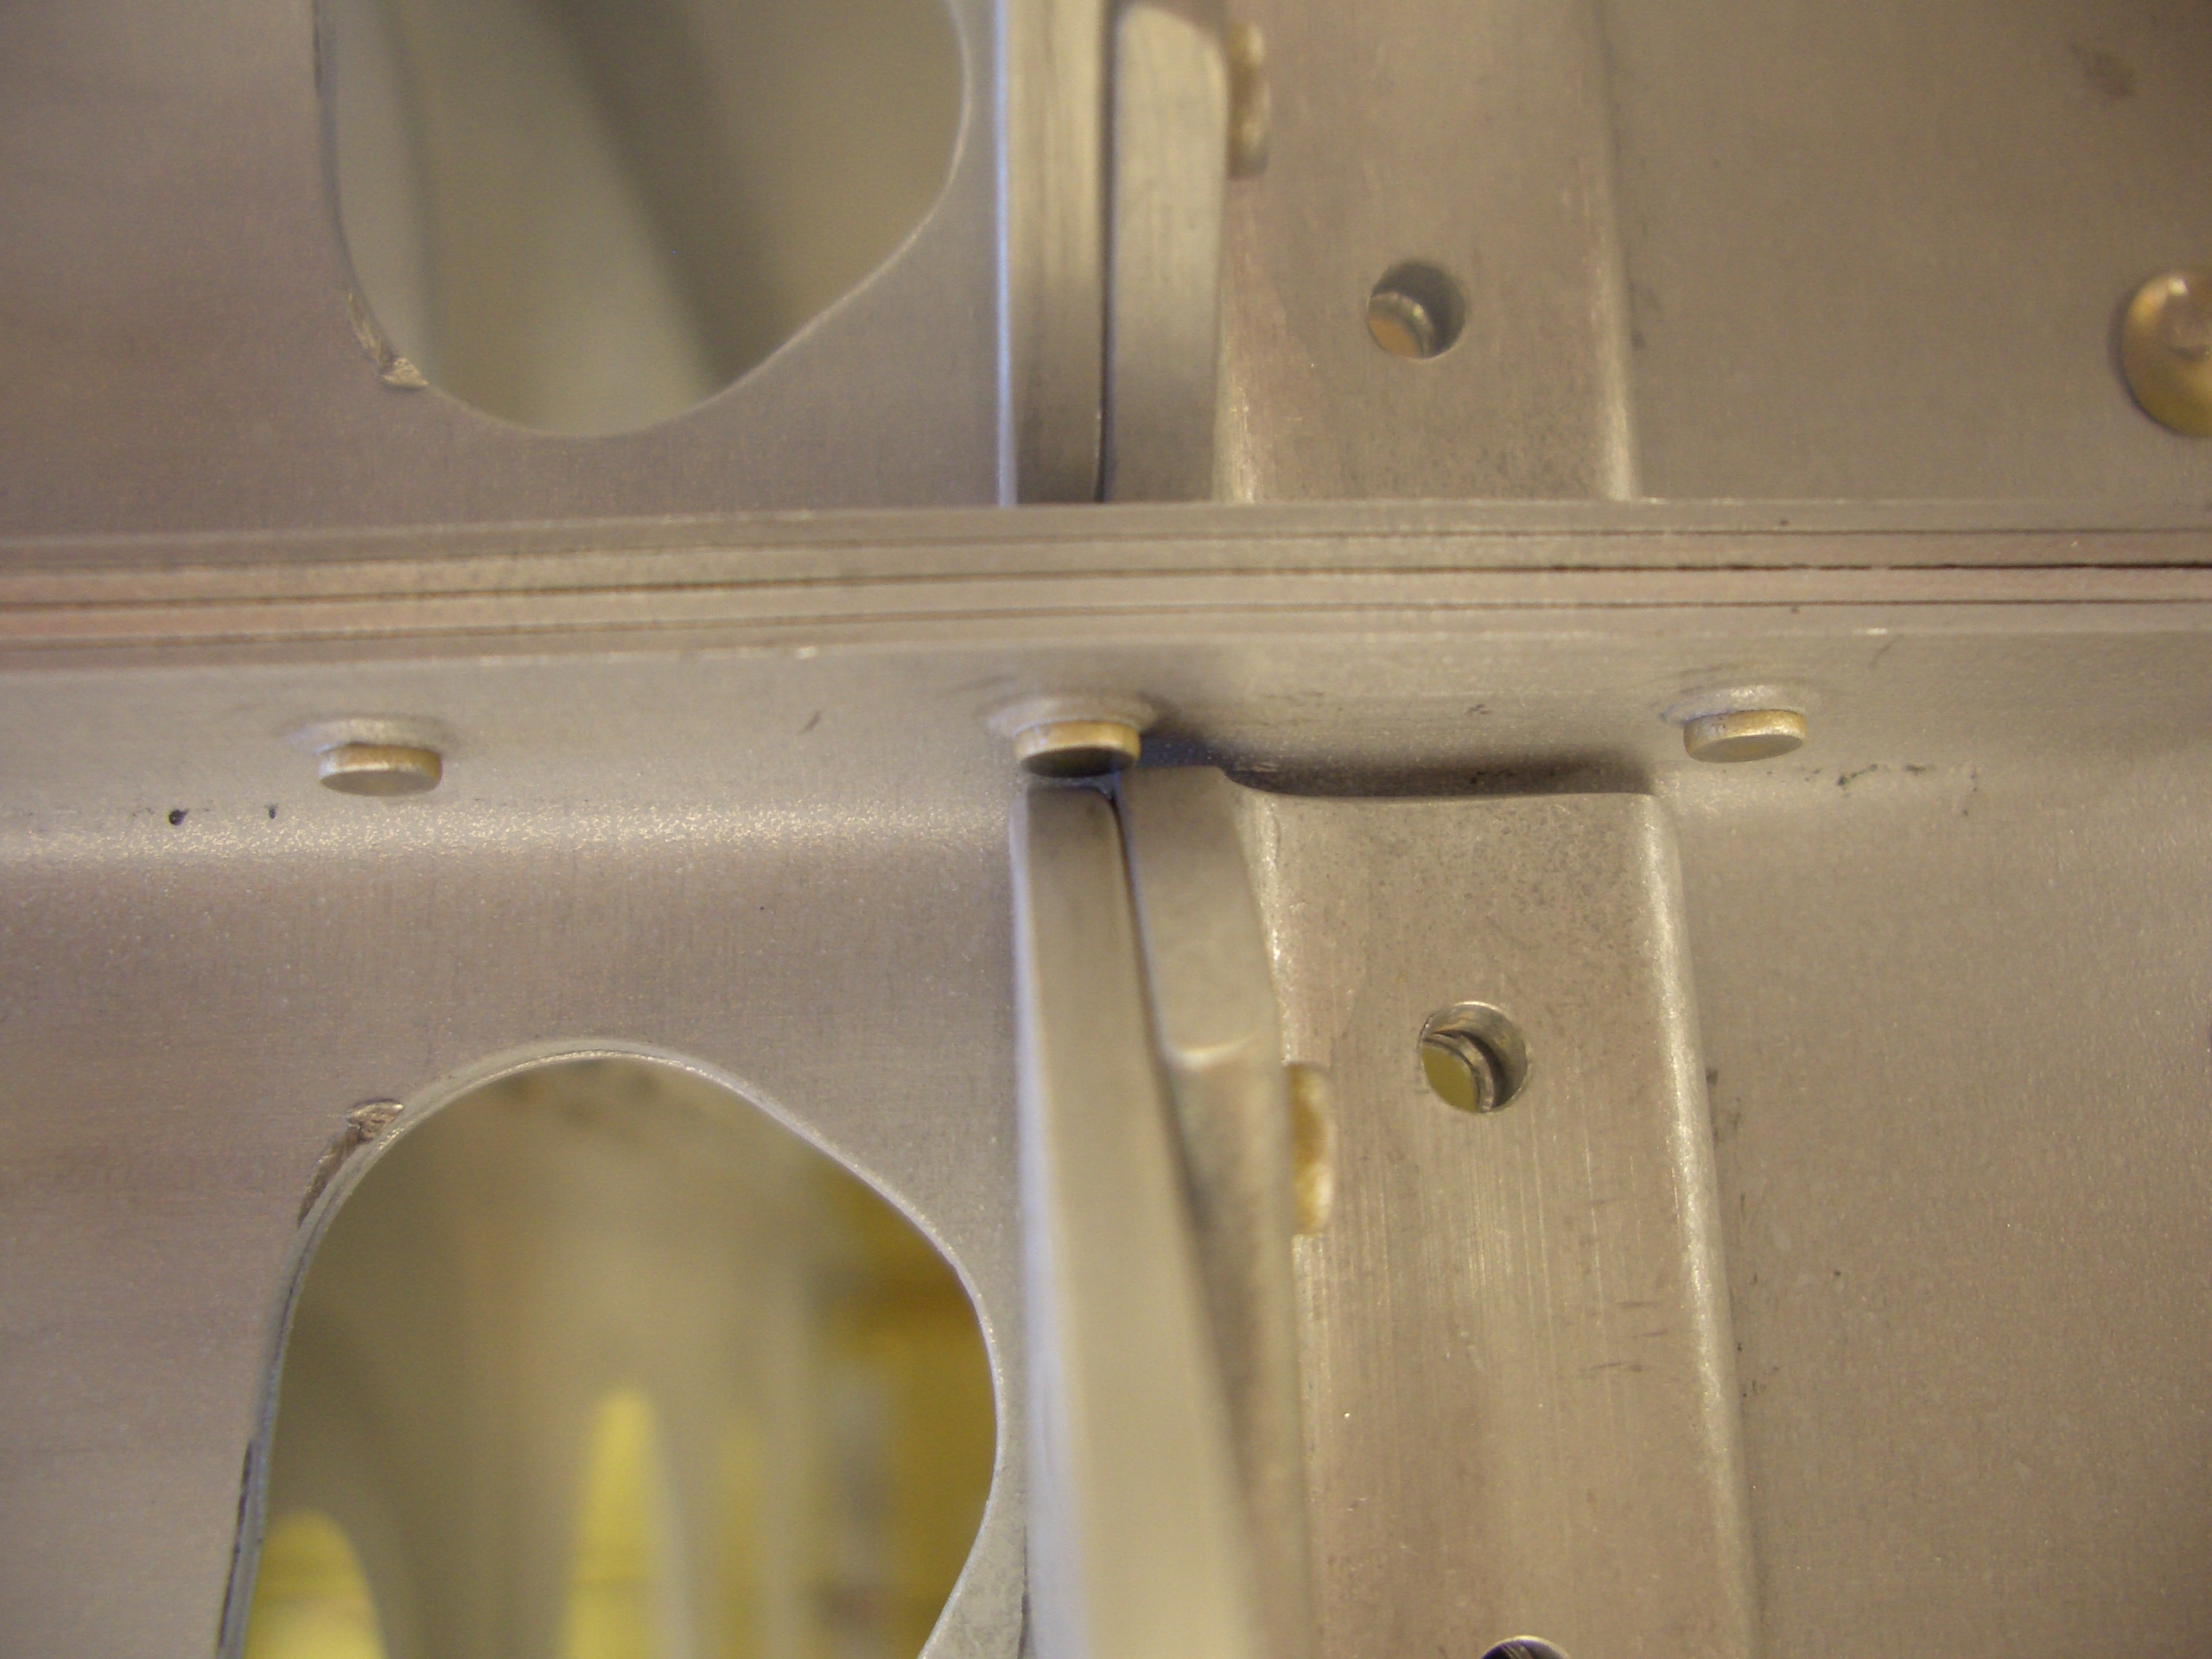
Oddly, after removing the bearing, it was no longer binding.  After resqueezing the two lower AN426AD4-7 rivets (the flush ones near the bearing), it bound up again.  Argh!  After drilling them out a second time, I determined what was going on.  Basically, the holes for those two rivets were not perfectly normal to the surface, so squeezing the rivets caused the two surfaces to shift slightly which applied a sideways load to the bearing (squeezing it out of round).  I ran a drill bit back through those holes and resqueezed the rivets and the bearing now moves as smooth as silk.

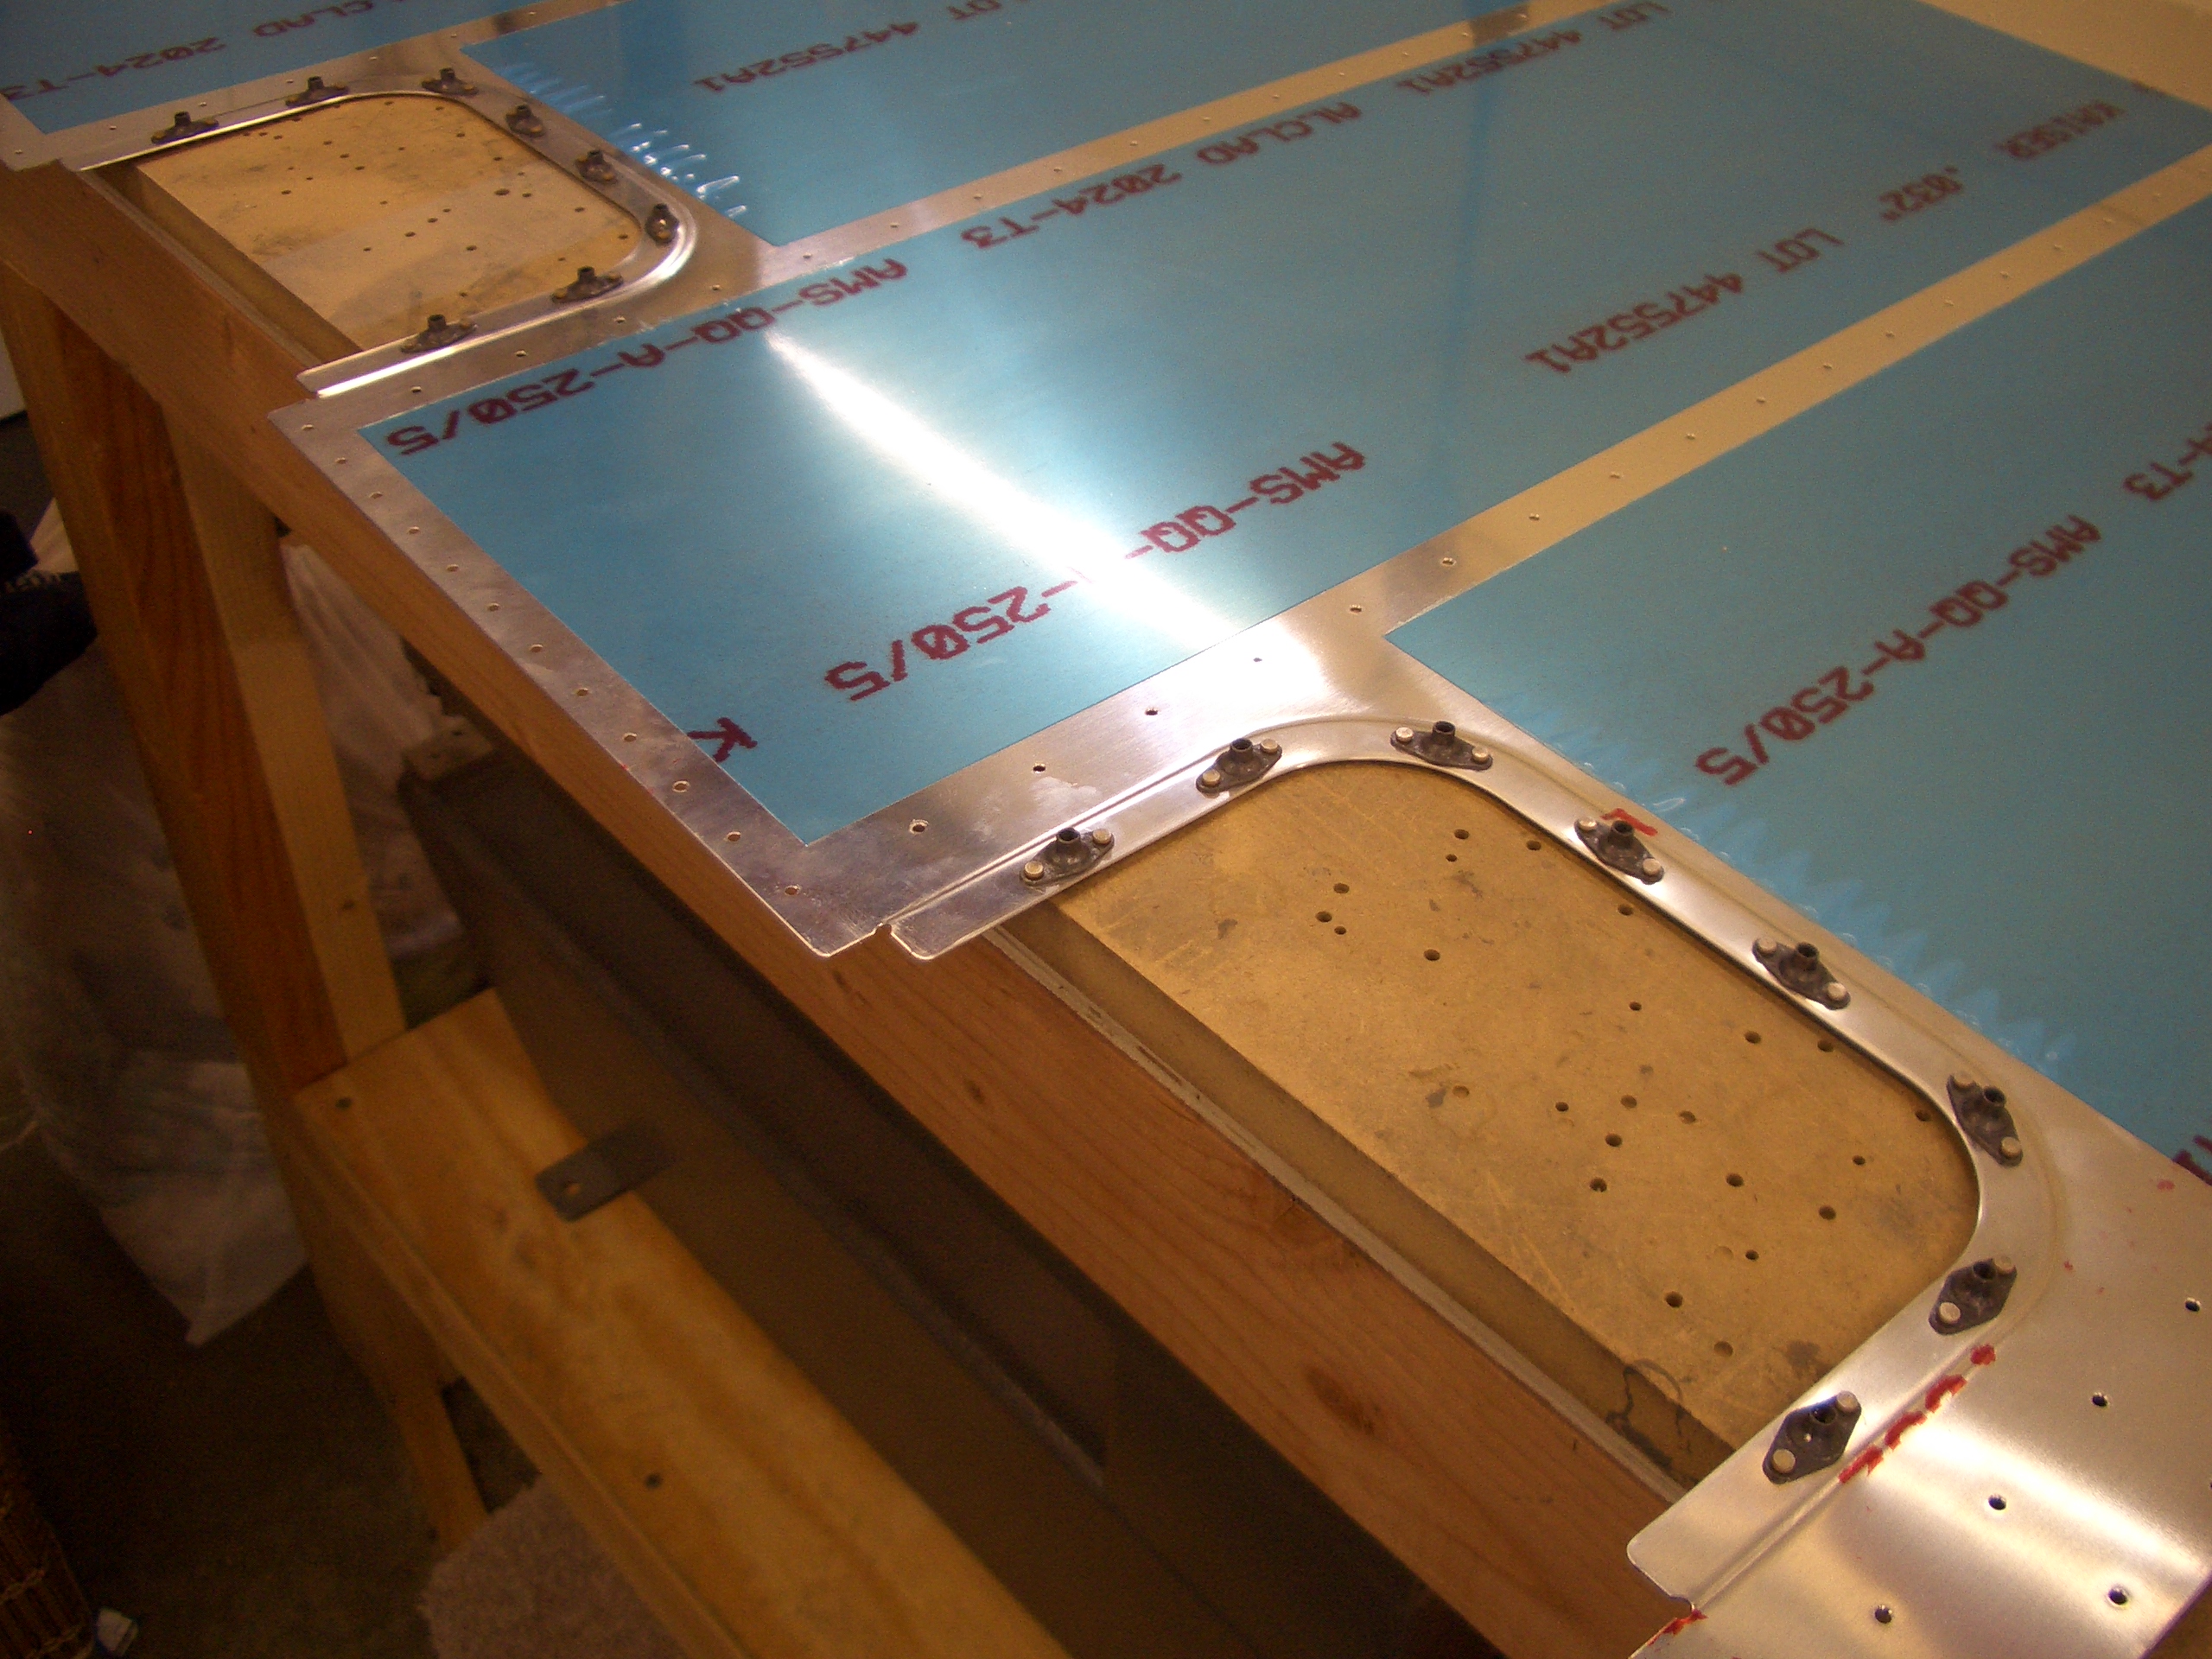
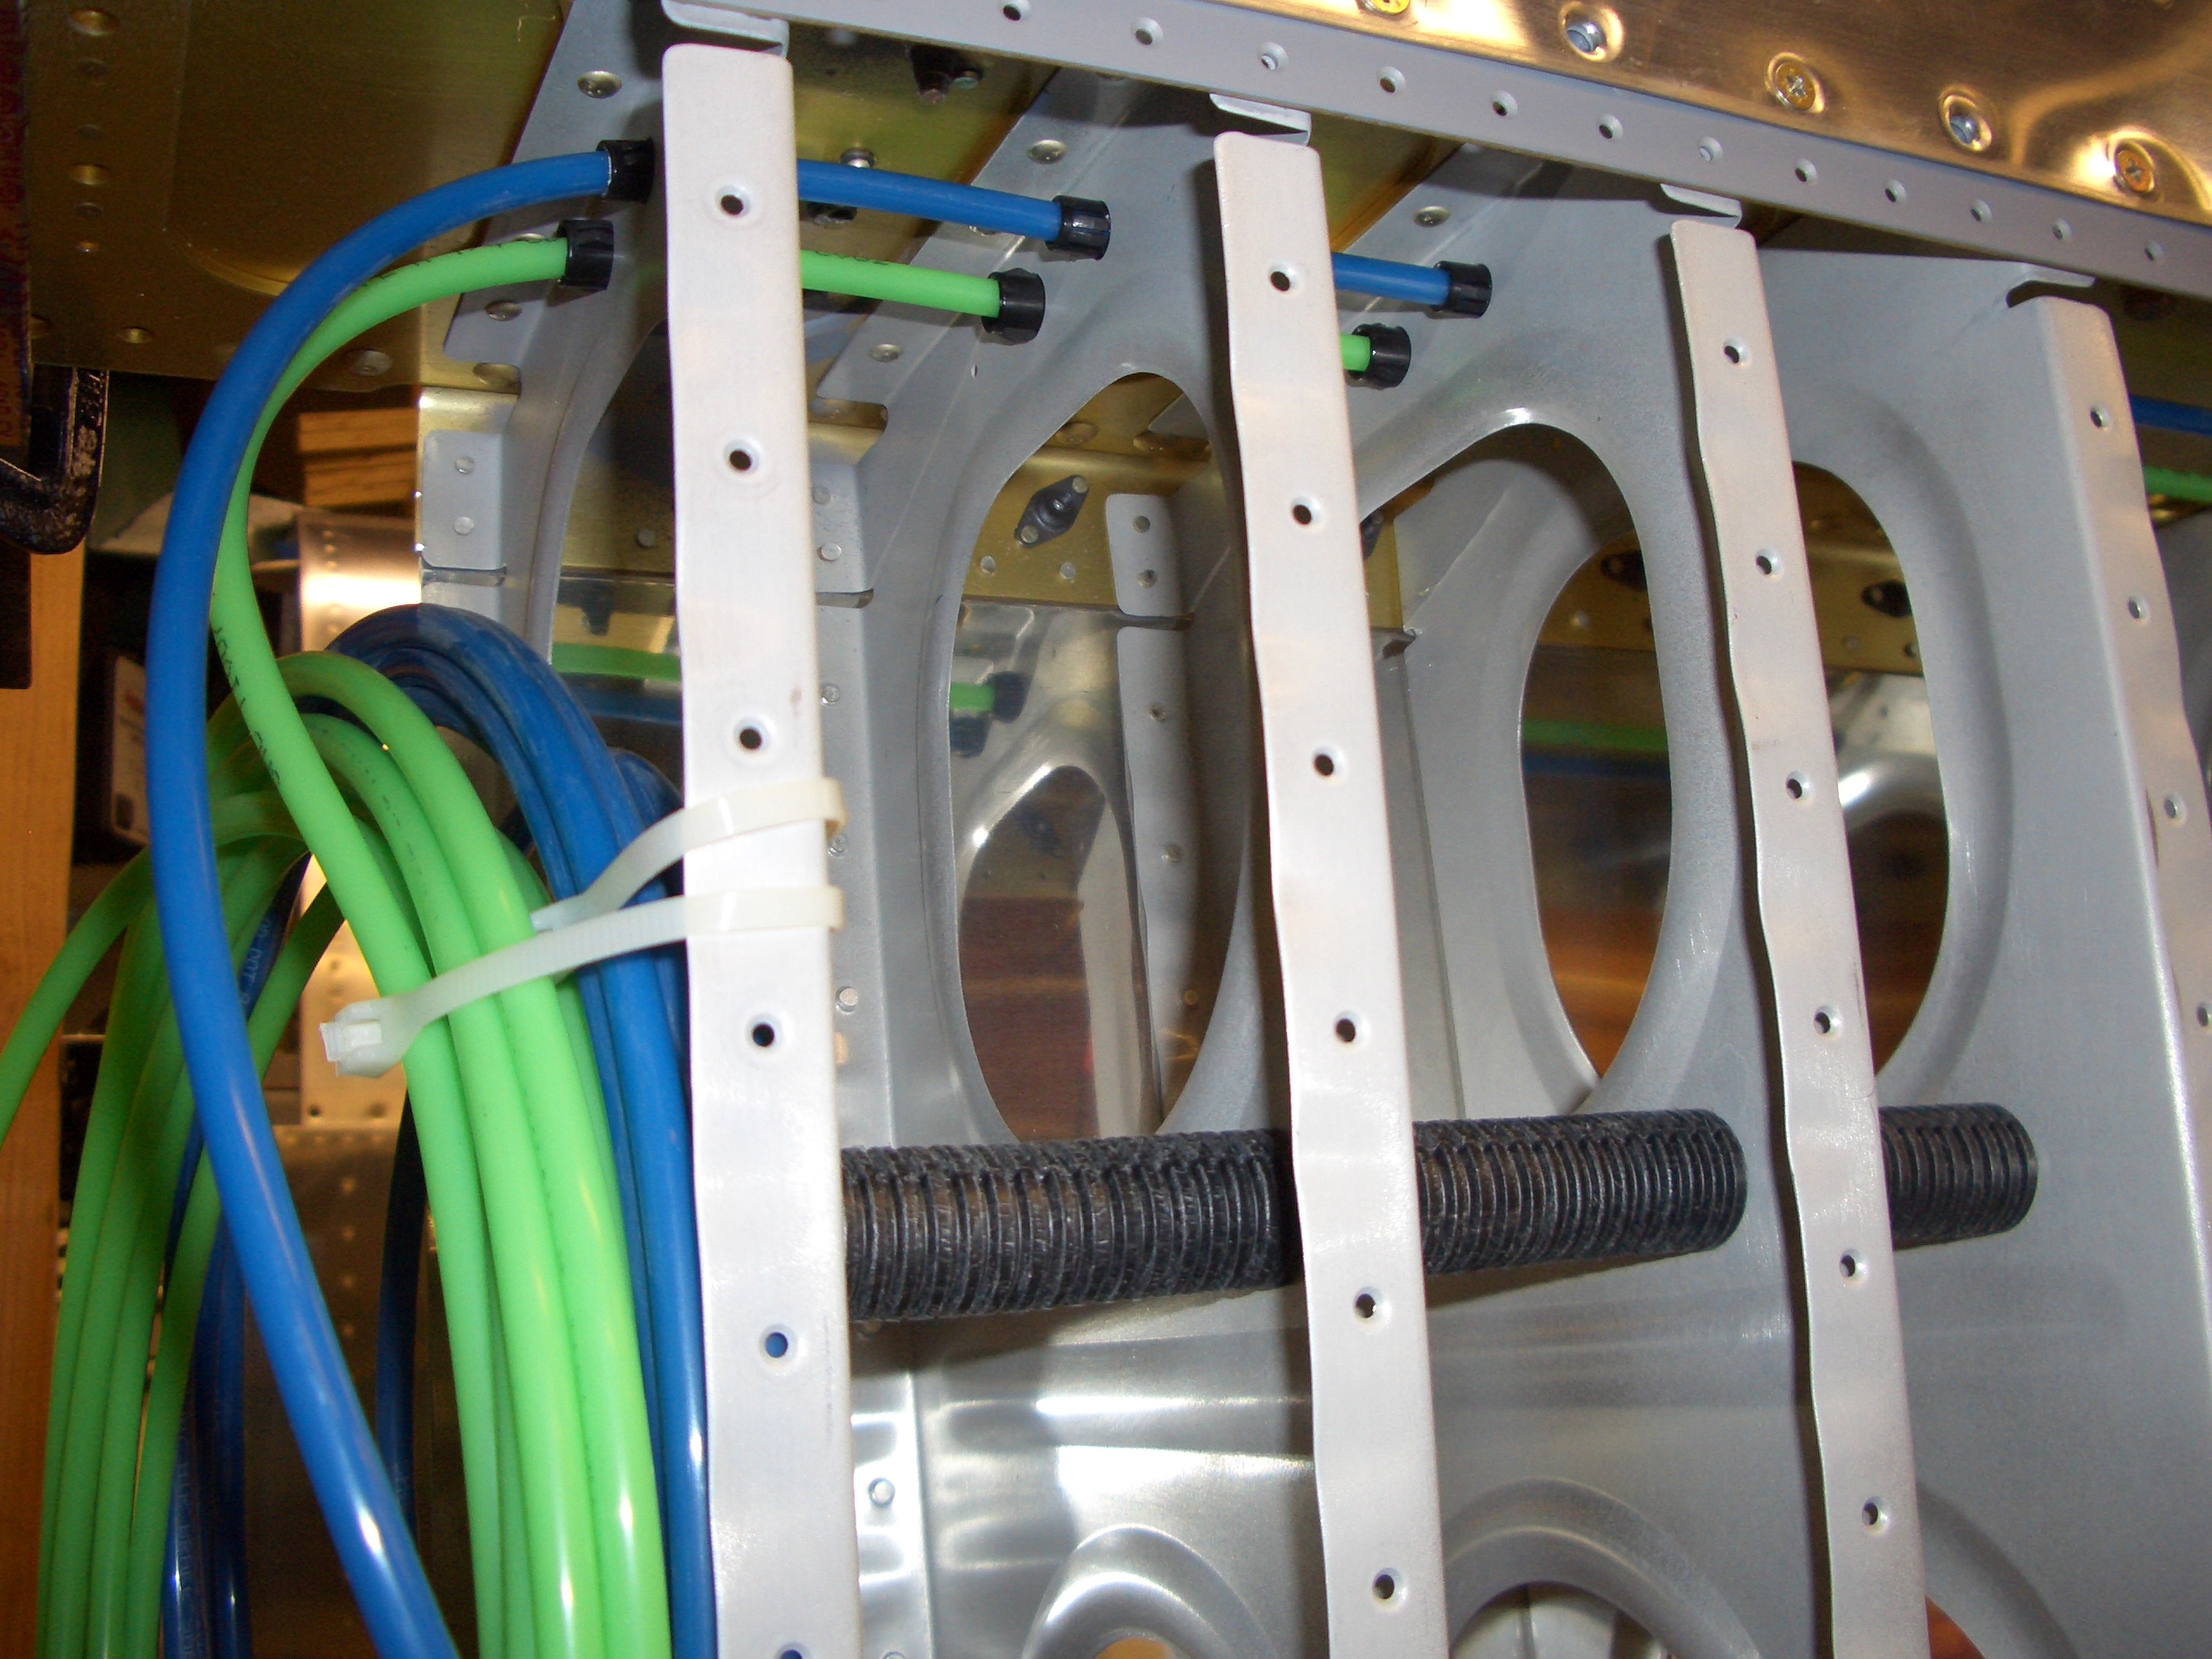
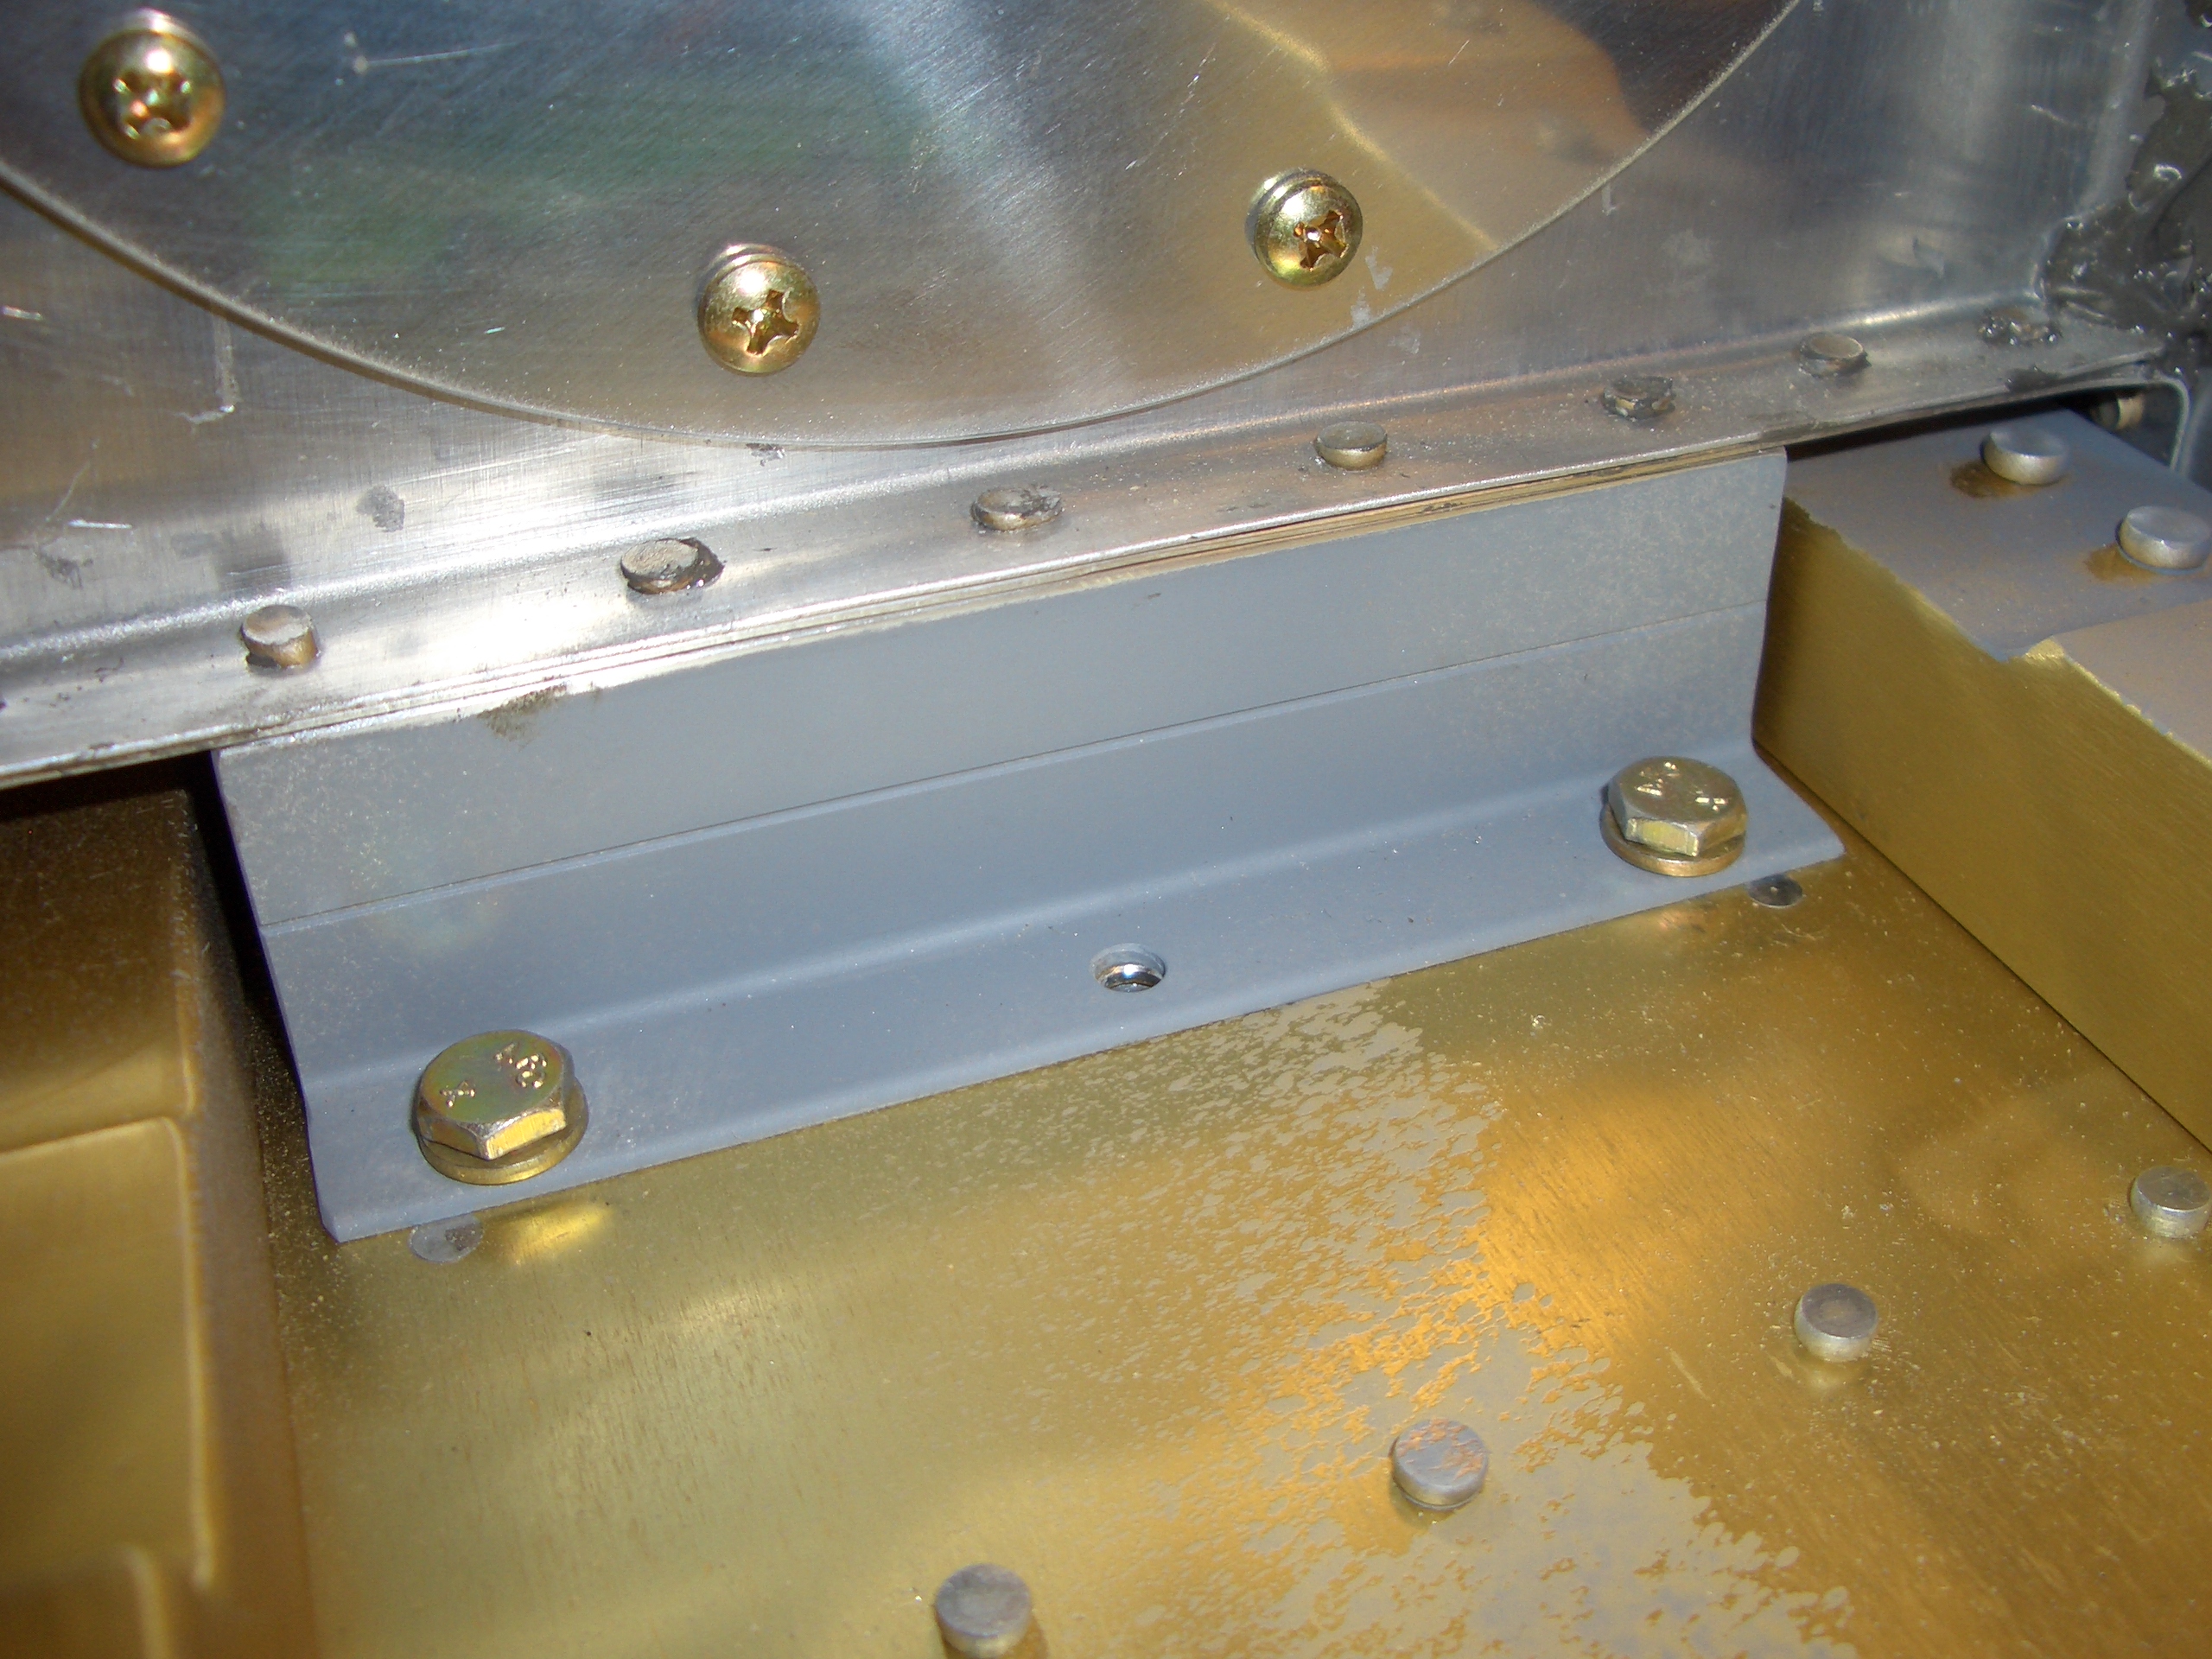
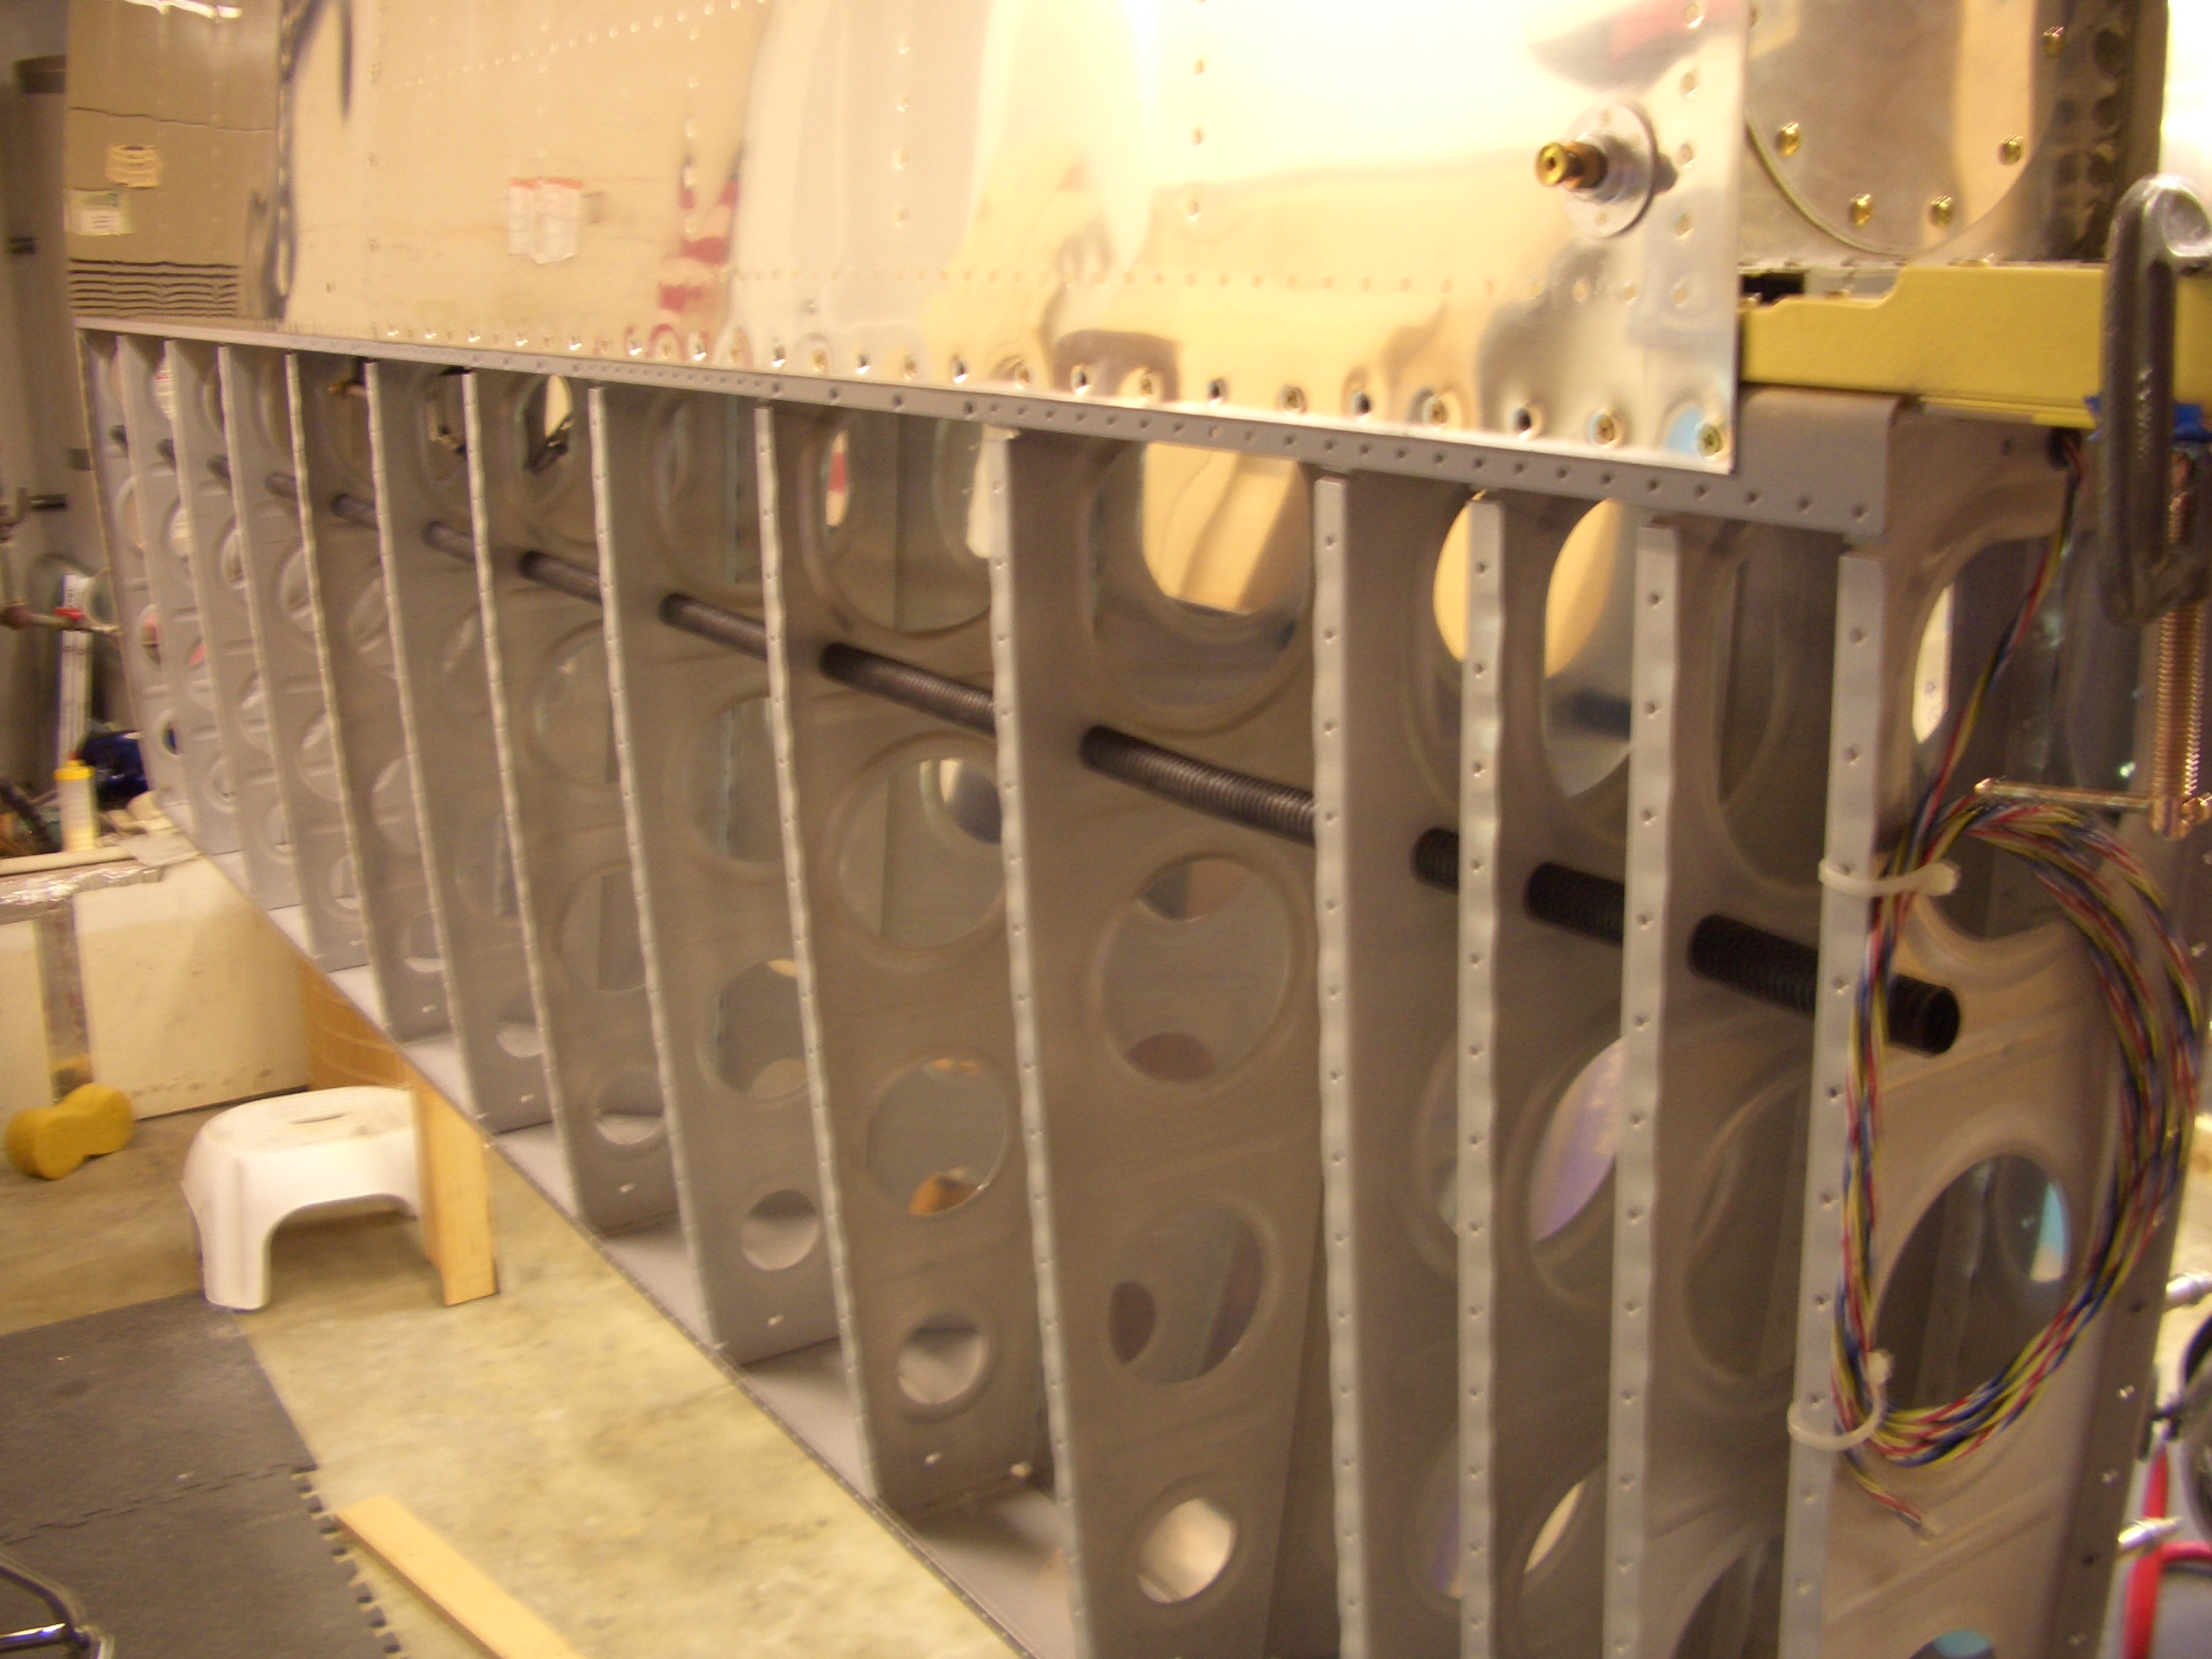
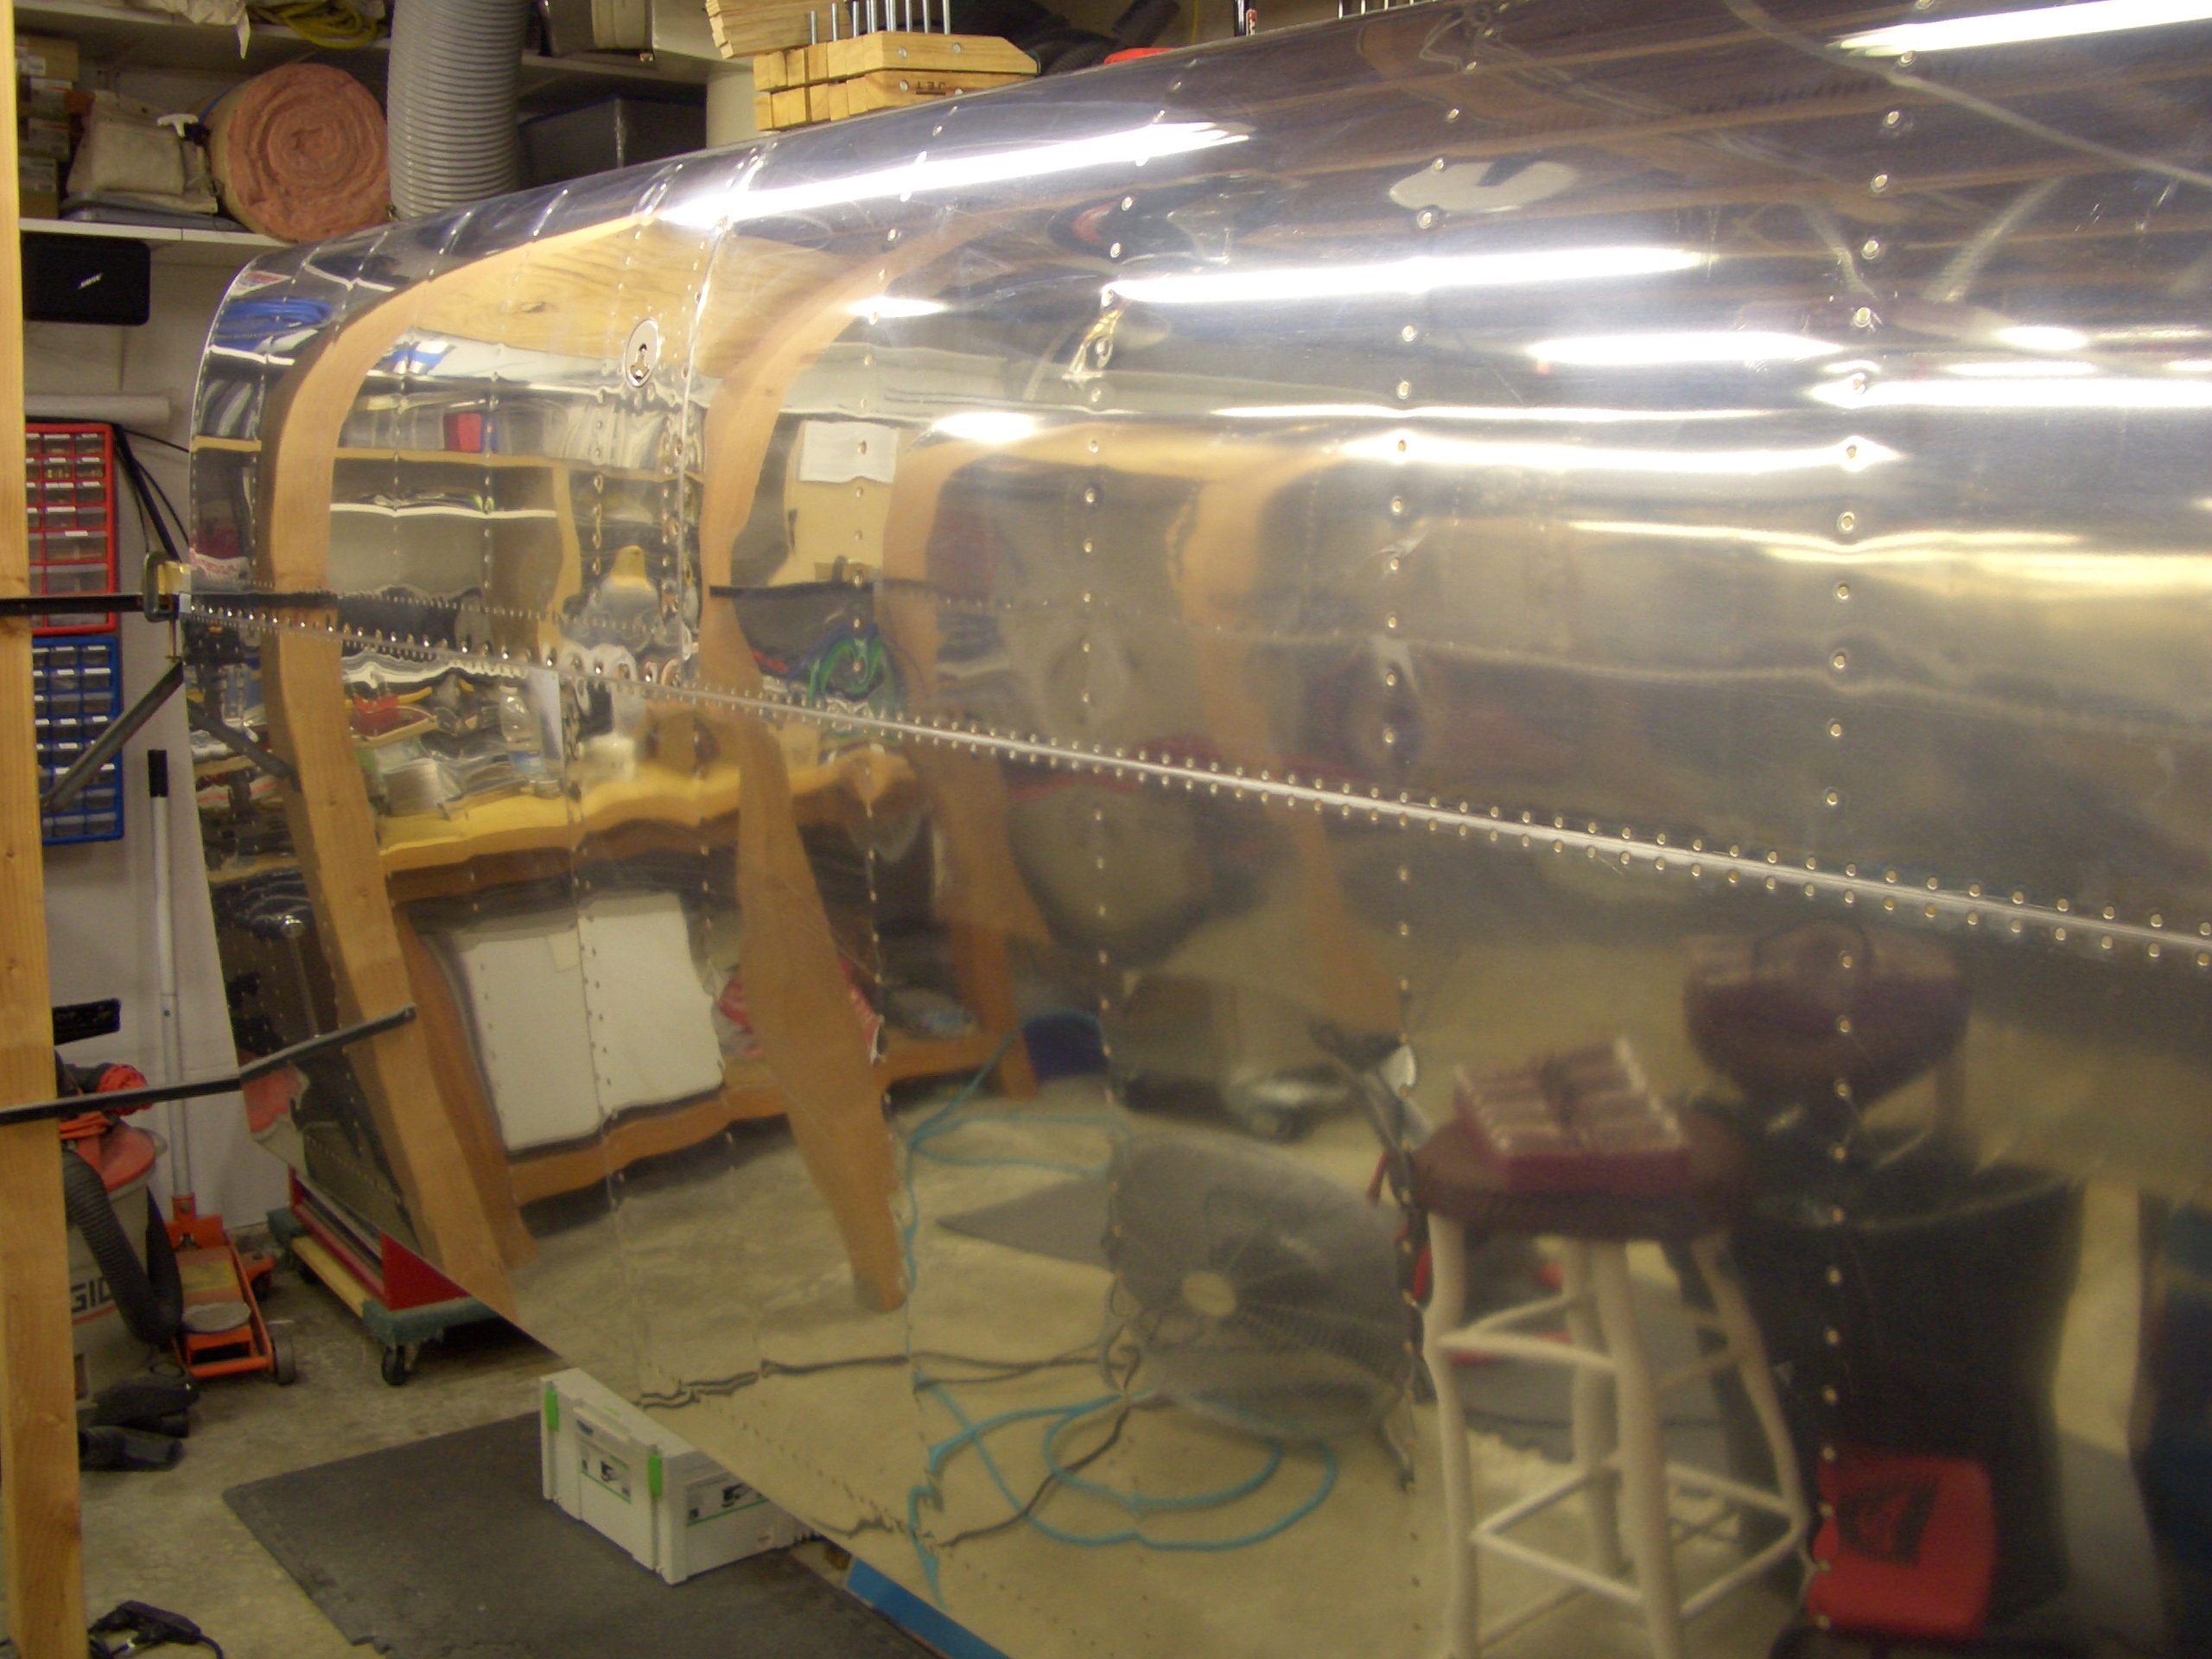
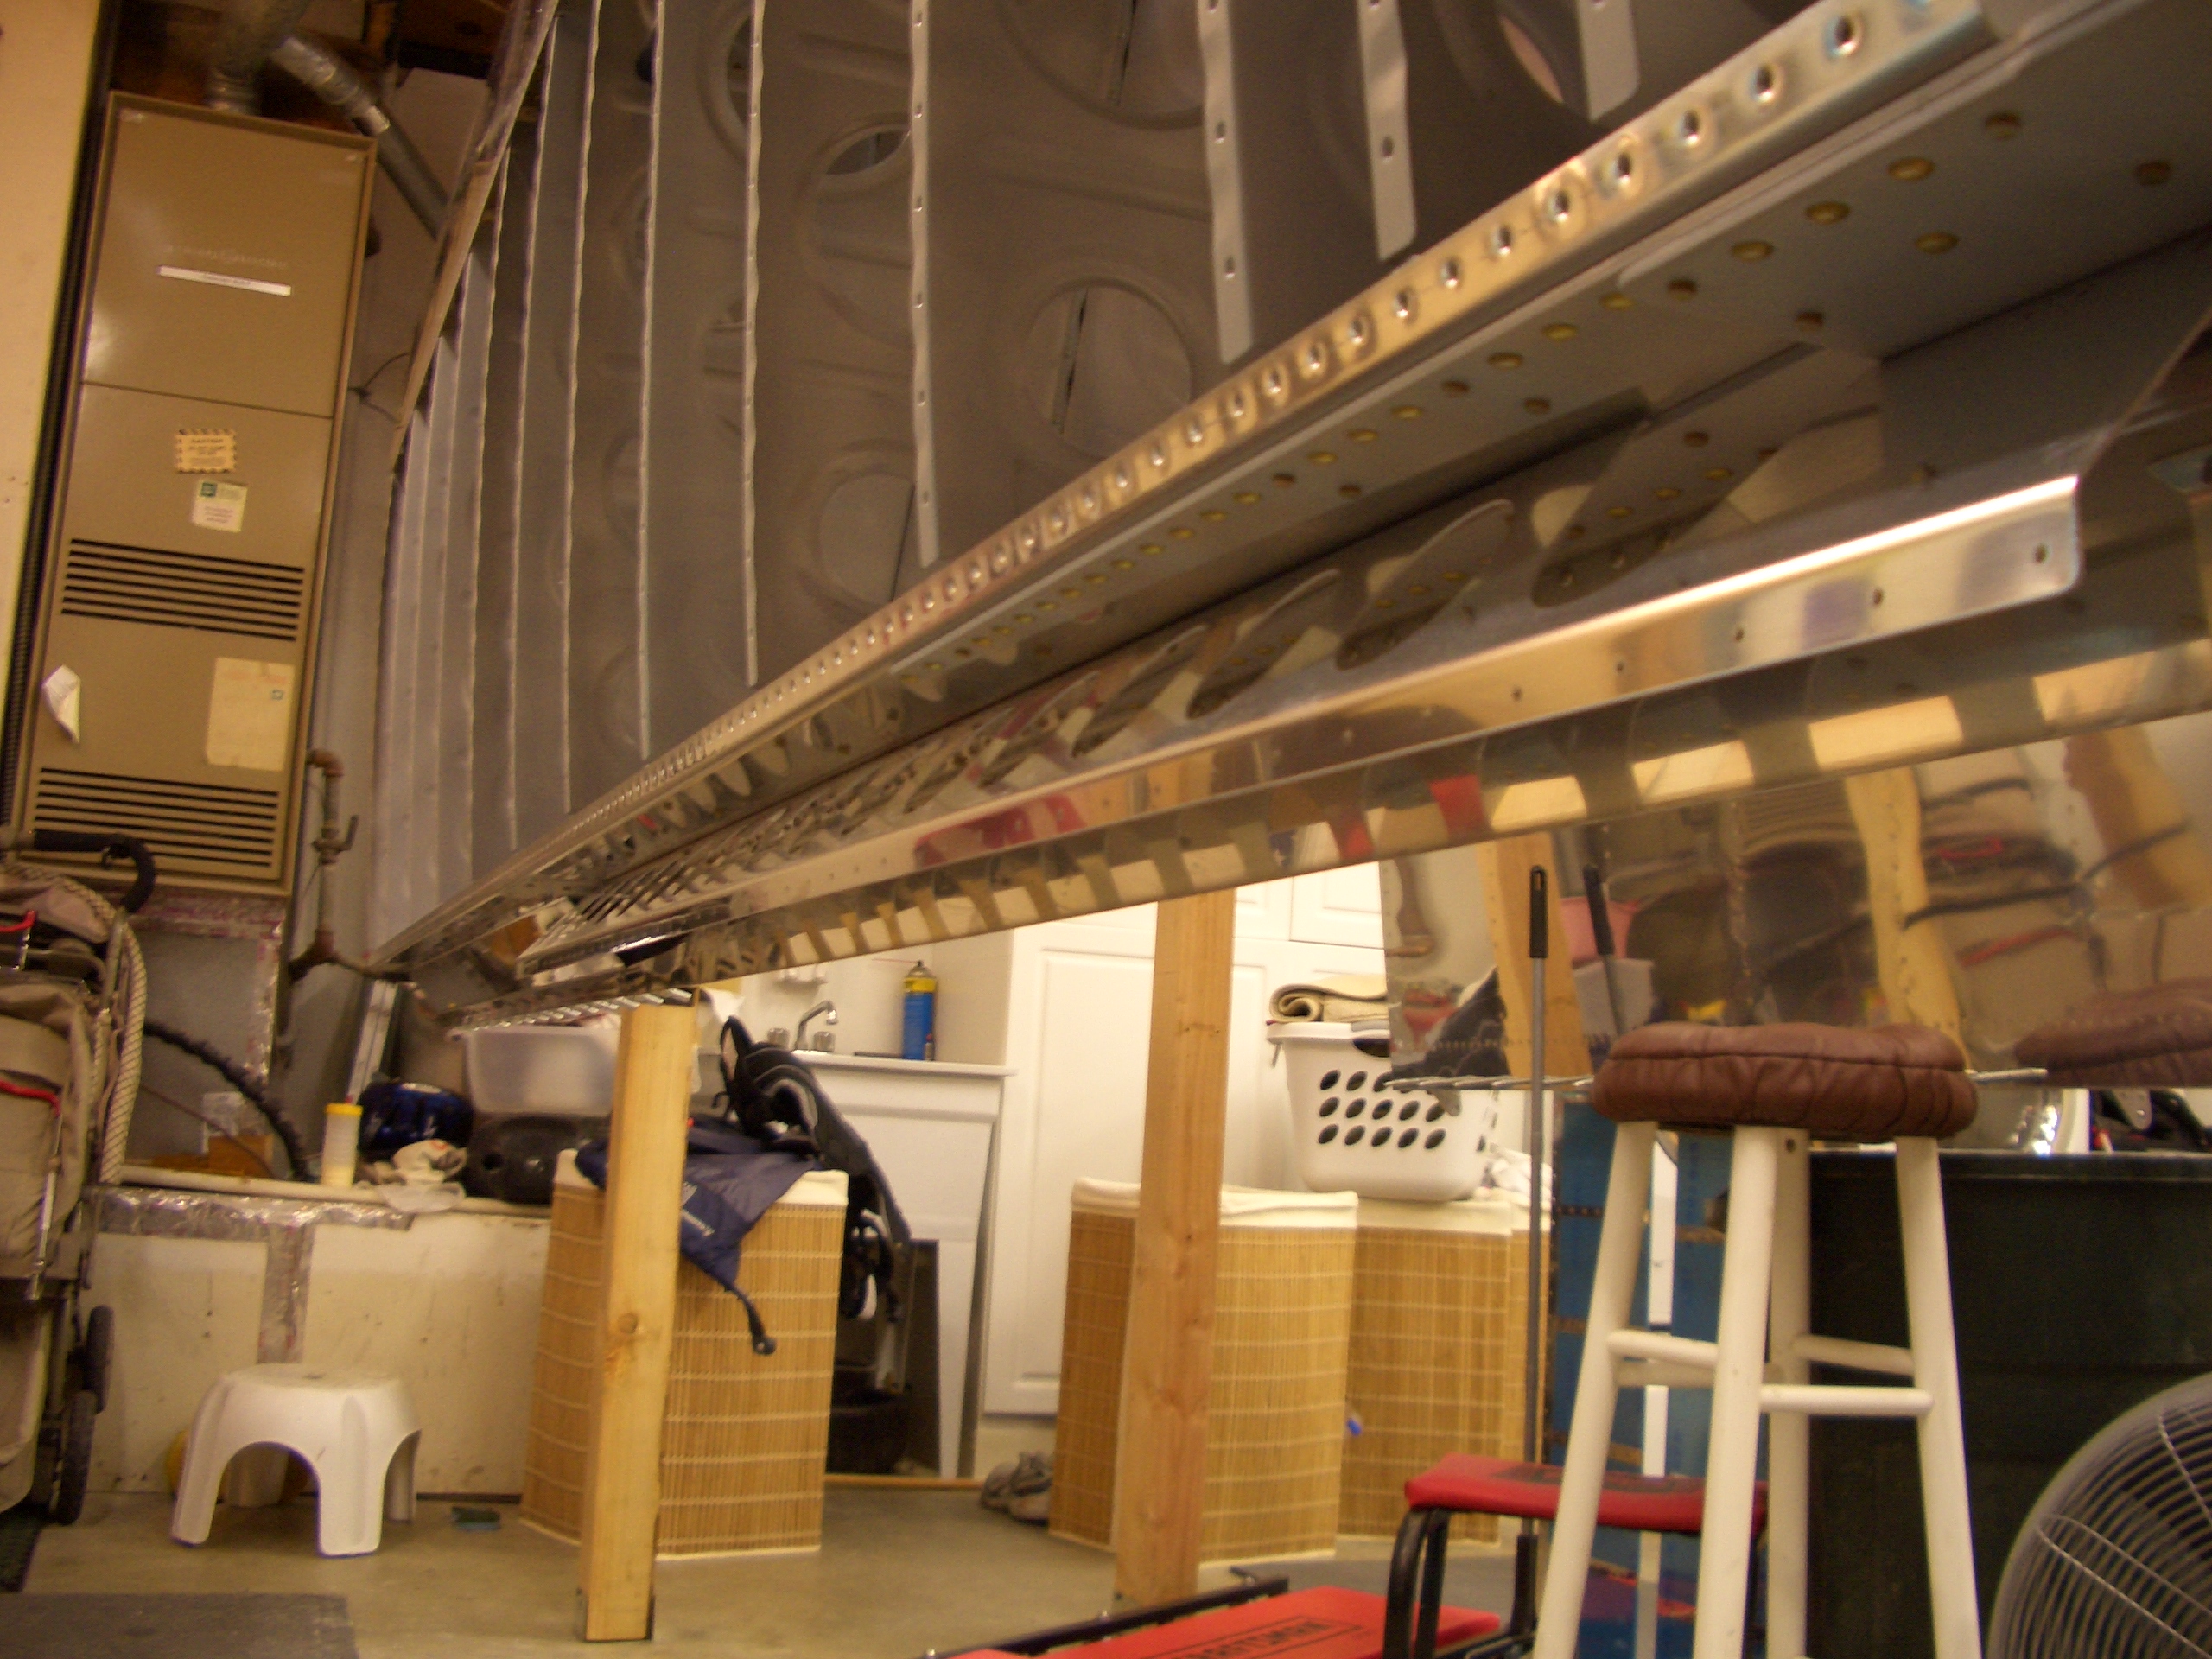
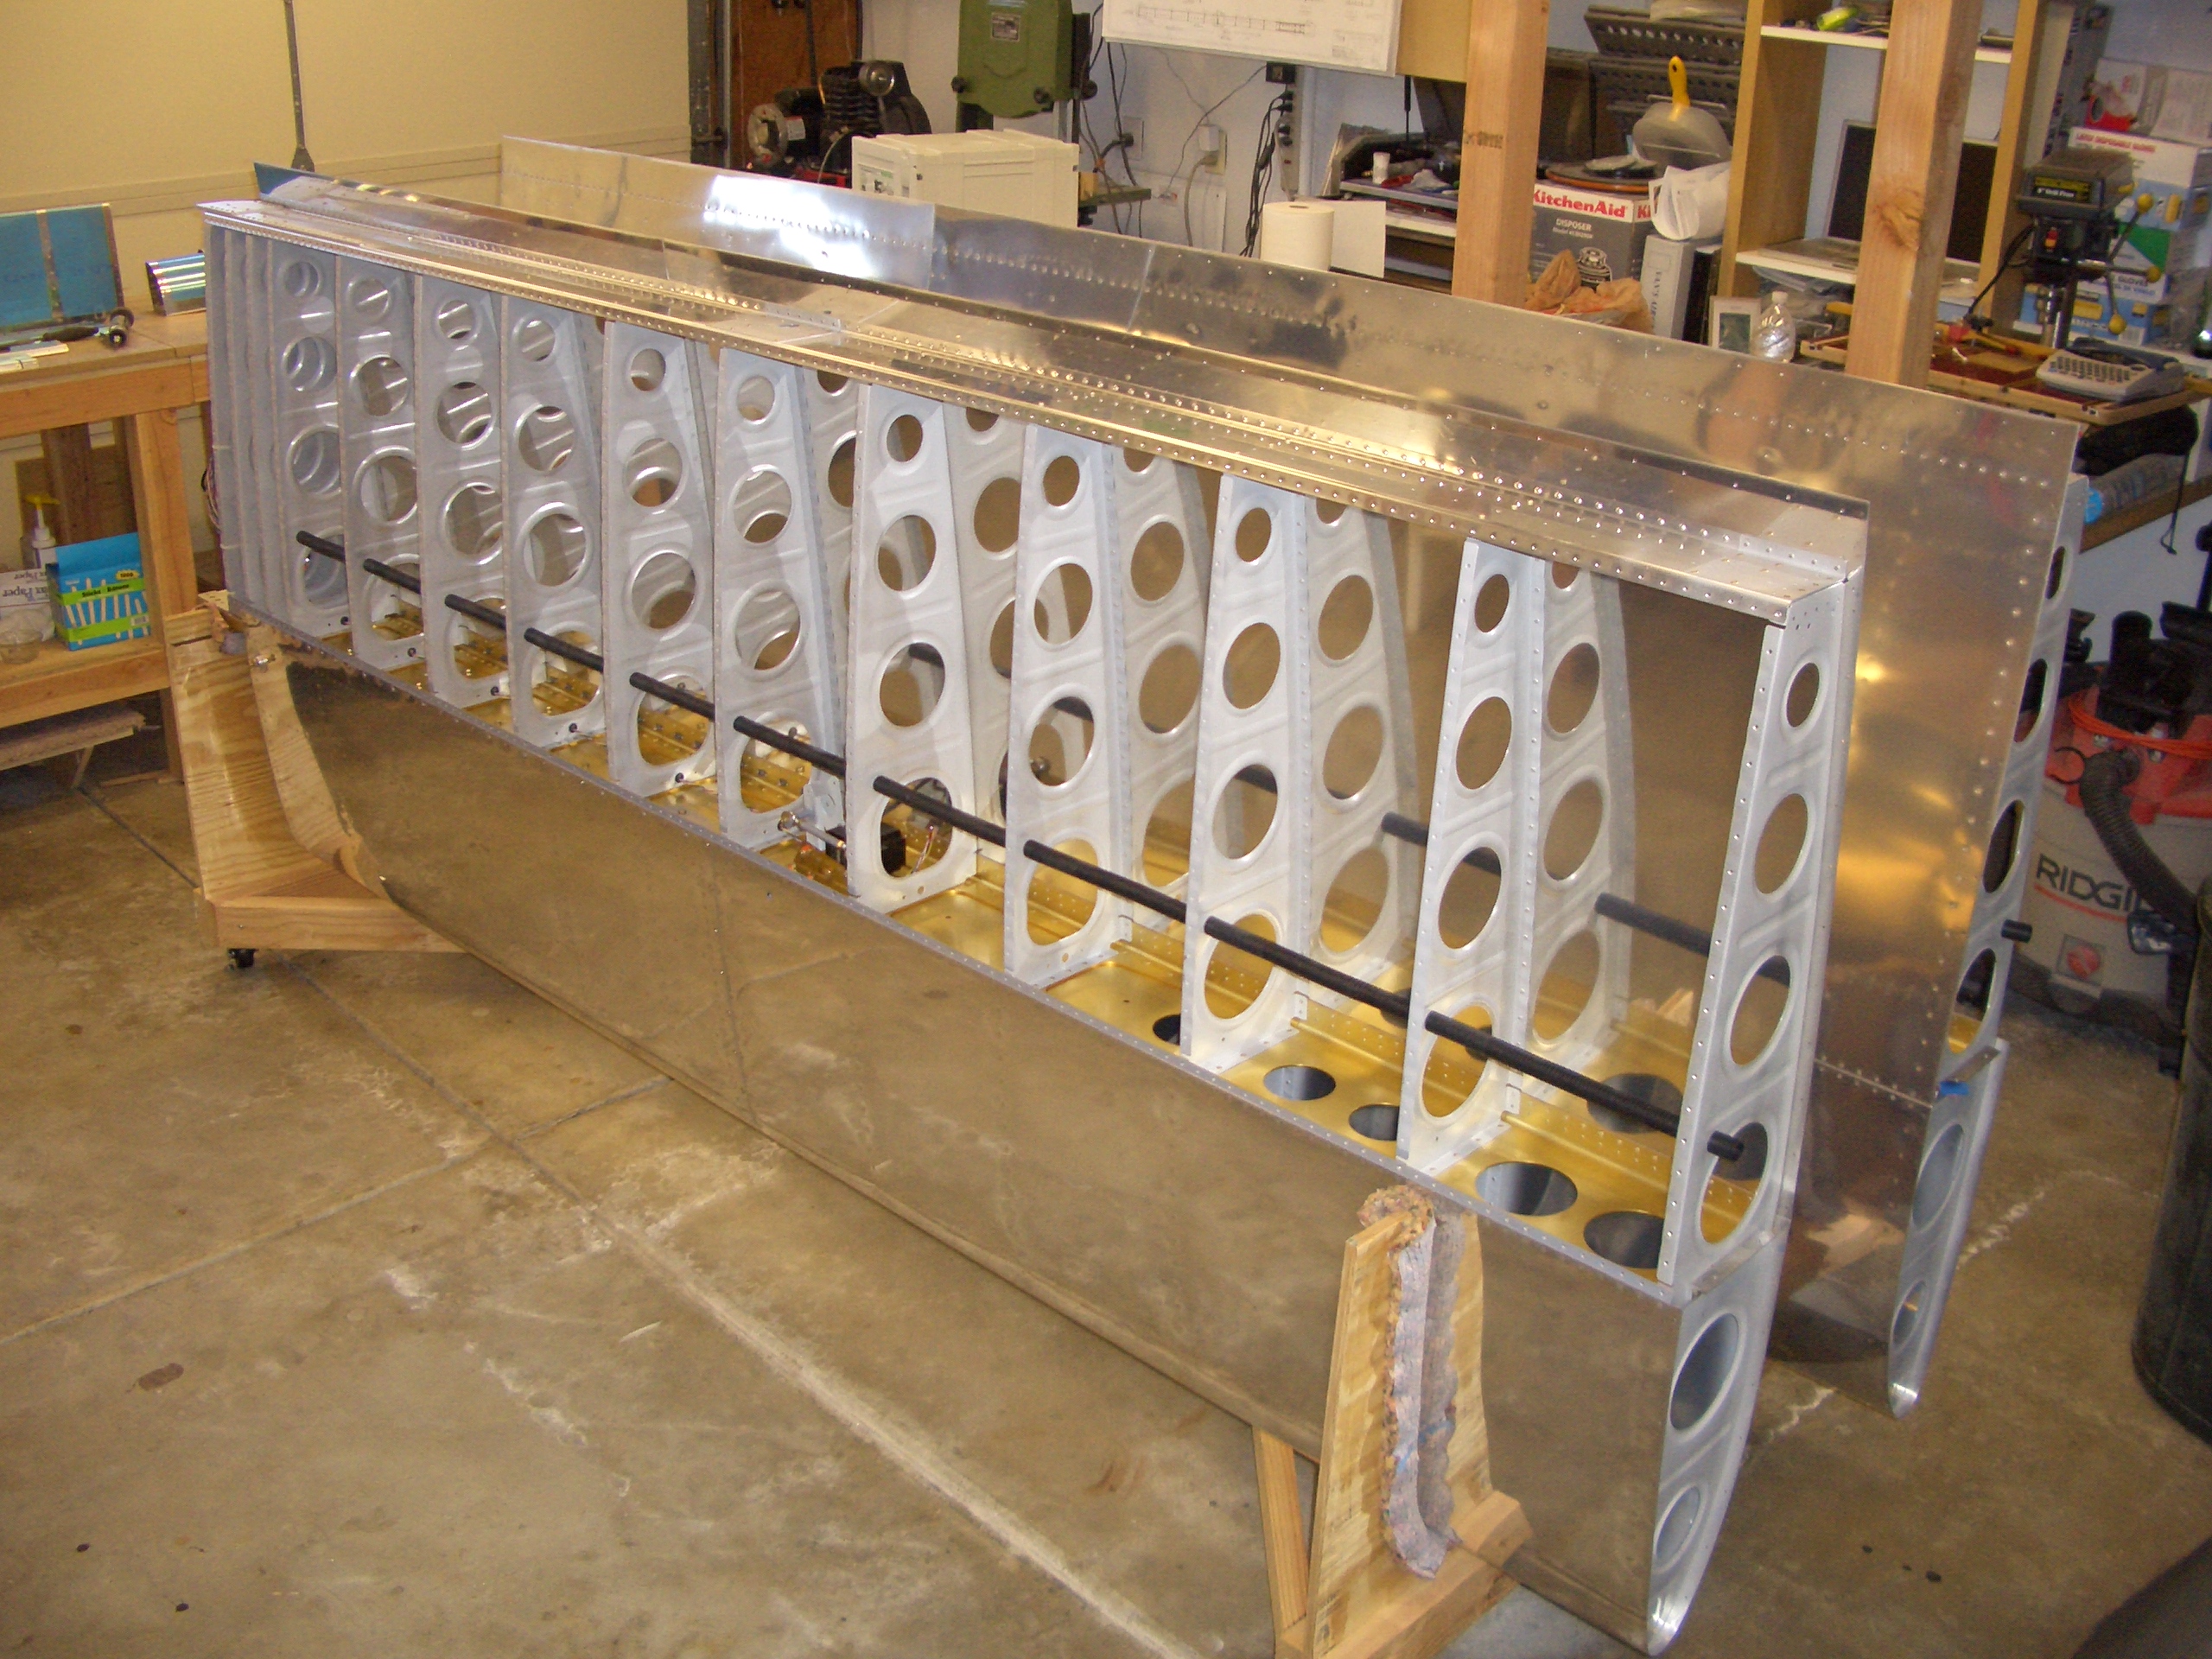
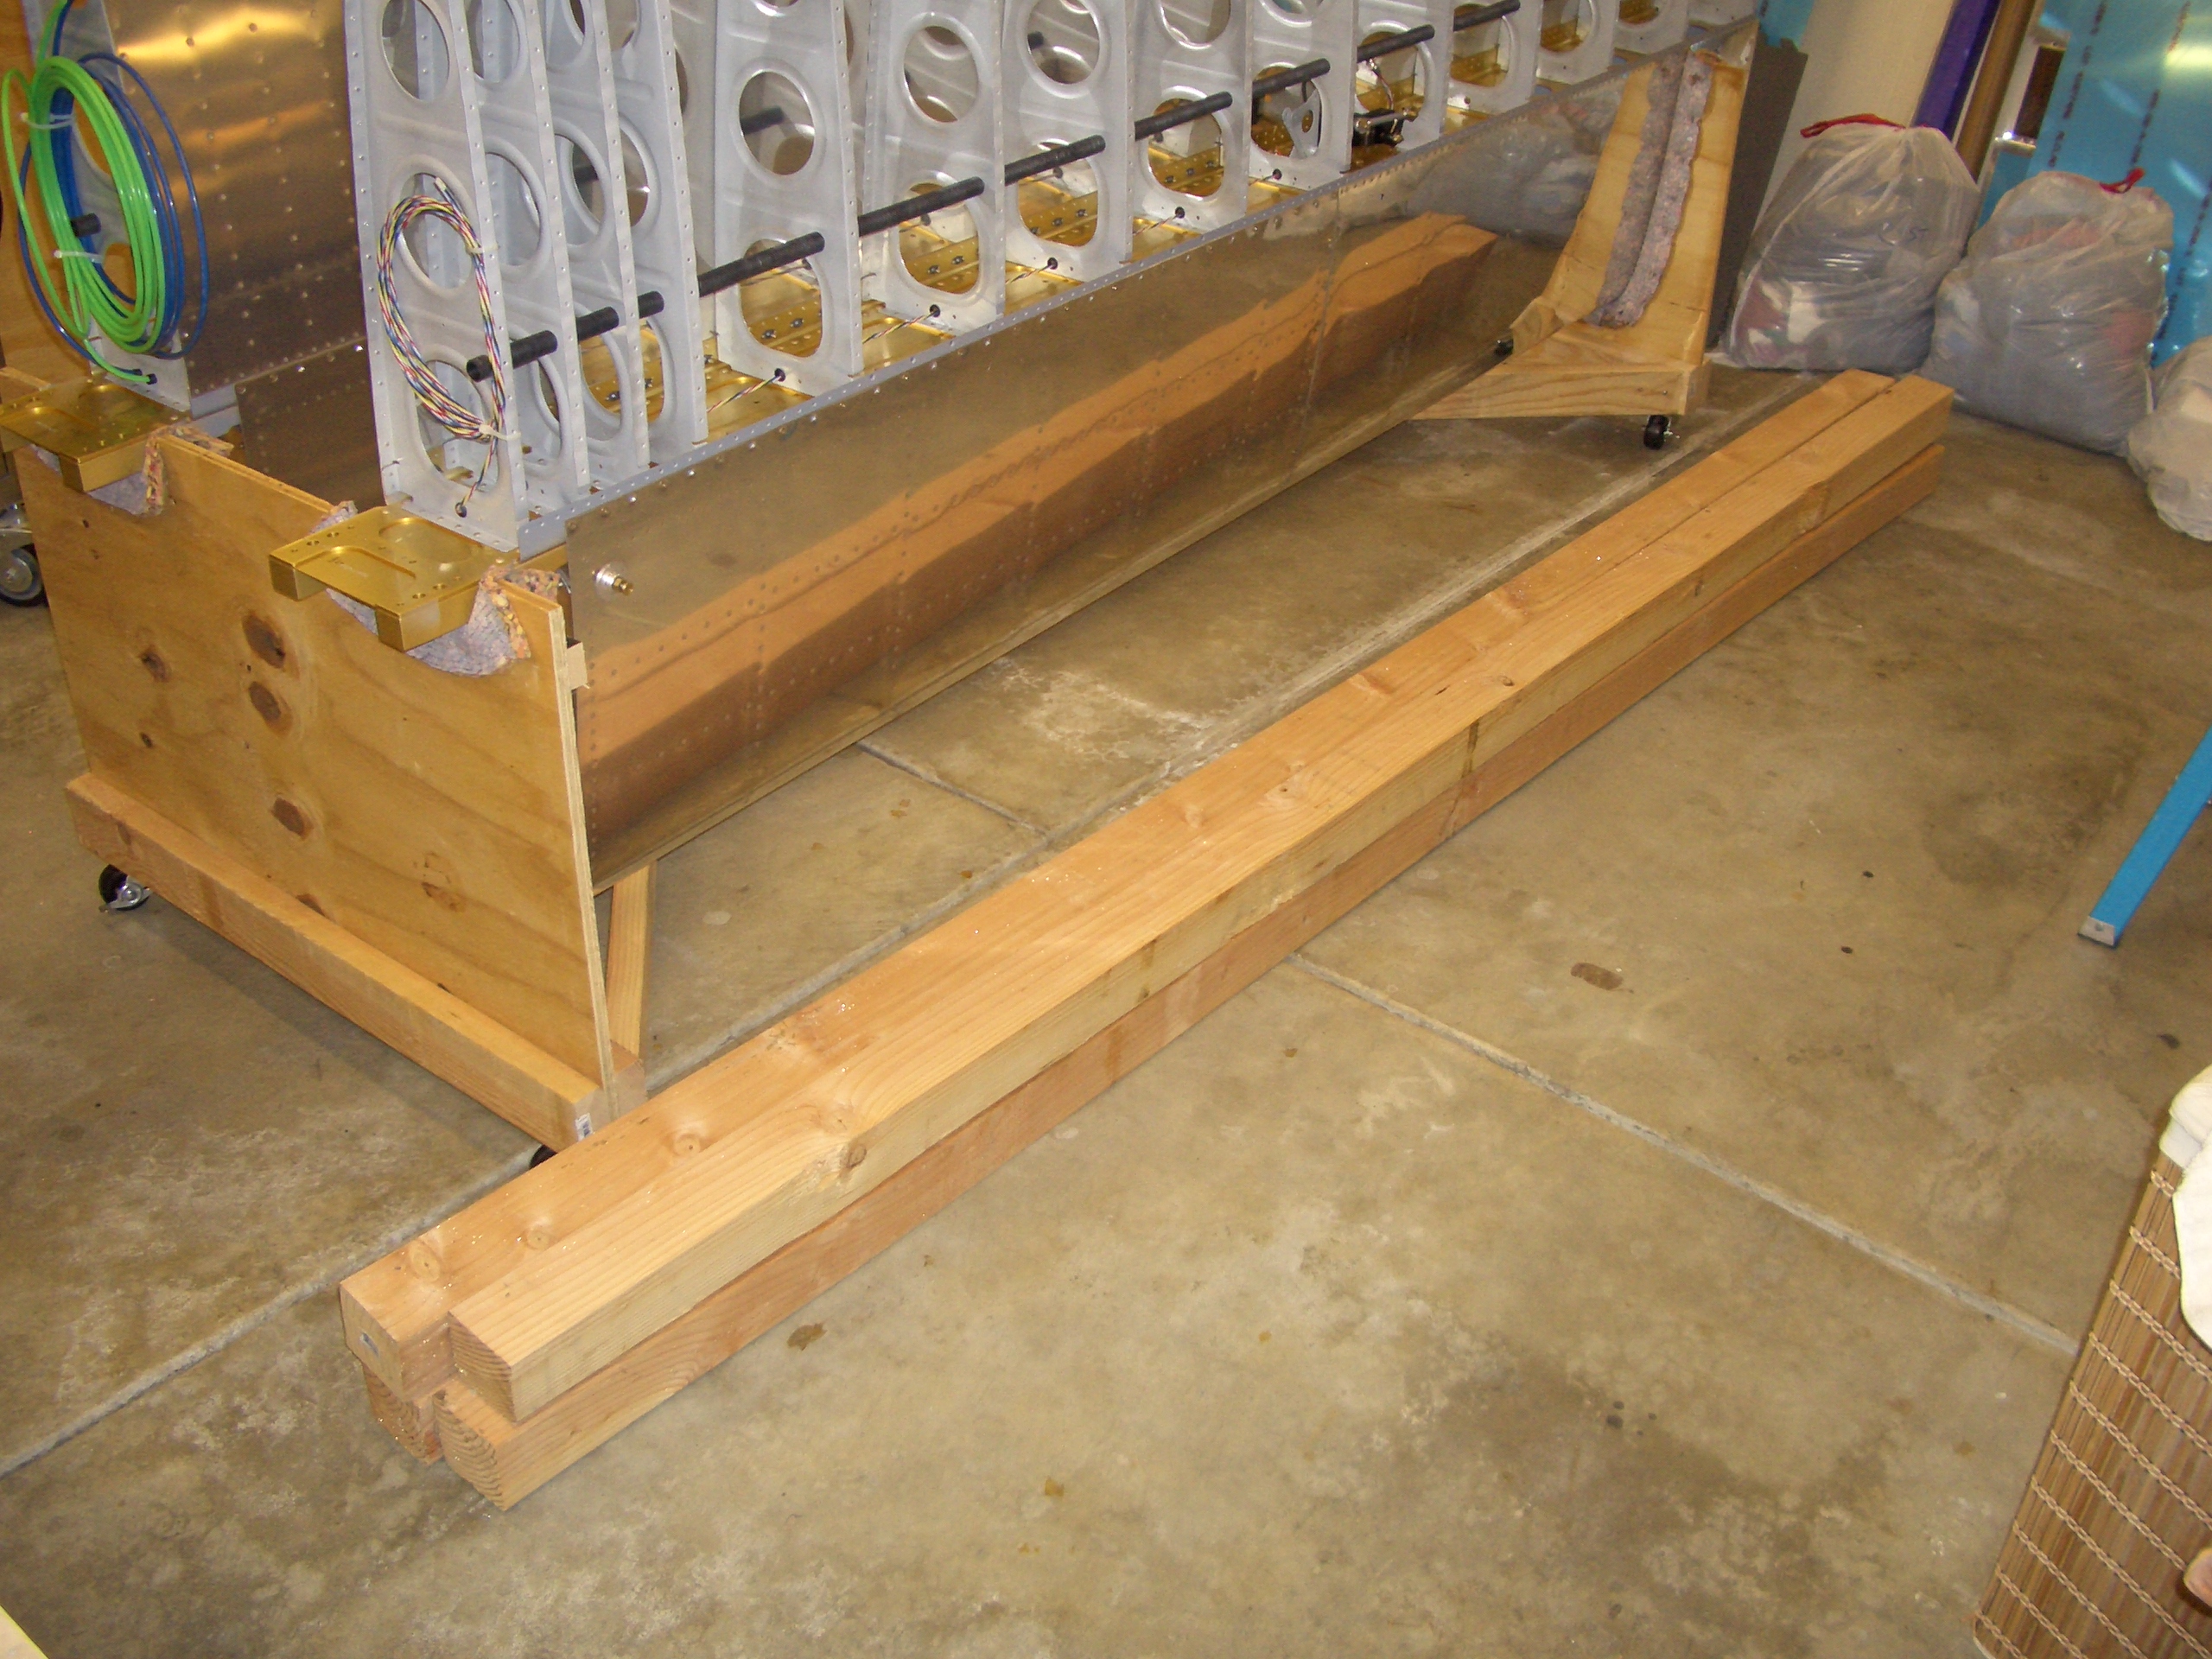
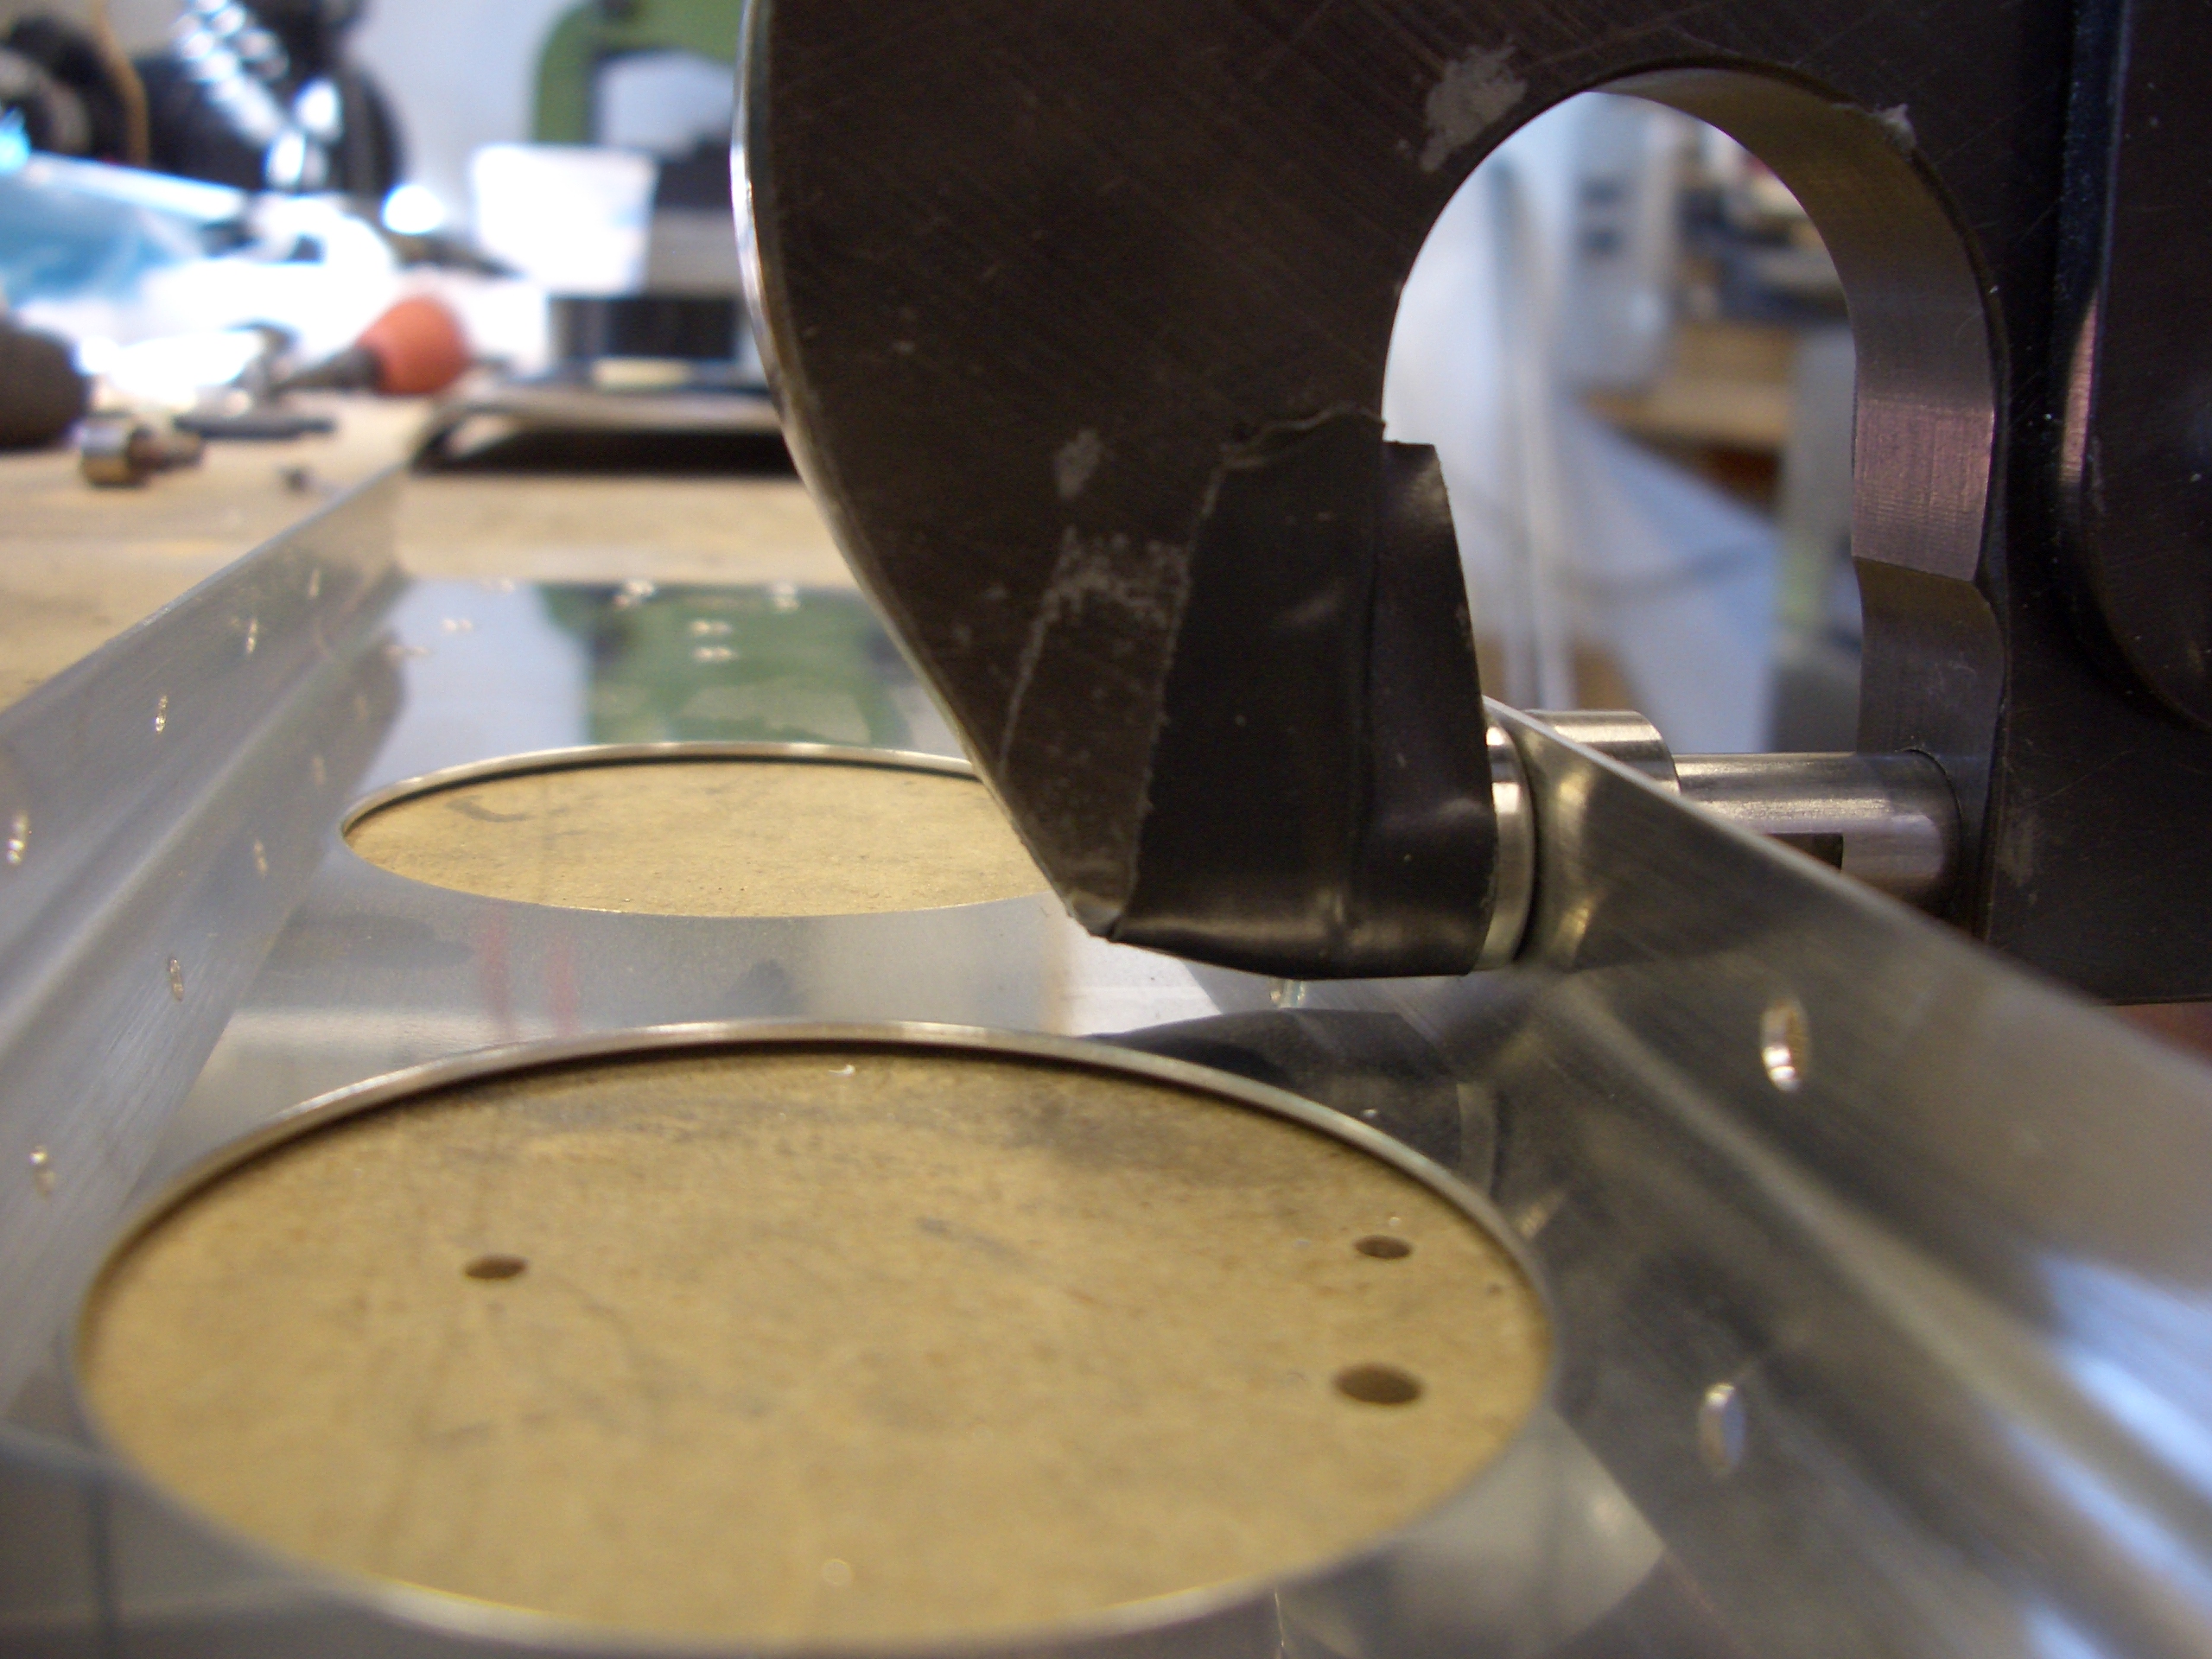
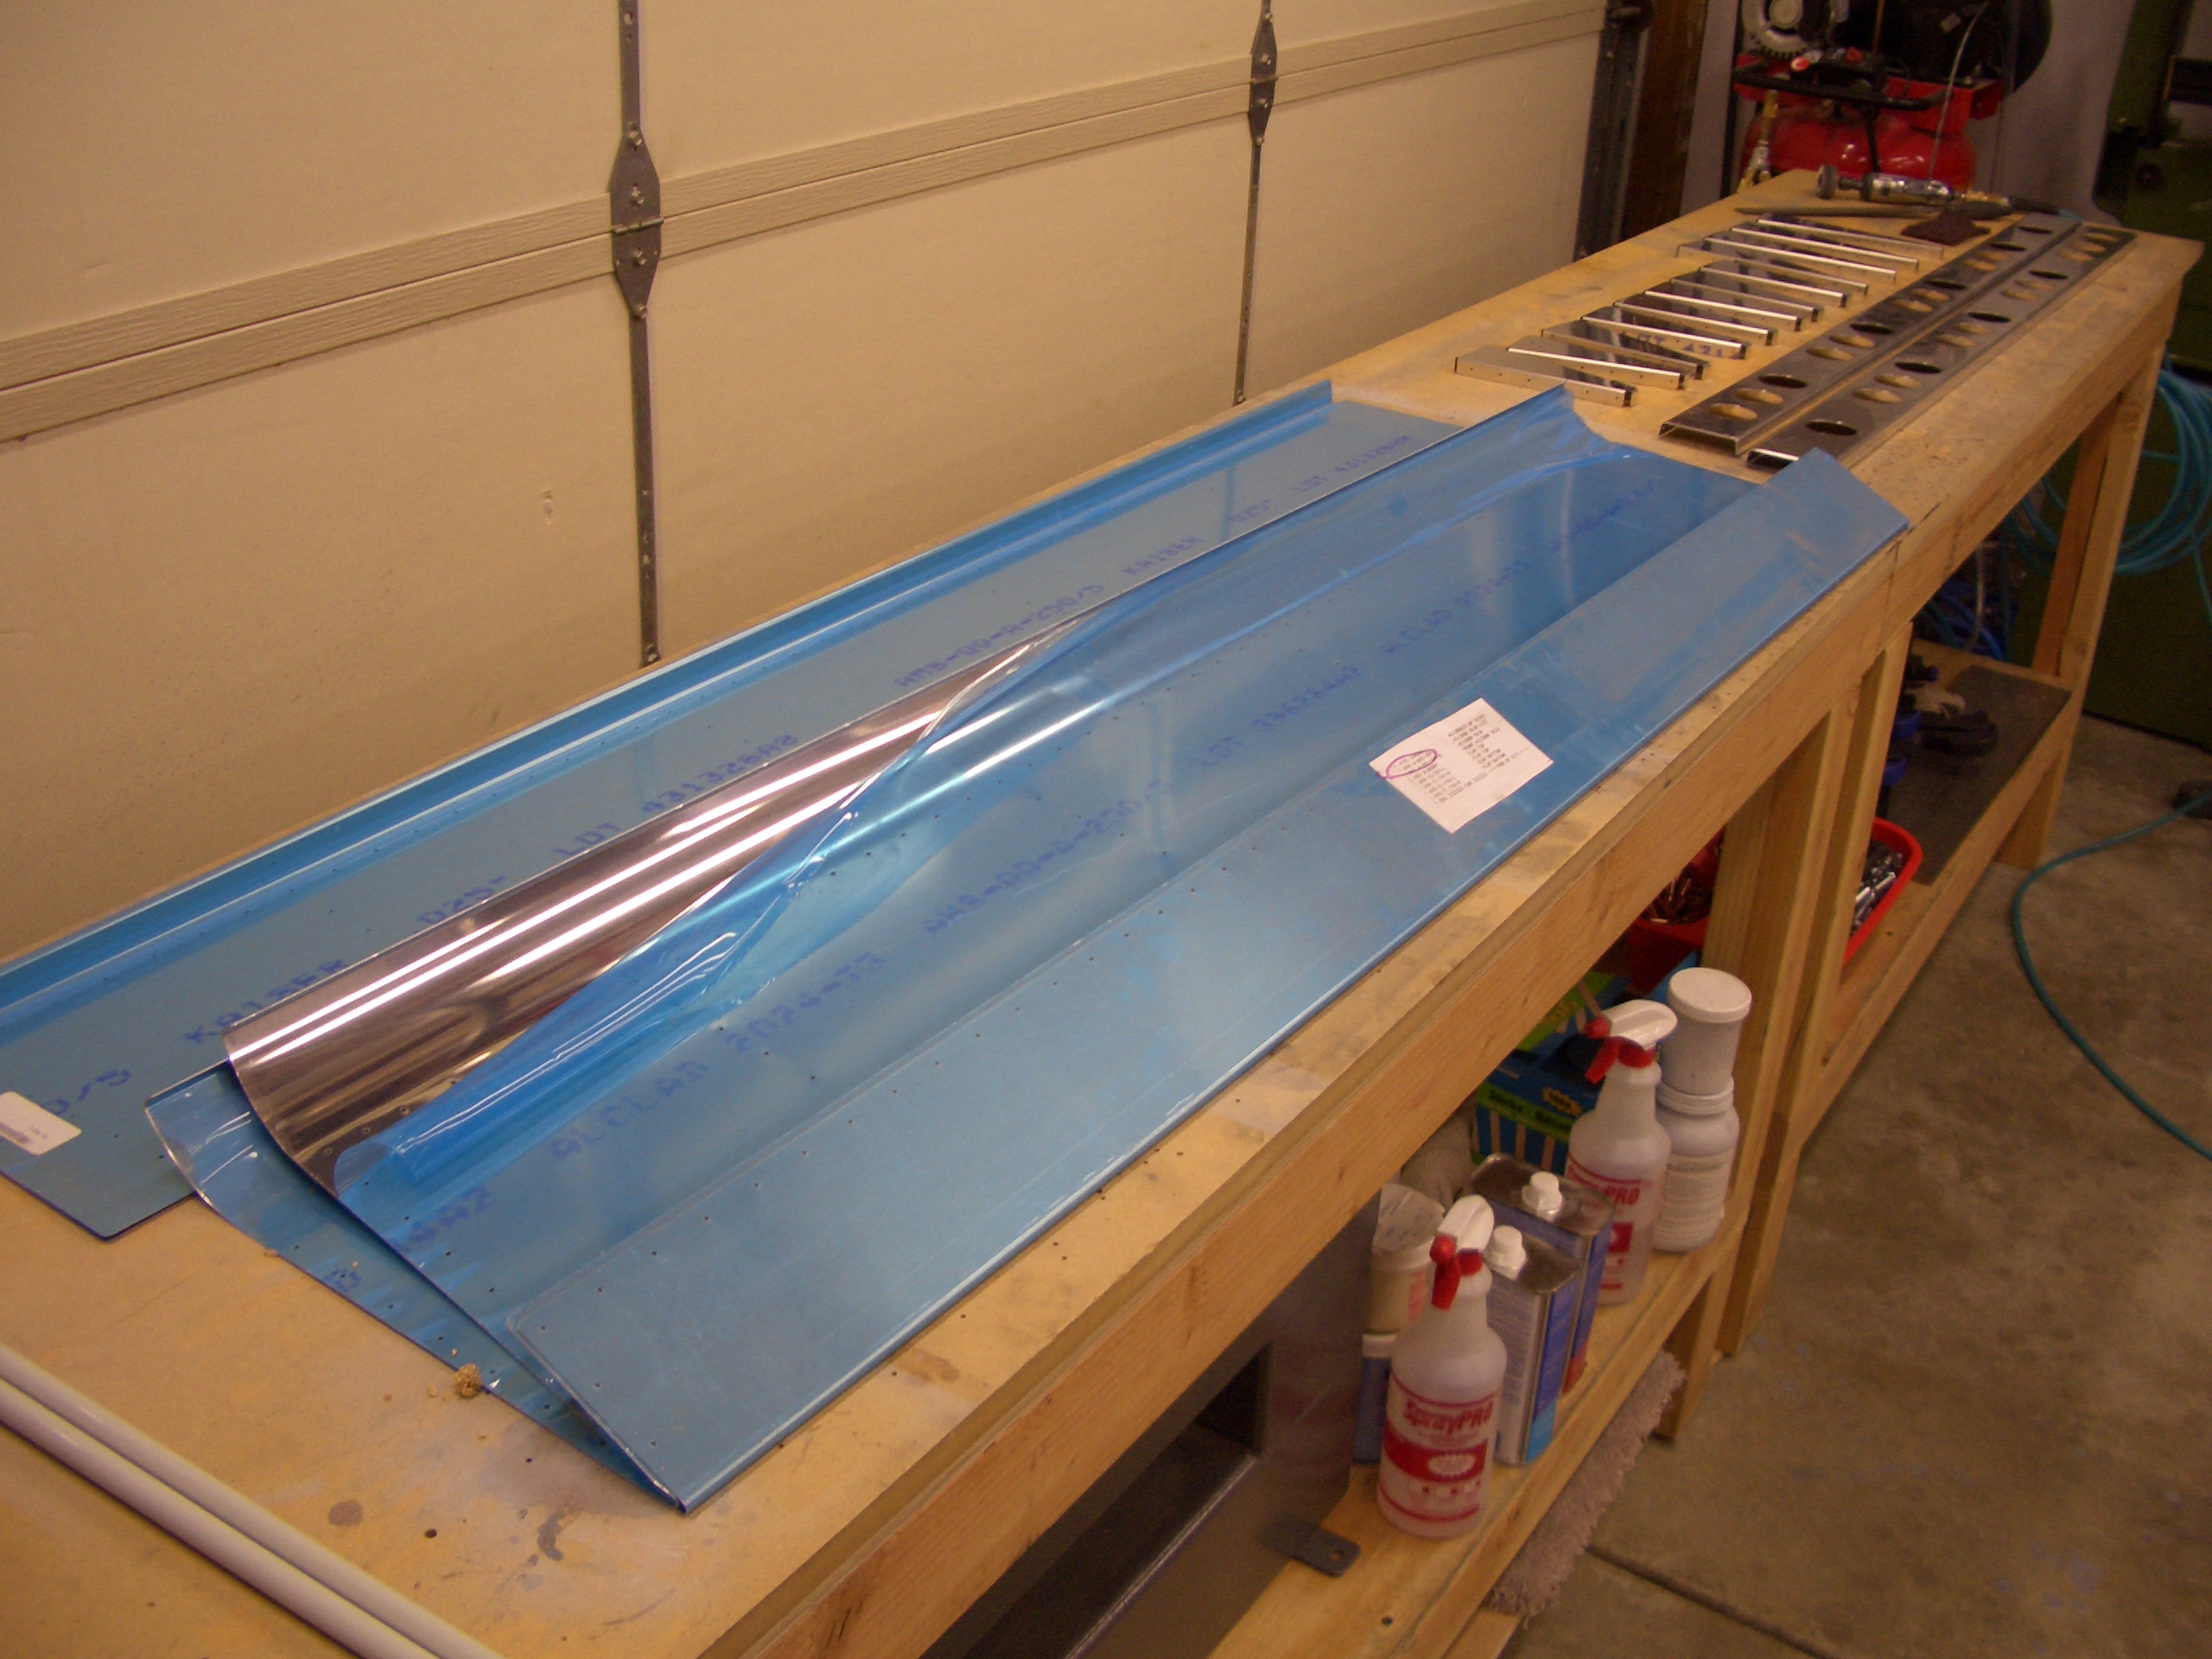
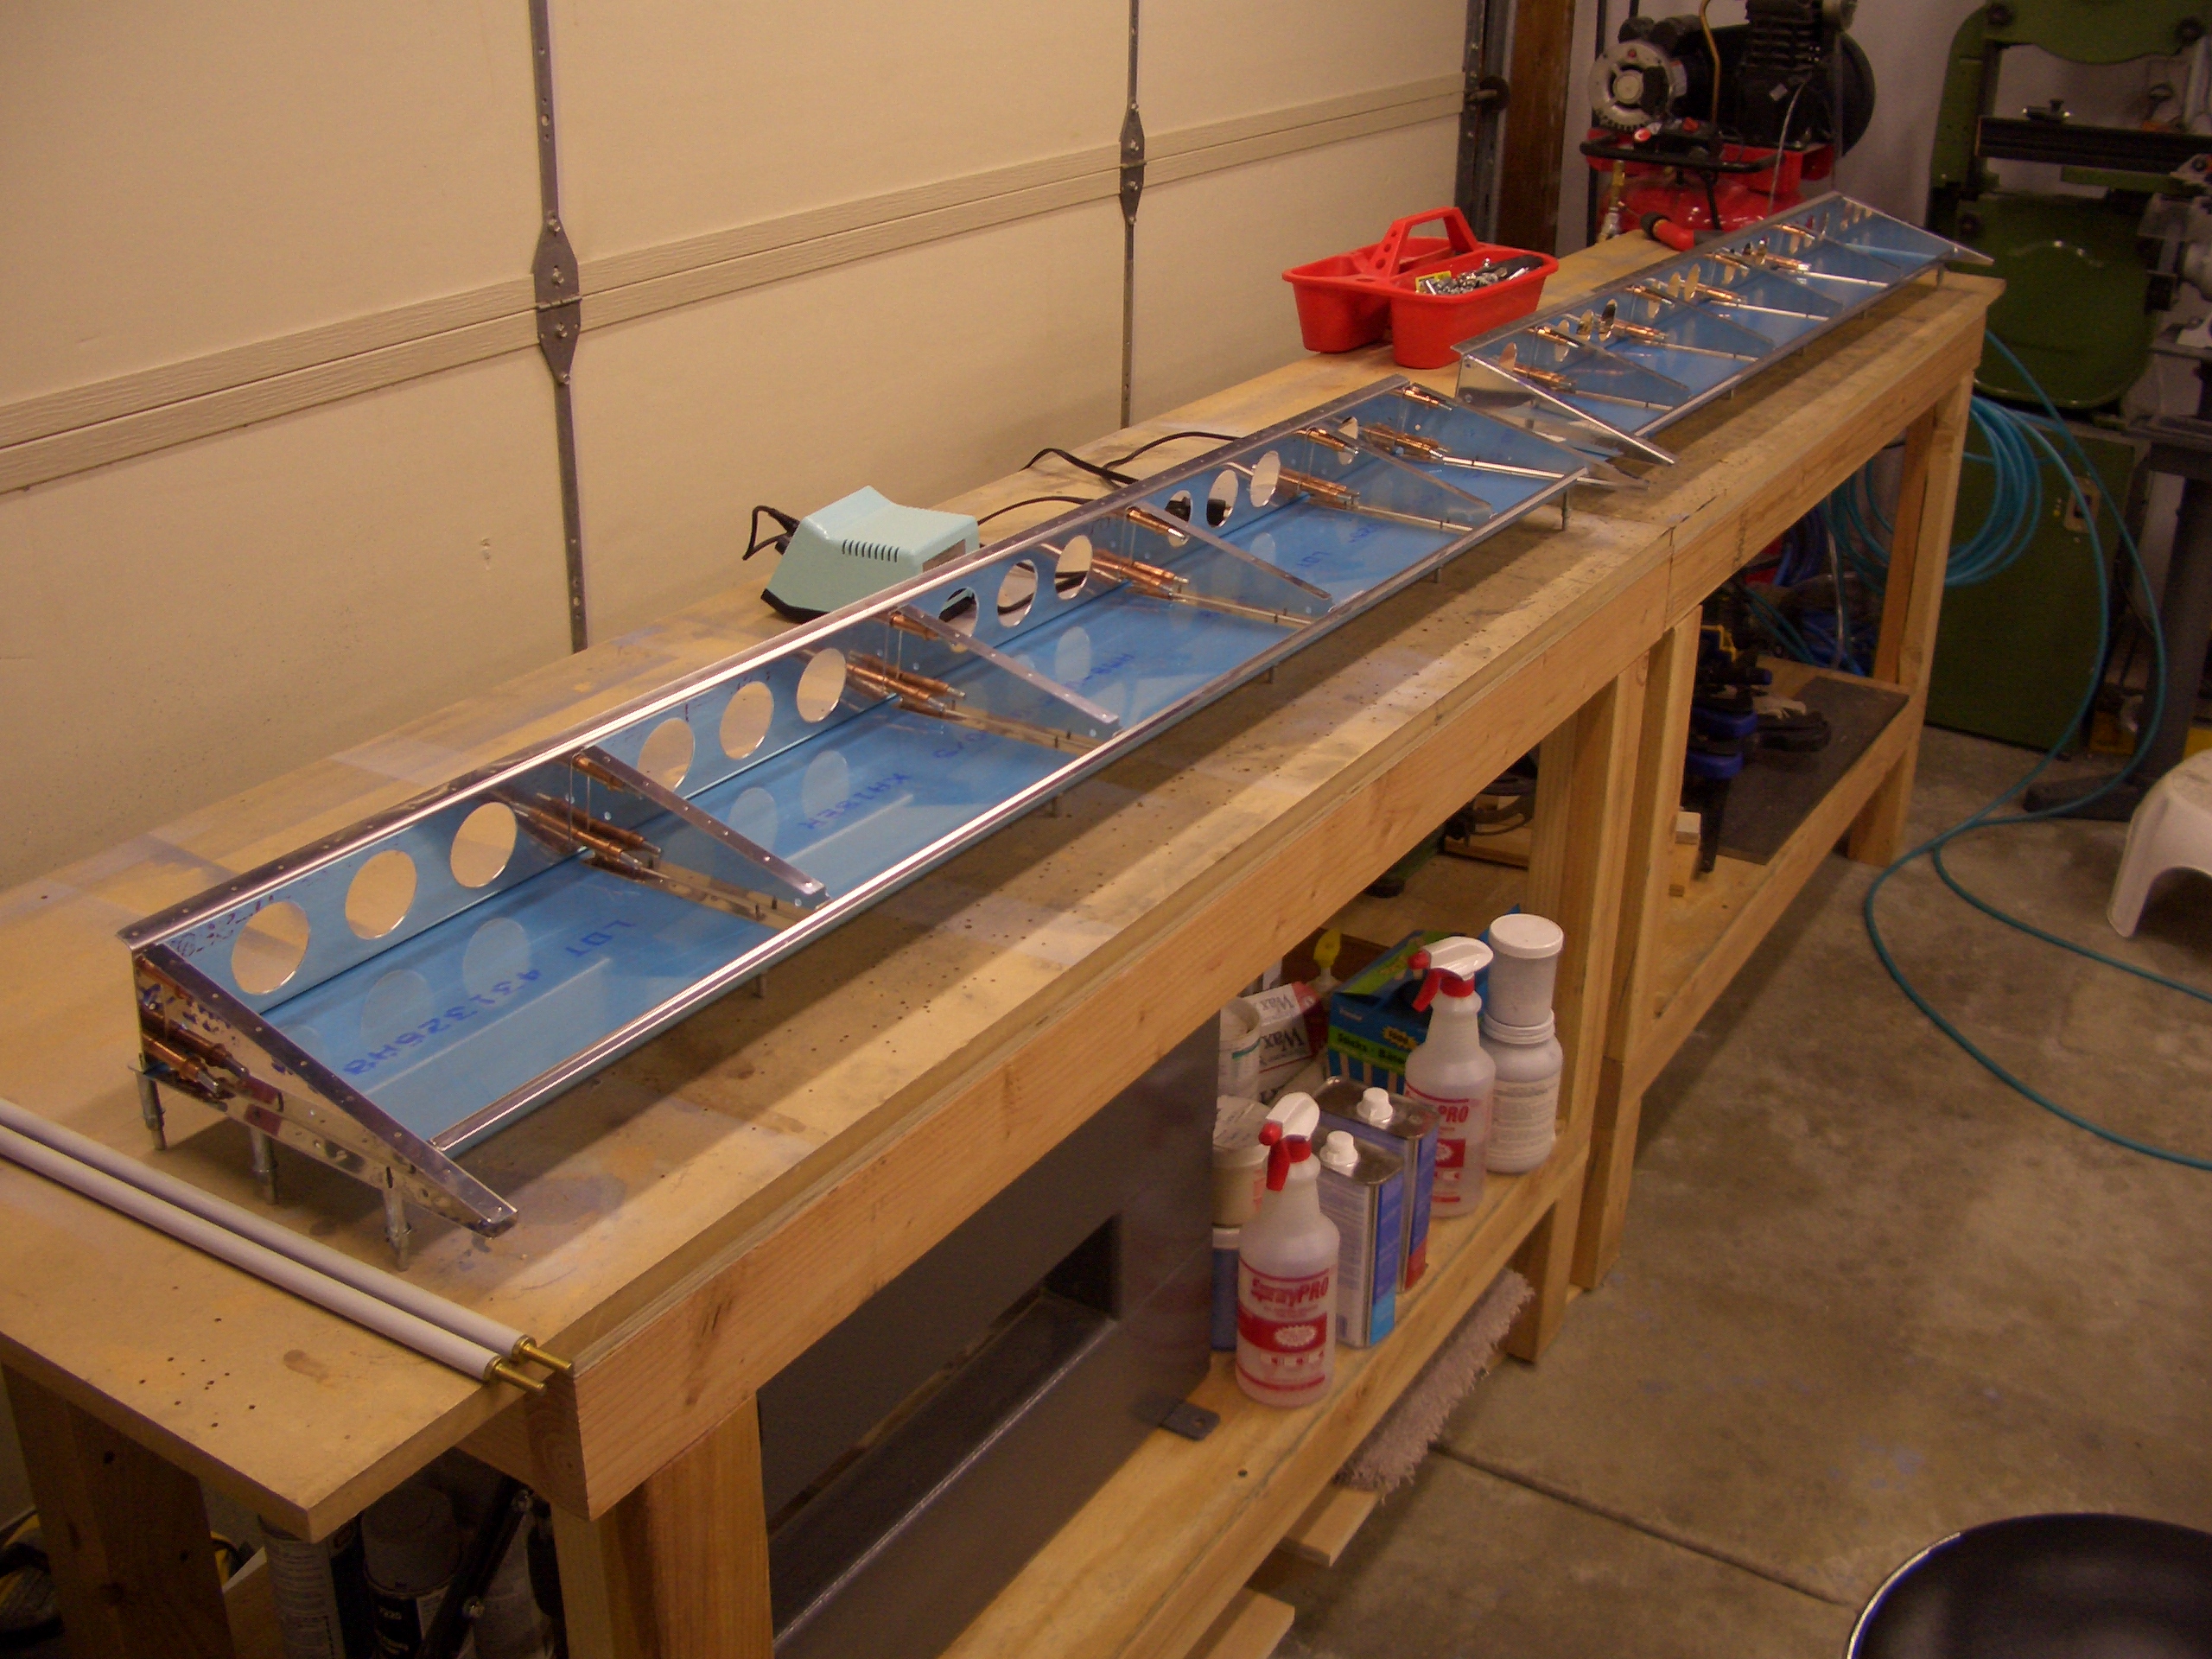
I also clecoed on the bottom skins on the left wing so that I could match drill the flap brace to the skin.  The flap hinge will also rivet along here, but I can’t do that until after I build the flaps.

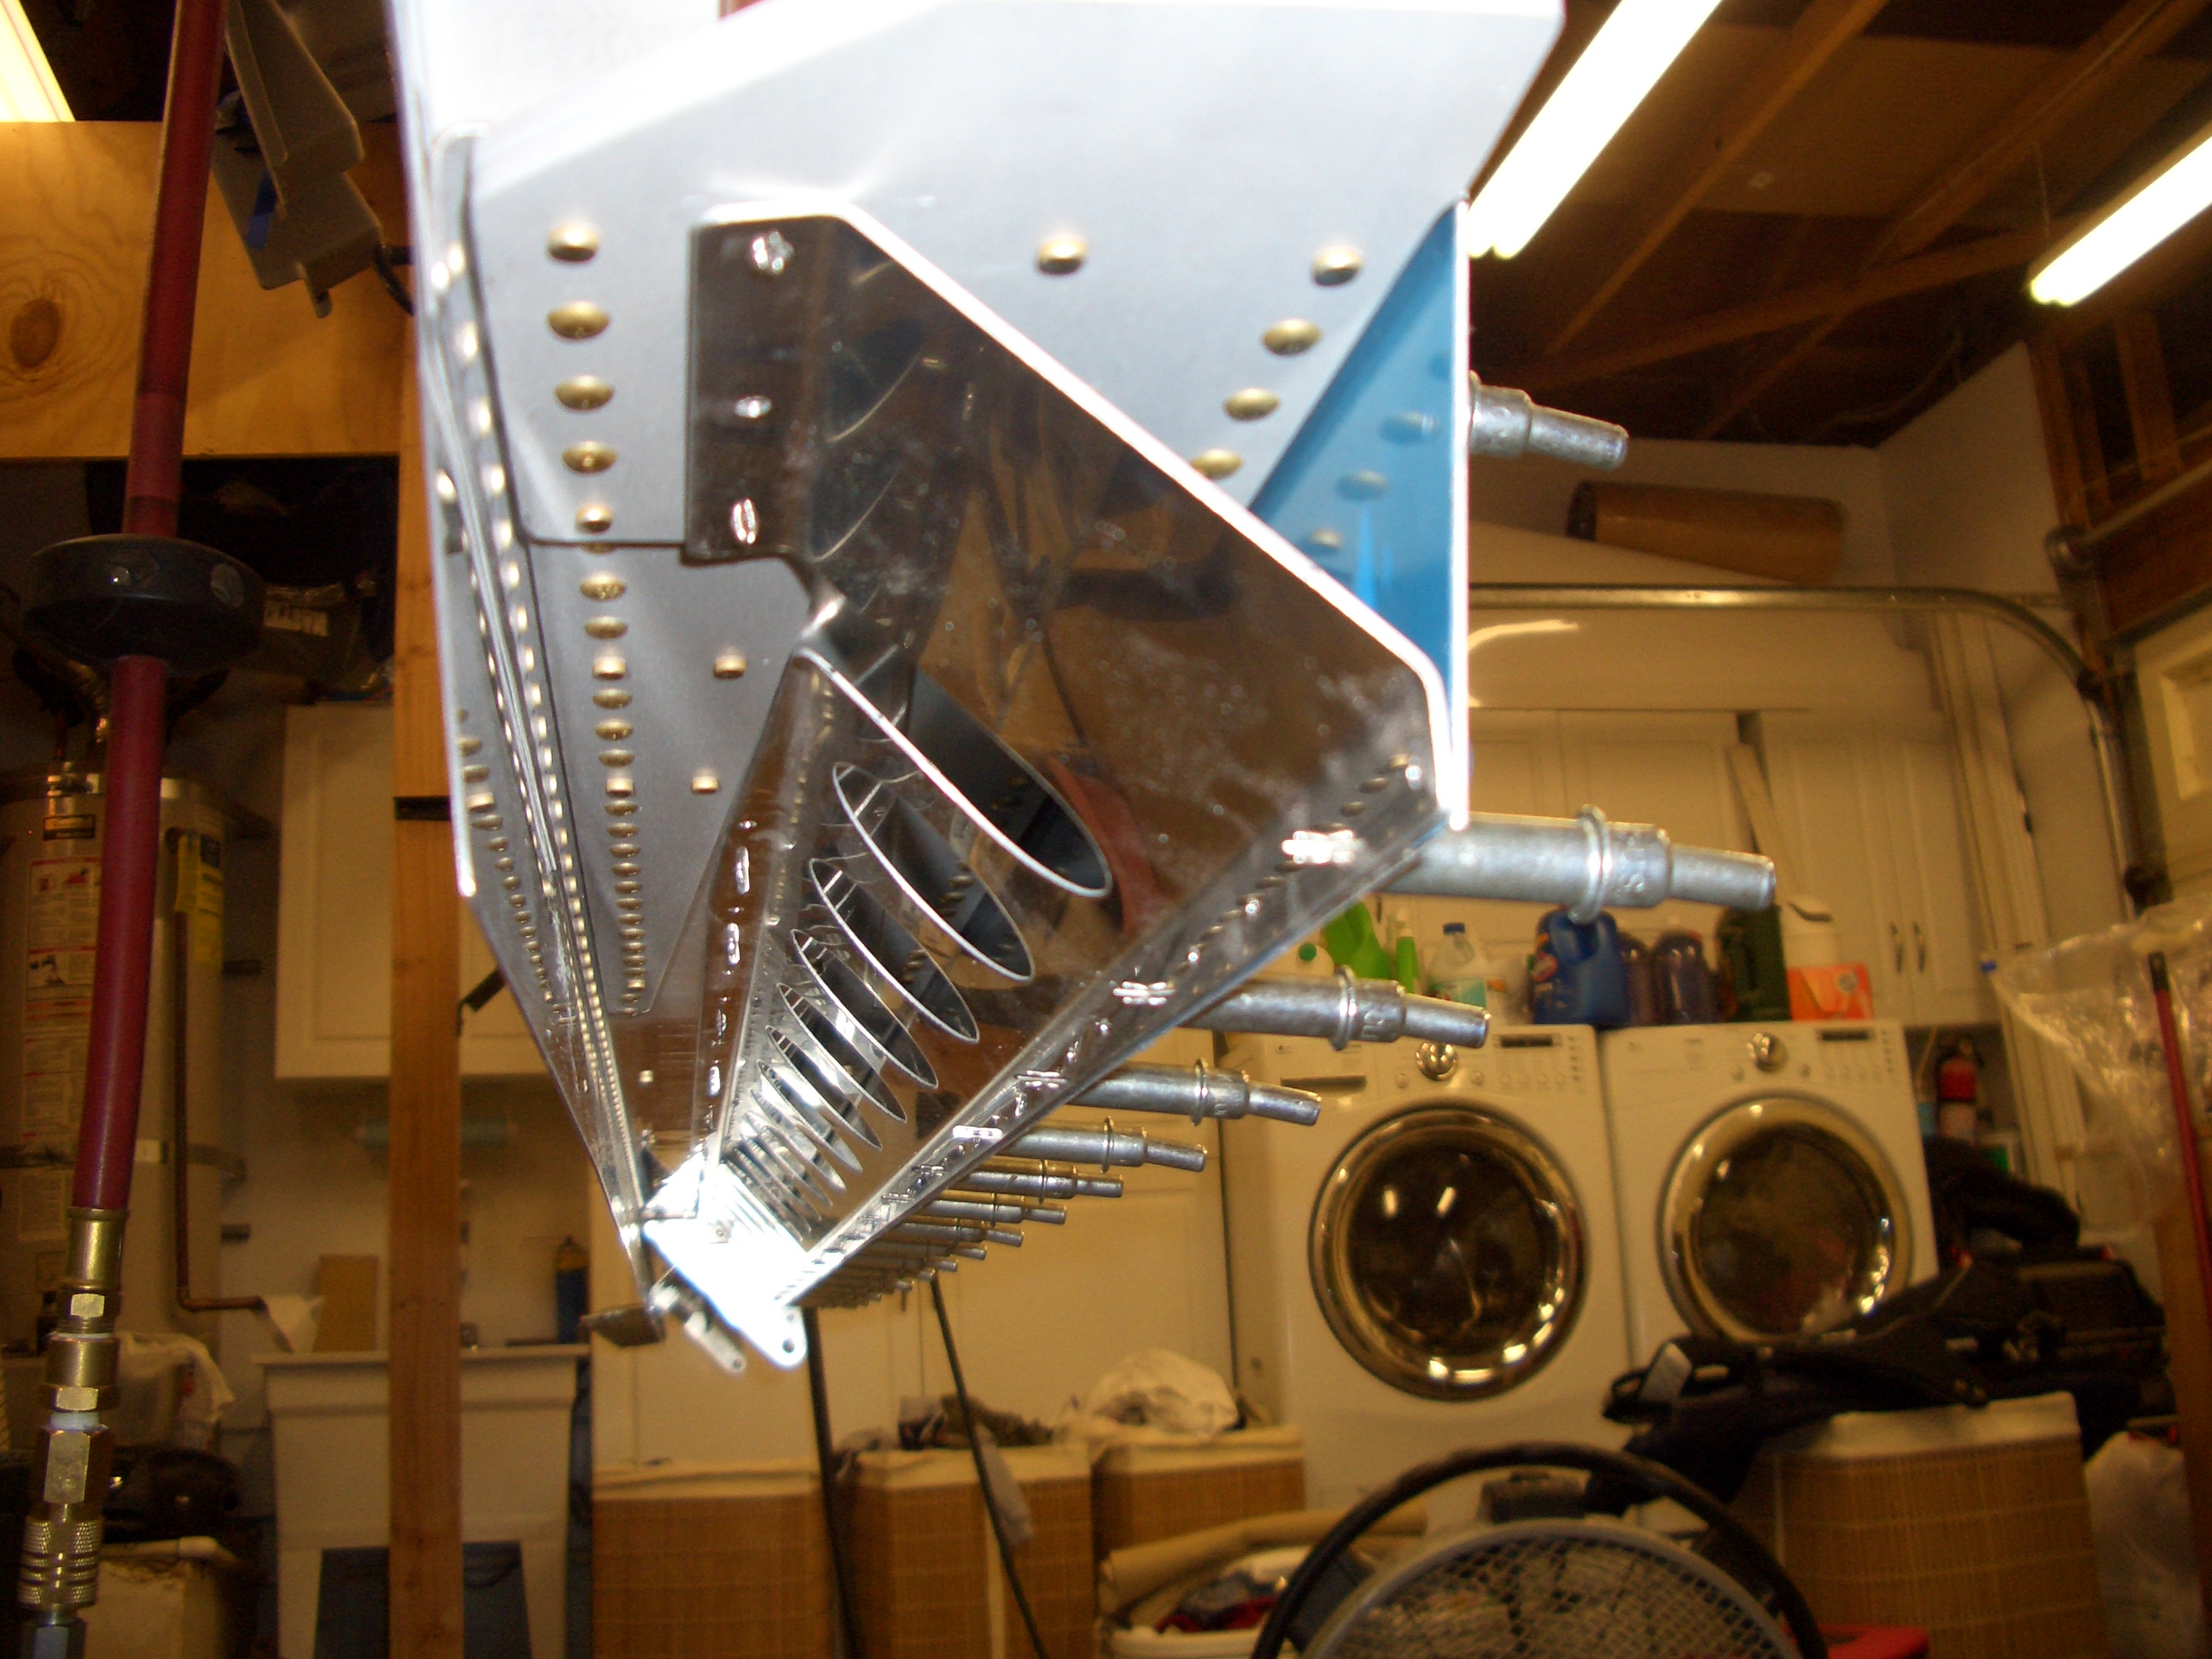
While I was at it, I went ahead and clecoed on the aileron brace, and match drilled it to the skin.  I still have to match drill it to the rear spar, but I’ll wait until the bottom skins come back off so I have easy access.

Fuselage Ship Date

I received my letter from Van’s today with the fuselage ship date.  It will ship during the week of 11/2, giving me about 5 weeks to finish up the wings.  The second wing will come off the jig this weekend, so the remaining tasks are to finish up the ailerons, build the flaps and control push rods, install the autopilot servo, pitot tube, bottom skins, and wing tips.

Wing Conduit and Bottom Wing Skins

I finished installing the conduit in the left wing.  I still need to put a little bit of sealant around the conduit where it crosses each rib to prevent vibration from cutting through the conduit.

I also got started on one of the bottom skins.  I removed the plastic along the rivet lines, deburred, and installed the nutplates along the perimeter of the access holes.

Riveted Right Wing Leading Edge and Top Wing Skins

Andre will be stopping by later today to help me finish up the right wing, so I got started this morning by making the wing cradle that will hole the wings after they come off the jig.  This is basically built according to plans with the exception of the casters so that it can be easily moved.

I didn’t get any pictures during the process, but in about three hours, Andre and I knocked out the leading edge and top skins of the right wing.  I still need to squeeze the rivets along the rear spar and inboard rib, but other than that it is ready to come off the wing jig.

I went ahead and installed the autopilot roll servo and torqued the mounting bolts.  The wire still needs to be secured to keep from interfering with the aileron bellcrank, but that will have to wait until I get some adel clamps.

Pitot Tubing and Z-Bracket Bolts

My 437-4 snap bushings showed up from Aircraft Spruce today, so I was able to install them and run the green pitot tubing through the right wing.

I also neglected to install any of the bolts holding the right fuel tank z-brackets to the spar, so I put a couple of bolts in each of the z-brackets and torqued them down.

Miscellaneous Wing Tasks

I have my second tech counselor visit this Saturday afternoon, so I’m trying to knock out as many tasks as I can before then.

Since installing the wing conduit is so loud, I came out to the garage this morning after Jenn was at work at the kids were at school/daycare and installed it in the right wing.

After work, I squeezed the remaining rivets along the rear spar and inboard rib.  The top of the right wing is totally done now.

I also deburred the edges and clecoed on the right wing flap brace and aileron gap seal.  It’s late, so I’ll drill these tomorrow.

Wings off of the Jig!

Jenn helped me pull the wings down off of the jig this morning and put them in the cradle.  This is a big milestone in the construction of the wings, and it feels really good to reach this point.

I did the ceremonial tearing down of the jig tonight after work.  The garage feels so much bigger now.  It’s been about 4 1/2 months since I erected the wing jig, which seems to be faster than most.  Given my pace, it looks like I’m on track to fly sometime in the first half of 2011.


Ailerons and Related Tasks

I started out by fitting the aileron hinge brackets on the right wing.  One of the rivets interfered   with the hinge bracket slightly.  A few seconds on the scotchbrite wheel took care of that and the hinge bracket now fits perfectly.

I finished up deburring the aileron components and started working on dimpling the various components.  Dimpling the spar is tight, so I ground part of my 1/8″ female dimple die to allow me to fit in there.

I also ended up grinding off part of my 1.5″ yoke so that it wouldn’t scrape along the spar.

Here you can see that I can easily reach the spar dimples now without scraping the spar web or hitting the flange radius.

My shipment from Aircraft Spruce showed up today, so I used a couple of the adel clamps to secure the roll servo wiring harness.  You’ll also notice that I added heat shrink material over the connection to not only hold it together and keep it from being exposed to the elements, but it also prevents it from scraping the spar.

I cleaned, etched, and primed all of the aileron components.

First up is to rivet on the spar reinforcing plates.  The inboard ends each get a K1000-03 nutplate riveted on with flush rivets.  The inner row of holes on each reinforcing plate get riveted now as well since there is nothing else that attaches there.

The nose ribs get blind riveted to the counterweight.

Then the nose ribs get dropped into the leading edge skins and the spars are riveted to them (the closer row of three rivets here just above the nutplate).

Finally, the trailing edge skin is clecoed along the top side of the spar.  It’s far too late to think about riveting this tonight (almost 2 am as I’m writing this), so I’m done for the night.


Tech Counselor Visit

My first tech counselor, Dan Checkoway, moved out of the area since he visited during my empennage construction, so I needed to find someone new.  Several people recommended Brian Dal Porto, a local RV-7 builder who is also an A&P mechanic, so I called him last week to schedule a visit.  He stopped by today to check out the progress on my wings.  He didn’t find anything that needed to be redone, but it was great to be able to run a few questions by him.  He said the quality of my work was very good and well above average.

Aileron Push Tubes and Flaps

I cut the large push tubes using the cut-off saw.  This was really the wrong tool for the job as it didn’t make a perfectly straight cut.  Fortunately, I was able to square up the end and still have it be the correct length.  I cut the other one using a pipe cutter which worked much better.

Here are the two large push tubes cut to length.  The extra is because the RV-8 push tubes are about 5″ longer each.

The push tubes get threaded aluminum fittings in each end.  Here, I’ve pressed the ends into the tube in preparation for drilling.

Using a piece of masking tape cut to fit exactly around the circumference of the push tube, I used a rivet fan to lay out six rivets evenly spaced around the tube.

Putting the tape back on the push tube, I marked for the rivet holes.

These were then drilled on the drill press using a #30 drill bit.

After disassembling and deburring, I sealed each end with tape and sprayed in some self-etching primer to coat the inside of the tube.  The ends were then pressed back into place and blind riveted together.

I suspended the push tubes between a couple of solvent cans using some pieces of wire so that they could be primed on the outside.

The push tubes are installed on the bellcranks using some long bolts and some bushings that have to be fabricated to the correct length.

The ends of the push tubes stick out of the inboard ends of the wings since they will stick into the fuselage and attach to the control sticks.

I also cut the smaller push tubes to length using the pipe cutter.  Unlike the larger push tubes, there is virtually no extra material.  The tiny piece at the bottom is all that is left.

The rod ends have to be pressed into place and either riveted or welded.  The plans call for aluminum rivets which a number of people have questioned.  Since these parts are all steel, aluminum rivets could corrode and cause these rod ends to loosen in the push tubes.  Needless to say, I’m going to have these welded.

Here is one of the rod ends pressed into place.  It shouldn’t take them more than a few minutes to put a quick bead around this joint using a tig welder.

I had a little more time this evening, so I pulled down all of the parts for the flaps, stripped the plastic off of the spars and ribs and deburred the main spars.

I drilled the ribs to the spars and then clecoed on the bottom skins.

Spacers of various thicknesses need to be cut and inserted between the ribs and flange that forms the rear spar.  These were then match drilled along with the rib to the hole already in the rear flange of the bottom skin.