Glassed Inside of Wheel Pants

I added a couple of layers of fiberglass to reinforce the areas around the mounting bracket attach points.  I then added some flox to the epoxy and spread a reasonably thick layer over the area where the bracket will sit.  A bunch will extrude out, but it’s easier to grind off the extra than mix up subsequent batches because there were voids in the shims.

I taped over the mounting flanges, then reinstalled the wheel pants so that the epoxy/flox could set up in the right position.

You can see the extra flox through the wheel pant here.  I didn’t want to use clecos to clamp this while the epoxy cures because that would flex the mounting bracket and squeeze out the excess epoxy/flox.  Instead, I simply used some really long 3/32″ rivets to keep the holes aligned.  I’ll put the plane back up on jacks and realign the wheel pants while opening these holes up for screws since there could be some misalignment introduced as the holes are drilled out.

Trimmed Wheel Pant Mounting Shims

I popped the wheel pants off the plane, and all of the mounting shims turned out great.  There was plenty of squeeze out to ensure that the shims went to the edge of the mounting flanges.

I used my fiberglass cutoff wheel to remove the excess epoxy/flox and fair it into the surrounding glass.  I don’t care if this is perfectly smooth since it’s on the inside of the wheel pant.  I mainly just want to remove the sharp edges so I don’t cut myself when handling these in the future.  A lot of dirt and muck will get slung up into the wheel pants over time, so I want to make this reasonably easy to clean if necessary.  Finally, I reinstalled the wheel pants in preparation for final alignment.

Final Wheel Pant Alignment and New Avionics

I put the plane back up on jacks and slowly enlarged the mounting holes up to #19 for a #8 screw while adjusting the wheel pants to be perfectly aligned with the longitudinal axis of the plane.  They were off a little bit when I started which is probably due to the epoxy/flox shims slightly shifting the position of the pants from when I first drilled them.  Since my brackets are stainless steel, I needed to use a fair amount of pressure to drill these, so I backed them up with some wood to prevent them from flexing in as I drilled.

After drilling these out, I pulled the wheel pants and gear leg fairings off the plane and to the plane back off the jacks so it’s ready for flight again.

Dynon recently released two new boxes that work with the SkyView system: one to provide dedicated knobs to control the altitude bug, heading/track bug and barometric pressure and another to provide a set of dedicated autopilot controls so that you don’t have to navigate through various menus to control it.  I’m mounting these in my radio stack with the outer edges flush with the other boxes in the stack.  This leaves enough room in the center for another small device if I want to add one.  I laid out for the holes, but it was too late to start cutting into the panel.  Once I have these mounted, hooking them up to the SkyView network will be pretty straightforward since I can just daisy chain them between the displays.

Test Fit New Avionics

I cut the holes for the new avionics boxes and test fit them into the holes.  Cutting these holes in place was a real pain.  The nibbler I had wouldn’t cut 0.063″ thick sheet, and I didn’t have anything else that would work well.  I ended up drilling a series of 1/4″ holes around the perimeter and using a file to open the hole up enough for the avionics to fit.  It was quite a bit of iteration and it ended up taking me nearly 2 hours to get them cut.  That was still way faster than pulling the panel out of the plane though.  With everything installed and aligned, I drilled the mounting holes through the holes in the face of the avionics.

Afterward, I pulled the new boxes and the GTN, then used a scrap miniature #6 nutplate to drill holes for the rivets that will hold the nutplates in place.  I still need to countersink the holes and rivet them in place, but I’m beat tonight.  It shouldn’t take more than a couple more hours to finish up the nutplates and then fabricate a few new network cables to tie the boxes together.  The autopilot control box (on the right in the picture above) also includes a trim controller that essentially does the same function as the VP-X that controls the trim now.  In the future though, Dynon plans to add auto-trim to their autopilot, so I’ll eventually rewire the trim to go through this box.

Finished New Avionics Installation

I stopped down at the airport with the kids and wrapped up the new avionics installation.  All that was left was installing the nutplates and doing the wiring.  I previously just had a single network cable connecting the two displays, but I needed to replace that with three network cables (left SkyView to knob panel, knob panel to autopilot panel and autopilot panel to right SkyView).  Since I had run the previous network cable between the two screens along the sub panel, it was long enough to cut and install new connectors on to make two of the three cables I needed.  Fortunately, I had enough scrap network cable in my box of wires to make the third.

After hooking everything up, I did a network config to allow the SkyView system to find the new boxes and did some ground tests to make sure everything was working properly.  Since I had the kids with me, I couldn’t take it up for a test flight, but I’m sure these will be a nice improvement to the panel.

Gross Weight and Aft CG Testing

Greg stopped by yesterday and dropped off 250lbs of sand that he used for his gross weight testing, so I decided to do my testing today.  Because I set my gross at 1950lbs, I actually needed 350lbs of additional weight to hit max gross.  I started by putting the sand in the passenger seat (with the seat bottom and passenger stick removed), and belted it in tight so that it couldn’t shift.  I had partial fuel at this point, so I was right around Van’s recommended gross weight of 1800lbs and 1.2″ in front of the aft CG limit.  I went out and flew at this weight for a bit to determine the impact to the stall speed and handling during landing.

I was still about to get about 1800fpm of climb which is pretty close to Van’s published figures, and the stall speed was only slightly higher.

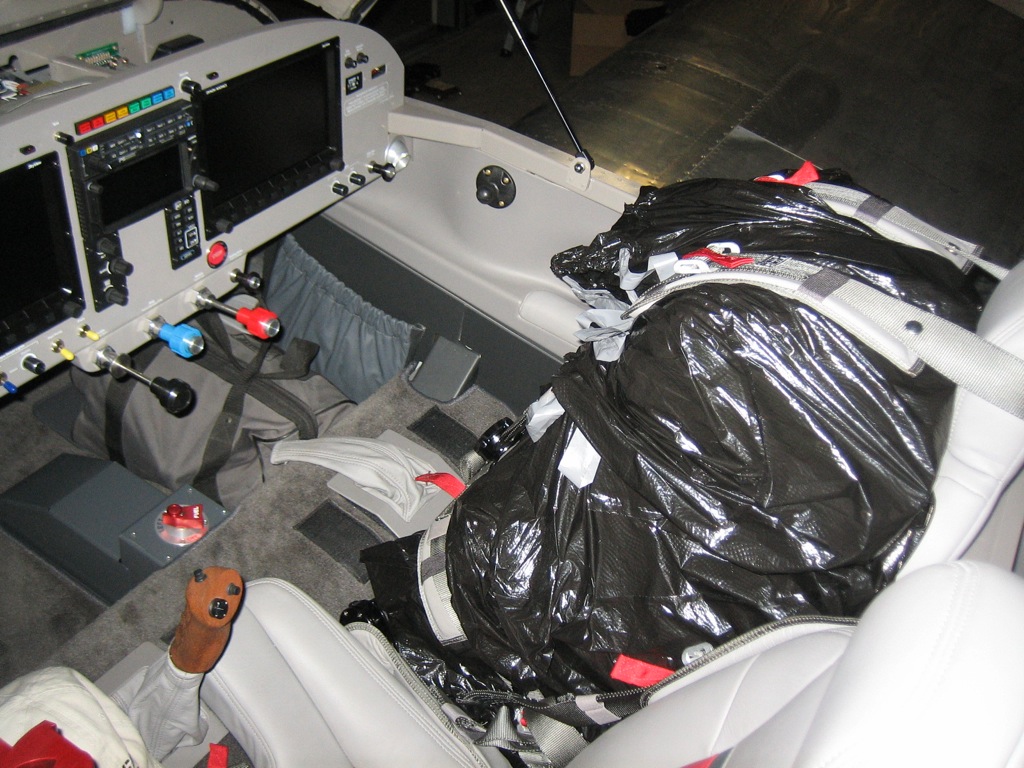
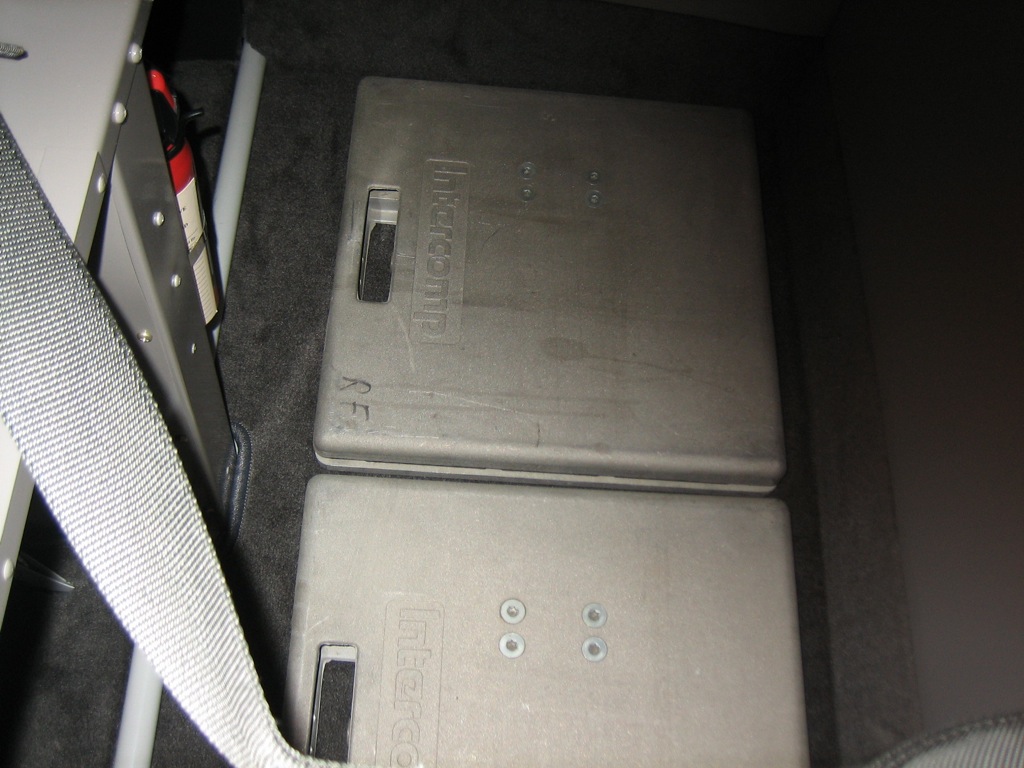
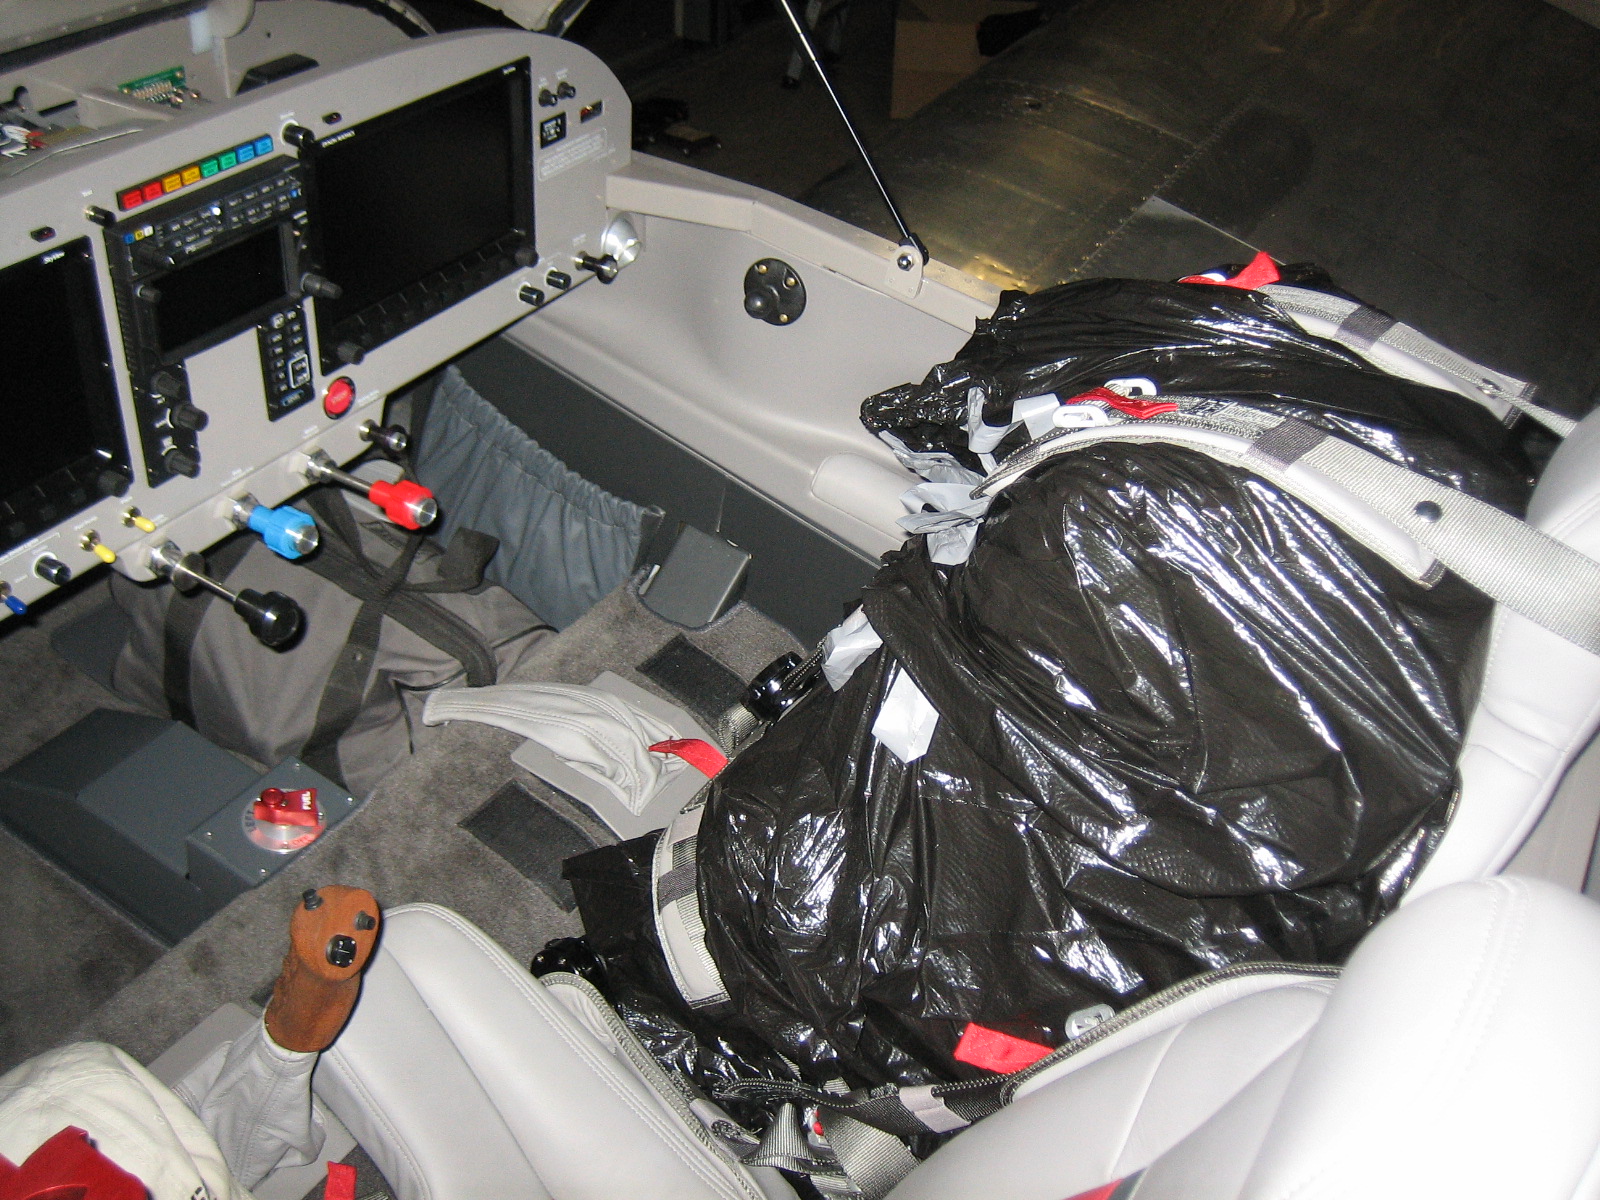
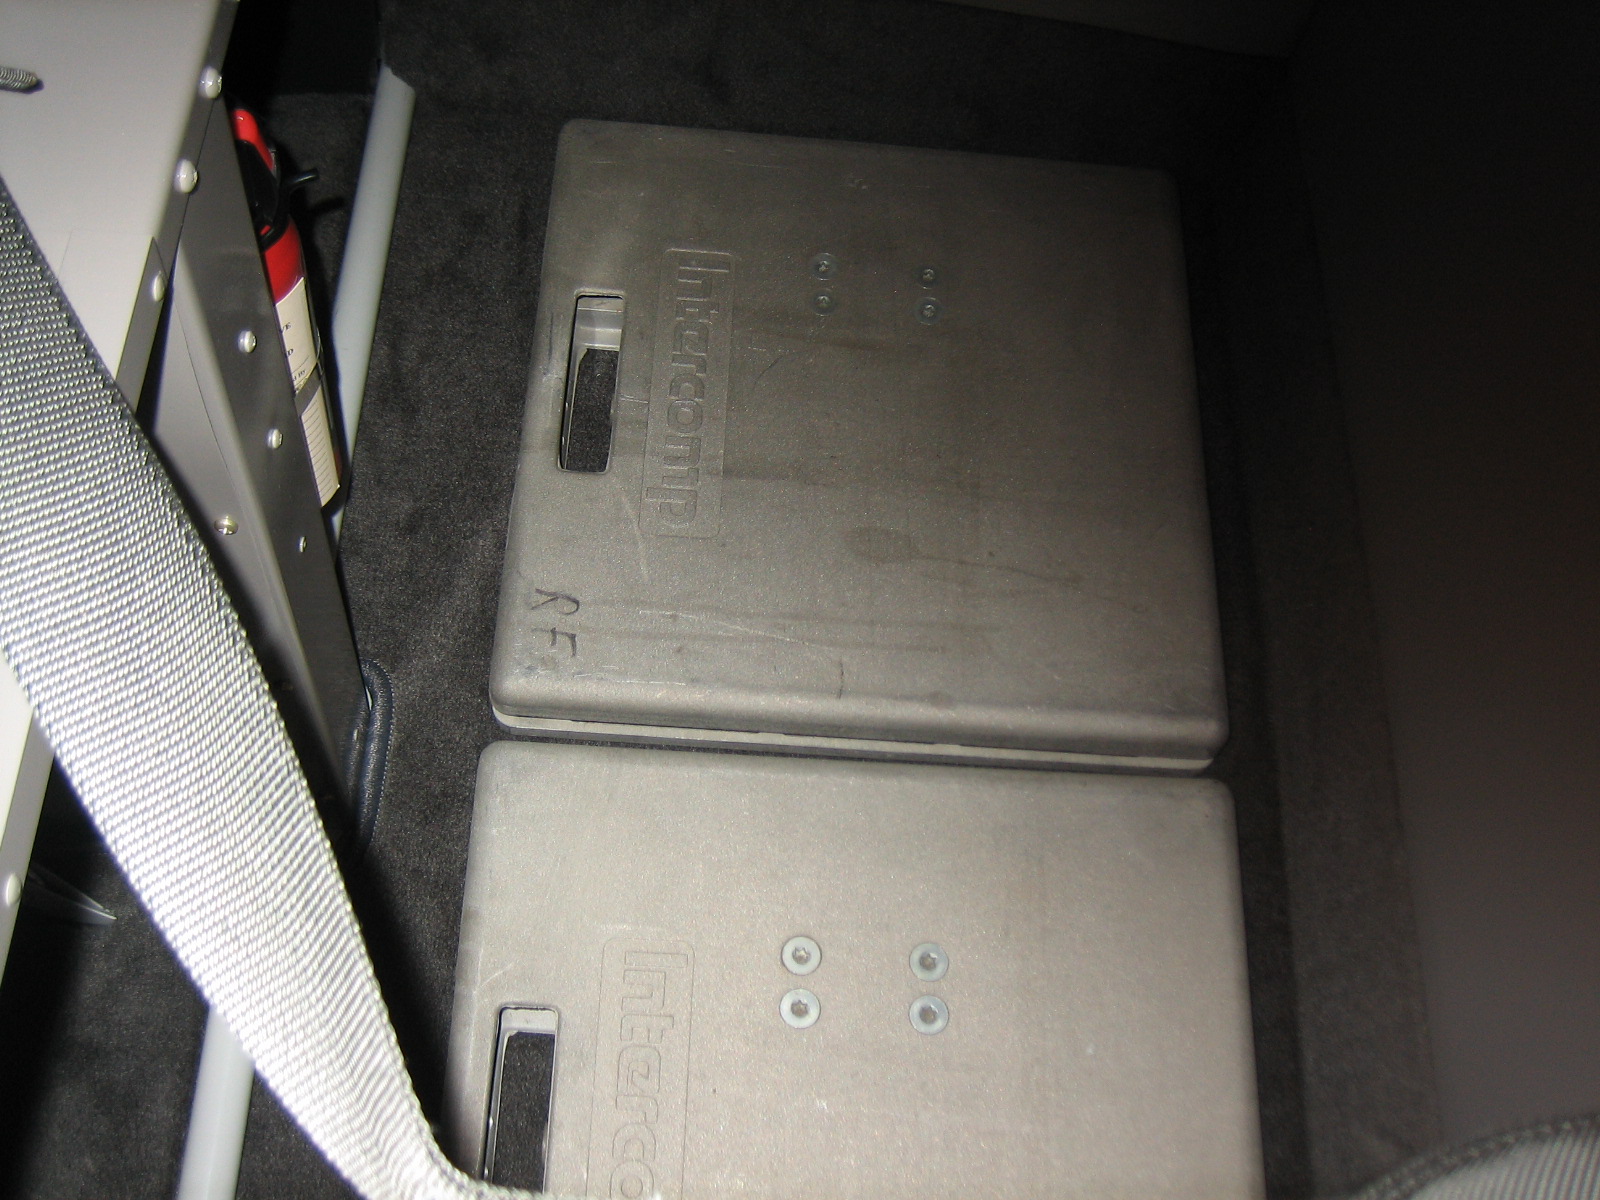
I then added the bag you see in the passenger floor of the picture above which has 56lbs of tools in it.  I also added a couple of scales to the baggage area which weigh 20lbs each.  After filling up to full fuel, I was right at 1950lbs and 0.7″ in front of the aft CG limit.  I took off at this weight to repeat the same tests.  Even taxiing out, I could feel the difference in handling.  The extra weight on the tailwheel changed the feel of the steering a fair amount.  The takeoff roll felt more sluggish and the climb was noticeably slower at around 1600fpm, but once in the air it felt about the same.  I did a couple of stalls which broke at pretty close to the same airspeed as the lighter weight (although I’m sure it was slightly higher).  I then flew around for quite awhile at a high power setting to burn off some of the fuel.

While I deviated from Van’s recommendation on the gross weight (which you’re allowed to do as the builder), I thought I prudent to set the maximum landing weight of the airplane to be the same as Van’s recommended gross weight to avoid over stressing the gear.  After burning off enough fuel to get down to 1800lbs, I headed back to the airport.  Burning off this much fuel brought the CG back to within 0.3″ of the aft CG limit.  The plane required noticeably less nose up trim in the approach to landing, but the landing itself felt about the same.

More Flight Testing

With my wife wrapping up her Master’s degree in less than two weeks, it’s been hard finding daylight hours in which to fly.  Since the days are getting longer, I decided to take advantage of the earlier sunrise to get some flying in in the morning when Jenn and the kids are asleep anyway.  I got up at 4:30 this morning and was down at the airport by 5:30.  Sunrise was at 6:13, so it was starting to get light by that point.  I was able to get airborne by 5:45 or so and fly until around 7 before heading home to help get the kids ready for school.  I’m sure I’ll be tired early enough tonight that I can get to sleep early and do this again tomorrow.

Bird Strike

I went out for another really early flight this morning.  I dropped into​ Hollister for some pattern work and hit a bird during the flare to land.  I was planning on just a touch and go, but I stopped on the ramp and shut down to see if there was any damage.  This is what I found.  I pulled it out along with a couple of feathers I could reach through the inlet.  The neck was nearly severed and was just hanging on with a few tendons.  Satisfied that there was no damage, I launched again and headed back to South County for further inspection.

When I pulled the cowl and plenum, there were feathers everywhere.  Here’s a small one that stuck to some of the sealant on the injector line.

There were a couple stuck in various places behind the engine.  This is one of the long wing feathers that somehow made it back here.

There were a bunch of feathers down between the cylinder fins and stuck against the heater muff screen.  I’m glad I put a screen here since these could have found their way into the cabin.

There were also a bunch on the screen going to the oil cooler.  Much easier to clean here than pulling the oil cooler plenum.  There were also a couple of blood stains that required a bit of cleaning.  Overall, it was probably on 10-15 minutes to get it all out and there was absolutely no damage.  It could have been much worse.

Early Morning Flight

With Jenn needing to study all day, the only time I could fly was early.  I got up at 4:30 again and managed to get about 3.5 hours of flight time and still got home about the same time the kids got up.

One of the acro maneuvers I had not tried yet was spins with power.  At 7,000 ft, idle gave me about 5″ of manifold pressure, so I started with a spin and 10″ of manifold pressure.  The spin was faster and the nose came up slightly, but it was still very conventional.  I worked my way up in 5″ increments to full power (about 24″).  At full power, the spins have a much more pronounced hookup, and the rotation rate is impressive.  The nose also comes up quite a bit with that much prop wash over the tail driving it down.  It’s a fairly nauseating maneuver, so I don’t think I’ll be doing this with passengers.

Almost Finished Phase 1

I got up at 4 this morning so that I could be airborne right at daybreak.  I got nearly 5 hours in before making it to work at about the same time I normally do.  I’m now only 1 hour shy of my 40 test hours.