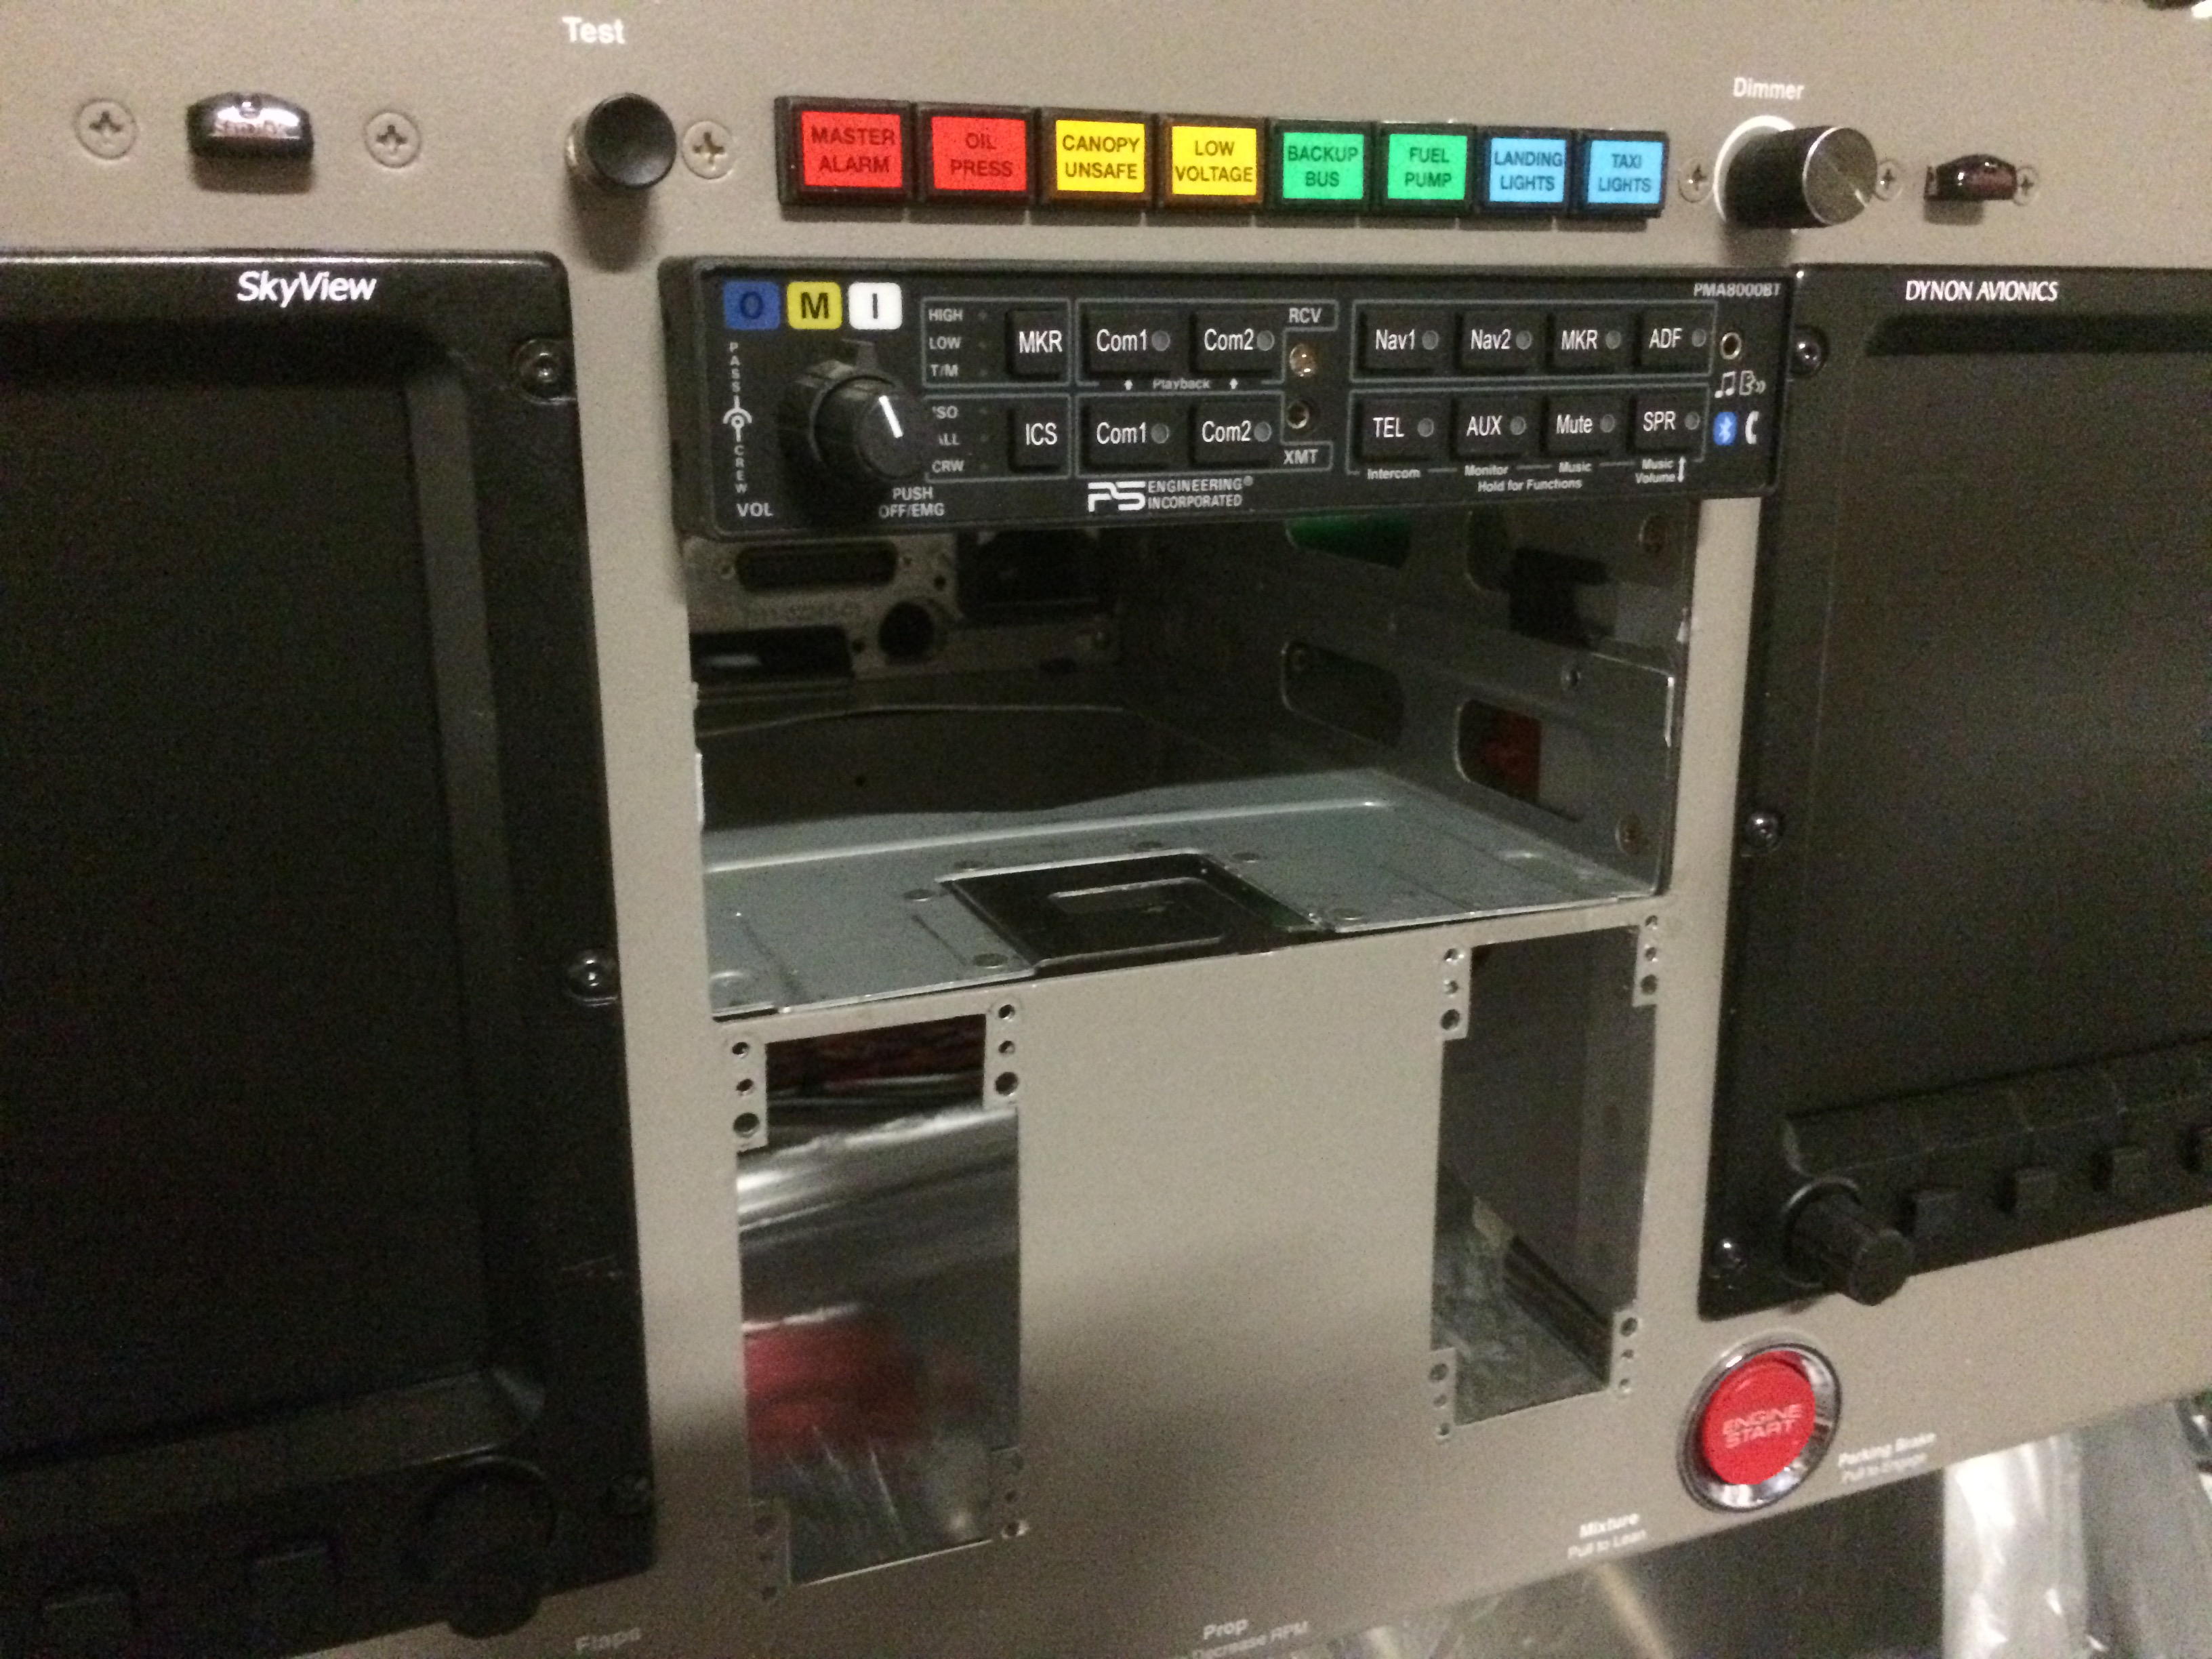
I cut the holes for the new avionics boxes and test fit them into the holes. Cutting these holes in place was a real pain. The nibbler I had wouldn’t cut 0.063″ thick sheet, and I didn’t have anything else that would work well. I ended up drilling a series of 1/4″ holes around the perimeter and using a file to open the hole up enough for the avionics to fit. It was quite a bit of iteration and it ended up taking me nearly 2 hours to get them cut. That was still way faster than pulling the panel out of the plane though. With everything installed and aligned, I drilled the mounting holes through the holes in the face of the avionics.
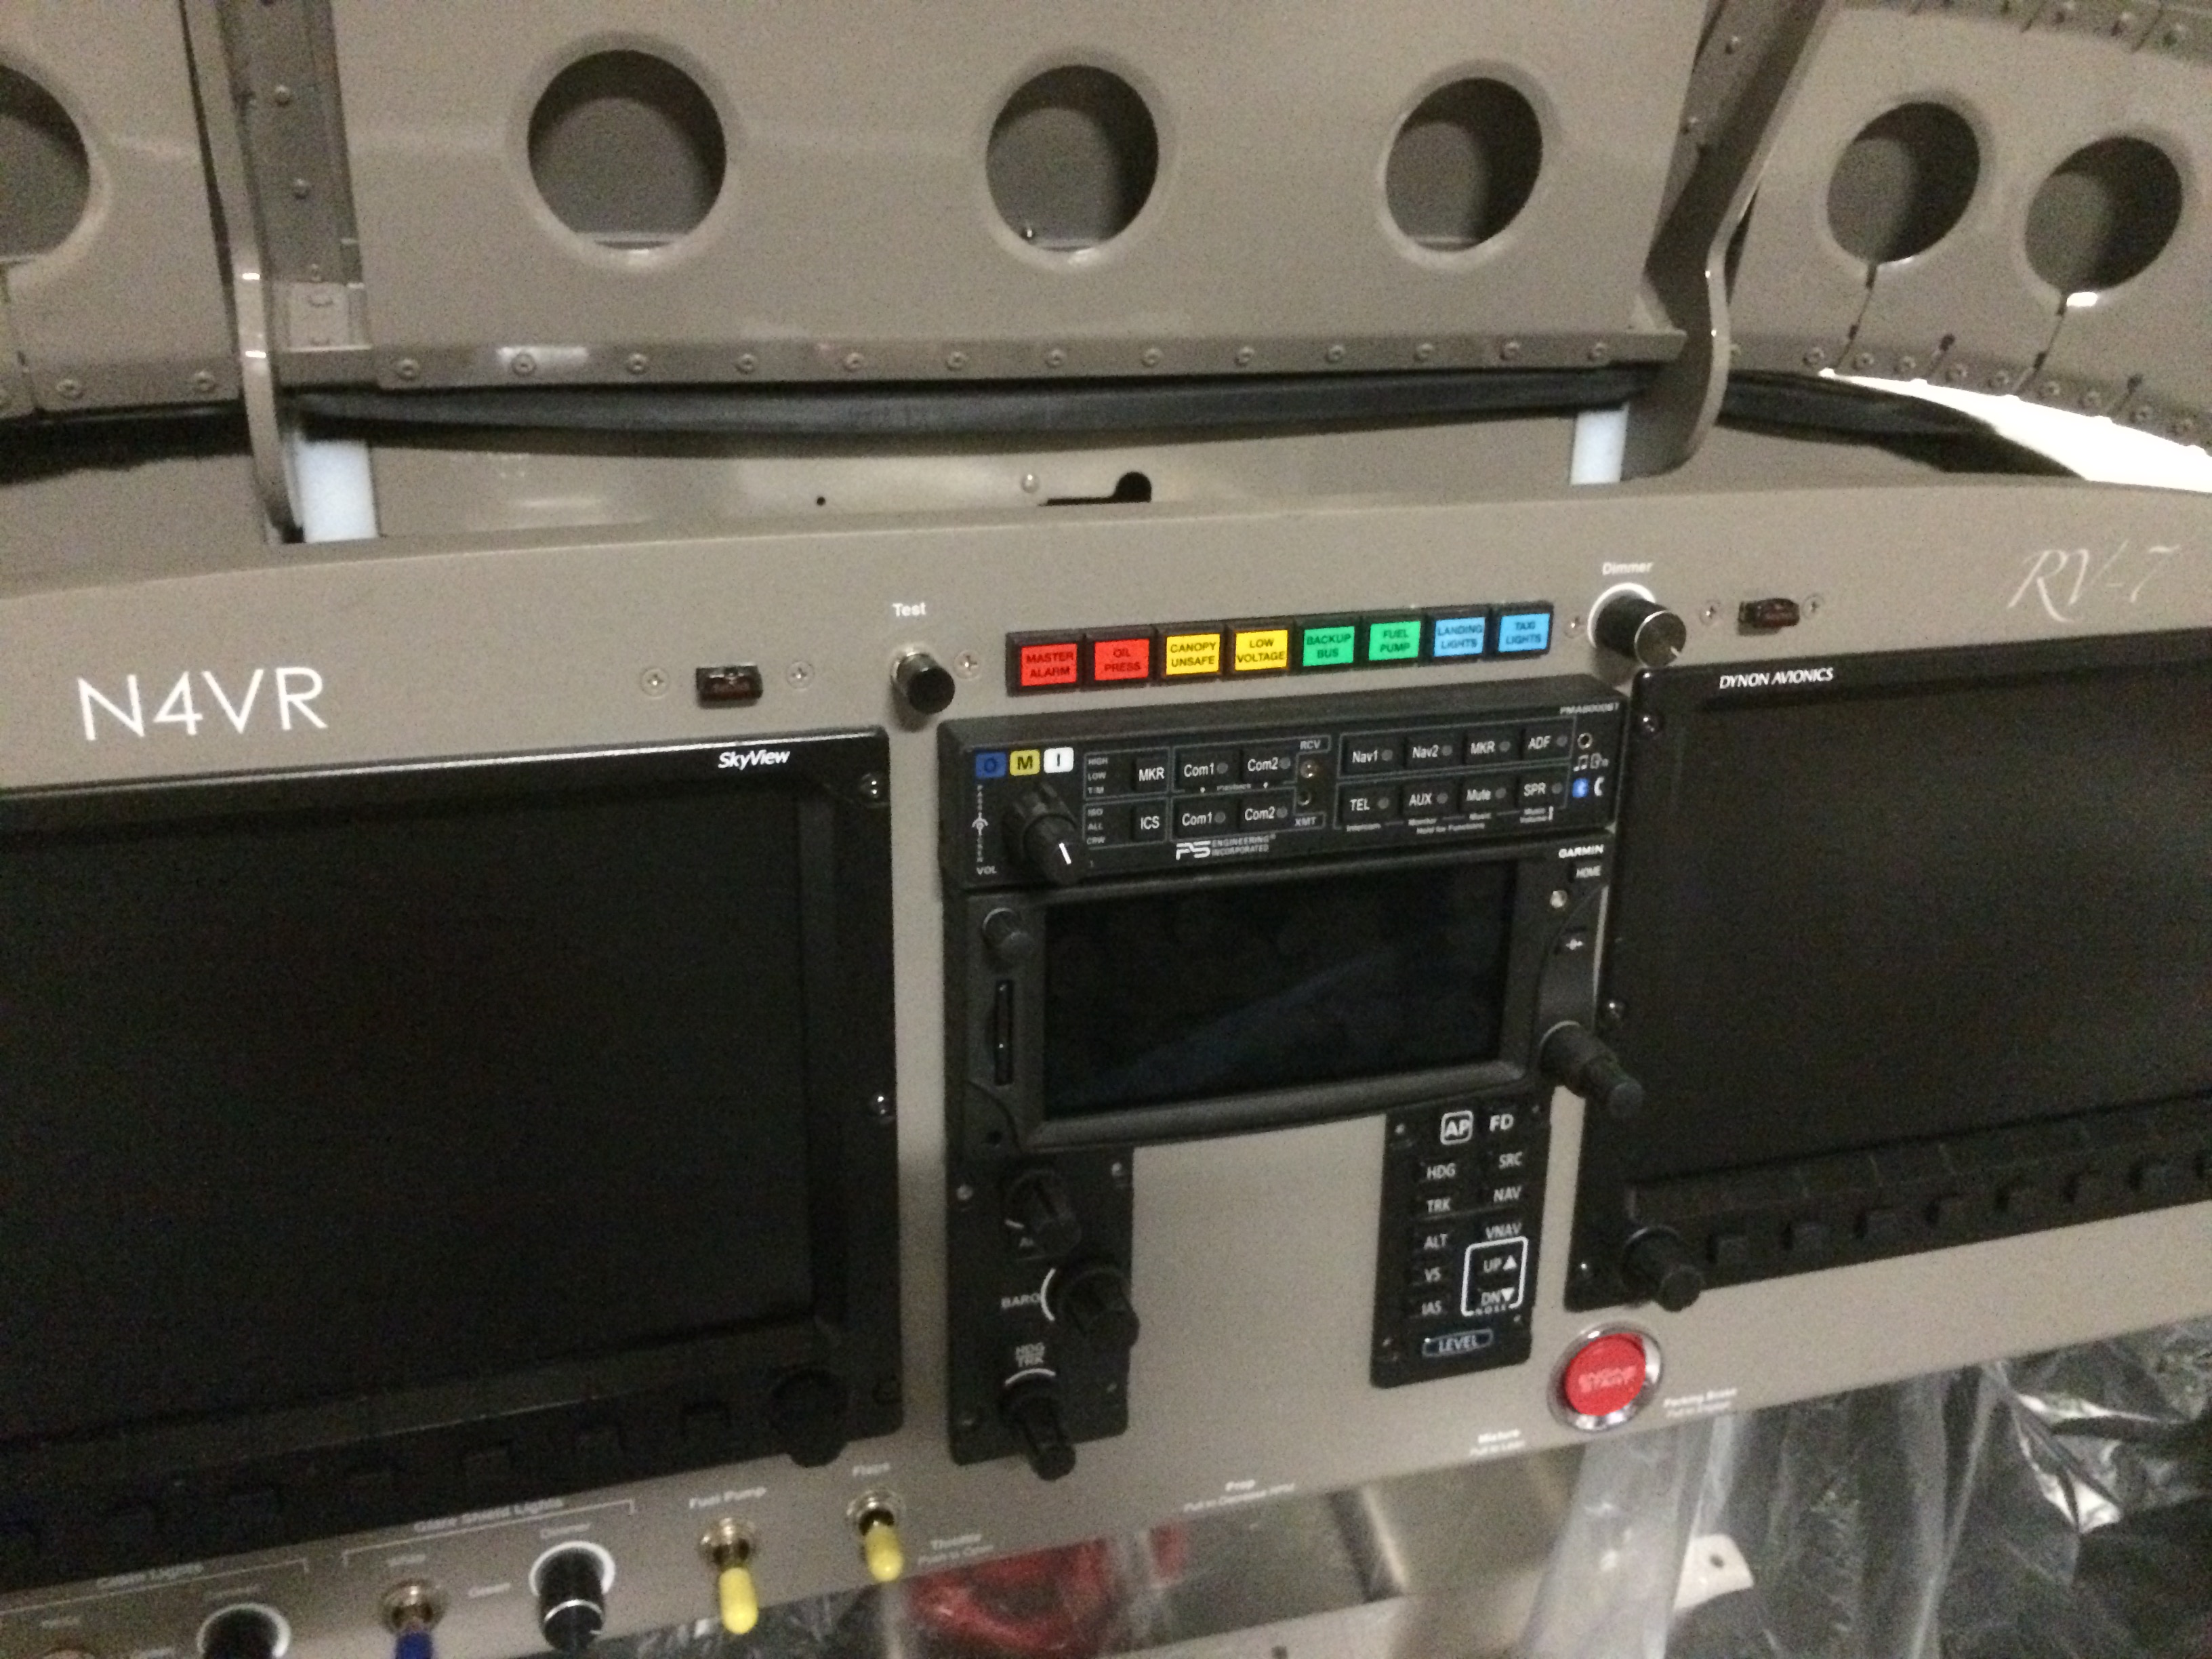
Afterward, I pulled the new boxes and the GTN, then used a scrap miniature #6 nutplate to drill holes for the rivets that will hold the nutplates in place. I still need to countersink the holes and rivet them in place, but I’m beat tonight. It shouldn’t take more than a couple more hours to finish up the nutplates and then fabricate a few new network cables to tie the boxes together. The autopilot control box (on the right in the picture above) also includes a trim controller that essentially does the same function as the VP-X that controls the trim now. In the future though, Dynon plans to add auto-trim to their autopilot, so I’ll eventually rewire the trim to go through this box.