I’m working seven days a week now, but I took a break in the evening to work on the plane a bit.
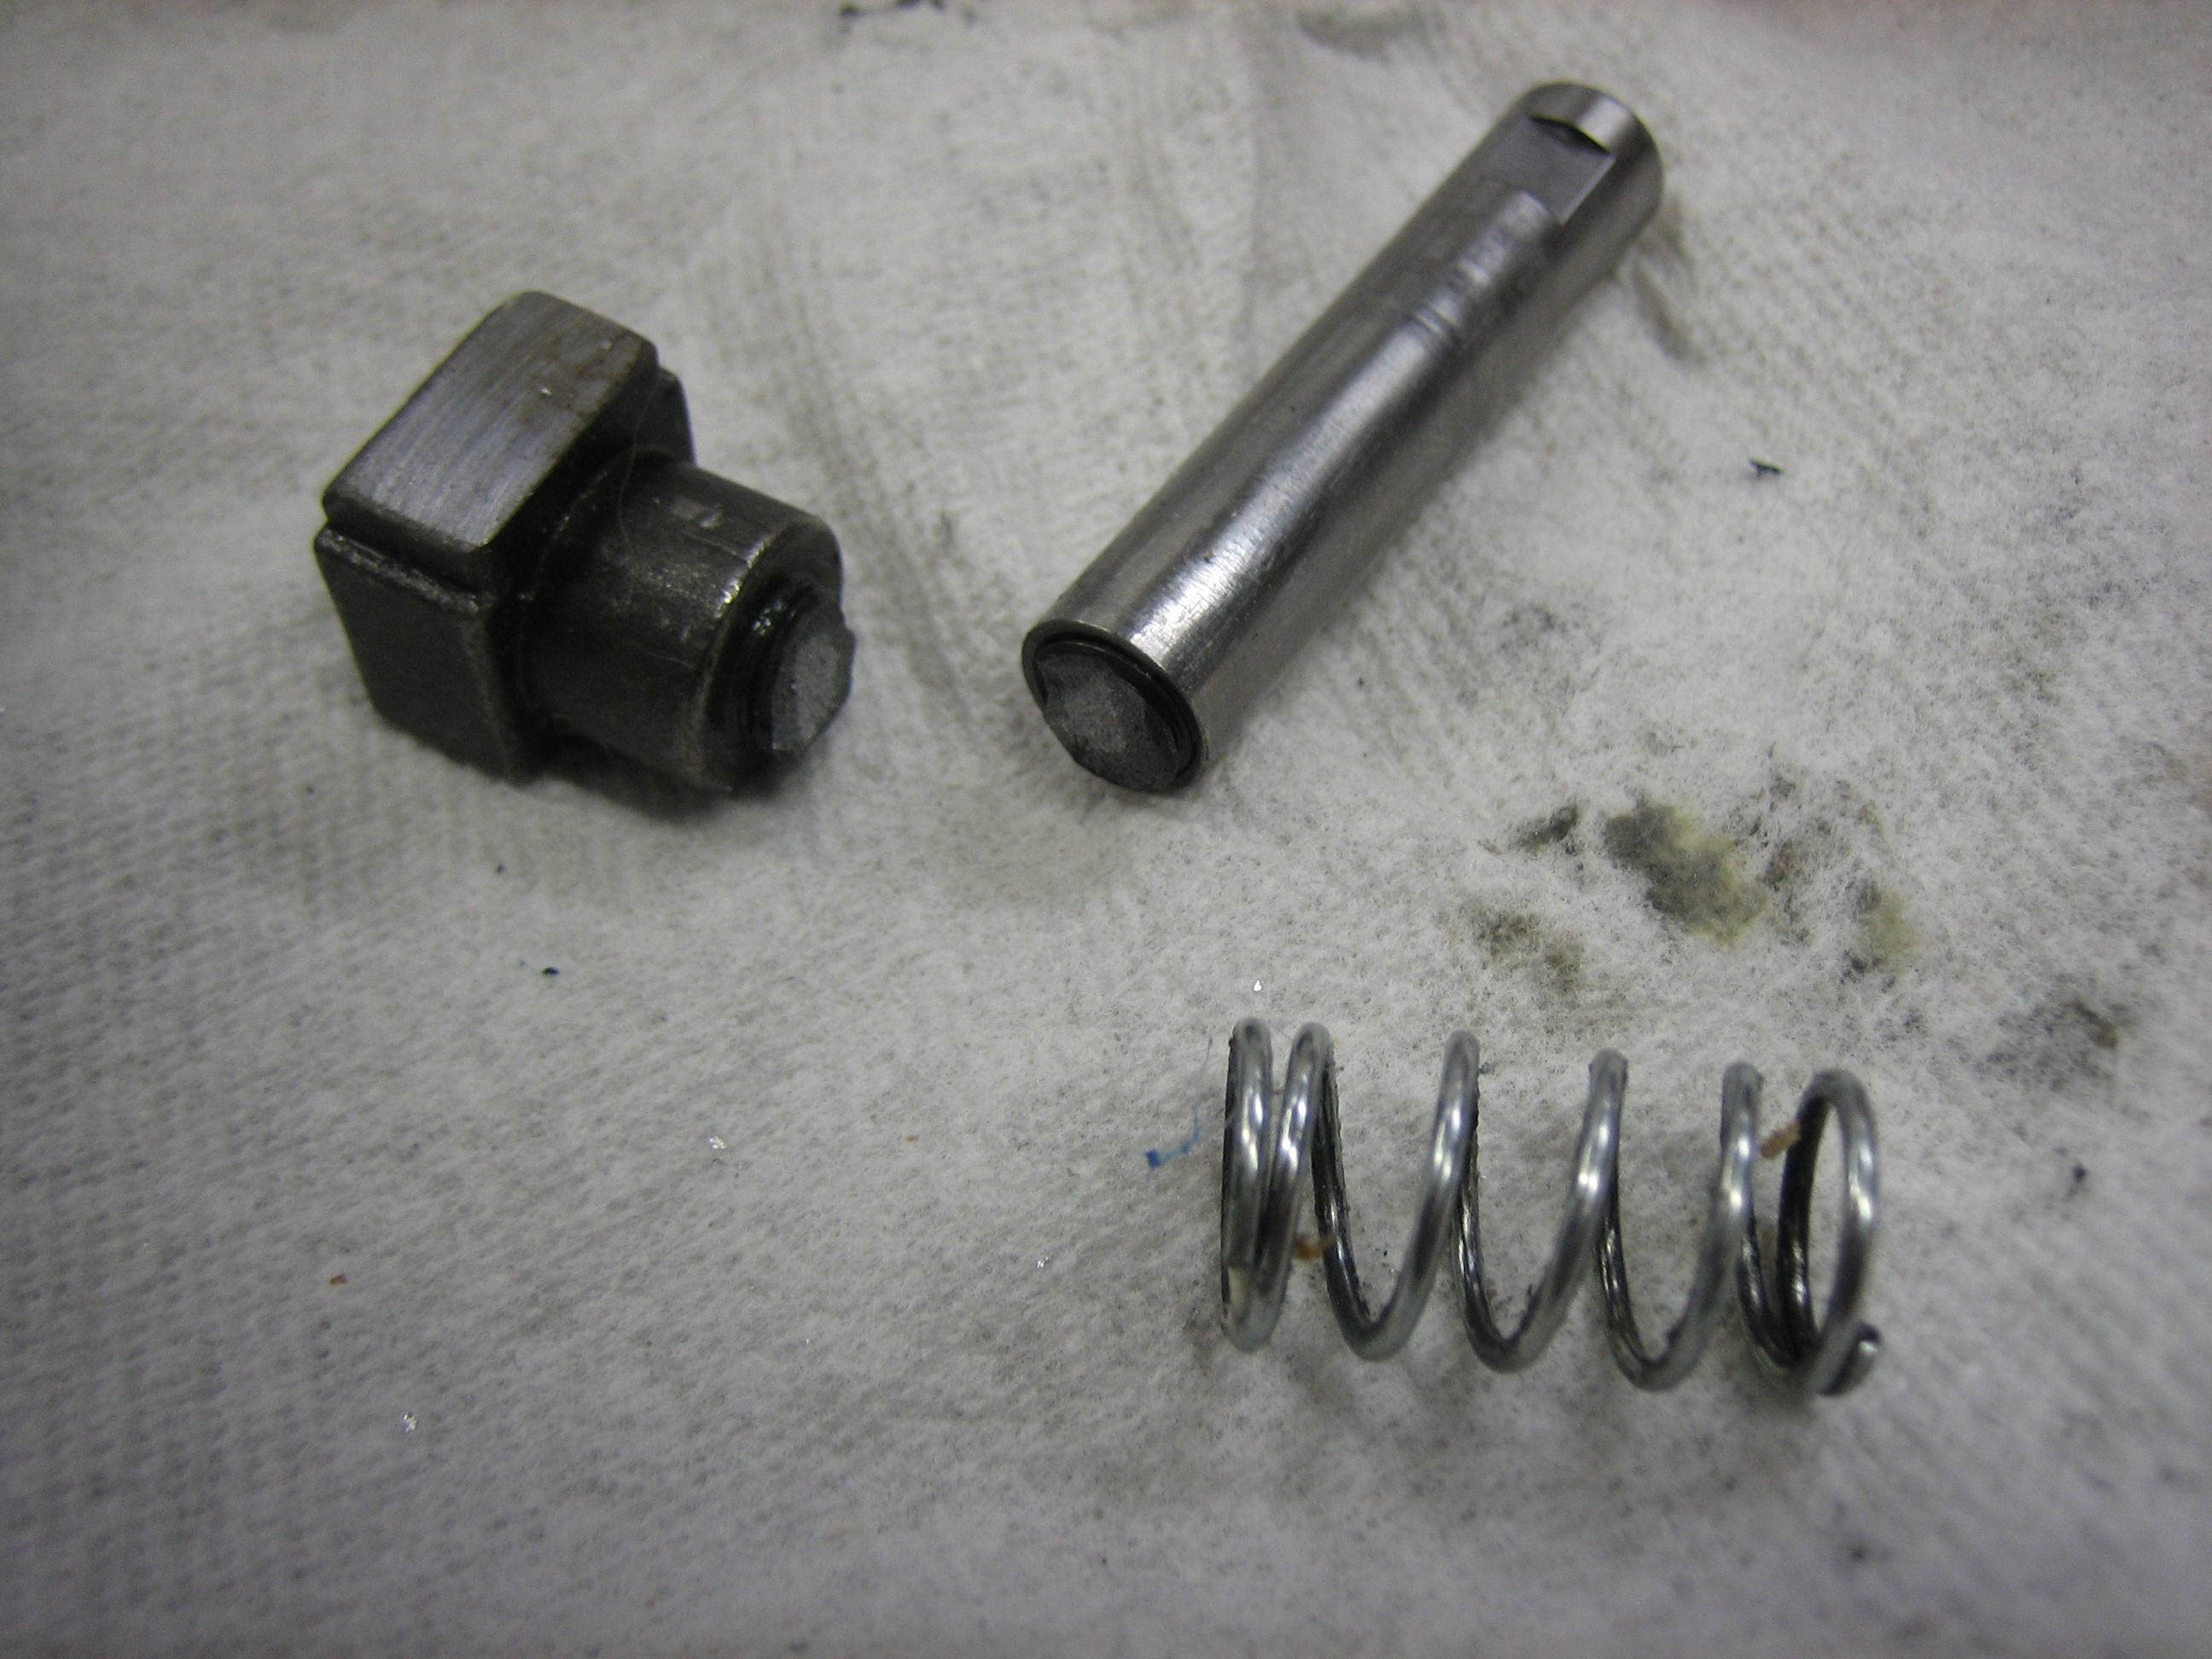
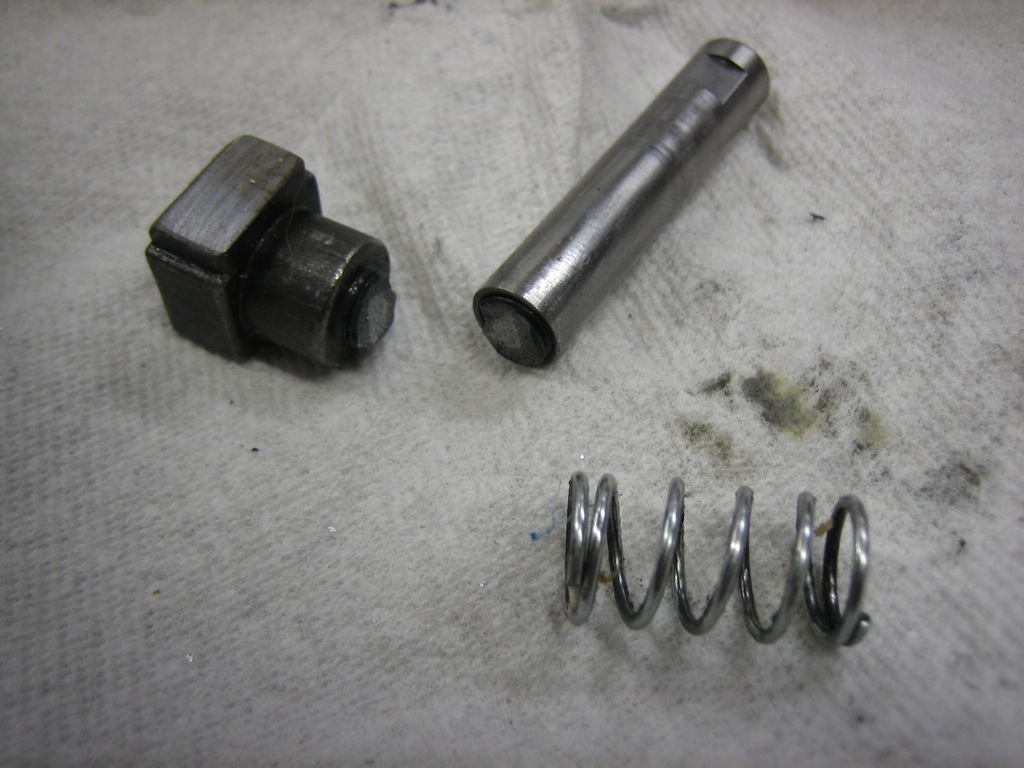
My pneumatic squeezer’s adjustable set holder snapped at the base of the threaded section. I’m going to call Isham and see if I can get this replaced as this shouldn’t have happened.
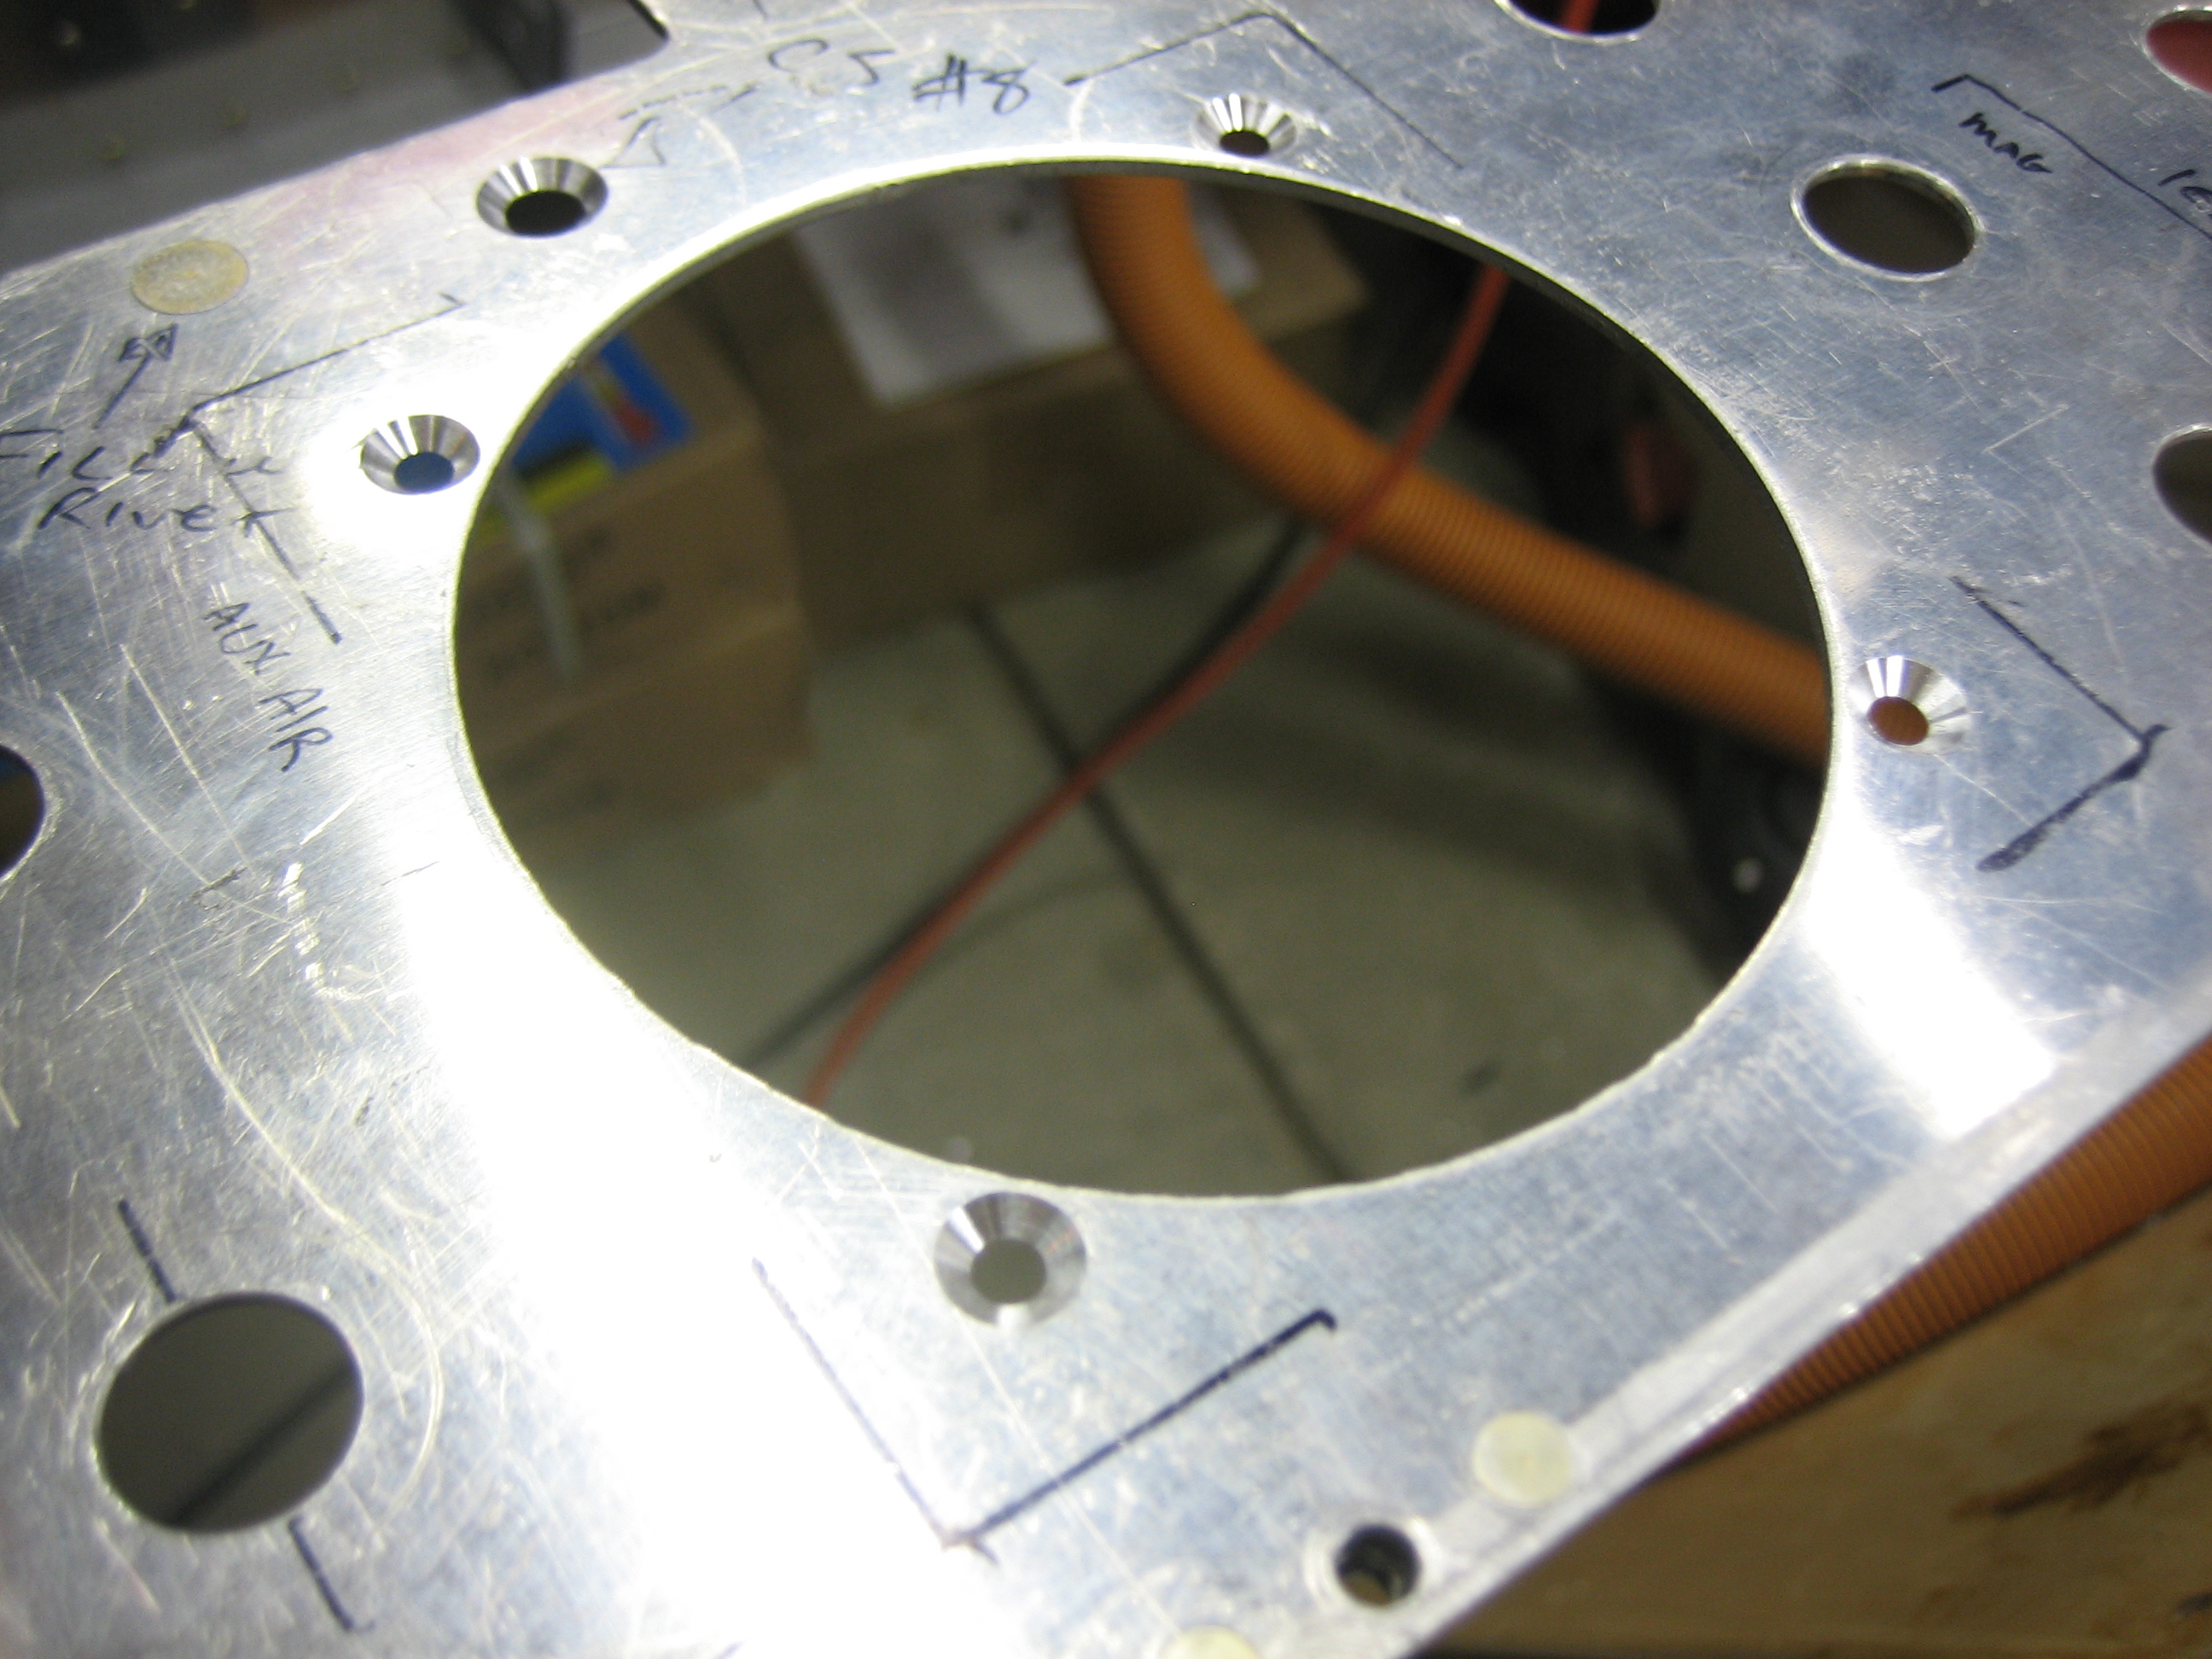
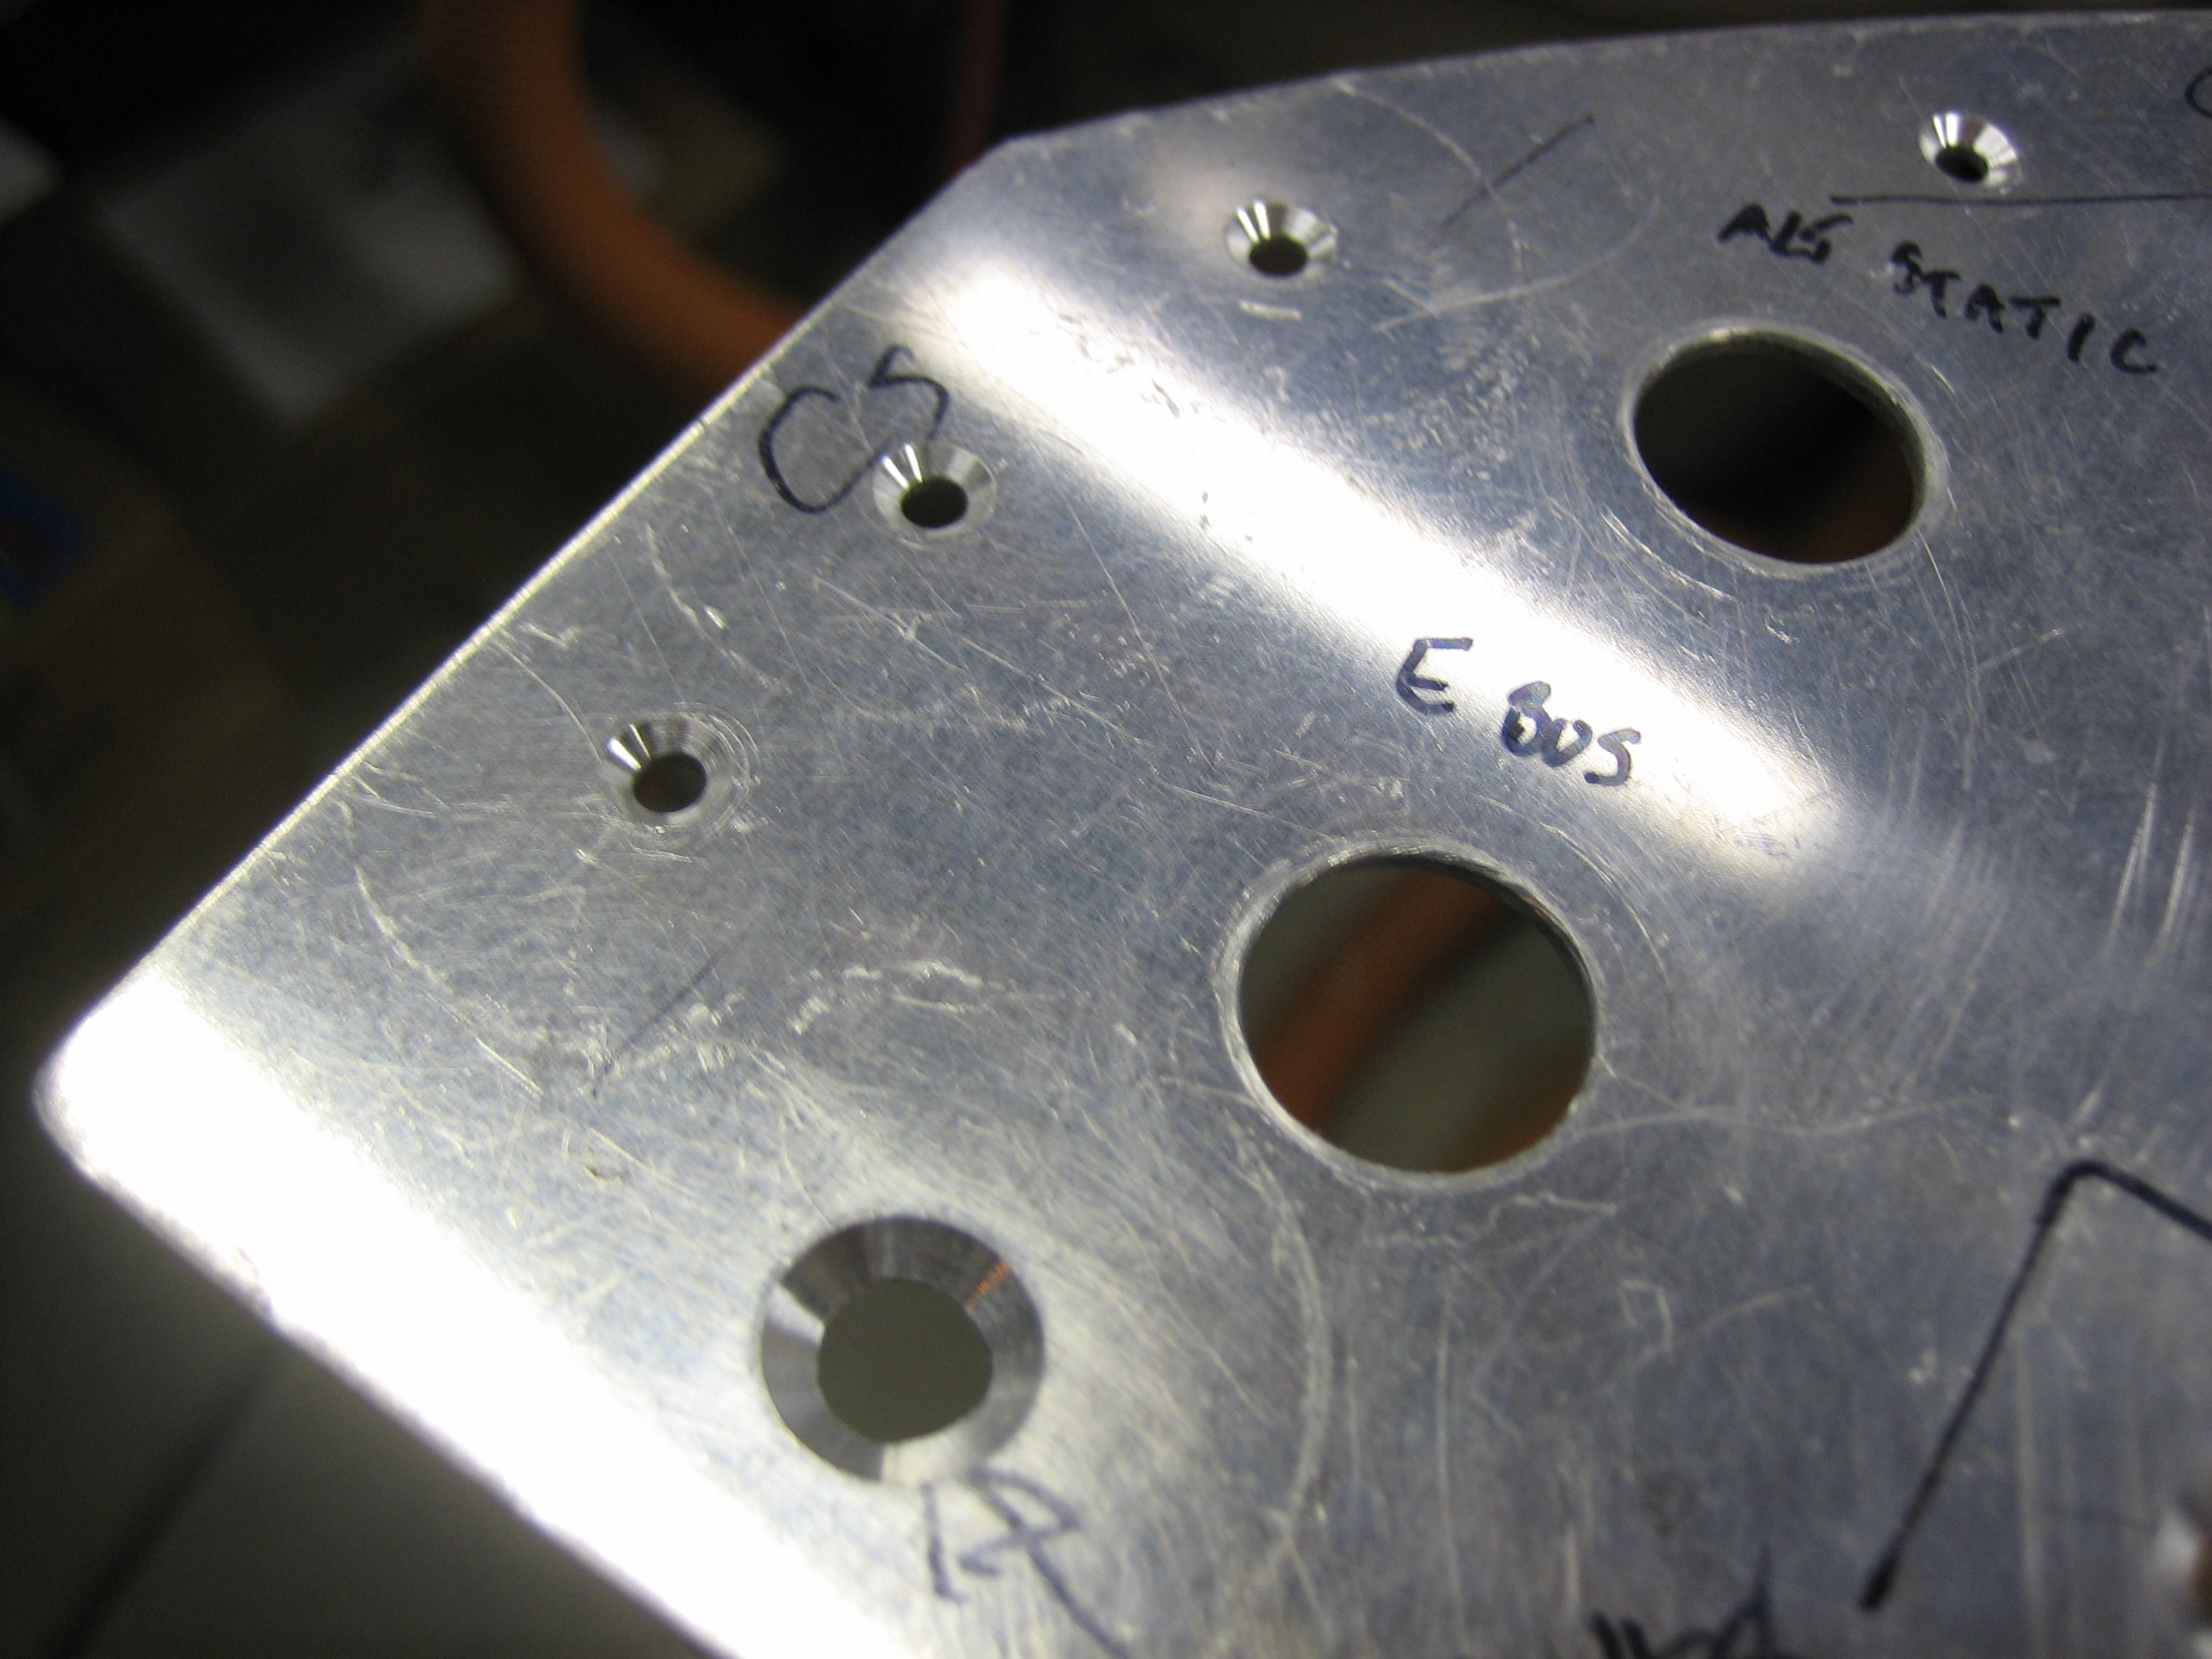
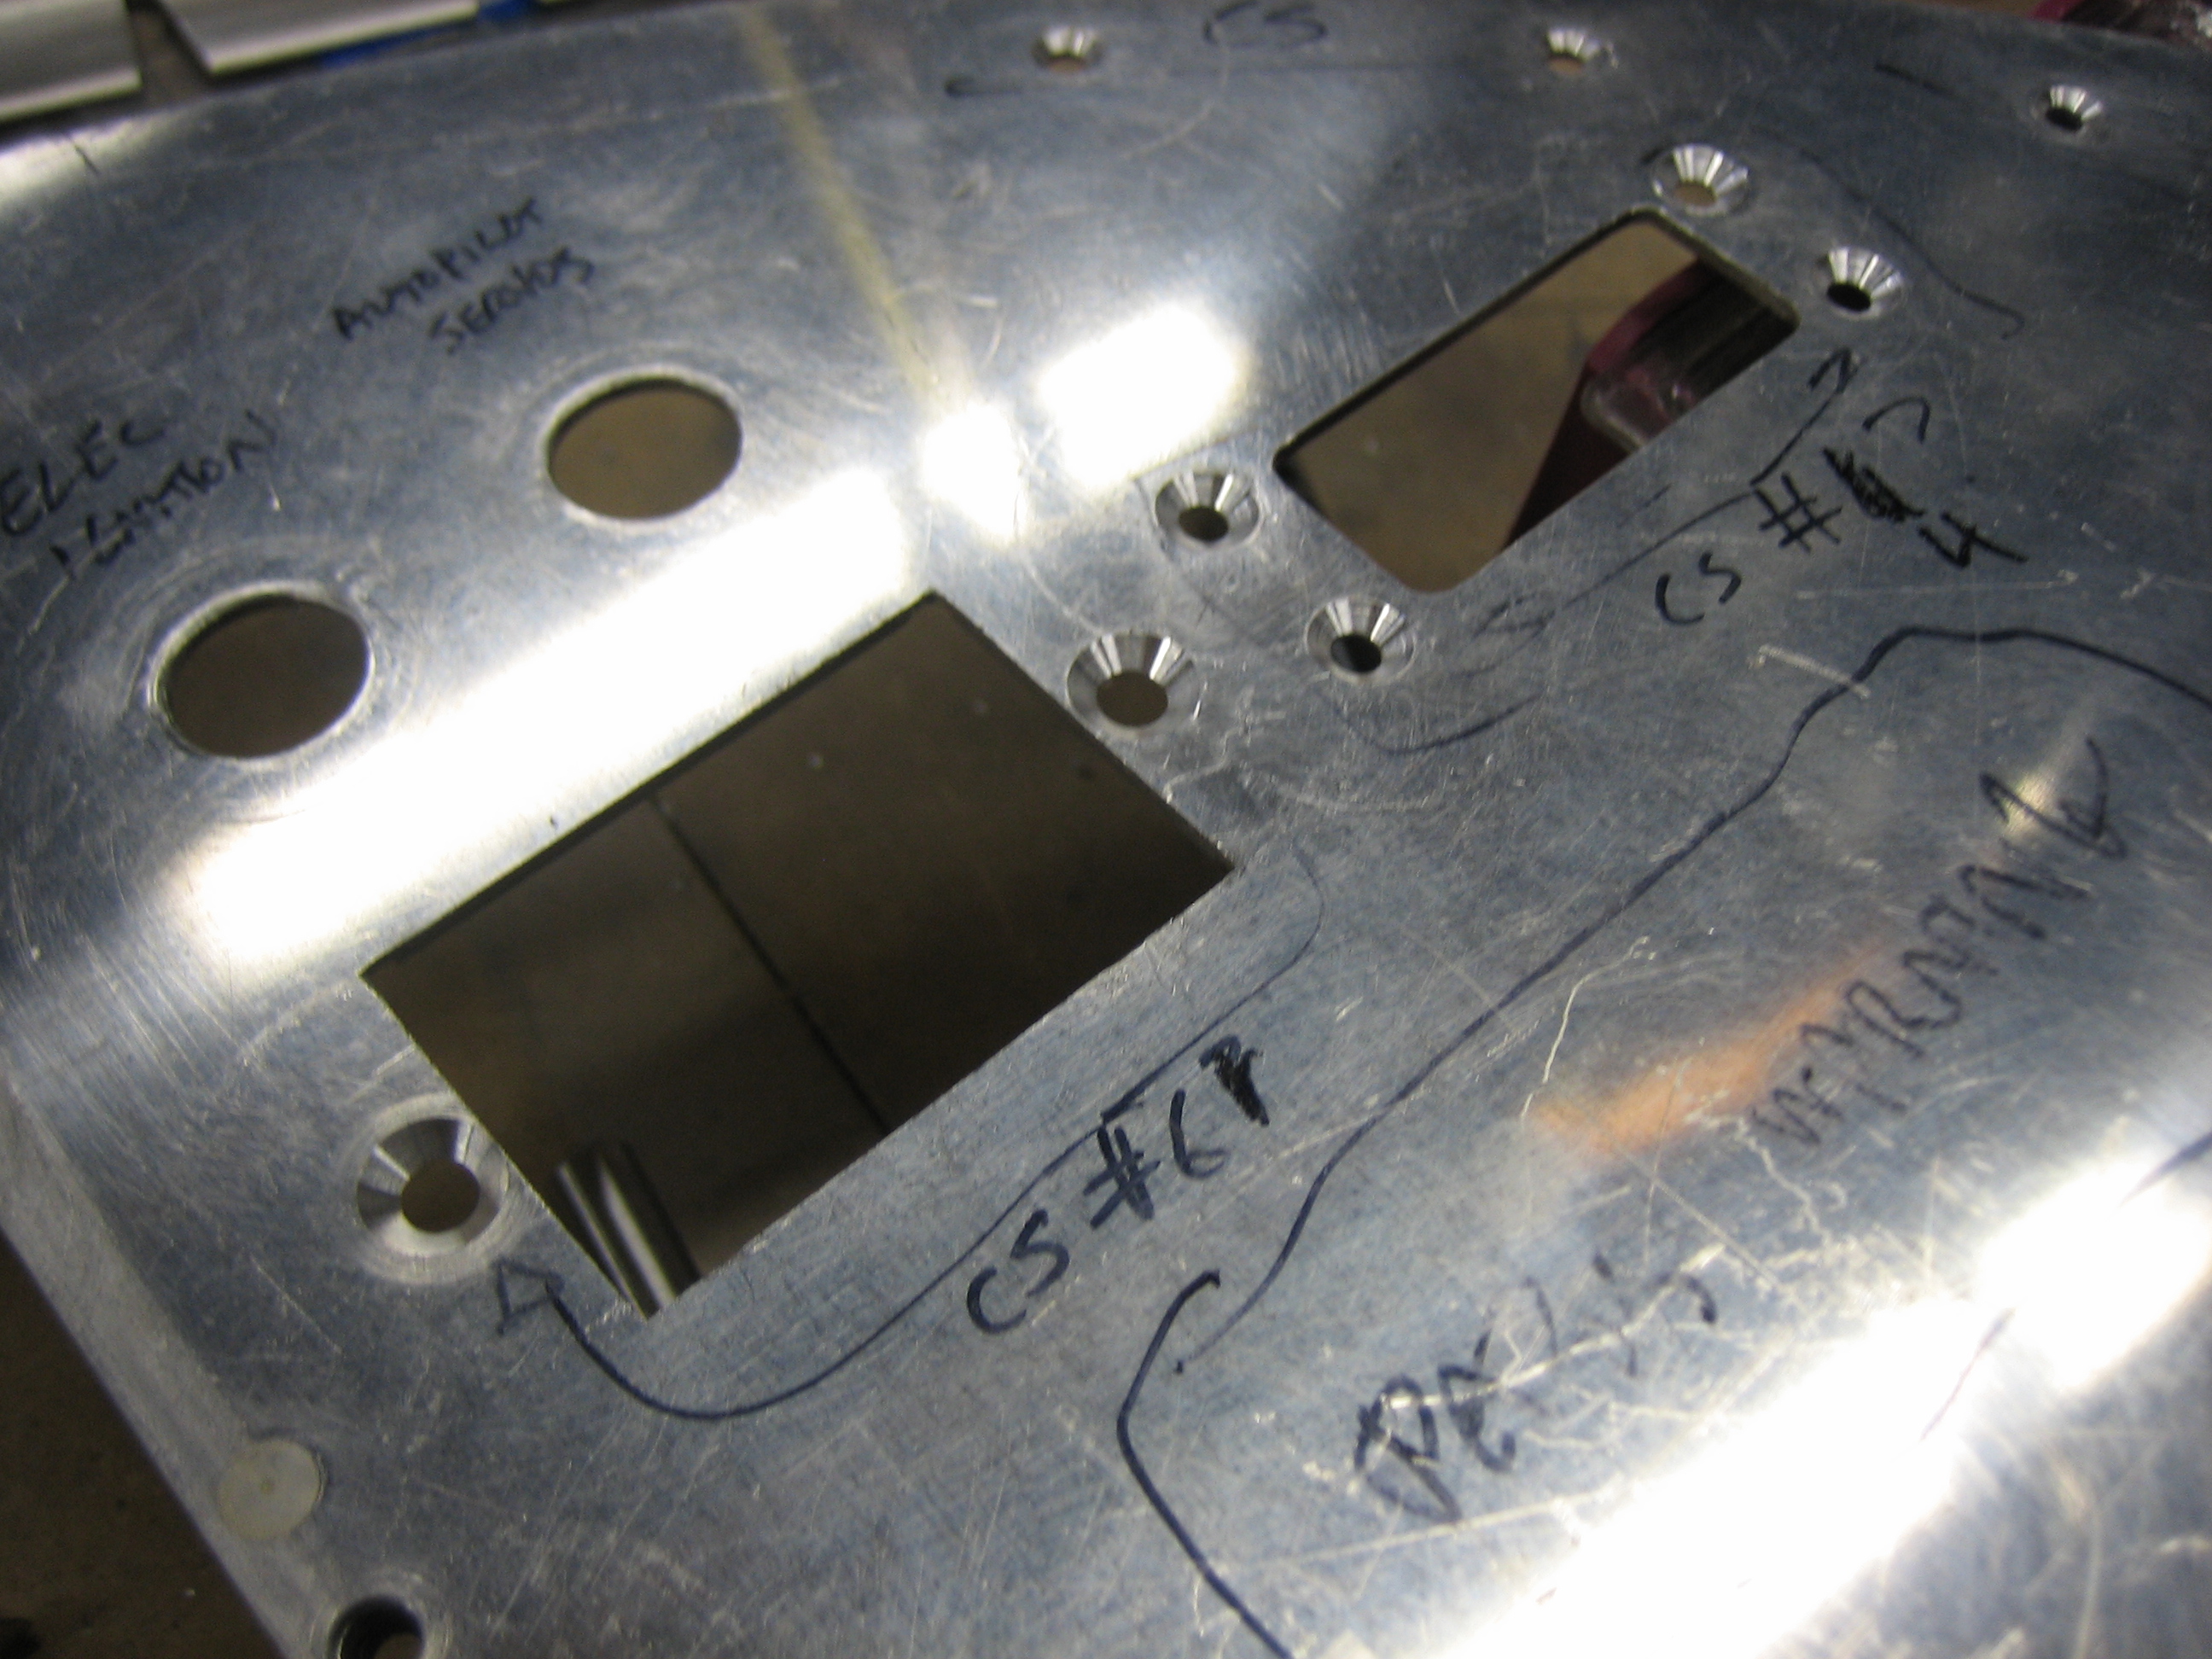
I drilled and countersunk the holes for the TruTrak Gemini PFD. I’m still waiting on this from TruTrak, but I’m hoping it will ship soon.
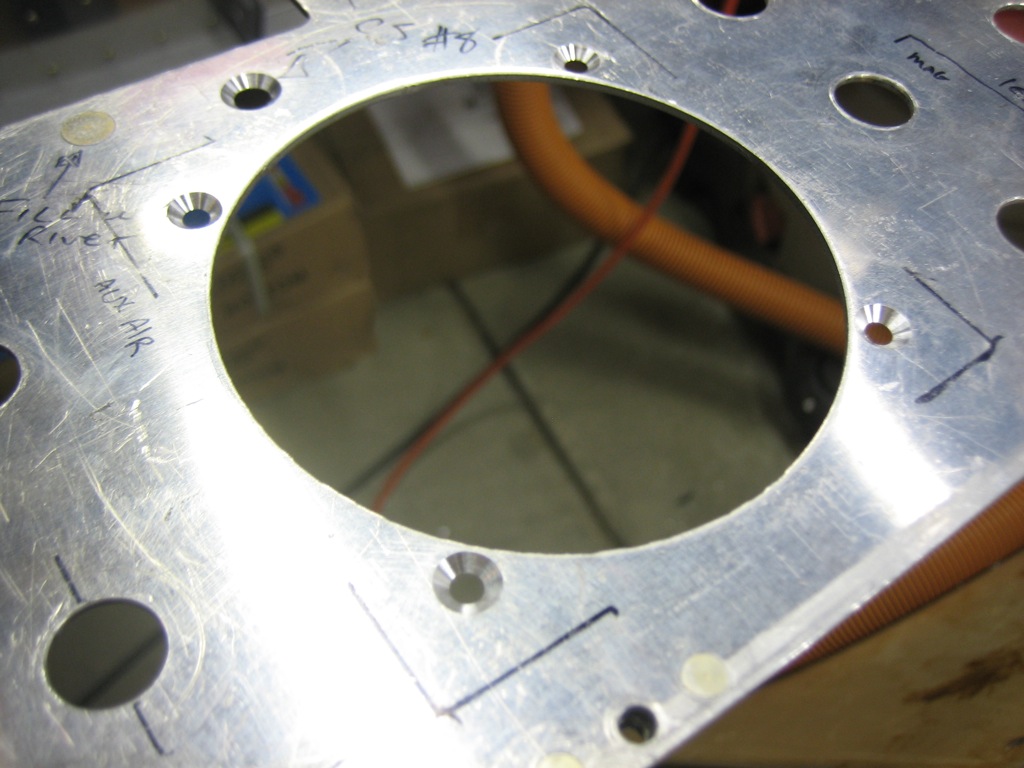
I also countersunk all of the reinforcement angle rivet holes. You can also see at the bottom of the picture that I countersunk the panel attach holes.
I also countersunk the holes that will attach the hobbs meter and ELT remote. I’m trying to use all flush head screws across the panel. I’m still looking for the right screws to attach the USB jacks though.

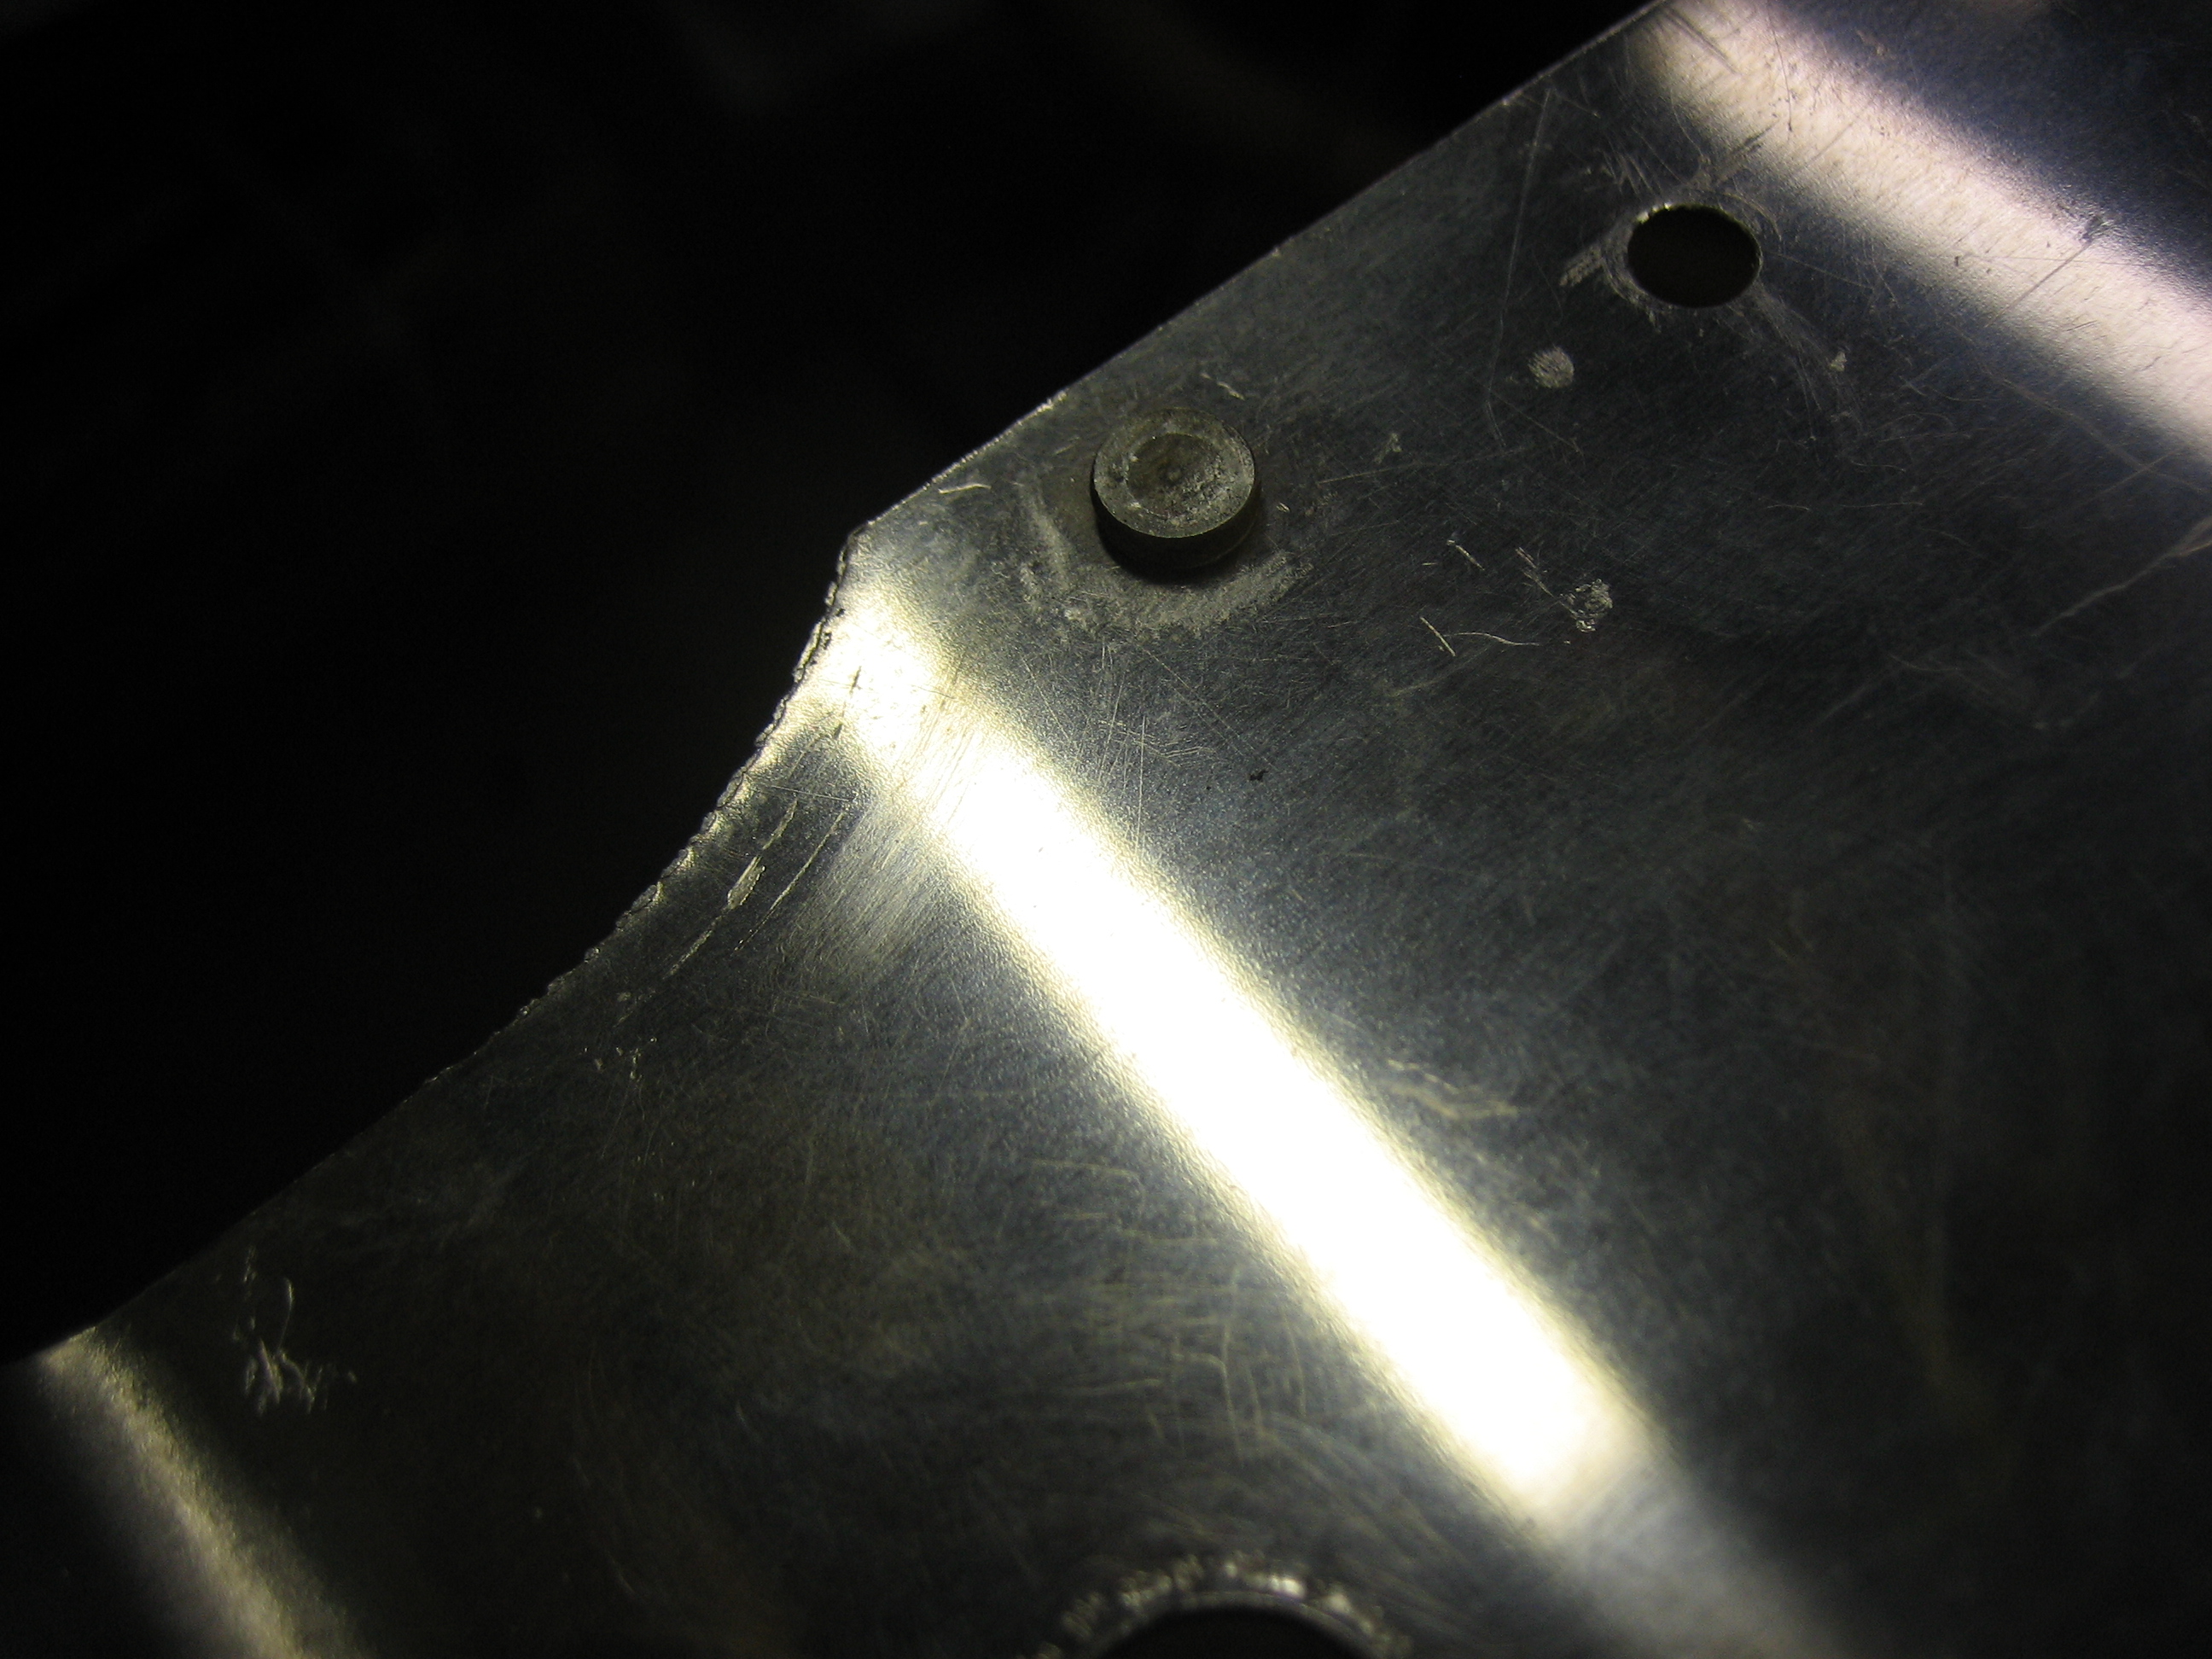
There were a couple of extra holes in the panel that were intended to attach the crappy Van’s plastic air vents. I filled them with AN426AD5-4 rivets.
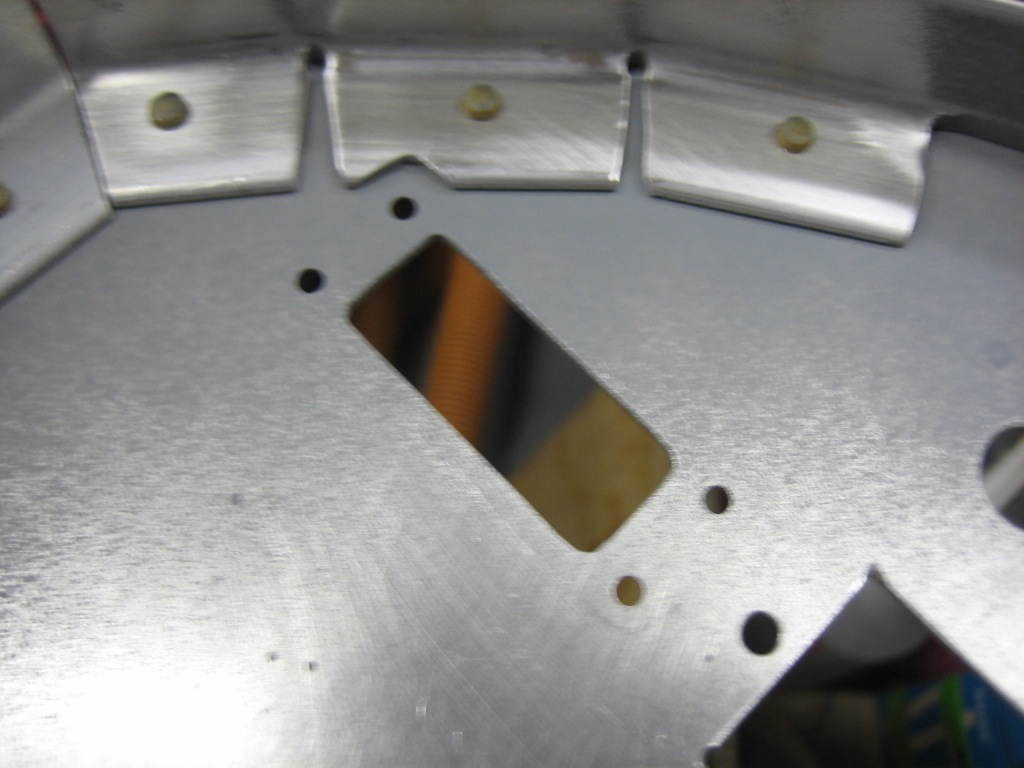
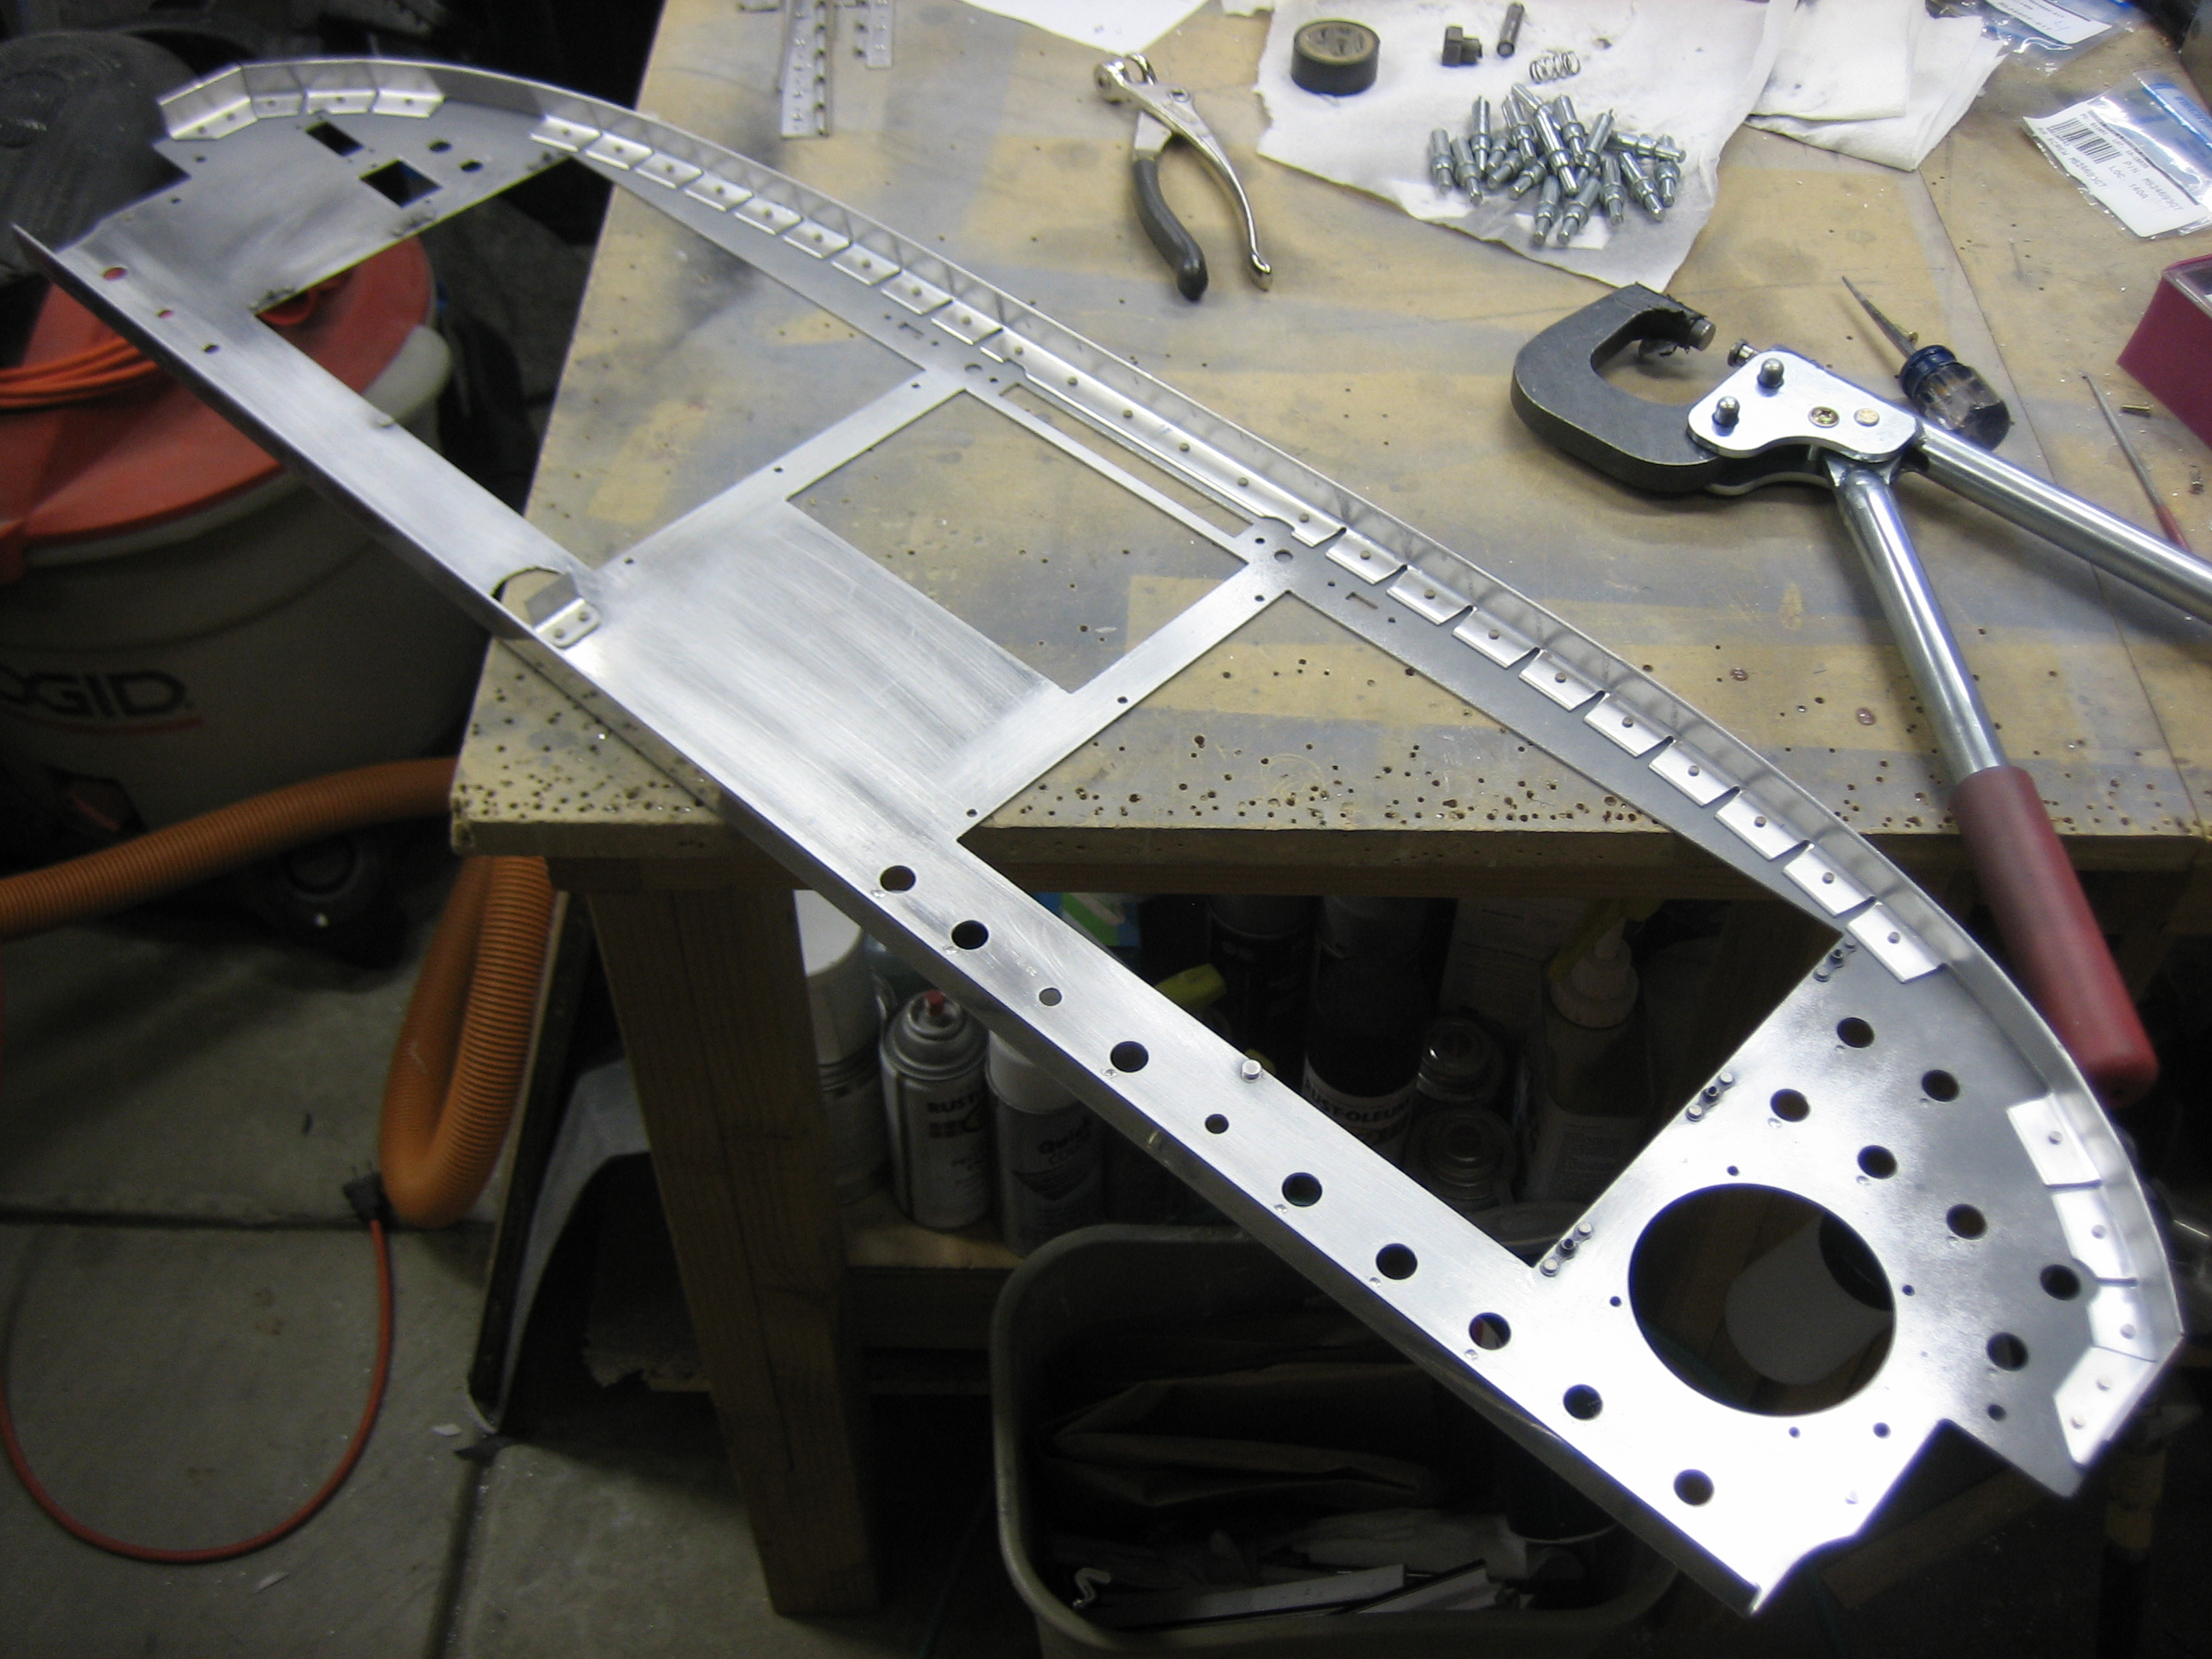
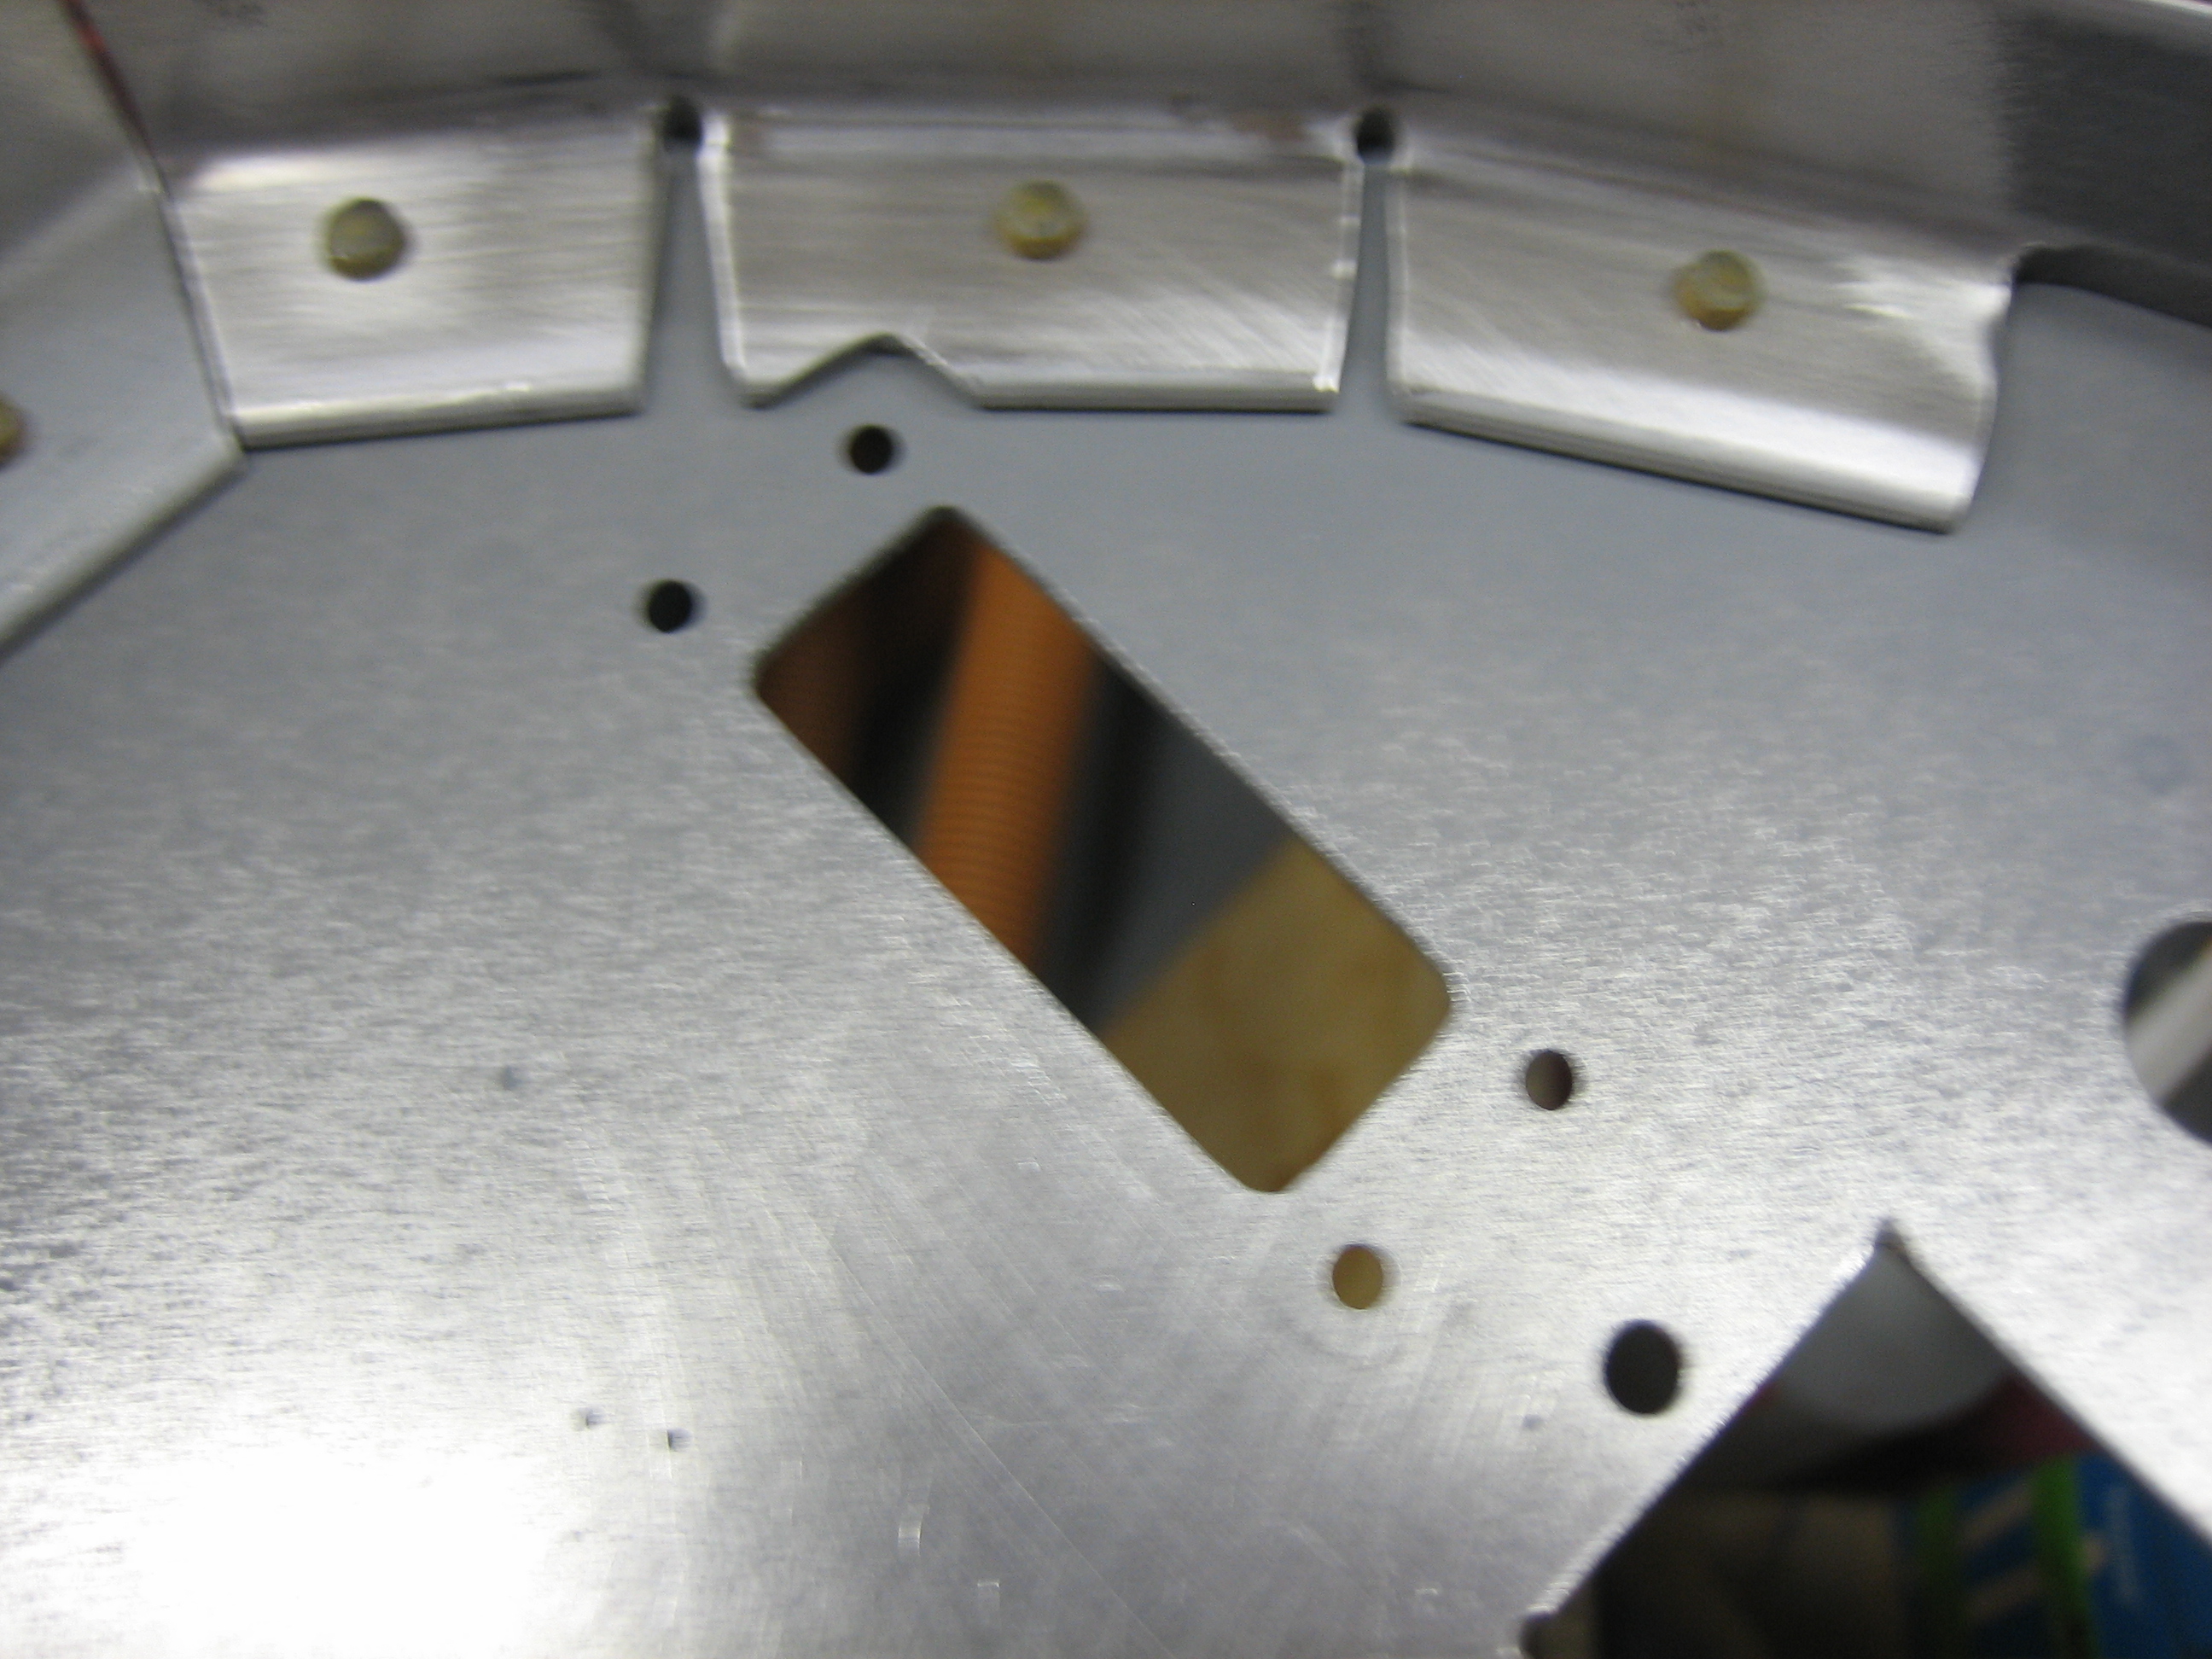
Finally, I prepped and riveted the reinforcement angle to the top of the panel.

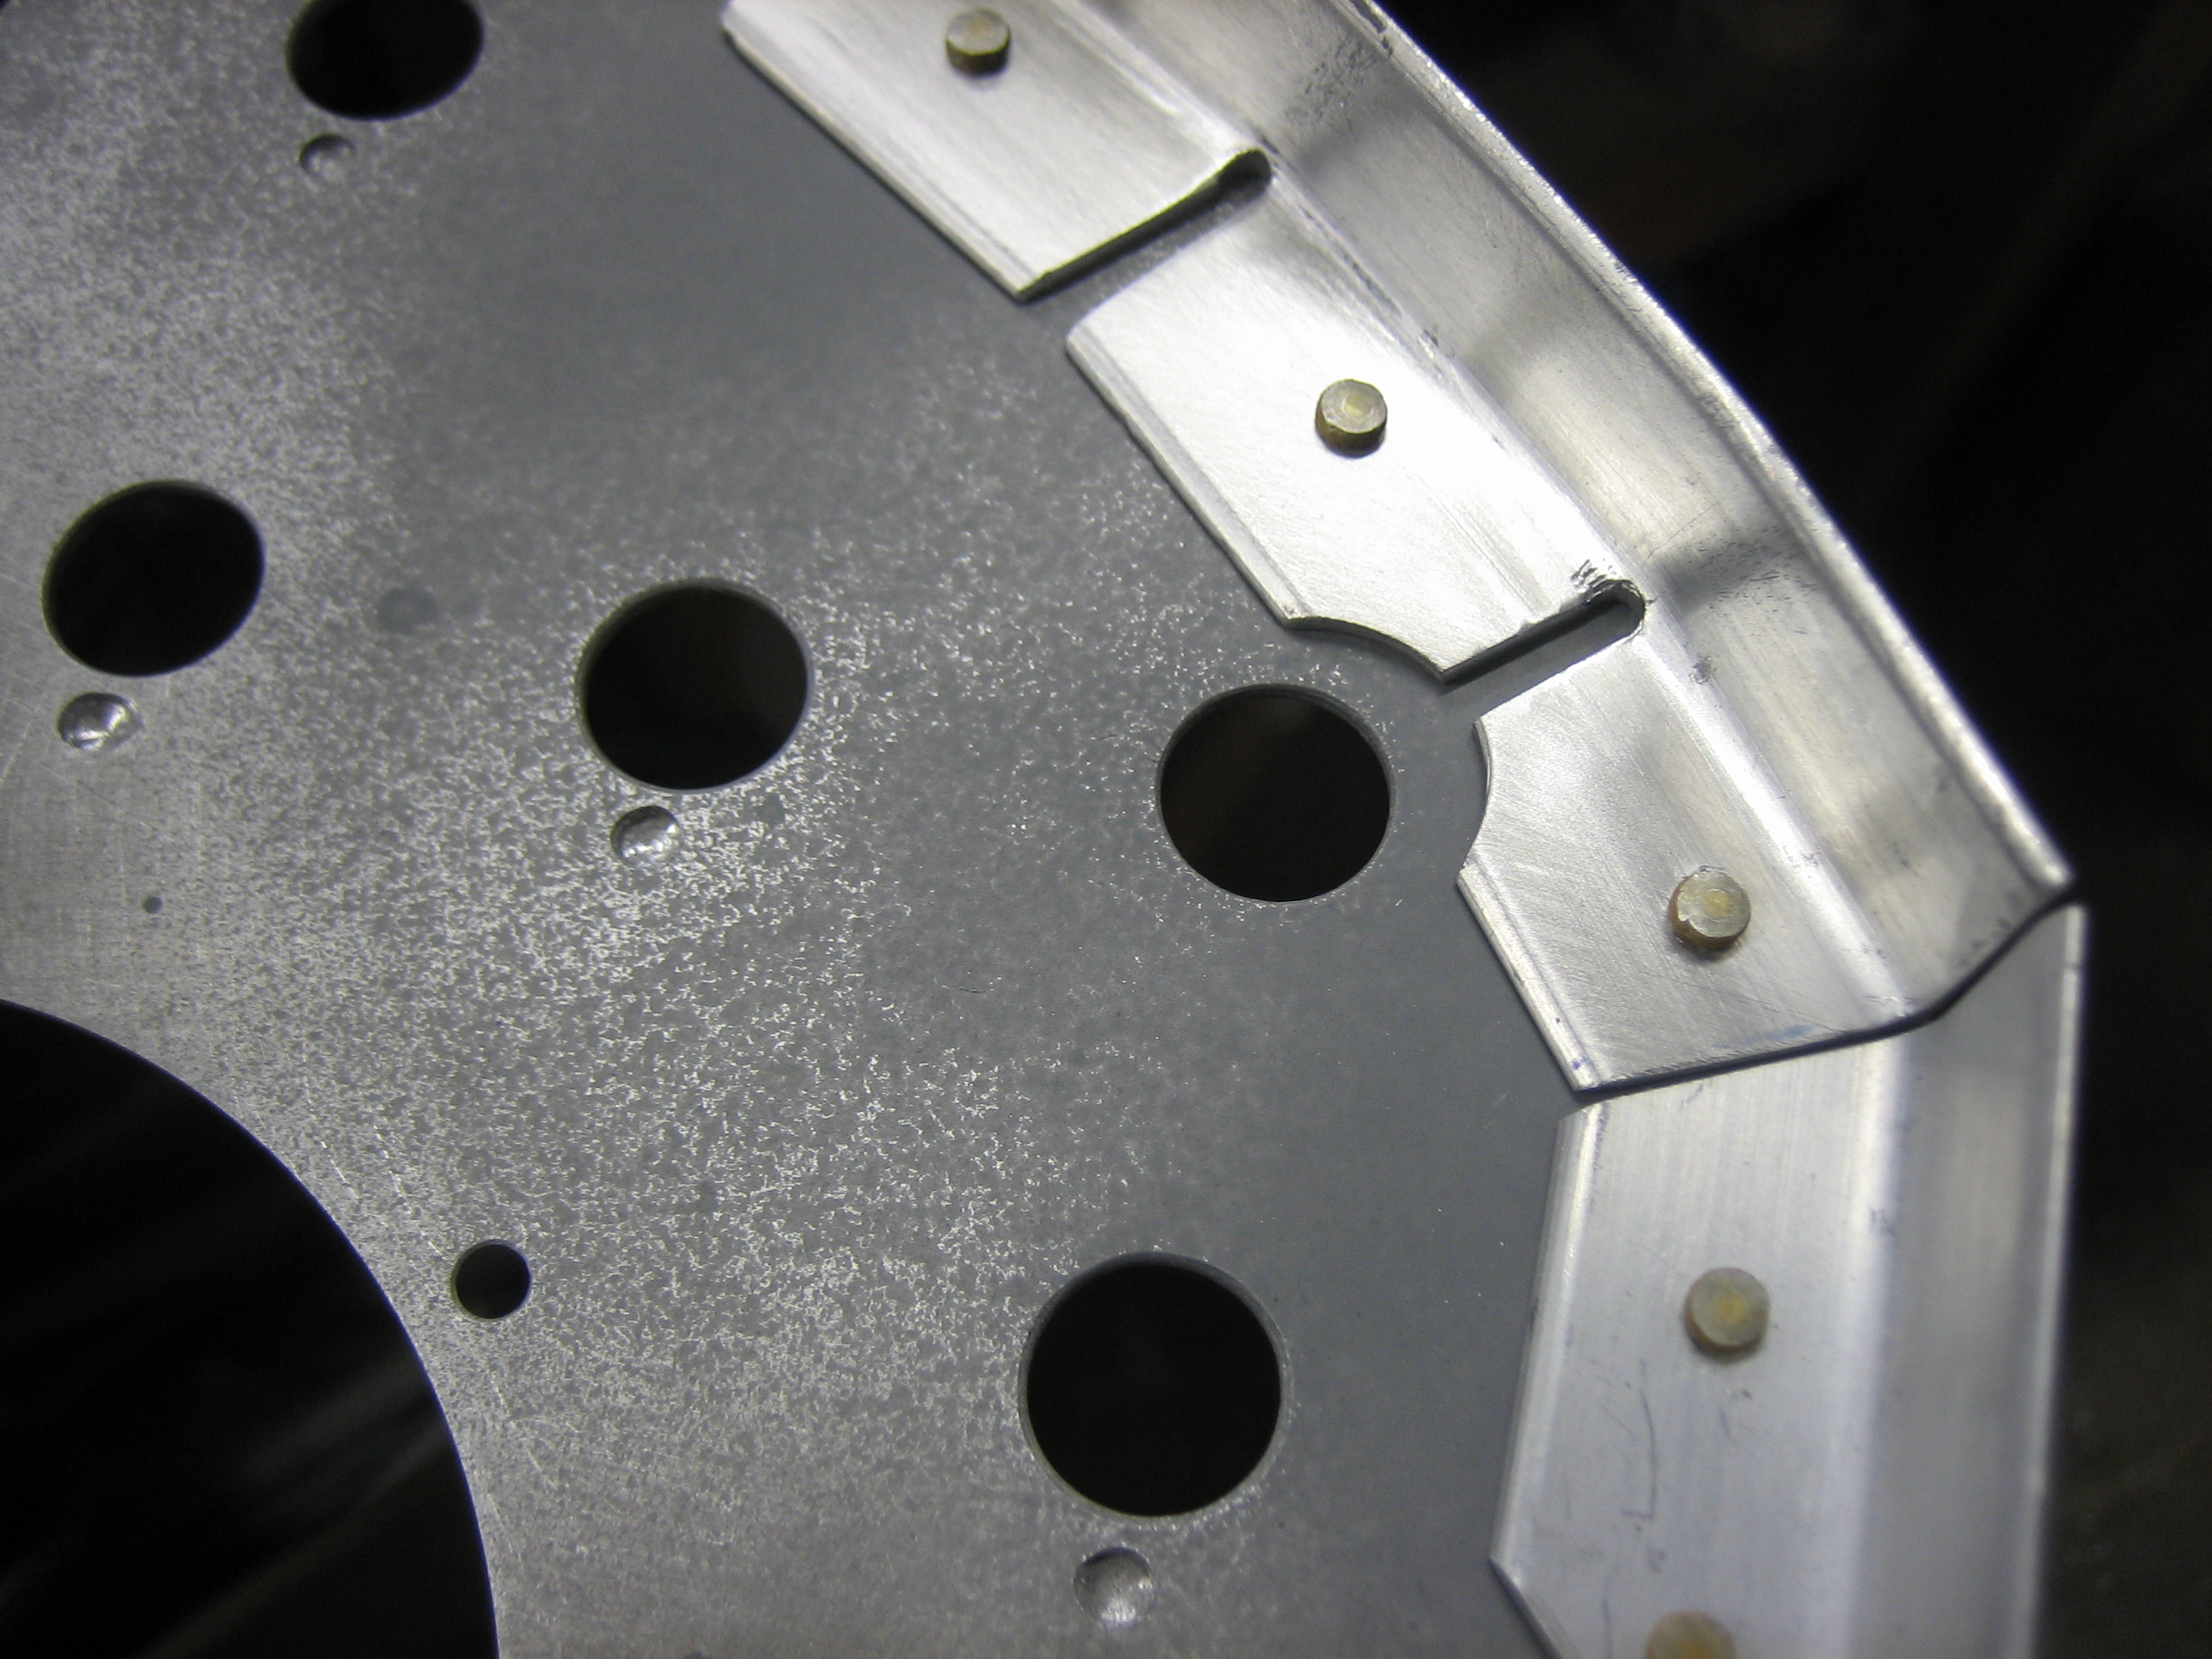
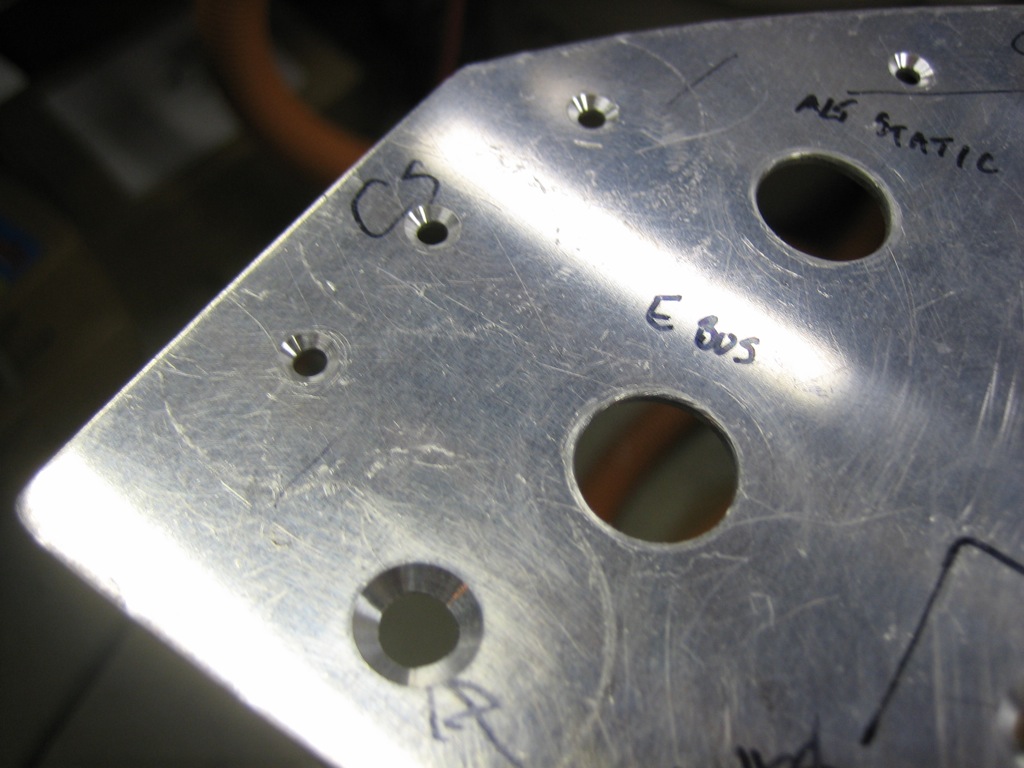
The reinforcement angle needed a few relief cuts to clear some of the components that are near the edges. This relief cut is to clear the alternate static port switch.
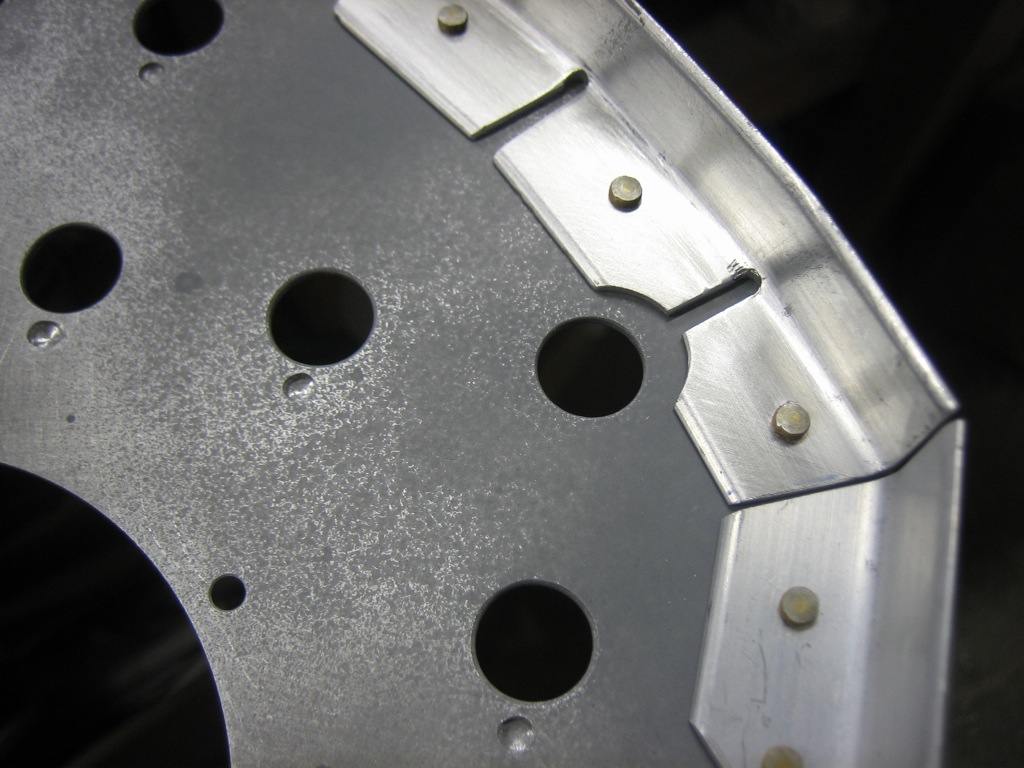
These relief cuts are to clear the ears on the annunciator lights bracket.

Finally, this notch is to clear the ELT remote.