I fabricated some spacers to hold the canopy frame bow in the correct position relative to the roll bar and then clamped the two together. I also created some spacers out of some scrap baffle seal material to space the canopy the correct distance from the canopy frame bow. I then removed the electrical tape that was along the top of the canopy frame bow and primed it with the Sika 209 primer.
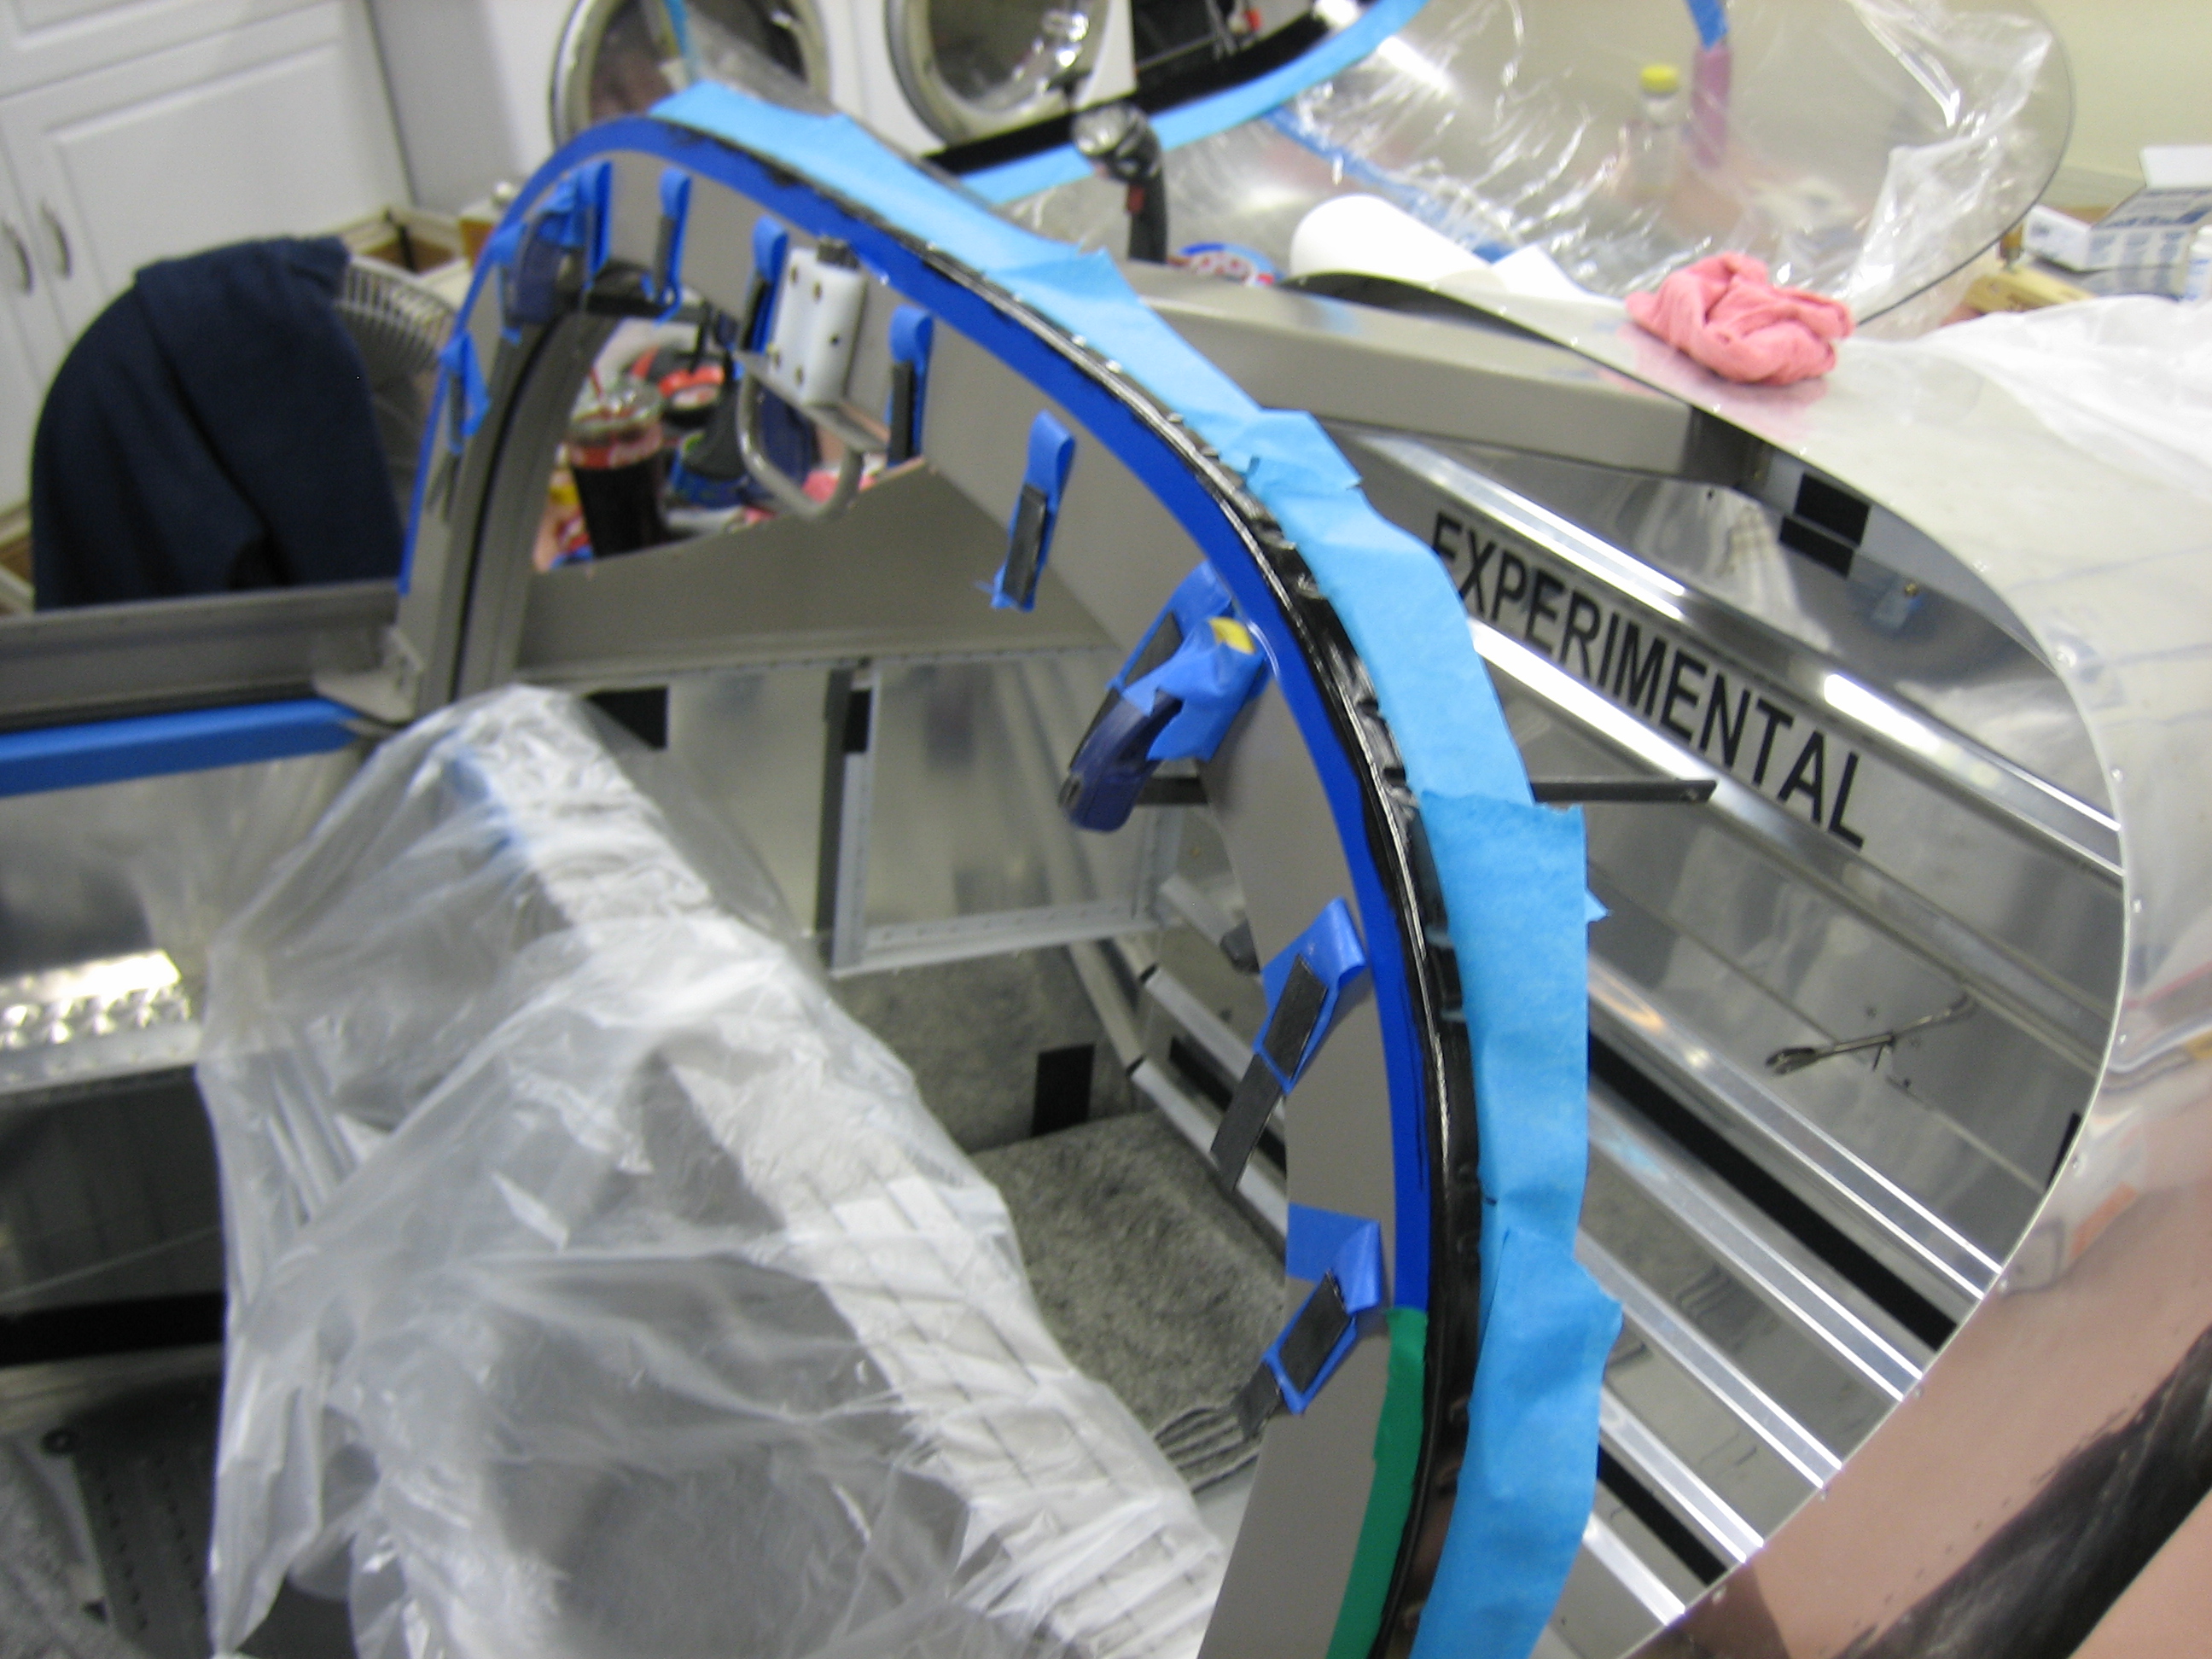
I also masked and applied a couple of coats of the Sika 209 primer to the aft edge of the canopy.
I reinstalled the canopy and installed all of the screws along the sides.
I climbed inside through the open back window and applied a preliminary bead of Sikaflex 295 UV adhesive between the spacers. Once the adhesive sets up, I’ll remove the spacers and apply a single bead across the whole box. Getting inside this way was tough. I’m 6’4″, so it was quite the contortion act. I ended up laying down in the baggage area and slithering under the crossbar.
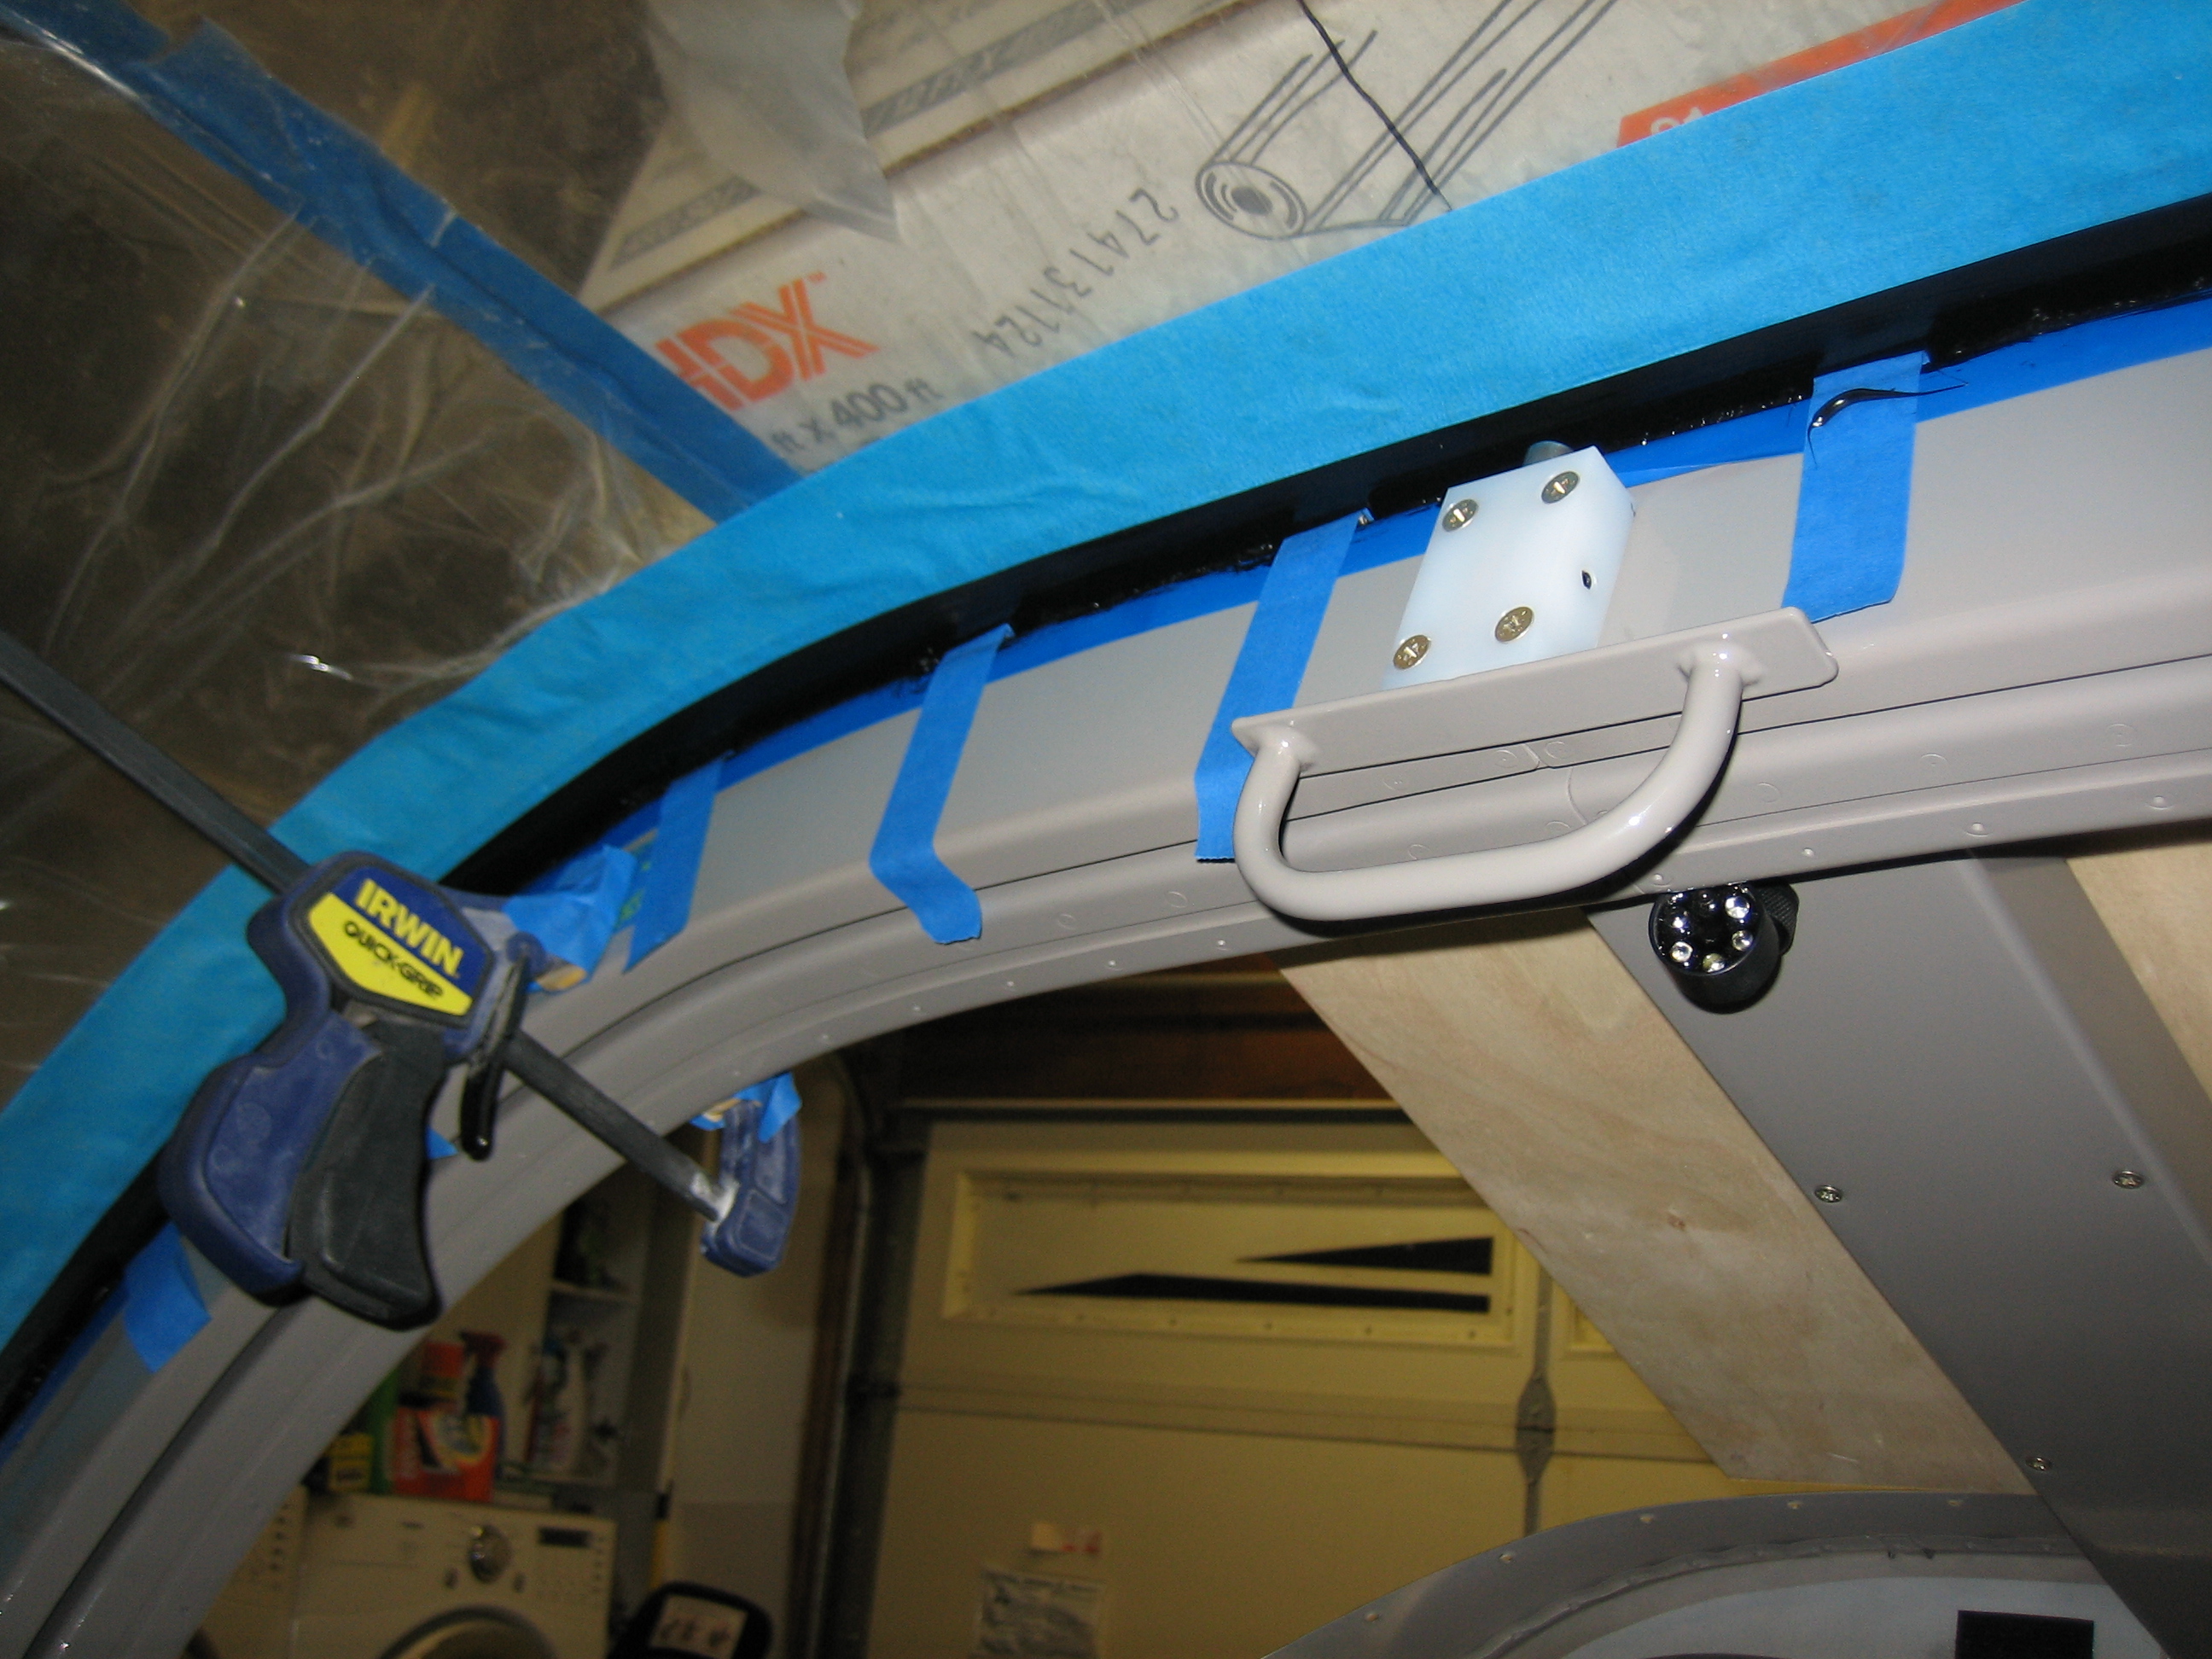
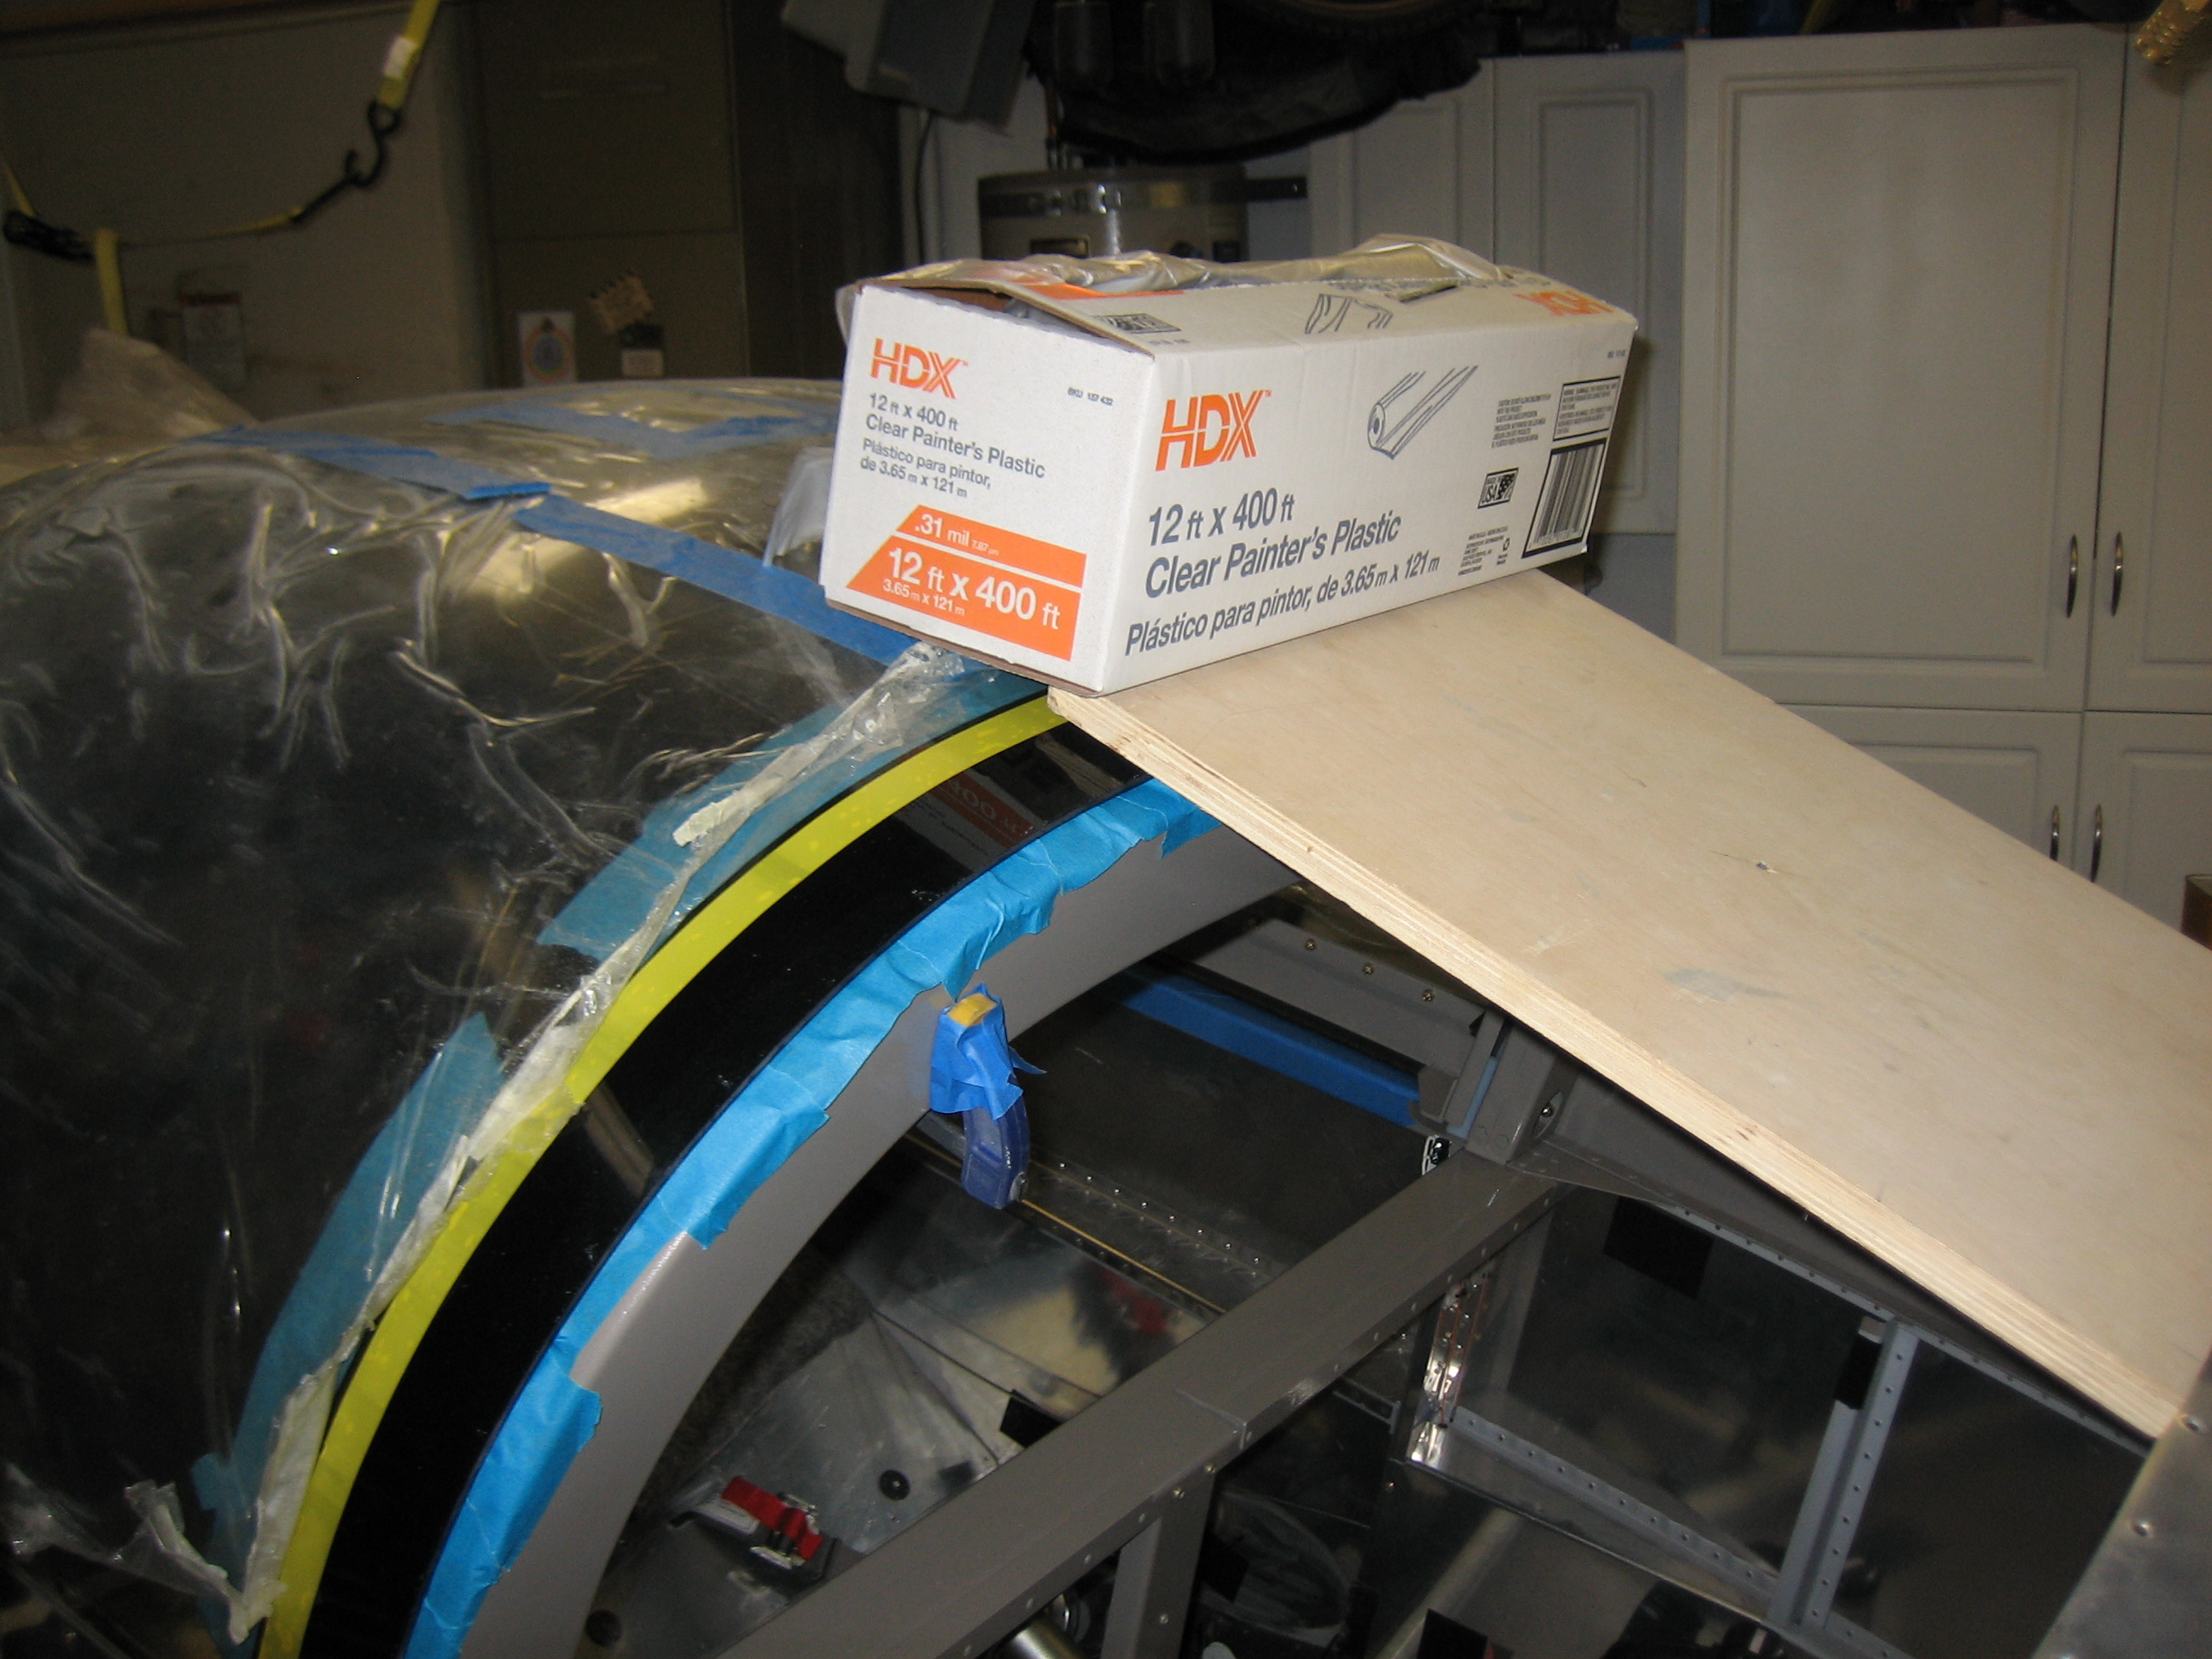
I added a little bit of weight across the center to hold the canopy down against the spacers.
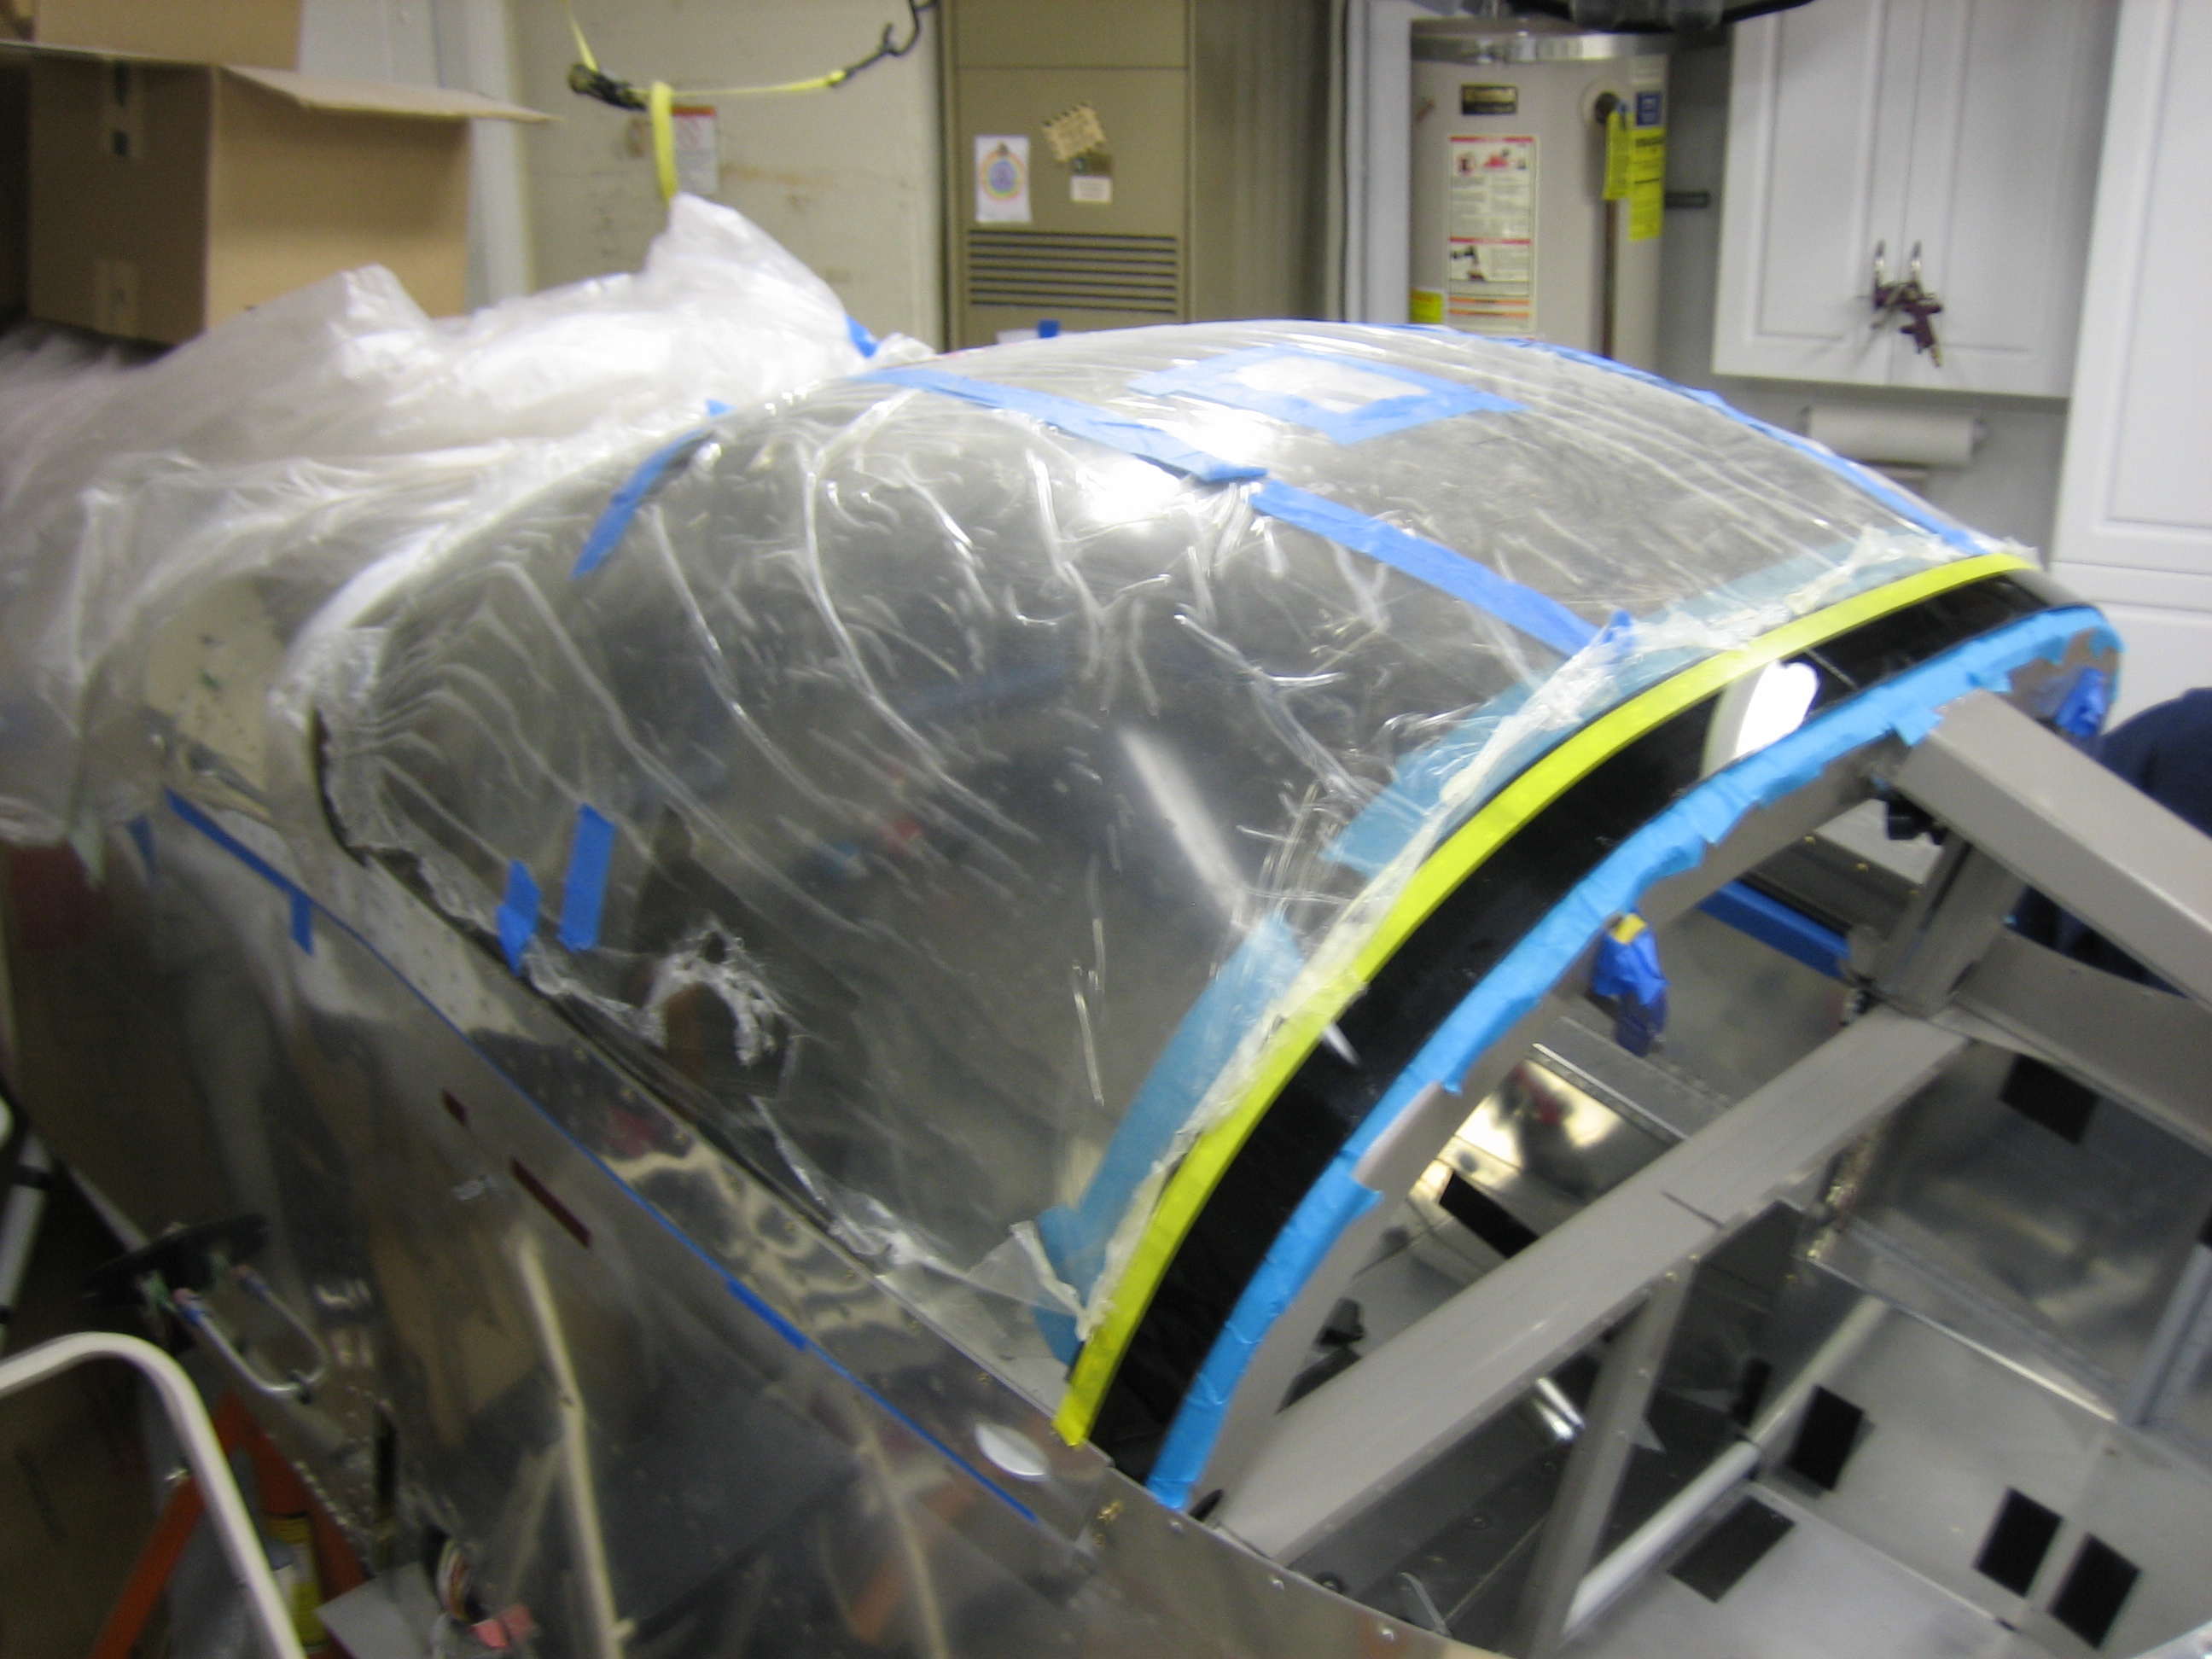
In preparation for fiberglassing the front edge of the canopy, I sanded the skin with some 80 grit sandpaper.
I then laid up some electrical tape to define the upper edge of the fiberglass fairing.
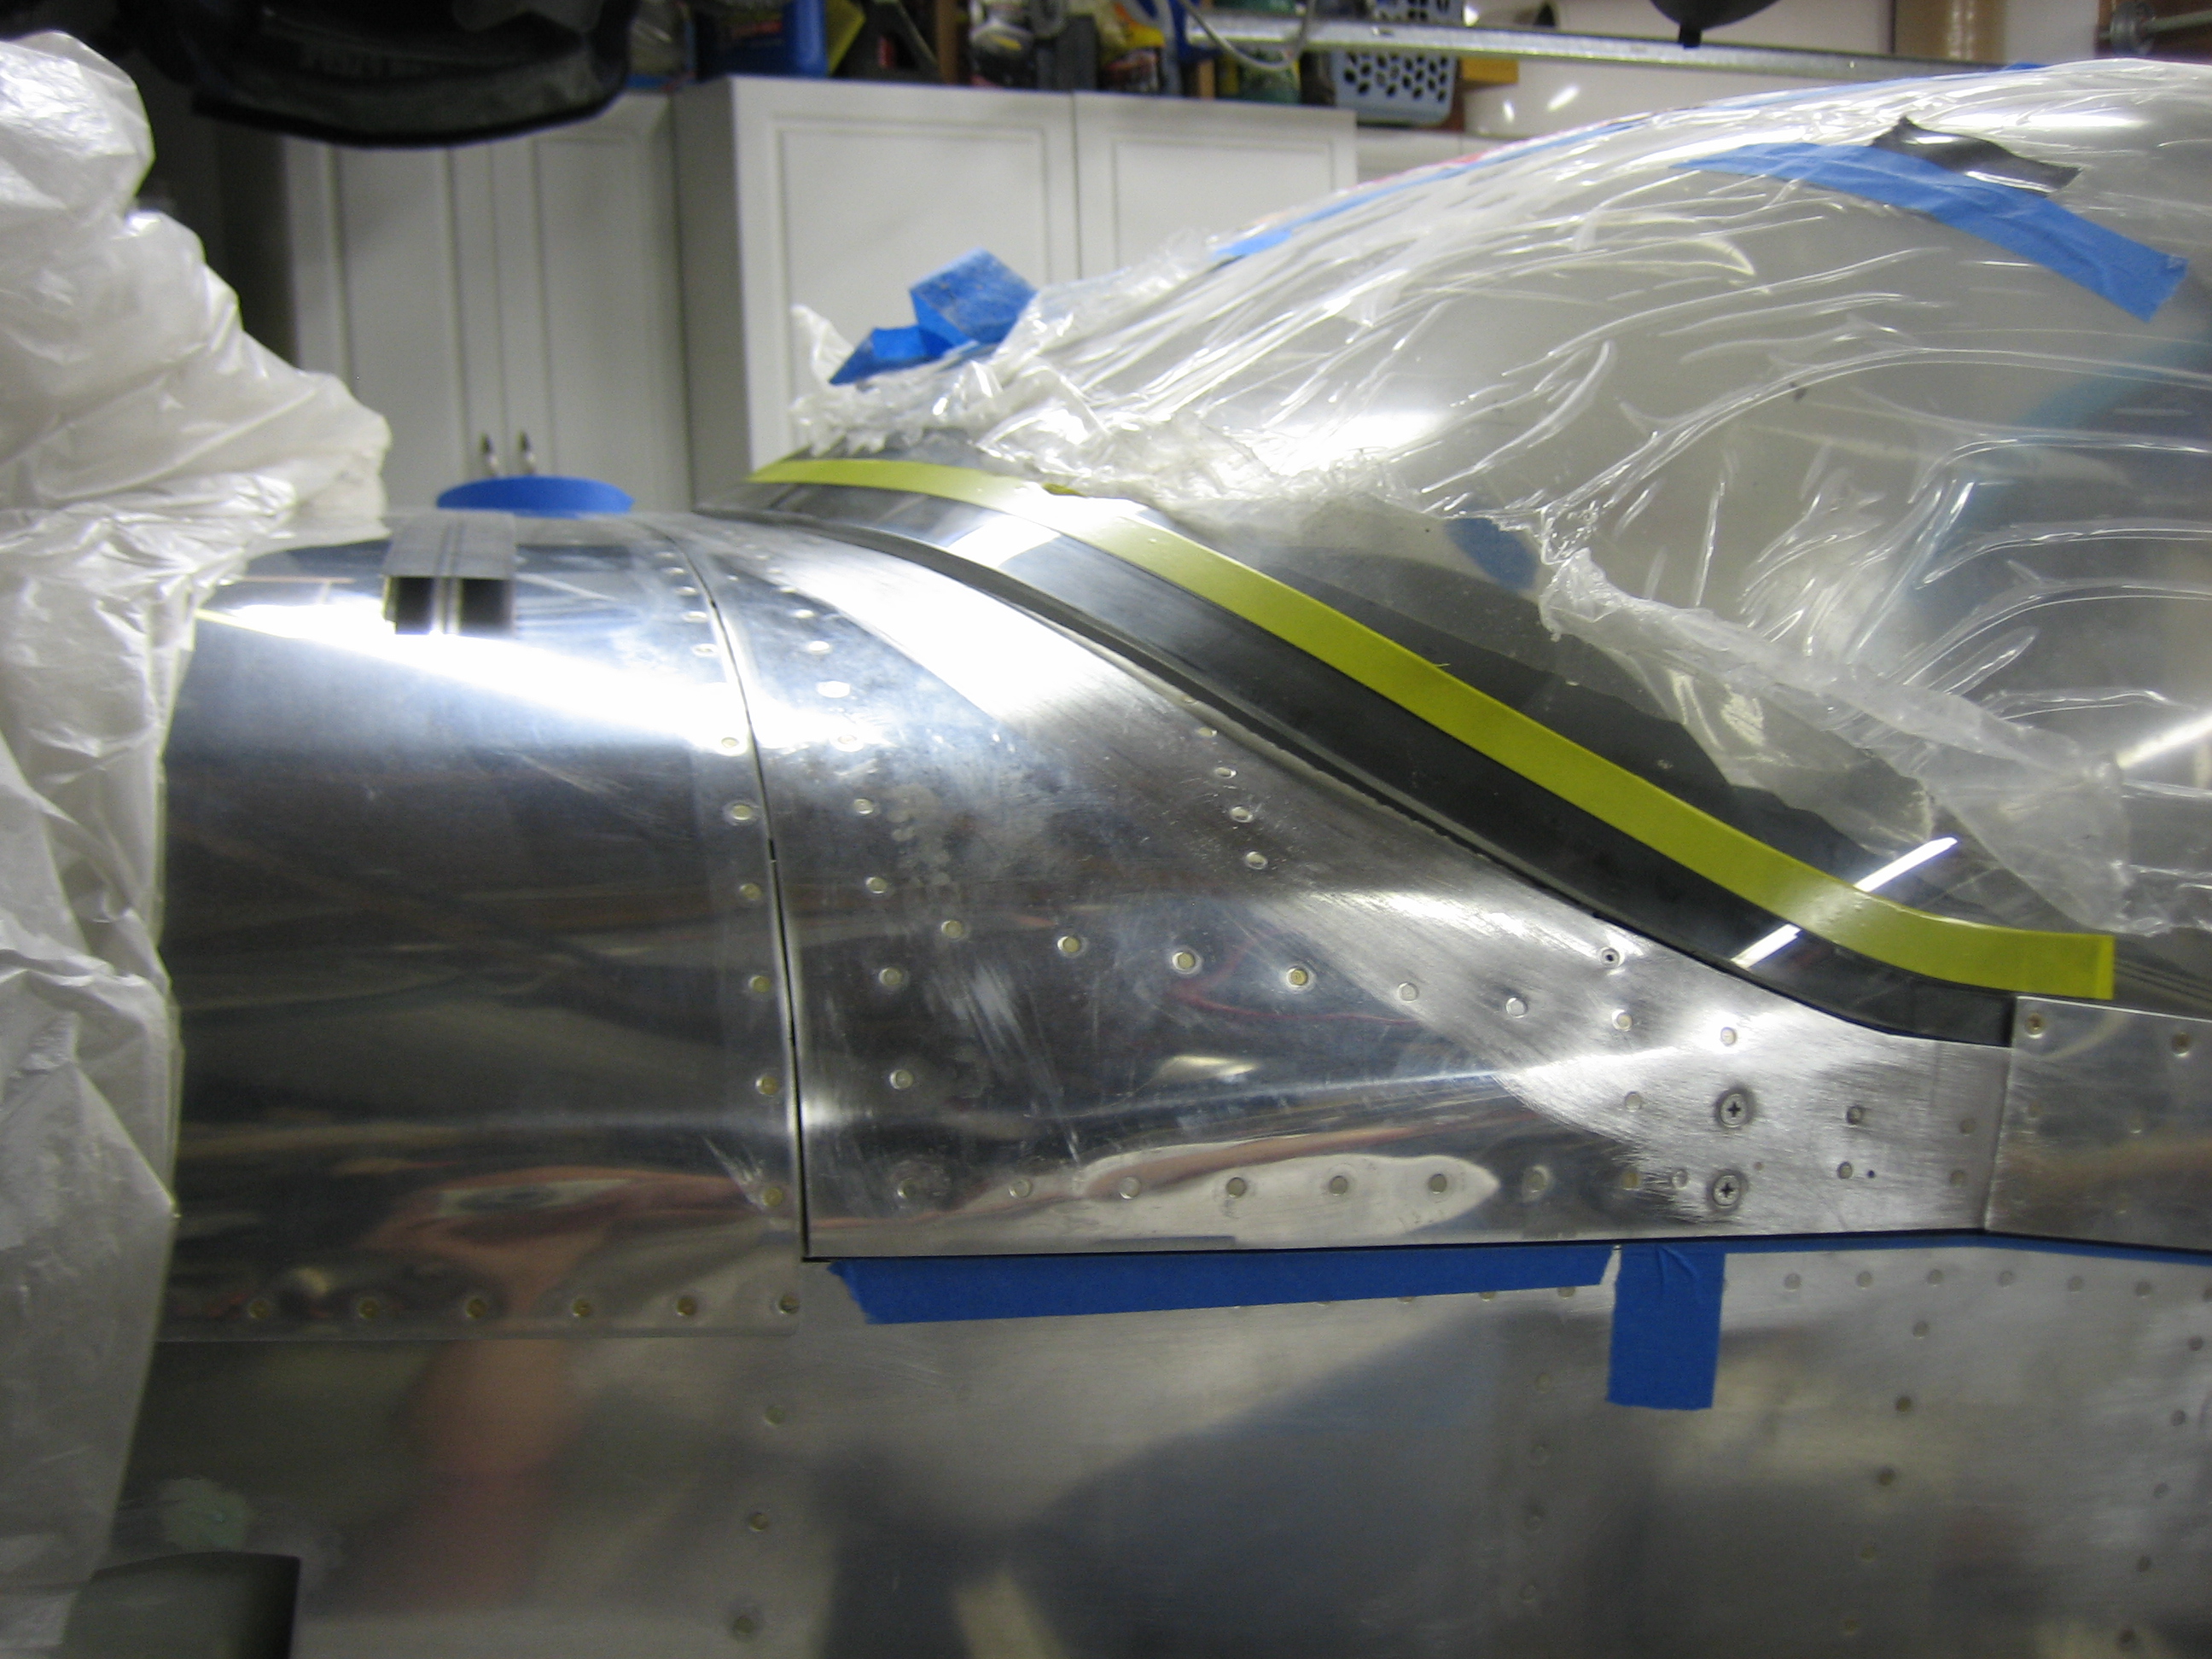
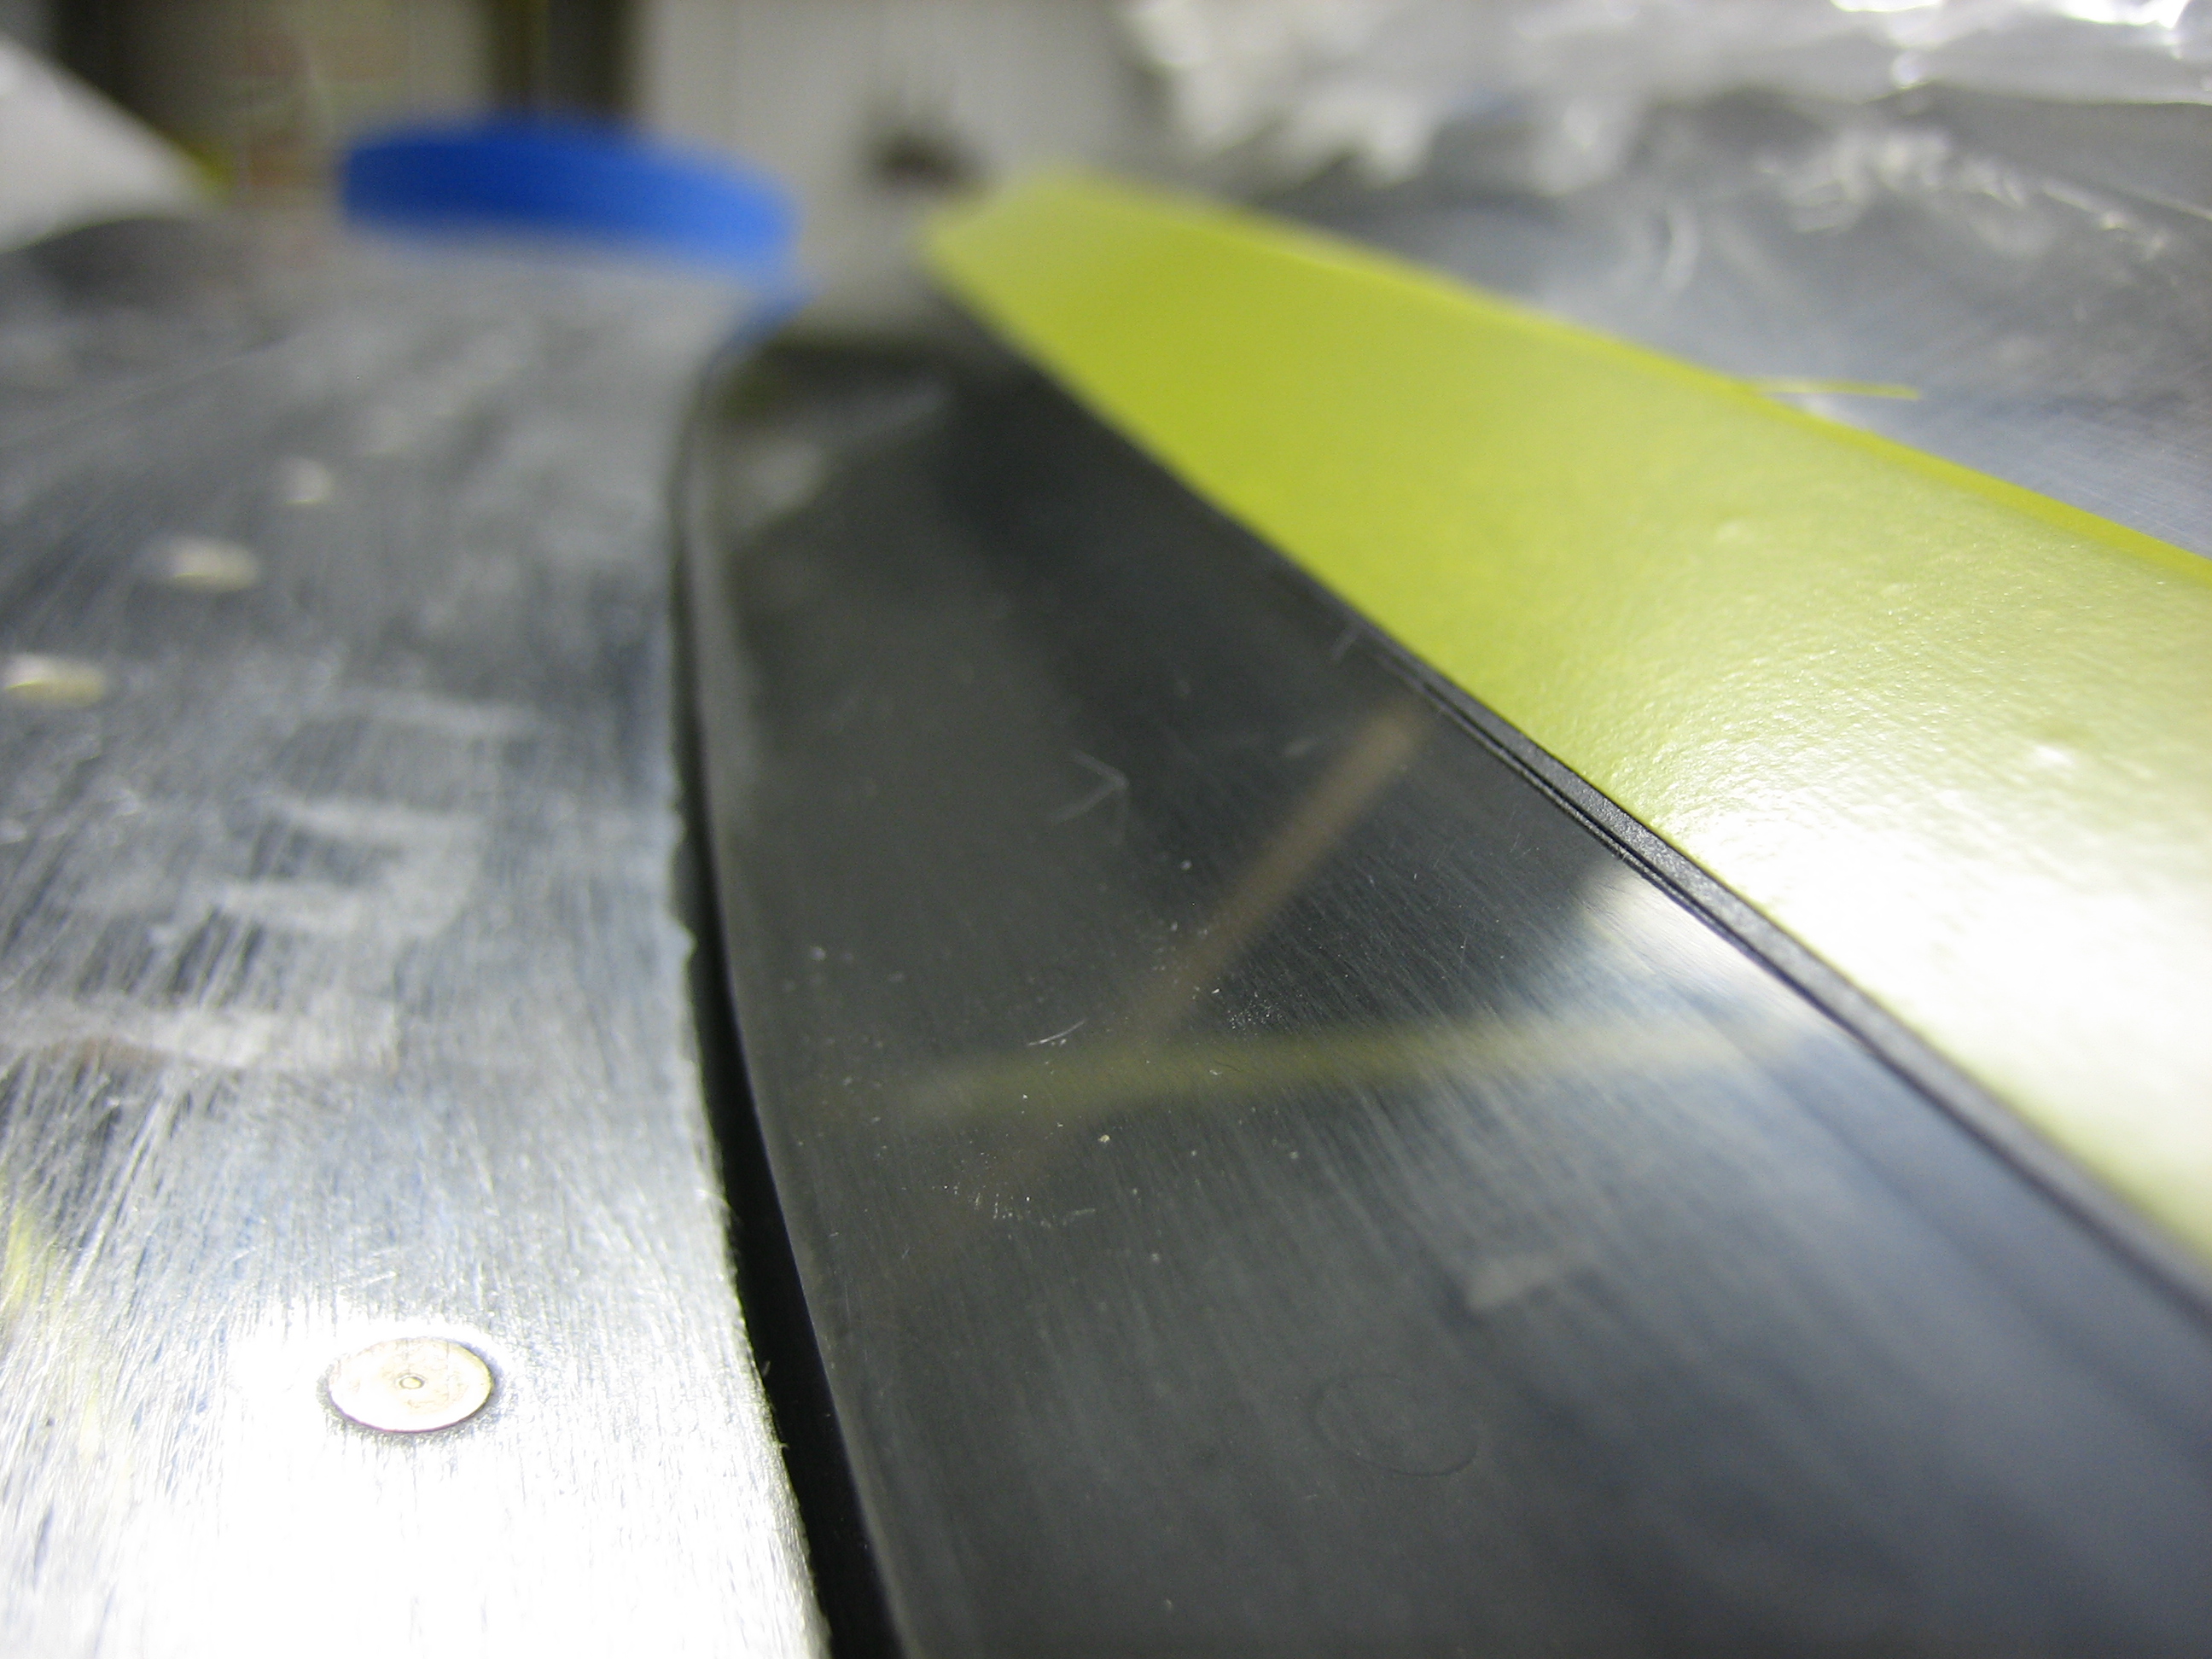
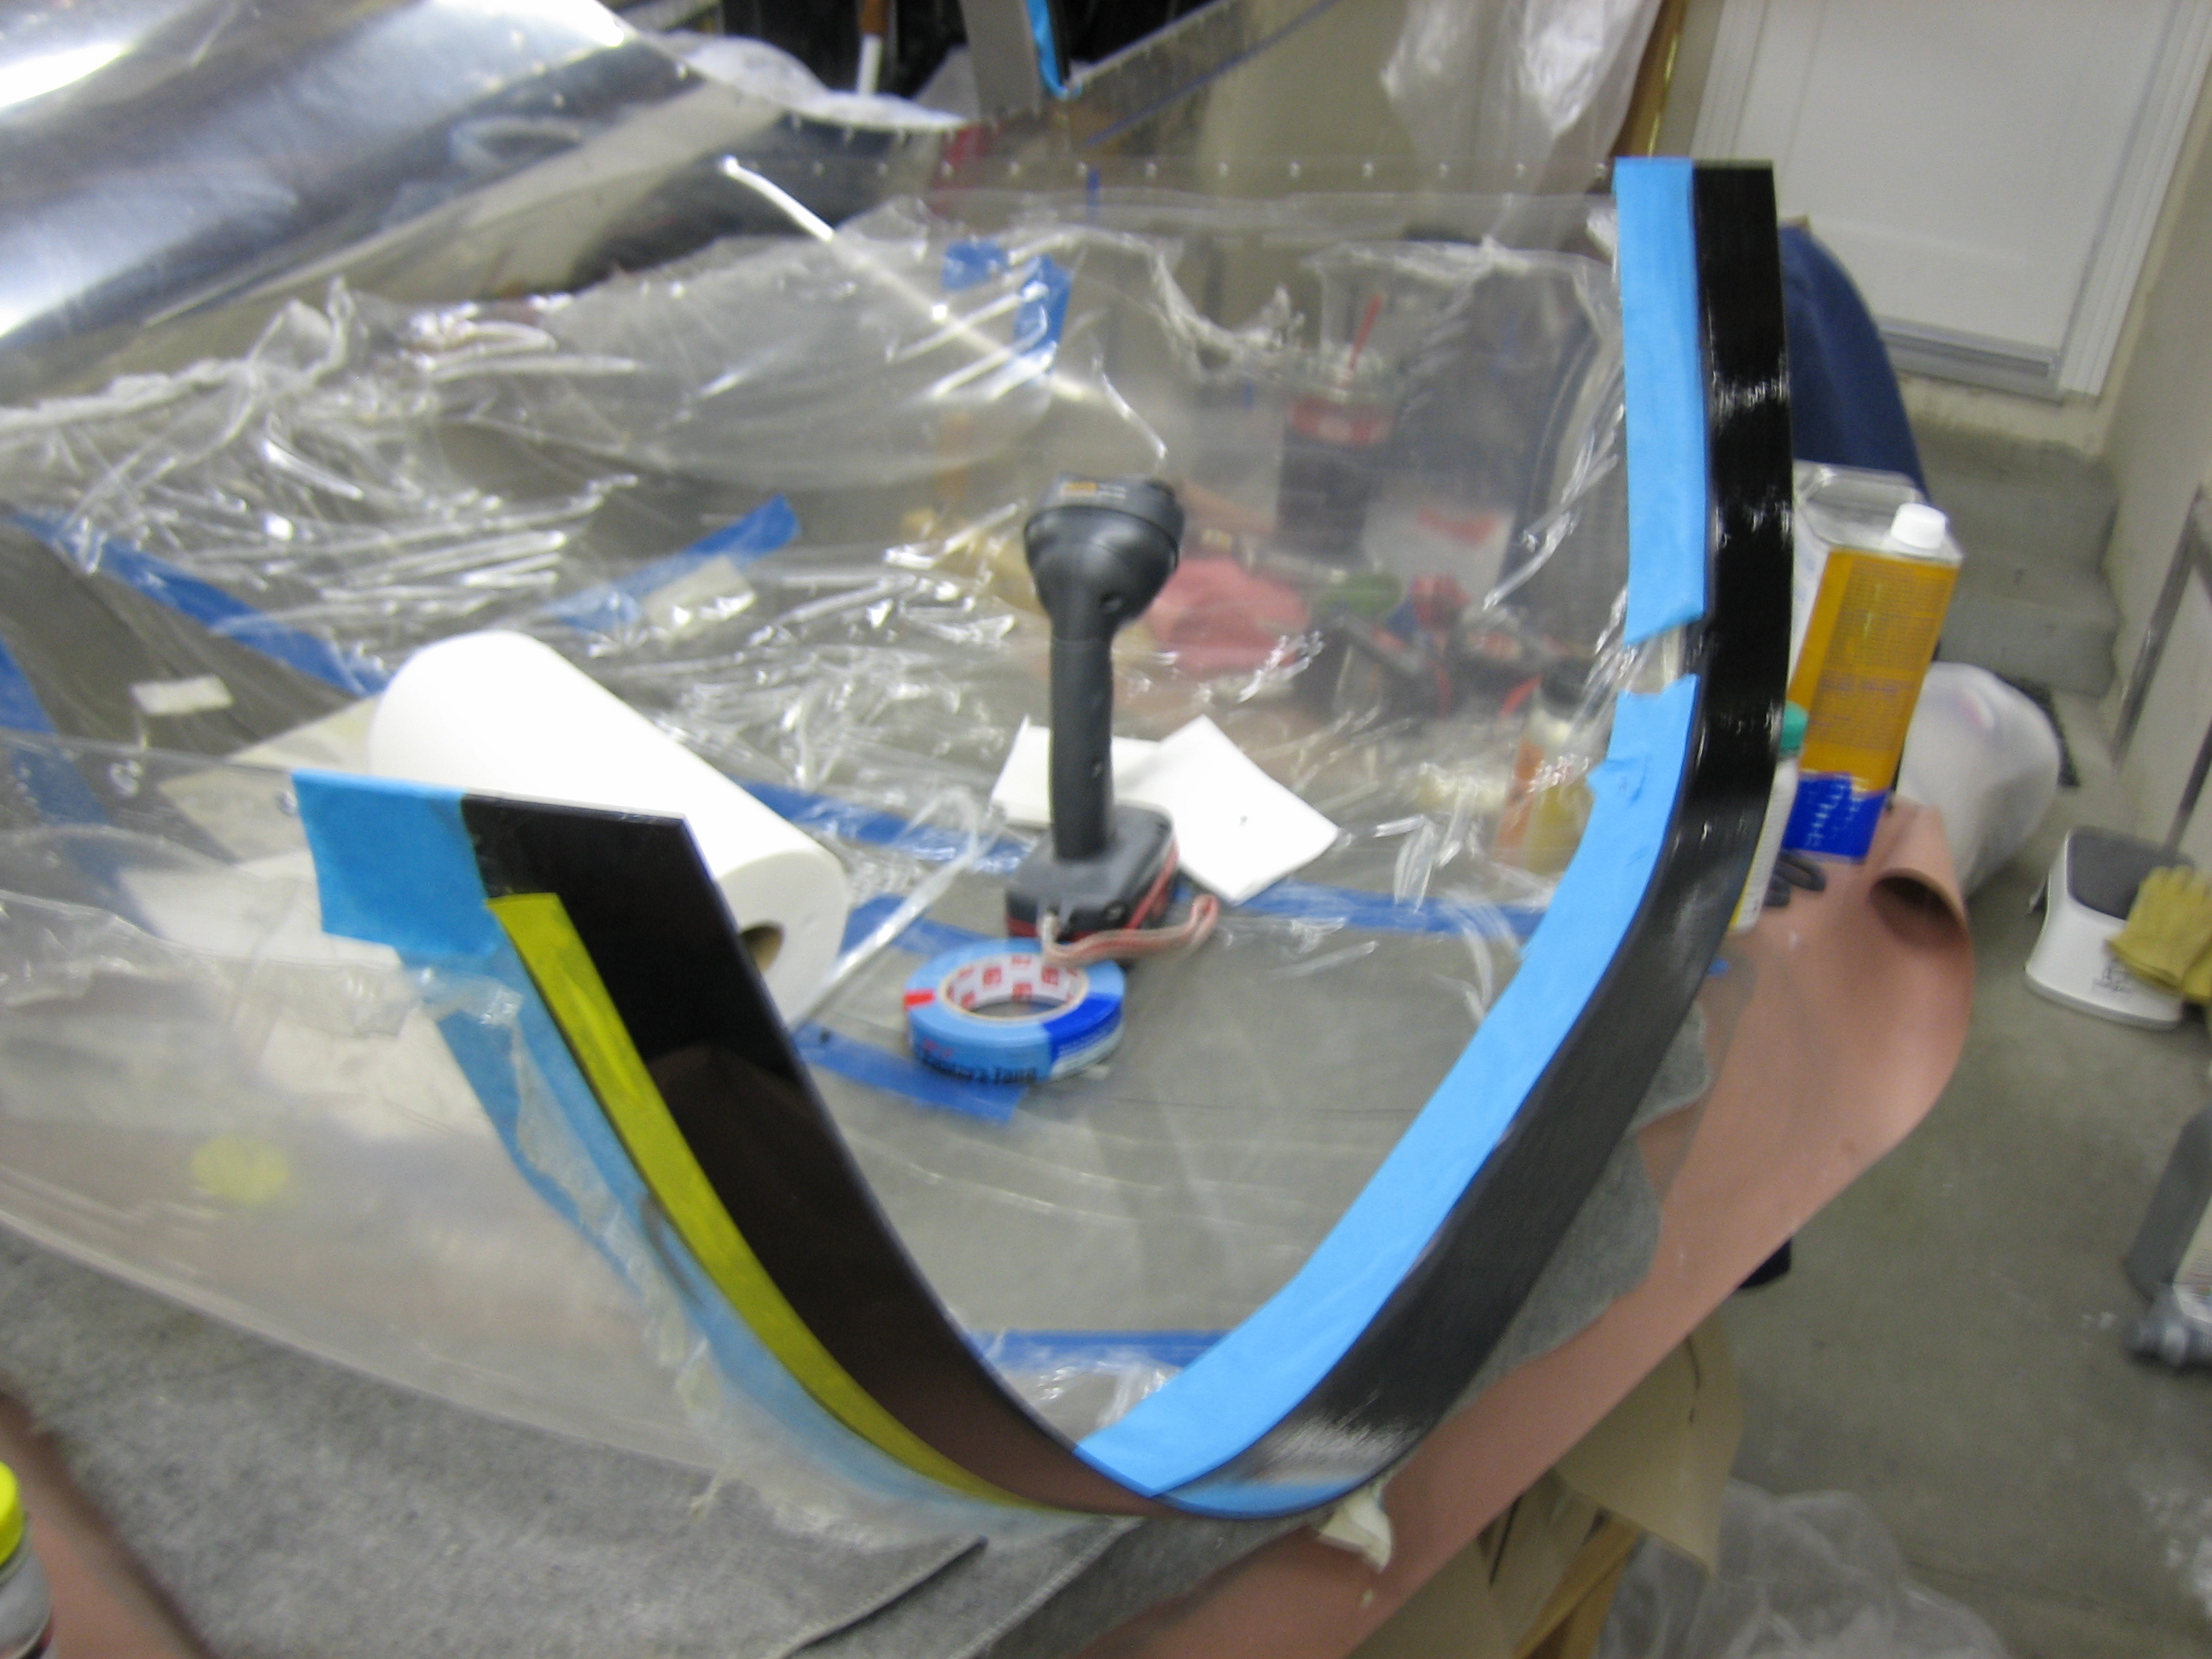
I laid up two layers of black electrical tape 1″ up from the bottom edge of the plexiglass and then laid up 1 layer of yellow electrical tape slightly back from the edge of the black electrical tape. This will be more visible through the filler and help me sand uniformly. I’ll sand the plexiglass below the line and lay up the fiberglass tomorrow.