Reinforced Oil Cooler Duct Flange

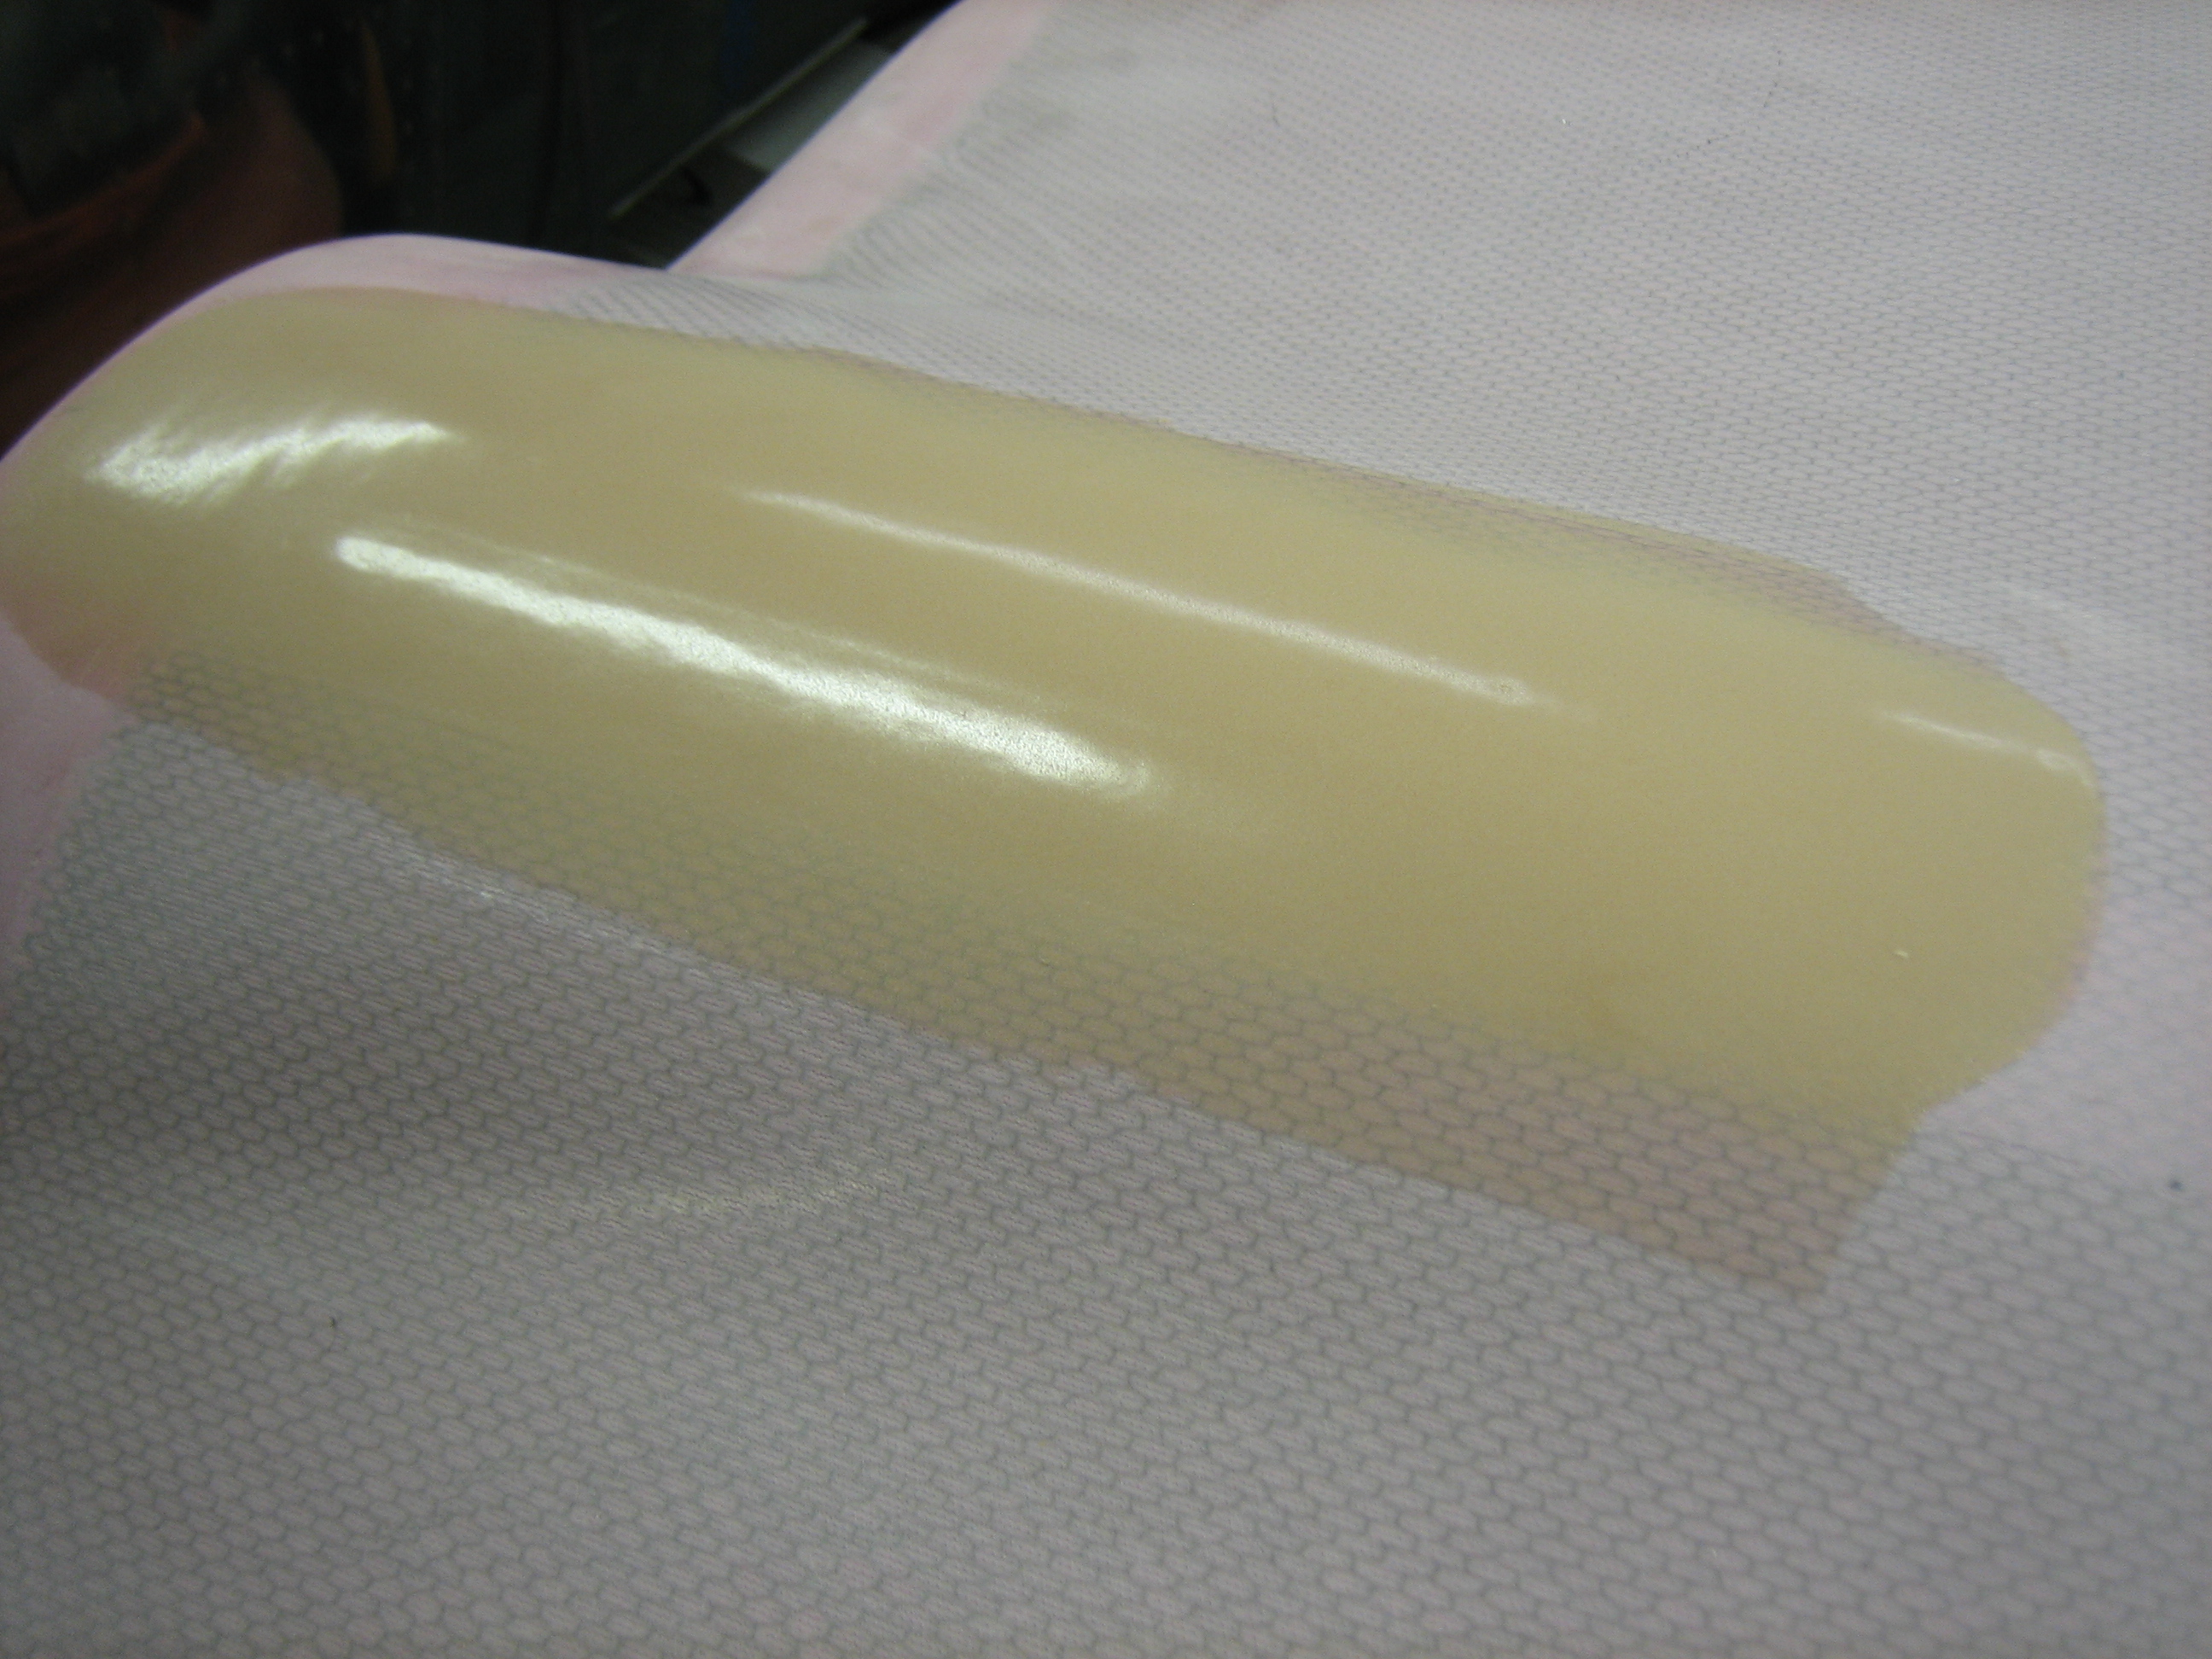
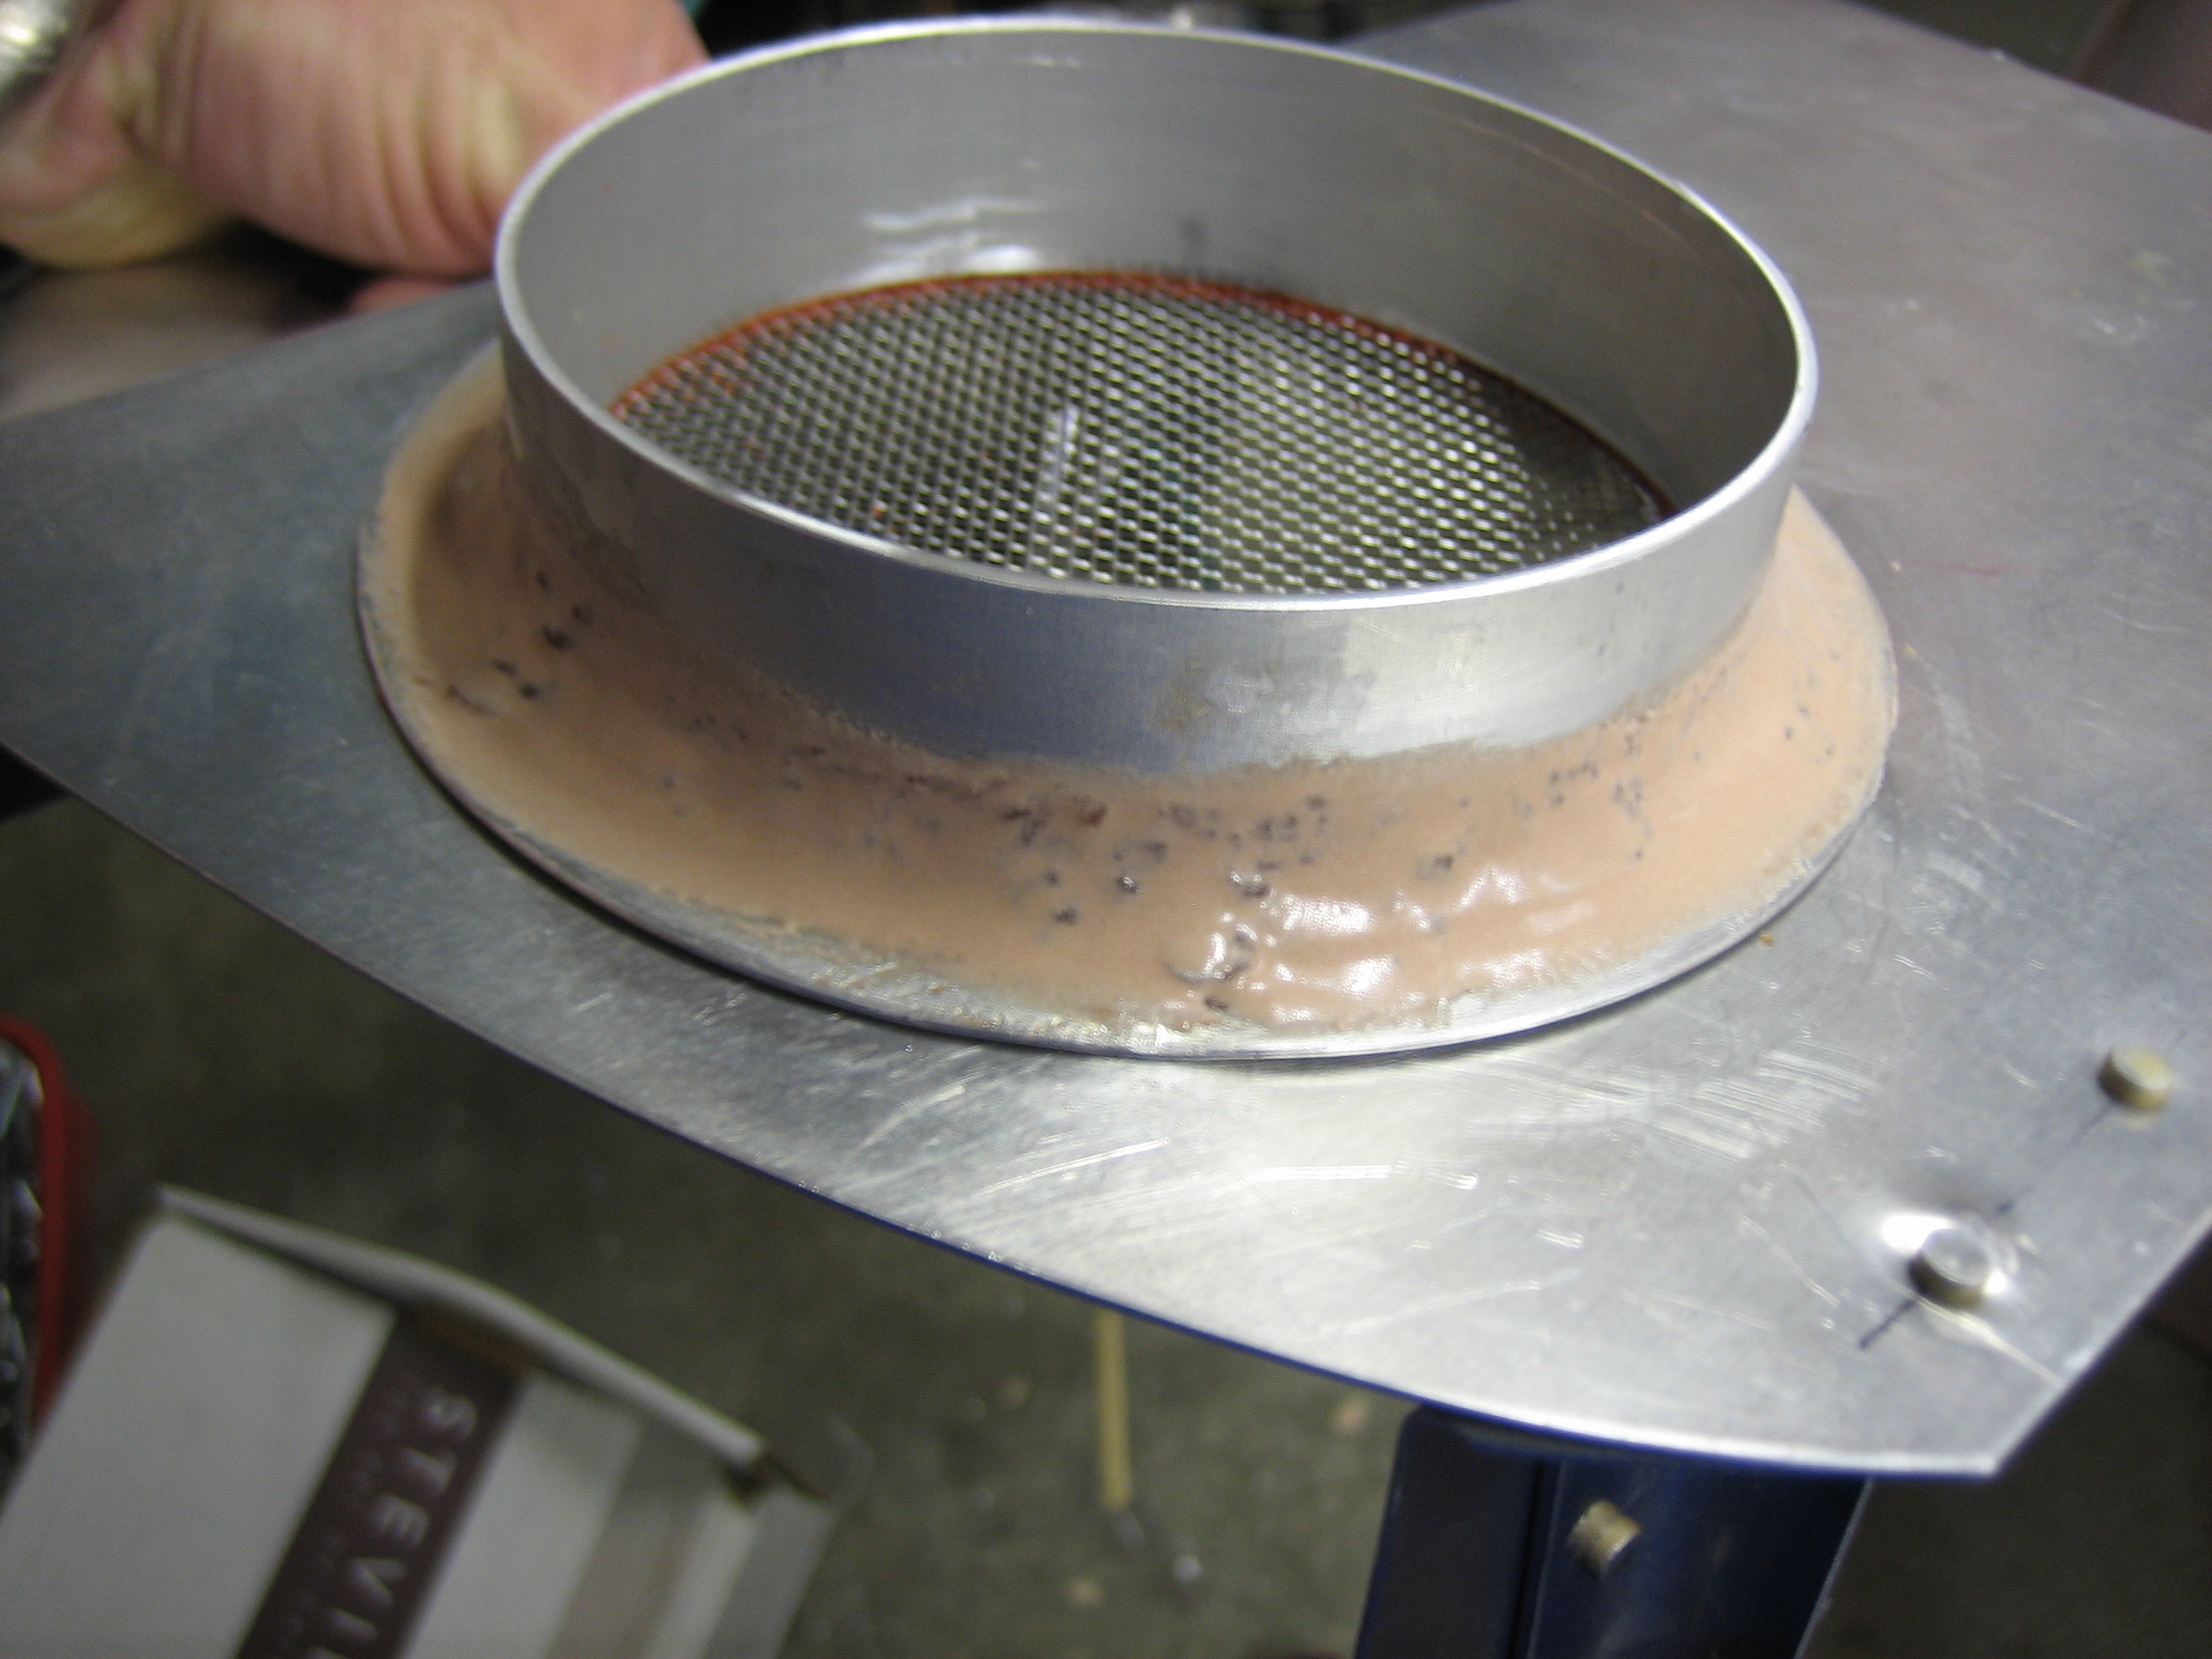
The oil cooler duct flange from Van’s is made of some very thin aluminum and is not welded all the way around.  Aircraft Spruce has some spun flanges that I really would have rather used, but they don’t go up to 4″.  People have had issues with the Van’s flanges breaking off, so I decided to reinforce this a bit.  I mixed up some epoxy/flox and formed a fillet at the joint, then after it cured, mixed up some epoxy/micro to smooth it out a bit.  Hopefully this will prevent this from ever separating.

I spread the extra epoxy/micro mixture over the fiberglass tape on the top cowl (covering the holes I drilled when fitting the cowl.

Finished Oil Cooler Installation

With the epoxy cured on the oil cooler SCAT tube flange, I reinstalled the baffles to test fit the SCAT tube.

As you can see, the SCAT tube is well inside the cowling.  I should have at least 1/2″ of clearance.

I fabricated a longer control arm and then anchored the control cable to the nearby engine mount tube.

Here’s the control arm I fabricated.  I cut it from some 1/4″ stock and machined it down to 3/16″ thick and notched the closed end for the b-nut.  The far end has a 1/4″ hole and a slot so that it can be clamped to the rod.

The longer arm gives me about 2″ of throw on the cockpit control which should give me plenty of precision for fine tuning the oil temperature

Here’s what the butterfly valve looks like when the control cable is pushed all the way in.  I’ll trim and bend the end of the control cable when I’m sure it’s on for good.

With the SCAT tube back in place, there’s plenty of clearance in the full open position.

…and in the full closed position.

In the middle, there’s about 1/4″ of clearance between the control arm and the SCAT tube.  I might end up adding a bend in the control arm to increase this a bit.

Fit Alternator Cooling Blast Tube

I fit the alternator cooling blast tube.  It runs down between the #1 cylinder and the alternator and then turns forward to point at the back of the alternator.

I used a pair of adel clamps to force the SCAT tubing to make a 180º turn.  It’s pointed at the center of the arc of slots on the back.

The bracket that holds these adel clamps is attached to the engine just behind the alternator bracket.  This is just temporarily attached for now until the baffles are on for good.