More Miscellaneous Interior Stuff

I installed plugs and some expandable nylon sleeving on the seat heater cables.  There are four of these in total, one on each seat bottom and seat back.

I fit all of the seat belts as well.  I only installed the crotch straps for good since the others are just in the way right now.  I also cut slots in the carpet for these to pass through.

I used AN364 nuts instead of AN365 to attach the crotch straps since these bolts are only loaded in shear.

I added a couple of nutplates to the right flap motor cover so that I could install the halon fire extinguisher.  I can easily reach this from the pilot’s seat in flight.  You can also see on the right that I added some more velcro to the floor to hold down the seat bottoms.

Started Fitting Interior

I started fitting the interior by placing the seating area carpet and then installing small circular velcro tabs to hold the carpet down.  I may install a few more, but this anchors things pretty well.

I marked the centerline of the hinge inline with the stick and then installed the hinge so that the centerline is visible through the pre-drilled center rivet hole on the seat flange.

I then installed the sides and seat backs.  The baggage area panels are currently just sitting in place to see how they fit before installing them for good.

The side panels are comprised of three pieces, the upper light gray panel with the integrated armrest and two lower dark gray panels.

The baggage area panels includes the flooring carpet, side panels, and two back panels.

Unfortunately, there are several areas where the floor is visible between parts of the seats and carpet.  I’ll have to paint these parts of the floor dark gray to match the carpet.

Miscellaneous Interior Stuff

After thoroughly vacuuming under the aft seat pans, I installed the forward seat pans and threw a few screws in to keep them in place.  I figured now was as good a time as any to fit the stick boots so that I could install the velcro around the stick opening.

I only have a little work left to do in the tail, so I put the lower baggage wall in place to that I could fit the interior.

Part of the flange needed to be trimmed to clear the wiring and tubing that I installed near the front edge of this rib for some reason.  There was no good reason I couldn’t have installed this near the back of the rib.

I then put the experimental sticker on the upper baggage wall and installed it.  I’ll generally have the upholstery cover over this, but I installed it anyway since I’ll likely fly without most of the interior during testing.

Riveted Firewall Flanges and Wrapping Up Wiring

I used the bucking bar I modified to finish riveting the firewall flanges.  The bottom one on each side was still a little tricky, but I managed to get solid rivets in every hole.

I ended up having to move the cigarette lighter plug from just below the forward canopy deck to just below the right edge of the center subpanel.  The old location interfered with the heater valve control cable.

I installed a couple of adel clamps above the VP-X to anchor the main wiring bundle that crosses over the top.

I also buttoned up the pilot’s side headset jack wiring.  You can also see that the capacitive fuel sender wire follows the vent tube down to the exit hole.

Here’s the backside of the cigarette lighter jack.  I grounded the jack locally to the subpanel.

I also wrapped up all of the wiring beneath the seats.  The hardest bit was getting the final adel clamp installed between the forward elevator pushrod.  After that, I installed a few more zip-ties to keep everything tight.  The wiring under the seats is completely done now.

Machined Bucking Bar for Remaining Firewall Rivets

I ordered a custom bucking bar from the Yard Store to rivet the remaining firewall rivets that are too close to the engine mount.  Despite looking promising on the website, it was still too big to fit between the firewall flange and engine mount.  I marked the material that looked like it needed to be removed and machined it off in the vertical mill (sorry, no pictures).

Here’s the modified bucking bar.  I’ll know soon enough if it will work.

Reinstalled Subpanel and Radio Stack

I reinstalled the center subpanel and Jenn helped me quickly knock out the rivets that tie it to the outer subpanel sections and forward ribs.  I then installed the canopy pivot blocks and radio stack.  You can also see that I added some blue tape on the canopy decks to protect the paint.

Painted Interior

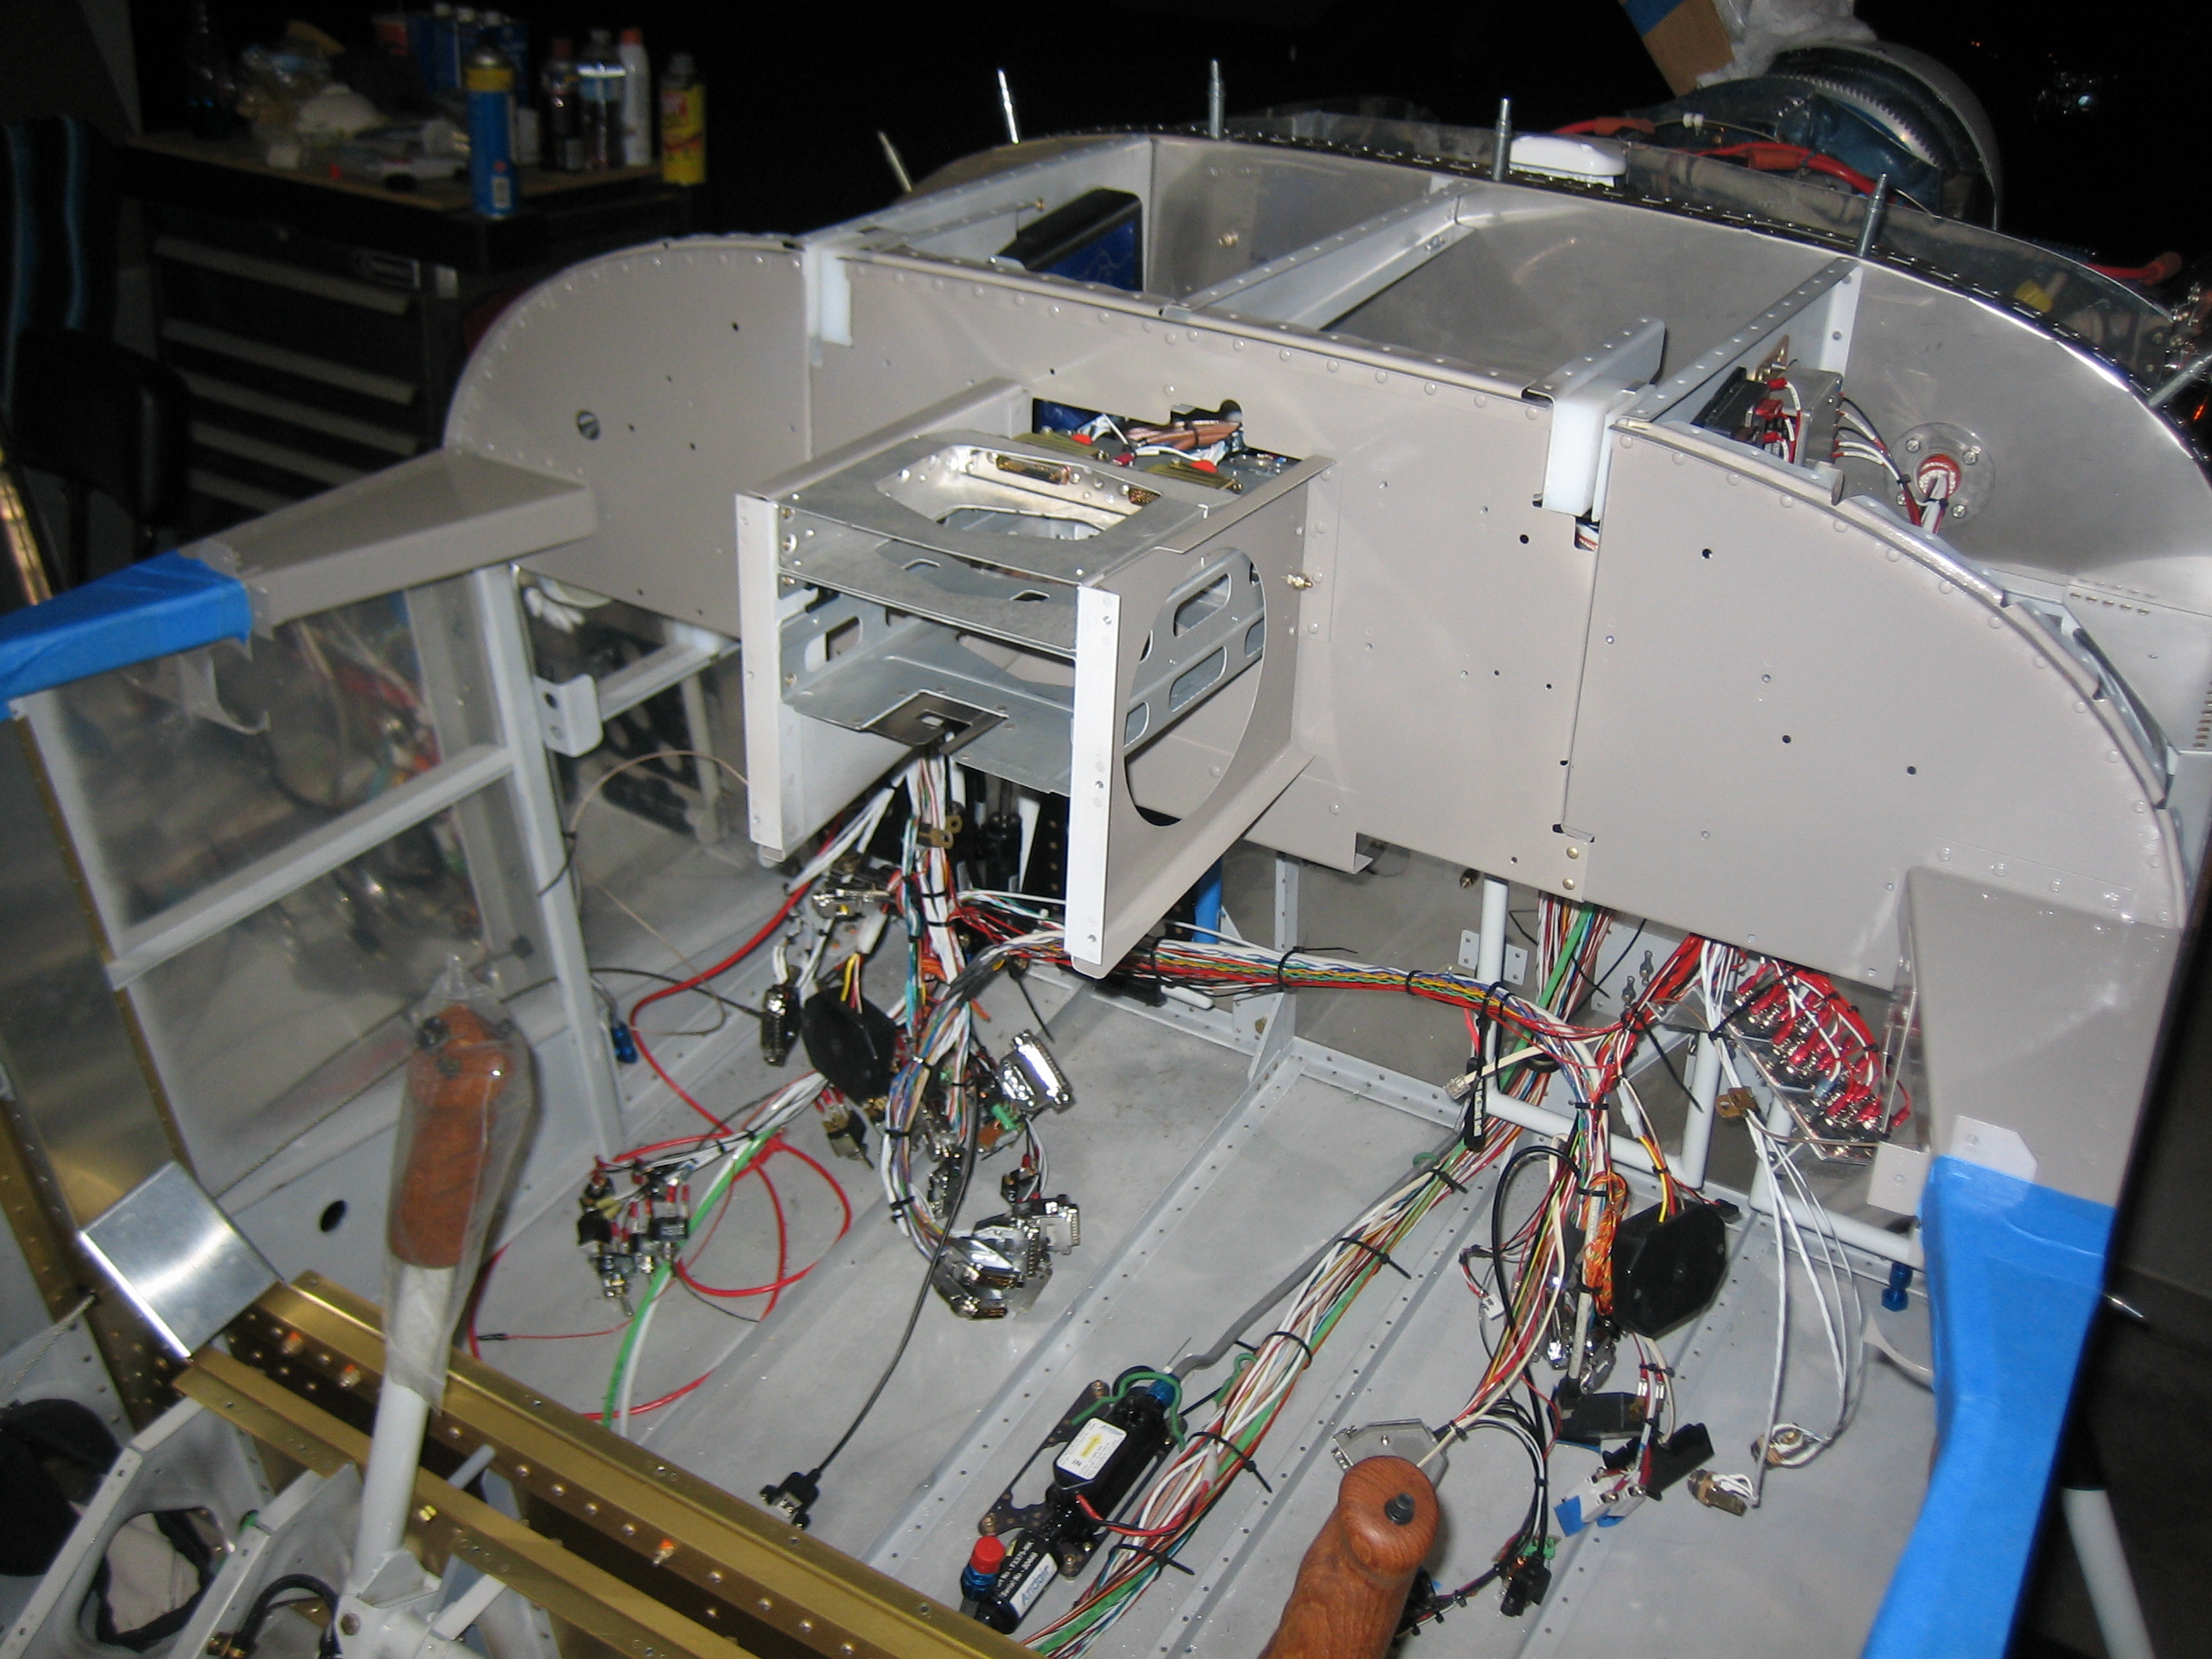
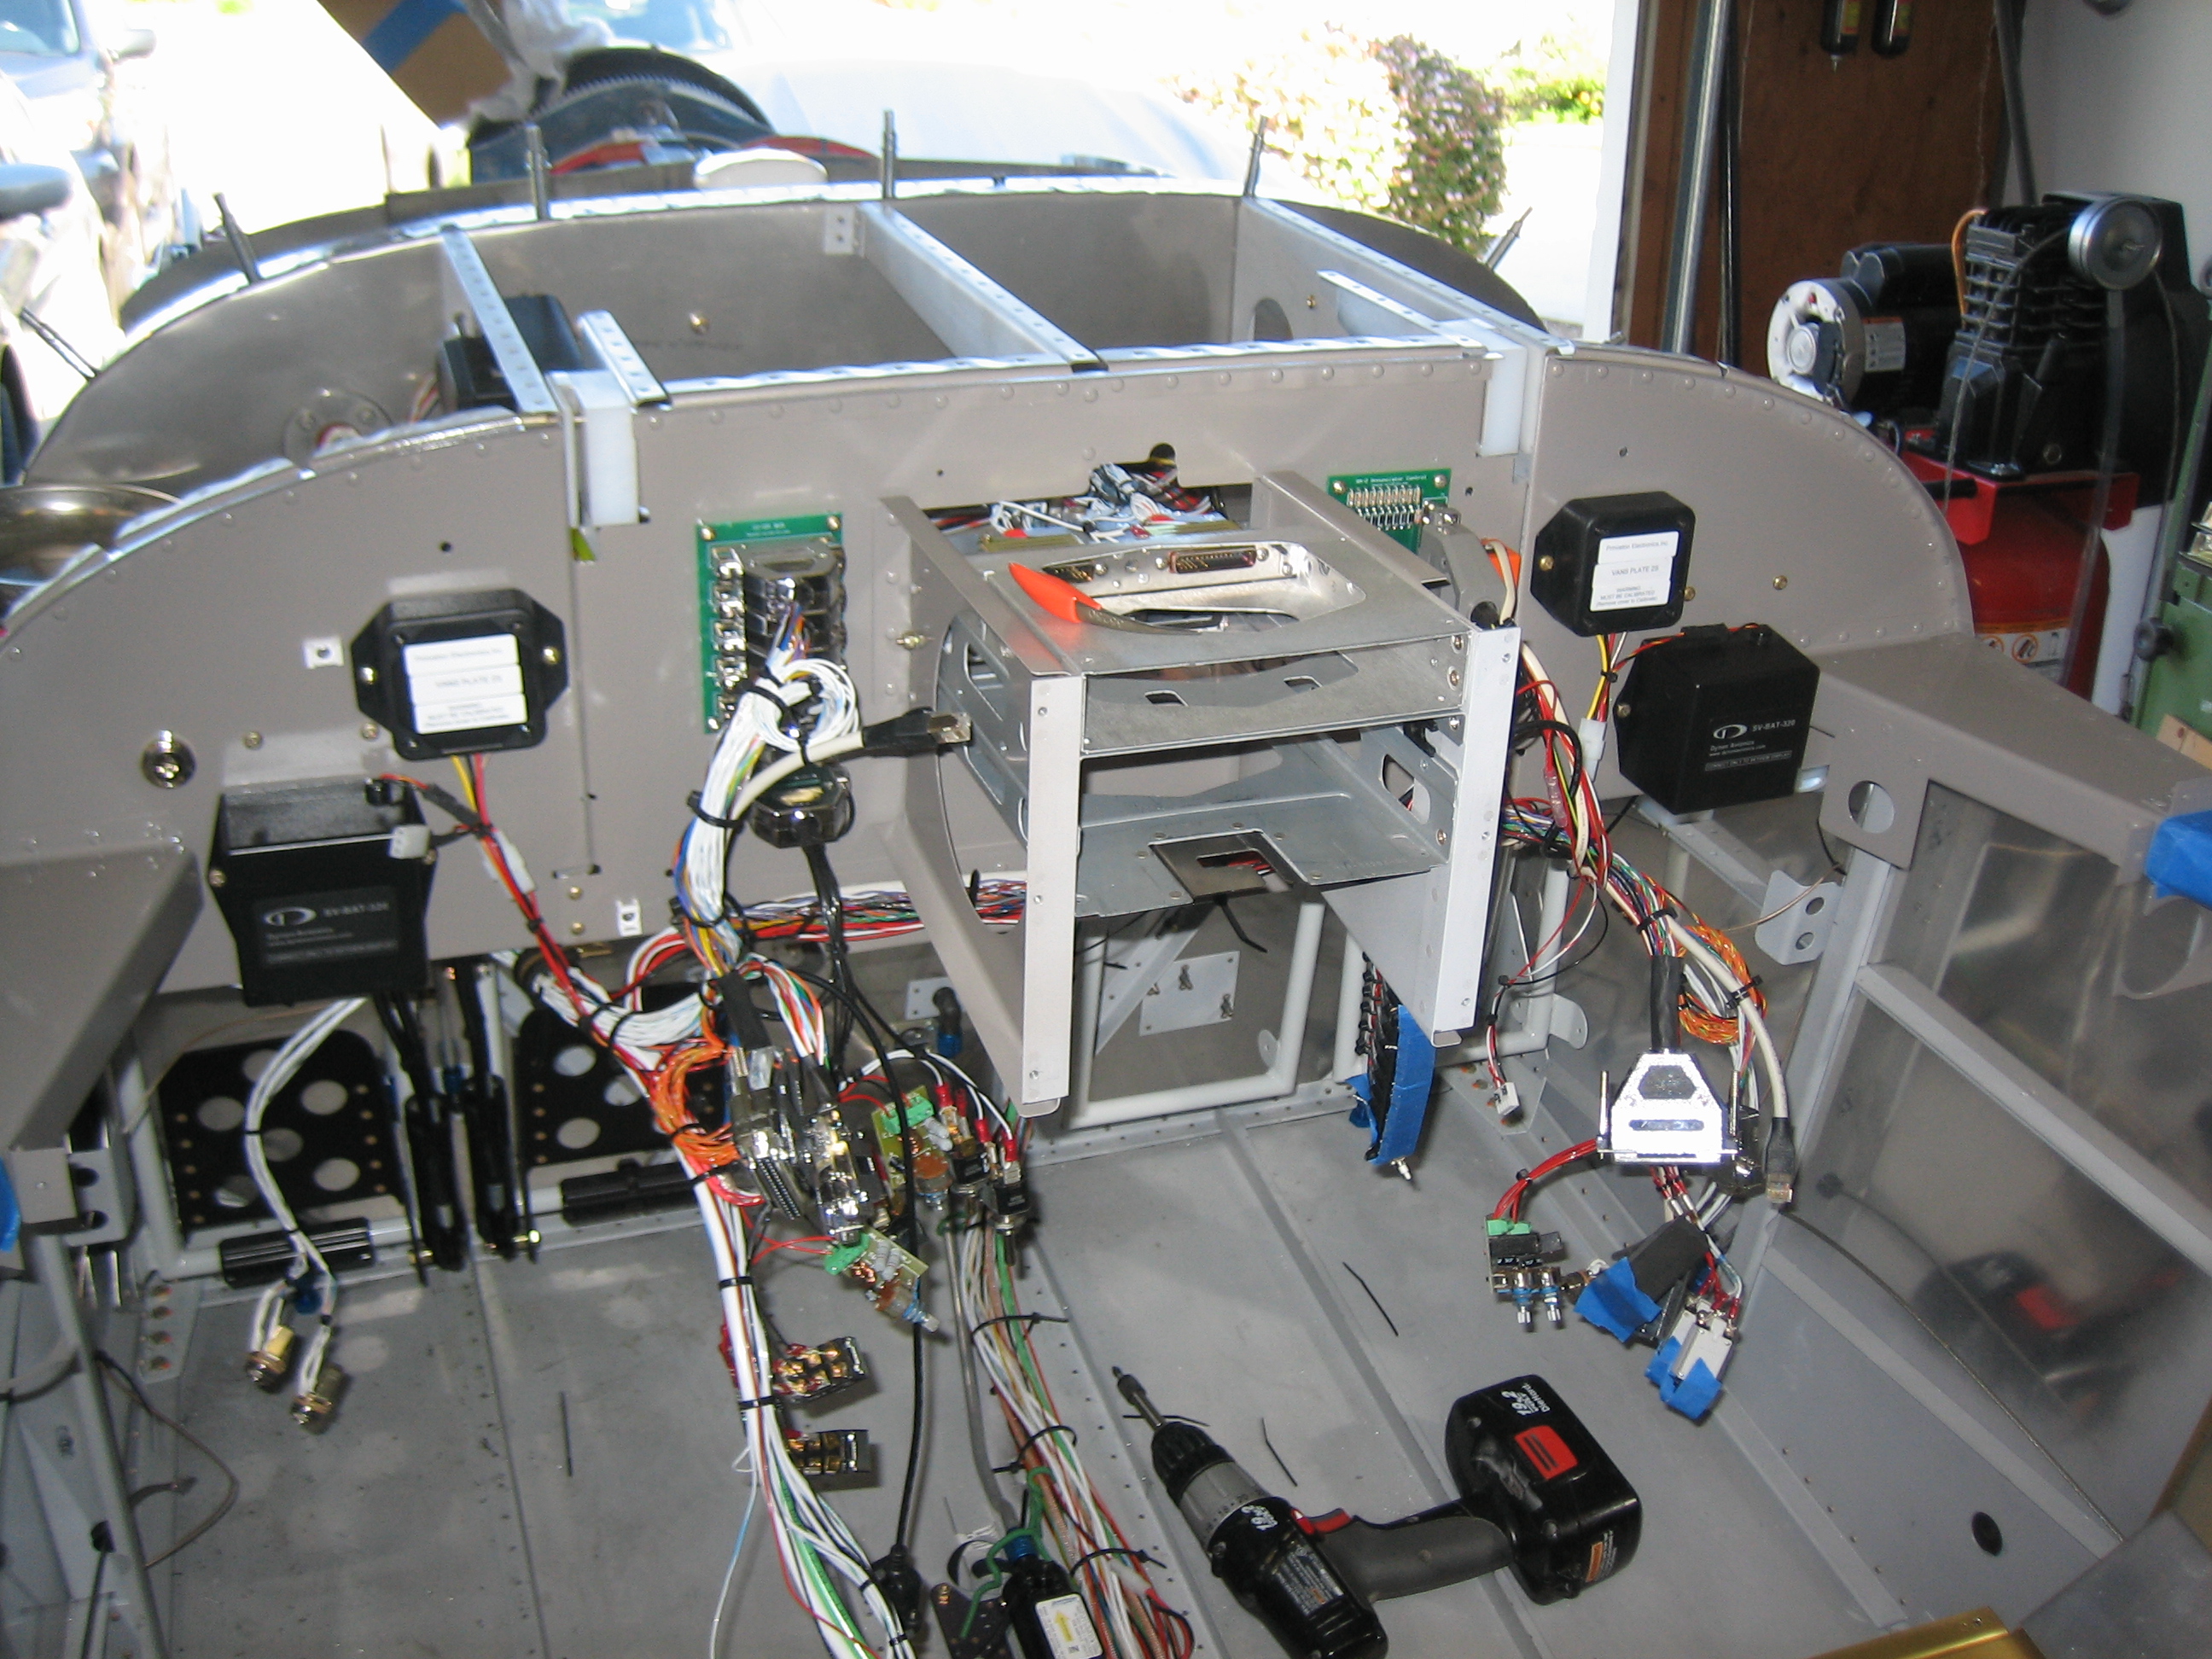
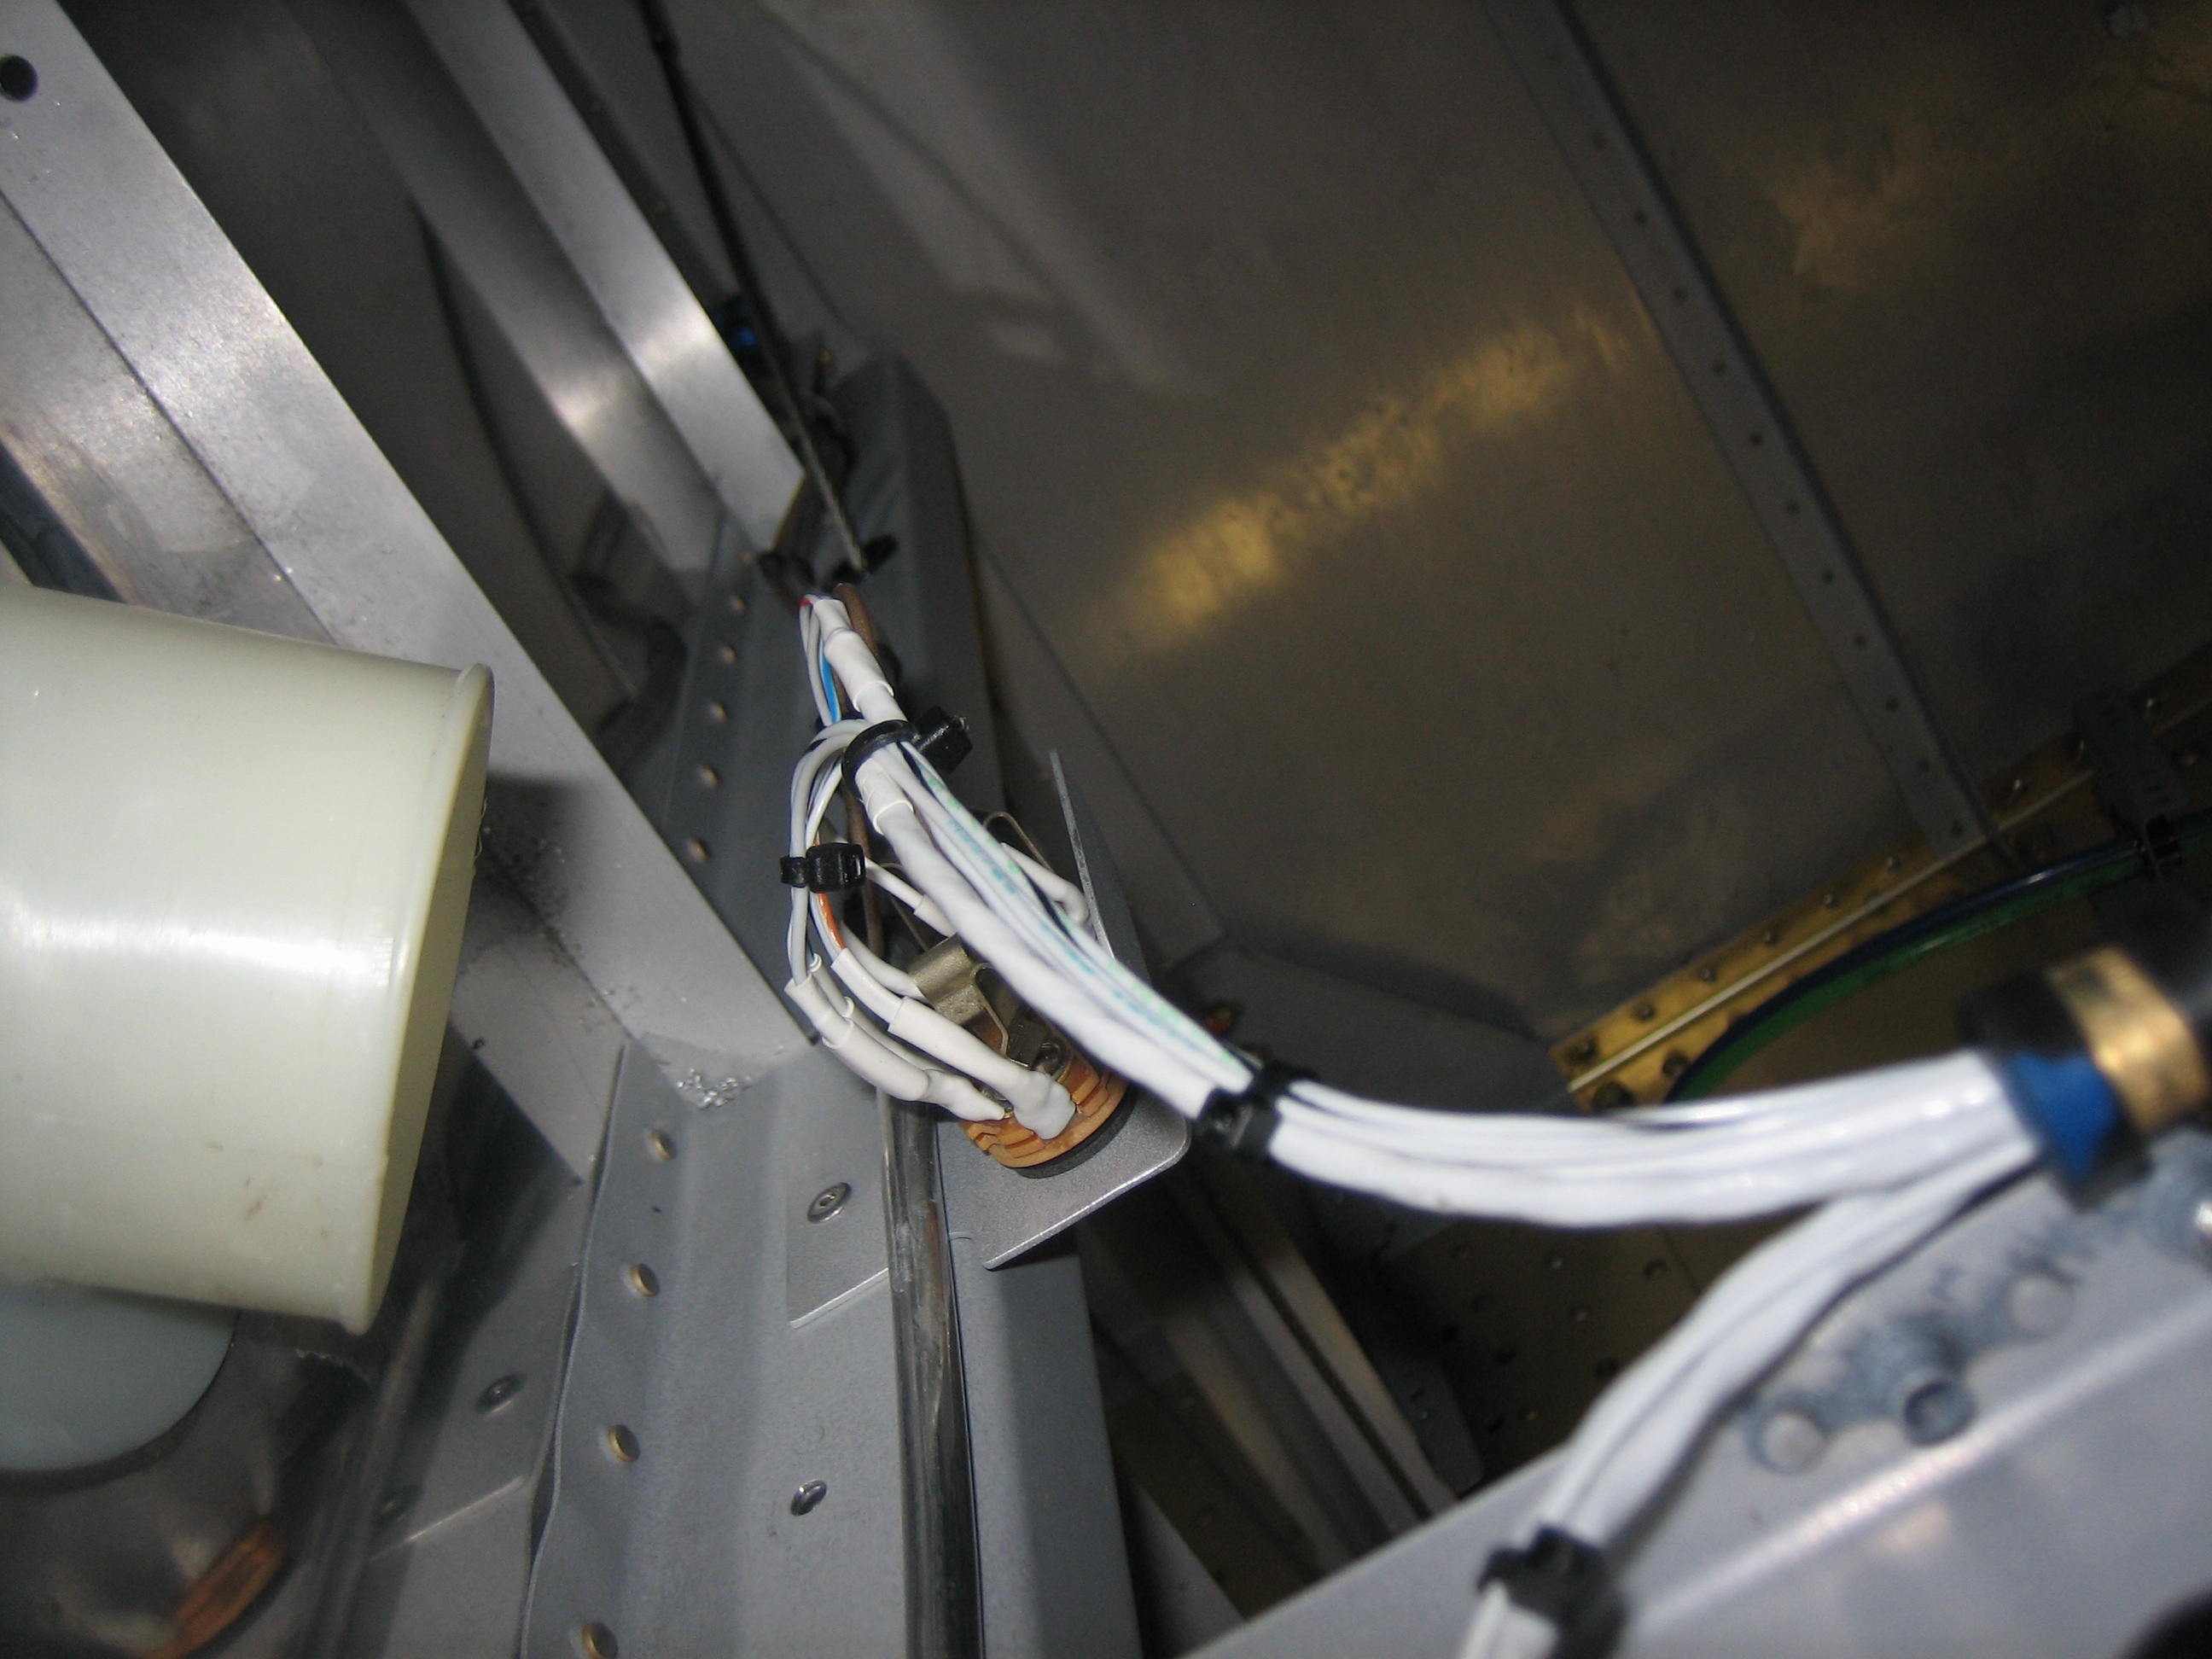
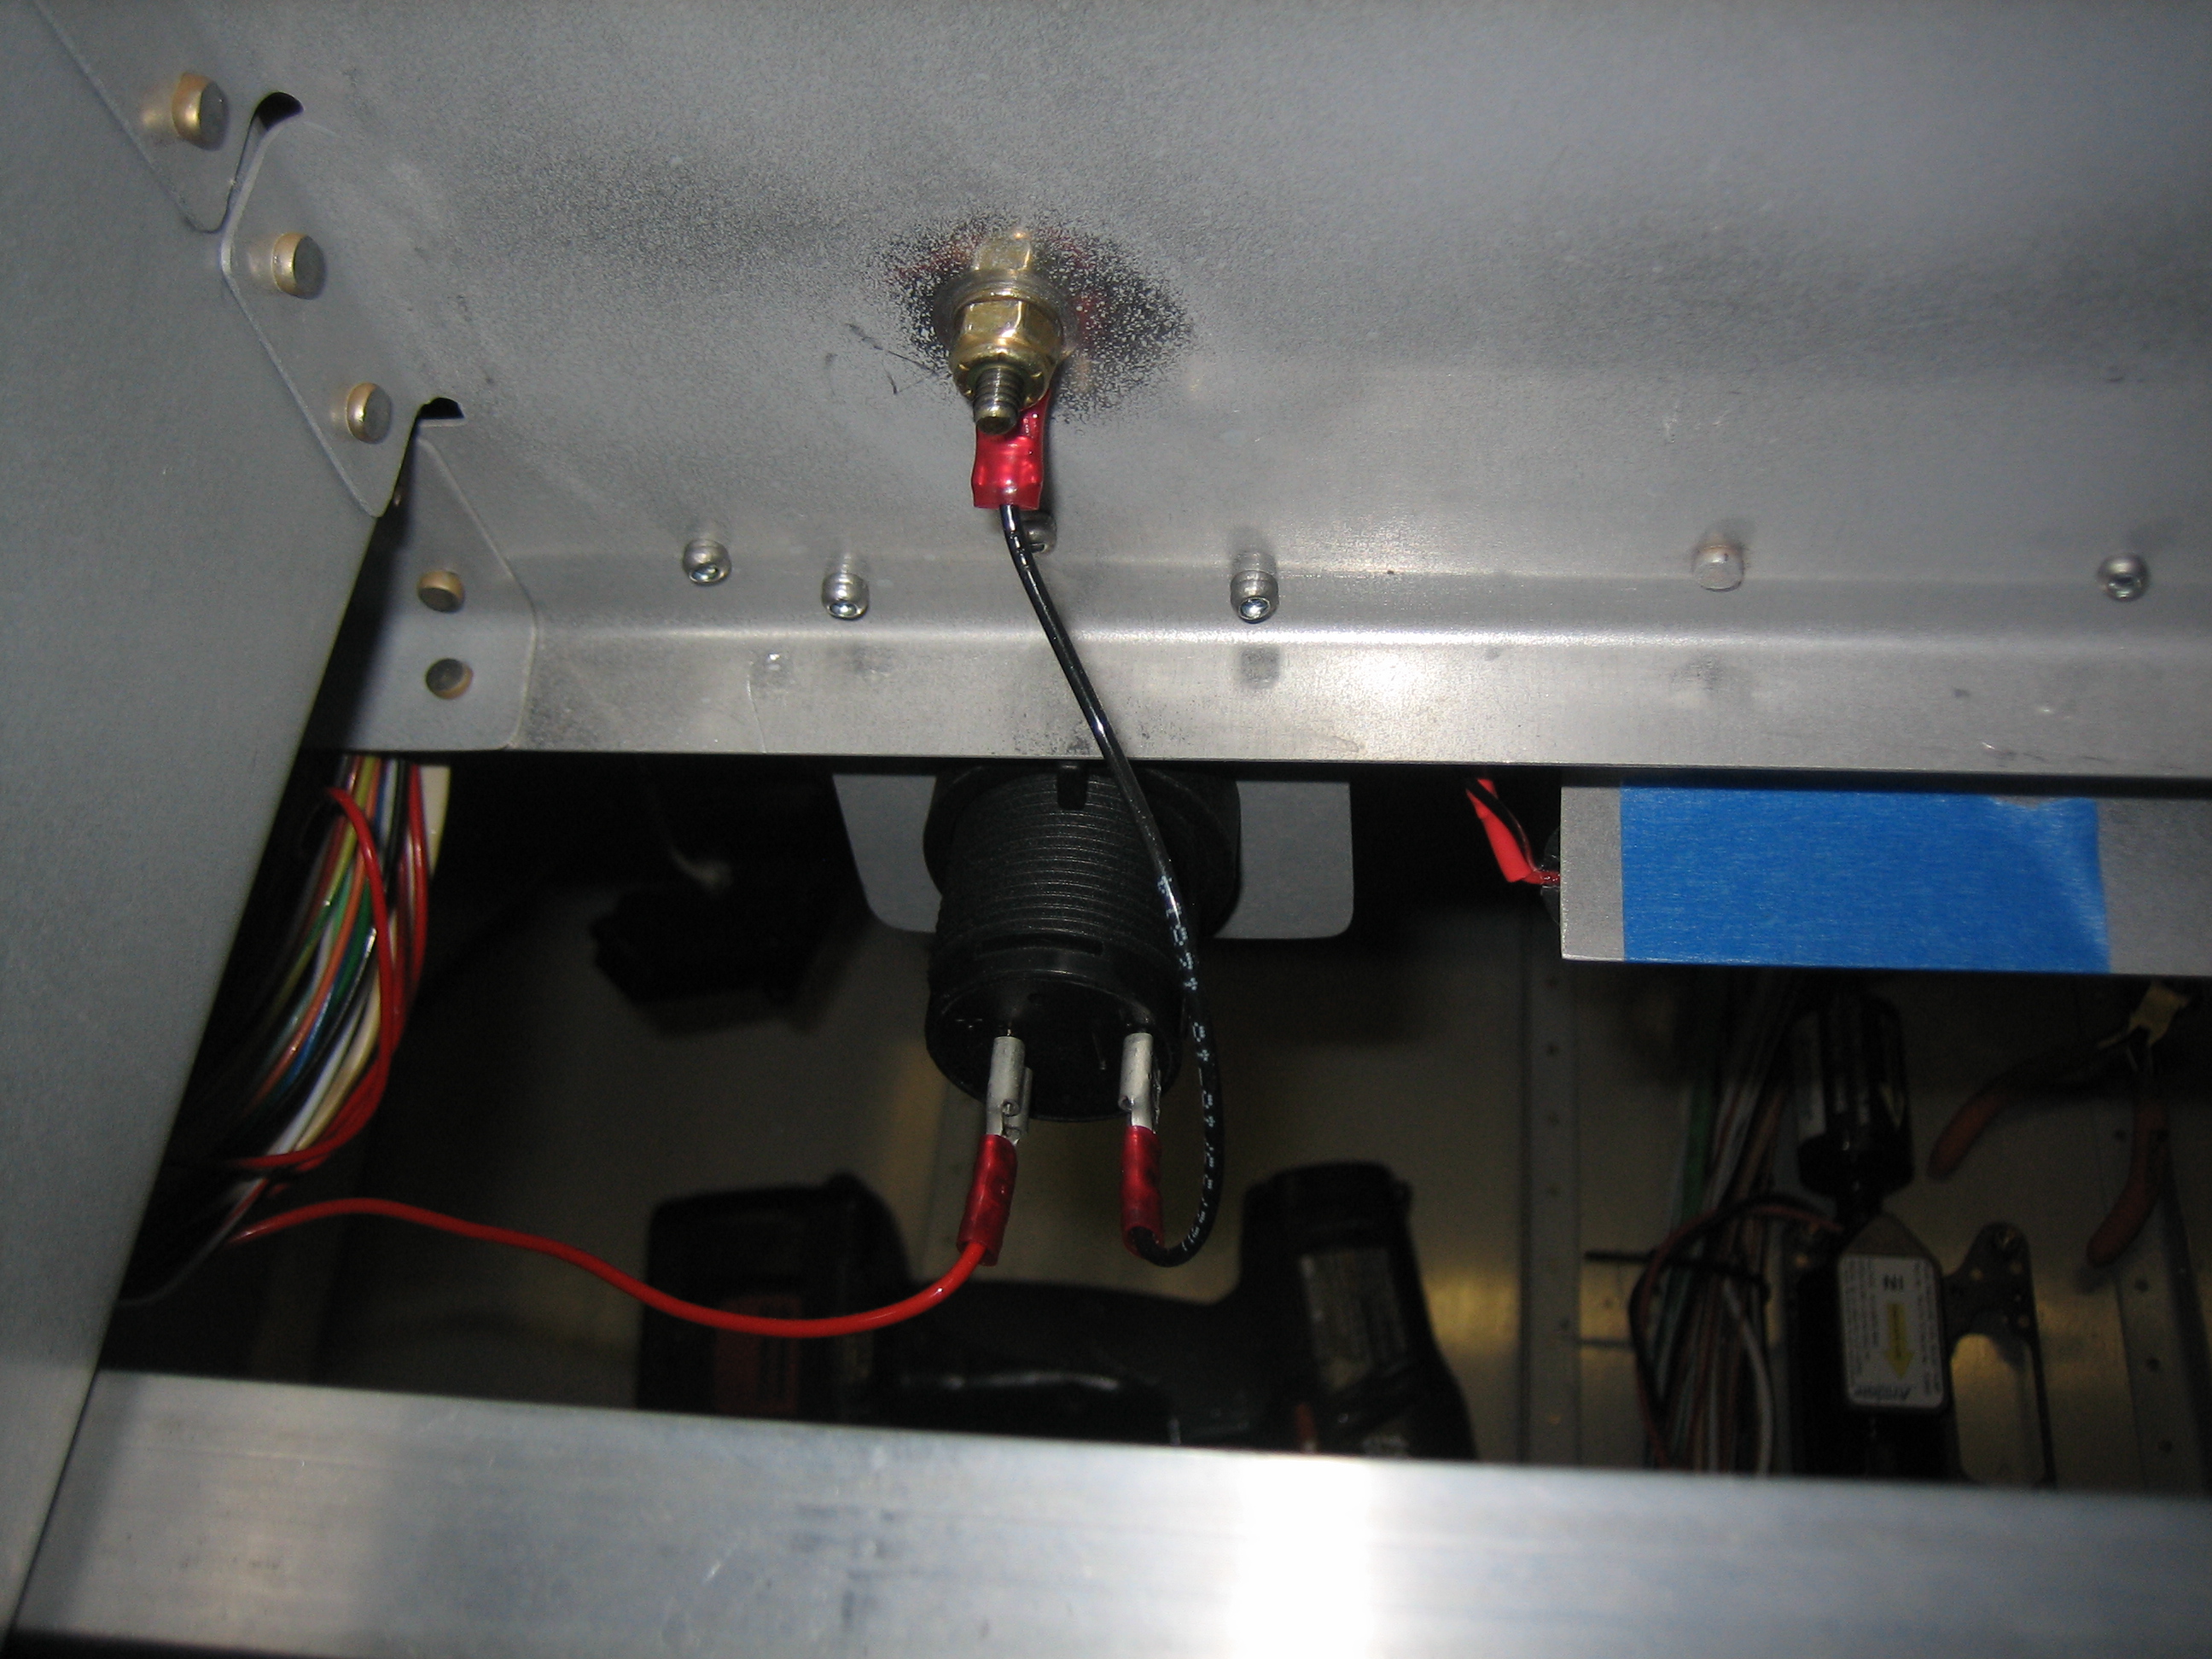
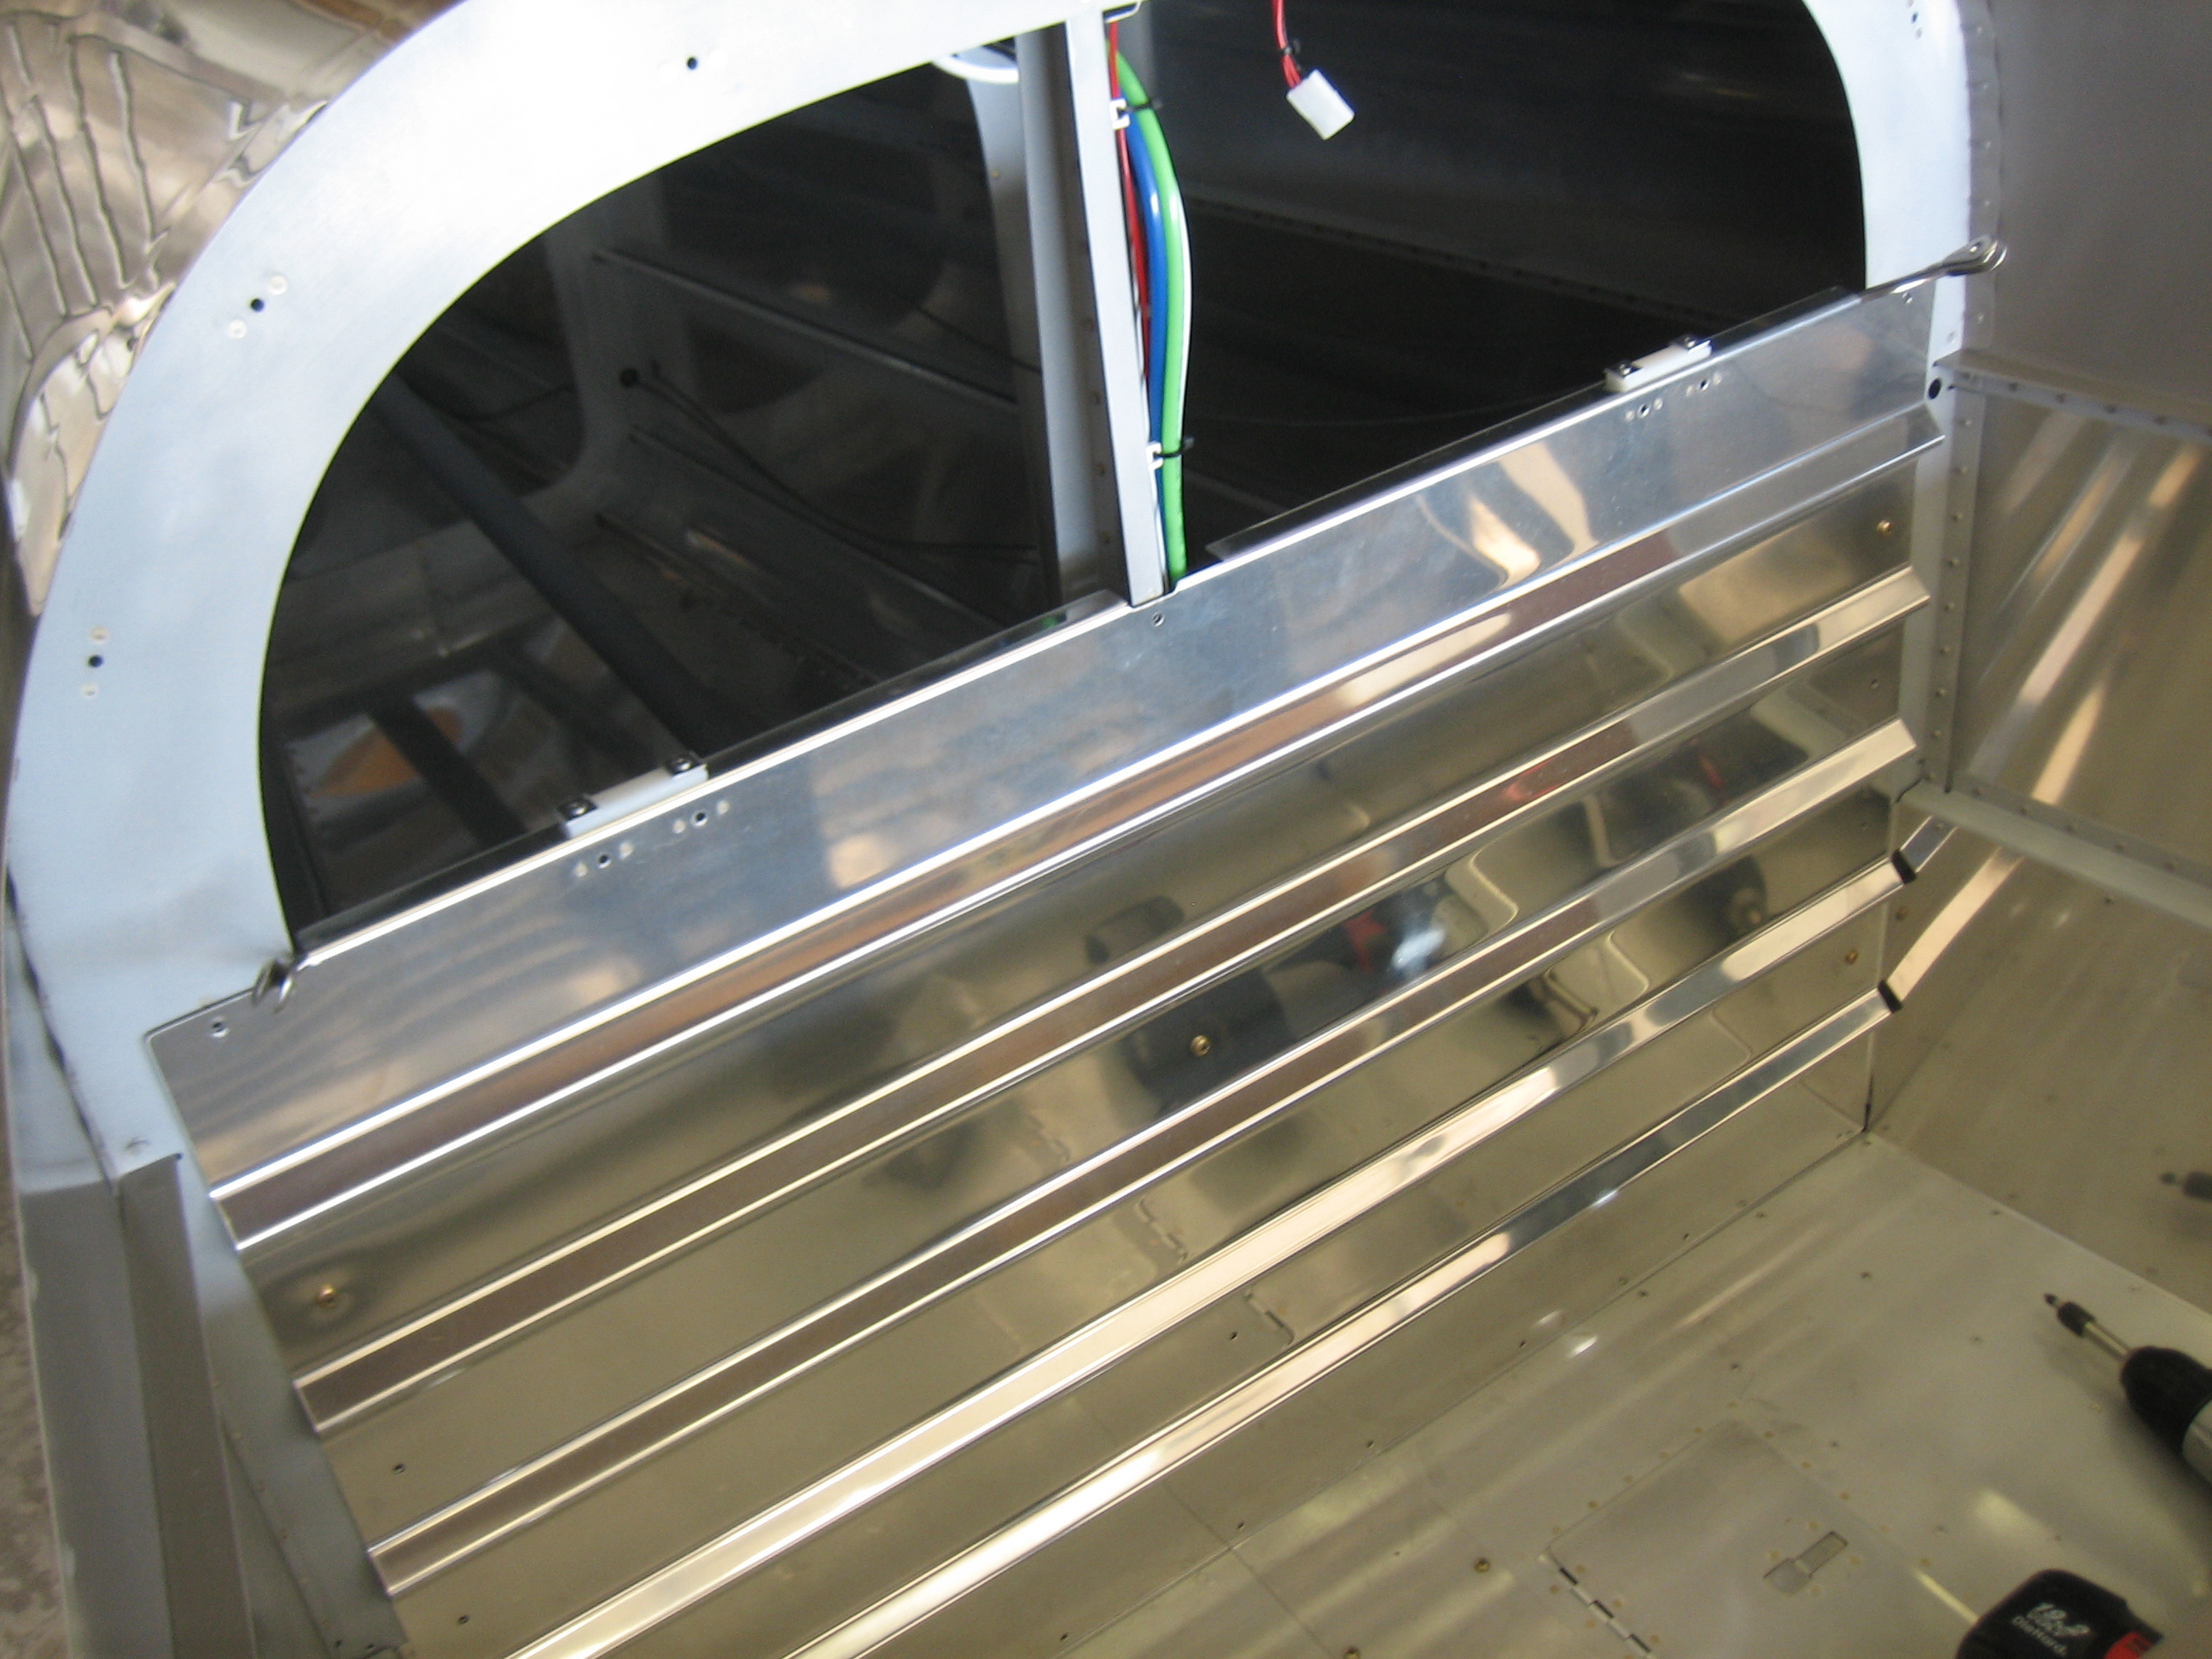
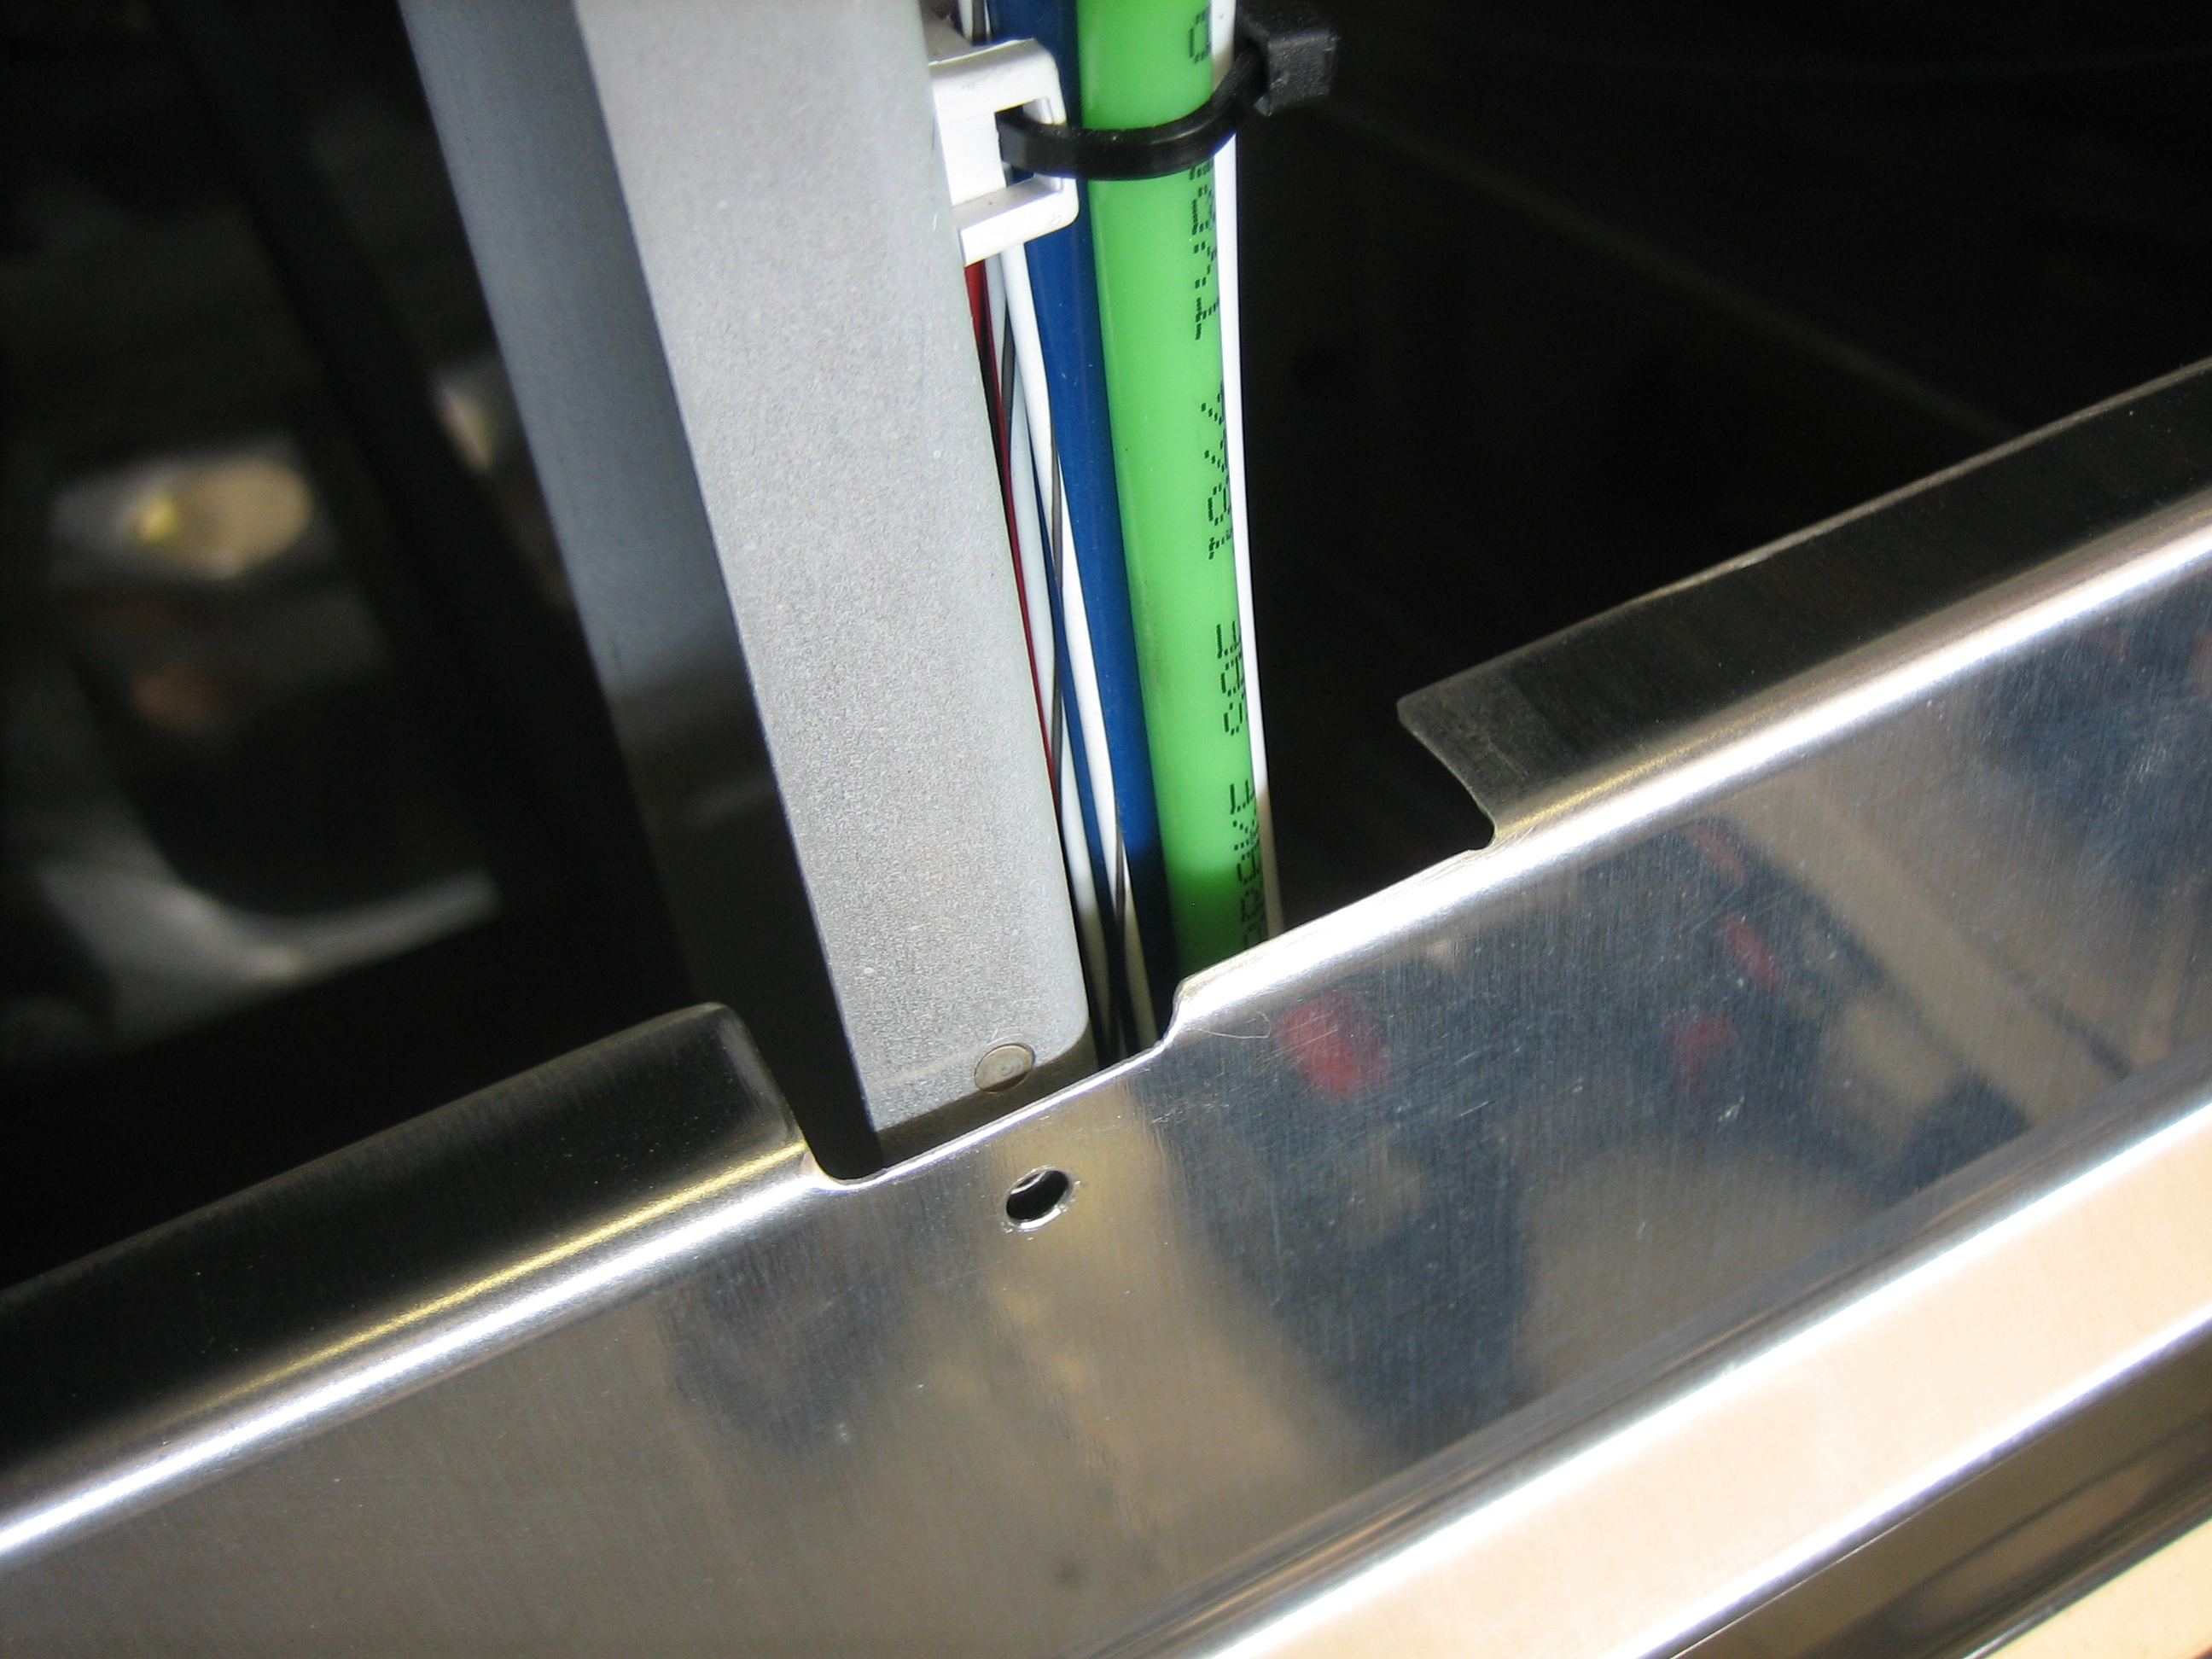
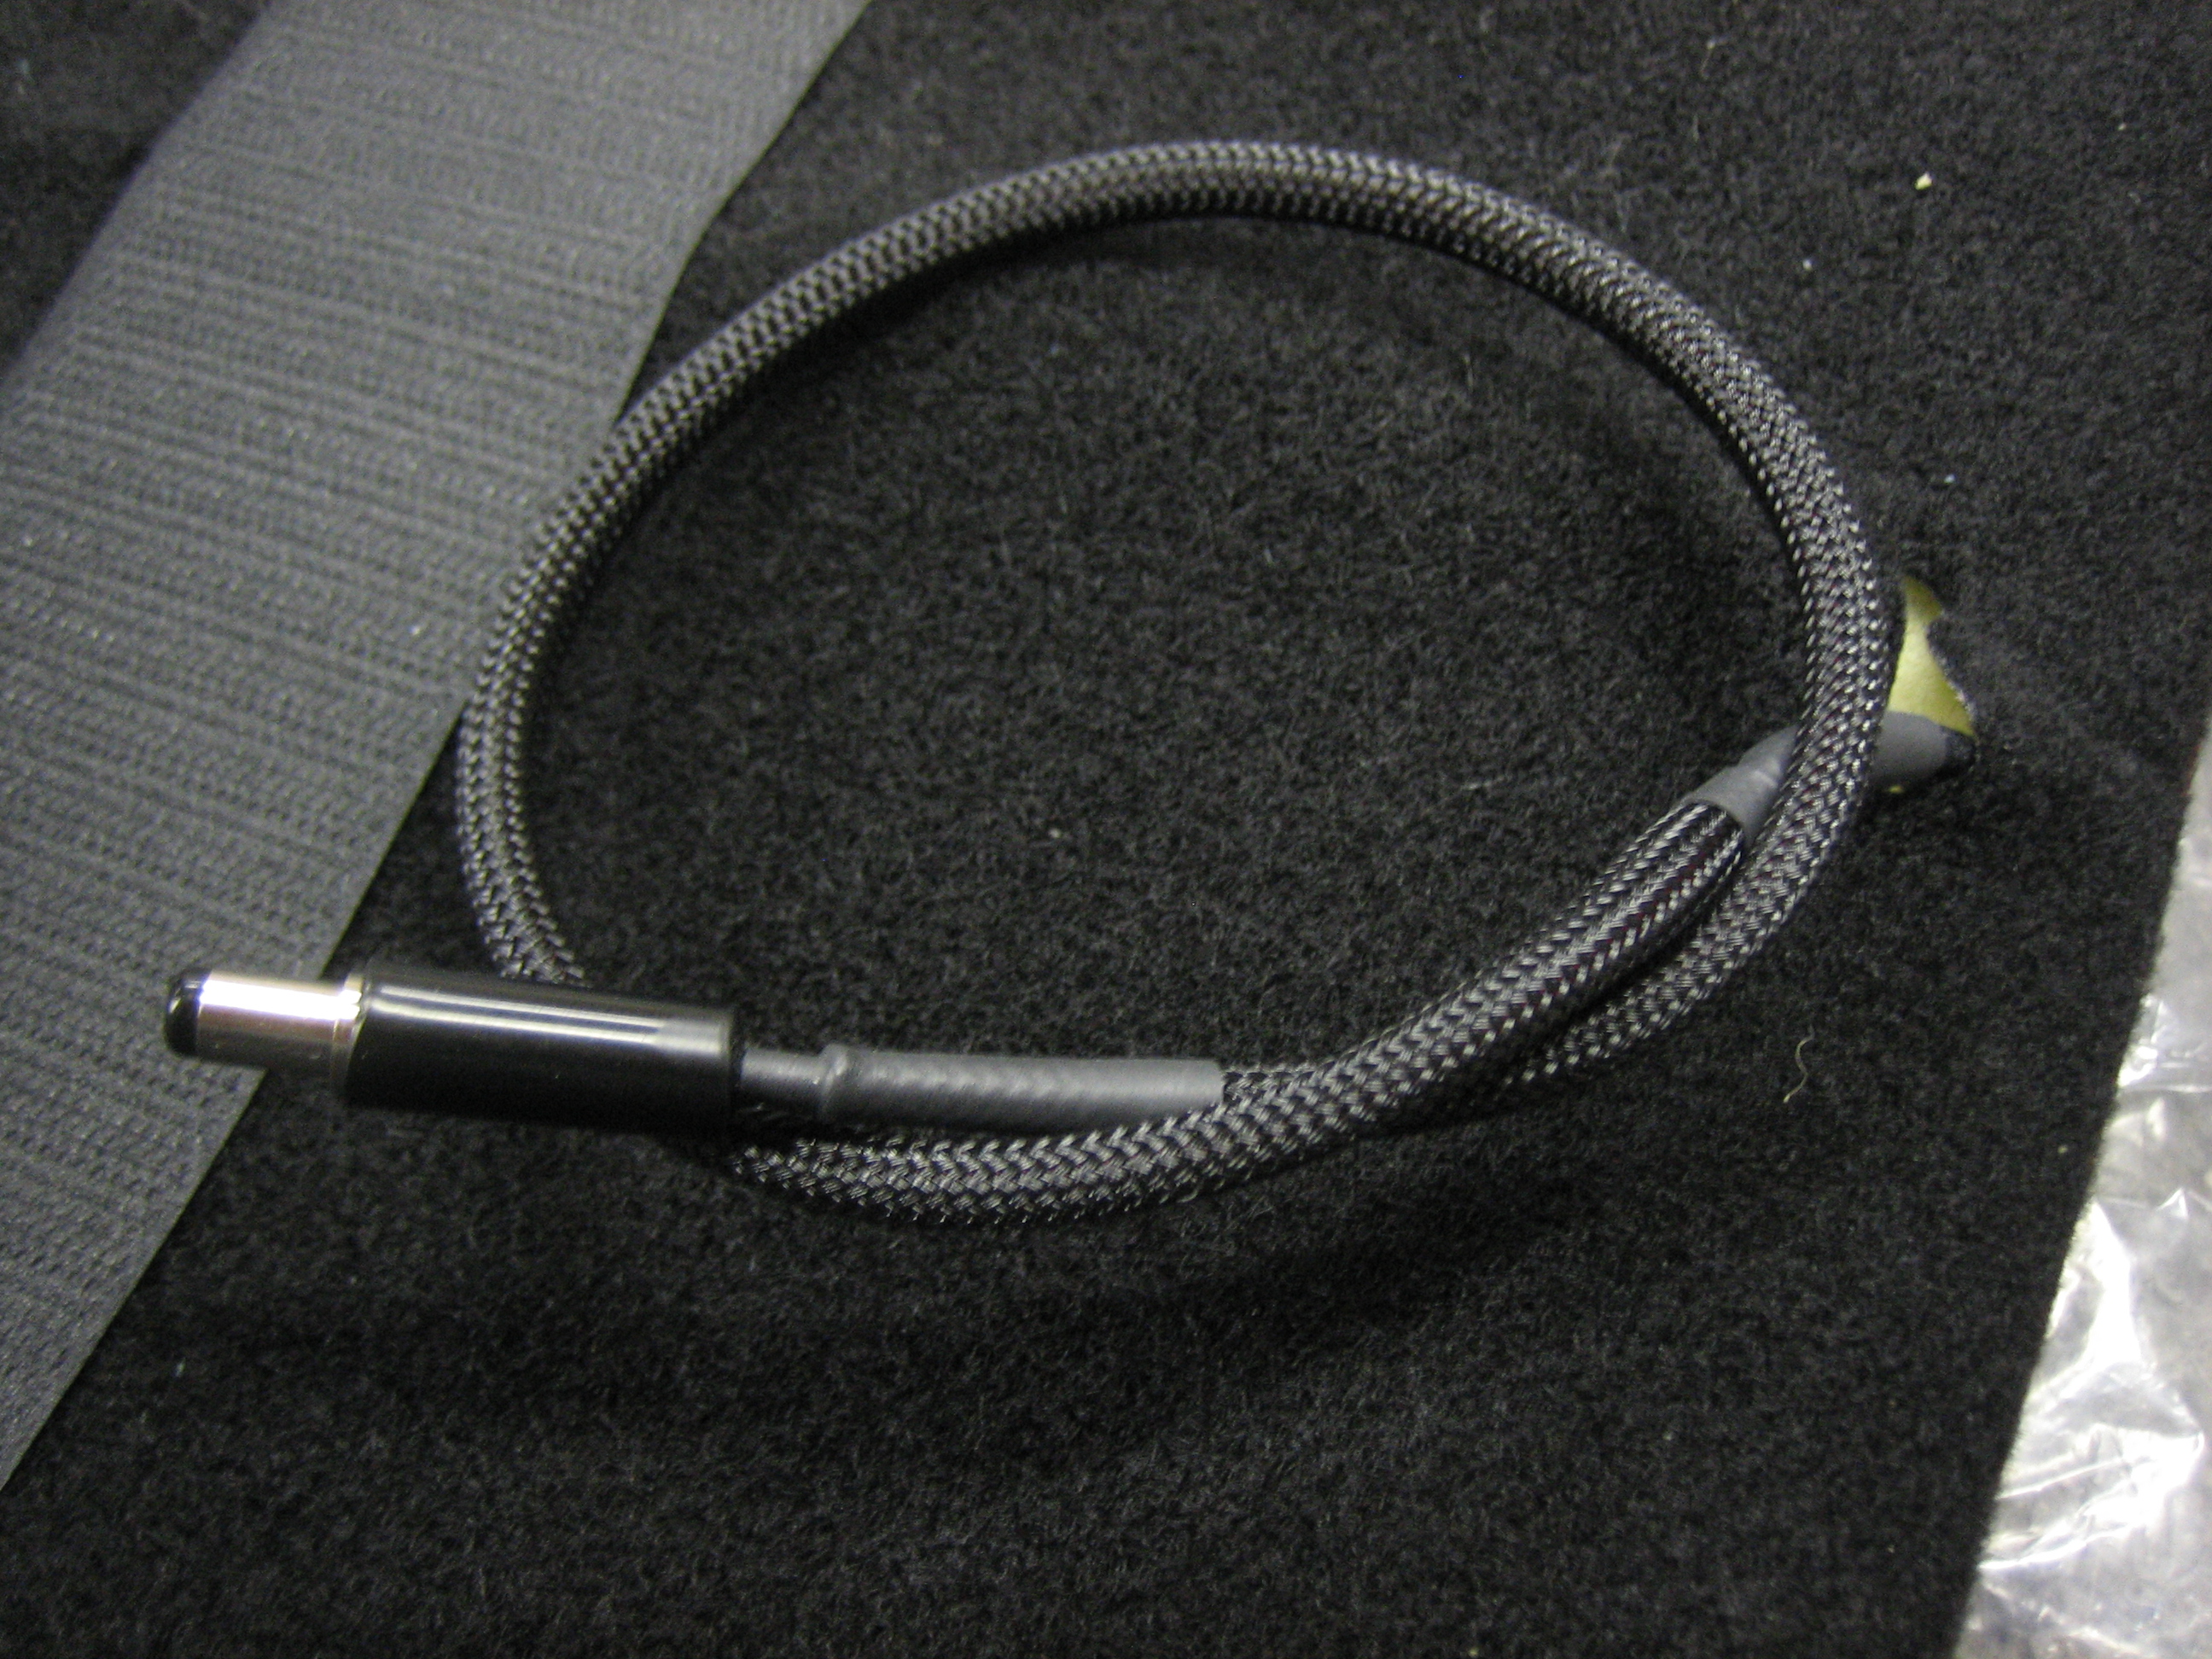
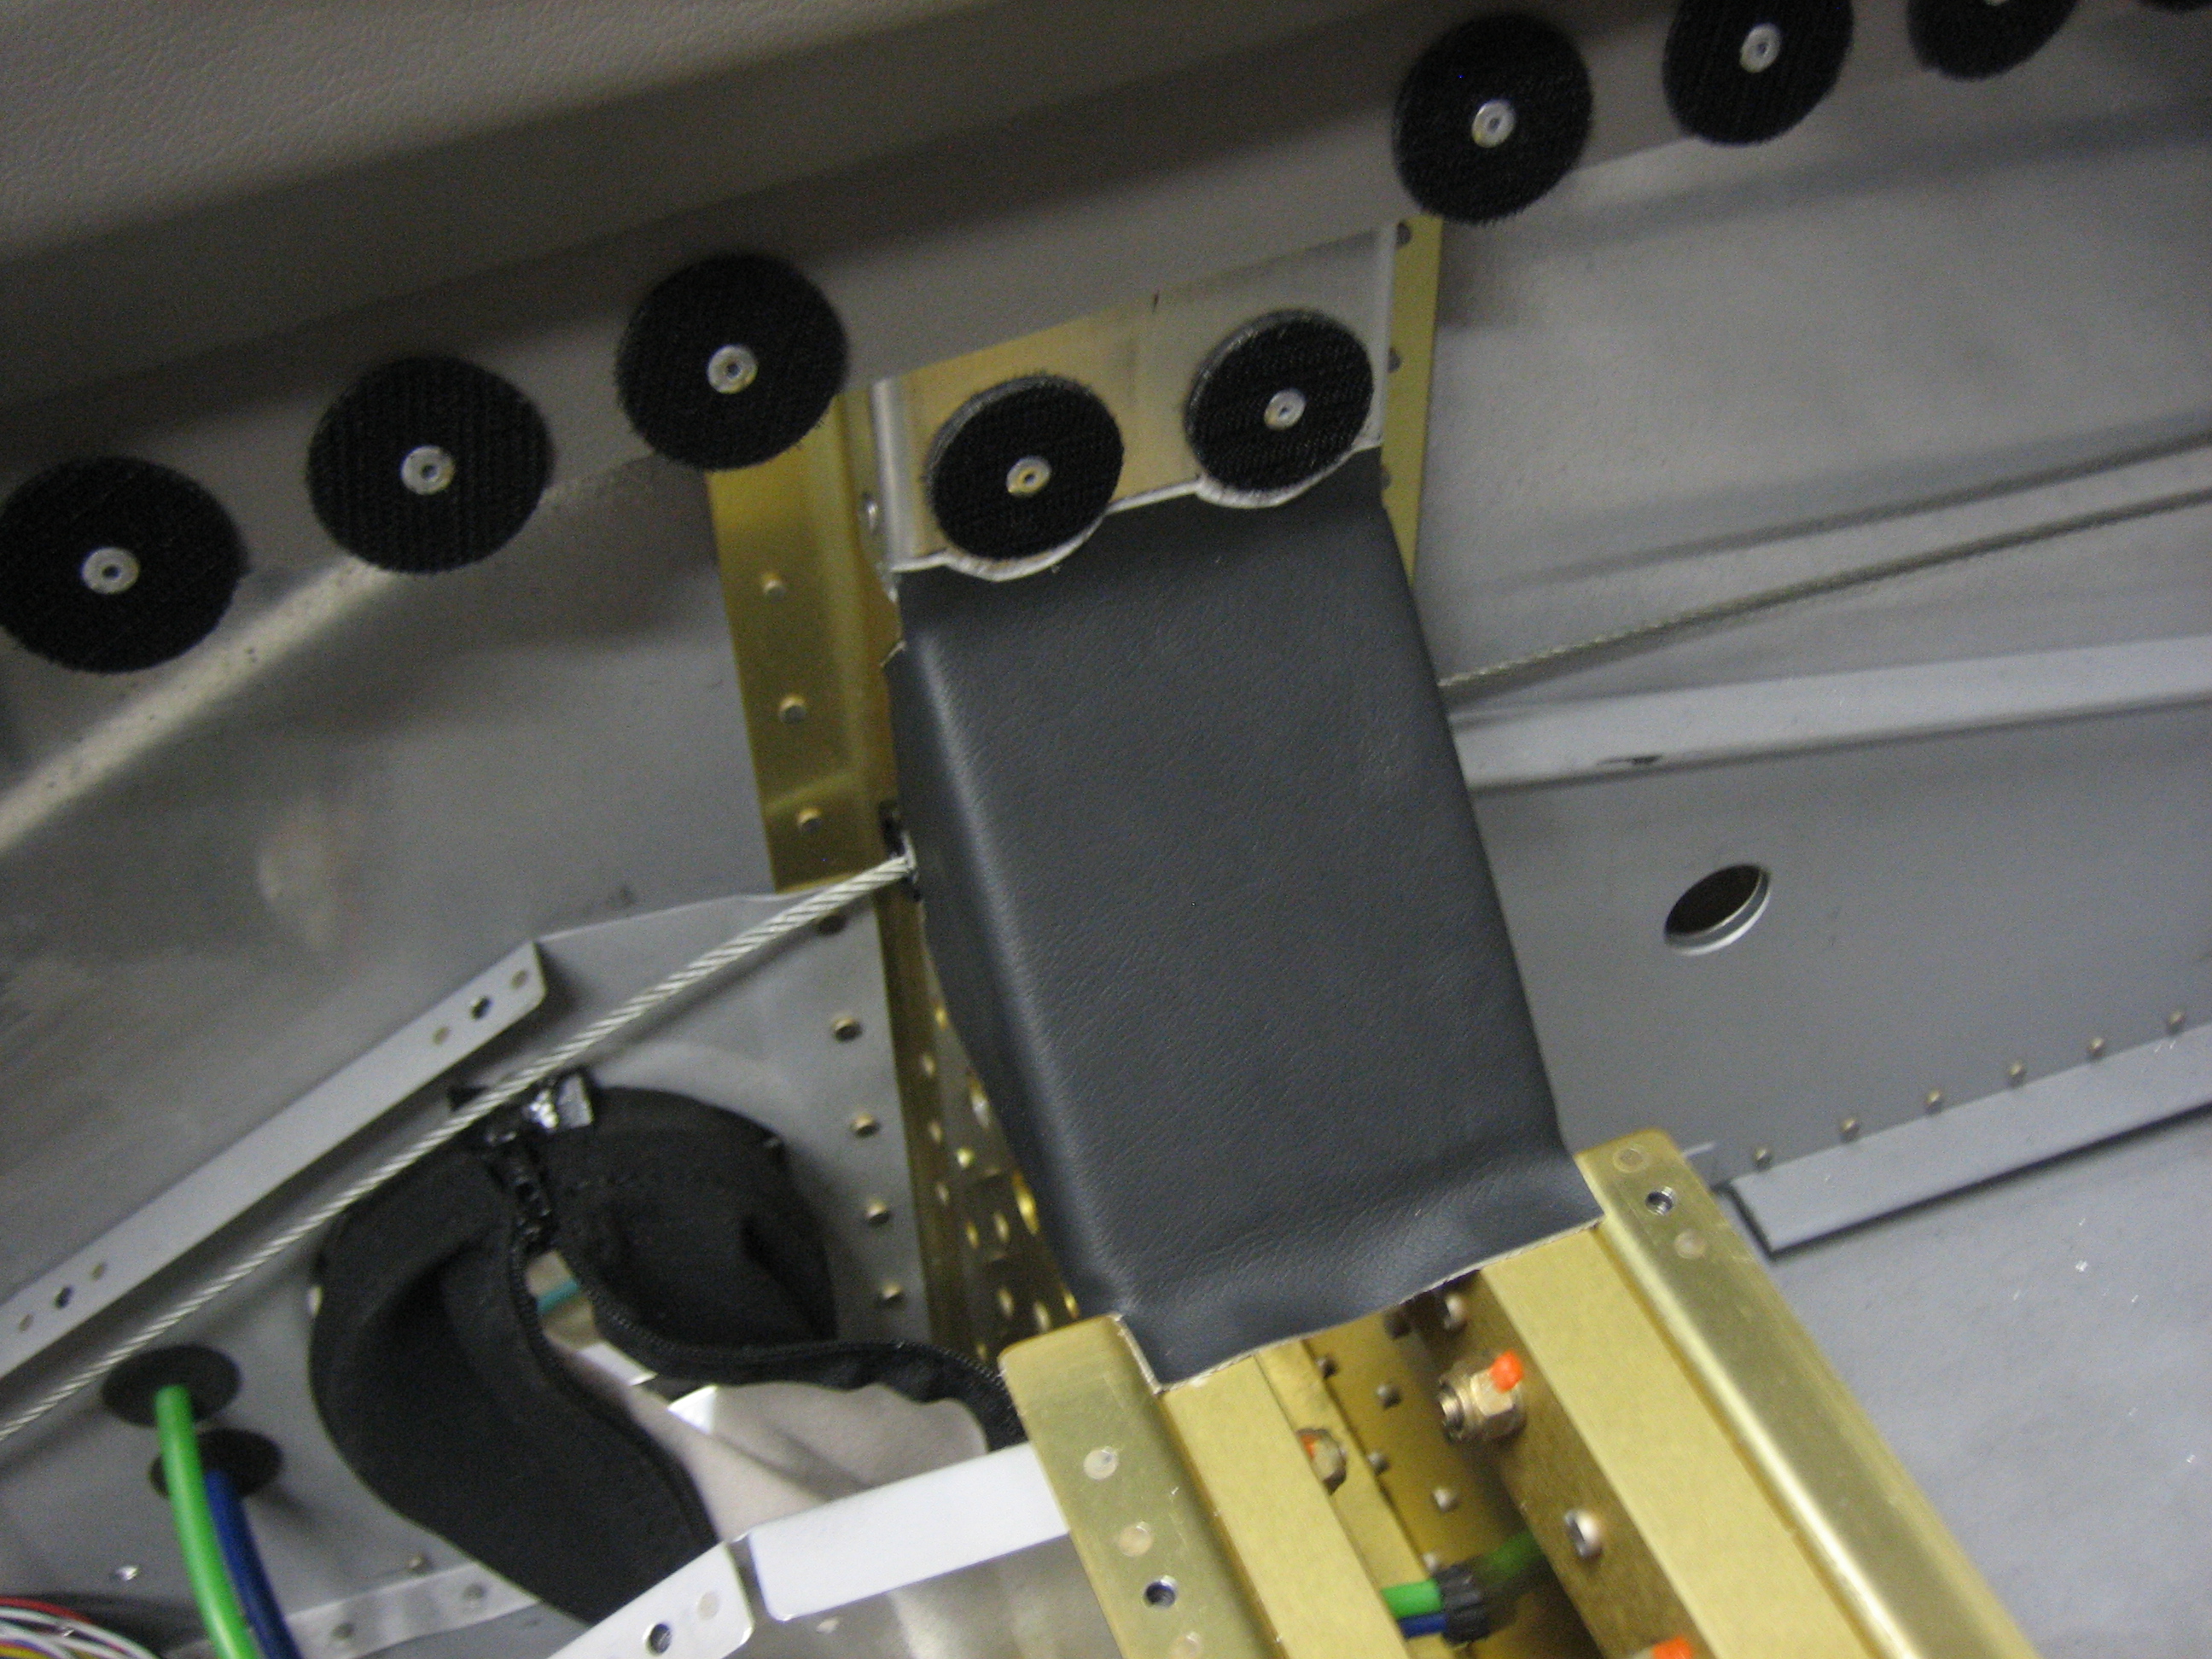
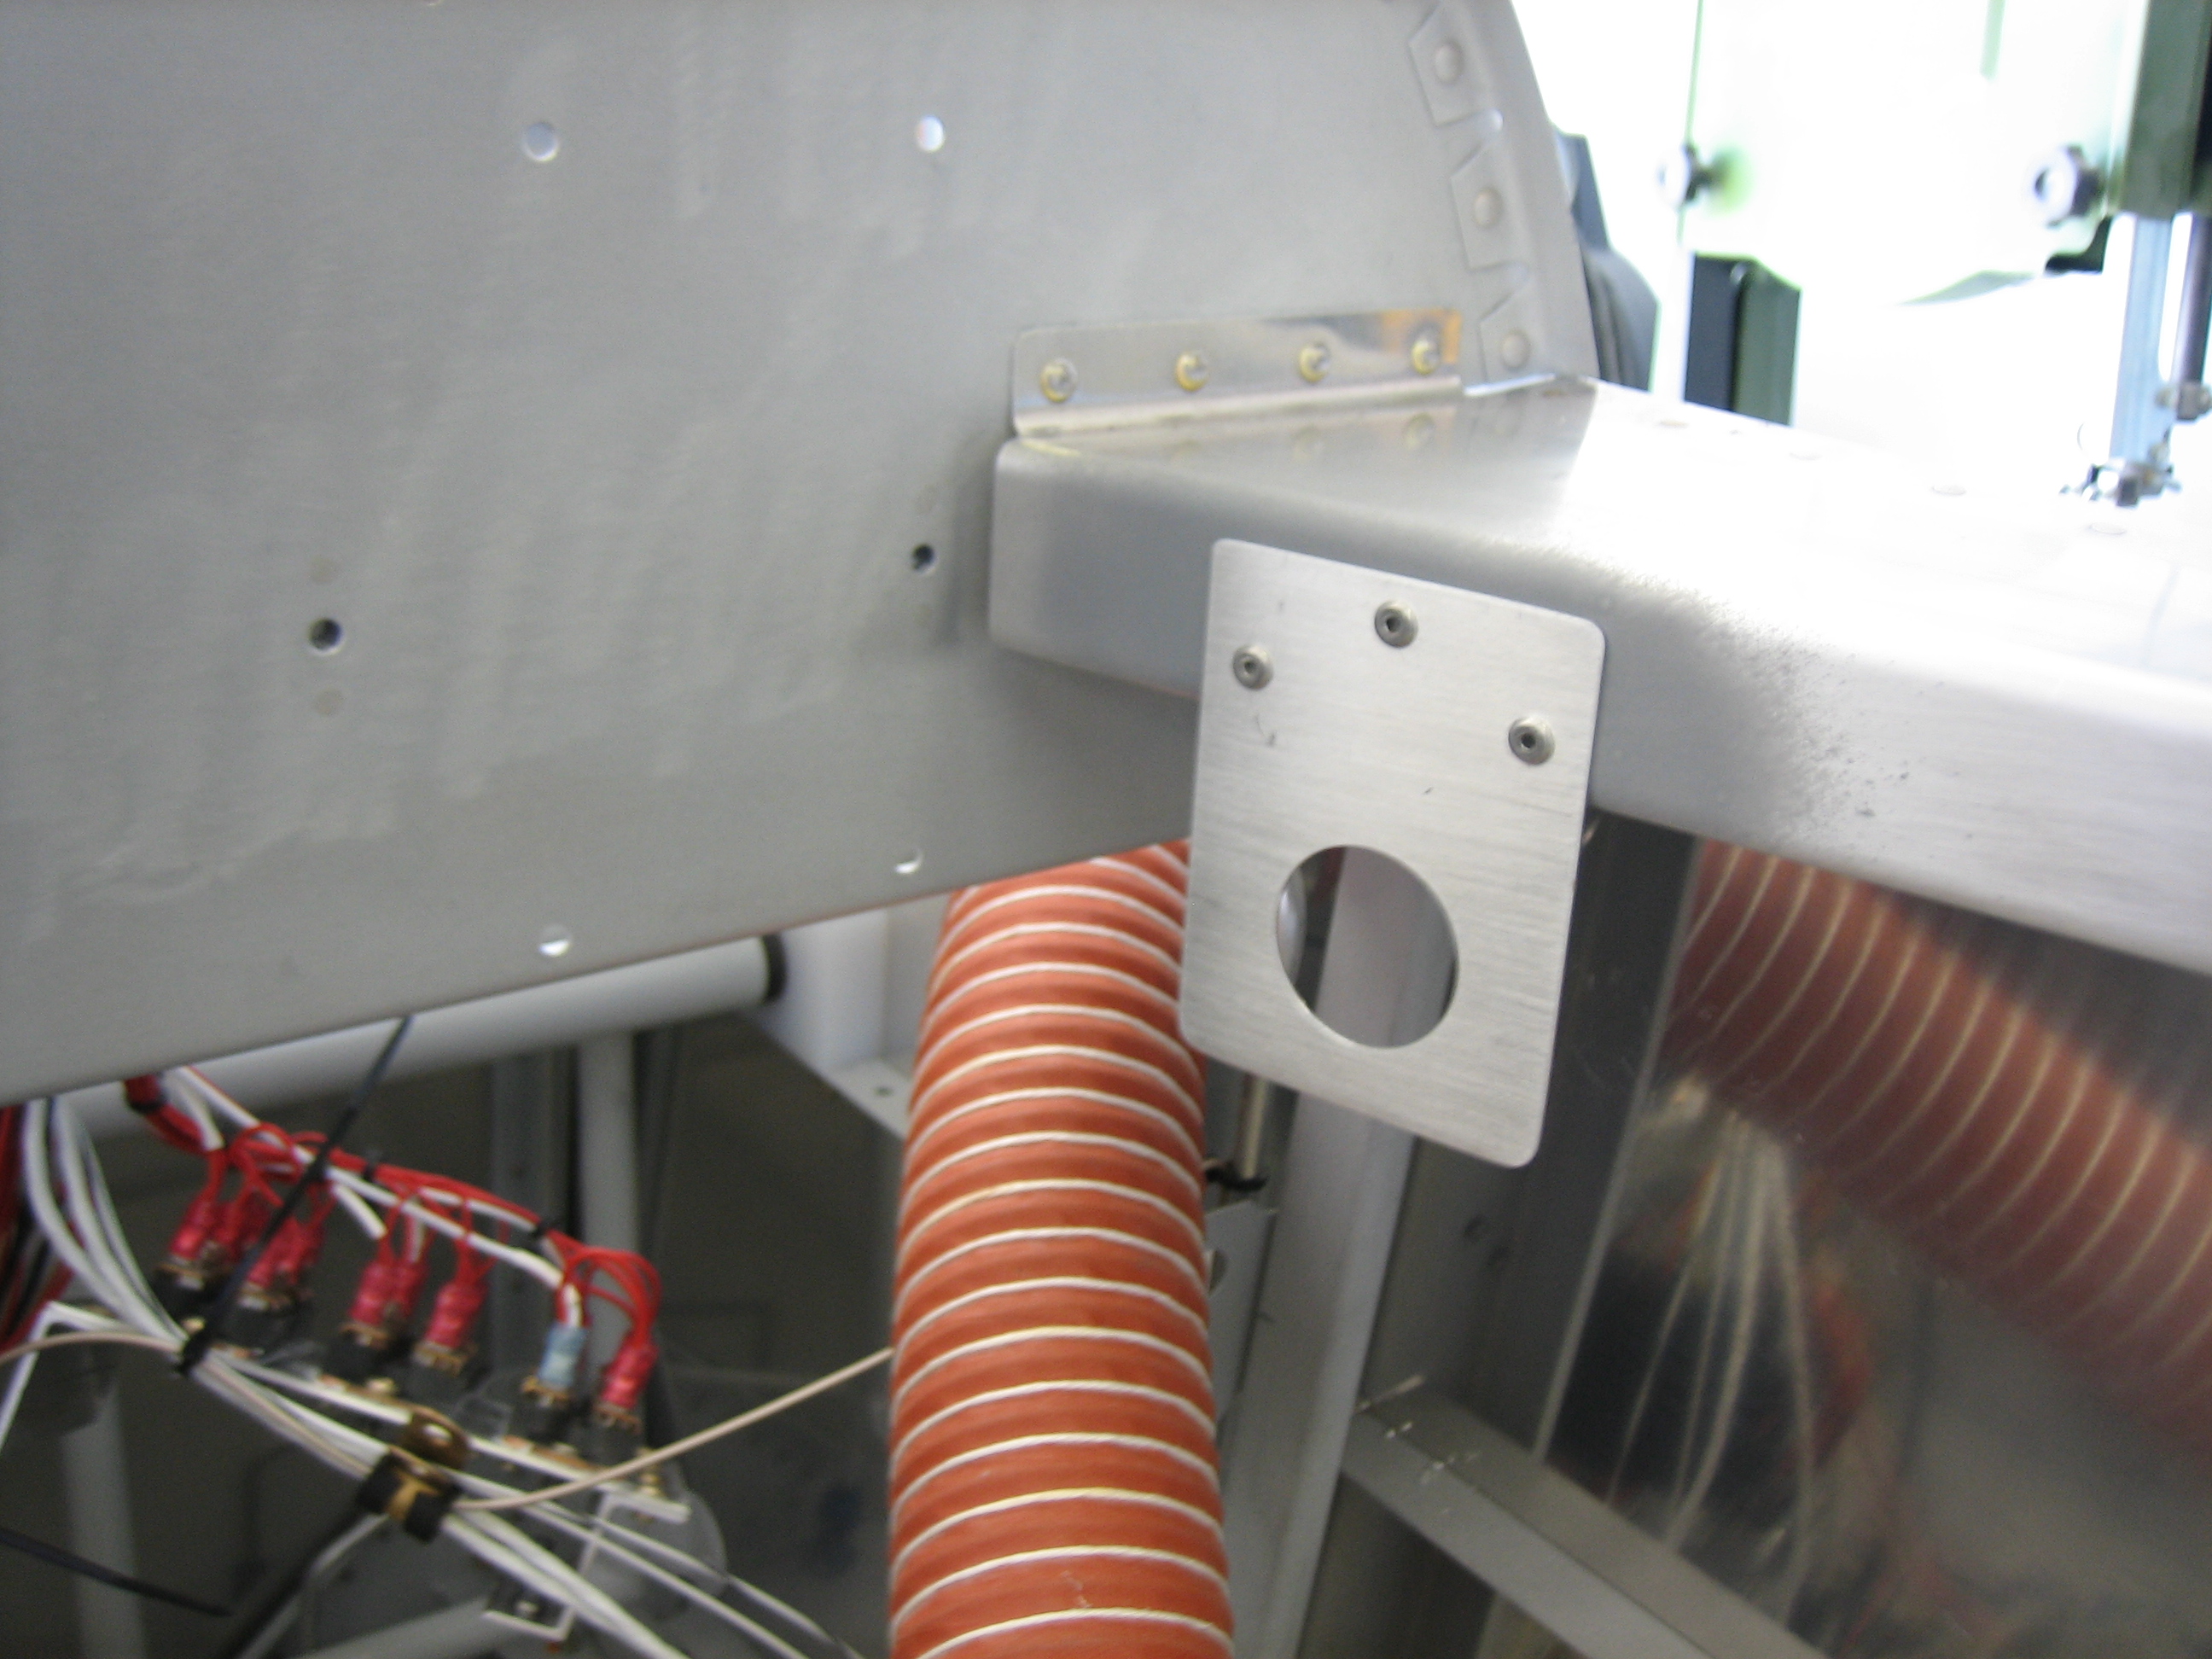
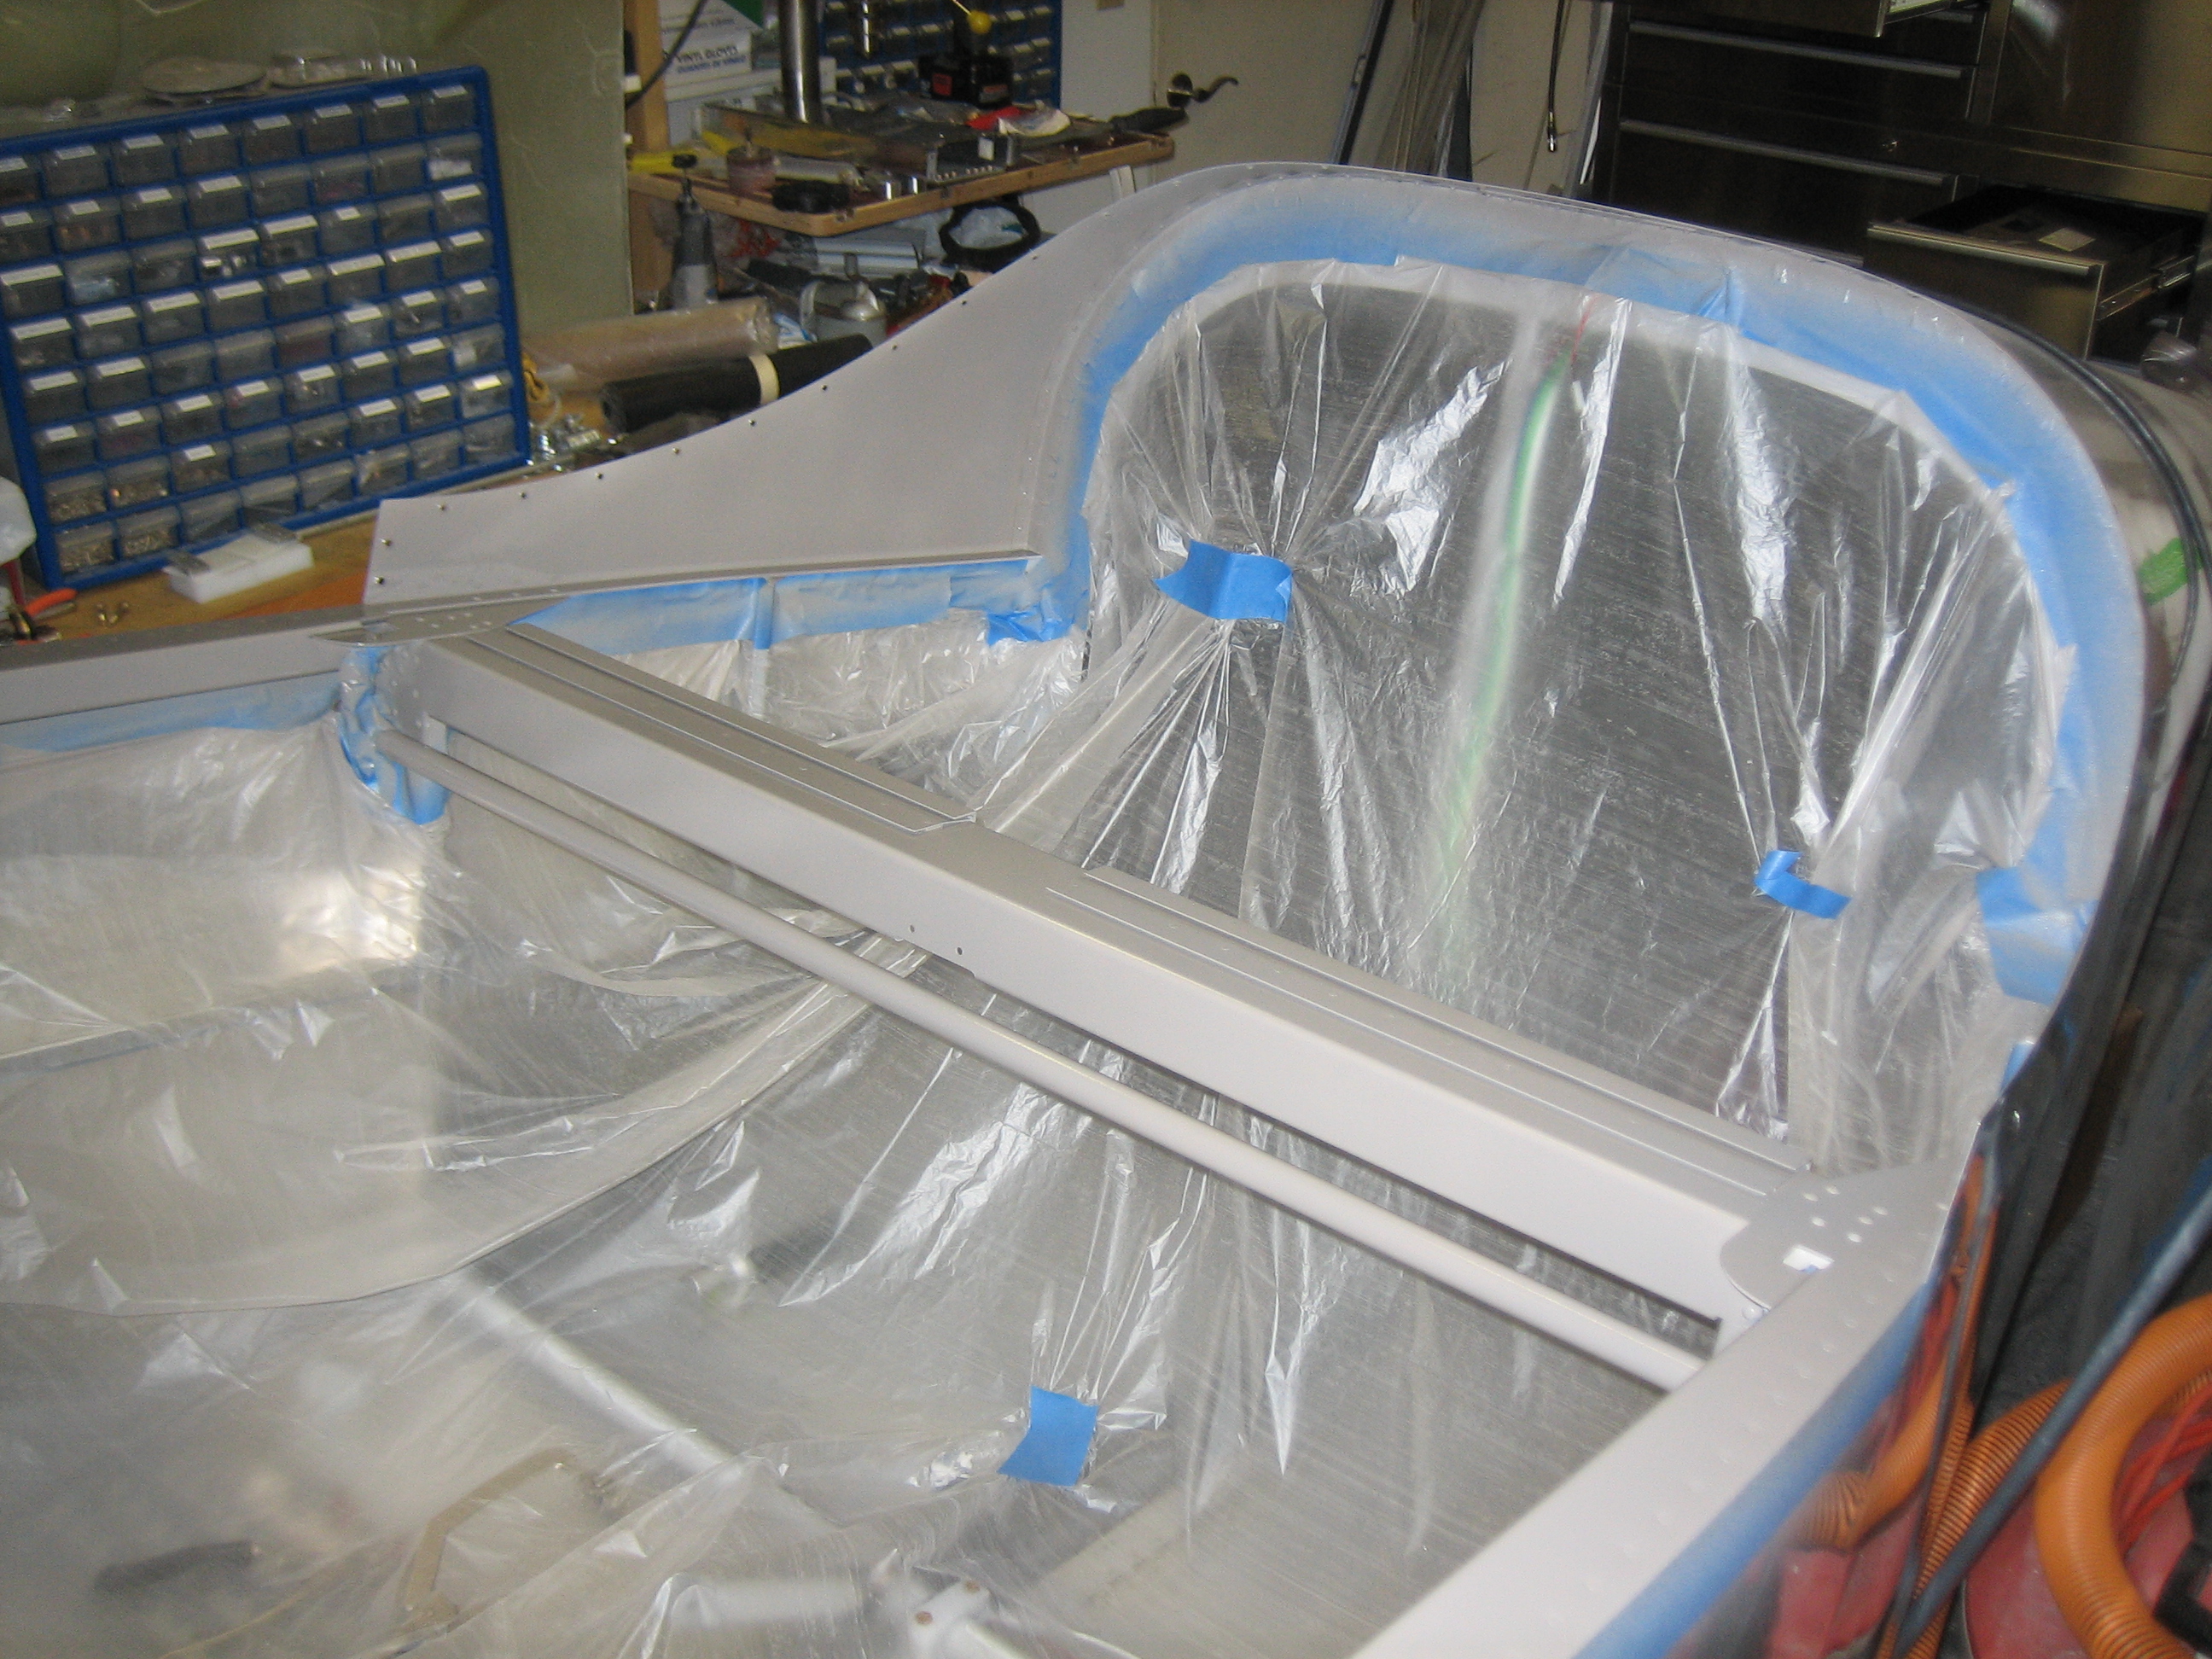
I added a small bracket to the right canopy deck between the panel and subpanel.  This will hold a cigarette lighter socket that can be used to charge devices.  I picked up a dual USB plug that I’ll likely leave in this most of the time.  This was really the only place I could find behind the panel that isn’t blocked by something.

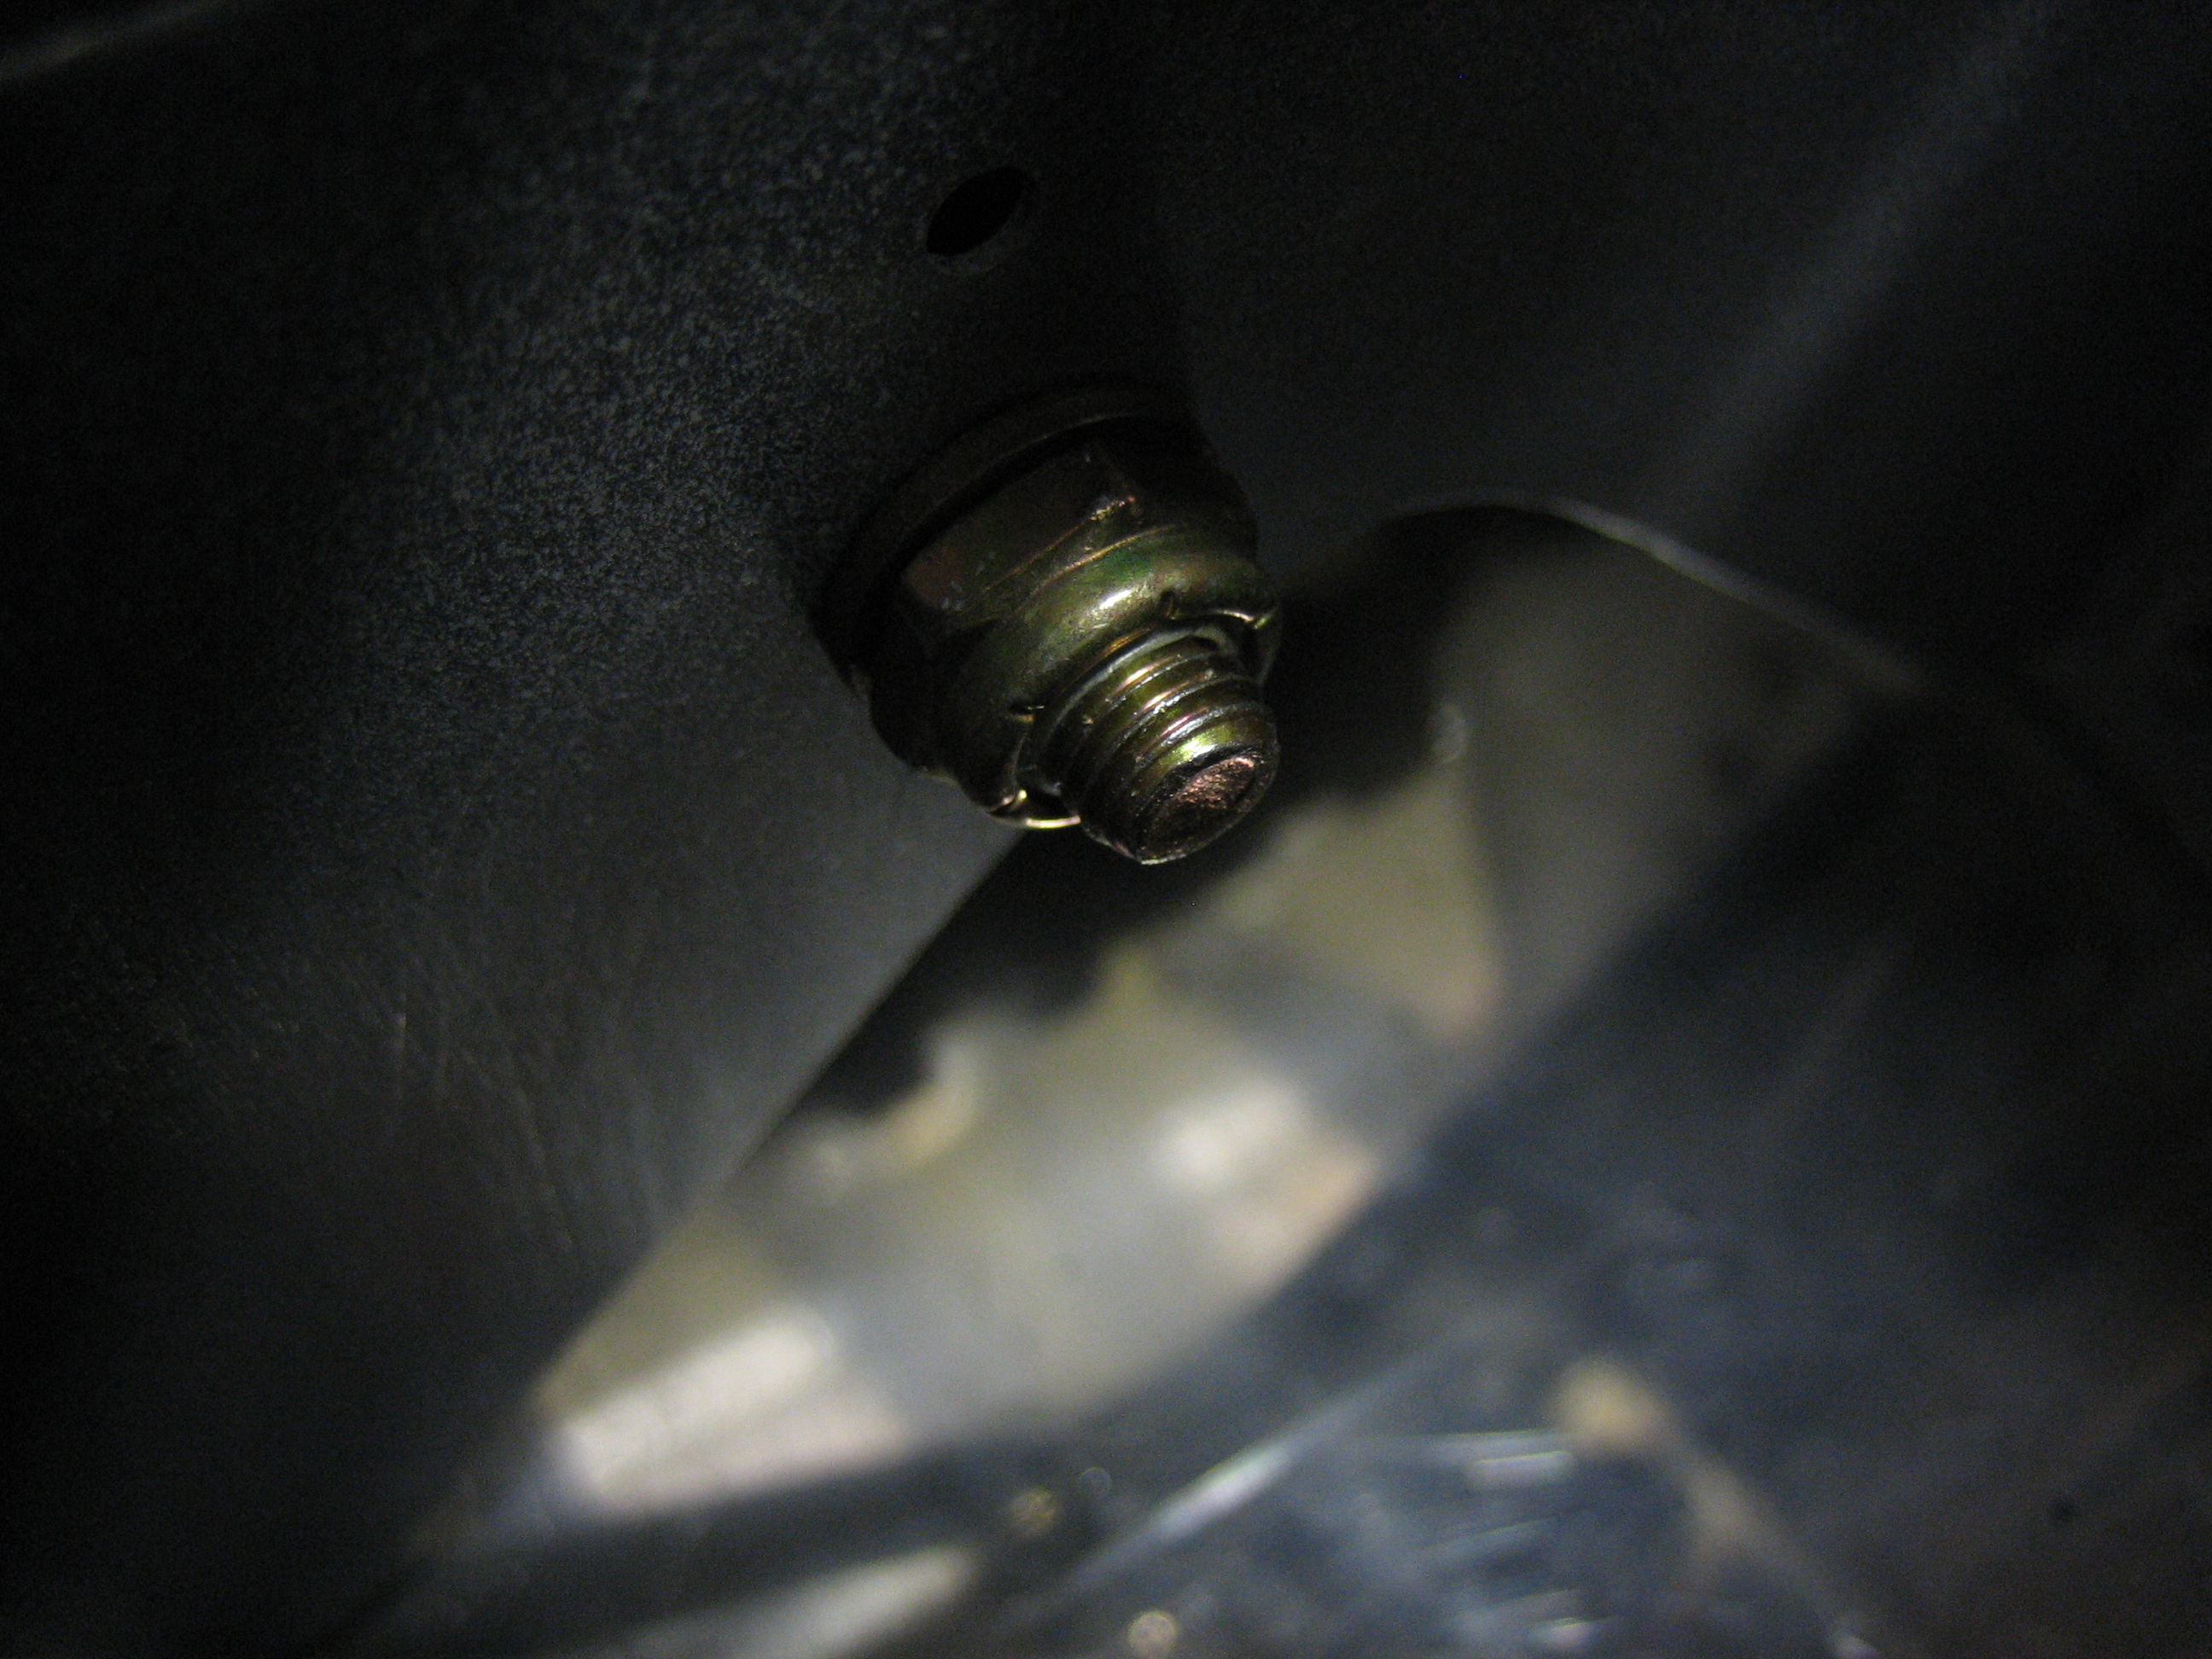
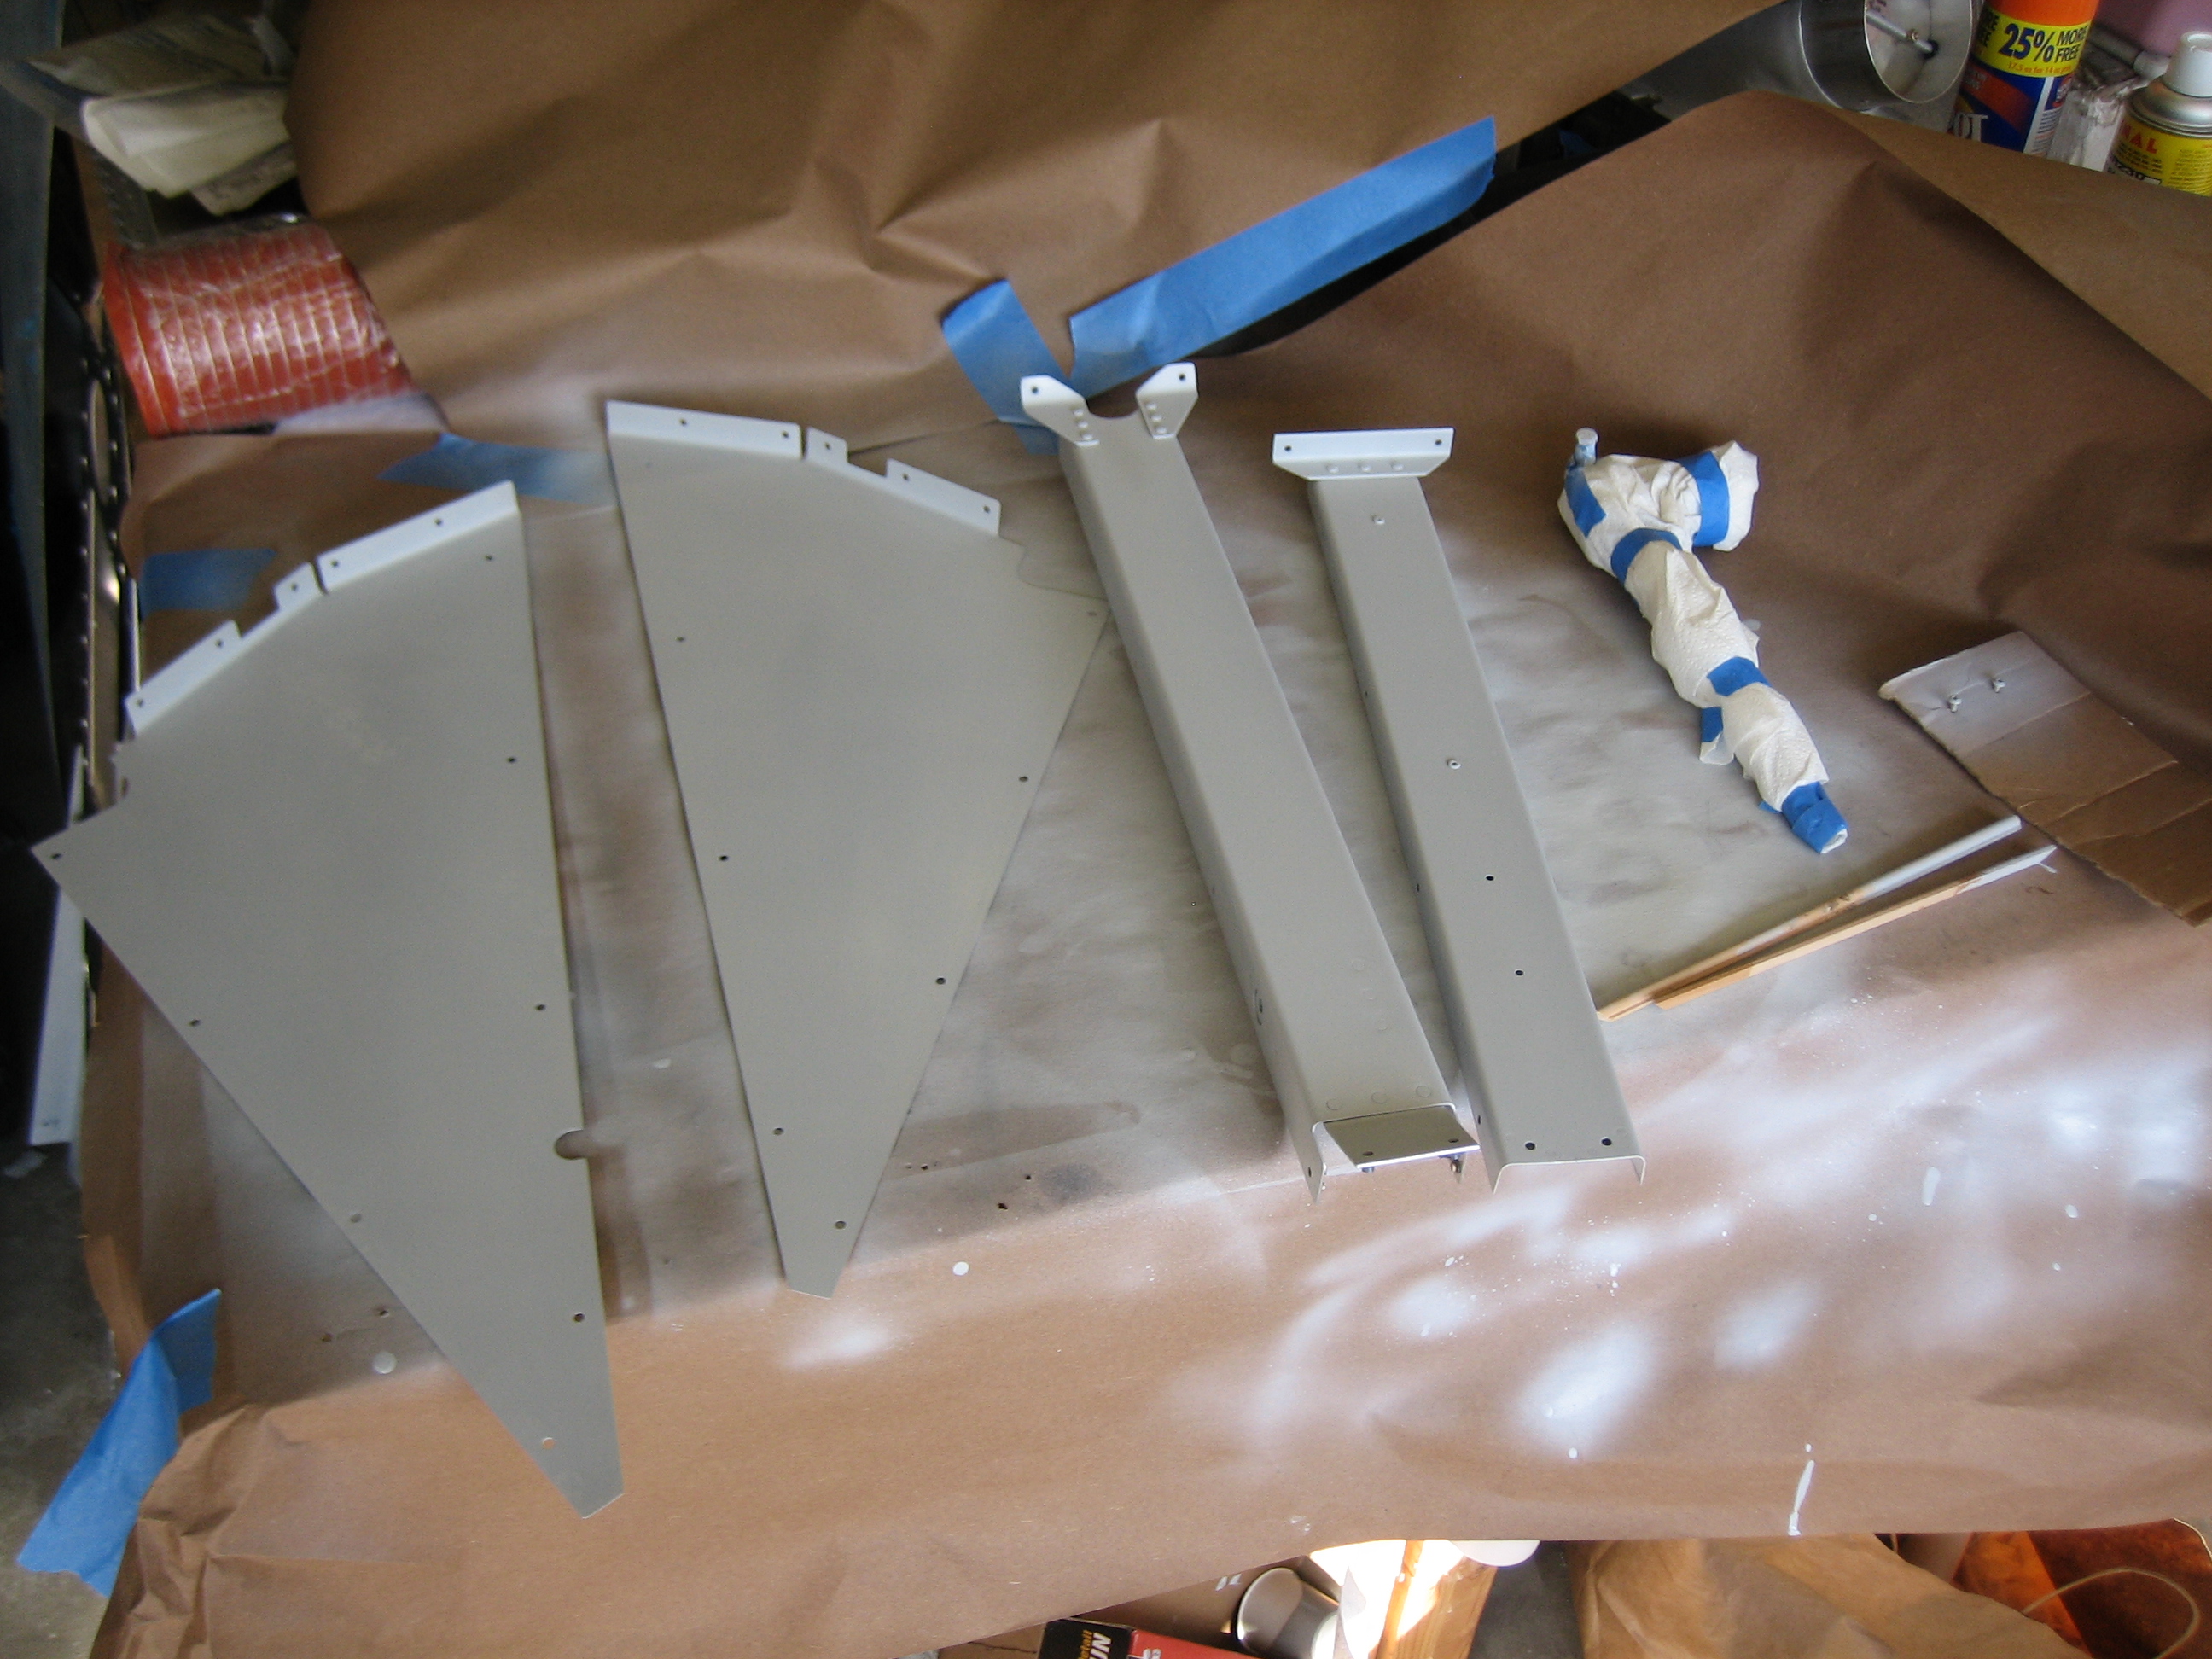
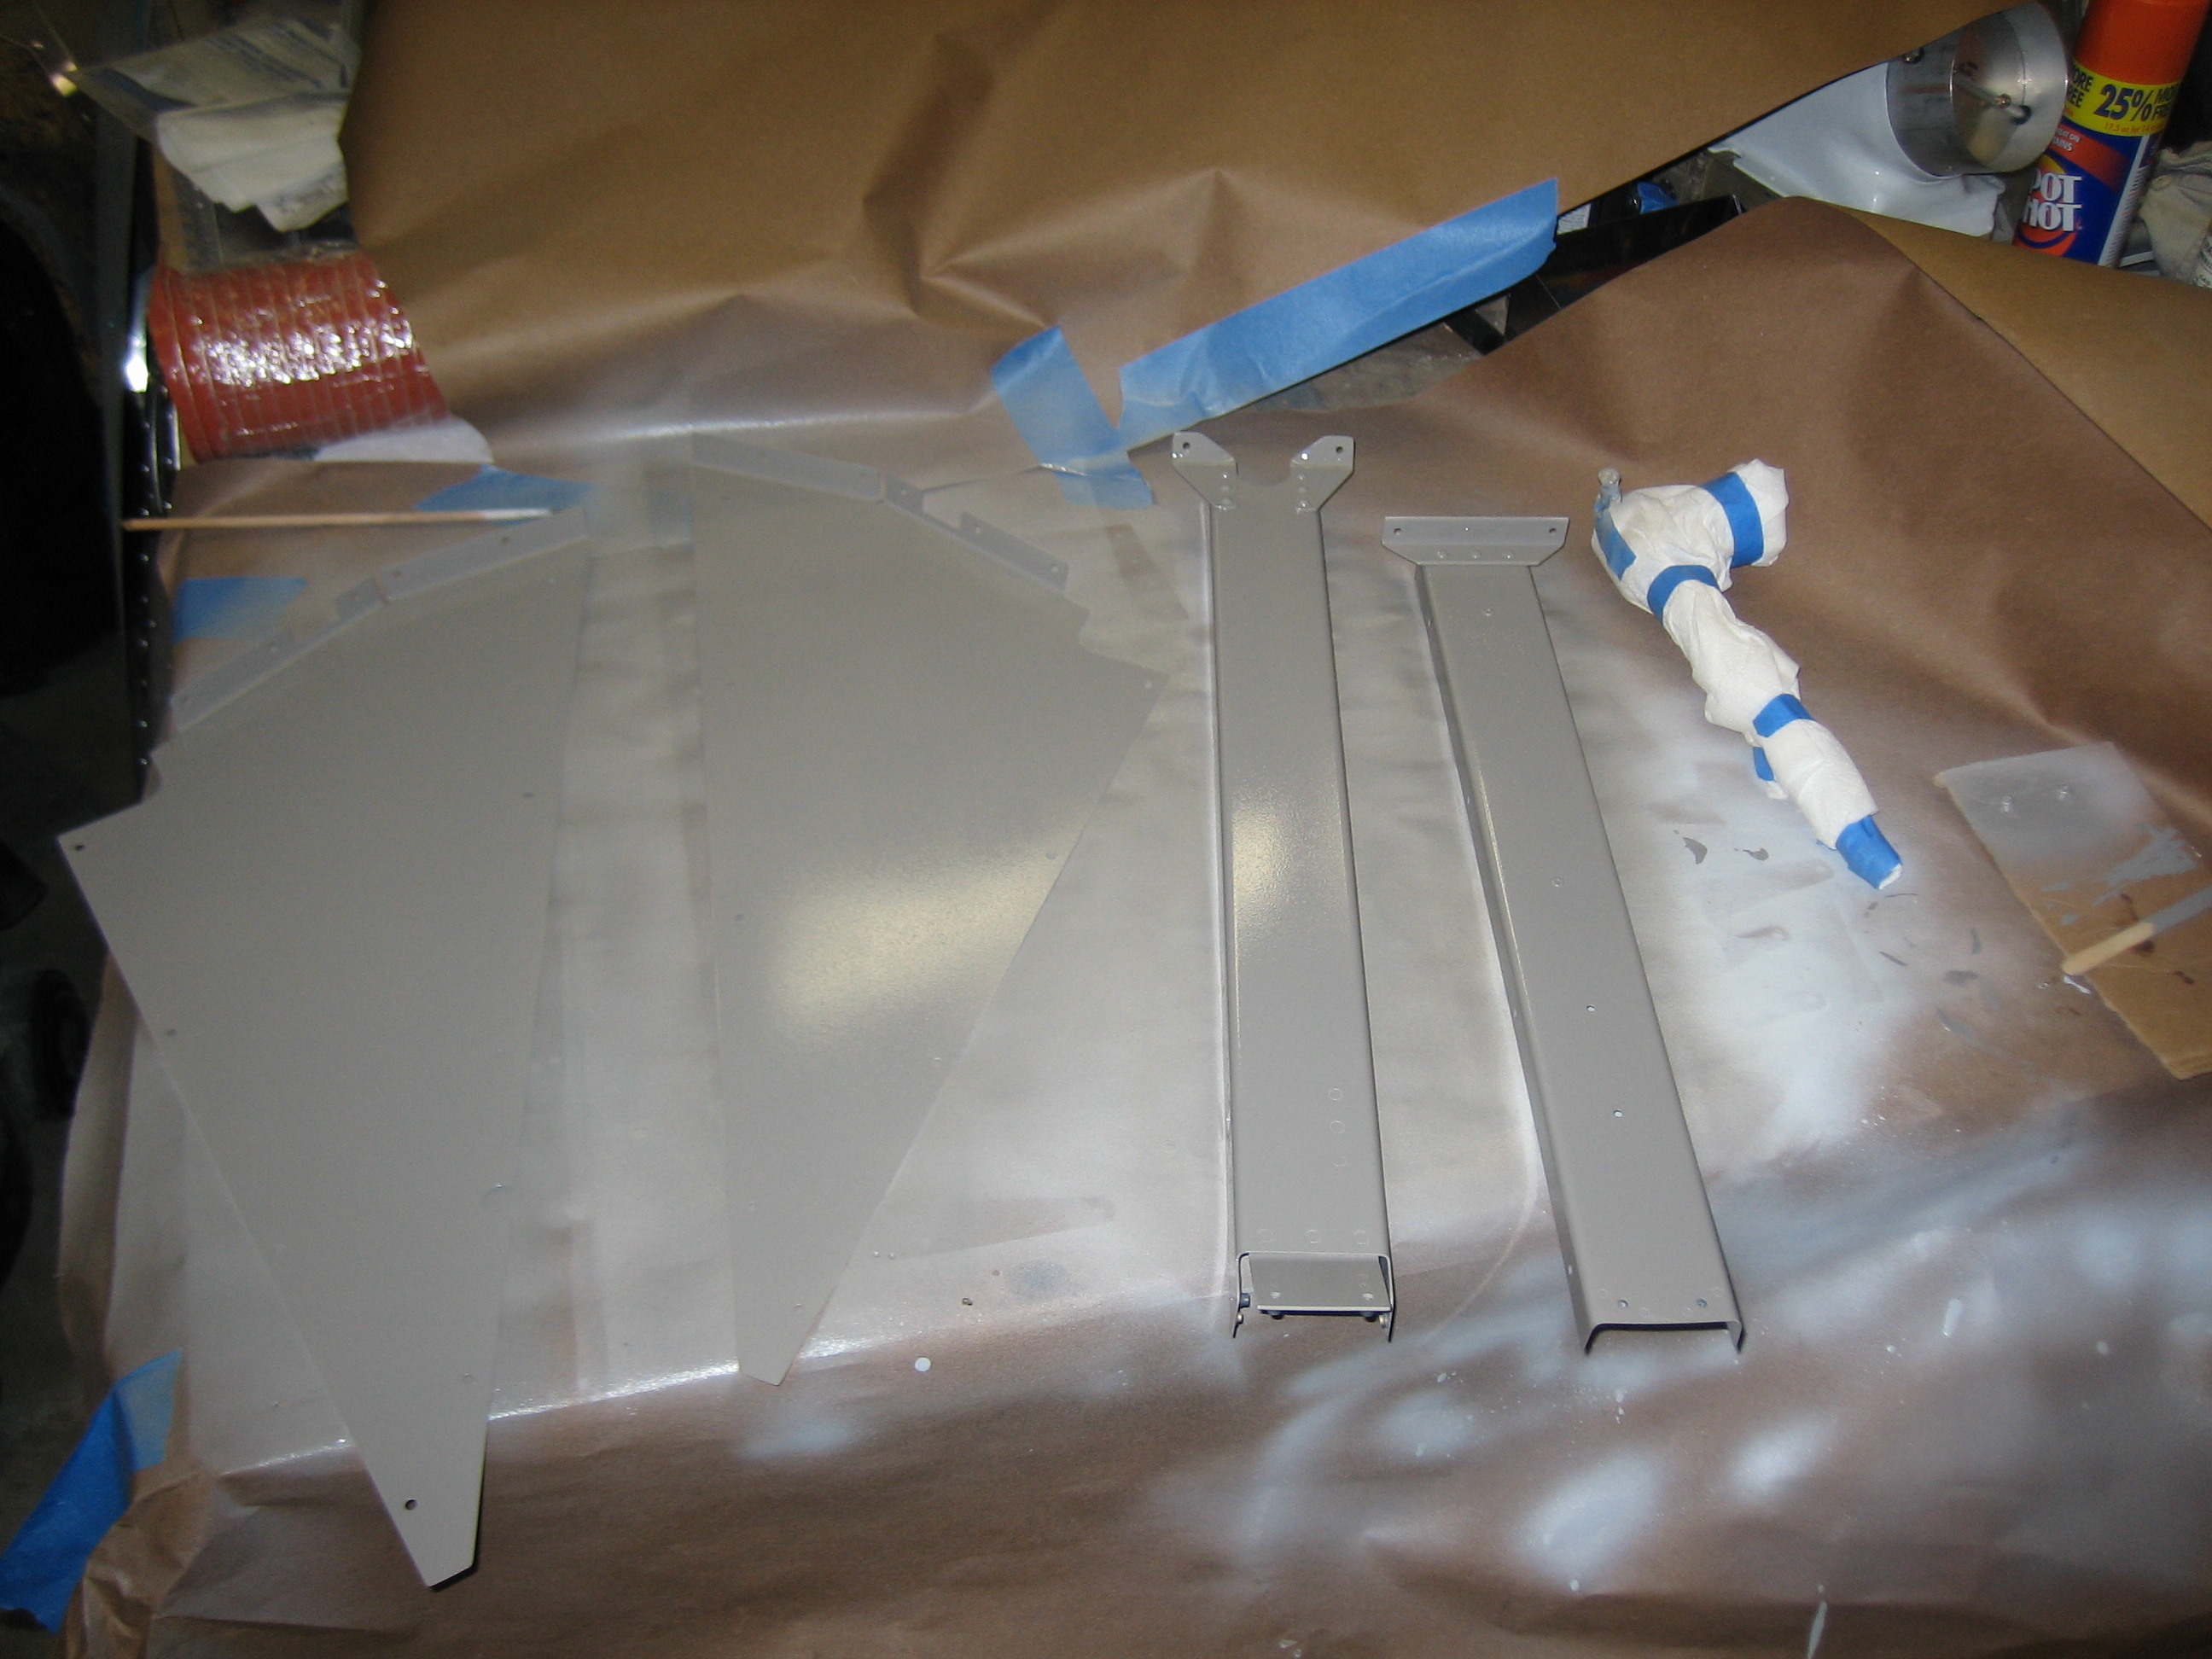
I primed all of the flap cover pieces.  On the right is the flap motor wrapped up with paper towels.  I primed the head of the bolt that will be visible on the outside of the flap motor support.  On the far right is a piece of cardboard with a couple of #6 screws that are used to attach the flap position sensor.  I’m painting them as well so they blend in.

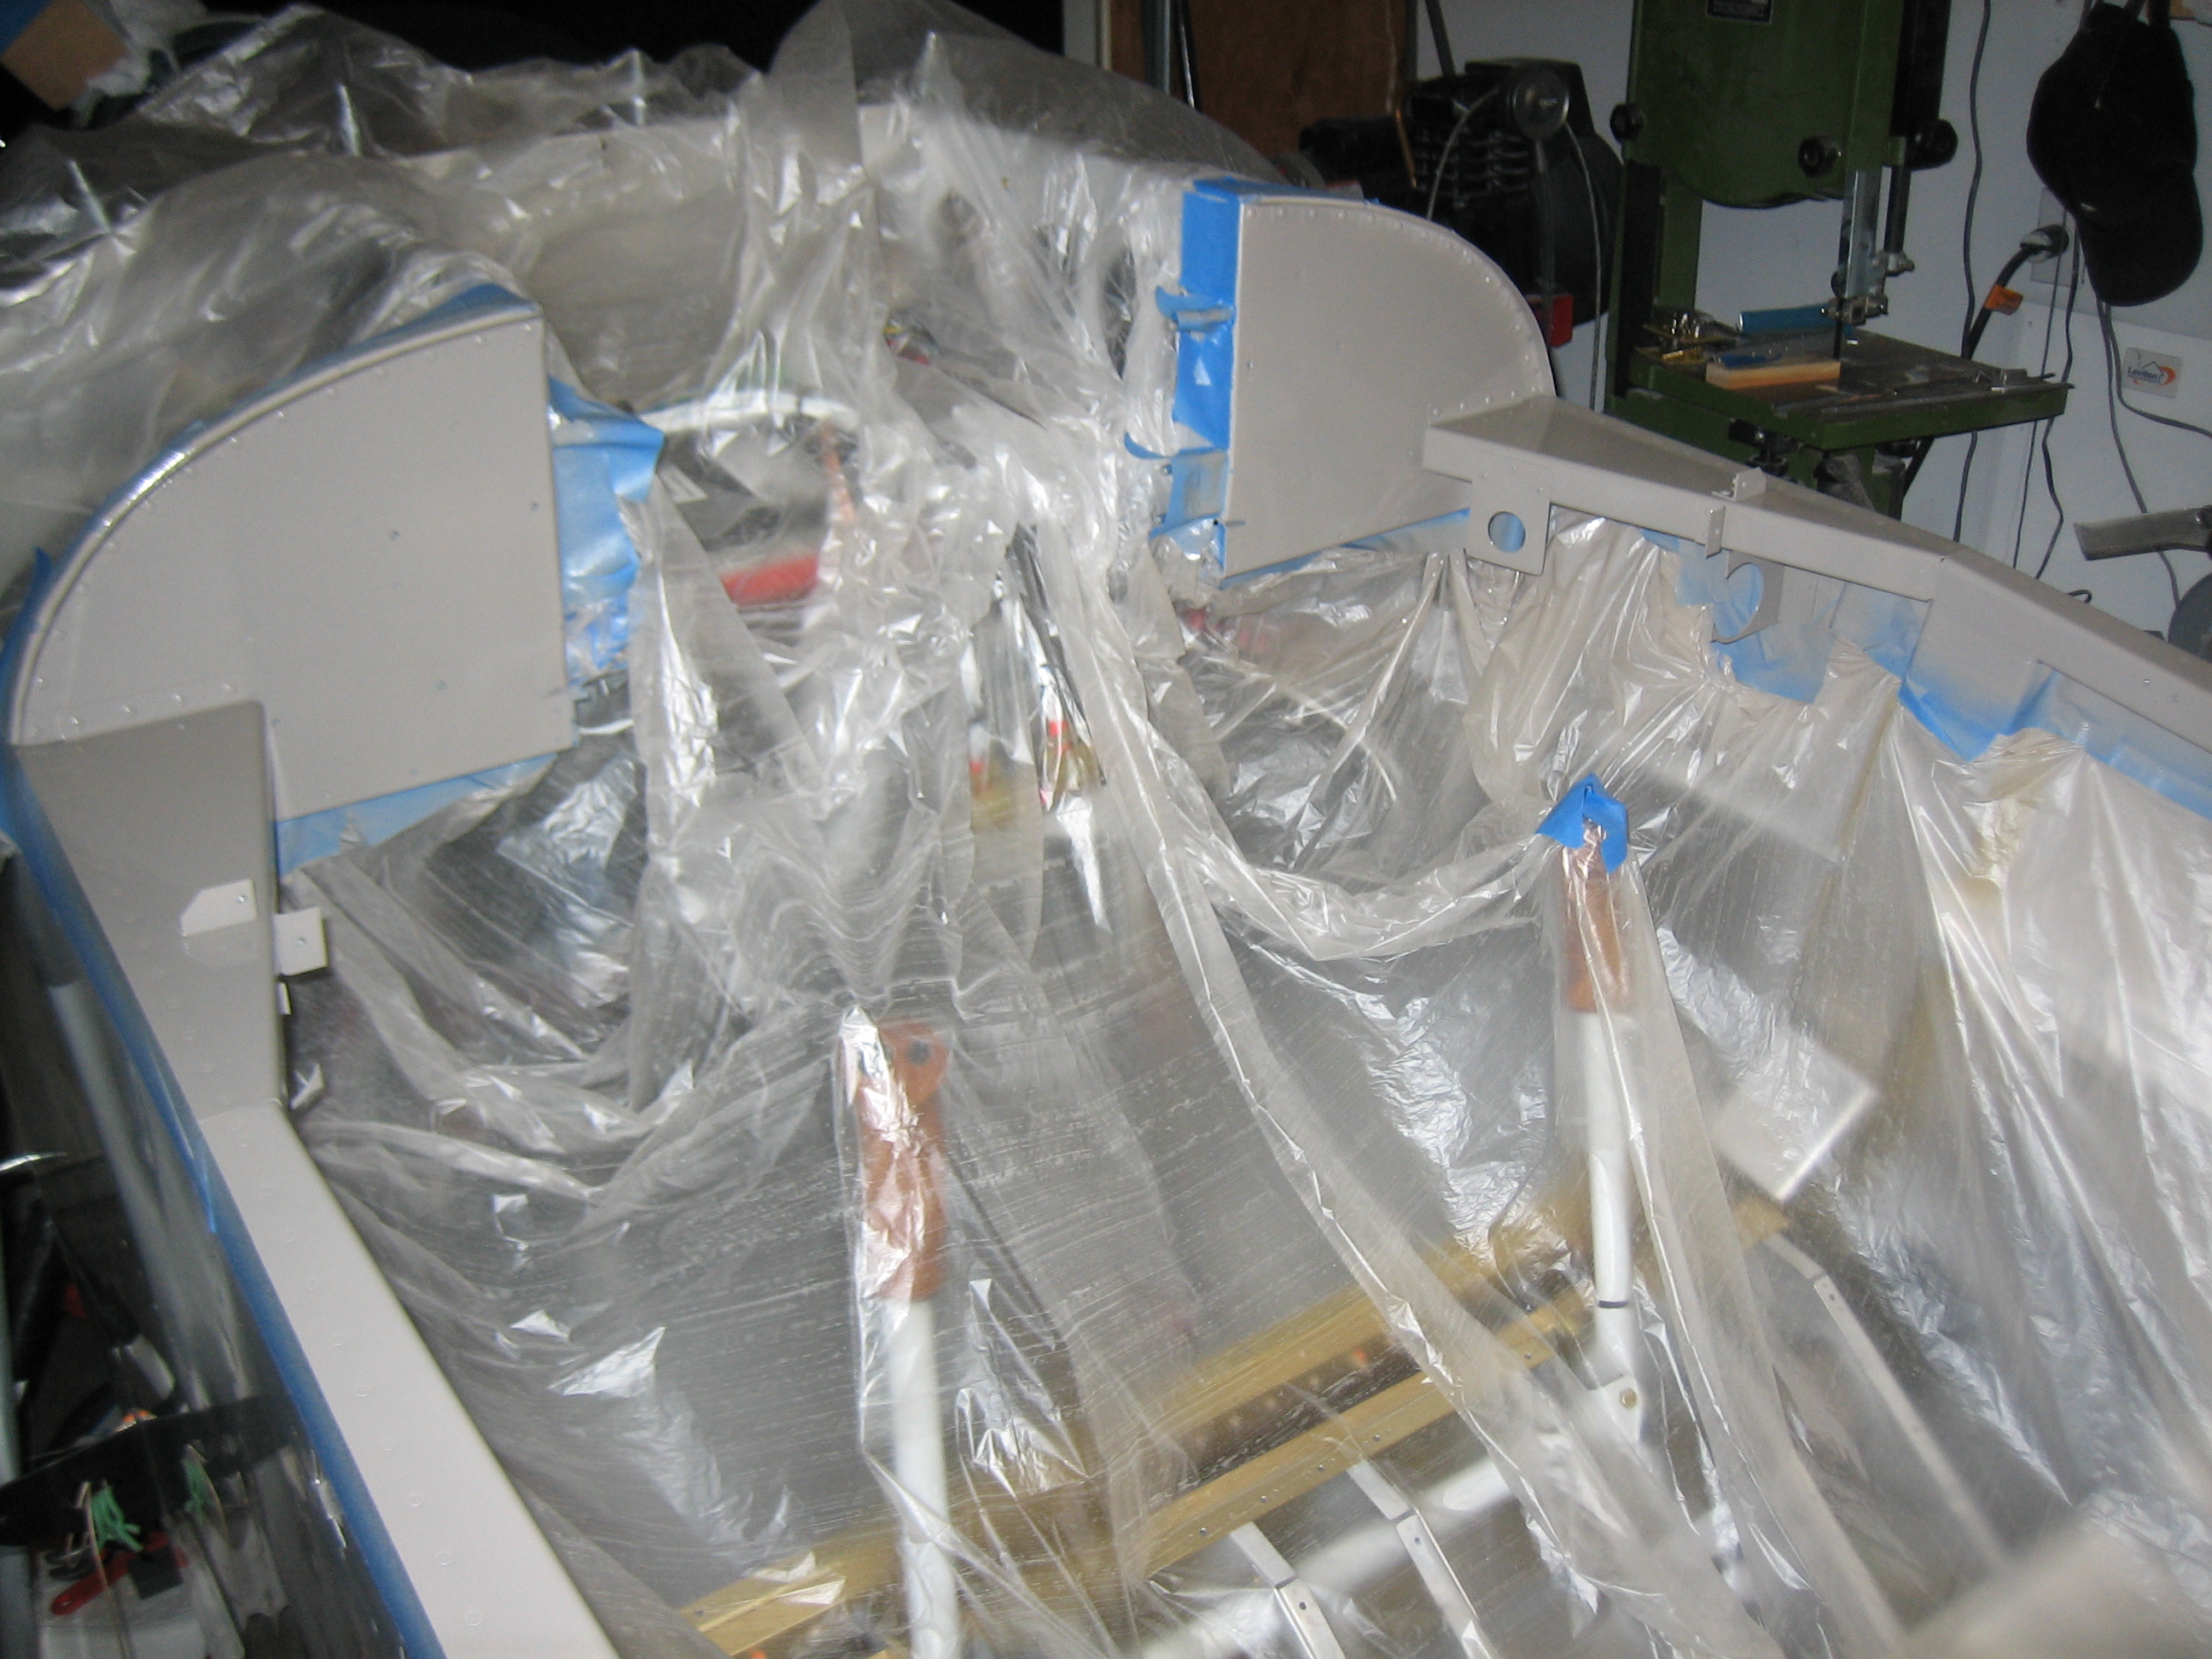
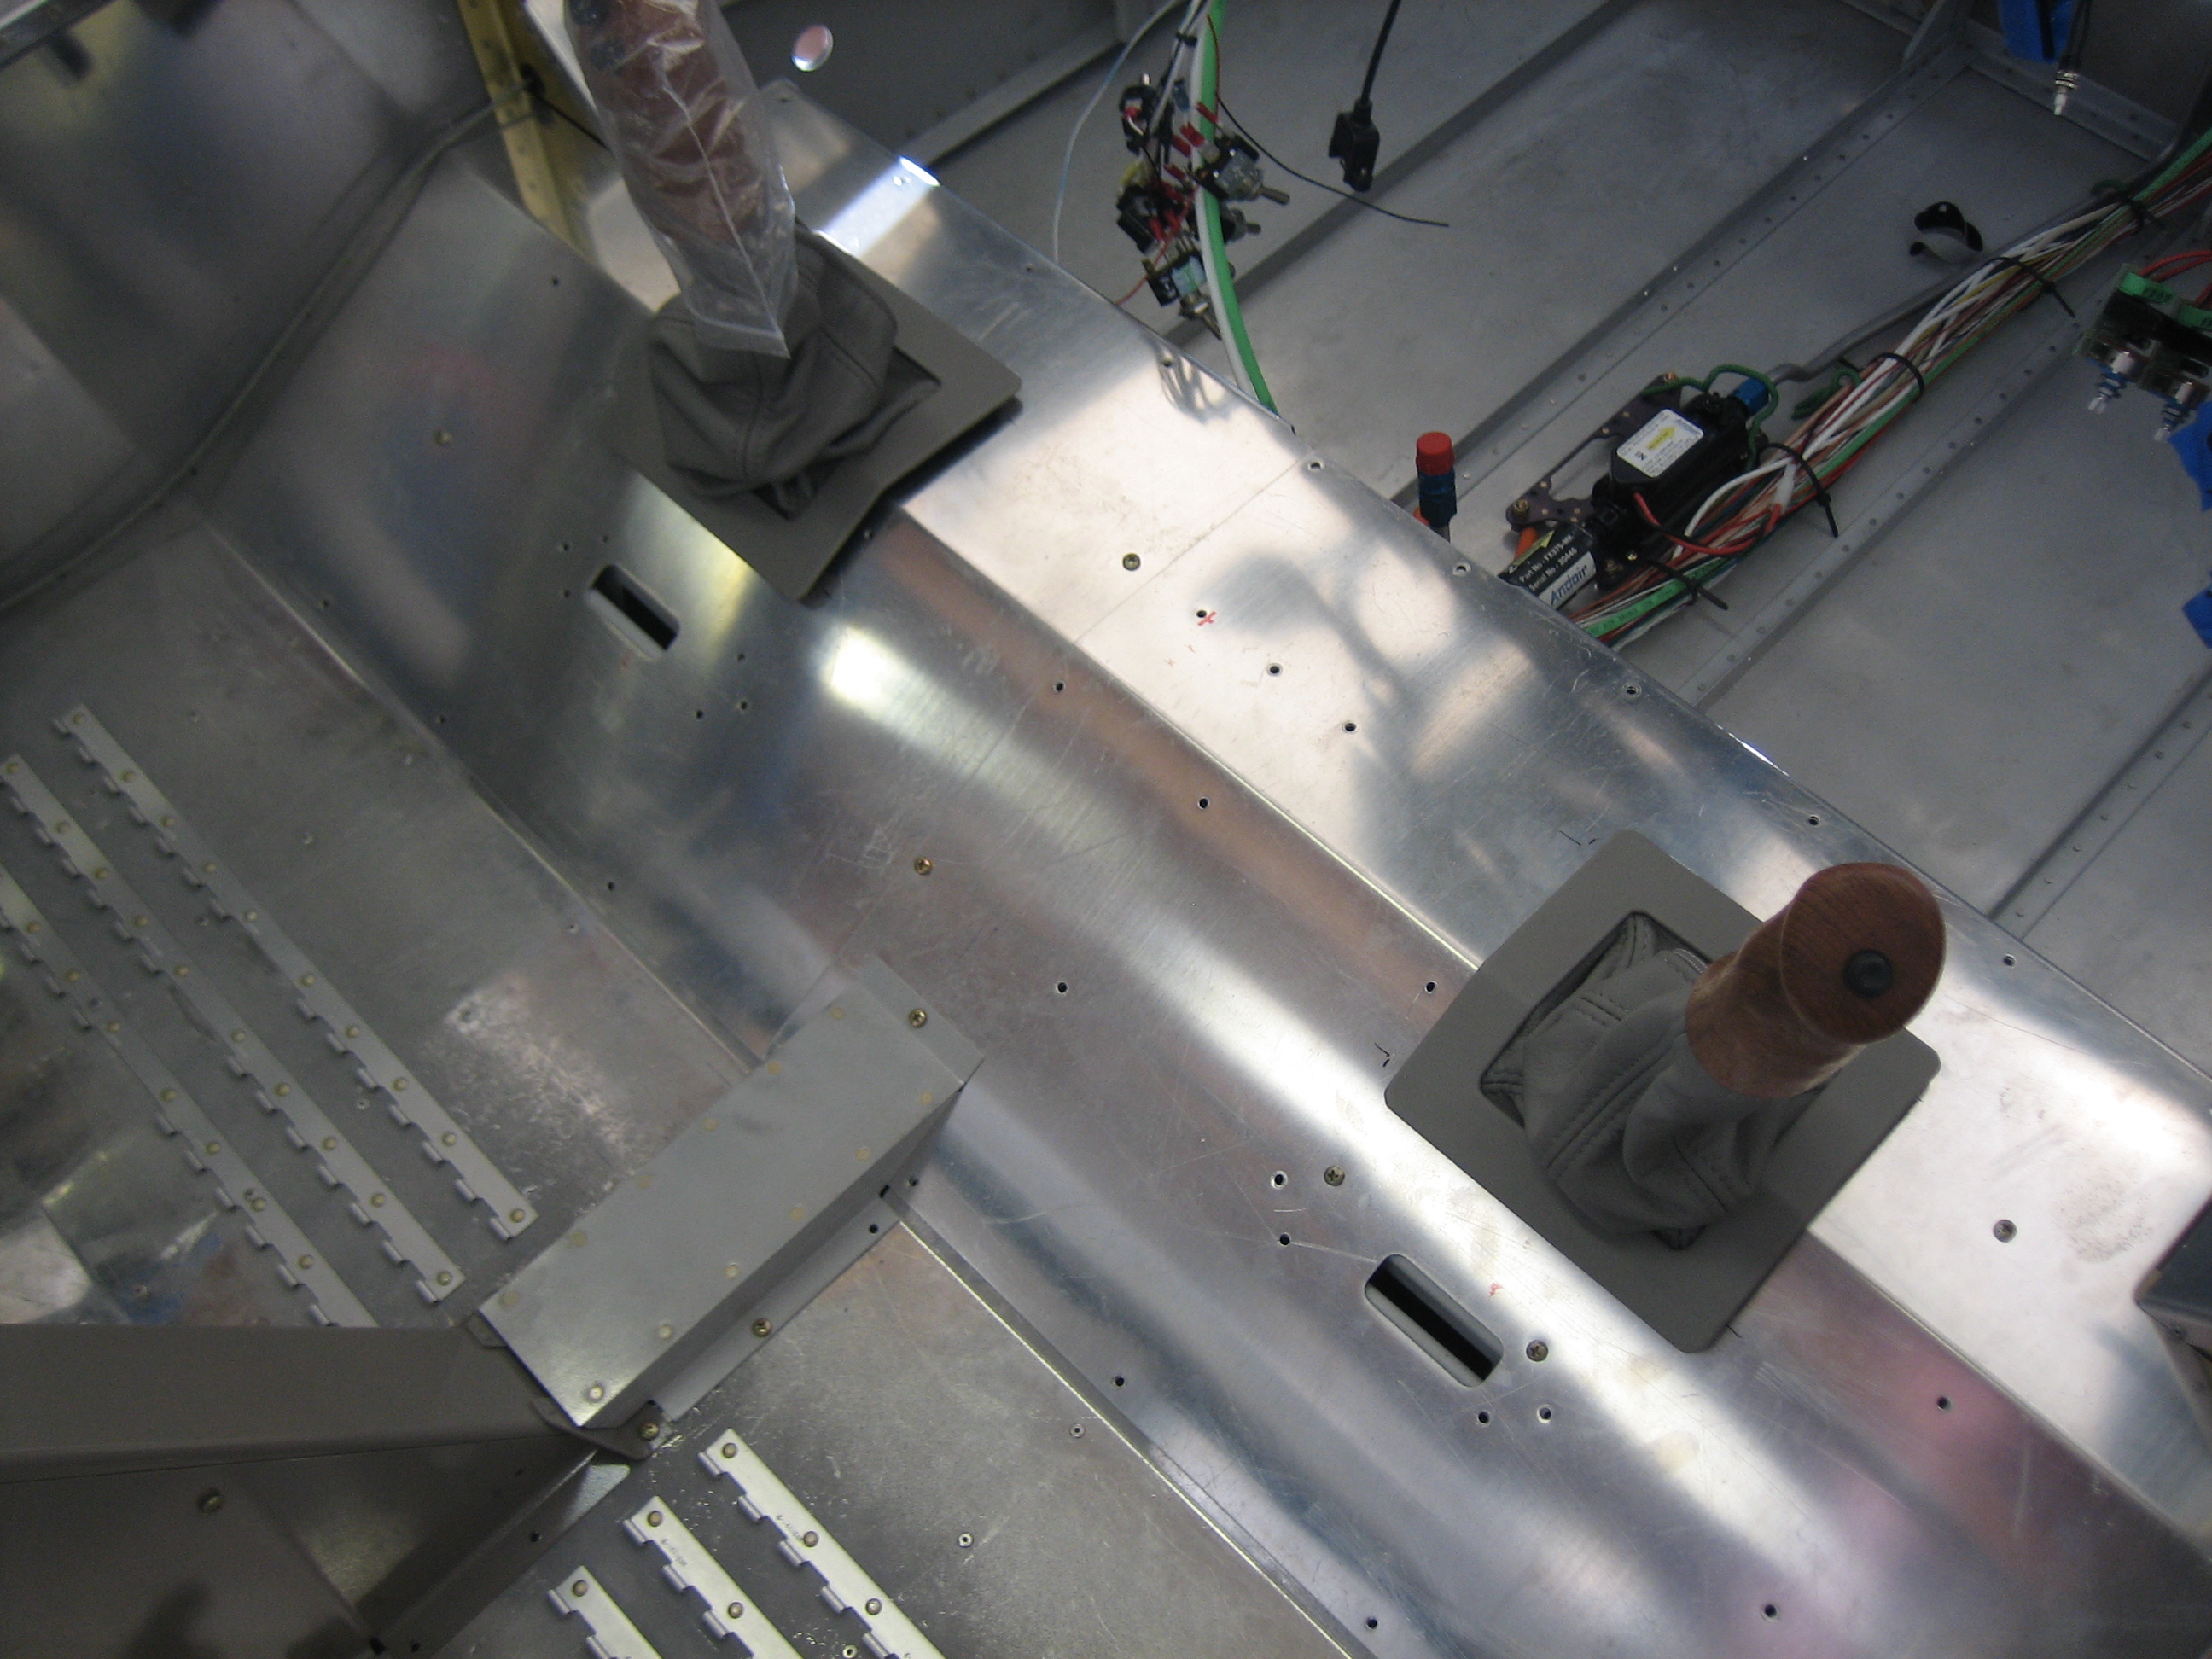
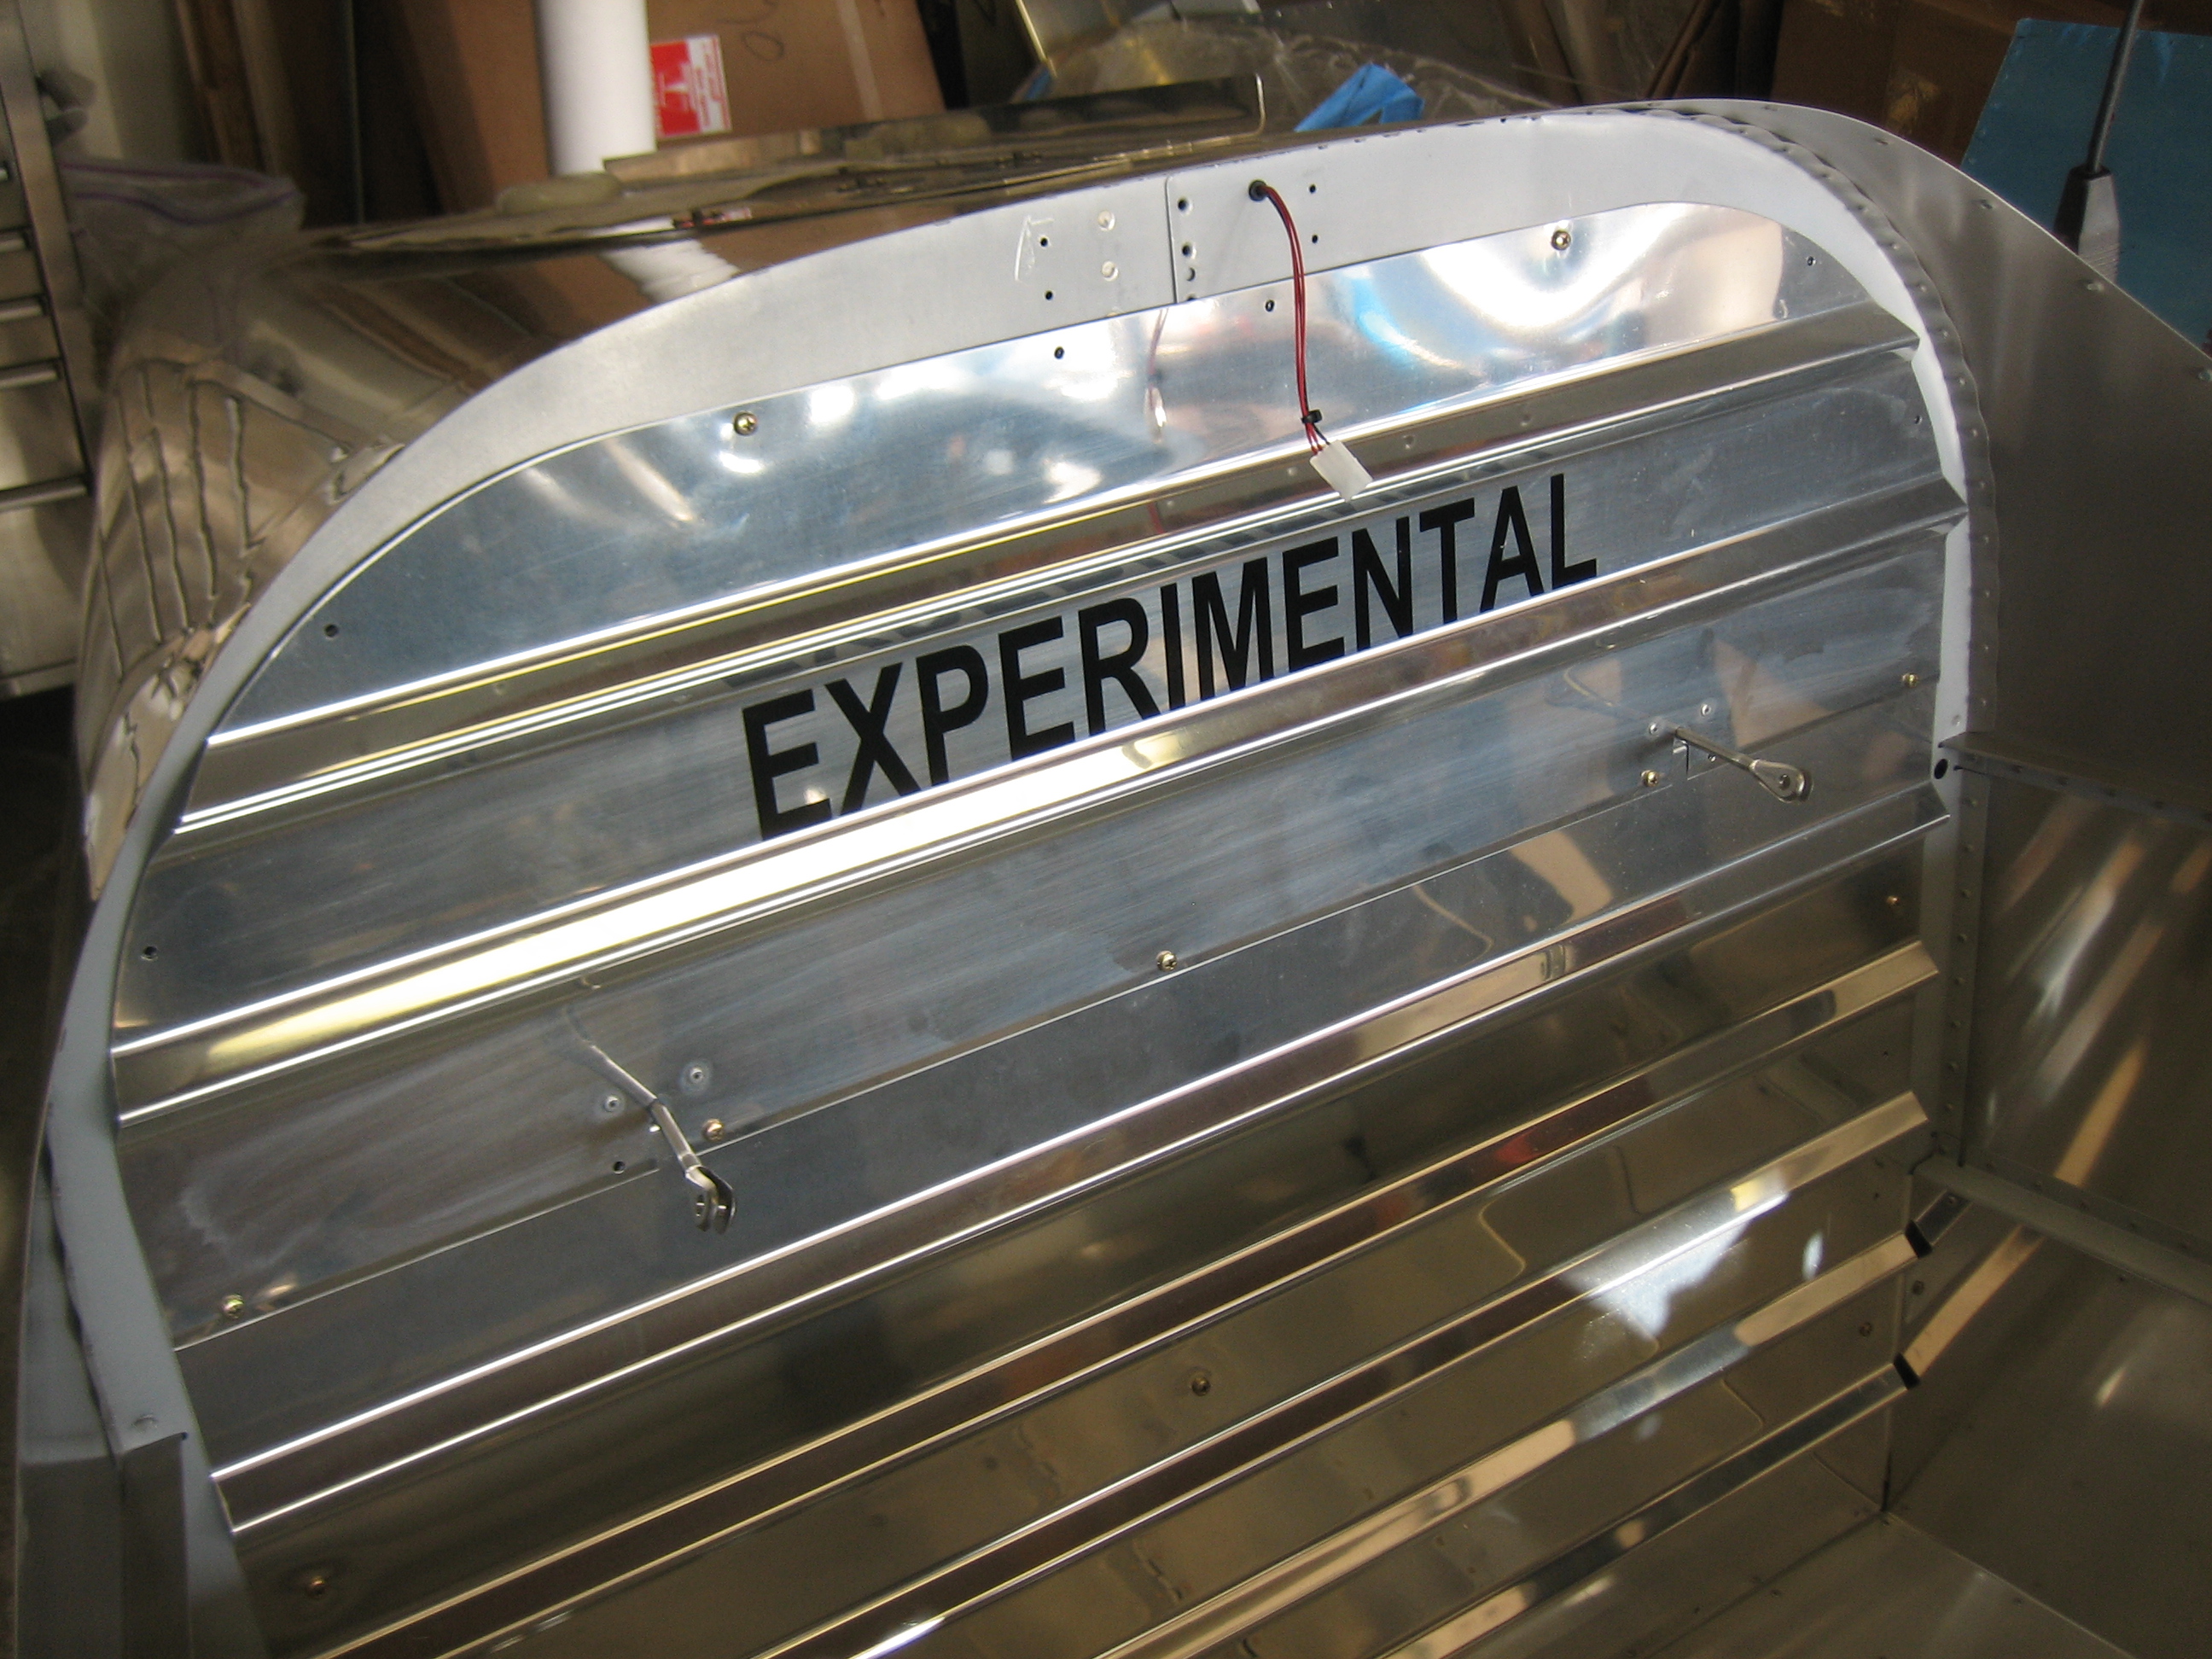
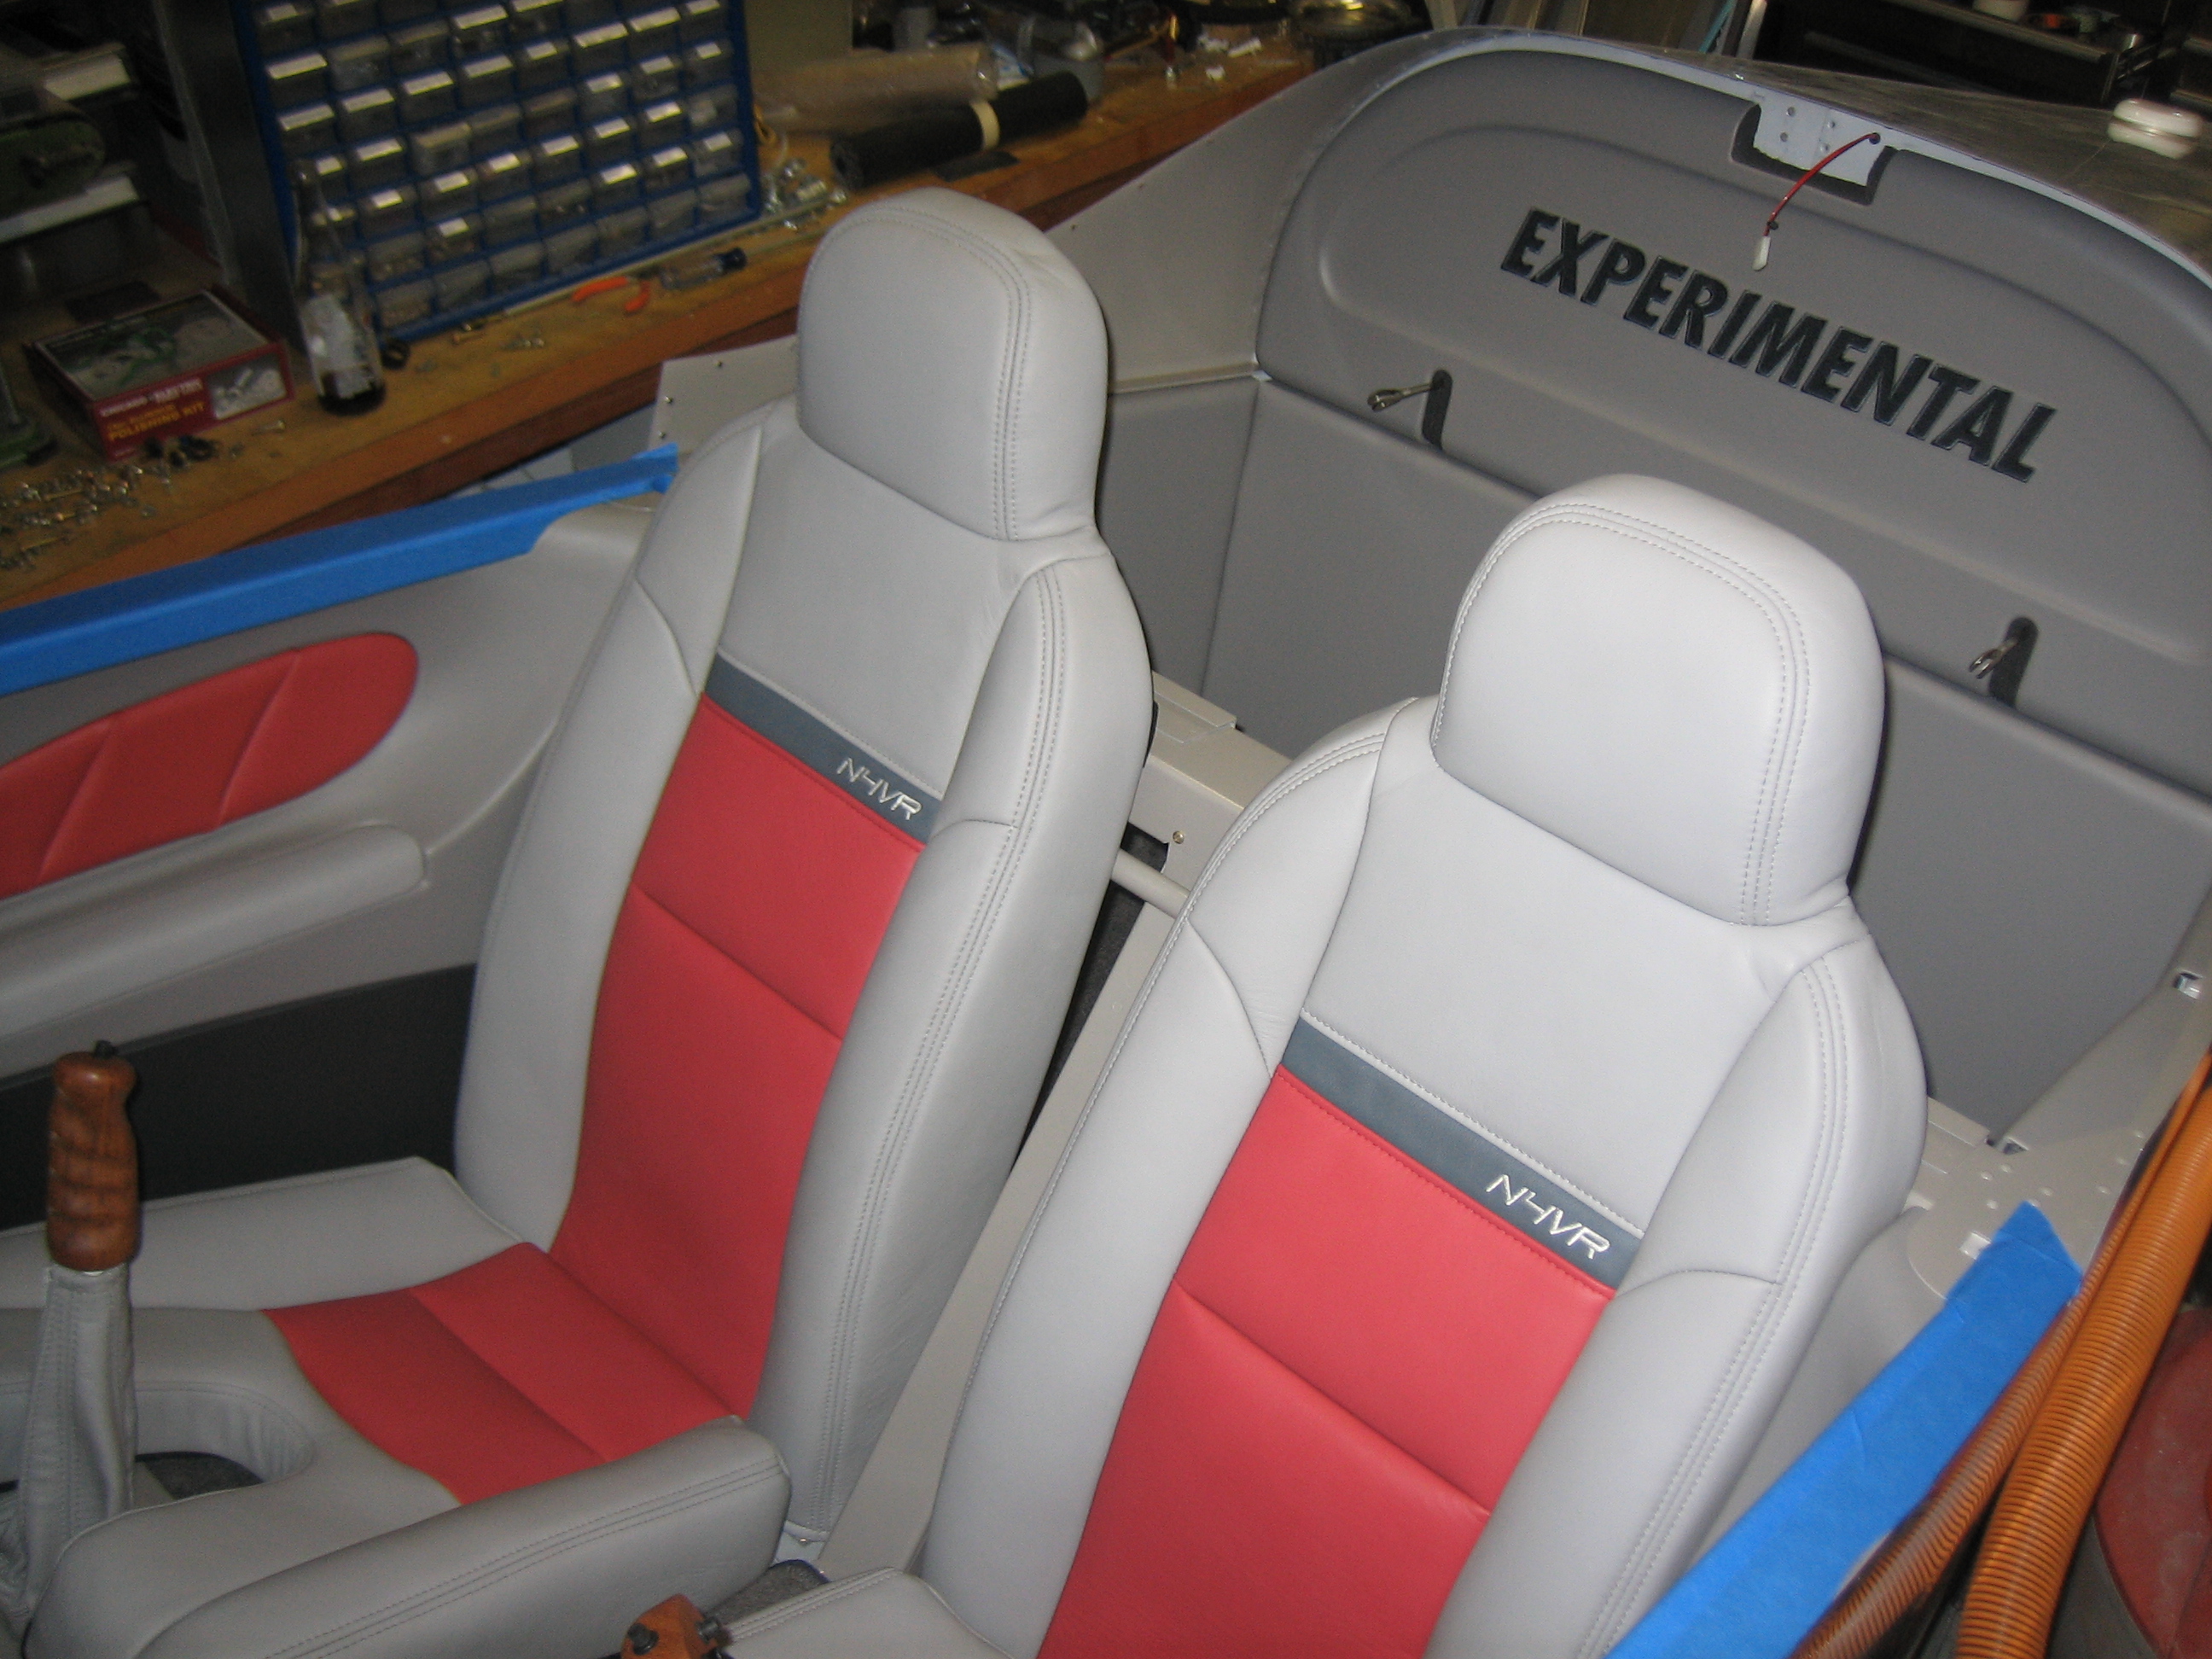
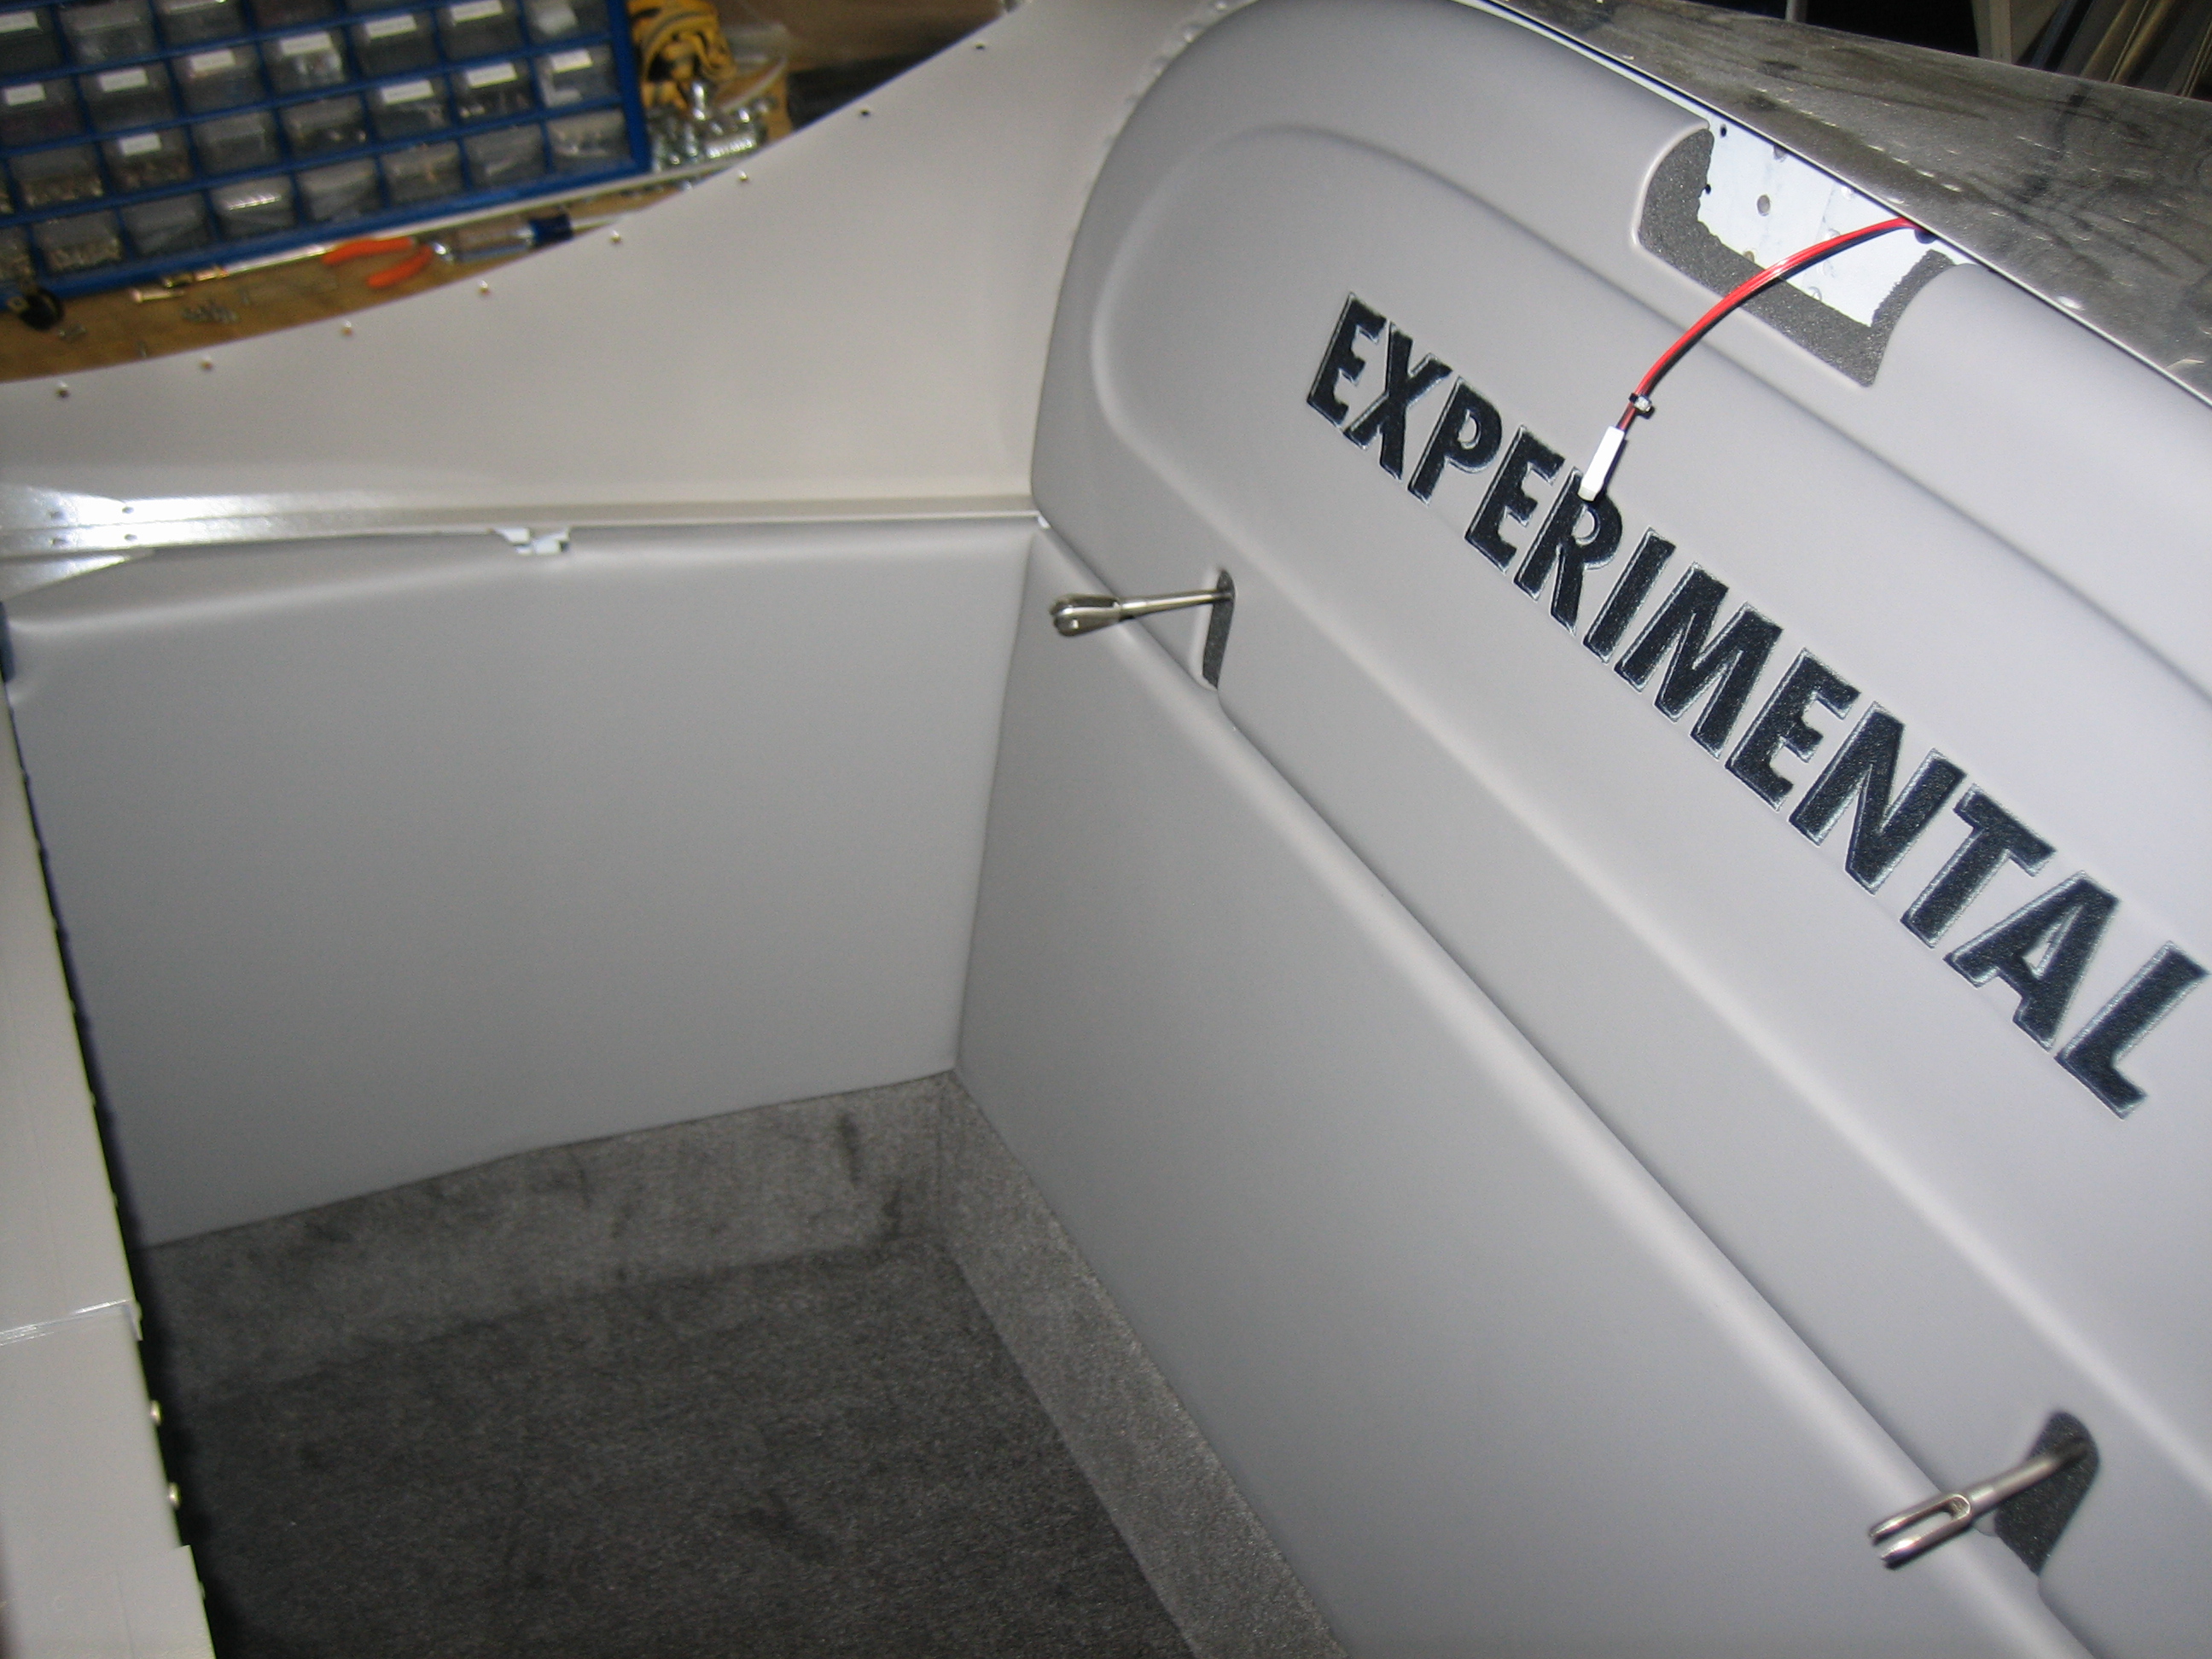
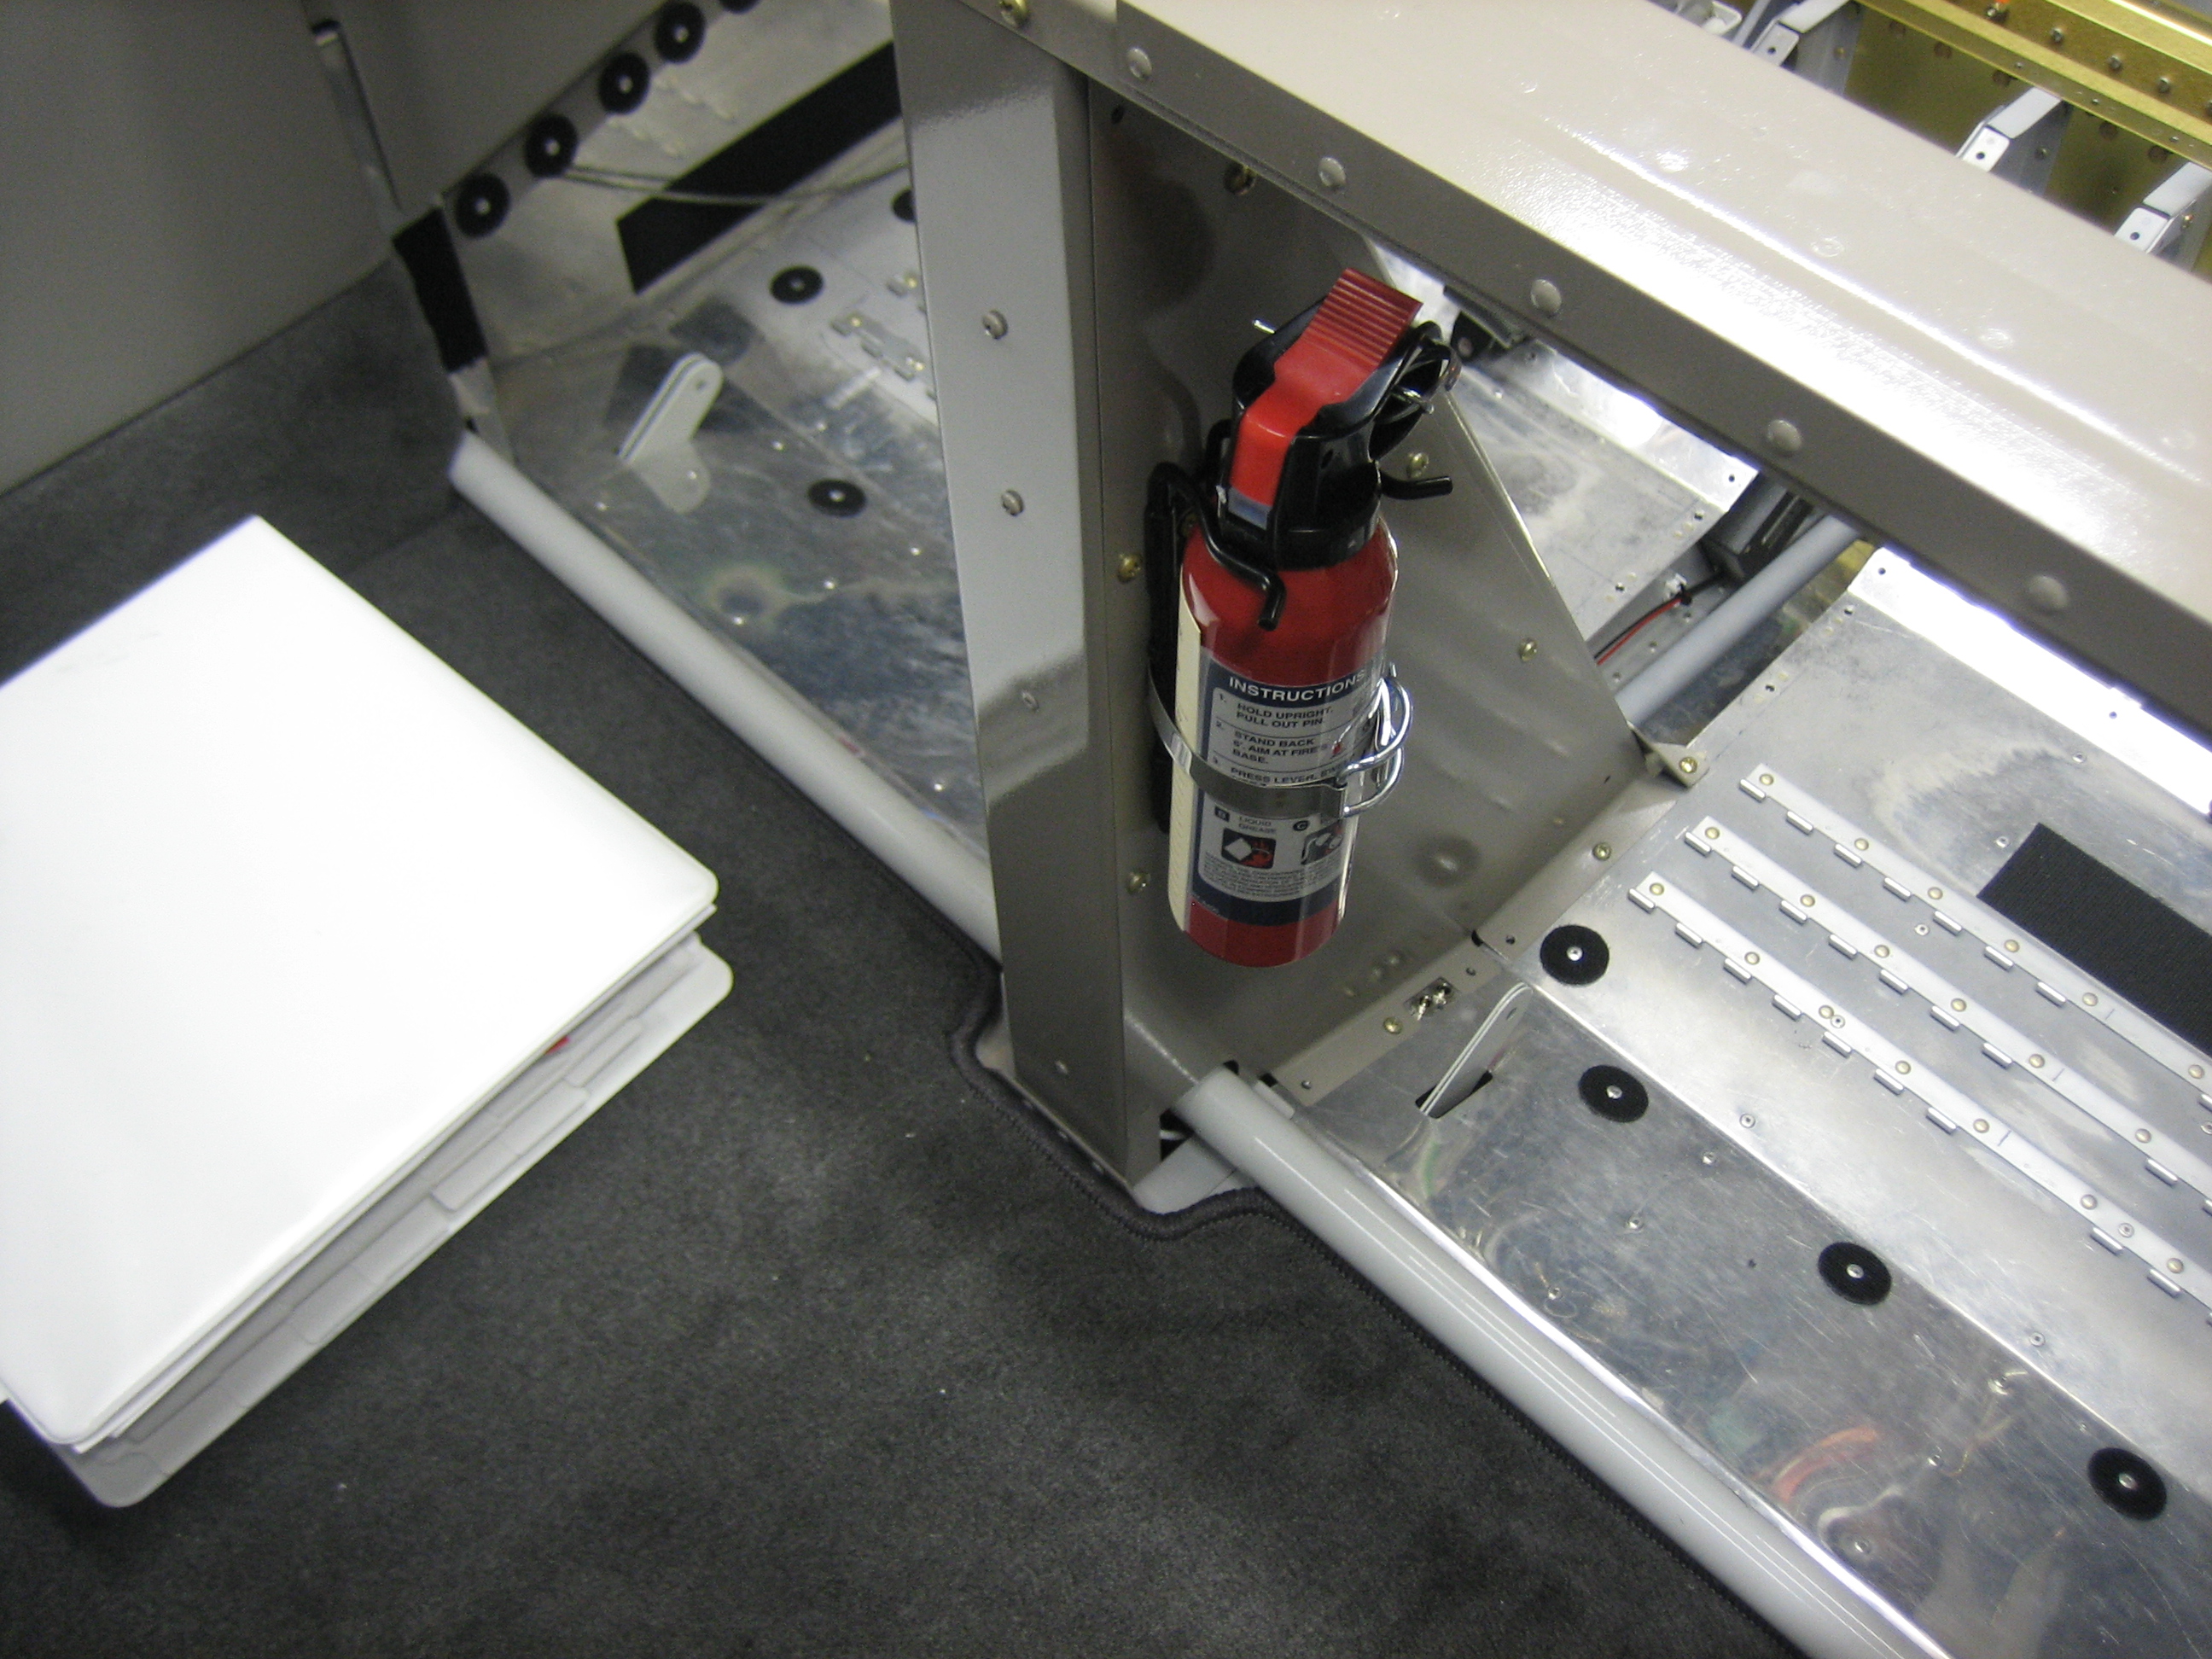
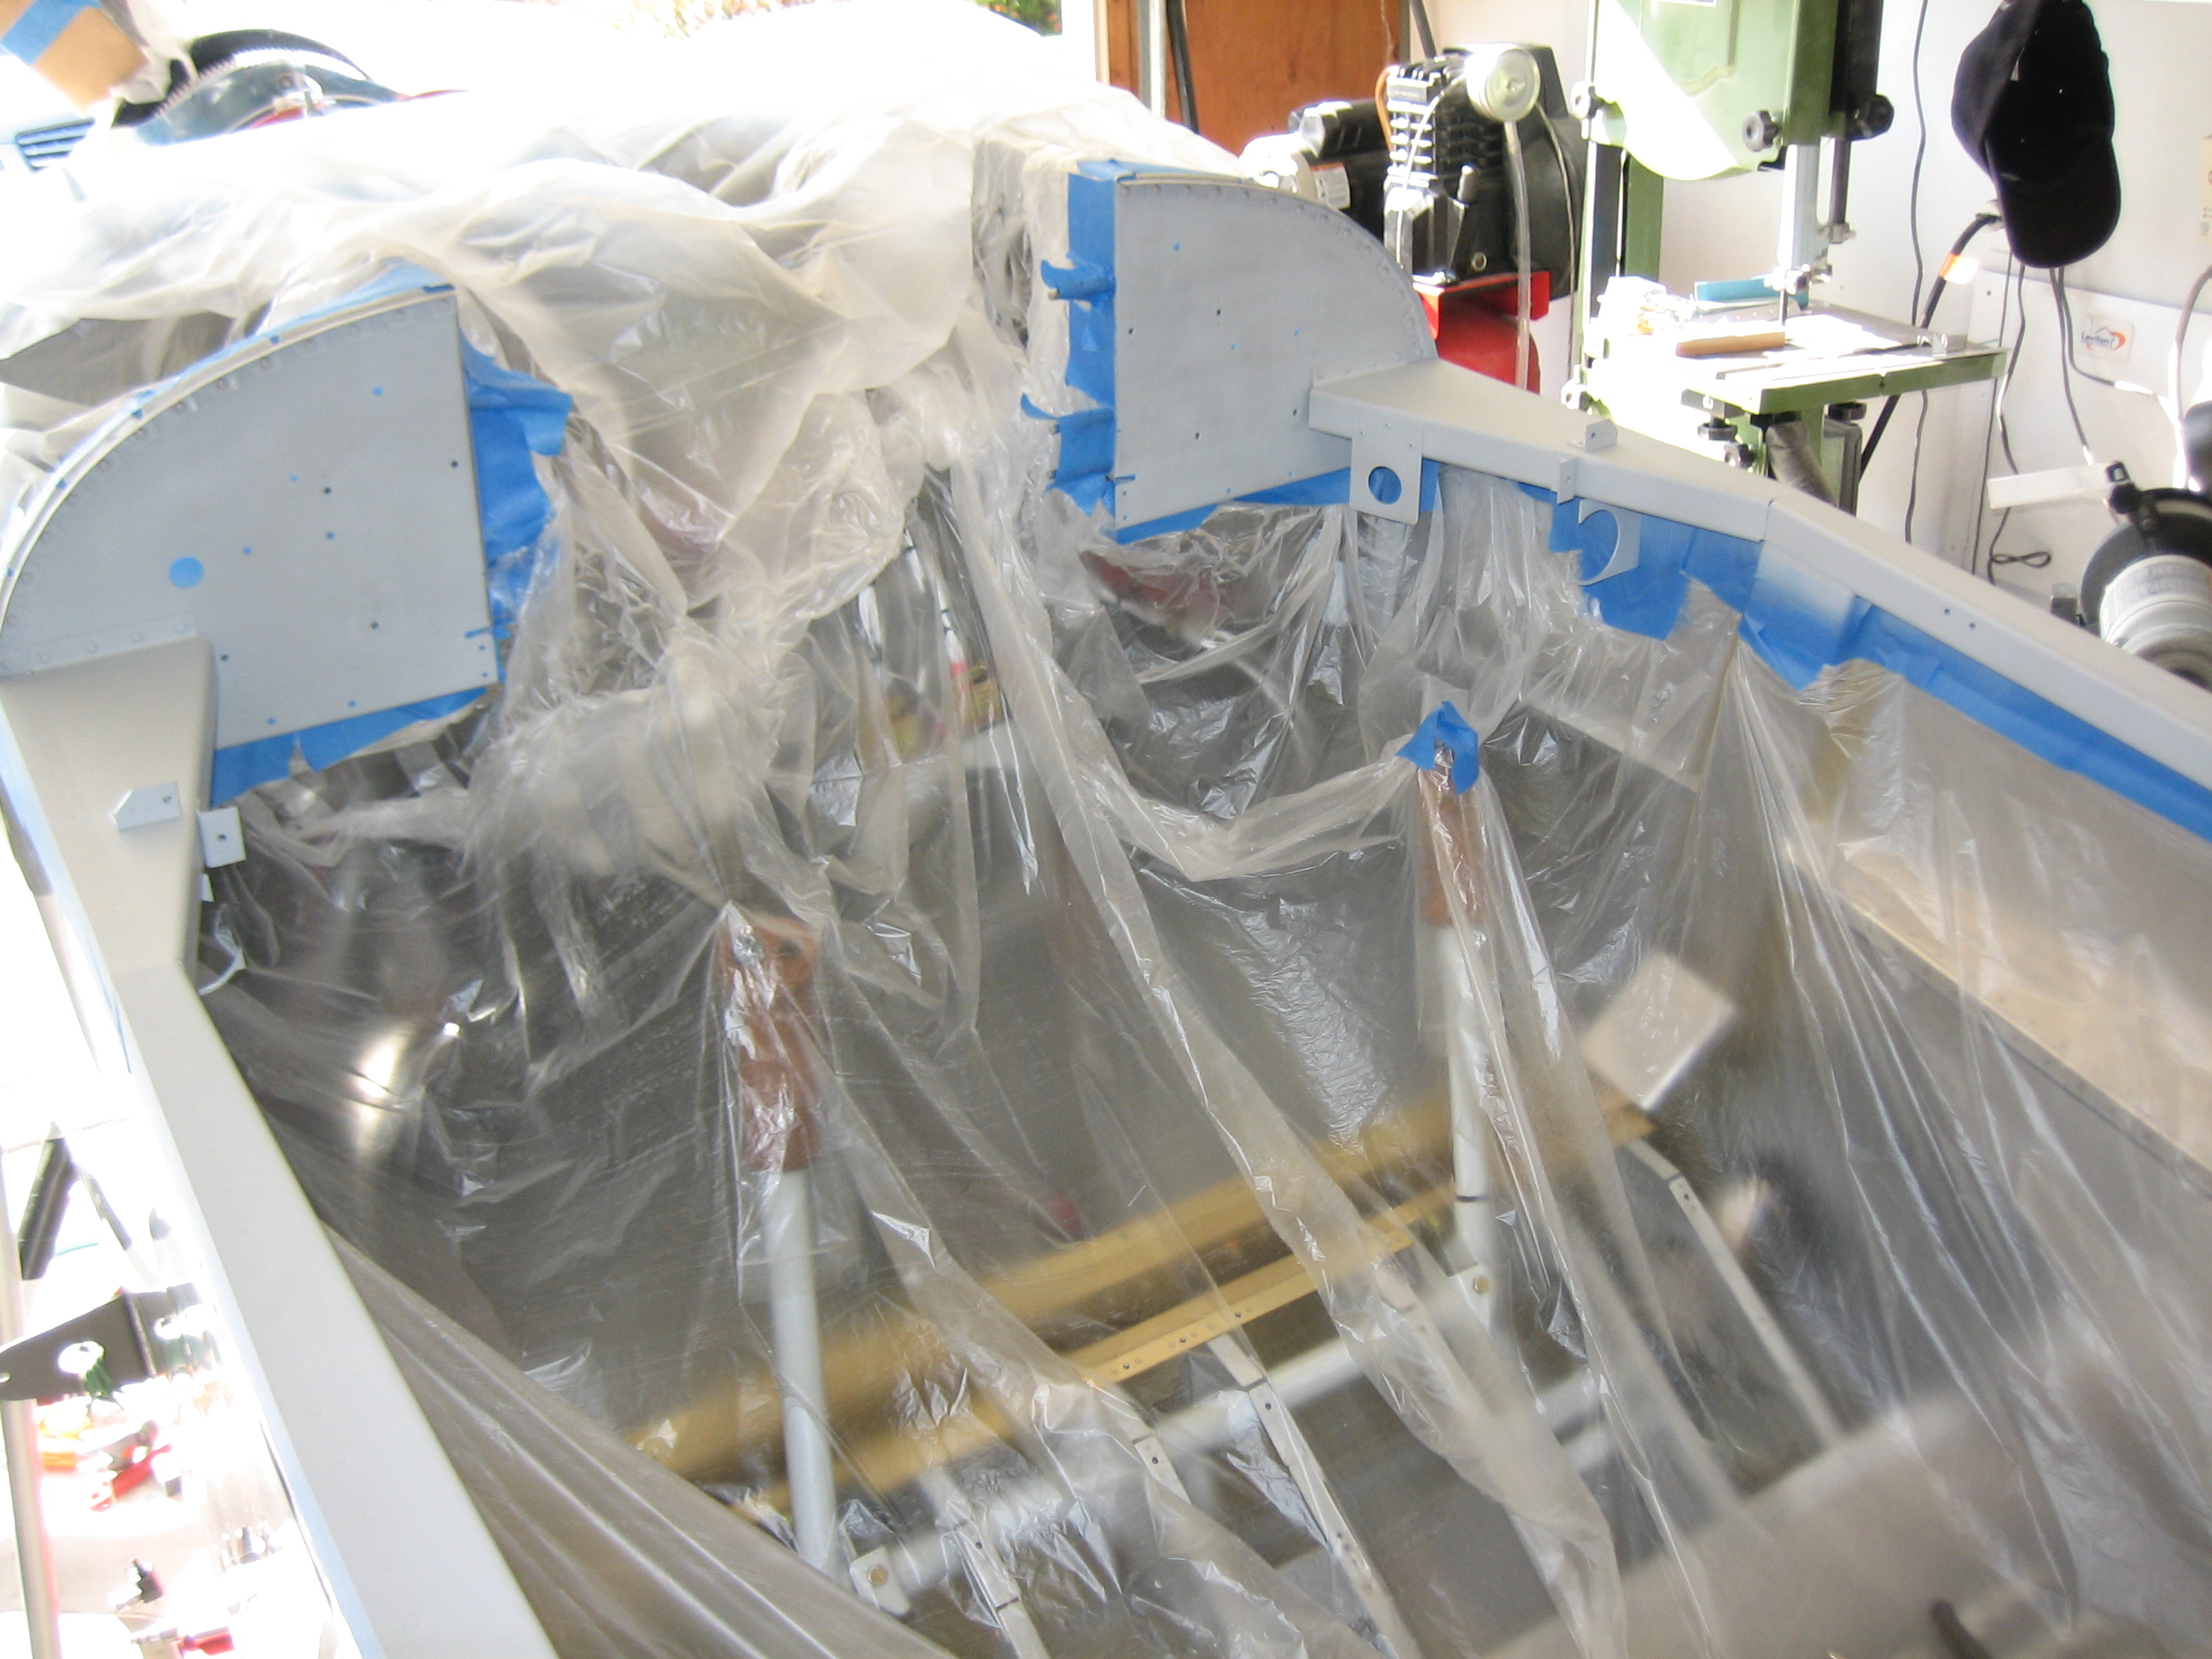
I masked off the interior and primed everything that will be painted.  I’m only painting the parts that won’t be covered by the Classic Aero Designs interior.

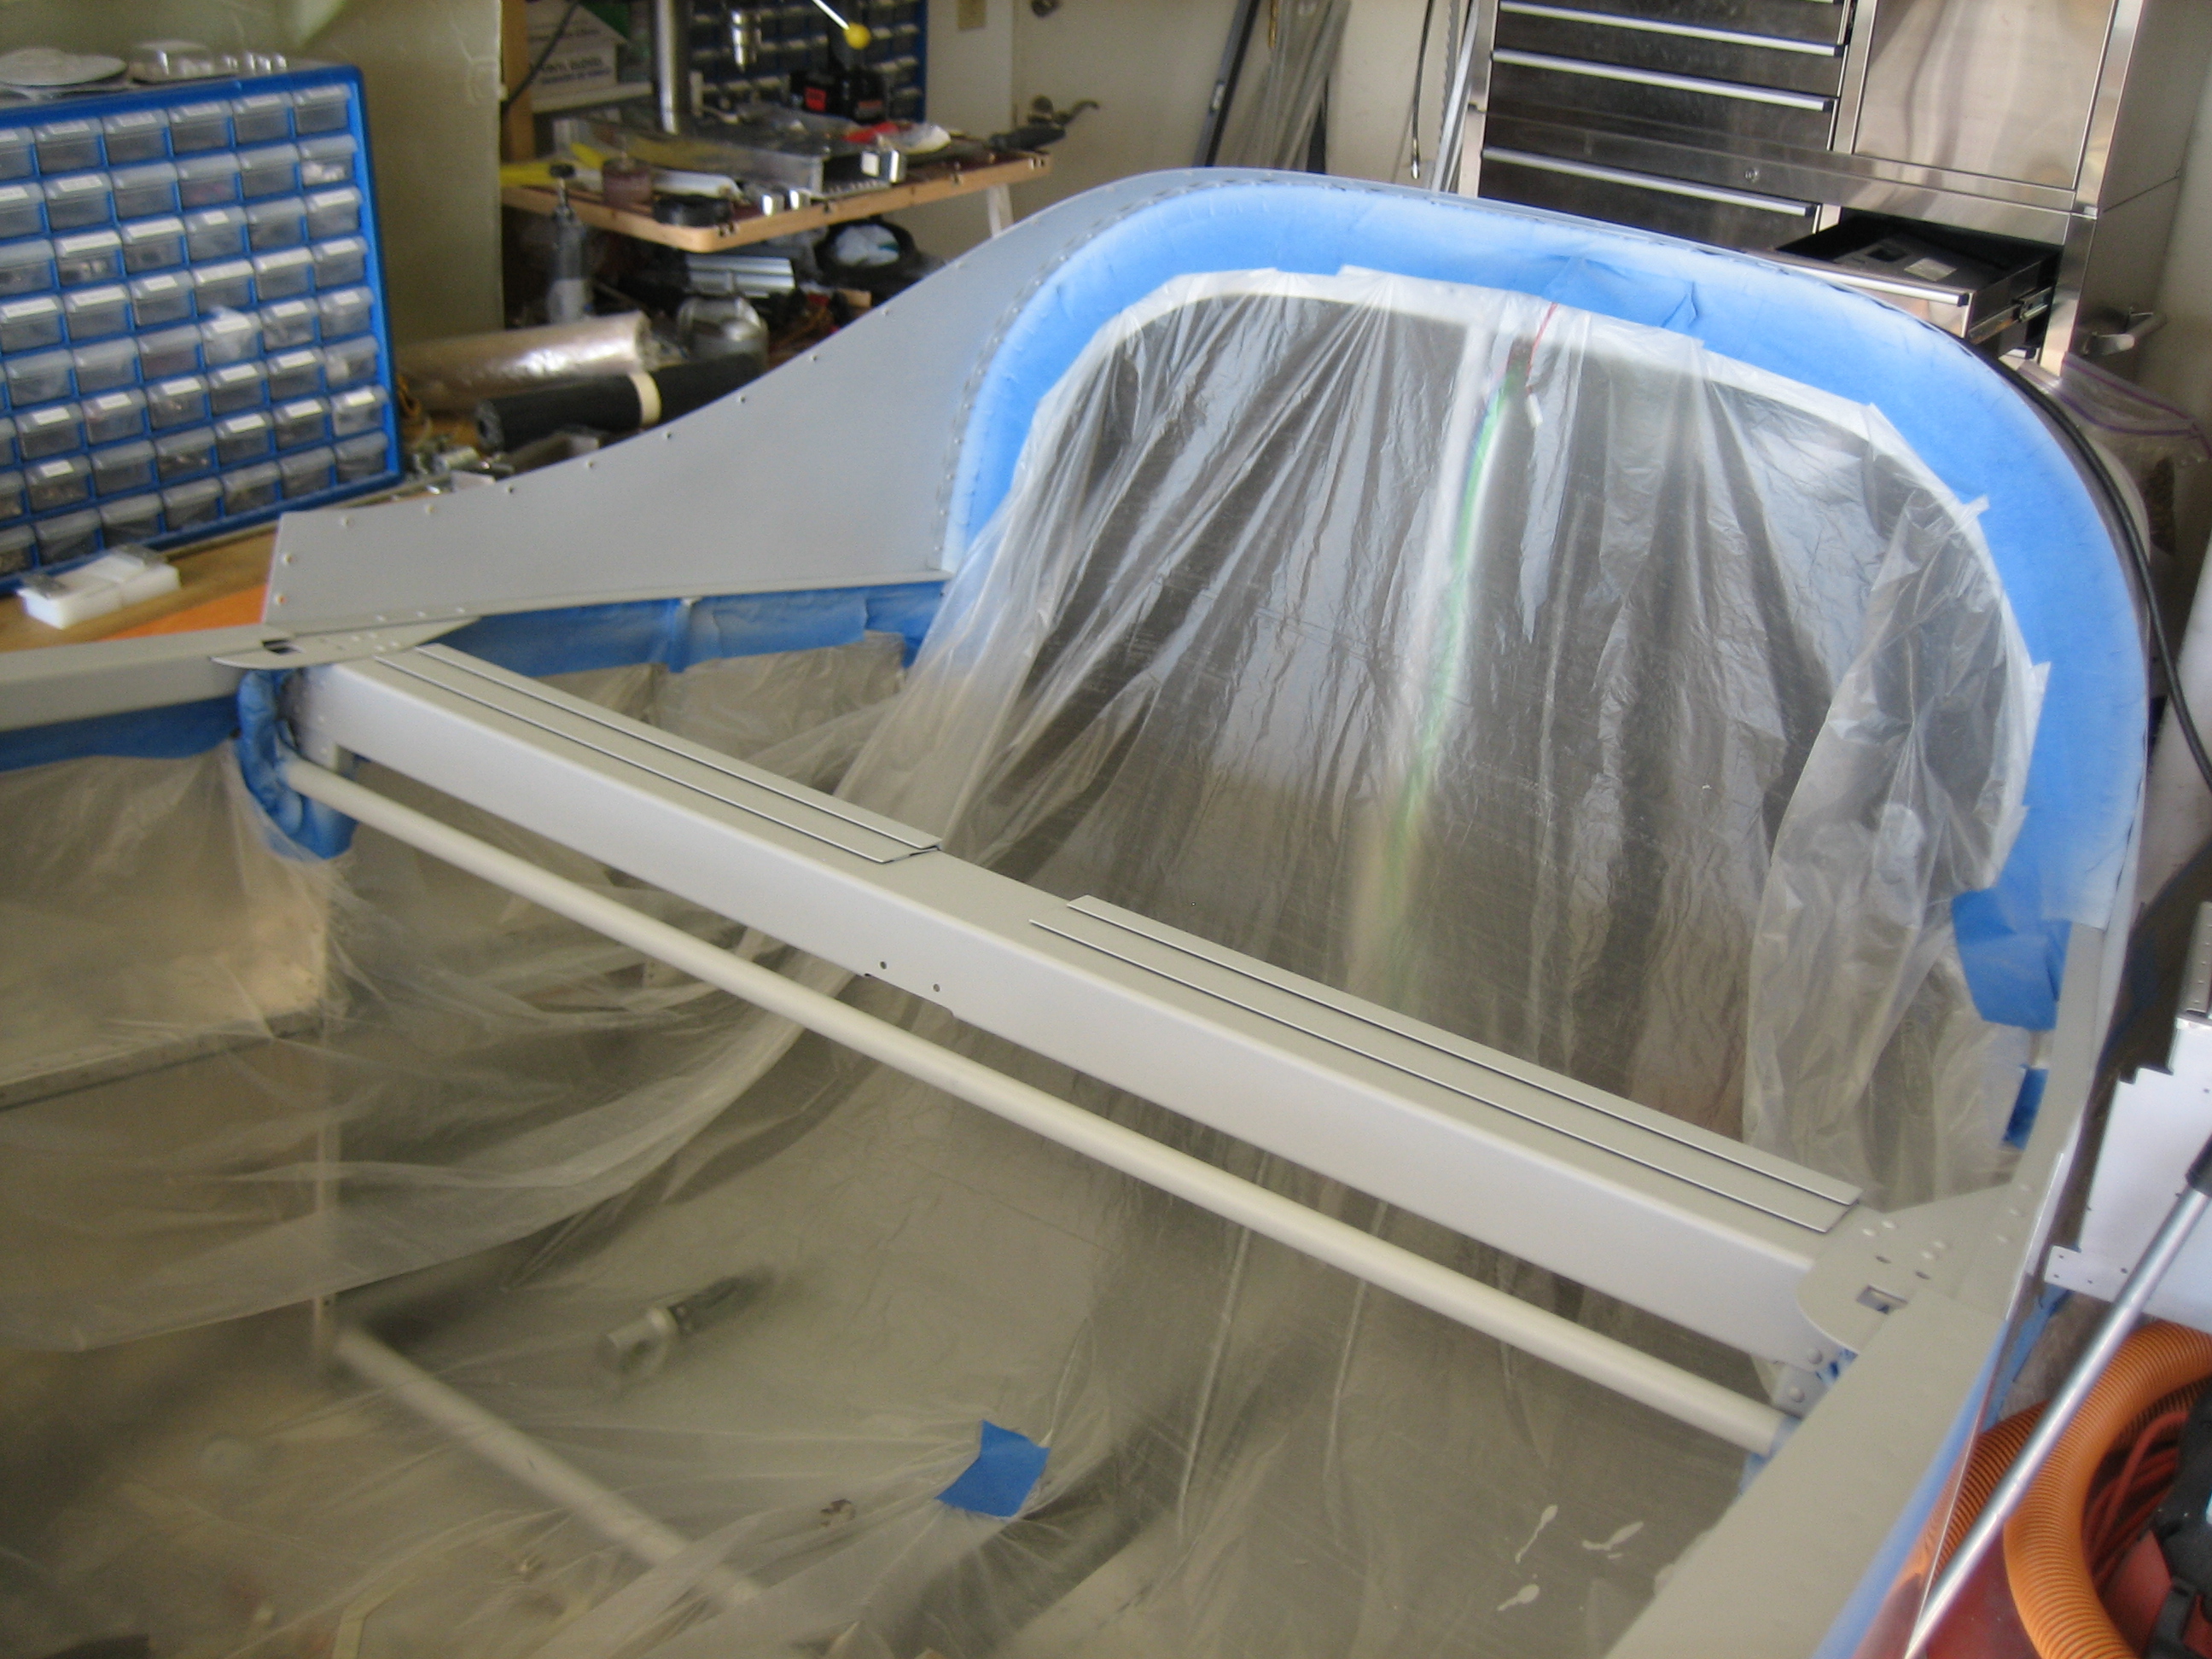
The canopy decks were primed up to the subpanel.

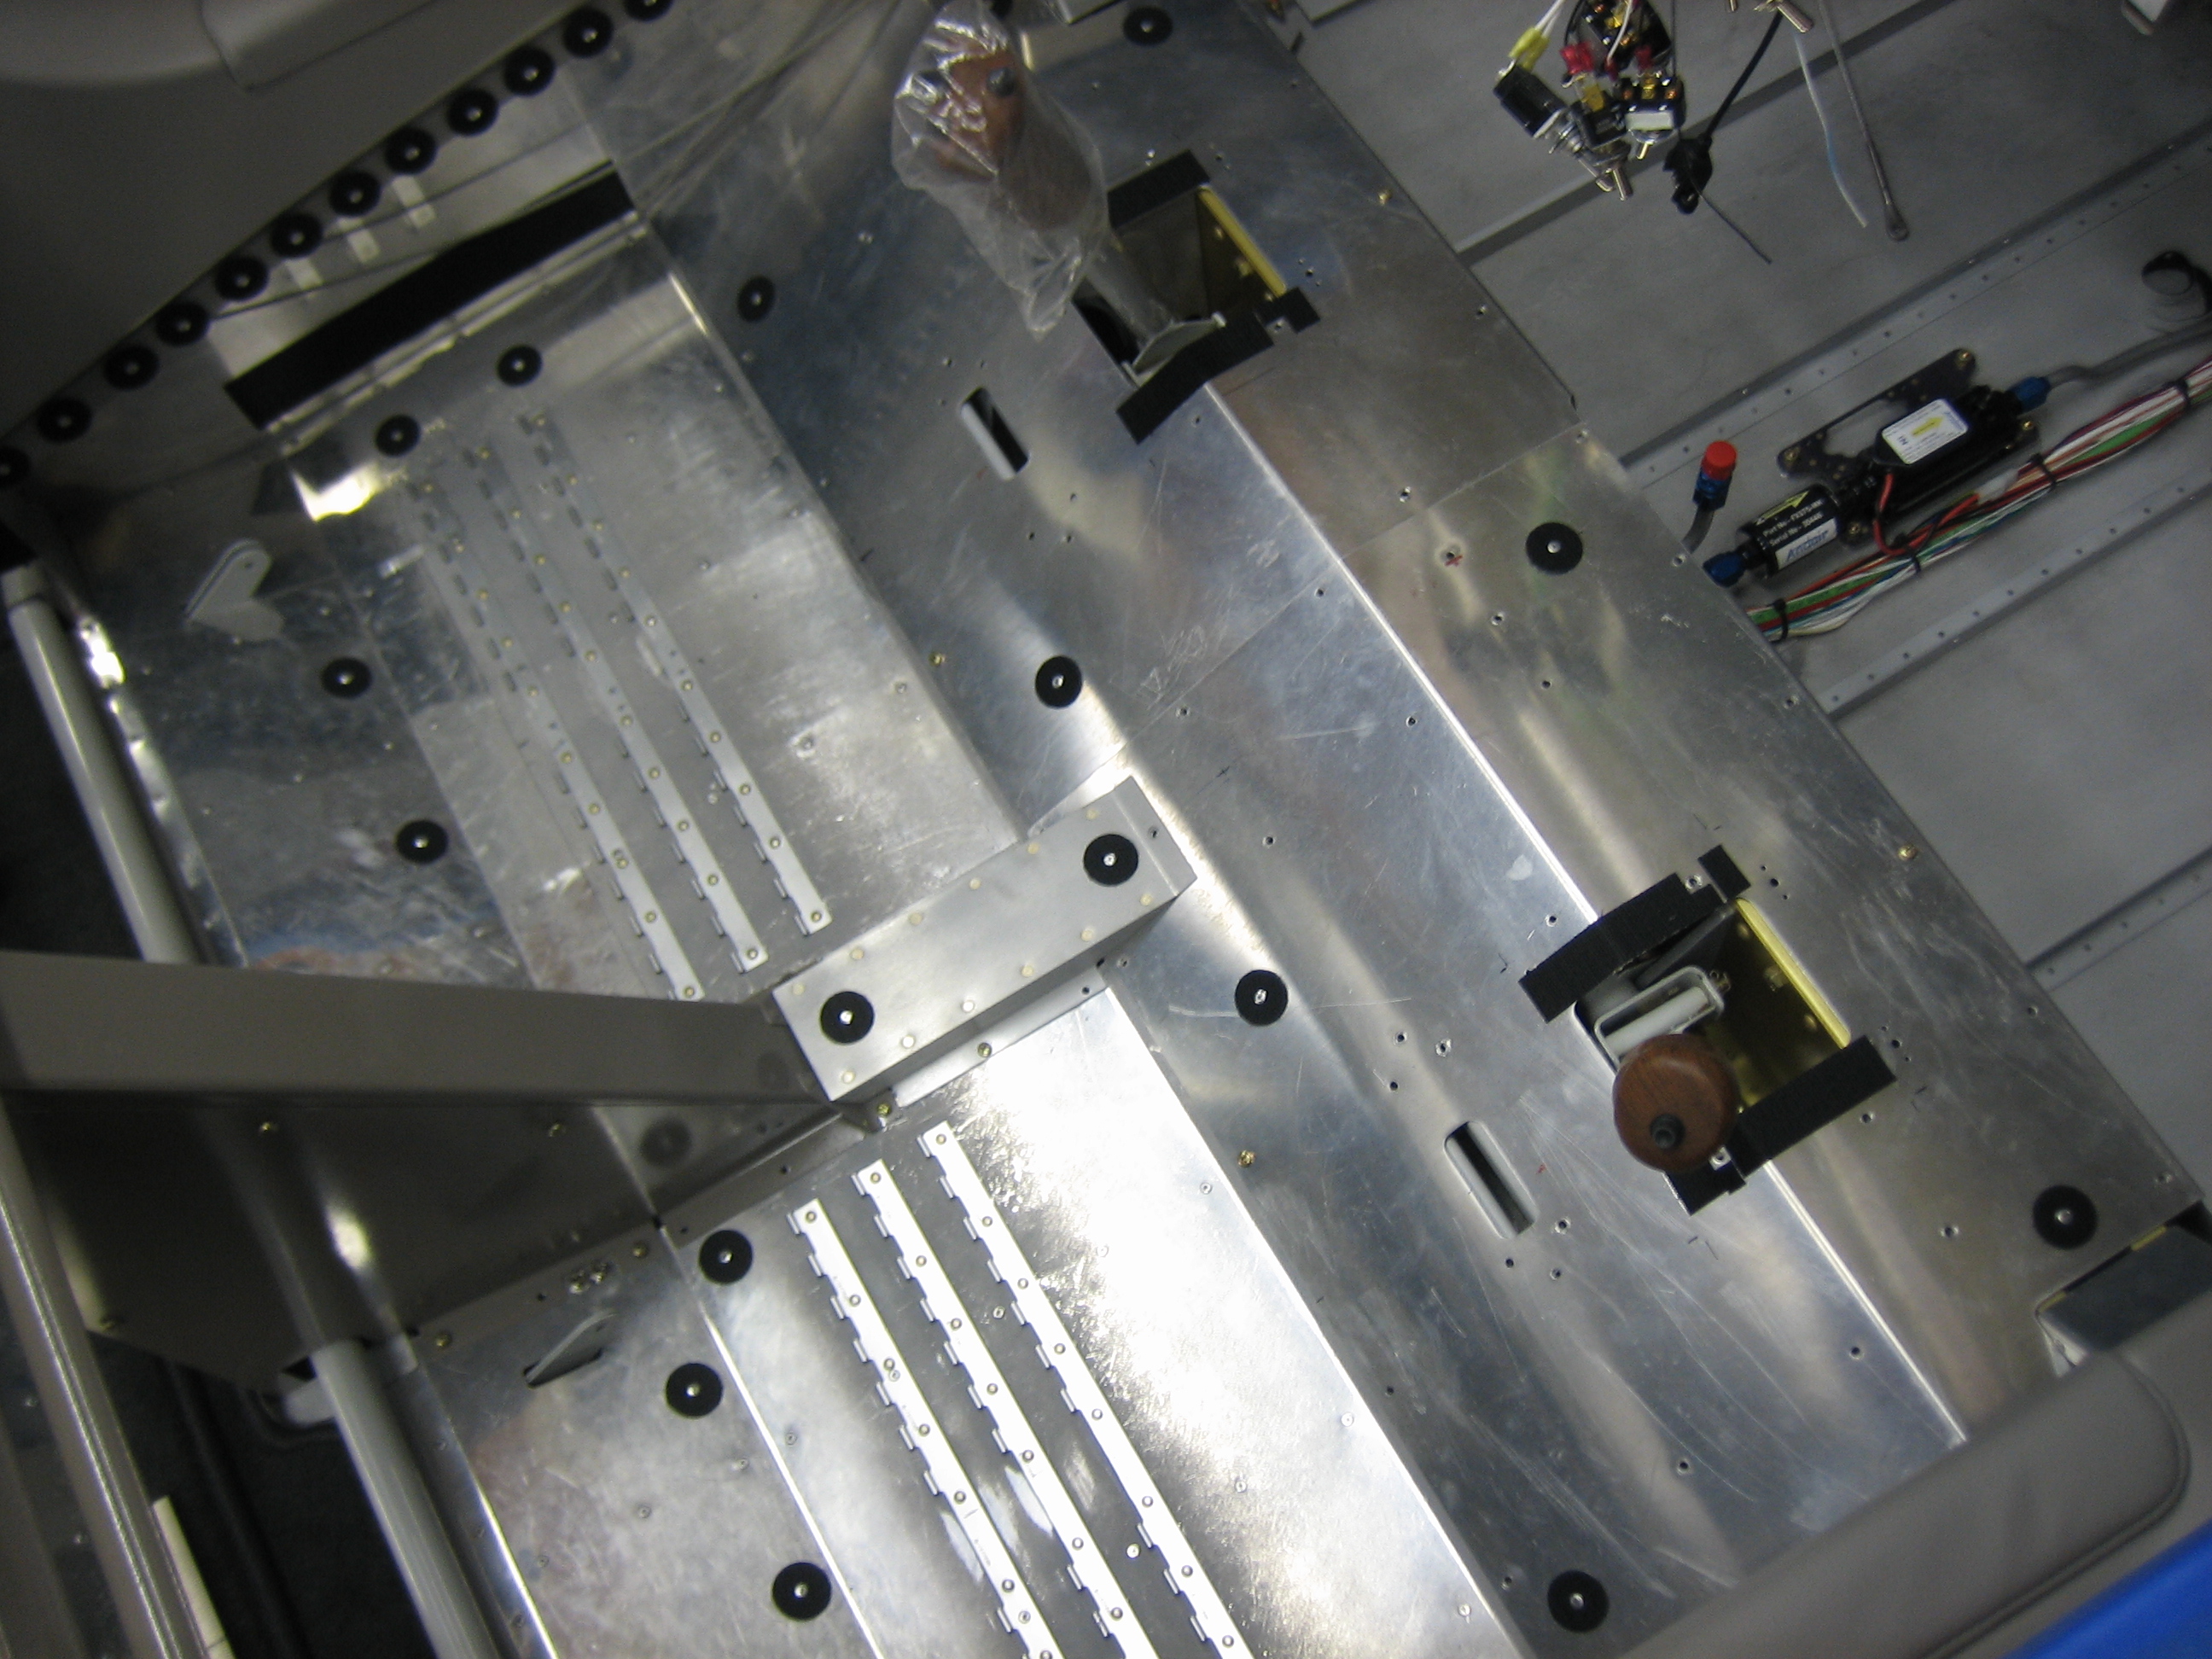
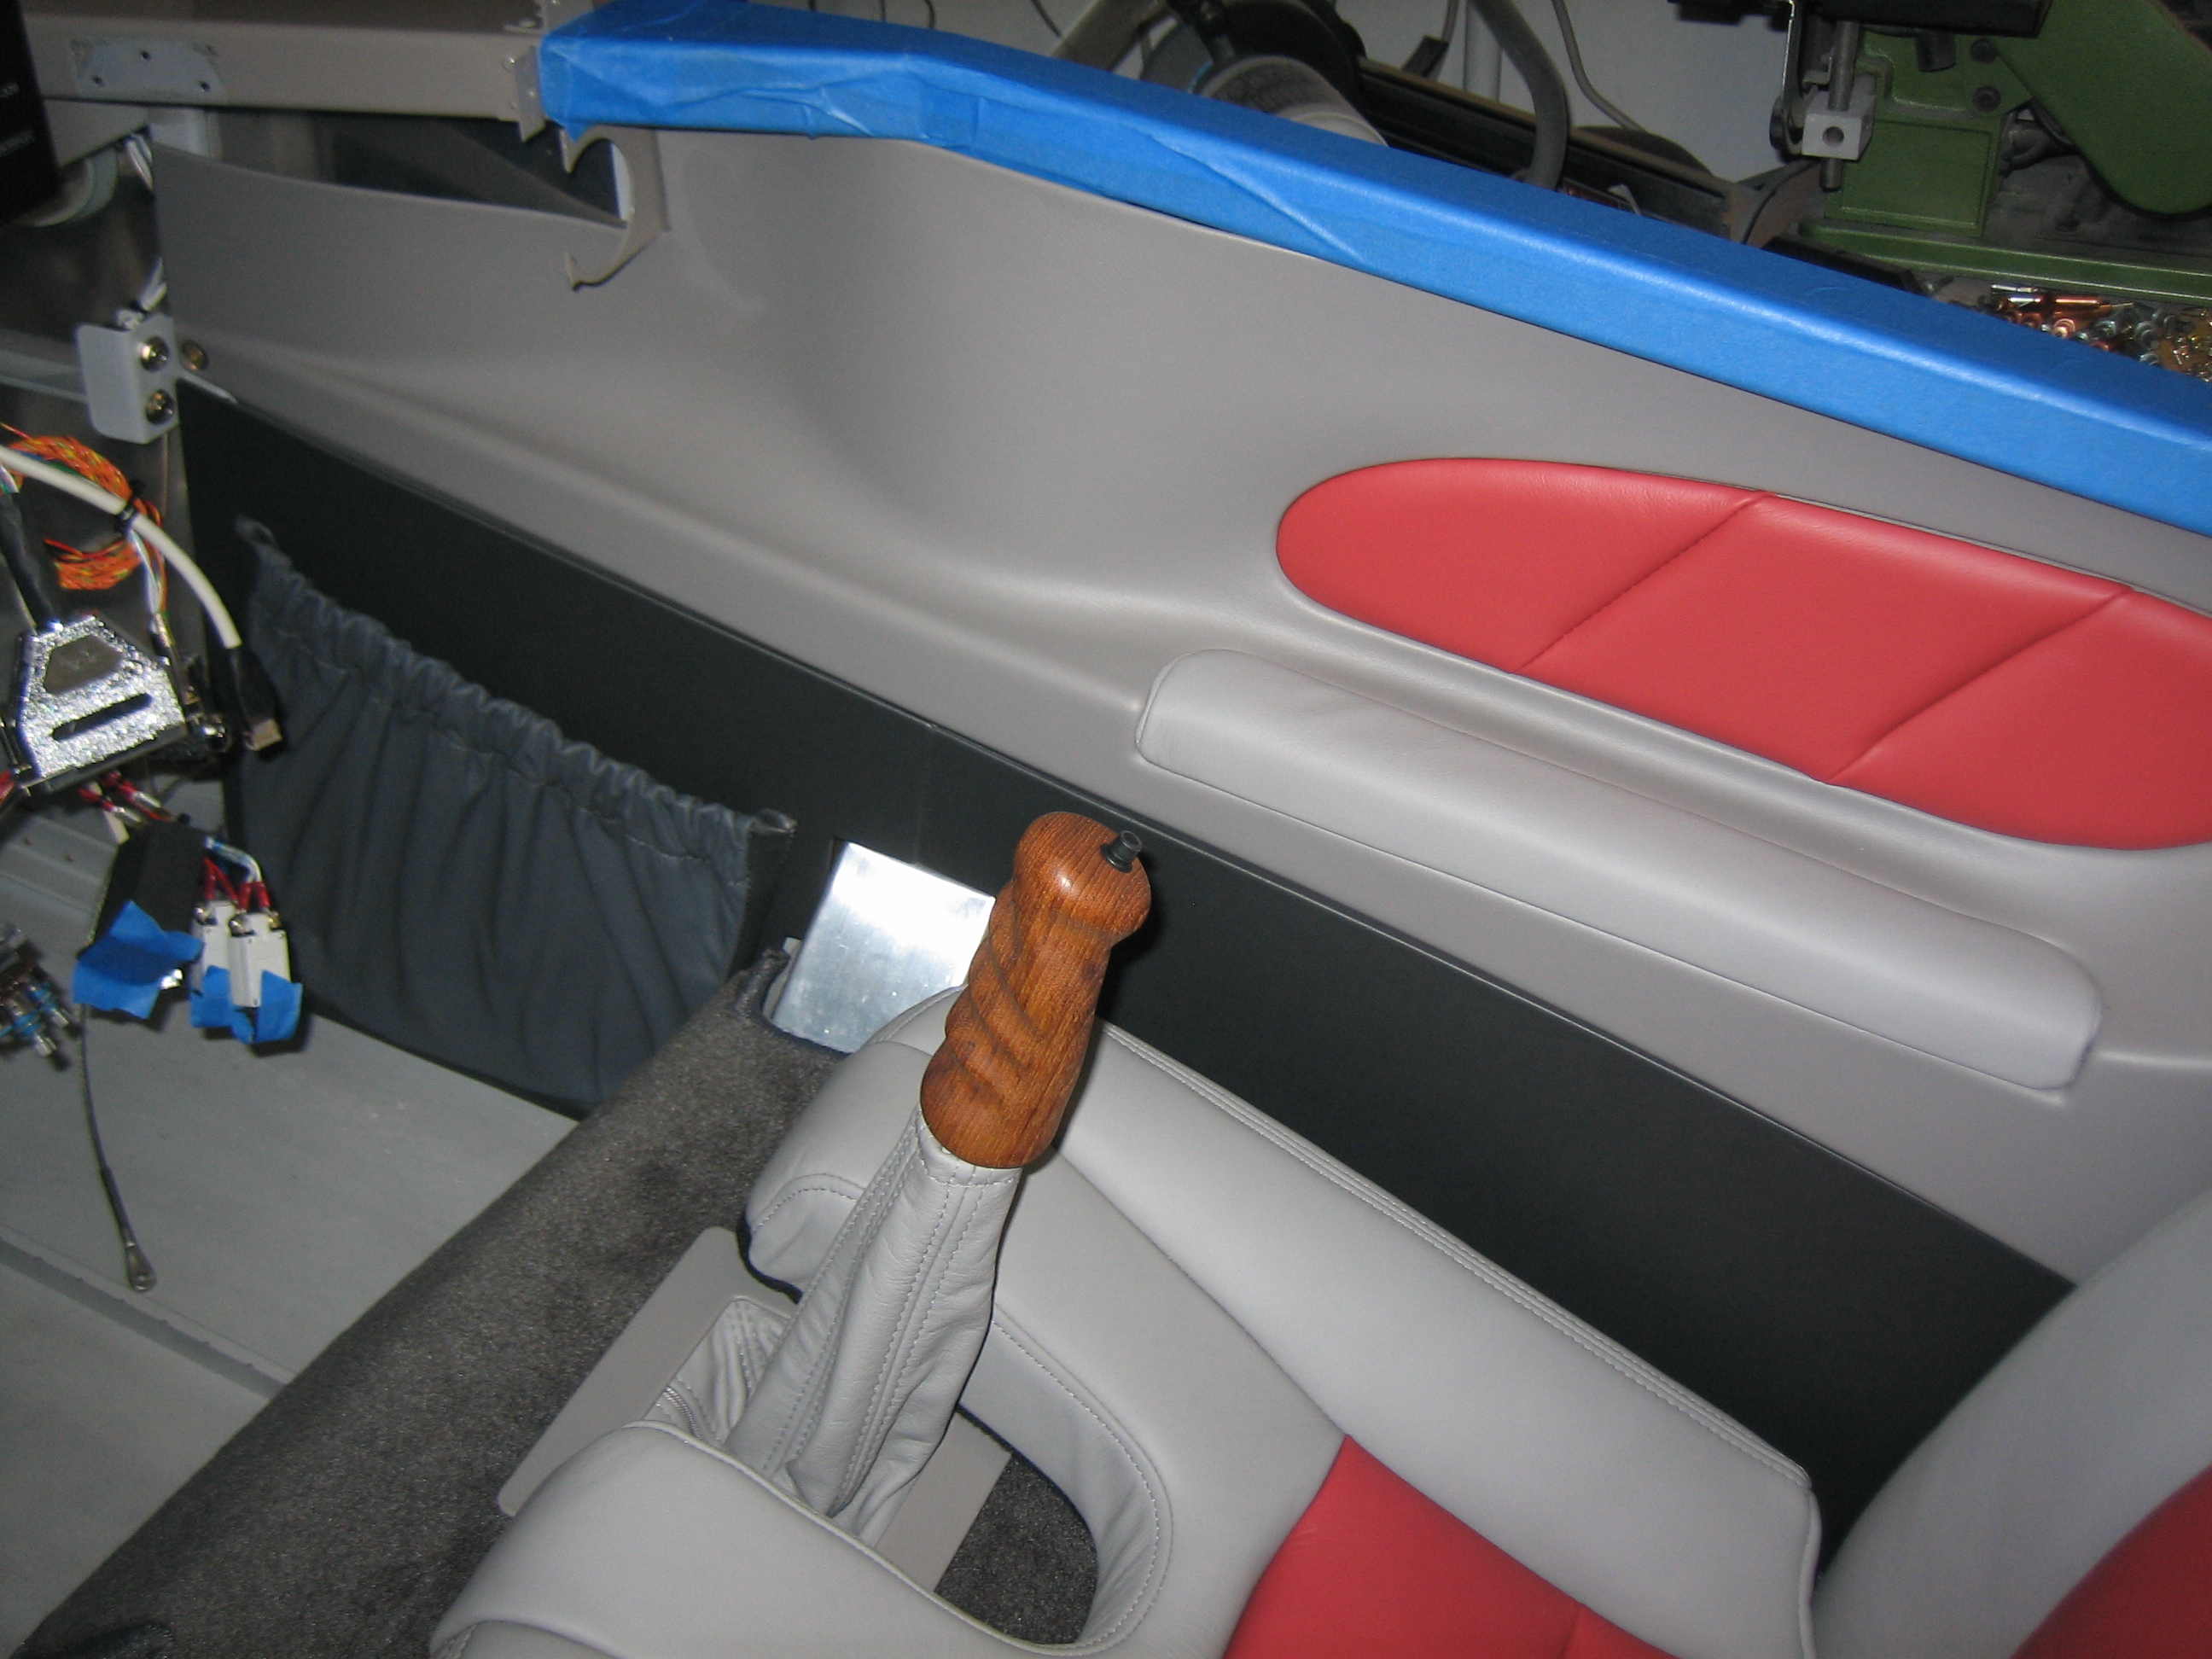
After that dried for a few hours, I painted everything with some paint that I had color matched to the leather used in the upholstery.

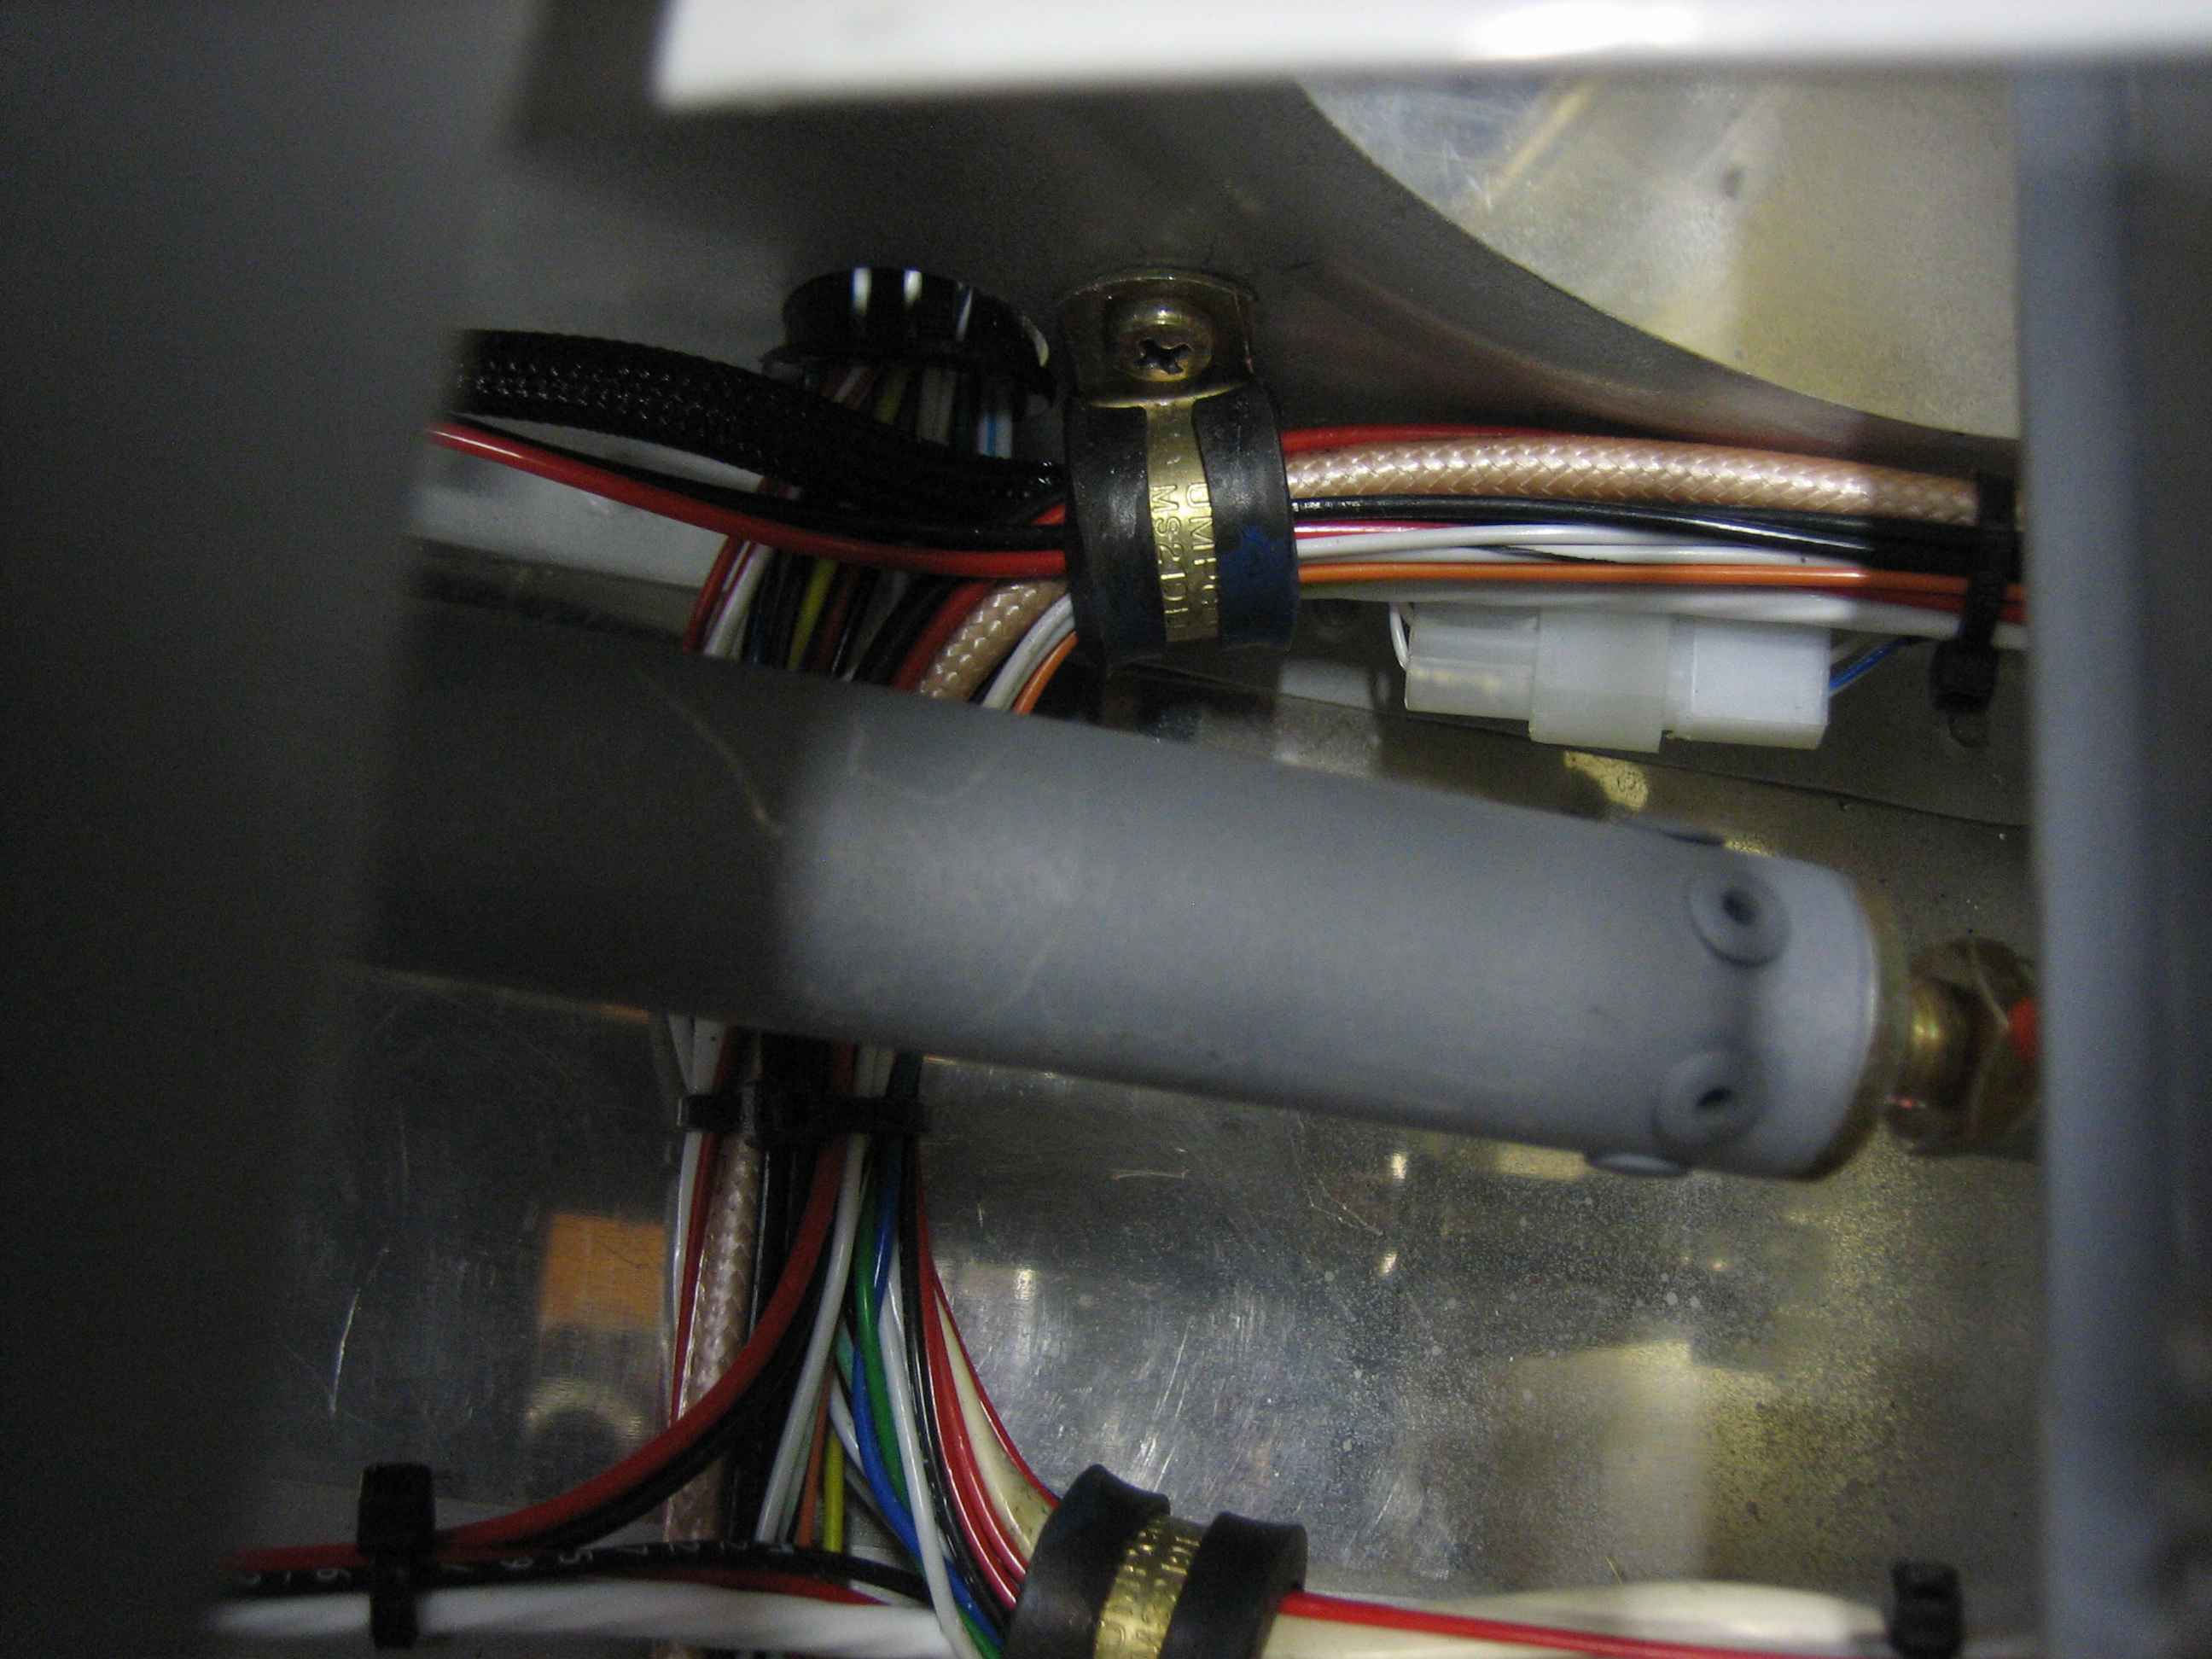
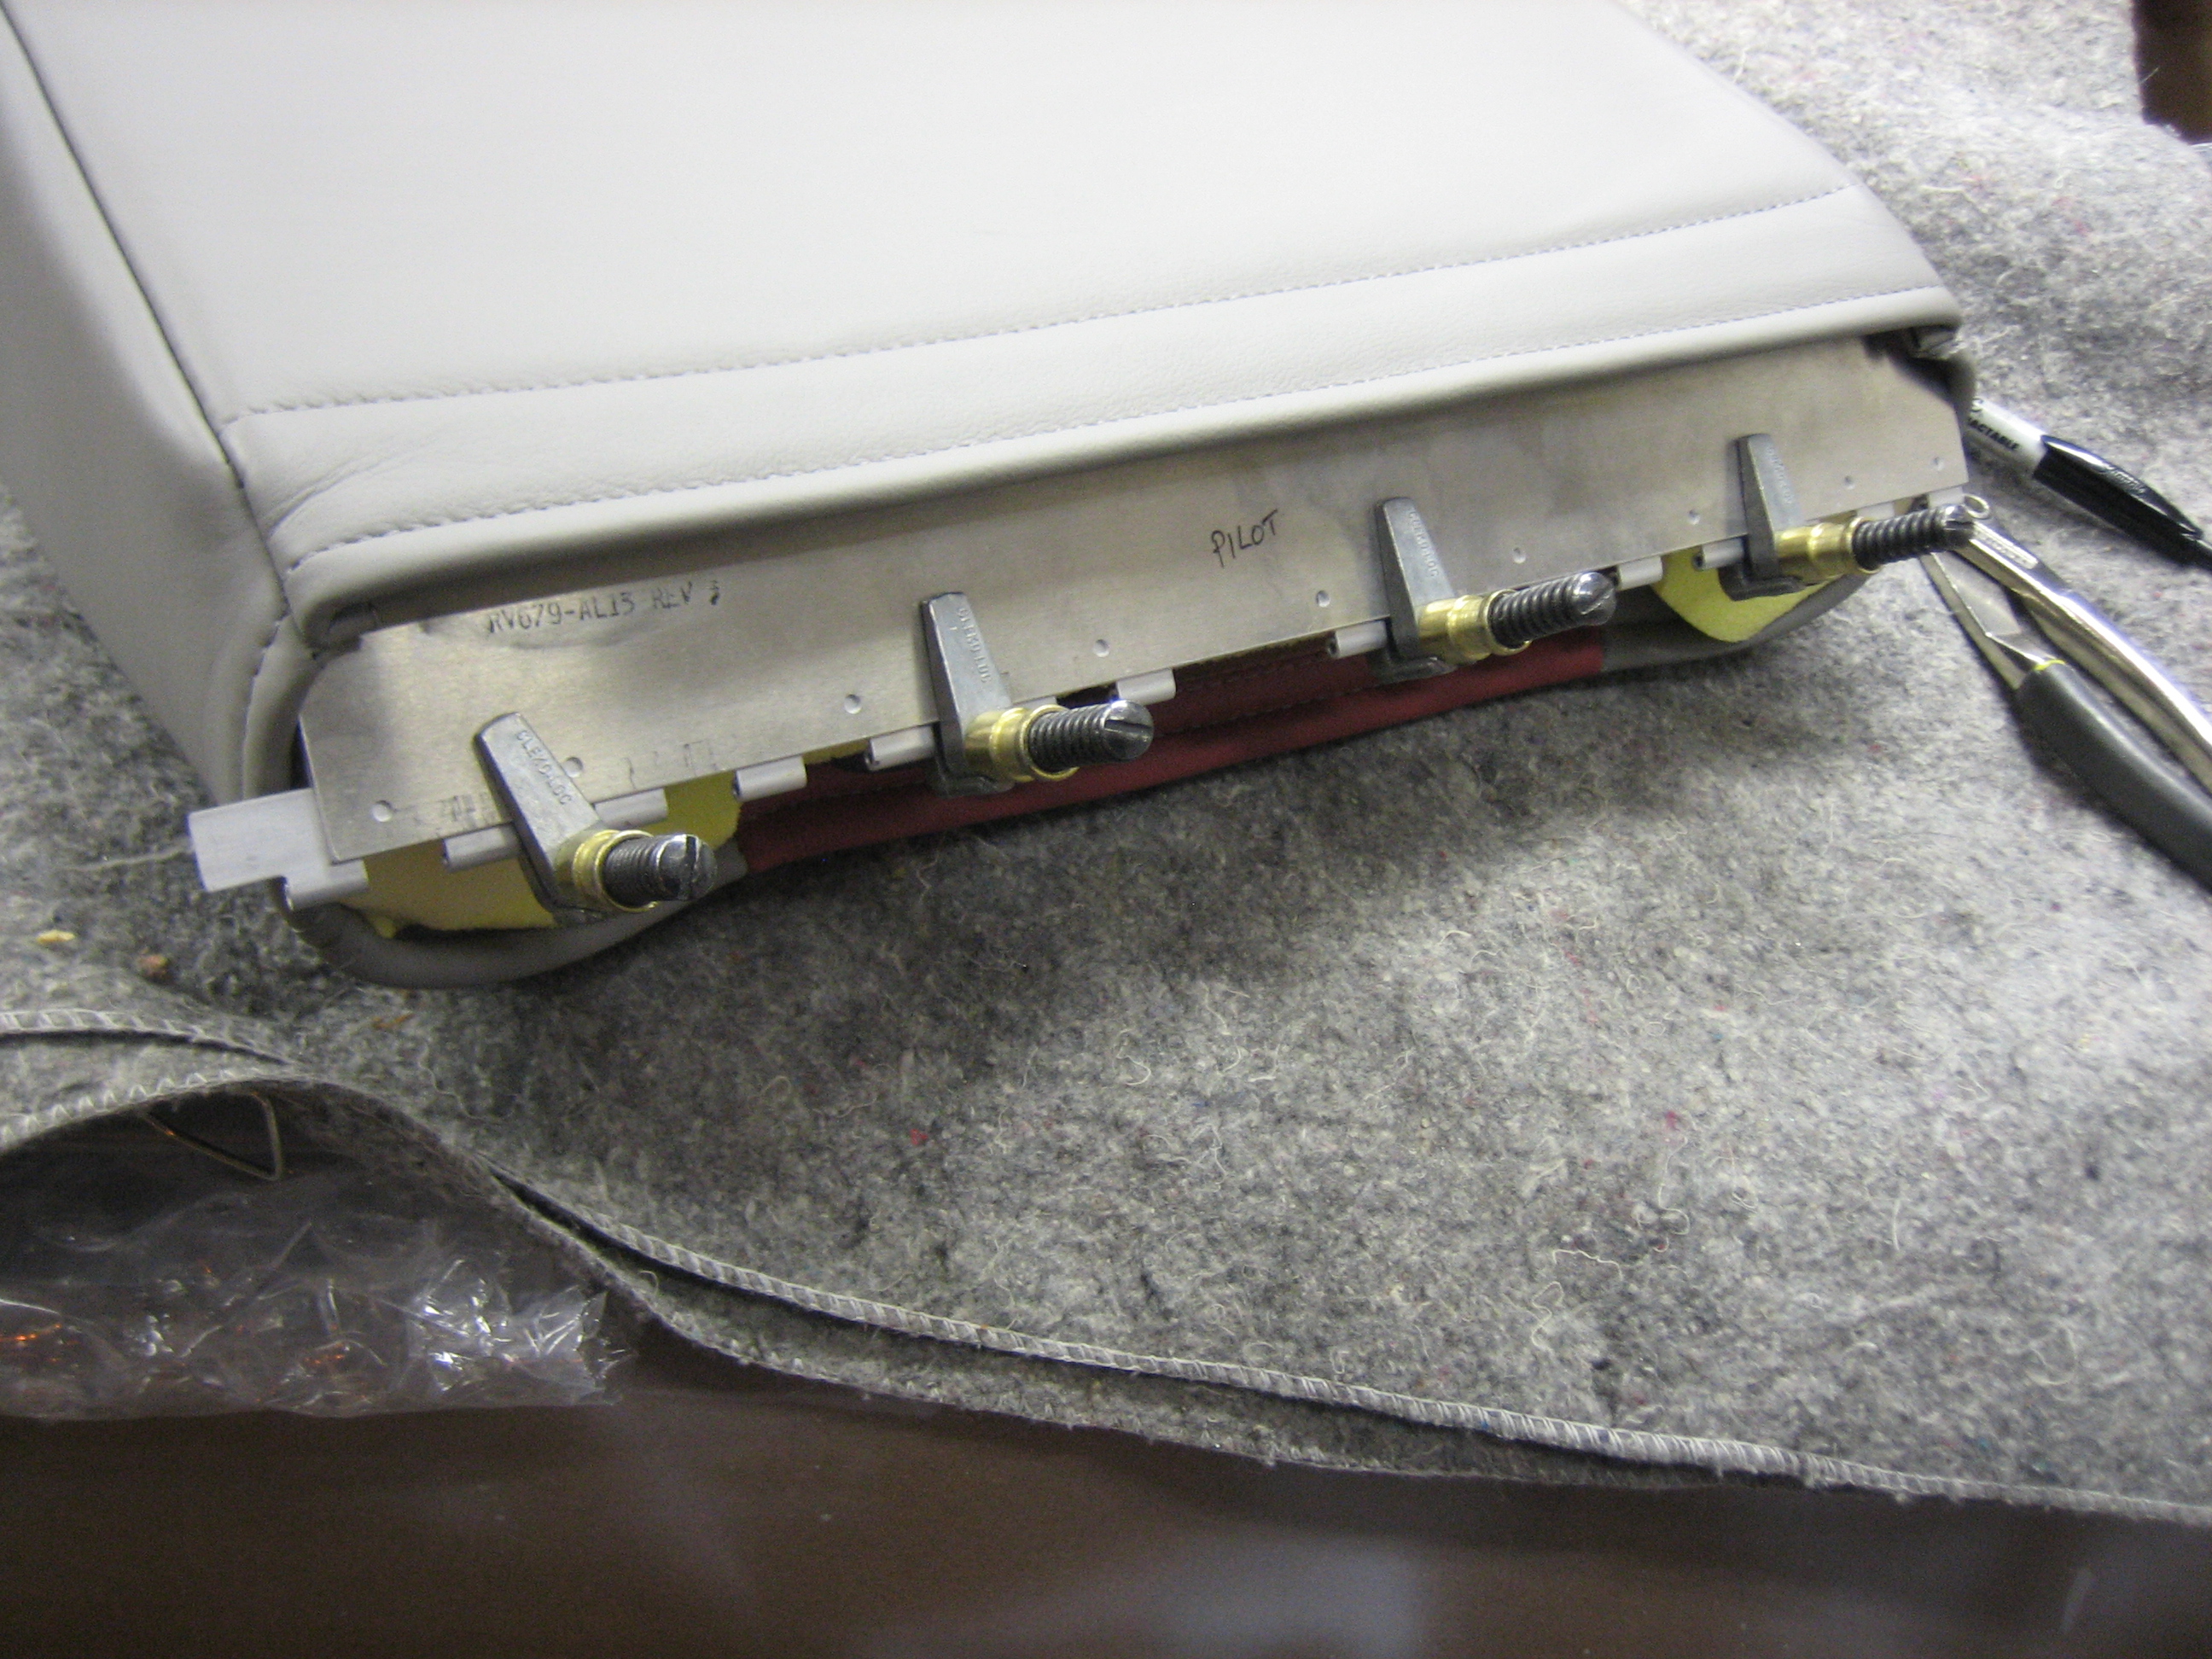
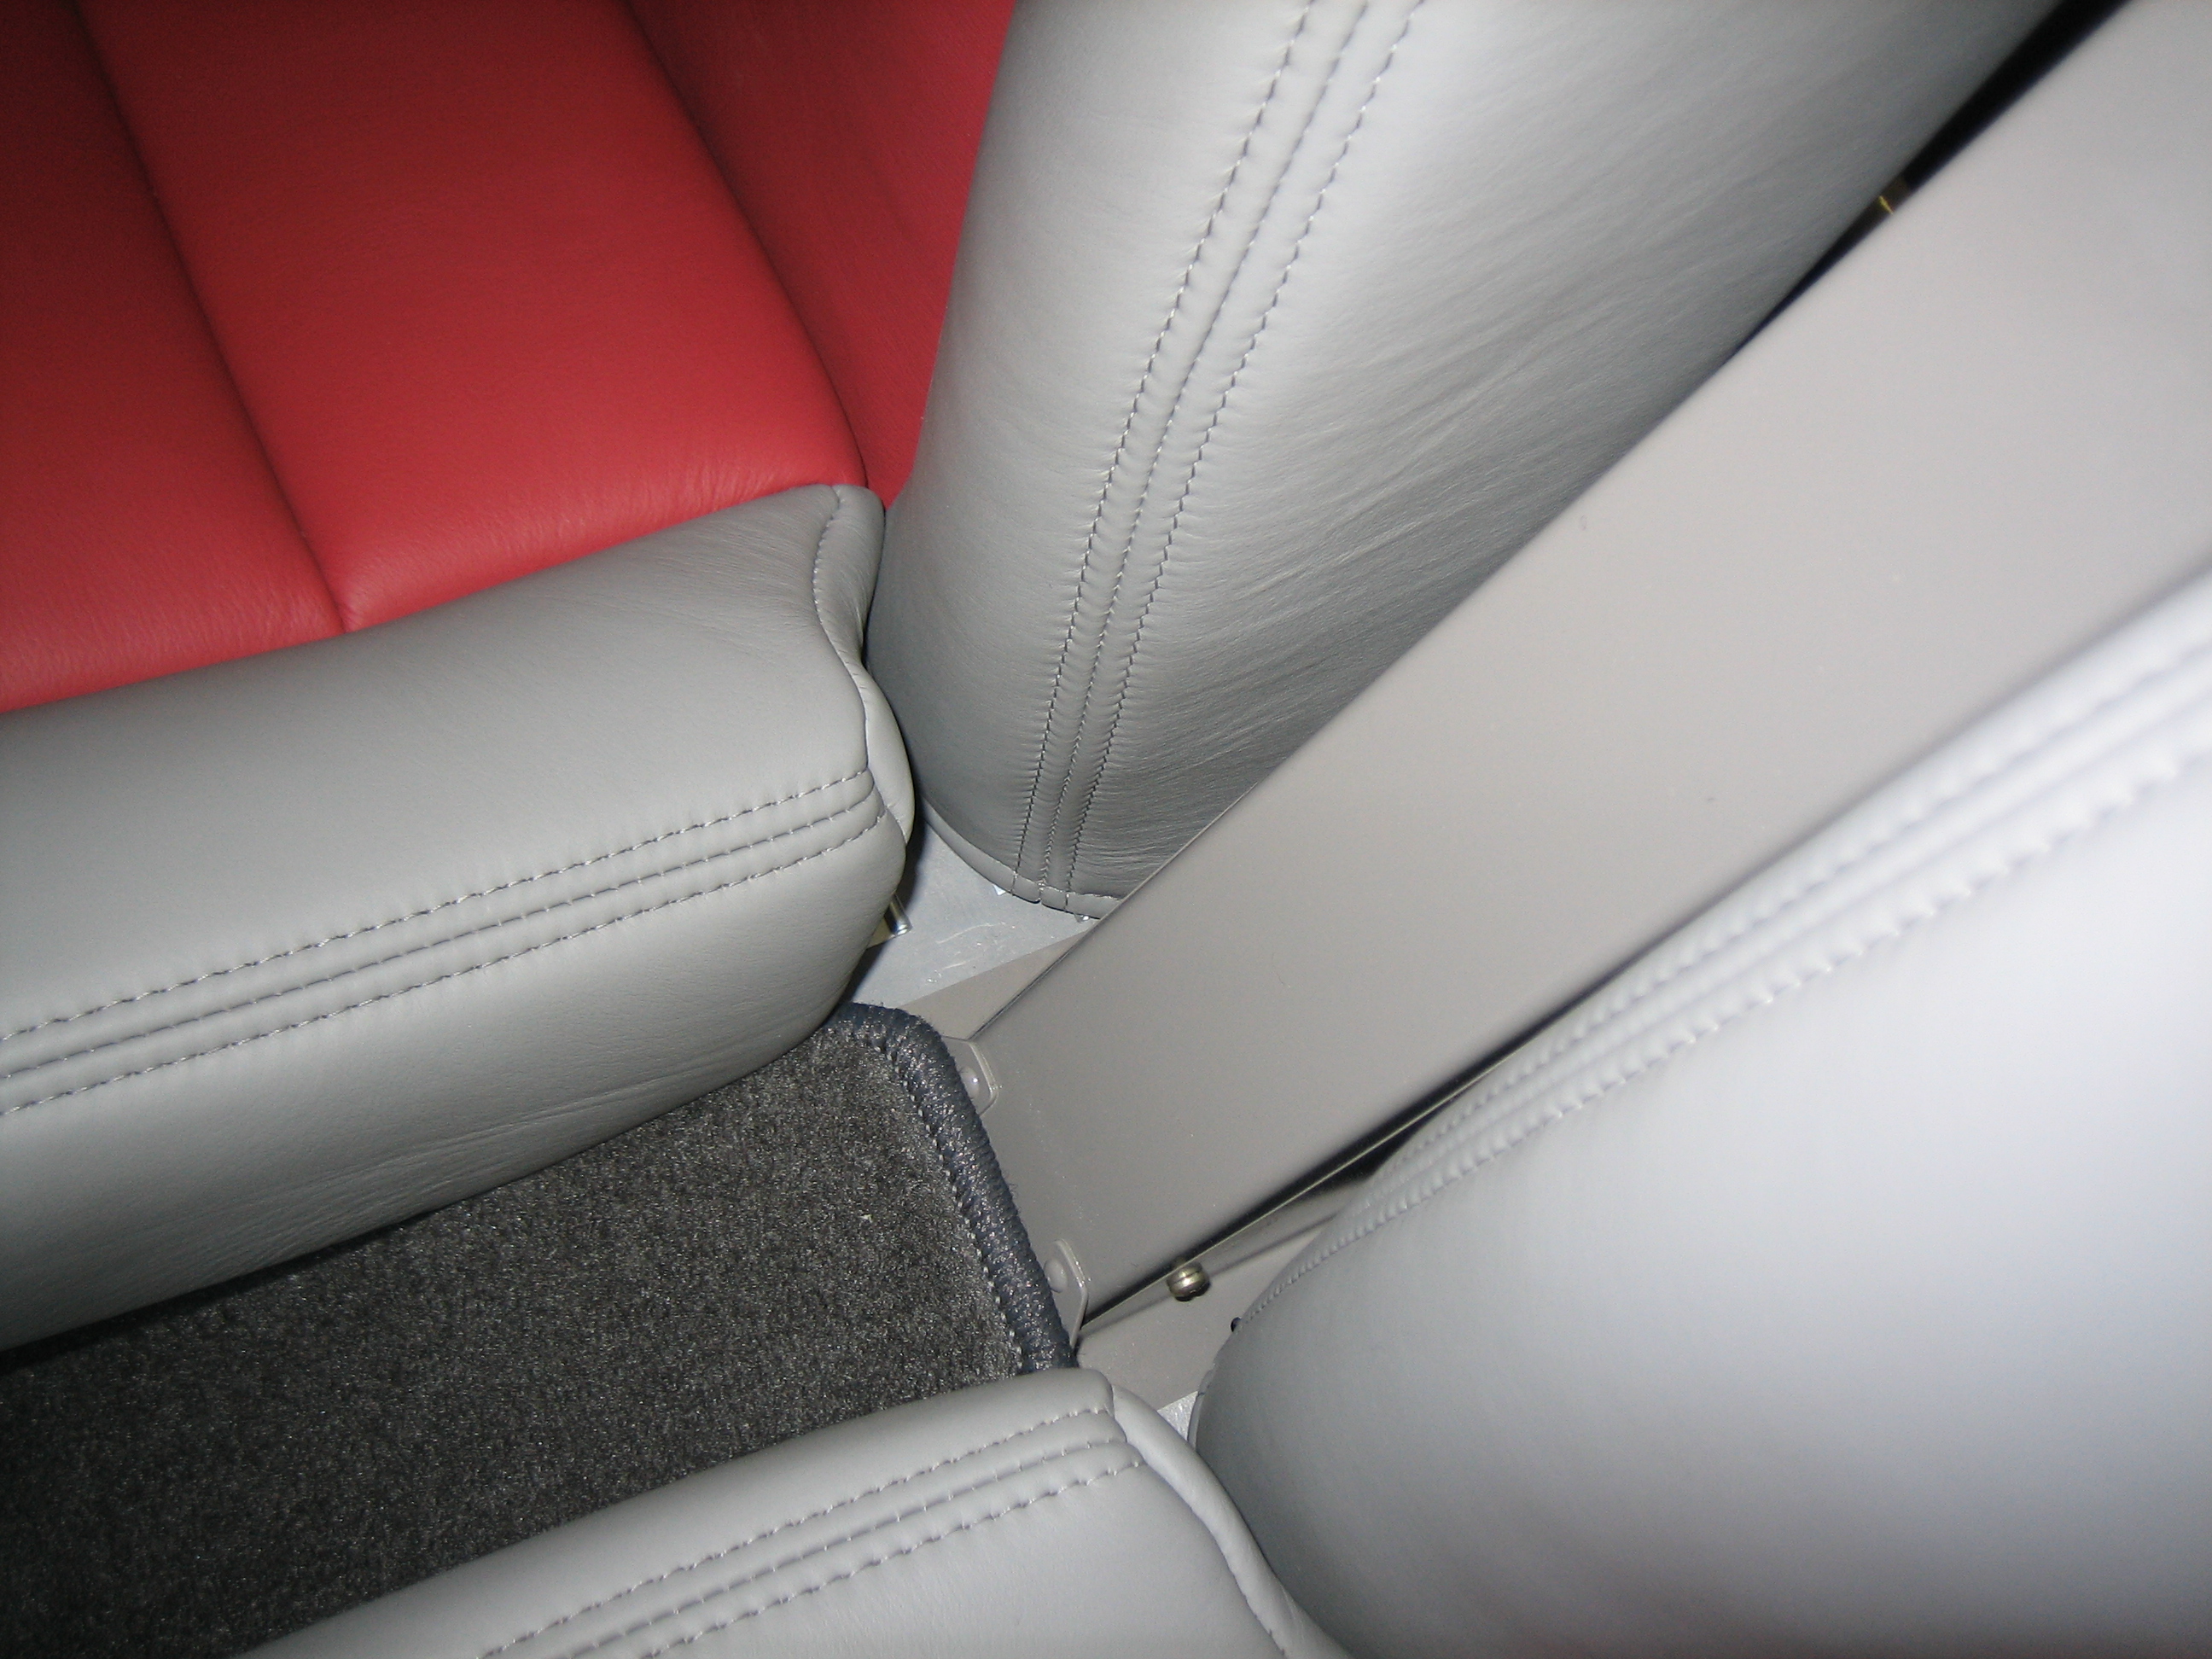
You can see here that I also painted the canopy latch torque tube since it’s visible between the seats and when the seat backs are pulled forward.

I put four coats of paint on (as specified by Stewart Systems).  This seems like a lot, but the first coat is a translucent tack coat with two more fairly light coats before the final heavier coat.  This greatly reduces runs since the early coats are very sticky.