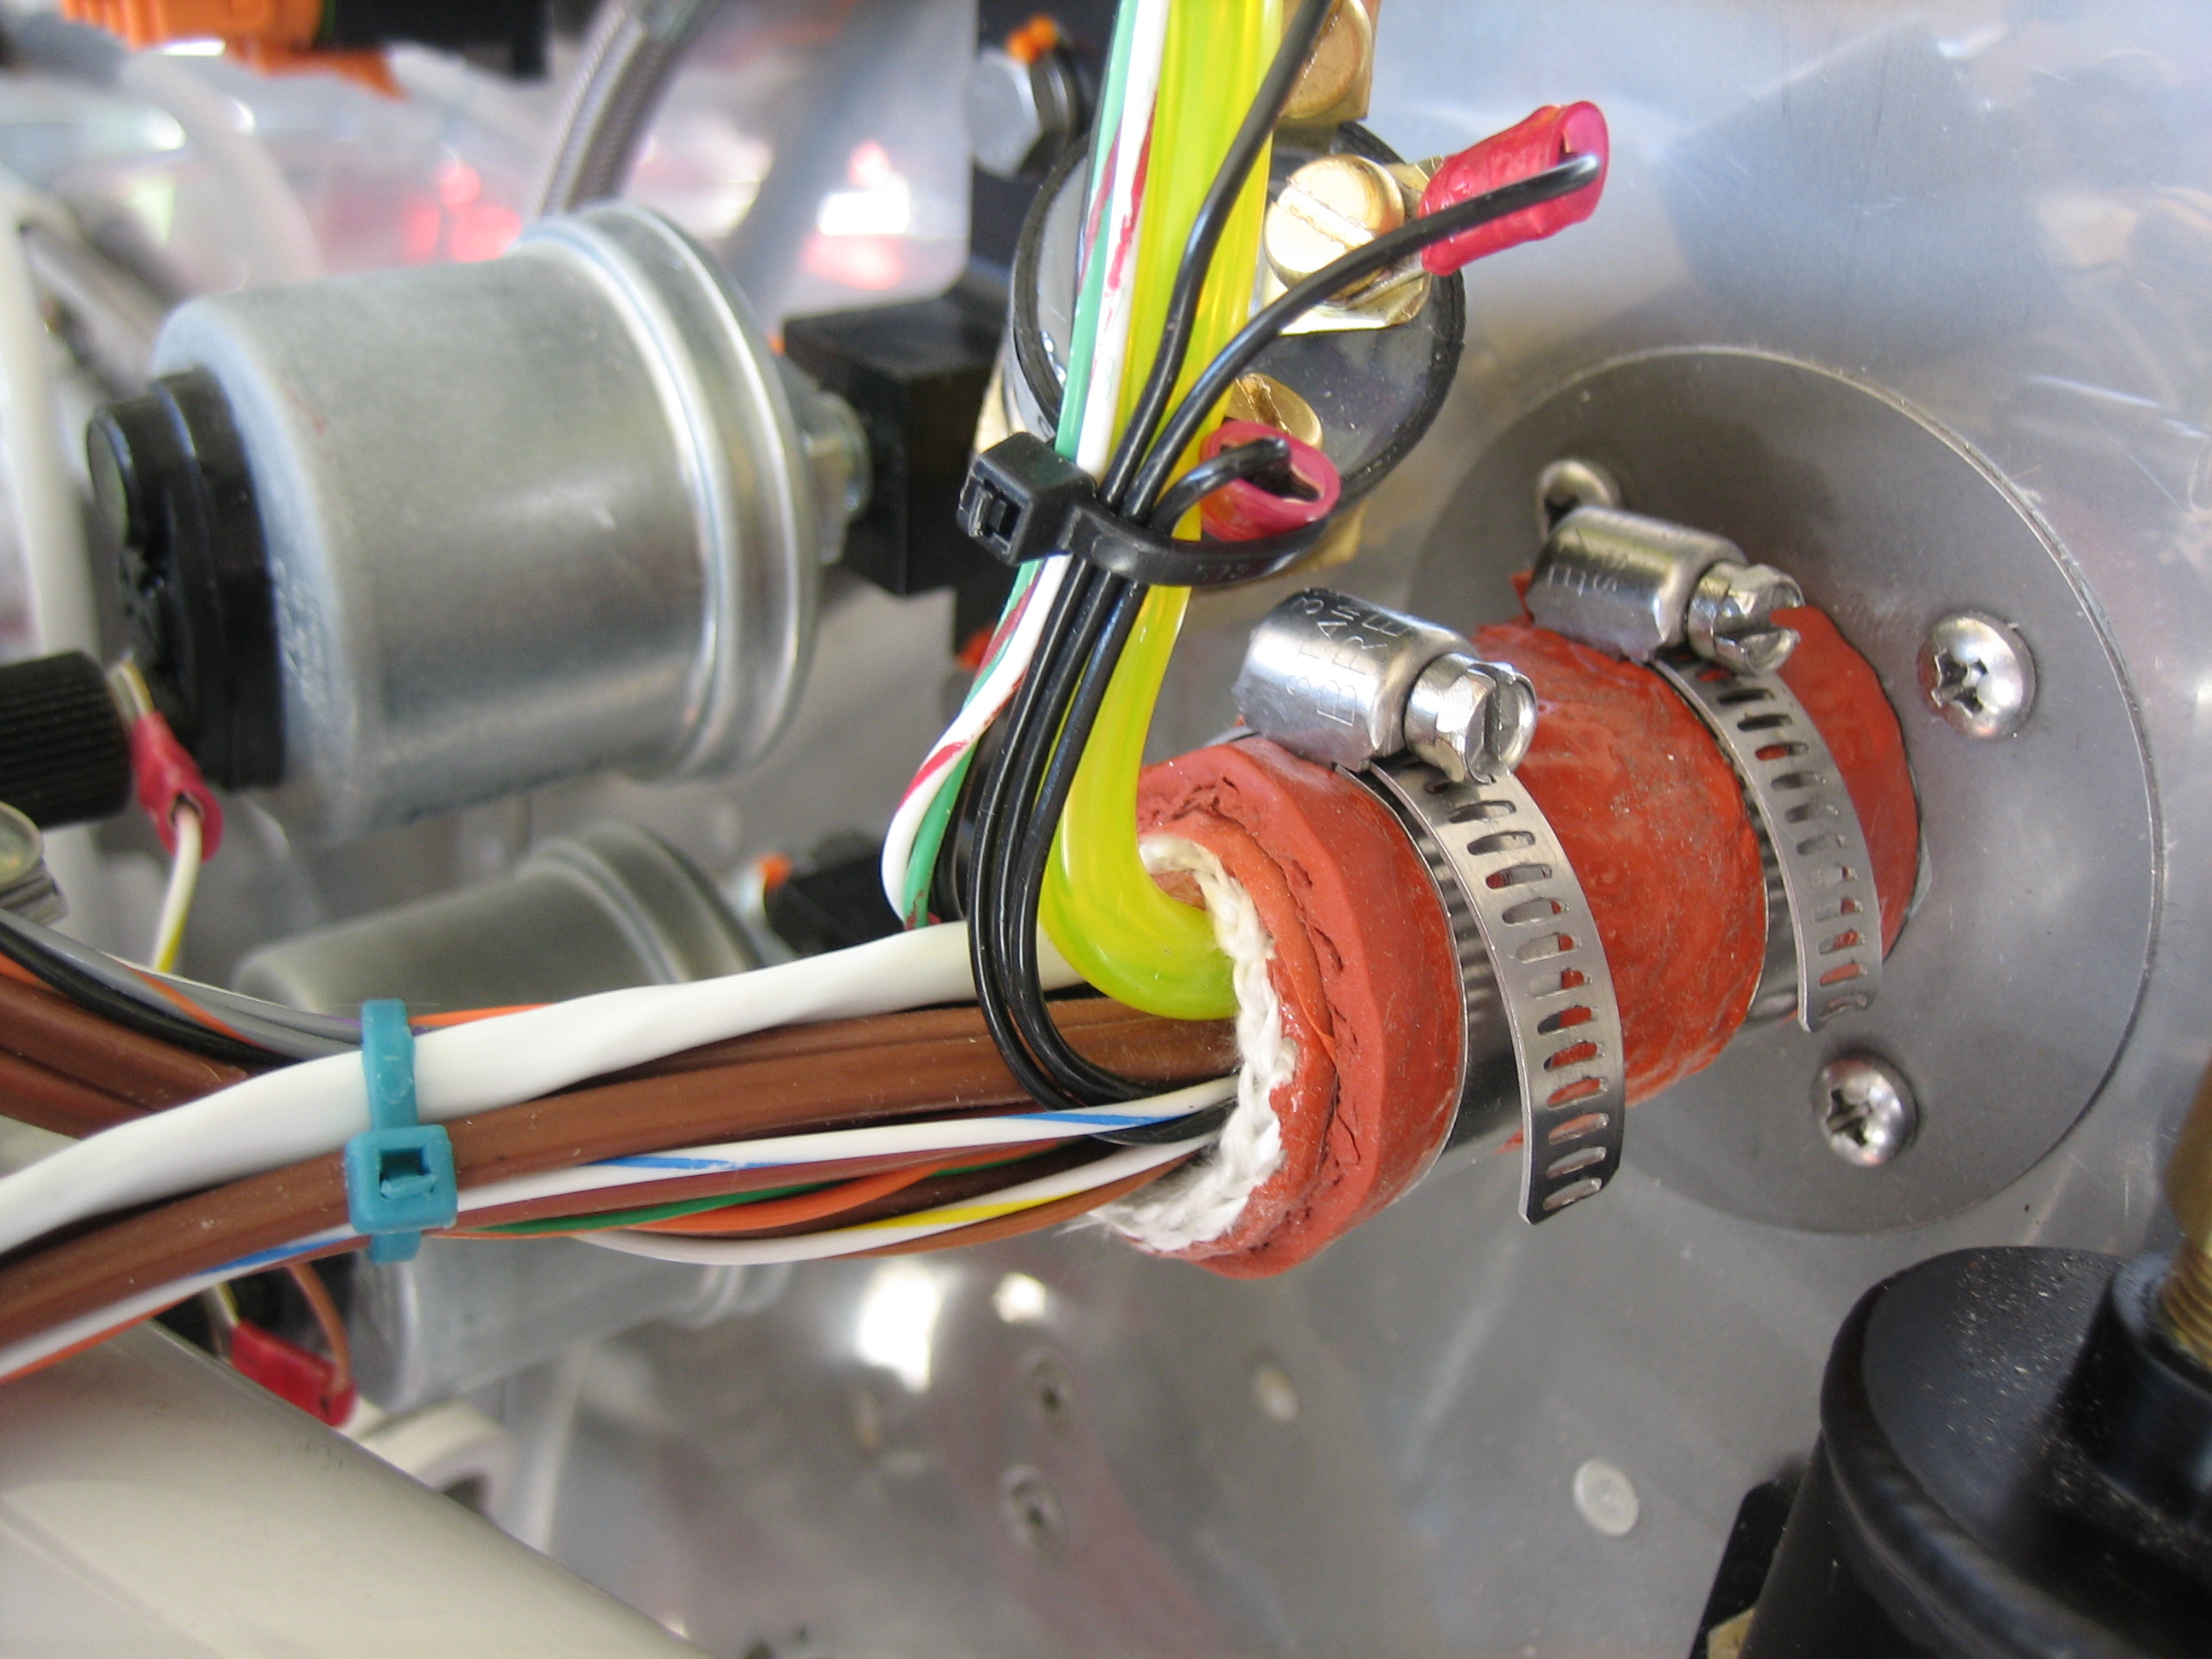
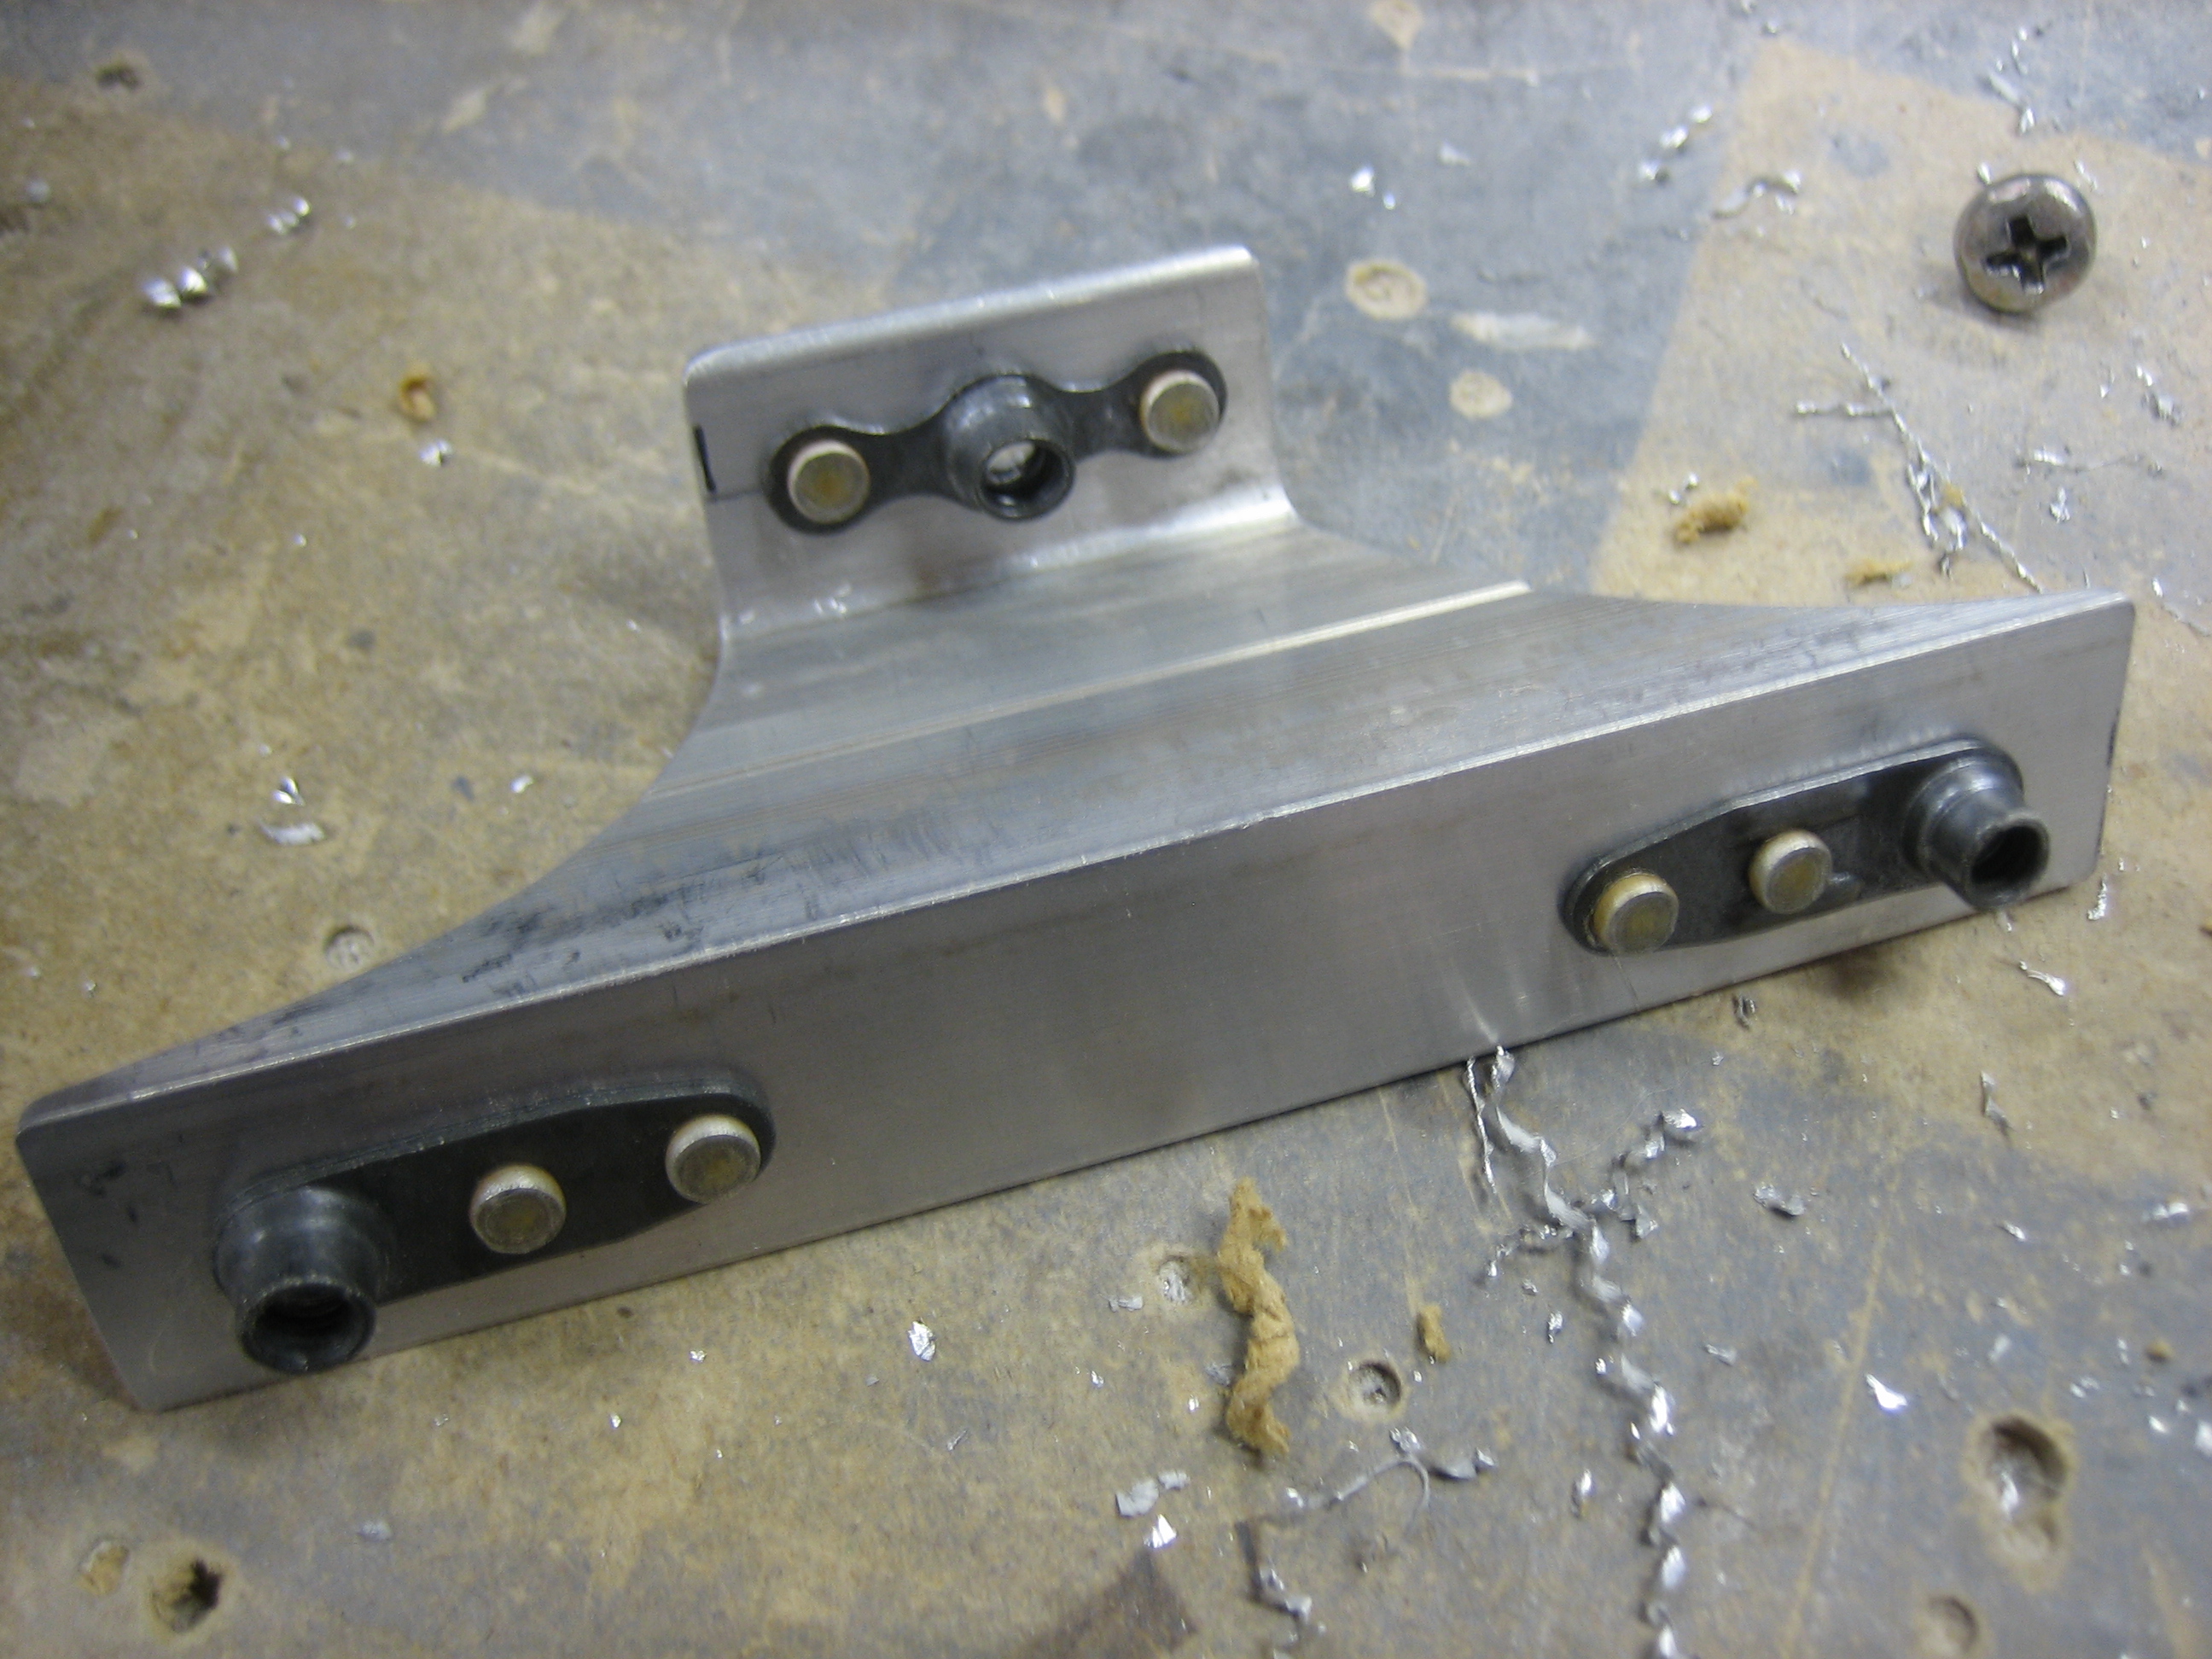
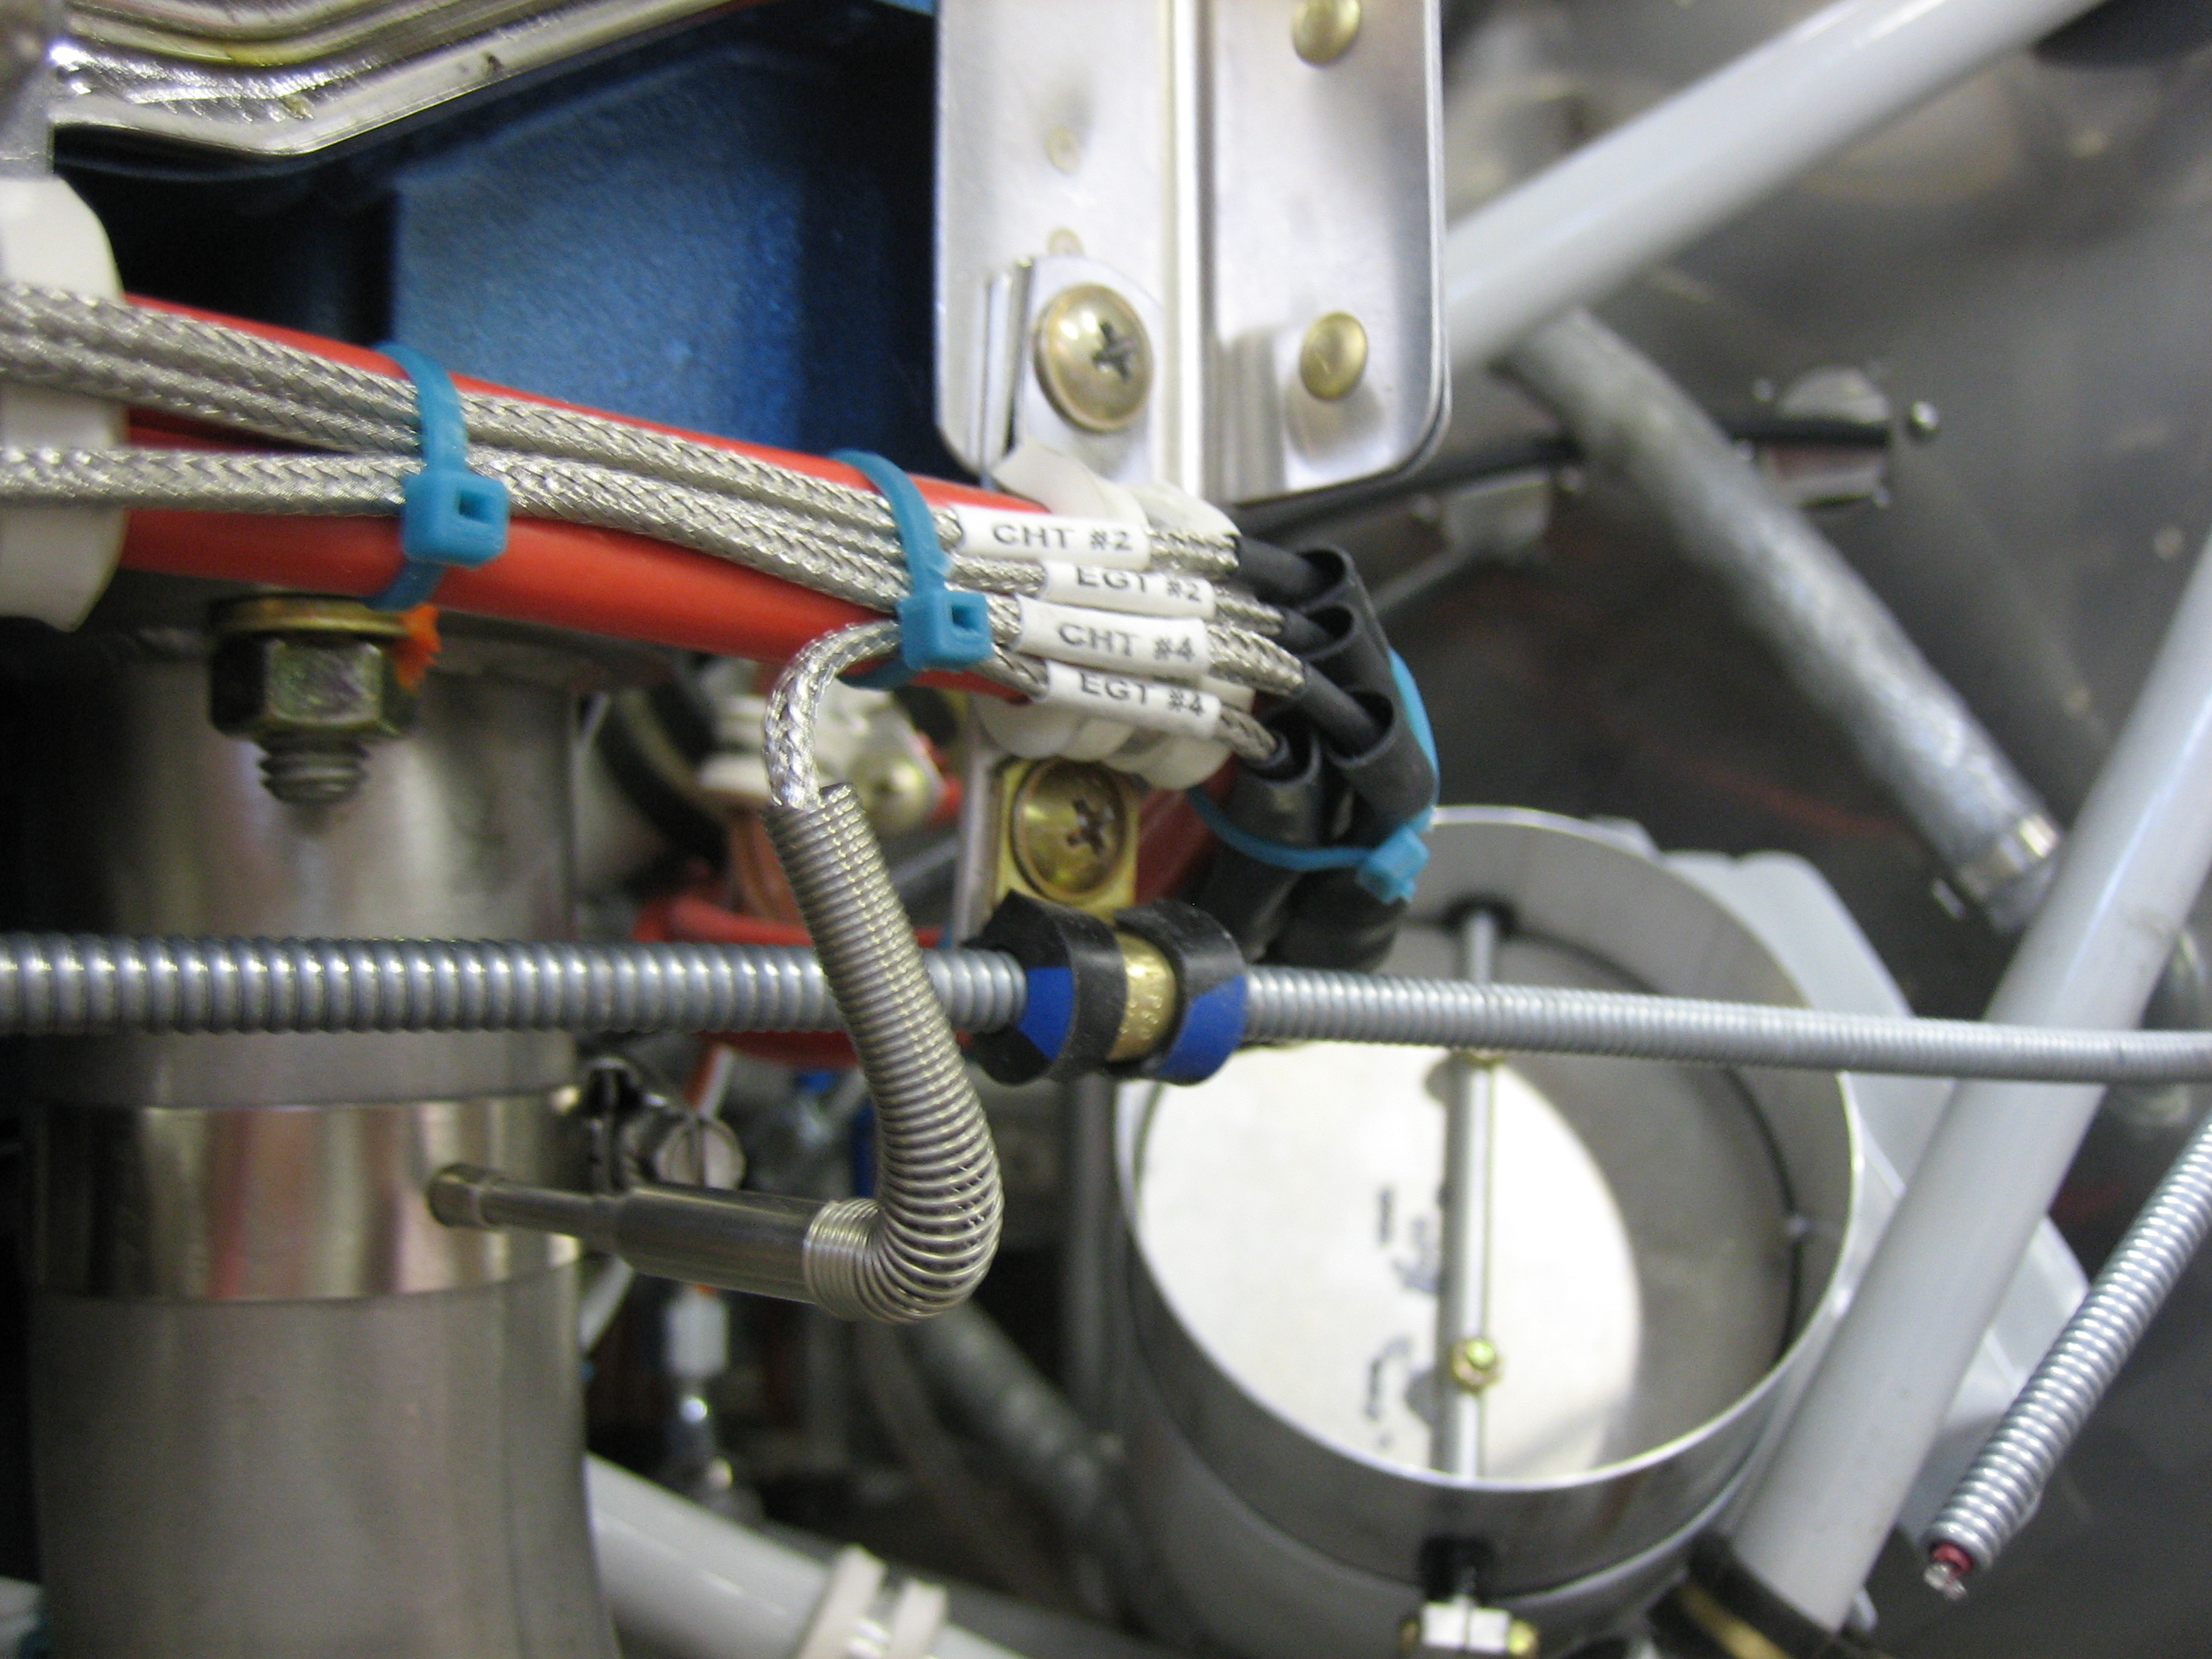
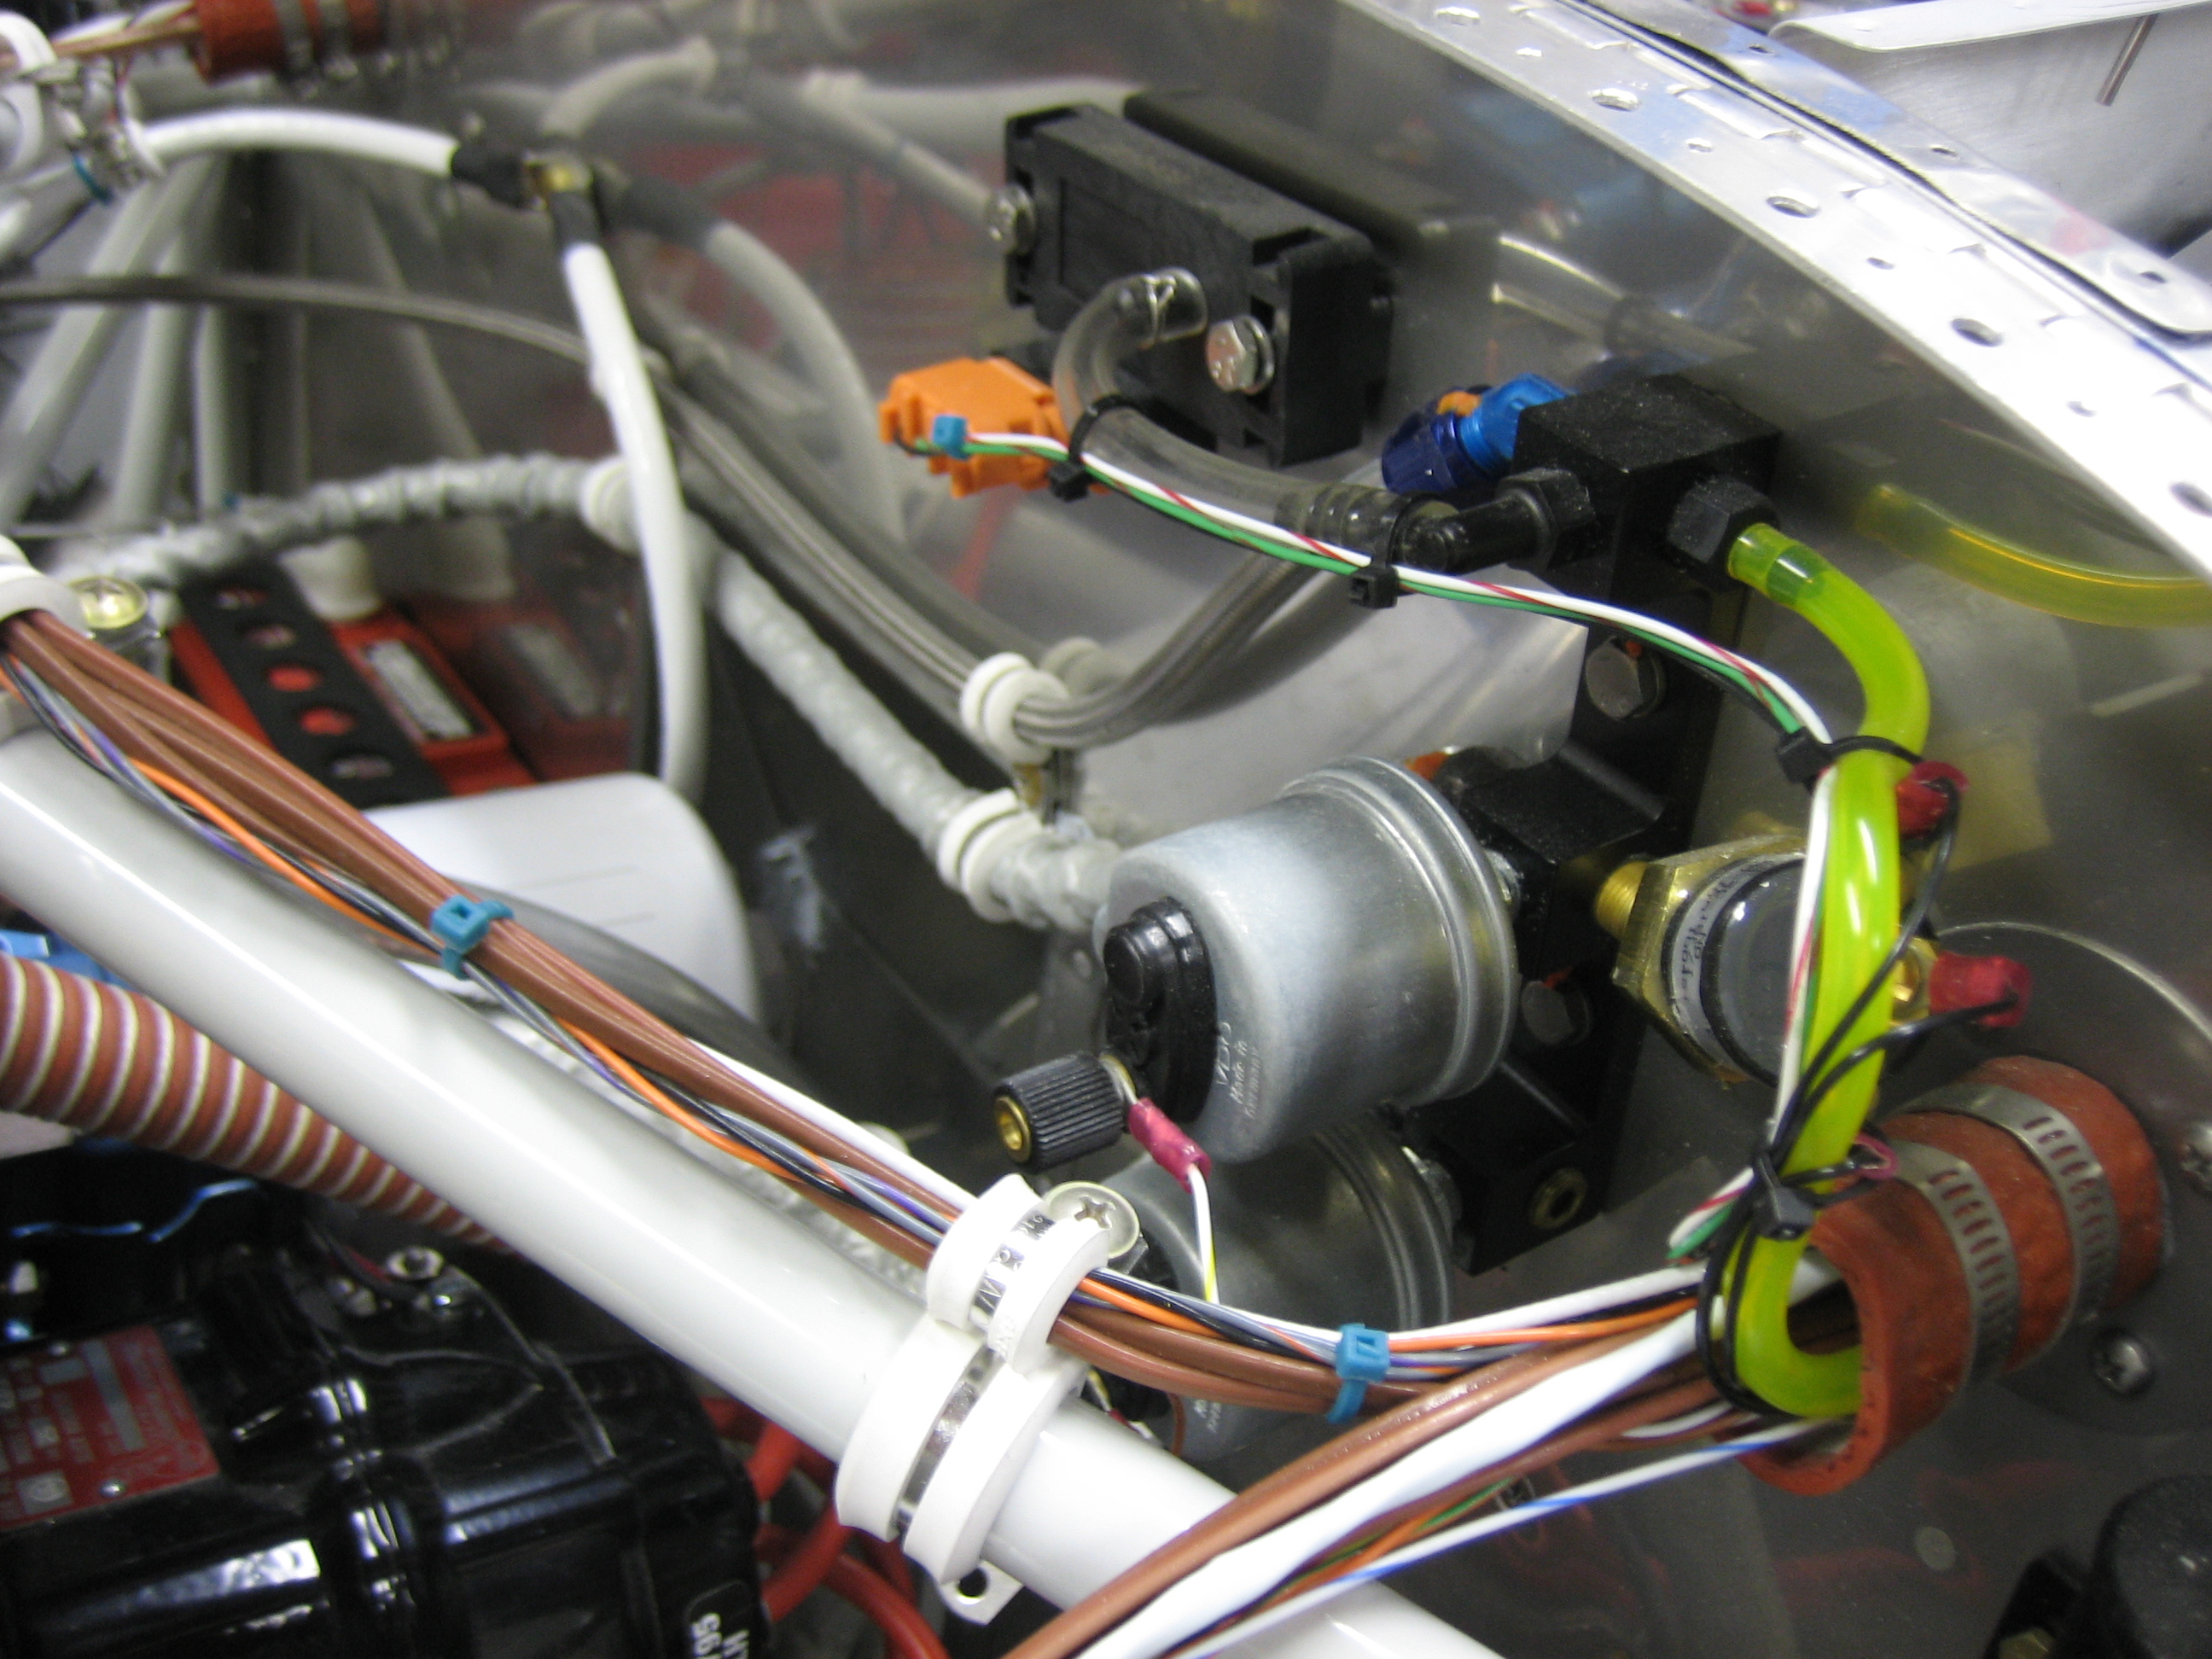
I fabricated a little standoff to anchor the alt air cable at the aft end of the baffles. It’s just a short piece of 0.063″ aluminum with a nutplate riveted to the back. It has a hole in the other end and is installed behind the upper adel clamp.
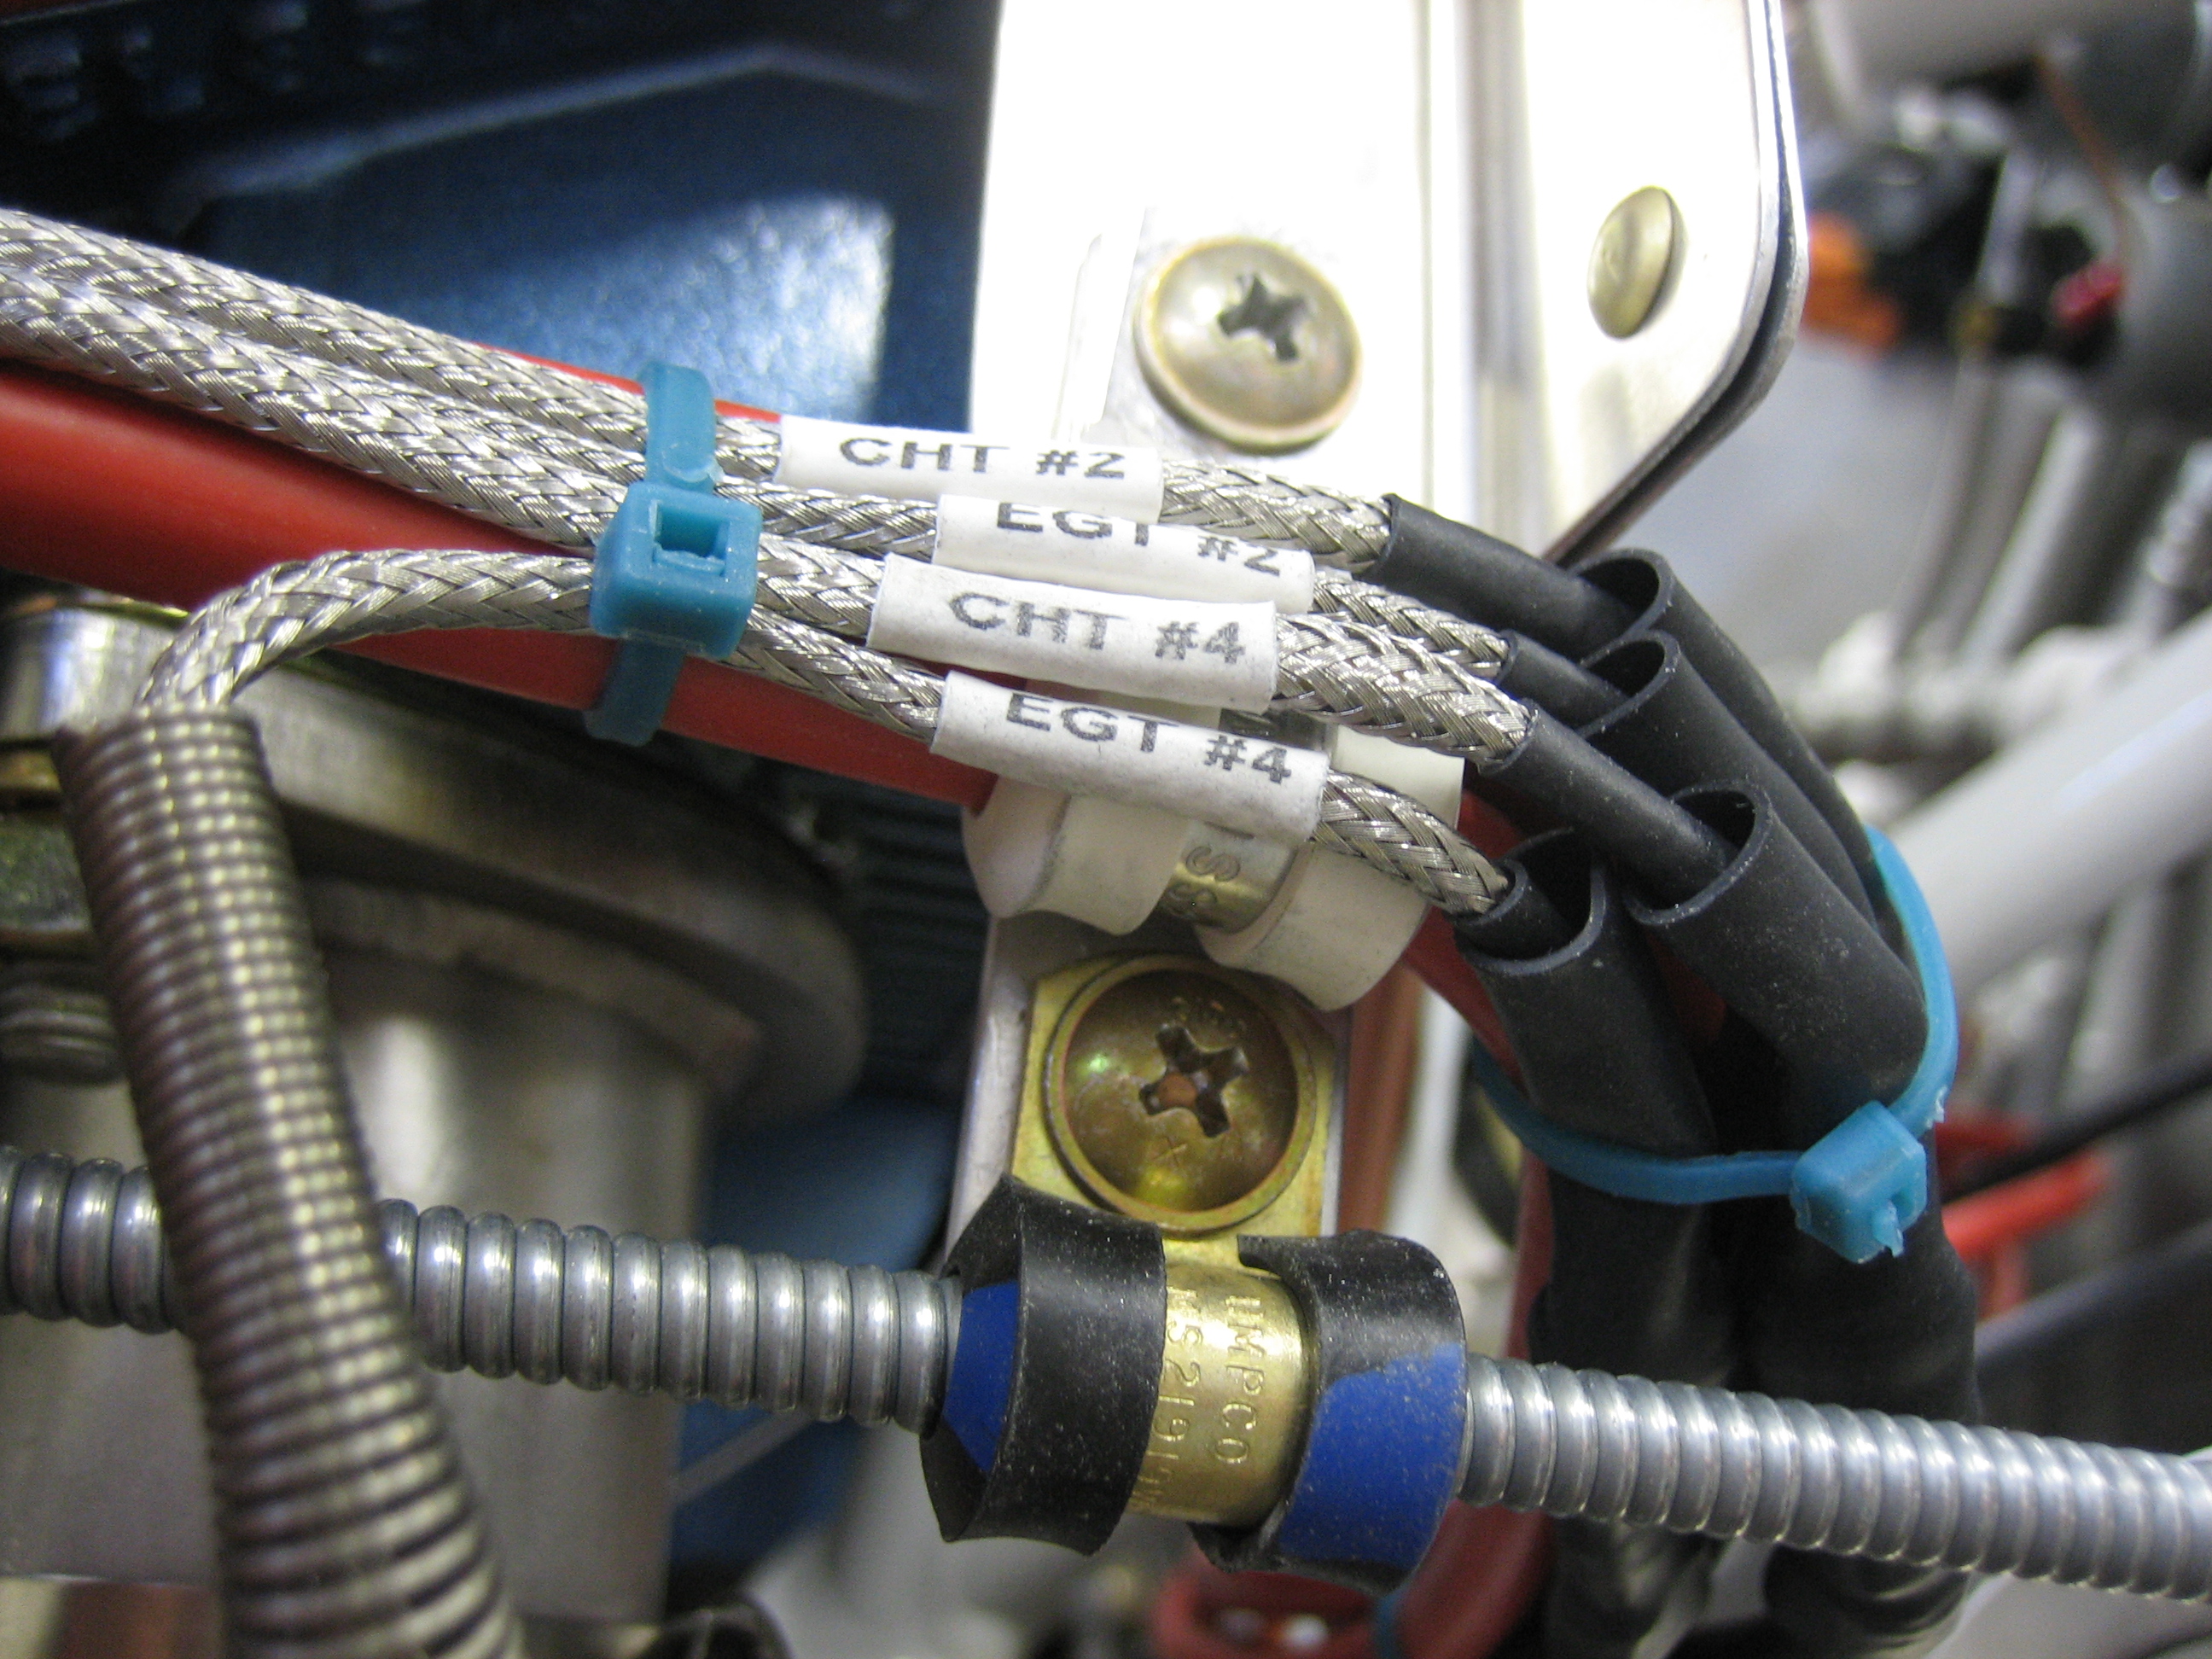
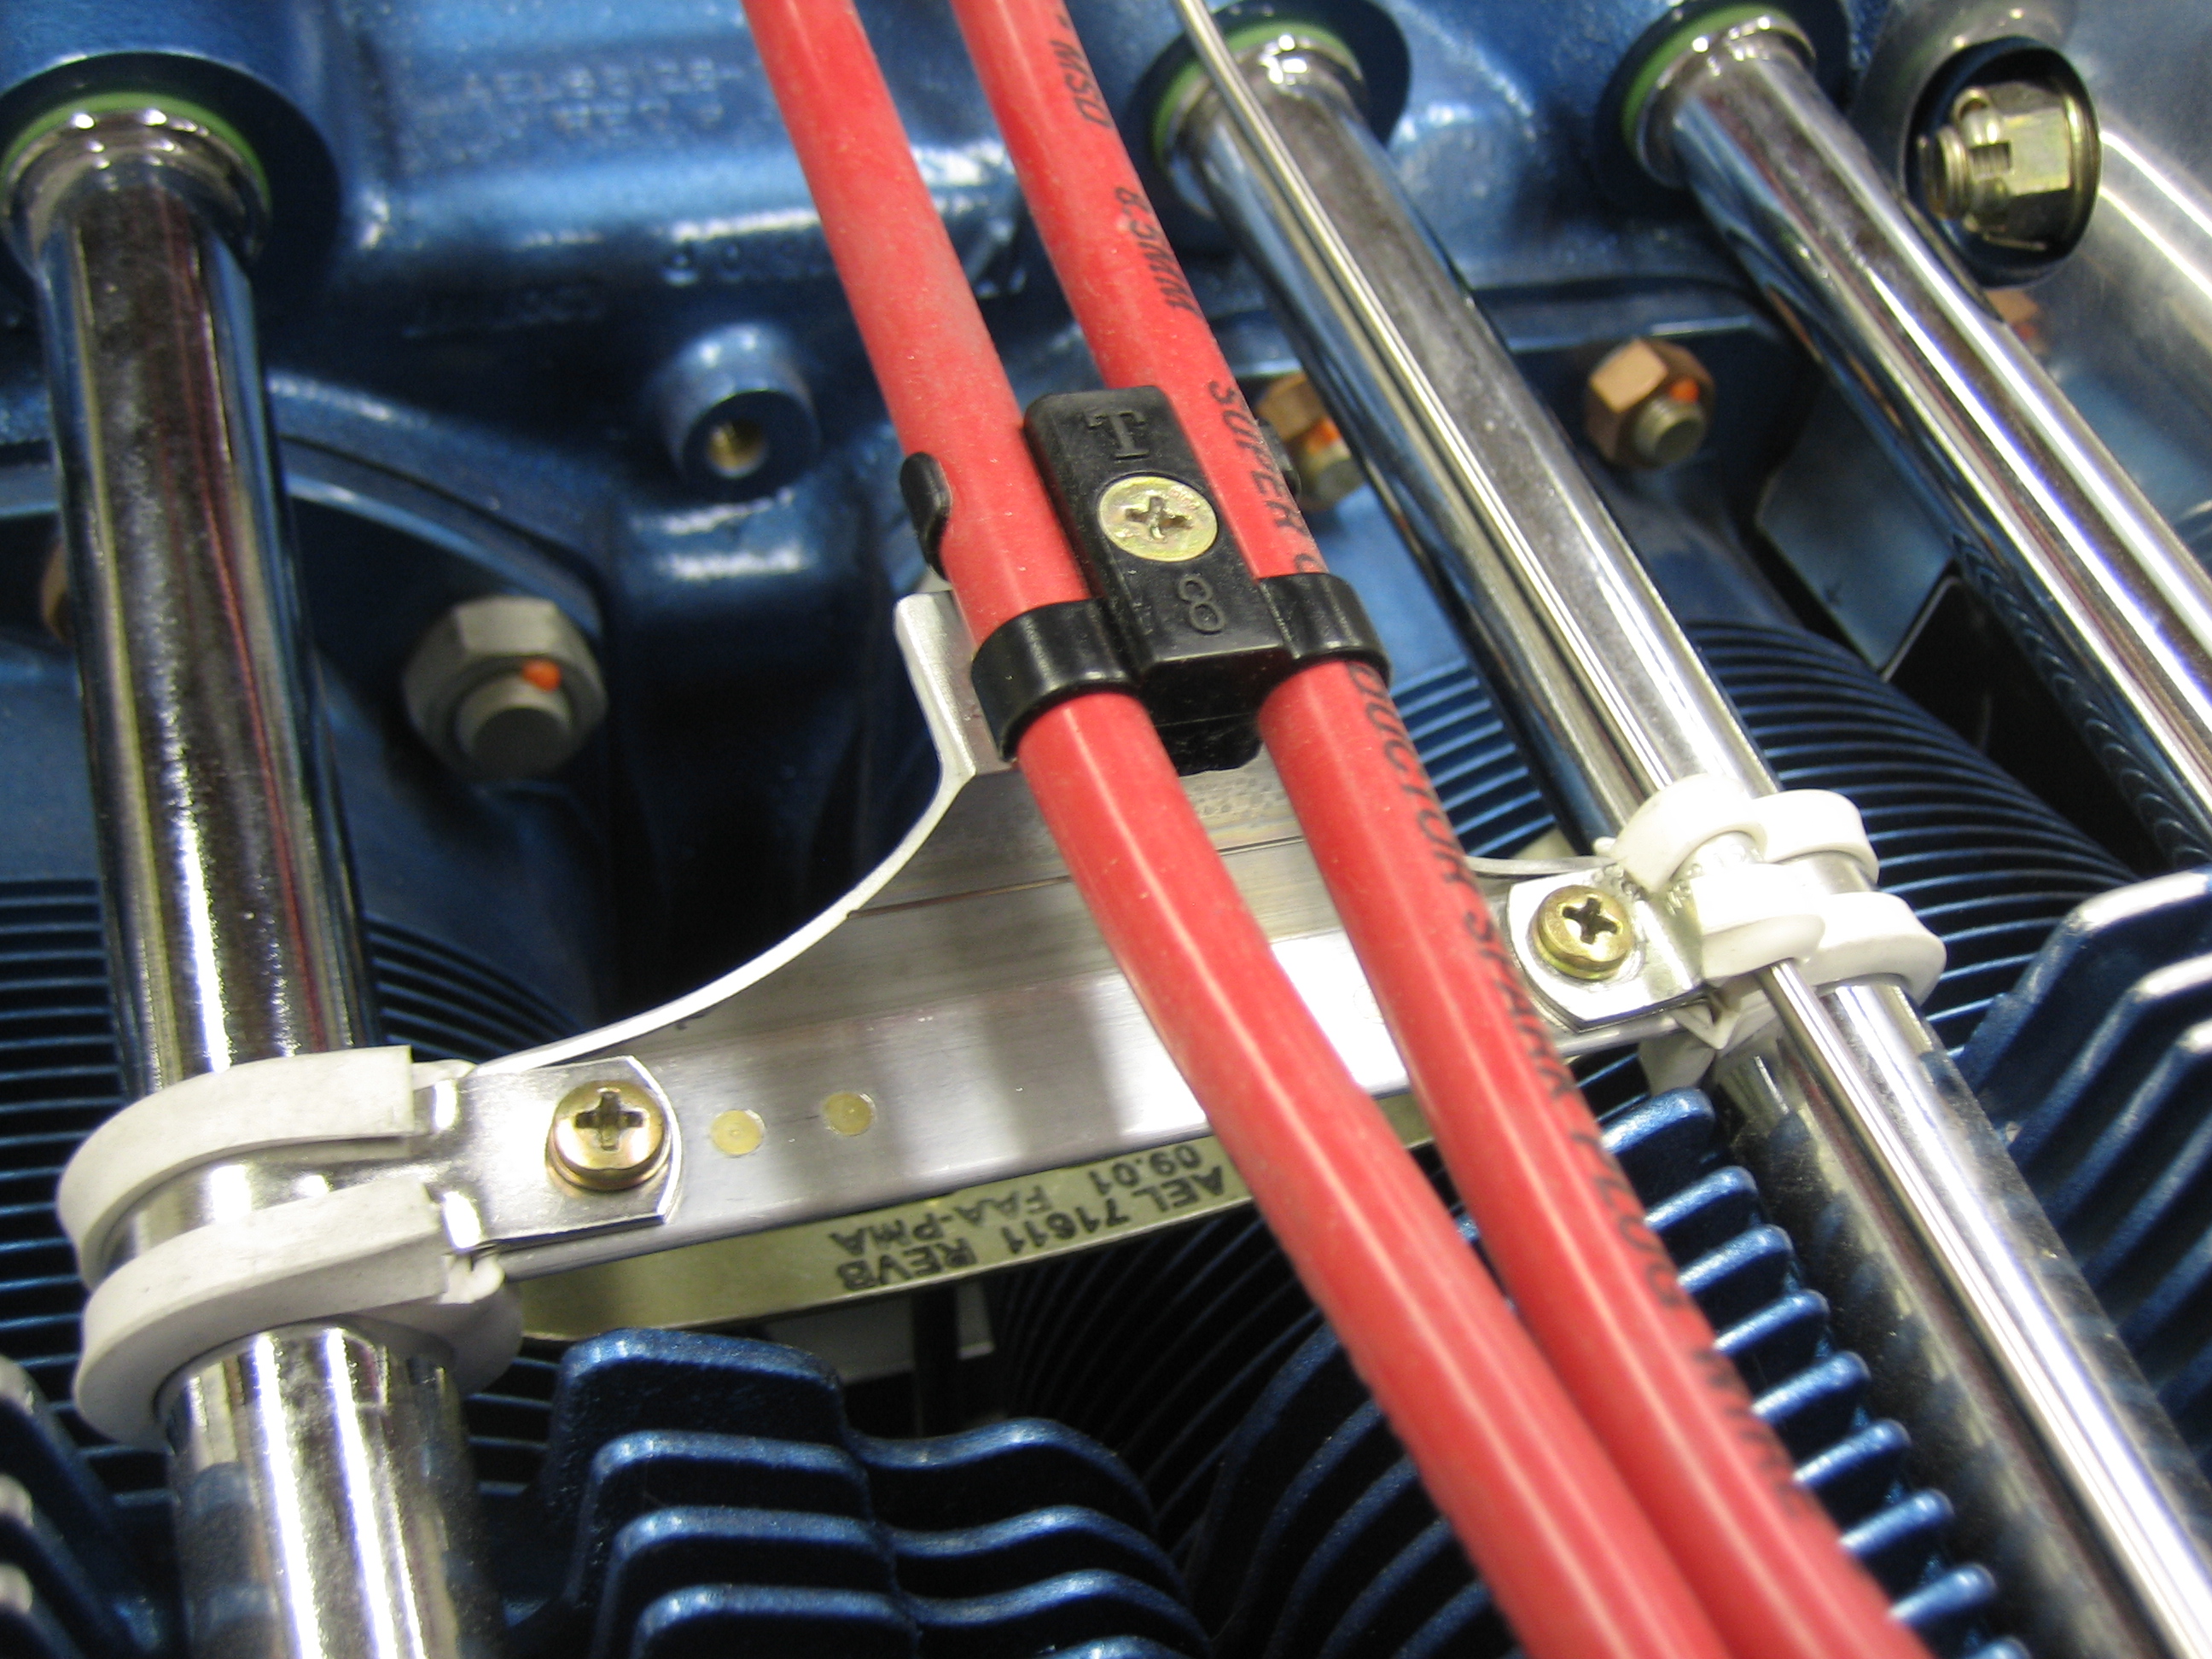
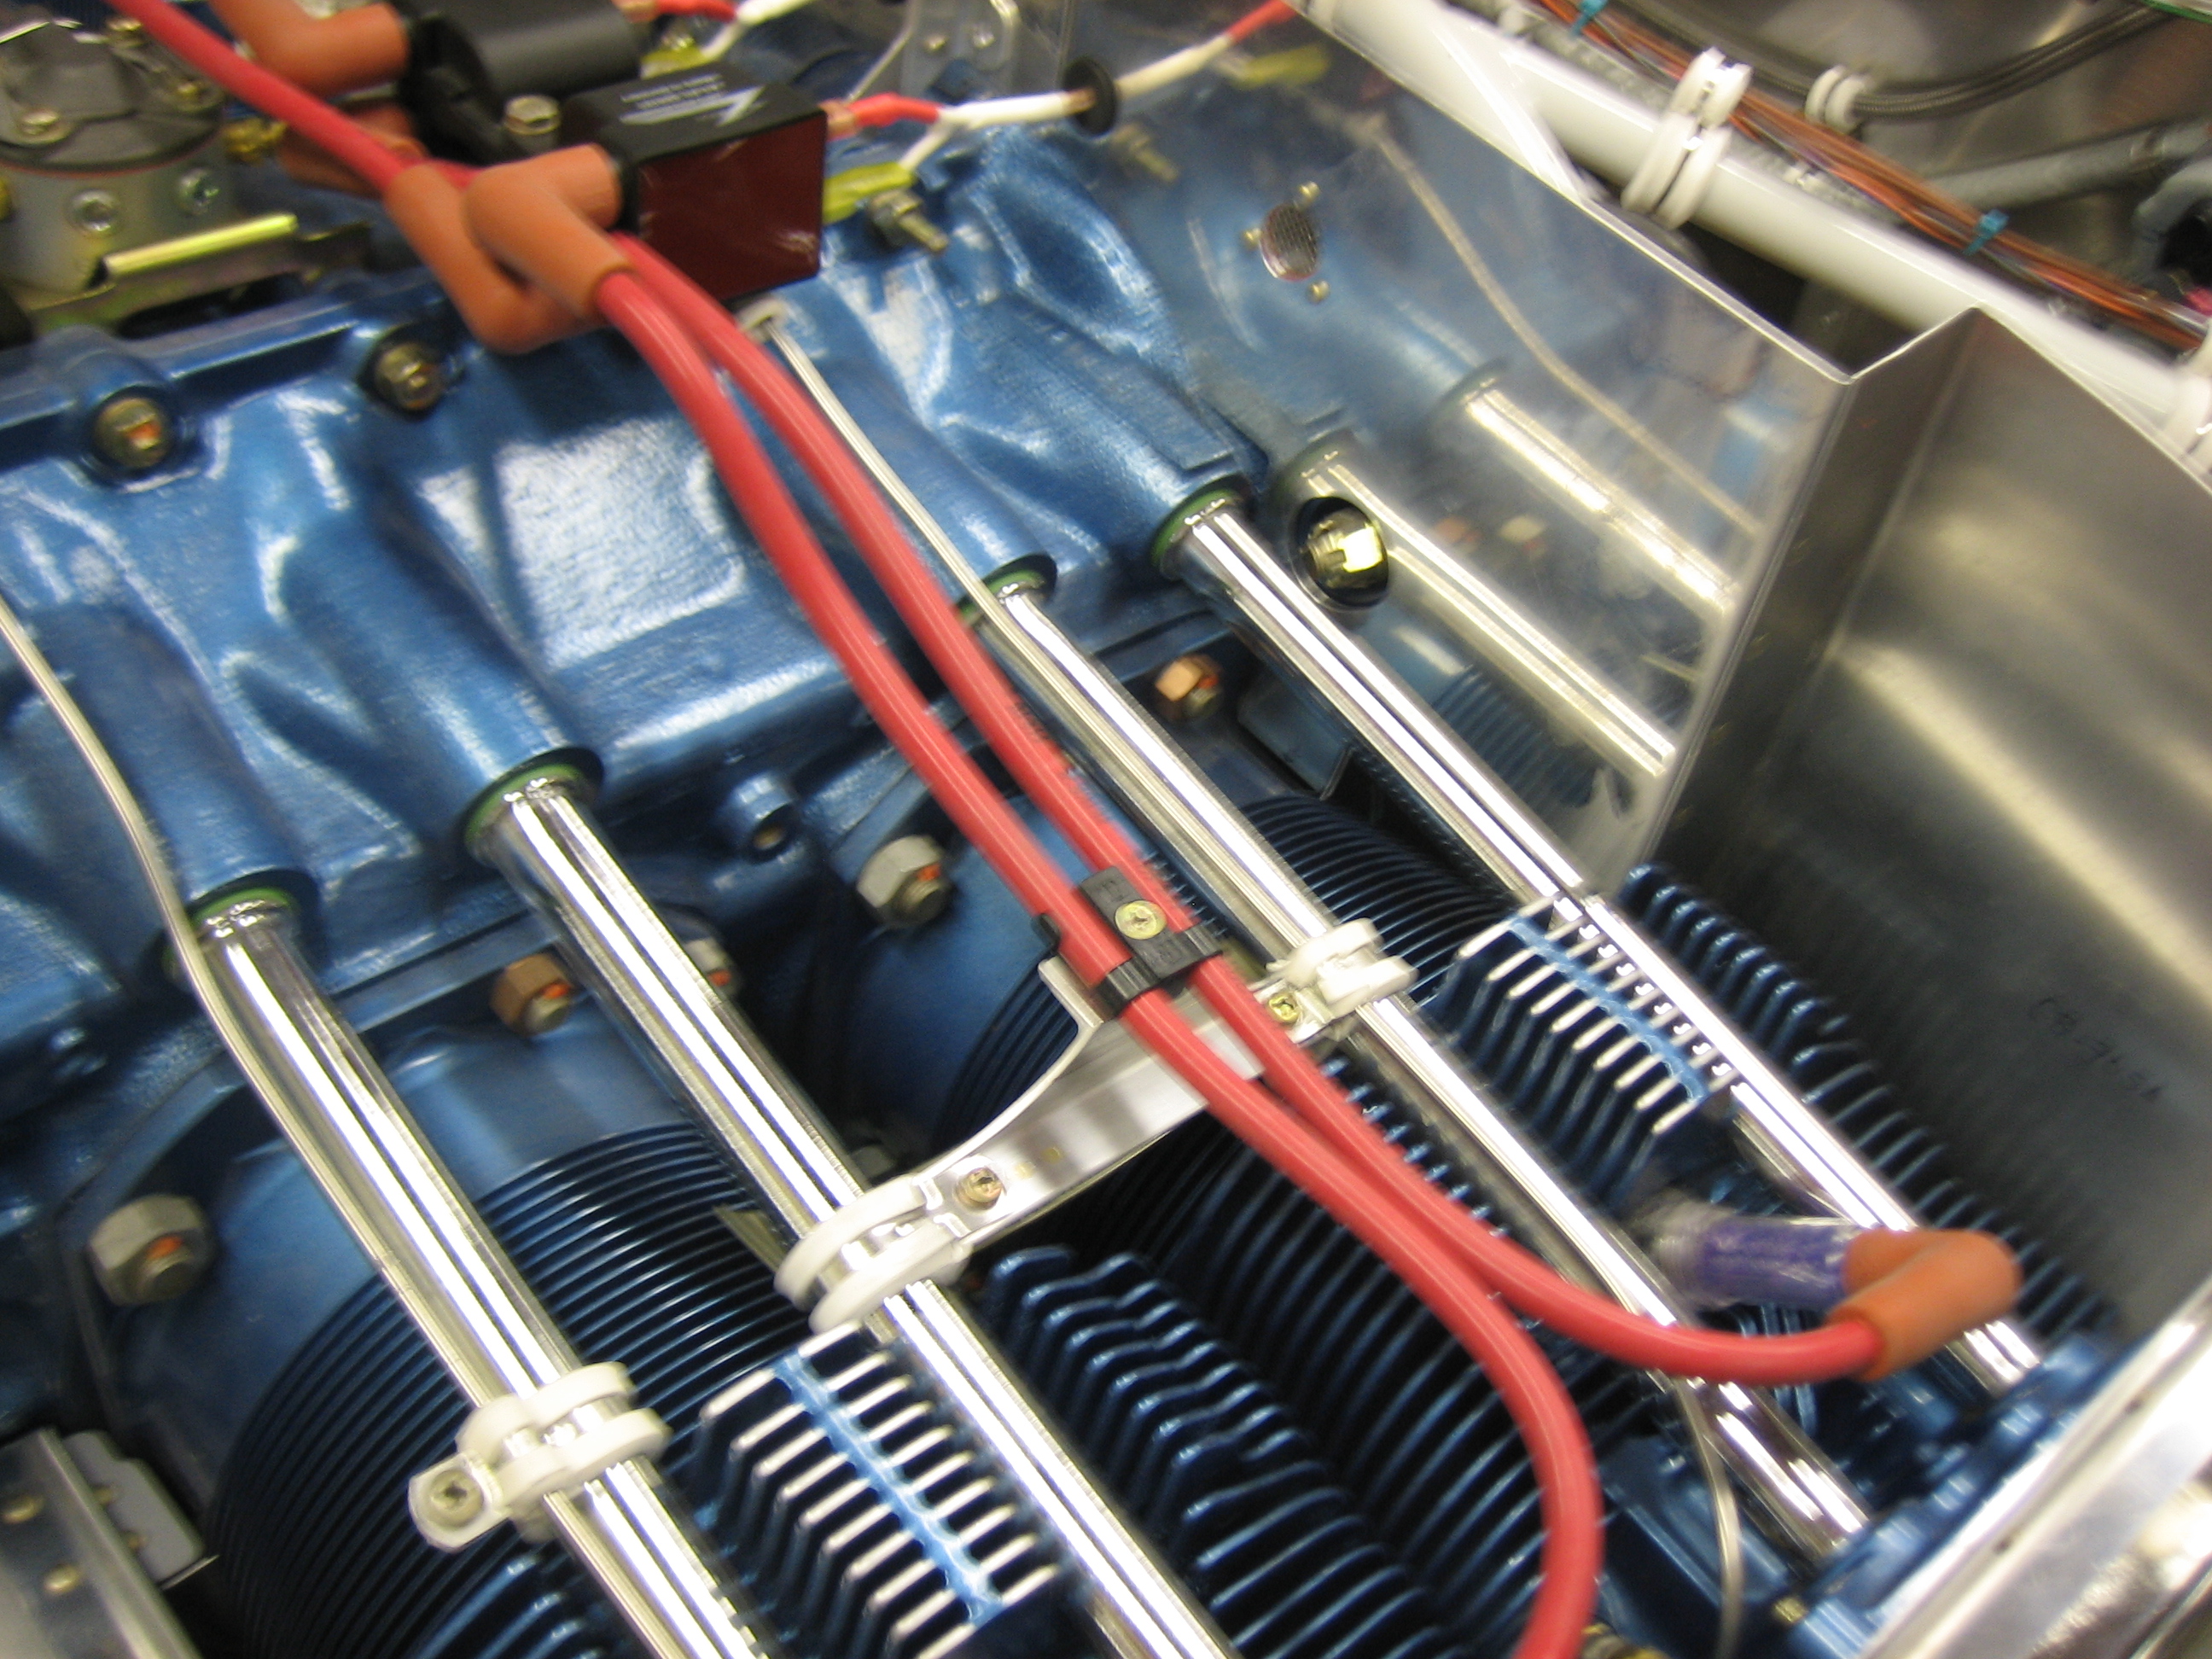
Here you can see that this keeps the cable well clear of the EGT probe as well as the wire bundle above.
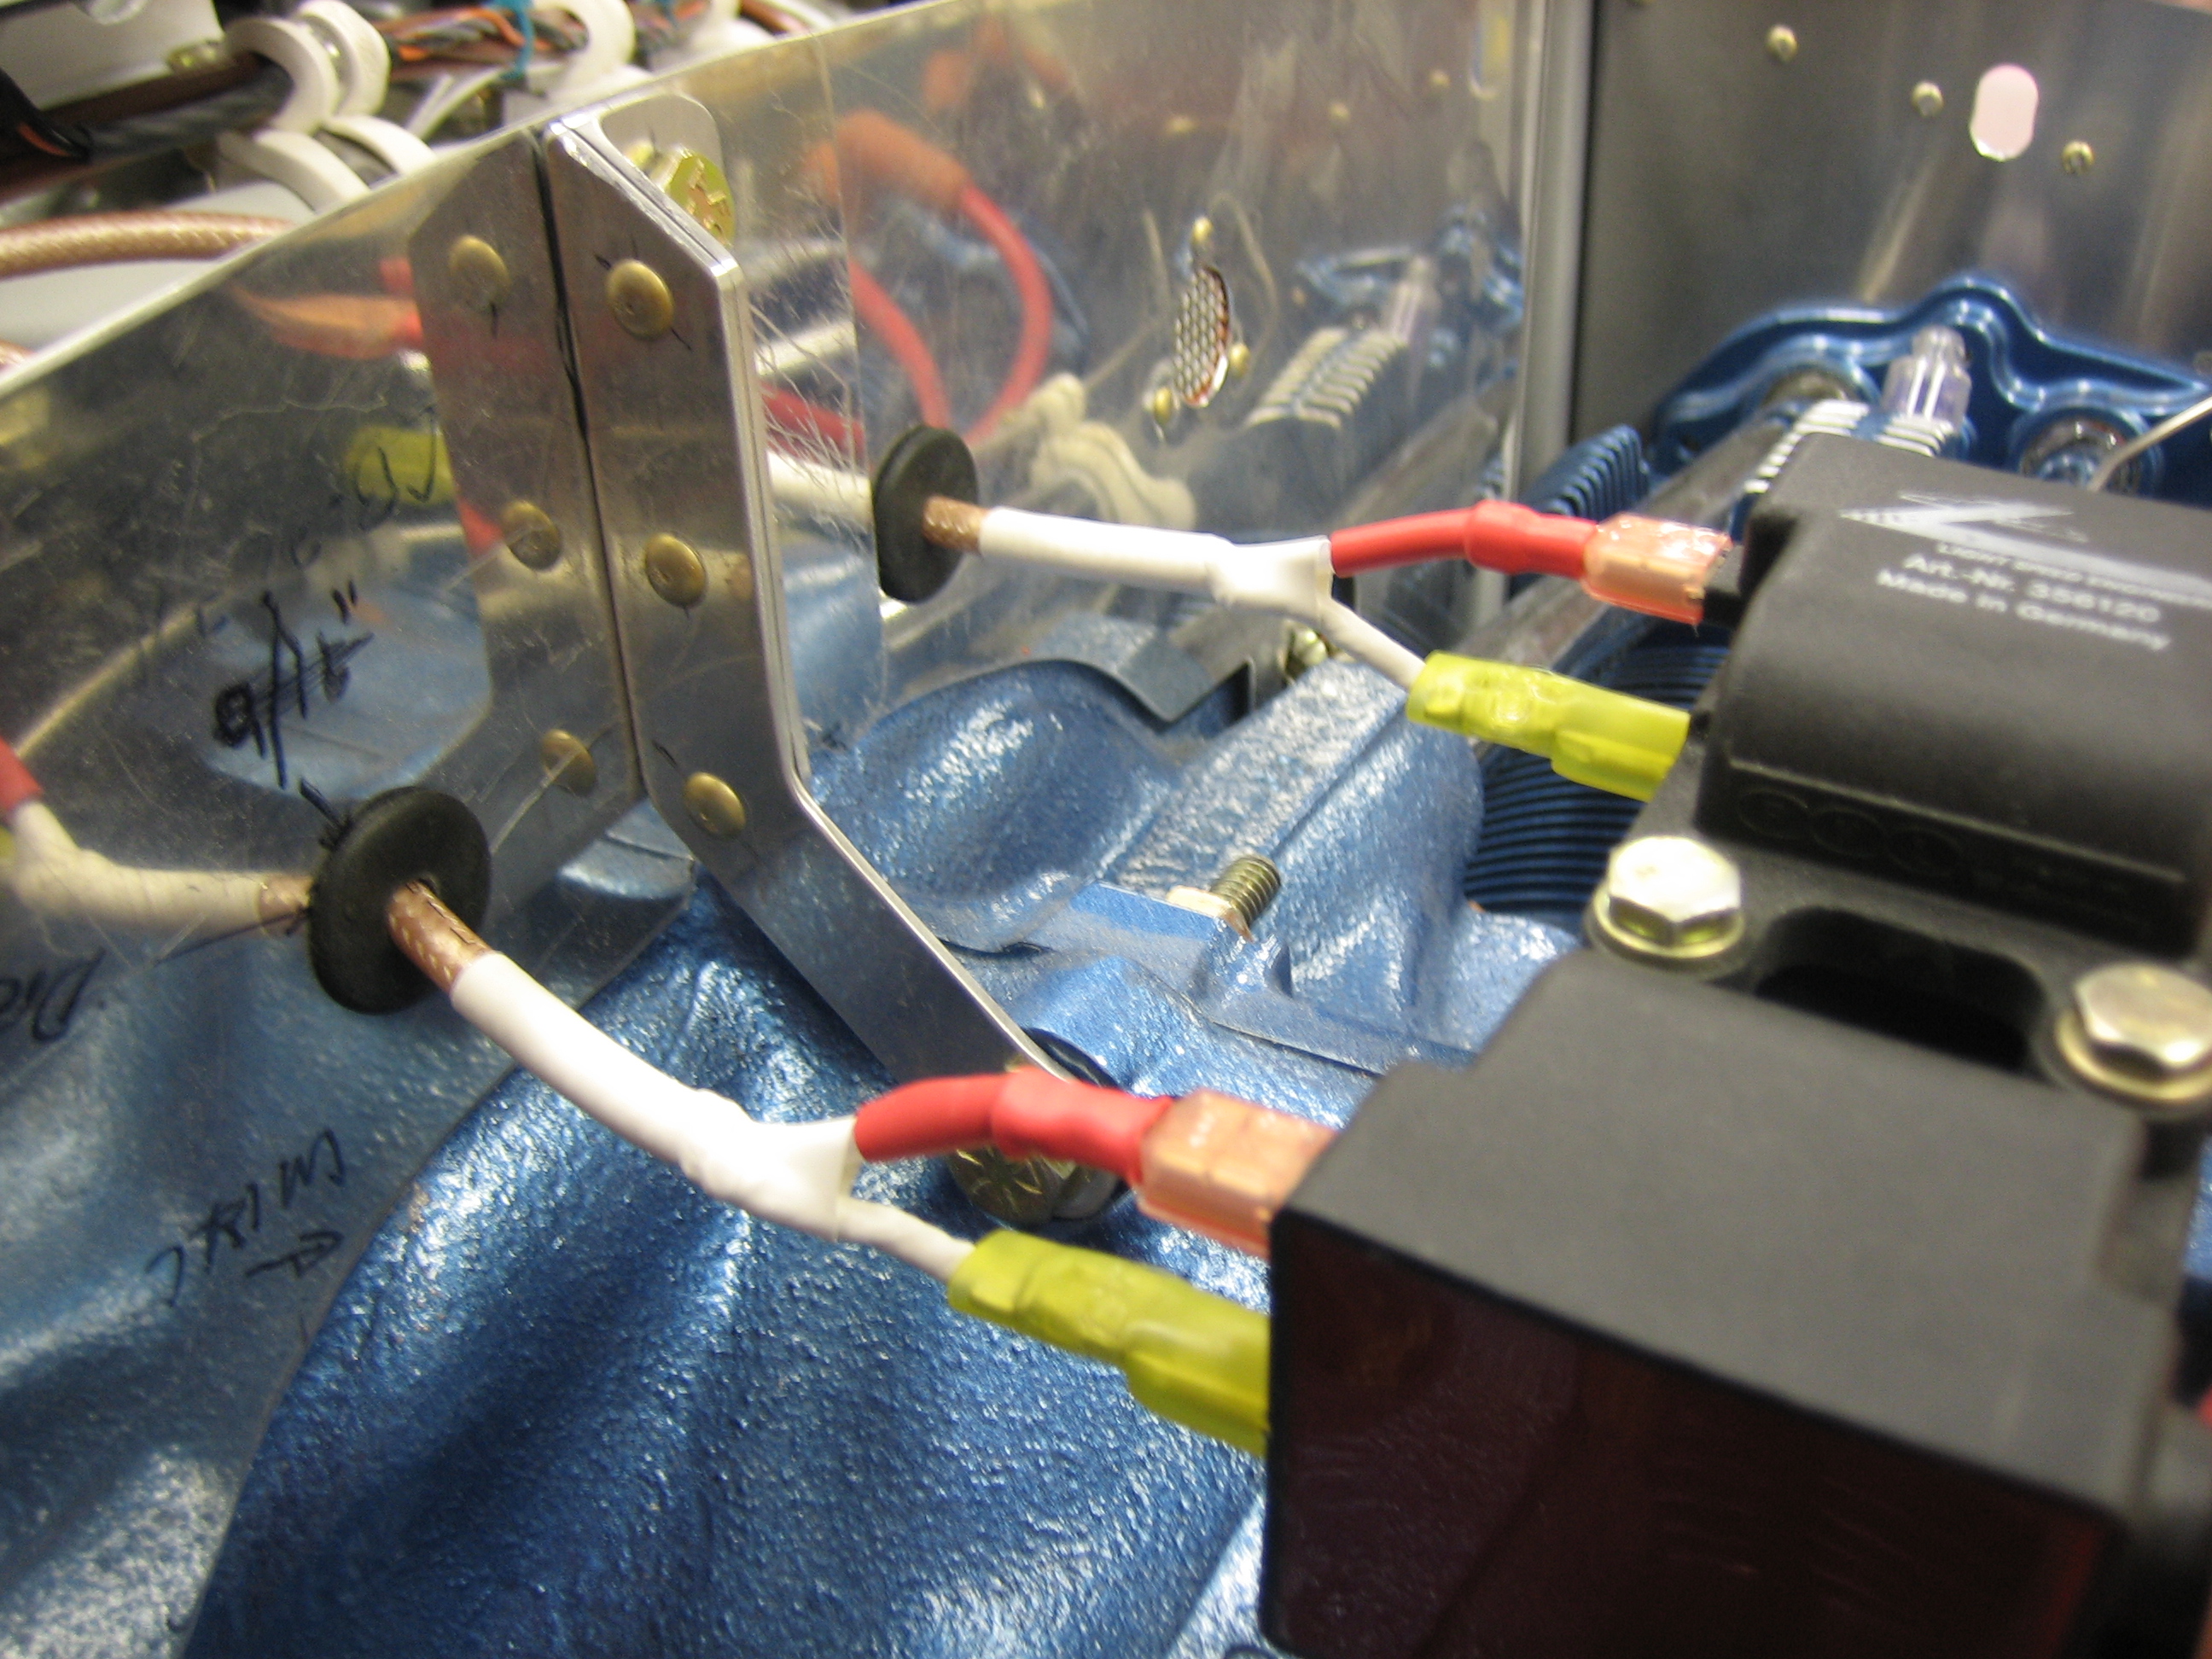
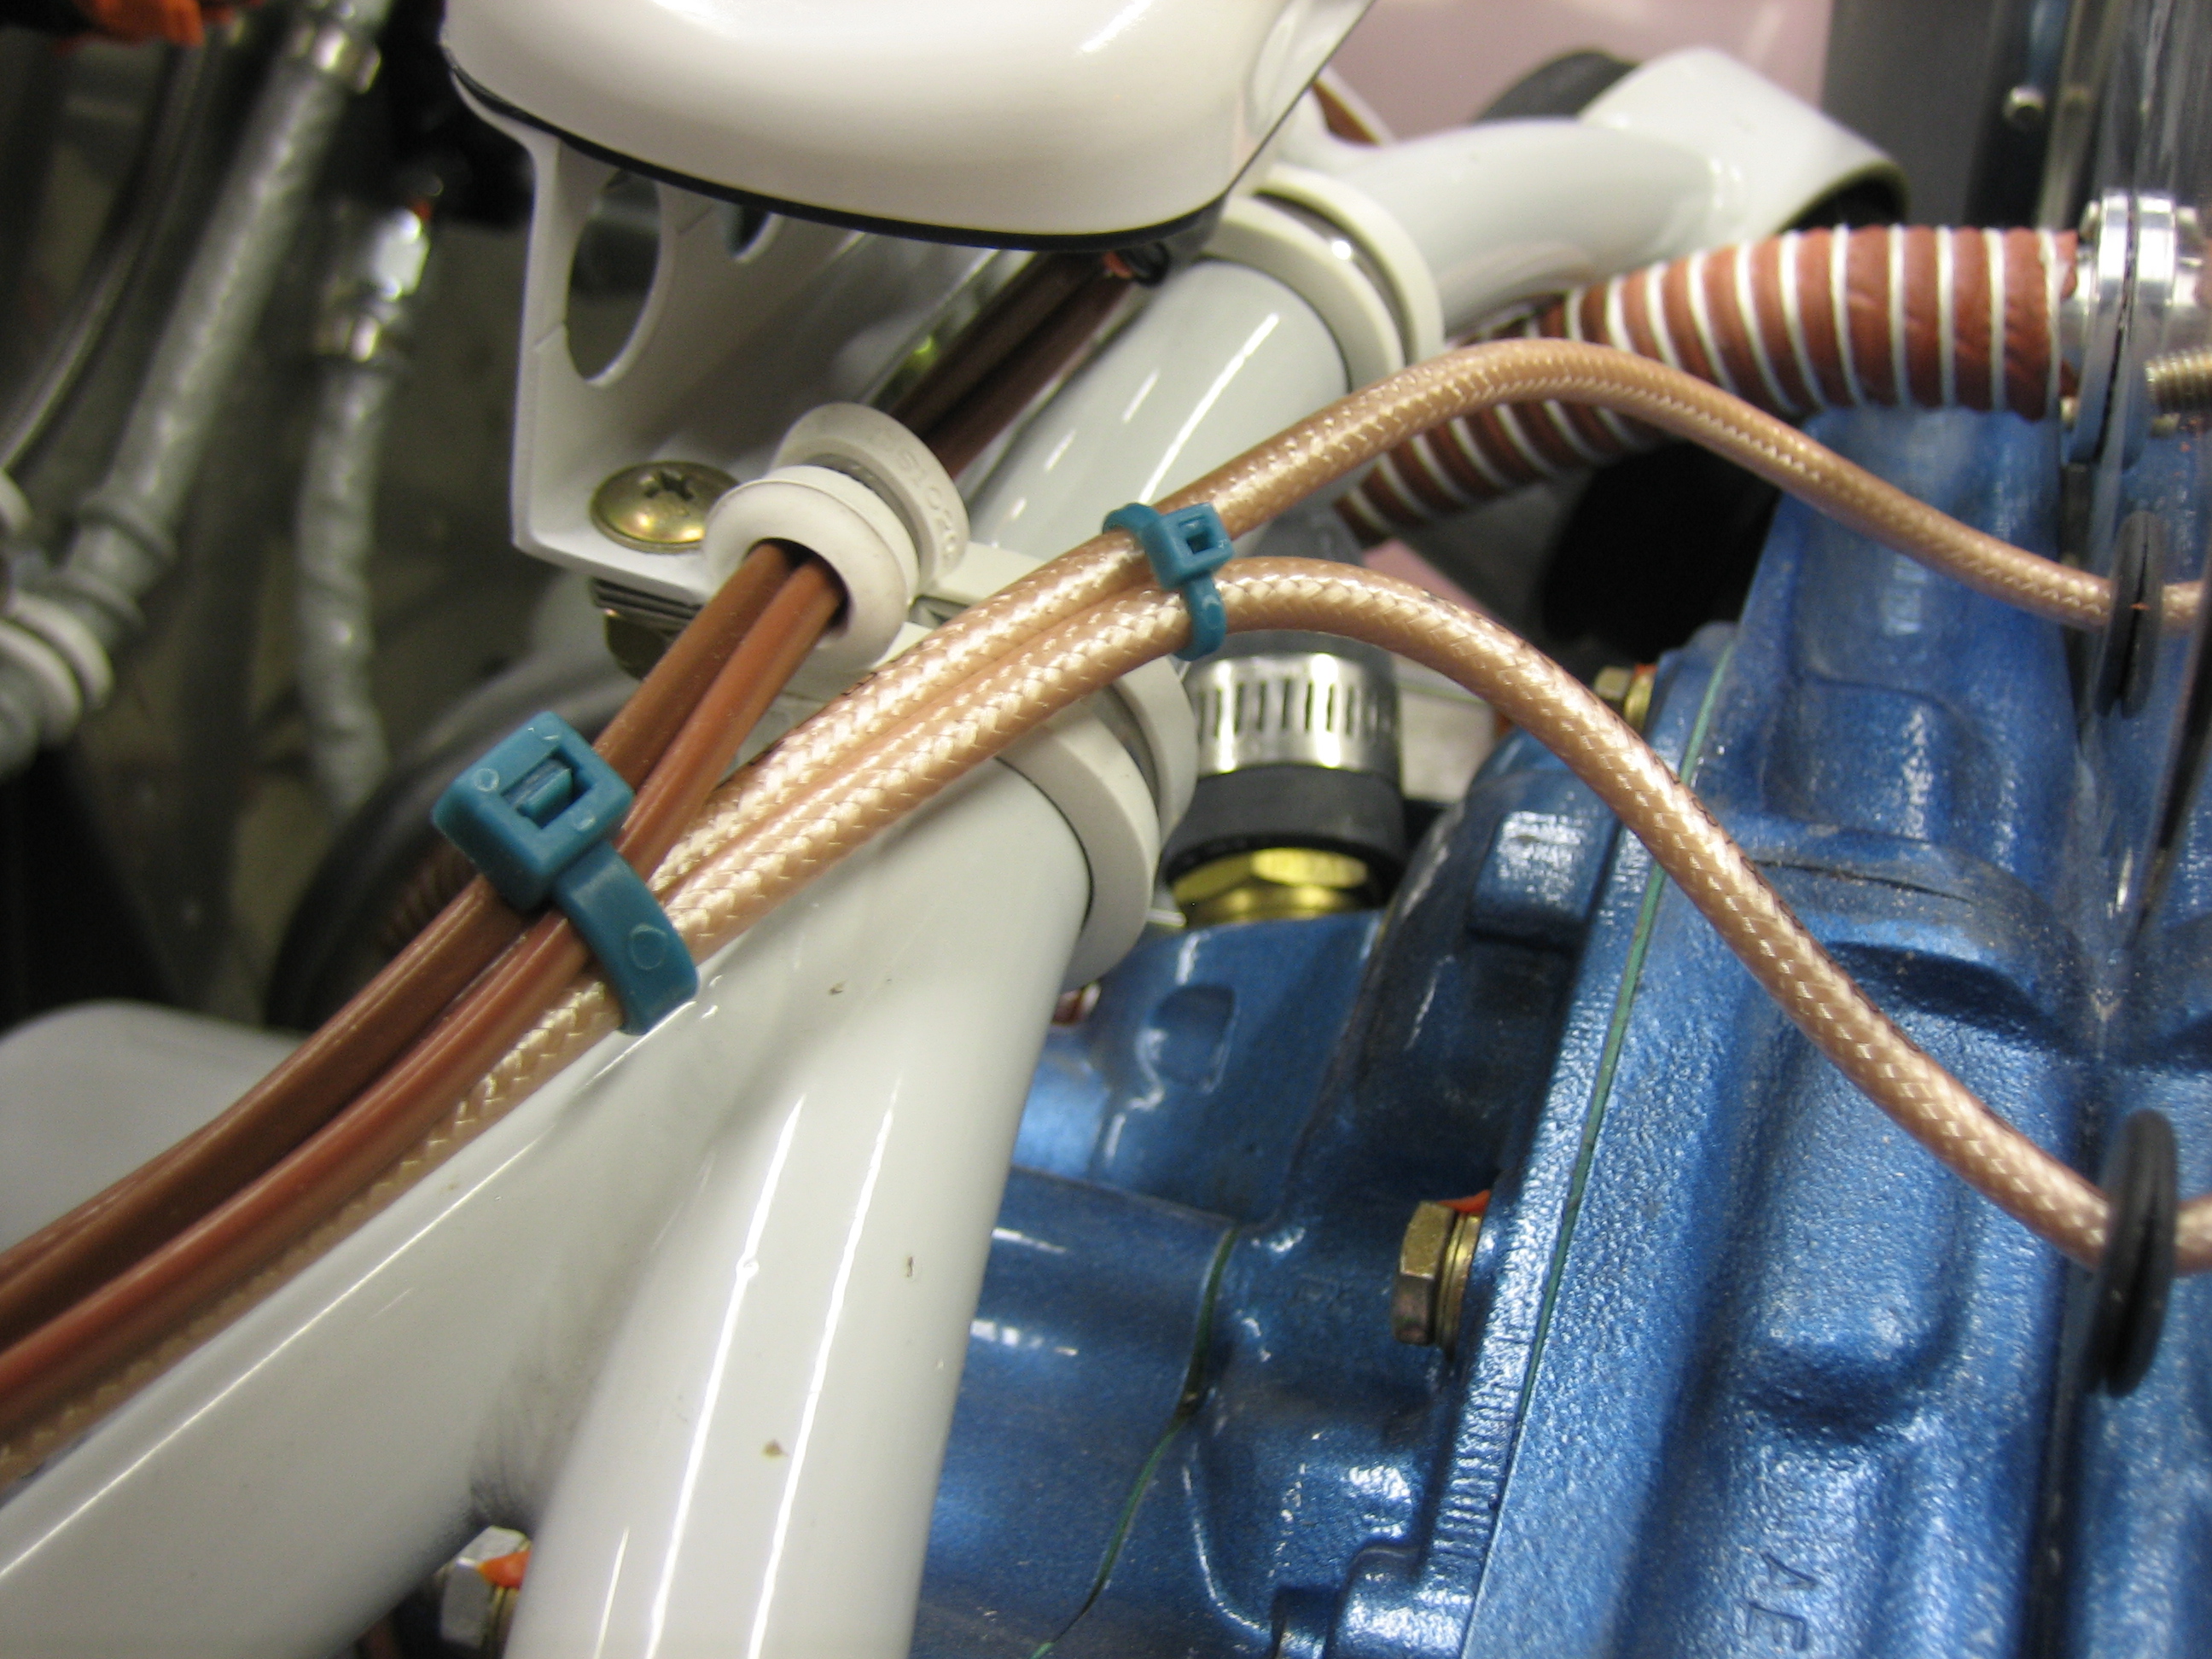
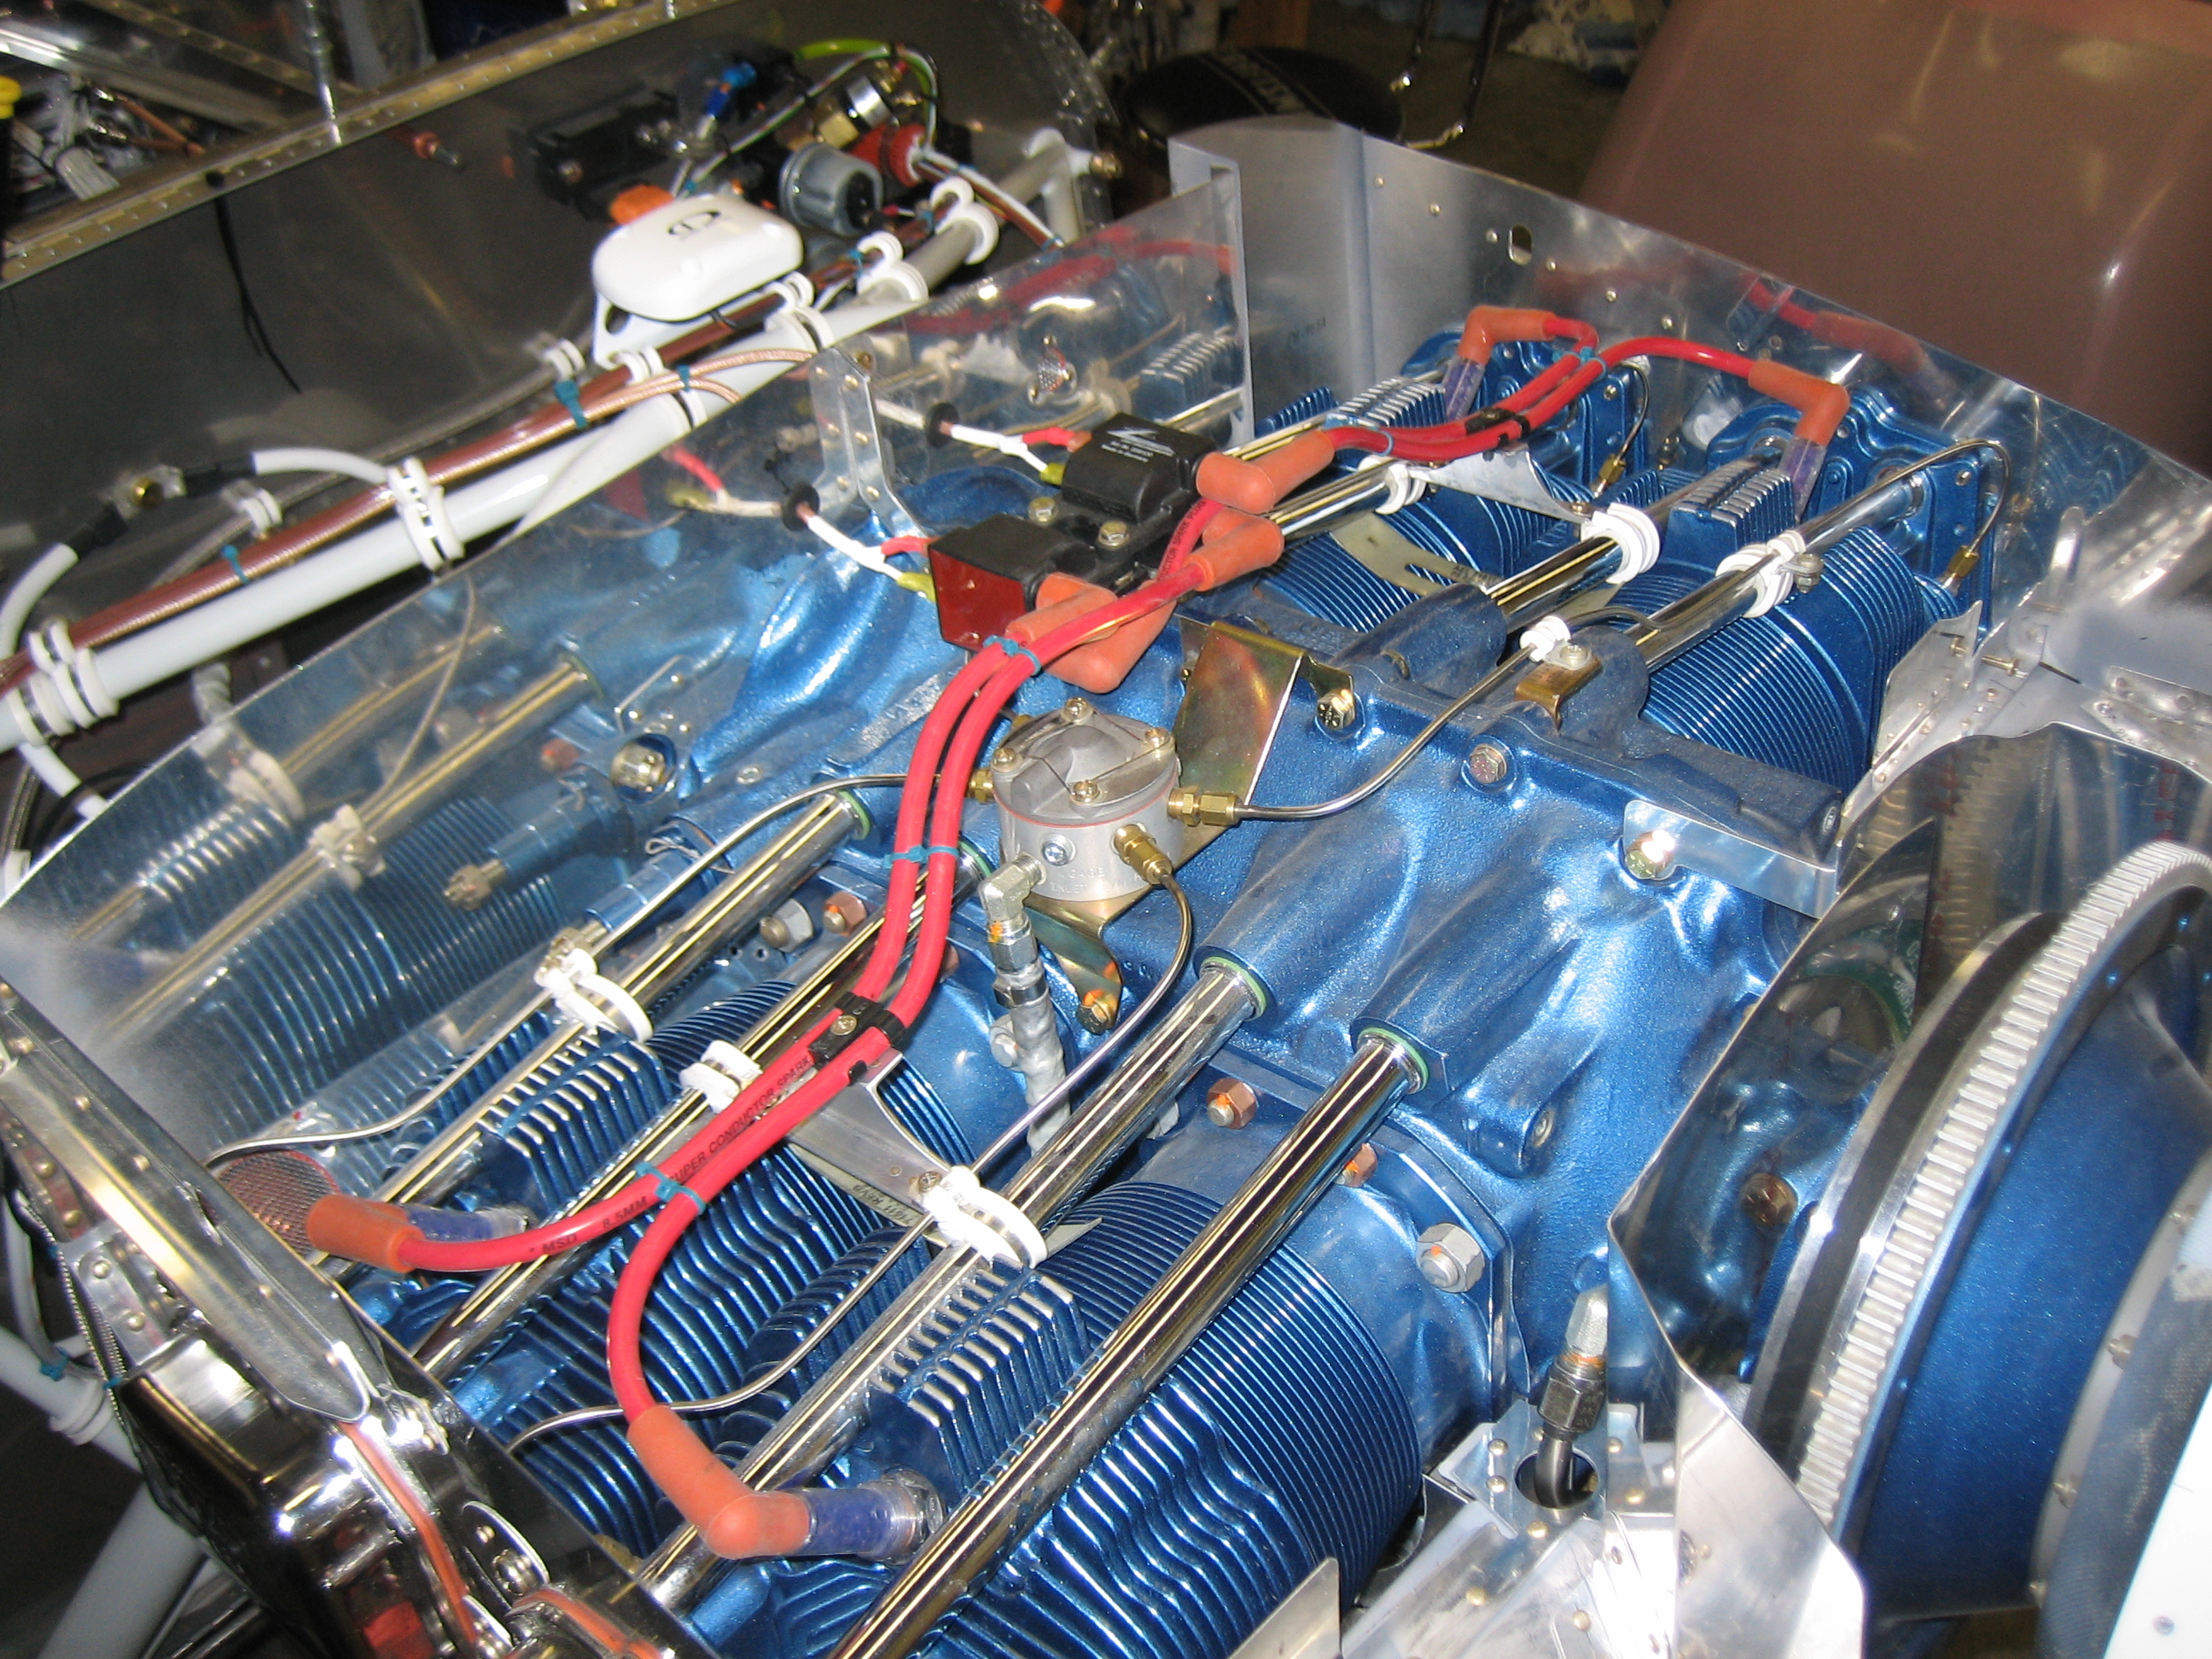
I also rerouted the manifold pressure wires to run along the firewall instead of directly out to the engine mount. They’re better supported now and less likely to get snagged while working on the plane.
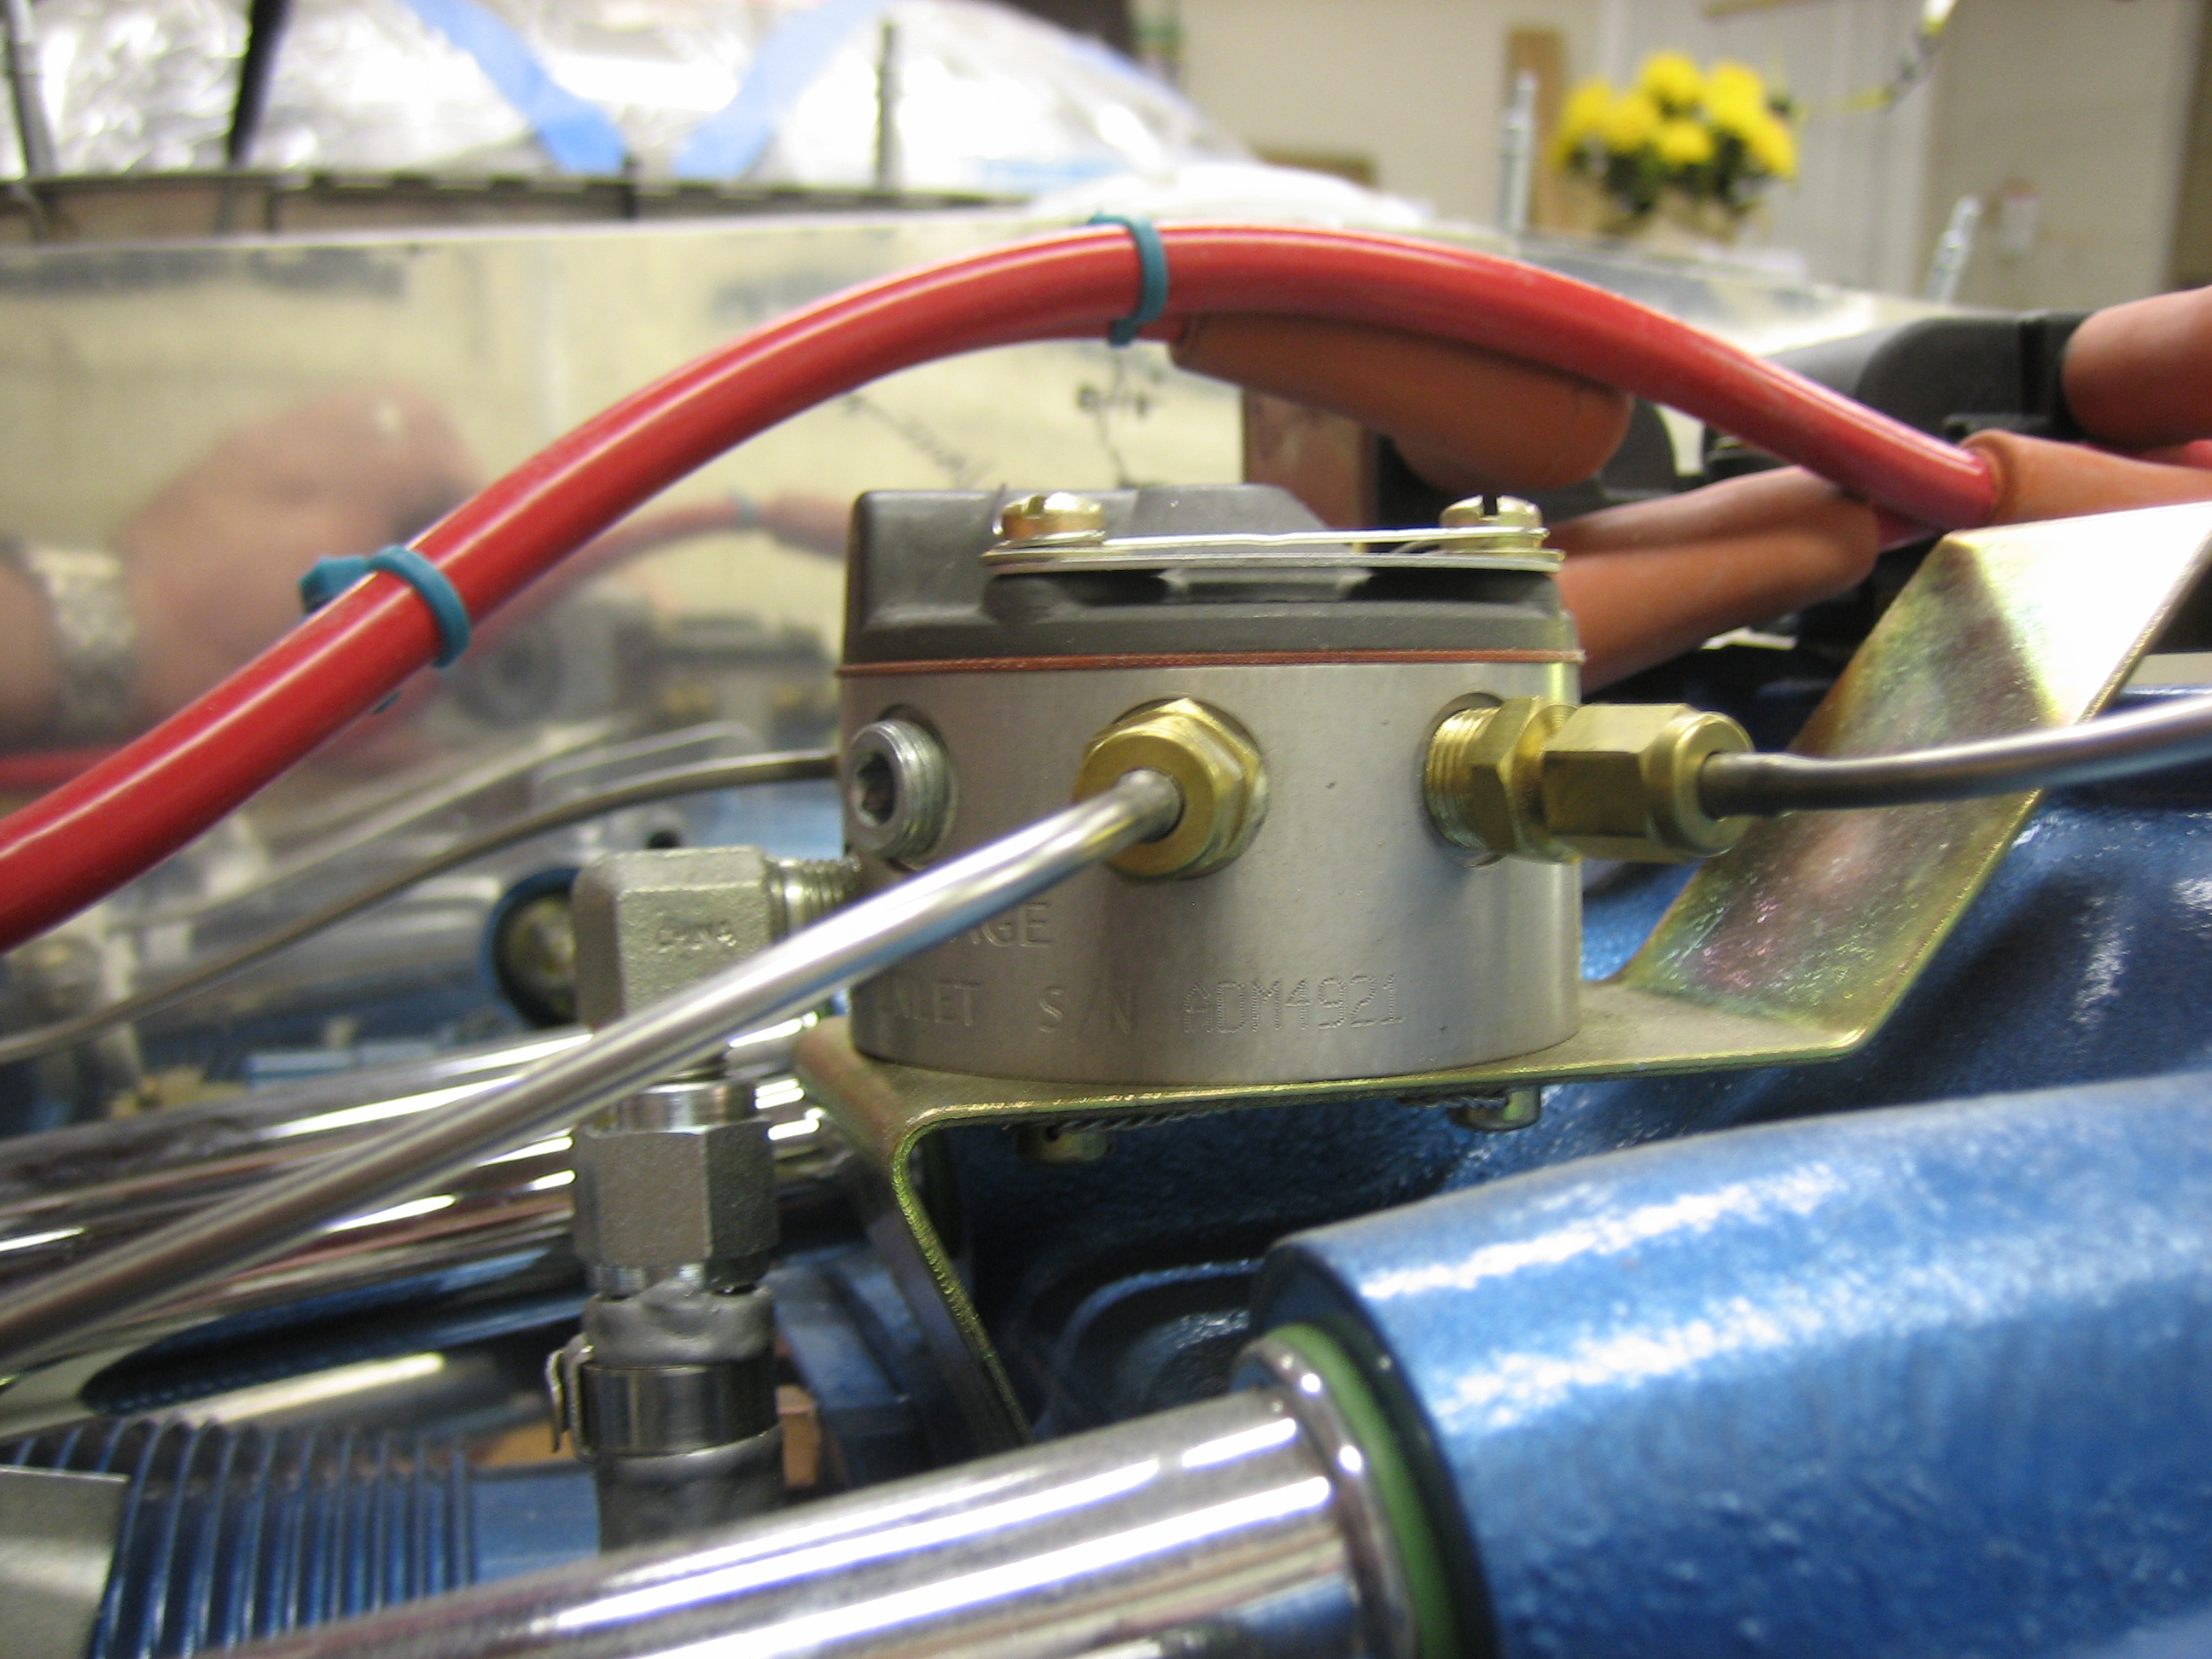
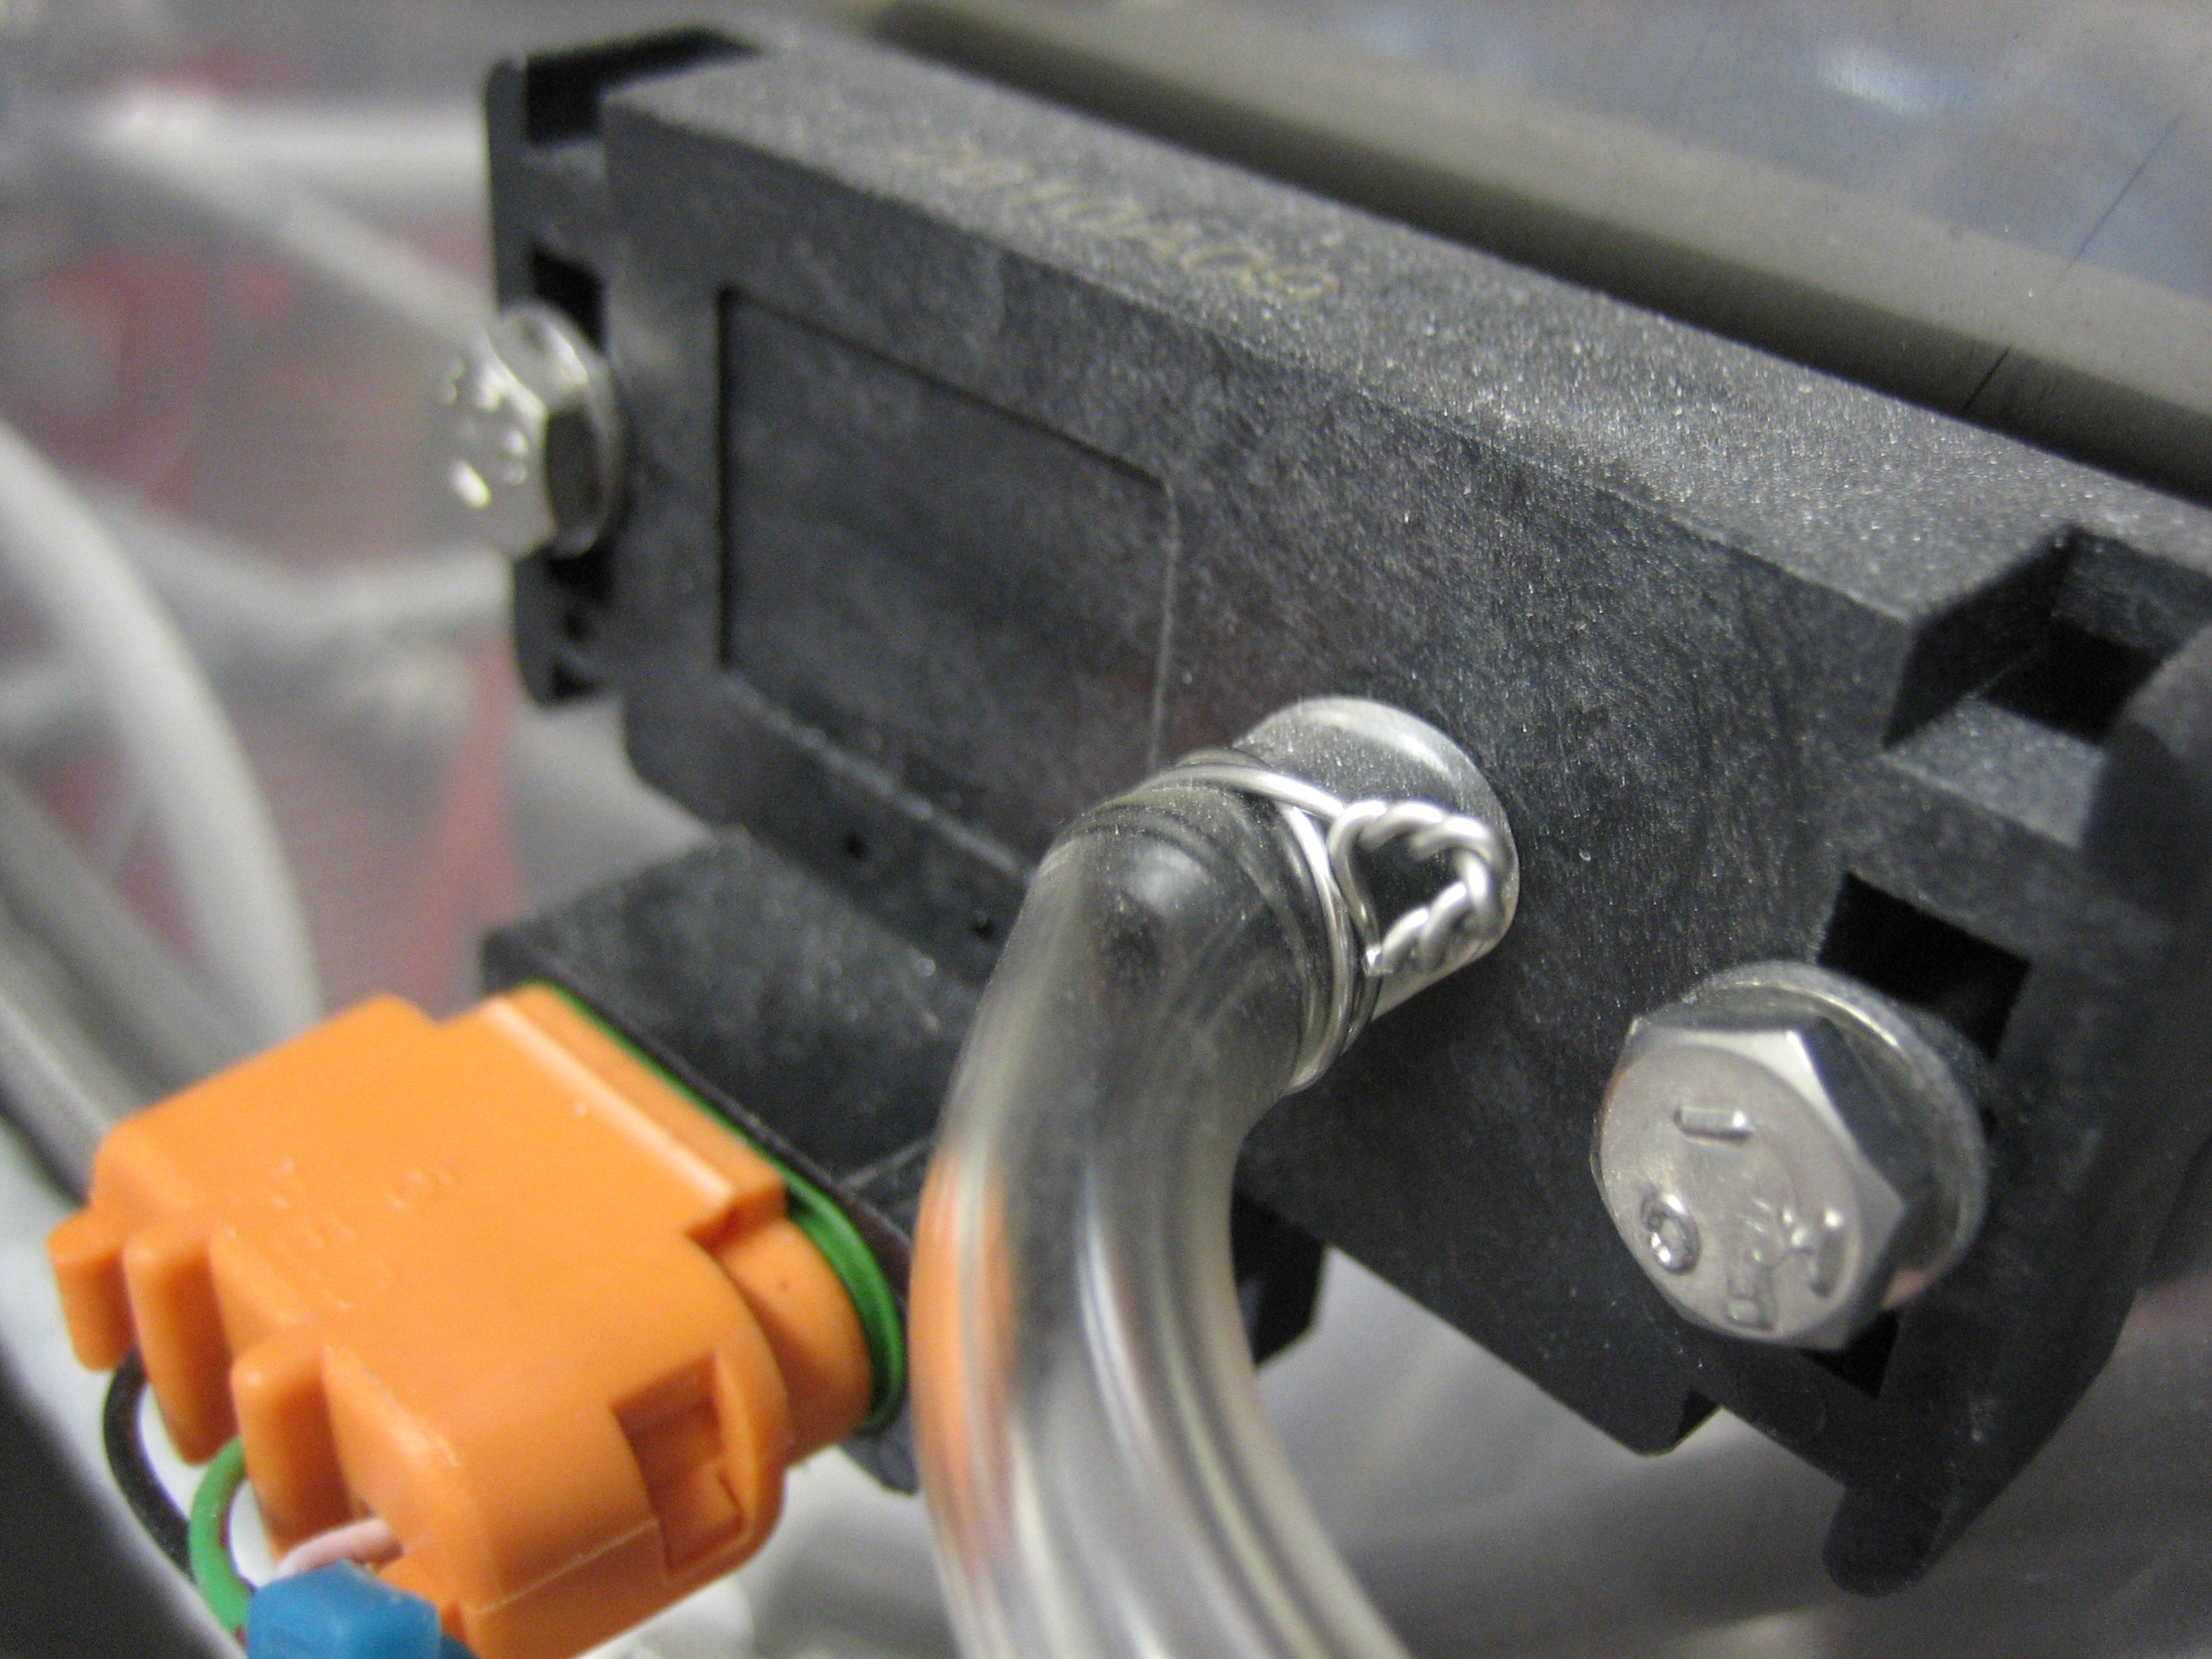
The tube going to the Dynon manifold pressure sensor was a little loose (although it was tight when I originally installed it). I used a couple of wraps of safety wire to tighten this up nicely.
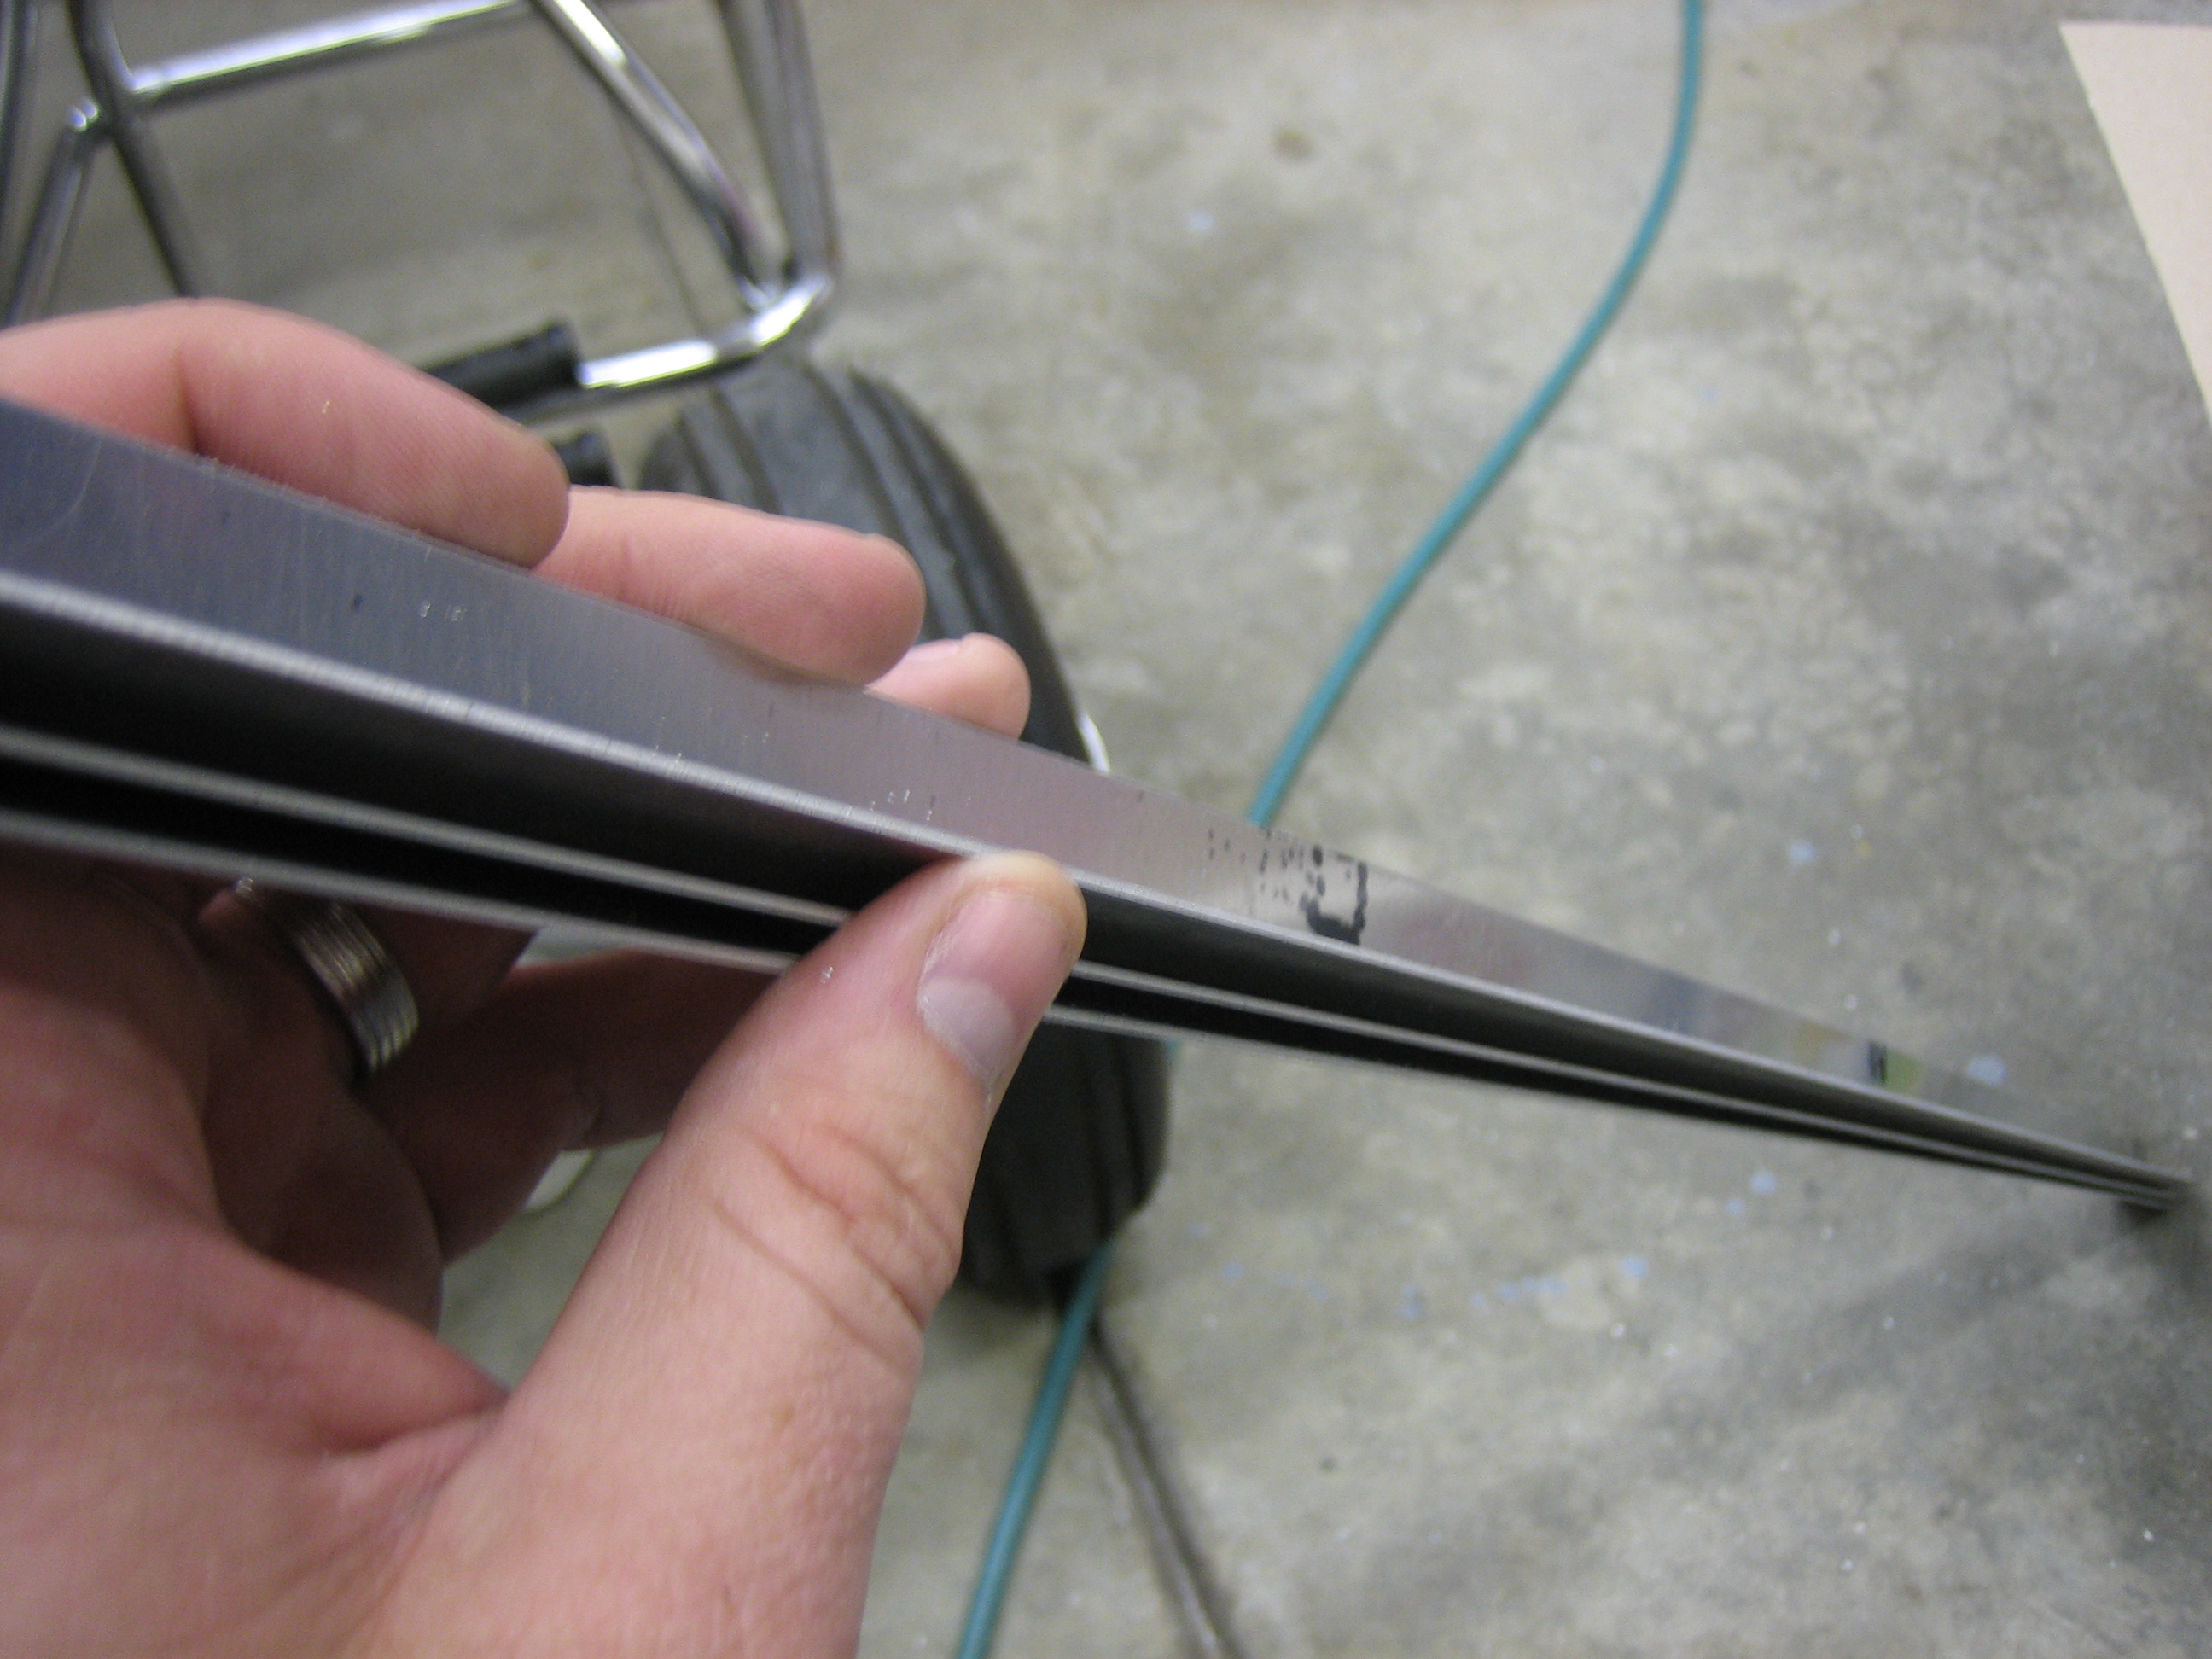
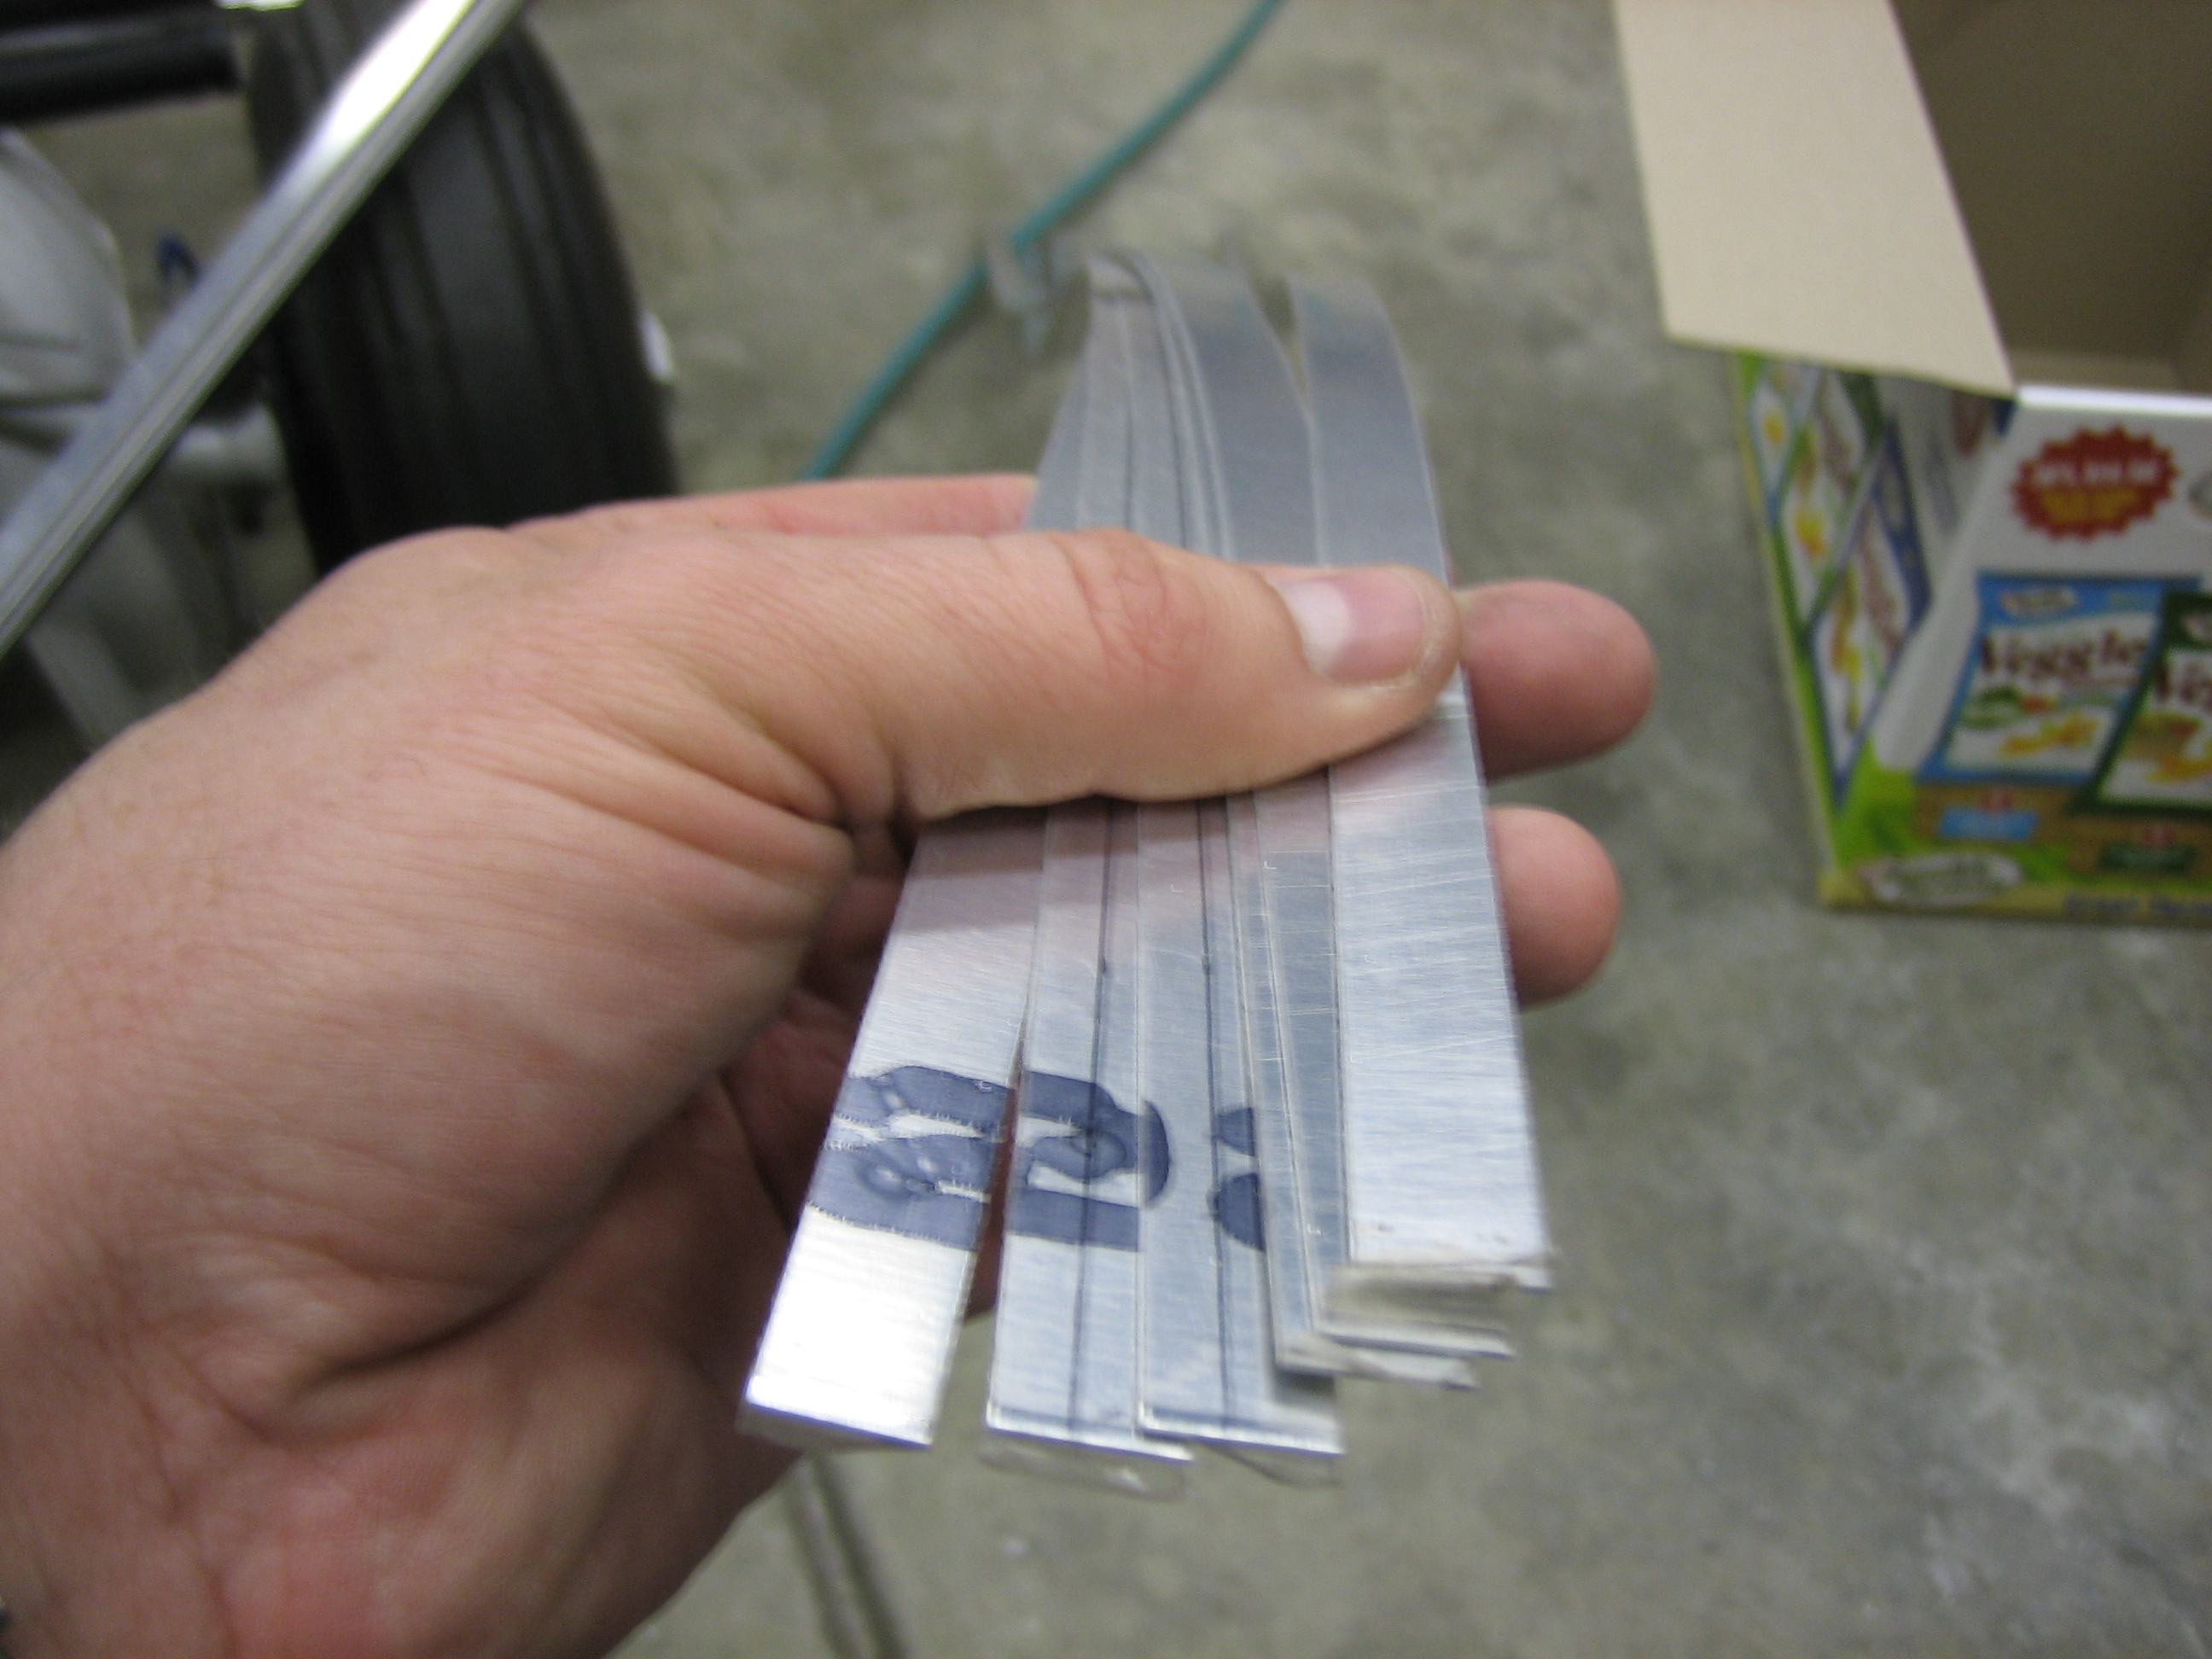
To space the wingtip hinges away from the skin, I need a couple of 0.024″ spacers under each hinge. I cut a few of these by hand, but that was a real pain and it really twisted them up. I recently got a lifetime membership to the TechShop, so I ran down there and used their shear to cut 6 more 1/2″ wide strips. Even counting the drive, this was way faster than doing this with snips (not to mention how much easier it was on my hands).
While I was there, I cut some 1.5″ wide strips of 0.040″ and bend them to 90º on the bending brake. These will be installed on the baffles to provide a mounting flange for the plenum over the engine.