I received some interior lights from pilotlights.net. They were great to work with and even through in a couple of small bonus products with my order. I’m trying to use all dual color (white/green) interior lights. From the research I’ve done, everyone is moving away from the old standard of red for cockpit lighting at night. Although it did fine at preserving your night vision, it makes reading maps really hard. The military has moved to green, but research has shown that a really dim white light is actually best for preserving night vision while still giving you the best visual clarity.
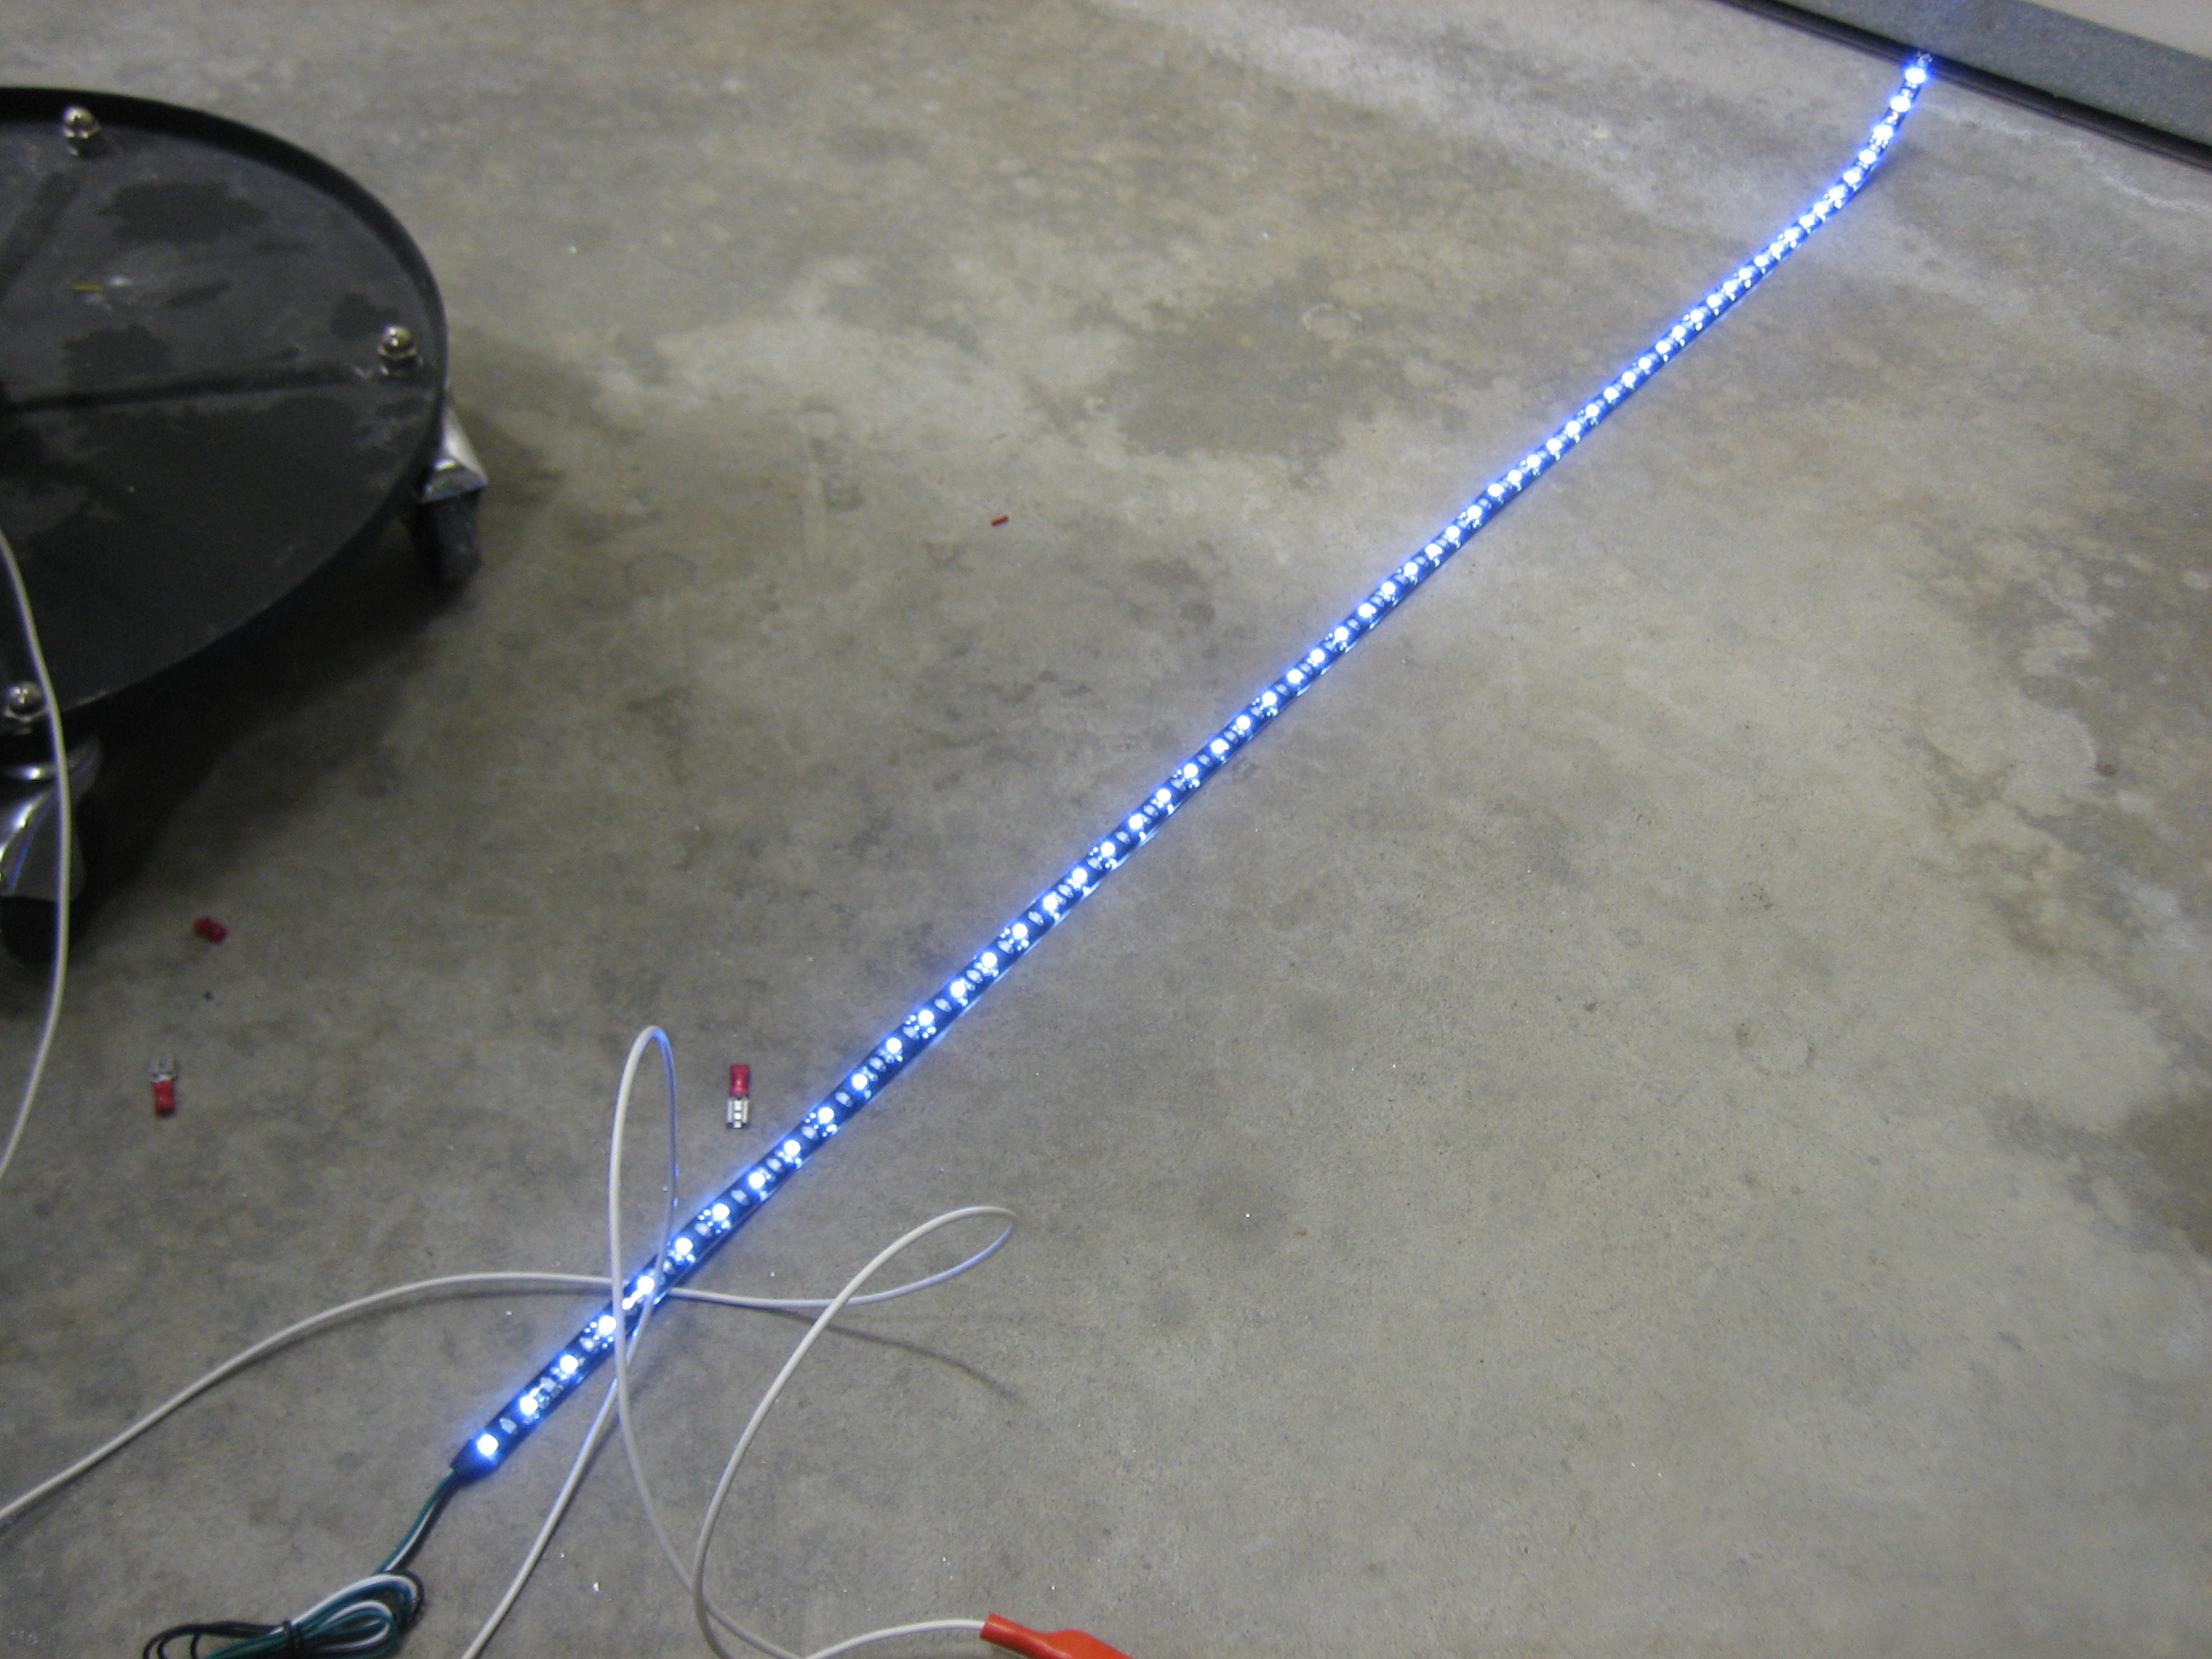
Here’s the LED light strip I’m going to use under the glareshield (this is the 12V, high-power, dual-color white/green strip). This is with just the white LEDs illuminated at full power. It’s hard to capture with a camera, but this is definitely more light than you’d need in a cockpit.
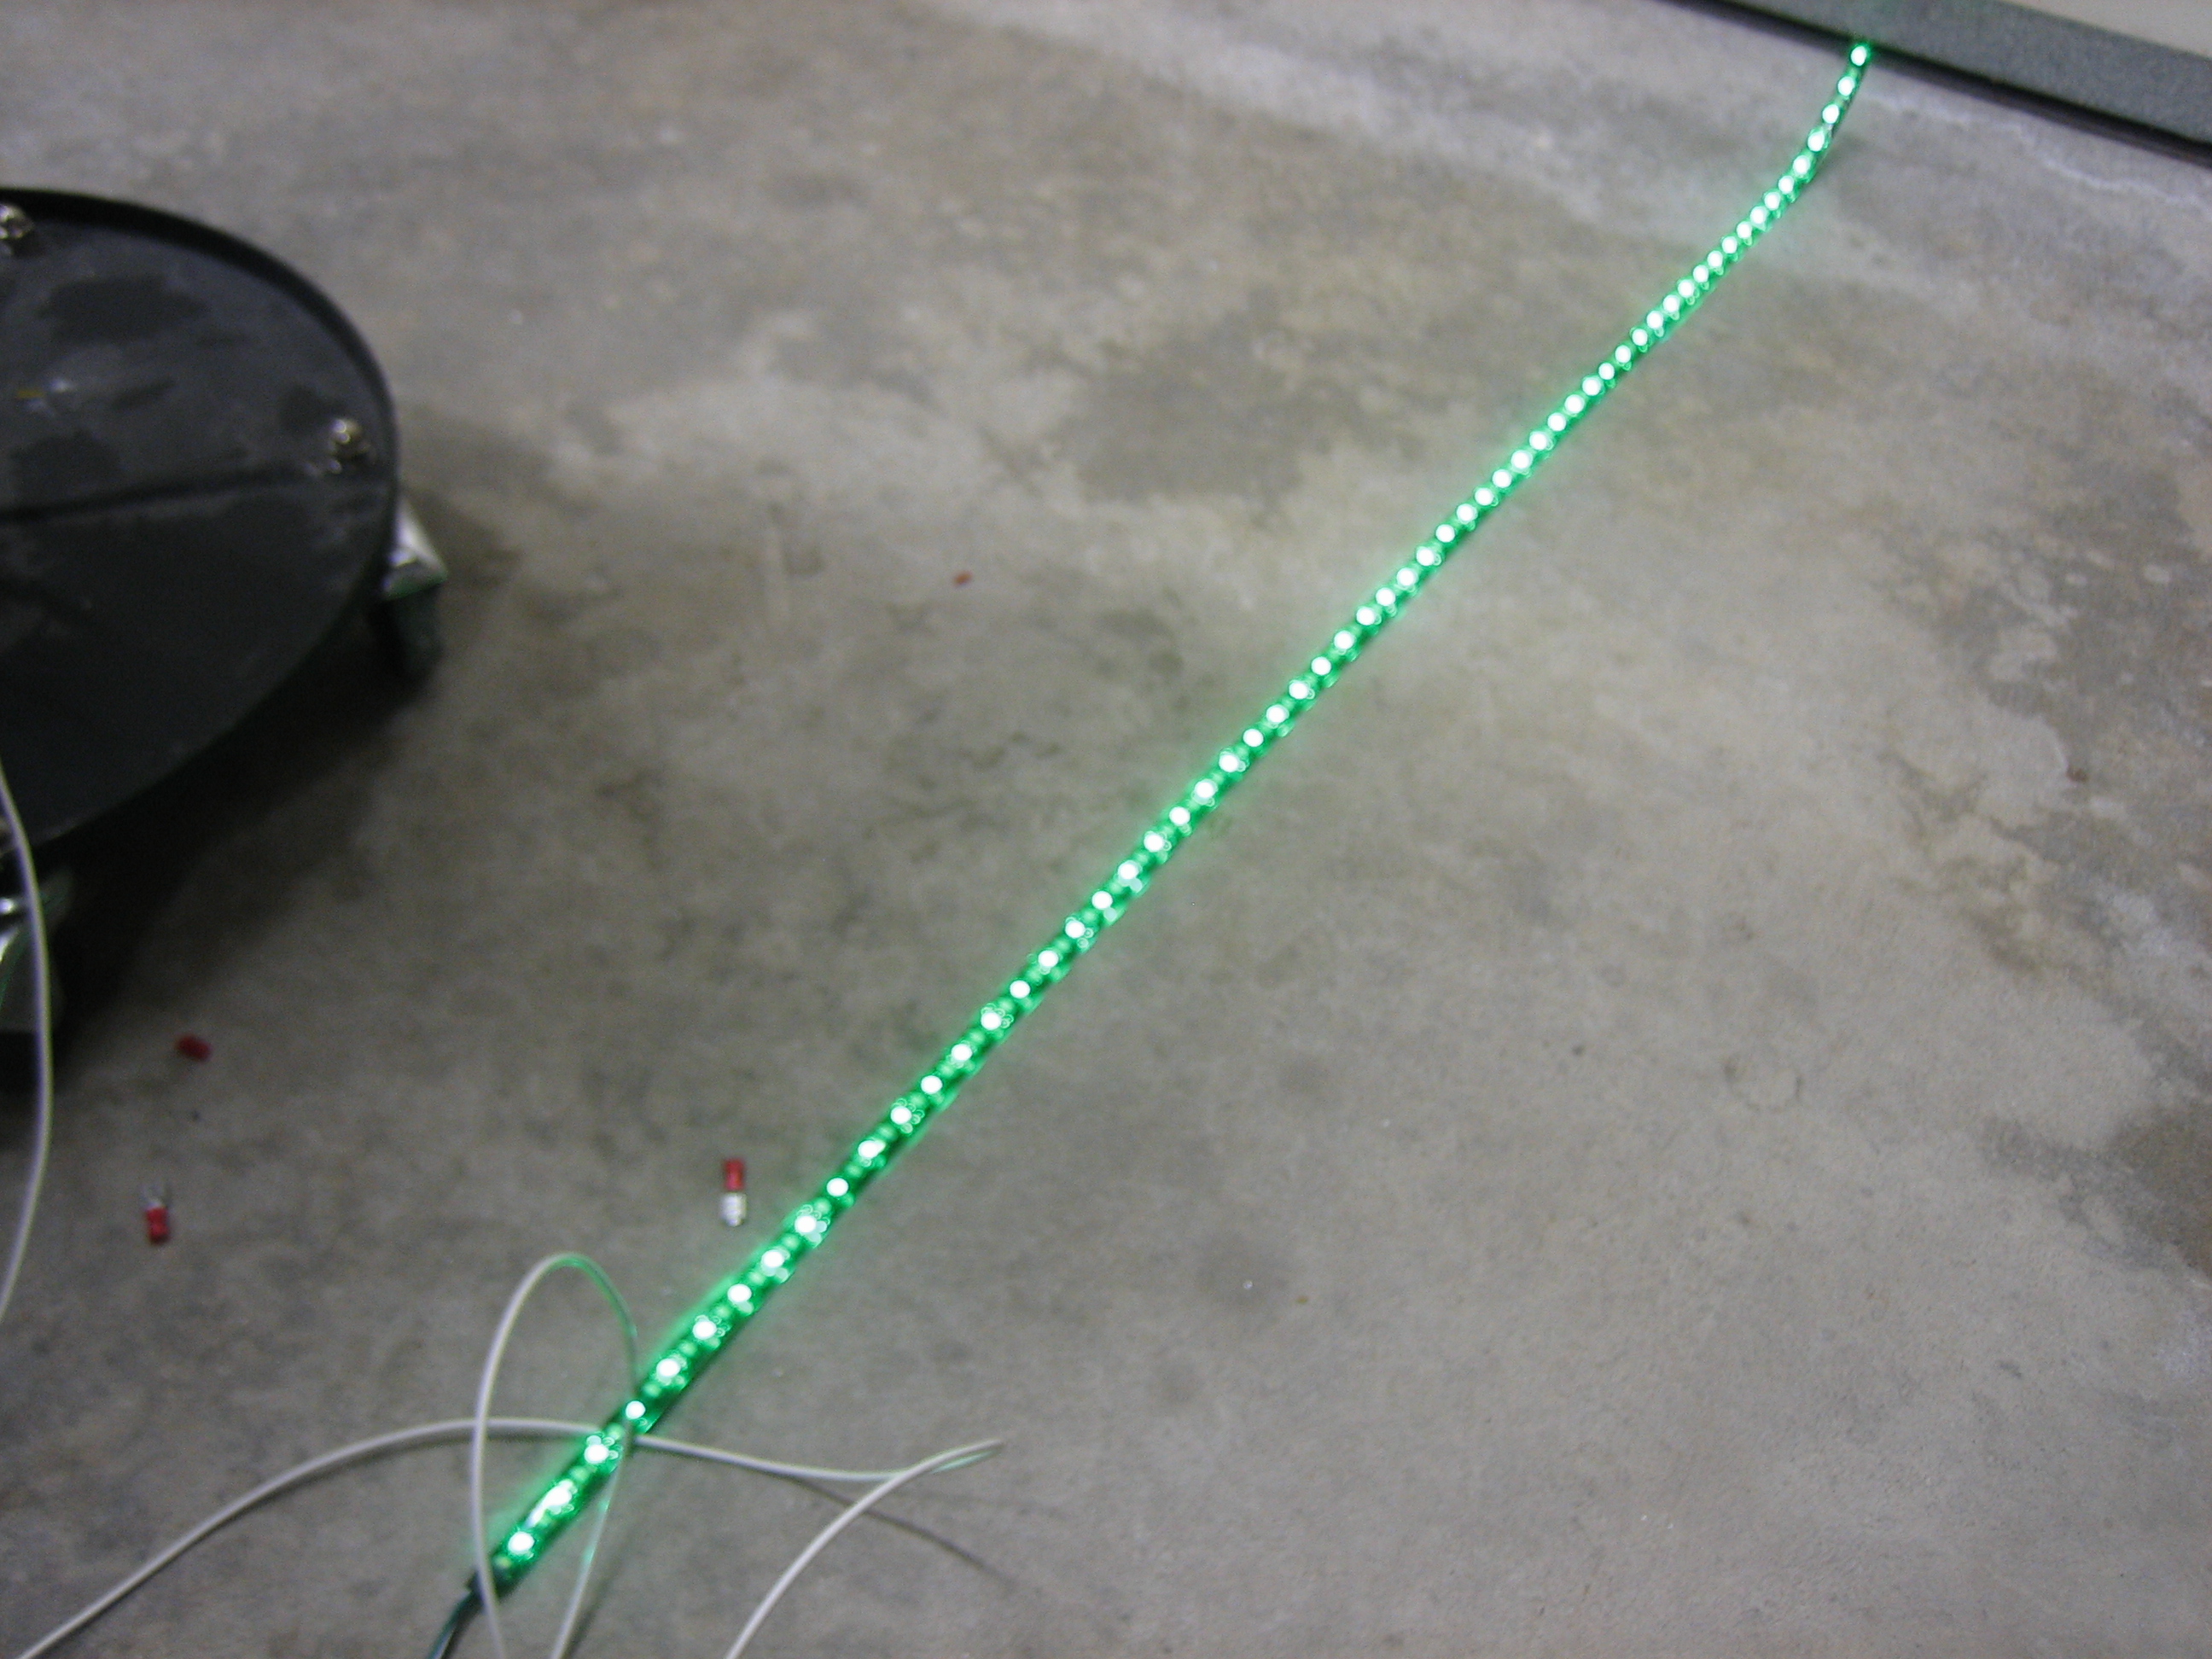
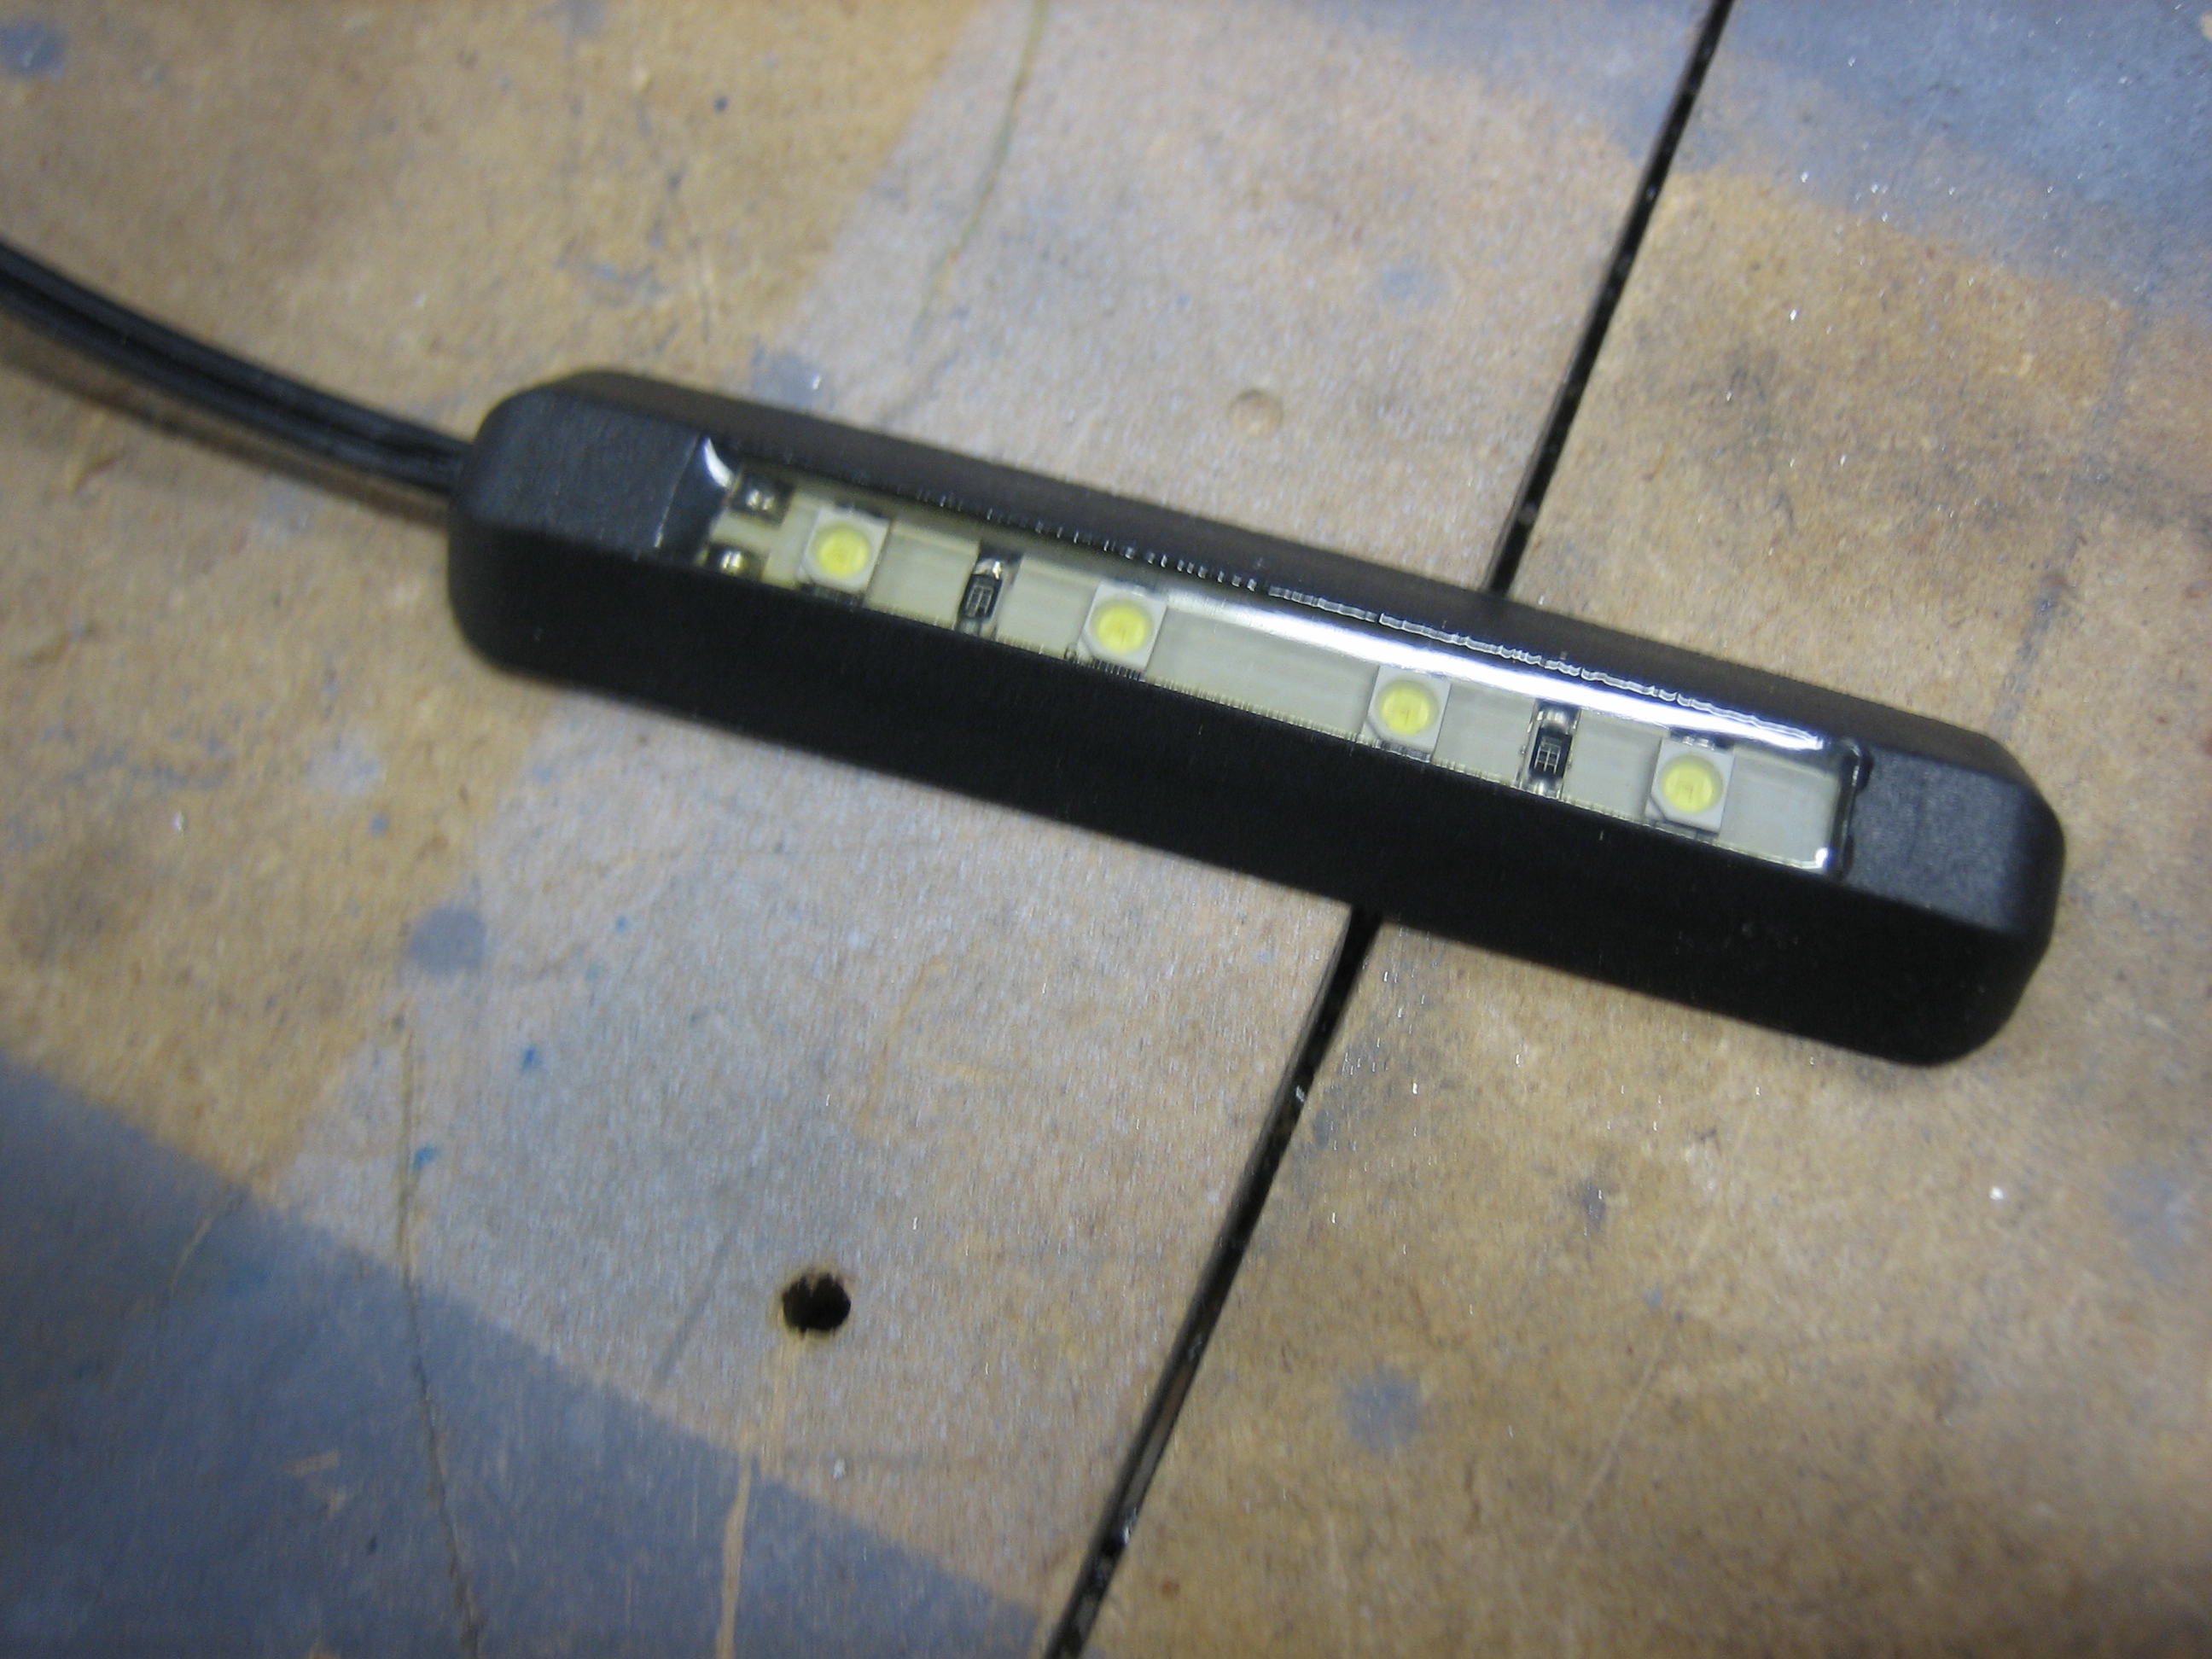
Here it is with just the green LEDs illuminated.
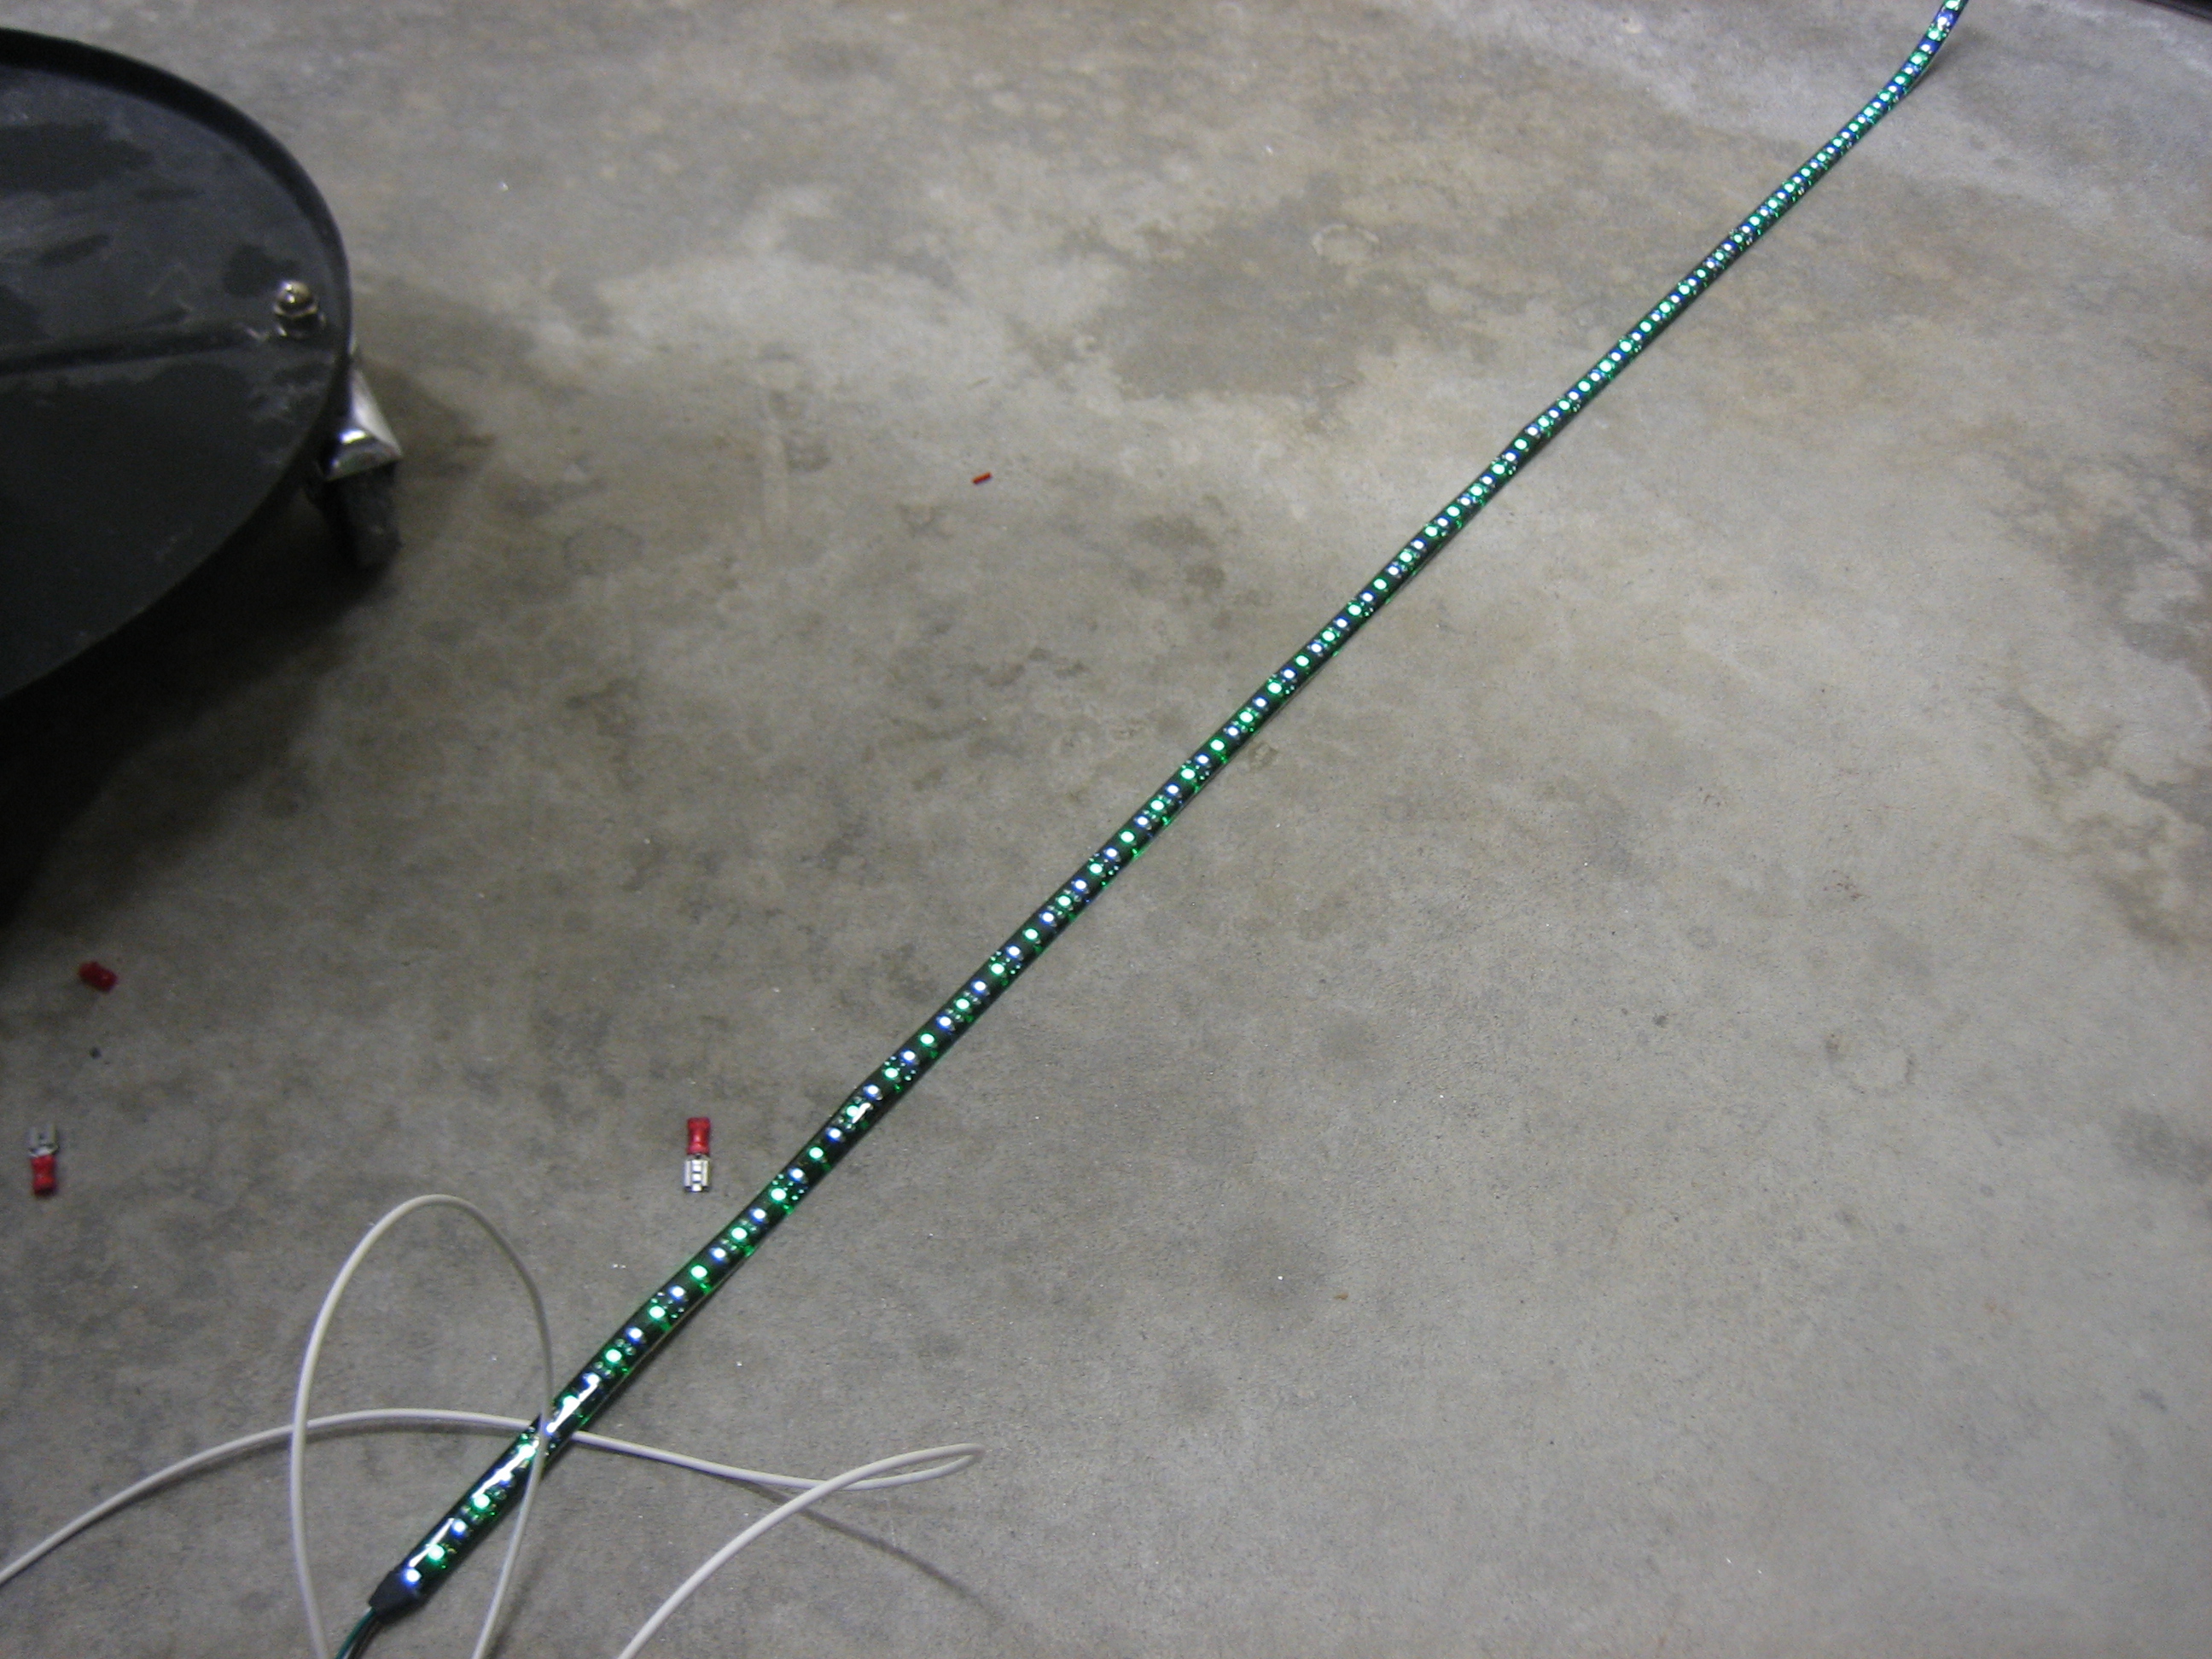
And here it is with both (although I’m not going to wire it in the plane with the ability to light both colors at the same time).

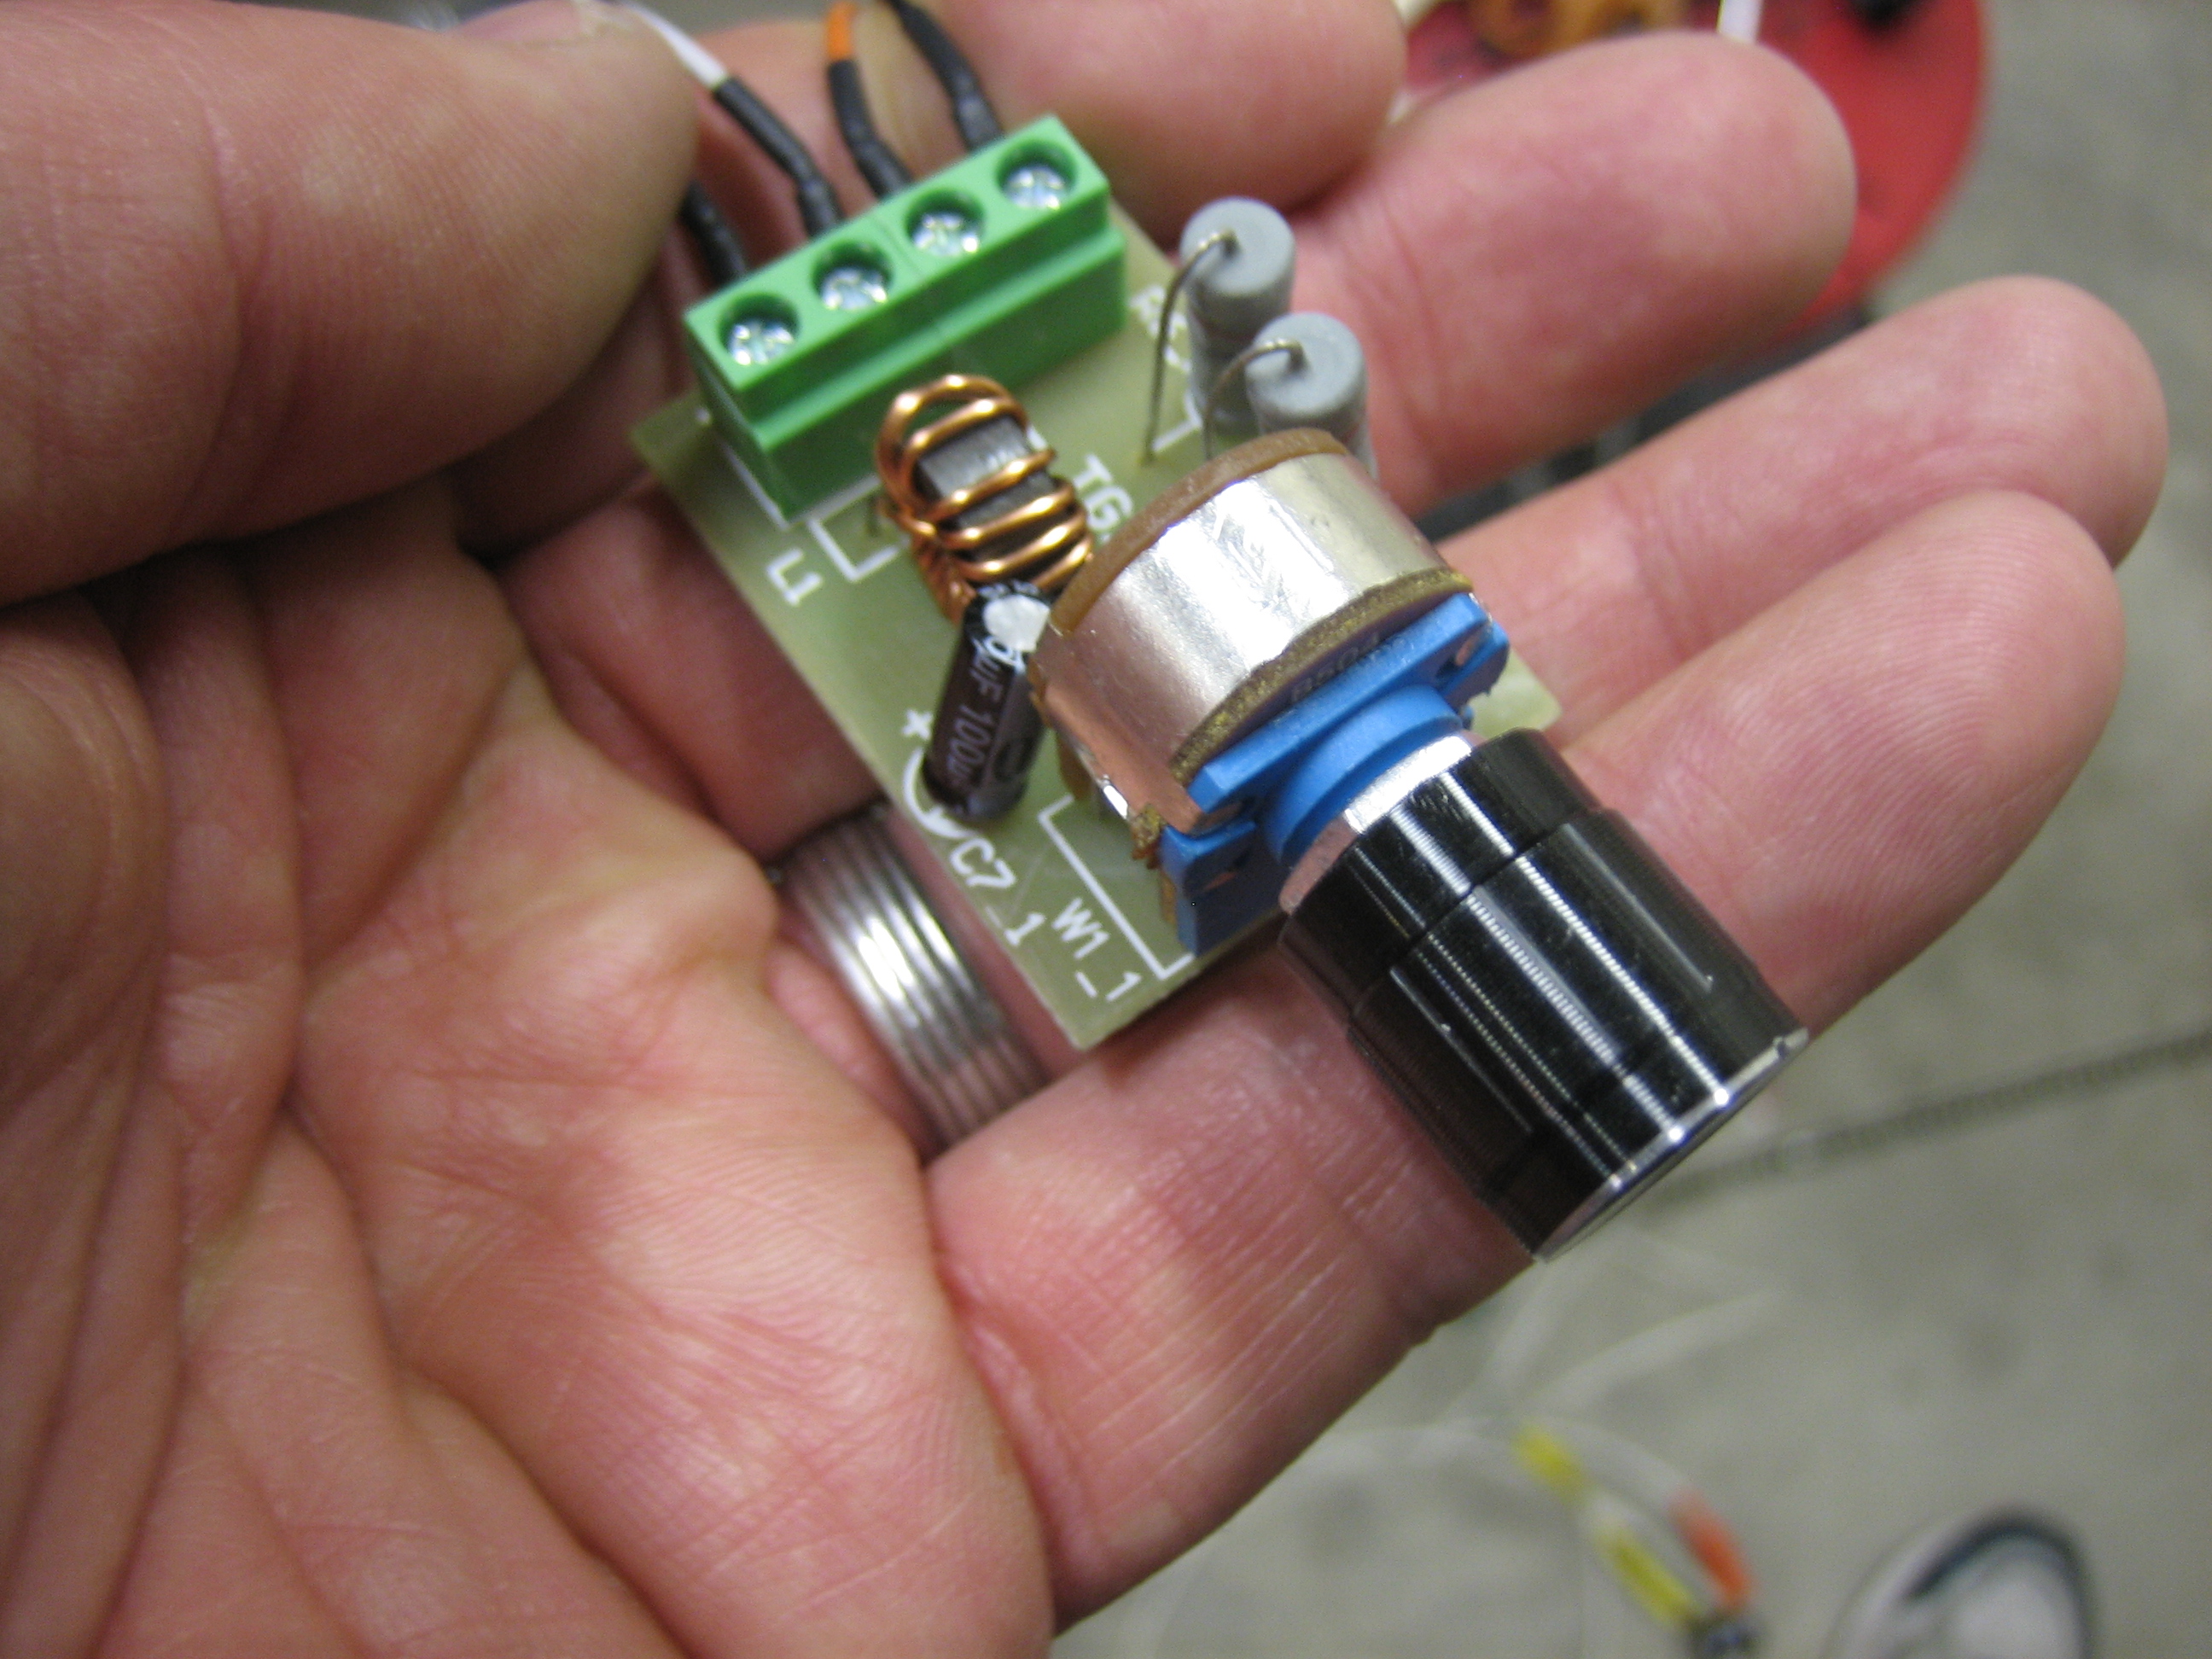
Using one of the PWM dimmers (also from pilotlights.net), you can dim the light down pretty far, but not quite far enough. A dropping resistor of 150? or so makes the range just about perfect. You can dim almost down to off and the brightest setting is still plenty bright.
Here’s the PWM dimmer I’m using. I bought three of these to replace the ones I purchased from periheliondesign.com. The more I played with those, the less I liked them. The lights flickered as you ramped up and down through the brightness range and putting the resistors to cap the low and high voltages wouldn’t expand the range of the dimming knob which means you would have to turn the knob a bit before it would come off the low dim setting and you’d hit the bright setting long before hitting the upper end of the knob’s range. These PWM dimmers ramp smoothly across the whole range of the knob. They also come with a much nicer machined aluminum knob instead of the plastic one on the dimmer from periheliondesign.com.
I also picked up this little four LED white light. I’m going to put a dropping resistor on this and use it to cast a very dim light in the footwell.
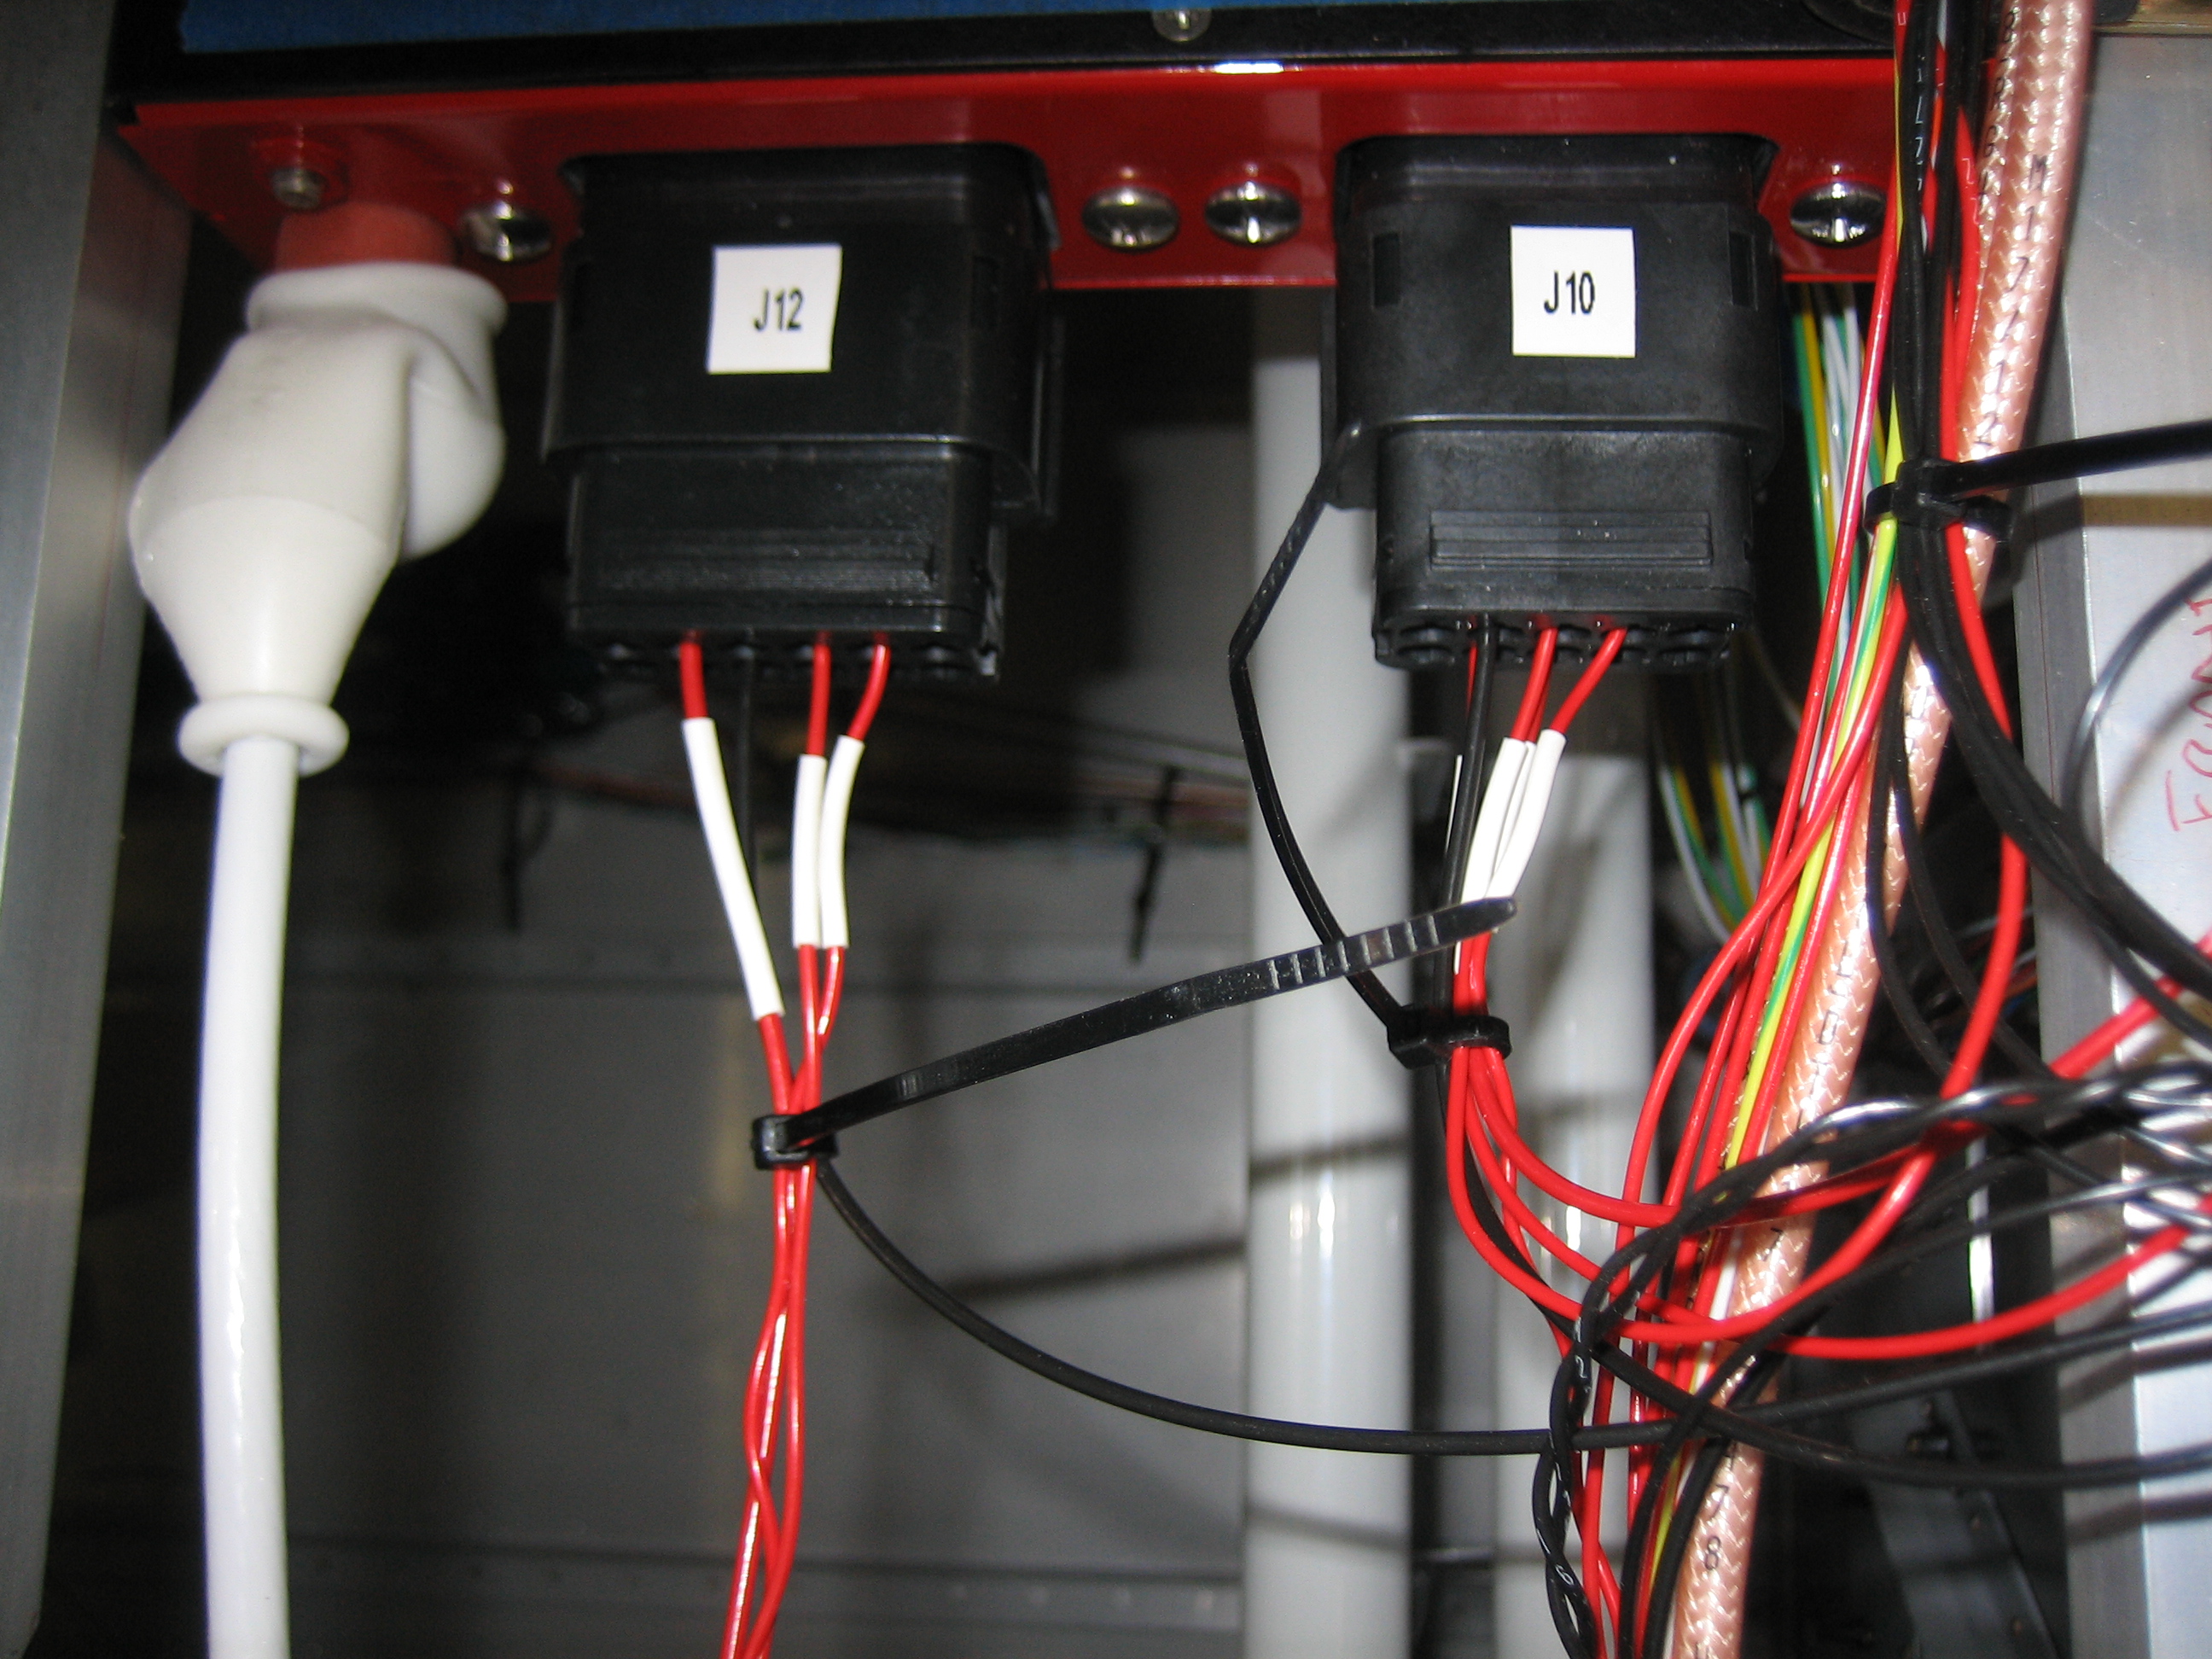
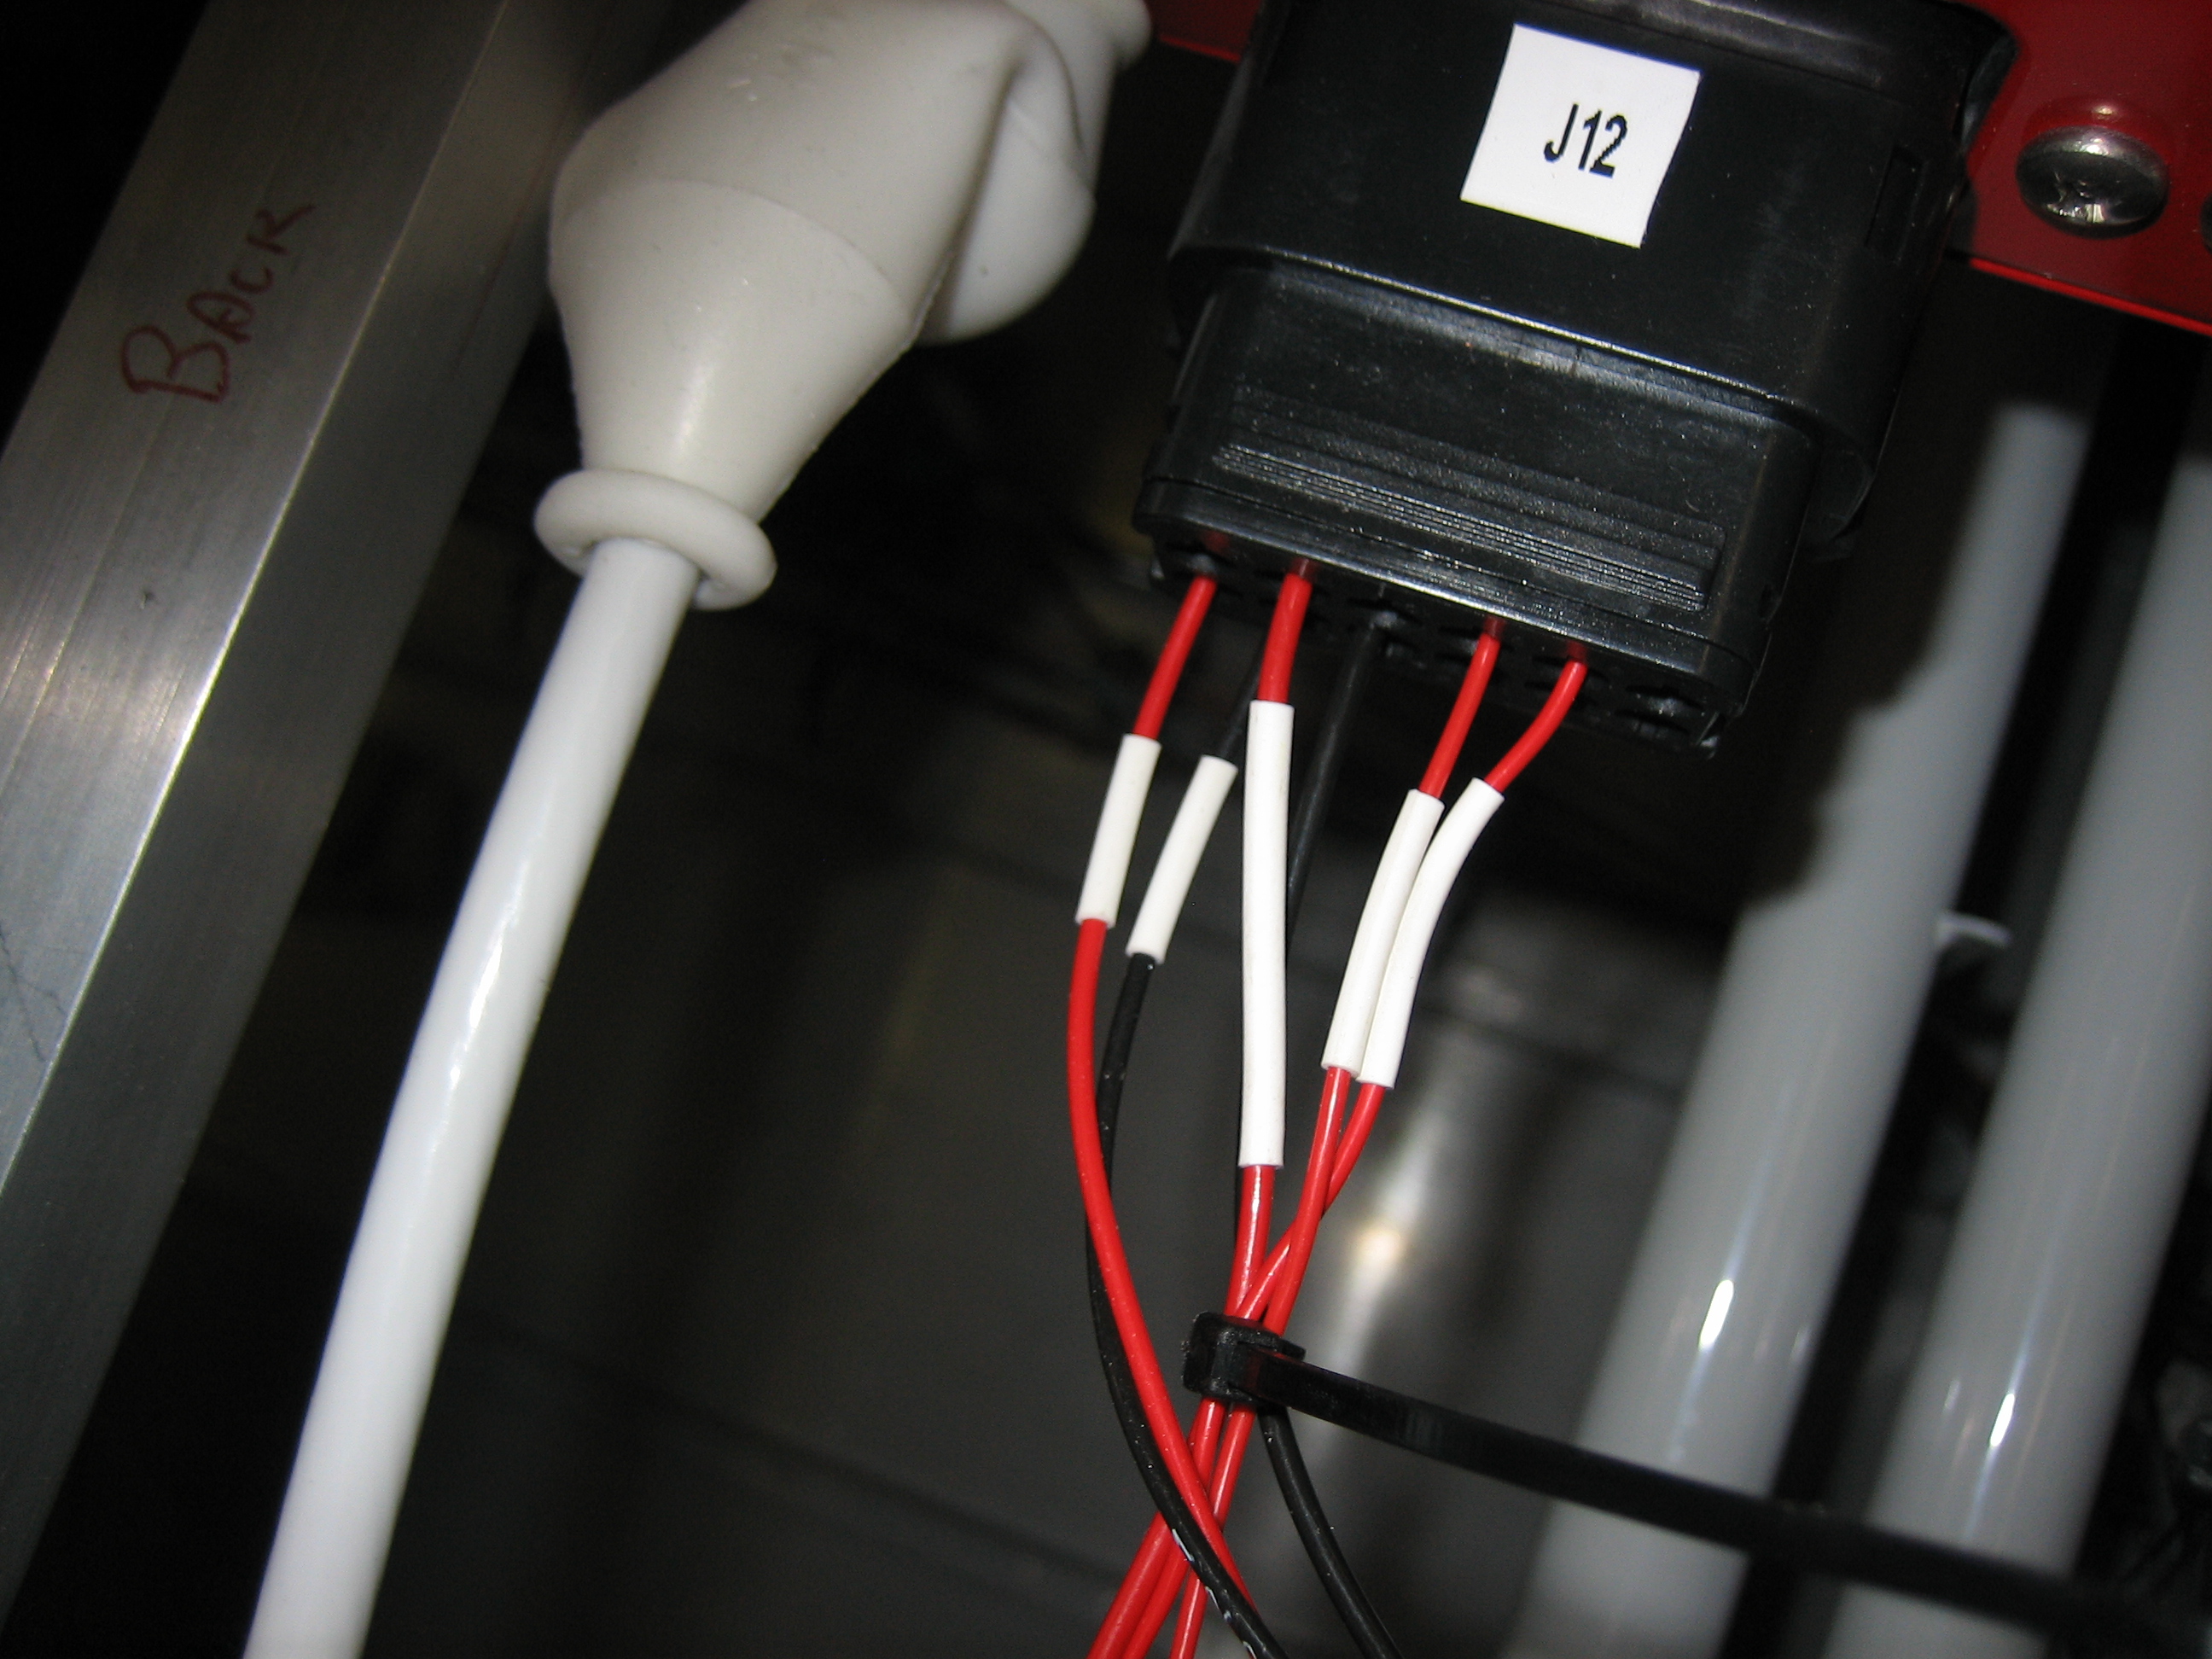
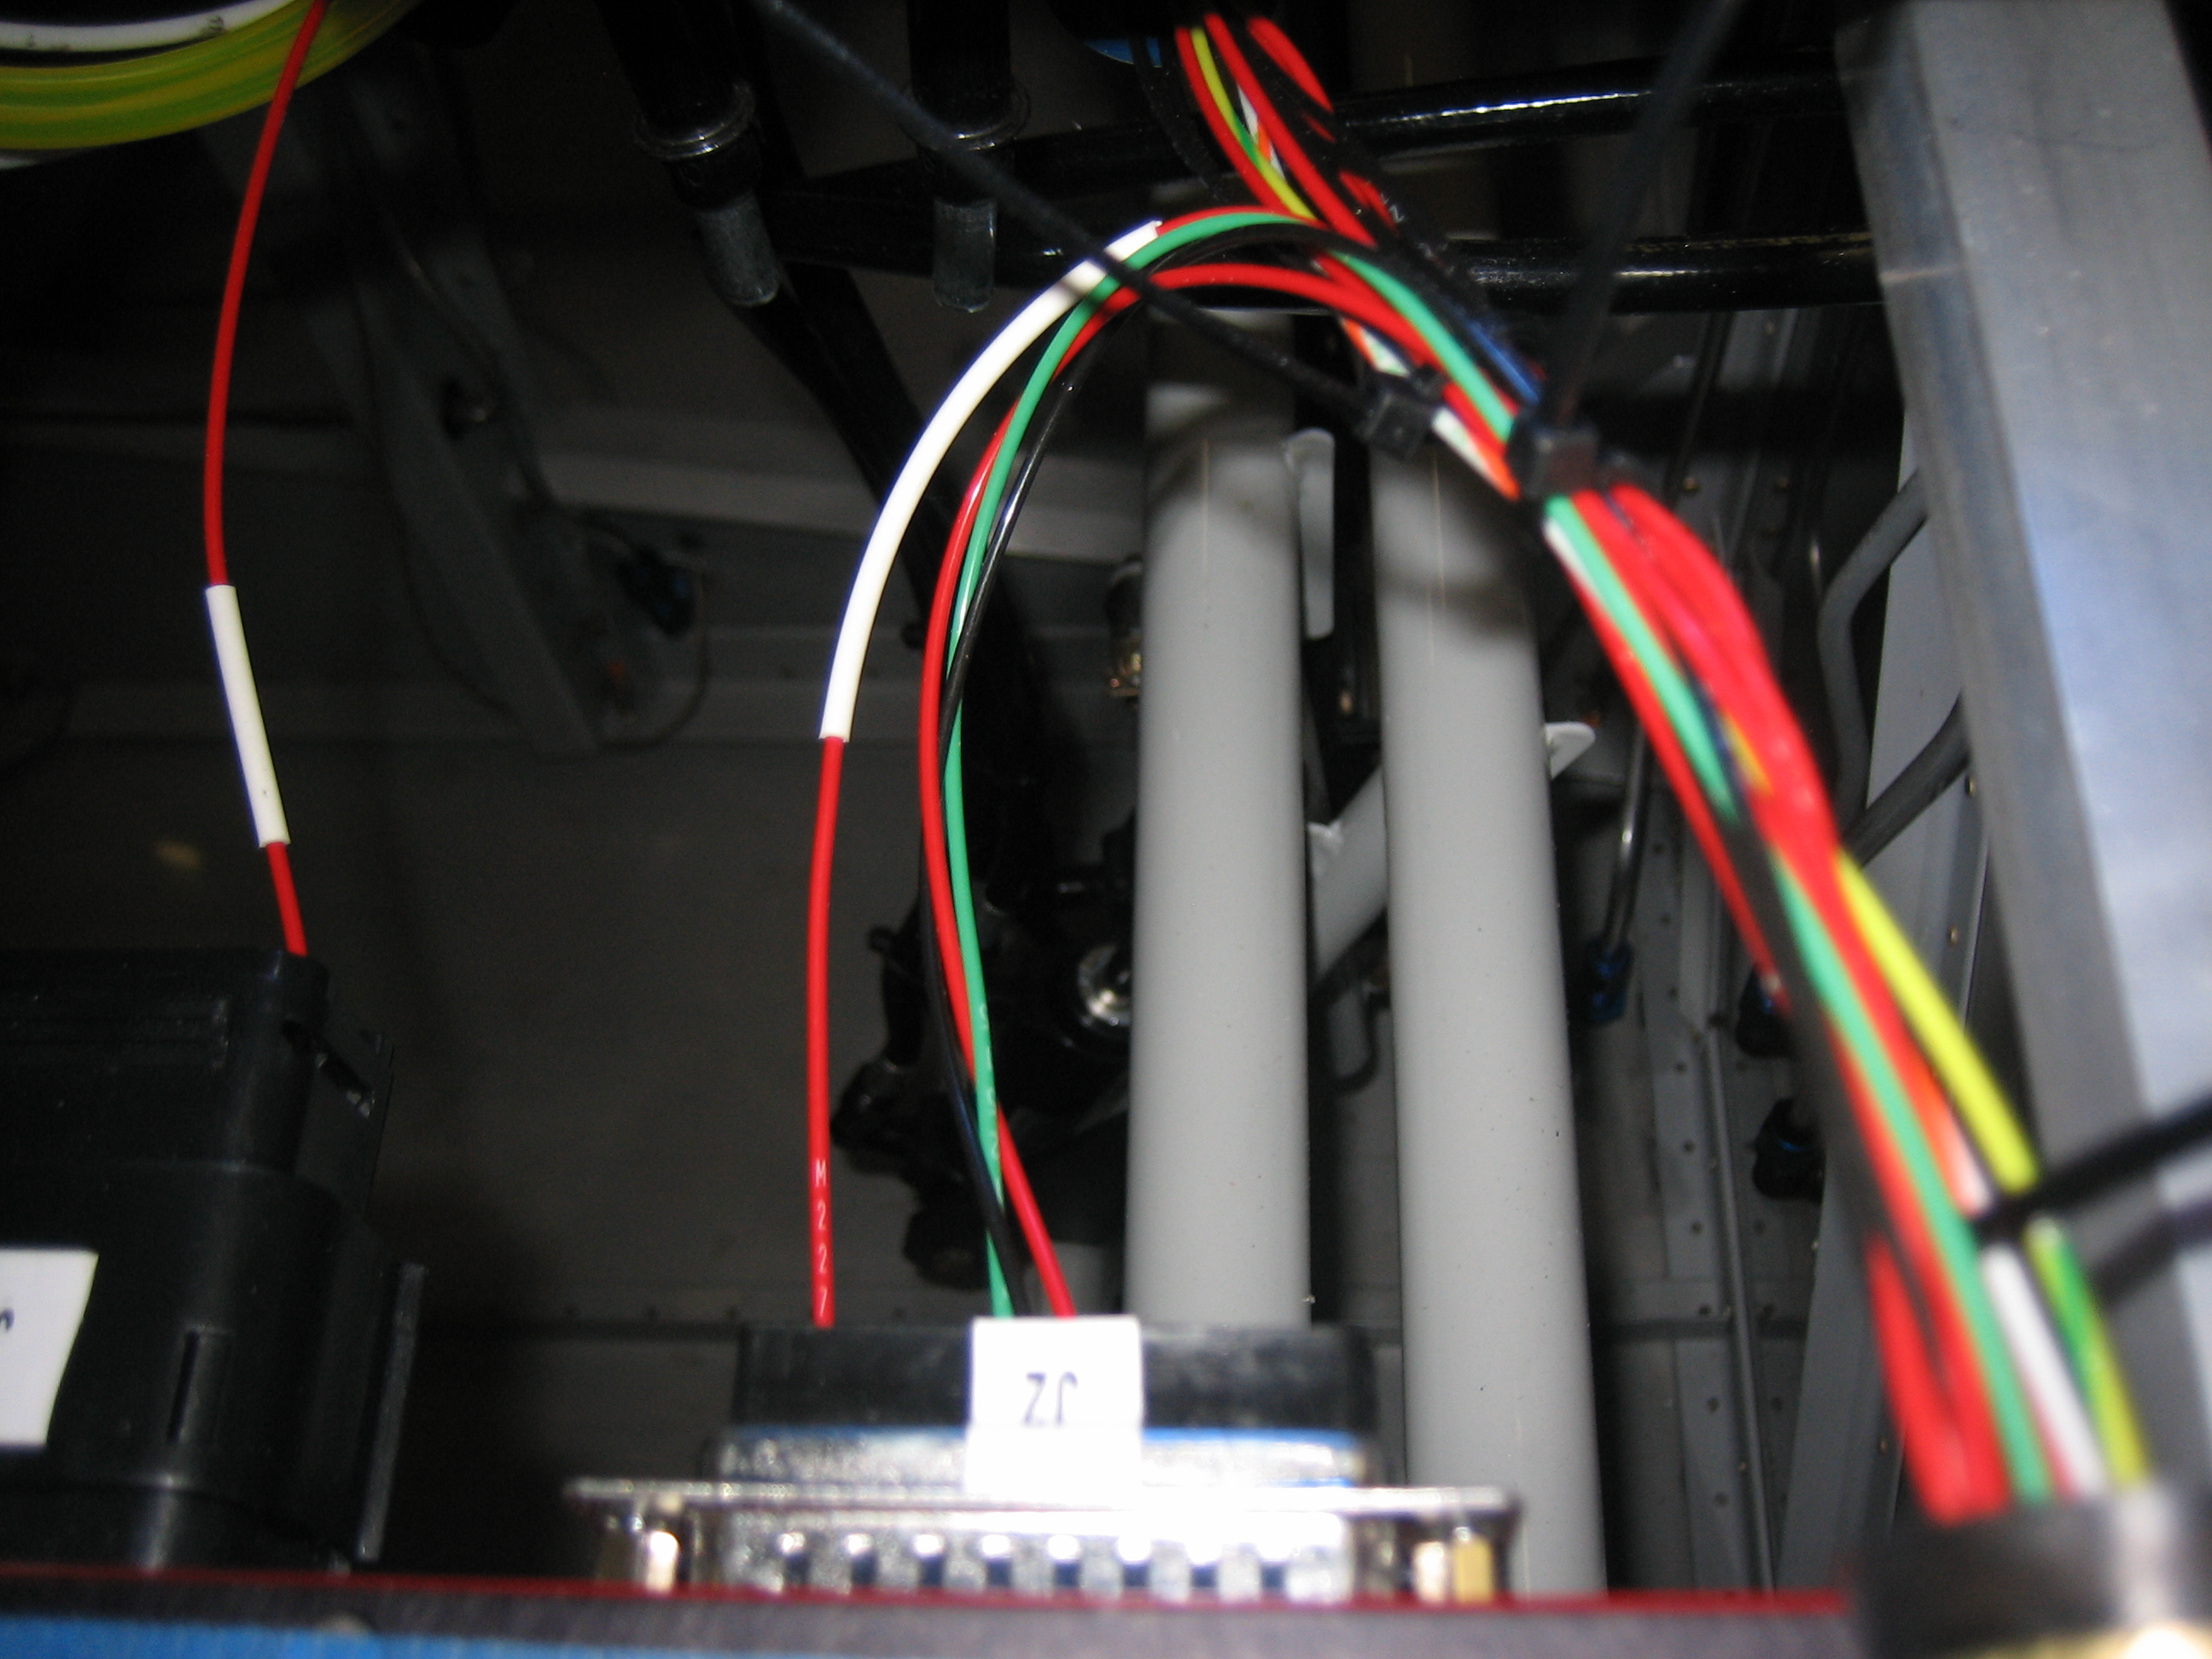
I also went ahead and hooked up the four SkyView power wires to various pins on J10 and J12. Each SkyView has one power wire going to bank A and one going to bank B for redundancy.