After soldering all the wires to the control stick switches, I slipped some expandable sleeving and finished the end with heat shrink. This is the copilot’s PTT button.
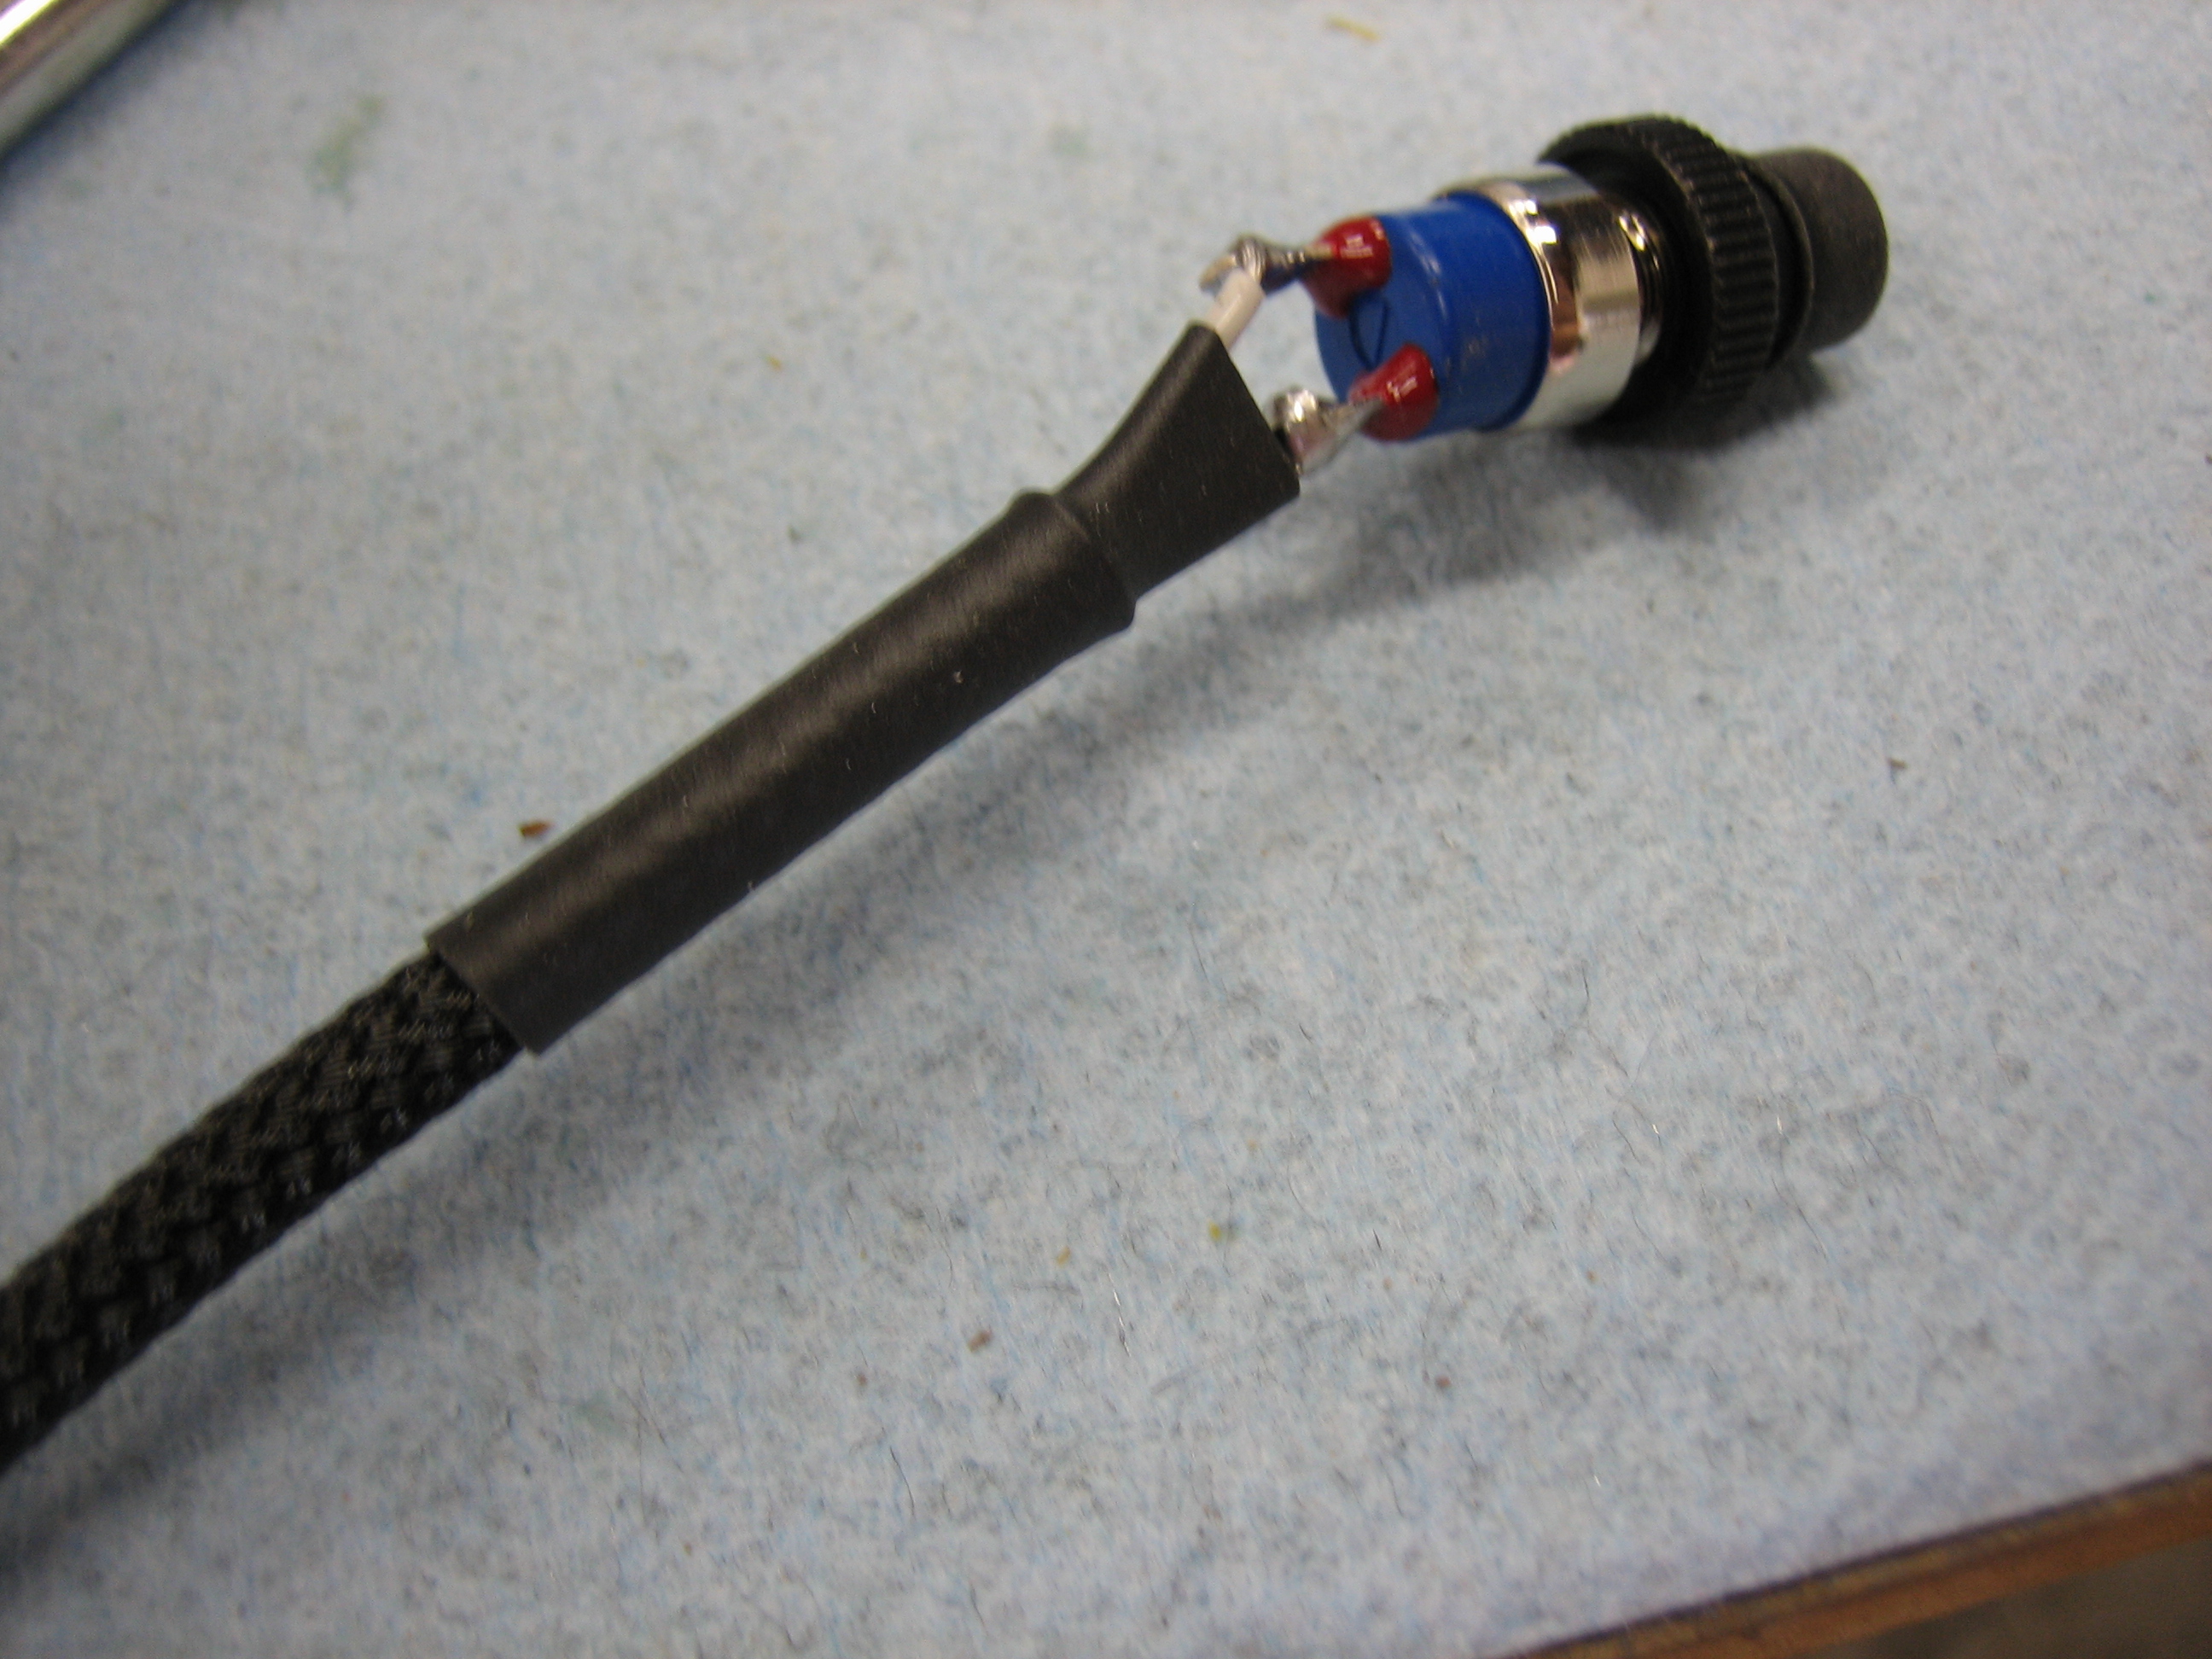
The copilot’s stick is removable, so the PTT switch needs a connector in it at the joint in the stick. I’m using a small 0.062″ 2 circuit plug. The wire will exit between the rod ends at the bottom of the stick. I added a layer of heat shrink around the sleeving where it passes between the rod ends to provide an extra measure of abrasion resistance.
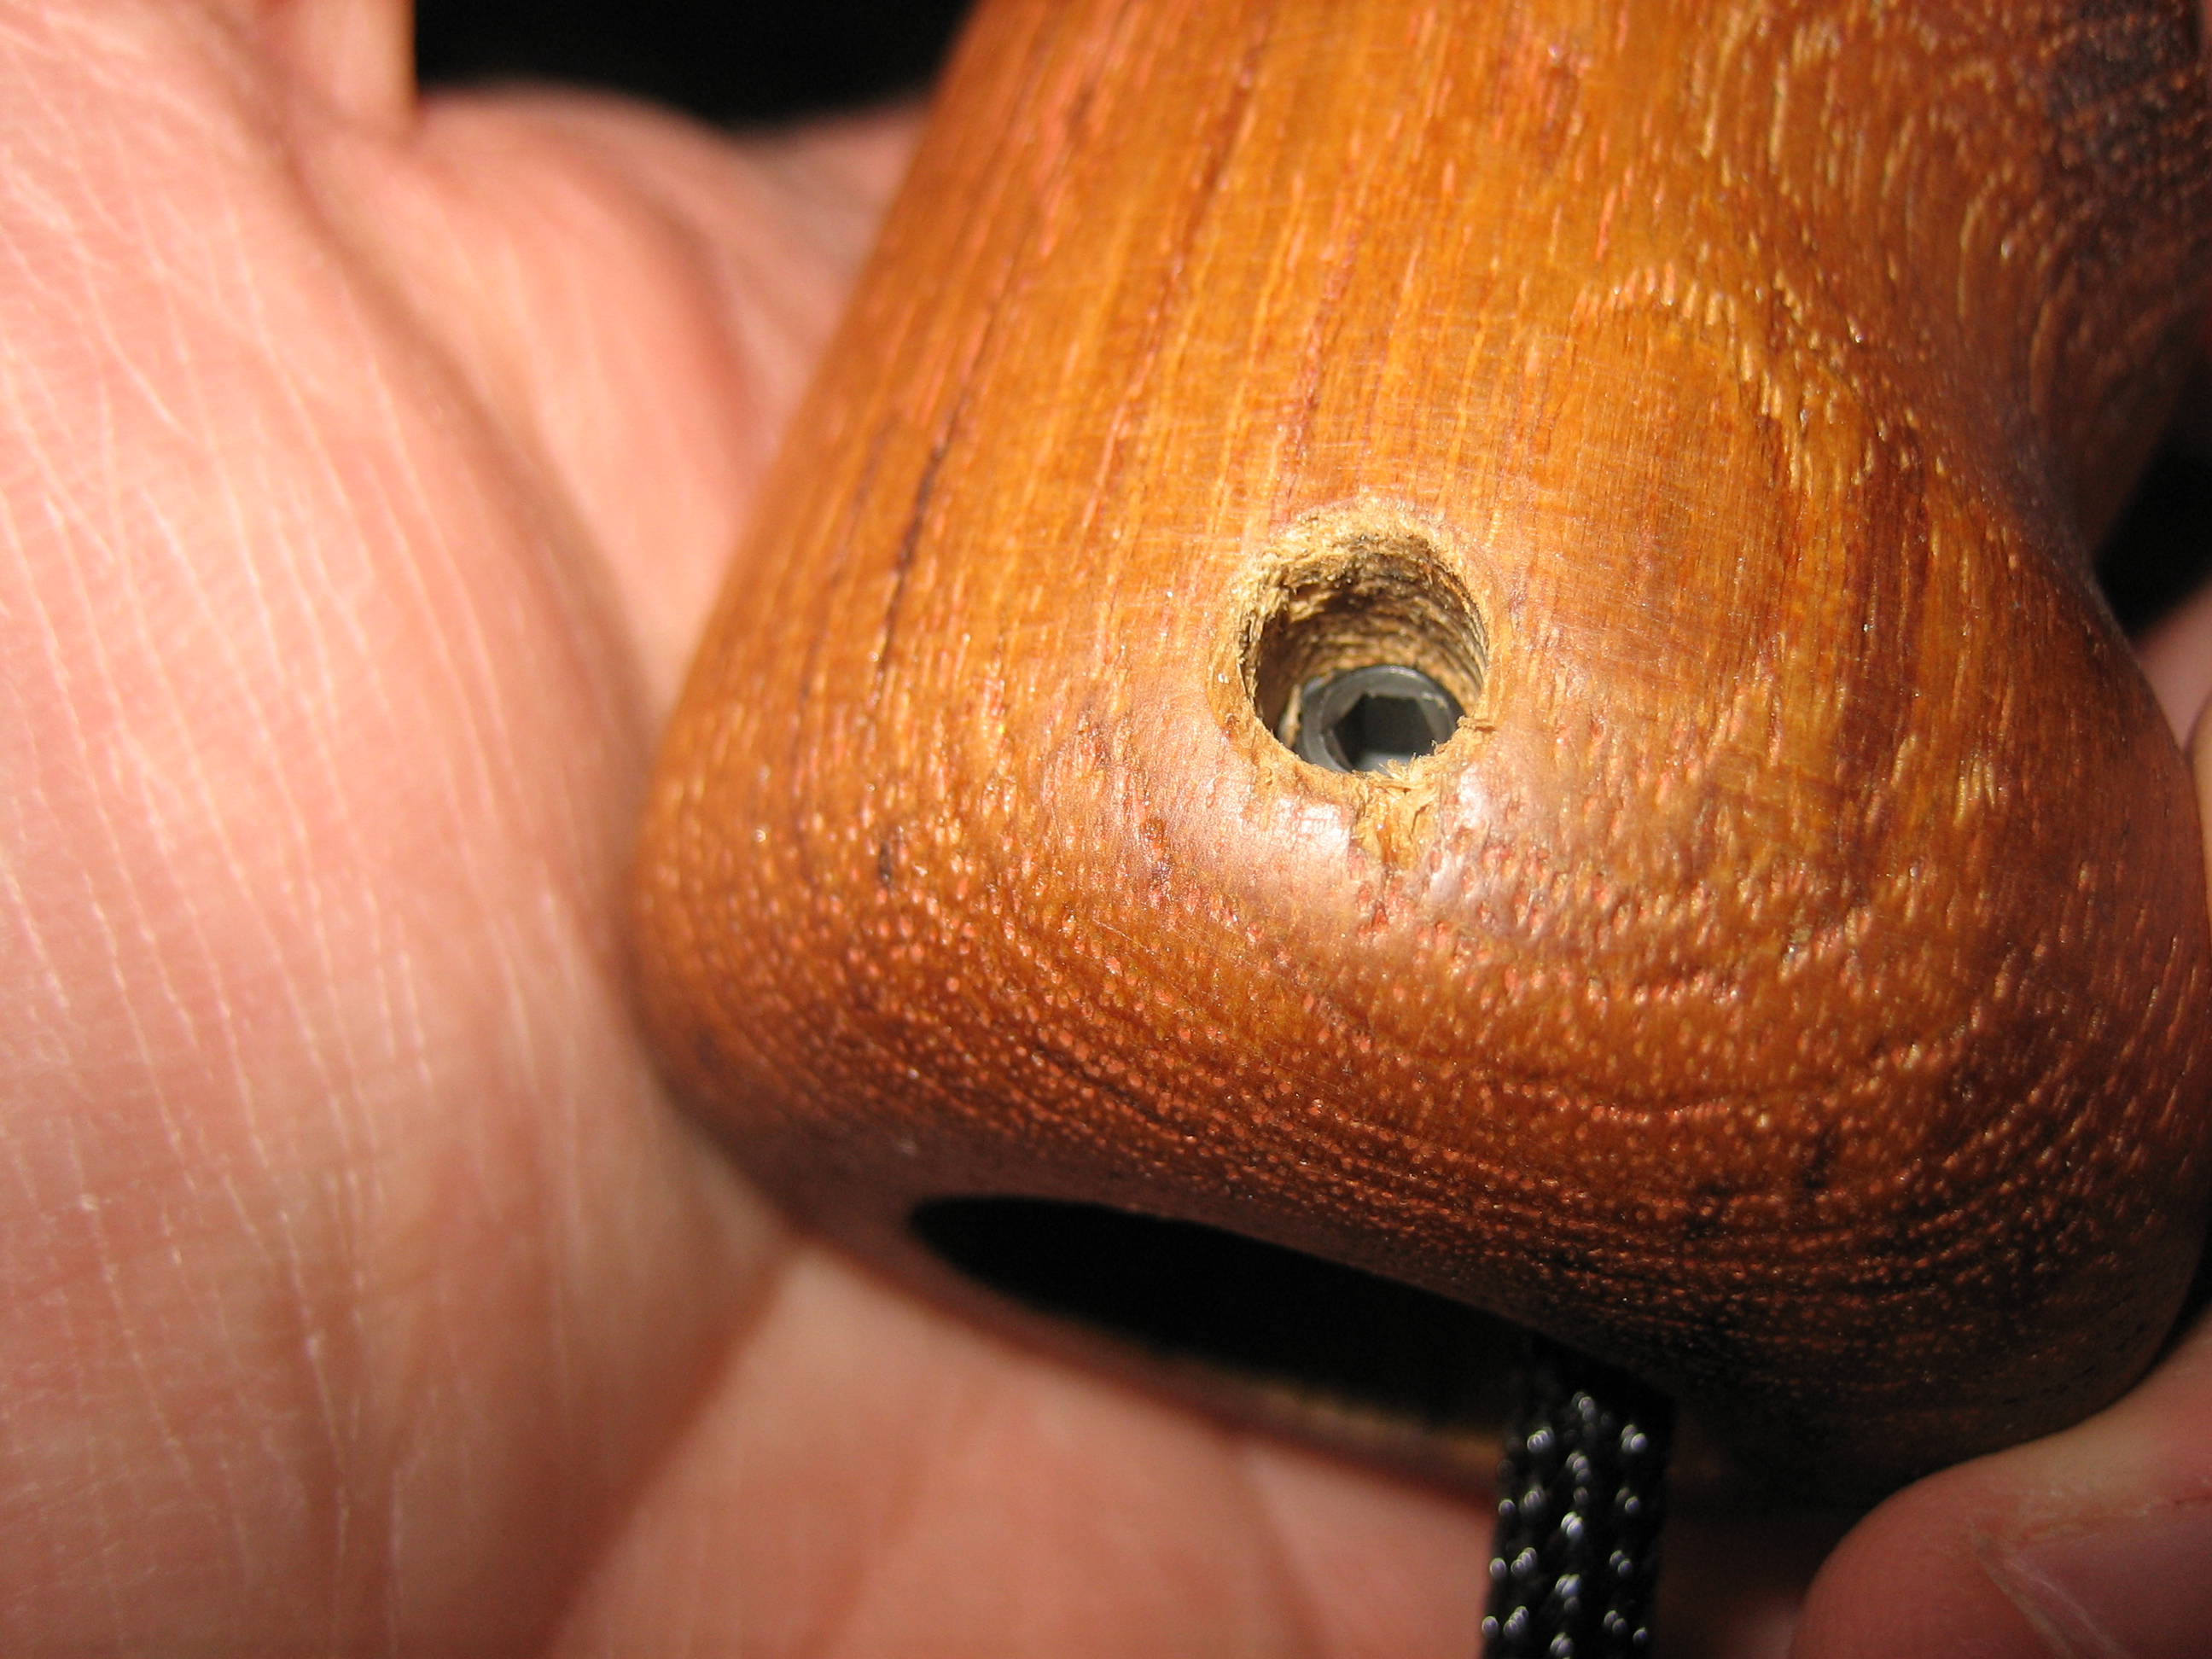
I drilled both control stick grips and epoxied in some small 8-32 t-nuts.
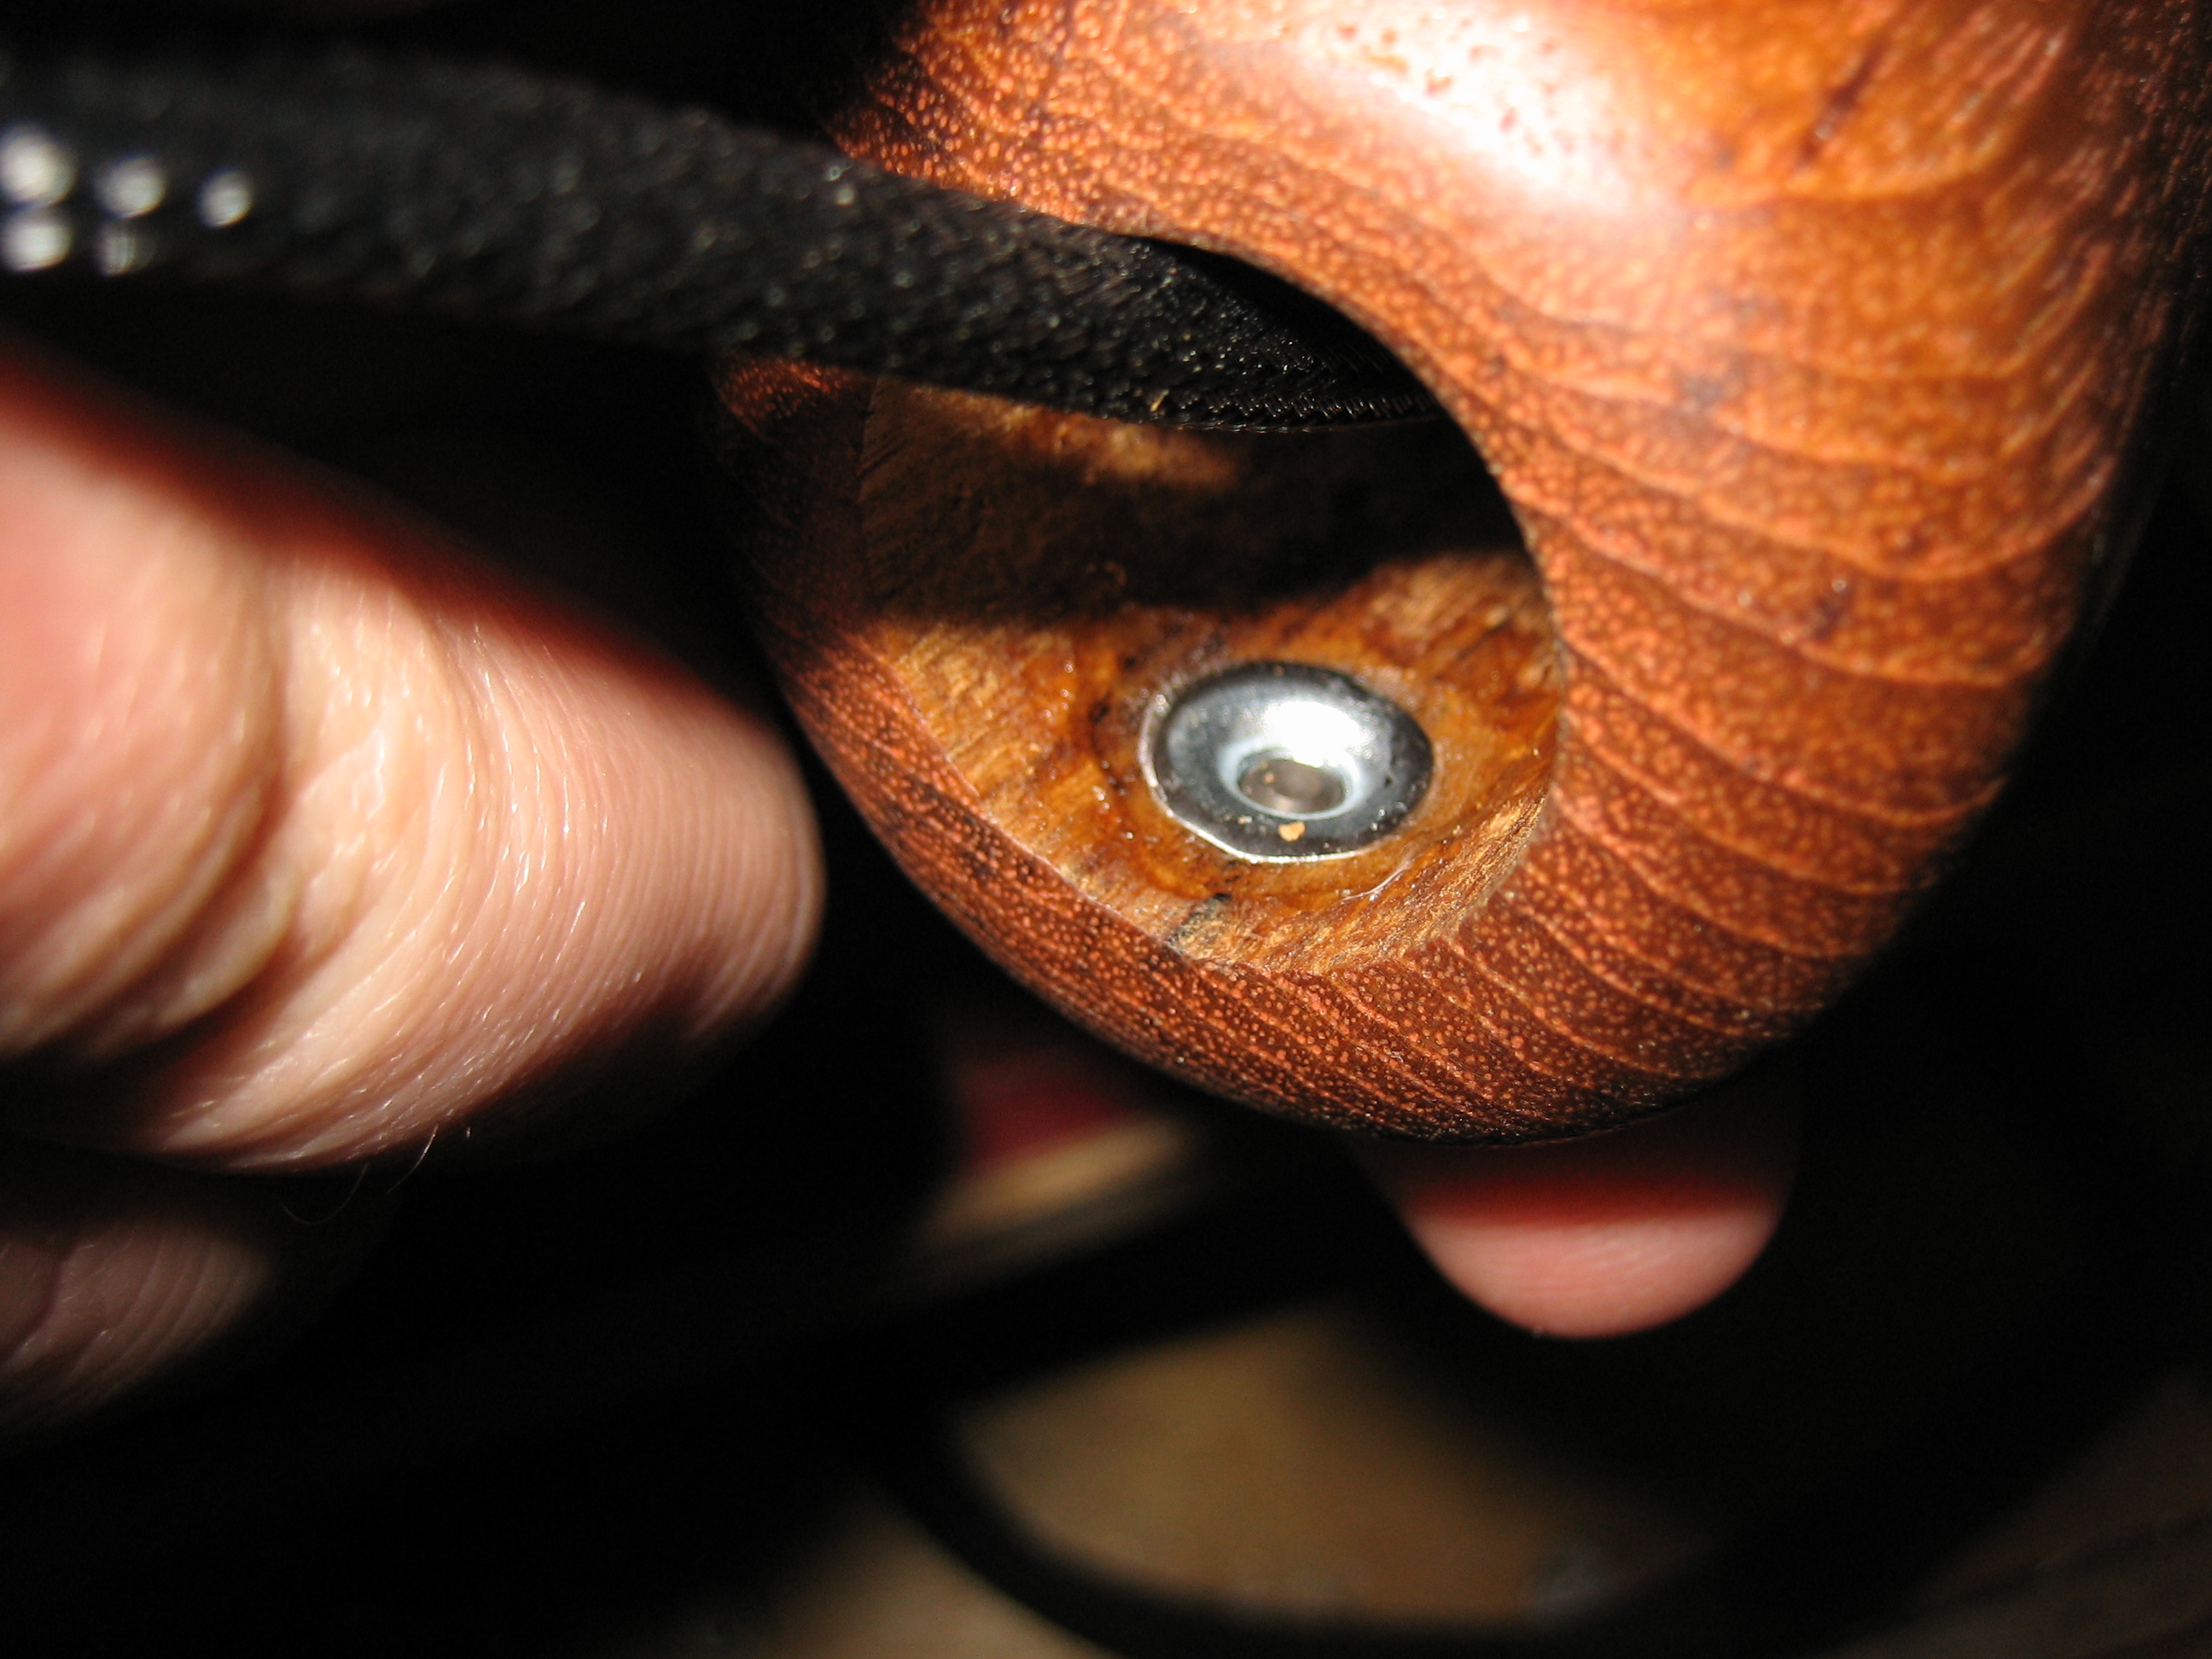
I then installed some 1/4″ long socket head set screws that will be used to anchor the grips to the sticks.
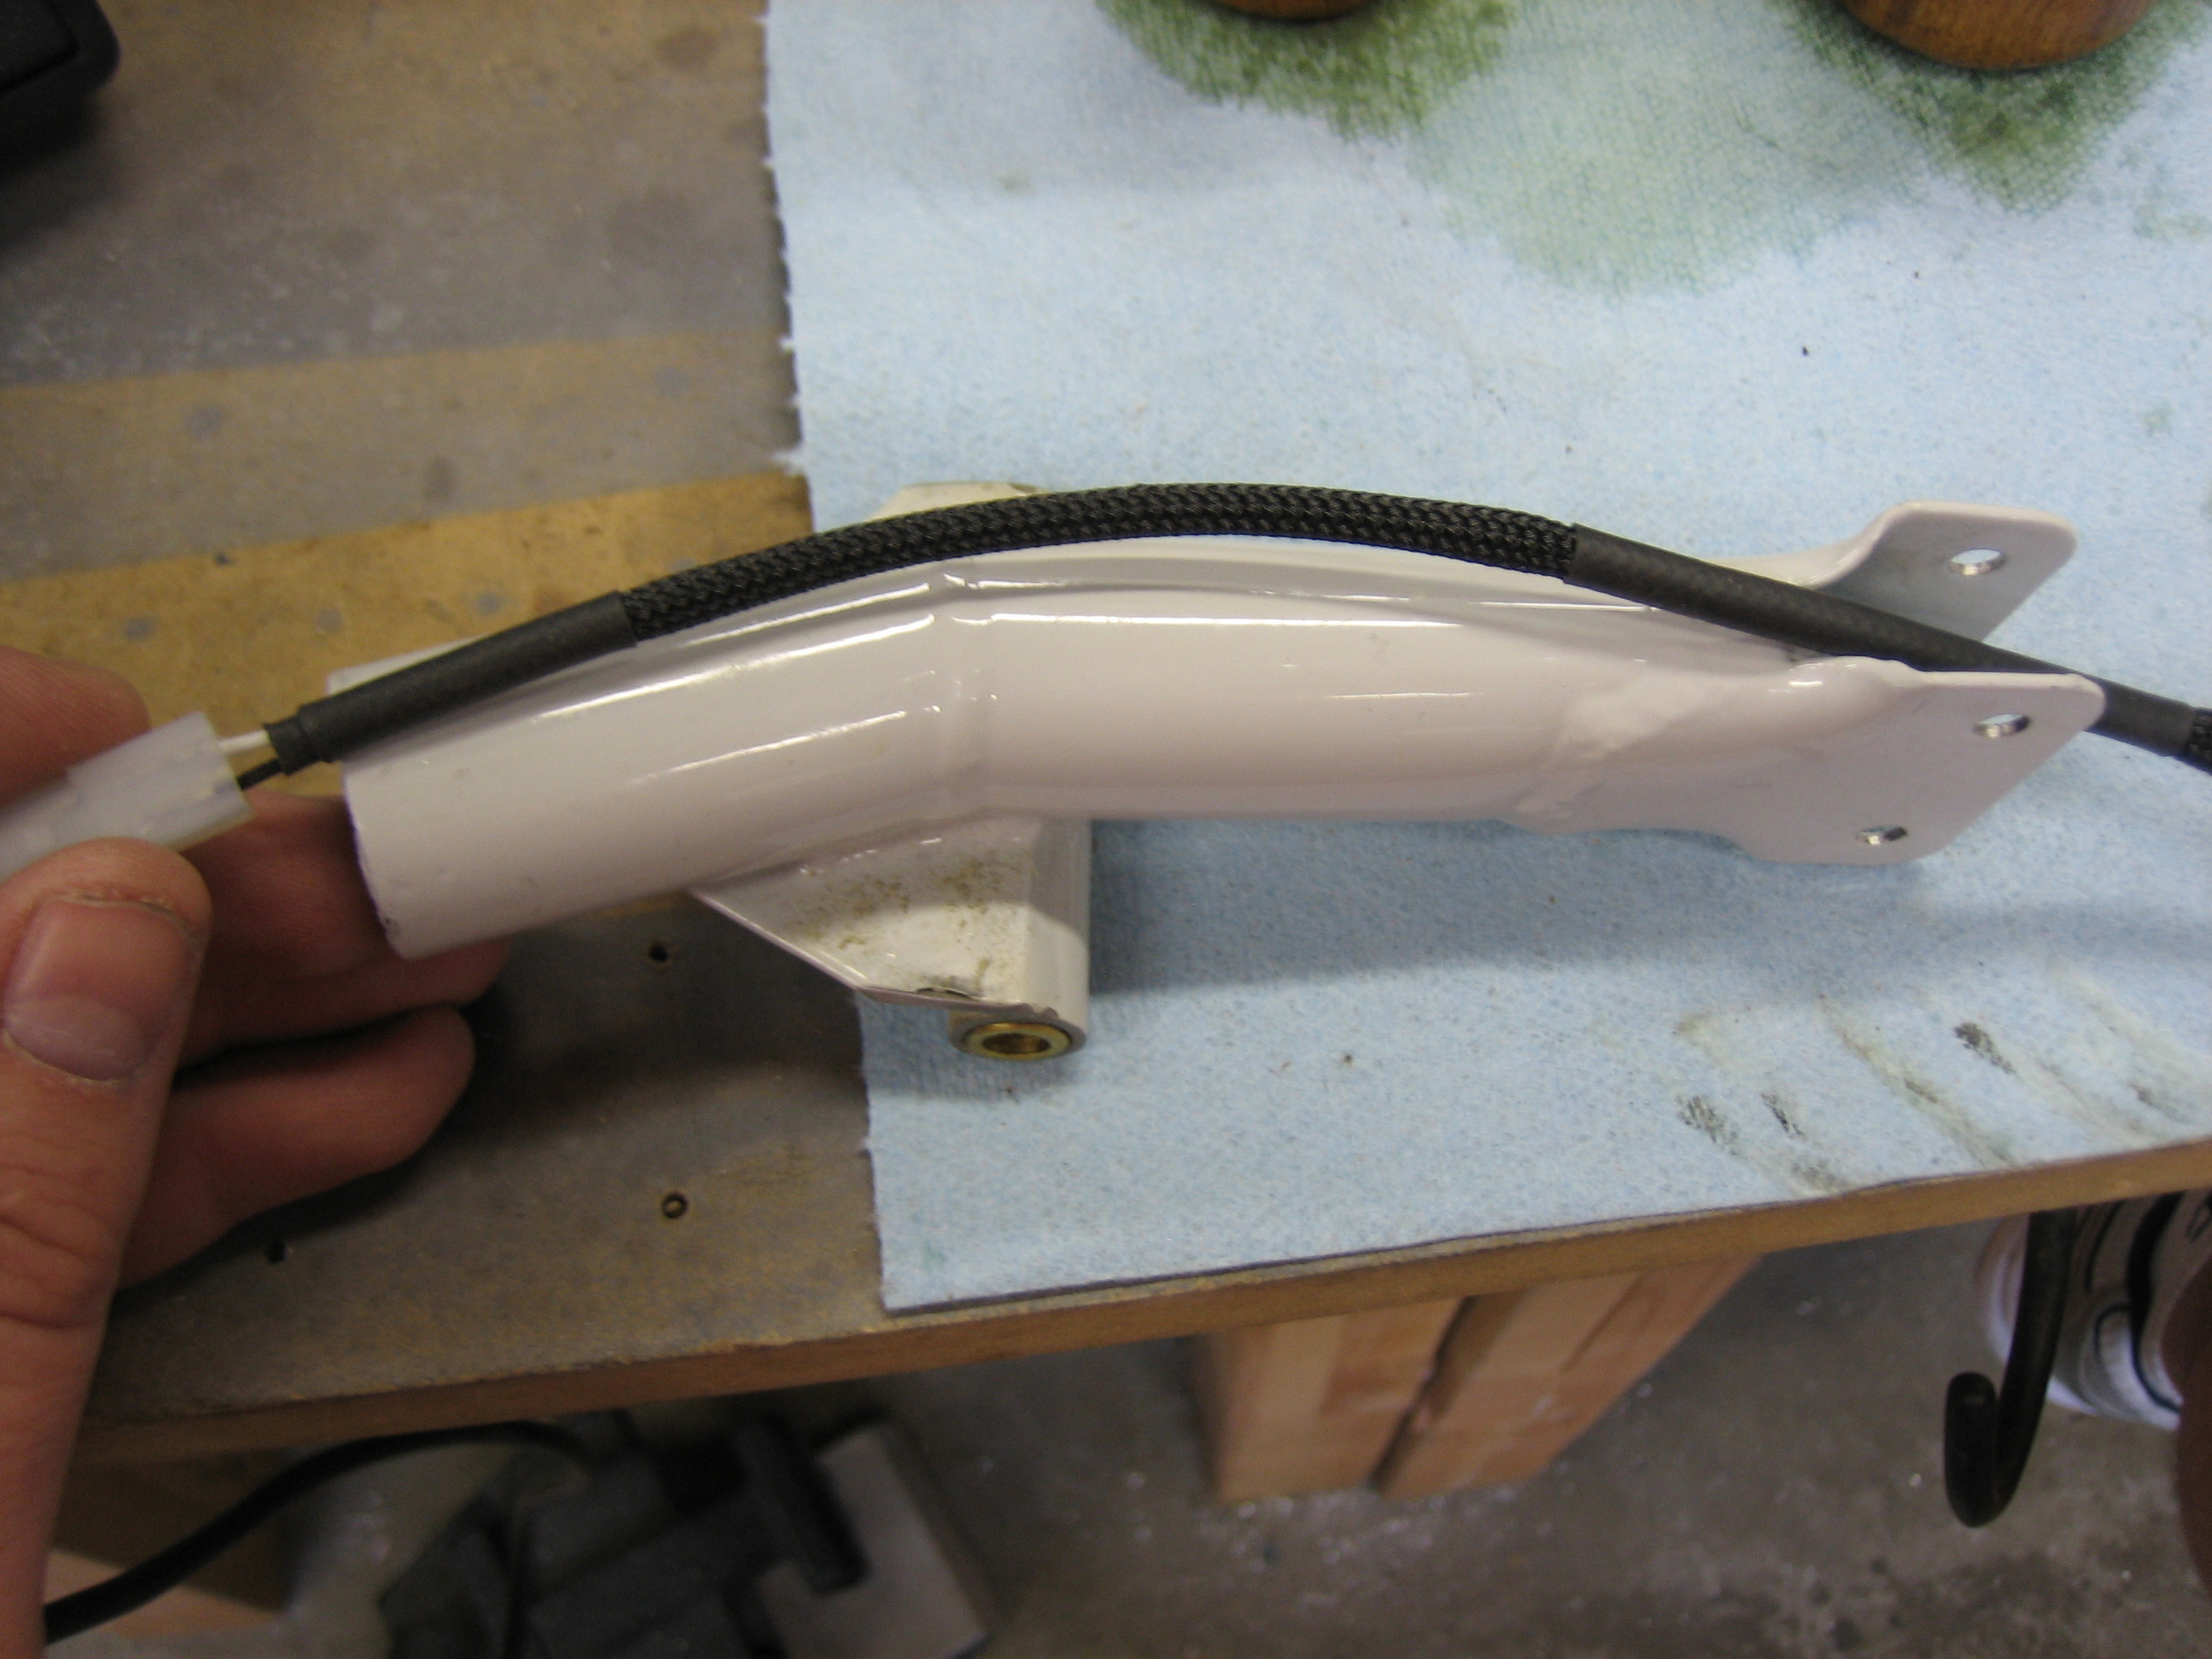
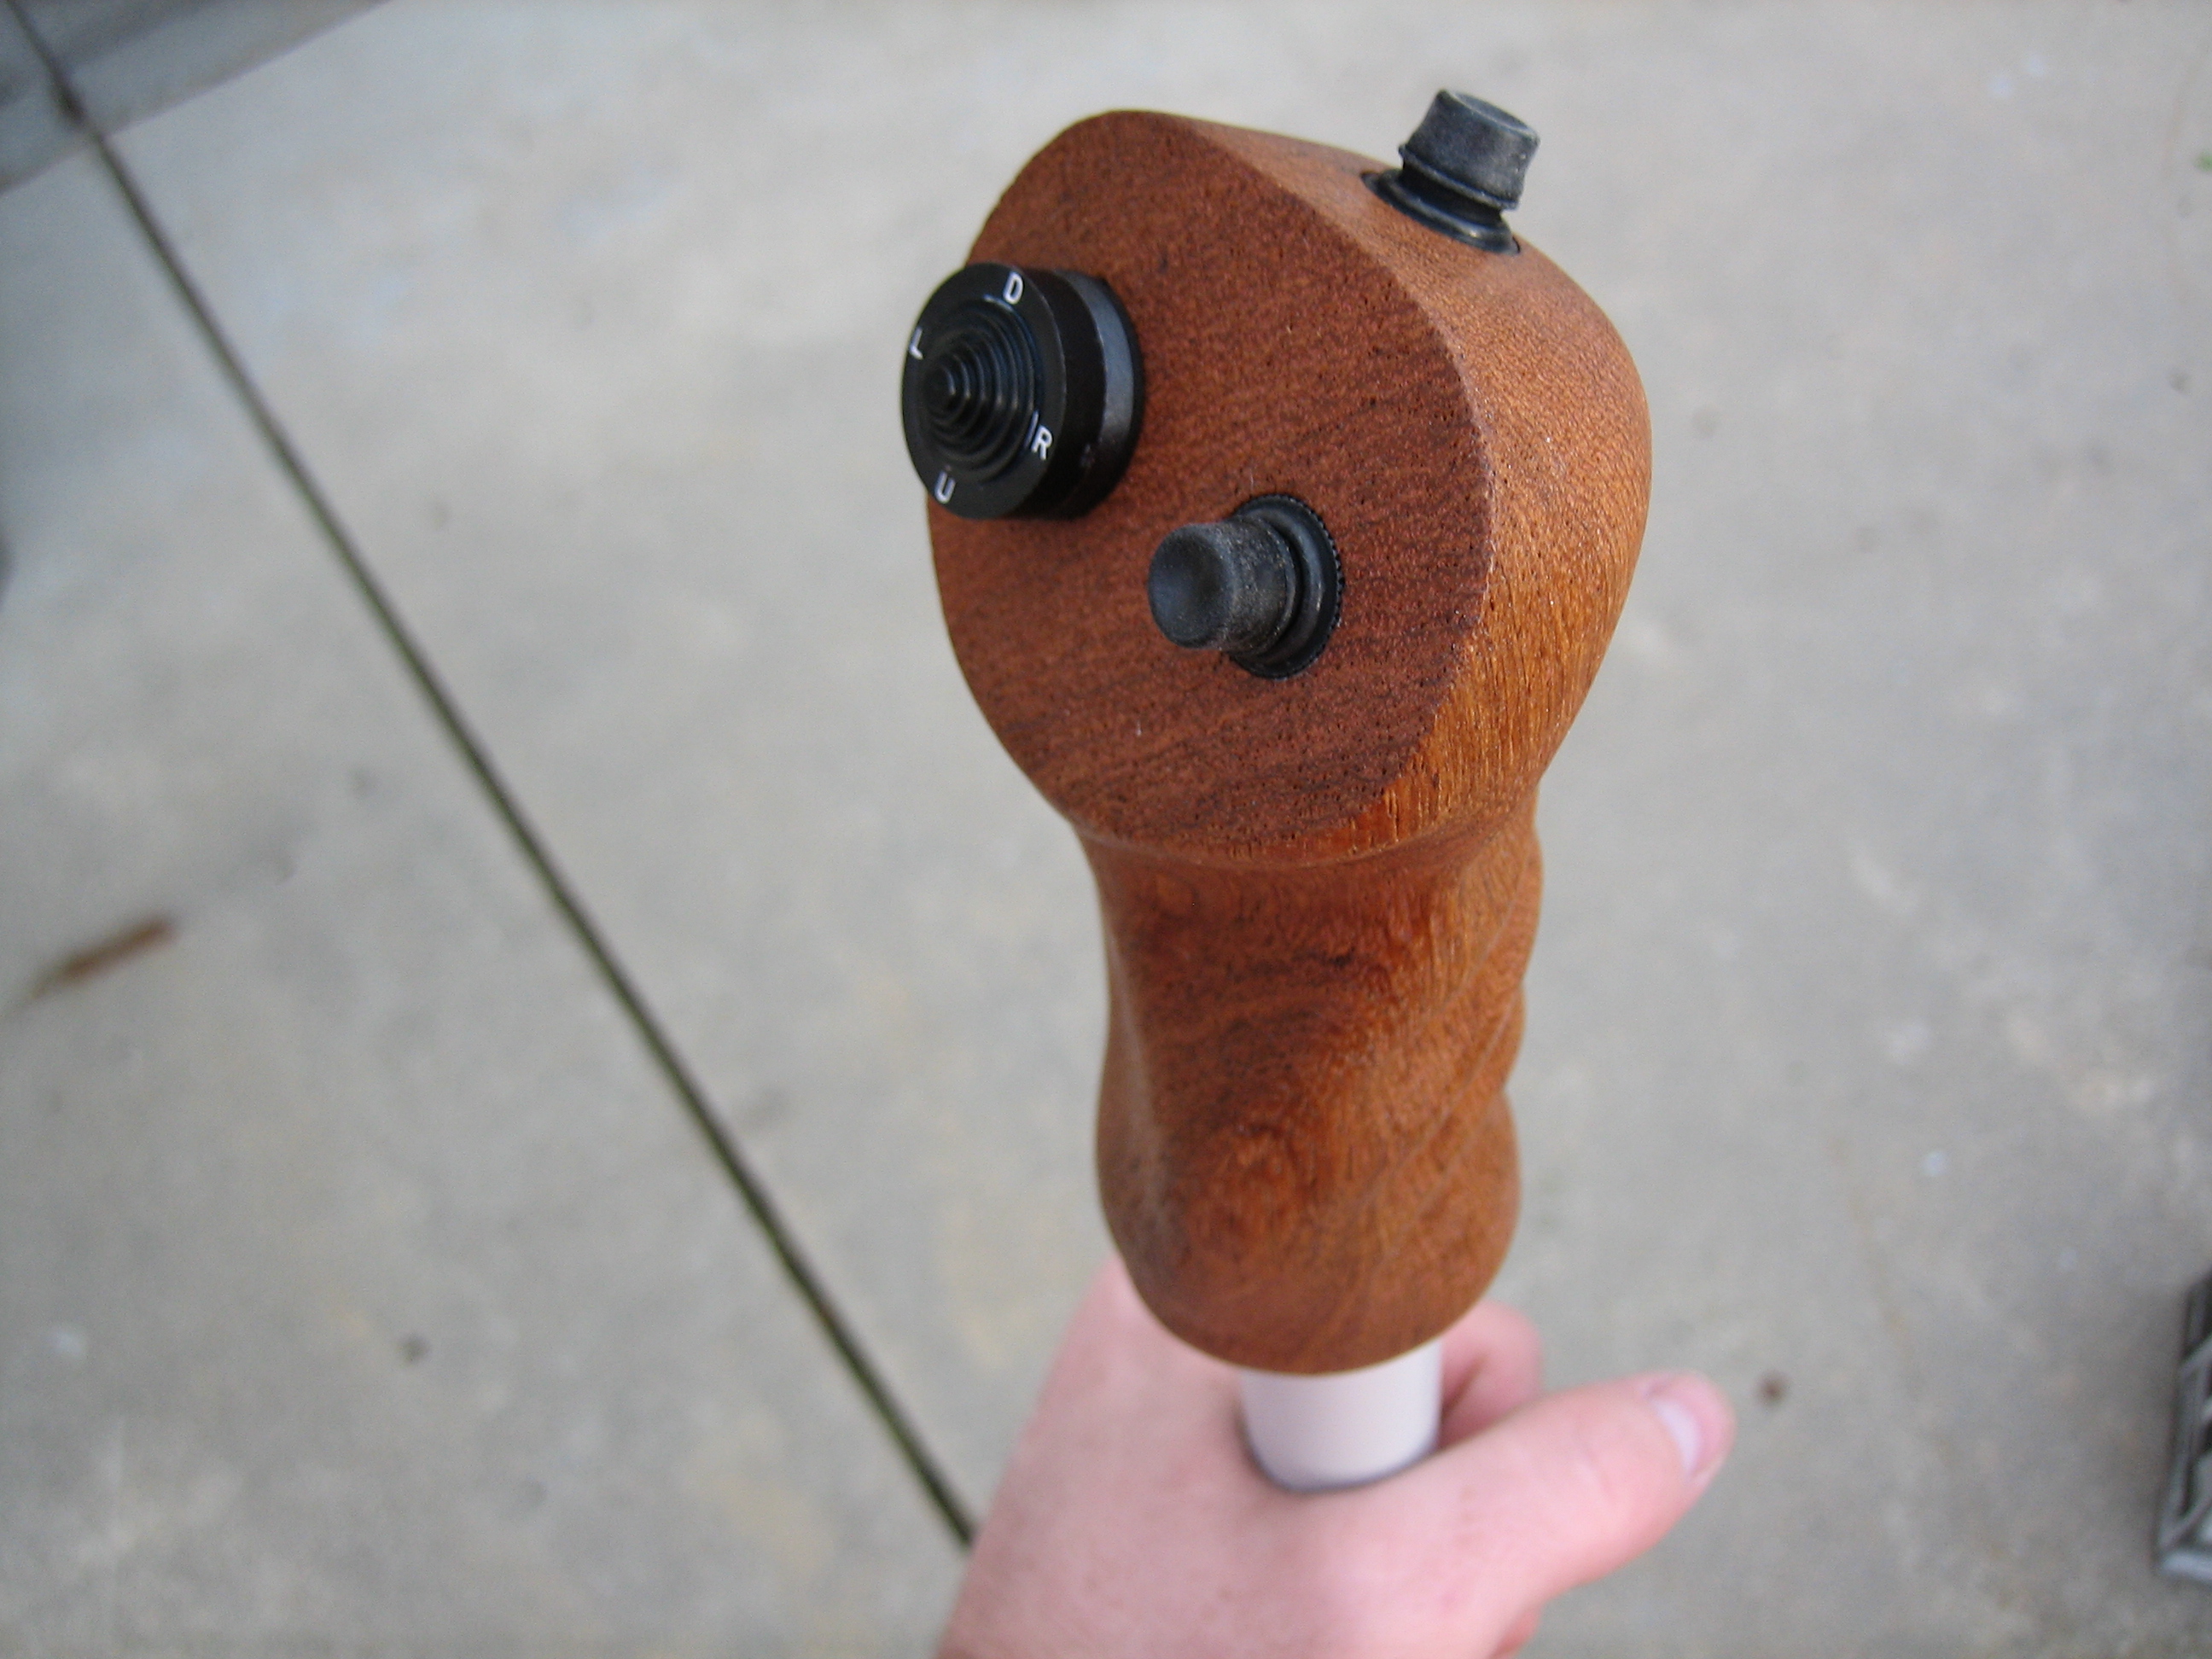
With all of the wire soldered on the switches and buttons, I installed them in the grips.
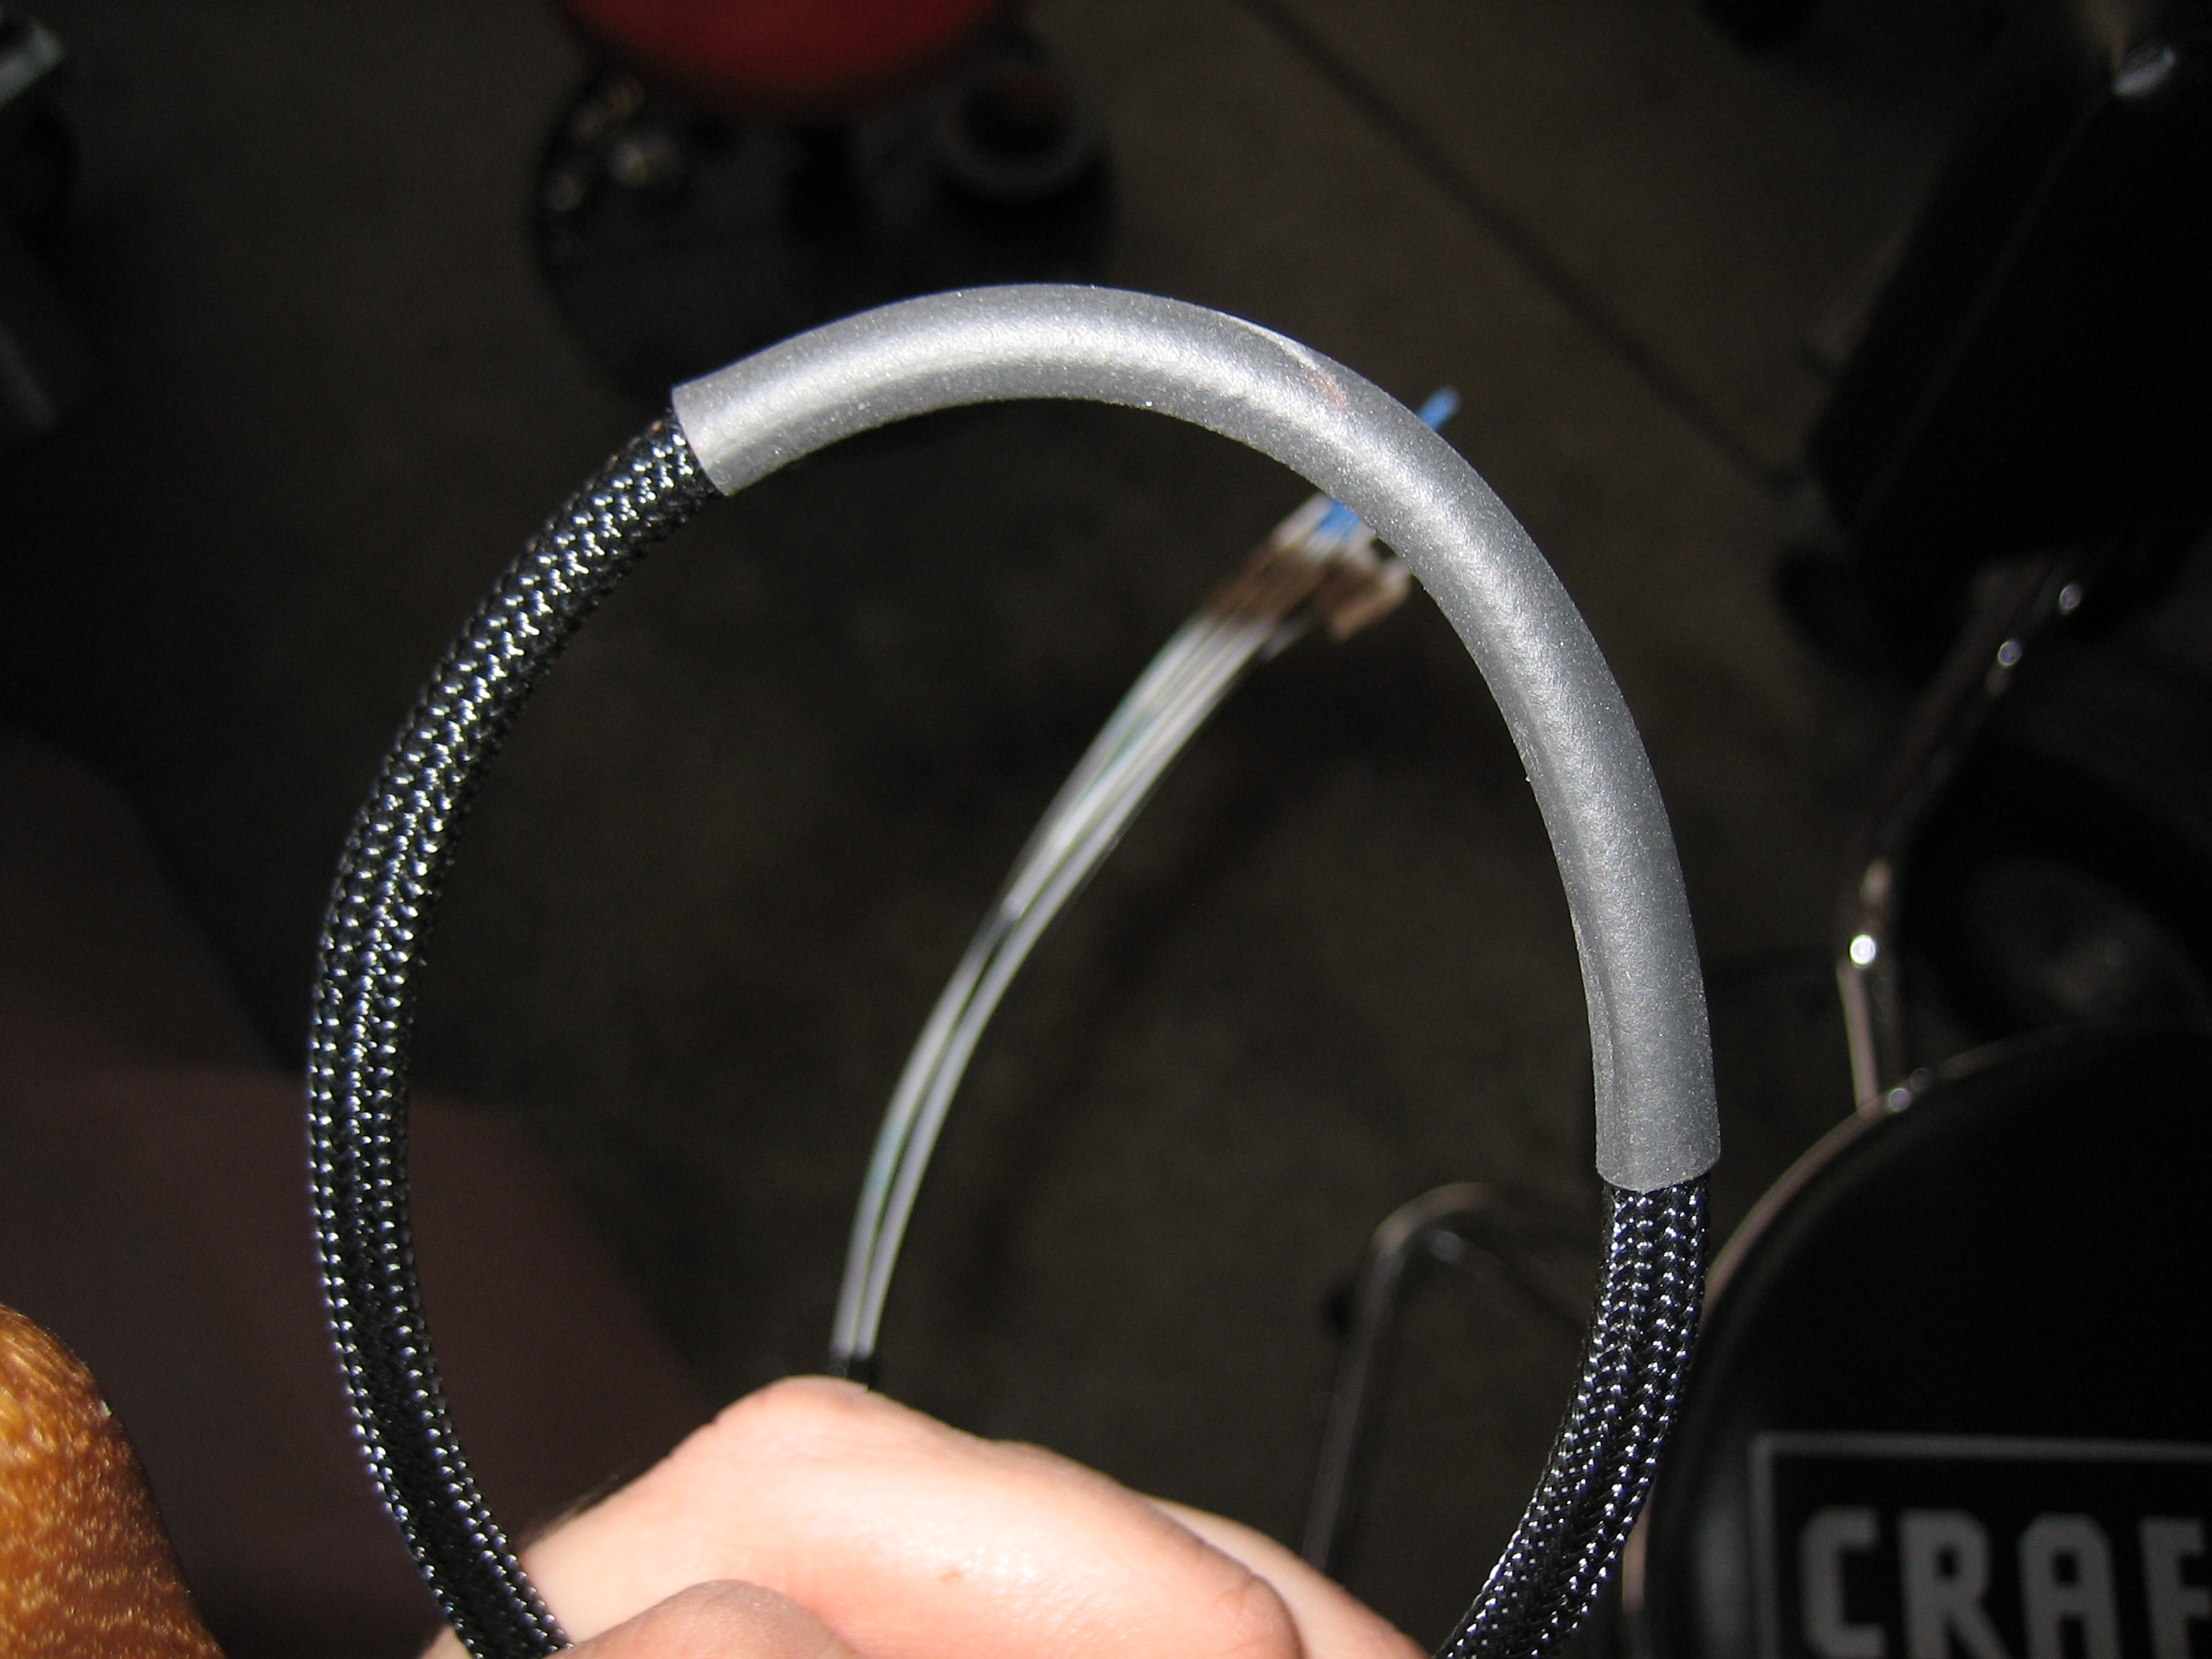
I slipped some sleeving over the nine wires coming out of the pilot’s grip and then installed it on the pilot stick. Just like on the copilot’s side, I routed the wires out through the bottom of the stick. Many builders drill a hole in the side of the stick near the pivot point to avoid routing the wires near the moving parts, but Van’s recommends against this as it will weaken the stick.
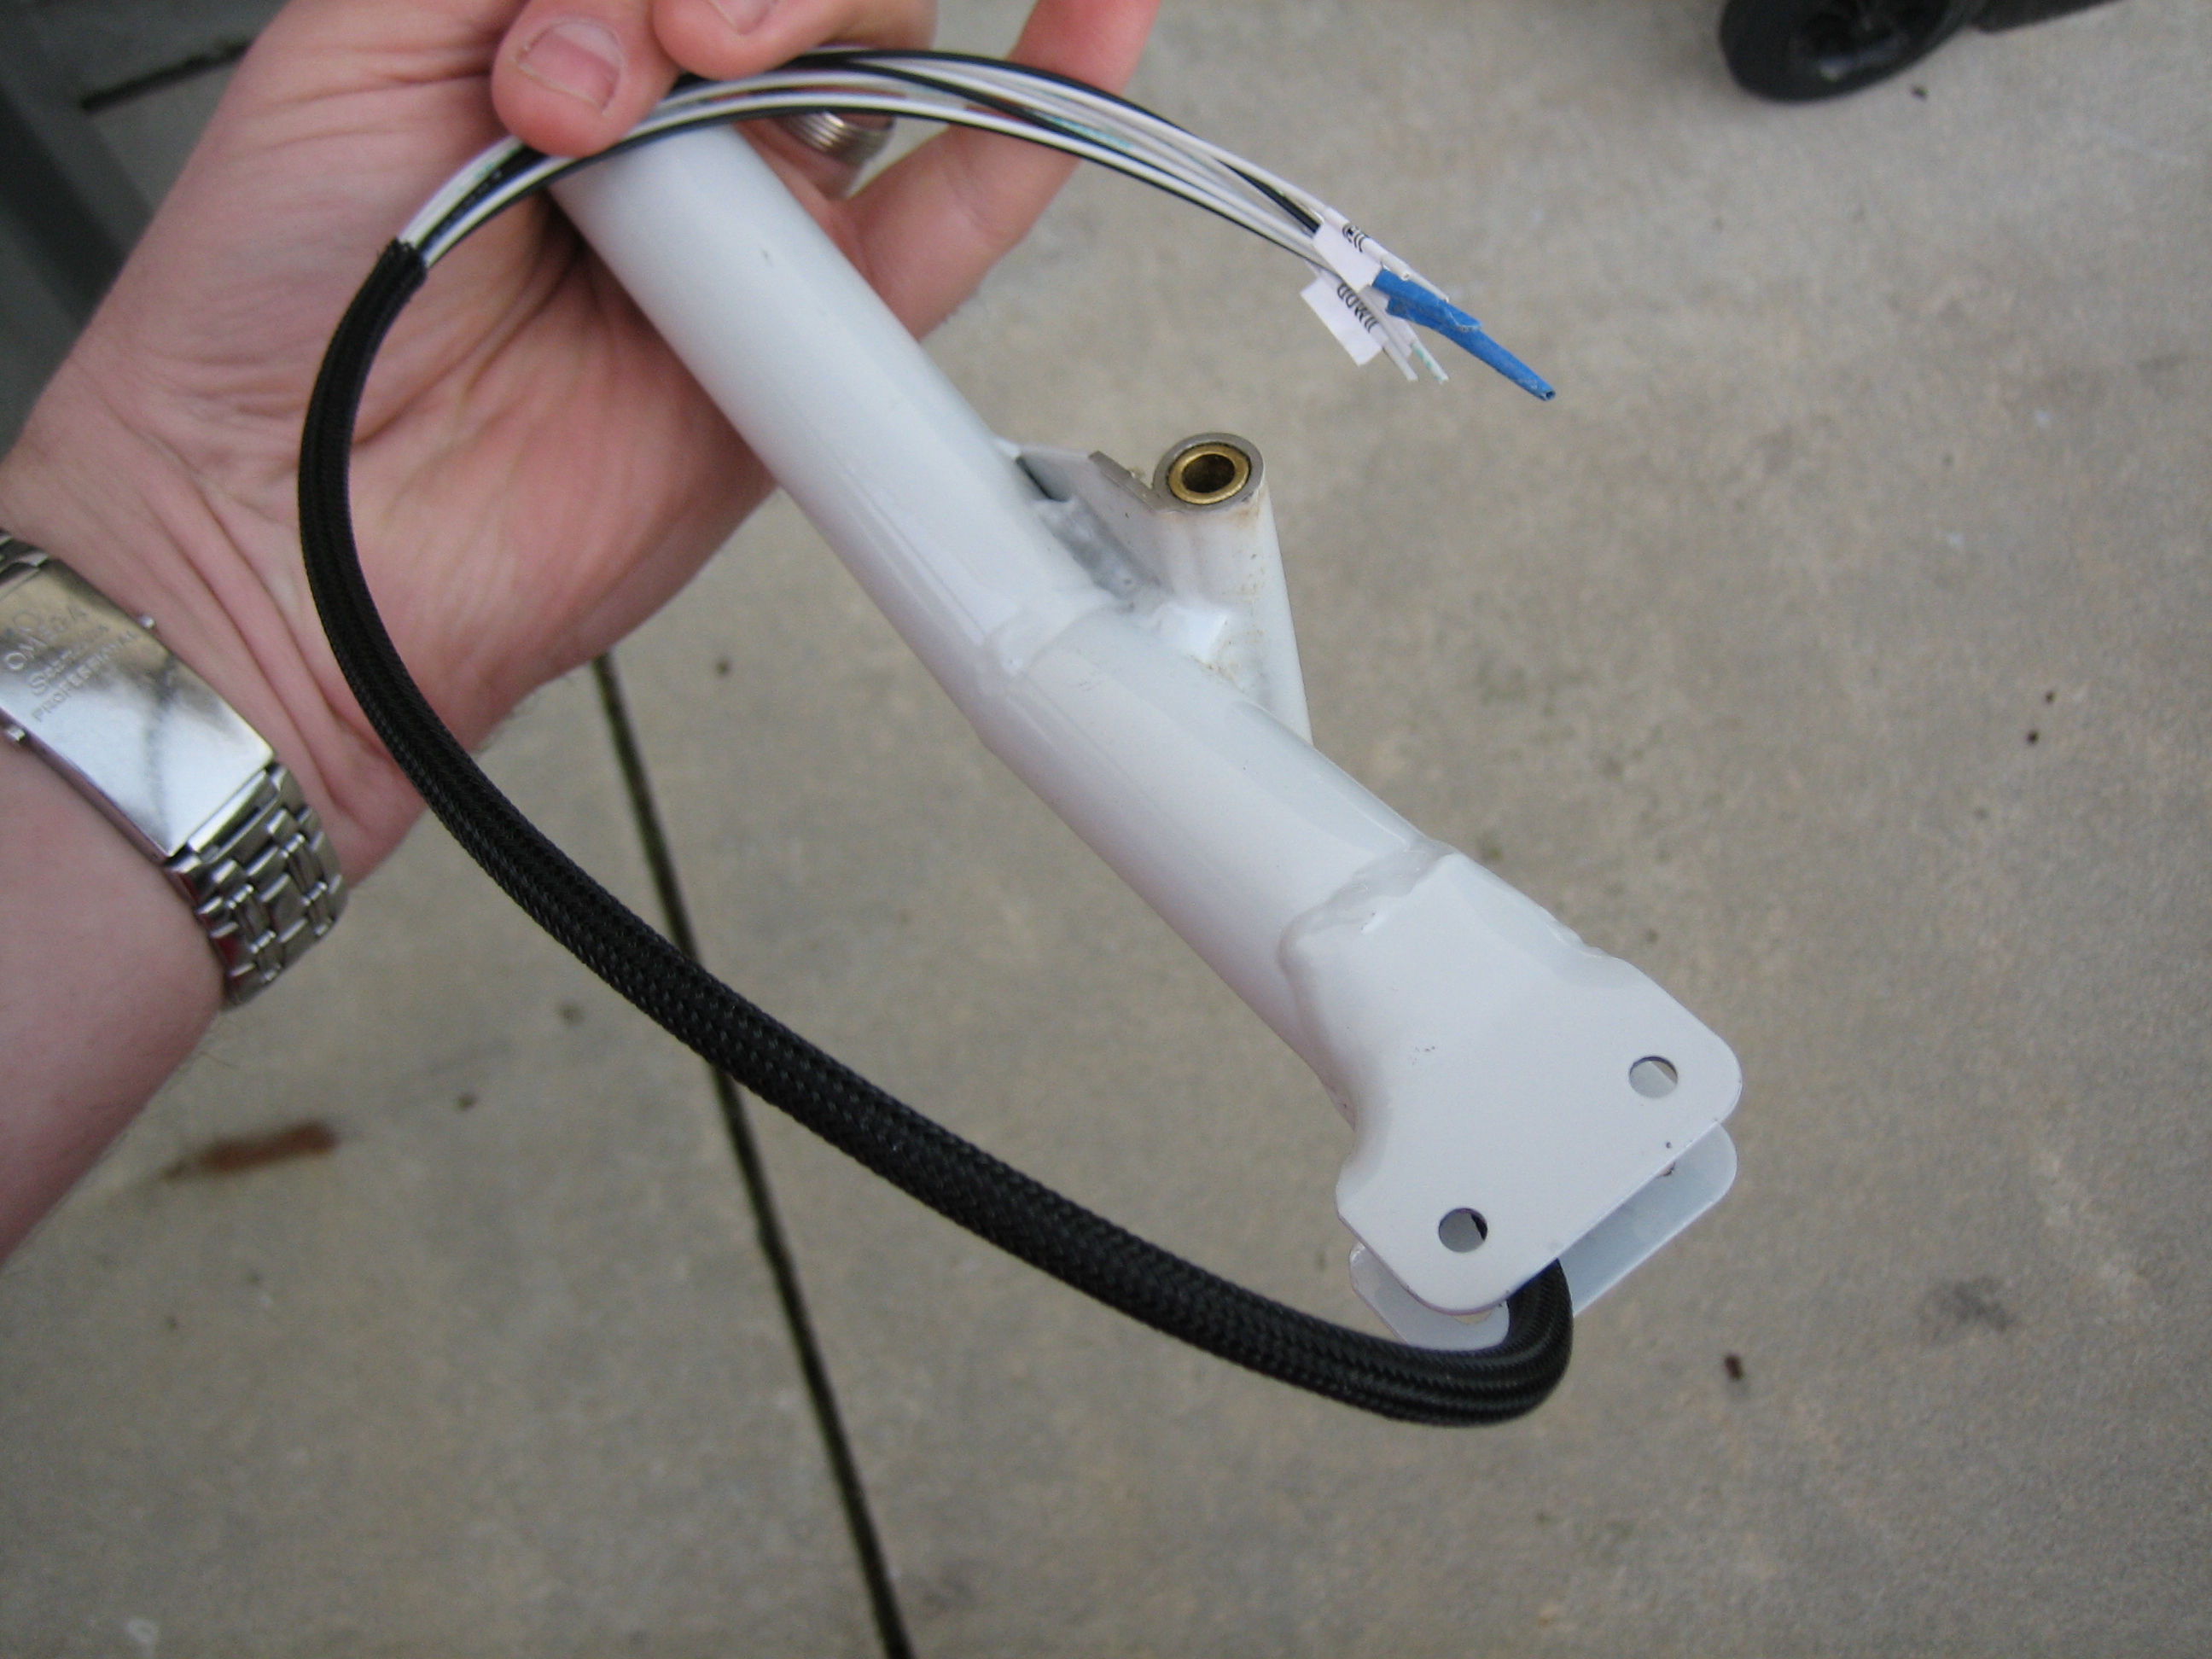
Just like on the copilot’s side, I installed a length of heat shrink where the wire bundle passes between the rod end bearings.