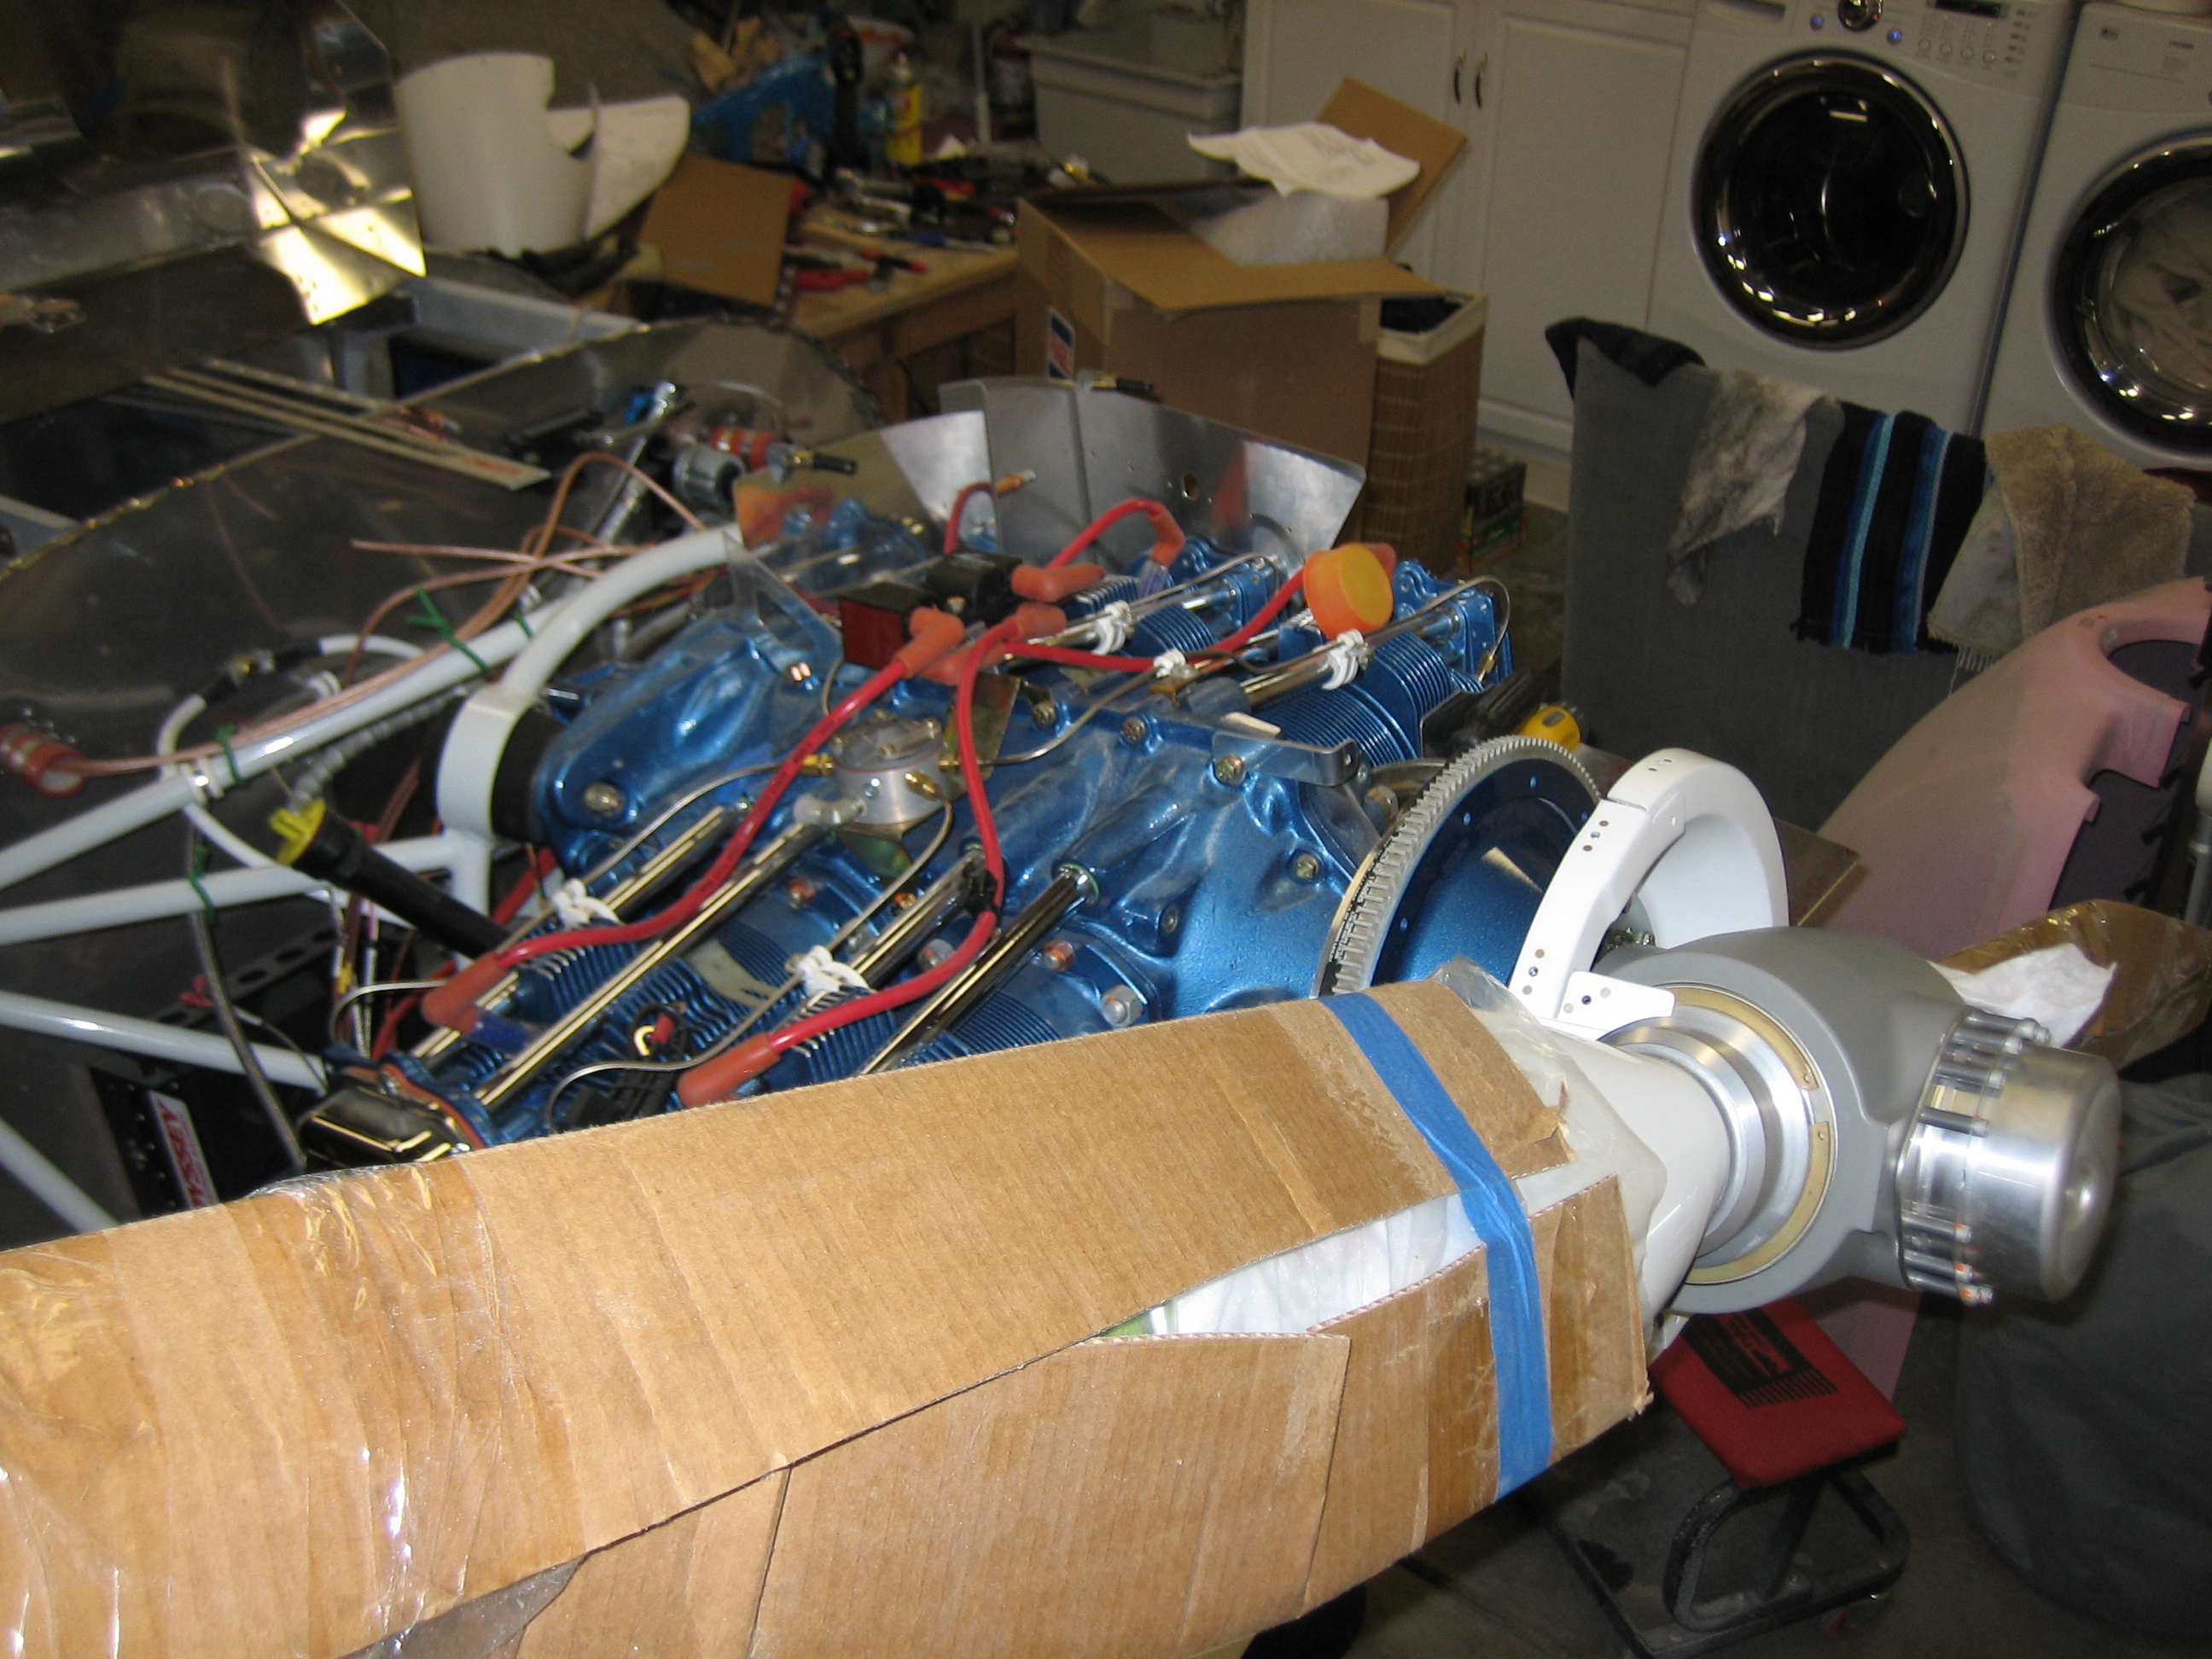
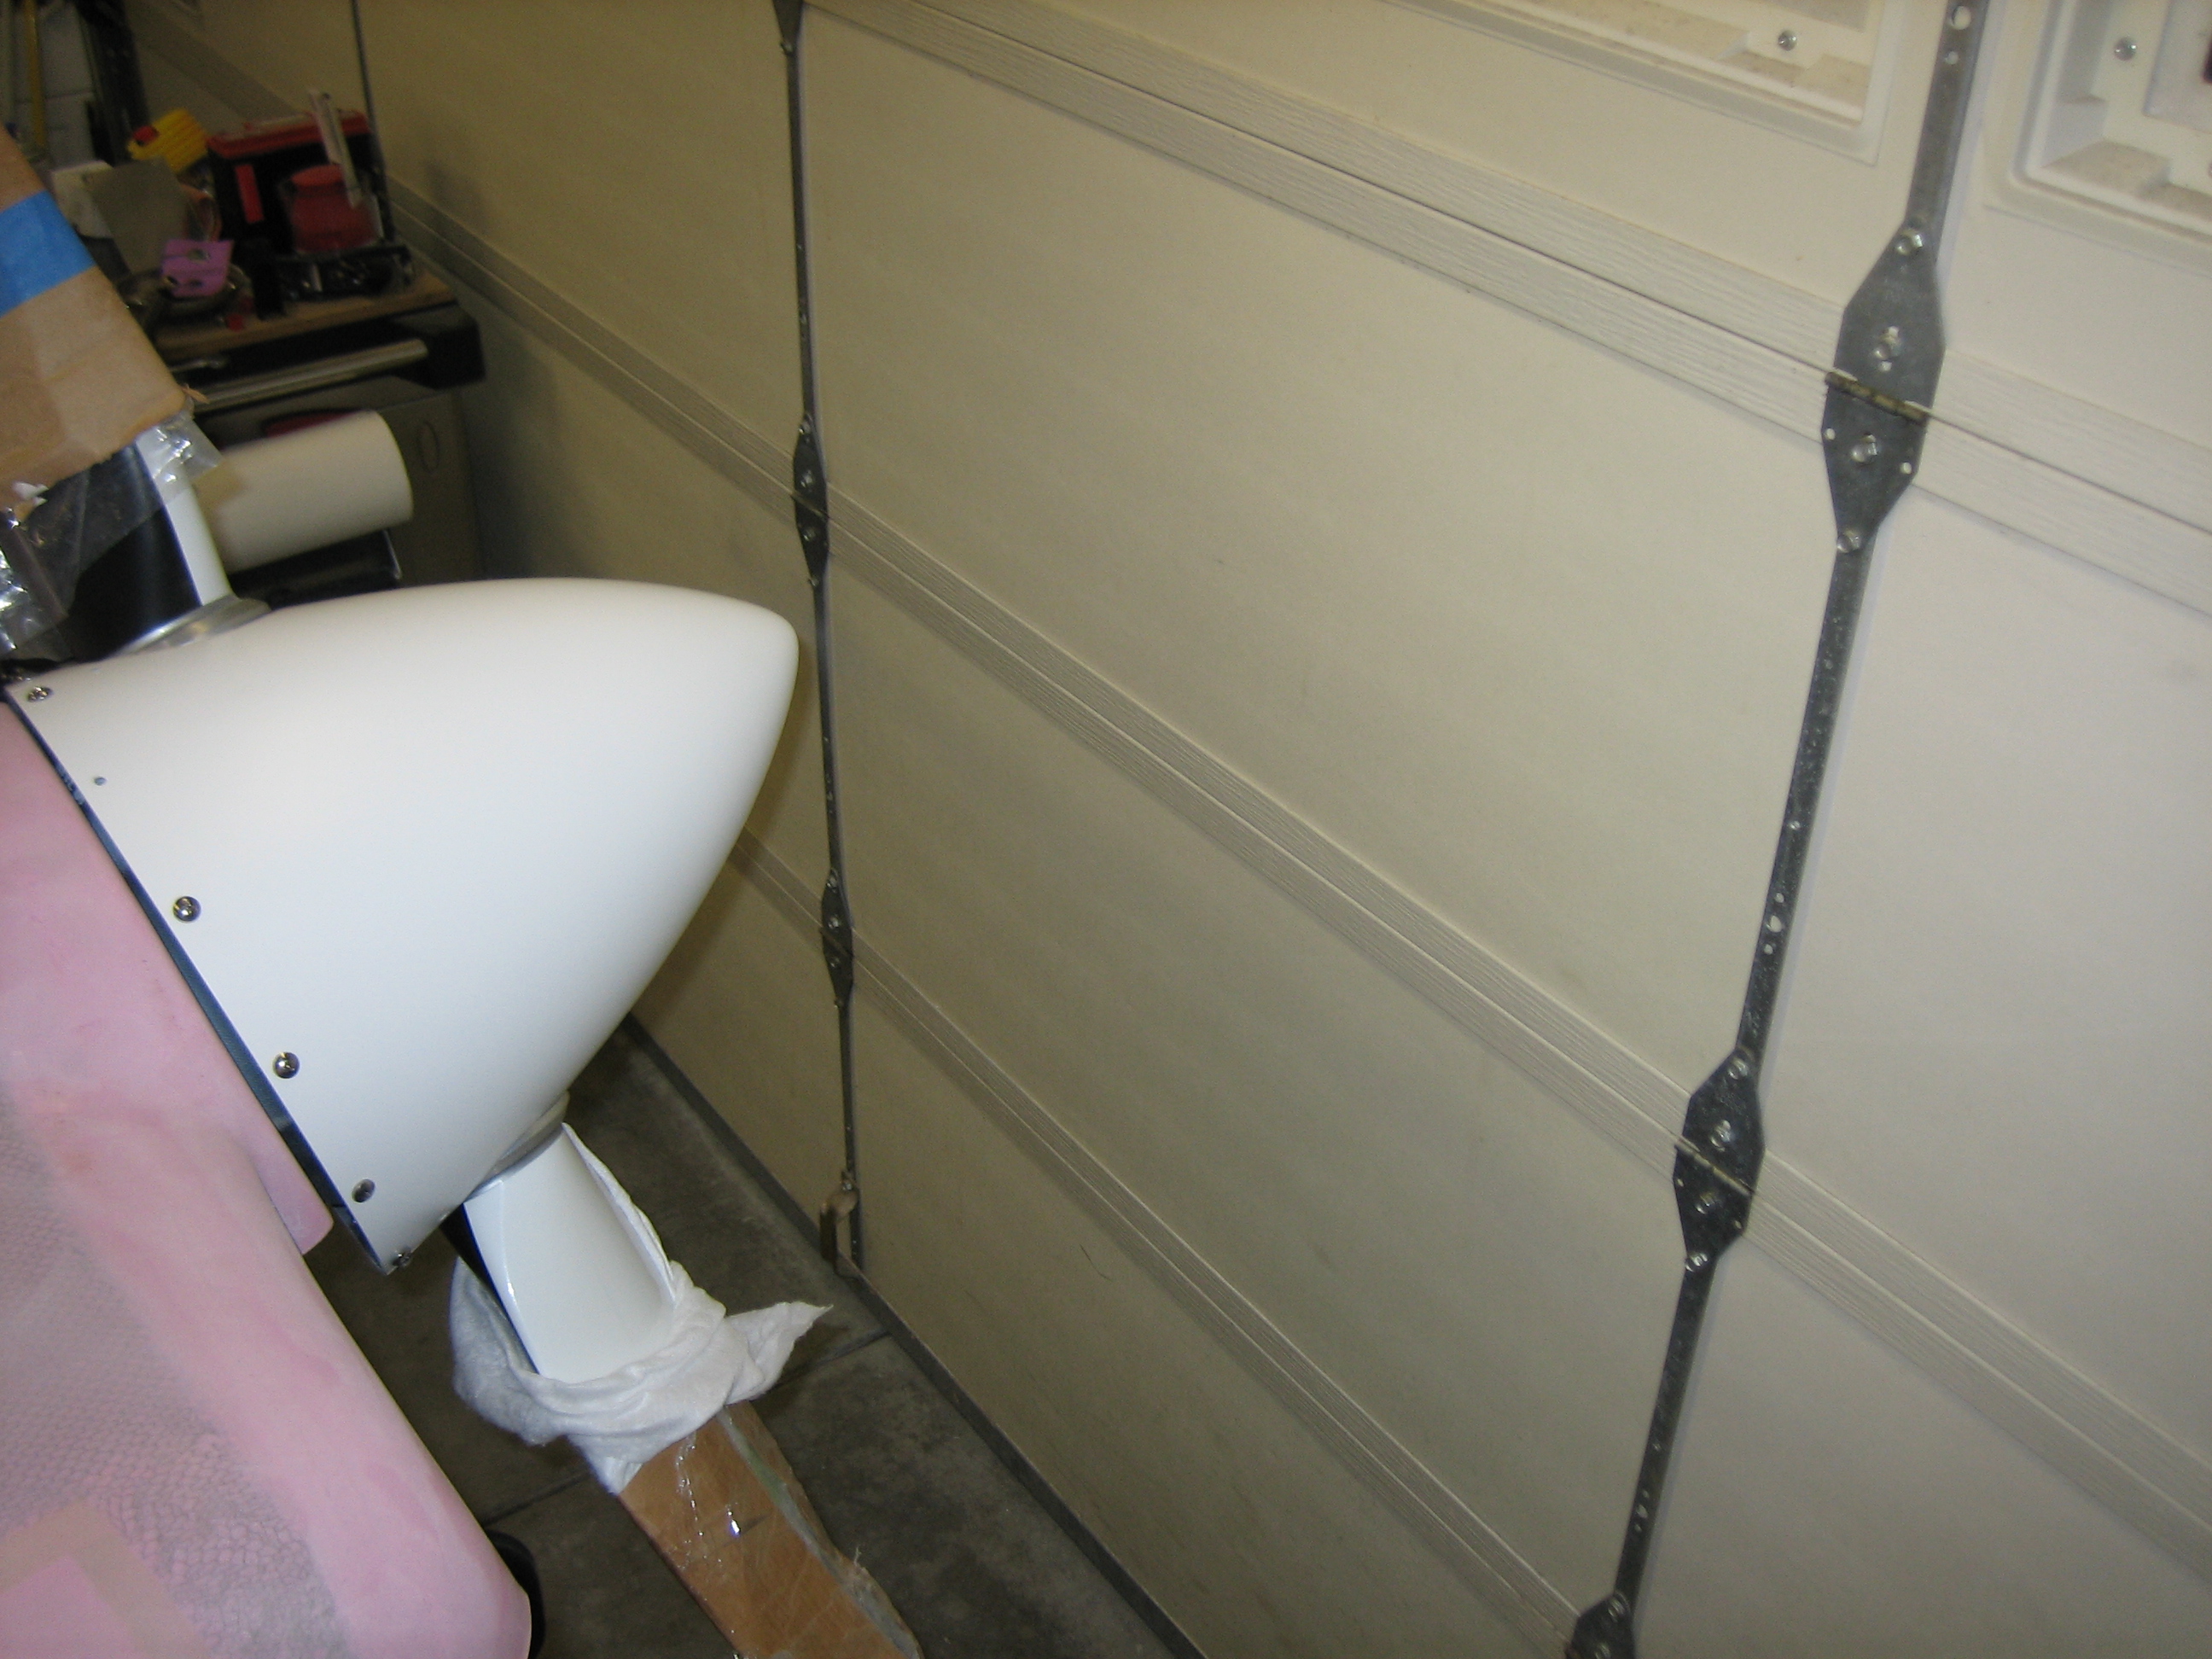
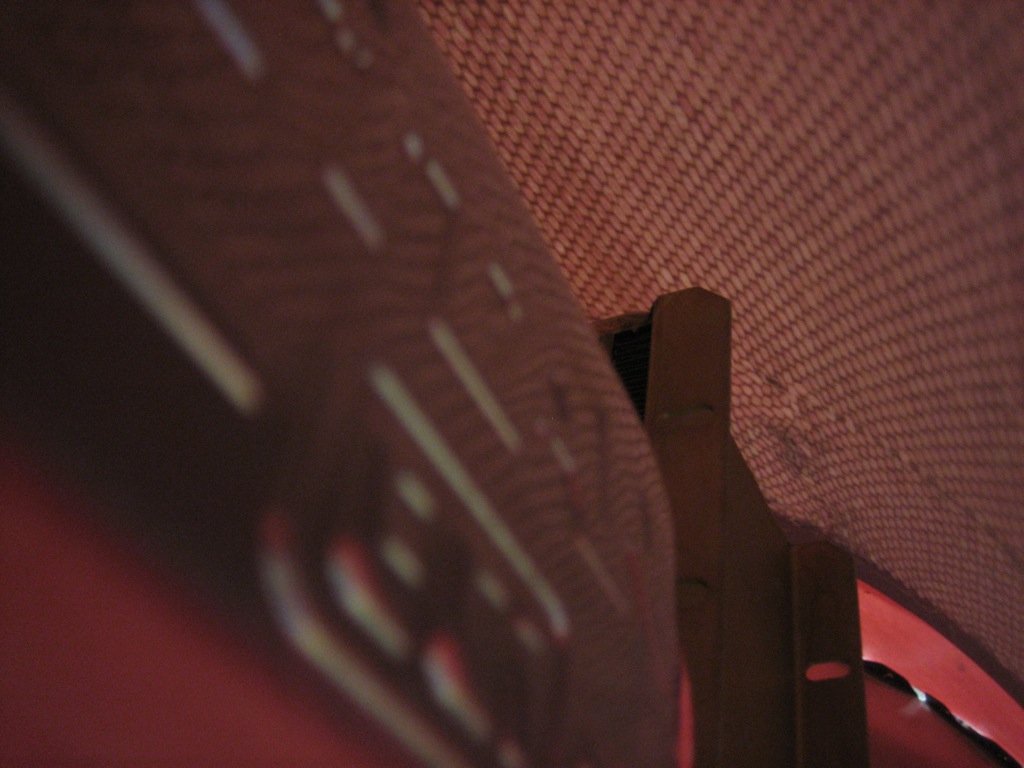
I finished installing the spinner and then threw the top cowl up to see what kind of clearance I have on top of the engine. I put a piece of 3/4″ thick scrap wood on top of the flywheel to space the cowl up so that it lines up with the spinner.

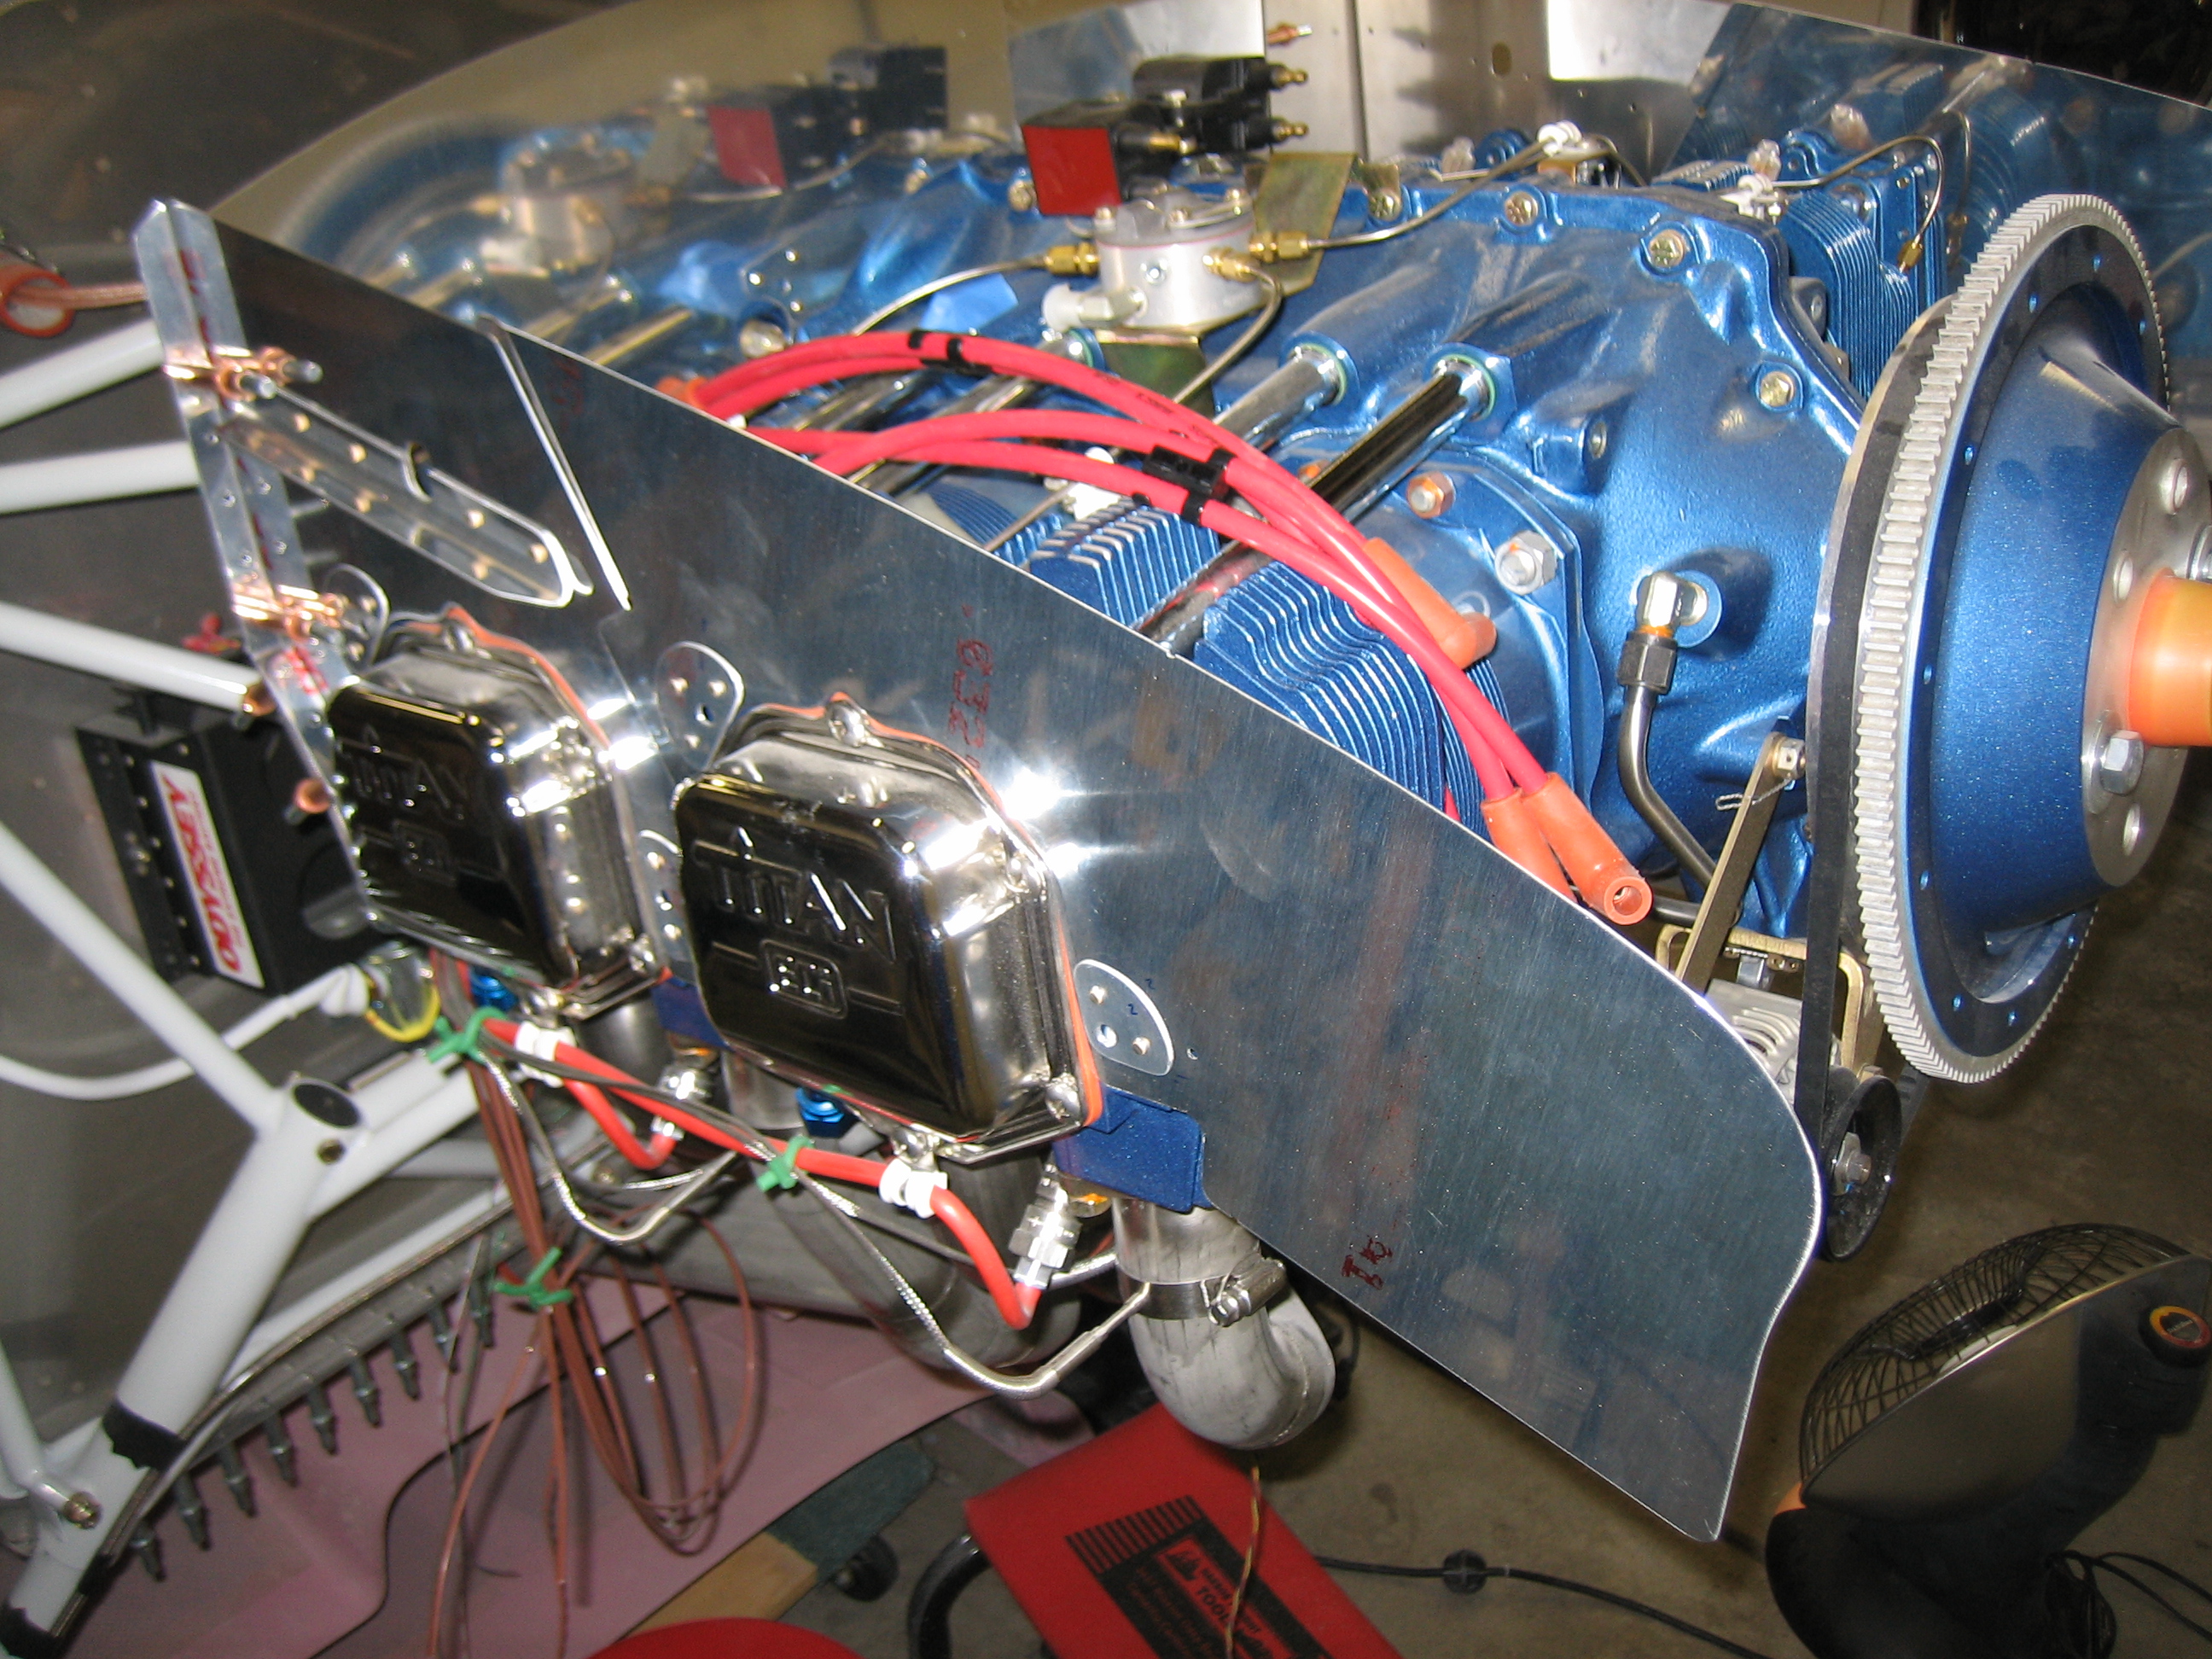
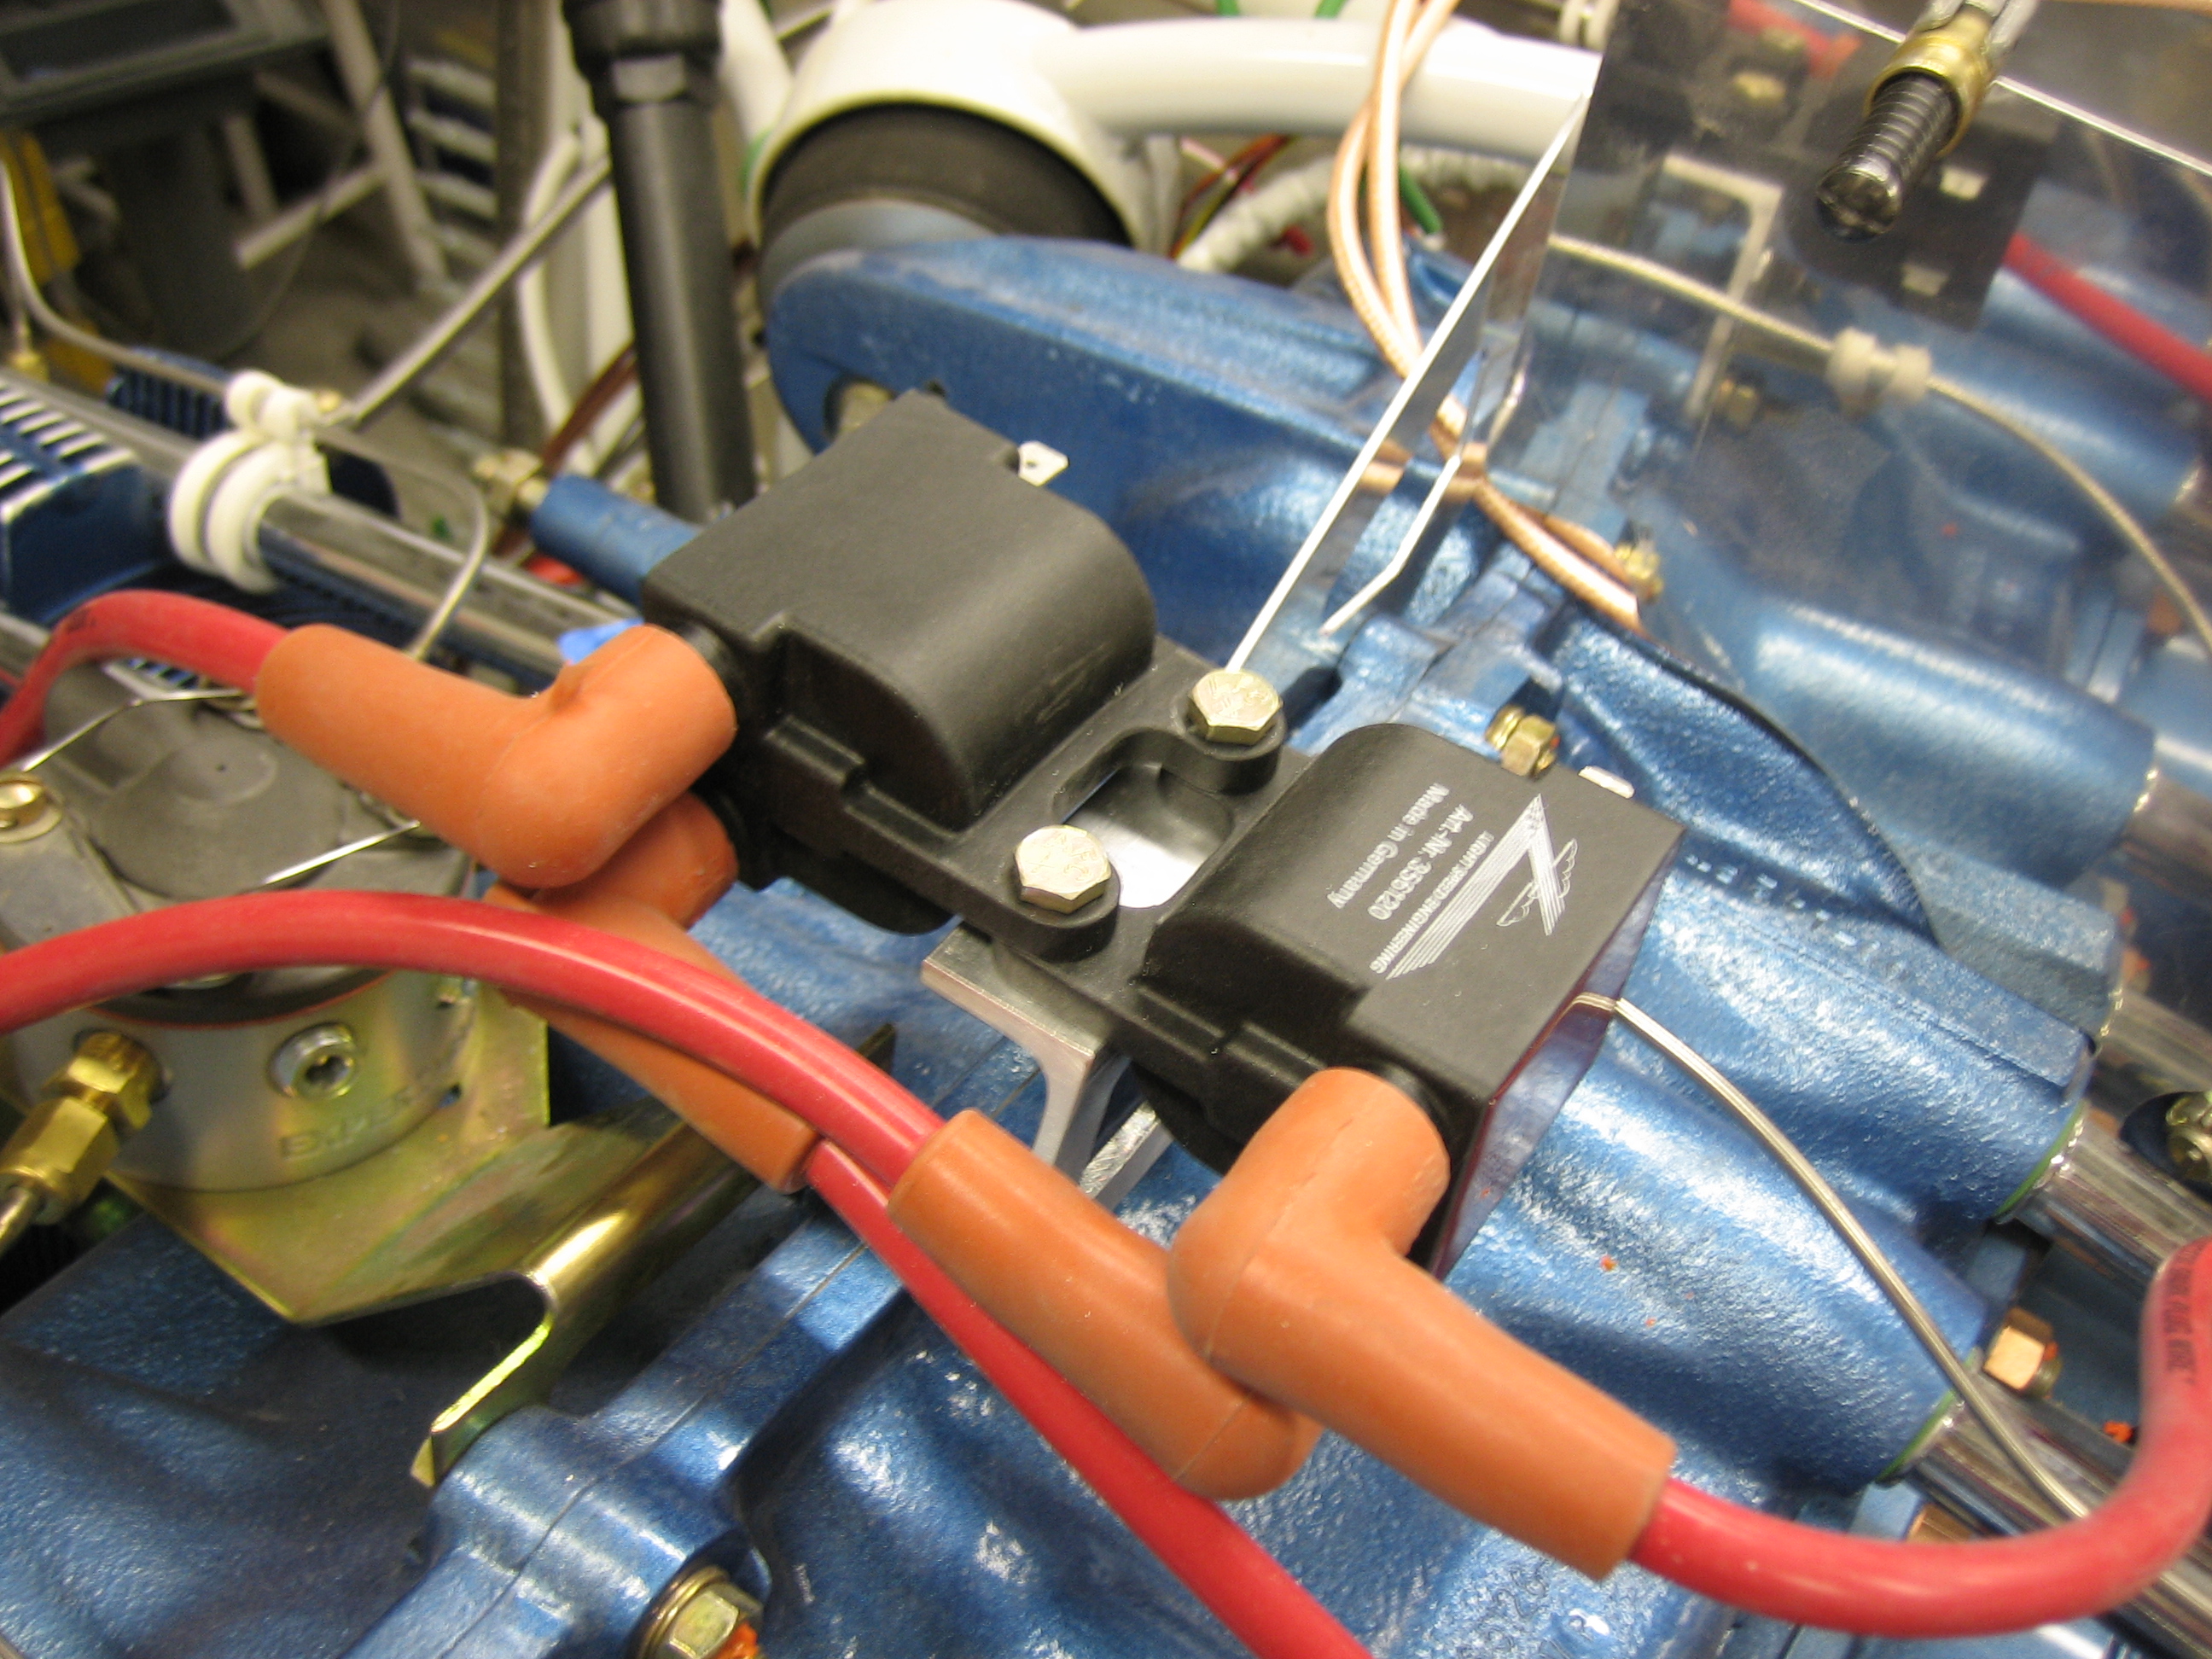
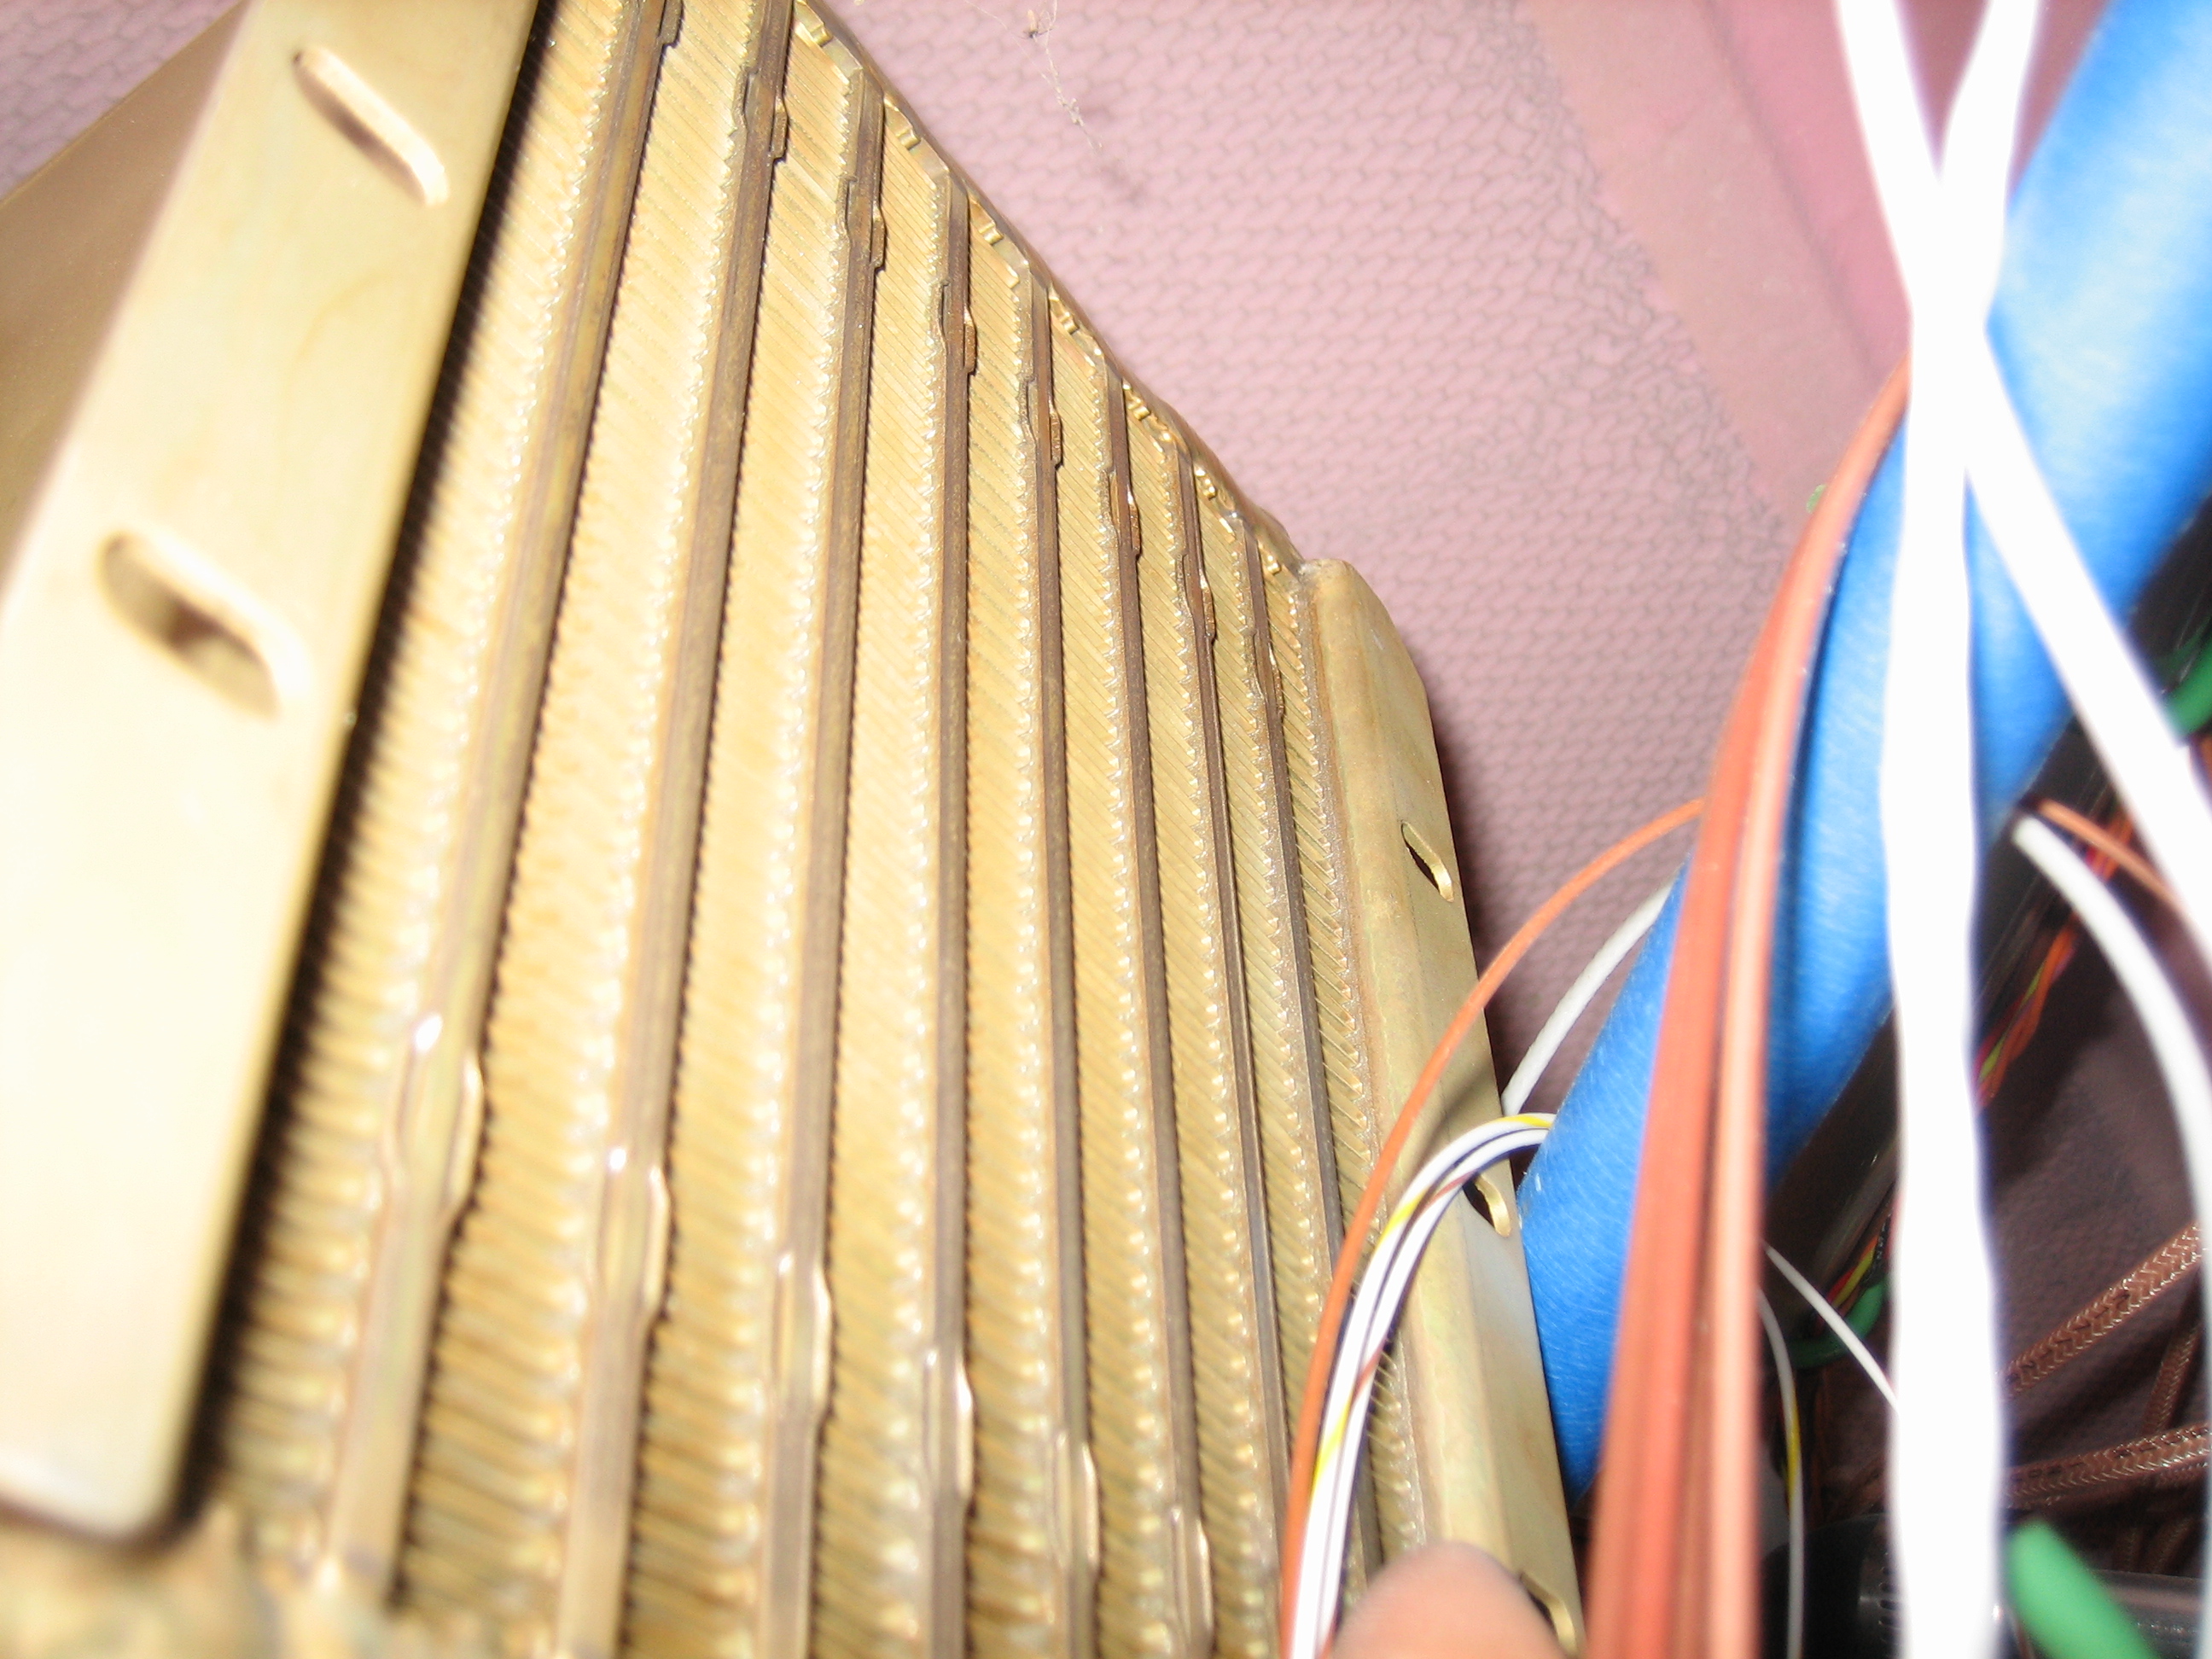
With the lightspeed coils moved forward and installed on the taller bracket, I only had about 1/4″ between the coils and the bottom of the cowl. This certainly isn’t enough clearance. On top of that, I’ve decided to install a plenum instead of baffle seals, this means I need even more clearance that I would if I were installing baffle seals.
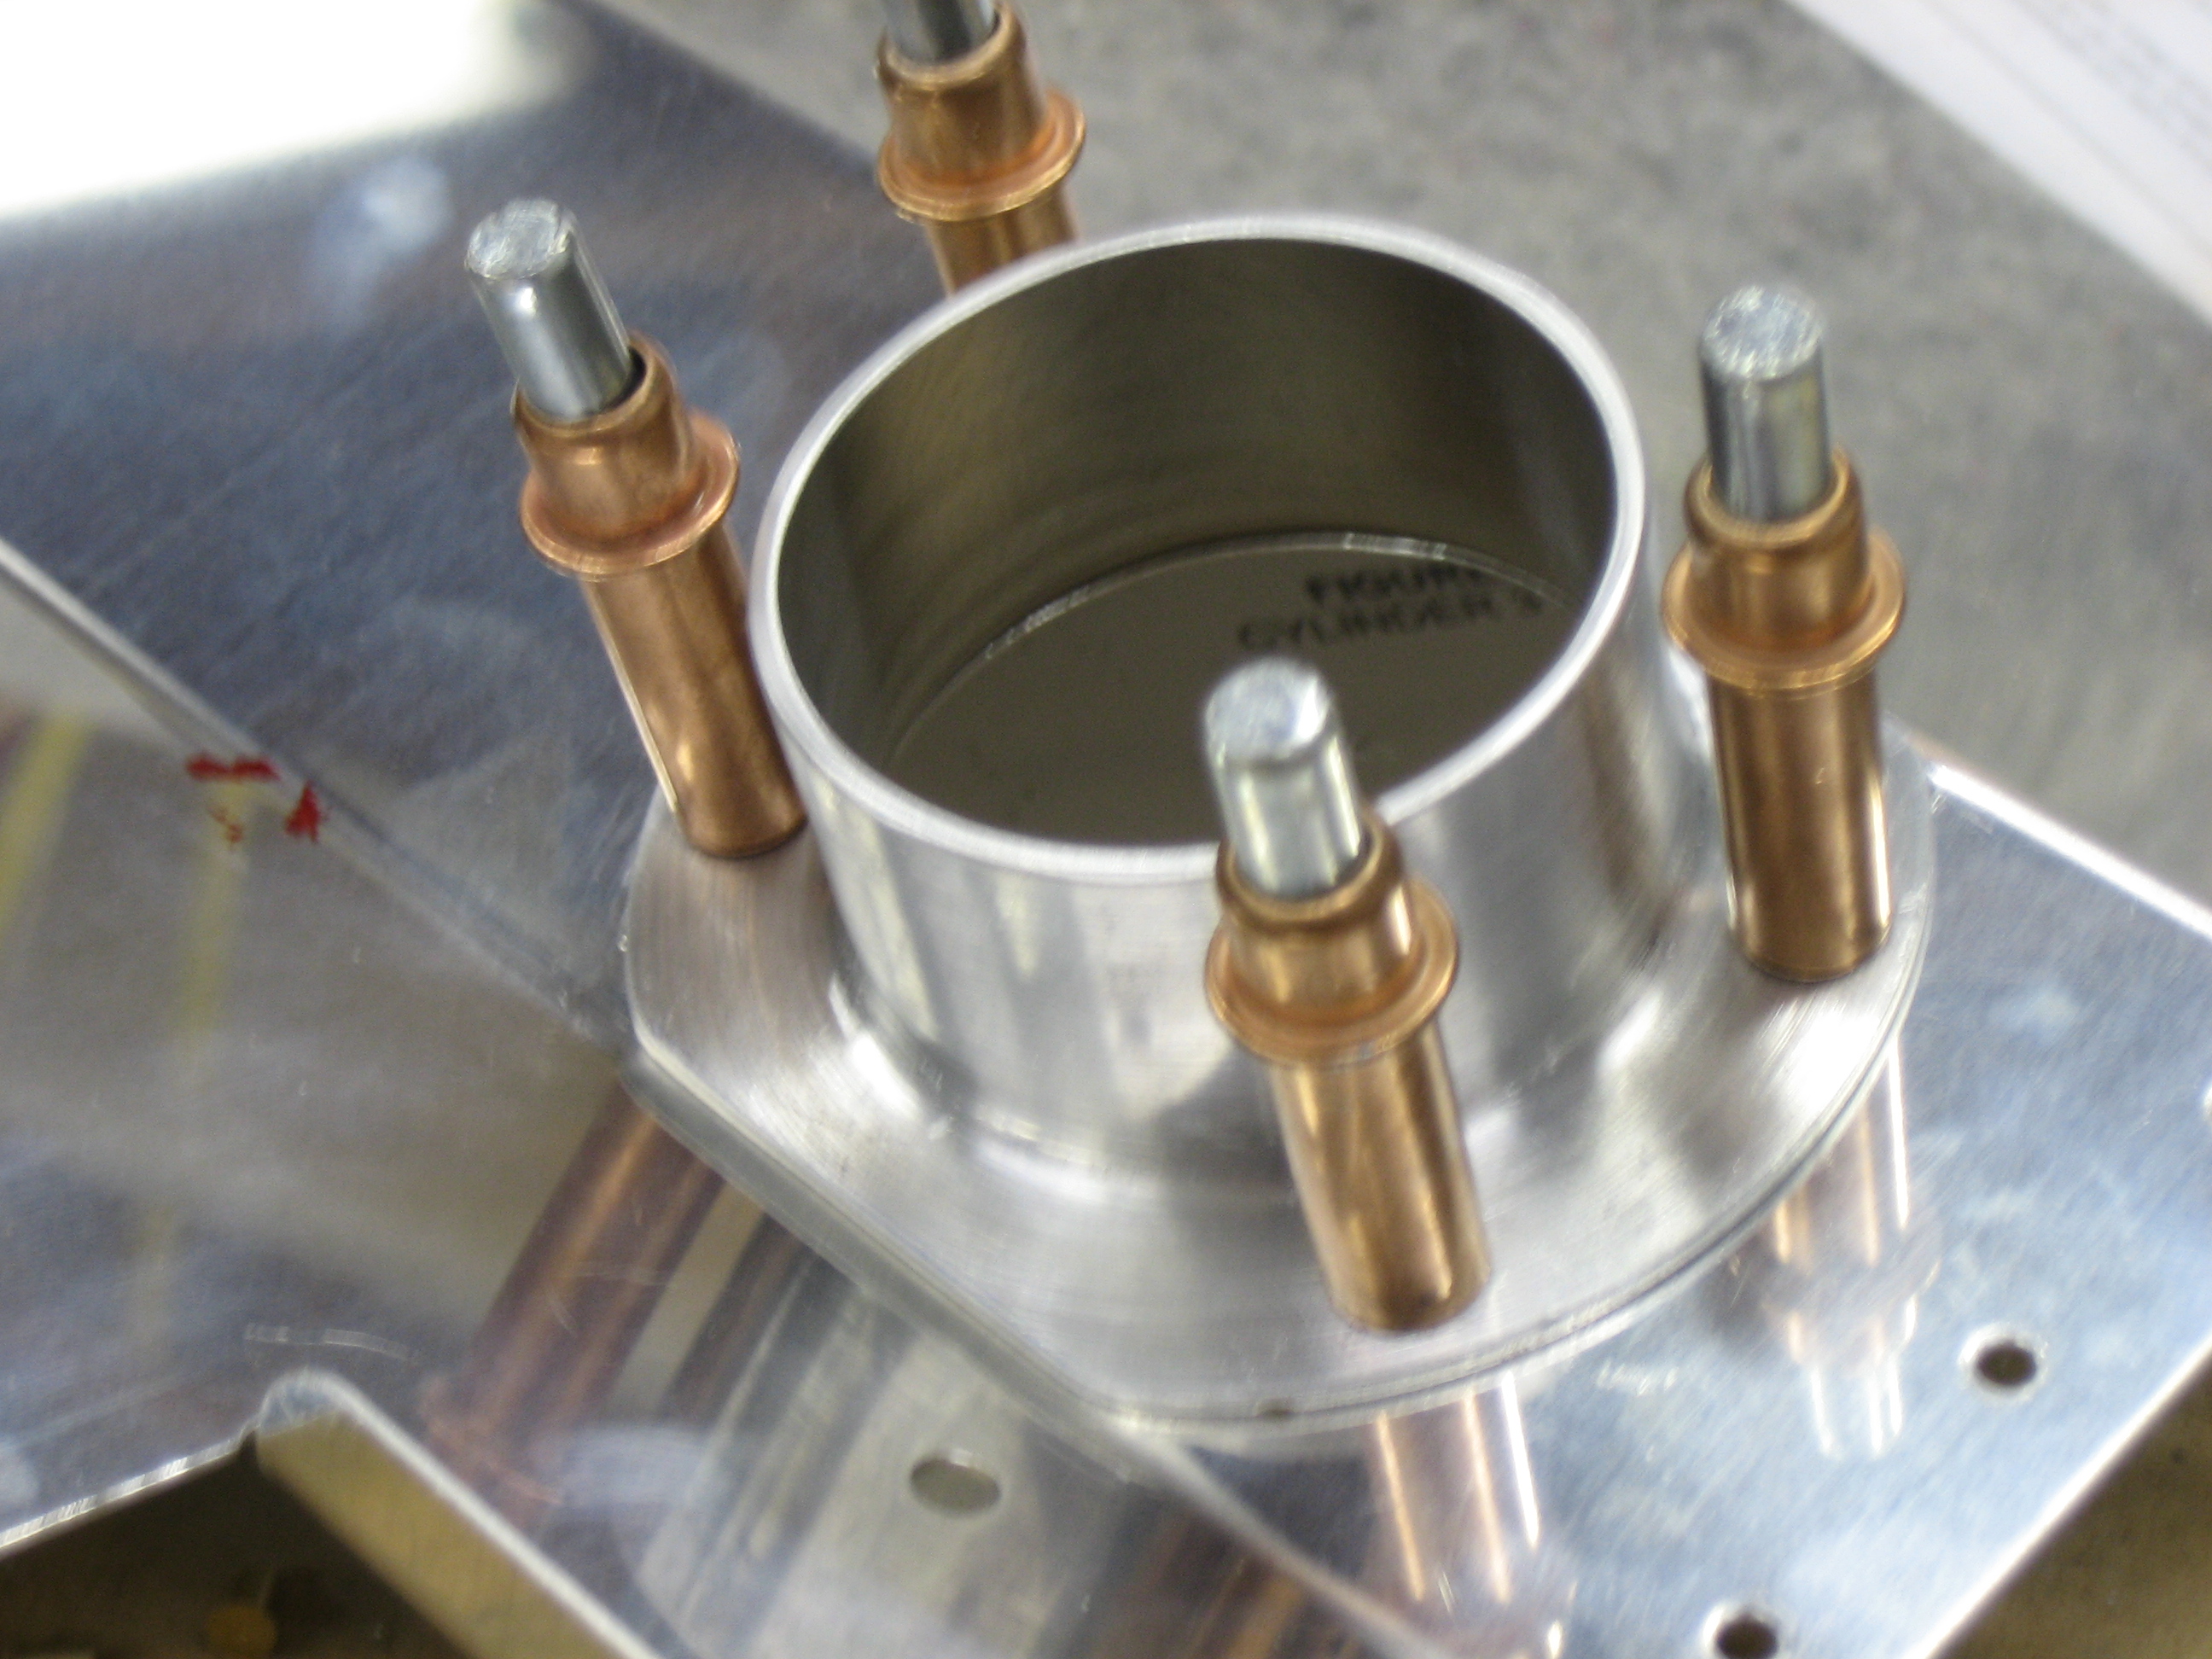
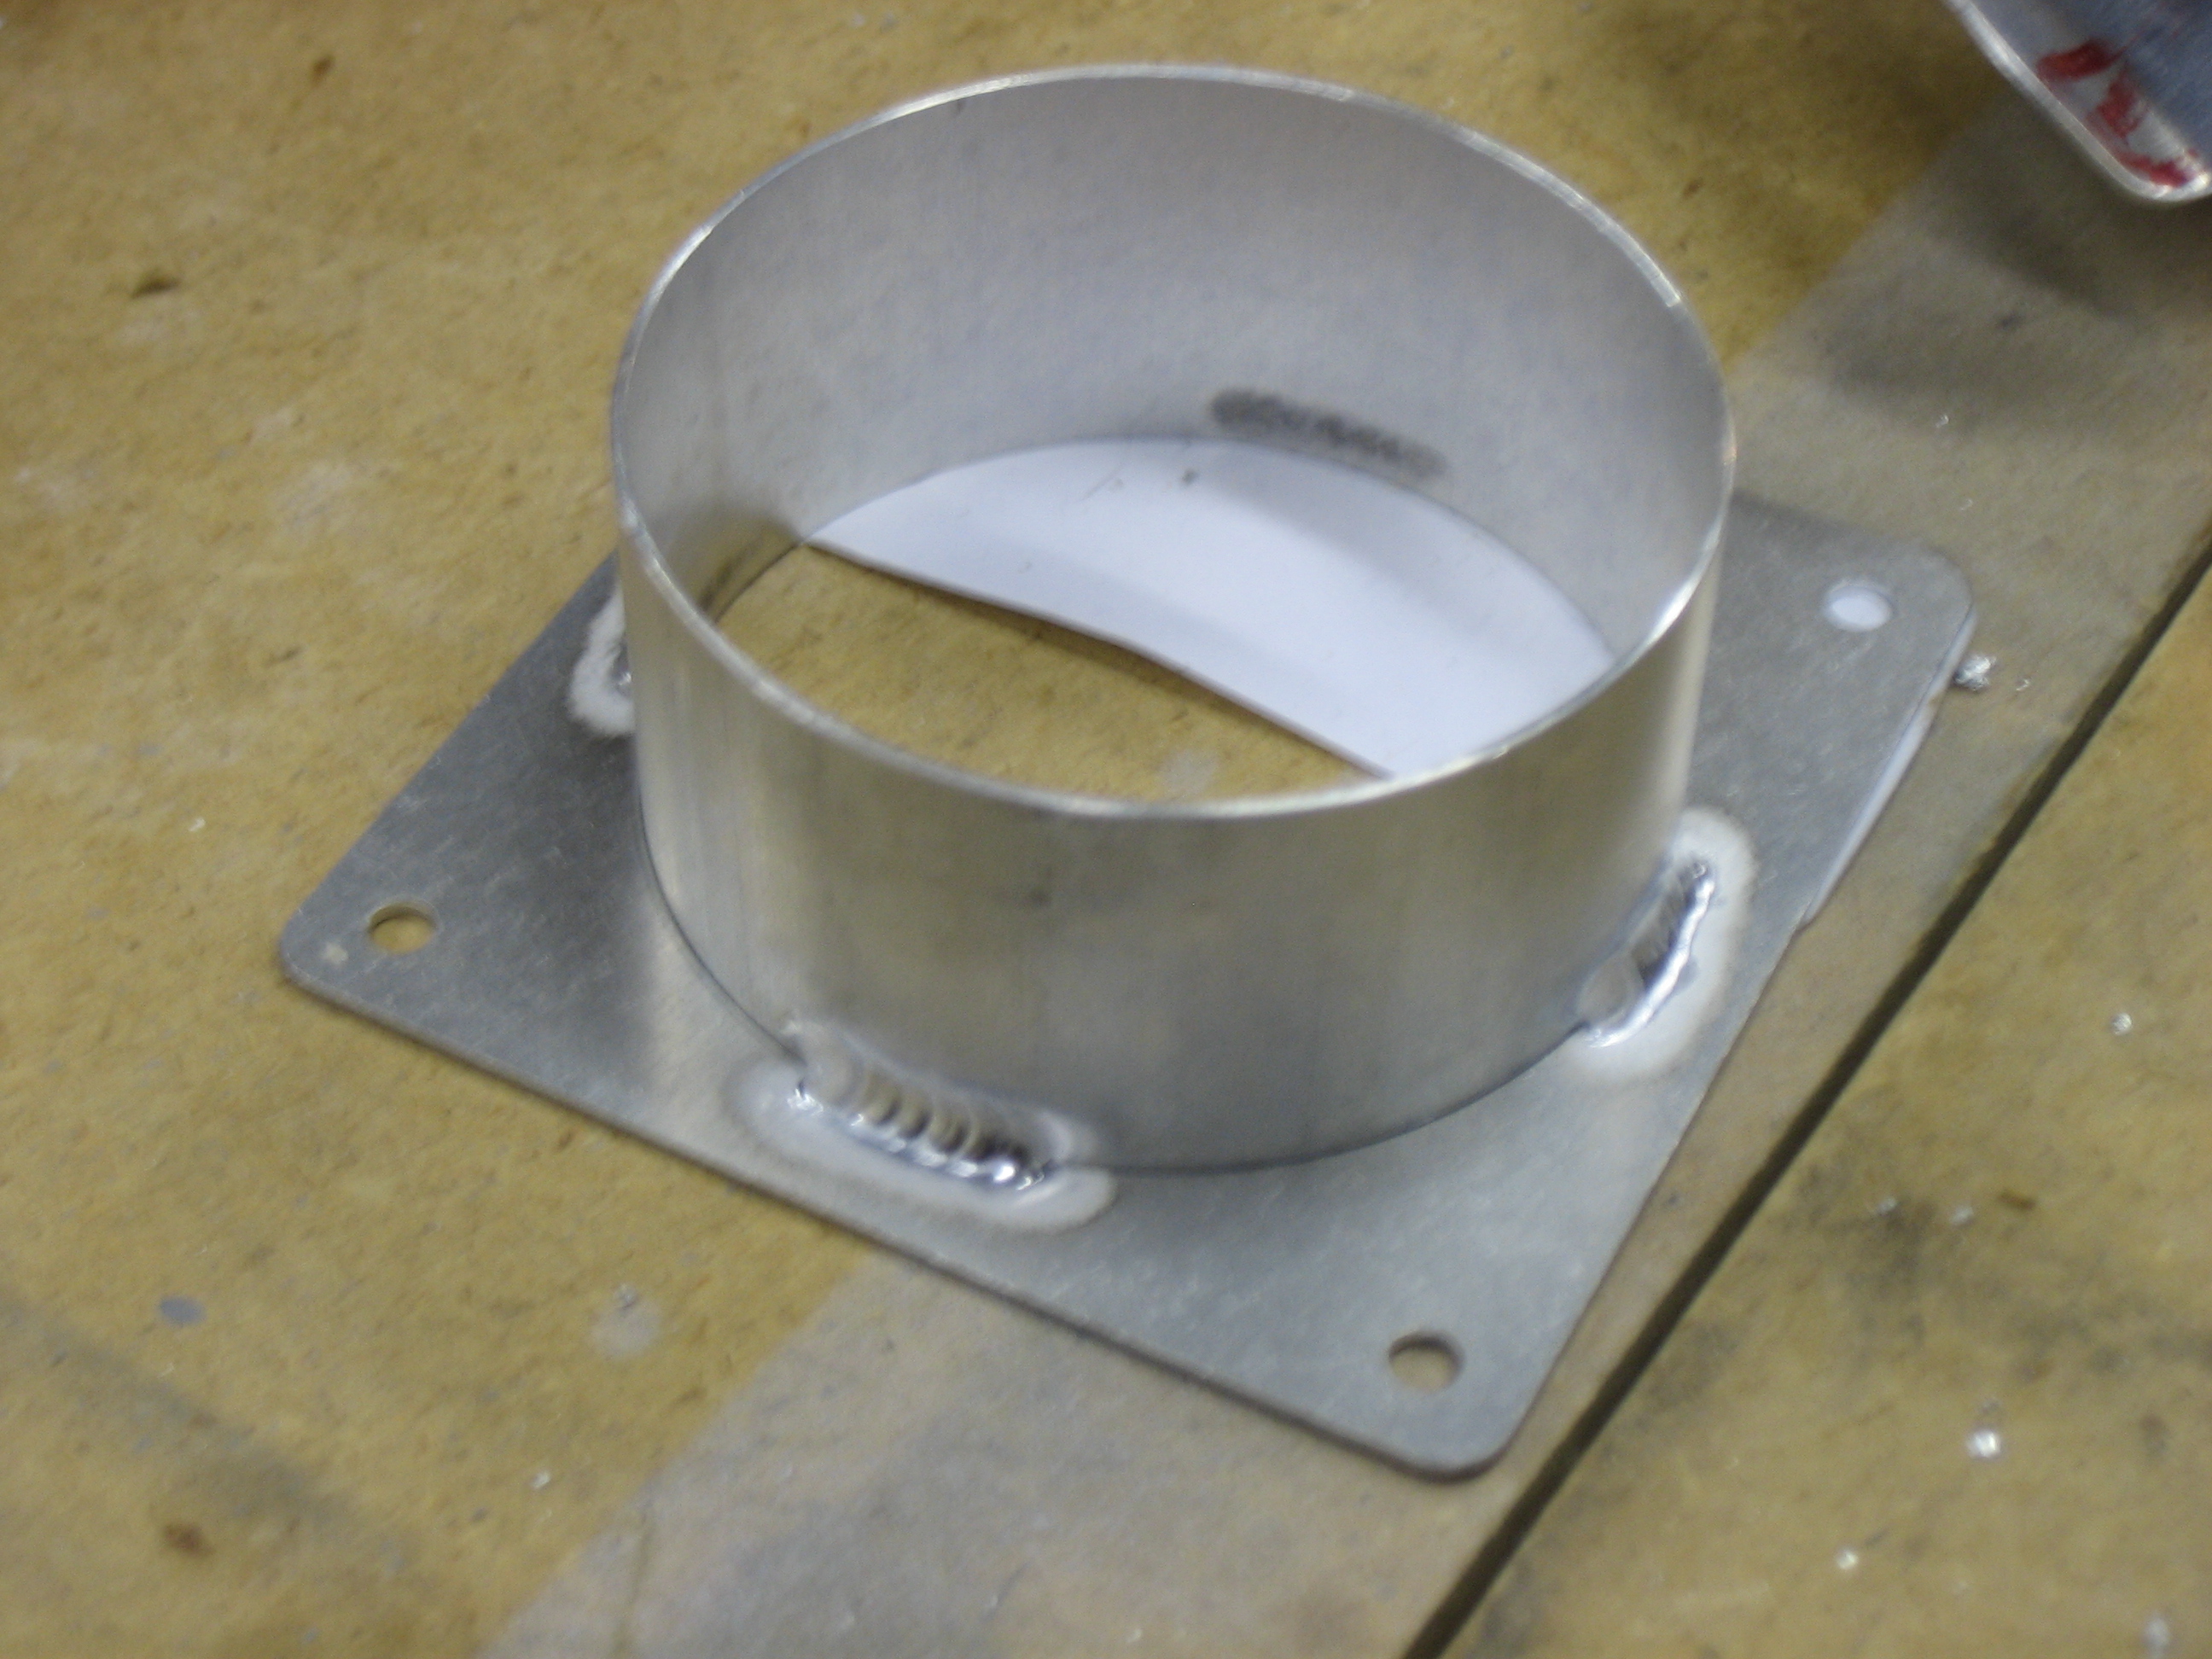
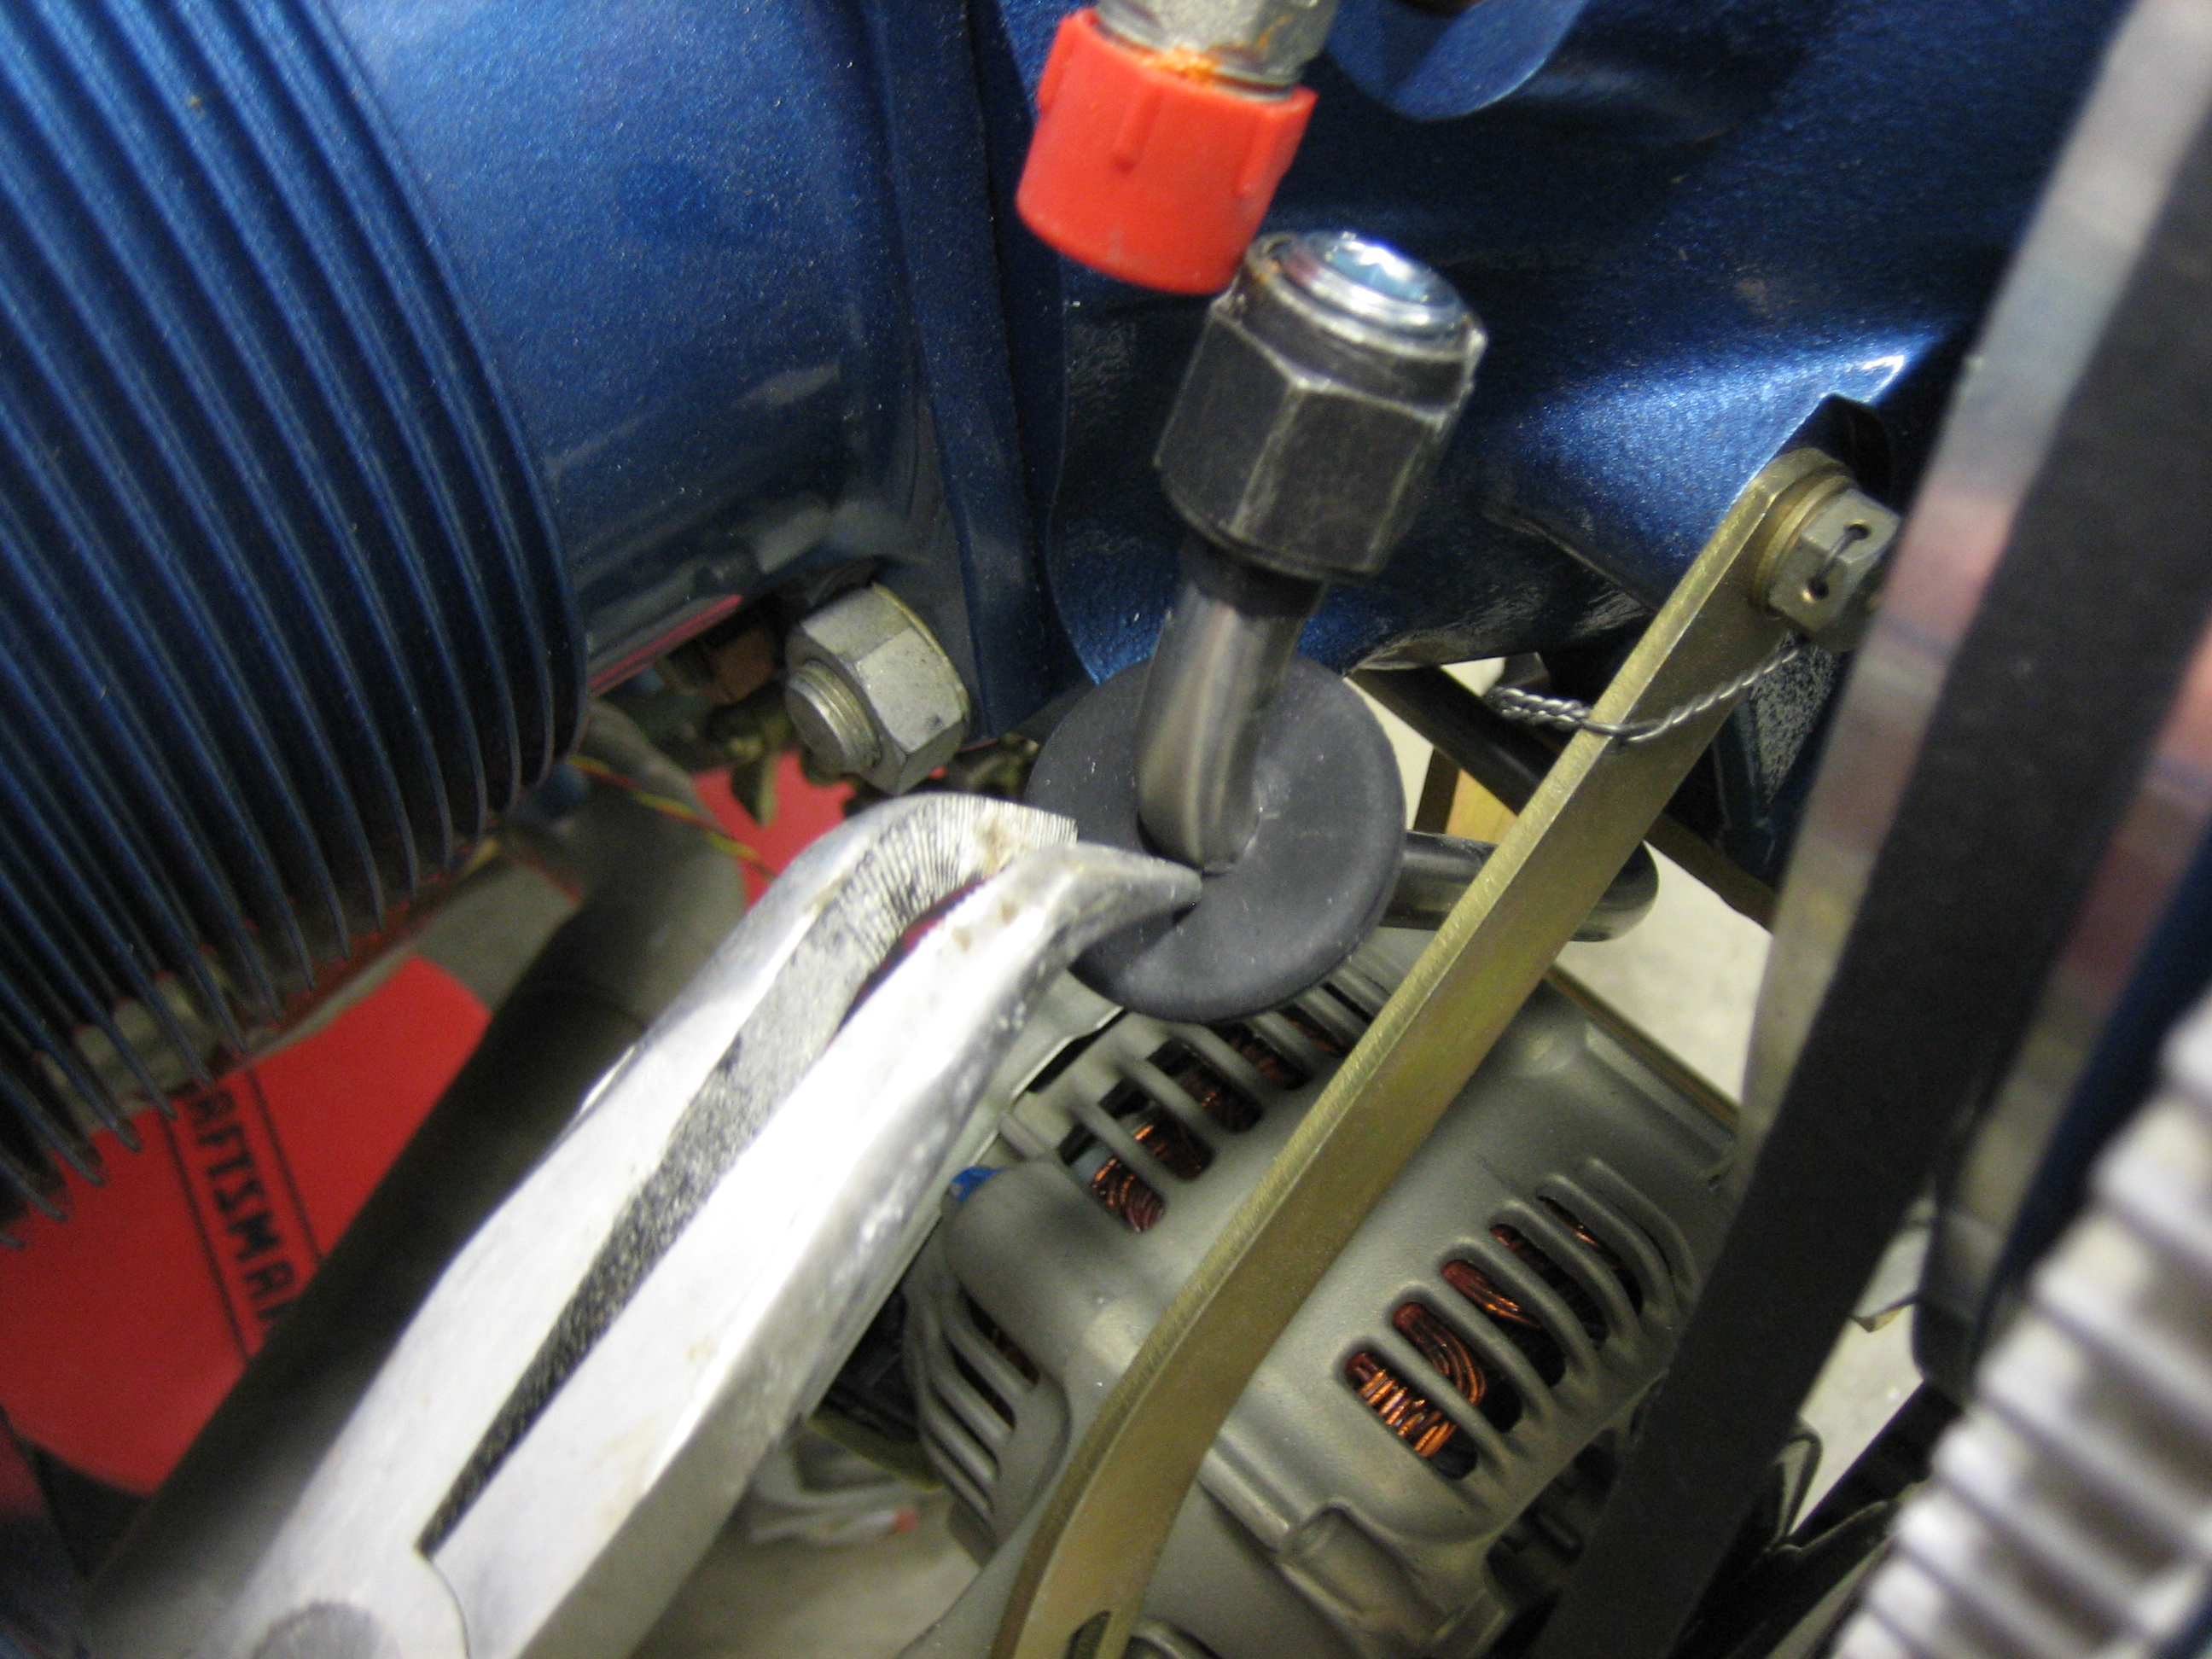
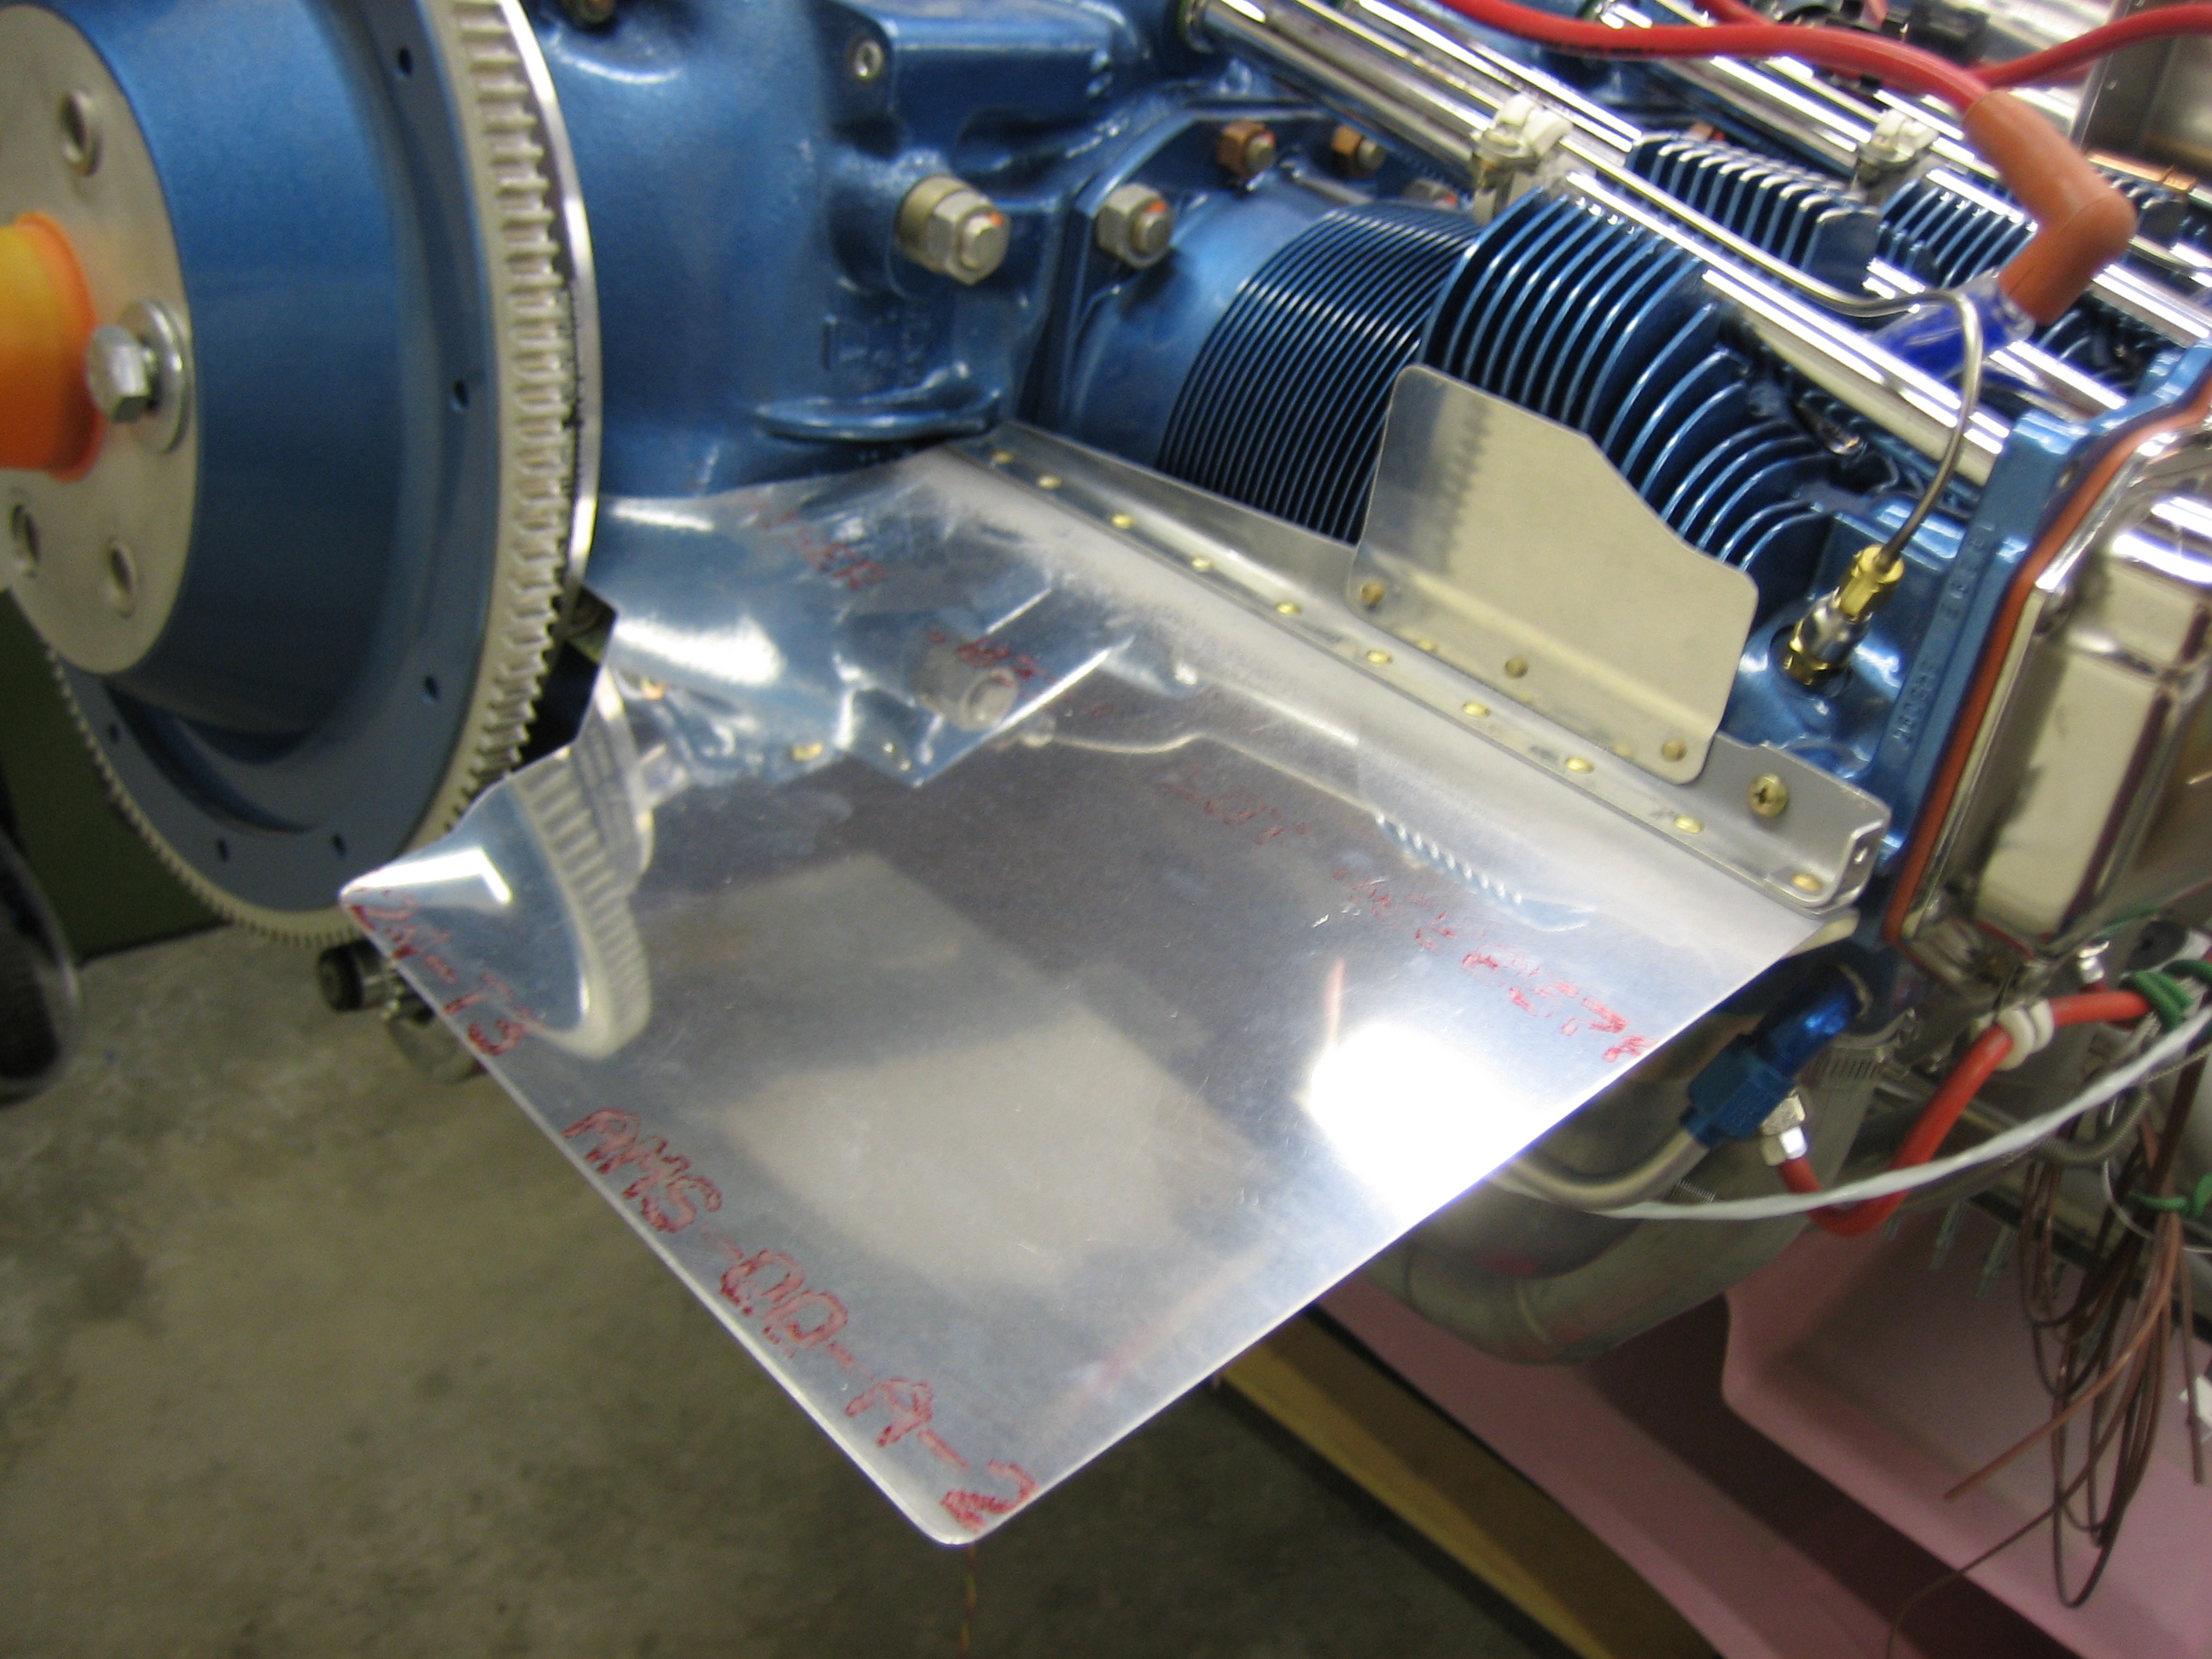
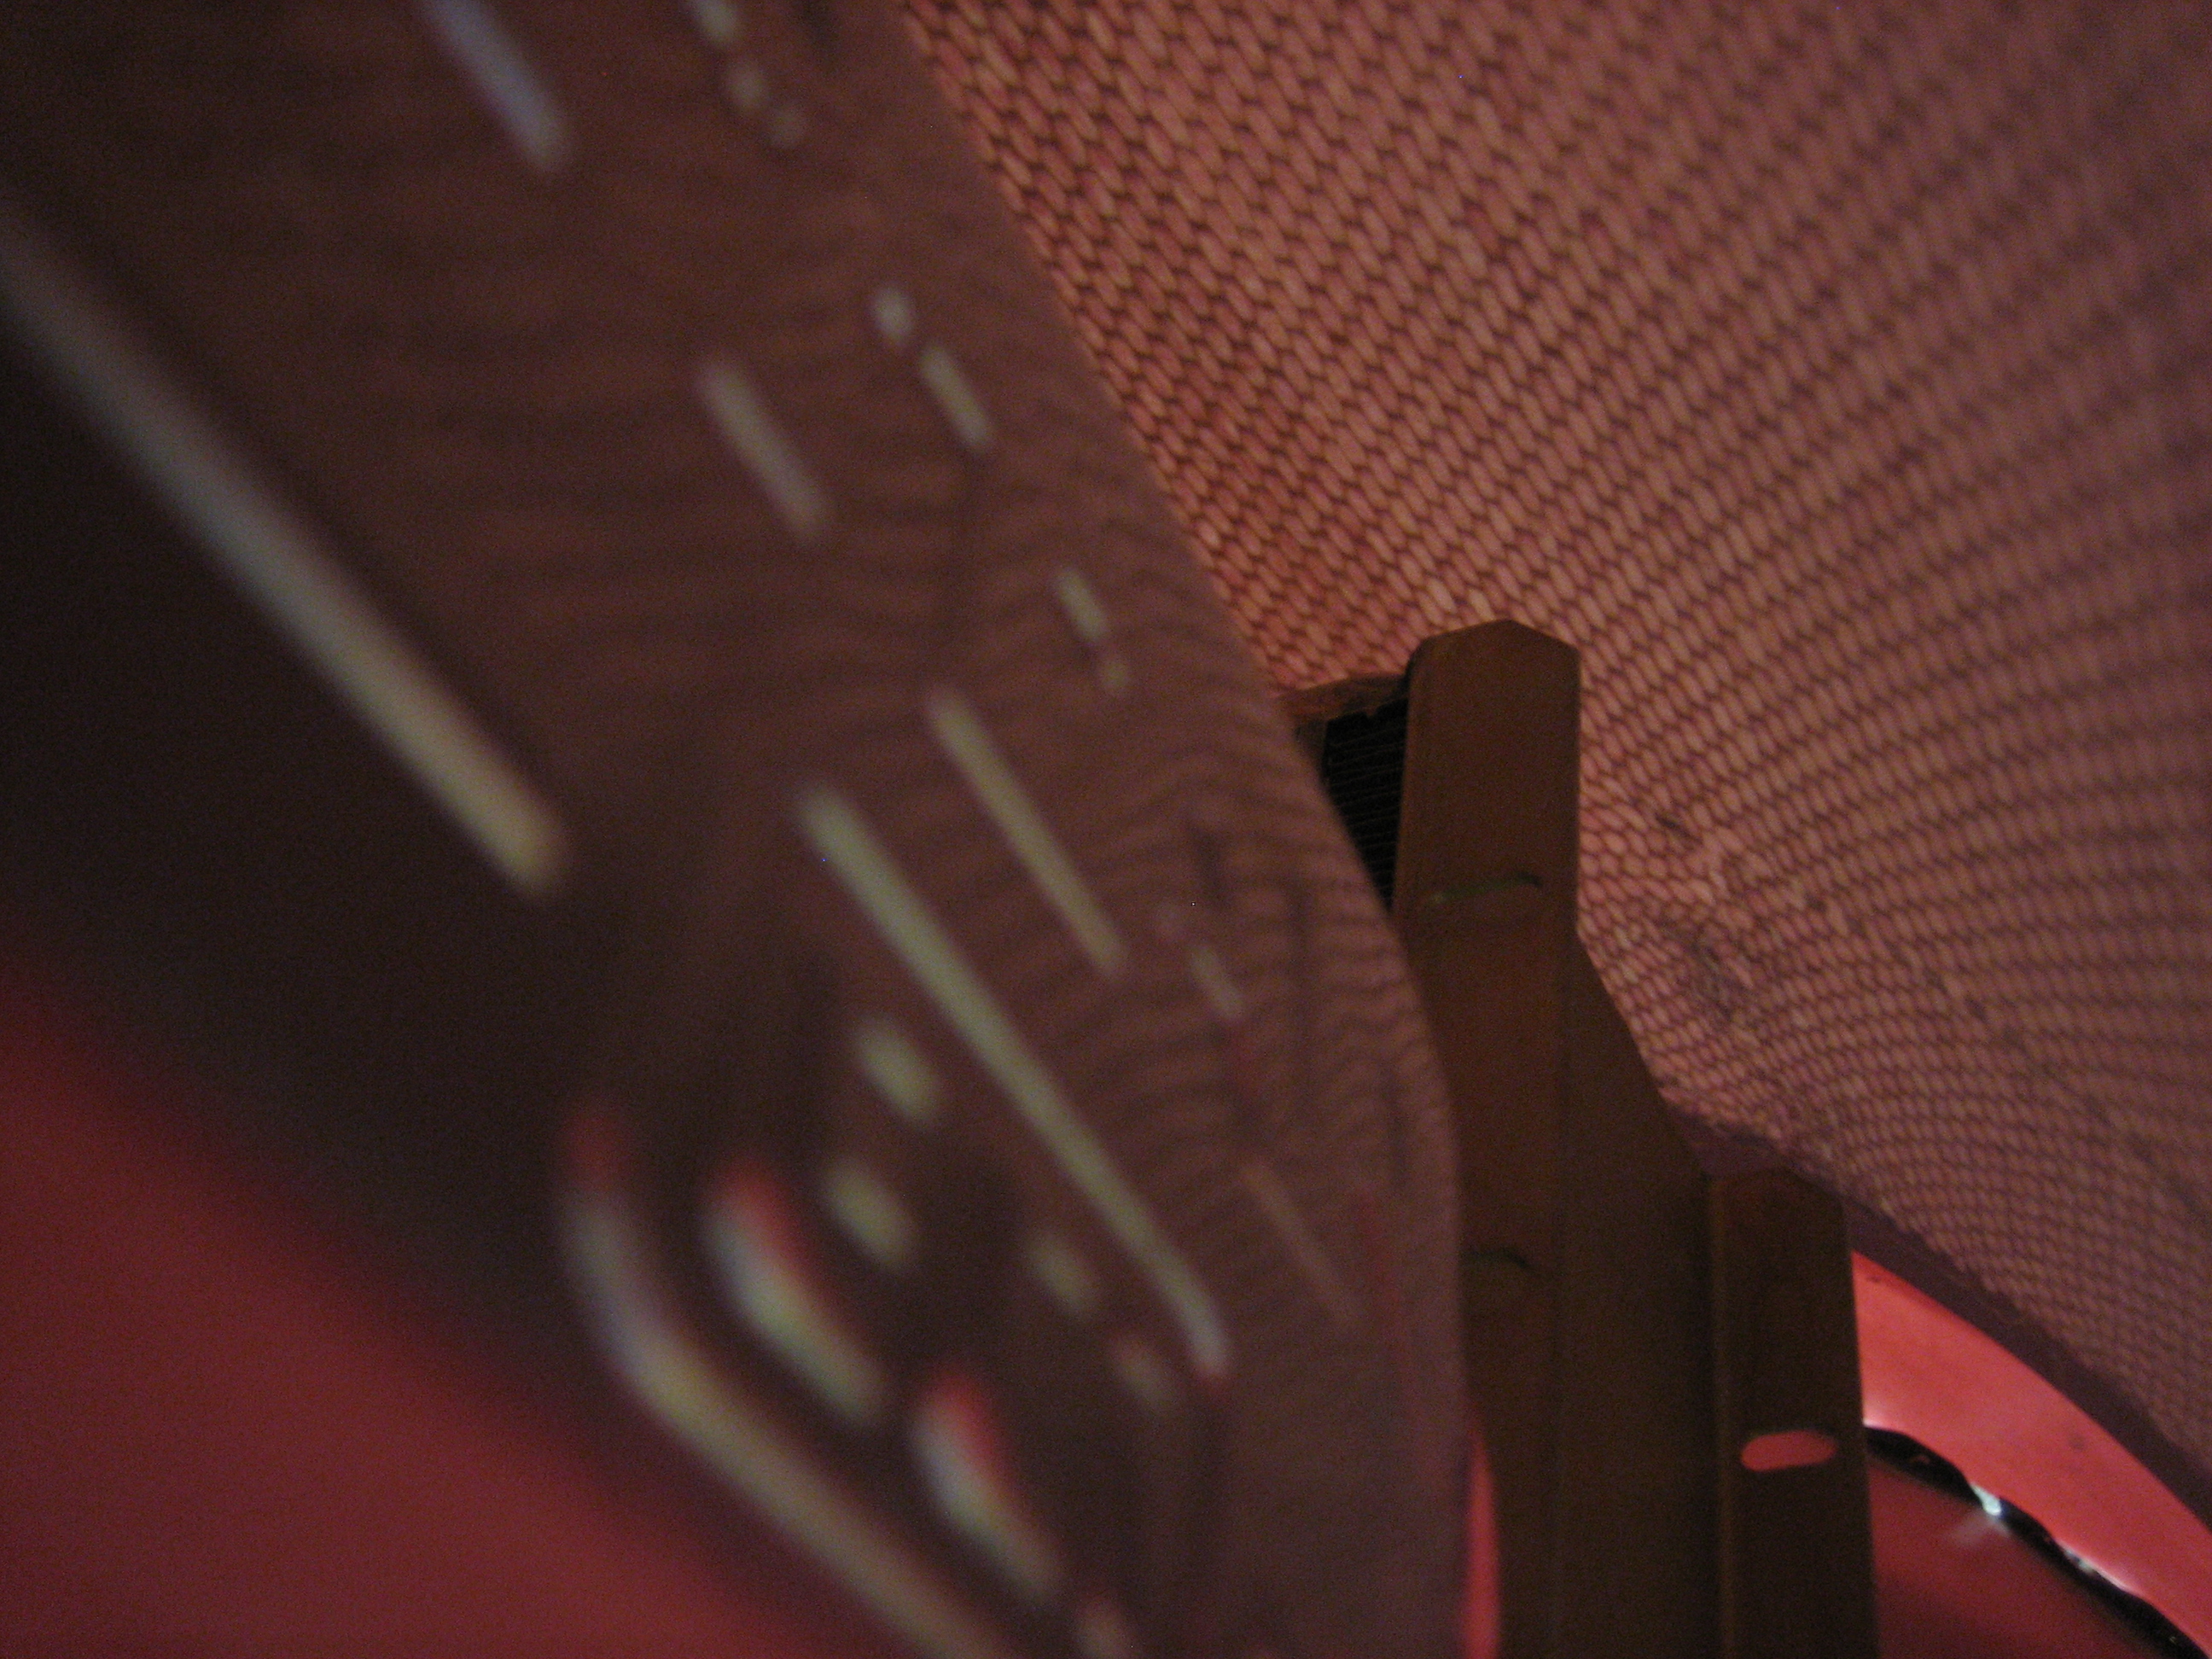
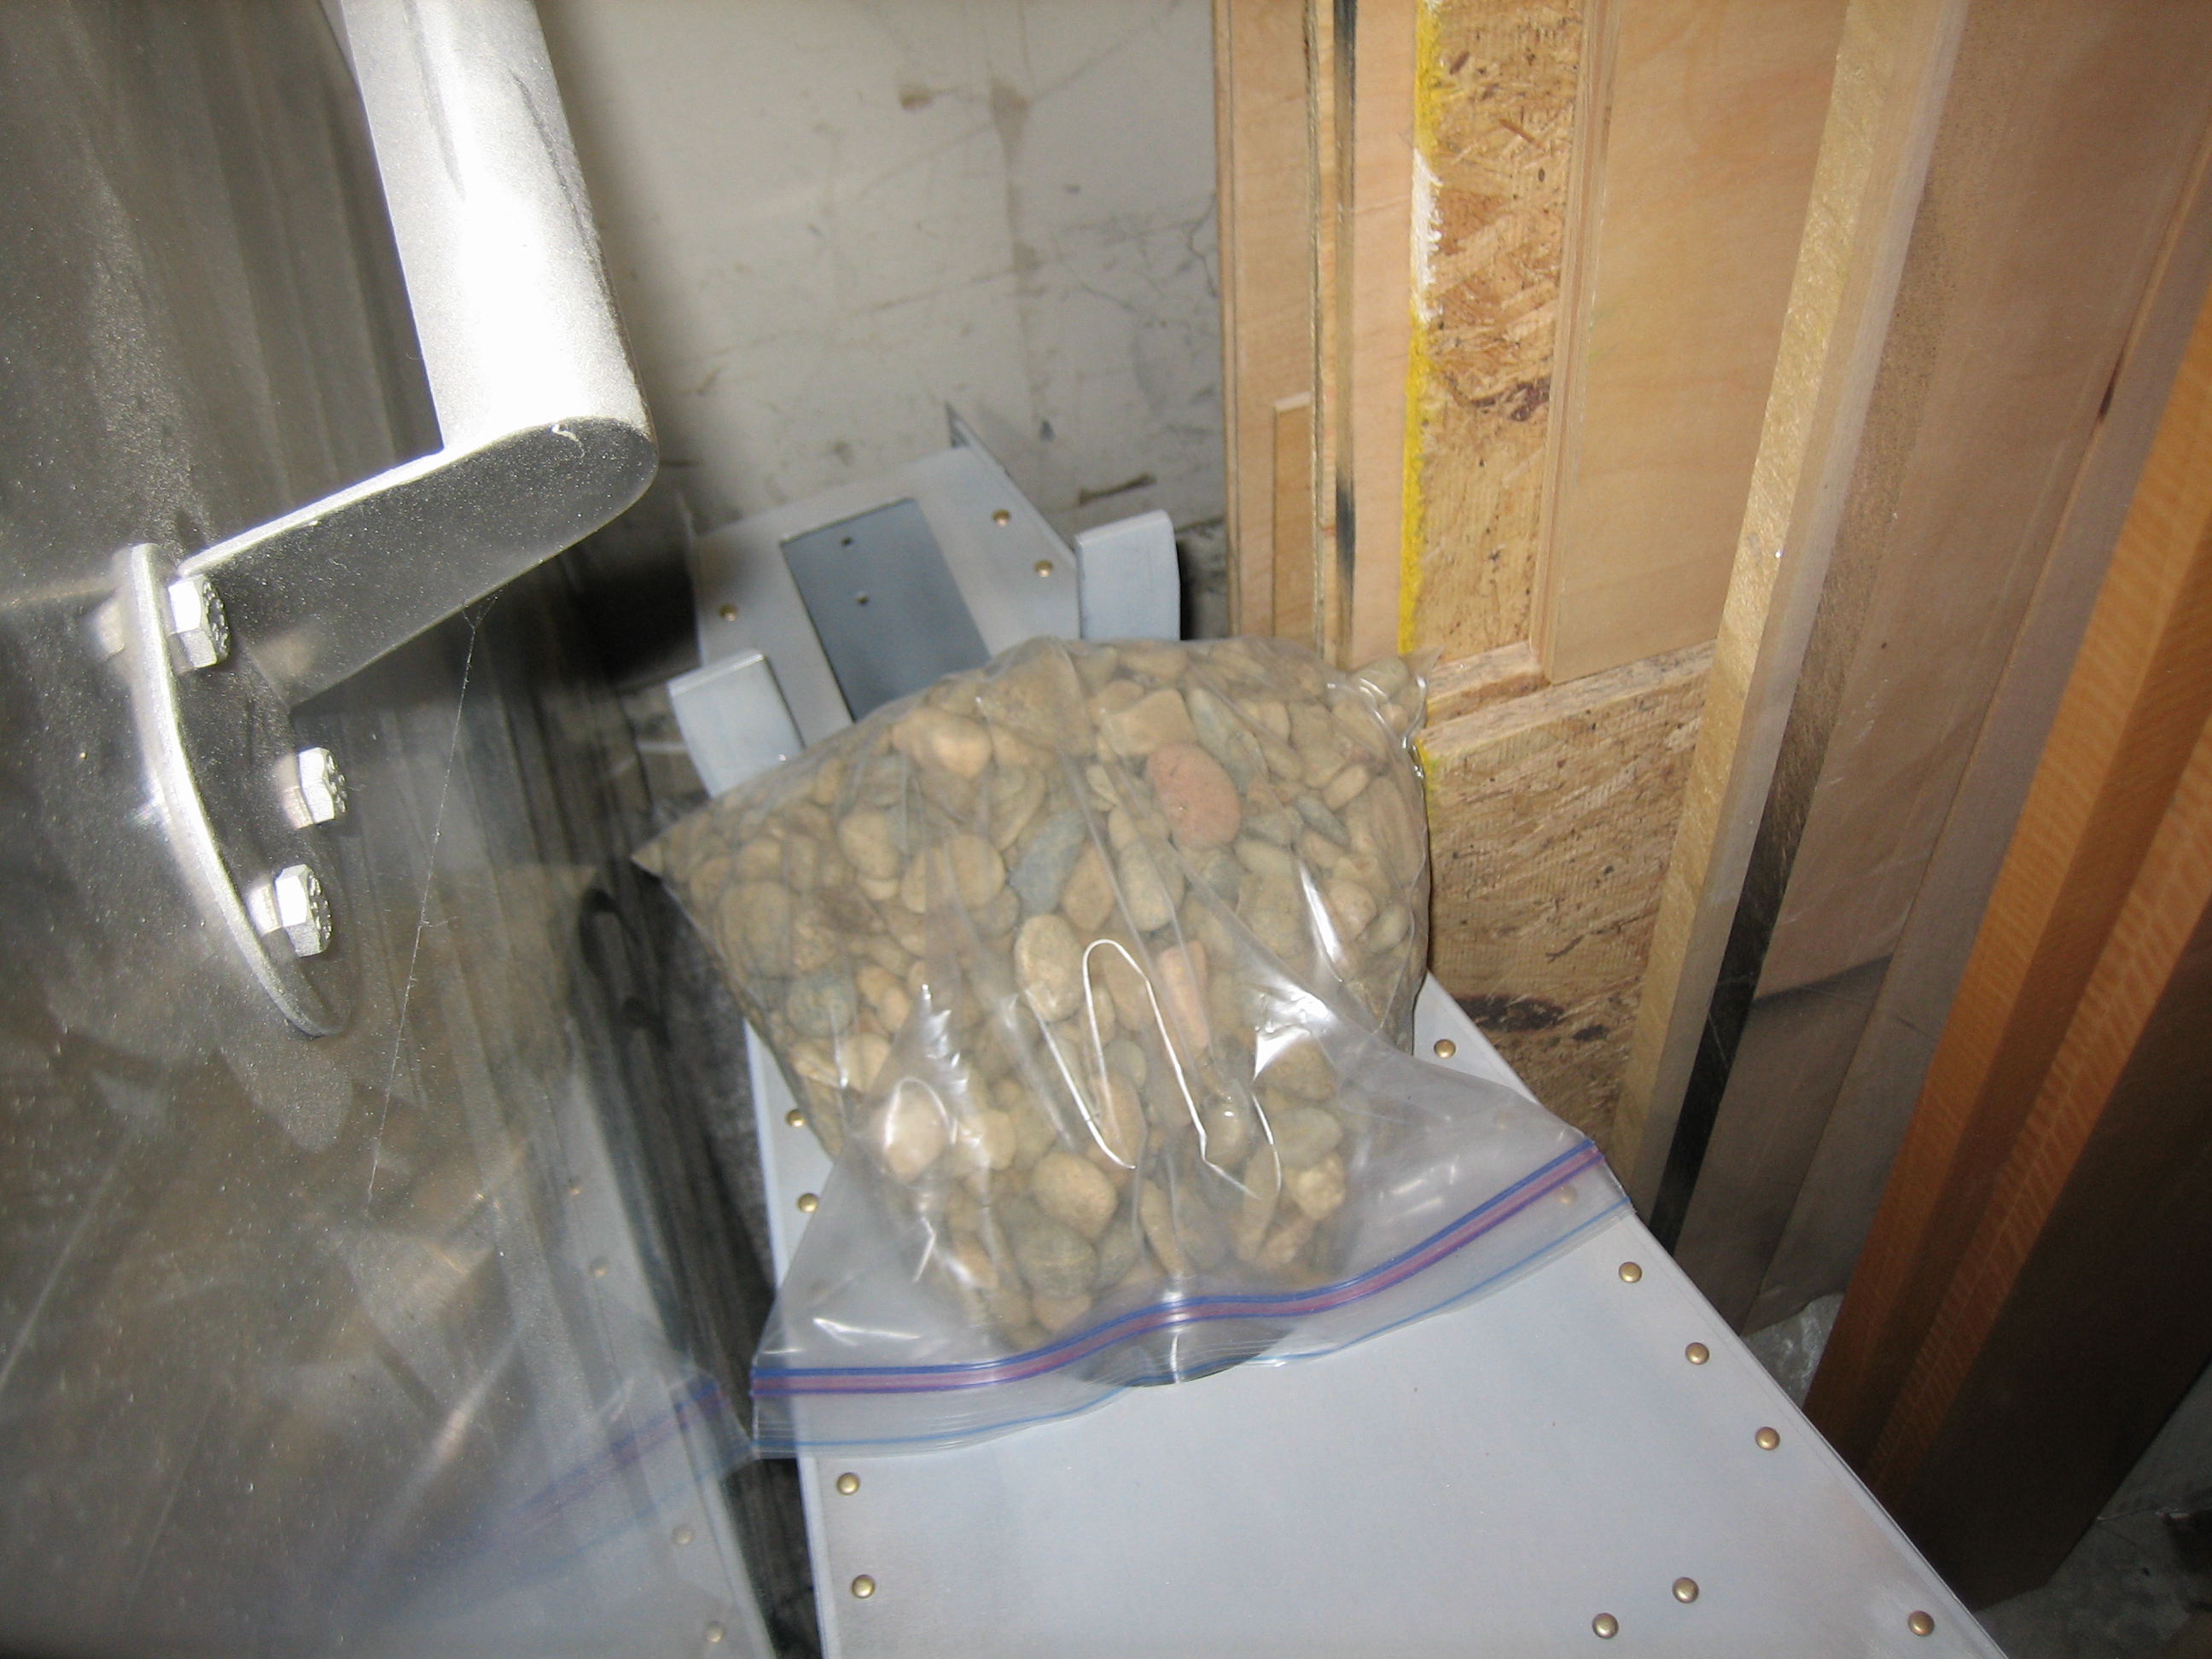
While I had the top cowl roughly in position, I wanted to see how high the oil cooler could be mounted. It looks like I can go up to the point that the center hole in the flange is aligned with the upper engine mount tube.
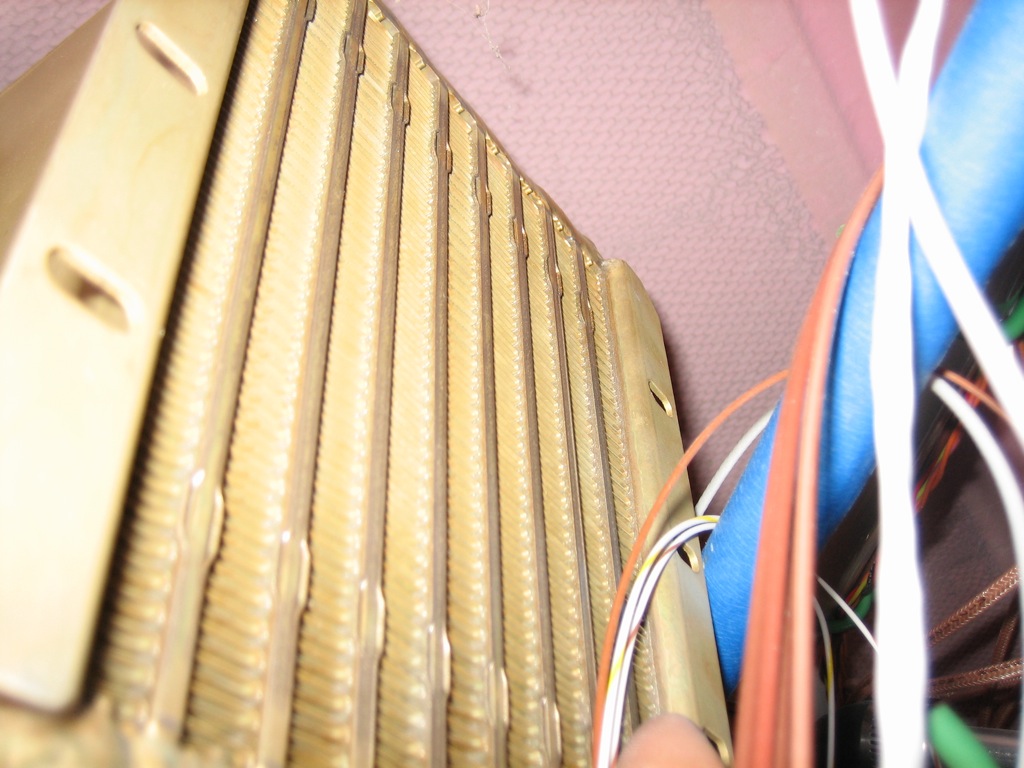
It’s hard to see here, but this still gives me about 1/2″ clearance between the oil cooler and the cowl (even if I don’t relieve the end of the mounting flange a little more).
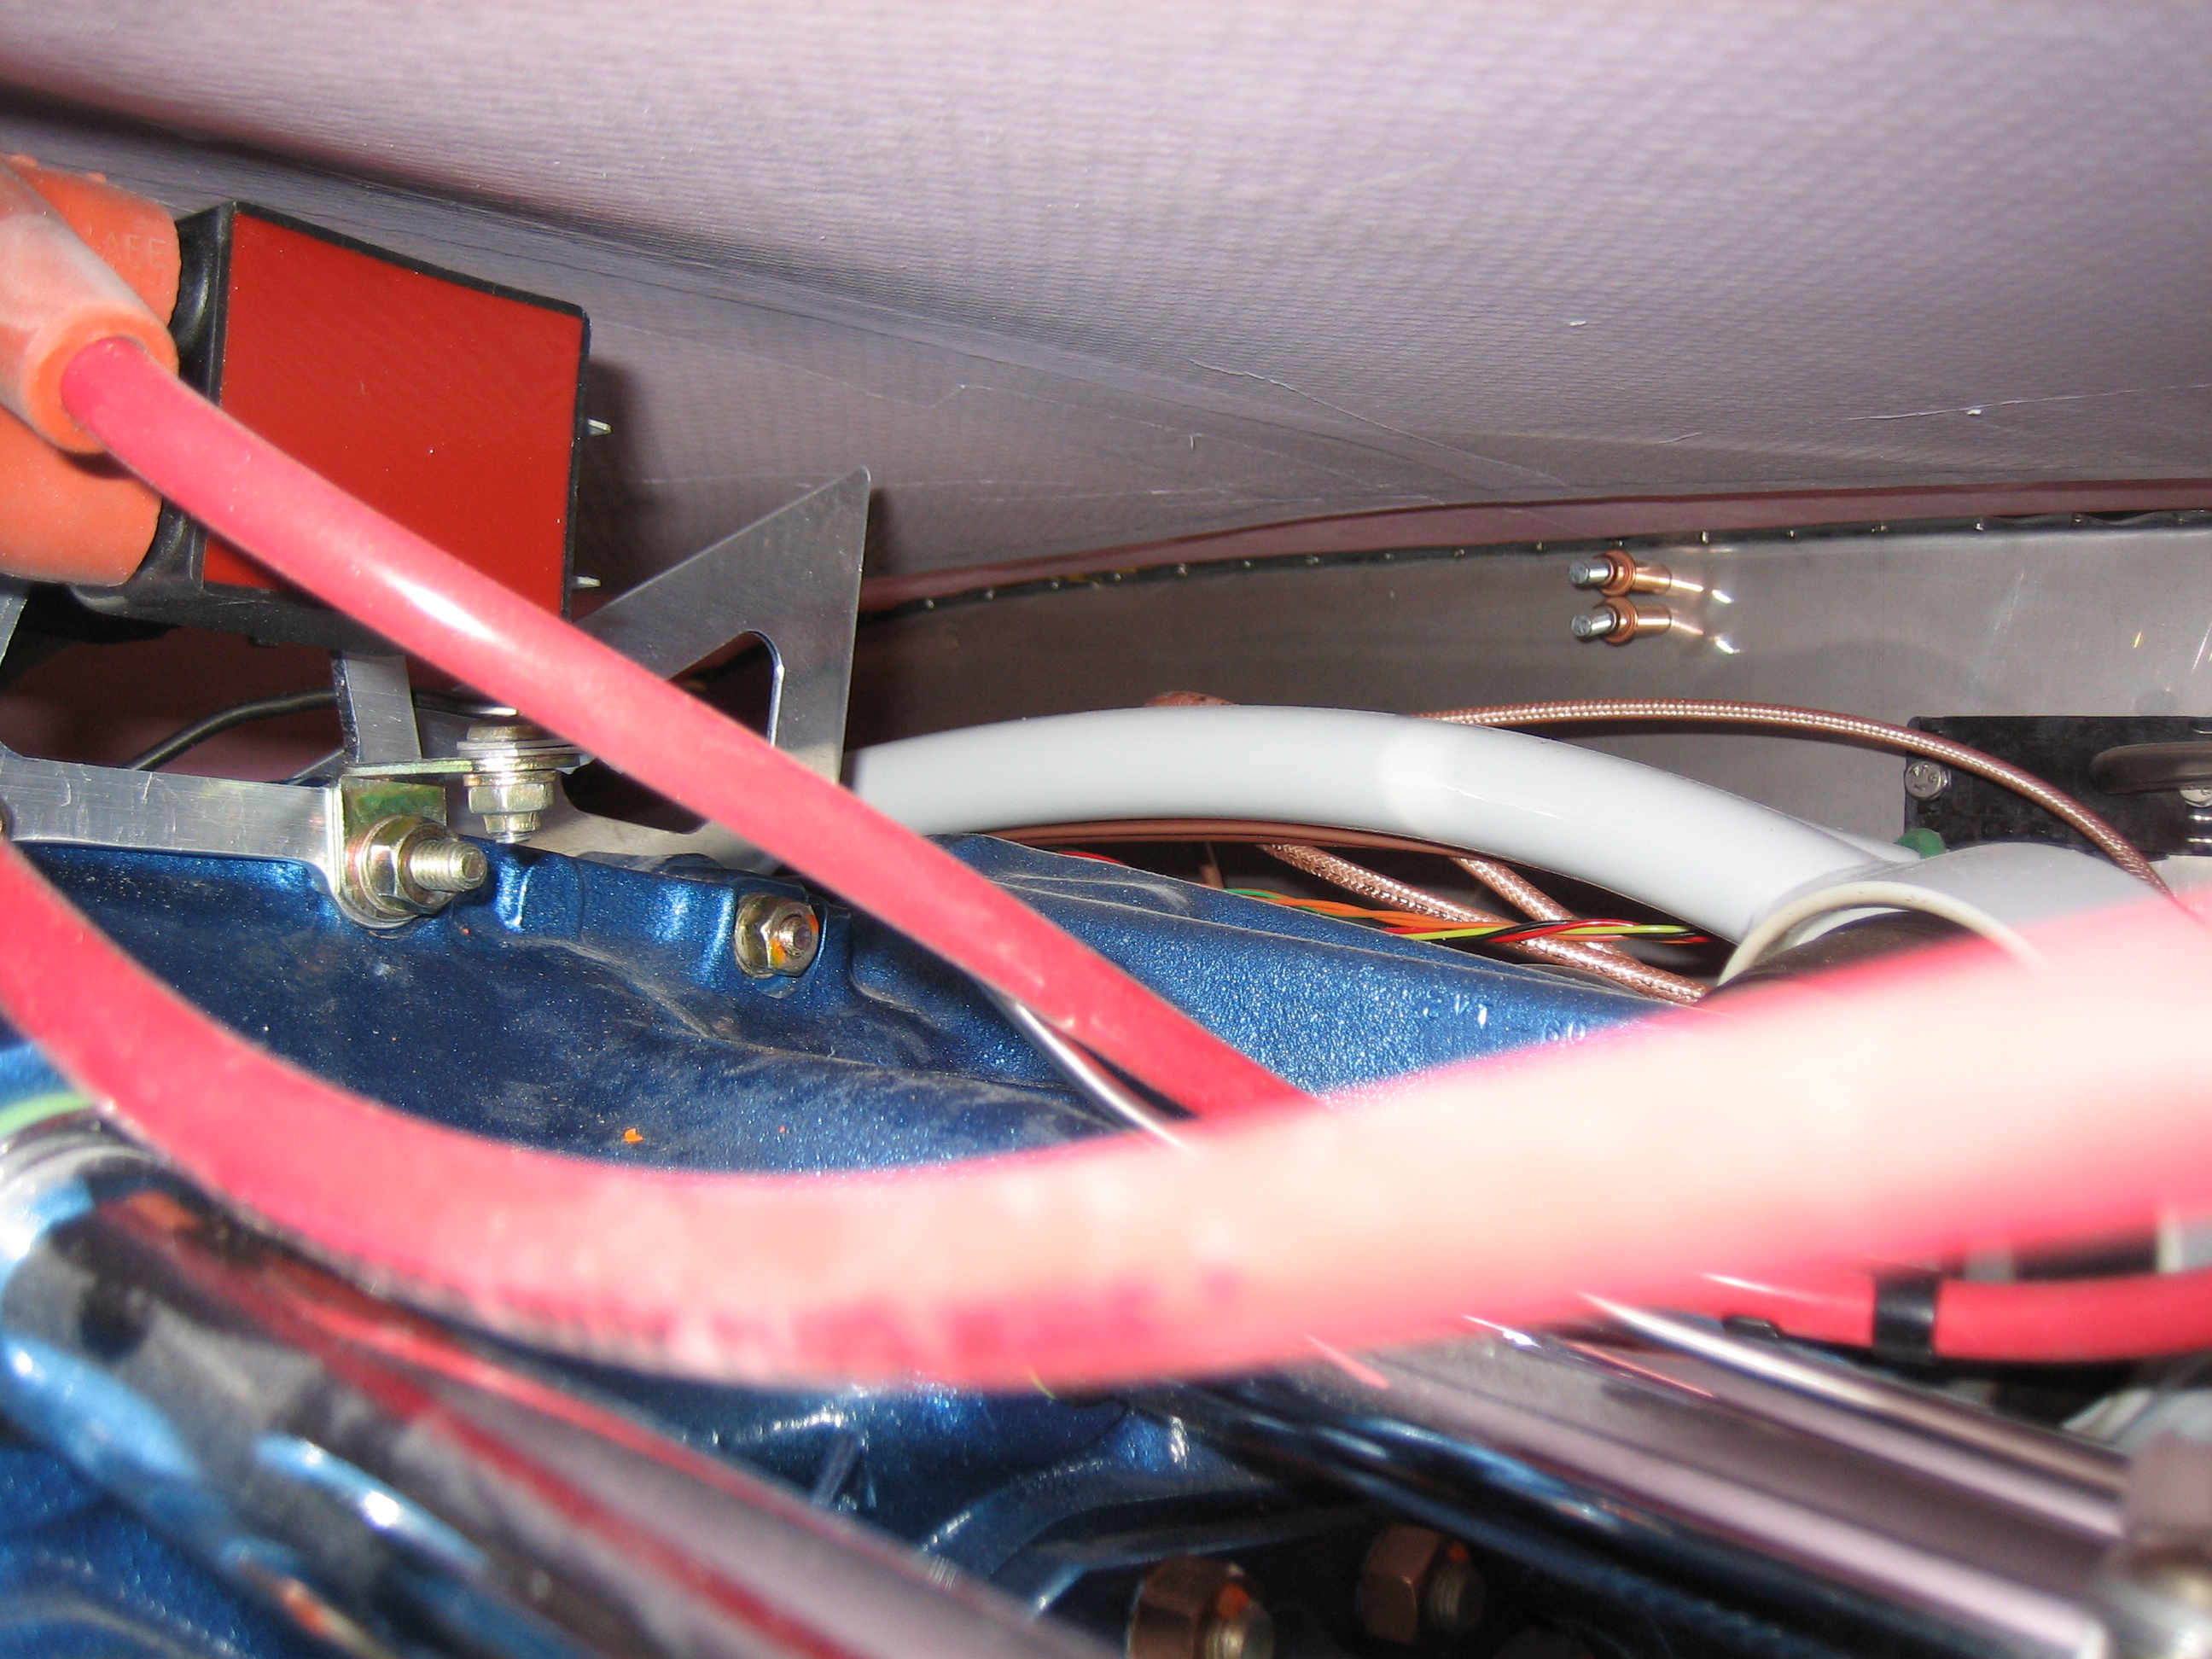
I took a picture of the rear part of the top of the engine. Because of the way the cowl slopes, there is a lot more height farther back.

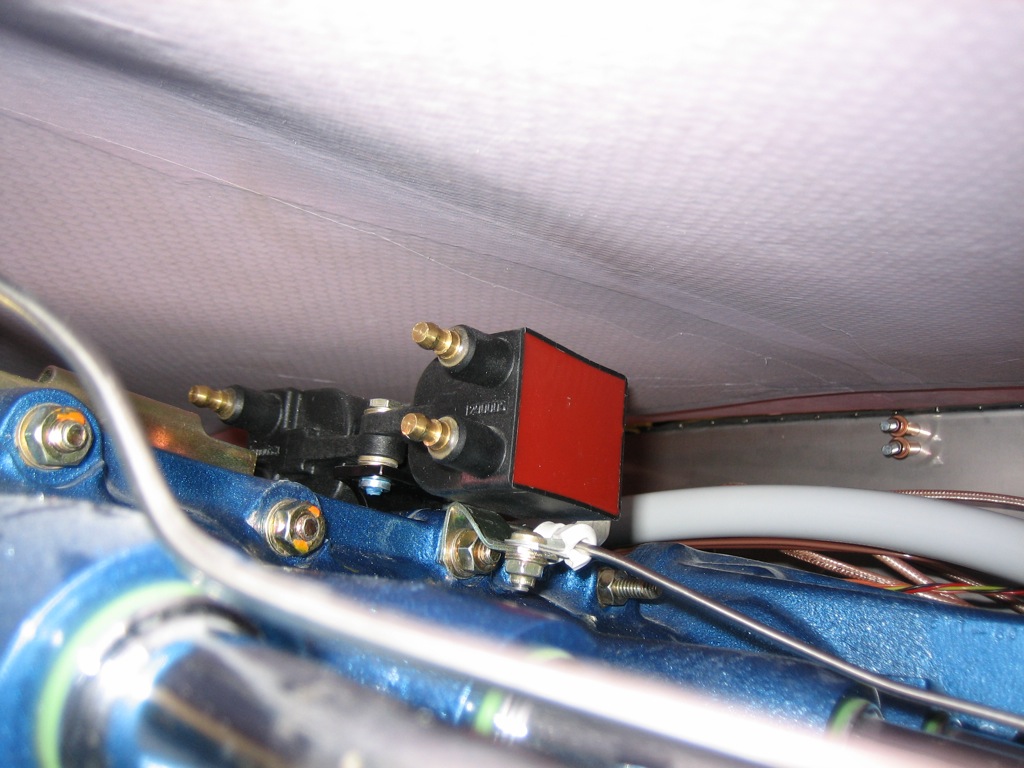
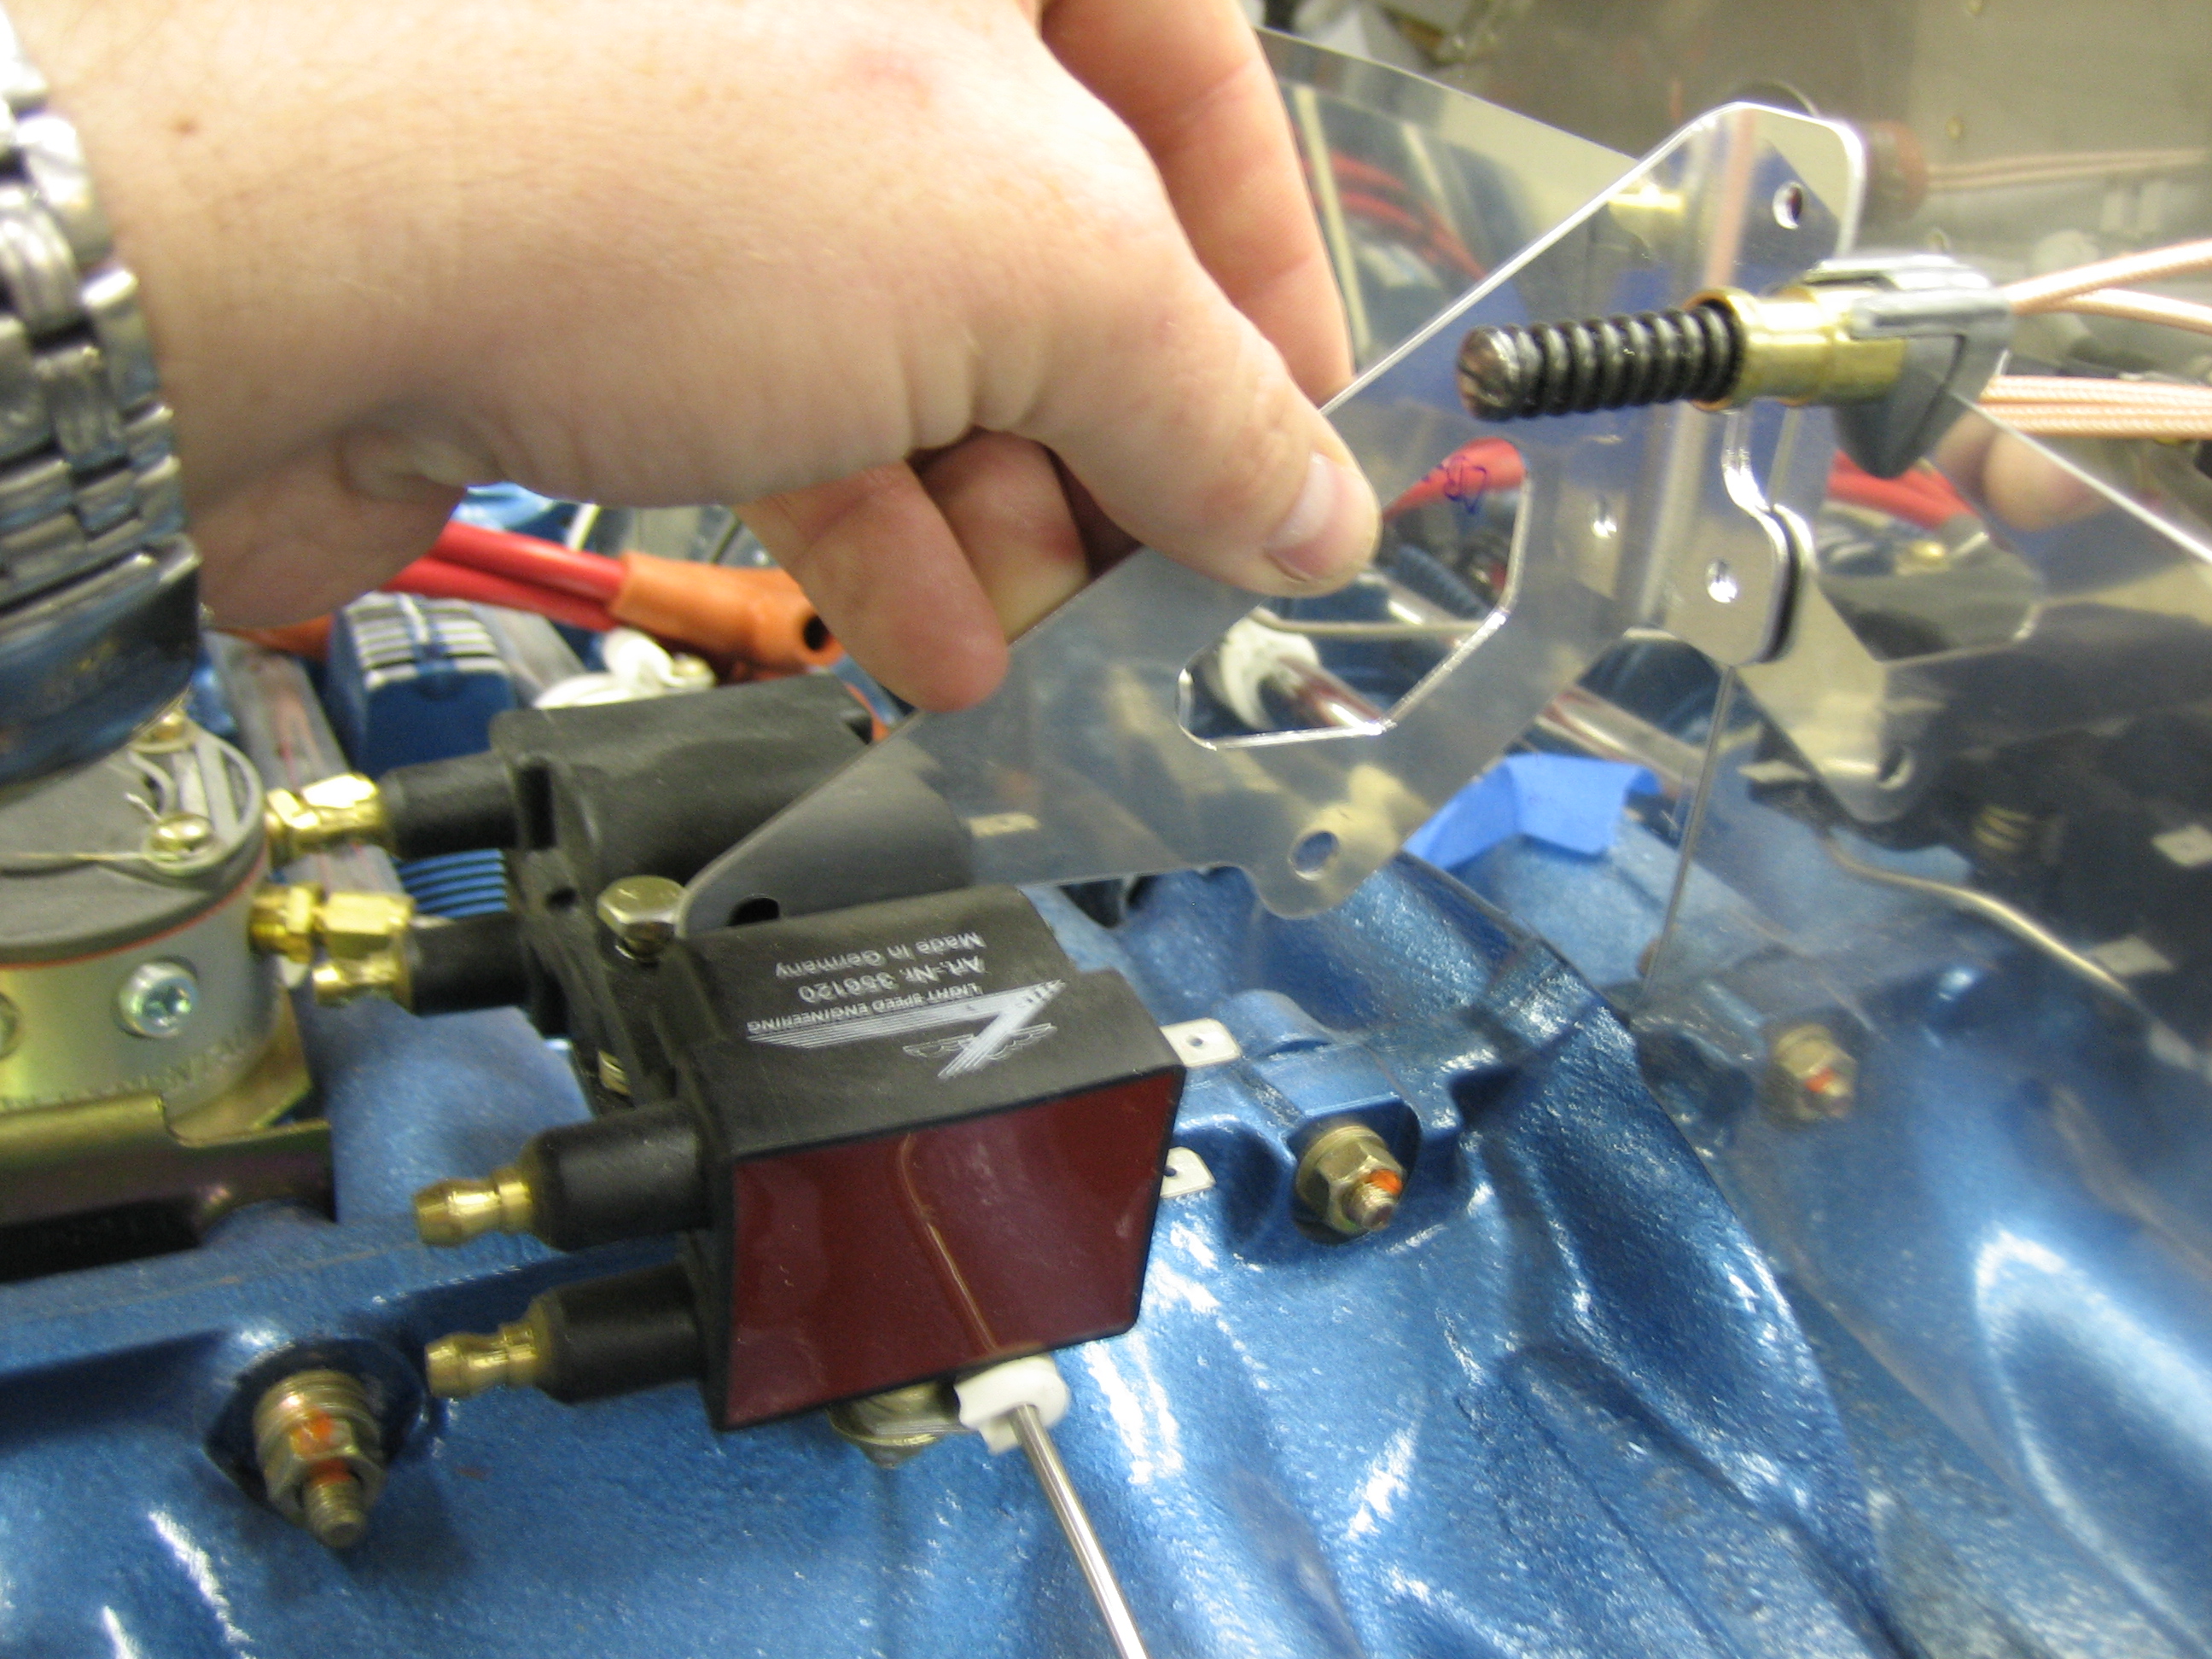
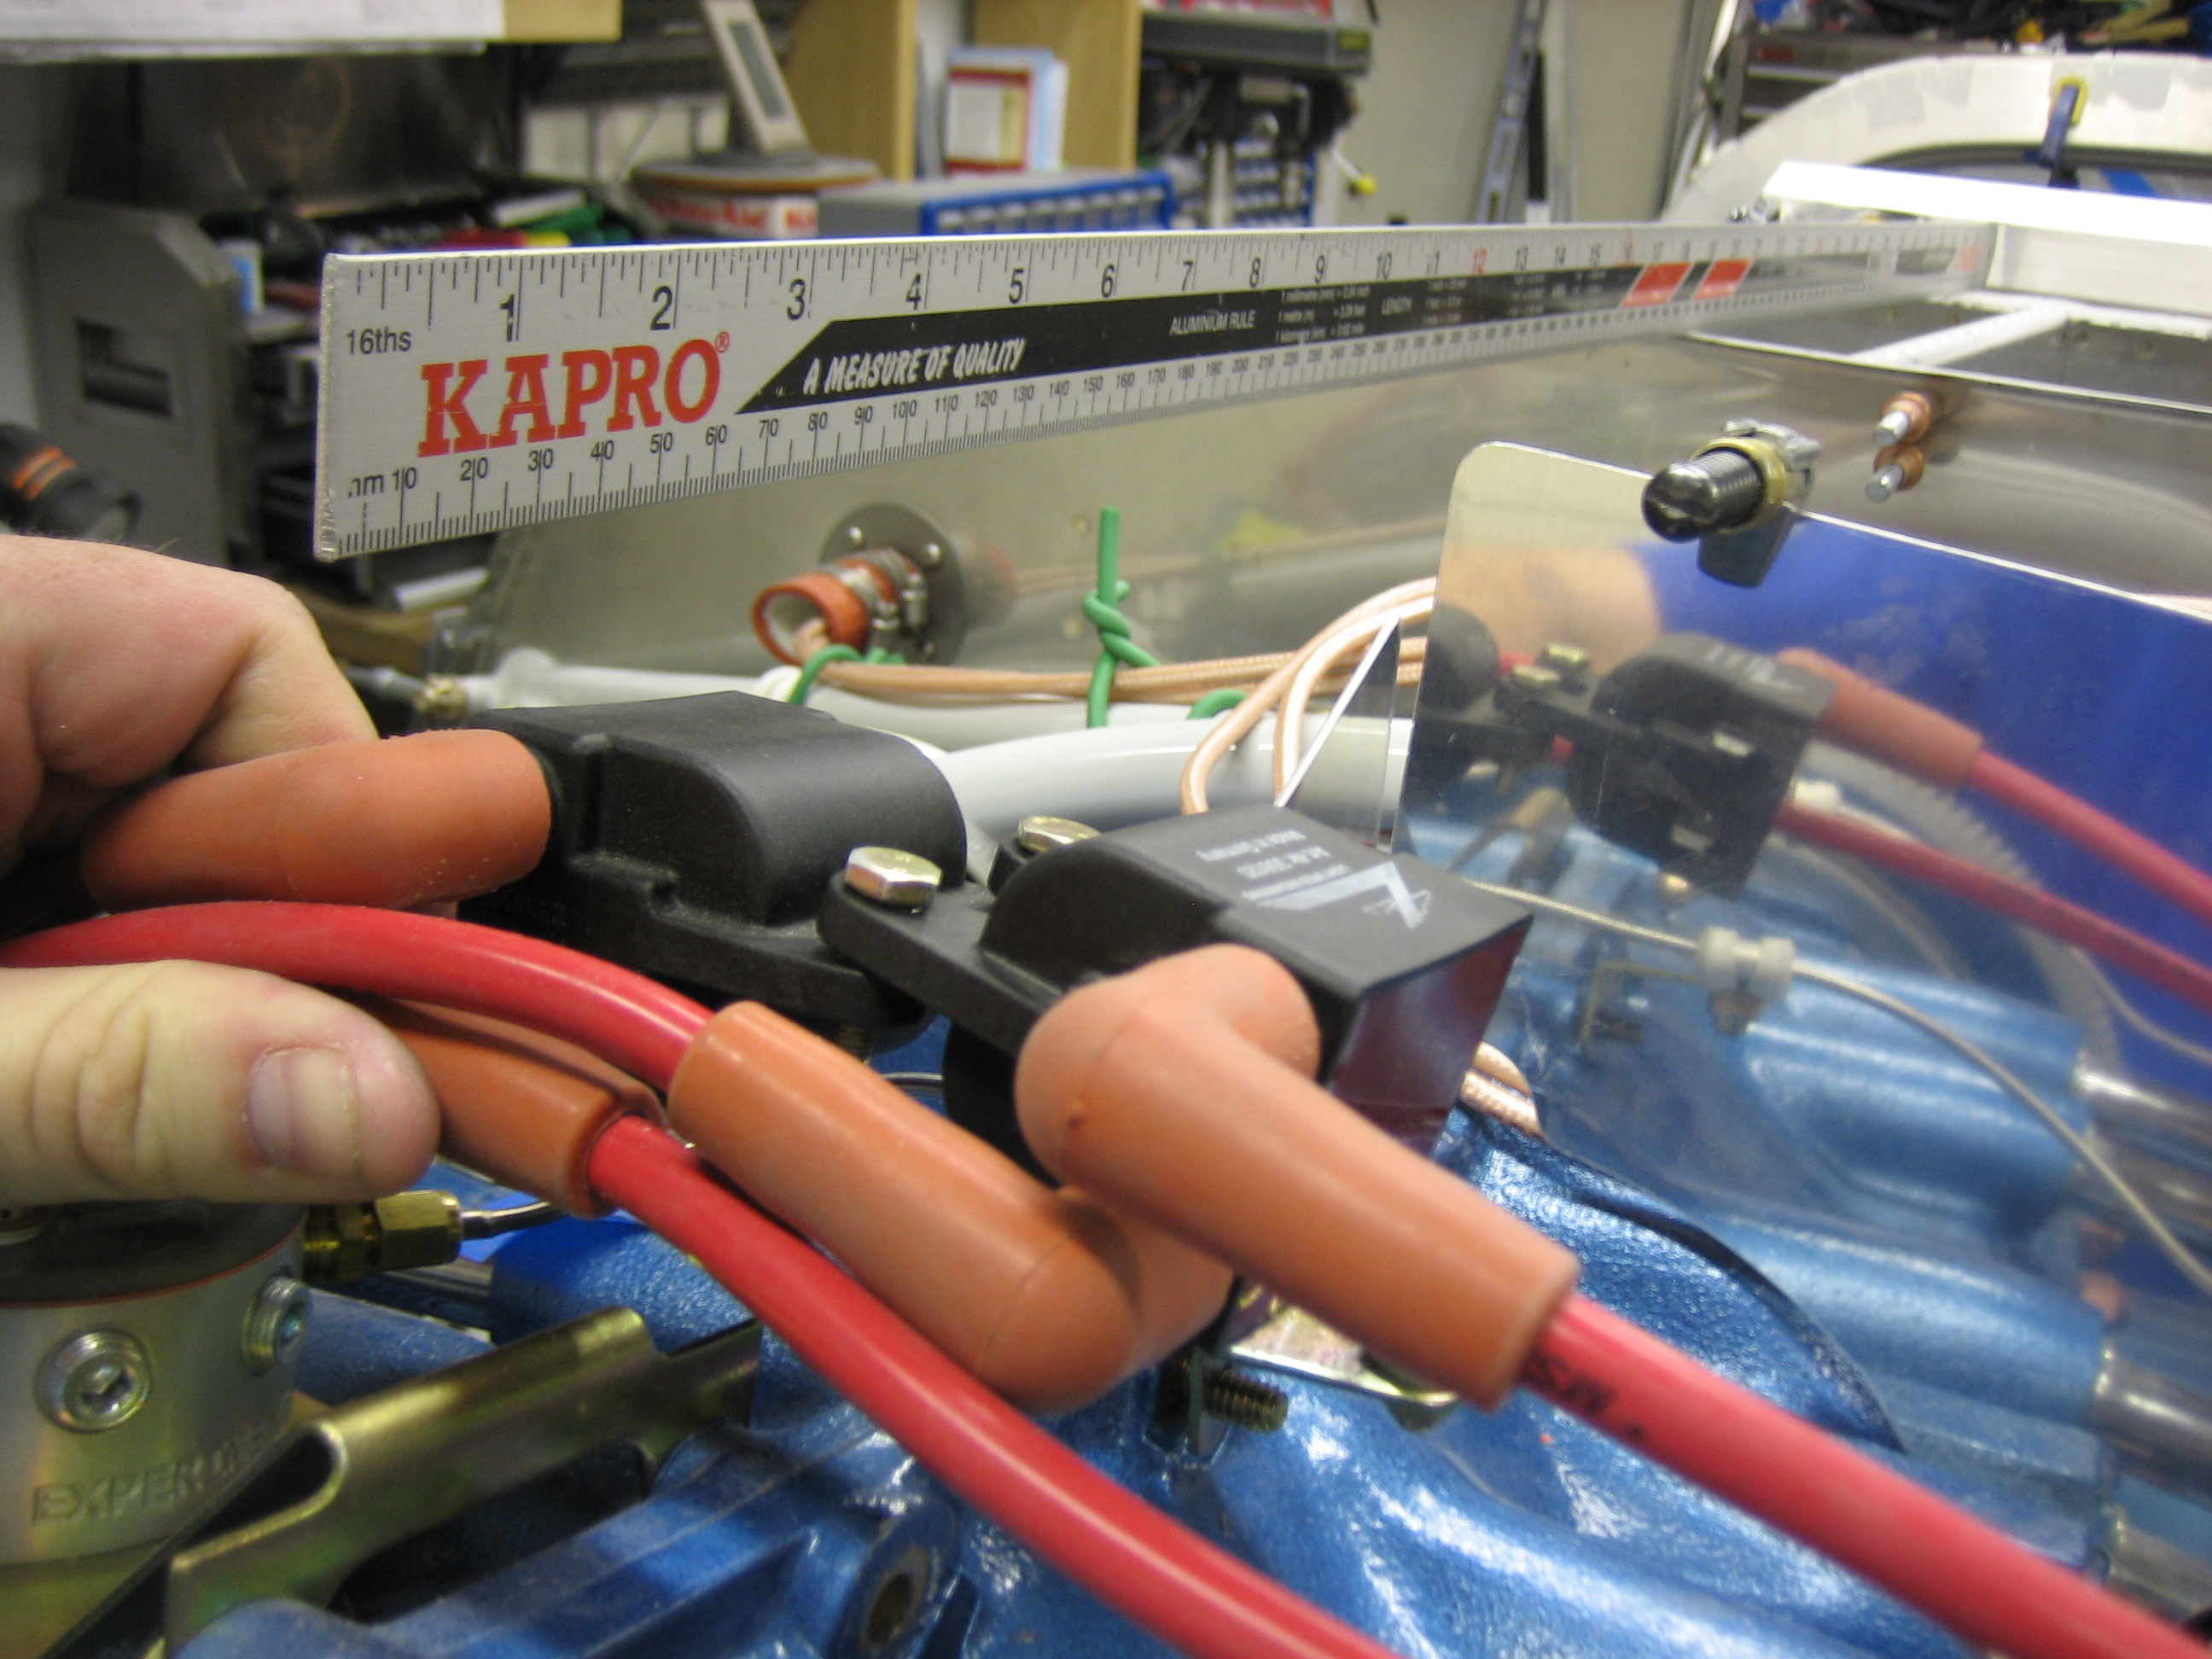
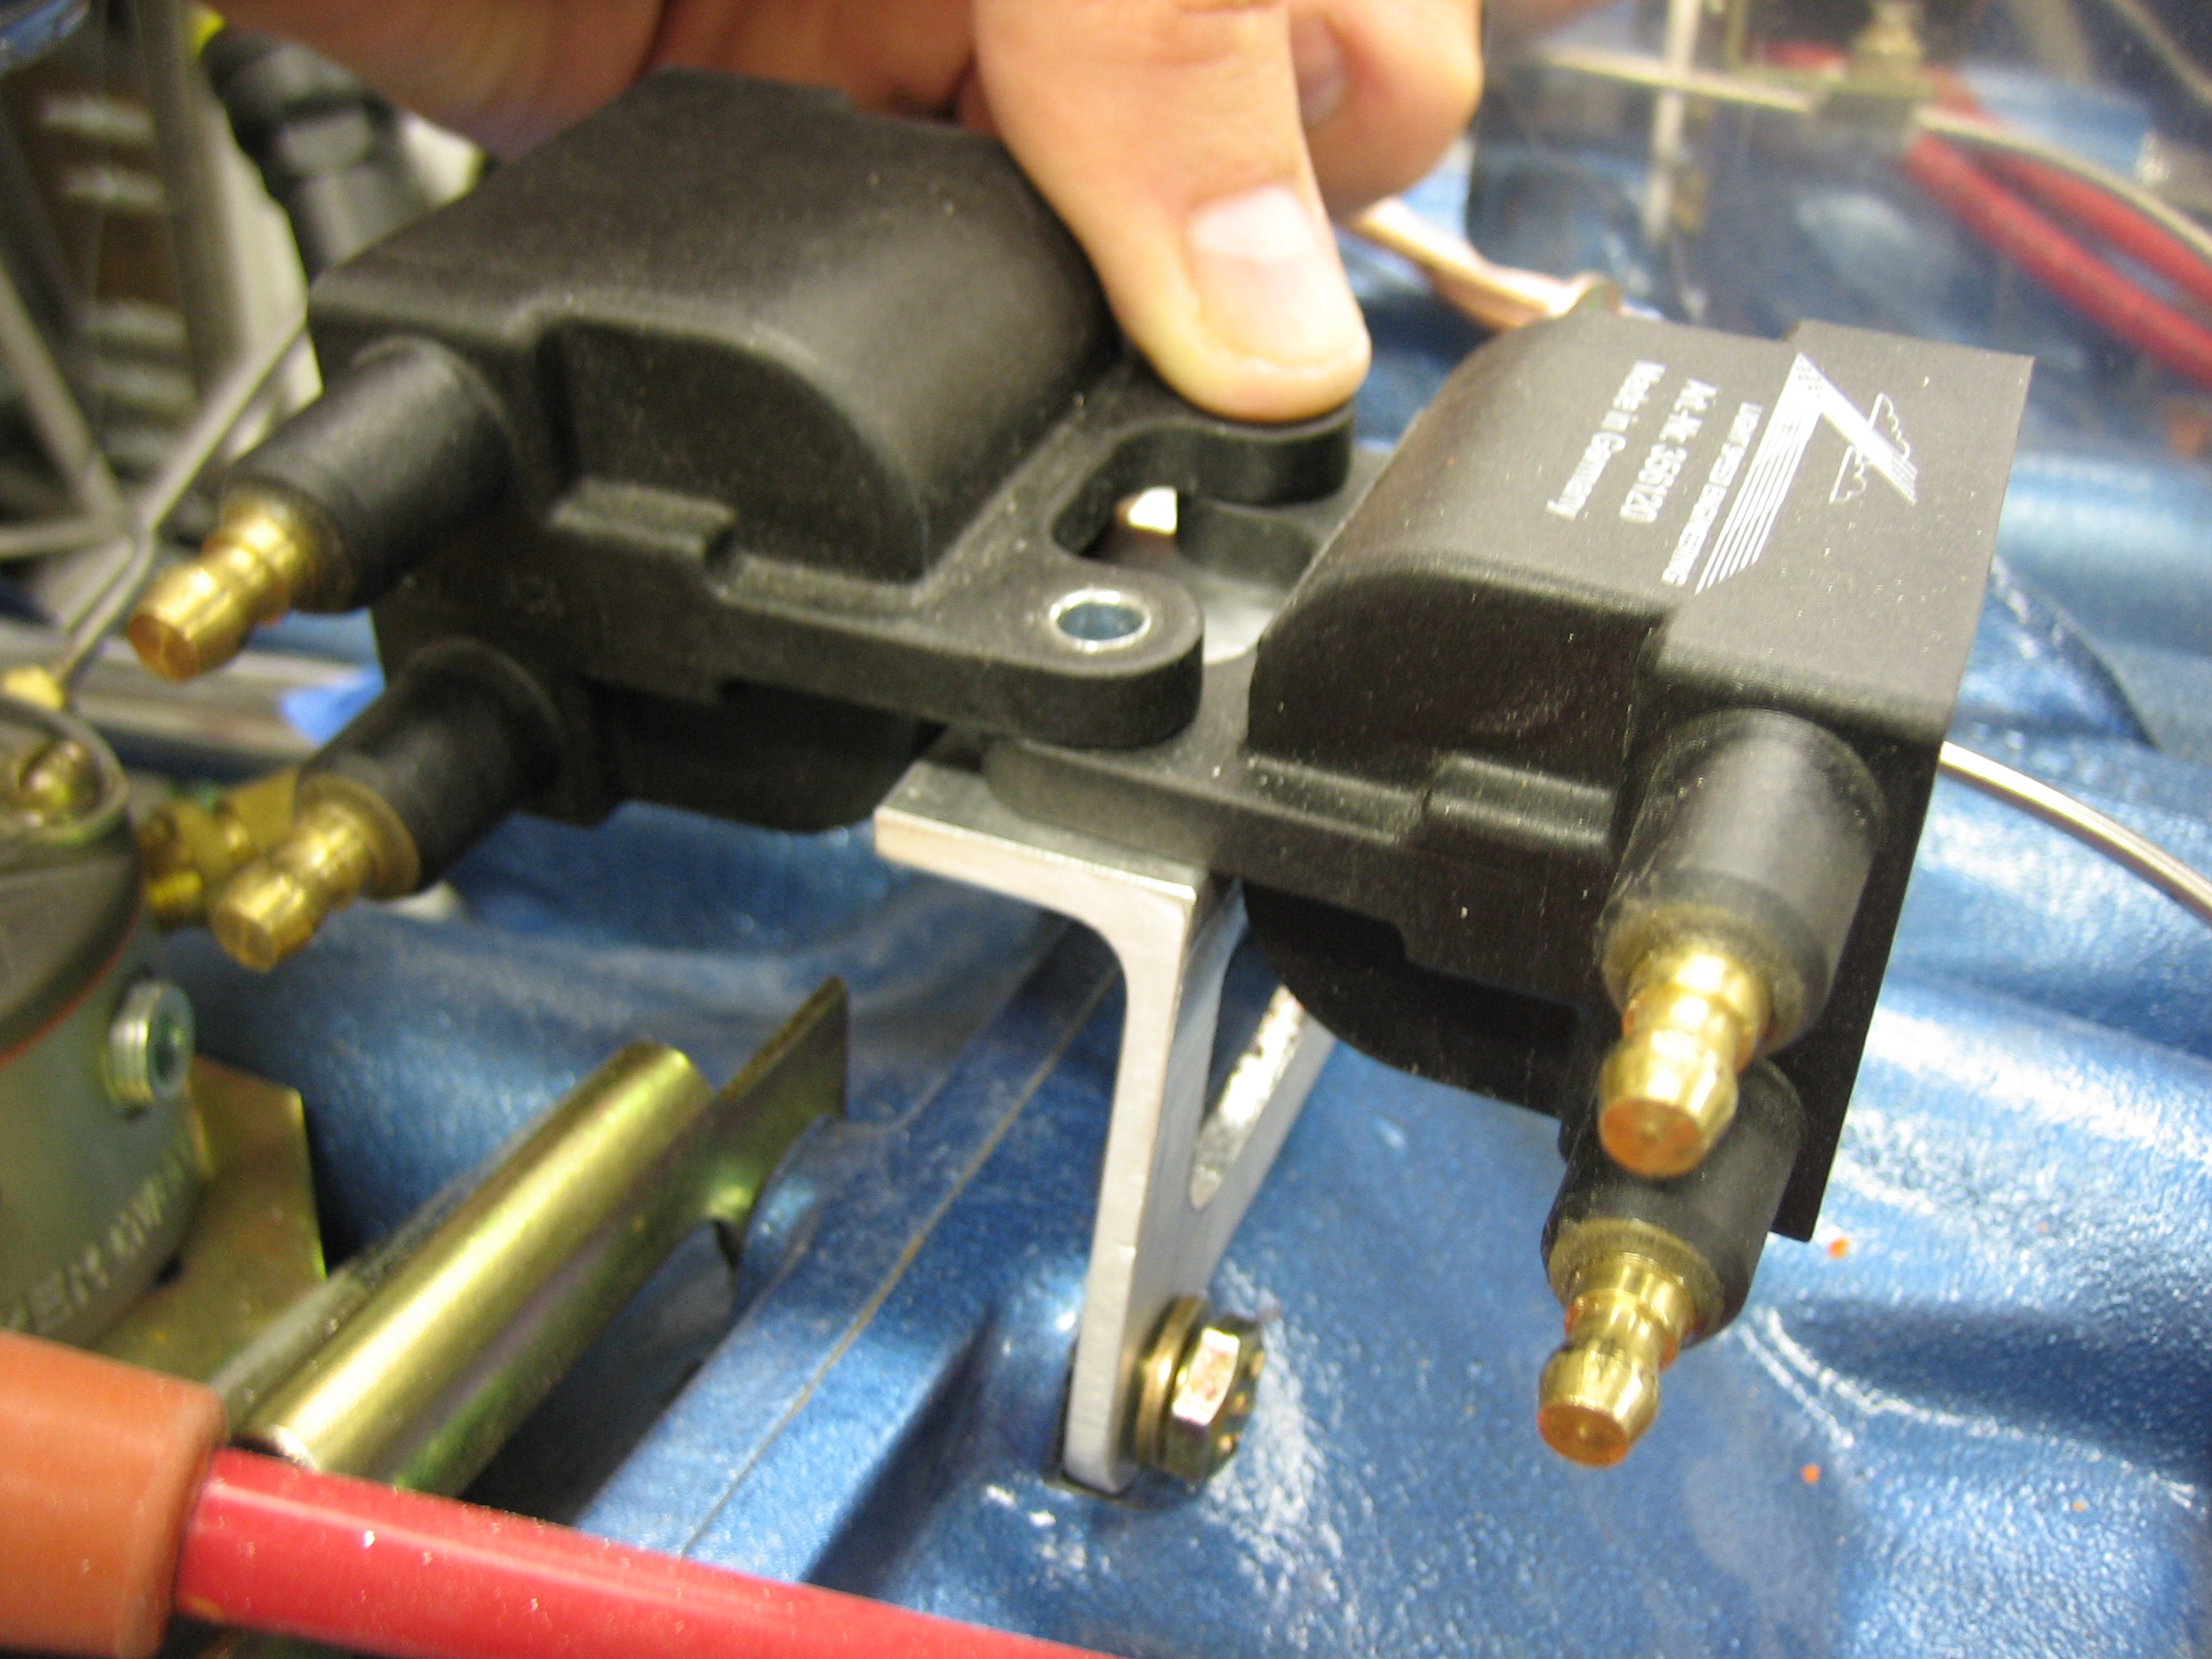
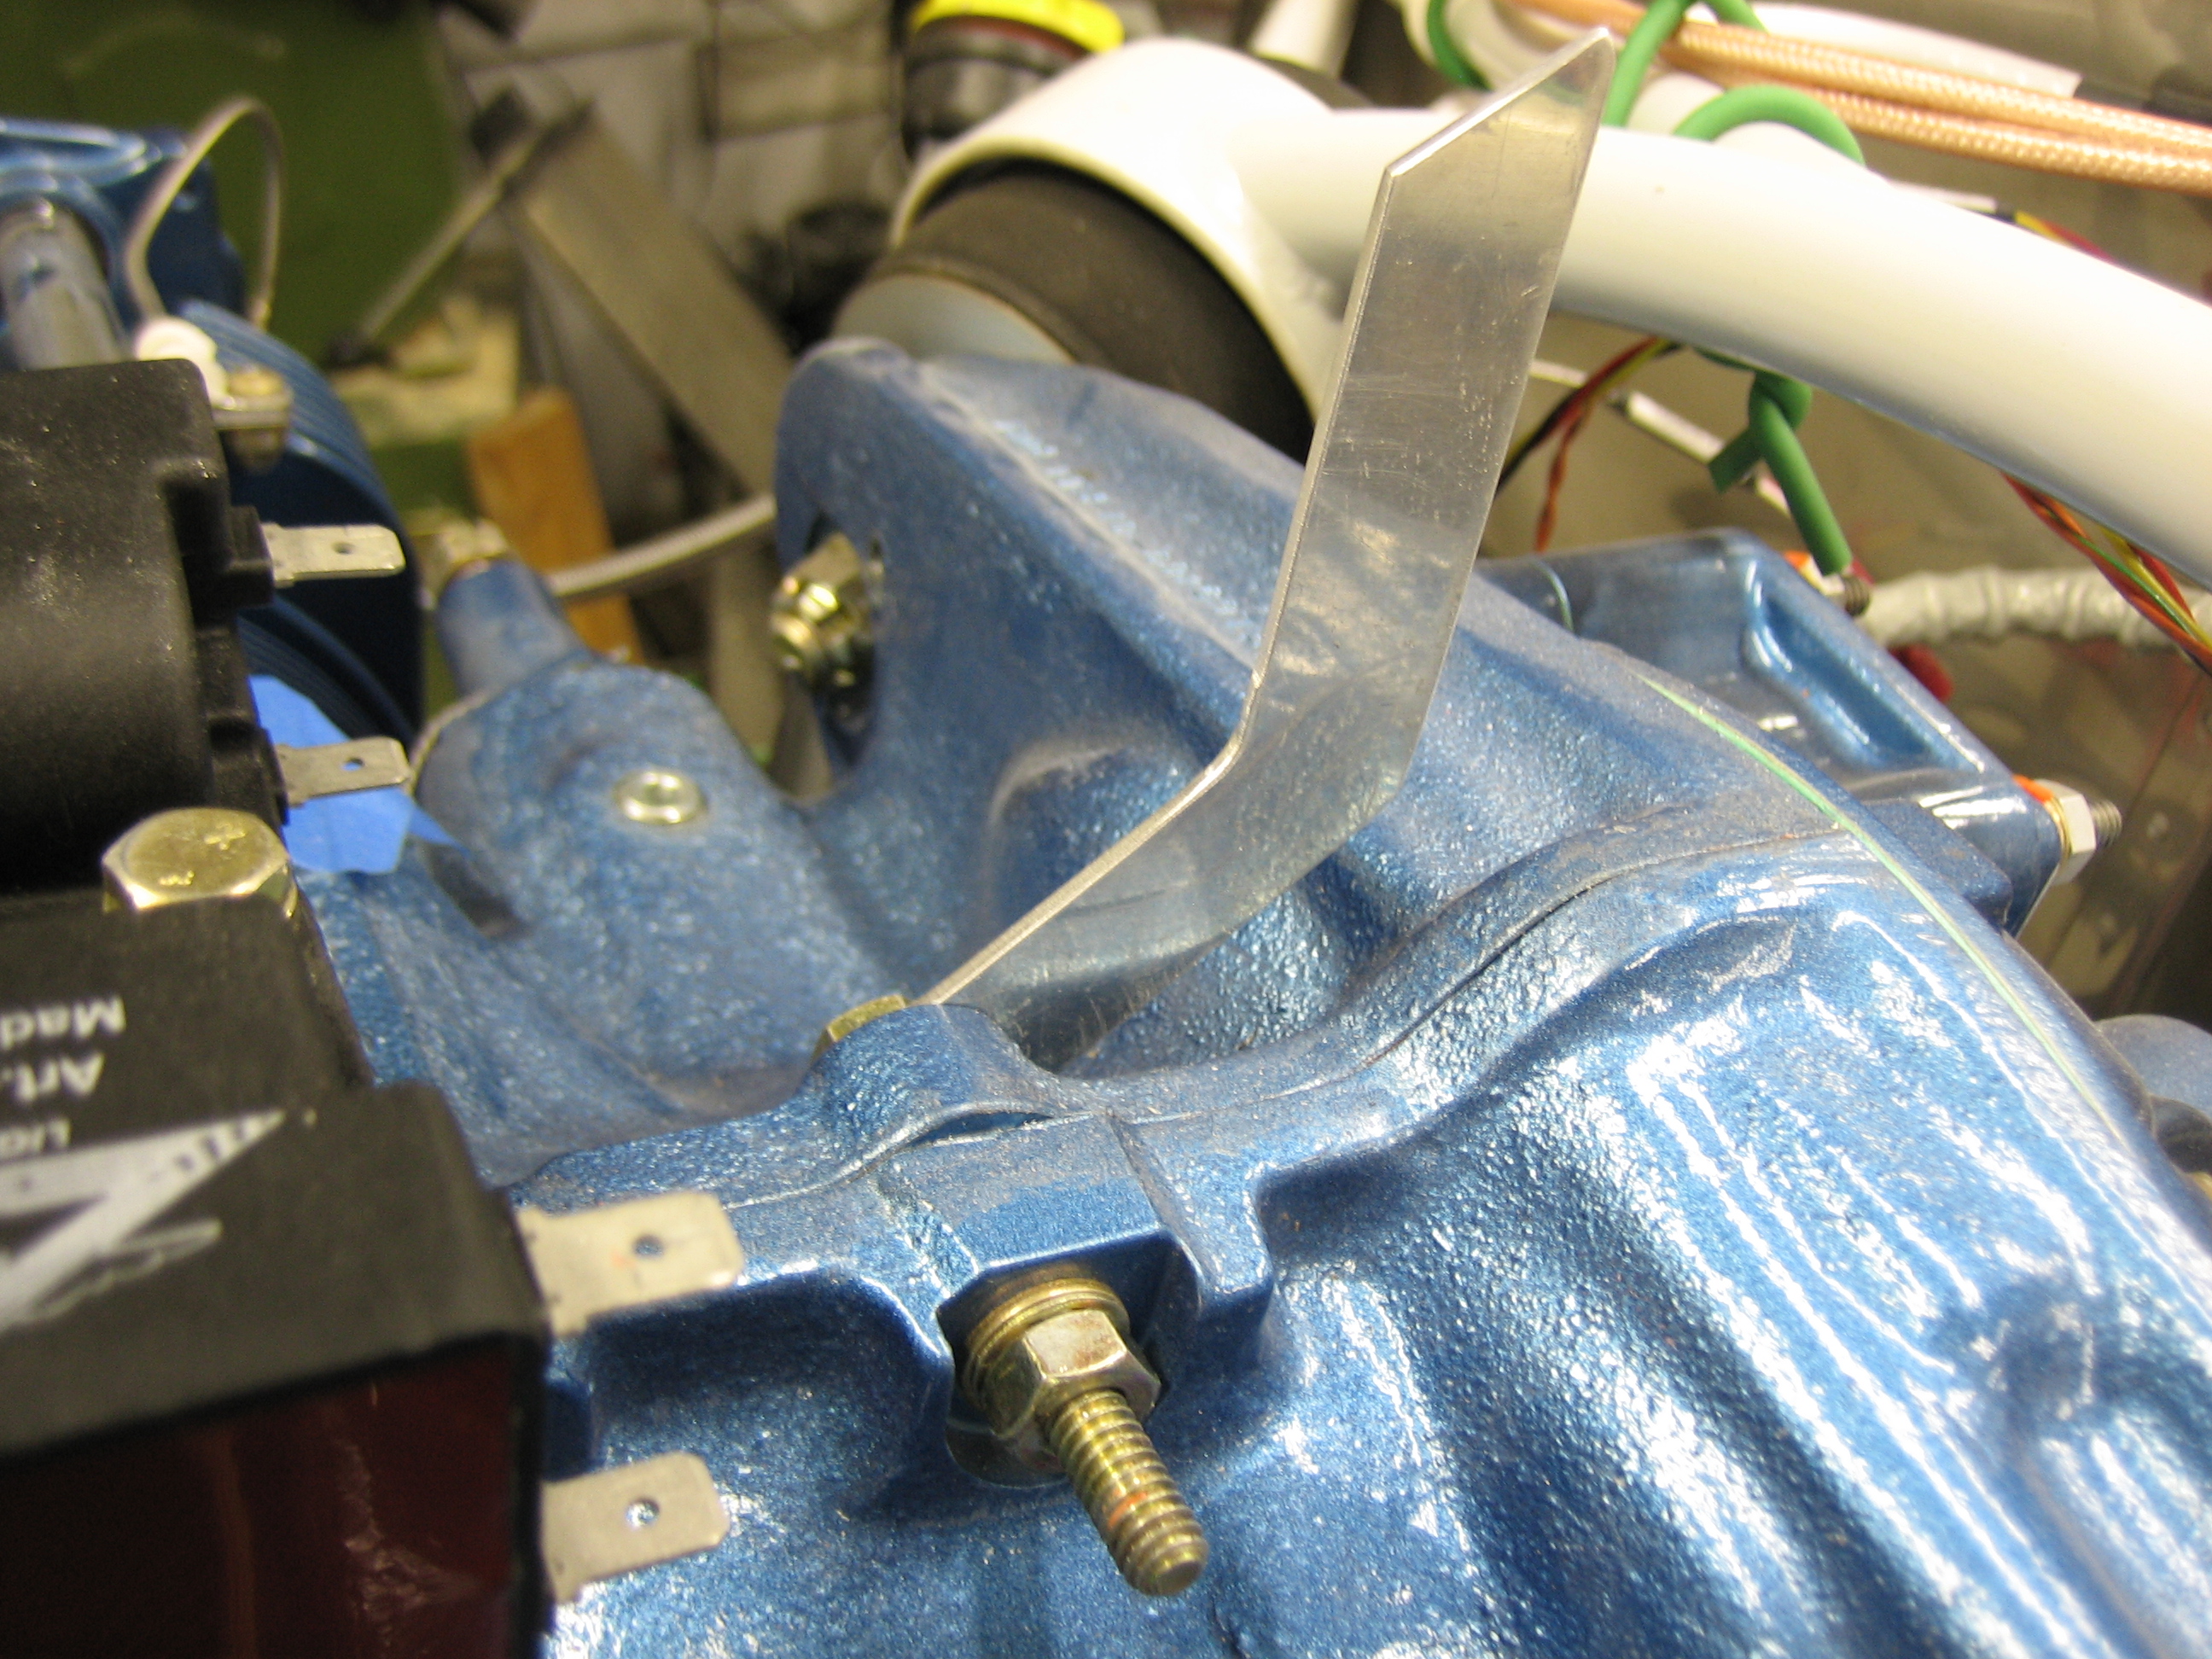
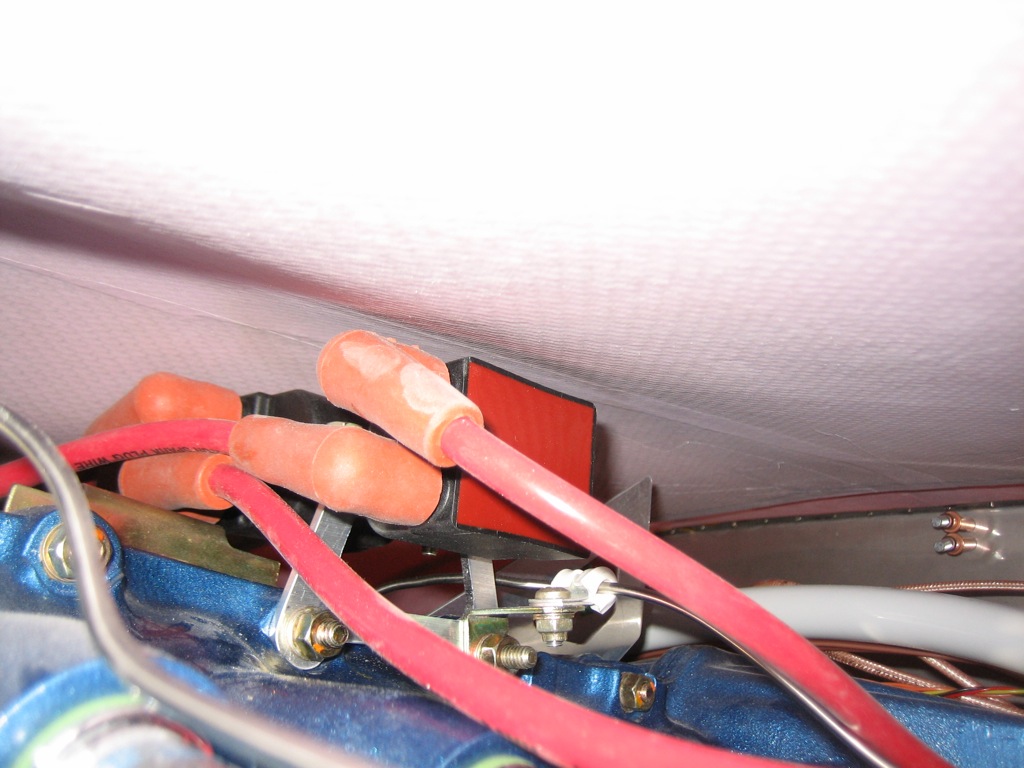
I moved the ignition coils back to the original mounting bracket.
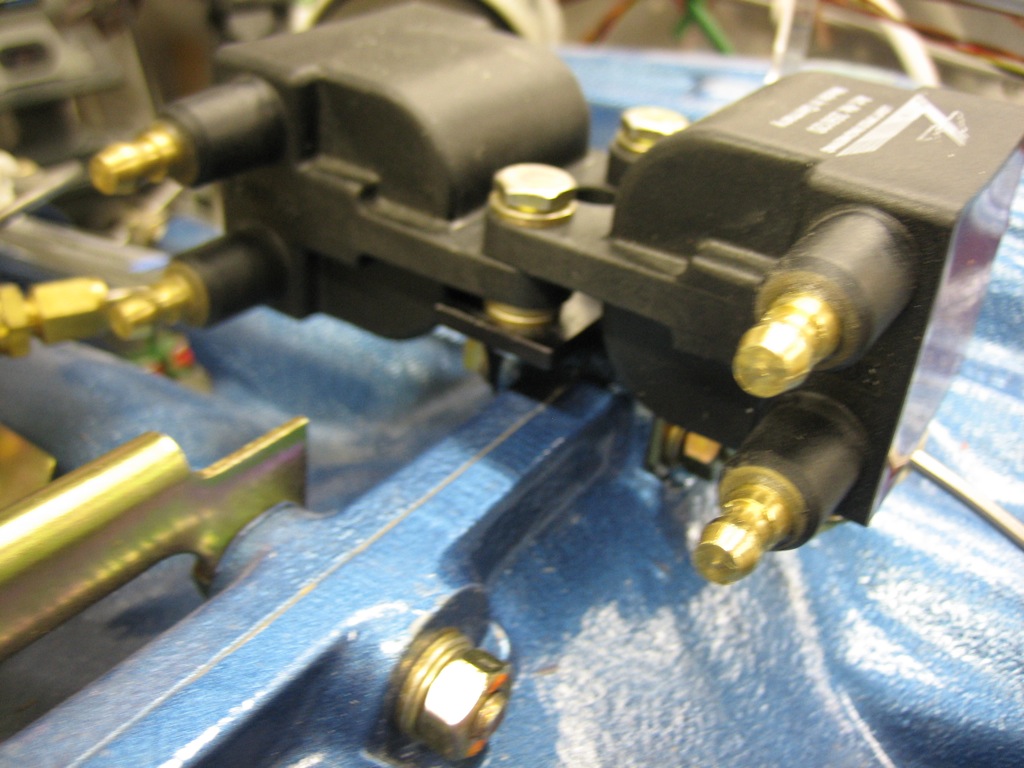
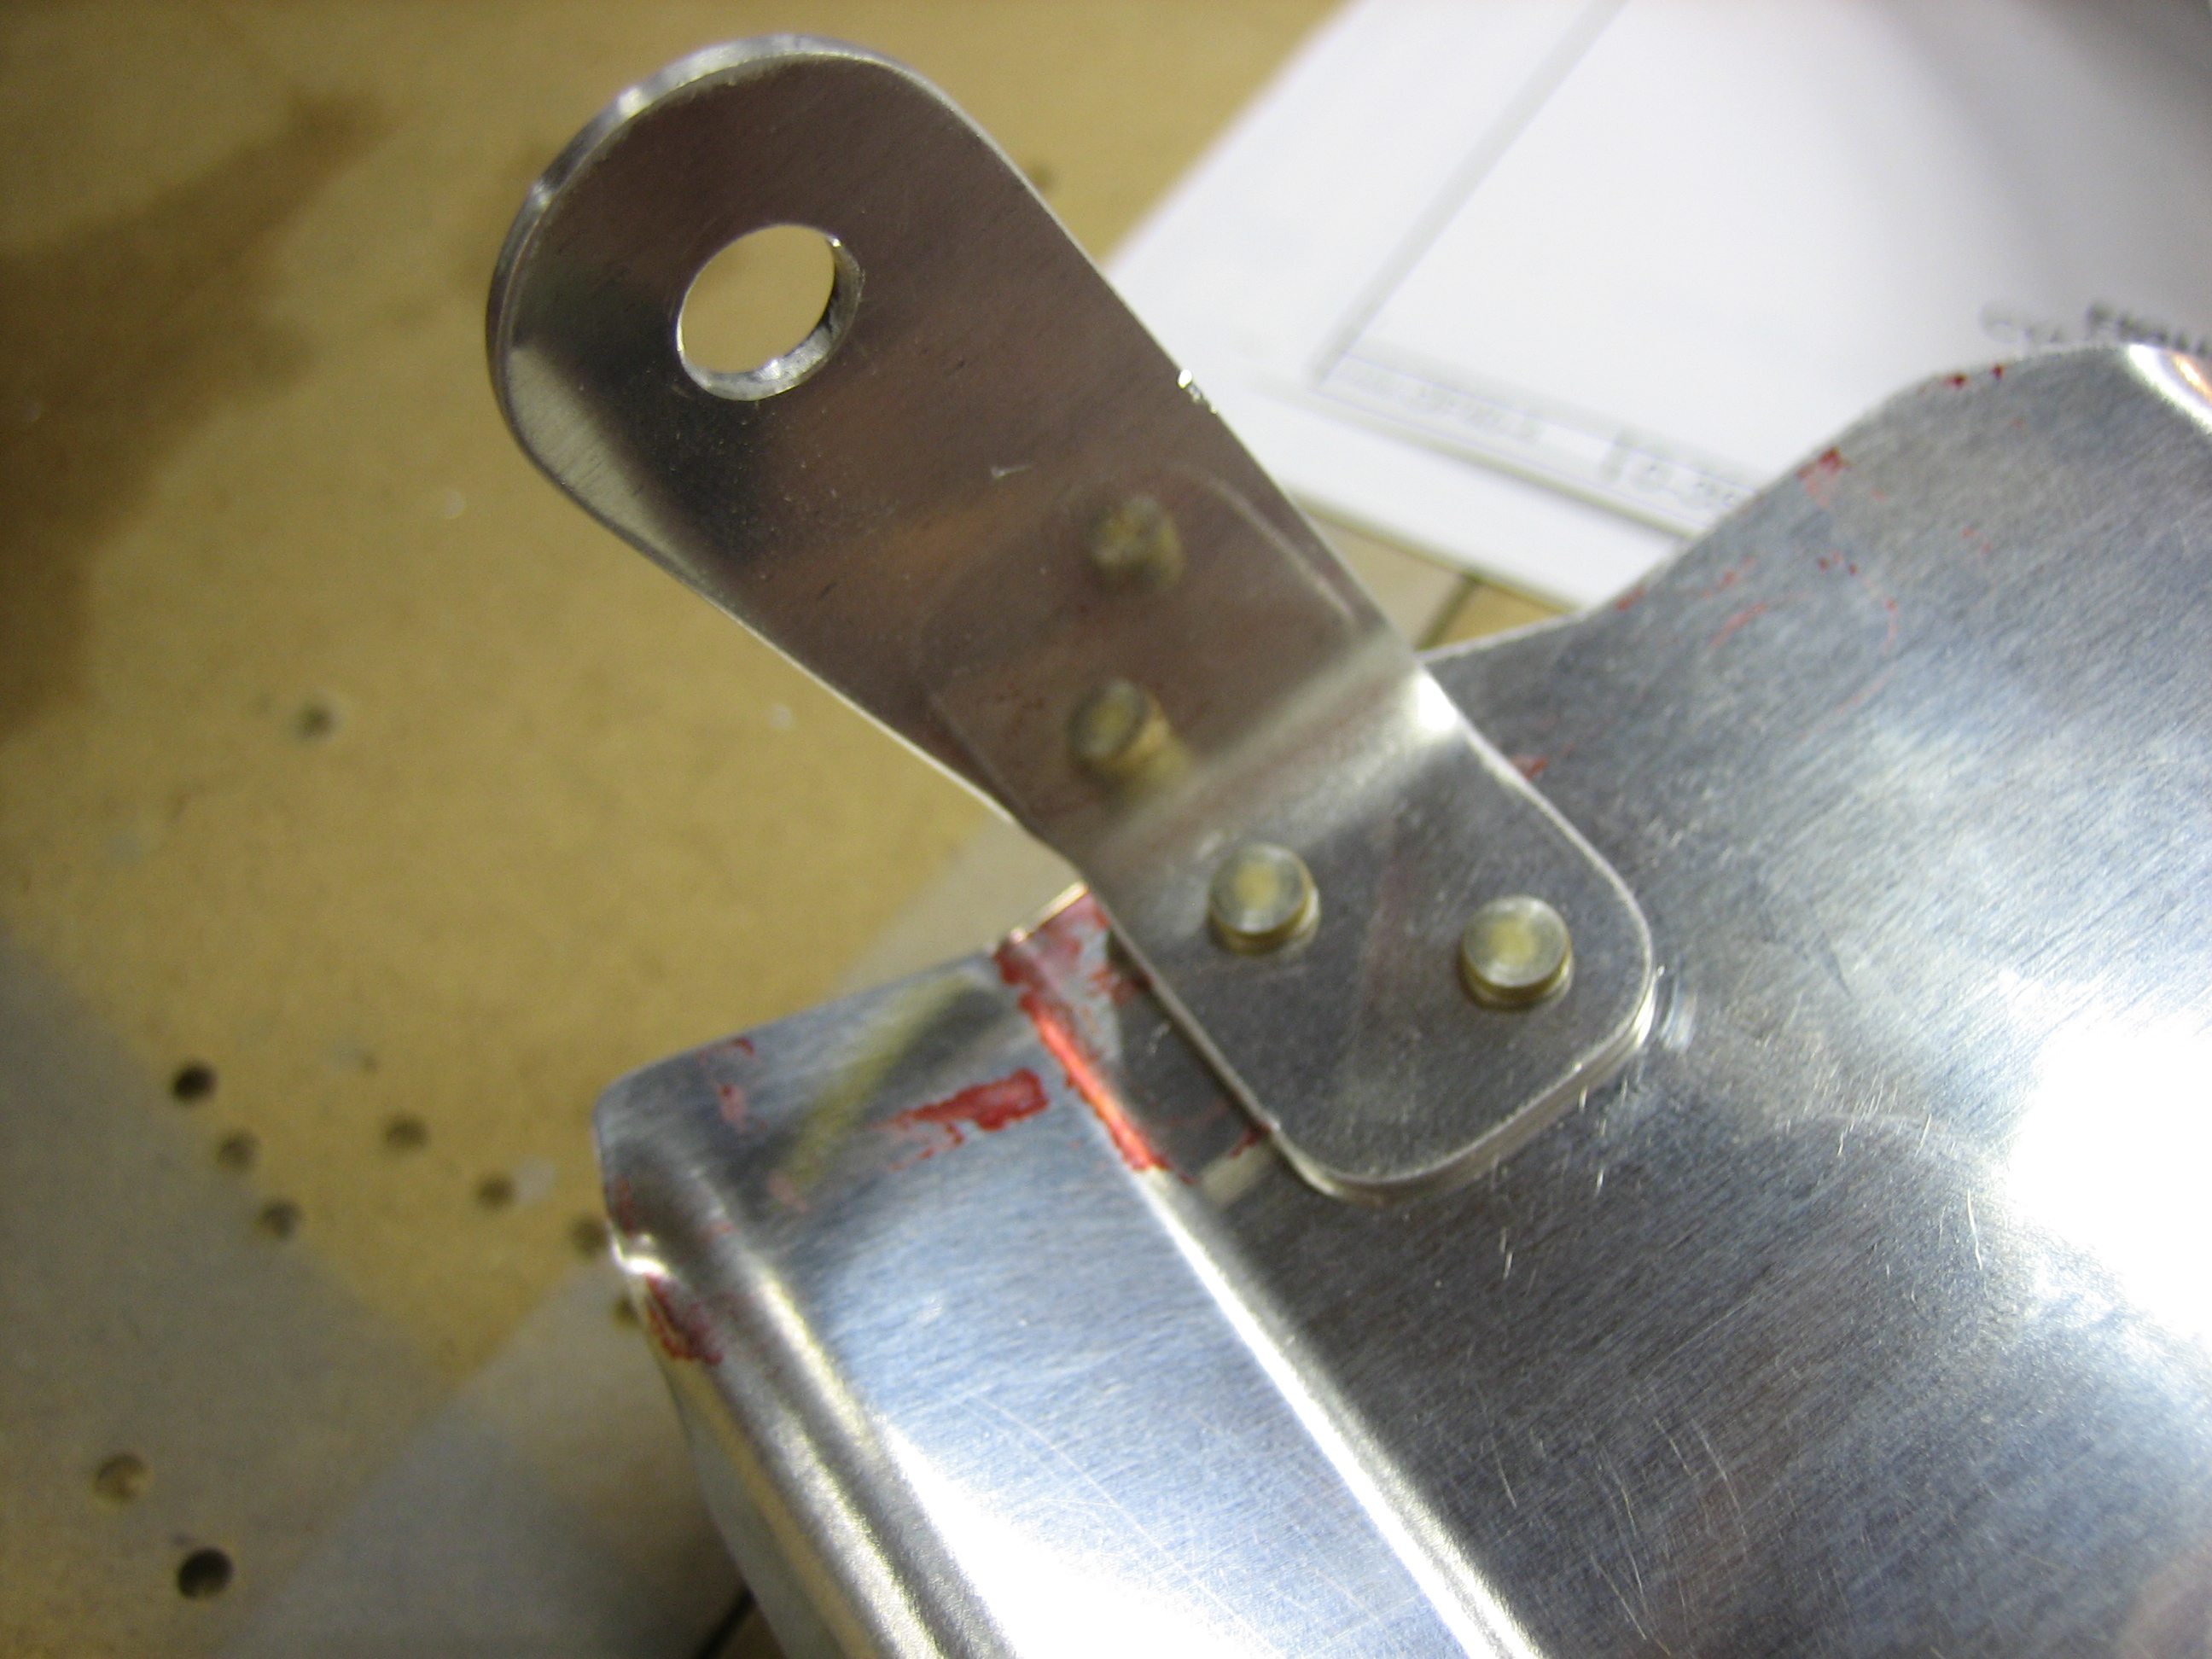
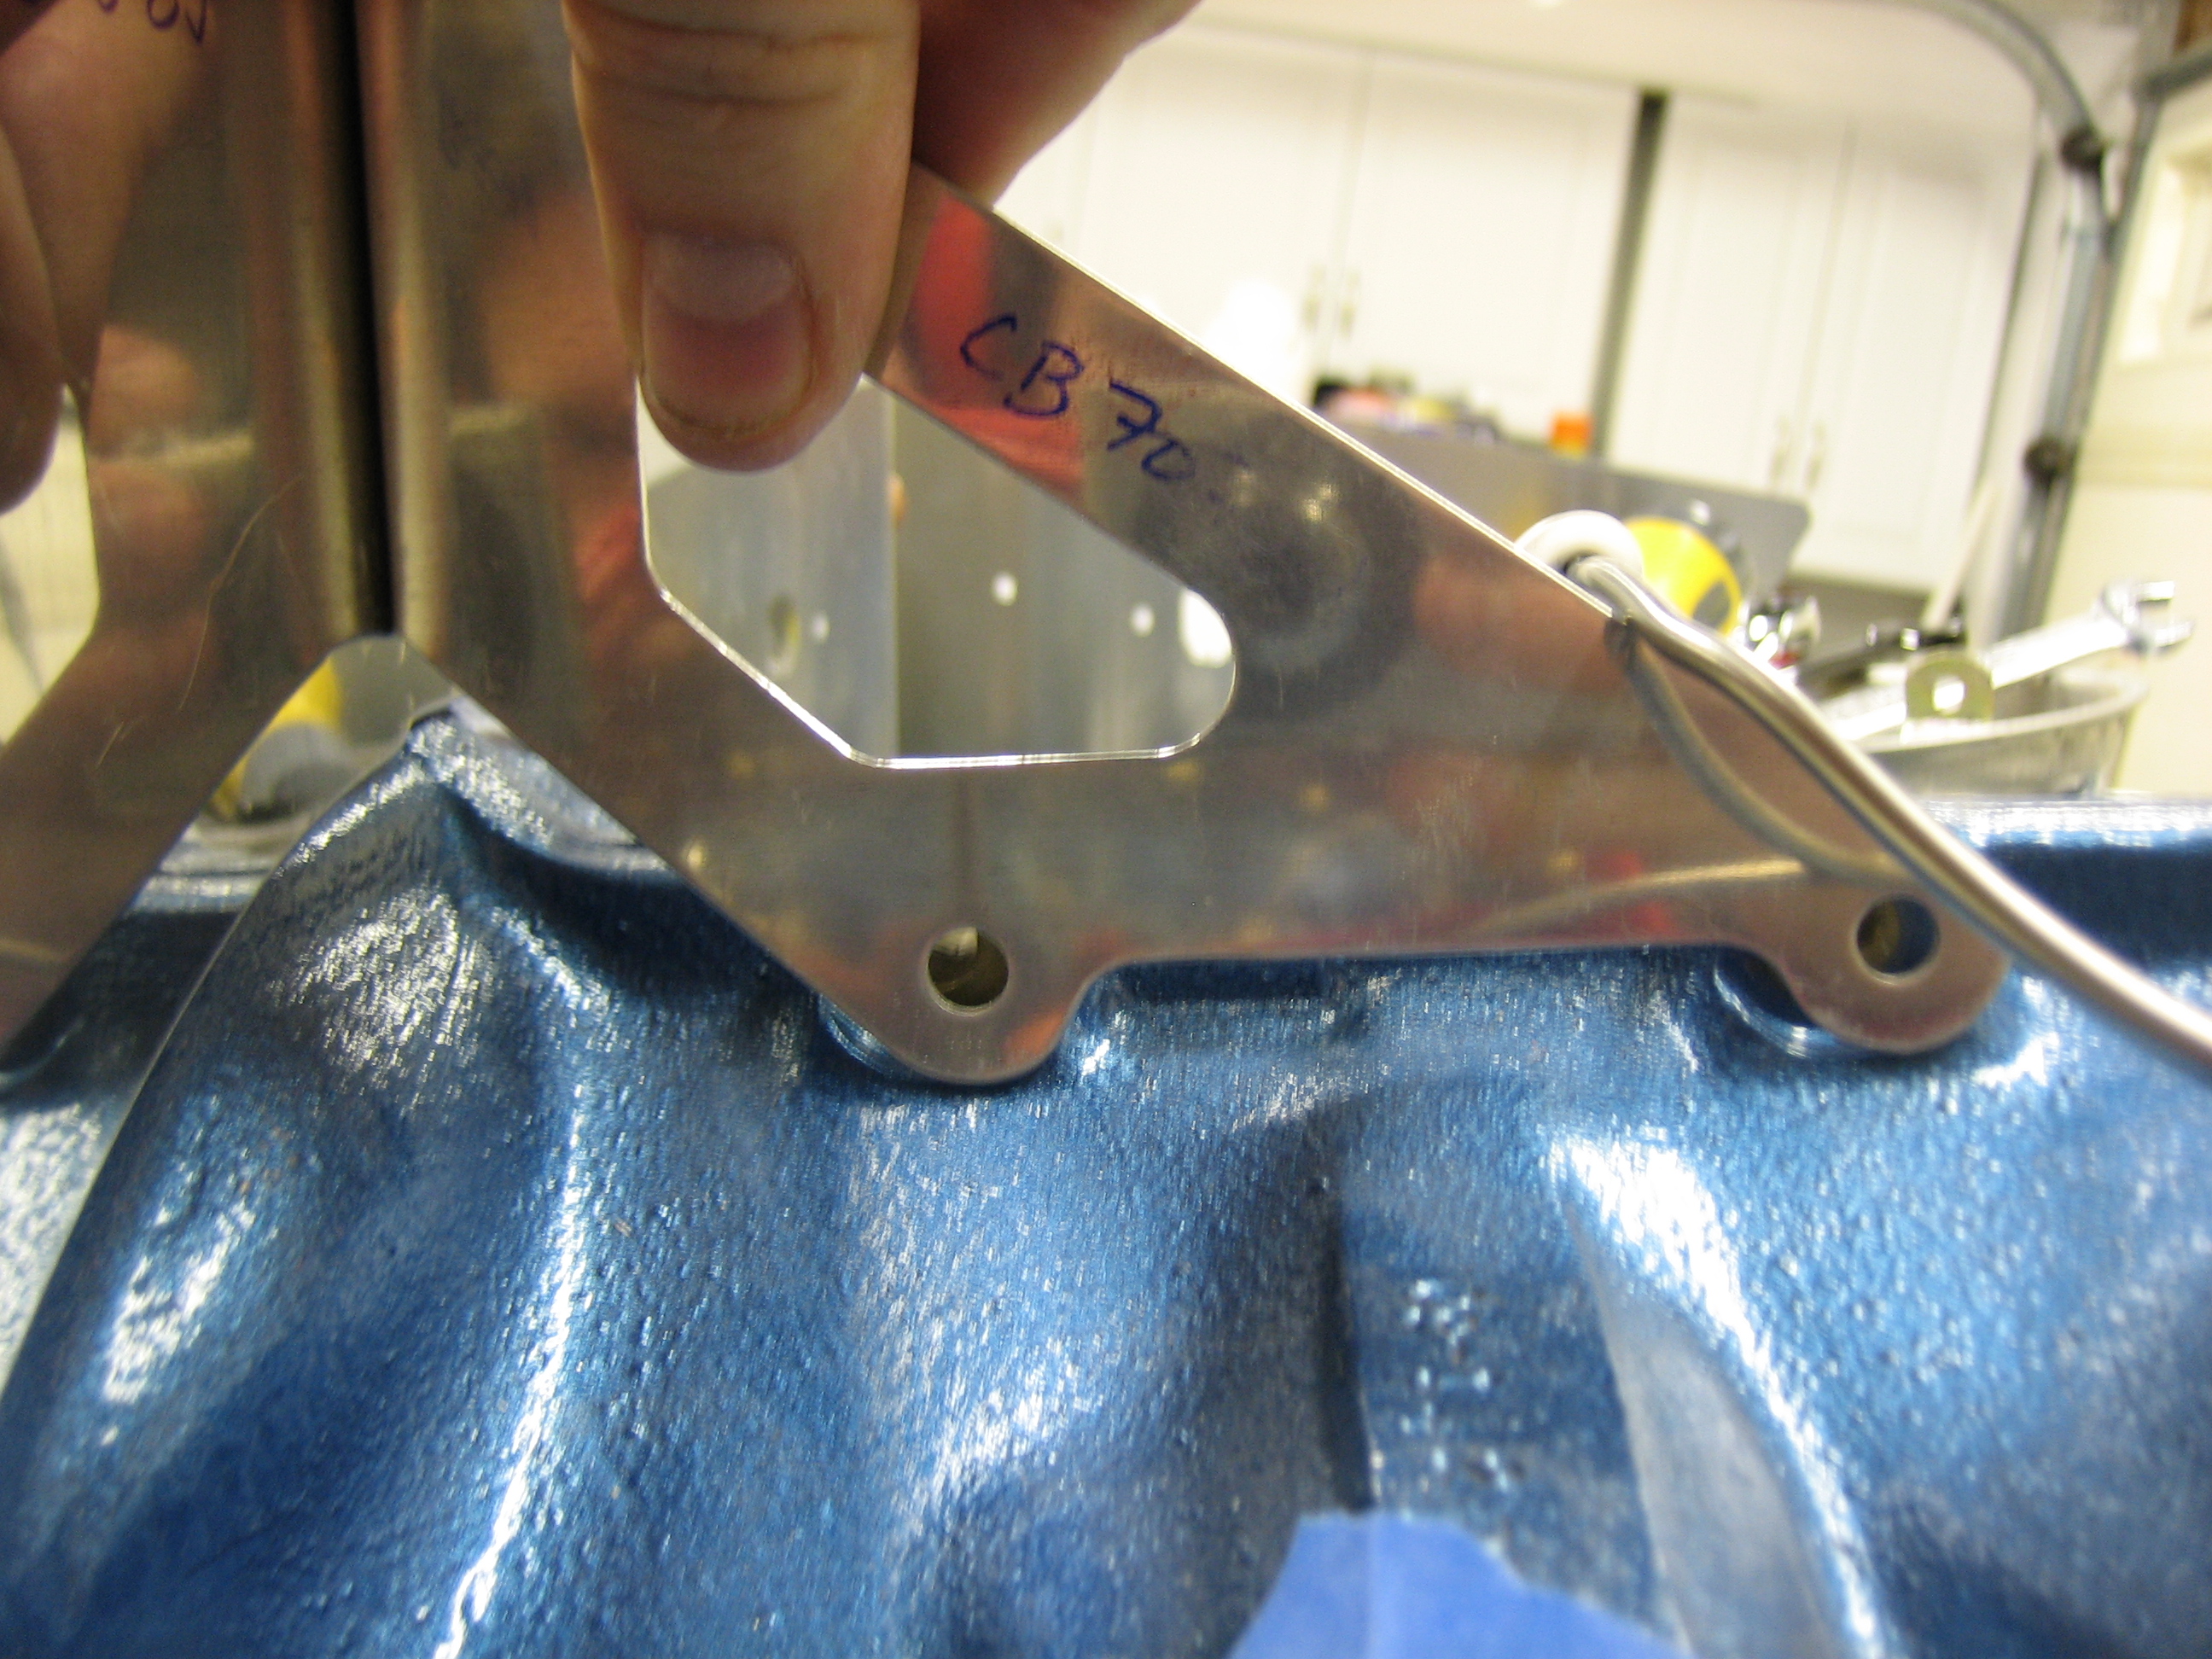
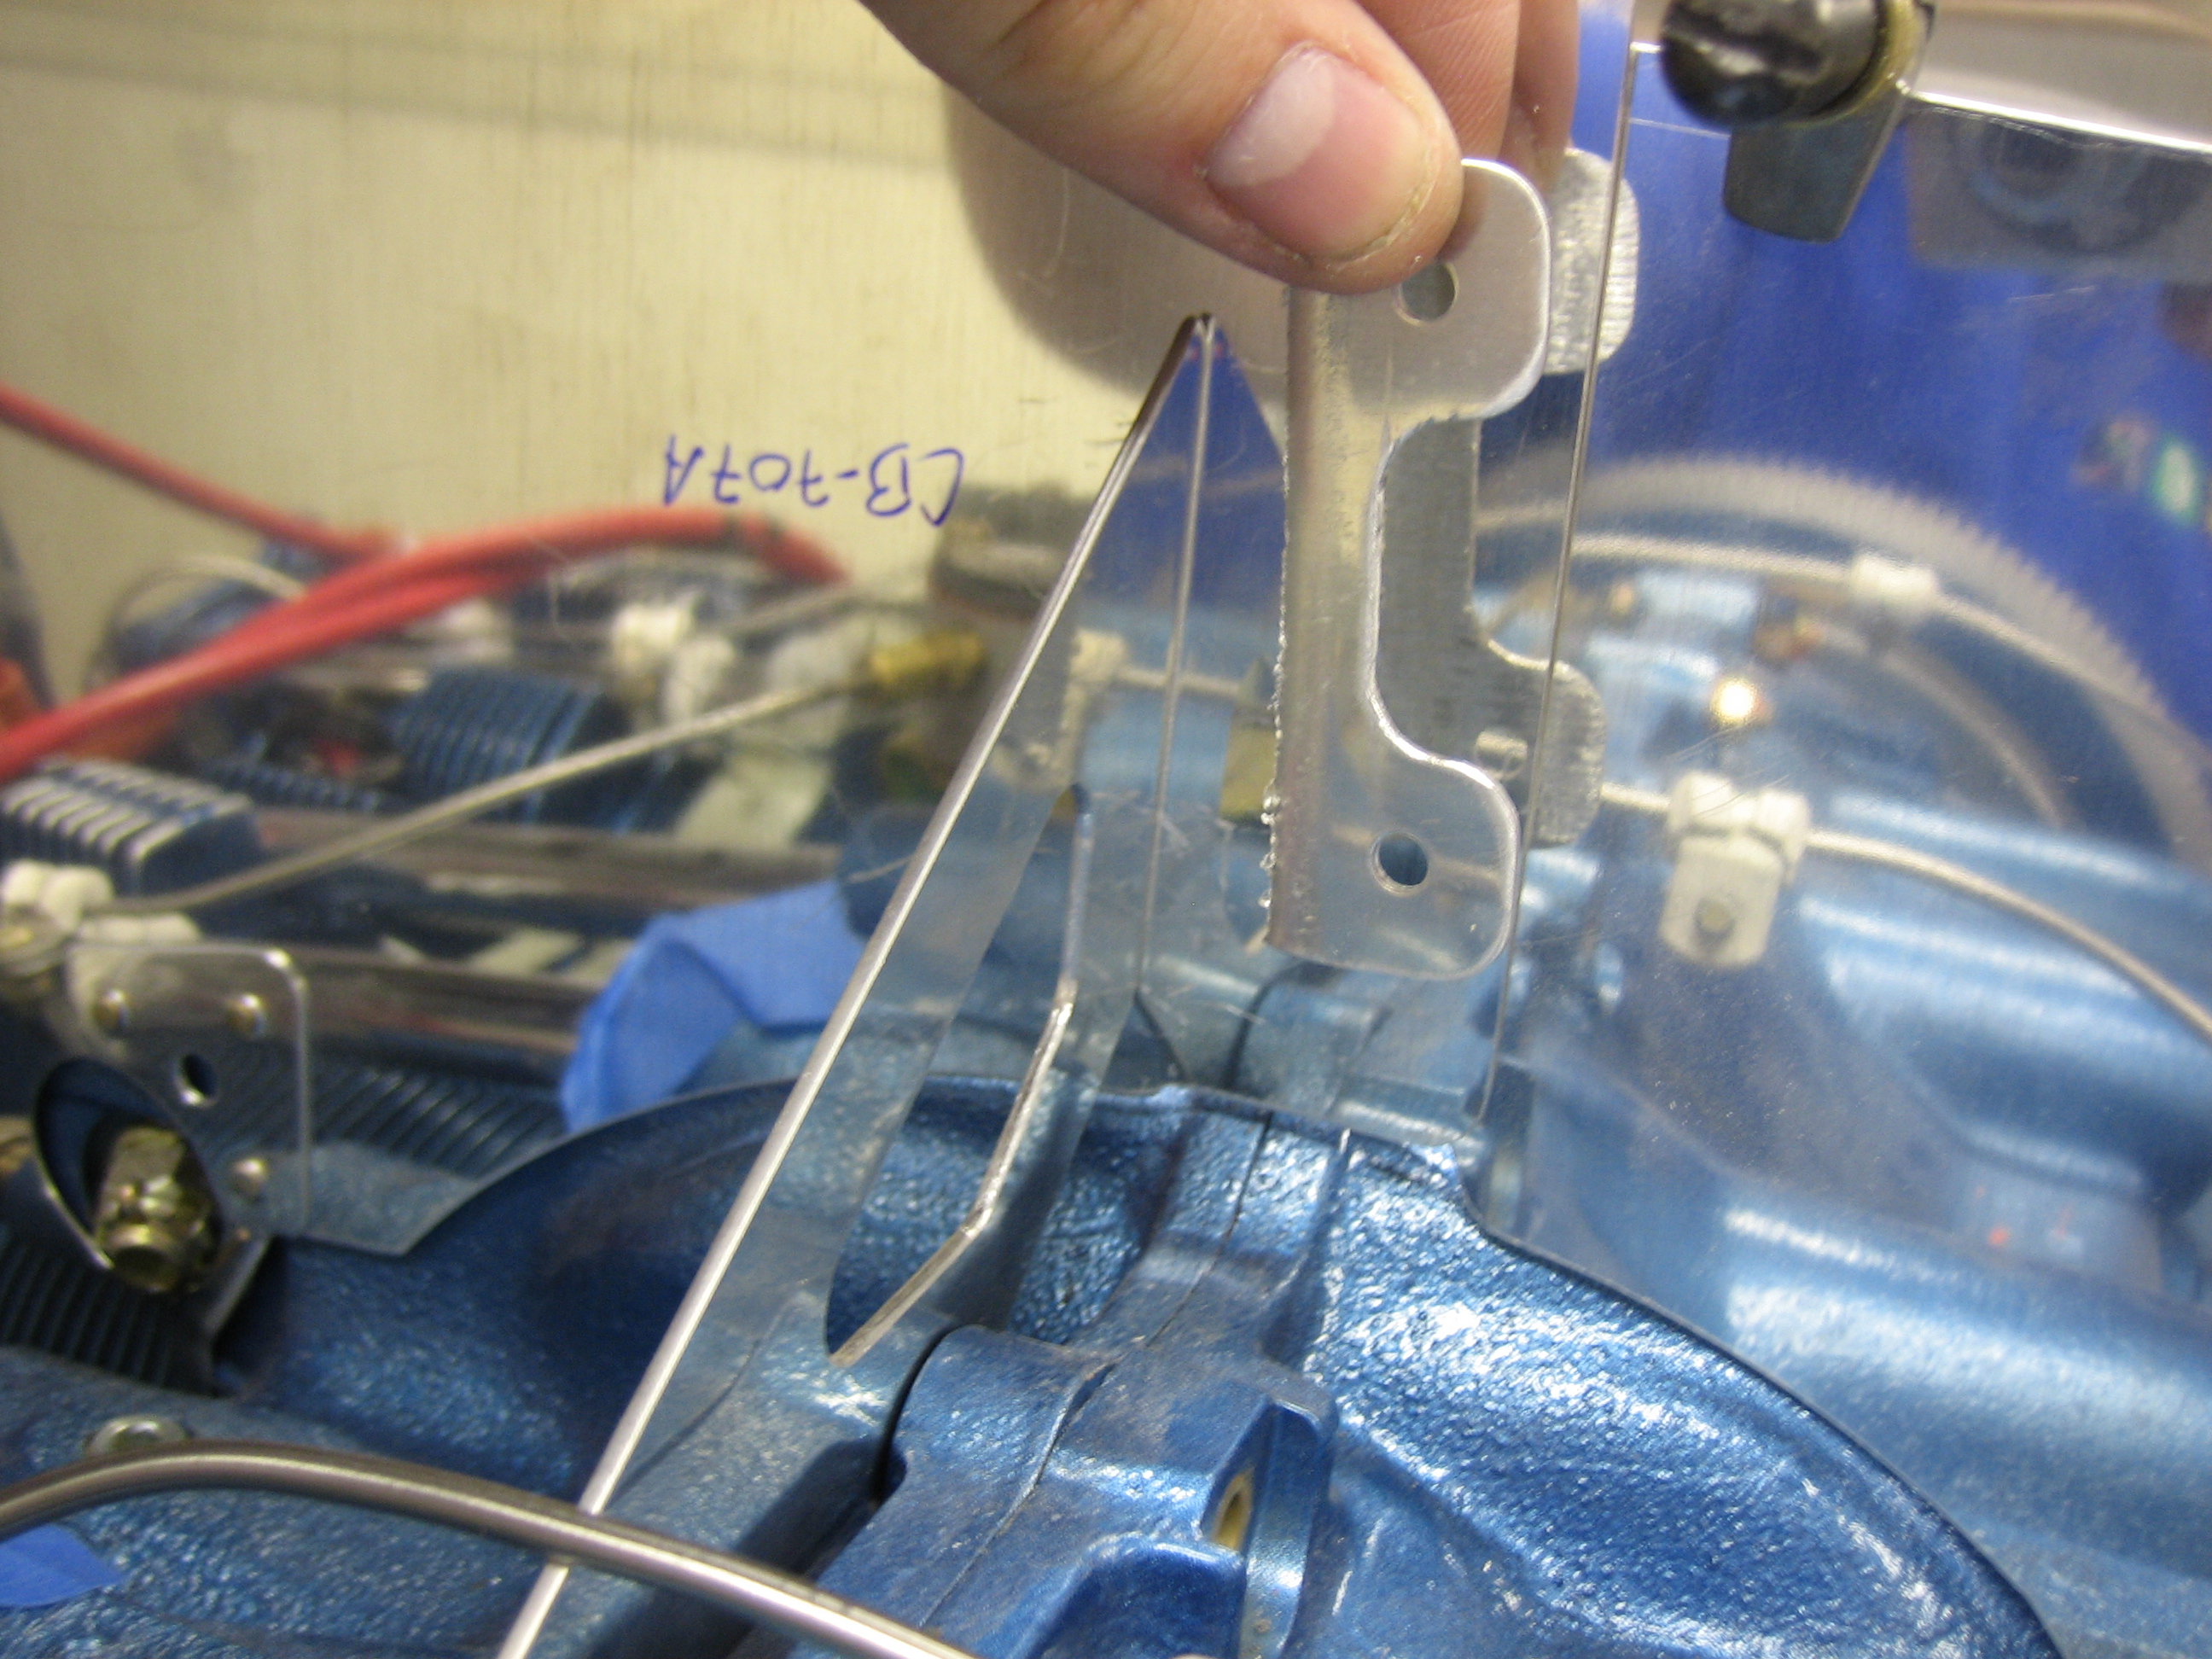
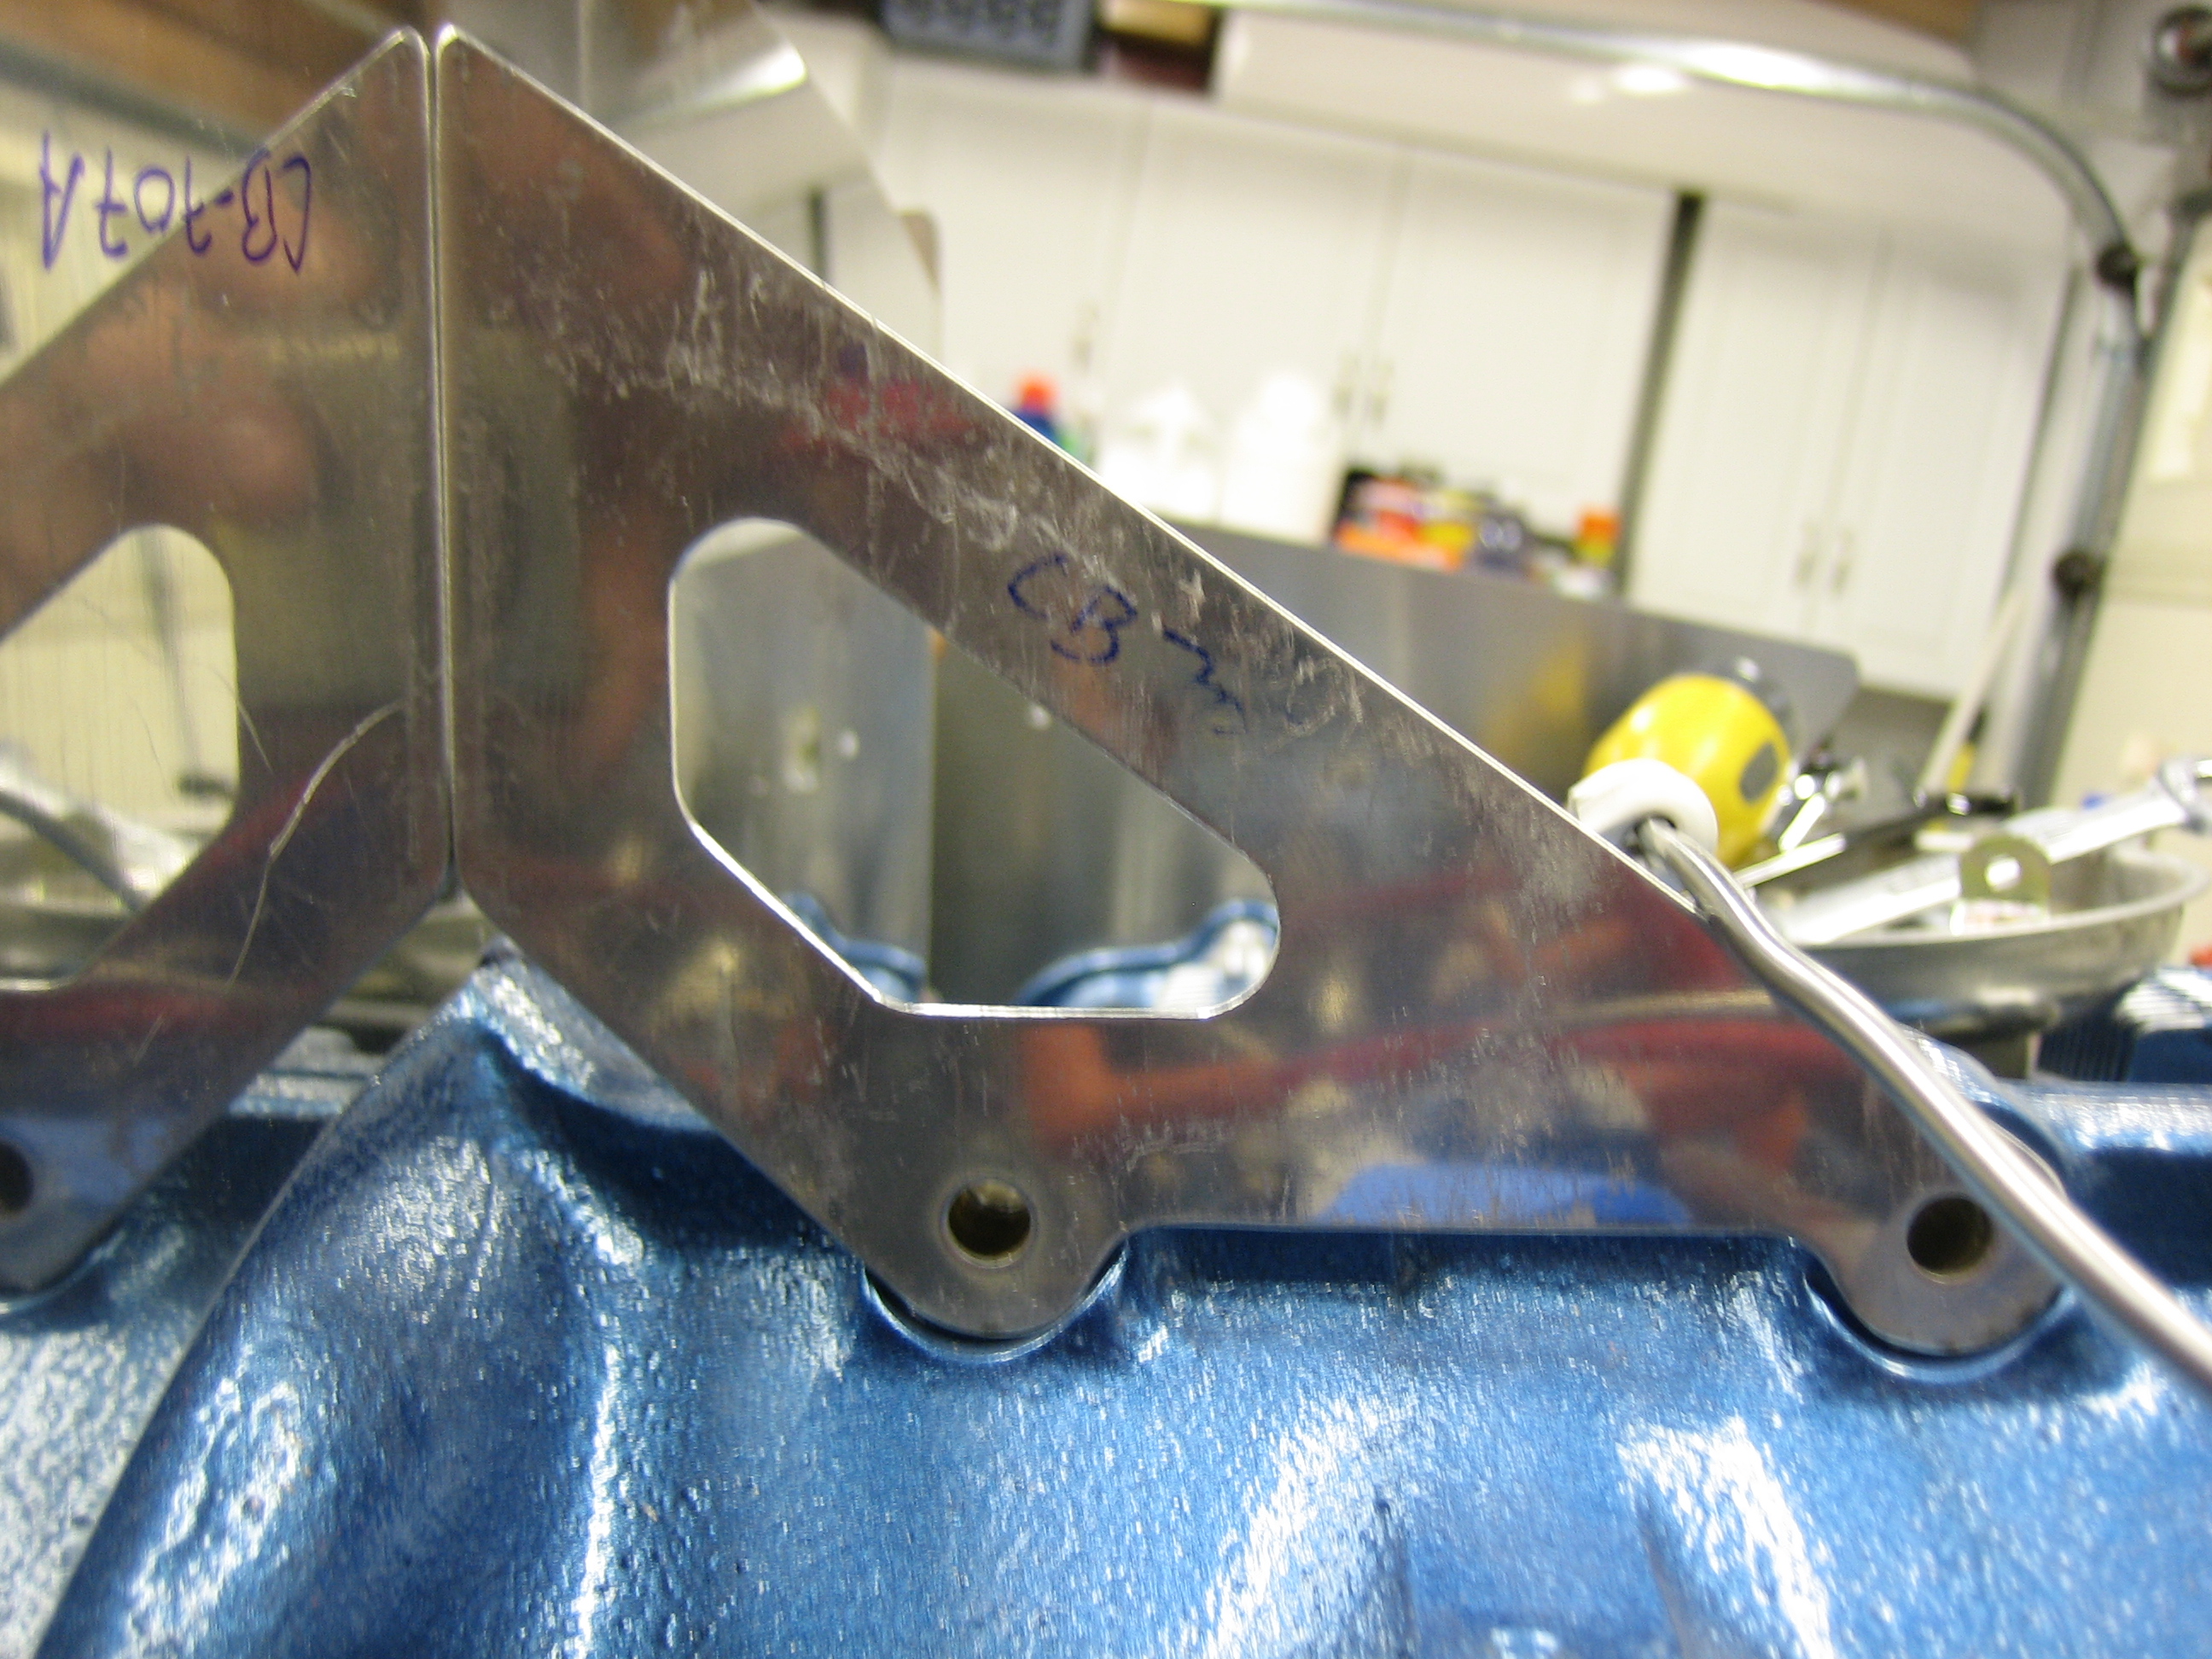
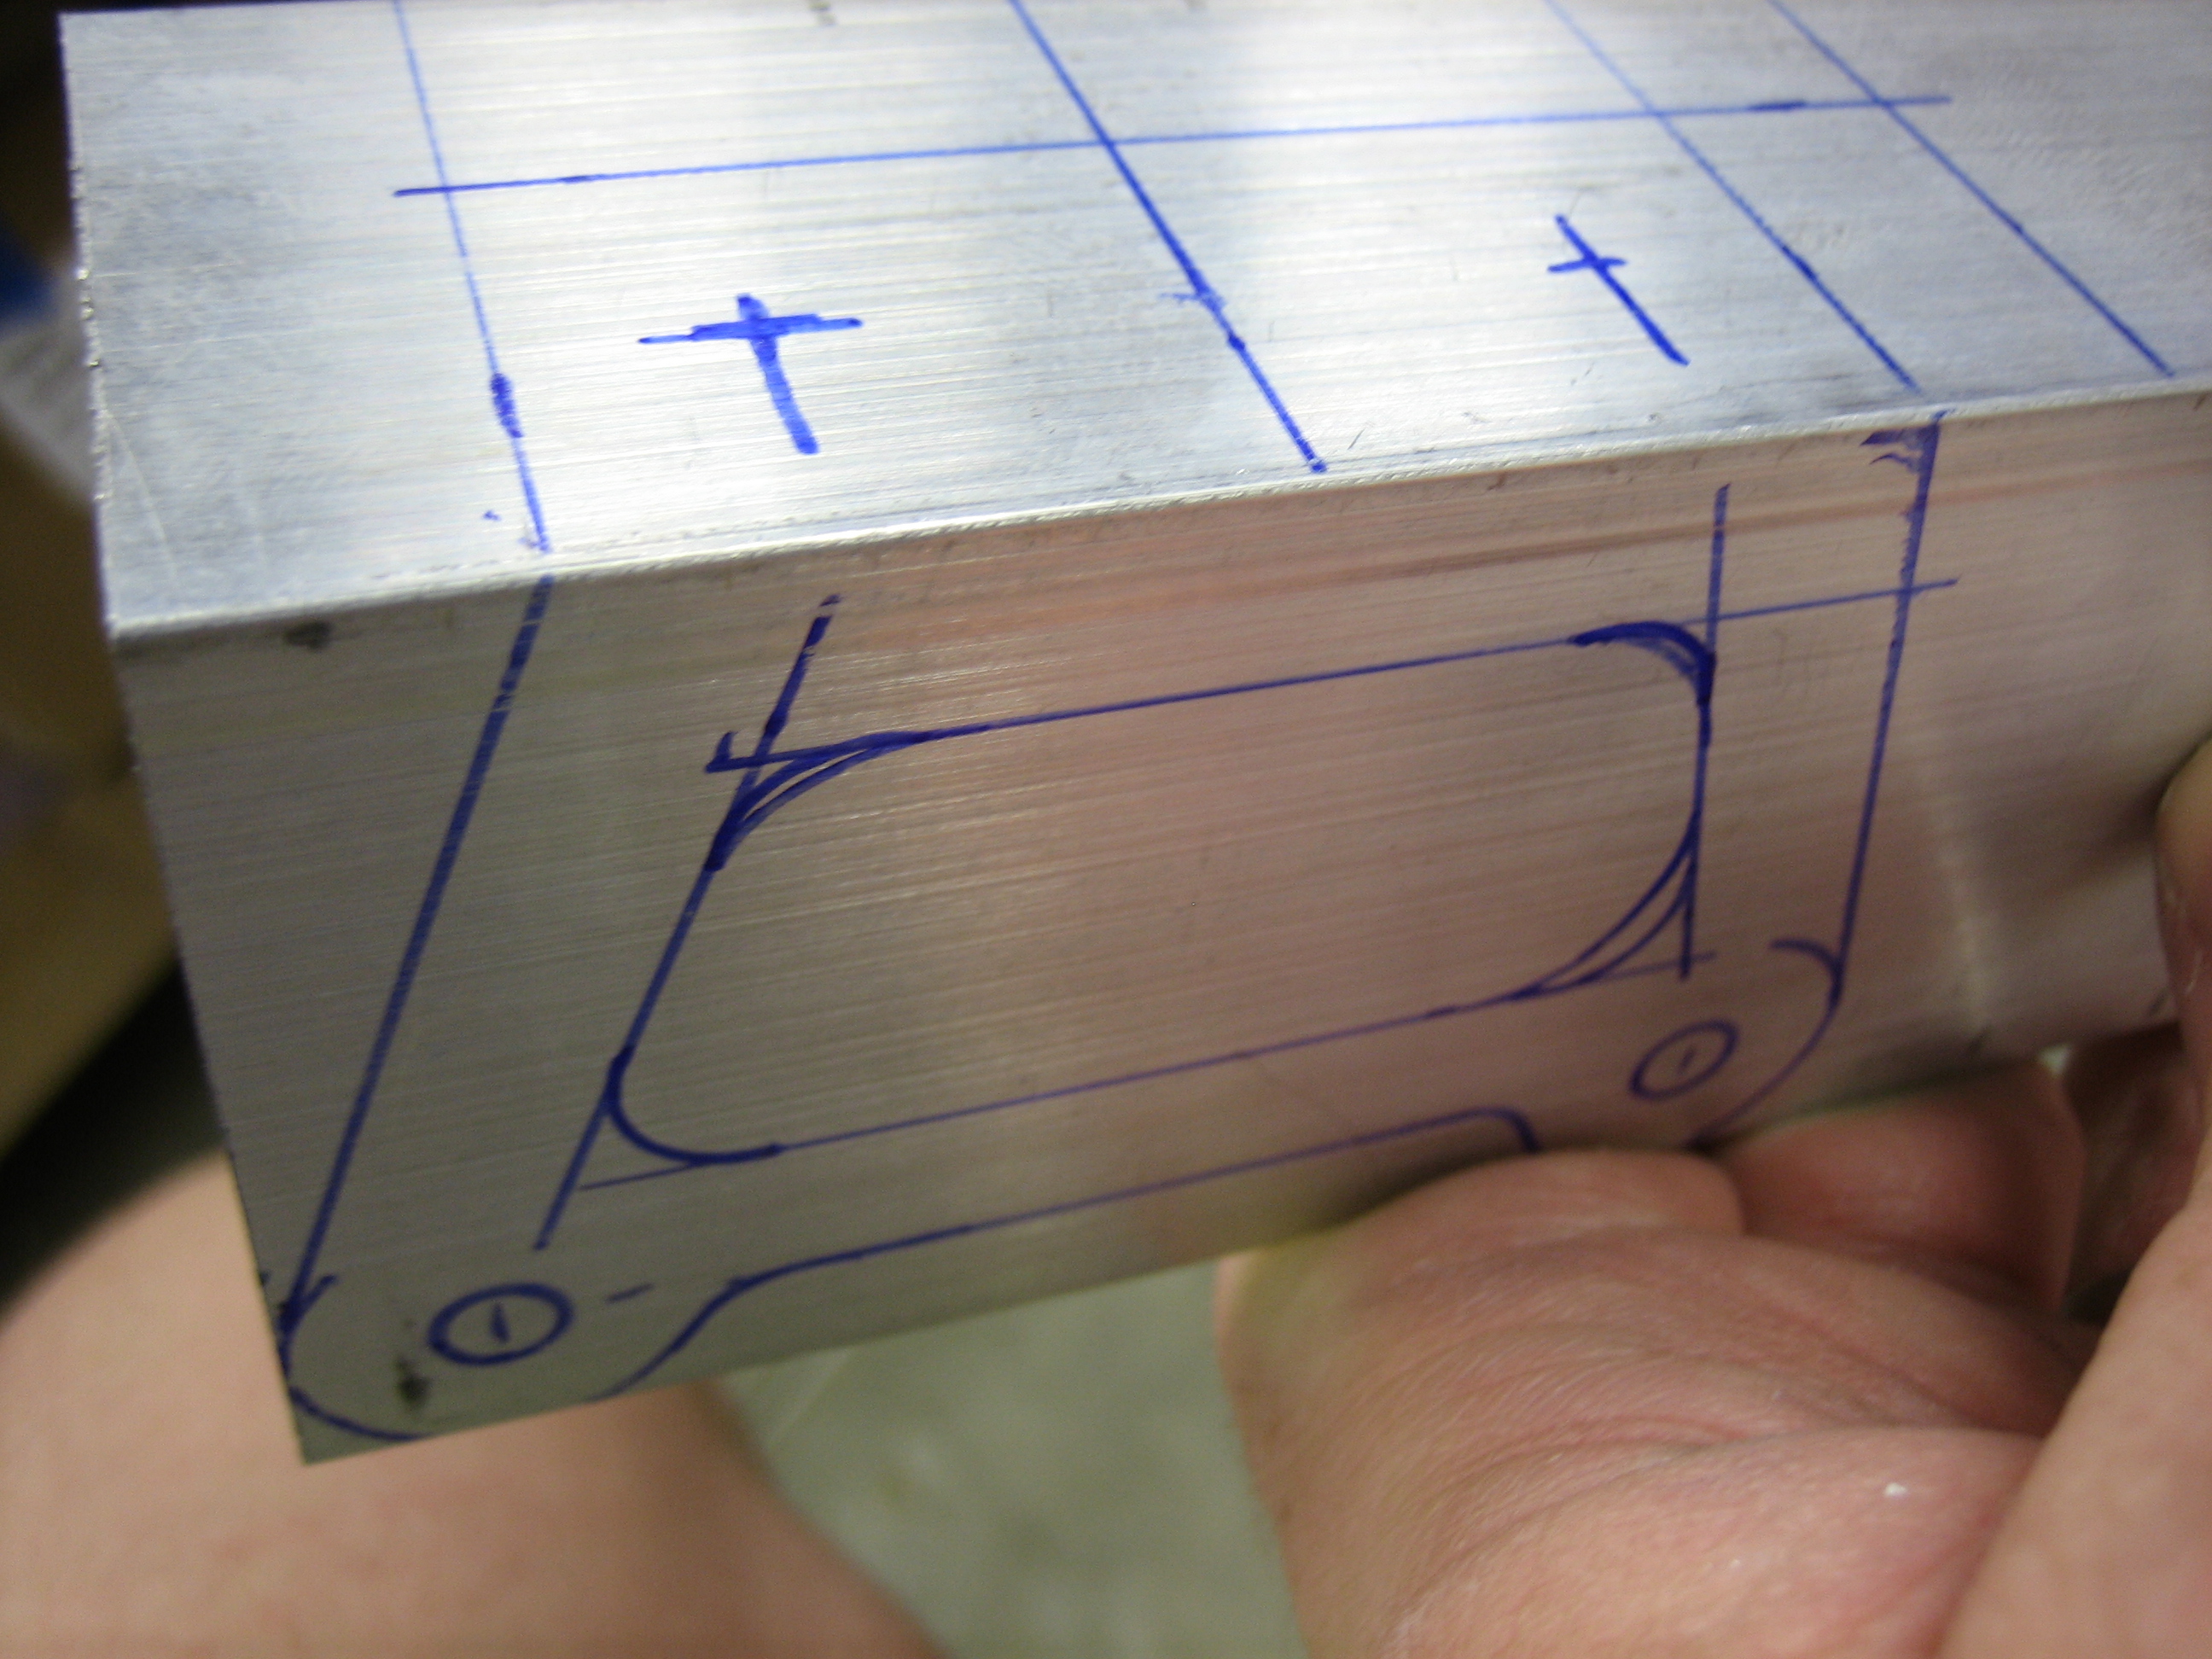
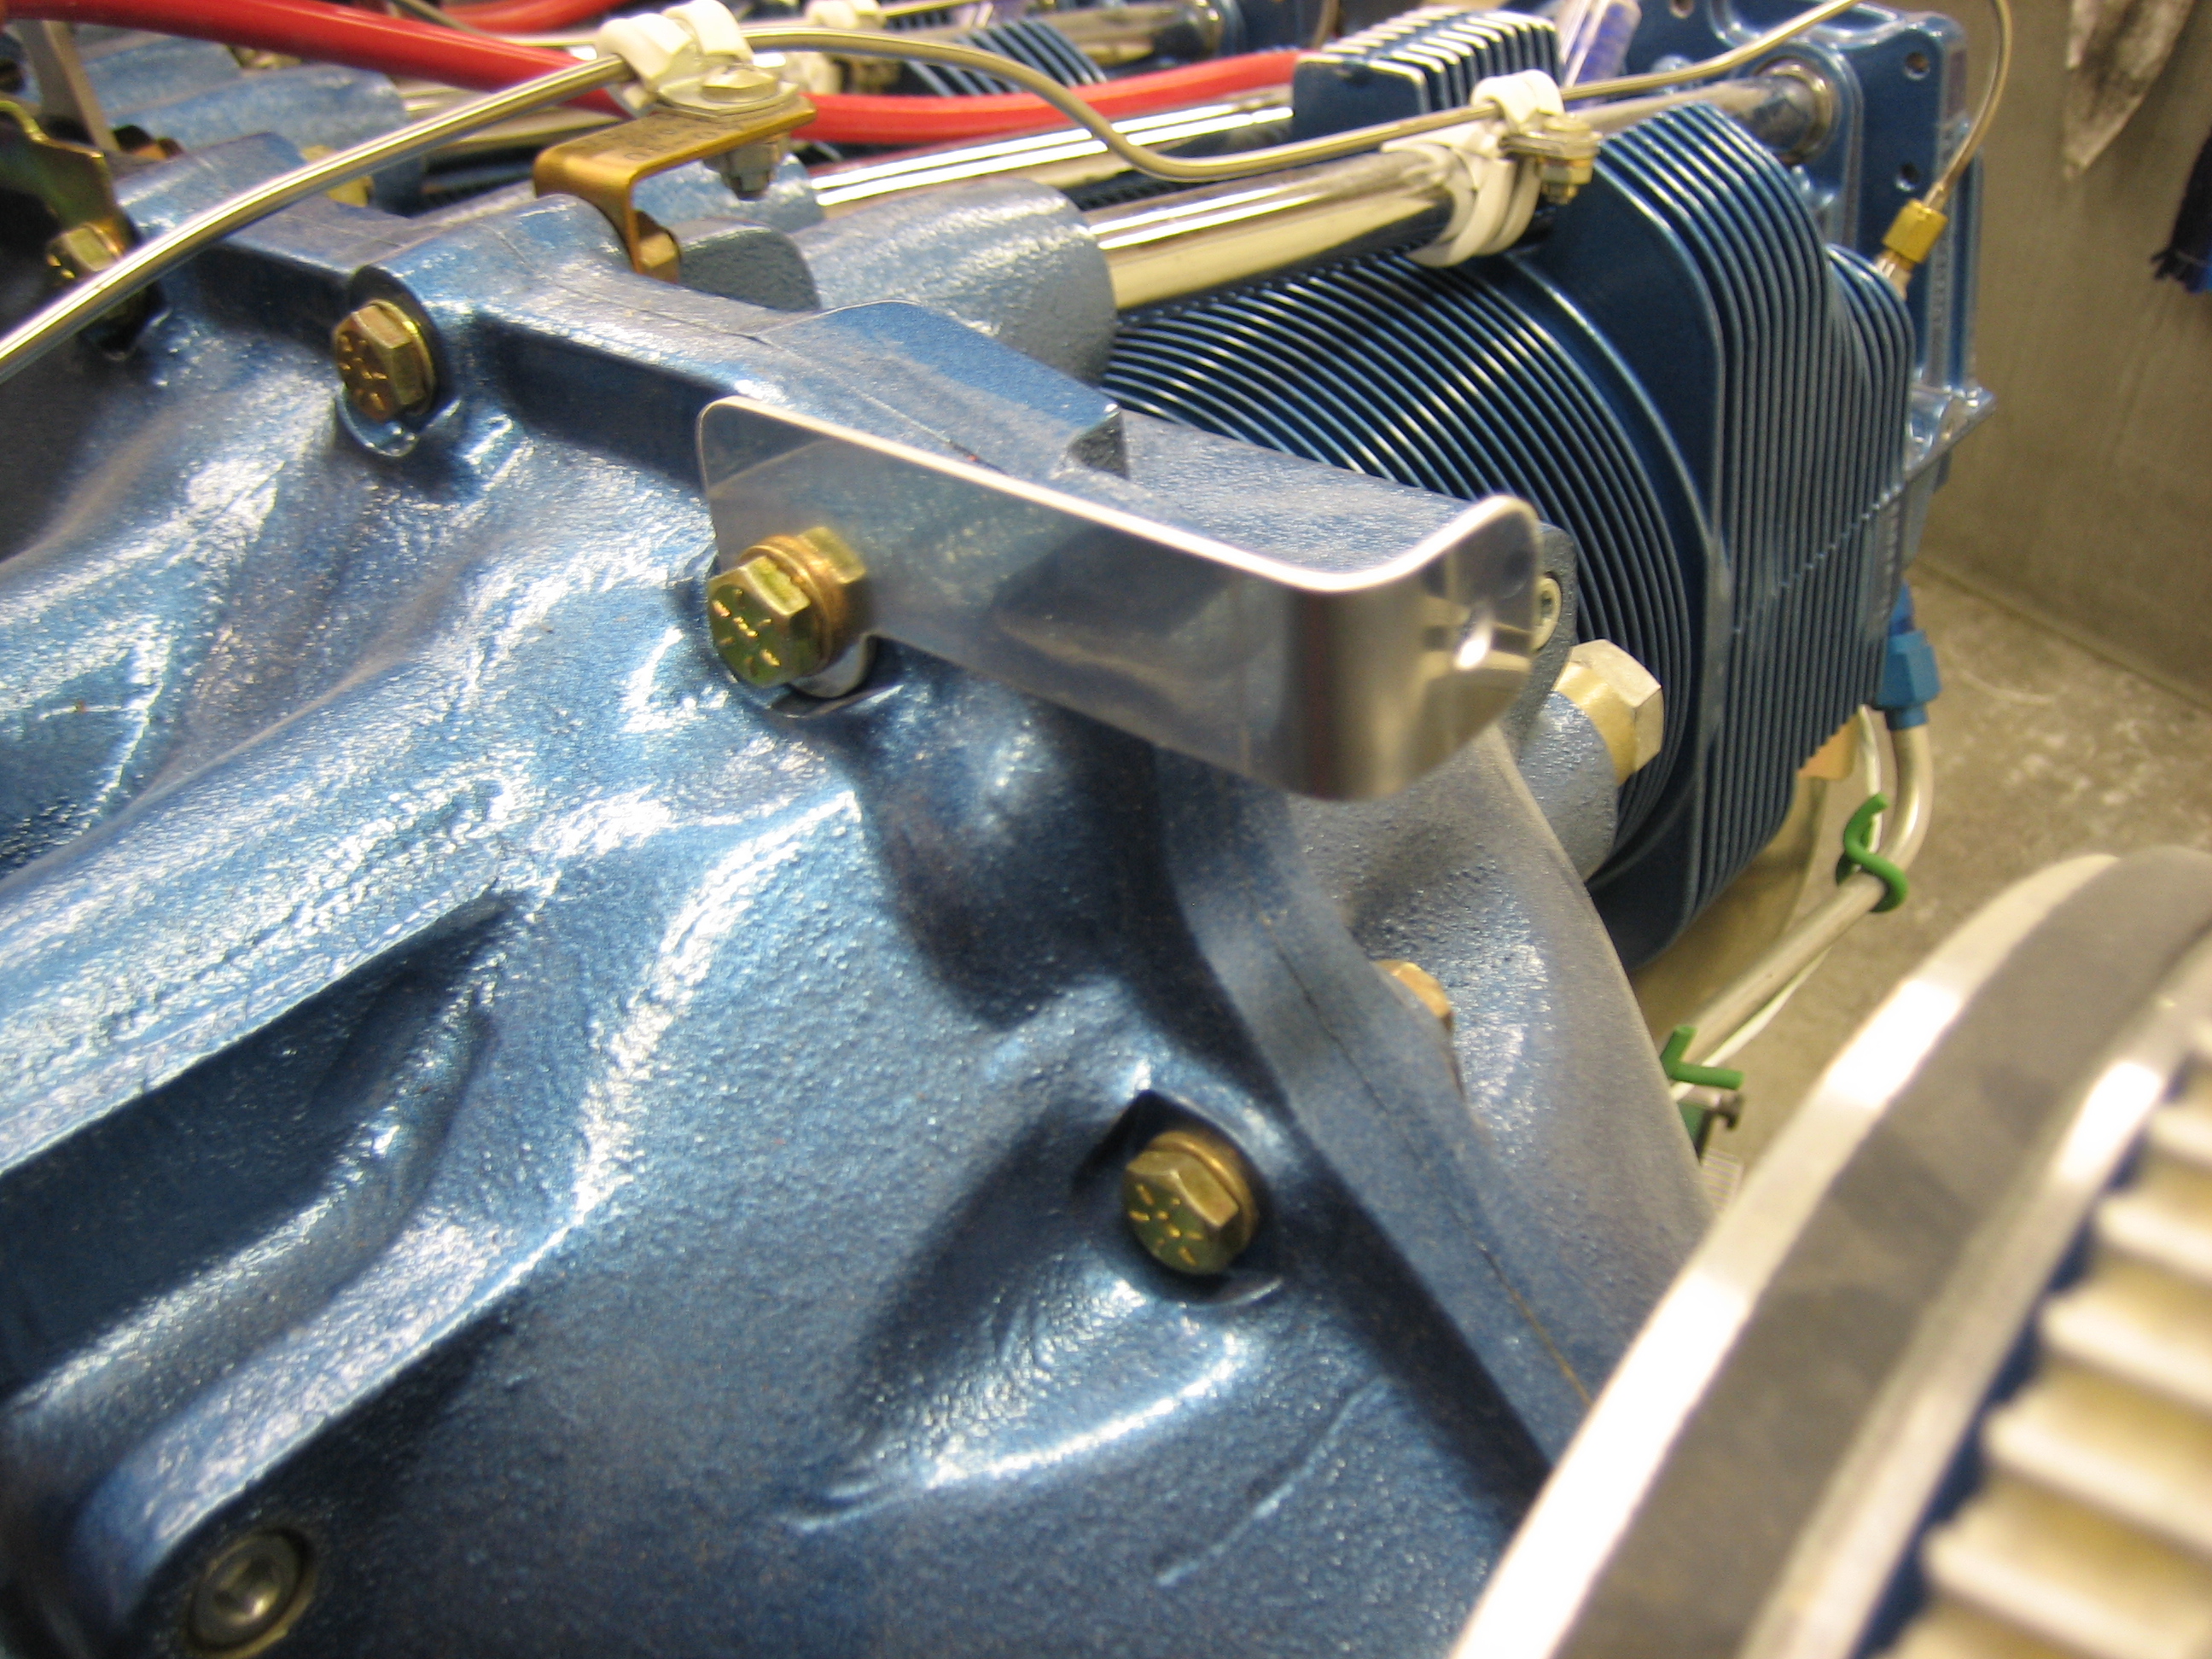
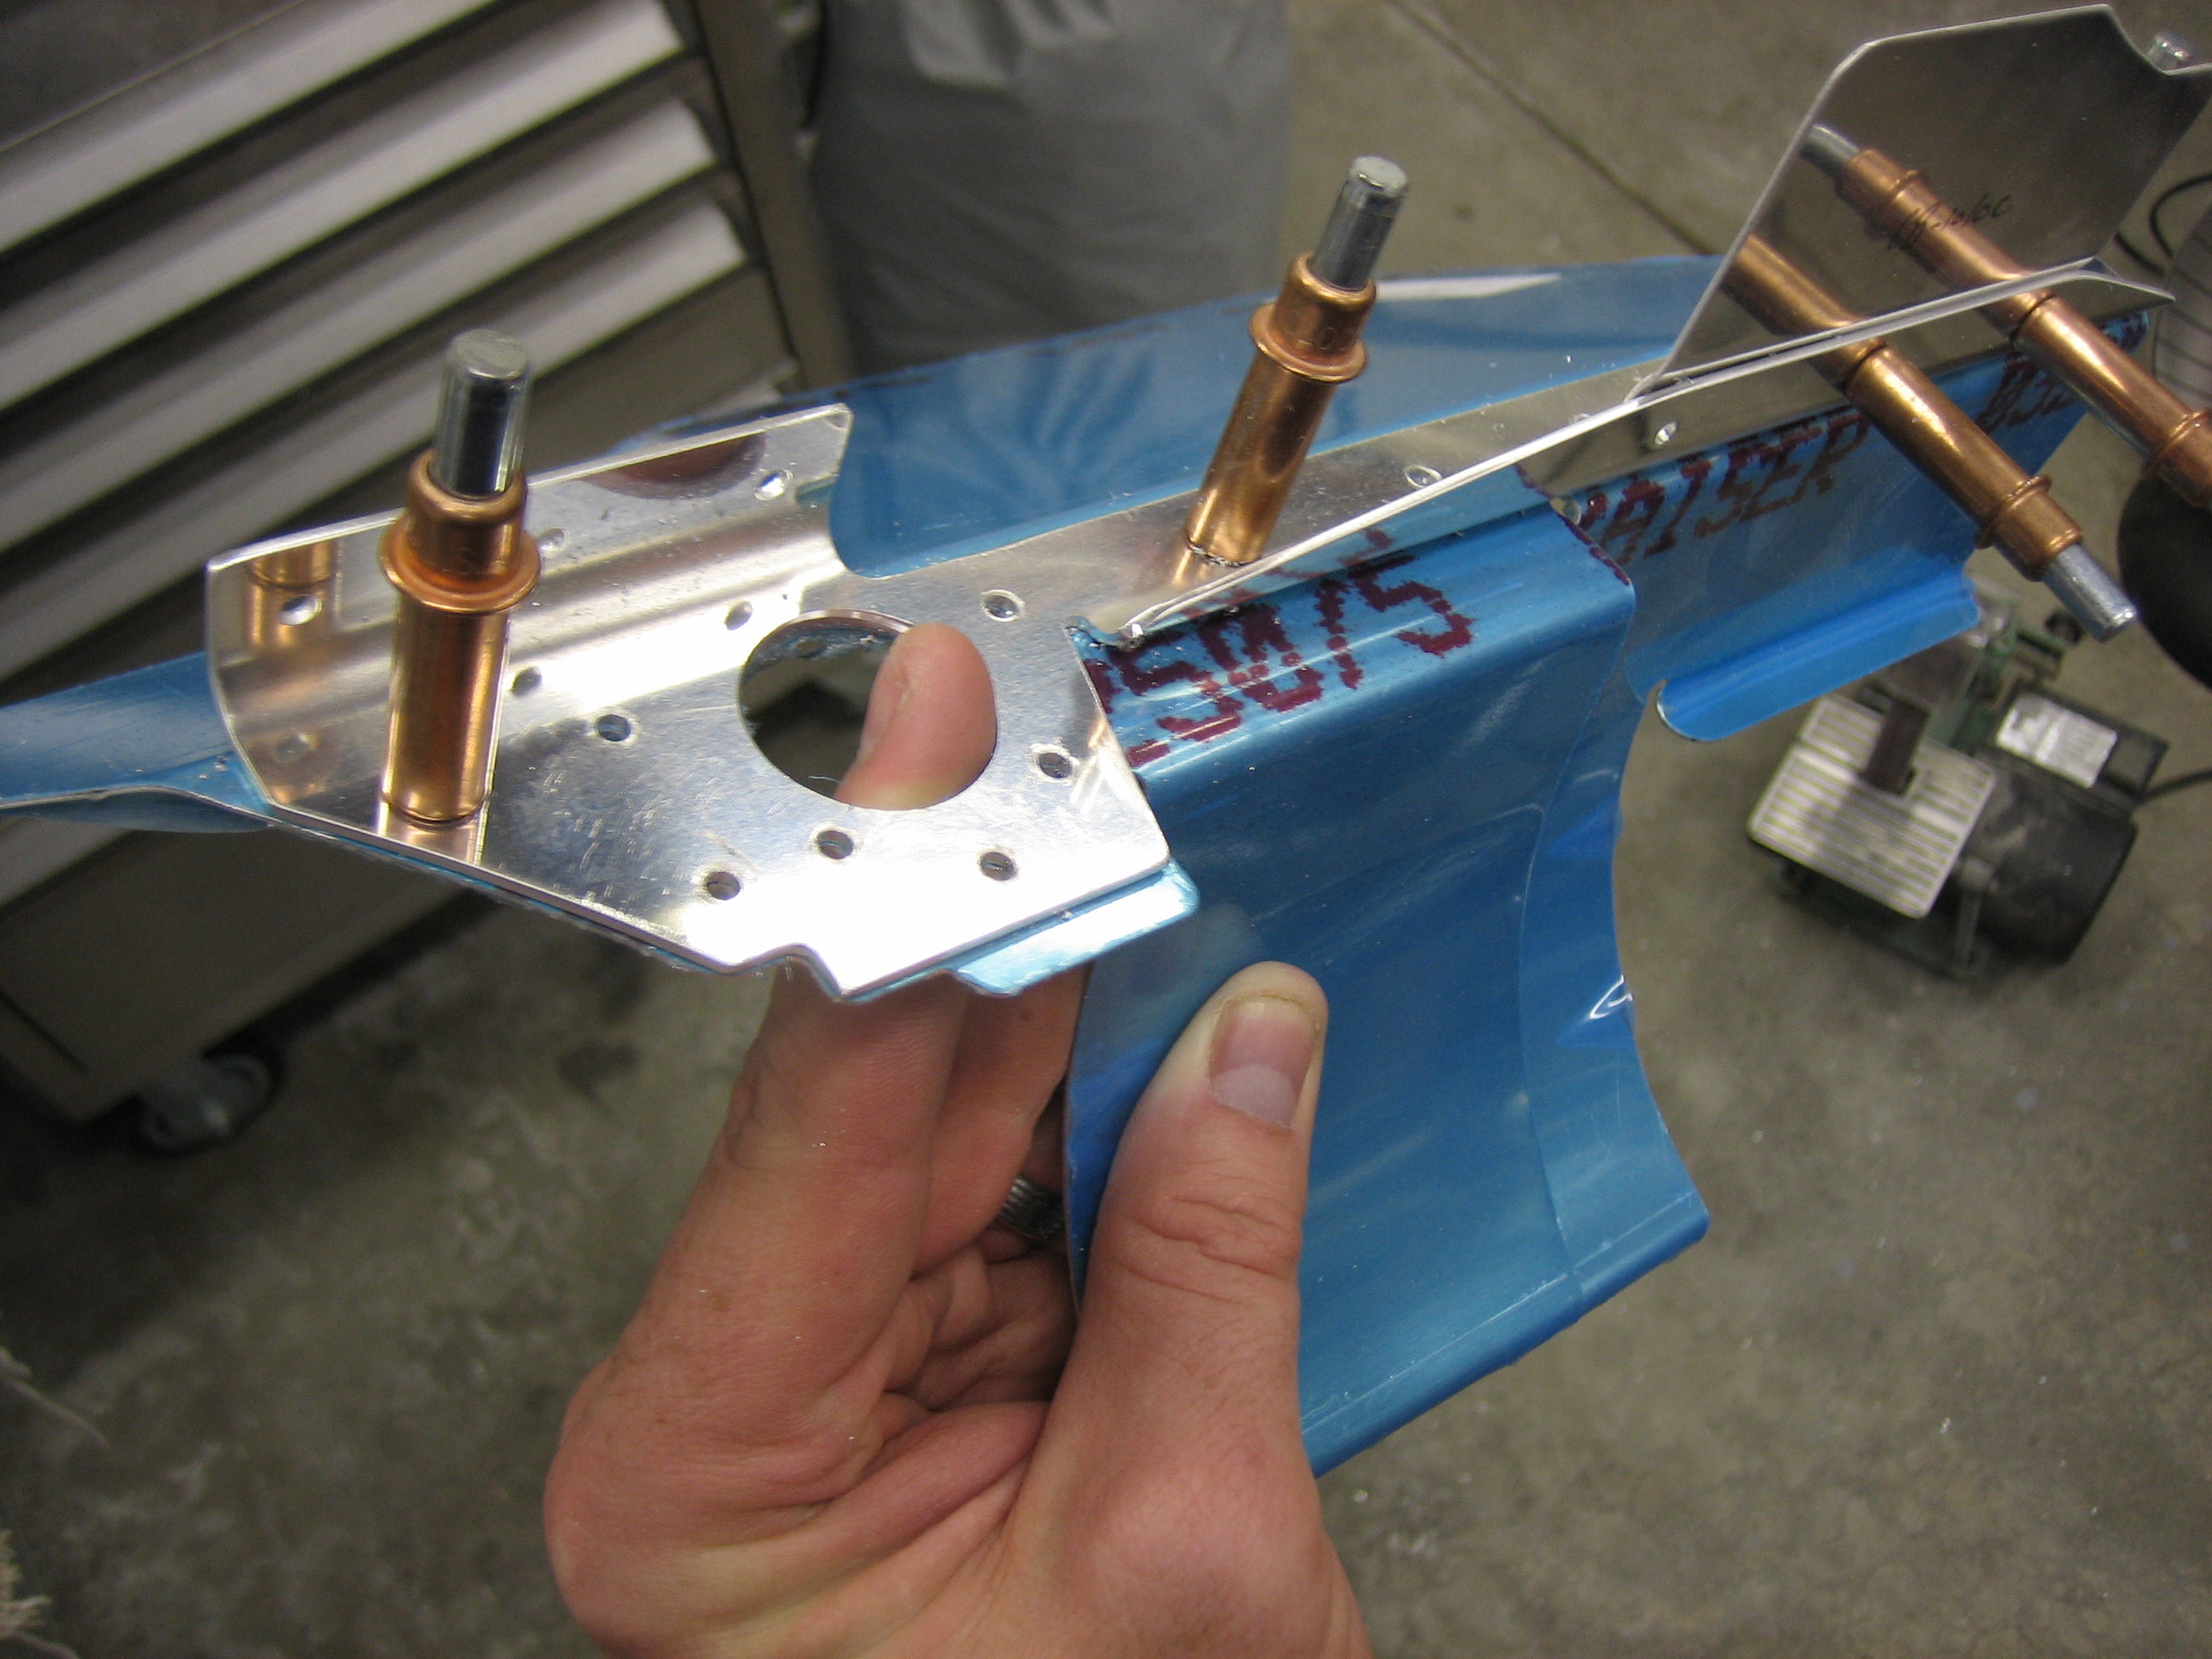
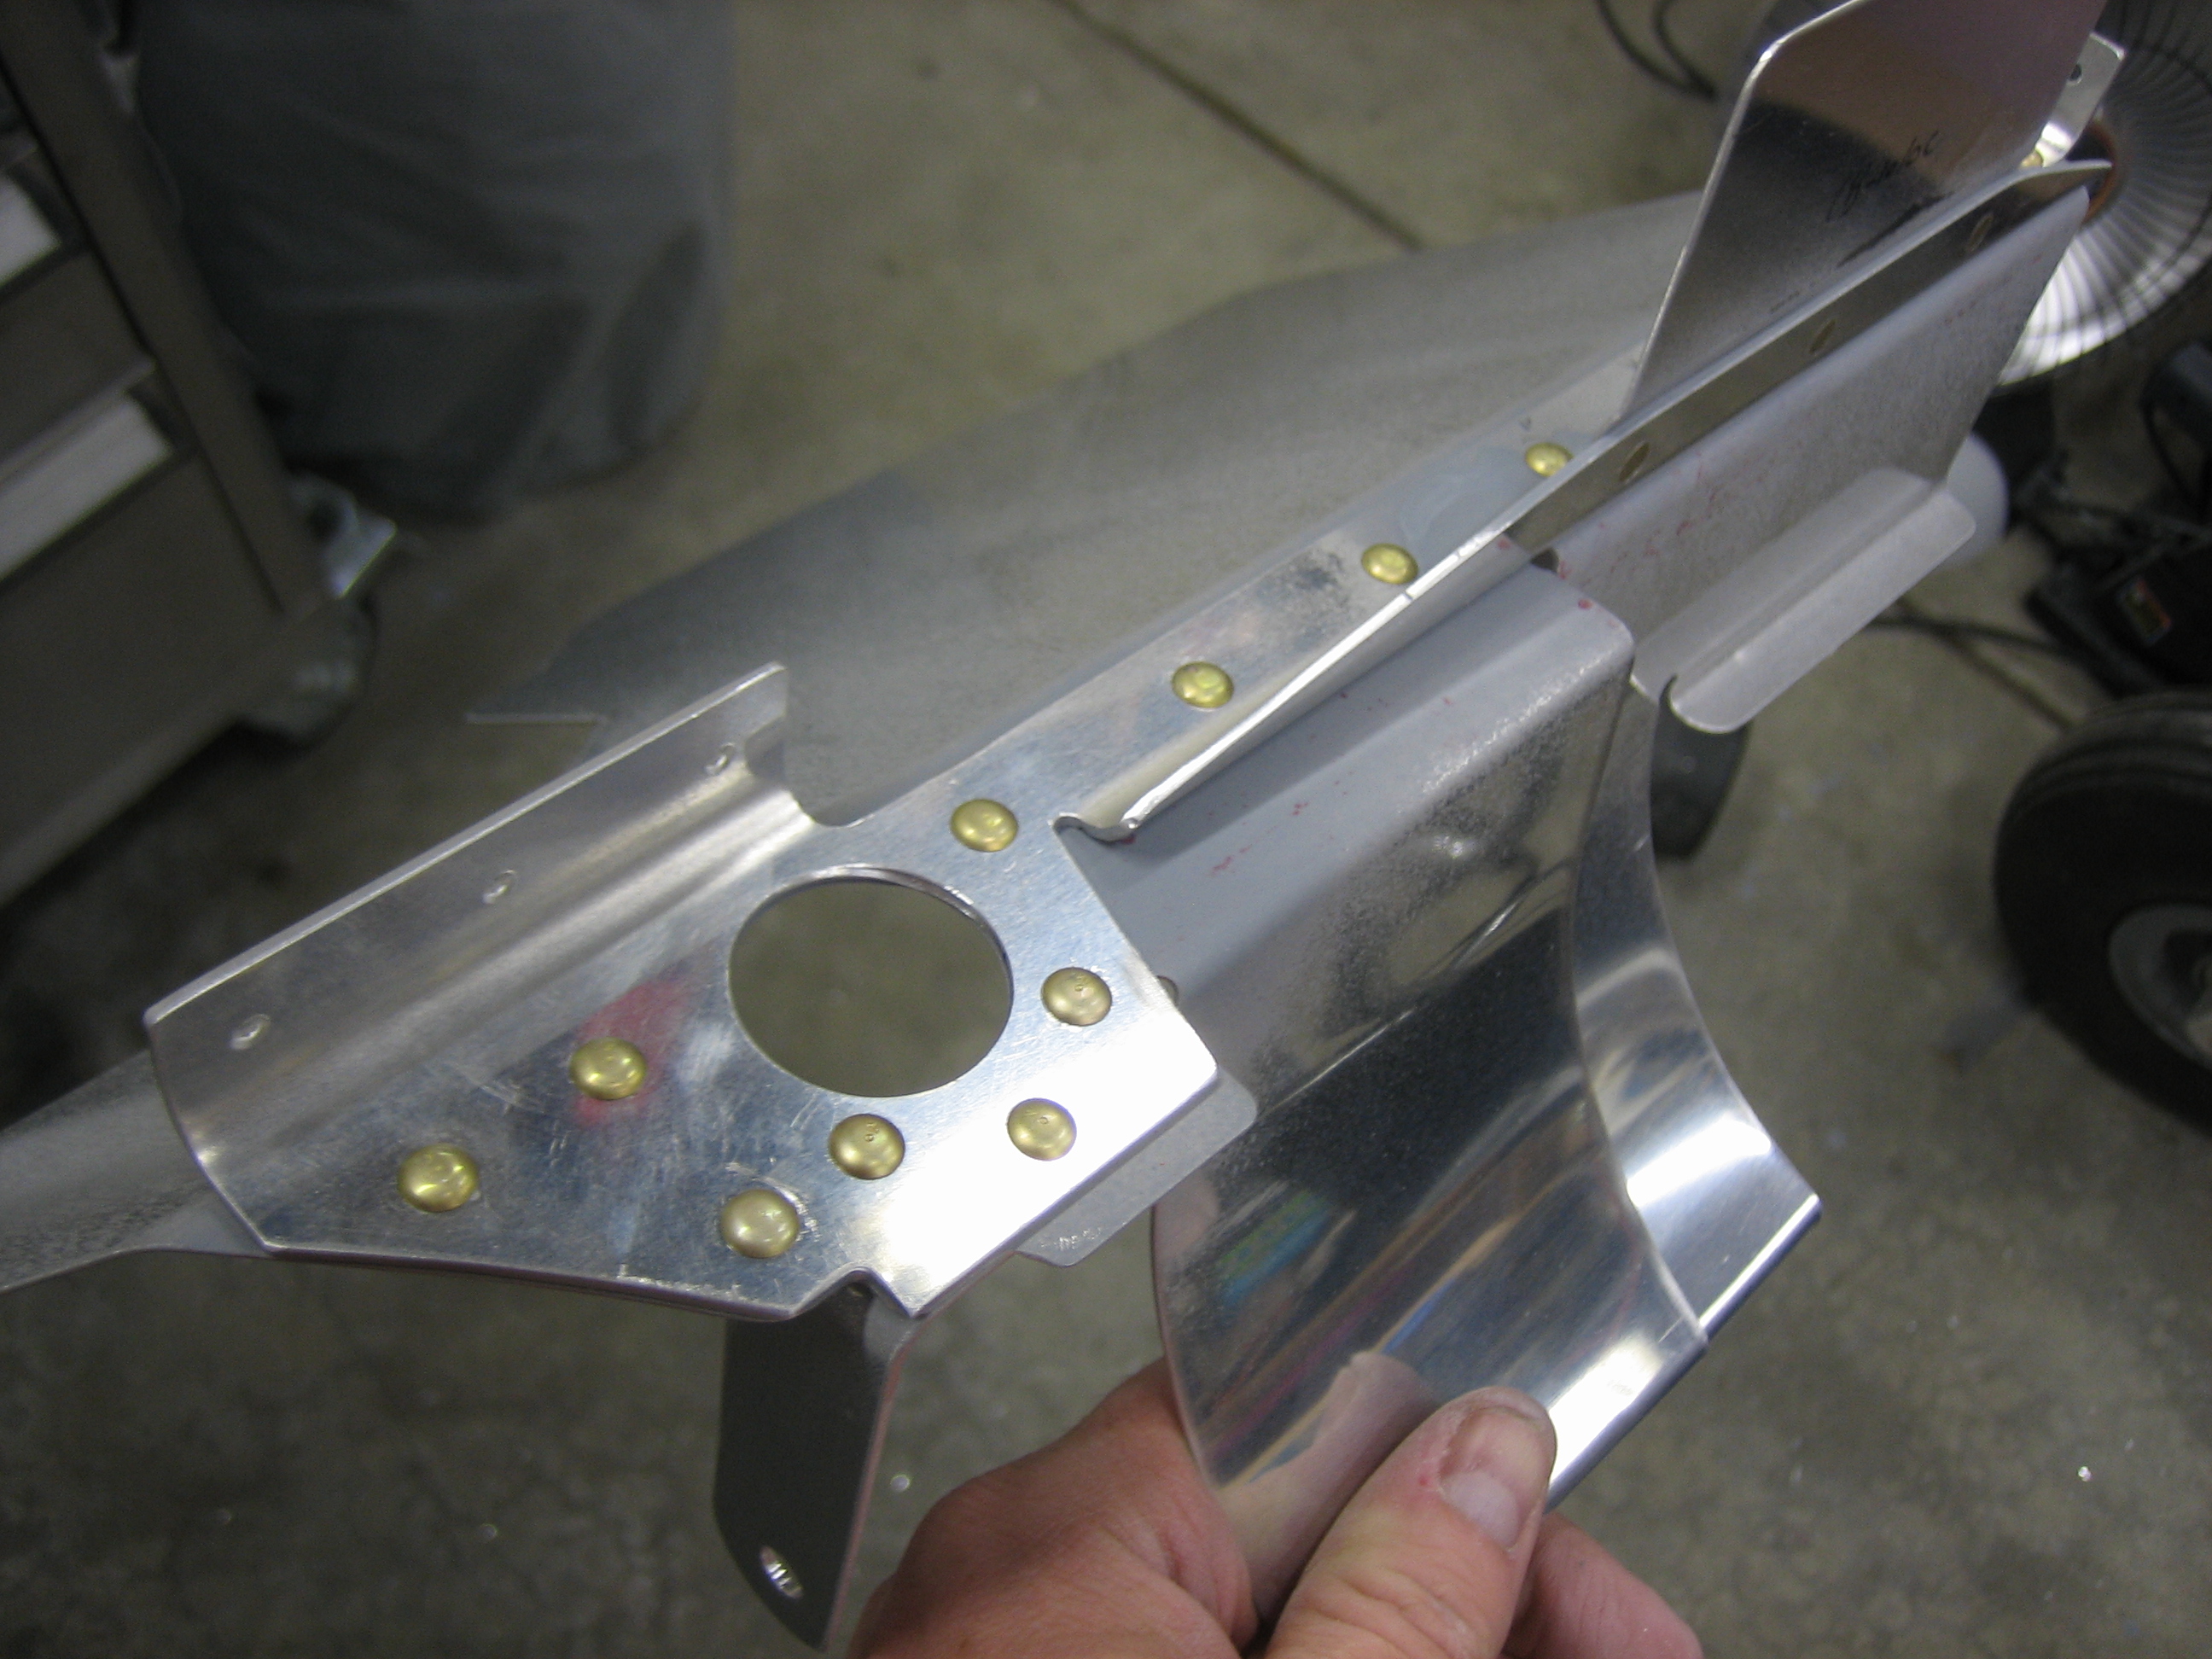
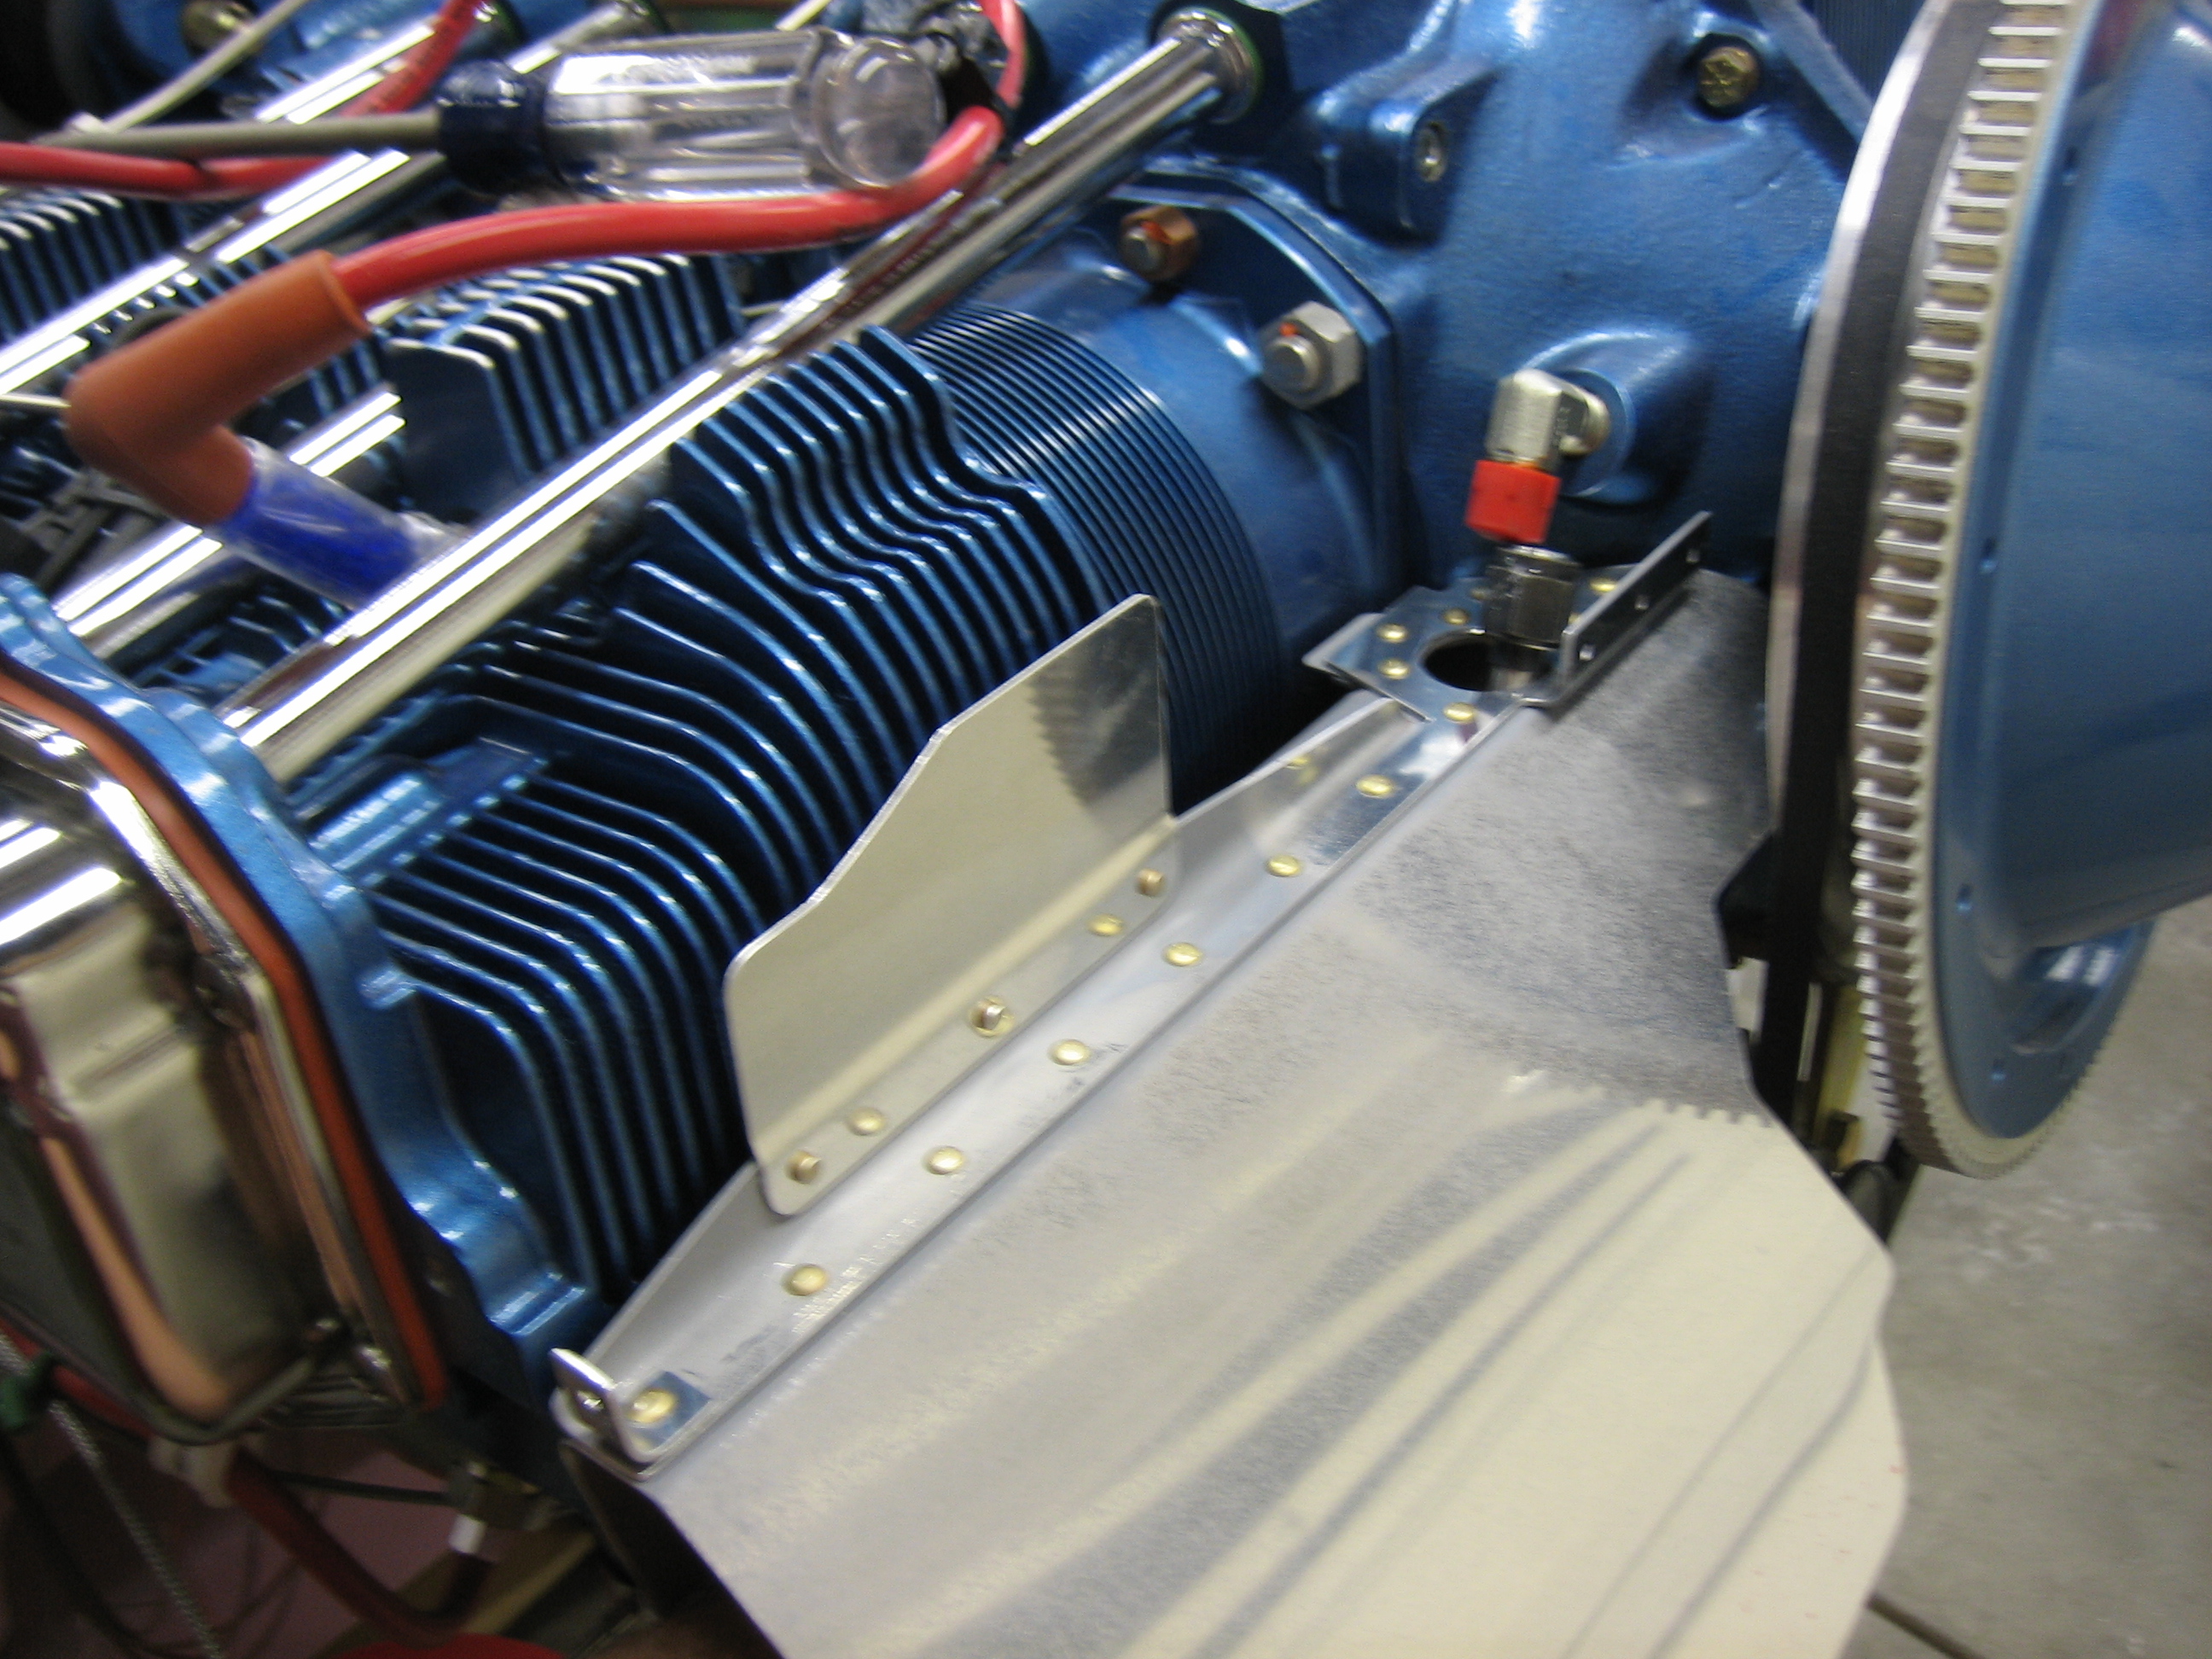
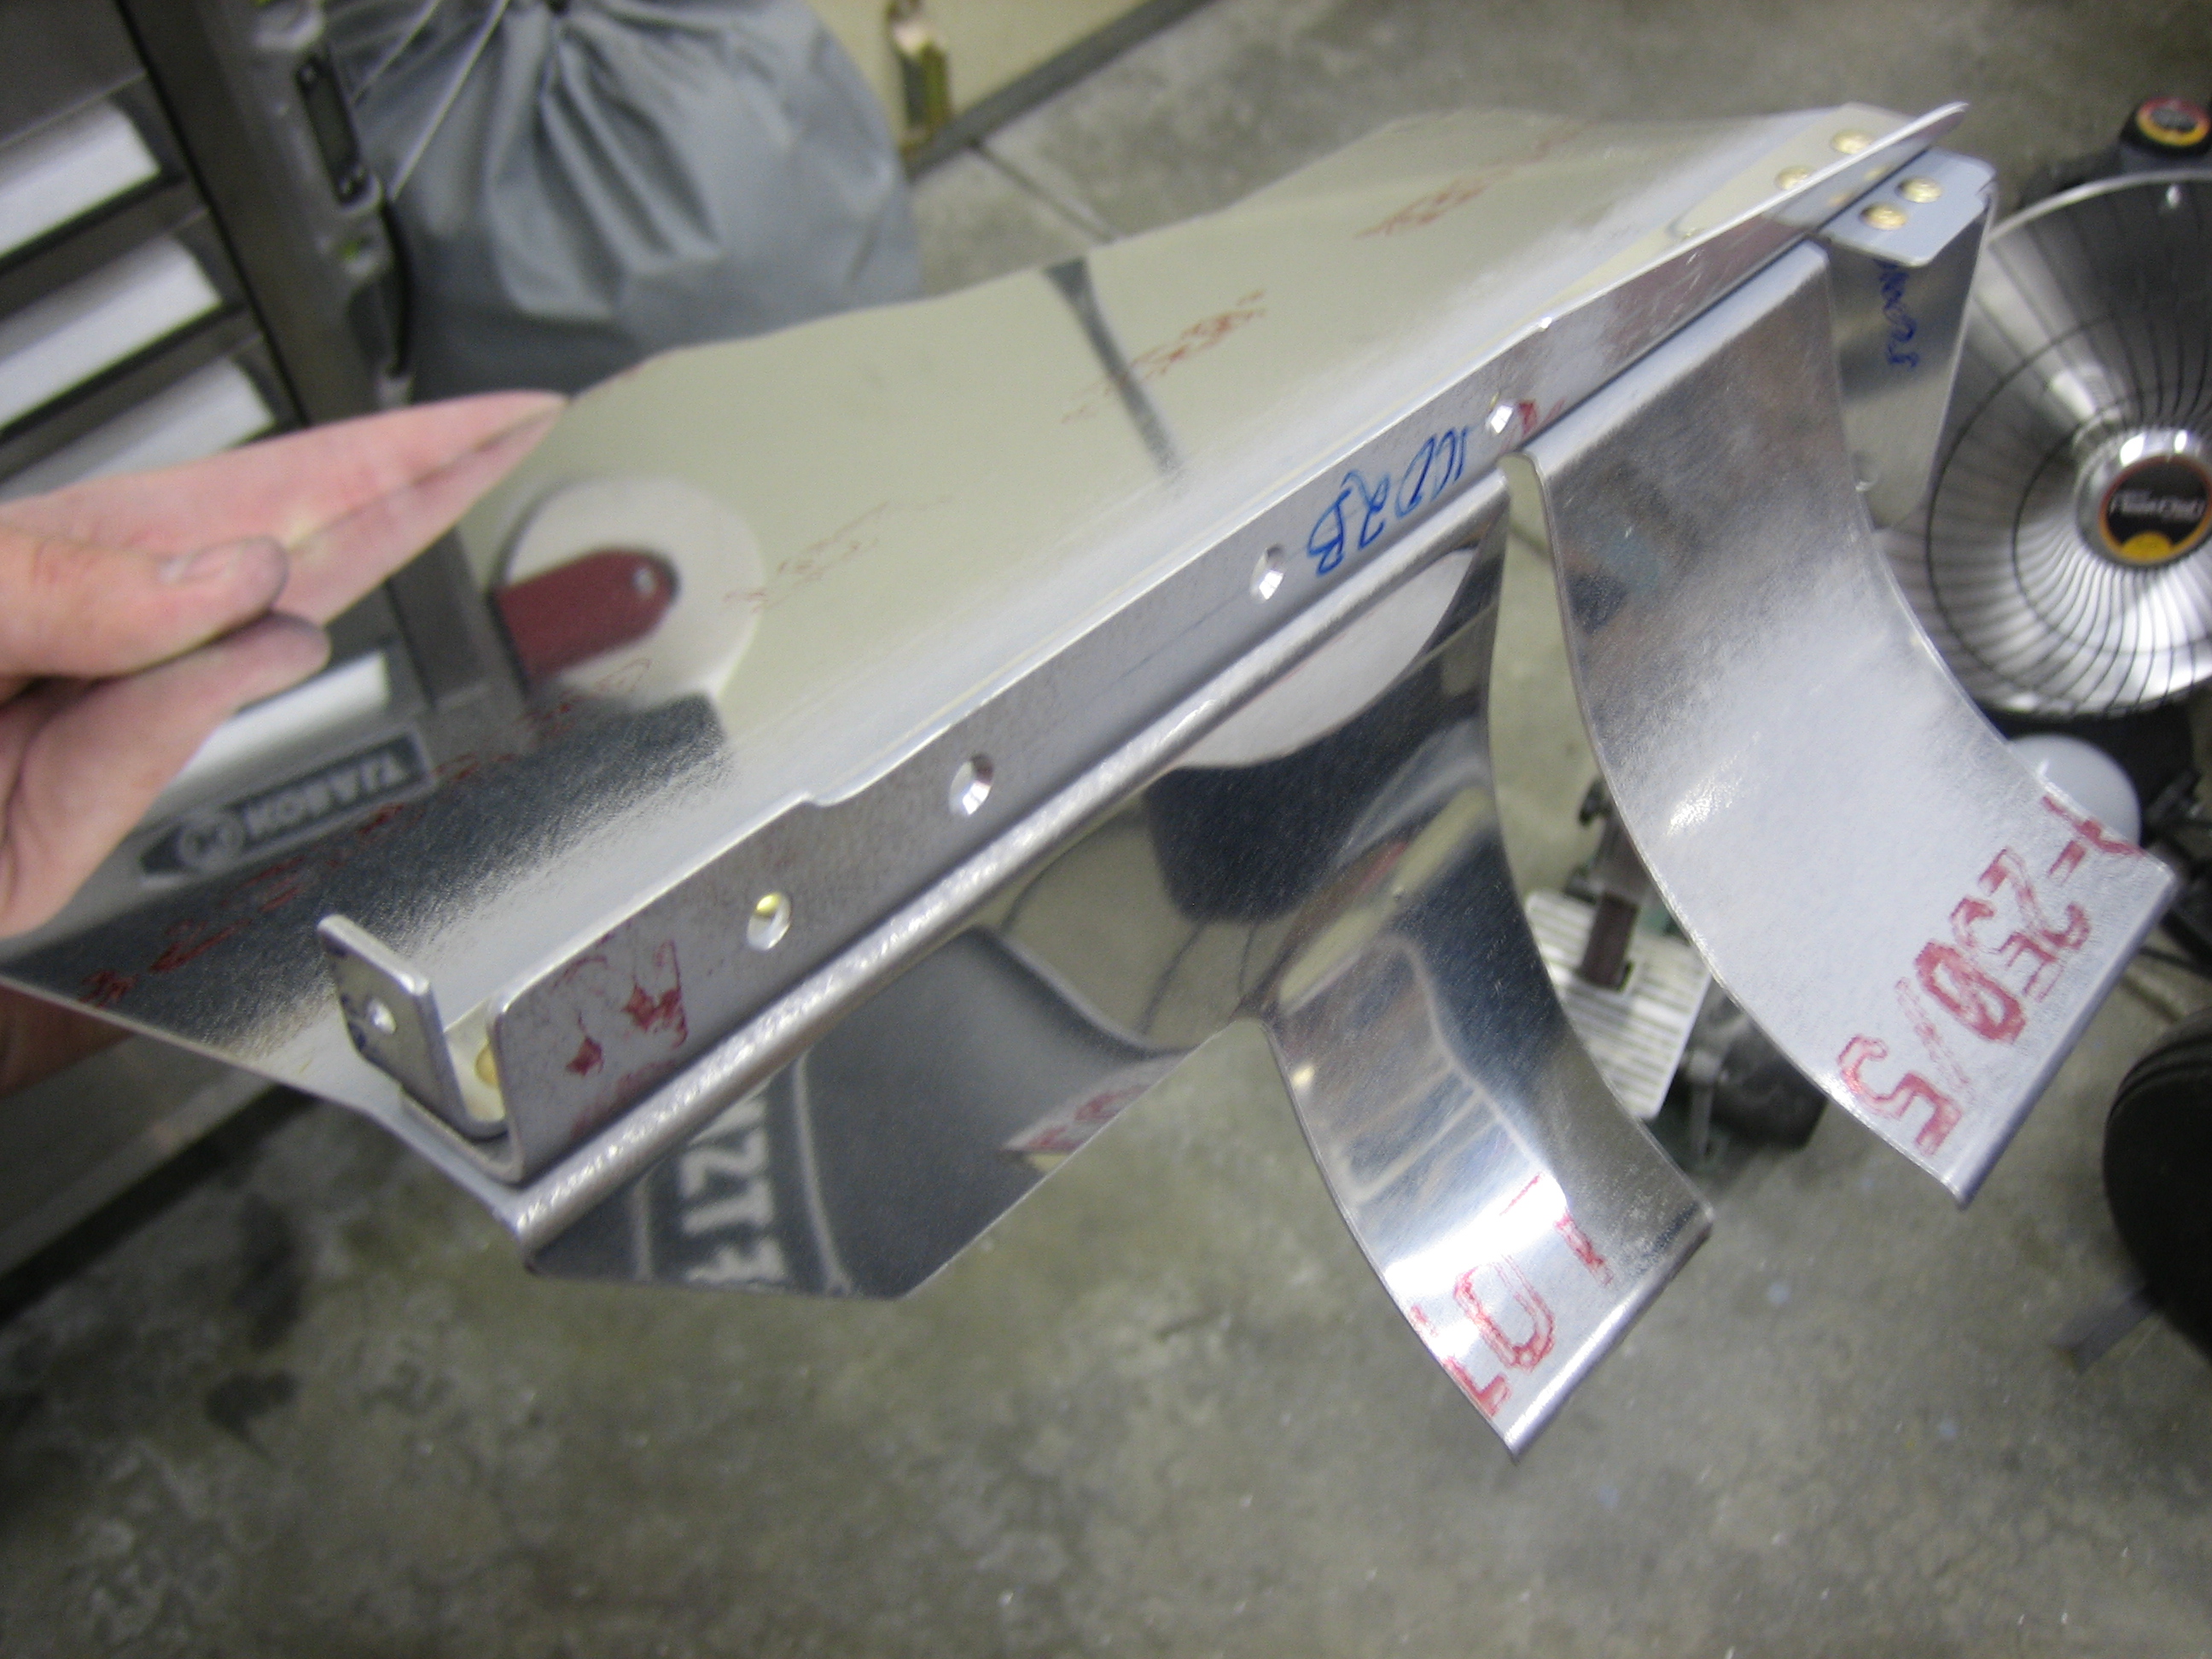
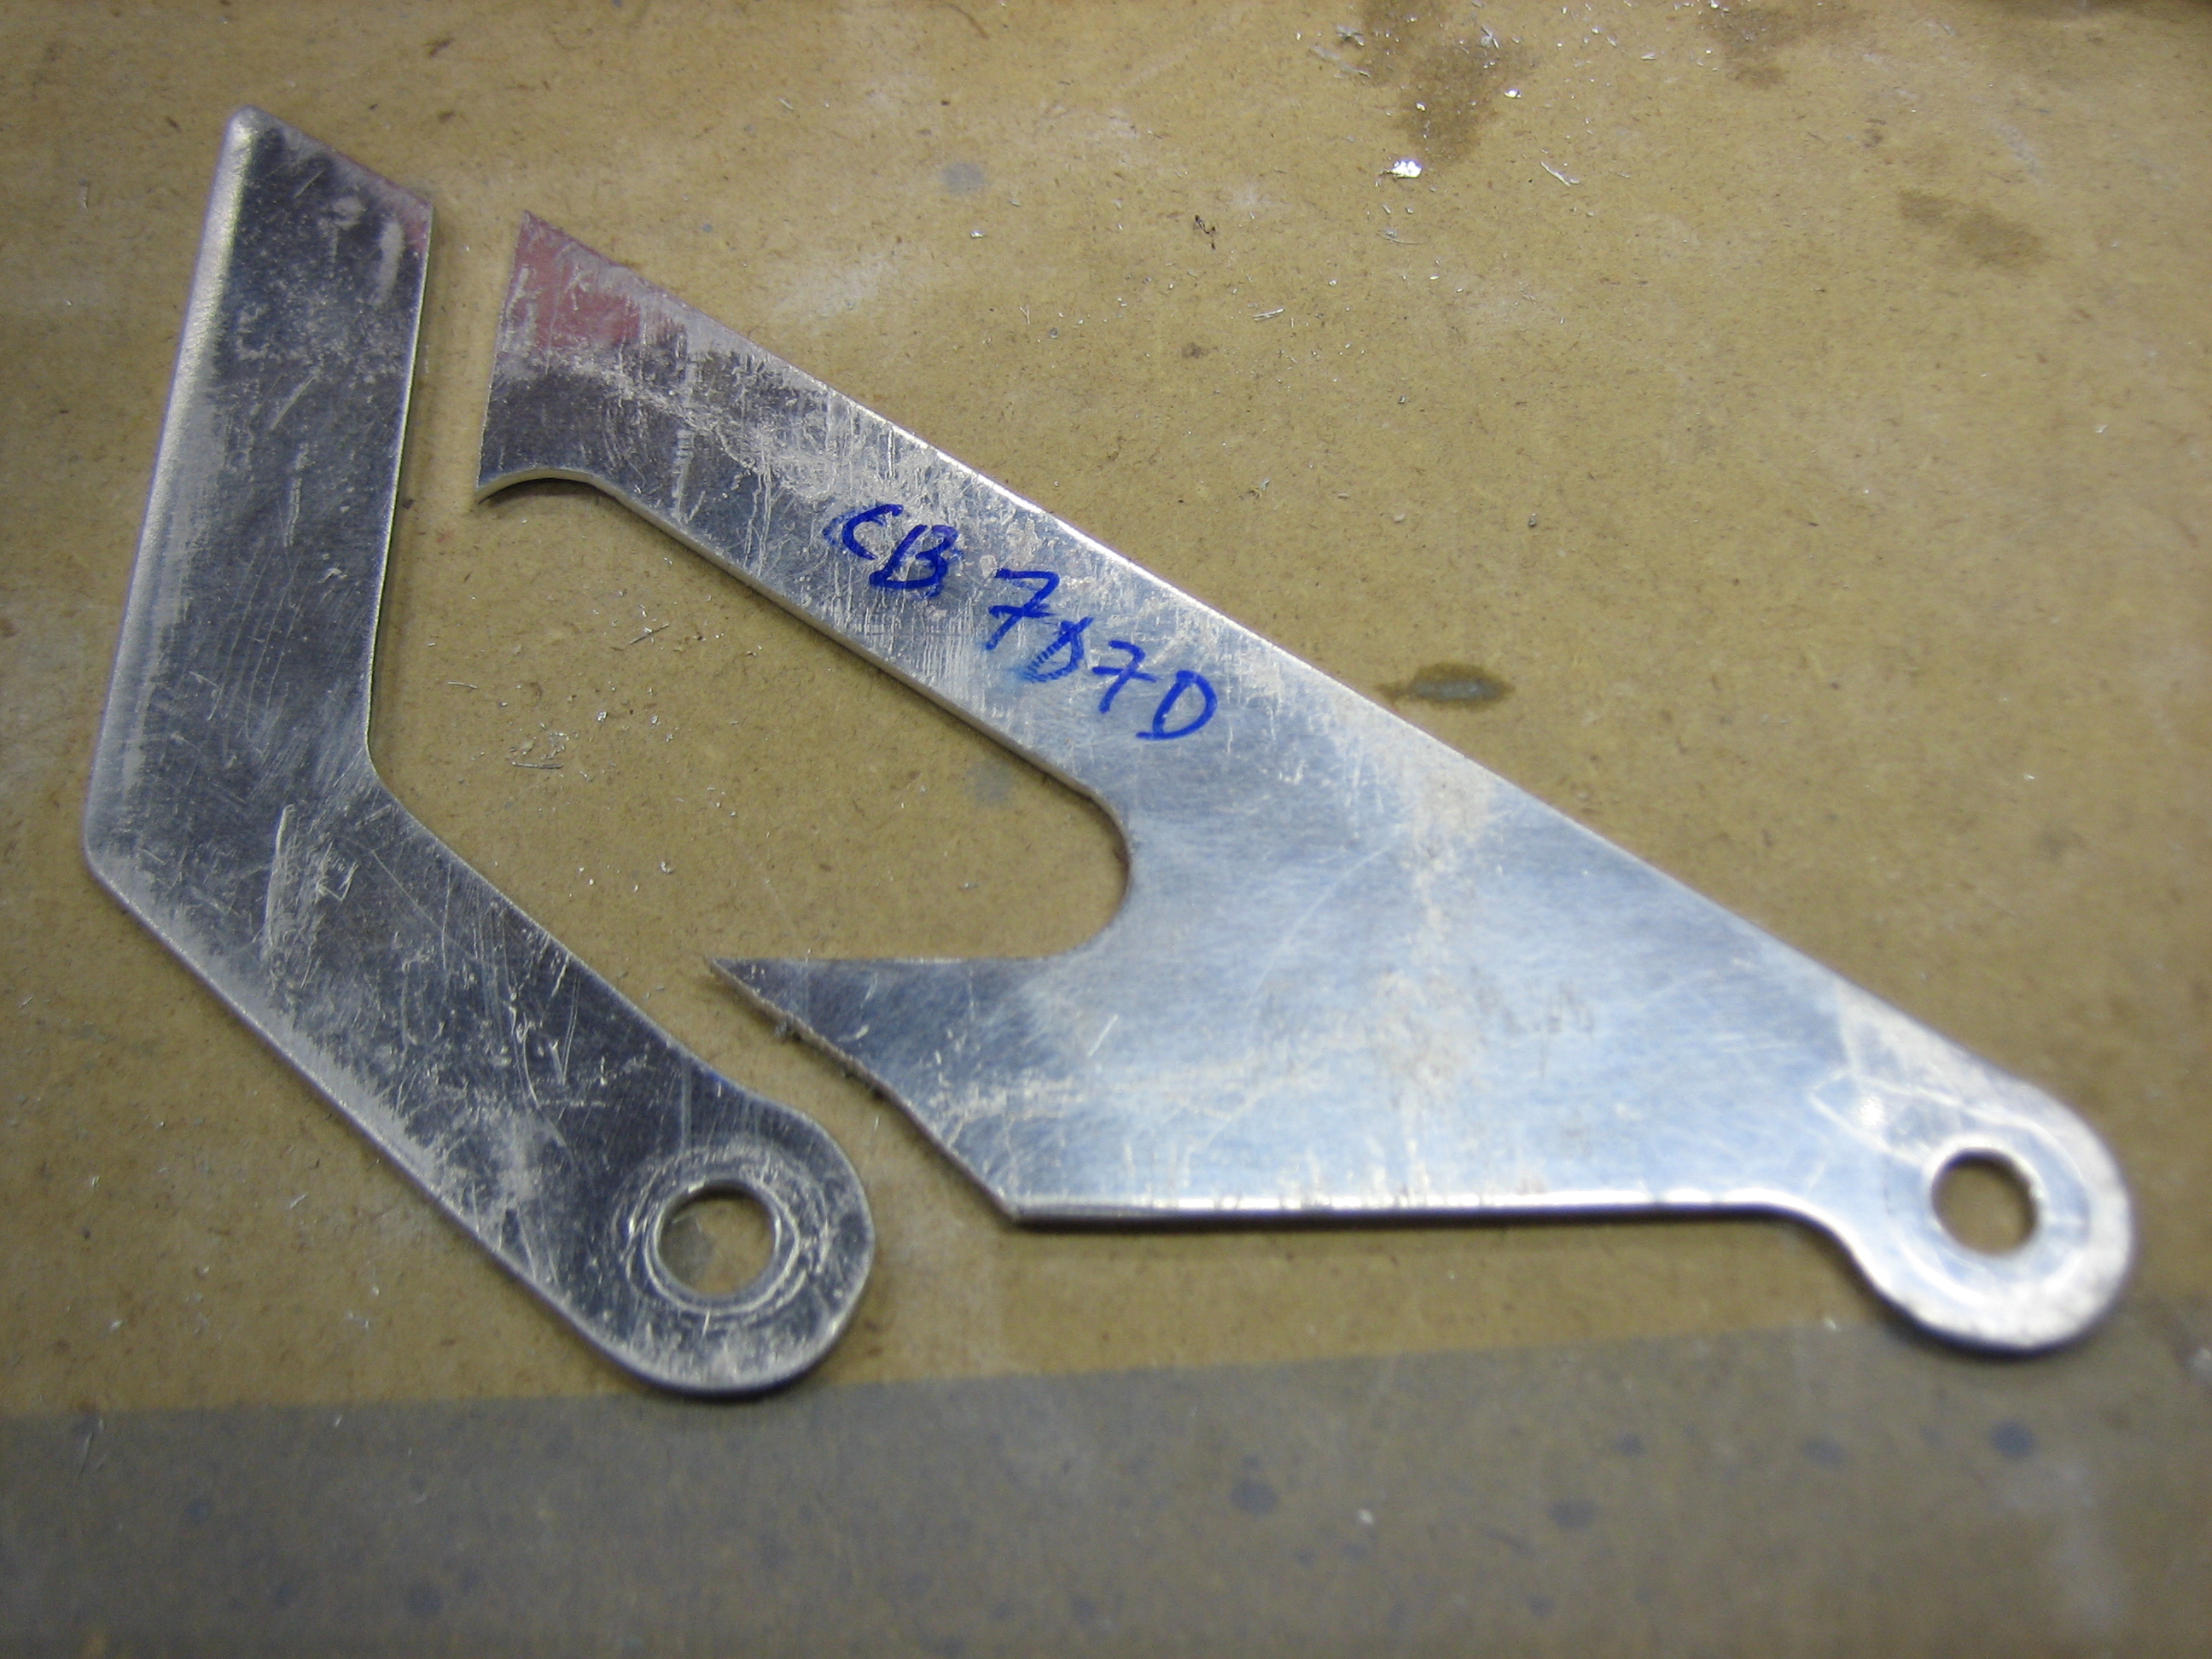
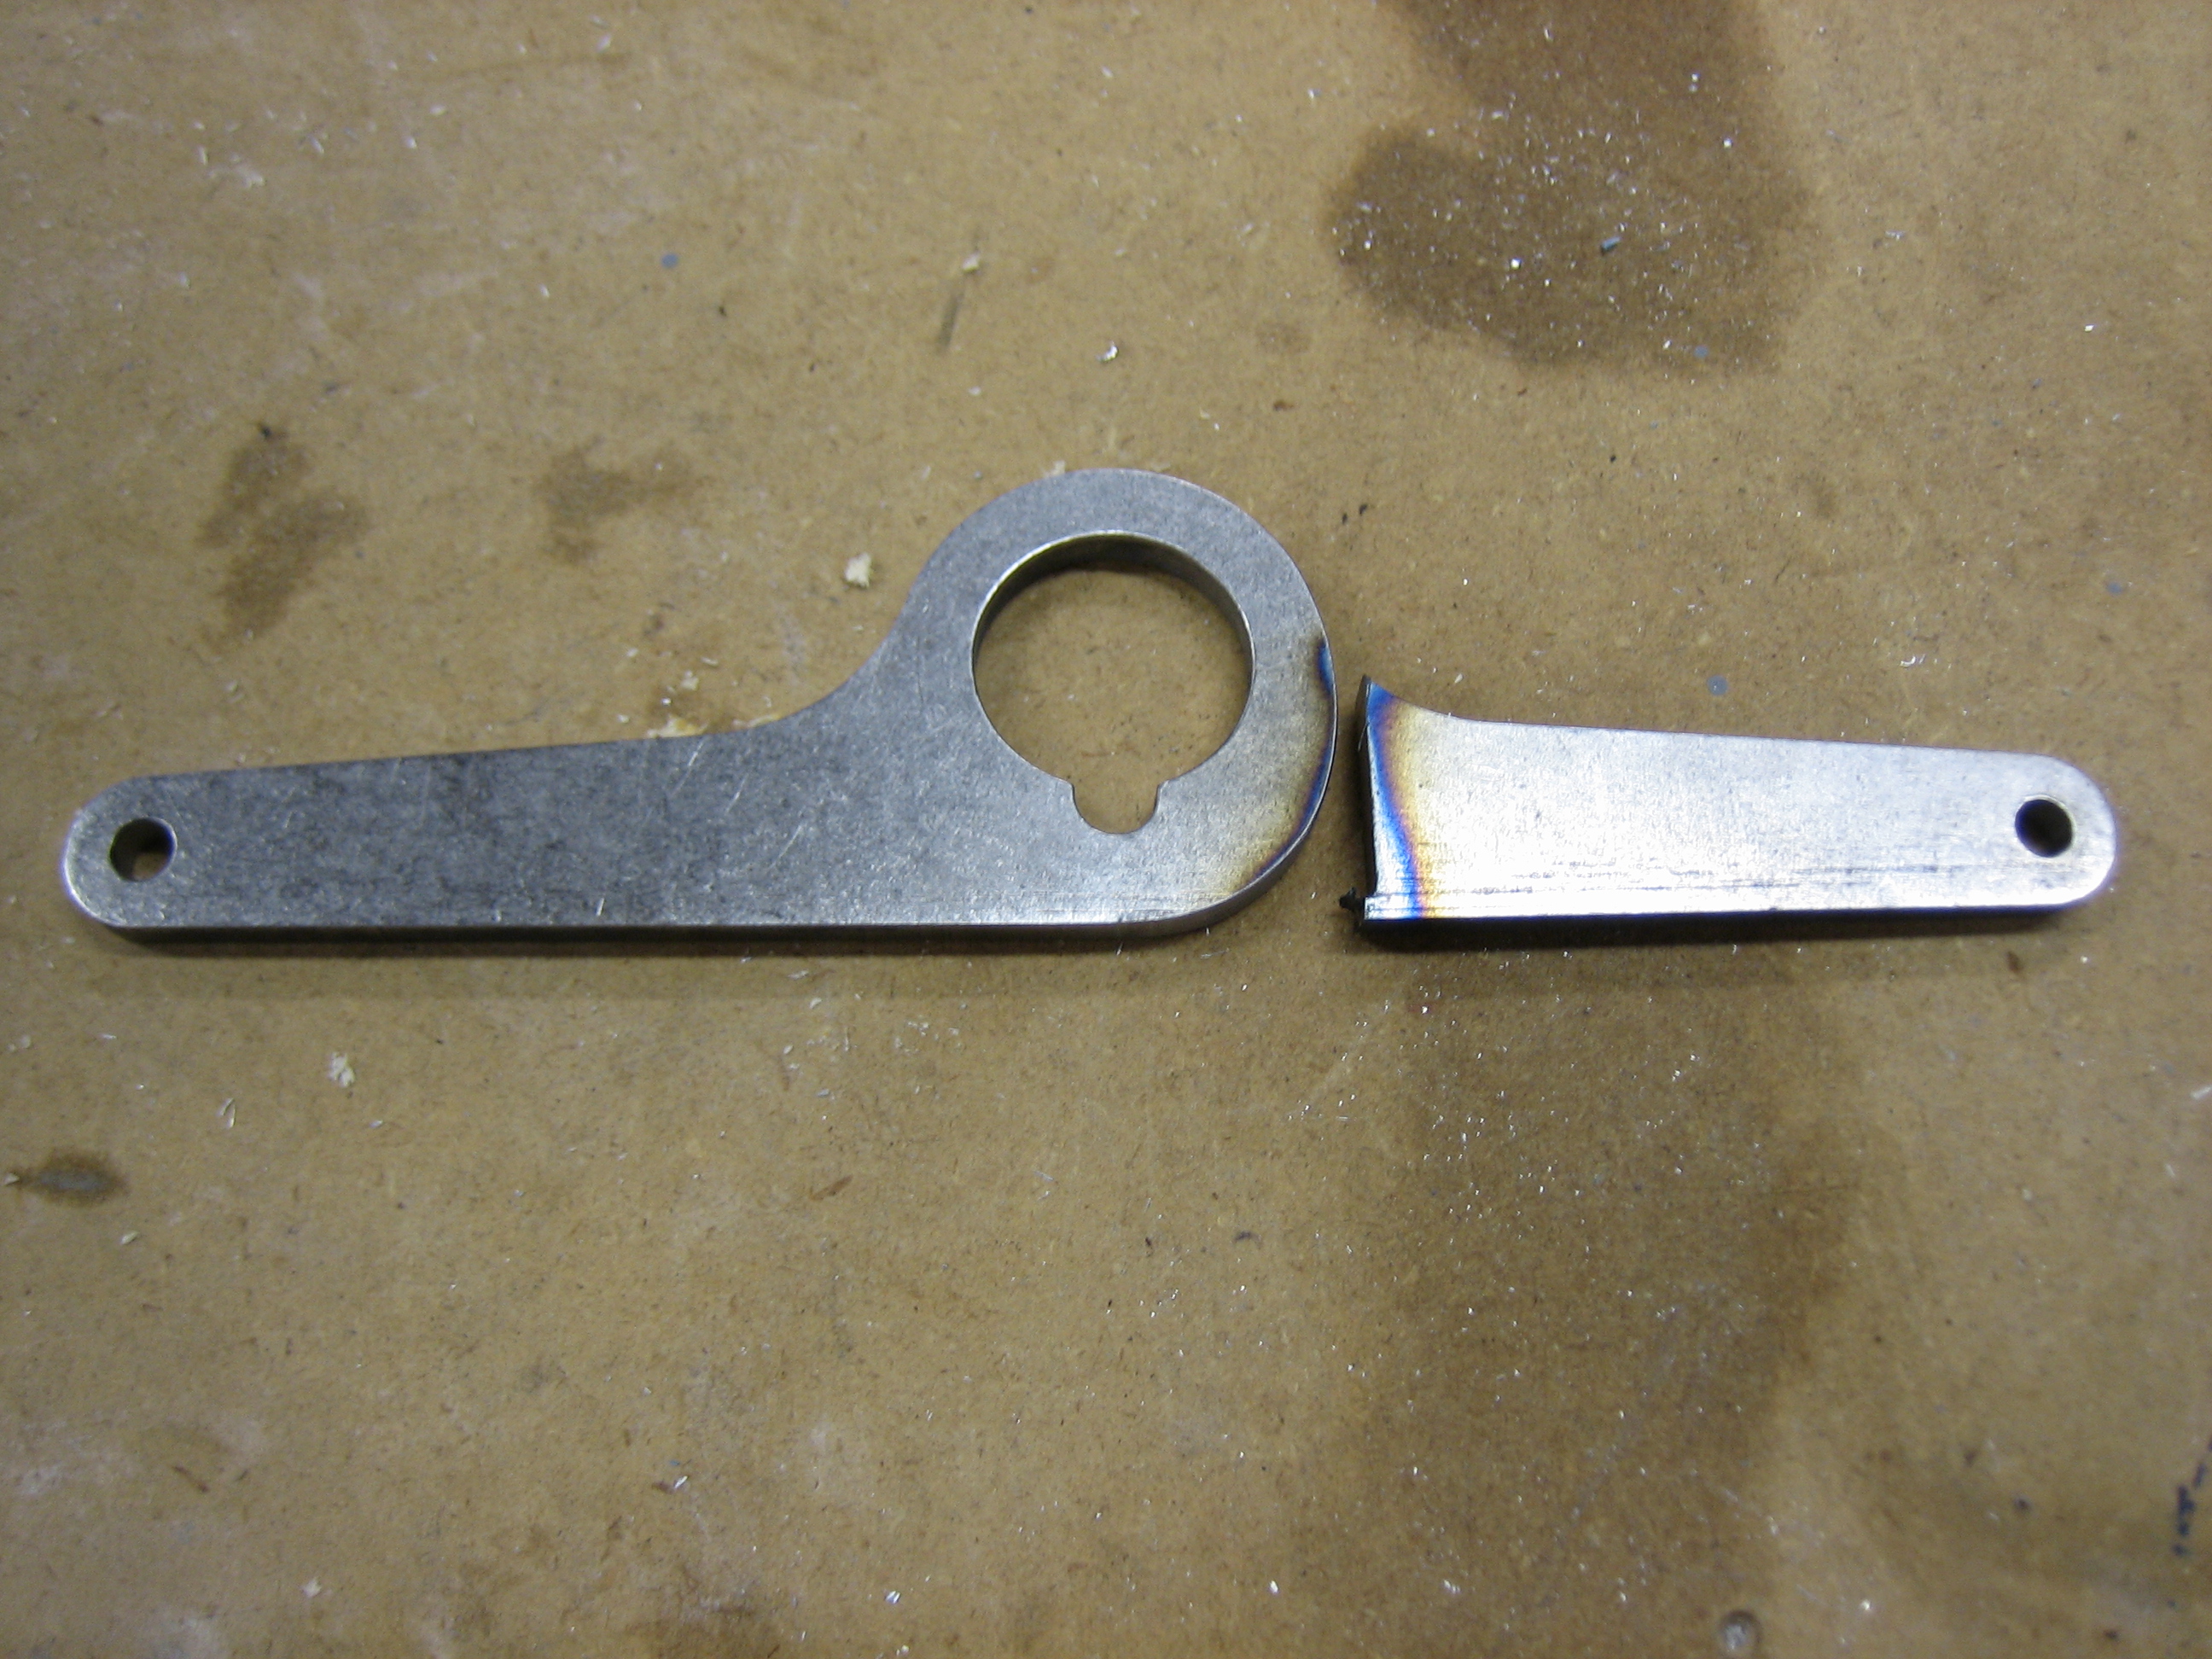
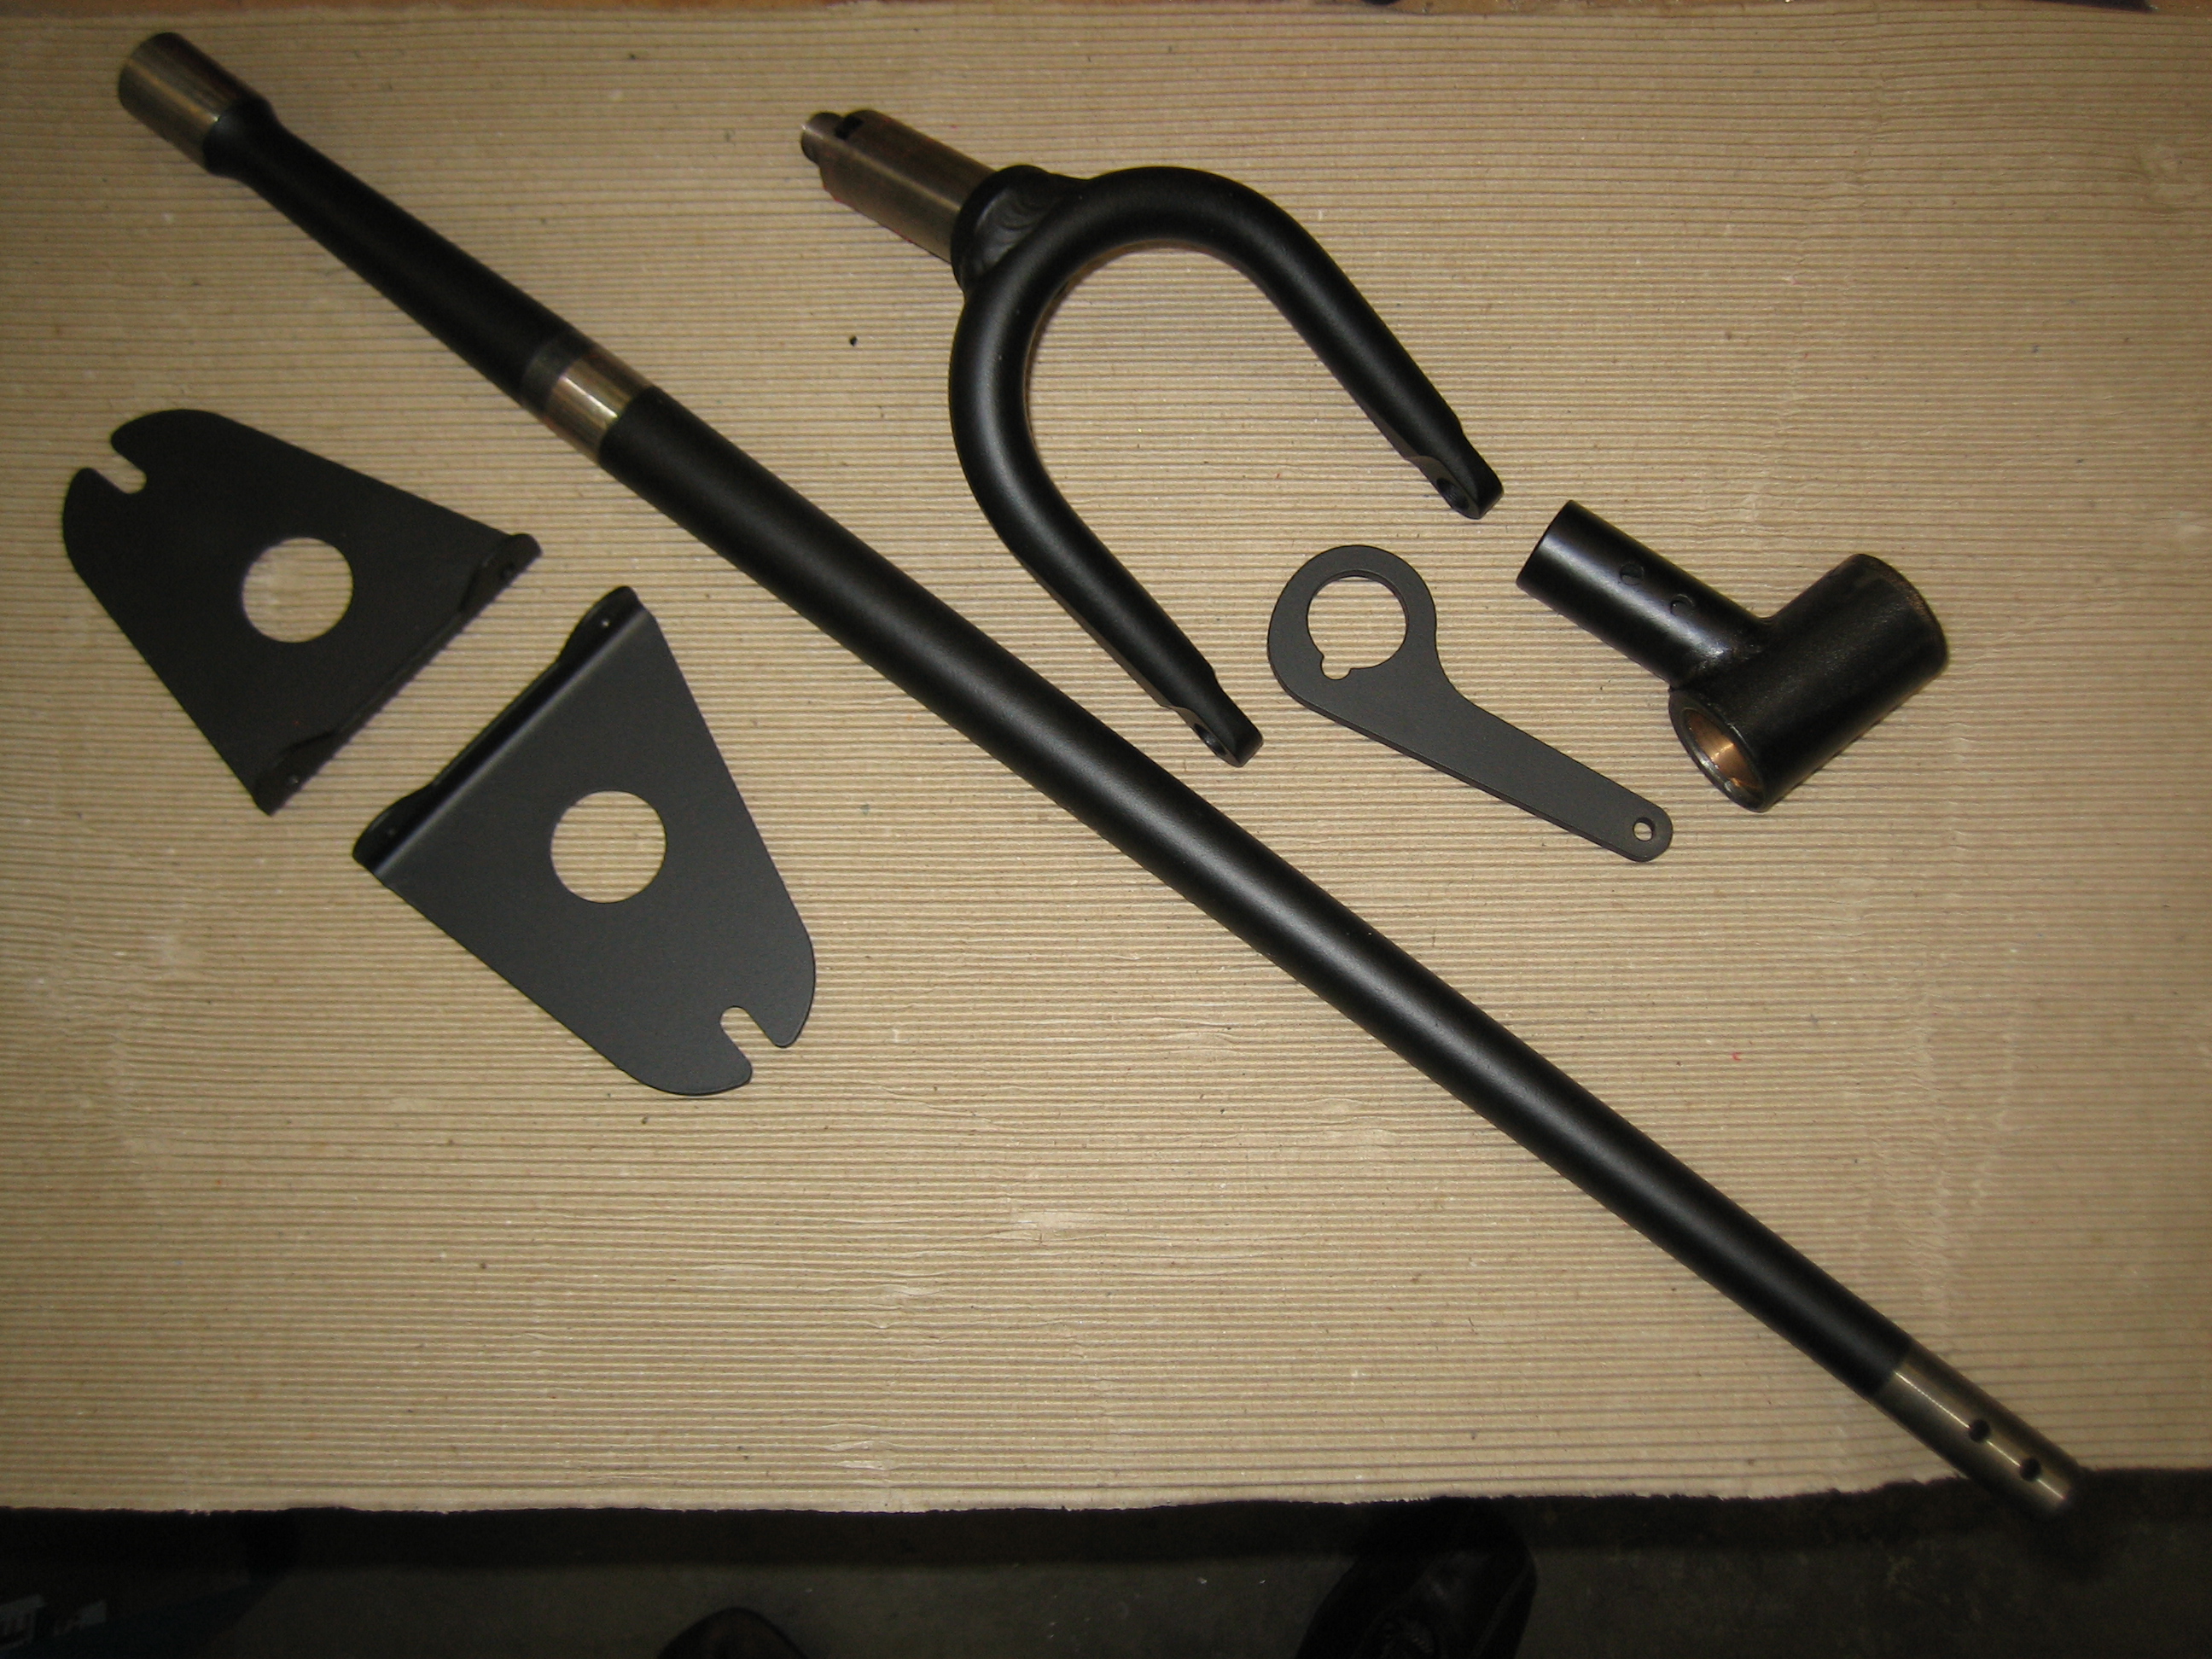
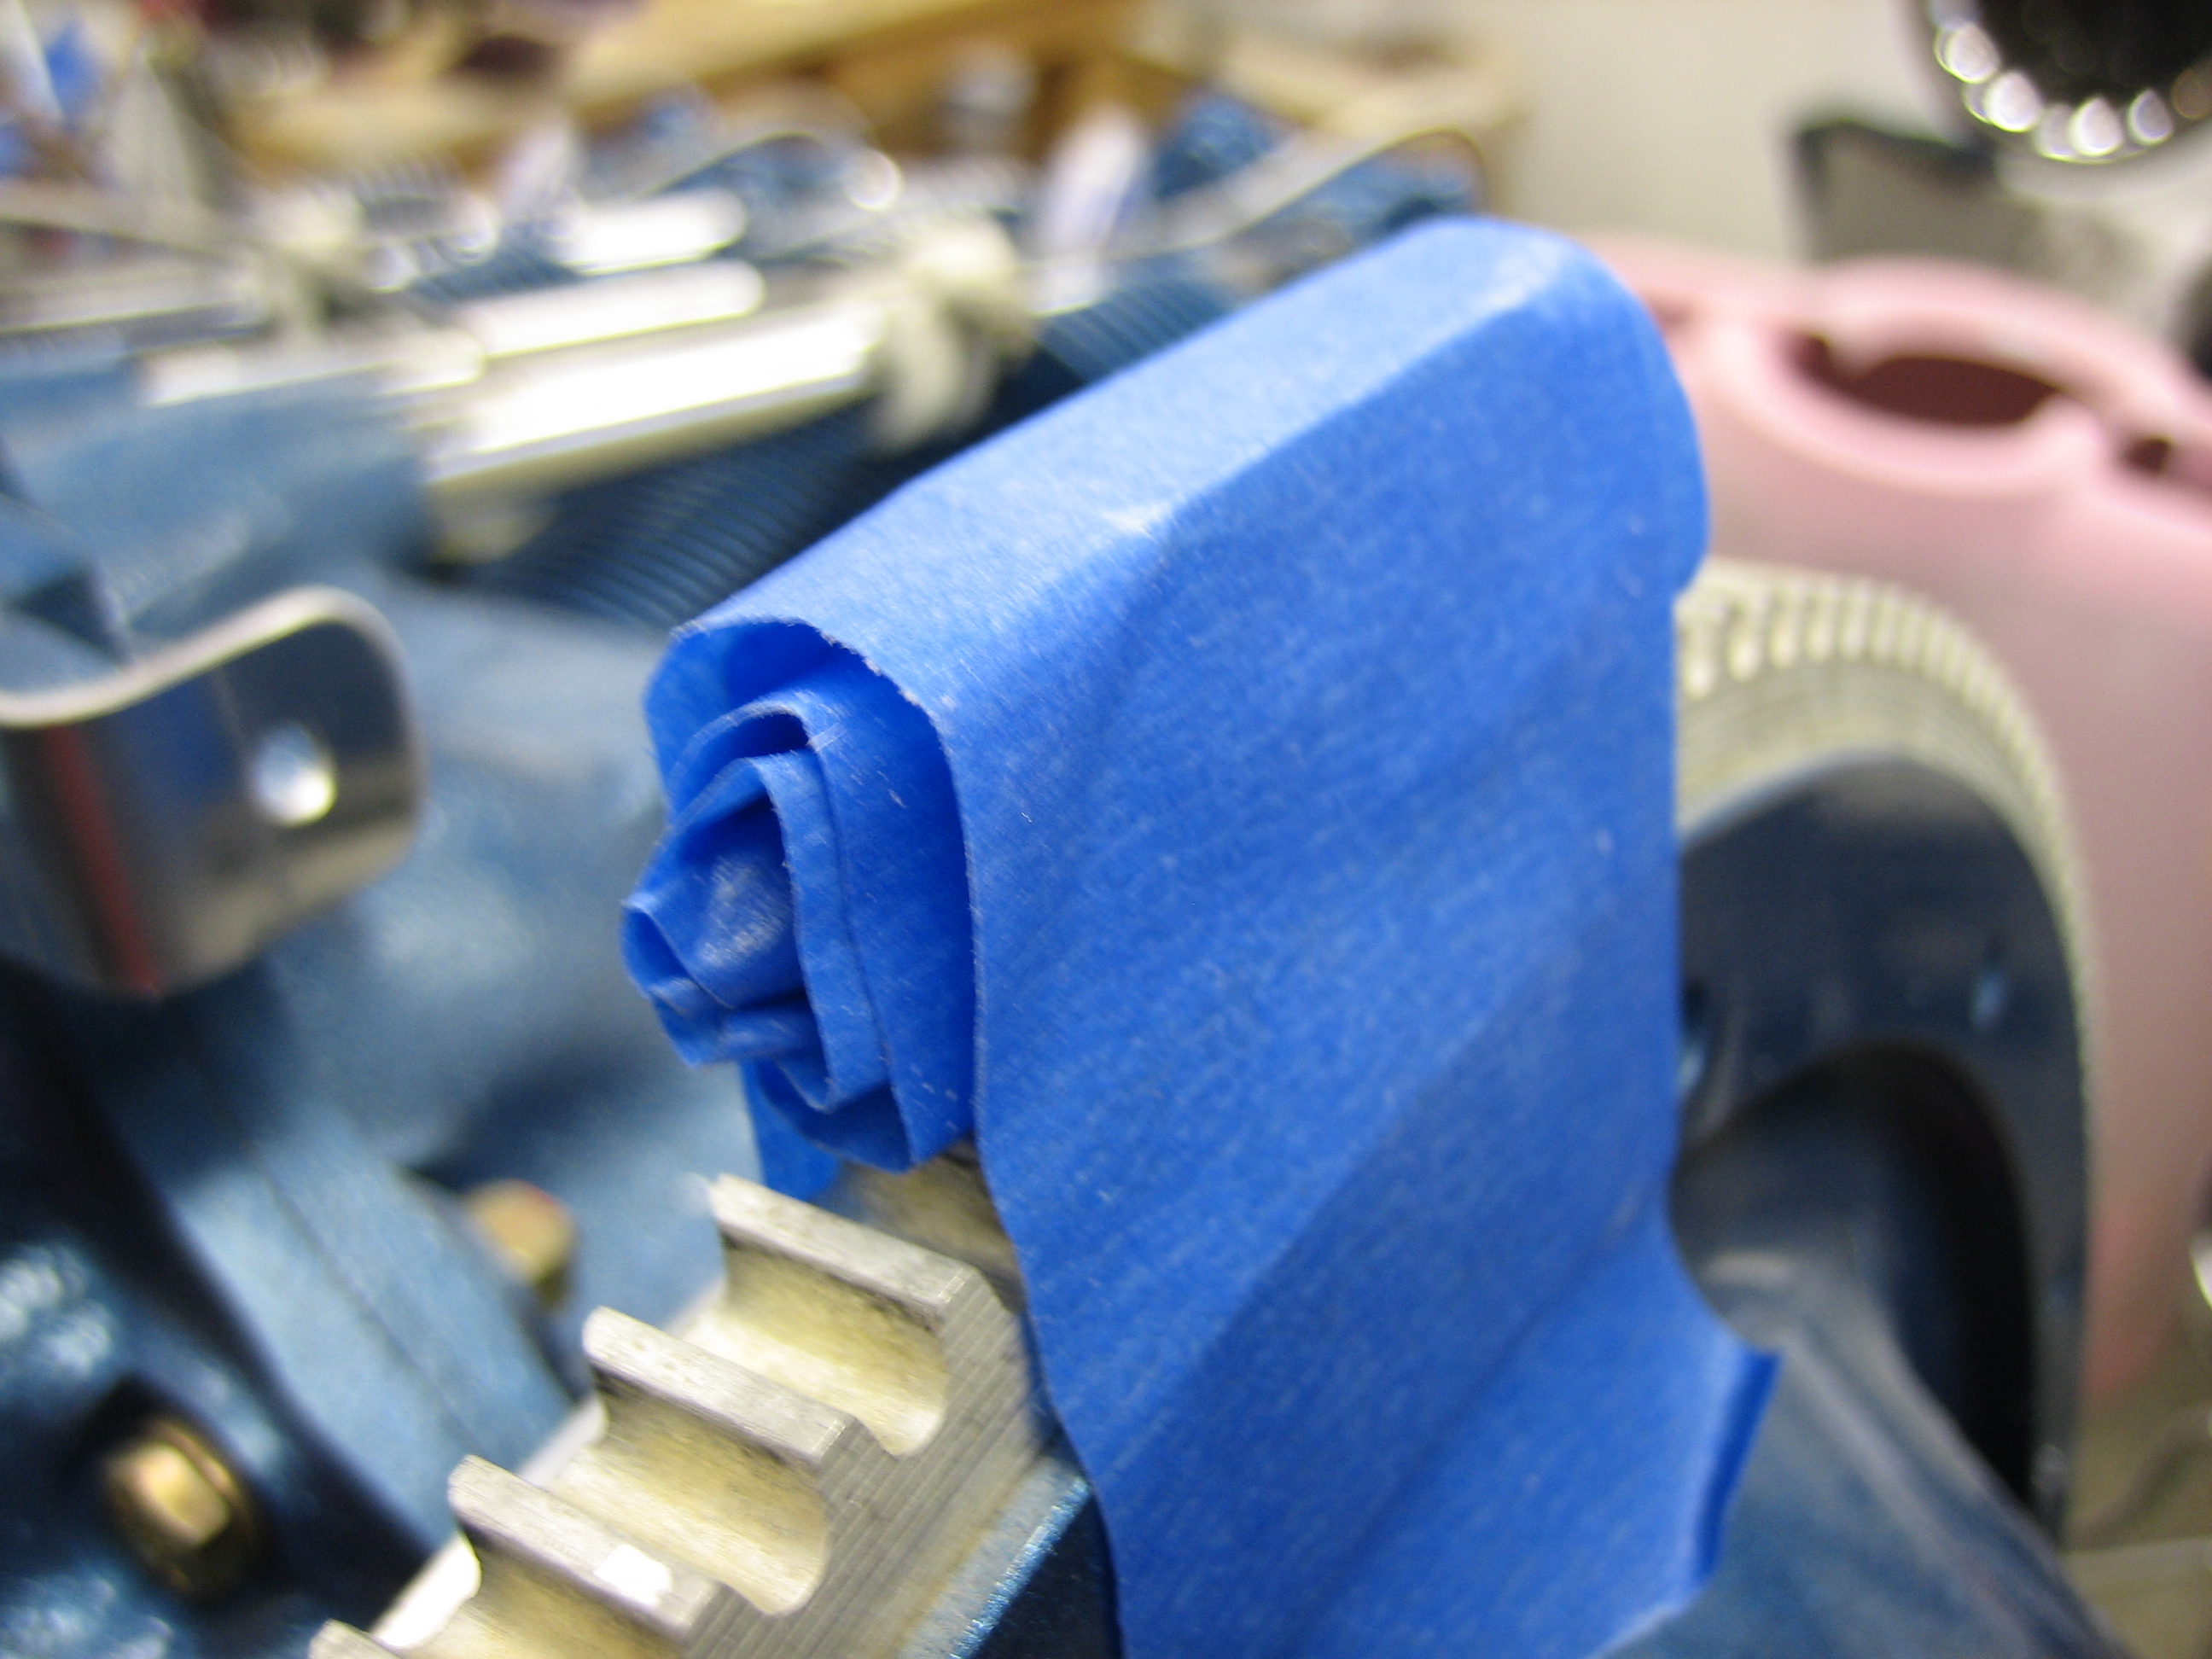
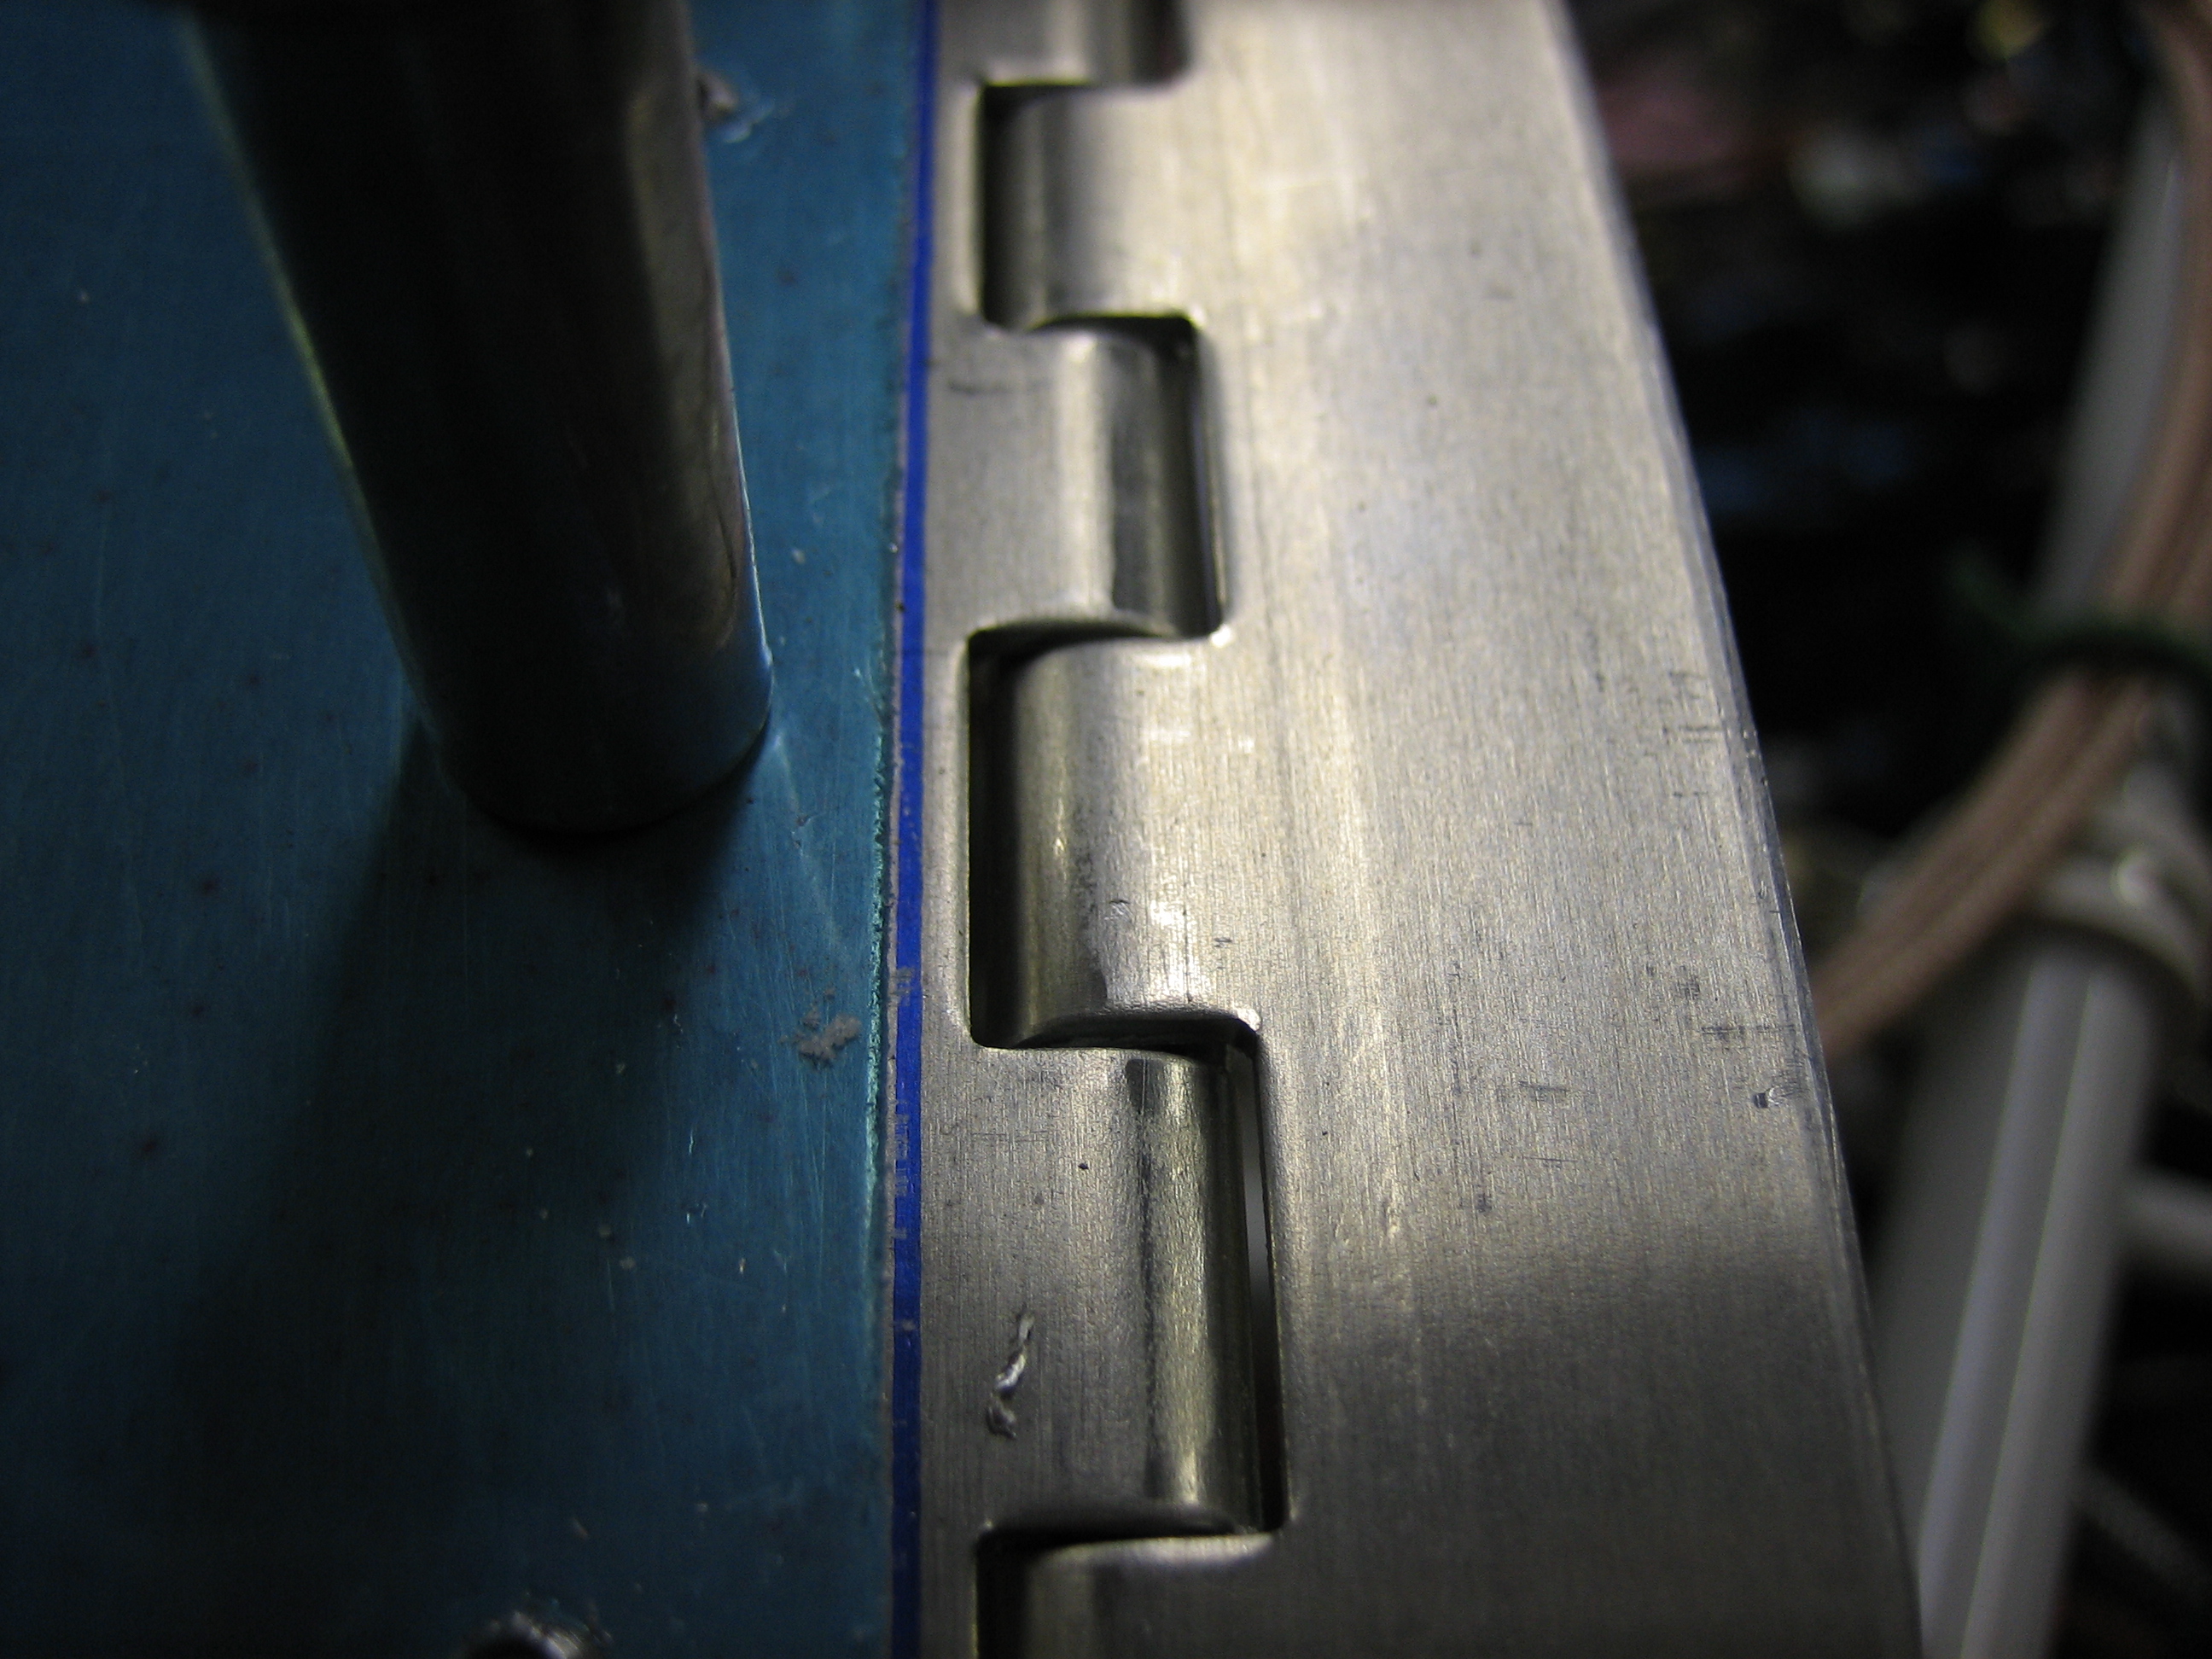
Since I’m going with the plenum, The rear baffle mount doesn’t need to be this large bracket since the upper edge of the aft wall will be supported by the plenum itself. I cut off the forward end of this bracket.

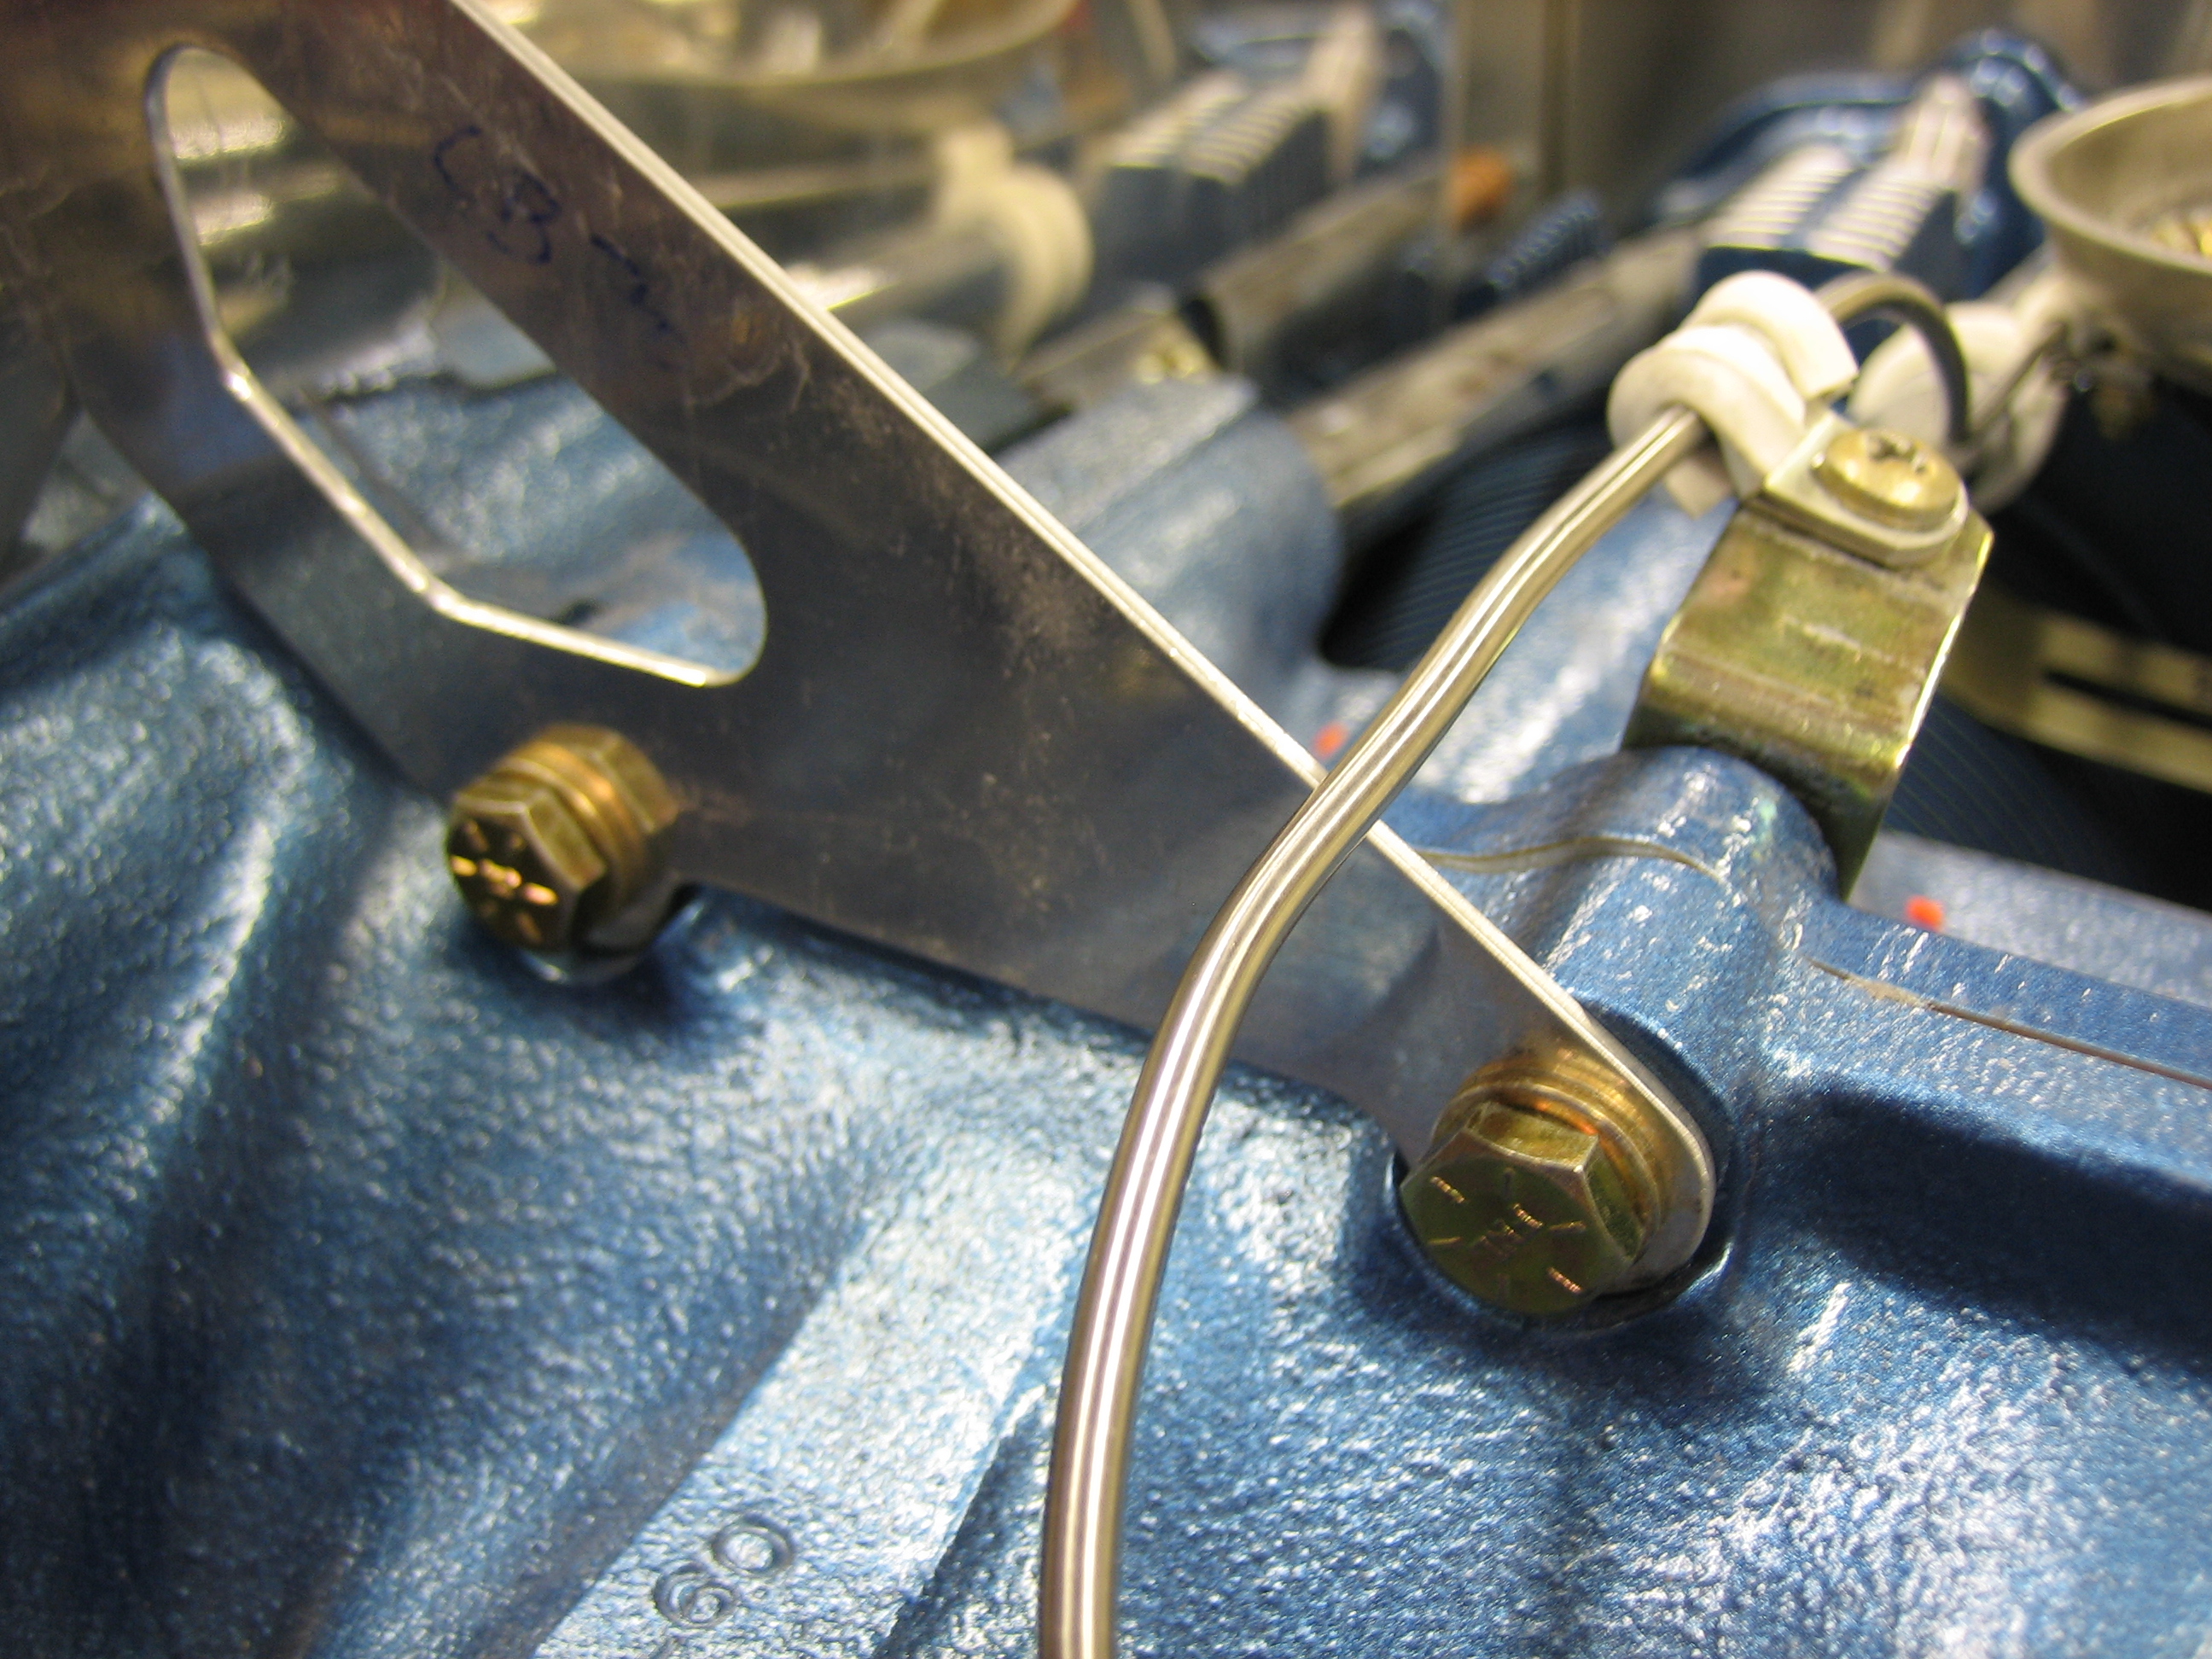
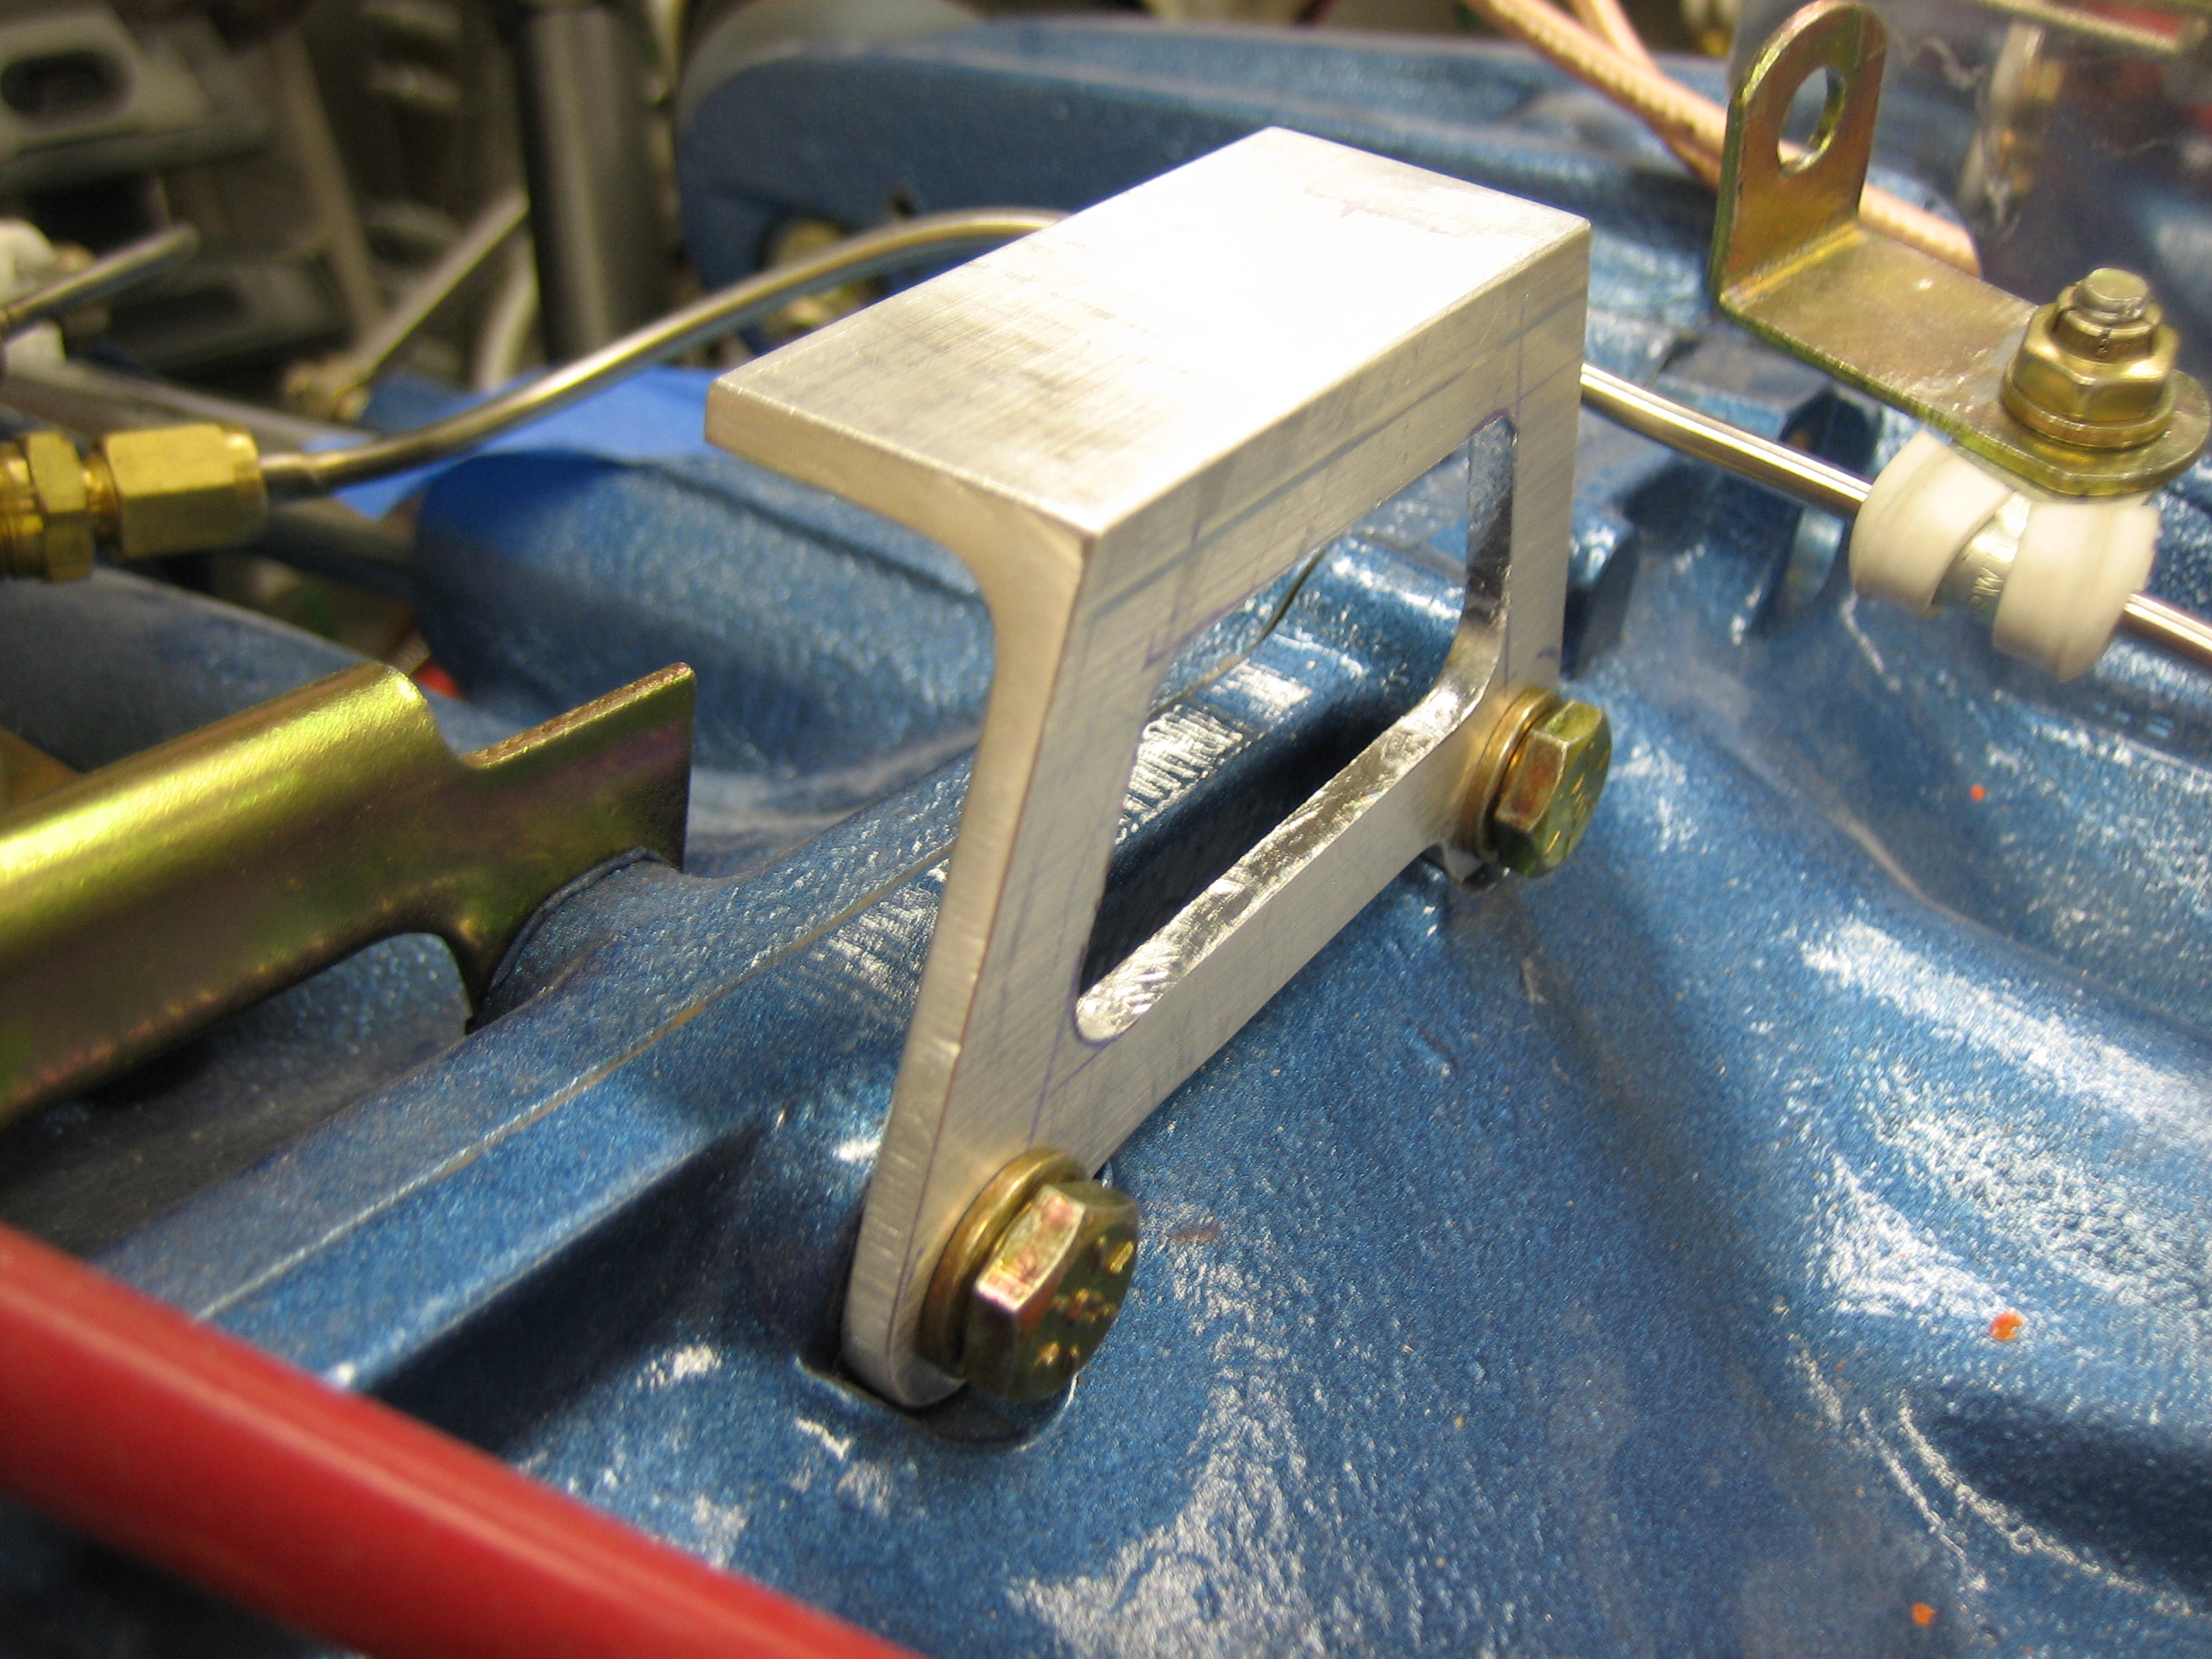
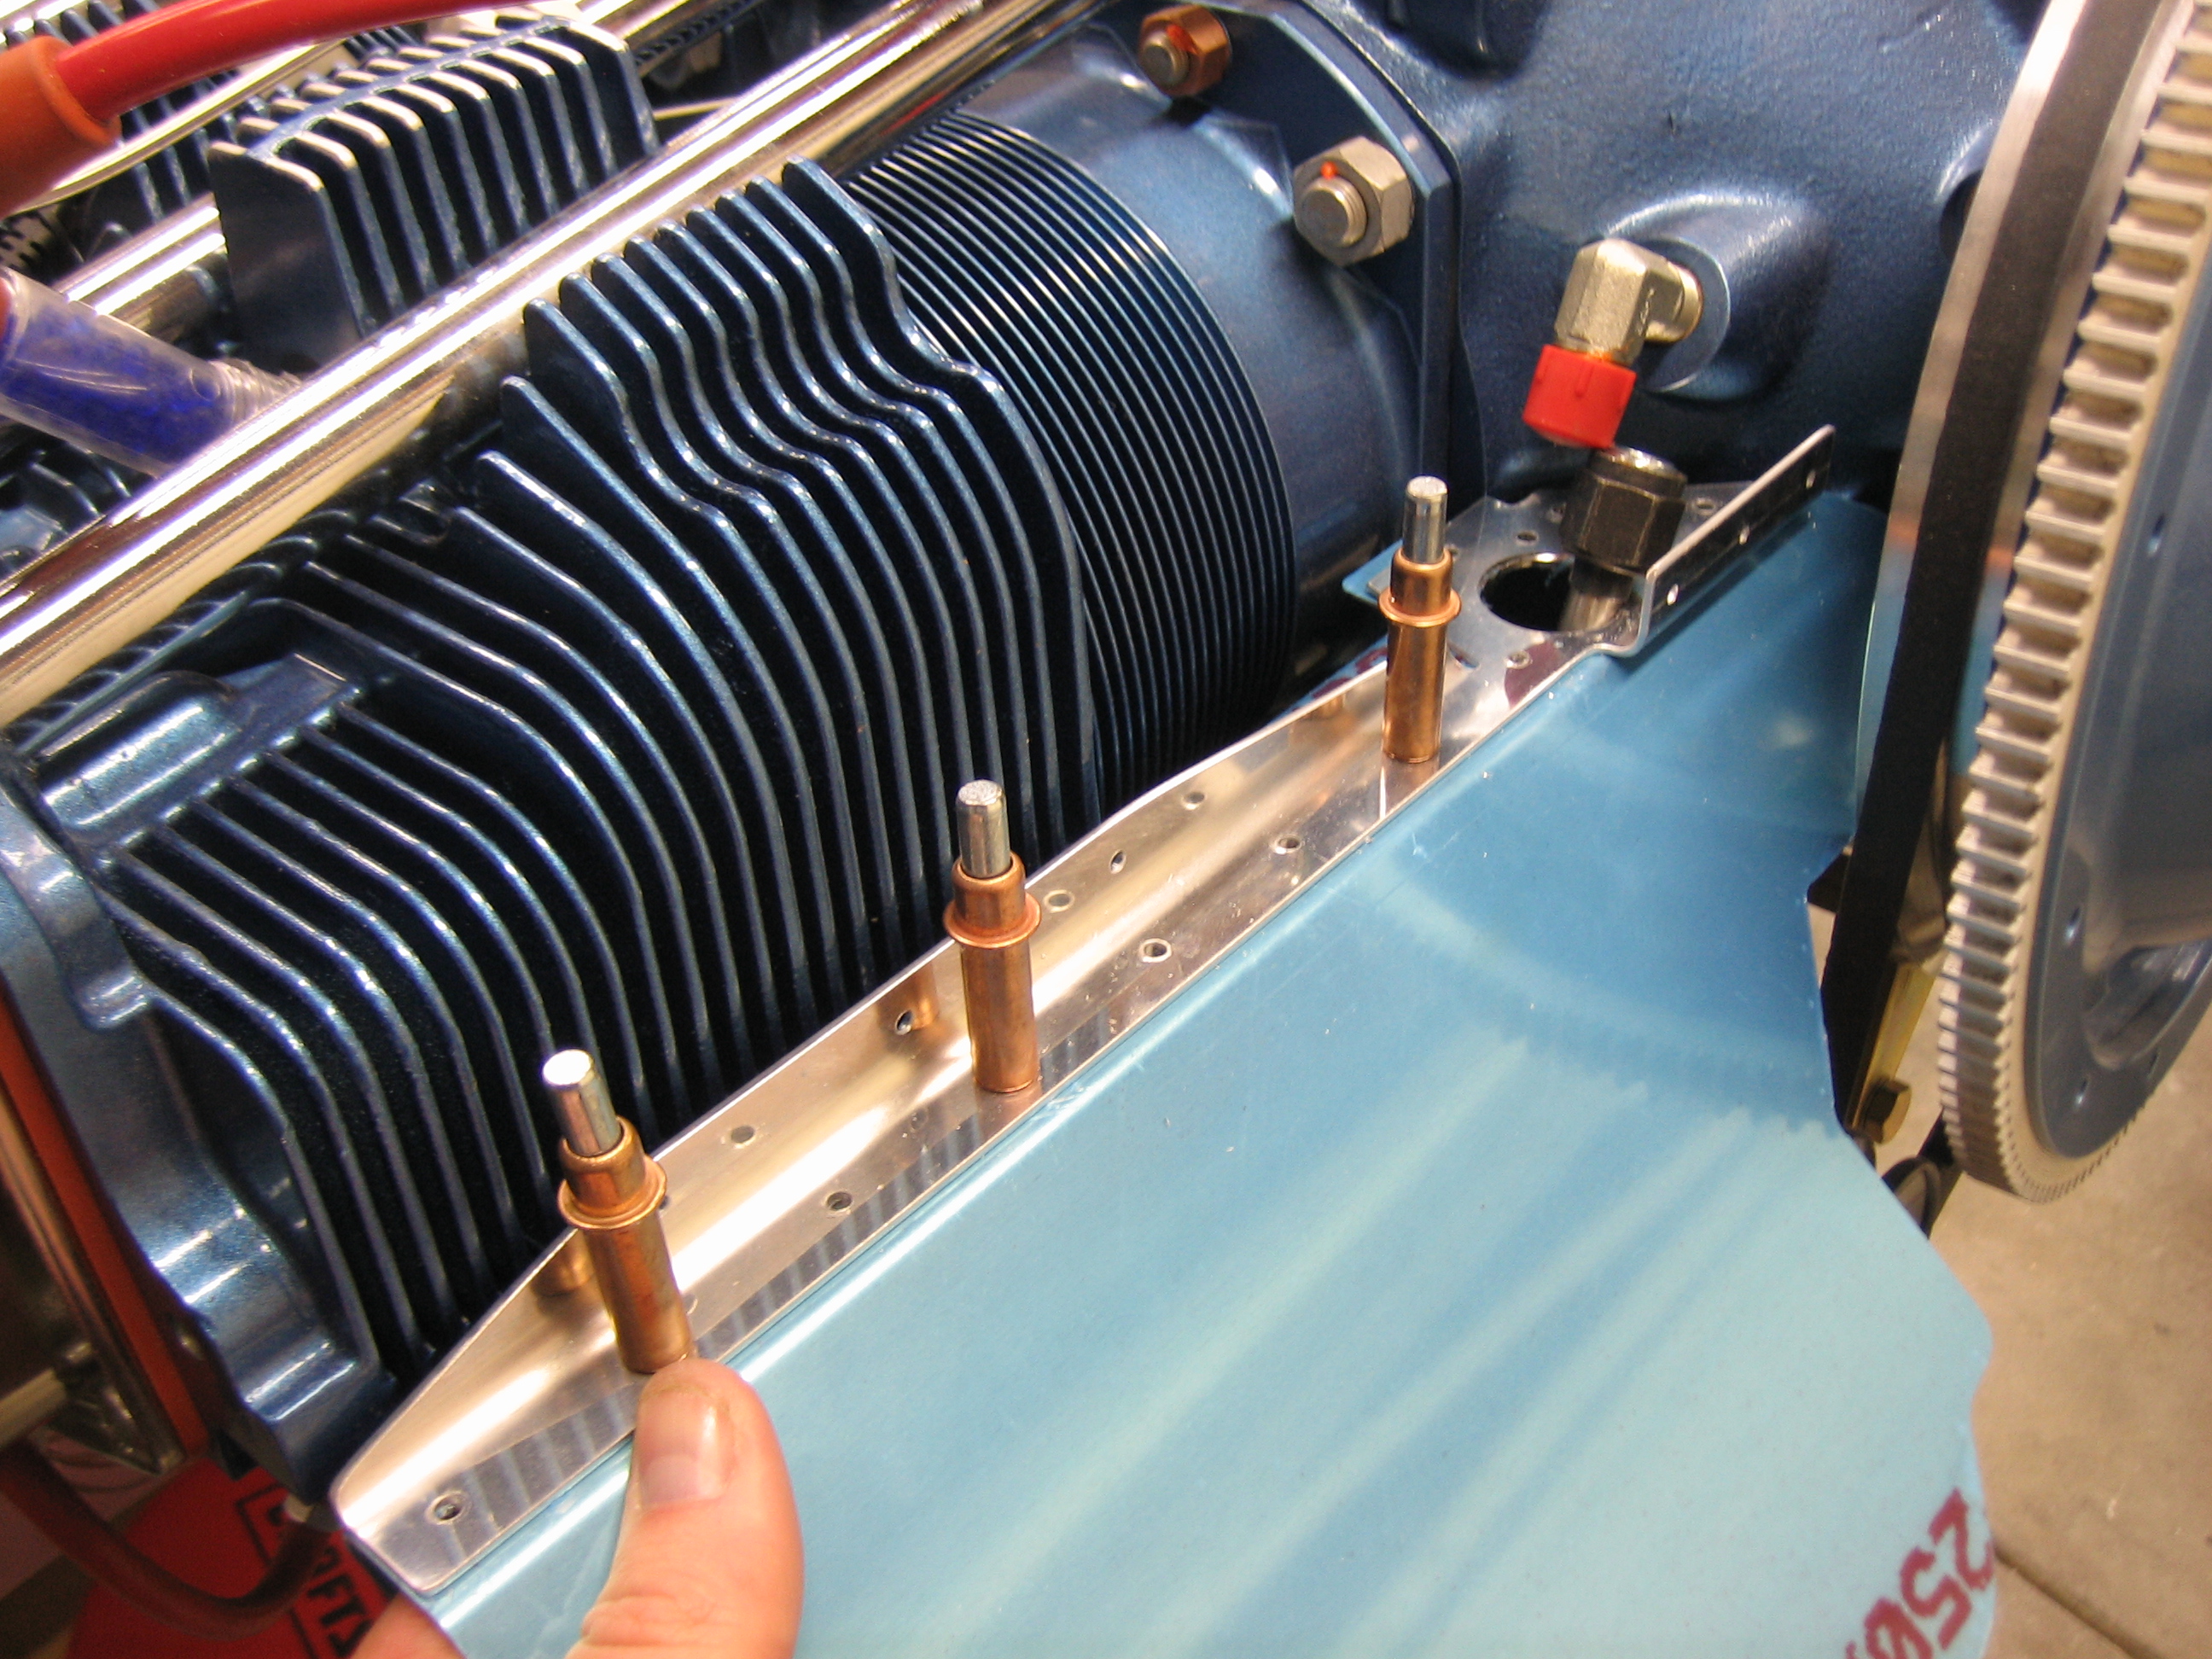
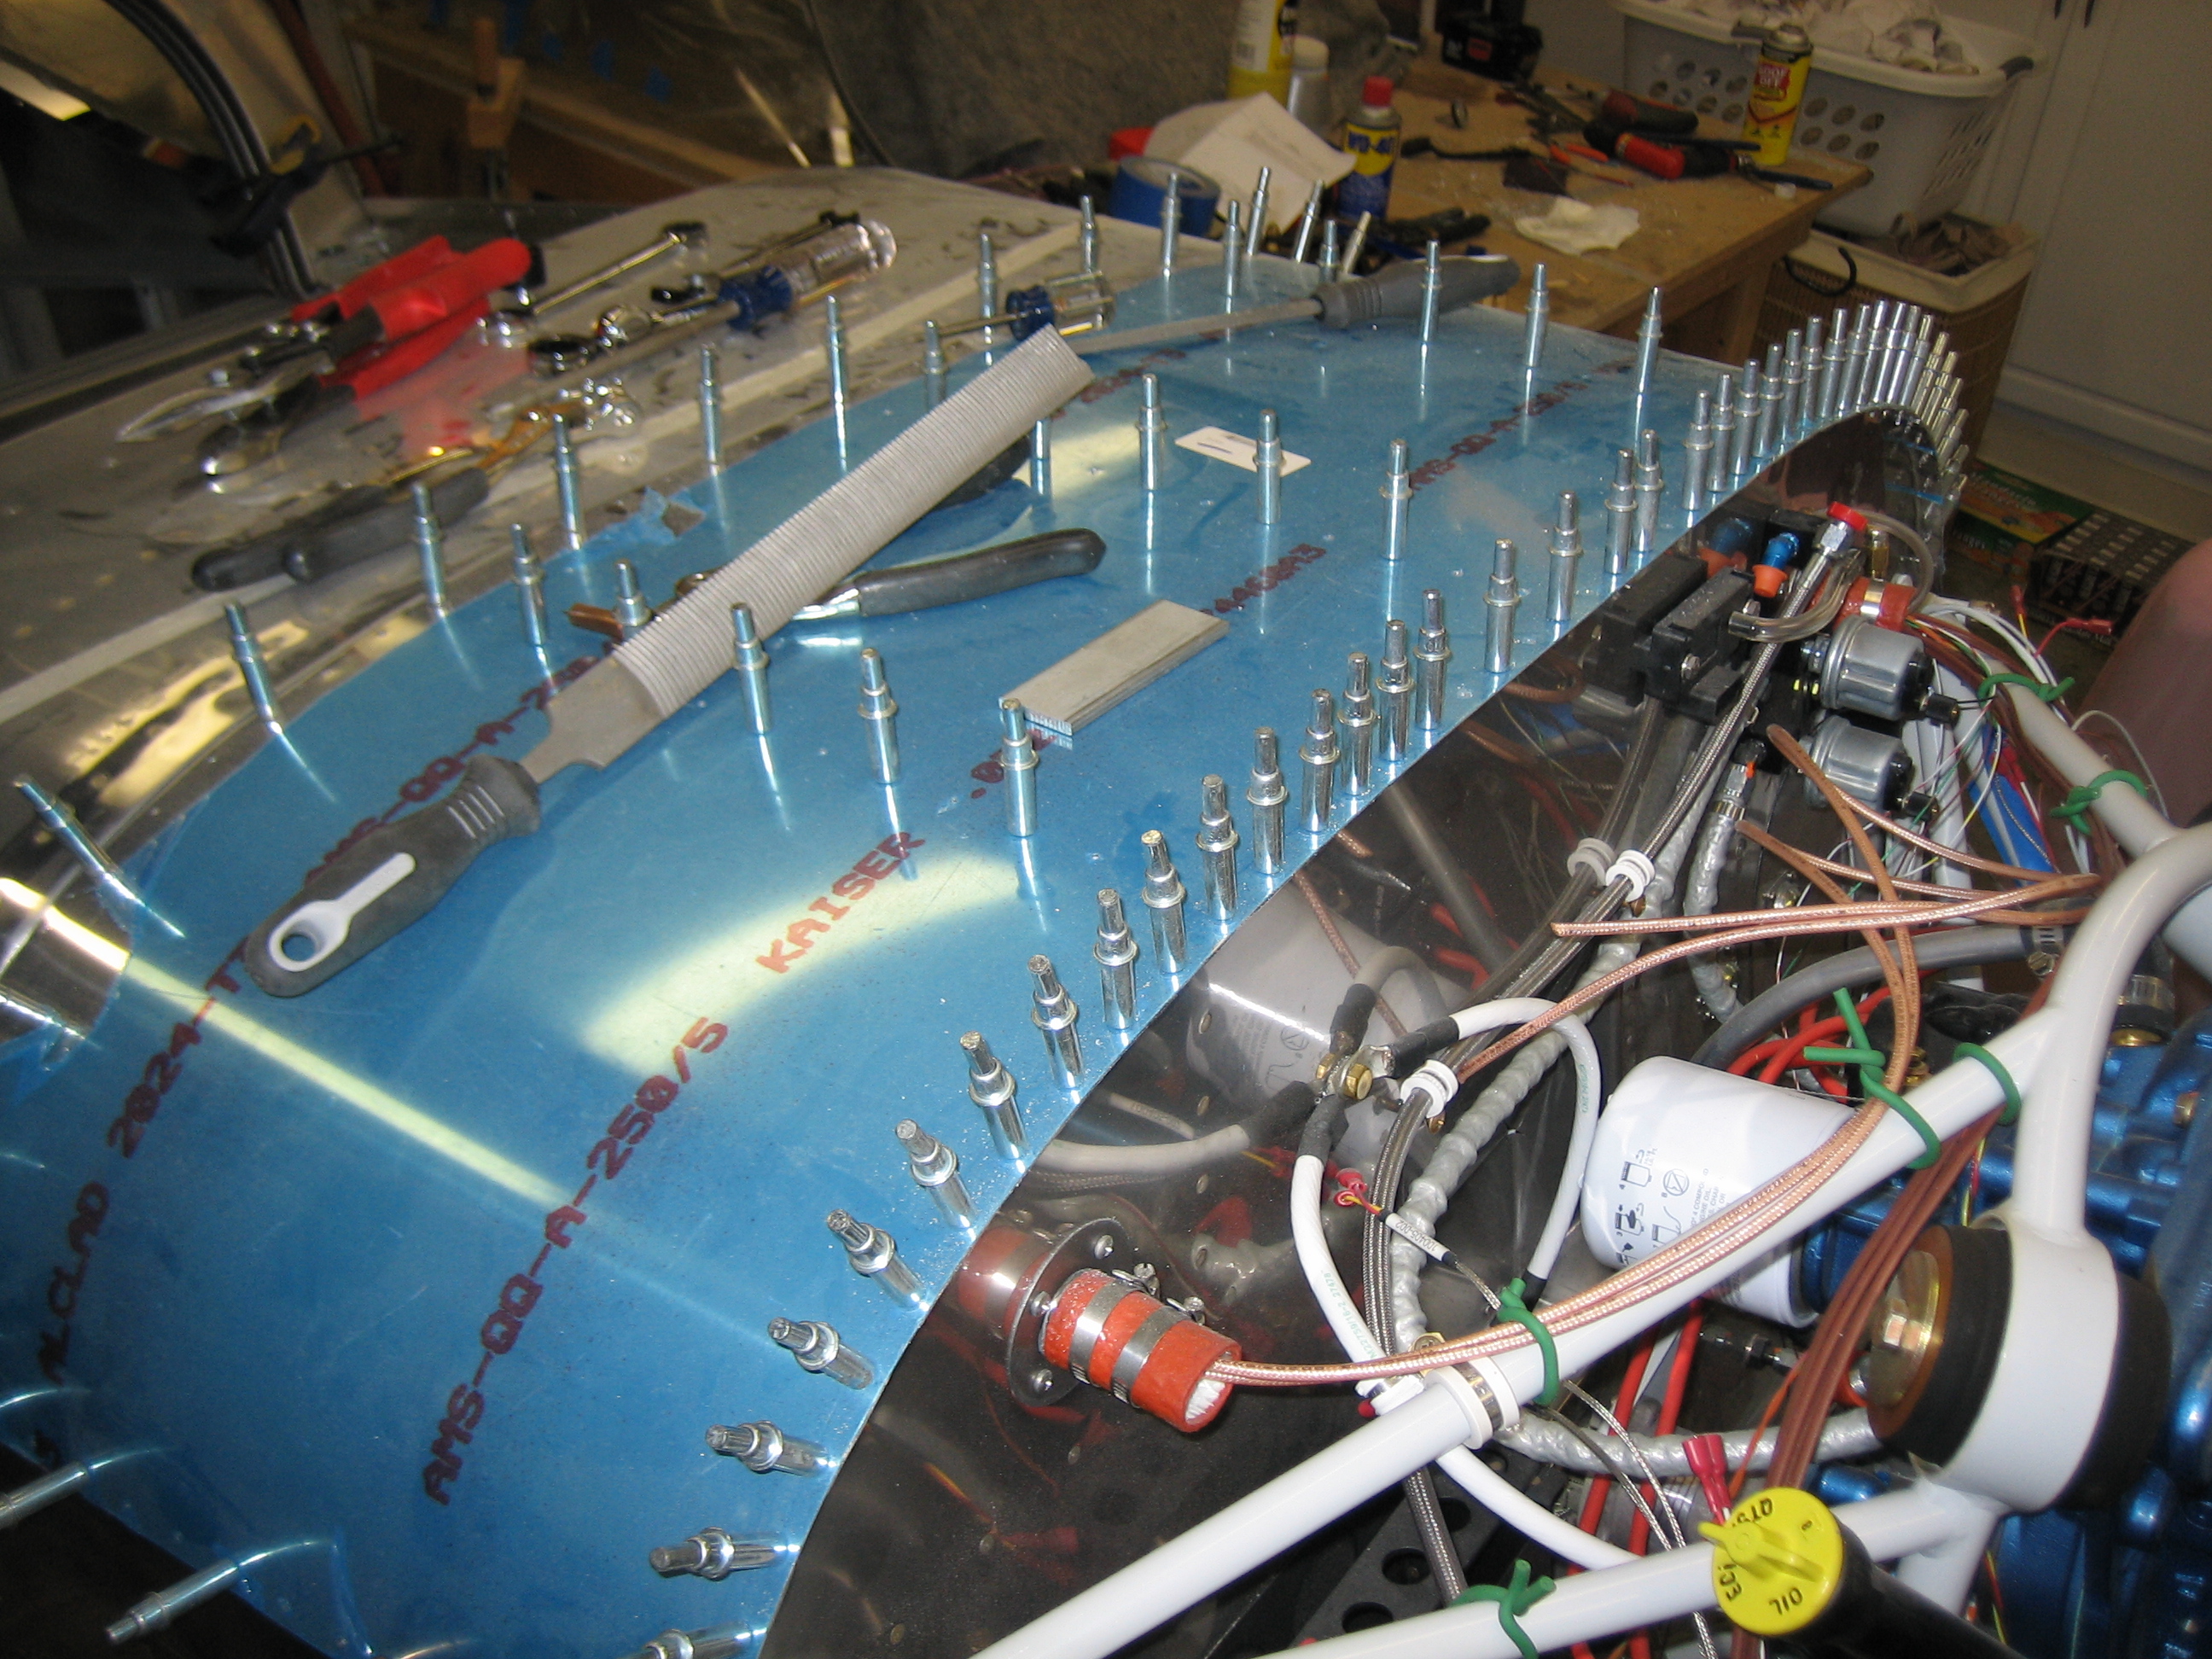
Here’s the bracket installed on the engine. I really need to see if I can find a shorter bolt. These 1/4″-20 case bolts are a little hard to find though.
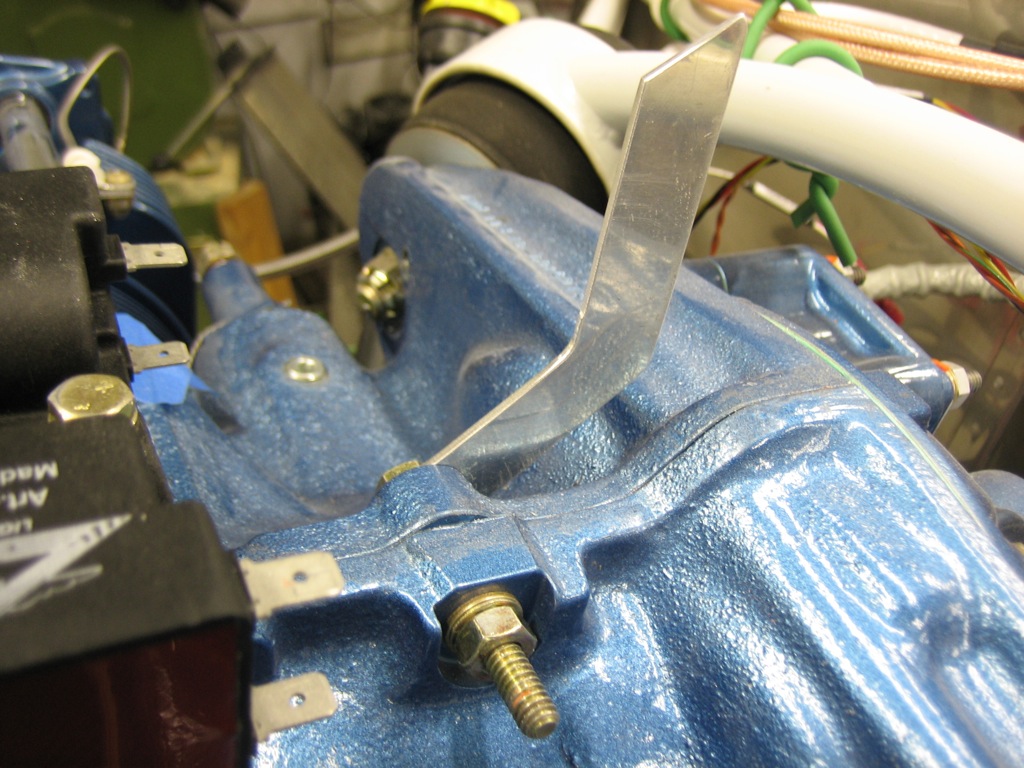
Now we have plenty of clearance. There’s at least an inch above the coils now. I’ll probably shoot for having the plenum sit about 1/2″ below the bottom of the cowl, so that should provide plenty of clearance between the coils and the plenum. It’s less of an issue if the spacing between the coils and the plenum is tight though since the plenum will move with the engine.