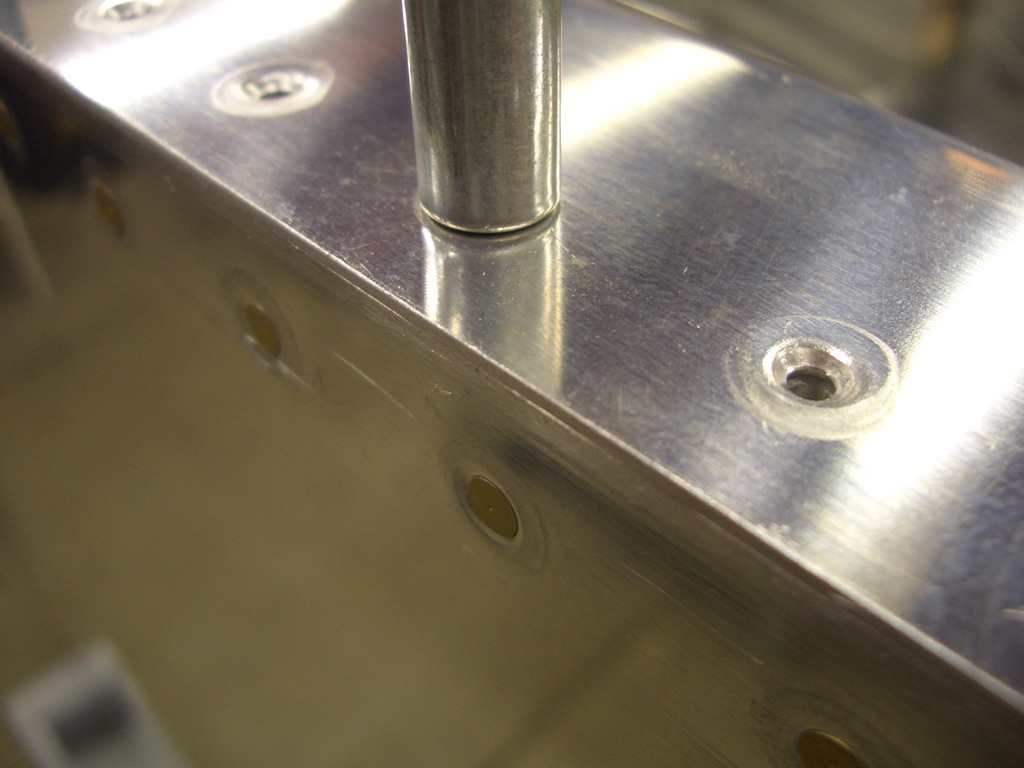
I got started tonight by filing the edges of the aft canopy decks flush with the side of the fuselage and I finished dimpling all of the holes that attach them to the longerons.
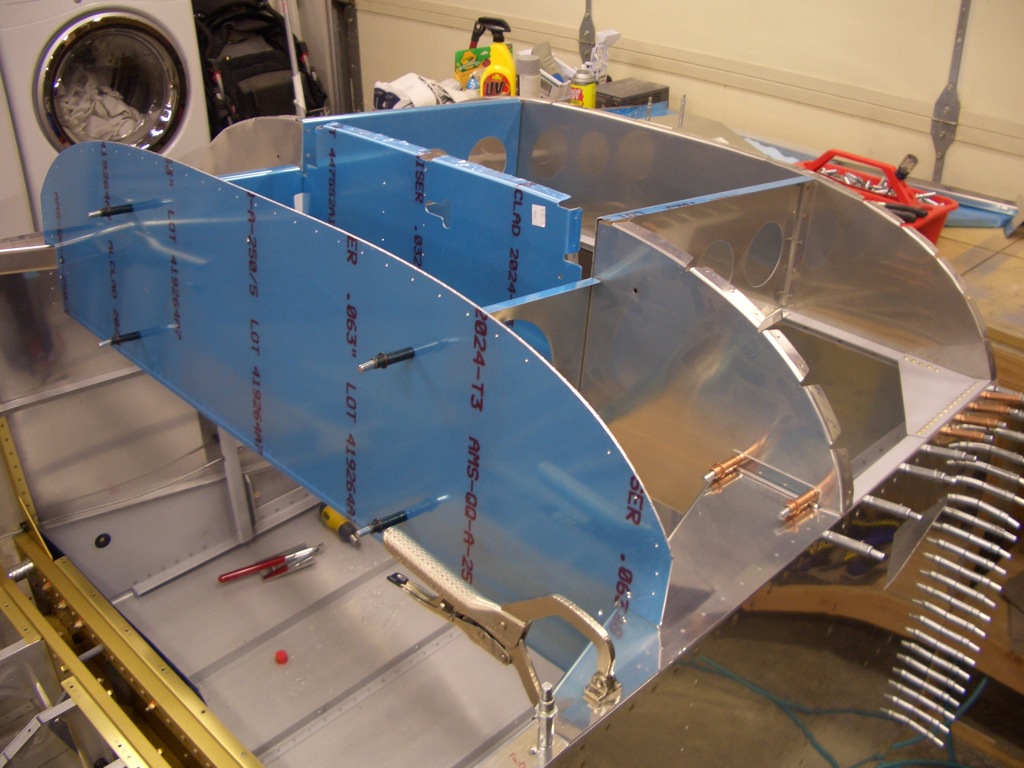
Next, I clecoed the upper forward fuselage structure together. The left most panel is the instrument panel. The middle panel is the subpanel, and the firewall is on the right. There are two large ribs that tie these pieces together as well as a couple of large gusset plates that tie the longerons to the subpanel.
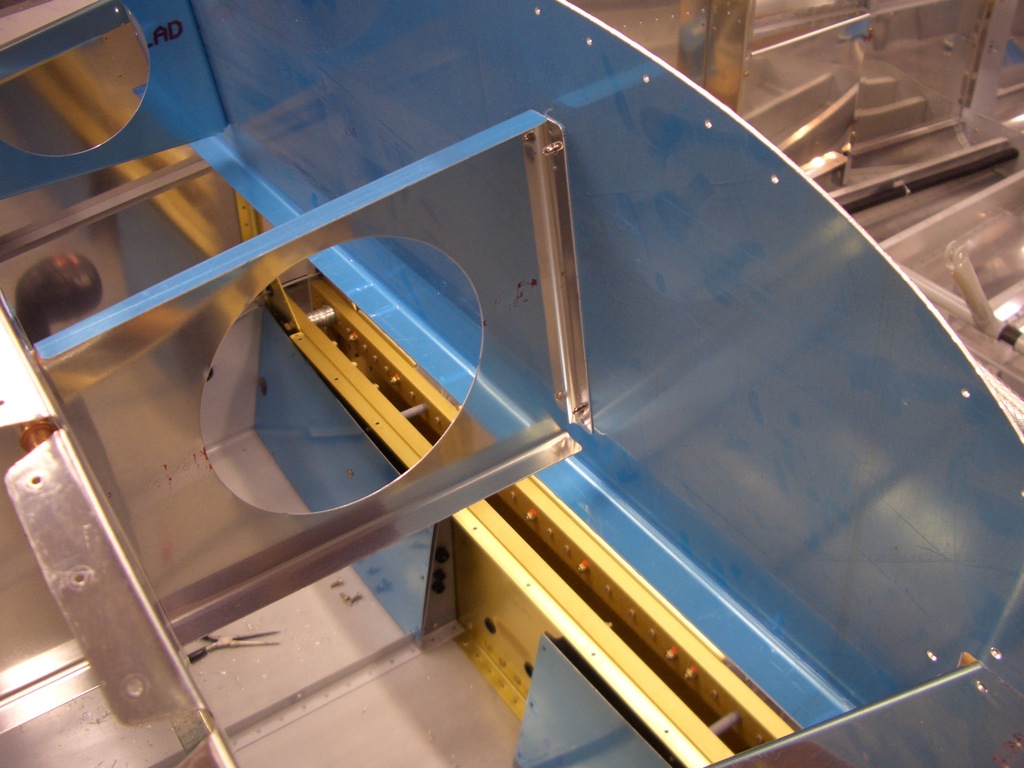
Here is the back side of the instrument panel showing how the rib supports the panel. Unfortunately, part of this rib will have to be cut away to make room for the SkyView display.
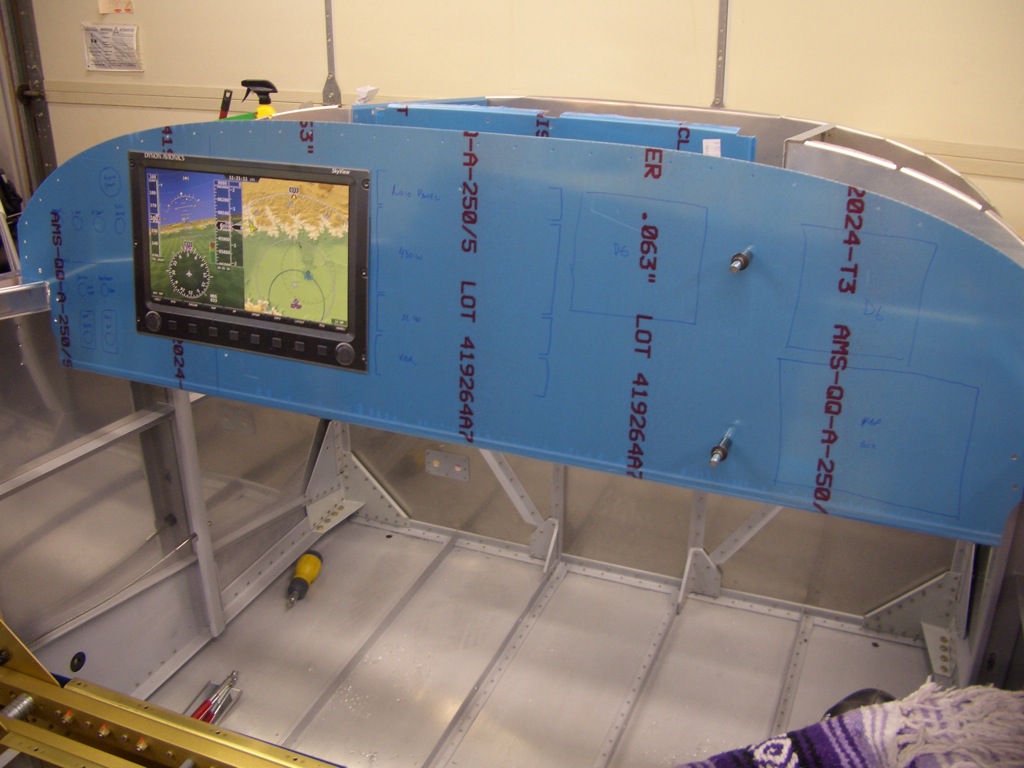
I have been playing with instrument panel layouts in ePanelBuilder, but I was unsure where the centerline of the seat is relative to the panel. I measured this out and made a couple of marks on the panel. I then got in the plane and spent a little time toying with layouts. In this picture, the SkyView display is a little over an inch to the right of the centerline of the pilot’s seat, but I think I like it better there rather than directly in front of me since it provides room on the left of the display for a bank of switches and makes the display easier to reach with my right hand. There is still plenty of room to the right for the radio stack, a Dynon D6 as a backup PFD, and the map box.
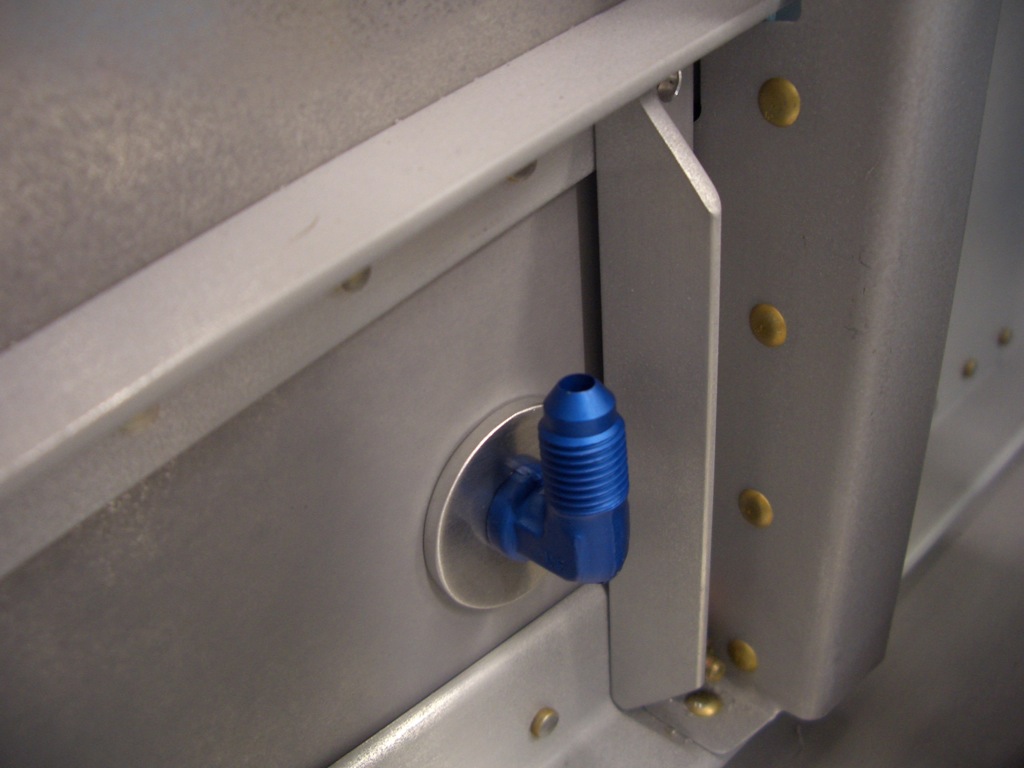
I have no idea why I decided to do this tonight, but I installed the fittings for the fuel tank vent lines into the side of the fuselage and torqued them down. Here is the outside where the line from the fuel tank will attach.

And here is the inside. A line will attach here and run up to the upper longeron, forward to the firewall and then back down to a fitting in the floor.
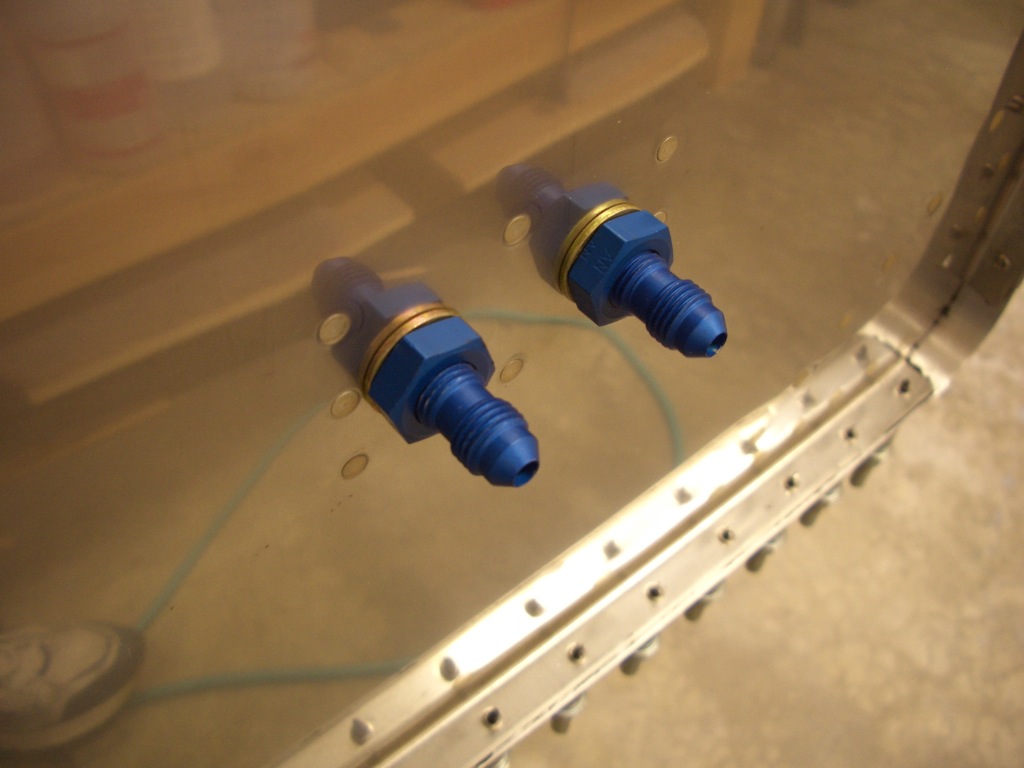
I also installed a couple of the same fittings through the firewall for the brake lines. Here is the forward side of the firewall. Lines will attach here and then run down the gear legs to the wheels.
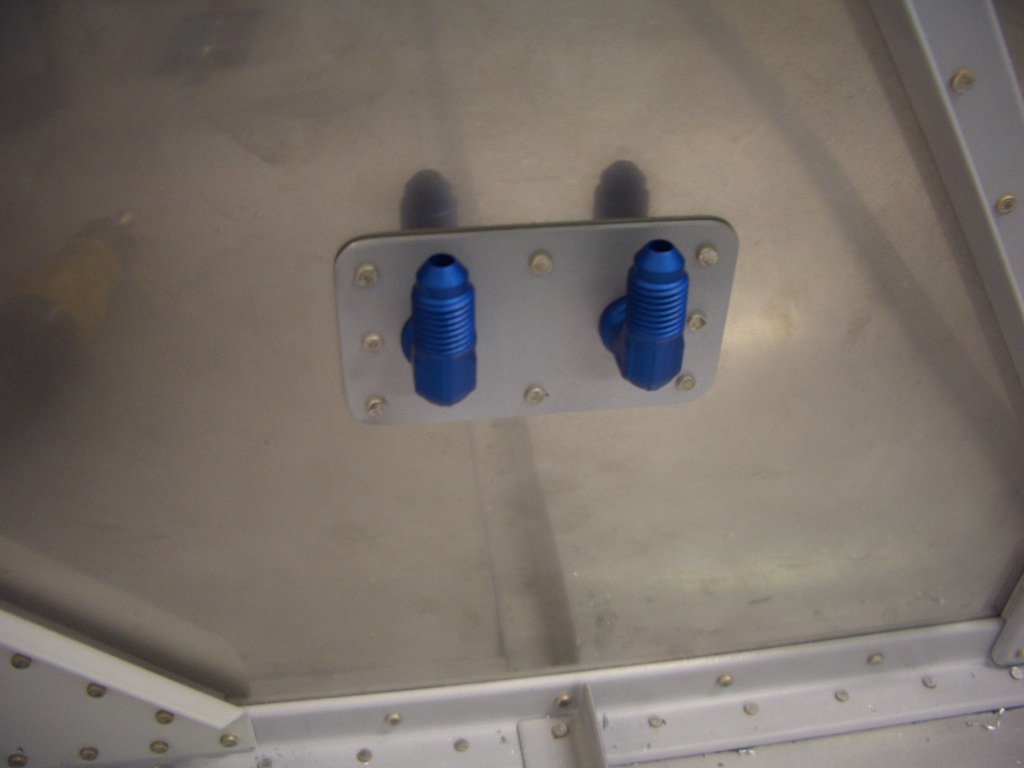
Here is the aft side of the firewall. These fittings face upward since the parking brake valve will be mounted above this point.
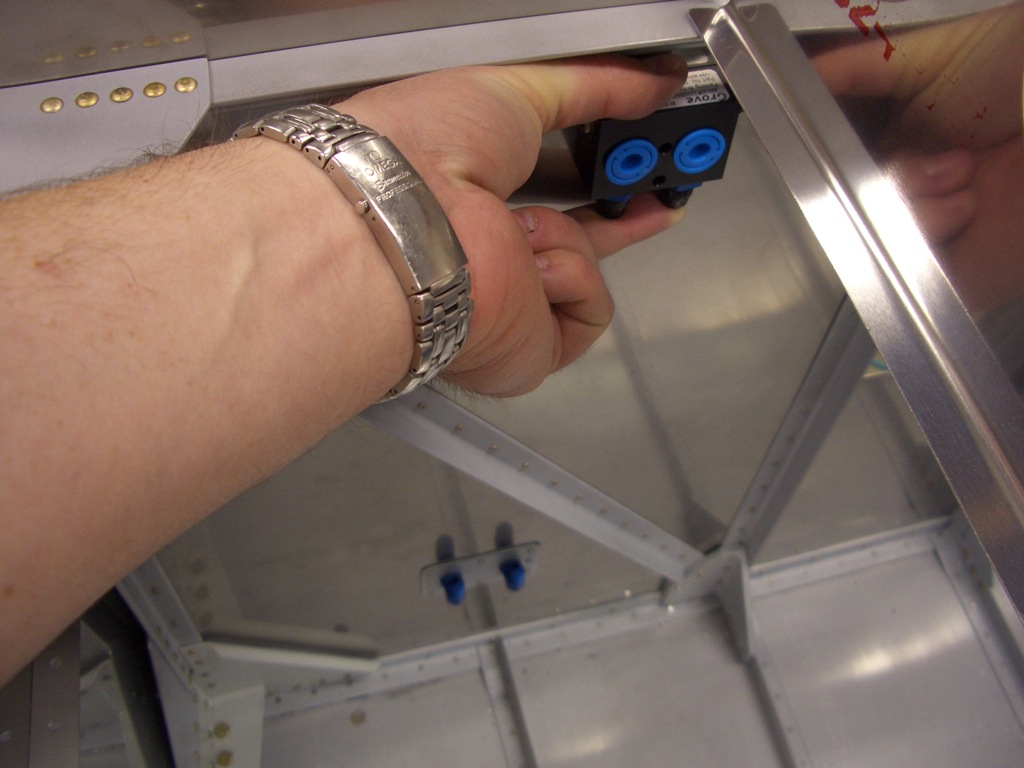
Here is roughly where I’m planning on mounting the parking brake valve. This gives me a convenient point on the rib above to attach the parking brake cable. I’m going to hold off installing this for a bit to make sure this mounting point doesn’t interfere with anything of the front of the firewall.
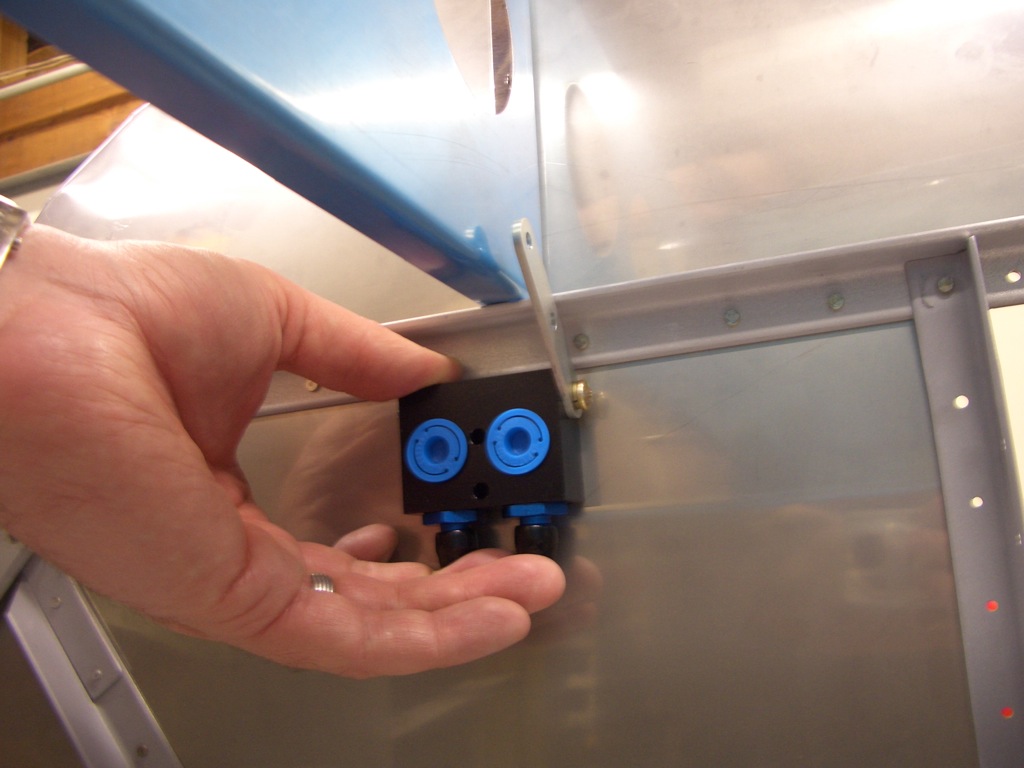
Here you can see that it’s a fairly straight shot from the parking brake to the fittings through the firewall. I’ll fabricate solid aluminum lines to connect these two.
