Ordered Fuselage Kit

I ordered the fuselage kit today.  As I’ve mentioned before, I’m going with the tailwheel configuration with tip-up canopy.  I recently had a chance to fly in Kevin Hester’s RV-7A (thanks Kevin!).  He has an A model (nosewheel) and a slider canopy, so pretty much exactly the opposite configuration as I’m going with.  The slider has a roll-bar in front of you which blocks part of your view.  Although I didn’t find this objectionable, I was so blown away with the unobstructed visibility in the factory RV-7 that I really wouldn’t even consider building a slider.

I also added the electric aileron trim option since I like gadgetry.

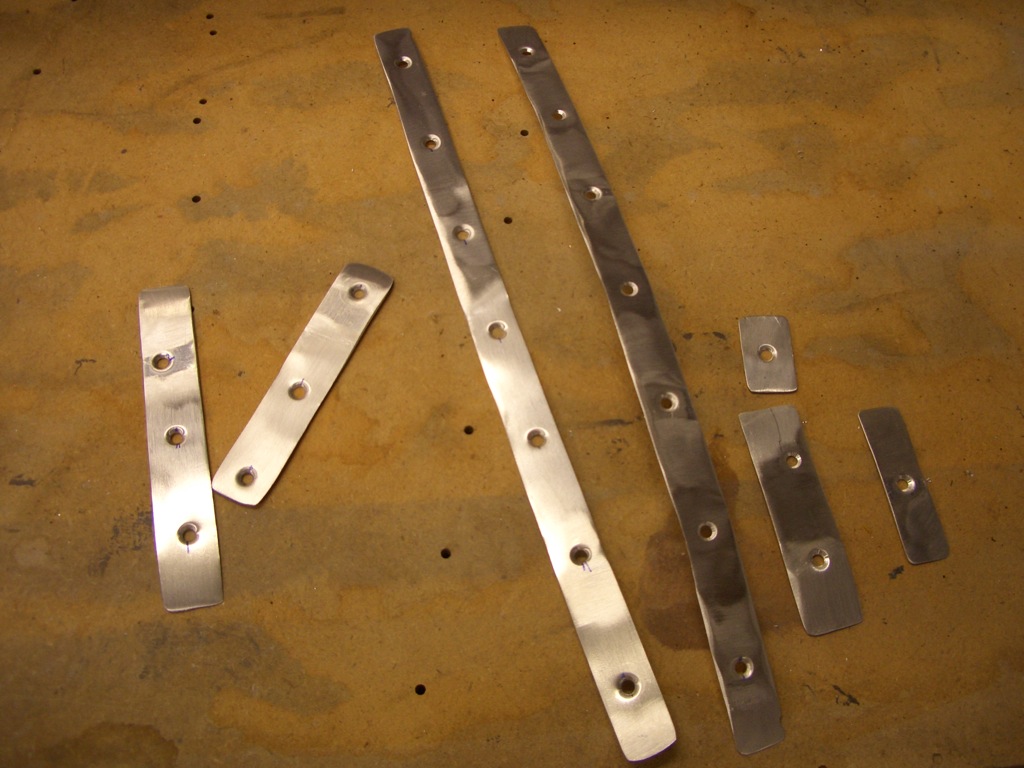
Fabricated New Splice Plate Shims

After reevaluating the shims I had made, I decided that using shims that varied in thickness was the wrong approach.  The ribs already define the correct wing curvature, so shims that vary in thickness would just create ripples in the skin.  The problem is really that the splice plate is too low and the variation I measured was due to the tank skin getting pulled tighter where the screws attach and pillowing out between them.  Instead, the entire splice plate needed to be shimmed out a small amount.  Looking at the measurements I made previously, I determined that shimming the splice plates out 0.016″ and shimming the skins out a further 0.008″ would be about right.

I fabricated the new set of shims using some 0.008″ aluminum flashing purchased from the aviation isle at Home Depot.  Two will fit between the inboard rib and the splice plate and one will fit between the splice plate and the skin (the outboard skin is 0.024″ and the tank skin is 0.032″, so this should bring the skins flush).
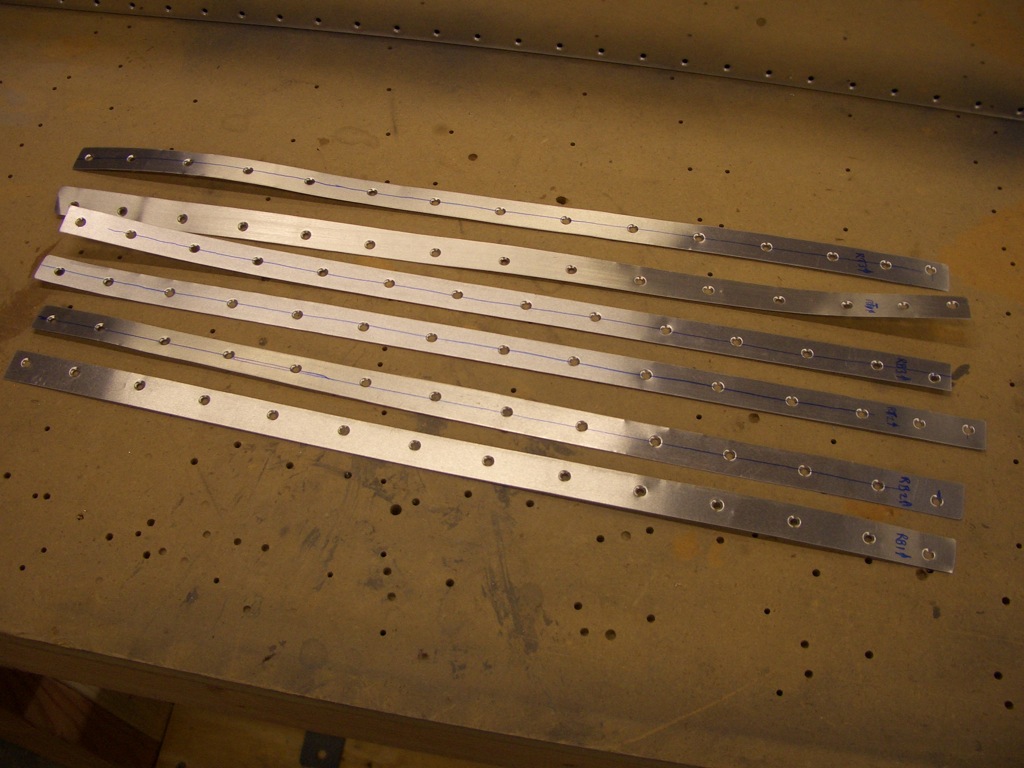
My wife Jenn helped me rivet on the rib (it was only her second time riveting, and she did a fantastic job).  The fit was nearly perfect right after installation.  I did a little adjustment, and now the tanks and outboard skins are flush to within a few thousandths pretty much the whole length of the joint.
More Wing Skin Prep

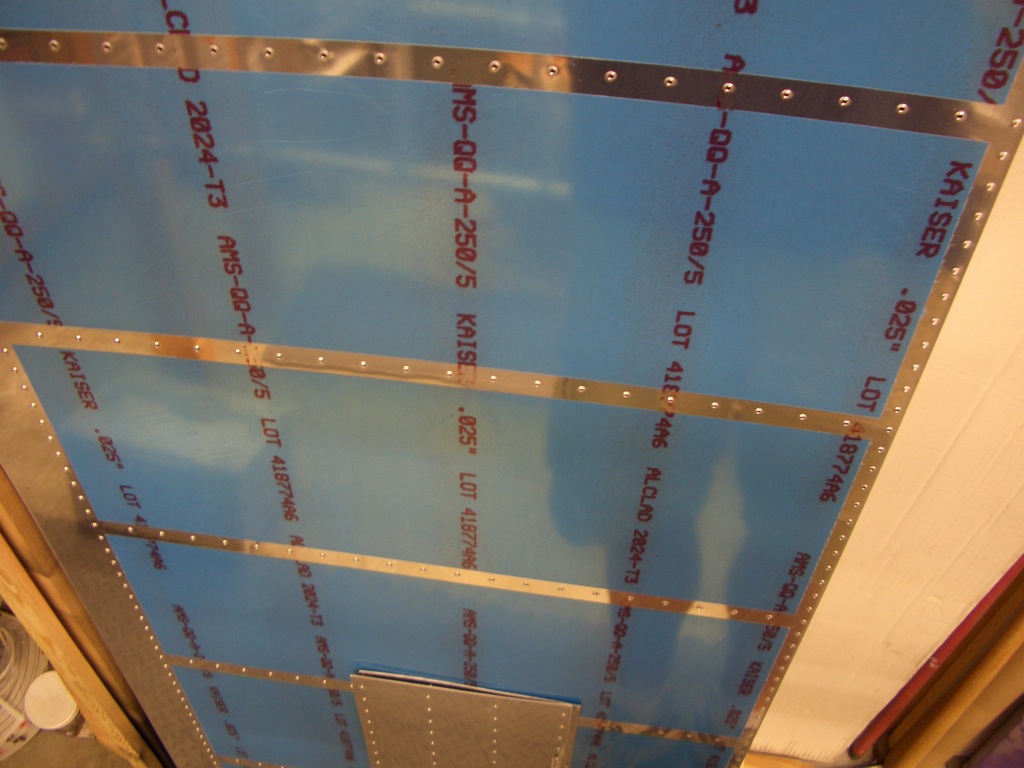
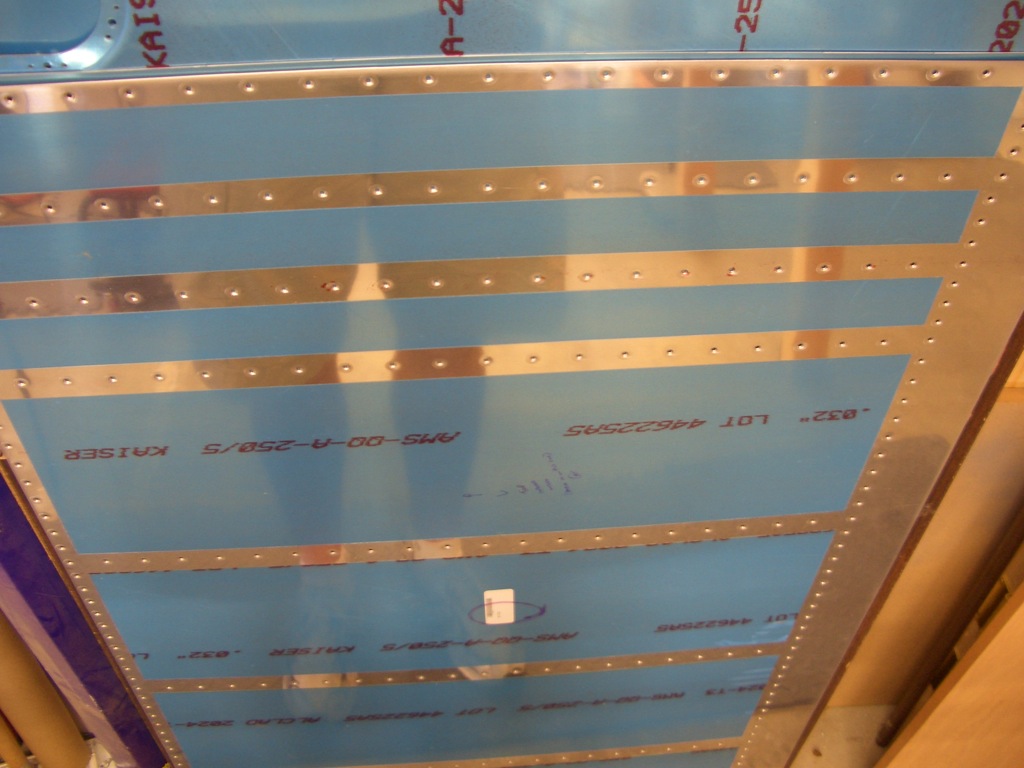
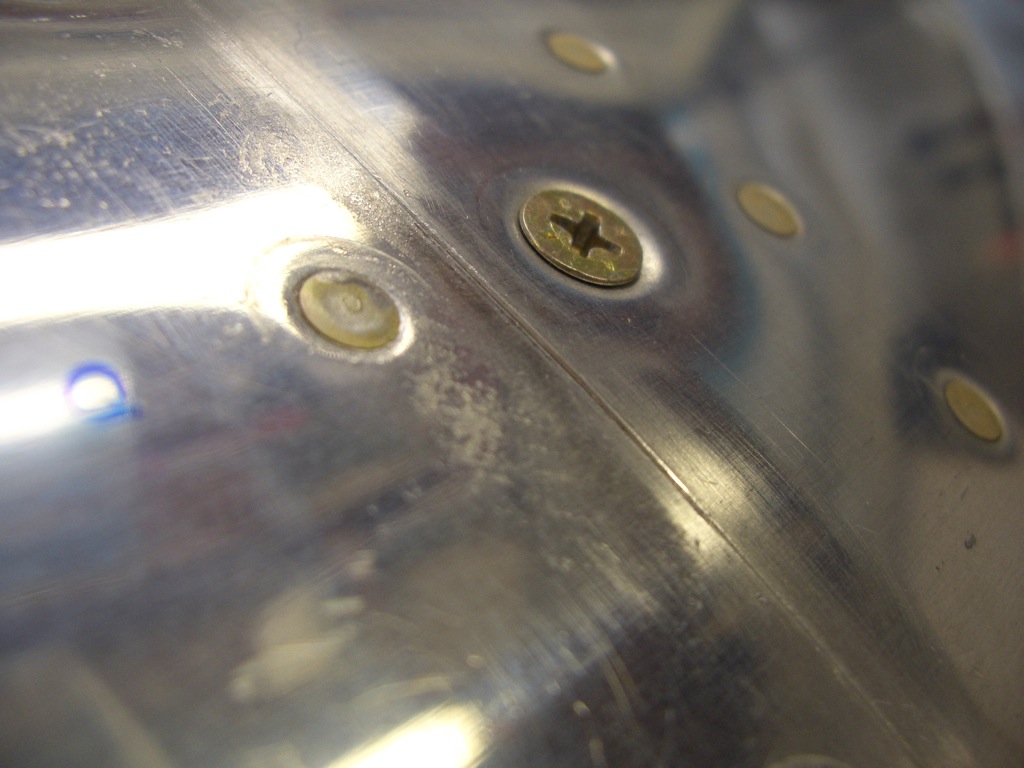
I finished deburring and dimpling the left inboard top main wing skin.  You can see the four closely spaced rows of rivets near the top of this picture.  These are for the ribs in the wing walk area.  It’s taking me about 90 minutes per wing skin to remove the plastic, prep the edges, debur both sides of every hole, and dimple.  Since there are eight main wing skins total (two each on the top and bottom of each wing), I figure it will be about 12 hours total of this kind of work to get all of the wing skins prepped.  I really understand why people say the wings are boring.

Wing Skin Prep

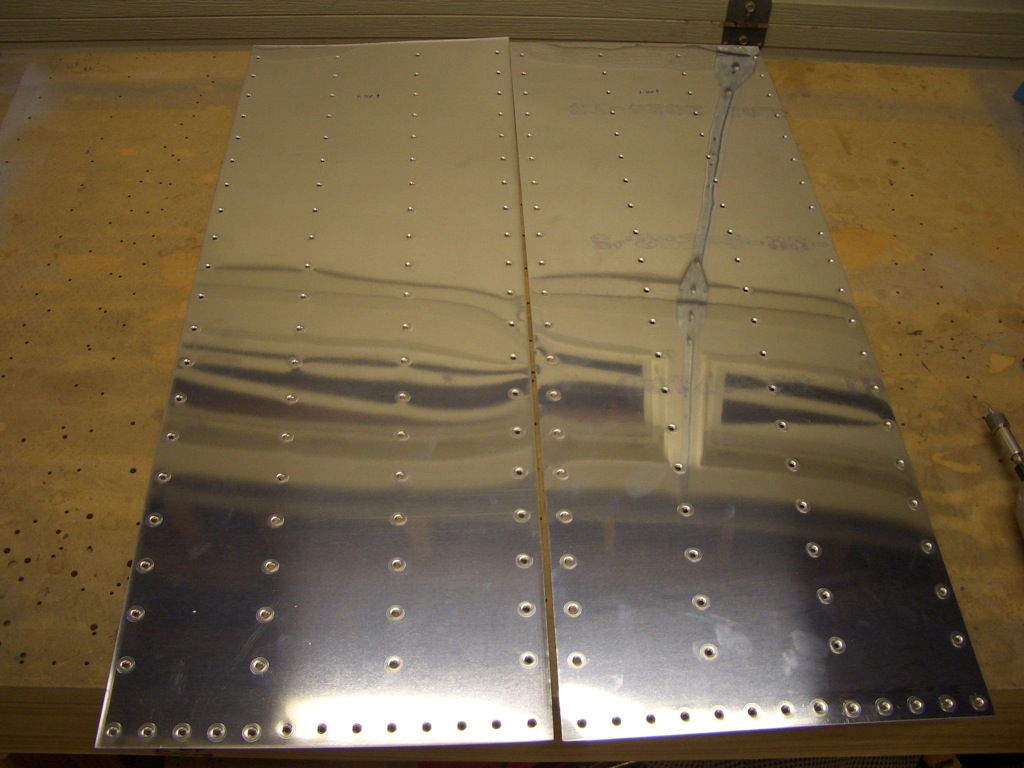
Working on shims is slow tedious work, so I took a break tonight and started working on the main wing skins.  Here are the two wing walk doubler skins, deburred and dimpled.  These will be primed before installation since any water that seeps between the skins could be trapped there for a while before it dries out and I want to do everything I can to avoid corrosion.


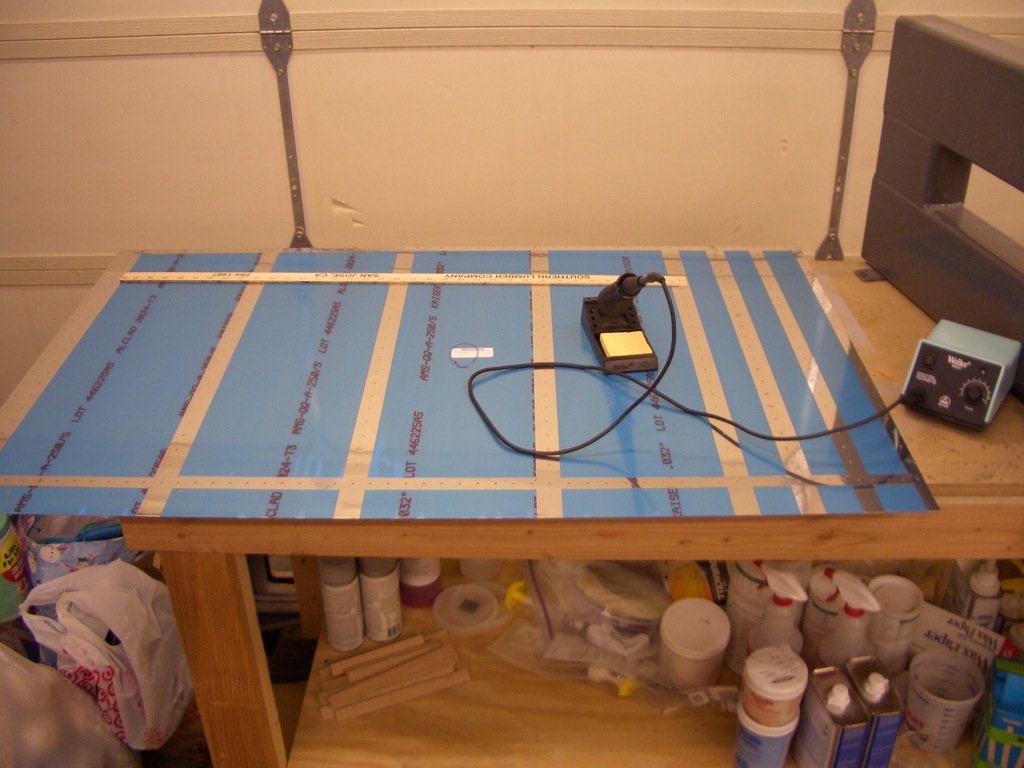
I also started on one of the larger wing skins by removing the plastic along the rivet holes.  A 50 watt soldering iron makes extremely quick work of this.

Finished Shims for Right Tank

I finished fabricating the shims to make the outboard leading edge flush with the tank on the right wing.  It’s hard to tell from this picture, but these shims vary in thickness along their lengths anywhere from <0.010″ to around 0.040″.  Unfortunately, it’s really hard to tell for sure if these are exactly the right thickness because clecos can’t exert enough clamping force to pull everything together as tightly as rivets will.  I’m just going to have to rivet it together and trust that my measurements were accurate.