Finished Final Wing Skin

Since it was too late to do any riveting, I decided to finish up the last wing skin.  It still needed deburring, dimpling, and edge finishing.

I also installed the platenuts around the inspection hole.  Other than riveting the bottom wing skins in place and the wingtips (which I’m putting off for the time being), there is nothing left to do on the wings.

Stored Wings

My next door neighbor graciously agreed to let me store my wings in his garage, tied up to the rafters.  I fabricated a couple of supports for each wing by covering 2x4s with carpet padding and drilling holes in each end for a rope.  We placed the wings on the supports and winched then up to the ceiling.  I tied some extra rope around the spar at each end as a safety measure.

Started Flaps

The next step in the plans is to fit the forward tunnel cover, but since that sits against the flap cover, I decided I wanted to install the flaps first to ensure the cover fits as well as possible.  First up, I drilled and reamed all three ends of the flap weldment to 1/4″.

The center flap bearing block needs to be notched to fit over the seat pans and cut in half so that it can be installed around the flap weldment.

Van’s published a service bulletin a number of years ago after several people had the jam nut on the flap motor rod end back out and the flap motor disconnected from the flaps.  The plans now specify that the end of the flap motor push tube needs a small hole drilled in it so that it can be safety wired around the bolt that goes through the rod end.  This is actually a pretty hokey way to fix the problem as it subjects the safety wire to repeated flexing which can fatigue it and allow it to break.  There is an alternate approach that another builder came up with described here.  This looks like a much safer approach.

Next up, I installed the flap weldment into the plane so that the center bearing block could be used as a guide to drill the floor and ribs

Here is the lower half of the center bearing after drilling.  I went ahead and drilled through the rear tunnel cover and then marked around the bearing since the tunnel cover must be notched to wrap around the bearing.

The side of the flap support need to be reinforced where the upper end of the flap motor mounts.  I match drilled this to the channel and reamed the center hole out to 1/4″.

Next, I fabricated this little bracket which holes the other end of the flap motor mount bolt.

Mated the Wings

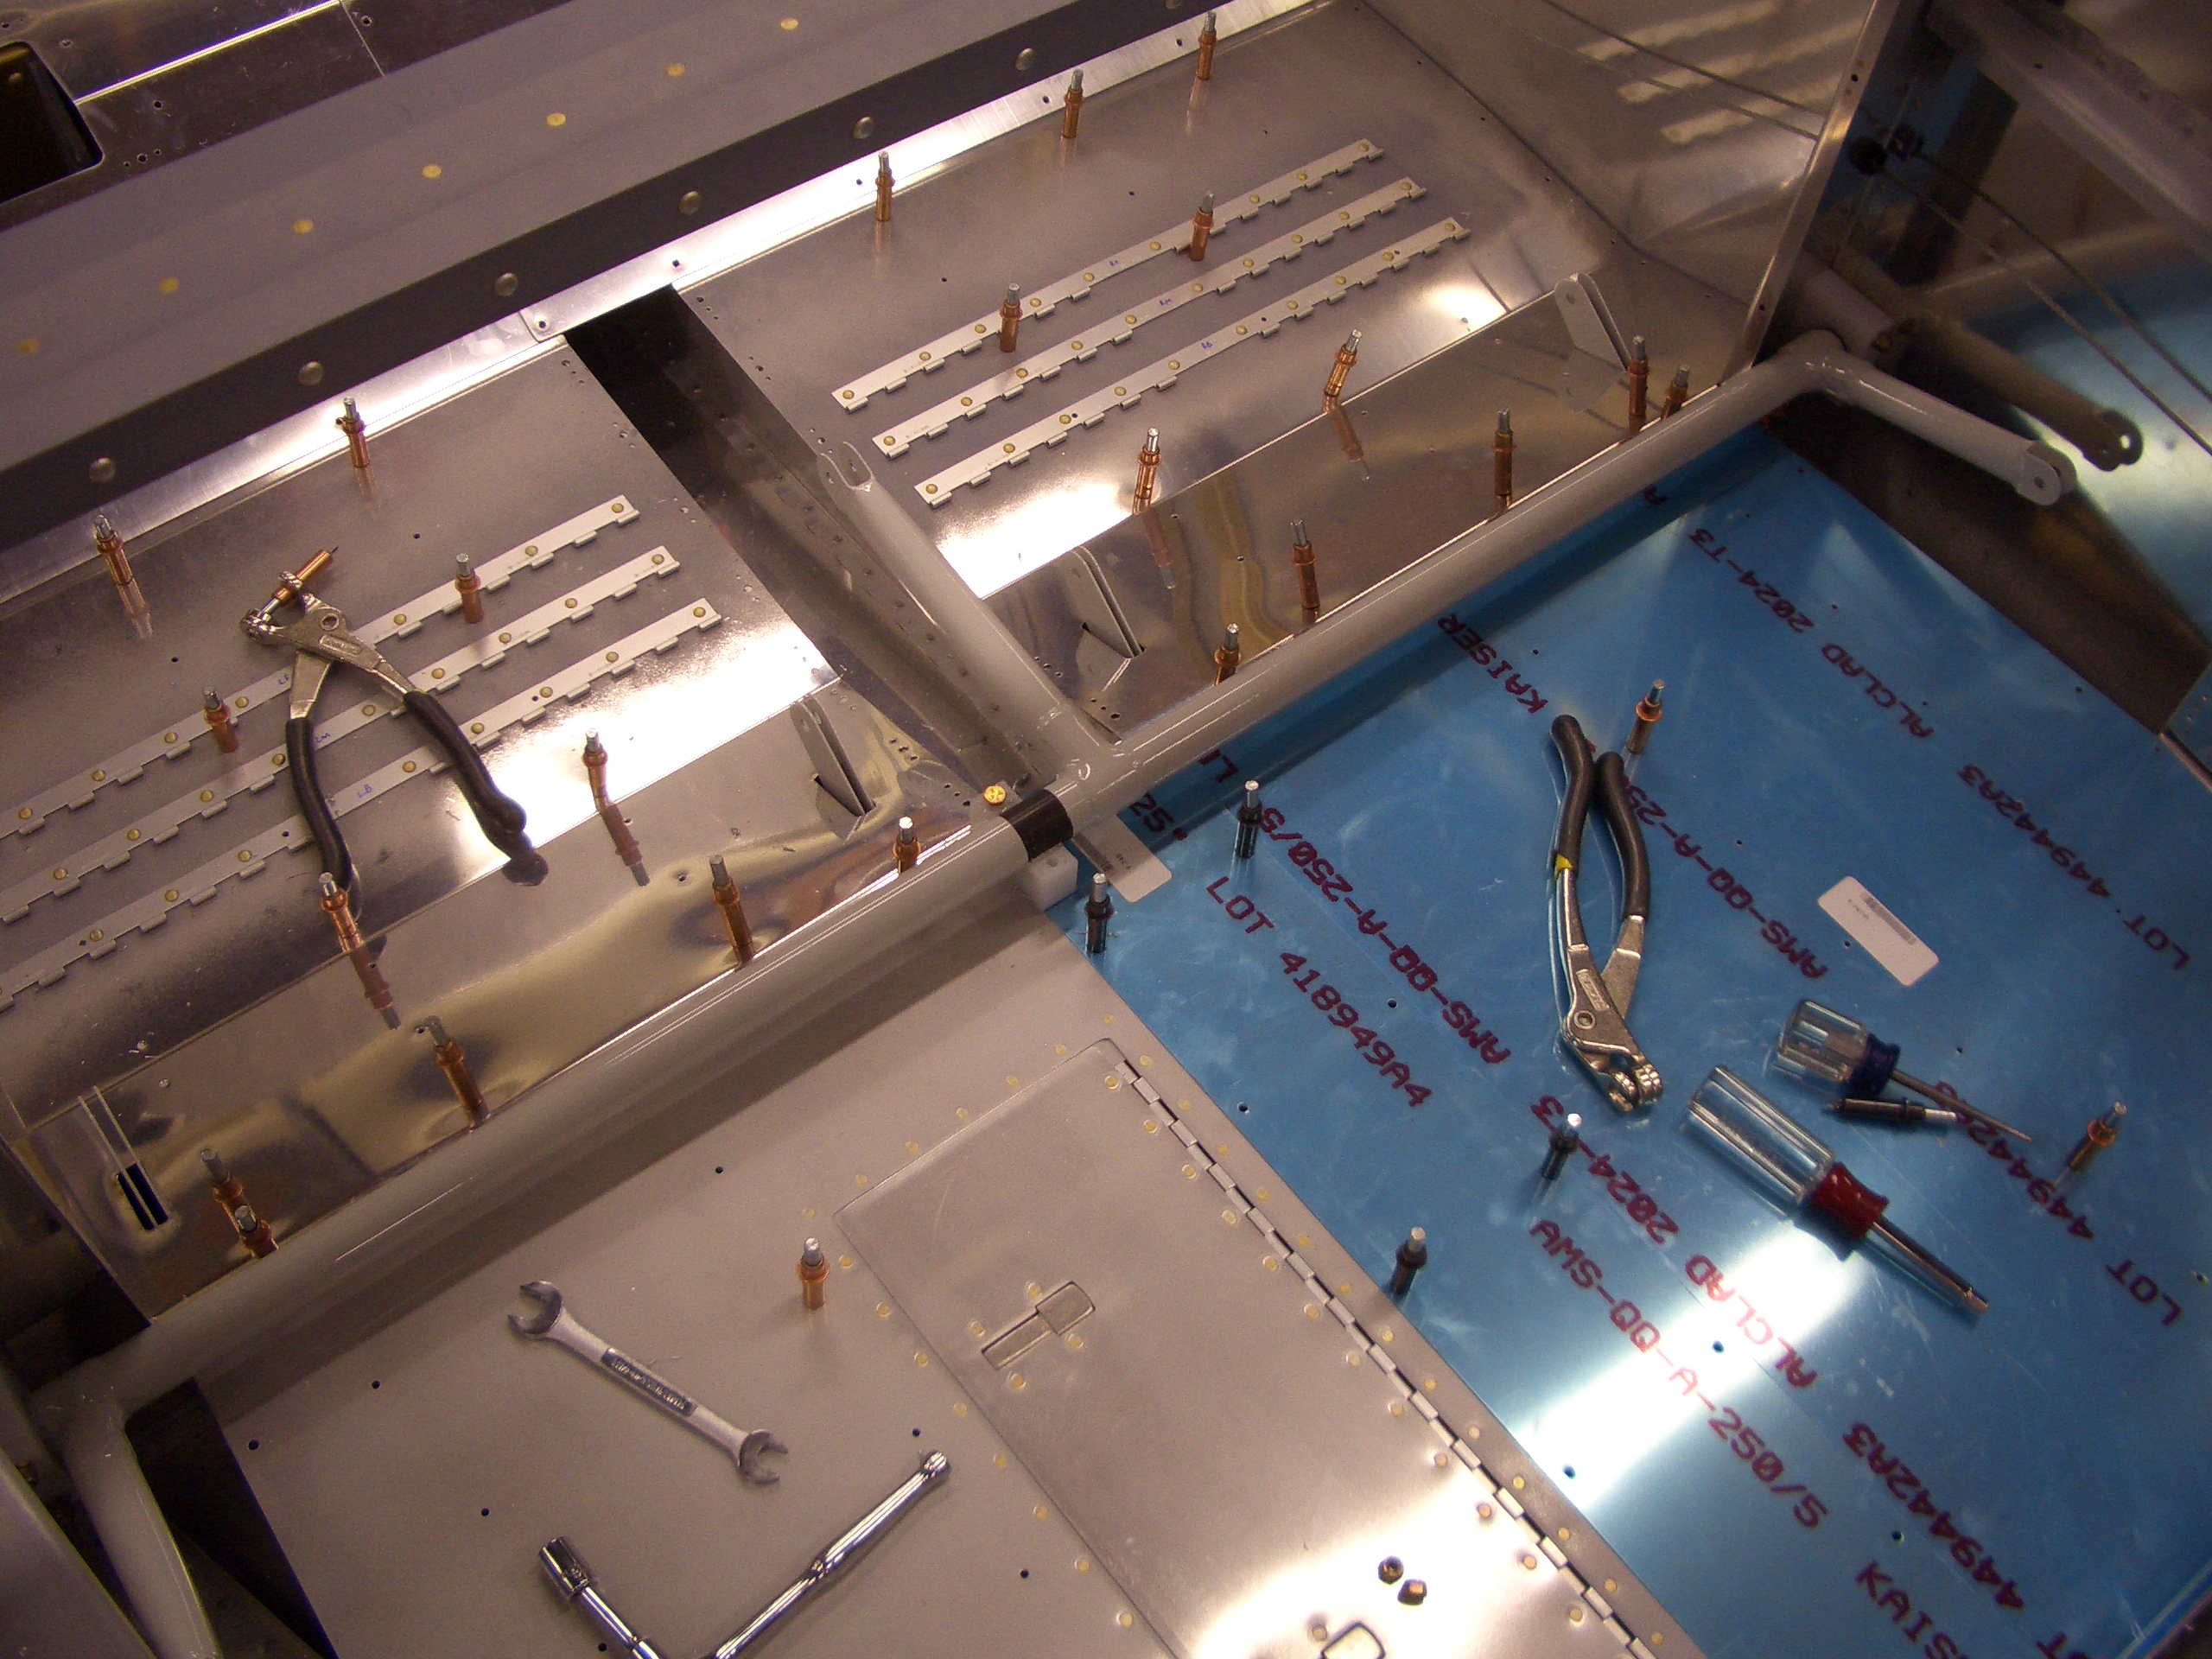
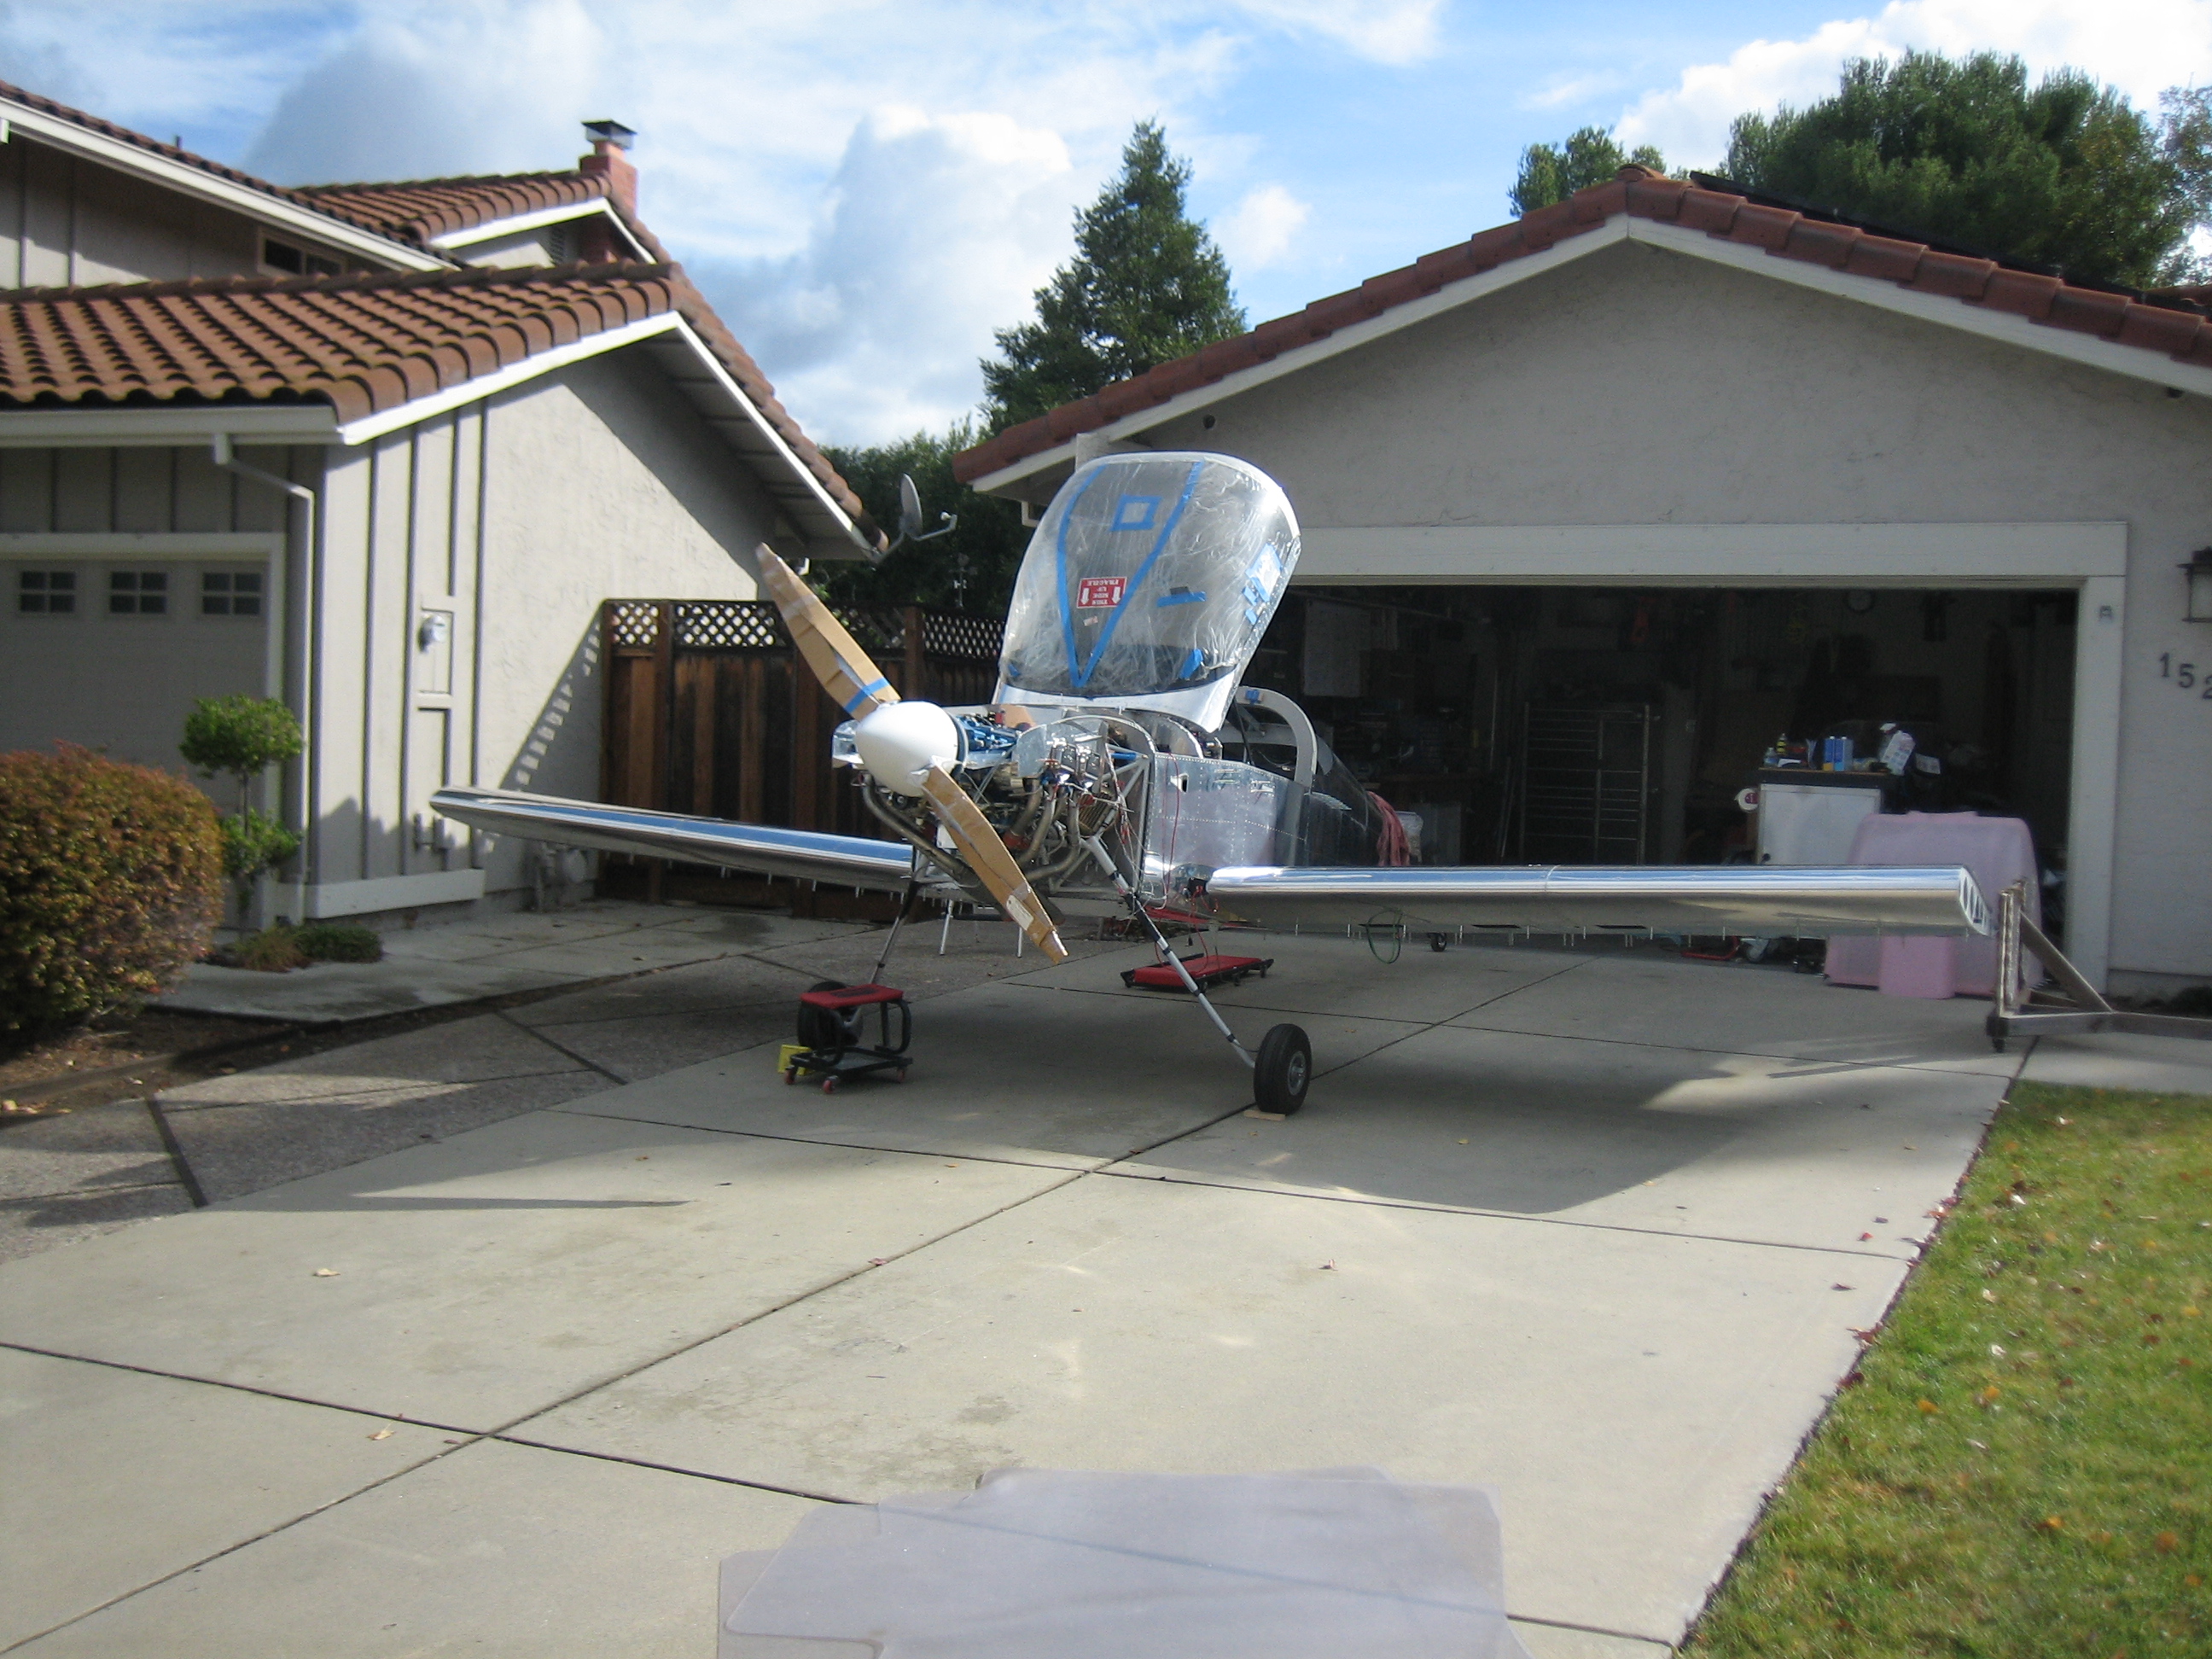
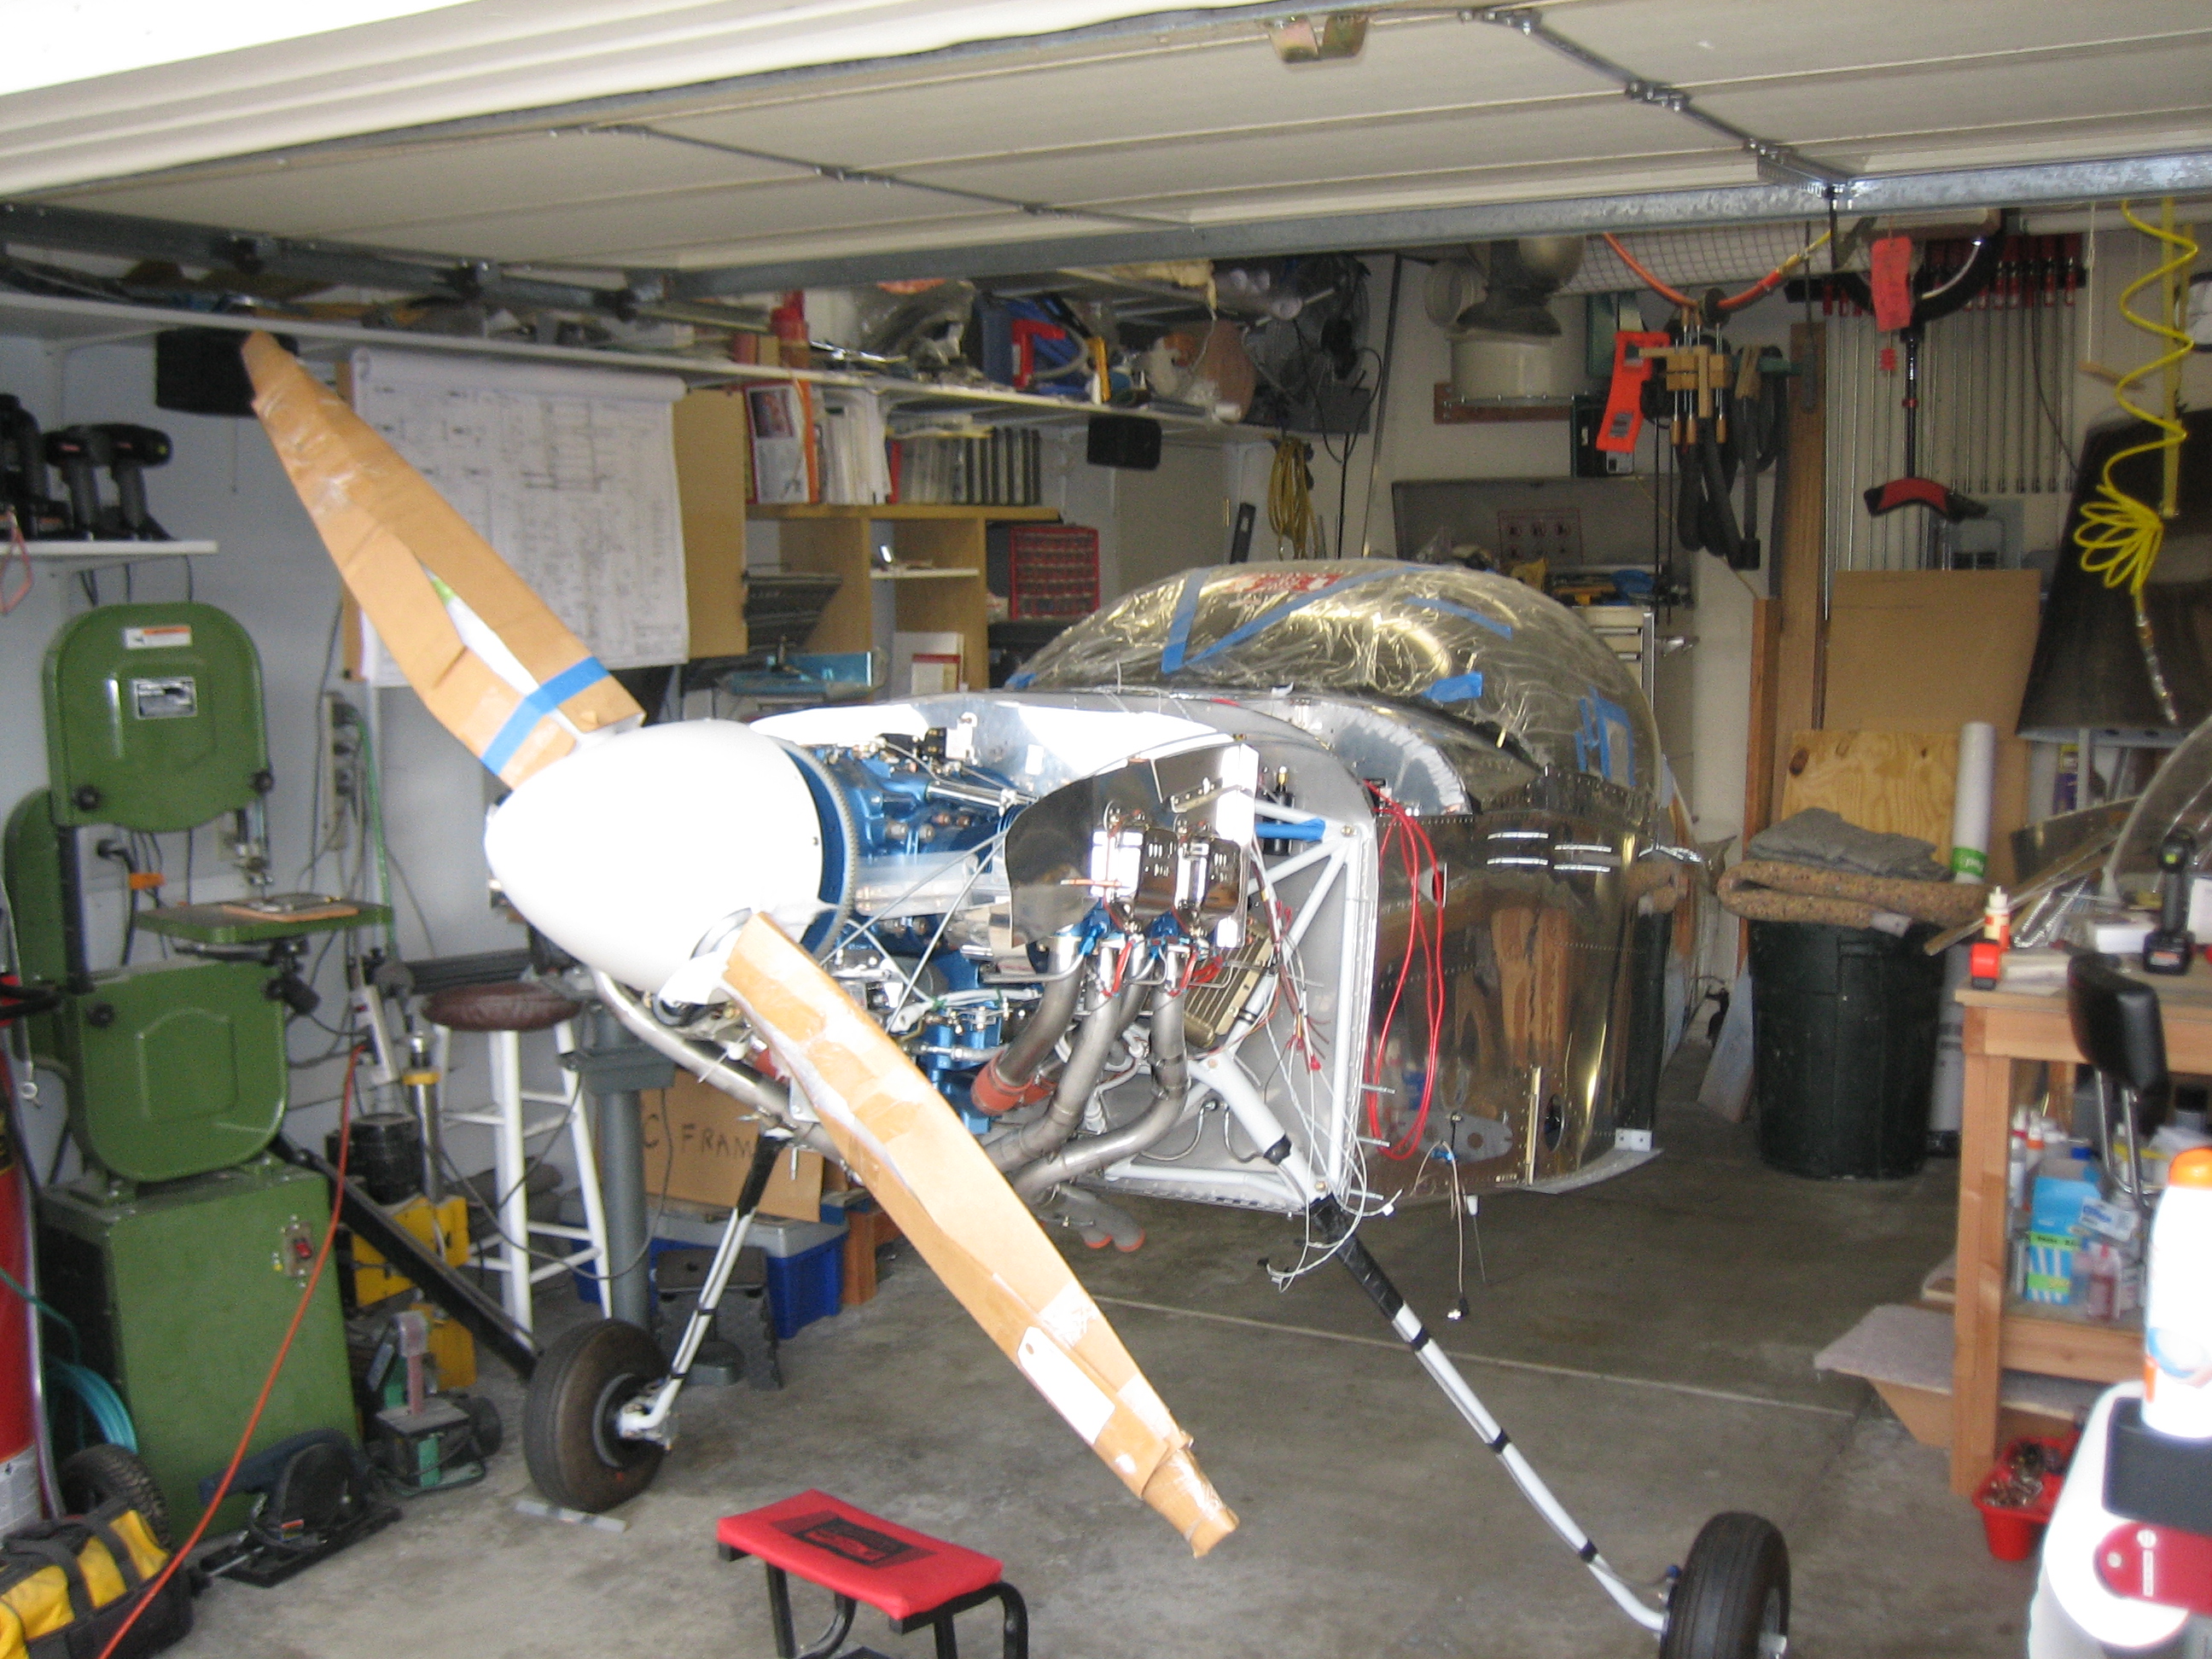
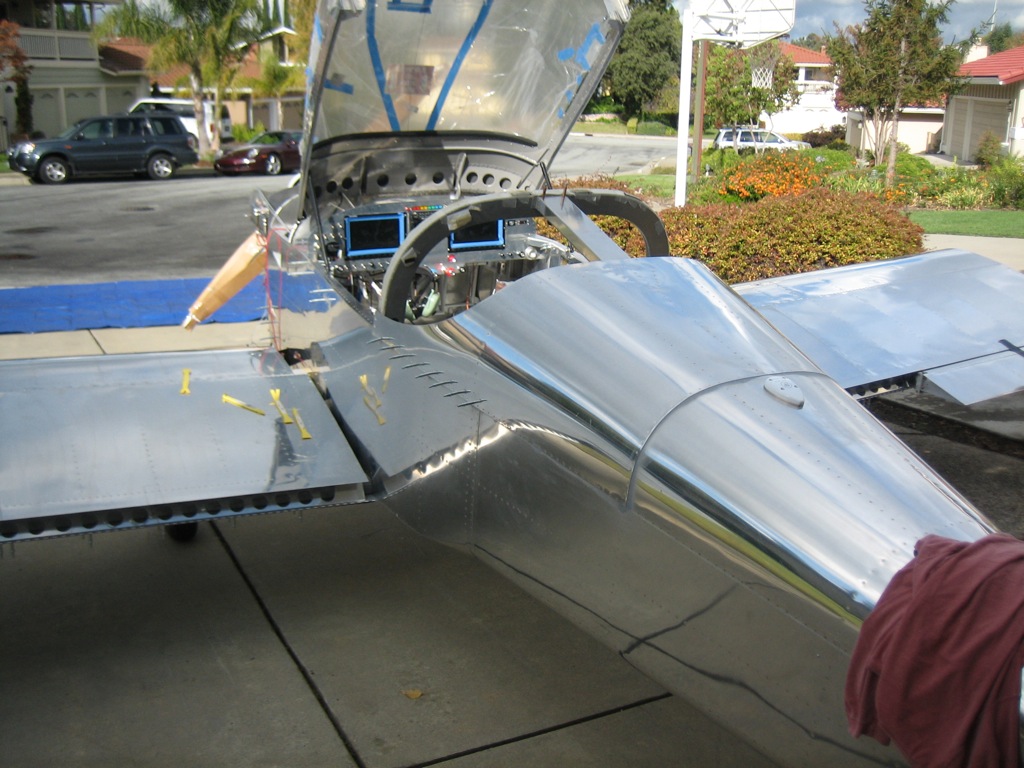
My brother Seth flew out from KY yesterday to help me mate the wings.  The weather was spotty in the morning, so we got started a little later that I’d have liked.  We pulled the plane out into the driveway and temporarily fit the wings with some hardware store 7/16″ bolts.

Next up, we leveled the fuselage laterally and hung two plumb bobs off of each wings.  I tied a piece of fishing line to the cord on the outer two plumb bobs so that I could easily compare the position of the inner two plumb bob cords to the line to see if the wings had any sweep in them.  I also took some measurements from the tail to make sure each wing had the same amount of sweep.  Finally, I checked the wing incidence on both sides to make sure they were the same.

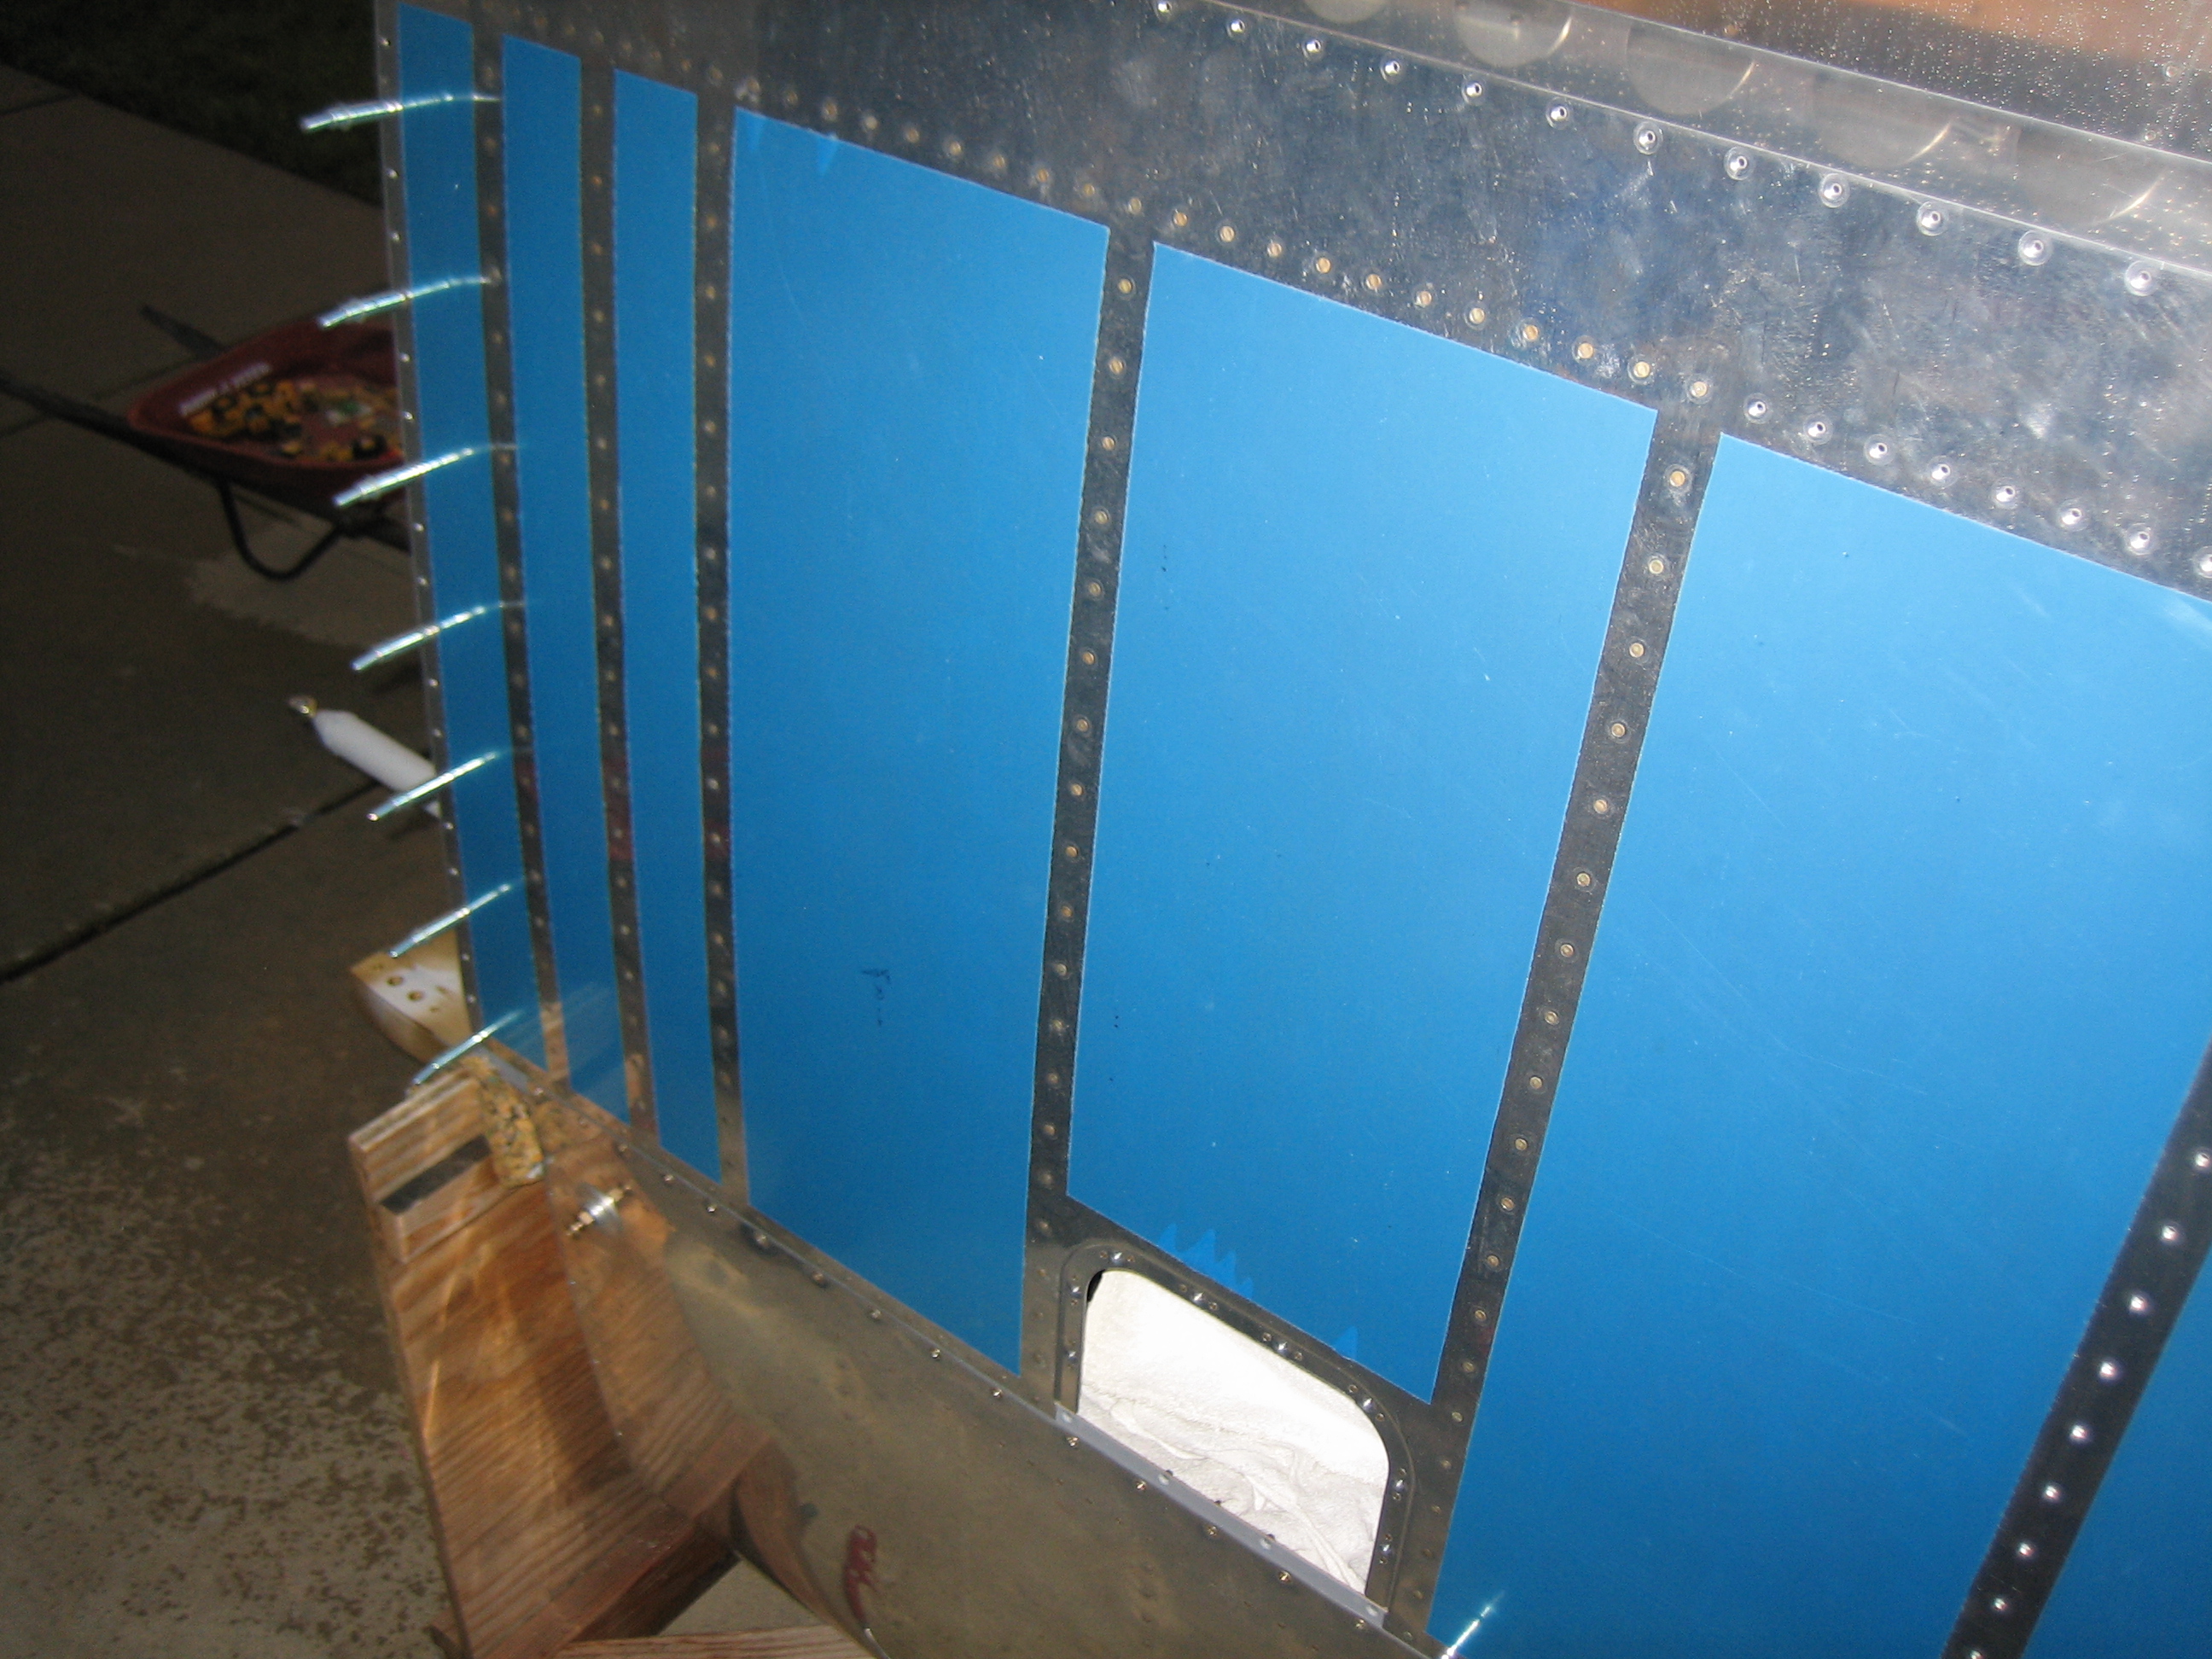
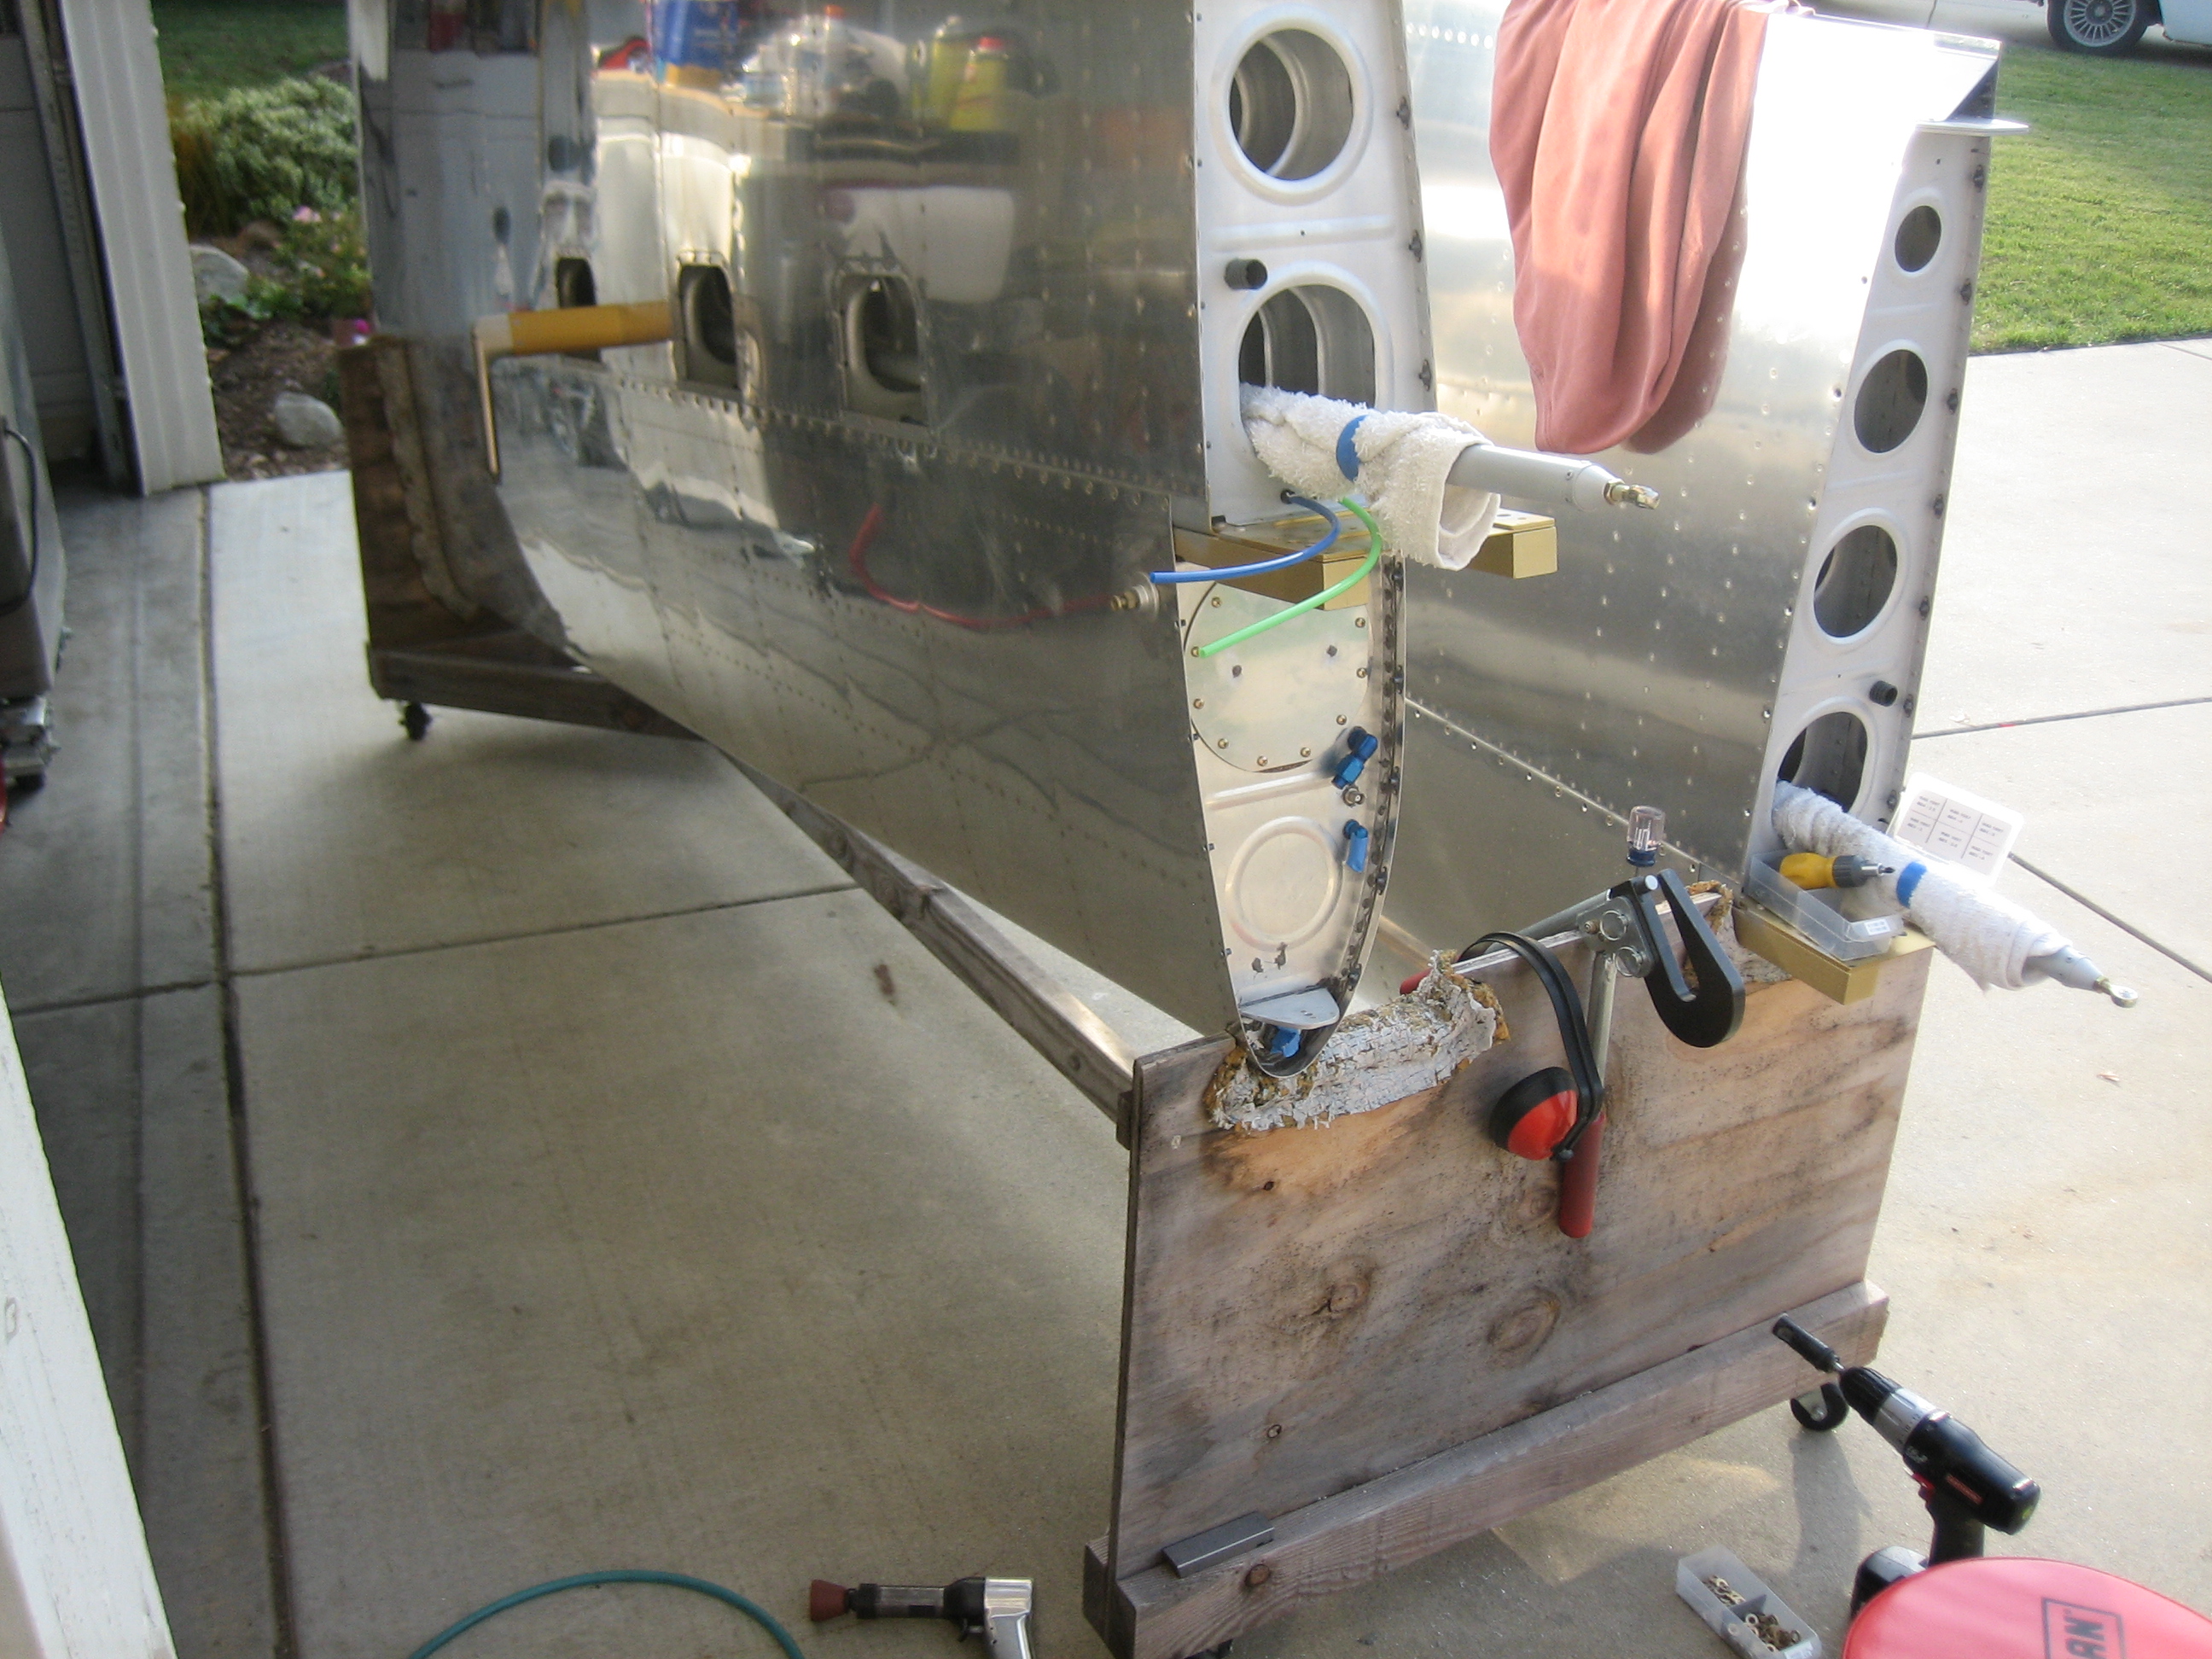
With the wings straight, I installed the flaps to see how they fit against the fuselage.  The good news is that the height on both sides is perfect and the inboard end of the flap skins just kisses the bottom of the fuselage.  Unfortunately, with the wings perfectly straight, the joint between the flaps and the side of the fuselage wasn’t uniform.  The gap got progressively wider towards the trailing edge of the flap.  I decided to sweep the wings back slightly to make the gap uniform (I probably only brought the wing tips back 1/4″ or so from straight across).  This will make no discernible difference in the flying qualities, but the aesthetics of the flap/fuselage intersection are significantly improved.

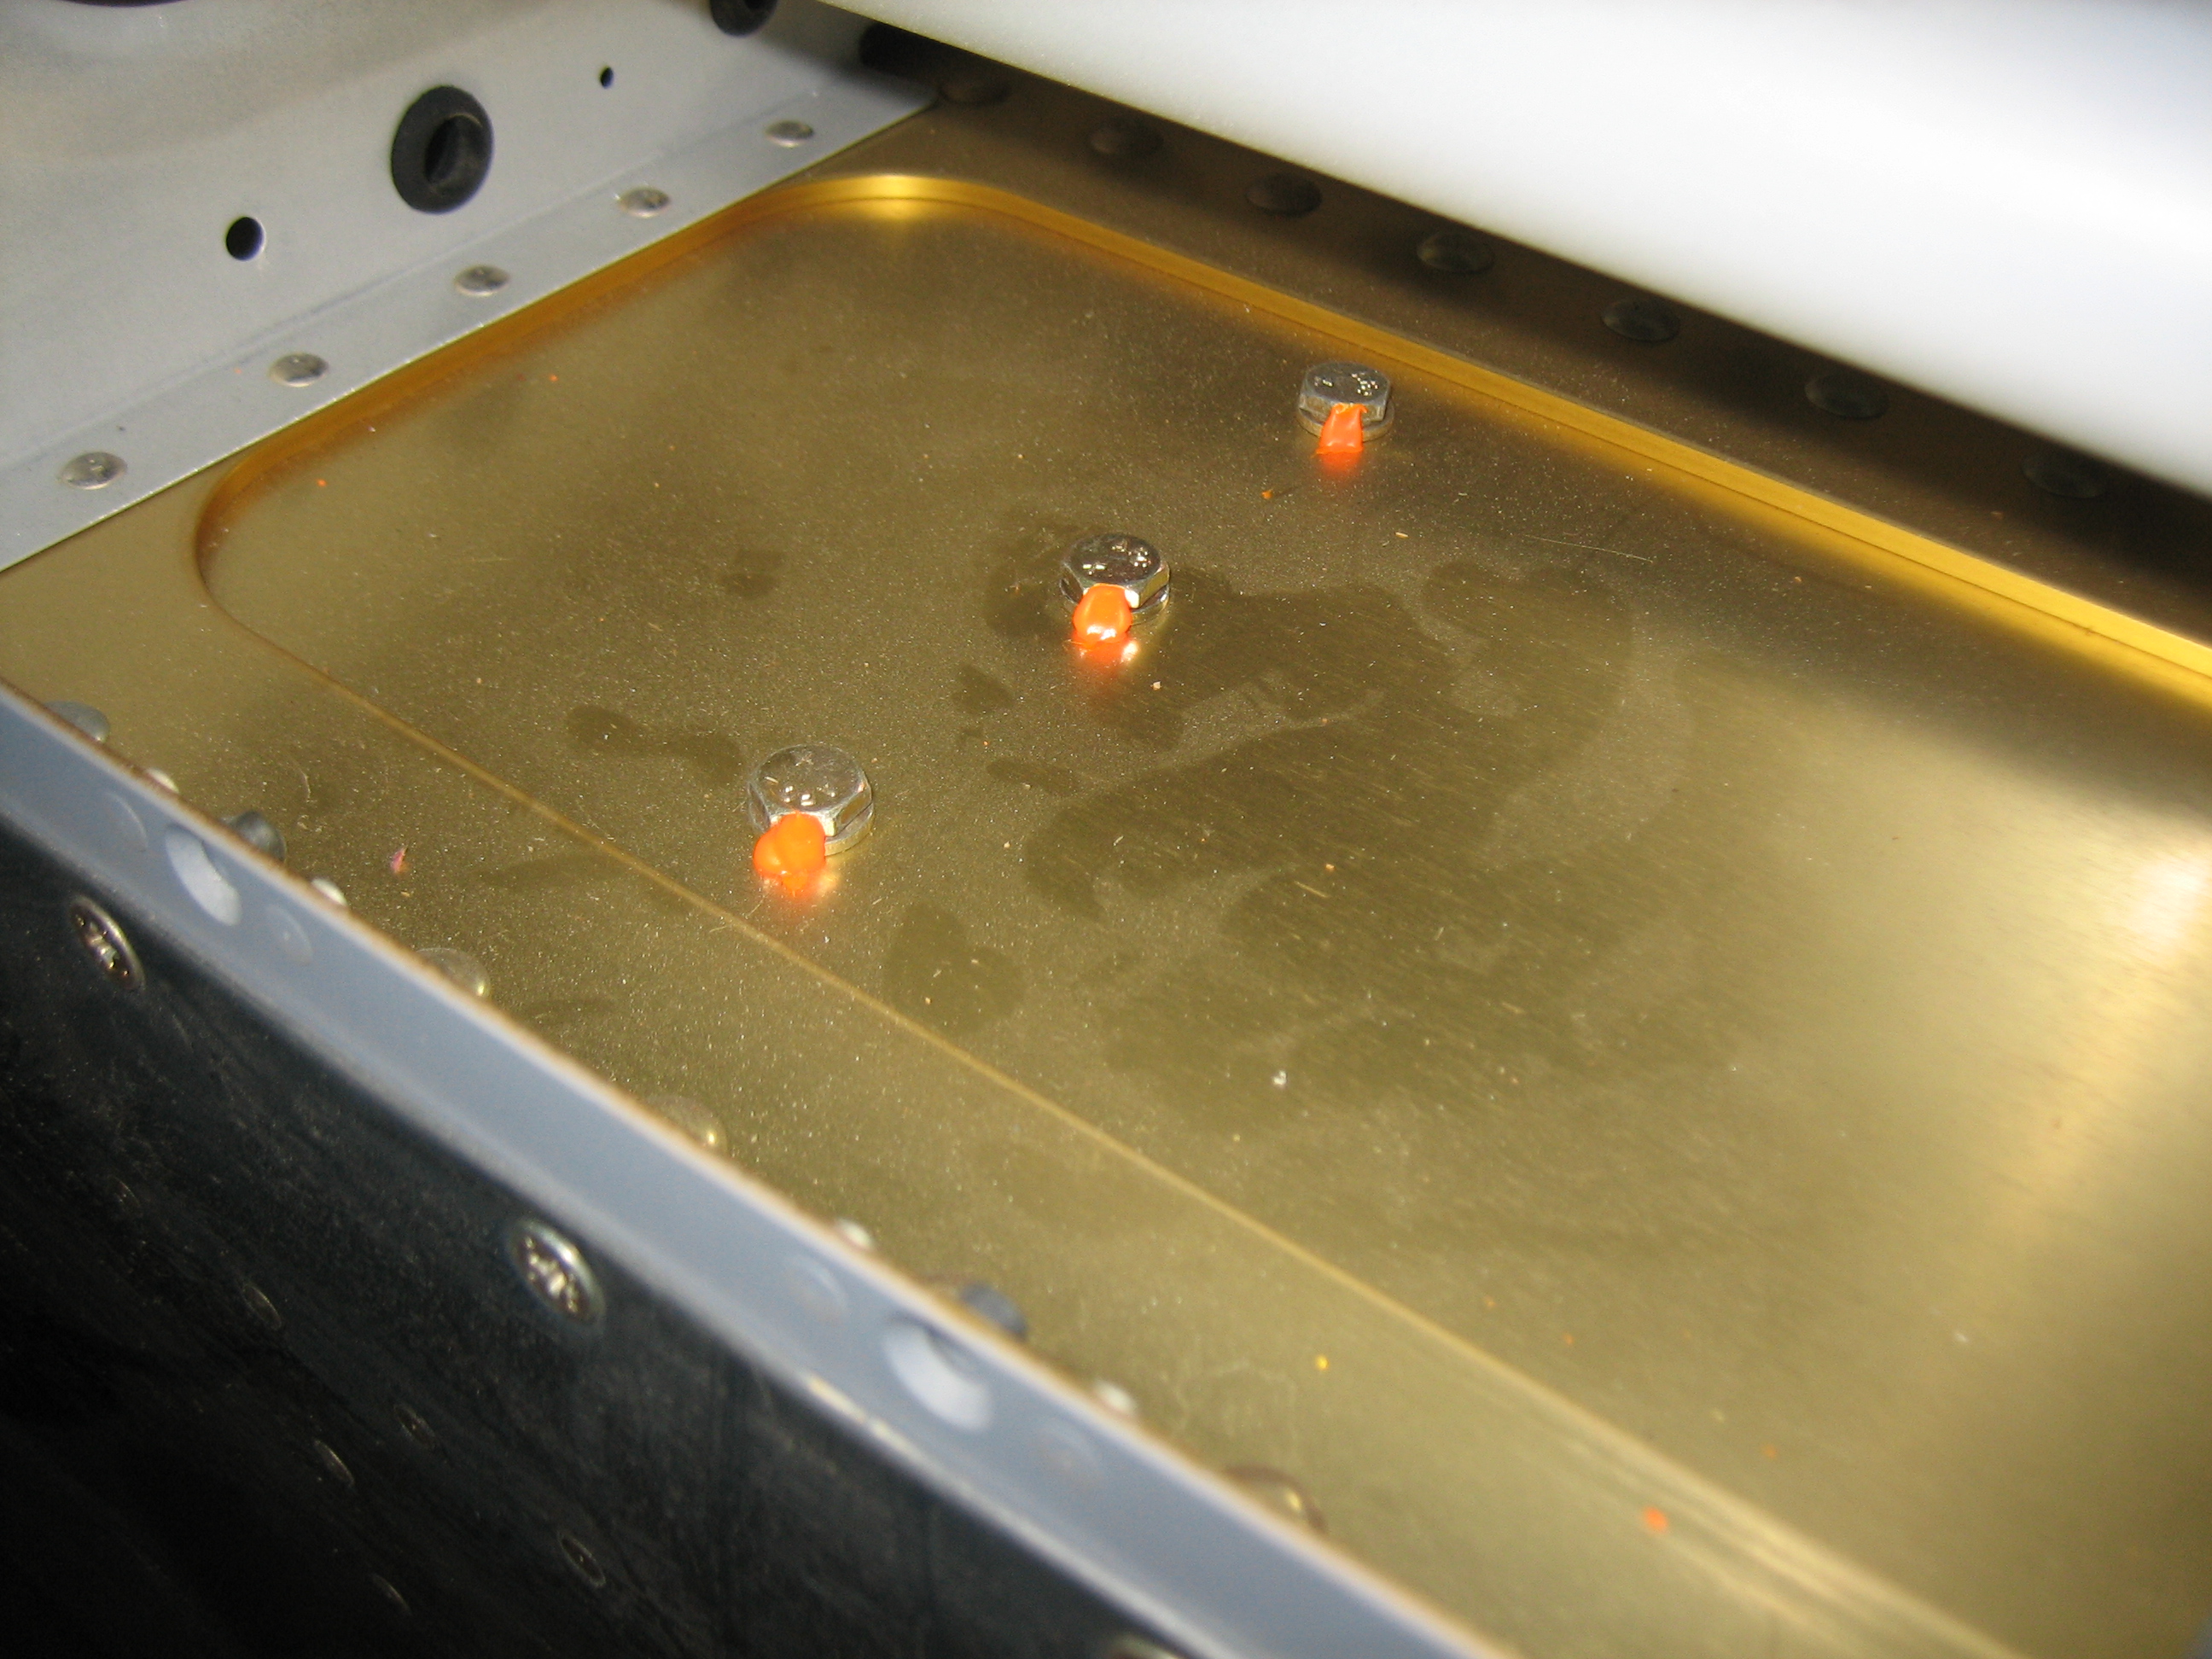
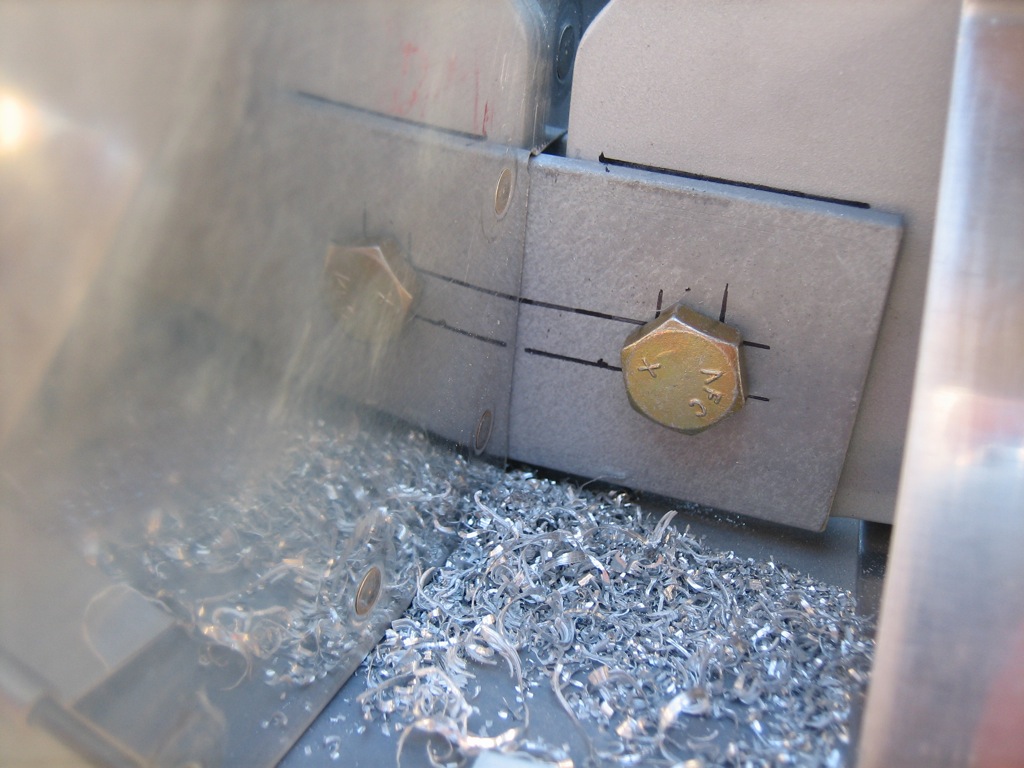
After triple checking everything, I laid out some marks to ensure that I had 5/8″ of edge distance (from the center of the bolt) in all pieces, then progressively drilled out the hole to just under the final size.  I then used a 0.3115″ reamer to bring the hole up to final size providing a snug fit for the bolt.  I used a drill cup on the first three sizes to ensure that I was drilling absolutely perpendicular to the material.

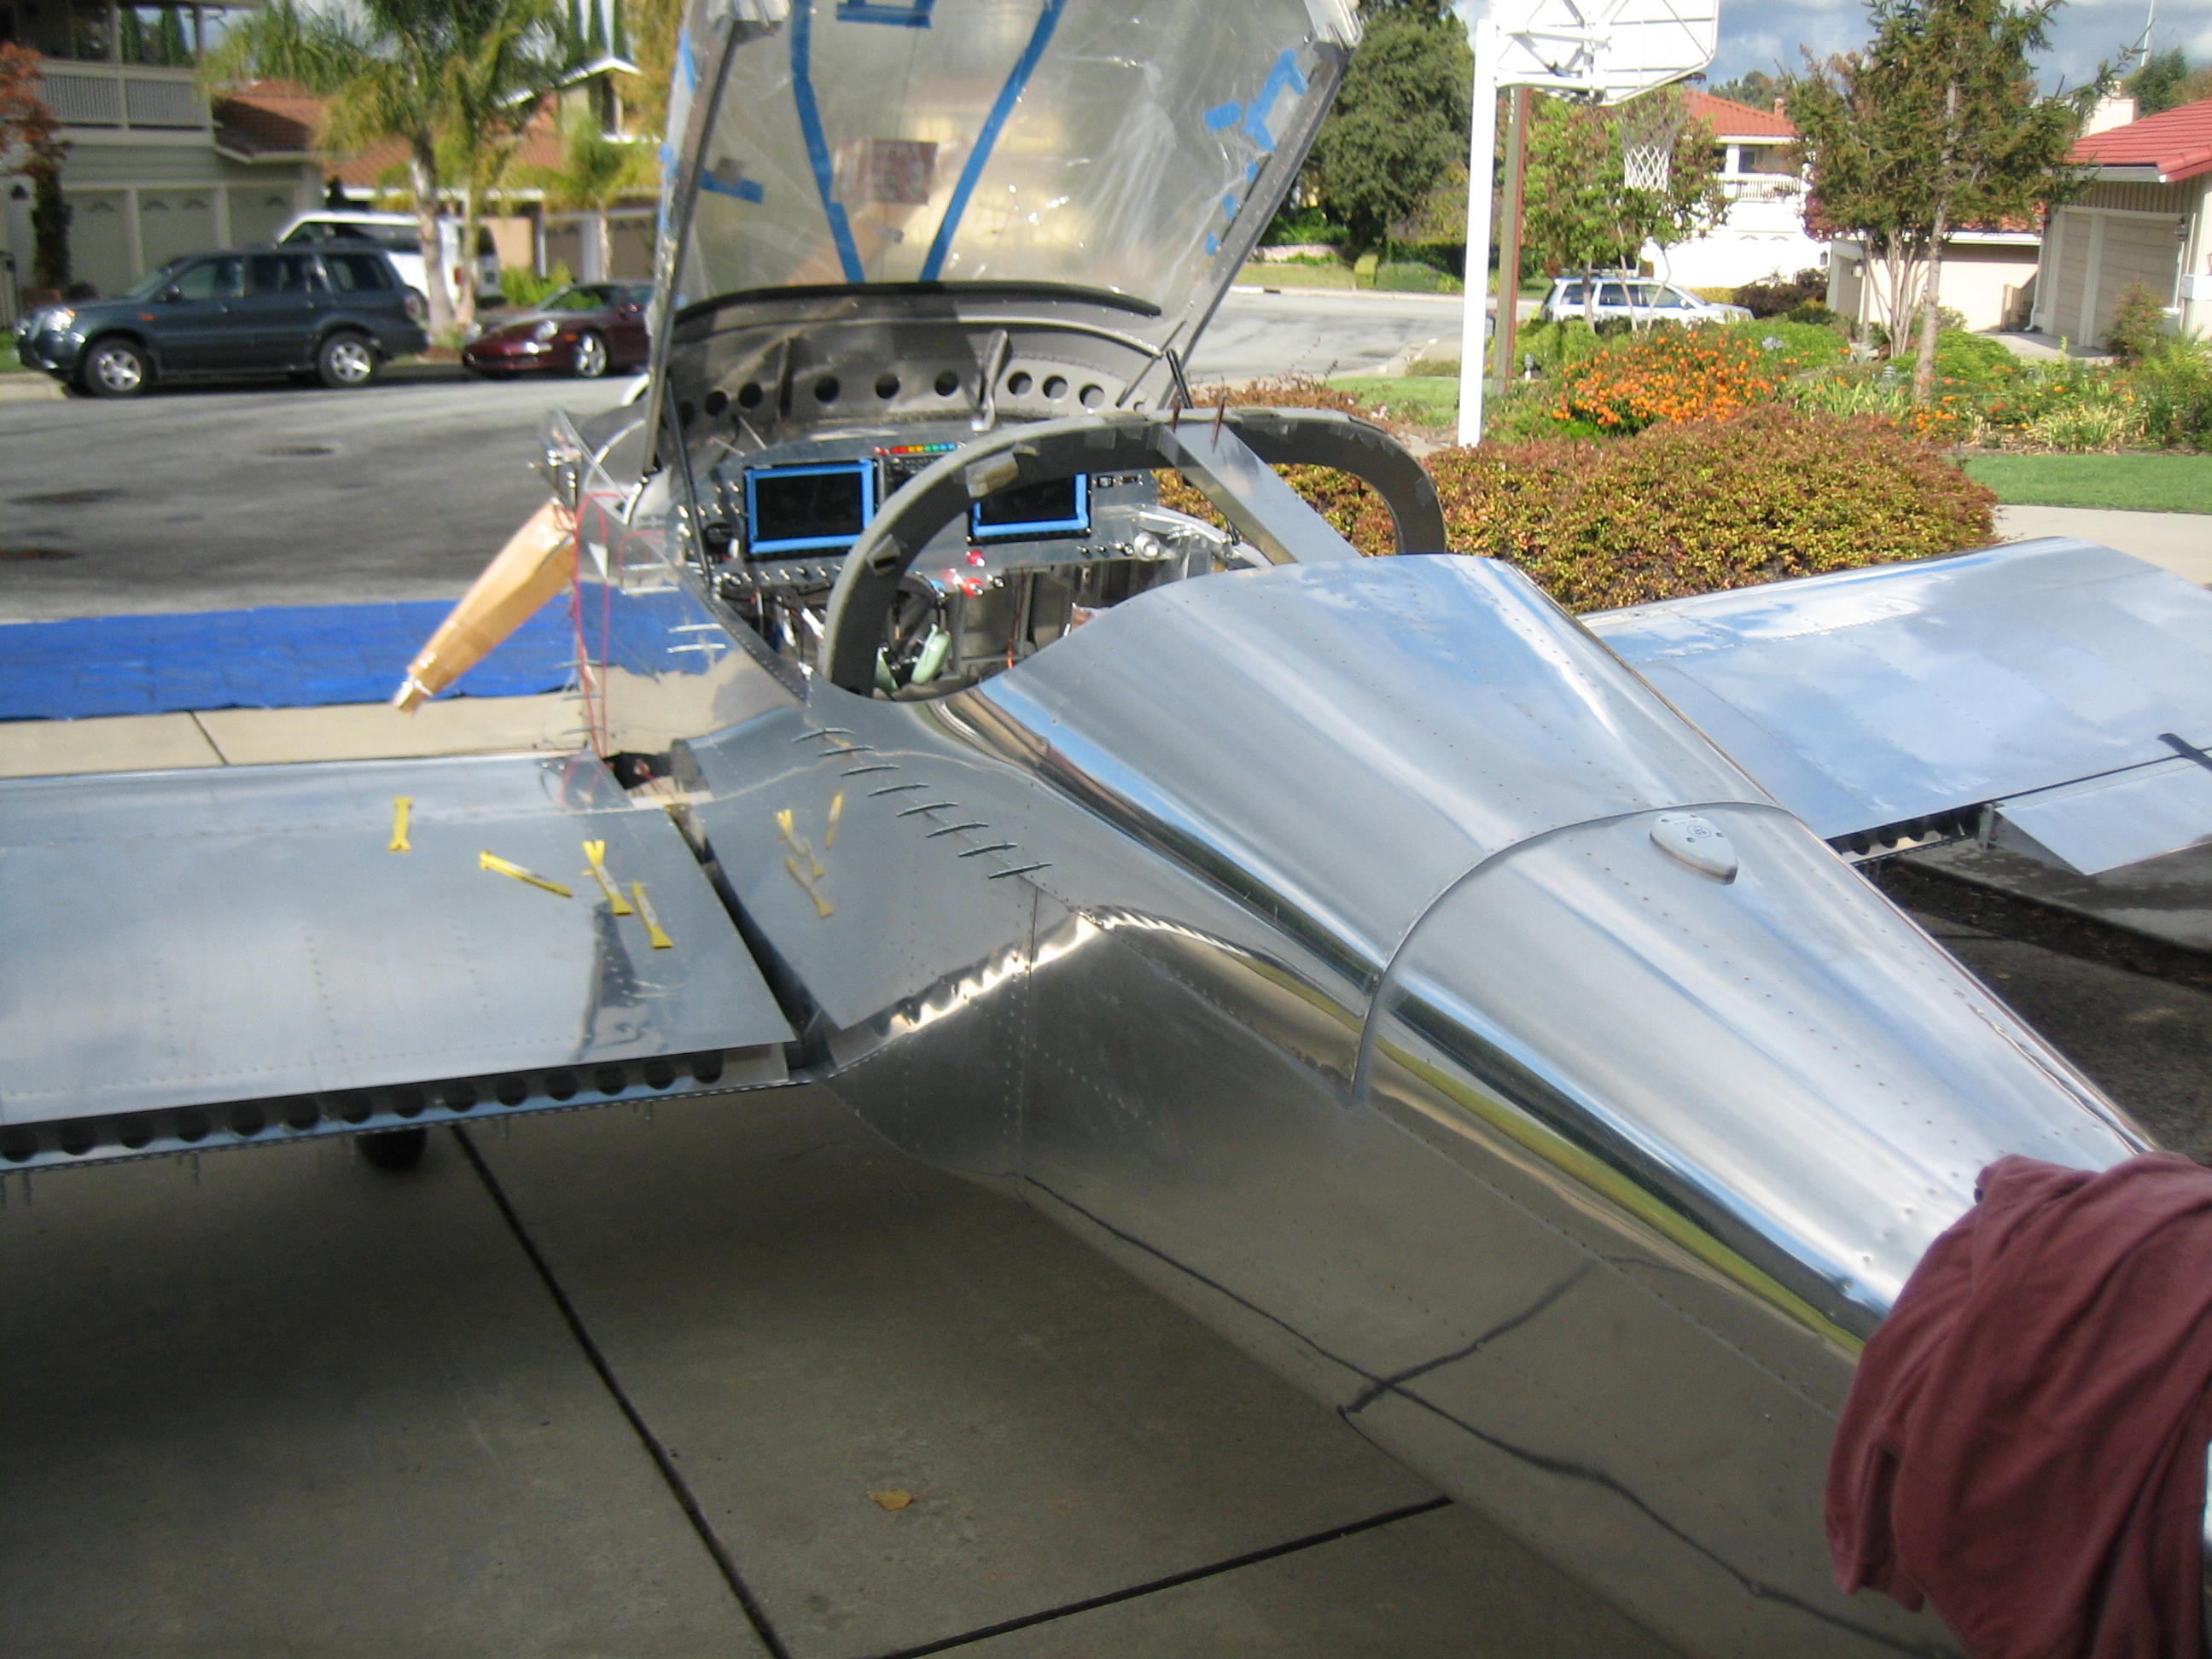
My buddy Andre dropped by to check out the progress, and we drilled the bottom wing skin and the wing root fairings for #8 screws and my brother trimmed them to the fuselage.

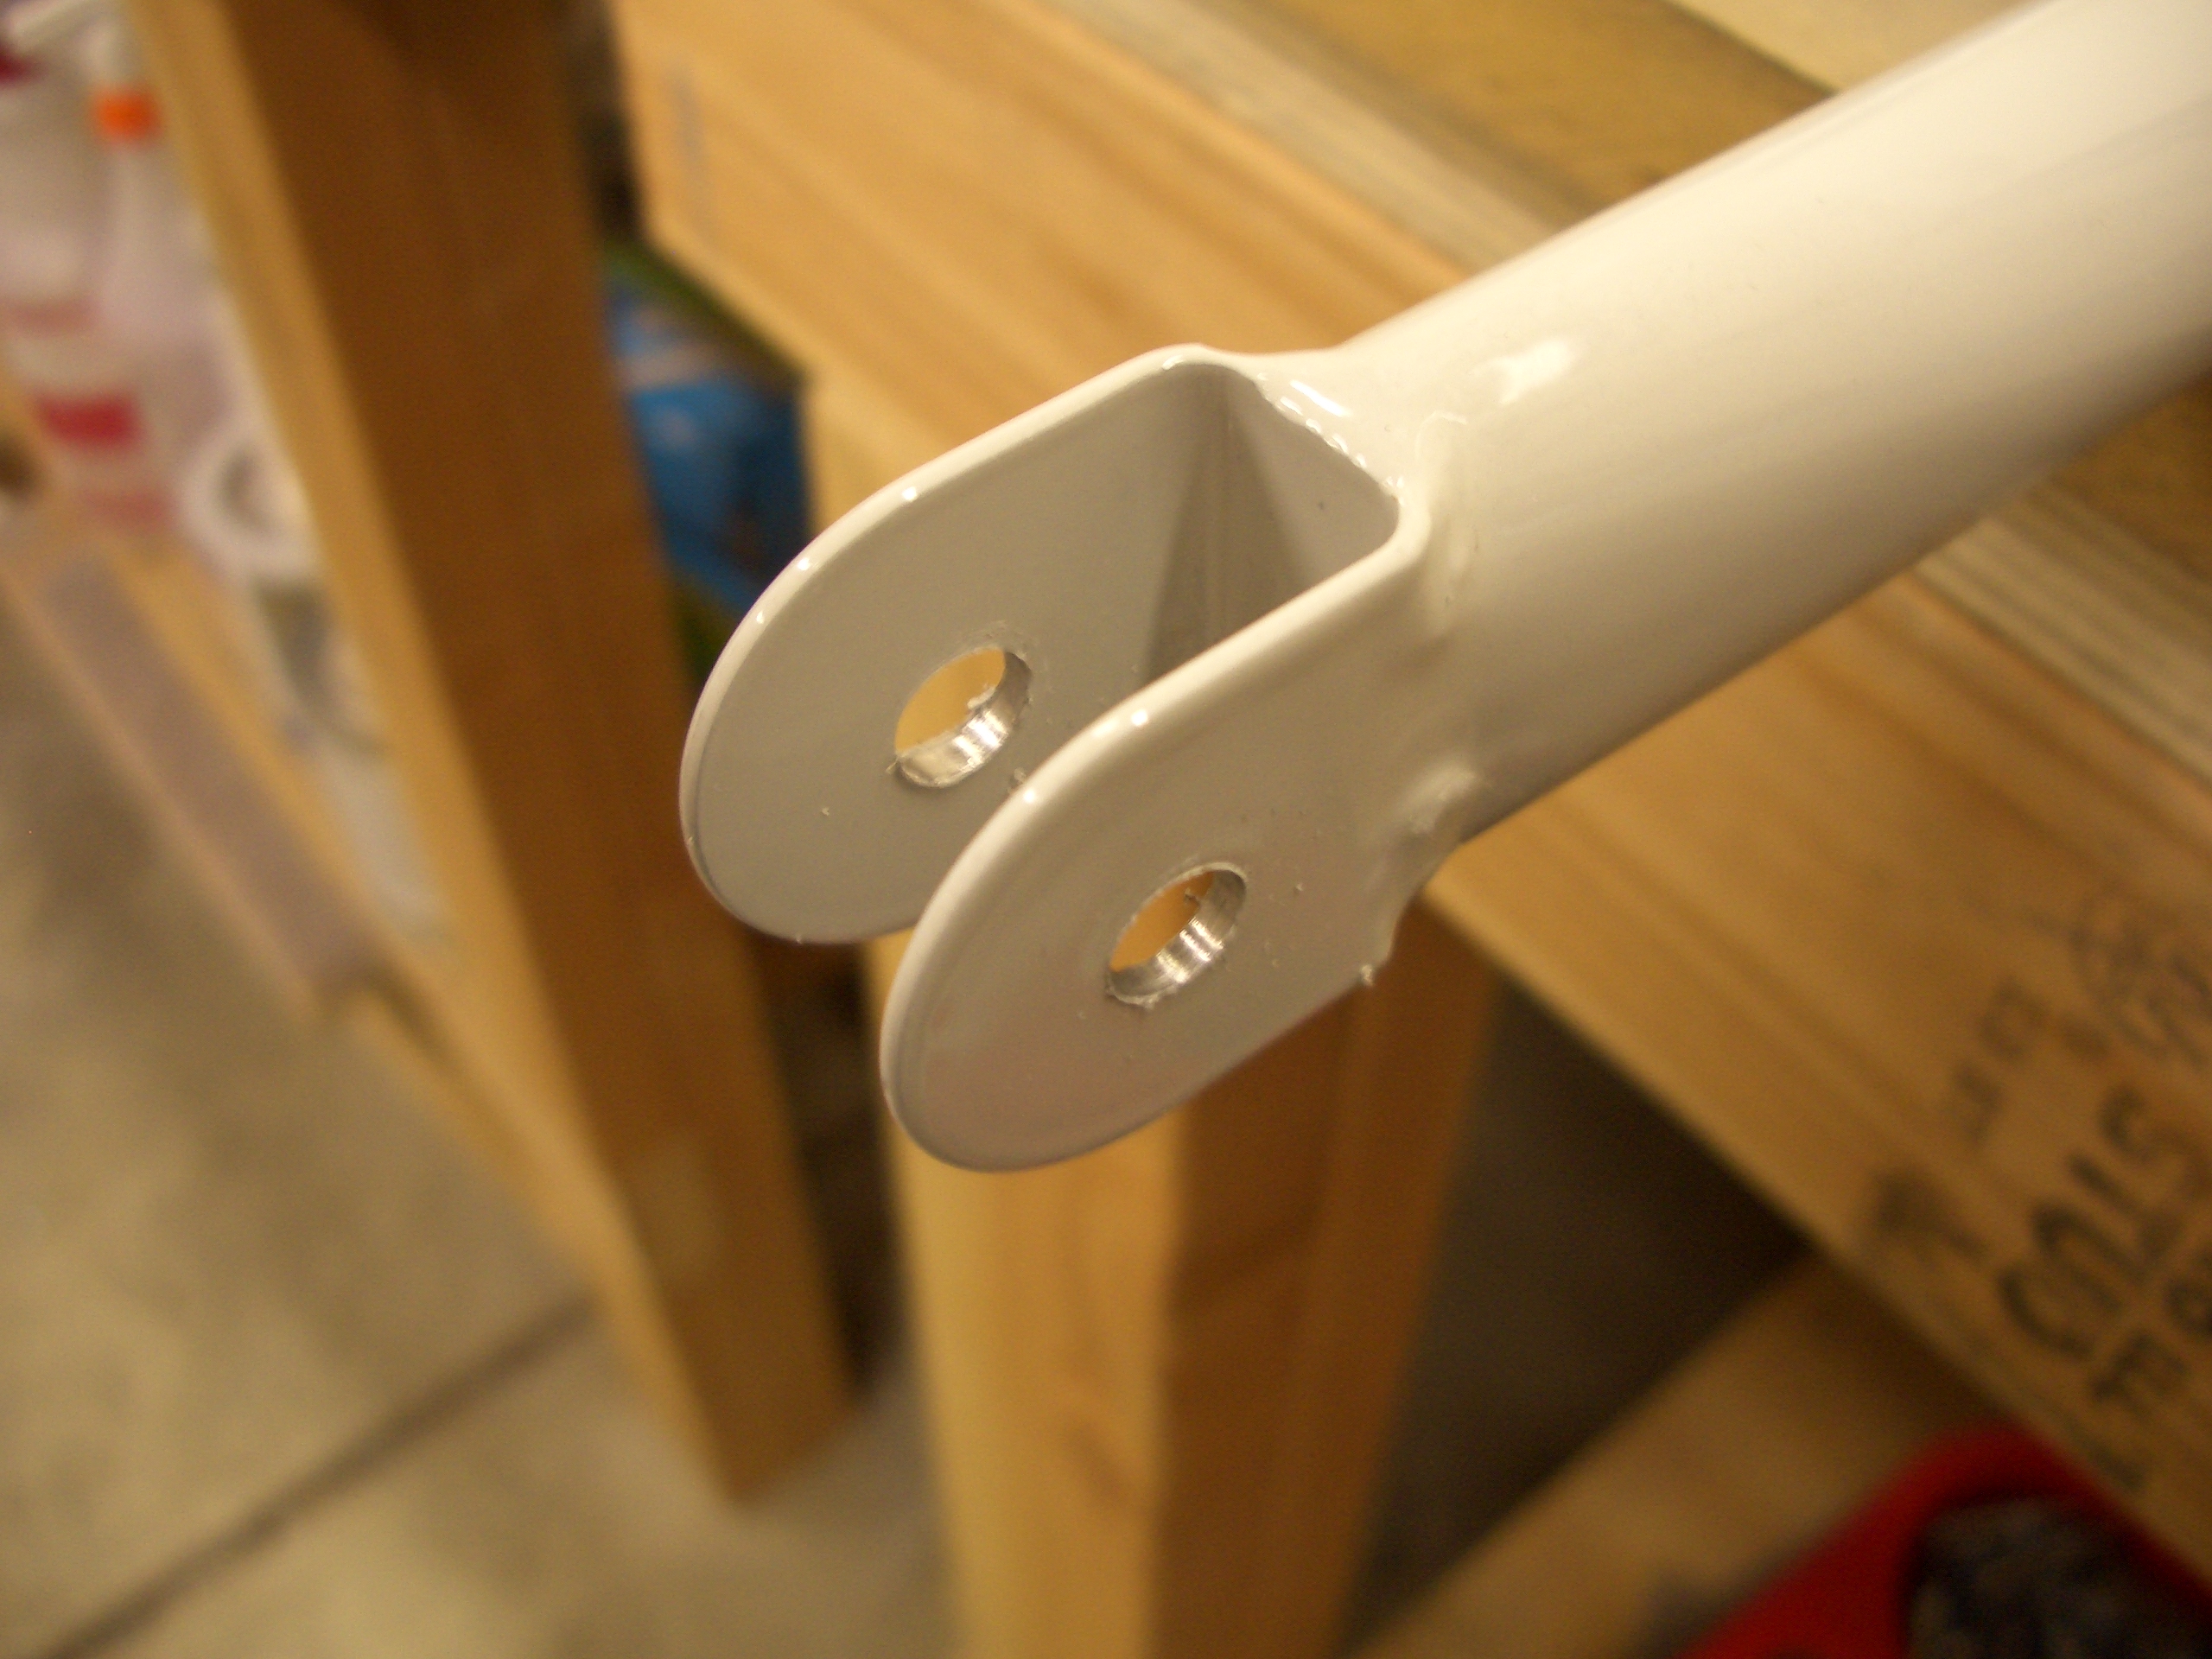
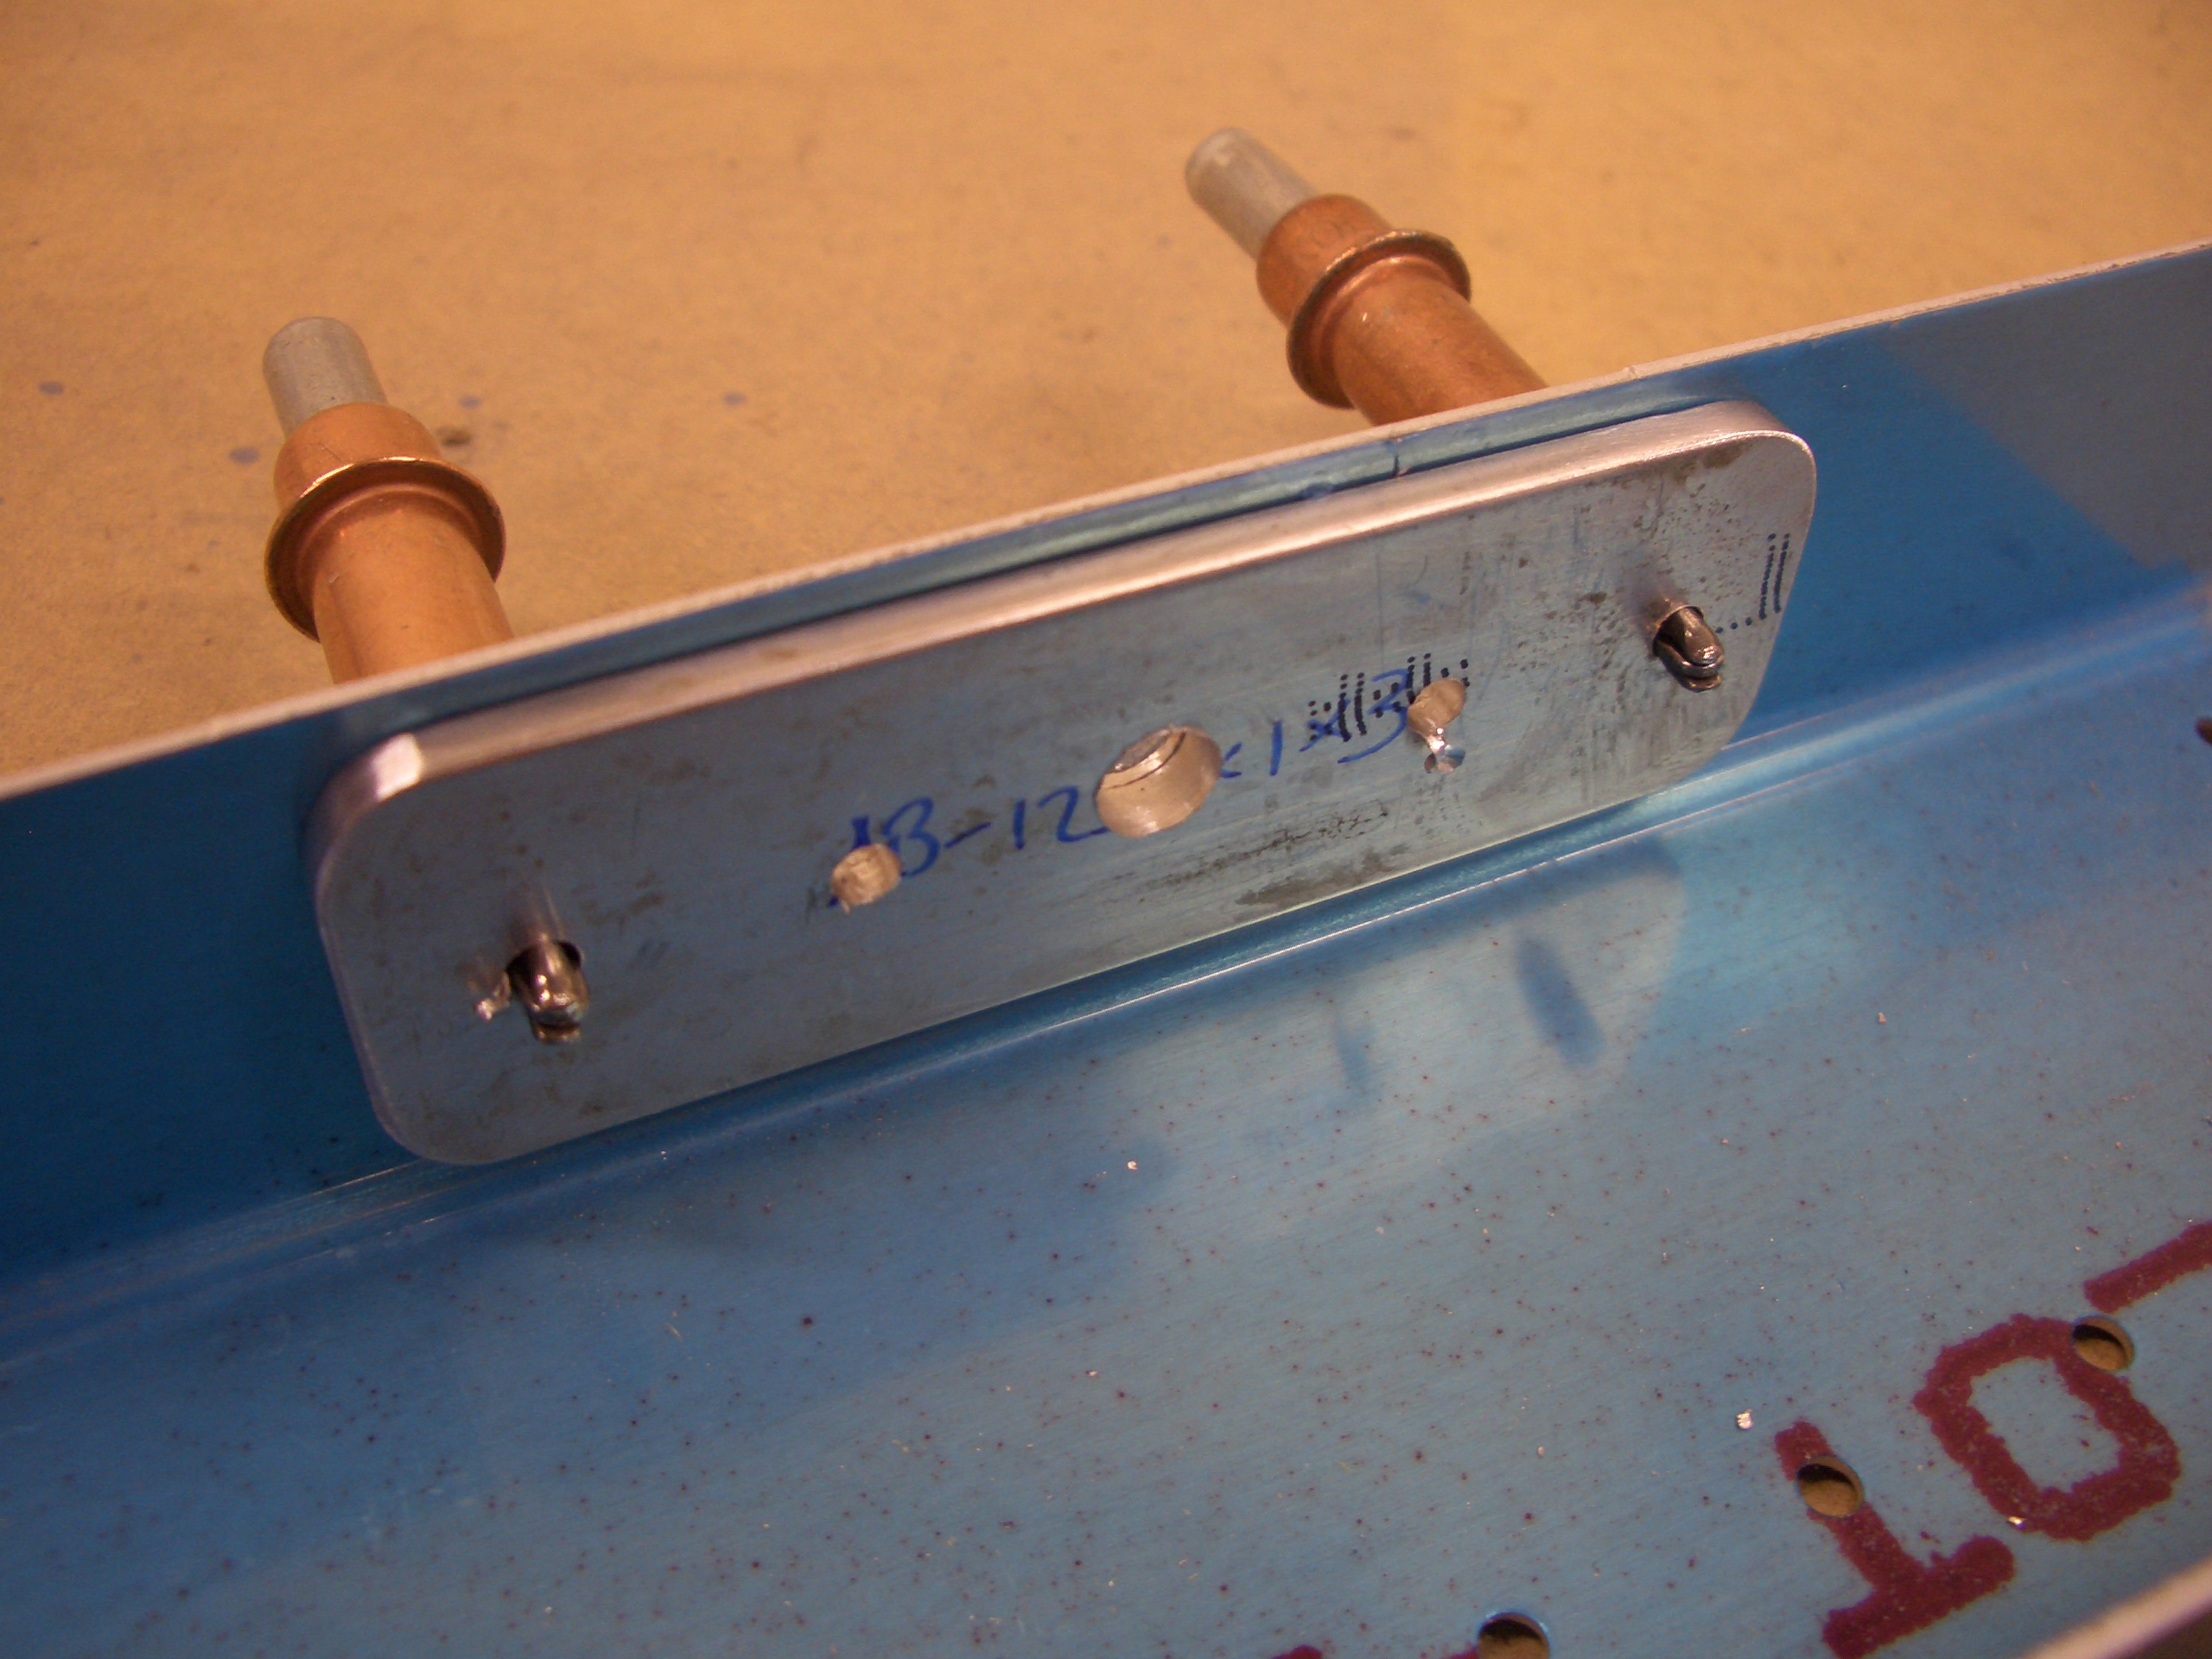
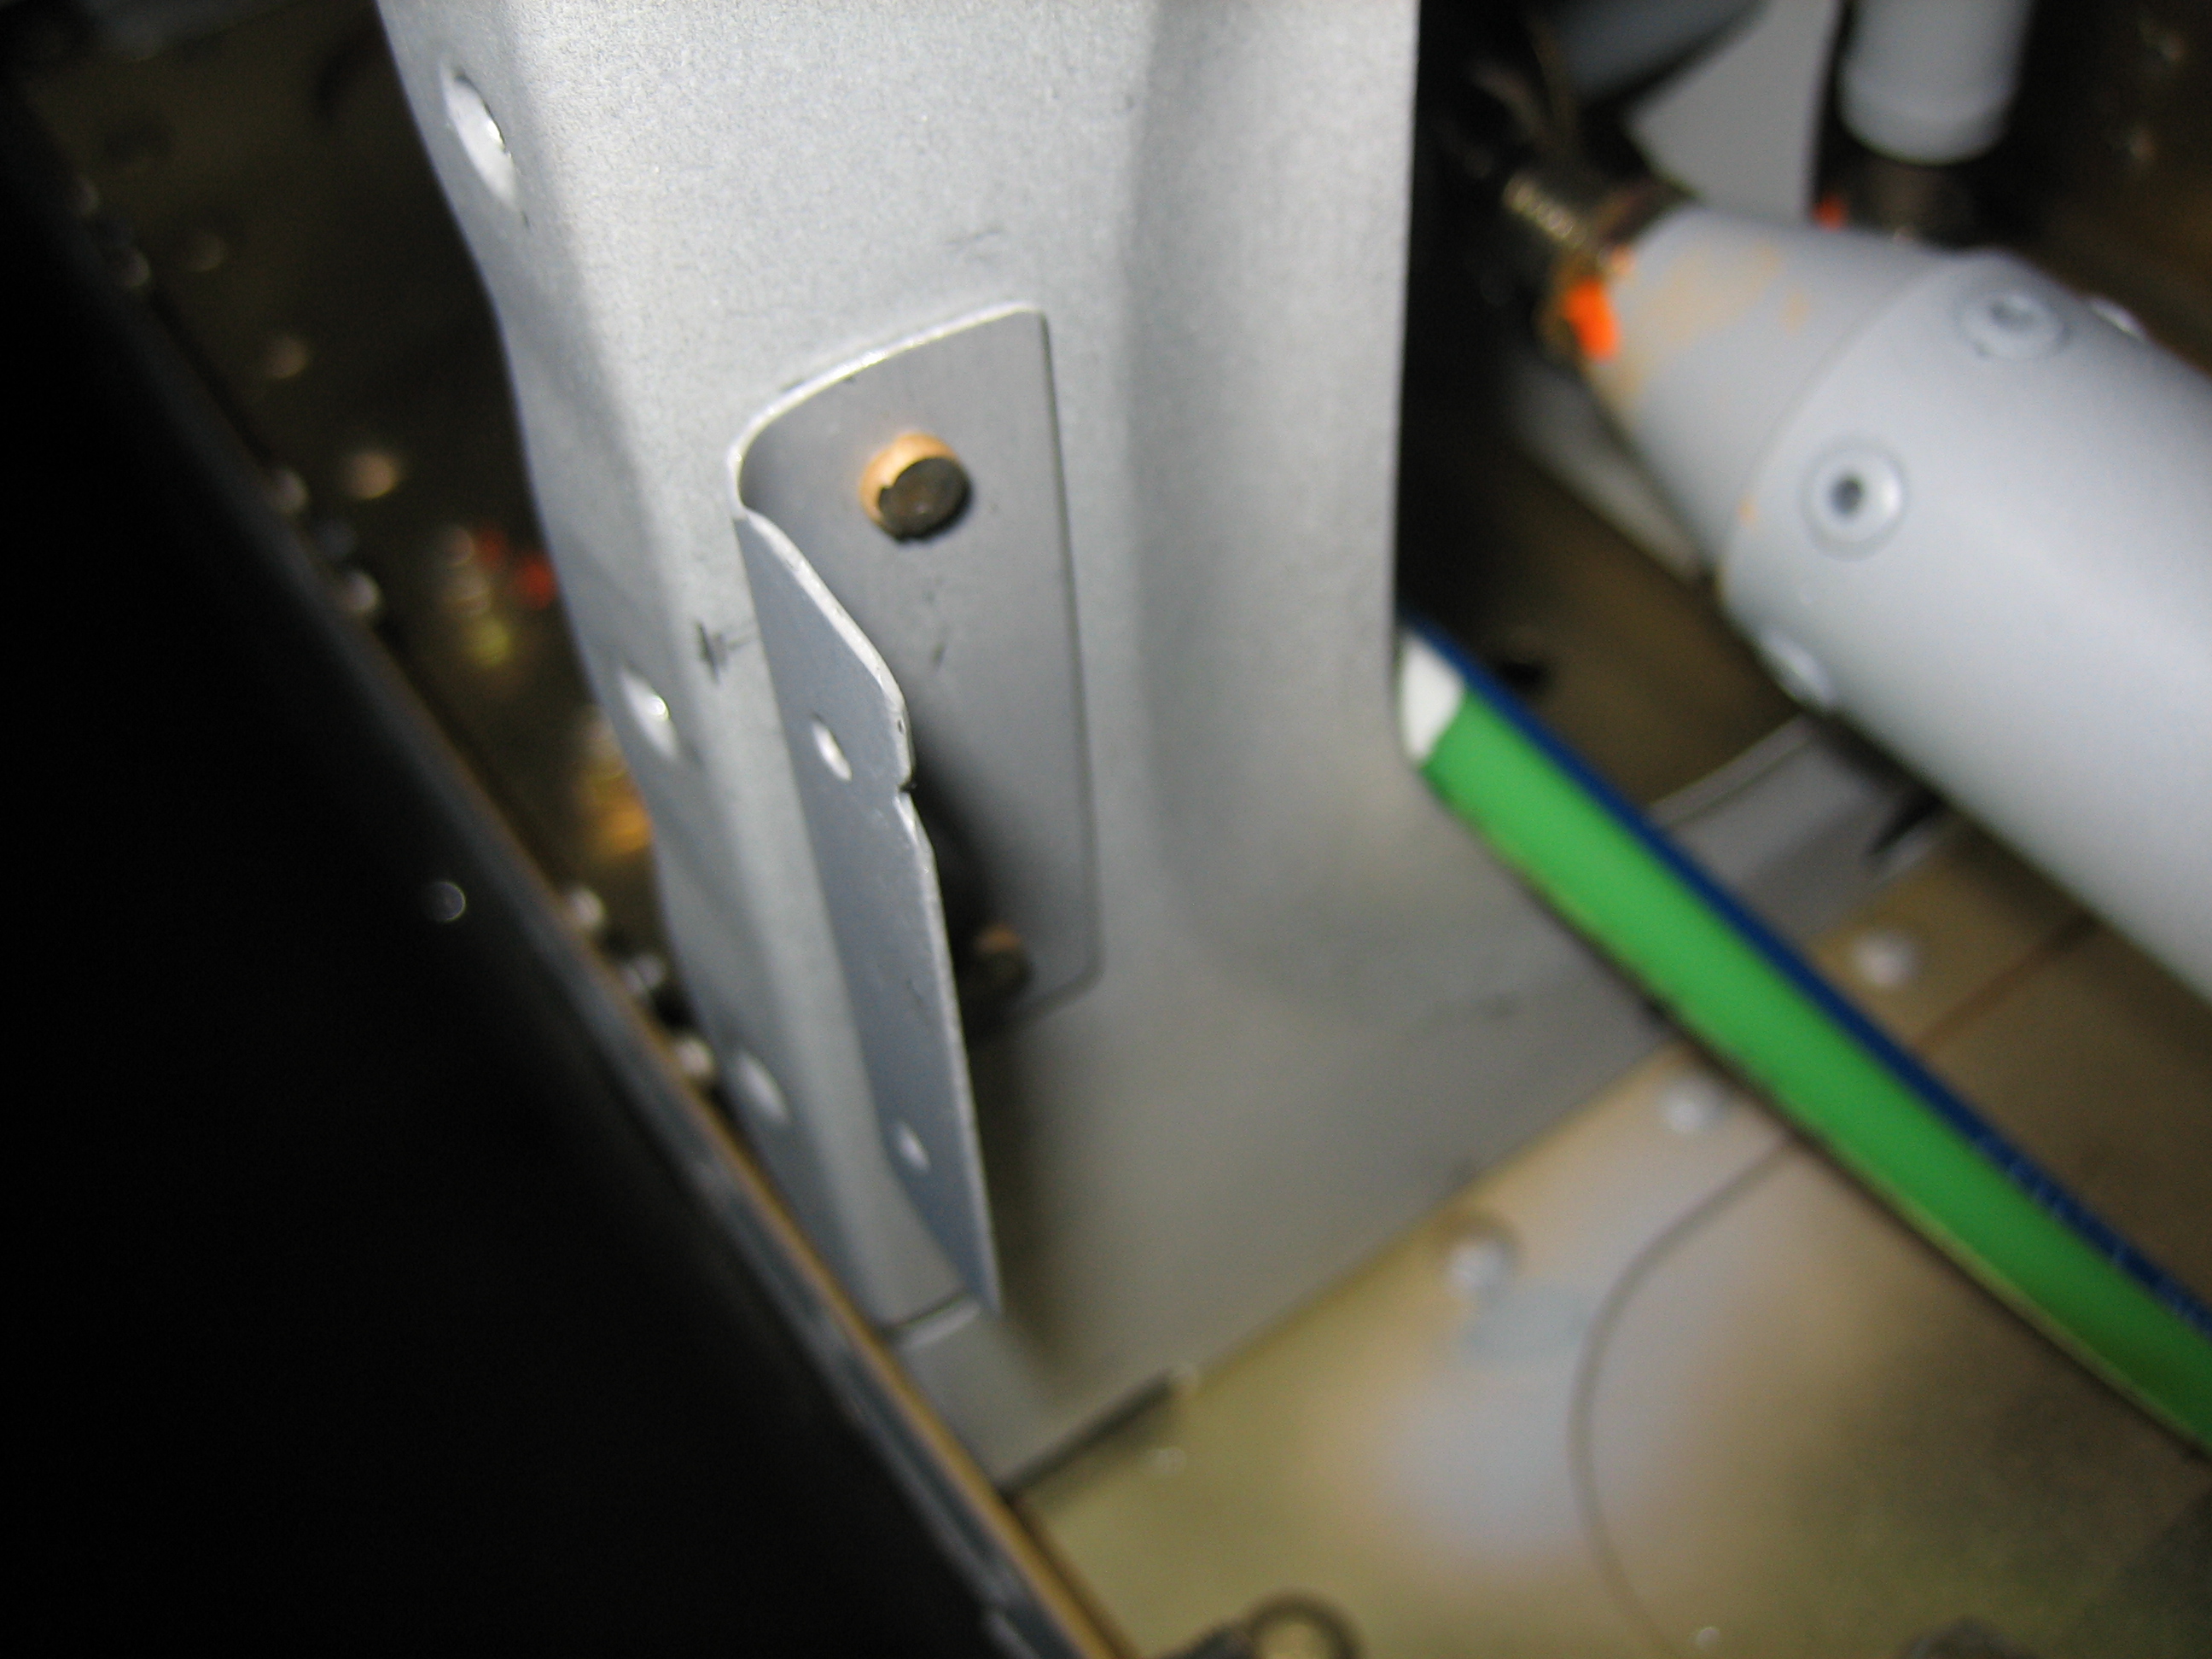
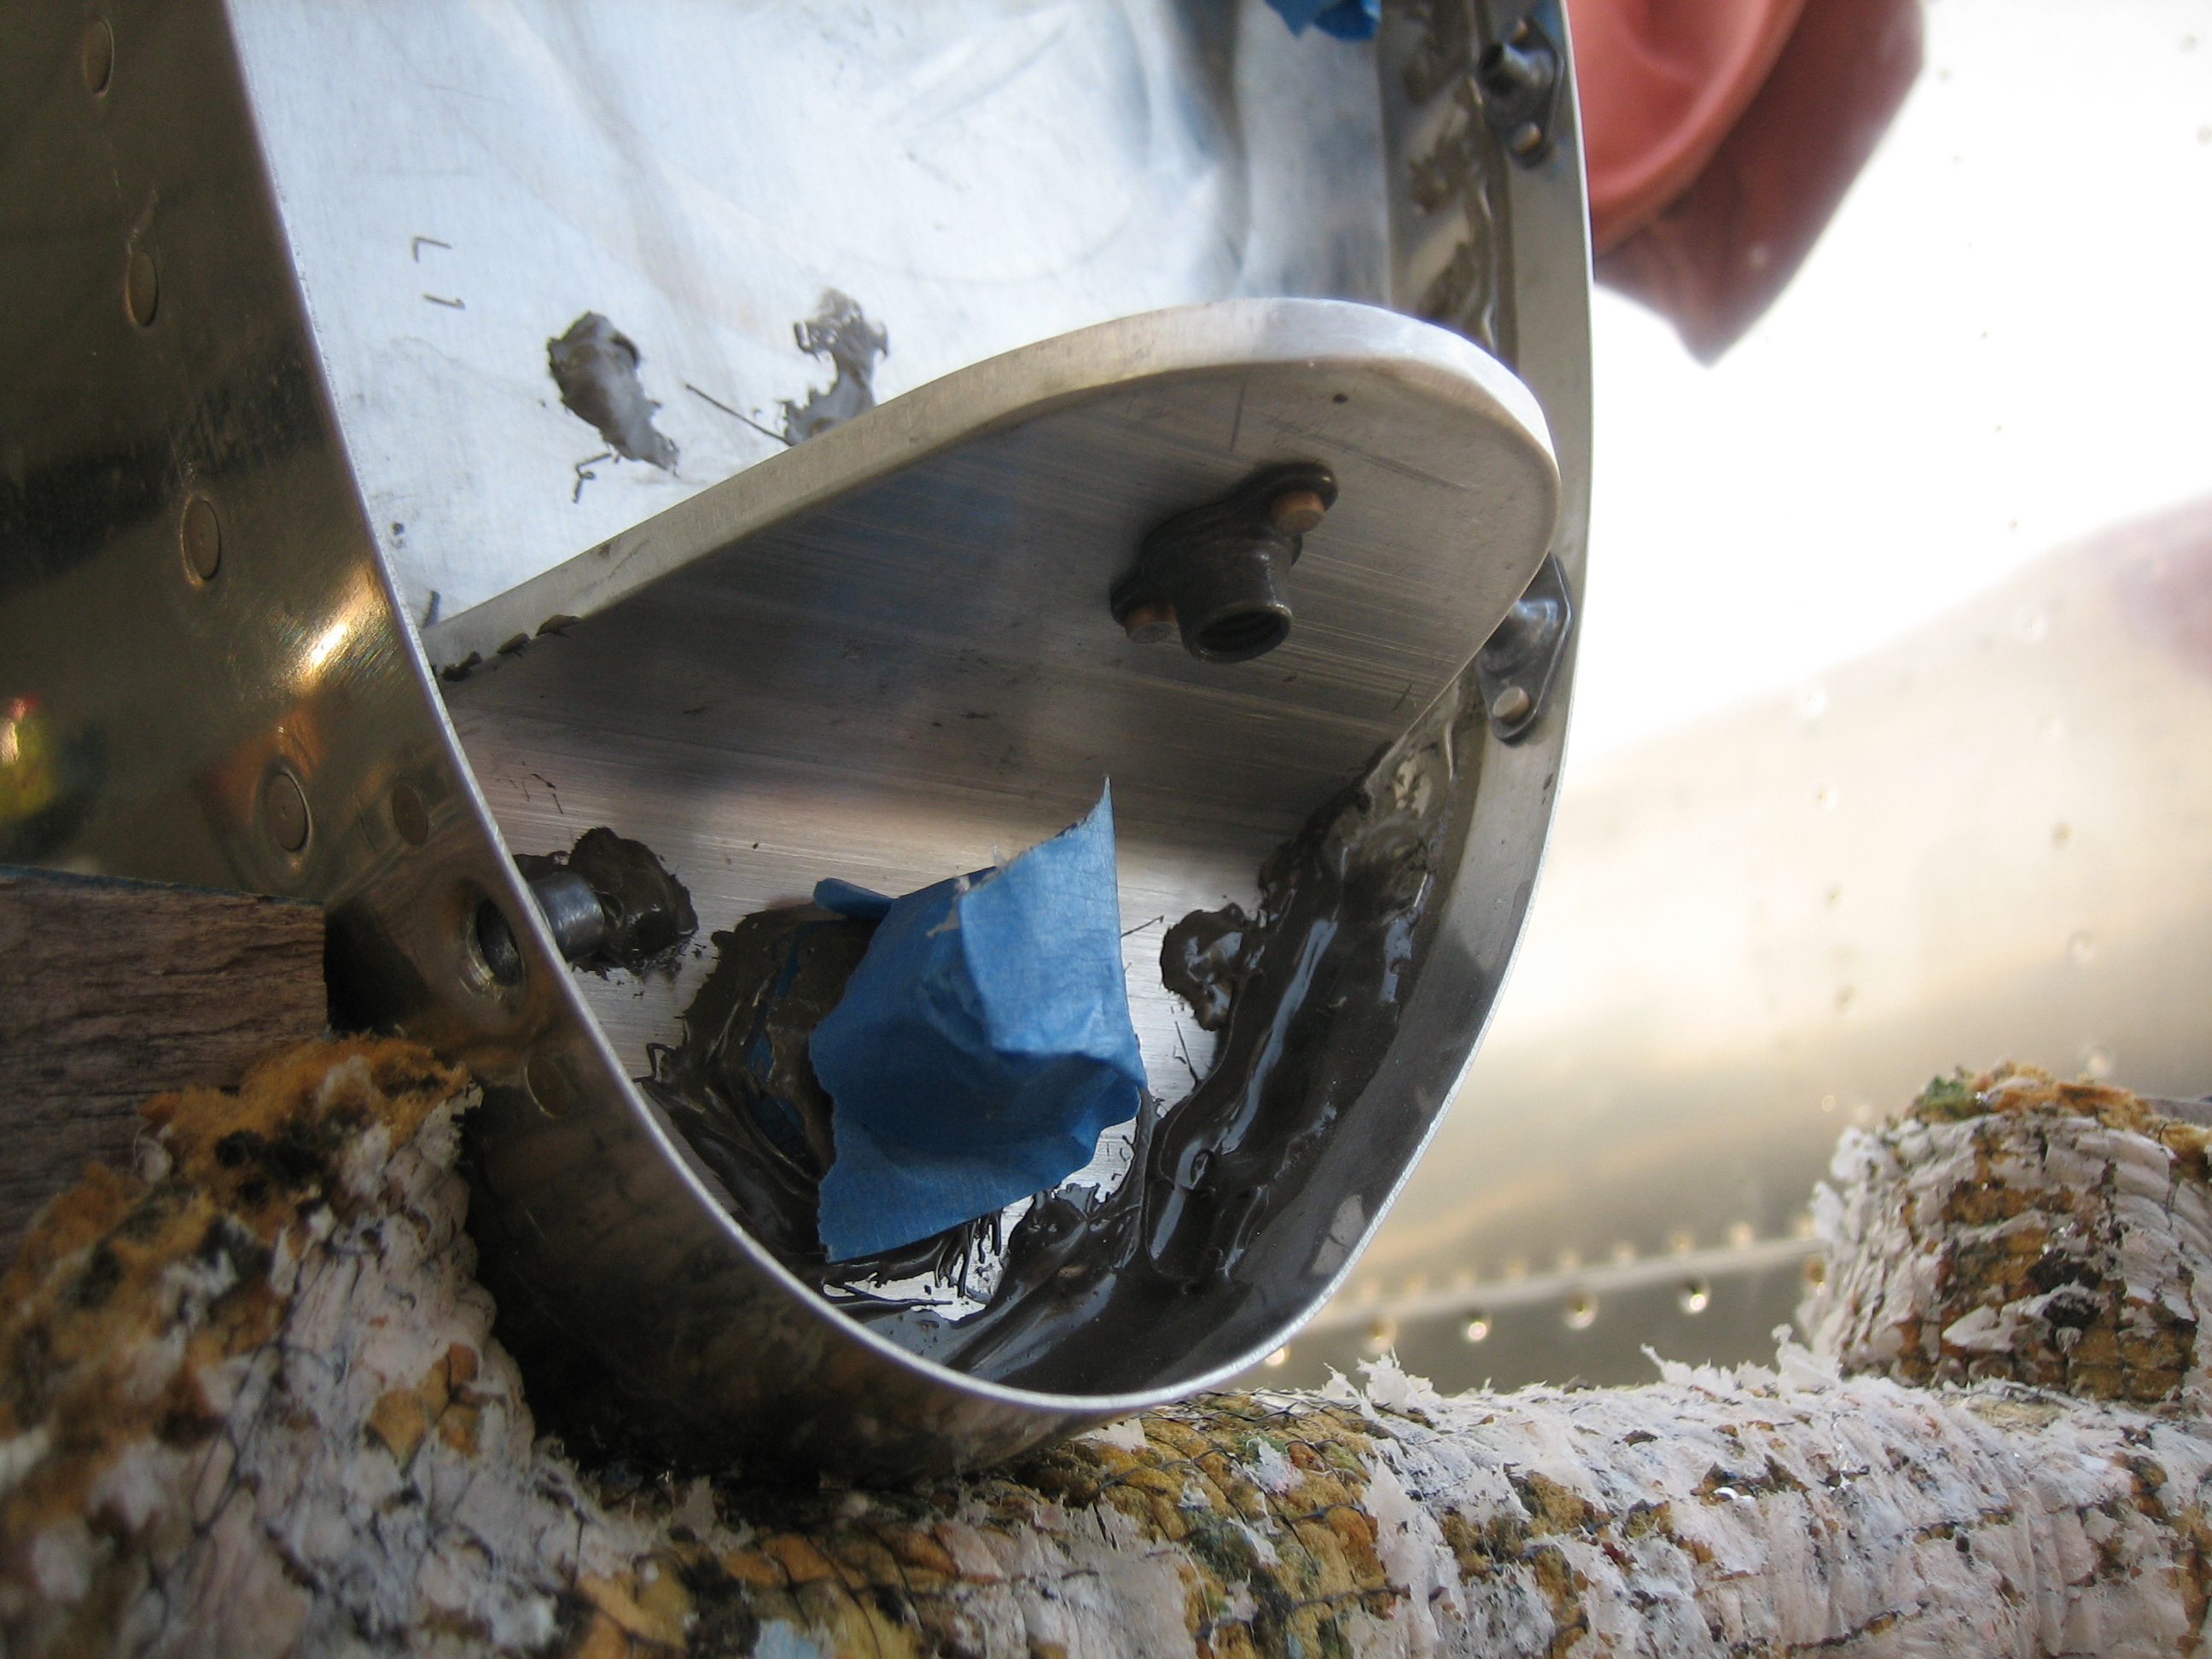
Next, I installed the flaps and pushrods and cut out the flap pushrod holes.  These are odd shaped holes due to the changing geometry between the flap weldment and the flap as they’re moved up and down.

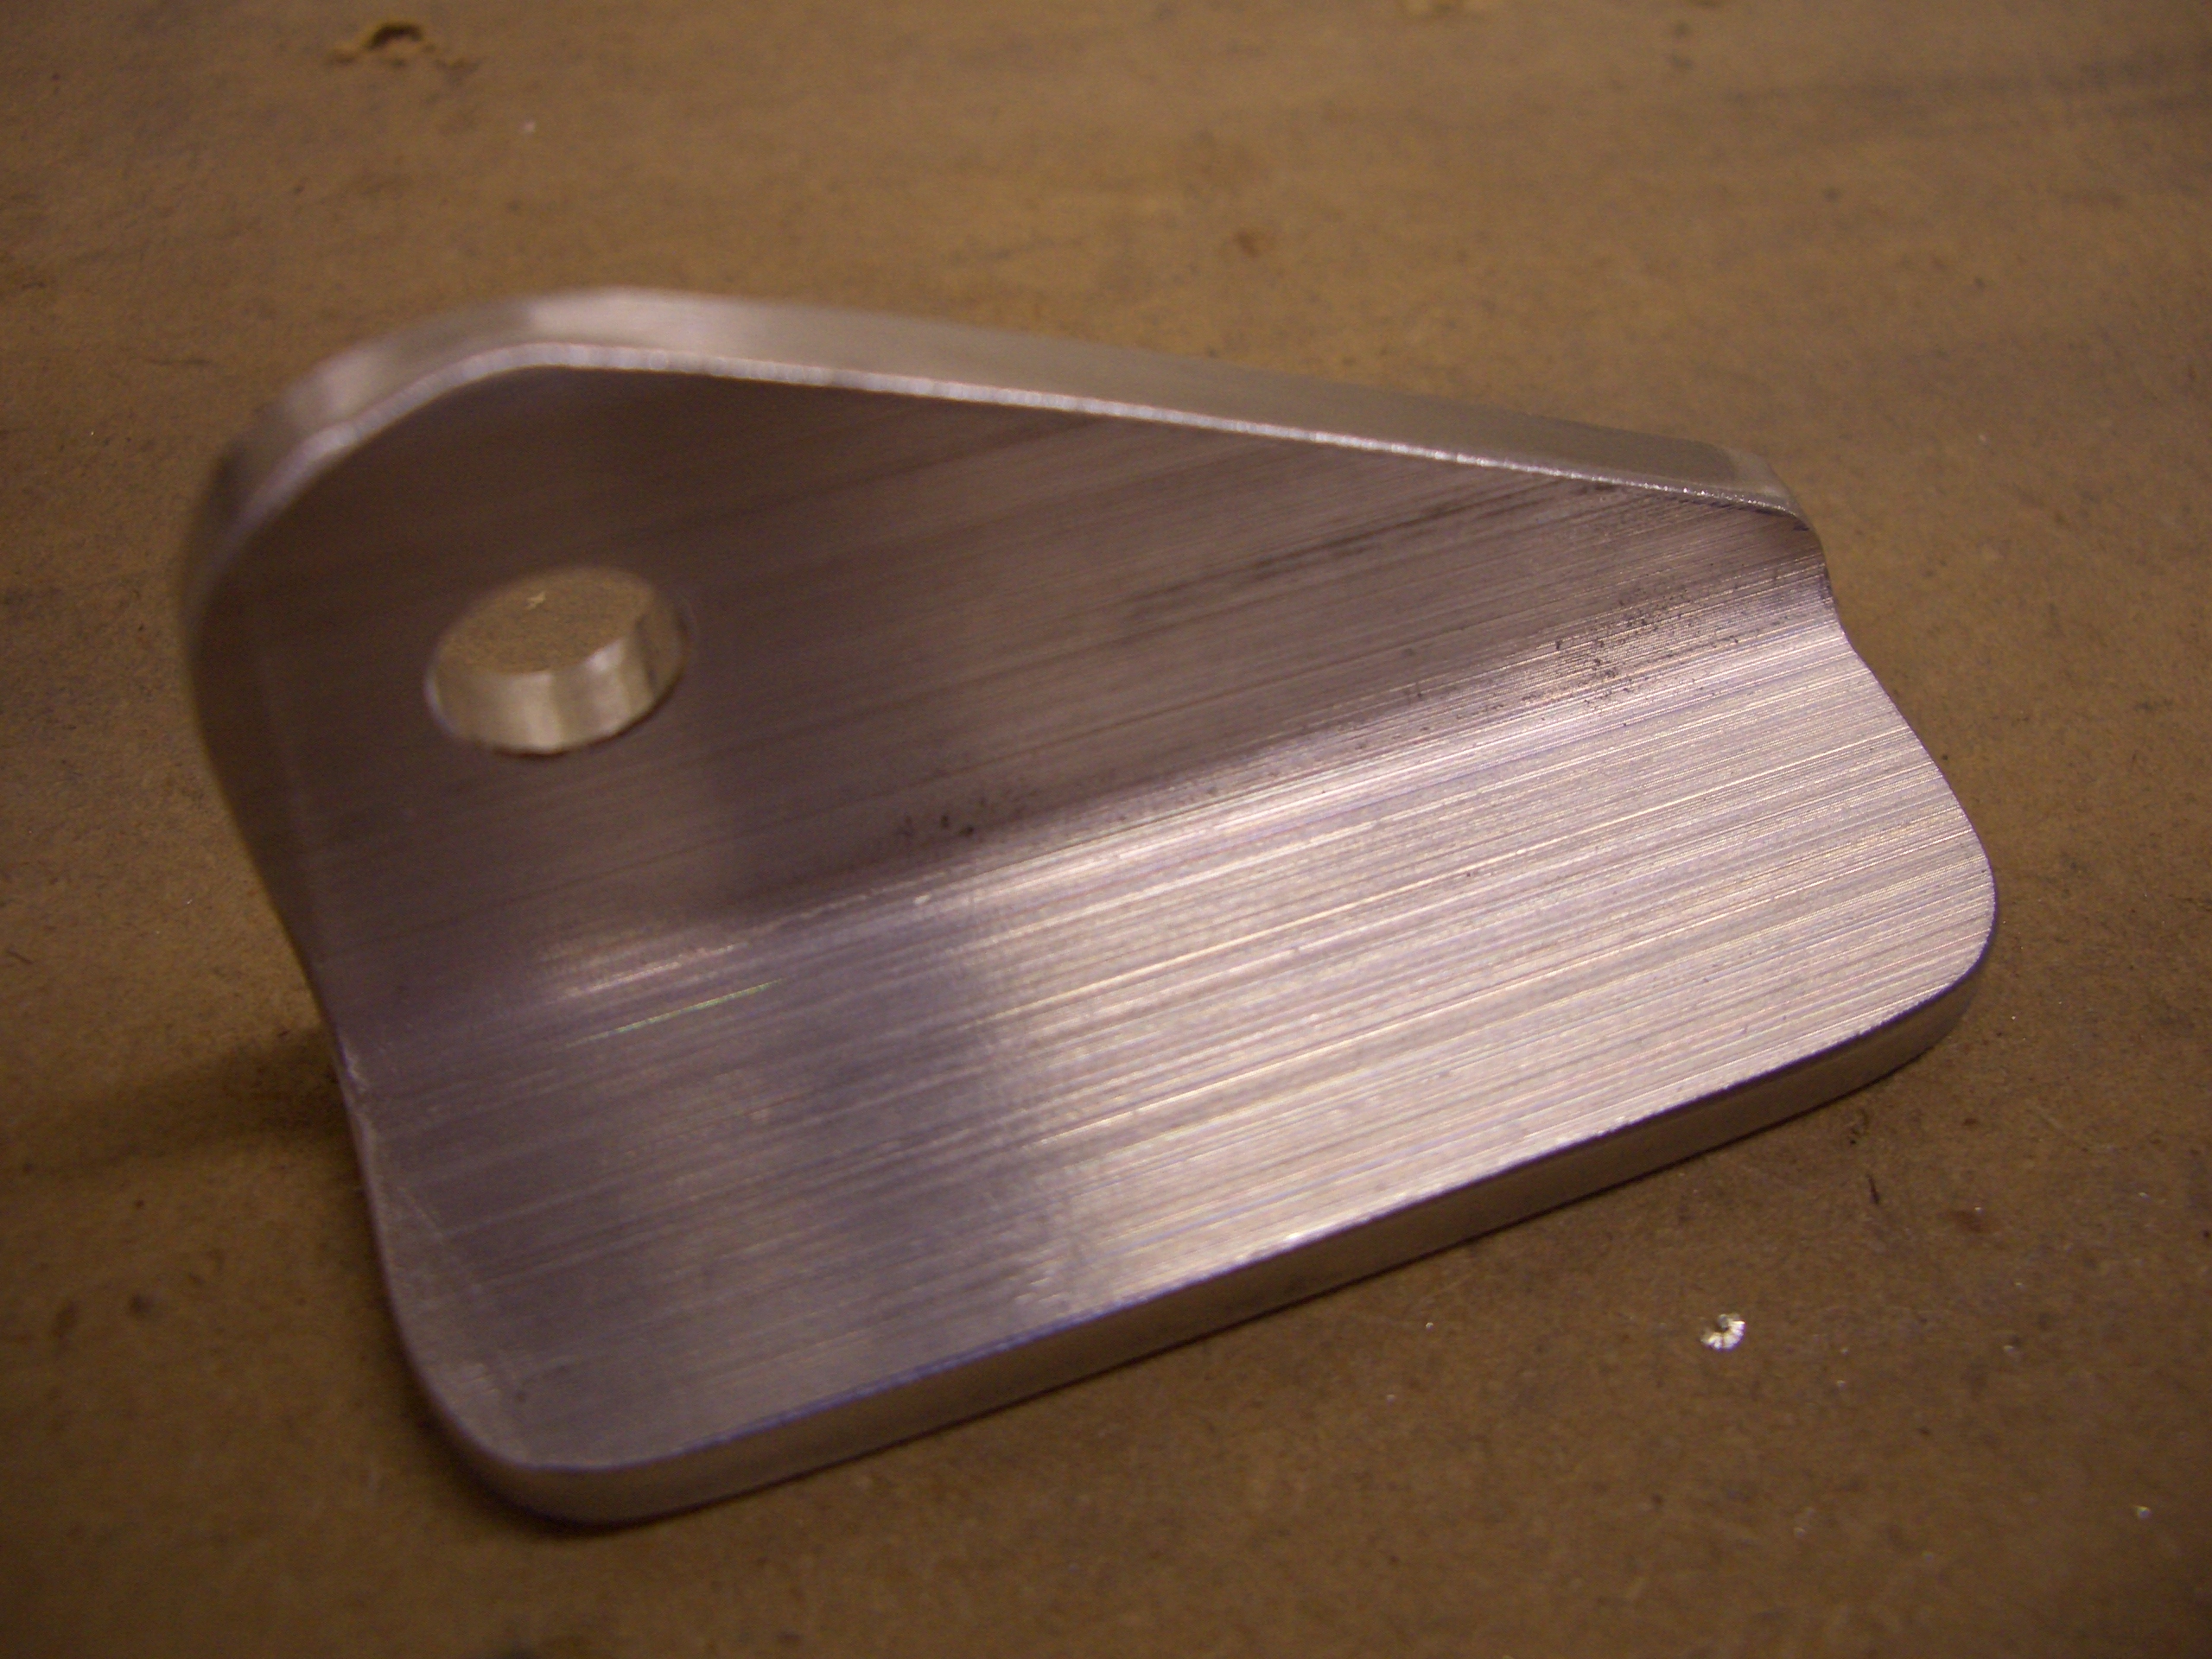
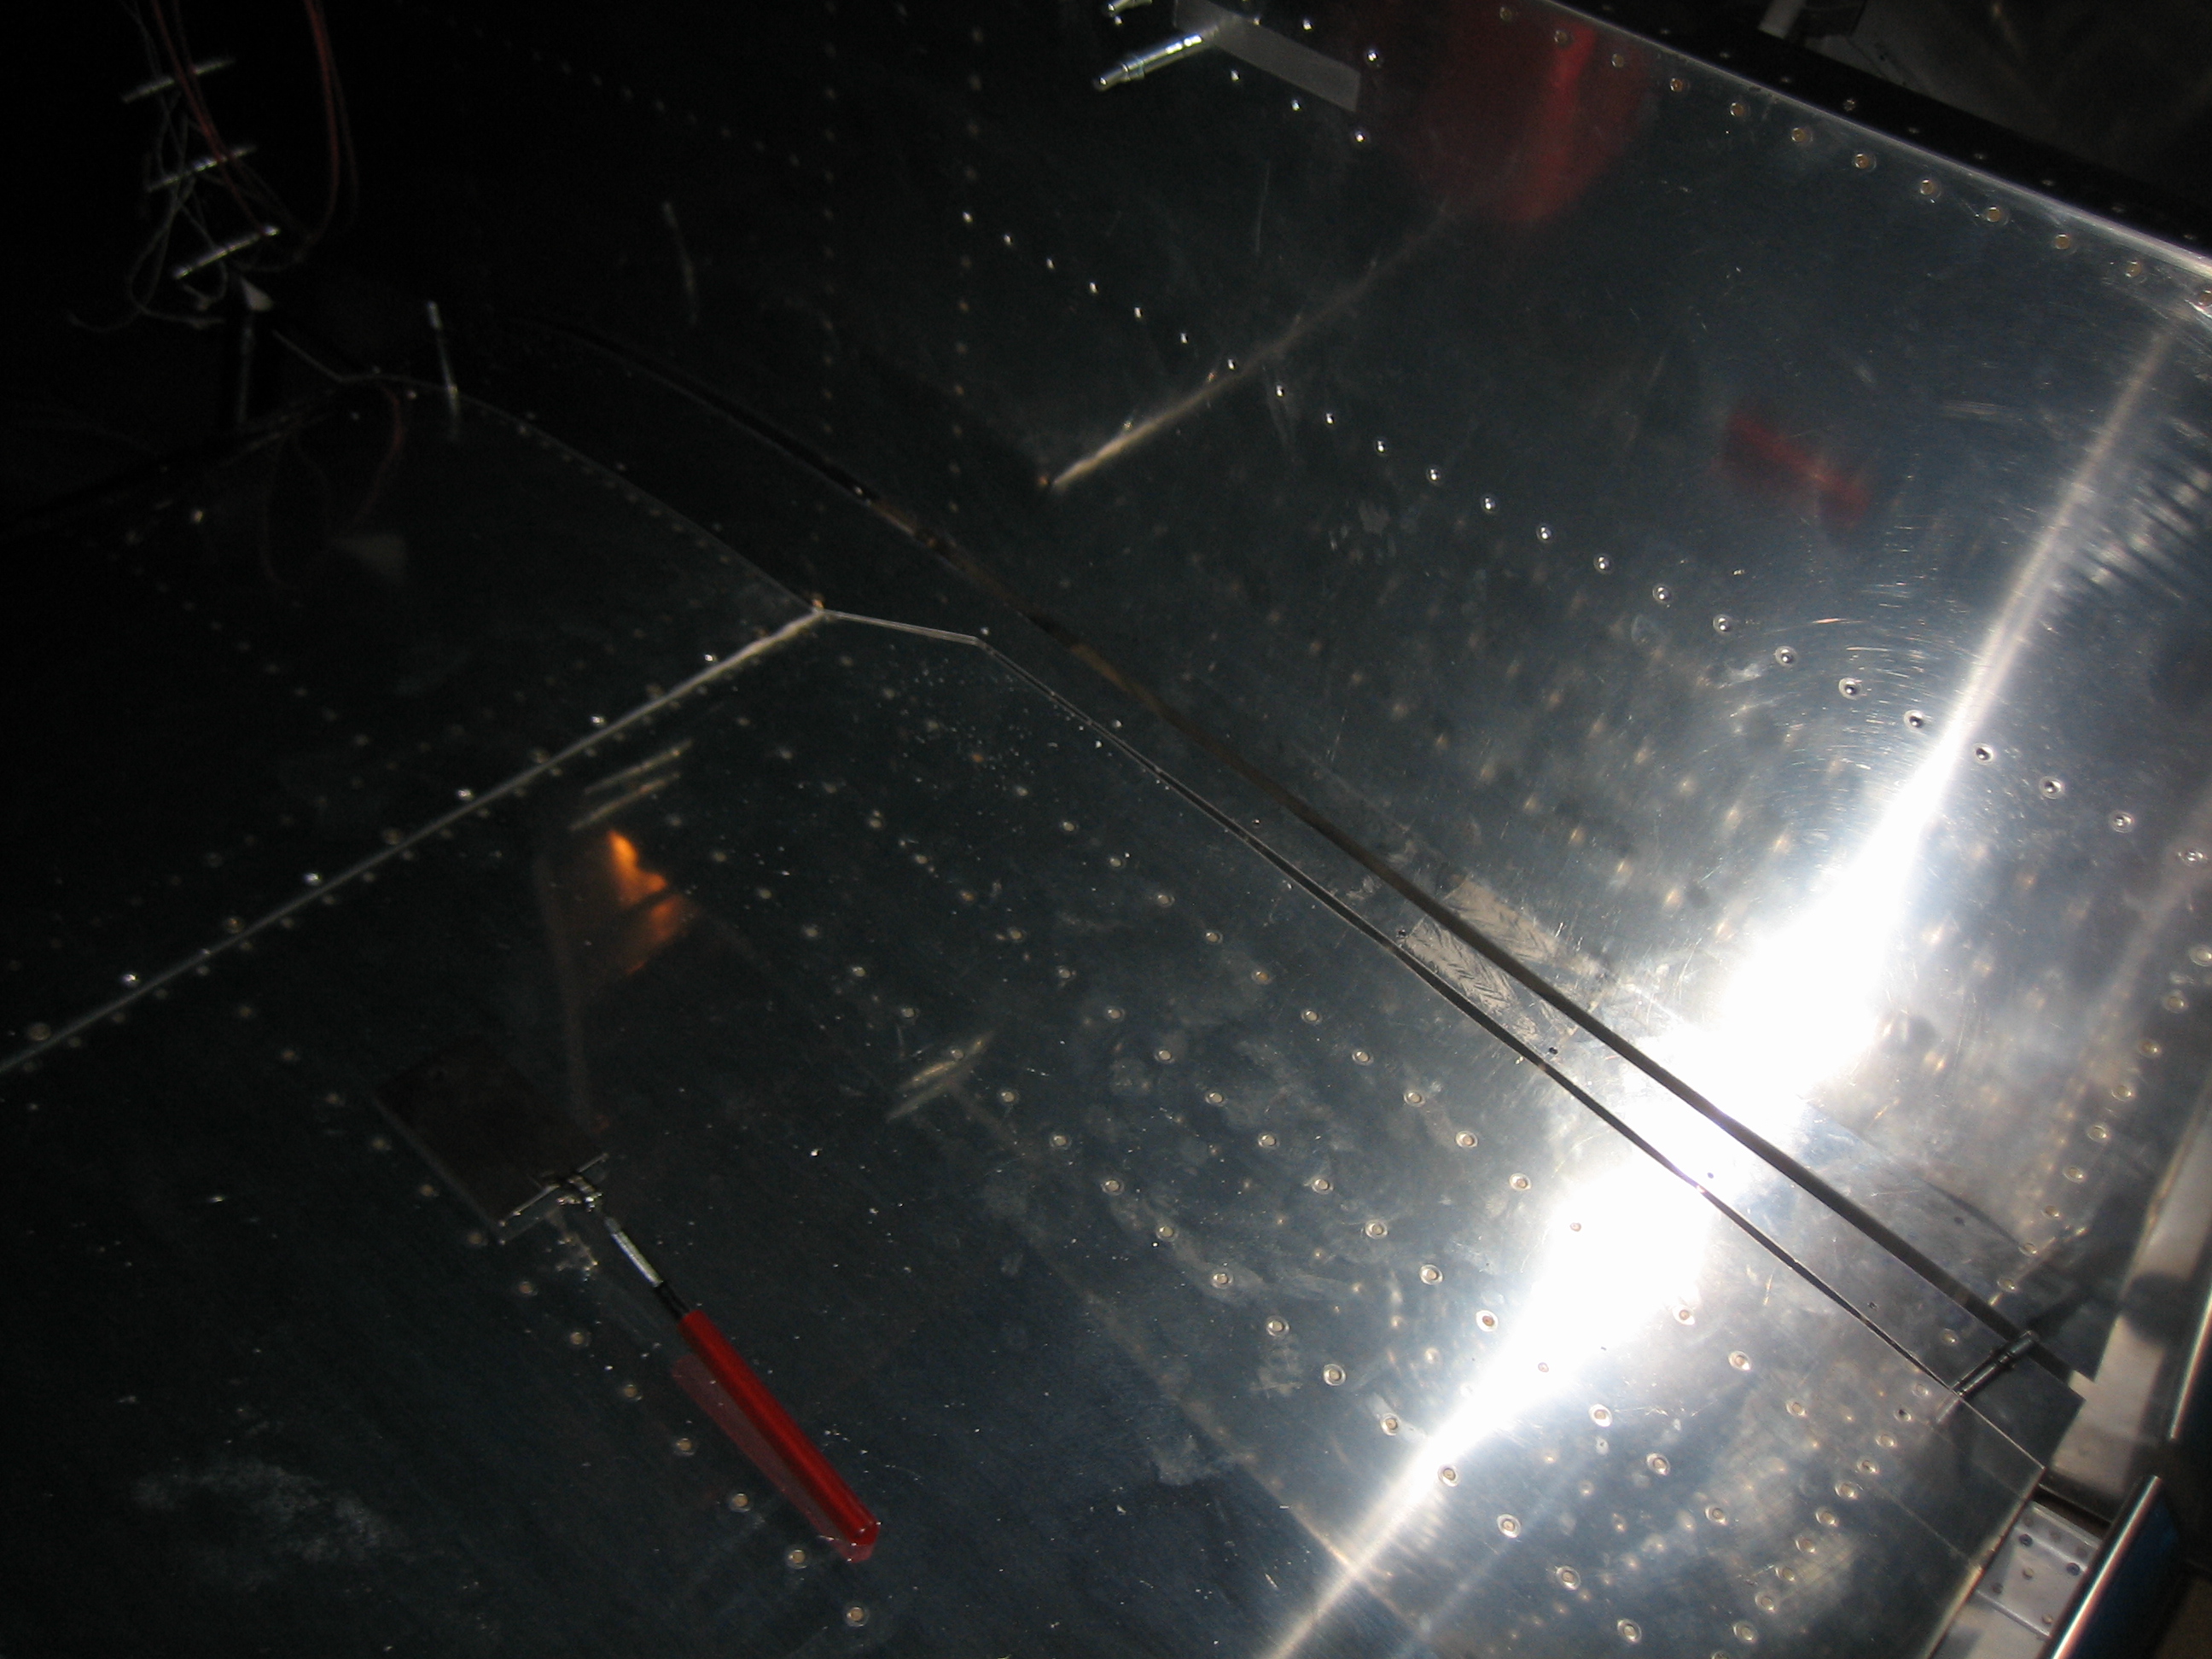
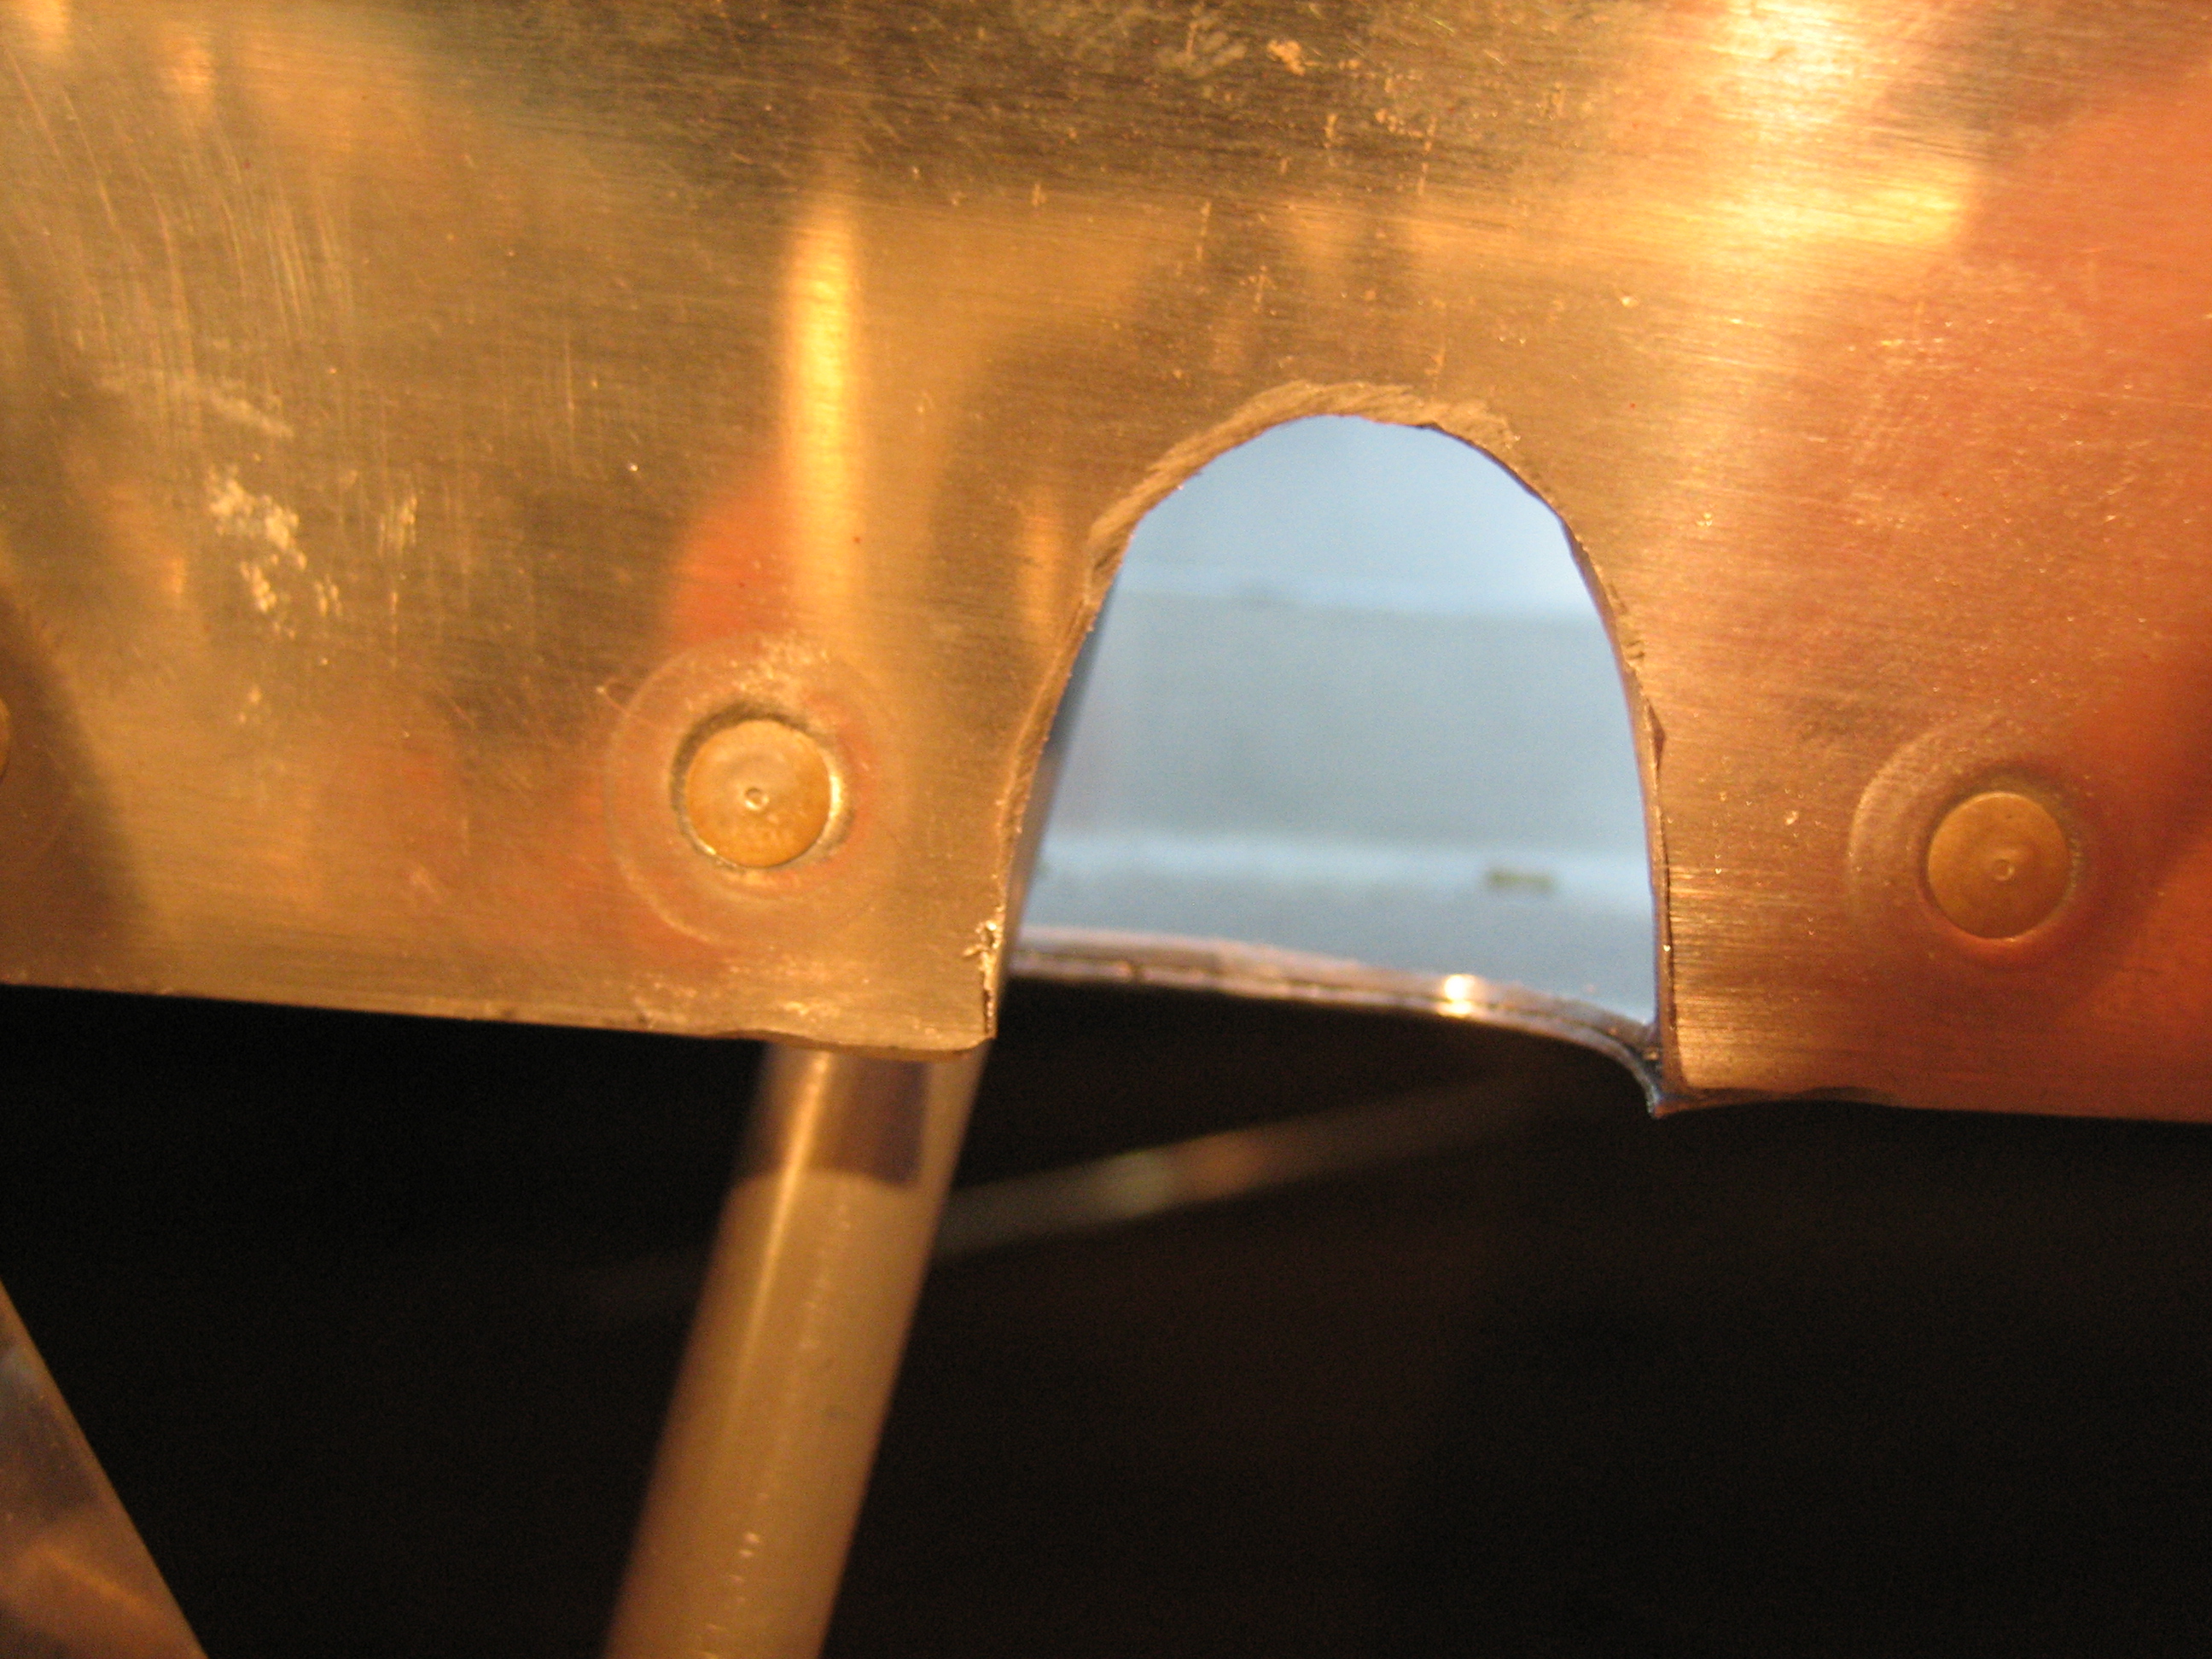
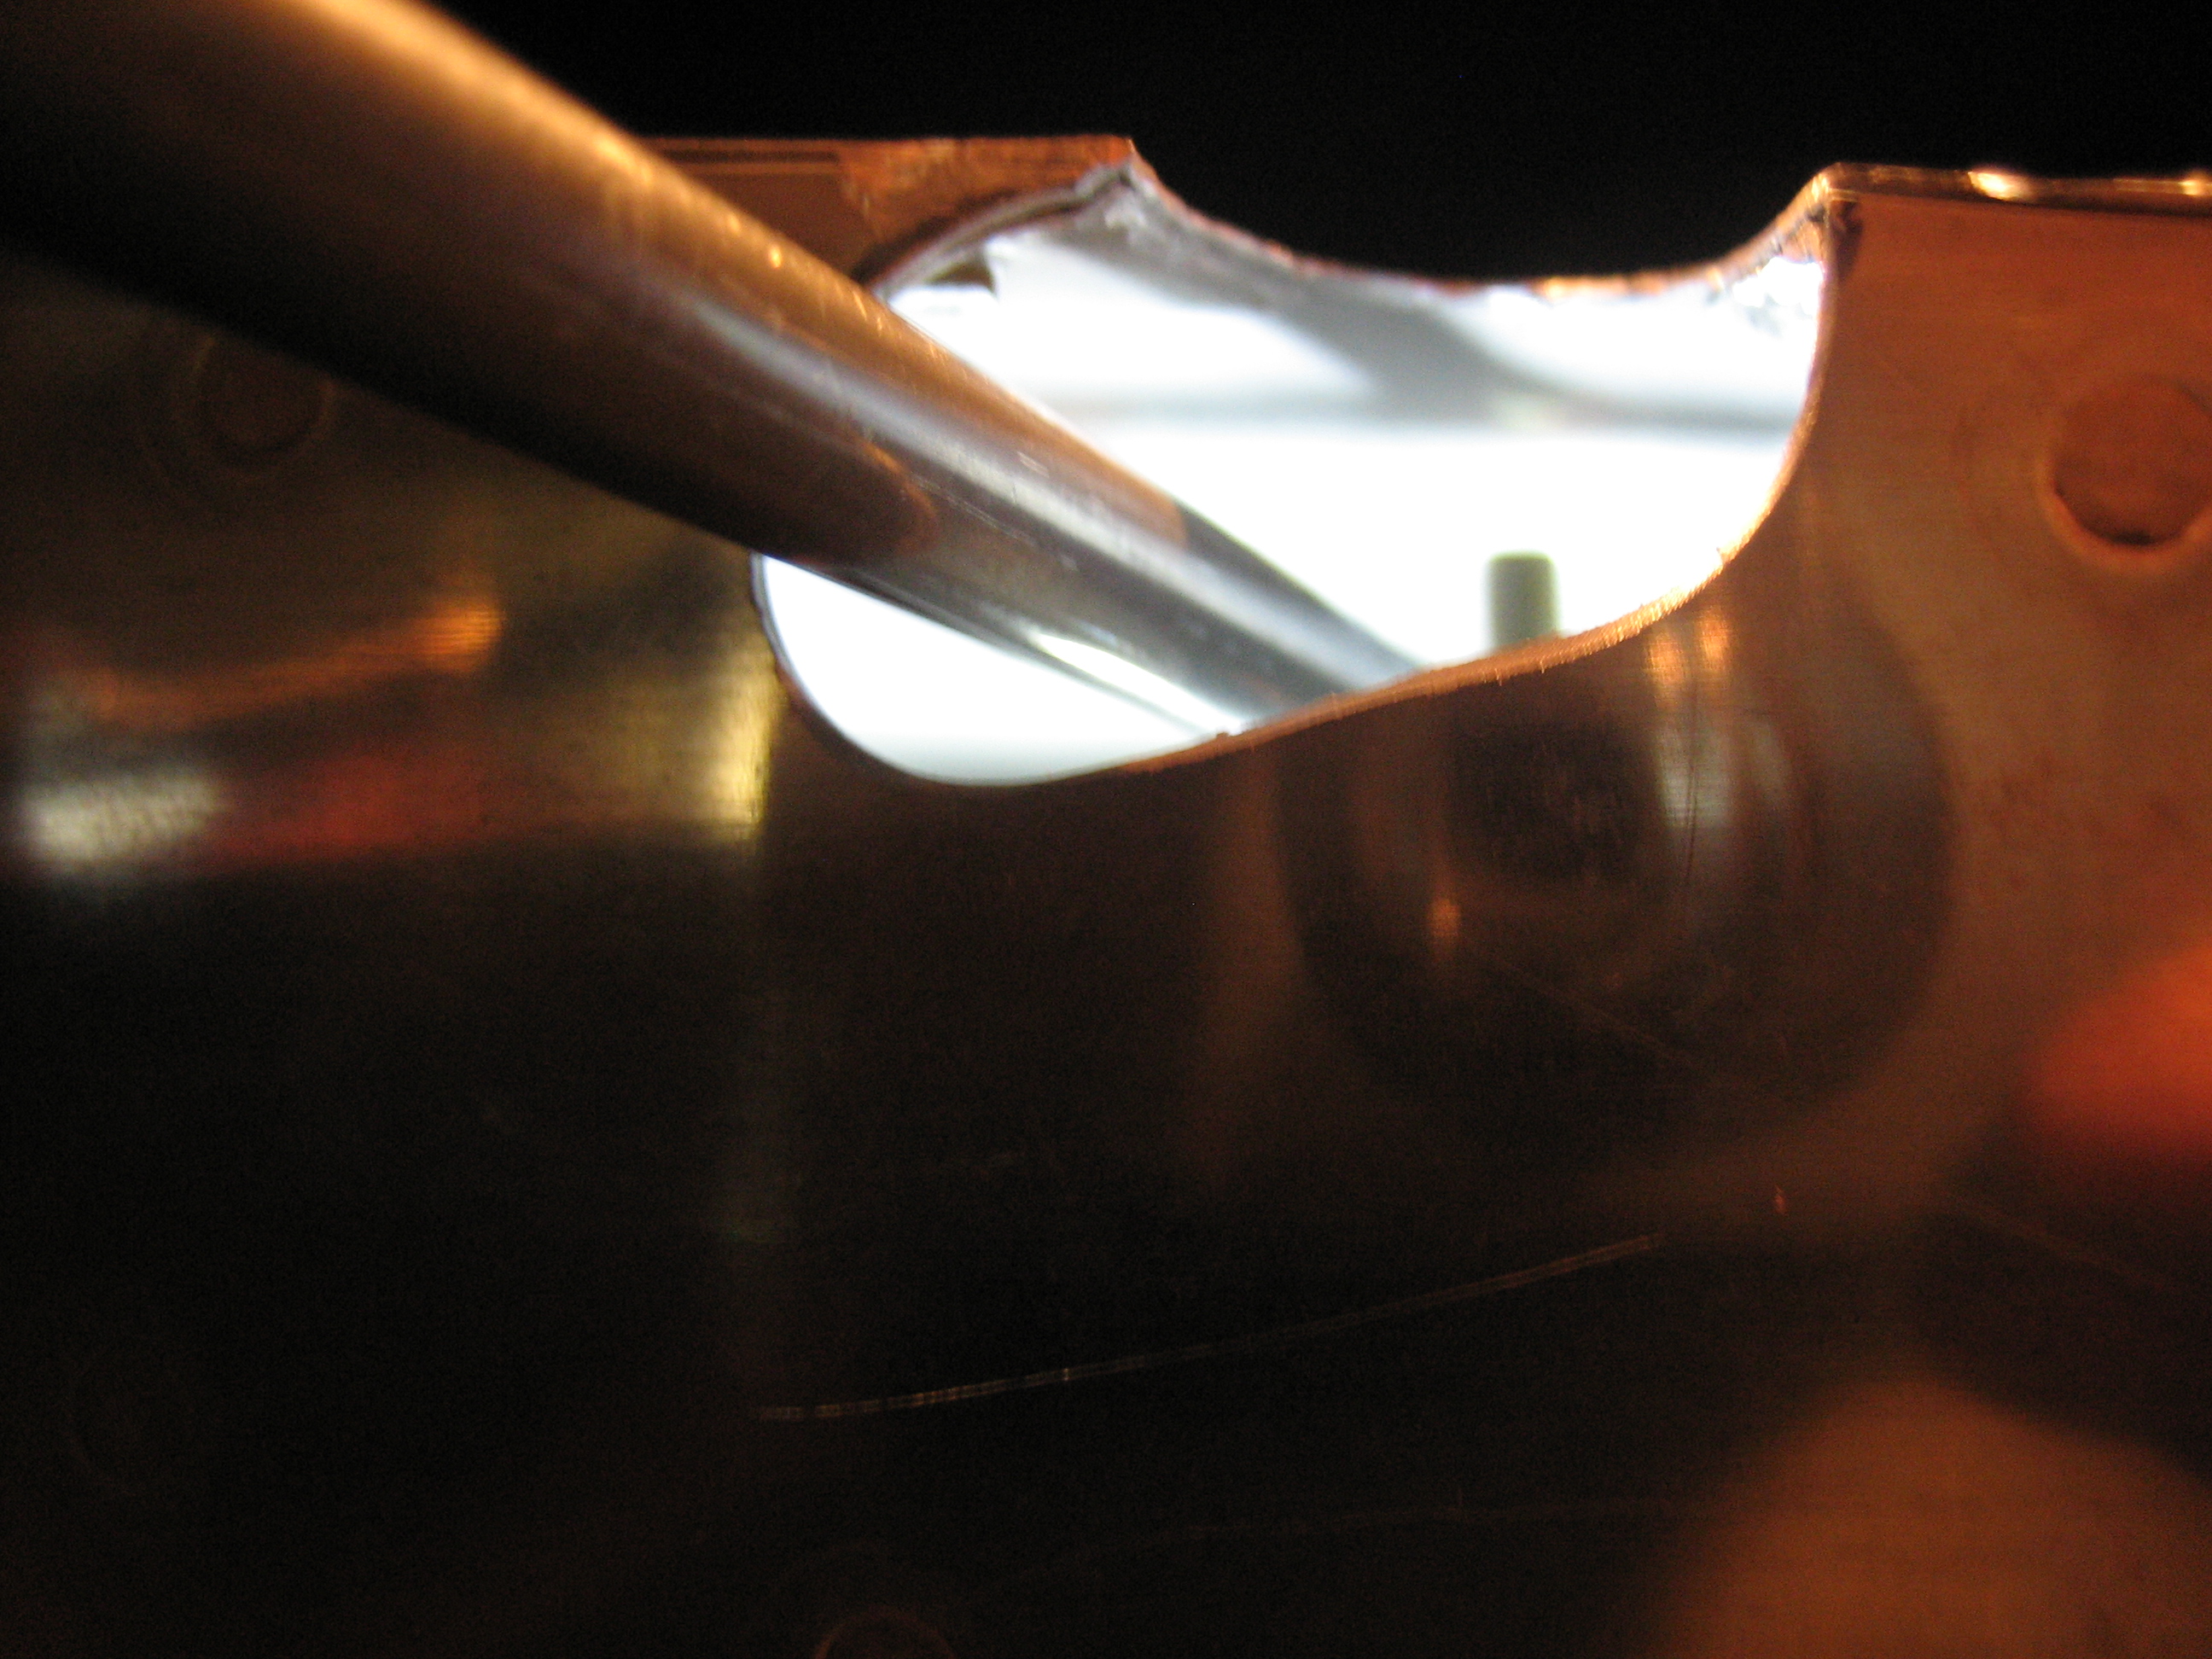
Heres a rough idea what the hole on the left side looks like.

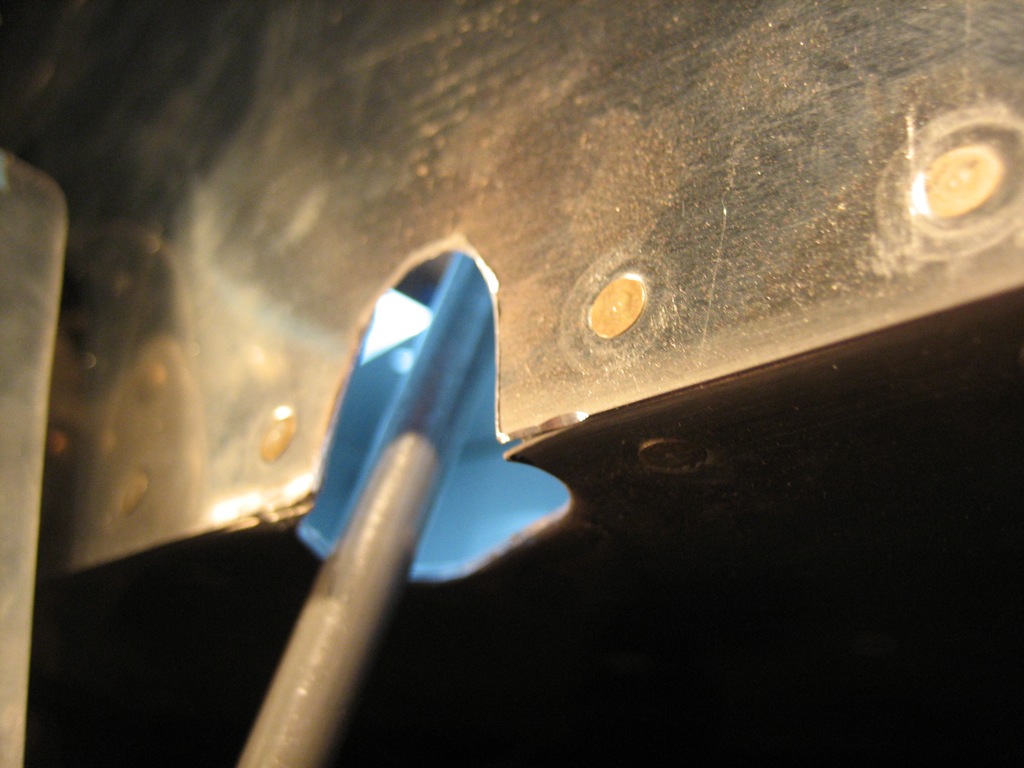
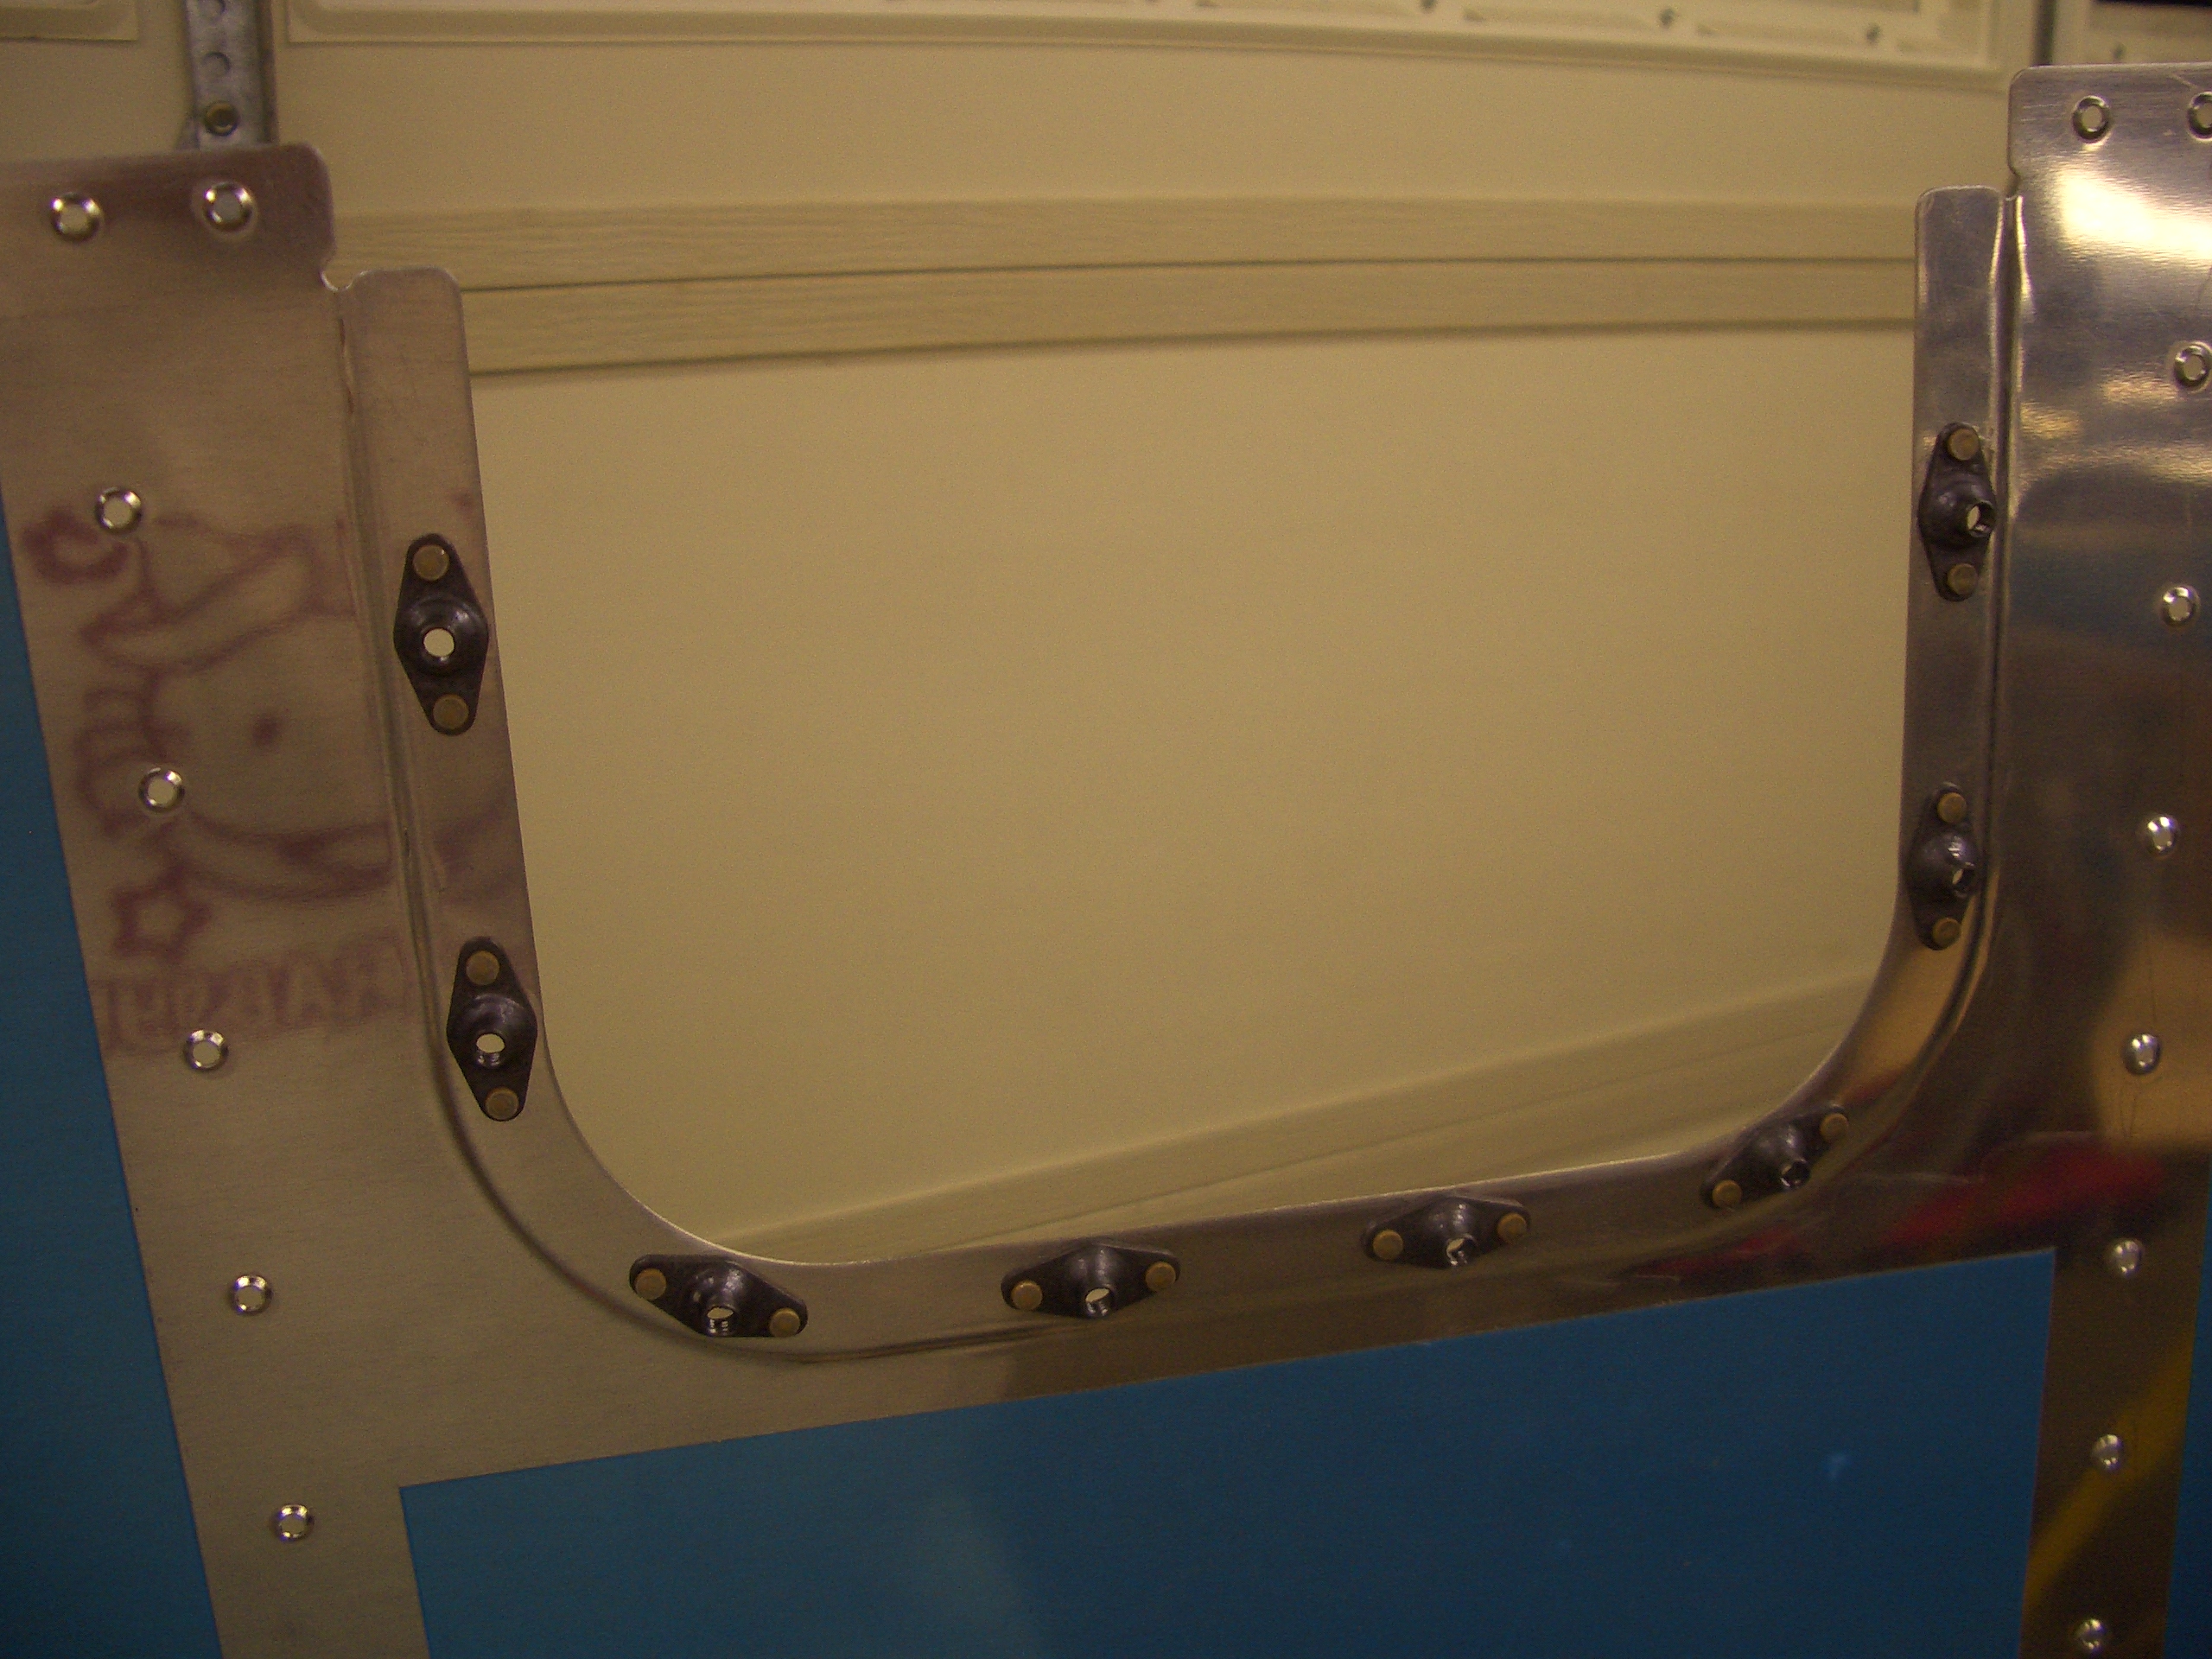
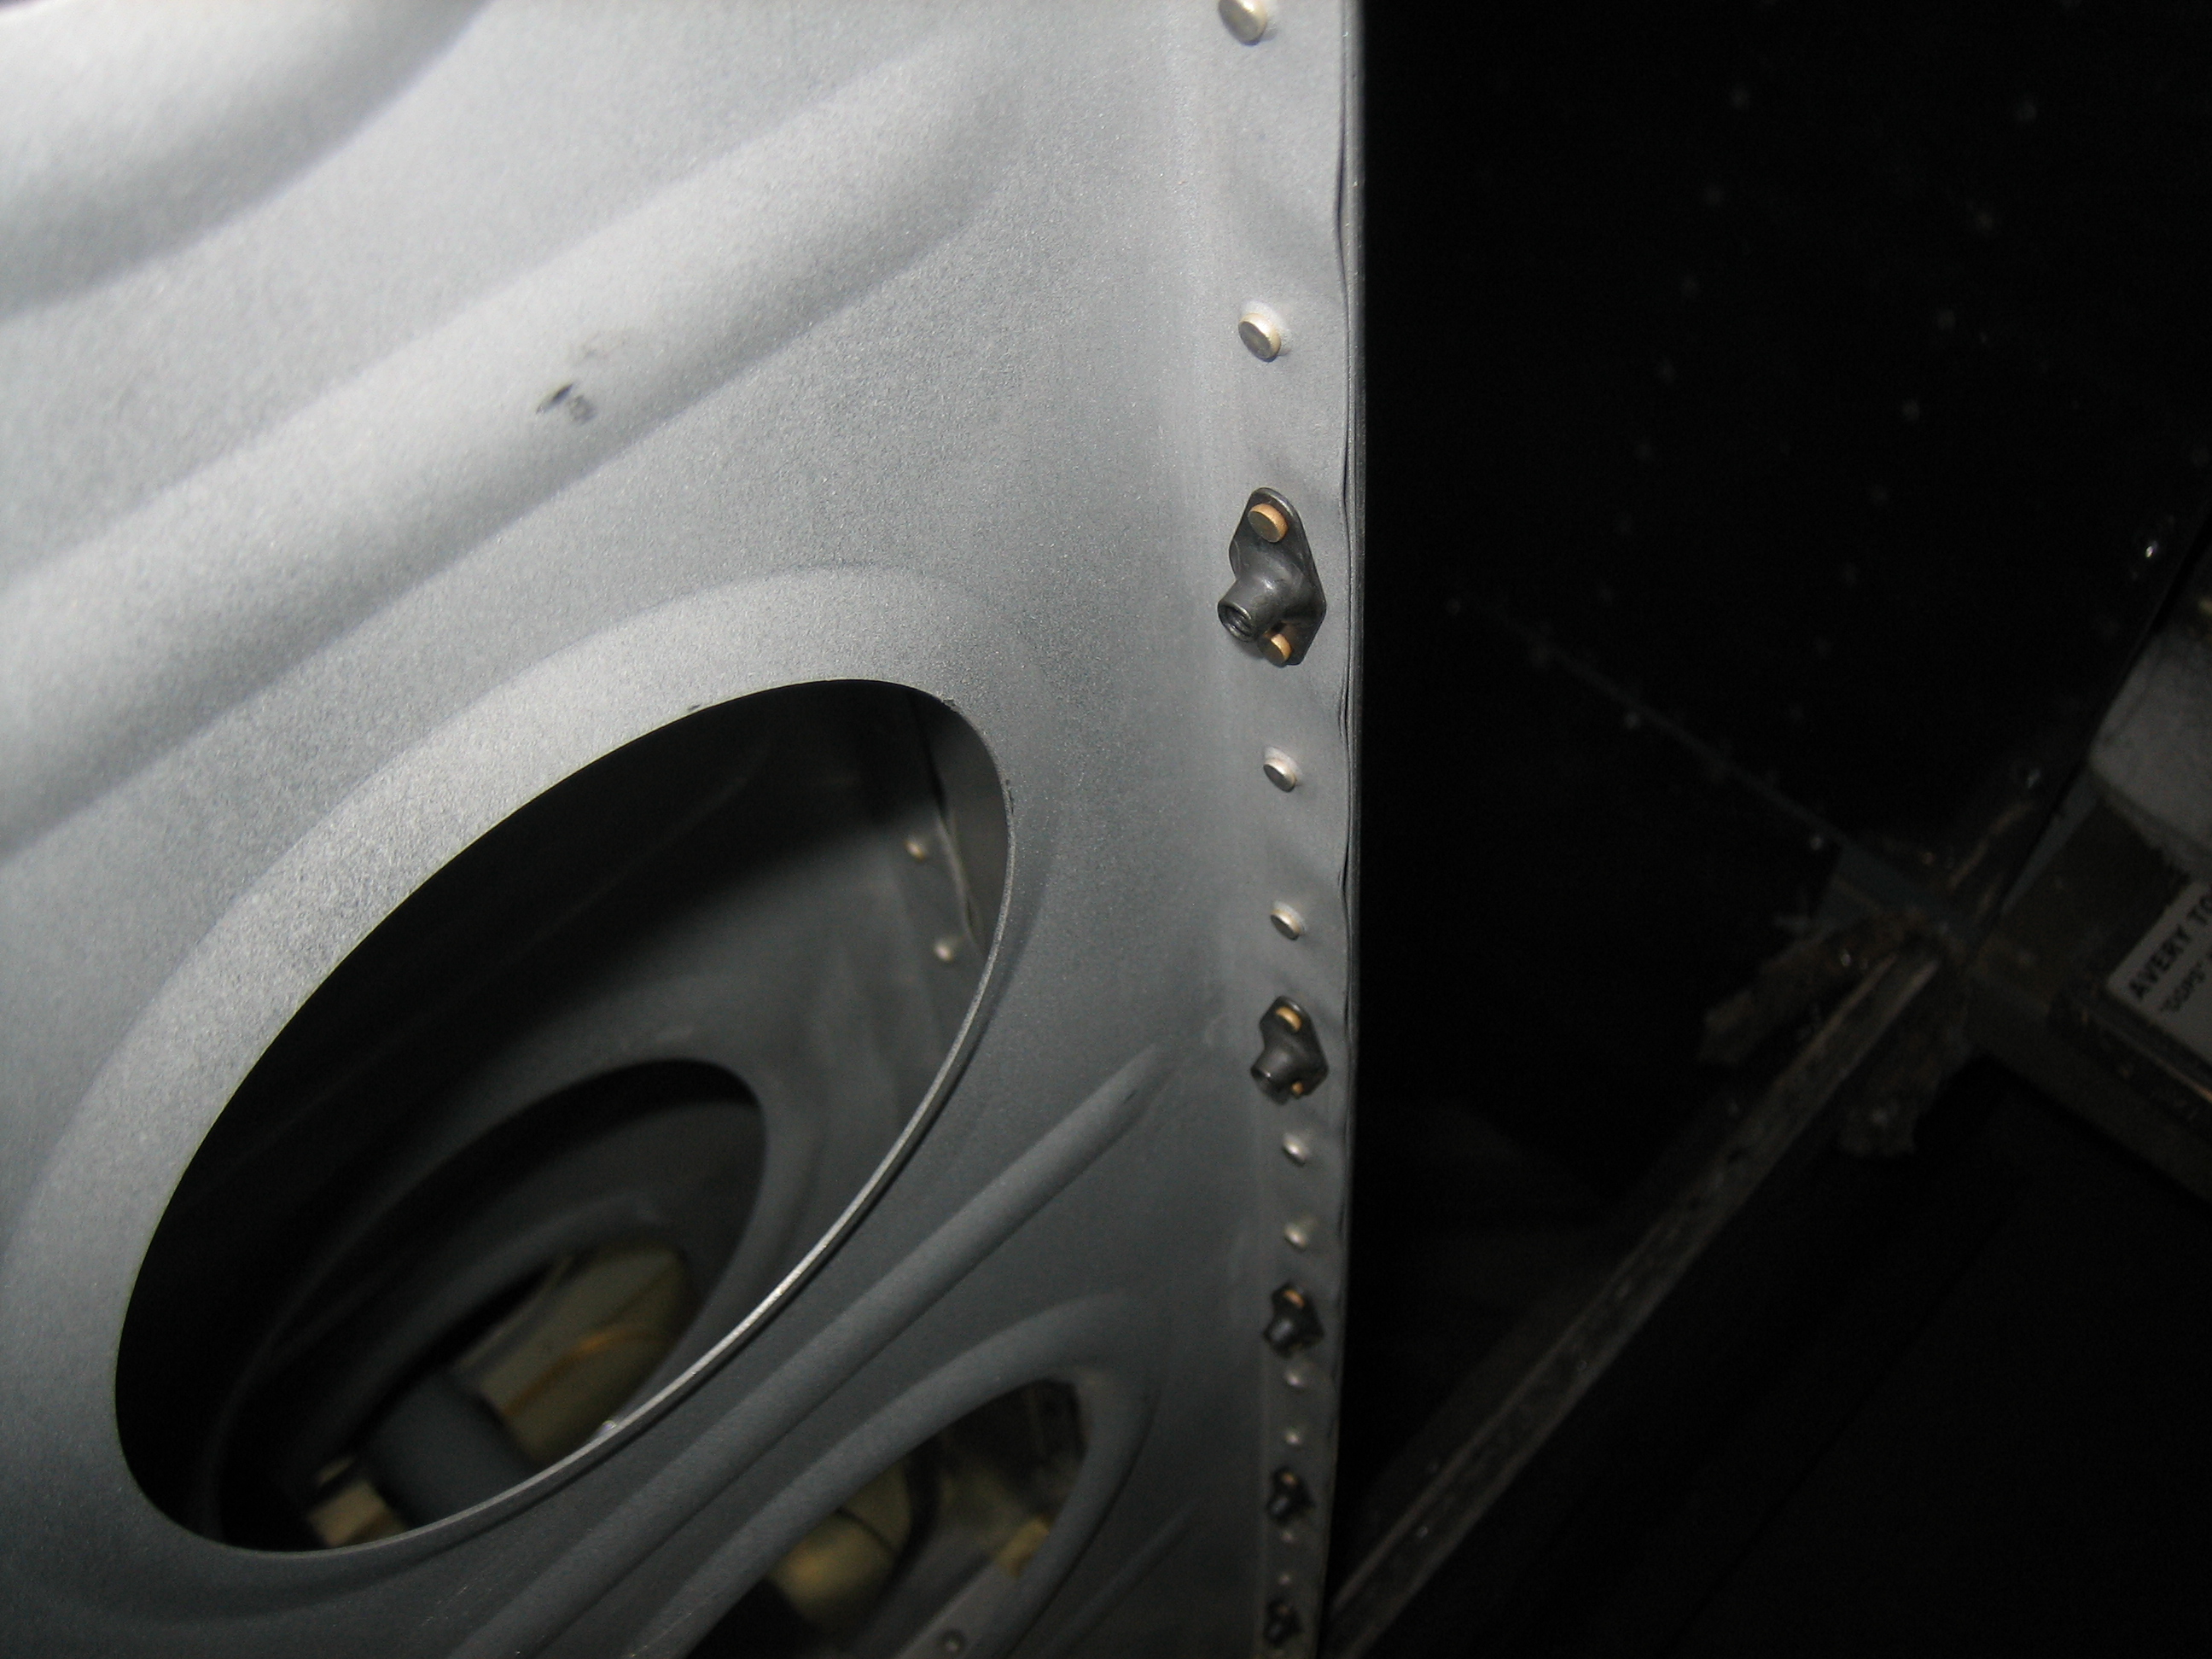
The side of the fuselage has an arch shaped hole to clear the end of the flap pushrod when the flaps are fully retracted.

The bottom of the fuselage has a slanted and tapering hole to provide clearance for the pushrod and it moves through its range of motion.  I have about 1/8″ all around the pushrod in all positions.

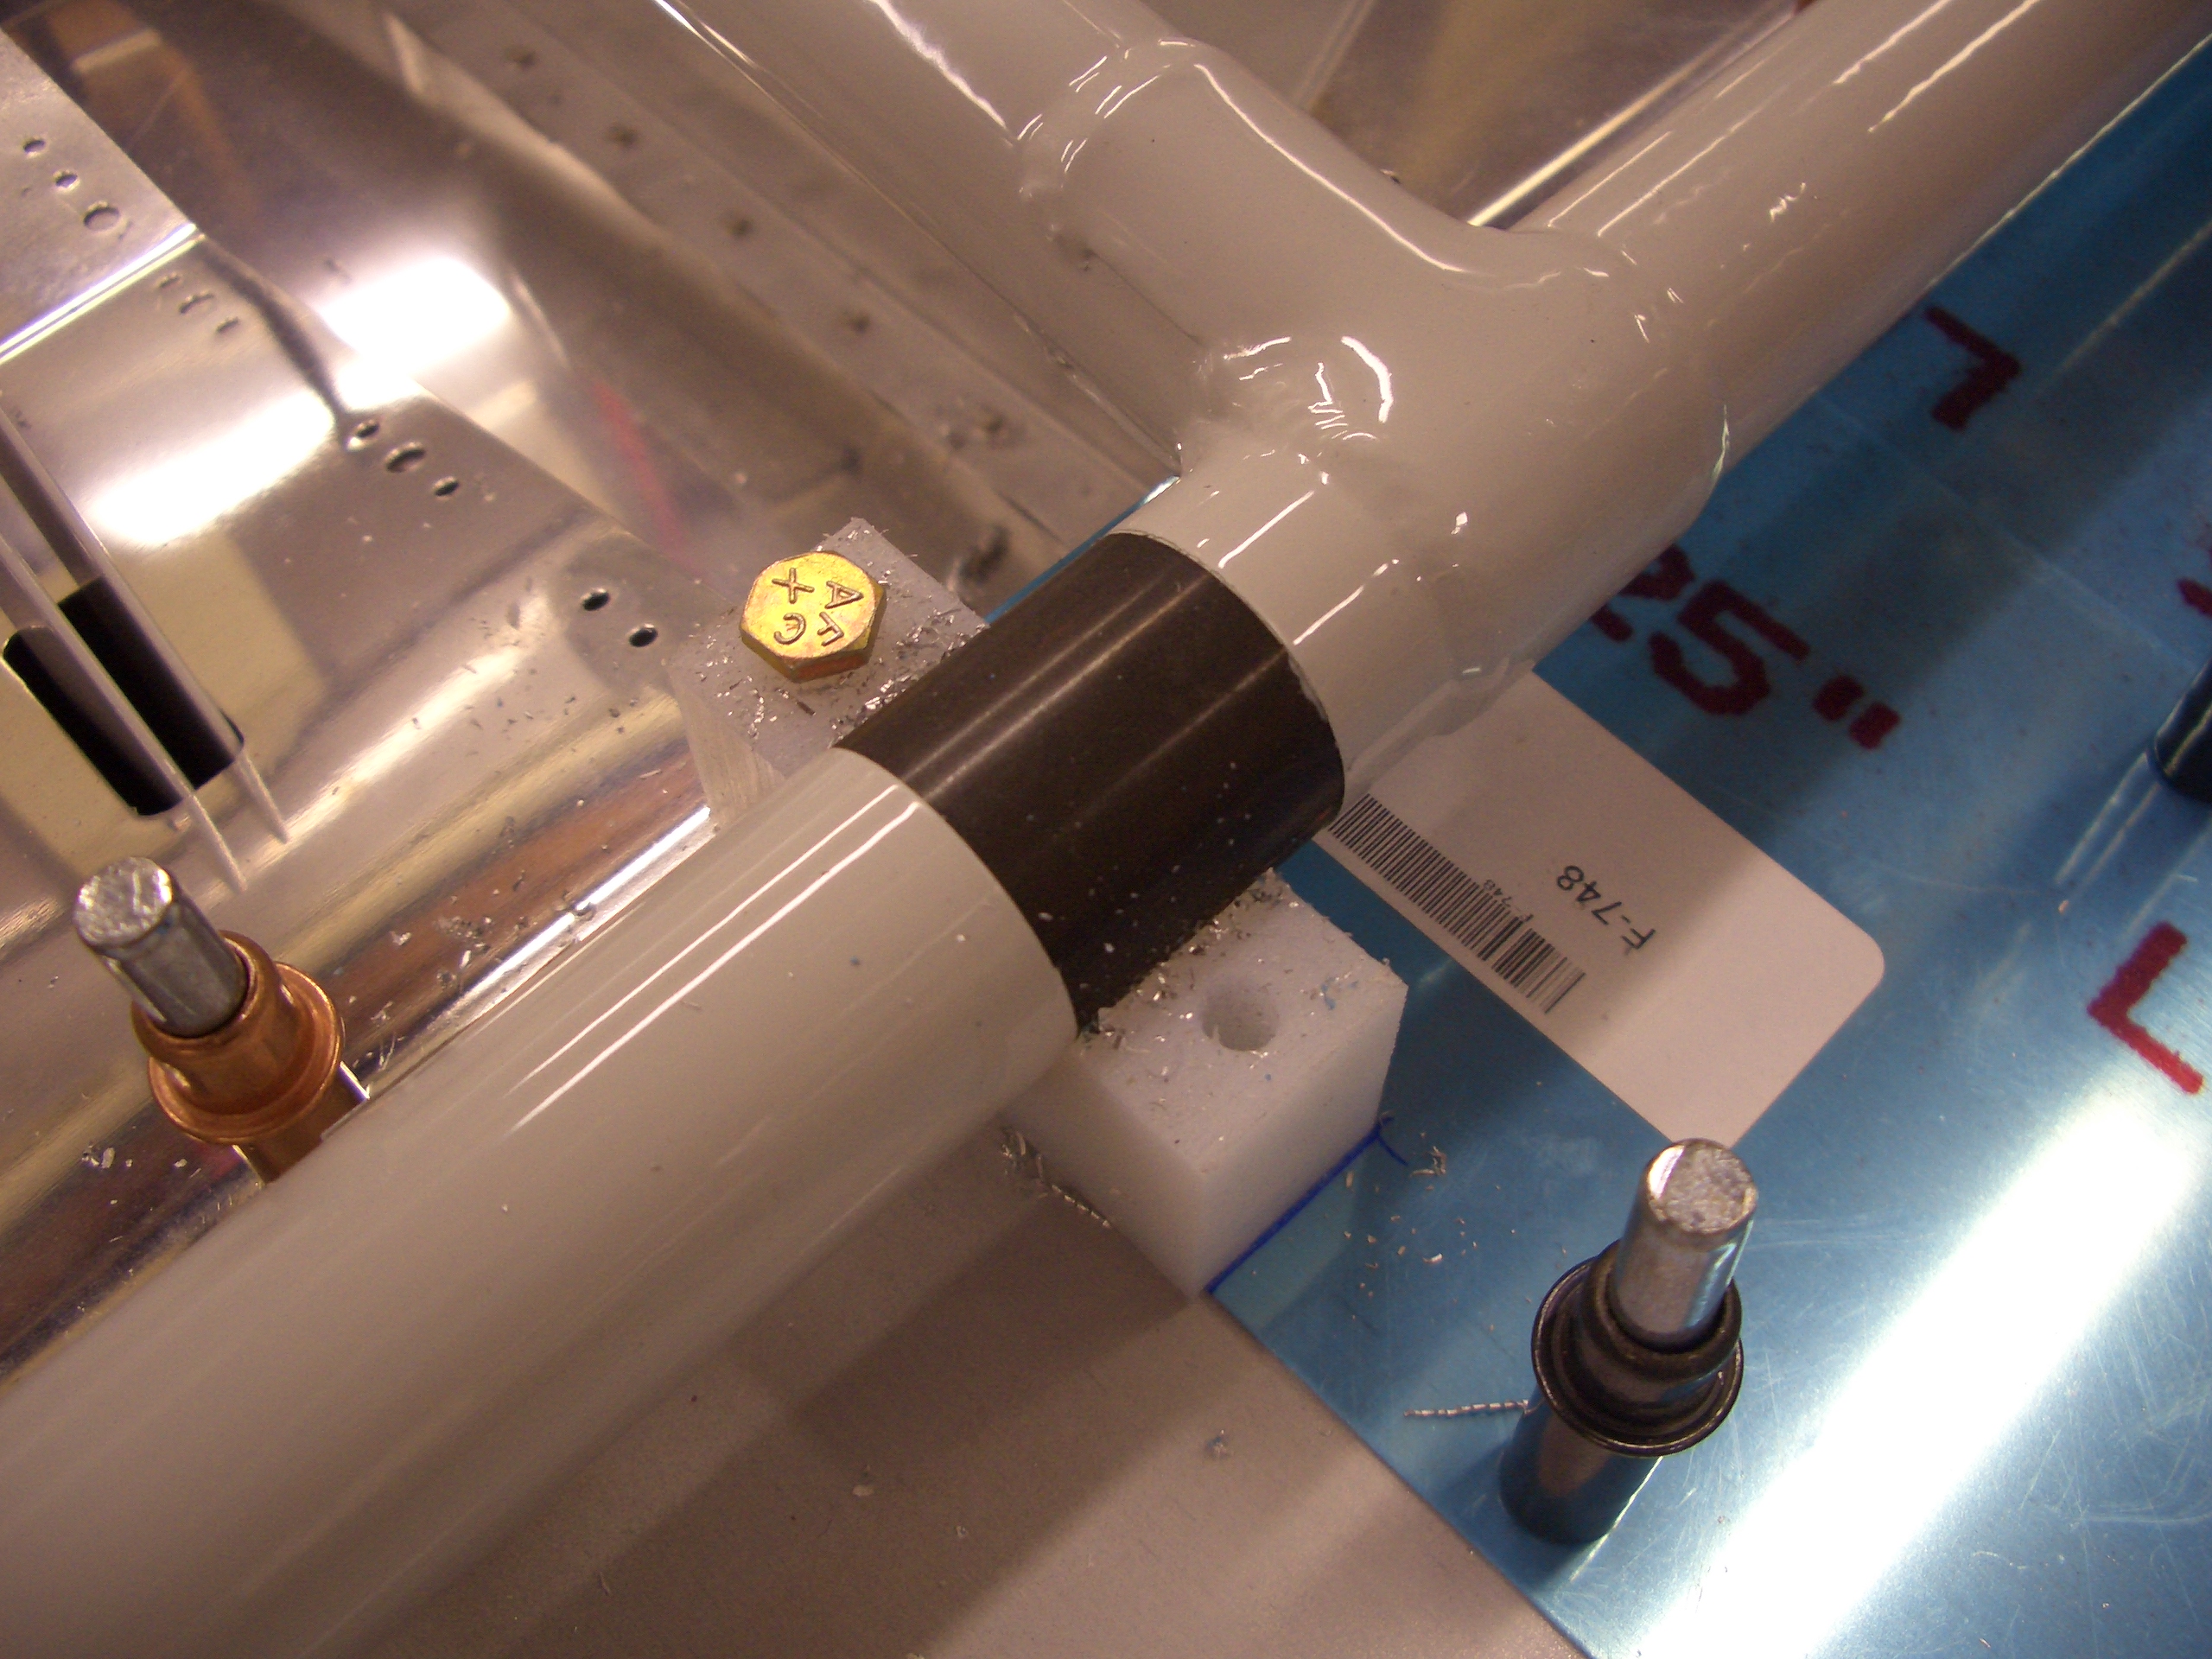
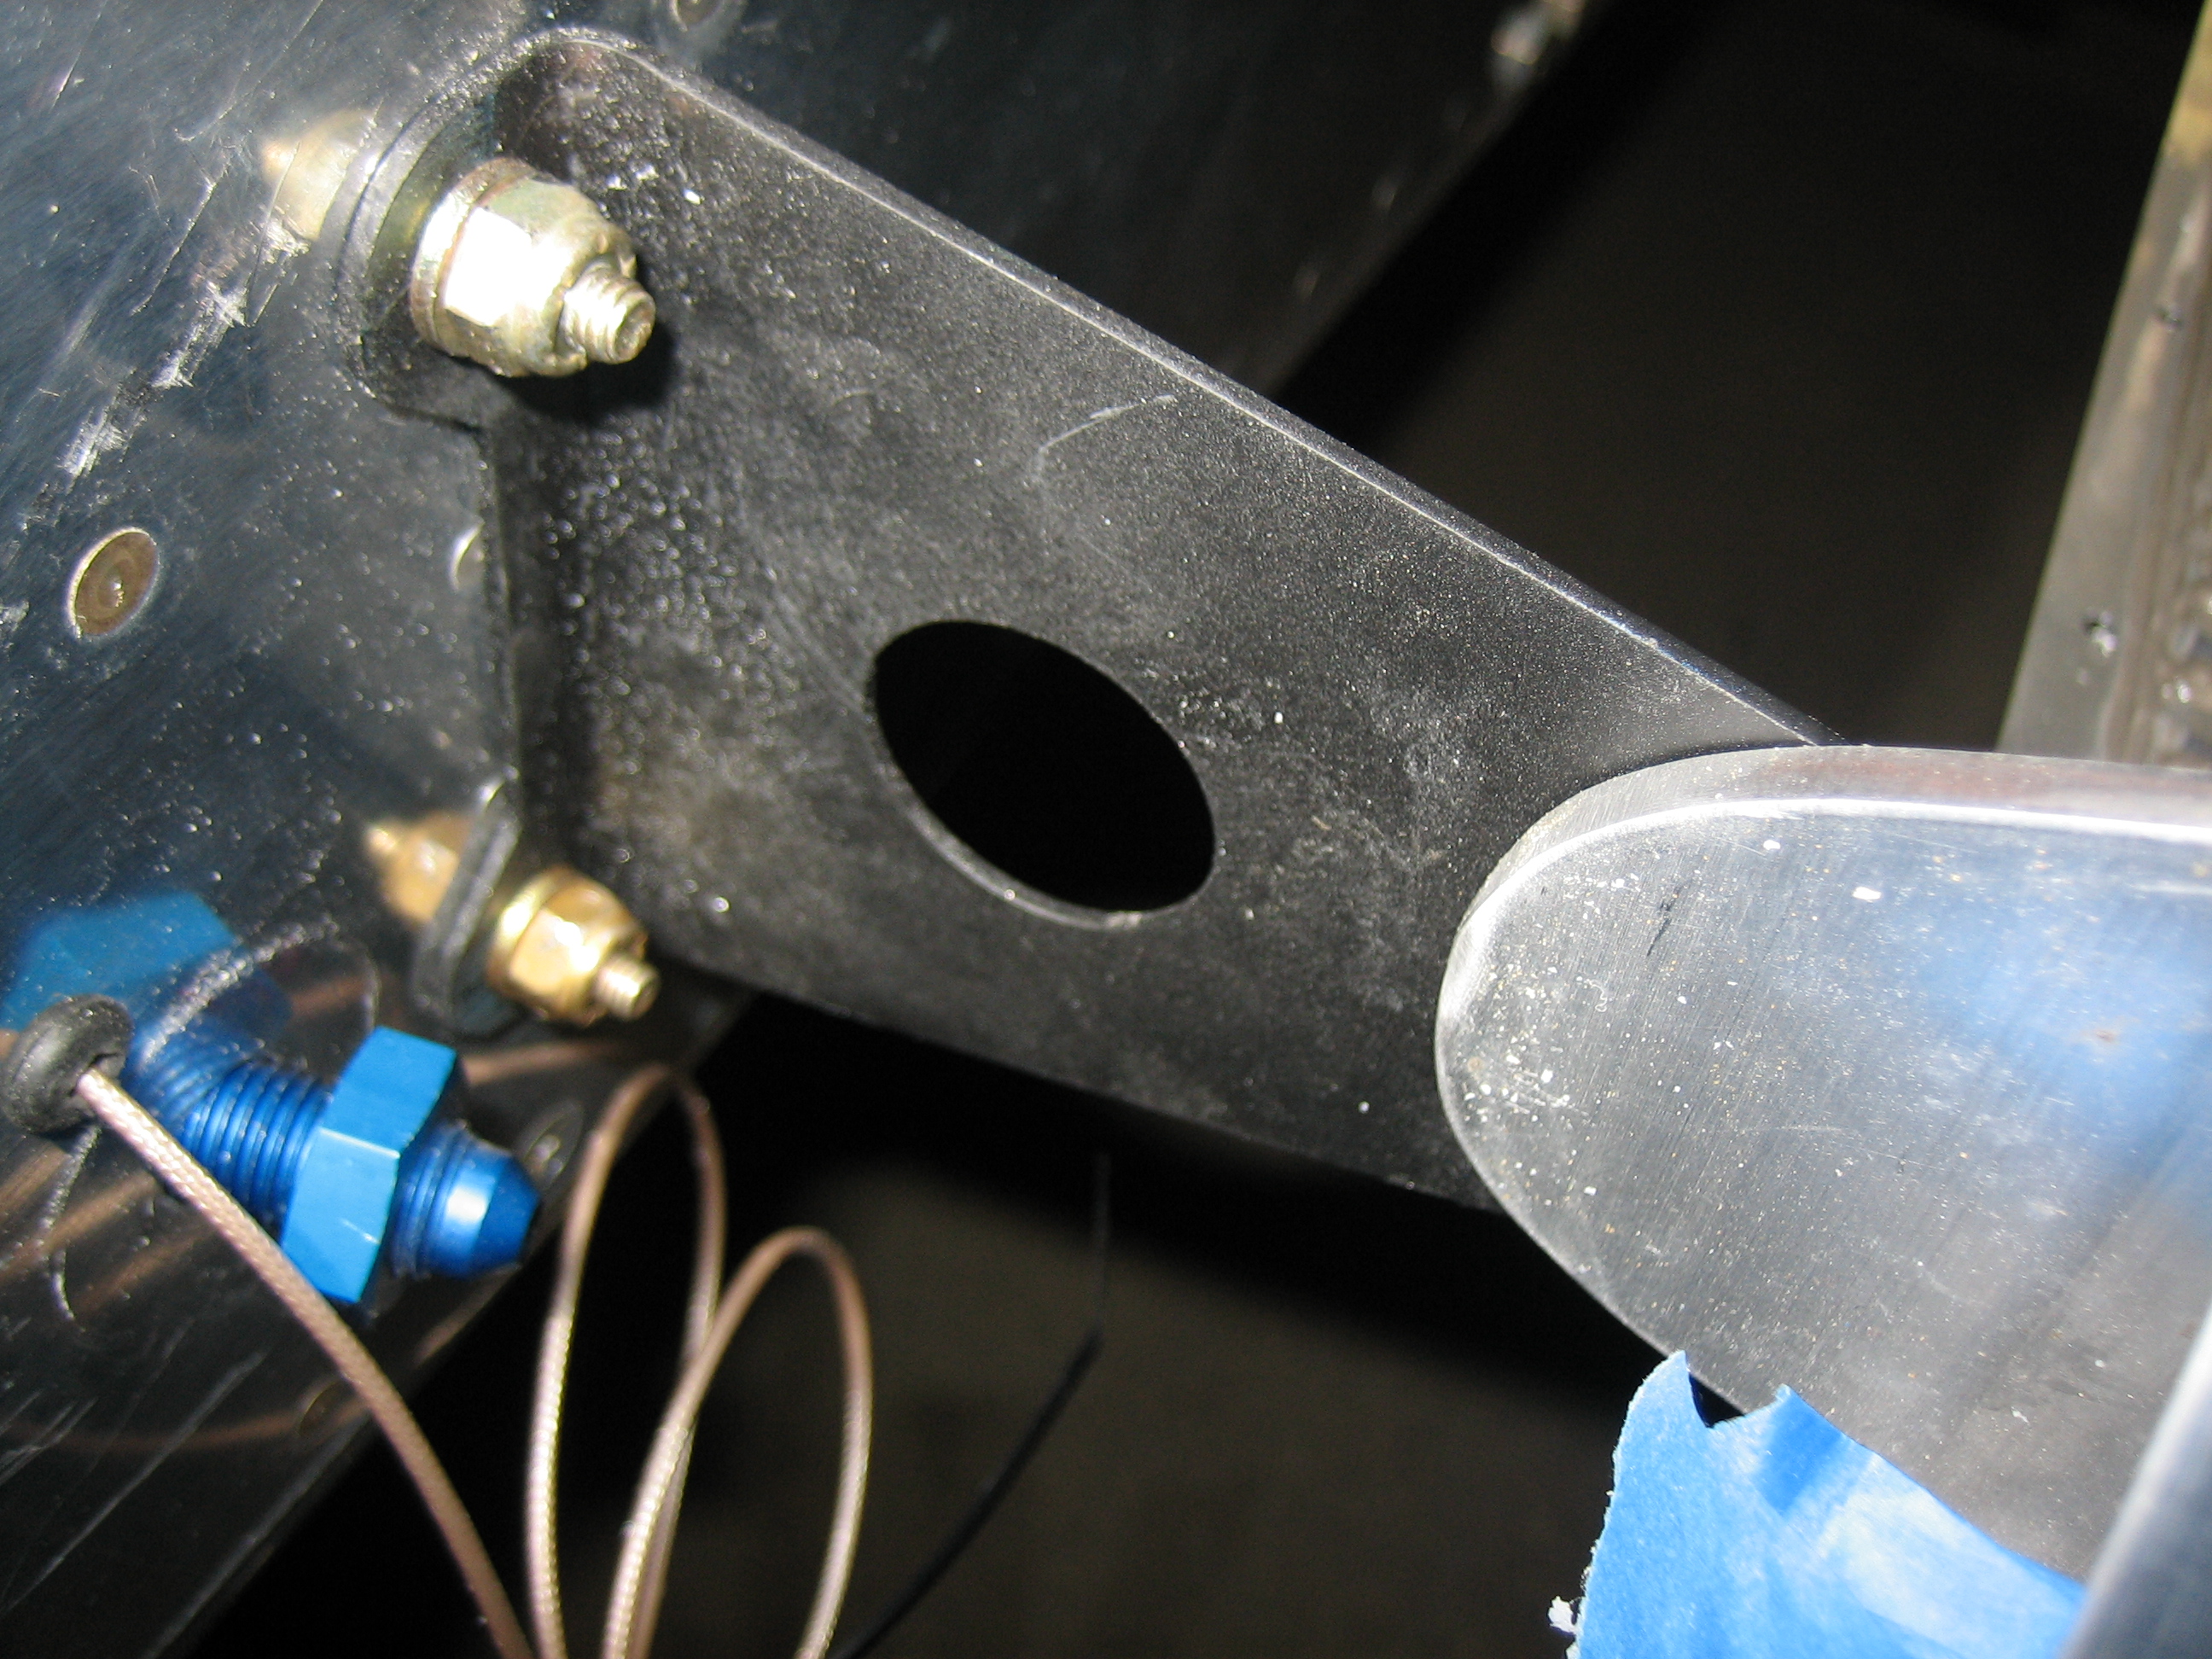
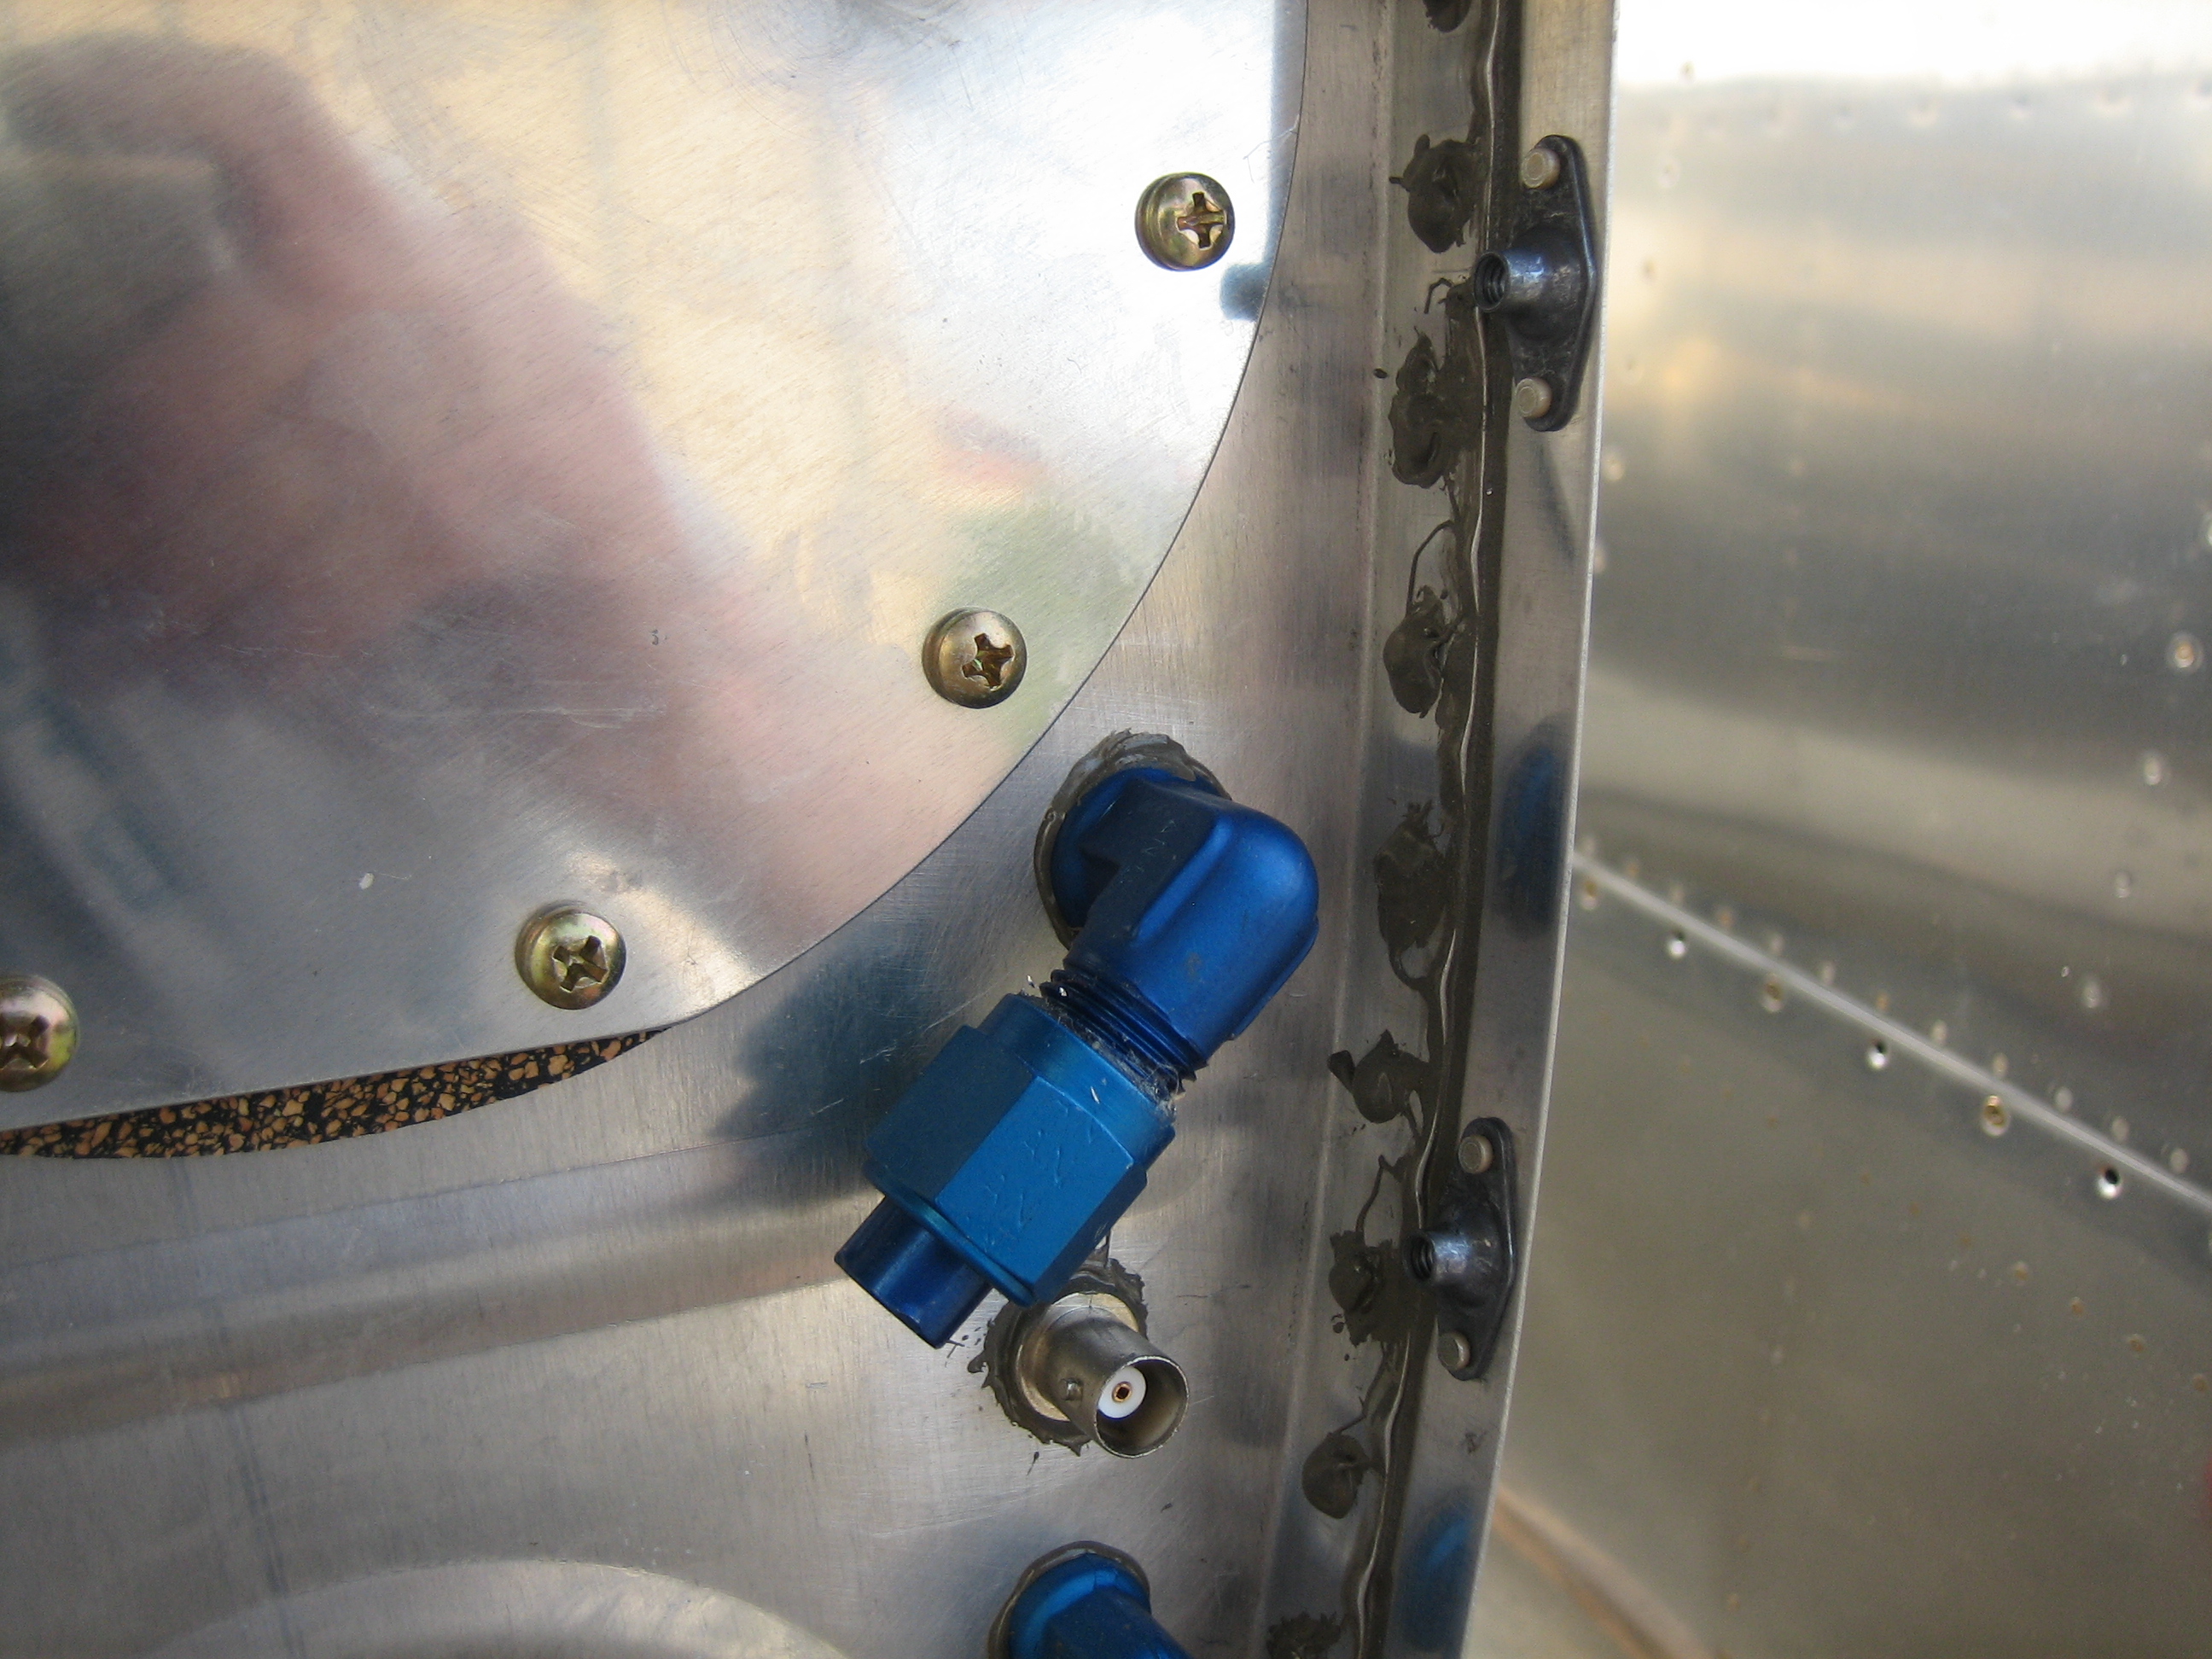
Seth removed the tank attach brackets and bent them so that they’re flush against the side of the plane and flush with the back of the fuel tank attach bracket.  Afterward, I drilled the fuel tank attach bracket for the bolt that ties these together.  Once the wings are back off the plane, I install a nutplate on each bracket to allow these to be screwed together.

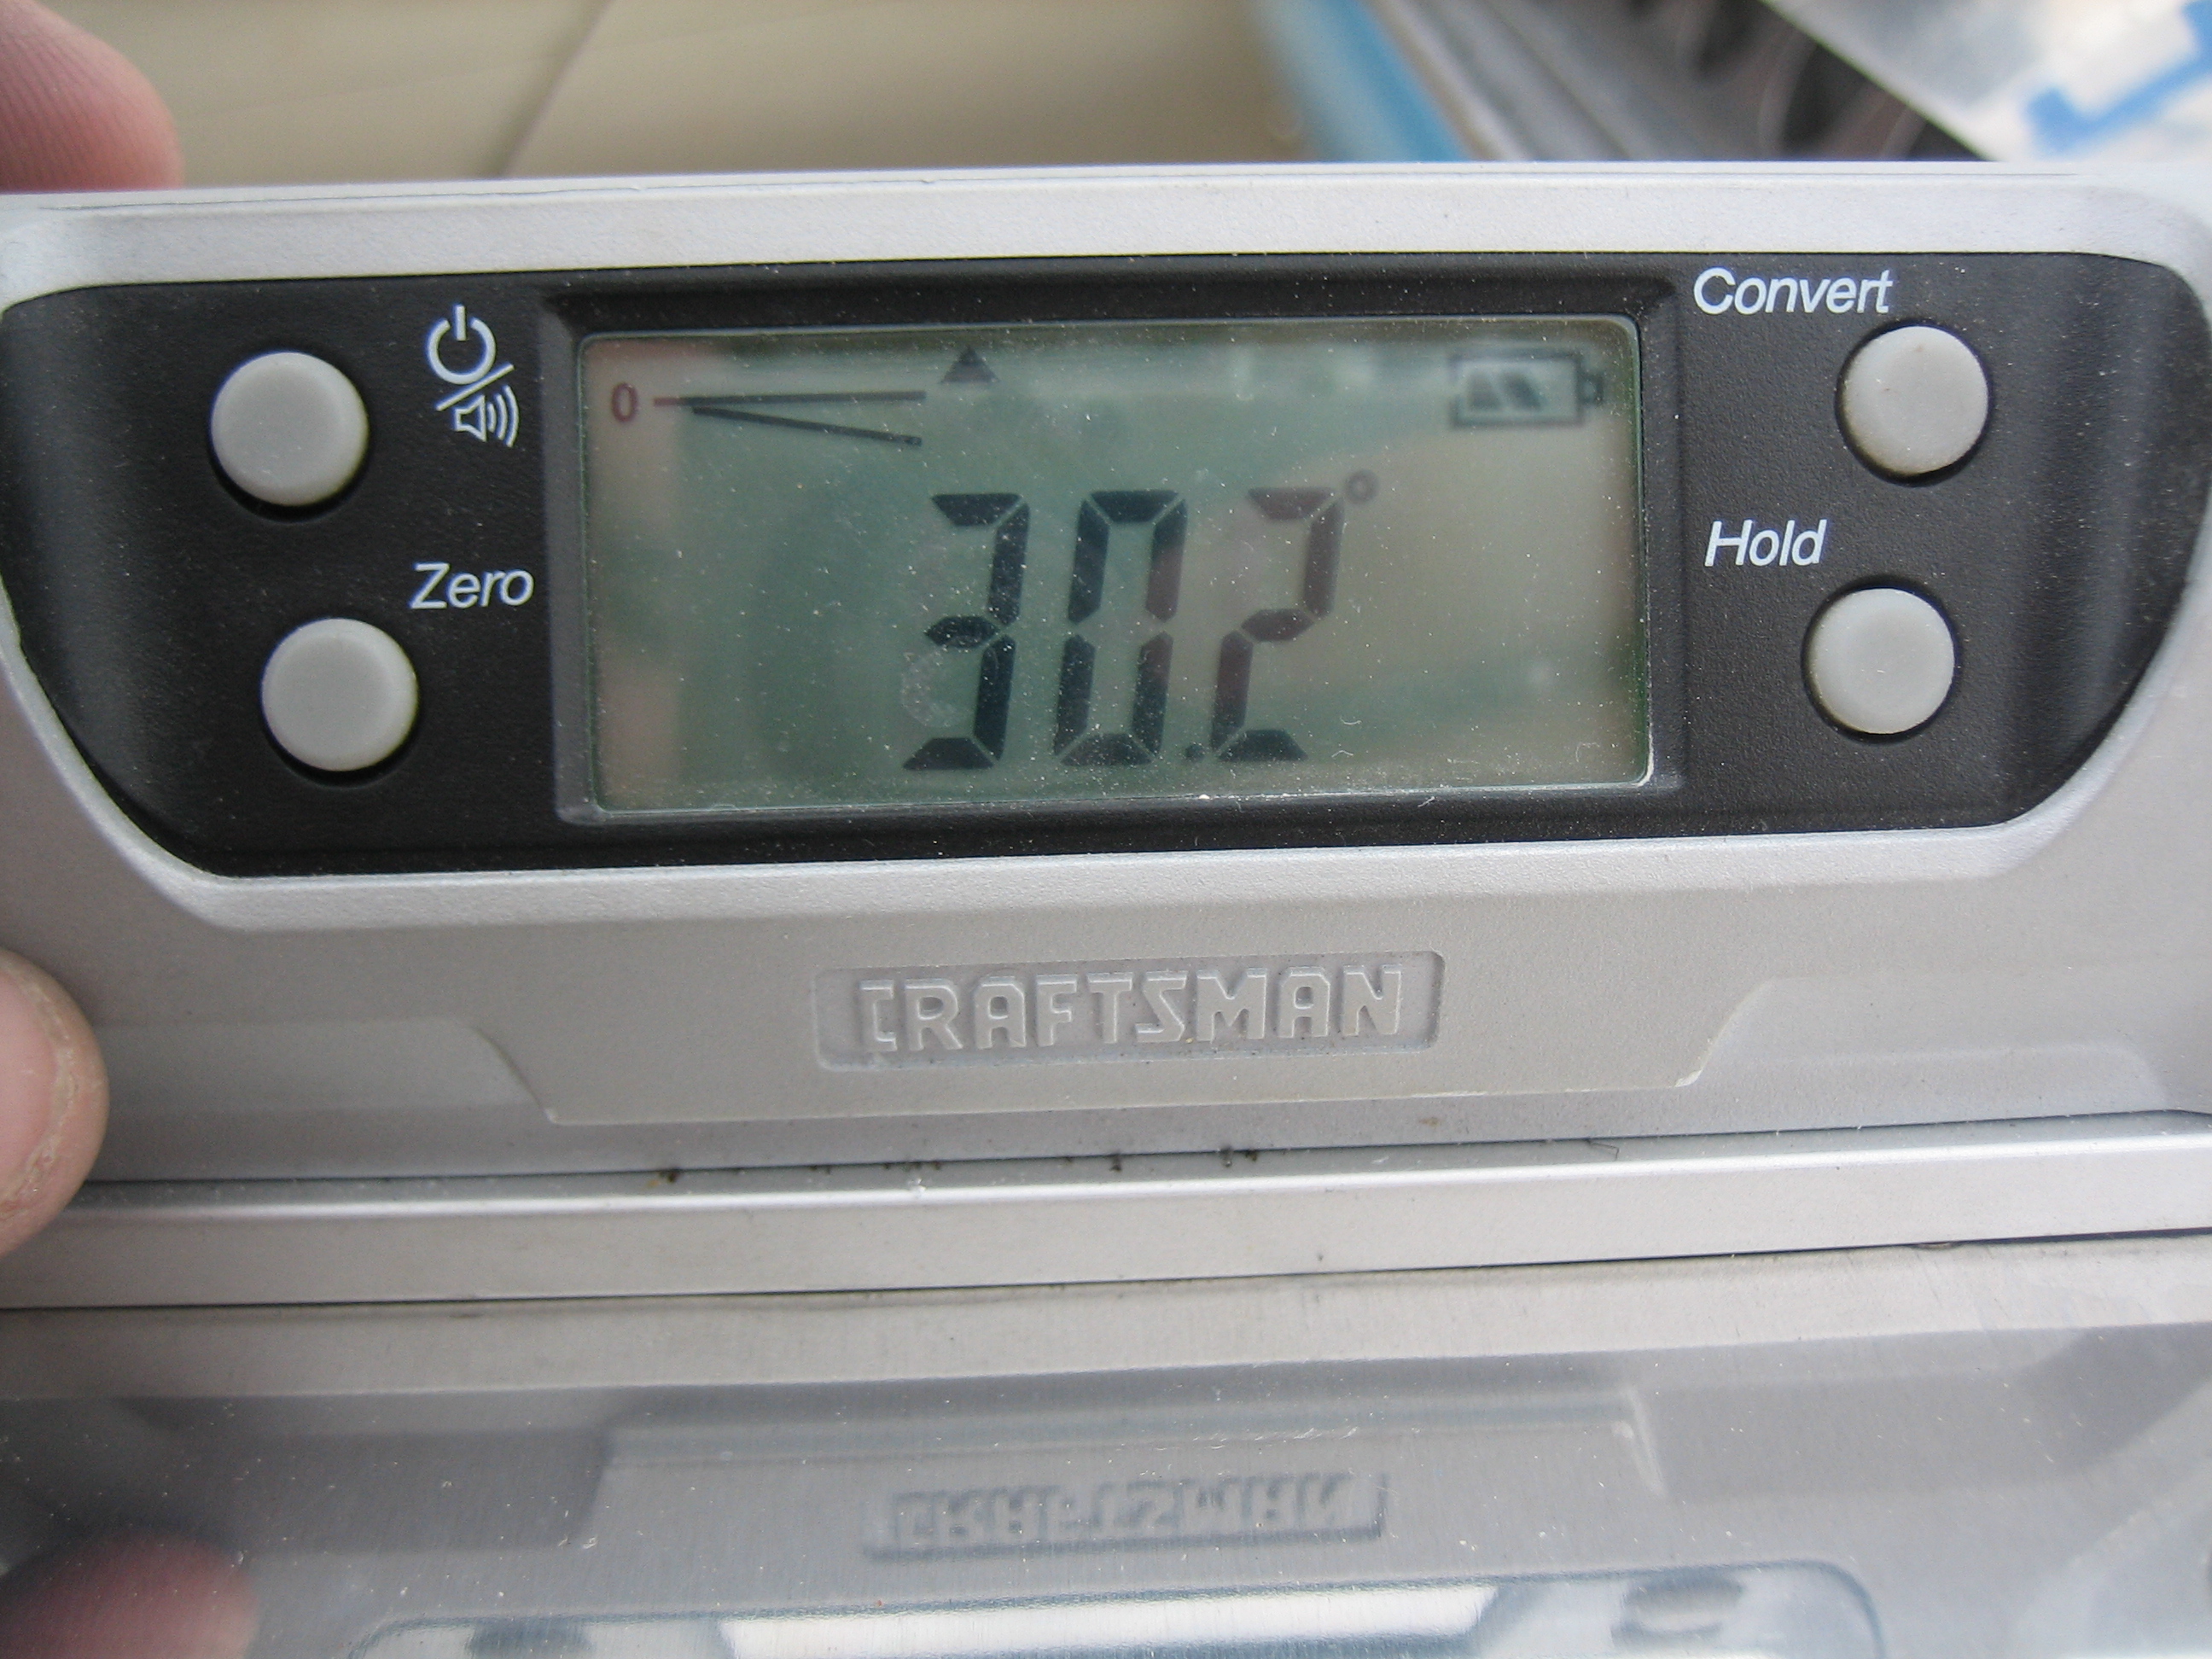
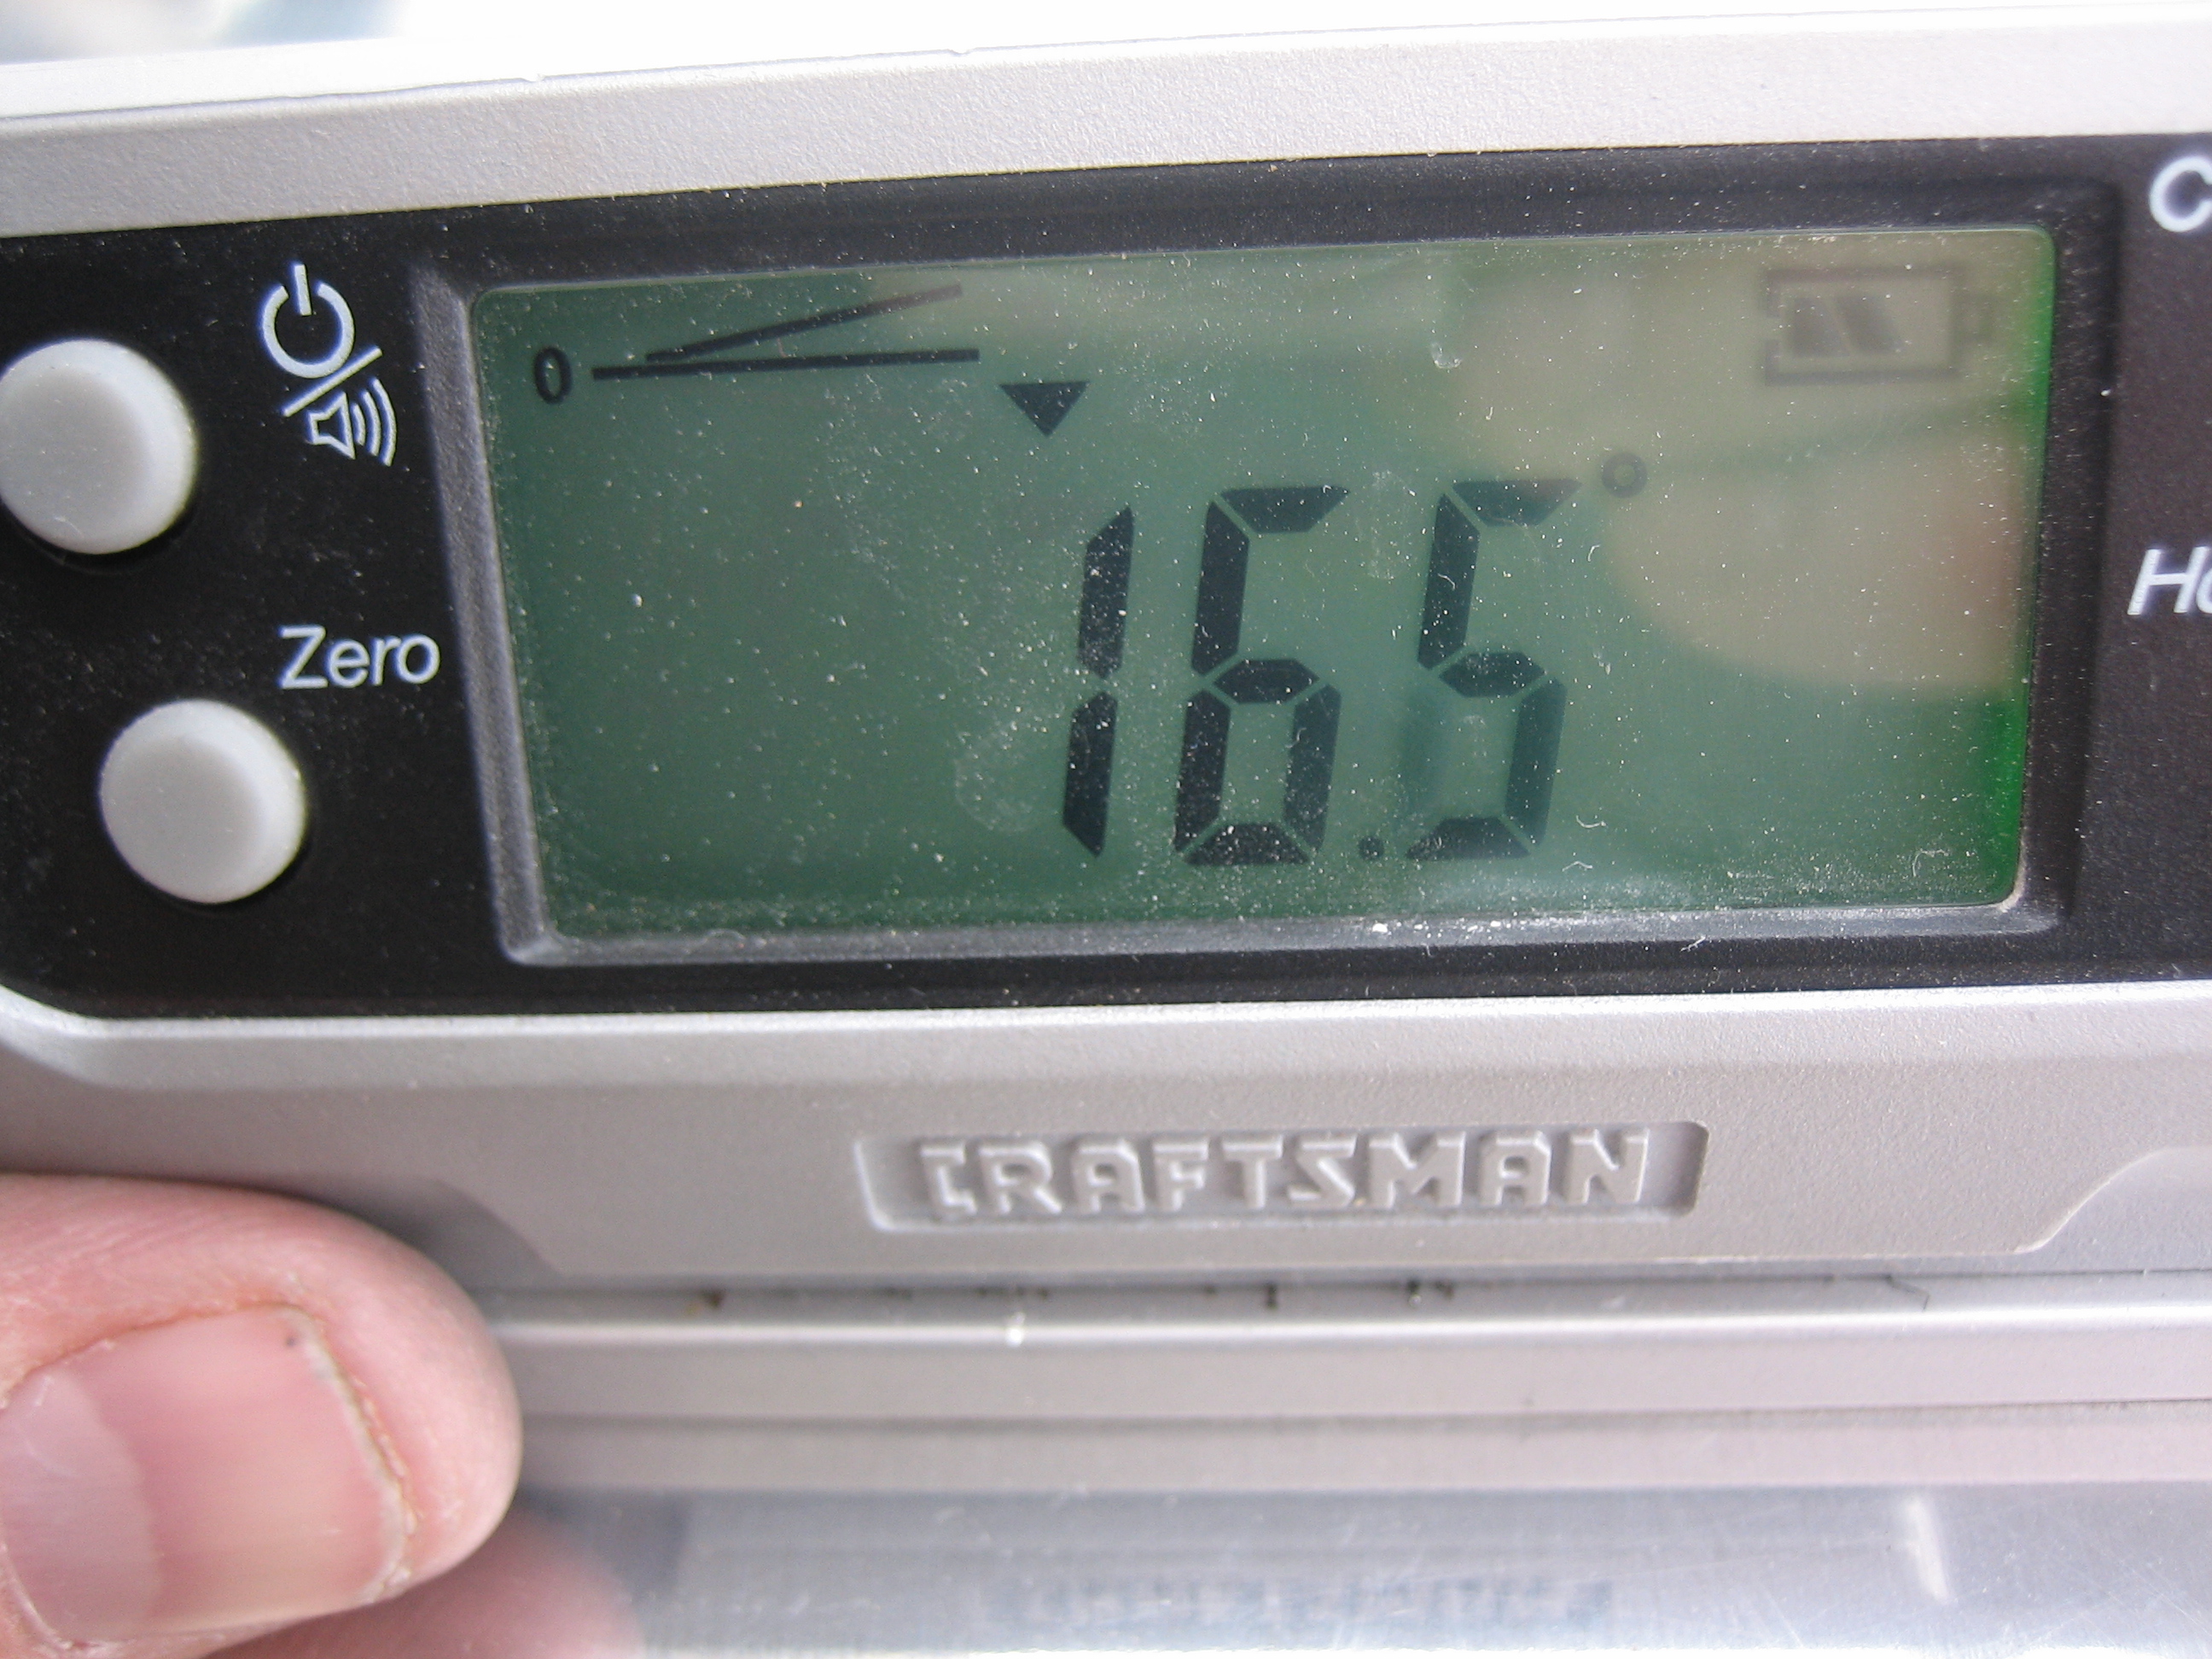
I was getting really damn cold.  I was still in shorts and a long sleeve t-shirt, and it had dropped to 46º before I gave up and decided to call it a night.  Hopefully I can rig the ailerons tomorrow morning pretty quickly.

Rigged Ailerons

I got started this morning by adjusting all of the aileron pushrods so that both ailerons are aligned with the flaps when the sticks are perfectly vertical and I had the same number of threads showing on each end of the pushrods.  I then torqued all of the jam nuts down and applied torque seal.

Next, I figured out what will work for the aileron stops.  These are 1/2″ long, 5/8″ diameter spacers with a 3/16″ hole in the middle.  I probably need to shorten them slightly to allow me to insert the appropriate washers to give the bearing some play.

This gives me 30.2º upward deflection (25º-32º is the recommended range).

And 16.5º downward deflection (15º-17º recommended range).

My brother and I pulled the wings off and got them covered and the plane back in the garage just as the rain started.  I wasn’t able to fabricate the fuel lines, but those can happen after the wings are installed for good.

Prepped Wings for Riveting

In preparation for riveting on the wing bottom skins, I wanted to take care of a few last items inside the wings.  First up, I installed the remaining fuel tank z-bracket bolts and torqued/sealed them.  Afterward, I installed the remaining screws that attach the tank (only on the bottom of each wing since that’s all I could reach).  I also cleaned out each bay and stripped the plastic from the insides of the wing skins.

This bracket ties the pitot tube mount to the adjacent rib.  I primed it and riveted it to the rib with some AN470 AD3-4 rivets.

Finally, I installed the countersunk nutplates on the top side of each wing aft of the spar.  I’ll do the bottom side of the wing aft of the spar after the bottom skins are riveted on.  The nutplates around the inboard edge of the tank will have to wait until I can remove the wings from the stand.

Started Riveting Wing Bottom Skins

My buddy Andre stopped by and we got started riveting the inboard bottom wing skin on the right wing.  We got all of the rivets in the wing walk ribs (the four closely spaced ribs on the left of the picture) except for the last rib which is easy to reach with the squeezer.  We also finished up the next two ribs on either side of the inner inspection cover.  This took us roughly 2.5 hours.  It seems like such a small amount of riveting for this much time, but some of these rivets were really tough to reach and required multiple tries to get the bucking bar on them.  The rest of the bays should be a bit easier to reach.

I came back out later in the night and decided to get the wing root fairings prepped.  I cleaned up the remaining edges and dimpled the holes for #8 screws.  These can now go on the shelf until I get to the airport and the wings are on for good.

Finished Skinning Right Wing

Andre stopped by today and helped me finish riveting the bottom of the right wing.  We had a little scare when the holes wouldn’t align correctly.  Basically, if the rear spar holes were clecoed in place, the forward spar holes were off by about 1/32″ or so.  The holes in the substructure were farther apart than the holes in the skin.  I finally determined that the flanges at the ends of the ribs can flex a little bit and pulling down on the rear spar compressed these flanges enough to allow me to pull the holes into alignment.  The outer skin is definitely easier than the inner skin.  There is a lot more room between the ribs, and we changed our strategy to rivet the rear spar first while I could reach straight up from below in each bay.  It still took us probably 4-5 hours to finish off this wing.

Finished Skinning Wings

Andre stopped by again today (we both had the whole week off work) and helped me rivet the bottom skins on the left wing.  We learned a few lessons on the right wing and were able to knock these out in only about five hours.  The only thing that was a little more complicated on this wing was the pitot tube mount, but it wasn’t too bad.

Installed Pitot Tube and Nutplates on Tank and Root Ribs

I installed the pitot tube and connected the tubing inside the wing.

I installed the remaining nutplates on the root ribs and then propped the wing up on the leading edge of the tank.  This looks precarious, but it is surprisingly stable.

This allowed me to install all of the nut plates around the inboard edge of the tank skin…

…as well as install the tank attach bracket nutplates.