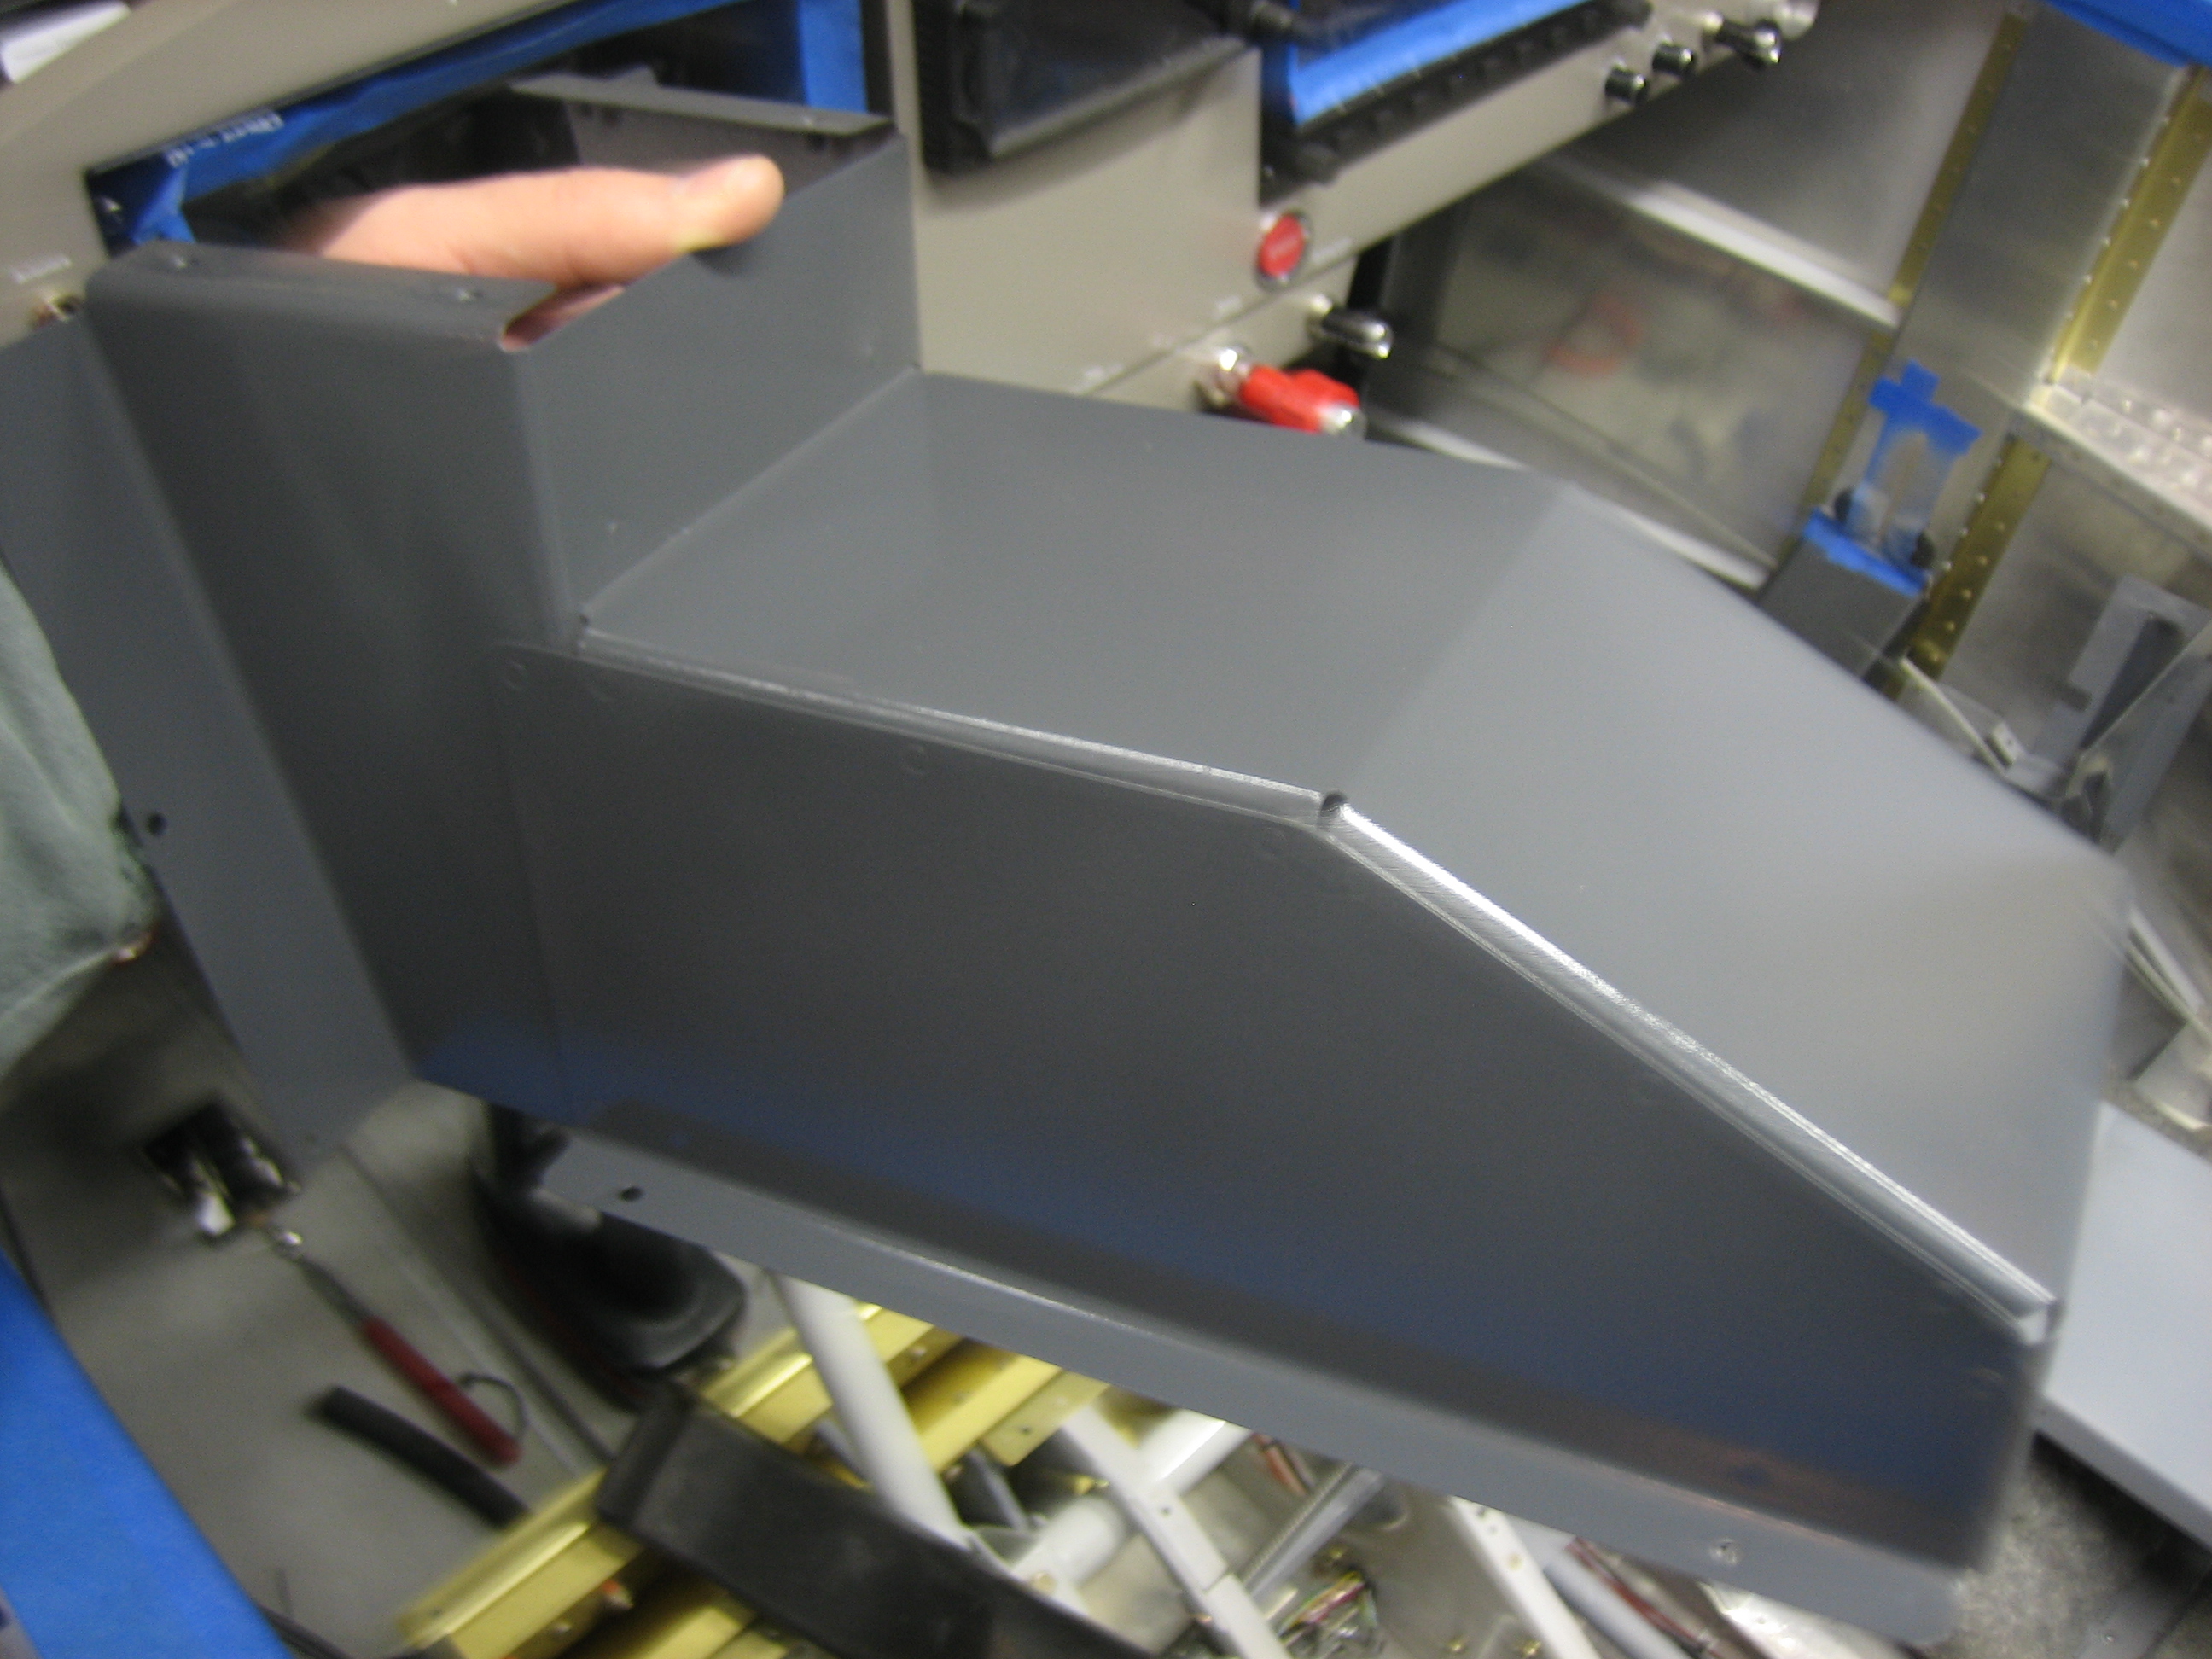
I stopped by the TechShop and painted all of the components that cover the tunnel. Here’s the doghouse that covers the fuel pump. I need to seal the heater box and then all of these components can be installed for good.

I stopped by the TechShop and painted all of the components that cover the tunnel. Here’s the doghouse that covers the fuel pump. I need to seal the heater box and then all of these components can be installed for good.
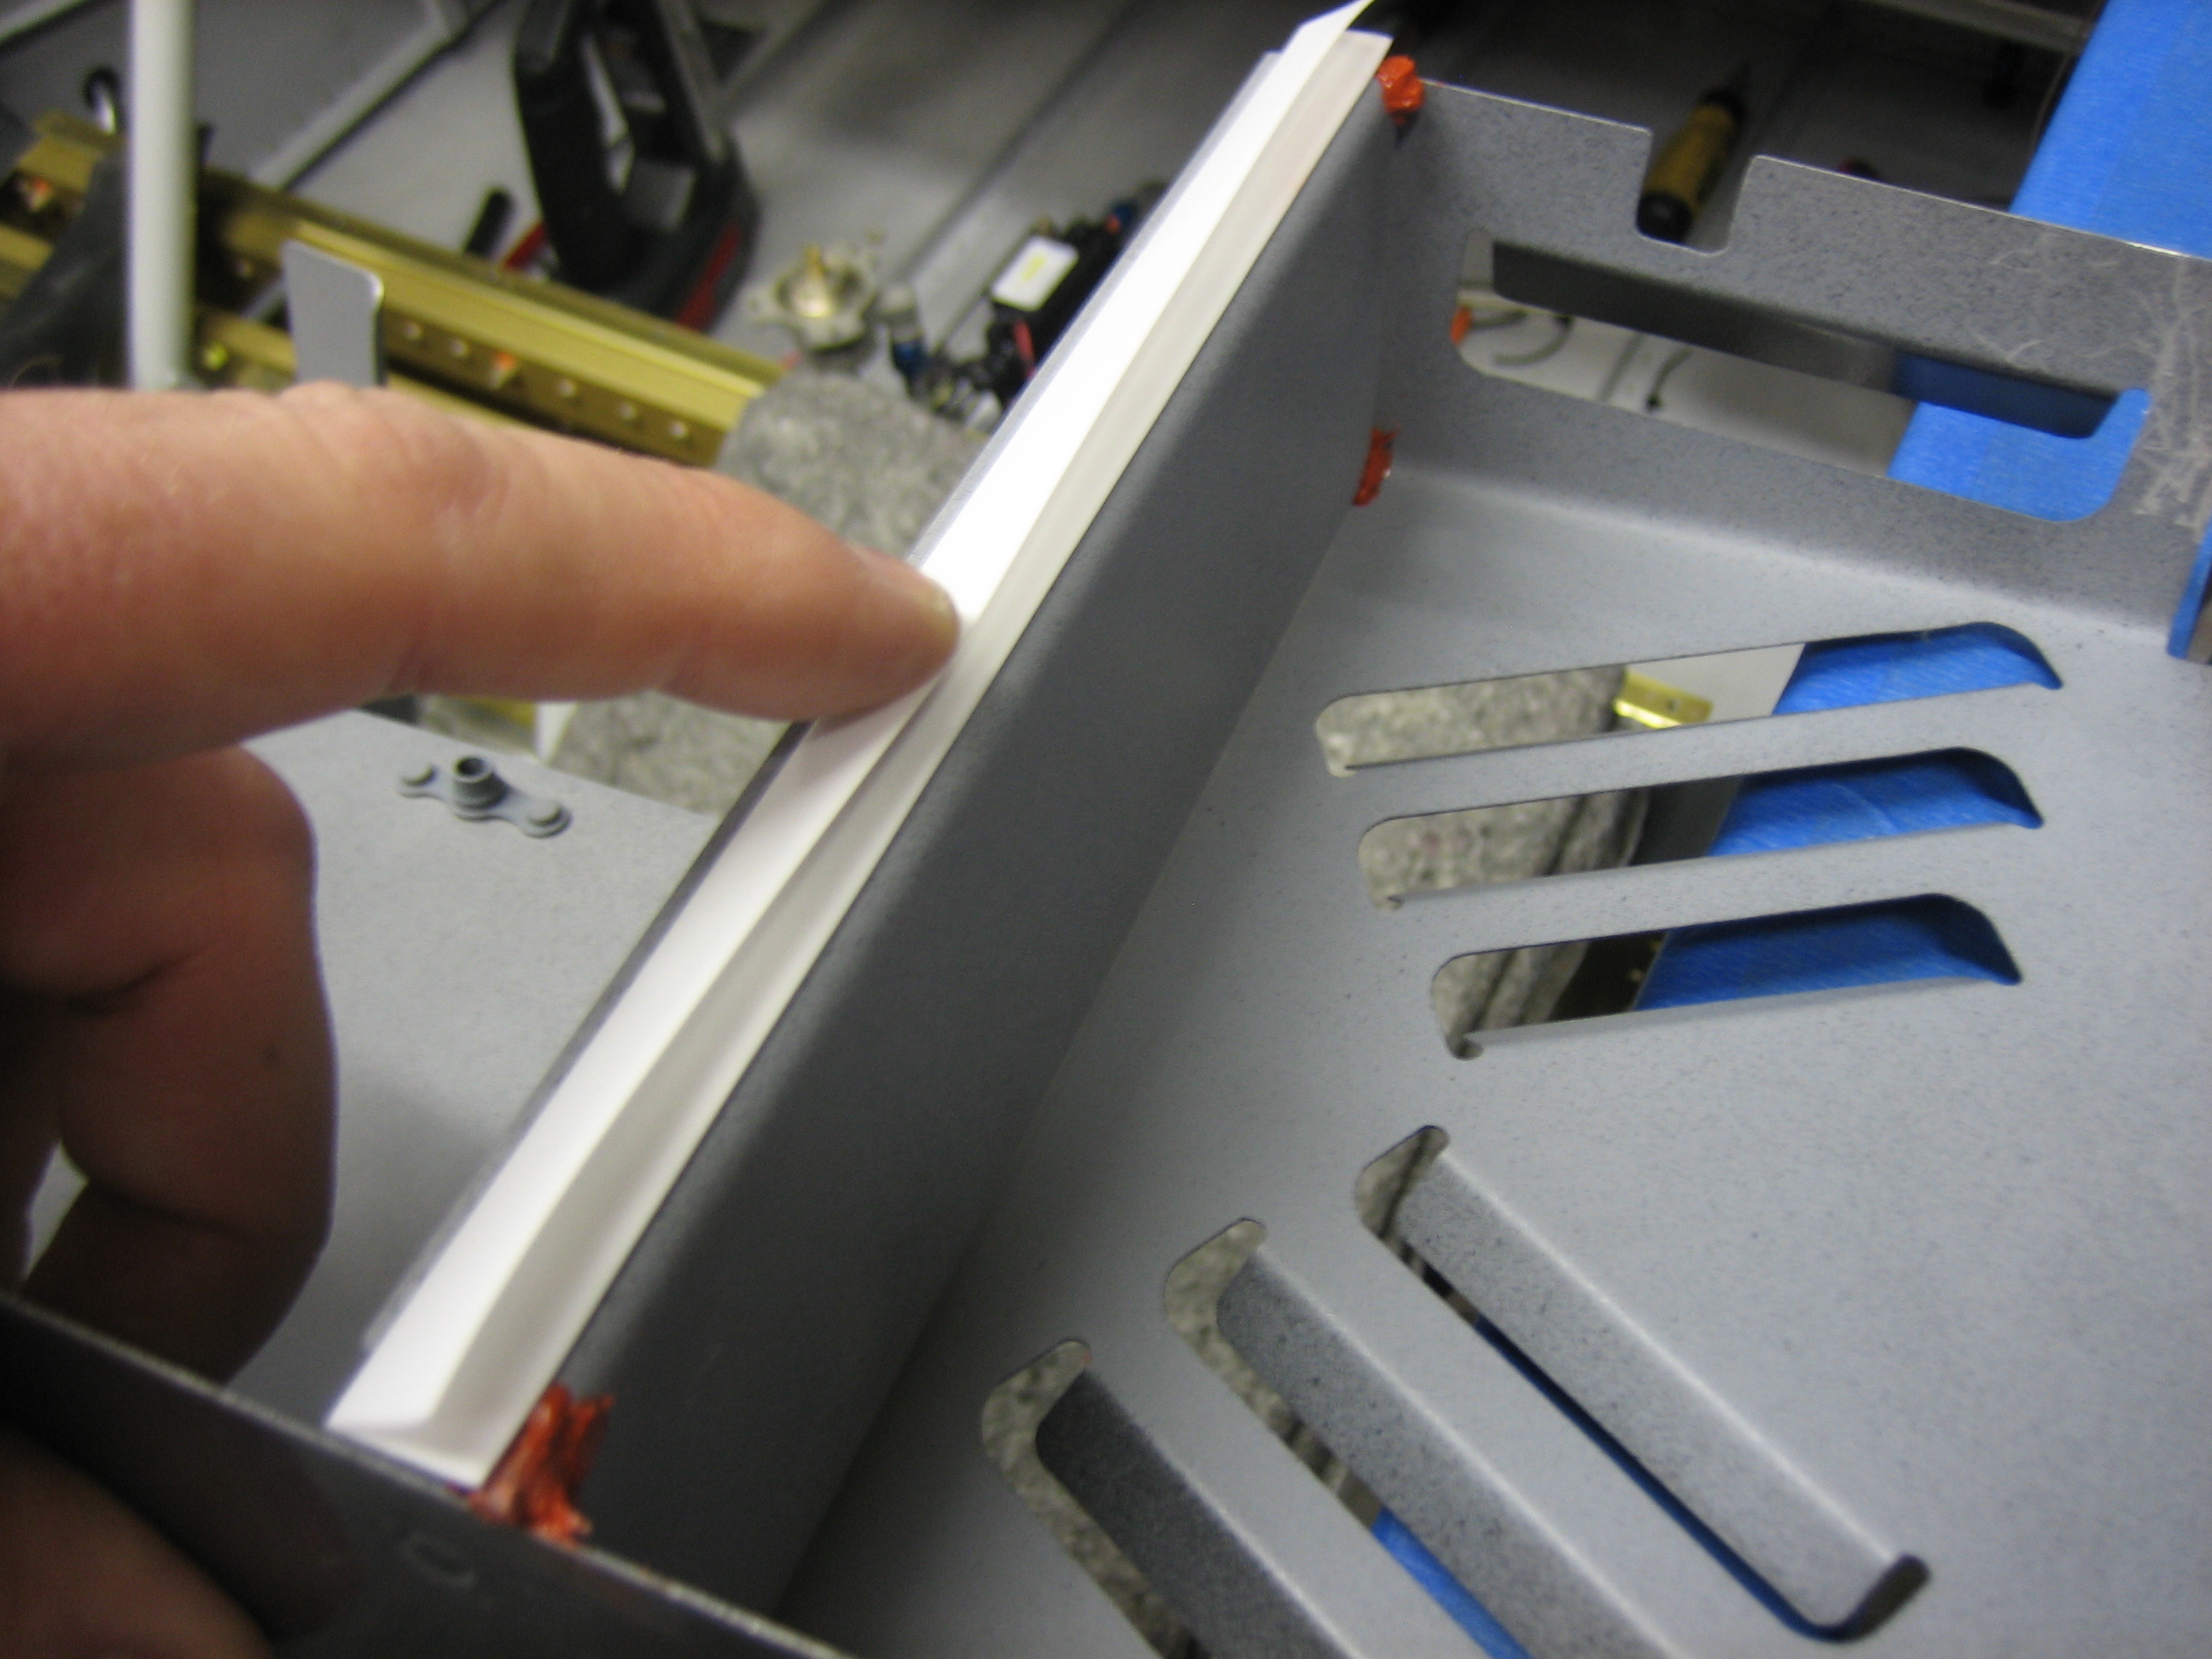
I sealed up the corners of the cabin heat distribution box to keep the heat from going down into the tunnel where the fuel pump is located. I then put a strip of flexible weatherstripping to seal the back edge.
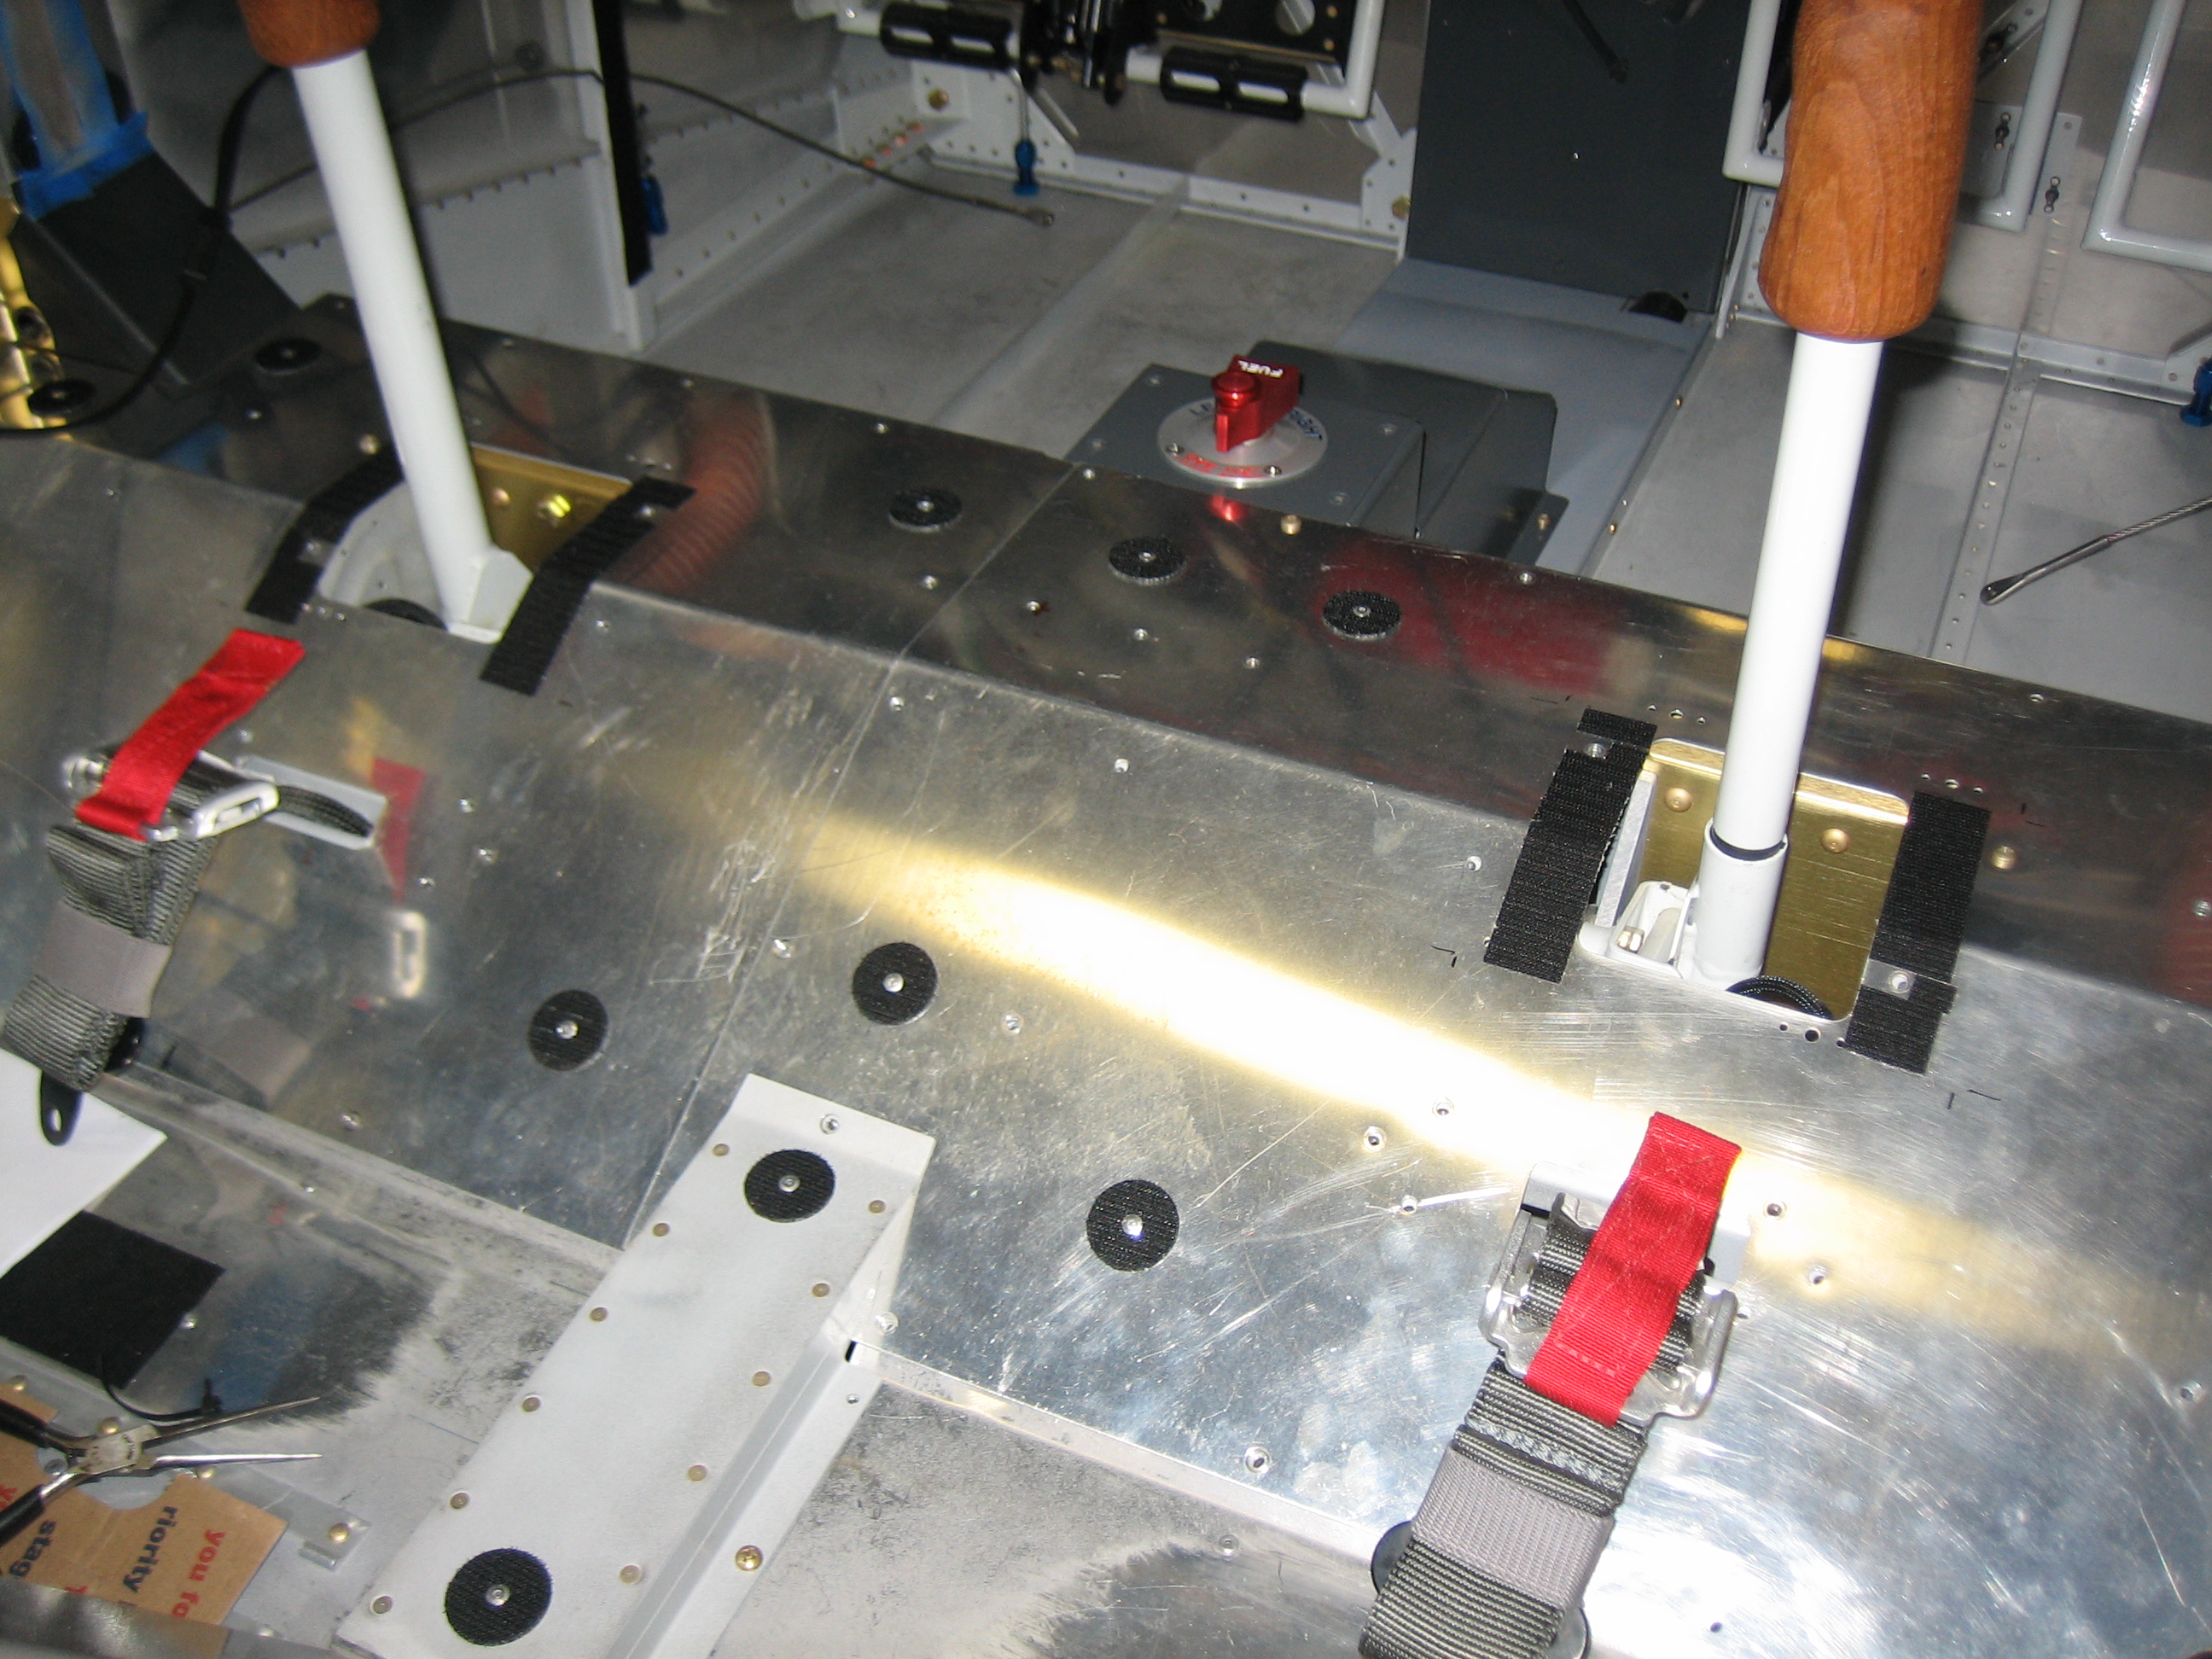
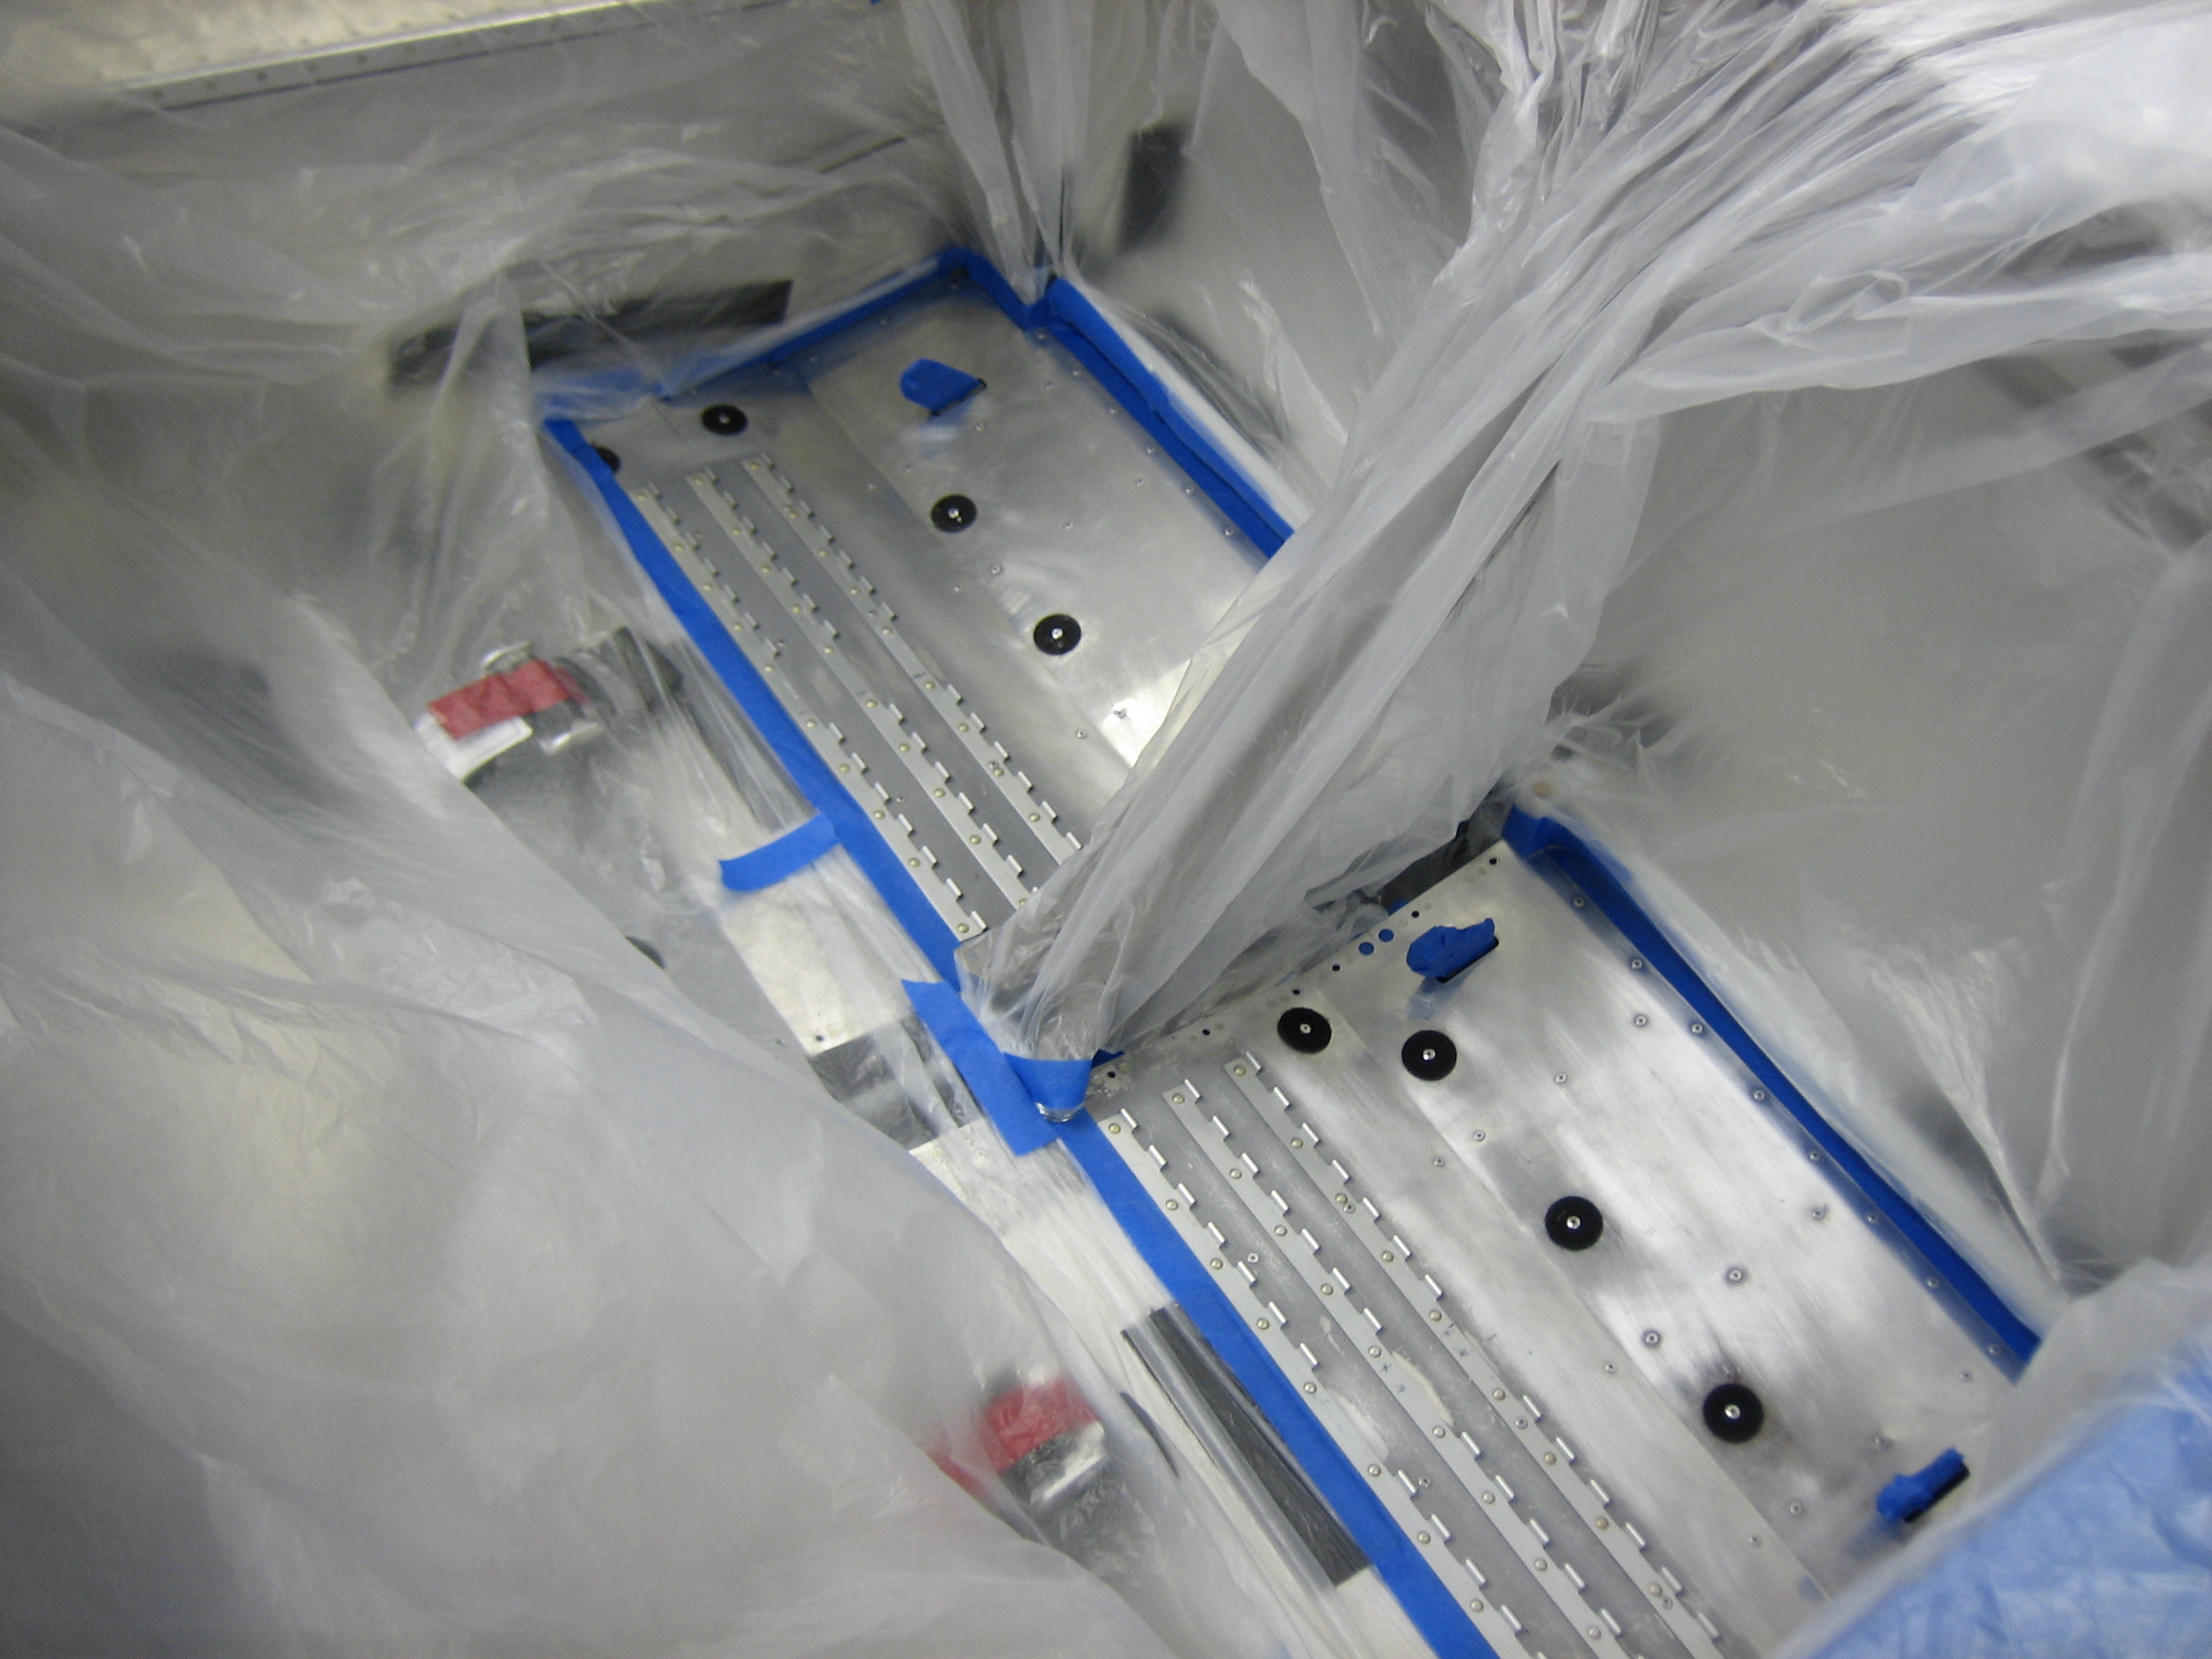
Here’s everything in the cabin installed. Most of these things will be removed at the airport when I install the wings, but this keeps out all the crap and helped clean up my pile of spare parts.
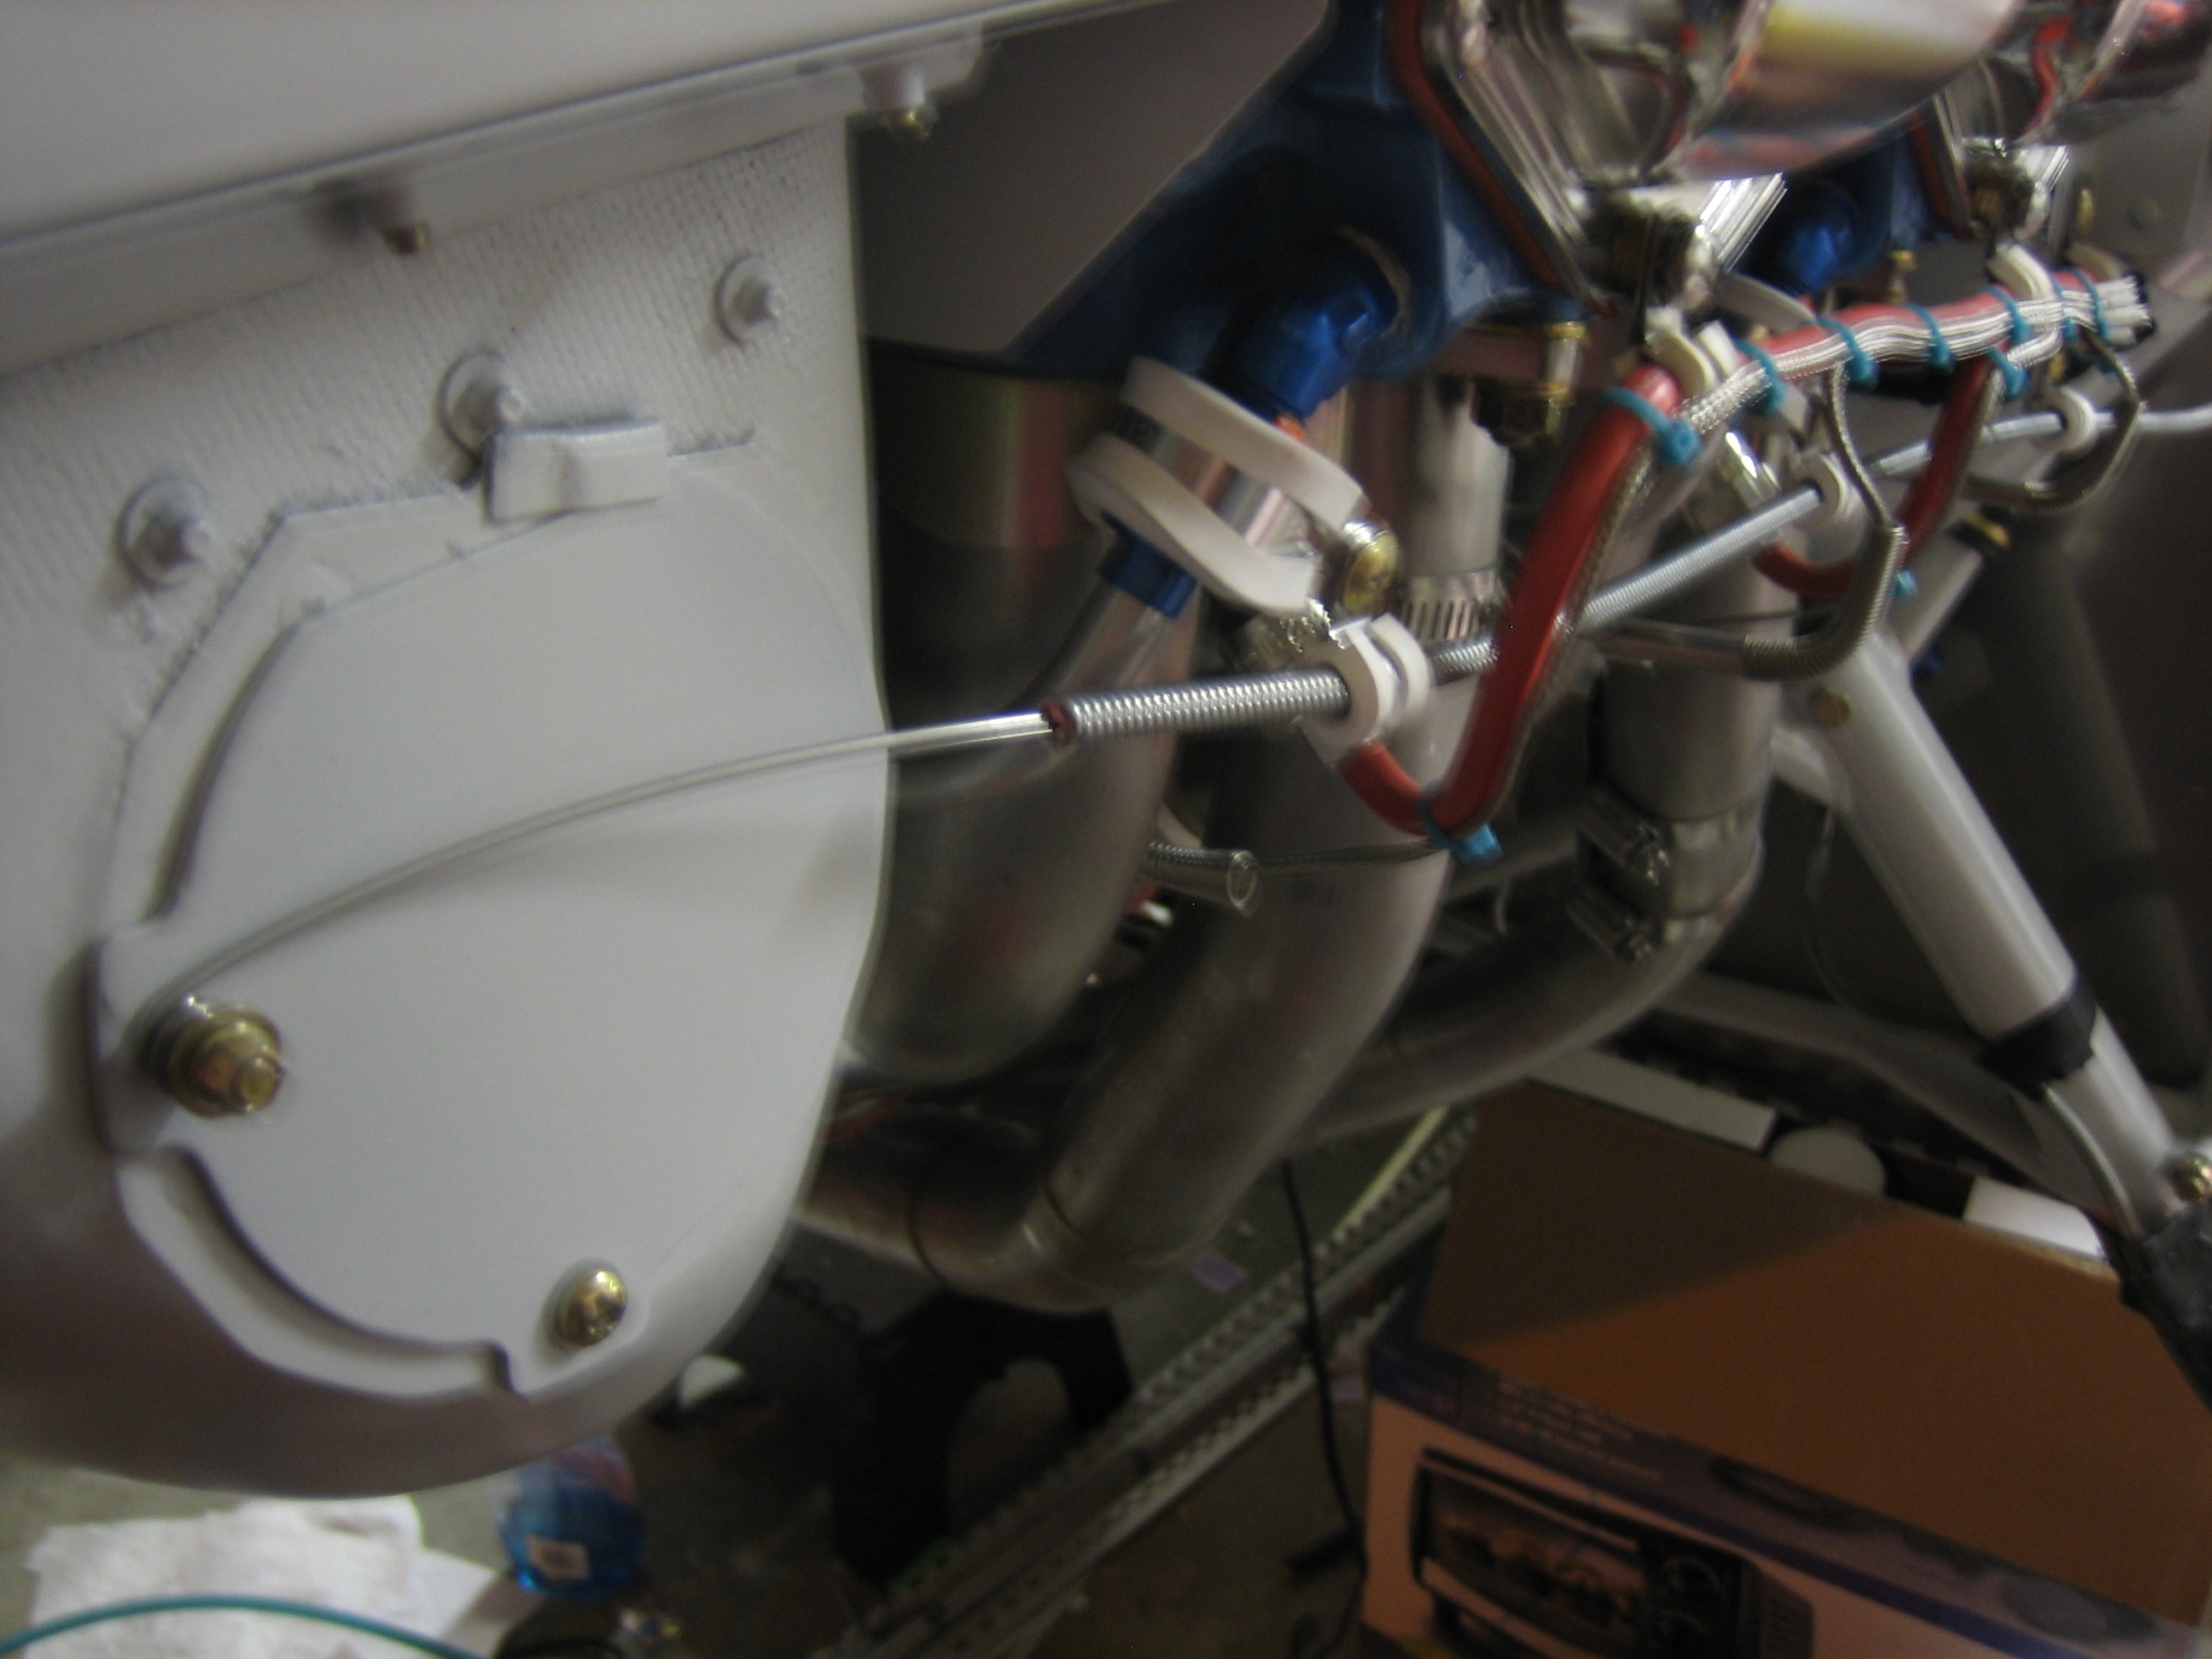
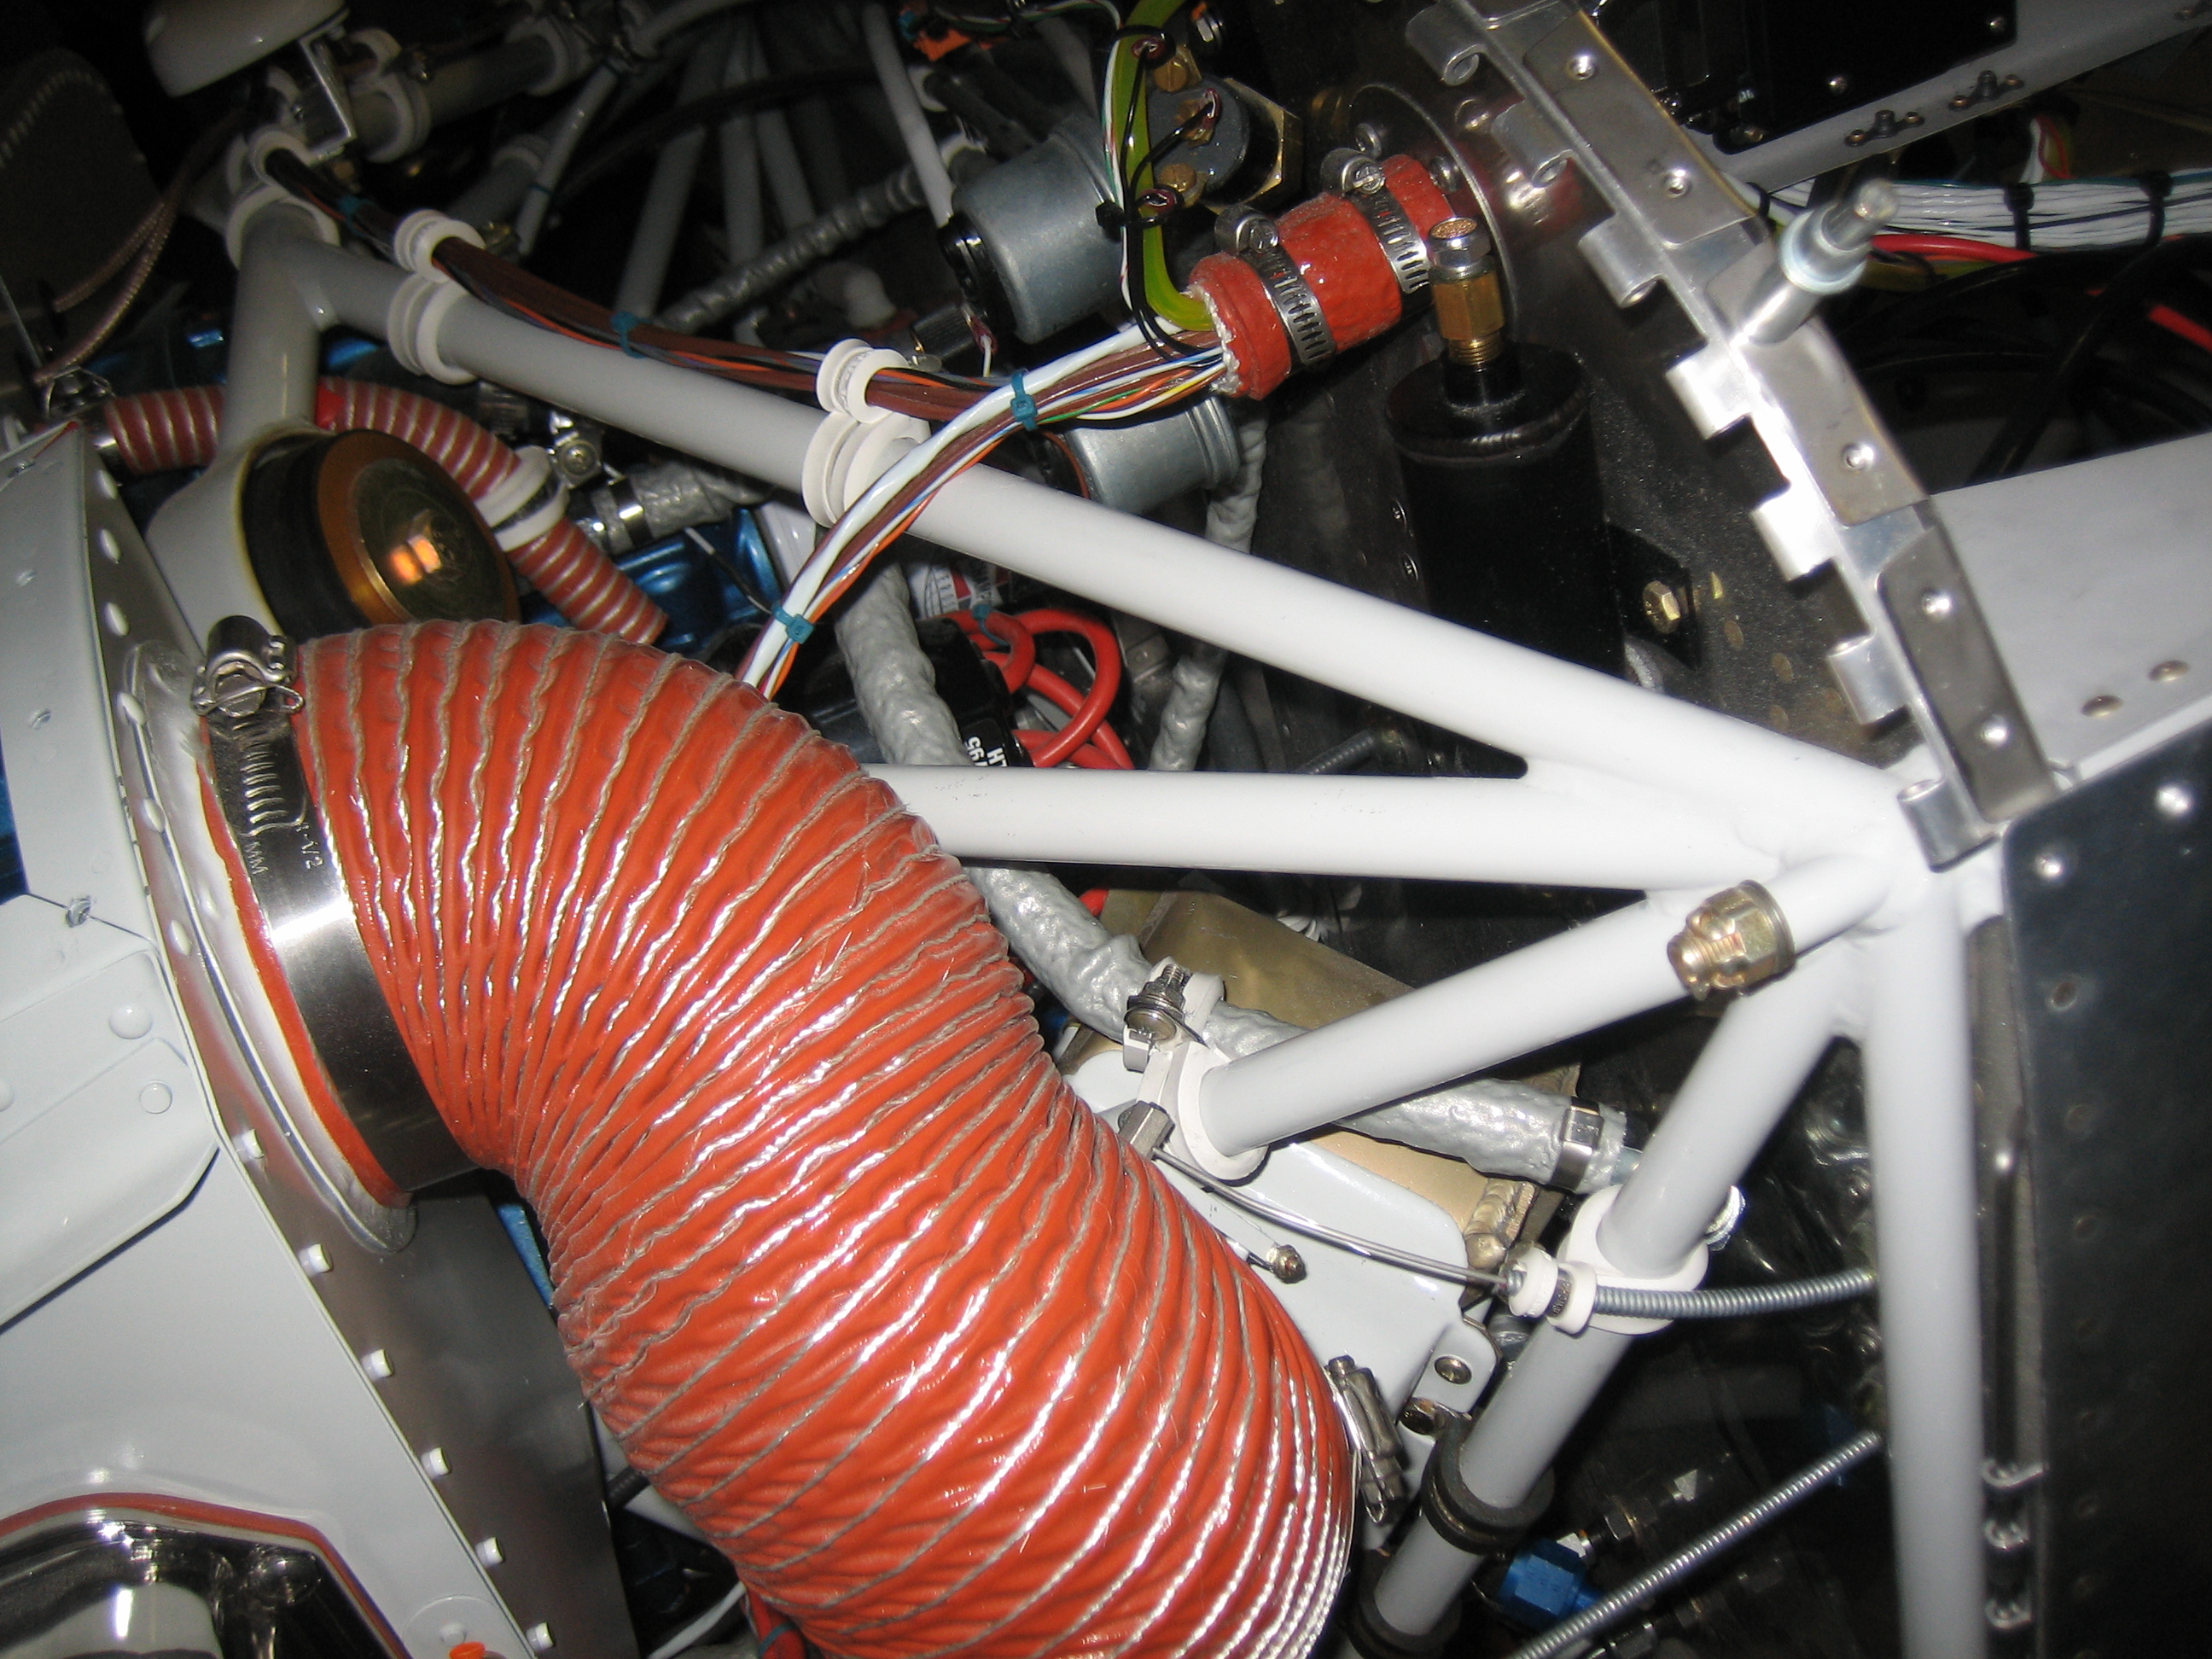
Finally, I wrapped up the alt air control cable installation by adding some adel clamps anchoring the cable to the oil drain lines.
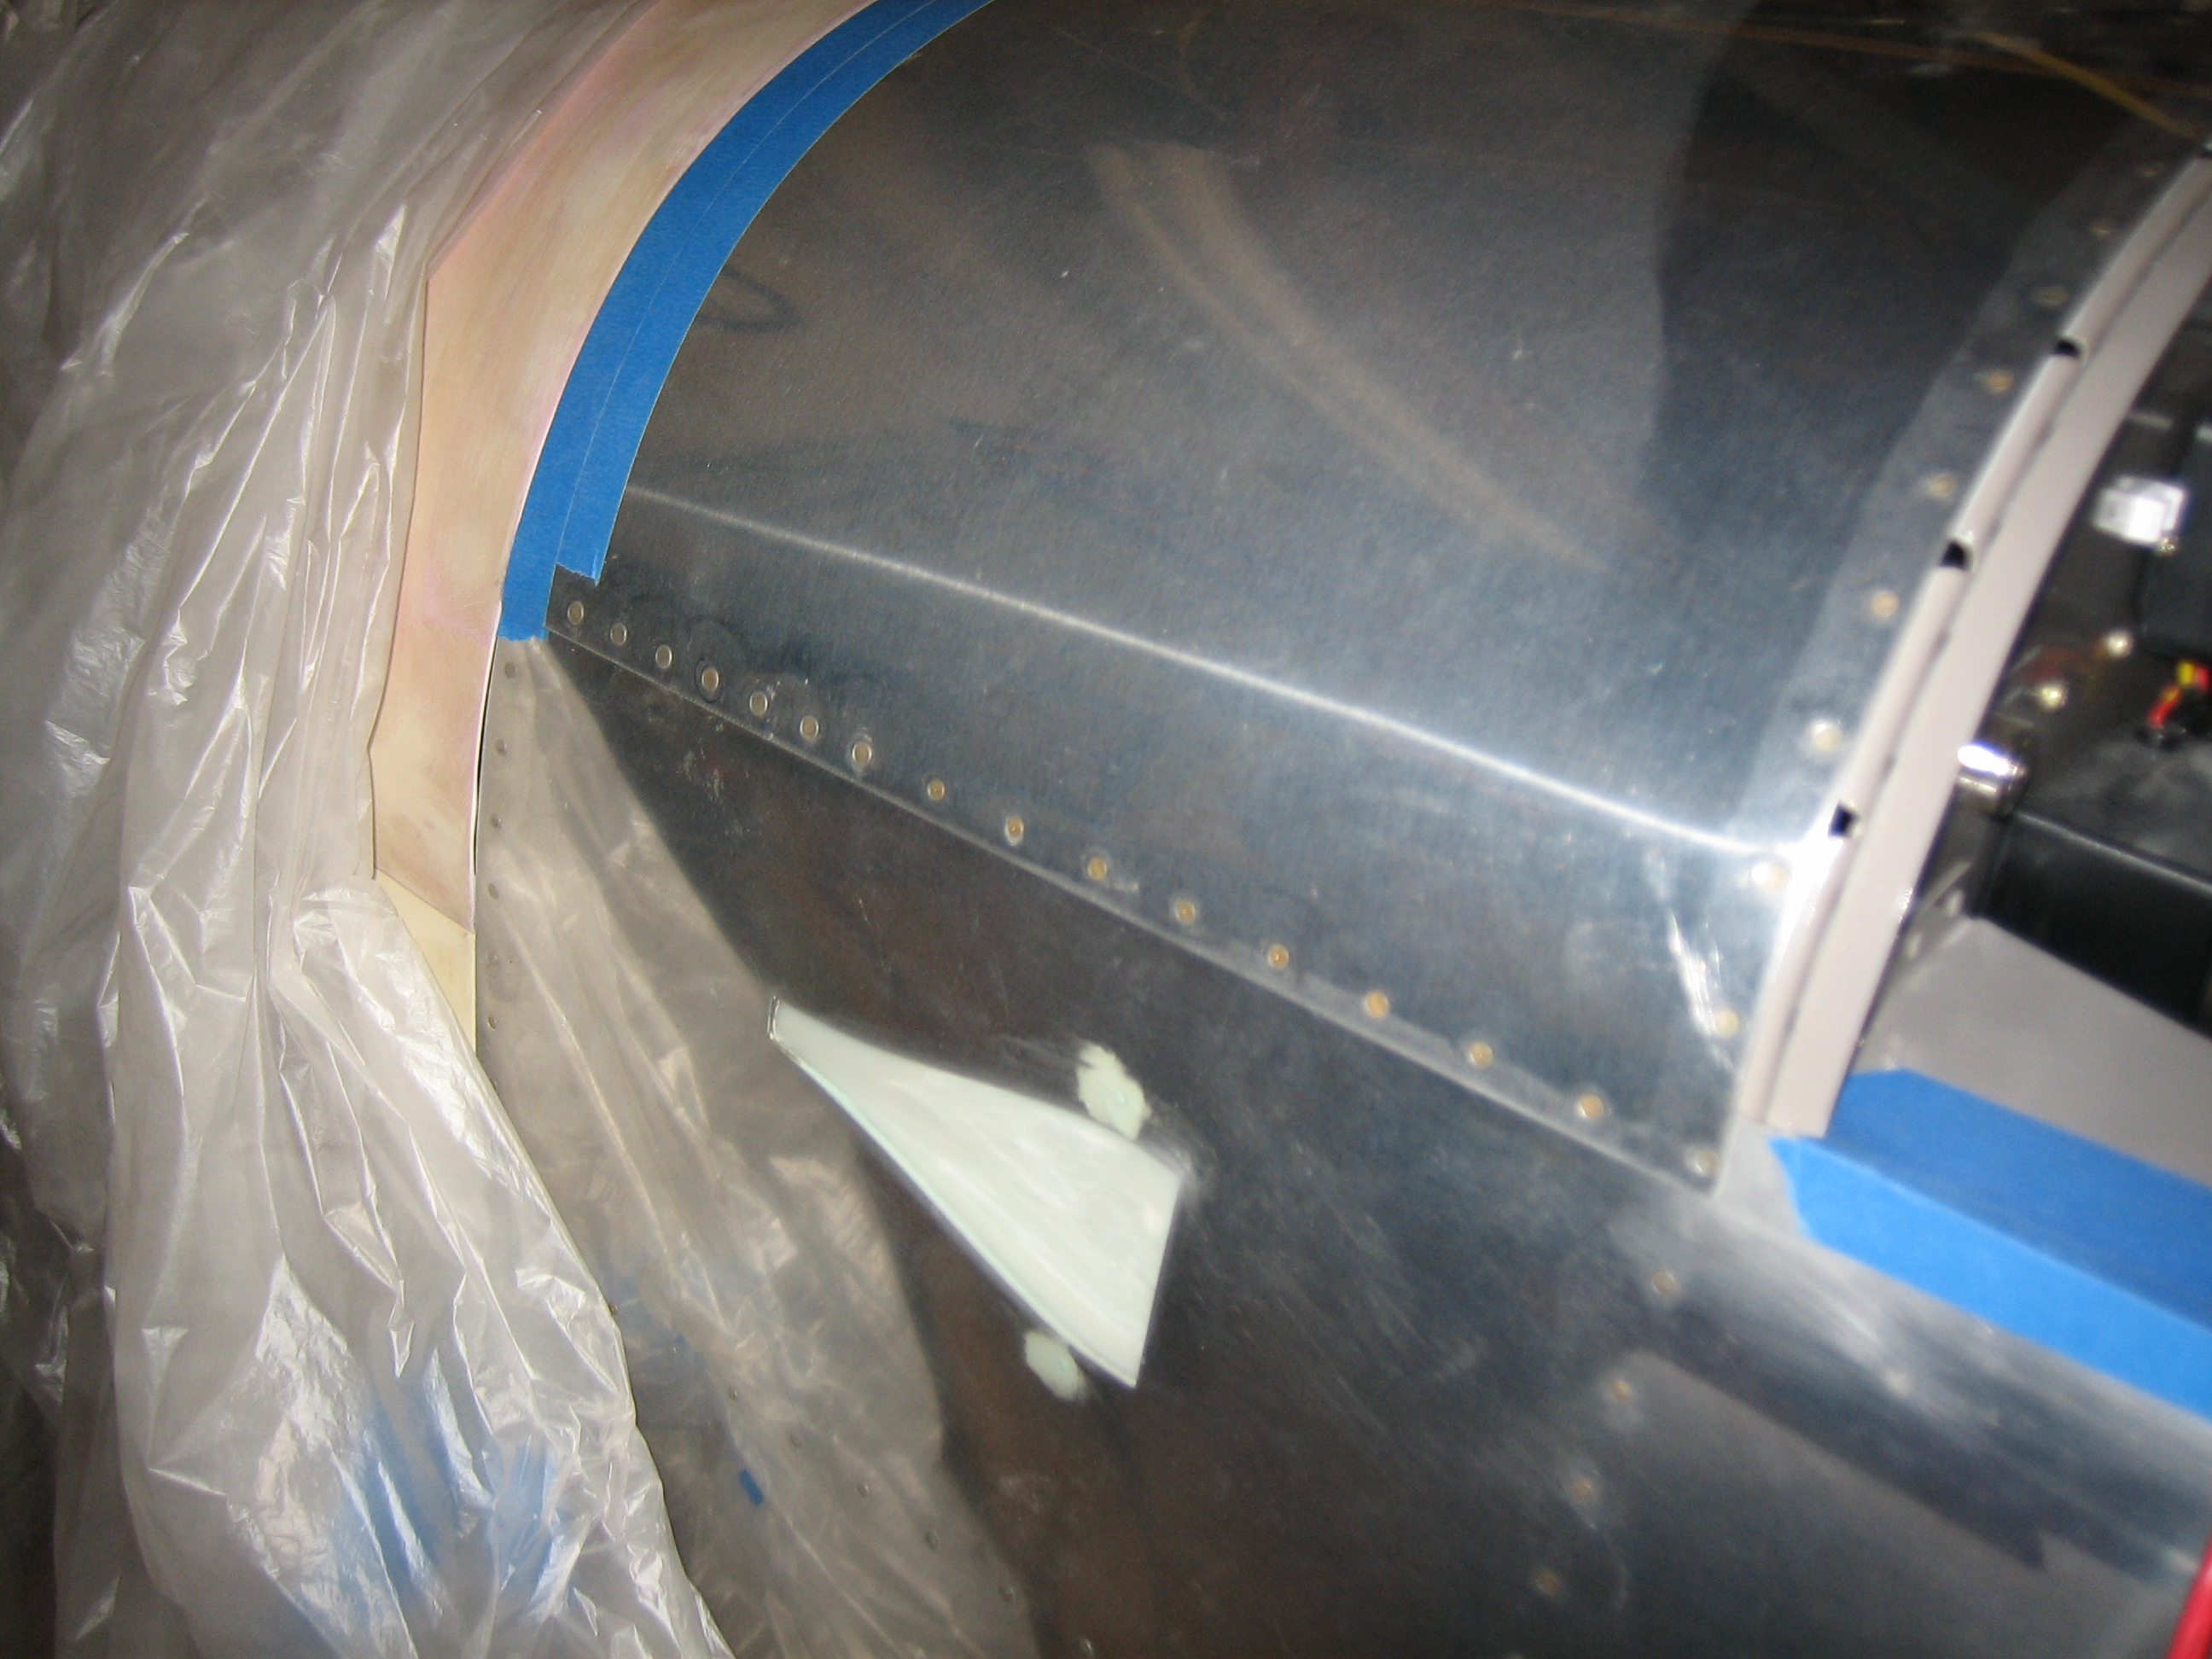
I deburred and dimpled the final skin (top of the fuselage behind the cowling) and then reinstalled it on the fuselage to make sure the aft gap on the cowling is perfect all the way around. I reinstalled all of the hinge pins to ensure the cowling is precisely positioned. The upper cowl gap is perfect, but I still have a little sanding to do to get the gap perfect on the lower cowl.
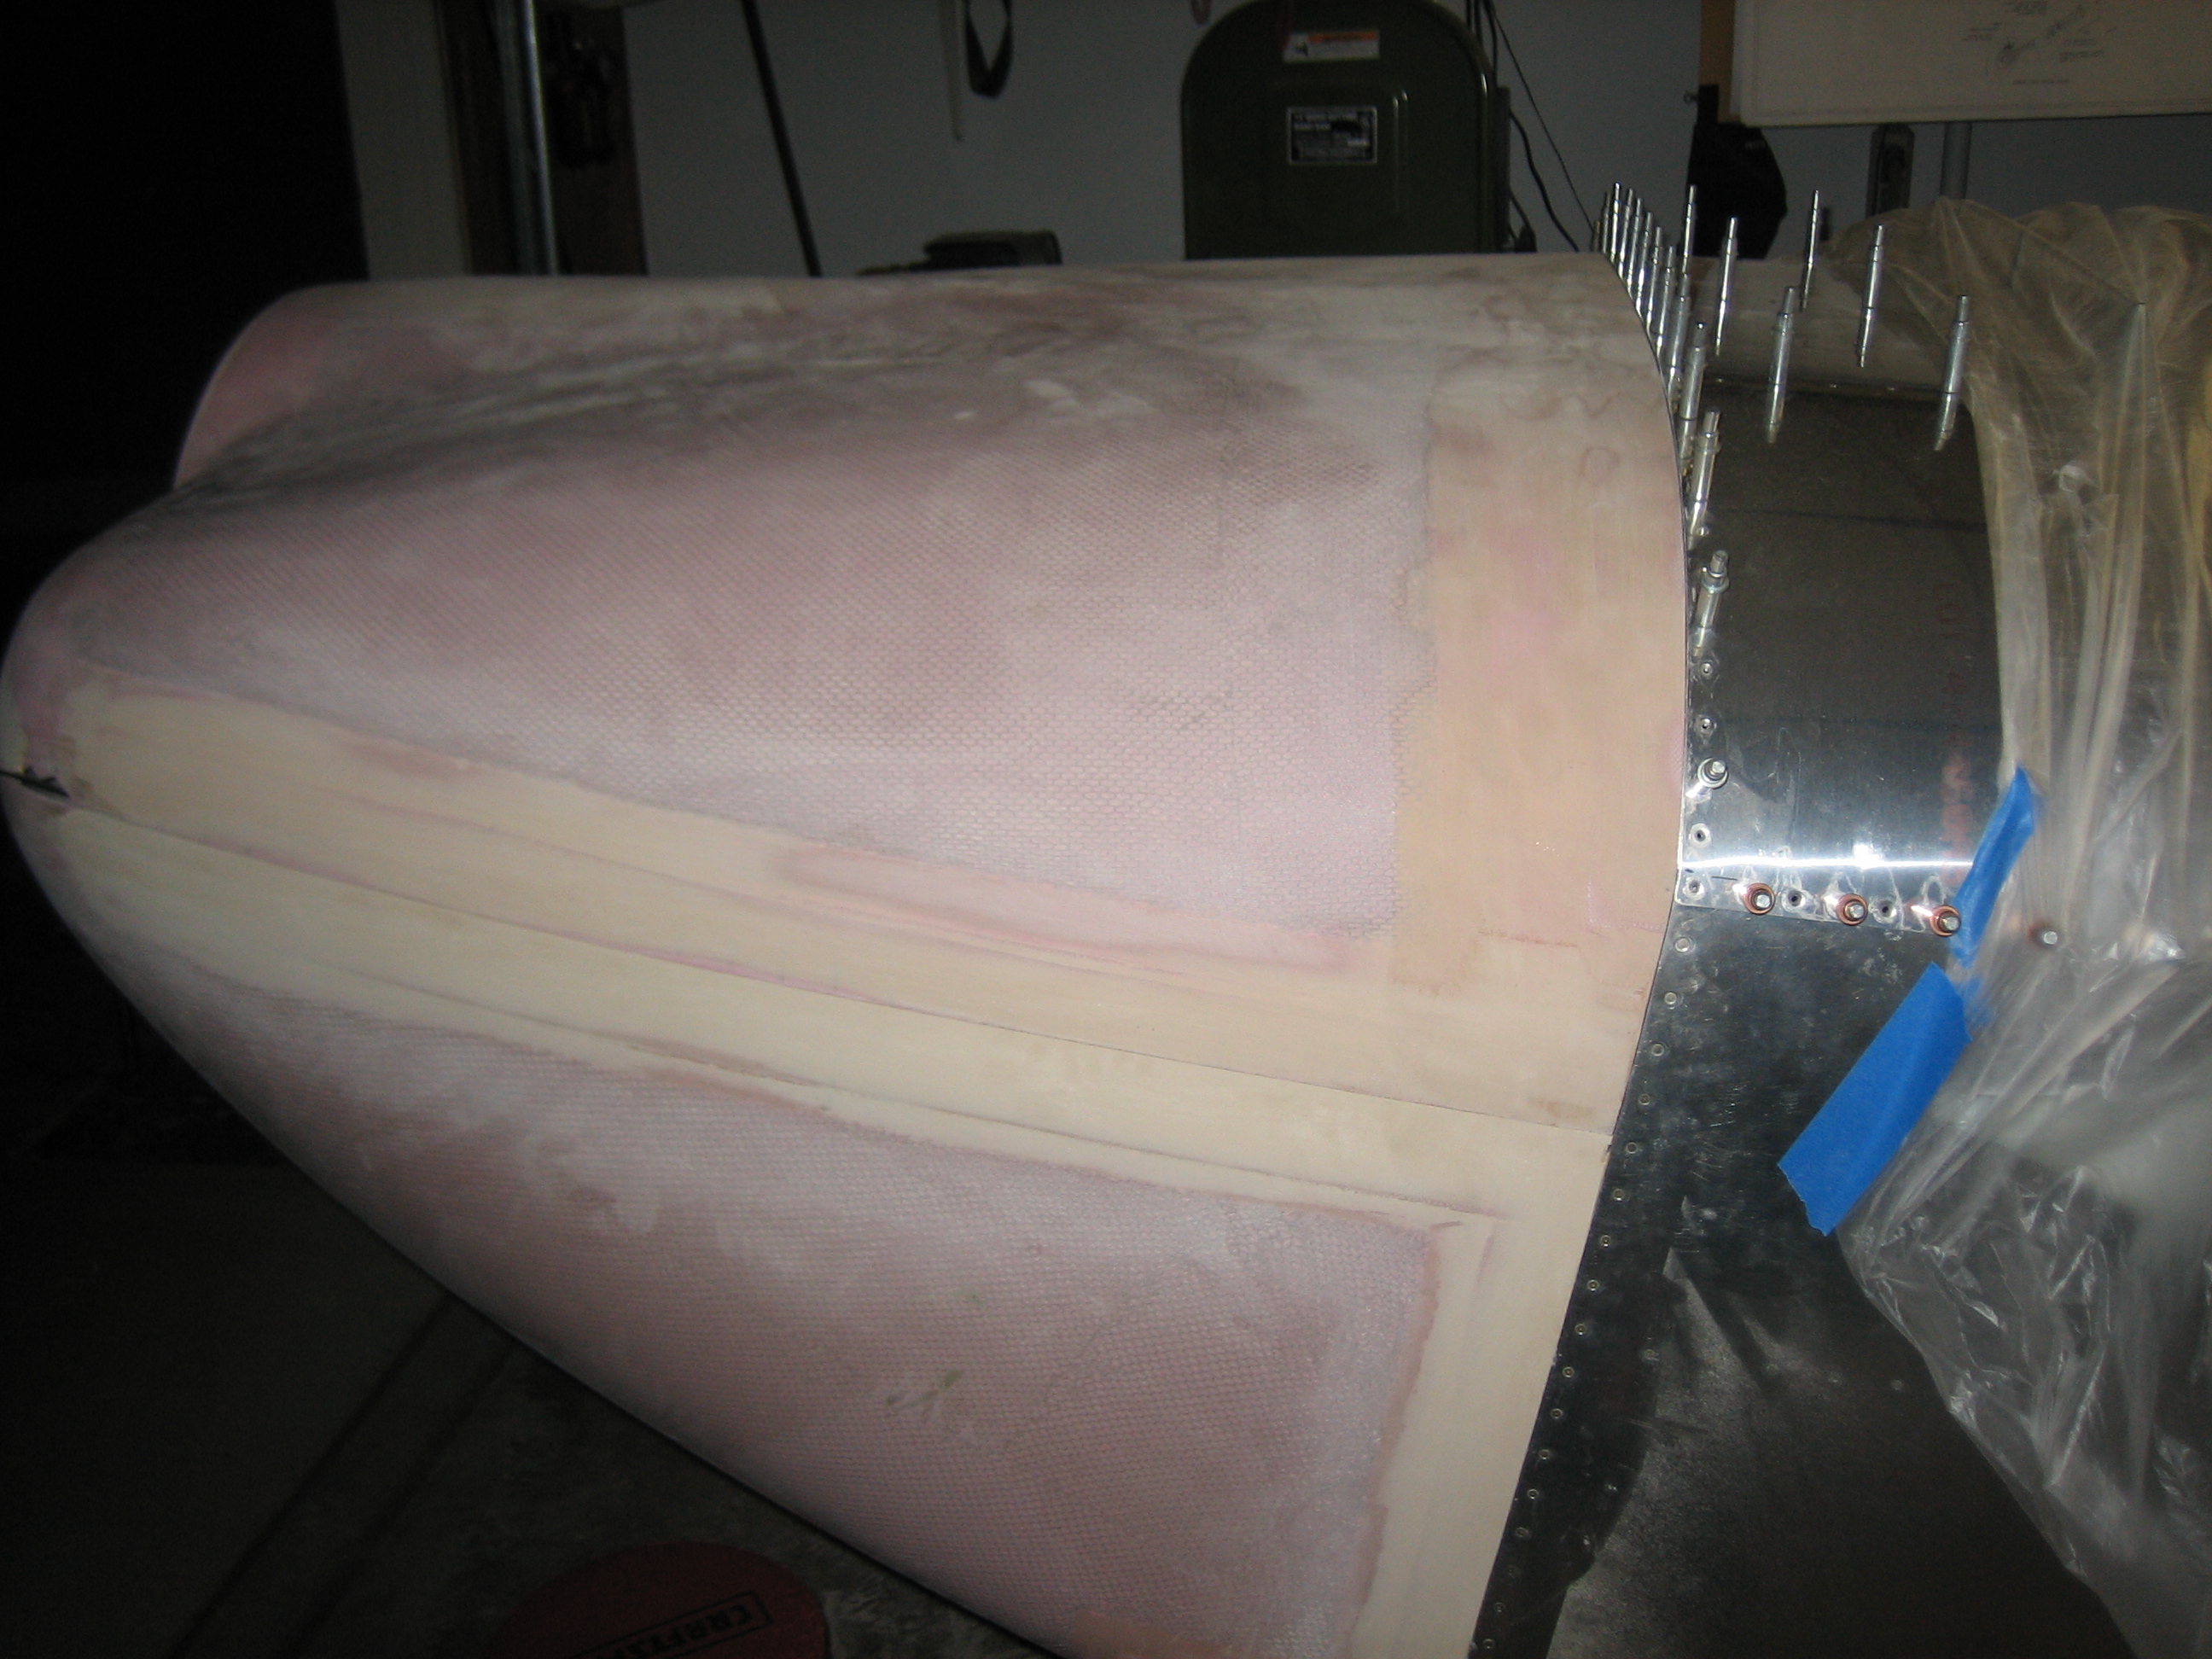
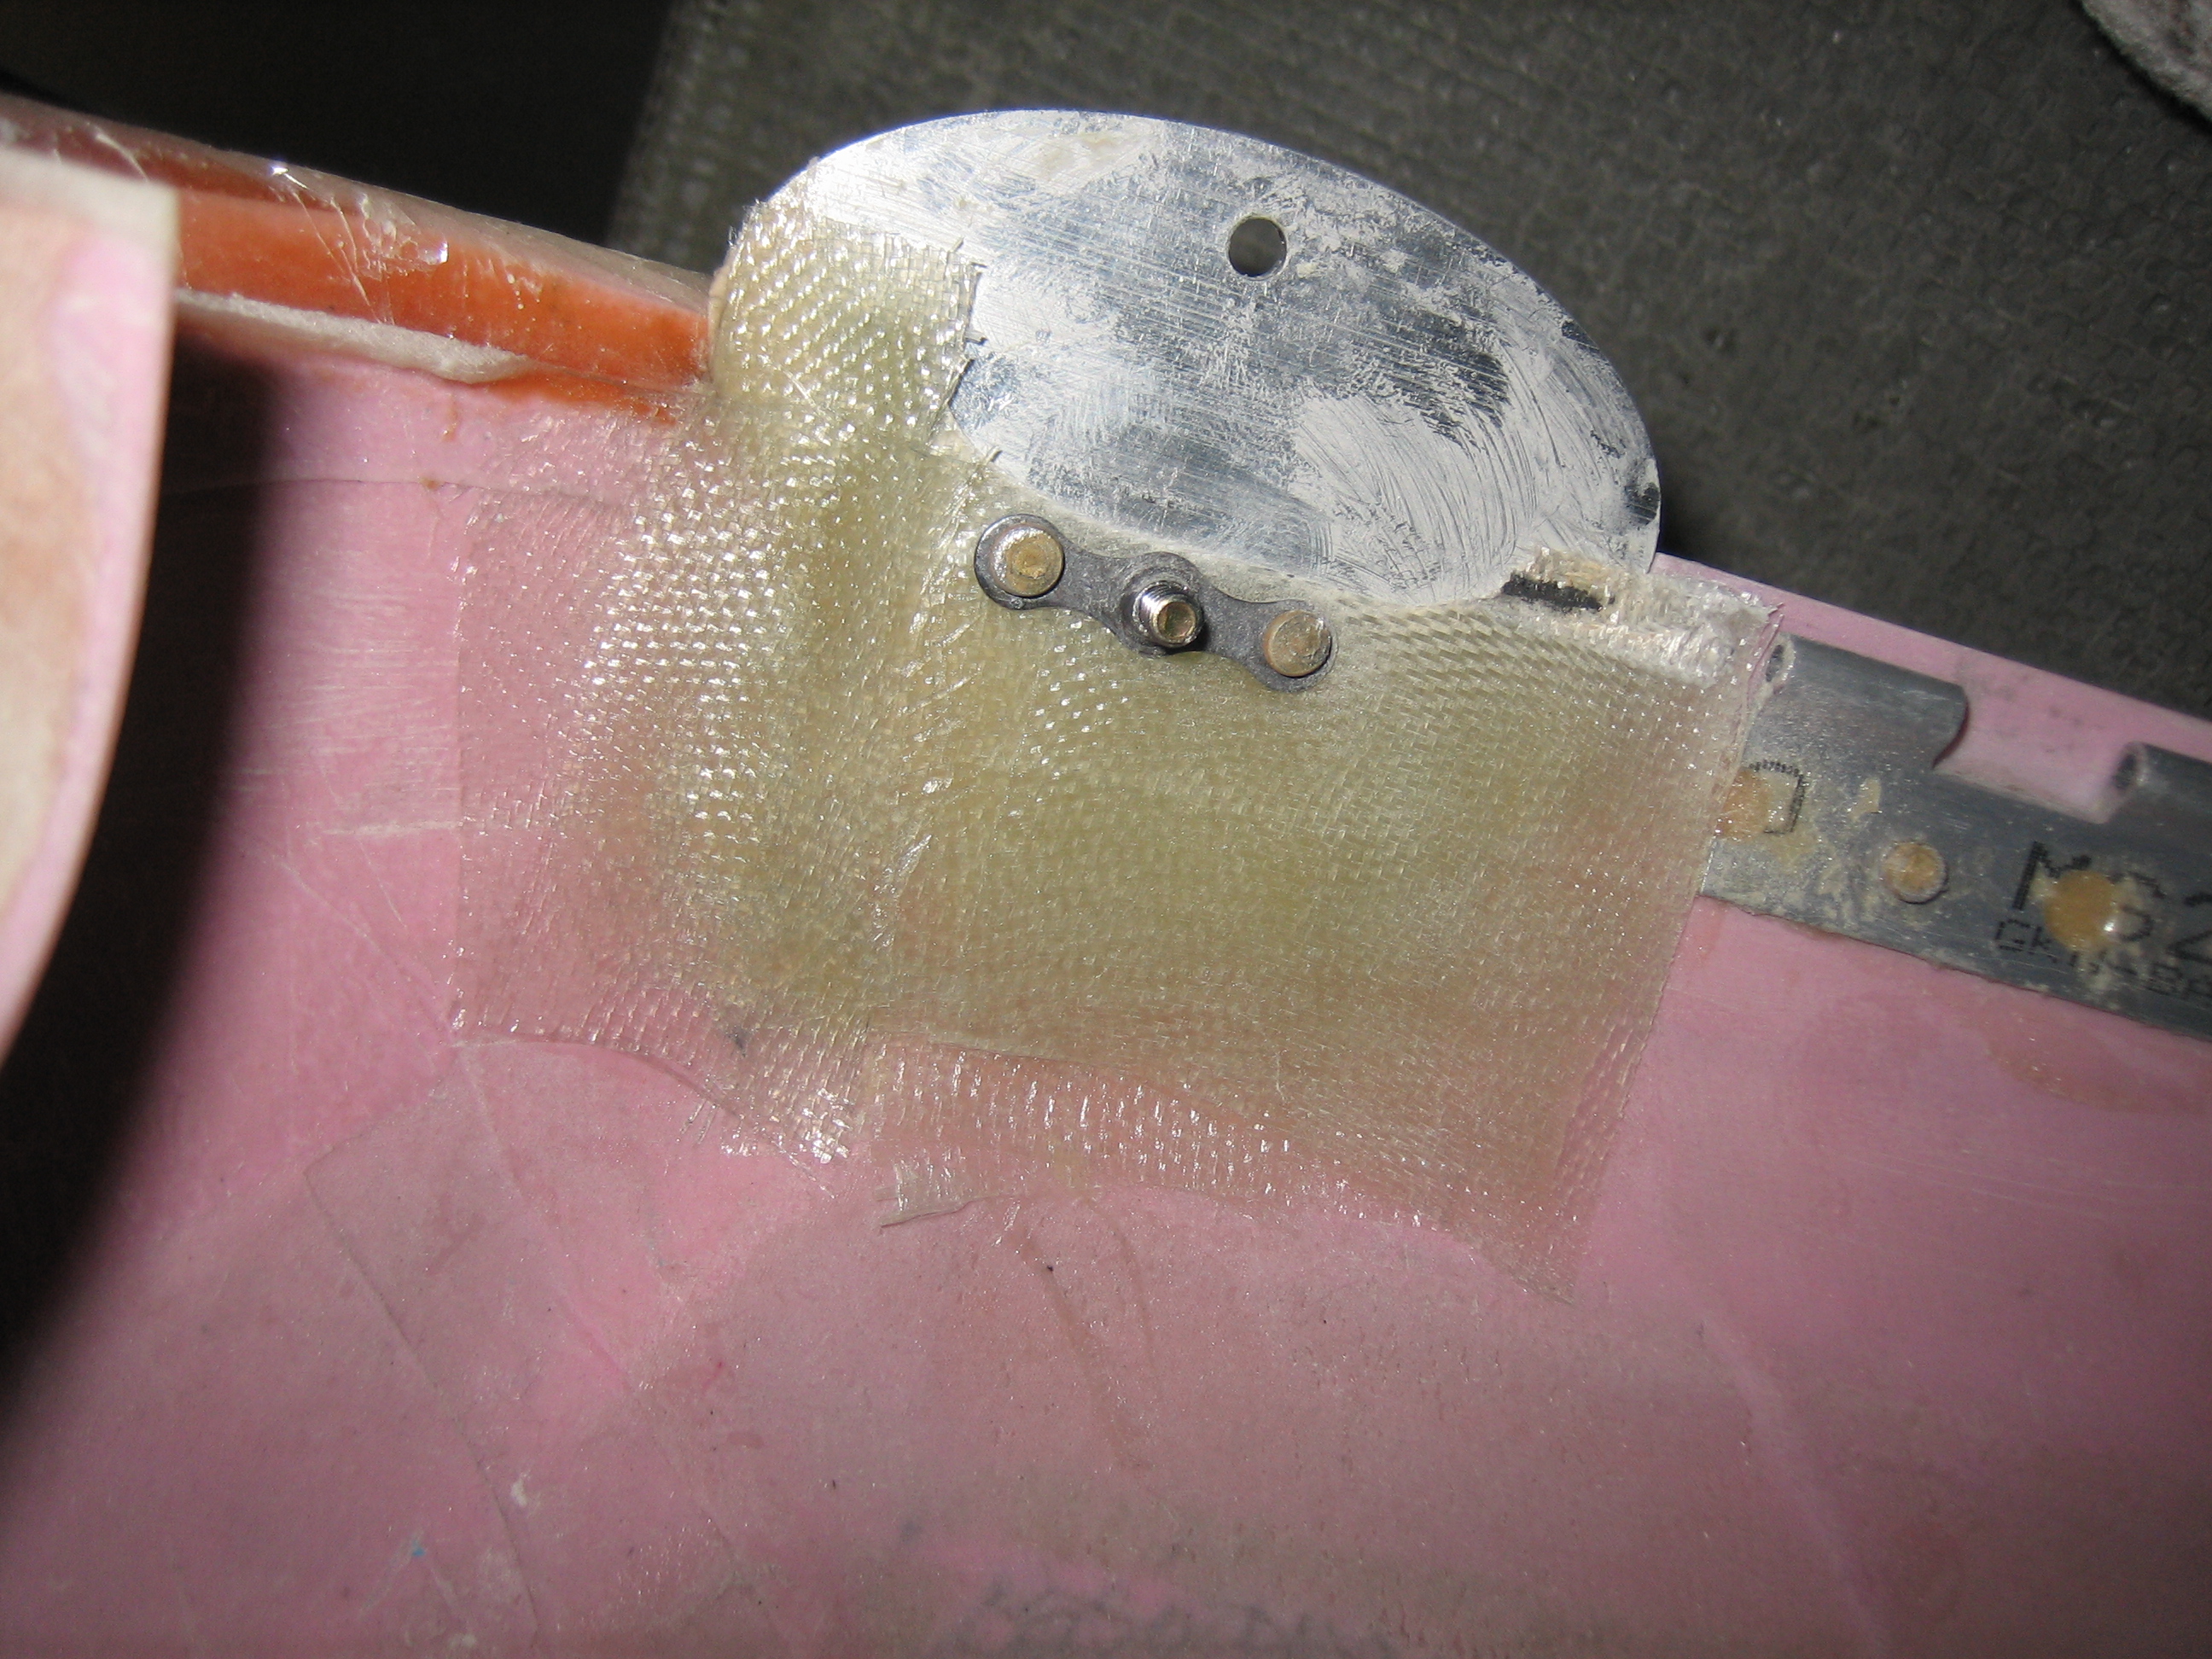
I laid up some additional glass near the front of the hinge pin covers where the gaps I pointed out yesterday were located. I’ll trim and sand this back tomorrow after it cures.
I need to get started wrapping up the cabin area, so I got started by cleaning up the roll bar. I haven’t touched this in more than two years, but I left some masking tape along the top edge. Old tape is a real pain in the ass to remove. It took me about an hour to remove all the tape and residue.
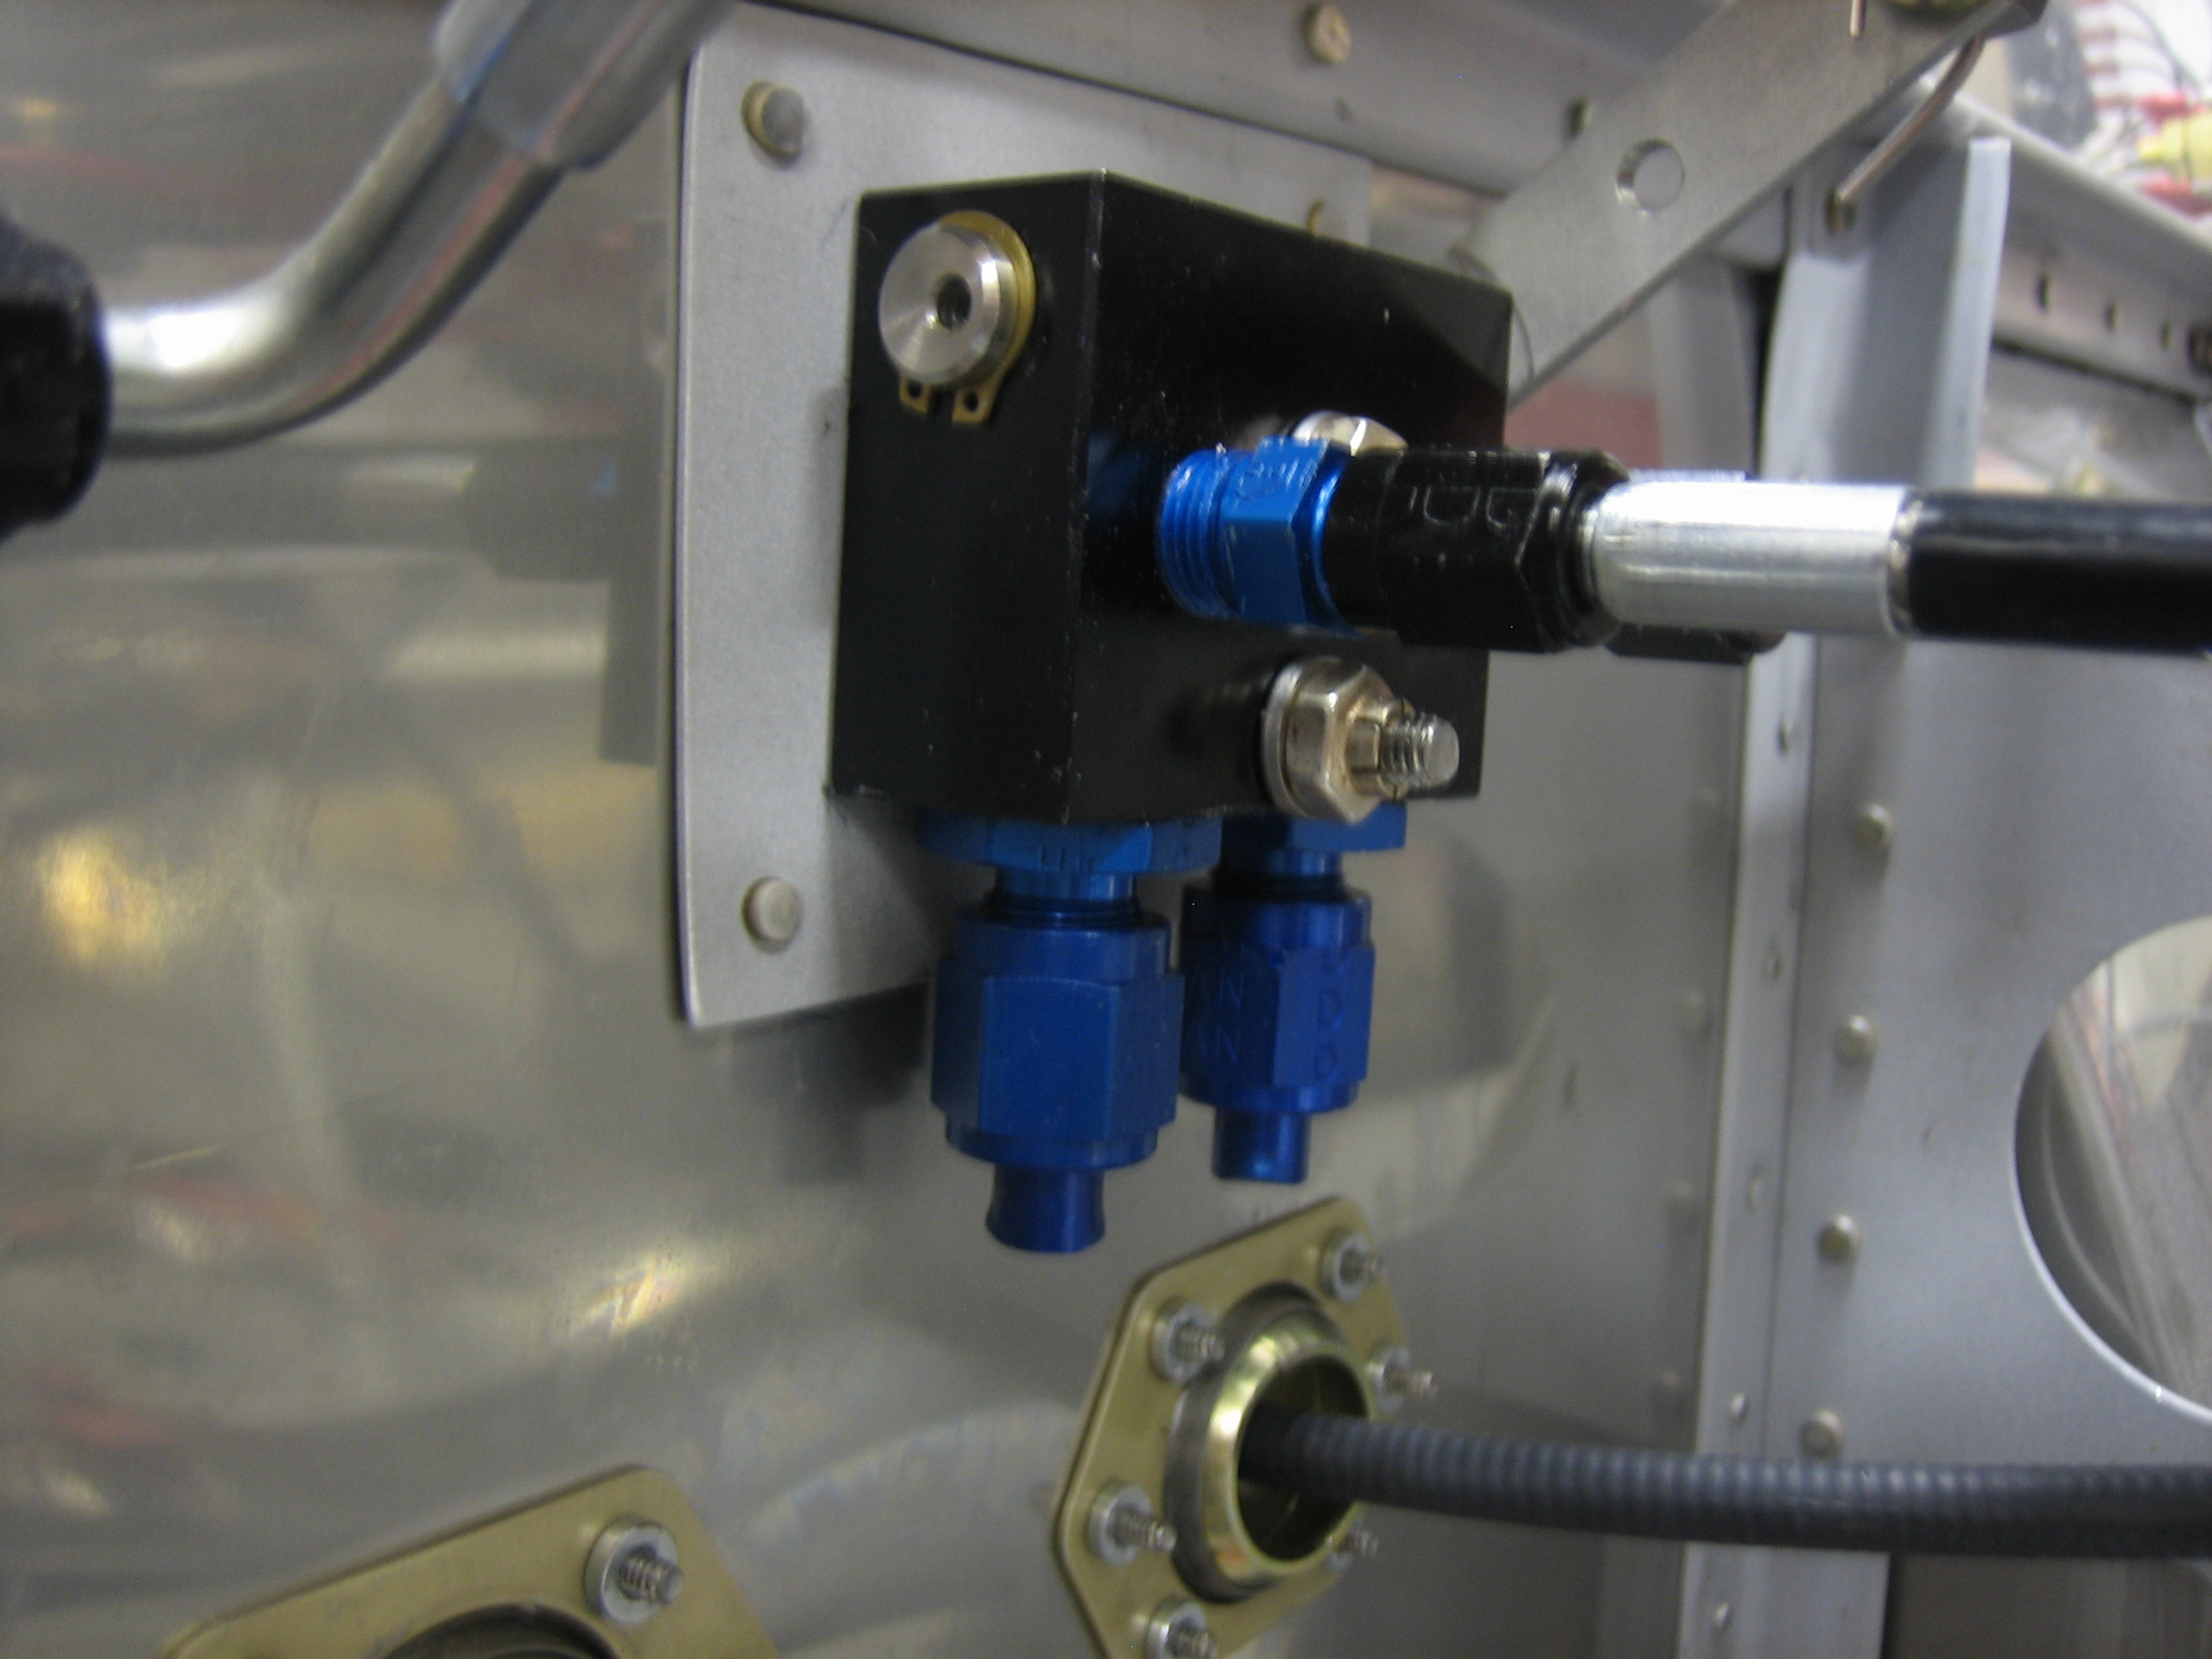
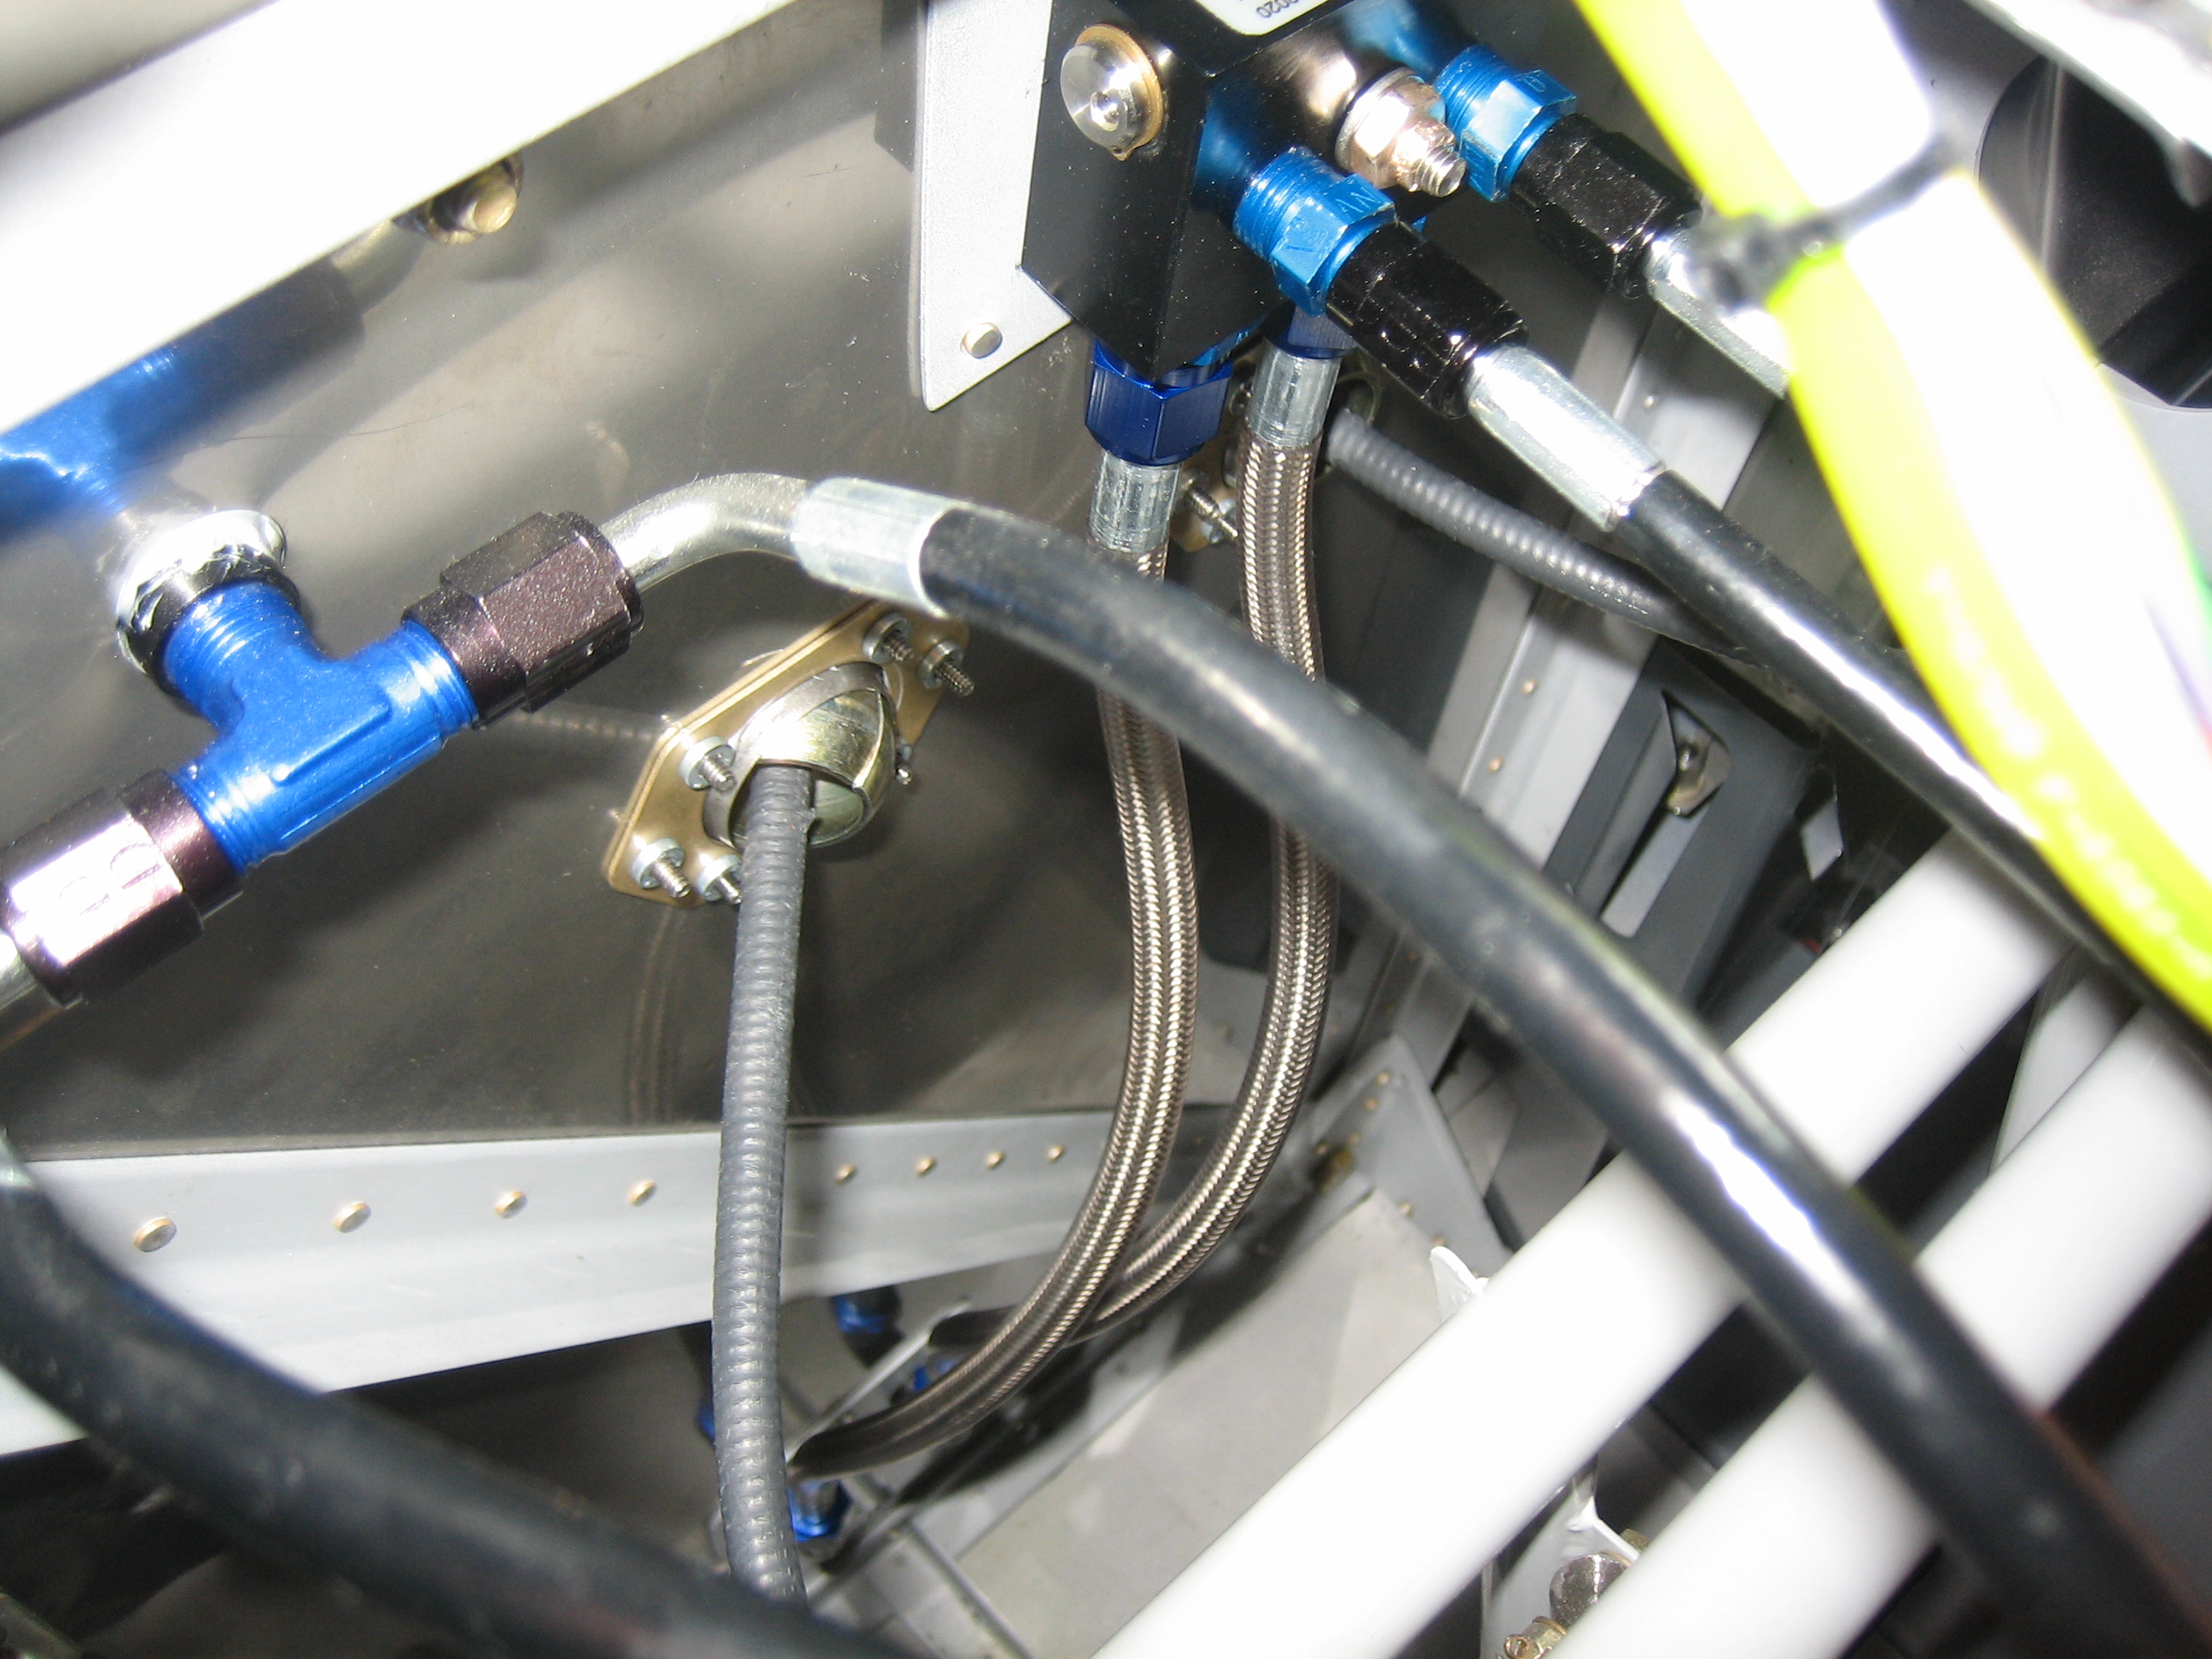
I’ve had a tiny brake fluid leak on the output side of the parking brake valve. It’s not much, but it has to be fixed. I removed the hard lines from the parking brake down to the fittings that pass through the firewall, drained the excess fluid, and cleaned up the flares to see if I could make them seal properly. I reassembled everything, filled and bled the brakes and unfortunately, the leak persisted.
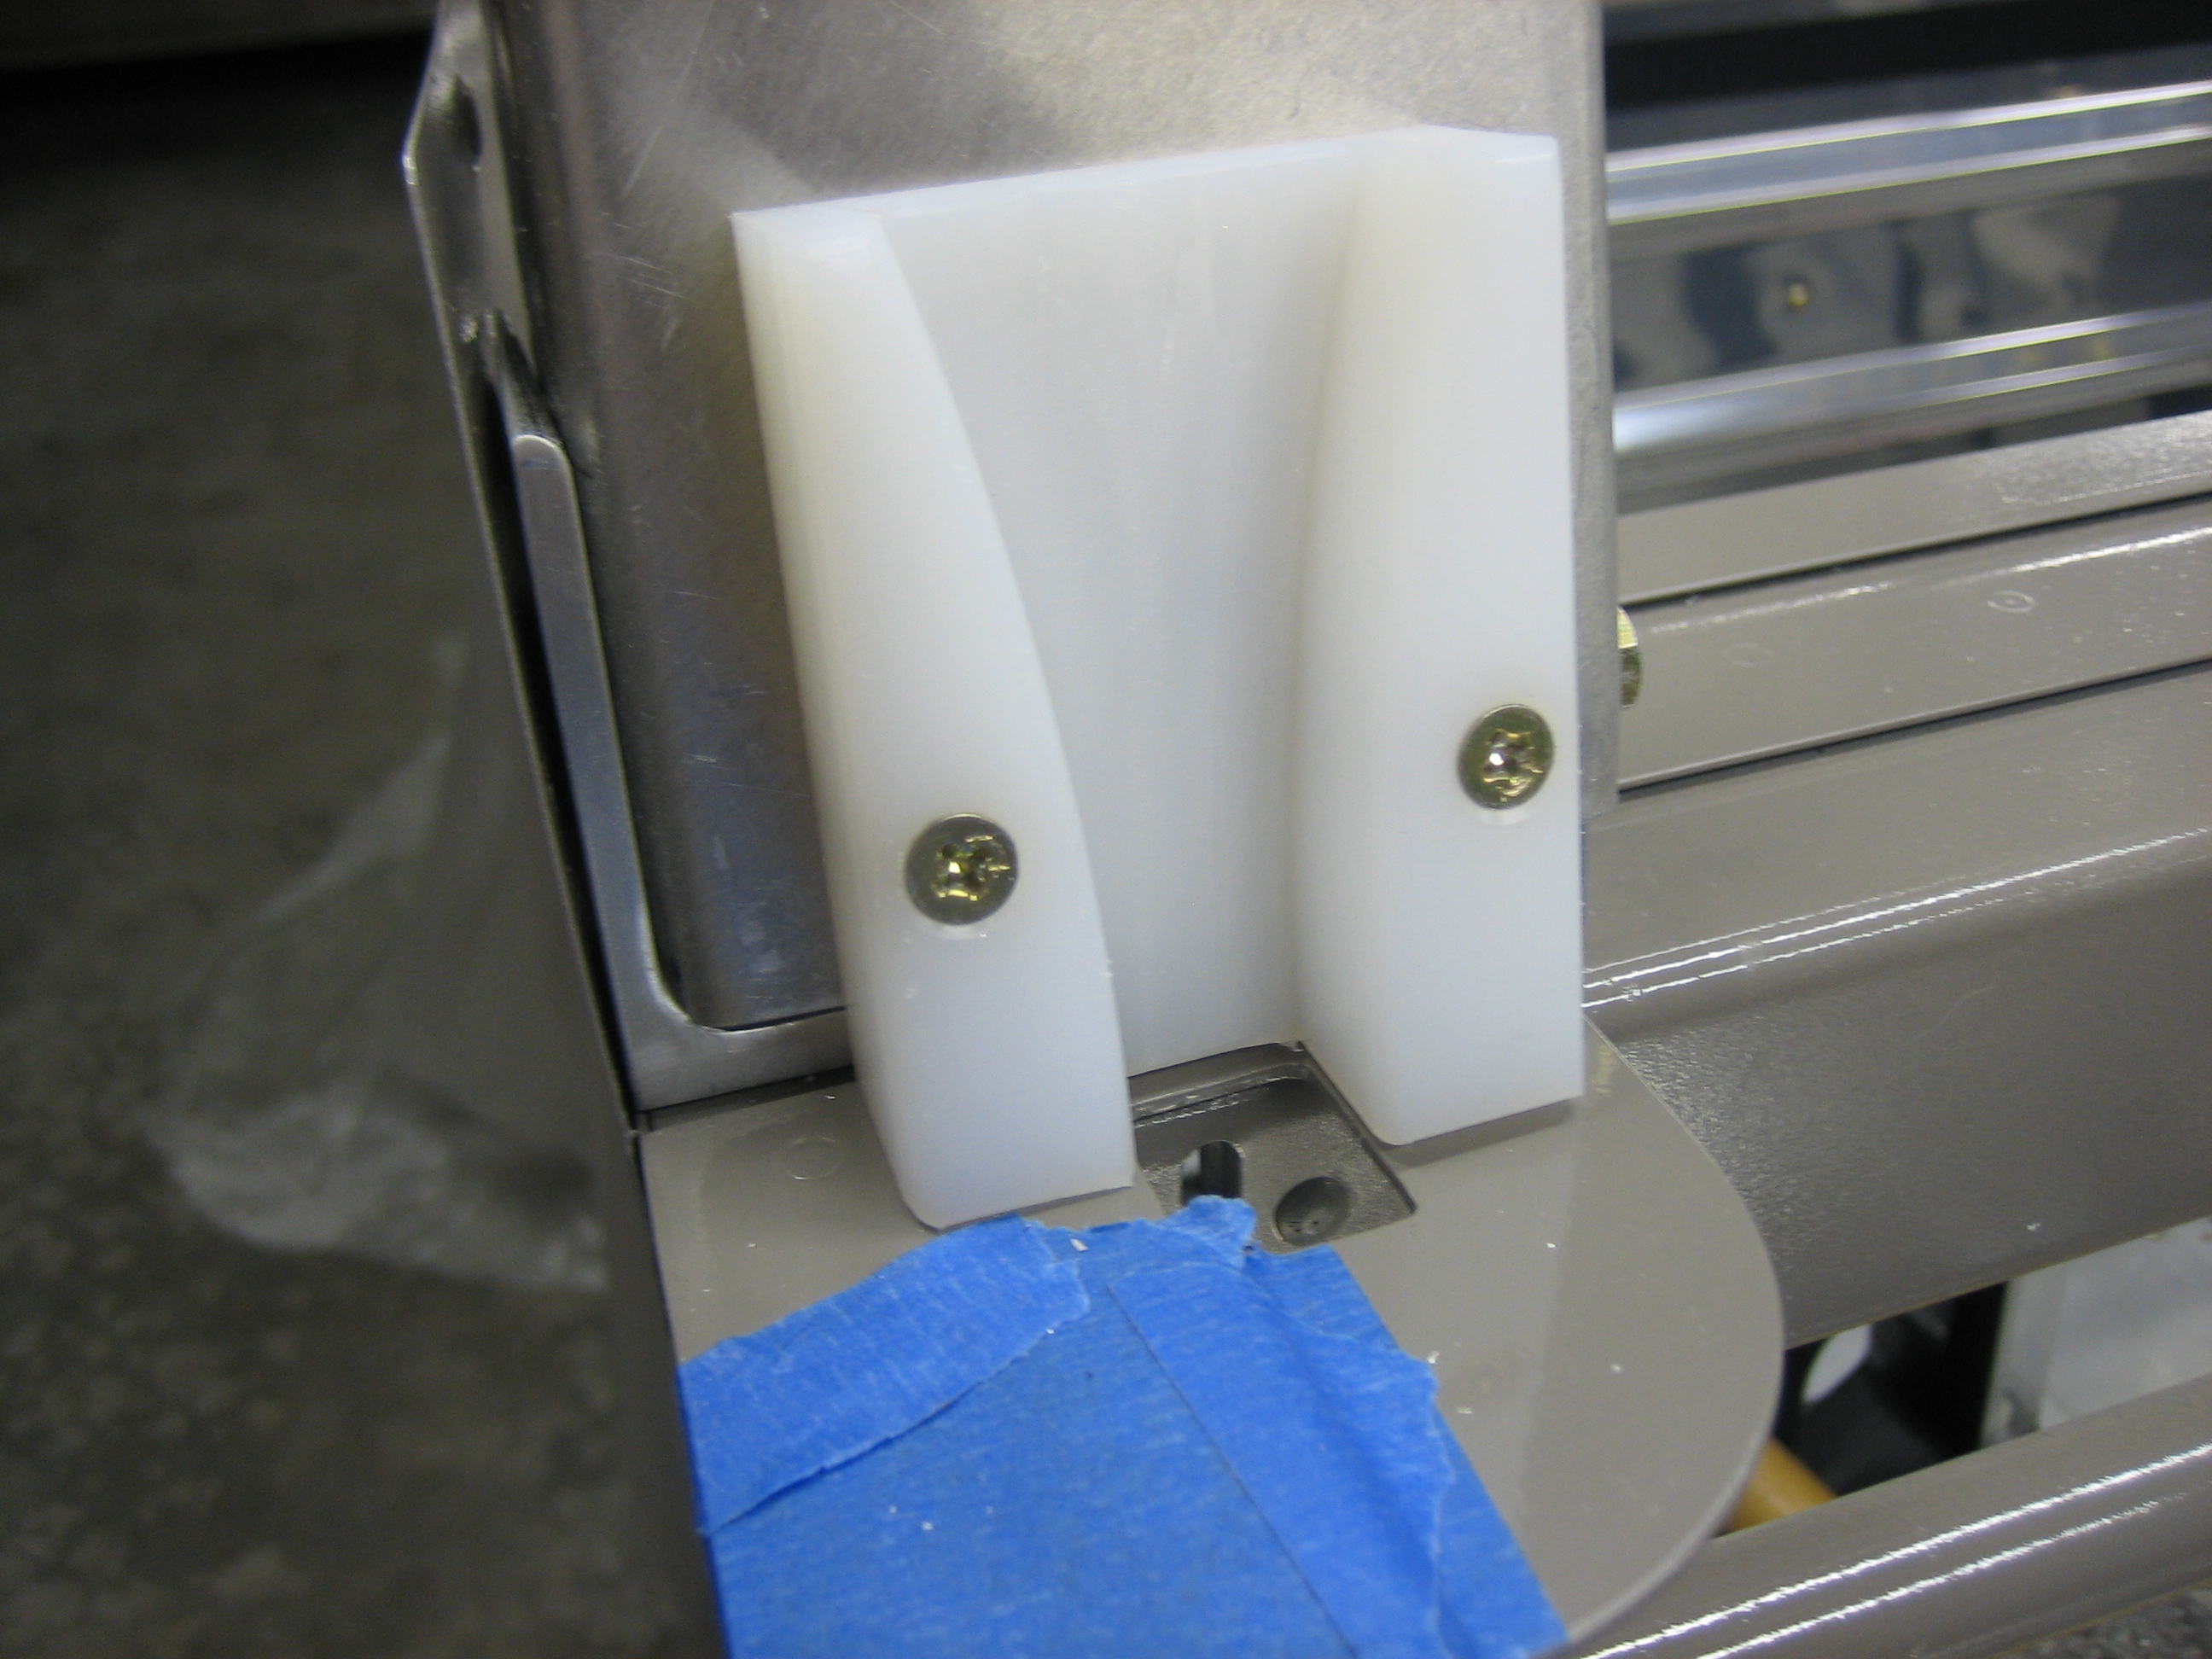
I installed some canopy guide blocks I purchased from Buller Enterprises. These will guide the canopy latches into the holes to help the canopy close squarely.
I also took the hard lines back off and added some caps. I applied the parking brake and re-pressurized it. This should tell me whether the leak is inside the parking brake or at the flare fitting.
I’ve been absolutely swamped at work, so I’ve had very little time for the project. Unfortunately, this is not going to improve anytime soon. I did get a few new hoses from Brett at Bonaco, so I wanted to install them and see if this fixed my brake leak. I installed the new brake lines and bled the system using the new brake bleeding system I picked up from Aircraft Tool Supply. I pressurized the system and applied the parking brake. As far as I can tell, the brake leak is fixed.
I also replaced the upper oil cooler hose. The previous one I received from Bonaco had a problem that caused the hose to get twisted when I tightened it down. Brett sent me a new hose for free, so I put that on and torqued everything down.
With the brake leak wrapped up, there’s no reason not to rivet the remaining fuselage skin. I managed to get most of it done solo, but I’ll need a riveting partner to do the remaining rivets. I’m not in any rush though since the open ends will make the final canopy fitting easier.

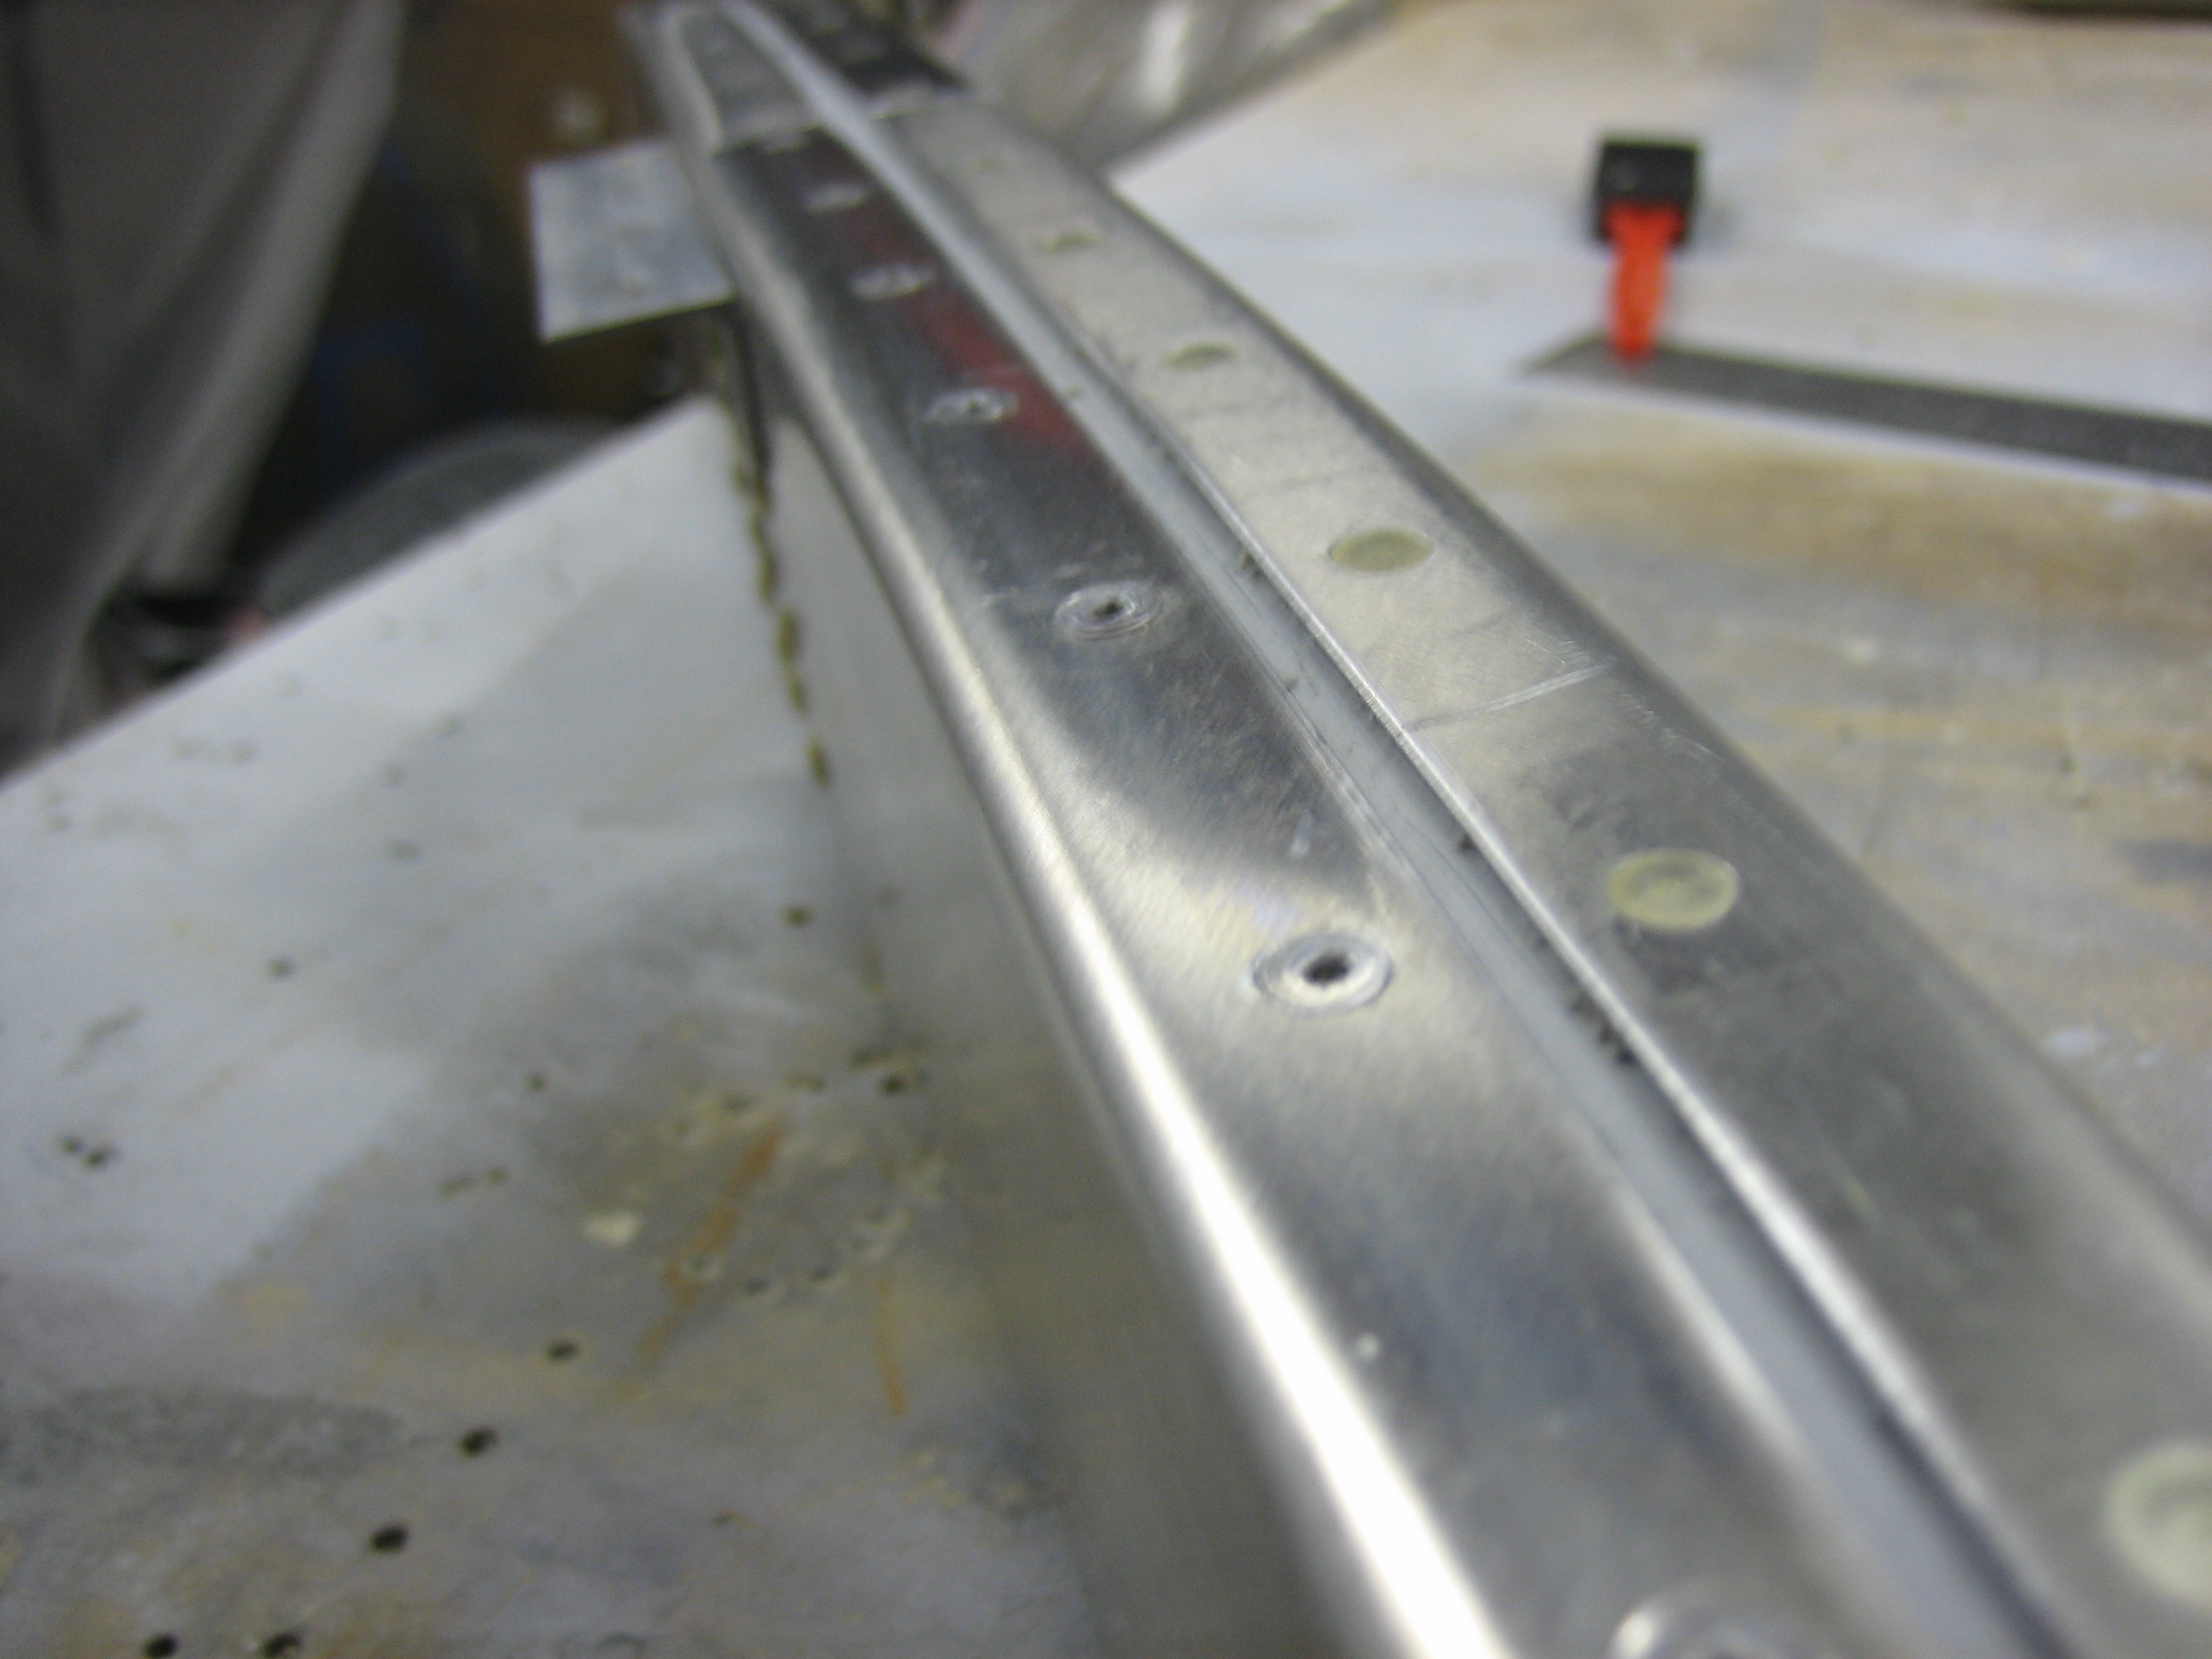
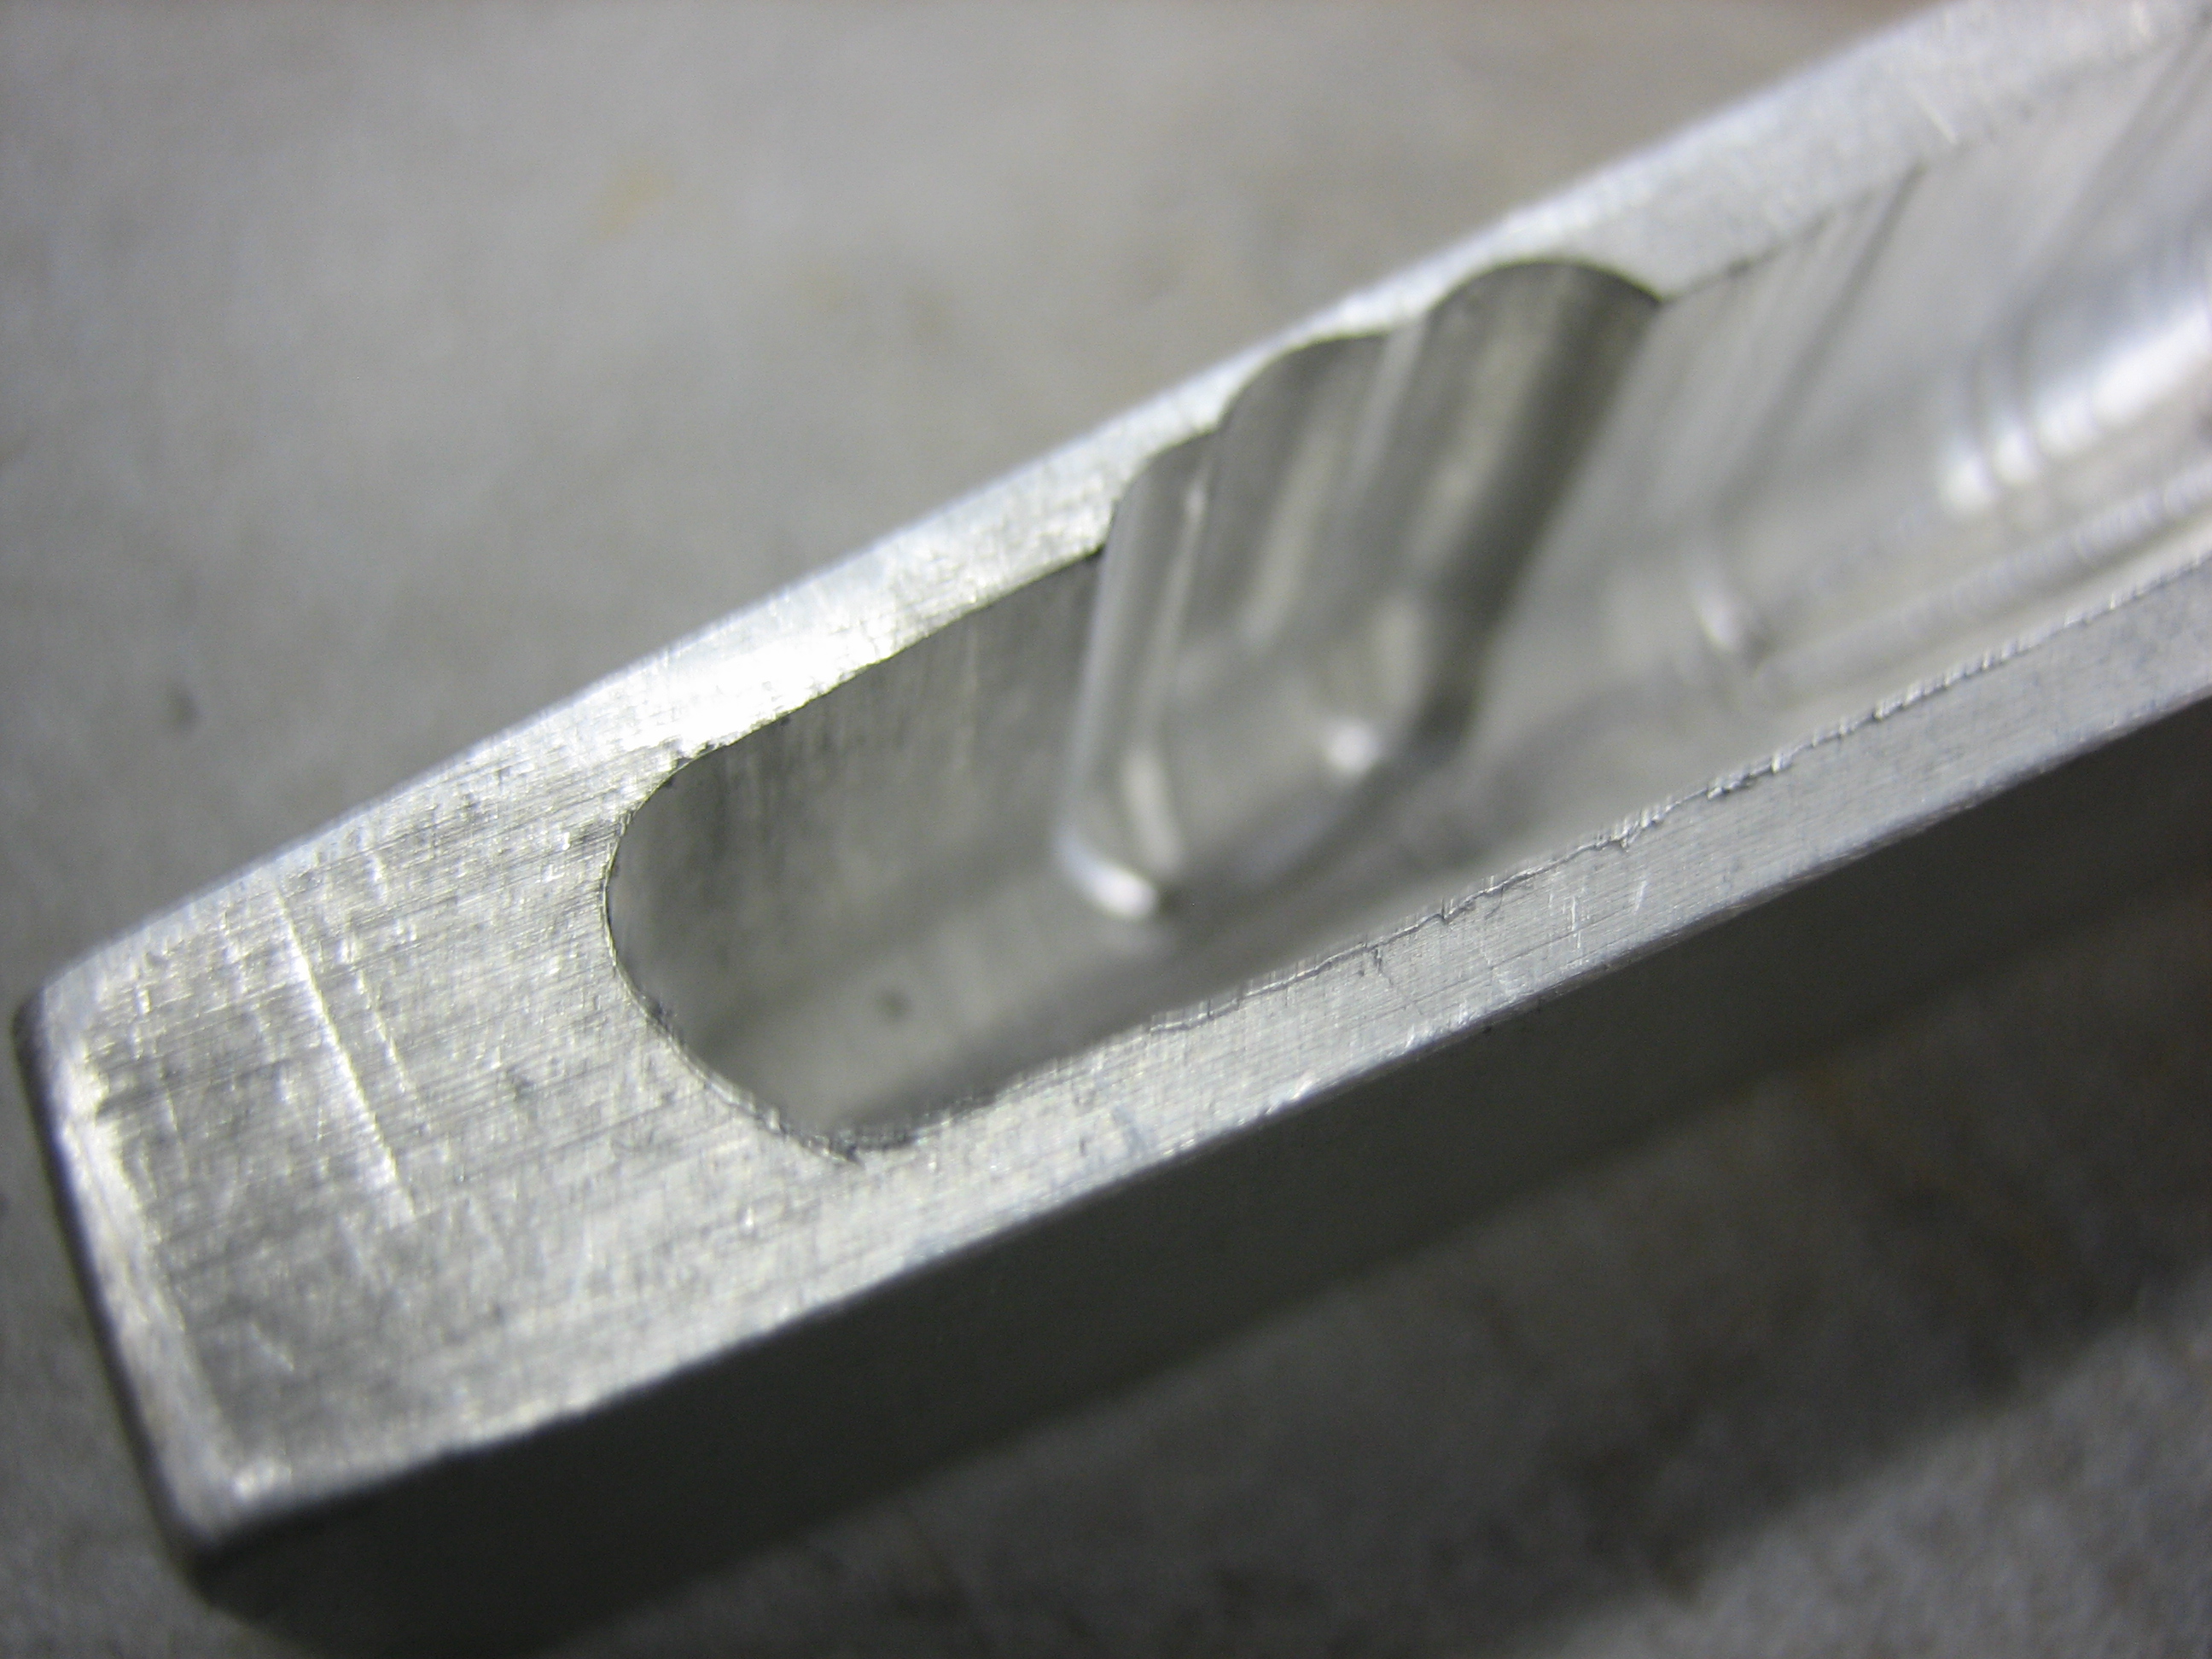
I’ve tried to take every opportunity to shed weight out of the airplane. The canopy latch was a solid bar of aluminum that is 5/8″ thick, so it was fairly heavy (nearly 10oz). I stopped by the TechShop to try to lighten the part a bit. You can see here that I machined out most of the structure. It’s now under 6 oz, so I saved about 1/4 lb. This is the bottom side, so the top looks untouched.
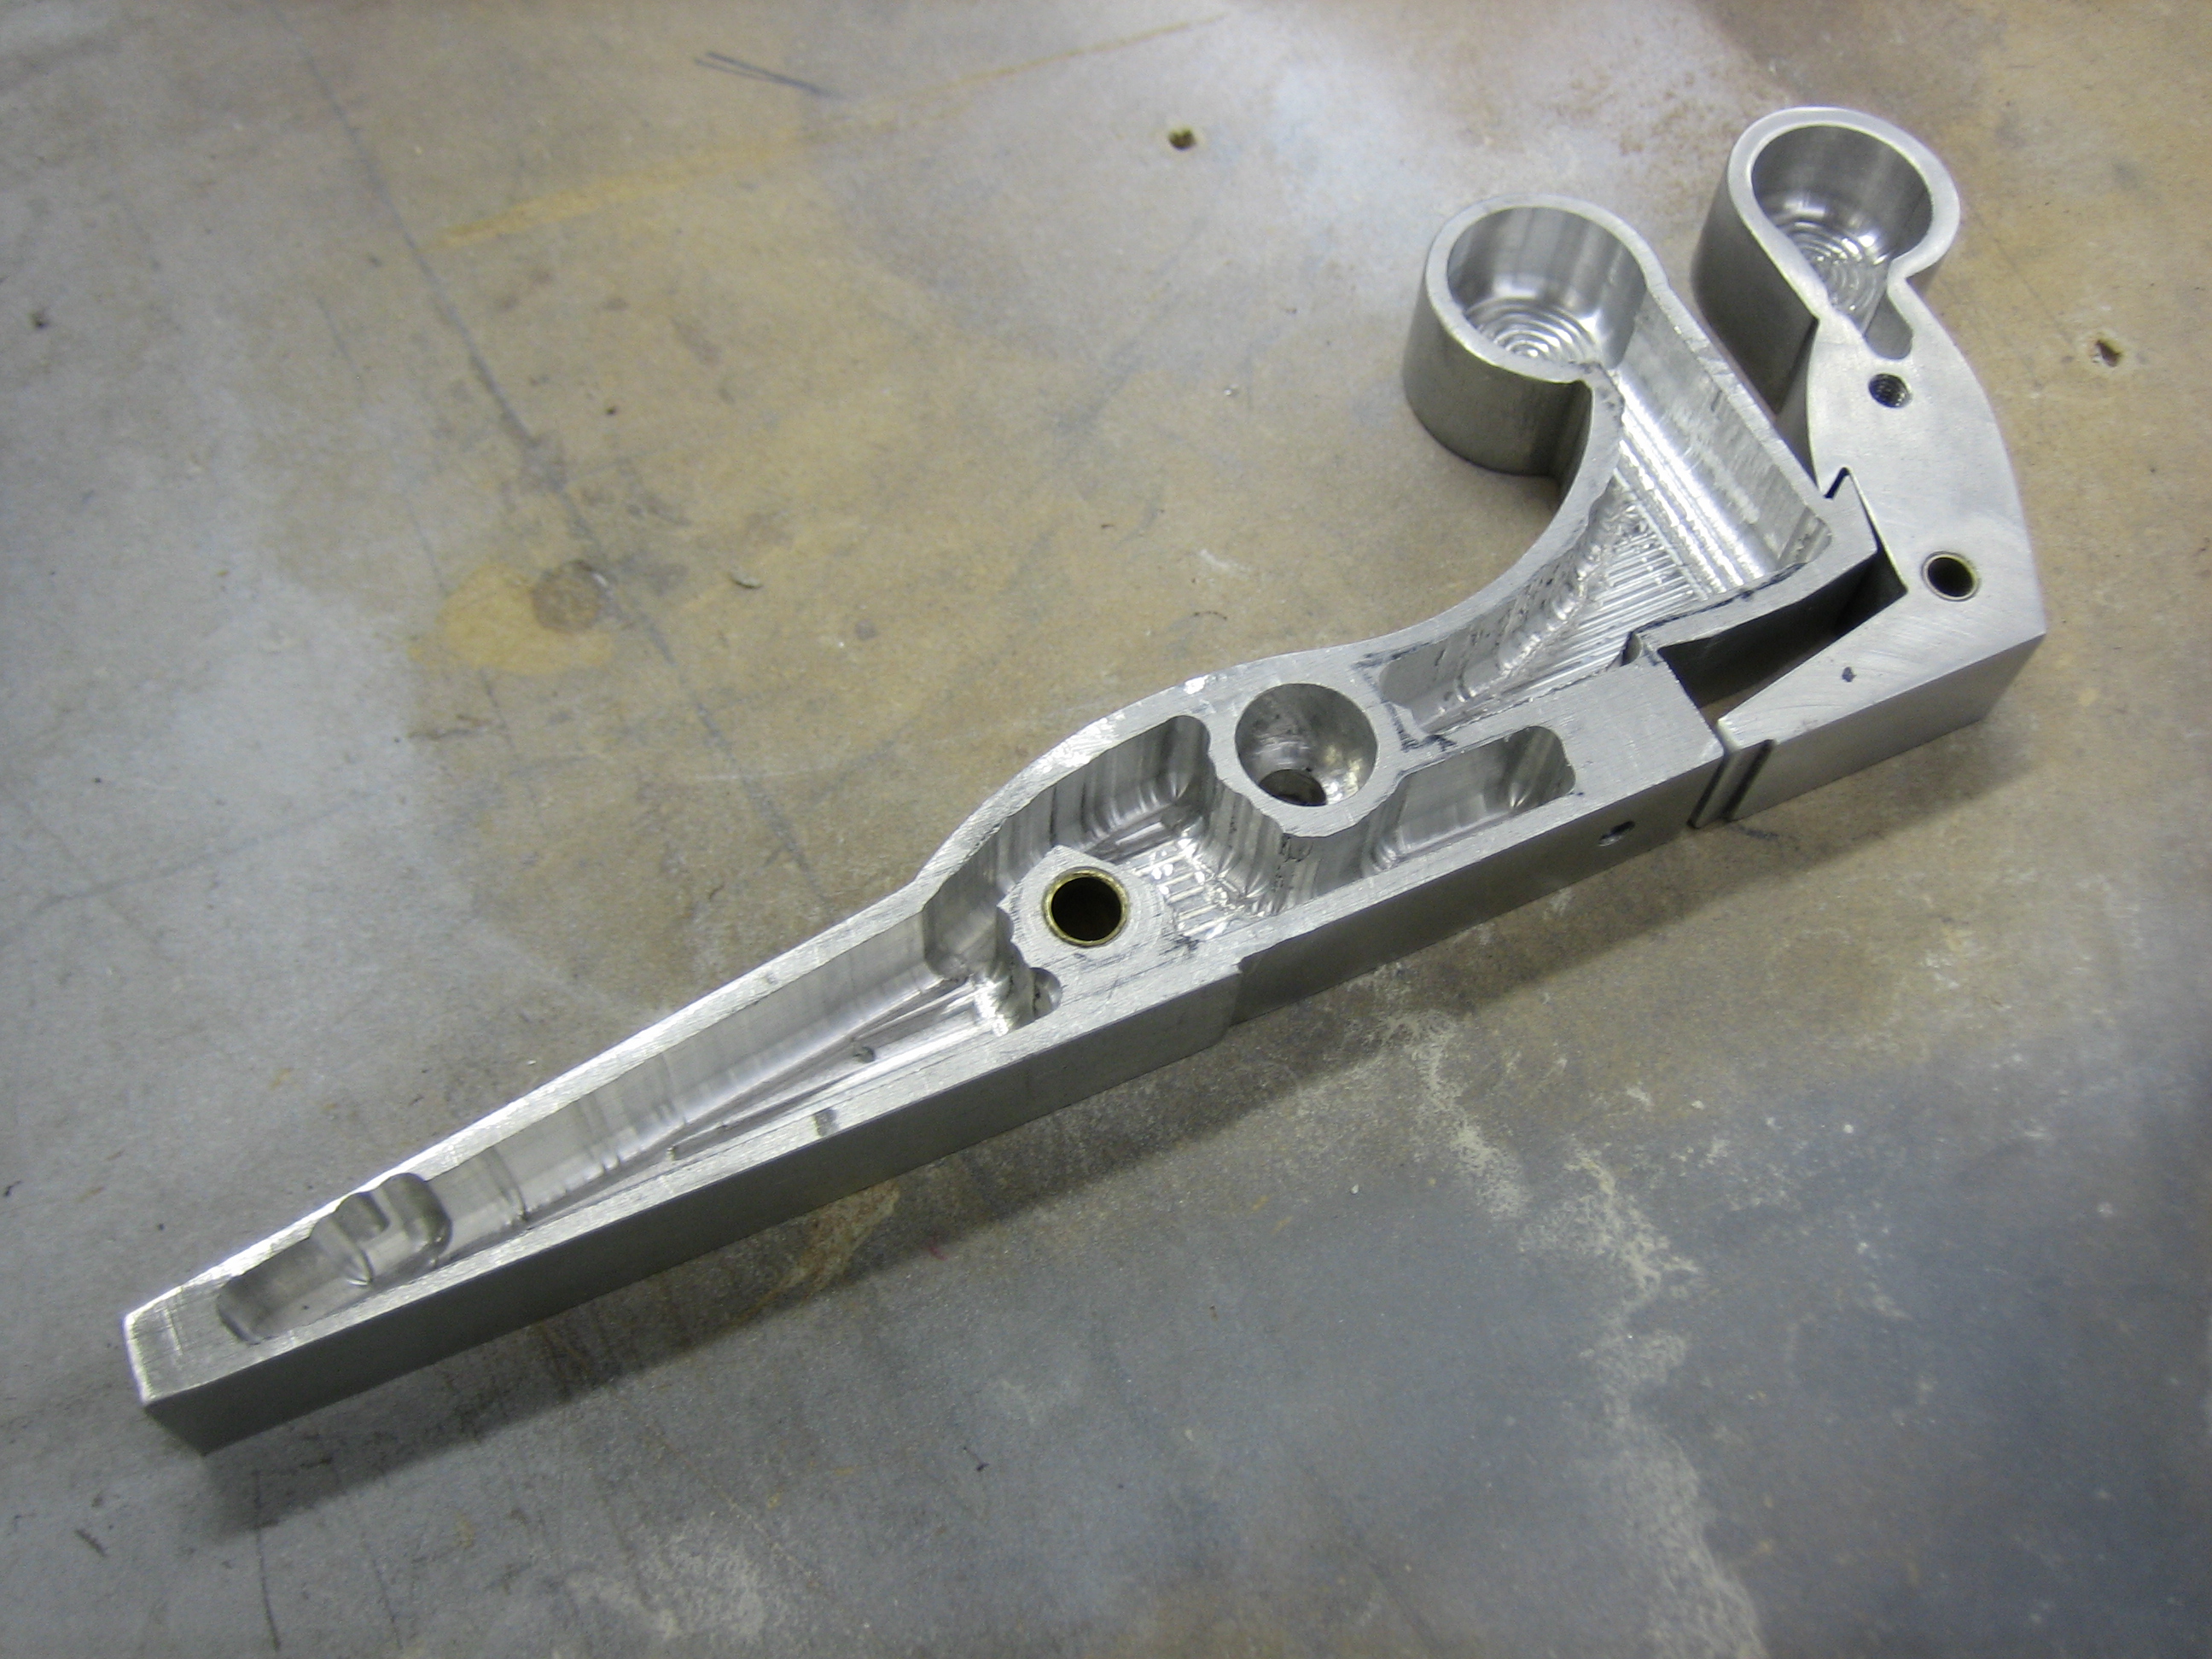
I was having a hard time keeping the latch handle clamped down since it’s such an awkward shape. While machining the inside edge, the part shifted and I almost cut through one of the most visible faces. It took nearly 4 hours to do this, almost half of which was spent trying various methods to clamp the parts down to keep them from moving. 1 oz per hour is easily the most time I’ve spent trying to save weight on any part of the airplane.
I also masked off around part of the floor that needs to be painted to match the carpet since parts of it is visible around the seats. I’ll paint this first thing in the morning…
My buddy Andre stopped by this morning and helped me finish riveting the final skin on the aircraft. I had left the edge of this skin unriveted so that I could easily get the canopy pins in and out during the final canopy fitting, but that’s done now.
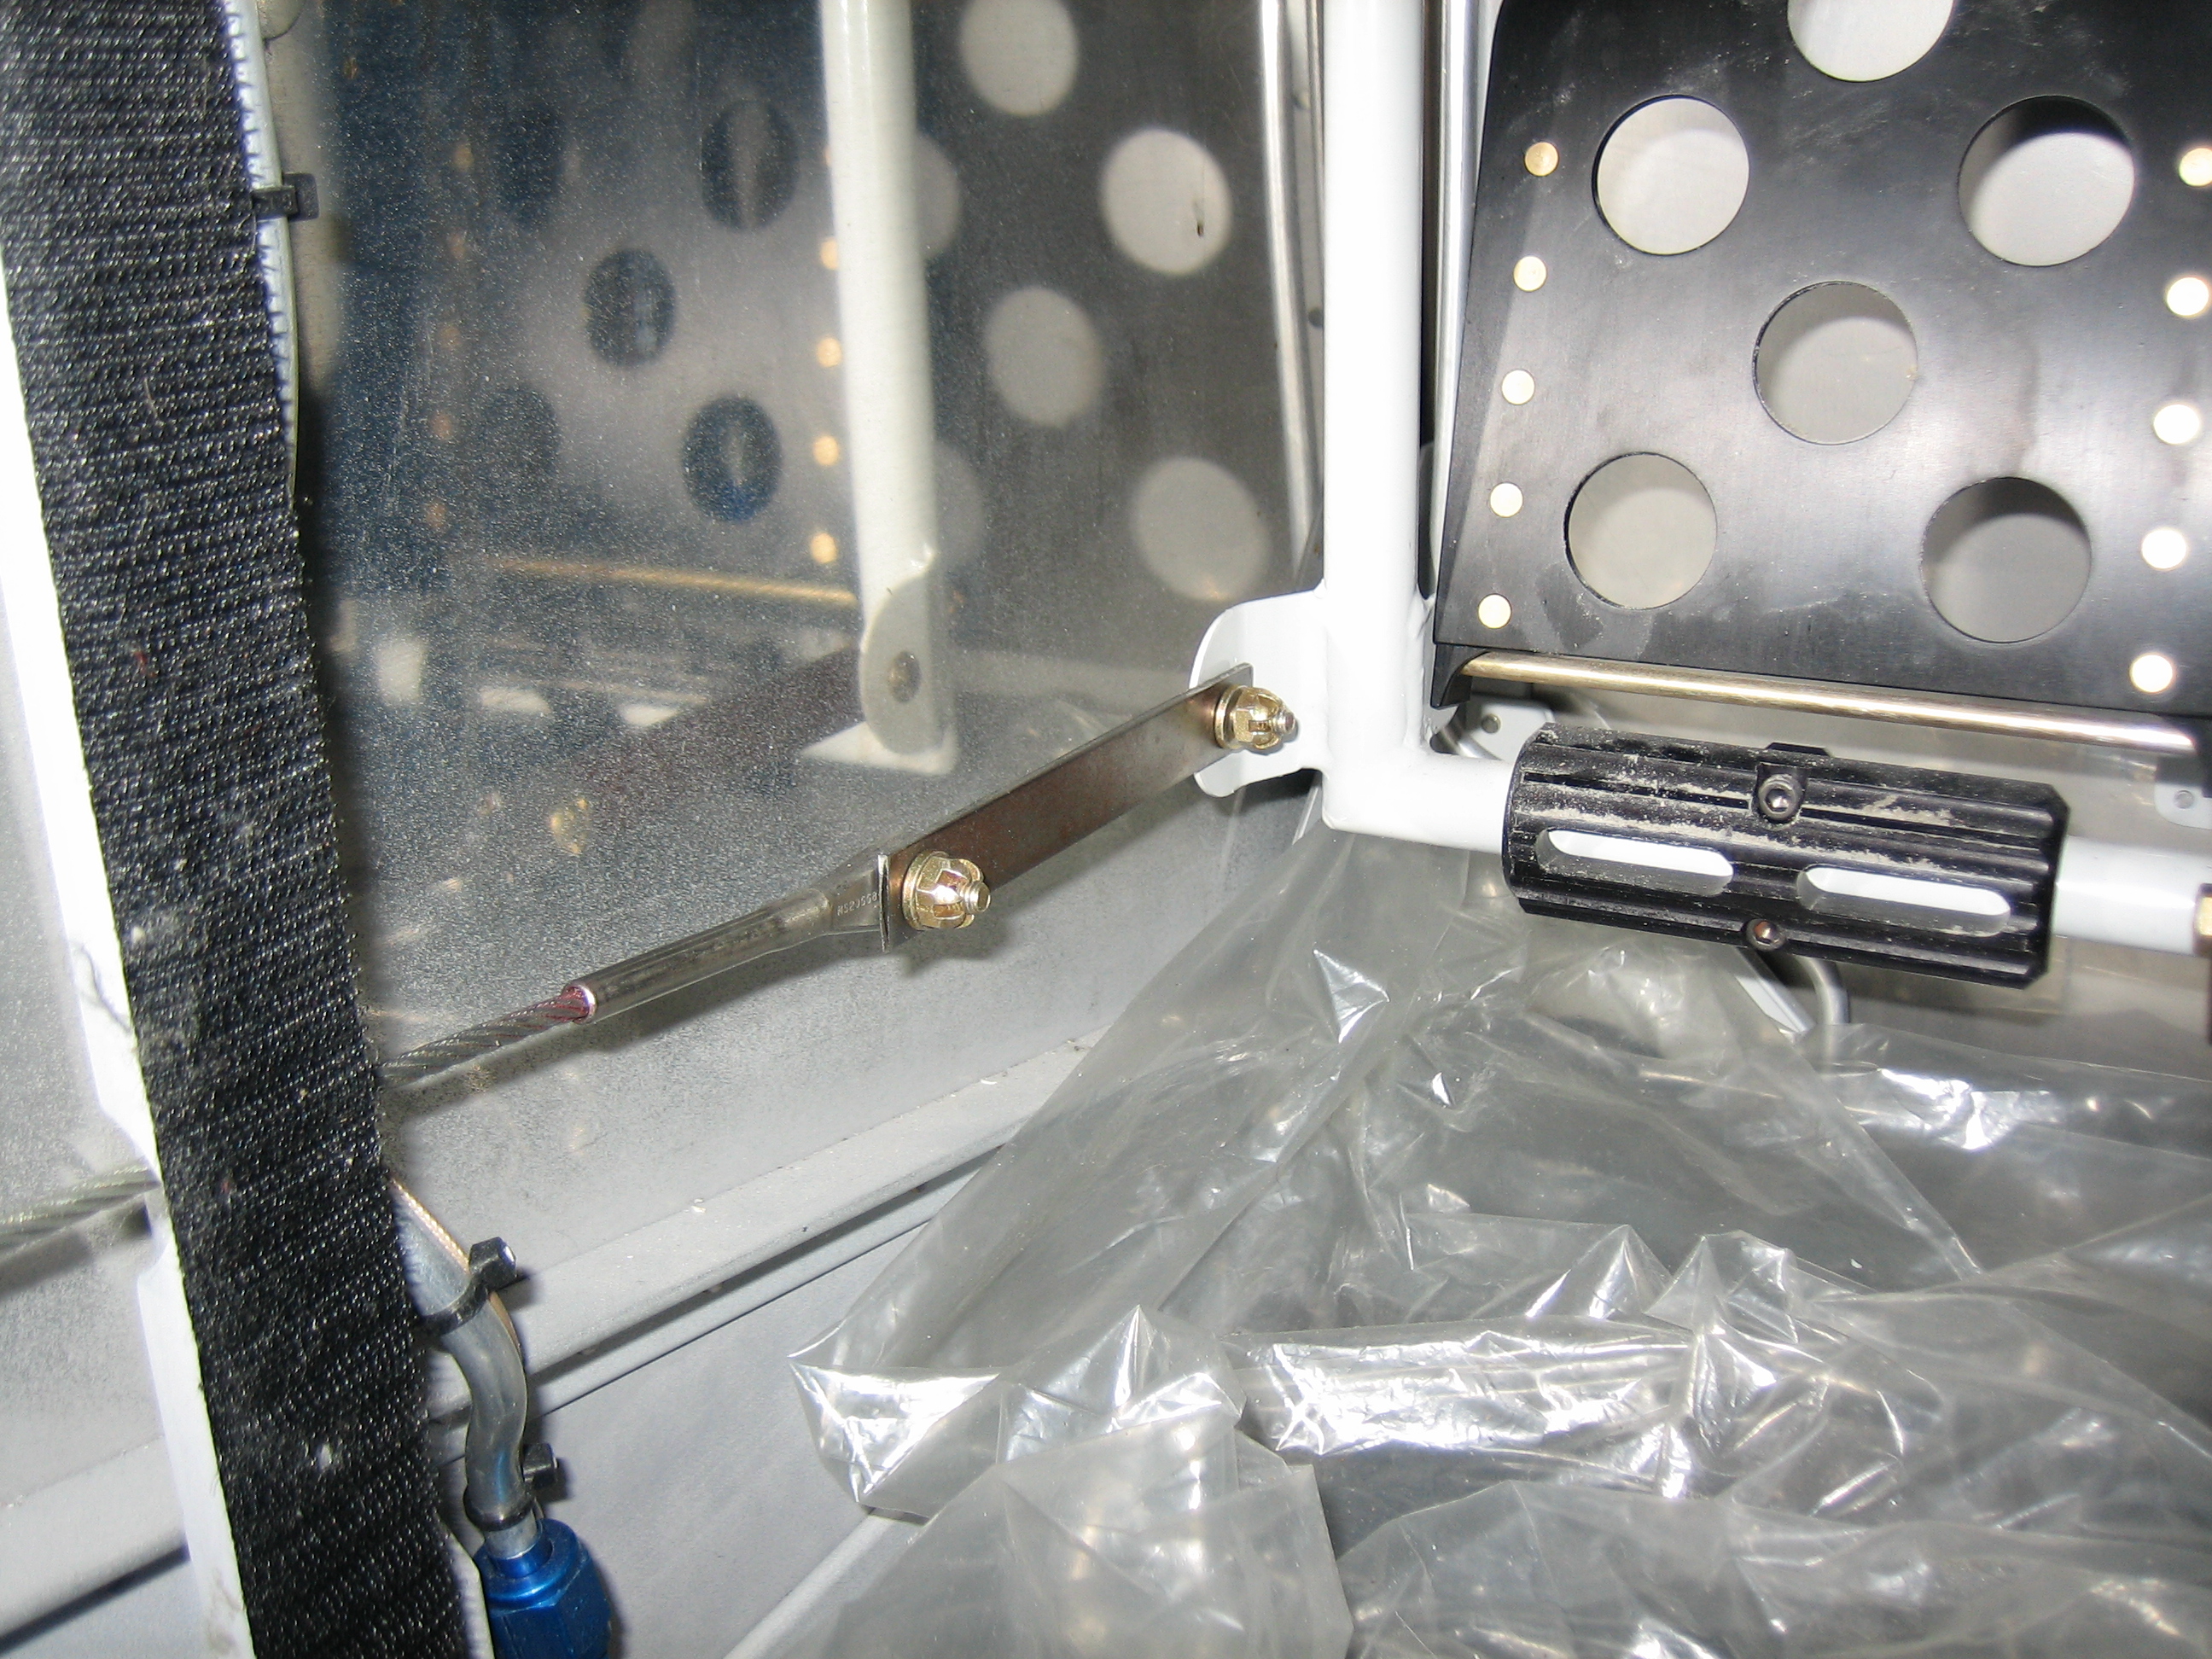
I adjusted the brake master cylinders as far as they will go, but it wasn’t enough to prevent inadvertent brake activation. I had another problem too that I didn’t realize last night. With either of the rudder pedals all the way forward, the inner pedals hit the center heat box. They don’t hit it square but instead rub along the side. That’s clearly unacceptable, so I decided to fabricate shorter links.
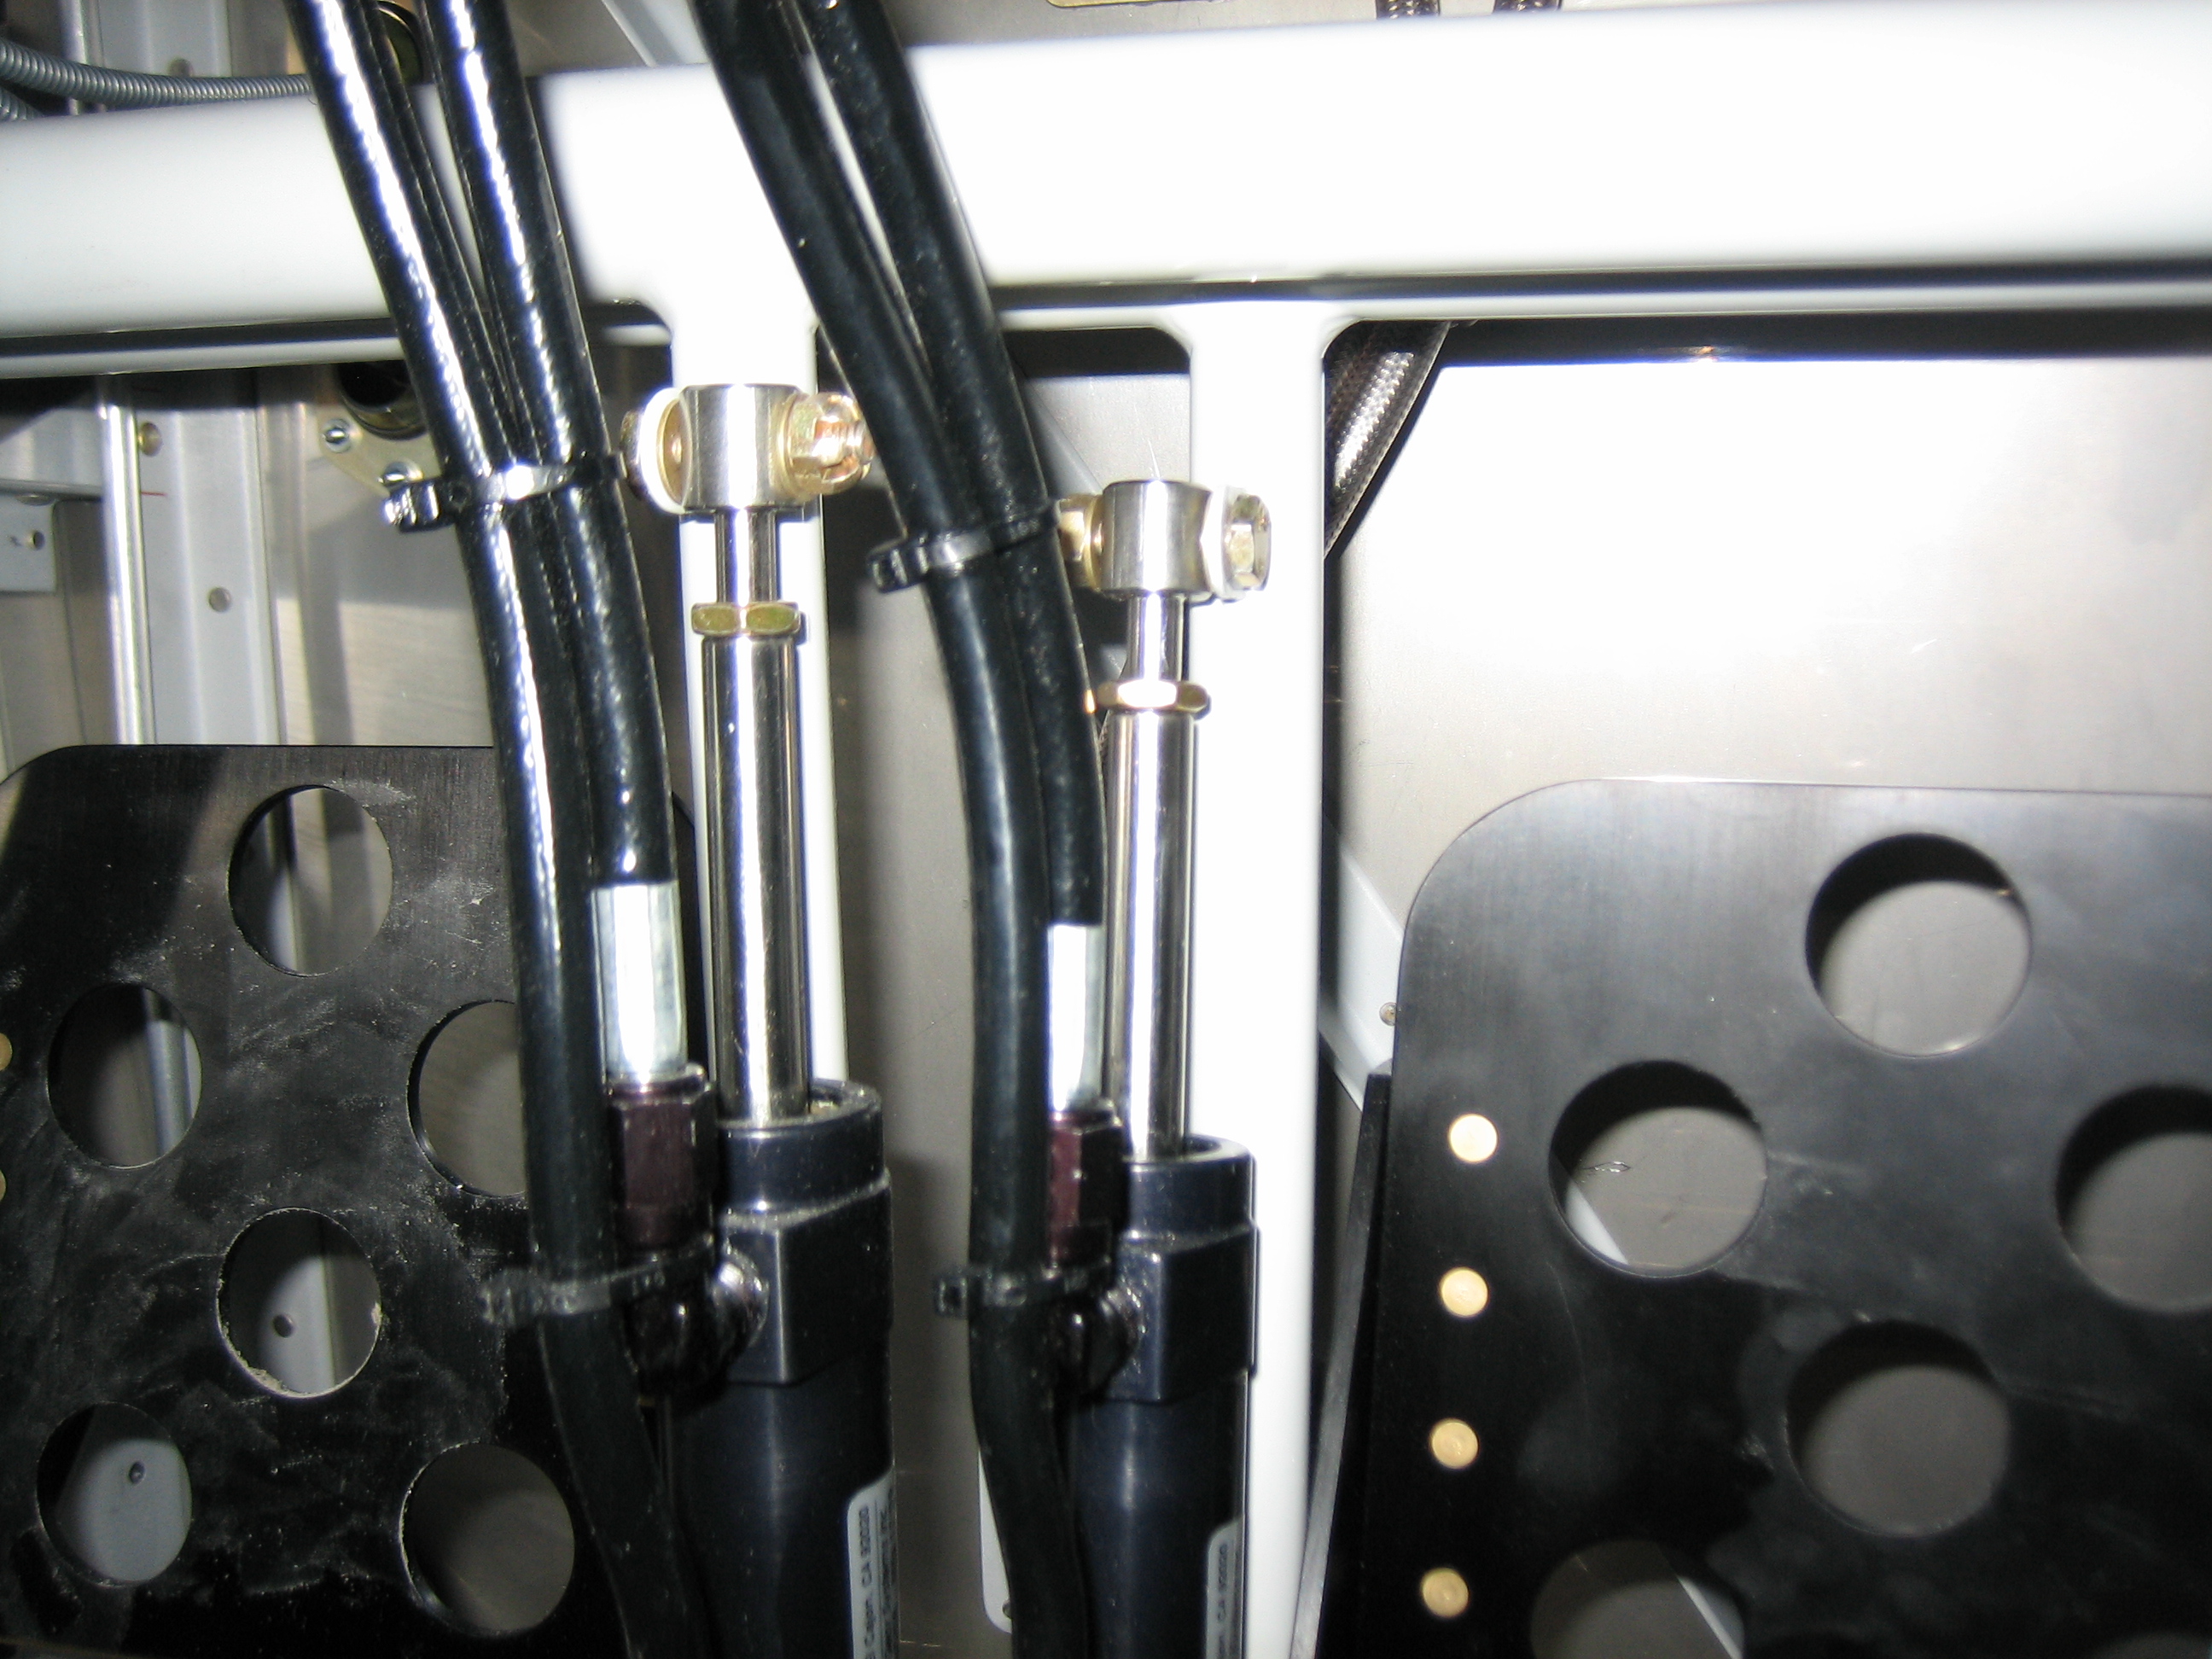
I took 1 3/8″ out of each link which pulls the pedals back just far enough that they don’t contact the heat box. This helped with the brake geometry as well since the rudder pedals are more tipped back (relative to my feet) with the shorter links. I spent some time in the plane after making this change and I think this will work well. Ignore the fact that there is only one link here. There will be one on each side of the weldment flange and cable fitting to avoid introducing twisting forces into either one, but I just fabricated on per side for the trial fitting.