Installed Baffles

With the baffles finished and the RTV cured, I reinstalled the baffles and installed all of the fasteners for good with lock washers.

Where the Lightspeed cable passes around the forward baffle attach bracket, I squirted a large blob of RTV sealant to keep the cable away from the flywheel and the bracket.

With the baffles installed for good, I installed the Lightspeed primary ignition wires.

Secured Mag Wires Along Back of Engine

The right side mag wires were unsupported all the way from the engine mount on the right side to the magneto and were hanging just below the oil filter where they will be in the way during oil changes.  I used a couple of adel clamps to secure the wires to the fitting on the lower oil cooler line to keep them forward of the oil cooler.  This will also keep them from rubbing on anything as they pass under the oil filter.

The wires on the left side and the mixture cable were running against the oil cooler flange, so I needed to secure them to prevent them from rubbing.  The angle is wrong for an adel clamp without using a bracket, so I just used a large tefzel zip tie.  I added a small piece of spiral wrap around the mixture cable to provide a little cushion.

Resumed Work on Baffles and Plenum

I riveted all of the plenum mounting angles to the baffles over the past couple of days then reinstalled them on the engine and drilled the plenum mounting holes out for #8 screws.

I’m installing nutplates that span all of the corners, so I installed them on the outside in order to drill the rivet holes.

After countersinking the holes, I riveted the nutplates on.  I only did the corners while the baffles were mounted on the engine since there is some relative movement when the baffles are off the engine.  I still have to install nutplates on all of the other holes, but that can happen when the baffles come off the engine for the last time.

Installed Air Filter Retainer

In order to be able to remove the air filter without removing the snorkel, I trimmed the inboard edge of the ramp back about 1/4″ so that the filter can be lifted and twisted out (as long as all of the surrounding screws are loosened.

I then used a piece of 0.032″ aluminum sheet to fabricate a filter retainer that will get screwed down when the snorkel is screwed to the ramp.  I may trim this back a little further as this is more than long enough to prevent the filter from lifting.

Painted and Prepped Baffles

I stopped by the Tech Shop and used their spray booth to prime and paint the baffles so that they will match the engine mount.  I also primed all of the mounting brackets and the oil cooler butterfly valve components.

After I got home, I used some RTV to seal up all of the gaps where air could leak through and wouldn’t help with engine cooling.

Wrapped Up Baffles

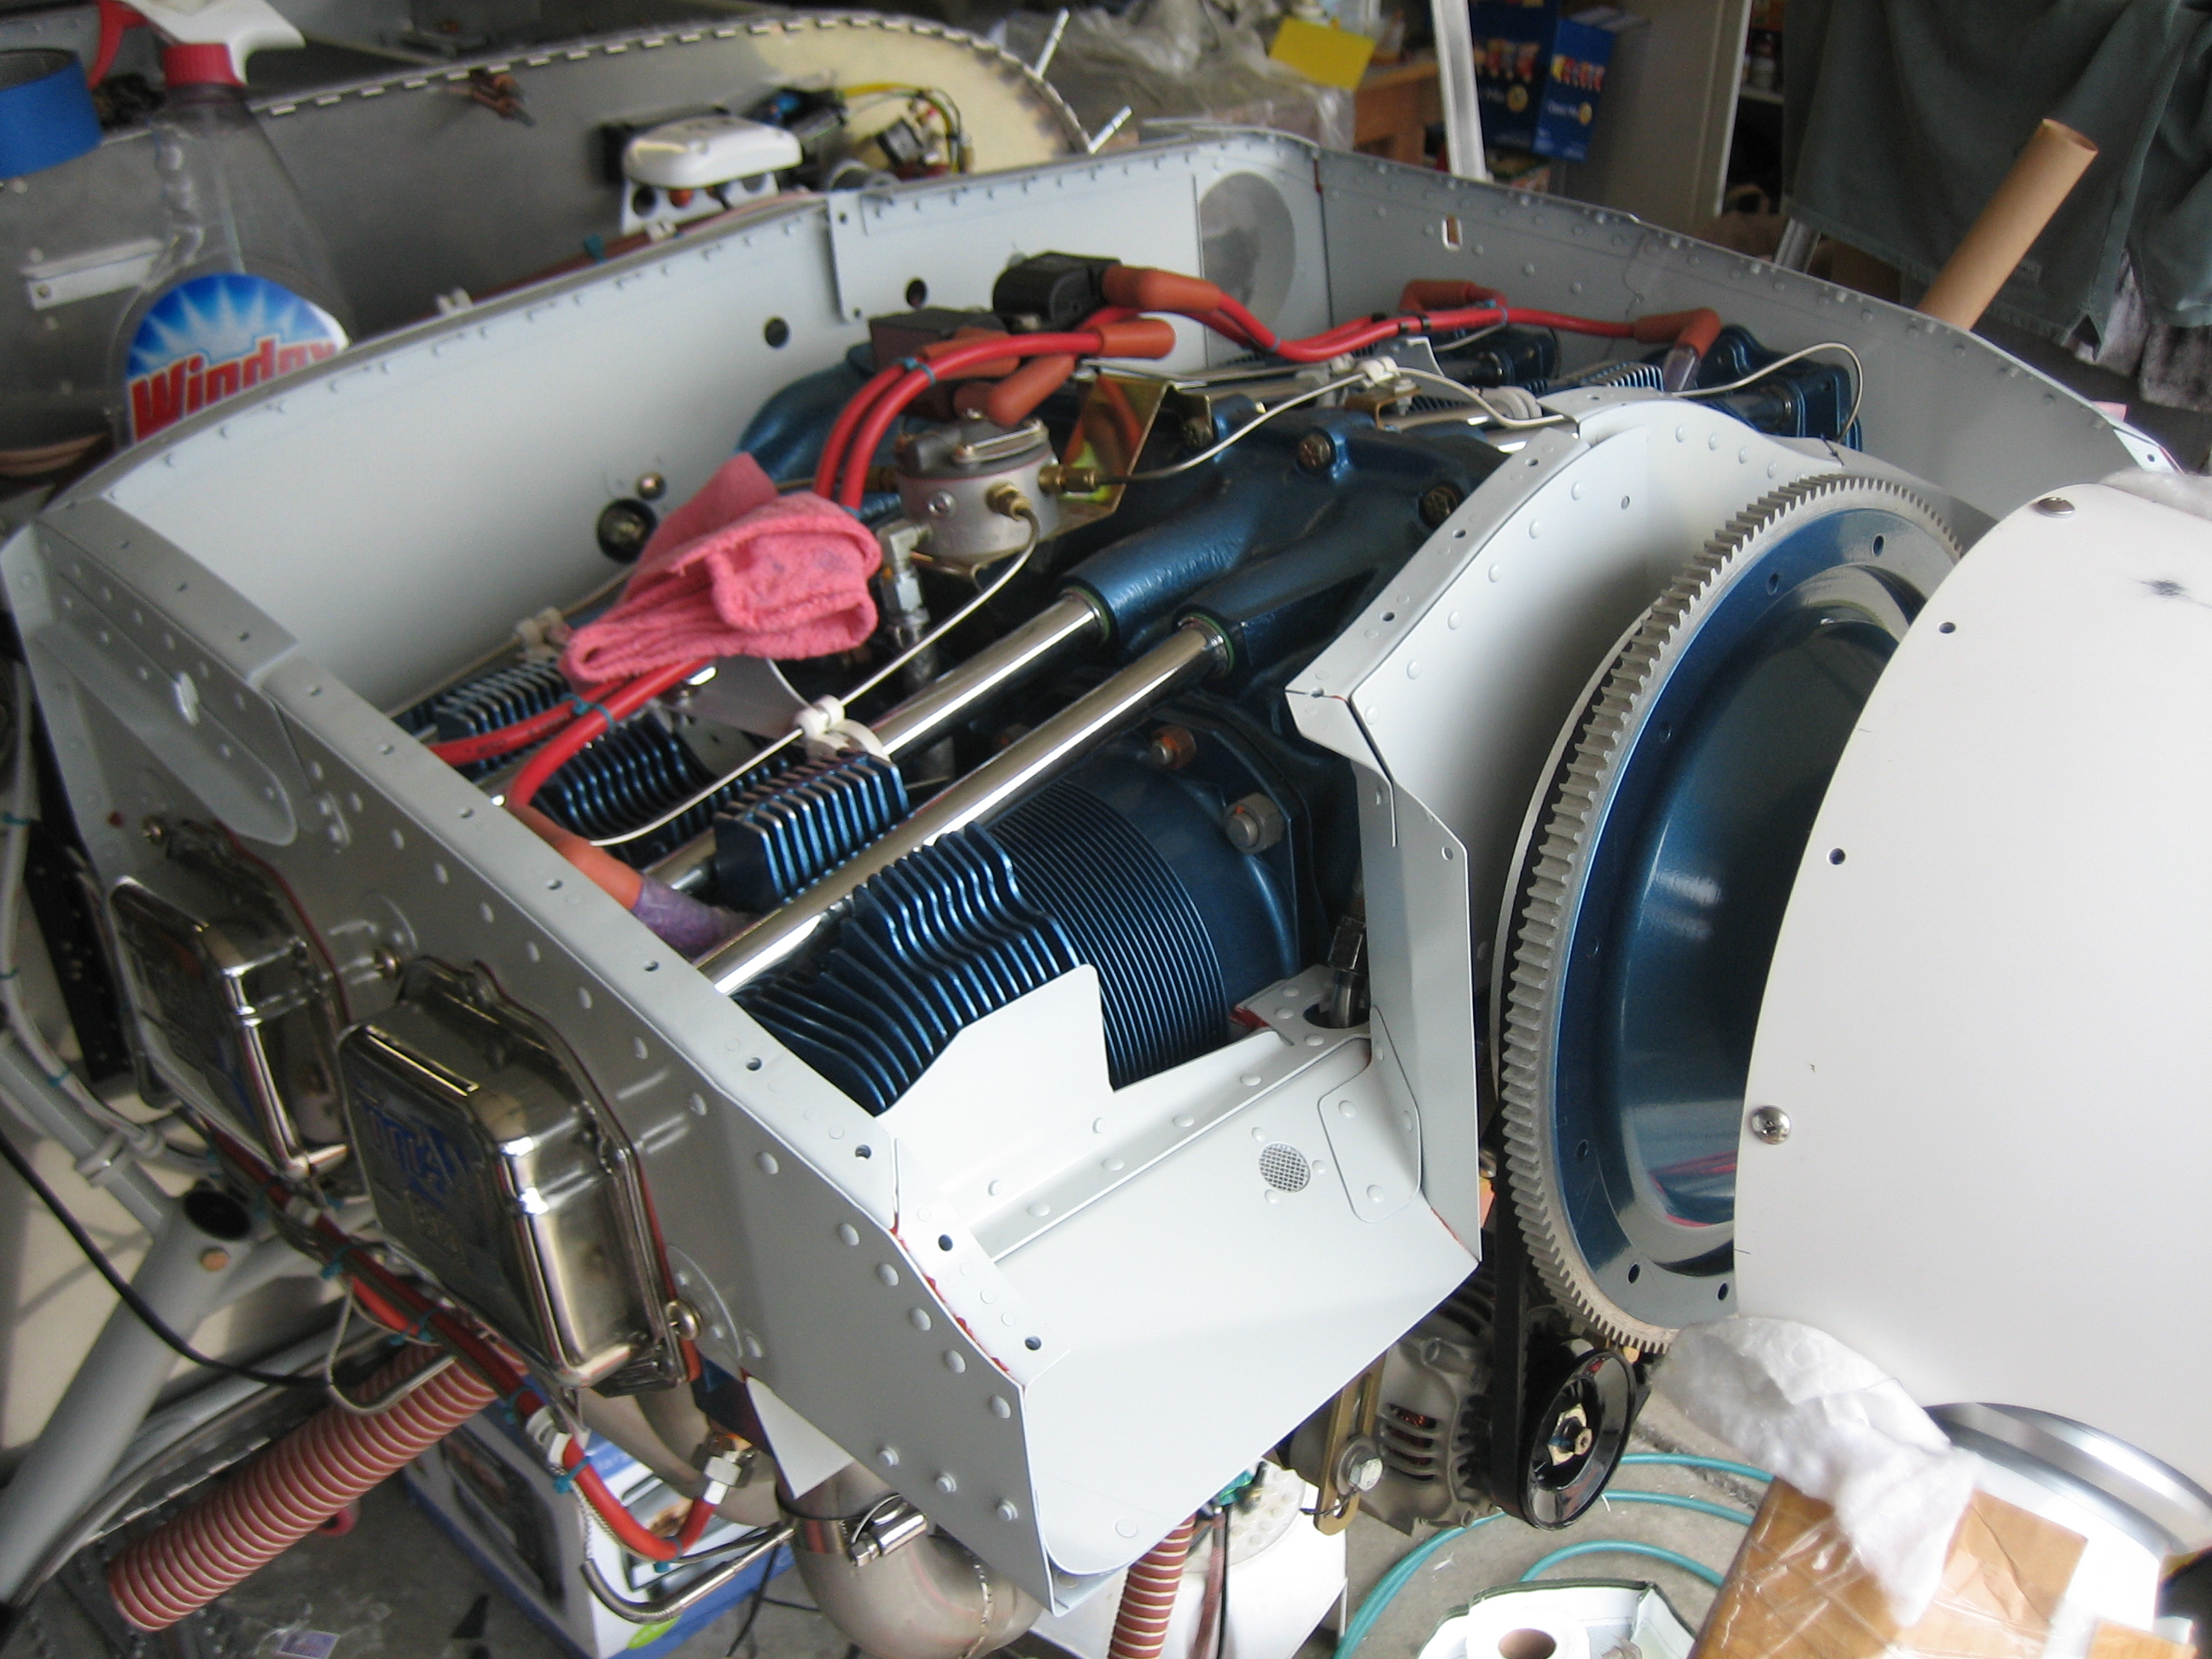
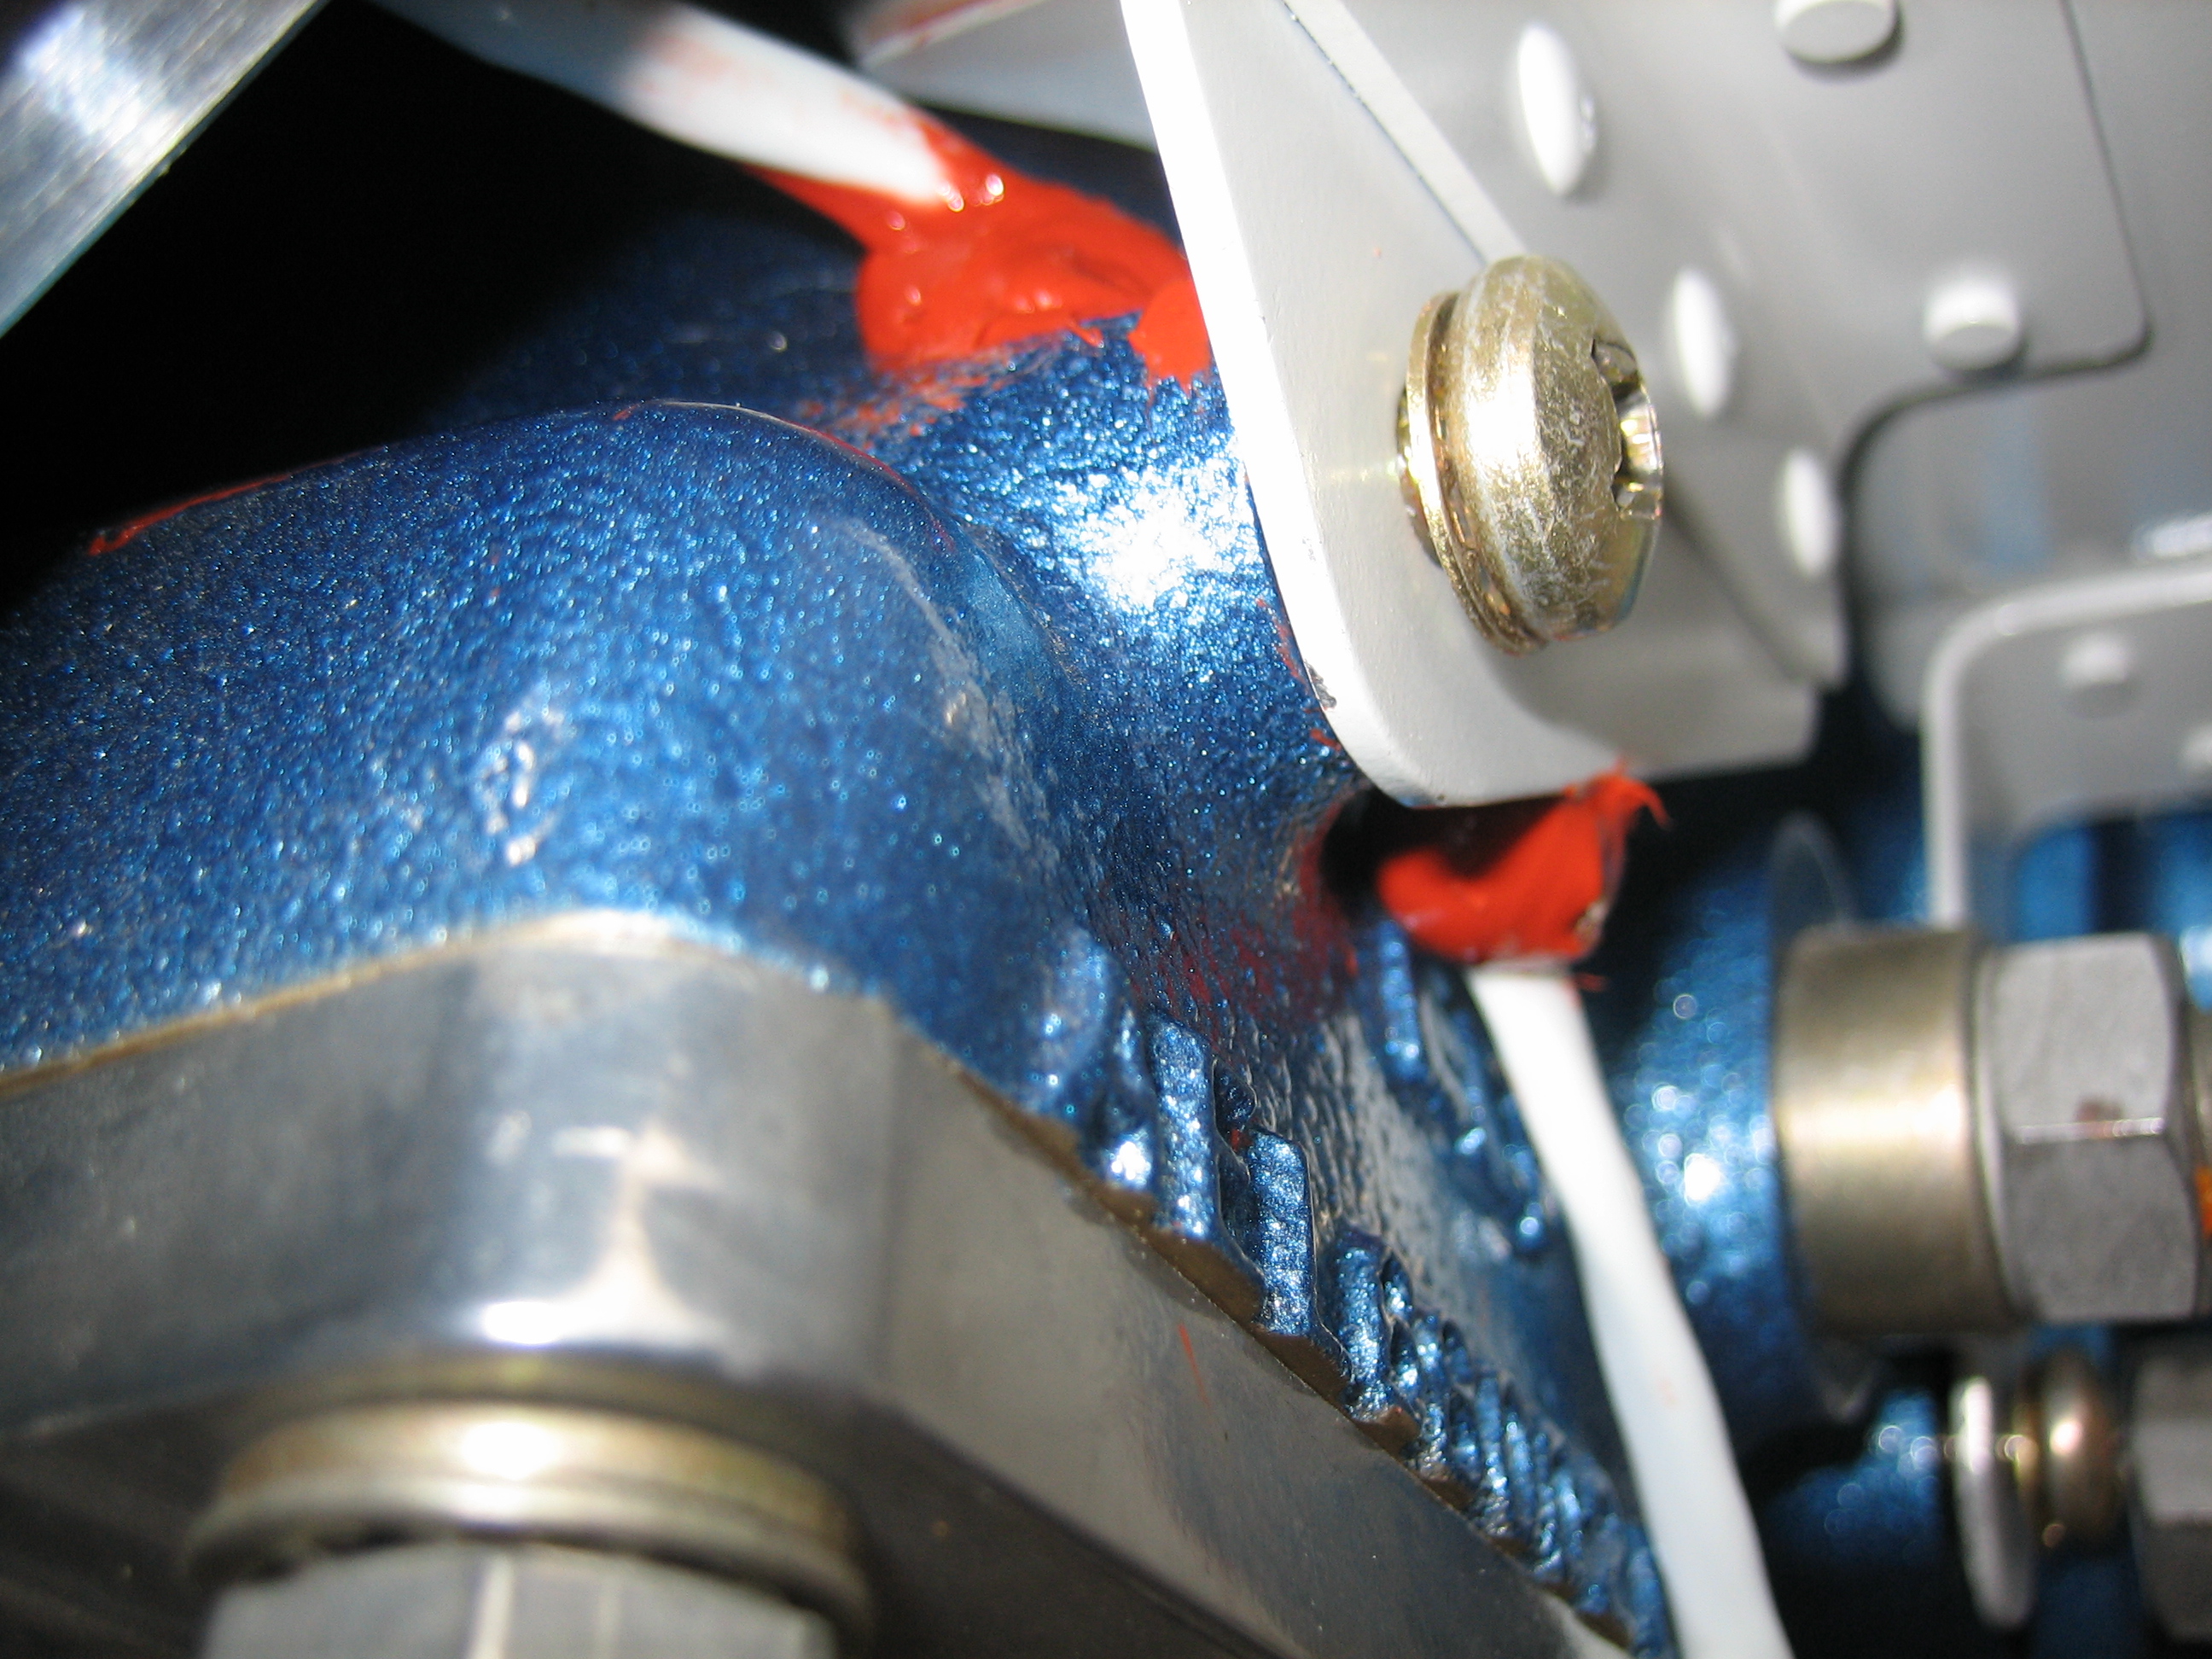
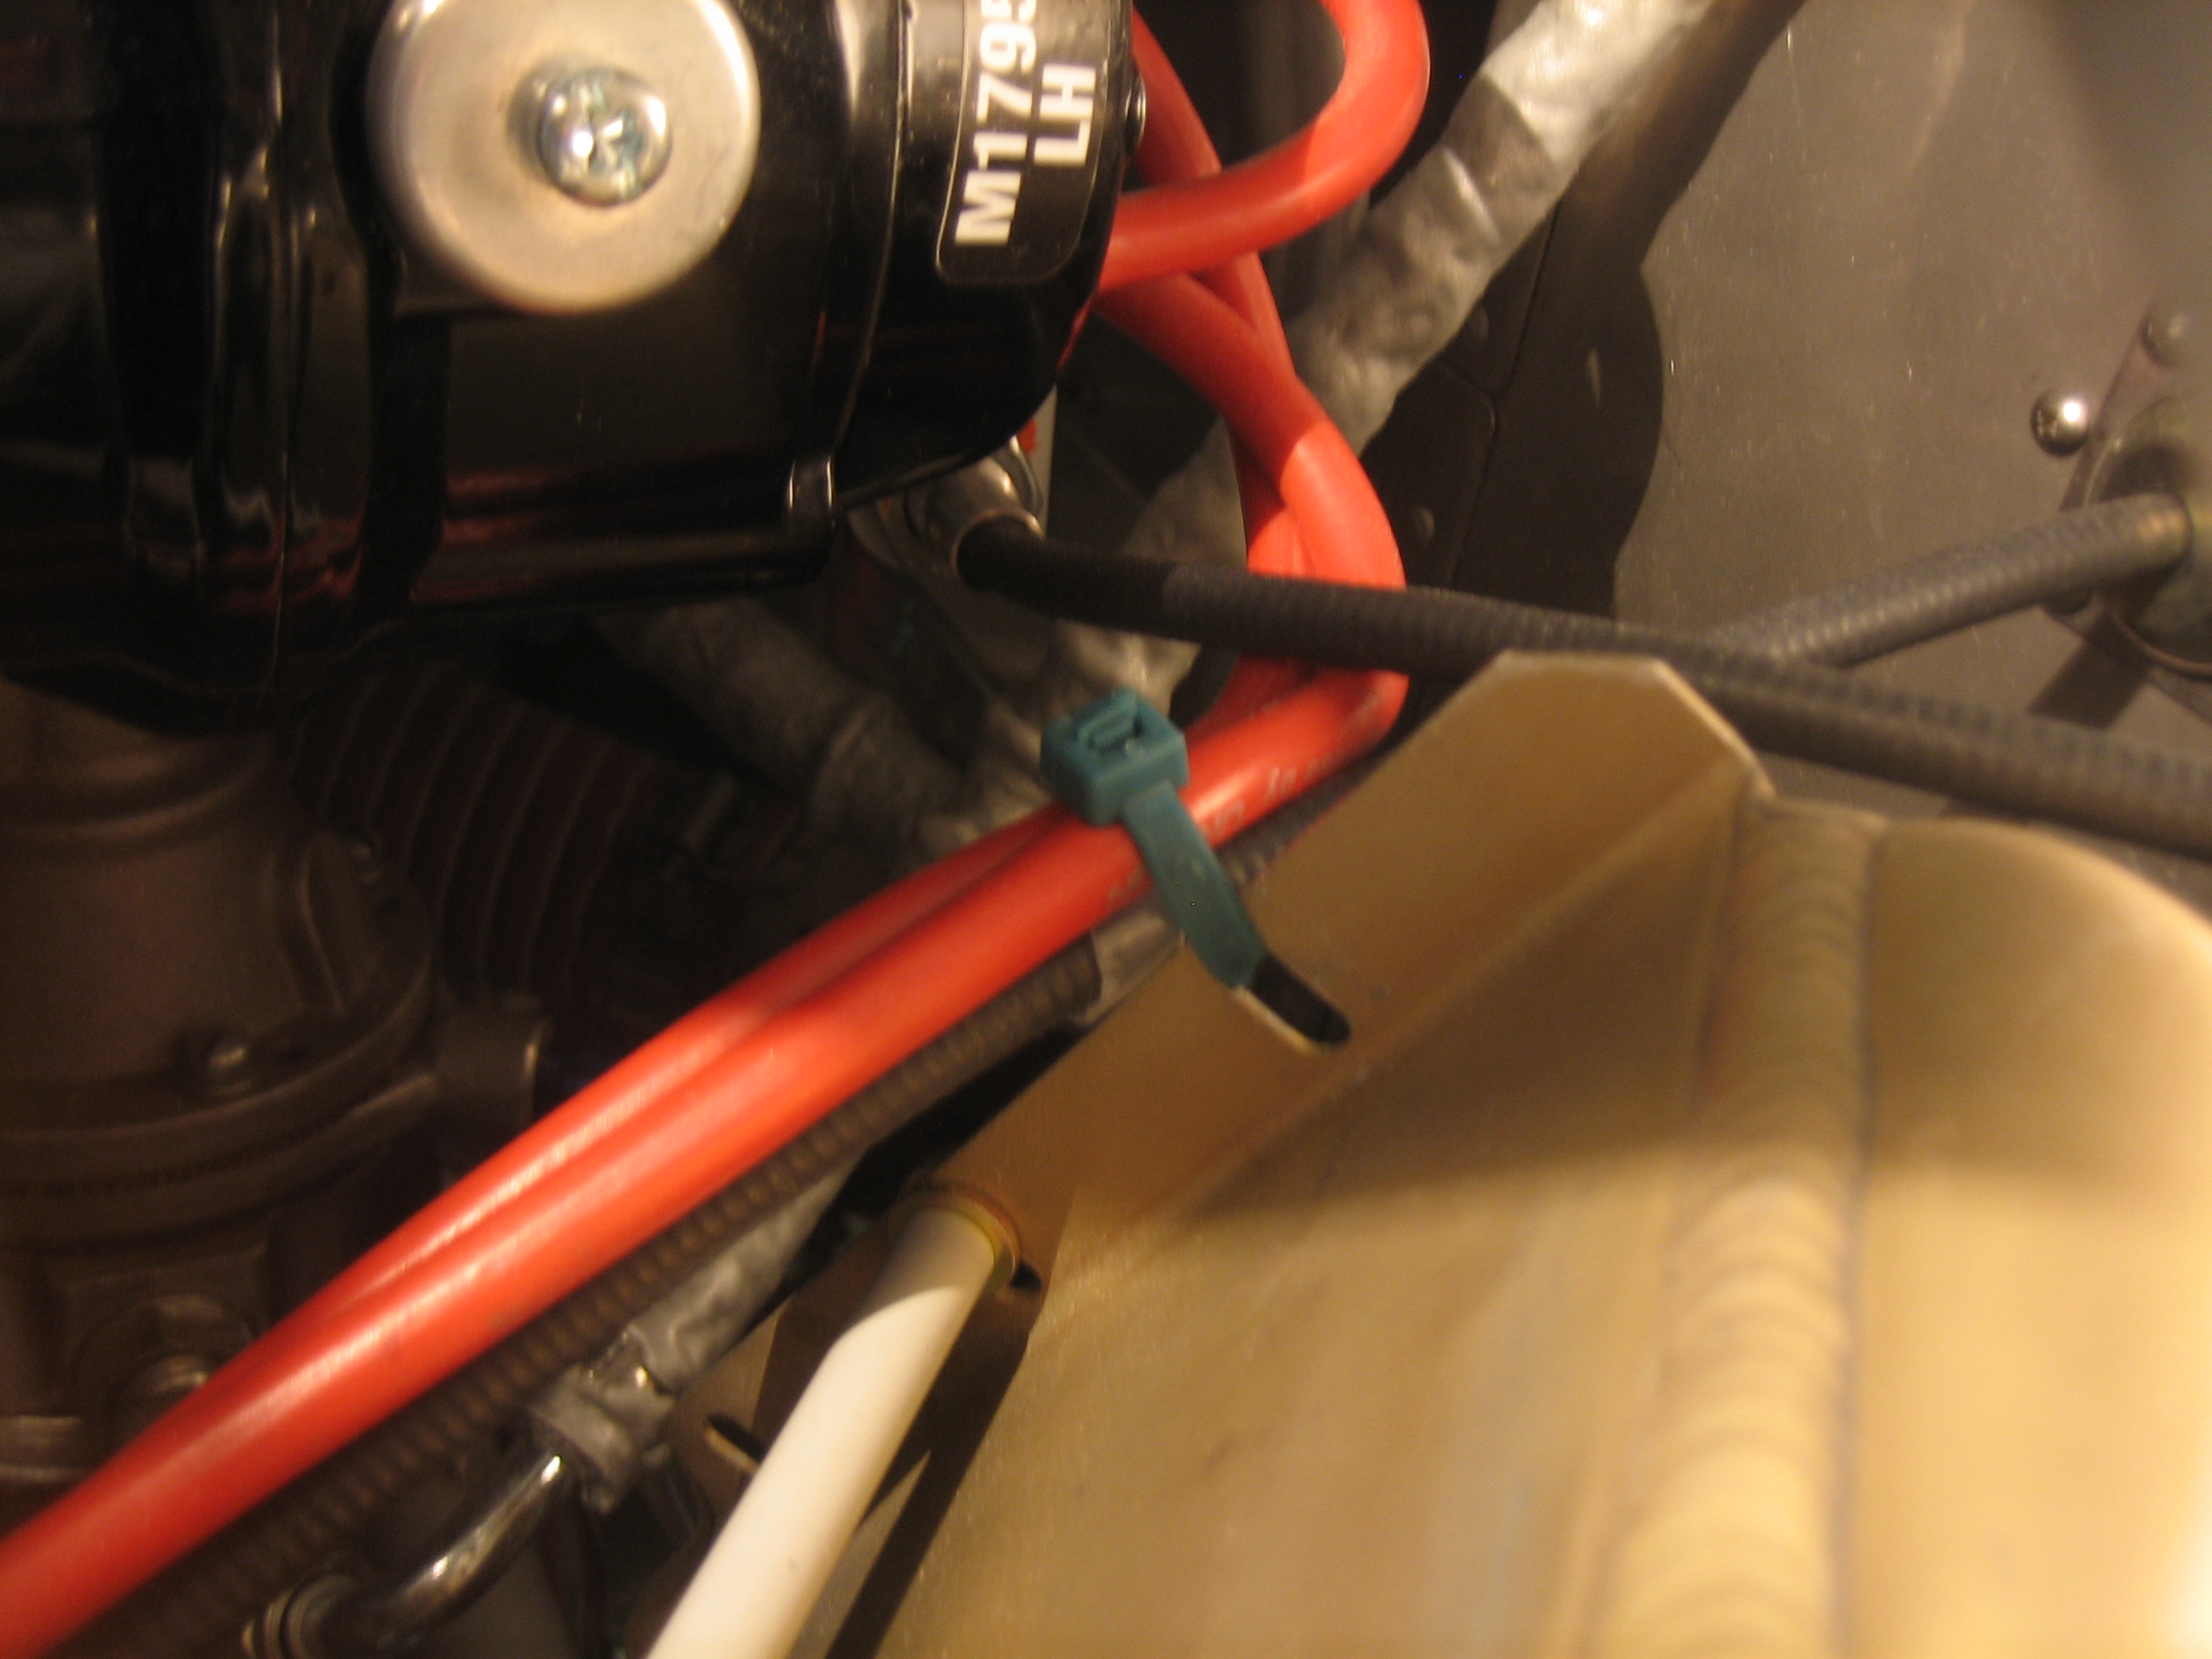
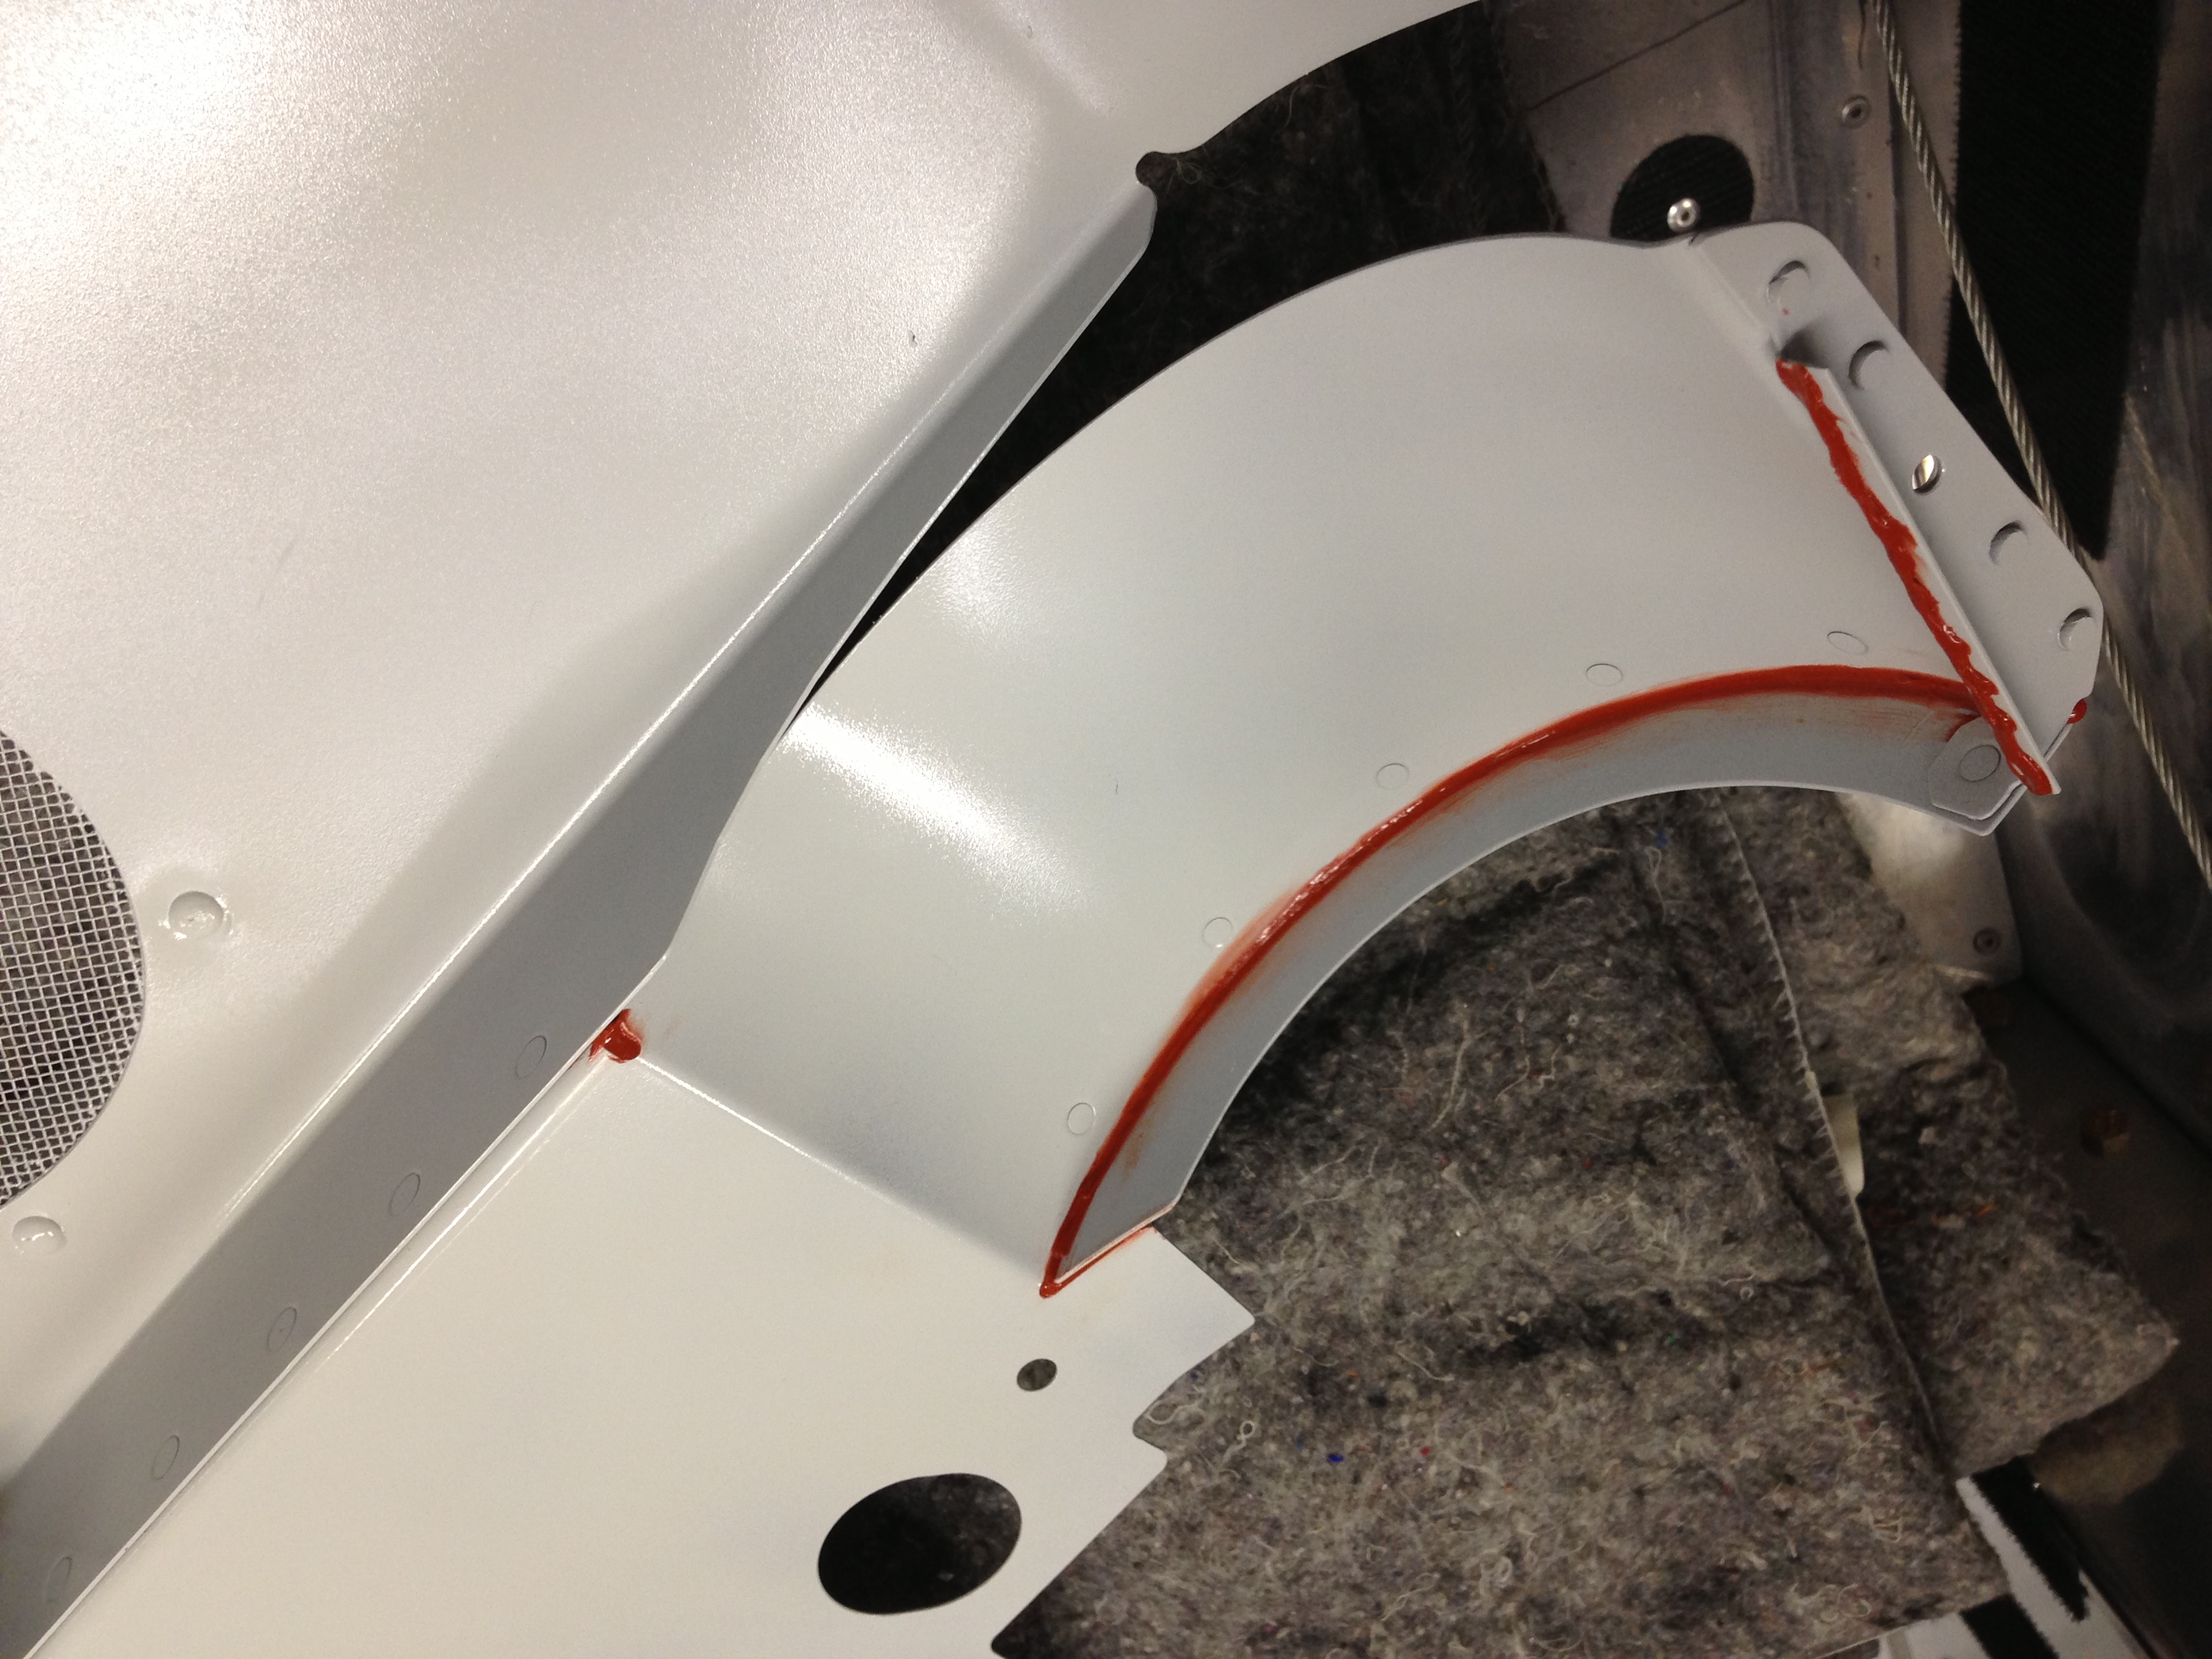
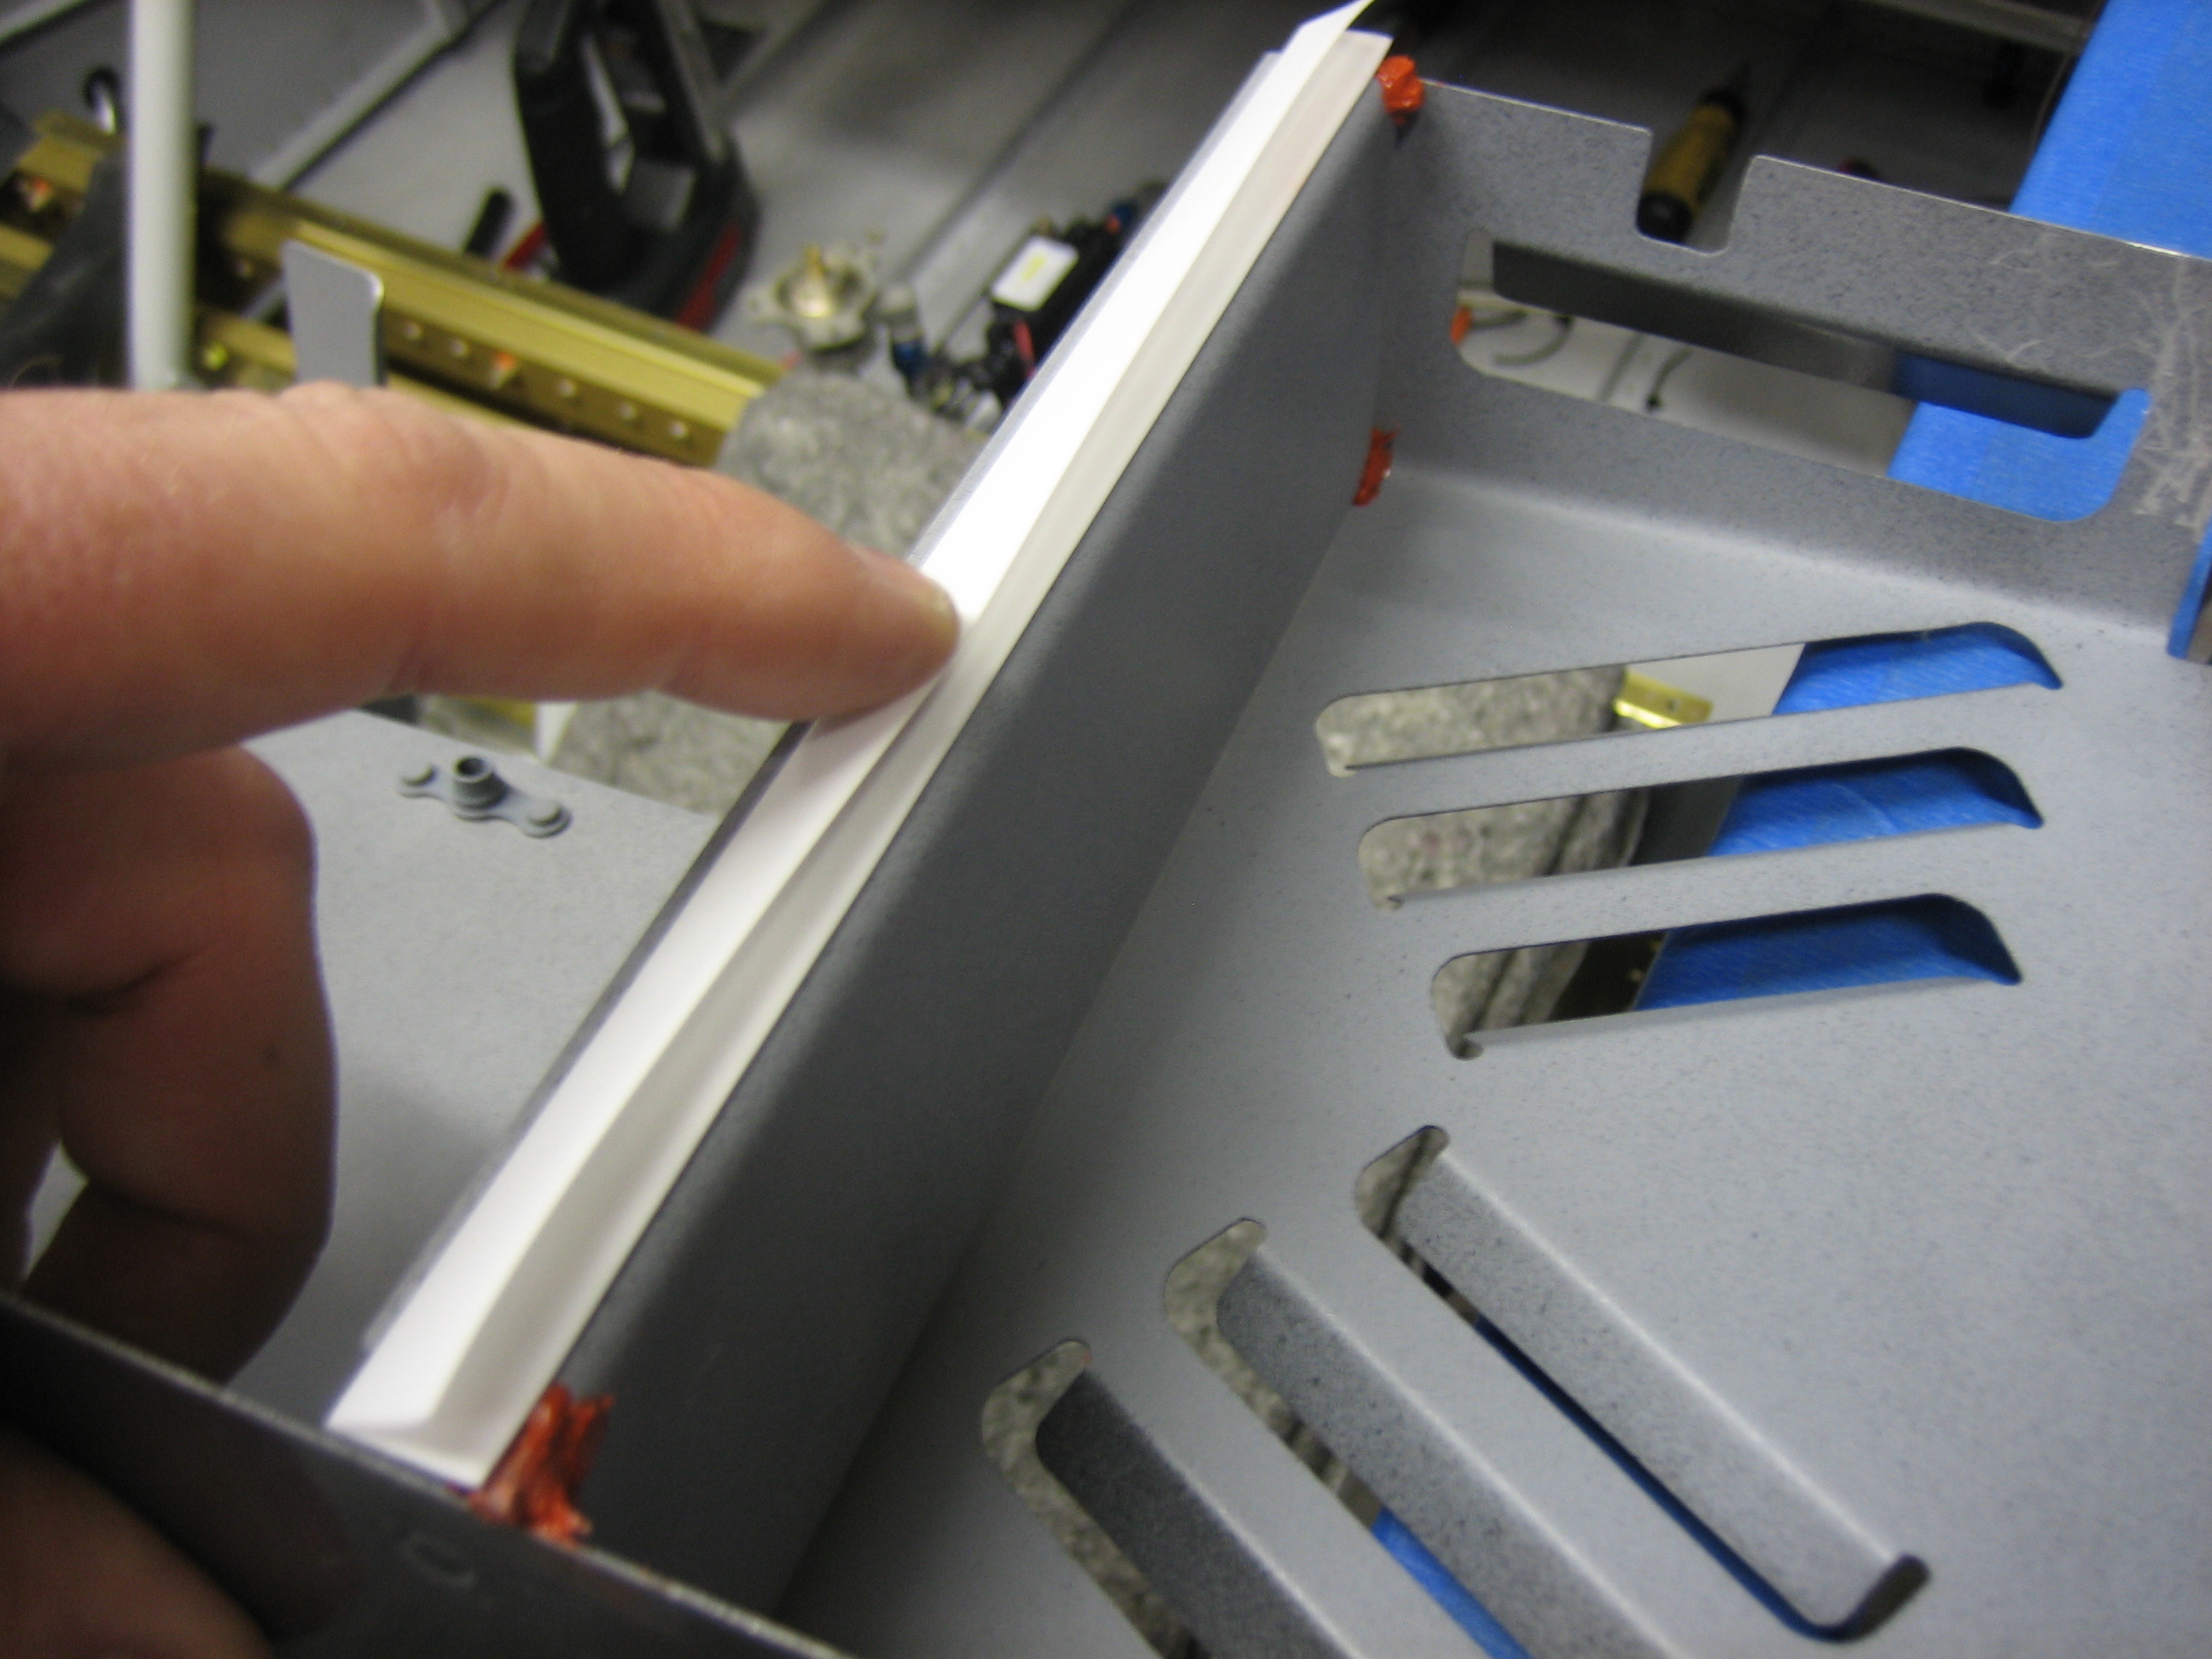
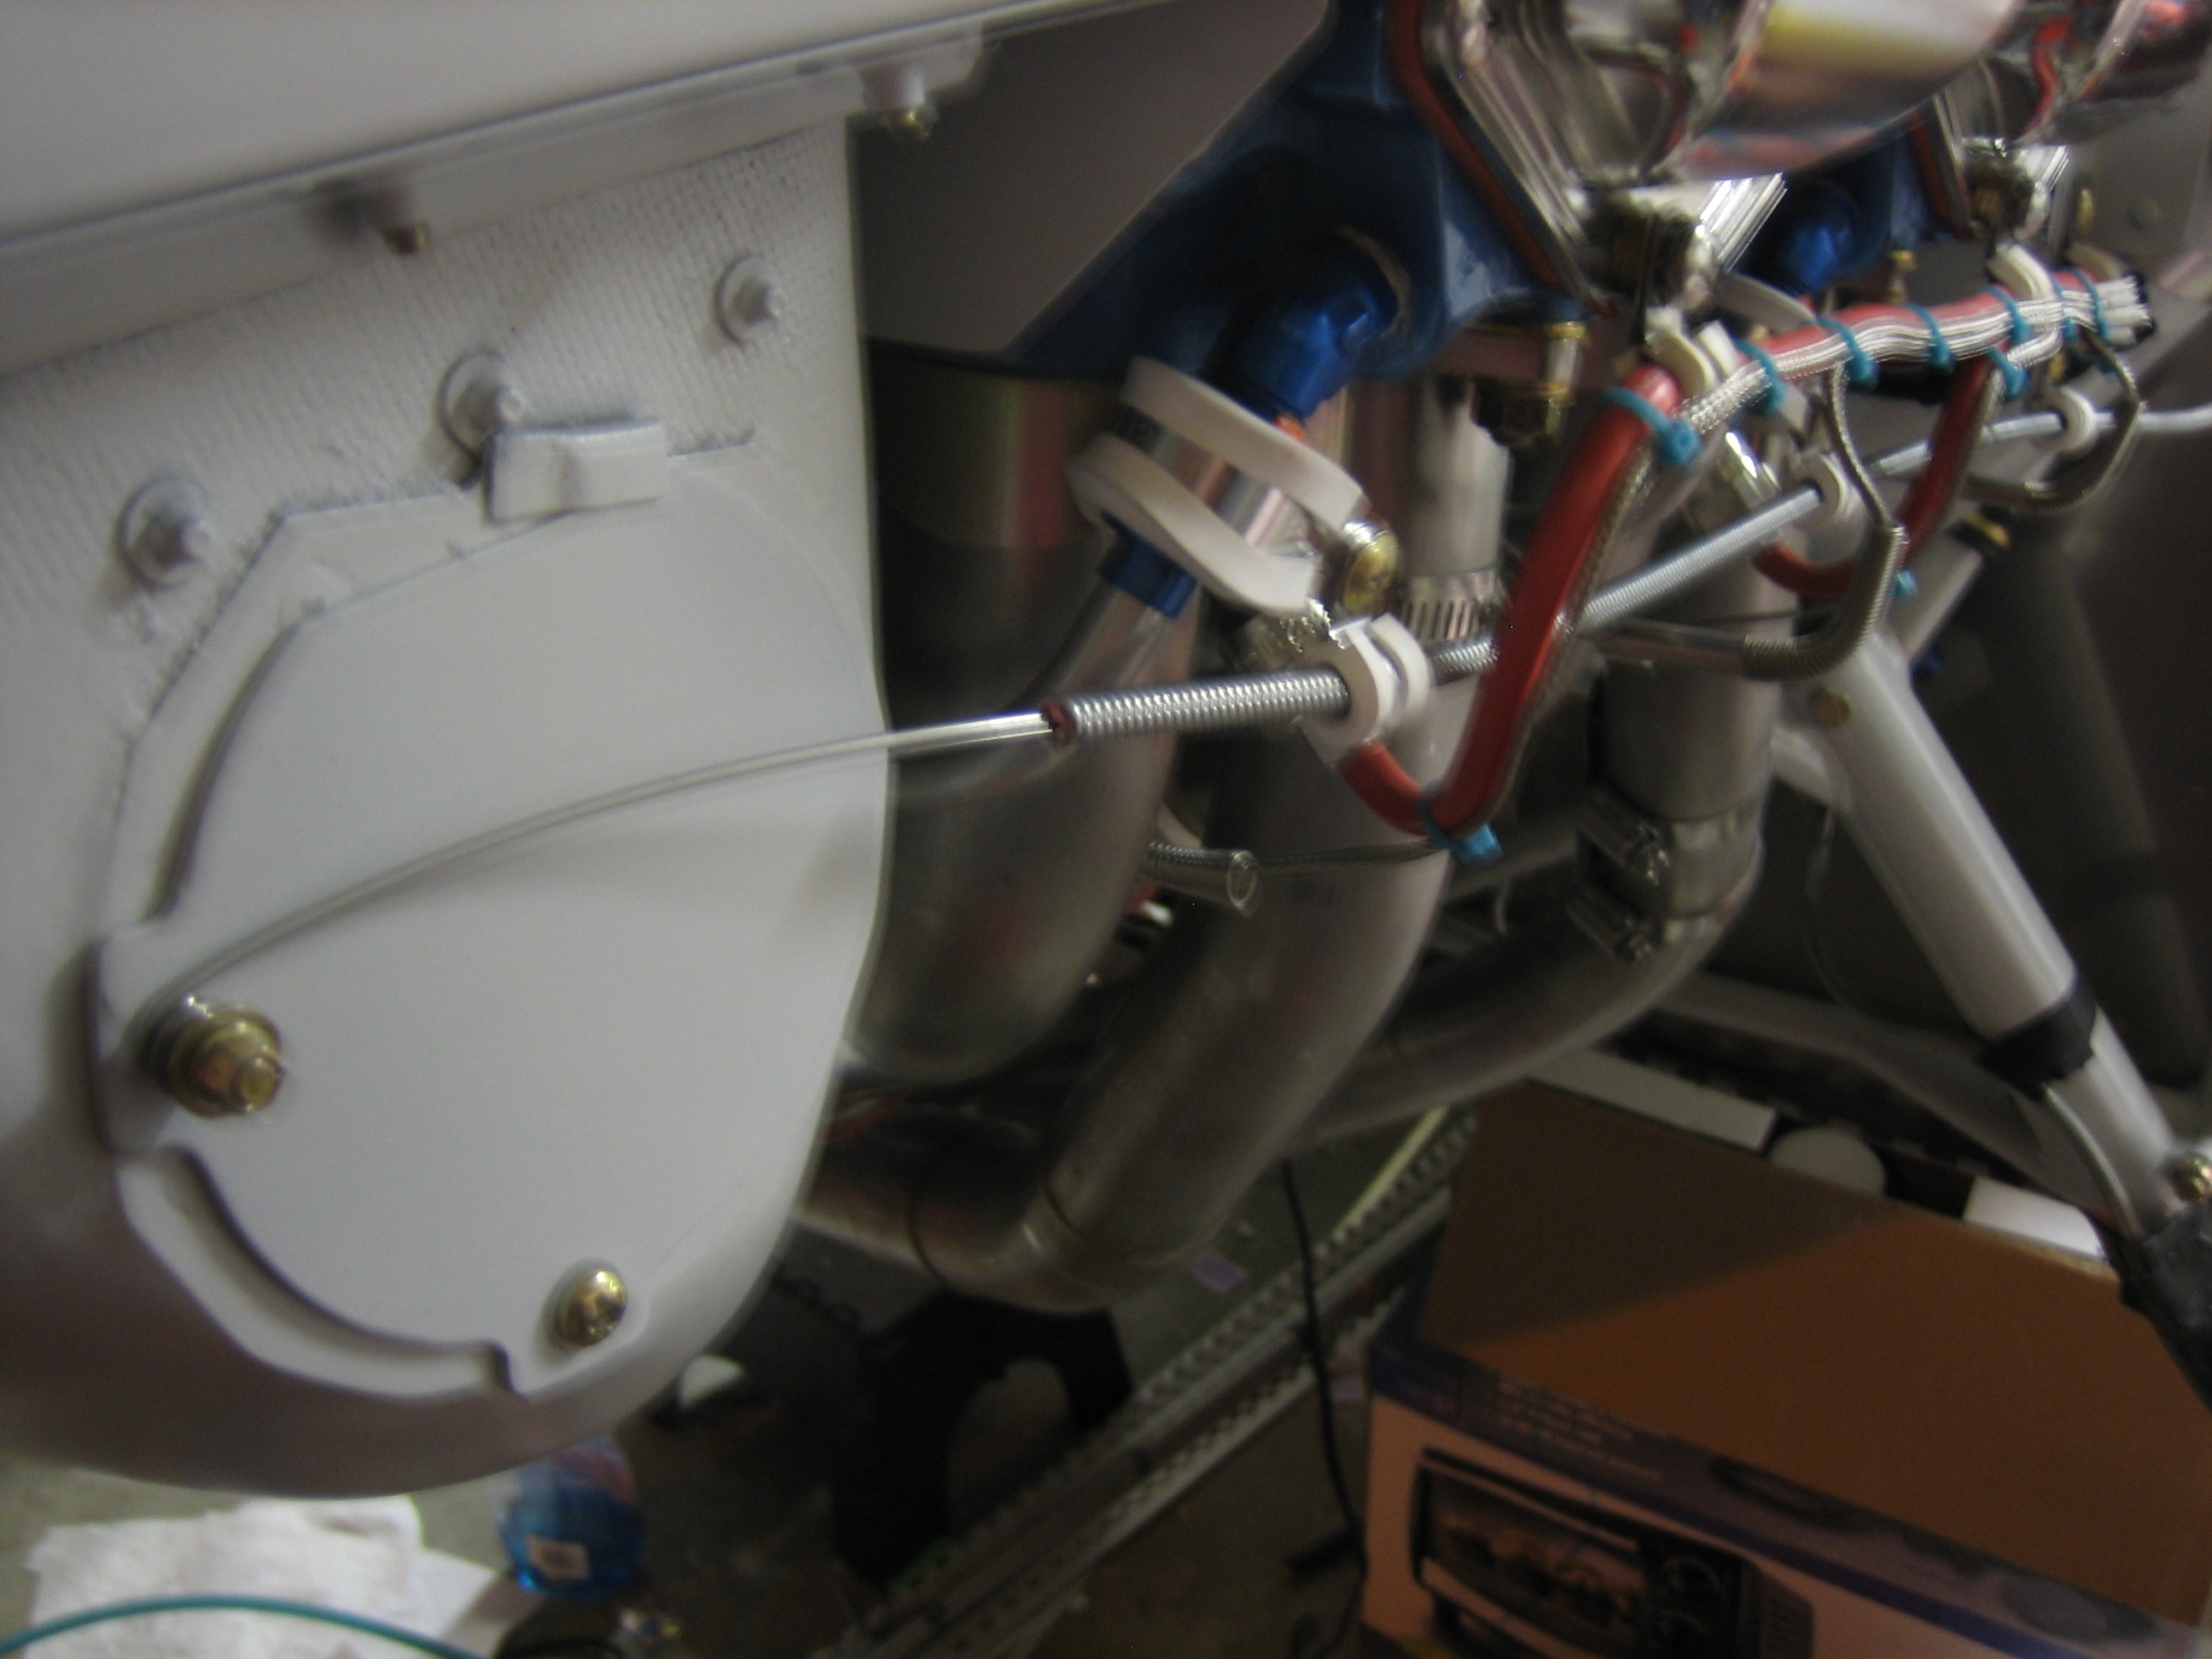
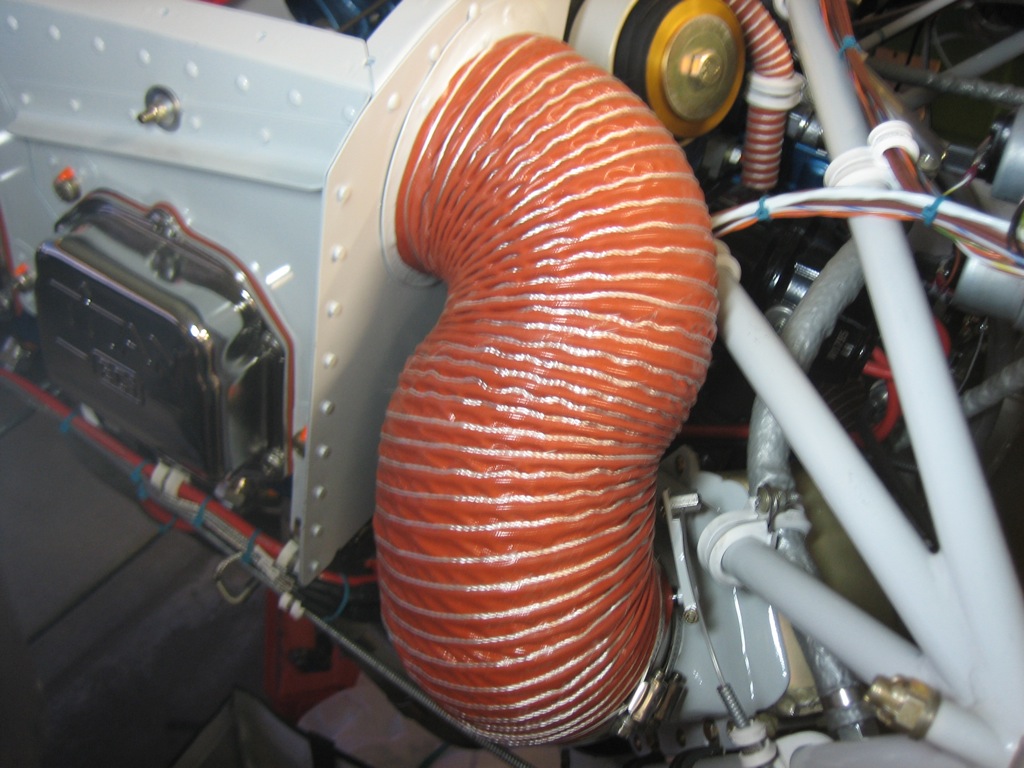
With the baffles installed for good, I wanted to wrap up everything that attaches to them.  Here’s the heater air supply duct.  You can also see that I put torque seal on all of the screws that attach the baffles.  I had to remove and reinstall the oil filler tube to get to one of the screws.

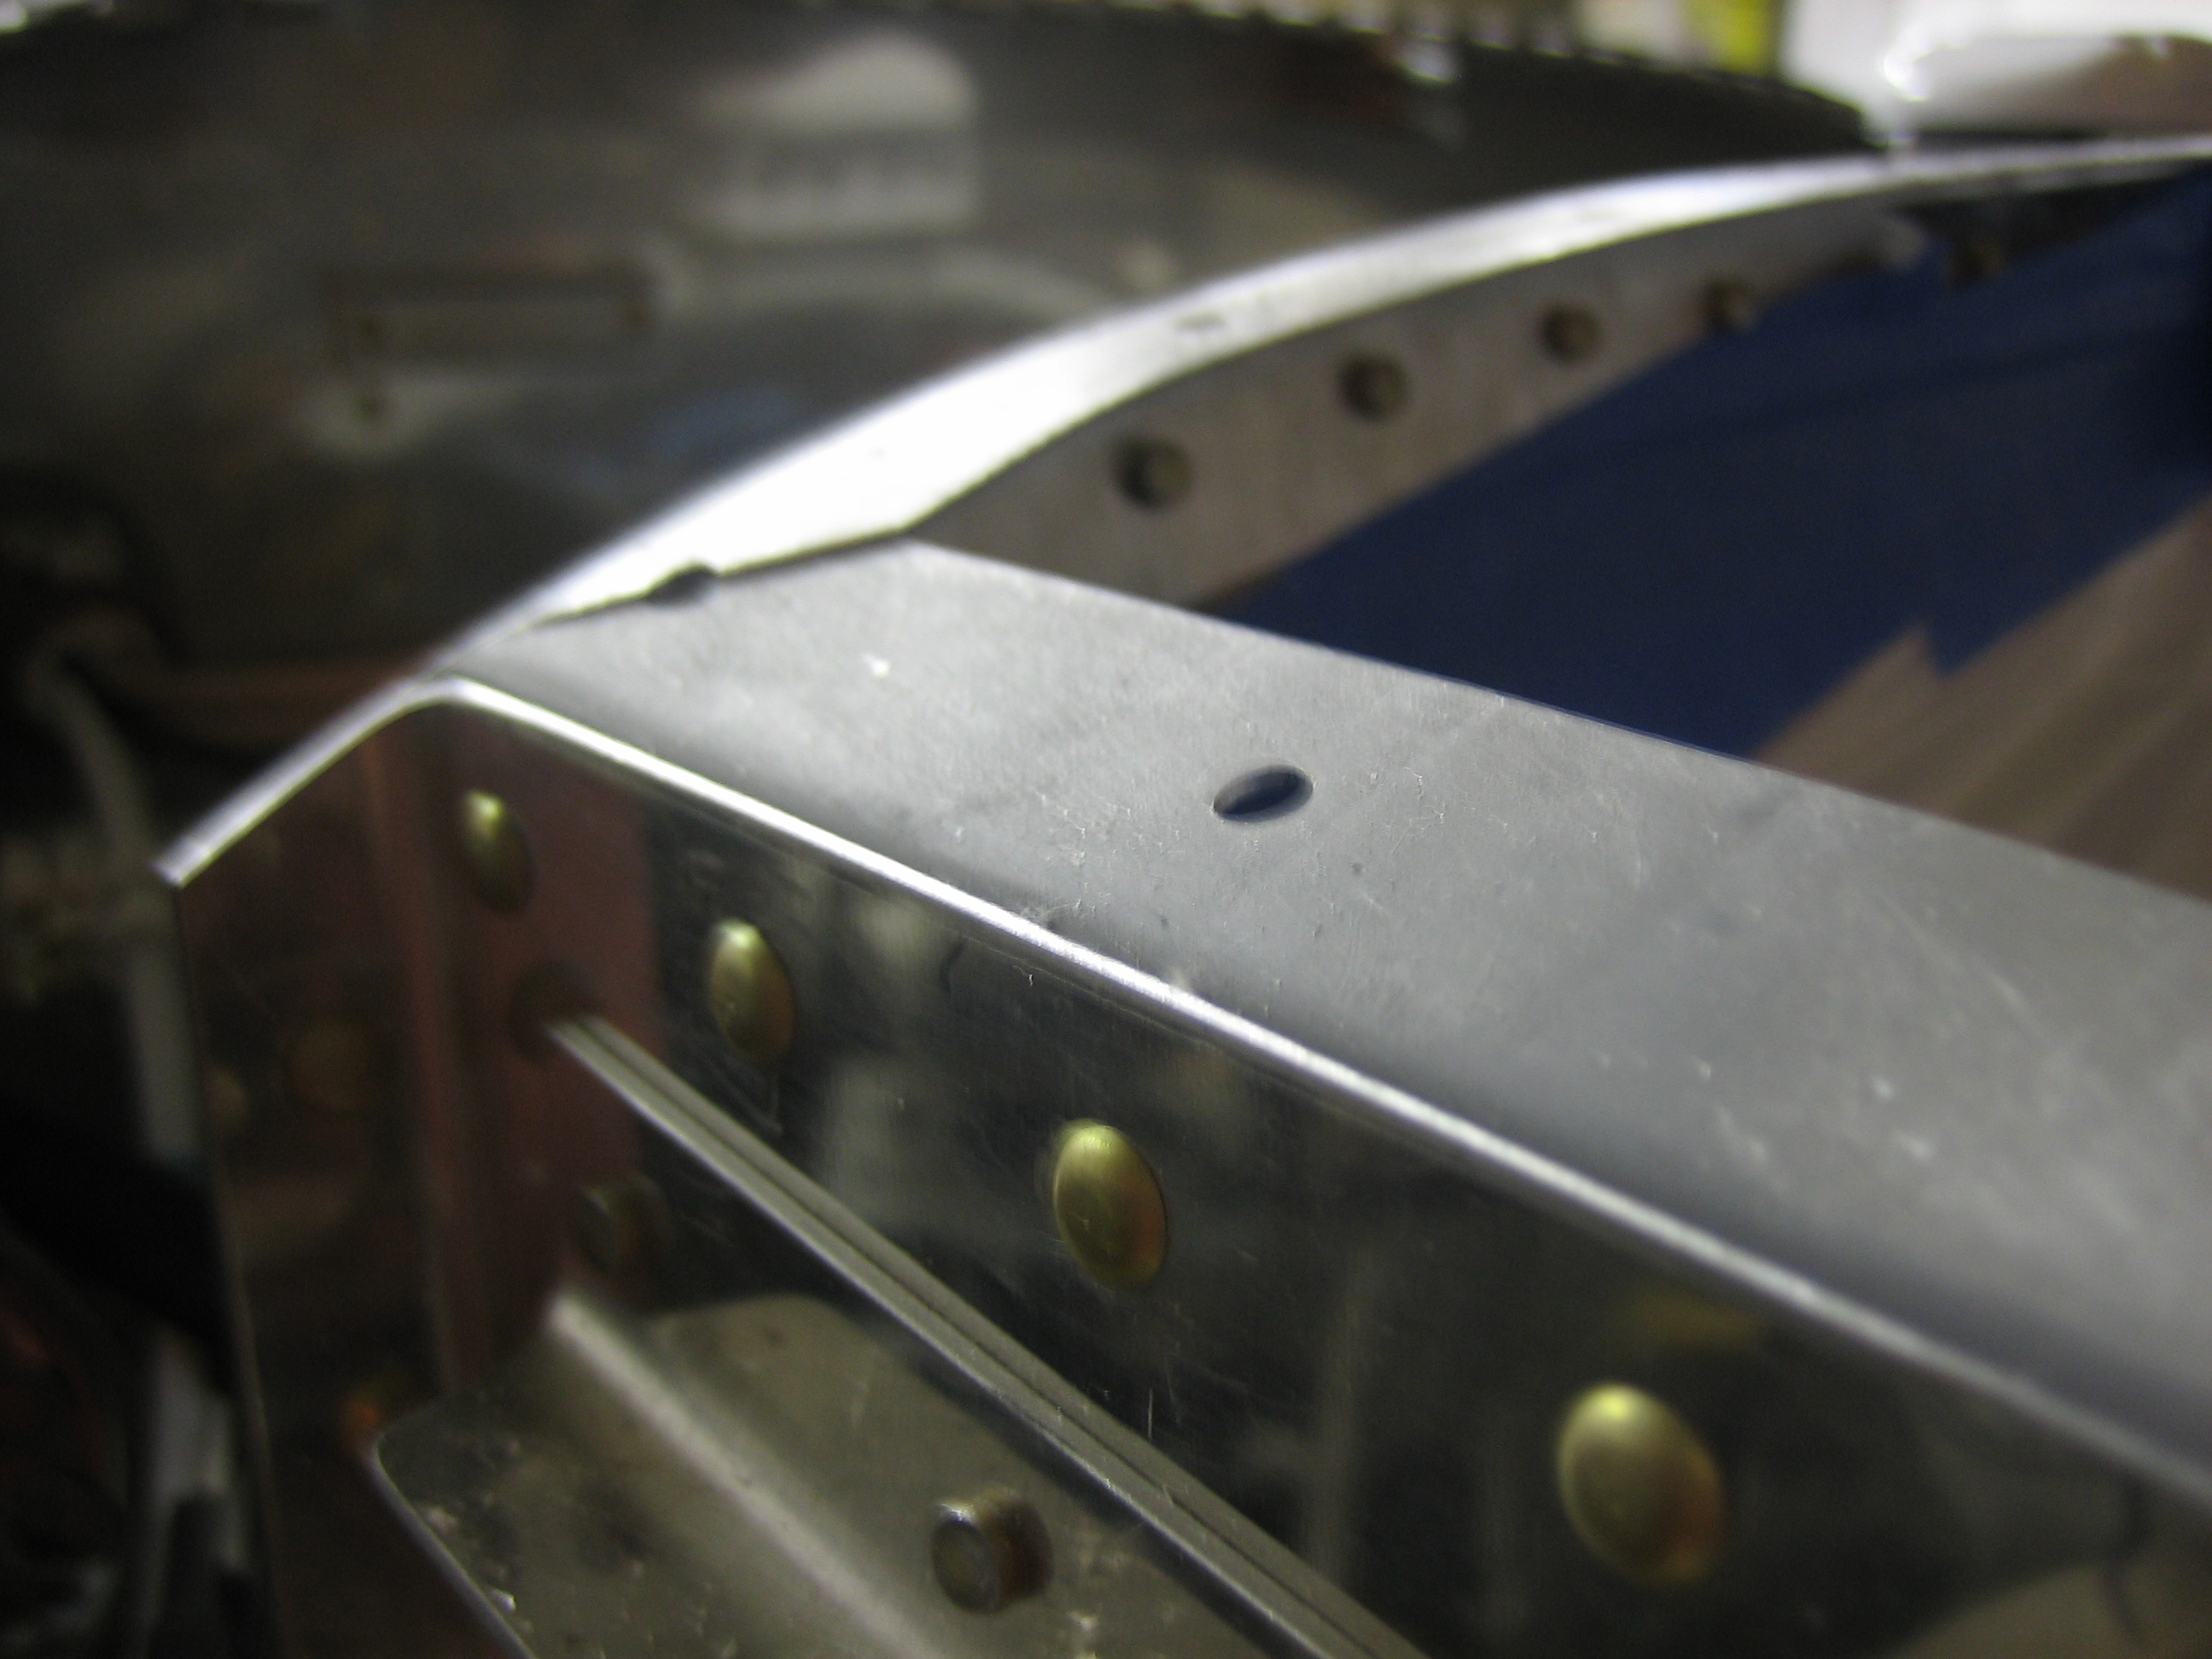
I then installed all of the baffle connecting rods.  The rear nut on the left, inner rod was a real pain in the ass with all of the stuff in the way, but I eventually got it.

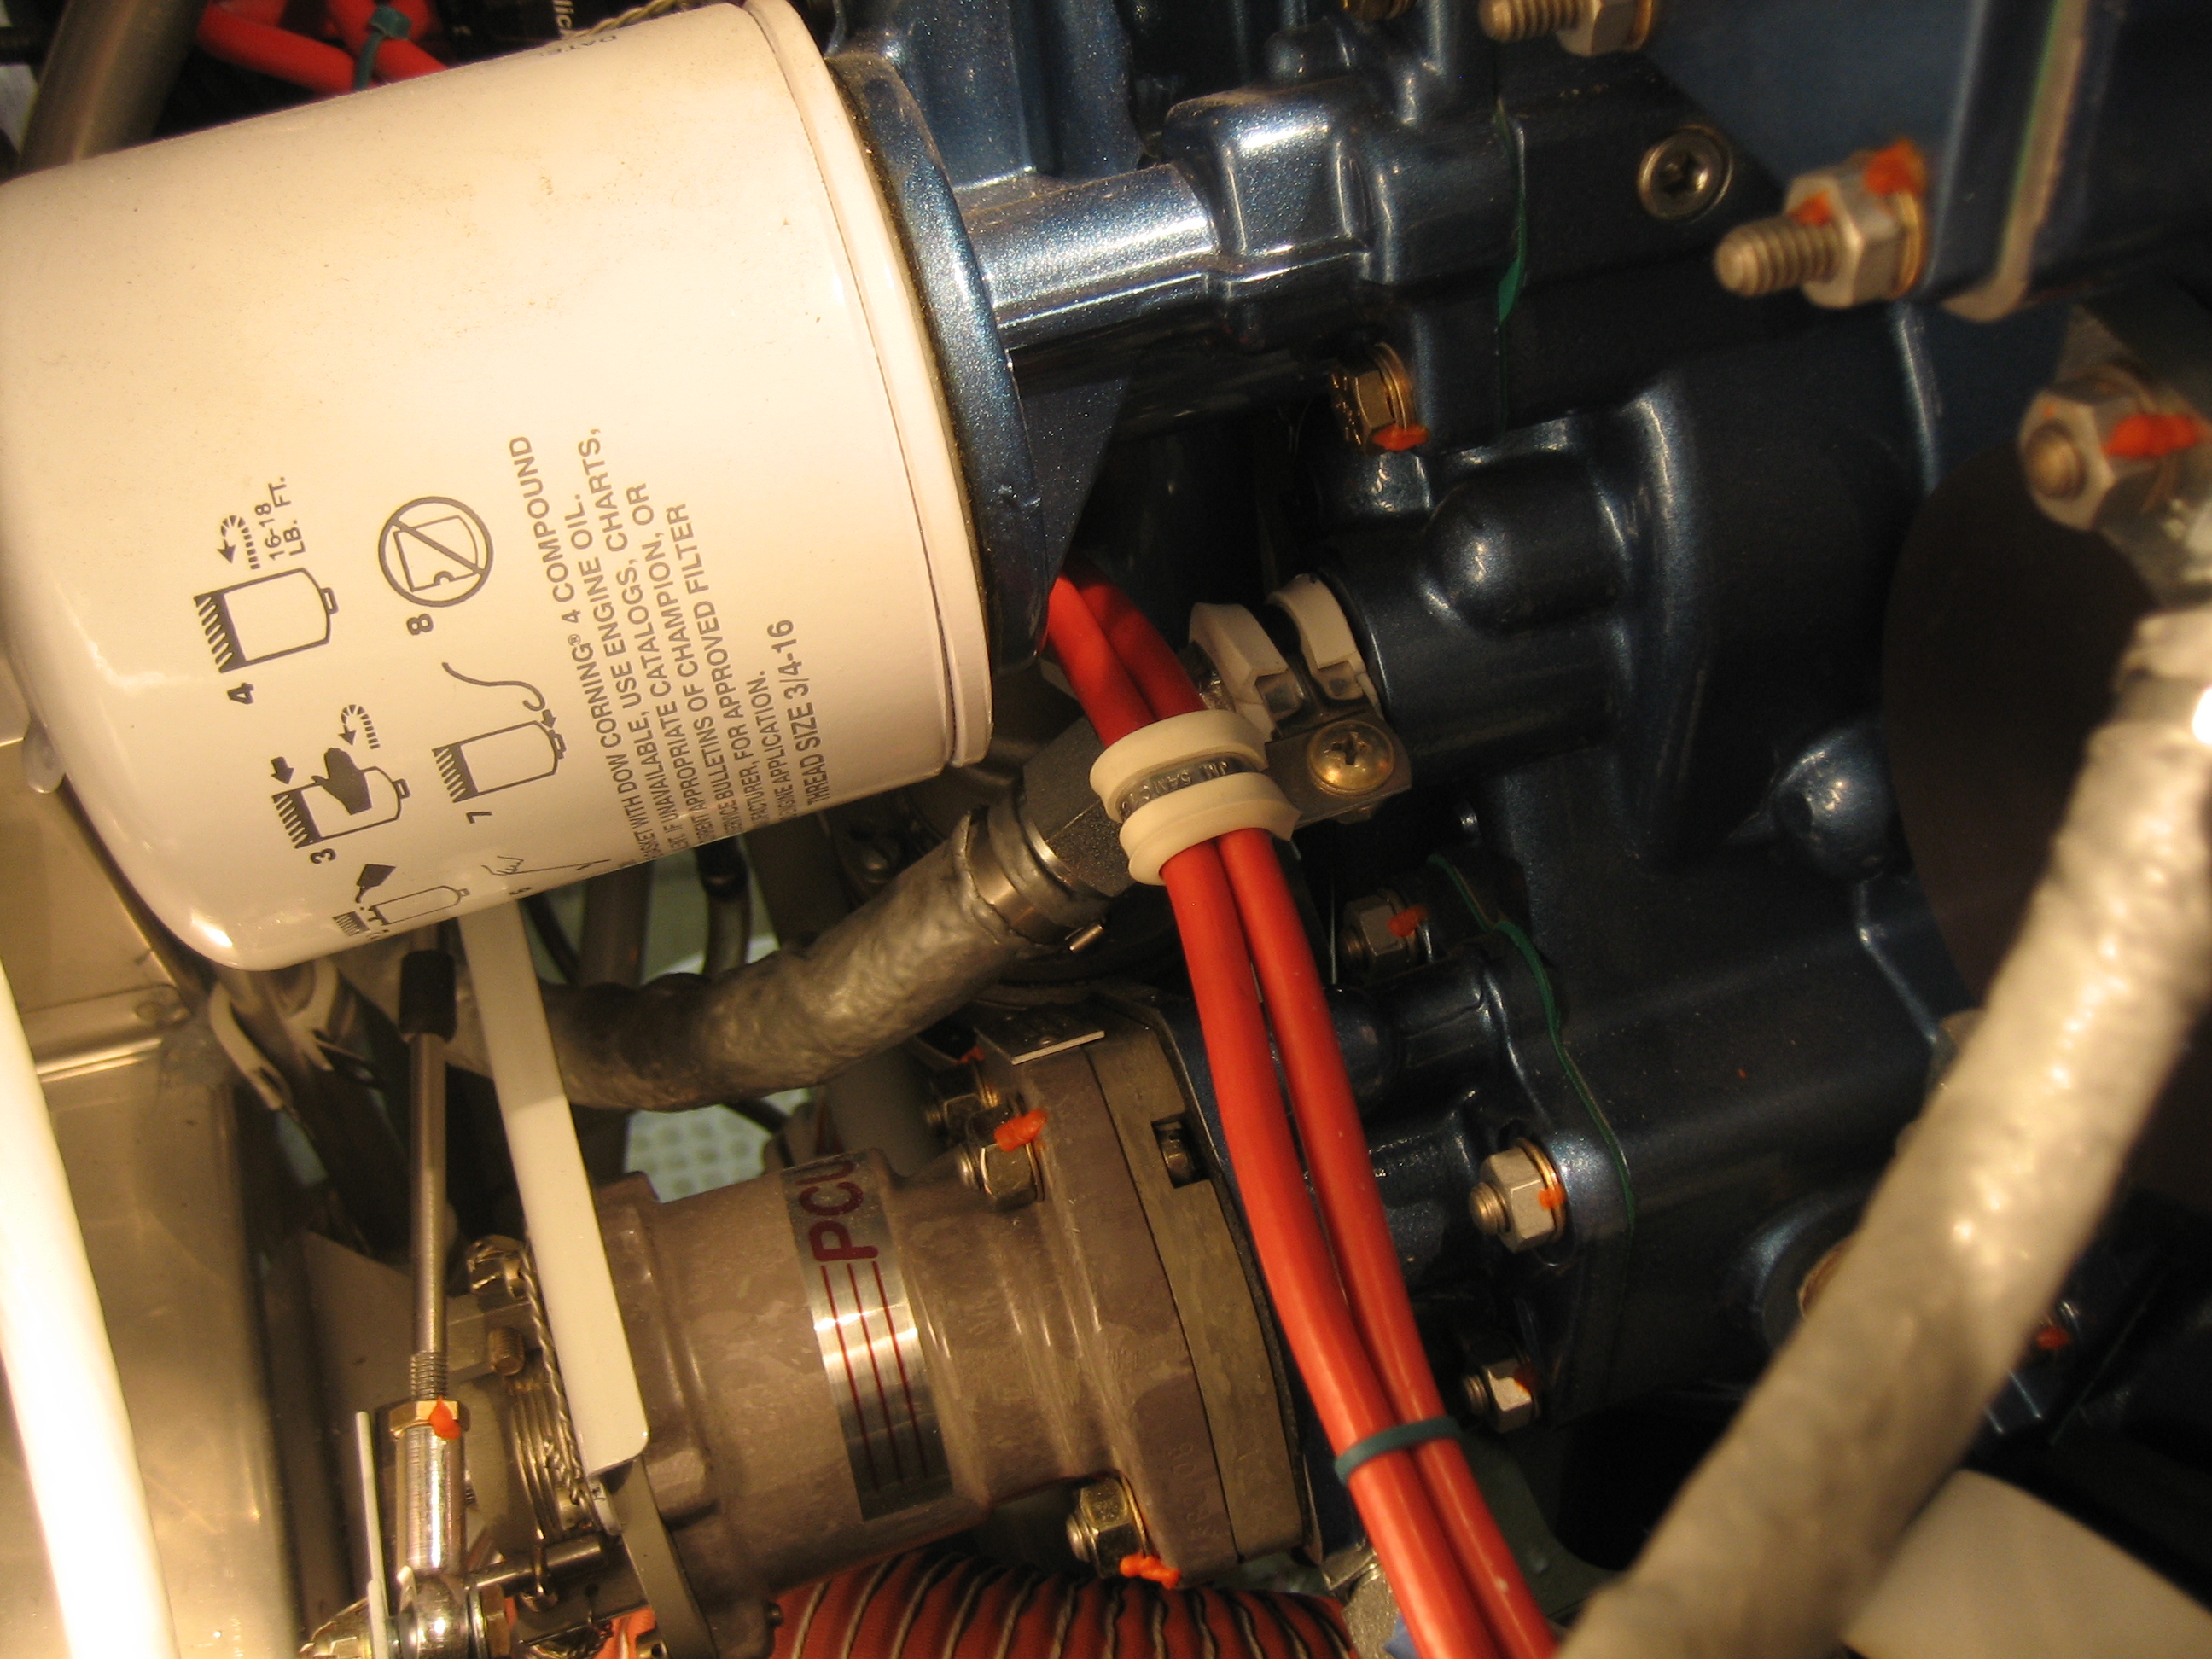
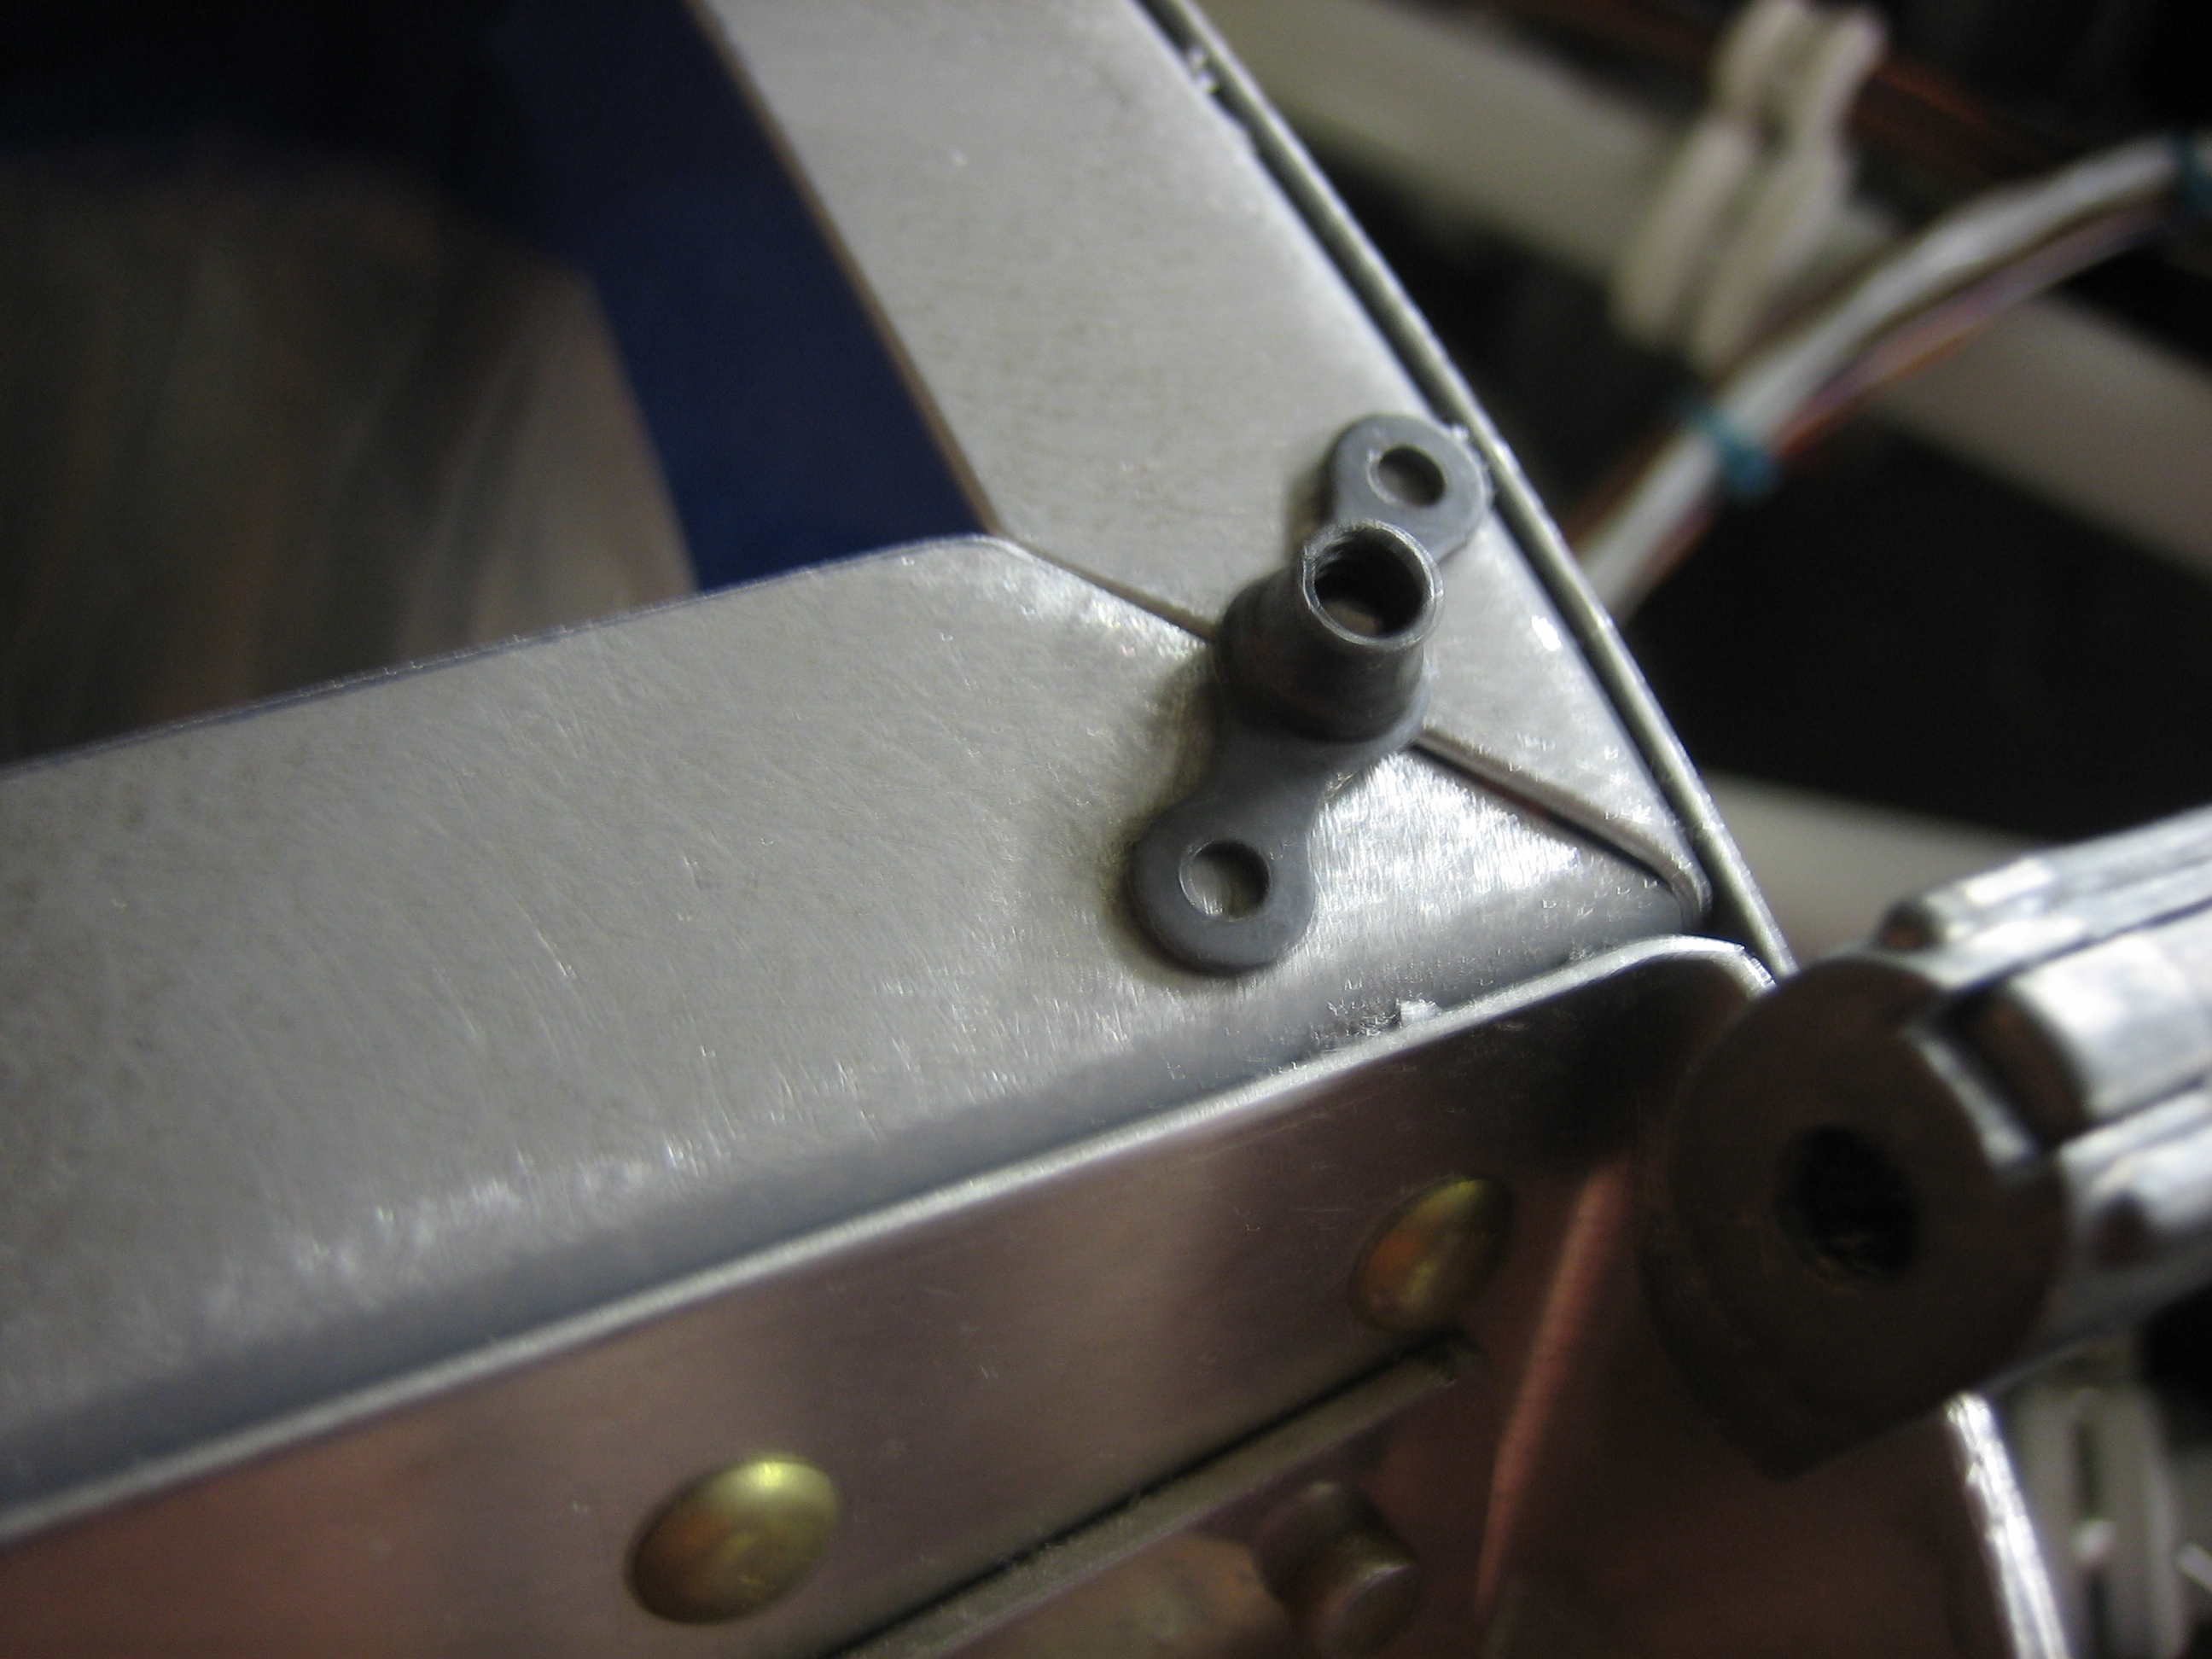
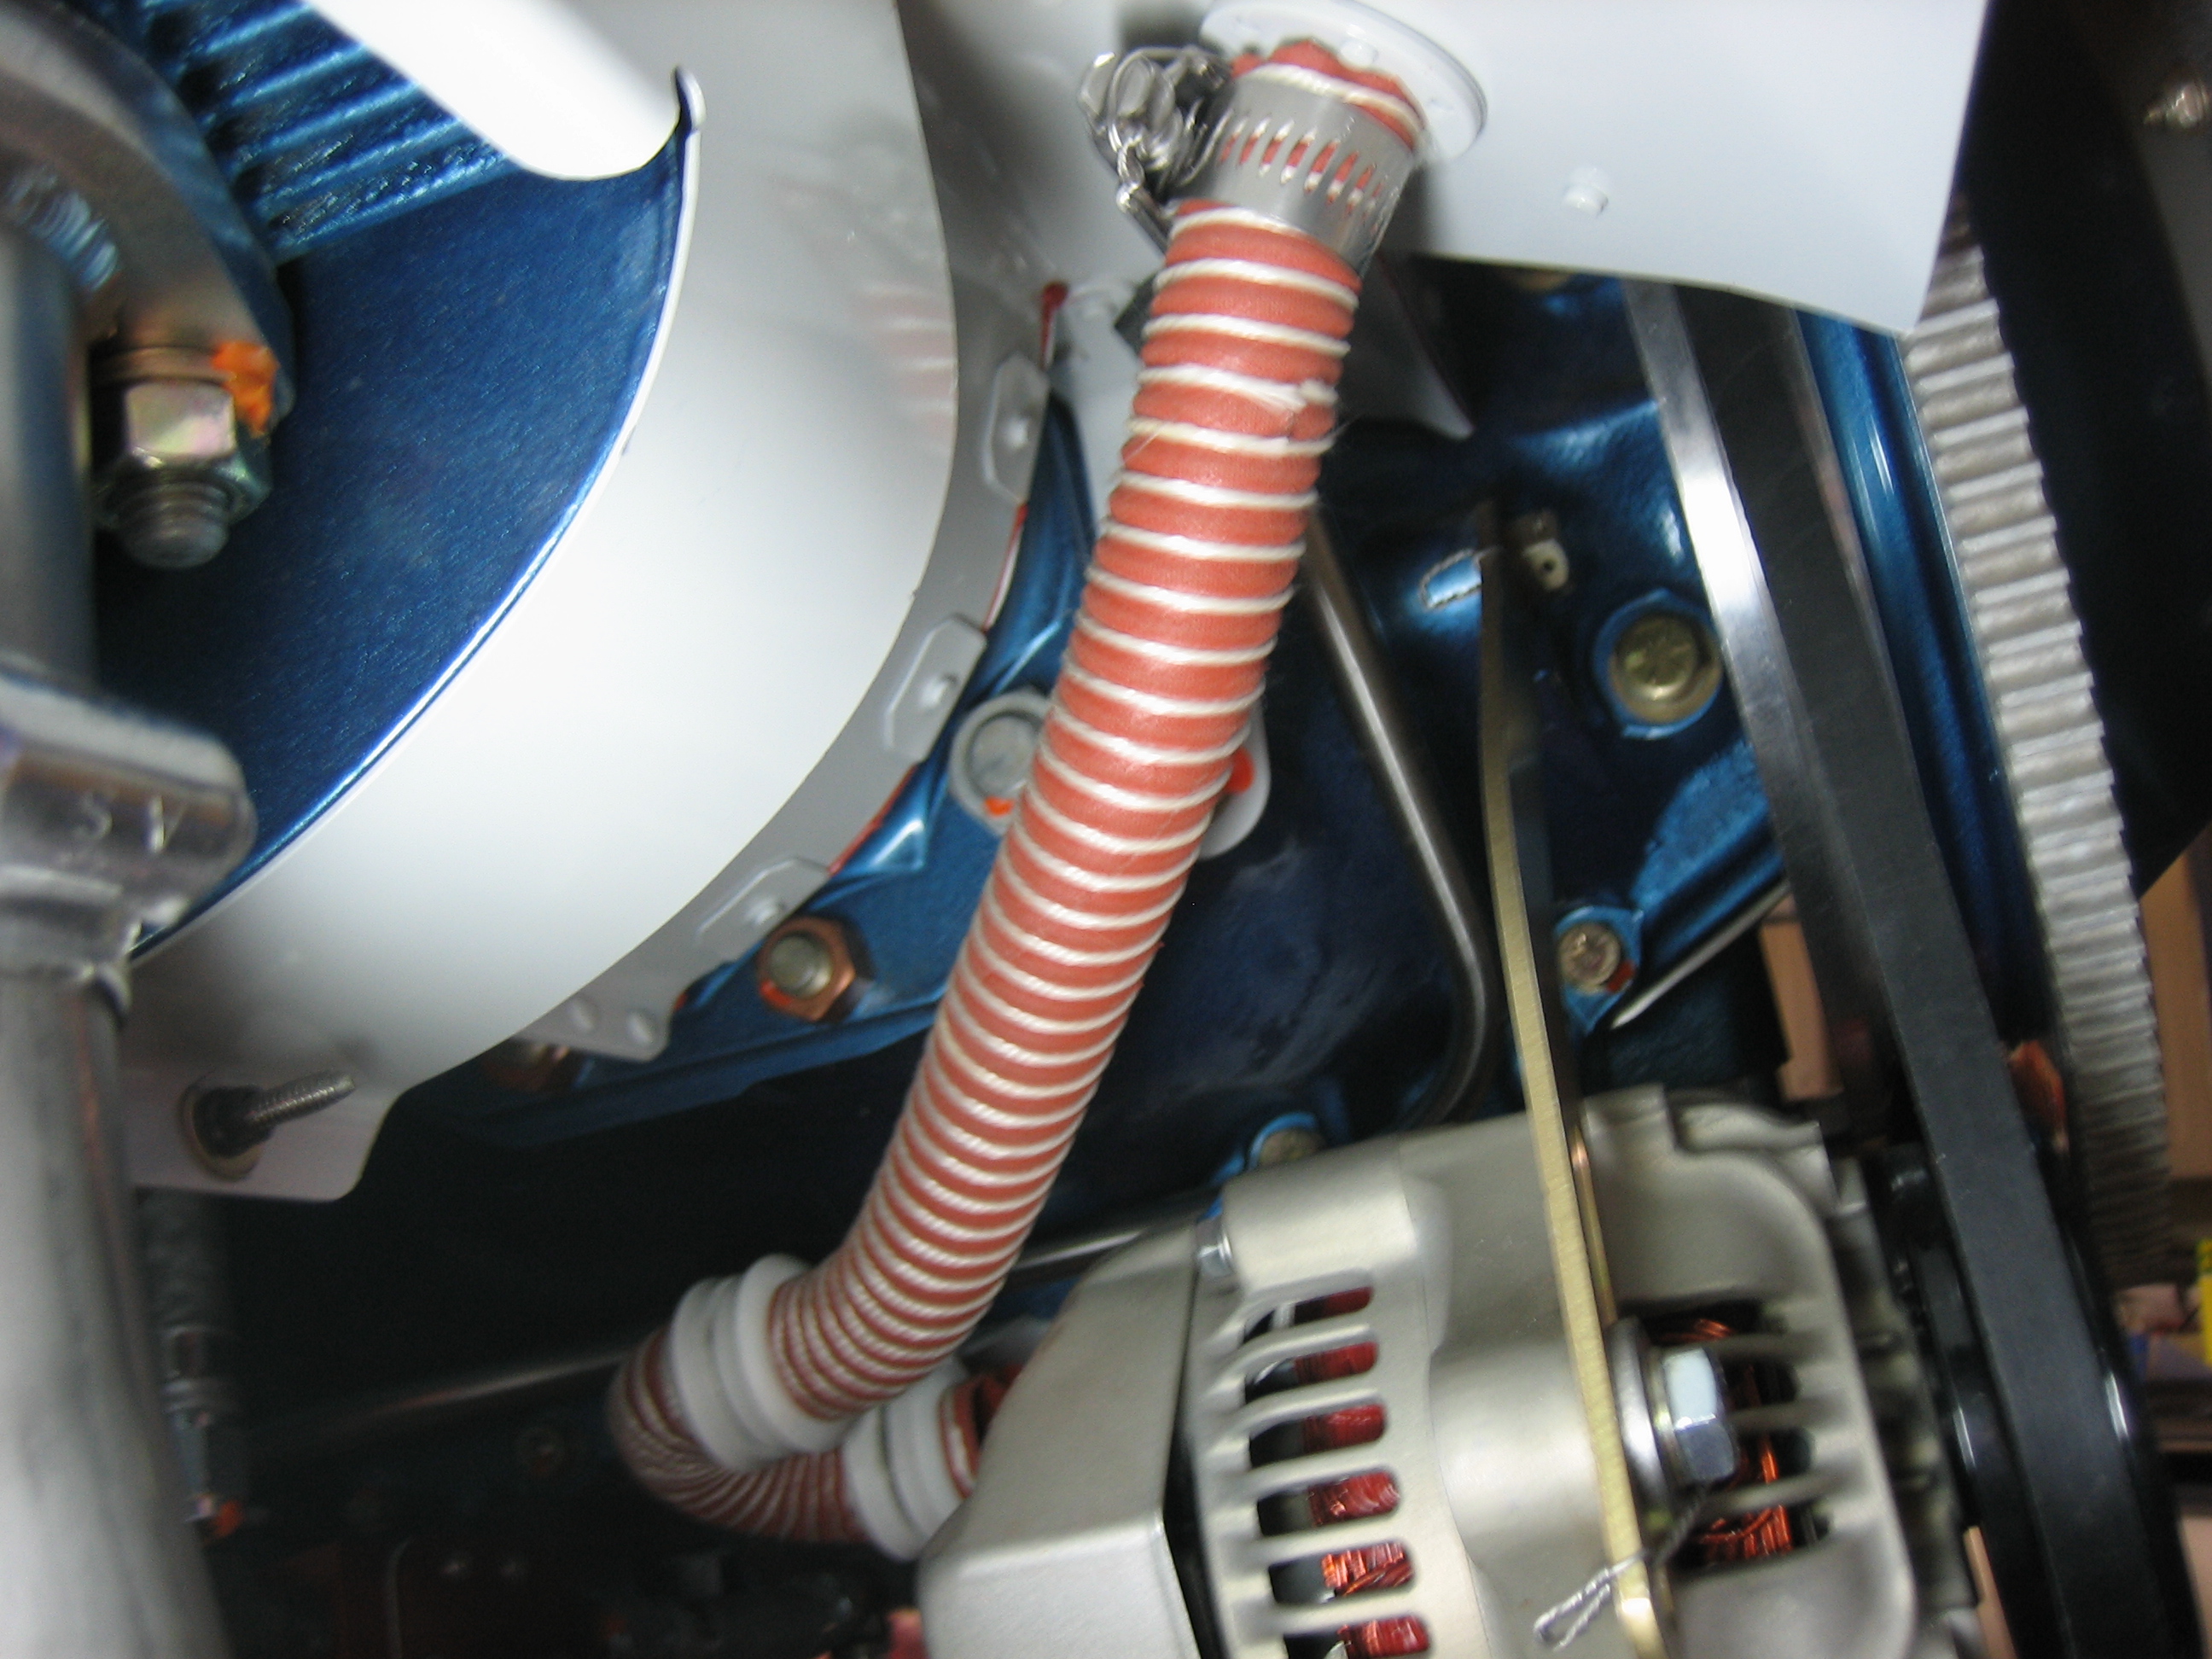
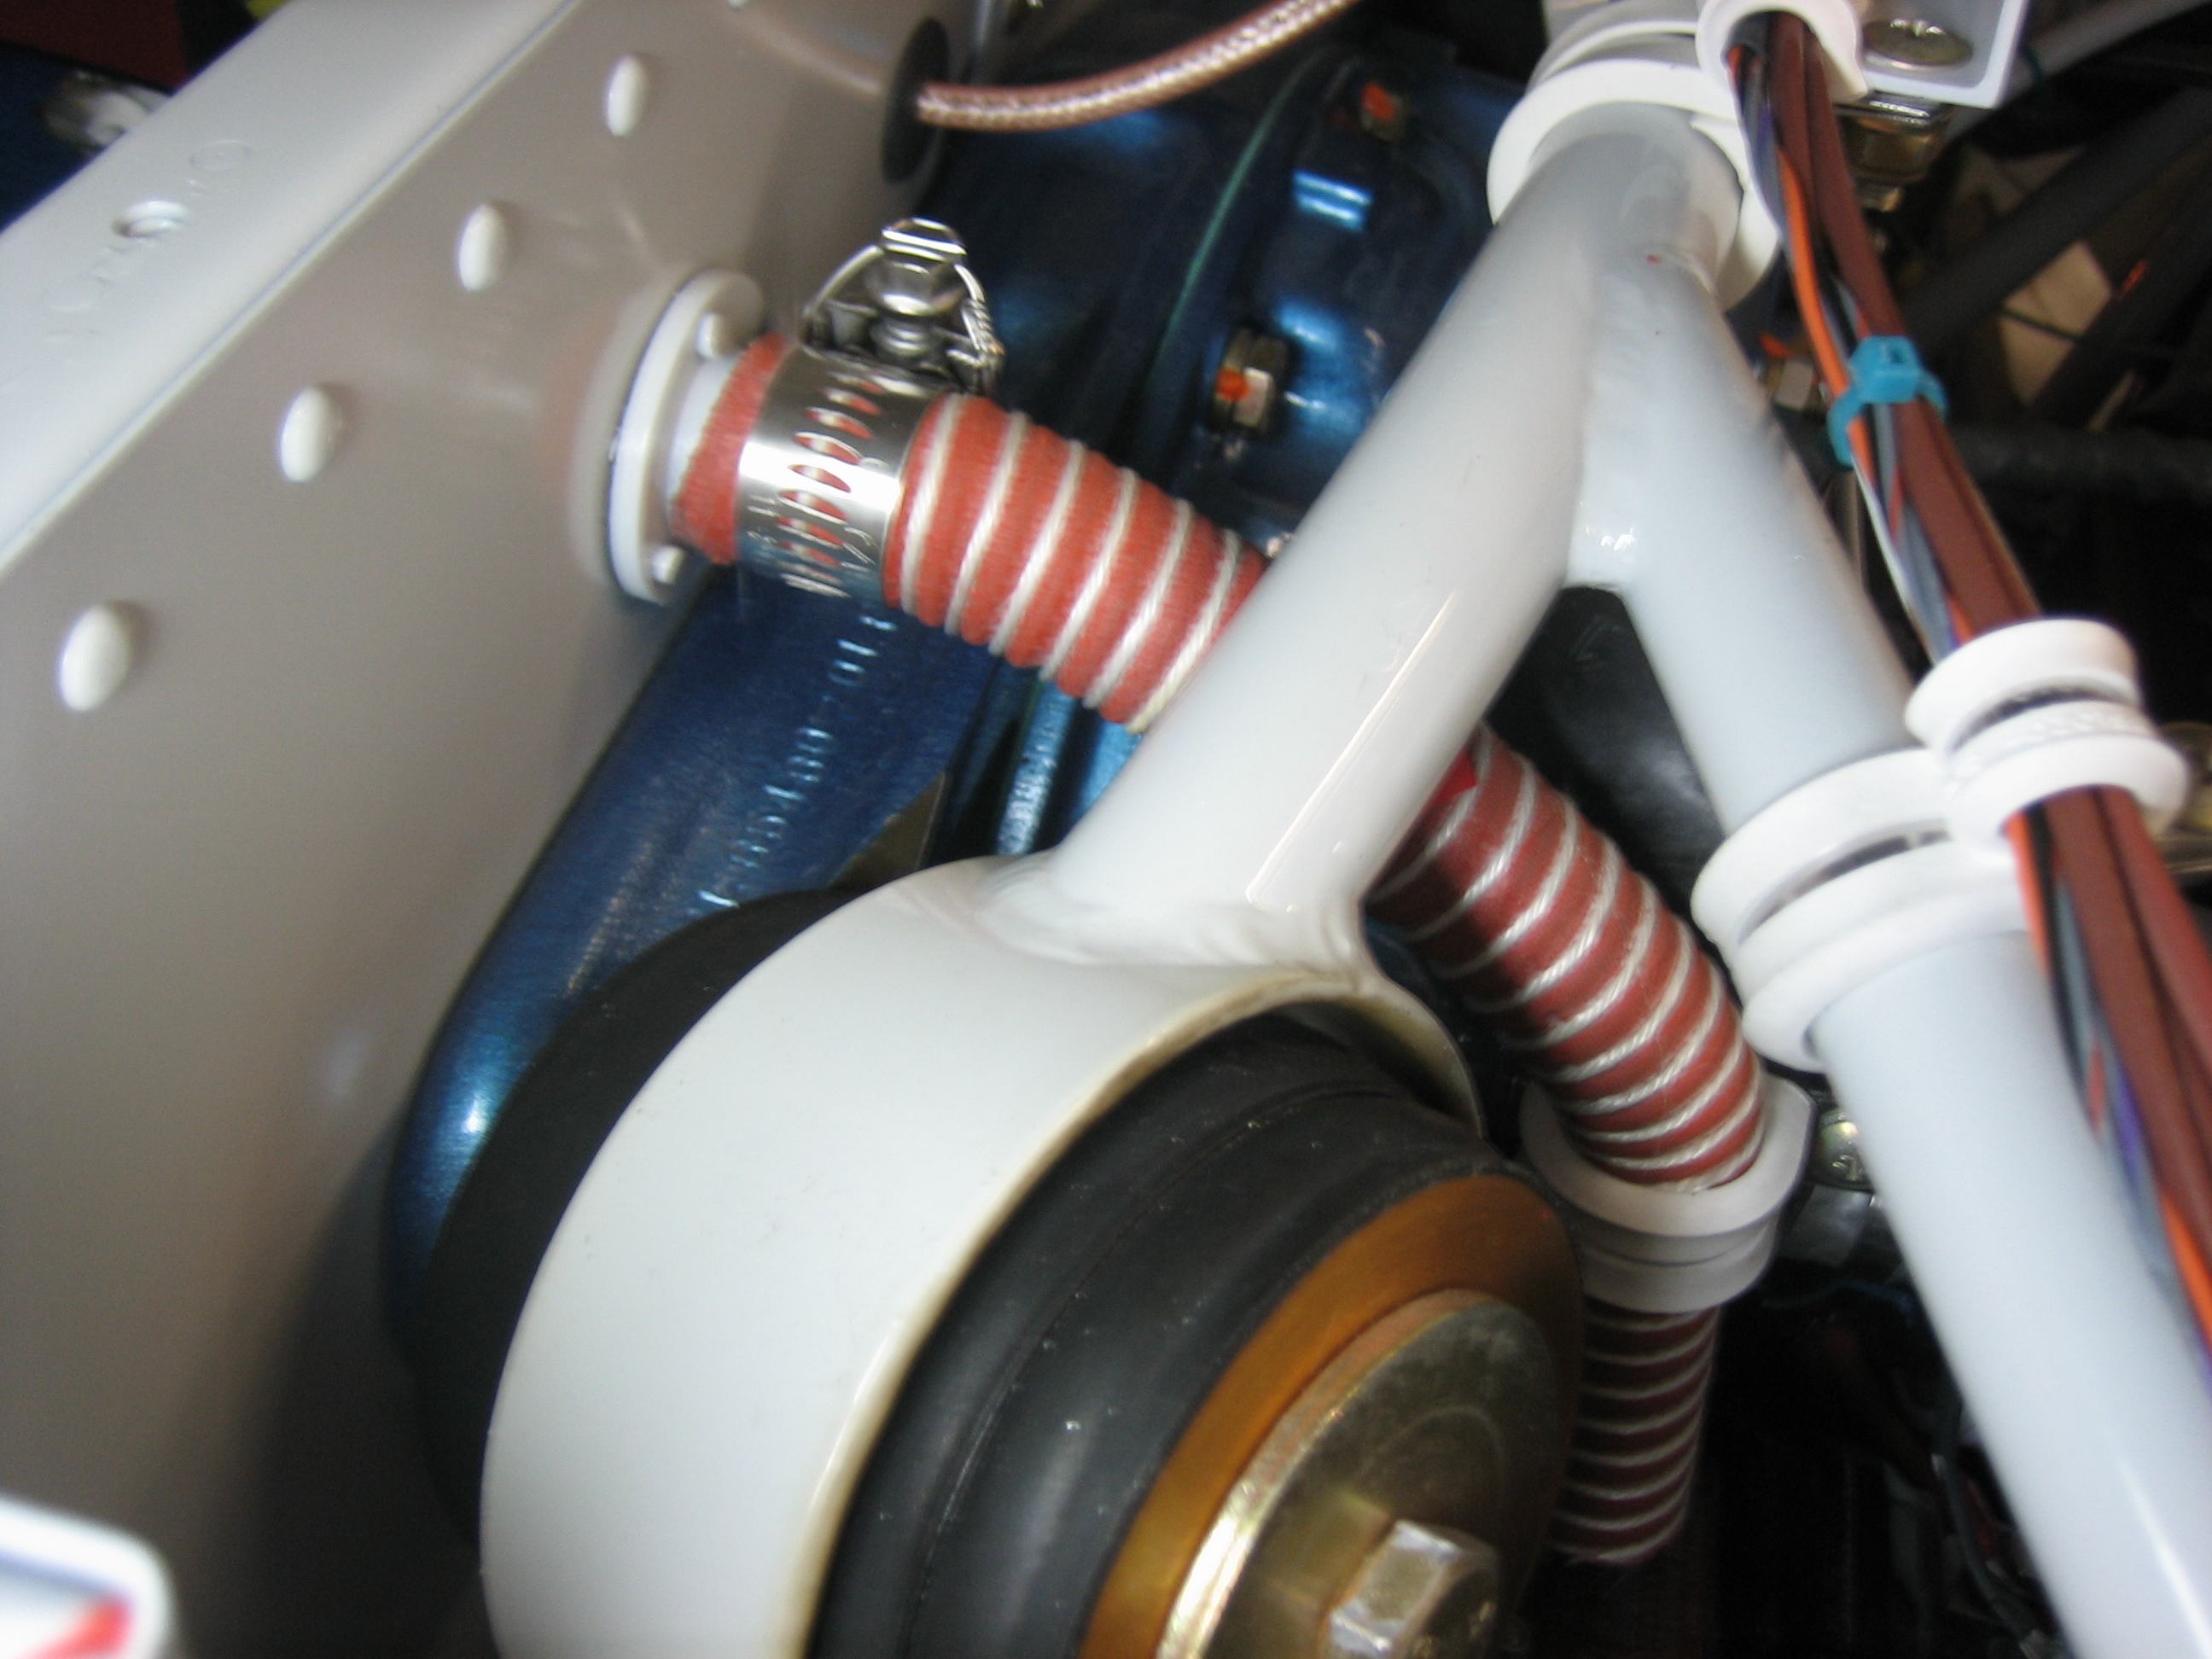
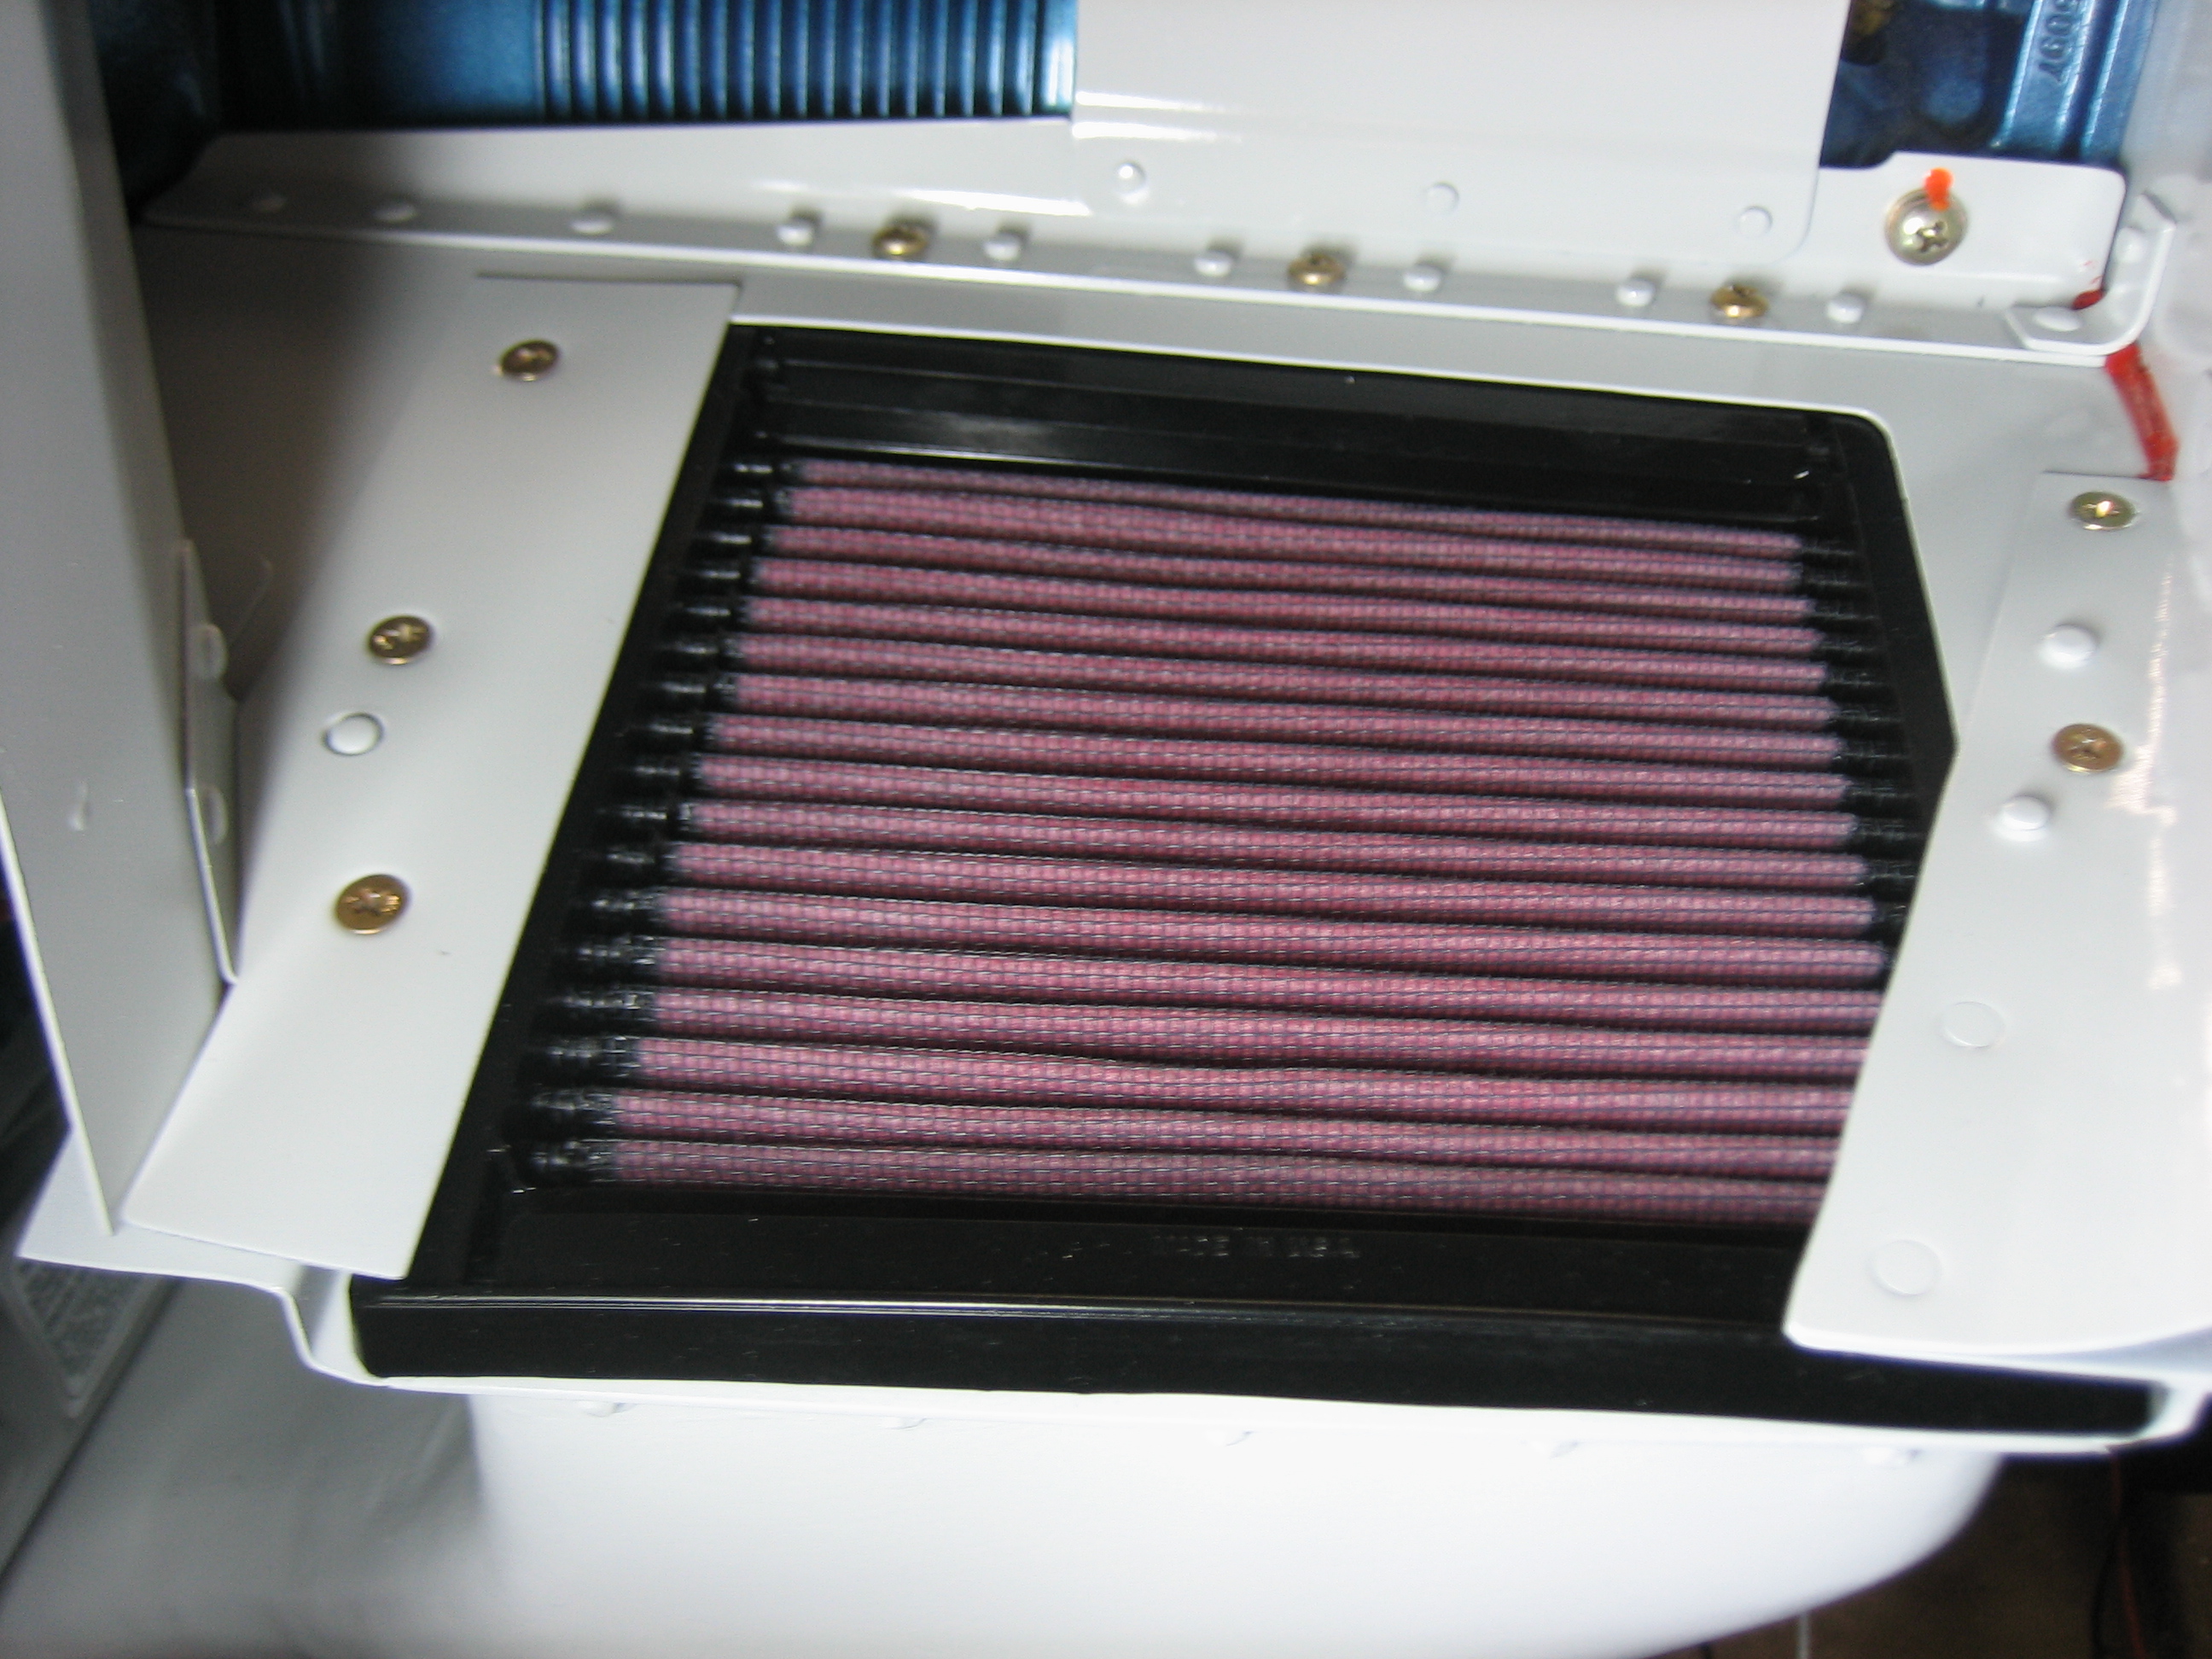
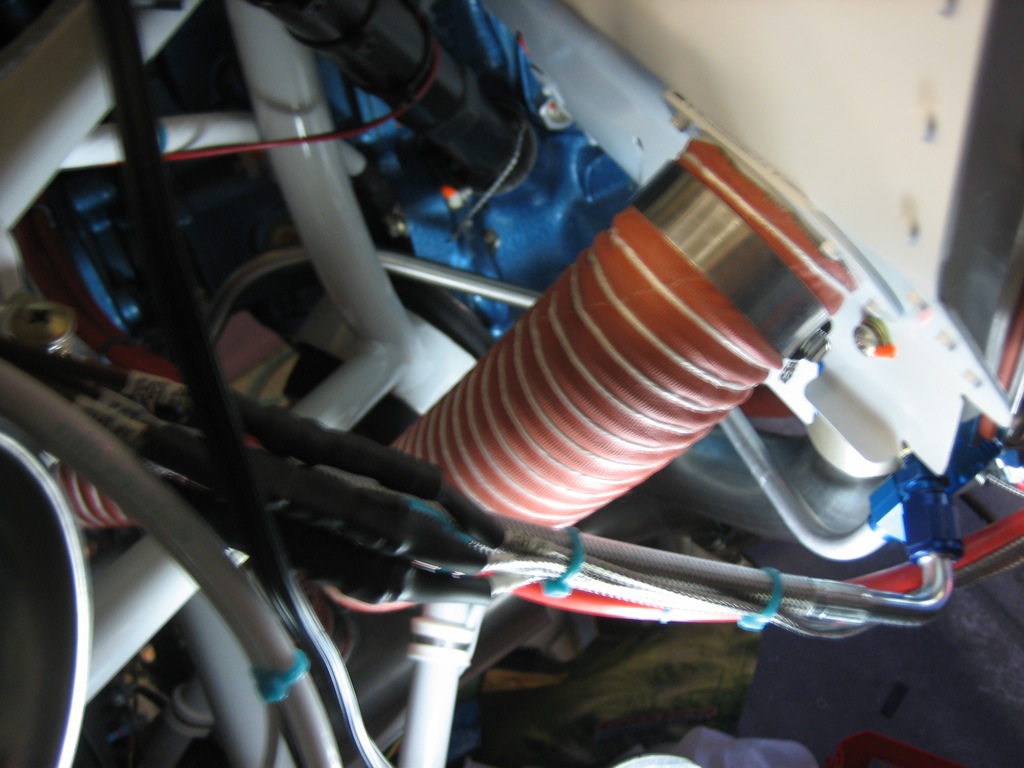
I hooked up the alternator cooling duct to the bottom of the baffles.

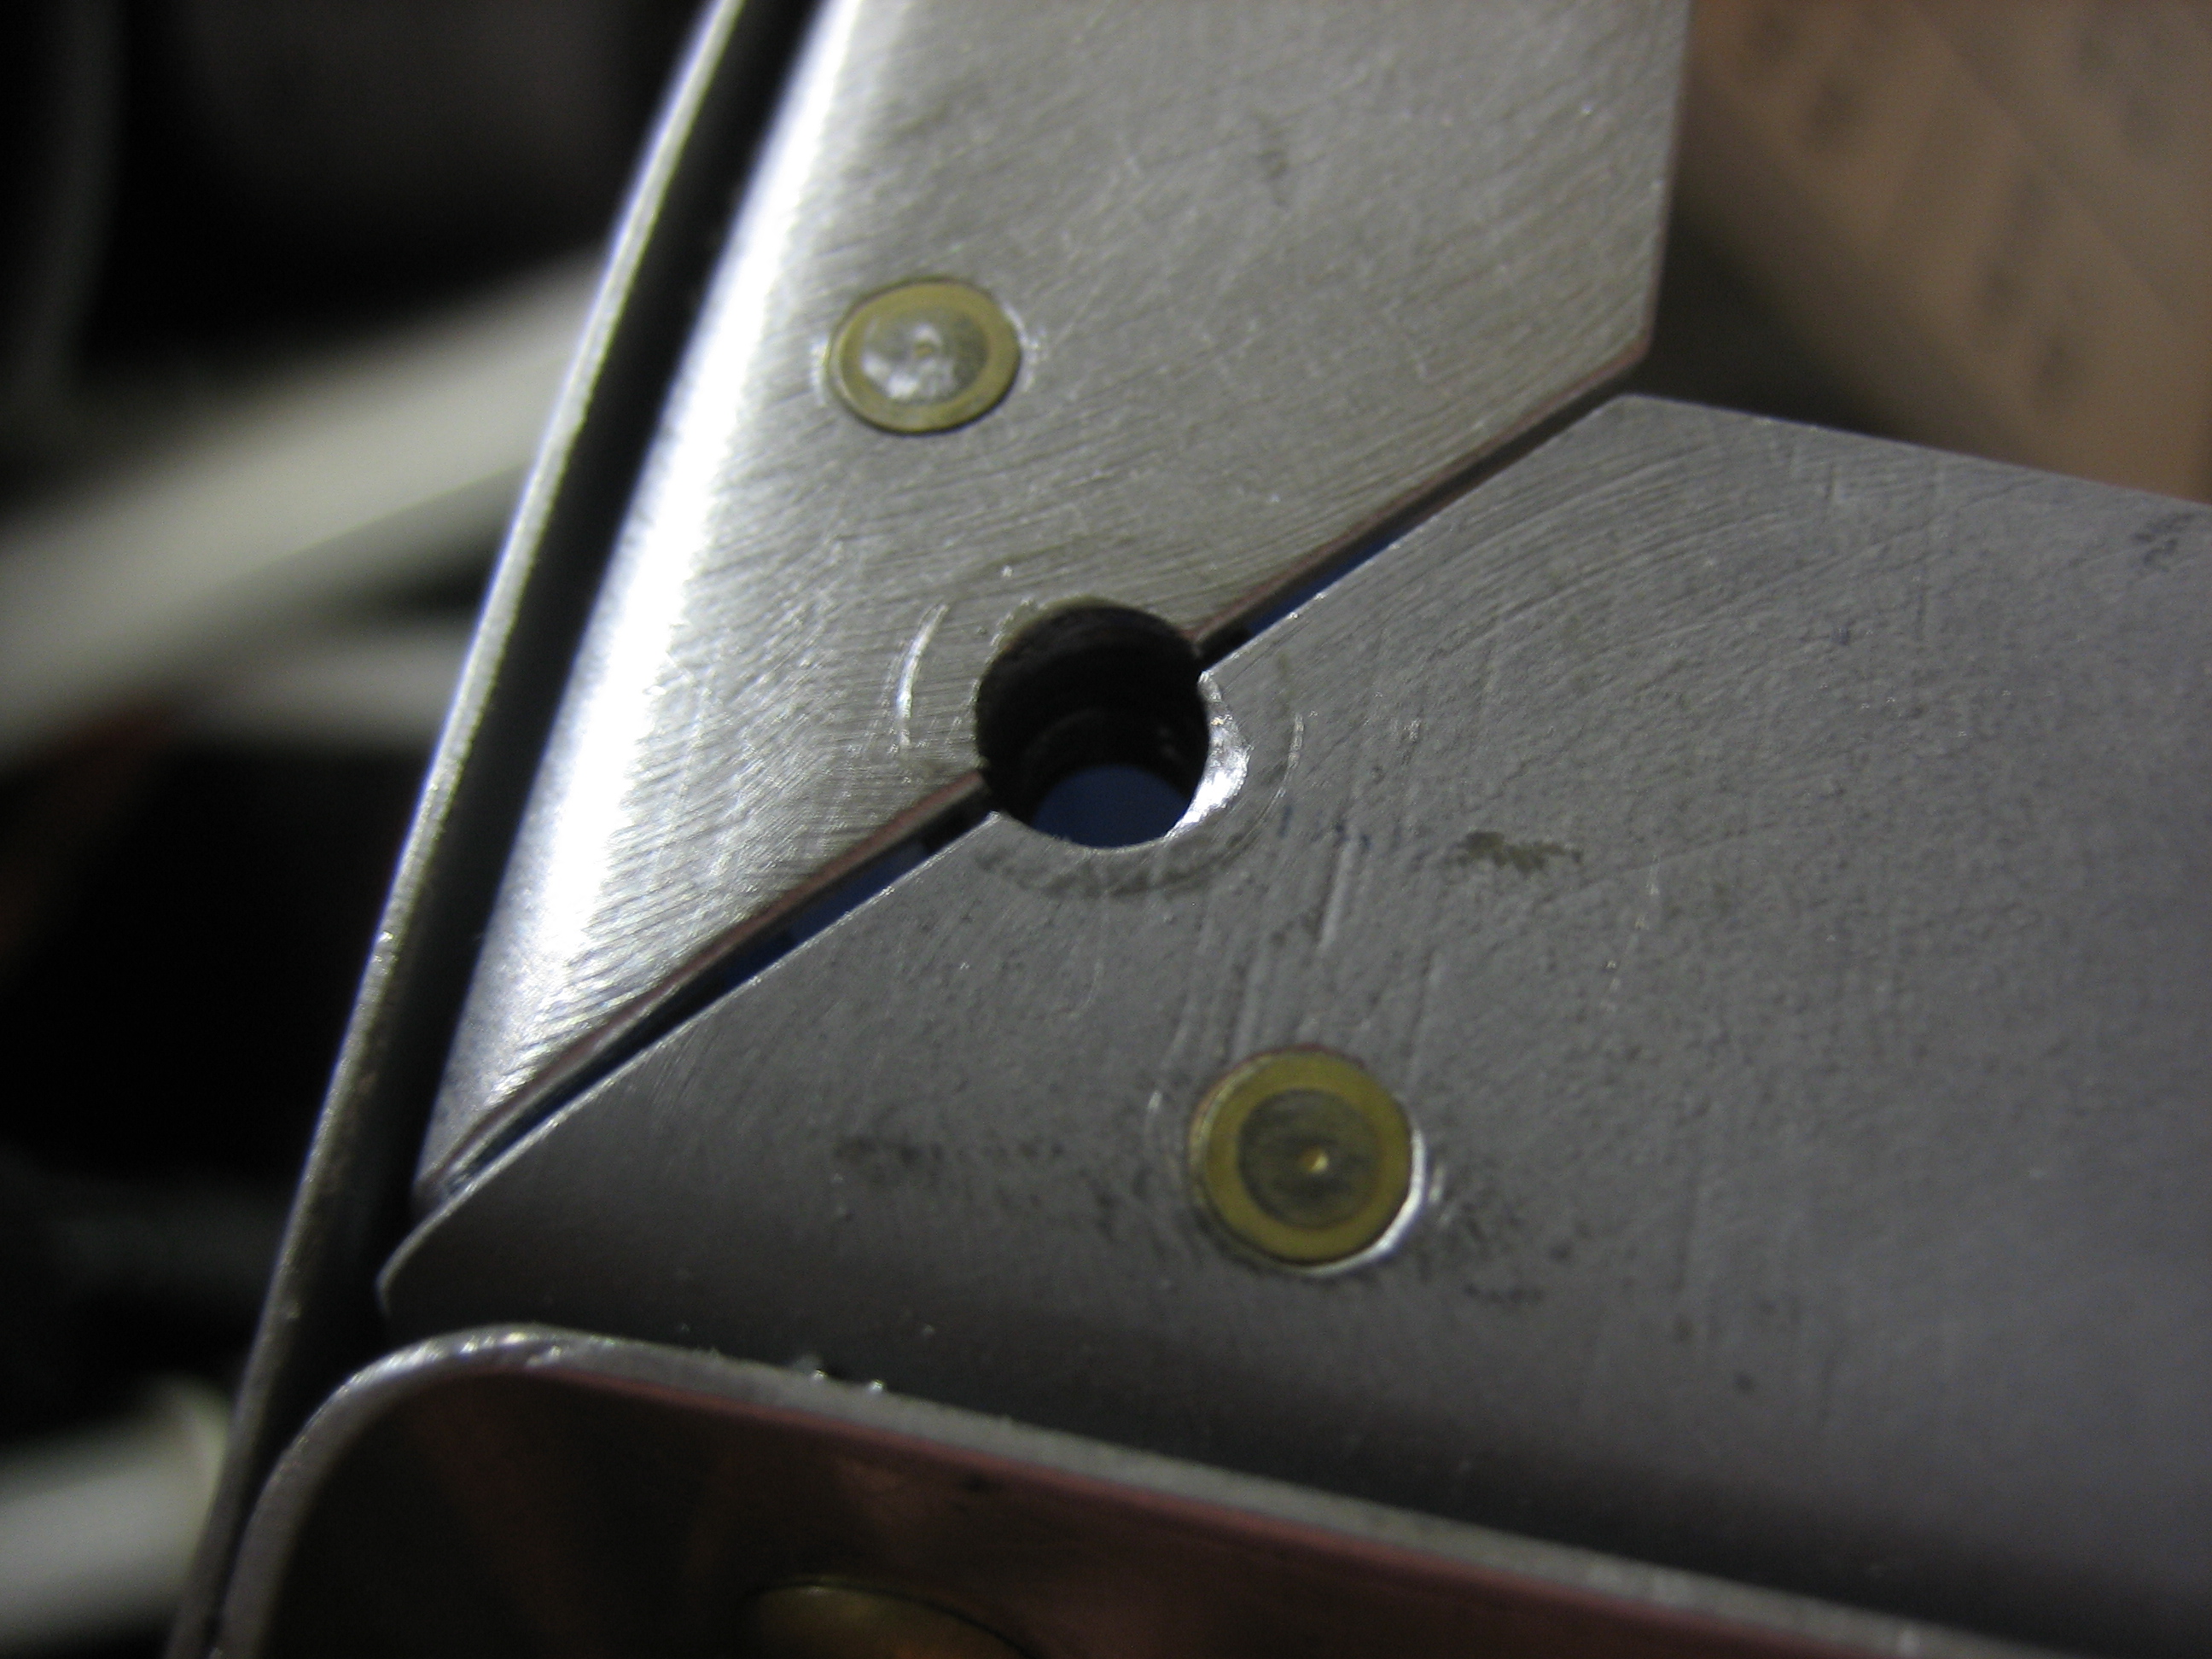
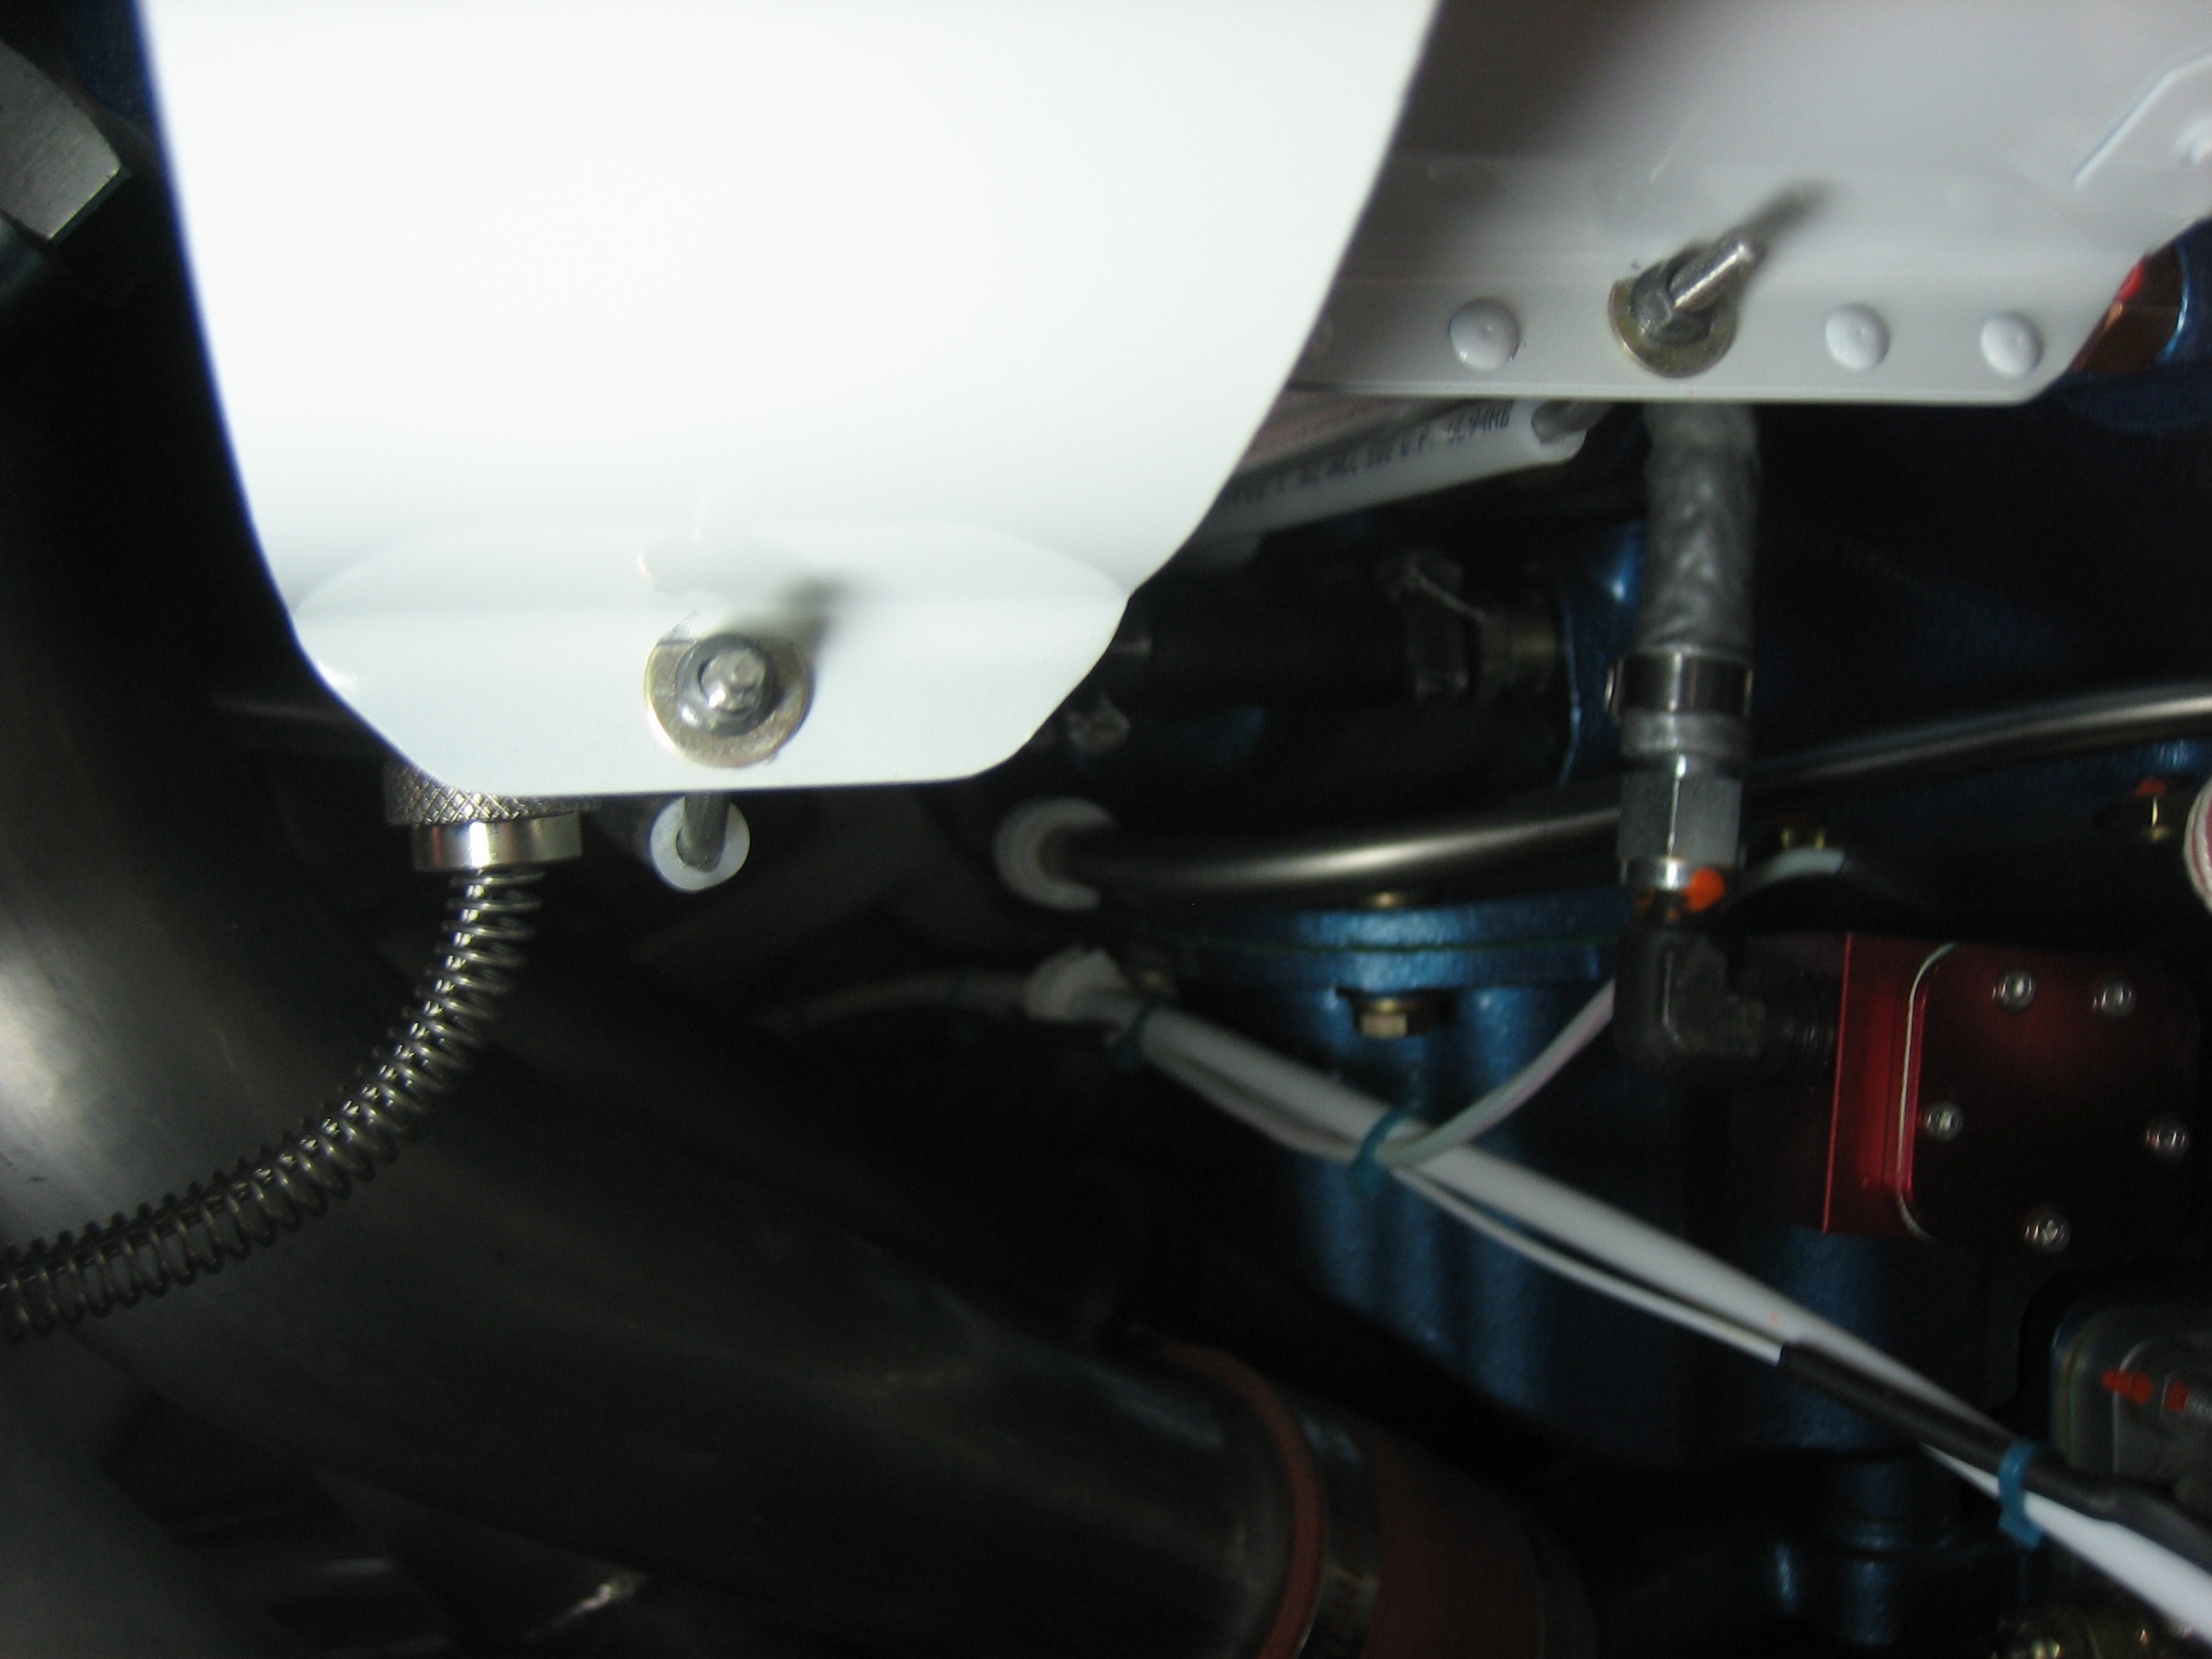
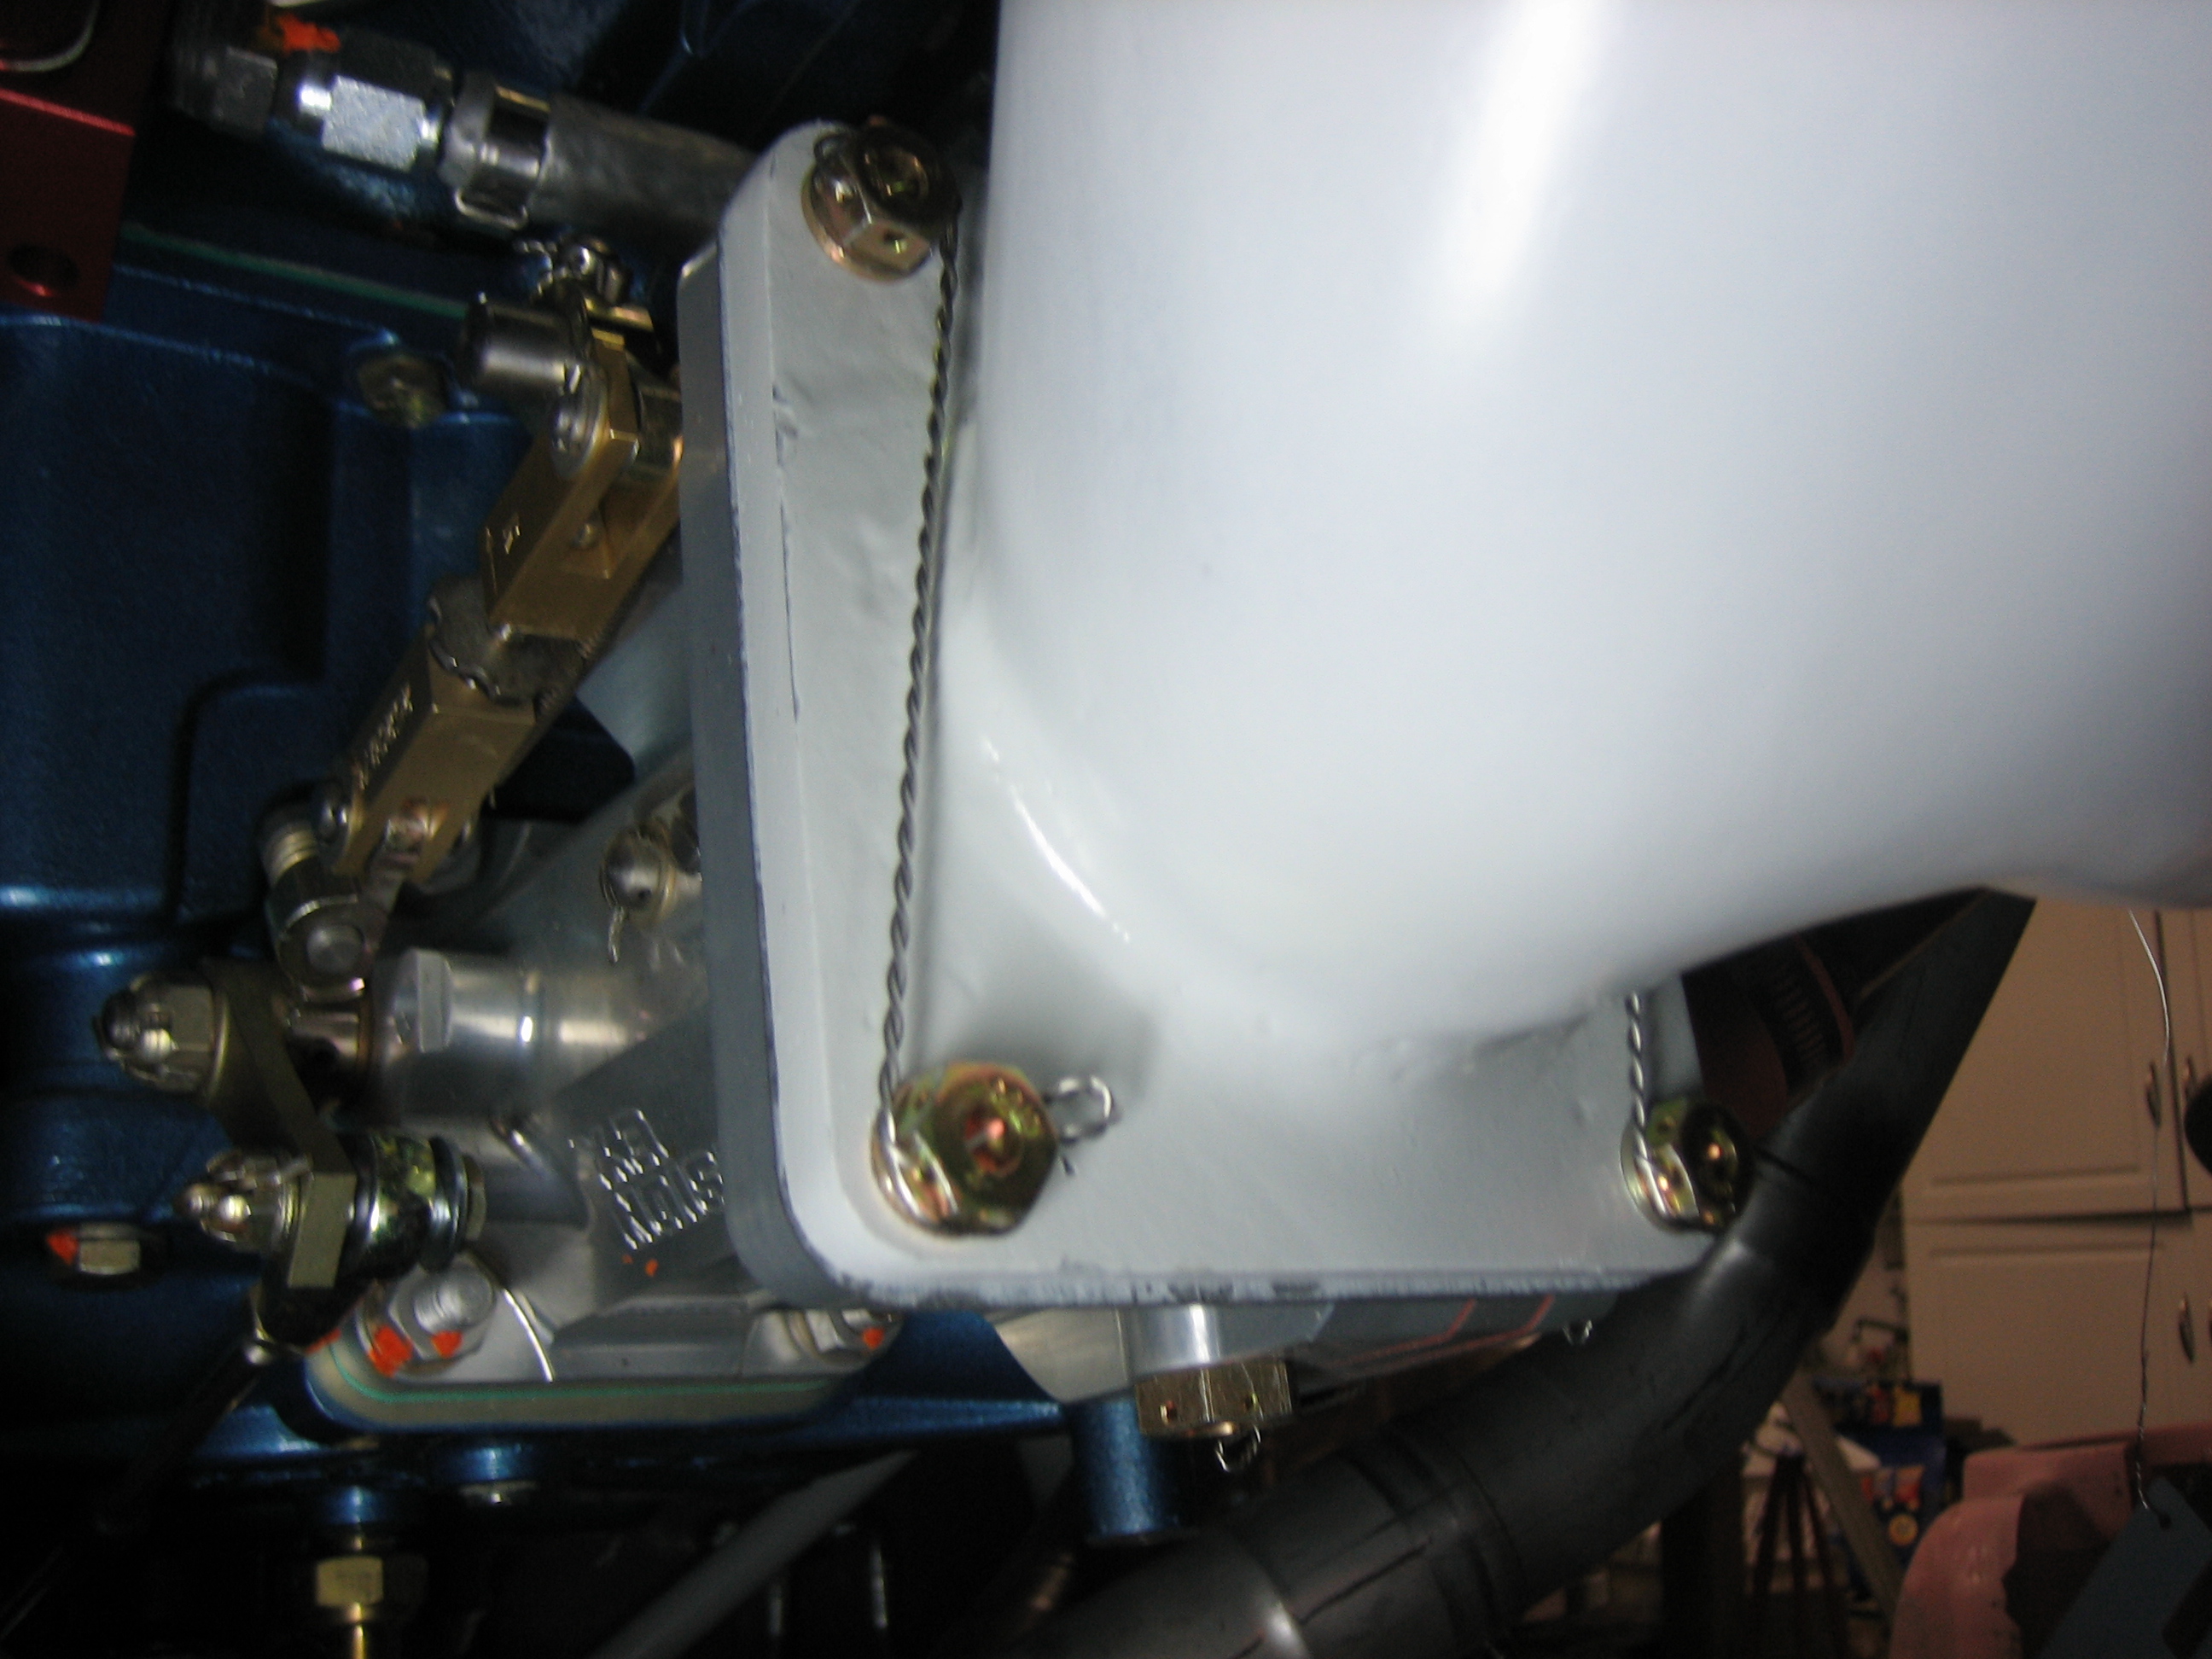
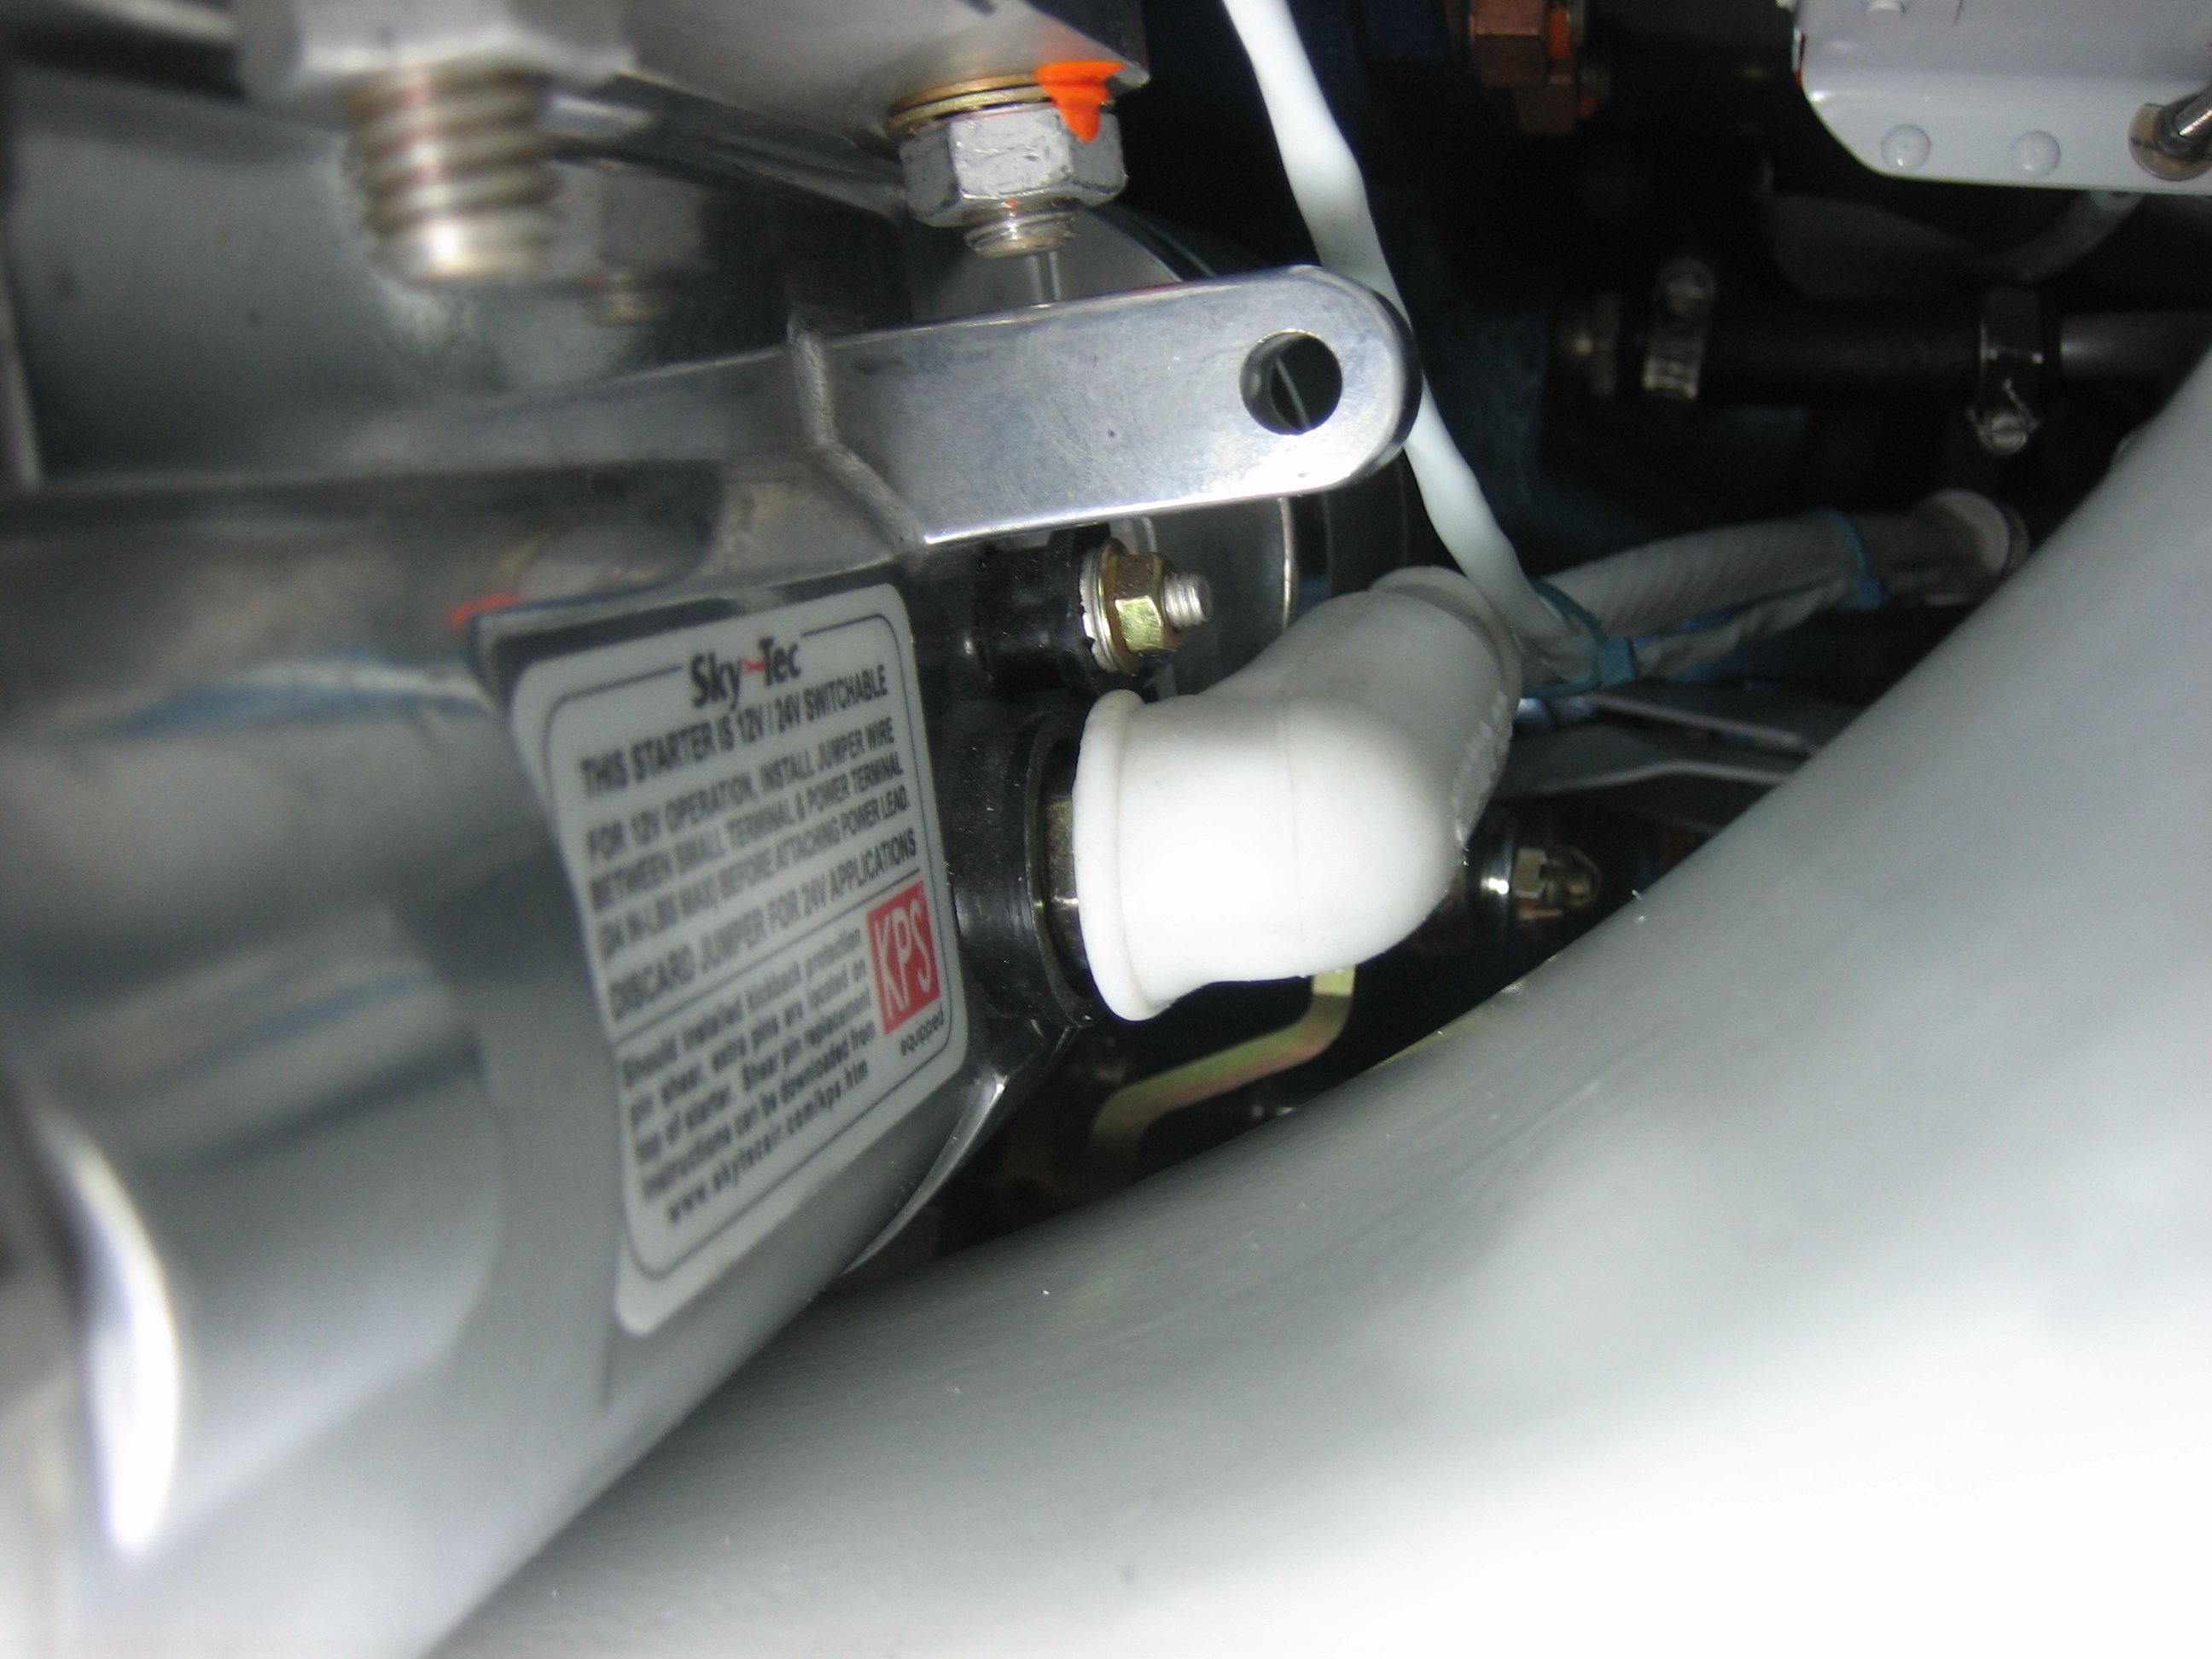
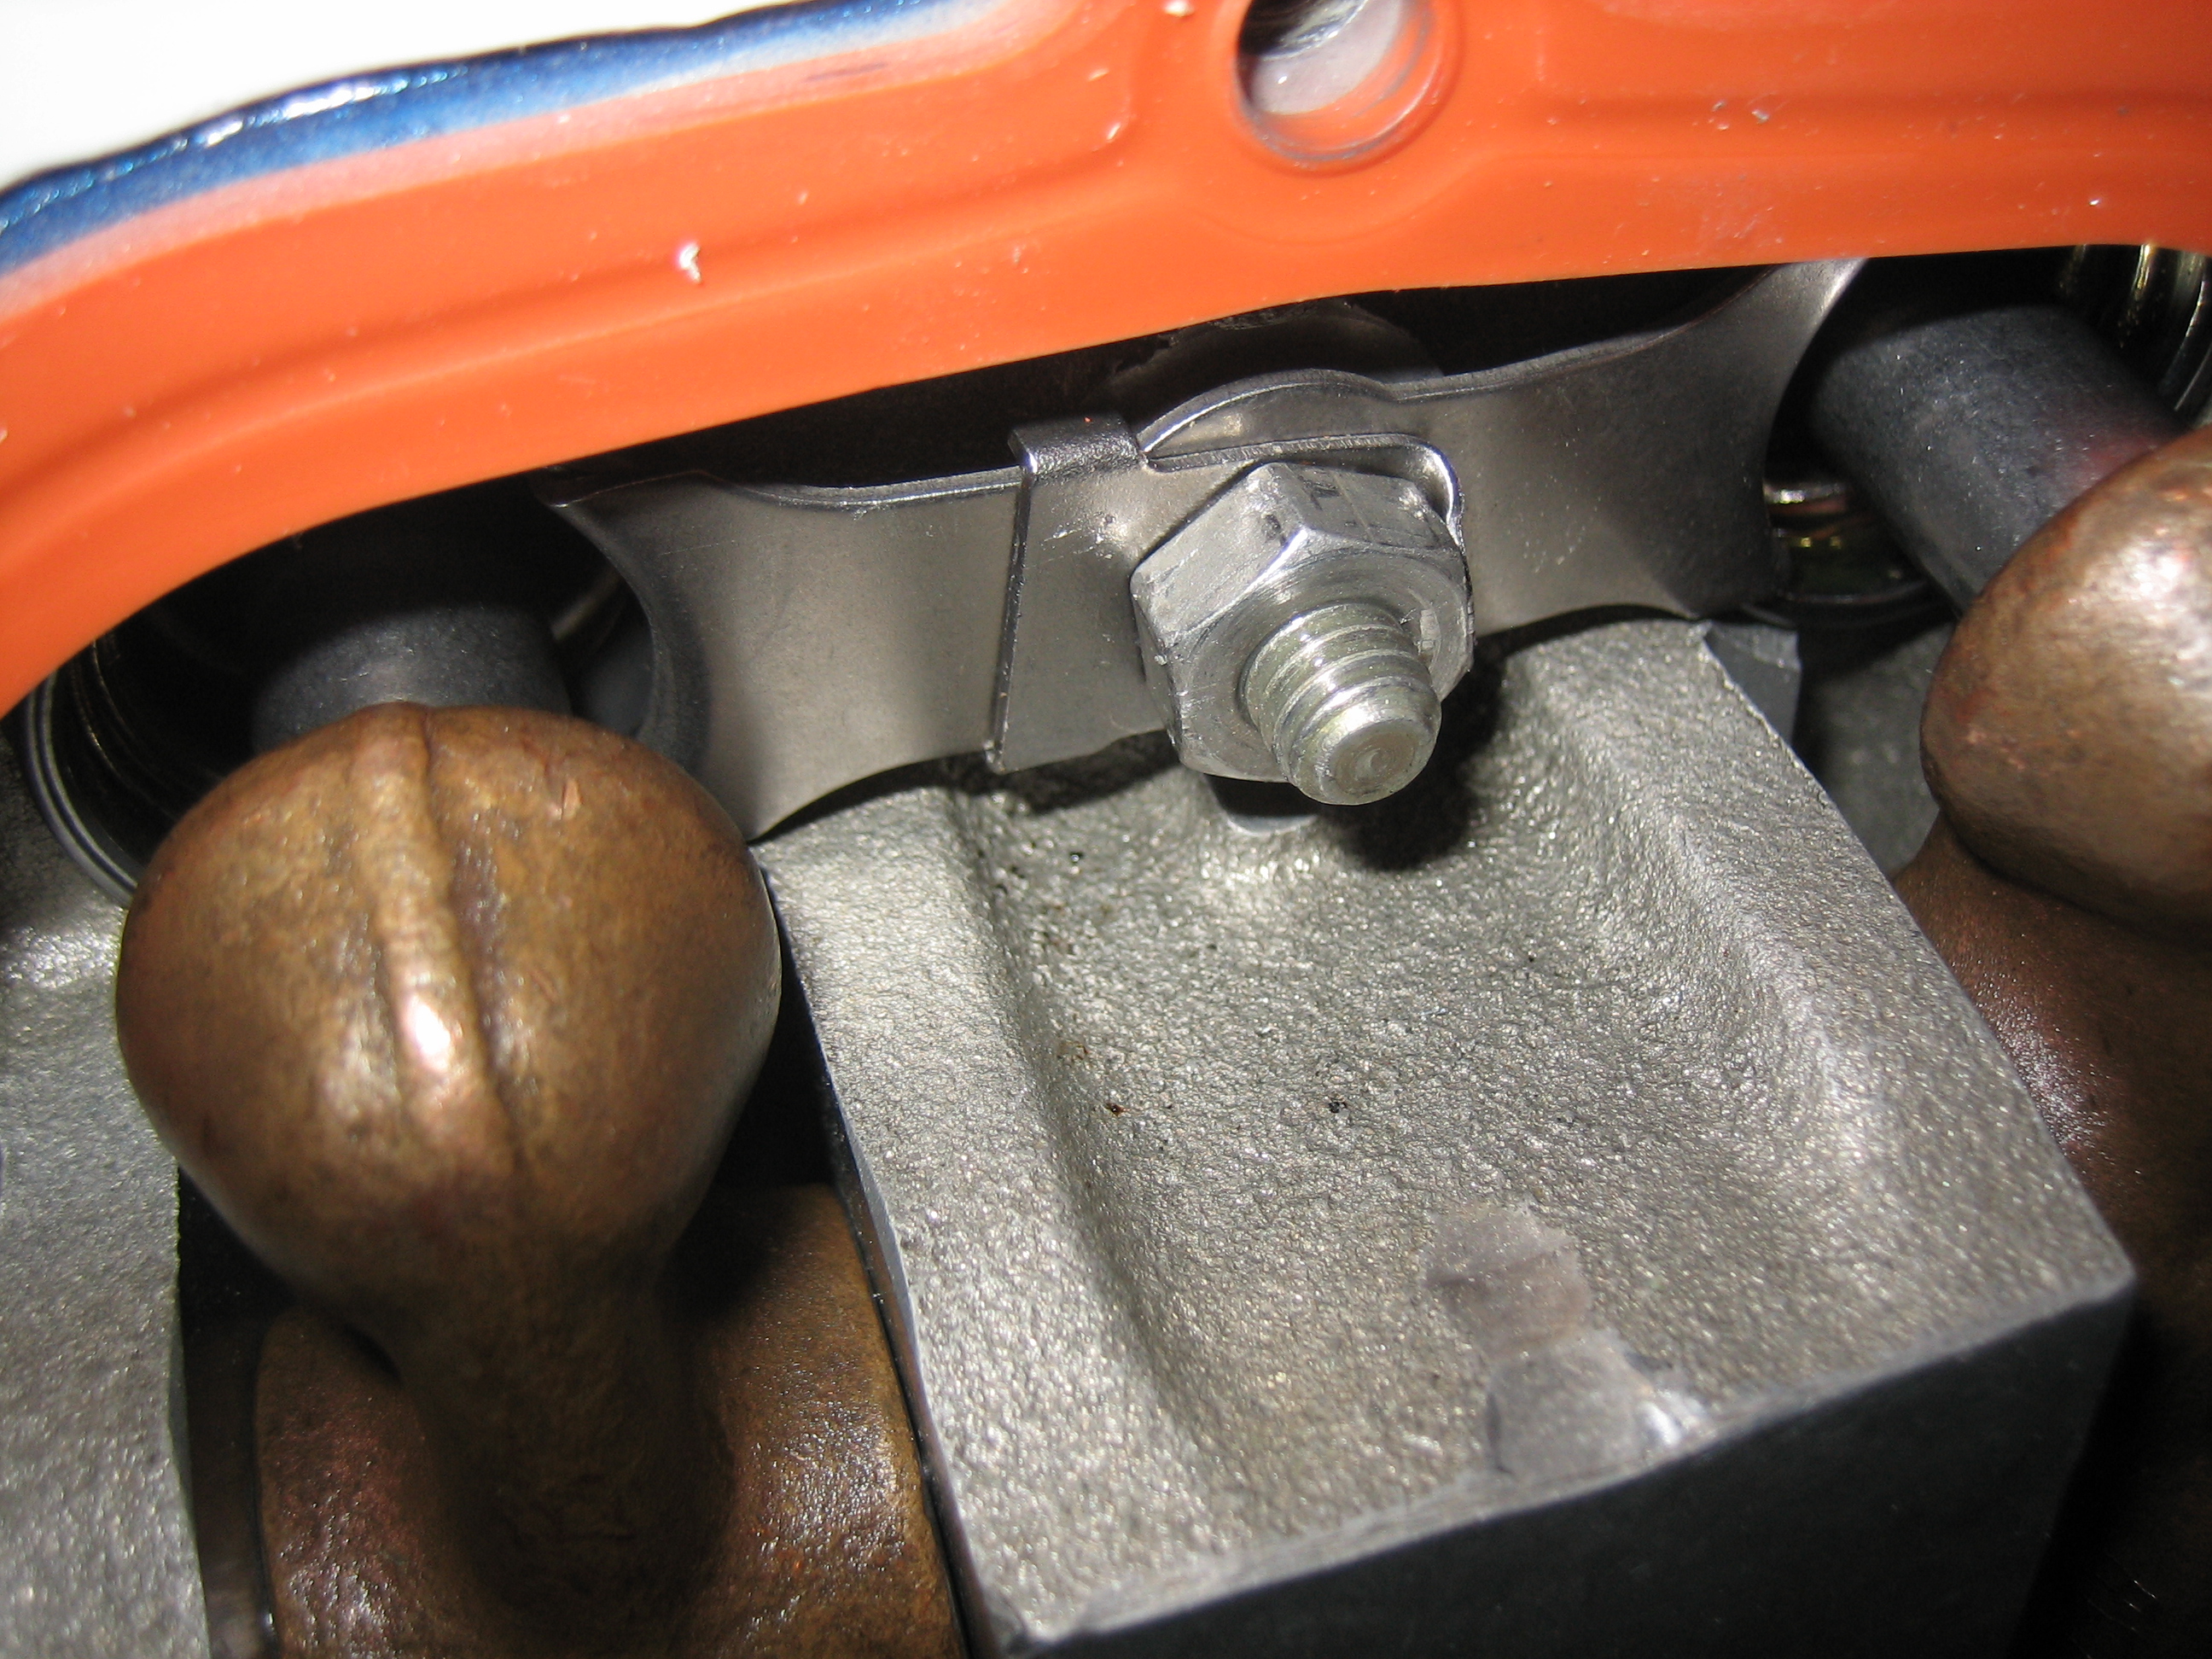
After torquing both ends of the propeller oil line, I reinstalled the support on the bottom of the engine (the shiny clamp on the left here).  I also installed the alternator cooling duct support for good and torqued everything down.

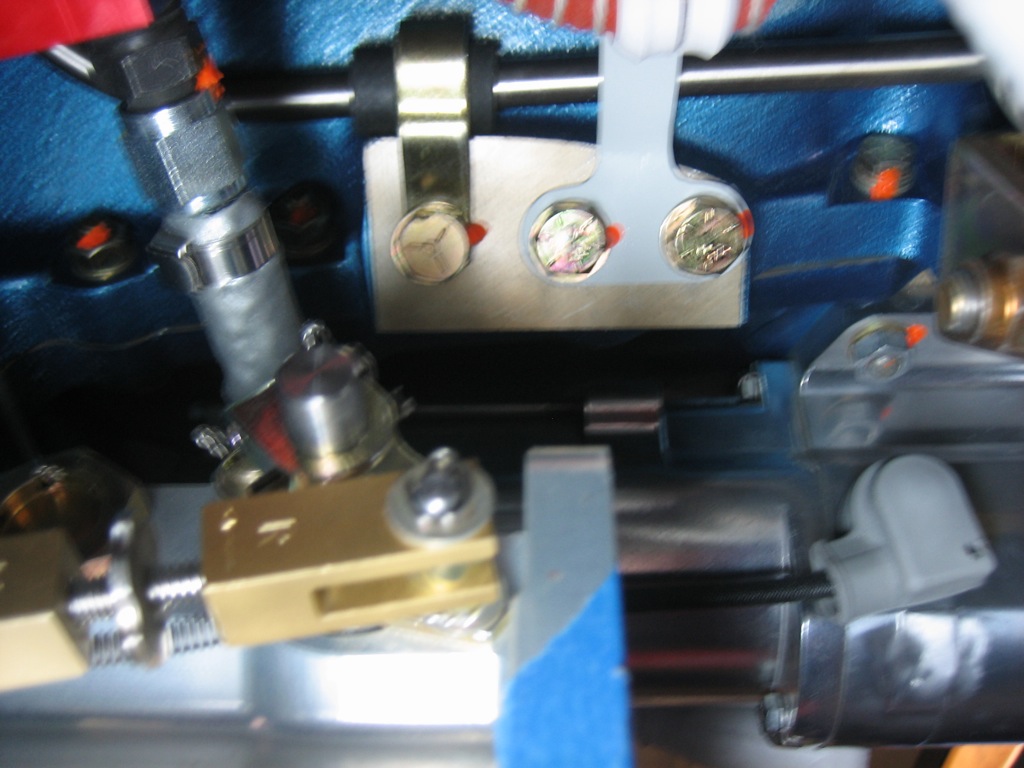
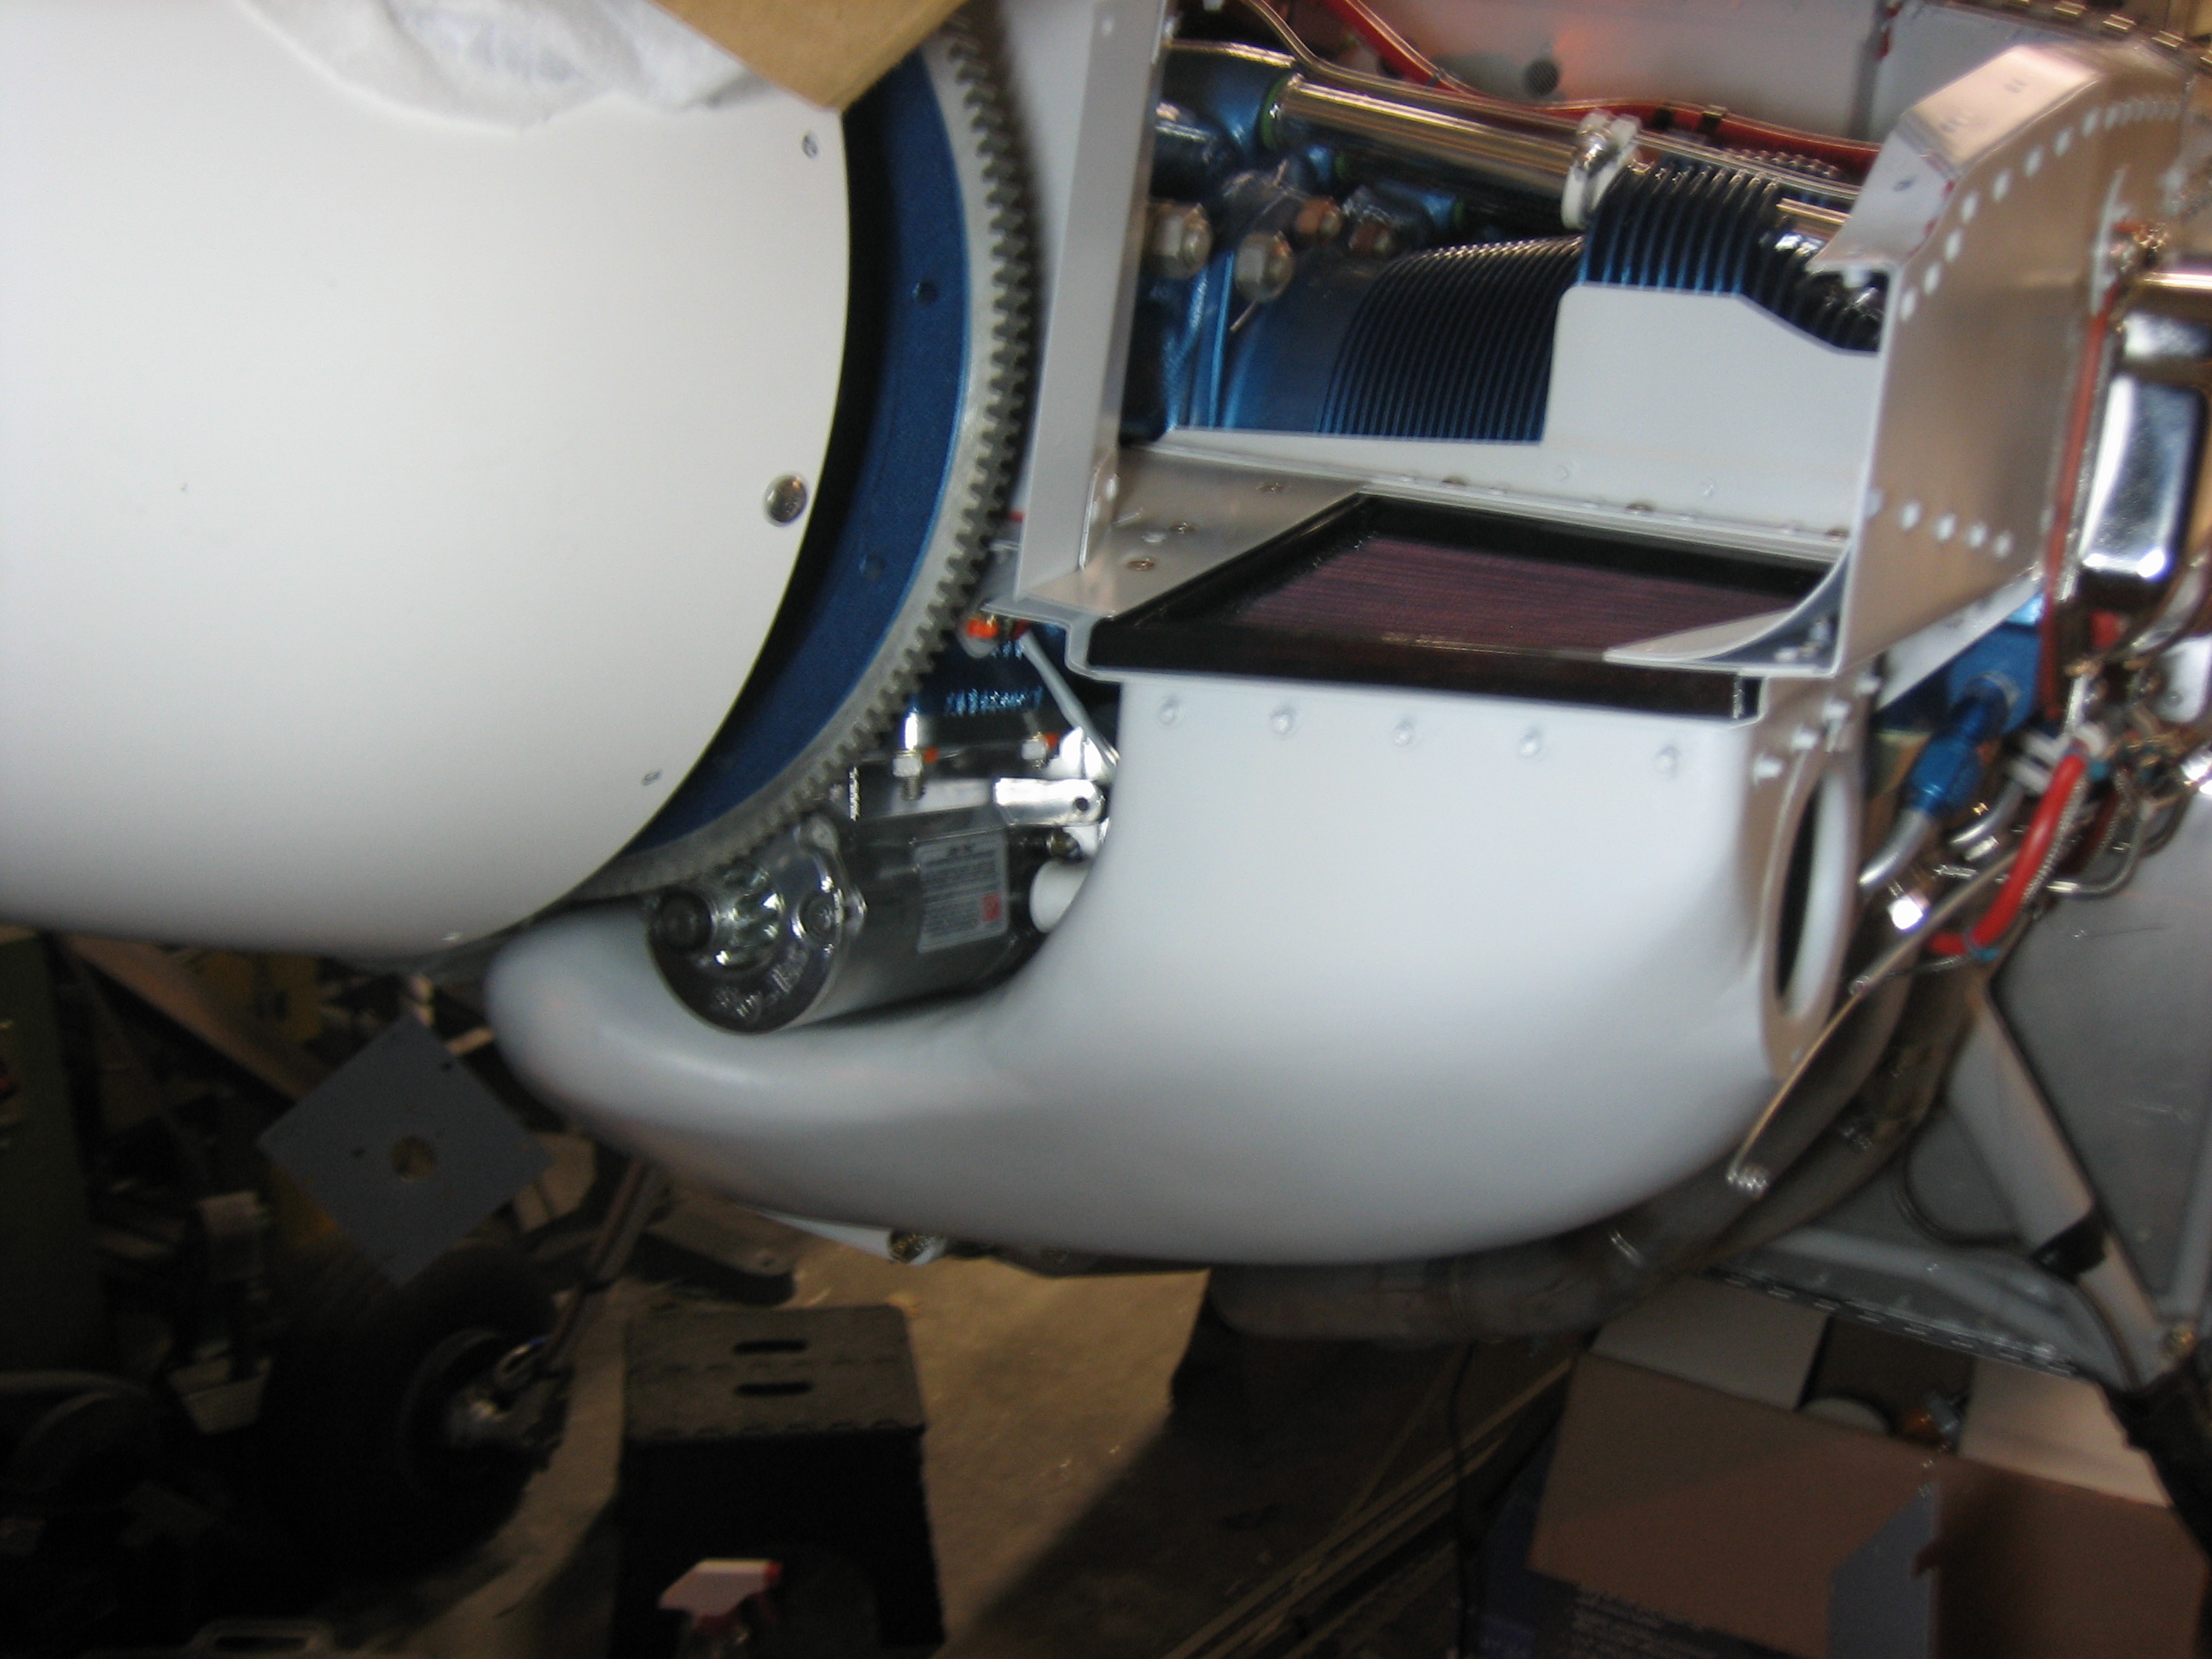
I also reinstalled the butterfly valve and 4″ duct feeding it and hooked up the control cable for good.  I need to order one more worm clamp for the top and this will be done.

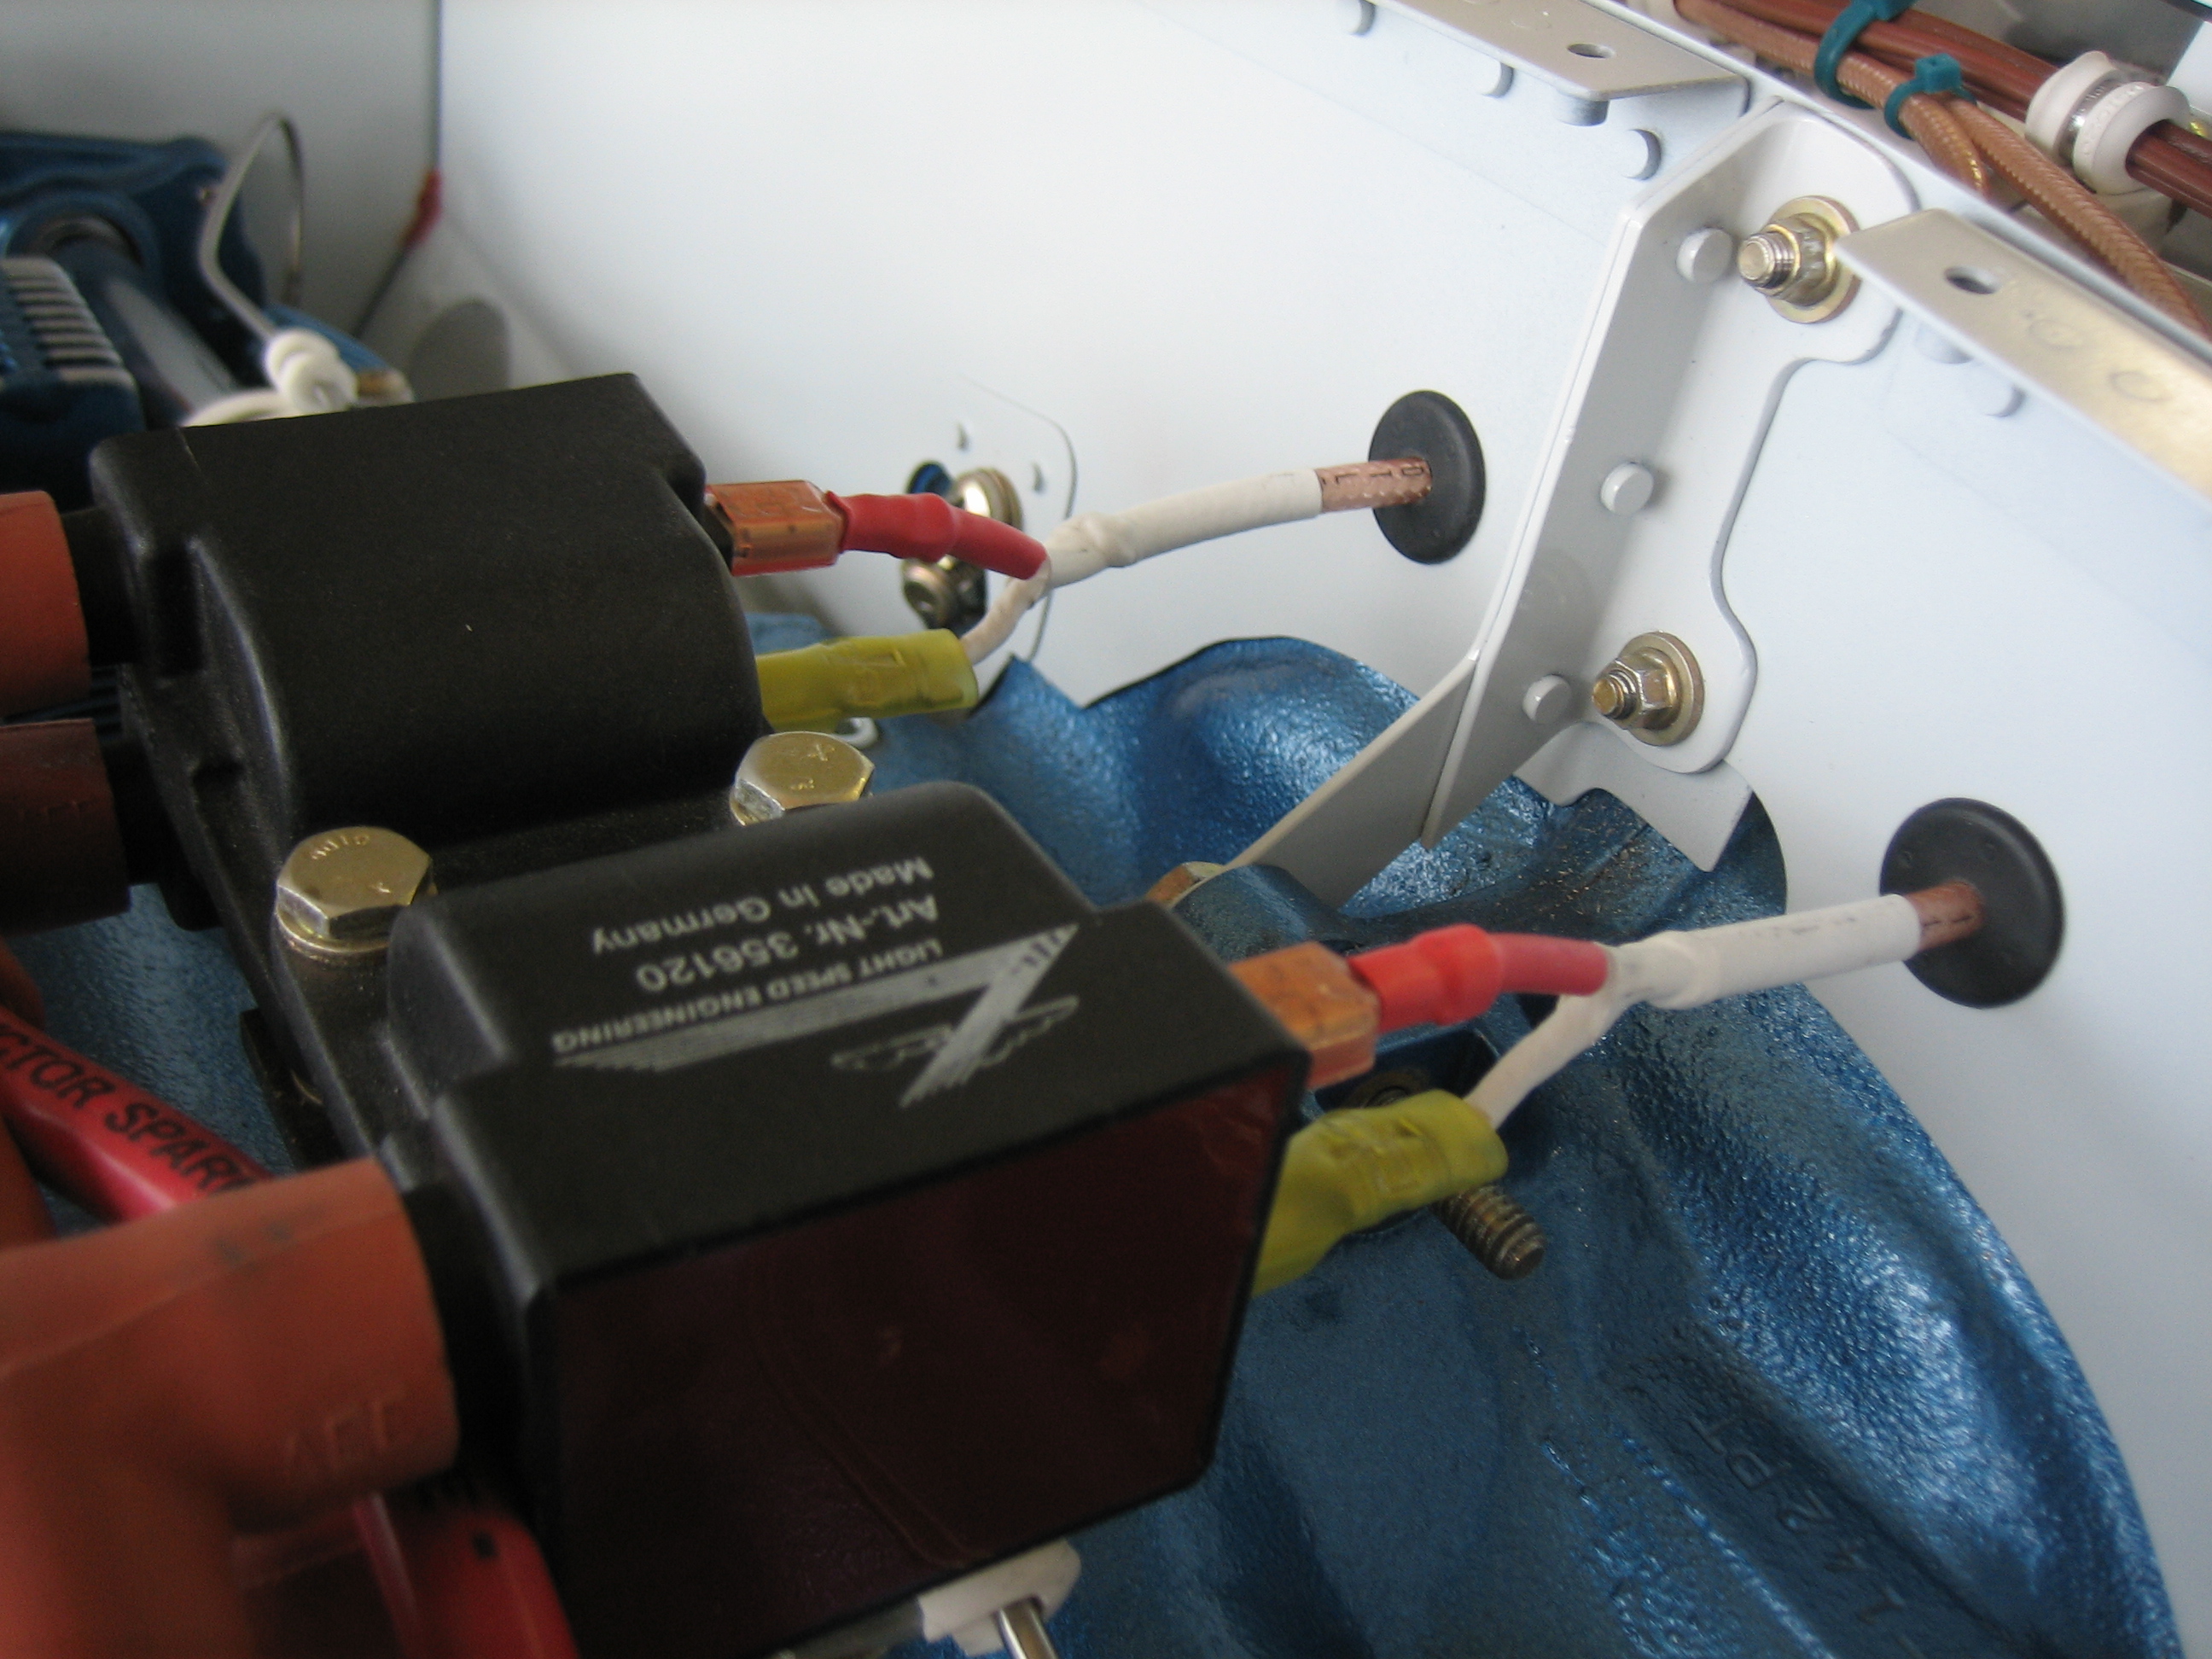
Finally, I installed the magneto blast duct to the back of the baffles.  I still need to seal up all of the gaps in the baffles with RTV, but other than that, the baffles are done.

Installed Snorkel

With the snorkel painted, I installed it permanently.

I took the plastic off of the filter and installed it for good as well.  Since I’m still a few months away from the first engine start, I’m going to cover this to keep dirt and metal shavings out.

I torqued and safety wired the bolts that hold the snorkel to the throttle body.  The kit specifies lock washers here, but I feel more comfortable with safety wired bolts.

I didn’t get a picture of it before installing the snorkel, but I also installed the starter cable.  I’ve disabled the starter for now and won’t re-enable it until just before first engine start.

Installed Cabin Components and Finished Alt Air Control Cable

I sealed up the corners of the cabin heat distribution box to keep the heat from going down into the tunnel where the fuel pump is located.  I then put a strip of flexible weatherstripping to seal the back edge.

Here’s everything in the cabin installed.  Most of these things will be removed at the airport when I install the wings, but this keeps out all the crap and helped clean up my pile of spare parts.

Finally, I wrapped up the alt air control cable installation by adding some adel clamps anchoring the cable to the oil drain lines.

Installed New Pushrod Shroud Retainers

A year or two ago, I became aware of an issue with the stock ECI pushrod shroud retainers.  These were made of heat treated carbon steel, and suffered from hydrogen embrittlement due to a manufacturing issue.  There have been a few instances of these breaking in service which causes the pushrod shroud to push out from the crankcase leading to a loss of engine oil.

I had been planning on replacing these with Lycoming parts before my first flight, but ECI recently issued Service Bulletin 12-1 acknowledging the issue and offering free replacement parts.  I got the kit in the mail today and replaced all of the retainers.  Here’s the old one that I pulled out of the engine.  These are 0.032″ thick.

Here’s one of the new ones installed.  These are 0.040″ thick stainless that is not susceptible to hydrogen embrittlement.  The nuts are torqued to 96 in-lbs and then the safety clips are bent up to prevent the nut from turning.