Riveted Top Cowl Hinge

Now that the upper cowl hinge pin retaining clip is finished, I can go ahead and rivet the hinge to the cowl.  I mixed up some epoxy and flox and riveted the hinge on.  It ends up taking way more time to clean up all the excess epoxy after doing this than the actual riveting.  Any excess epoxy in between the eyelets will prevent the two hinge halves from nesting together, so it’s important to get it all out before the epoxy cures or I’ll have to grind it out later.

Fabricated Firewall Side Hinge Pin Retainers

I’ve been mulling over how to retain the hinge pin for the vertical hinges that hold the lower cowl to the firewall.  I wanted something that is very secure, but easy to remove without tools.  After some fiddling around, I stumbled on a solution that I really like.  I mounted a K2000-06 nutplate part way down the hinge with a couple of AD rivets (I used AD instead of A for the extra strength).  I then bent the hinge pin so that there is a depression where the spring normally sits.  The spring doesn’t look like it’s stretched much, but this is a very stiff spring and requires a fairly good pull to get over the end of the hinge pin.  I ran an AN507 screw into the nutplate backward and just tighten it down against the hinge (there isn’t a hole there because I didn’t want the screw to show on the outside of the cowl).

I’m super happy with this.  It’s very light, easy to install and remove, but can’t possibly vibrate loose.  And if the spring ever breaks, it will be easy to replace.

Modified Canopy Lock and Installed One Cowling Hinge

I found a great lock online that can be flush mounted against the side of the plane.  Most camlocks mount through the hole, but this can be mounted from behind so that it doesn’t protrude beyond the skin.  This is apparently the baggage compartment lock for a Lambretta/Scooters India Limited motor-scooter.  You can find them on eBay for about $5.

The problem is that the lock is designed so that the key will only come out in the locked position as seen here.  I didn’t realize this when I ordered the lock, but it obviously won’t work since I want to be able to unlock the plane and remove the key.

I disassembled the lock and modified it so that the key will also come out in this position.  This was easier than I thought and probably took no more than 15 minutes.

Afterward, I got started on the cowl again by riveting one of the side hinges on with epoxy/flox.  This was substantially easier than the other hinges because the eyelets protrude beyond the edge of the cowling.  This made it far easier to clean up the excess epoxy since it didn’t squeeze into the area between the eyelets.

Started Final Fitting of Cowling

With all of the cowling hinges riveted, I started the final fitting of the cowl.  I installed all of the hinge pins and then started iteratively sanding the cowl edges to create a uniform gap between the edges to allow room for paint and to prevent the edges from rubbing against each other.  I got the side gaps nice and even, but still need to work on the cowl to firewall fit a bit.

More Cowl Fiberglass and Painting Oil Cooler Plenum

I laid up some fiberglass over the other sides of the upper and lower cowl.  I really hate this fiberglass tape.  The edges are thicker than the middle, so I’ve been waiting for the epoxy to kick and then slicing off the edges.  That’s why I extend the tape past the edge so that I can trim it off flush.

After sanding down the filler primer, I shot a few coats of the Cardinal gray that matches the Van’s powder coat.

Finished Glassing Cowl Rivet Lines

I finished fiberglassing over all of the rivet lines on the cowl tonight.  Here’s the remaining row on the side of the bottom cowl.

And here’s one of the two bottom hinge segments.  After the epoxy kicked, I trimmed all of the overhang flush with the edge of the cowl.

I also fabricated this little bracket to hold the end of the alternator blast tube pointing at the back of the alternator.  I’ll clean it up and powder coat it soon.

Mounted Oil Cooler

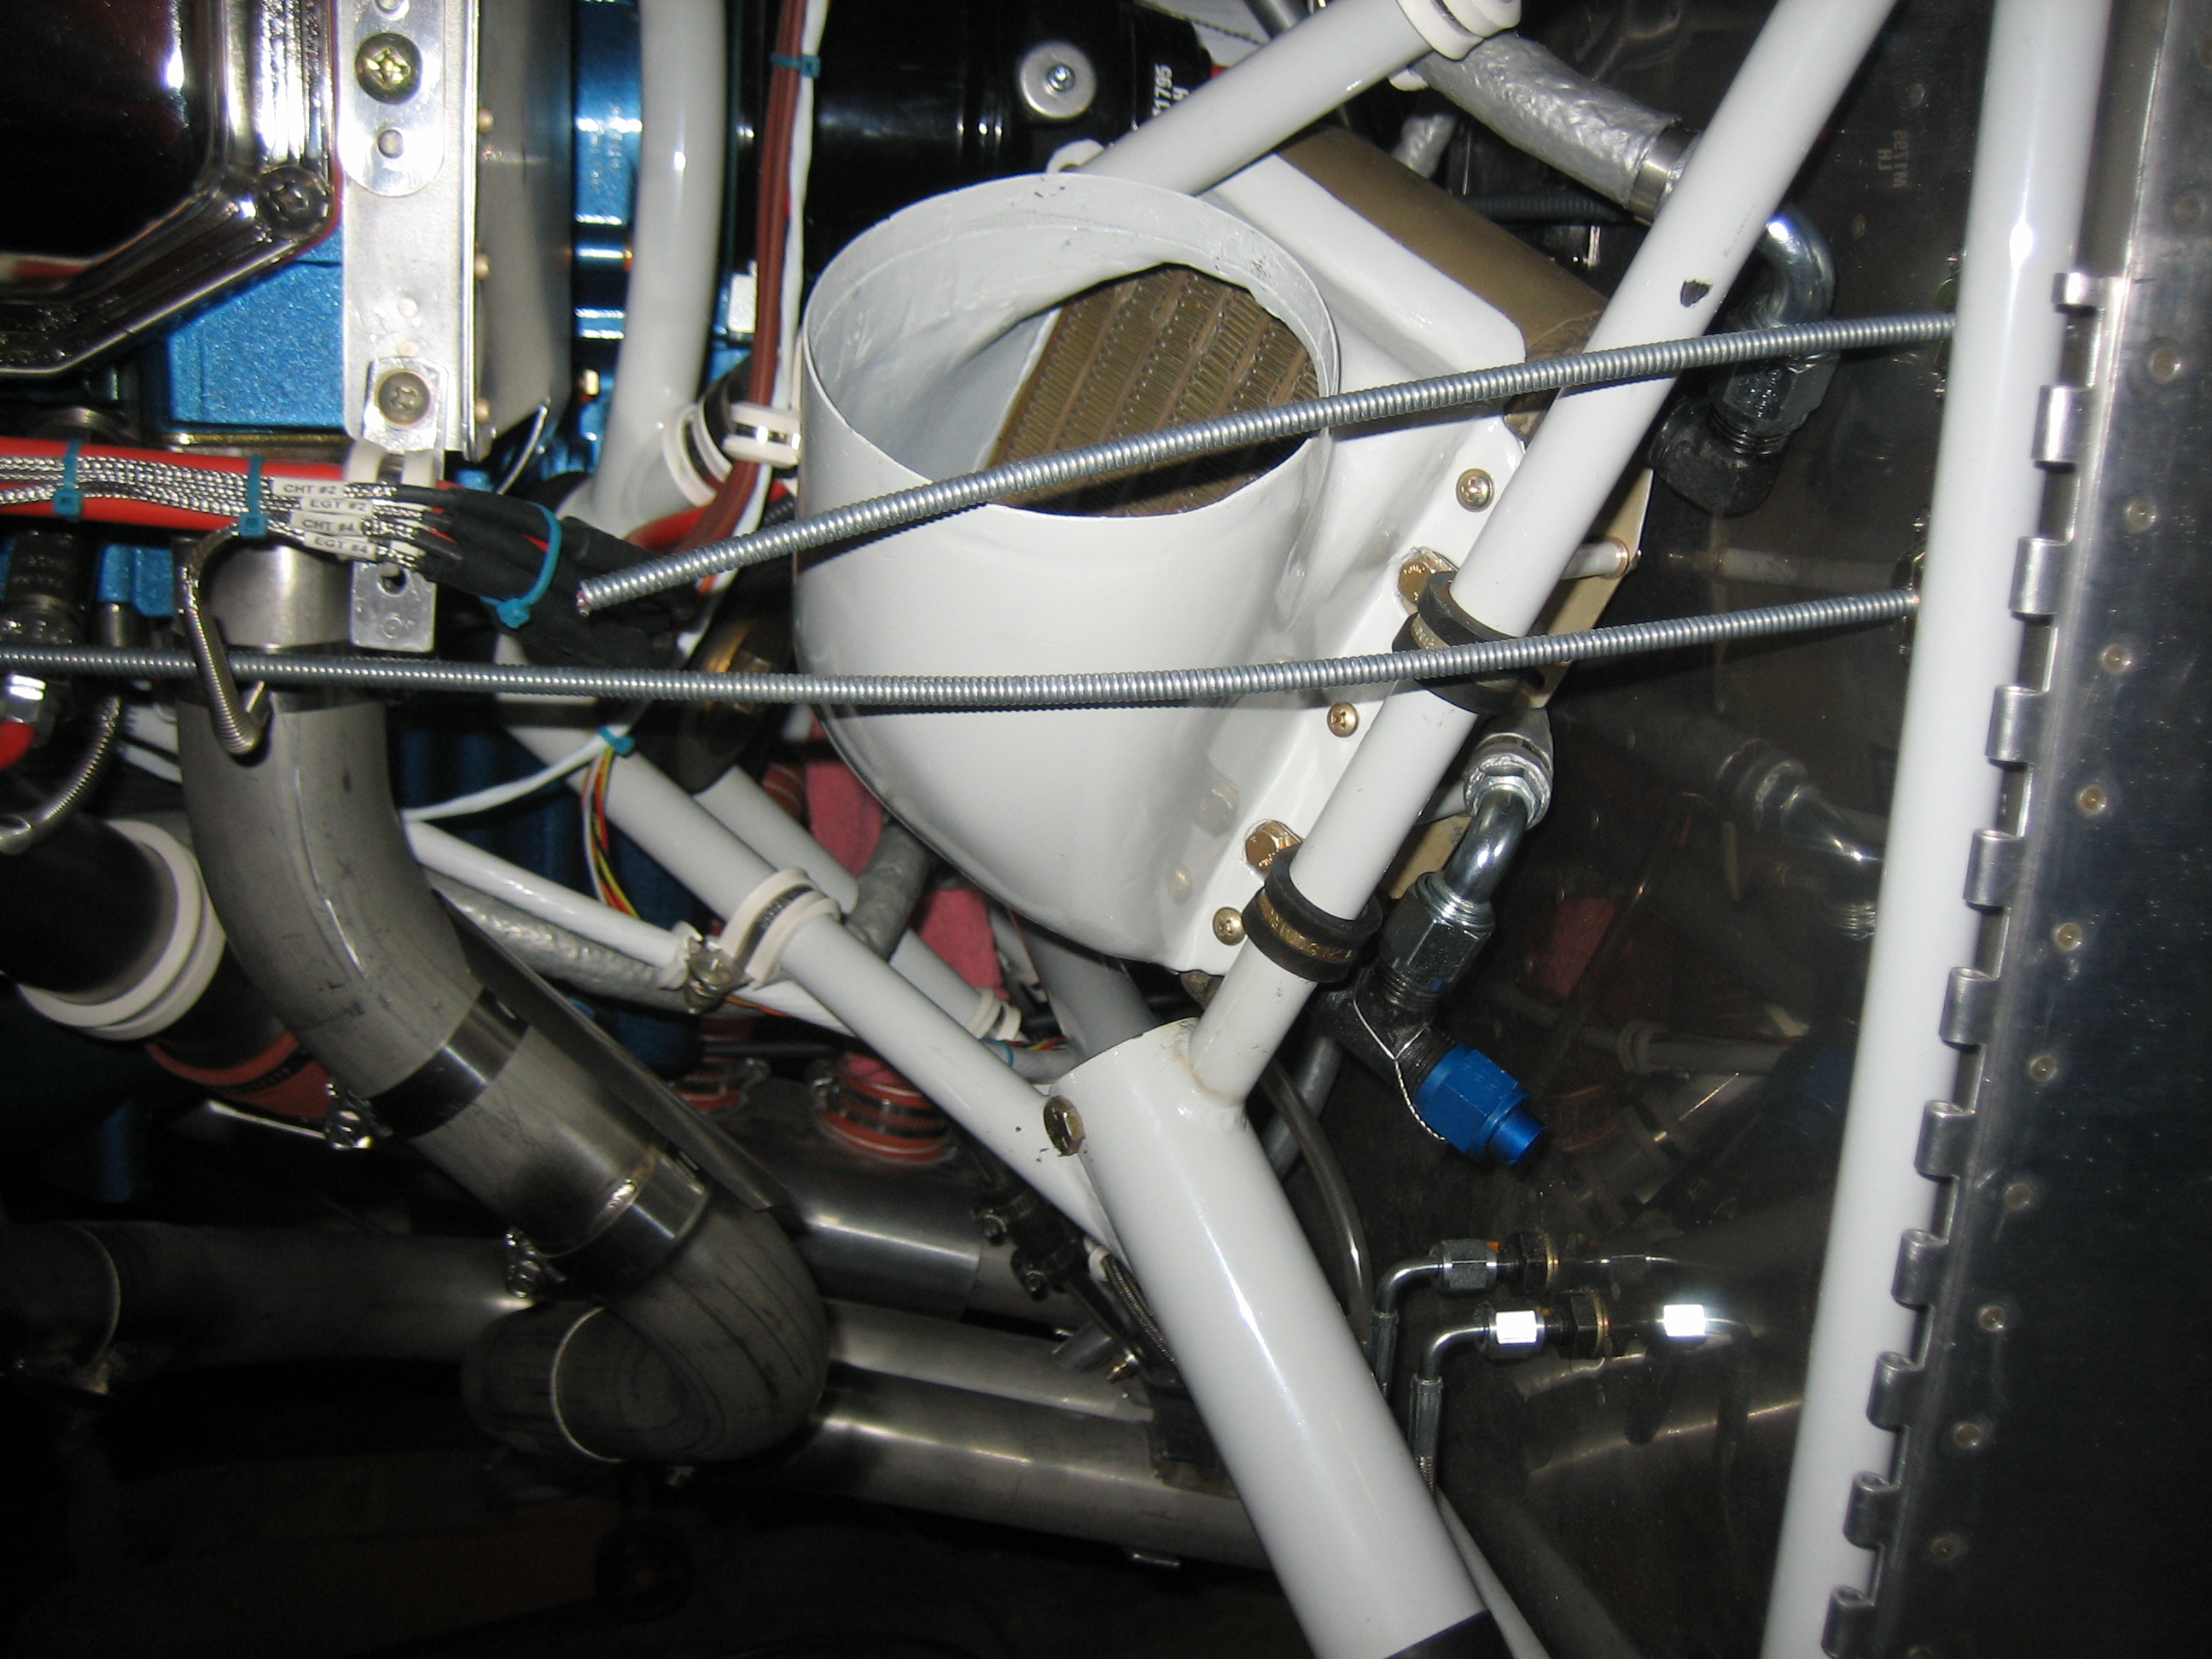
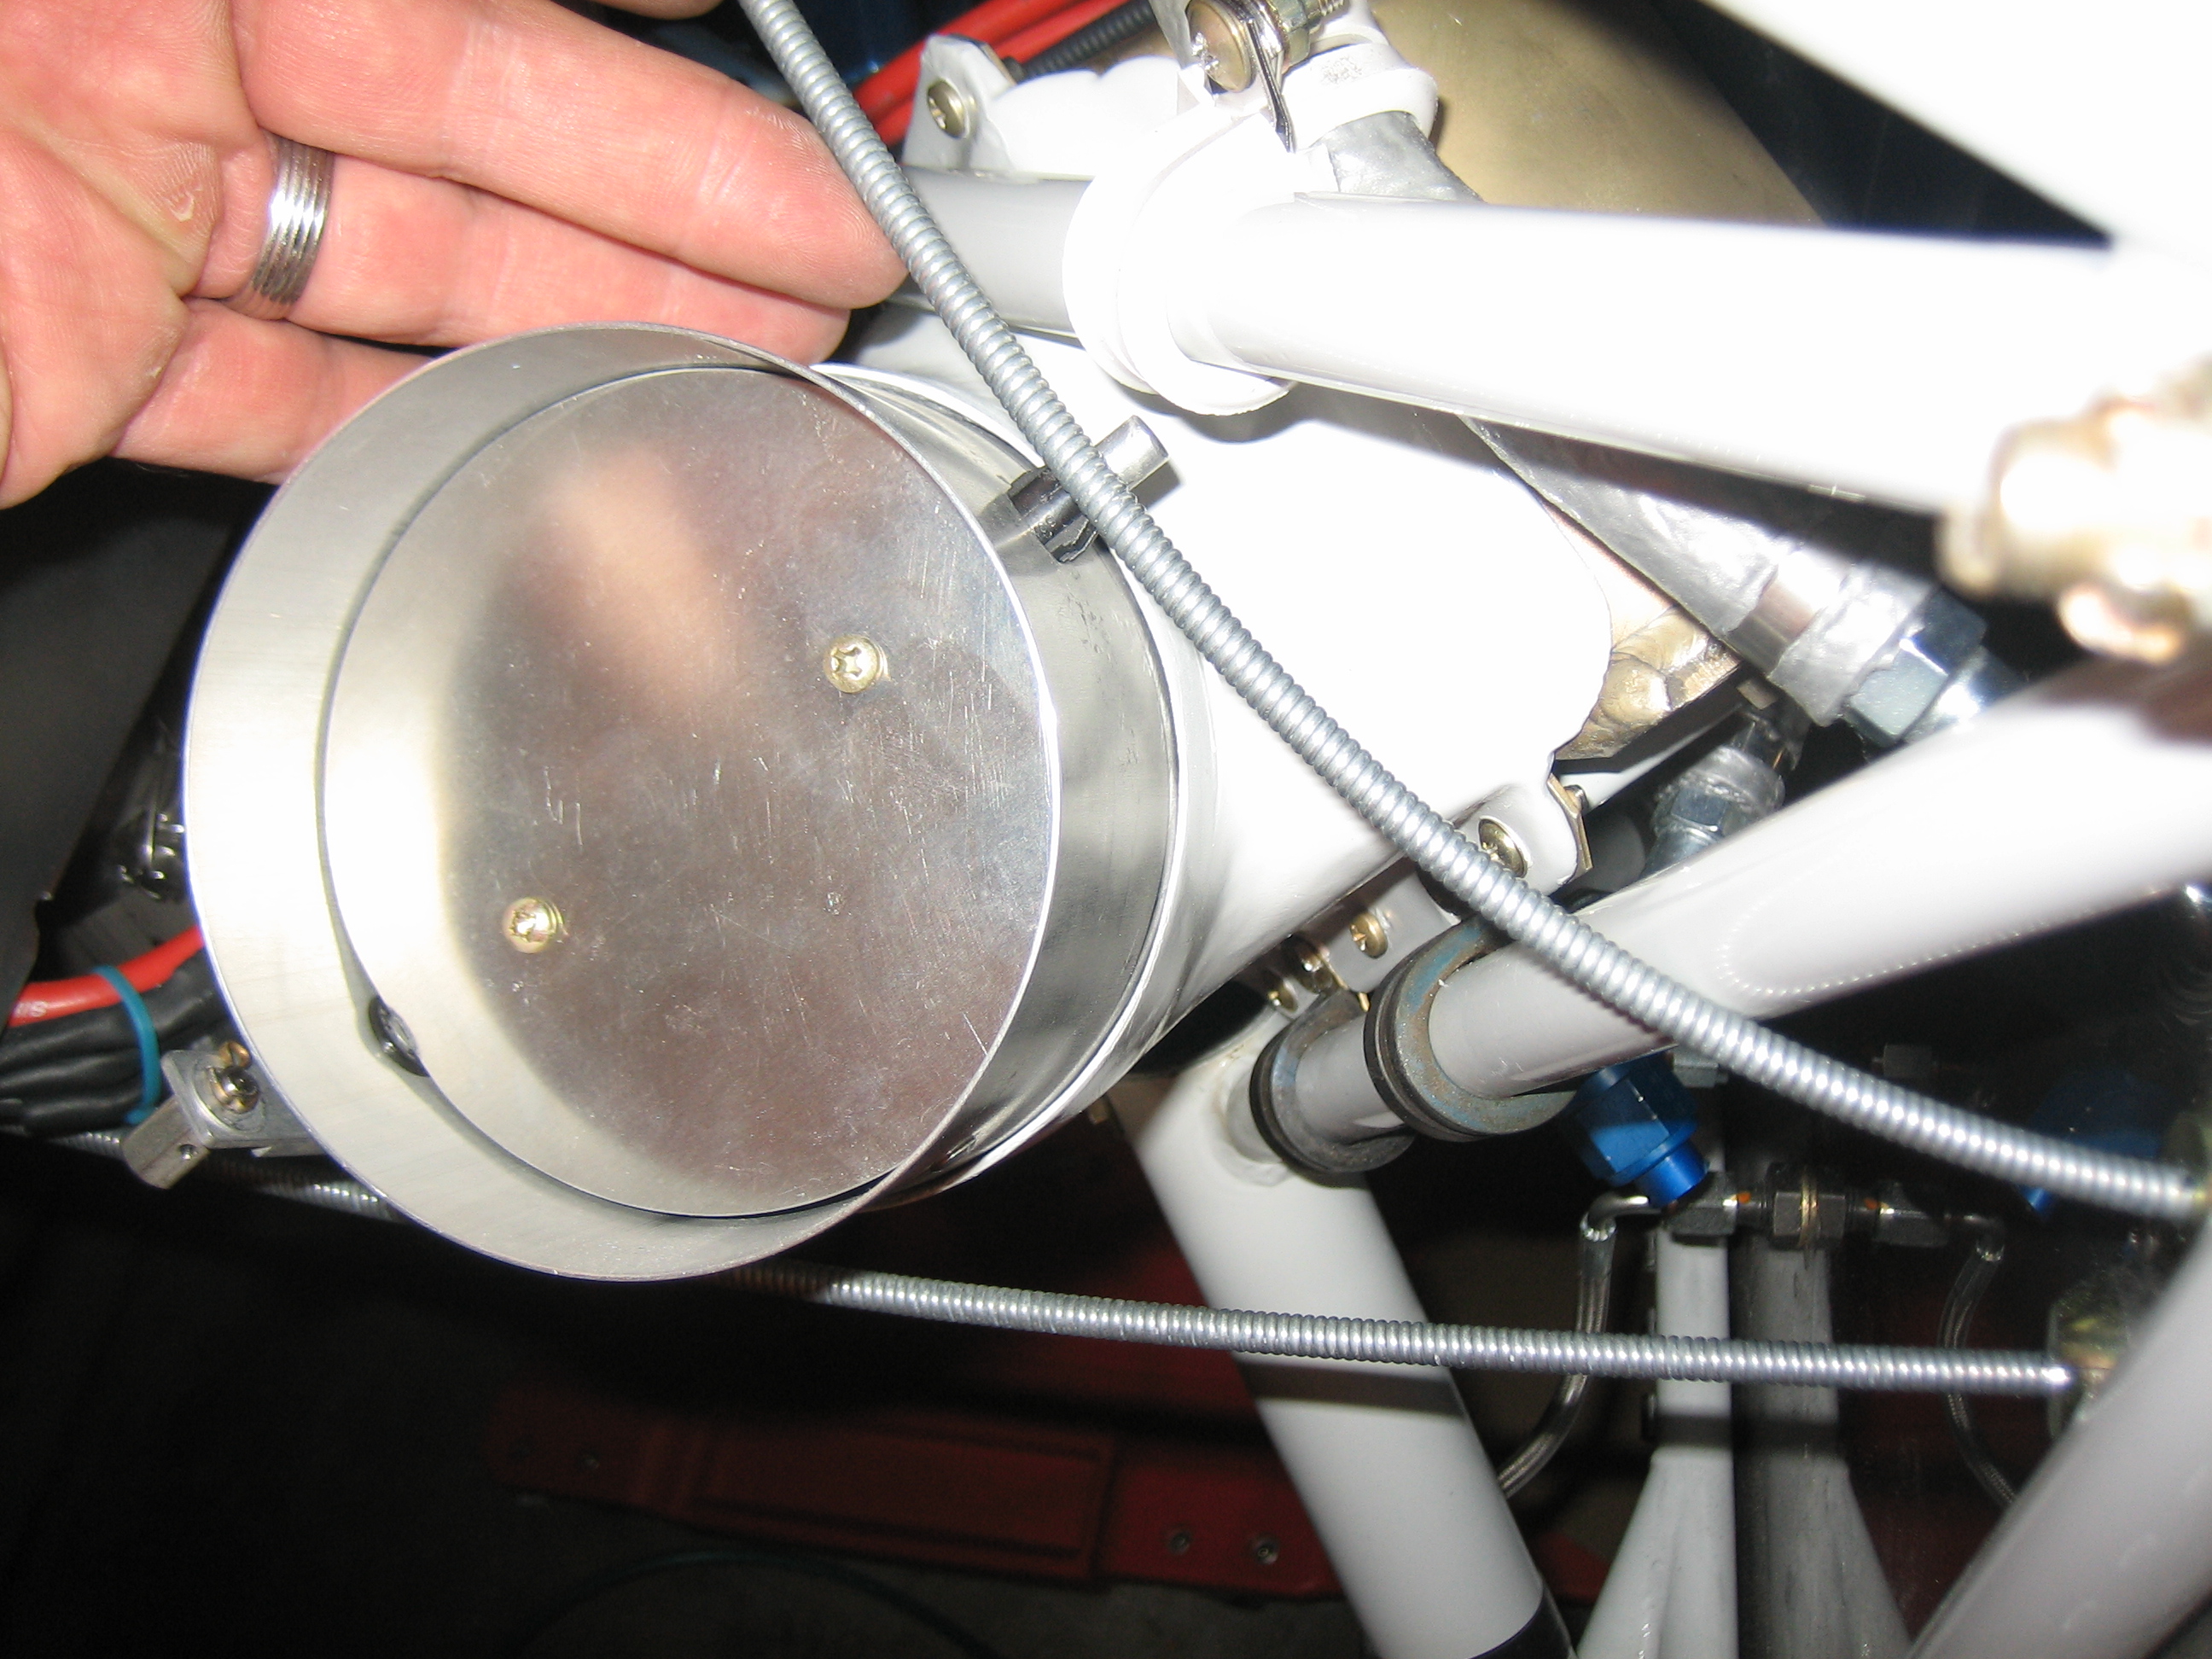
I mounted the oil cooler tonight.  This was a major pain in the ass.  There is very little room back here to get your hands and there are a bunch of parts to get aligned.

There is about 1/4″ of clearance between the bottom of the oil cooler and the engine mount.

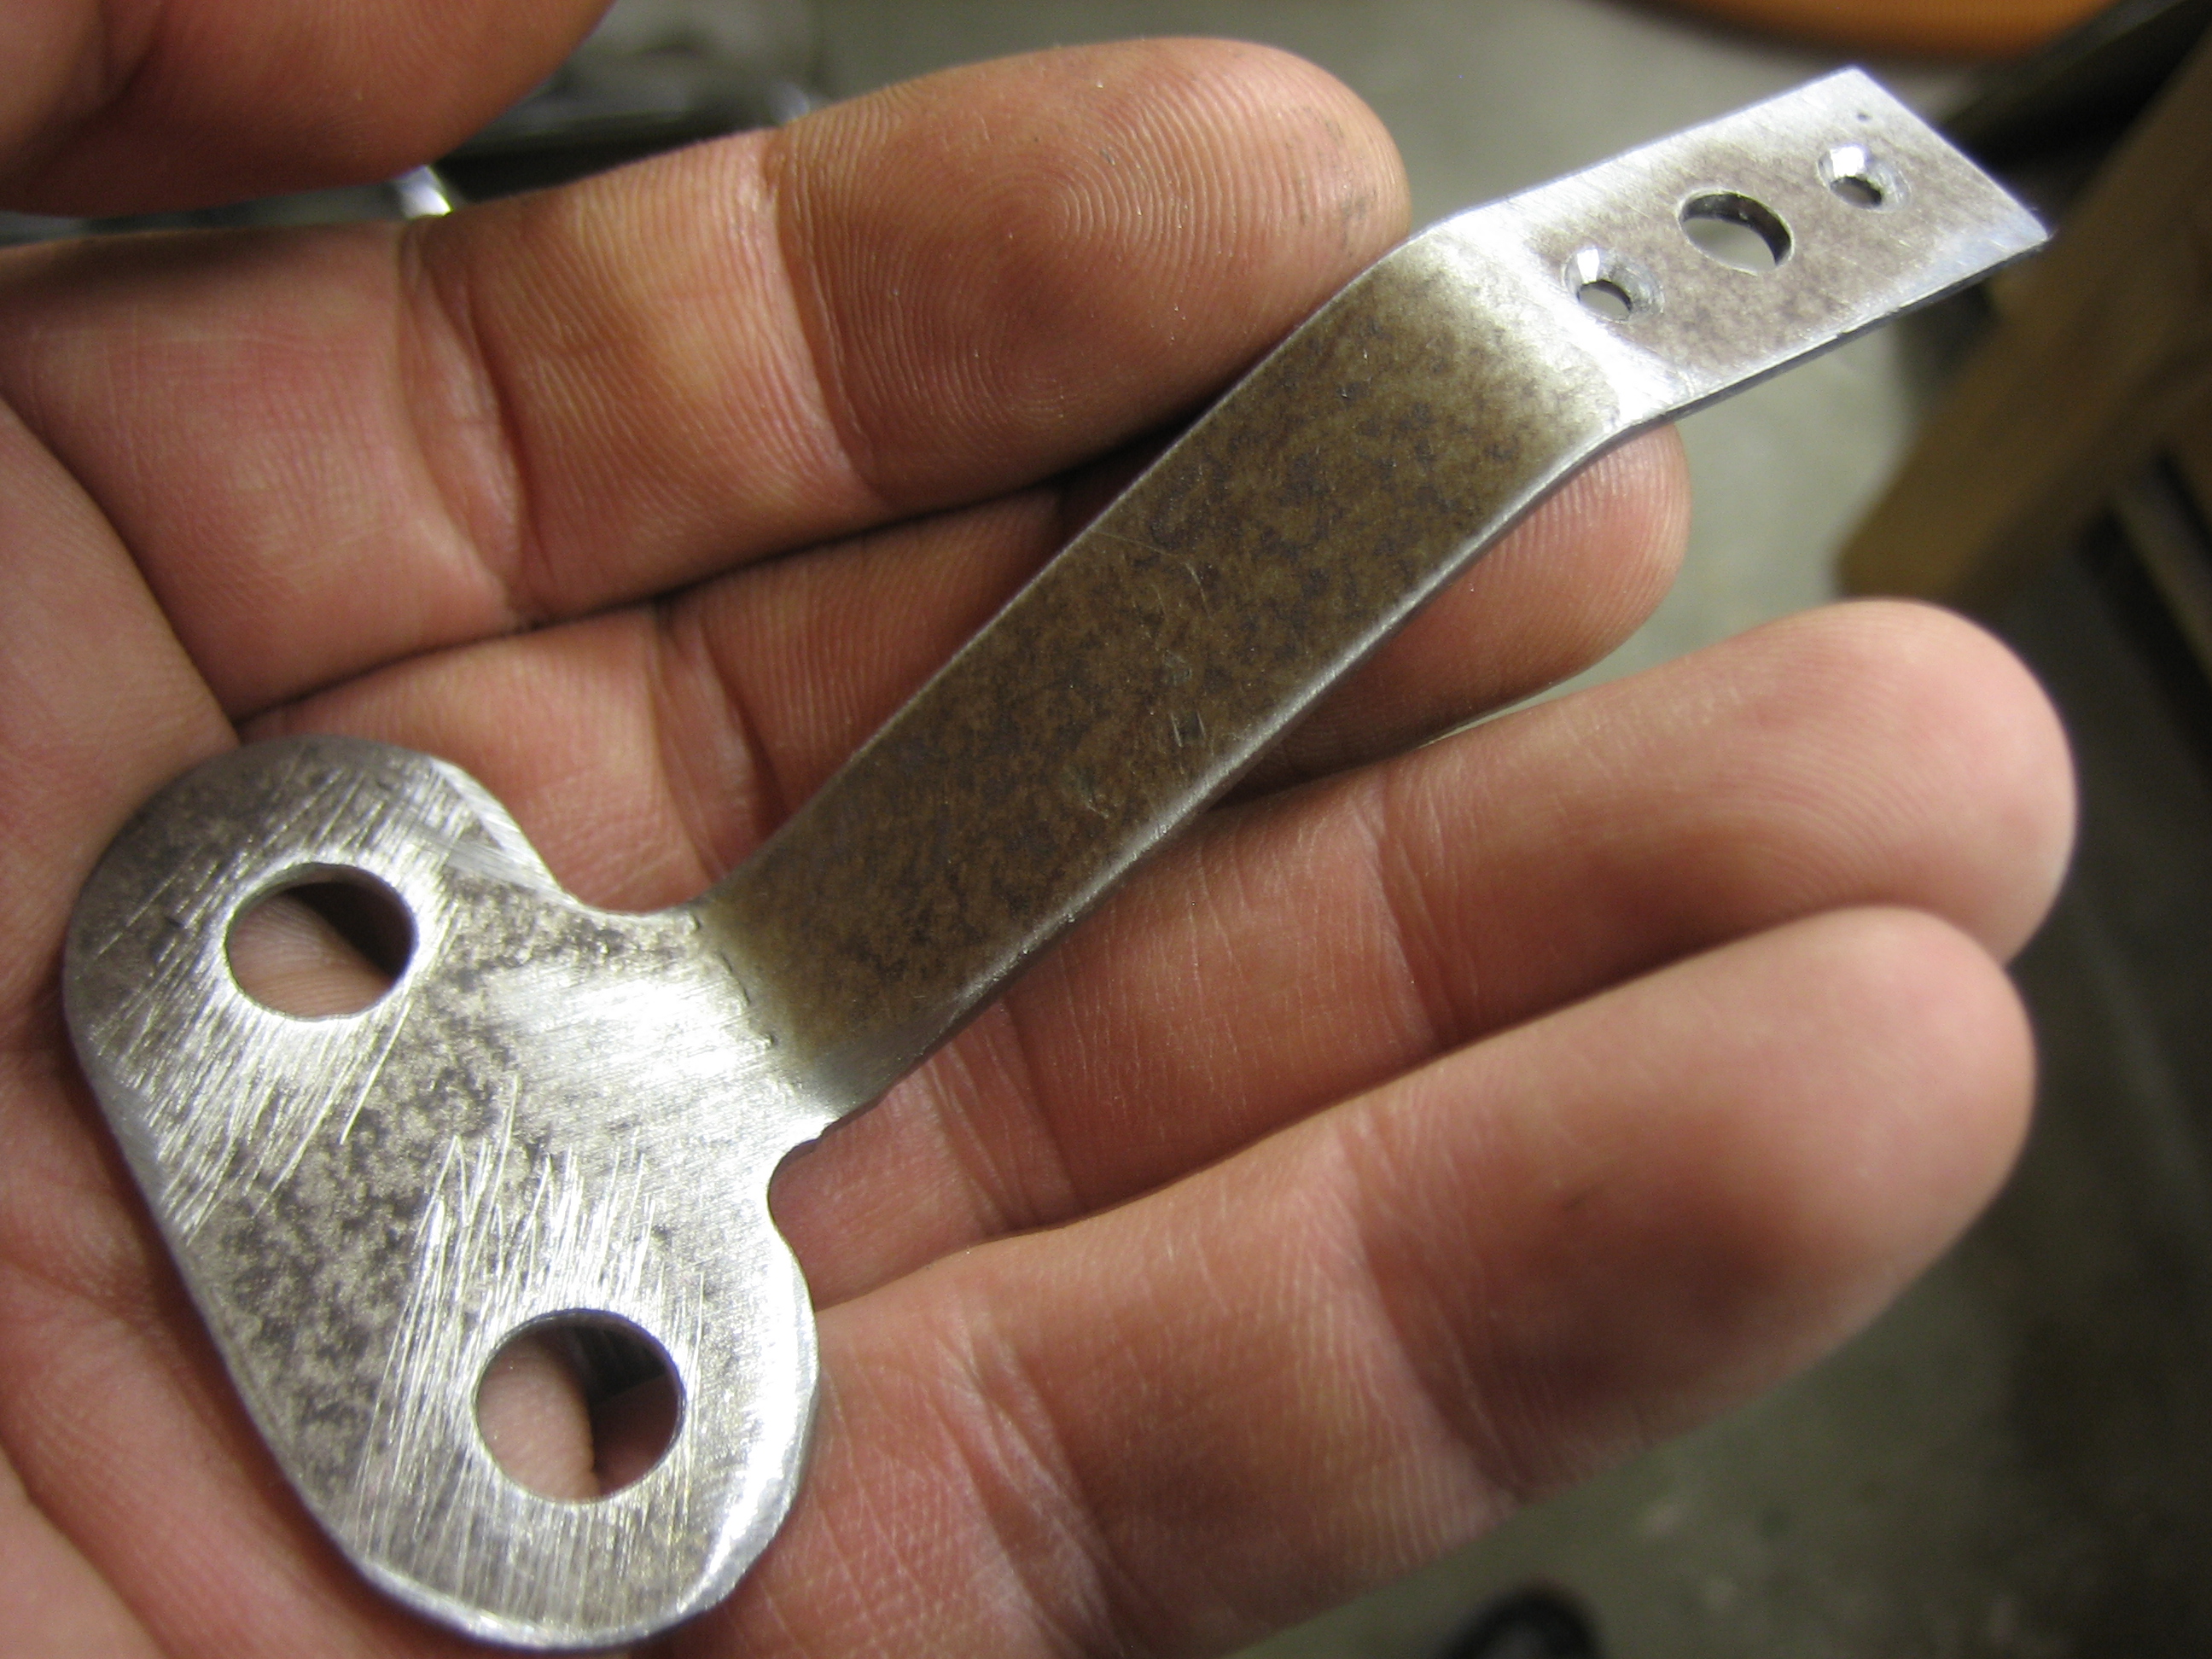
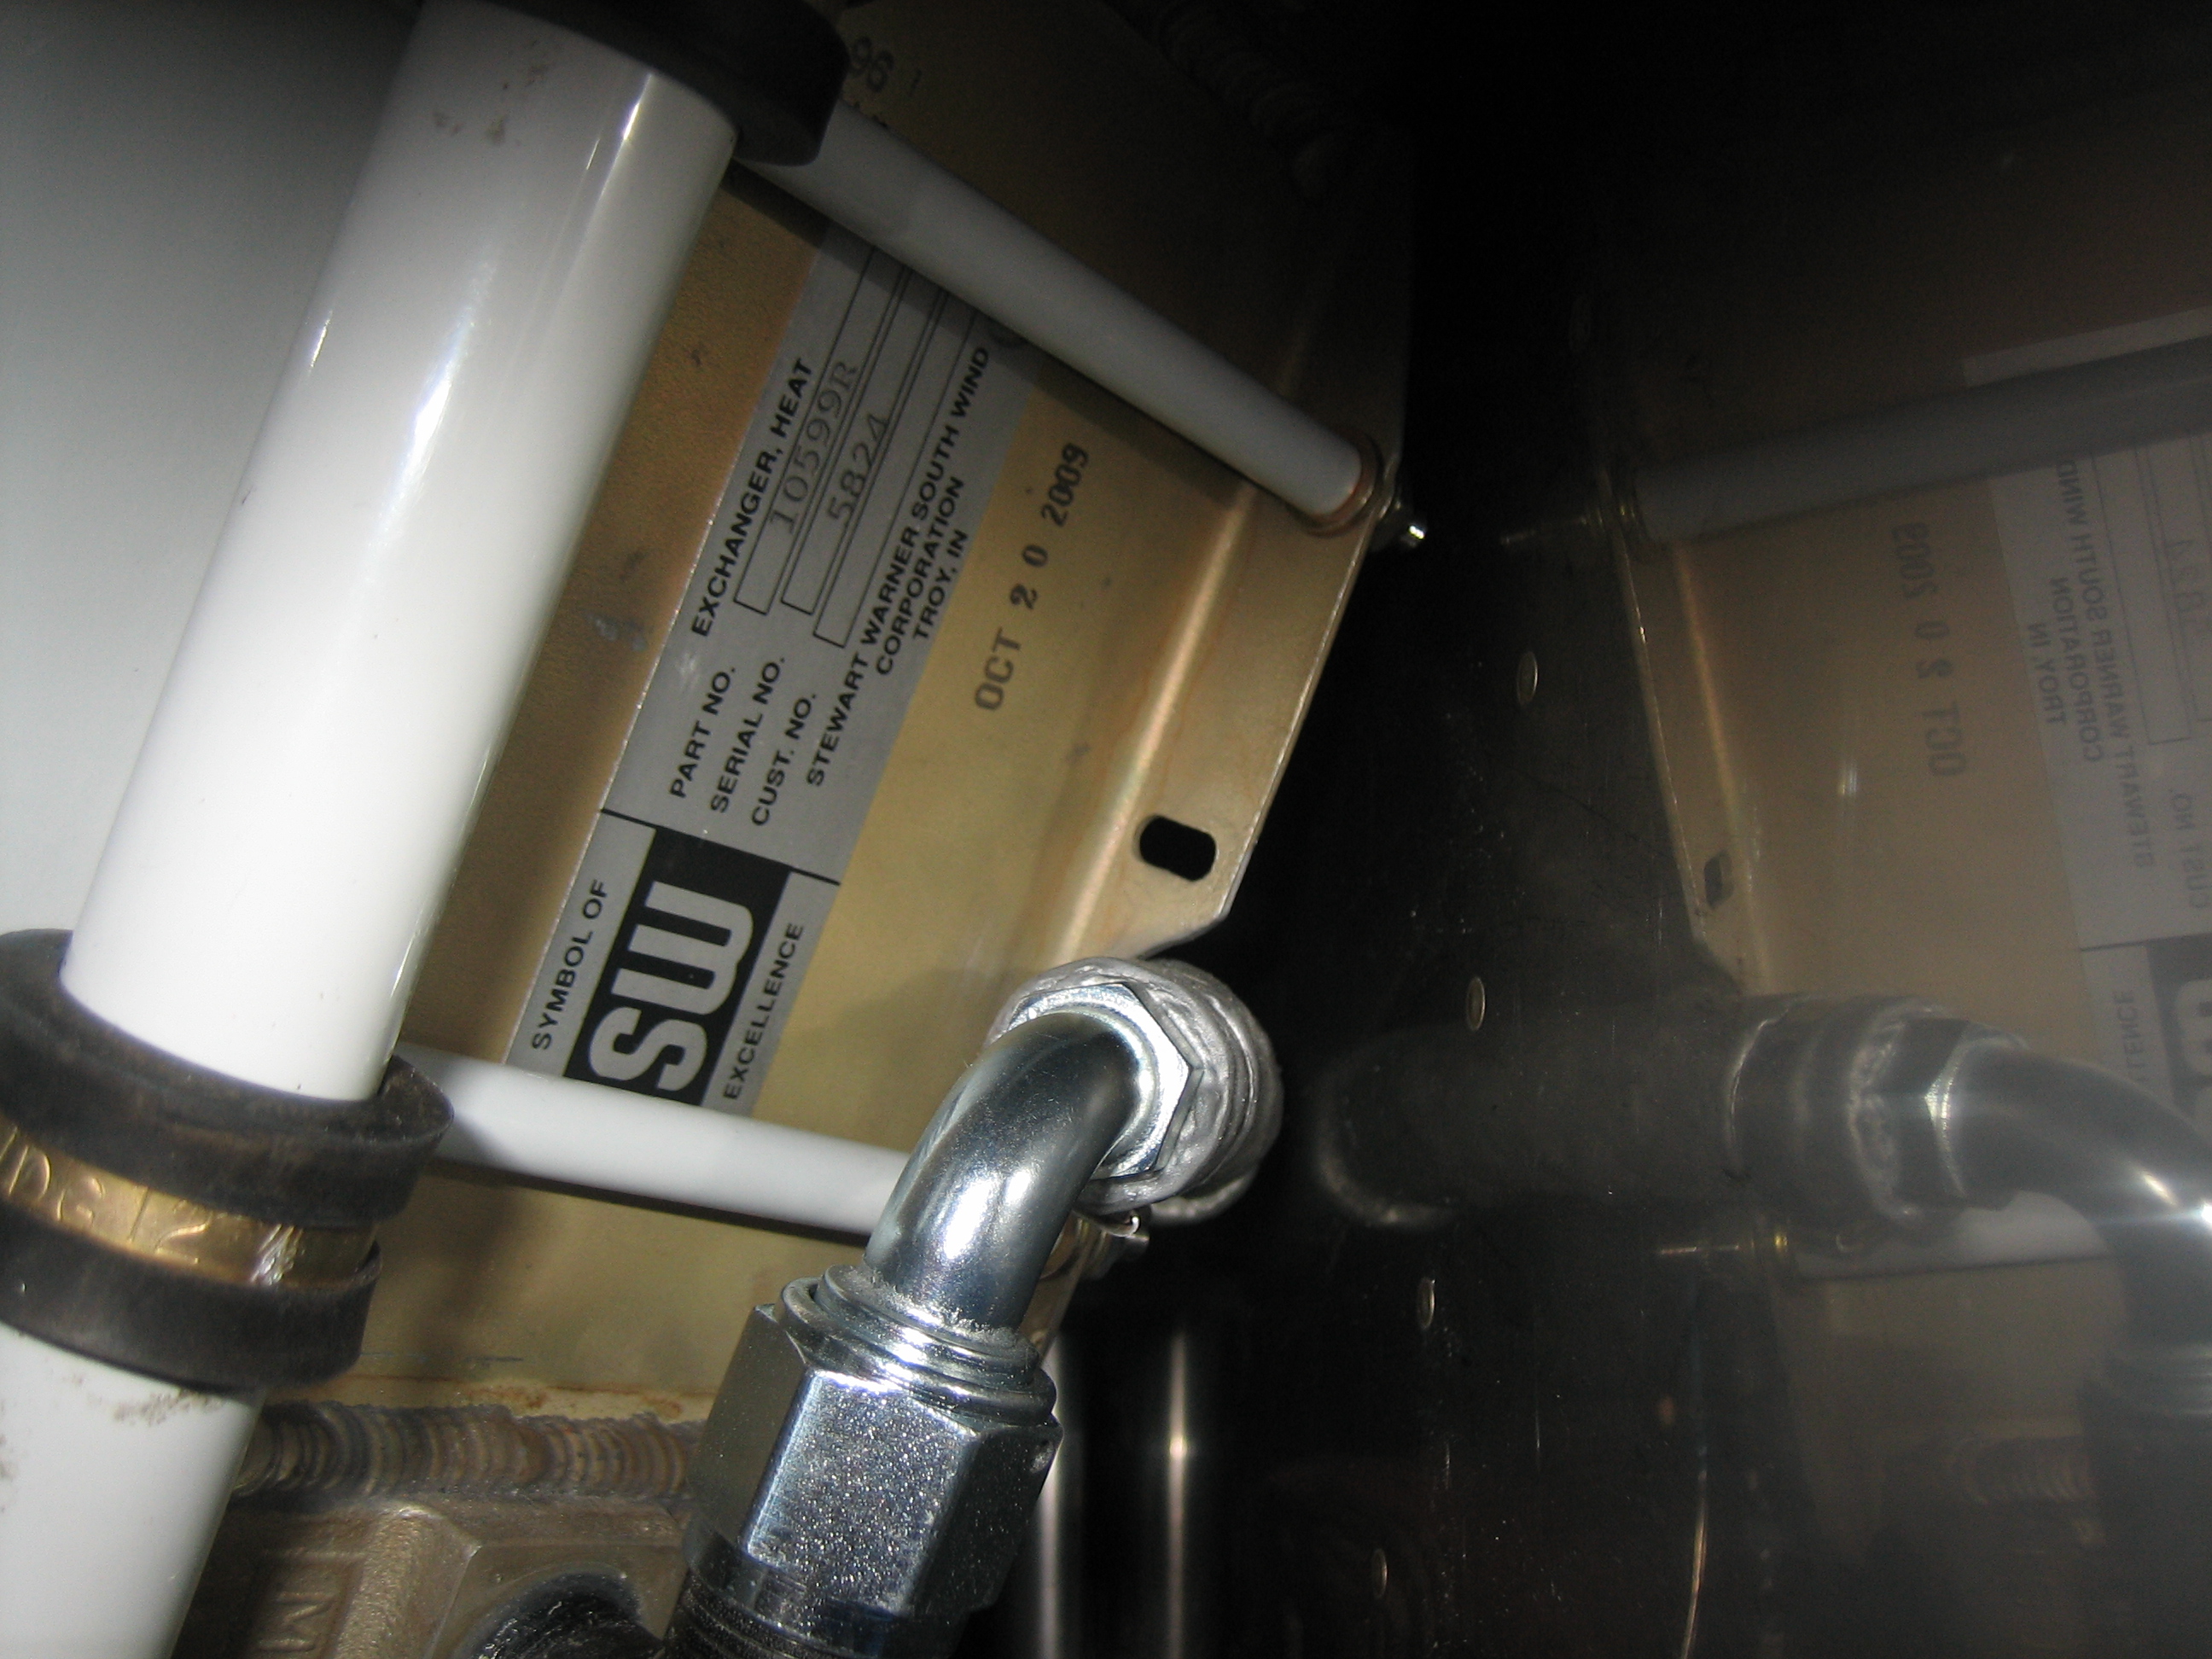
Here’s the left side of the oil cooler.  You can see the aluminum tube spacers that let the AN3-41A bolts clamp both the front and back flanges.  You can also see that there are washers between the spacers and the oil cooler flanges to prevent the spacers from cutting into the flanges.  You can also see that the lower oil line snakes around behind the oil cooler through a cutout in the flange.  I’ll add some RTV here to prevent the flange from cutting into the line.

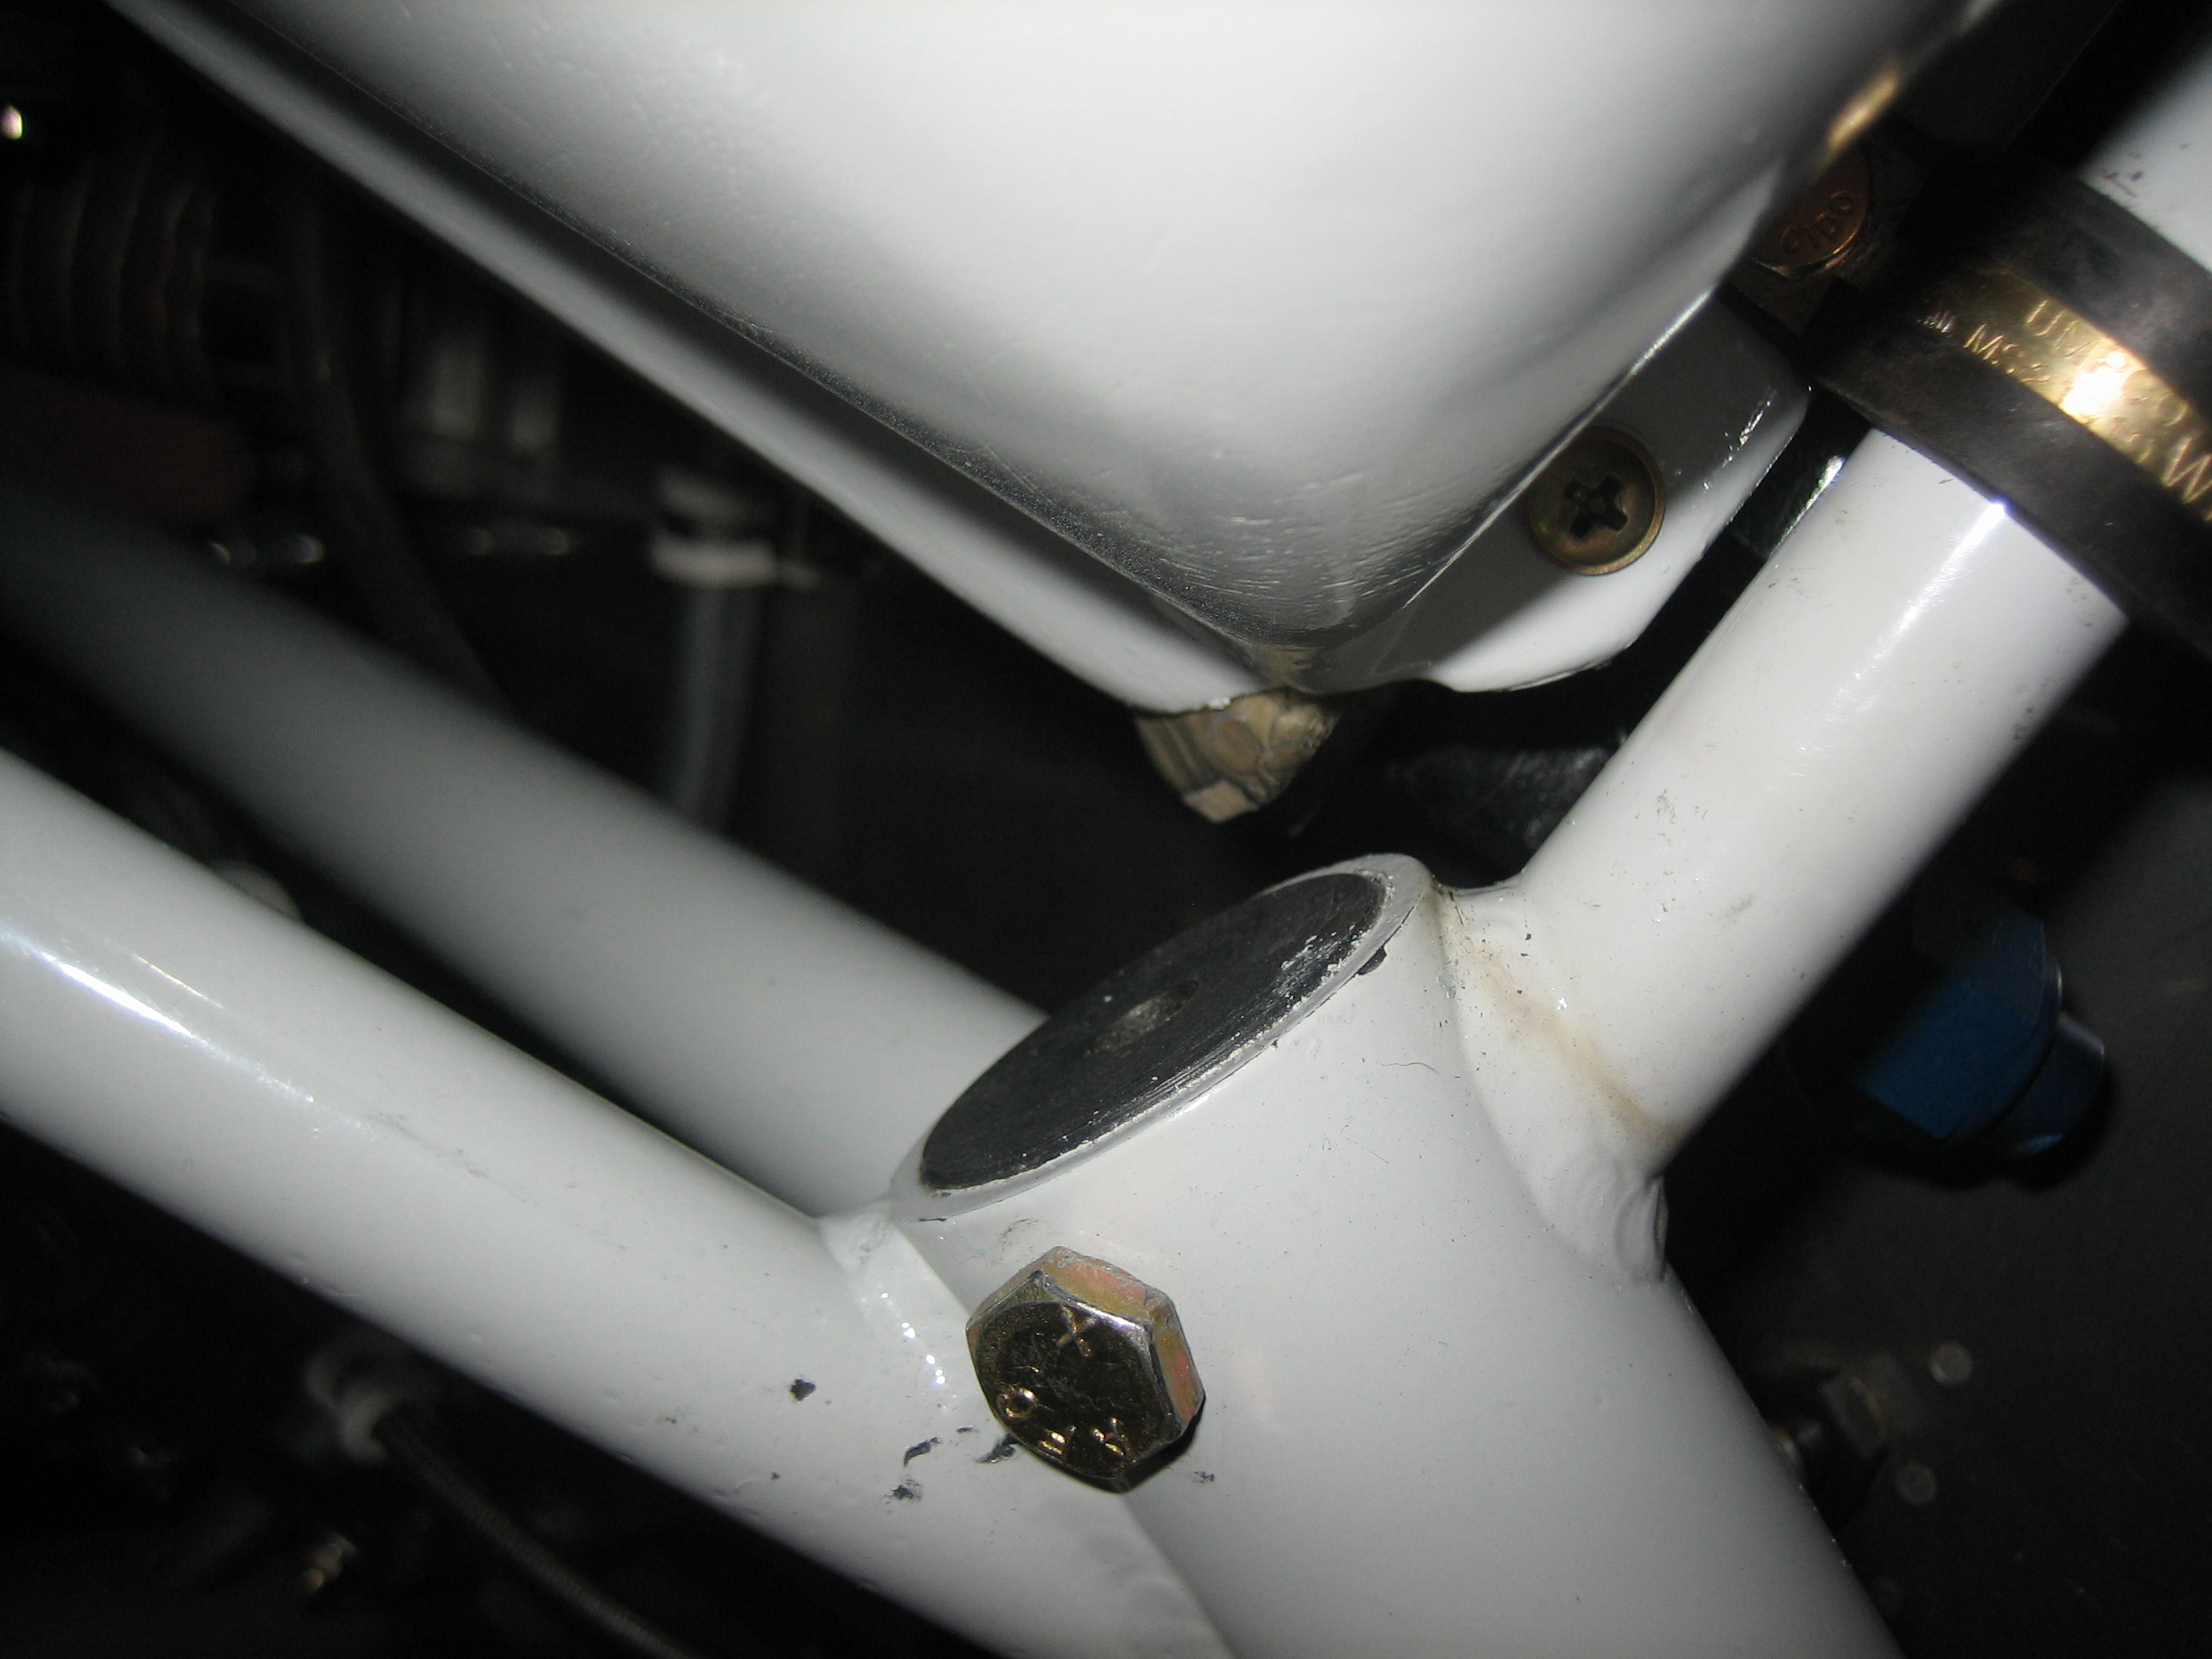
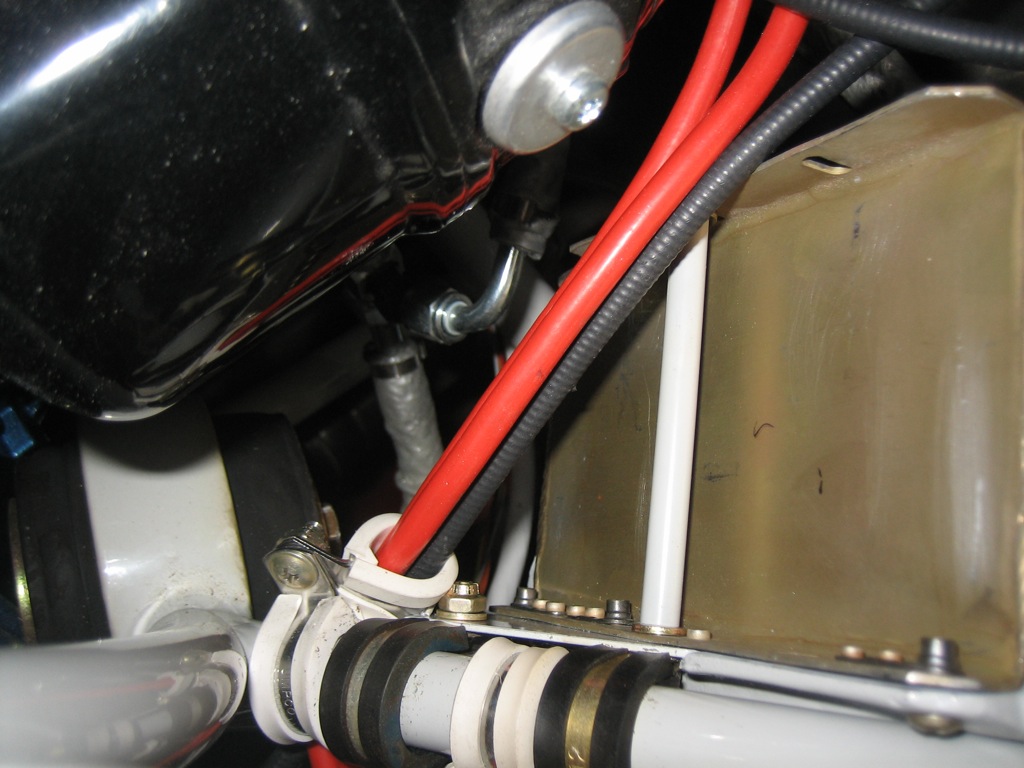
Here’s the other side of the oil cooler.  I added another adel clamp at the bottom to keep the mixture cable and lower left ignition wires away from the engine mount.  I’ll have to do something similar to keep them away from the rear oil cooler flange.

I think this is how I’m going to route the cable to control the oil cooler butterfly valve.  This not only keeps the cable and control arm away from the cowl, but will help keep them from getting caught when working on the engine.  I’ll need to fabricate a longer control arm and ensure it doesn’t interfere with the scat tubing.