Disassembled Canopy Frame

I disassembled the canopy frame so that I can prep it for final assembly.  I can already tell that the struts push the canopy frame far enough forward that the front edge of the canopy skin will need a little more trimming to keep from interfering with the forward top skin.  This whole process has been much slower than I’d like because everything you do causes something to shift and parts have to go on and off so many times.  I’d rather take my time and hopefully end up with a canopy that fits nicely instead of trying to rush through this and end up with a sloppy fit.

Worked on Canopy Frame

I resumed working on the canopy frame tonight.  There are some shims that need to be fabricated that will fit between the canopy frame and the skin.  I used some feeler gauges and a digital caliper to determine the various gaps.  I’ll start making the shims tomorrow.

Started Prepping Cabin Frame

I fabricated the shims that will fit between parts of the cabin frame and skin and then got started prepping the cabin frame for riveting.  First up is to countersink the holes in the aft tube.  The countersink bit wobbles in the hole a bit and the hole is oblong because of the curved surface, but this is expected and will work fine.

I also countersunk the holes for the outermost ears of the cabin frame stiffener.  These will only be riveted to the frame, and not the skin.

Finally, I countersunk the frame for the #10 screws that attach the forward strut mounts to the cabin frame.  The skin is dimpled and will sit in these dimples.

Trimmed Canopy Frame Skin Ears

One of the poor fit issues with the tip up canopies is that the forward canopy frame skin extends aft of the bend in the longeron.  This creates an unsightly triangular gap when the side skirts are installed (here with the blue plastic).  Instead, I’m going to cut off these ears and fabricate longer side skirts our of some scrap 0.032″ aluminum that I have.

With the side skirts moved forward to the apex of the bend, you can see that the fit will be much nicer.

After trimming the ears, I drilled four extra holes to attach them to the canopy frame.

Painted Canopy Frame Components

I primed and painted the portions of the canopy frame that will be visible from the inside.  I only put three thin coats of paint on since I plan to put additional paint on once everything is riveted together so that I can cover the rivets.

For all of the mating surfaces, I only primed the metal.  Hopefully, I can start riveting this together later this week.

Started Assembling Canopy Frame

No pictures tonight, but I clecoed together the canopy frame.  I need to get some help riveting this together, so that won’t happen until later this week or next.

I received a call from Brett at Bonaco today.  He had run across my post where I talked about my overall experiences with them, and wanted to see what he could do to make me happy.  Despite the mistakes with the orders, I’ve always been happy with the quality of the product and their customer service.  I don’t think I’ve ever received a call from another vendor who was actively searching the internet to find out the word of mouth about them; this says a lot about how good their customer service is.  Even though there have been mistakes, I have no reservations about recommending them for hoses for your RV.  If they would do a little better job double checking the orders before sending them out, they would easily have the best overall service I’ve ever had from a vendor.

Started Riveting Canopy Frame

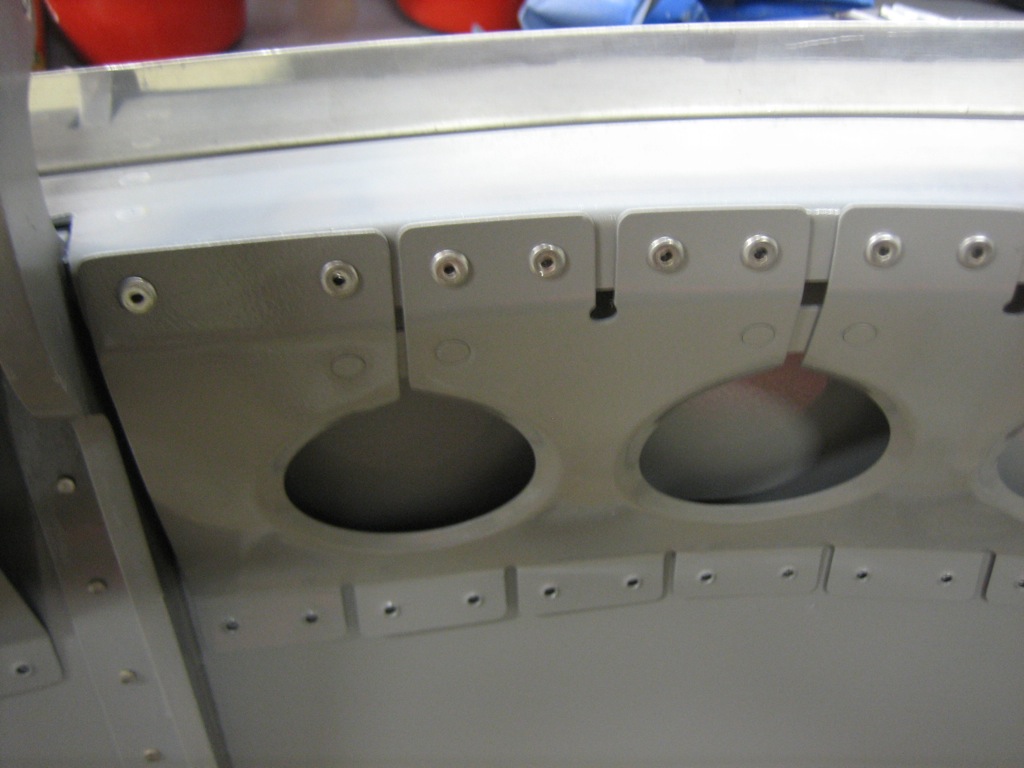
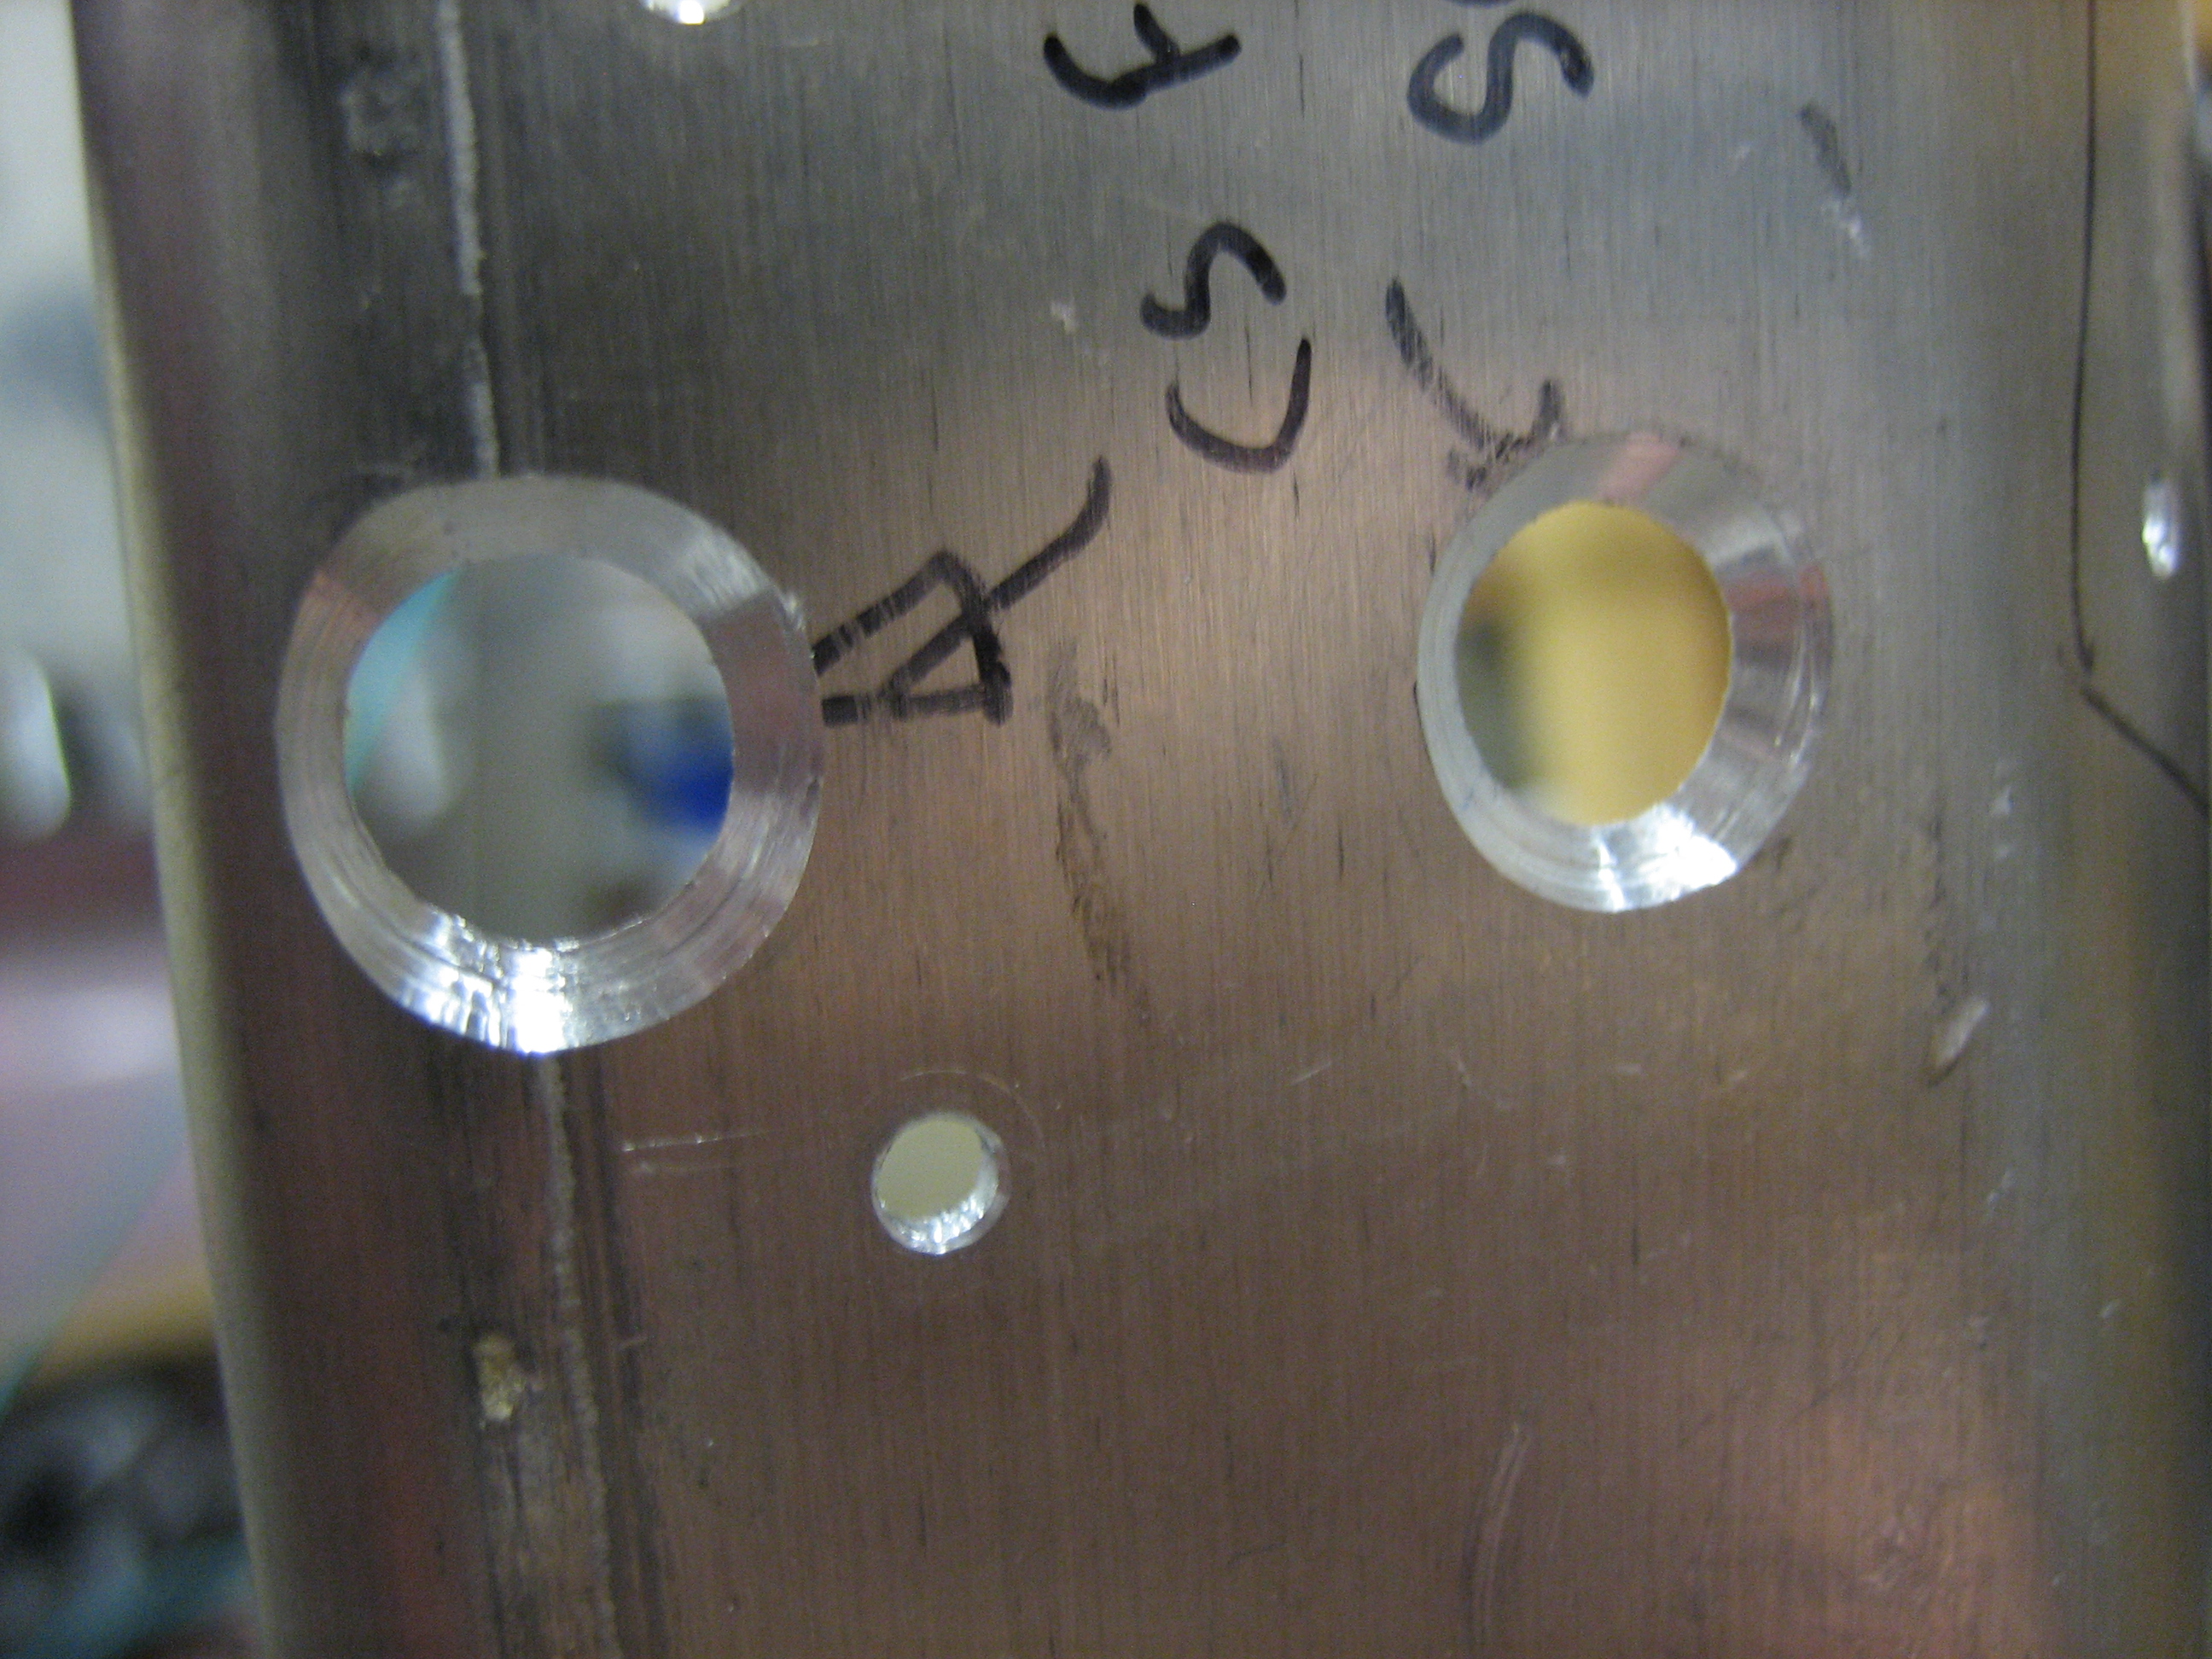
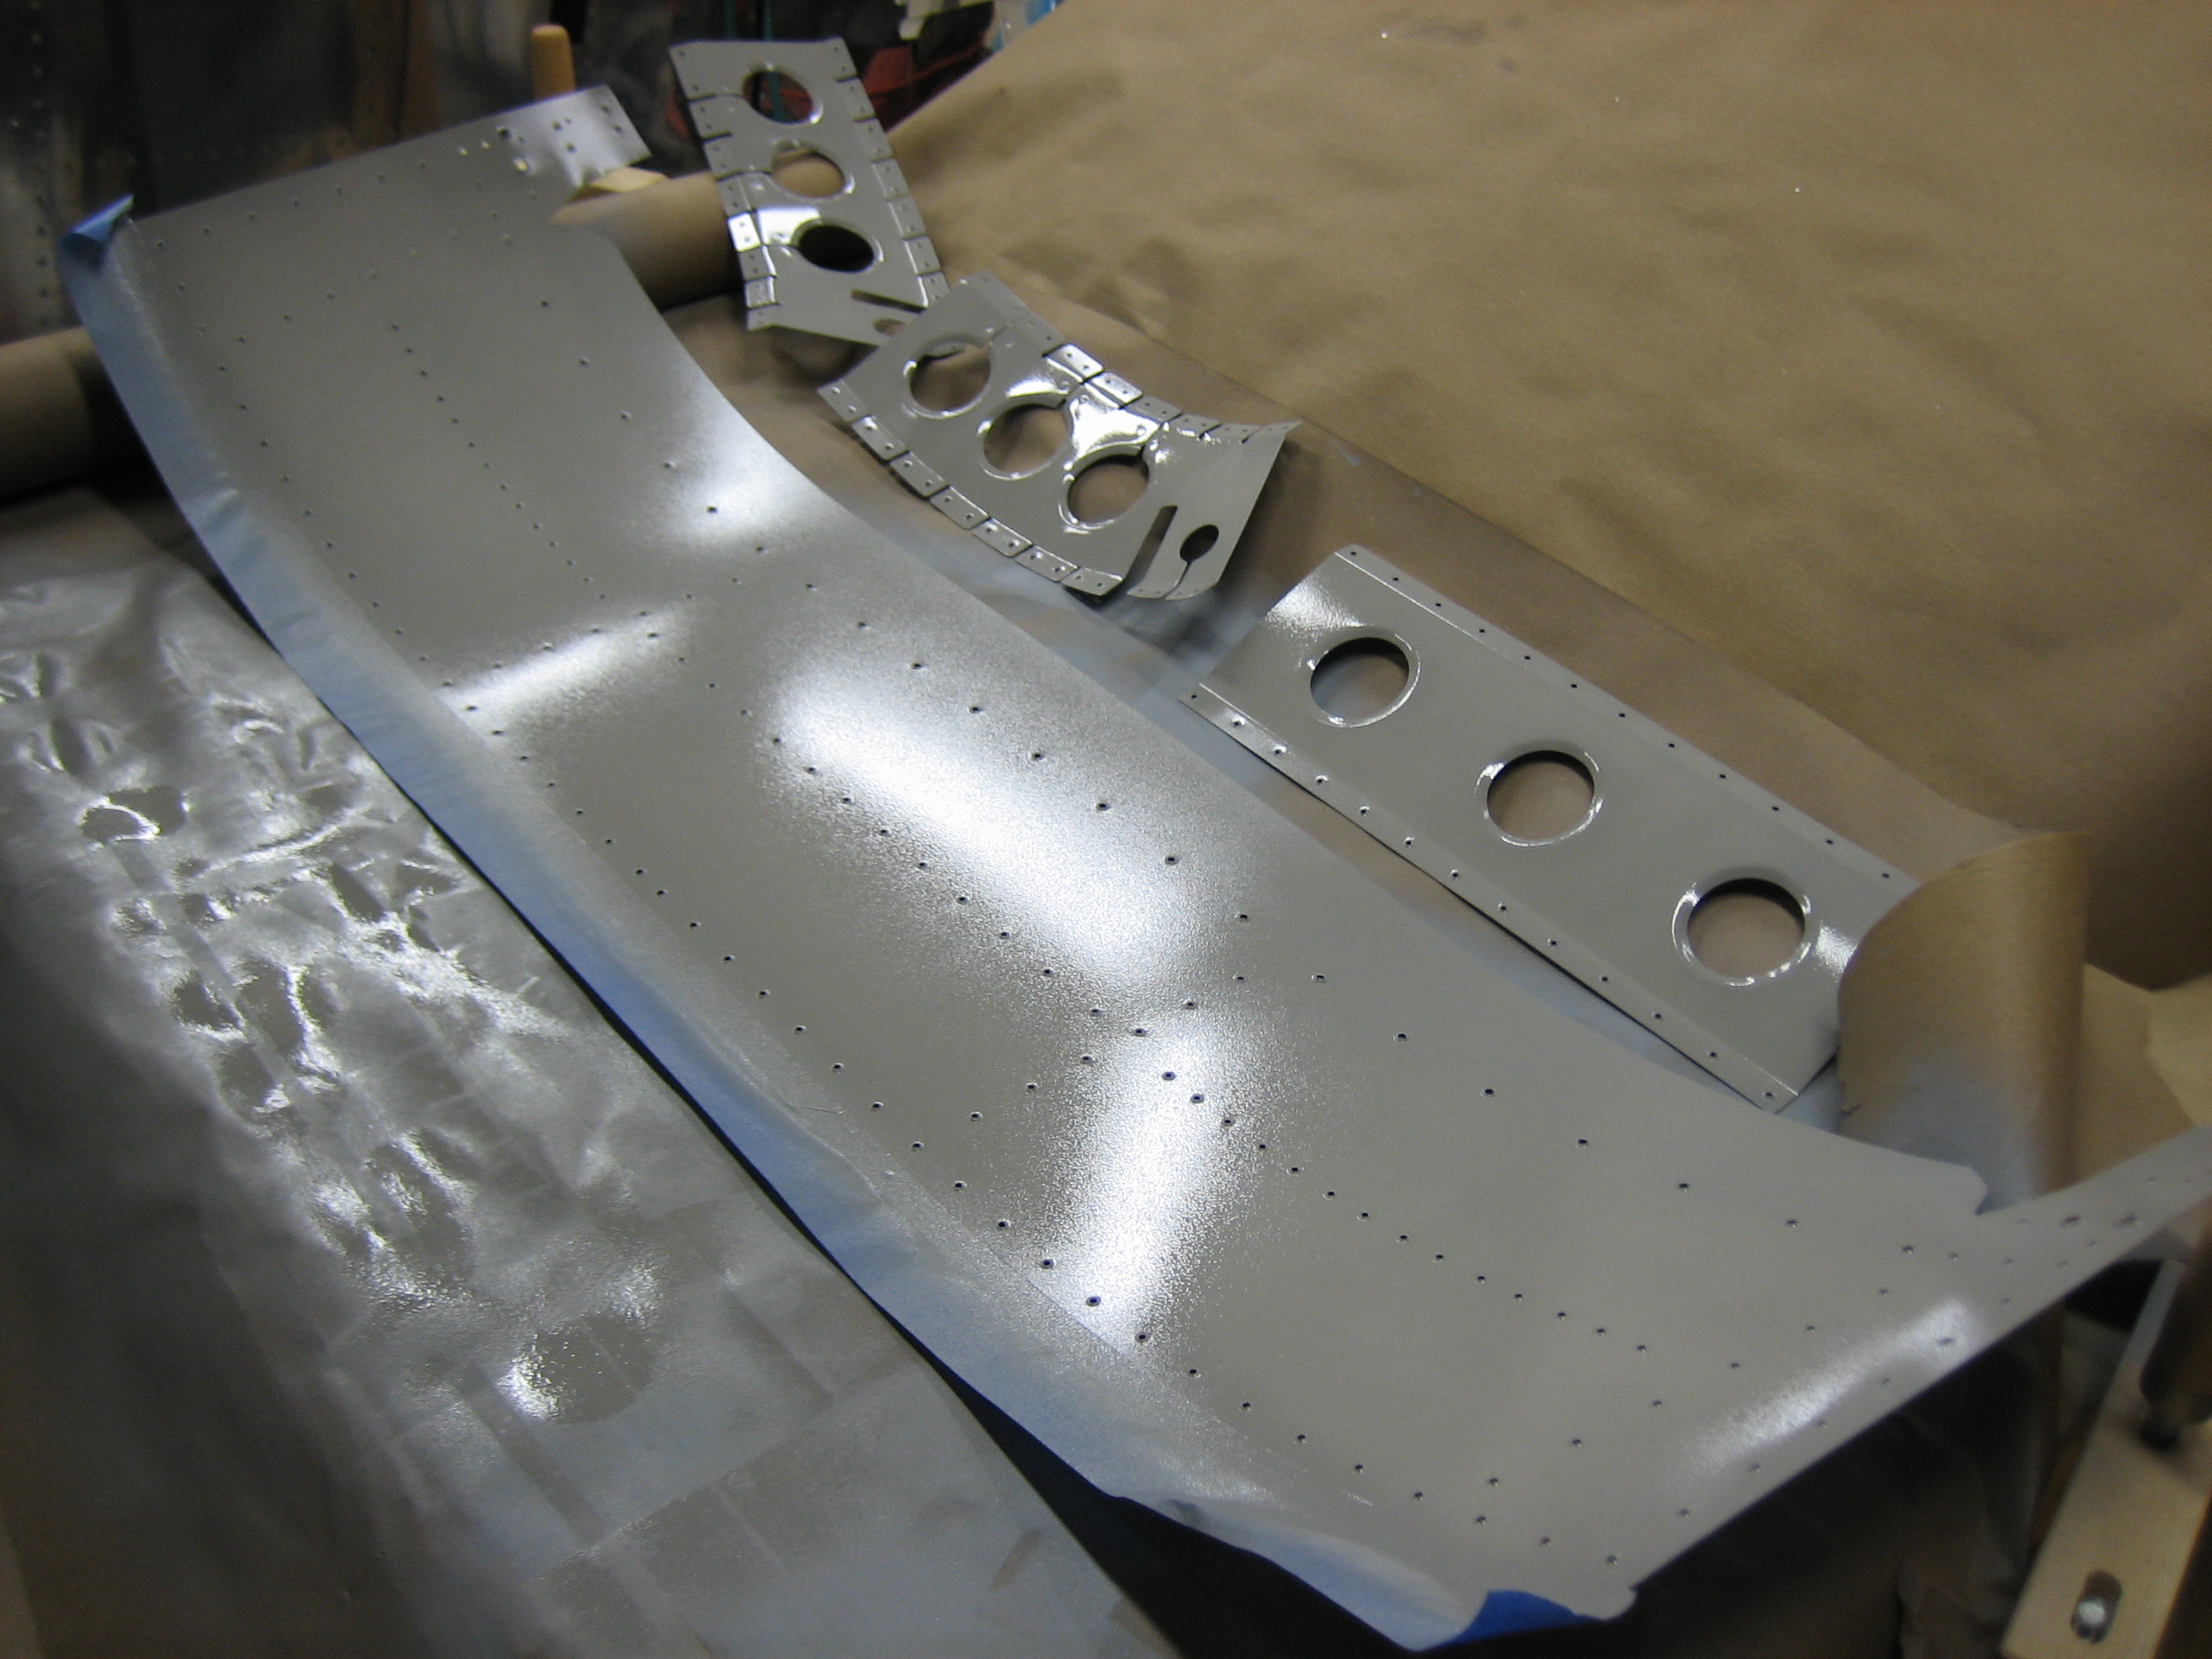
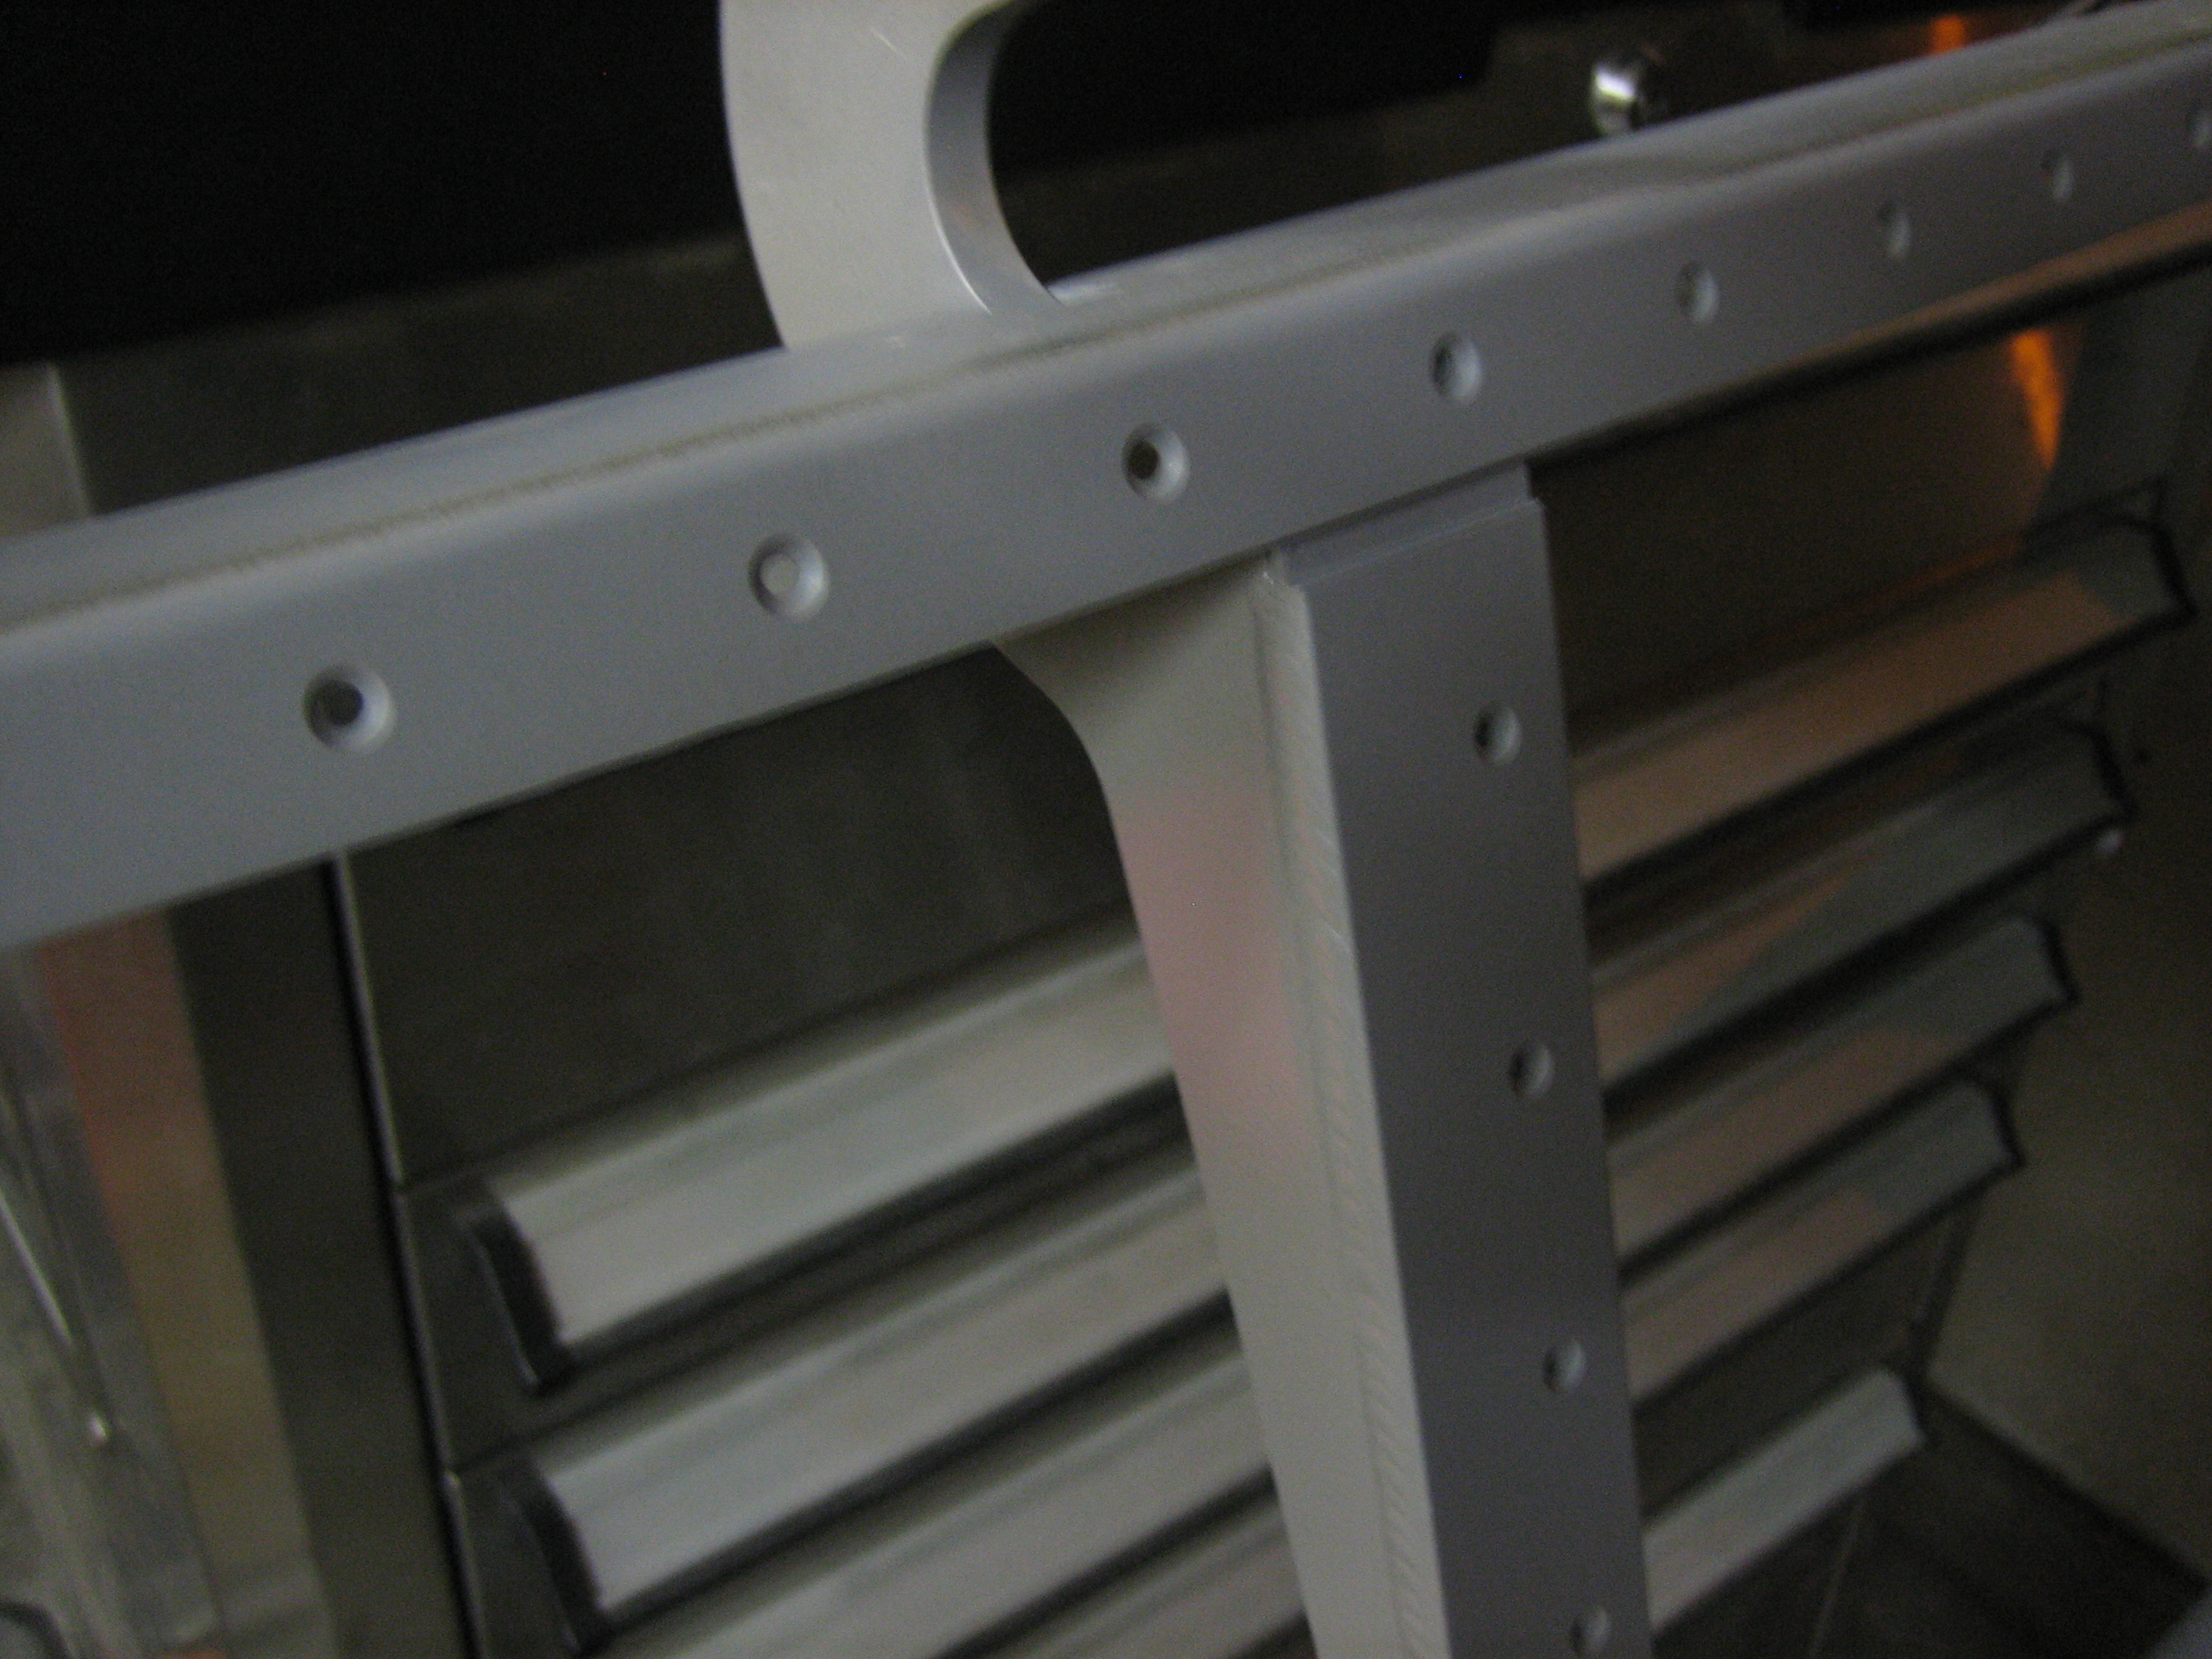
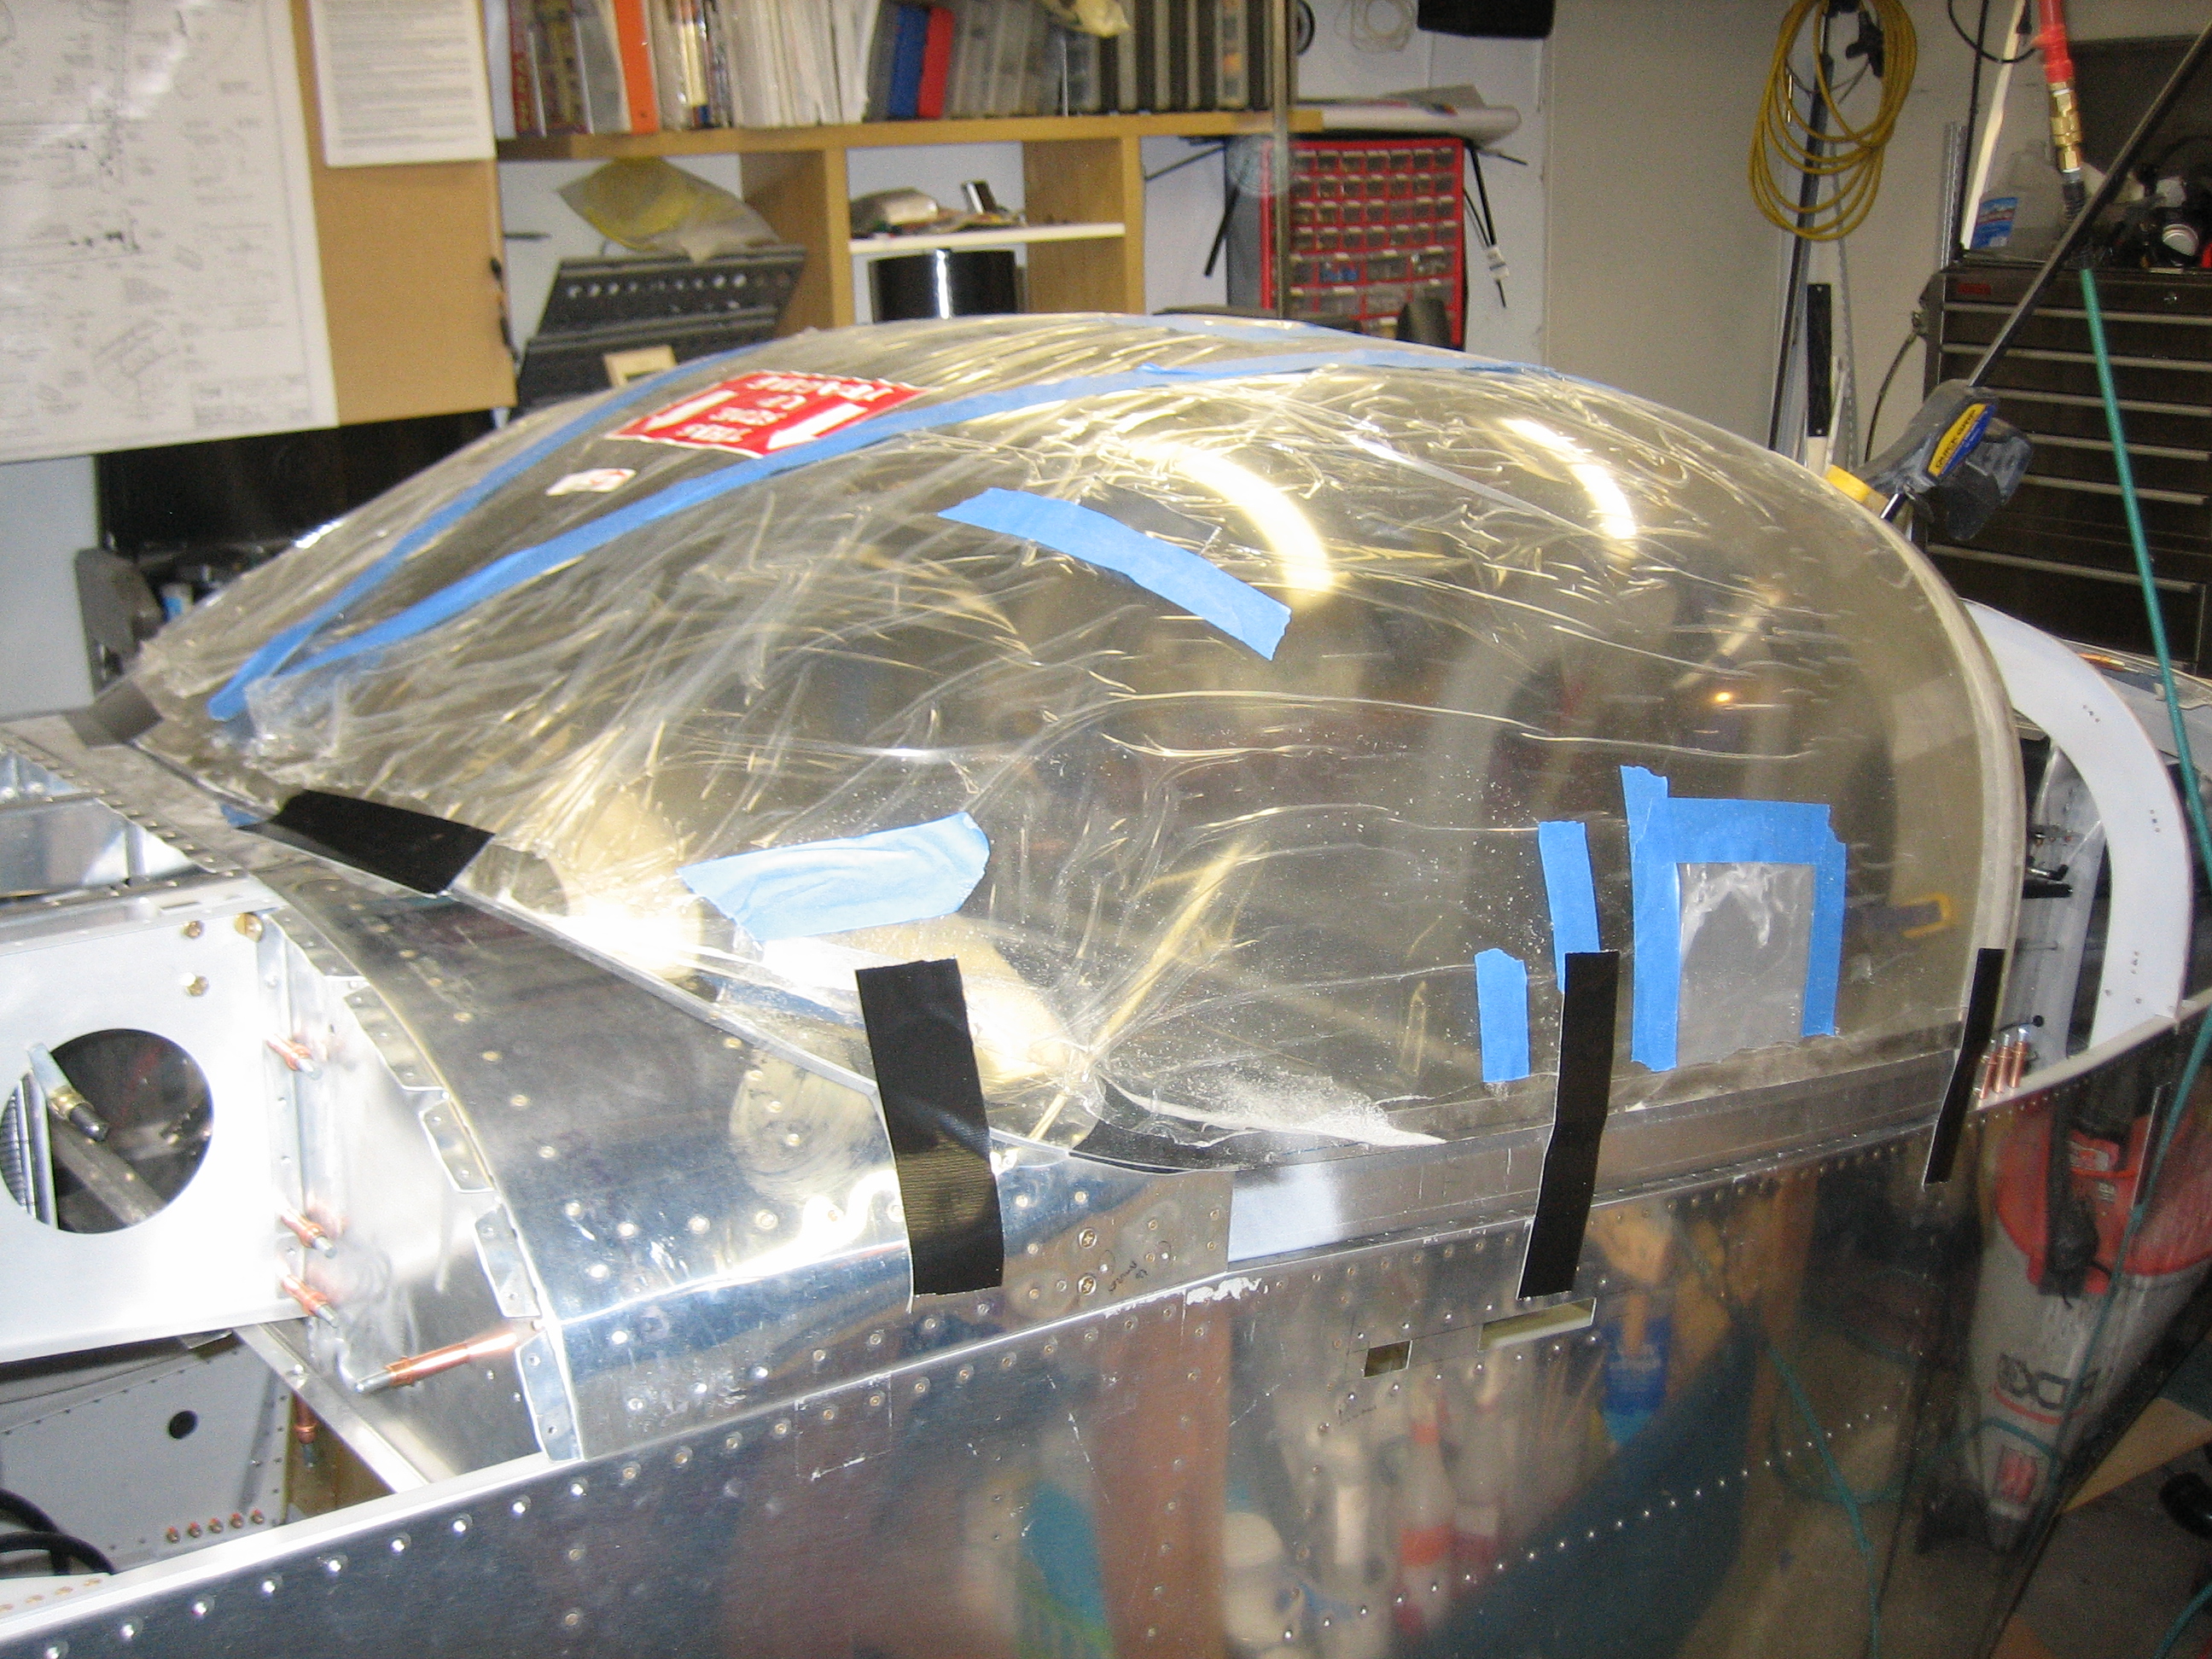
We’re getting our house tented for termites this weekend, so I’ve been busy prepping for that.  I did want to get started riveting the canopy frame together beforehand though.  My buddy Andre dropped by and helped me out for a couple of hours.  It seems like it’s been forever since I’ve set any rivets and some of these were pretty tricky, but it all turned out okay.  First up, we riveted three of the four rivets that hold the outer ears of the canopy frame reinforcement since these rivets only go through the frame and not the skin.

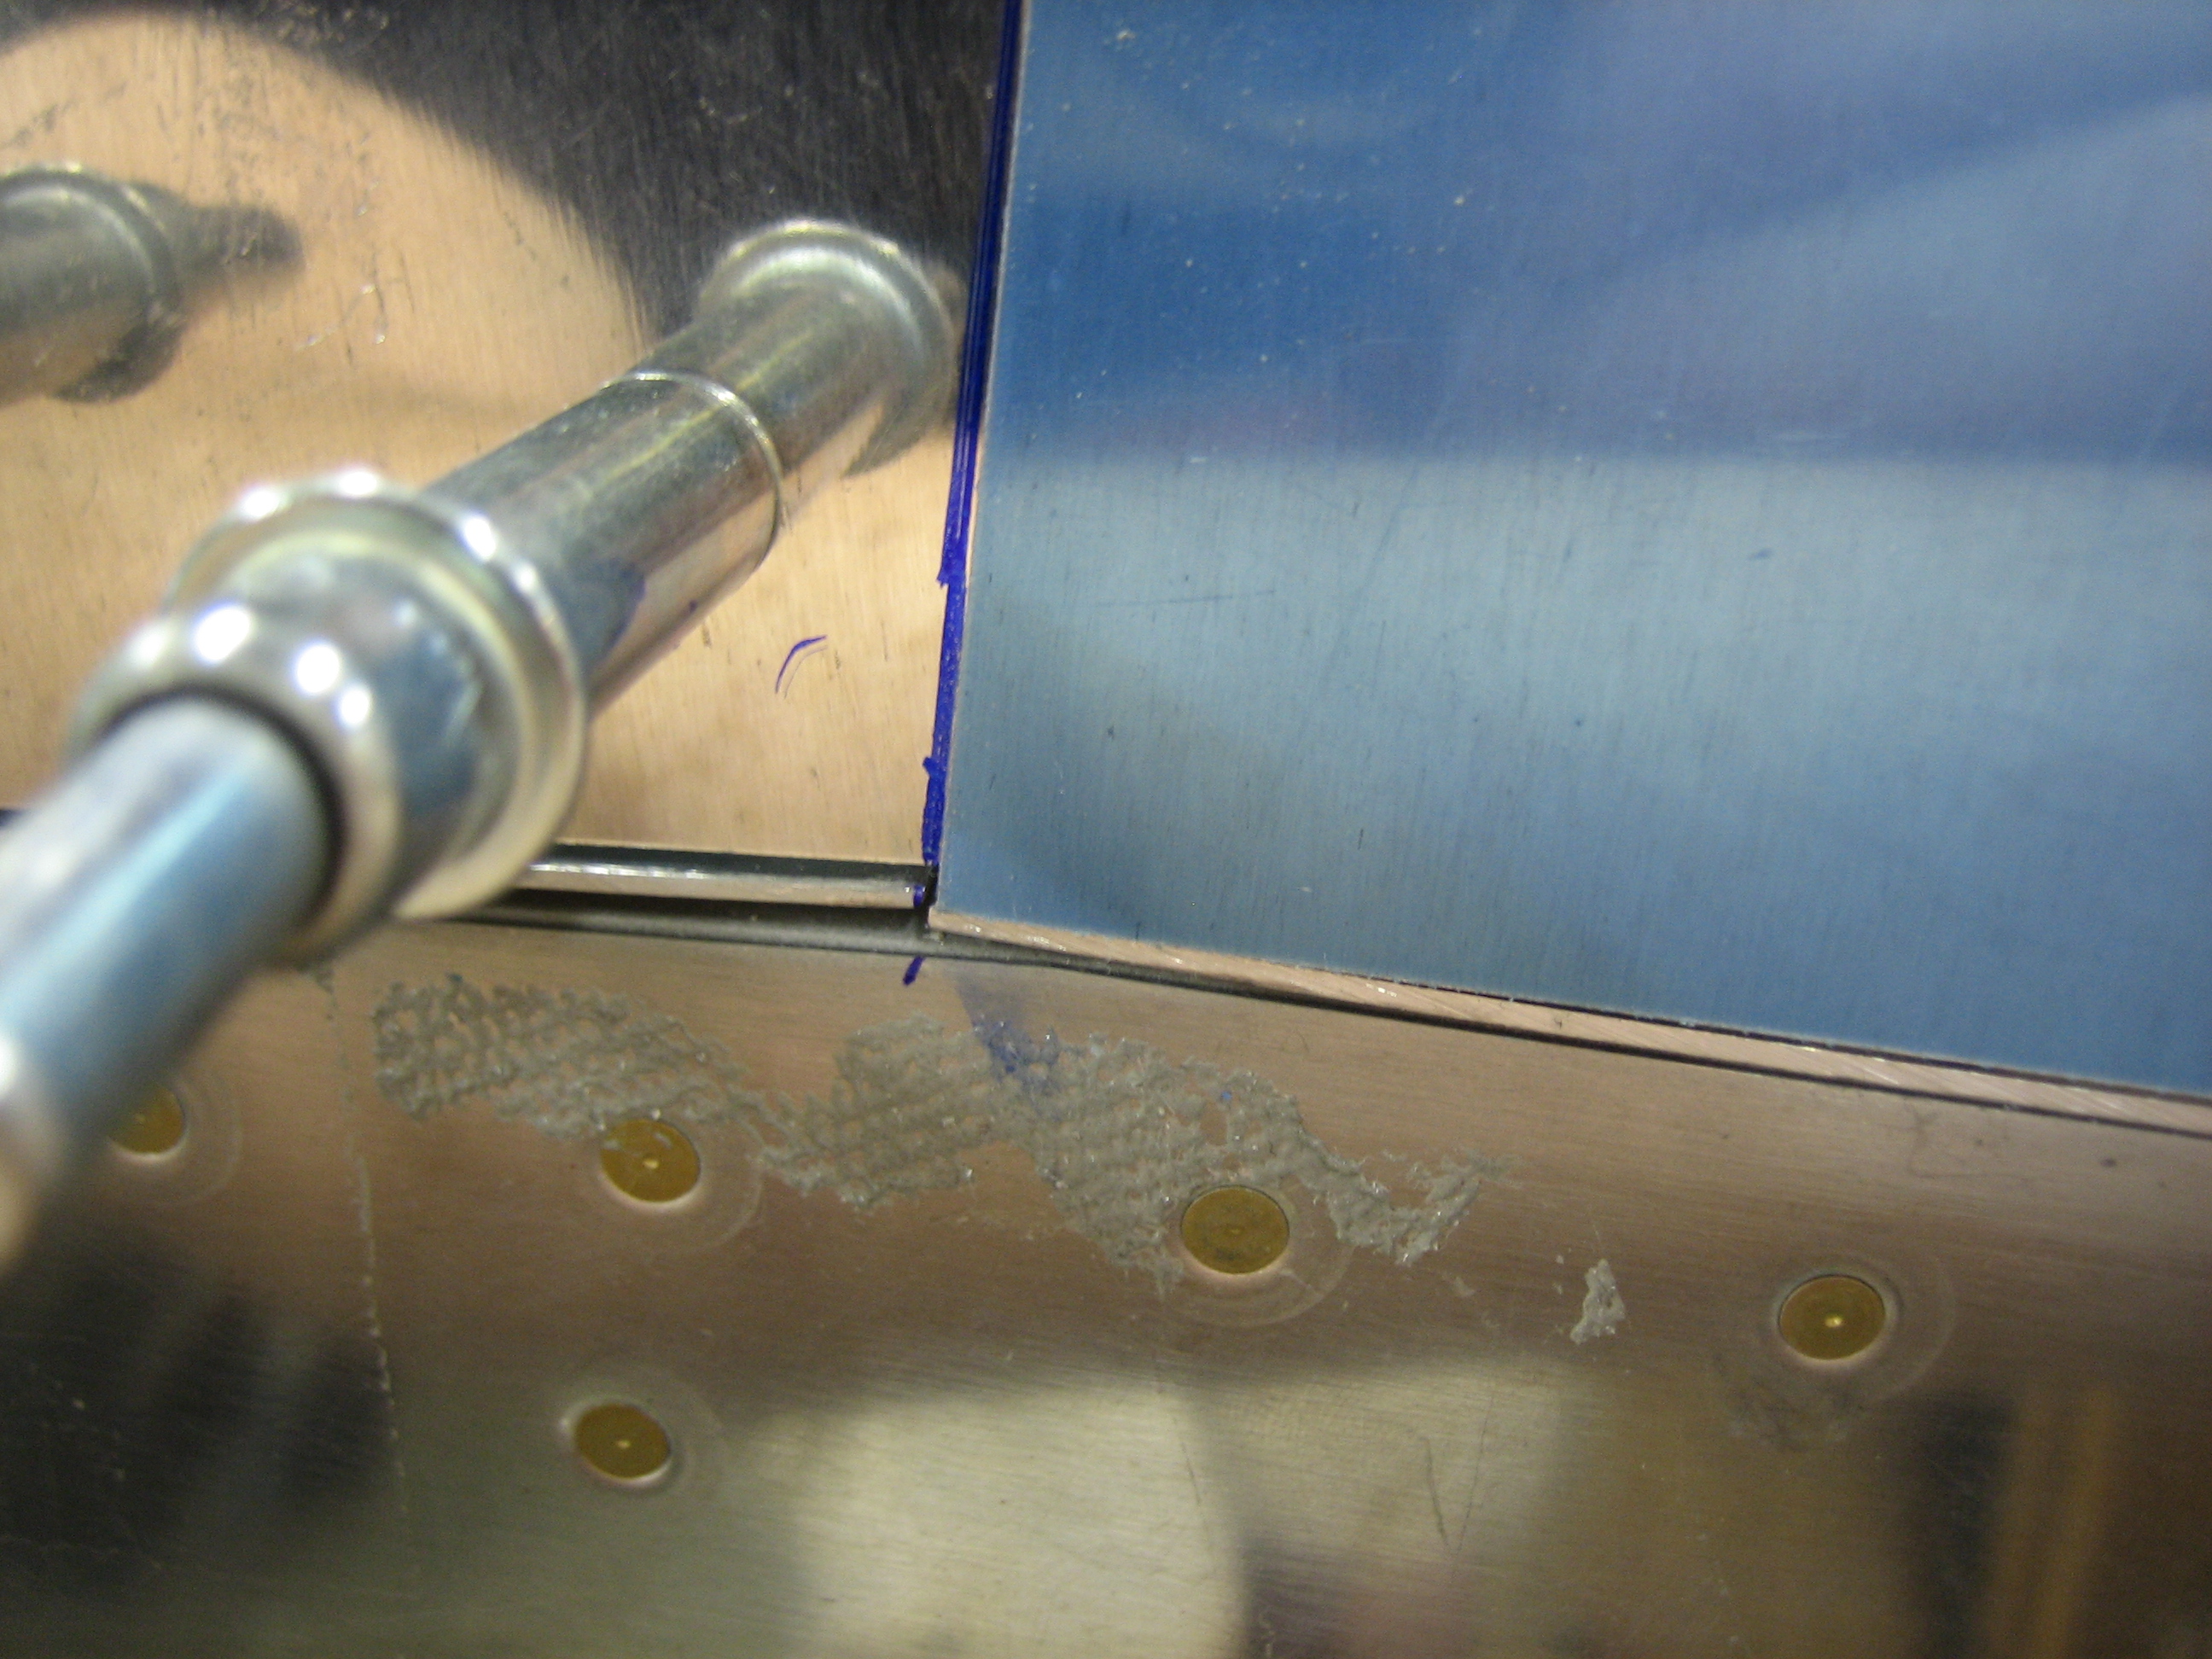
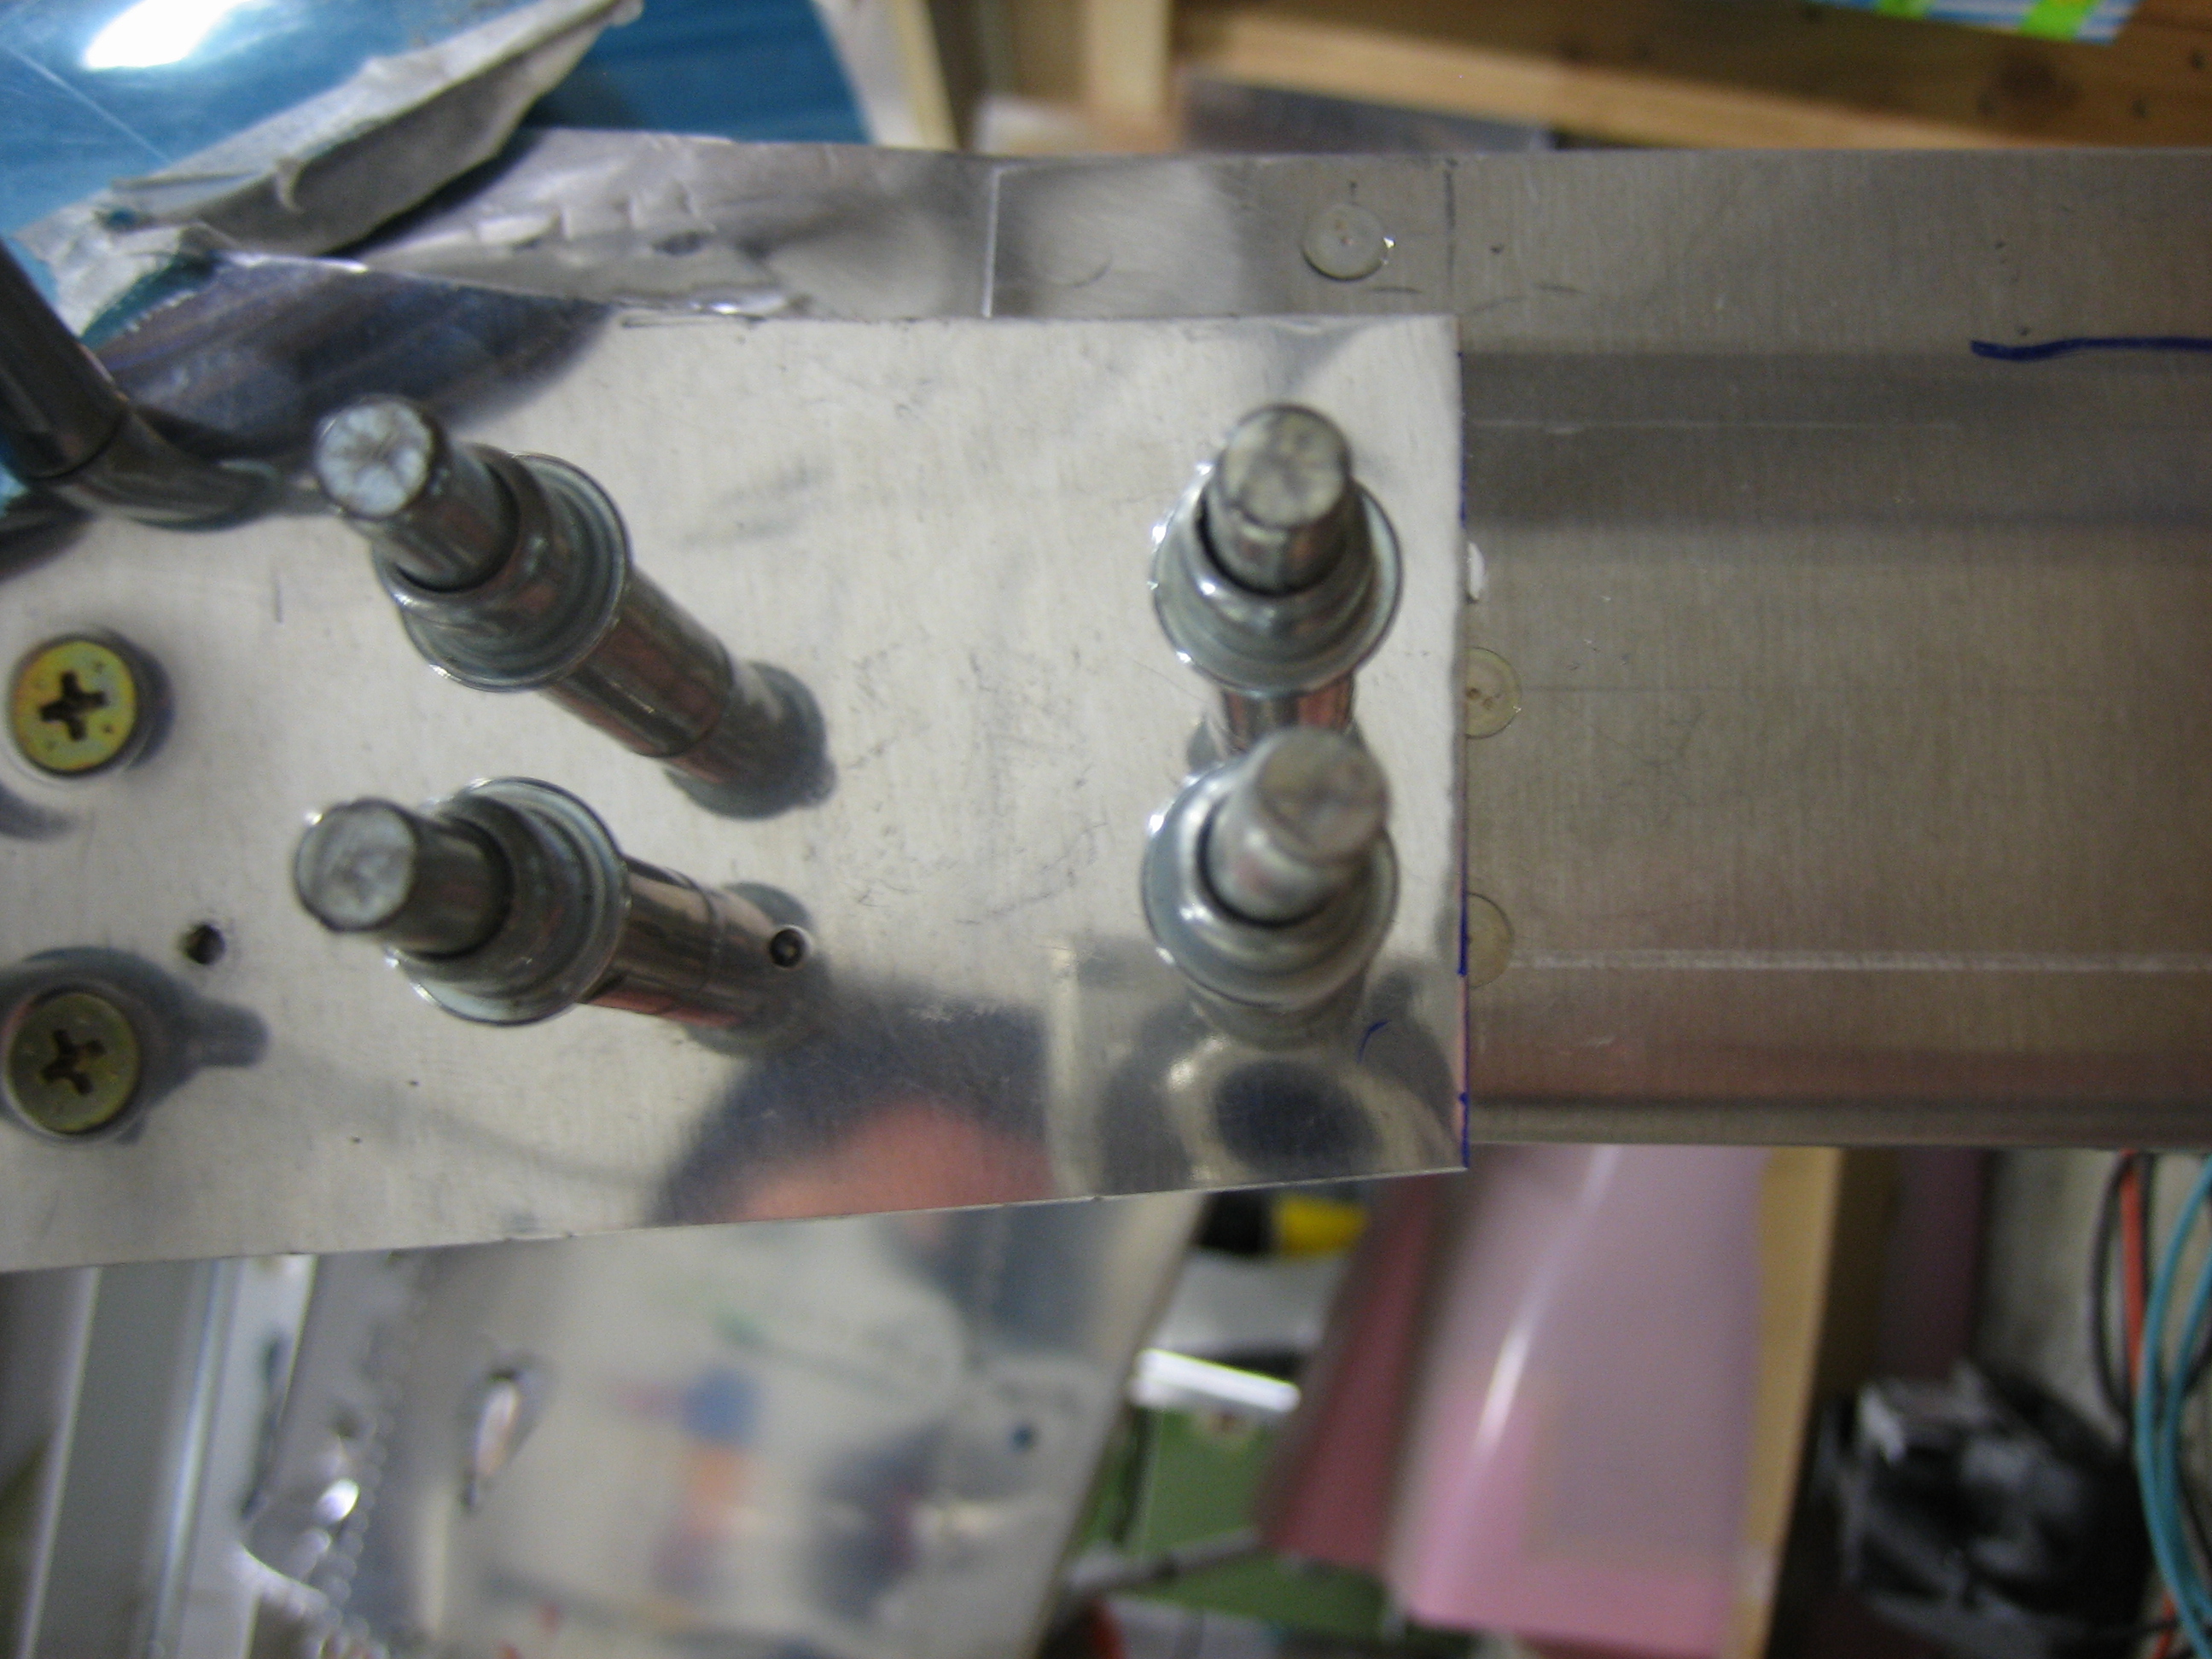
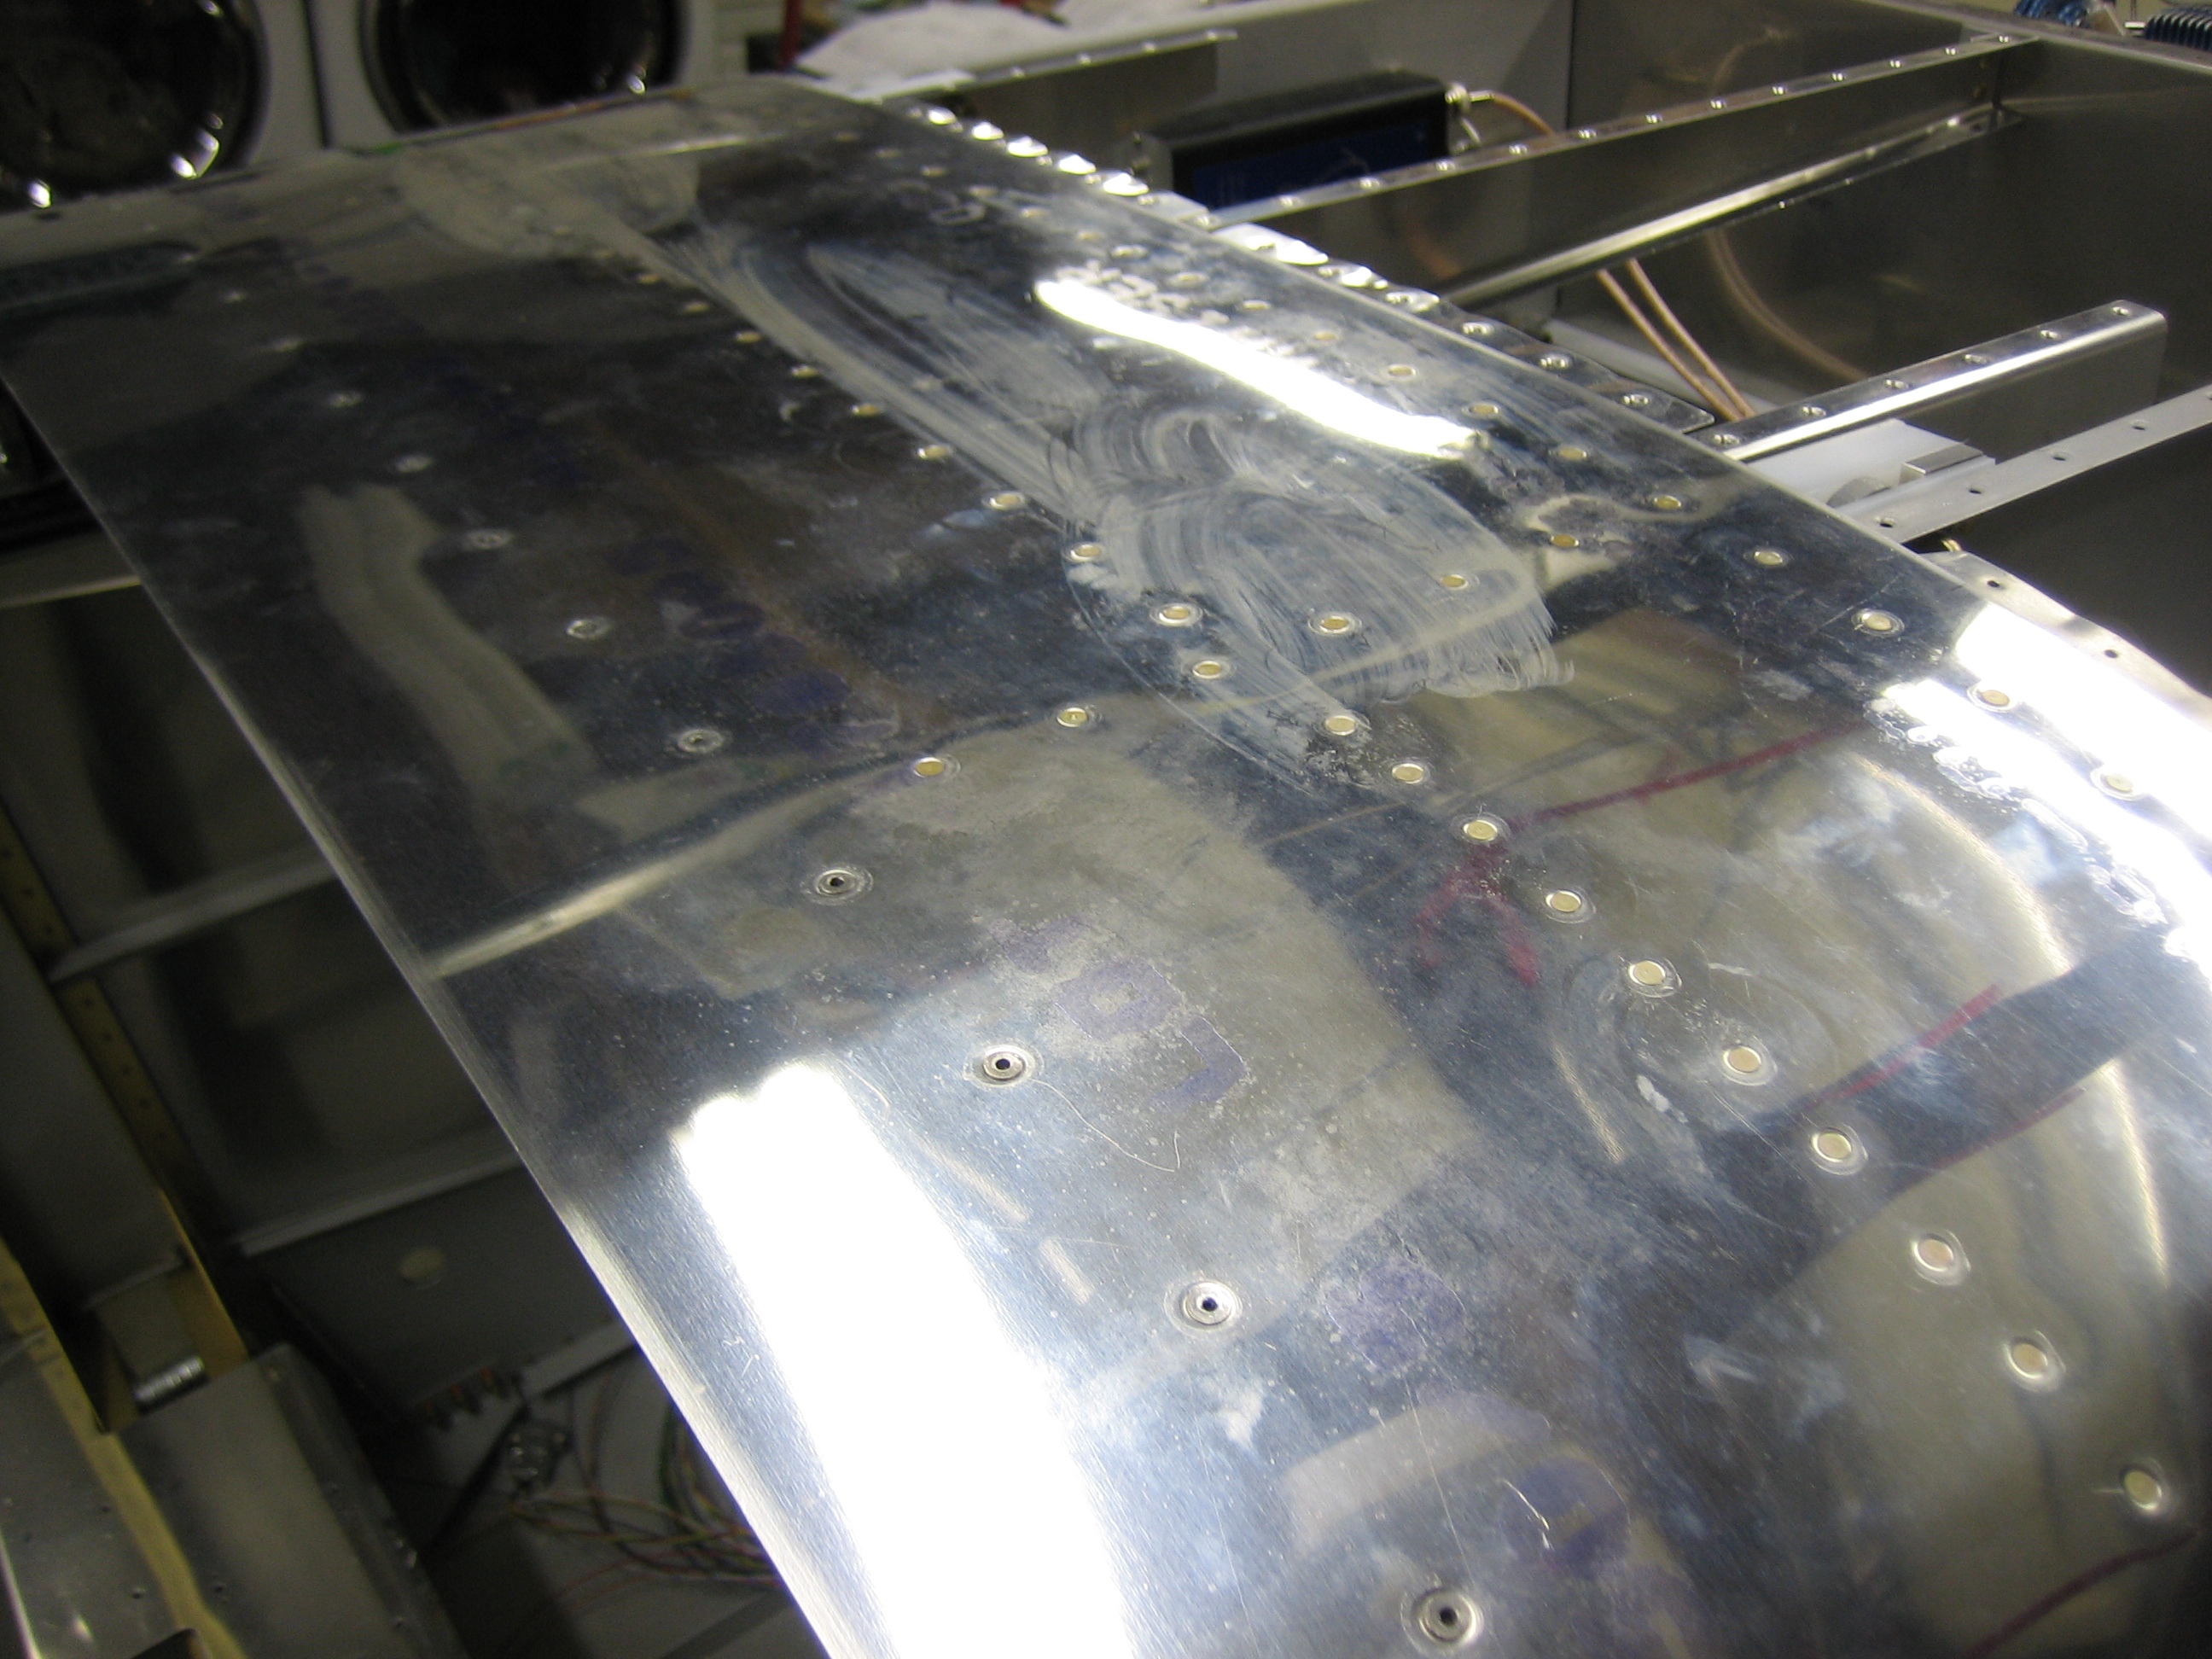
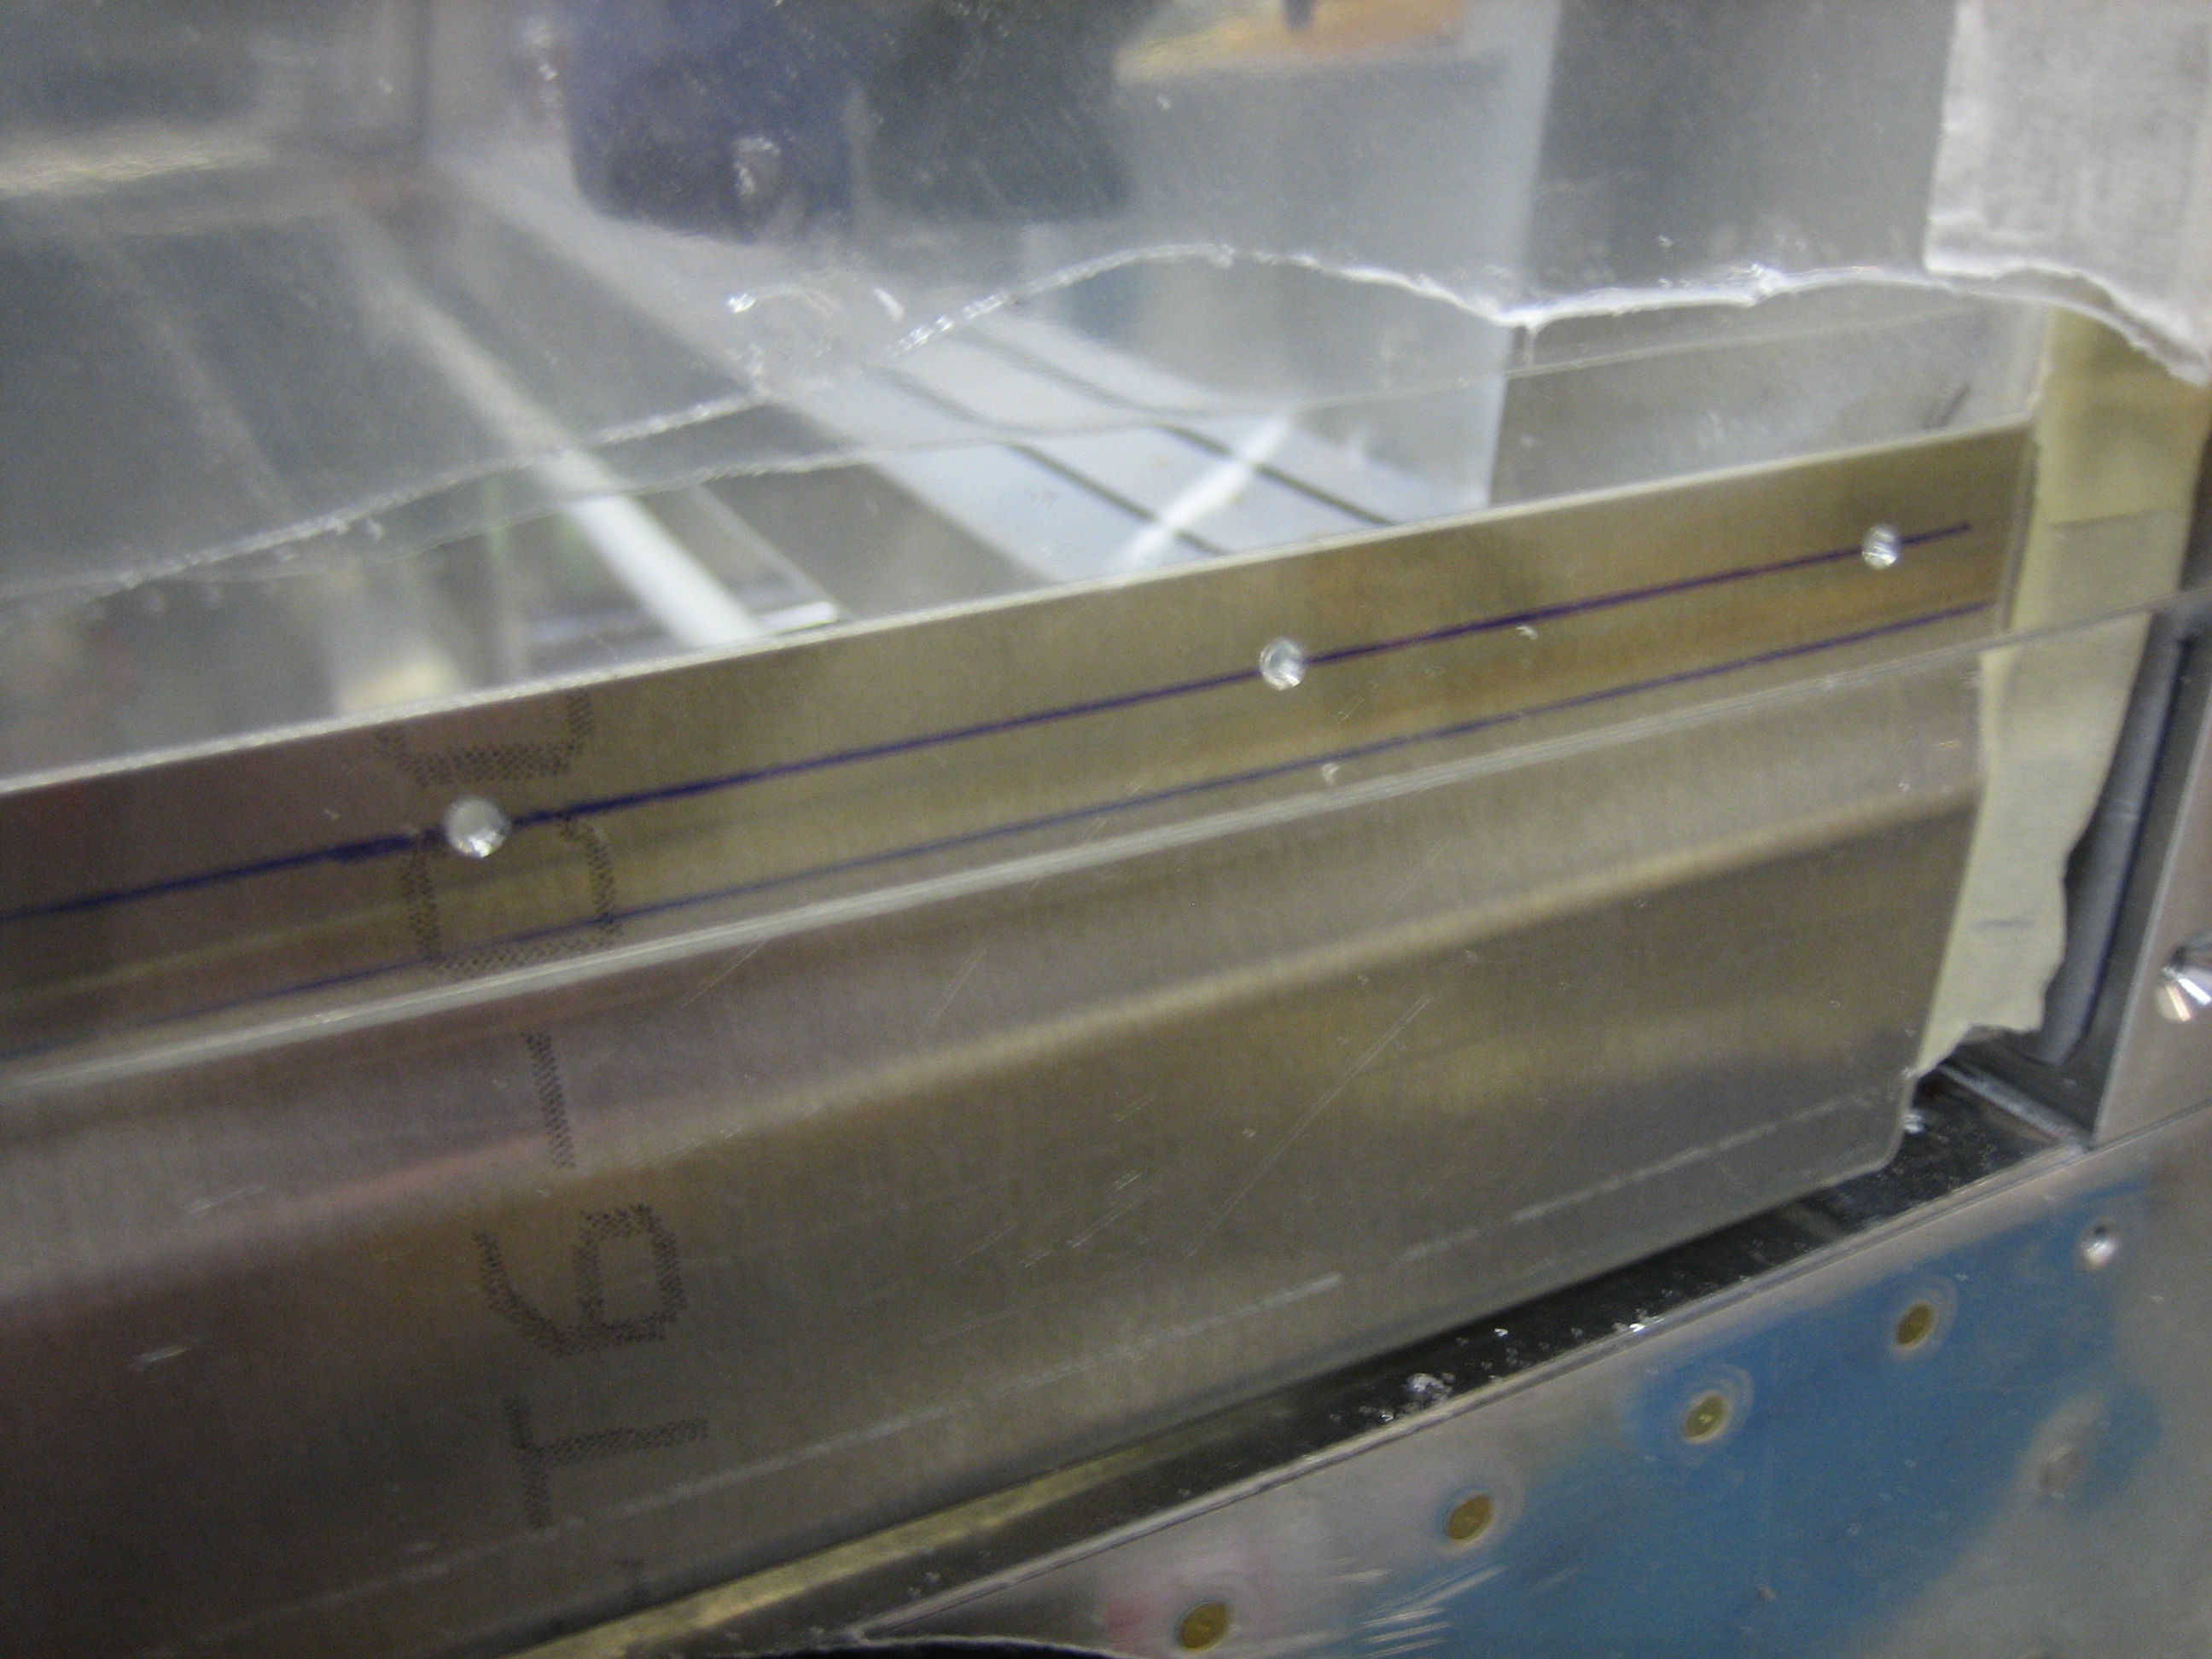
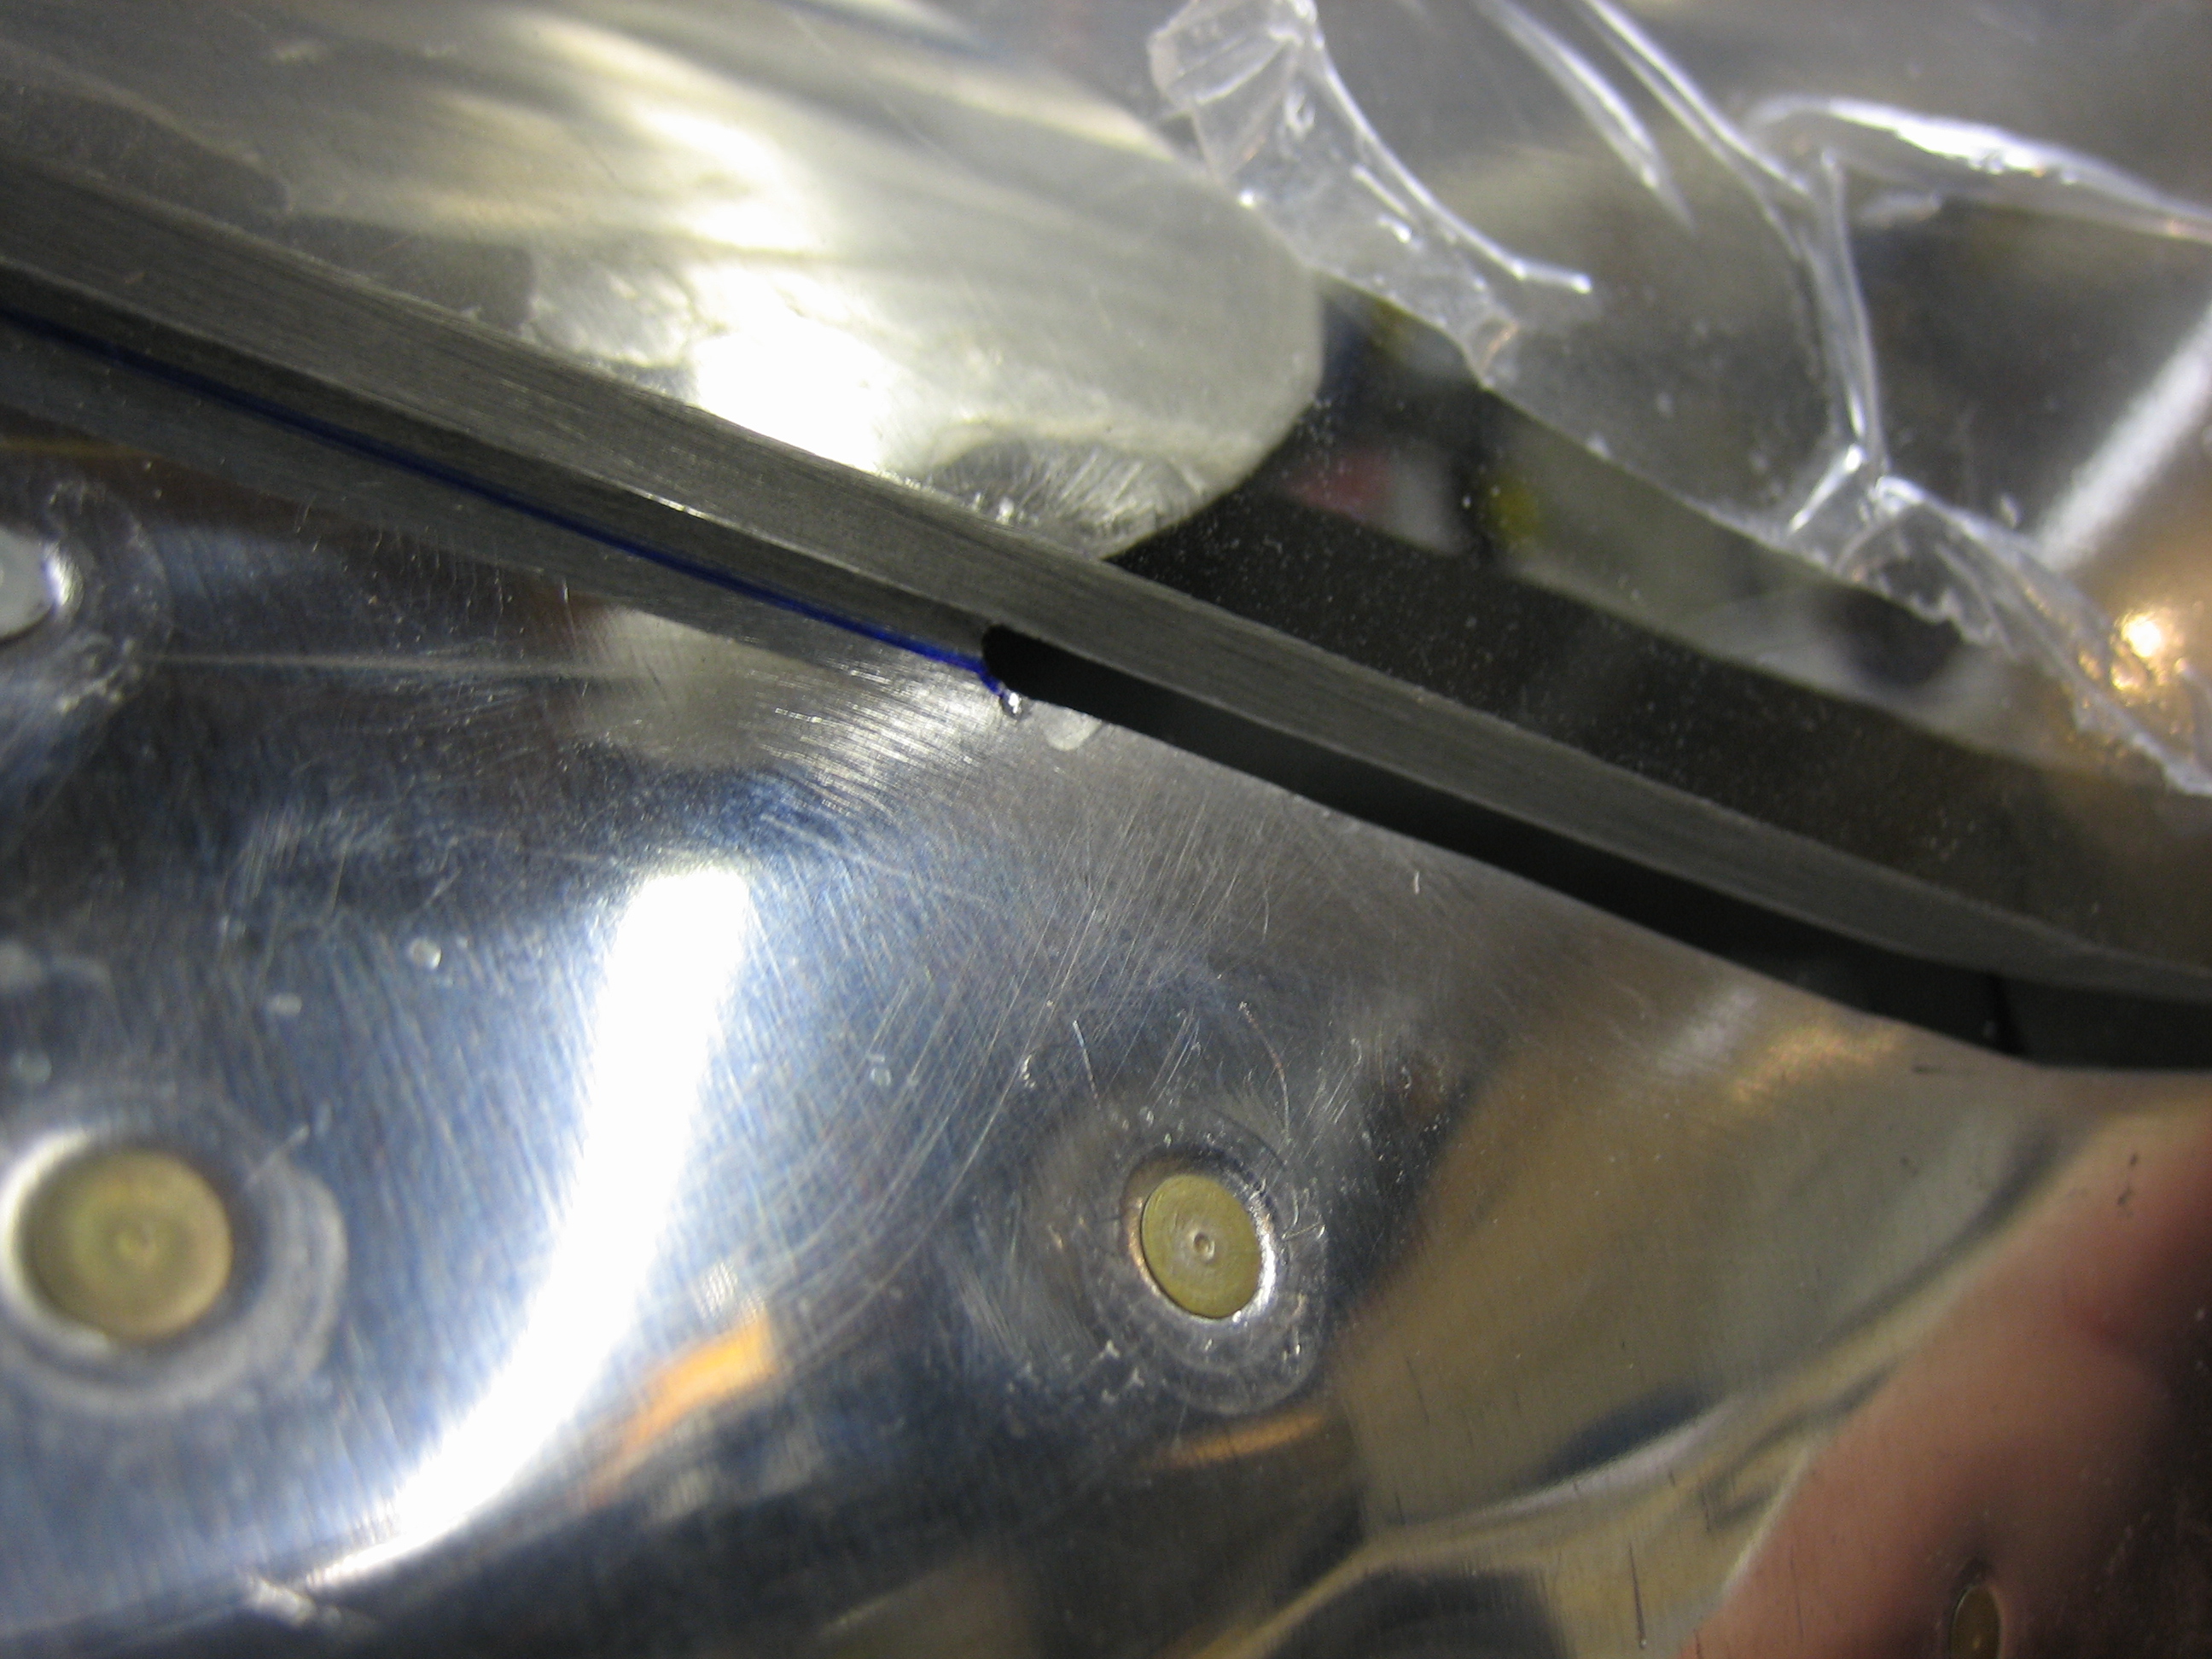
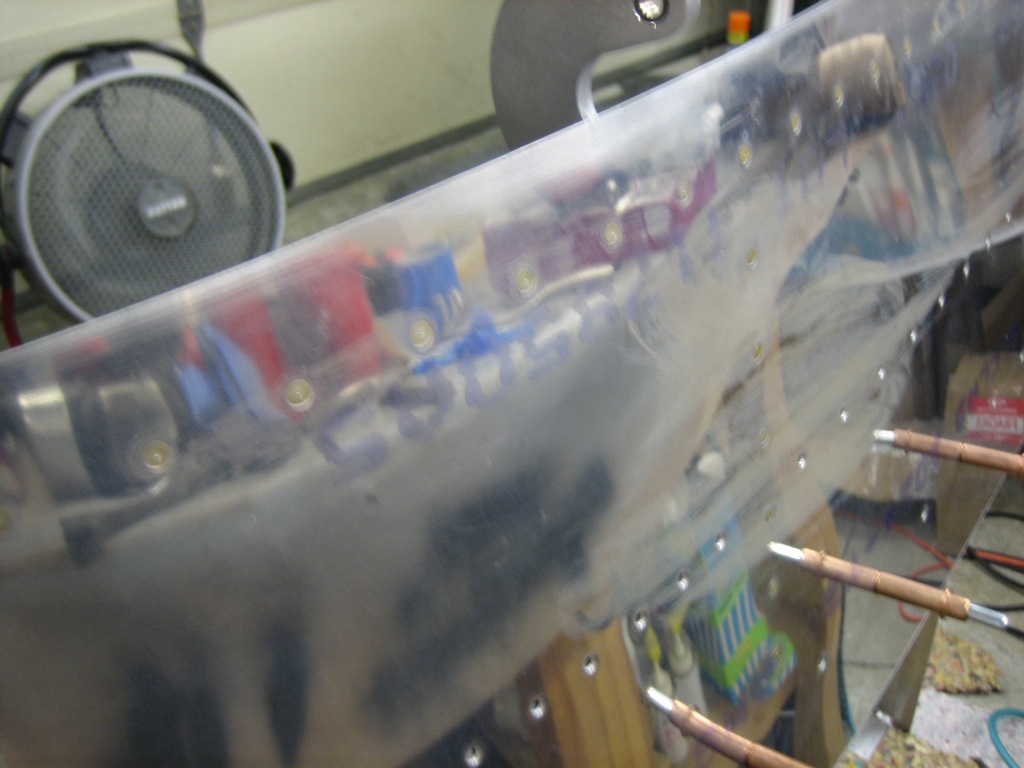
It’s a blurry picture, but we then riveted the skin to the canopy frame channel.  This was a bit tricky because the outer canopy frame reinforcement pieces needed to be bent out of the way to reach most of these rivets since it was already riveted on.  We couldn’t rivet it on afterward though because there wouldn’t be access to squeeze the rivets above.

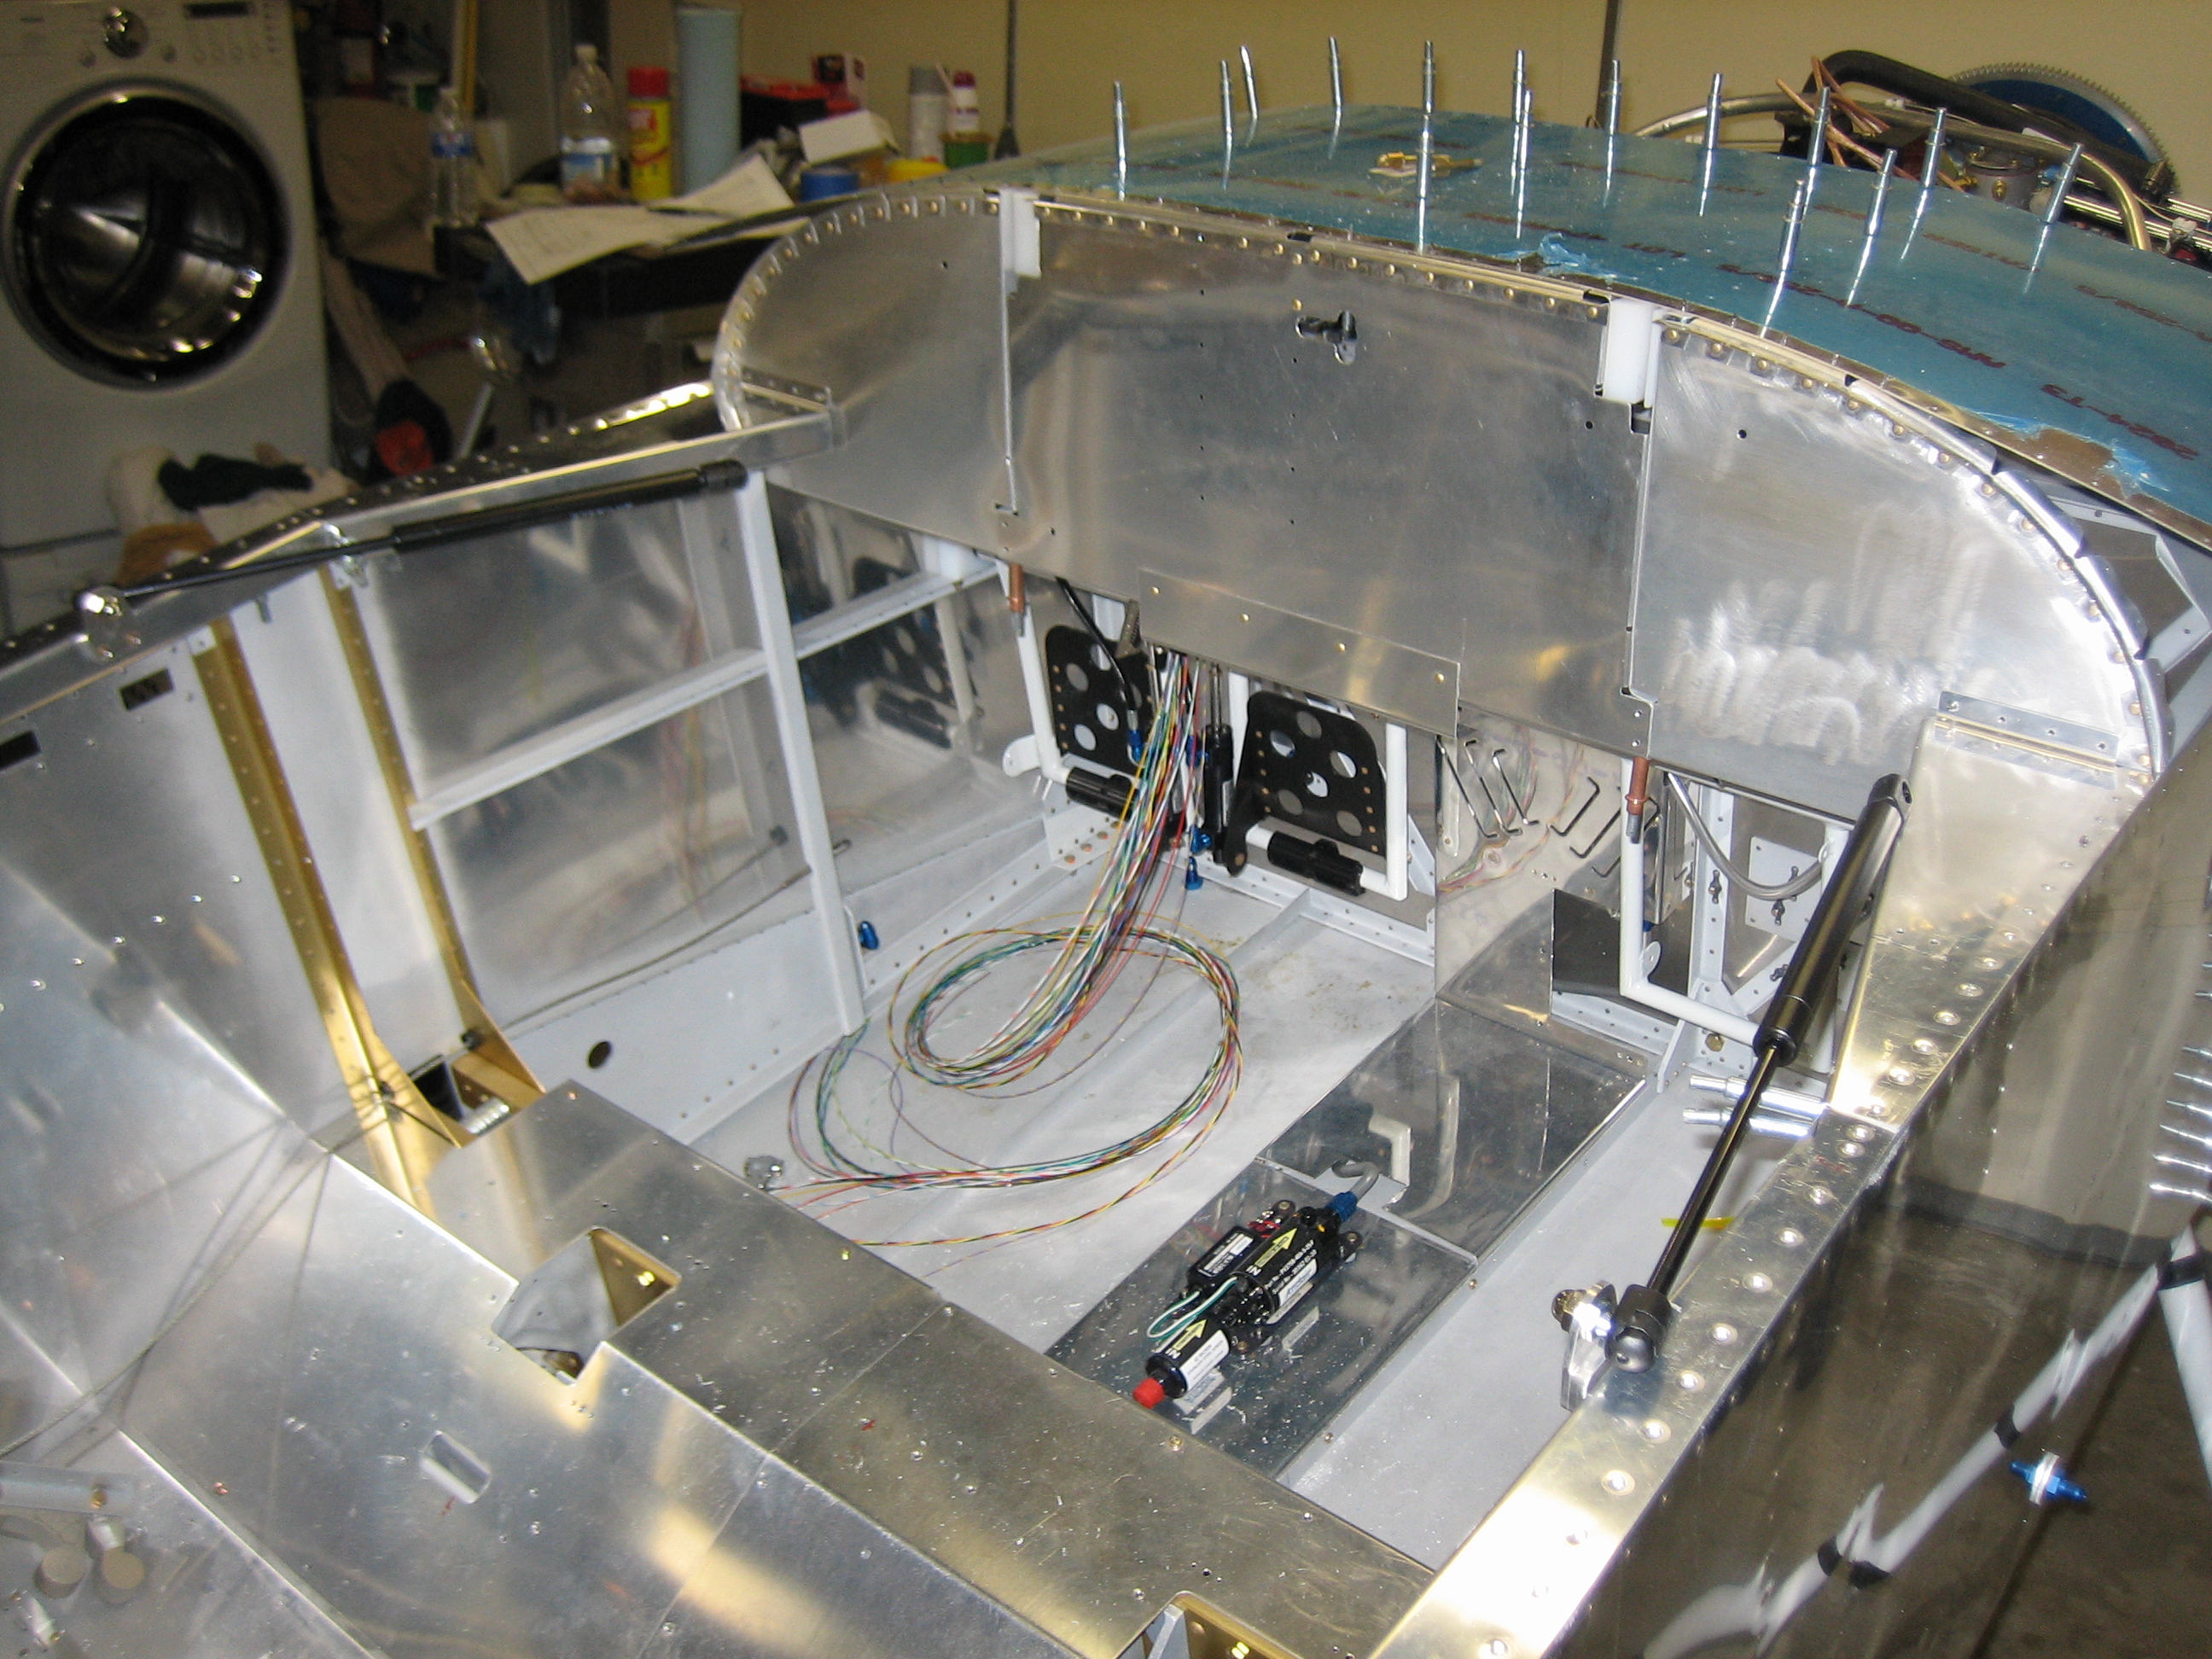
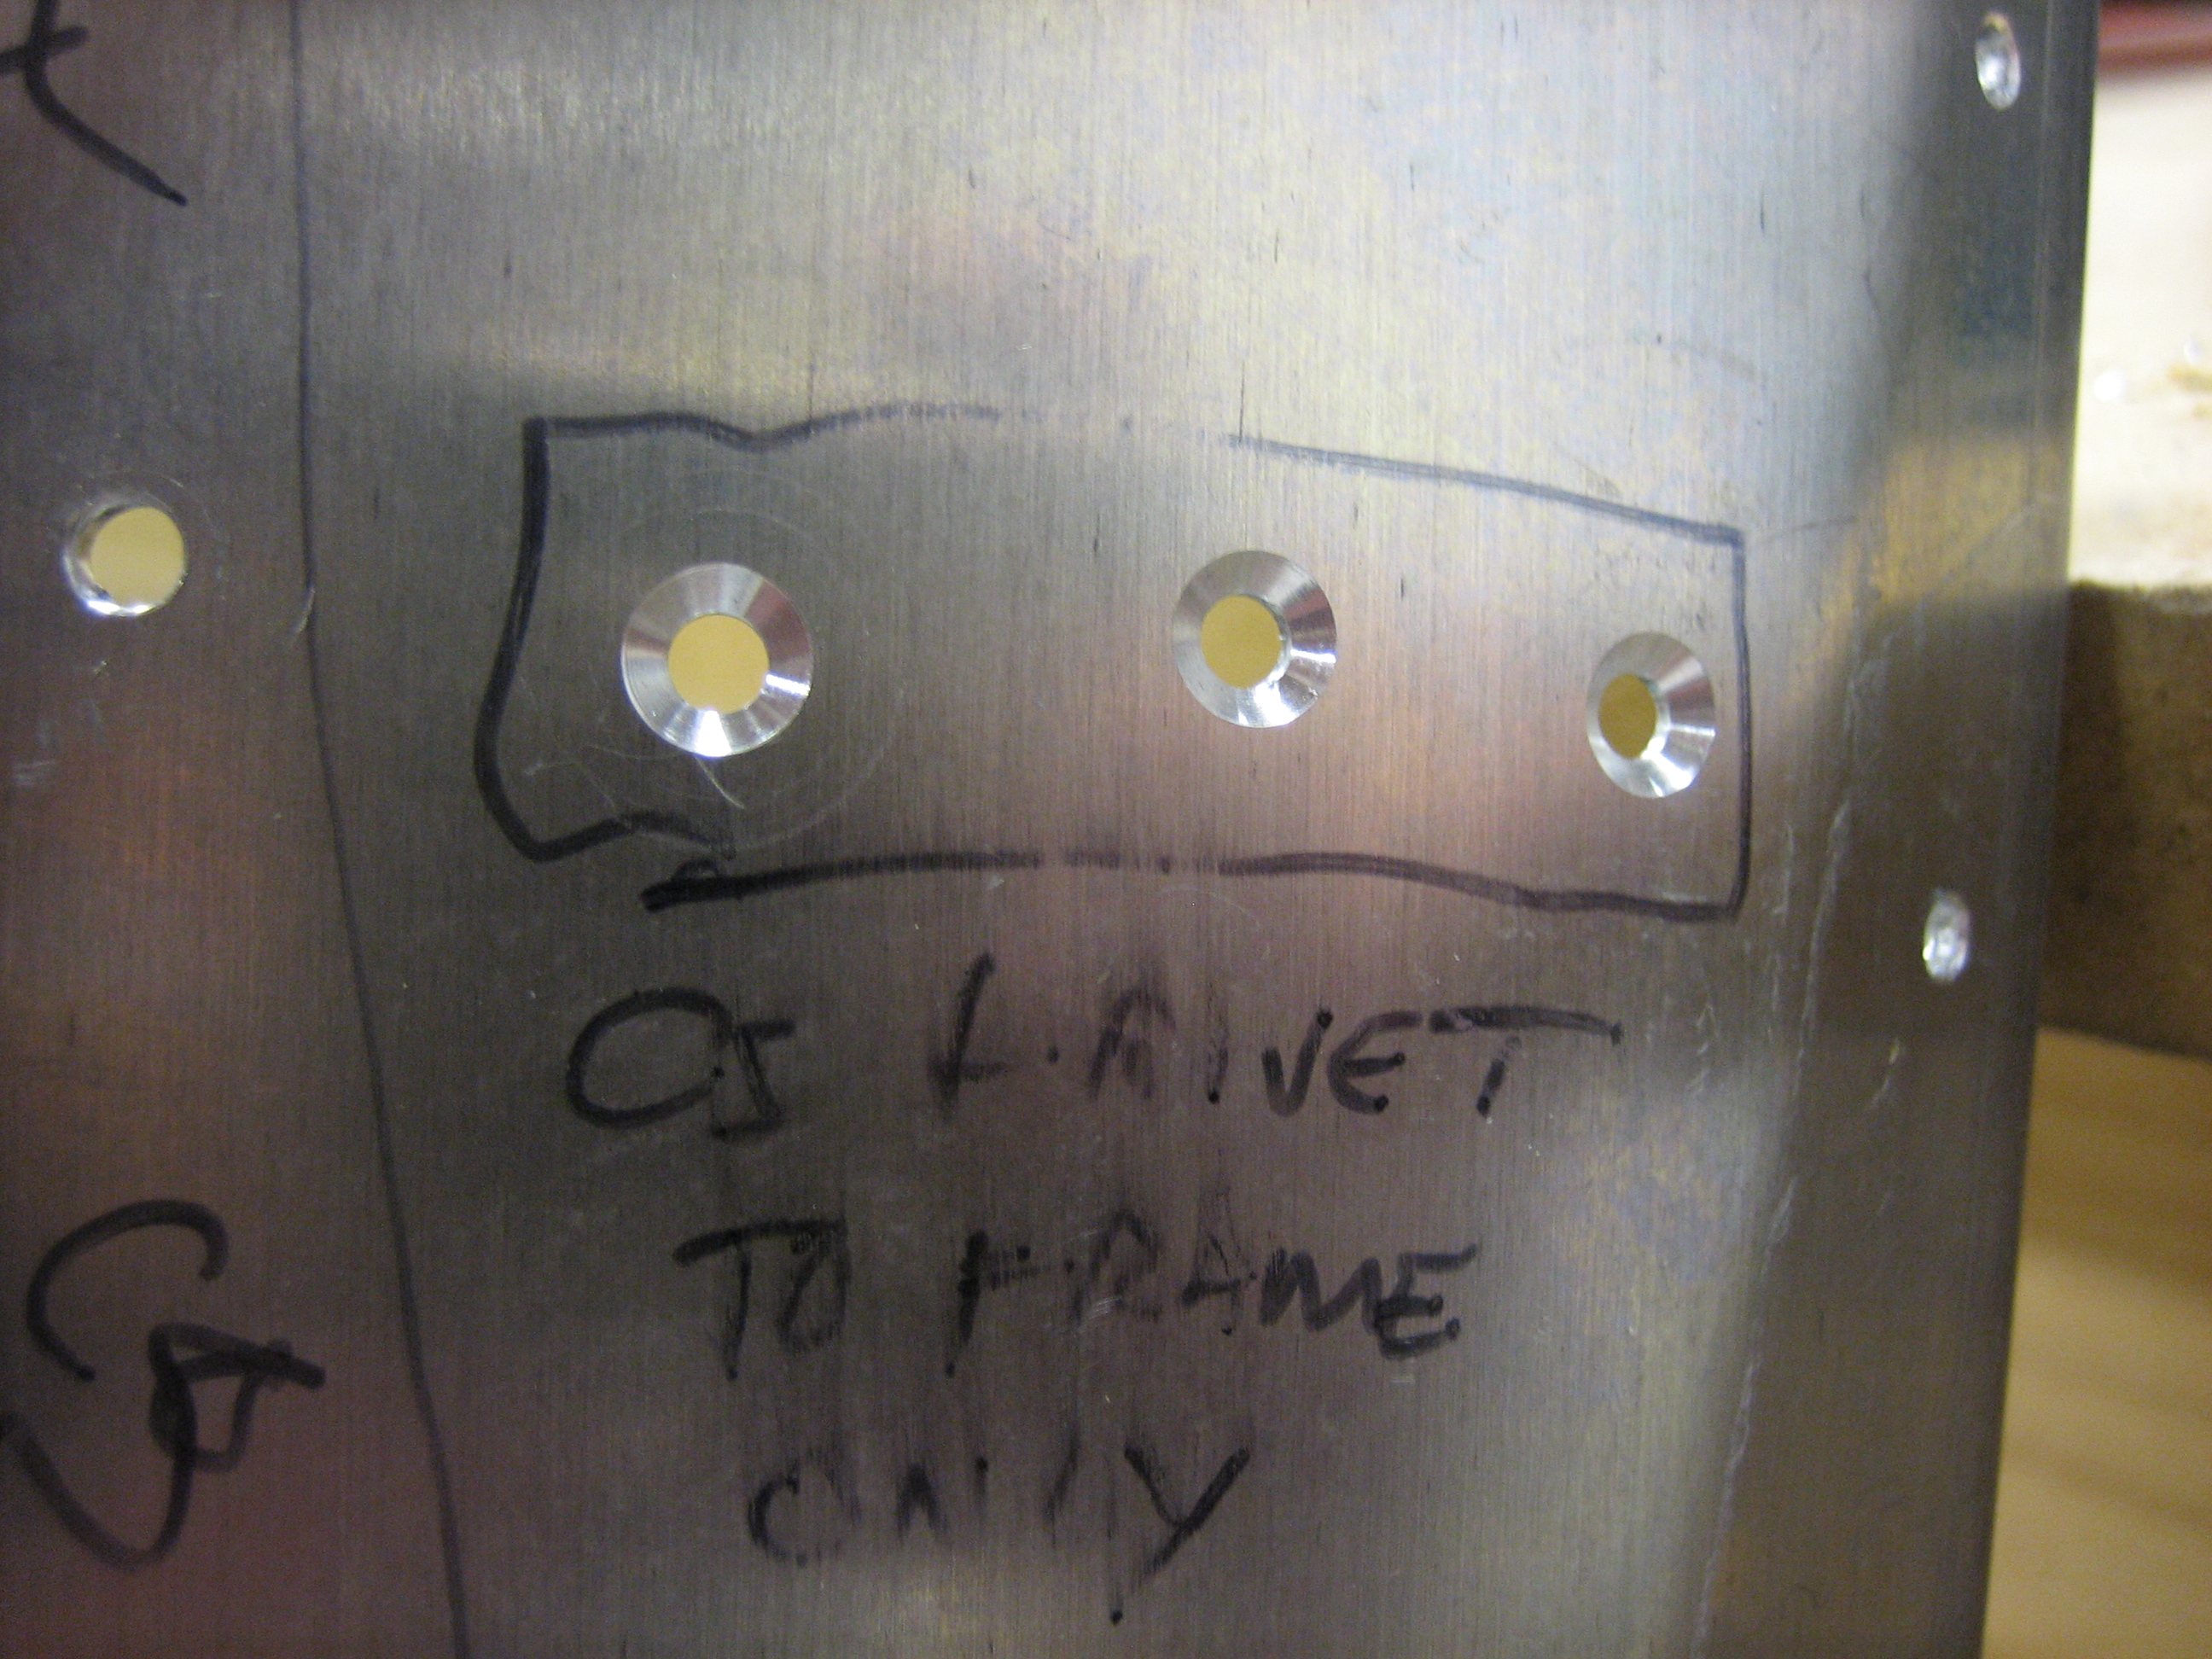
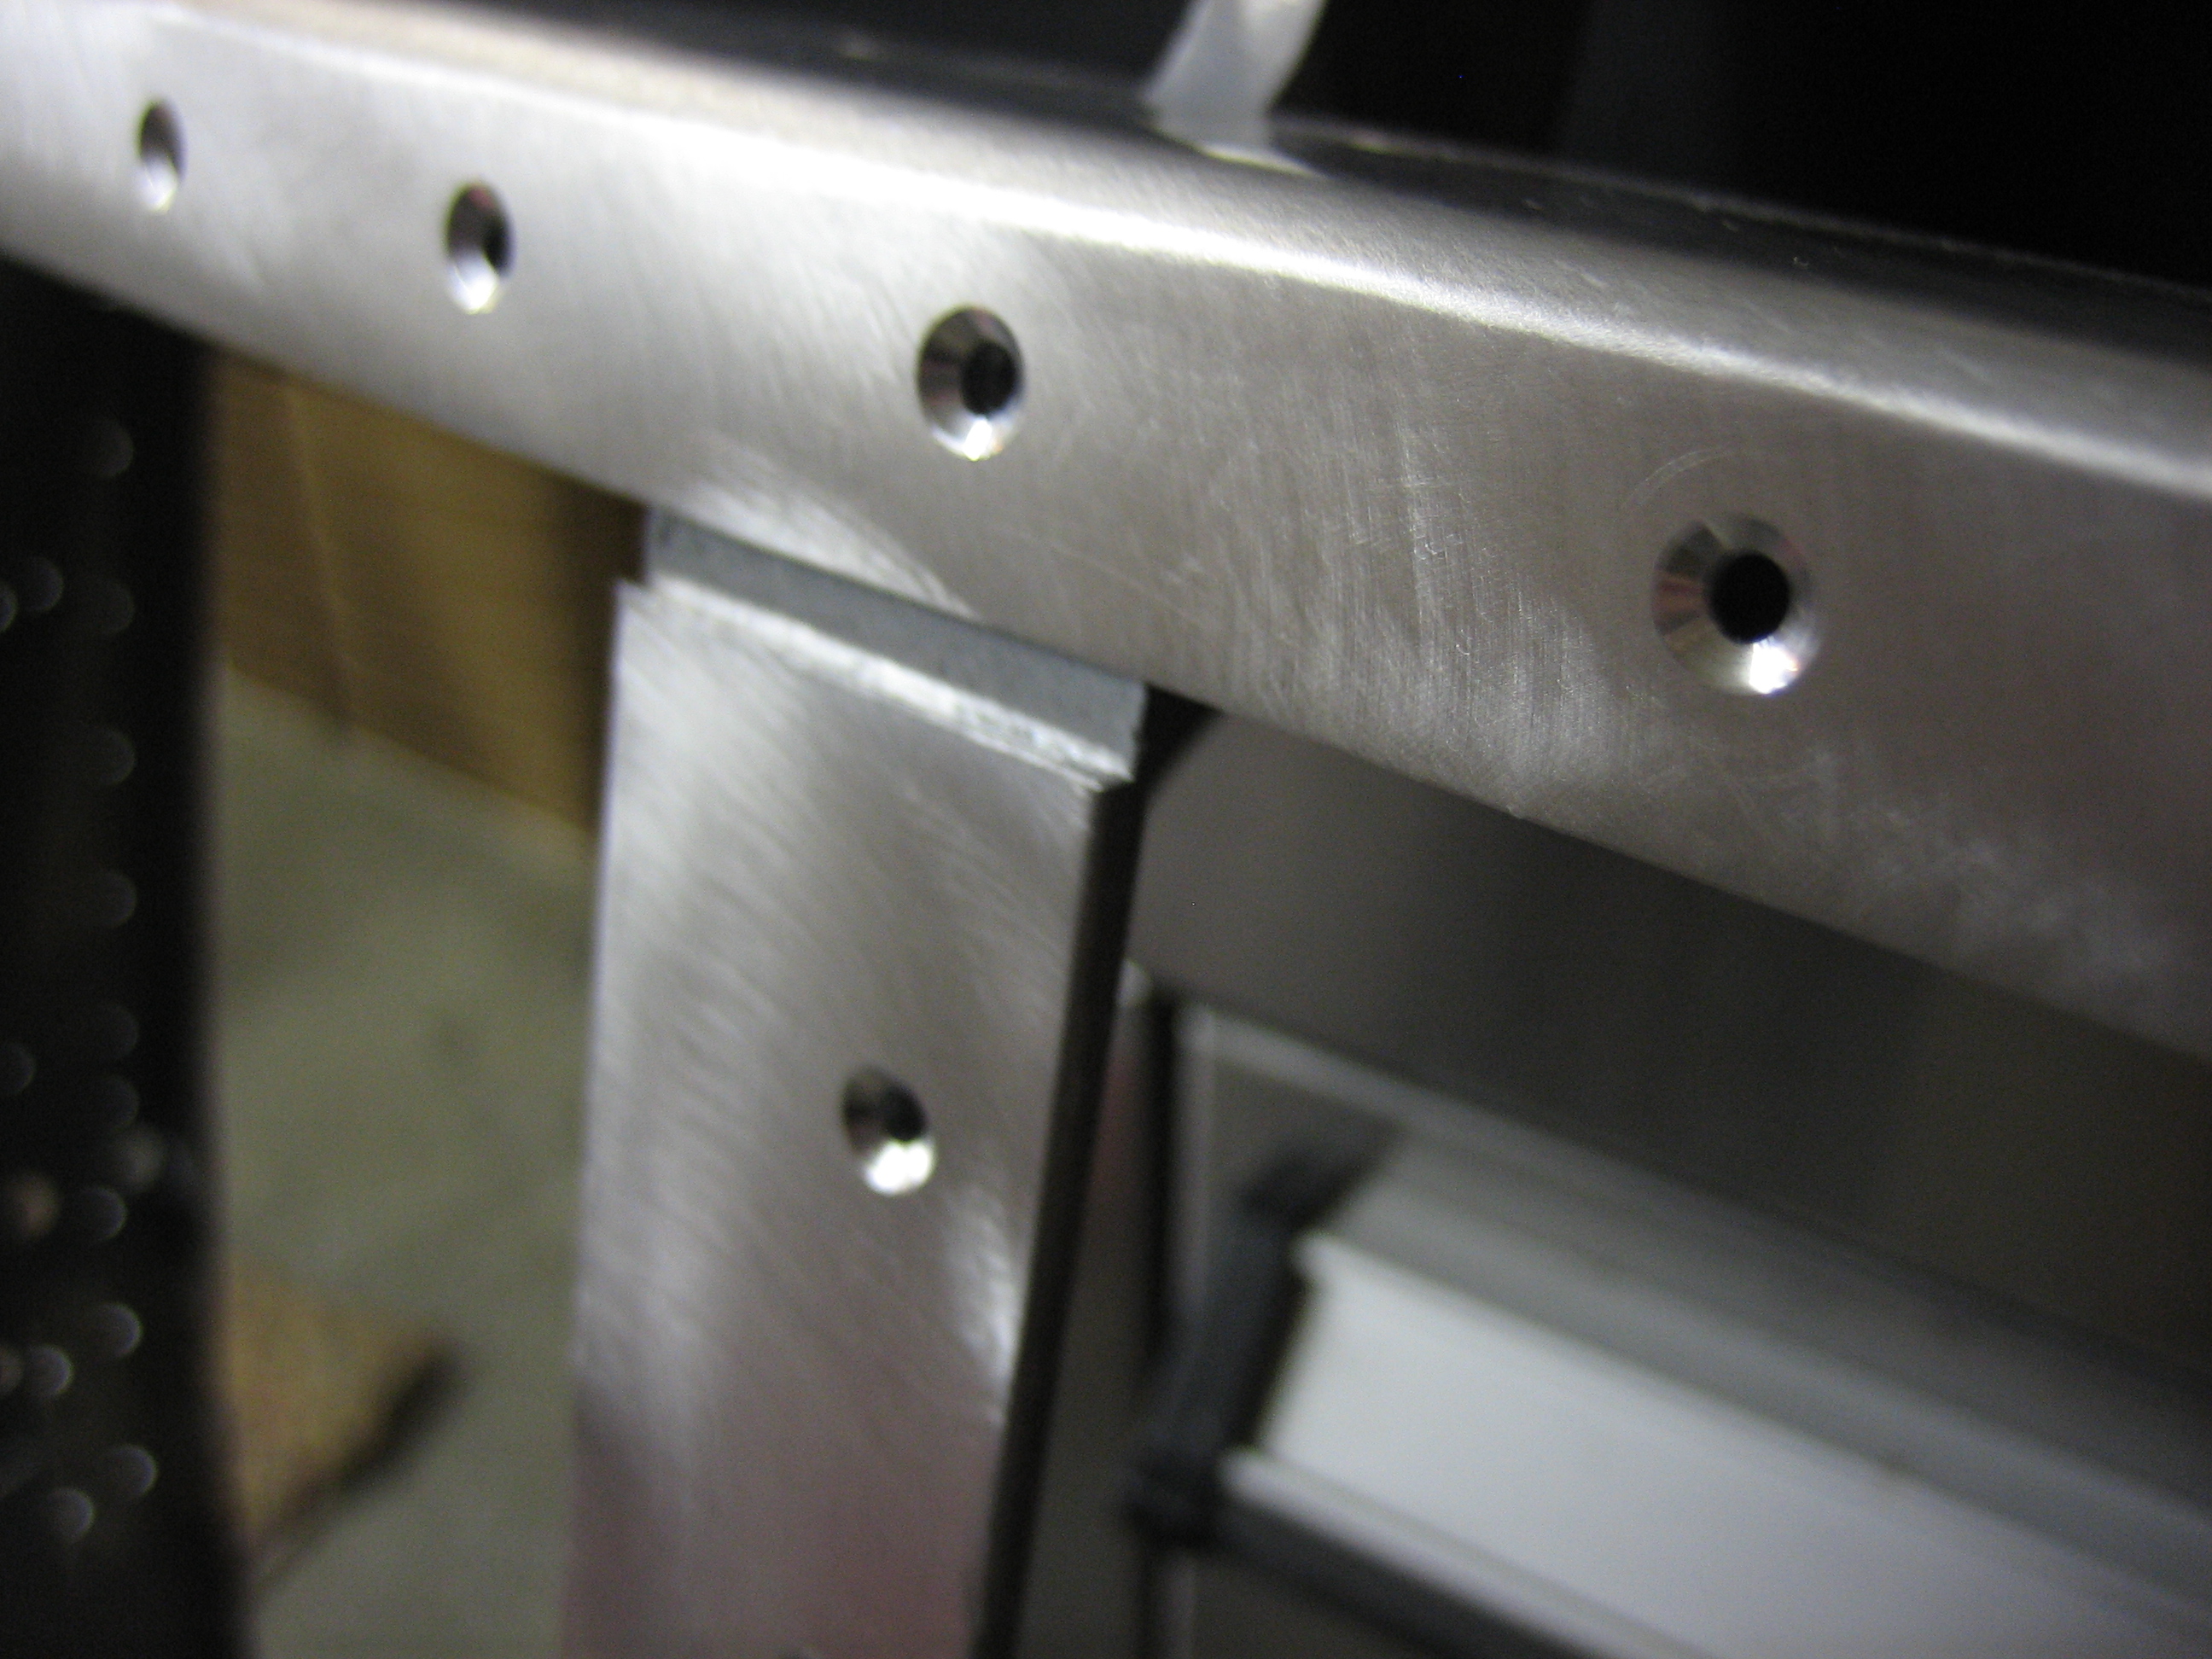
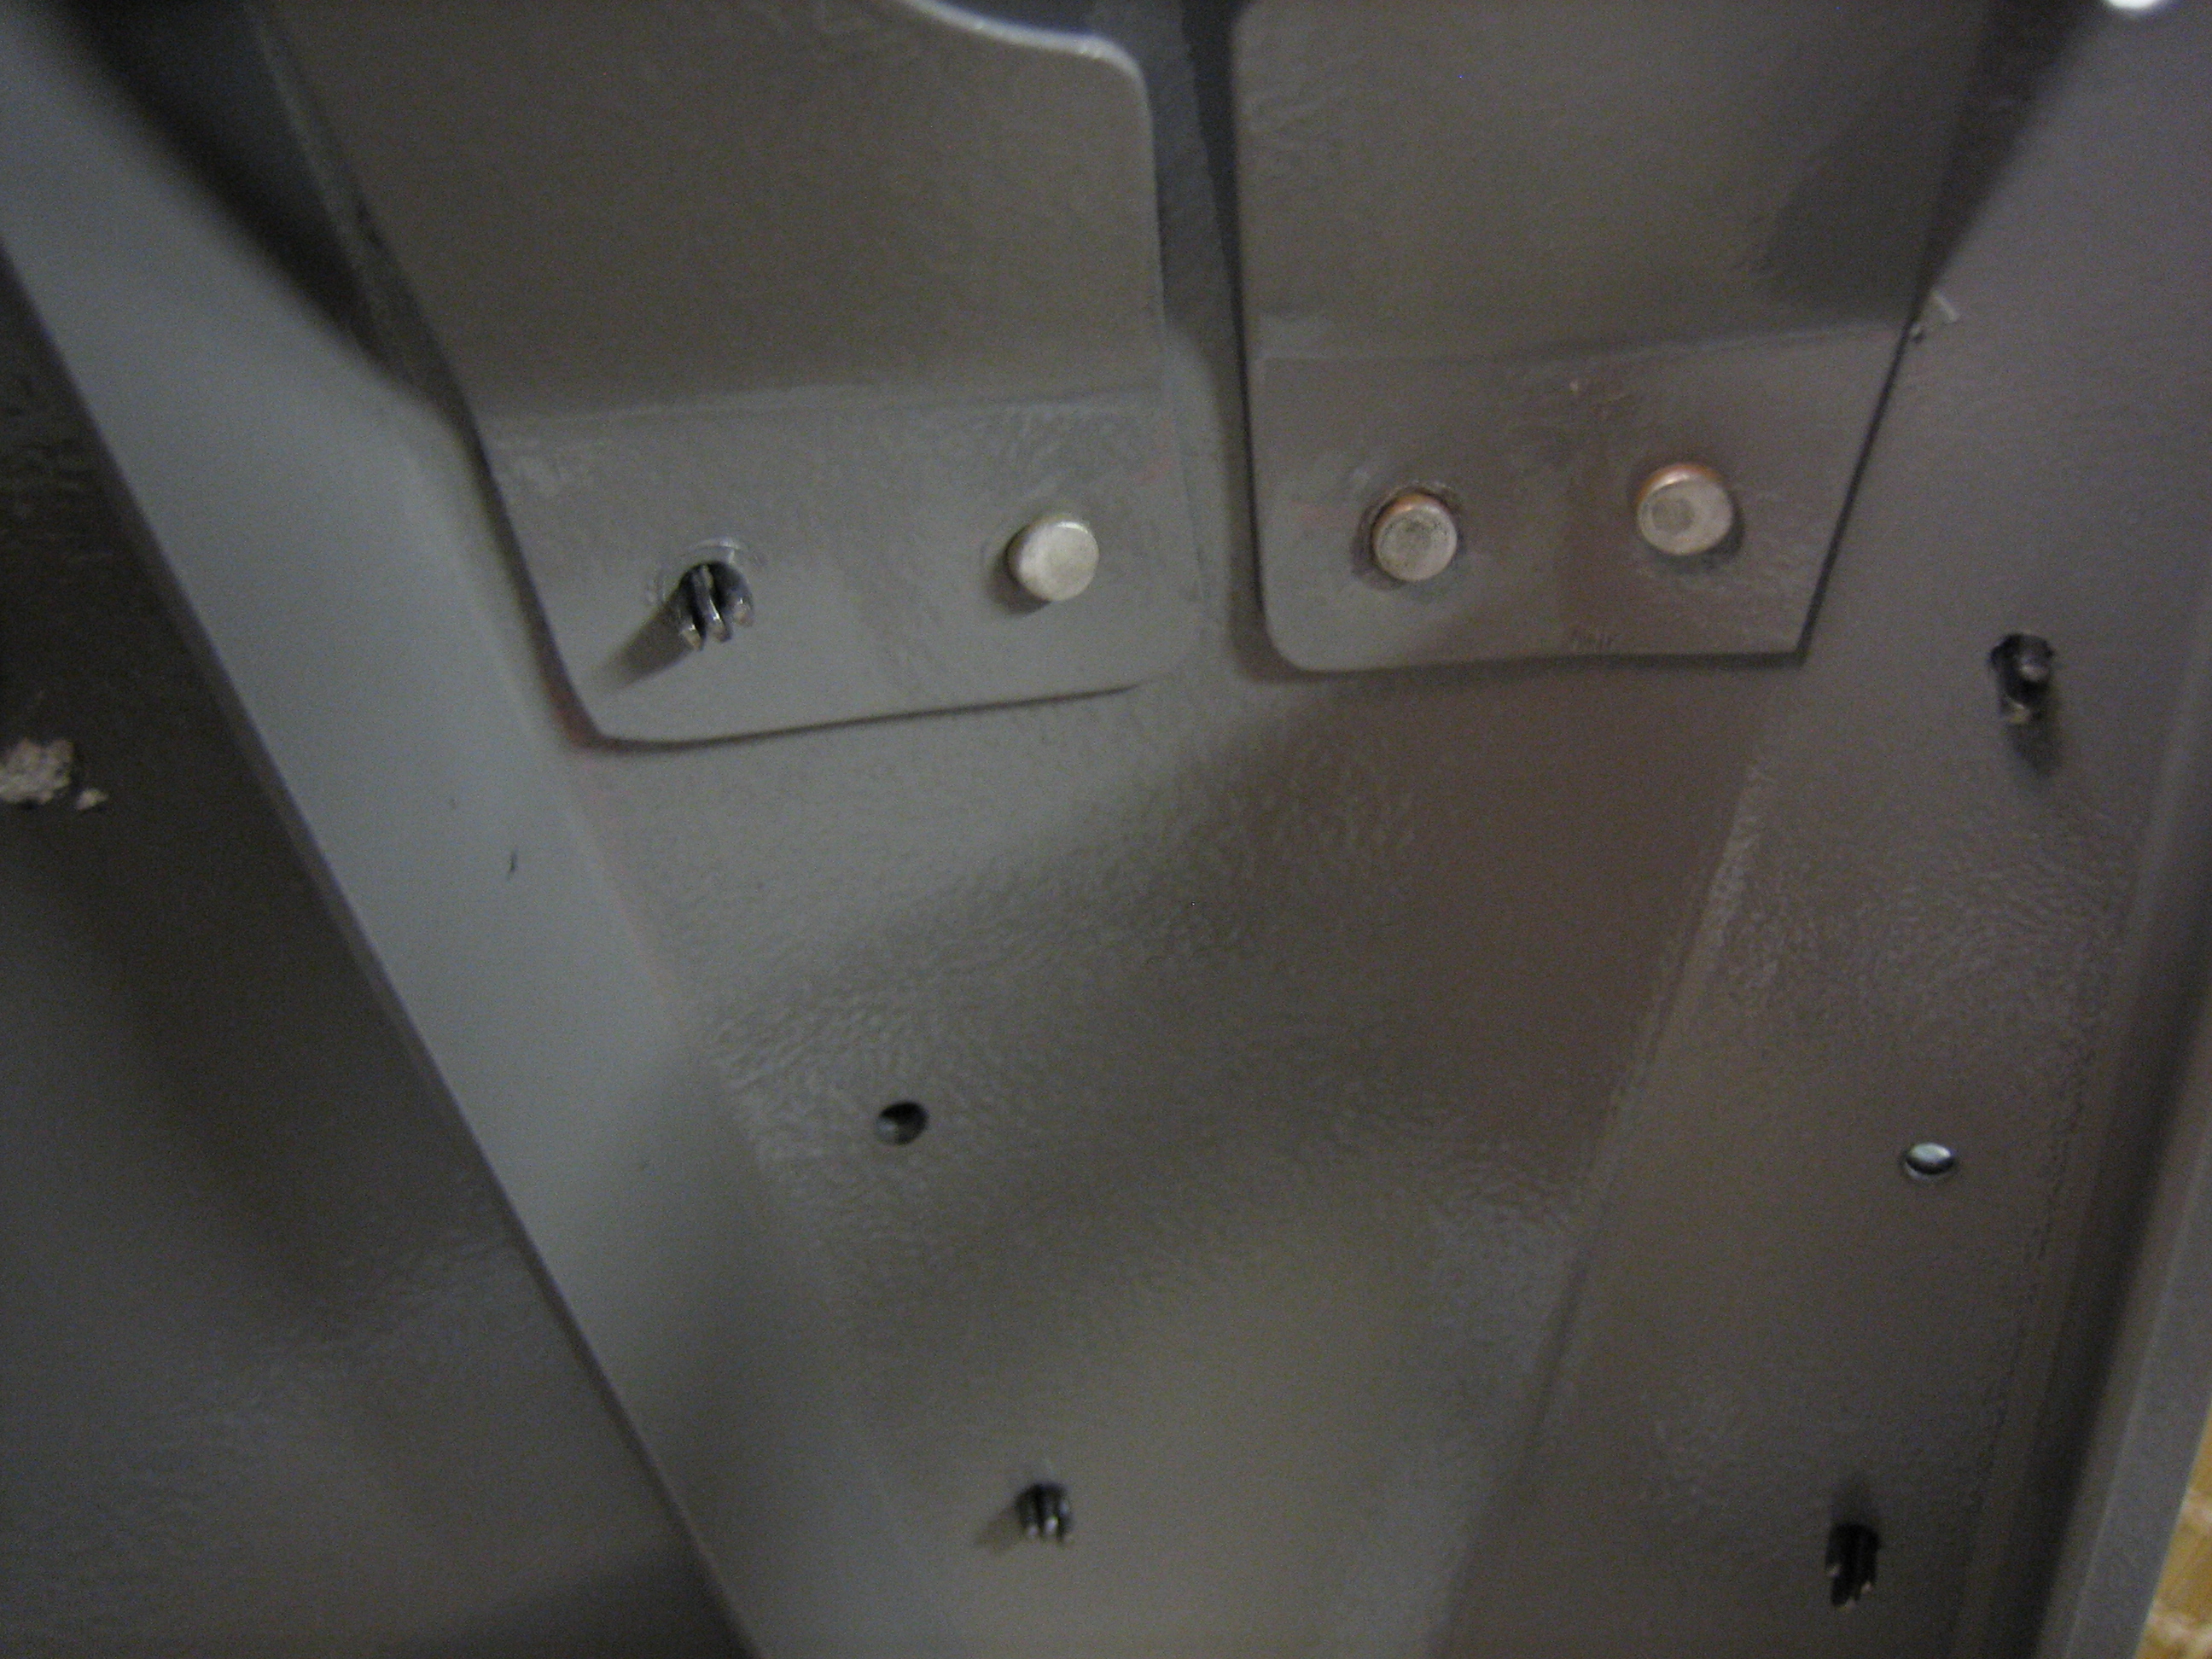
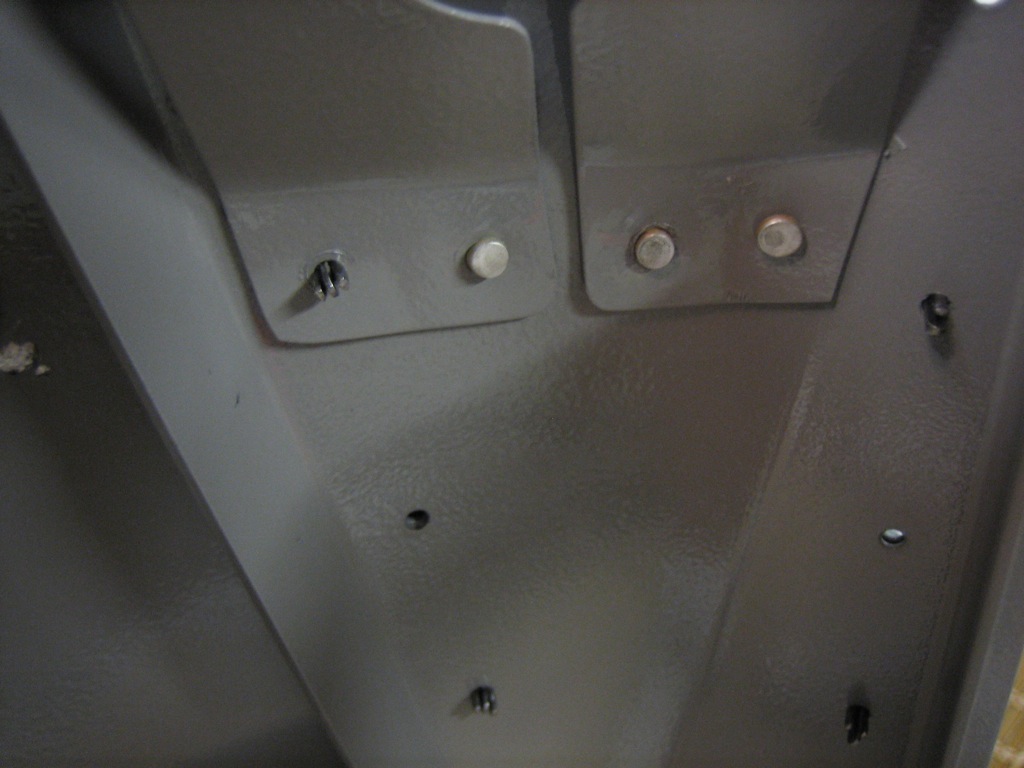
Finally, I pop riveted the forward end of the canopy frame reinforcements.  The rest of the riveting will happen once the canopy frame has been reinstalled on the fuselage and is in its final resting place.  Since these reinforcement pieces really stiffen the frame and lock everything in position, I don’t want to do this with the frame off the fuselage since it could lock in some twist.

Finished Riveting Canopy Frame

I finished the blind rivets through the tubing earlier this week, and Andre stopped by today and helped me knock out the remaining rivets through the cabin frame reinforcements.  This really stiffened up the cabin frame.  Now that everything is locked in its final place, I can make the final canopy trims and drill the holes that define its final position.

Final Fitting of Canopy

I taped the canopy down tight and marked the final trim lines on the side.  Afterward, I removed the canopy and used the belt sander to sand up to the lines.

Next, I laid out the holes that attach the canopy to the side channels and skirts.  I ended up using ~2 3/32″ (instead of 2″ as the plans specify) since I lengthened the side skirts.

Pulling the side skins in tight against the side channels puts a lot of pressure at the forward end of the notch in the canopy skin.  I’m going to cut along the blue line a bit to allow the upper portion of the skin to flex downward and hopefully ease this transition to avoid any localized stress on the canopy which could lead to cracking.