I pulled the canopy off so that I can finish up the canopy frame.
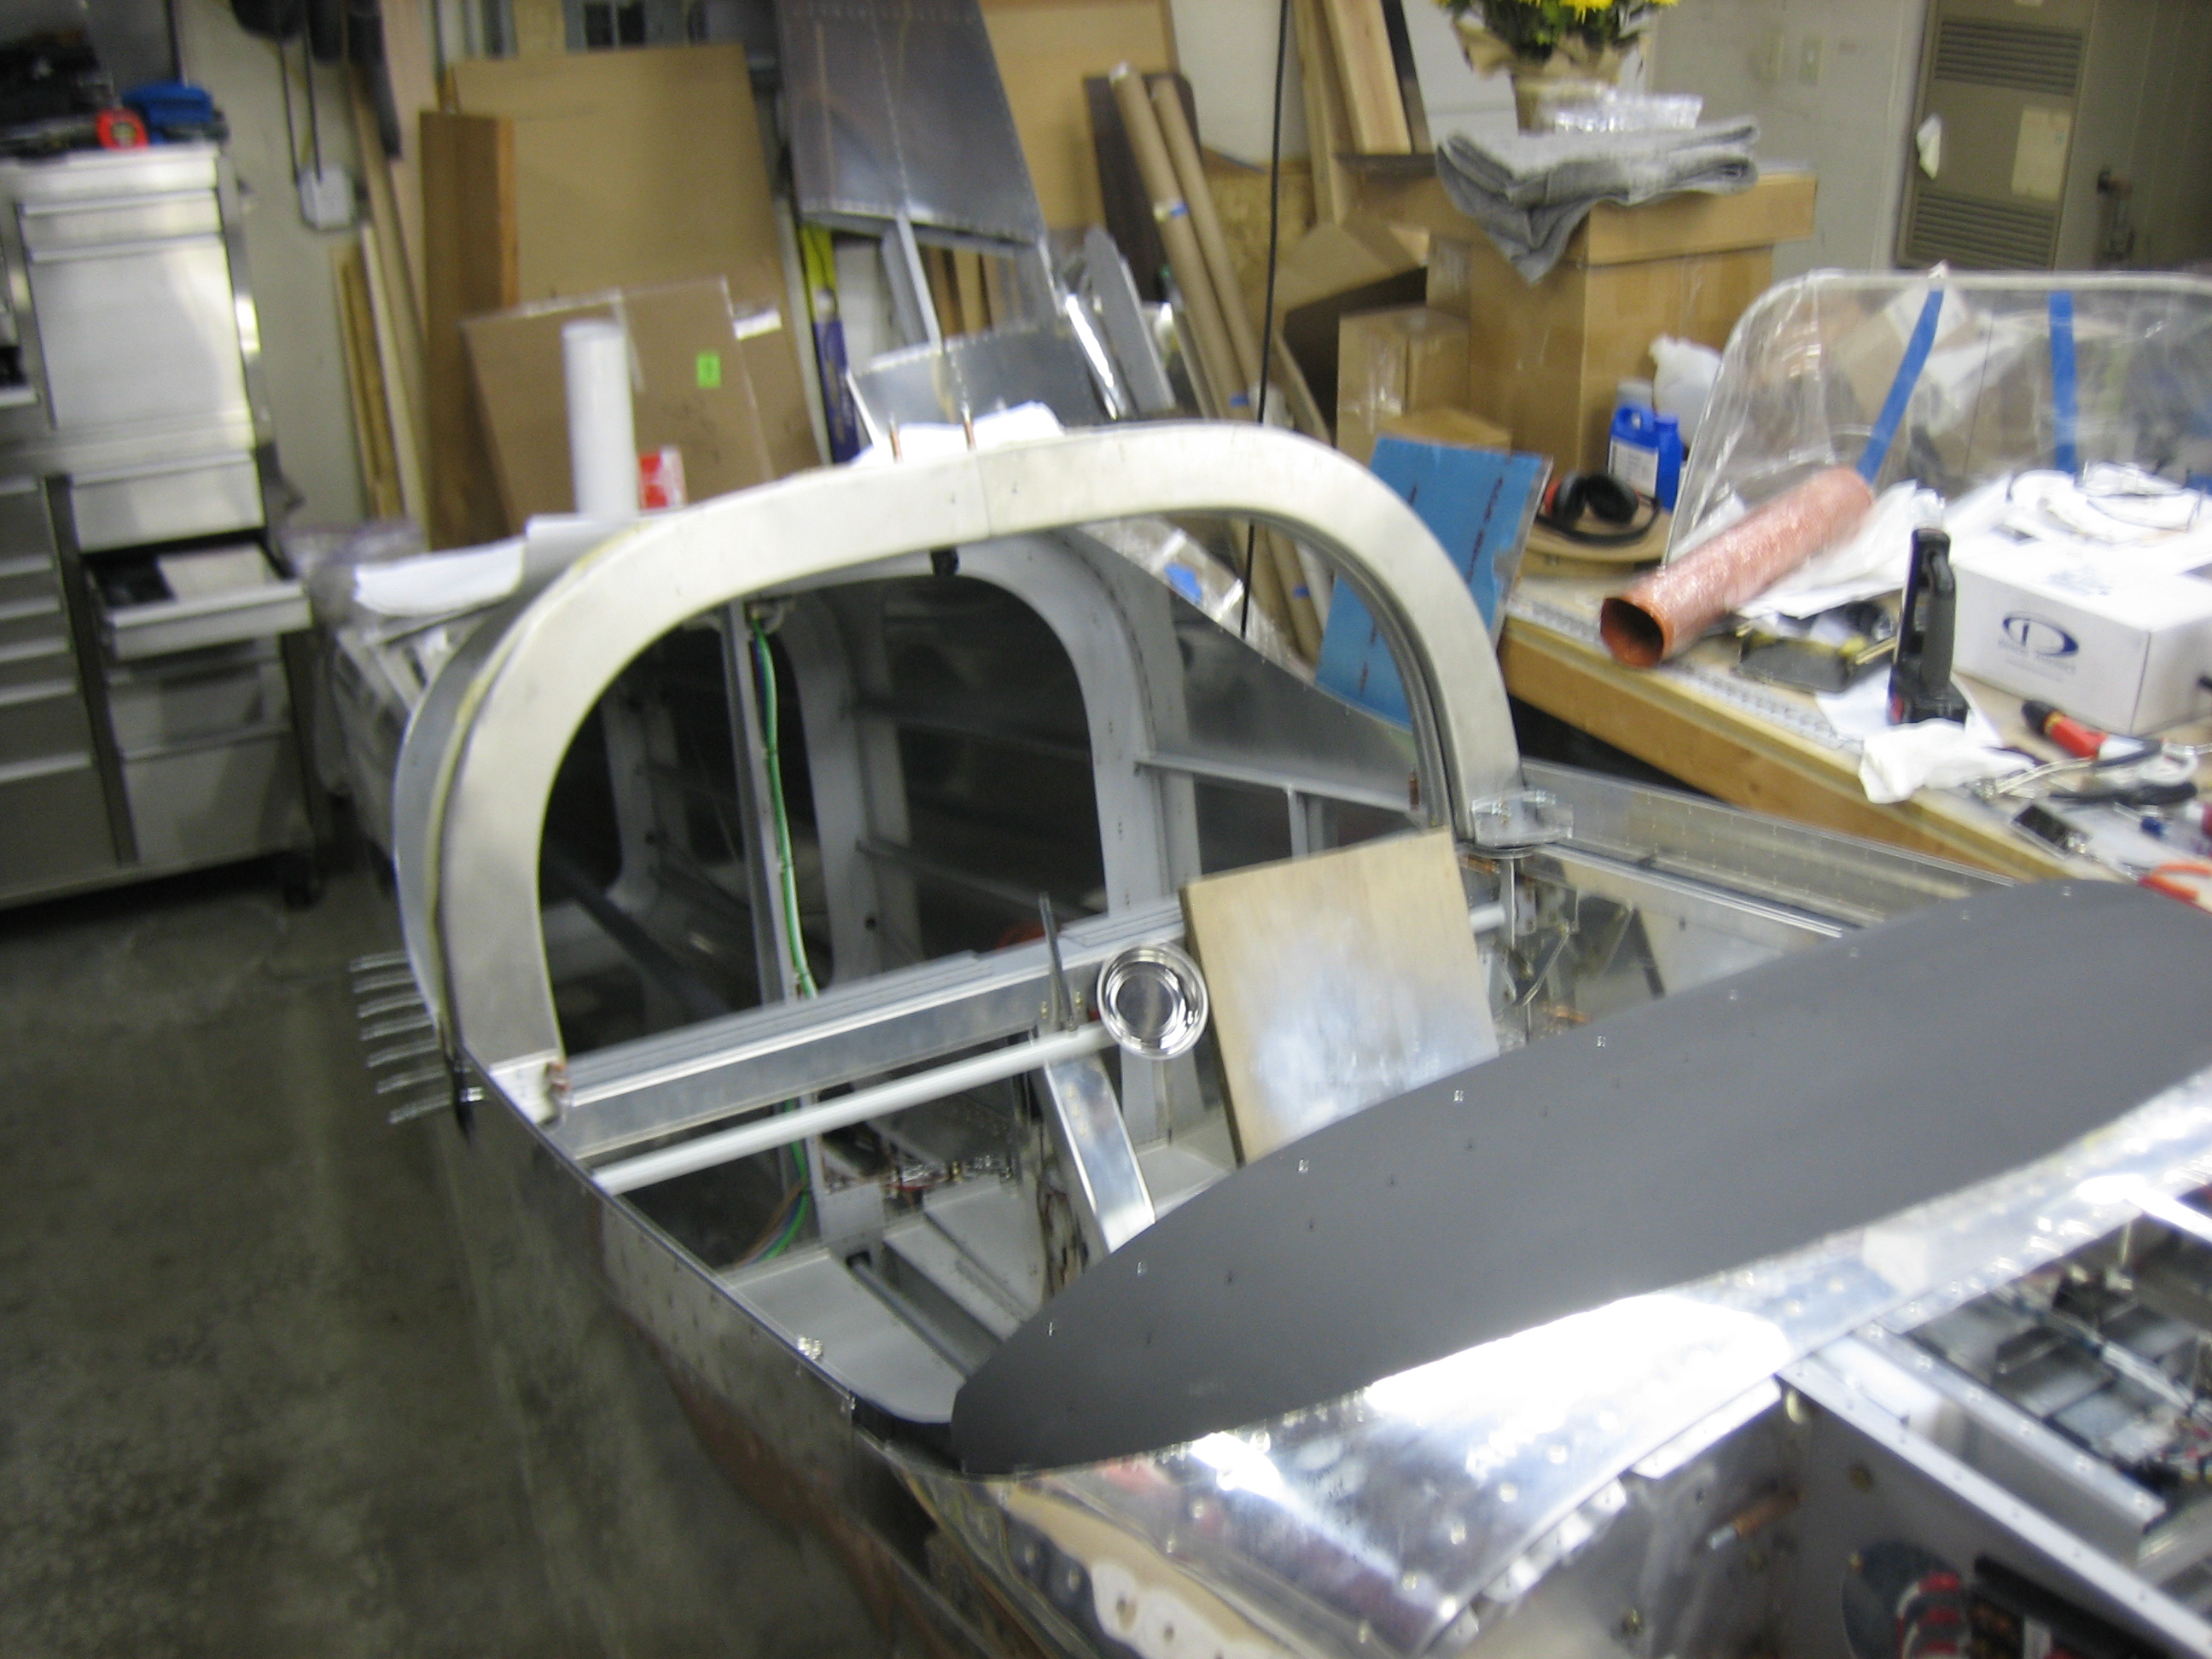
I drilled out the canopy attach lug and frame for some AN3 bolts. Afterward, I drilled the remaining holes out to #30.

I pulled the canopy off so that I can finish up the canopy frame.
I drilled out the canopy attach lug and frame for some AN3 bolts. Afterward, I drilled the remaining holes out to #30.
I repeated the work from last night on the right side of the canopy frame.
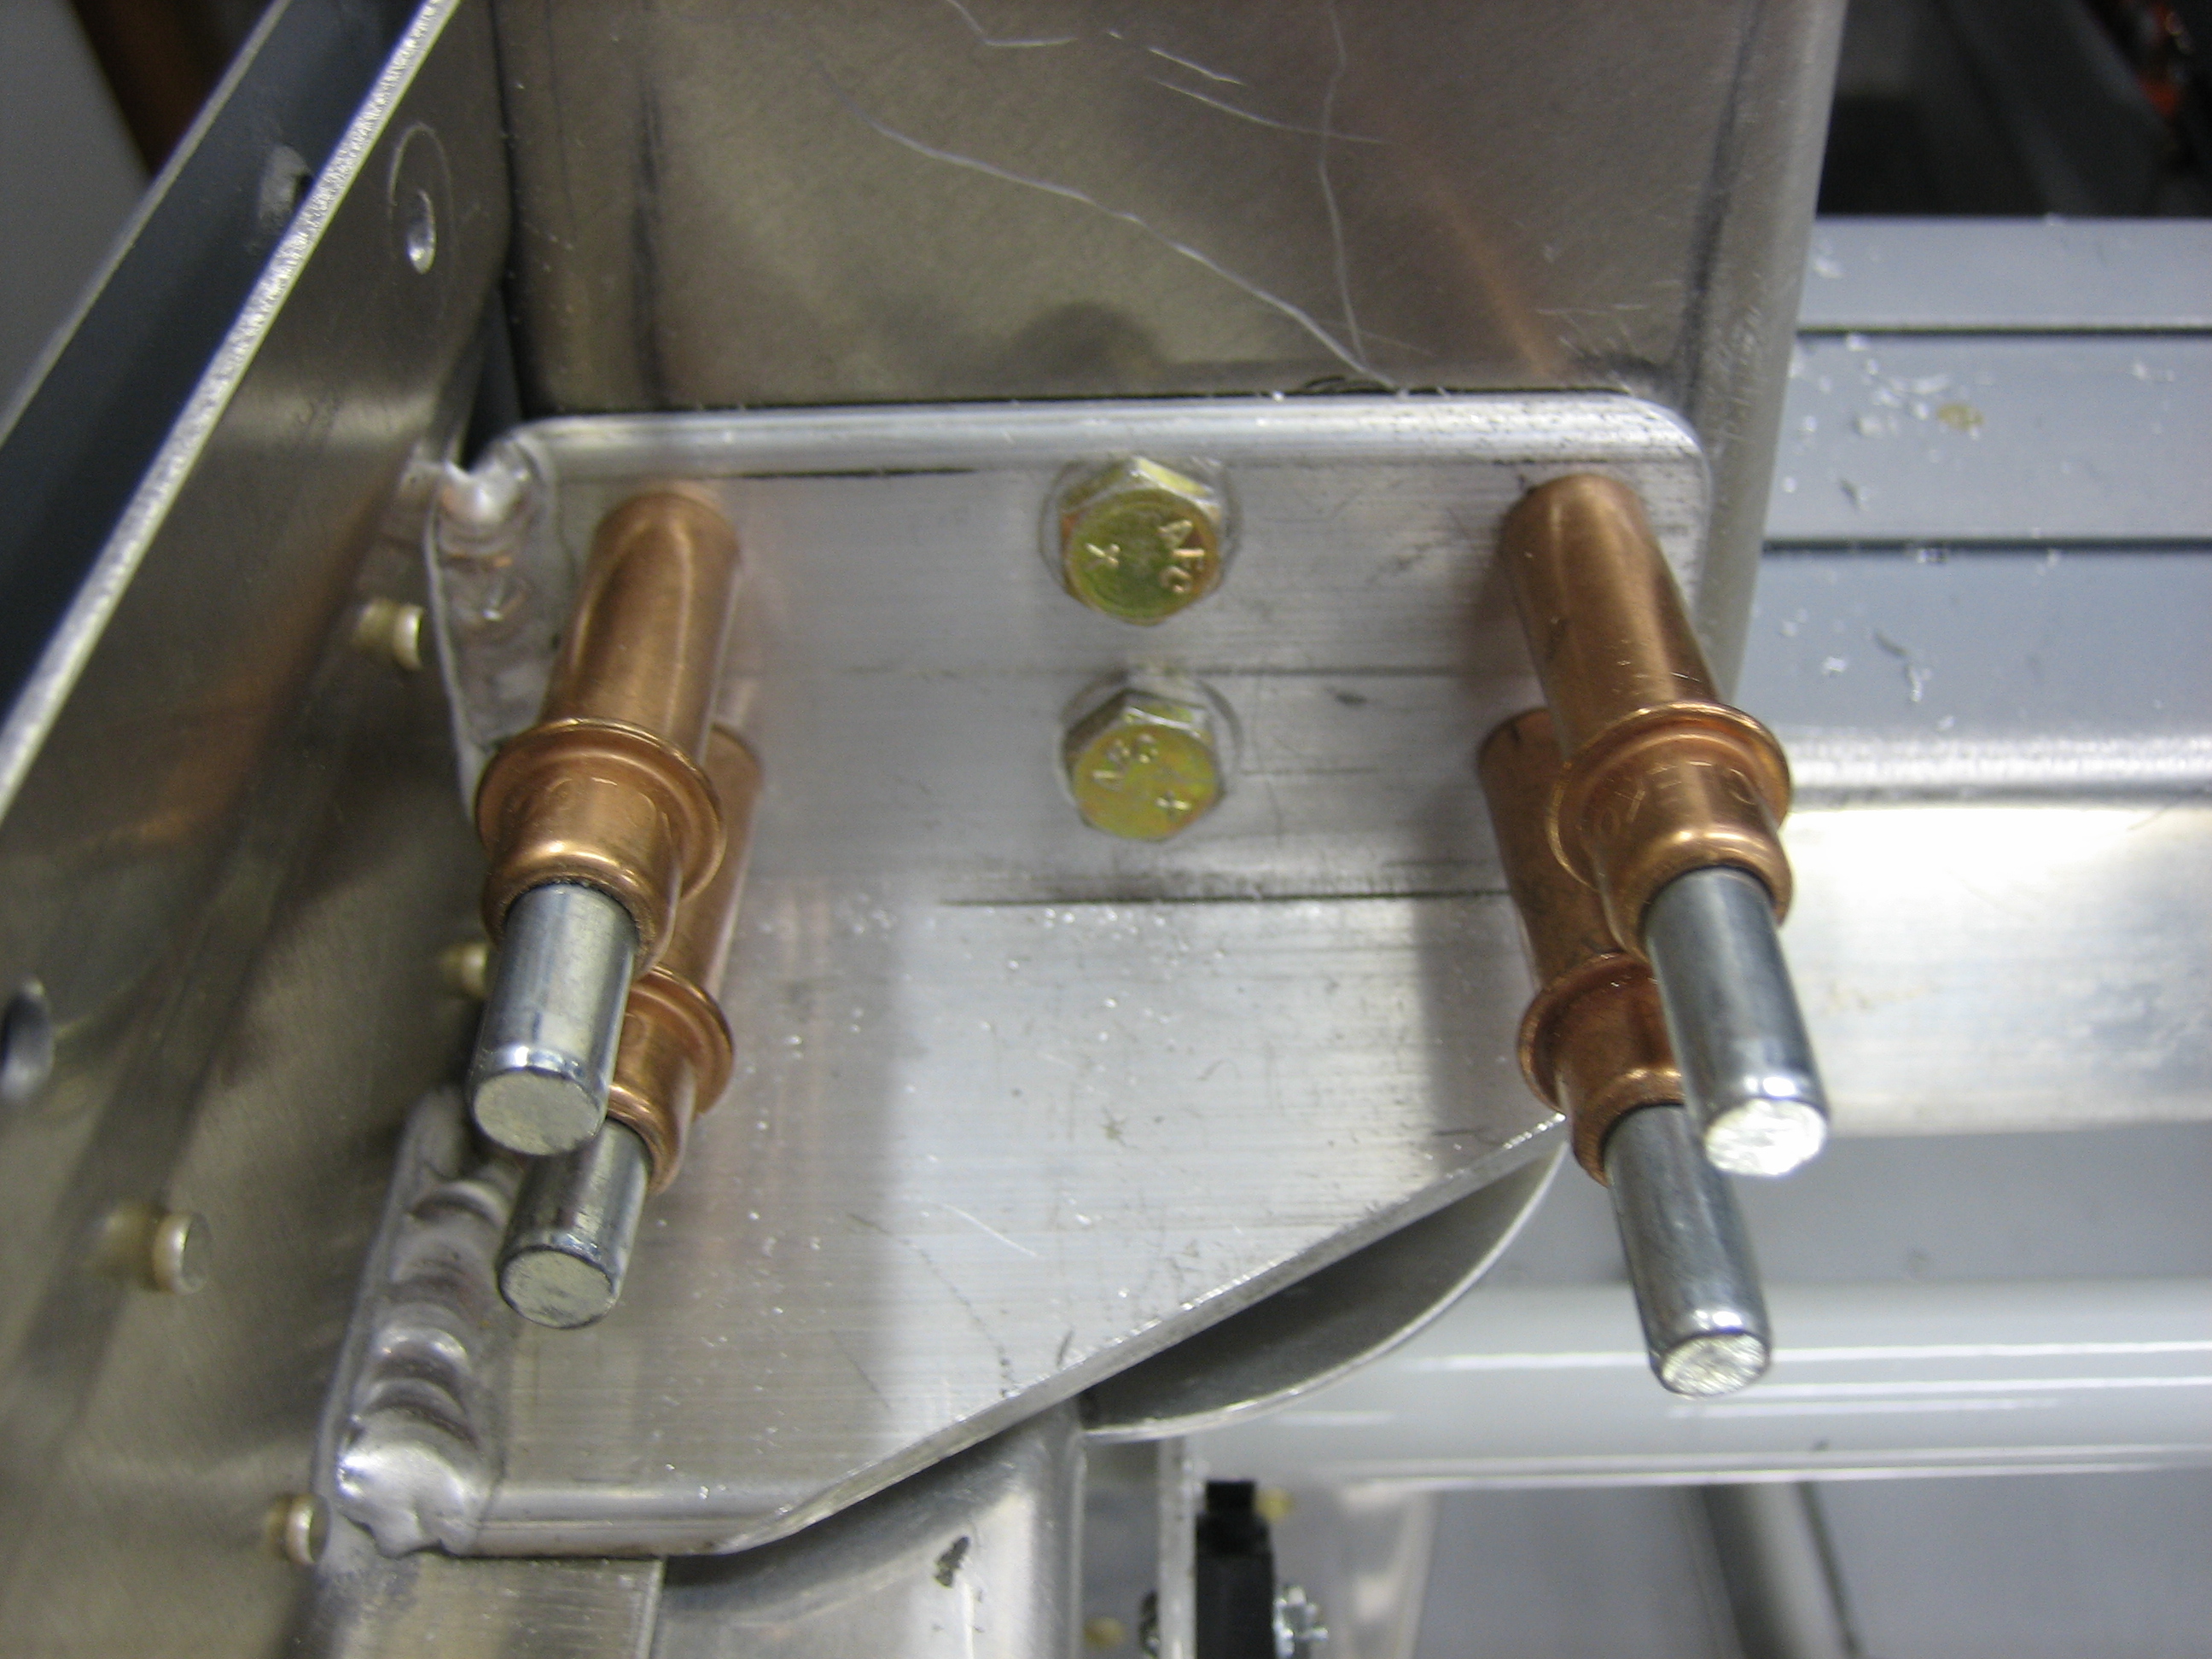
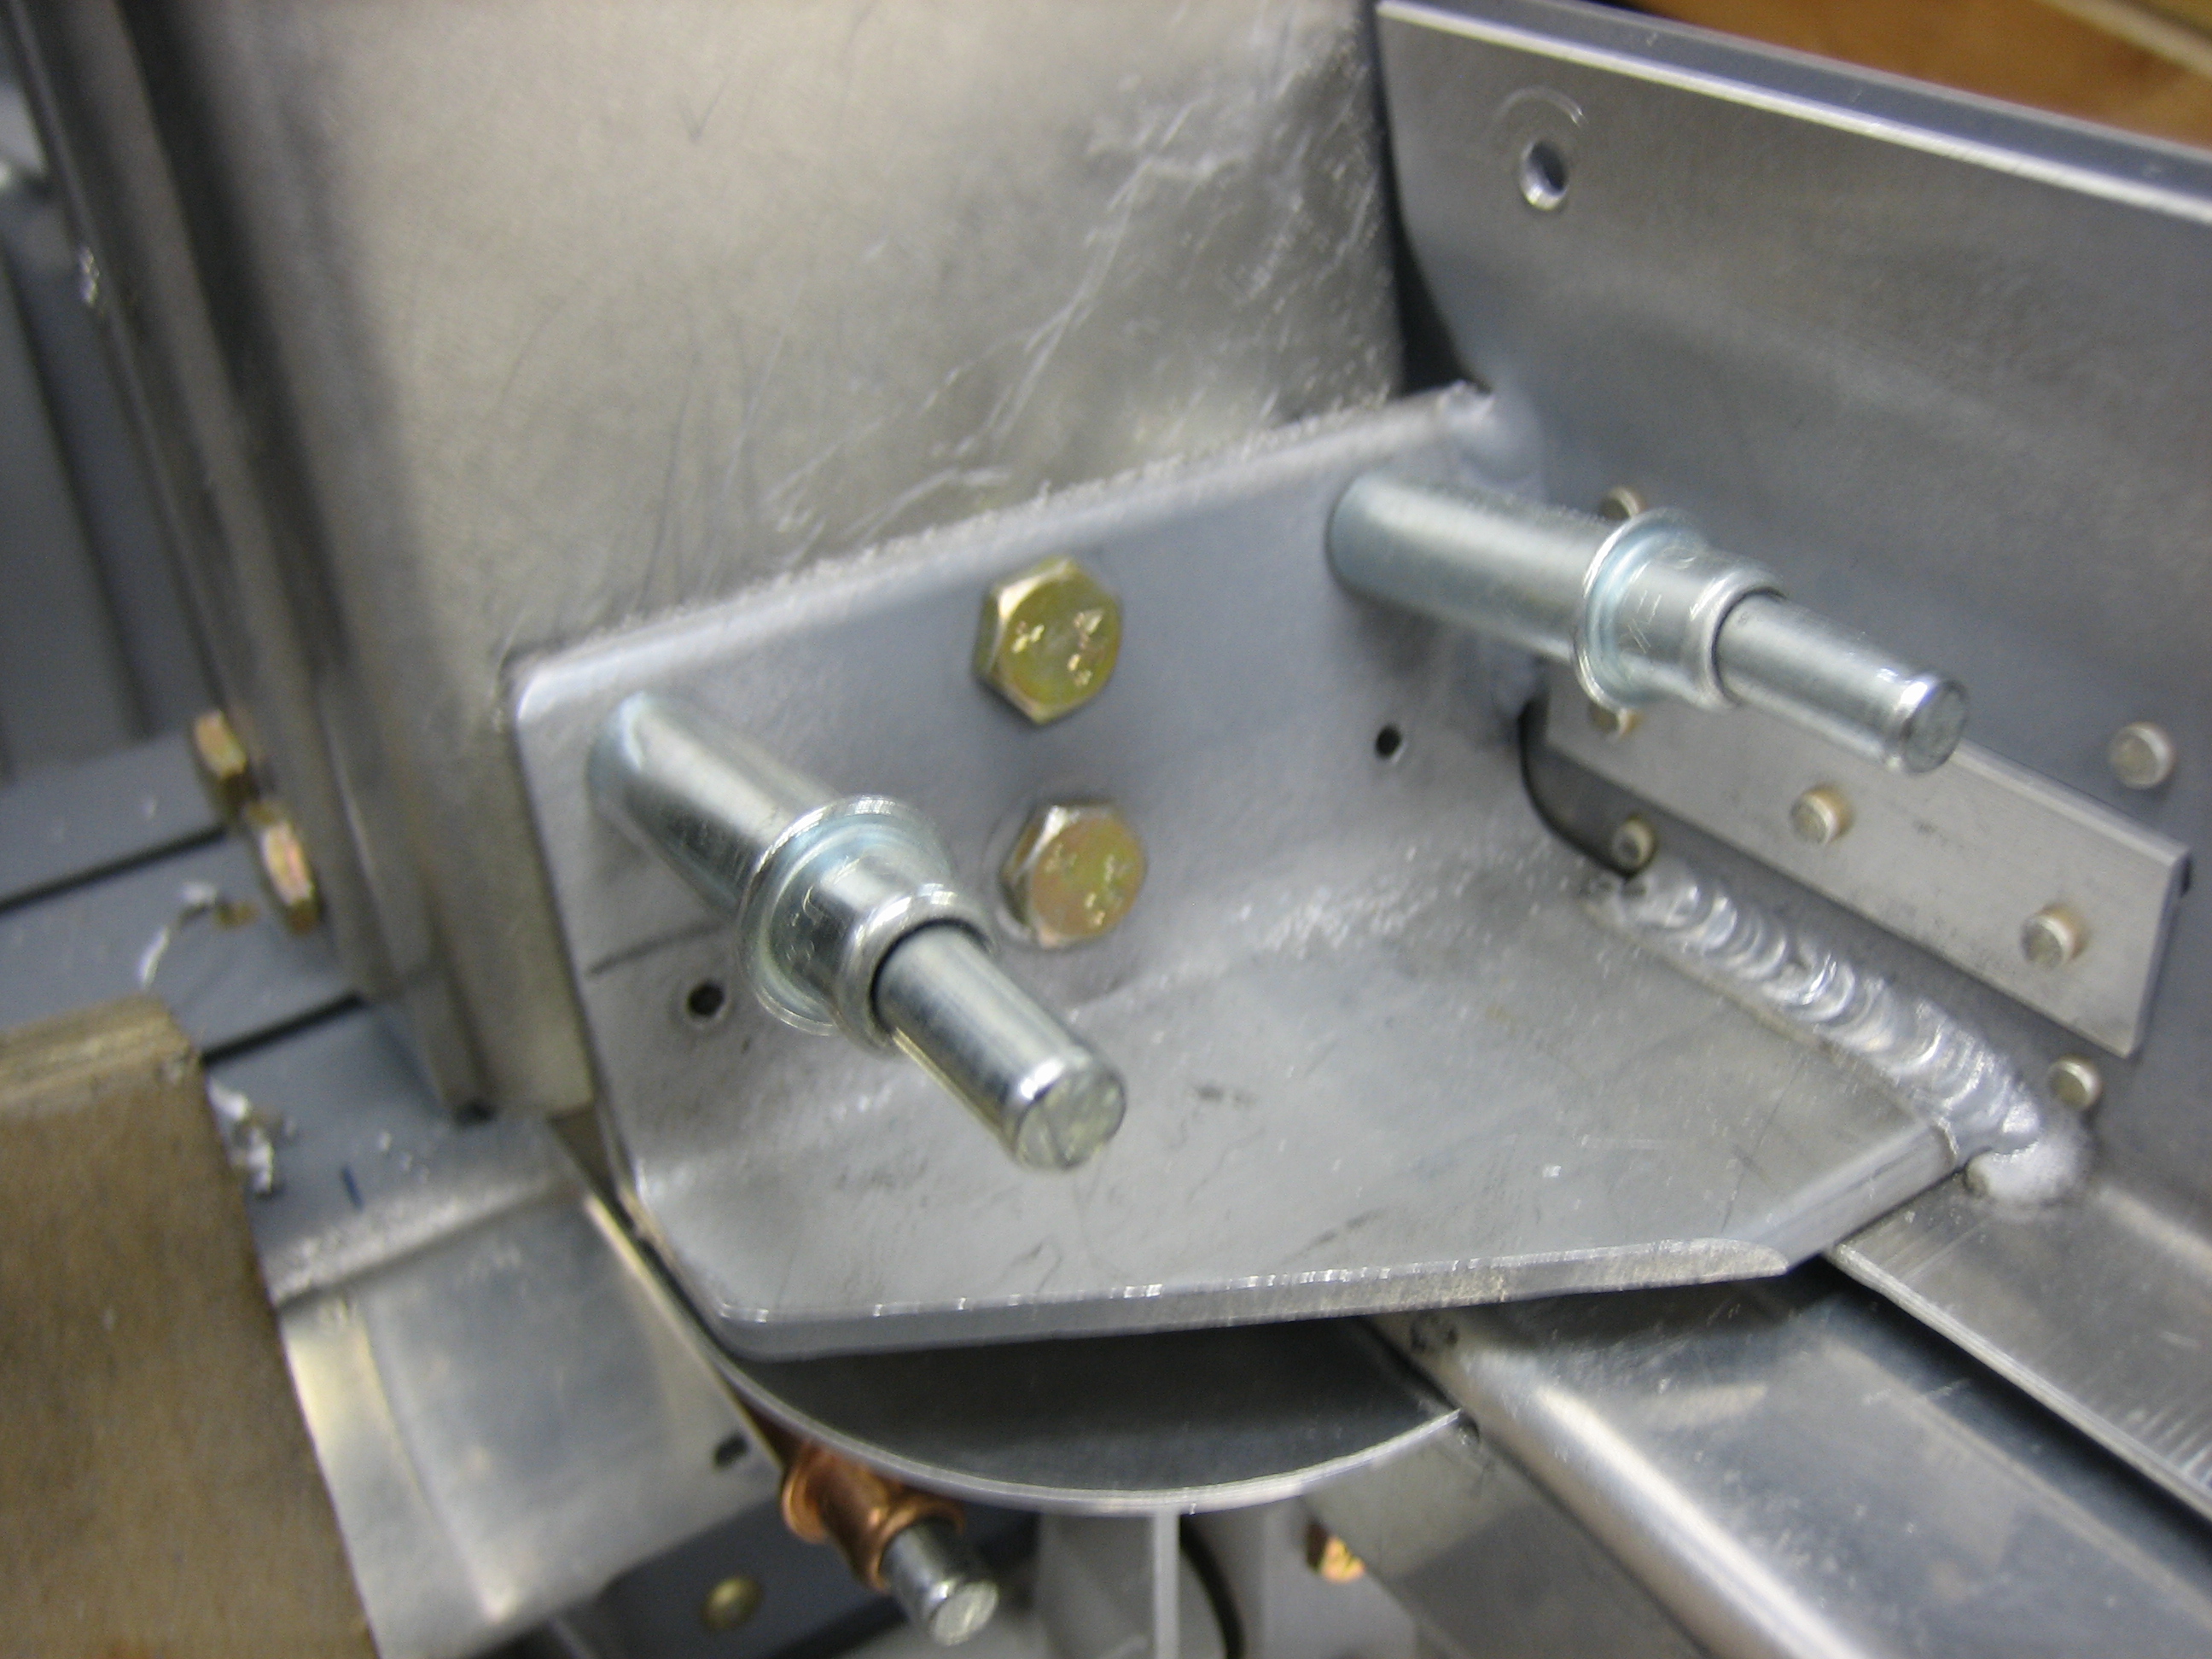
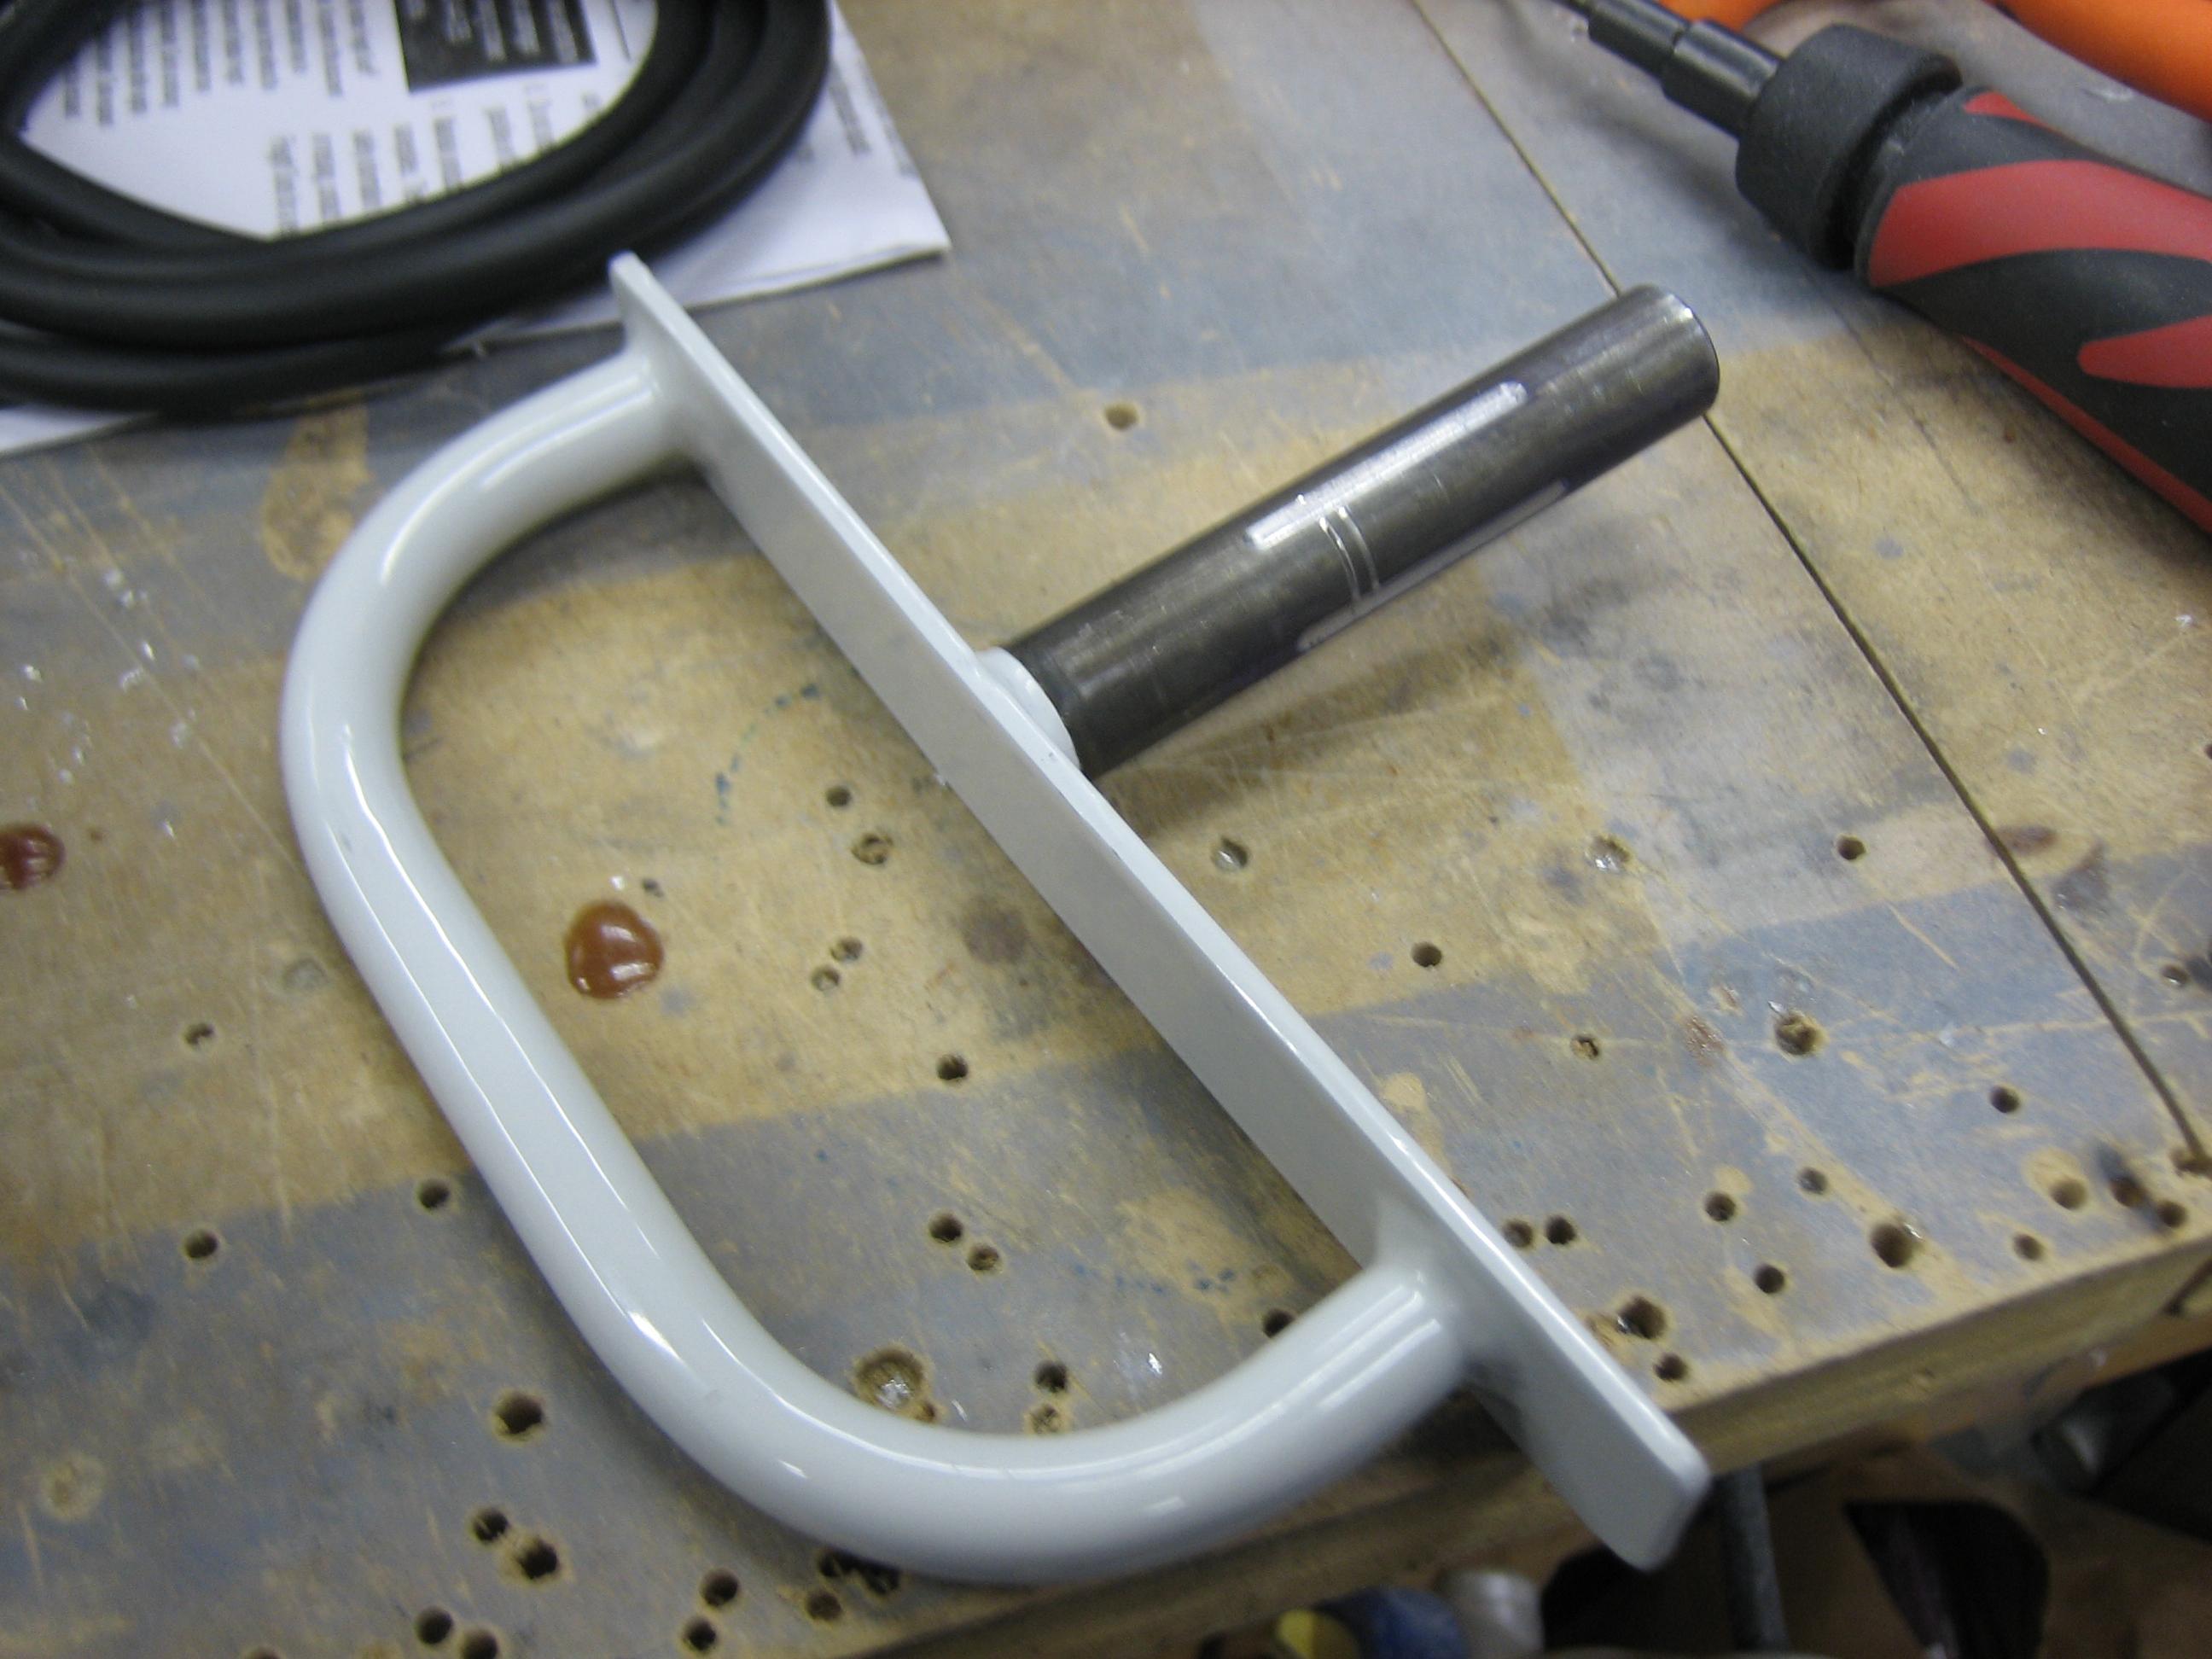
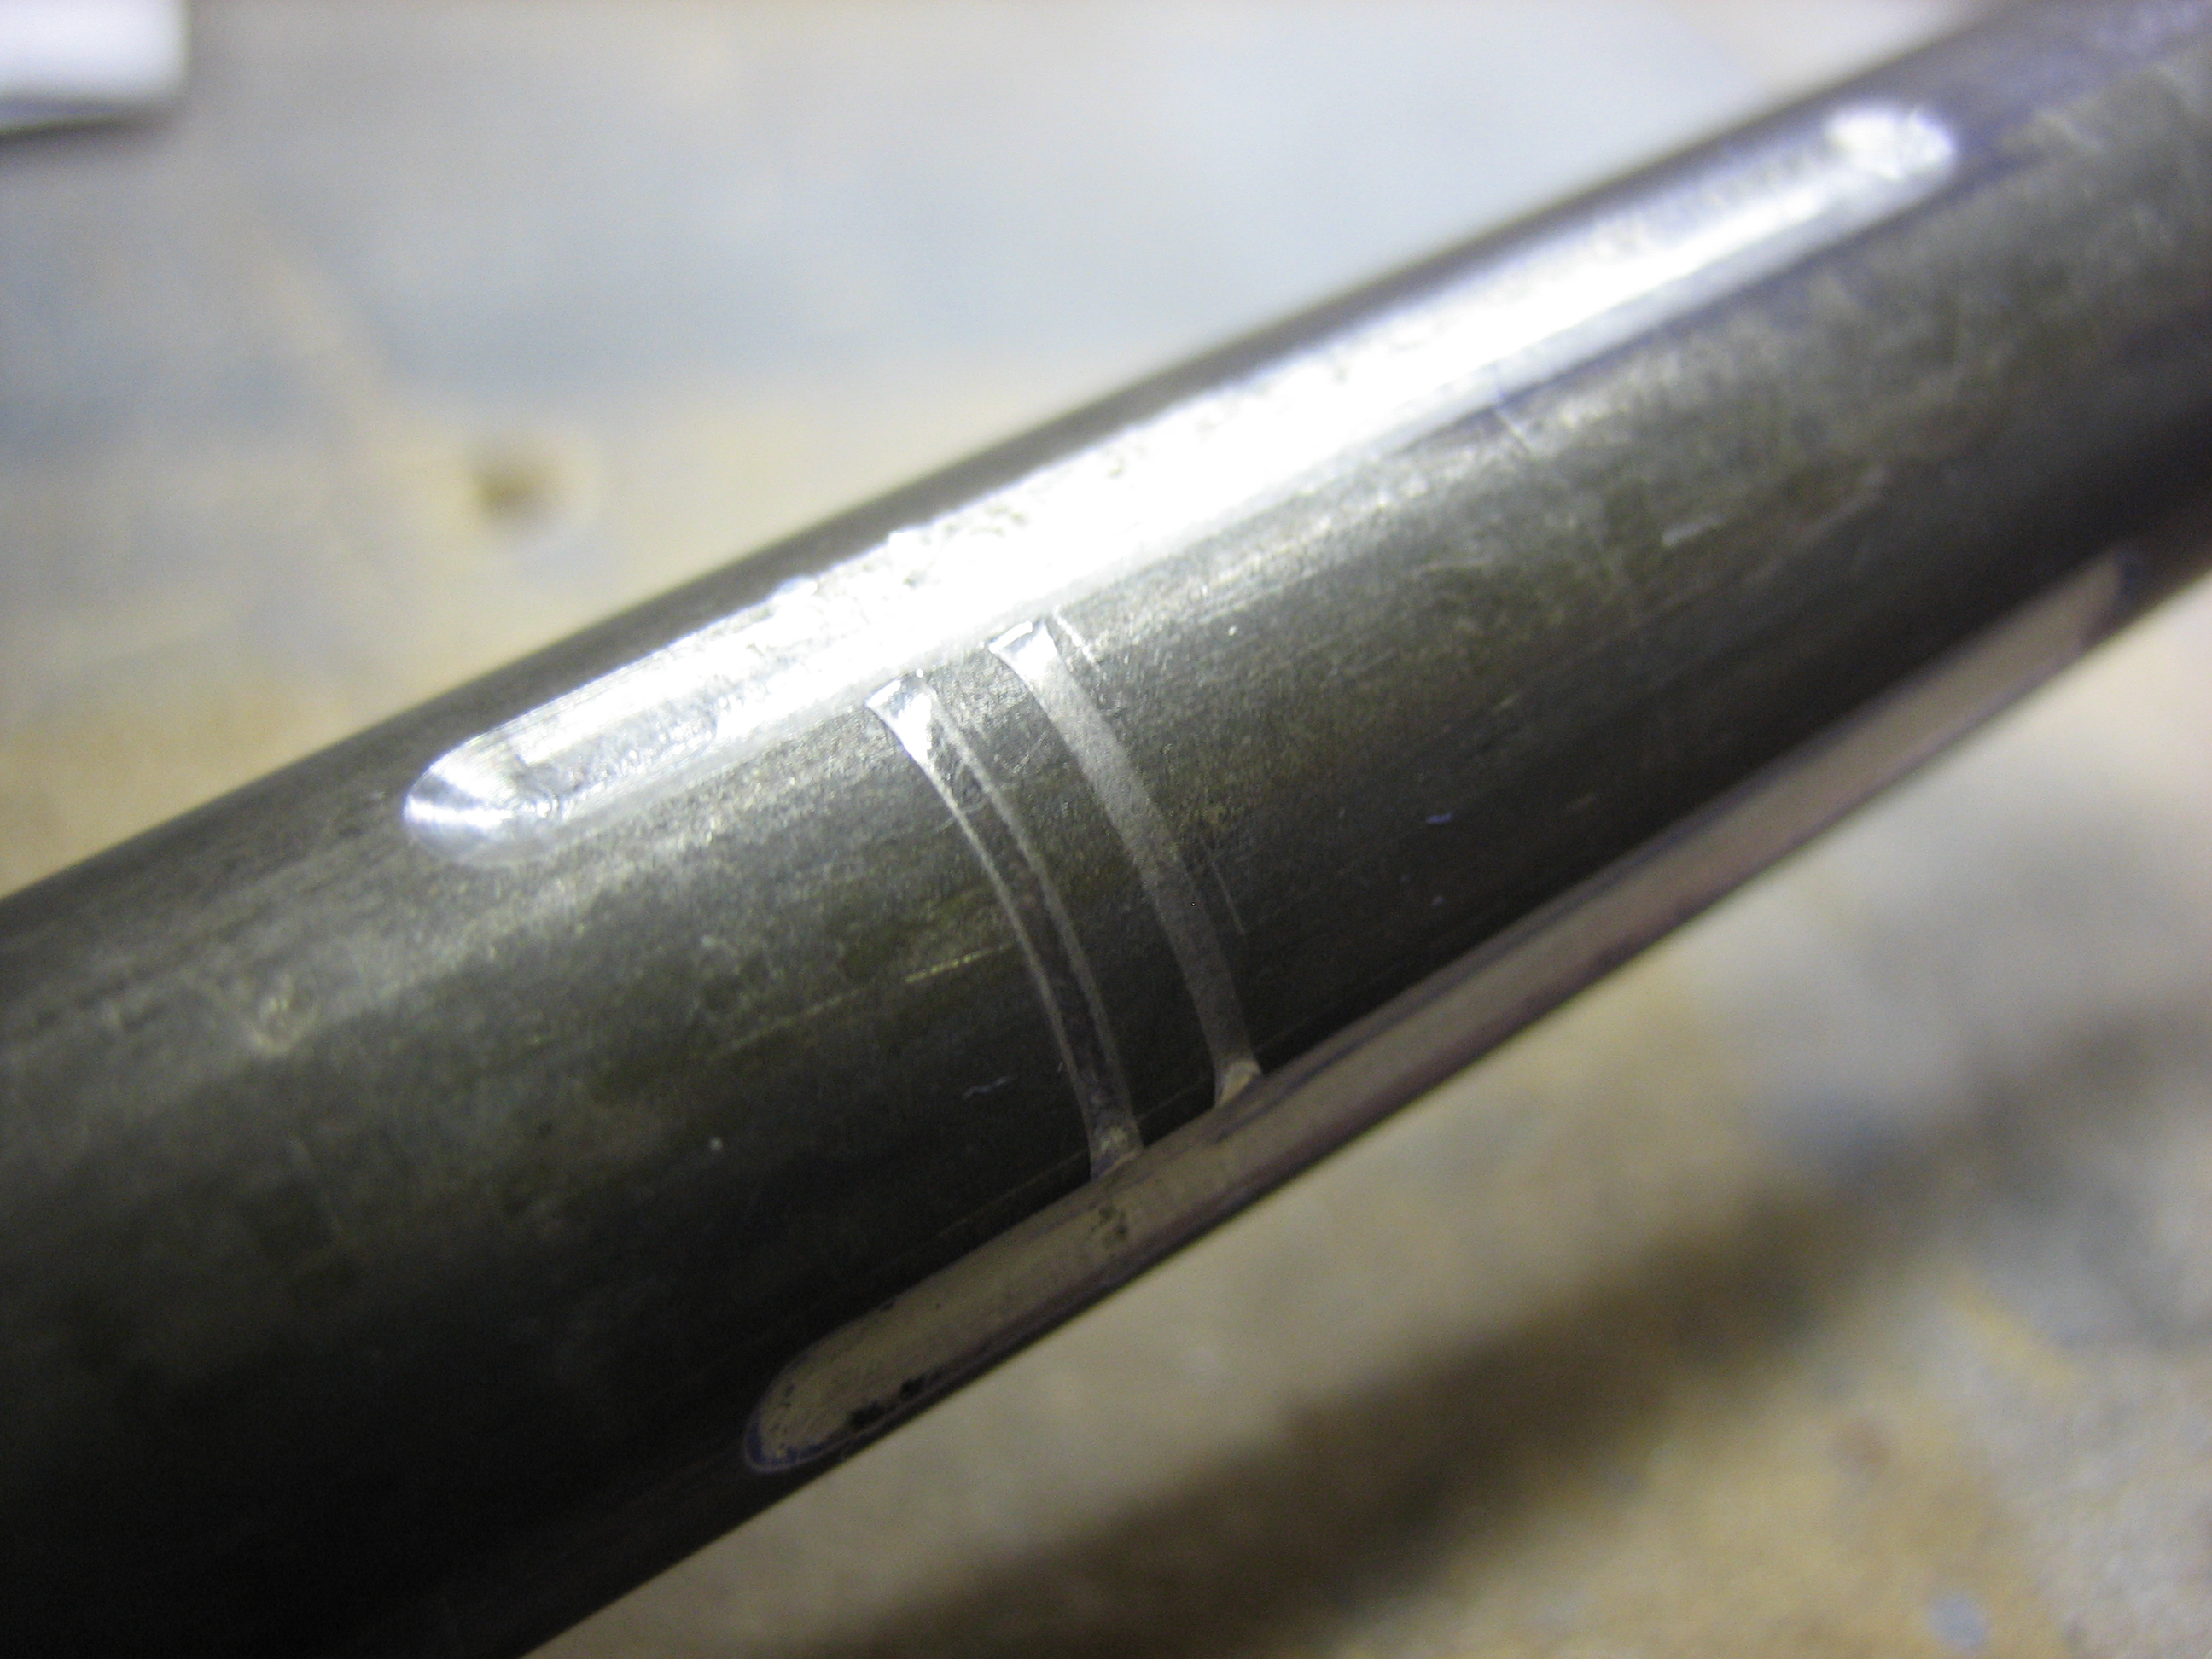
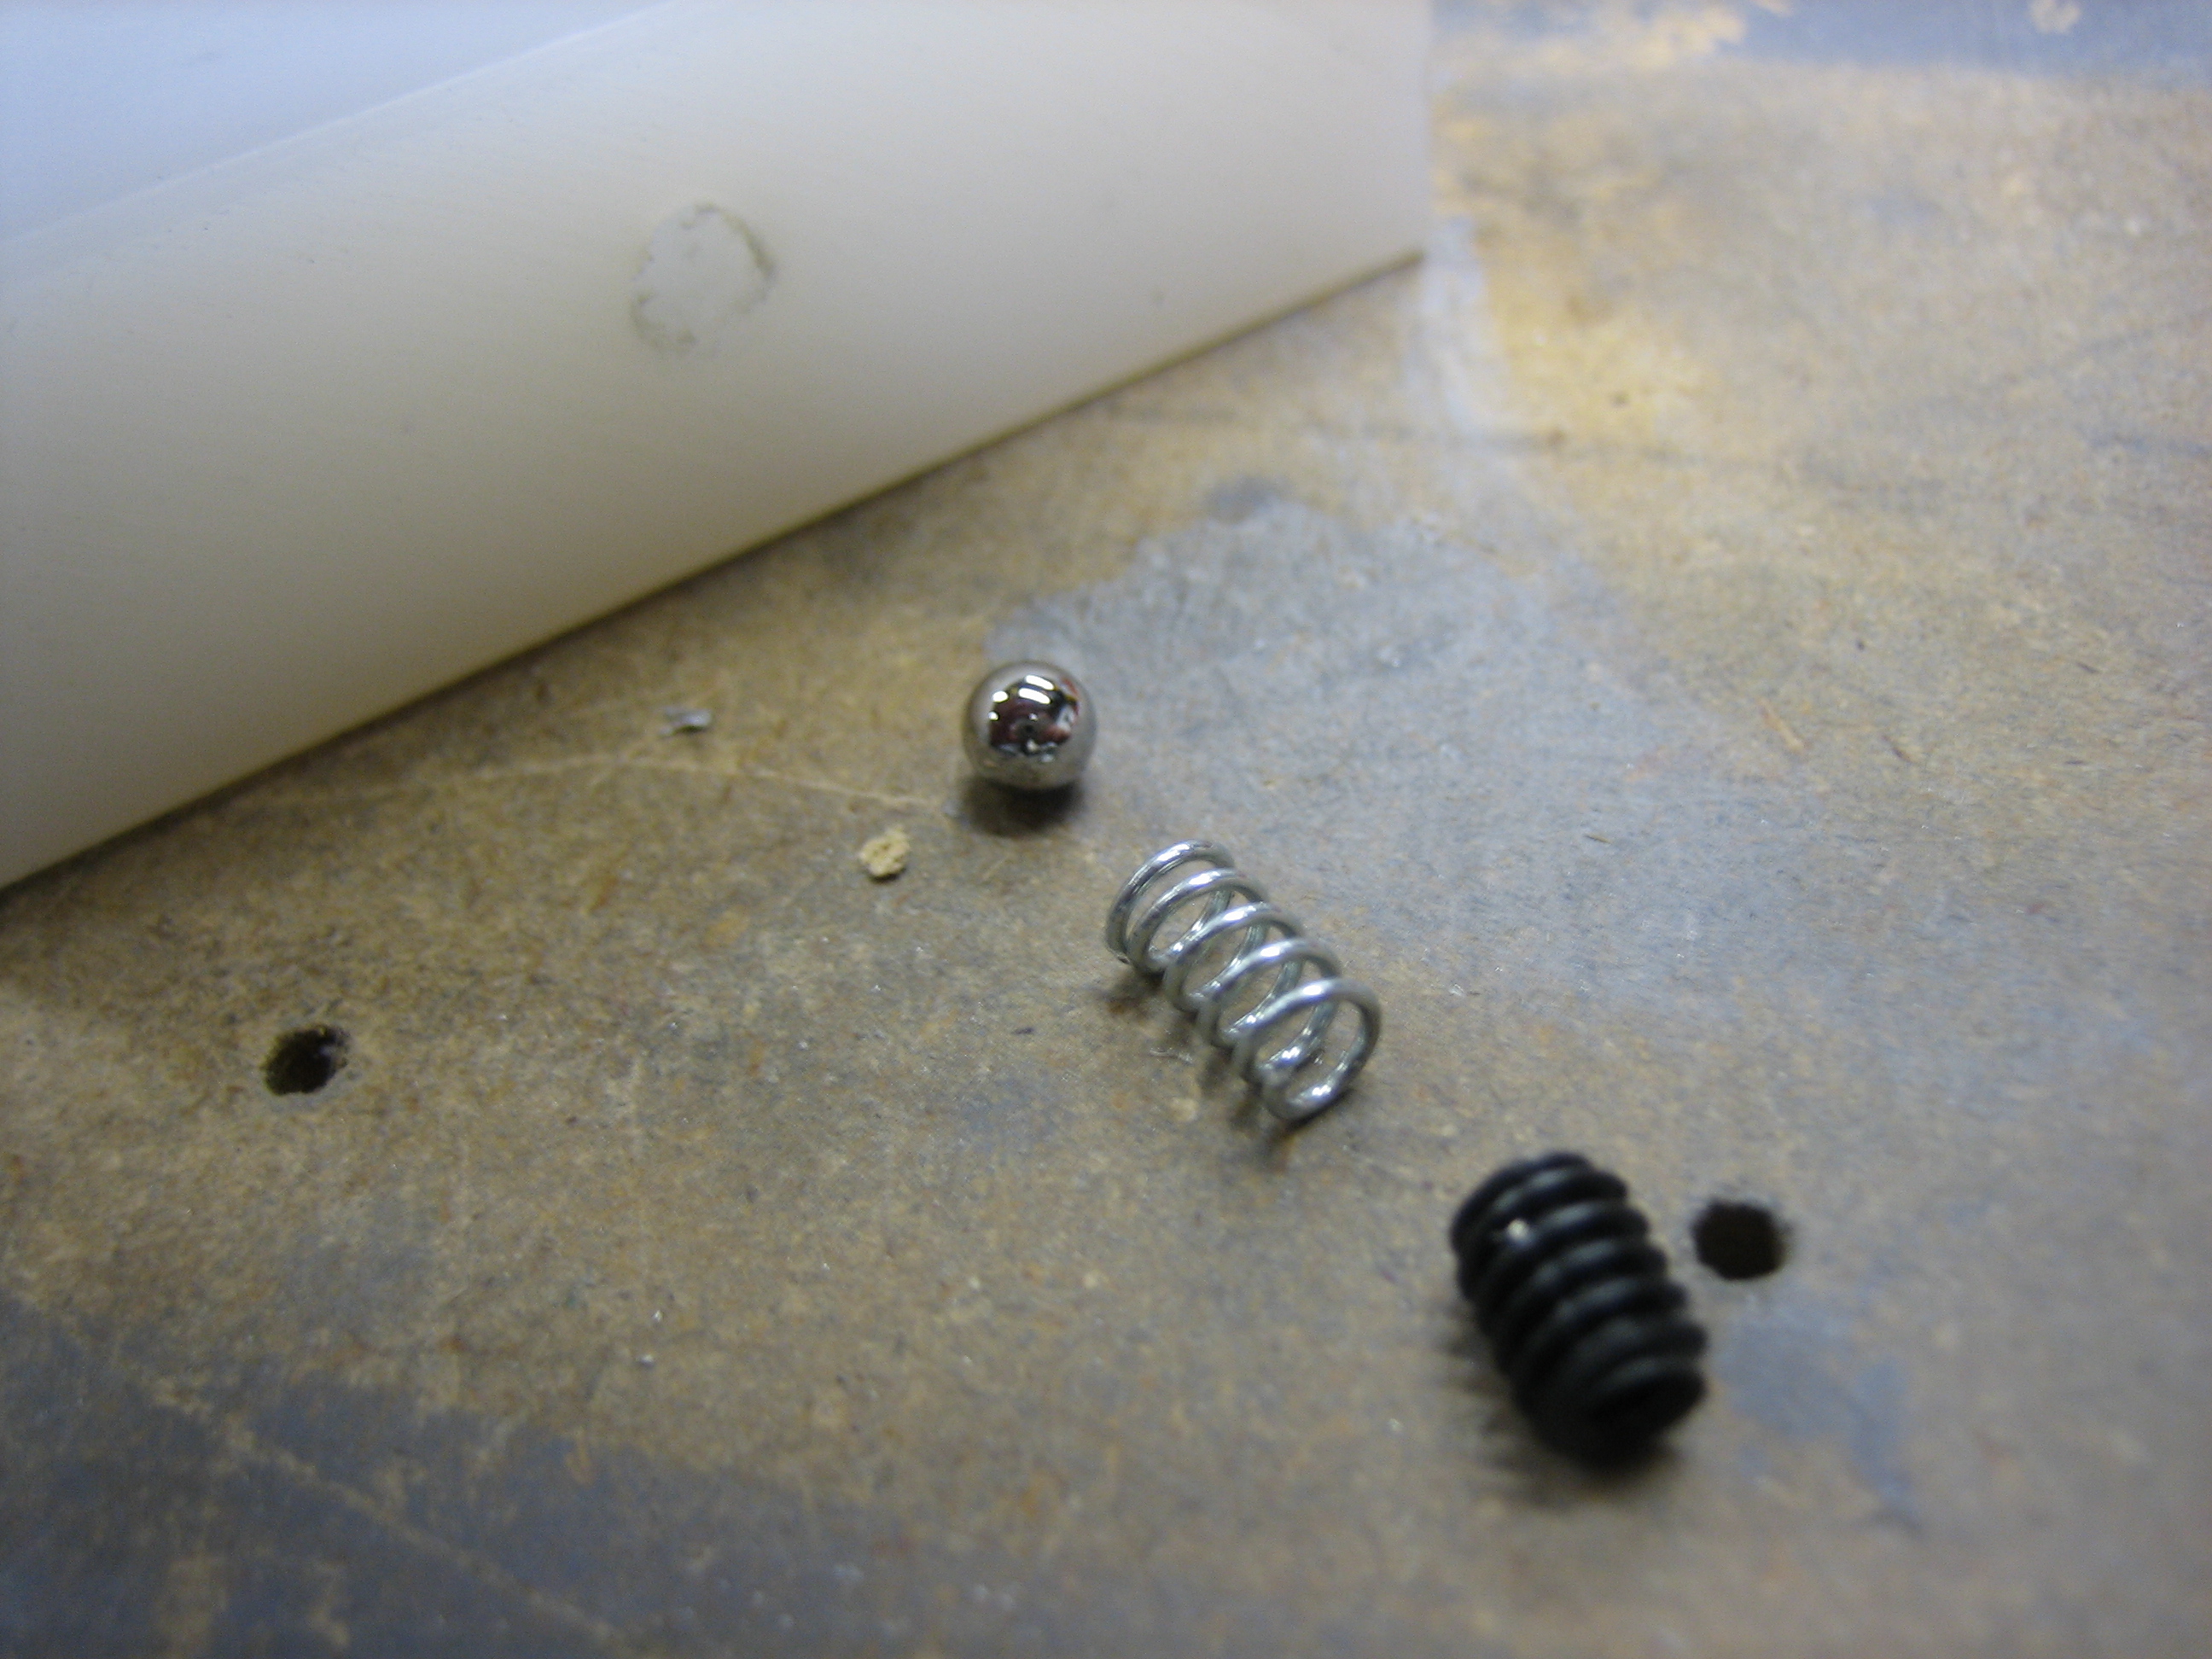
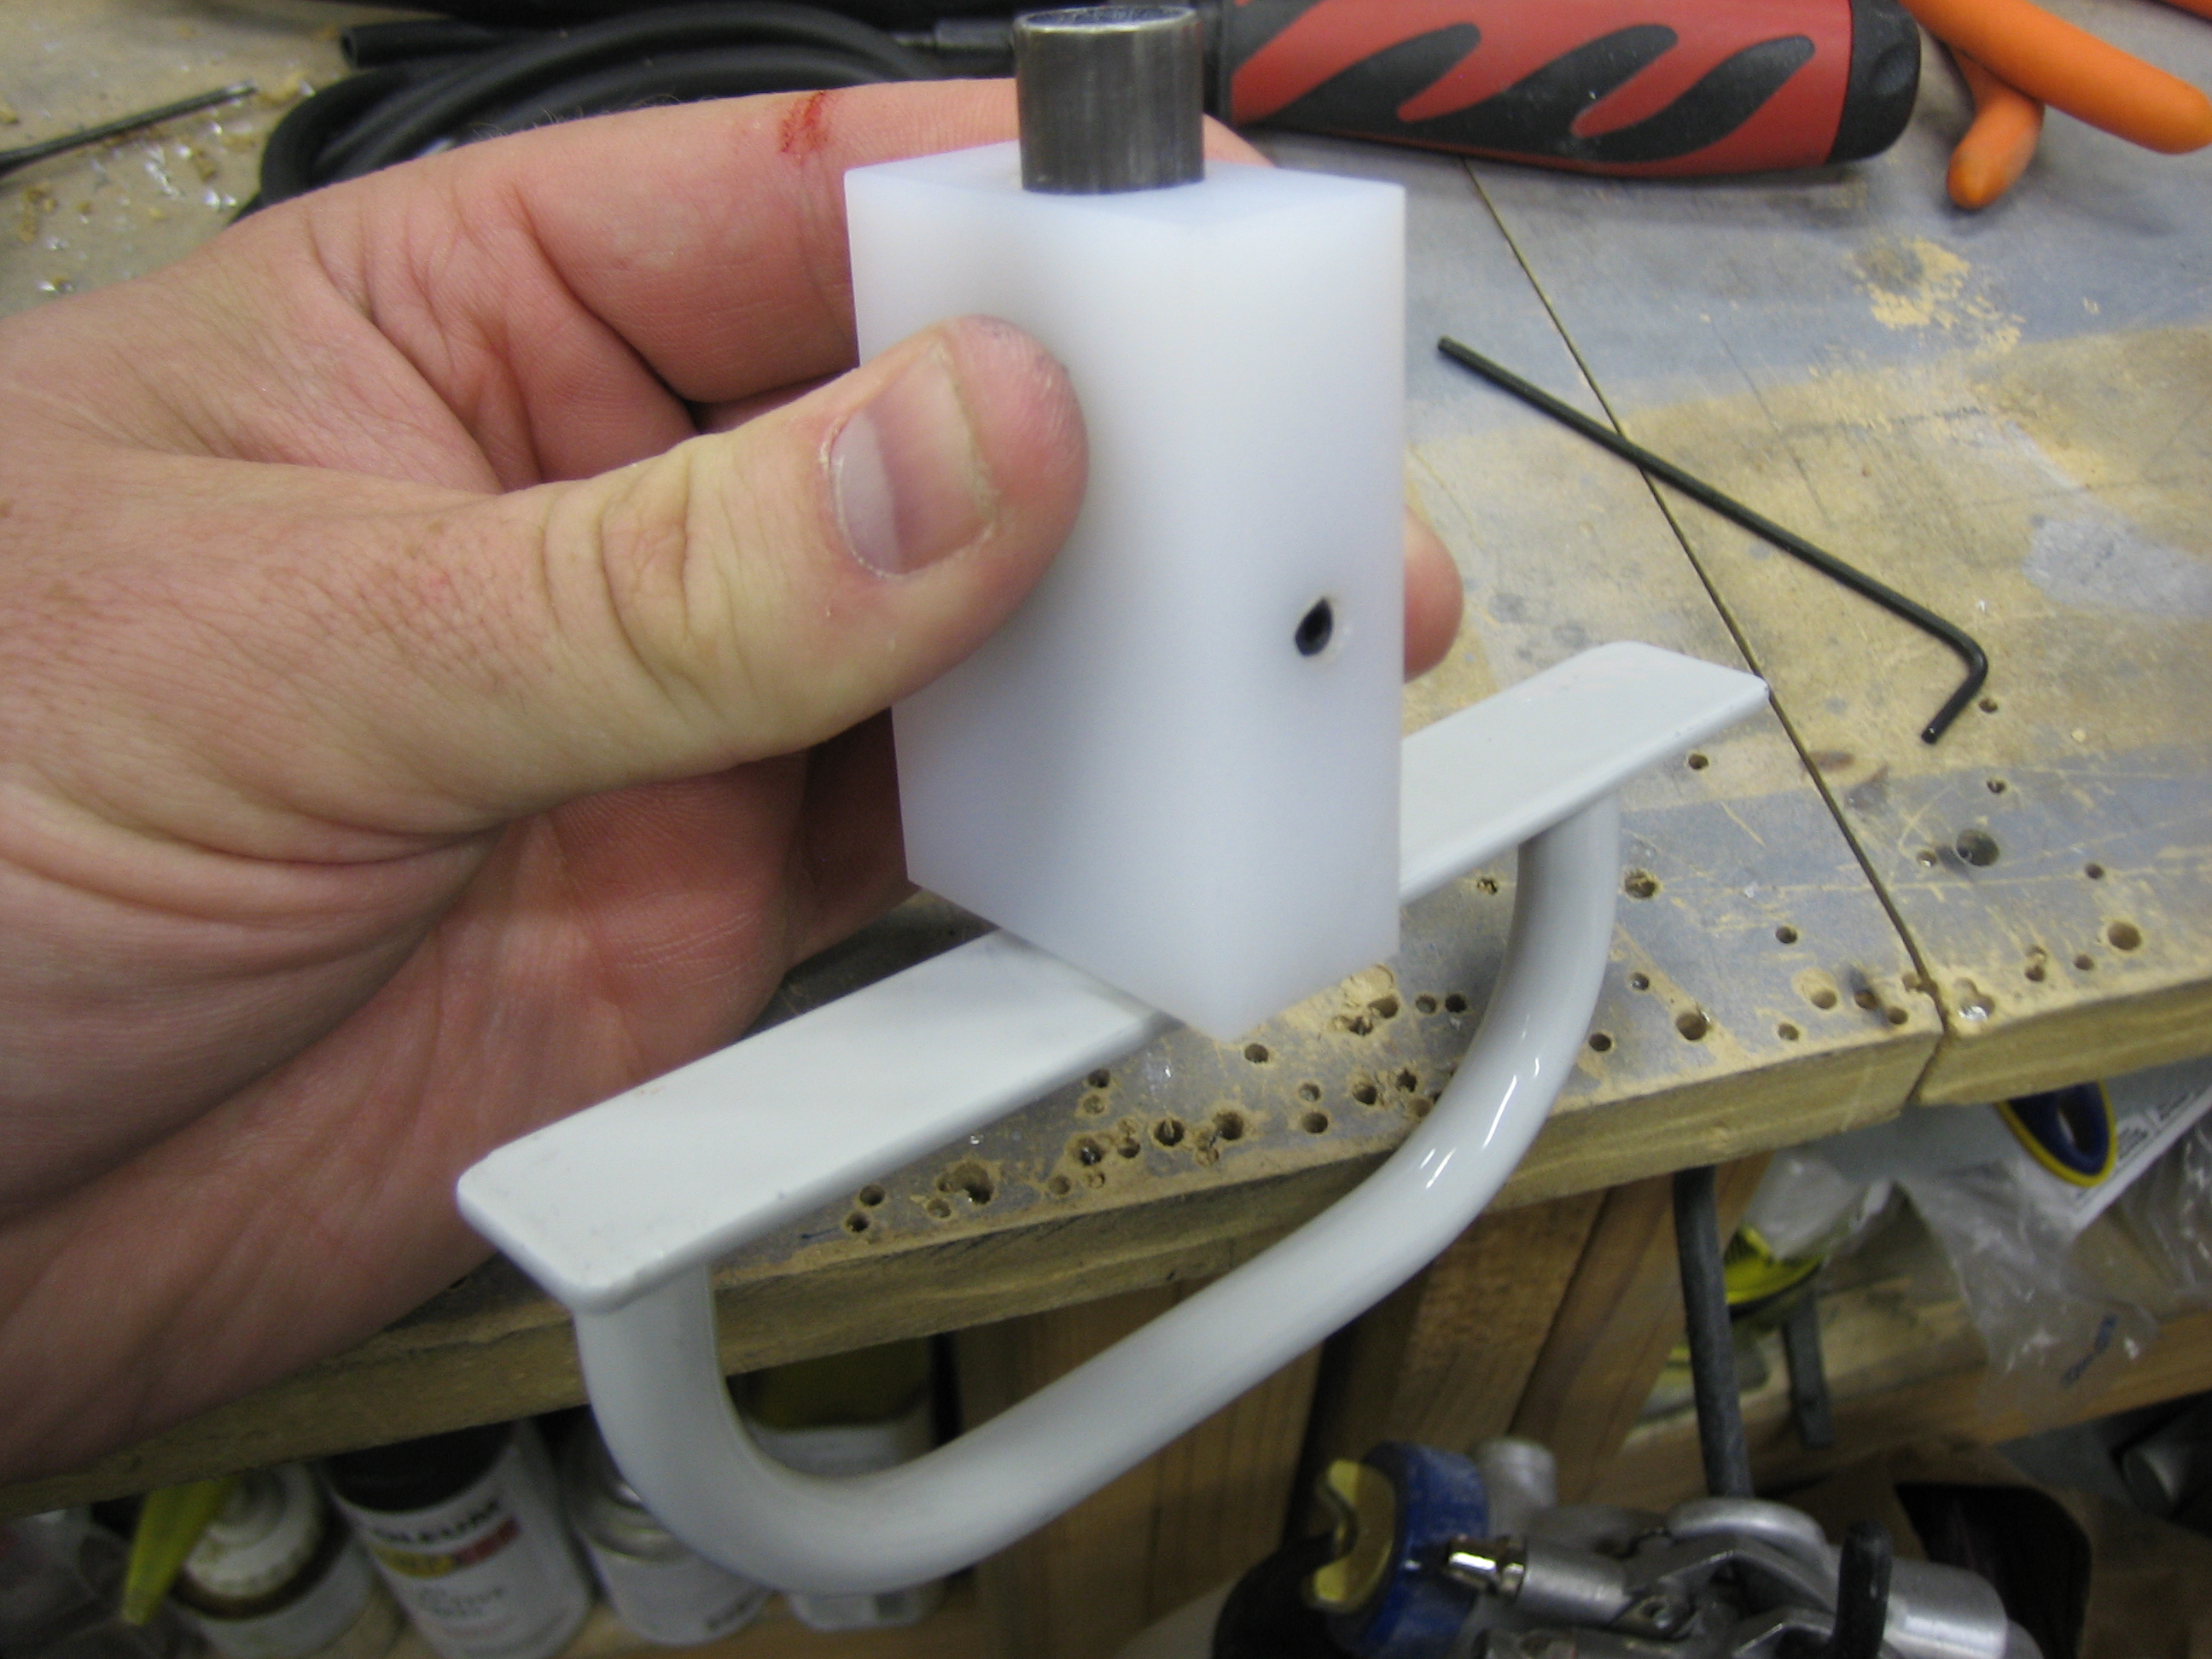
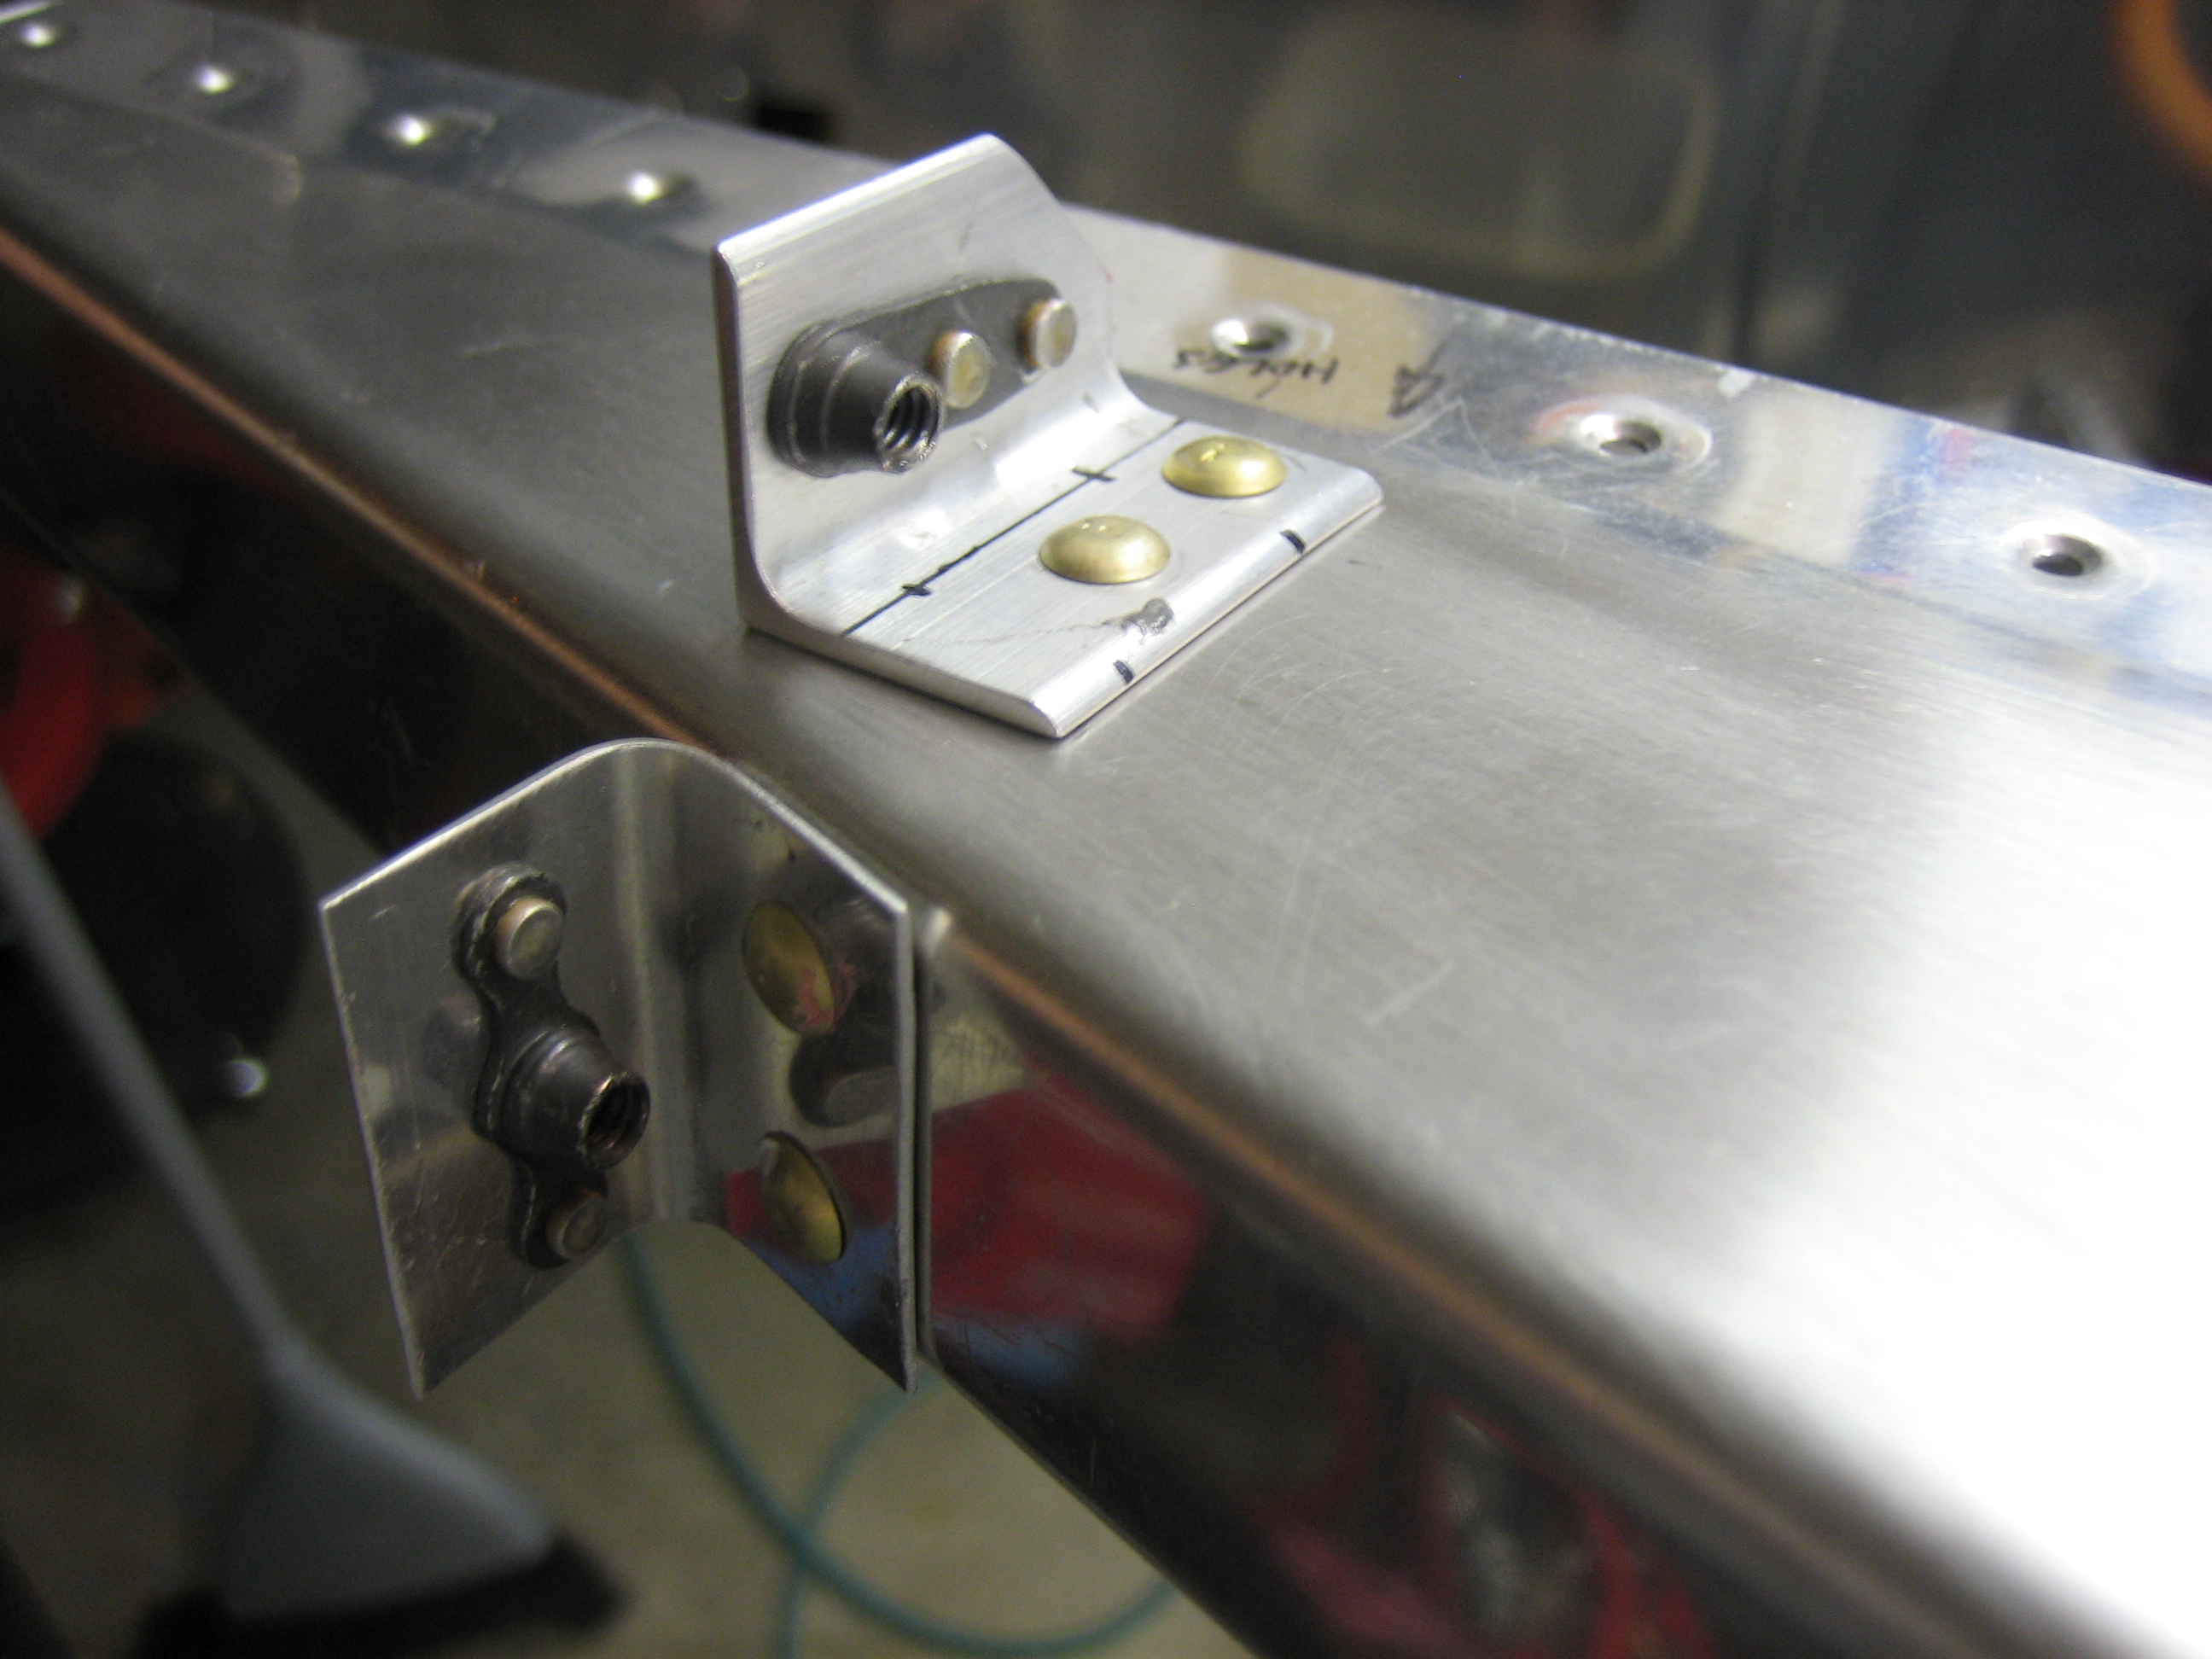
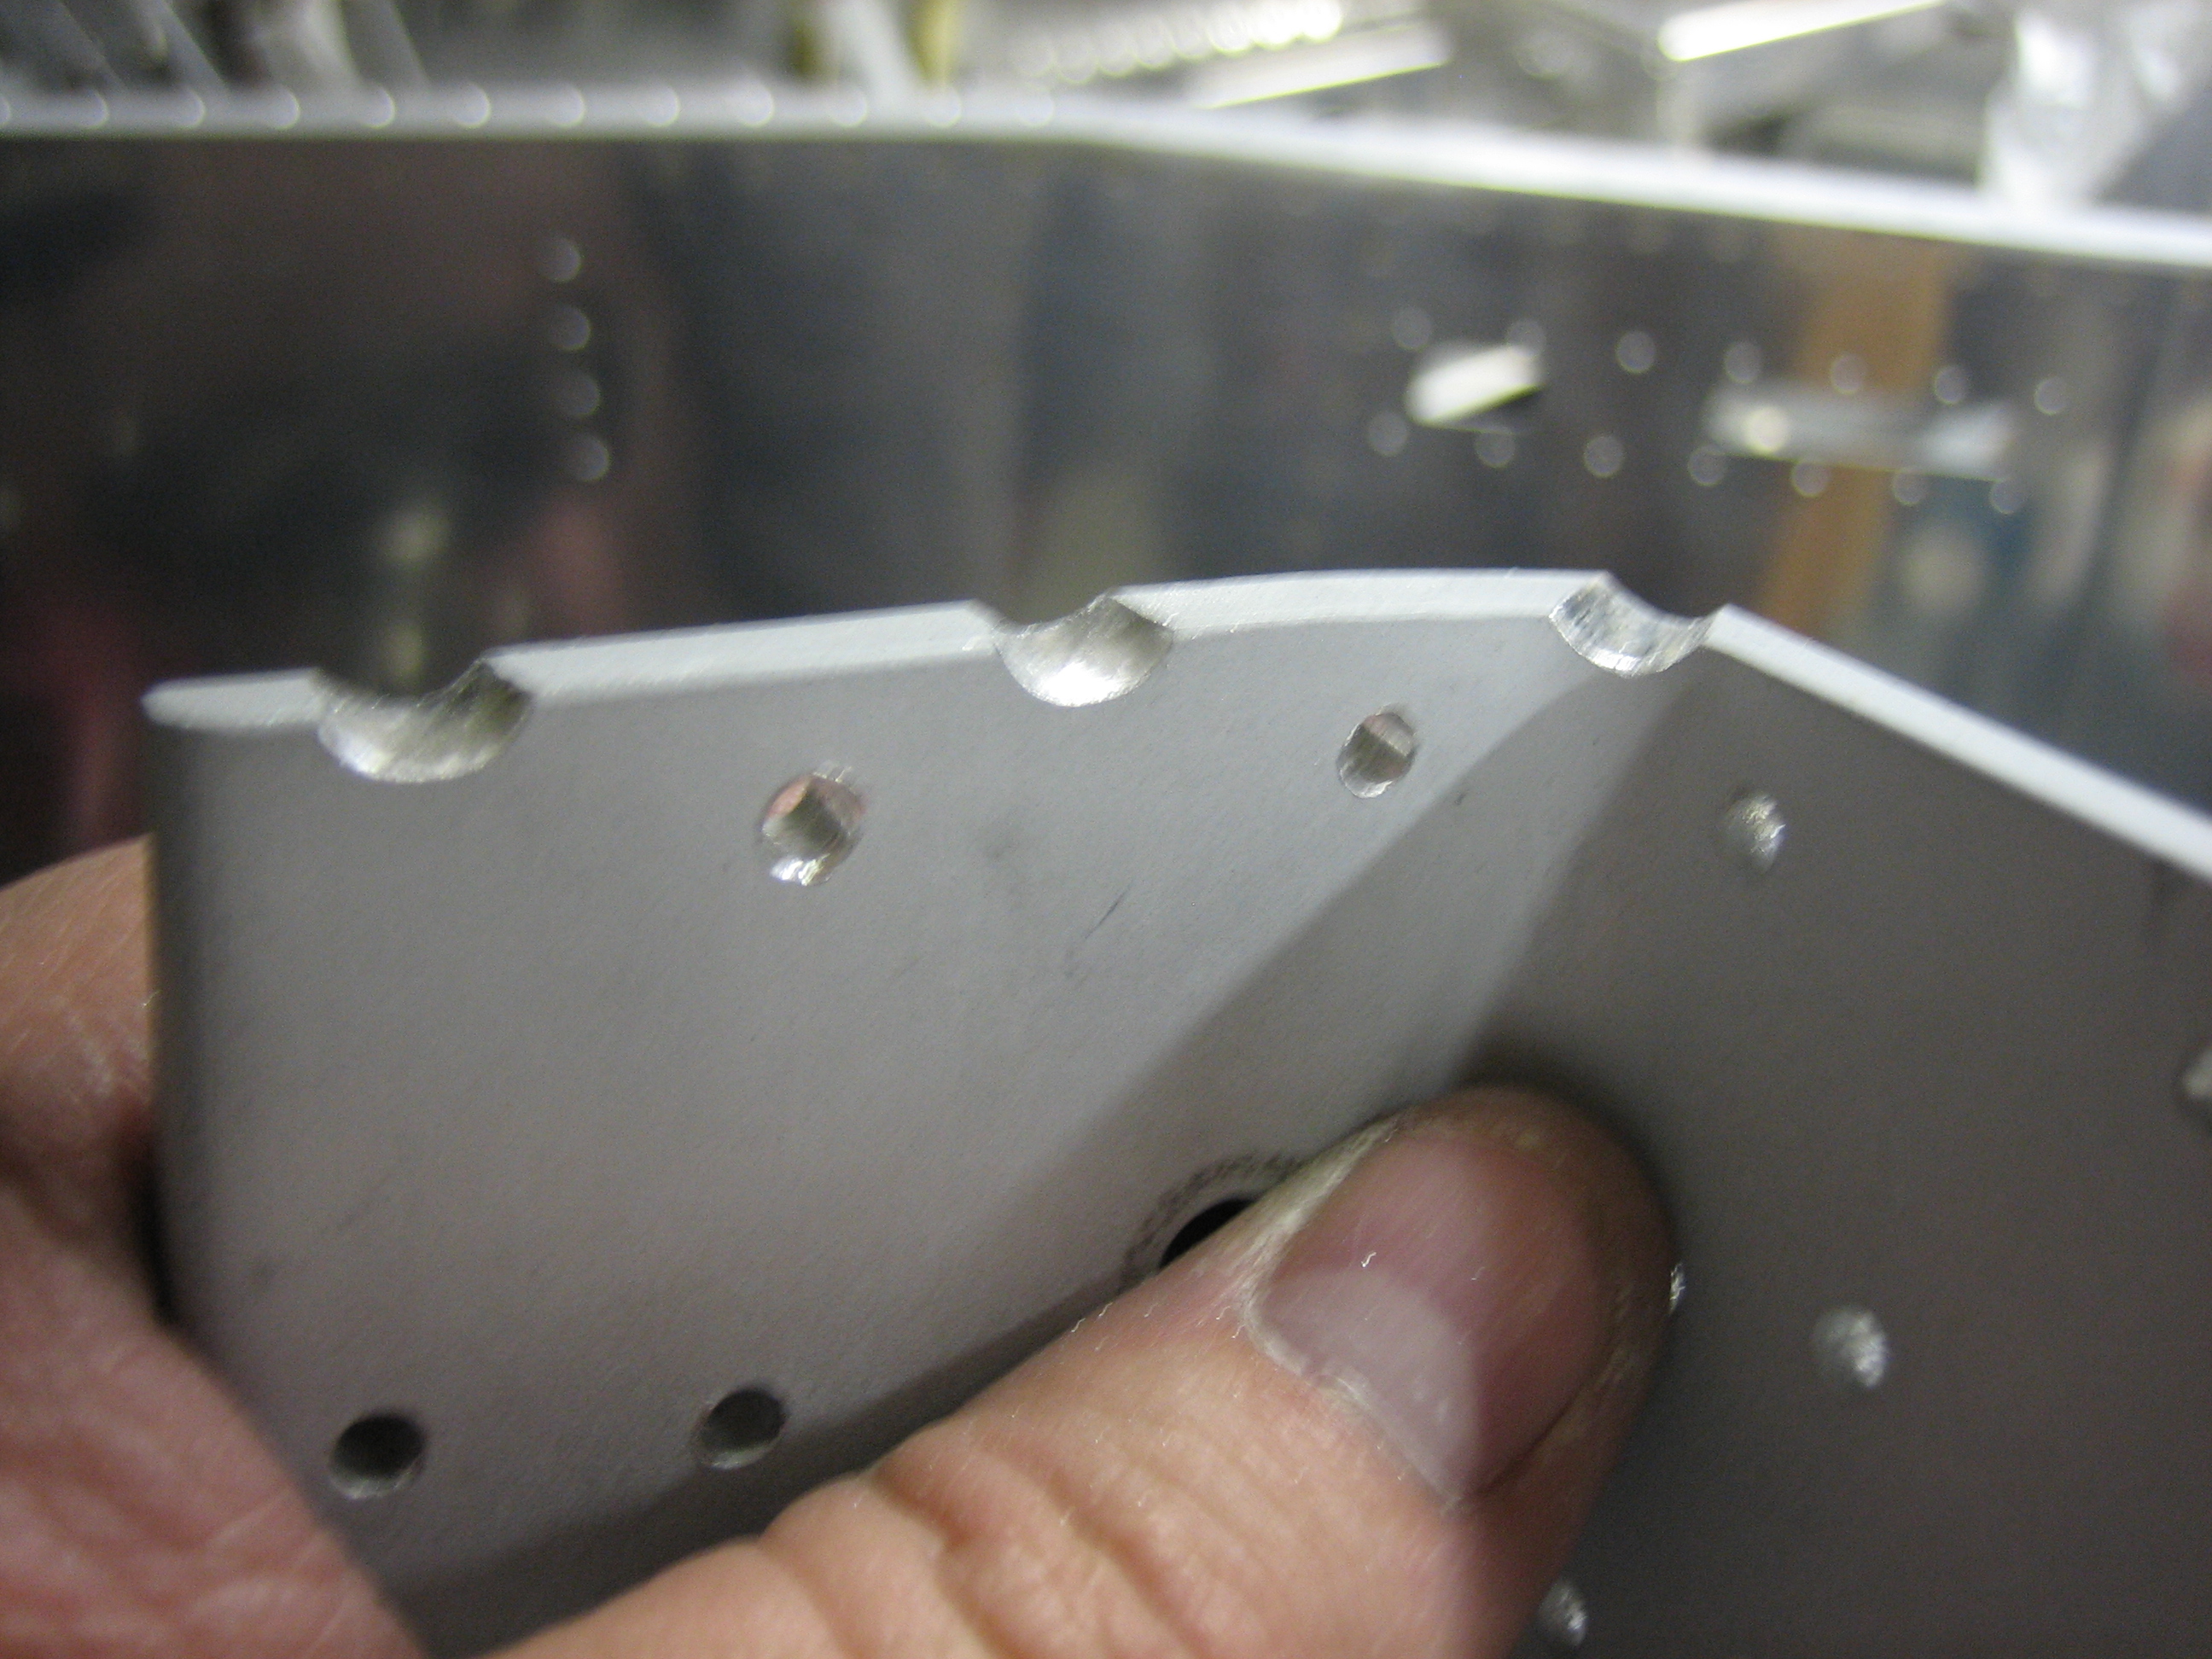
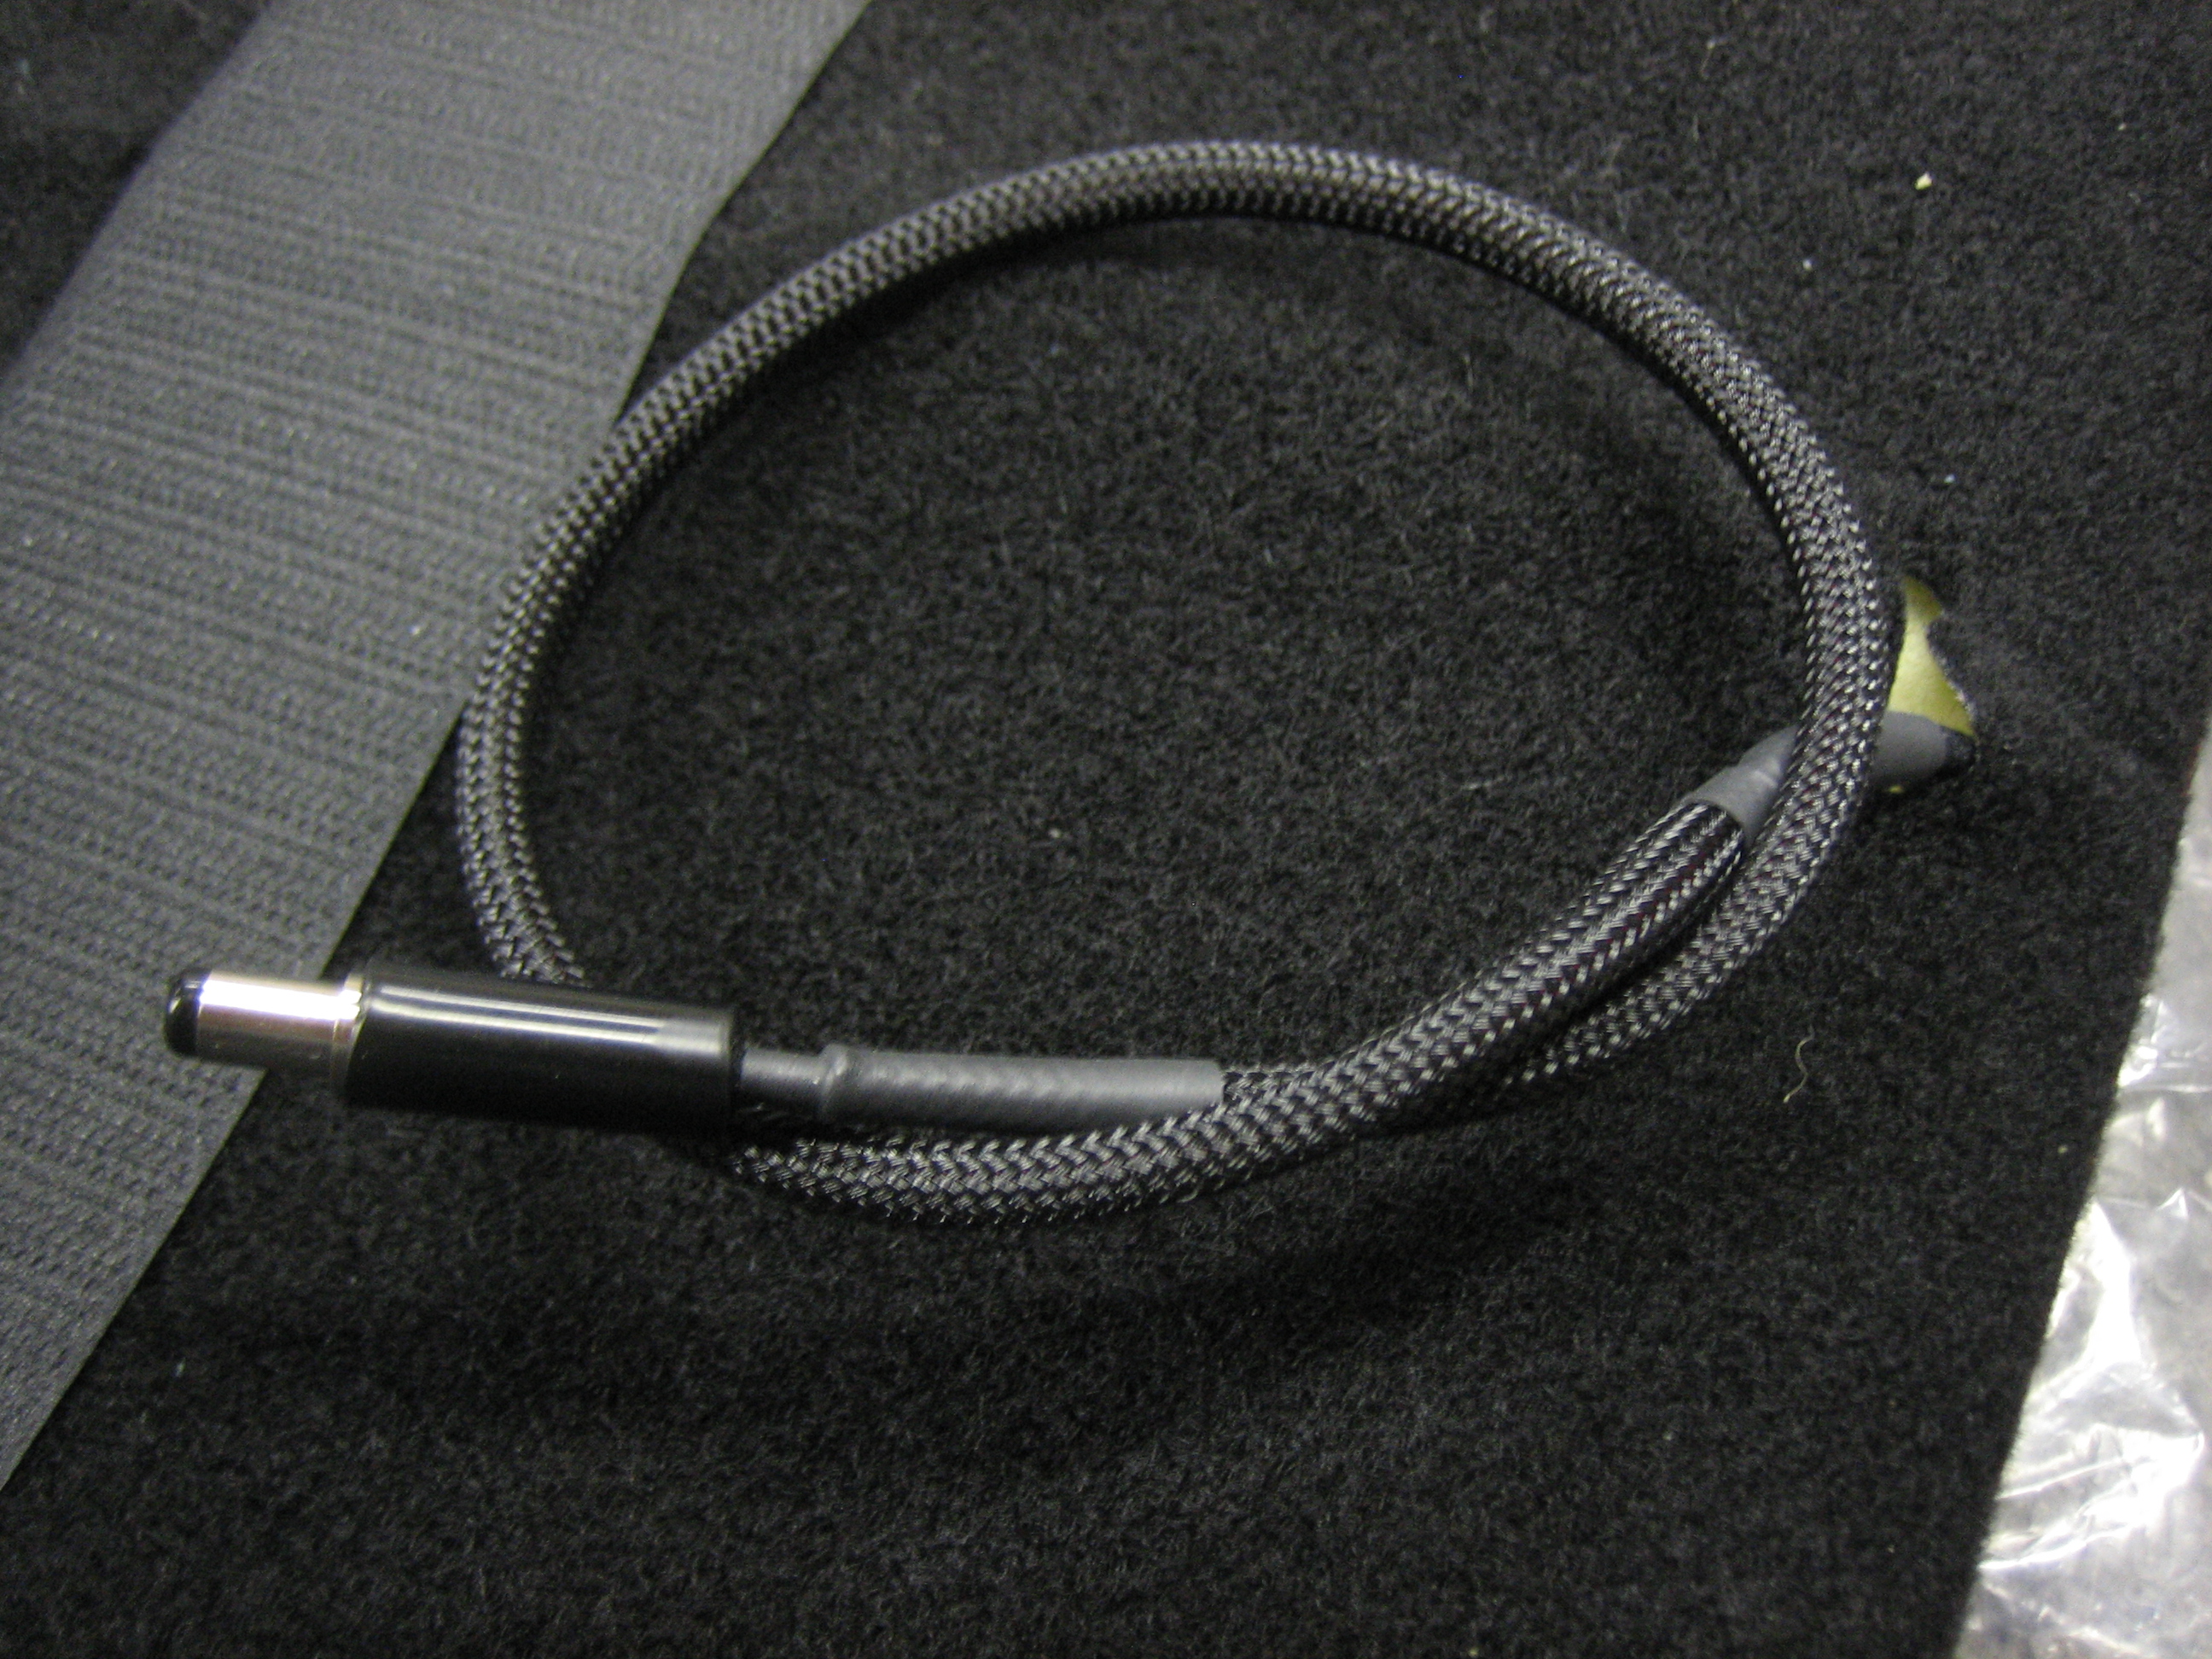
The canopy safety latch pivots in a UHMW block and is used as a secondary latch in case the primary canopy latches pop open. It’s also used to prop the canopy open by resting the longer flange on top of the roll bar. The problem is that because the latch is free to rotate, vibration can cause it to spin around and not stay where you put it. Worse, there has been at least one case where someone shut their canopy and the safety latch pivoted and caught under the roll bar, preventing them from opening the canopy. There are a couple of approaches that builders have used to prevent this. One is to simply squeeze the tube that passes through the UHMW block too increase the friction. Another is to allow the safety latch to slide up and down in the UHMW block with a spring to keep it up. The pilot would then need to pull it down to pivot it under the roll bar. For various reasons, I didn’t like either of these approaches. I ended up deciding to modify the latch so that there are detents when rotating (one in each of the latched and unlatched positions). I stopped by the TechShop and used their milling machine to machine some grooves into the shaft.
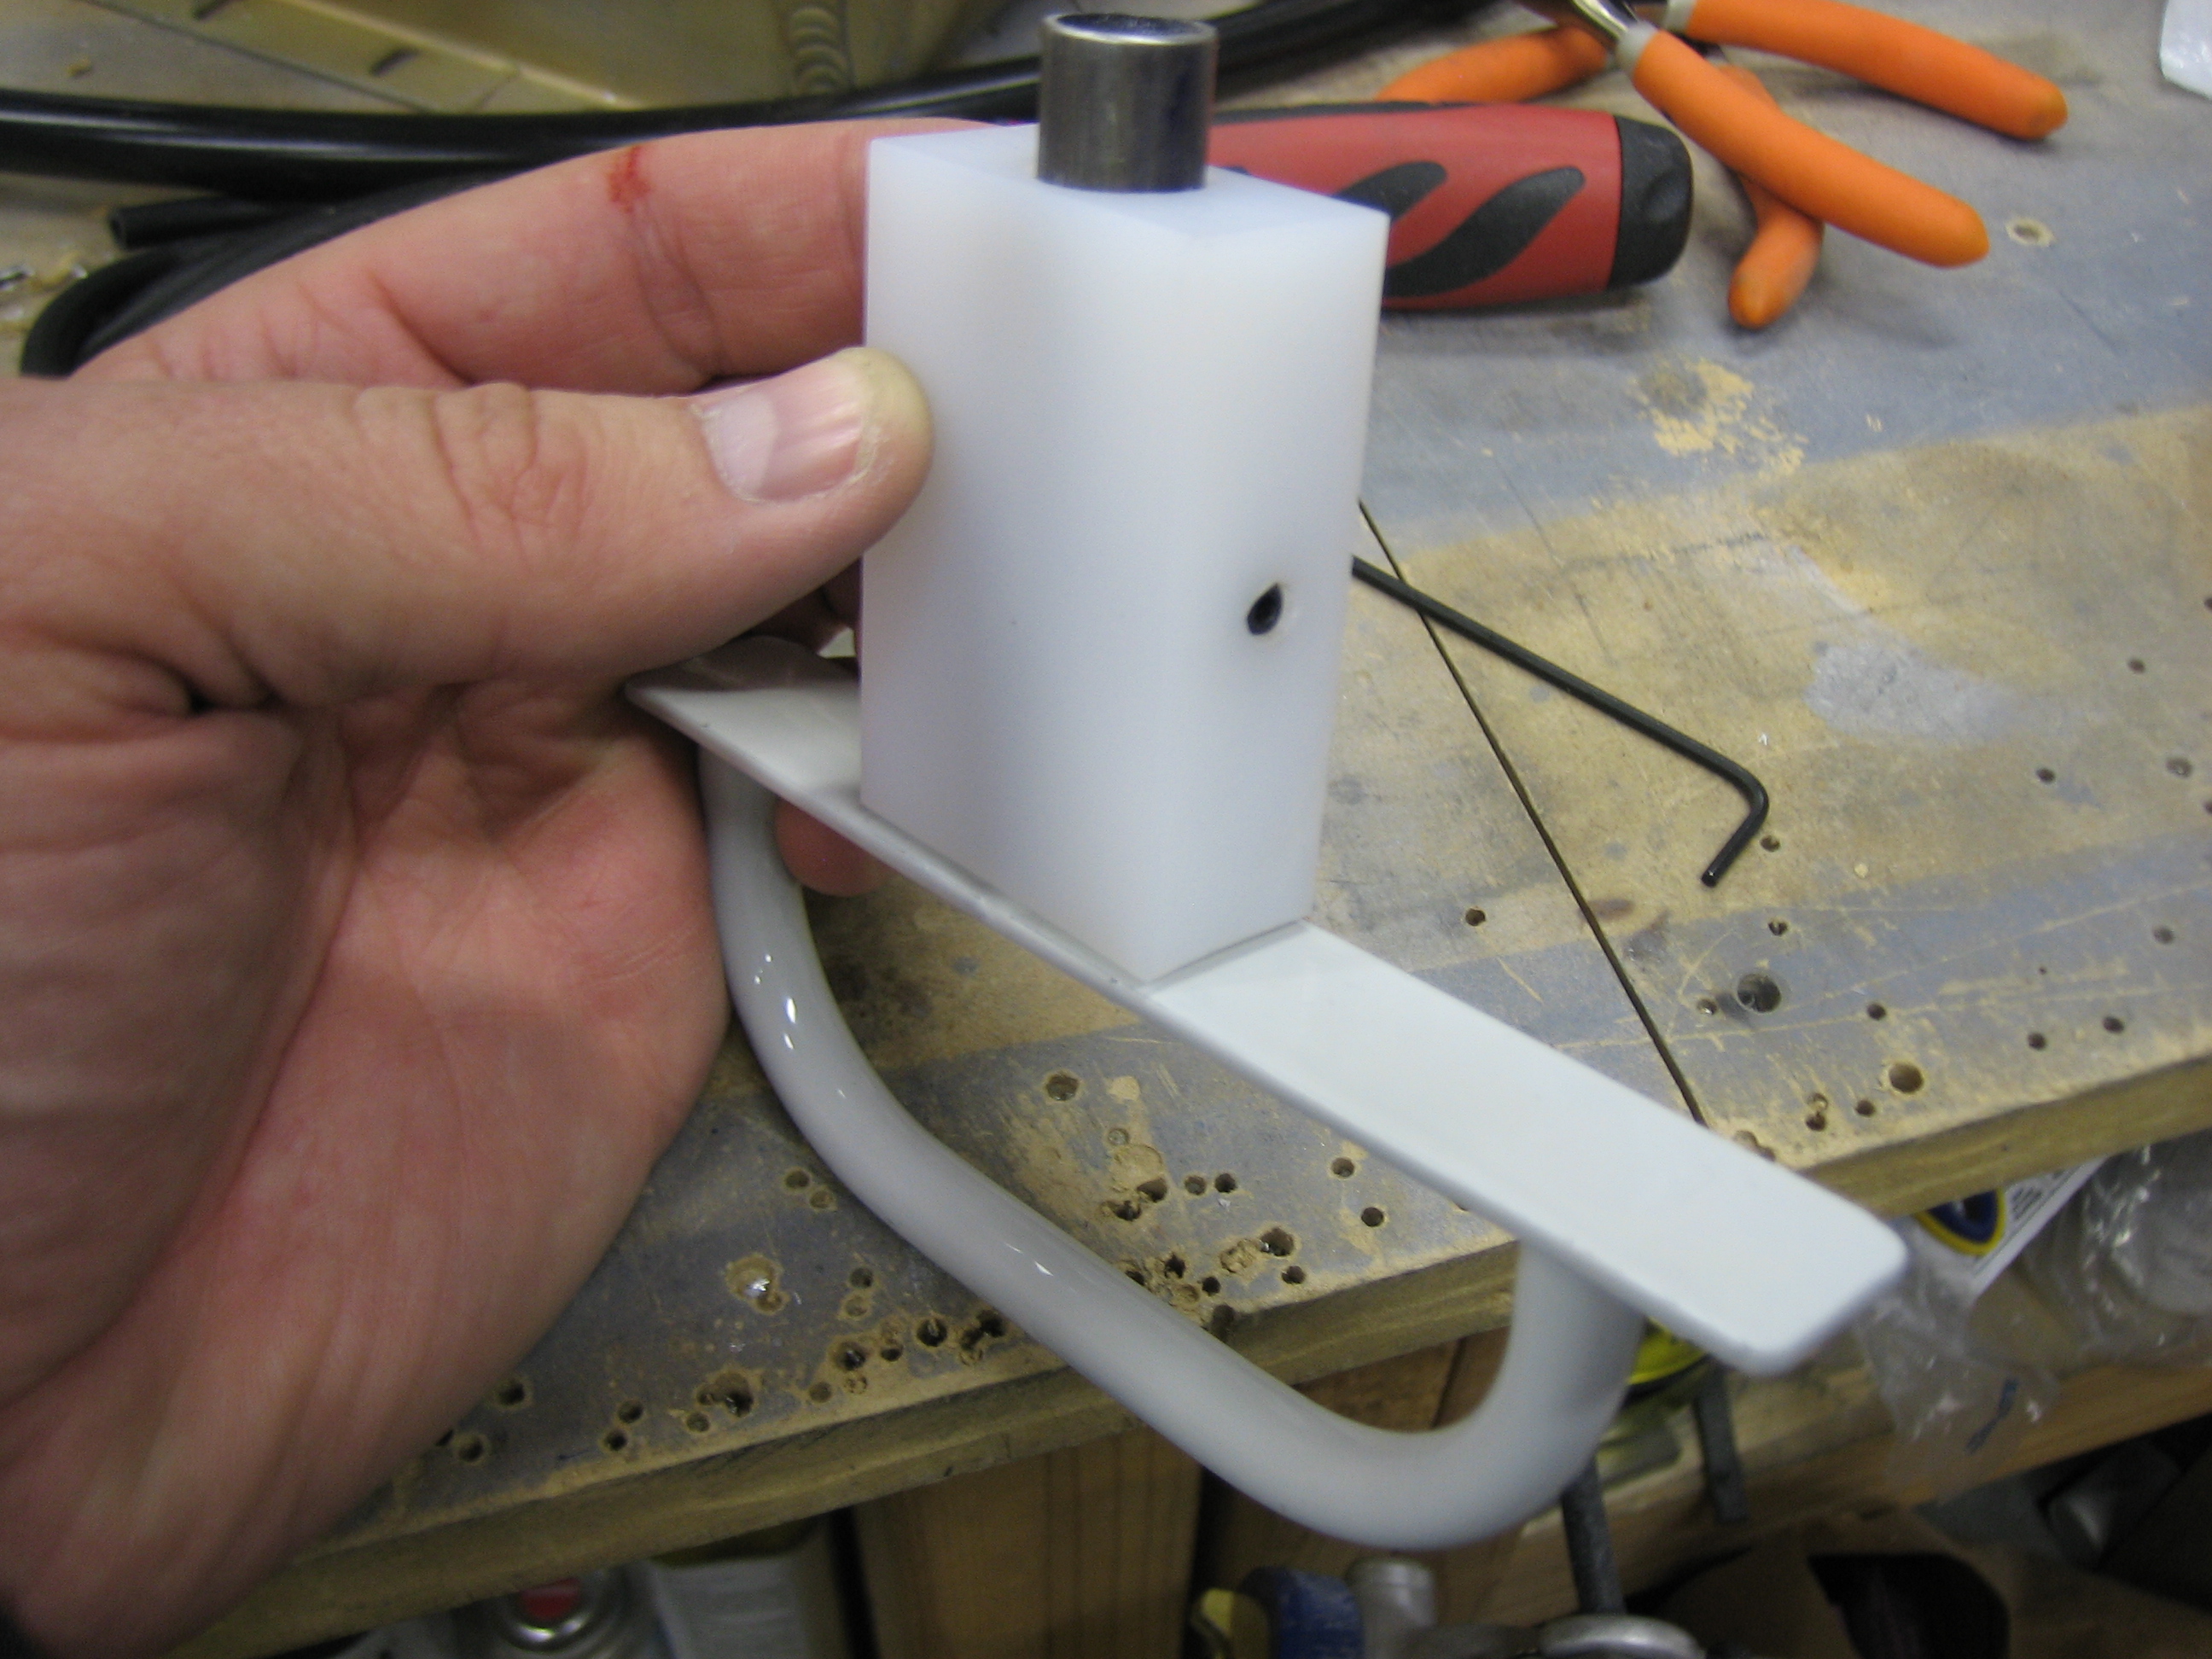
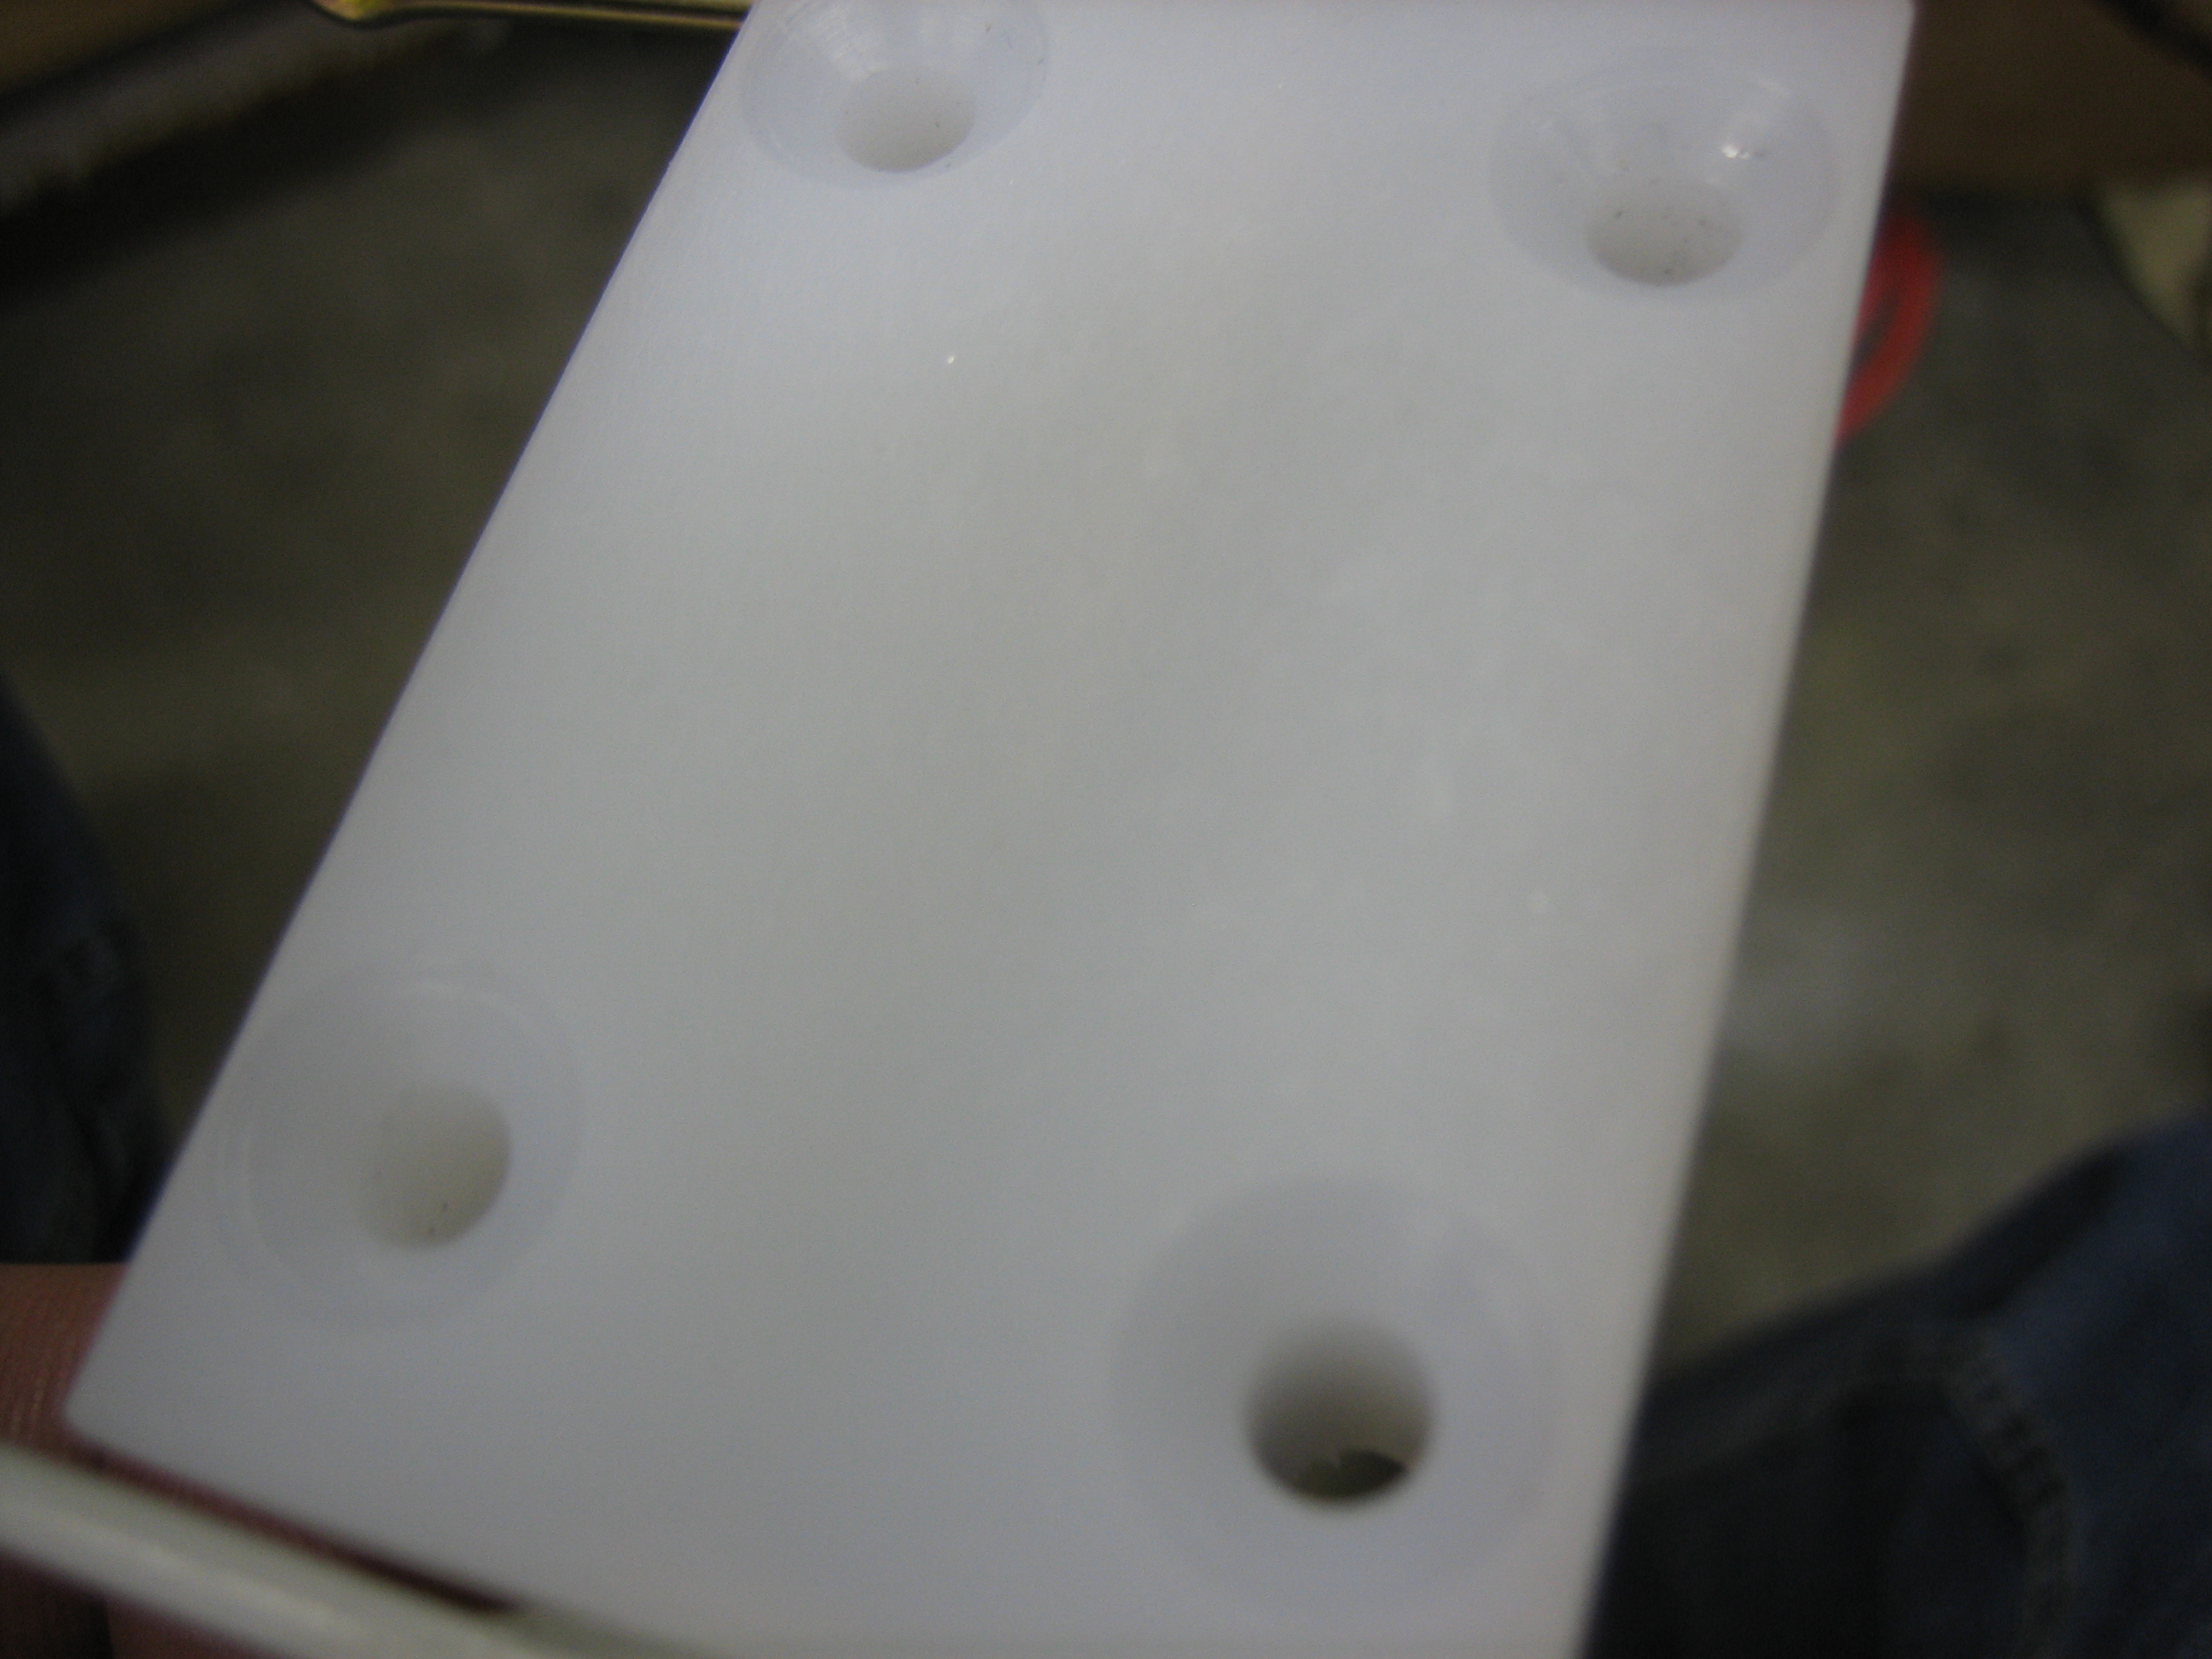
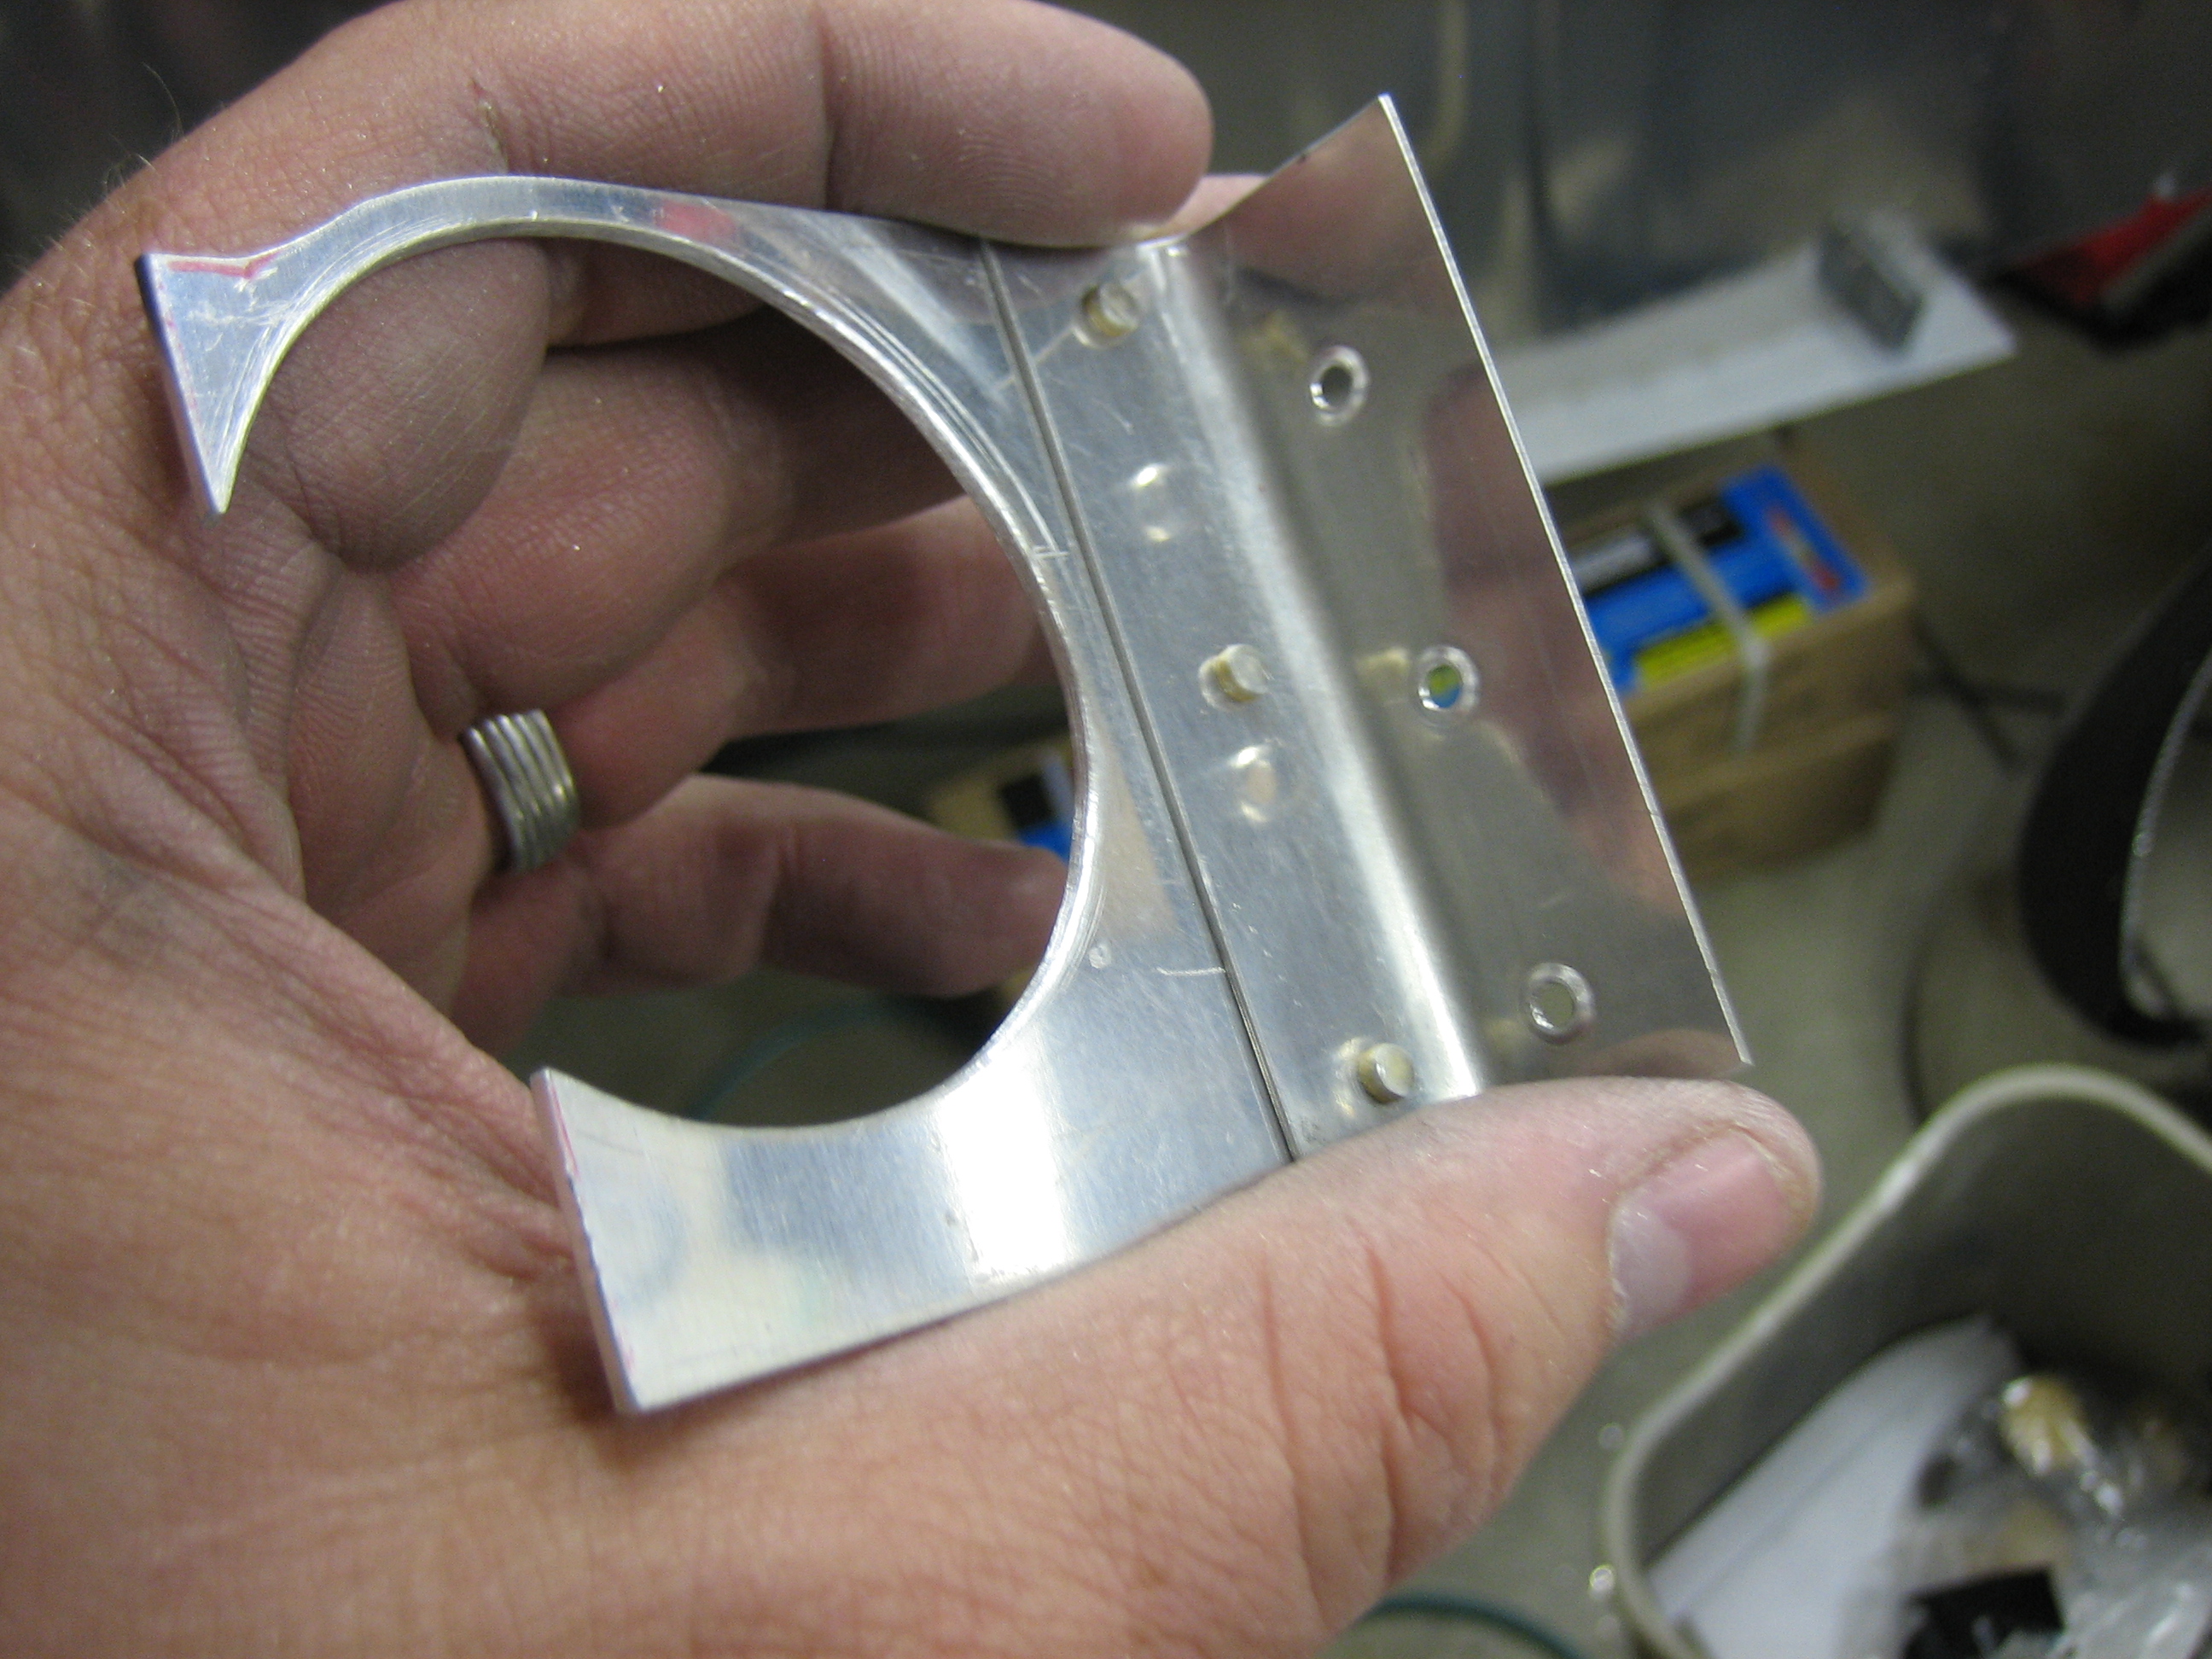
I drilled the mounting holes in the UHMW block and countersunk them for AN509-10R18 screws (which probably have to be replaced by R19 screws).
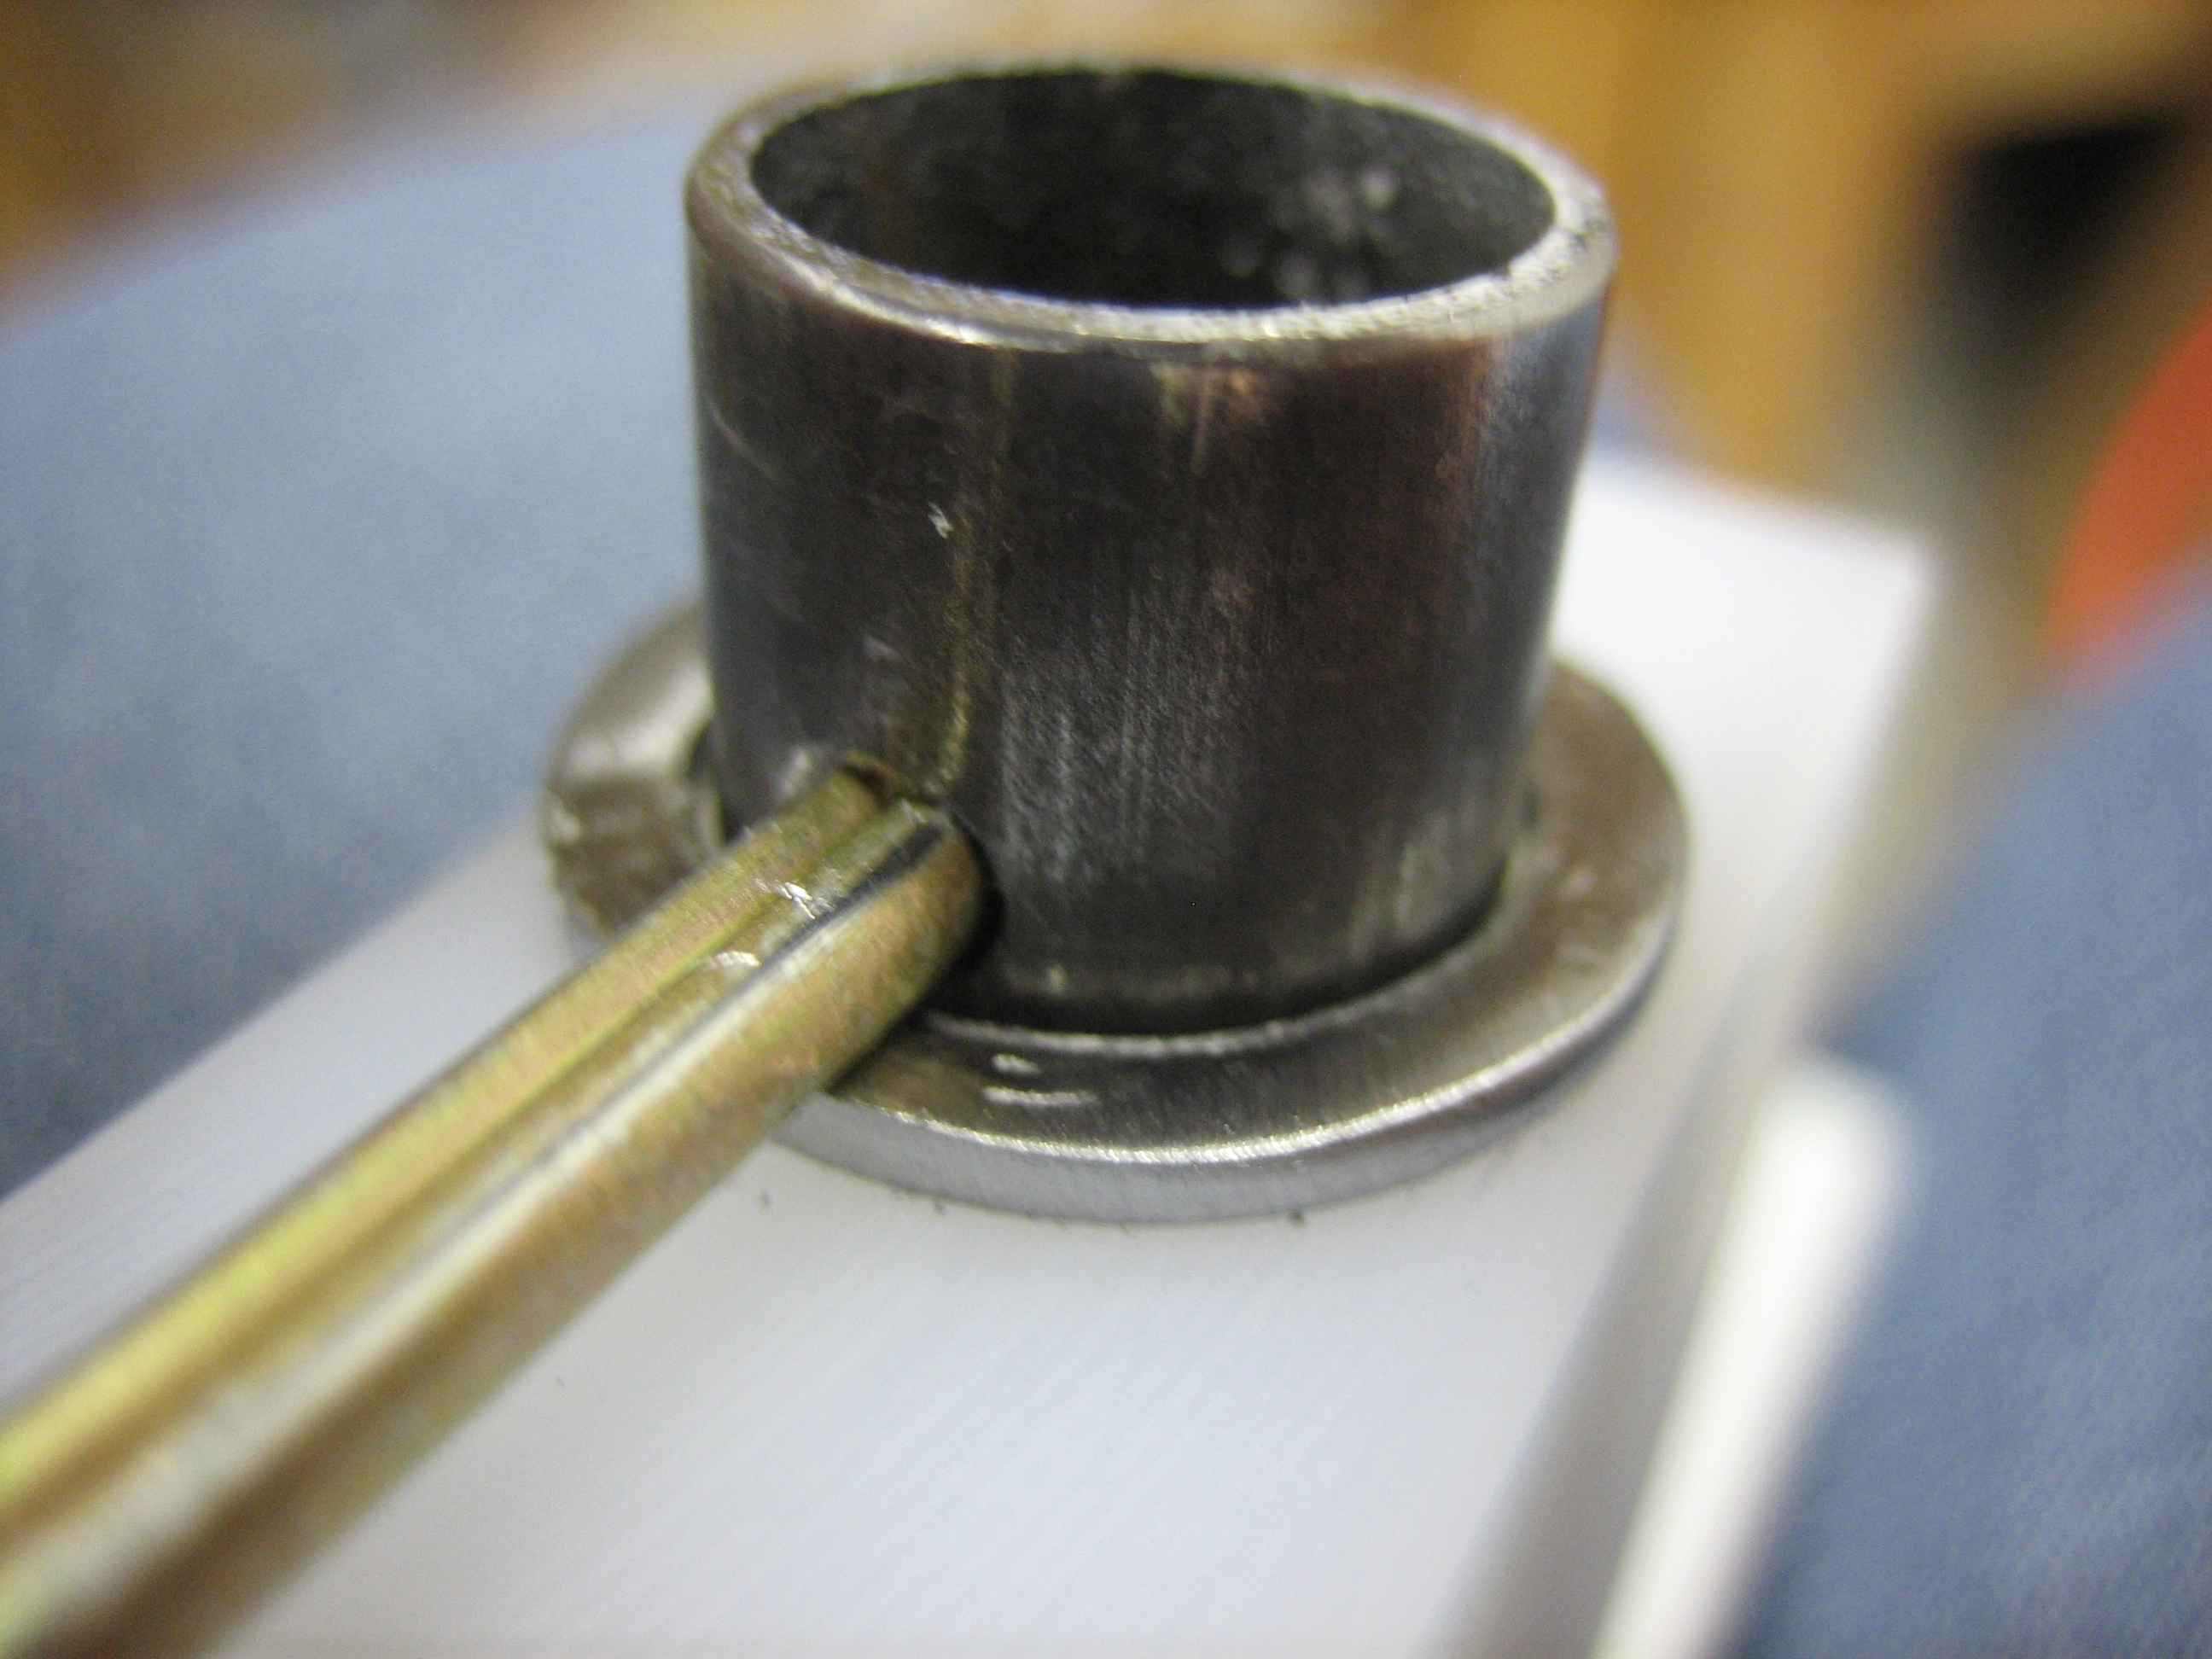
I then drilled a 0.130″ hole for a MS24665–359 cotter pin. This seems rather thick, but if the main canopy latch fails, the all of the force trying to pull the canopy open is carried in shear by this cotter pin.
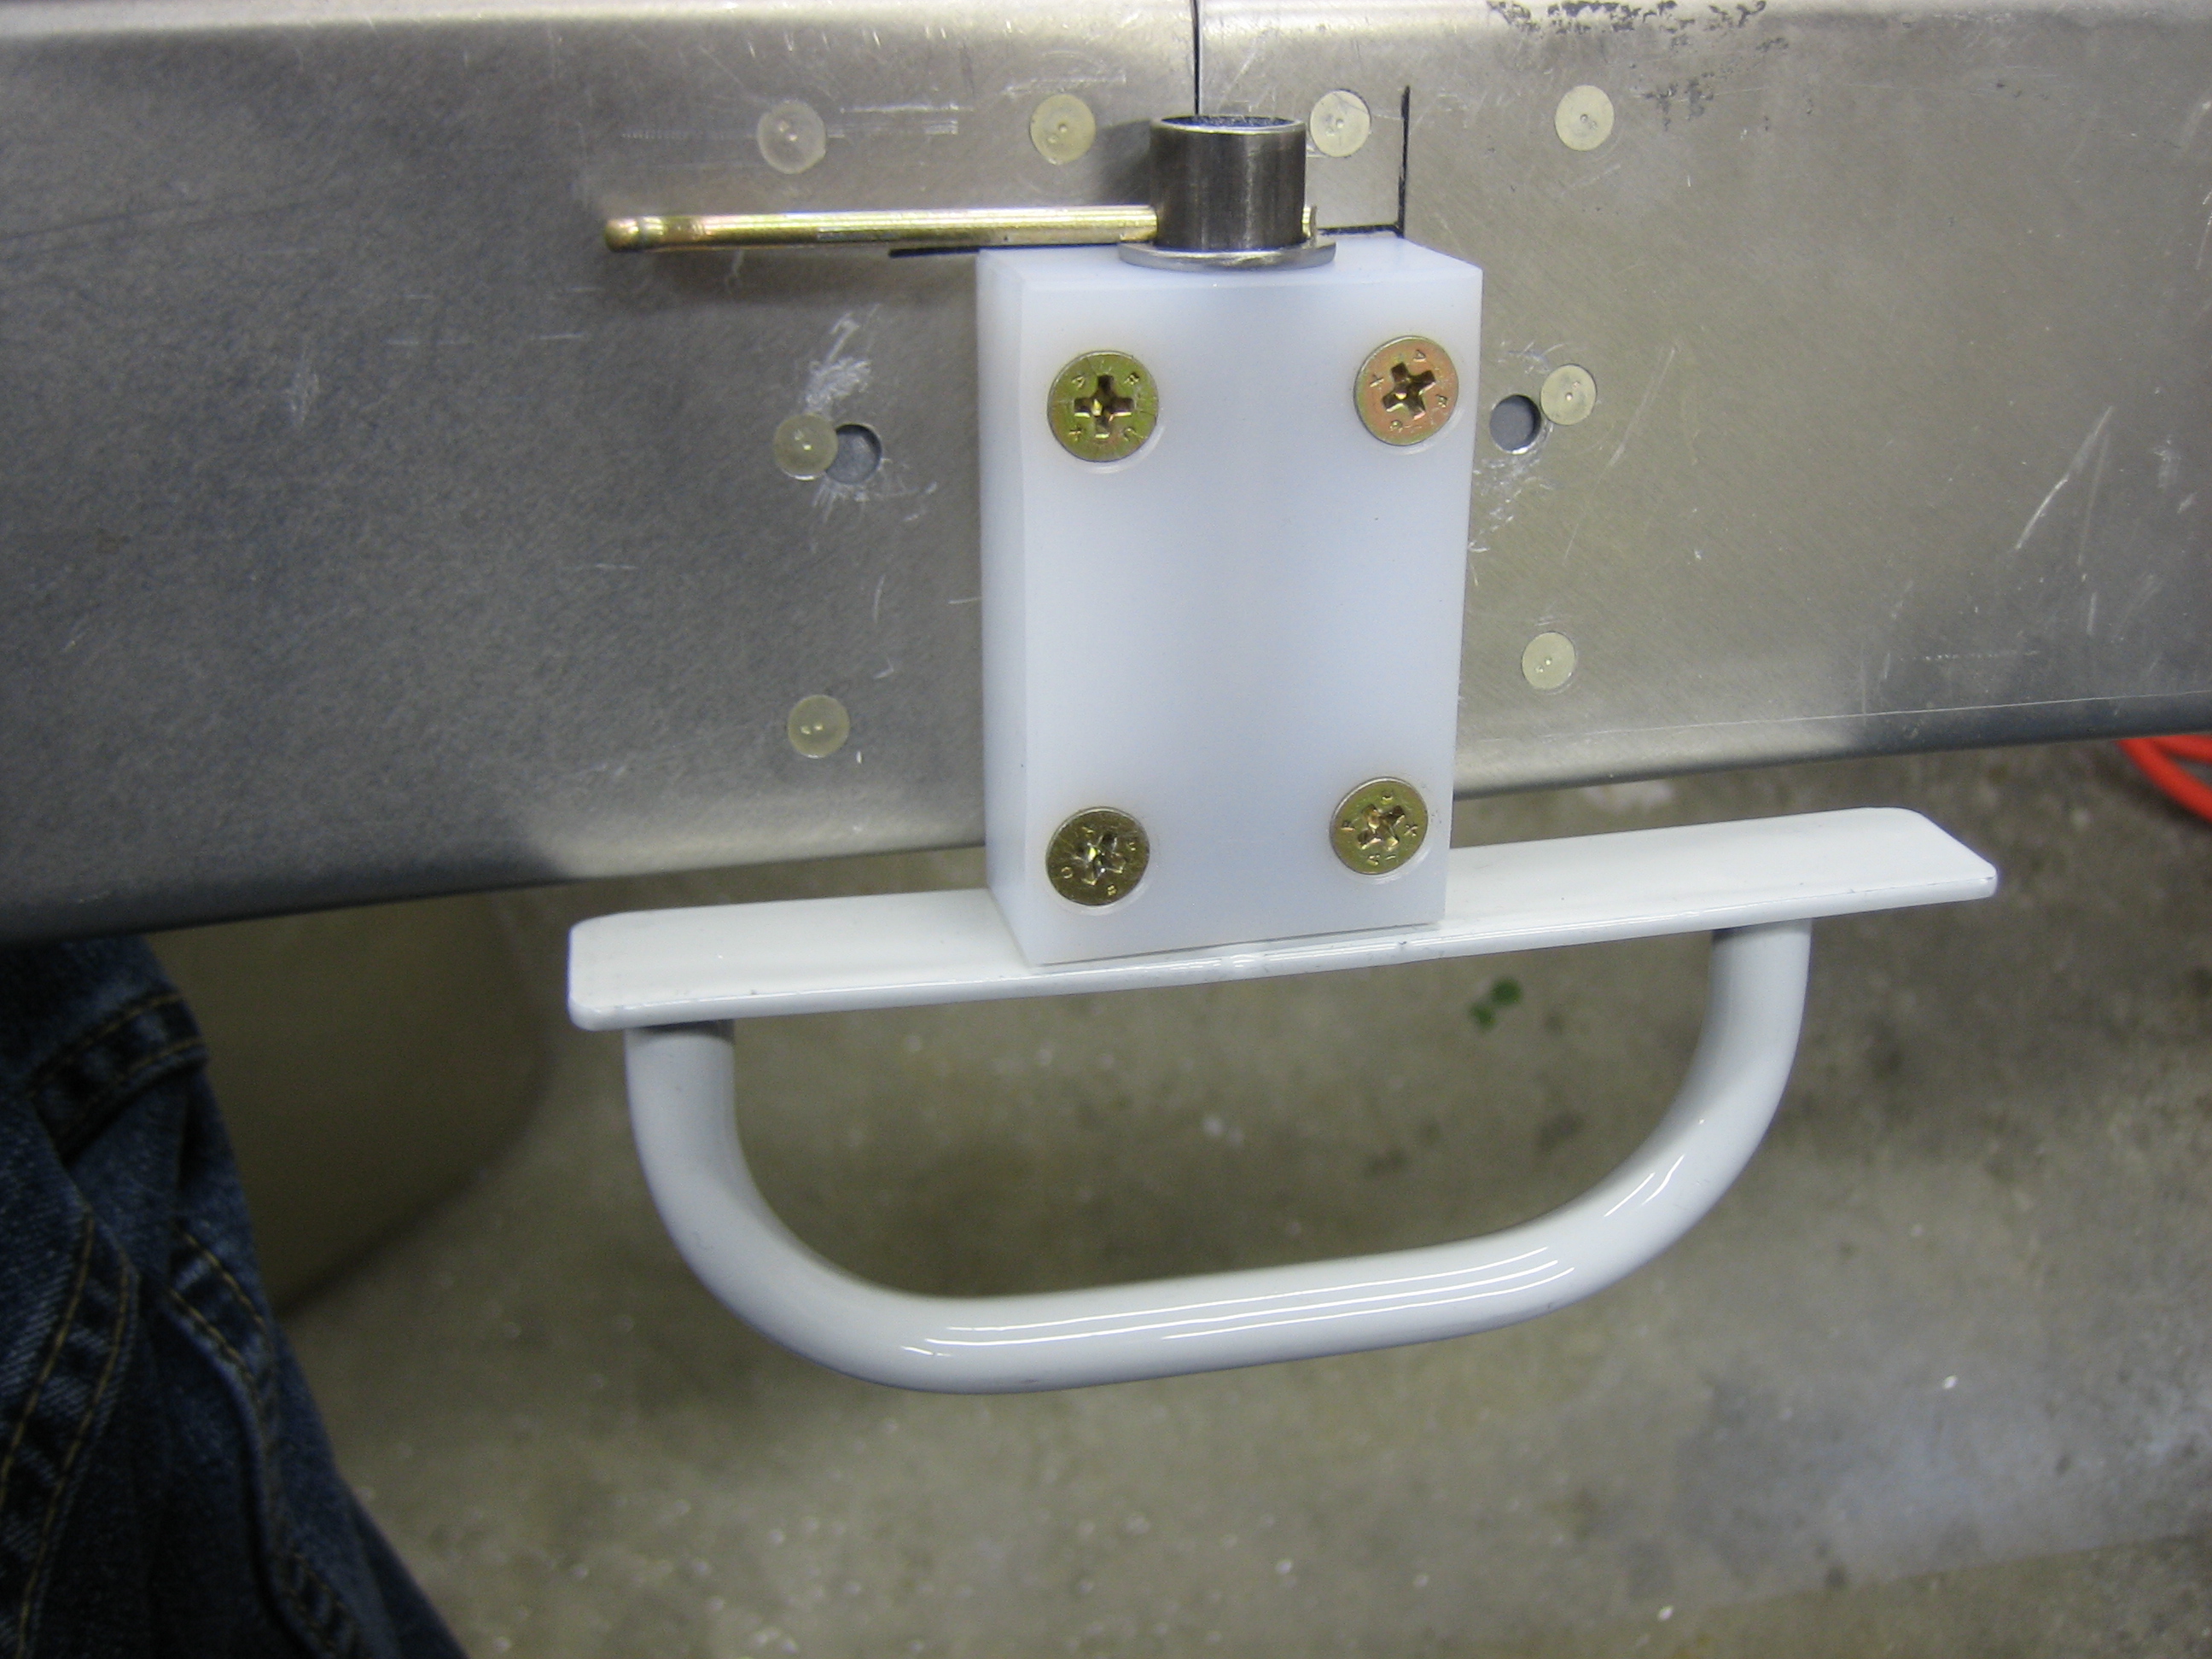
Afterward, I drilled and installed the block to the canopy frame. I’ll install the cotter pin for good once I’ve painted everything.
I removed the control cables and the panel from the plane. Everything has been disconnected from the subpanel, so it’s ready to come out as well.
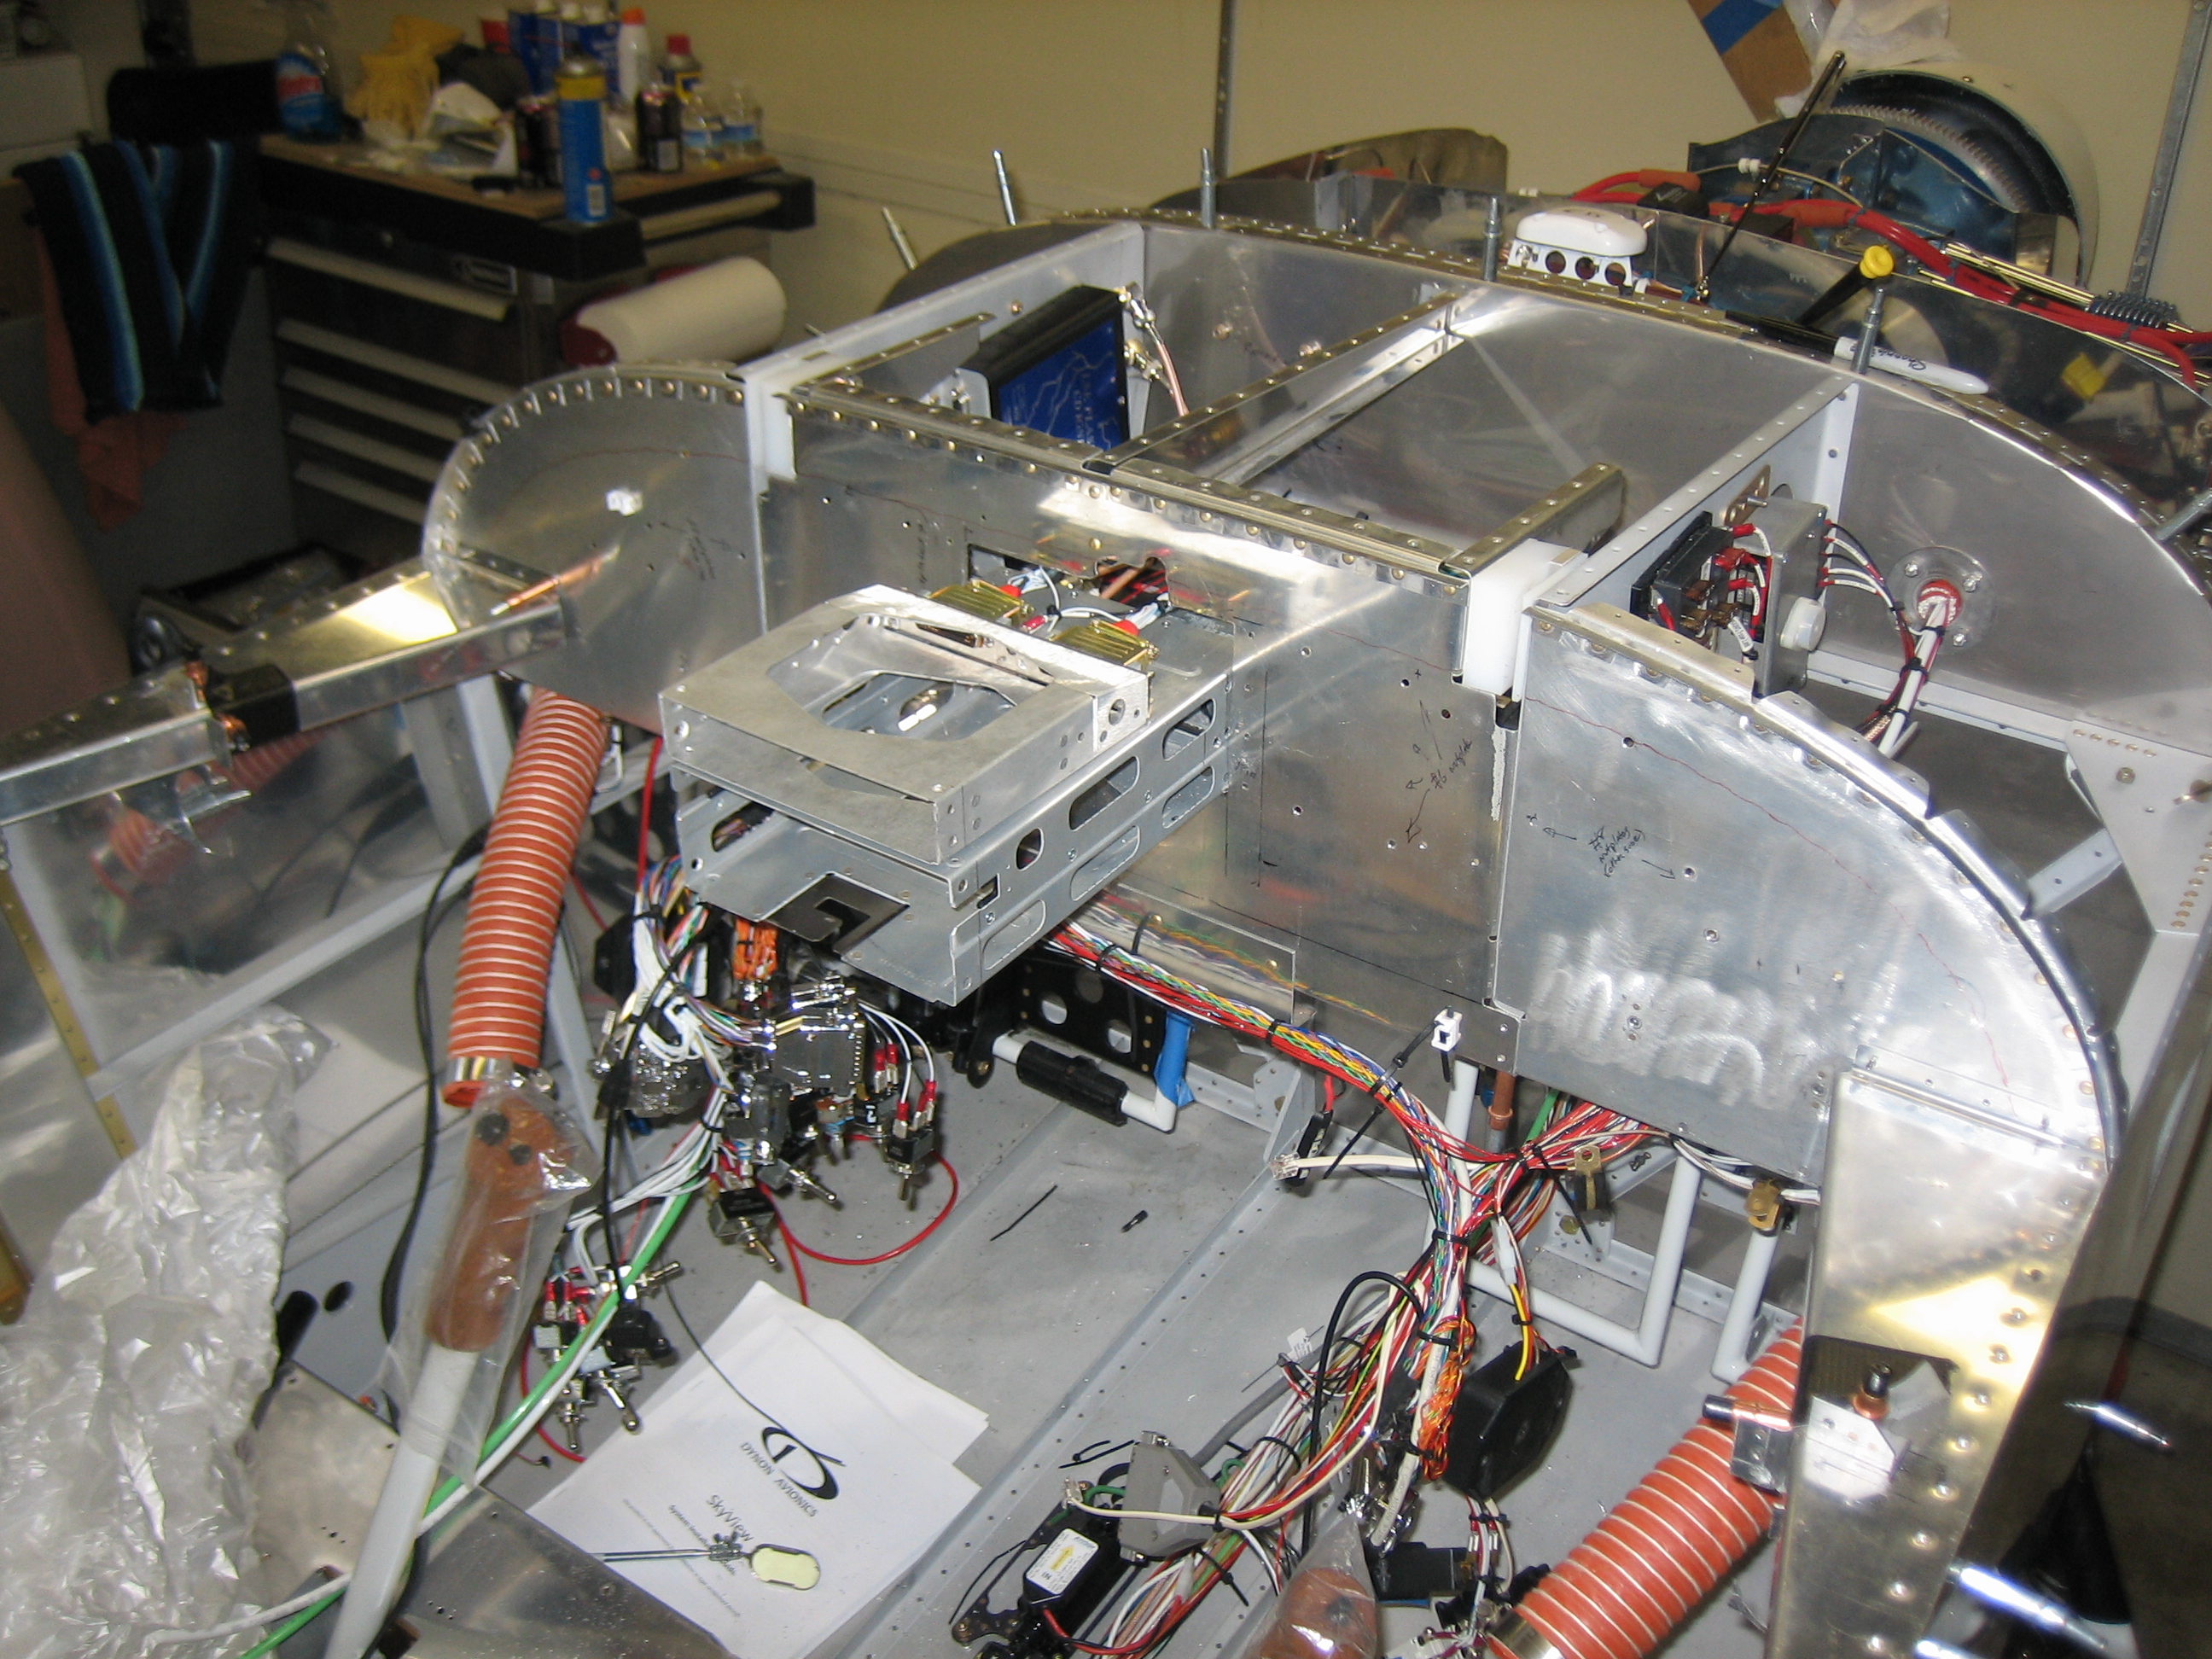
The subpanel is back out of the plane. Almost everything on the subpanel has been attached with screws and nuts up until this point, but all of those nuts are being replaced with nutplates so that all of the components installed on the subpanel can be removed from the front with a screwdriver. Otherwise, I’d be on my back under the panel trying to get a wrench on the nuts.
I’m really glad I chose to run all of the wiring through adel clamps suspended from the bottom of the subpanel and ribs instead of through them. It’s made it relatively trivial to pull the subpanel out to trim it or install nutplates.
After pulling this out, I installed most of the nutplates before calling it a night. I should be able to finish that up and have them primed and reinstalled by this weekend.

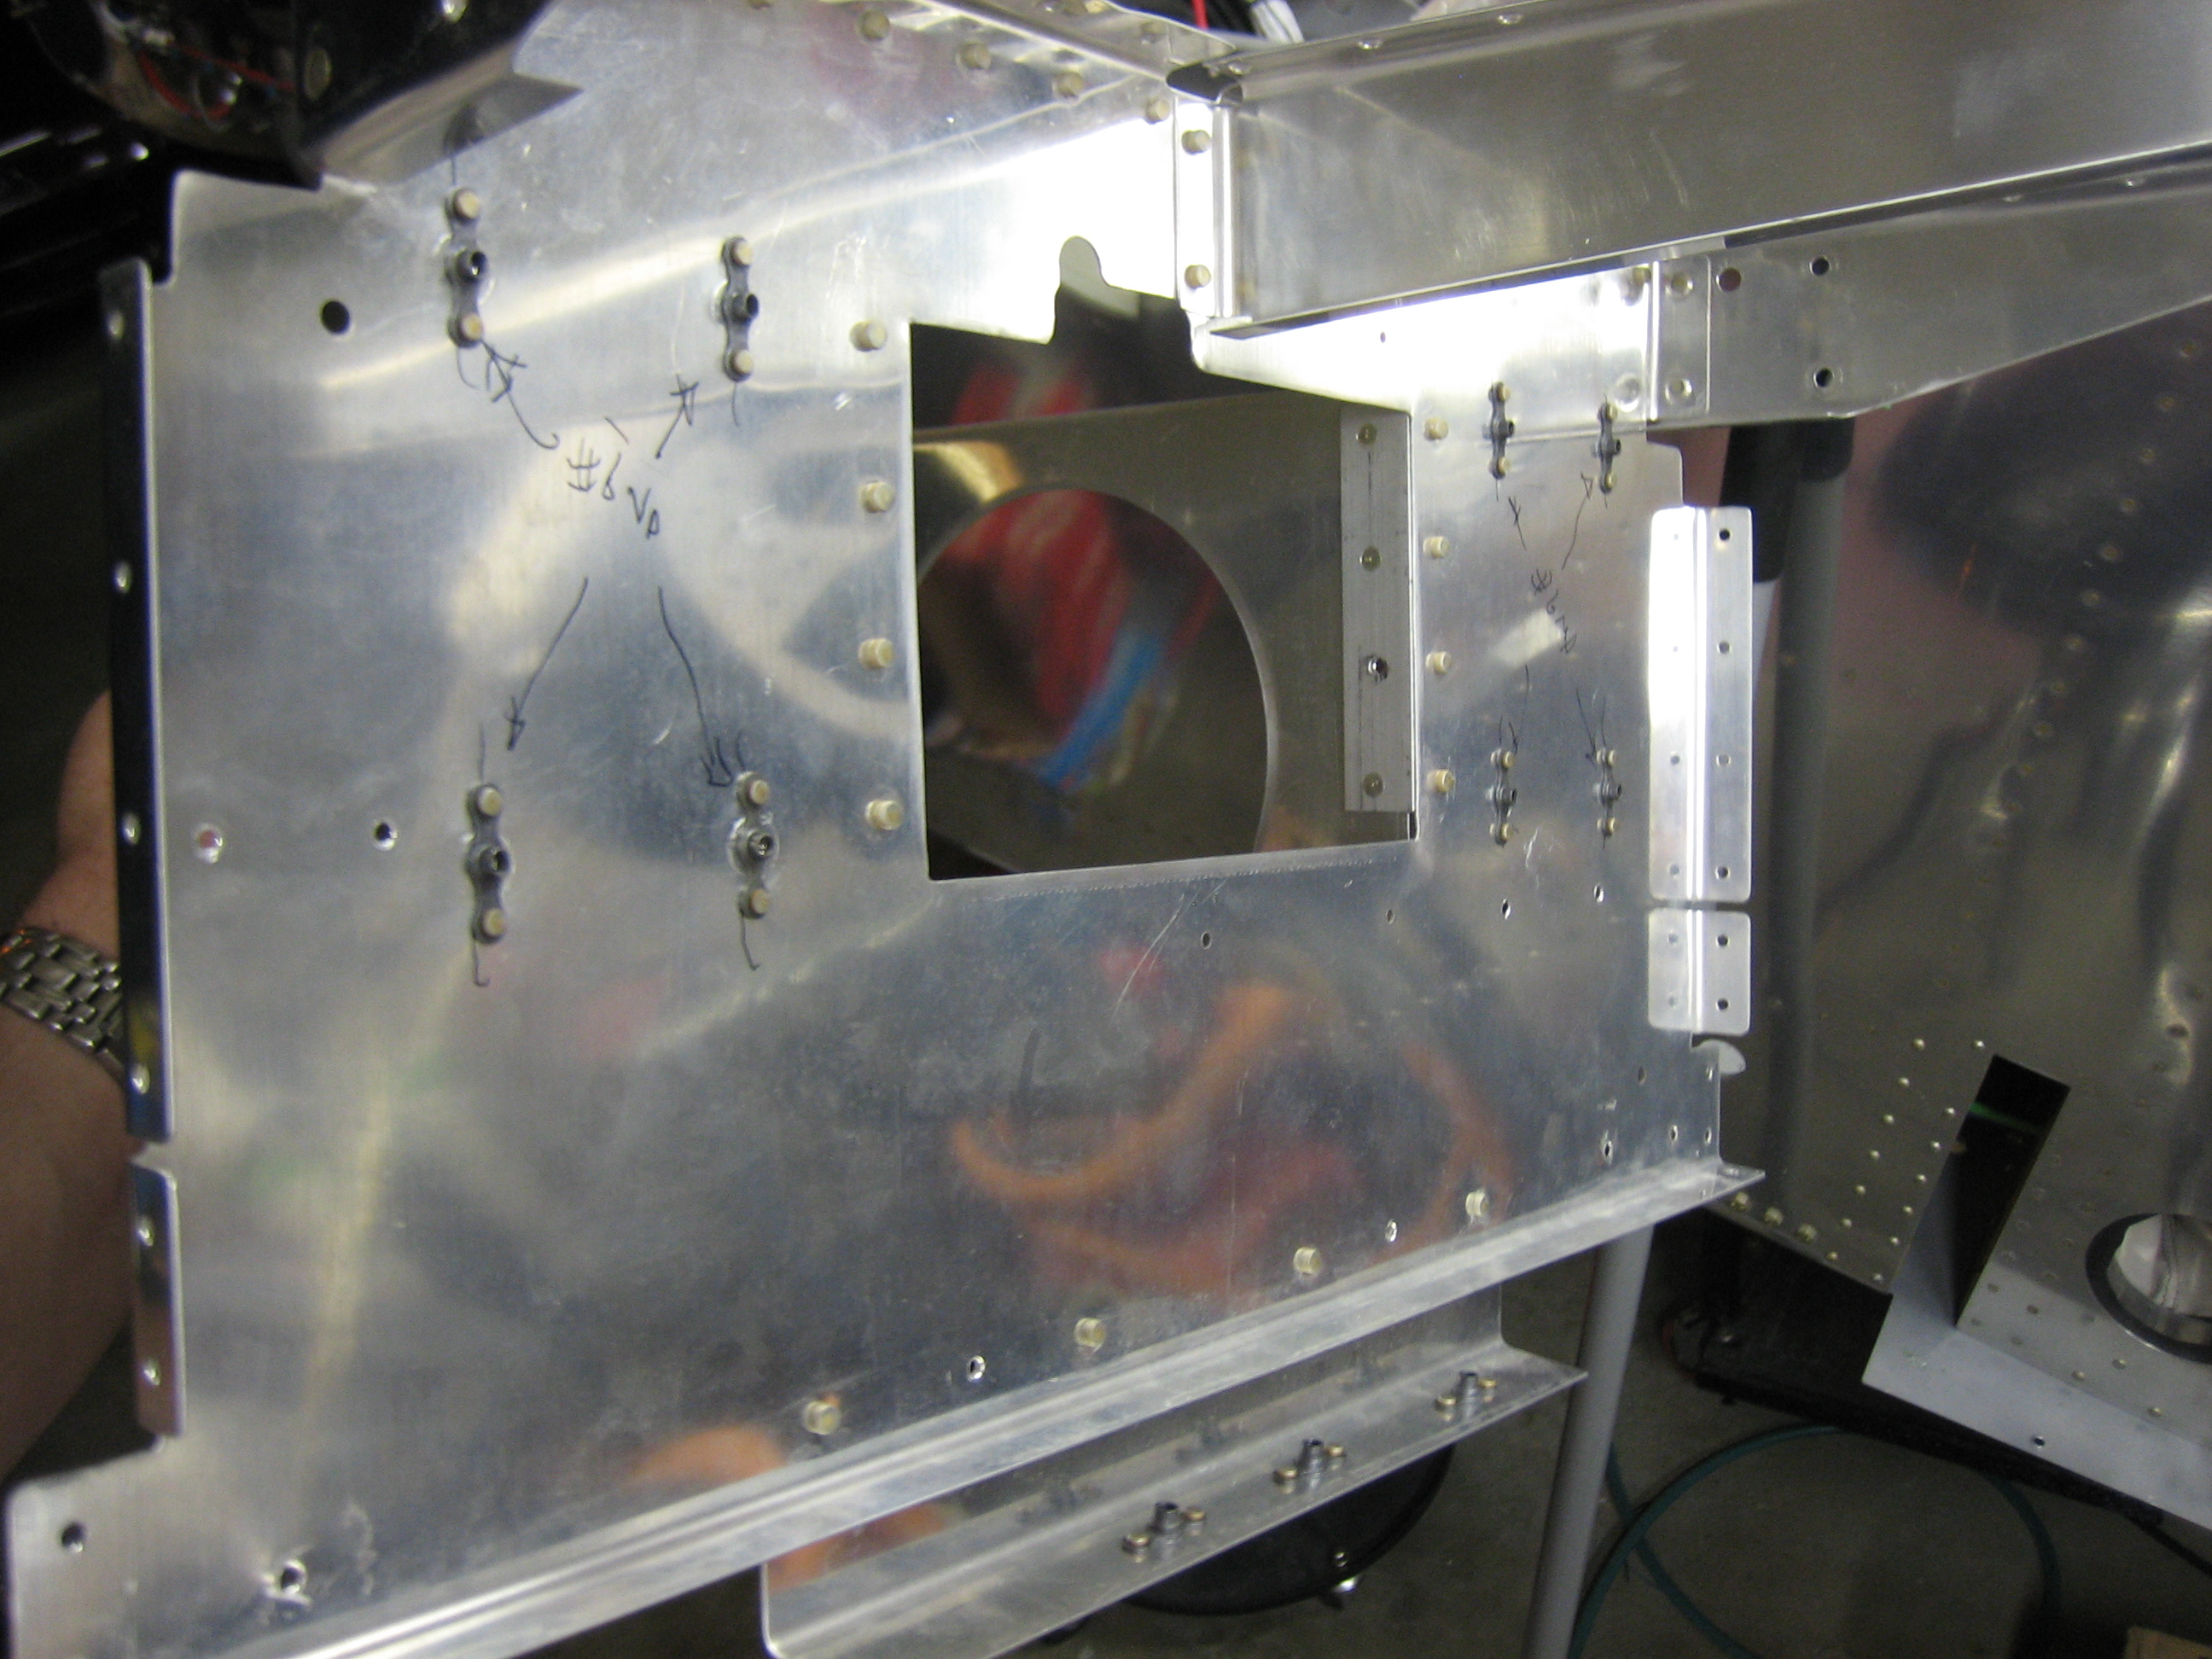
I finished installing all of the nutplates on the subpanel. Here you can see a set of 4 K1000-06 nutplates on each side of the radio stack hole. At the bottom, you can see some K1000-08 nutplates that support the control cables as they pass under the subpanel.
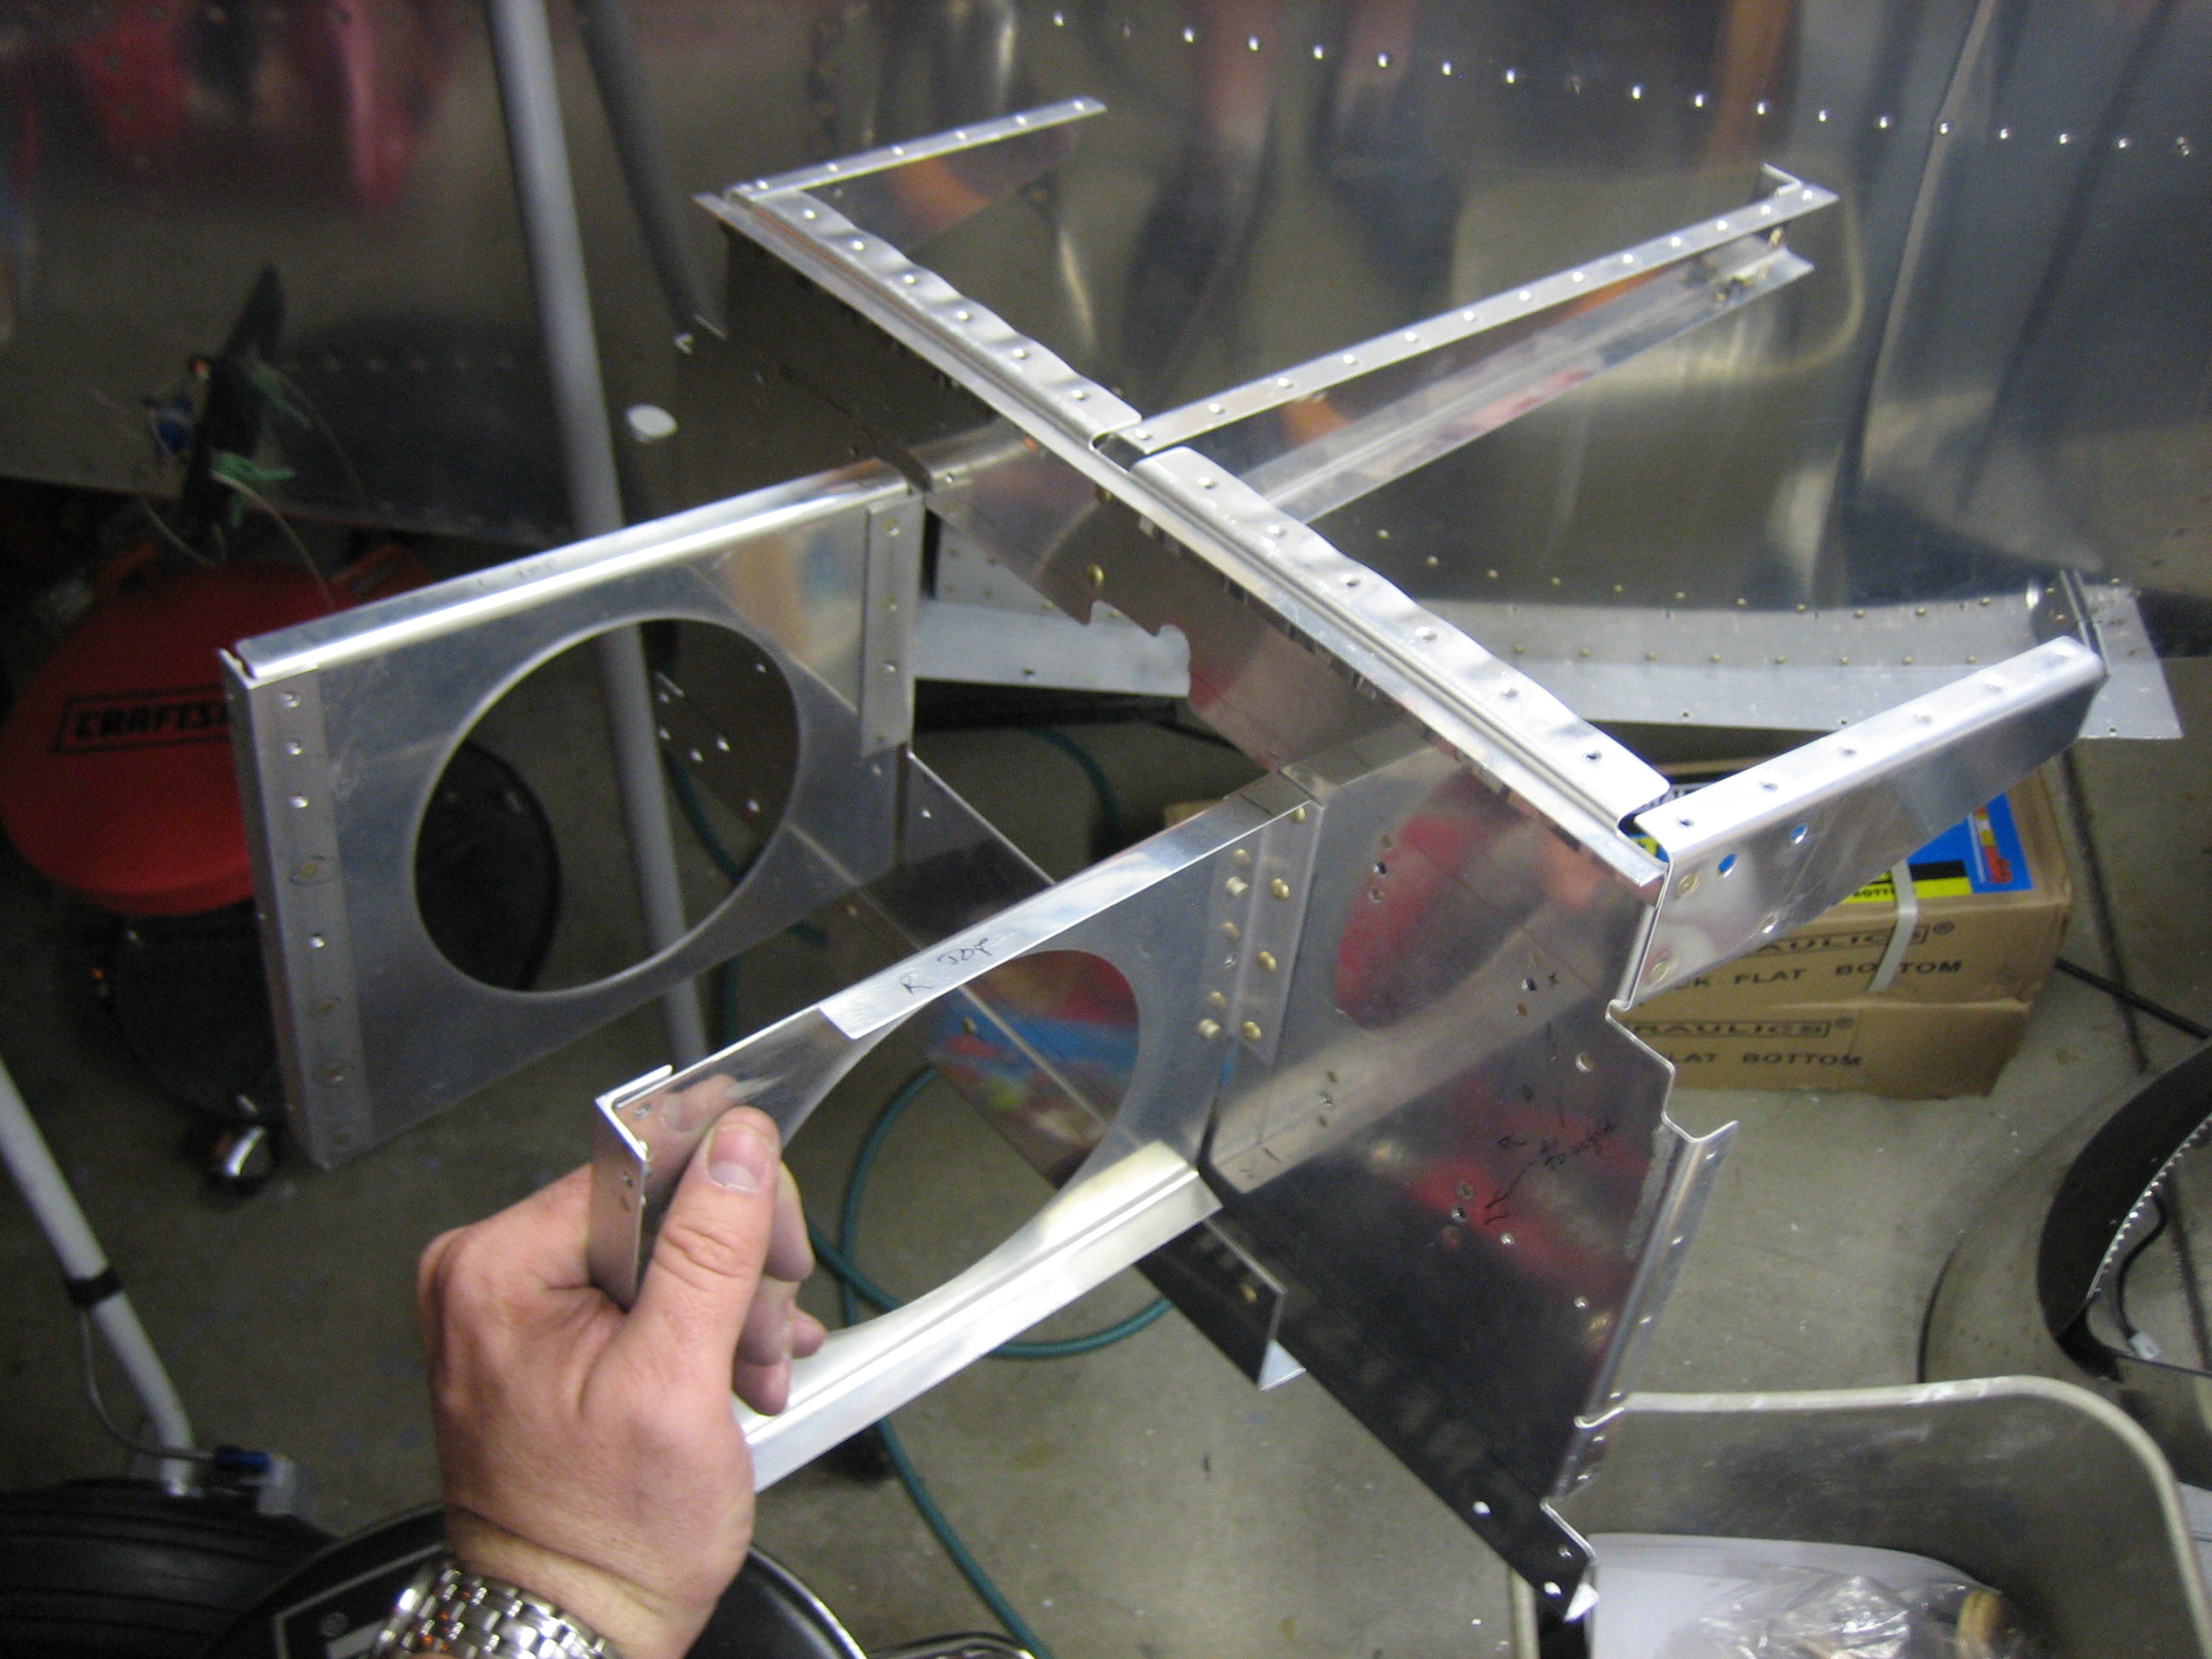
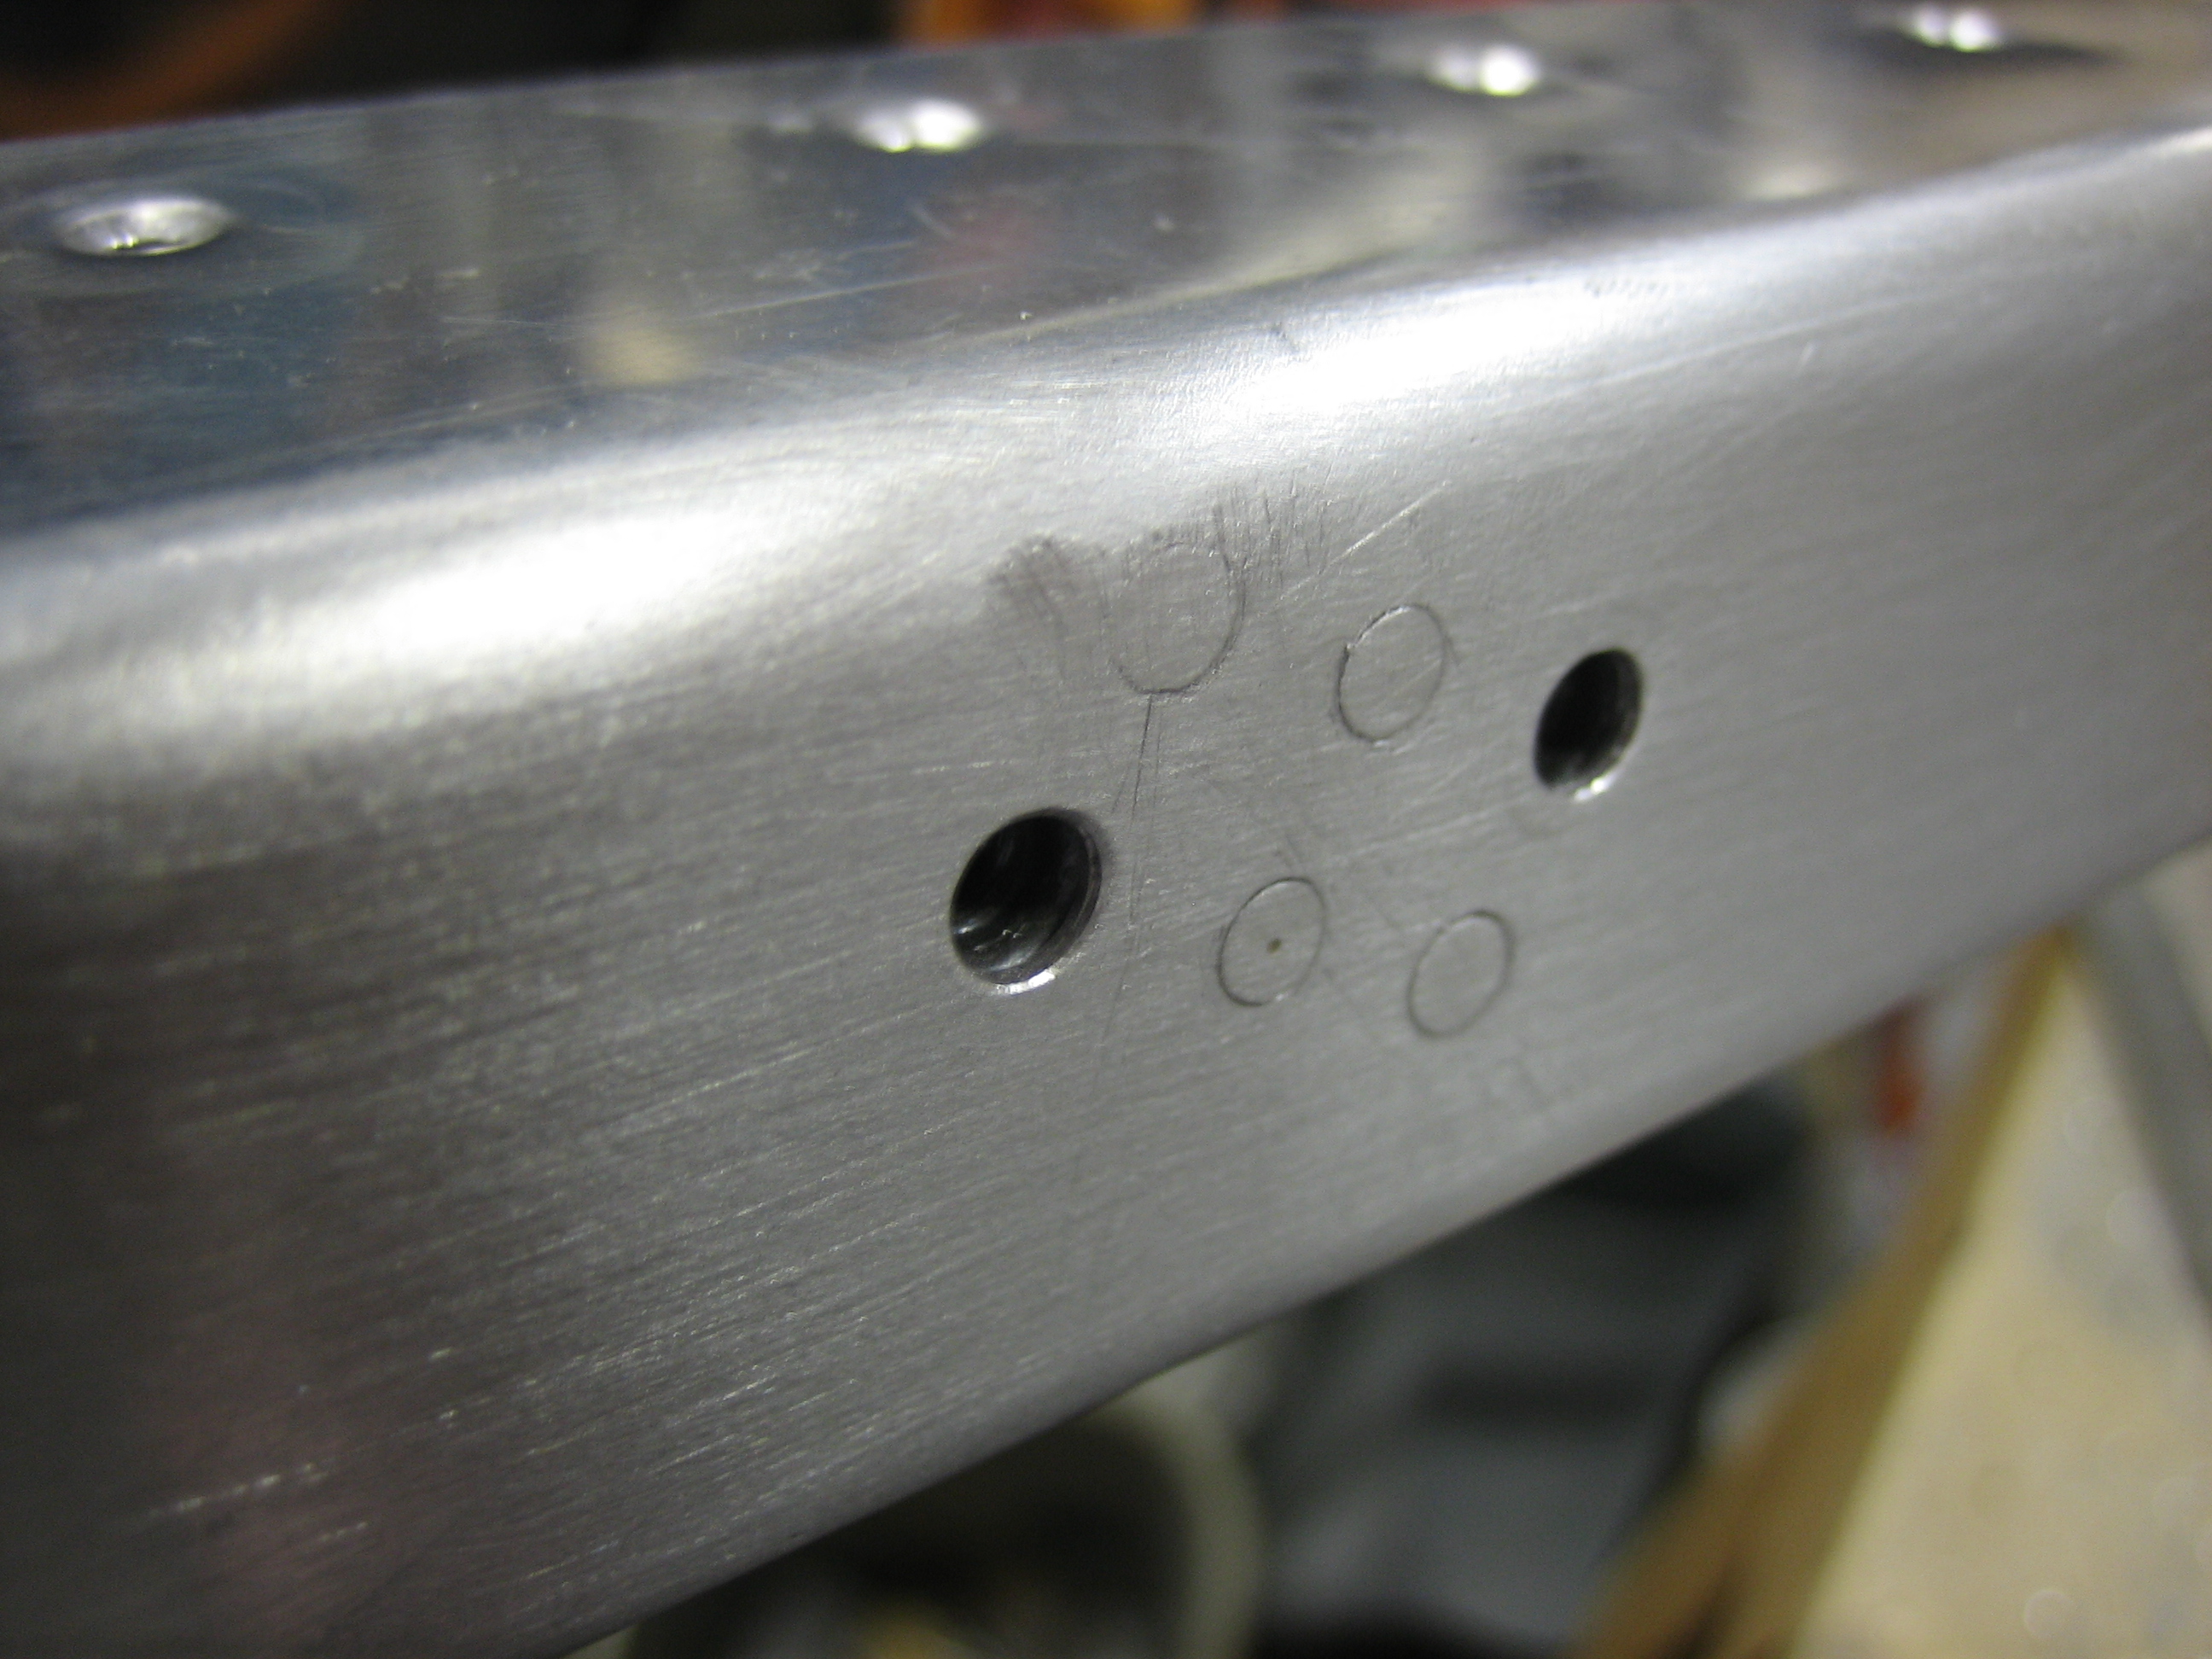
There are a handful of small tasks that need to be taken care of before the canopy rails can be riveted to the longerons. First up are the panel attach brackets.
The forward and aft canopy rails are then riveted together with a couple of AN3 rivets.
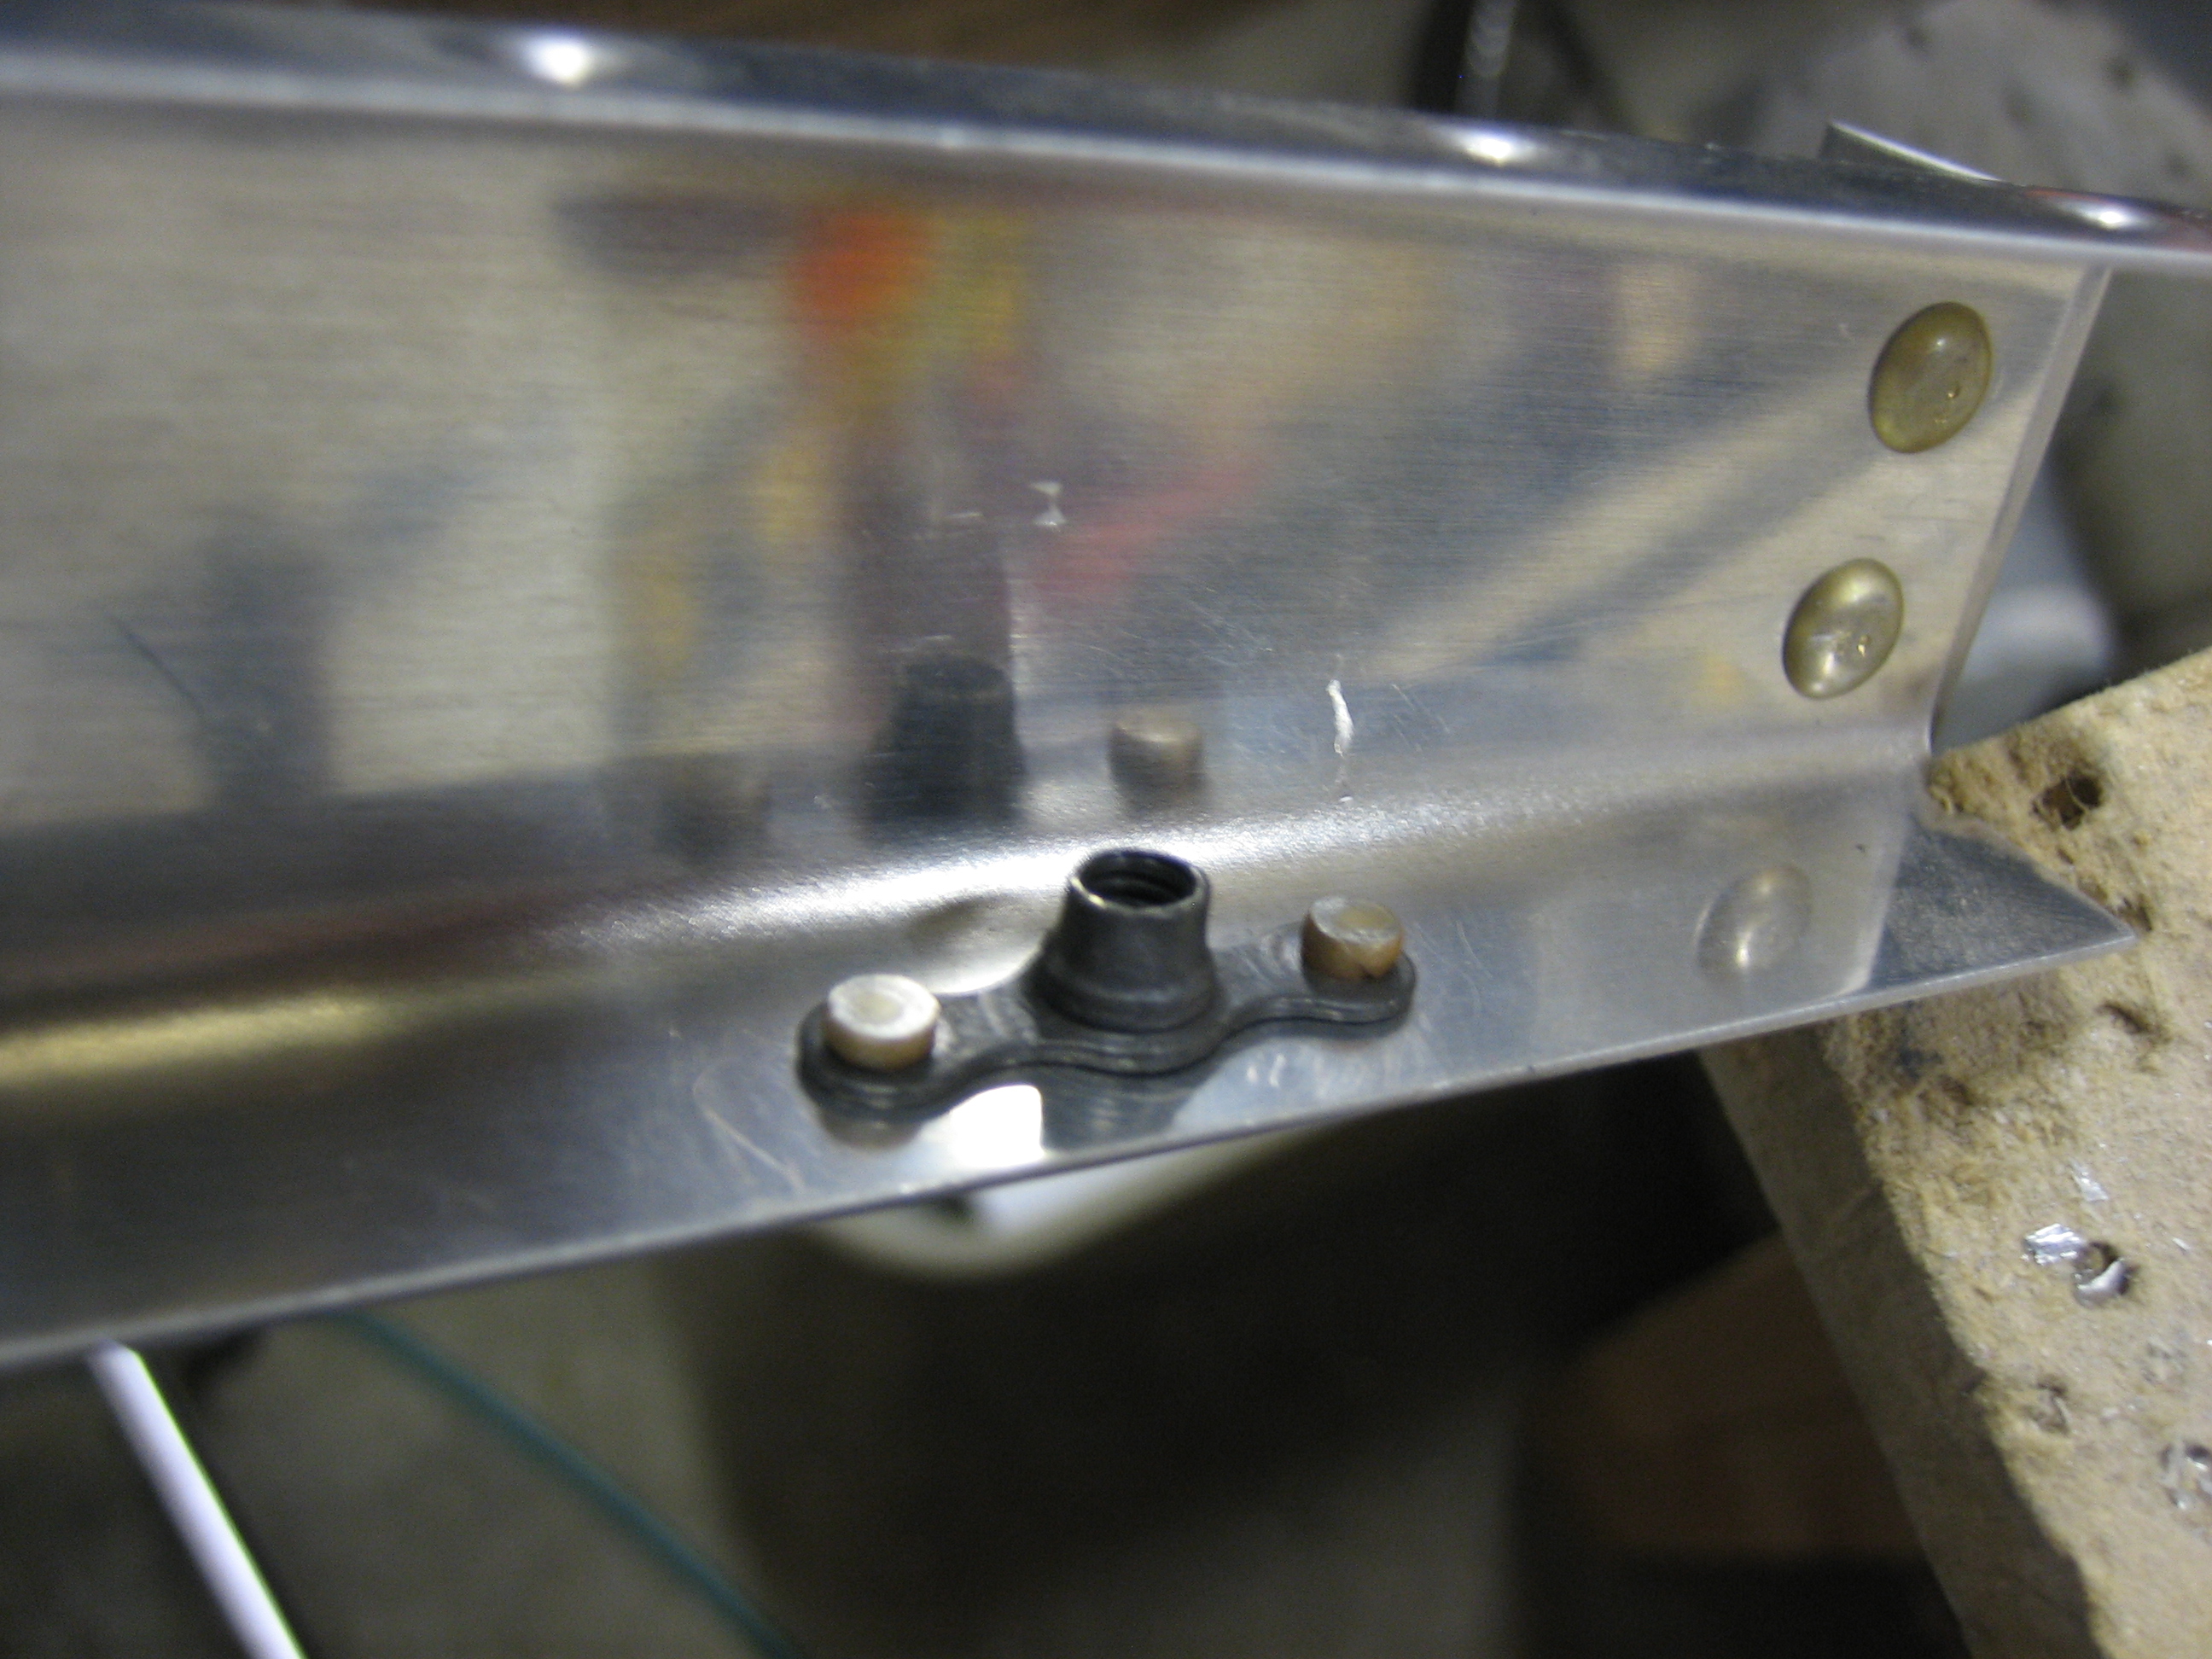
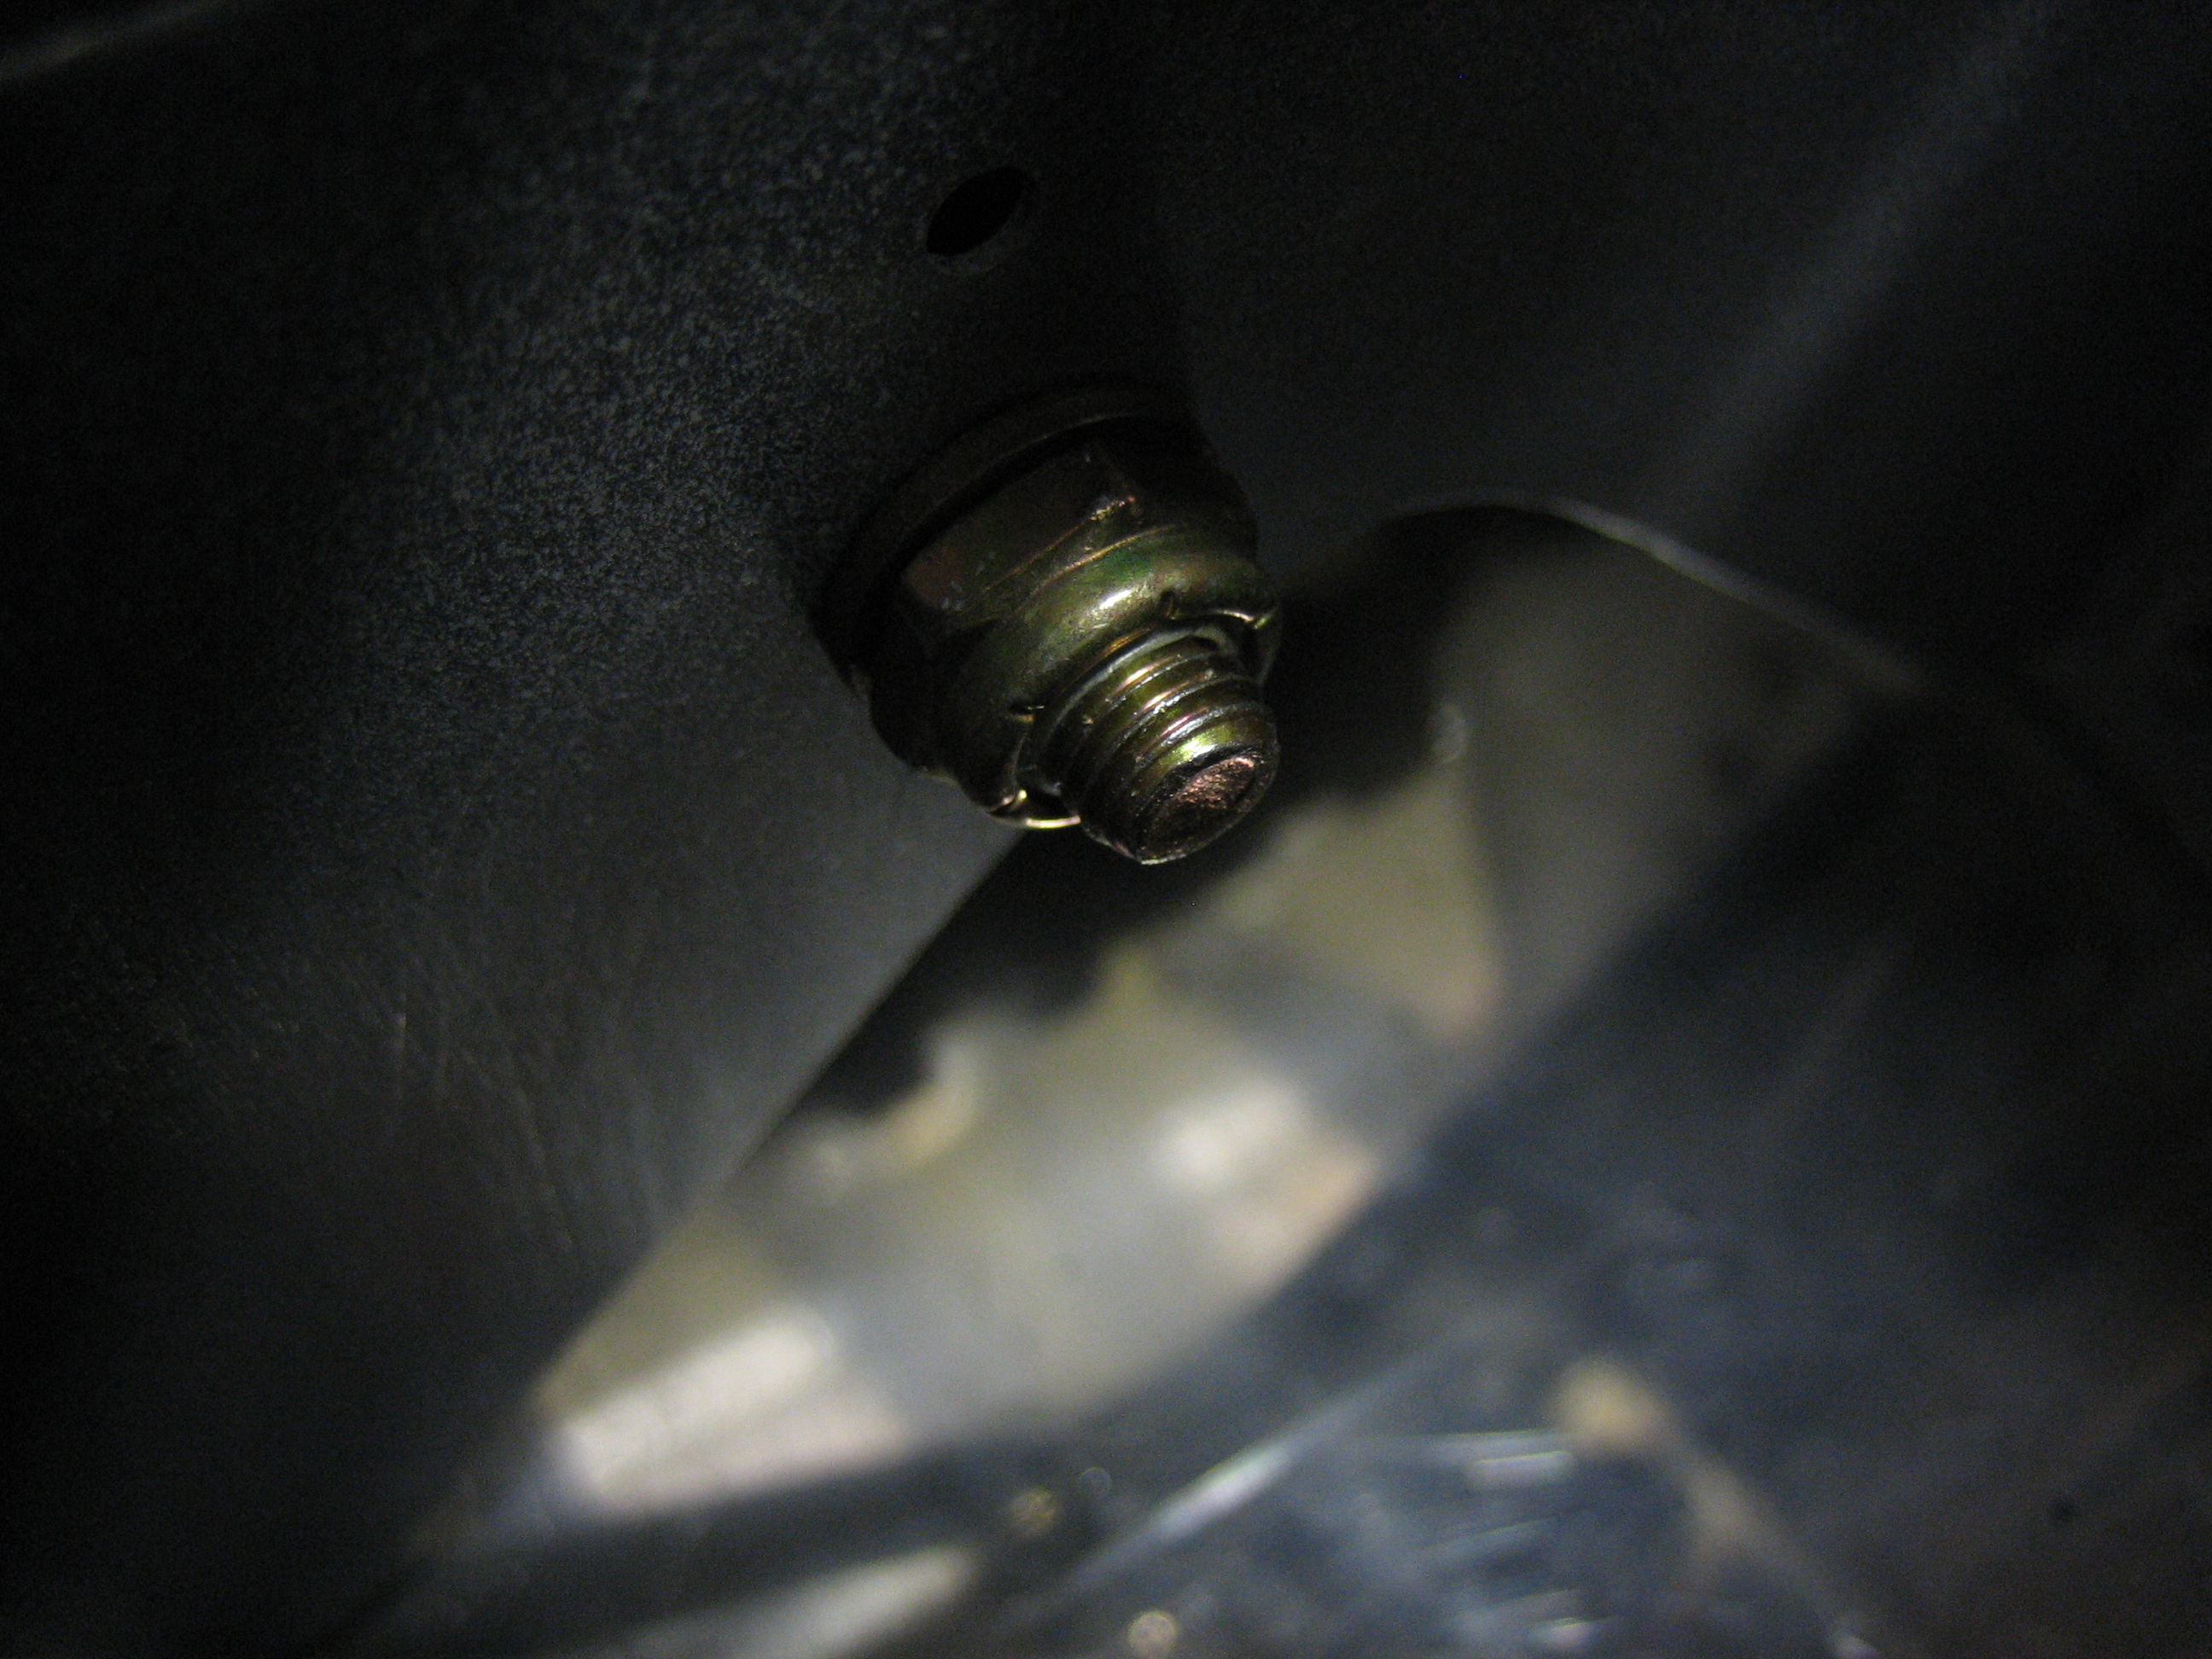
Once the canopy rails are riveted to the longerons, it’s really tough to get a wrench behind them to tighten down the canopy strut attach brackets.
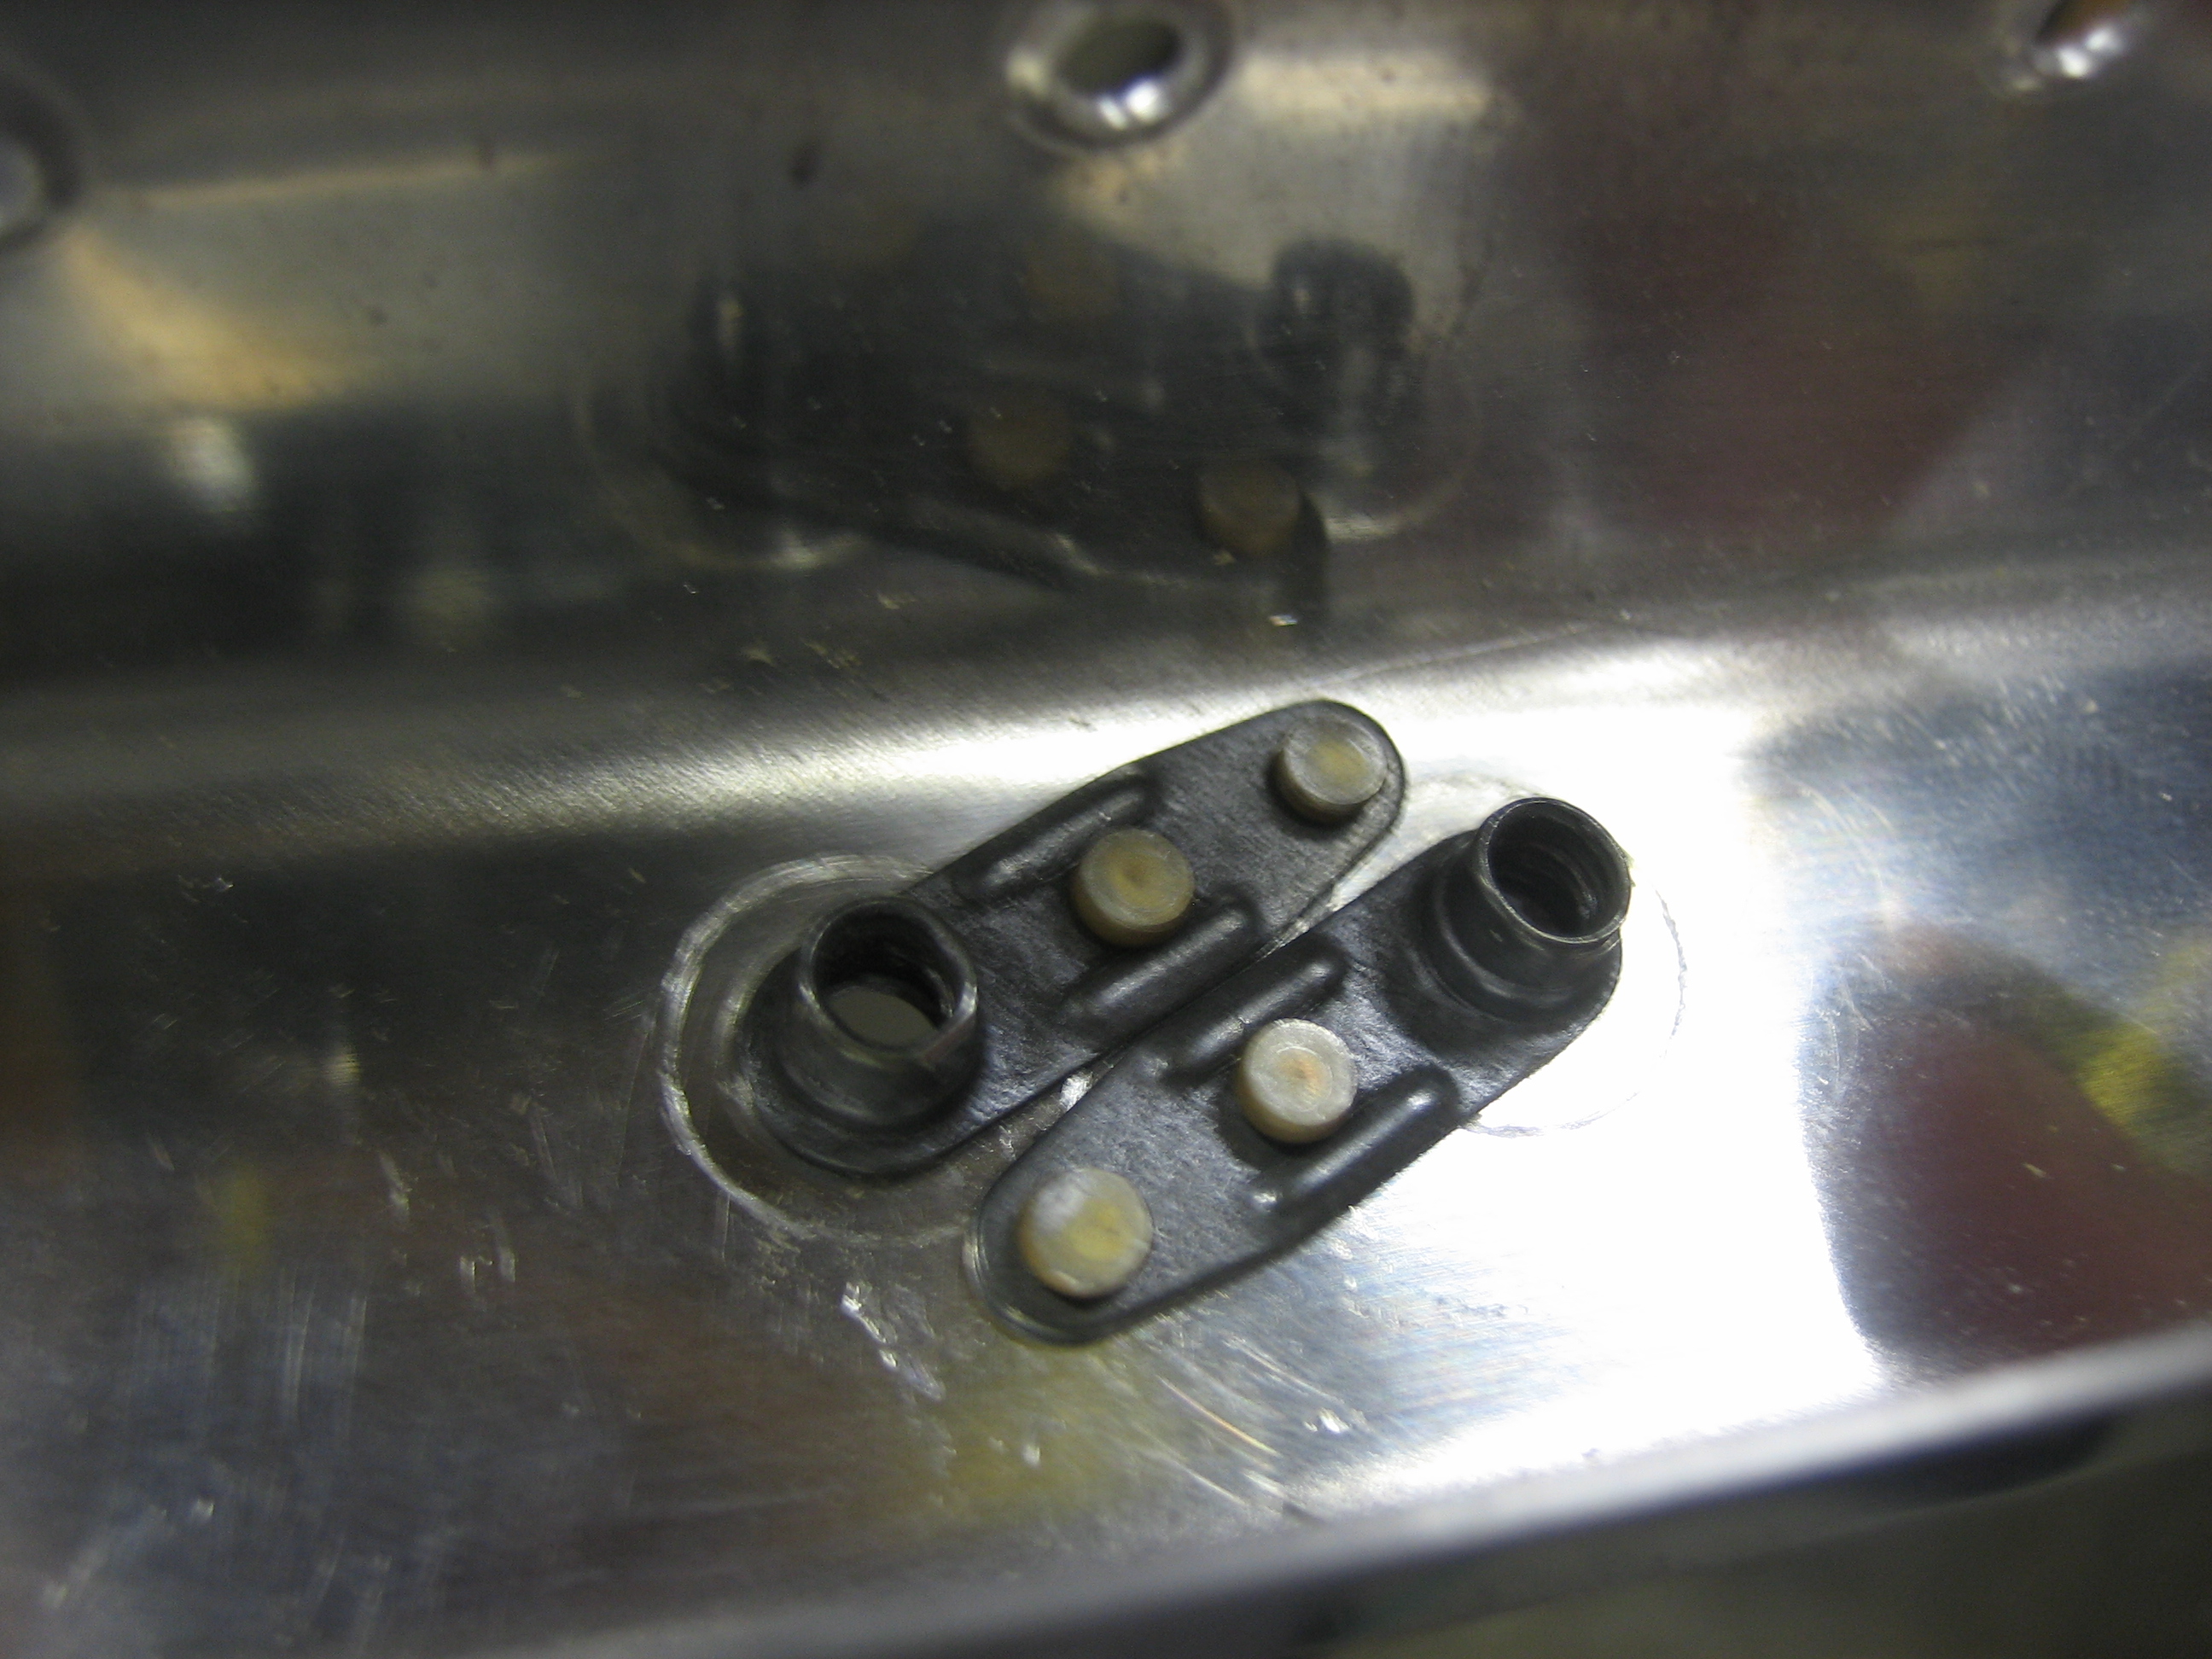
By positioning the nutplates this way, most of the rivets will be hidden behind the bracket.
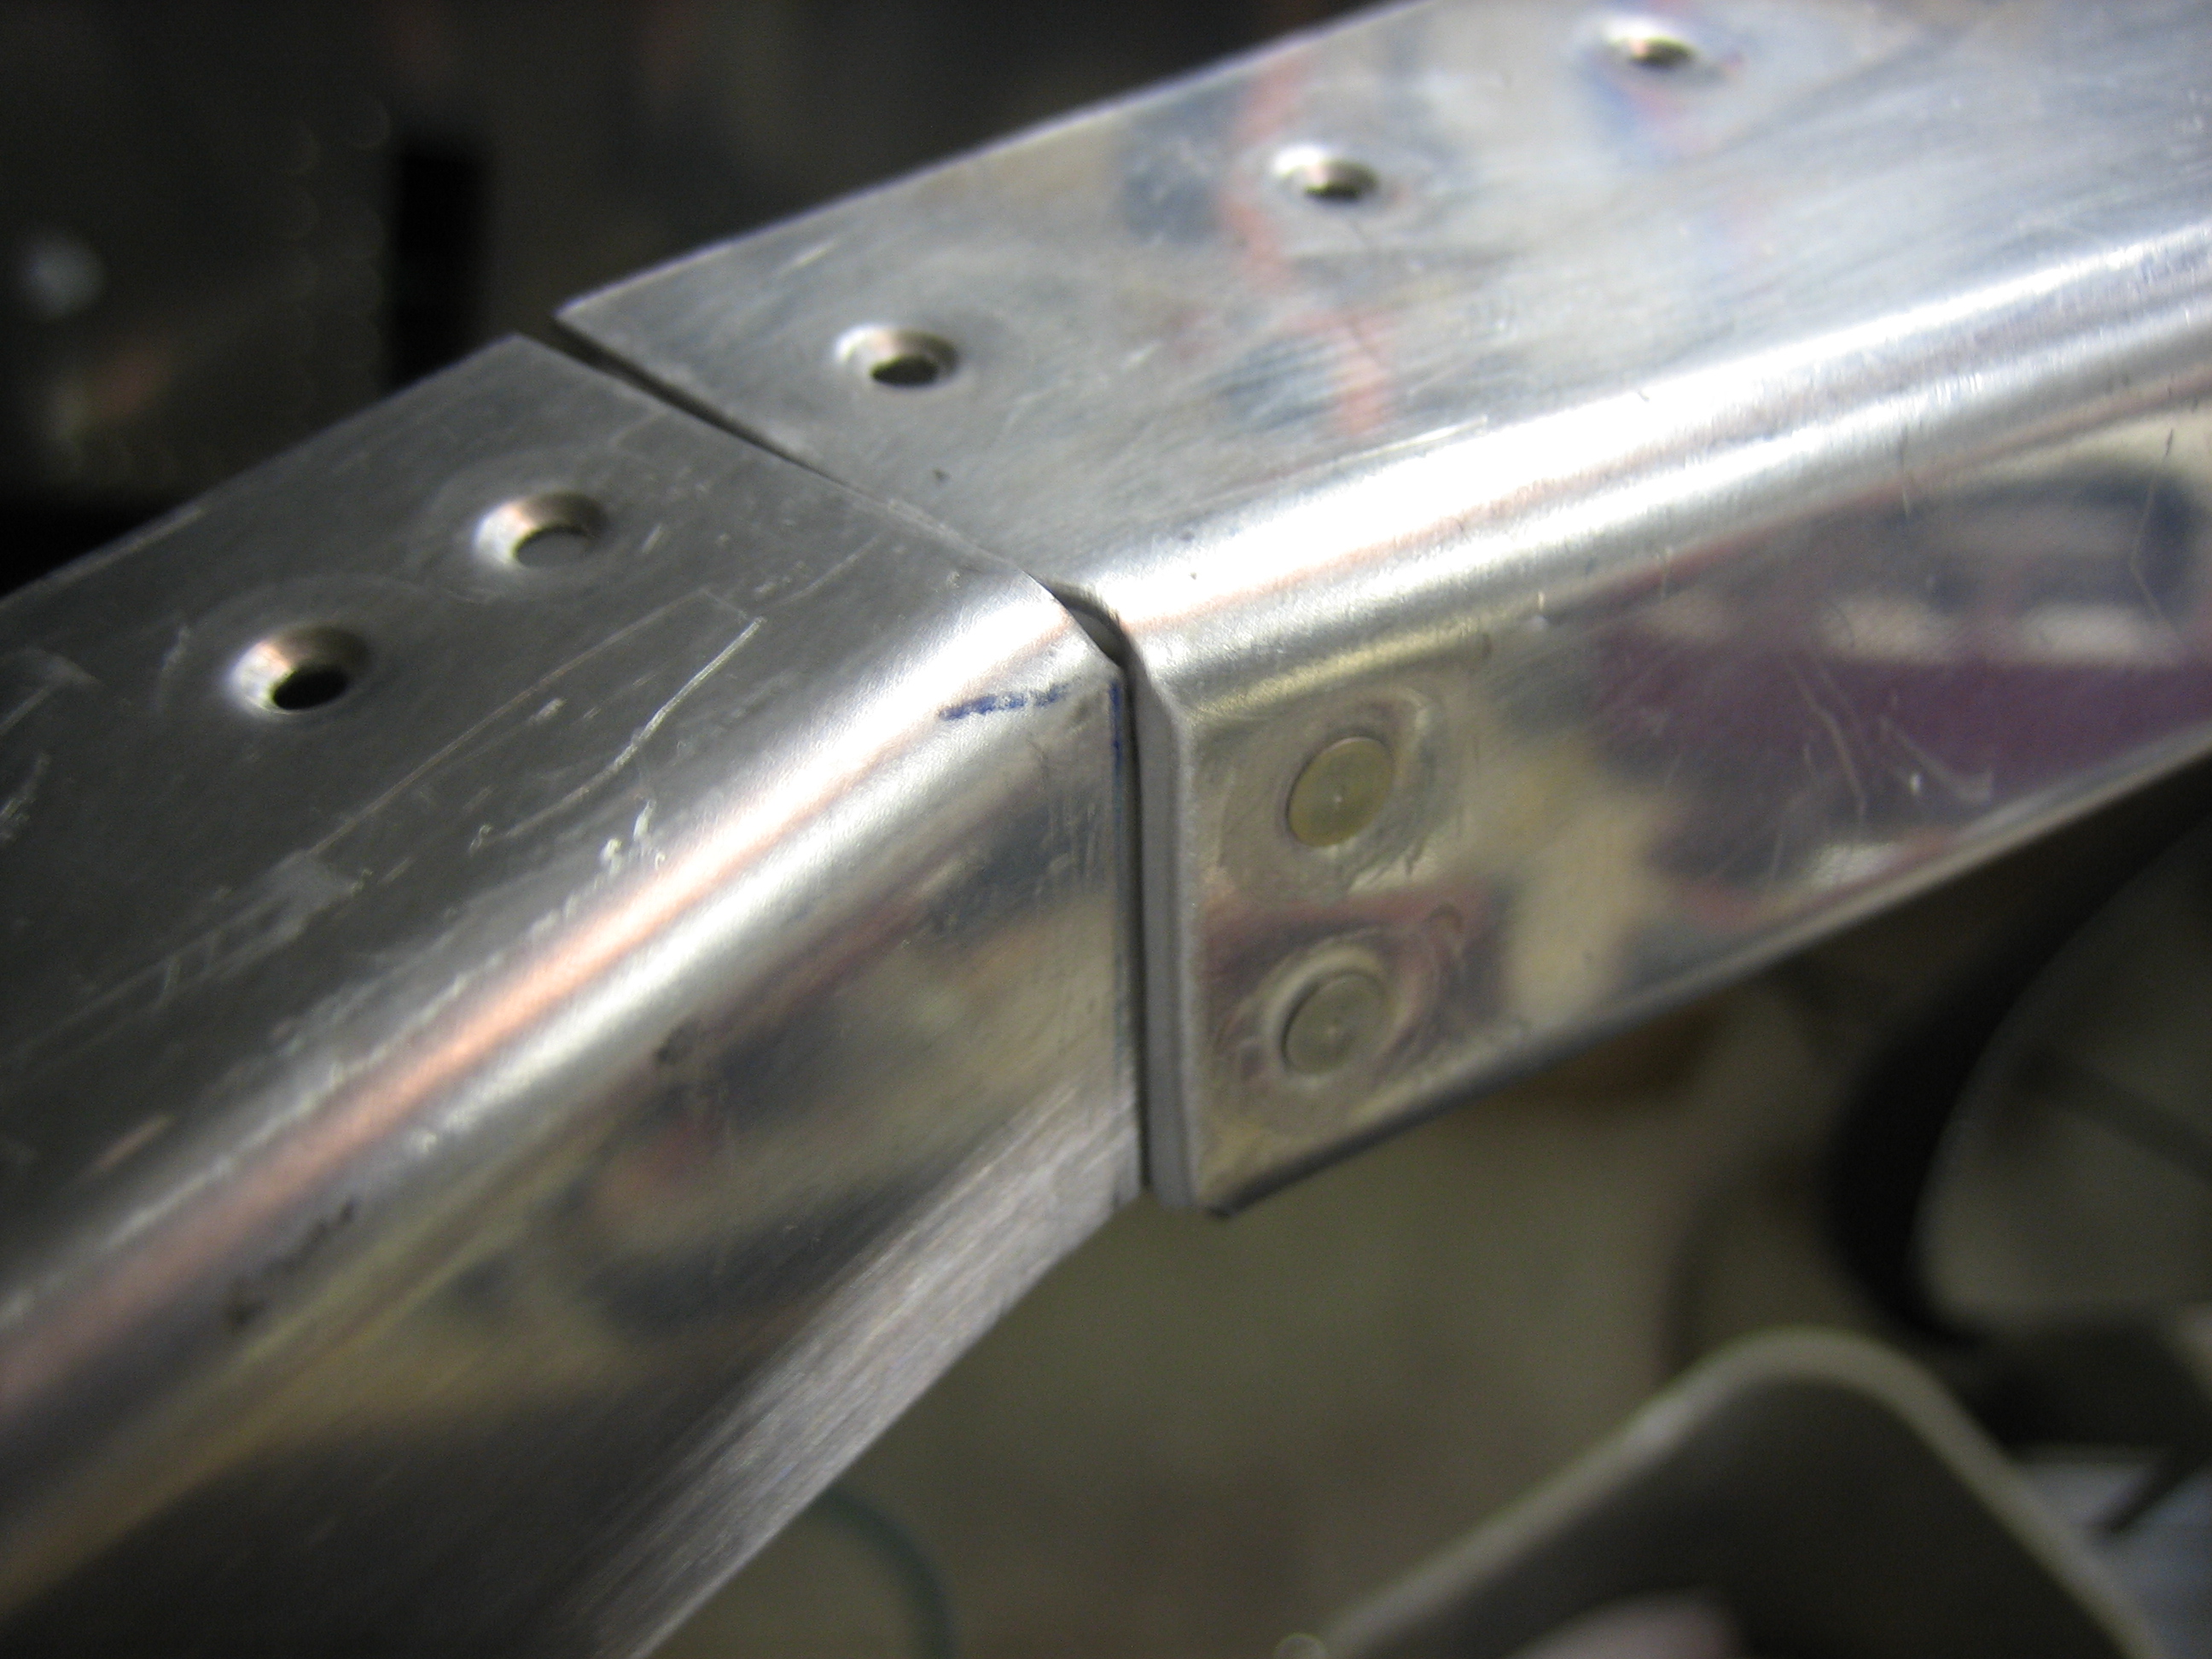
The beefy angles that sit under the roll bar need to be notched to clear the rivets that attach the forward end of the skin that wraps around the rear window.
The also riveted the fresh air vent brackets to the angles that will attach them to the side skins.
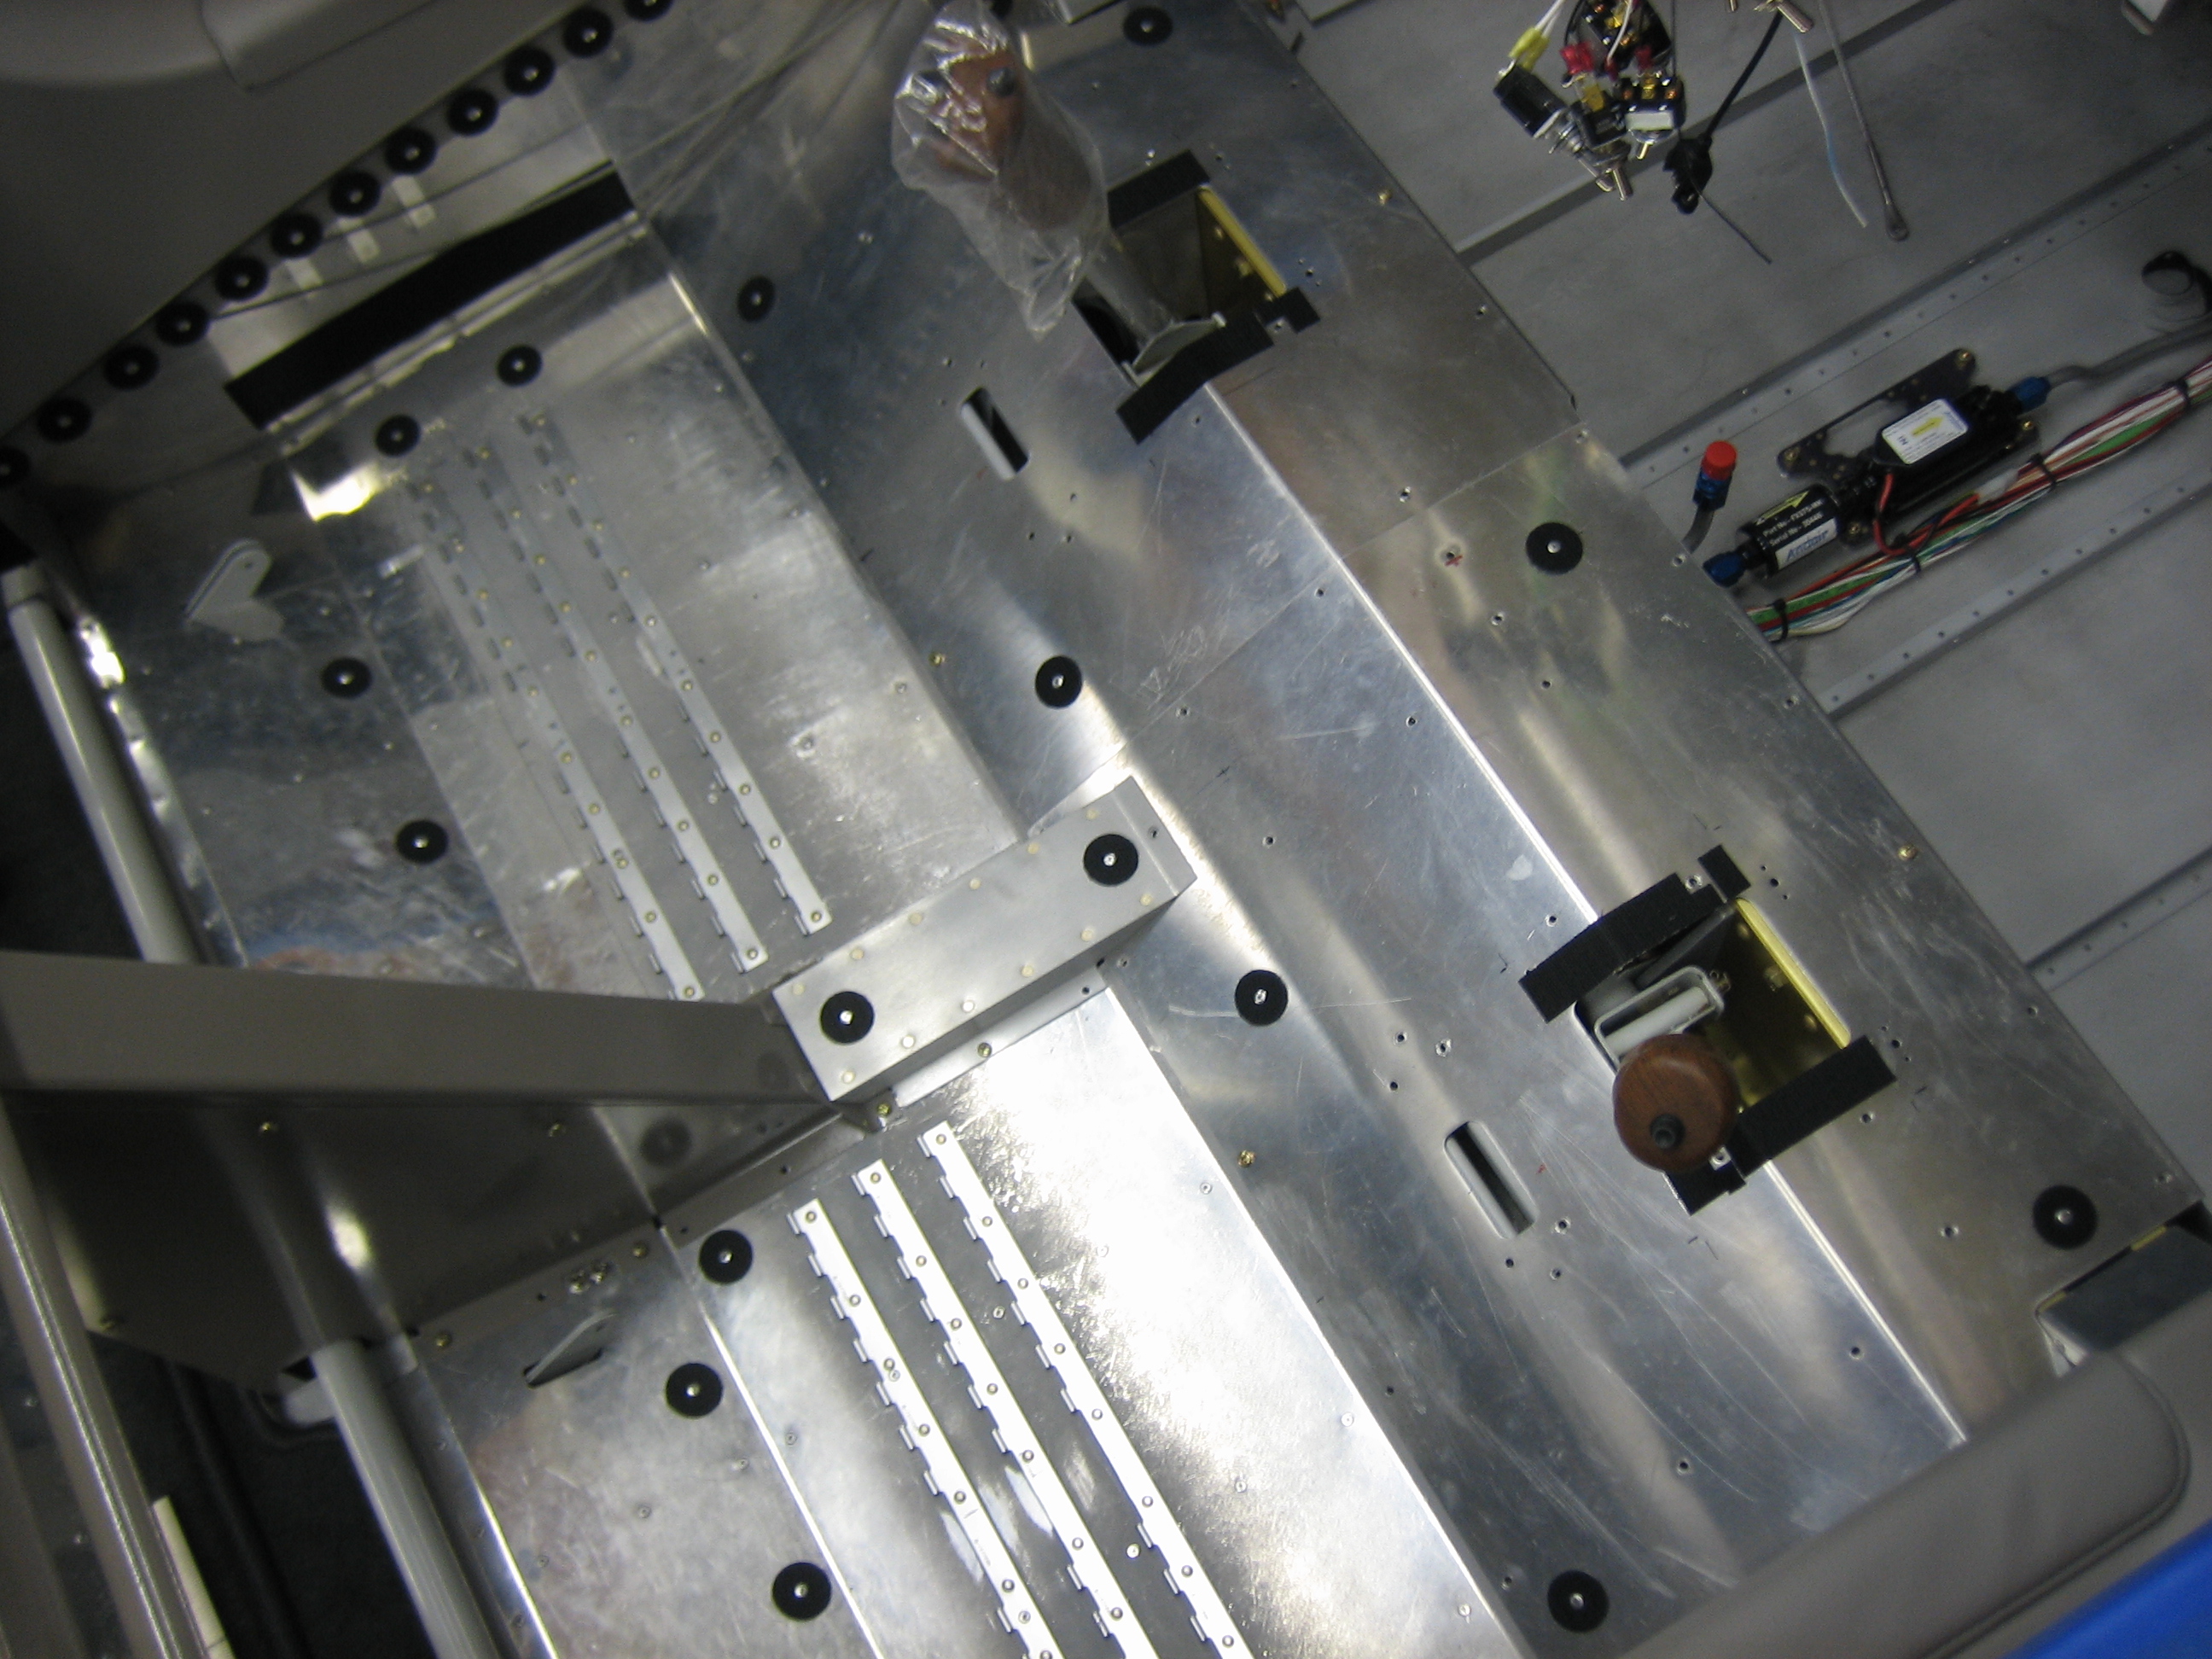
I started fitting the interior by placing the seating area carpet and then installing small circular velcro tabs to hold the carpet down. I may install a few more, but this anchors things pretty well.
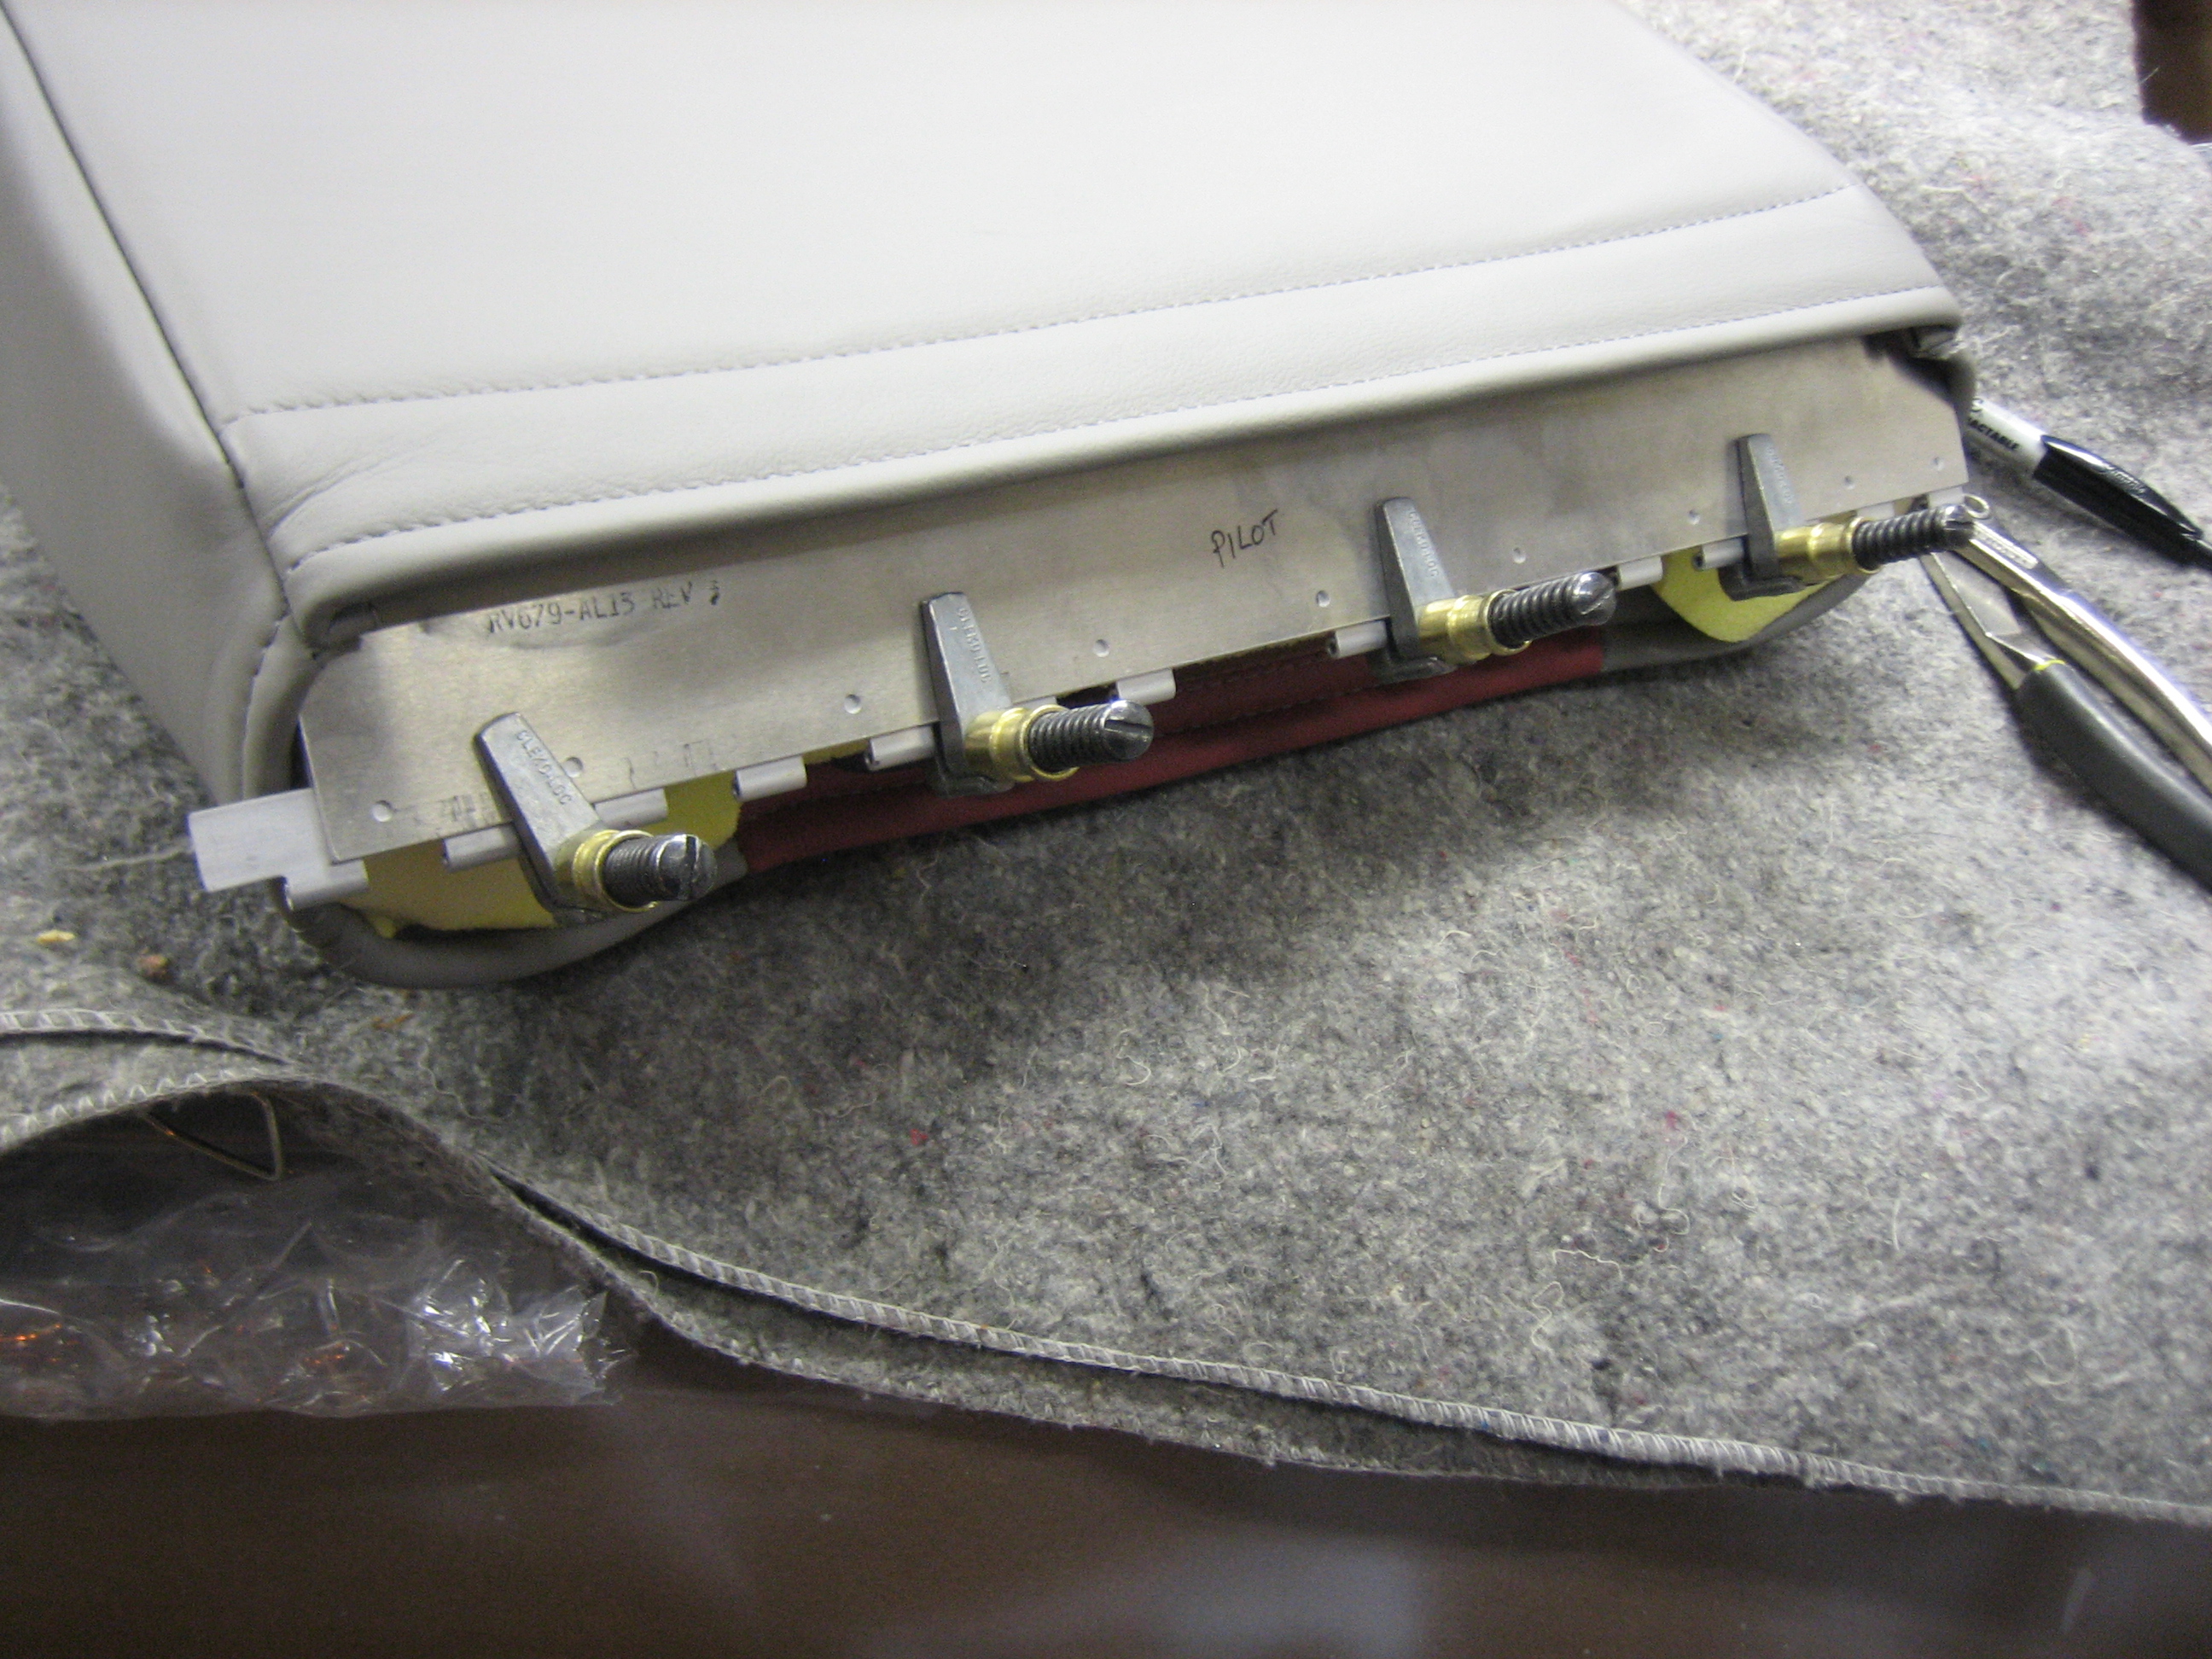
I marked the centerline of the hinge inline with the stick and then installed the hinge so that the centerline is visible through the pre-drilled center rivet hole on the seat flange.
I then installed the sides and seat backs. The baggage area panels are currently just sitting in place to see how they fit before installing them for good.
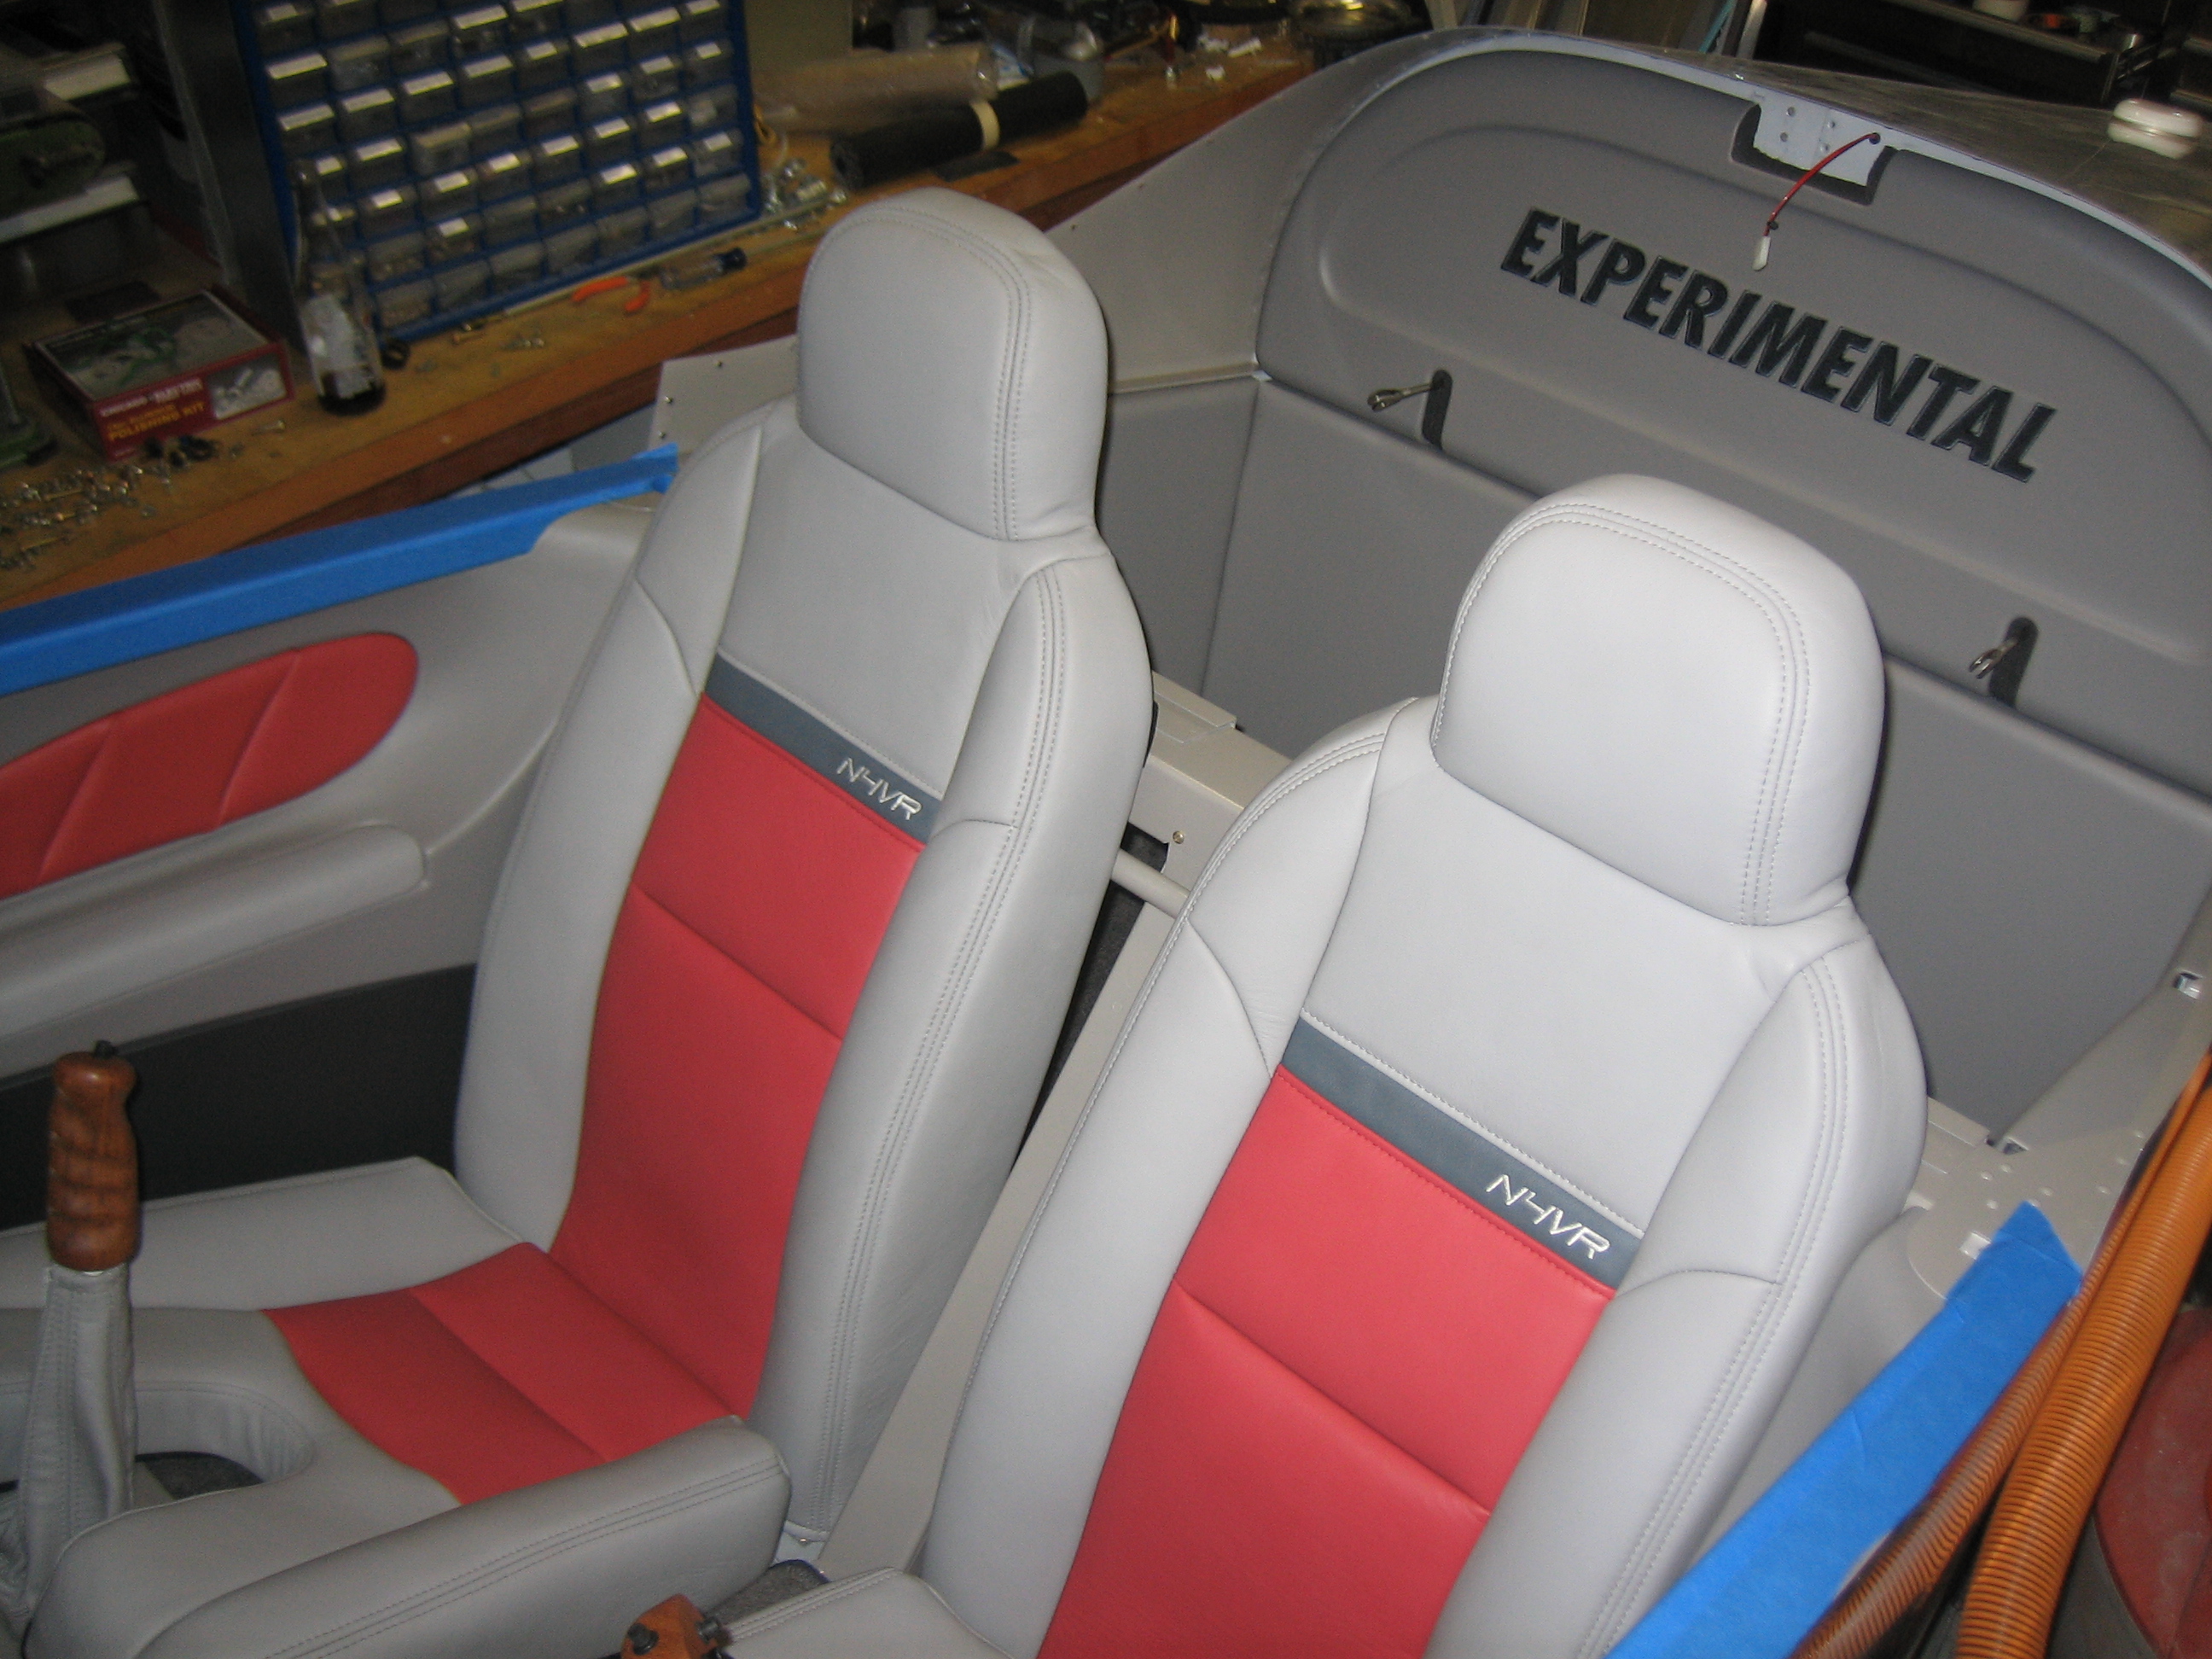
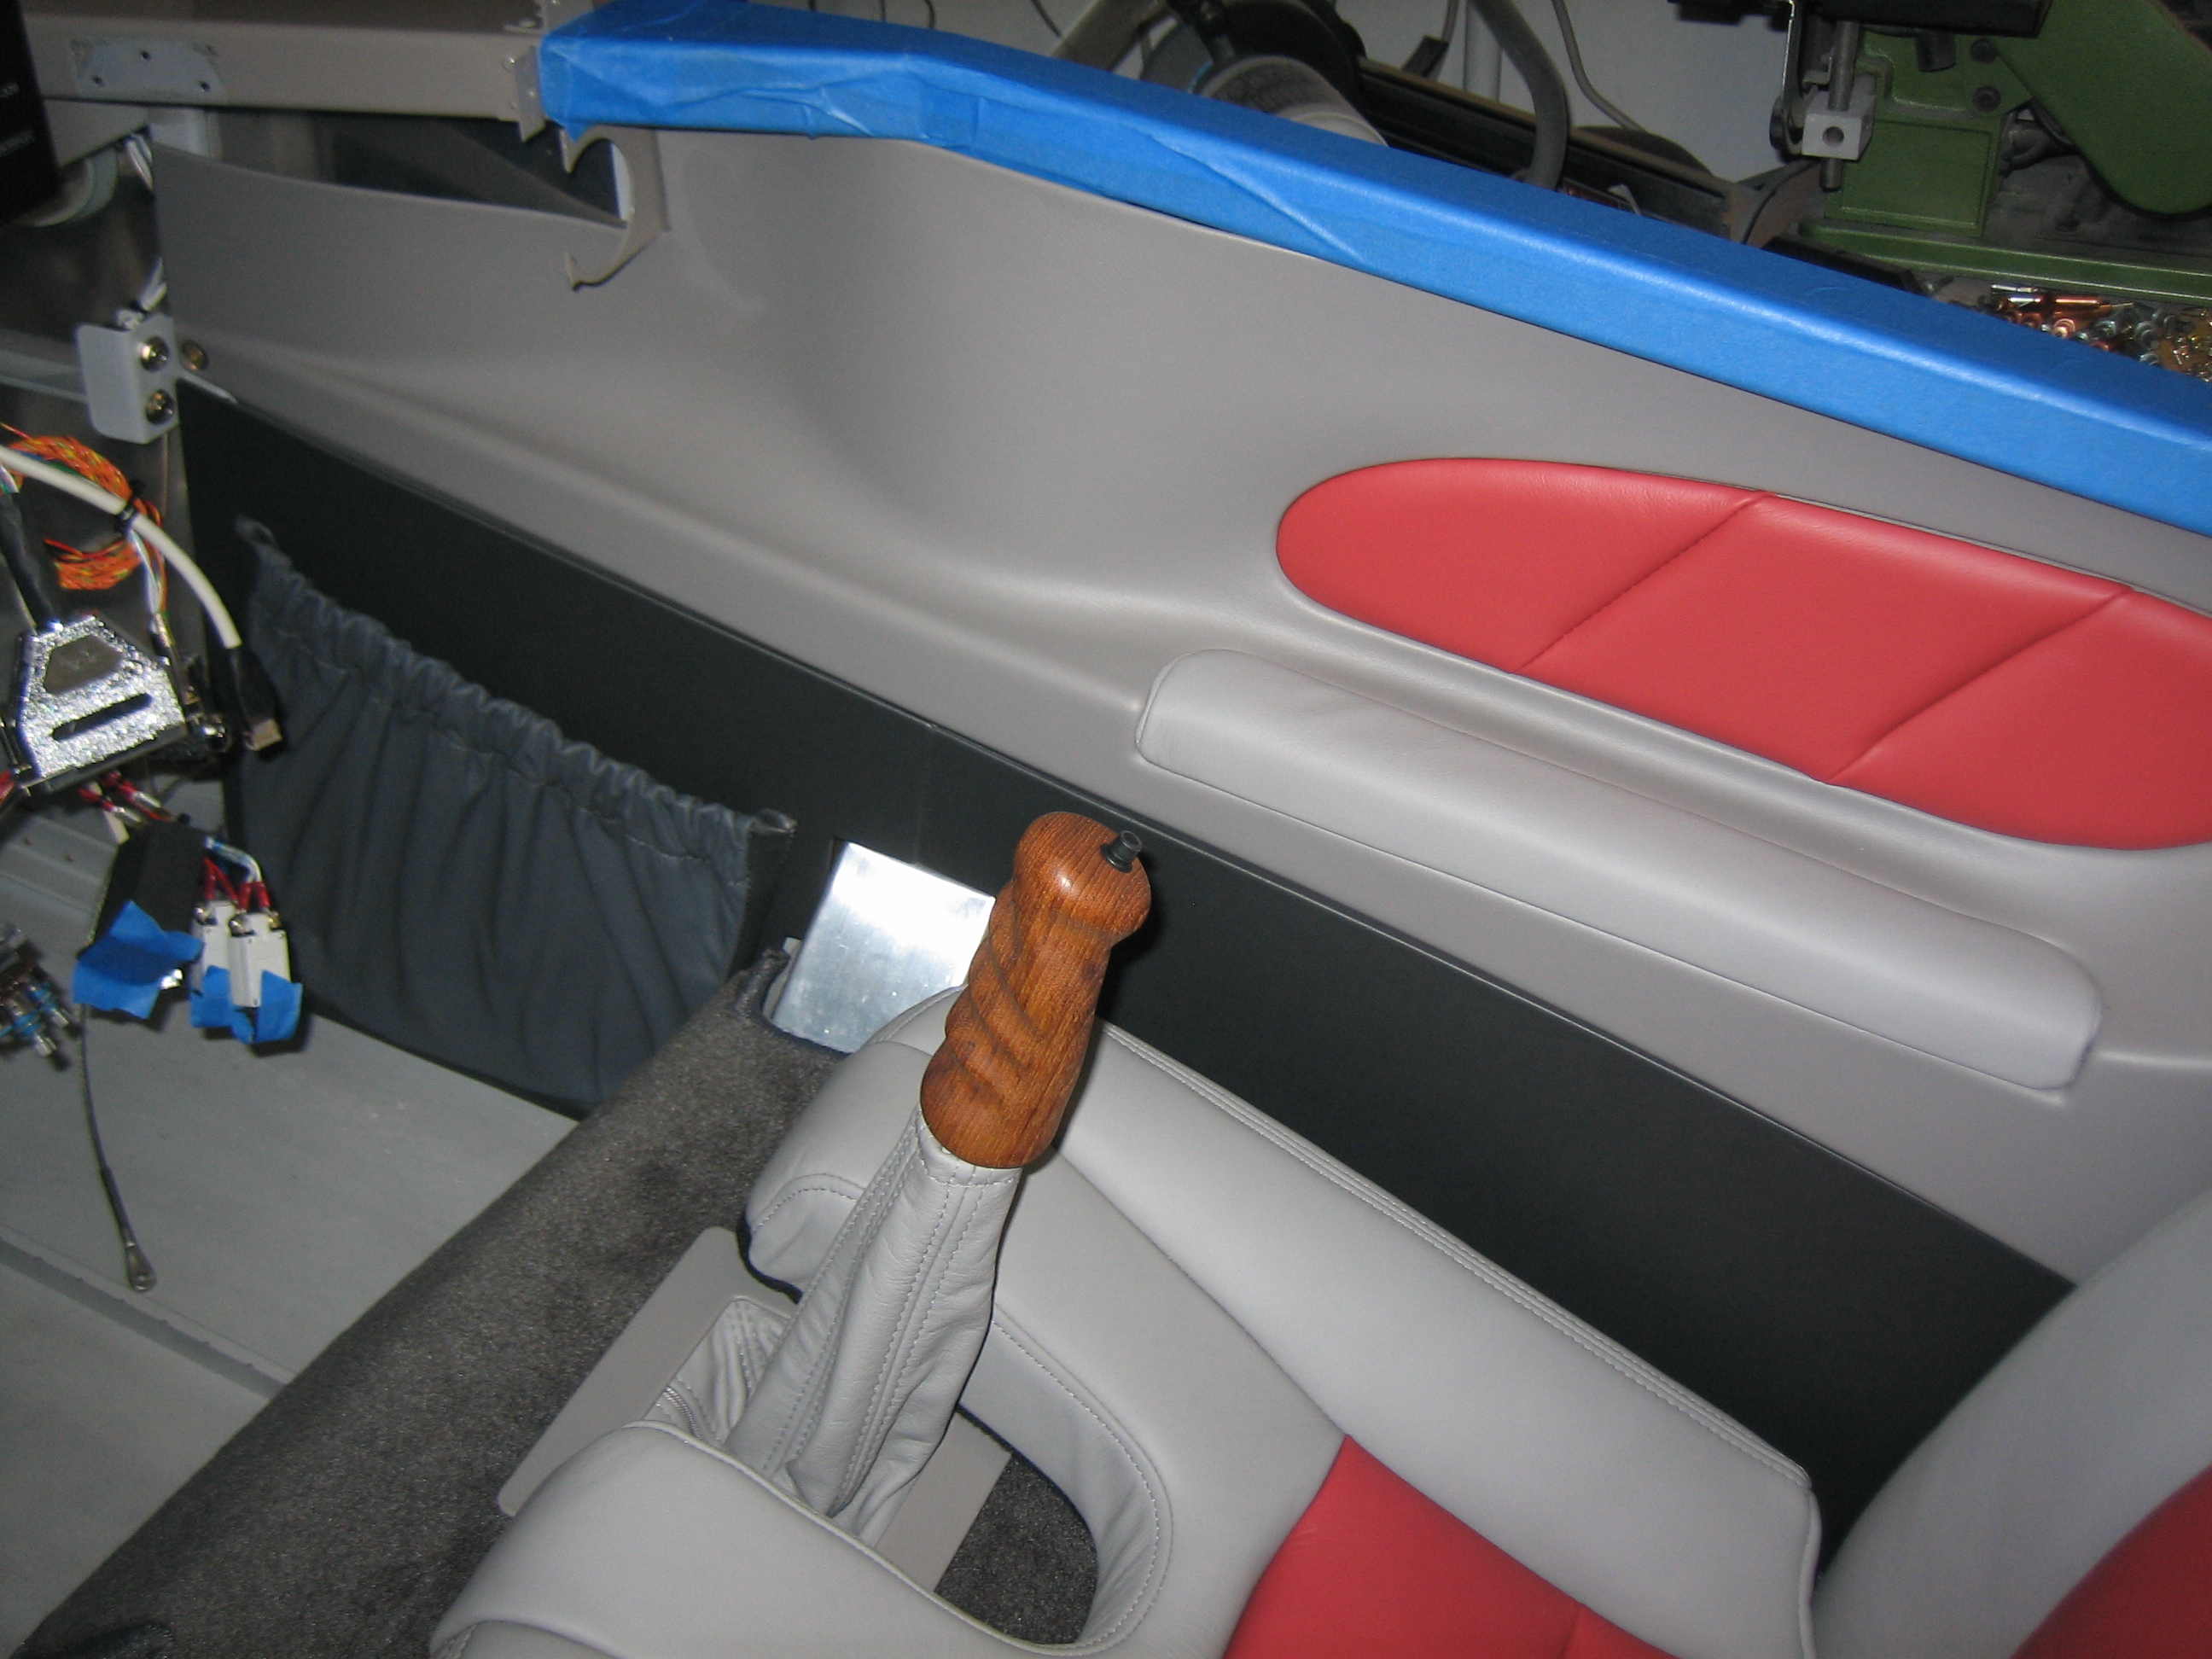
The side panels are comprised of three pieces, the upper light gray panel with the integrated armrest and two lower dark gray panels.
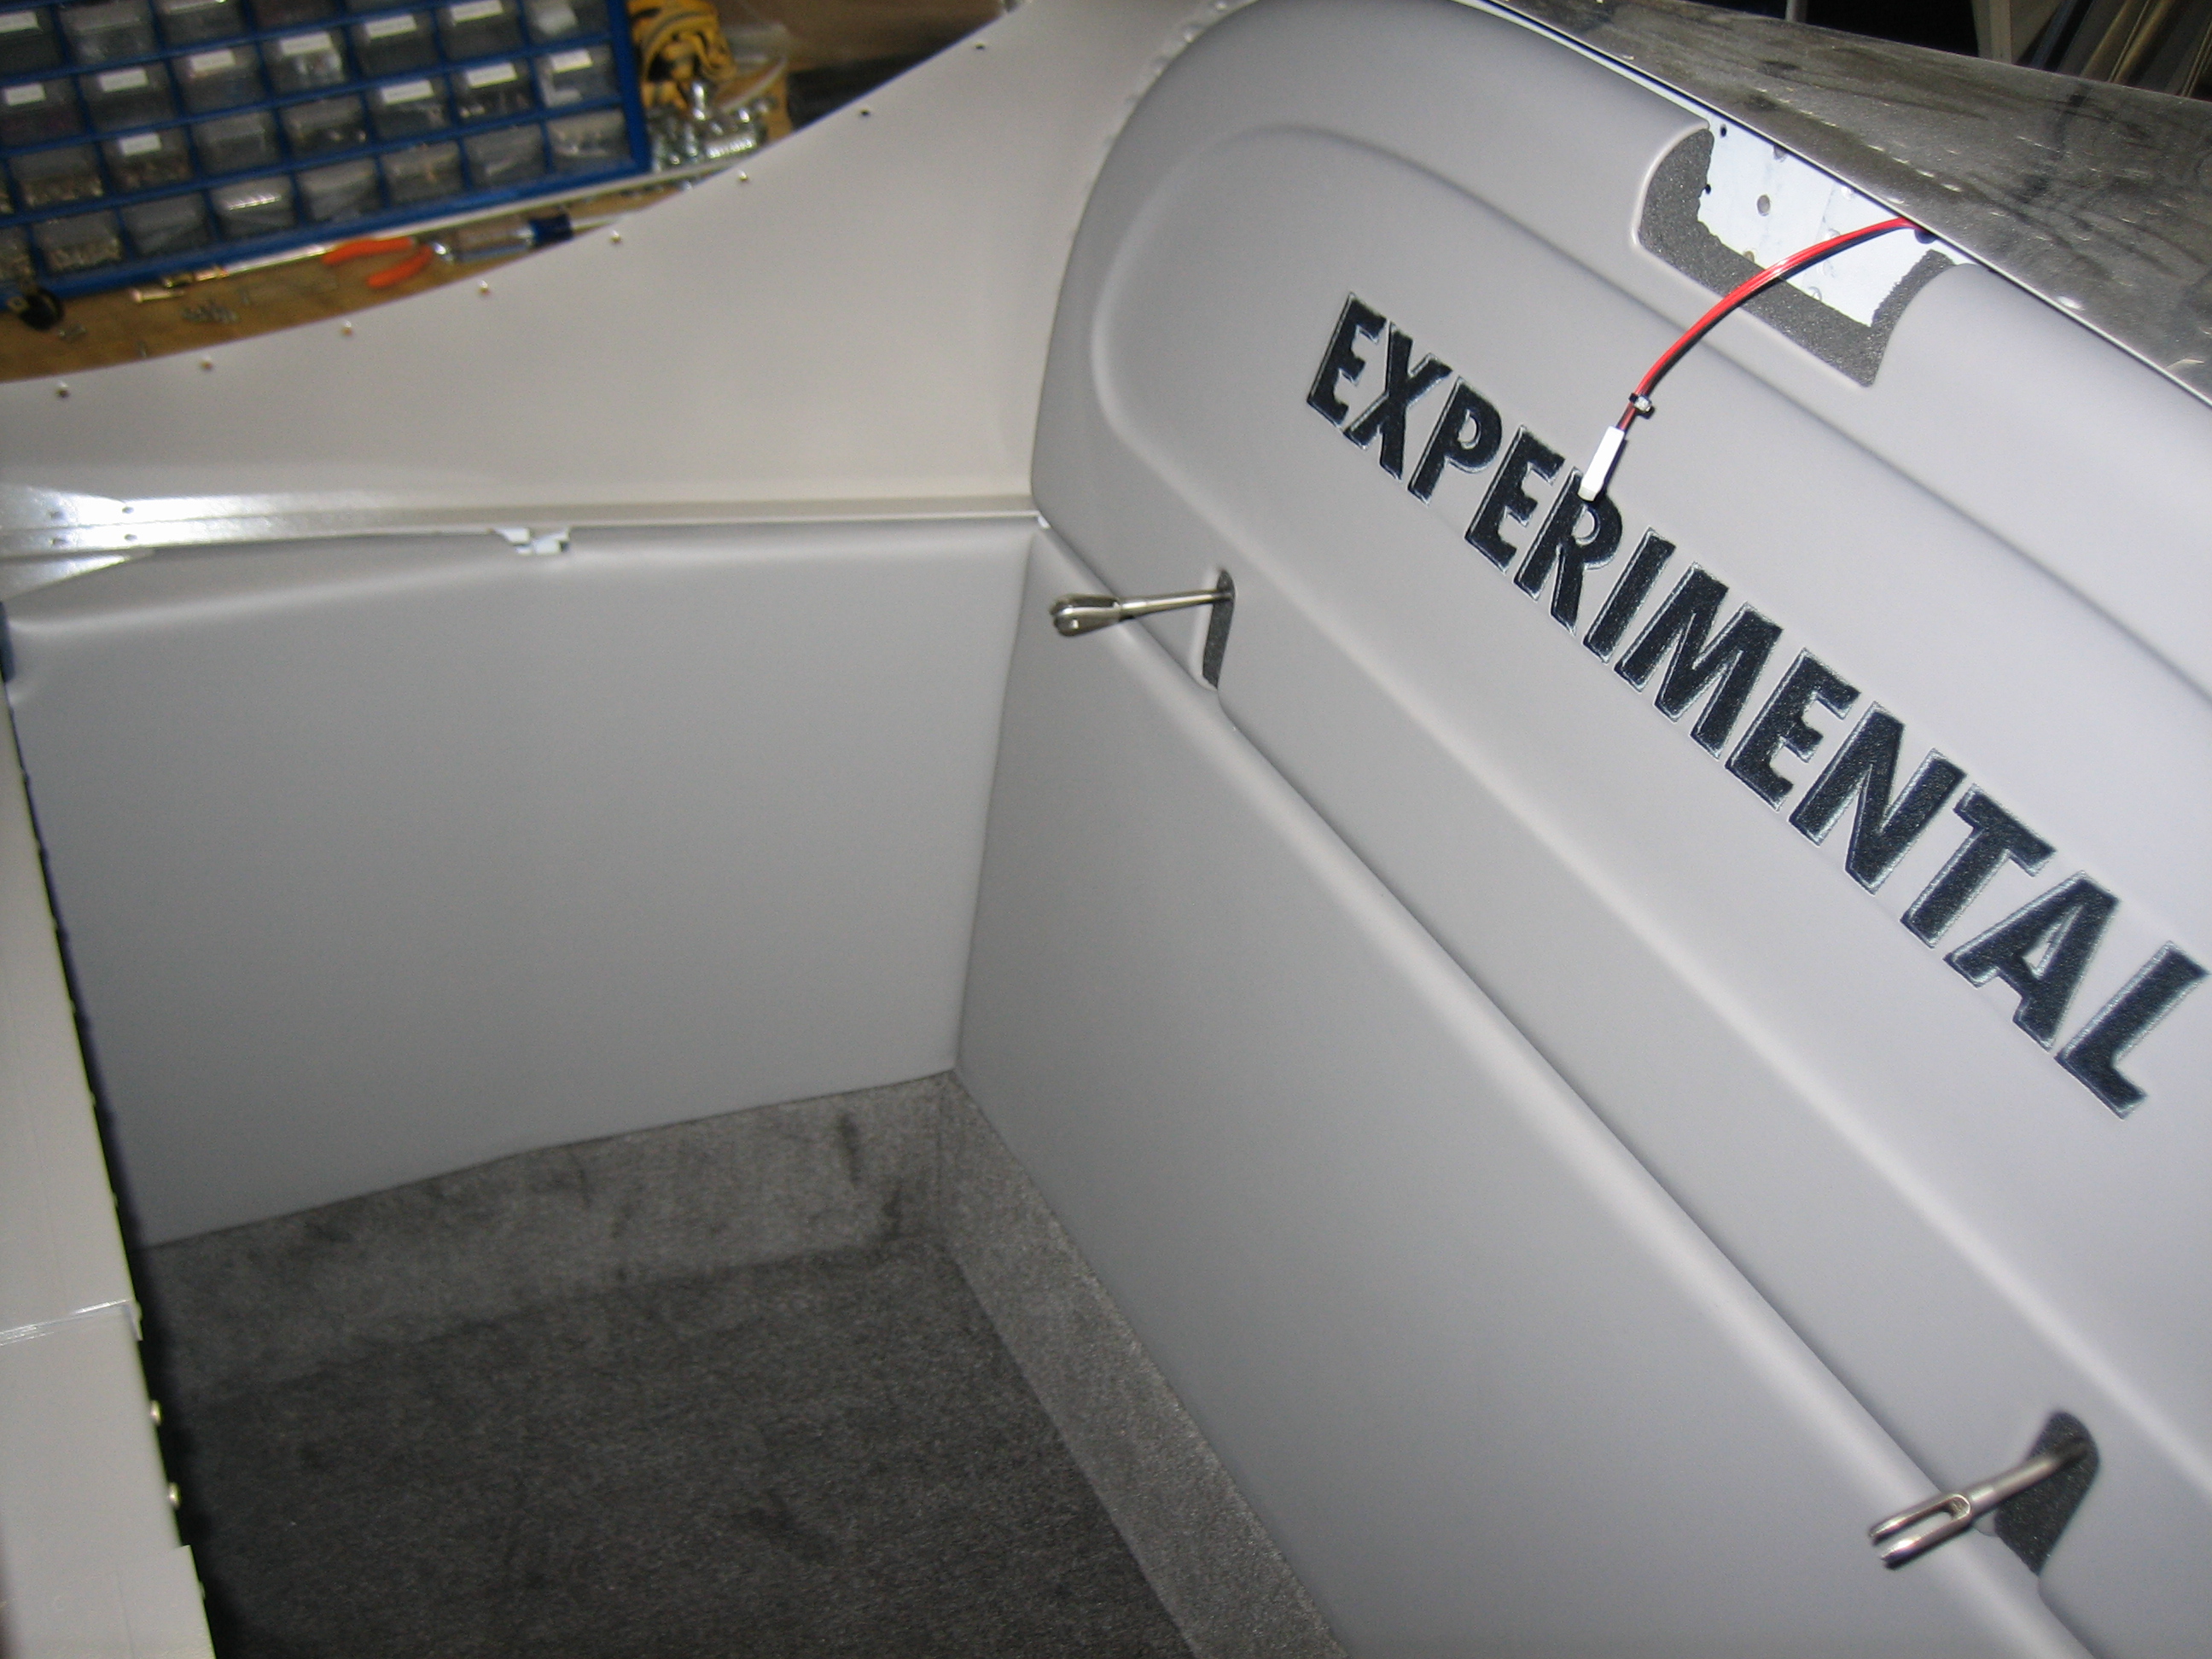
The baggage area panels includes the flooring carpet, side panels, and two back panels.
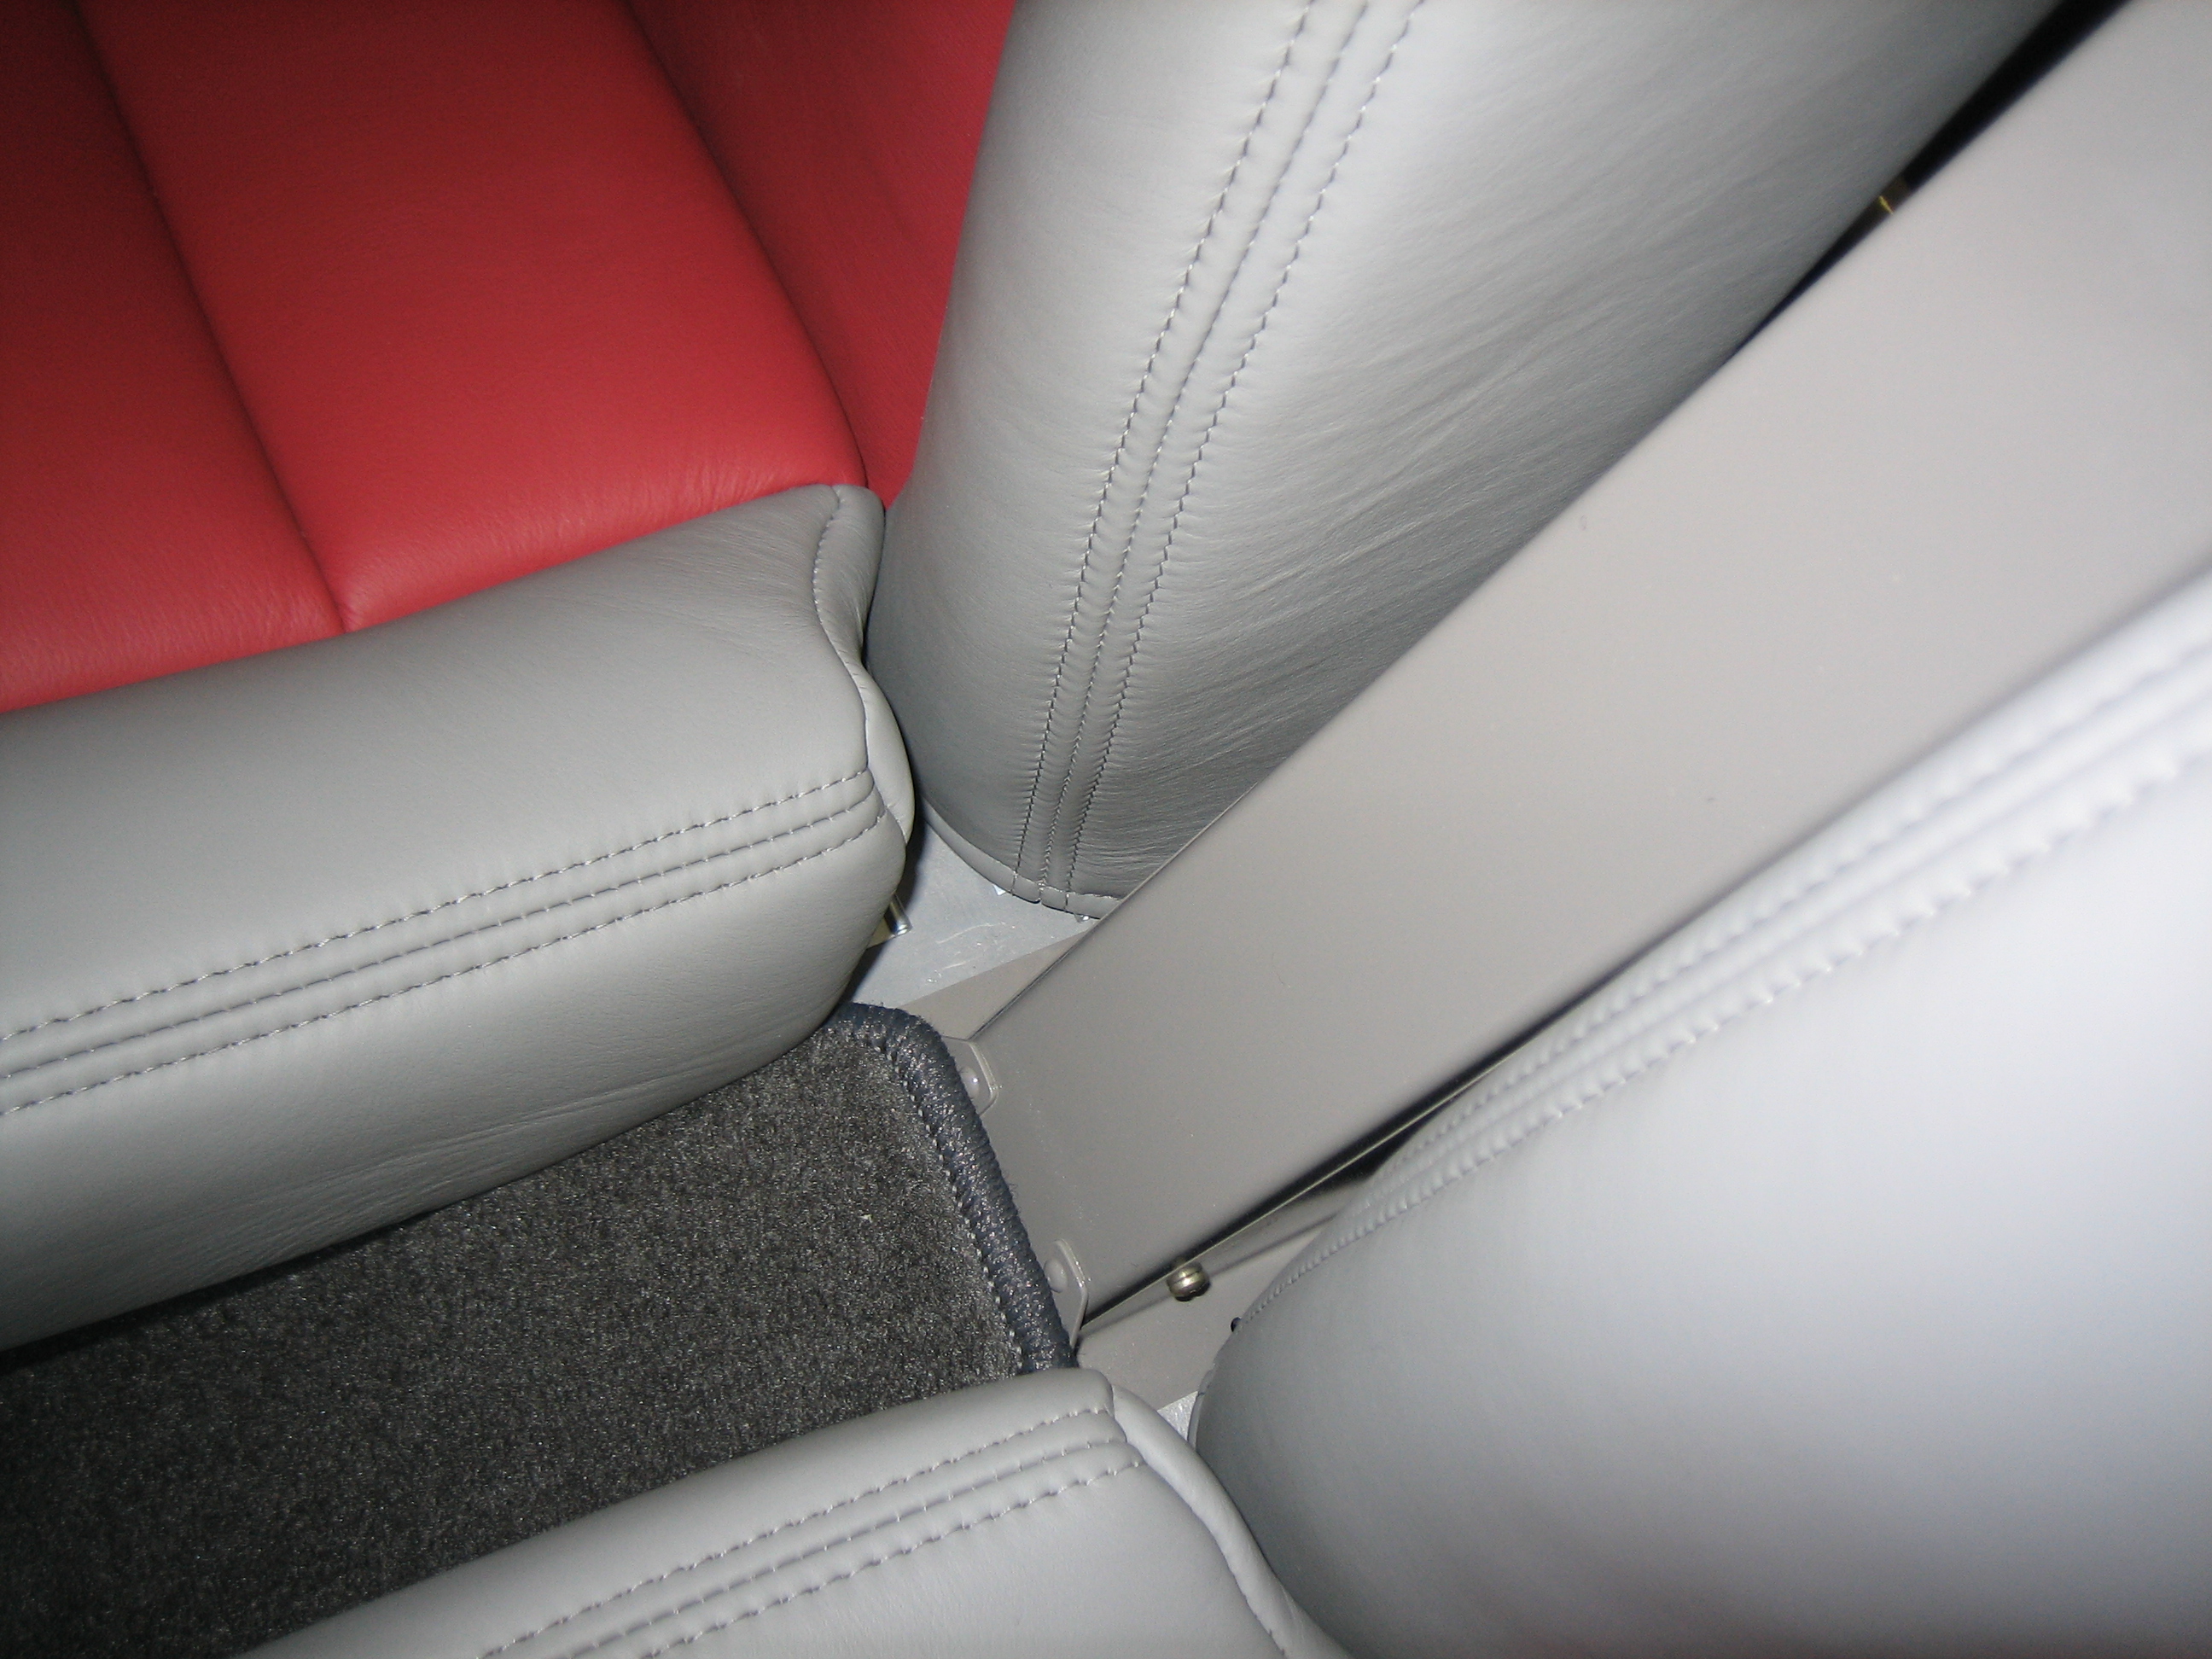
Unfortunately, there are several areas where the floor is visible between parts of the seats and carpet. I’ll have to paint these parts of the floor dark gray to match the carpet.
I installed plugs and some expandable nylon sleeving on the seat heater cables. There are four of these in total, one on each seat bottom and seat back.
I fit all of the seat belts as well. I only installed the crotch straps for good since the others are just in the way right now. I also cut slots in the carpet for these to pass through.

I used AN364 nuts instead of AN365 to attach the crotch straps since these bolts are only loaded in shear.
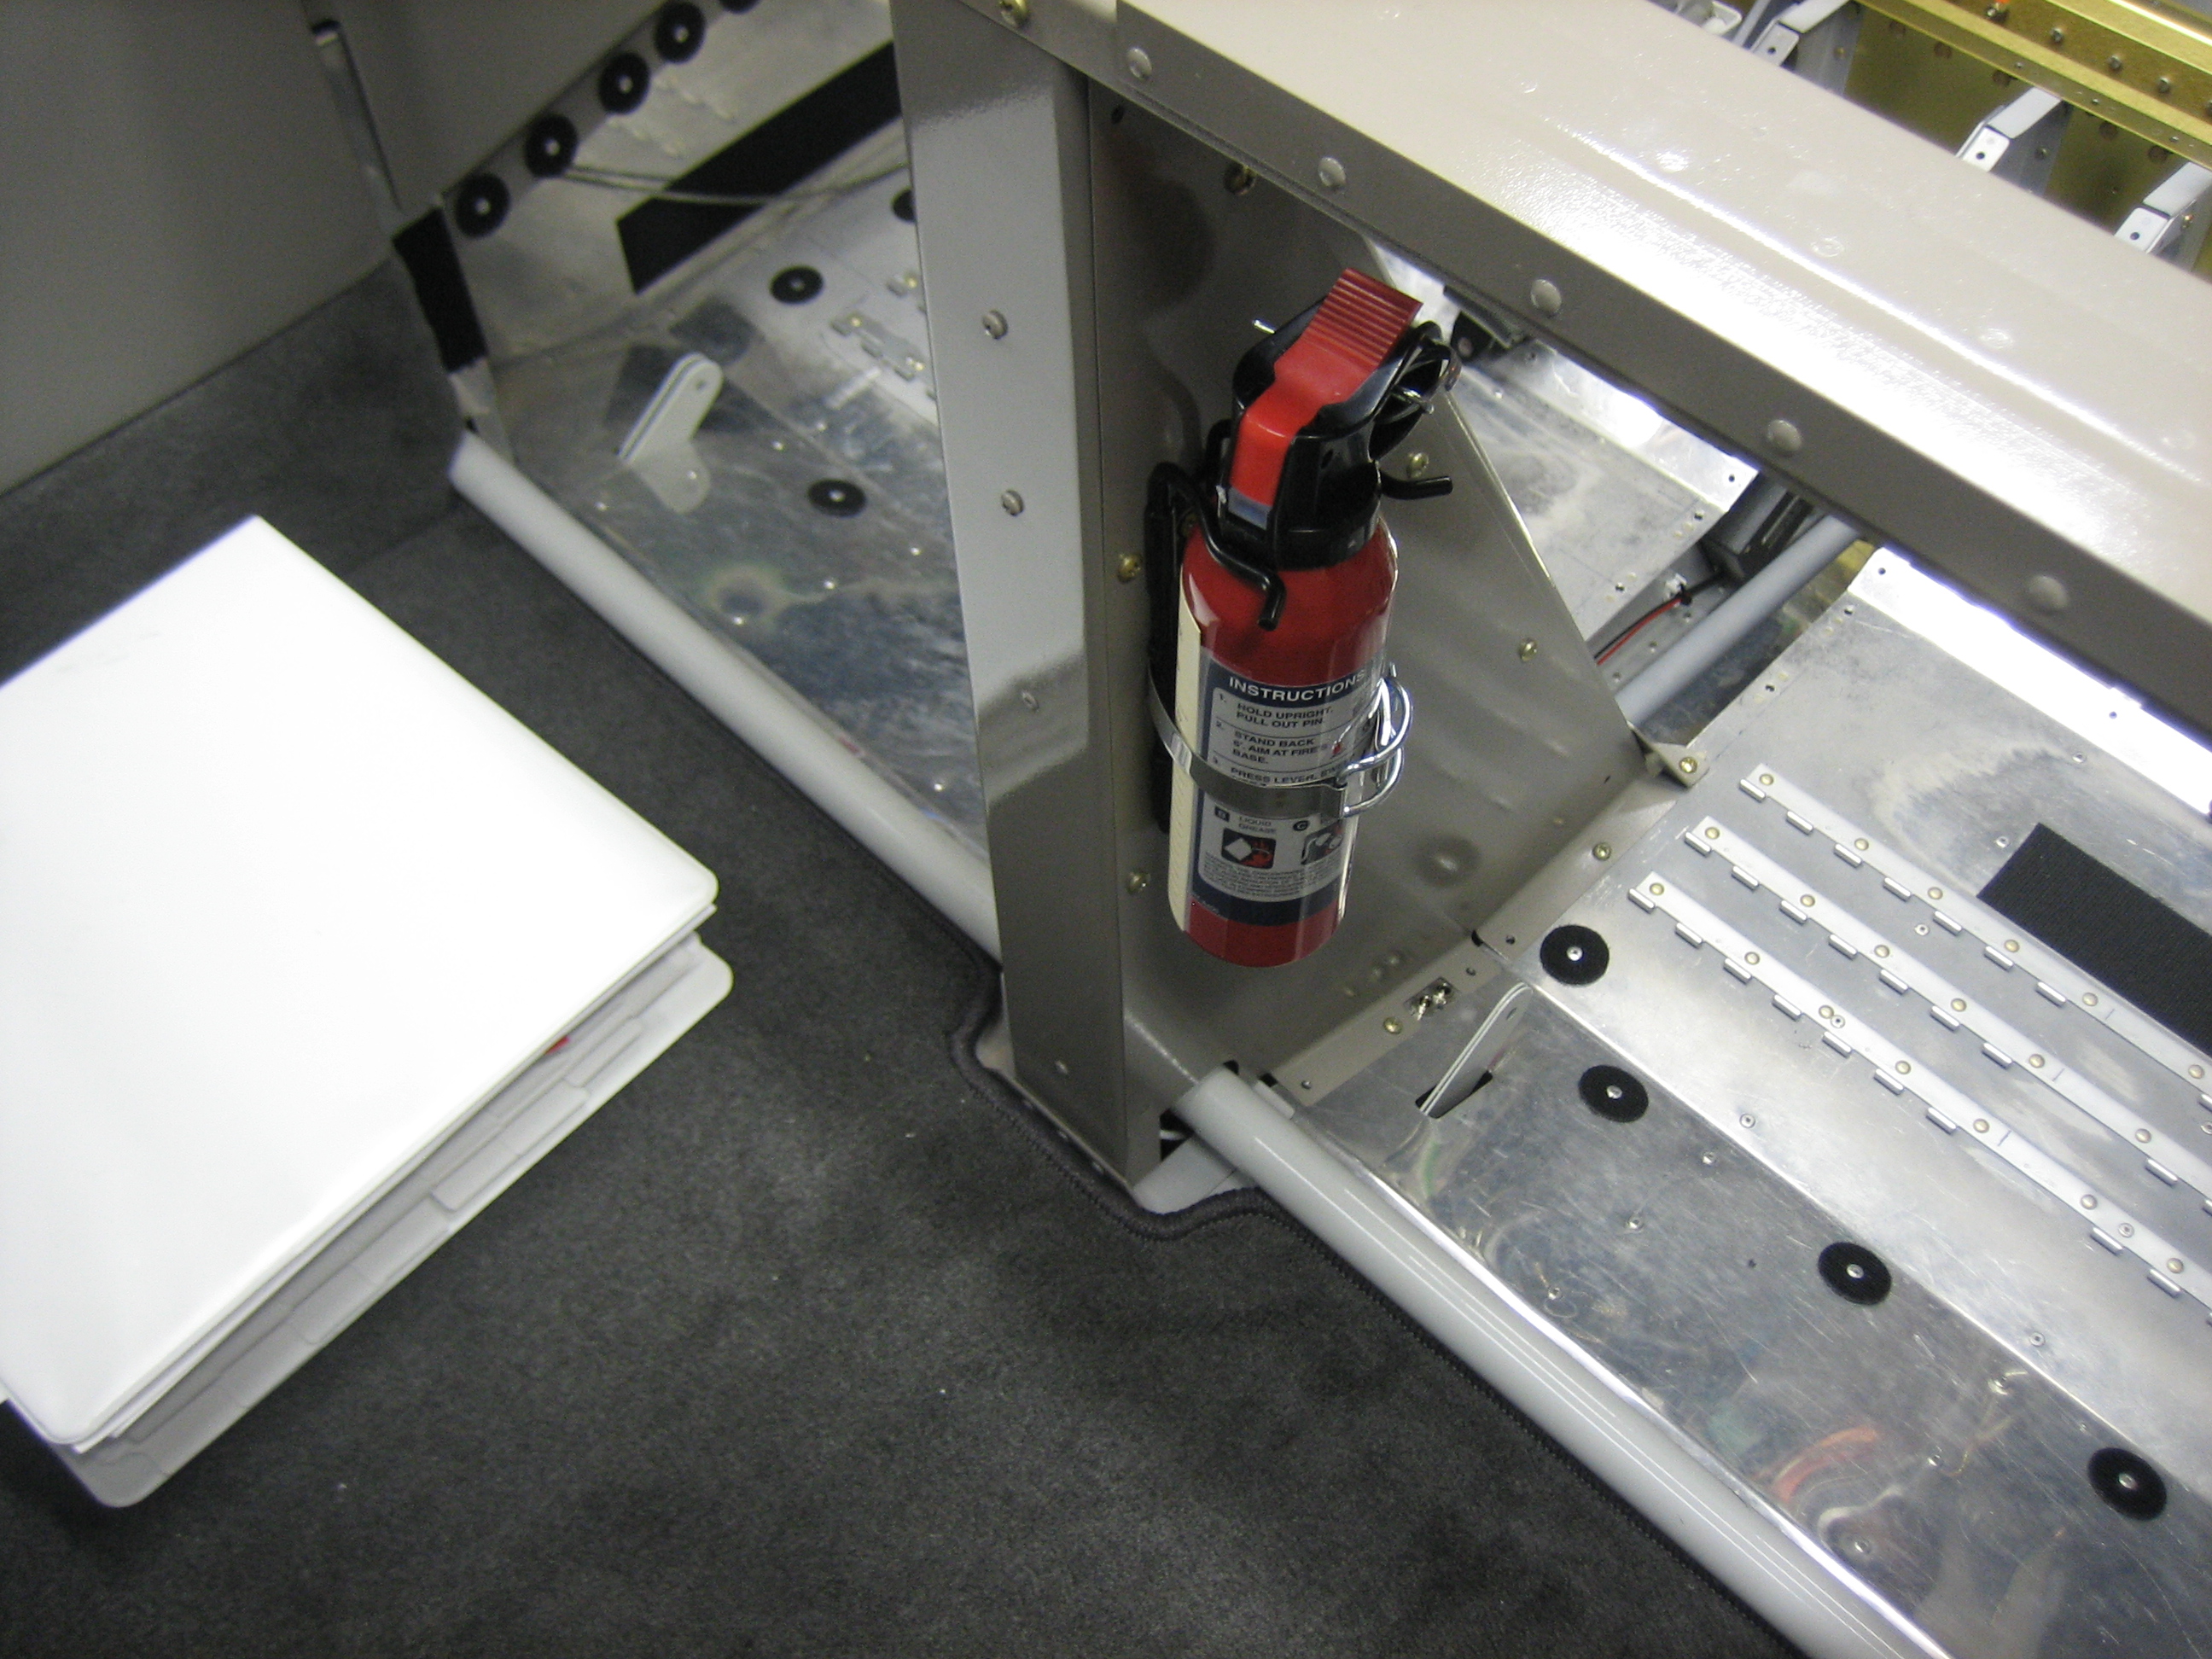
I added a couple of nutplates to the right flap motor cover so that I could install the halon fire extinguisher. I can easily reach this from the pilot’s seat in flight. You can also see on the right that I added some more velcro to the floor to hold down the seat bottoms.