Miscellaneous Assembly

I repaired the bracket and got all of the wing attachment bolts final torqued.

I also finished installing the rear spar bolt and cotter pinned it.

My brother wrapped up the vertical stabilizer.

We also installed the prop and my brother spent some time learning to safety wire.  We ended up cutting off every try we made and we’ll try again later.

First Engine Start

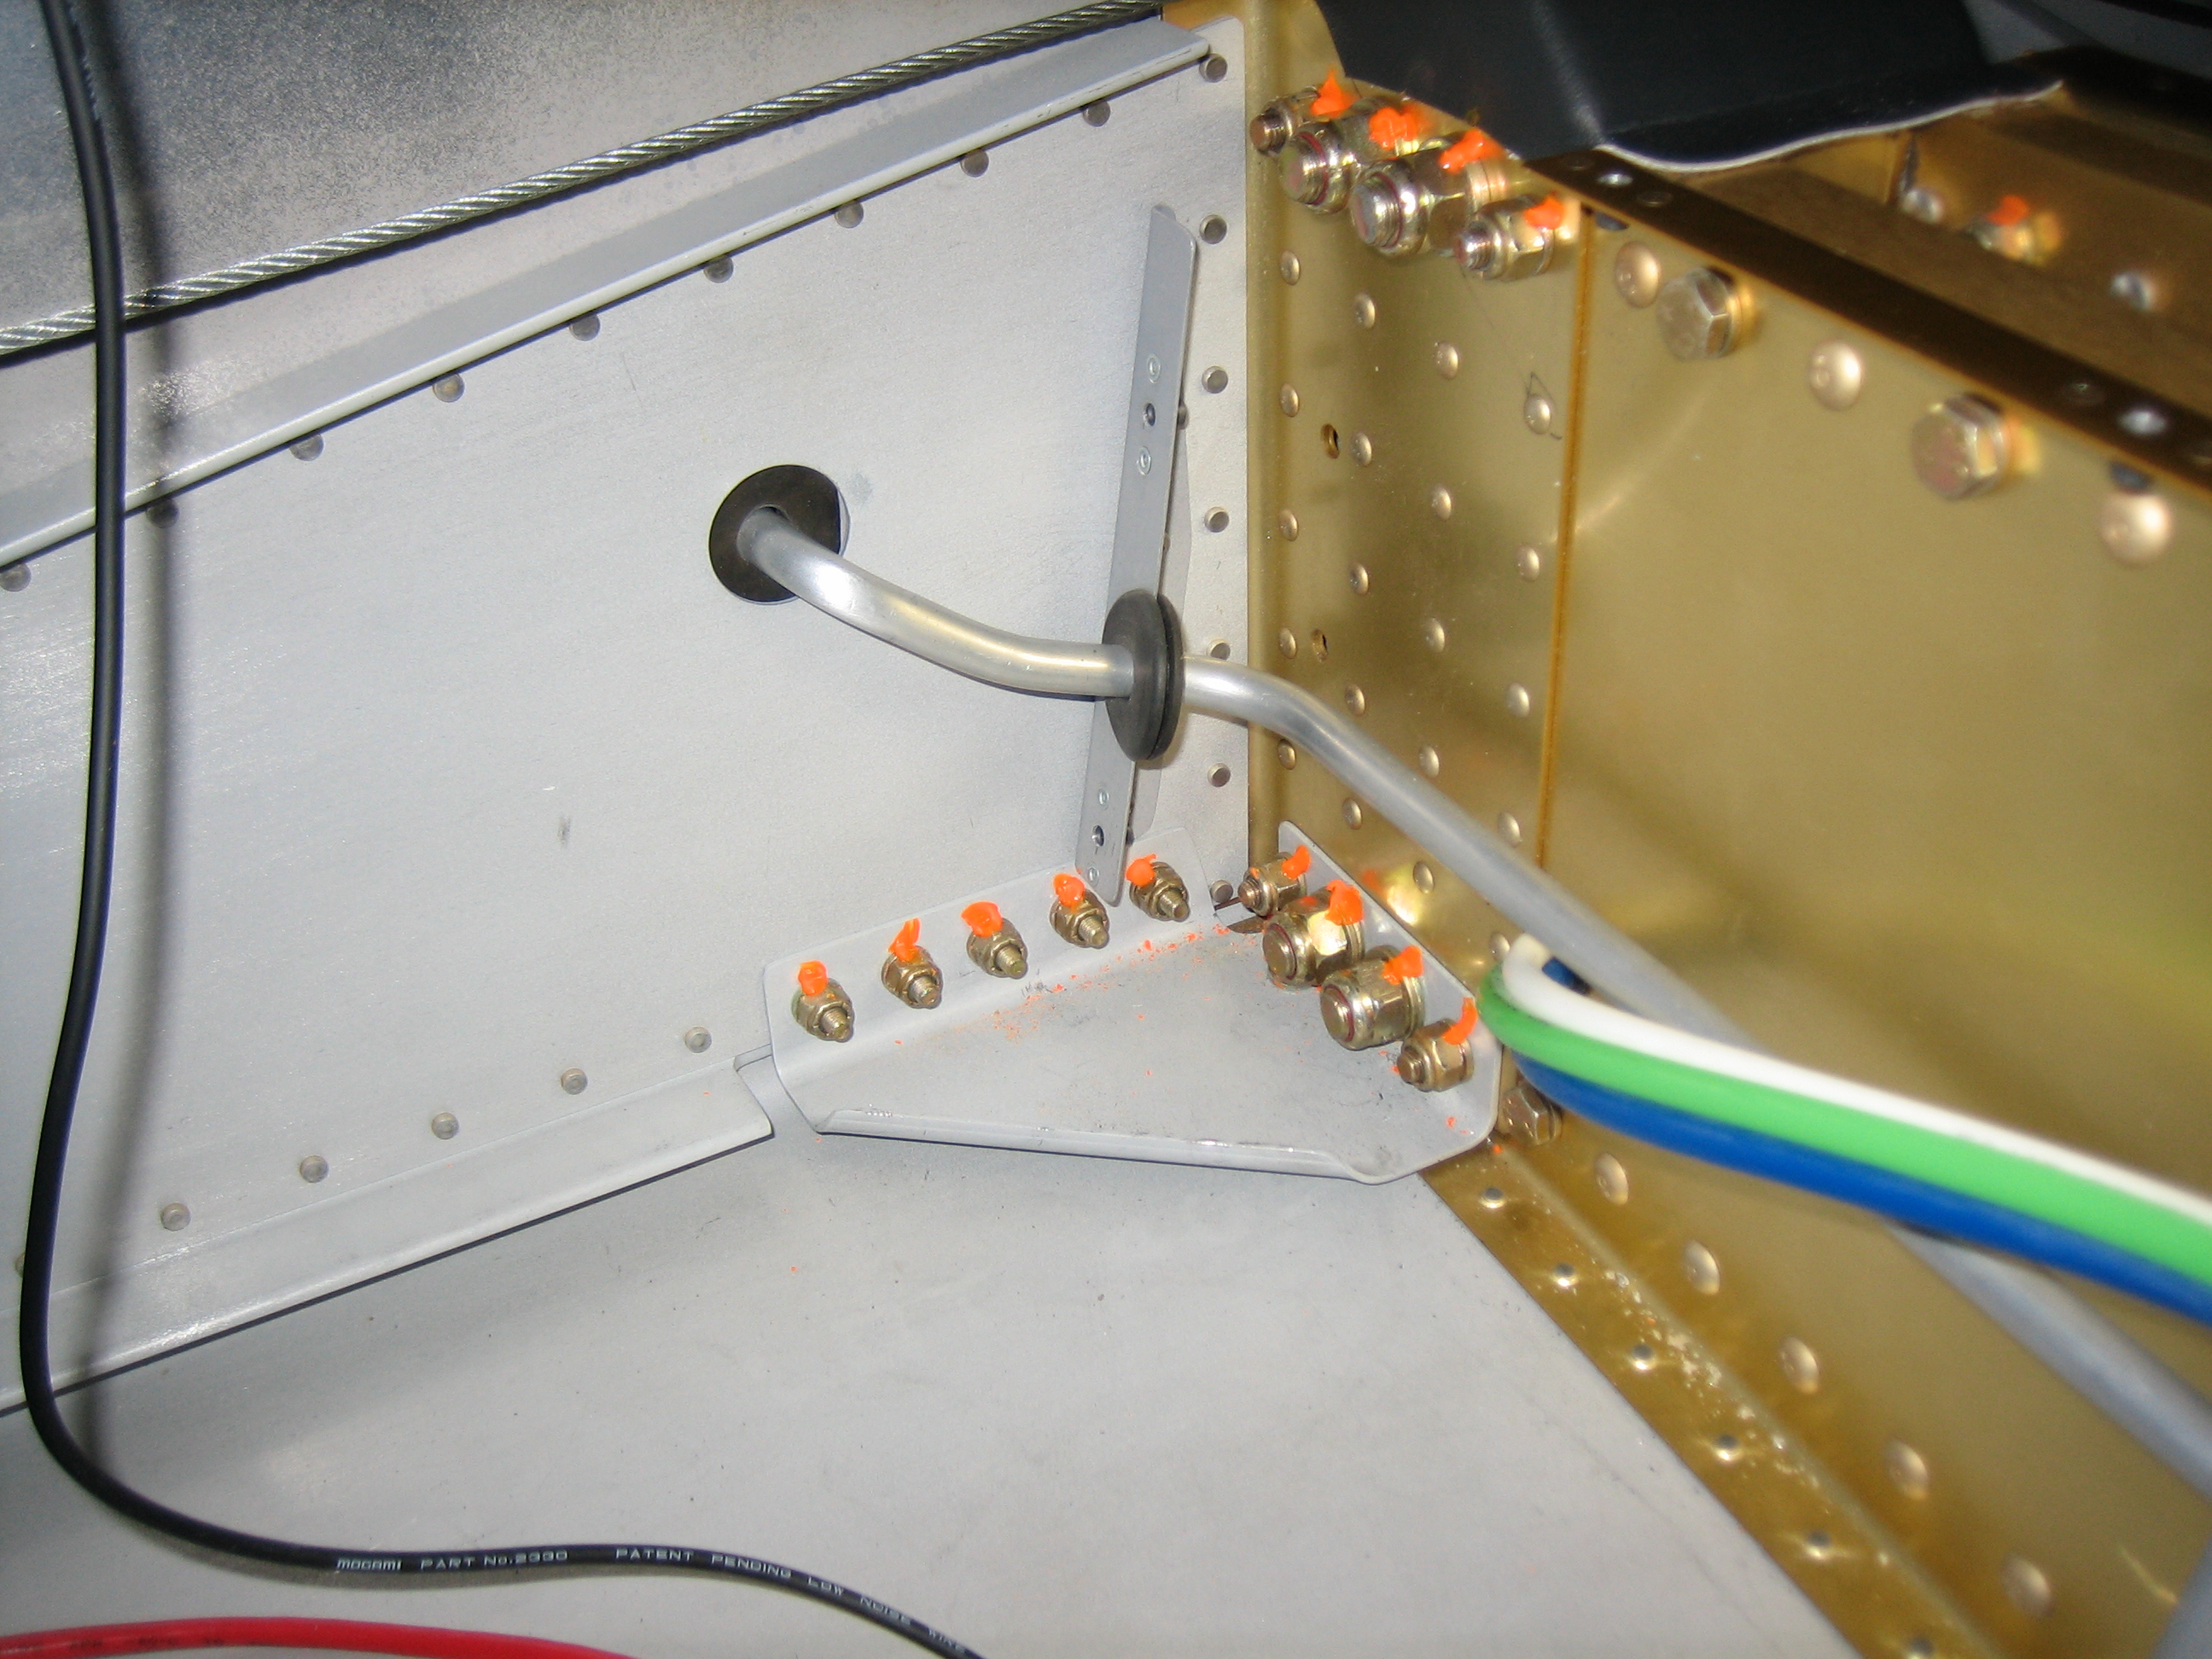
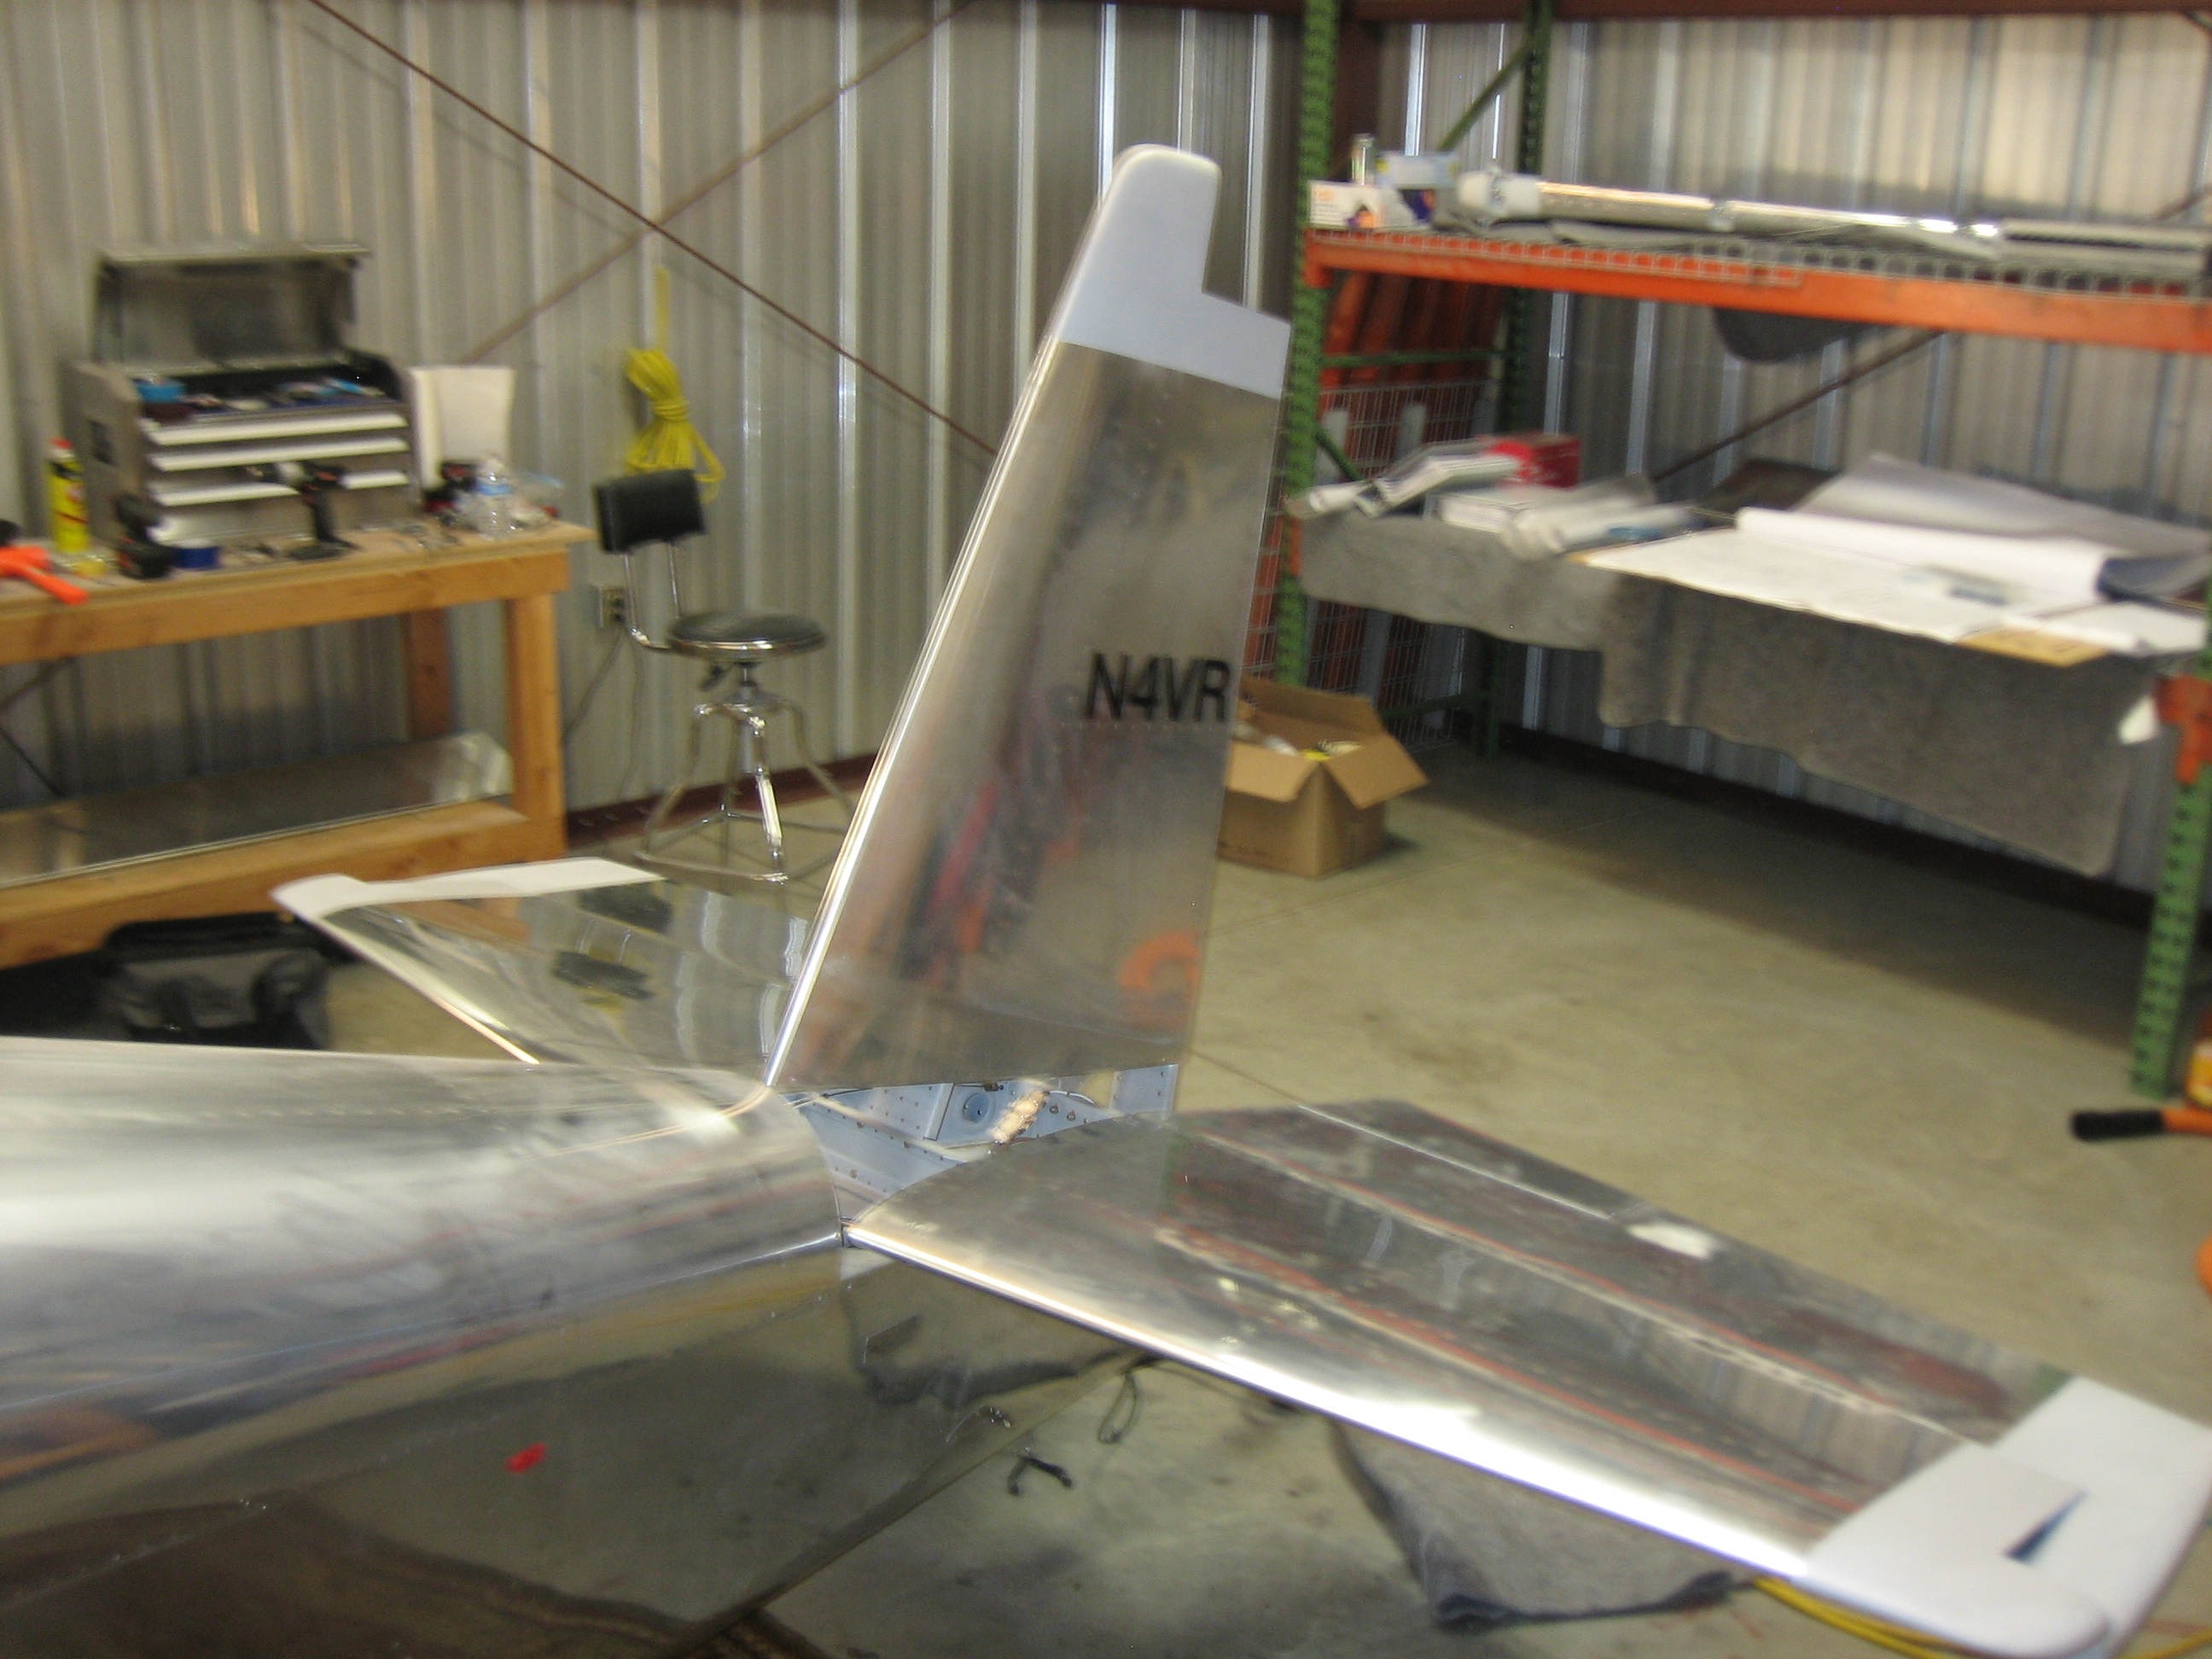
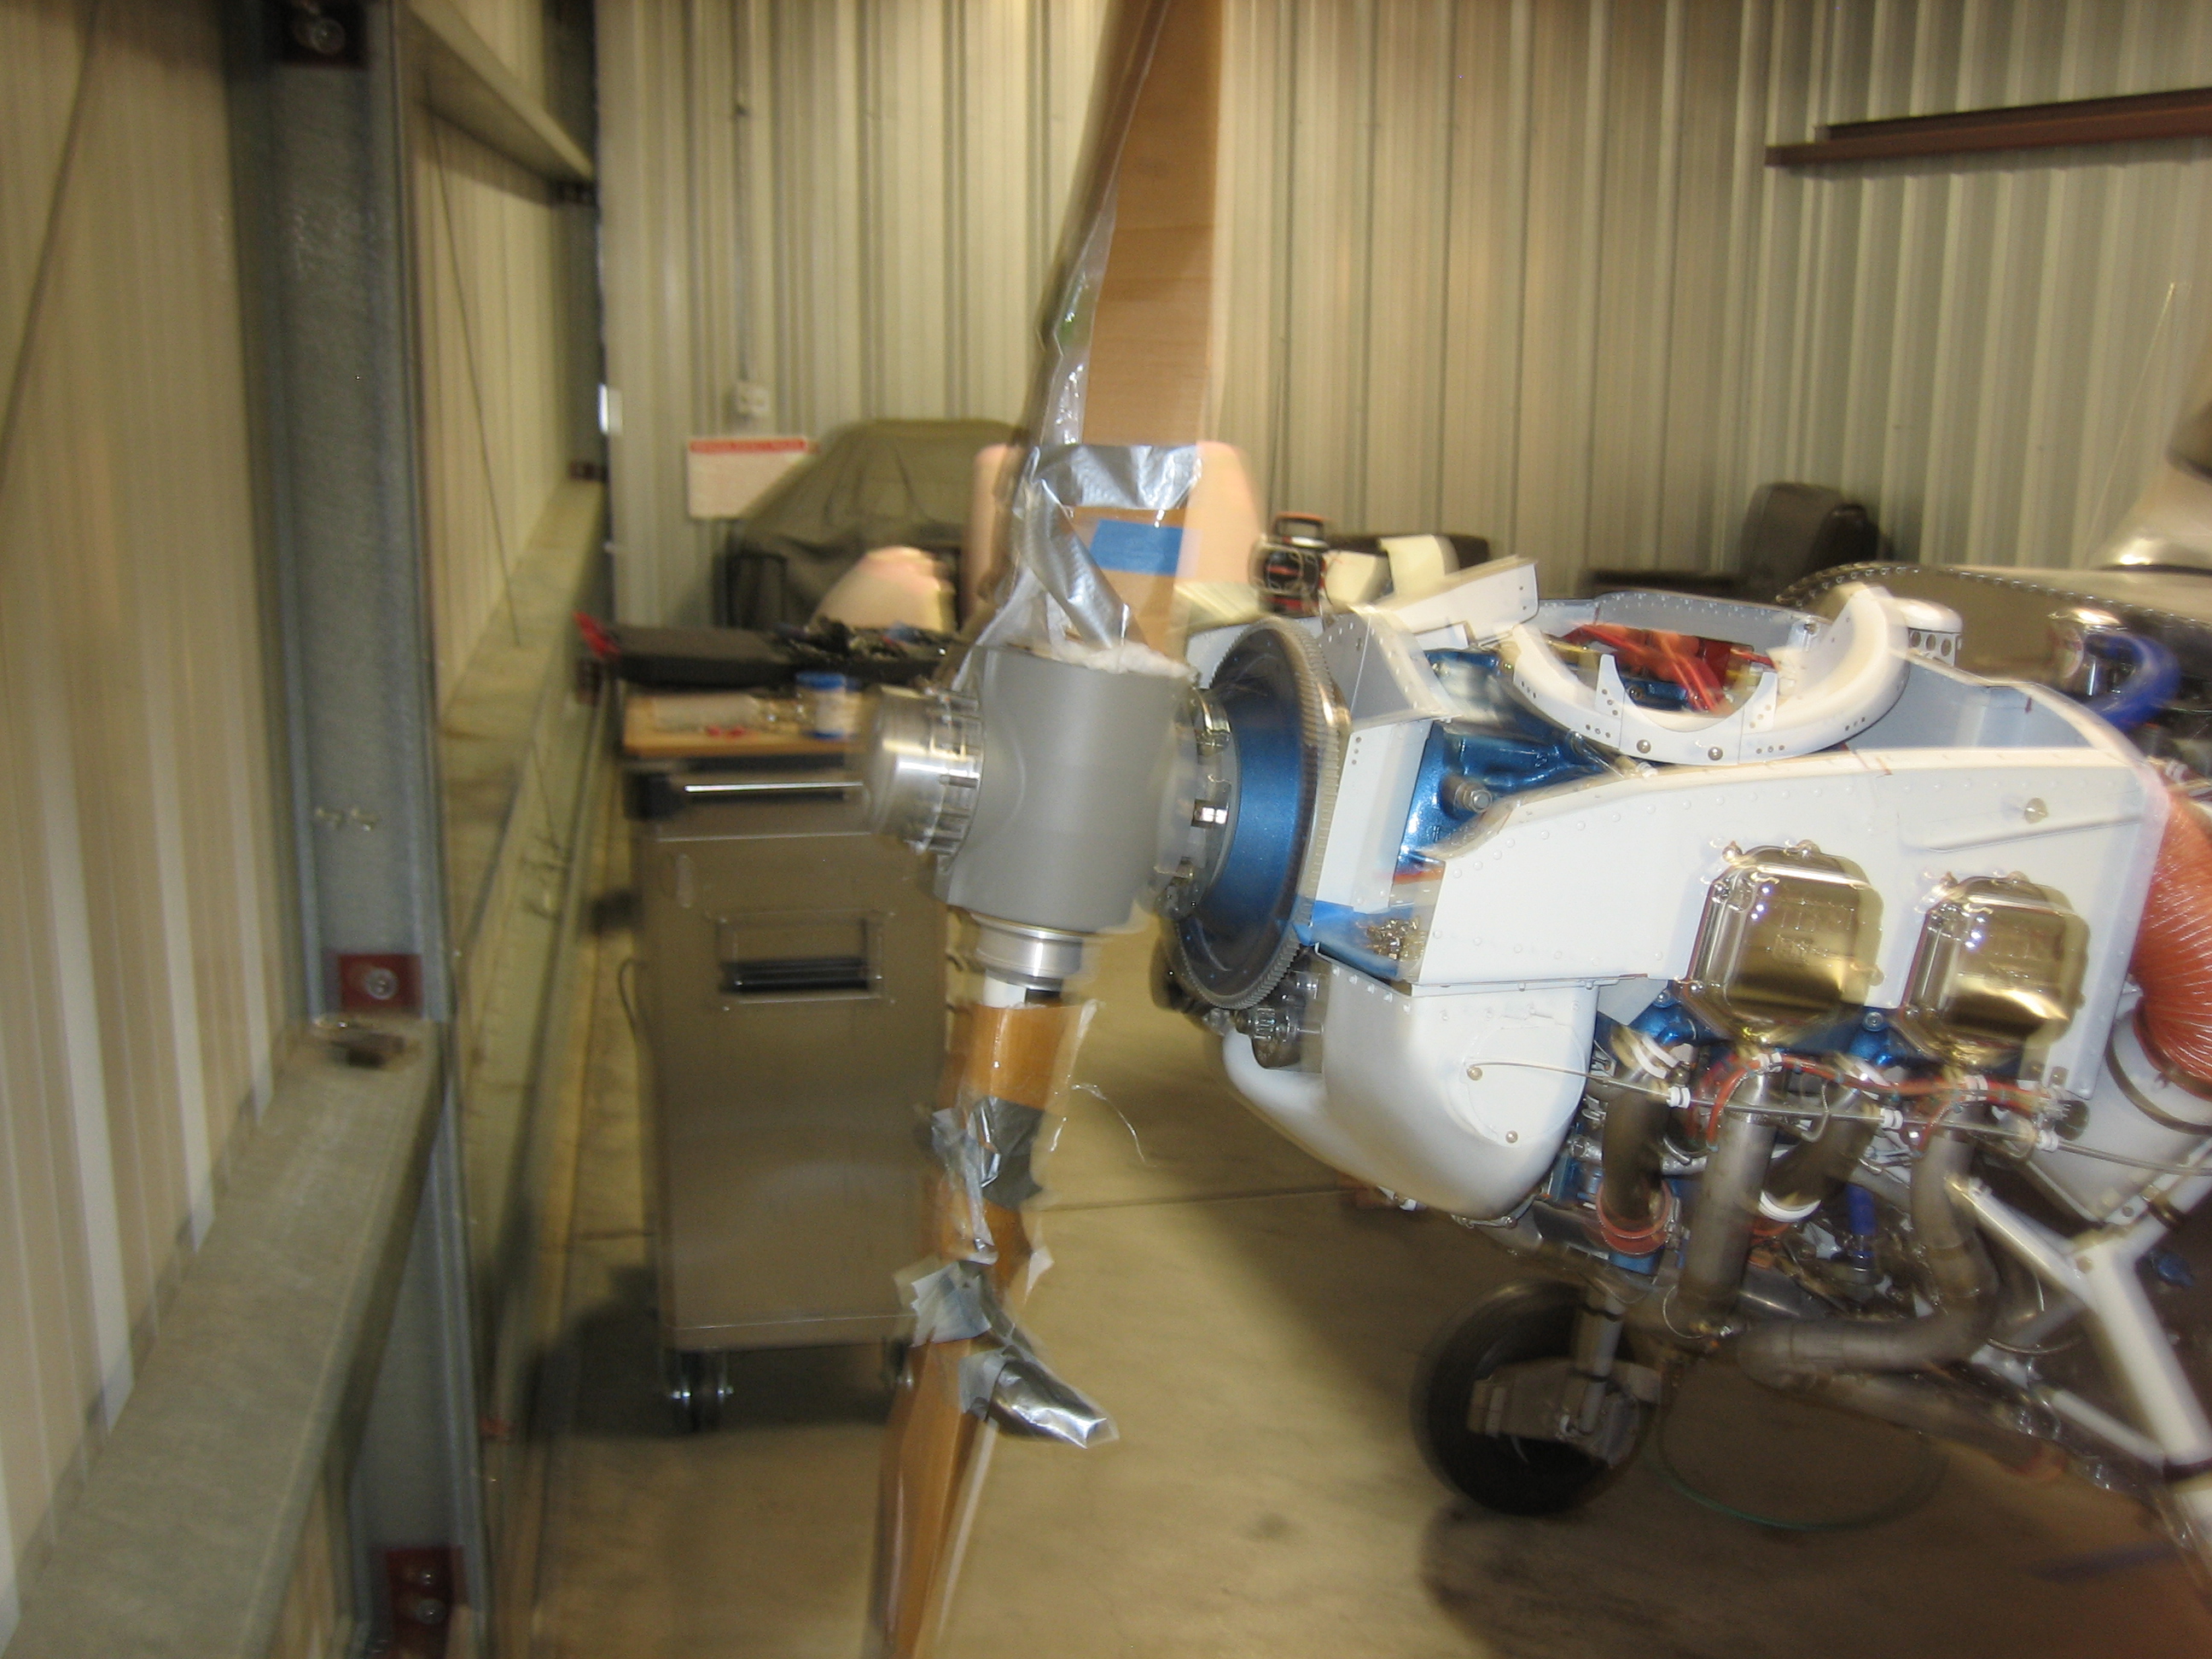
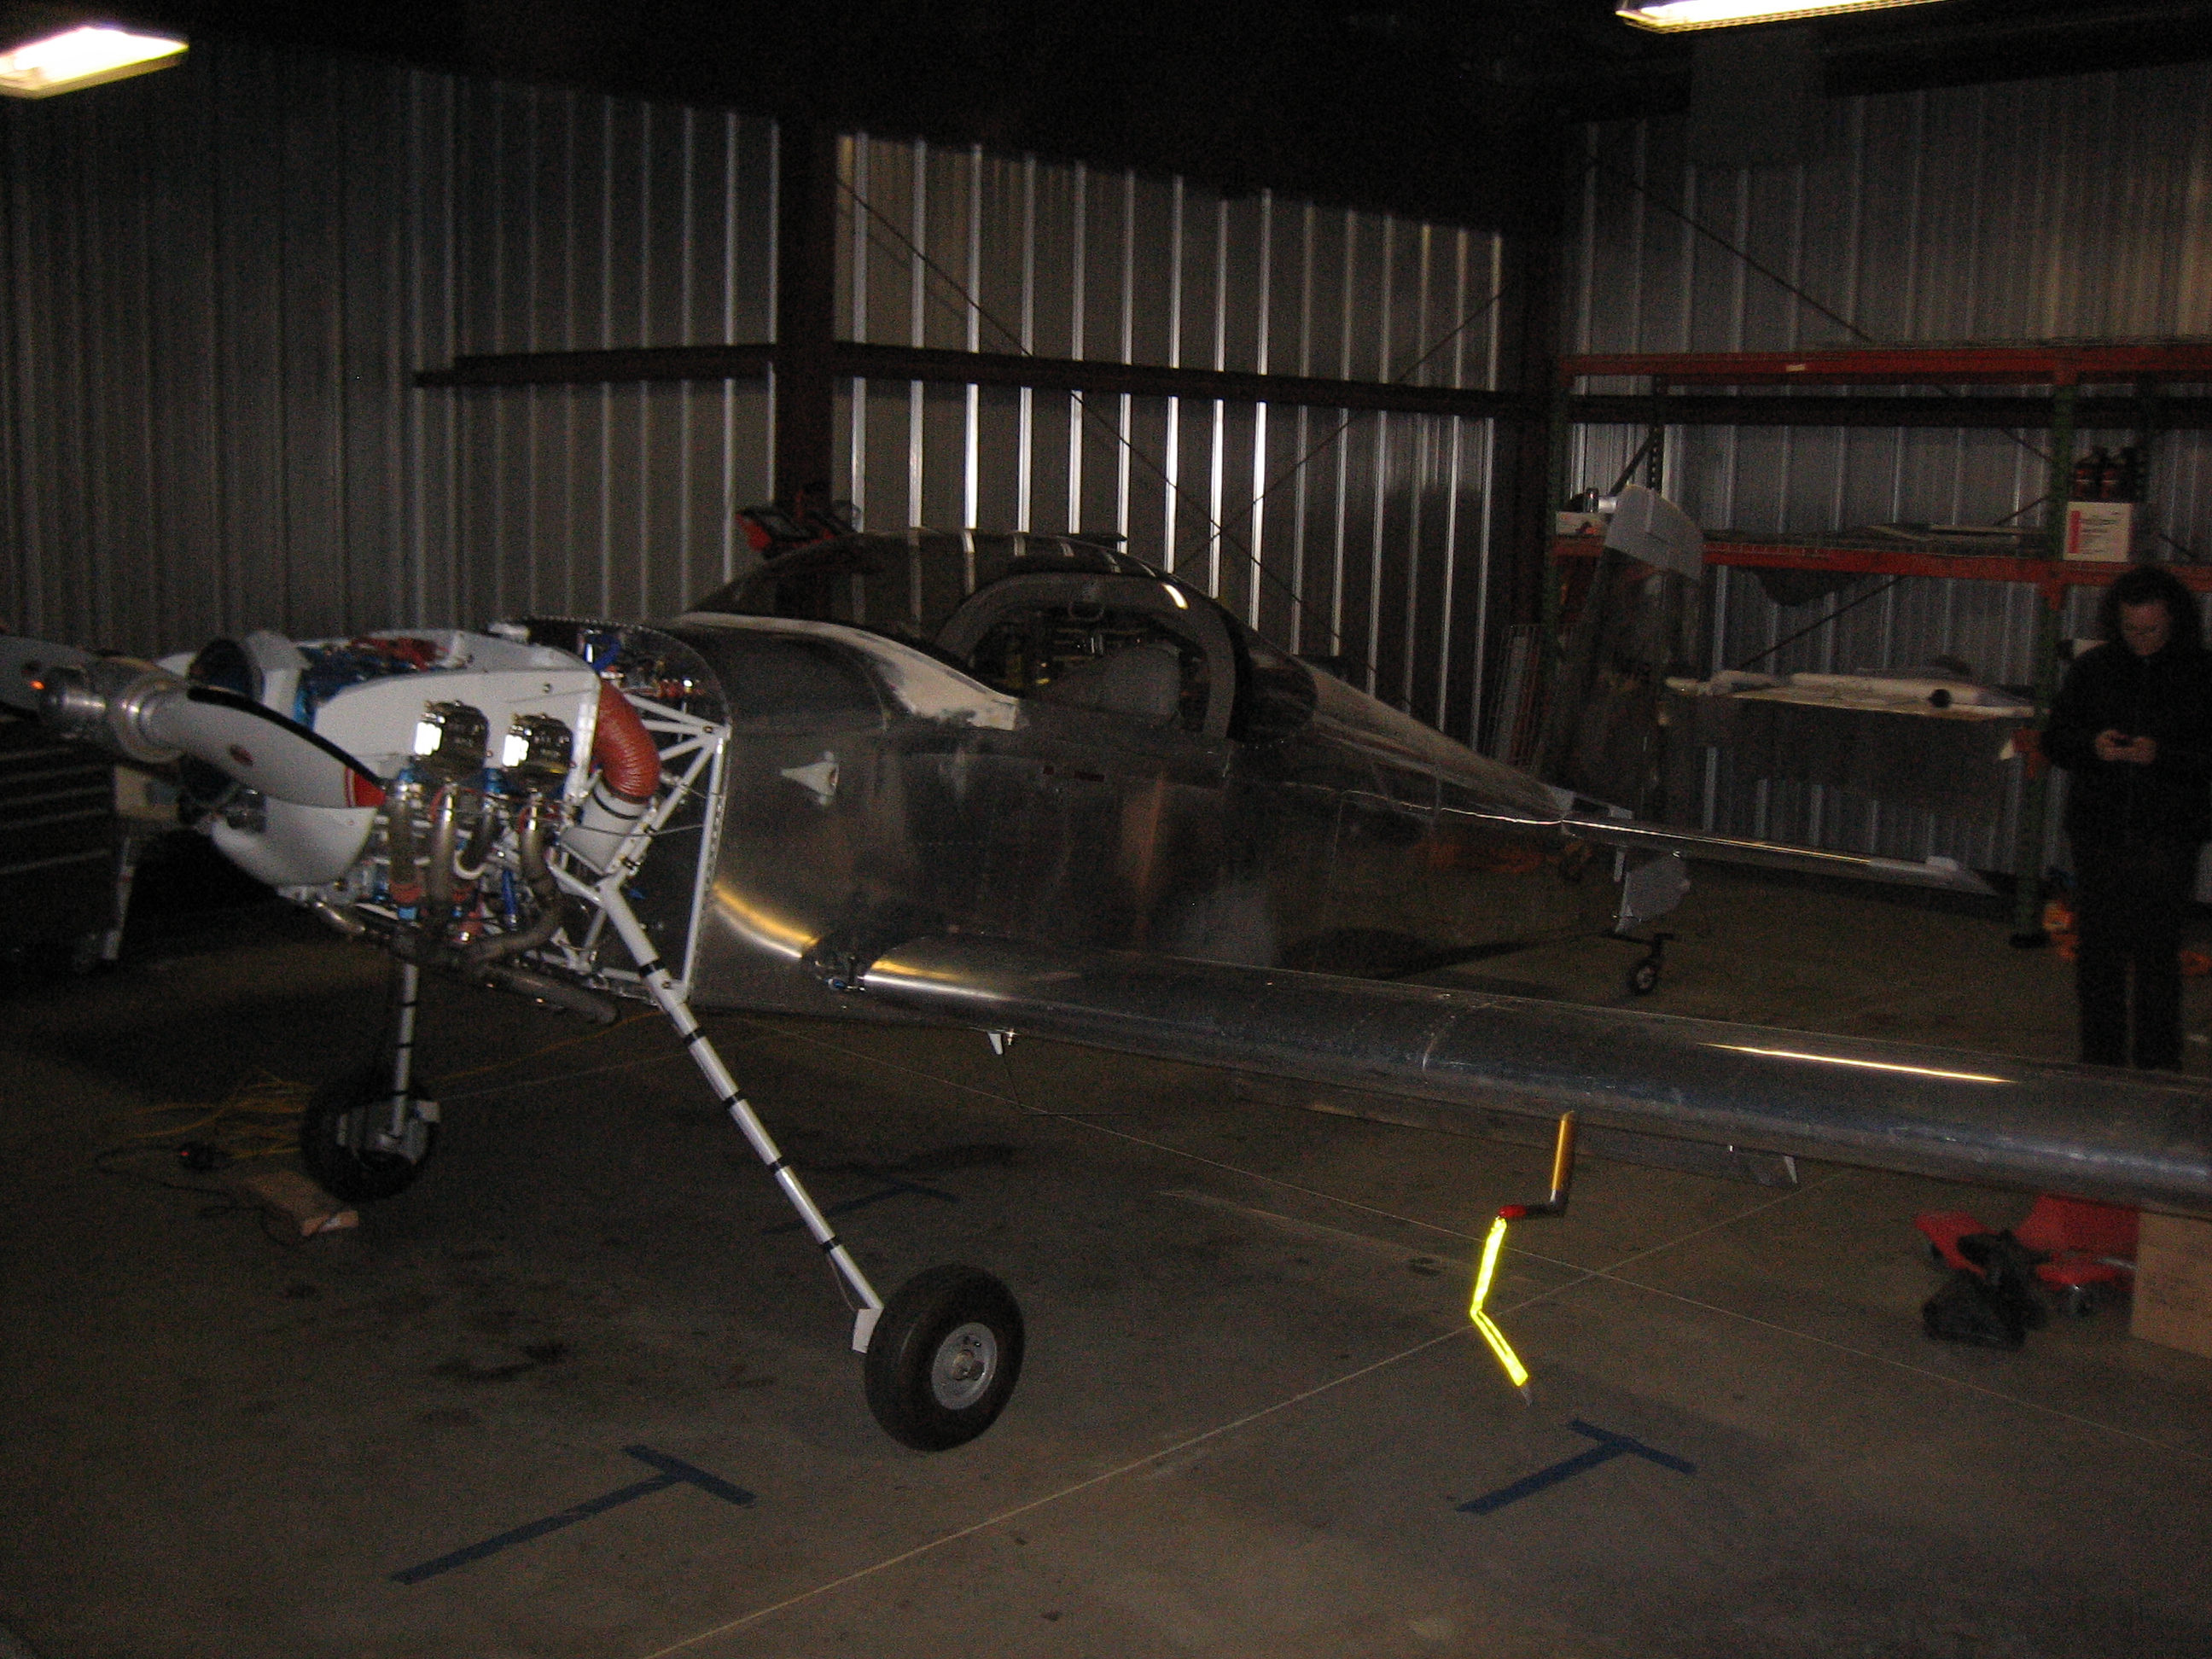
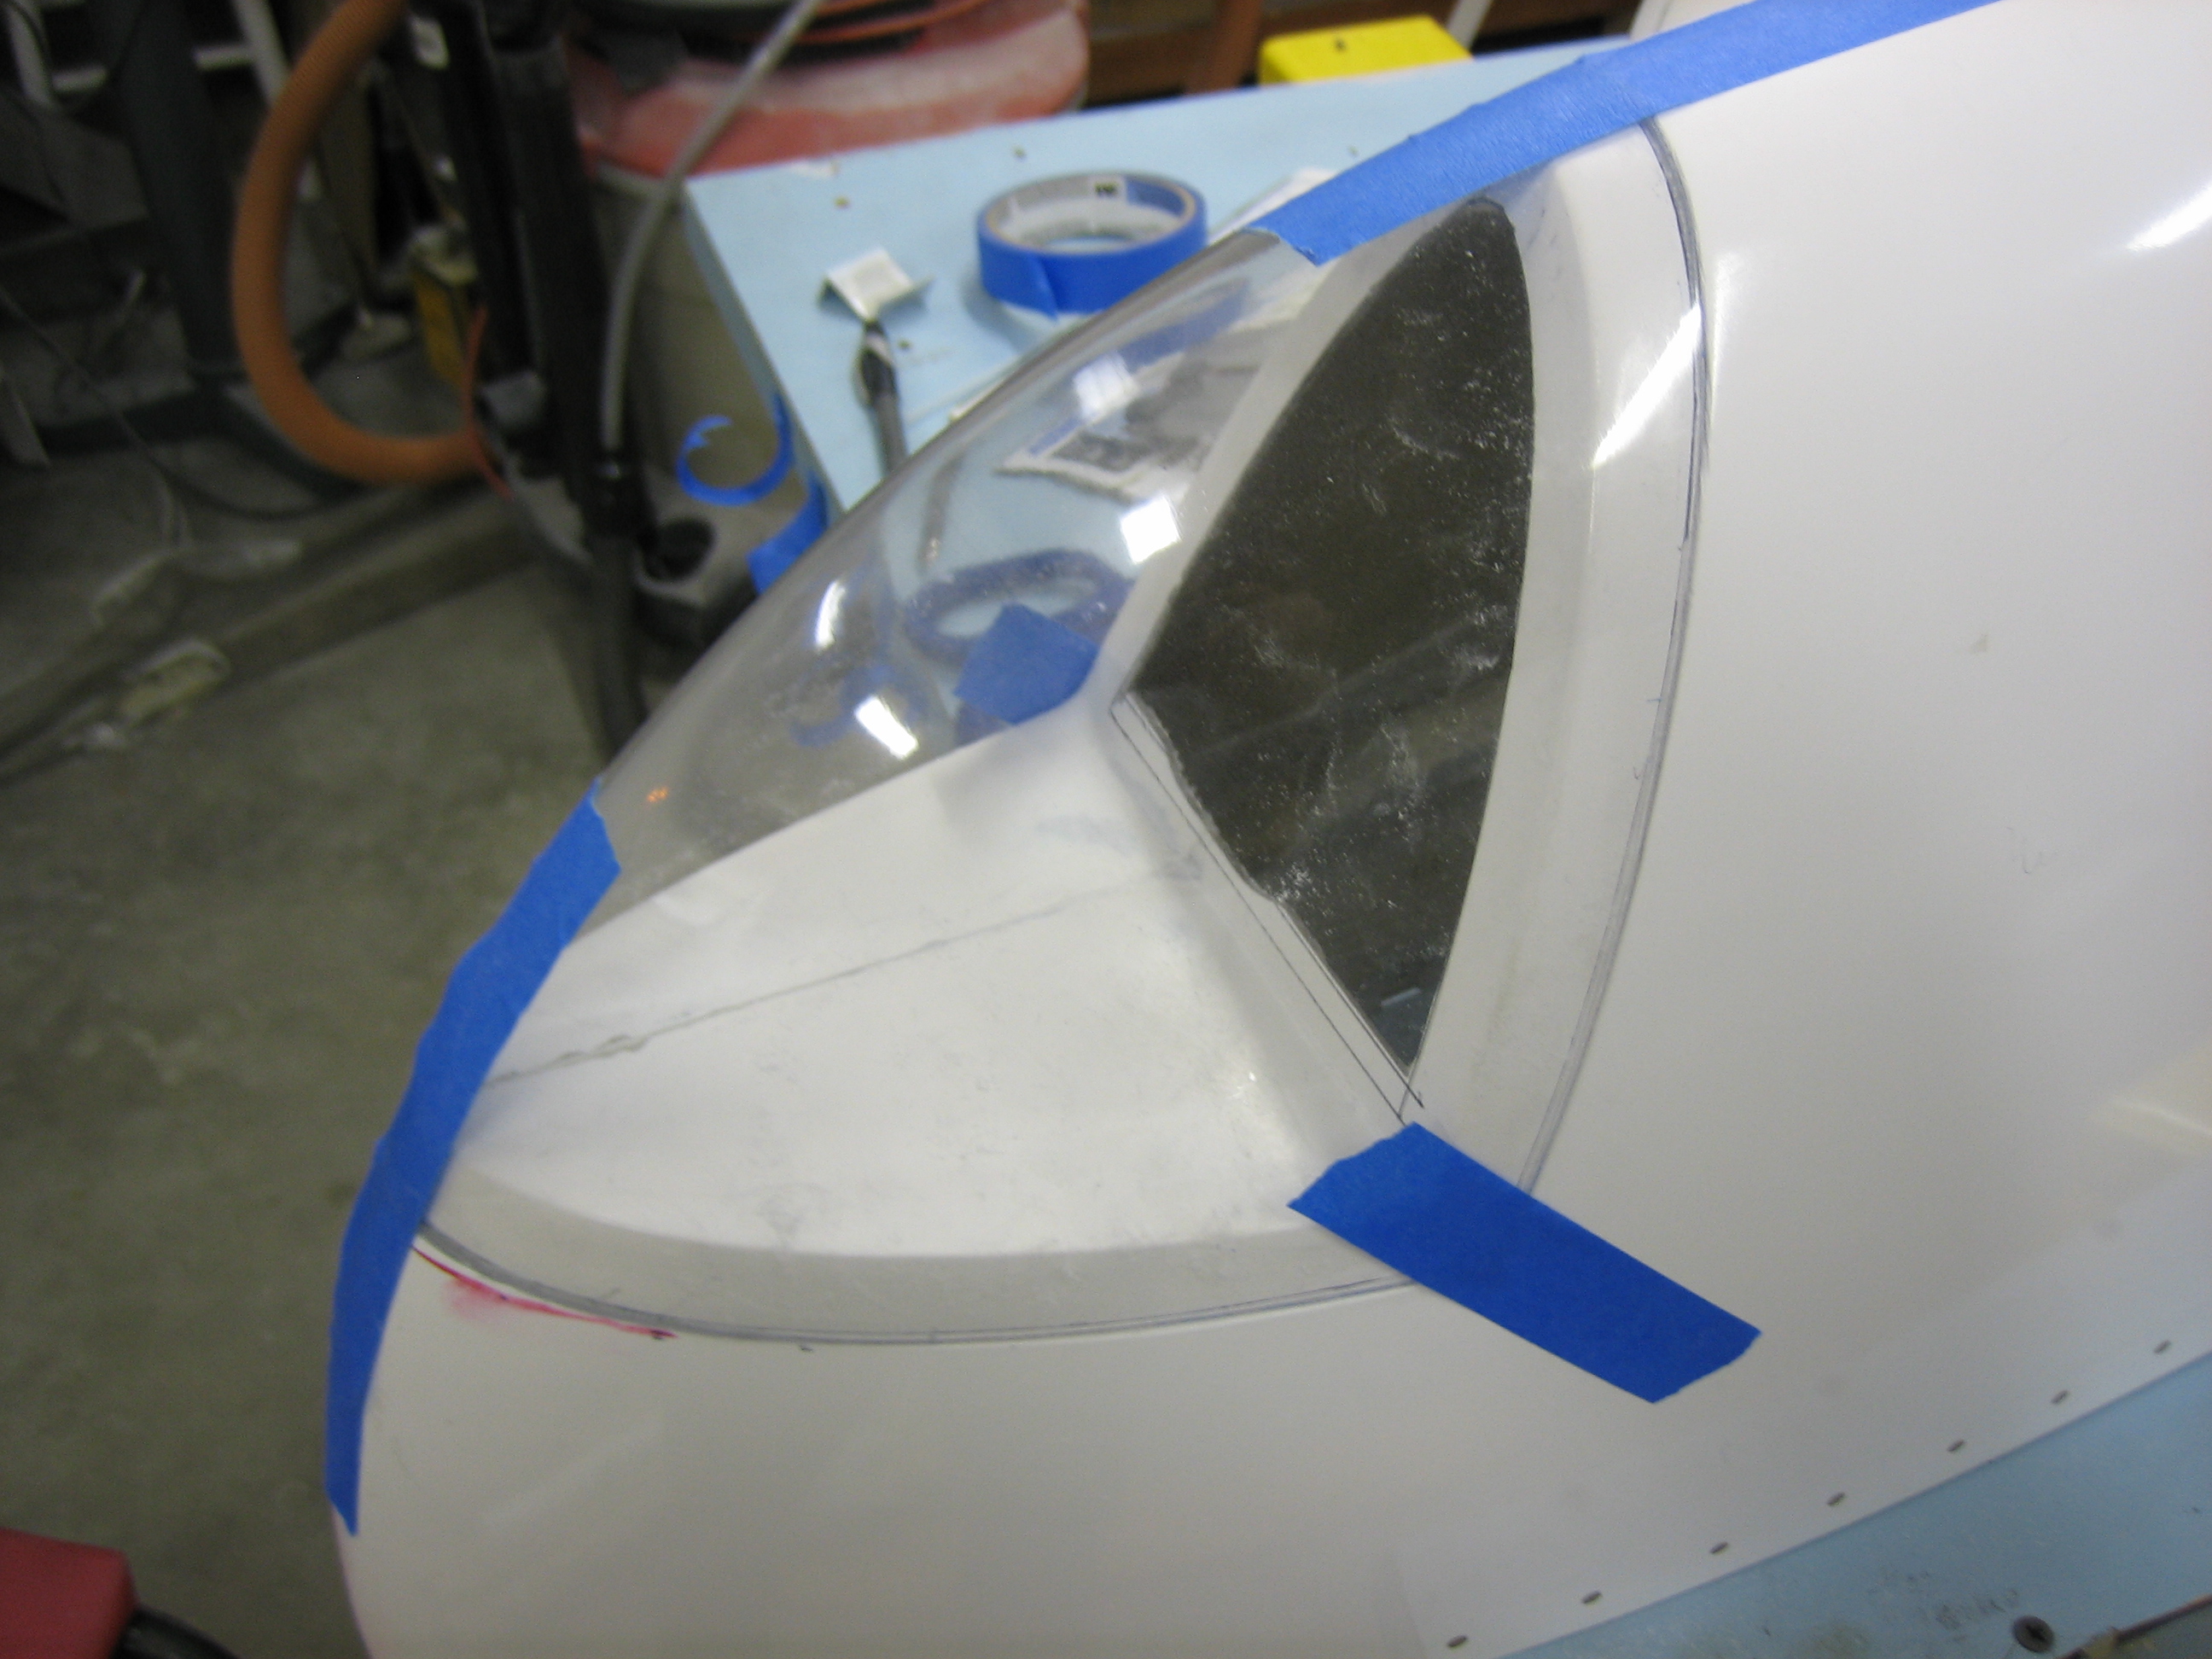
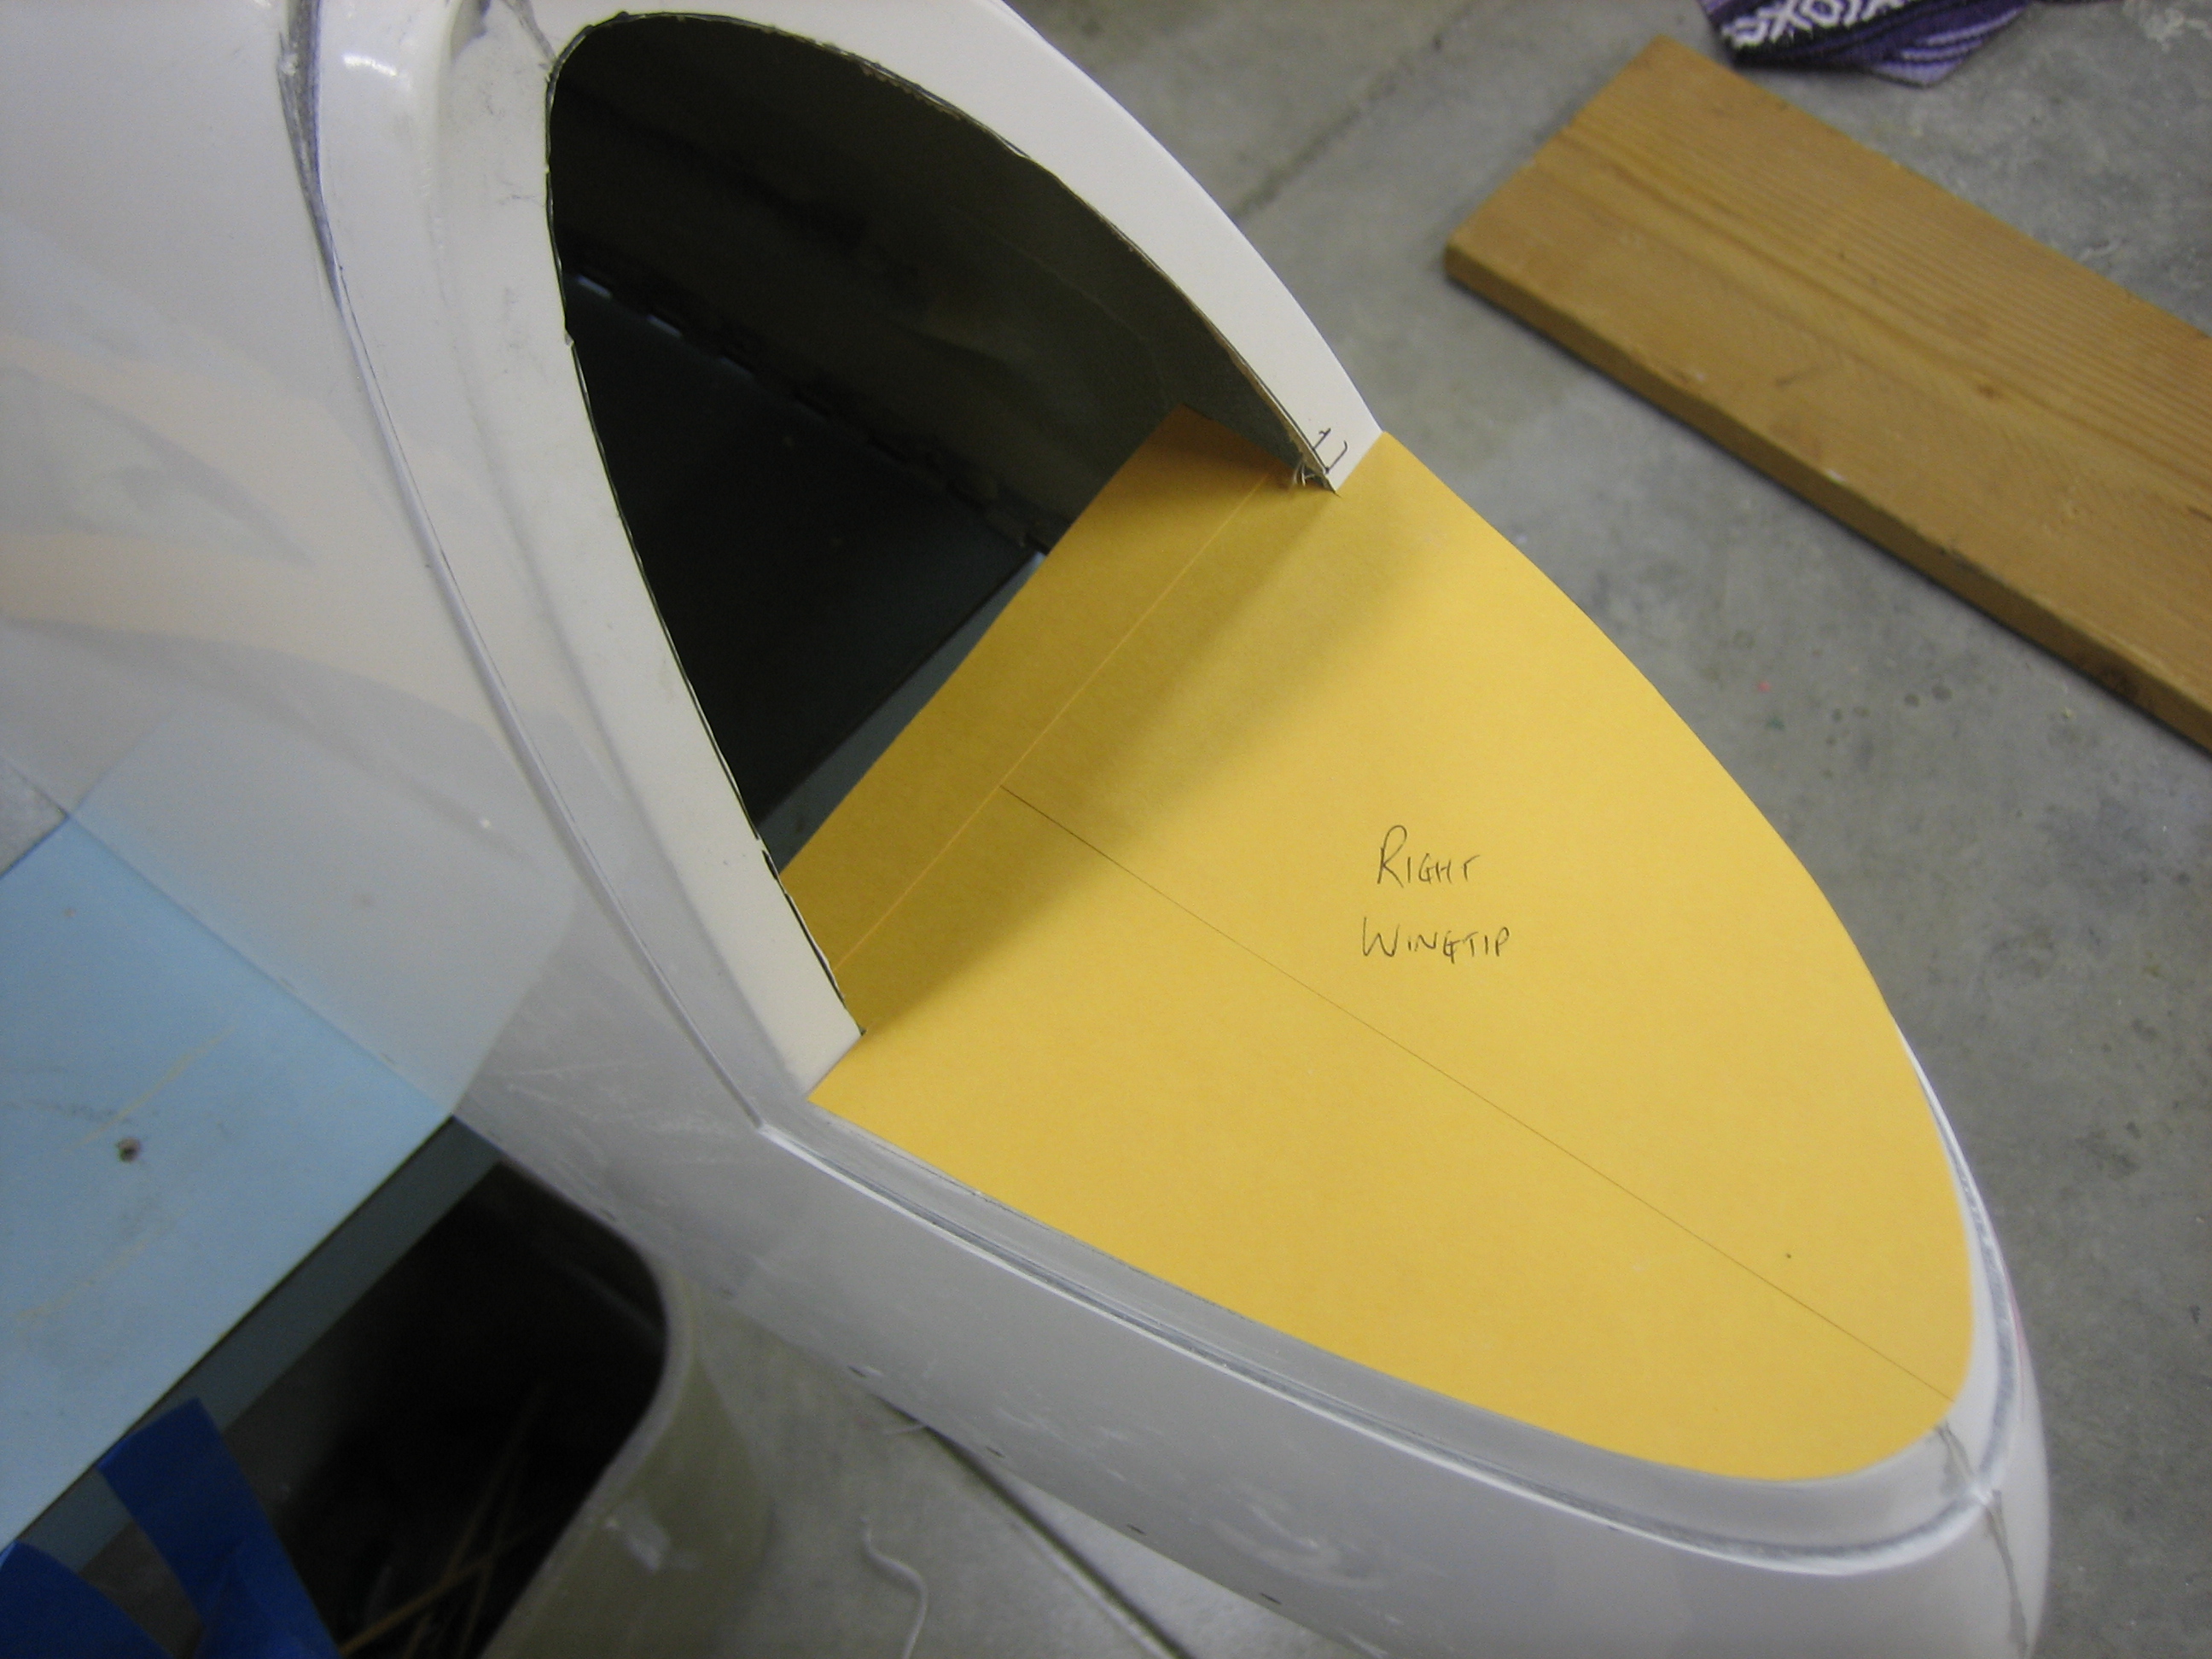
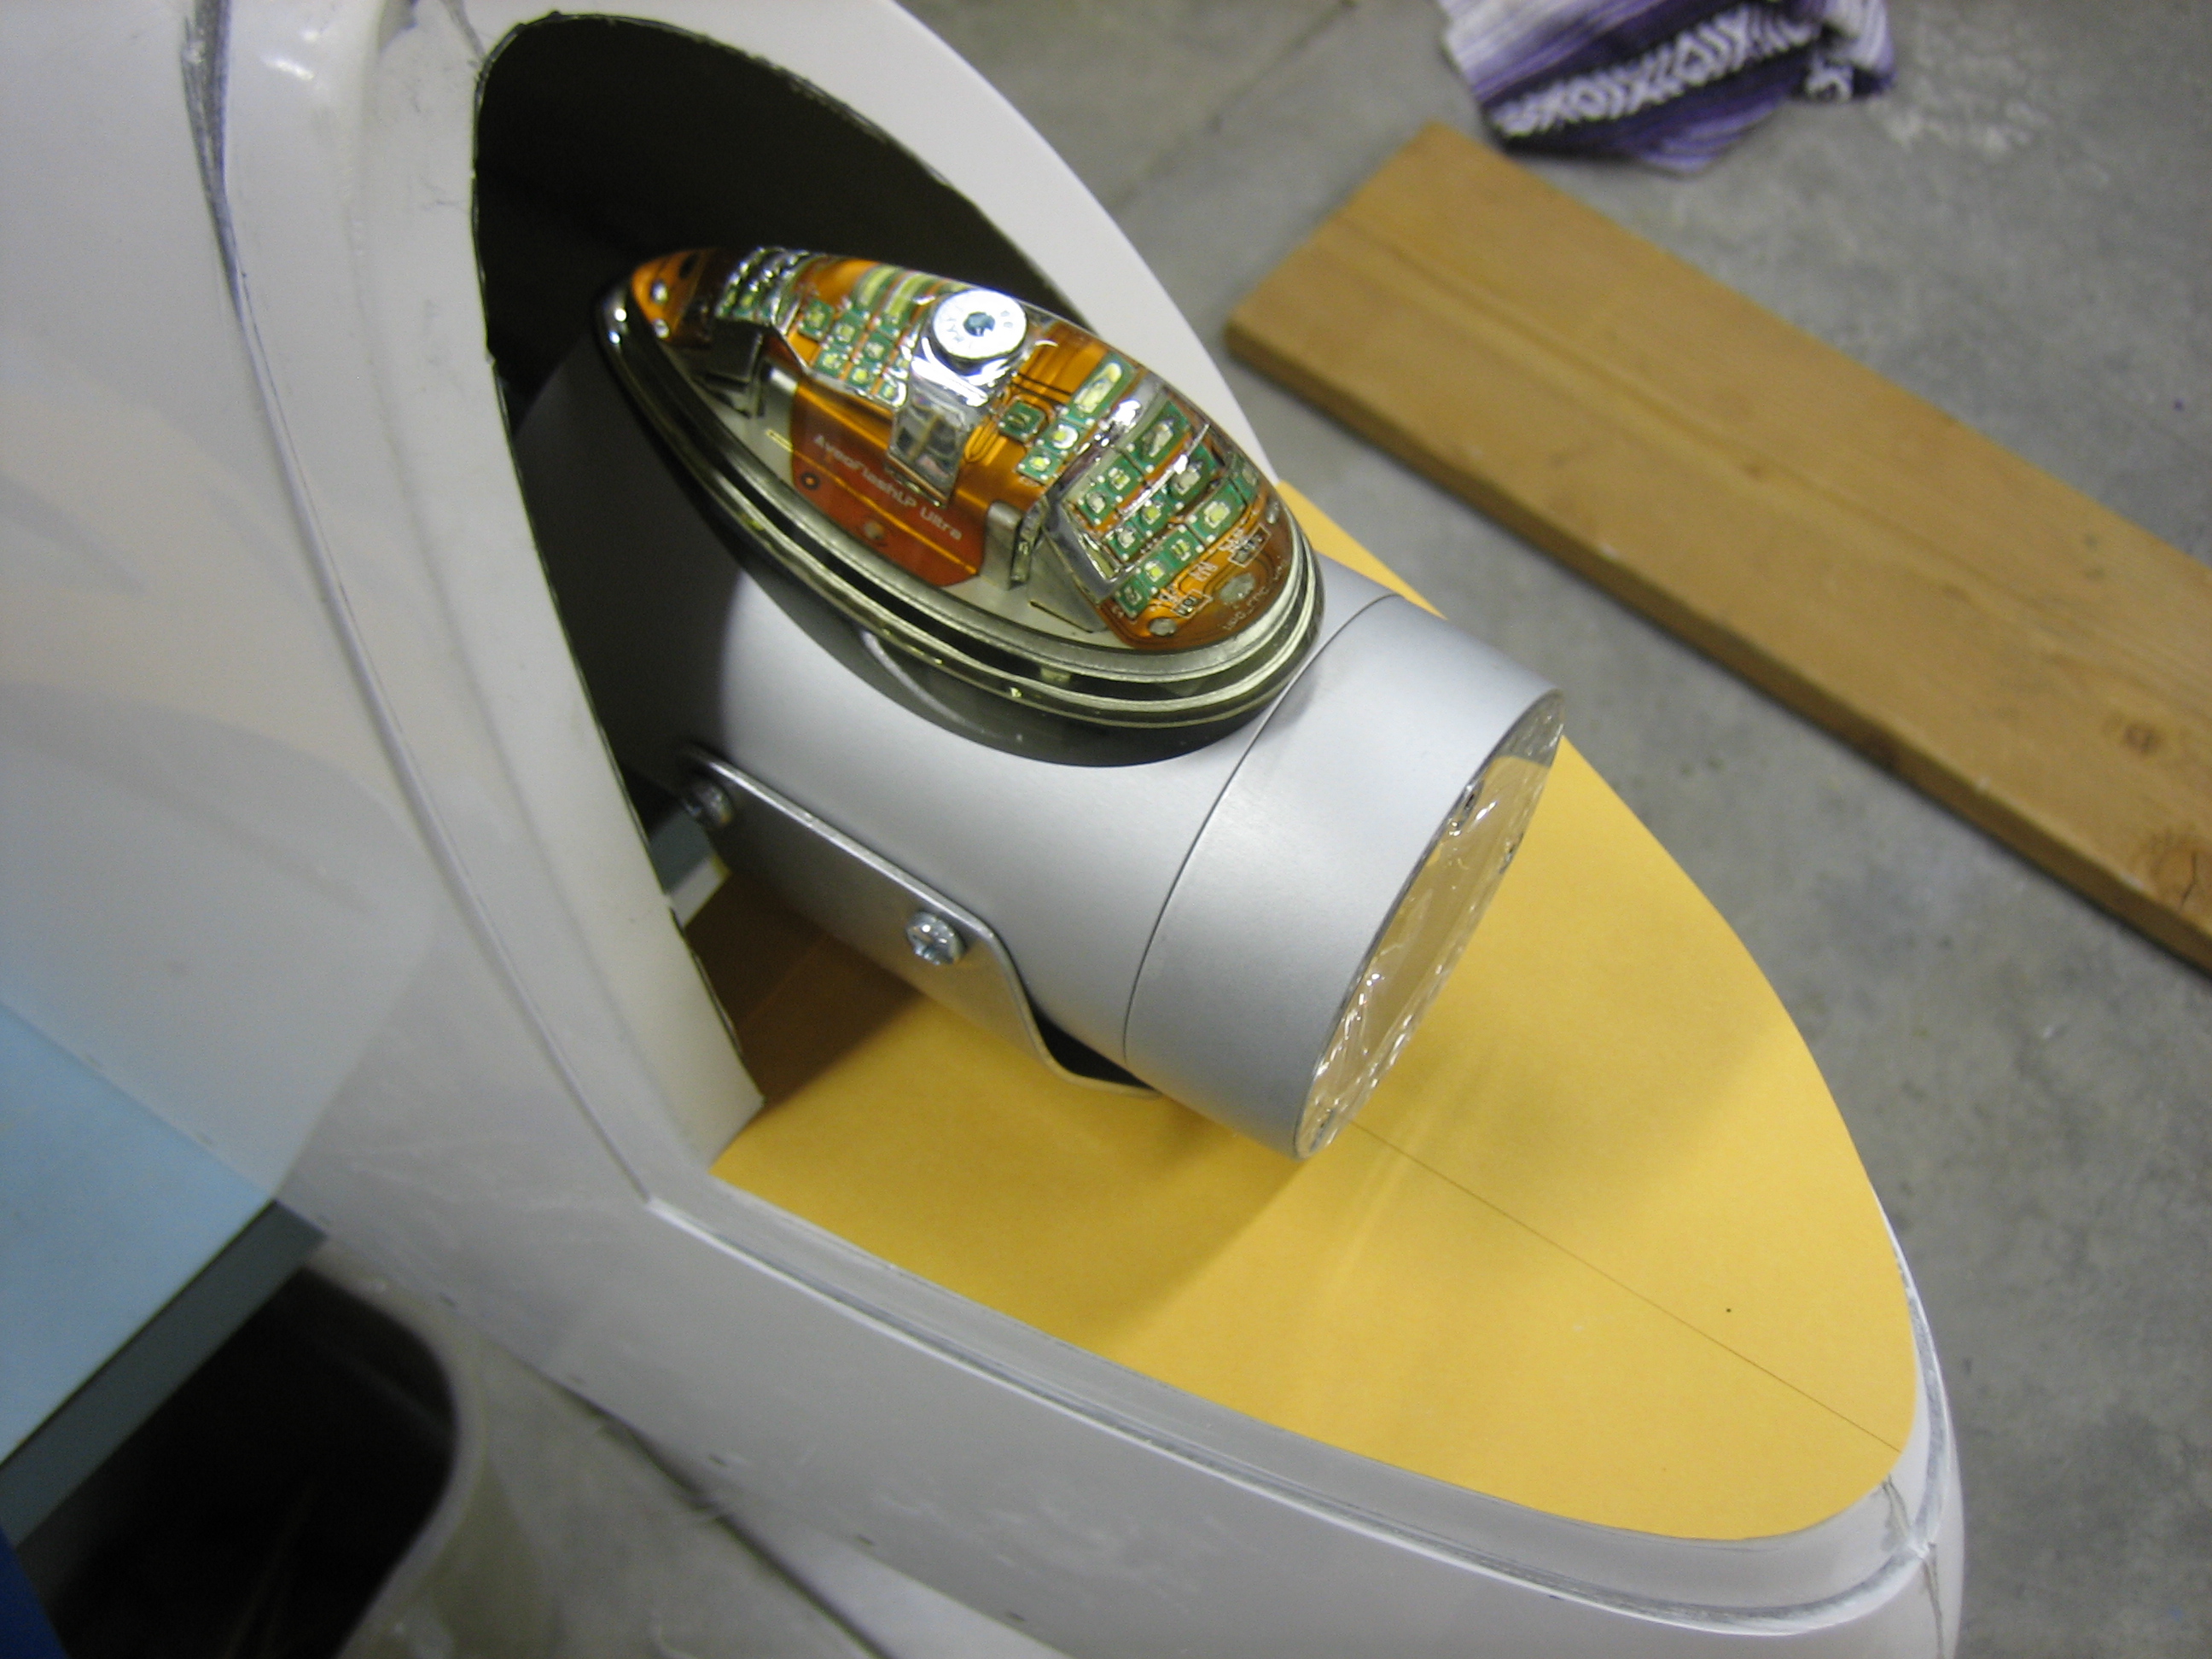
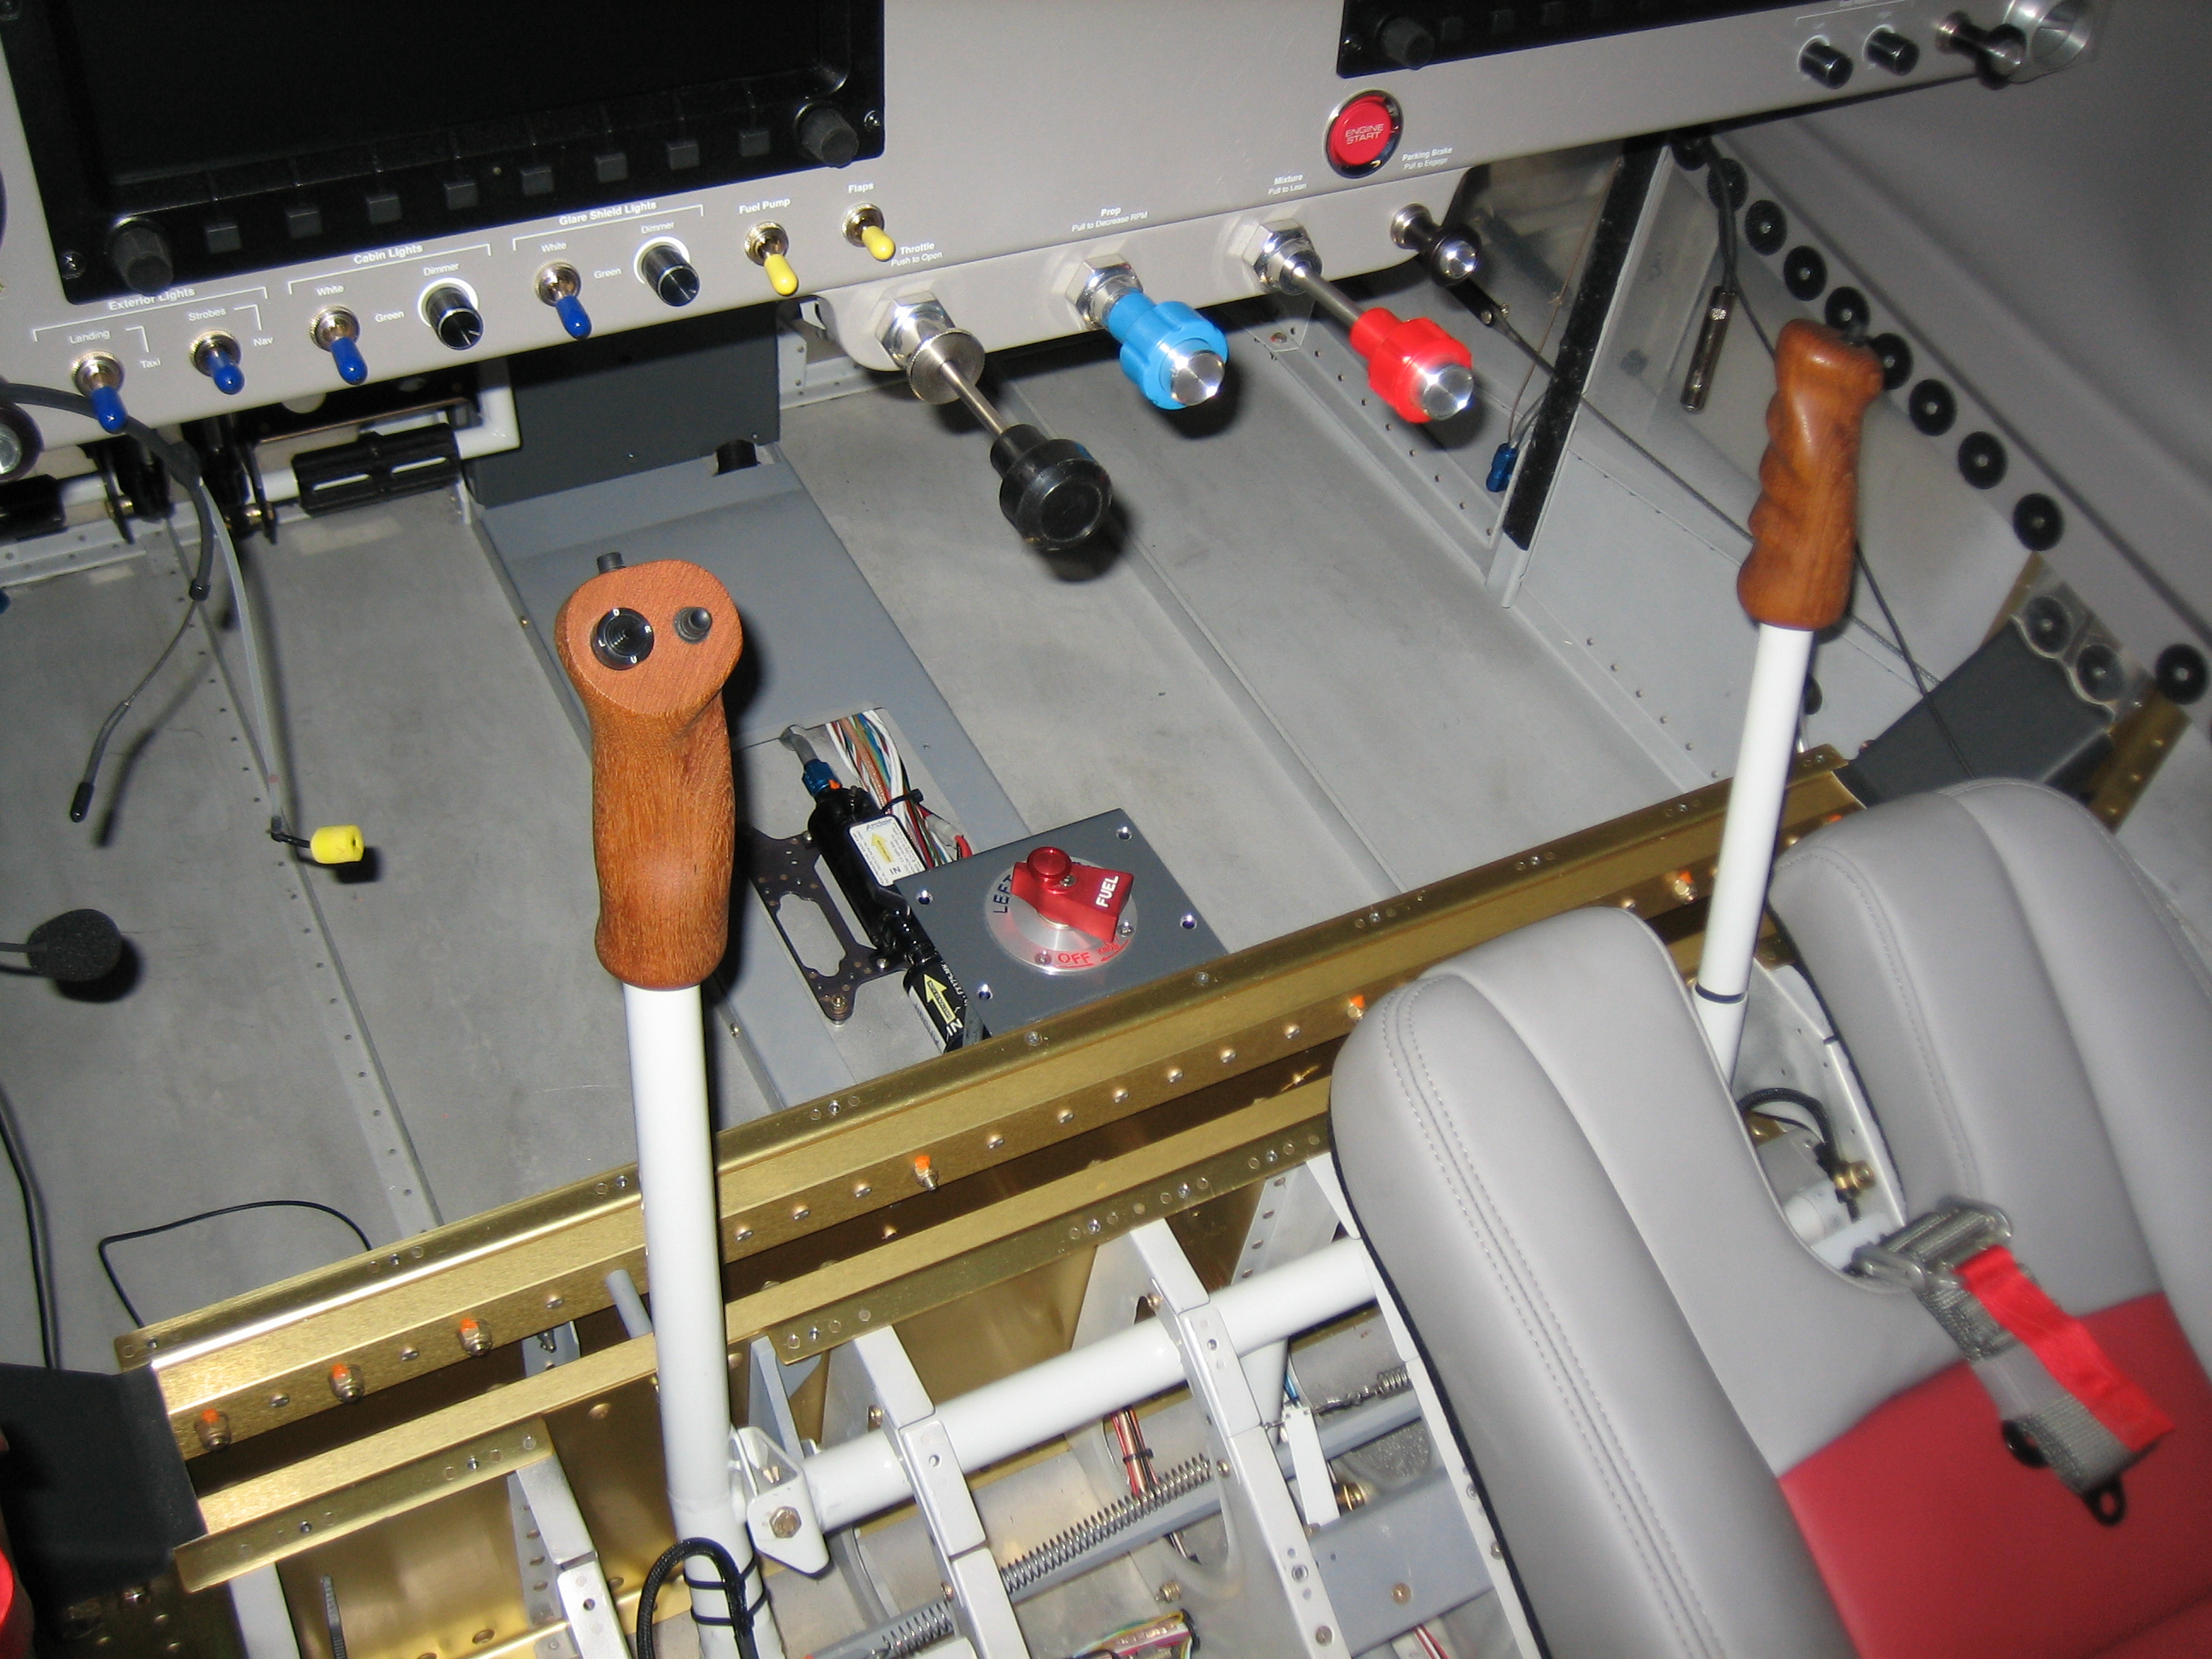
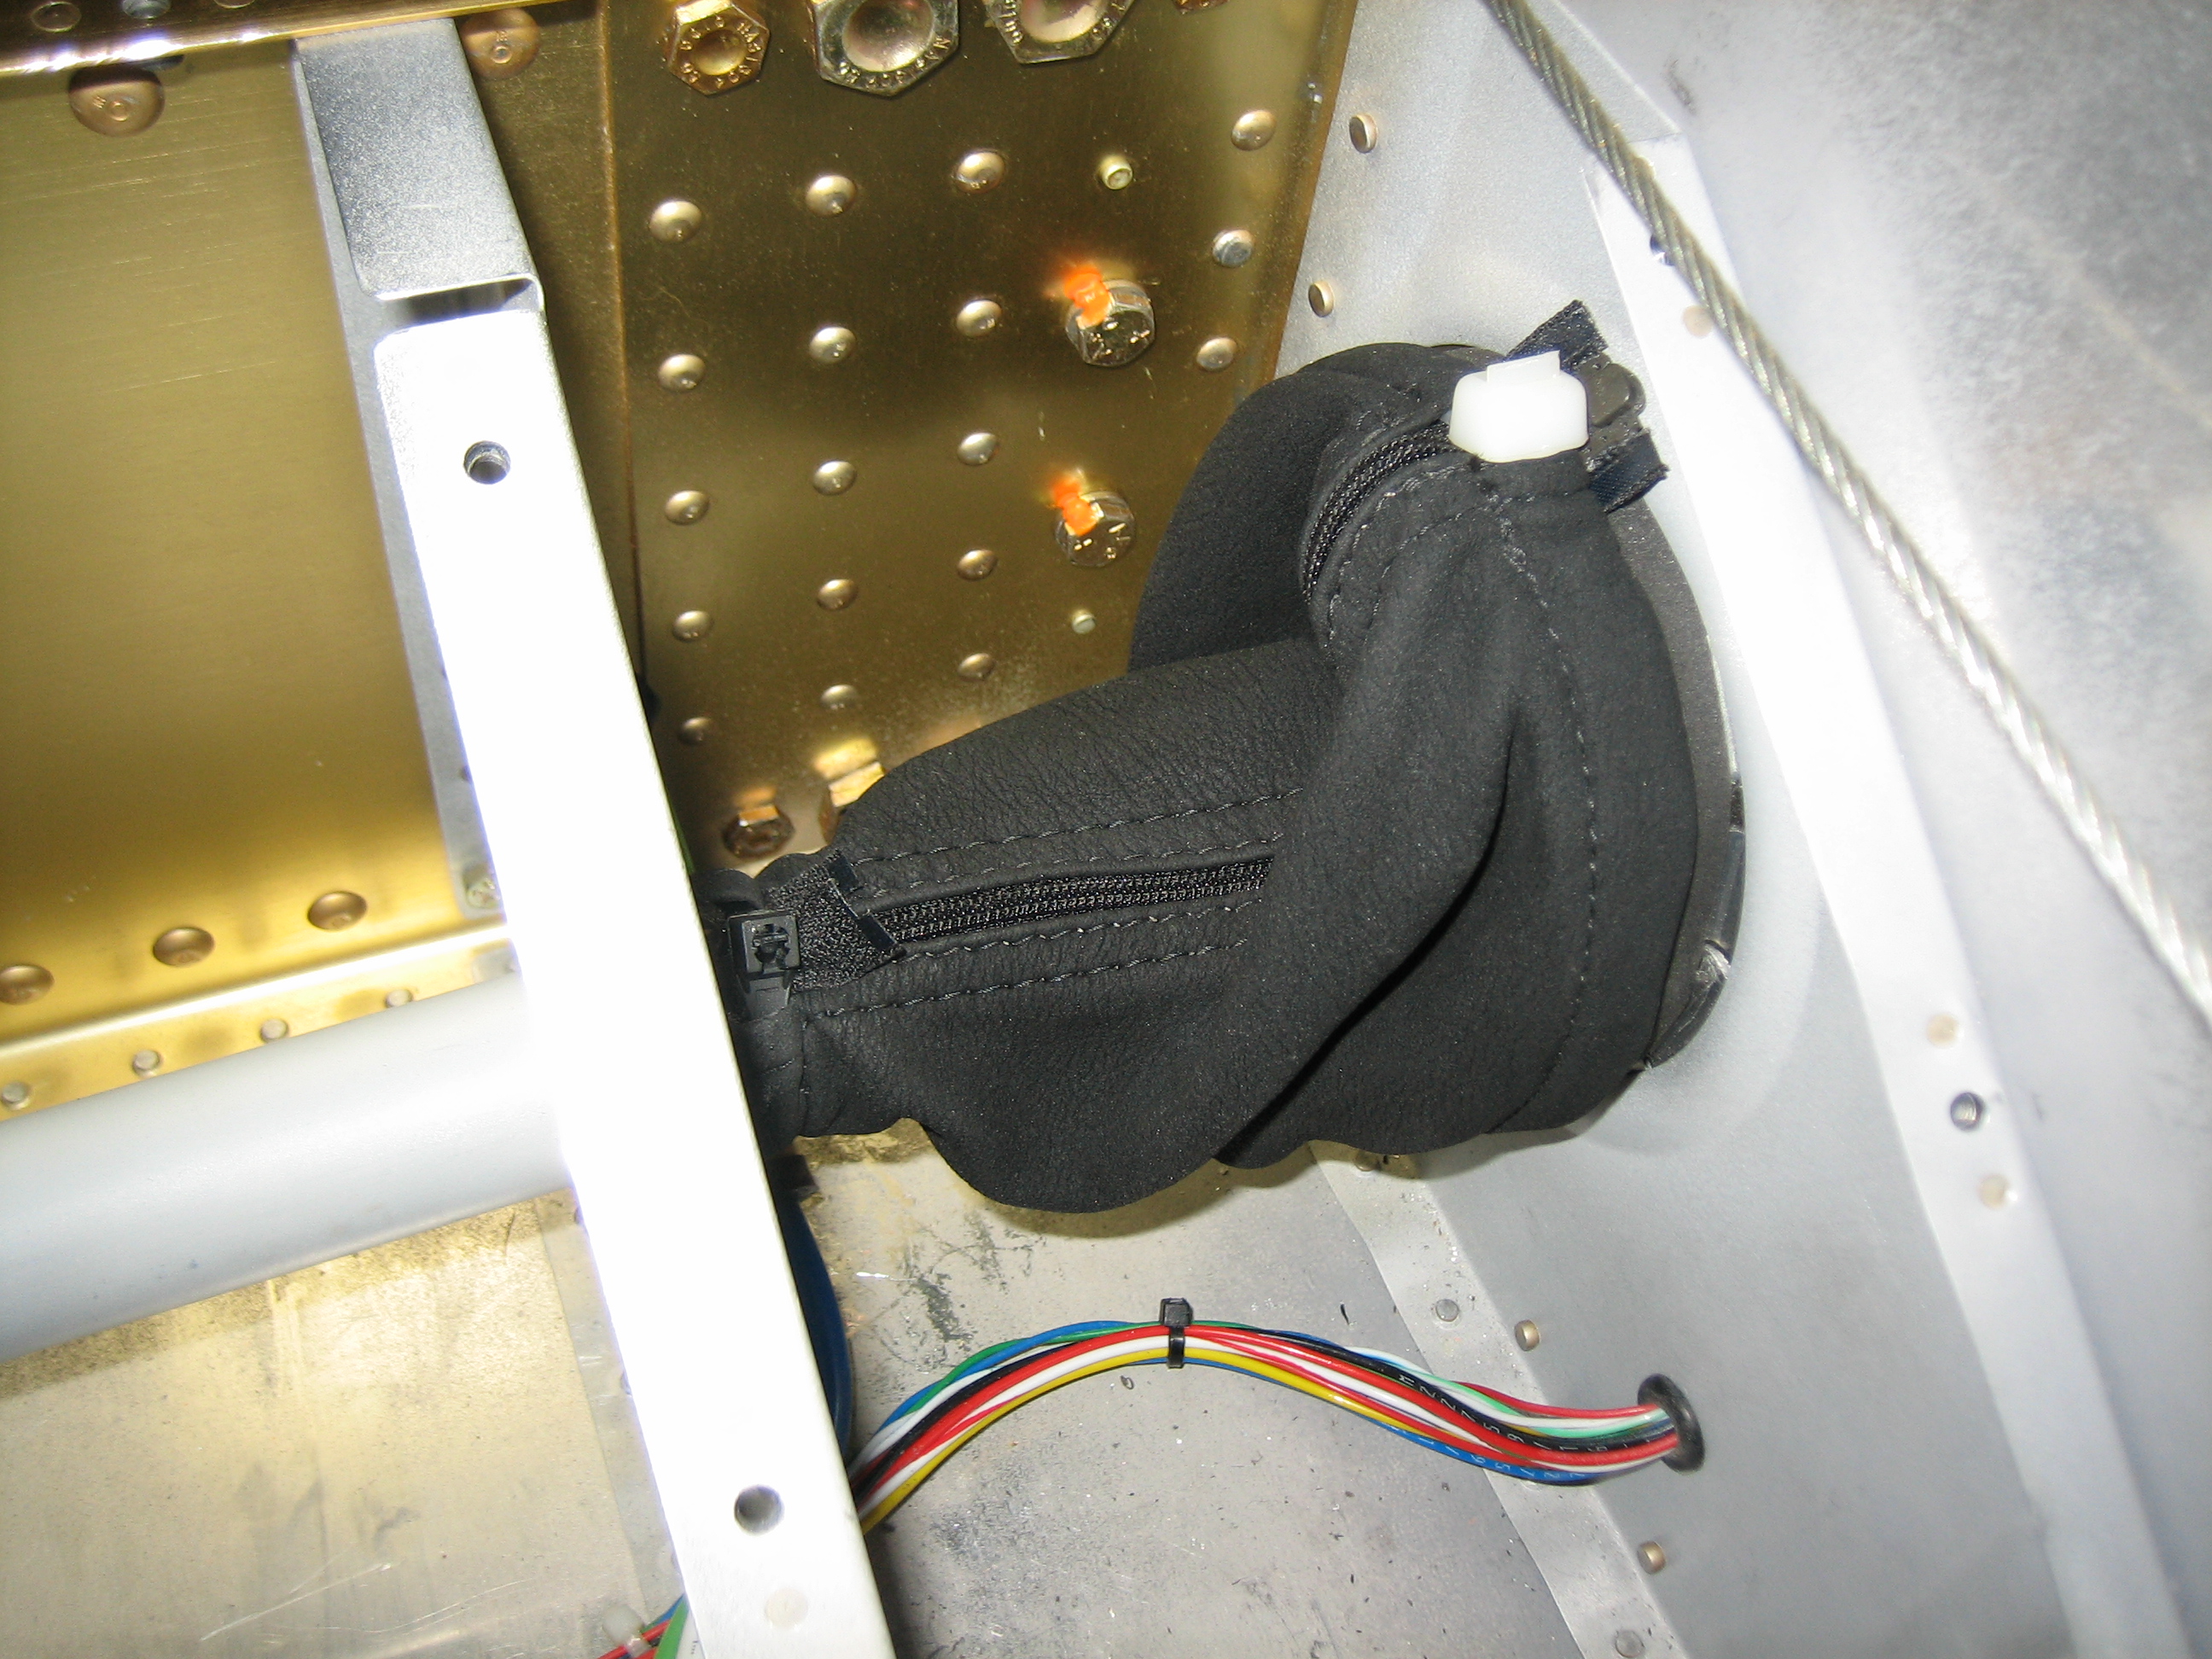
My brother and I came out to the airport early and got final assembly taken care of.  We bolted on the elevators and rudder, torqued and adjusted the ailerons and hooked up the flaps.  My buddy Greg came down and we got most of the safety wire on the propeller done.  We did a very thorough pre-flight and then pulled the plane out for first engine start.

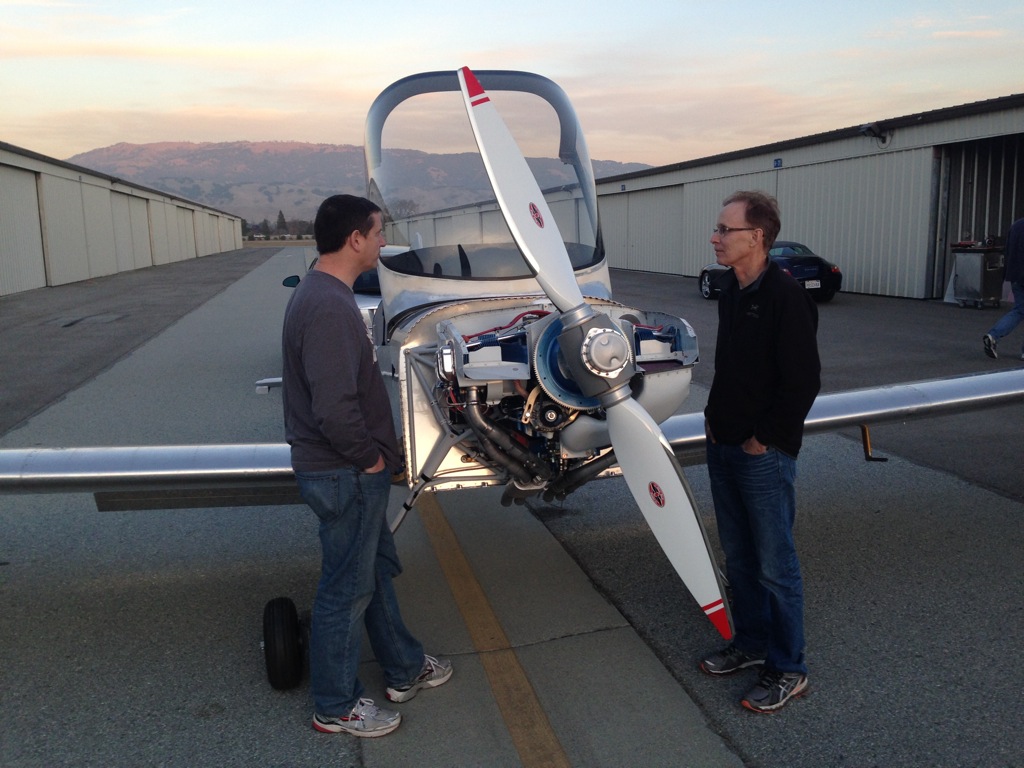
We tied the plane off to my car and chocked the wheels.  Greg and his son Nicholas were on handheld radios so I could be in contact with them.

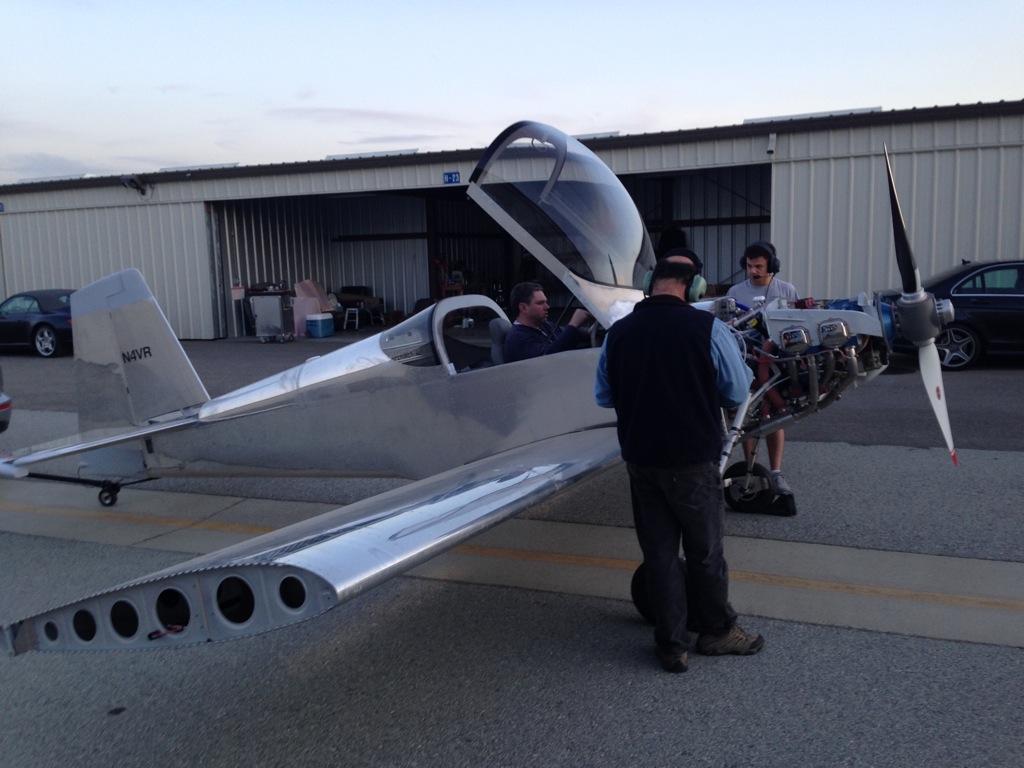
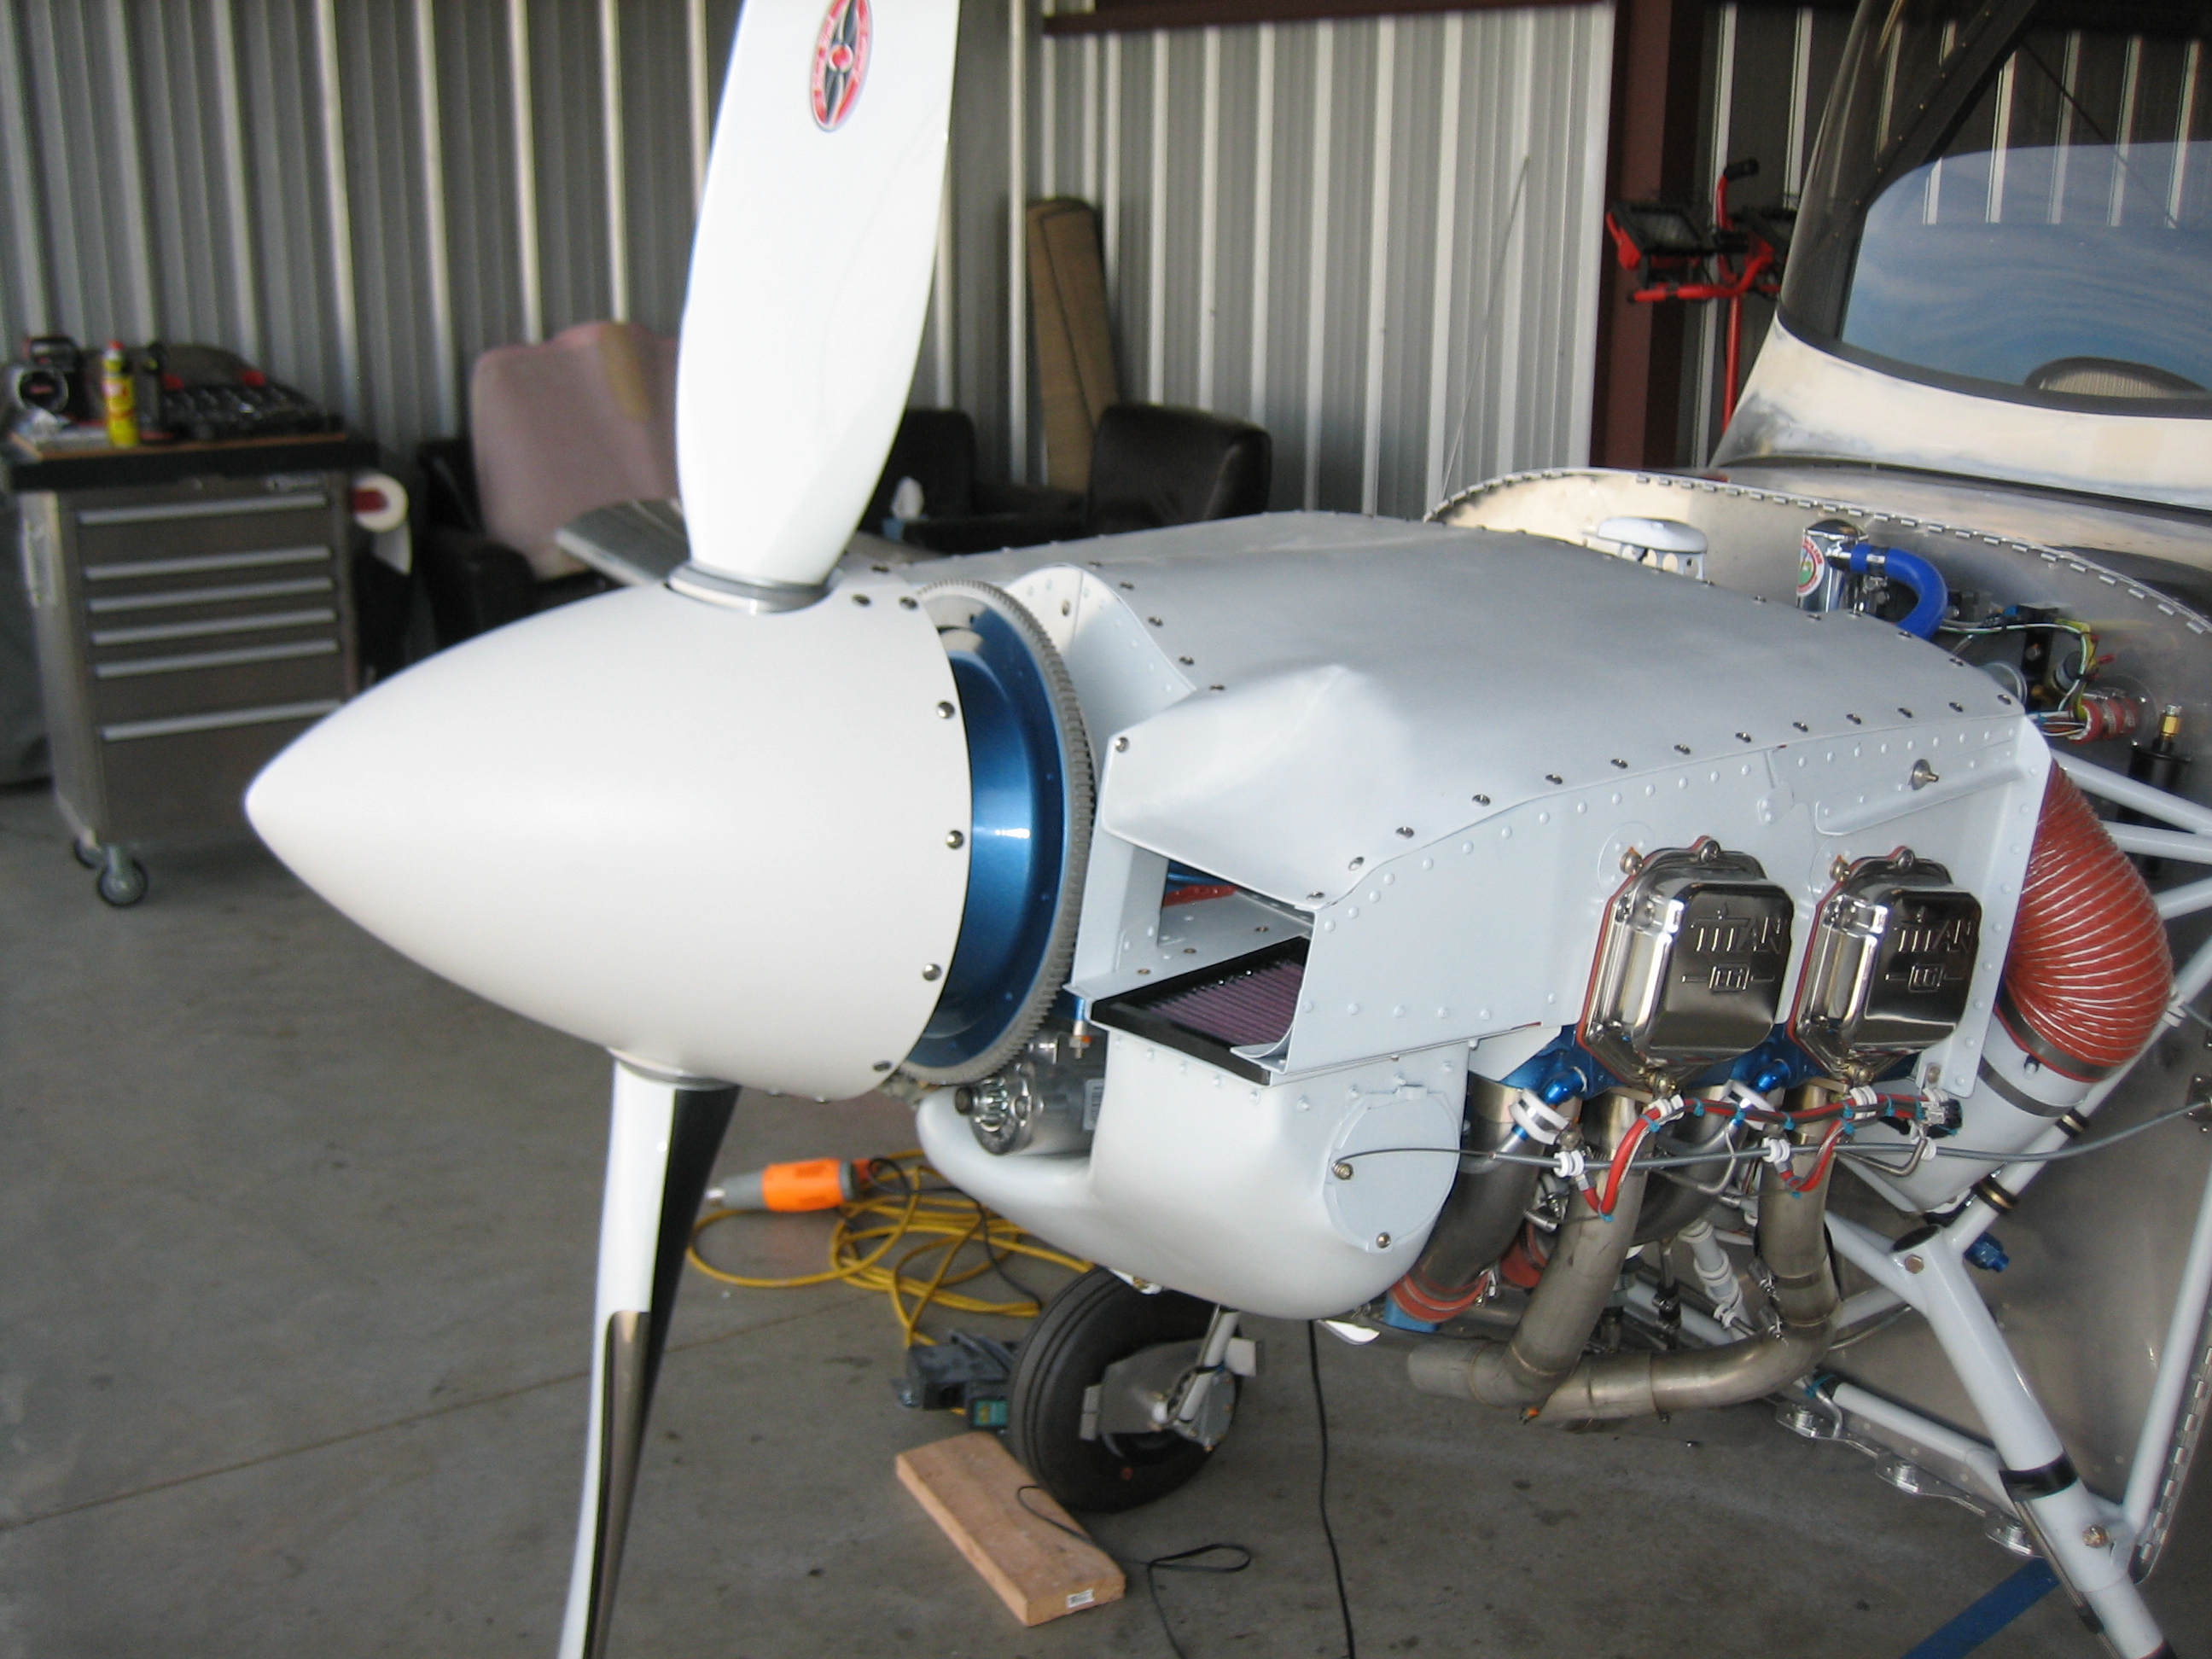
We spent a little time trying to diagnose a problem with the Andair fuel pump, but it looks like it’s not working correctly.  I’ll have to call Andair tonight to see what they want to do about this.

We decided to go ahead and try the first engine start with just the engine-driven fuel pump.  We pre-oiled the engine by pulling the plugs and spinning the starter until we got oil pressure and fuel pressure.  Unfortunately, that killed the battery, so we had to hook it up to jumper cables for the final start.  After reinstalling the lower plugs, it fired up pretty quickly.  Here’s a video of the first engine run.


Everything about the start went beautifully.  The engine ran perfectly and we were able to verify all engine controls are working correctly, both ignitions are working correctly, all pressure and temperature senders are working correctly.  There is one small oil drip from the cap on the oil cooler, but other than that, everything is tight and there were no problems.

First Taxi

I fixed the oil leak we had yesterday and made another pass through every bolt and fitting firewall forward to make sure nothing had moved.  We got the spinner installed as well as the plenum.

Finally, we cowled it up and pulled it out for the first taxi test.

I spoke with Andair about the pump, and they’re sending me a new one (great customer service by the way).  Without the electric pump, the engine driven pump has to pull the fuel during engine start, so the engine takes a few extra revolutions to fire over what it will once the new pump arrives.  Anyway, my brother and I jumped in and did an initial taxi test.  Other than needing to finish seating the brake pads, I was able to accomplish all of the taxi testing goals in one engine run.  Here’s a video of the taxi test.

Control Sticks and Aileron Boots

I spent most of the morning cleaning up the hangar and organizing my shelves.

Next, I tried to tighten the set screw that anchors the pilot’s control stick grip, but ended up cracking the wood in the grip a little bit.  I flexed open the crack and filled it with epoxy before clamping it.  I also drilled a small hole where the set screw sits so that the set screw will screw into a hole instead of just applying pressure to the stick.  This should be a much more secure way to attach the grip and it can never loosen.

I also reattached the aileron boots.  I still need to apply the foam tape where the narrow end attaches to the push rod so that I can zip-tie that end.

Worked on Wingtips

With the plane at the hangar, there are only a few things I can work on at home.  One is the wingtips, so I resumed fitting the wingtip lenses.

The flange widths around the lens varied fairly significantly (from 18-23 32nds), so I marked and filed the flange on the right wingtip to a consistent width.

I trimmed the lens approximately to shape and then sanded each side so that the edges are nice and straight.  Once the lens fits on properly, I will apply some filler to the wingtip so that the gap is tight and uniform all the way around.

Figured Out Light Mounting

I trimmed the lens a little more until it fit down inside the flange.

Instead of trying to sand the flange perfectly and then sand the lens to fit, I marked a line 5/8″ back from the face of the recess.

I’ll sand the lens back to this line and then apply filler so that the fit is perfect.

I used some scrap paper to make a template for the mounting plate.  This protrudes back inside the wingtip because the mounting bracket for the light needs to be recessed behind the plane of the other face of the recess.

Here’s roughly where the light will be mounted.  I’m going to fabricate this plate out of 0.040″ plate and see if that works.  There’s a good chance I might have to move up to 0.063″ plate if there is too much flex.  I’m going to leave the large gap around the light for now until I can fly at night and get the light aimed properly.  After that, I’ll fabricate a cover plate that just clears the light to cover the hole.

I held up a piece of scrap paper where the plate will eventually cover the gap to ensure that I’m not blocking the rearmost LEDs.  This position is perfect.  All LEDs are visible and I have plenty of clearance from the lens for adjustability.

Control Stick Grips and Wing Skin Screws

With the epoxy cured in the grip, I reinstalled them and tightened the set screws down.  The grips are rock solid now and don’t move at all.

Next, I installed the screws that tie the fuselage center section to the lower wing skin.  I had waited to do this until some shorter screws showed up.  Van’s uses -8 screws all over the airplane when shorter screws are sufficiently long.  I’ve tried to use shorter ones where I can to save weight.

Elevator and Aileron Pushrods

I’ve spent a bunch of time adjusting the elevator pushrods over the last couple of nights to eliminate some interference between the aileron pushrod and the ring supporting the boot that keeps cold air from coming in around the aileron pushrod.  With that done, I was finally able to install the elevator servo stop.  This fits around the elevator servo arm and prevents the arm from going over center and jamming the elevator.

With the interference eliminated, I could finally finish installing the aileron pushrod boots.  Without this, huge amounts of cold air will leak into the area under the seats and come up into the cabin around the control sticks and other small gaps.

Installed Wingtip Lighting Connectors

I trimmed the wires coming out of the wings and installed the connectors.  These are waterproof and should keep me from getting any corrosion in the contacts.  I also installed the connectors onto the remaining wire bundle that I cut off and will hook these up to the lights tomorrow.

Landing Lights and Tool Modification

I fabricated the light side of the wiring harness today.

I wrapped the power board with some foam to protect it from vibration and stuffed it inside the light.  I stopped by the hangar later in the day to remove the canopy and tried out the lights.  Unfortunately, the right landing light was intermittent.  I ended up tracing the problem to a poor solder connection on one of the LEDs, so I re-soldered it.

With the right lens almost trimmed to final size, I decided to drill it to the wingtip so that I could install it in the same place every time during final trimming.

Torquing the jam nuts on the rod ends used as hinges on the elevators and rudder require a special tool.  I picked up a set of these offset wrenches from Harbor Freight yesterday and modified it to fit around the rod end.  I cut a slot in the end and reduced the thickness quite a bit.  I’ll try this out tomorrow and see how well it works.