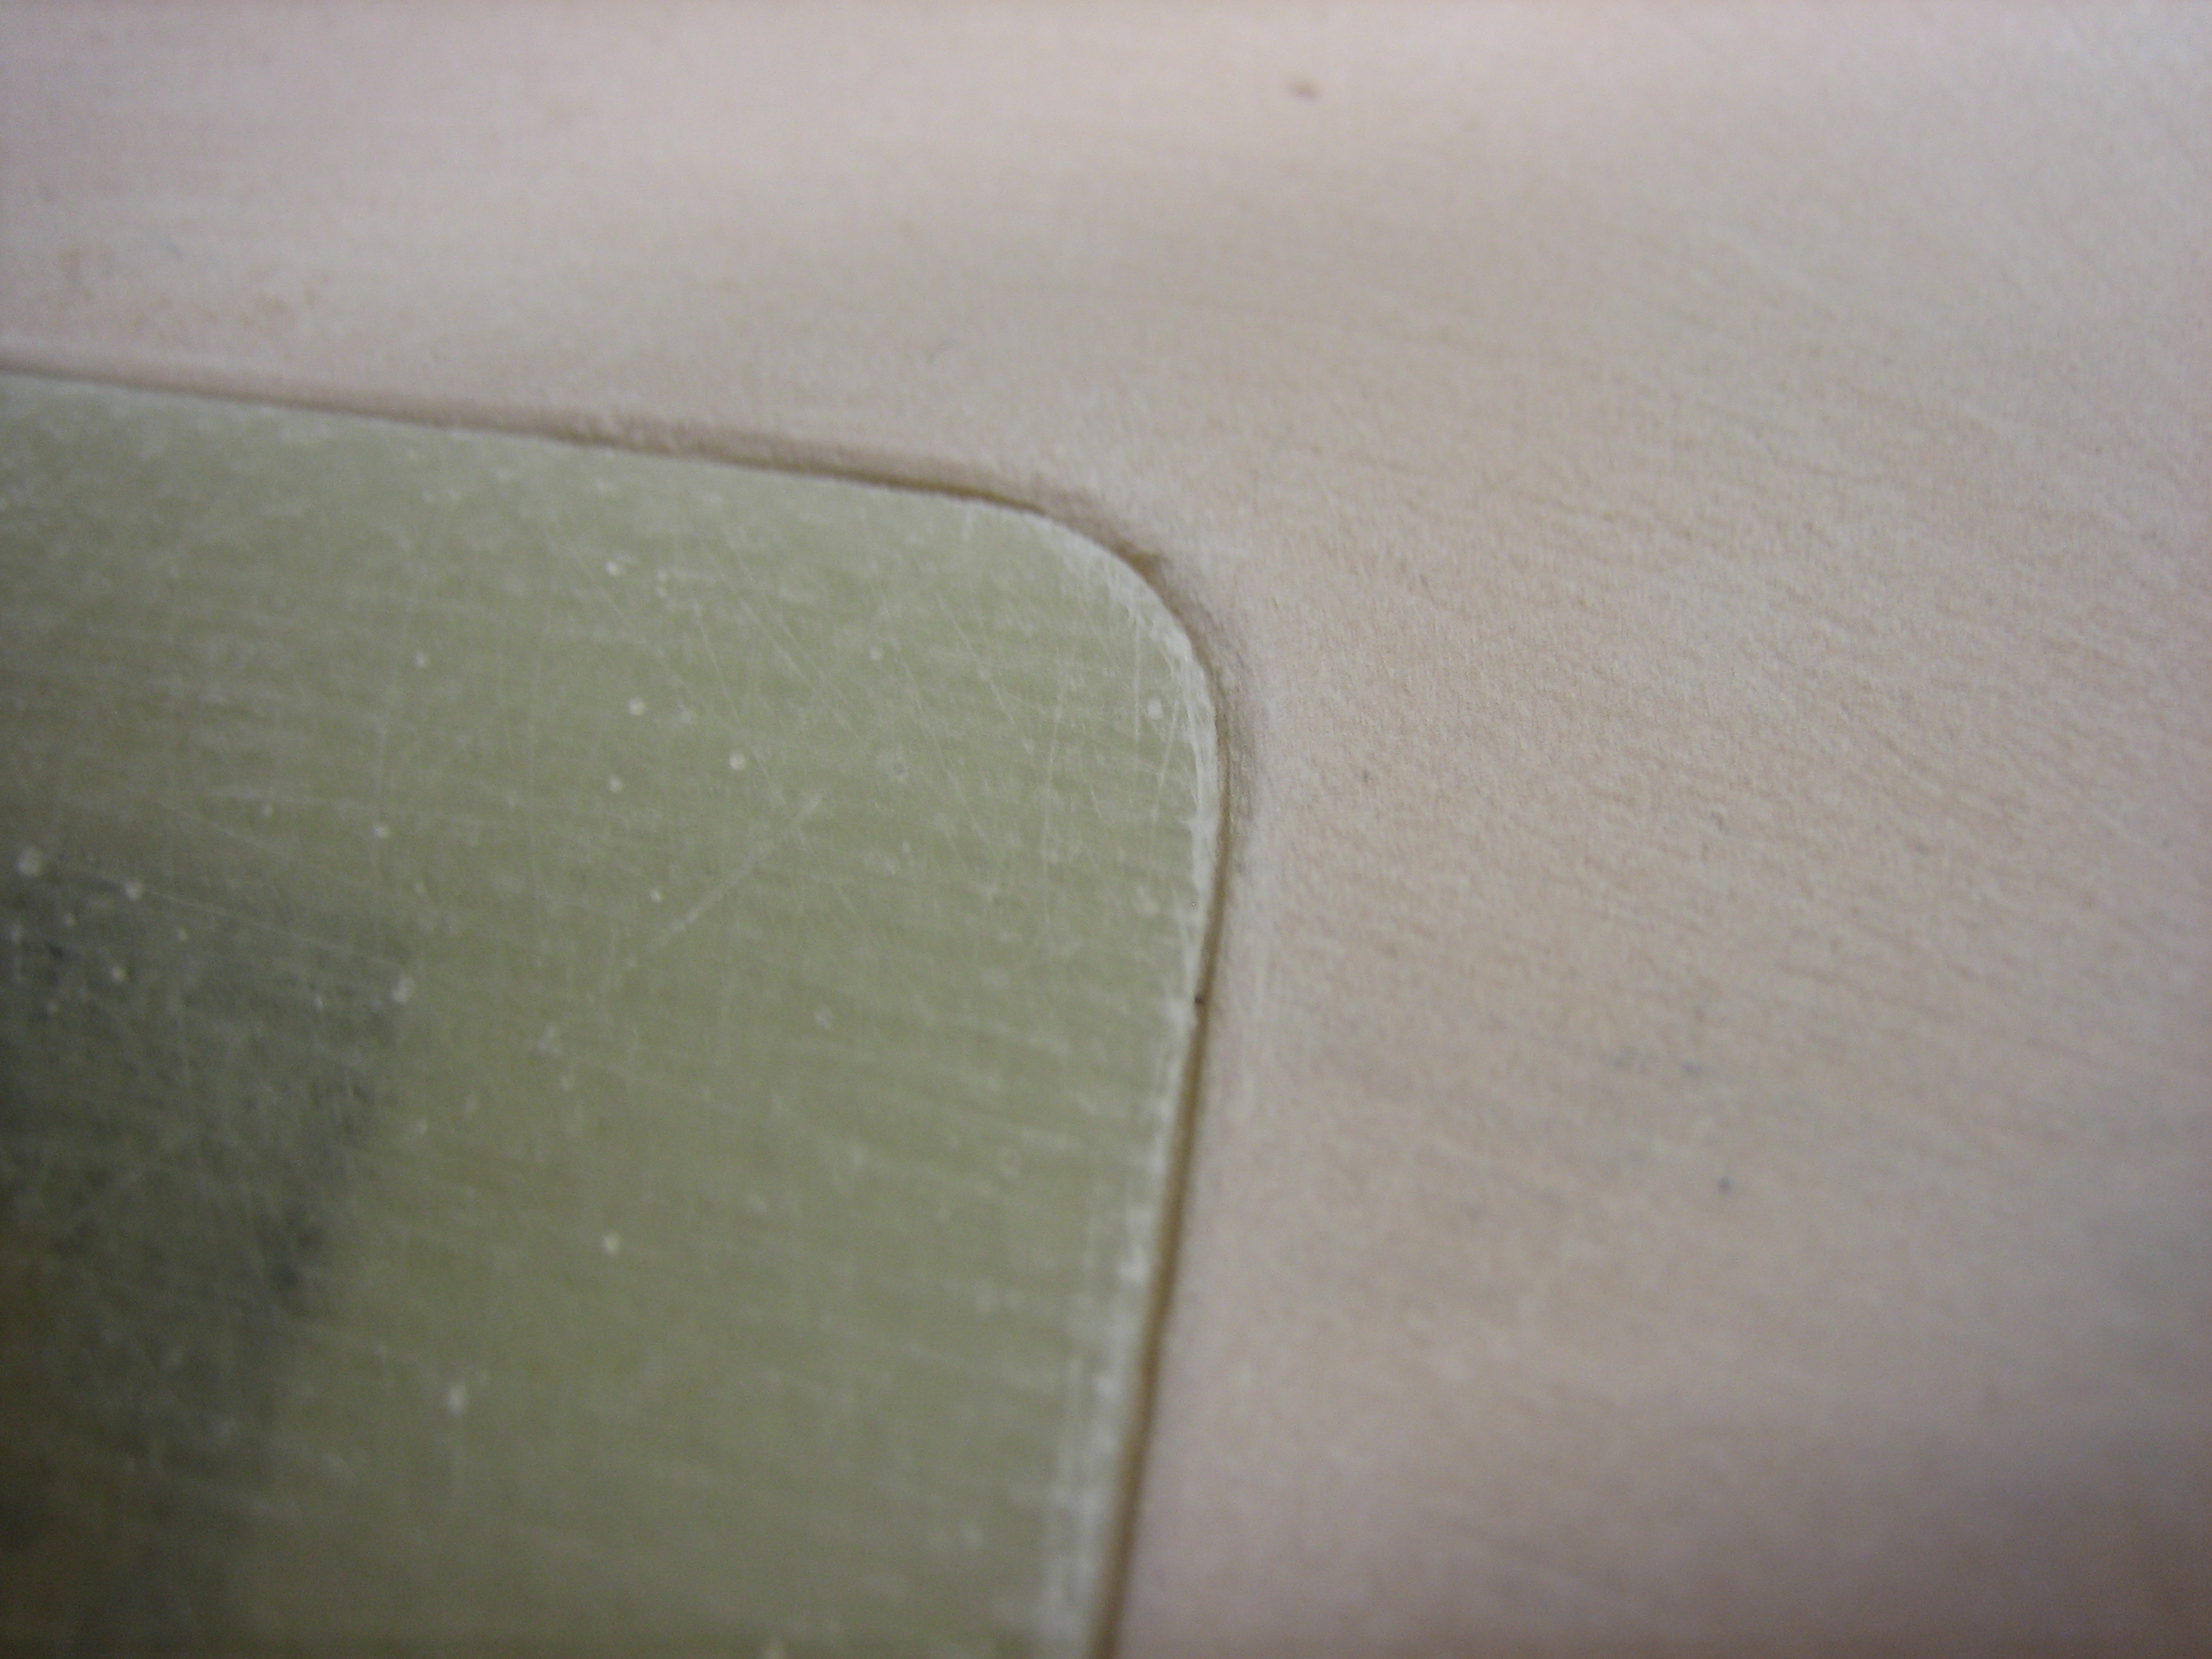
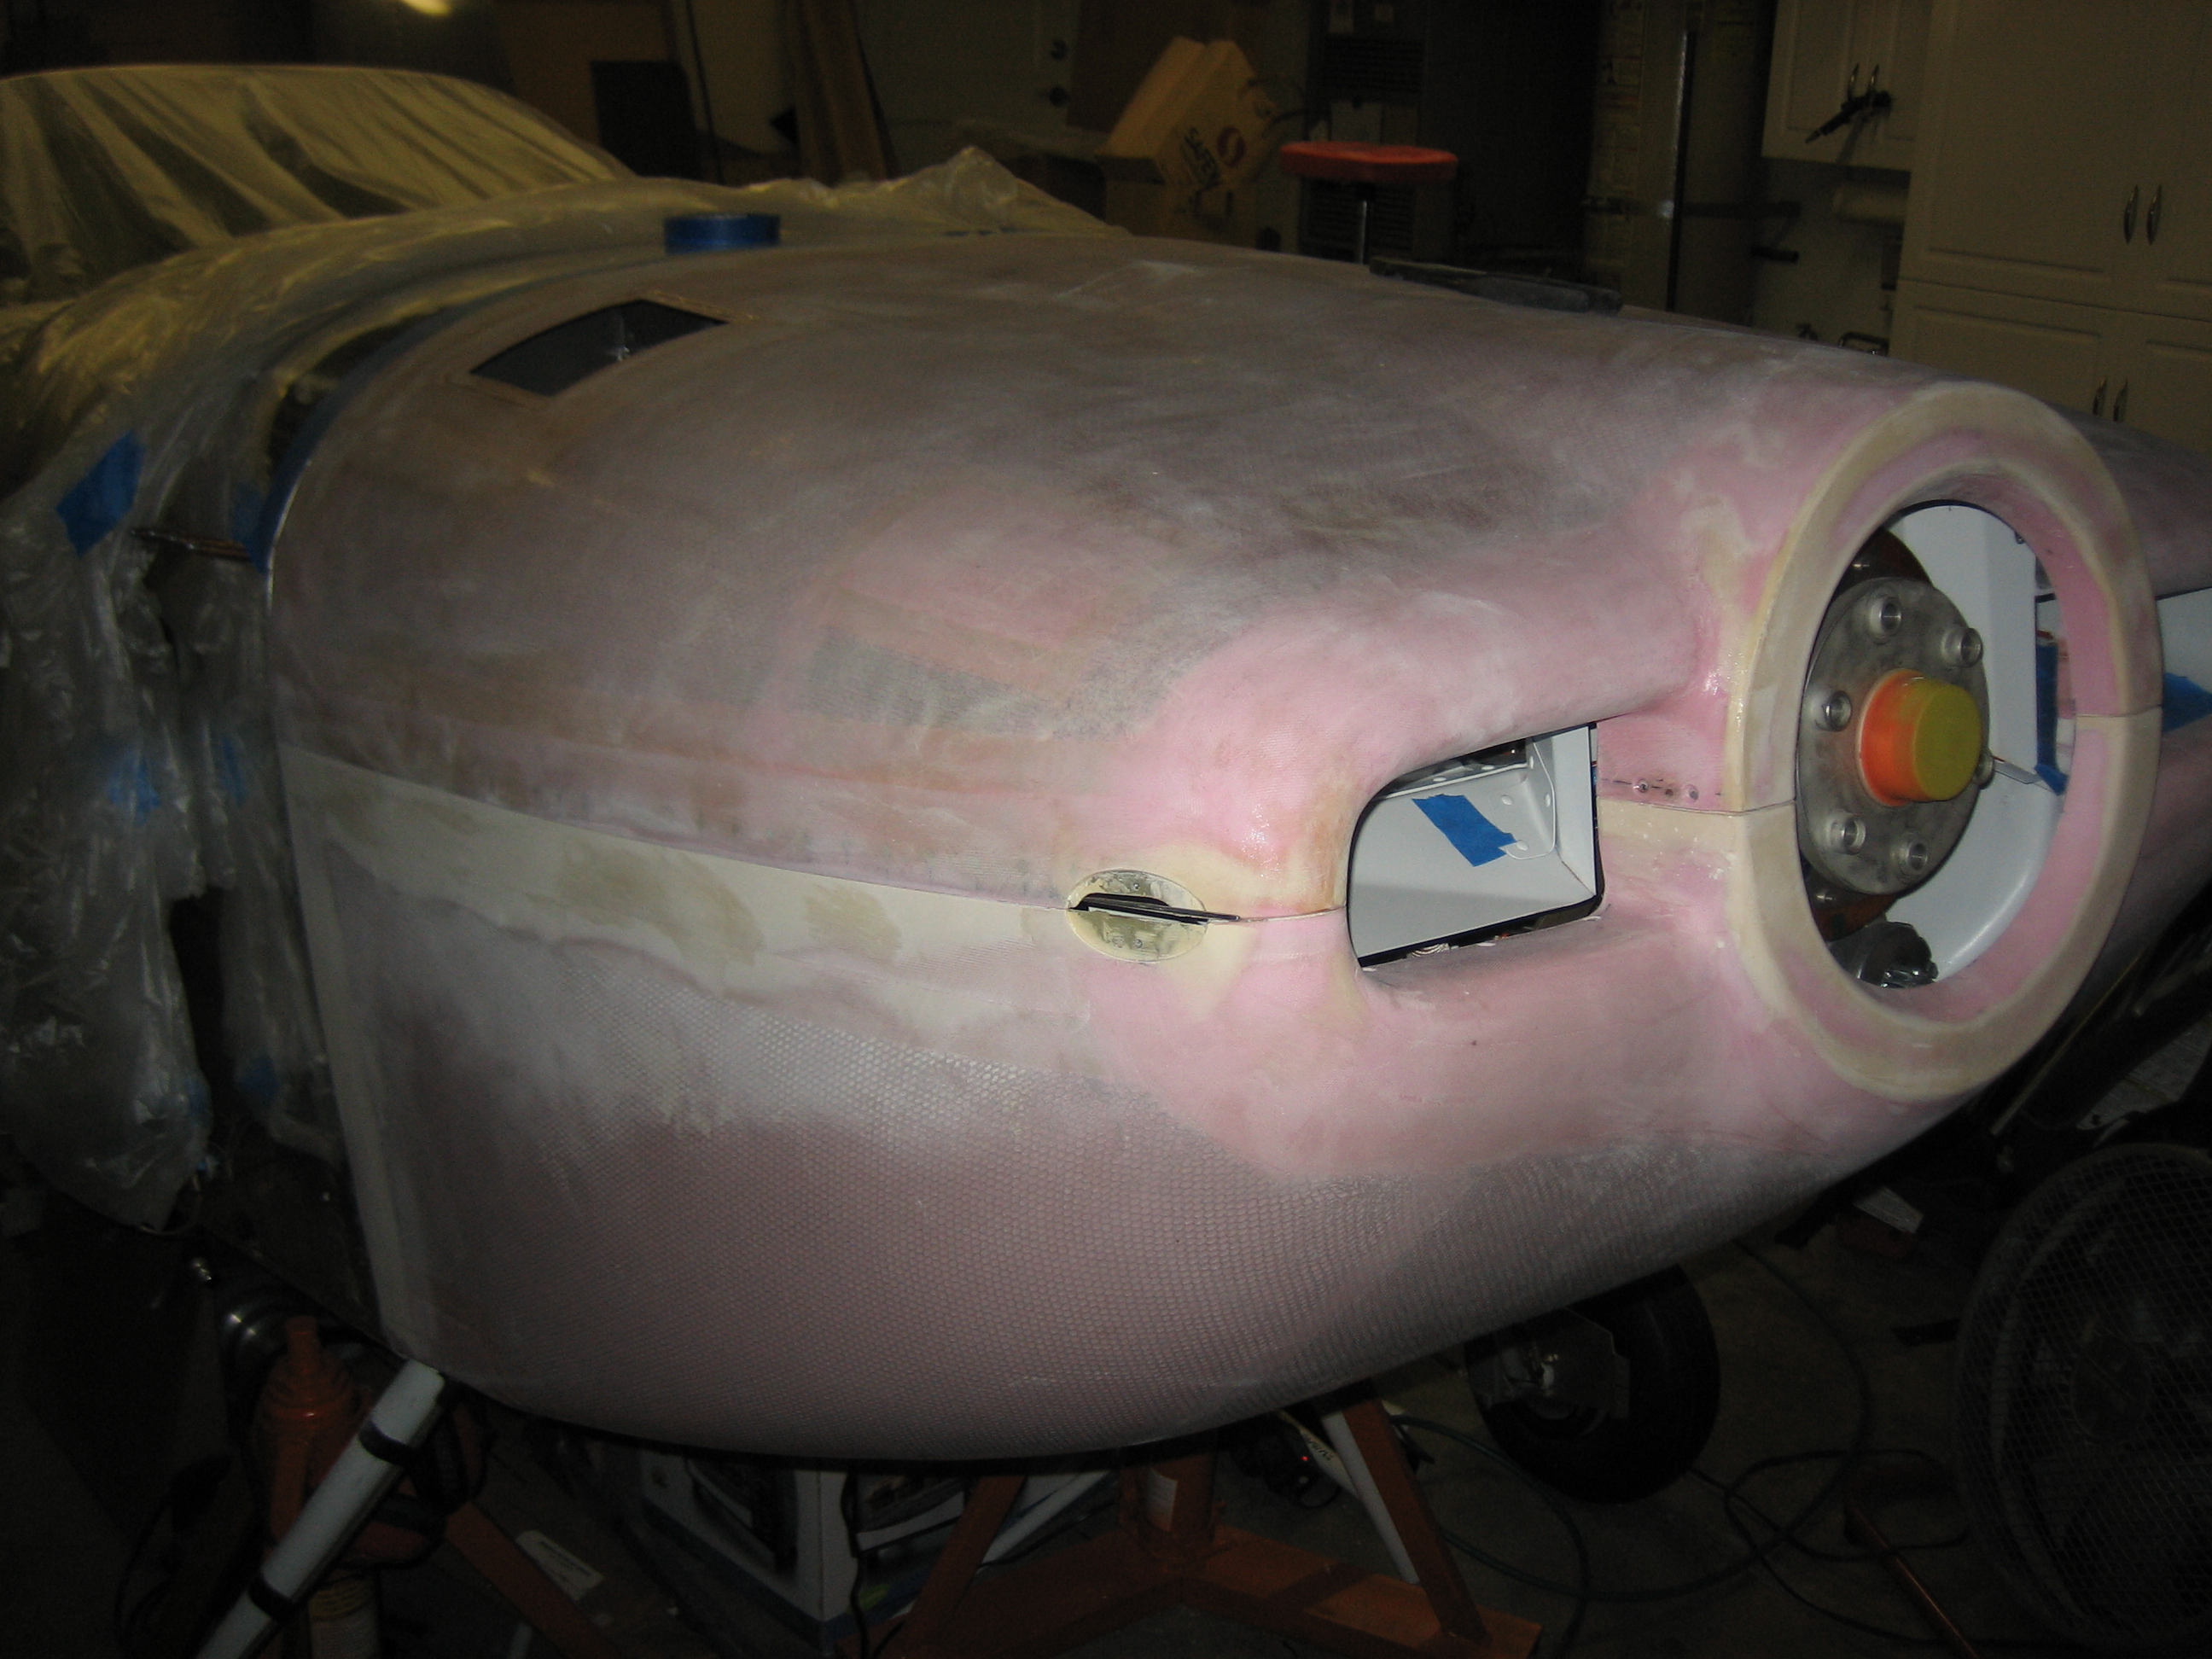
The clearance around the oil door was a little tight. I opened it up to prevent it from catching and to allow room for paint.
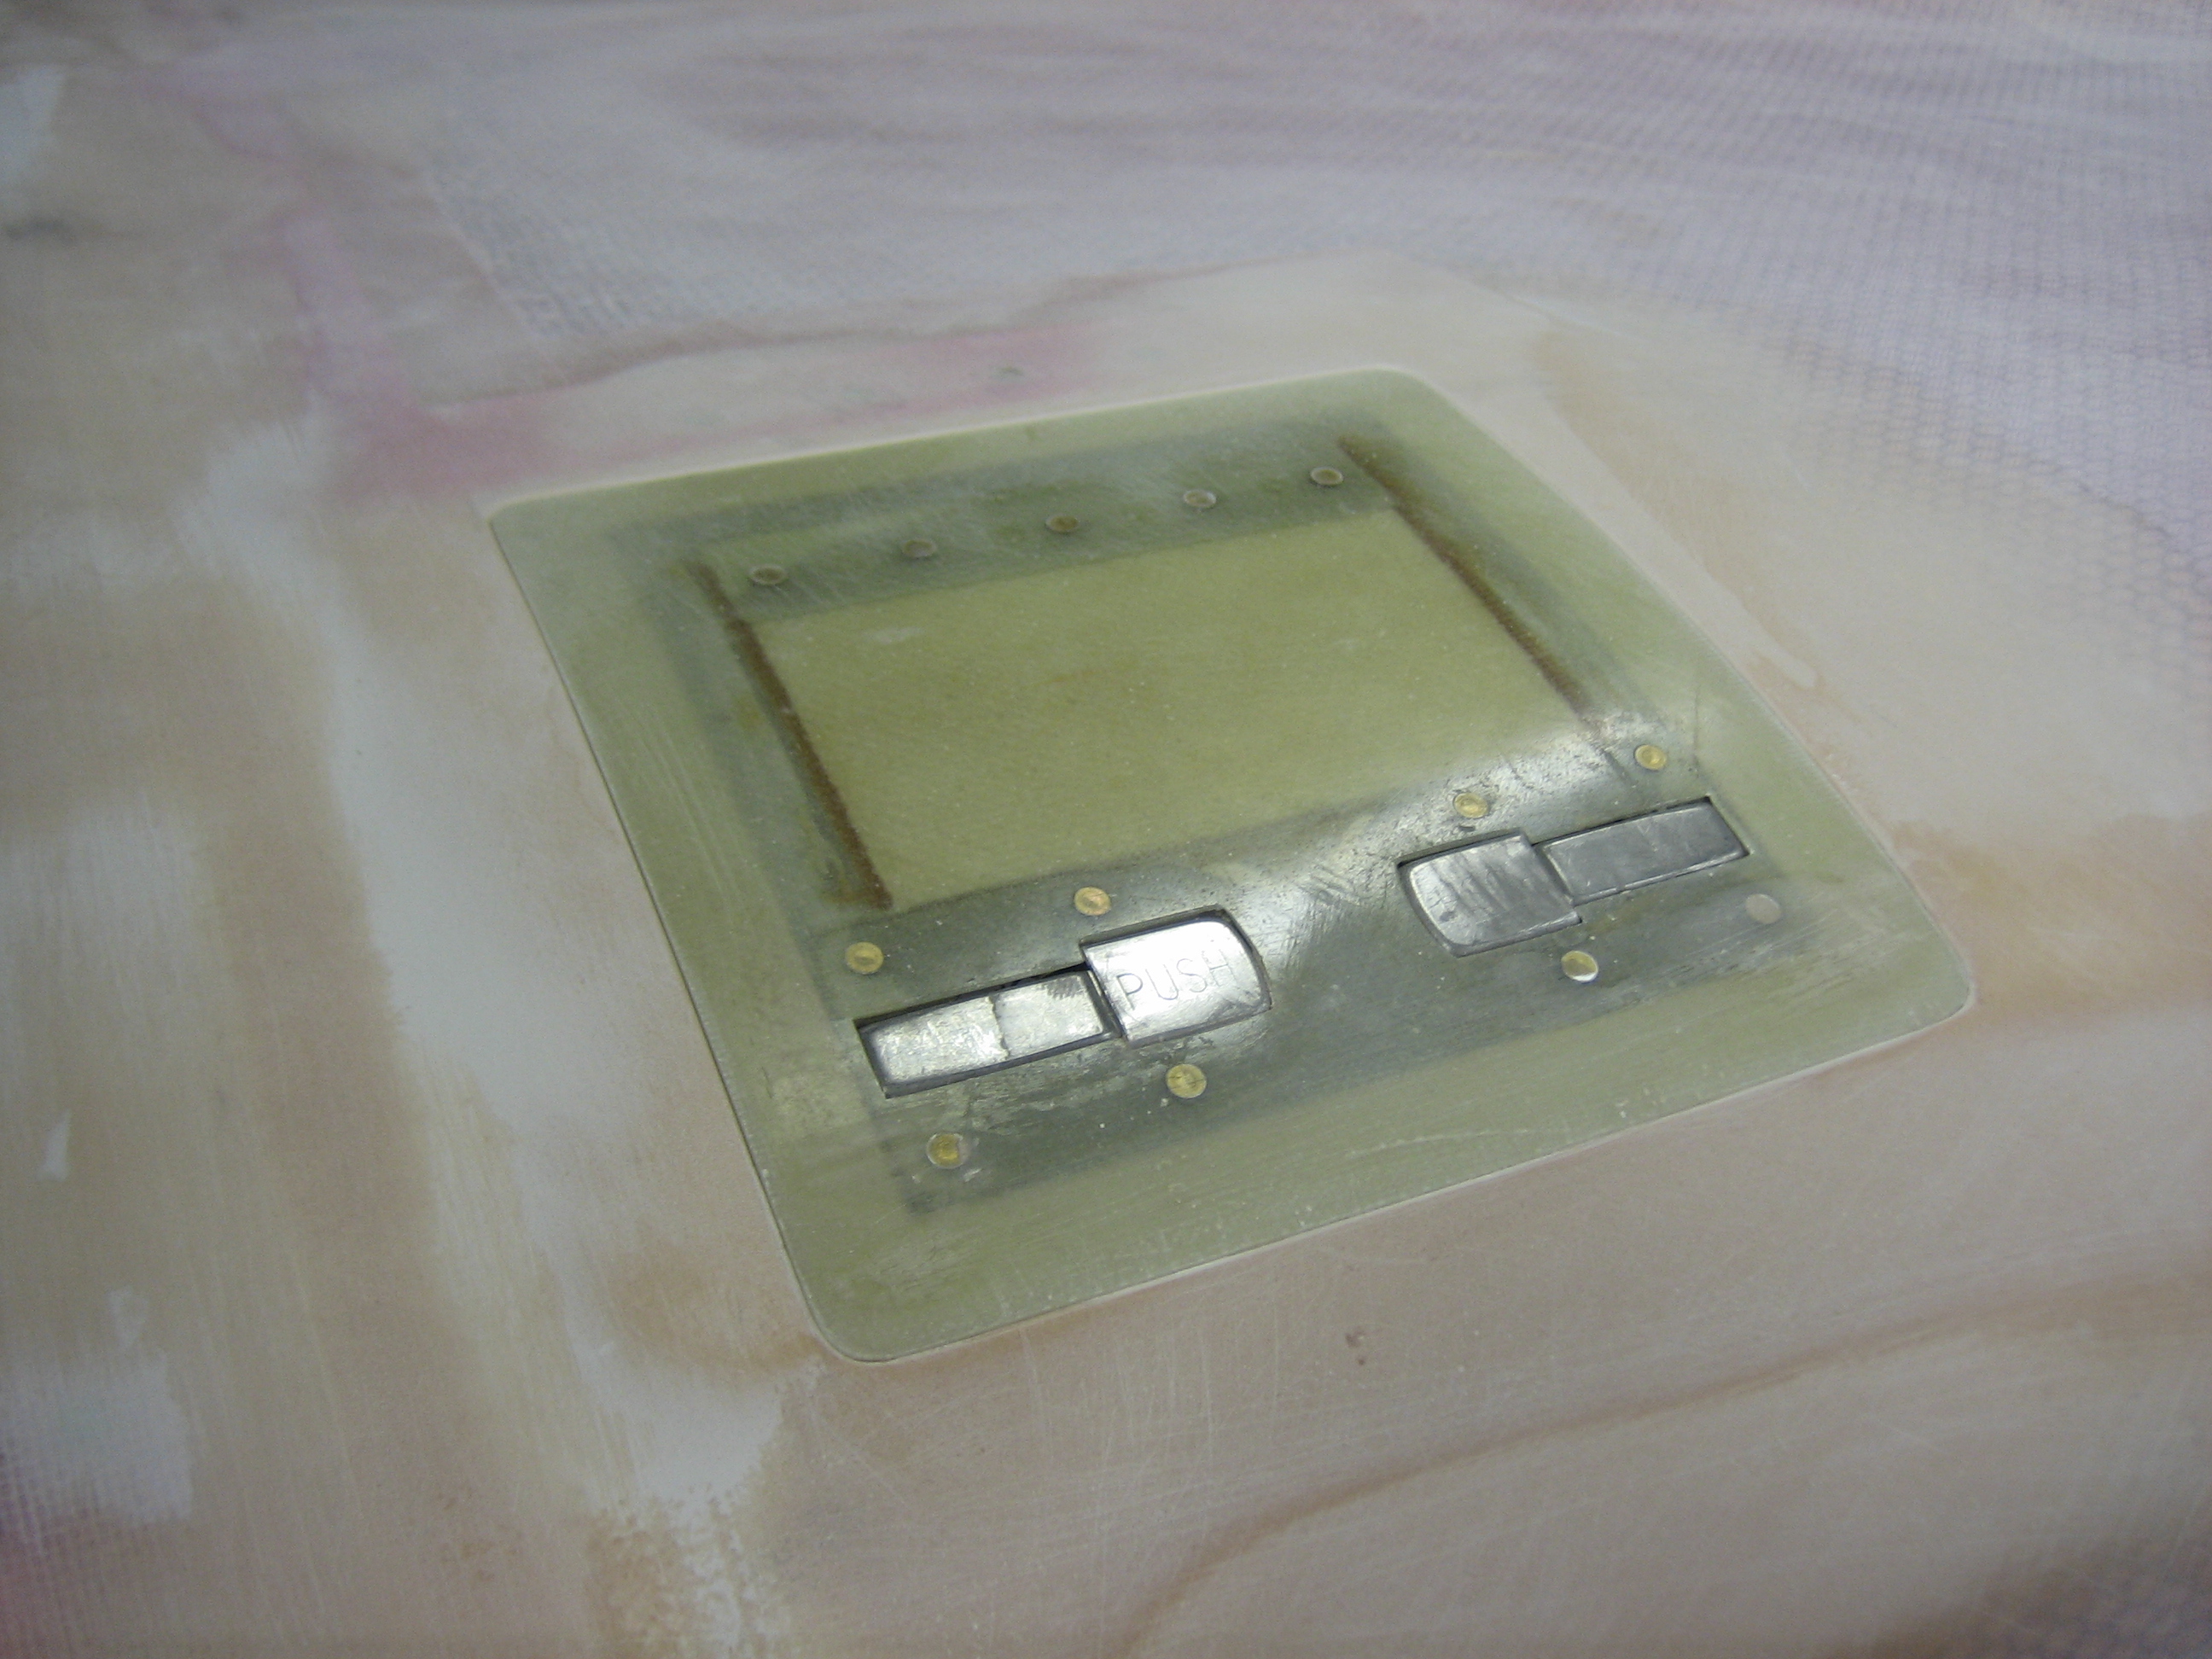
I’ll probably open this up a little more, but this is enough to allow it to open and close smoothly.

The clearance around the oil door was a little tight. I opened it up to prevent it from catching and to allow room for paint.
I’ll probably open this up a little more, but this is enough to allow it to open and close smoothly.
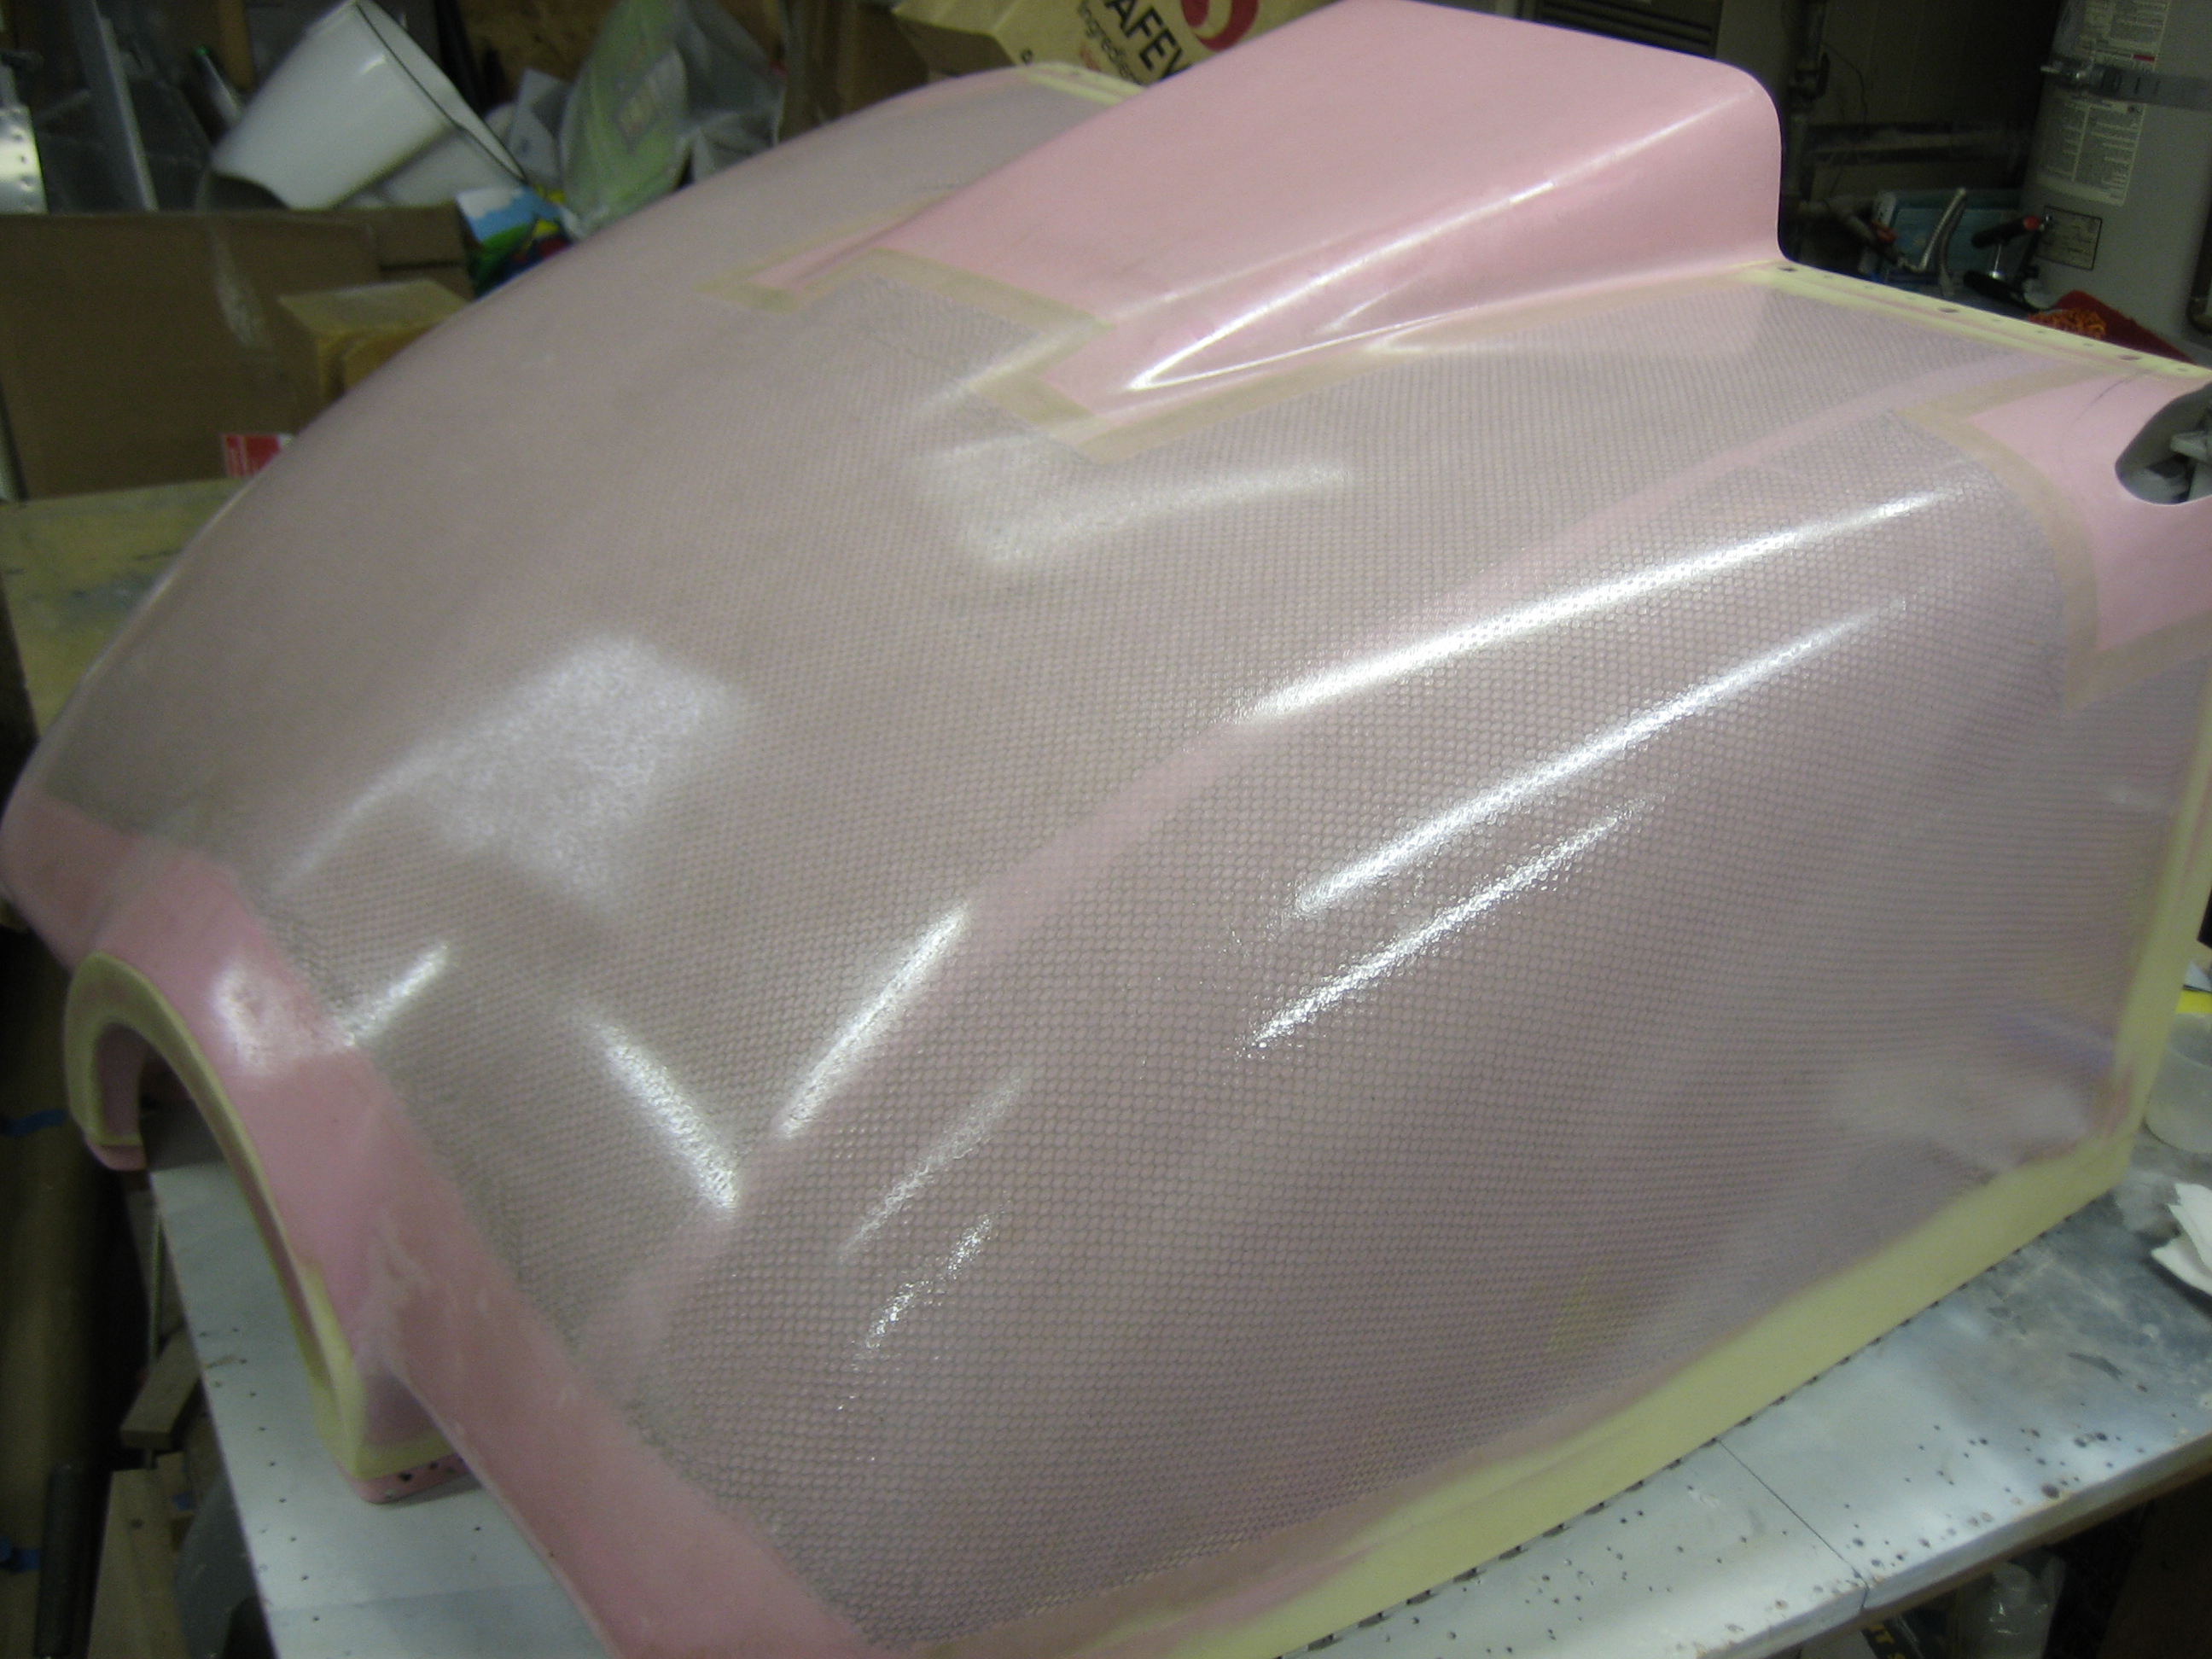
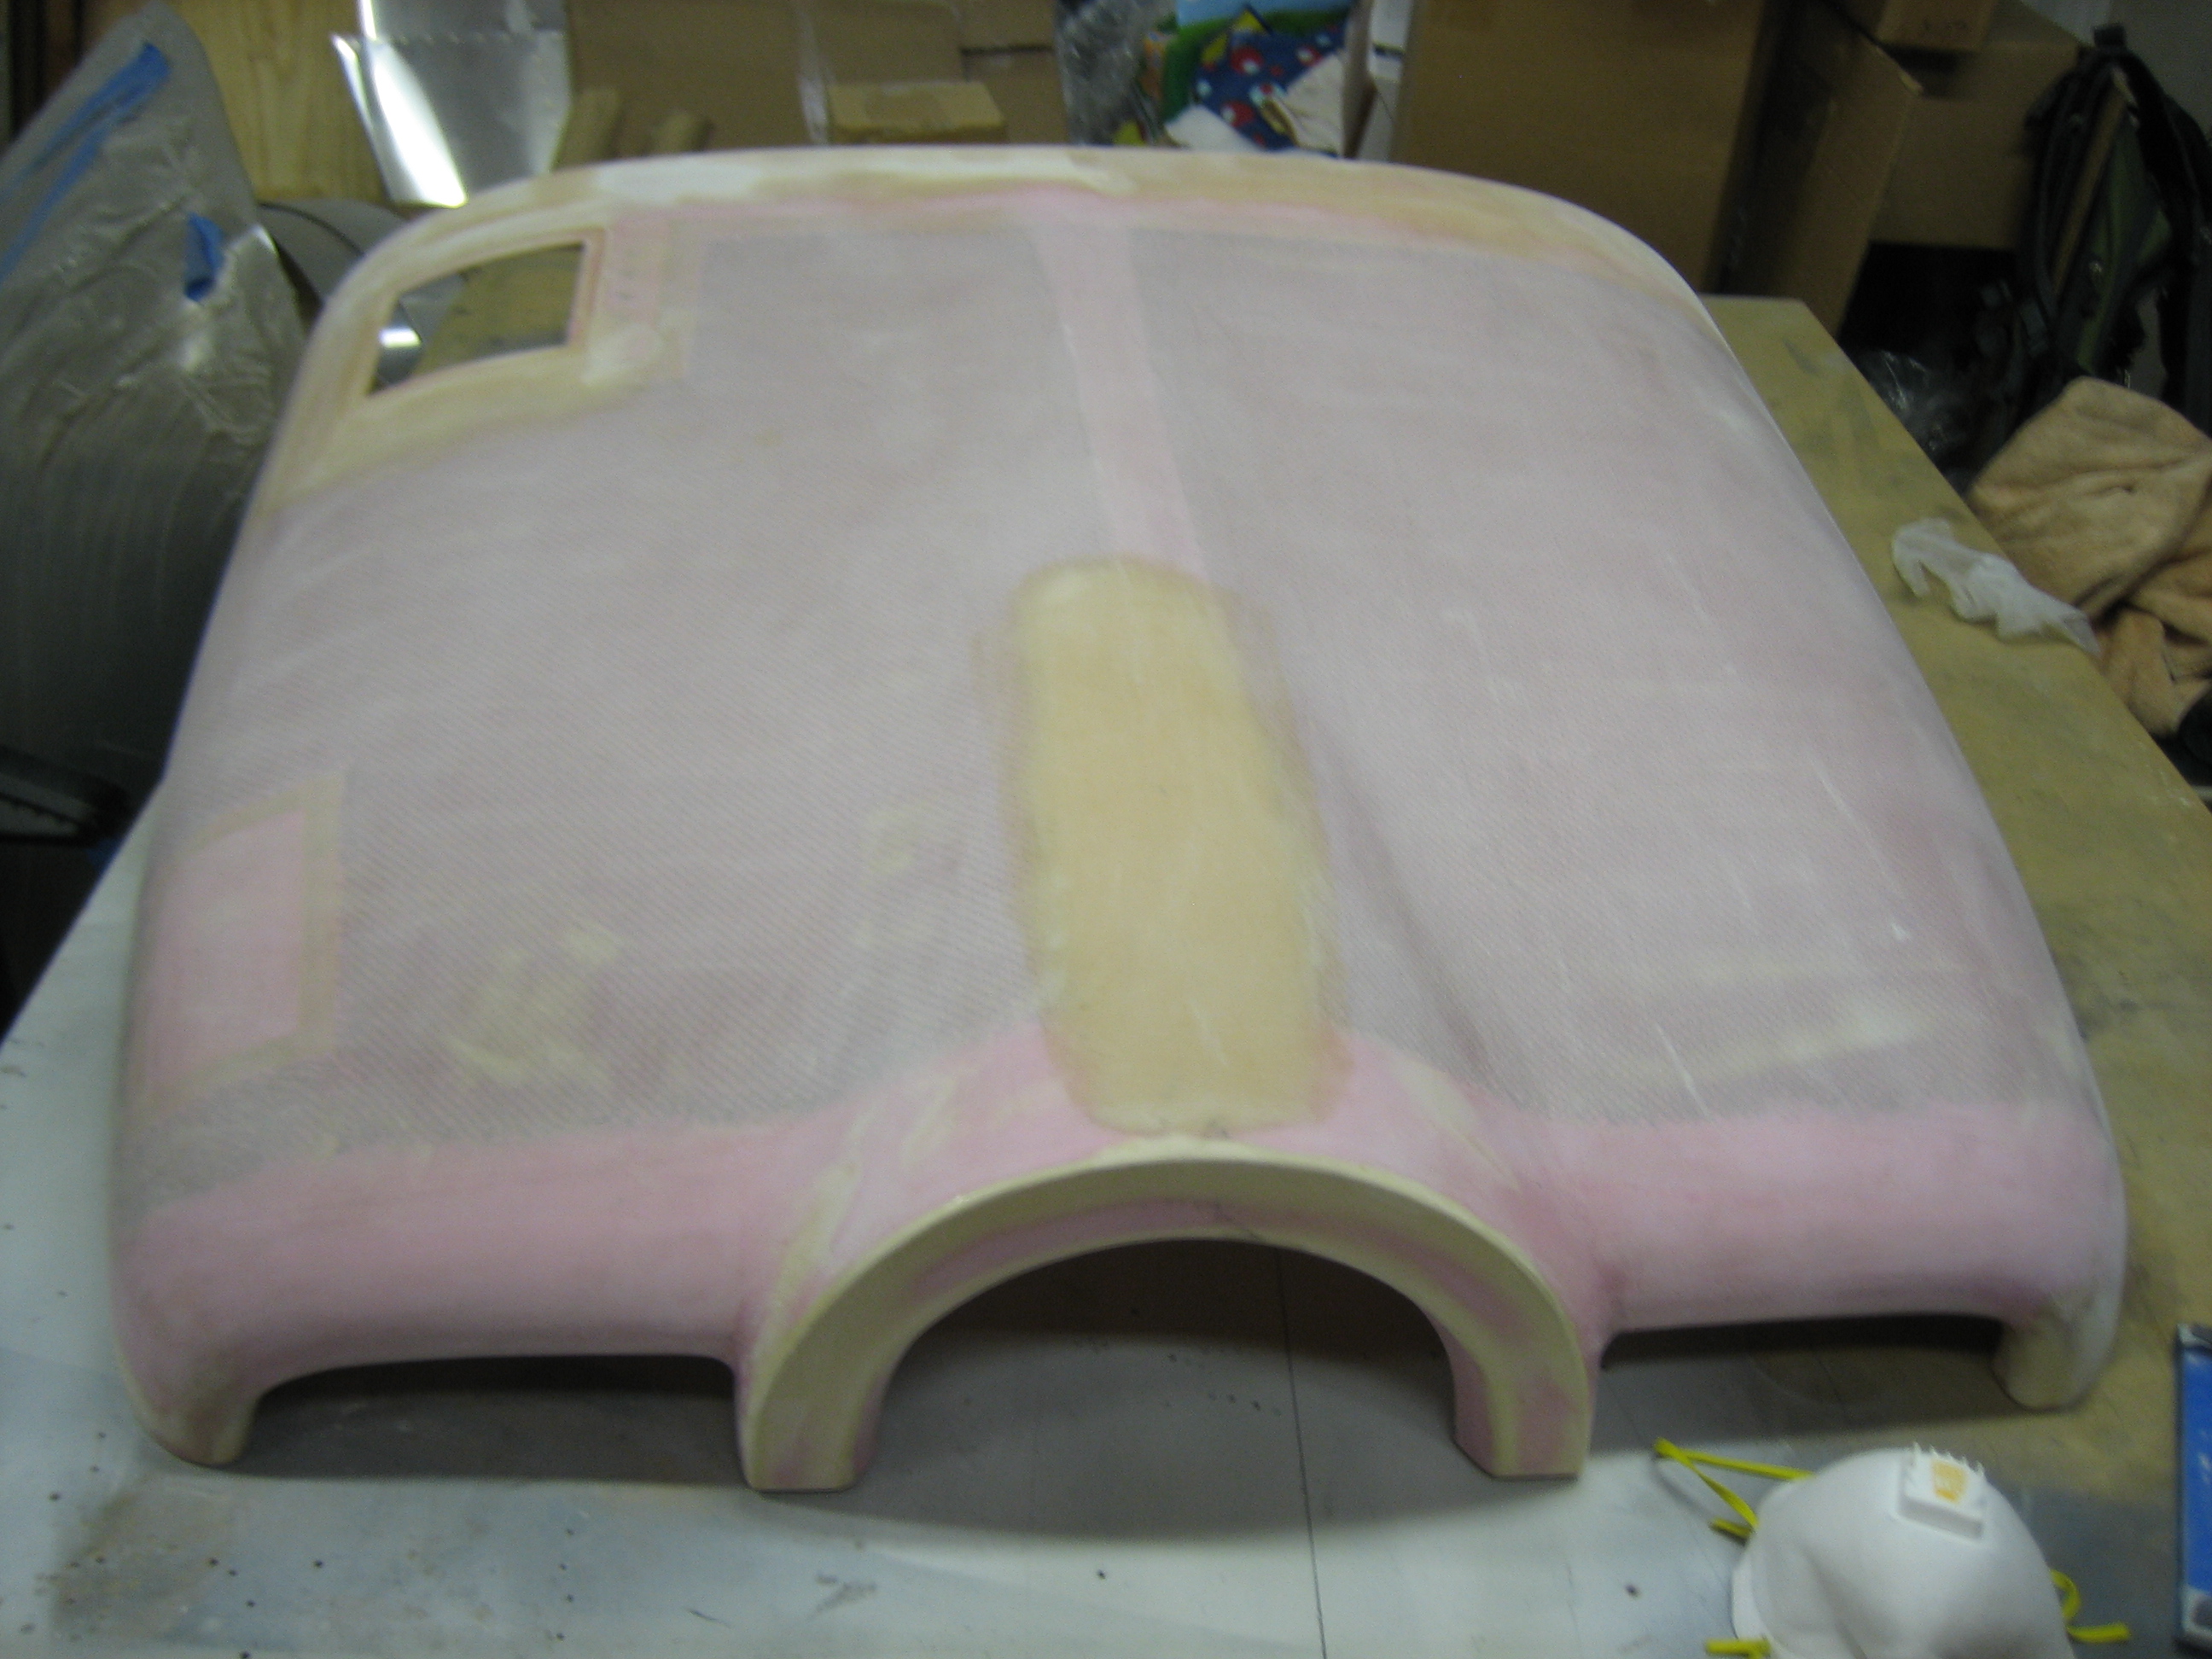
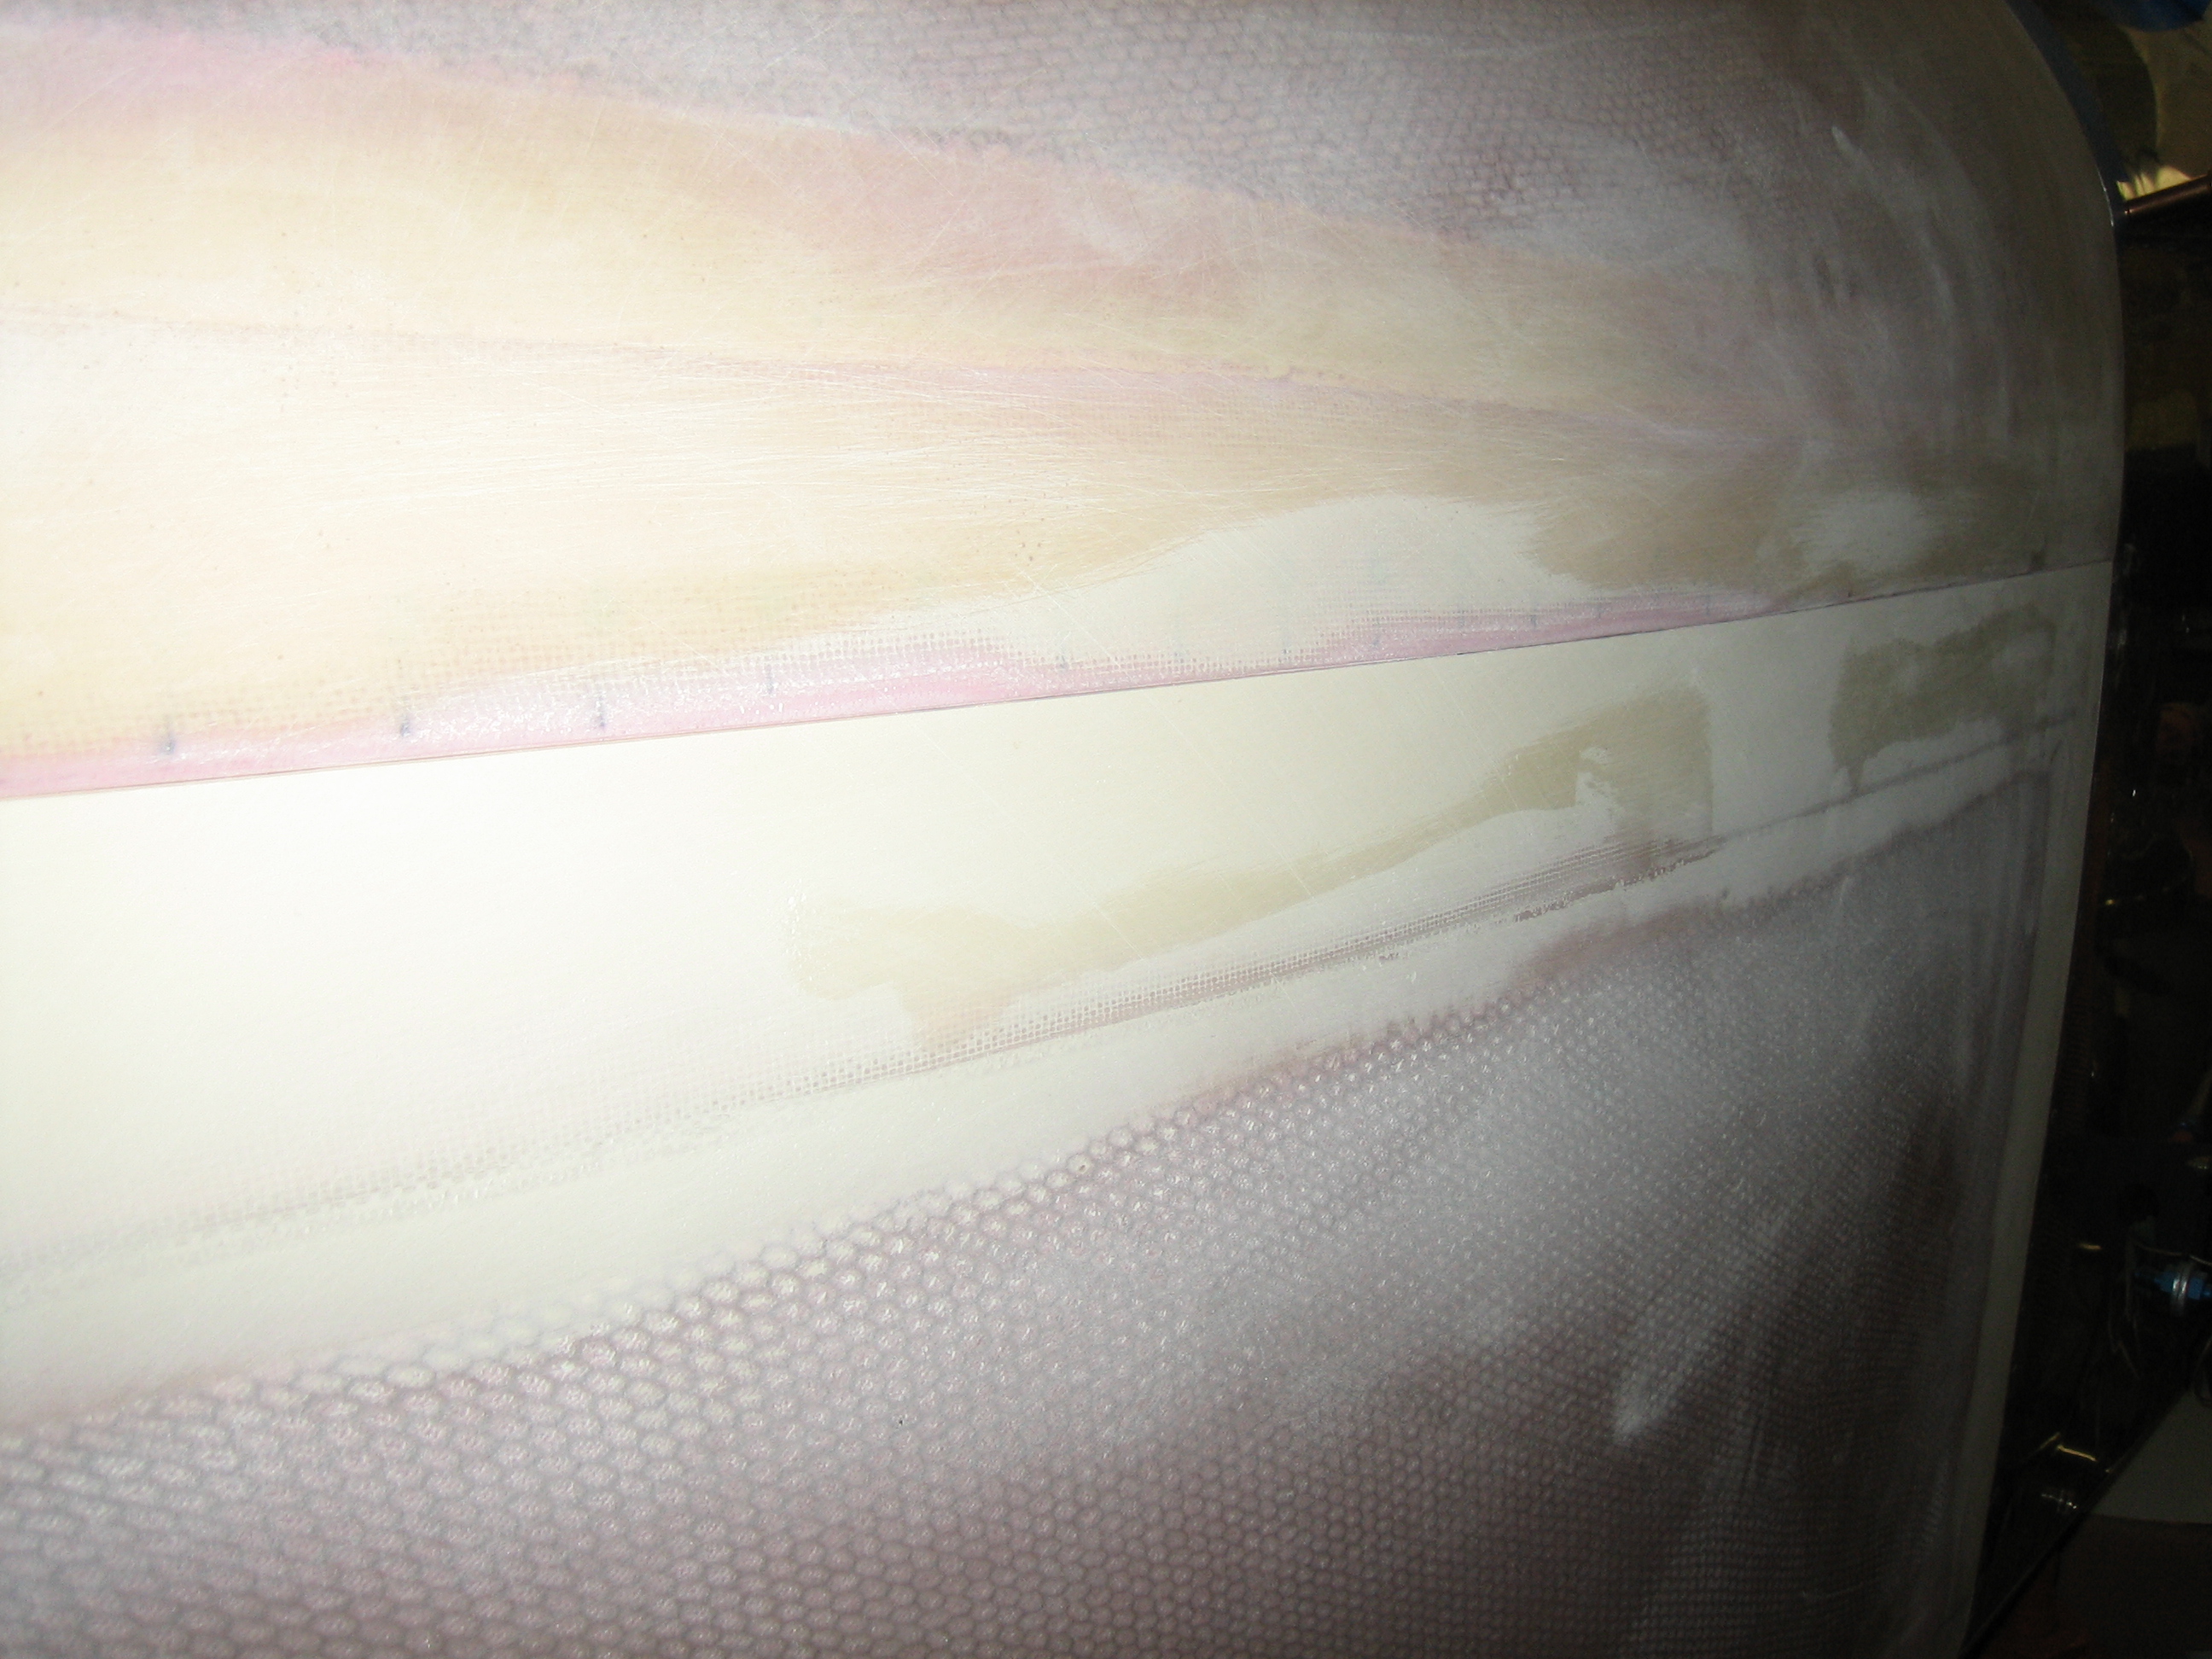
I’ve been working 7 days a week right now, so I’ve hardly had any time to work on the plane. I was working from home today though, so I managed to squeegee on a few coats of raw epoxy on the upper cowl. This fills all of the pinholes and seals the surface. I’ll sand this flat and then apply some epoxy primer that will be the finish coat until the plane goes for paint.
I took a short break from work tonight and sanded down the upper cowl. This is to flatten out the layer of pure epoxy I squeegeed on. I’ve only sanded this to 80 grit, but once I’ve done the same thing to the lower cowl, I’ll put both halves on the plane and block sand the whole thing down to 240 grit before starting with the filler primer.
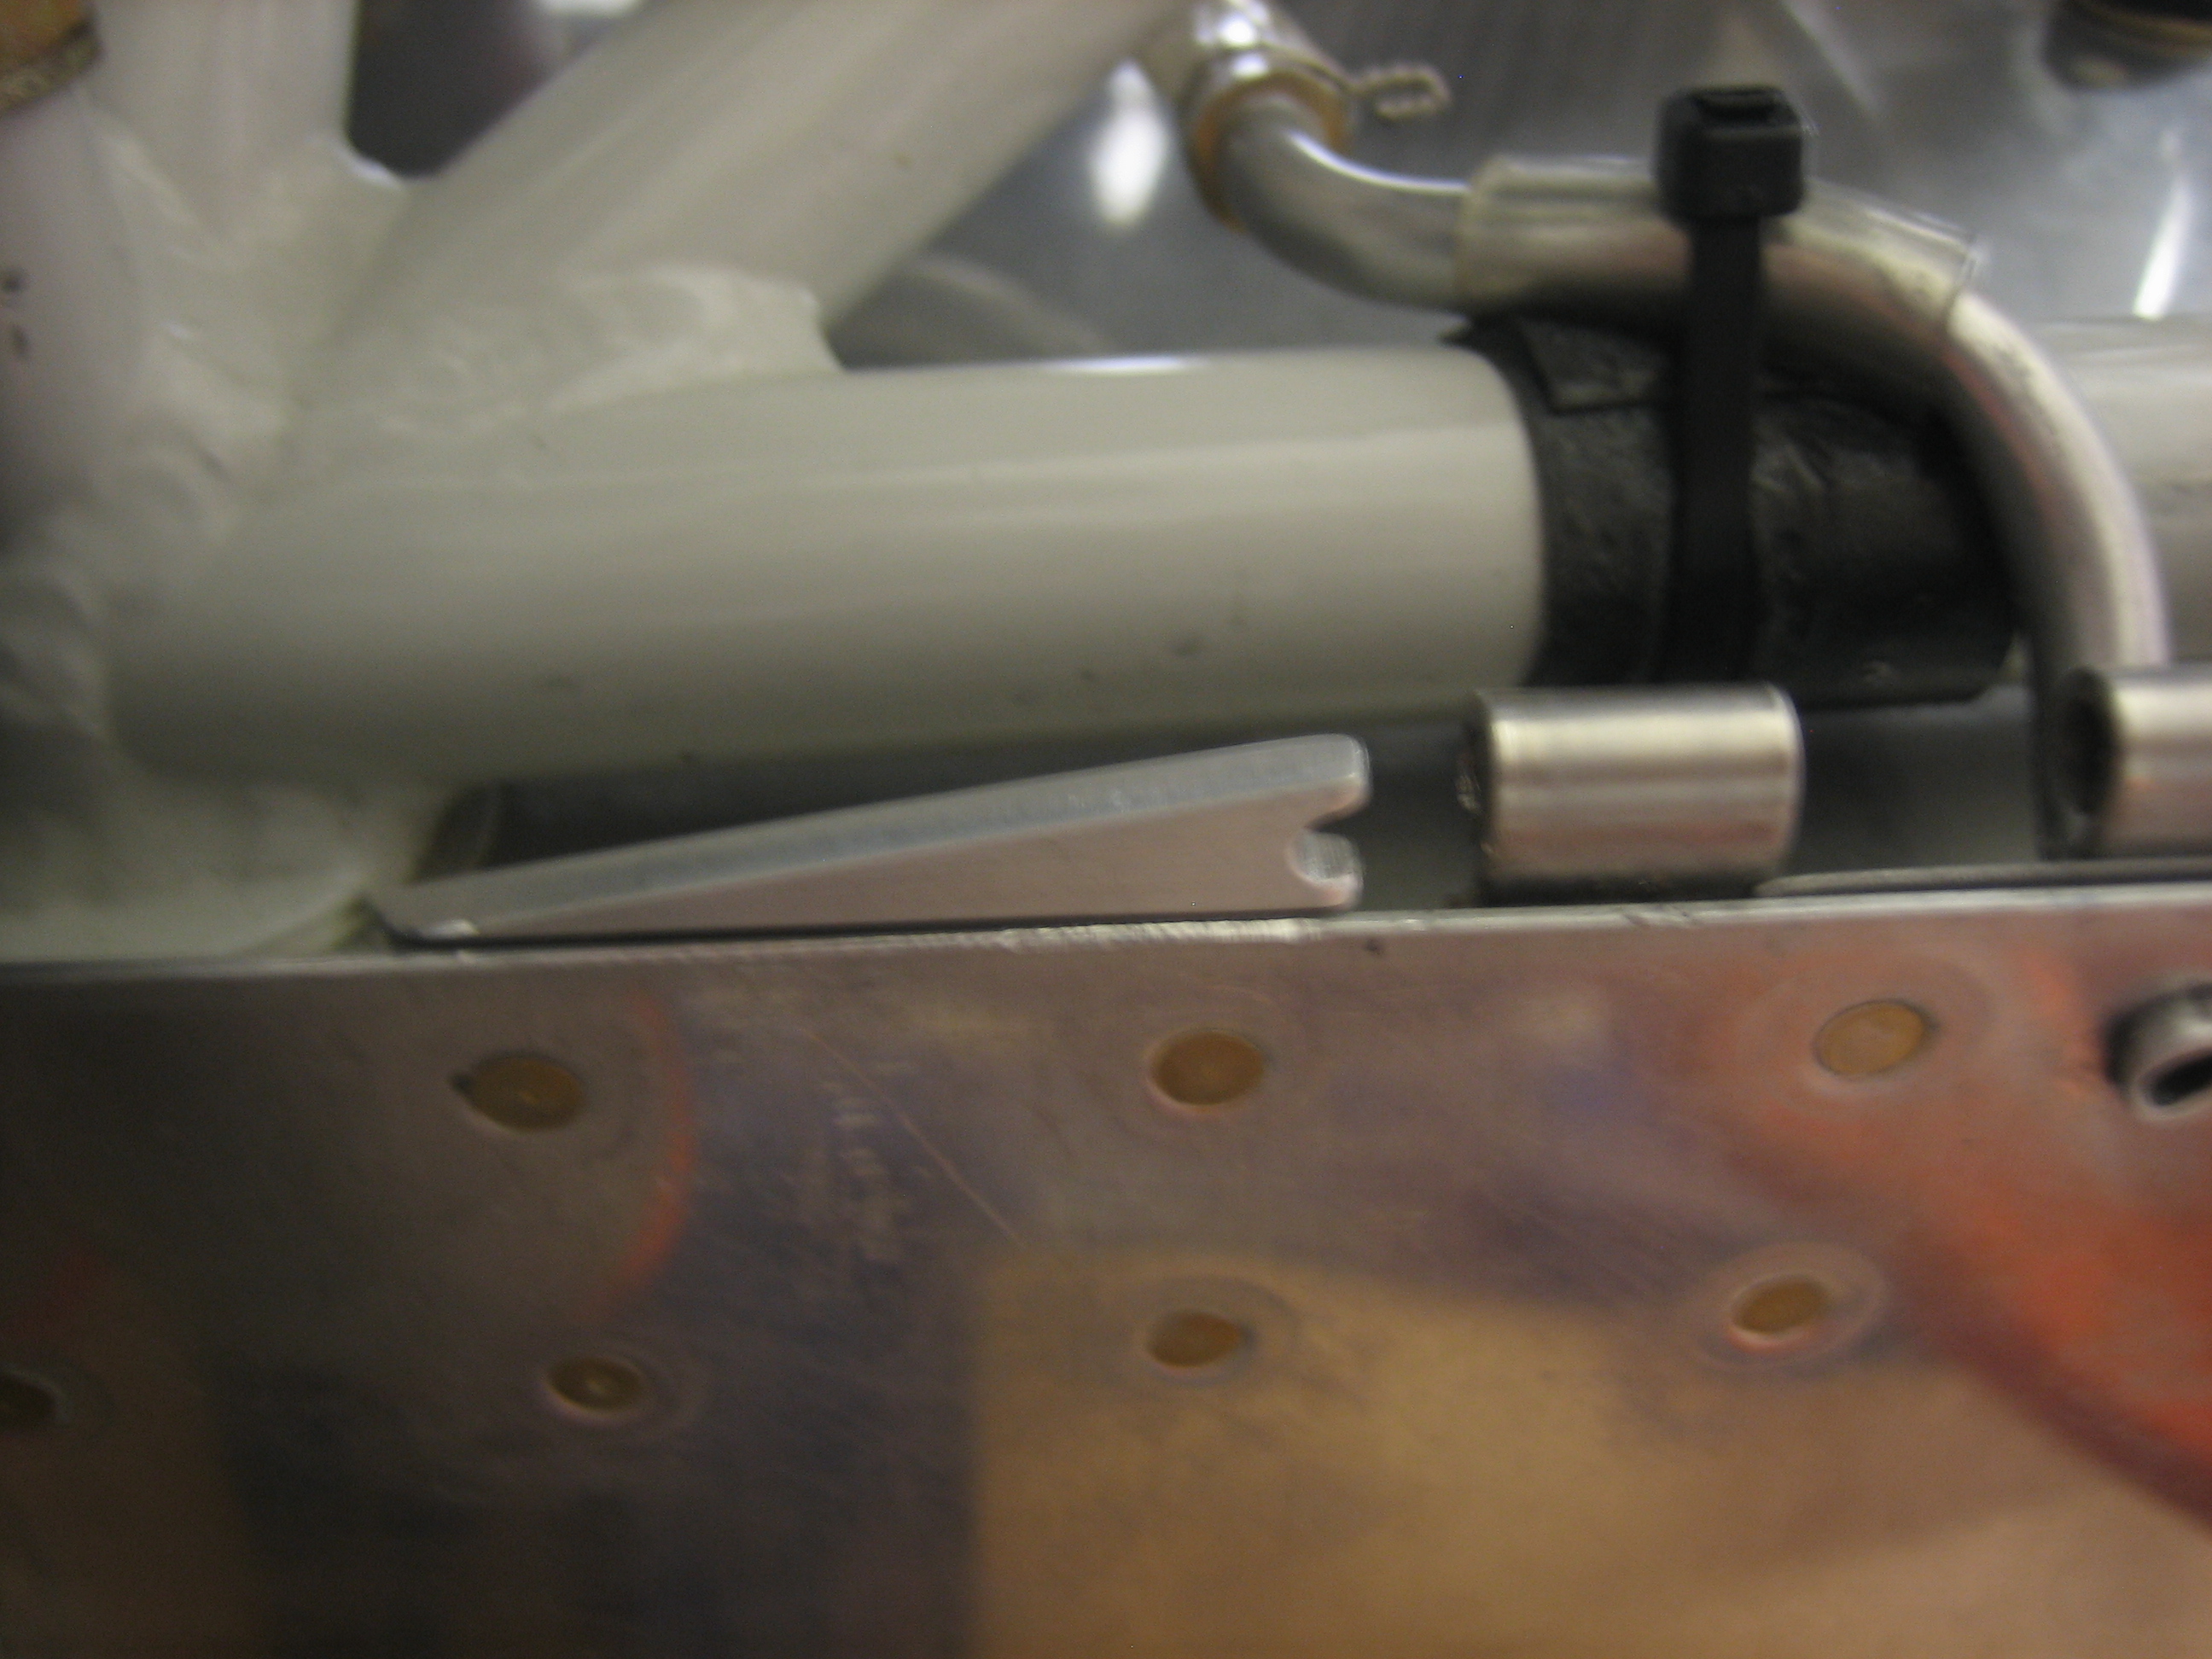
I’ve been mulling over how to retain the bottom hinge pins on the lower cowl. I wanted something that didn’t require any tools to remove but also wasn’t visible externally. I finally stumbled on a solution that I’m happy with. I fabricated a couple of clips that are riveted to the bottom flange of the firewall. They started as 1/8″ thick flat stock that I filed to about half thickness where it rivets to the firewall flange. It’s full thickness where the pin latches for added strength and bearing surface.
I then bent a couple of pins into this shape.
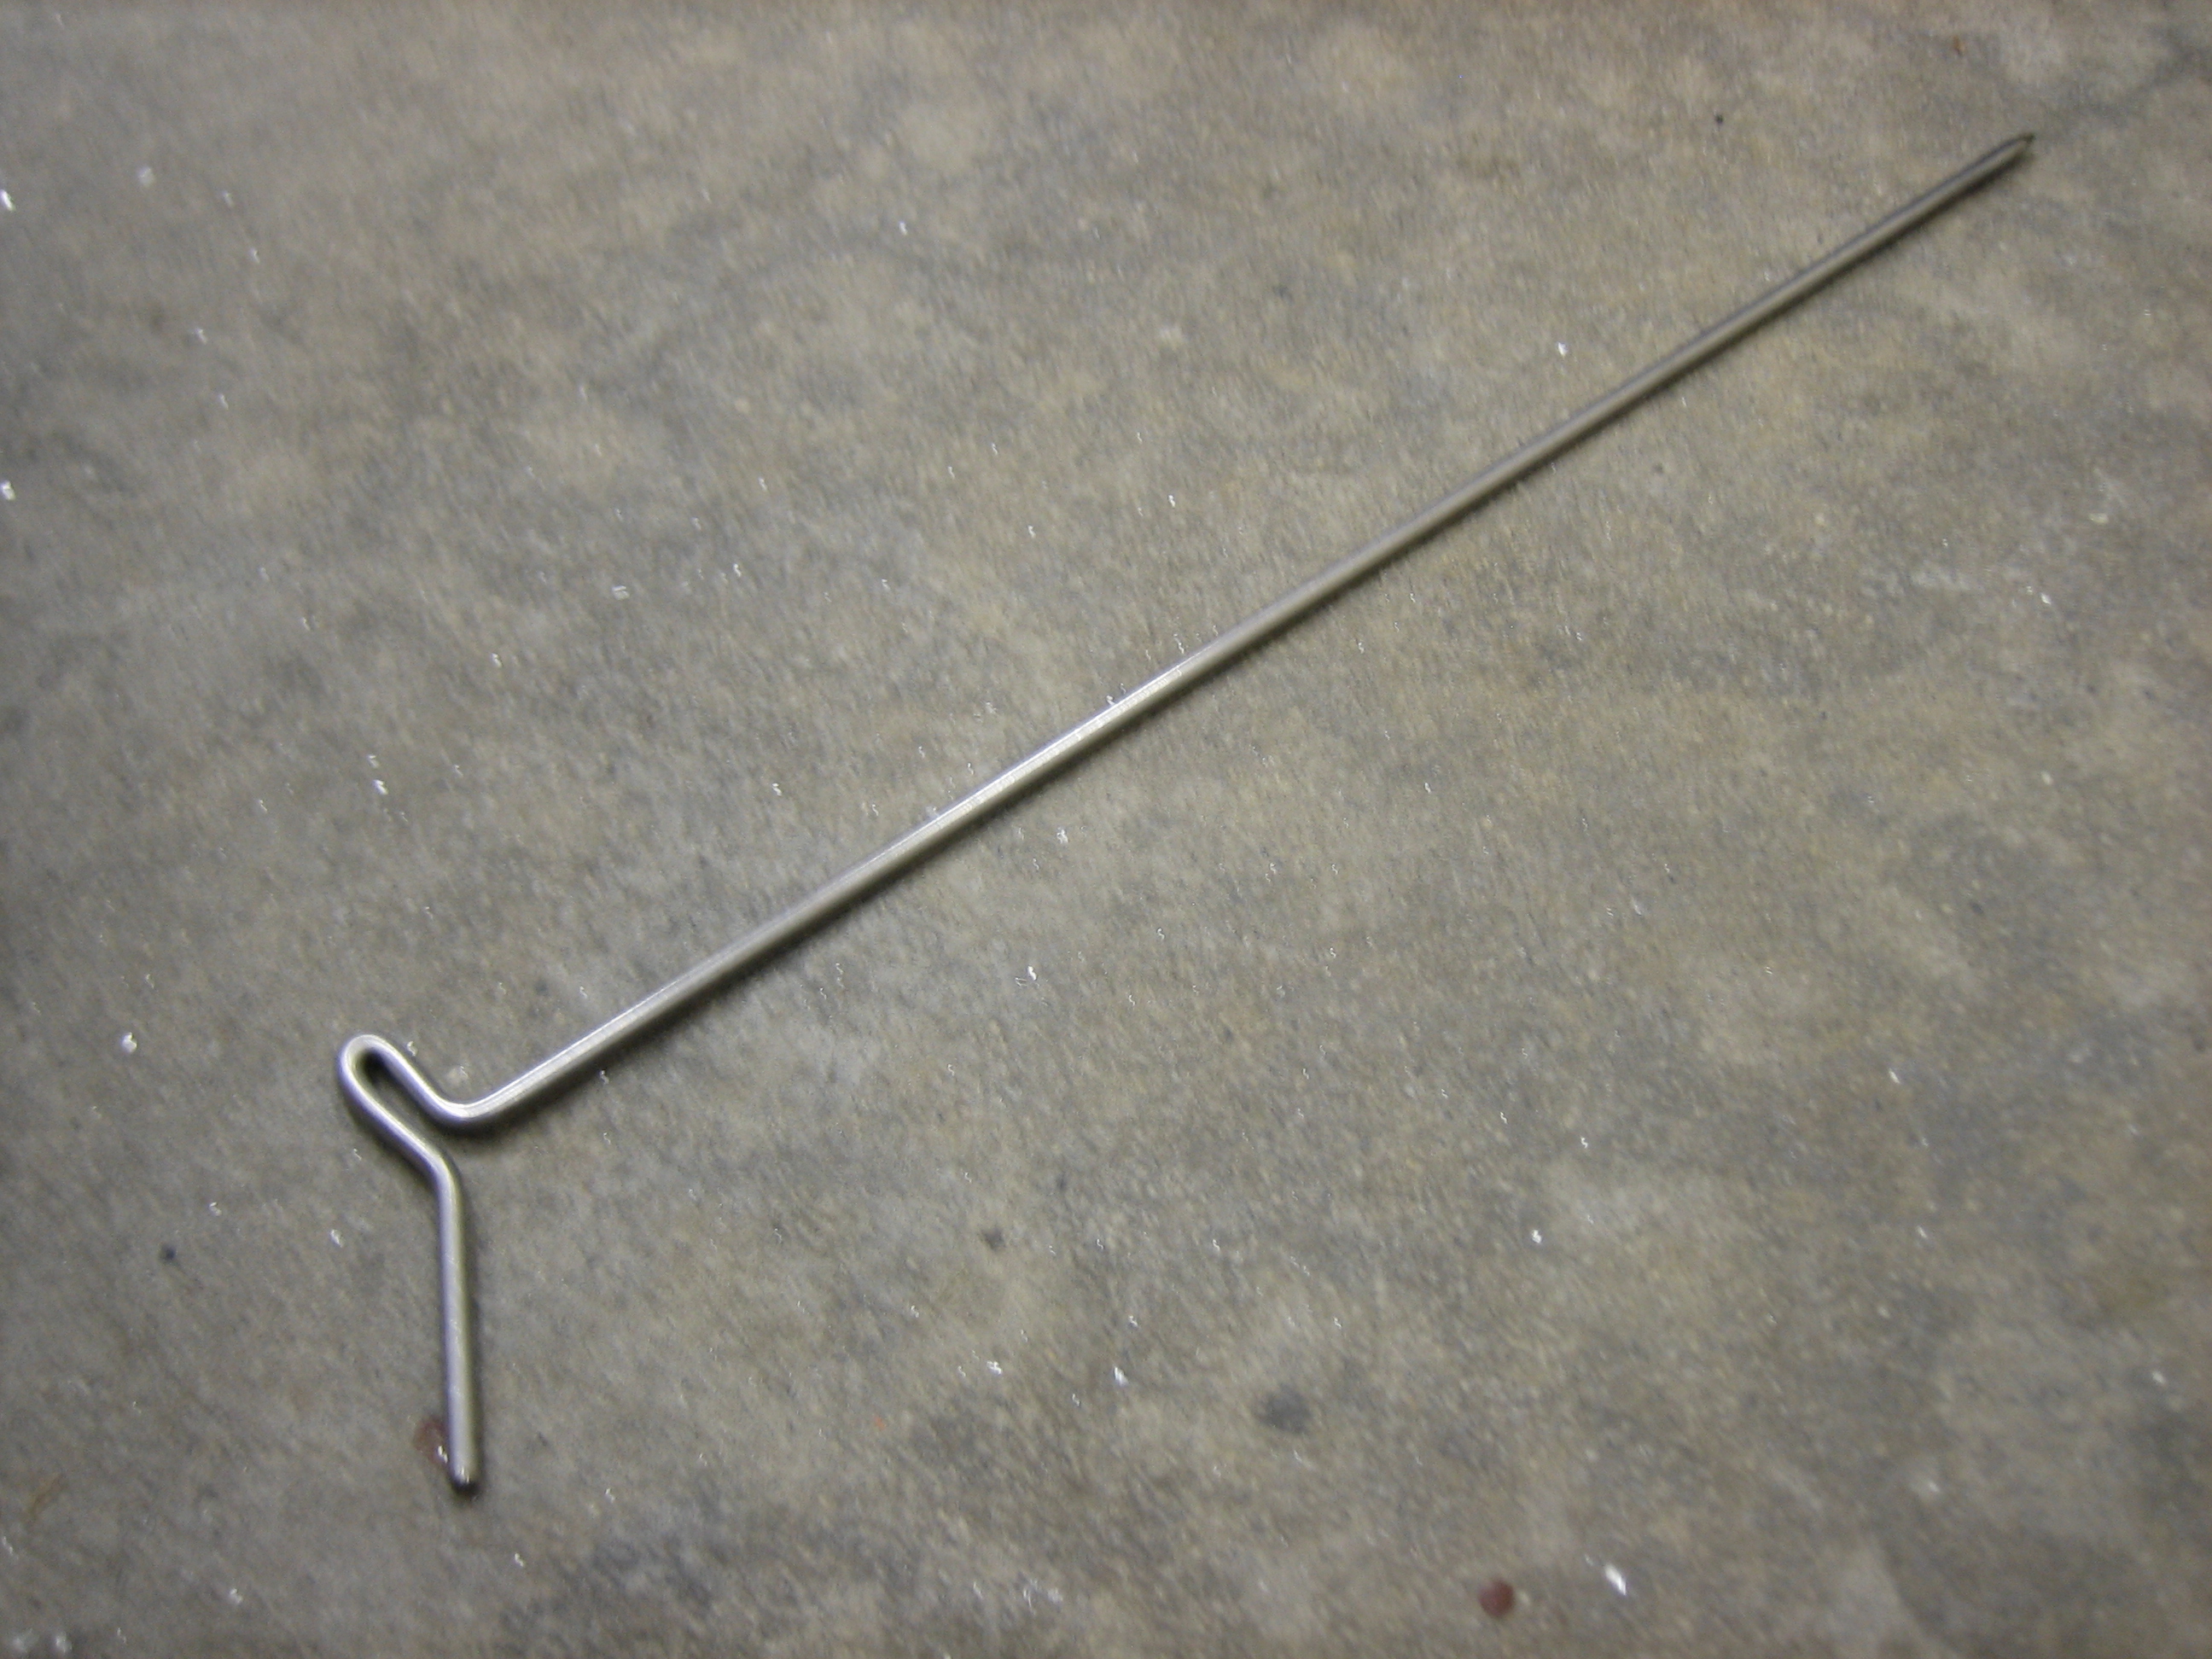
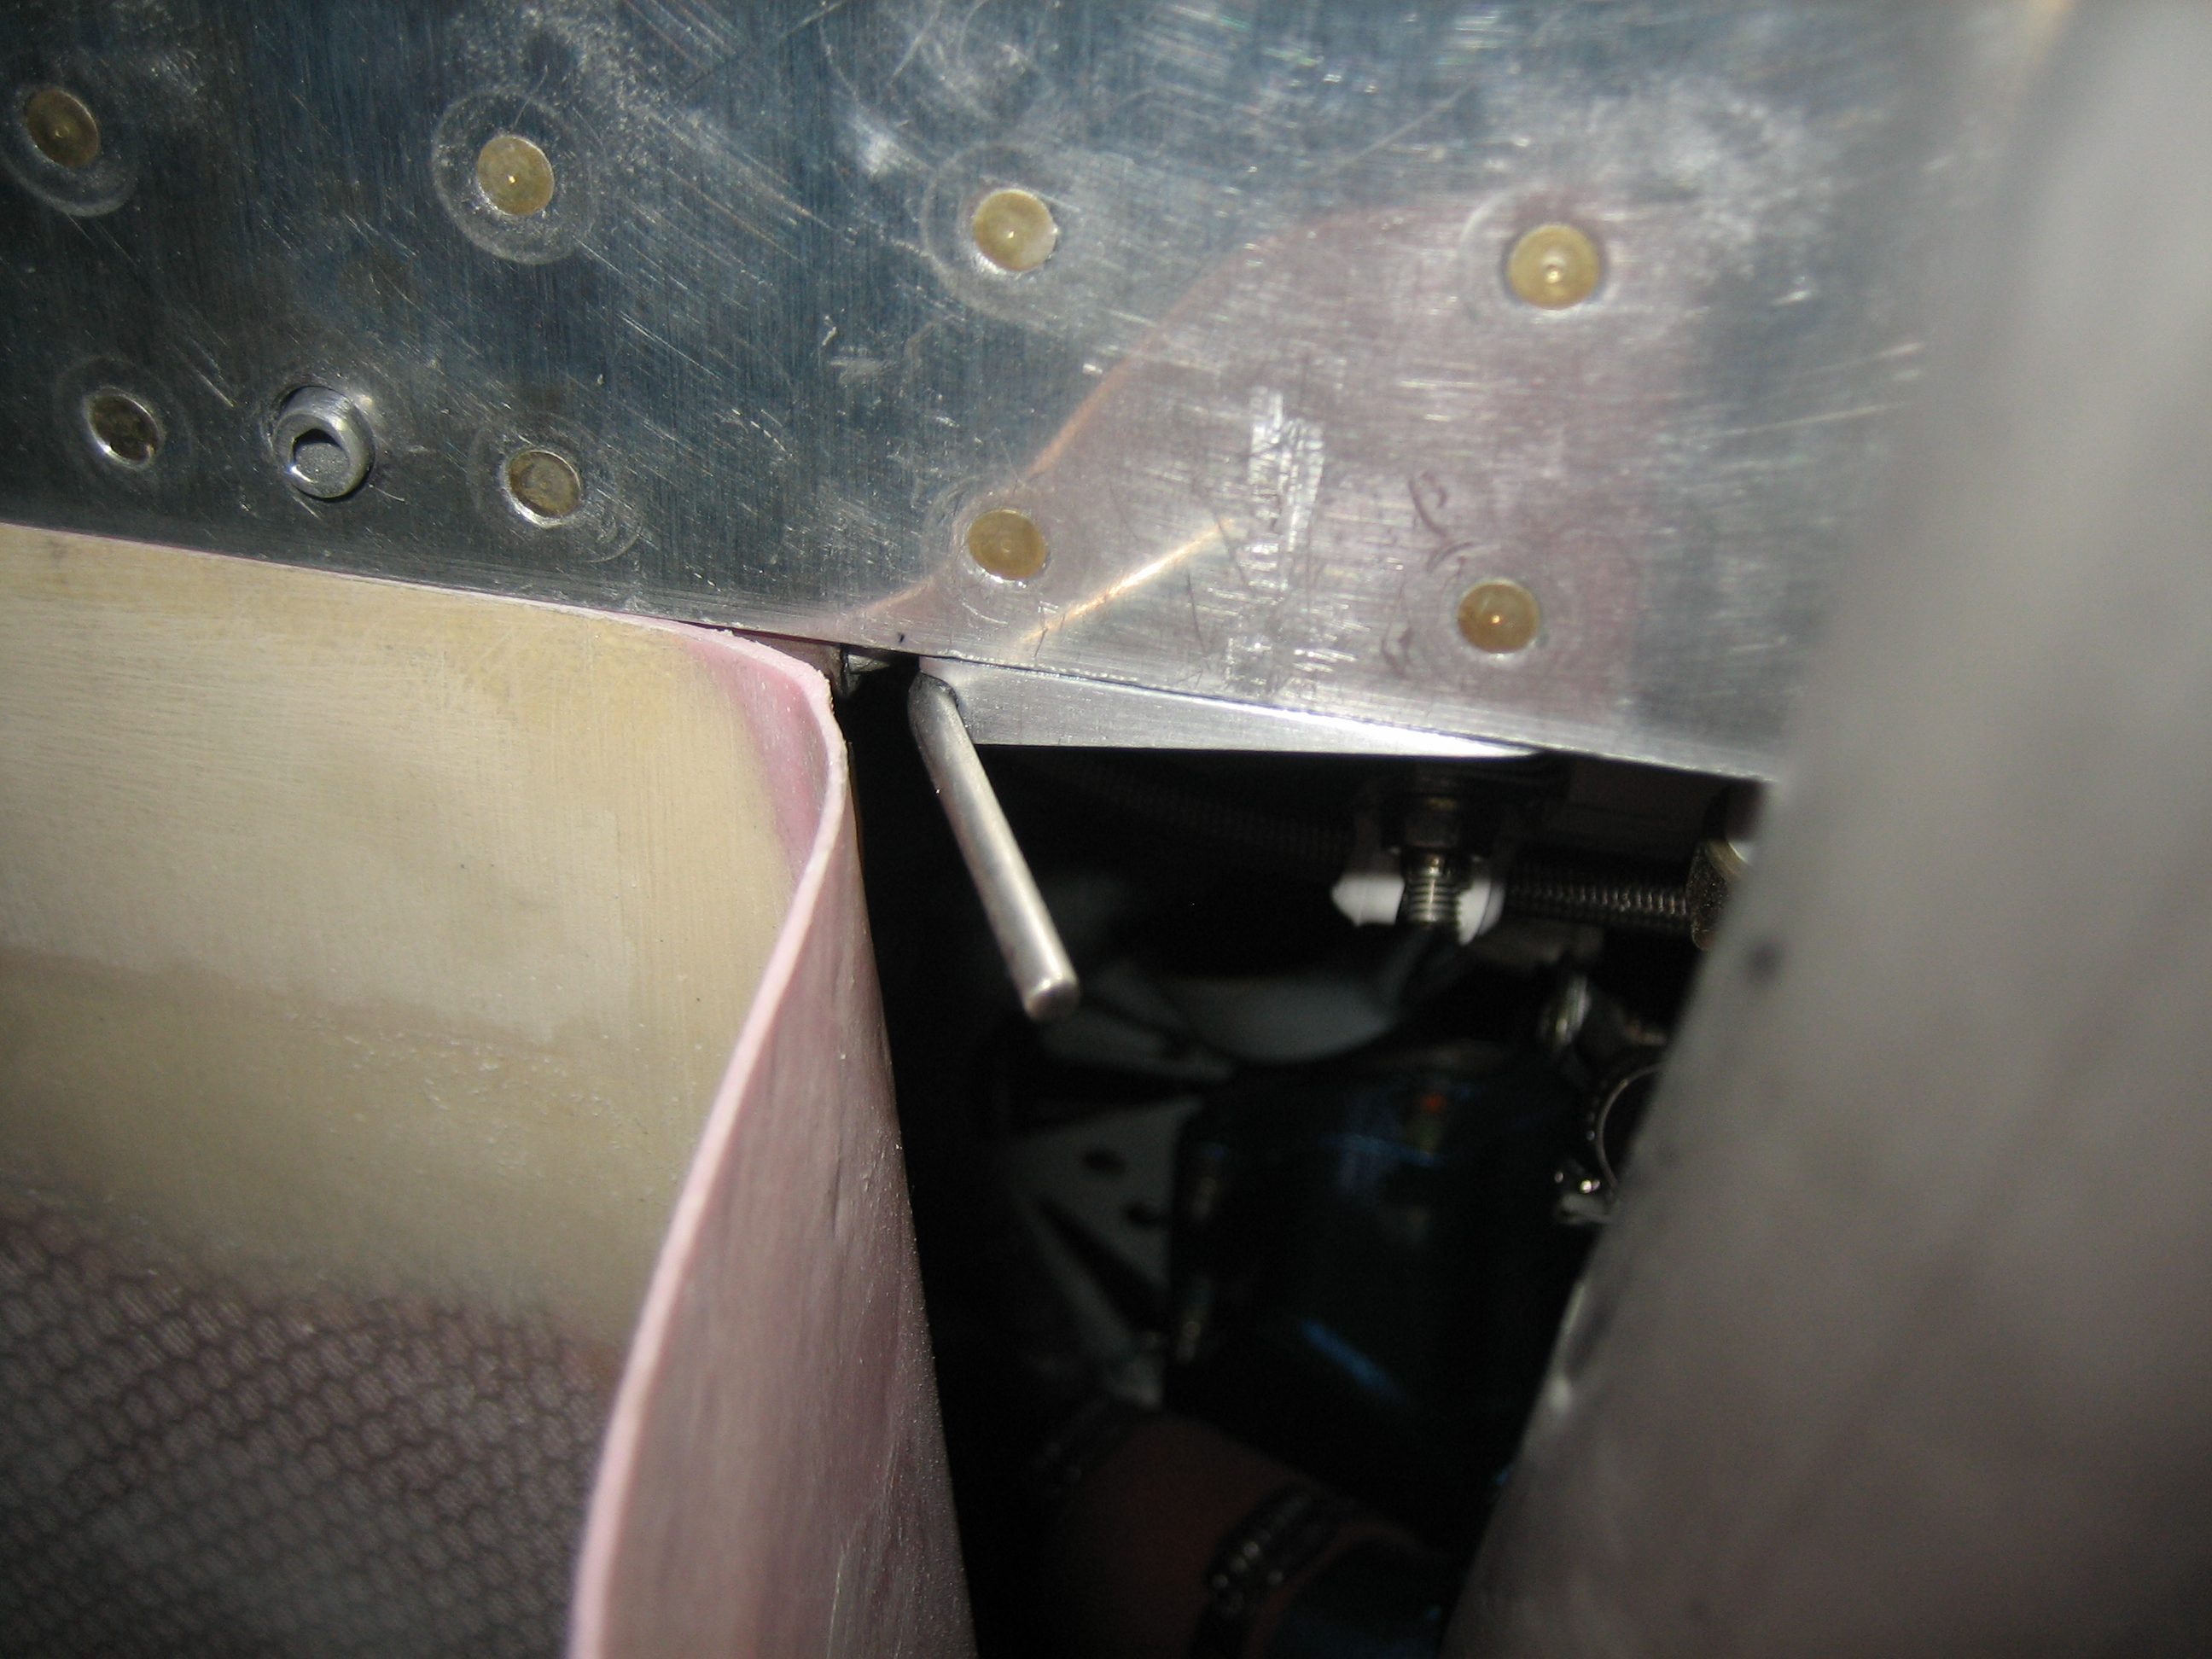
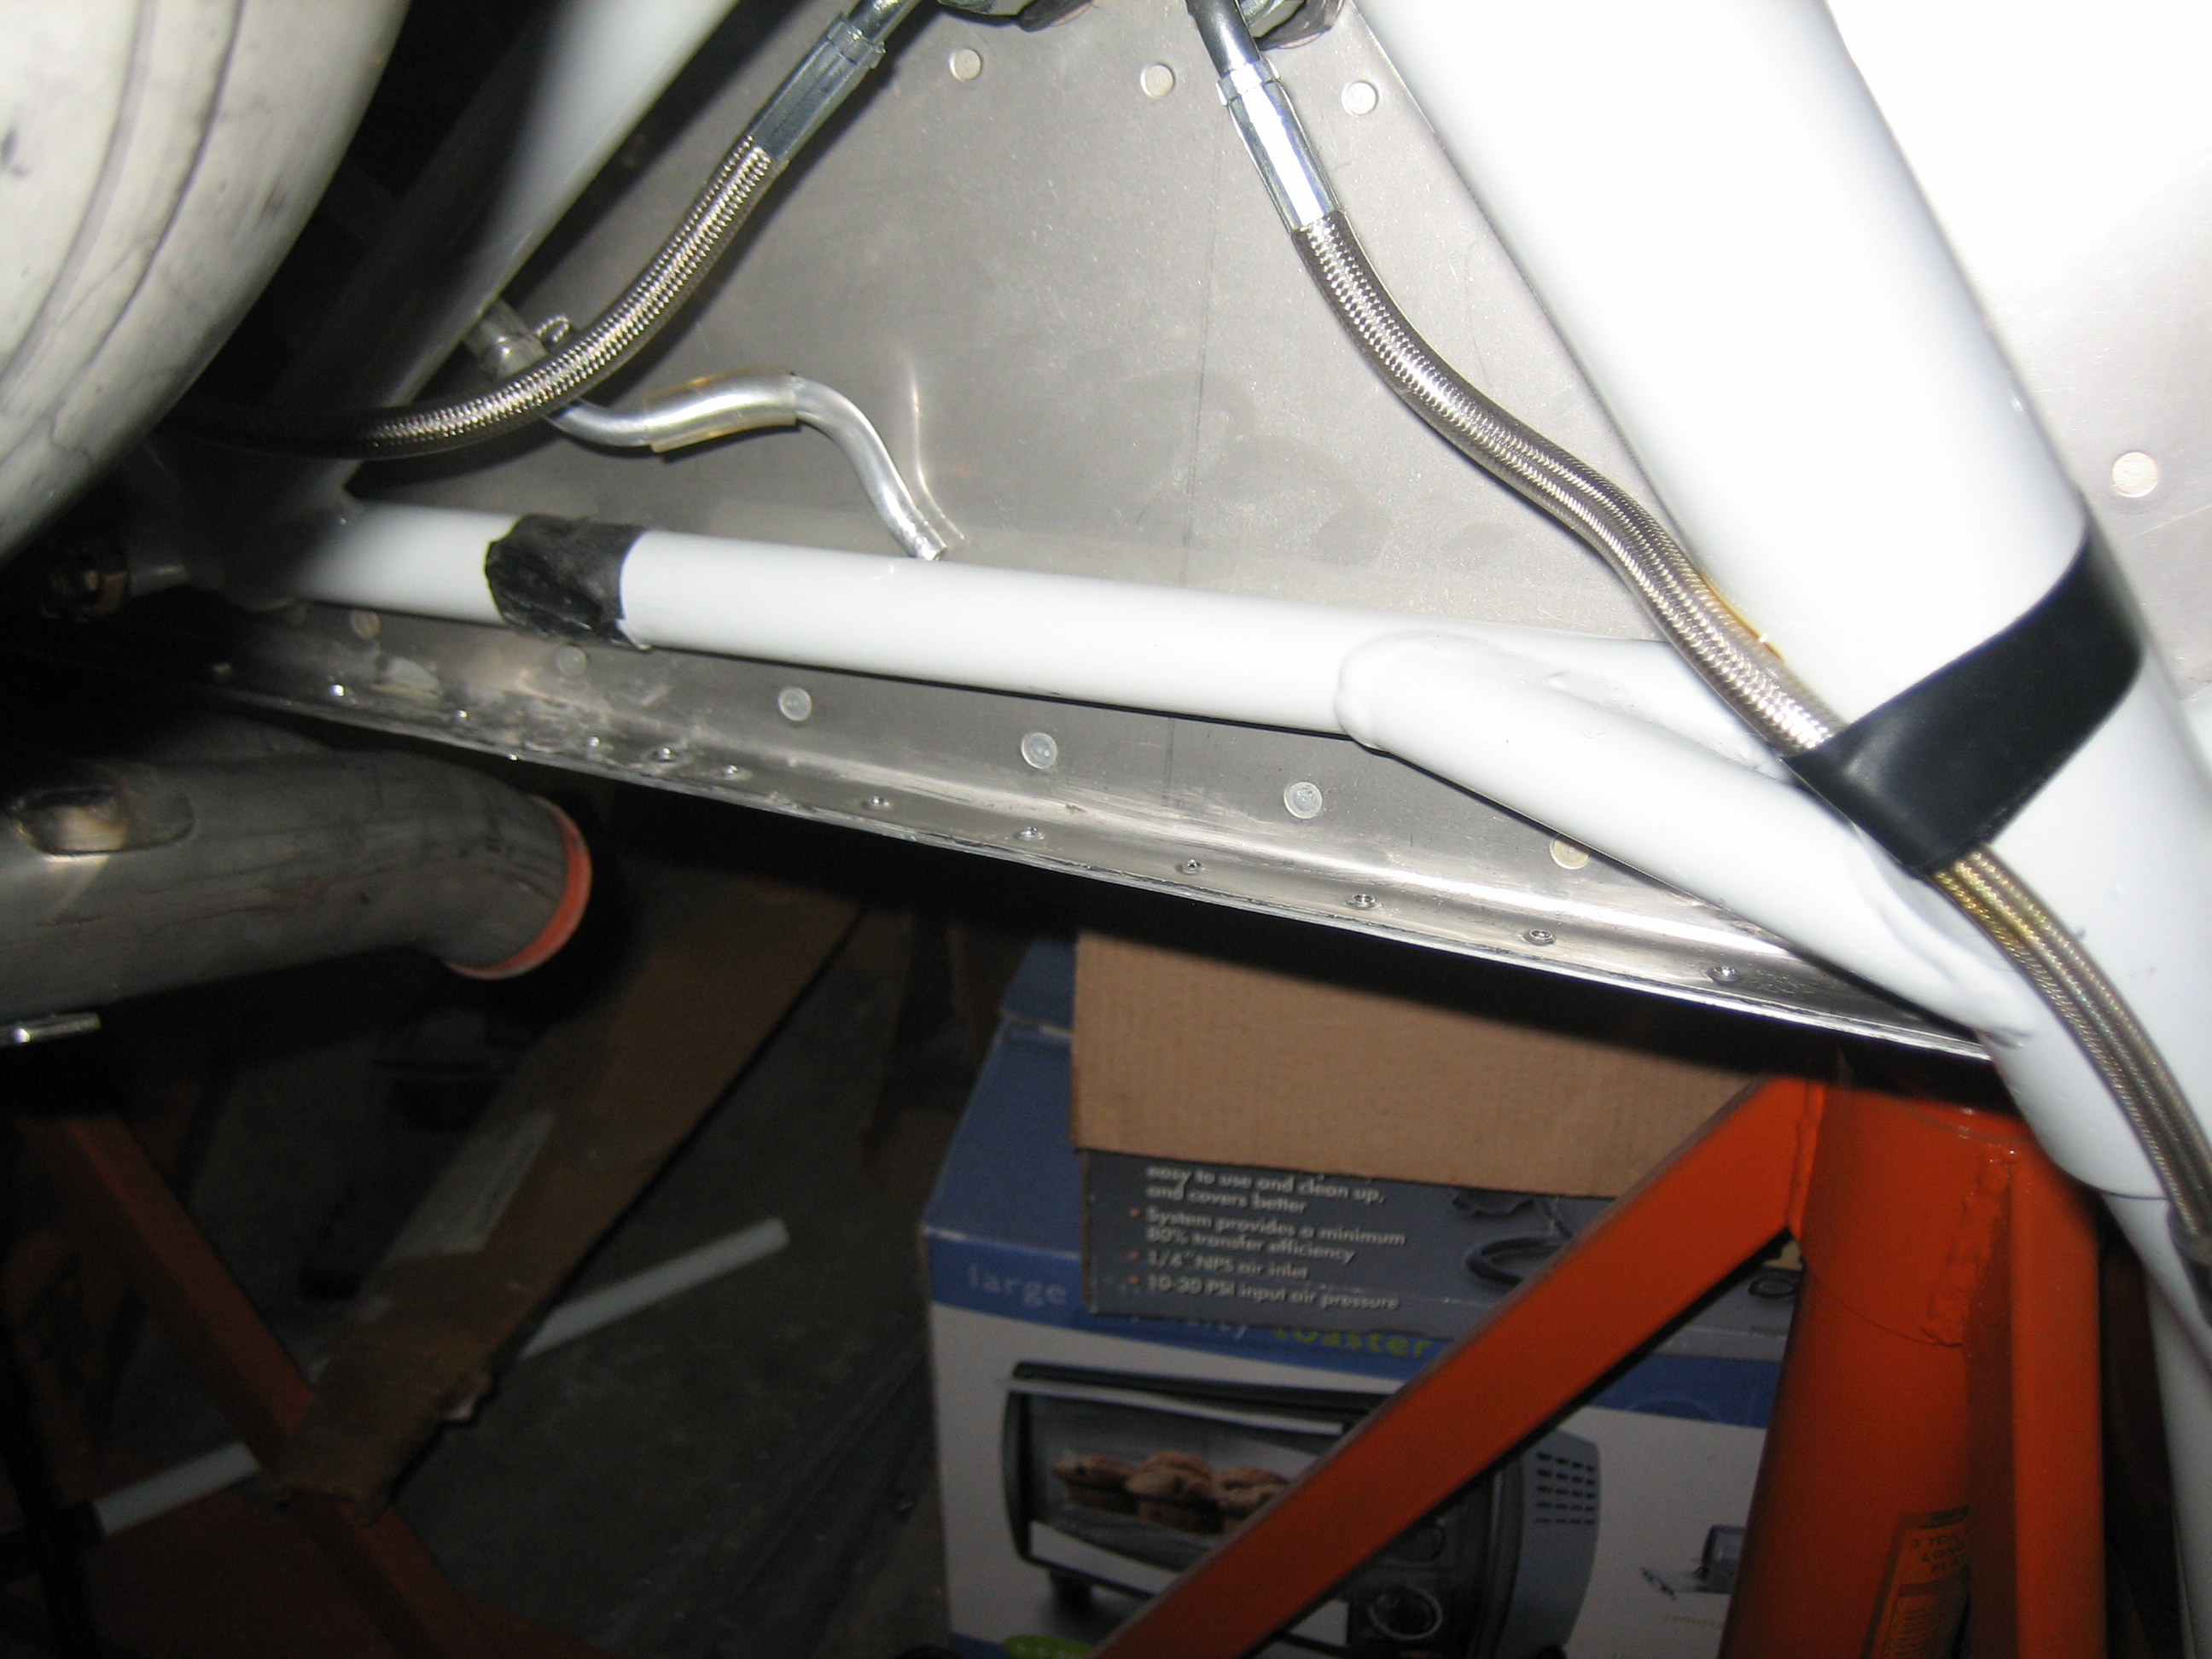
Here’s how the pin clips into place. The lower part of the pin is hidden just inside the cowl exit, but it can easily be reached and released. Since the notch is below the line of the hinge eyelets, you just have to flex the lower end outward and pivot it forward to release.

I did a little further trimming on the bottom cowling to make an even gap between it and the firewall along the bottom, then installed all of the retaining pins. Here’s all you see when you look up into the cowl exit. Overall, I’m fairly happy with these. The only complaint I have is that it’s fairly challenging to get the pins started because they have to lay just on the other side of these retaining clips. I think I’ll get quicker at it, but it took me several minutes just to get these started tonight.
Work has been absolutely killing me lately. I’ve been working 7 days a week with almost no days off since February. I haven’t touched the project in over 6 weeks, but I took a little break today to work more on the lower cowl bottom hinges. The pins have been really hard to install for a couple of reasons. First, as I mentioned before, it’s just really awkward. There’s very little room to get your fingers in around the exhaust pipes to manipulate the hinge pin. The goal was to make it possible to remove the cowl without any tools, but I was having to use a scrap piece of hinge pin to push or pull on the pins. Second, there was a lot of friction making it really hard to install or remove the pins. I figured that if I could reduce the friction, maybe I wouldn’t need the scrap hinge pin. I tried lubrication, but that didn’t solve the problem. I spent some time adjusting the hinge eyelets which helped a bit, but it didn’t fully solve the problem. I decided to try drilling out the eyelets by about 0.010″. I got one side done, then broke the bit off in the hinge. I tried for awhile to remove the broken bit before giving up.
Given how much of a pain in the ass installing and removing these pins has been, I’ve been questioning my decision to use hinges here. Although the goal was to be able to install and remove the cowl without any tools, I still needed a phillips screwdriver to remove the side hinge cover plates. The broken bit pushed me over the edge and I decided to remove the hinges and use Skybolt 1/4 turn fasteners on the bottom of the cowl. I drilled out the hinges on the firewall along with the retaining clips.
I also drilled out the rivets holding the hinges to the cowl and then popped it off. The hinge was installed with epoxy/flox, so I was worried that I wouldn’t be able to separate it from the cowl. This was, fortunately (or unfortunately) a lot easier than I thought. Once I got one end separated, I could work a screwdriver under the edge and progressively pop it loose. I now just need to figure out which Skybolt parts to order.
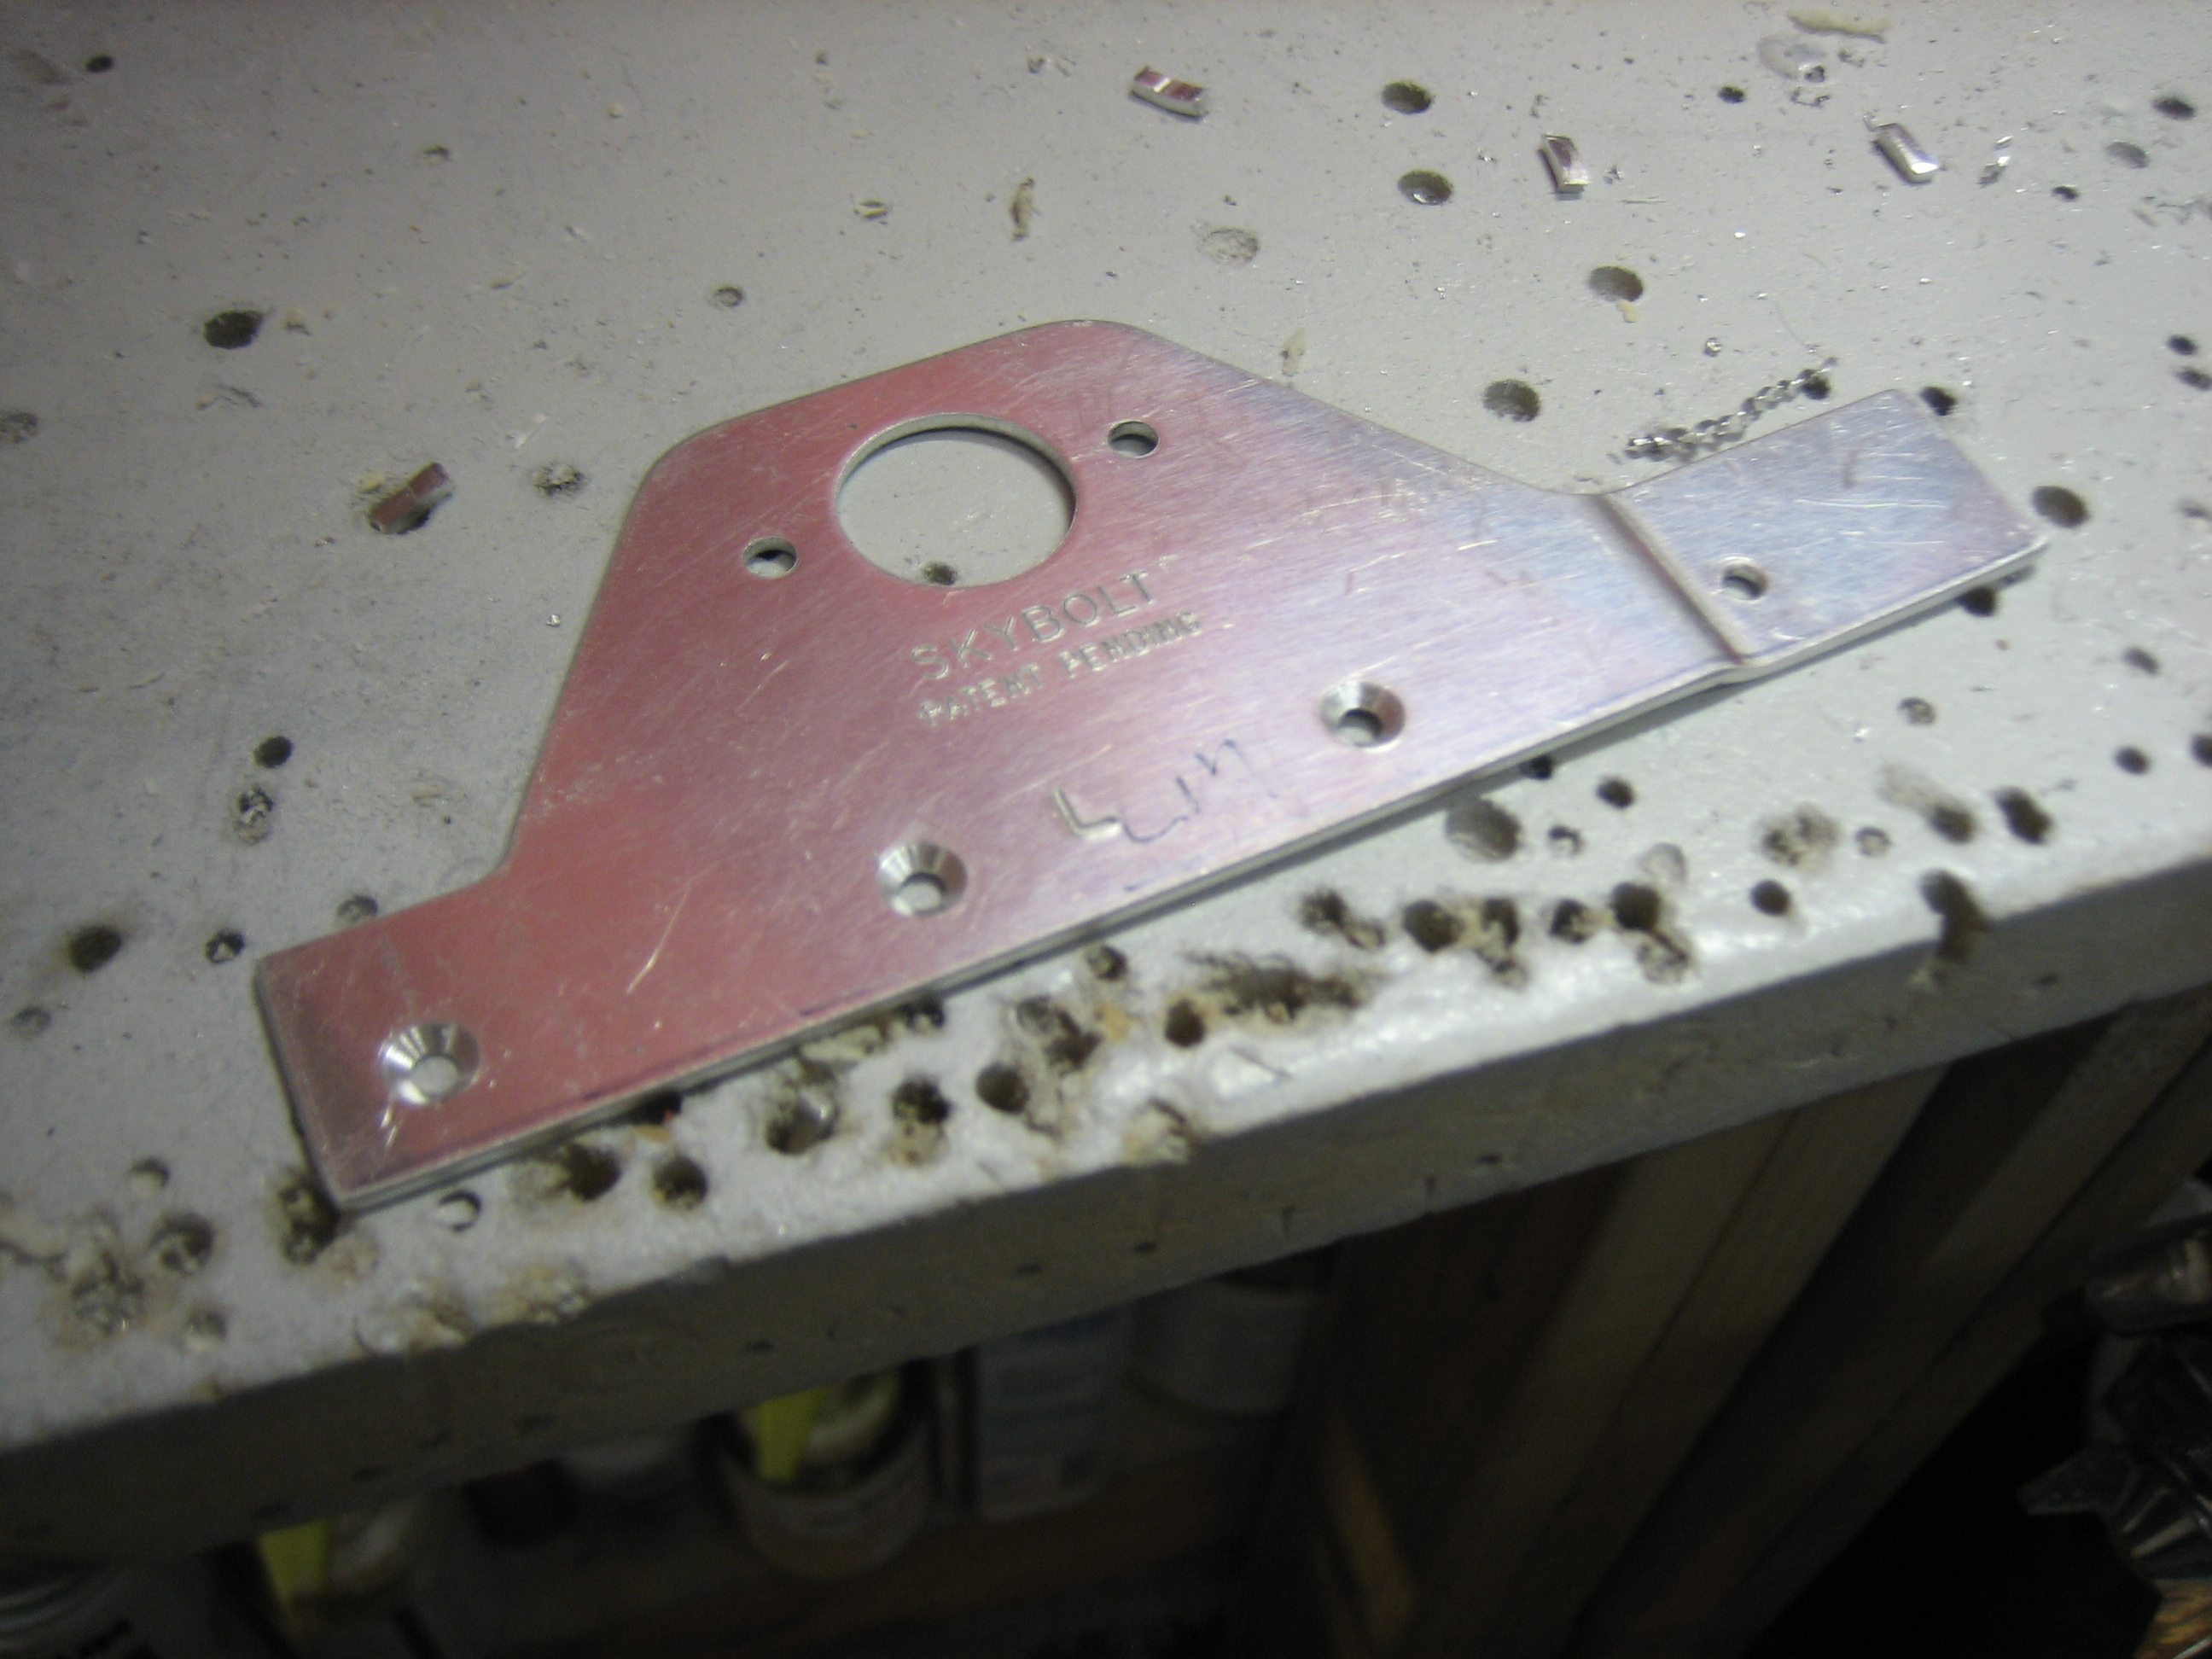
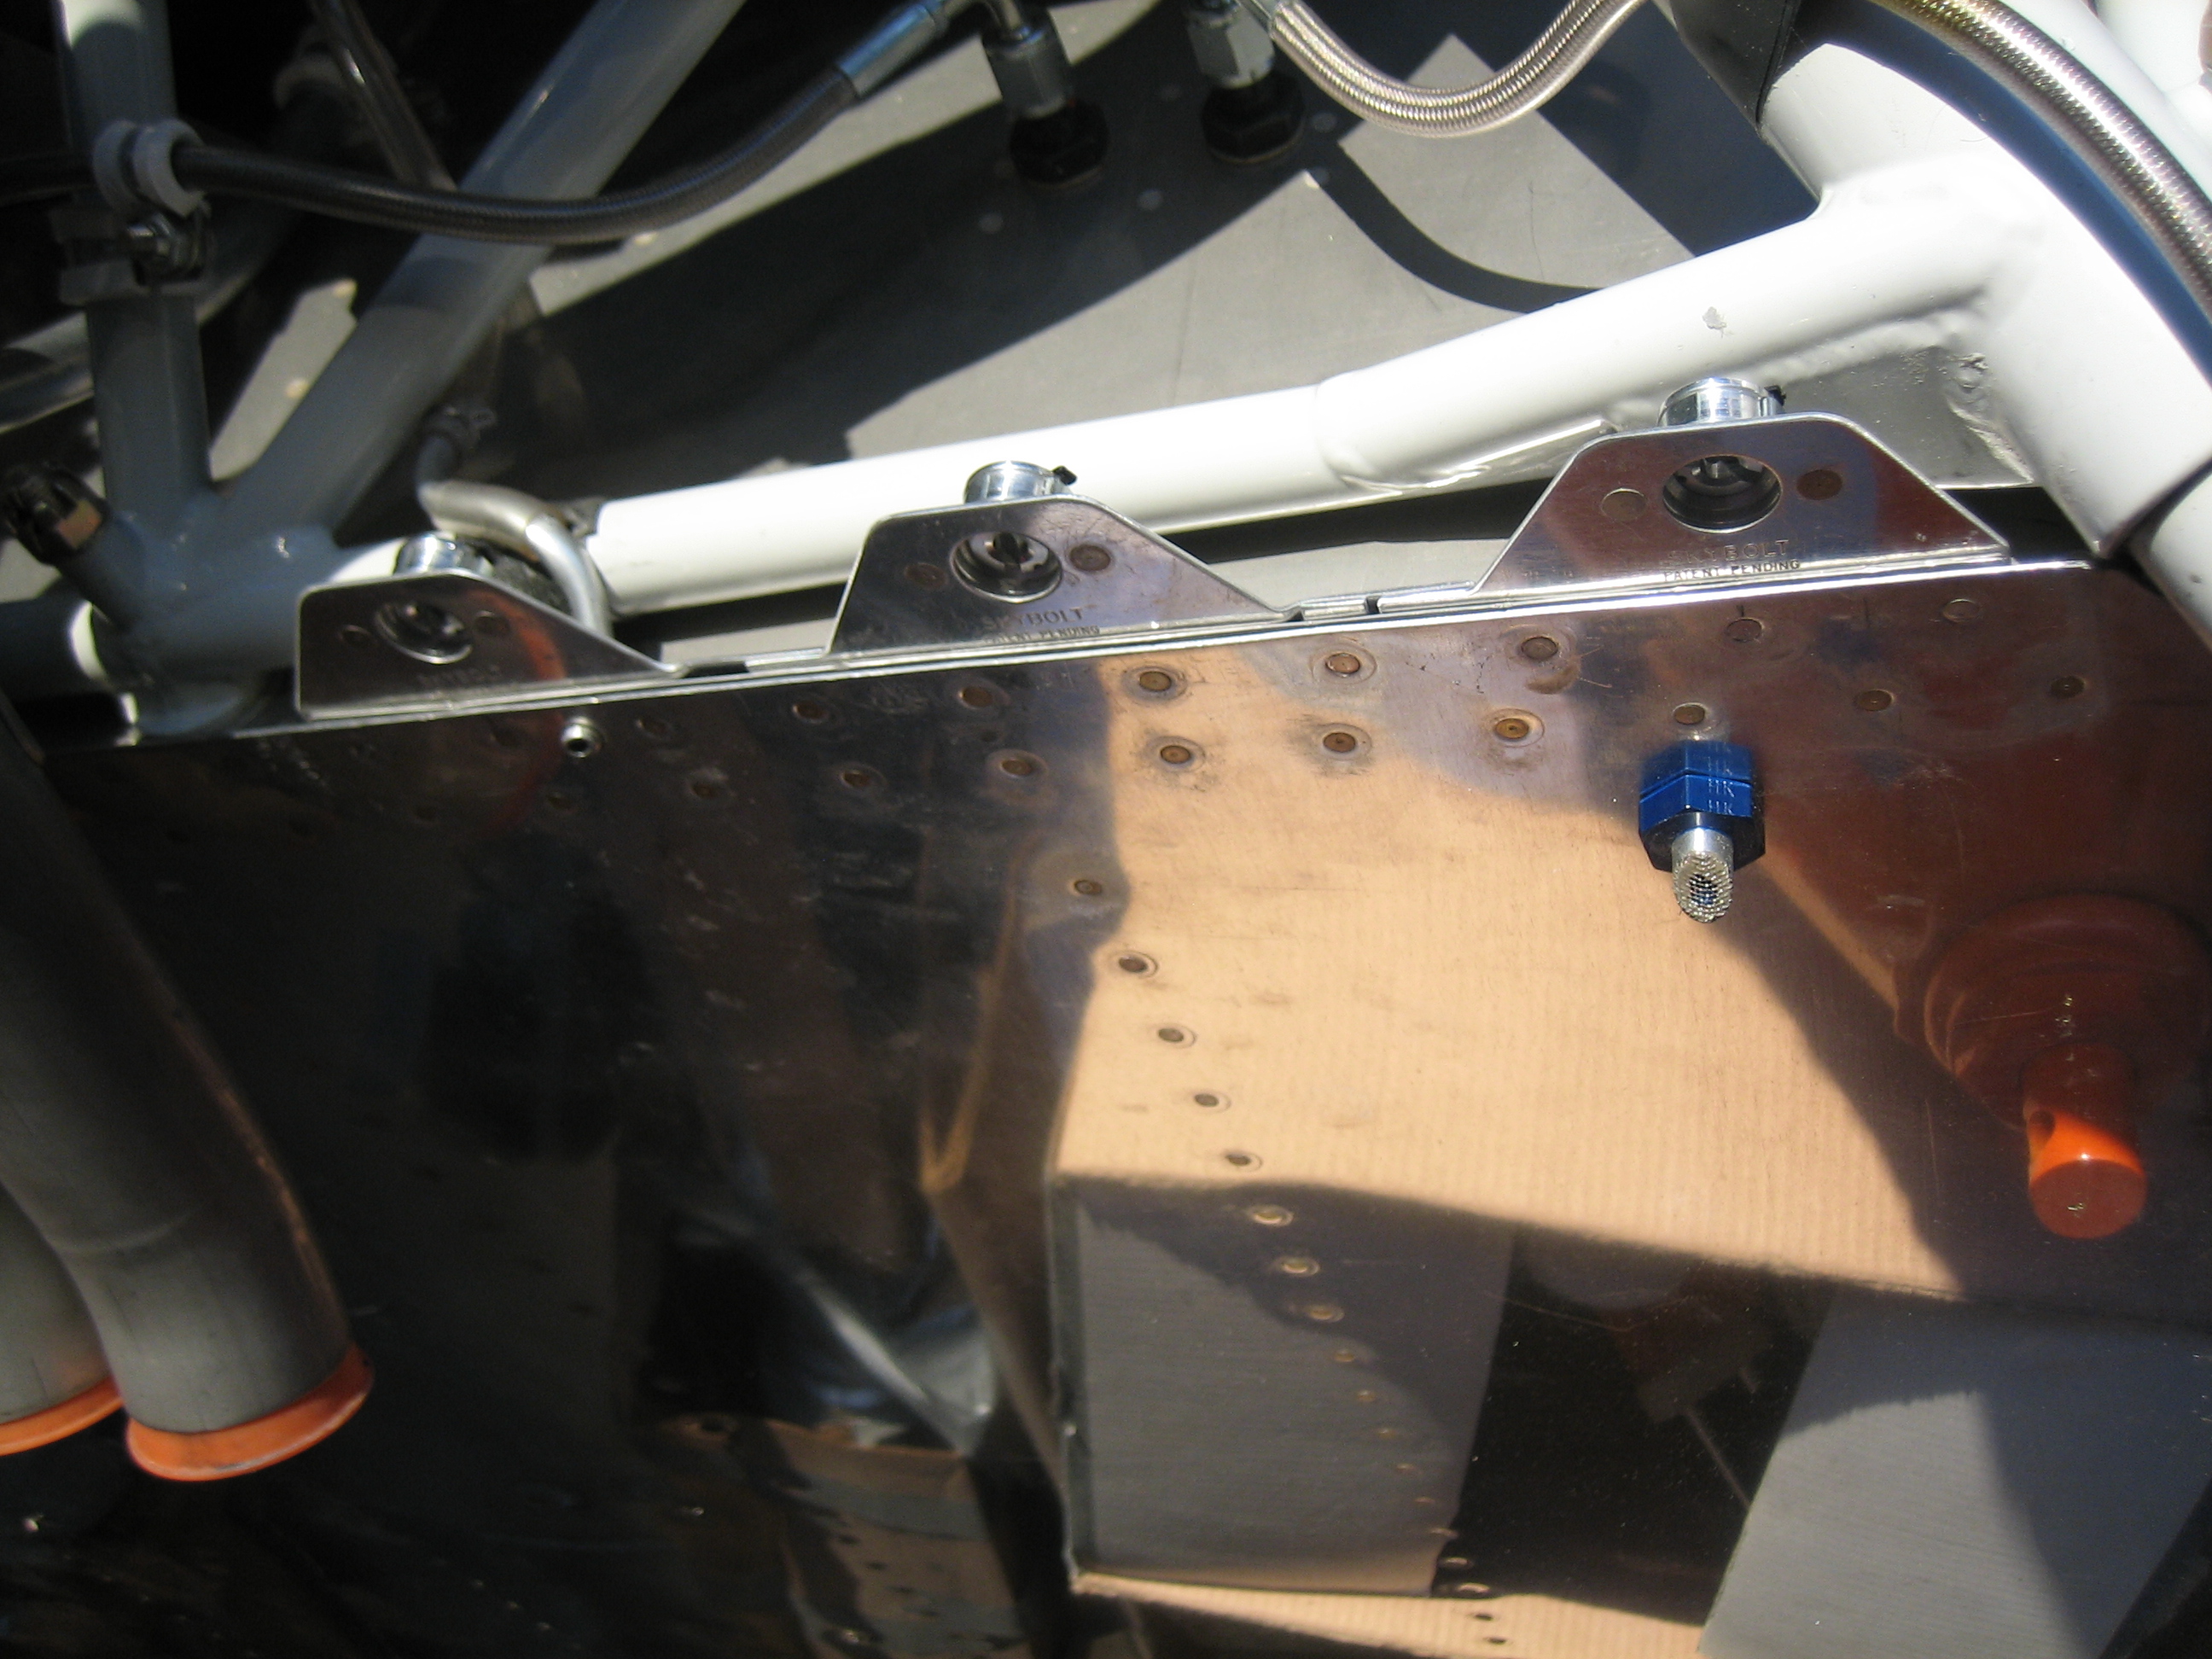
The Skybolt VLoc fasteners come with preformed and drilled flanges. I drilled these to the firewall and countersunk them.
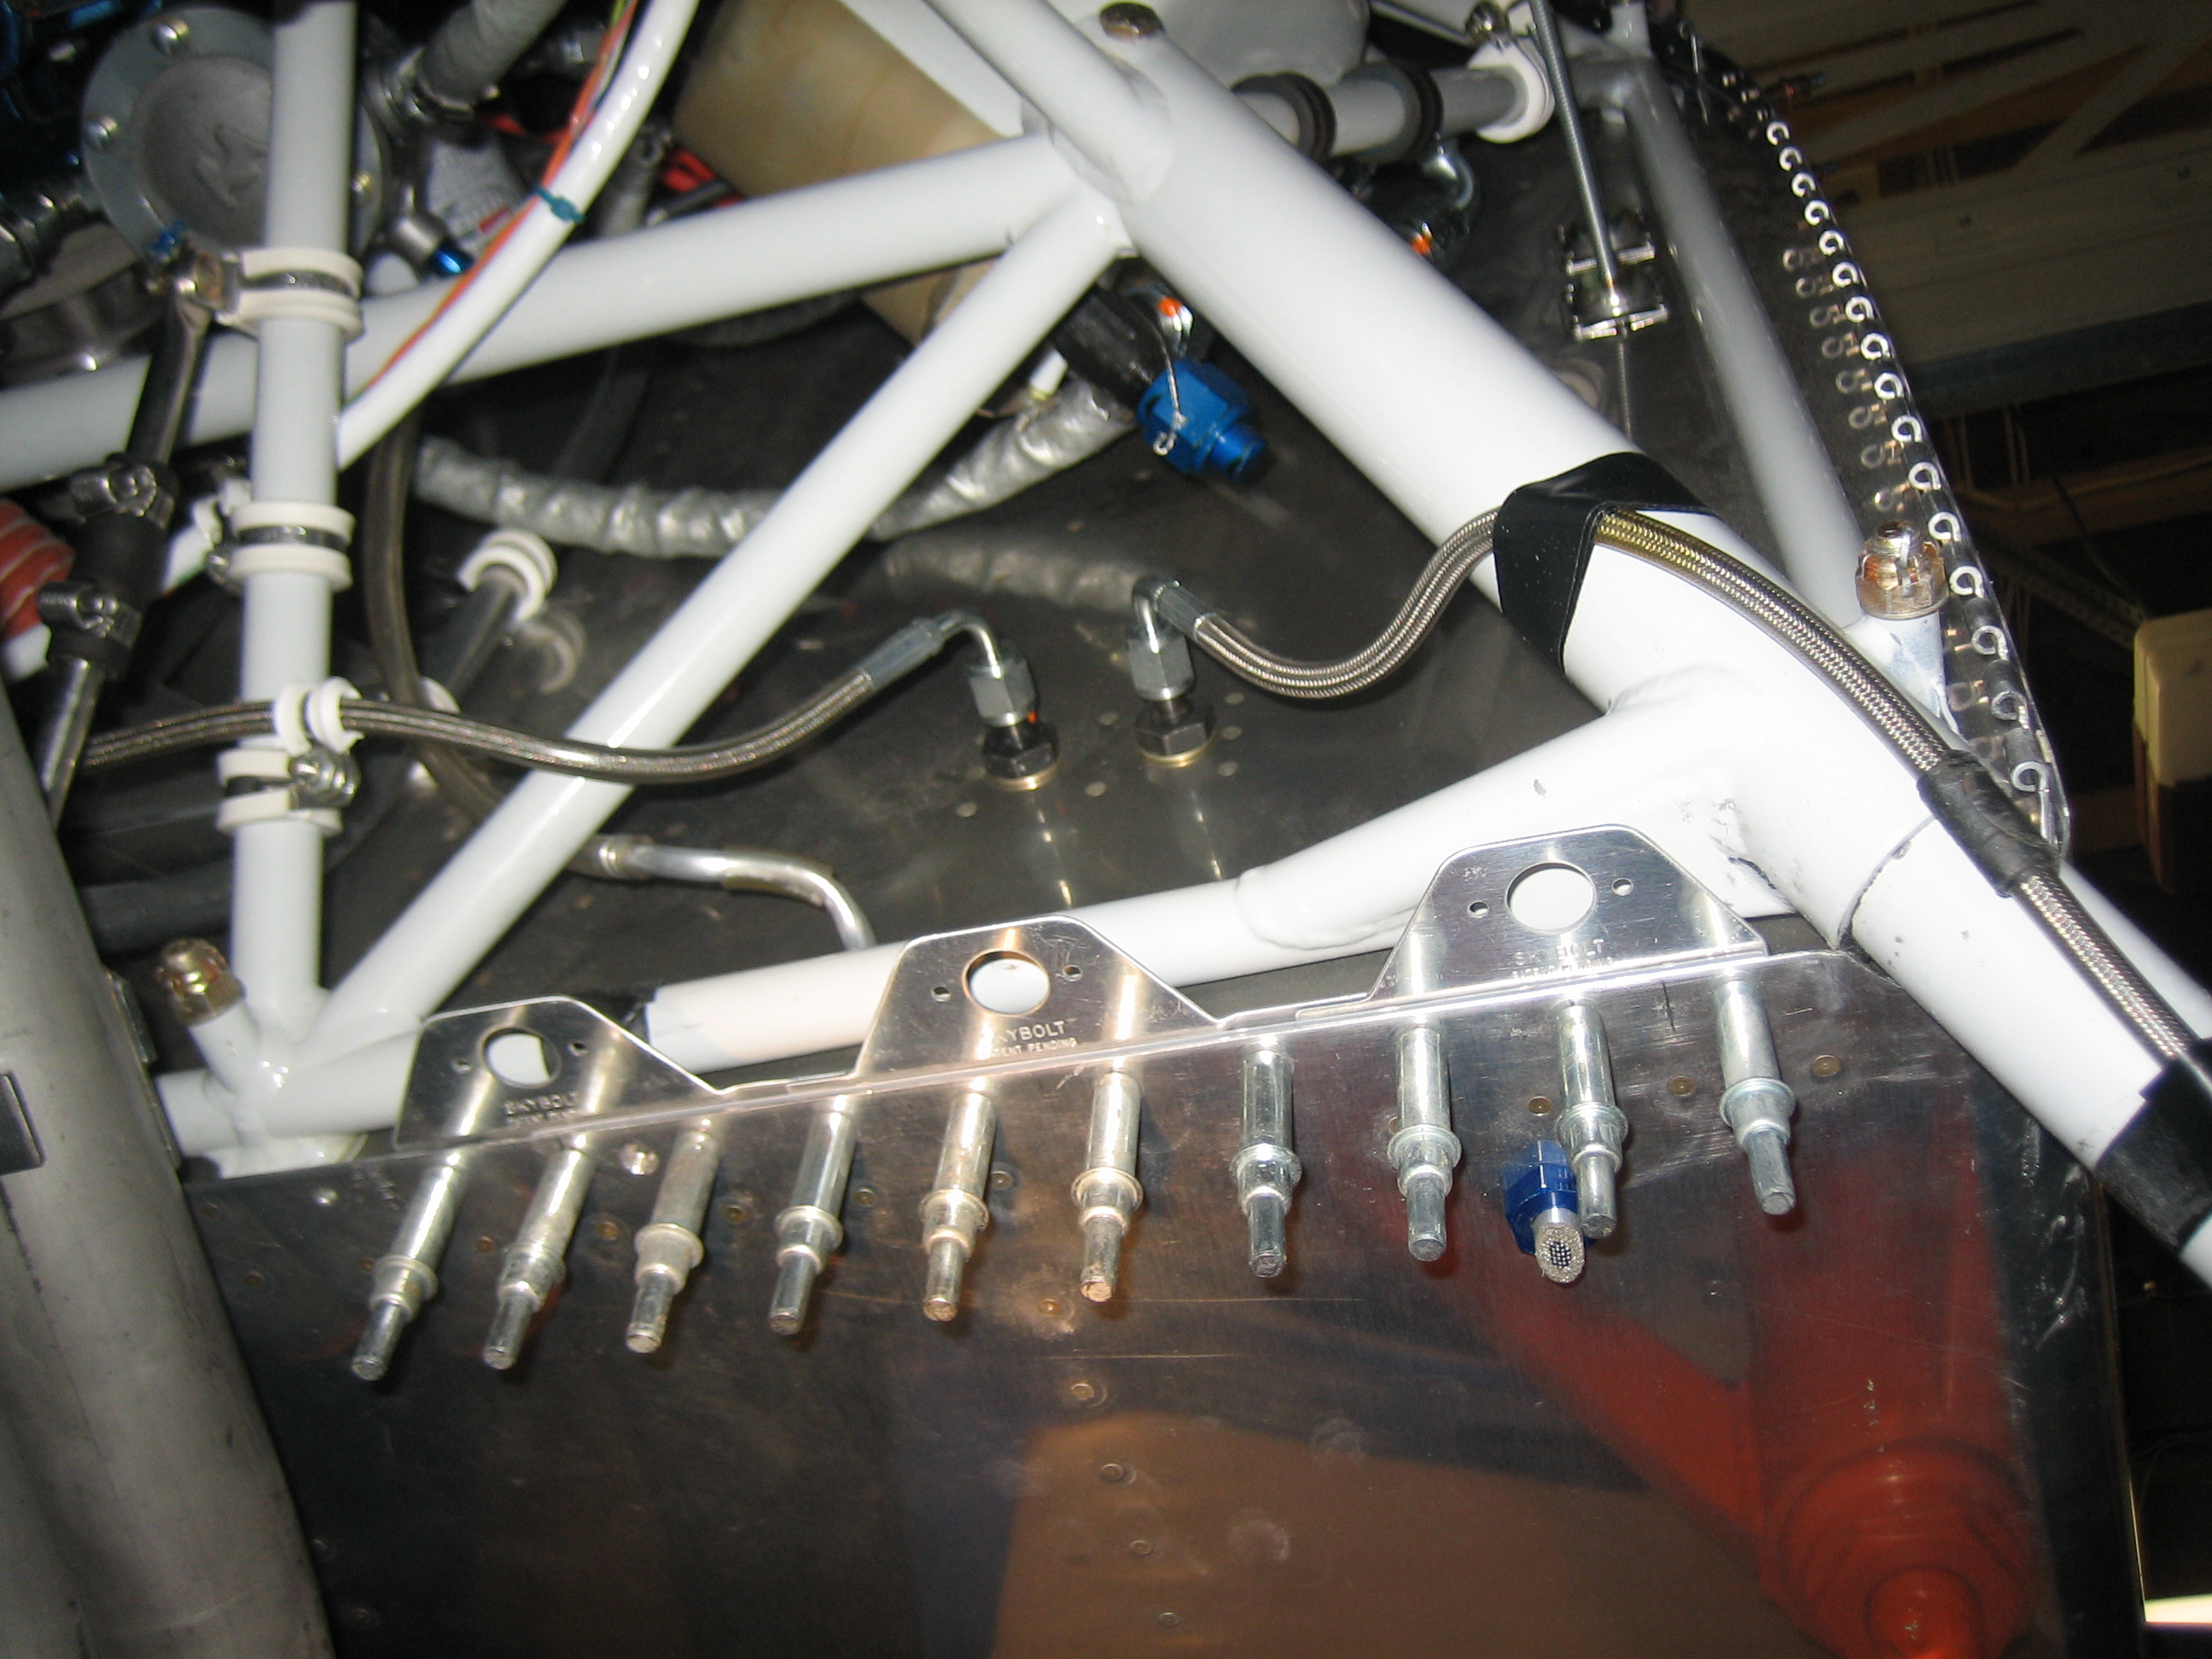
Here they are installed on the firewall. I still need to drill the holes in the cowl and then I can install the receptacles and studs/grommets.
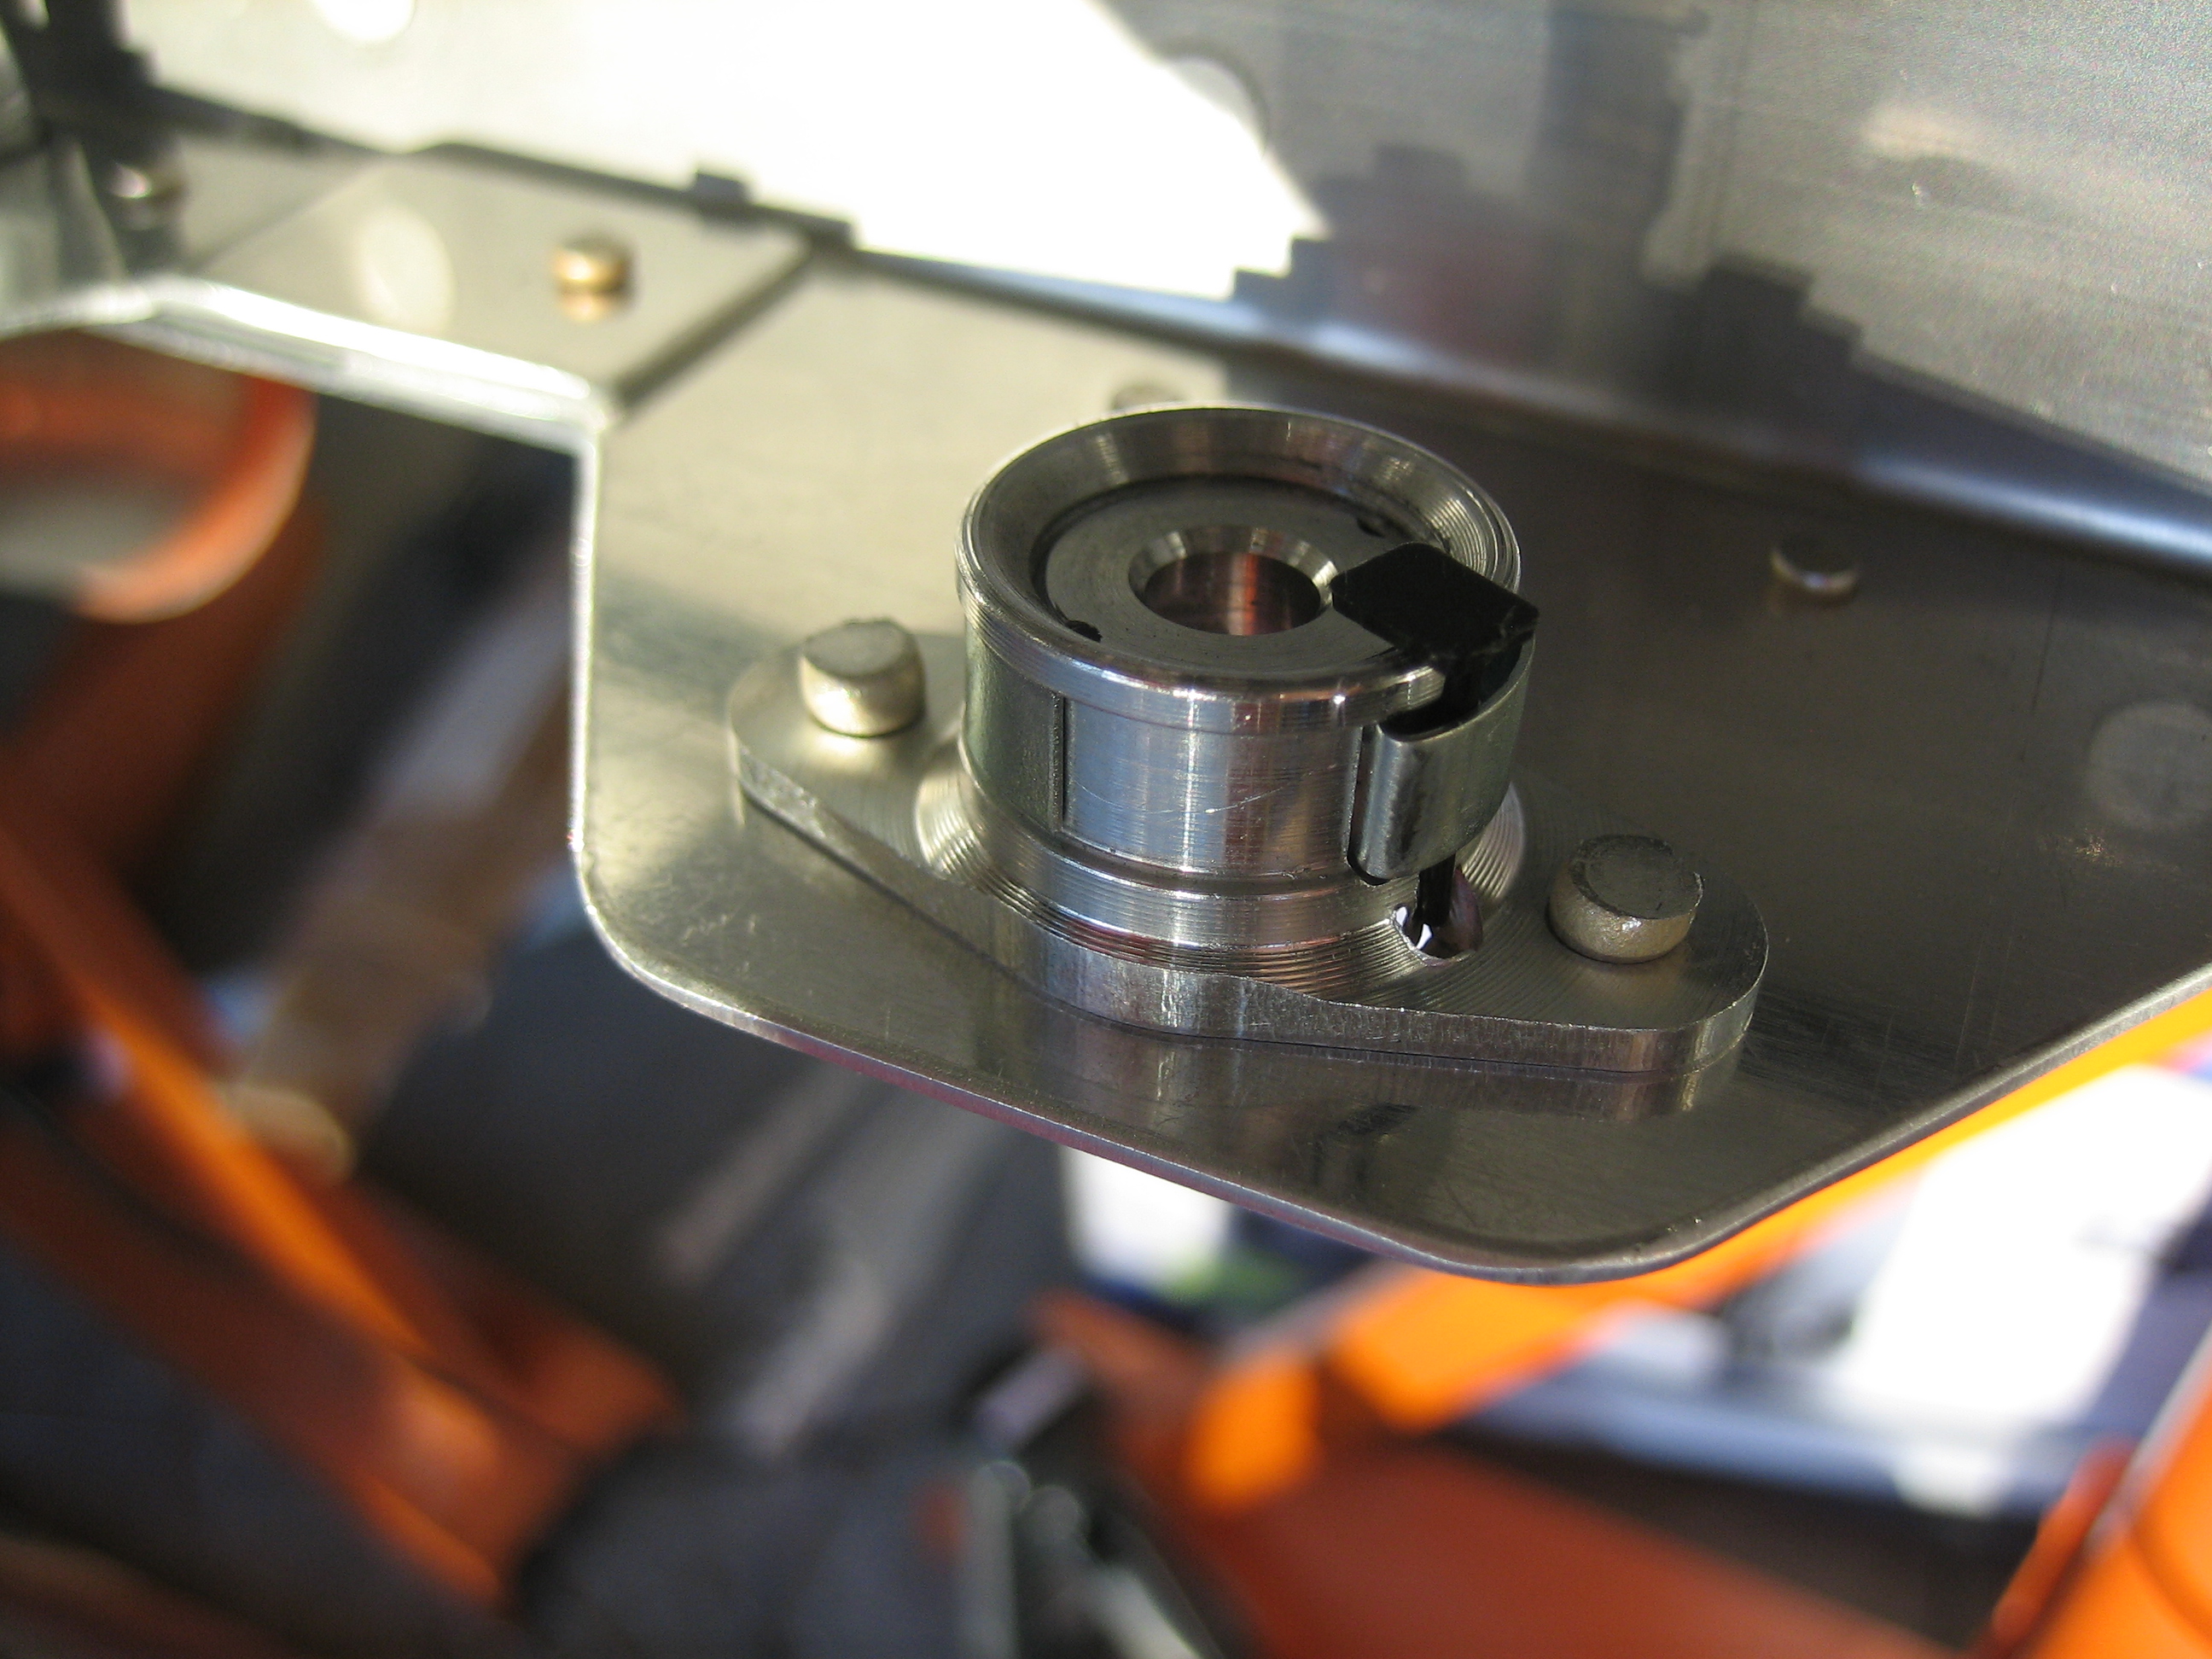
I riveted on the flanges and then riveted the receptacles in place. You can see a small black tab at the top of each one, that’s the anti-lock pin that allows the receptacle’s adjustment mechanism to turn freely.
Here’s a closer look at one of the receptacles and the anti-lock pin. You can see that the pin is holding the spring out which allows the inside portion to turn. It’s threaded into the outer housing so that you can adjust the receptacle for different panel thicknesses.
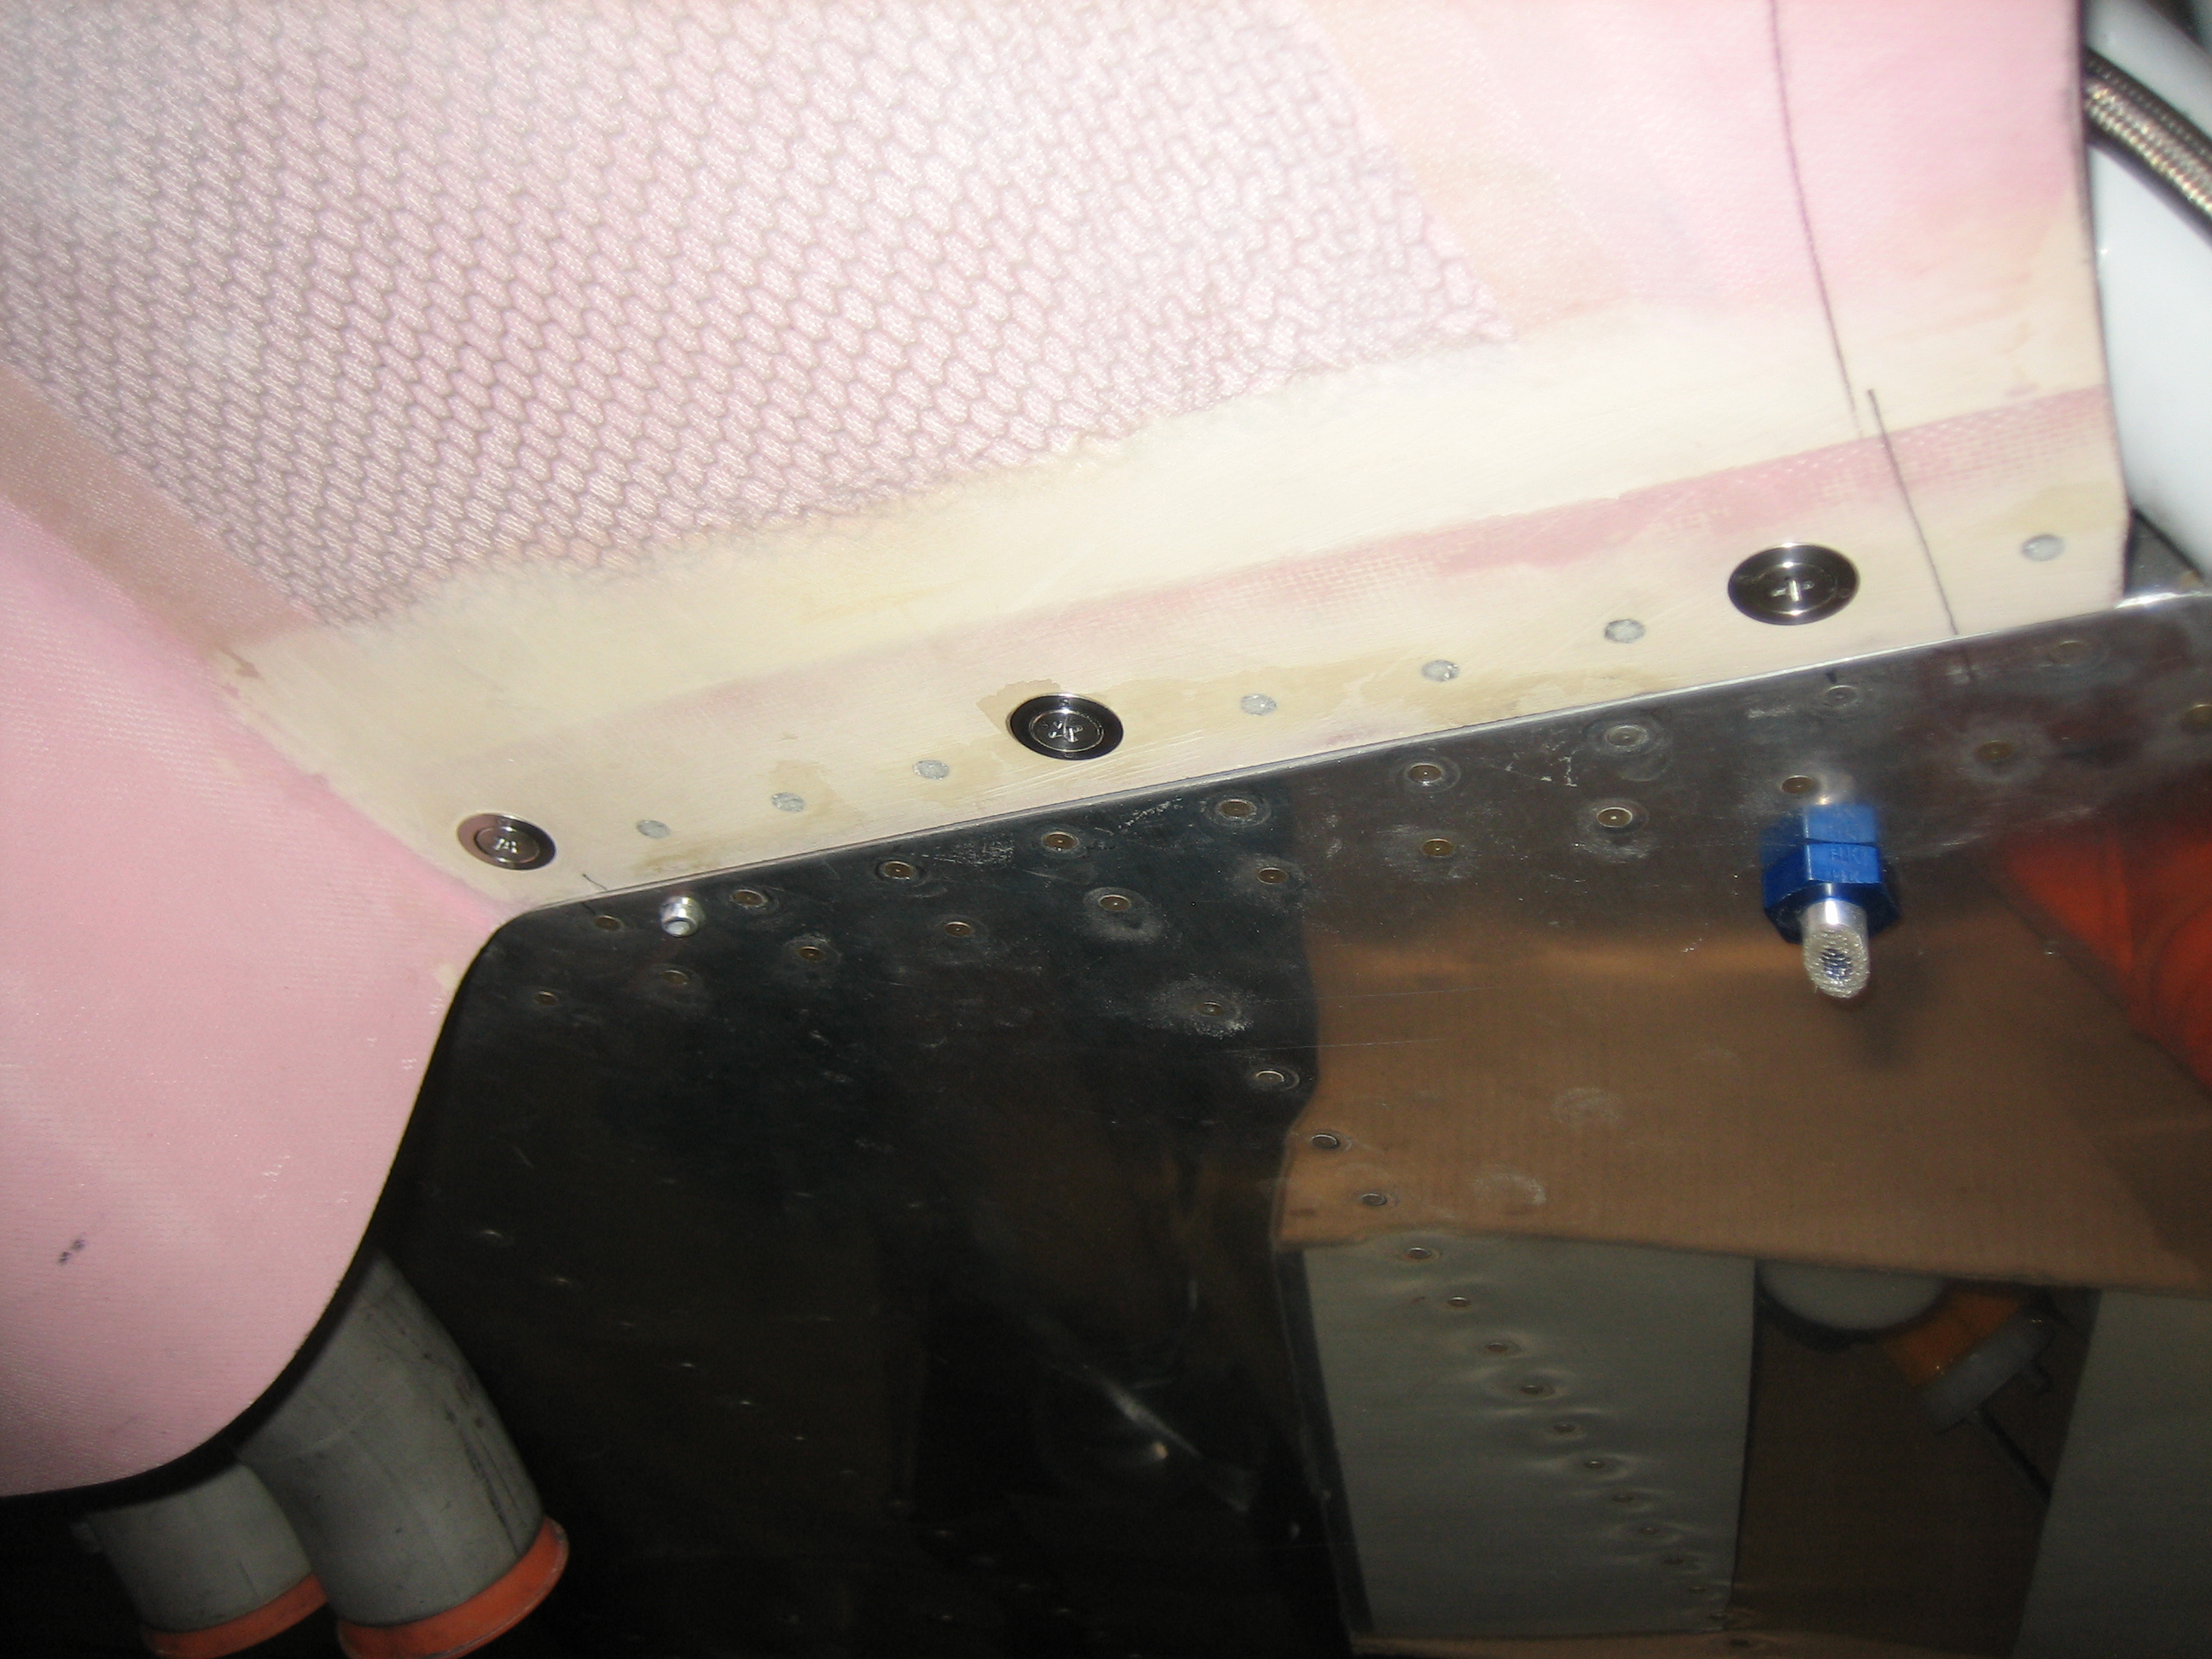
With the grommets and studs installed in the cowl (and held in place with thin o-rings for now), the studs can be locked into the receptacles and then tightened until they’re flush with the grommets. This compresses the spring on the stud which provides sufficient clamping force to prevent the stud from unlocking from the receptacle. After I adjusted the studs so that they were flush with the grommets, I removed the cowl and then removed the locking pins so that the receptacles can’t move.
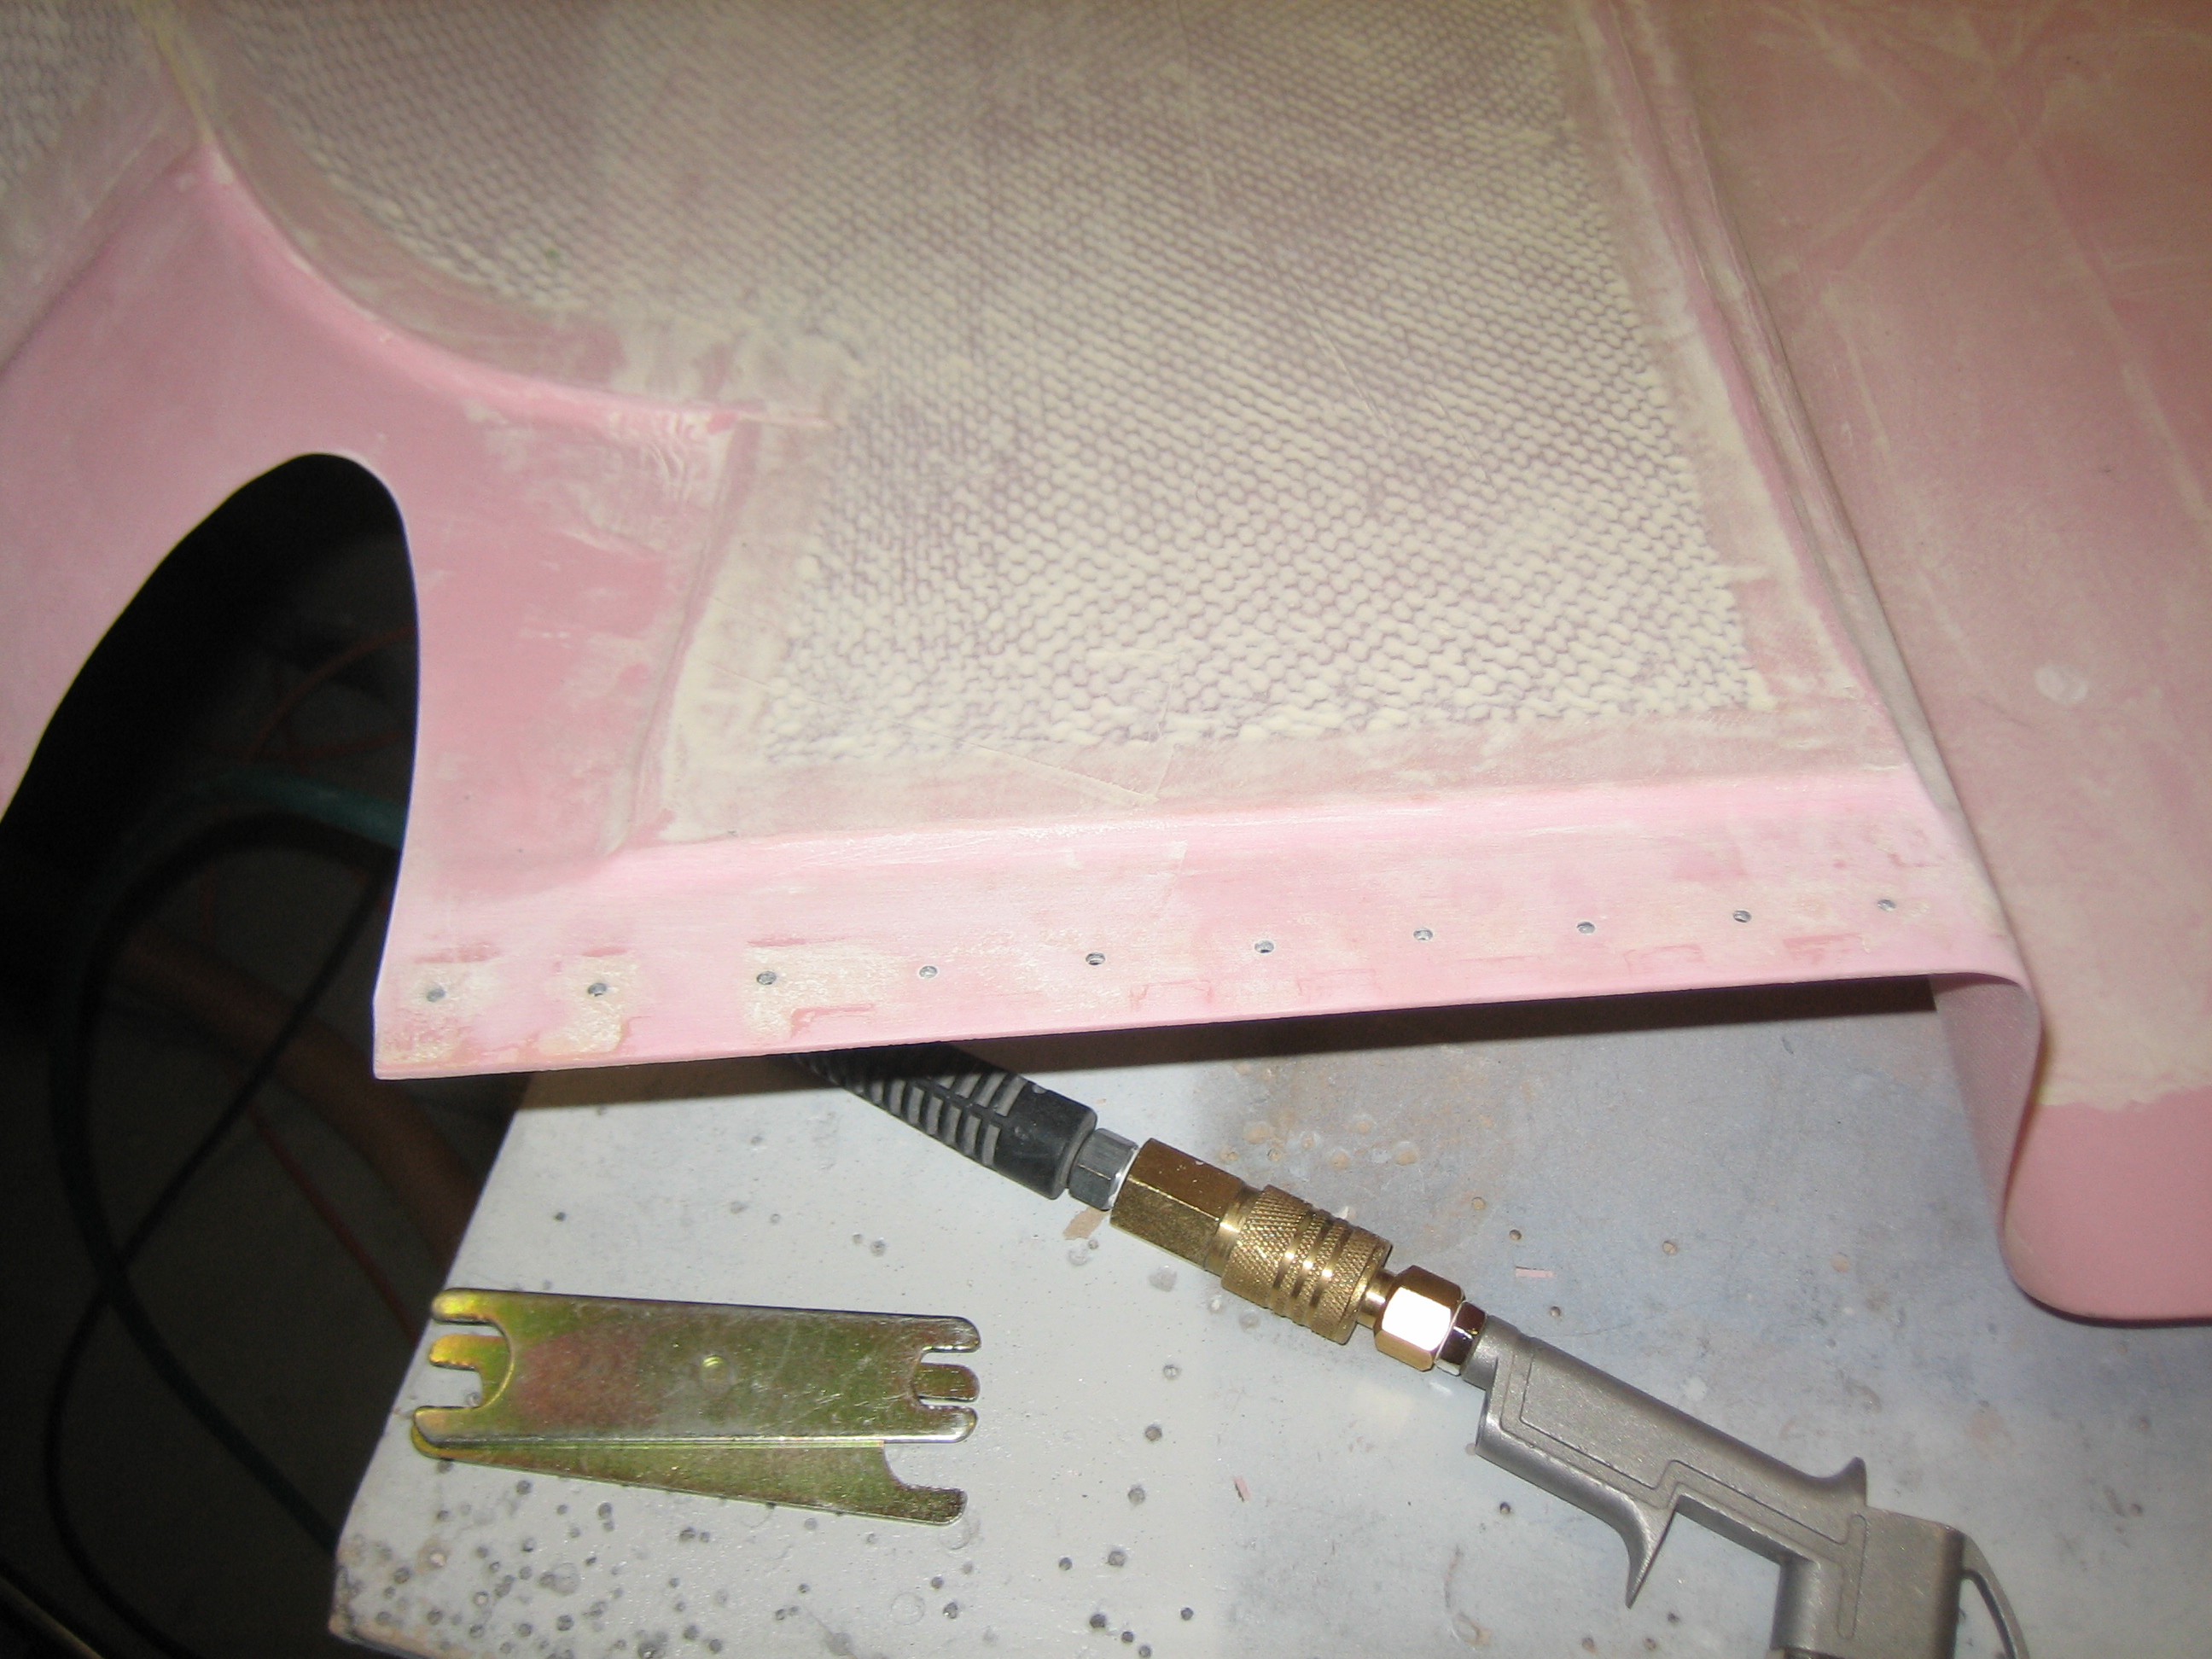
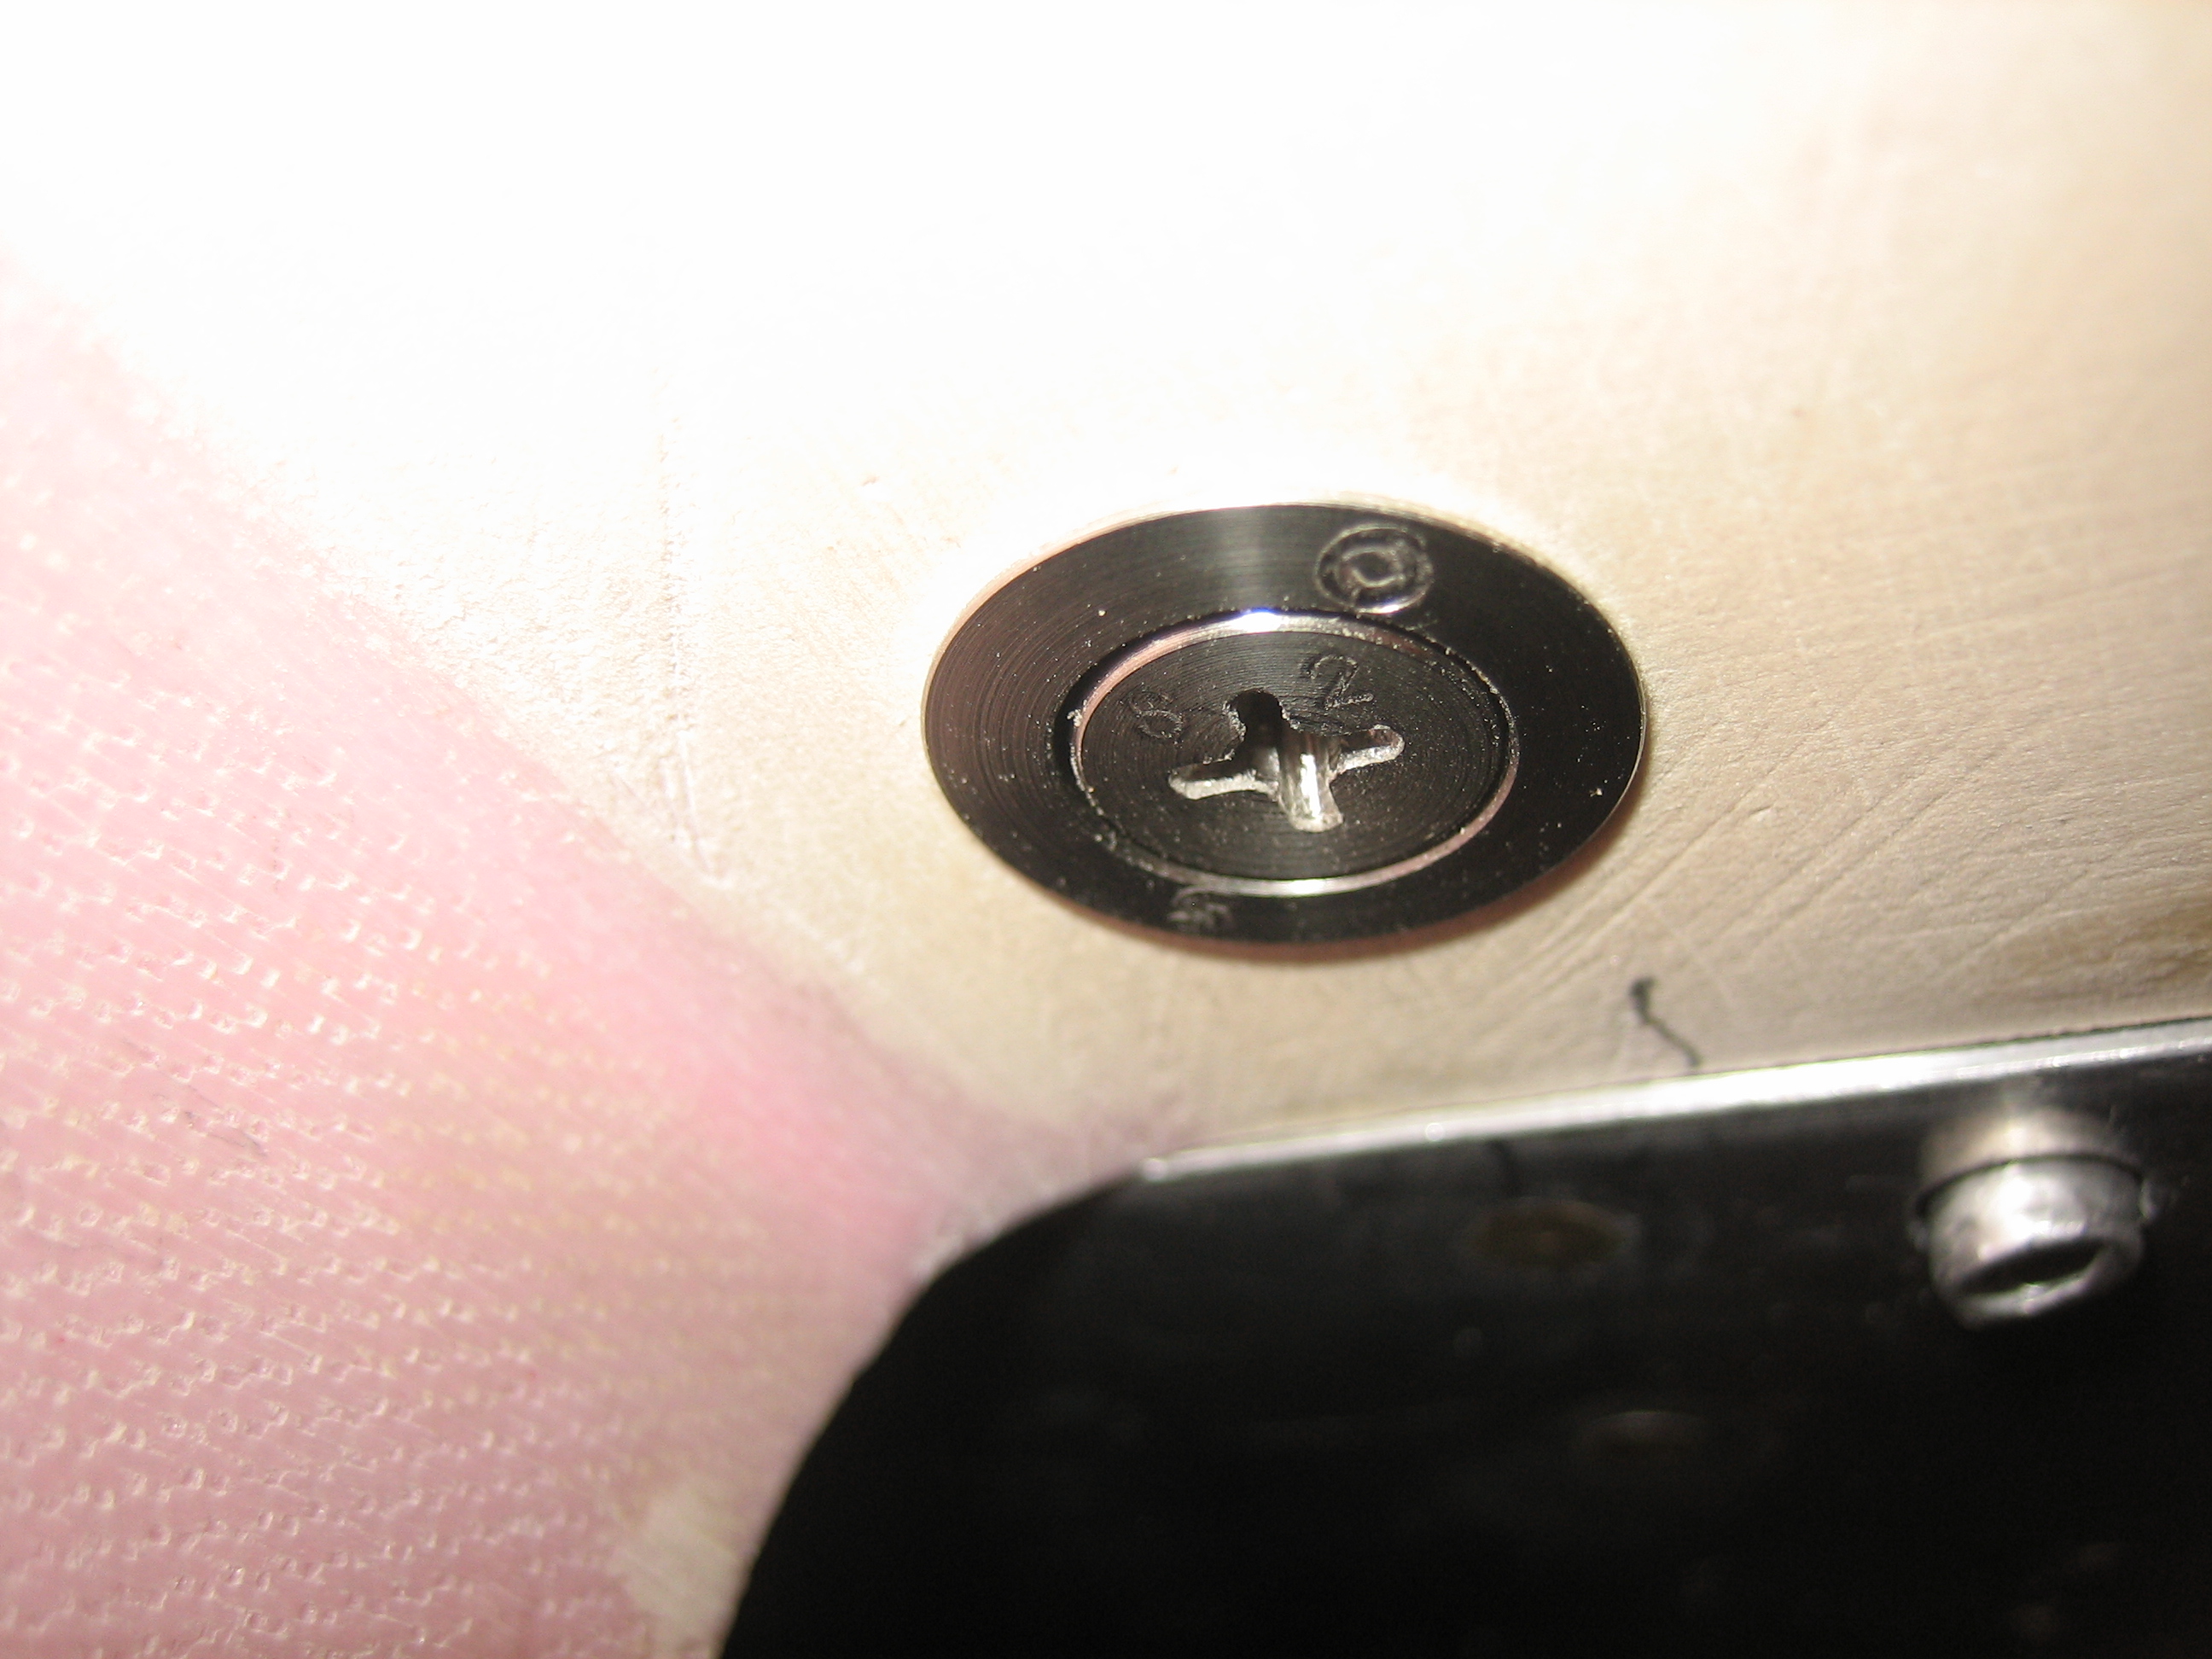
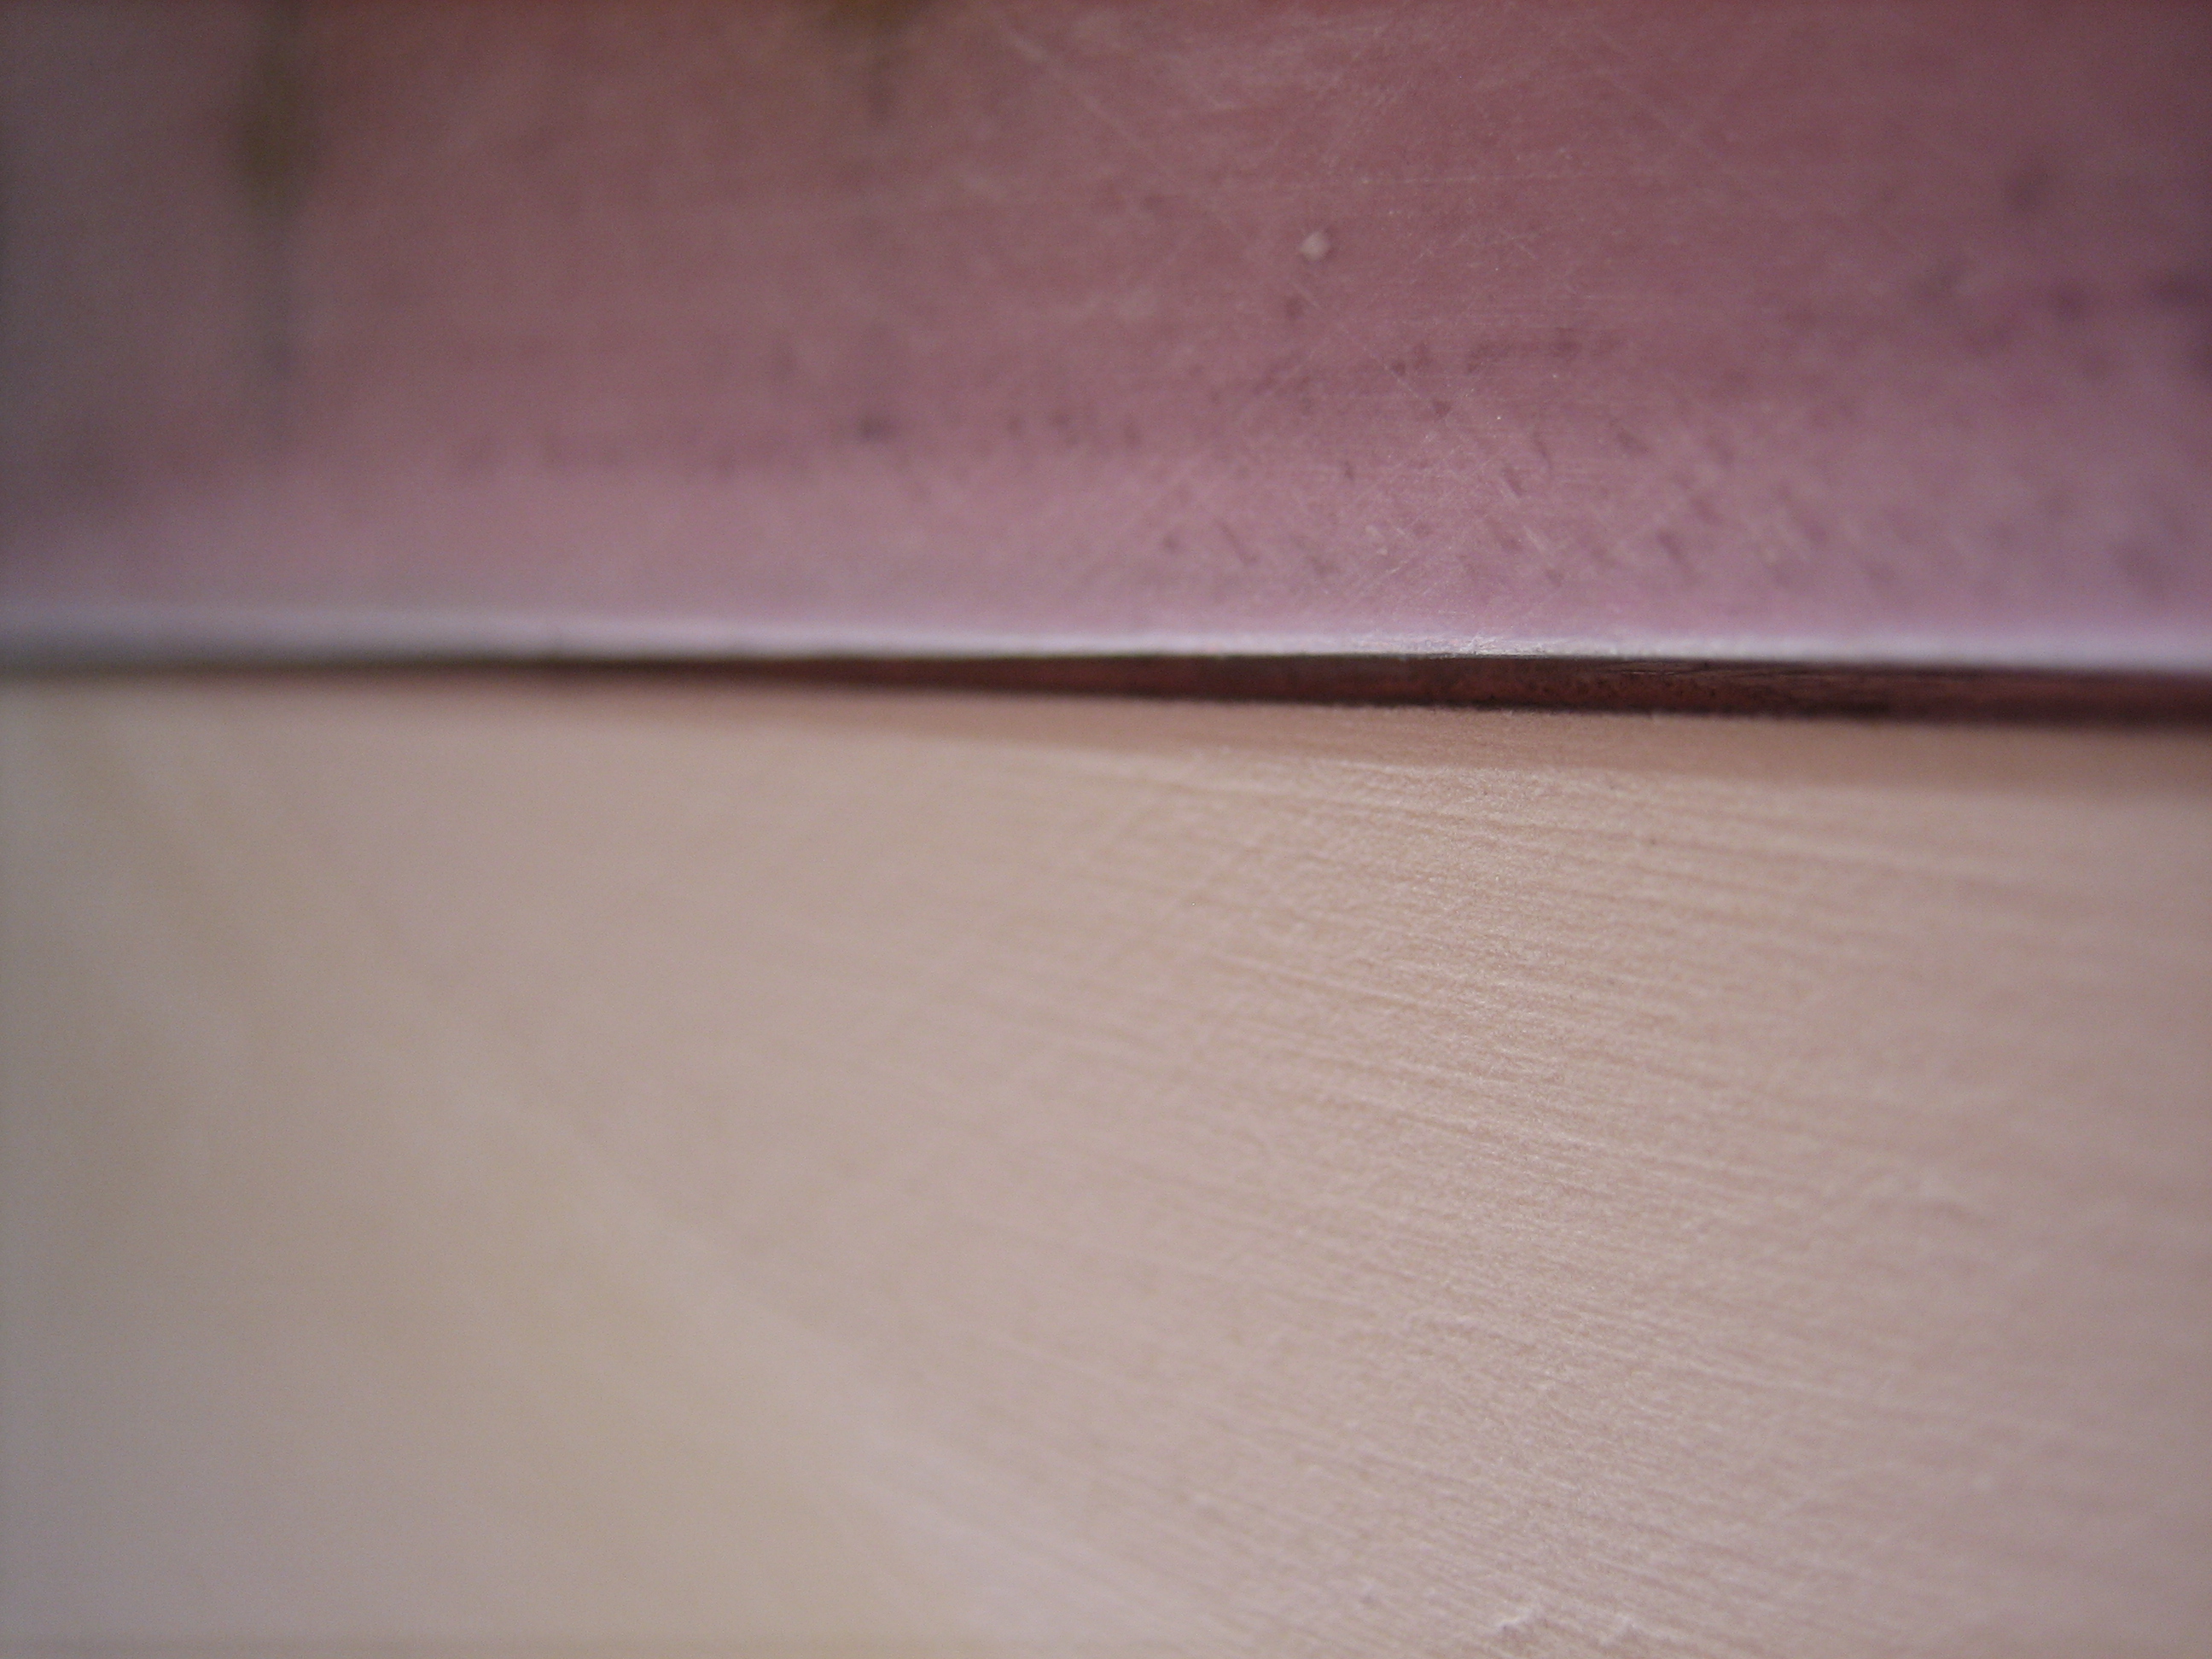
You can see that this results in a nice flush fit for the stud. You can also see in this picture that the cowl is now a little bit recessed below the plane of the lower fuselage skin. I still need to add some filler to this area to smooth out all of the filled rivet holes. If that doesn’t bring these into perfect alignment, I can always add a shim to the flange to space the cowl down a bit. Overall, I’m really happy with how these turned out and I think I will like this approach far better than the hinge pins I originally went with.
Work is still keeping me pretty busy, but I put in an hour or so tonight. I first reassembled the cowl to see where I need to do some further sanding.
I spent a little time on the side joints to get them as flush as I can.
I also opened up the gap between the cowl and firewall all the way around to 1/32″. I don’t know for sure if this is a sufficiently large gap for paint, but I can always open it up further before taking it to the paint shop.
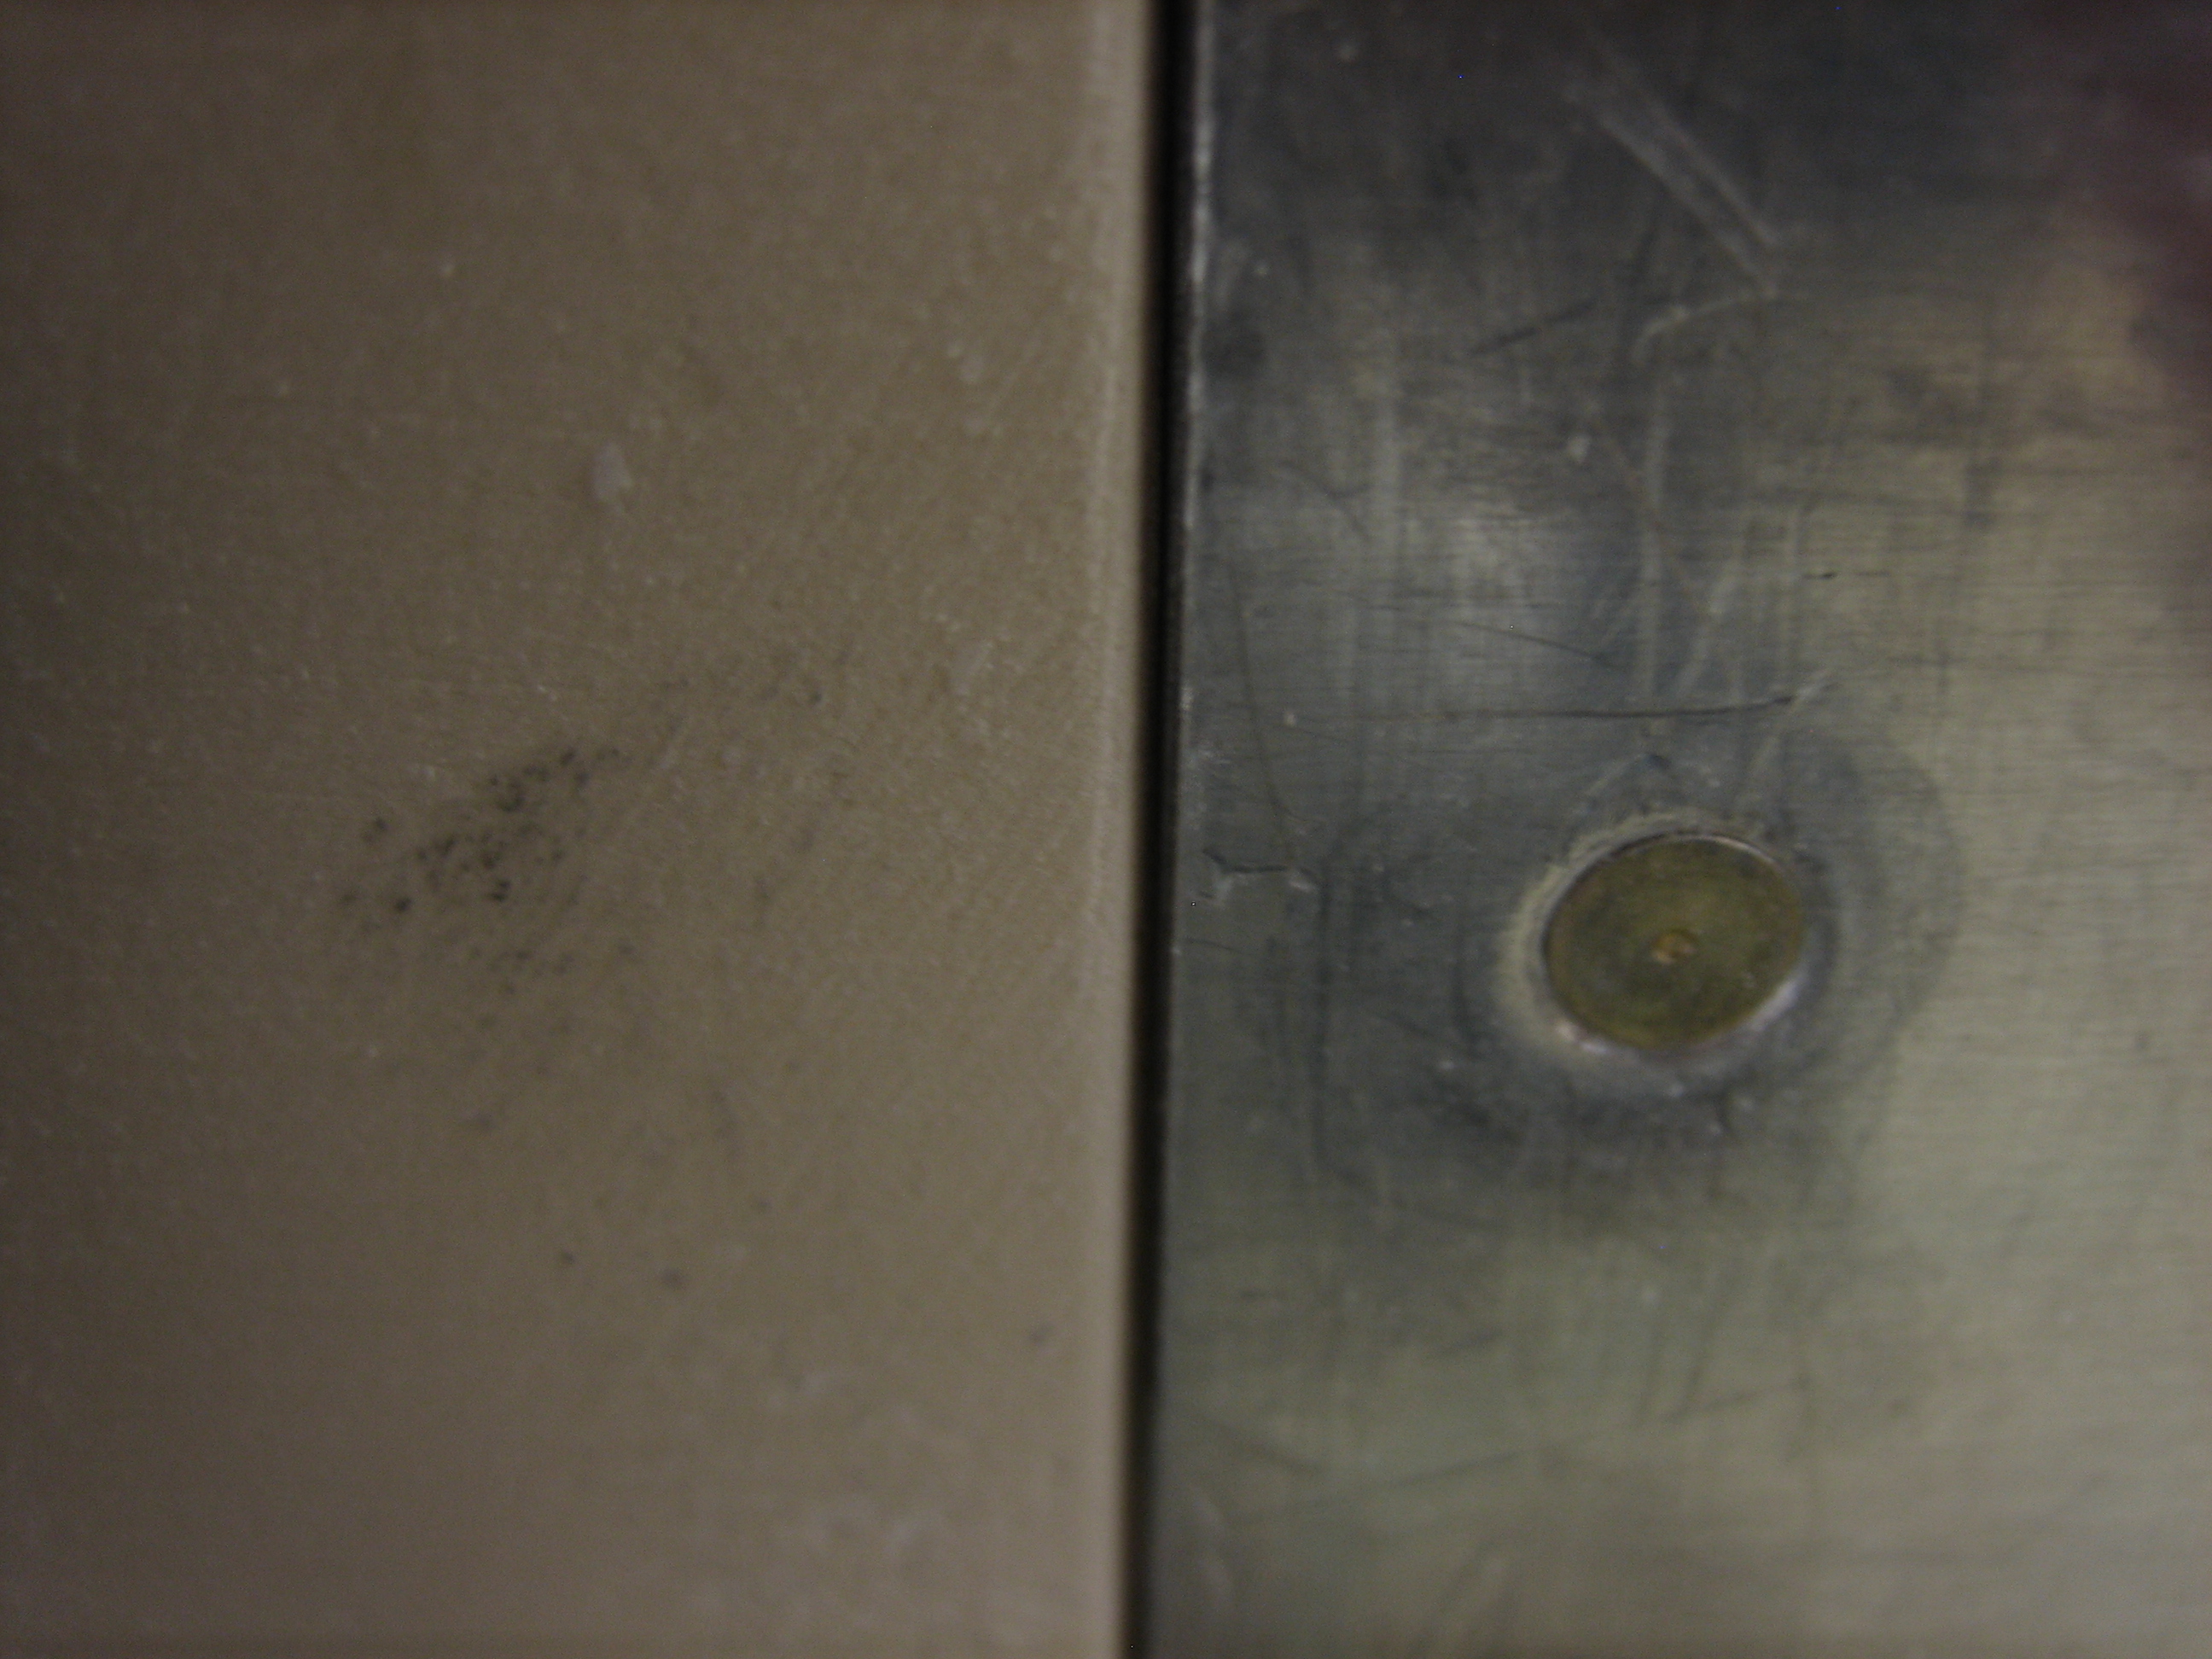
I opened up the gap between the upper and lower cowl to 1/32″ for now. I ended up using a scrap of 0.032″ aluminum as a scraper which worked great.
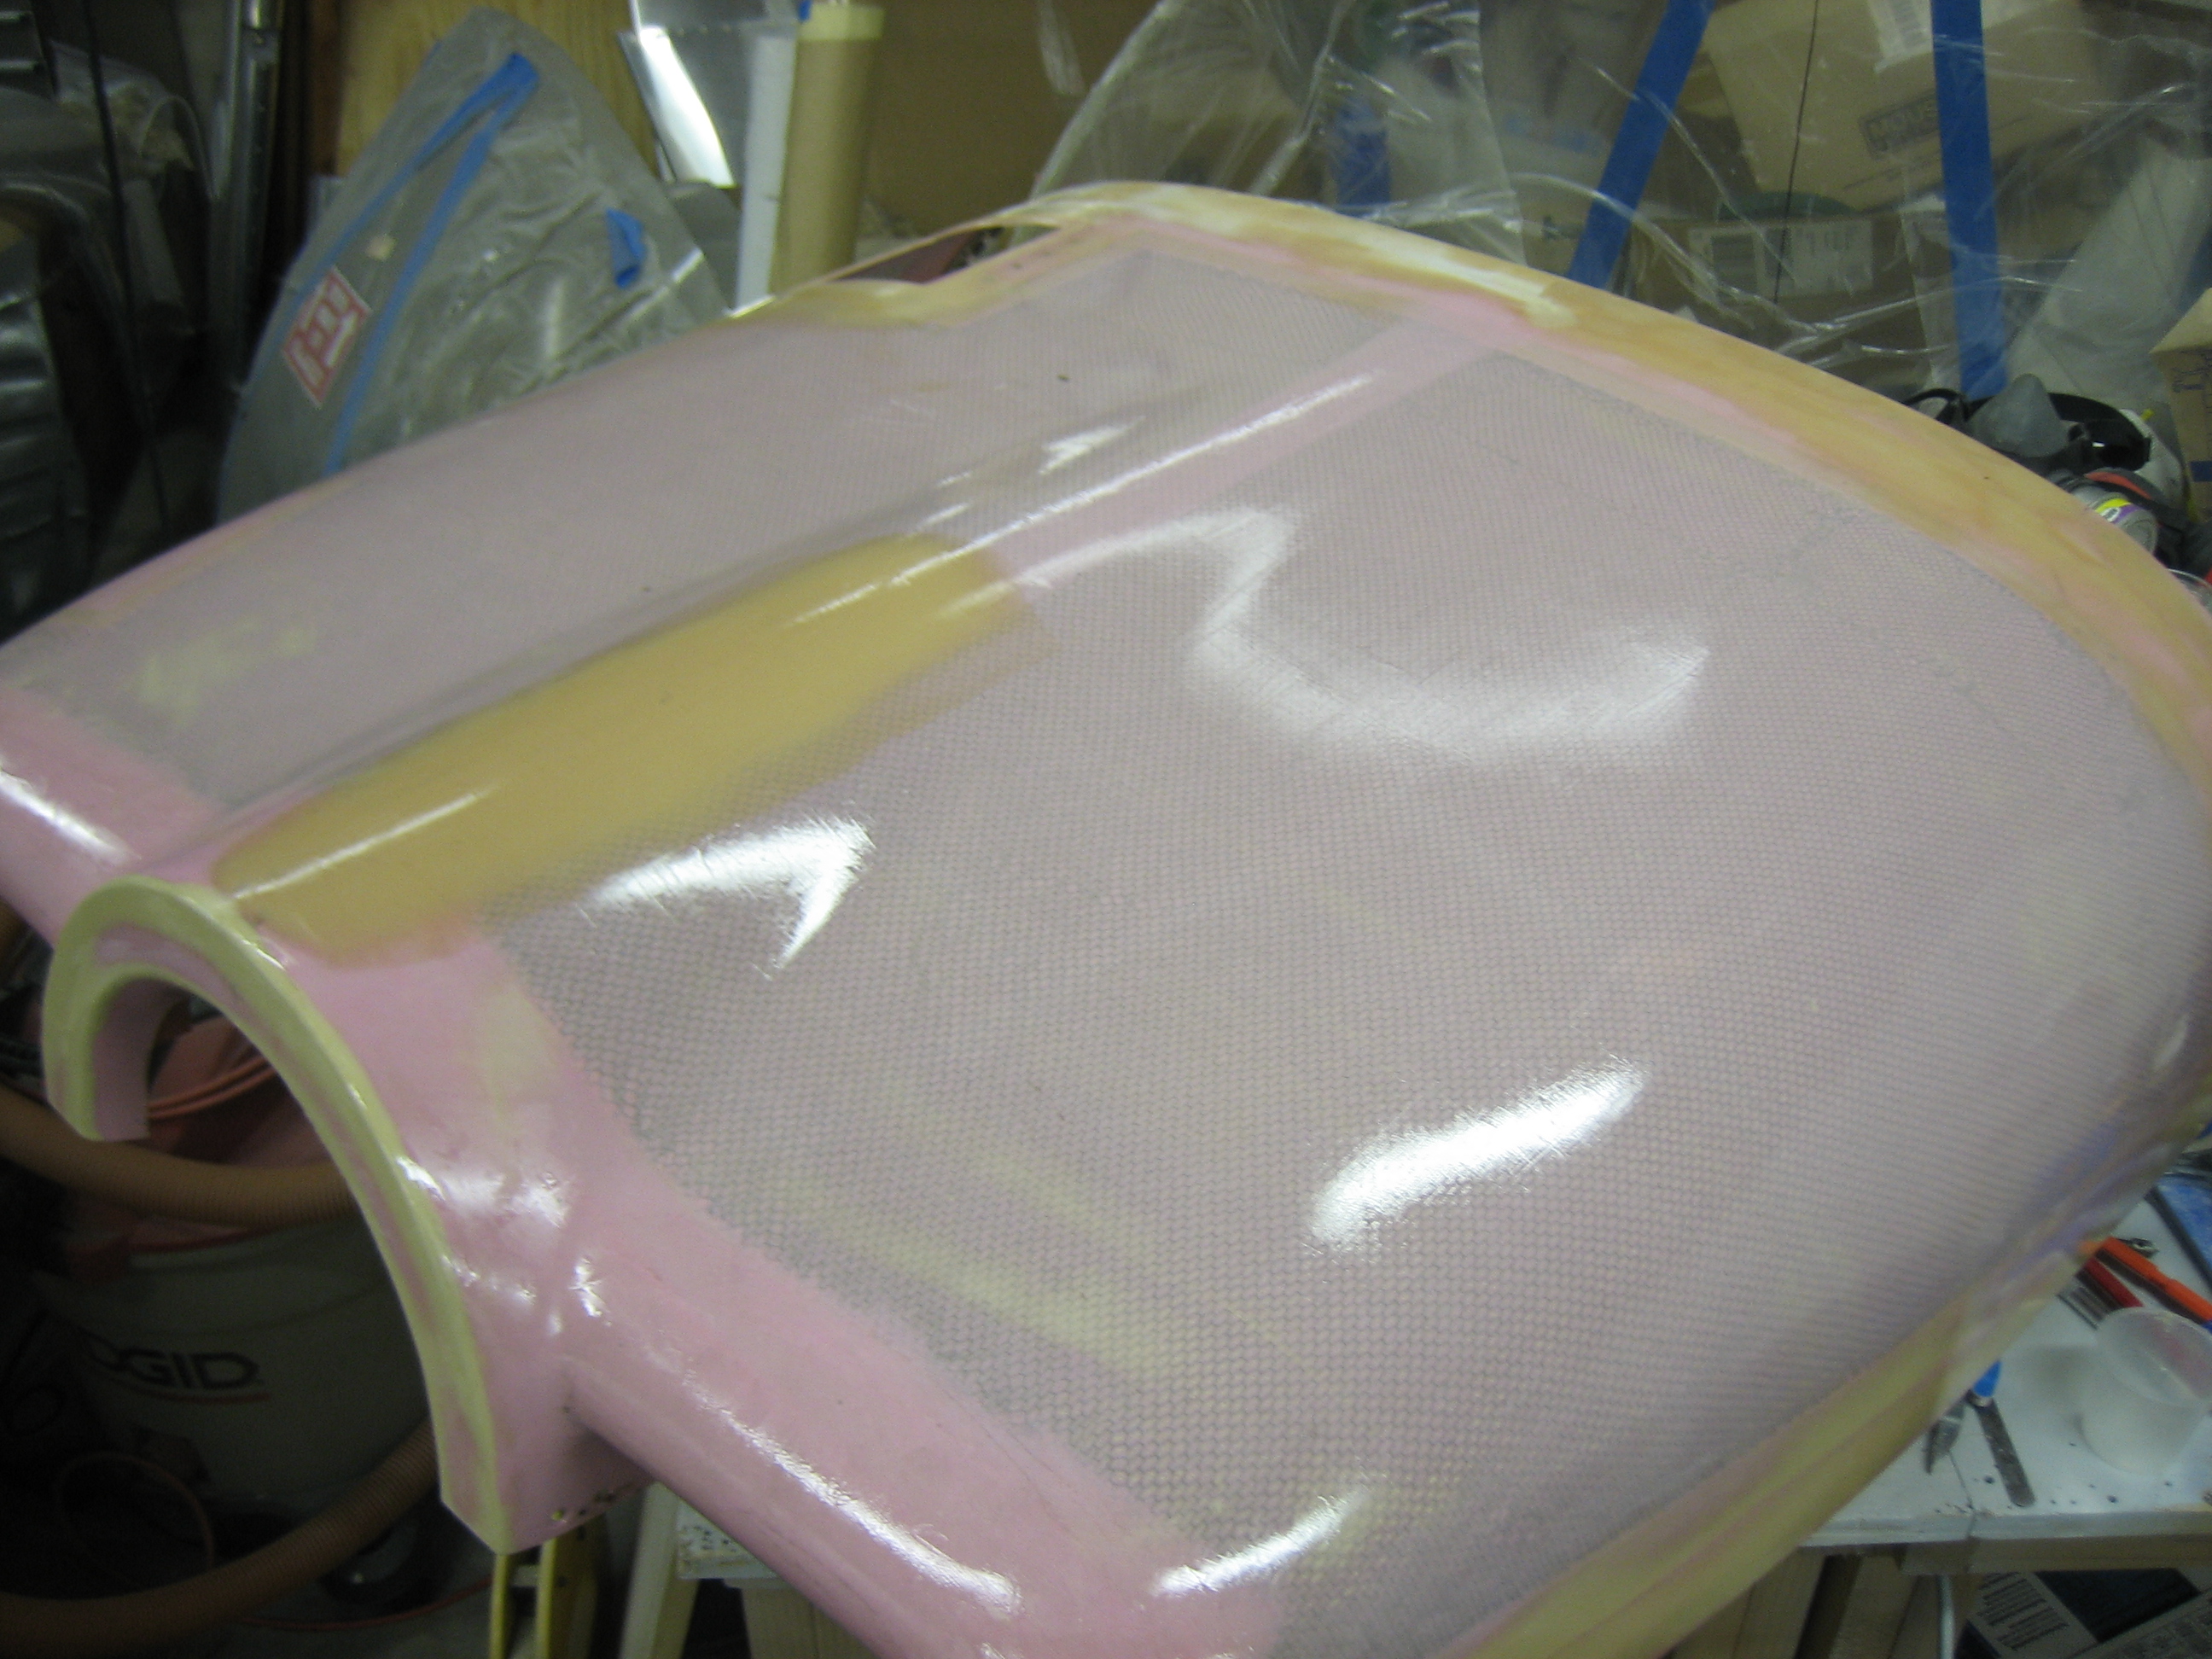
I also applied a couple of coats of epoxy on the outside of the lower cowl to seal it and fill the pinholes.