Filled Gaps in Recess

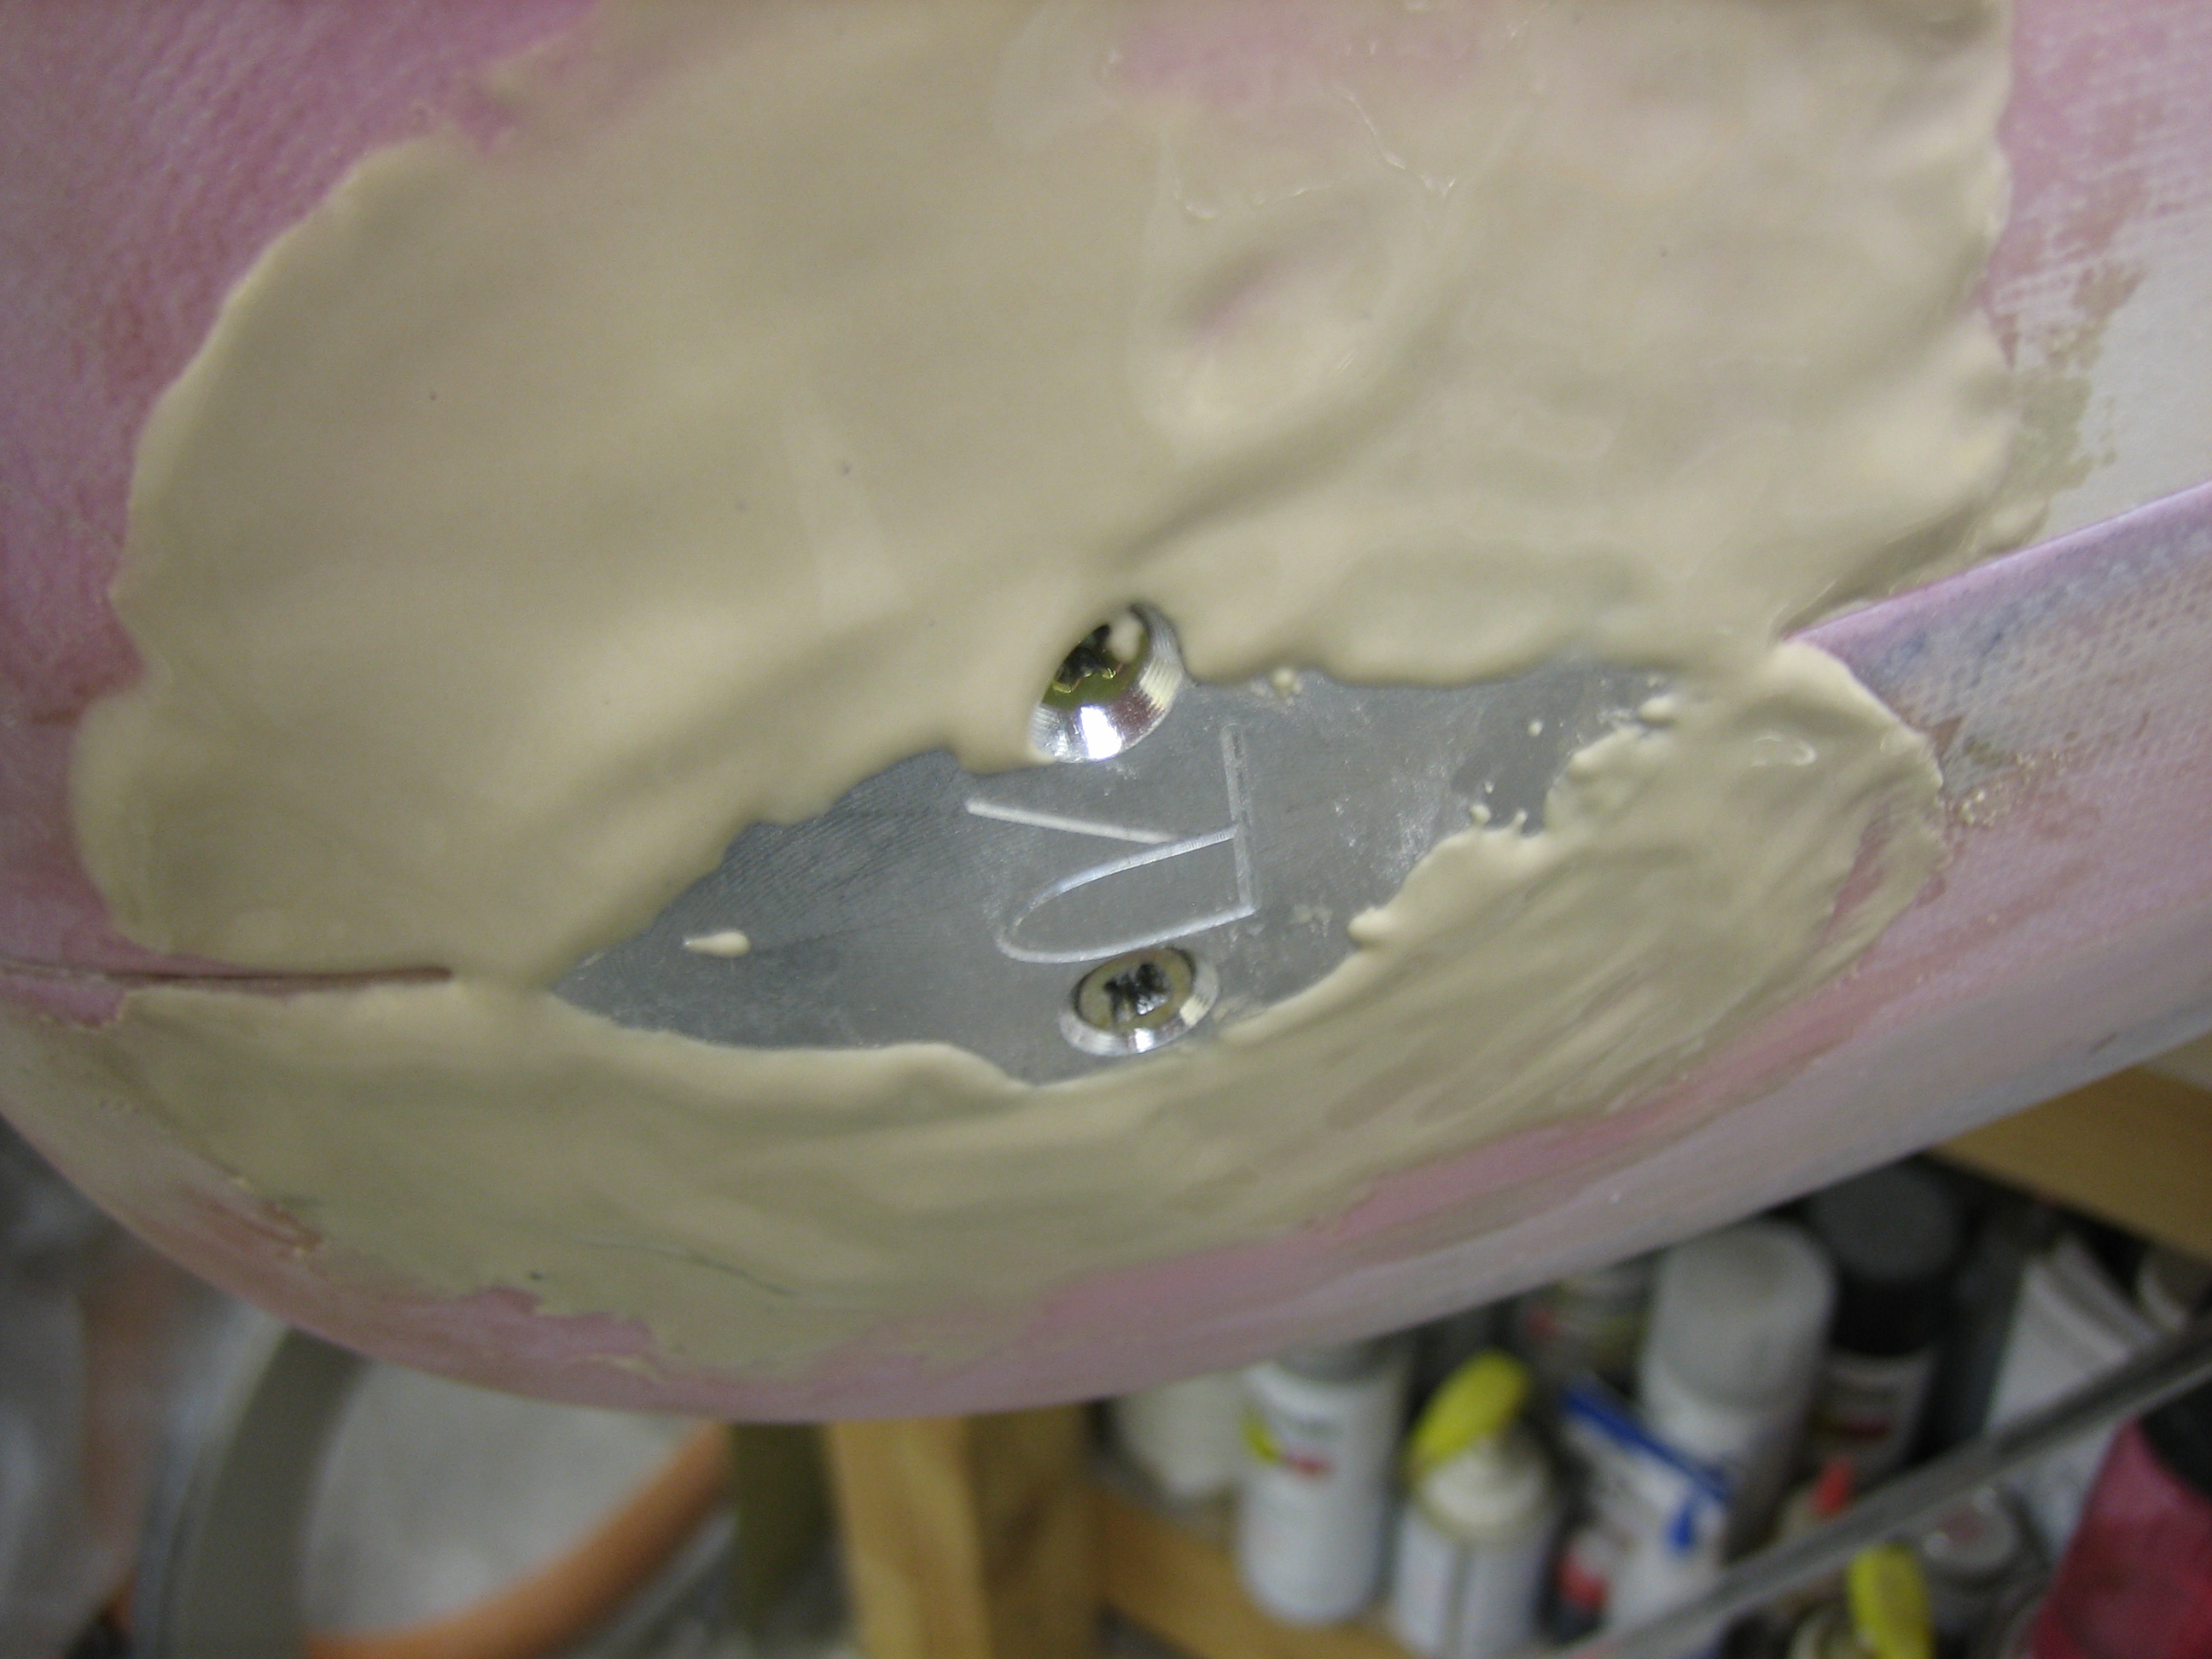
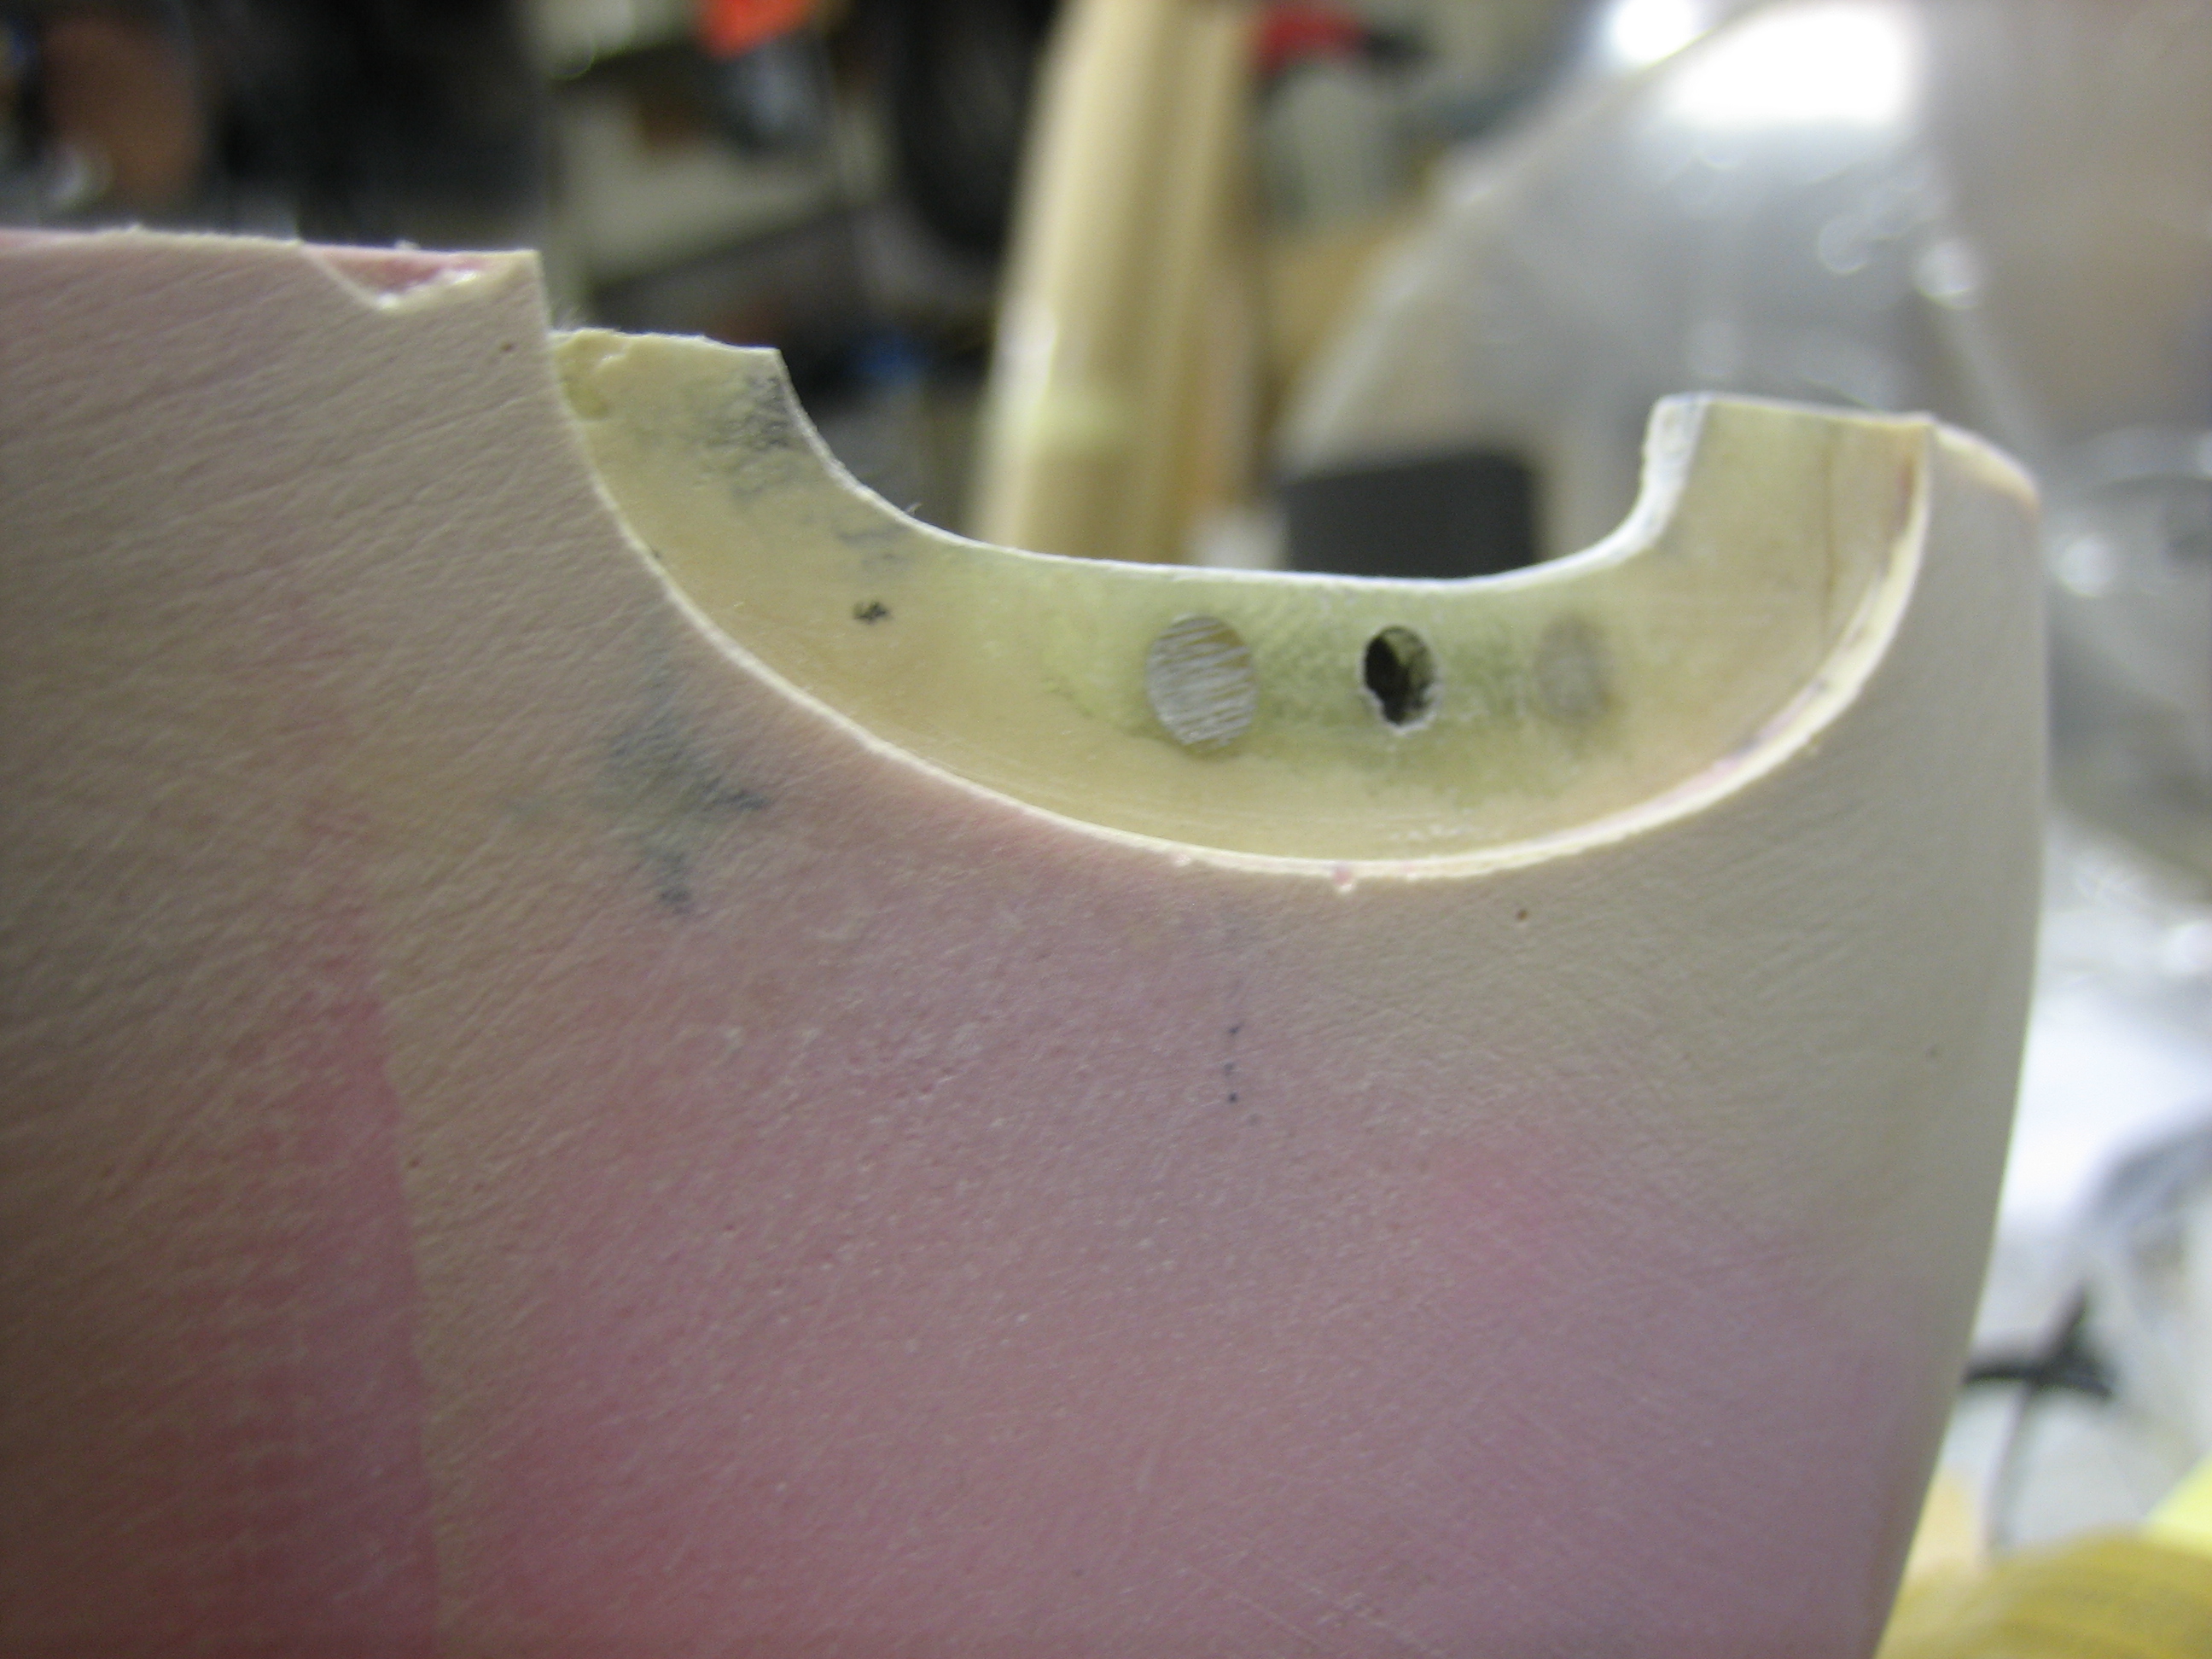
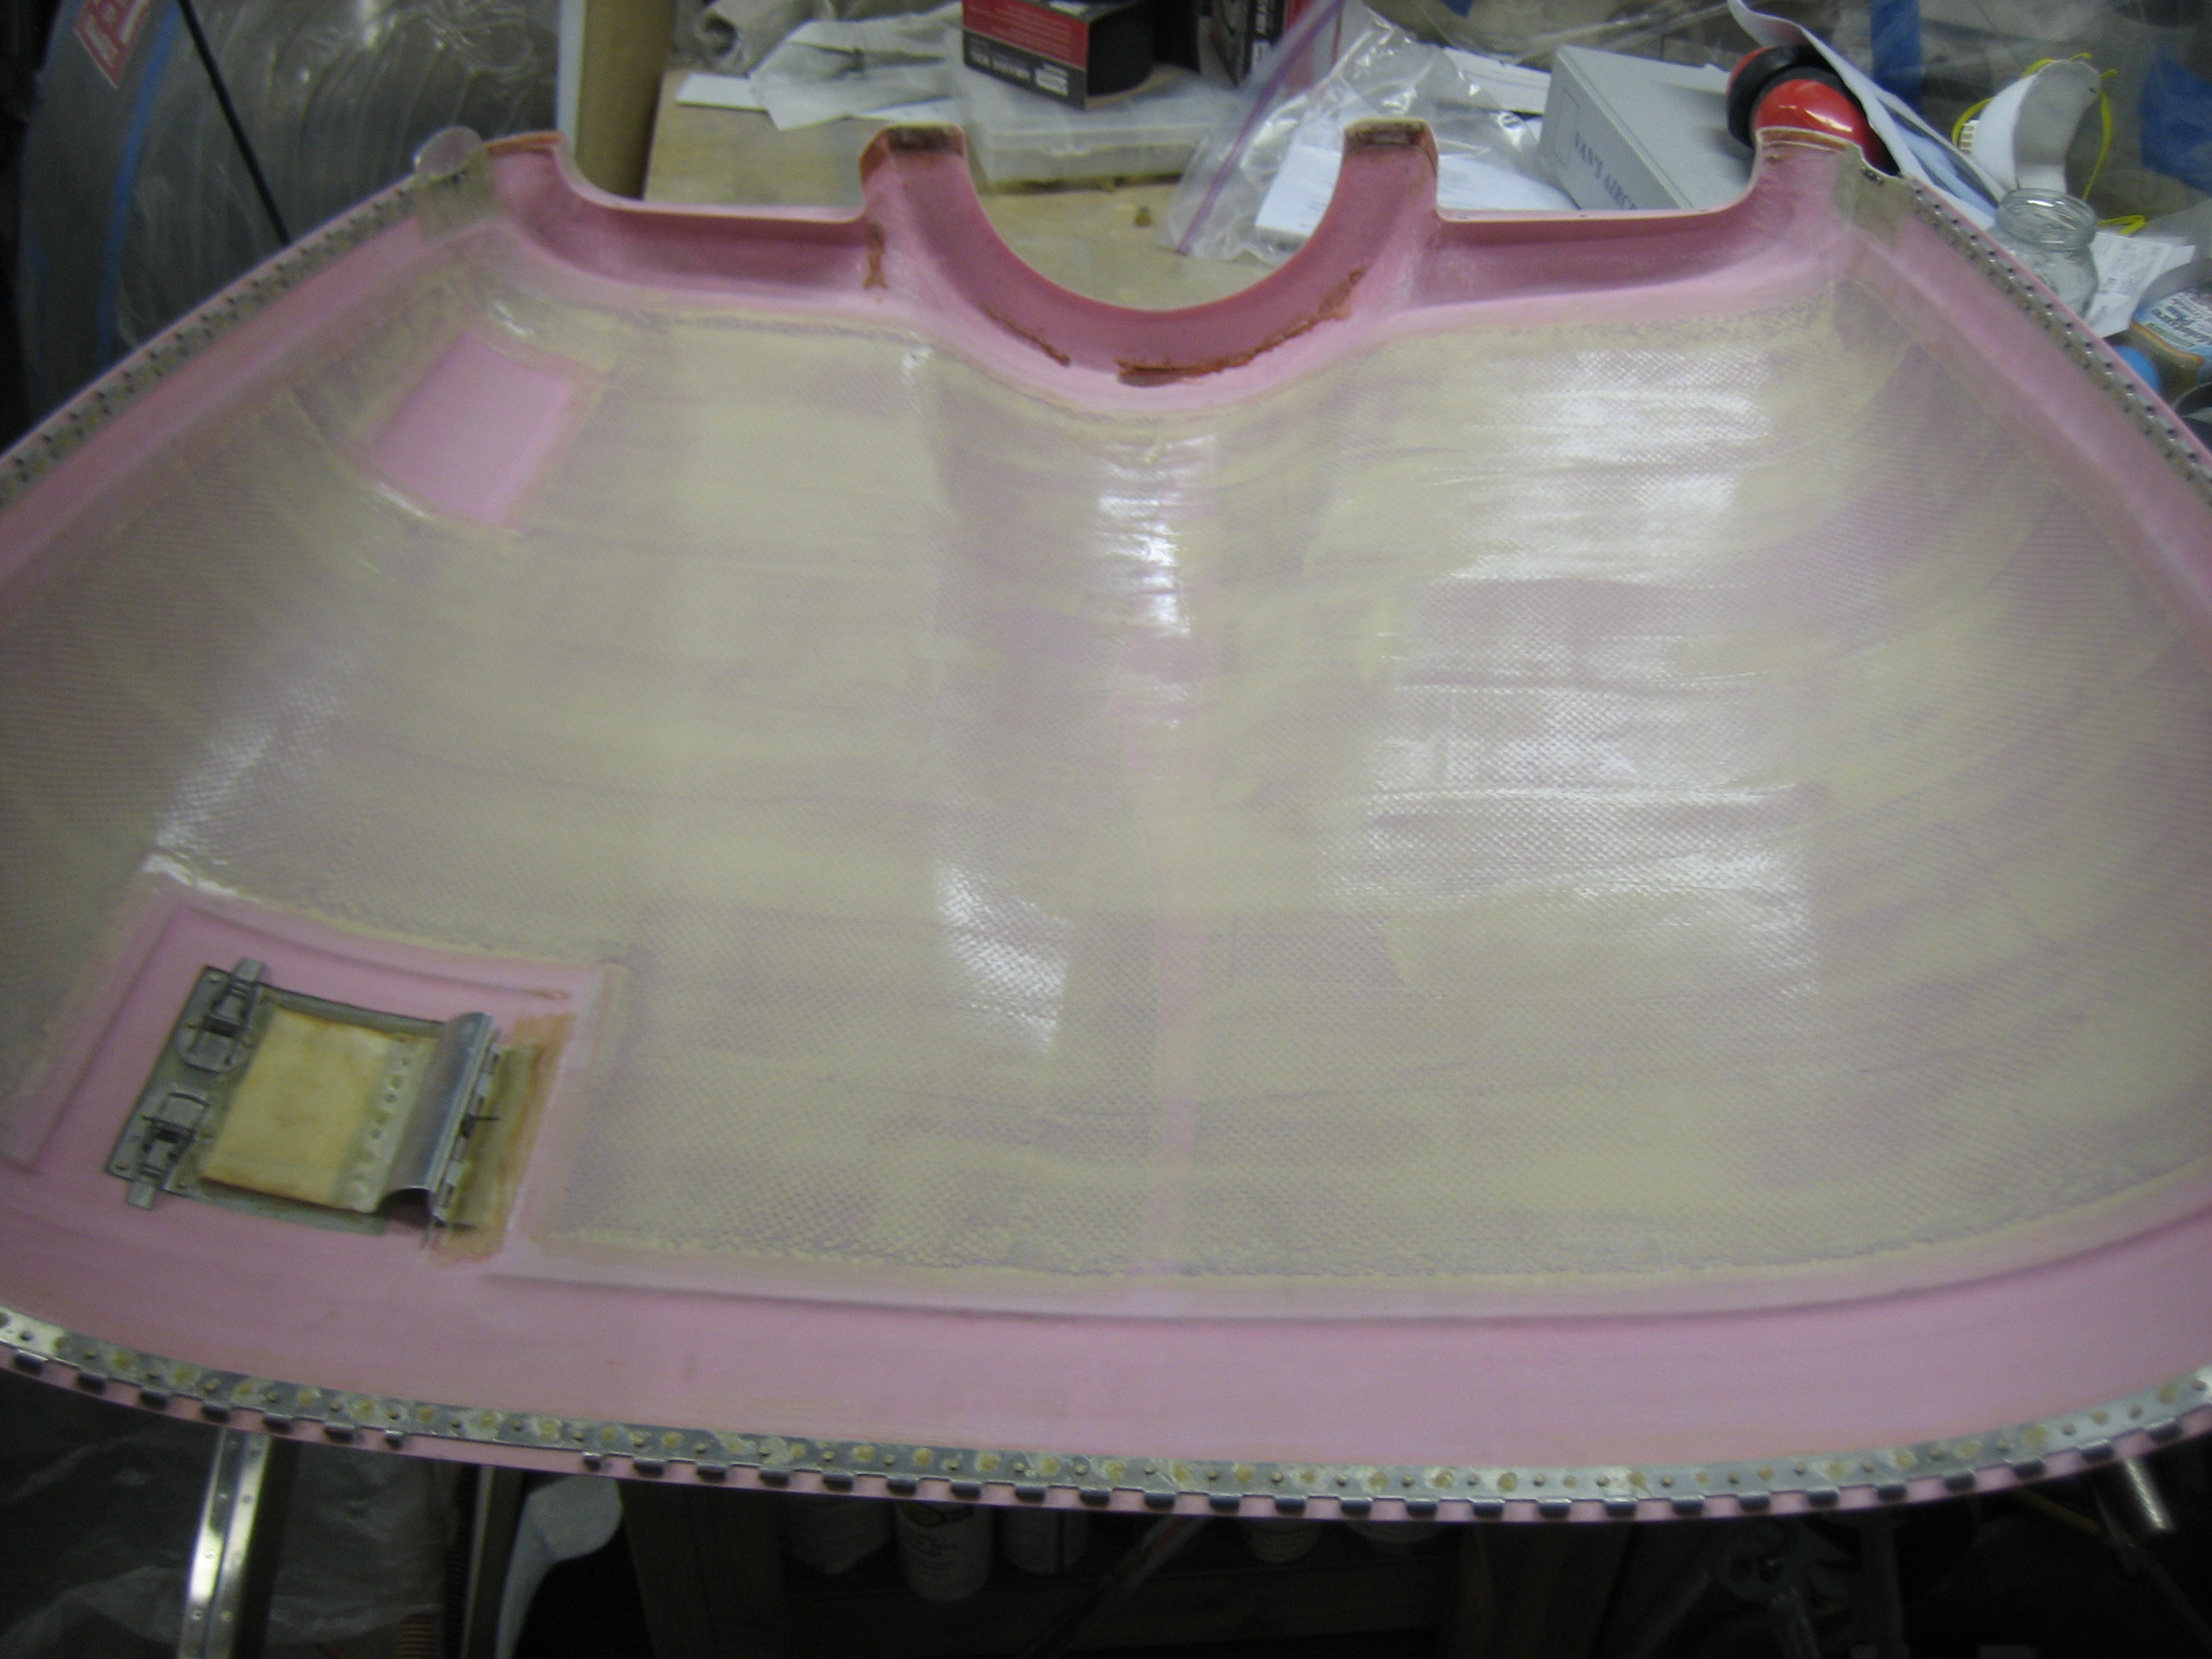
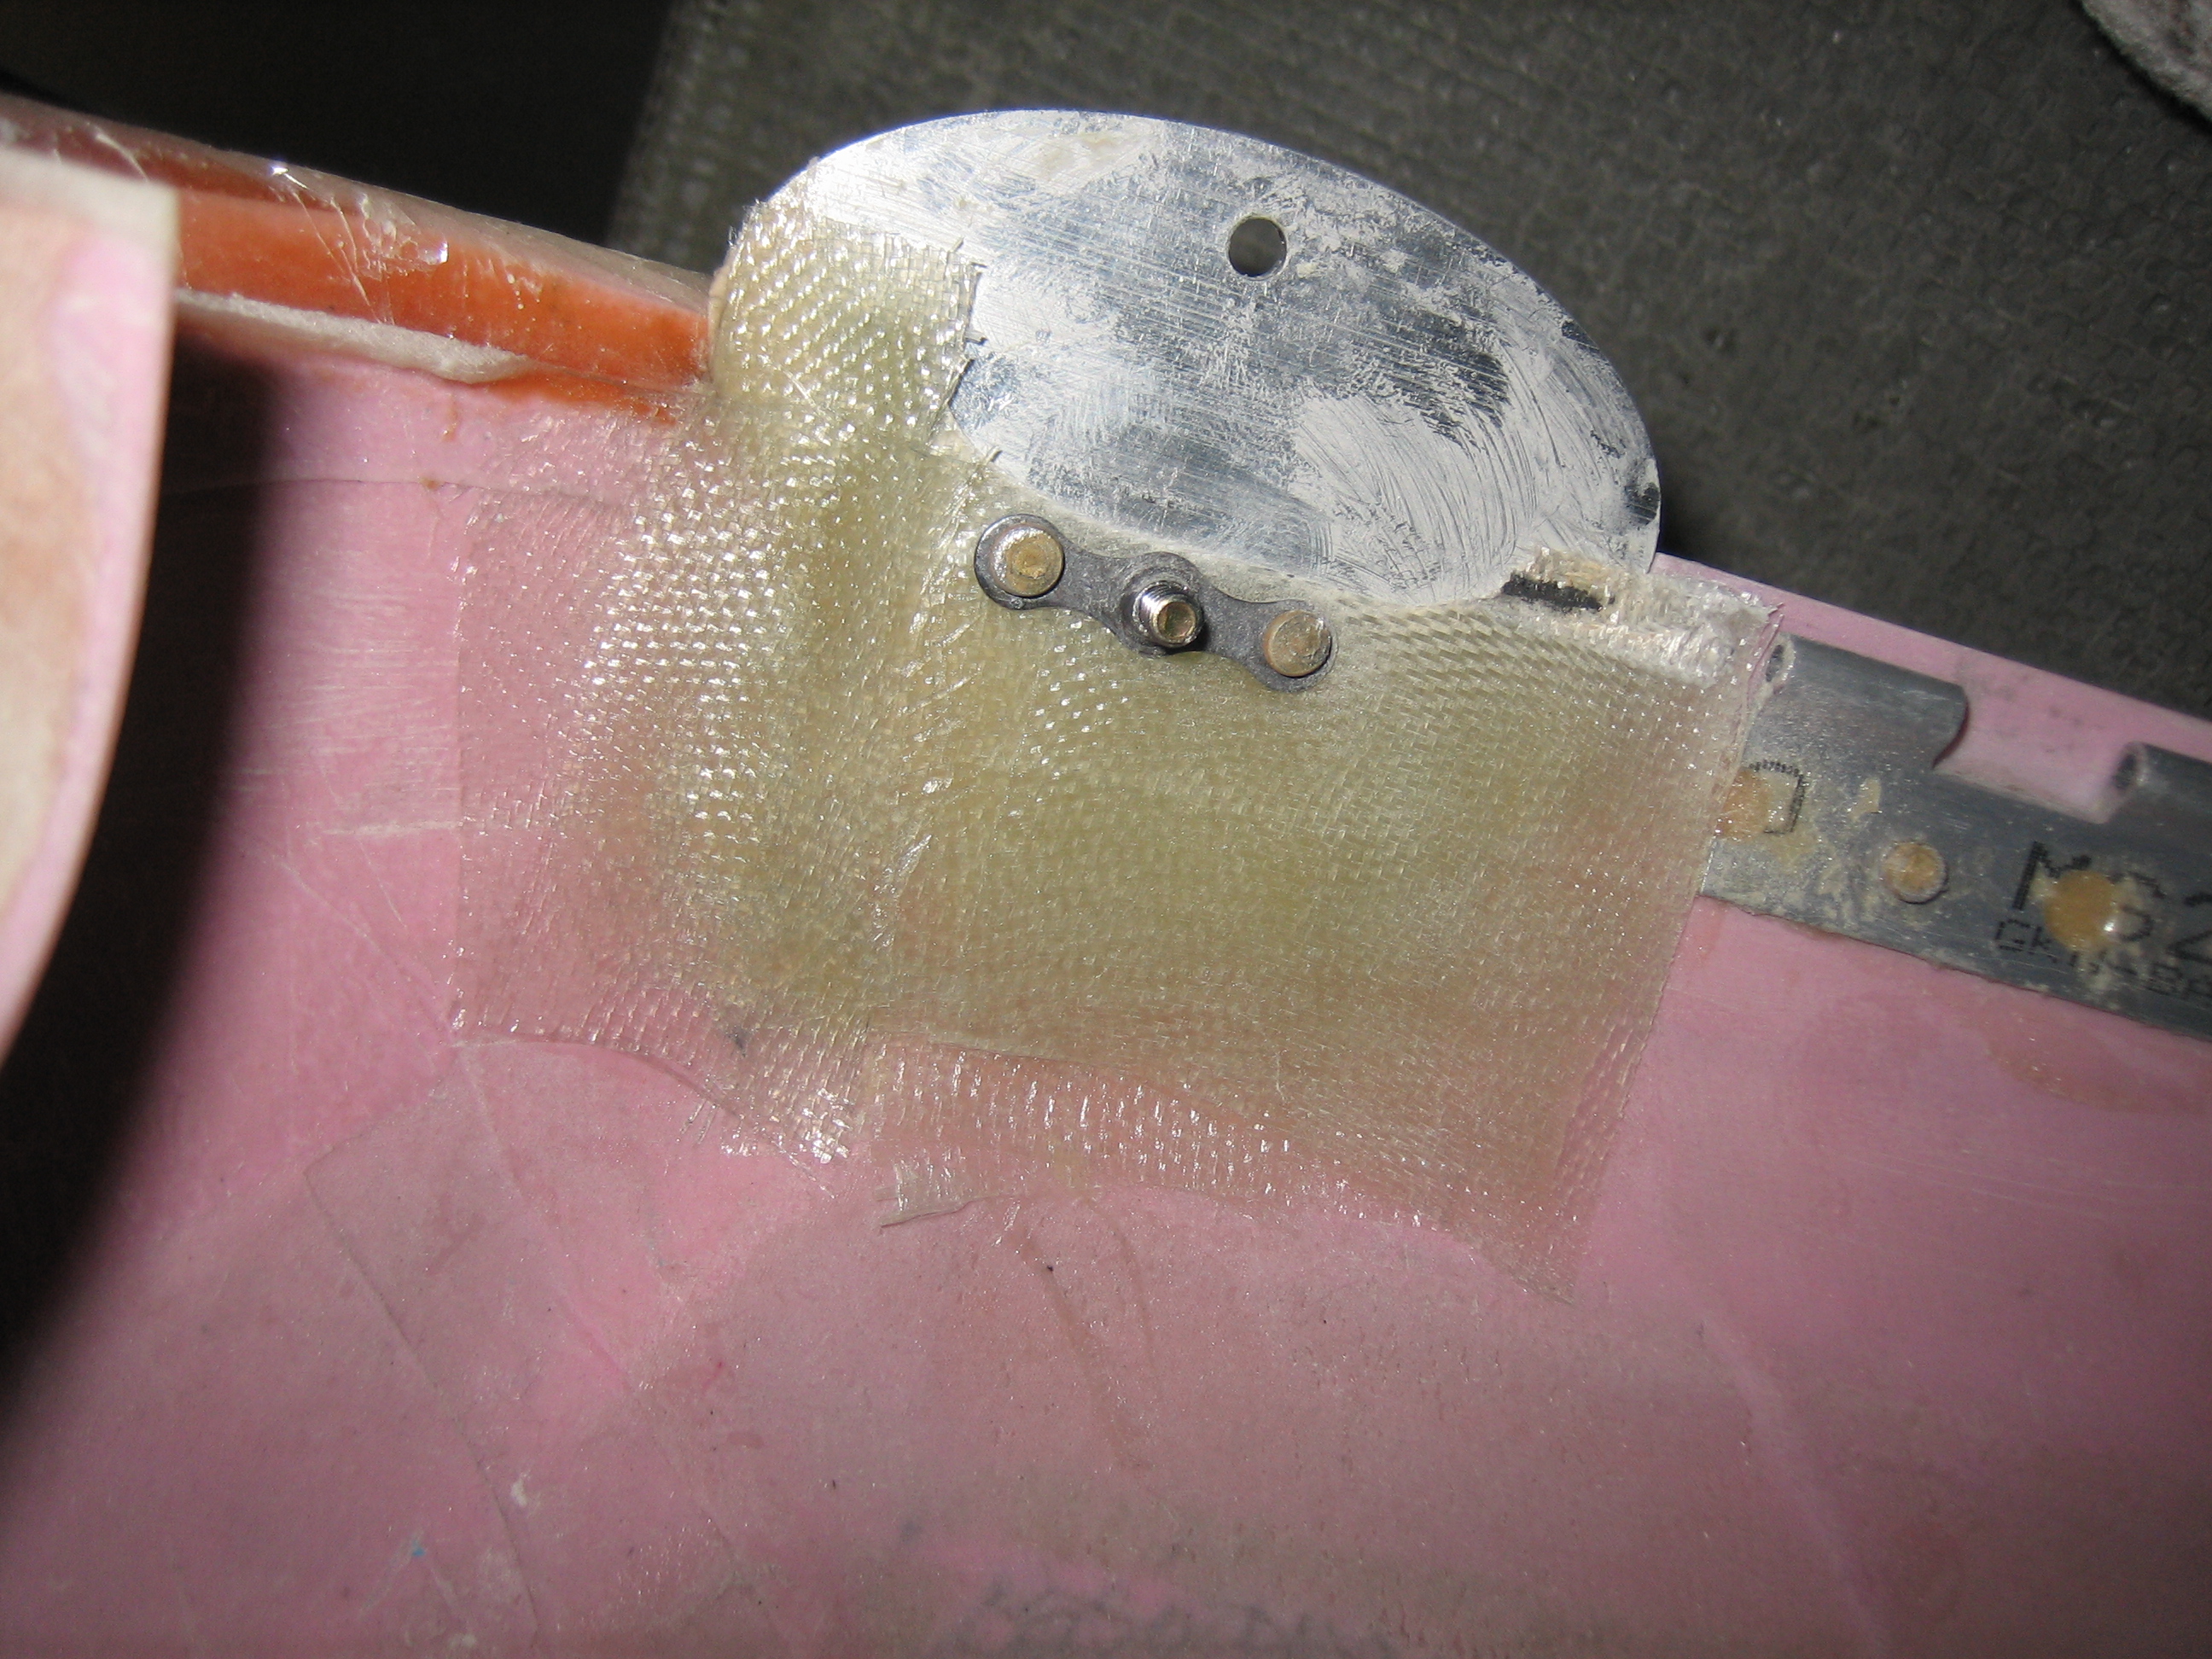
I laid up some additional glass near the front of the hinge pin covers where the gaps I pointed out yesterday were located.  I’ll trim and sand this back tomorrow after it cures.

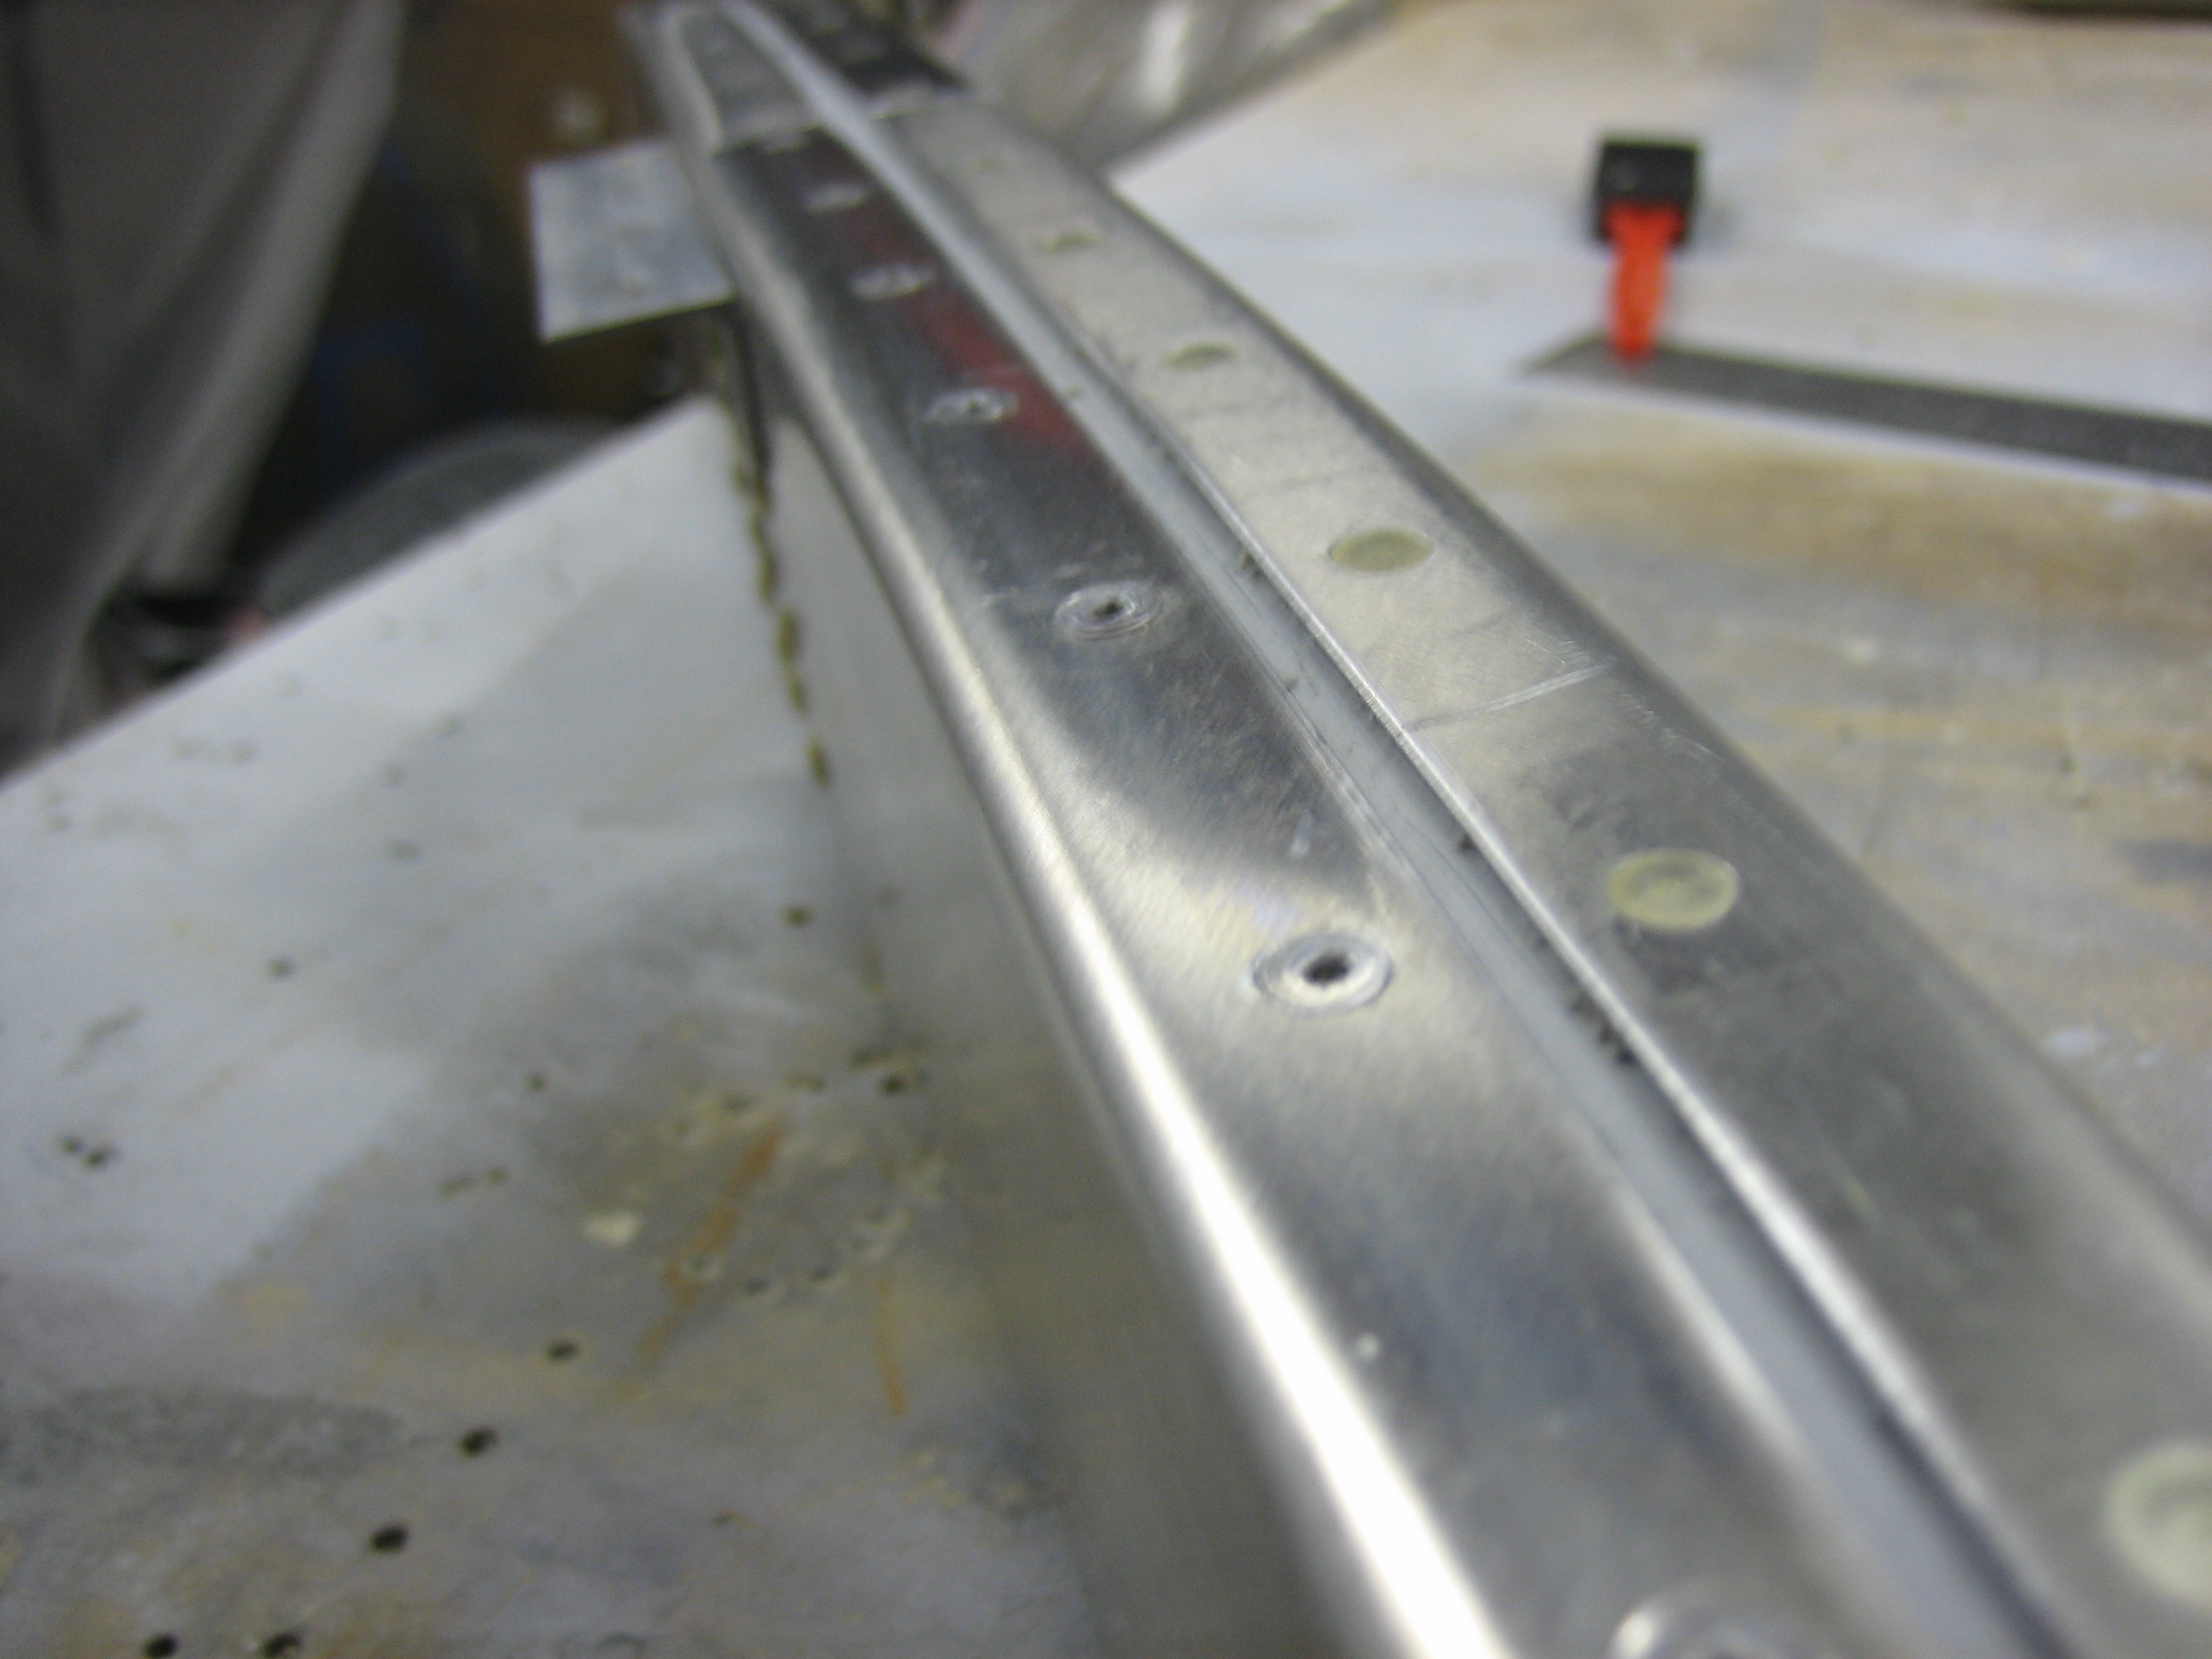
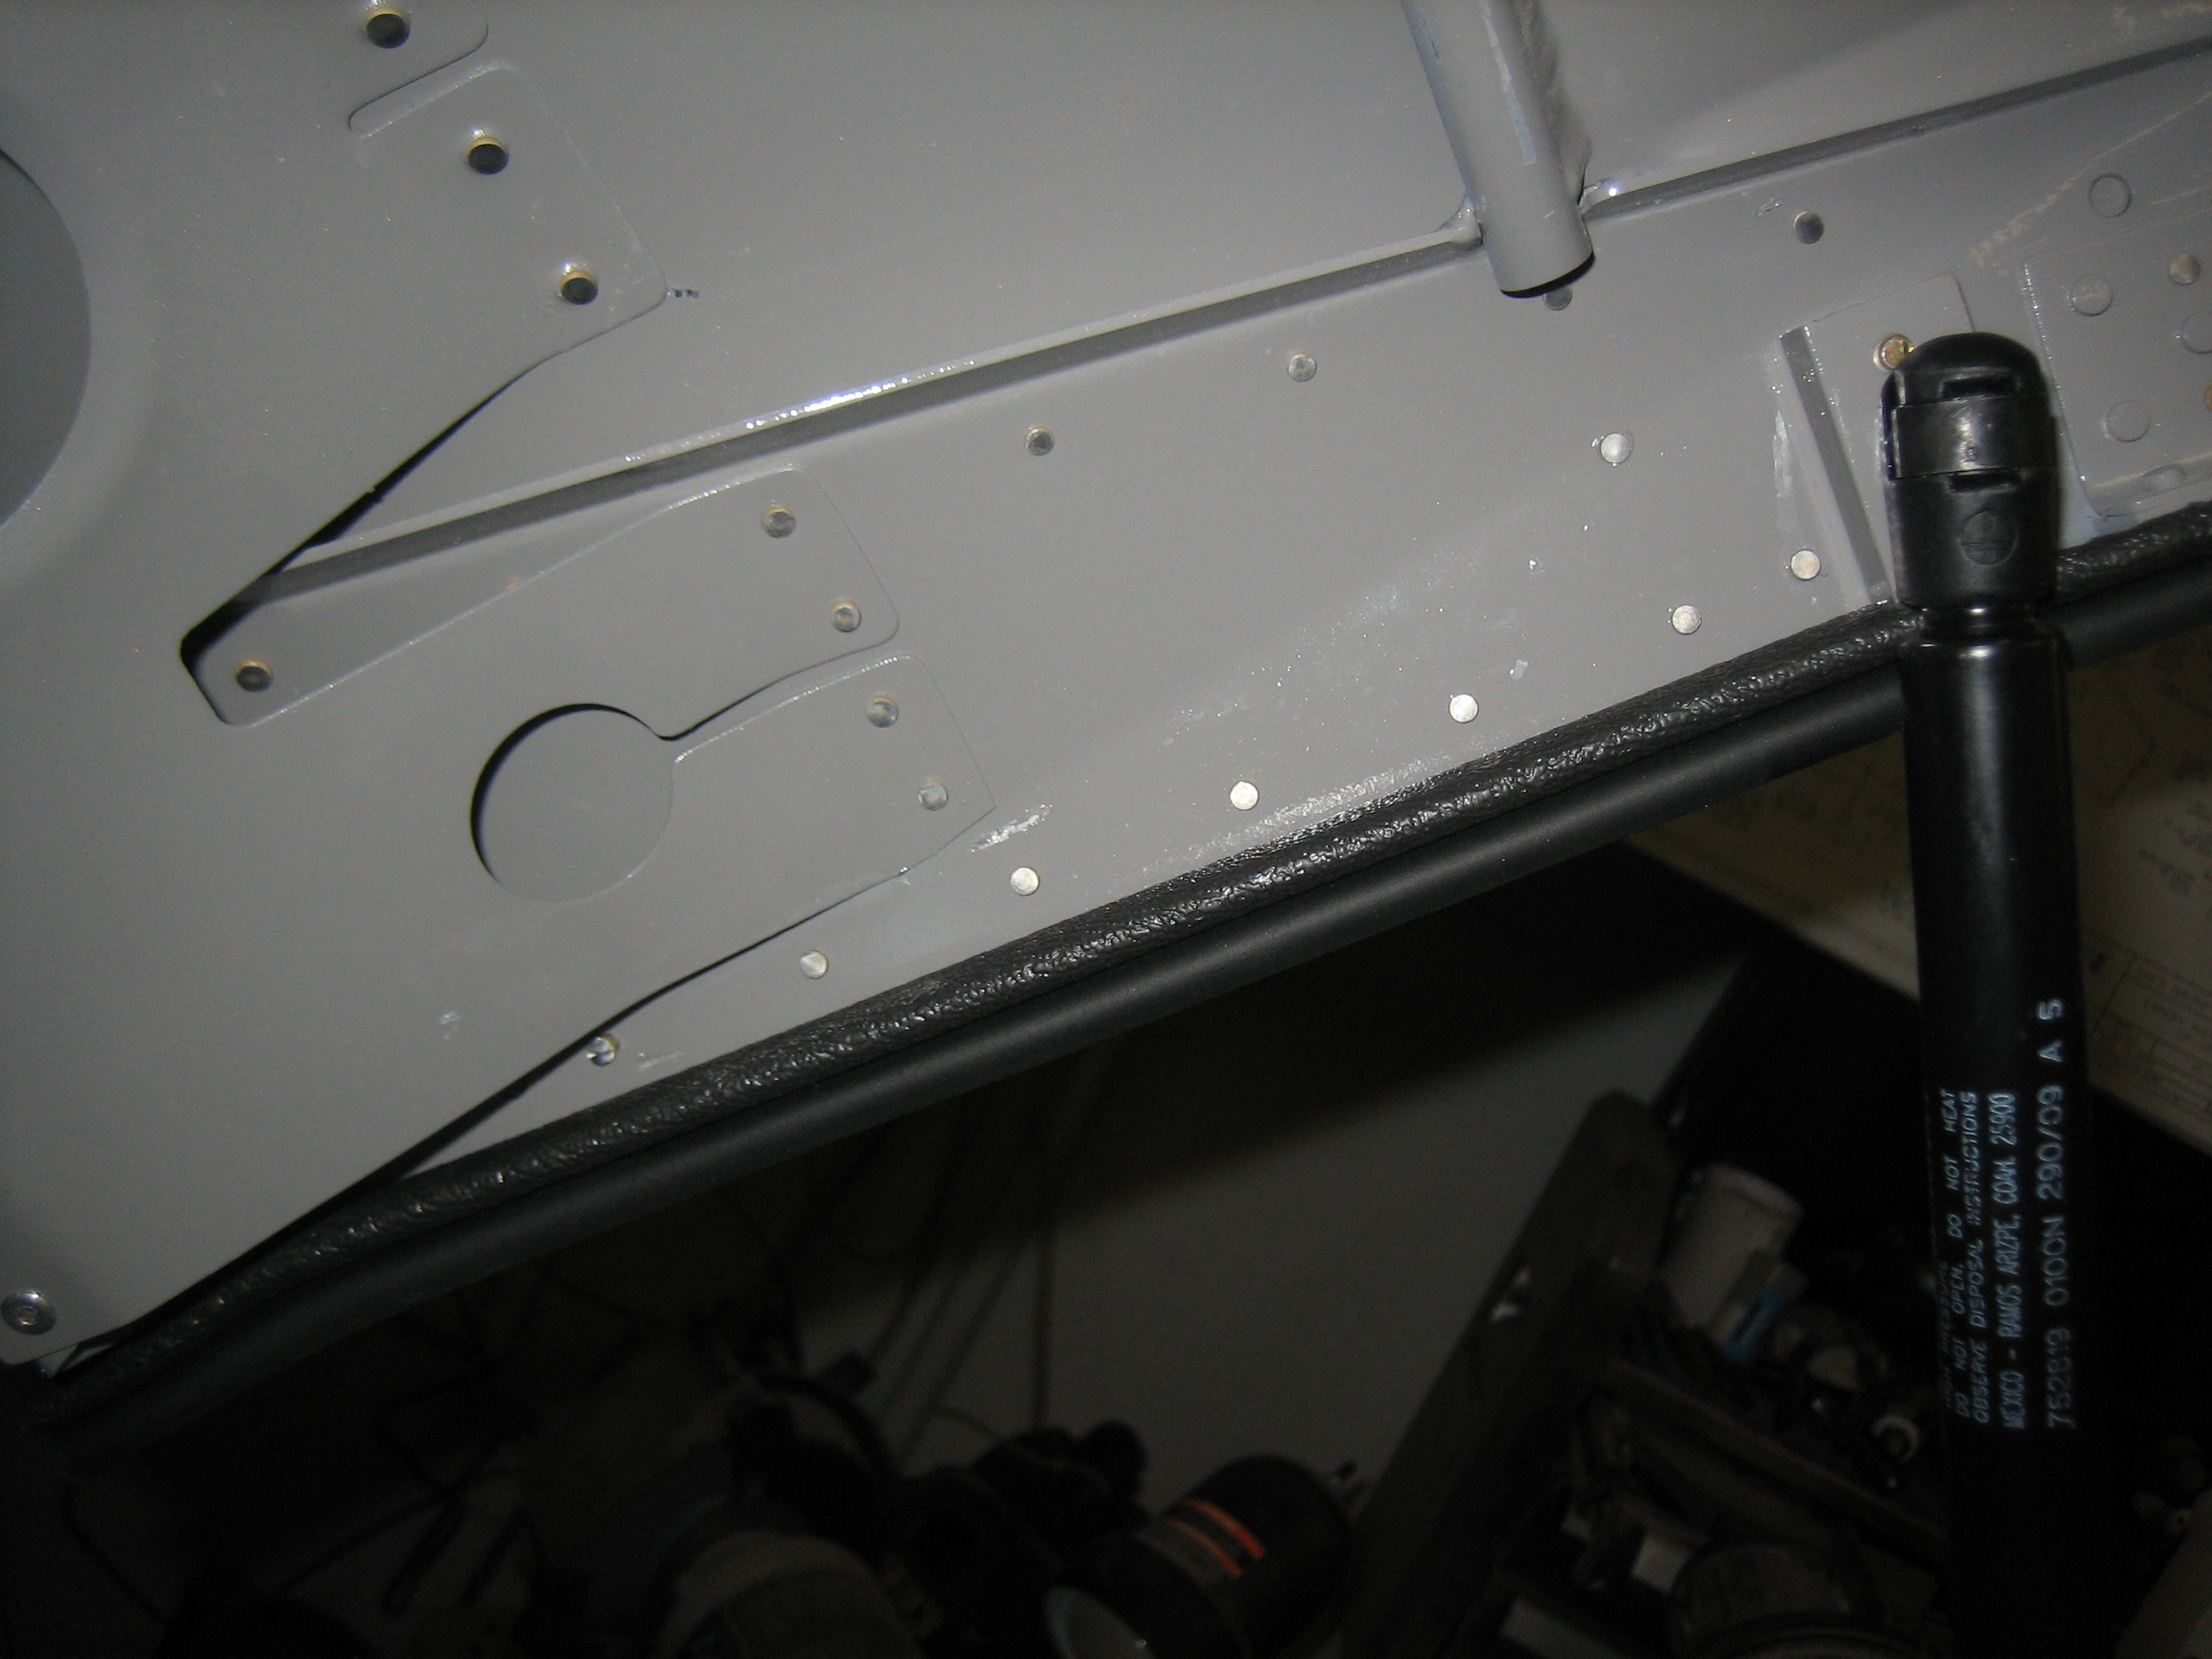
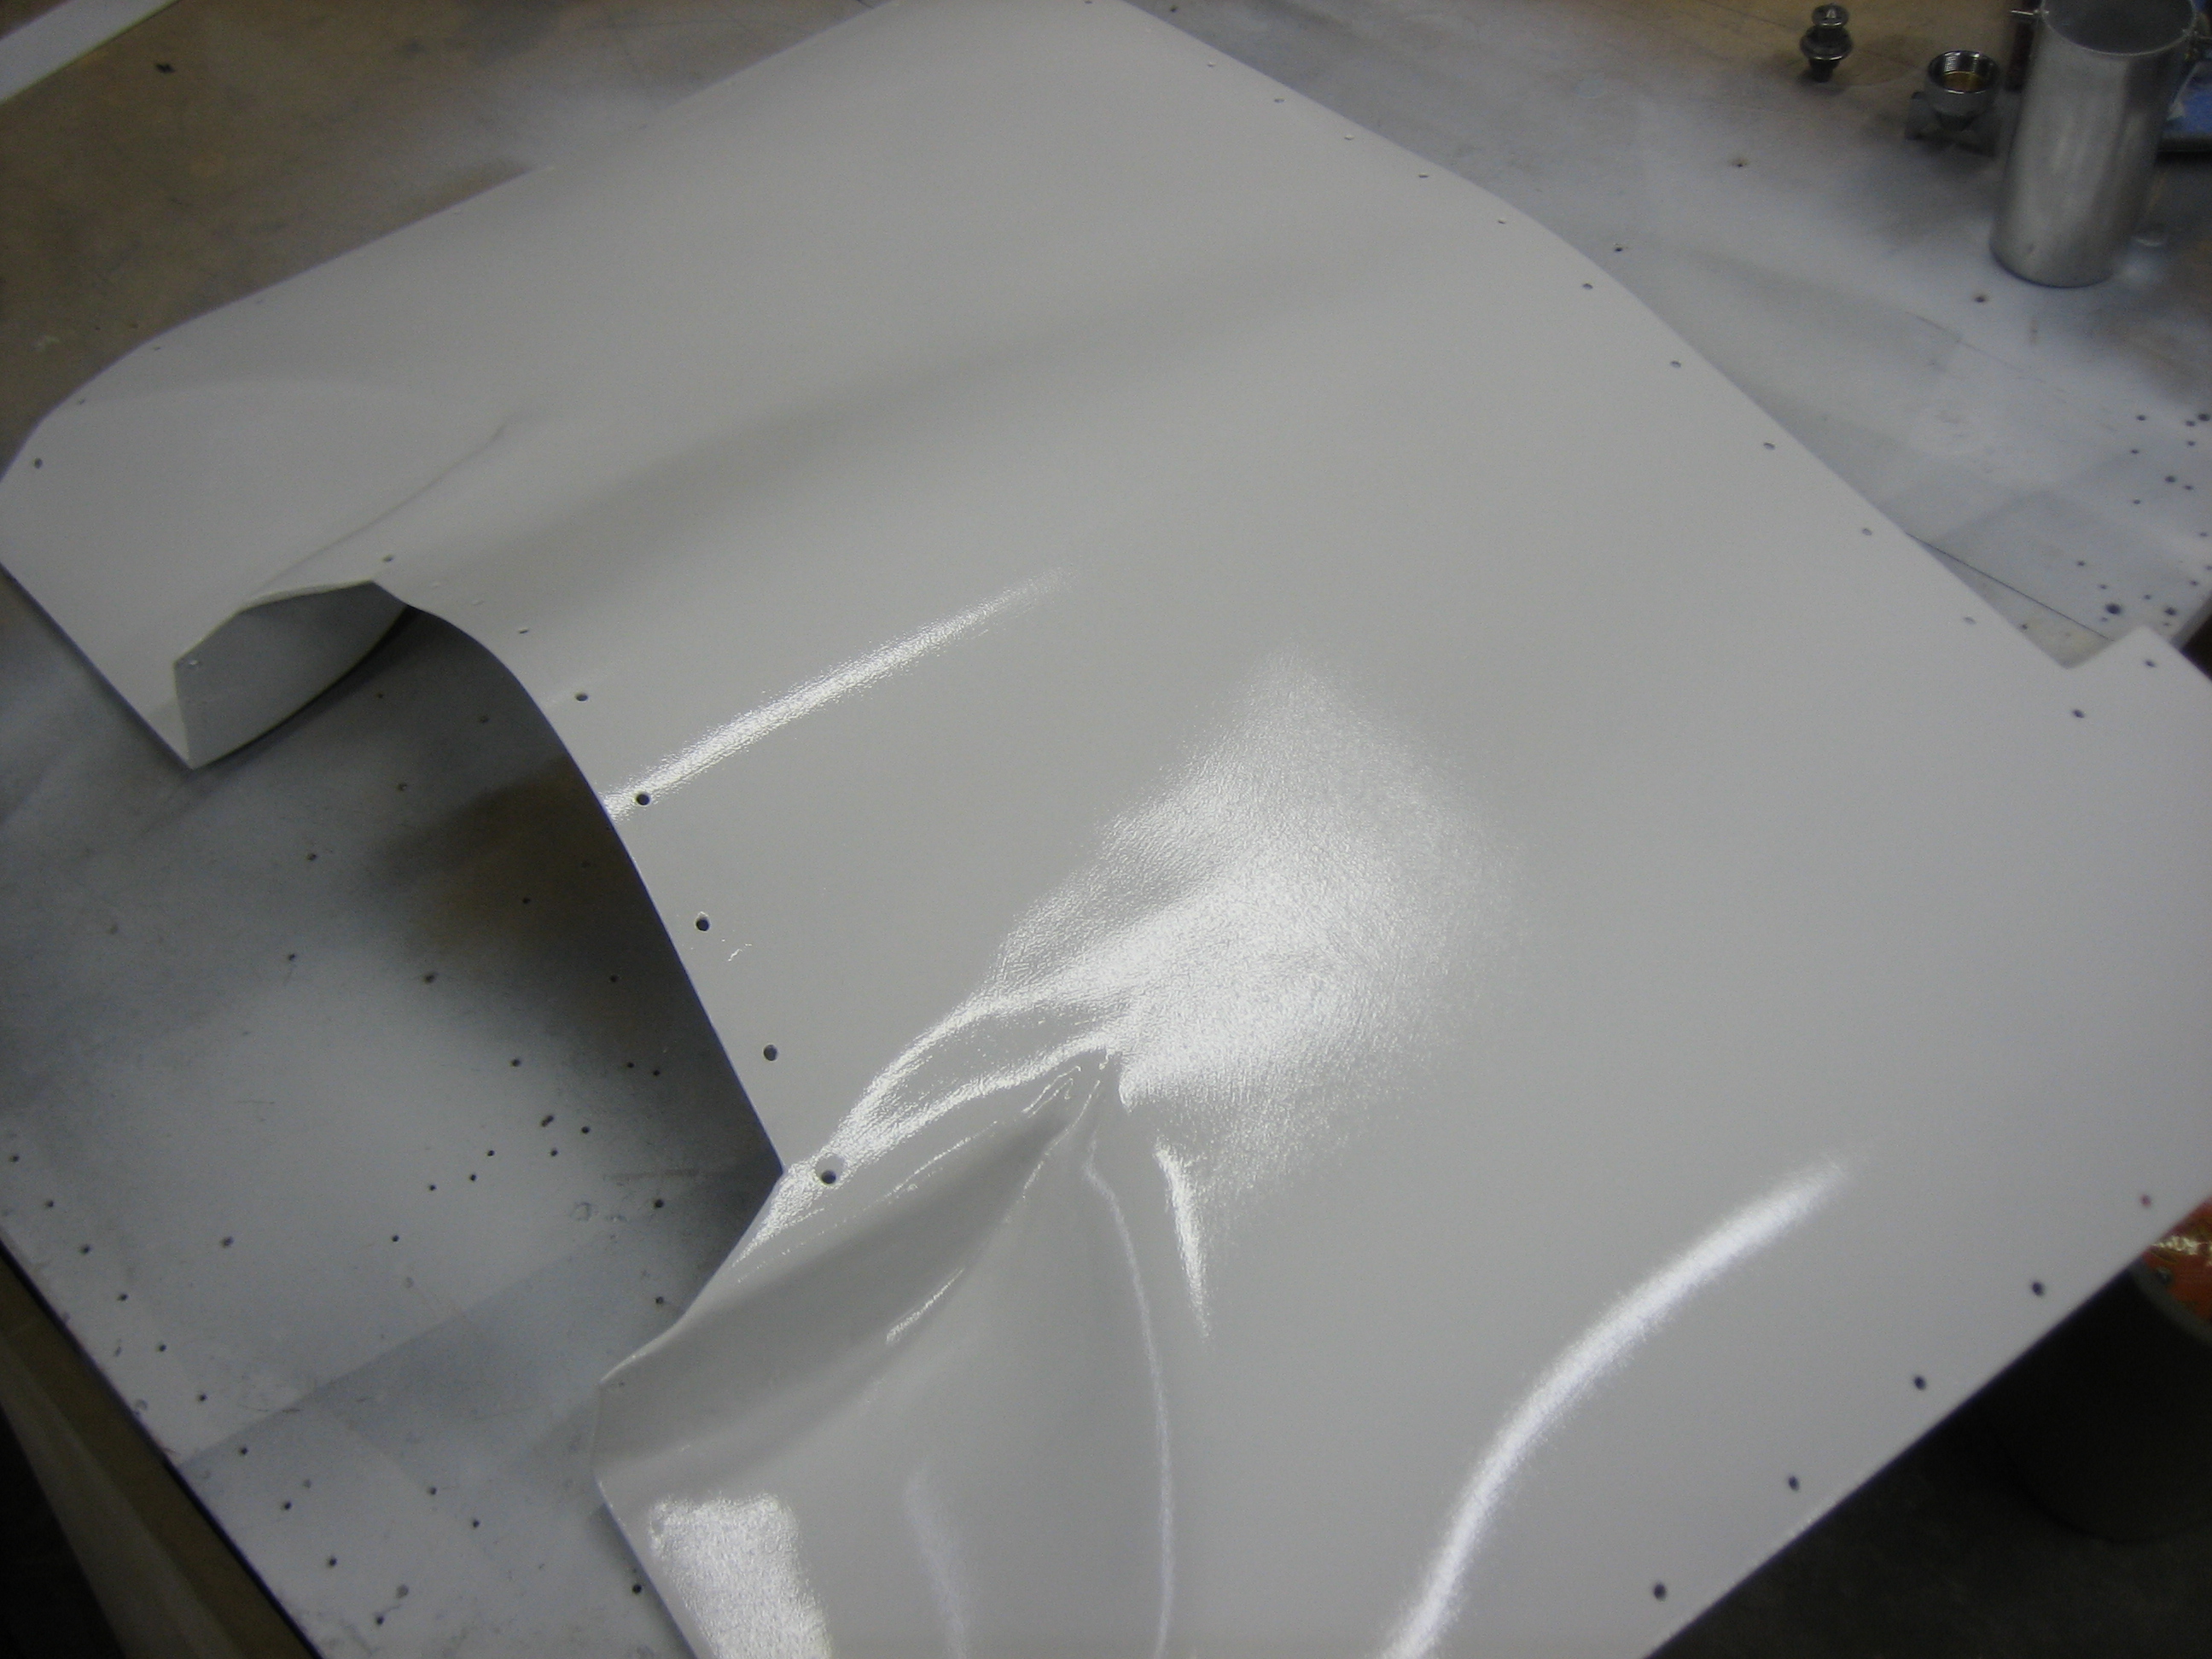
I need to get started wrapping up the cabin area, so I got started by cleaning up the roll bar.  I haven’t touched this in more than two years, but I left some masking tape along the top edge.  Old tape is a real pain in the ass to remove.  It took me about an hour to remove all the tape and residue.

Sanded Filler Around Hinge Pin Covers

I sanded down the filler until I could just see the edges of the covers, then popped them out and cleaned up the edges.  They’re still sharp for now, but I’ll round them over before sealing the surface and priming.  You can also see a little divot of missing filler just to the left of the cutout.  This is because I didn’t apply filler over the joint between the upper and lower cowl halves because it would just glue the halves together and fracture anyway when I popped them apart.

I sanded down and cleaned the inside of the upper cowl, then applied a thin coat of epoxy with microlight to fill in the unevenness inside the cowl due to the honeycomb core.

Tried to Fix Brake Leak

I’ve had a tiny brake fluid leak on the output side of the parking brake valve.  It’s not much, but it has to be fixed.  I removed the hard lines from the parking brake down to the fittings that pass through the firewall, drained the excess fluid, and cleaned up the flares to see if I could make them seal properly.  I reassembled everything, filled and bled the brakes and unfortunately, the leak persisted.

Installed Canopy Guide Blocks

I installed some canopy guide blocks I purchased from Buller Enterprises.  These will guide the canopy latches into the holes to help the canopy close squarely.

I also took the hard lines back off and added some caps.  I applied the parking brake and re-pressurized it.  This should tell me whether the leak is inside the parking brake or at the flare fitting.

Fixed Brake Leak and Replaced Upper Oil Cooler Line

I’ve been absolutely swamped at work, so I’ve had very little time for the project.  Unfortunately, this is not going to improve anytime soon.  I did get a few new hoses from Brett at Bonaco, so I wanted to install them and see if this fixed my brake leak.  I installed the new brake lines and bled the system using the new brake bleeding system I picked up from Aircraft Tool Supply.  I pressurized the system and applied the parking brake.  As far as I can tell, the brake leak is fixed.

I also replaced the upper oil cooler hose.  The previous one I received from Bonaco had a problem that caused the hose to get twisted when I tightened it down.  Brett sent me a new hose for free, so I put that on and torqued everything down.

Started Riveting Final Fuselage Skin

With the brake leak wrapped up, there’s no reason not to rivet the remaining fuselage skin.  I managed to get most of it done solo, but I’ll need a riveting partner to do the remaining rivets.  I’m not in any rush though since the open ends will make the final canopy fitting easier.

Worked on Canopy Fit

I had previously set the gap between the forward skin and canopy skin at about 1/32″, but this was causing the canopy skin to catch on the forward skin as the canopy was opening.  I opened this up to about 1/16″ and that works much better.

I also fit the weatherstripping along the sides of the cowl.  The canopy fits much more tightly with this in place and requires it to be pulled down firmly in order to be latched.  I shouldn’t have any problems with air leaking around the sides with this in place.

Painted Plenum

I’ve hardly had any time to work on the plane lately, but I wanted to wrap up painting the plenum.  After cleaning it thoroughly, I shot a few coats of epoxy paint that matches the powder coat.  There are still some minor scratches that show through the paint, but I’m going to call this good.