More Cowl Sanding

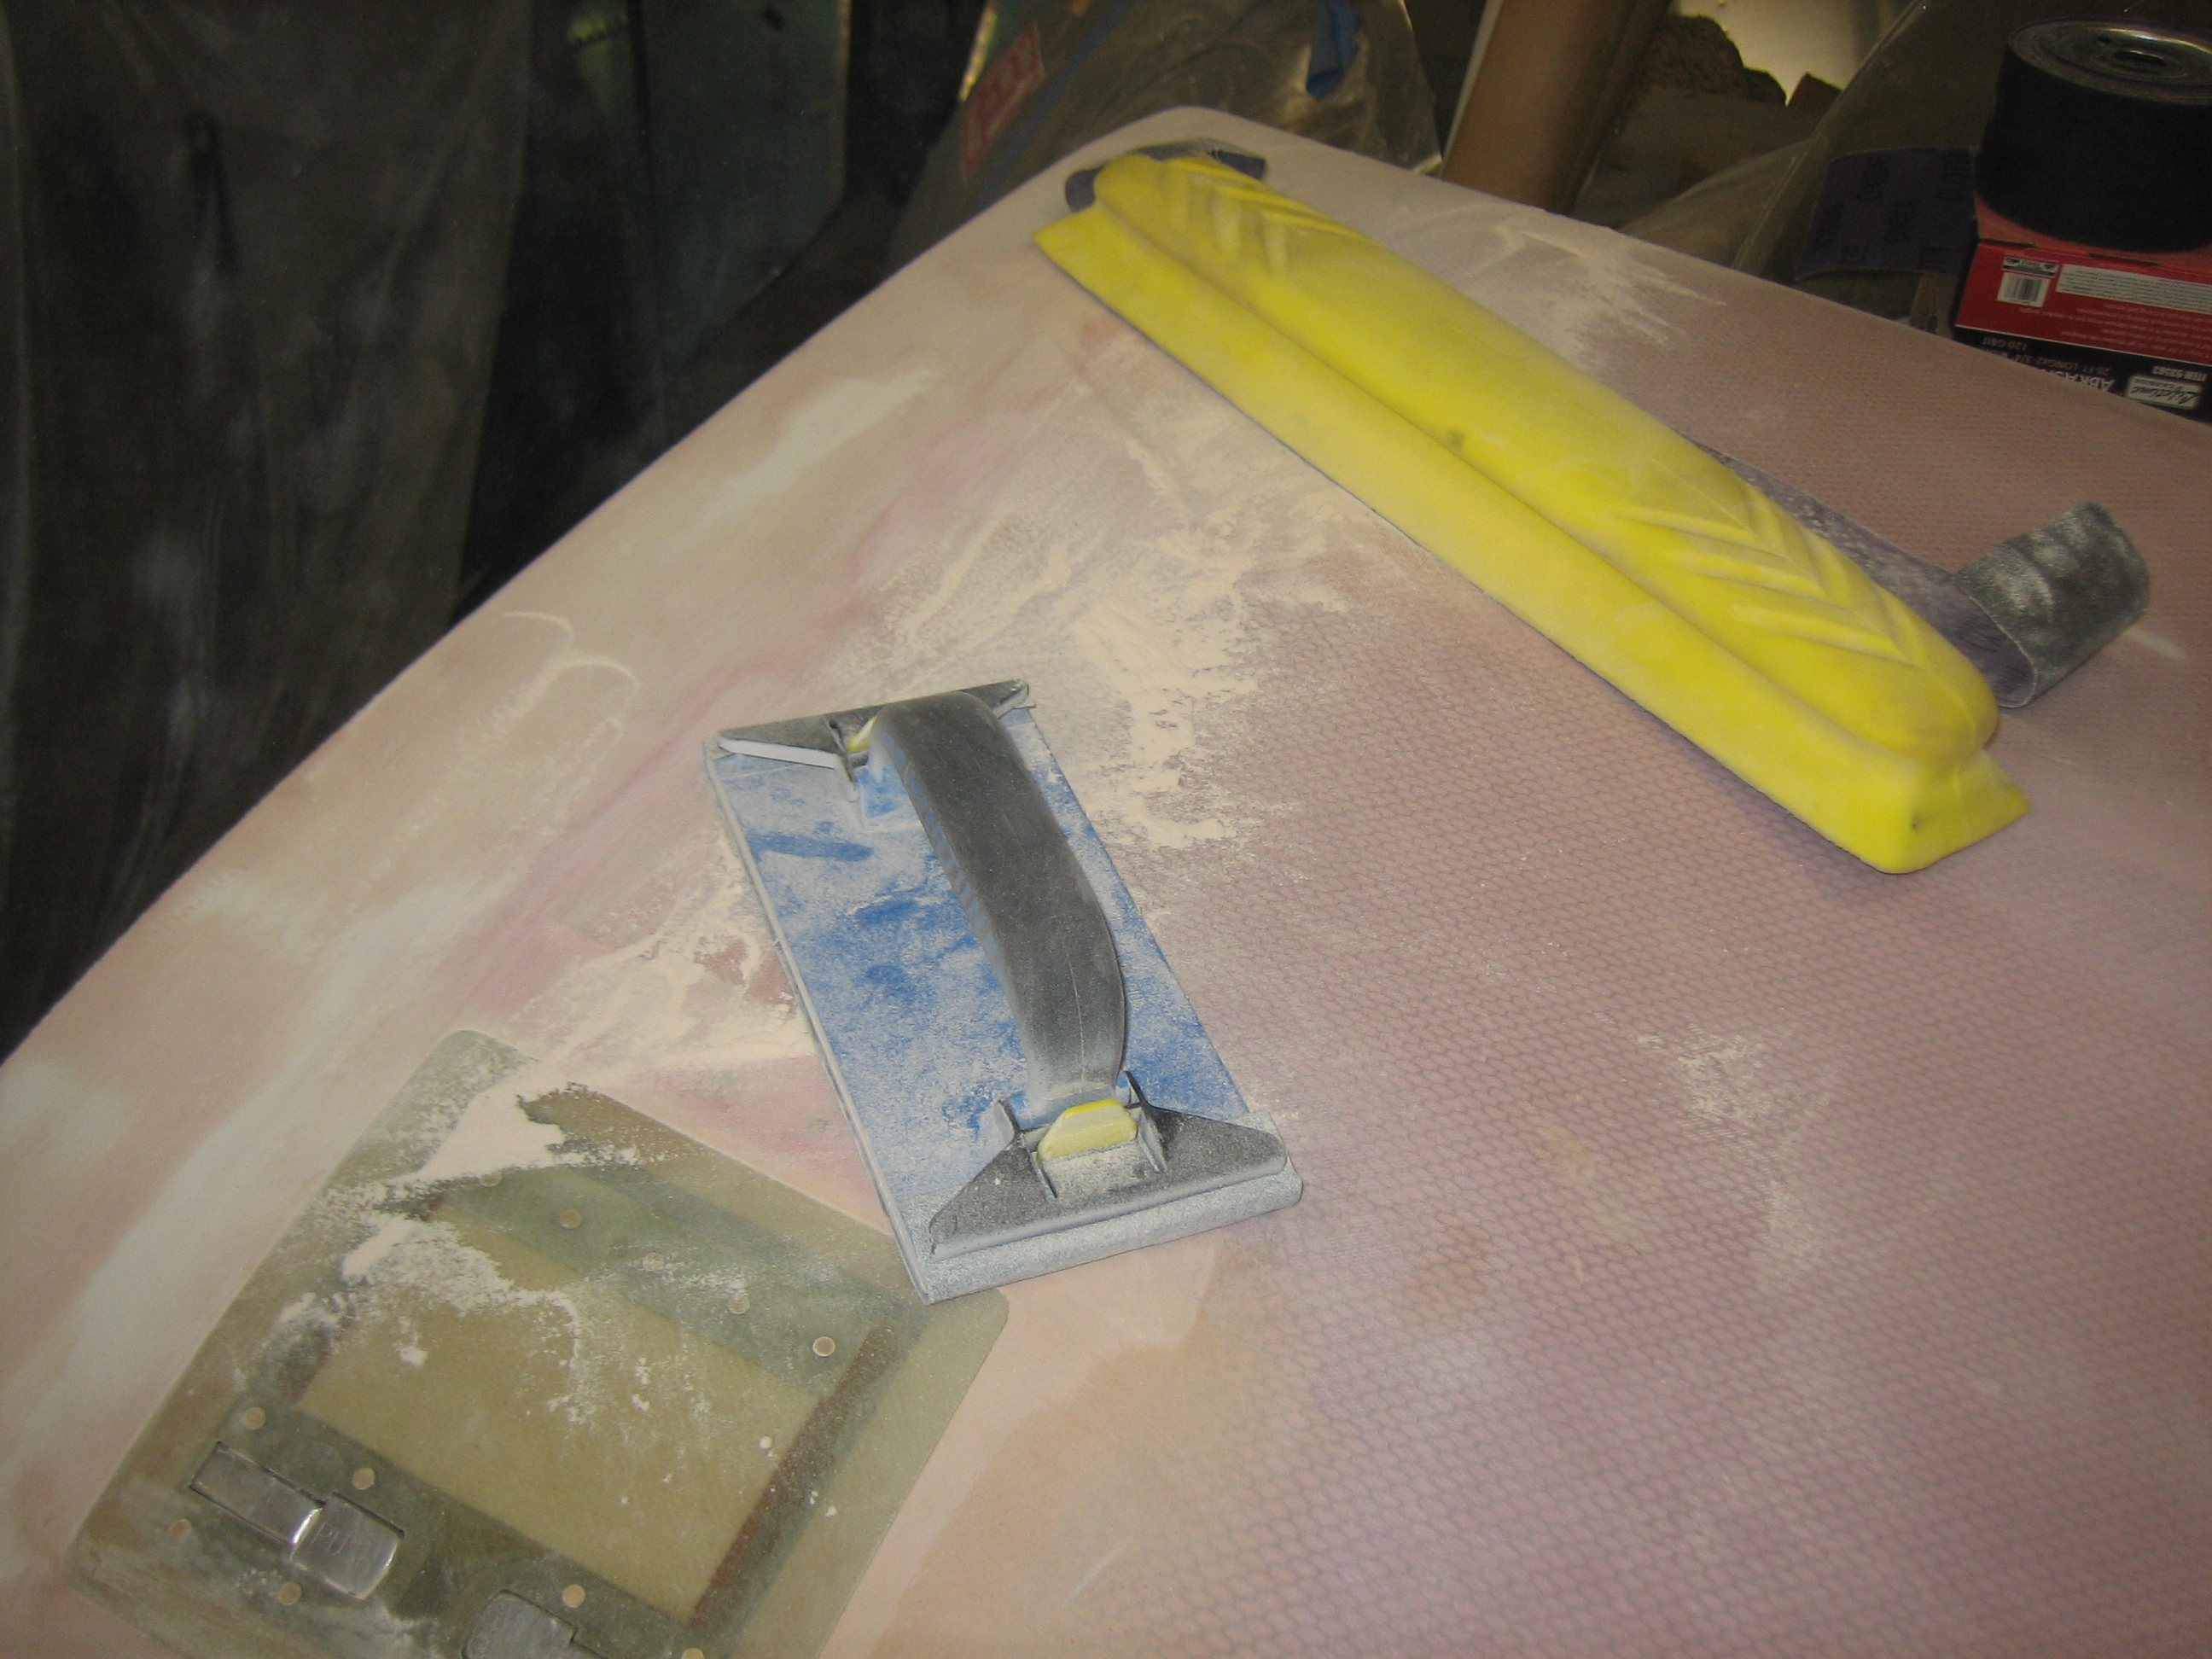
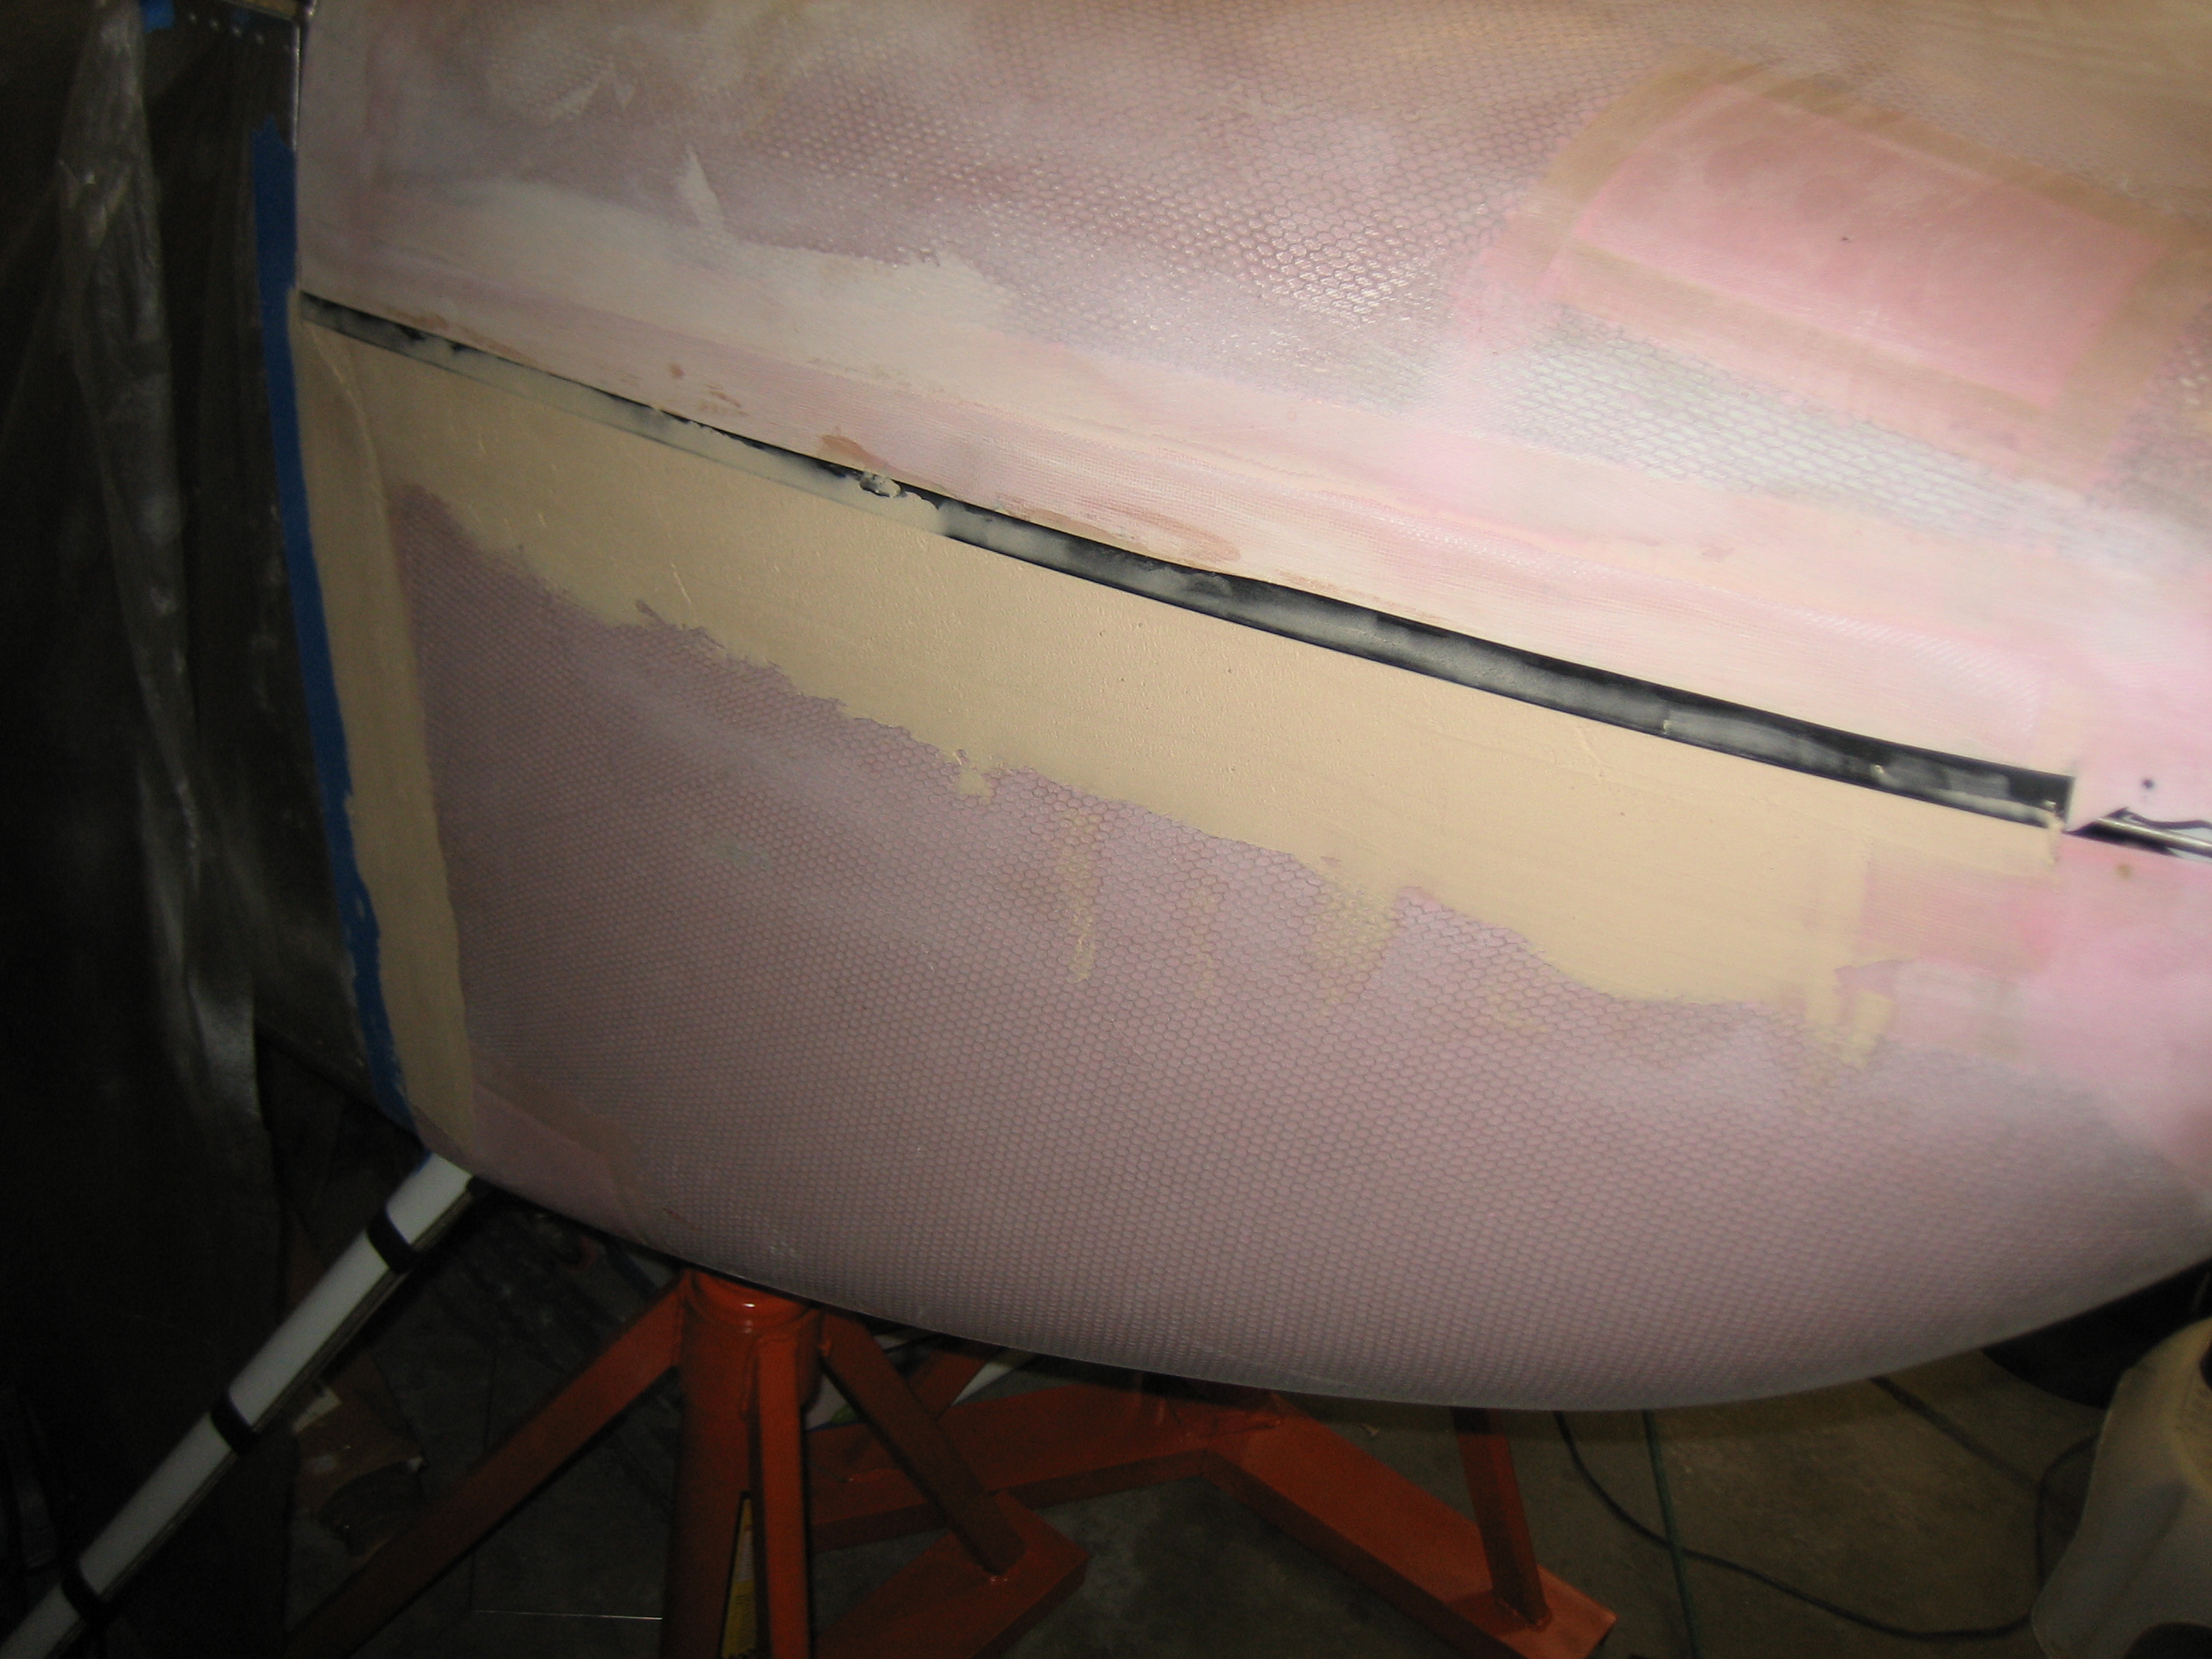
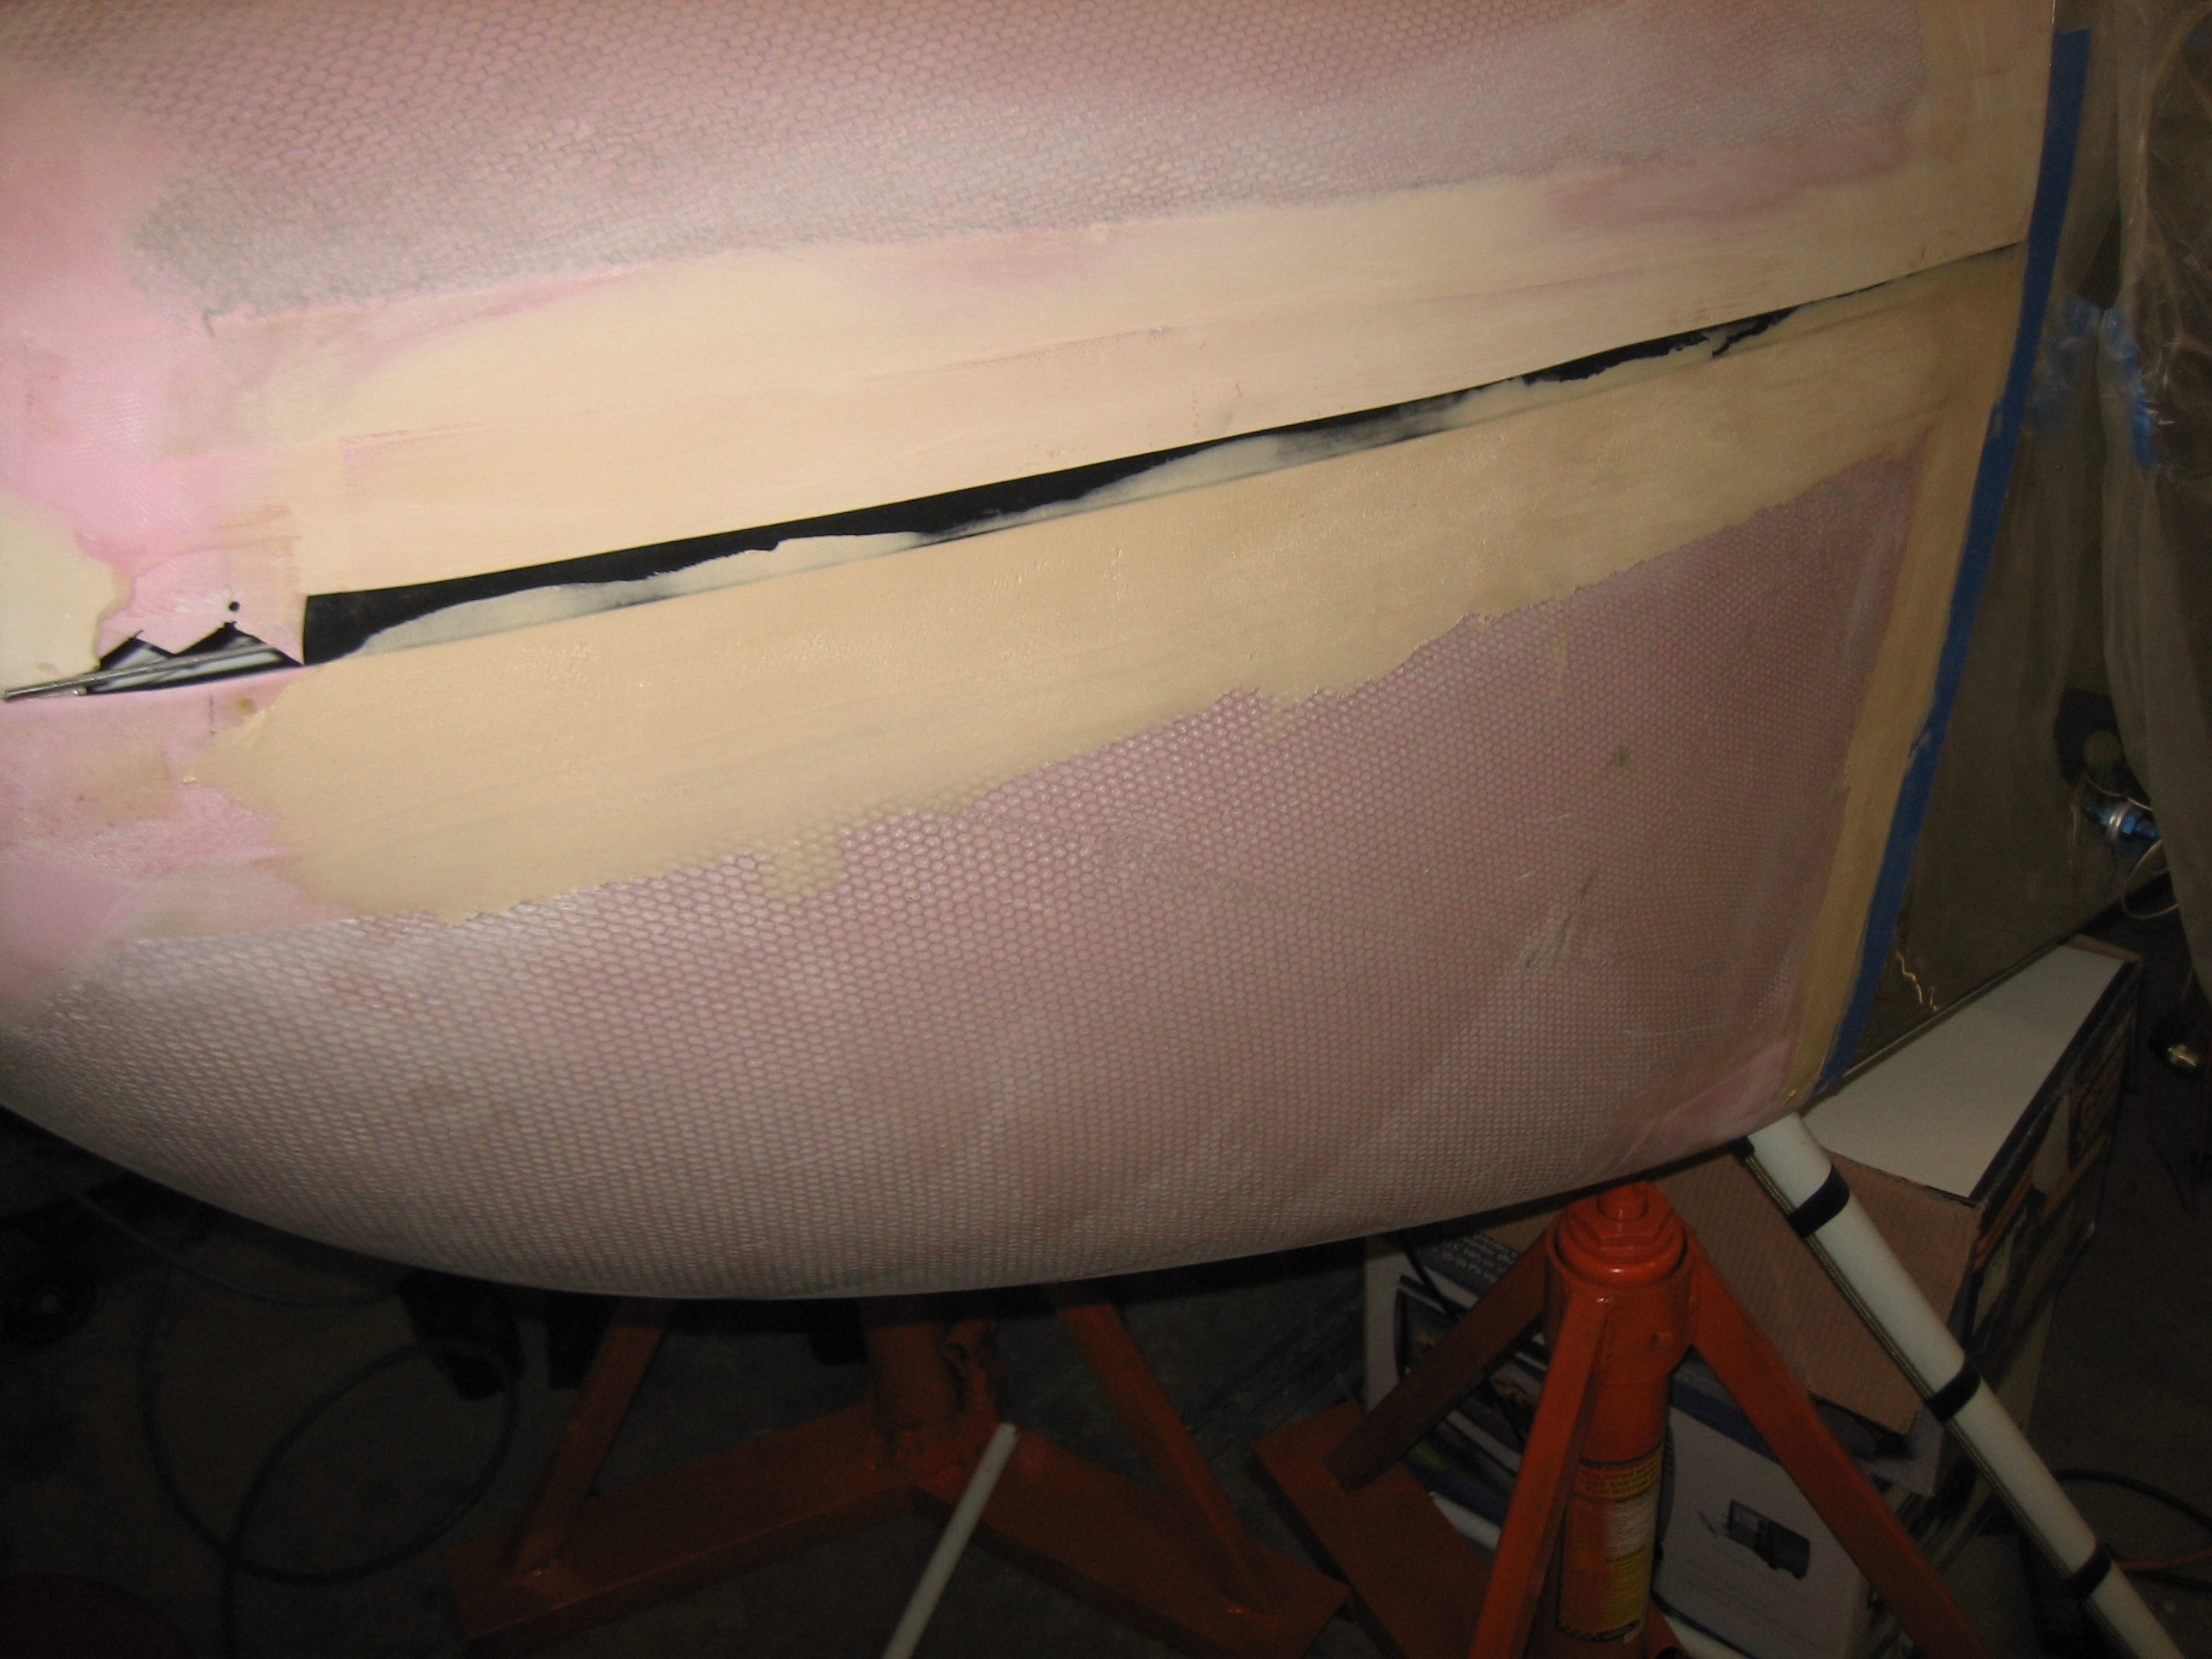
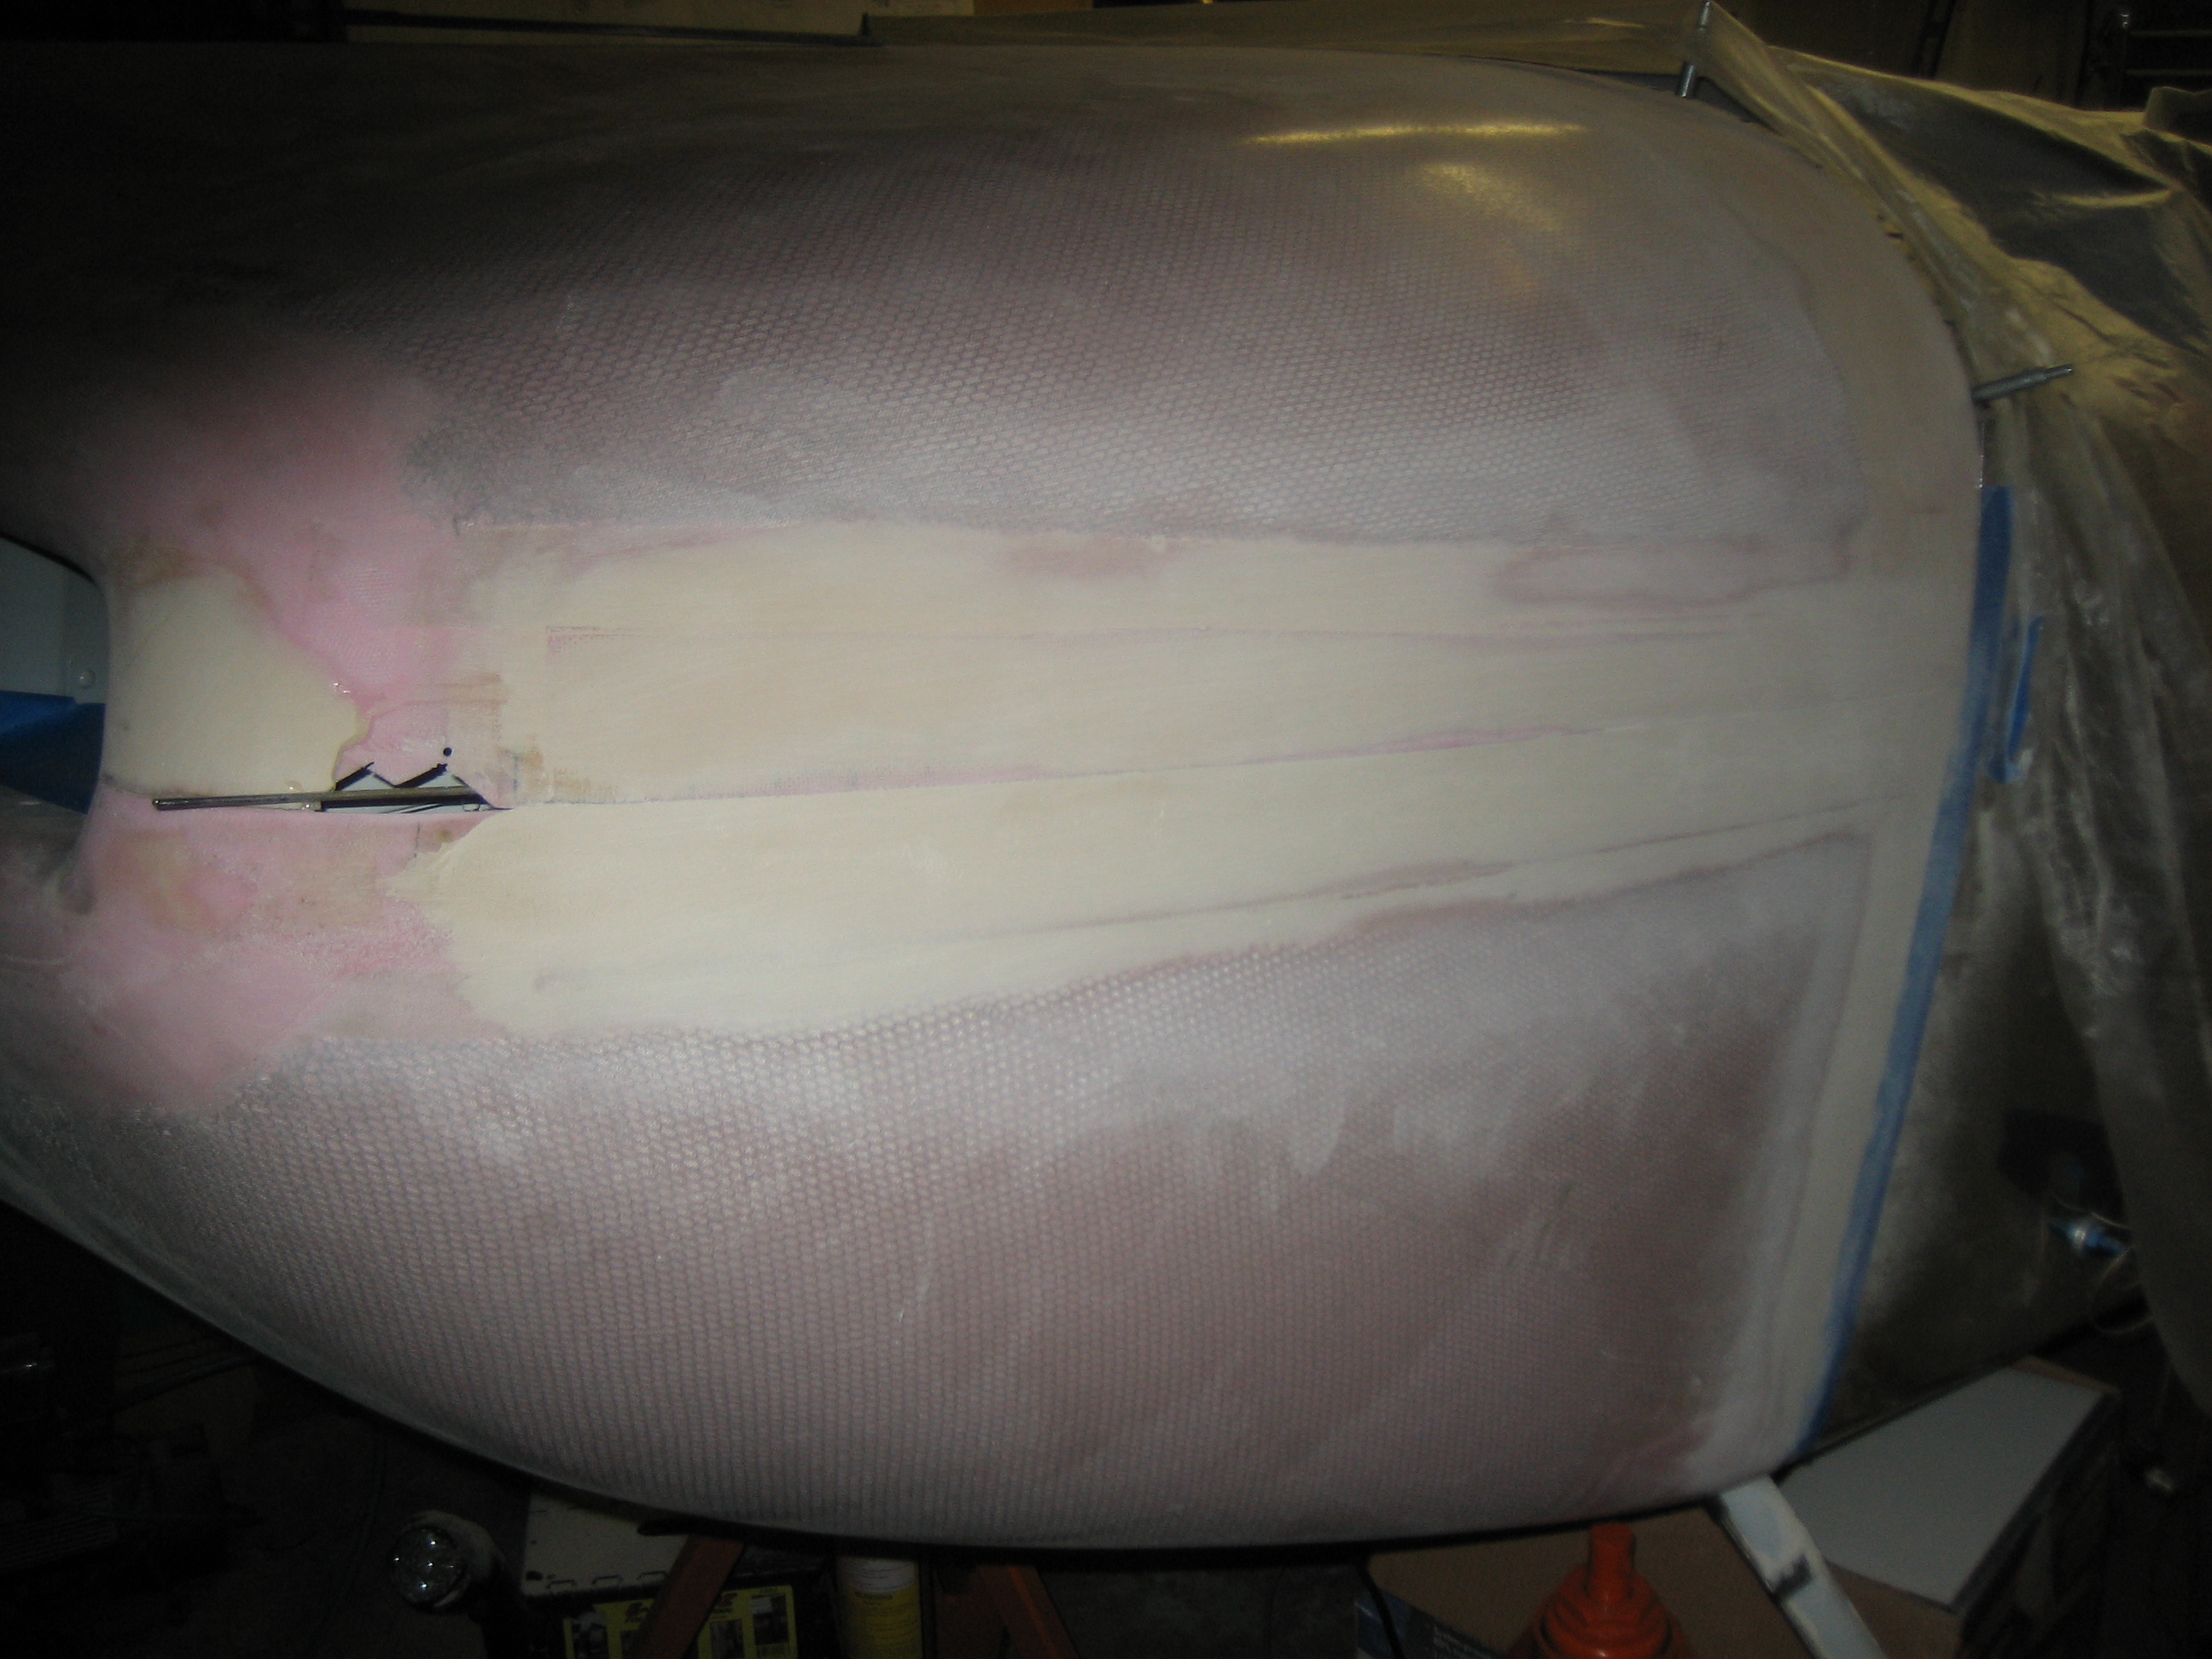
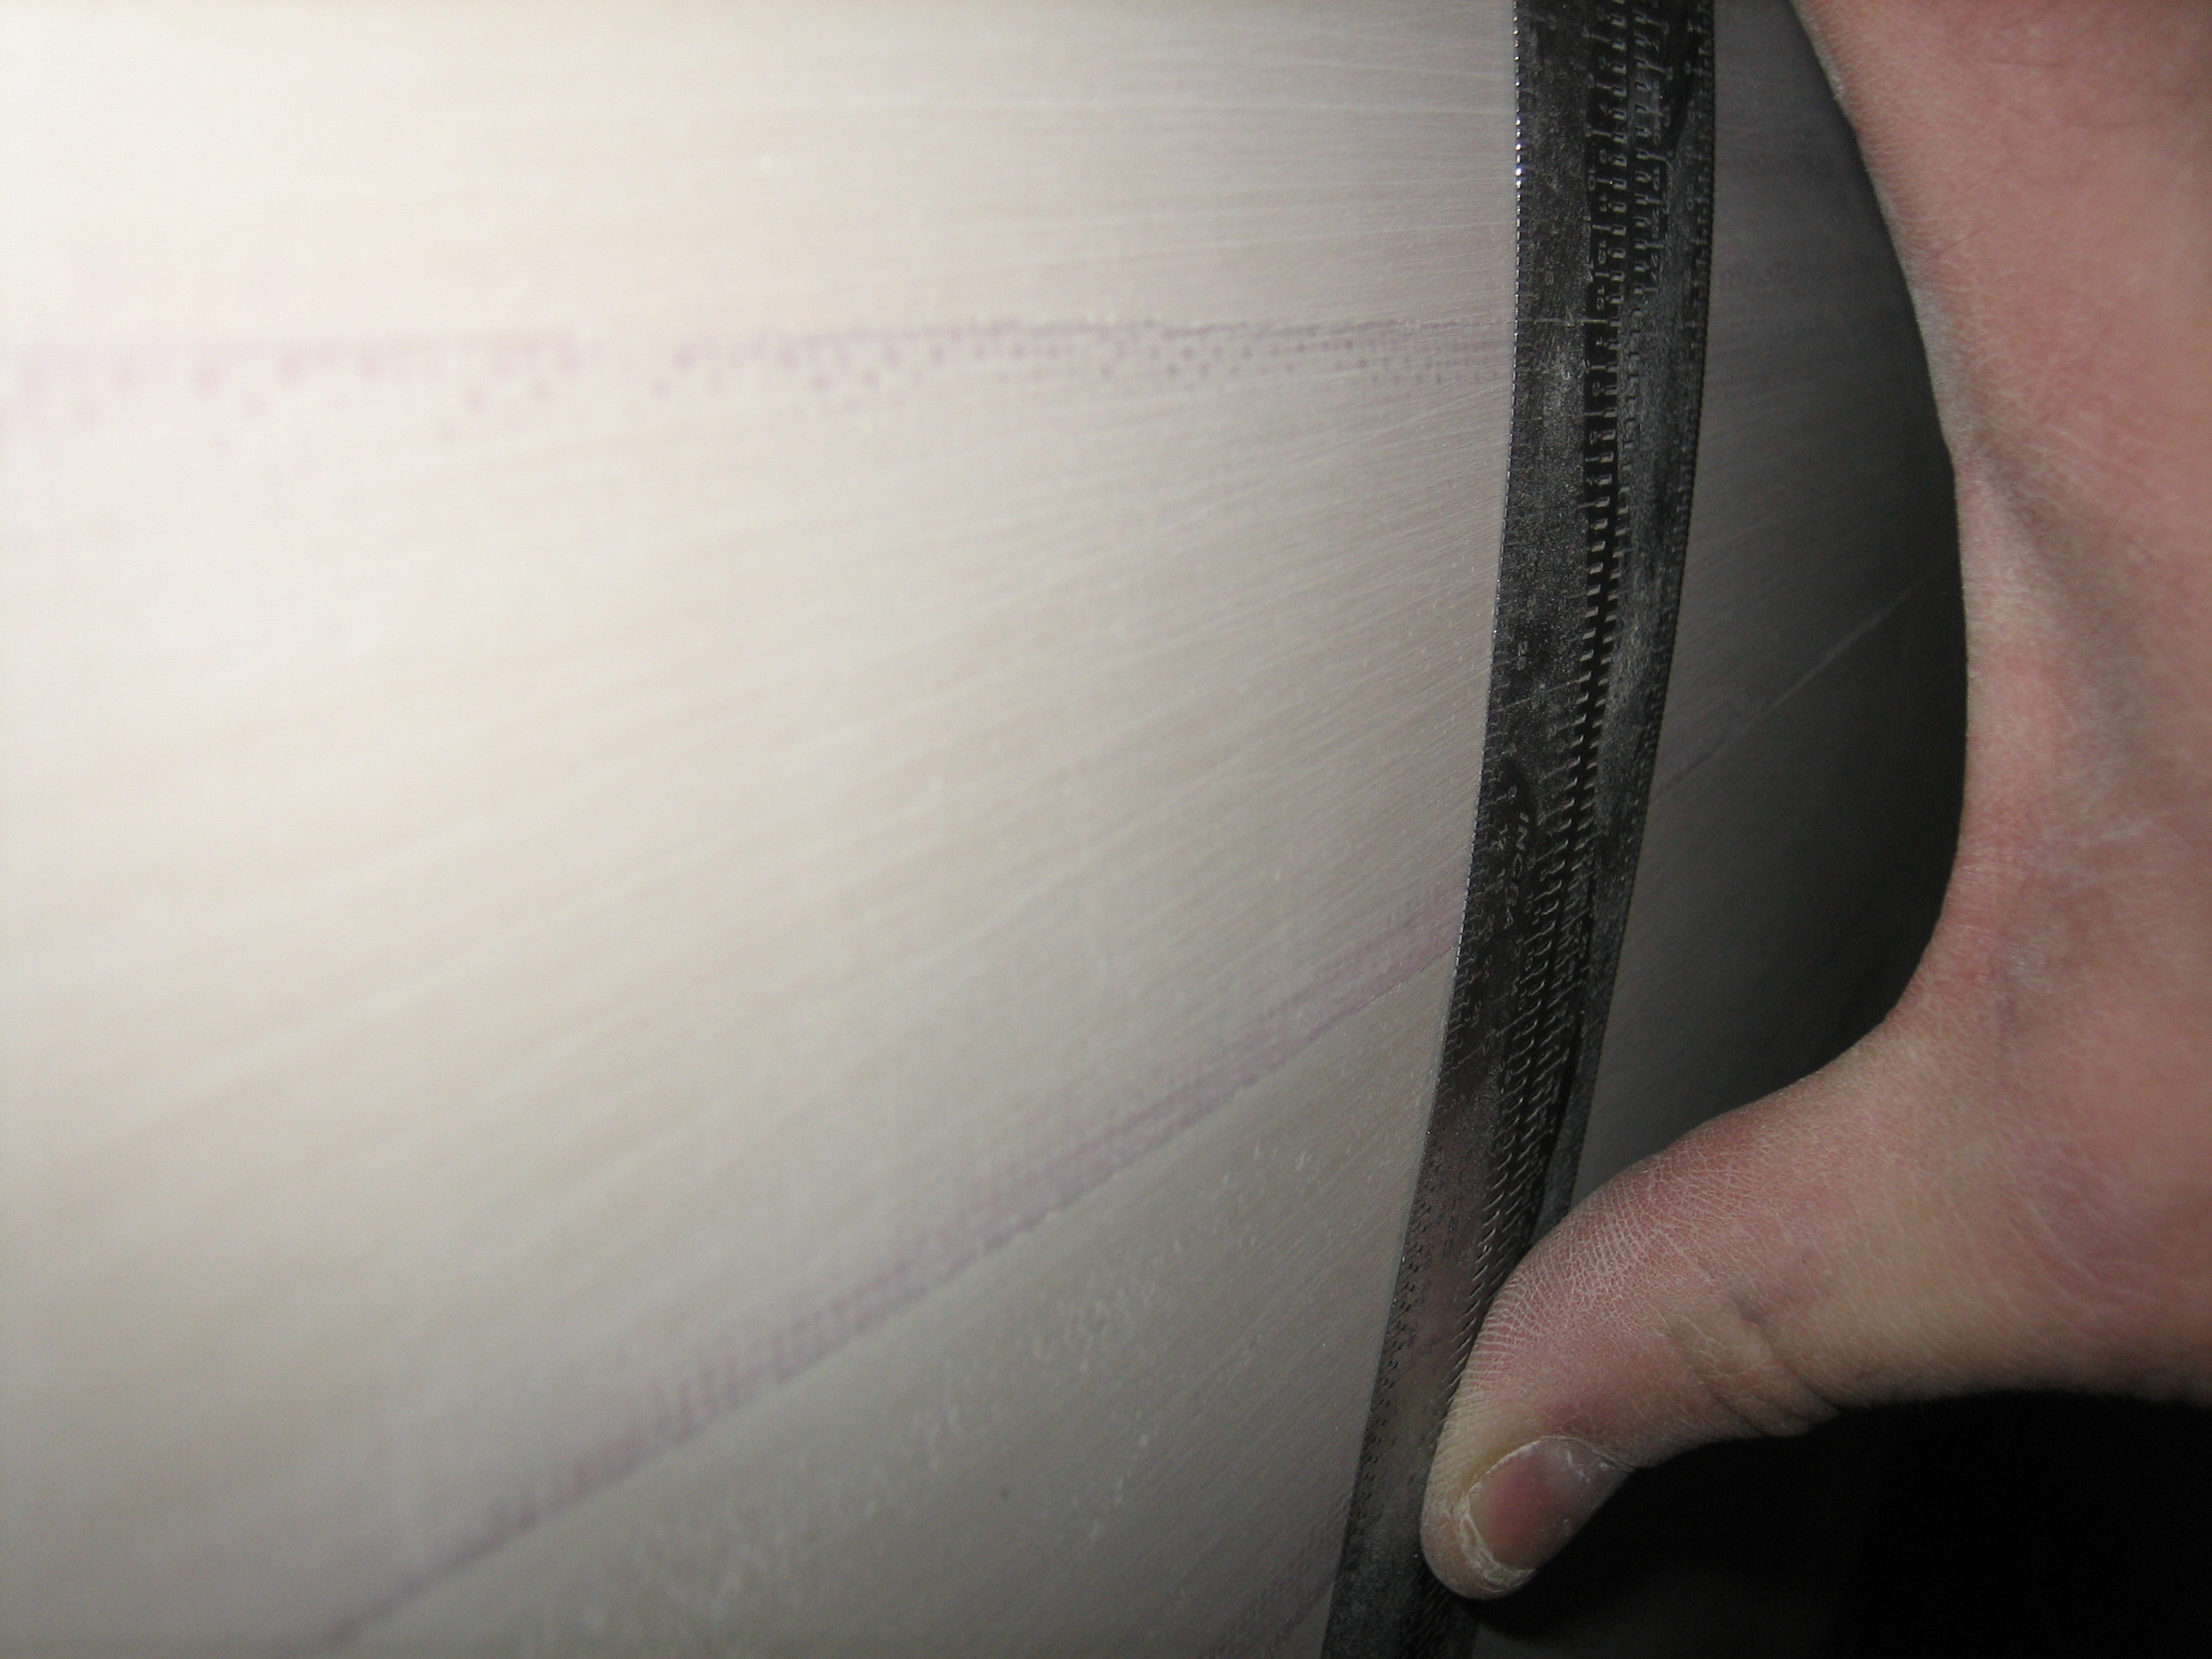
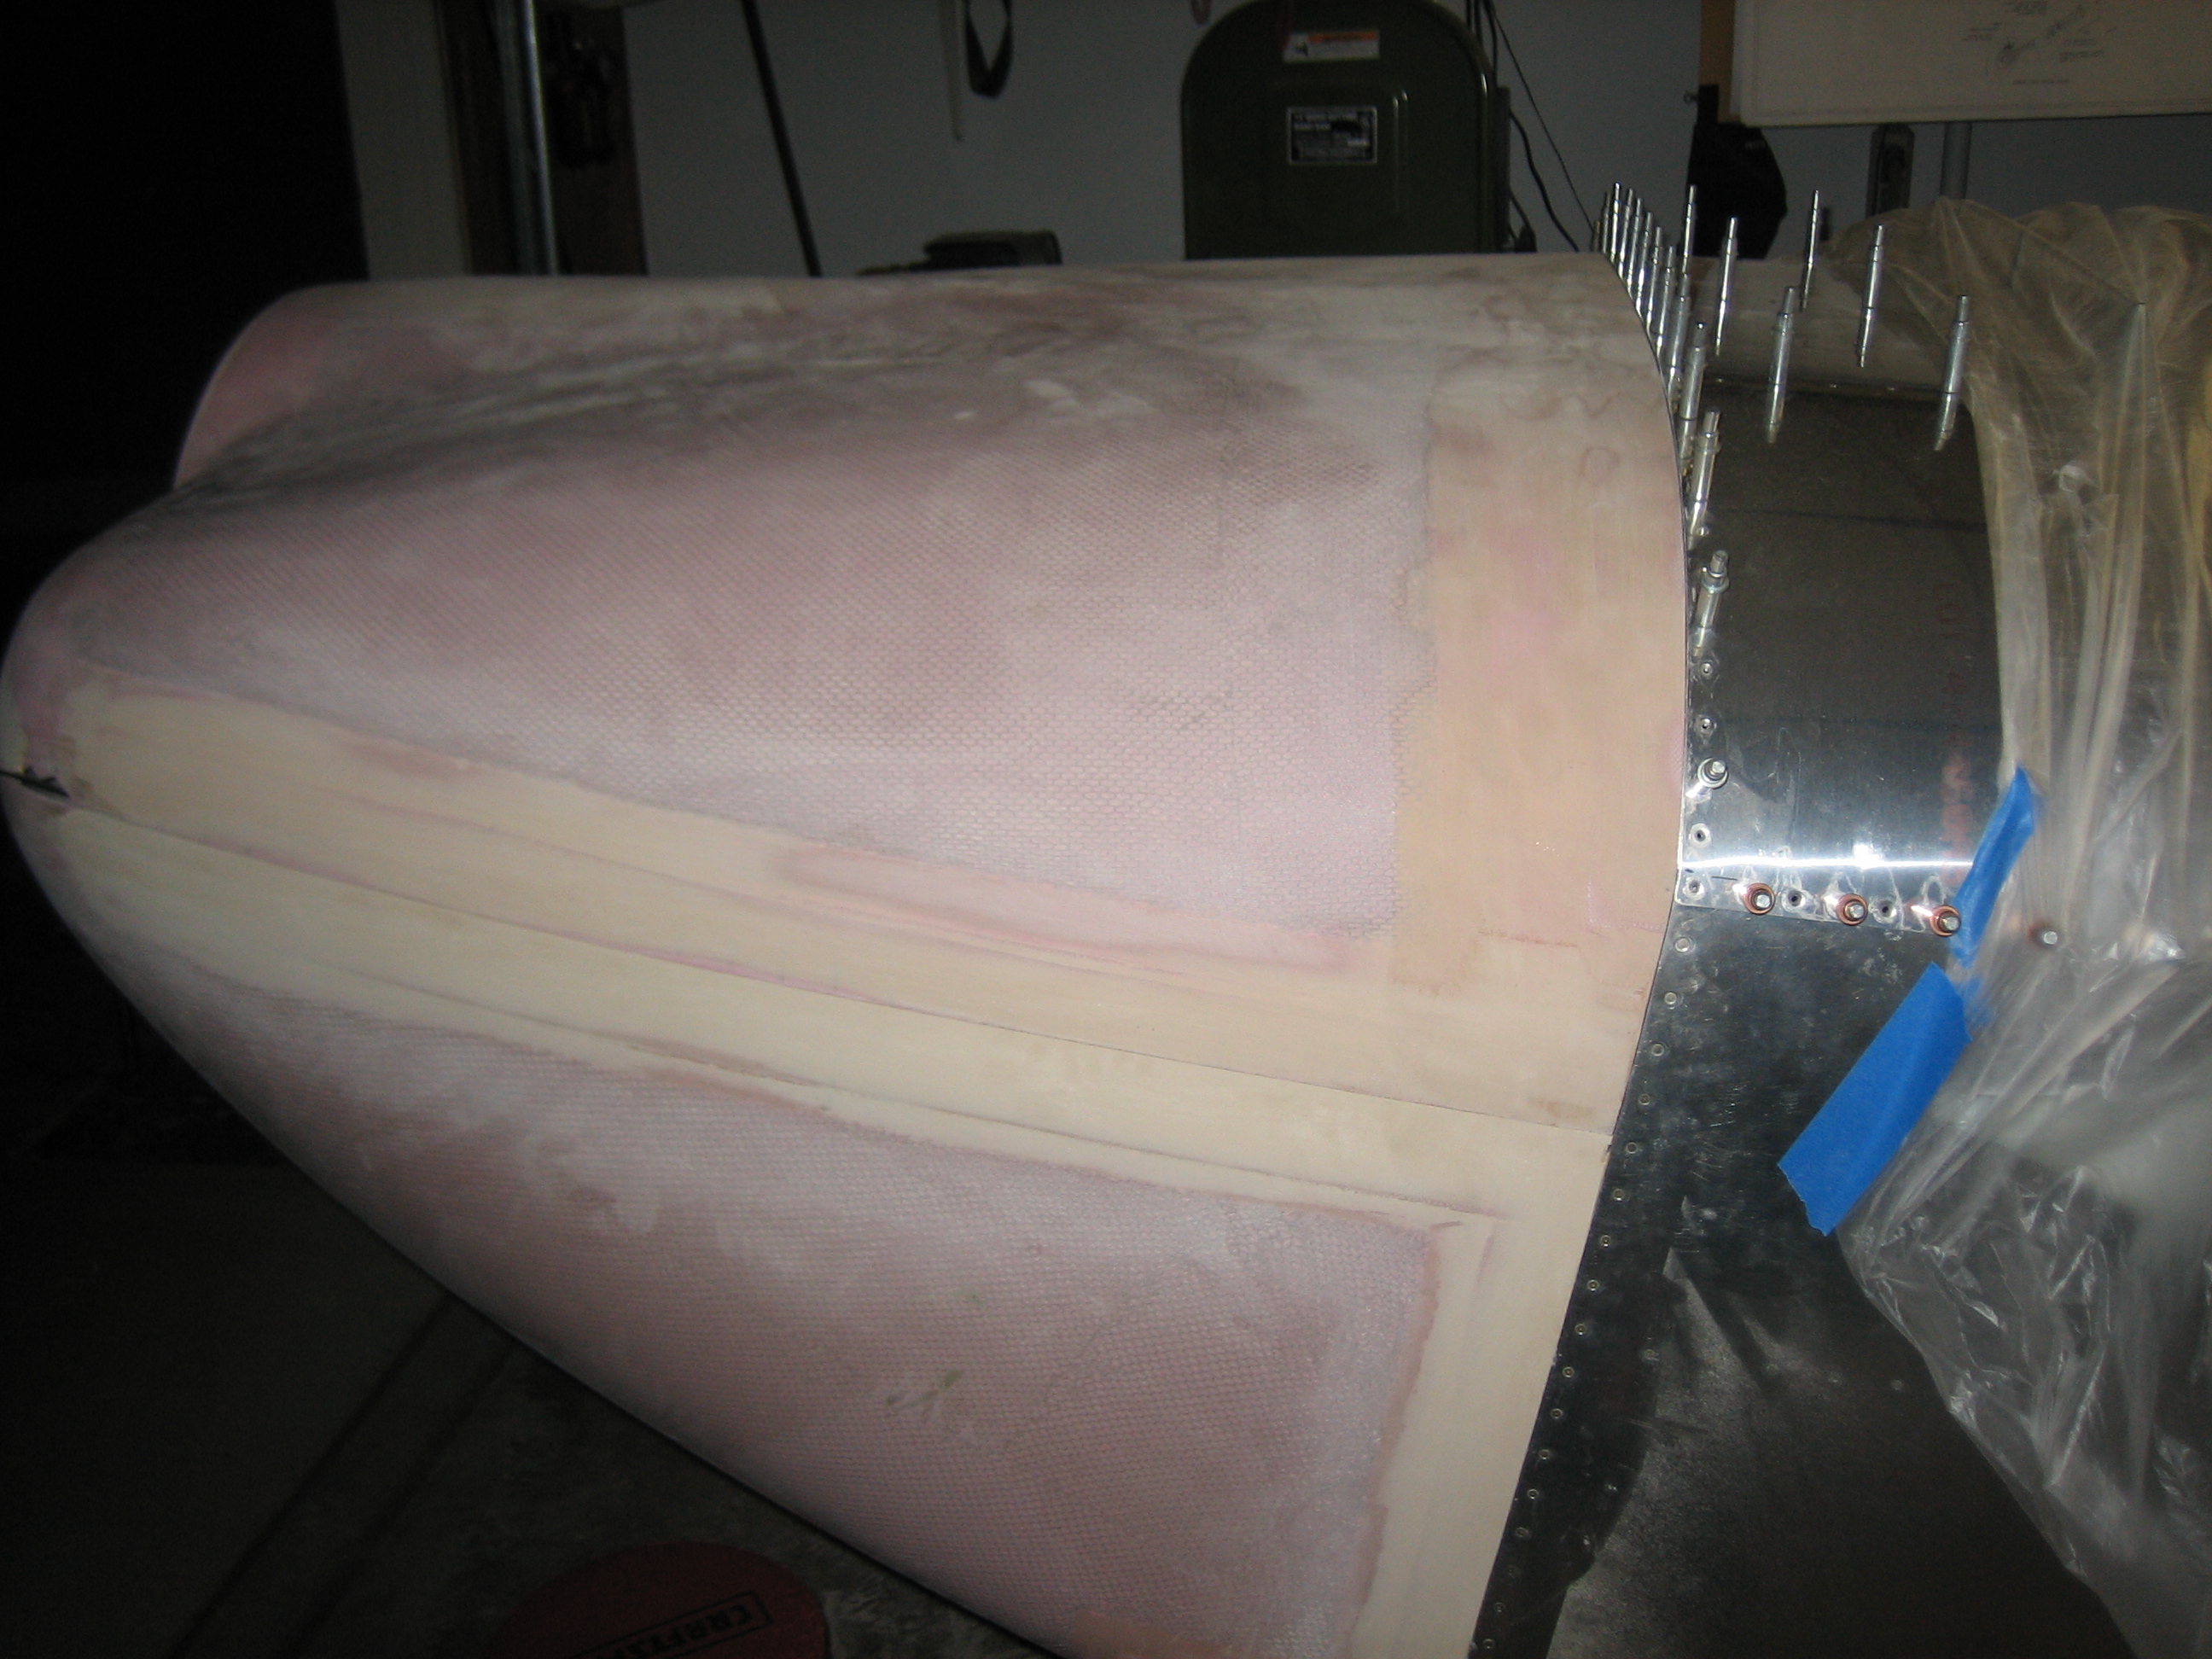
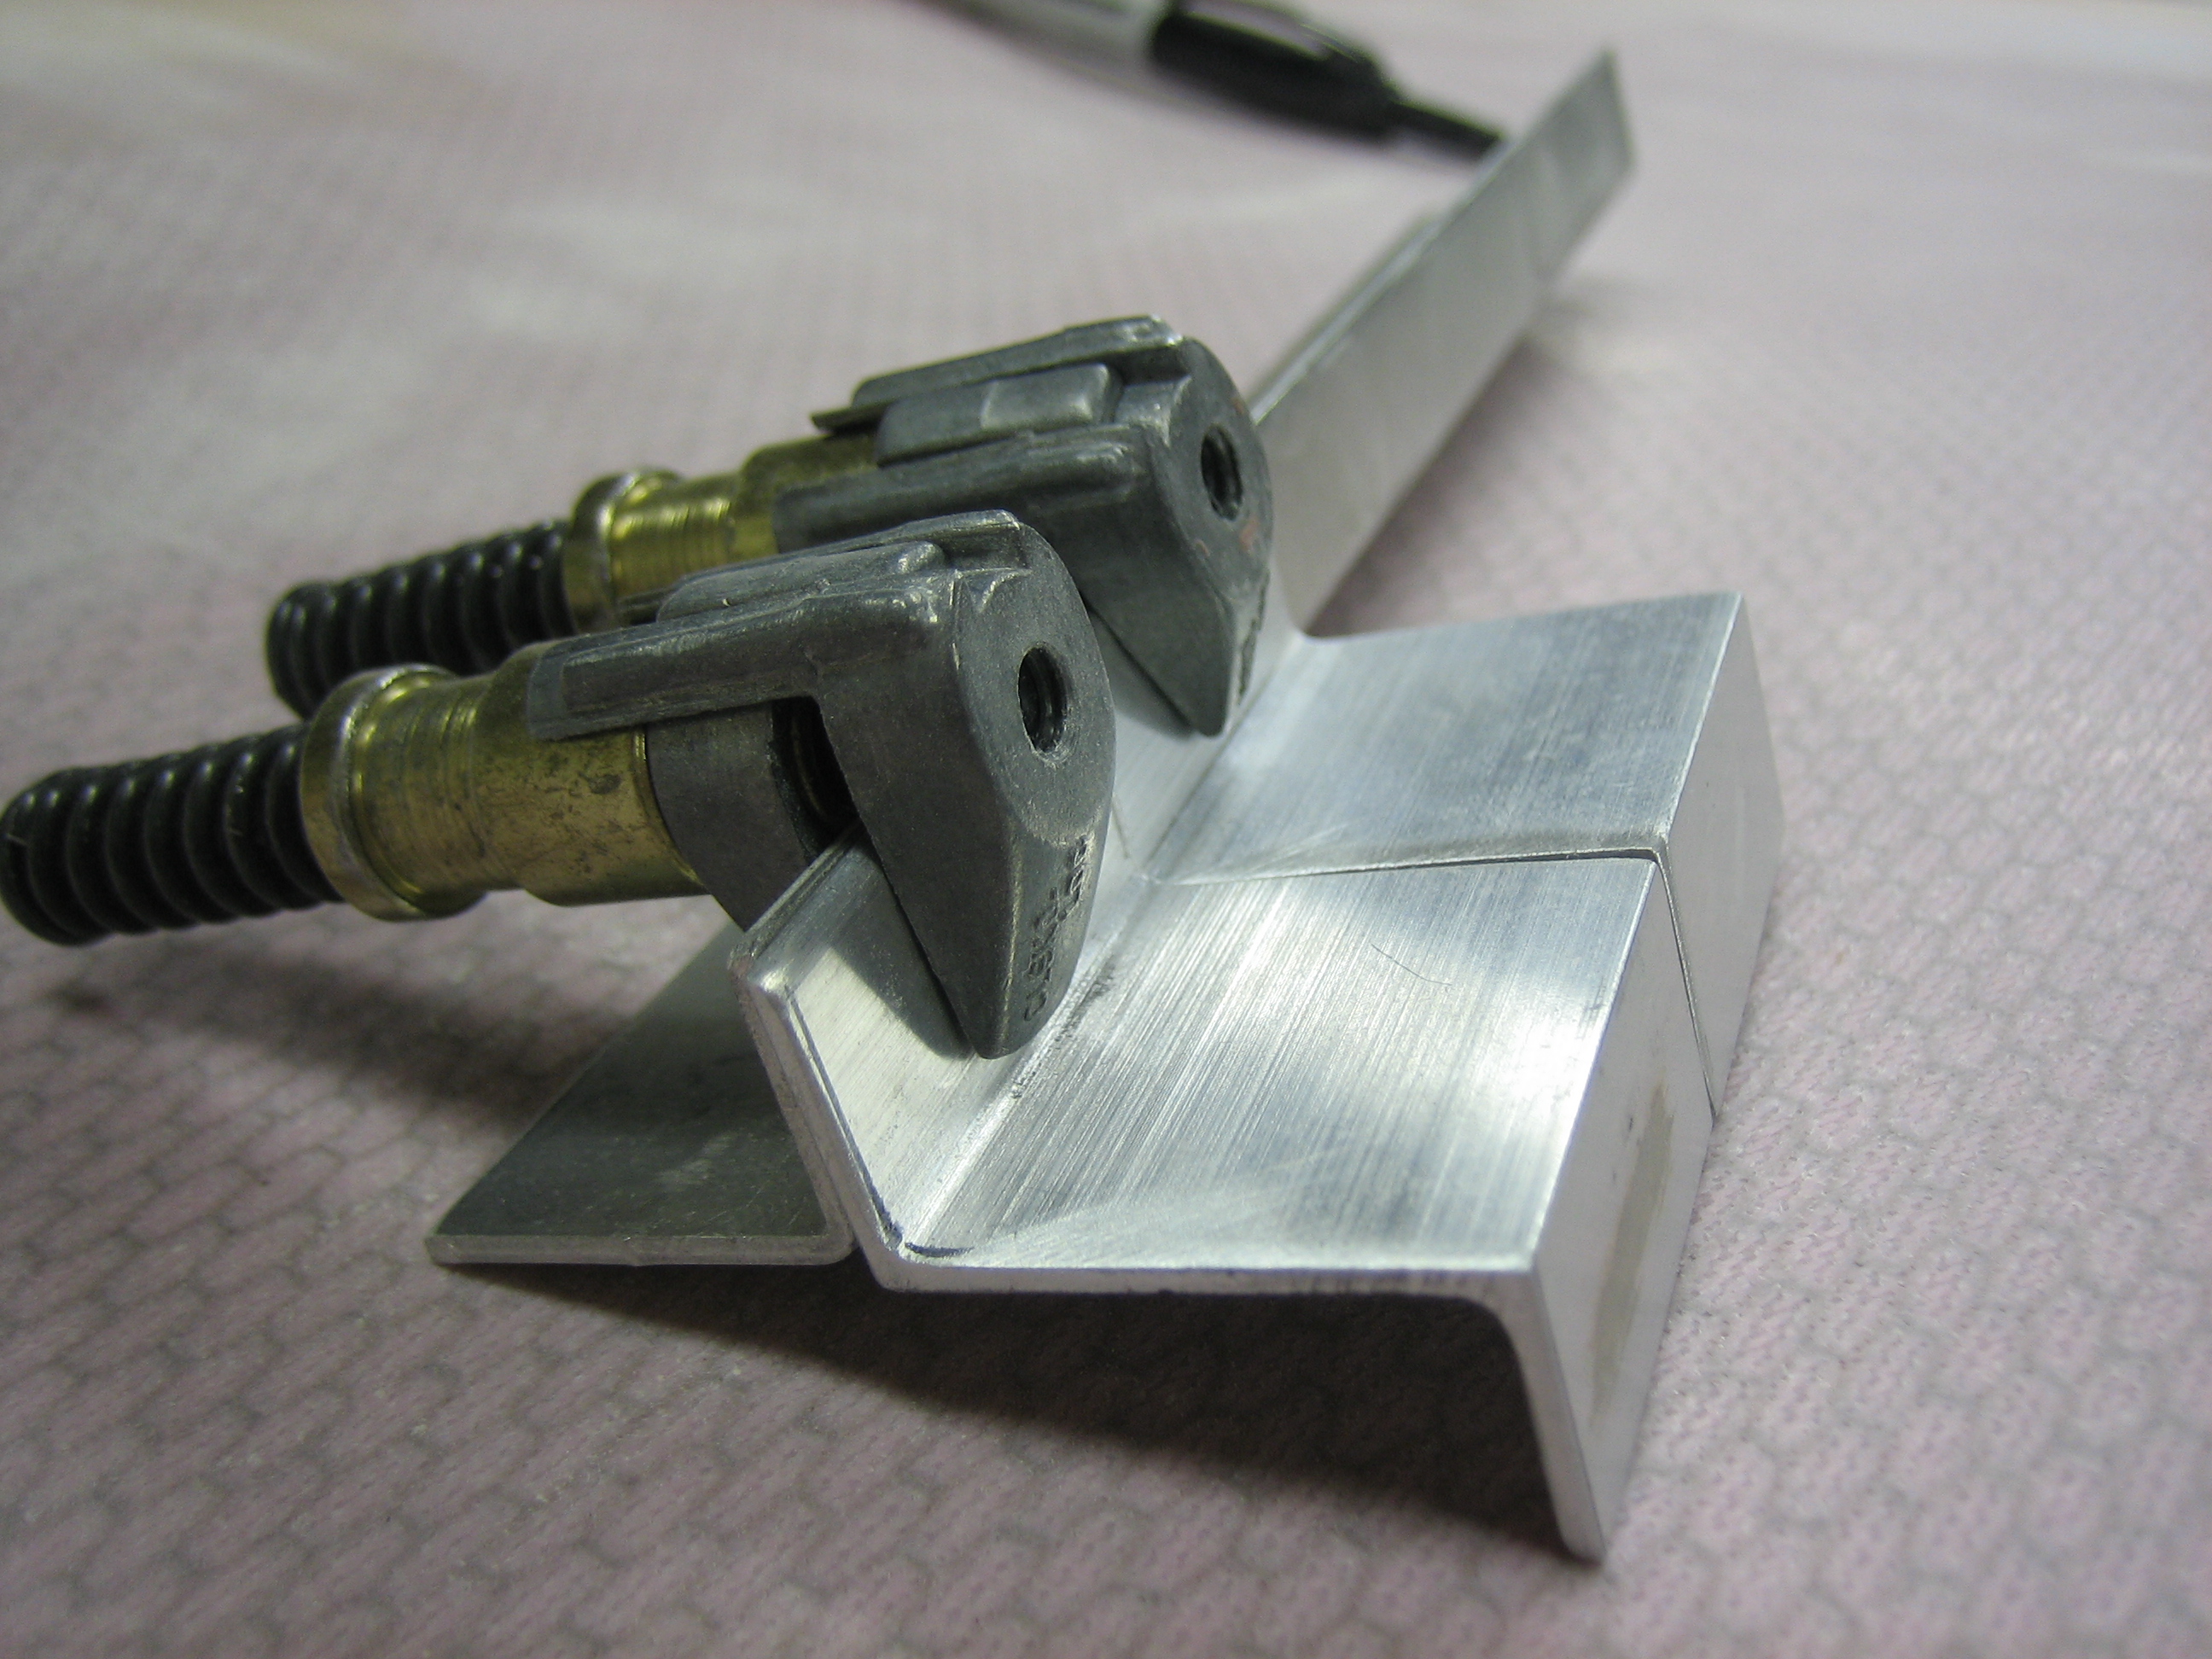
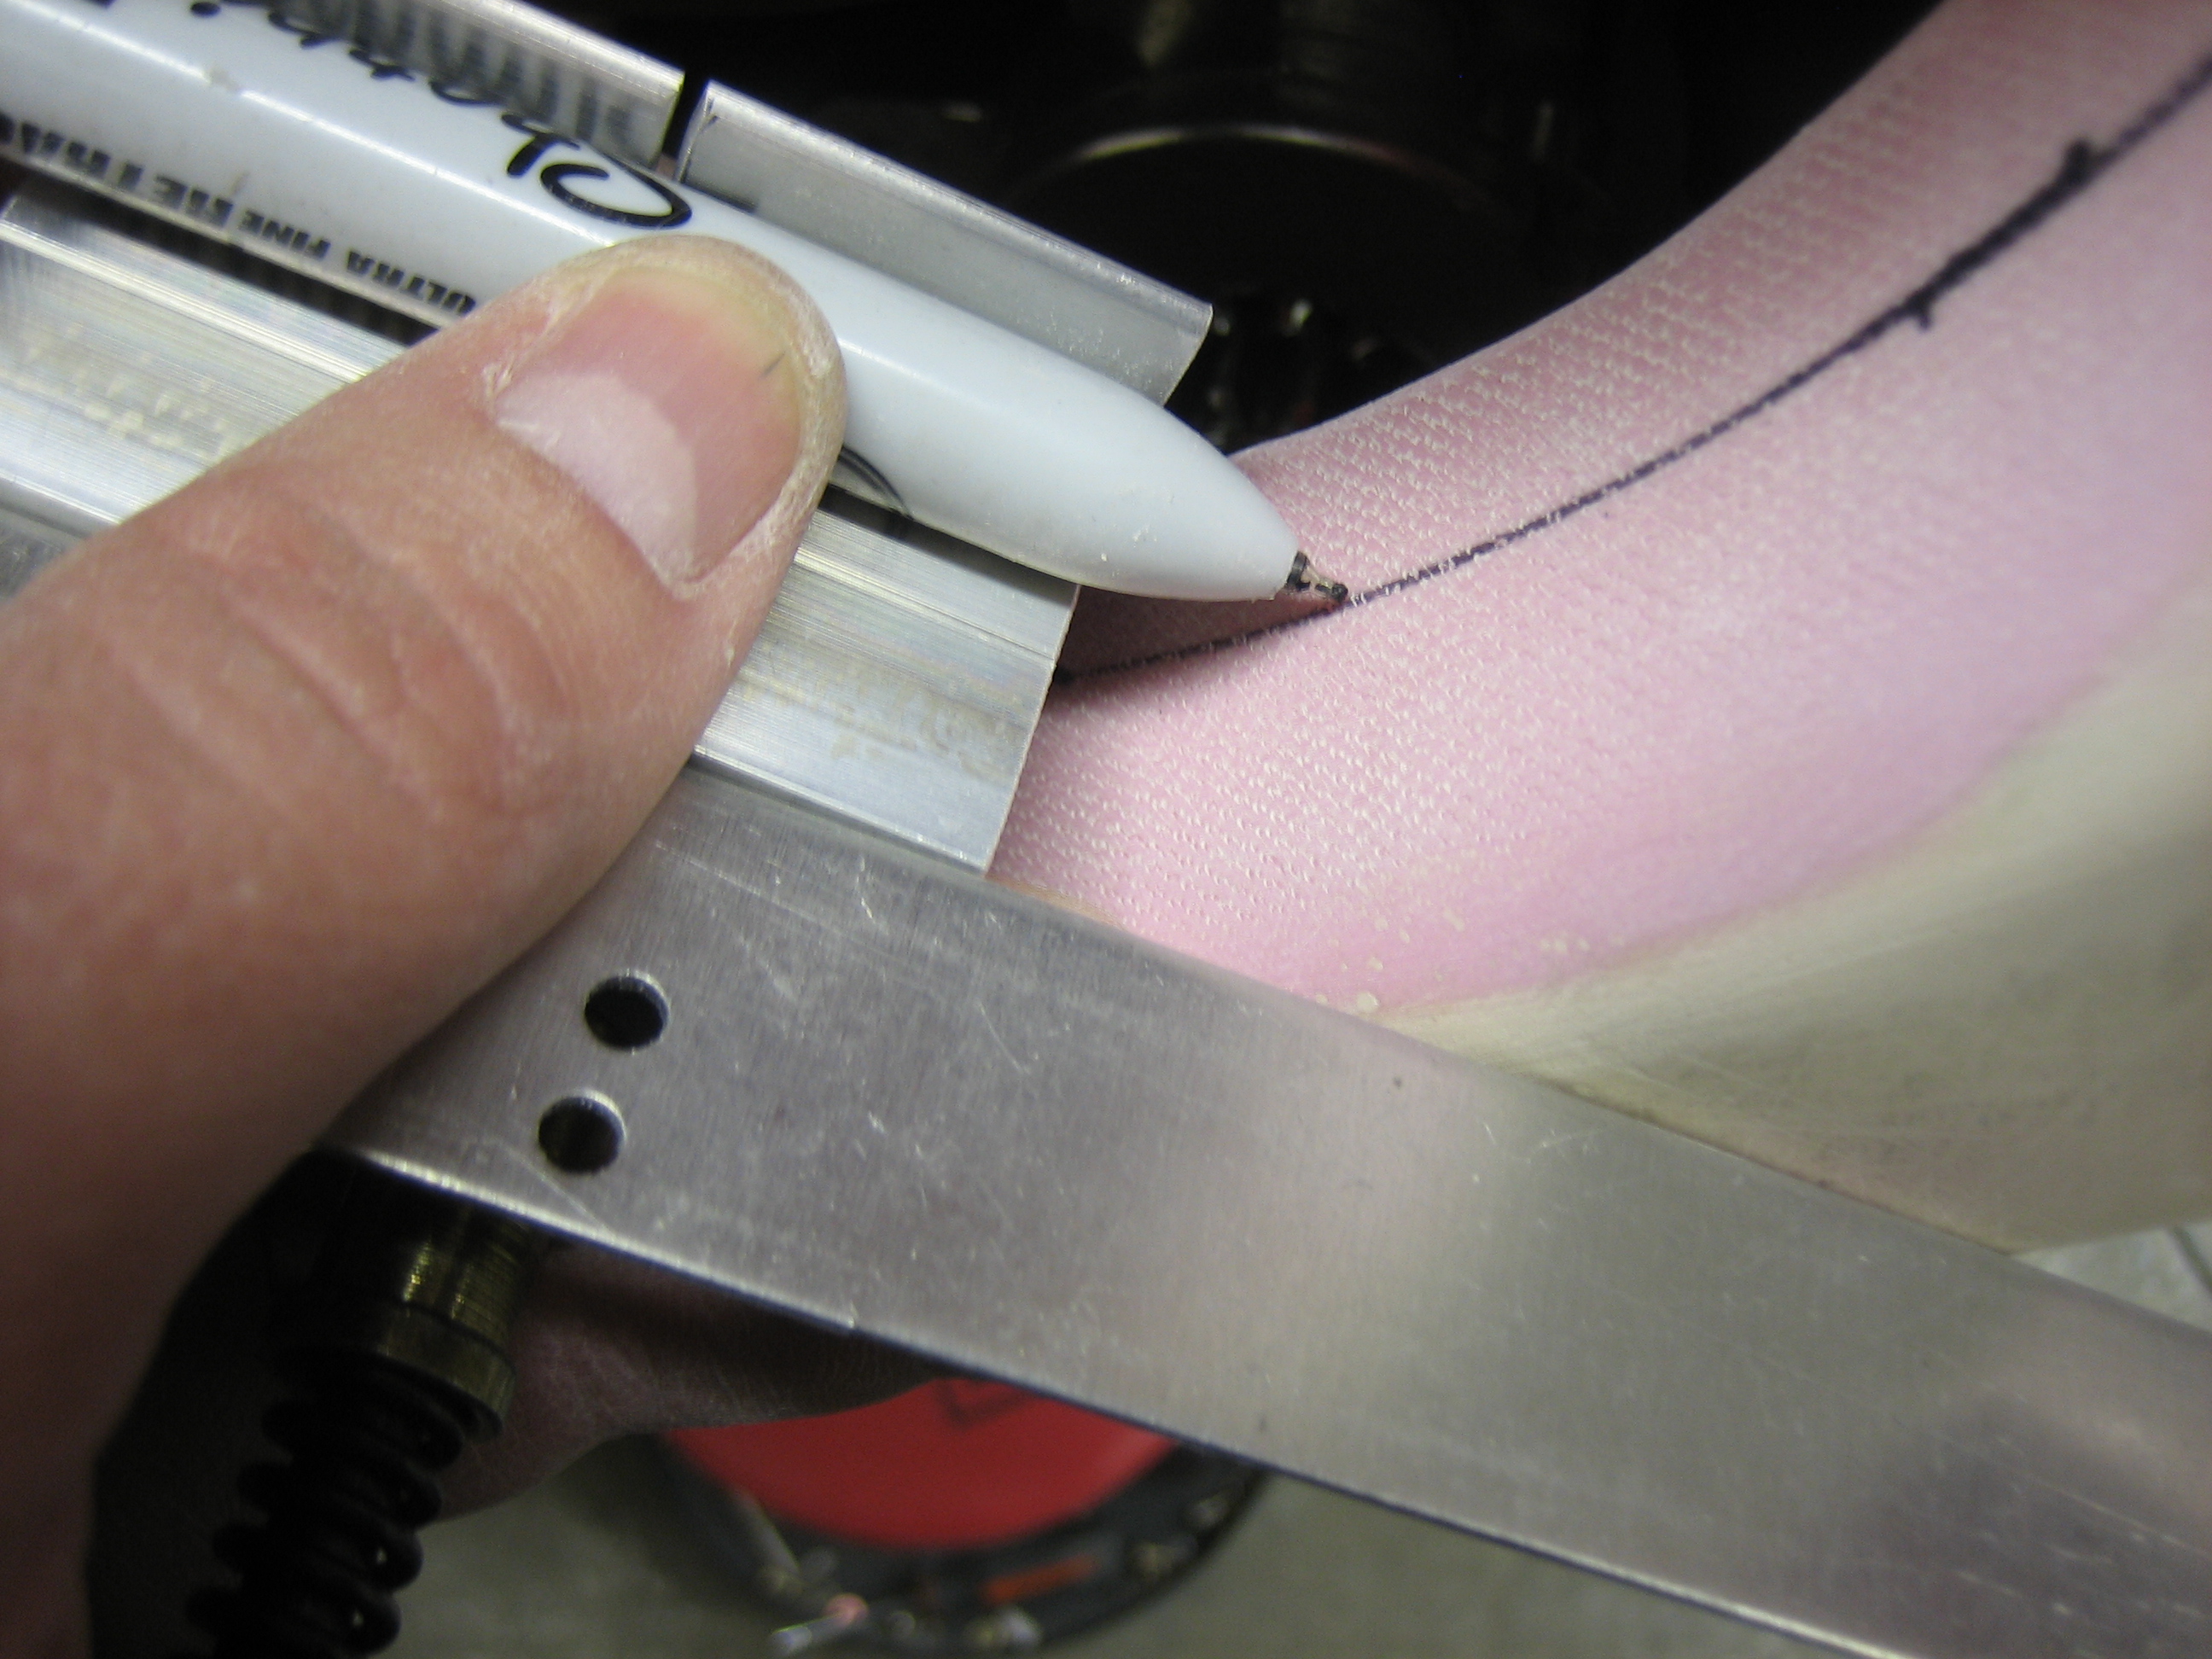
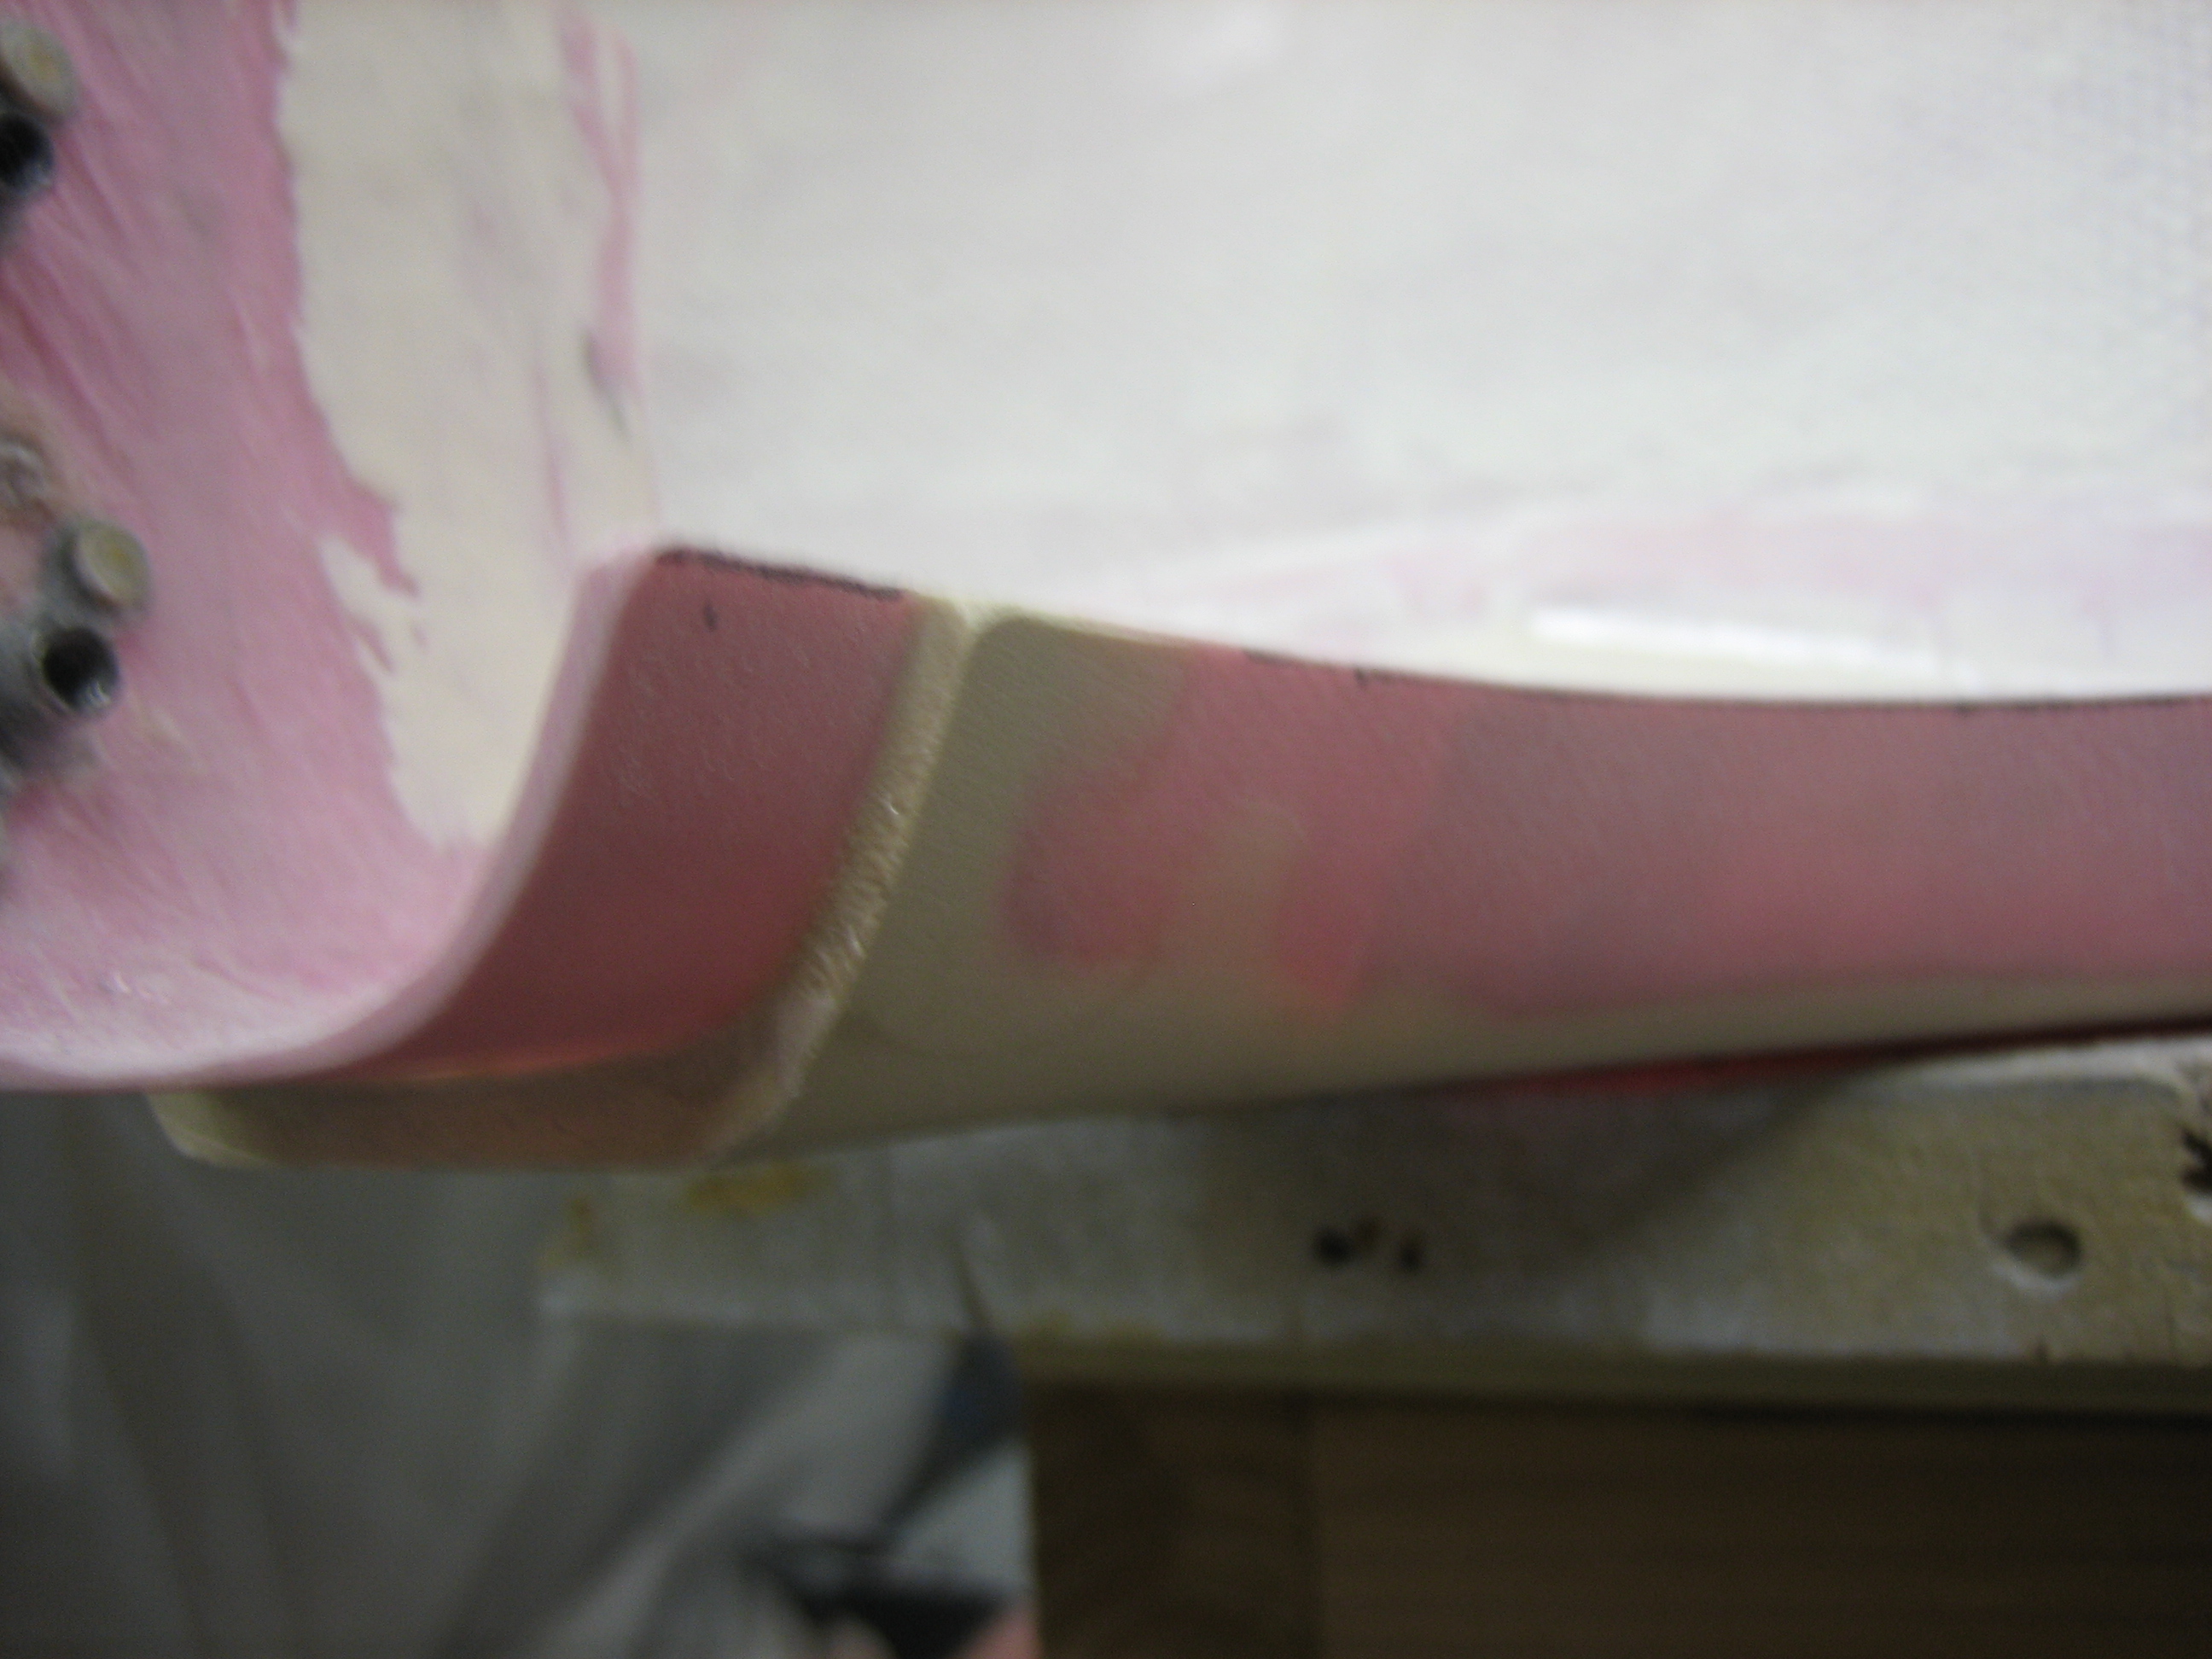
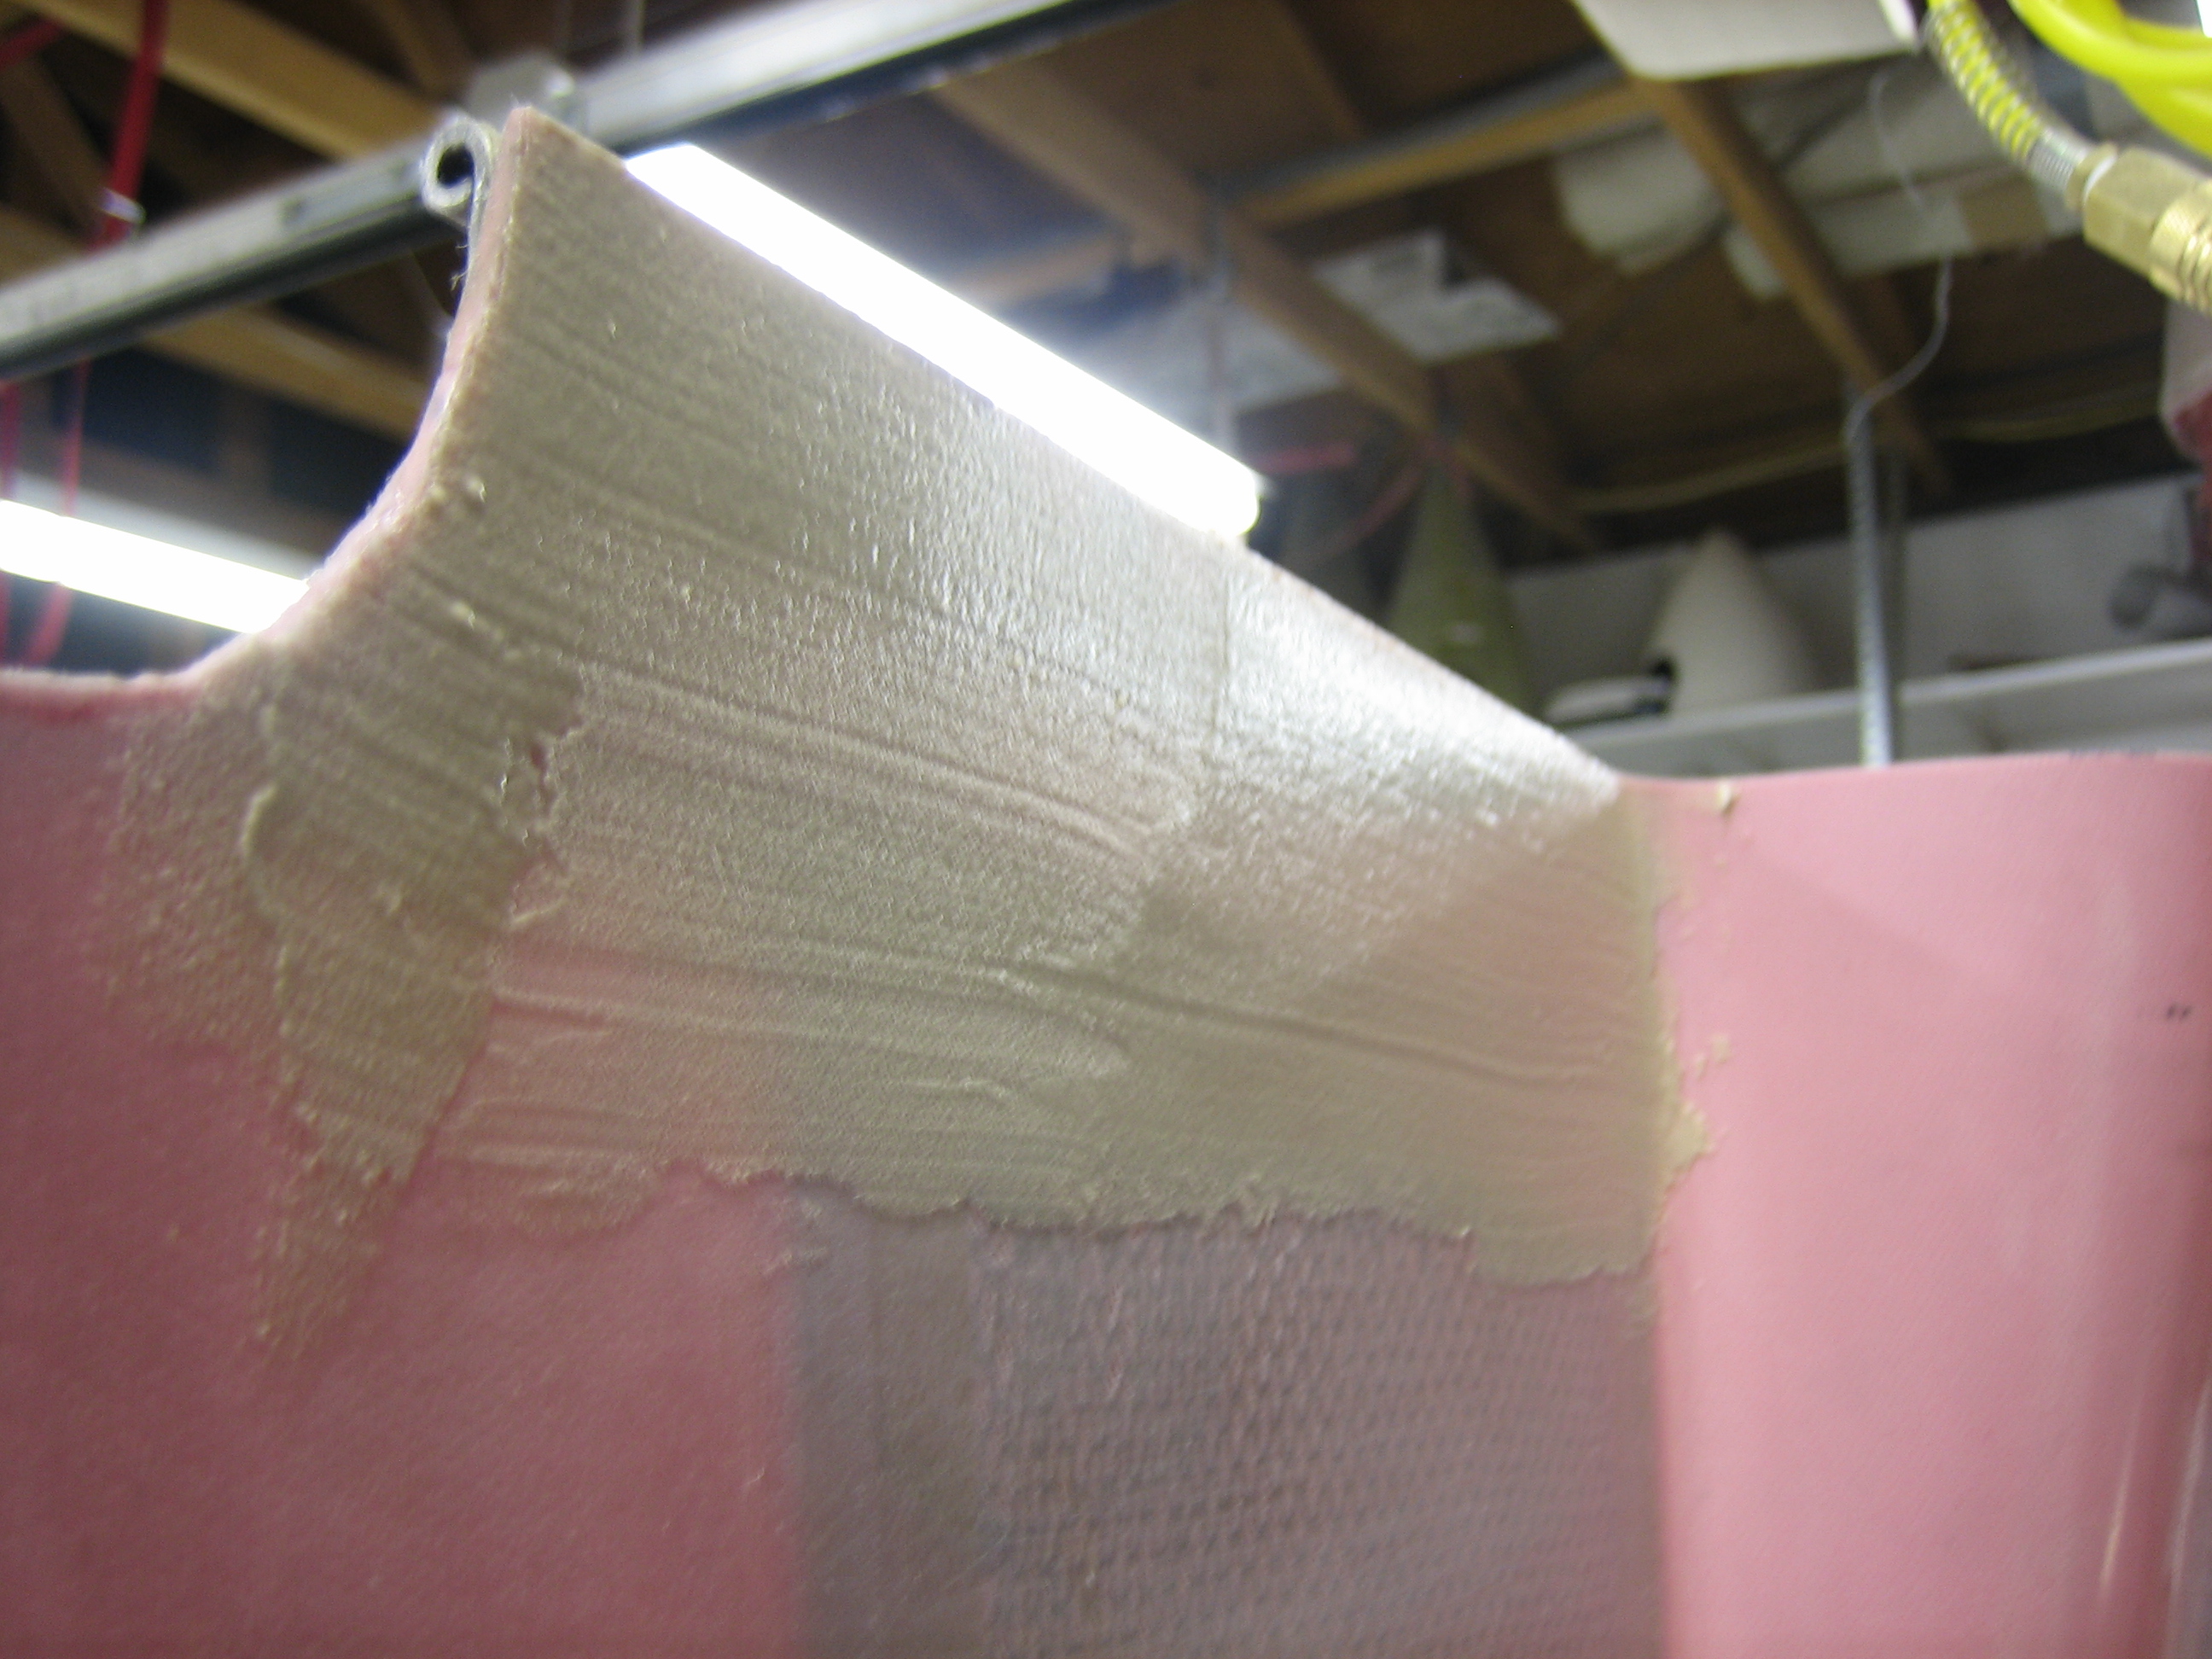
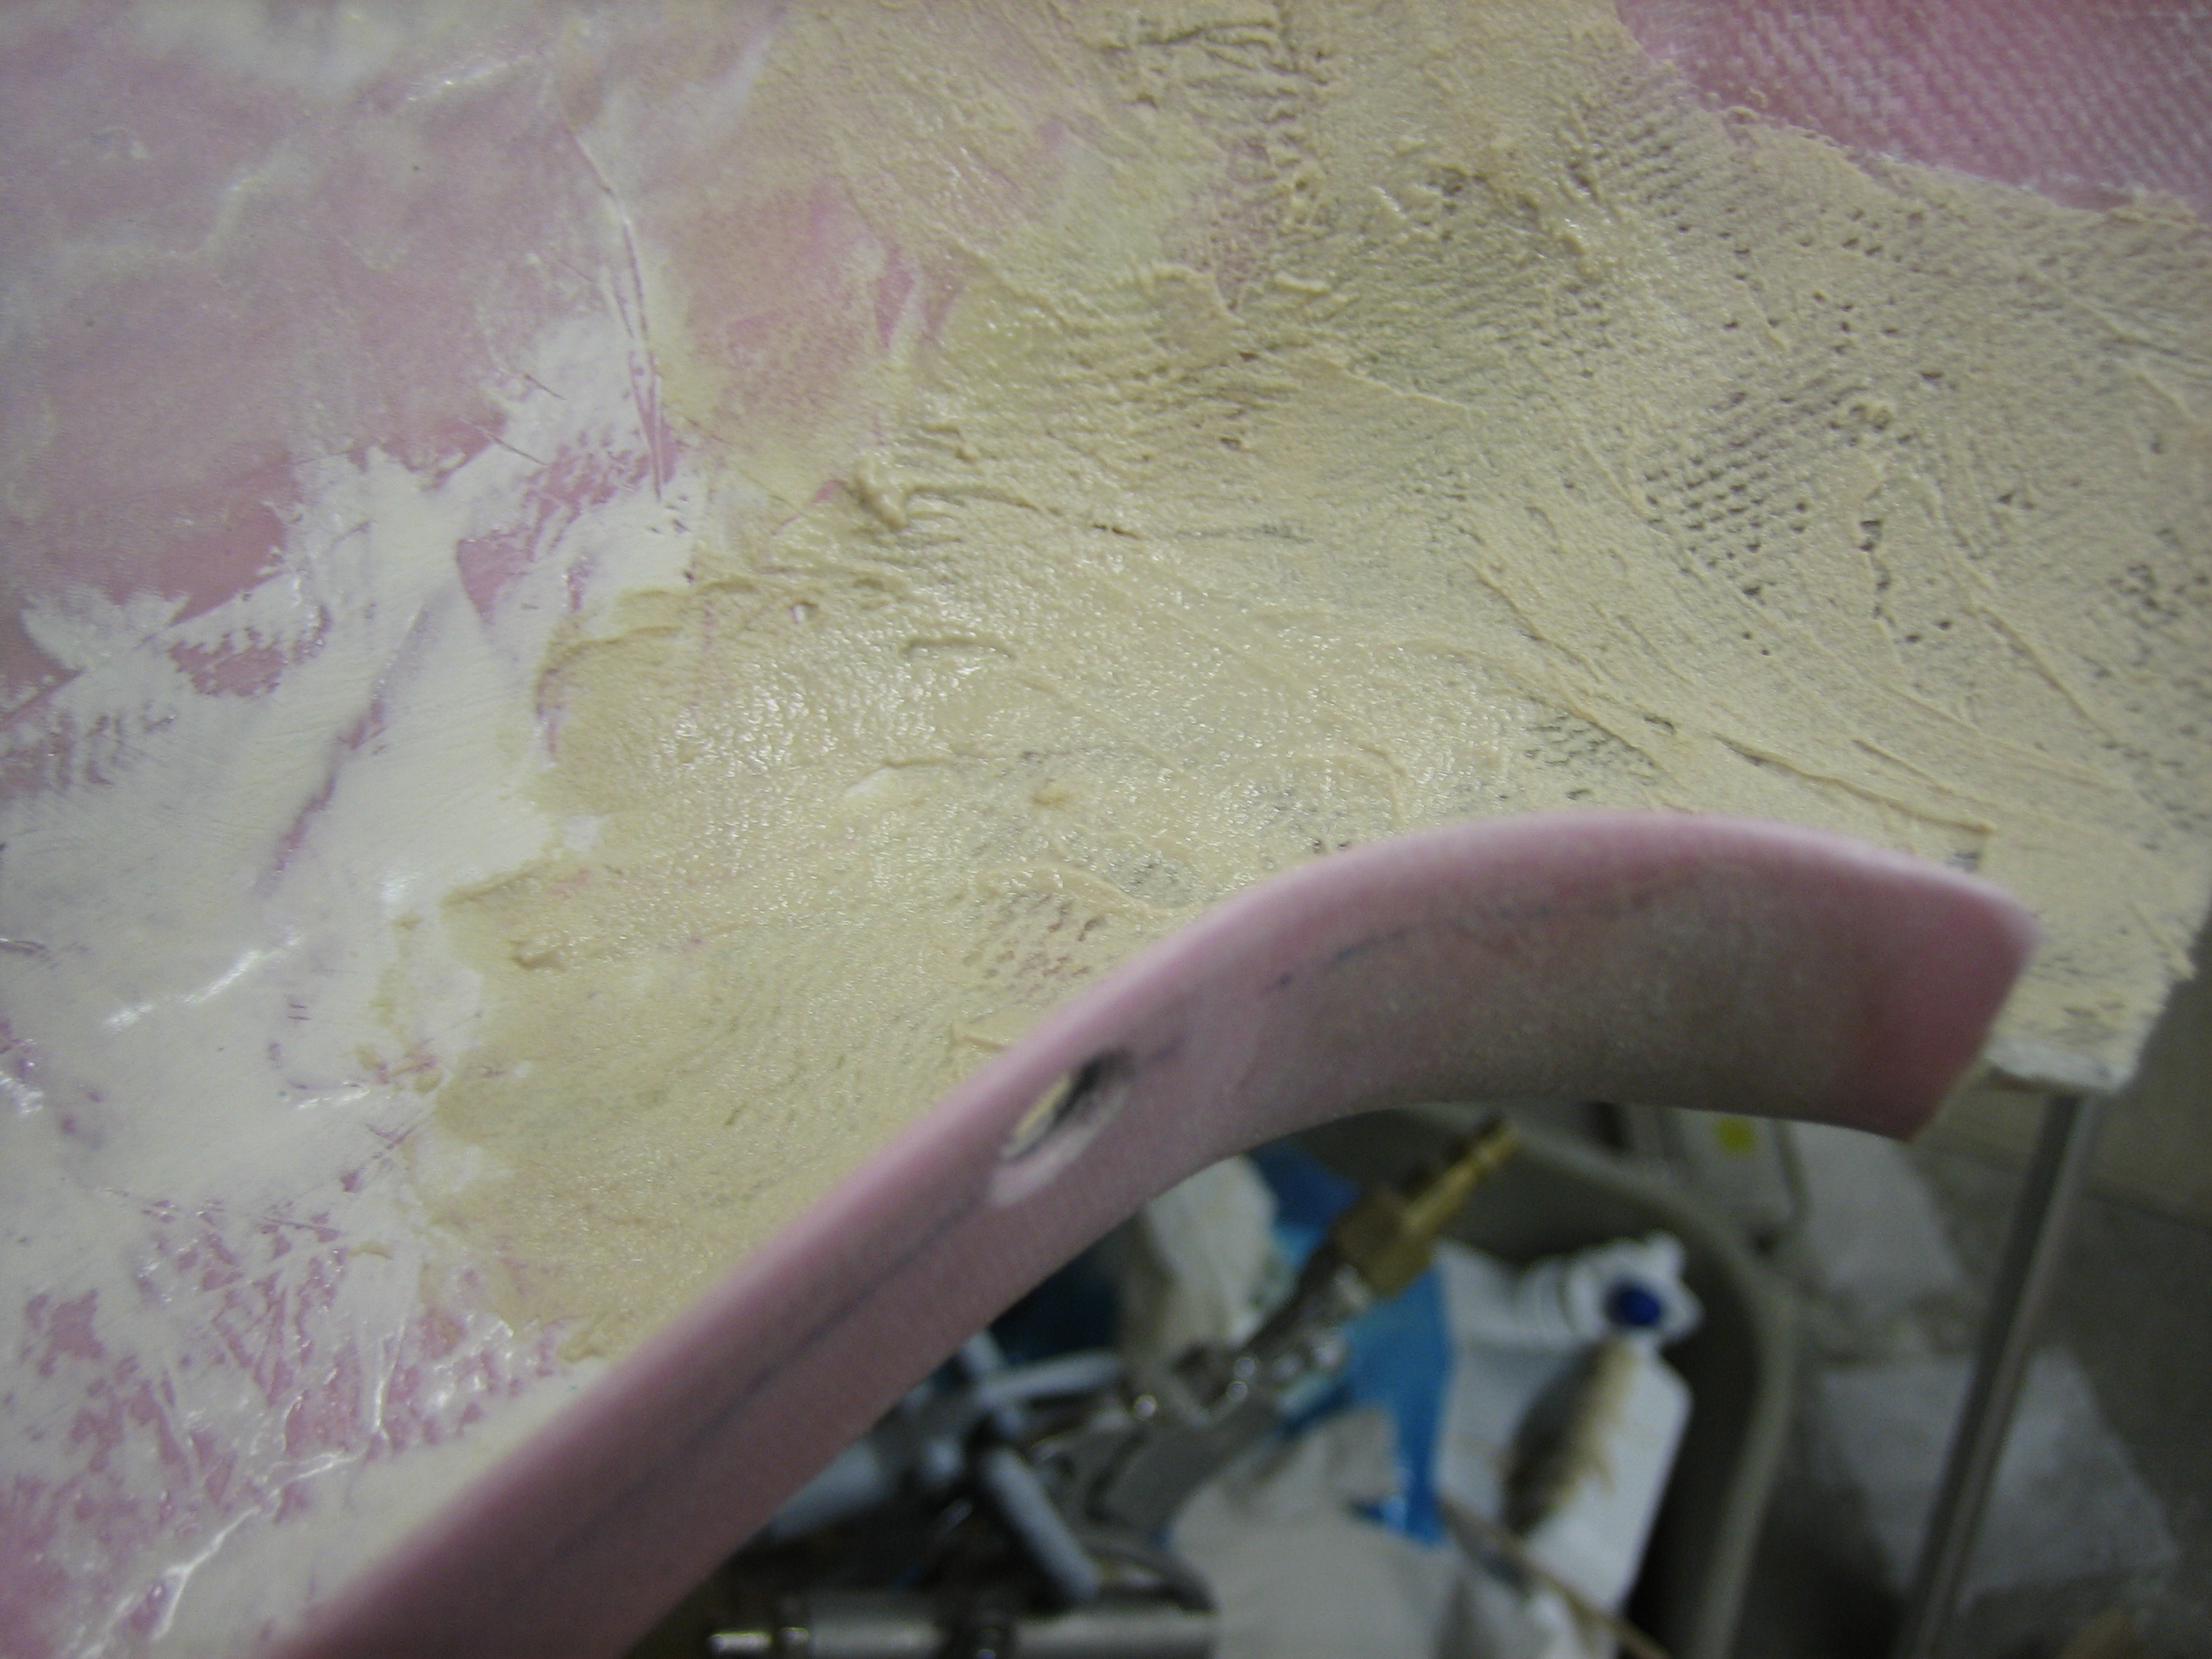
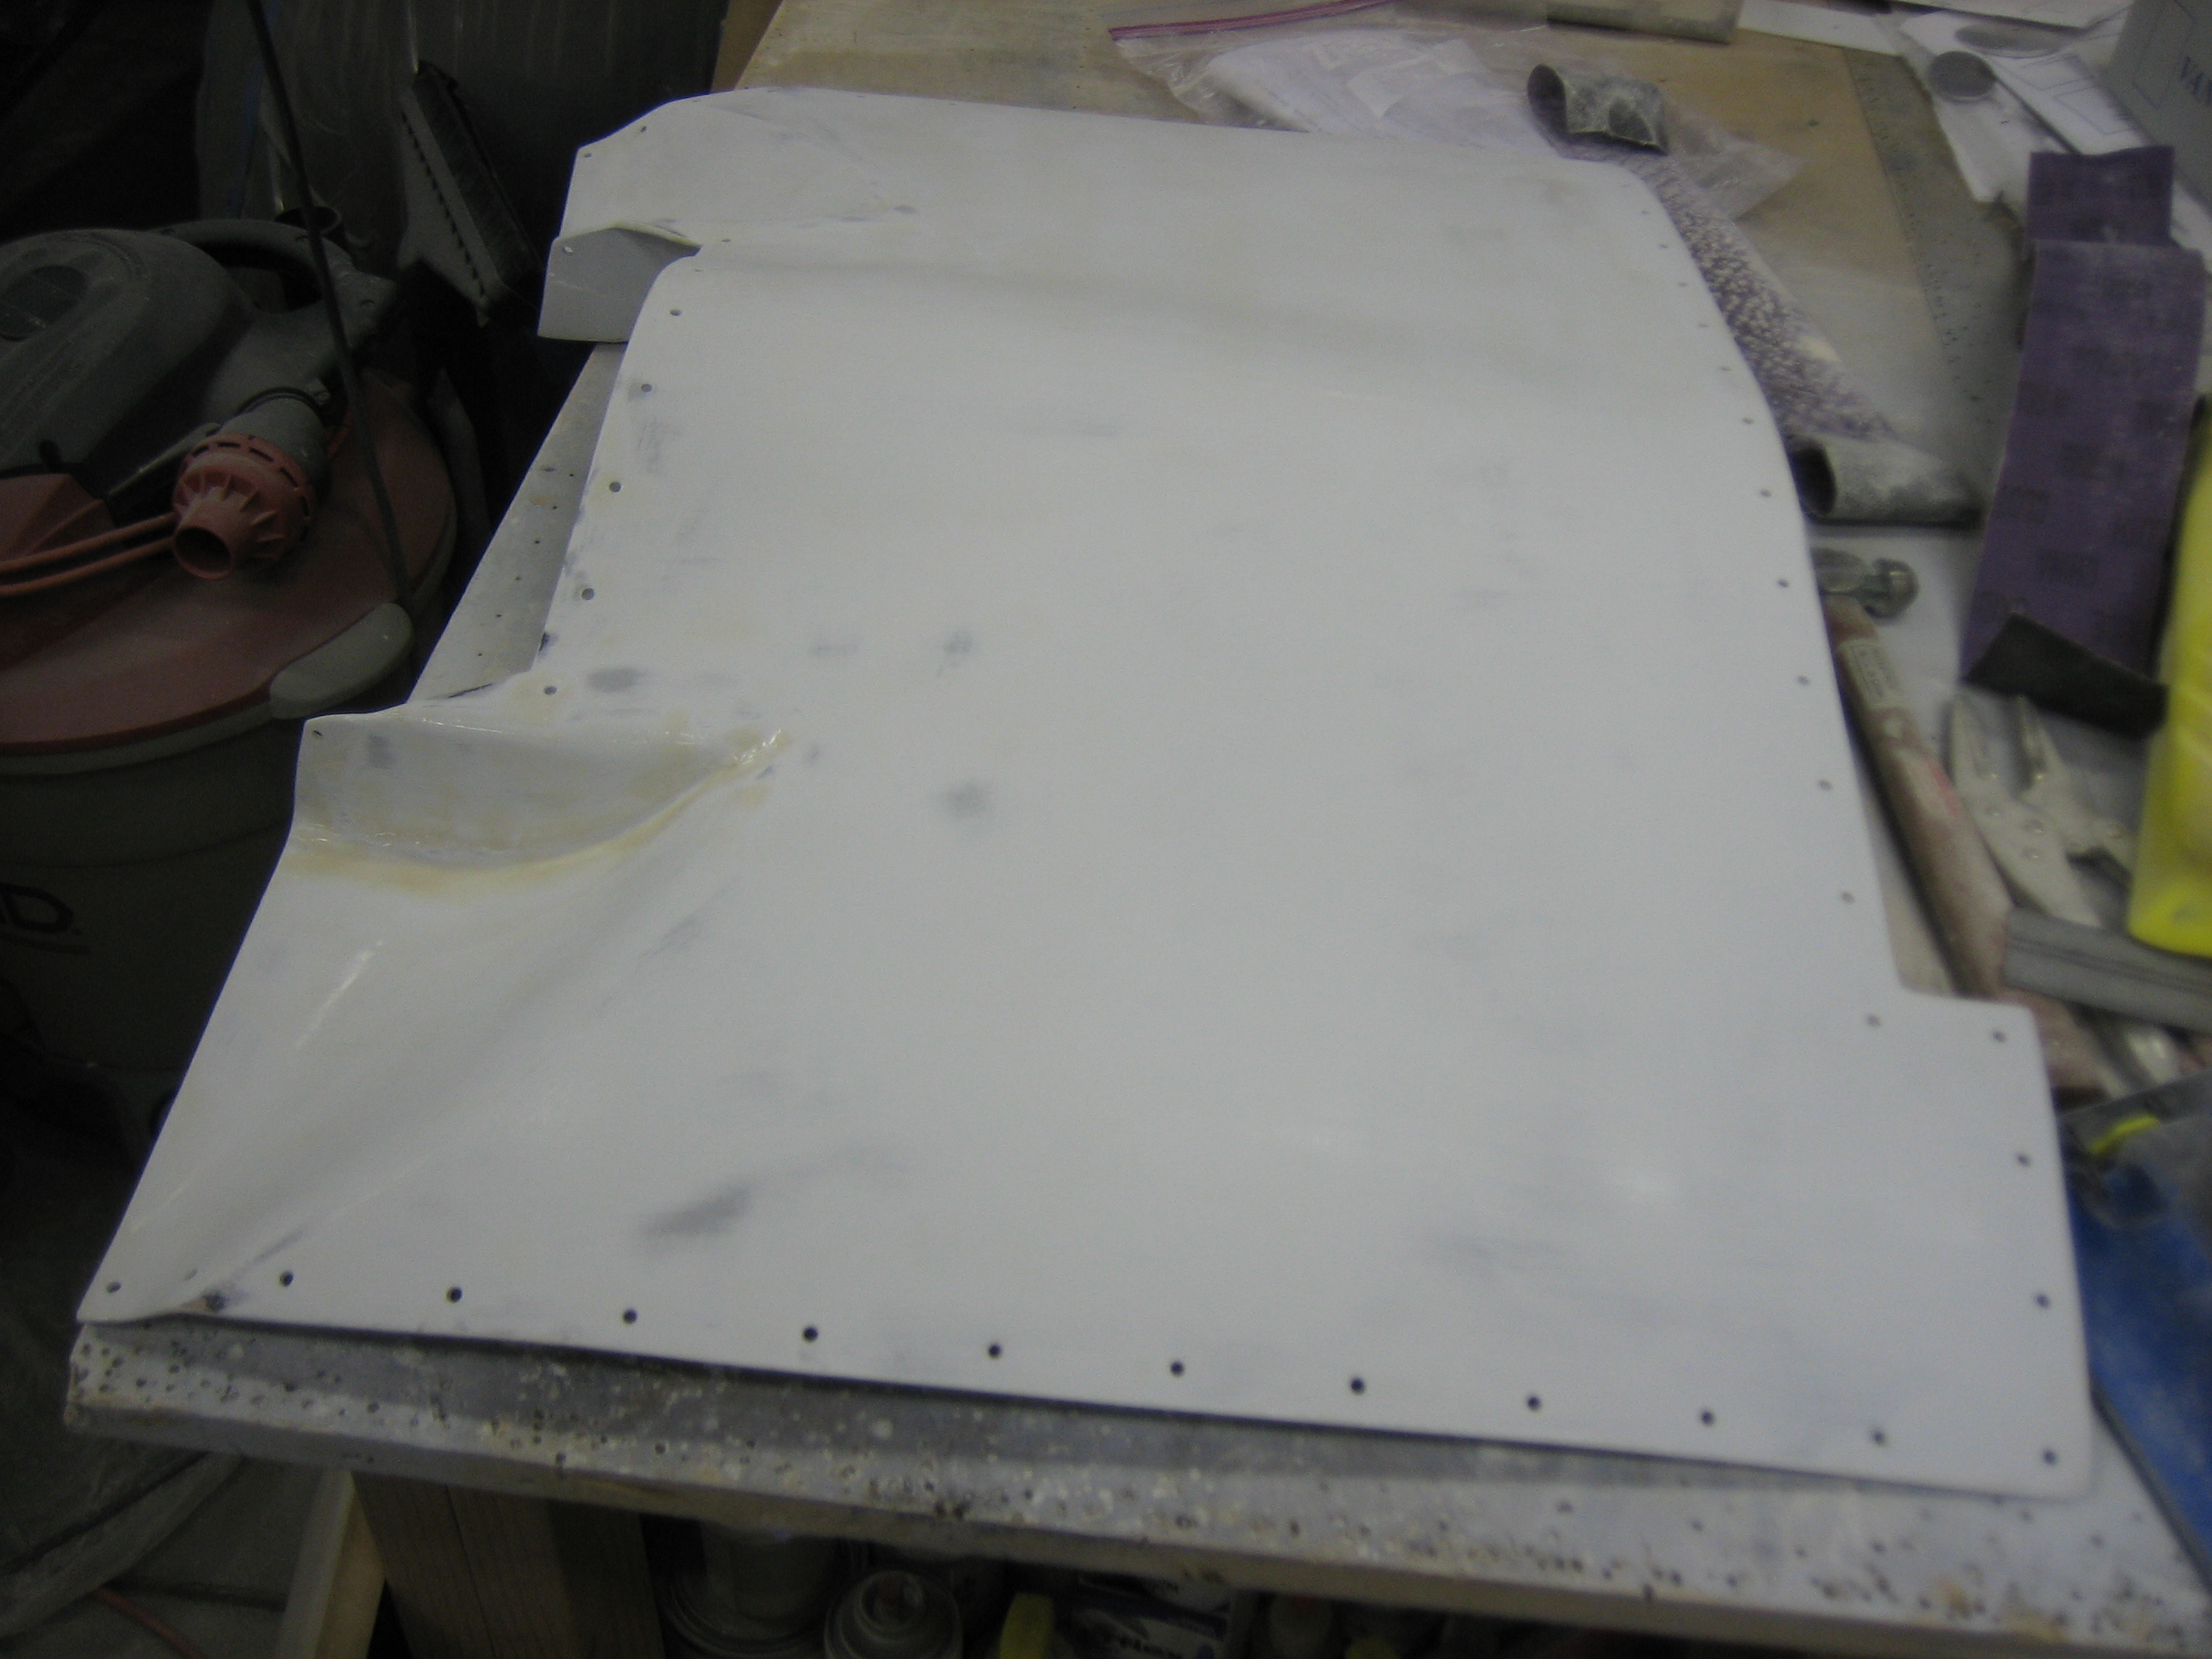
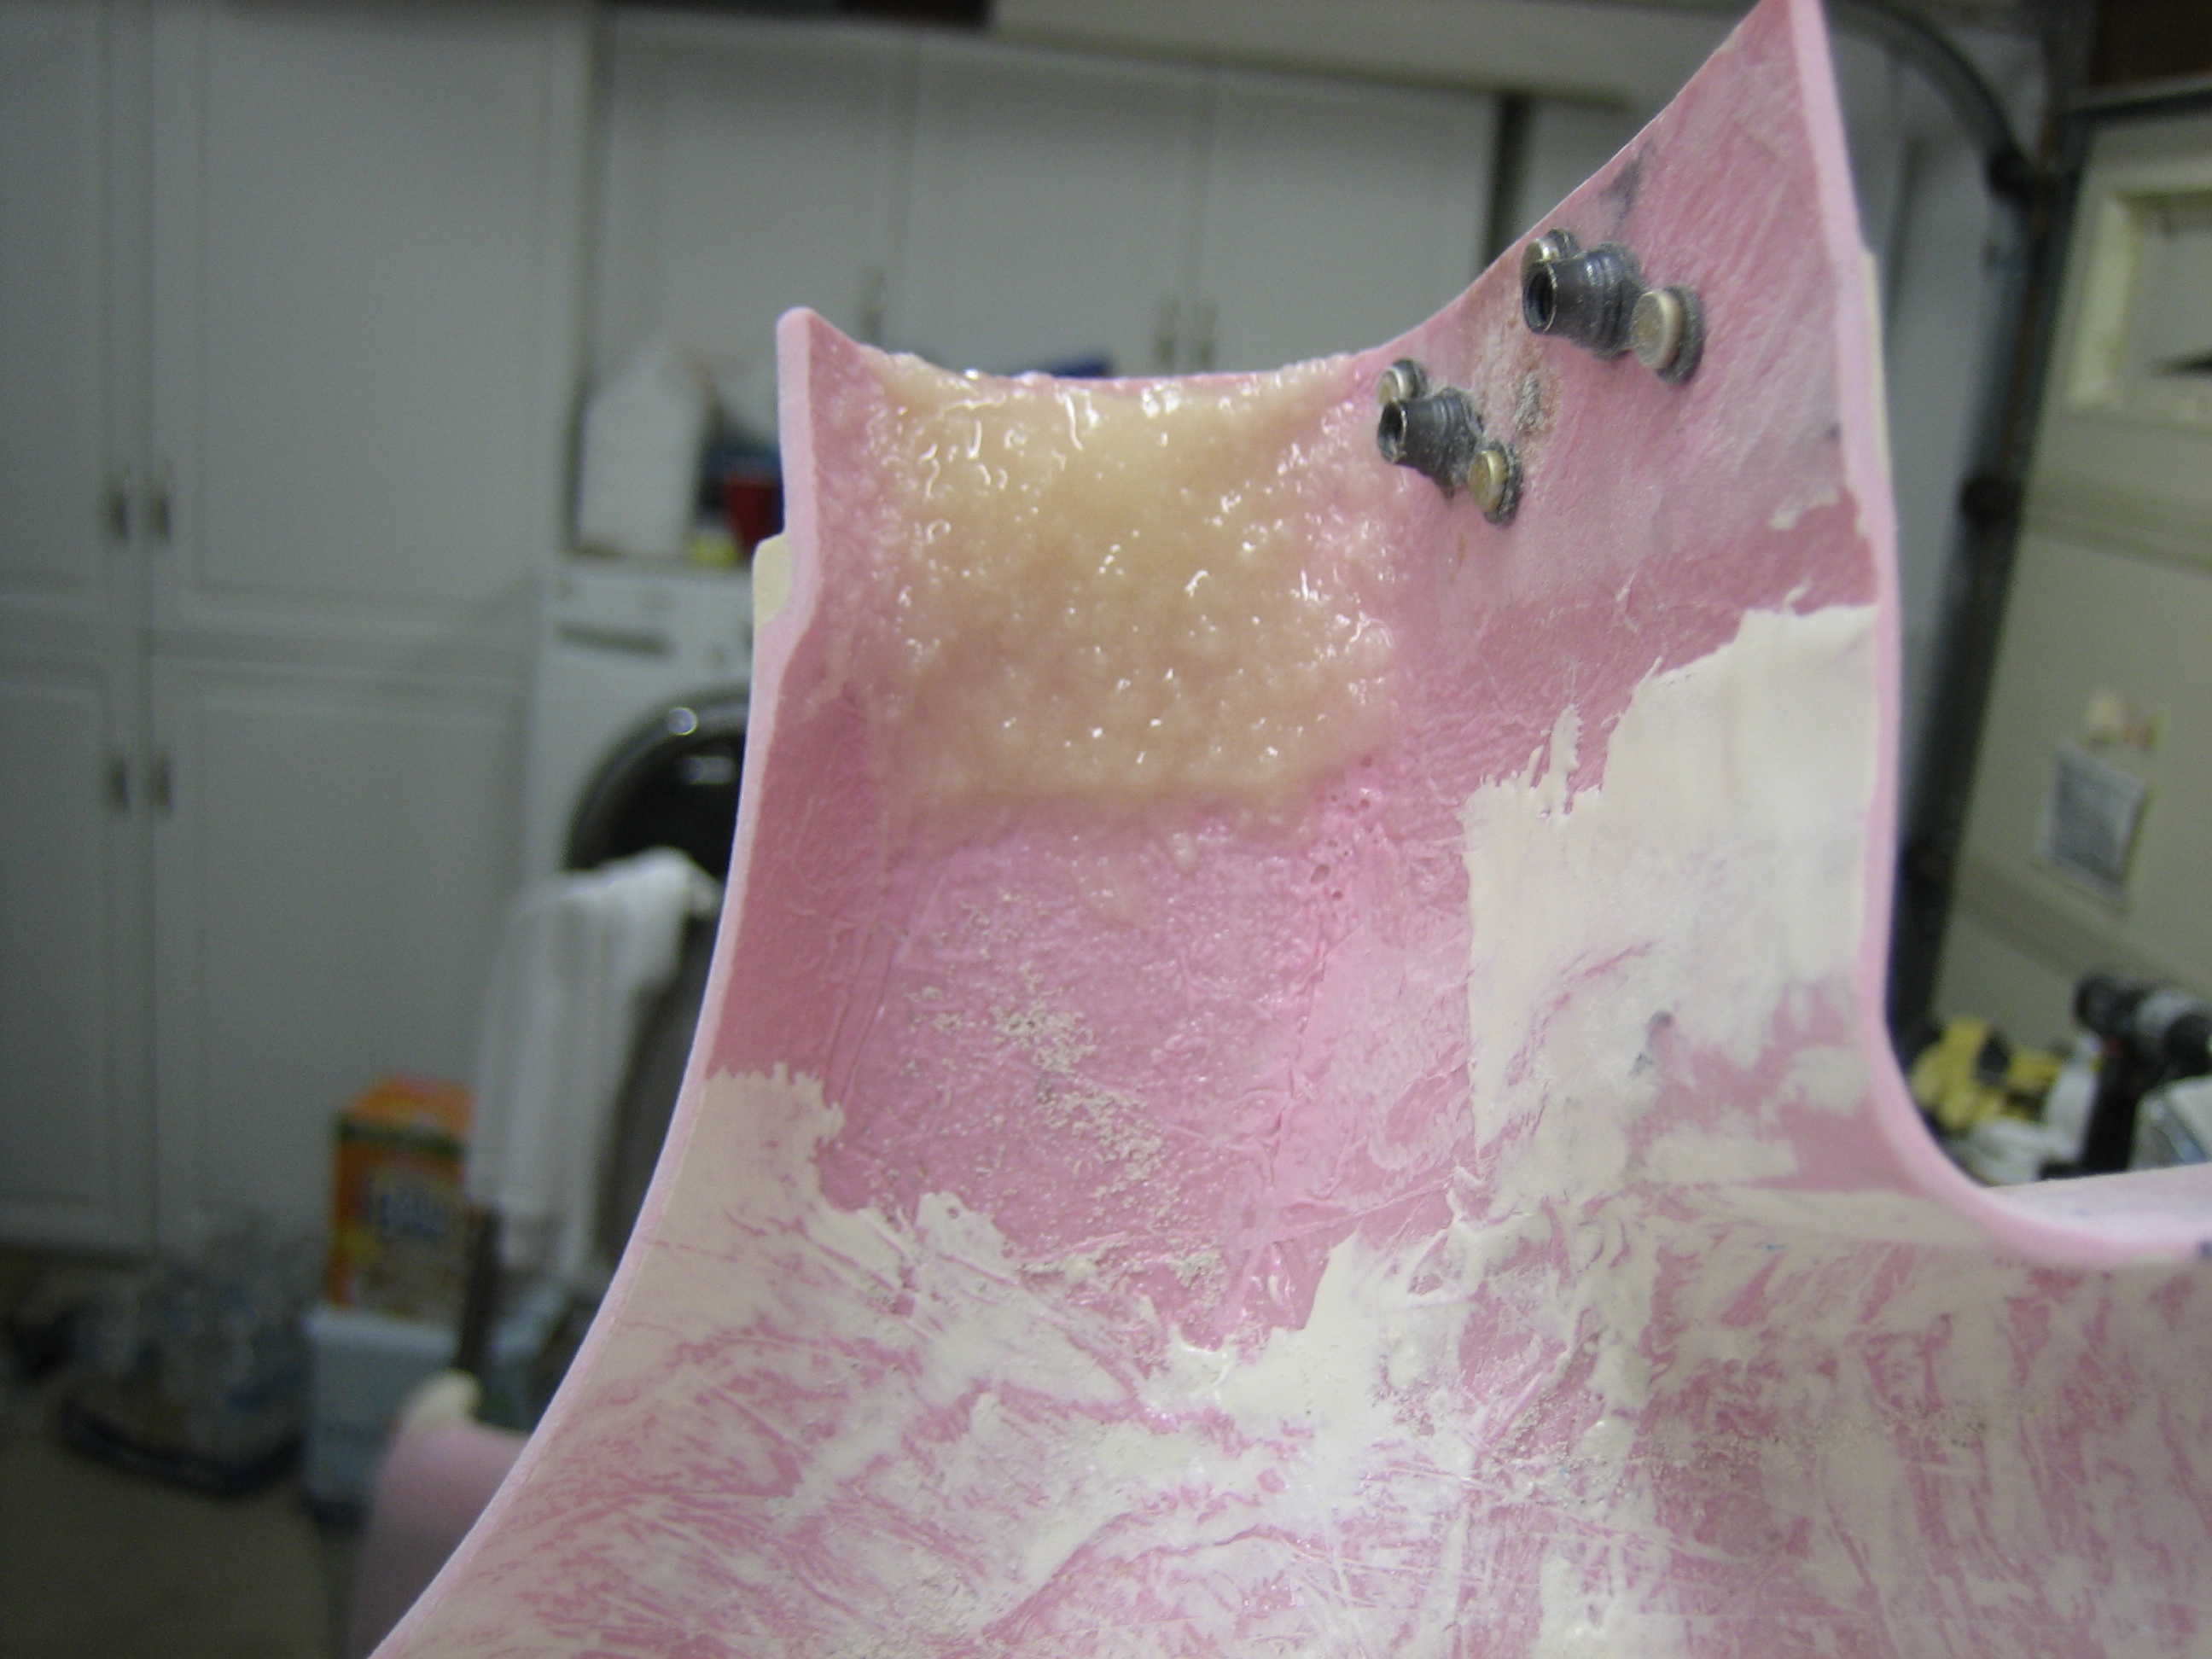
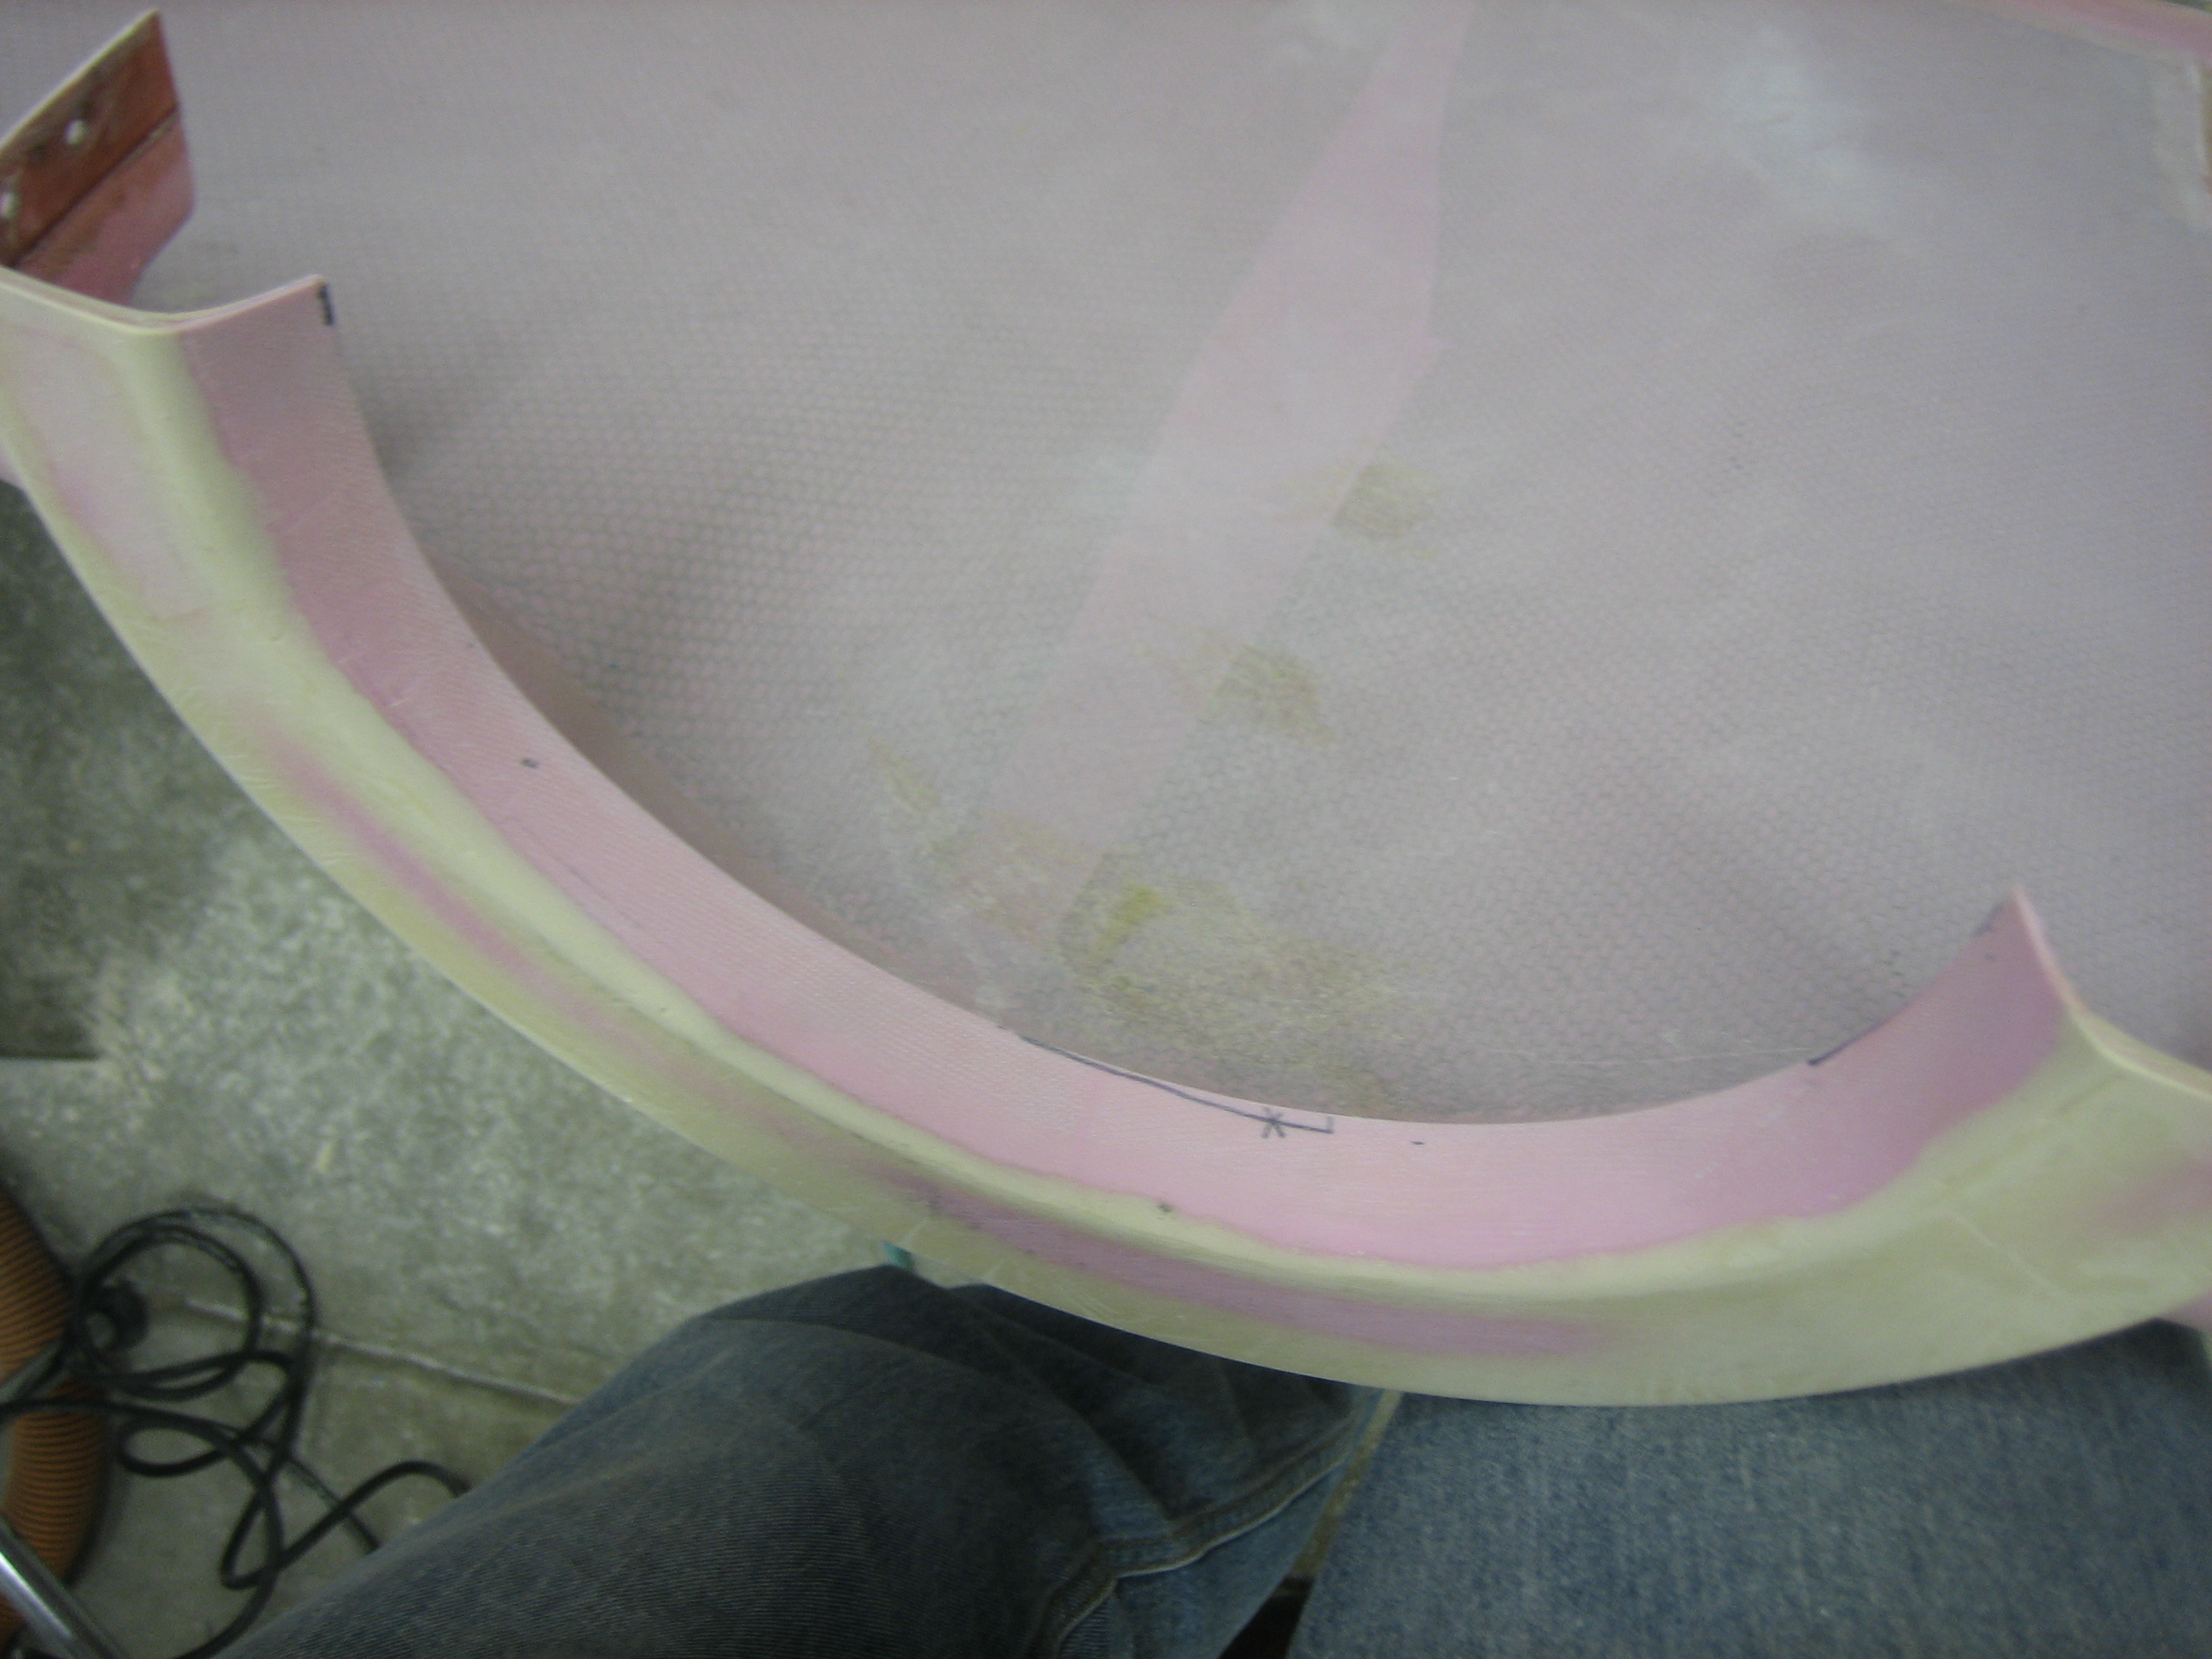
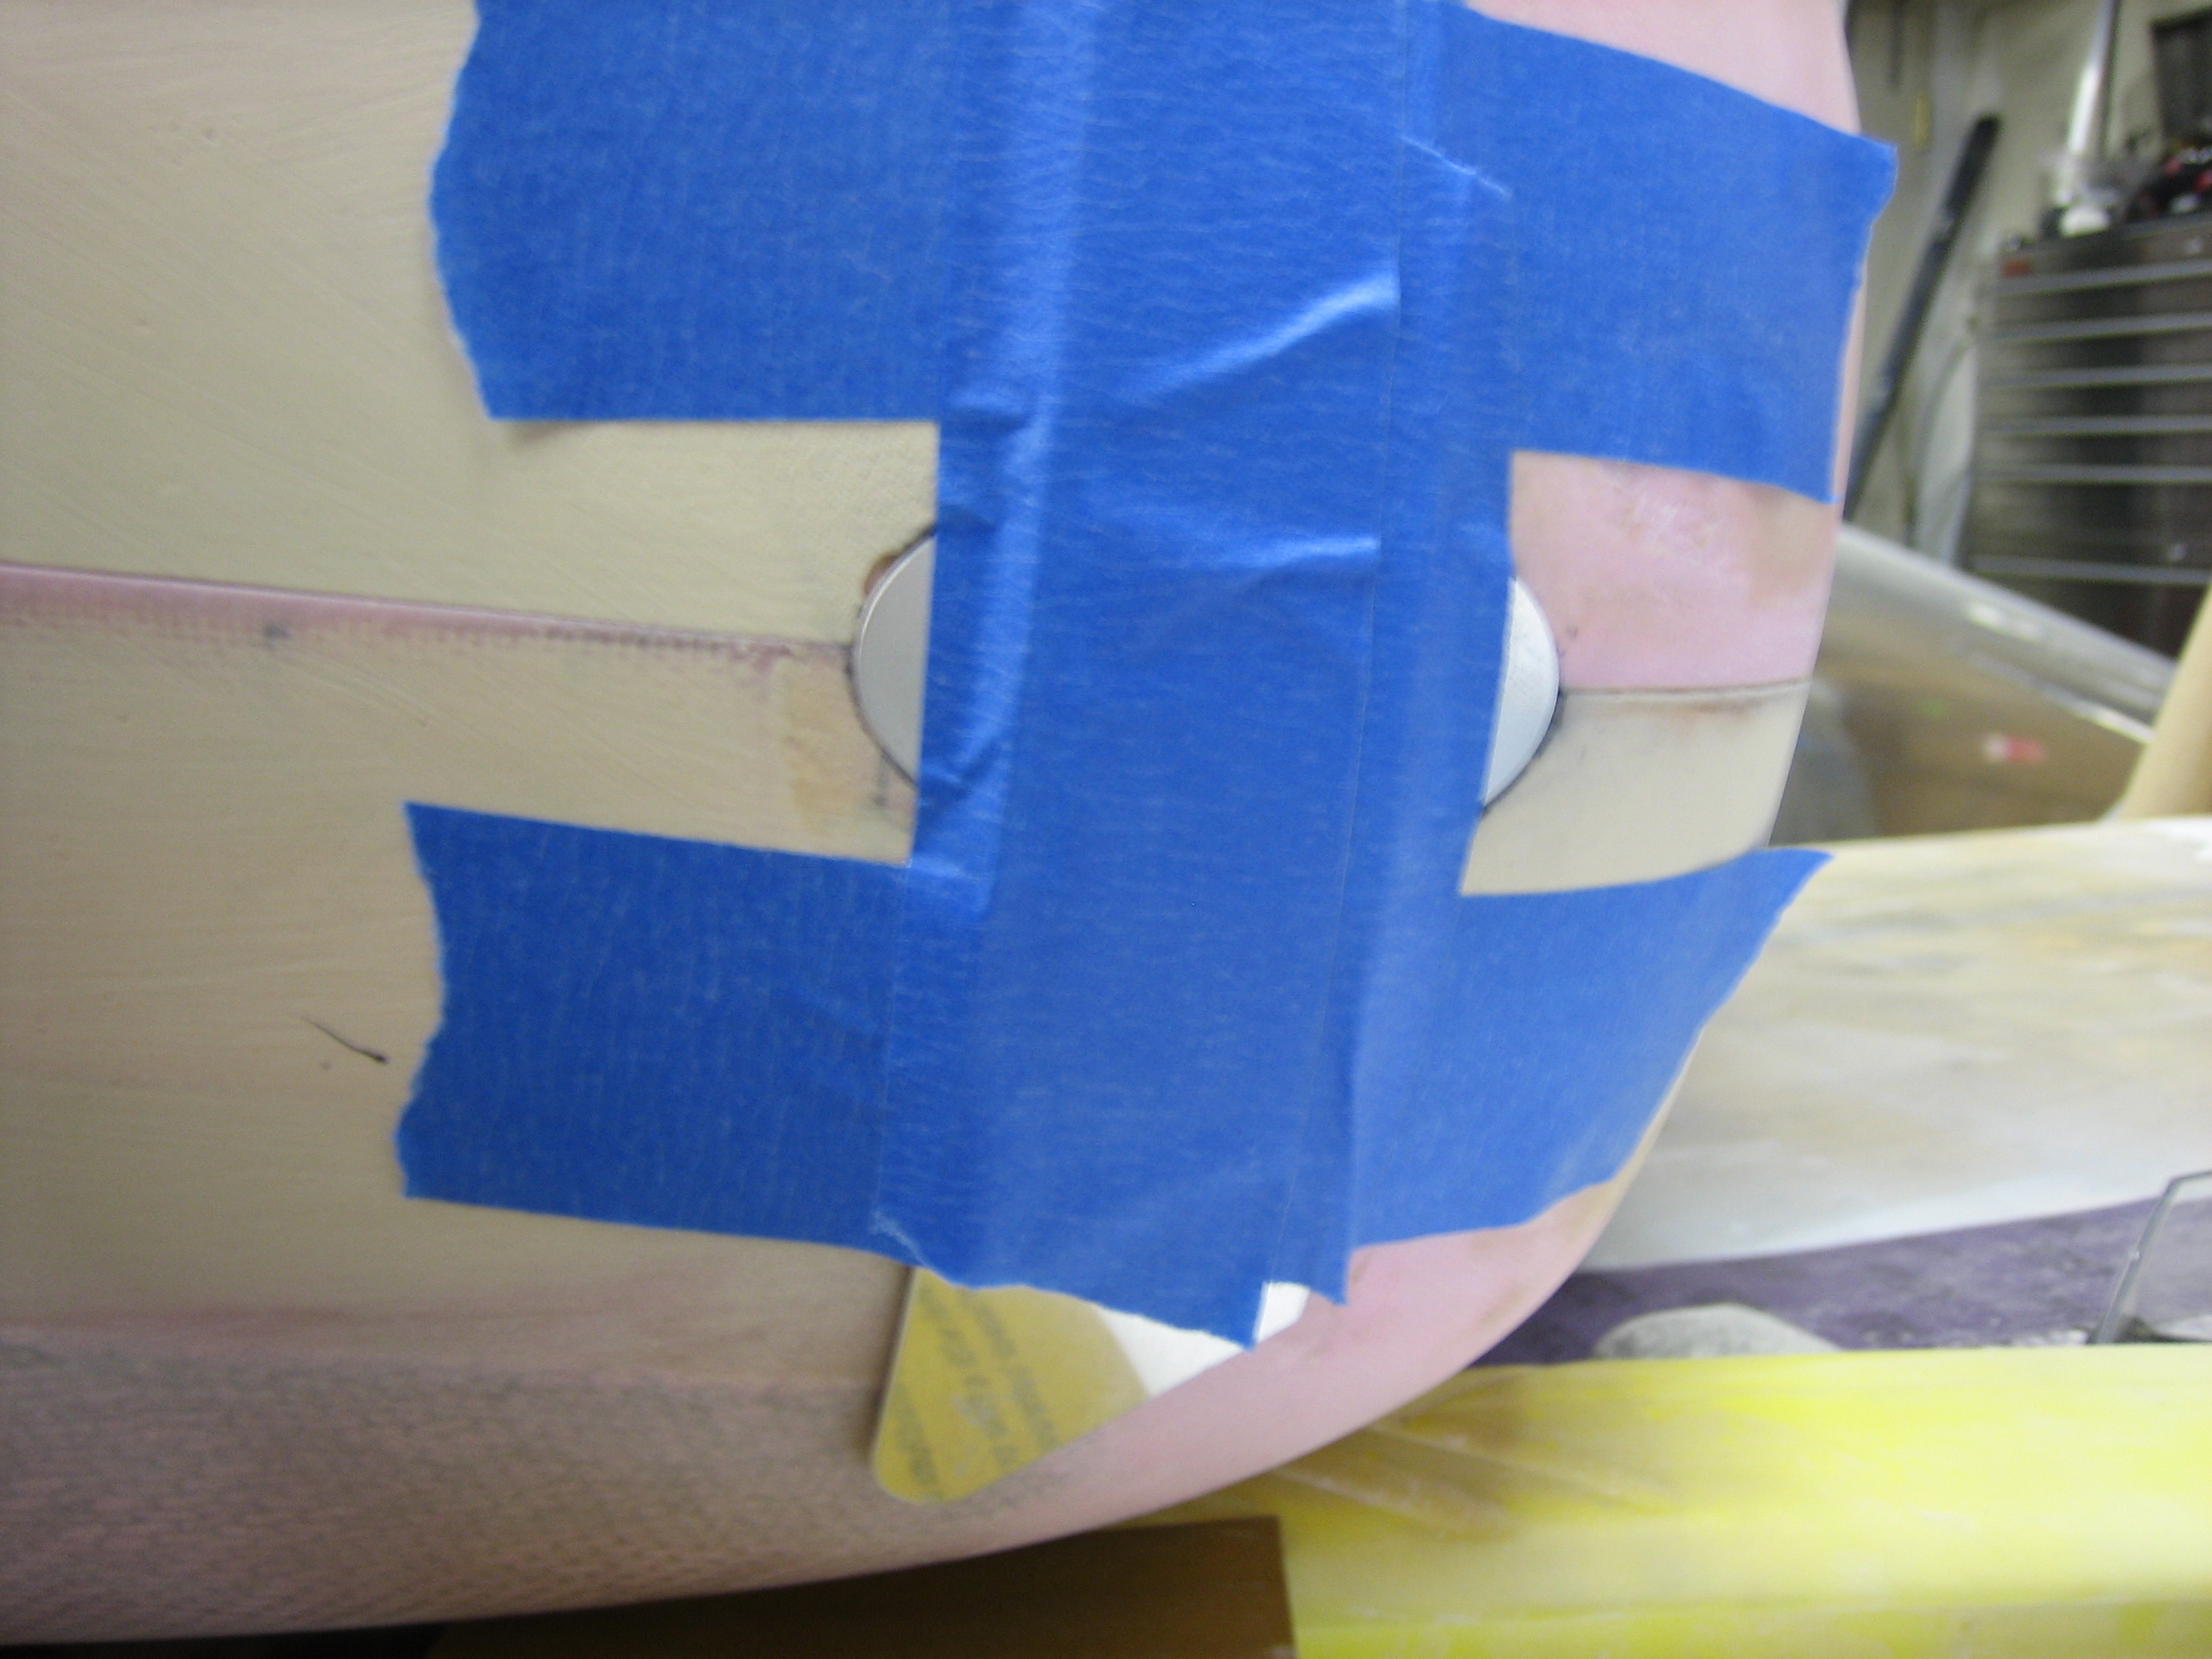
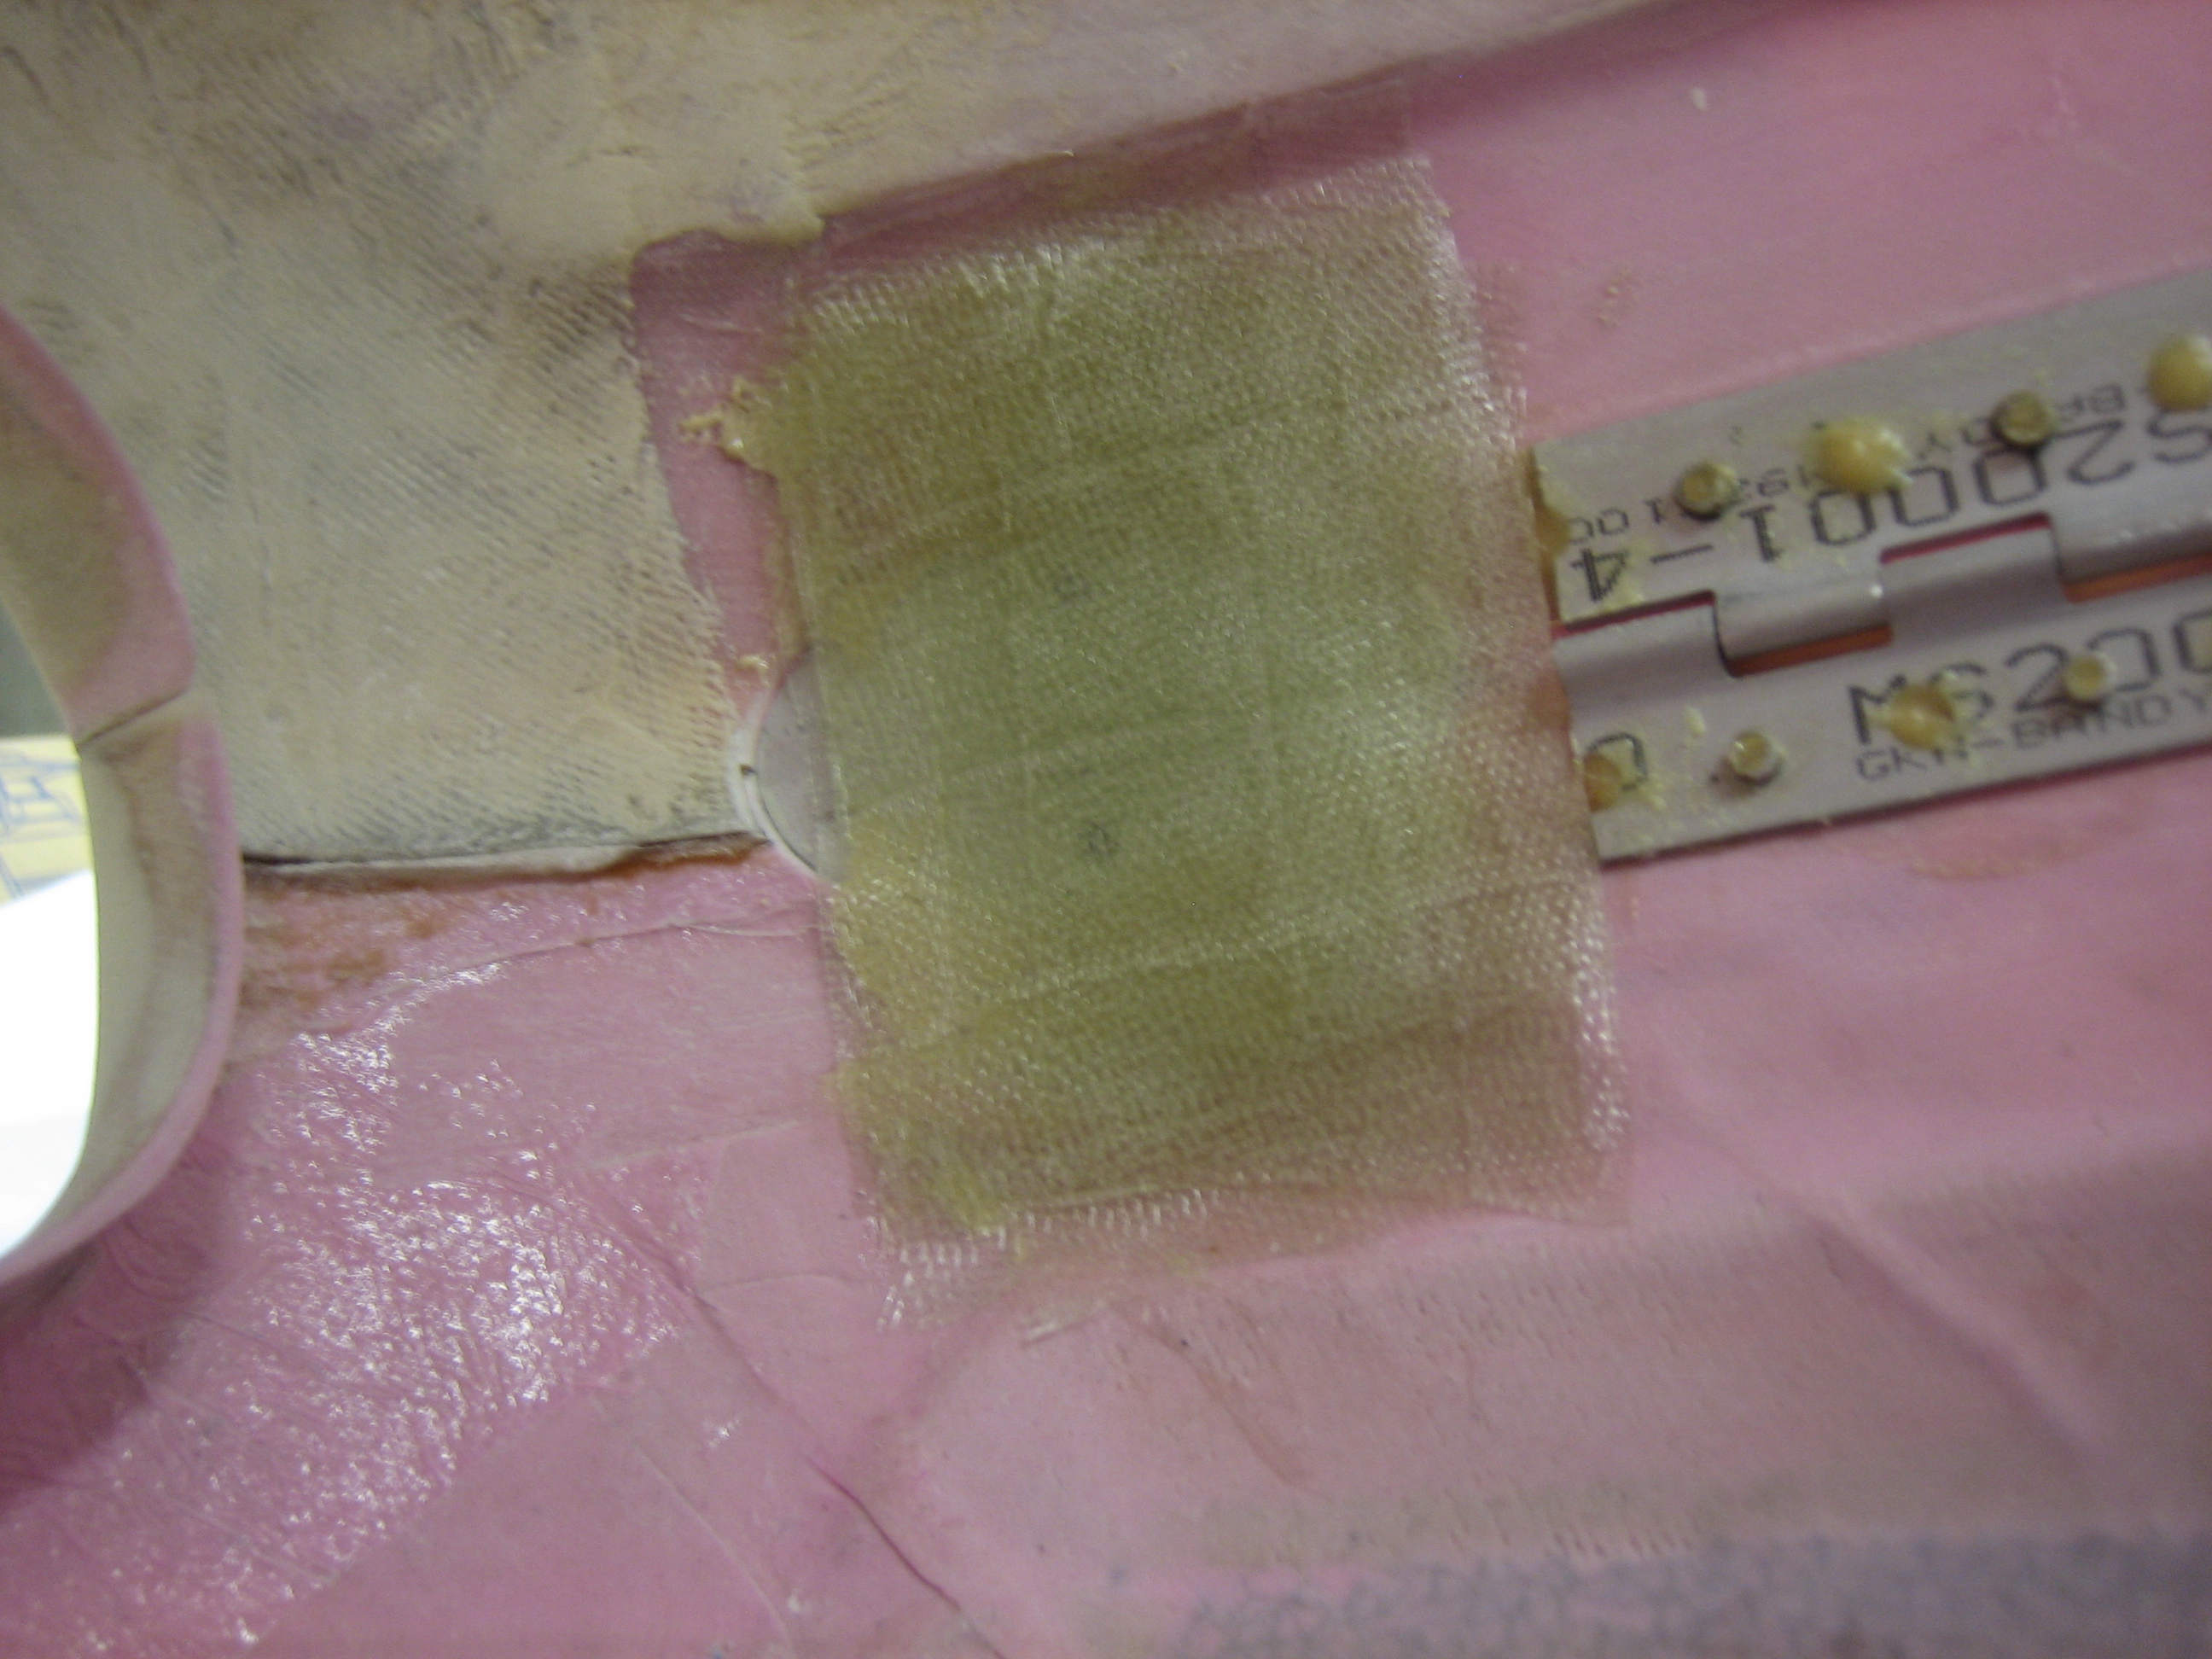
I used a vixen file to rough shape all of the filler I applied a couple of days ago and then sanded everything until you can’t even feel the gap between the upper and lower cowl halves.  I’ll need to open the gap up slightly for paint, but the shape is nearly perfect.  Next, I started flattening the filler on the upper cowl.  I previously picked up this longer flexible sanding block from Harbor Freight.  It has a spring steel plate on the bottom which is flexible enough to conform to gentle curves, but flat enough to sand the surface and eliminate all the waves in the surface.

Started Filling Lower Cowl

I finished sanding the upper cowl so that there is a minimum amount of filler and all of the edges are feathered.  I then put the cowl back on the plane so that I could apply filler to the lower cowl.

The upper cowl protruded about 1/16″ beyond the lower cowl, so I put a piece of electrical tape on the upper cowl and applied some epoxy with microlight to the horizontal joint and vertical joint along the firewall.  Here’s the right side of the cowl.

And here’s the left side.  Once this has cured, I can remove the tape and sand across the joint to make it perfectly smooth.

Sanded Cowl Seams

I sanded down the filler on the lower cowl, then removed the tape and sanded across the joint to get it flush.

I’m really happy with how this turned out.  You can see here just how flush the joint is.  It sort of looks like there are two joints here, but the upper line is just the edge of the fiberglass tape that covers the row of rivets along the edge.  The actual cowl joint is the lower line closer to my thumb.

Prepped Final Skin

I deburred and dimpled the final skin (top of the fuselage behind the cowling) and then reinstalled it on the fuselage to make sure the aft gap on the cowling is perfect all the way around.  I reinstalled all of the hinge pins to ensure the cowling is precisely positioned.  The upper cowl gap is perfect, but I still have a little sanding to do to get the gap perfect on the lower cowl.

Marked Propeller Flange on Cowl

The length of the propeller flange on the cowl was uneven, so I decided to trim it to be uniform.  I’m the only person who’s likely to see this, but I didn’t like how ugly it looked (I did mention that I’m a perfectionist).  I clamped a couple of Z shaped extrusions to an angle.

I then placed a sharpie against the Z shaped extrusion and ran the angle against the face of the propeller ring to mark a cut line a uniform distance back.

Cowl and Plenum Work

I previously used the vixen file to shape the flange around the spinner on the lower cowl where the upper cowl overlaps.  This left the flange pretty thin (to the point that I could easily see the shadow of my fingers through it when a bright light was on the other side).  To strengthen the flange, I mixed up some epoxy/flox and spread a coat about 1/8″ thick.

I also trimmed the propeller flange on the upper cowl.  Once I fit the cowl halves together, I make sure the cuts line up.

Fit Hinge Pin Covers

I cut the openings in the sides of the cowl for the hinge pin covers and then taped them in place.  I taped a piece of scrap aluminum over the opening to help position the cover.

Next, I laid up about 1/8″ thick of fiberglass over the inside of the cover, tying the top and bottom cowl halves together.  The back and sides of the cover are waxed to prevent the epoxy from sticking.  I’ll cut the cowl halves apart after this cures.

Separated Cowl Halves and Trimmed Hinge Pin Cover Recesses

I drilled through the holes with a #27 drill bit, then popped the covers out.  These are not the final covers, but slightly oversize covers used for forming the recesses.  The actual covers are smaller for paint clearance, highly polished and have the text “RV-7” engraved in them.  I still need to apply a little more filler around the edges to create a perfect fit.

After cutting the cowl halves apart, I installed nut plates and then cut a recess to allow the hinge pin to be inserted.  I may do an additional layup to fill in the gap at the front, but otherwise I’m happy with how these turned out.