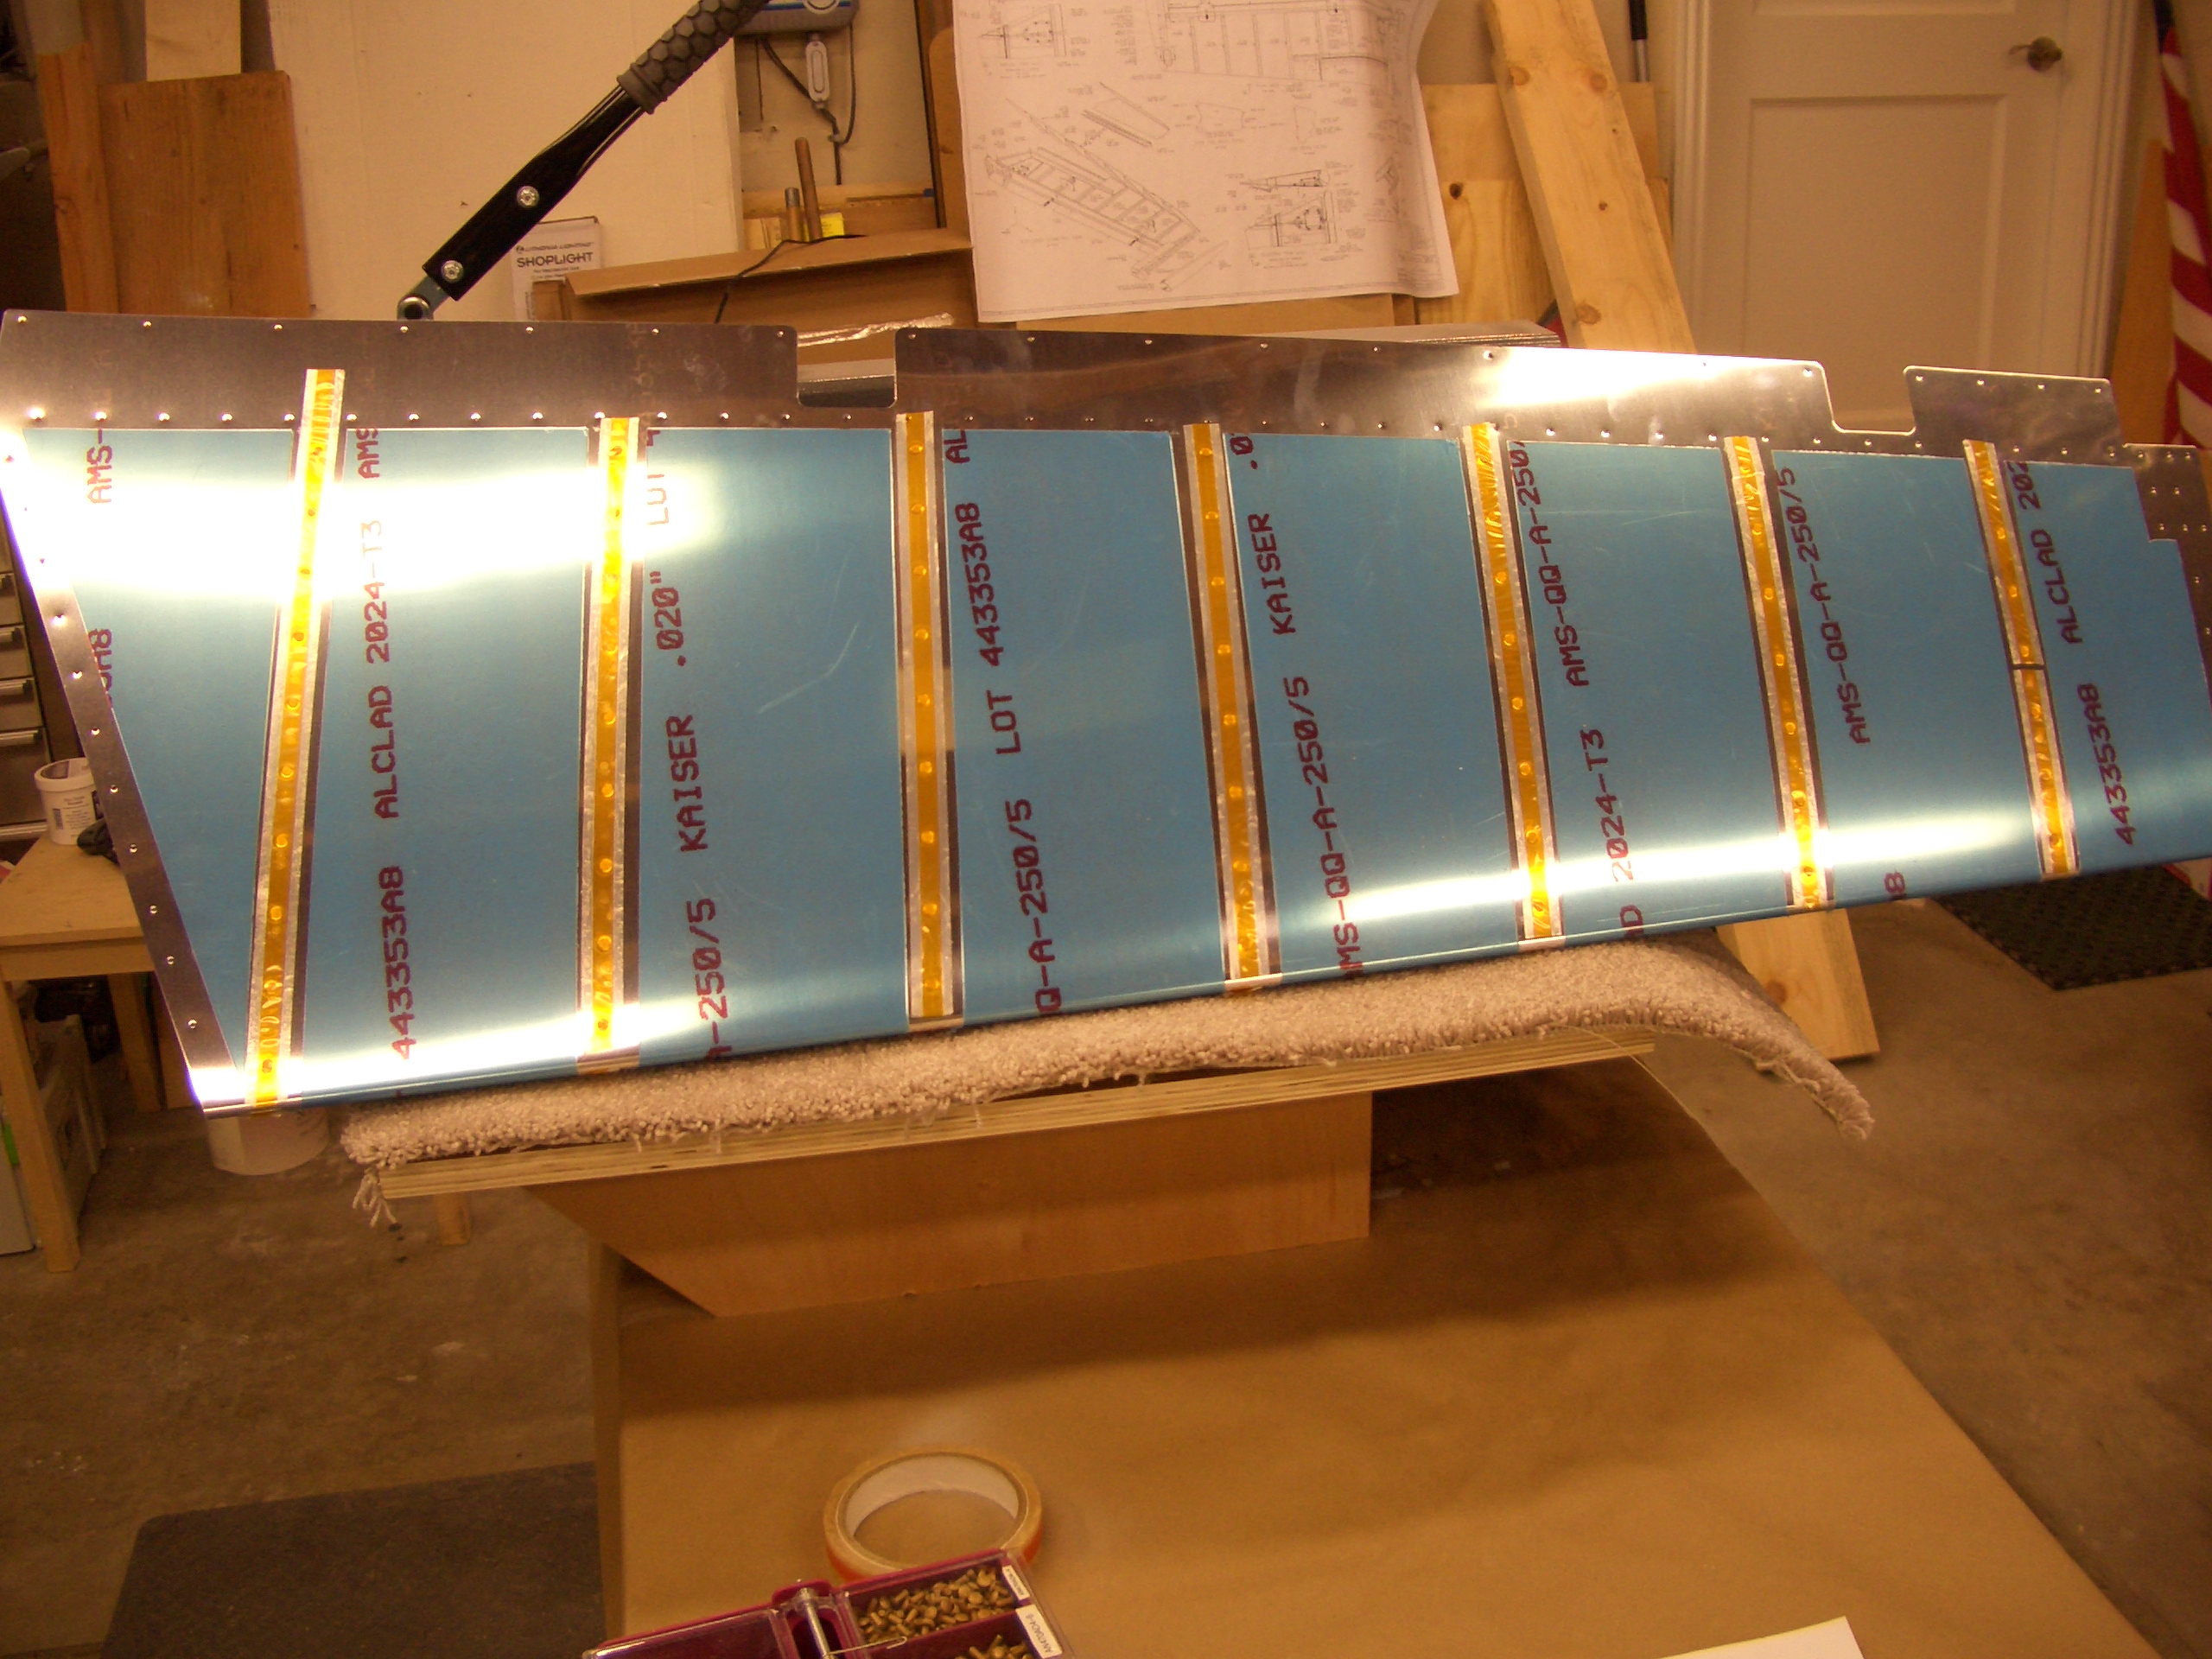
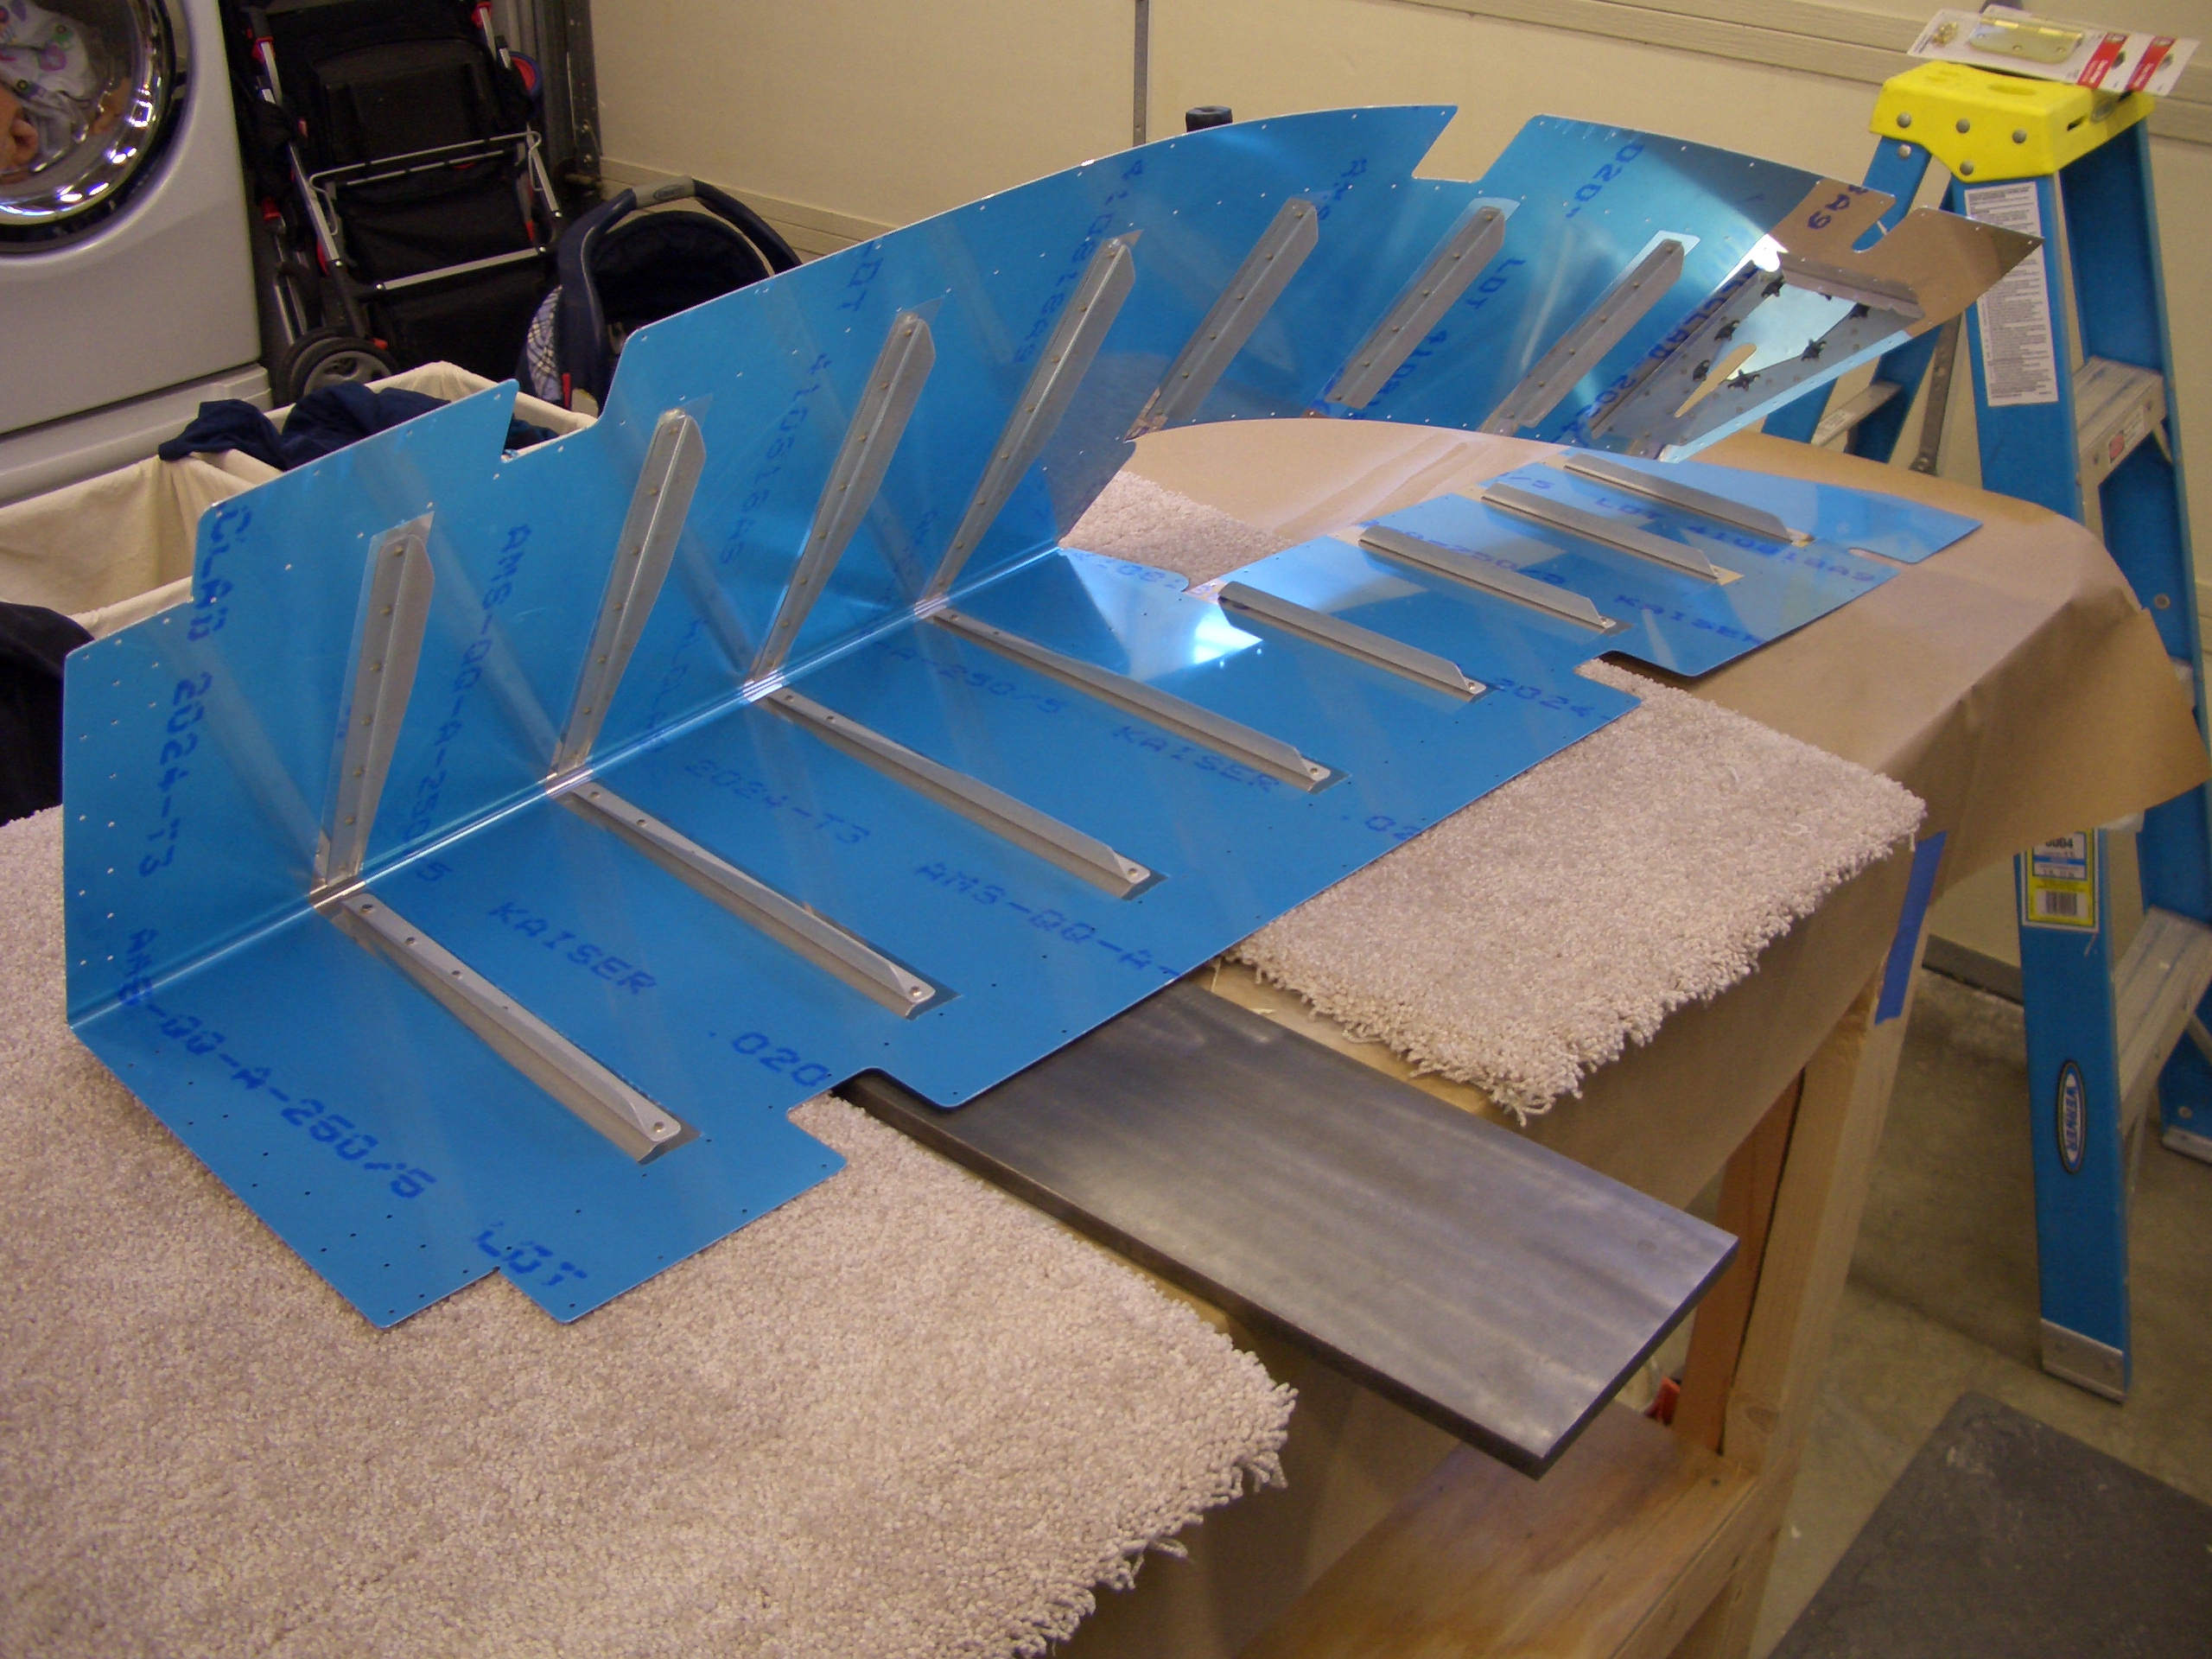
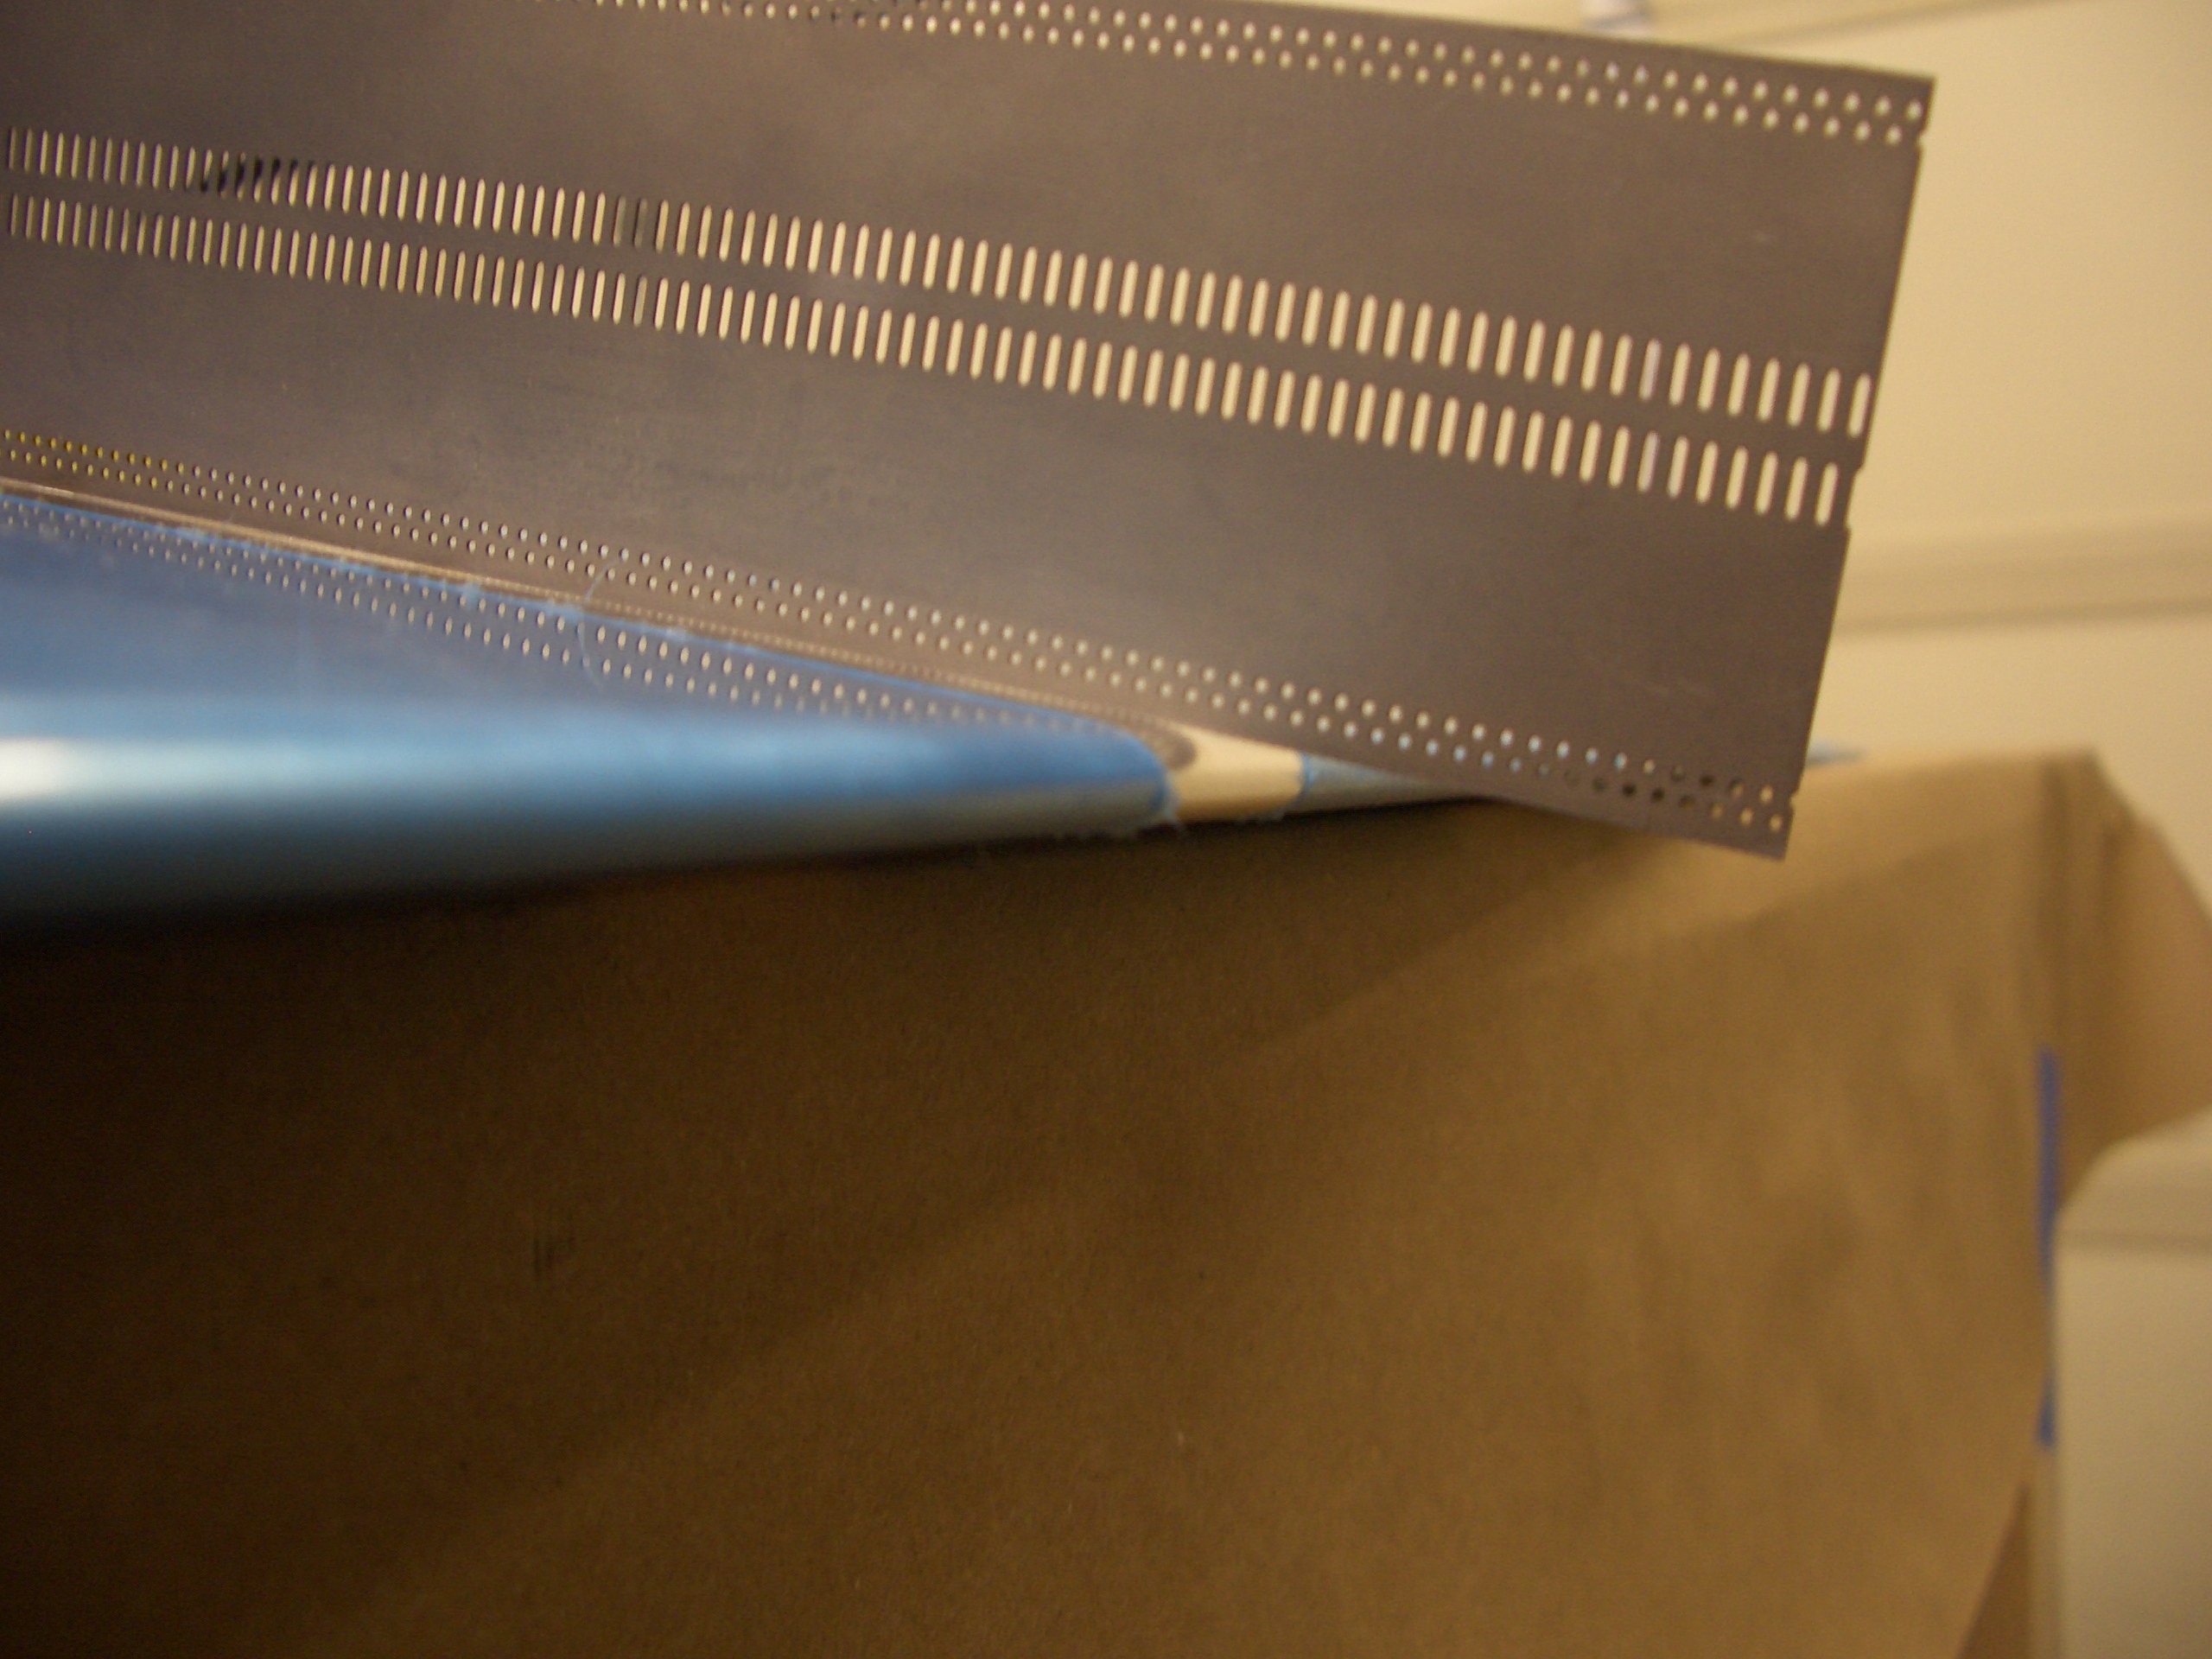
Since I’m waiting for the sealant on the trailing edge of the rudder to cure, I went ahead and started on the elevators. Here’s the left skin drilled. The missing section of the trailing edge on the left is for the elevator trim tab.


Since I’m waiting for the sealant on the trailing edge of the rudder to cure, I went ahead and started on the elevators. Here’s the left skin drilled. The missing section of the trailing edge on the left is for the elevator trim tab.
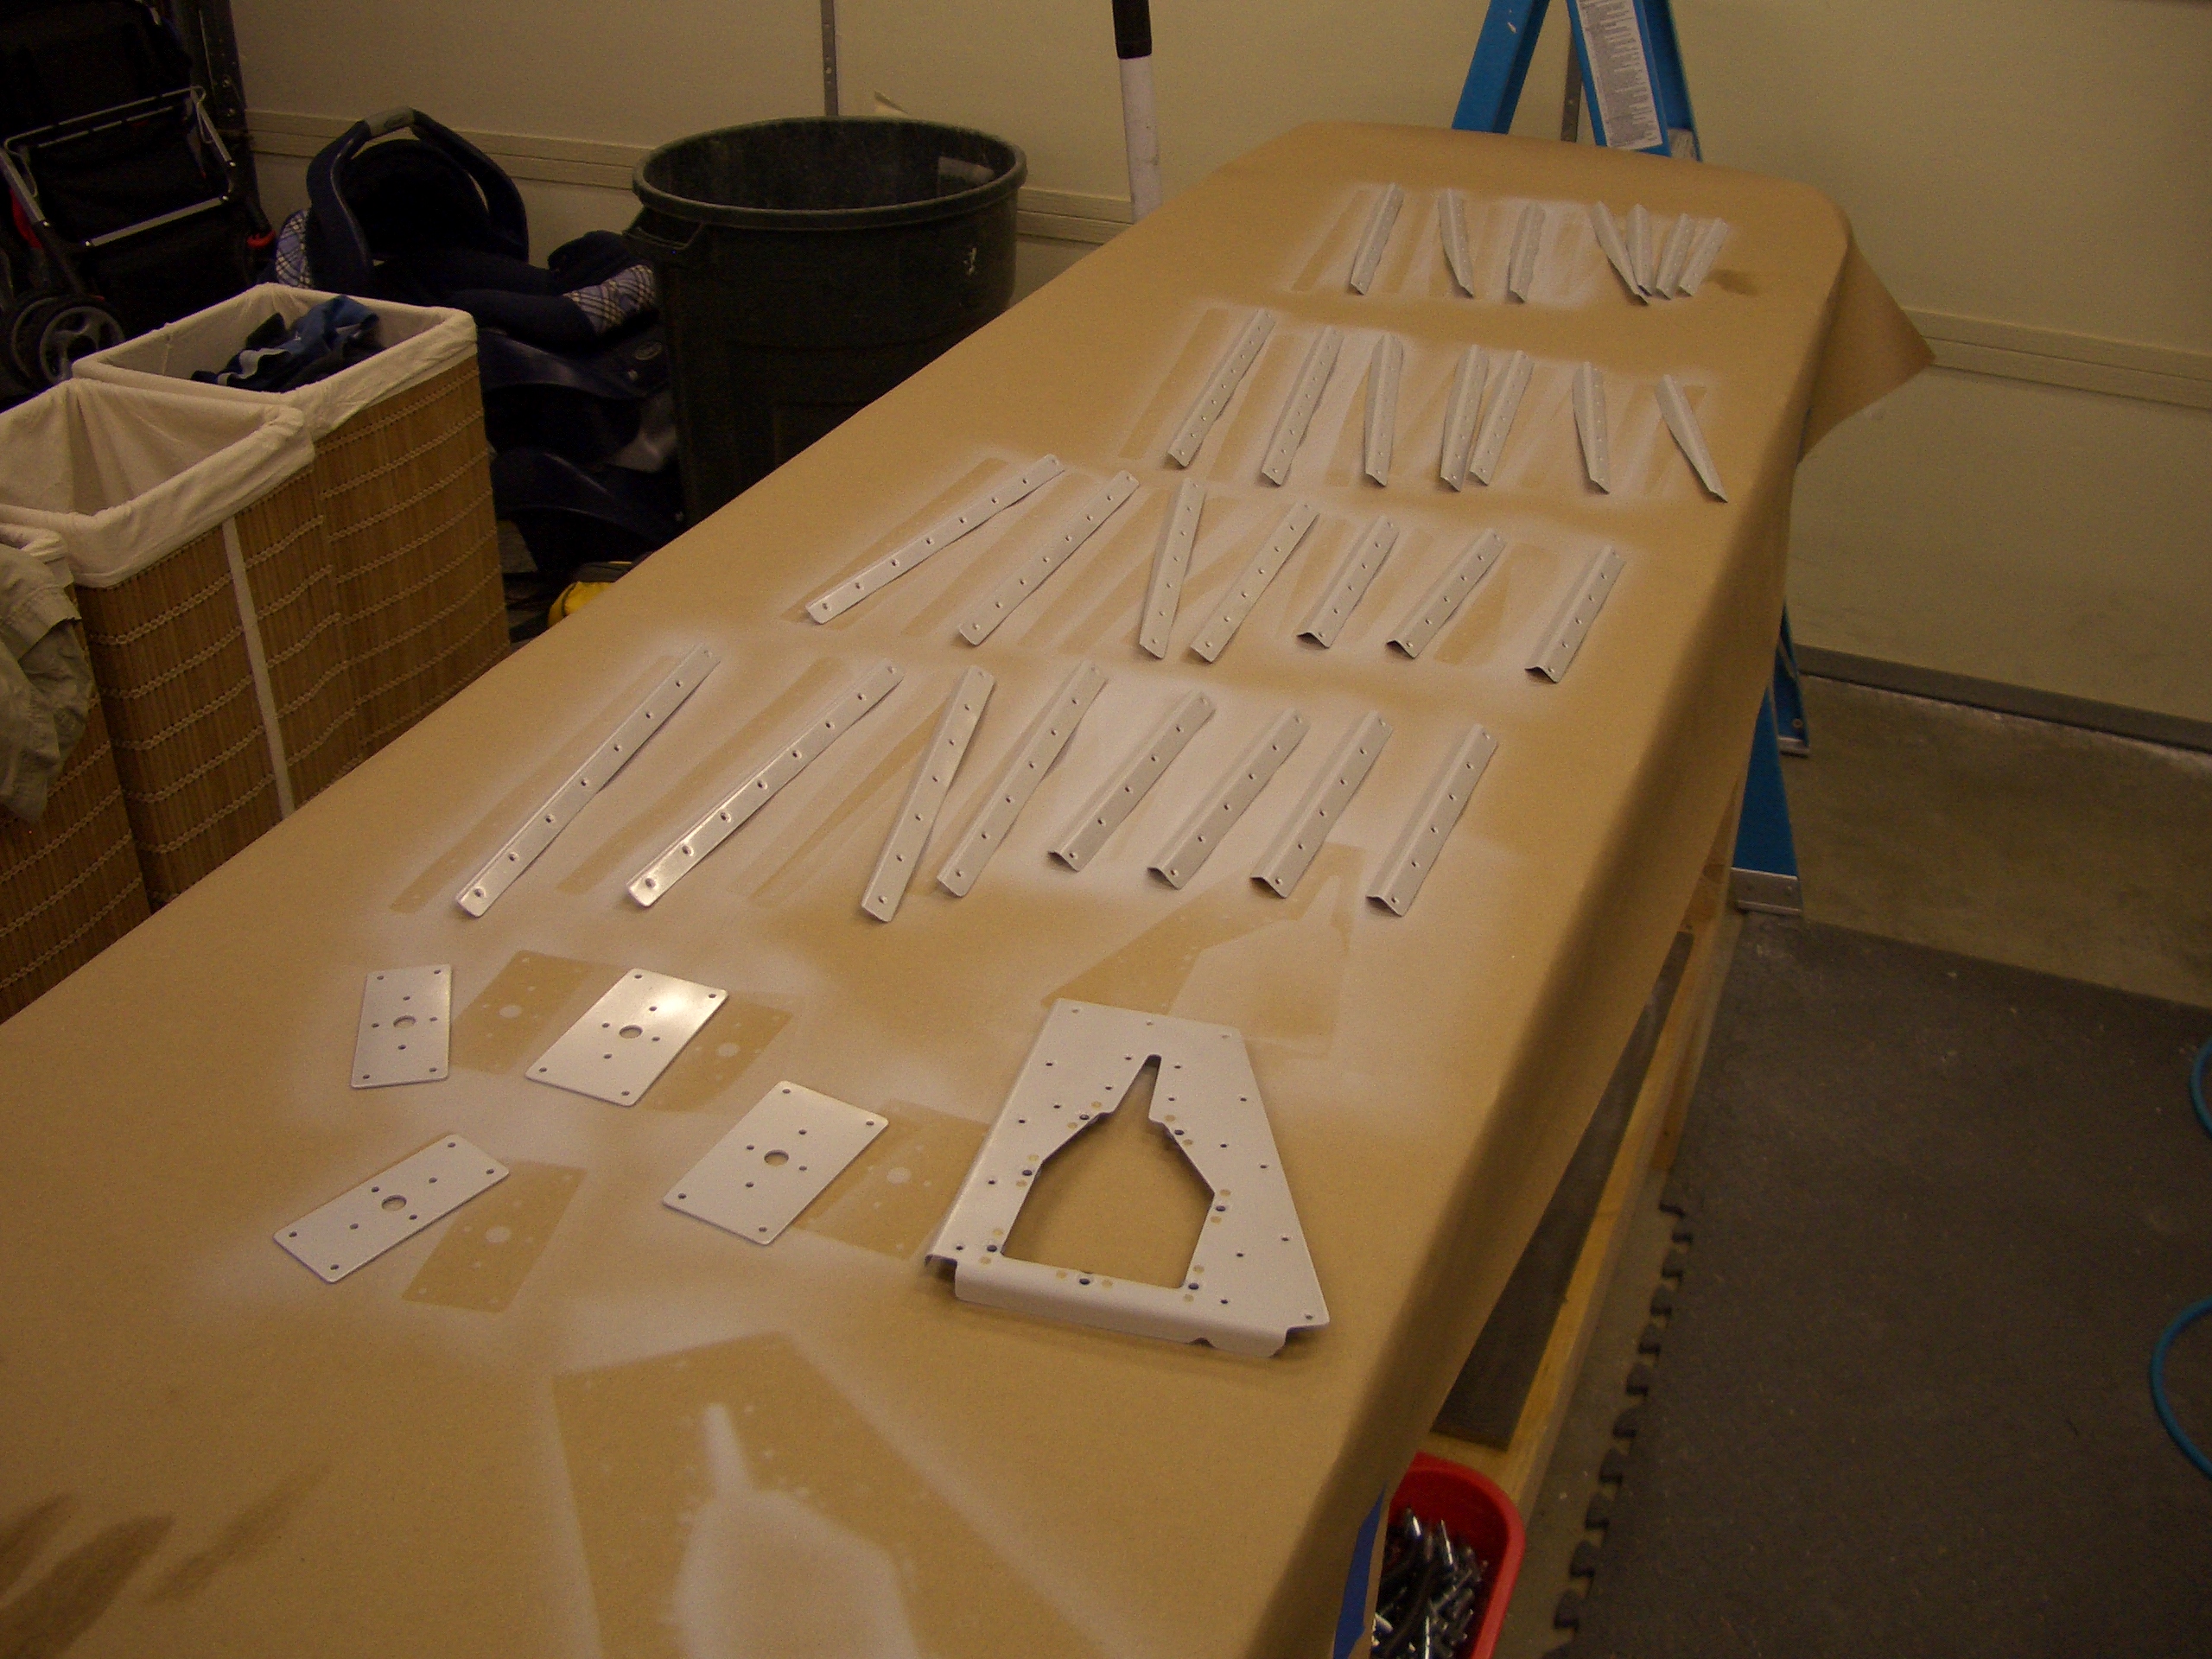
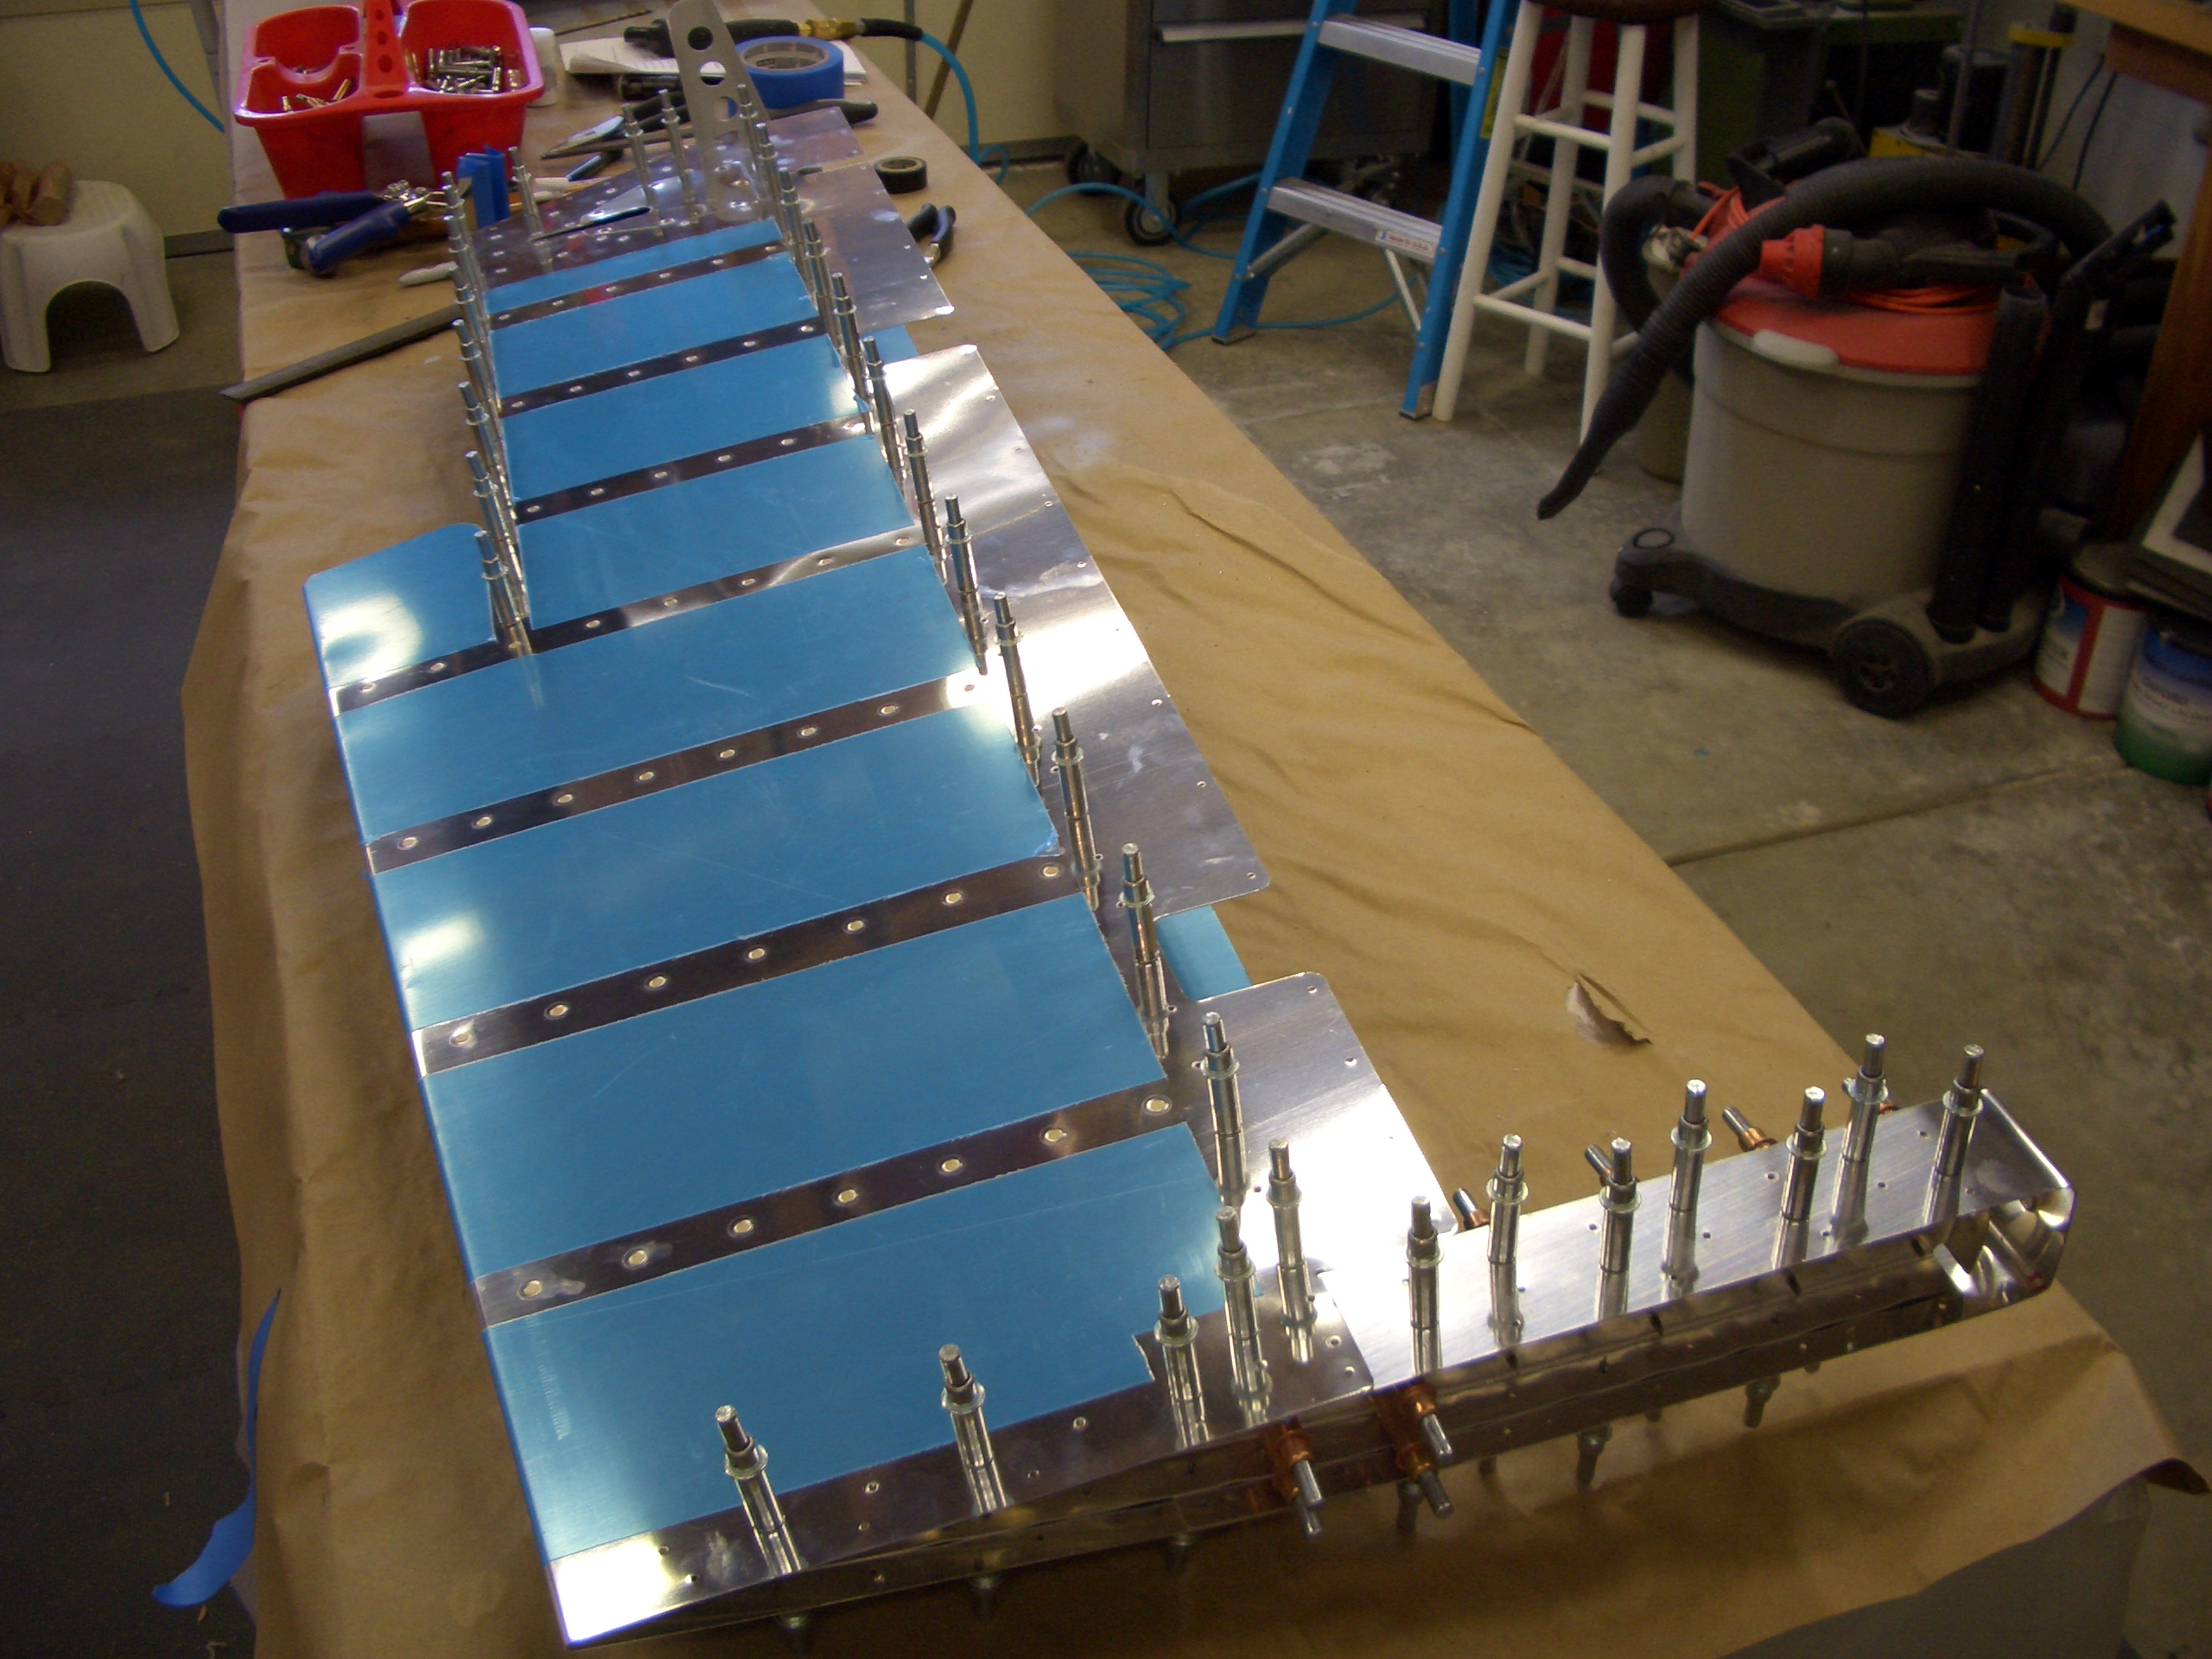
I deburred, dimpled, prepped and primed all of the elevator stiffeners along with the spar reinforcement plates and trim access reinforcement plate (both in the foreground).
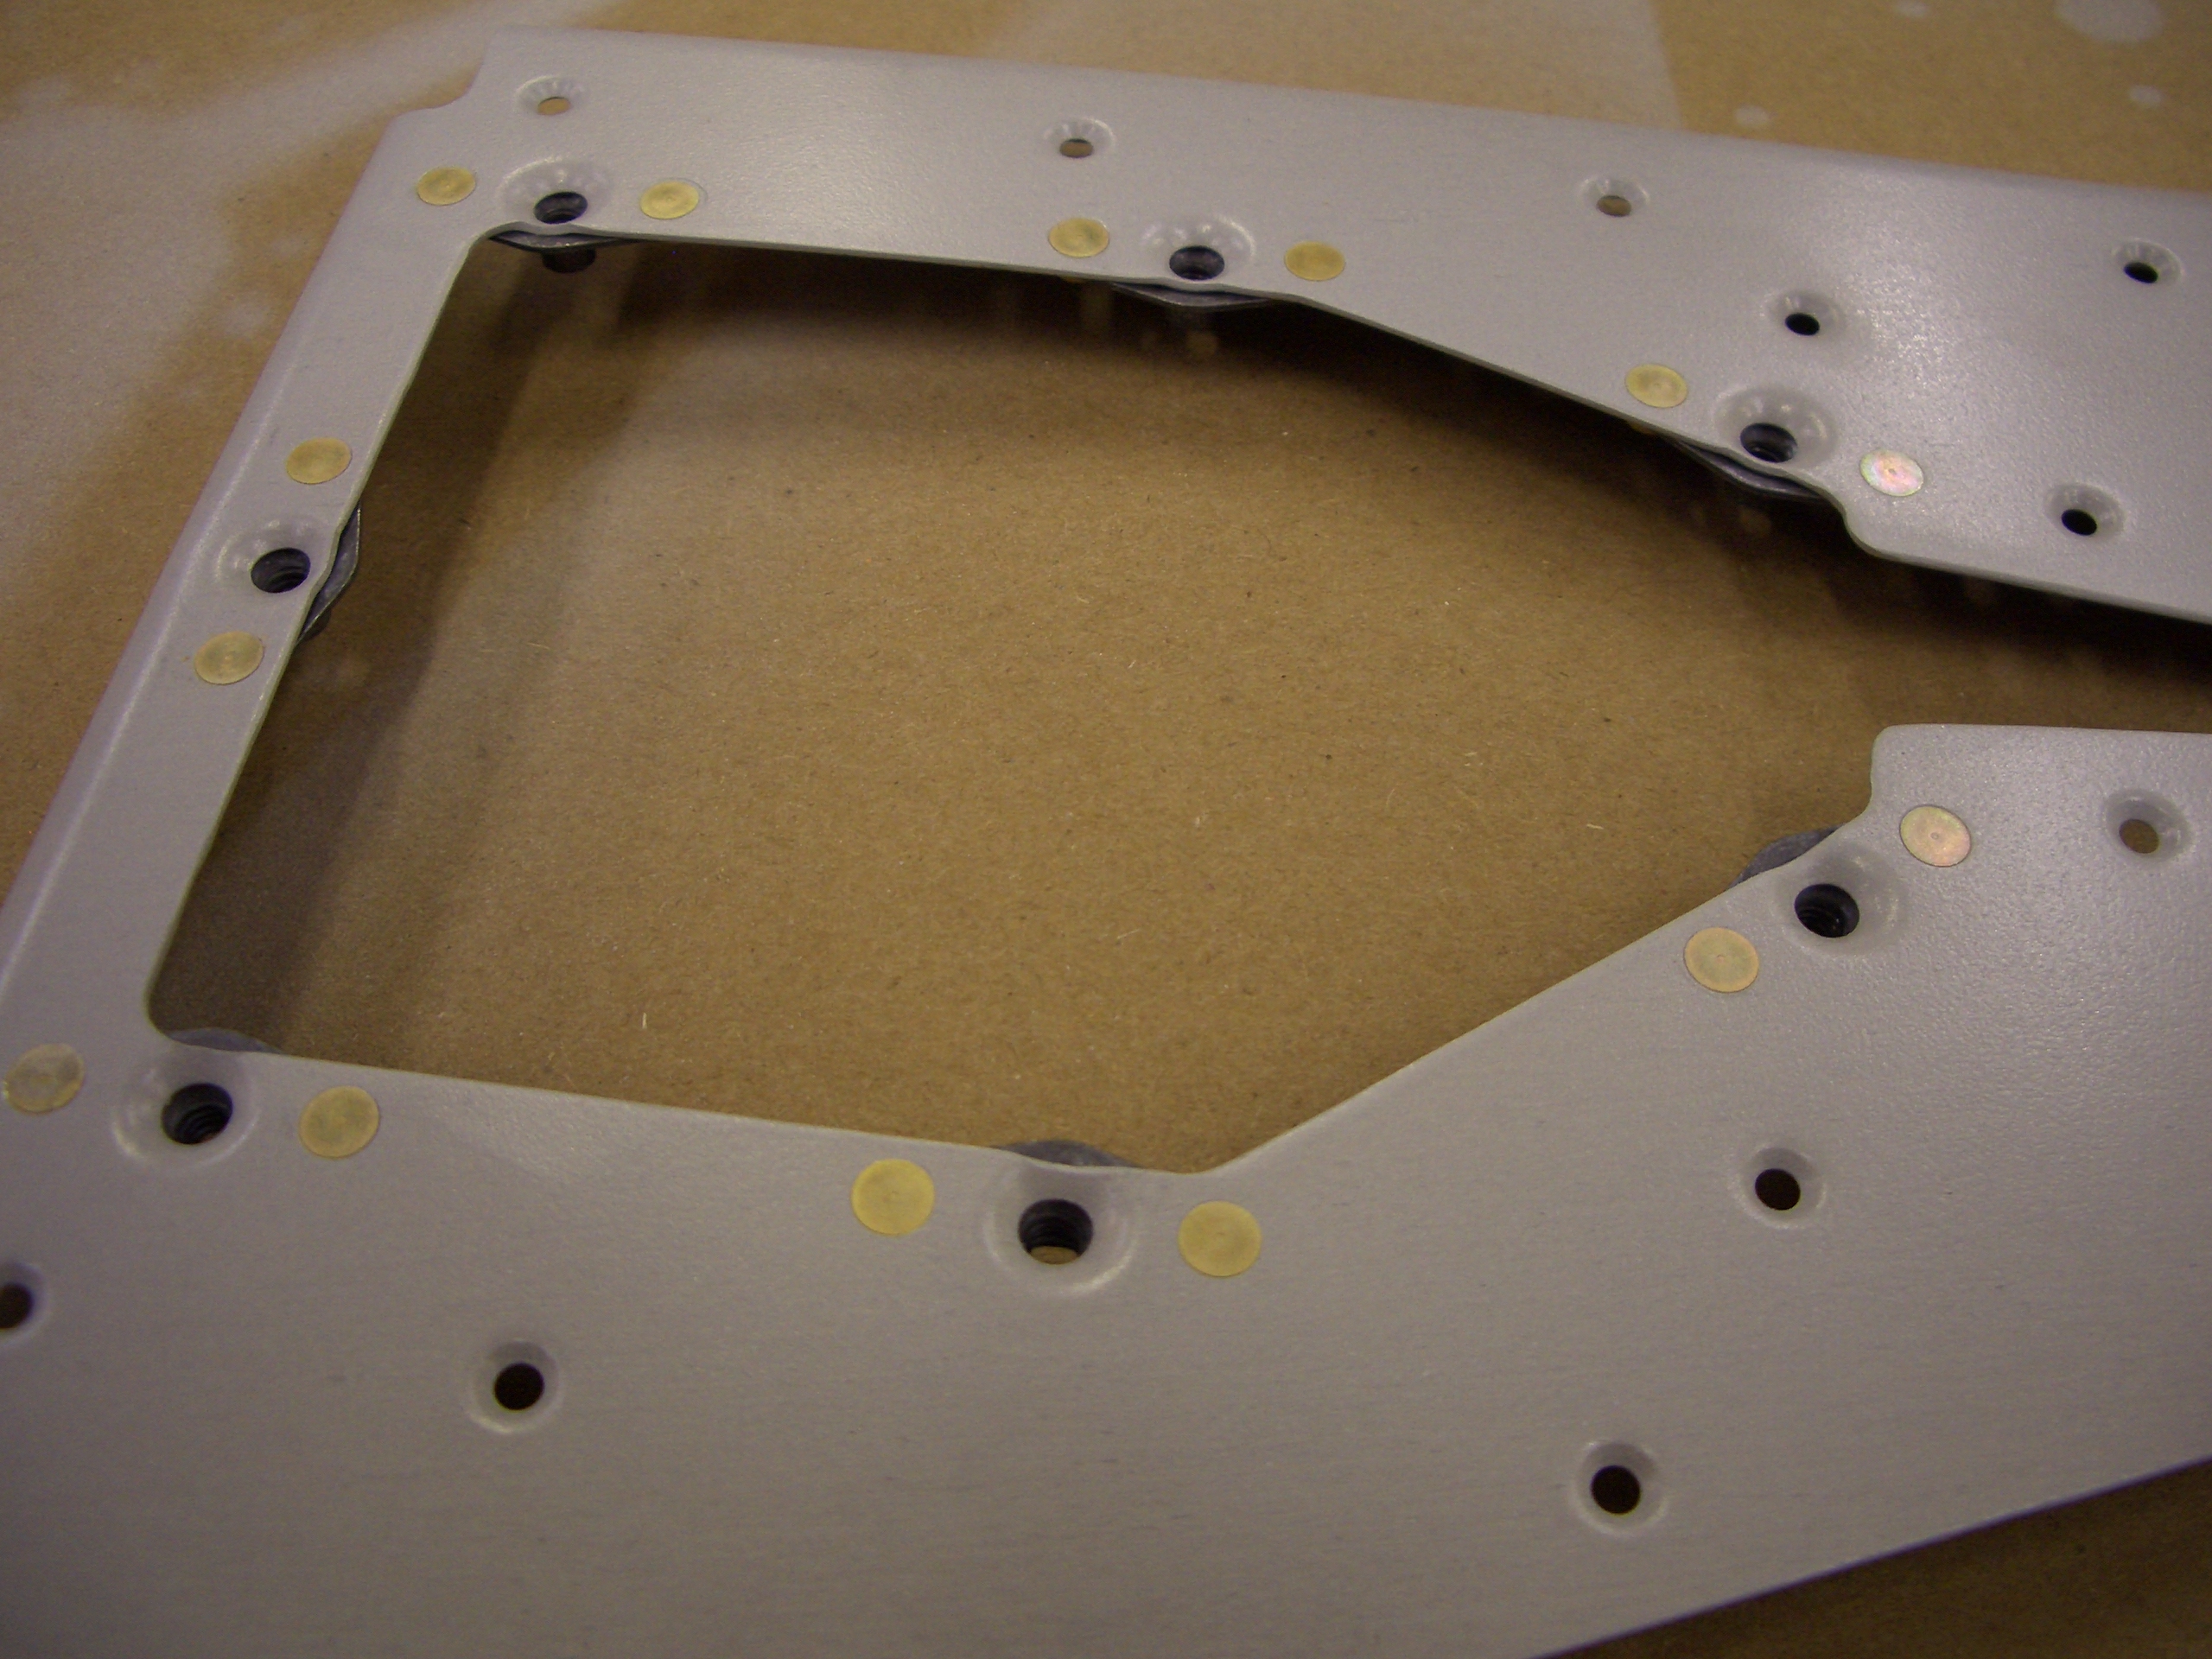
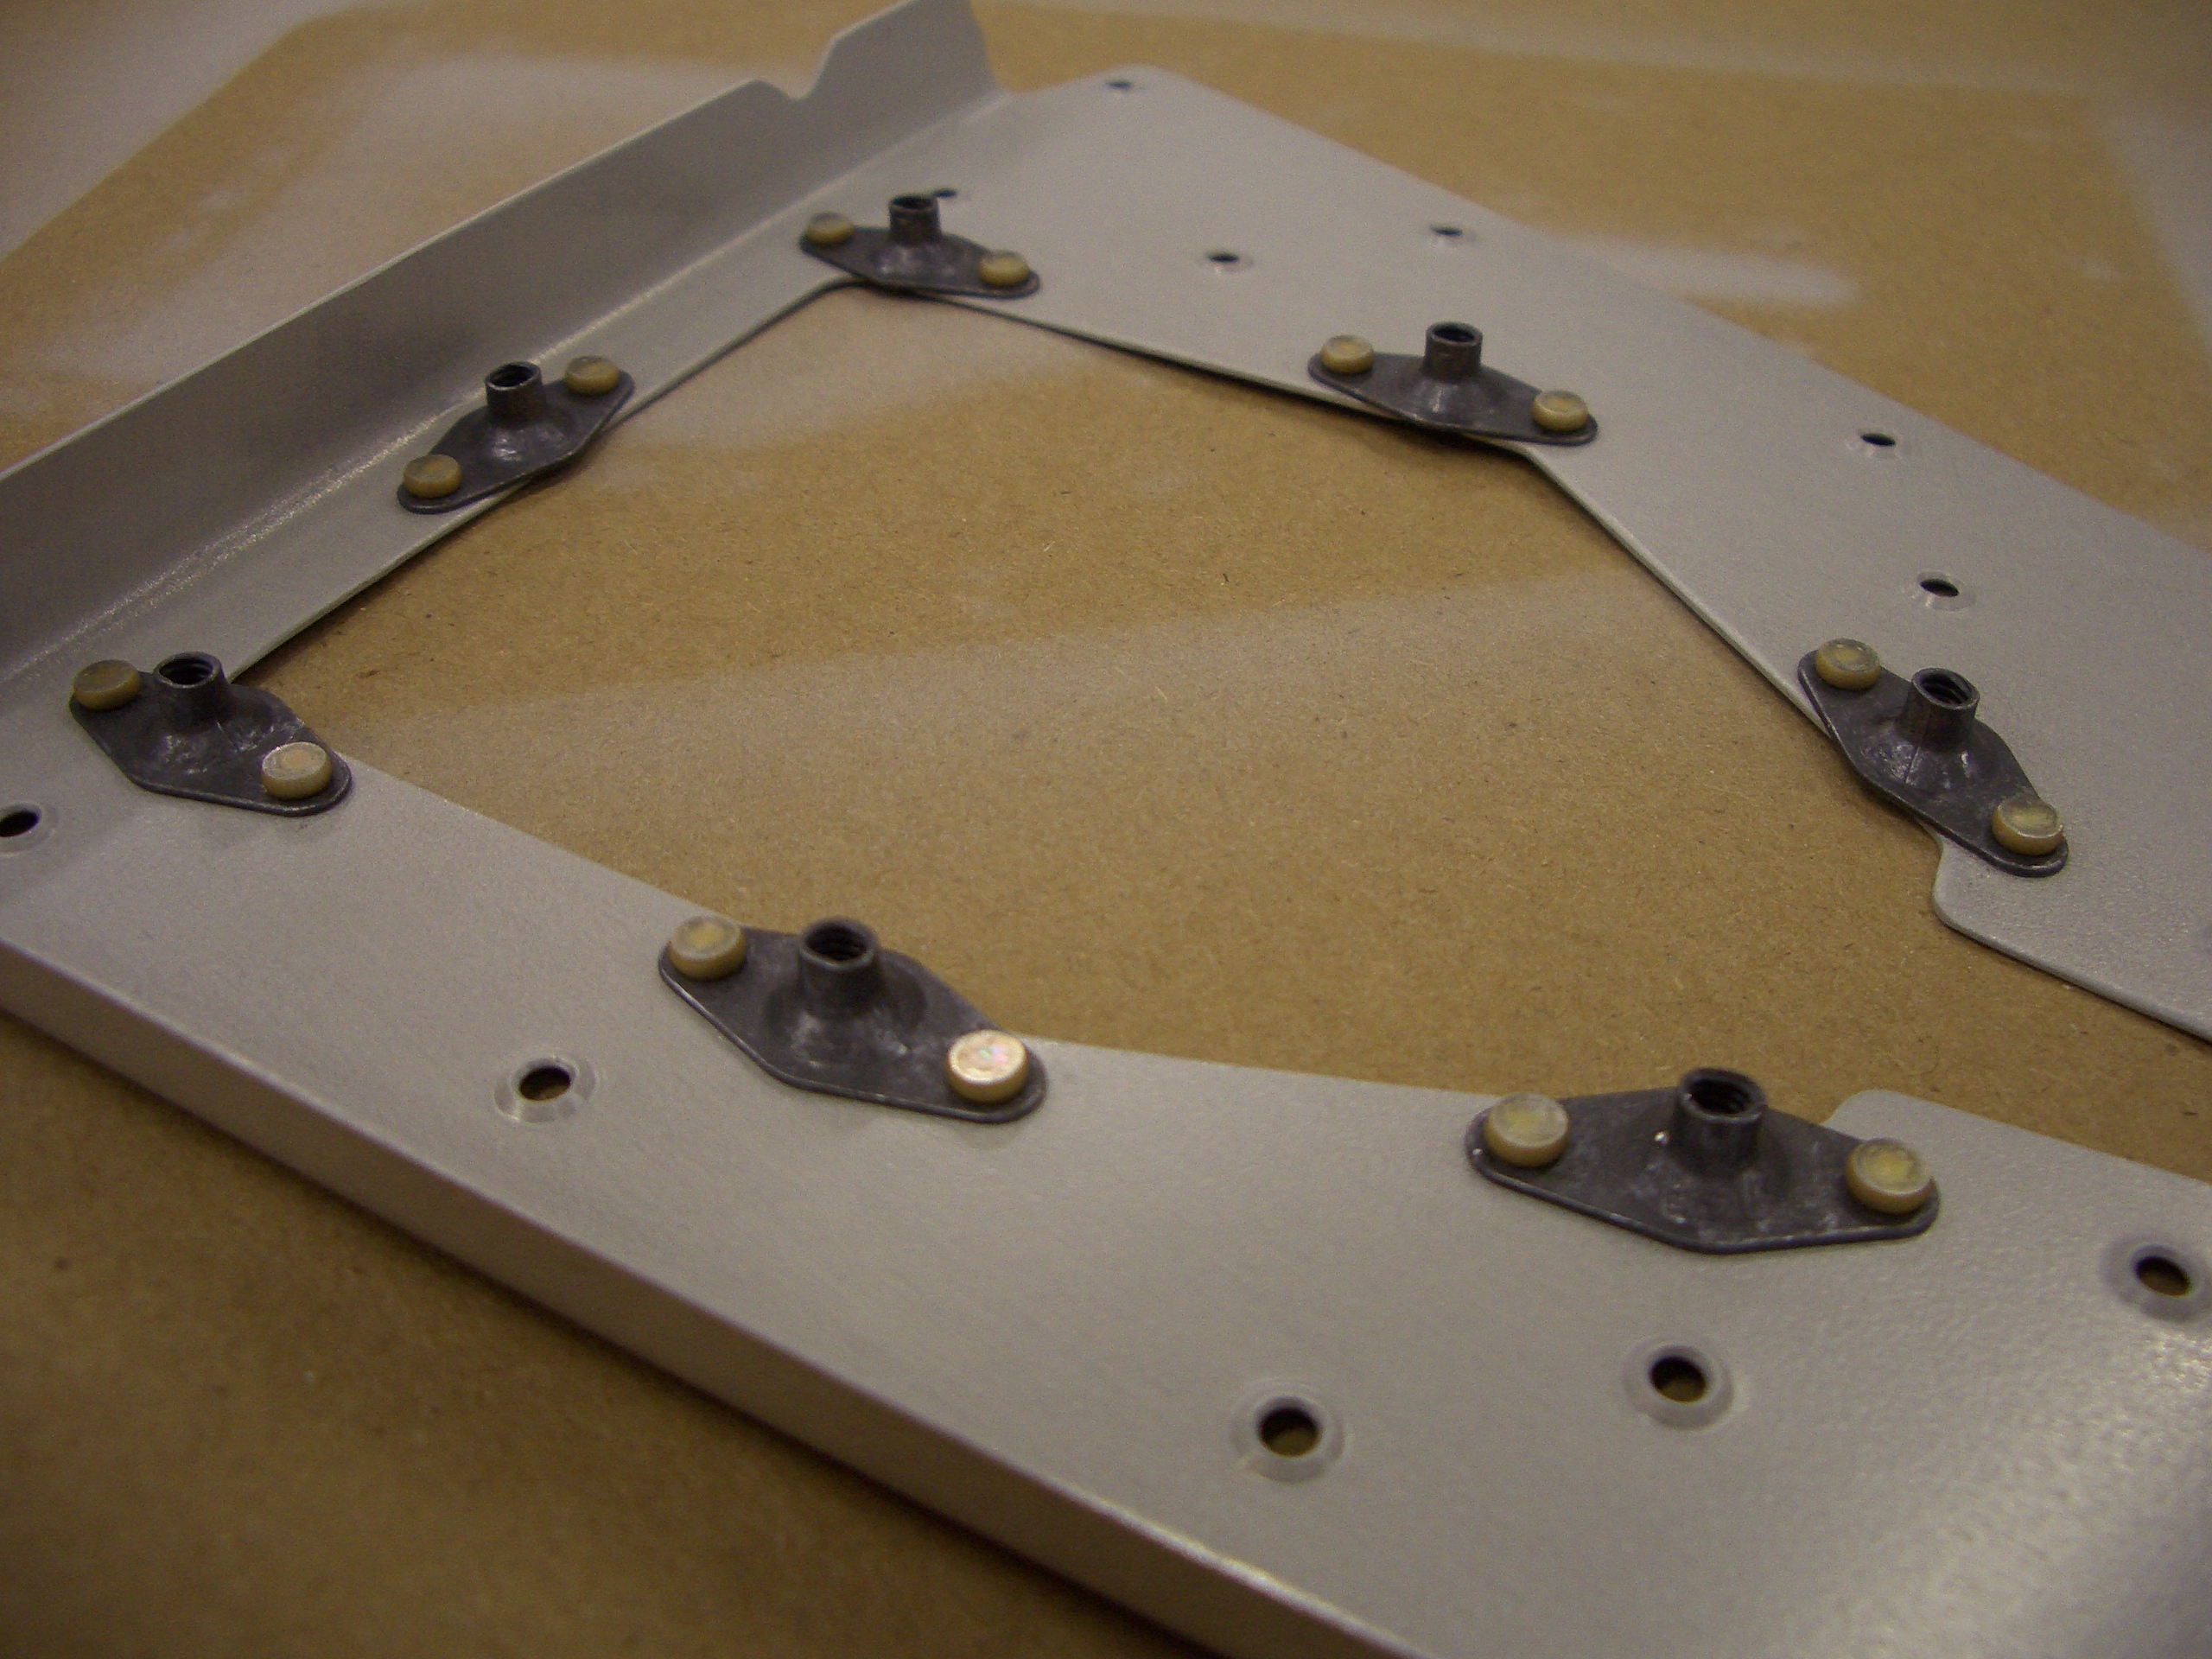
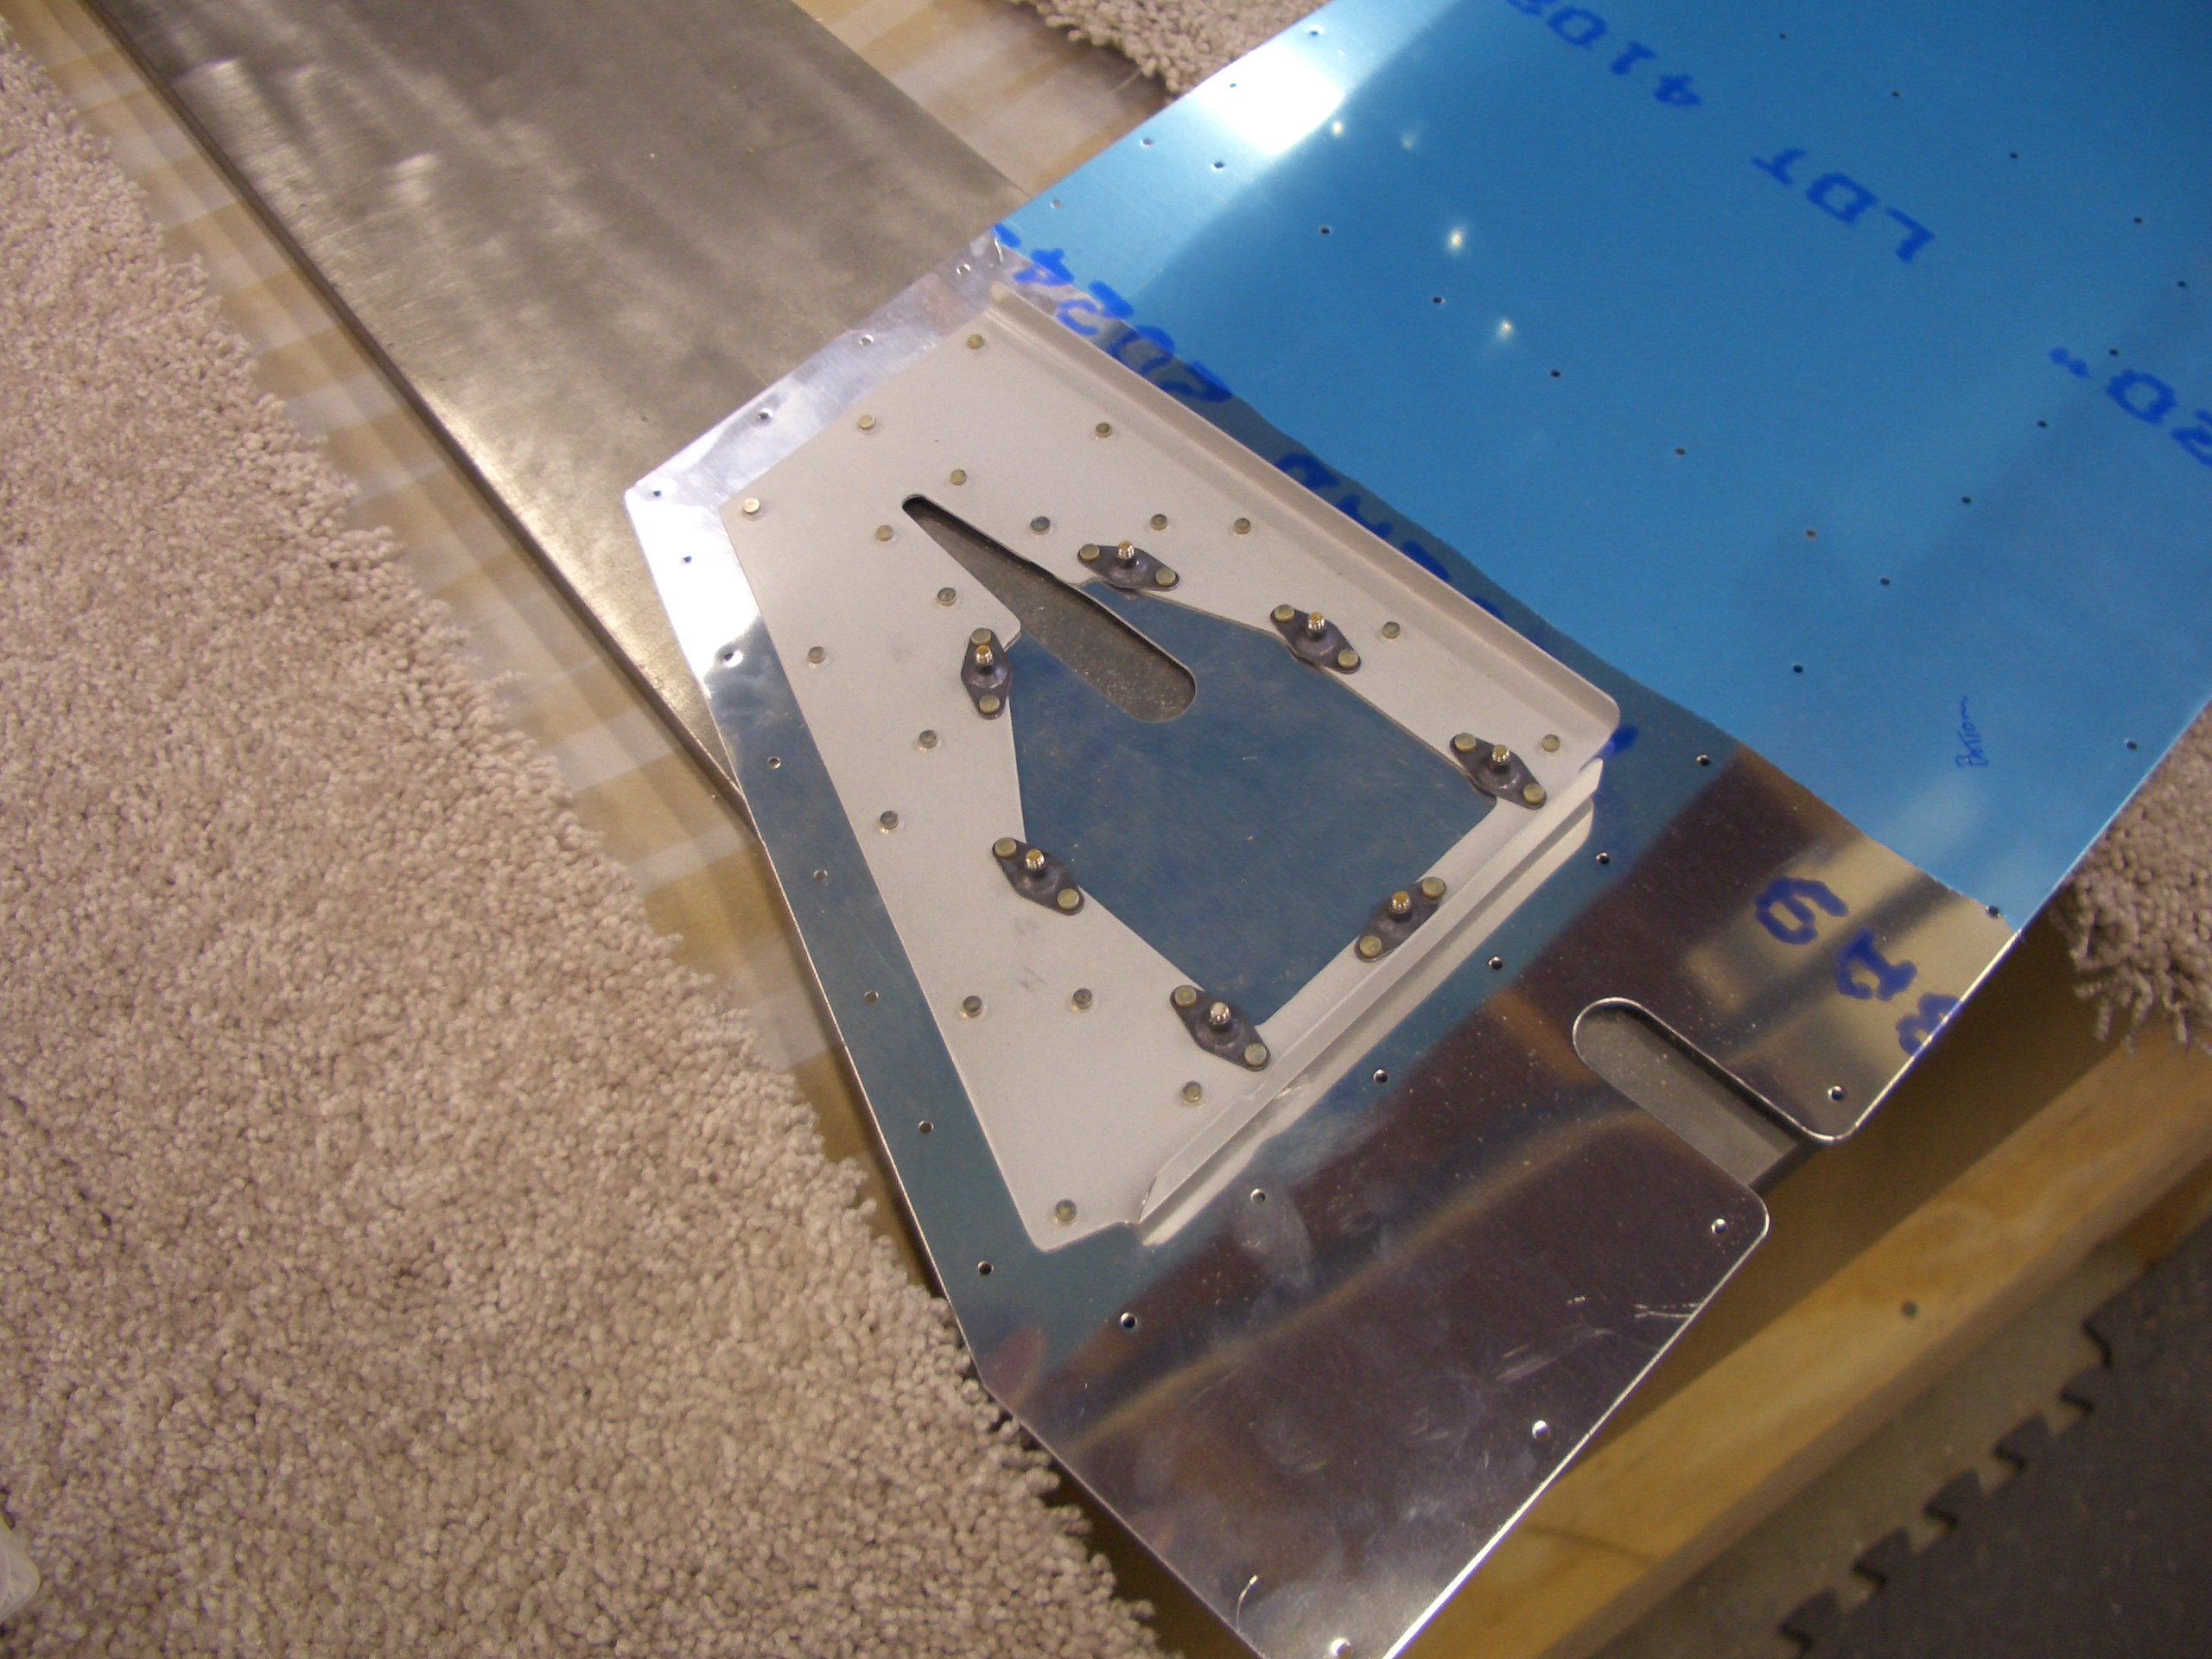
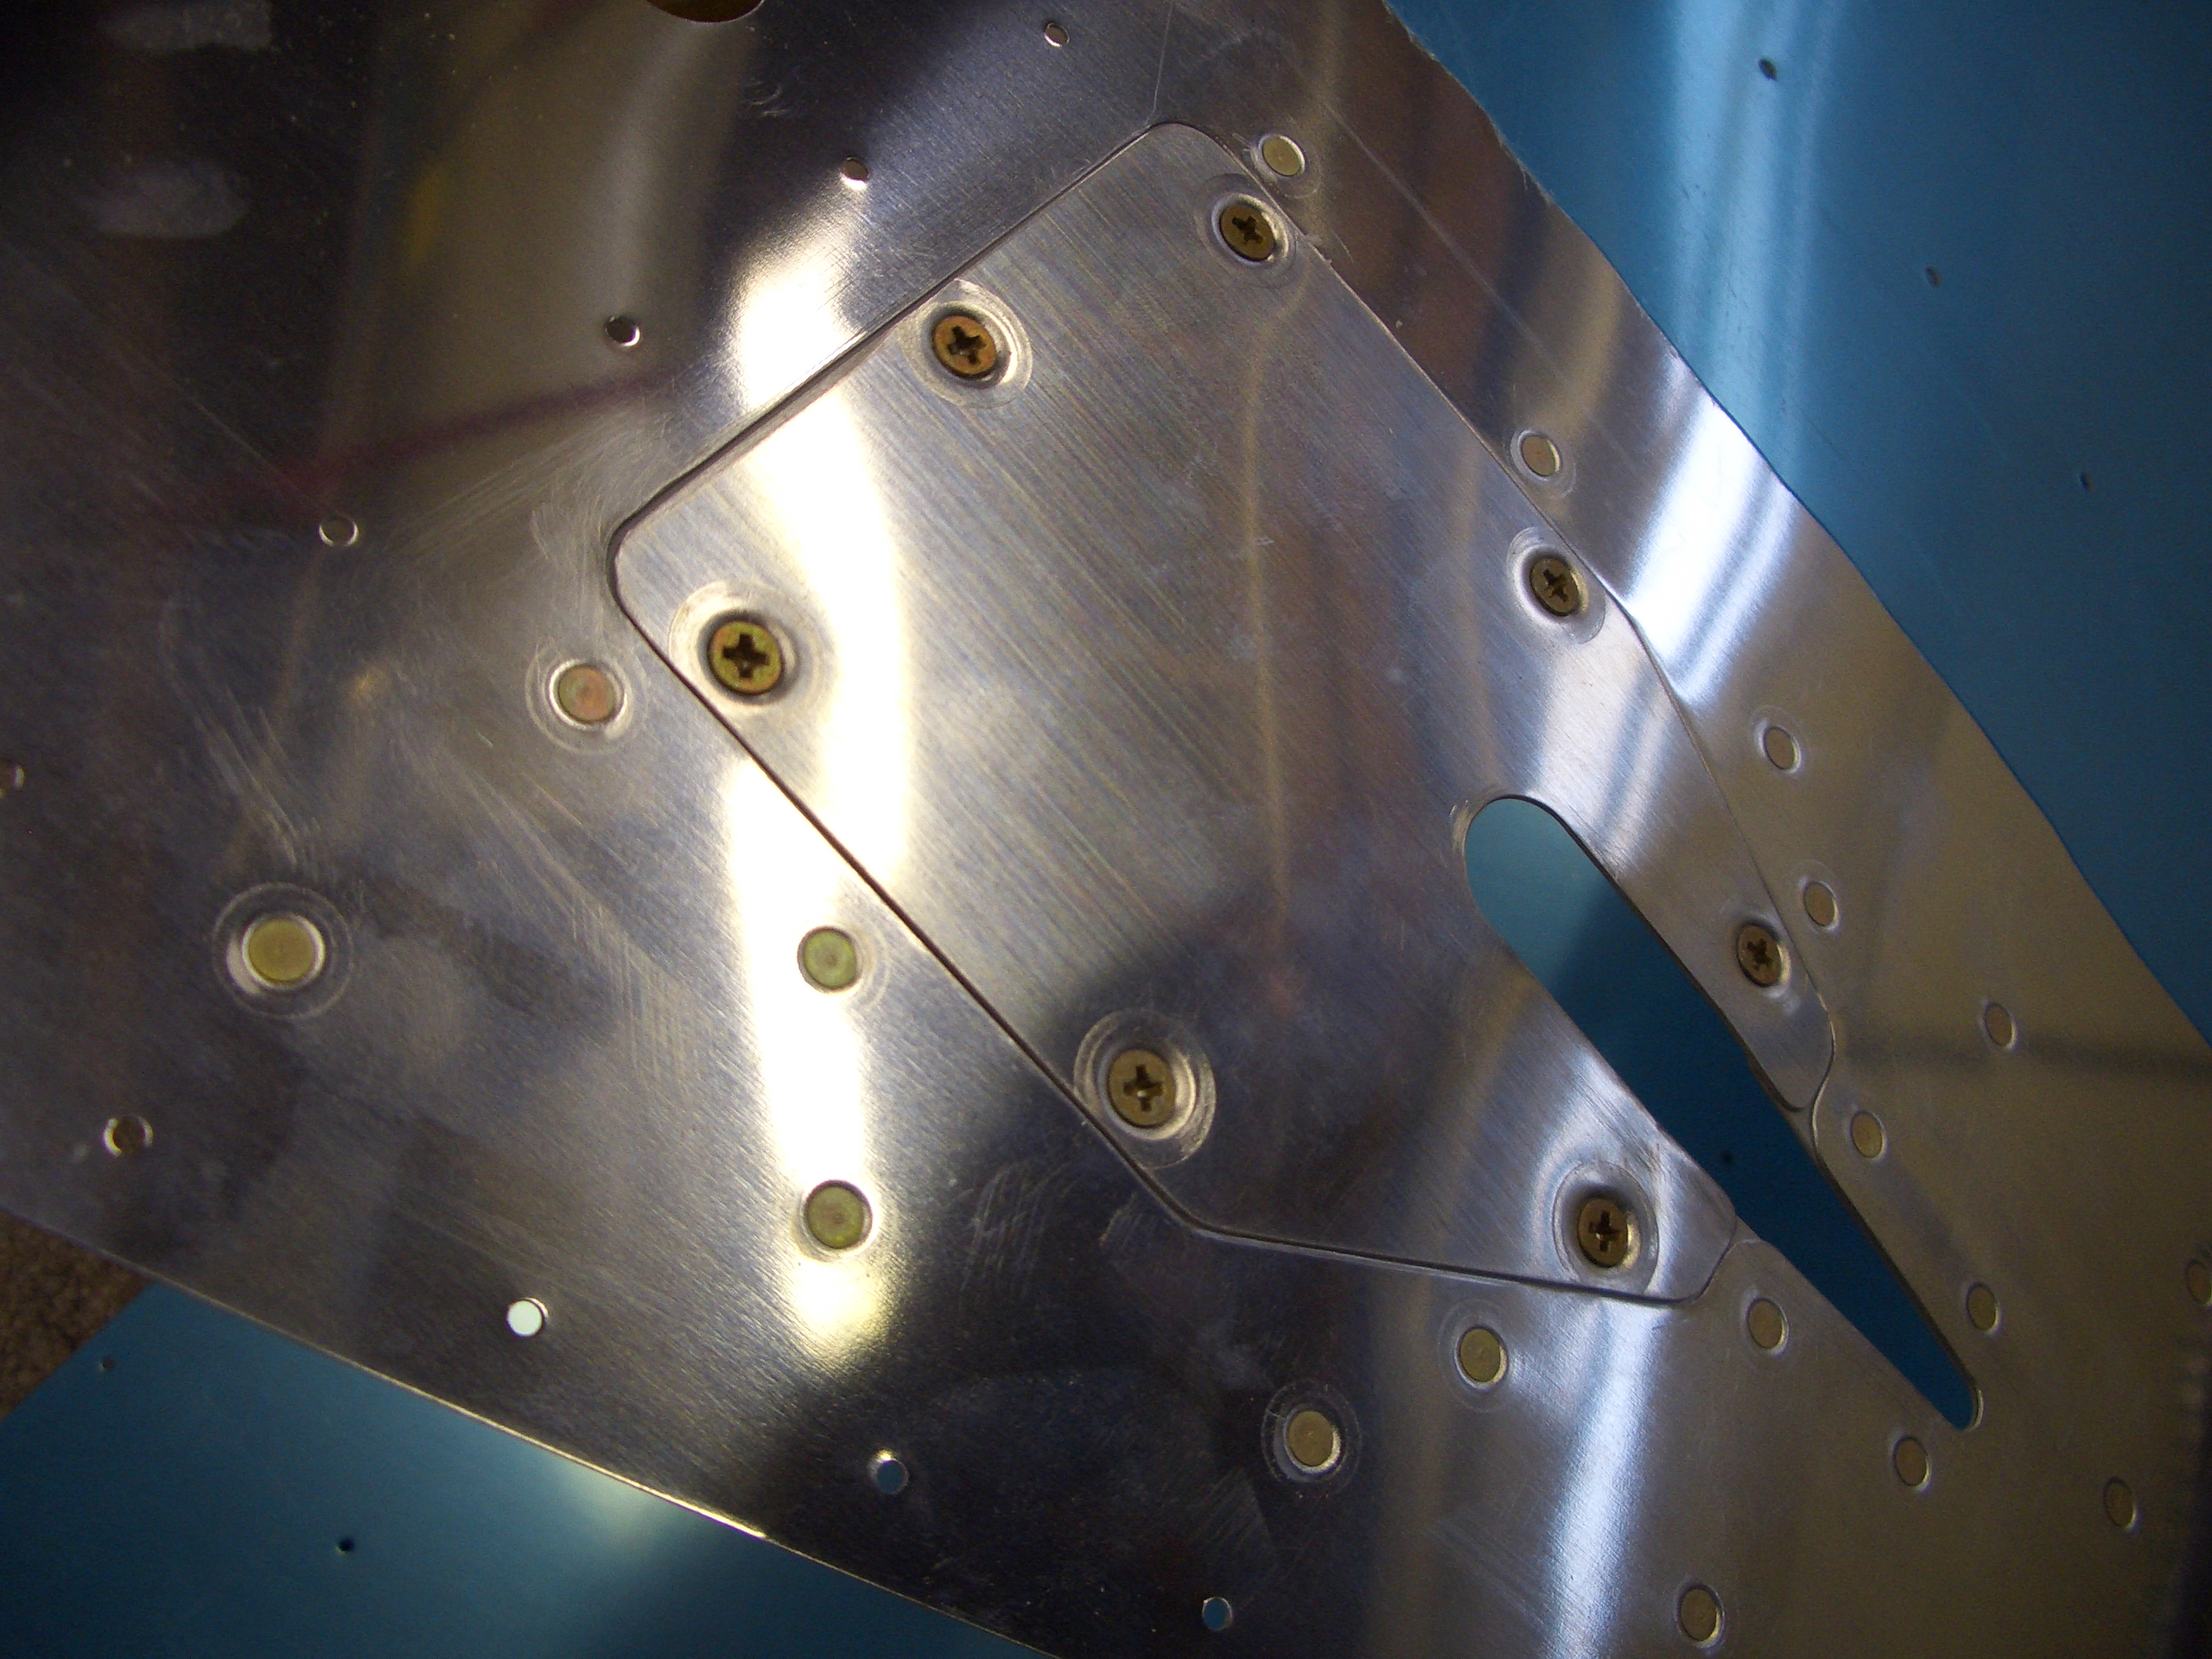
I back-riveted the trim access reinforcement plate to the left elevator skin.
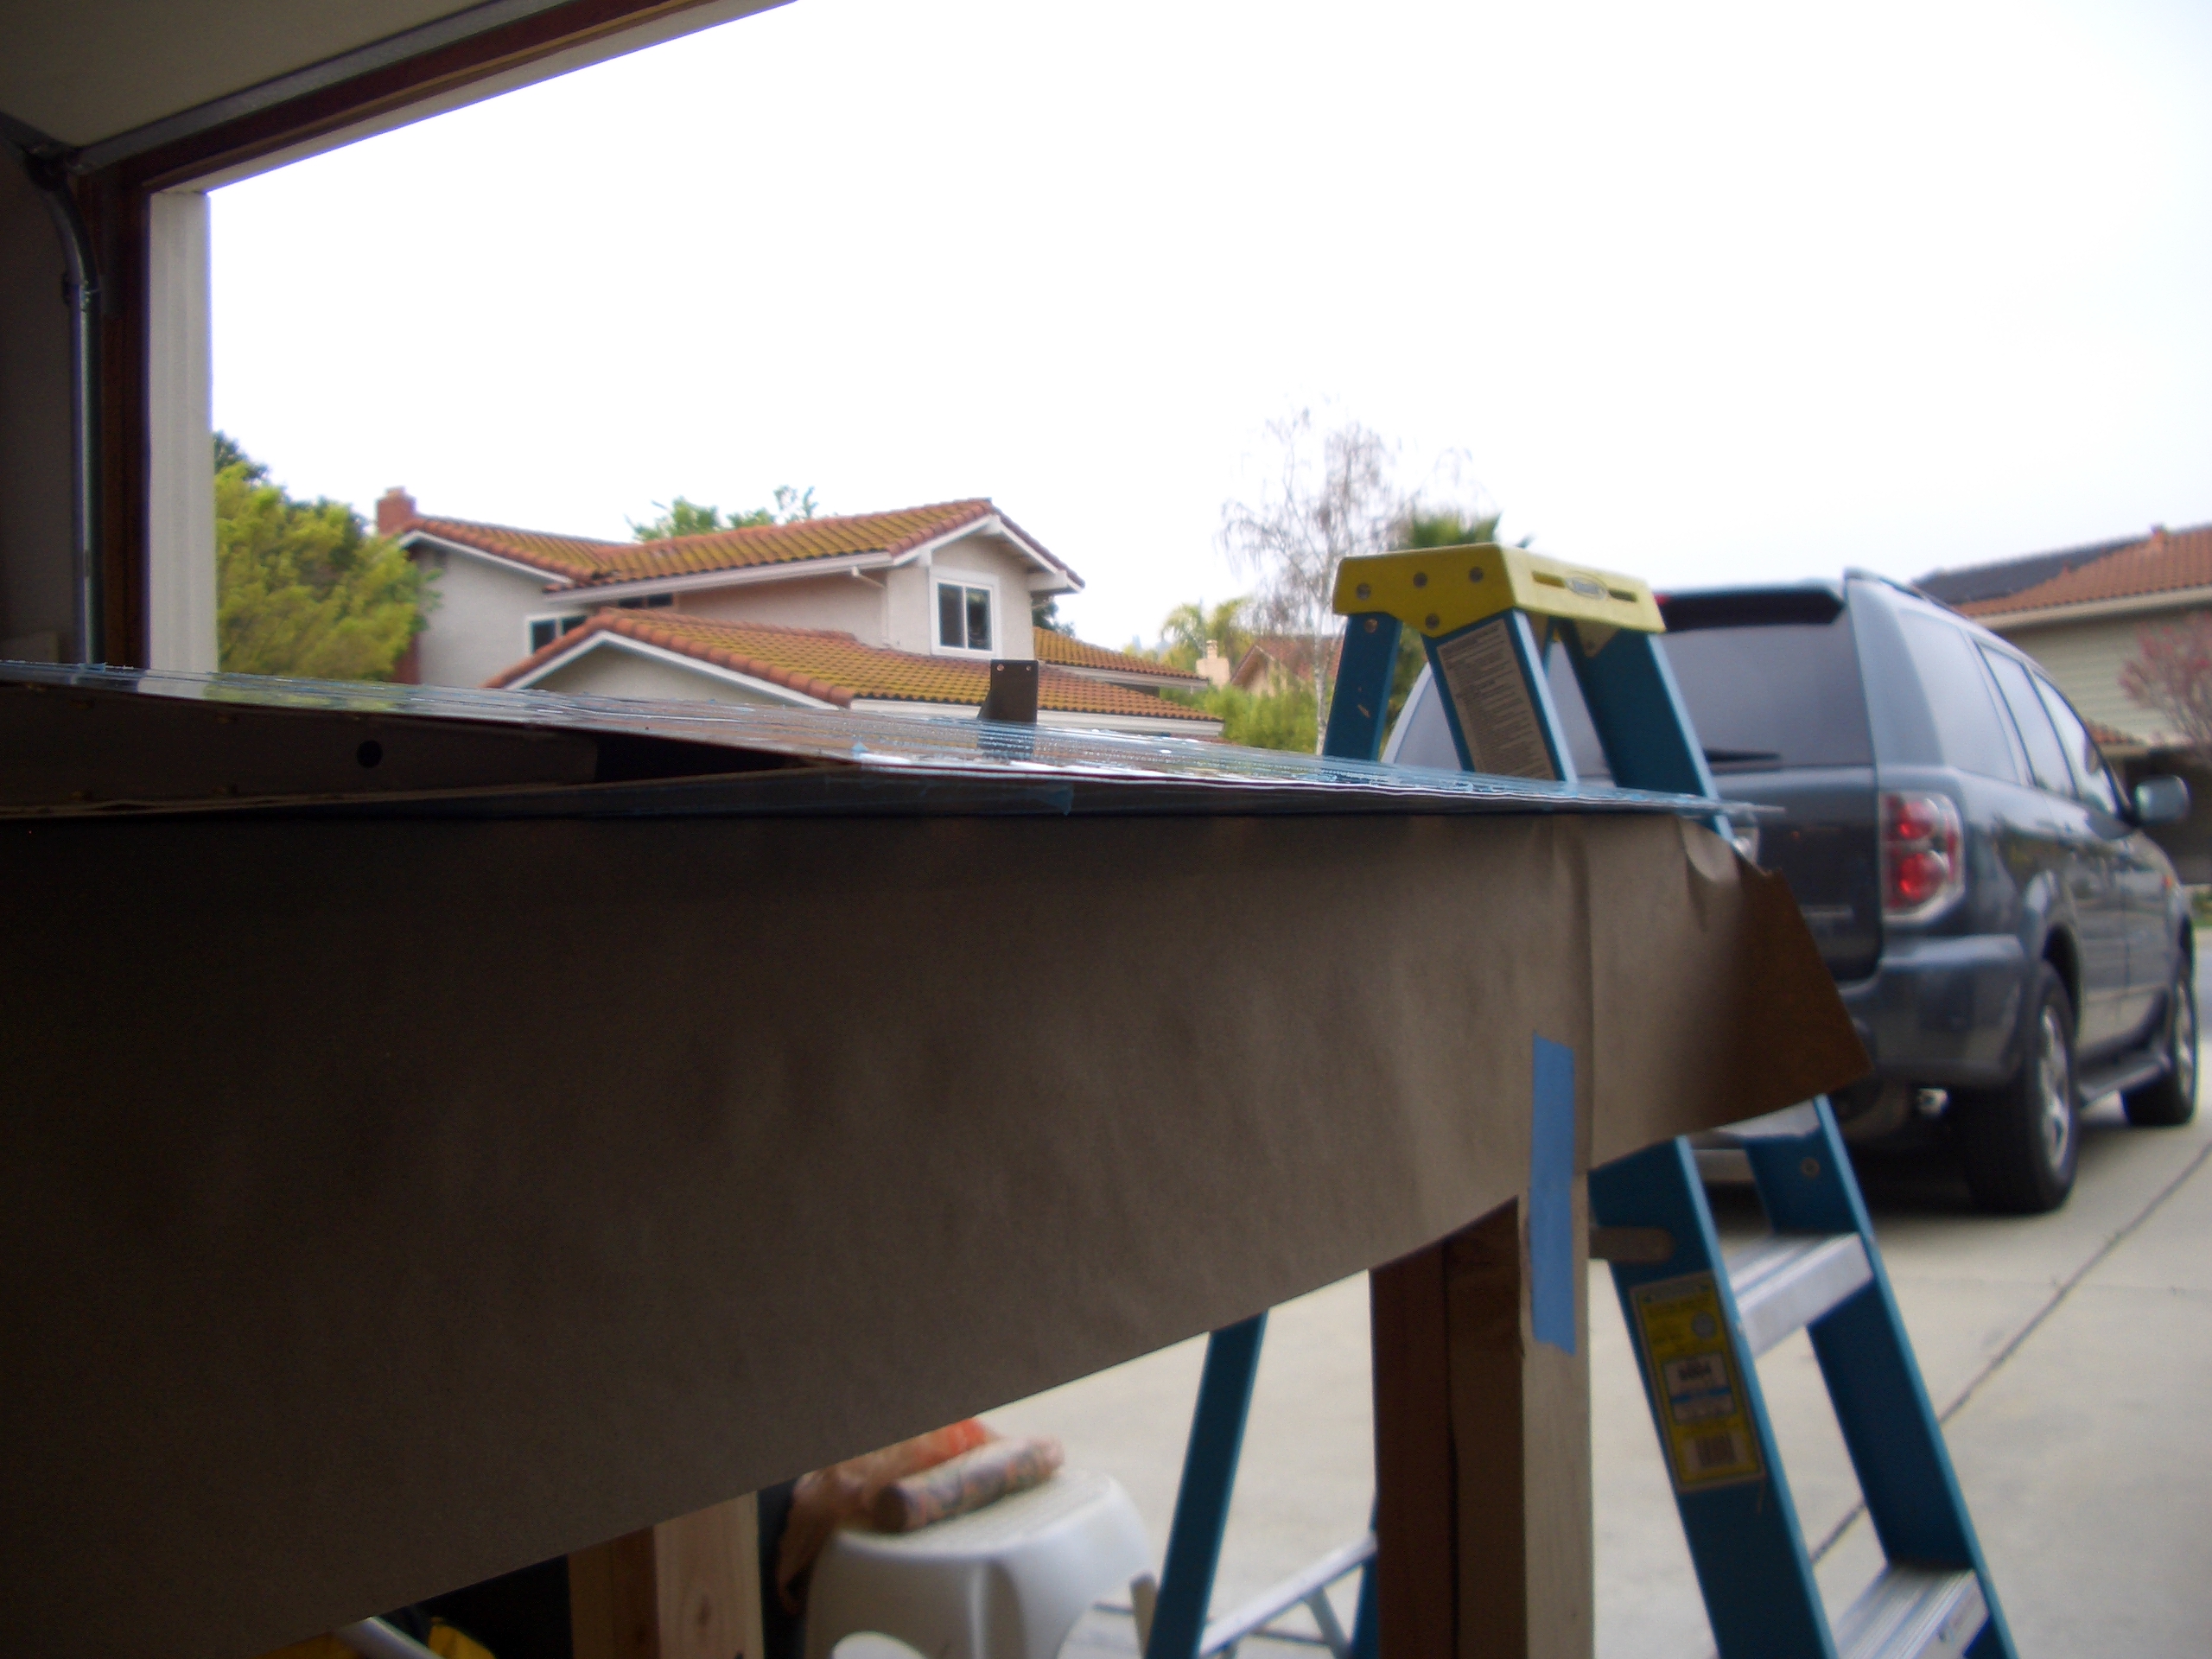
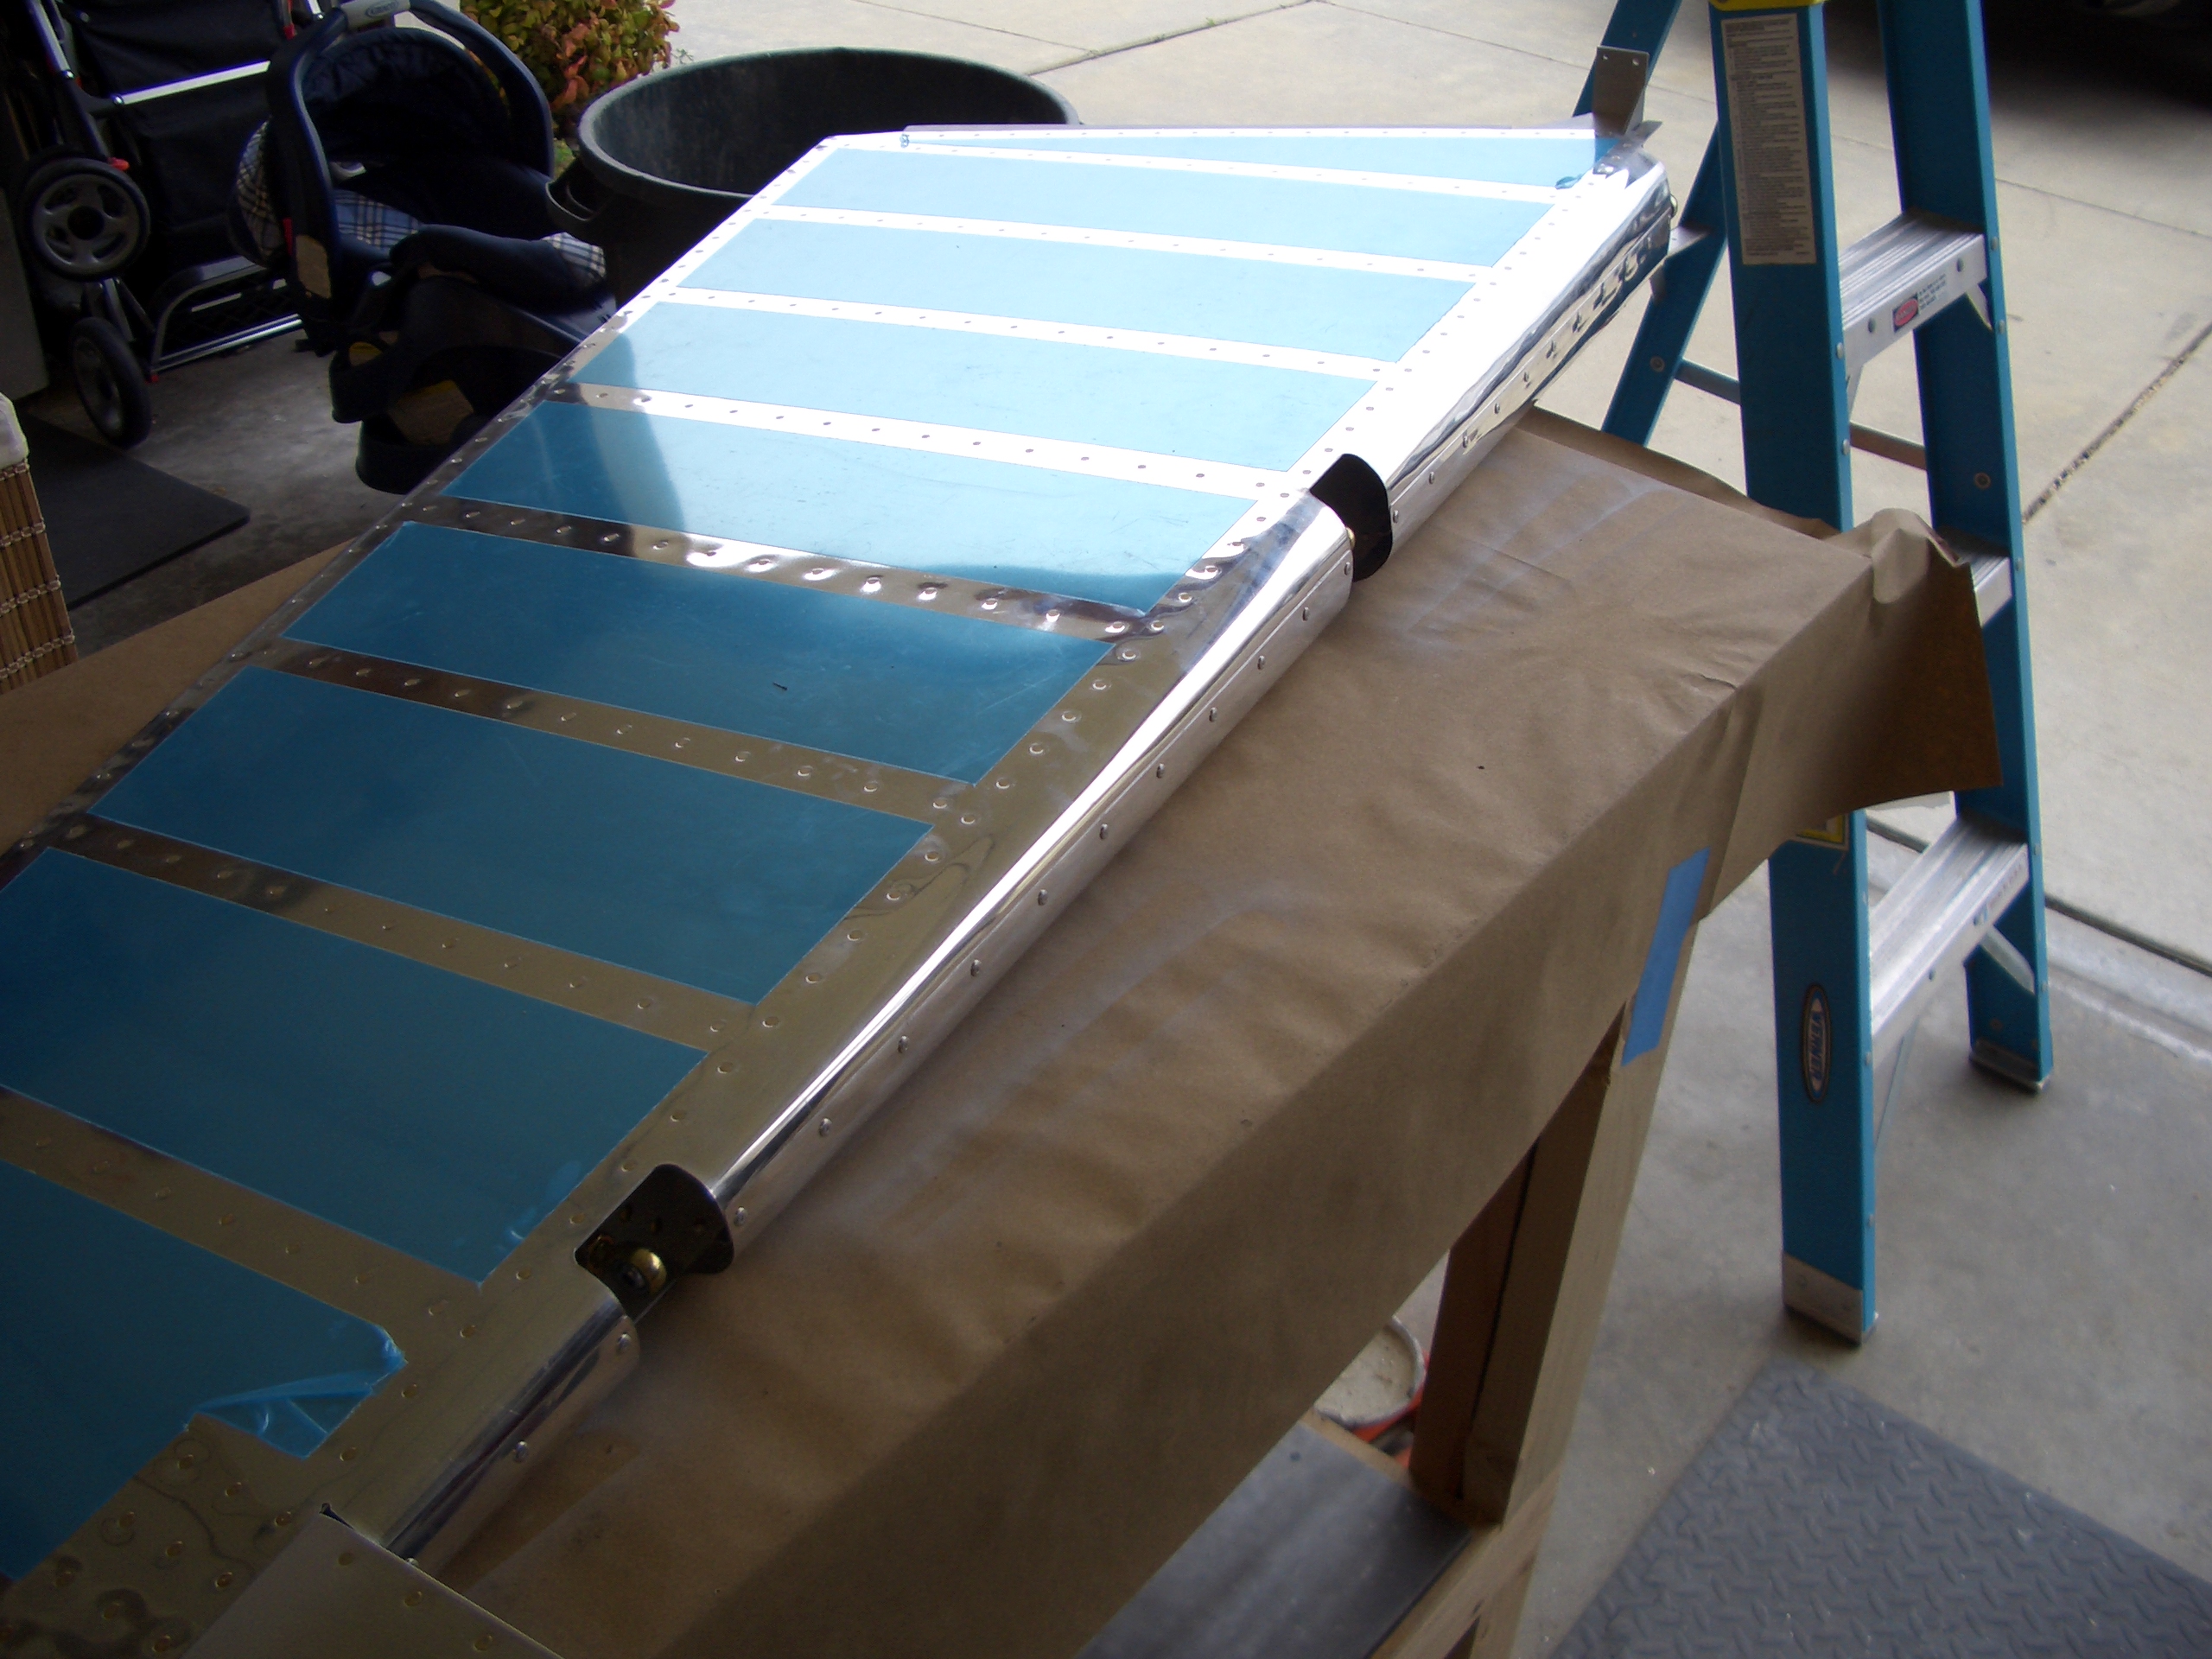
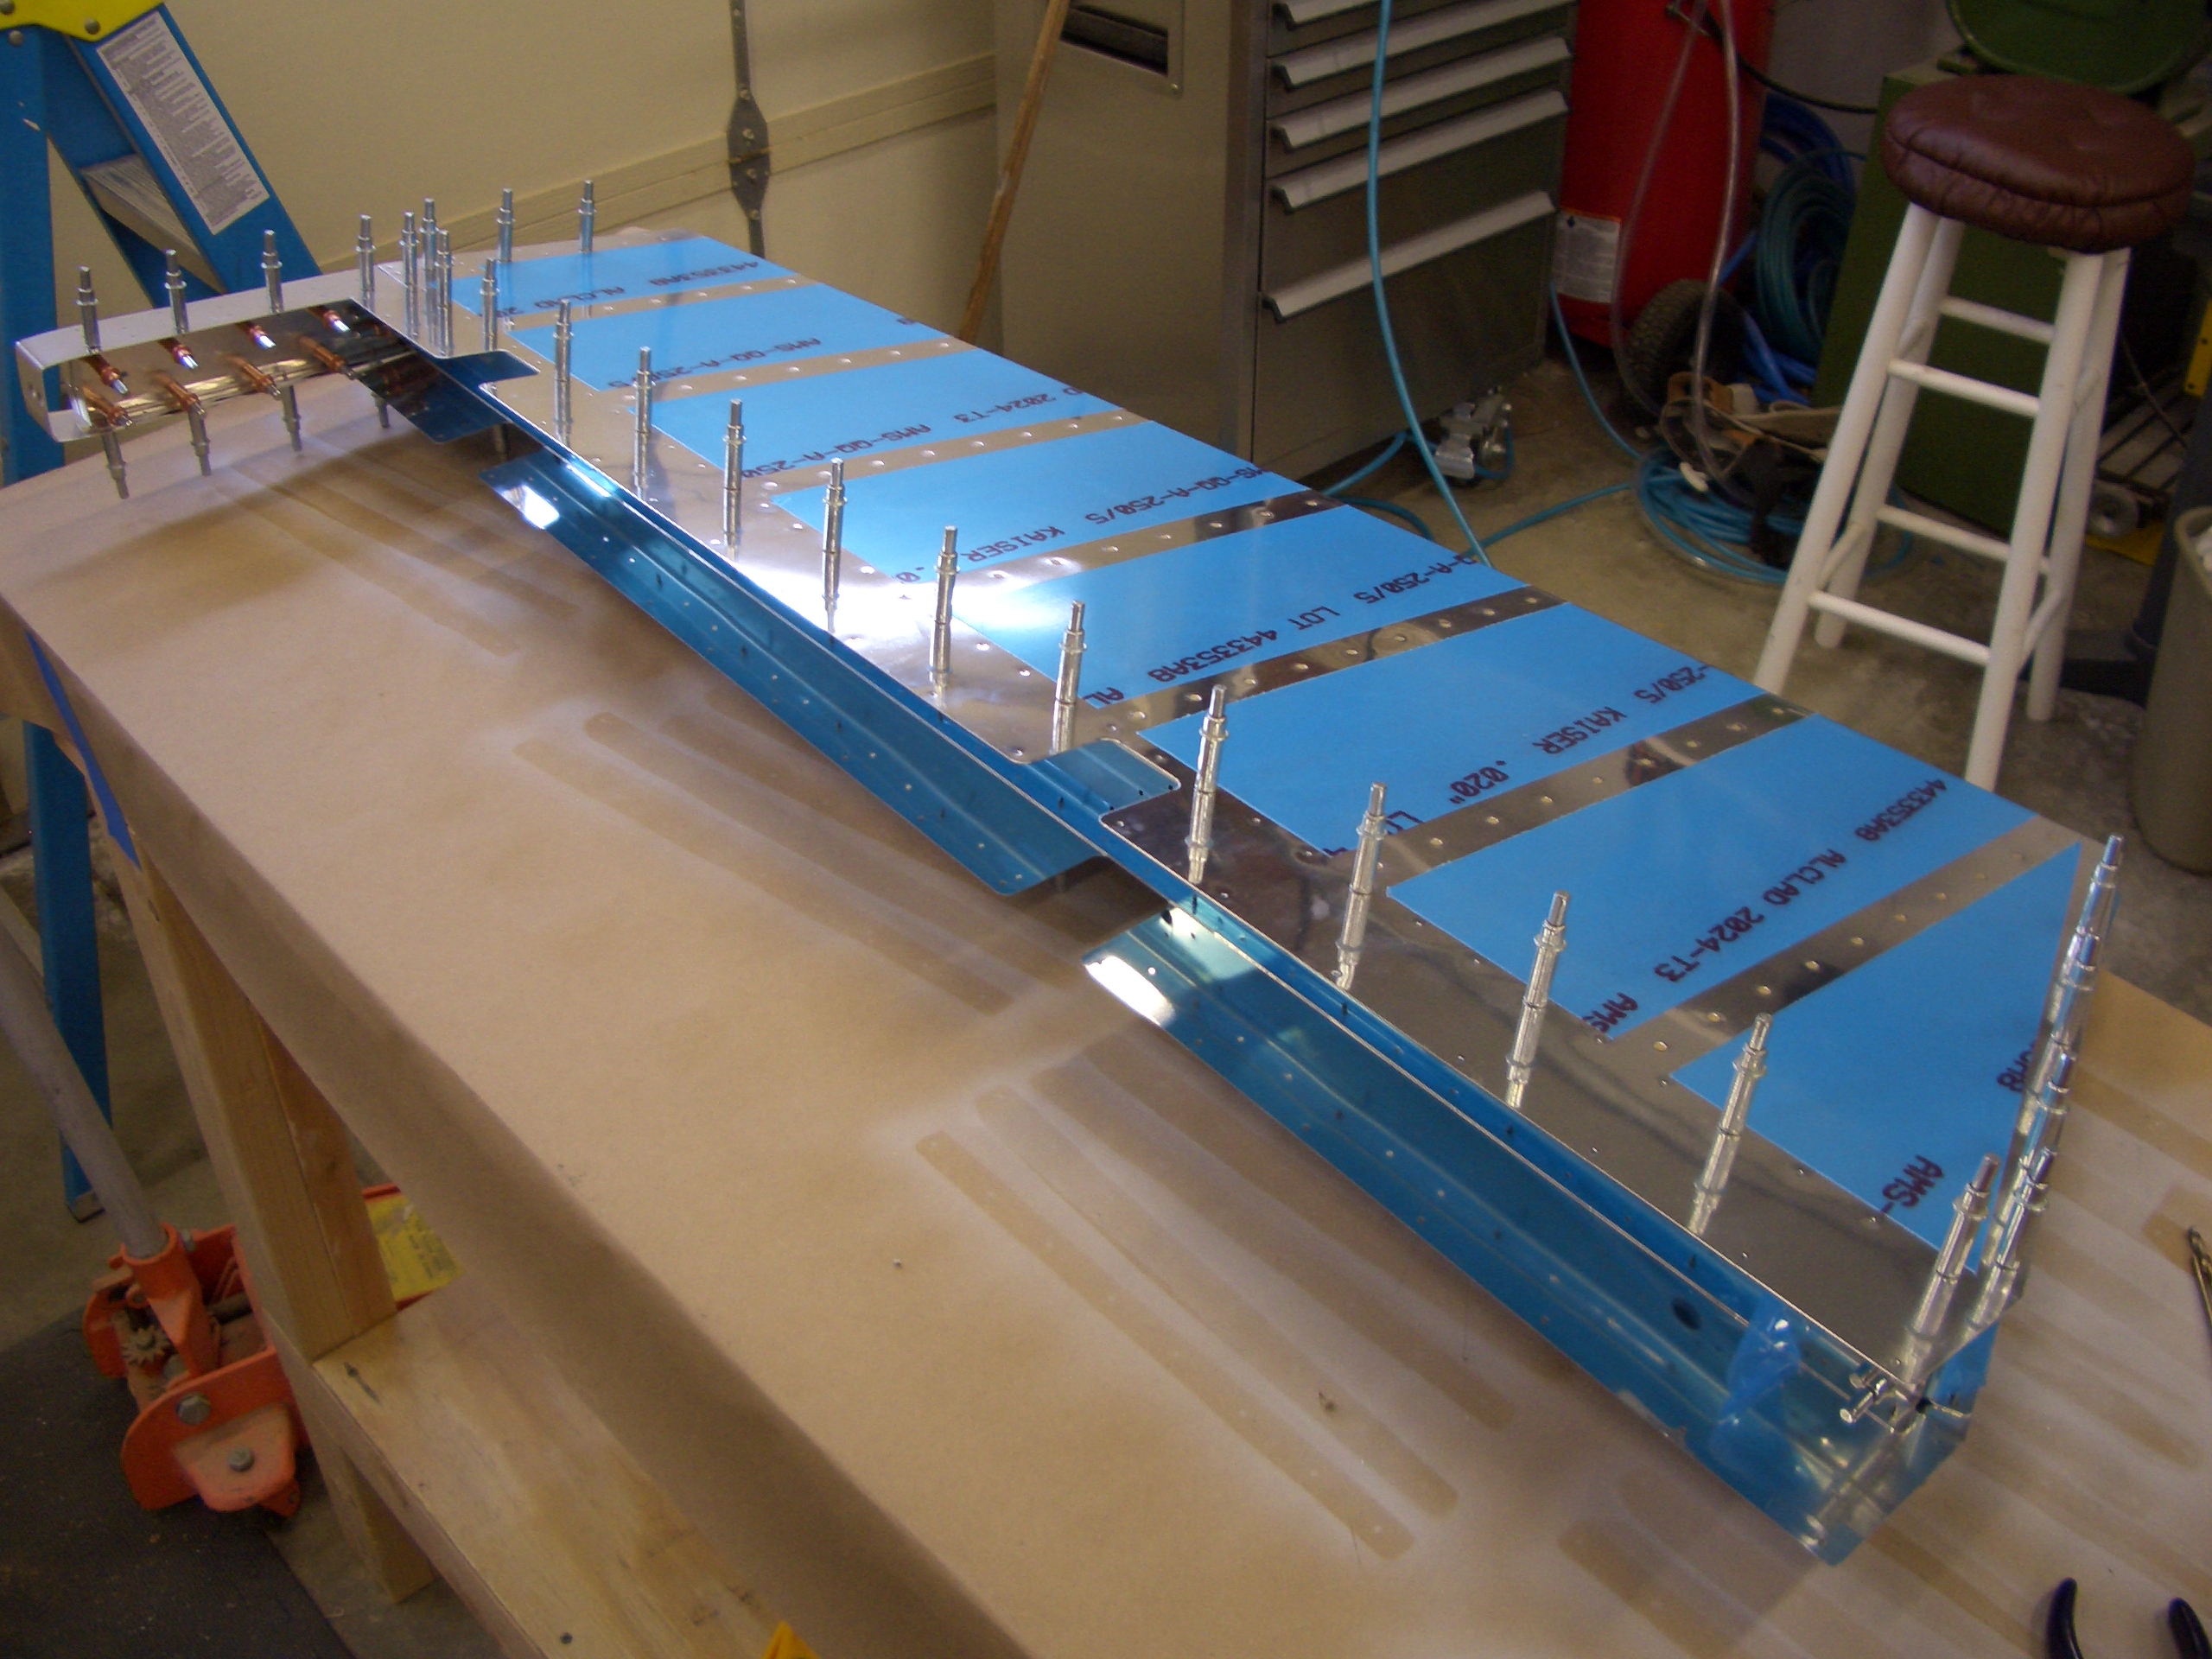
My buddy Andre stopped by tonight to help me rivet the trailing edge. It turned out great.
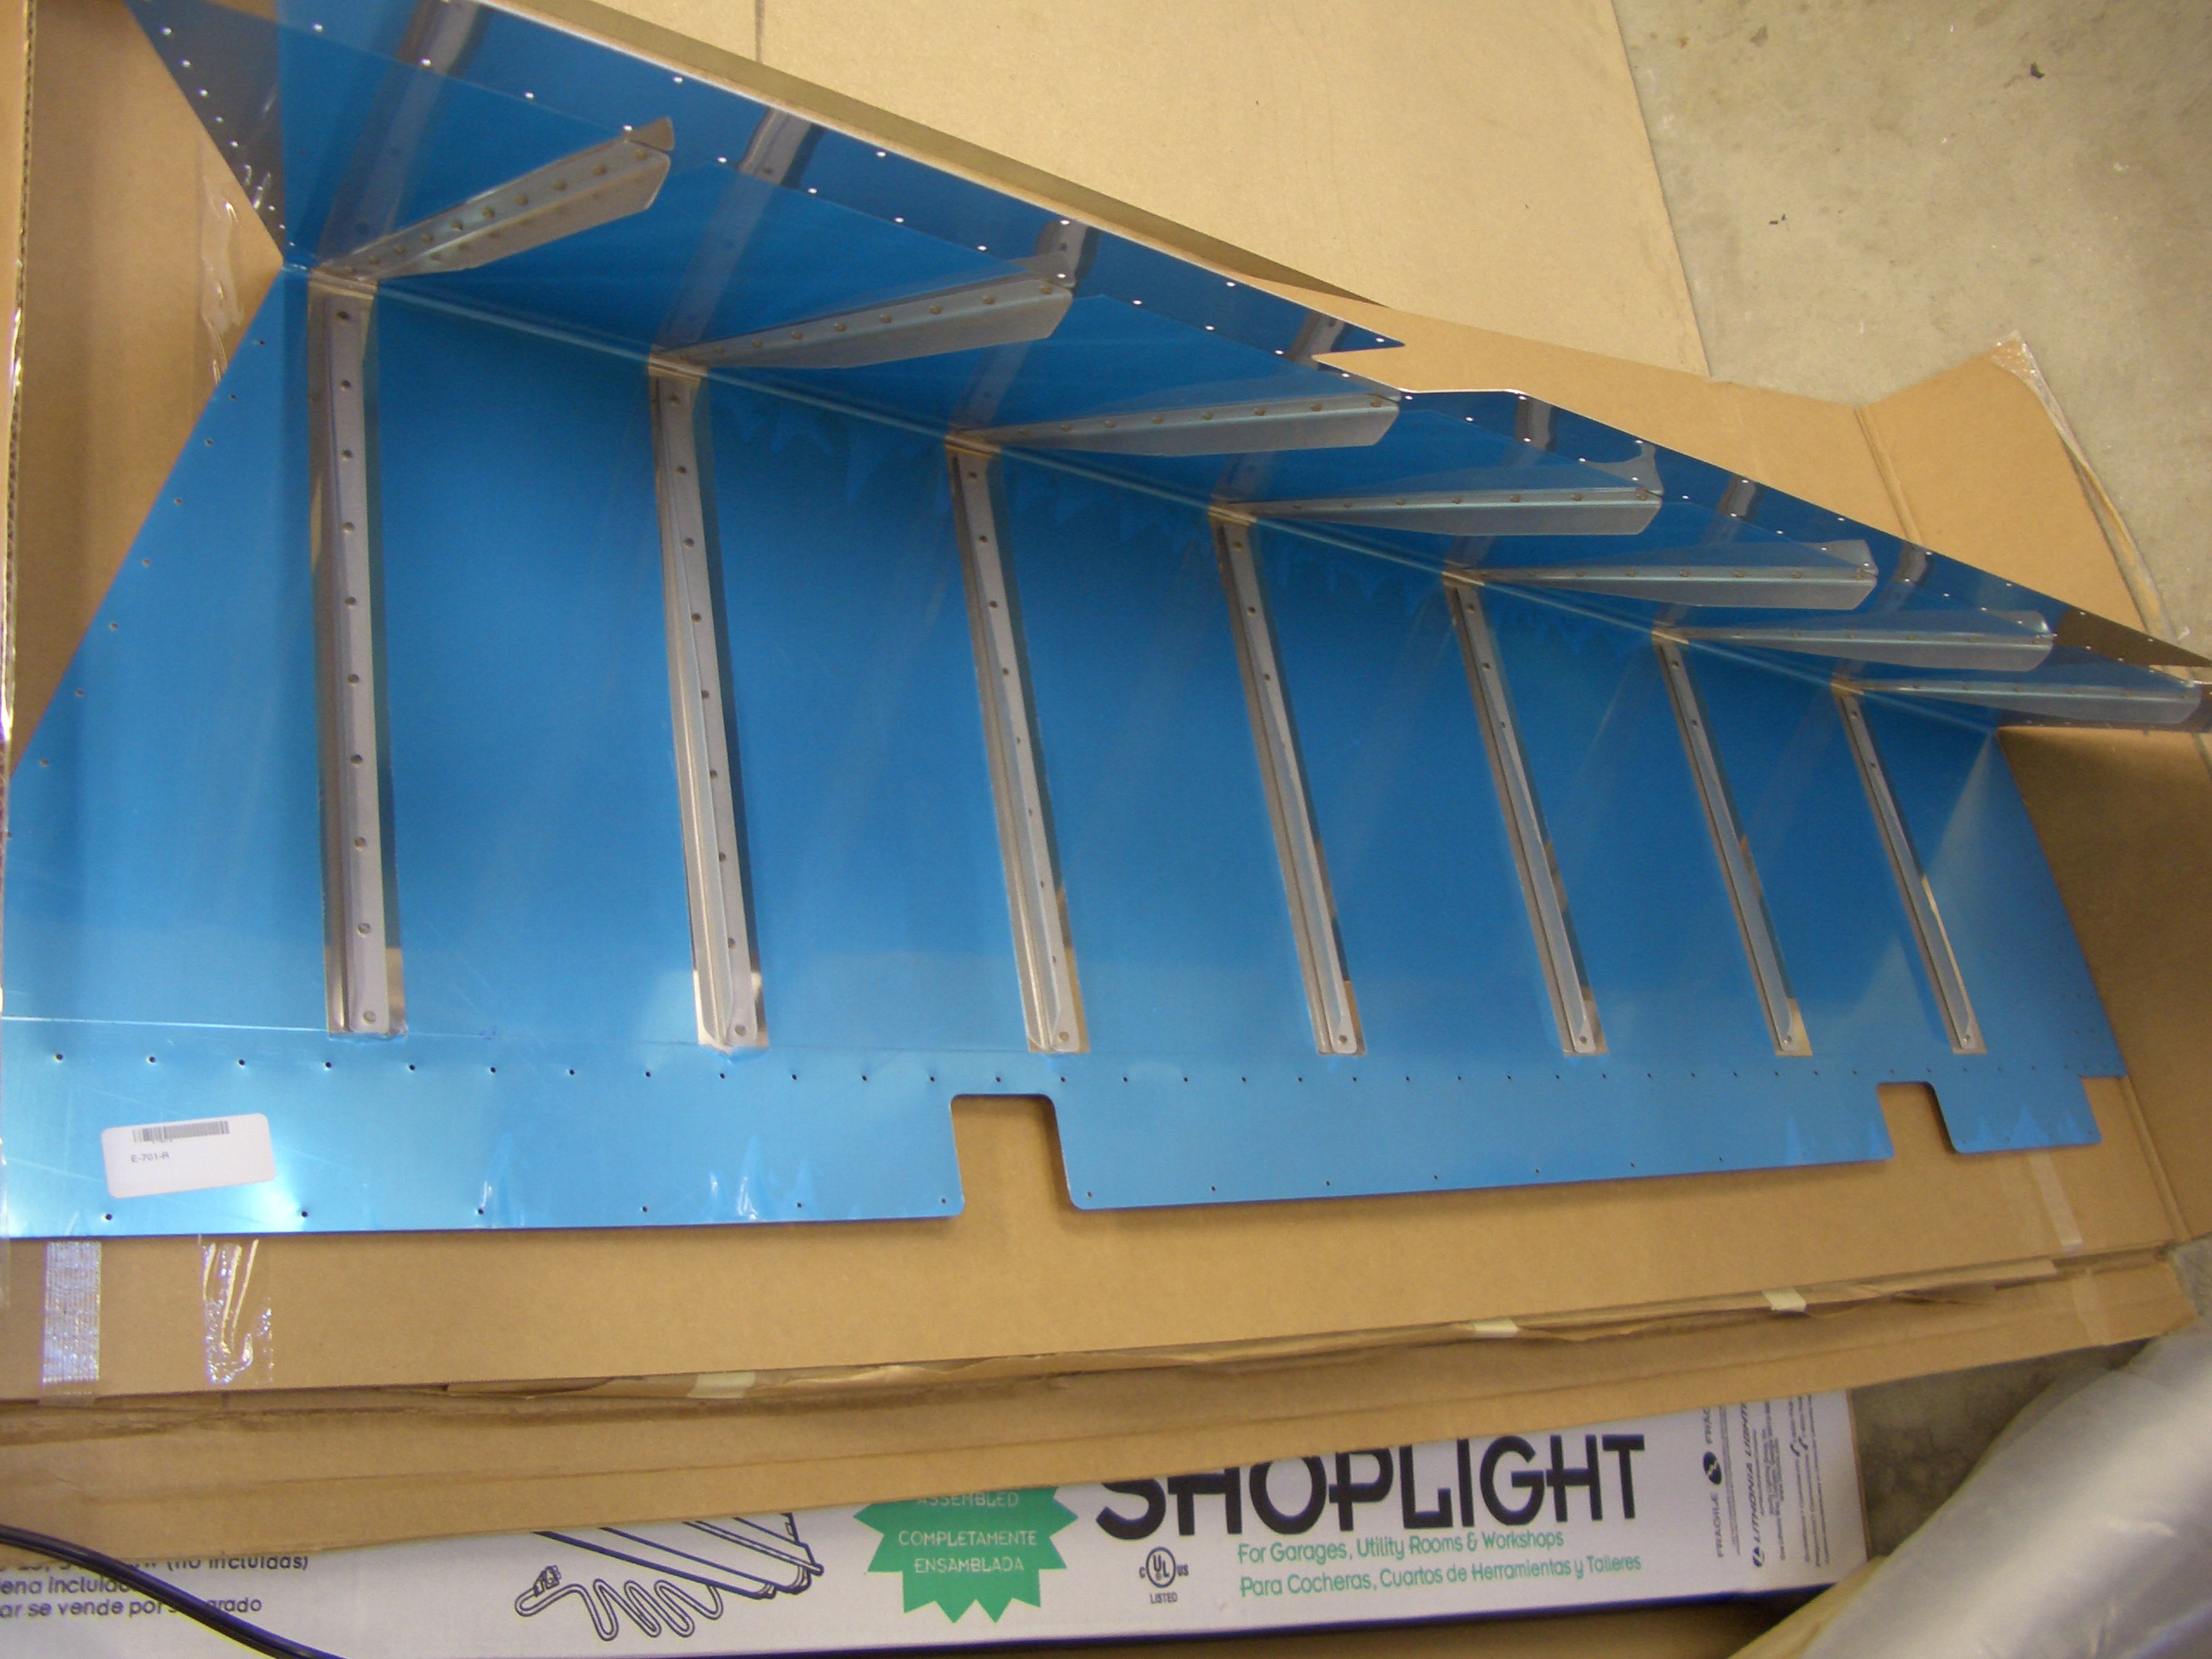
Since I couldn’t rivet last night because of the noise, I got up early and riveted the elevator stiffeners on before work this morning. Here’s the left elevator.
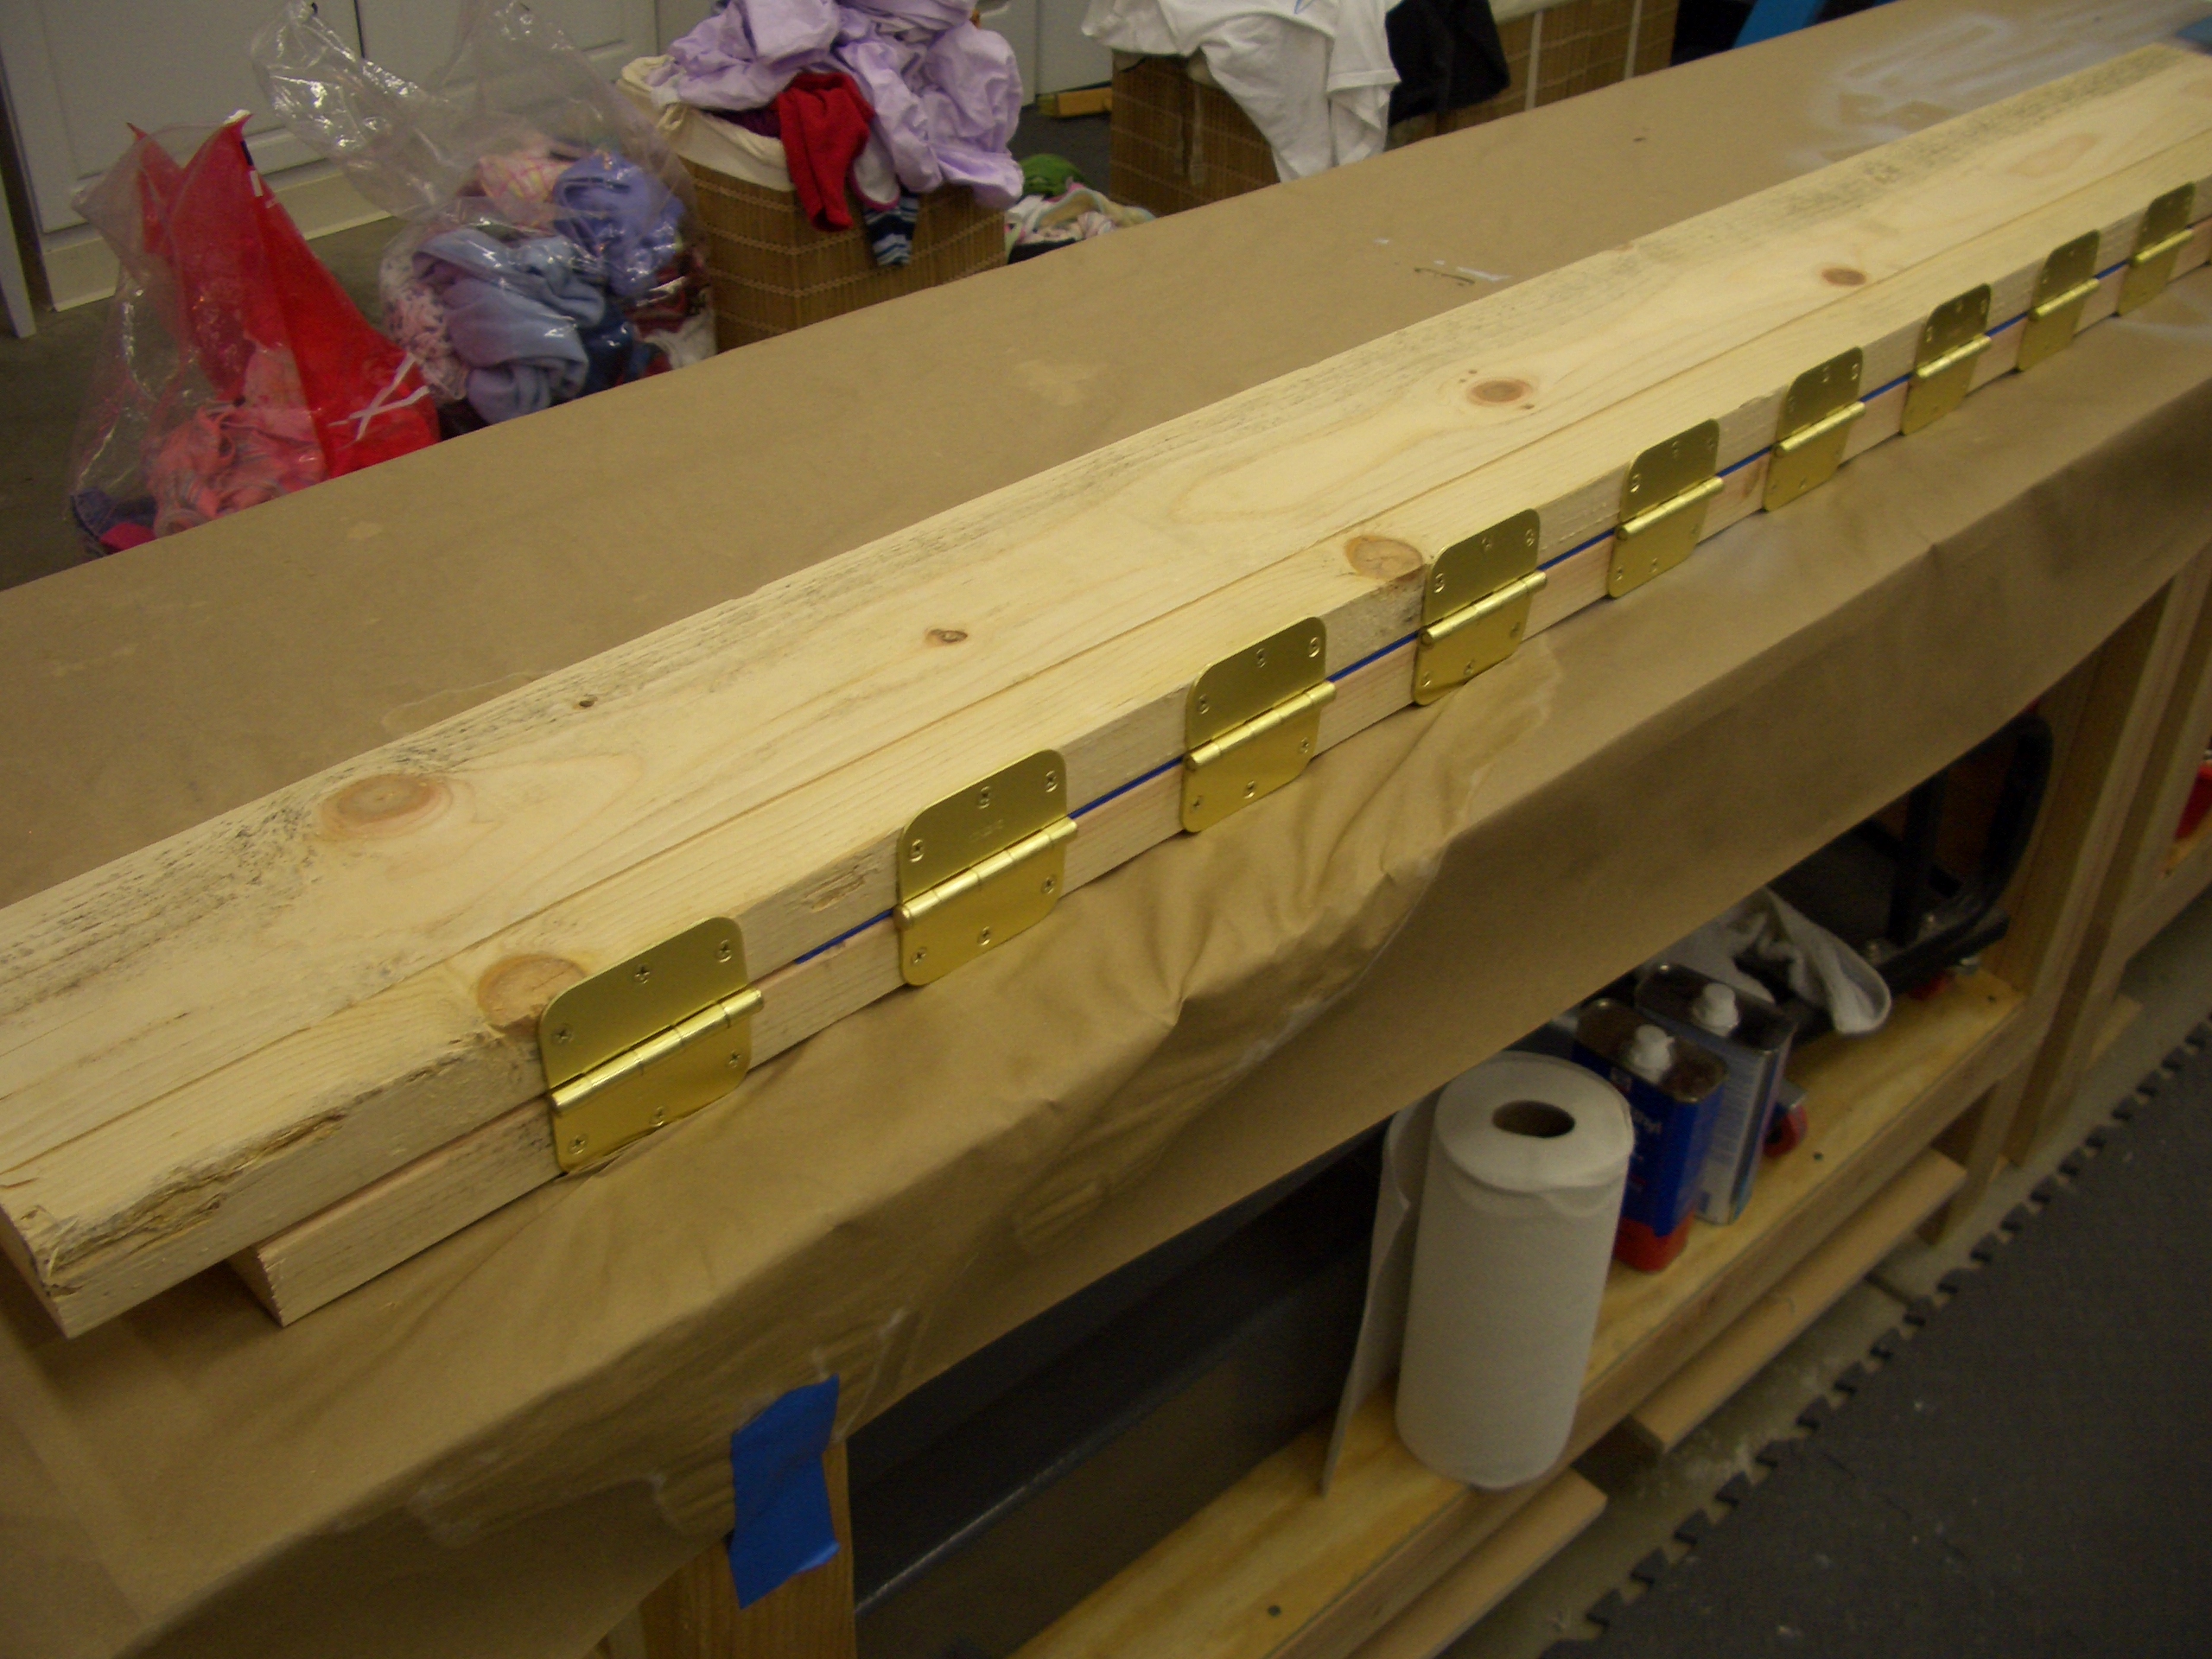
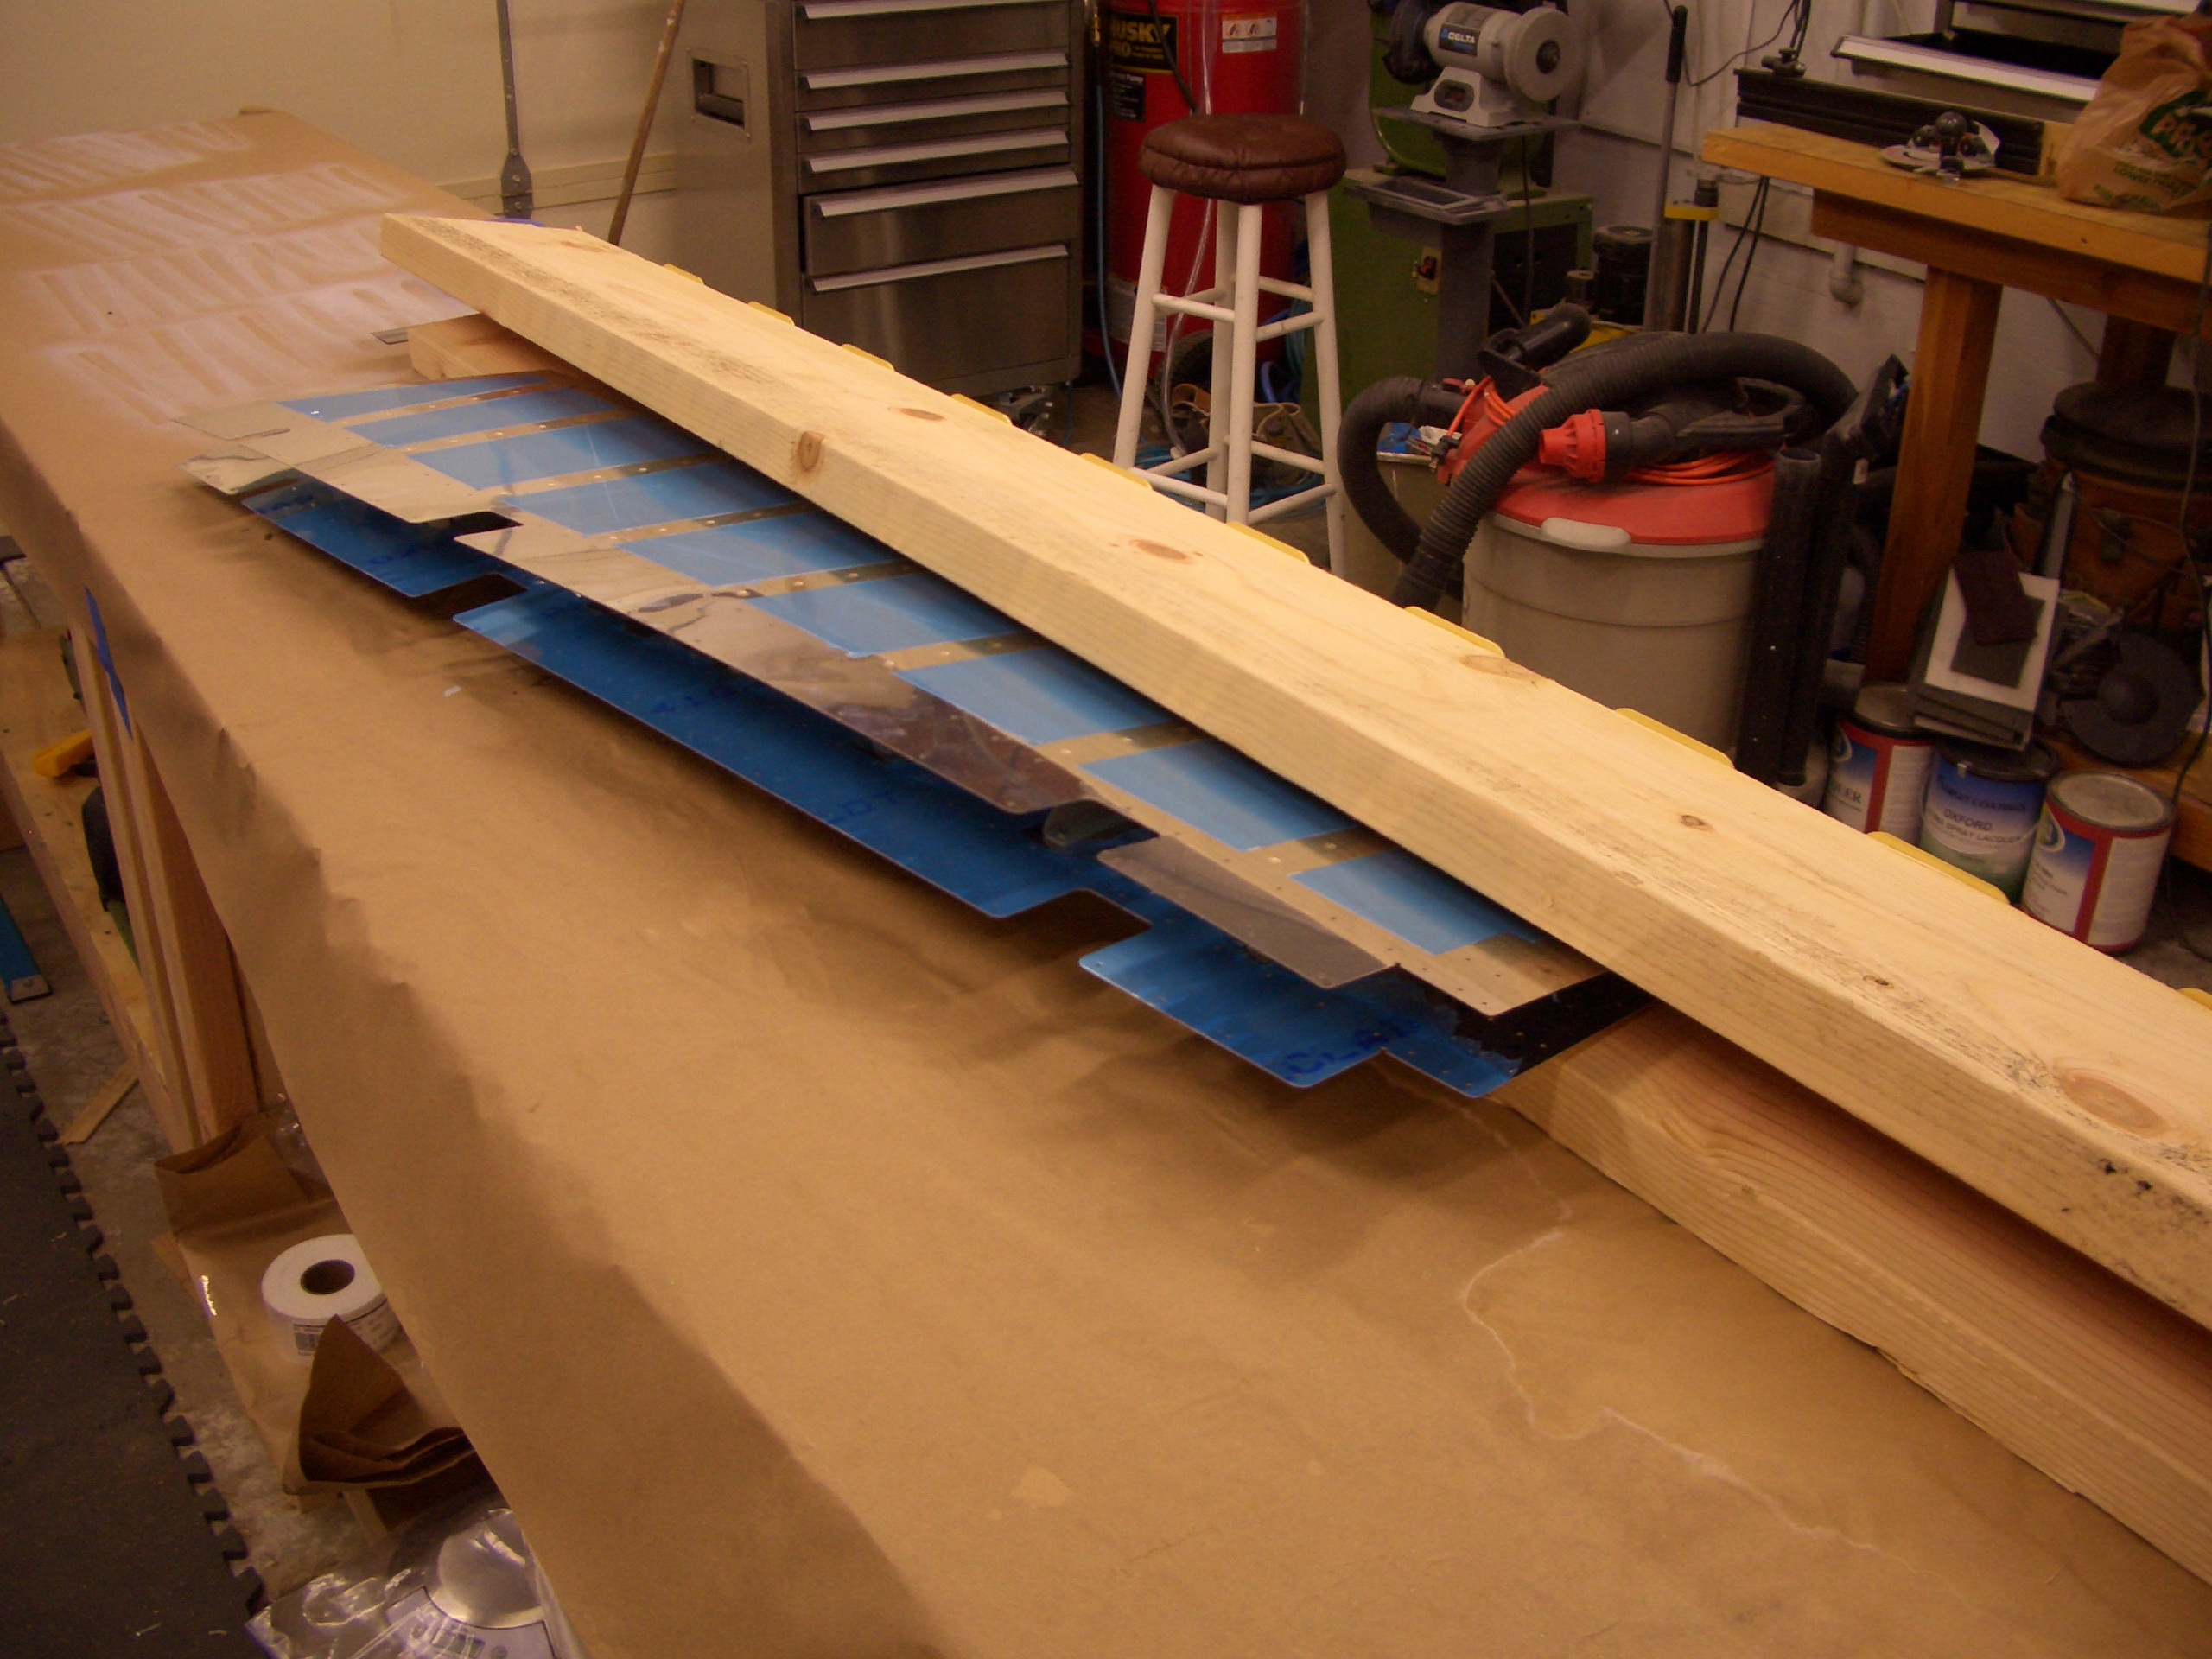
I fabricated a simple bending brake out of a 2×8 and a bunch of hinges. I’ve heard other builders complain that they didn’t get a crisp bend between hinges, so I went a little overboard on the hinges. They were on sale for 96¢, so it didn’t cost much.
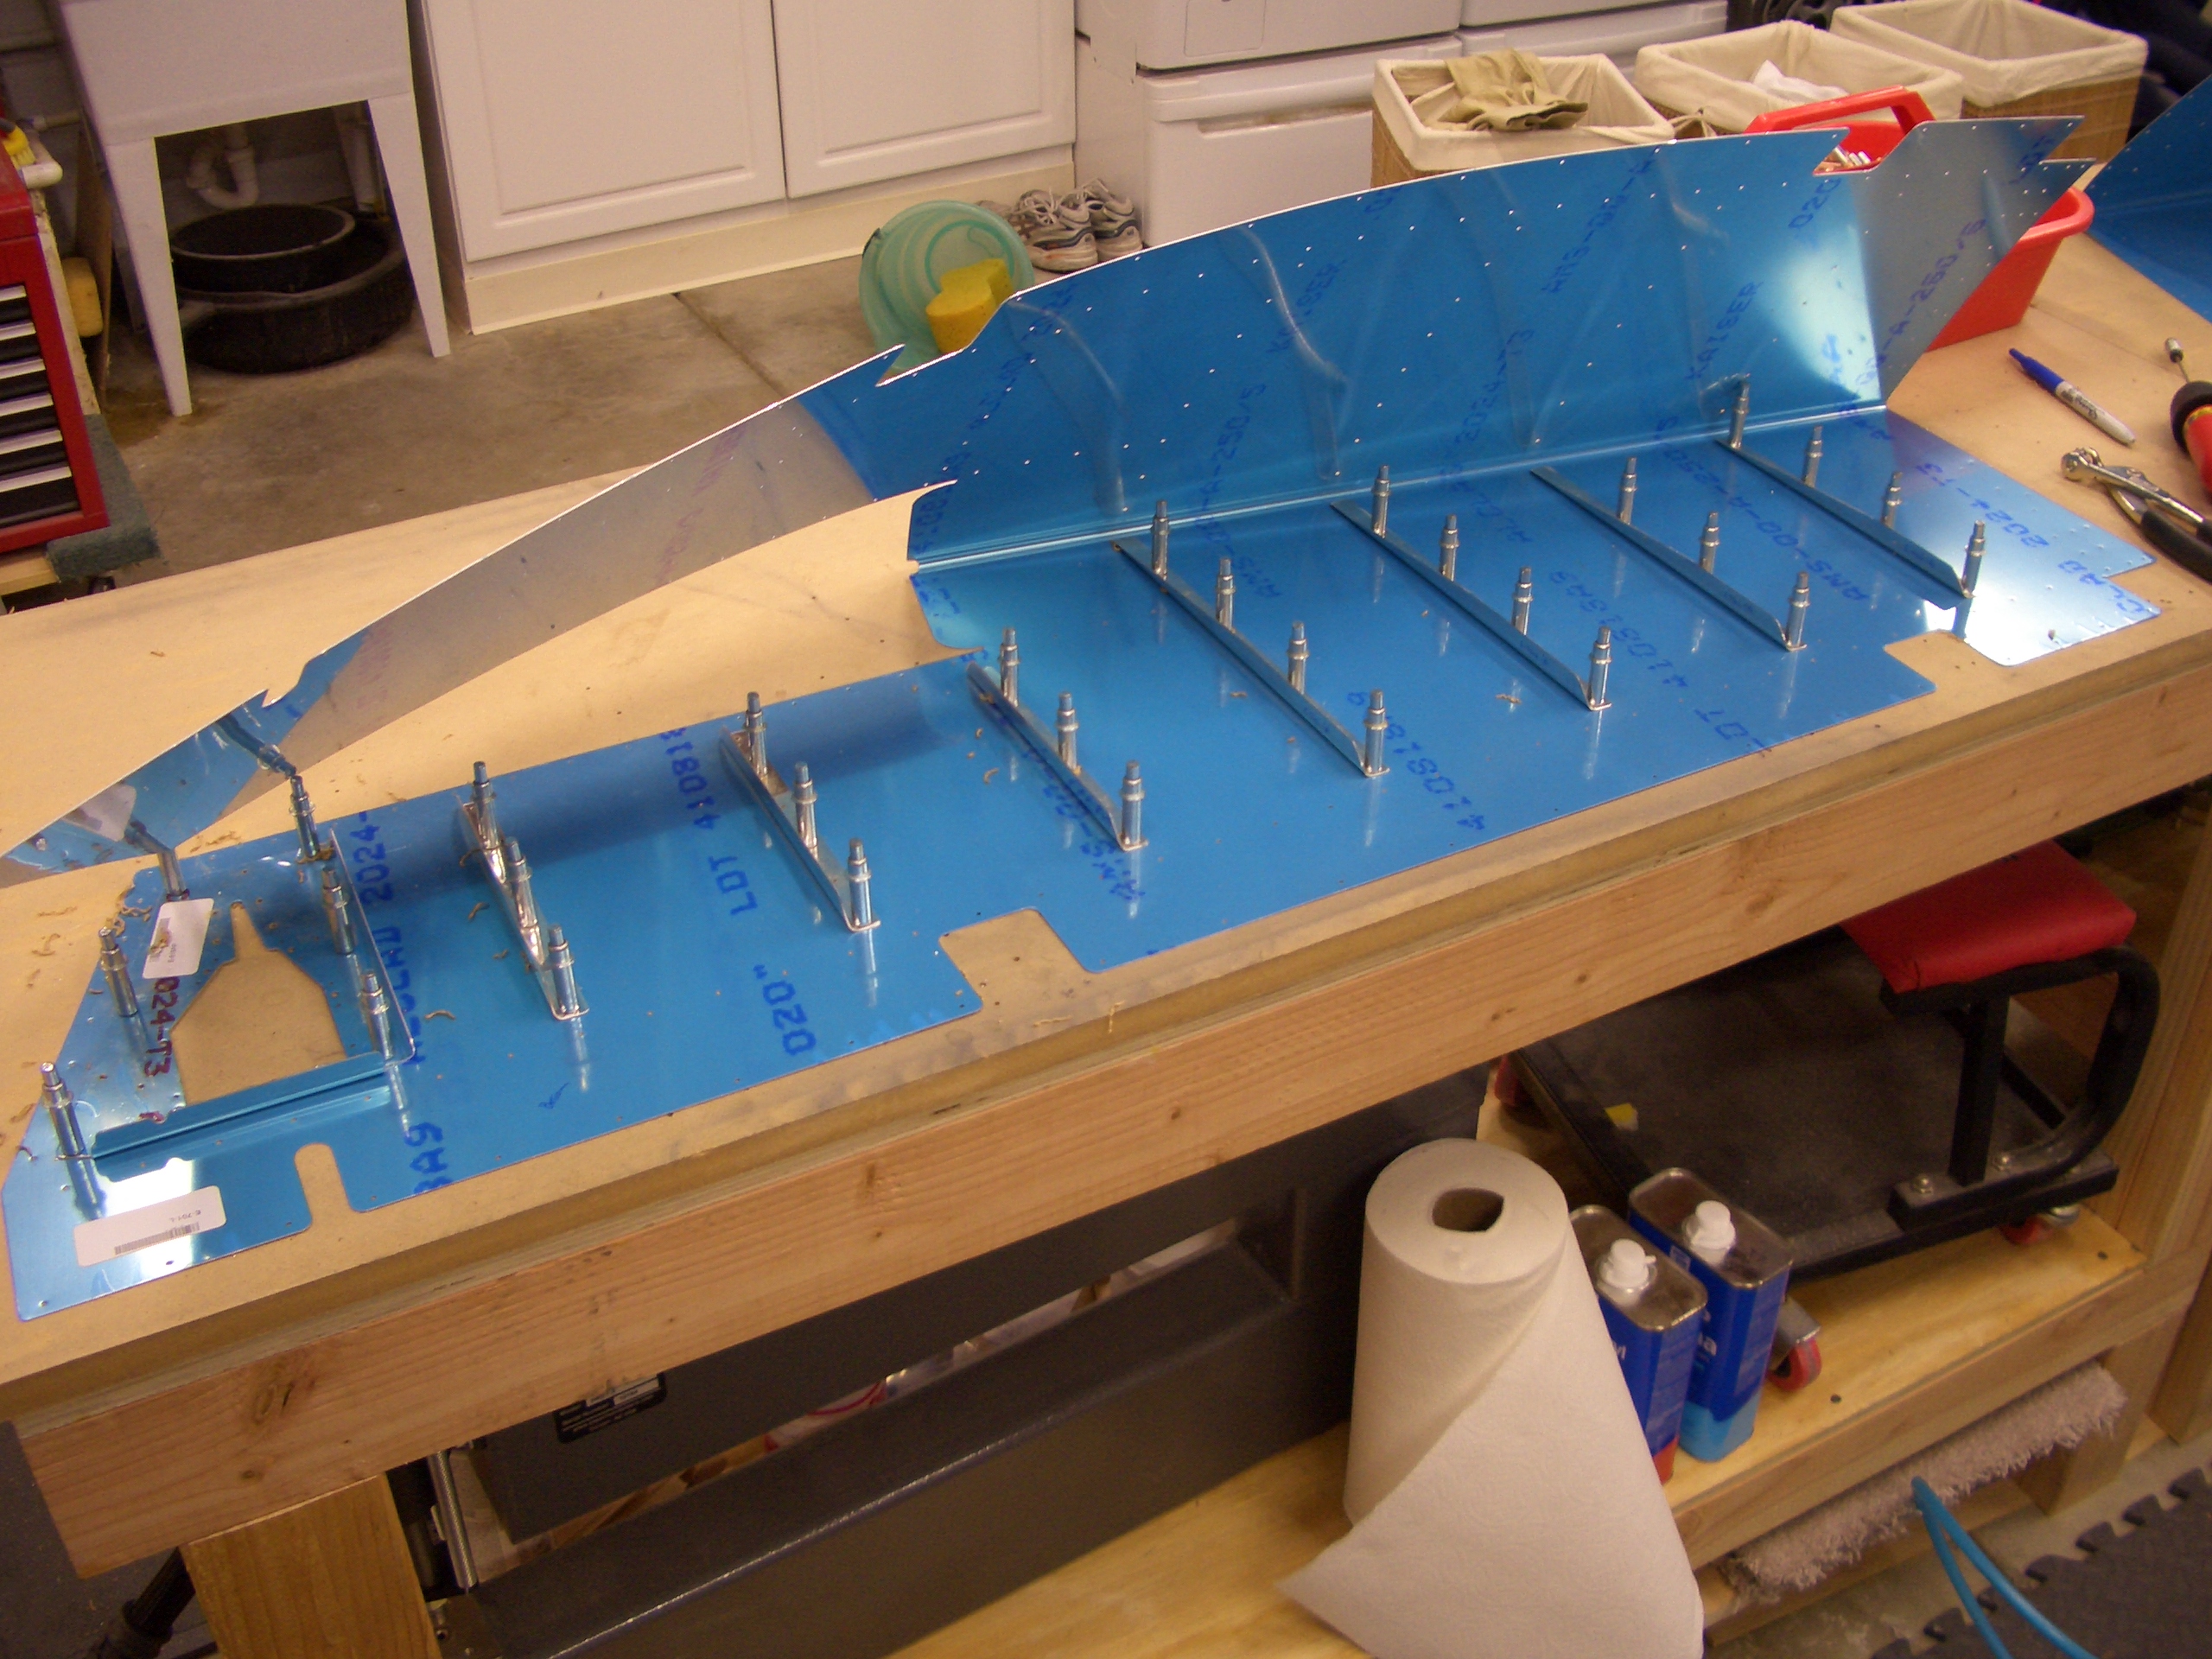
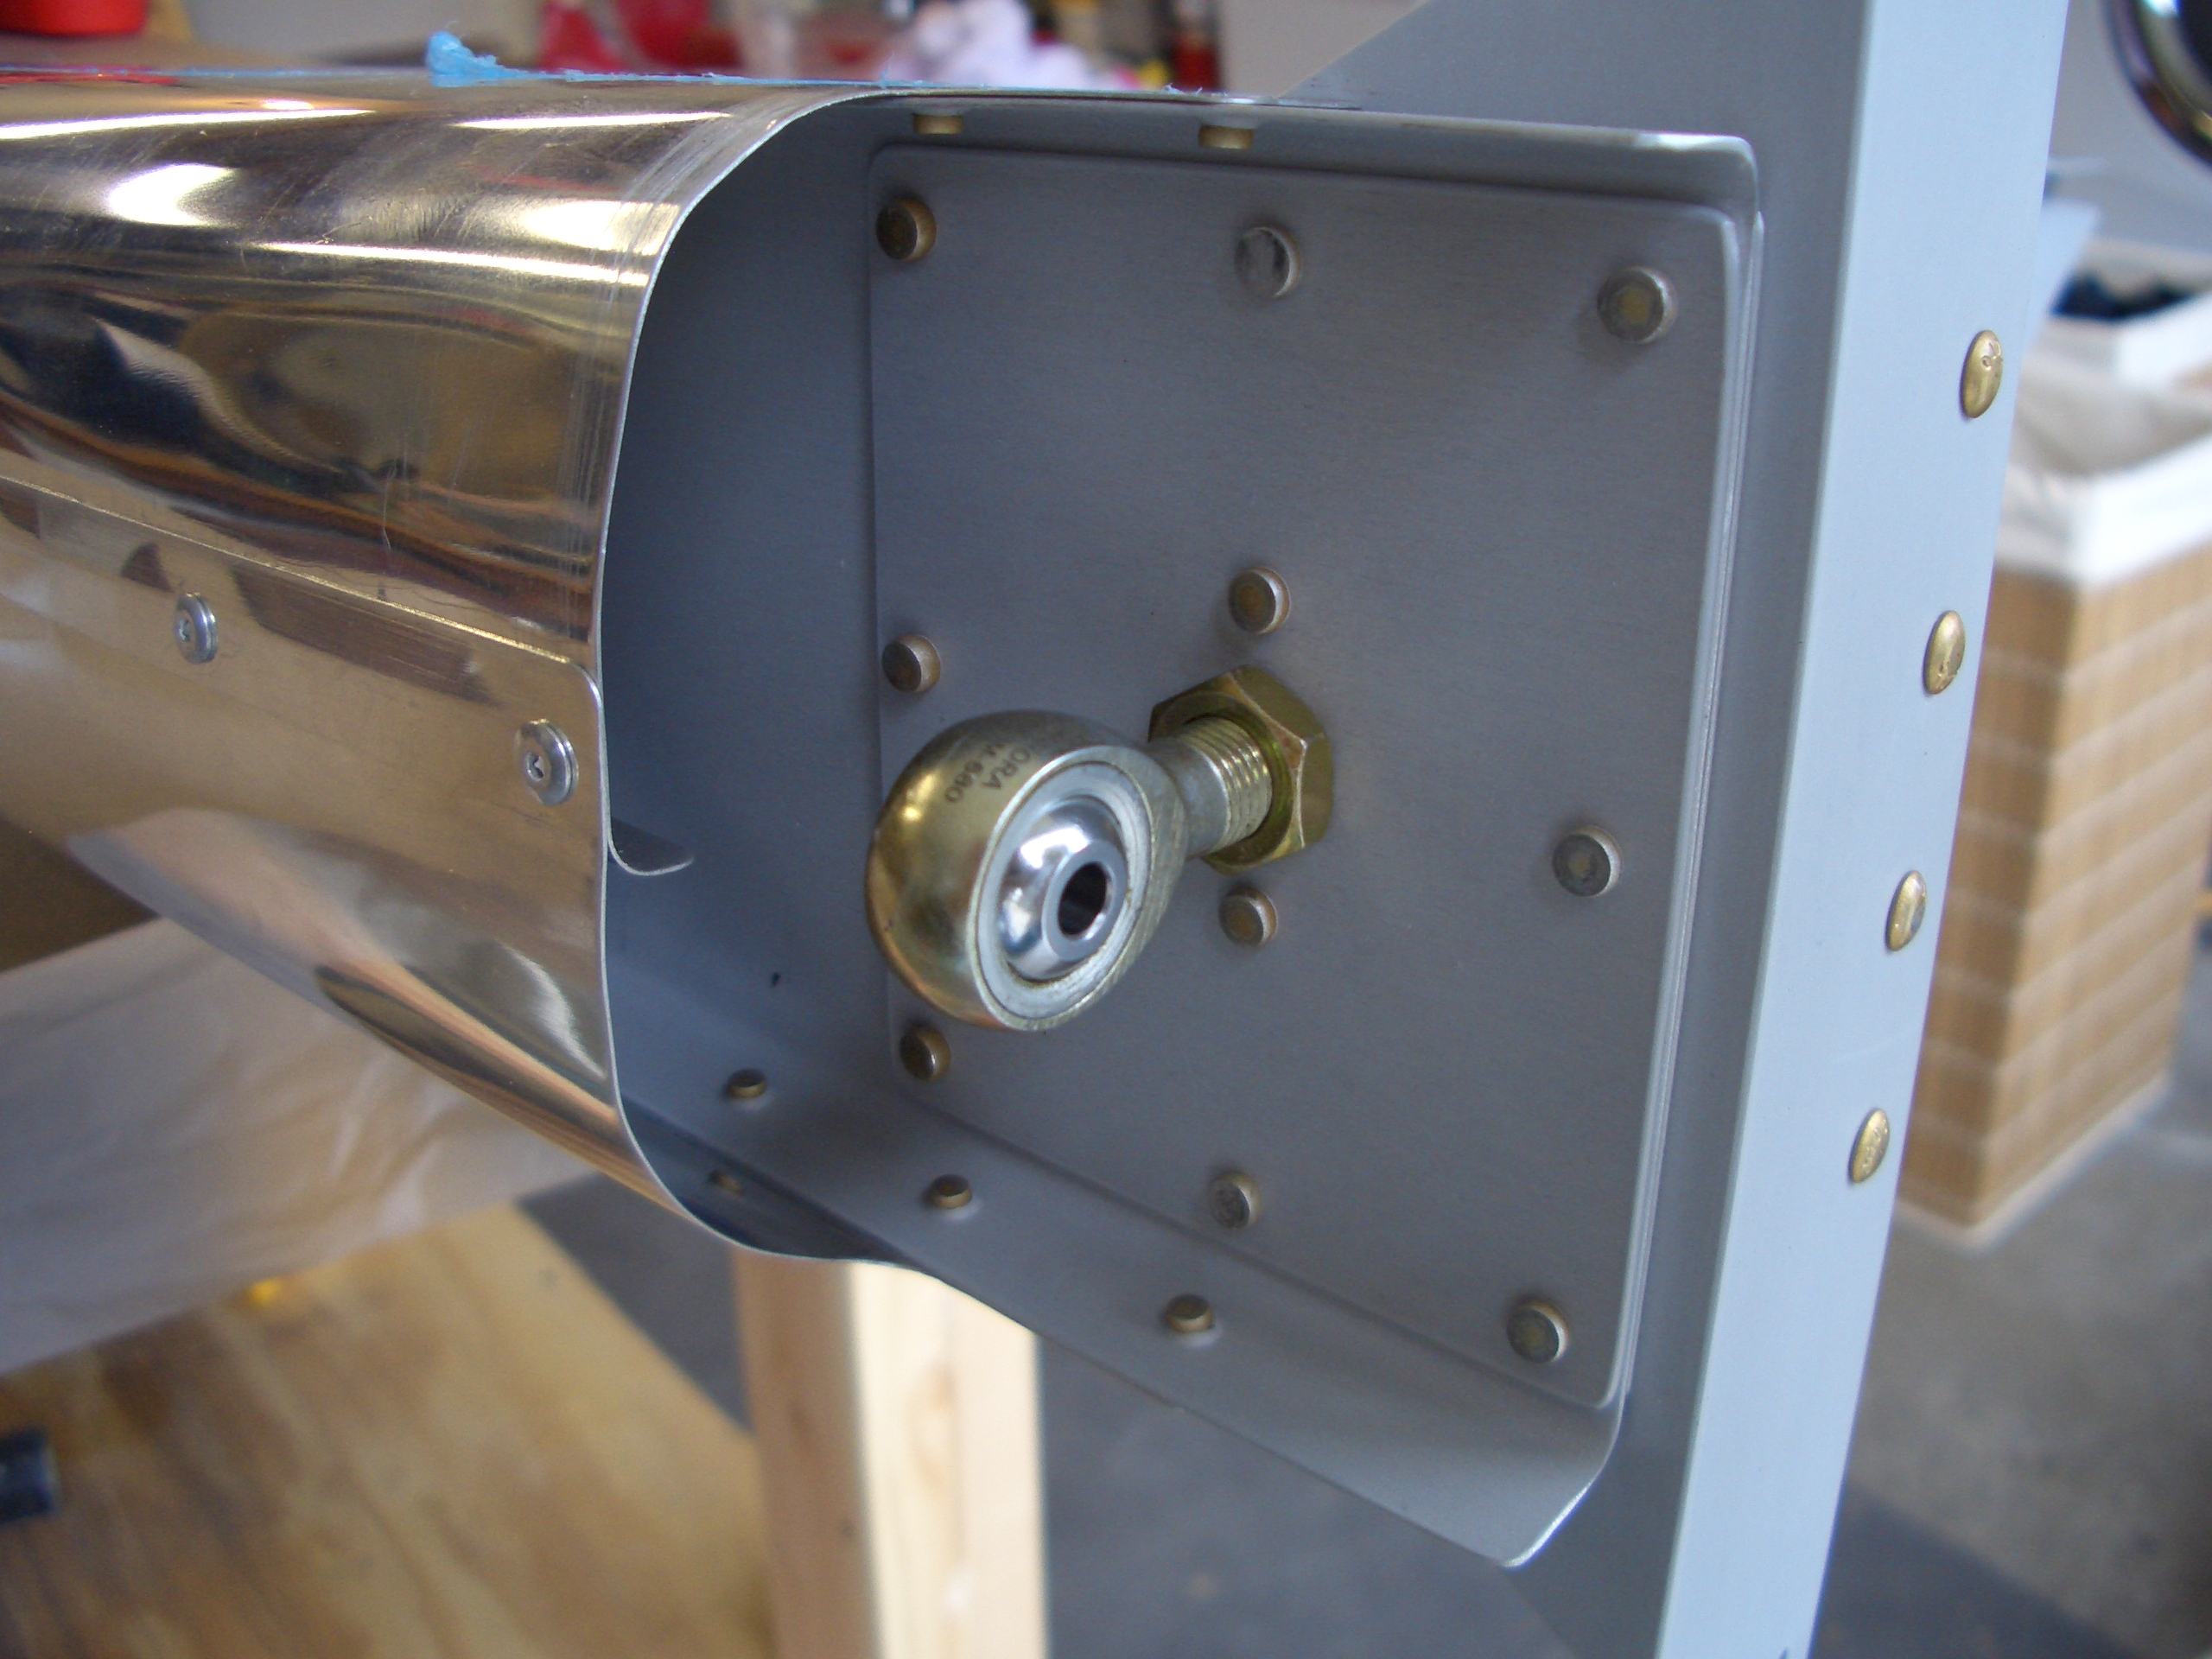
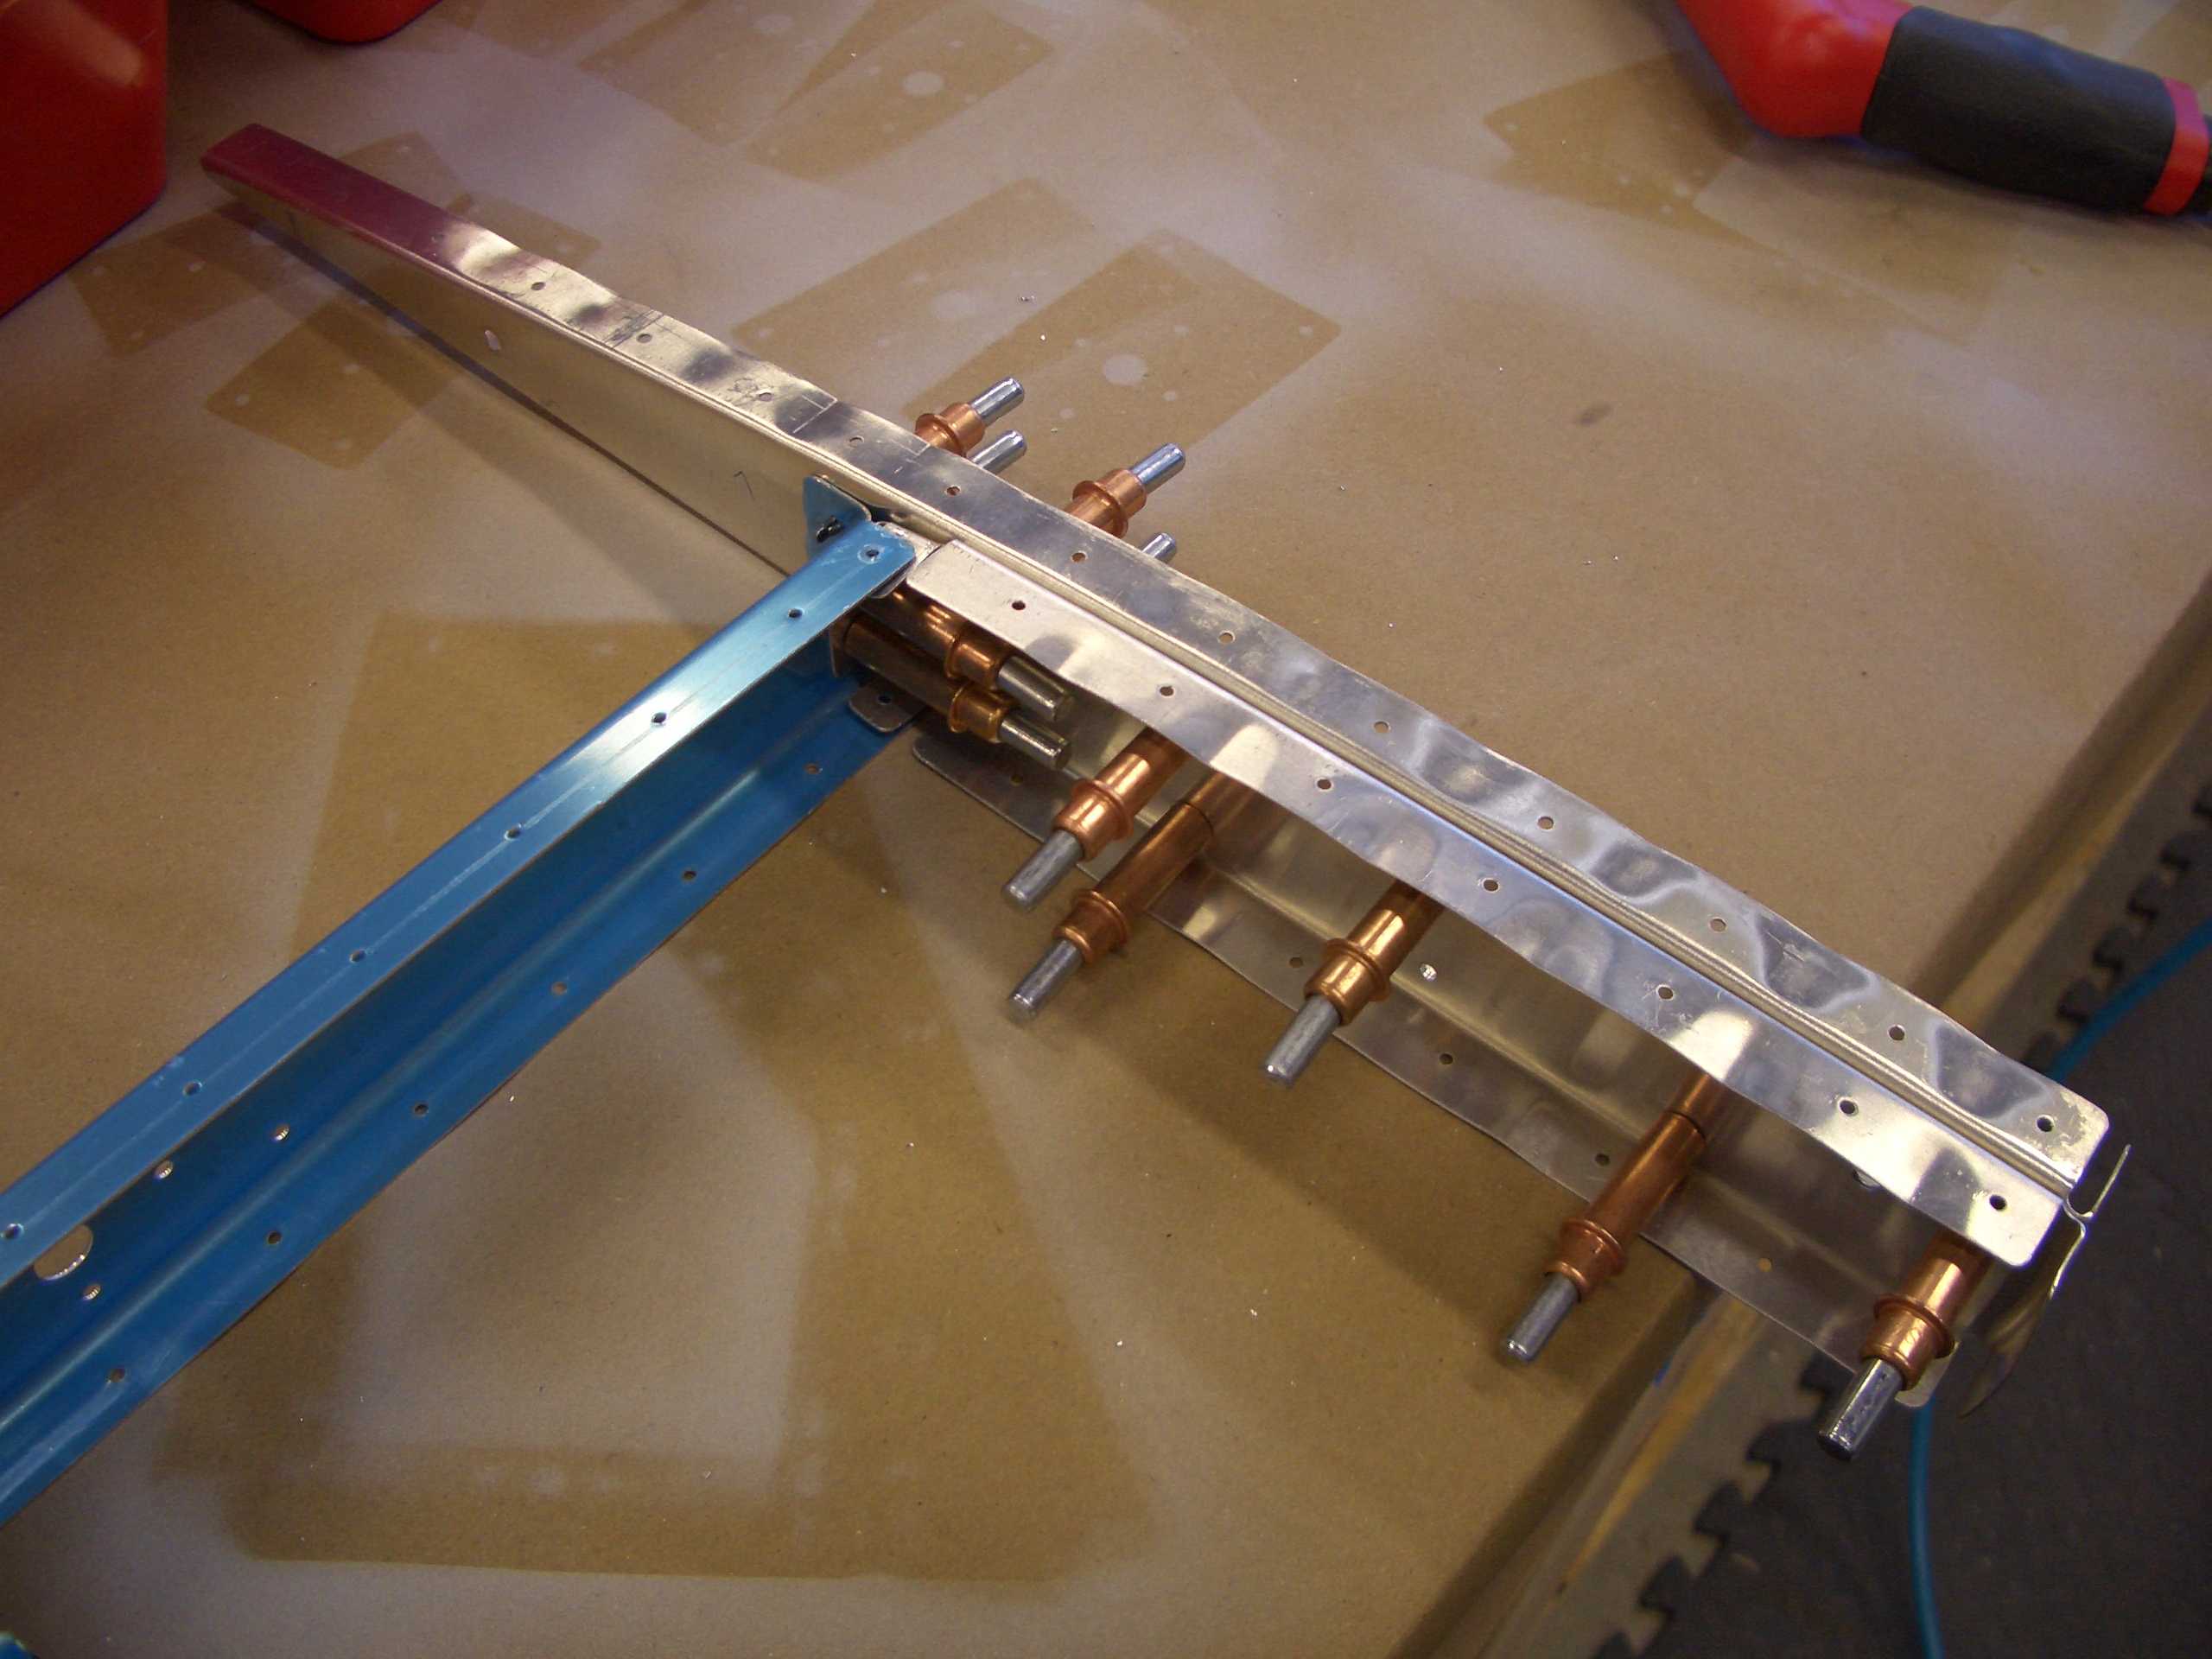
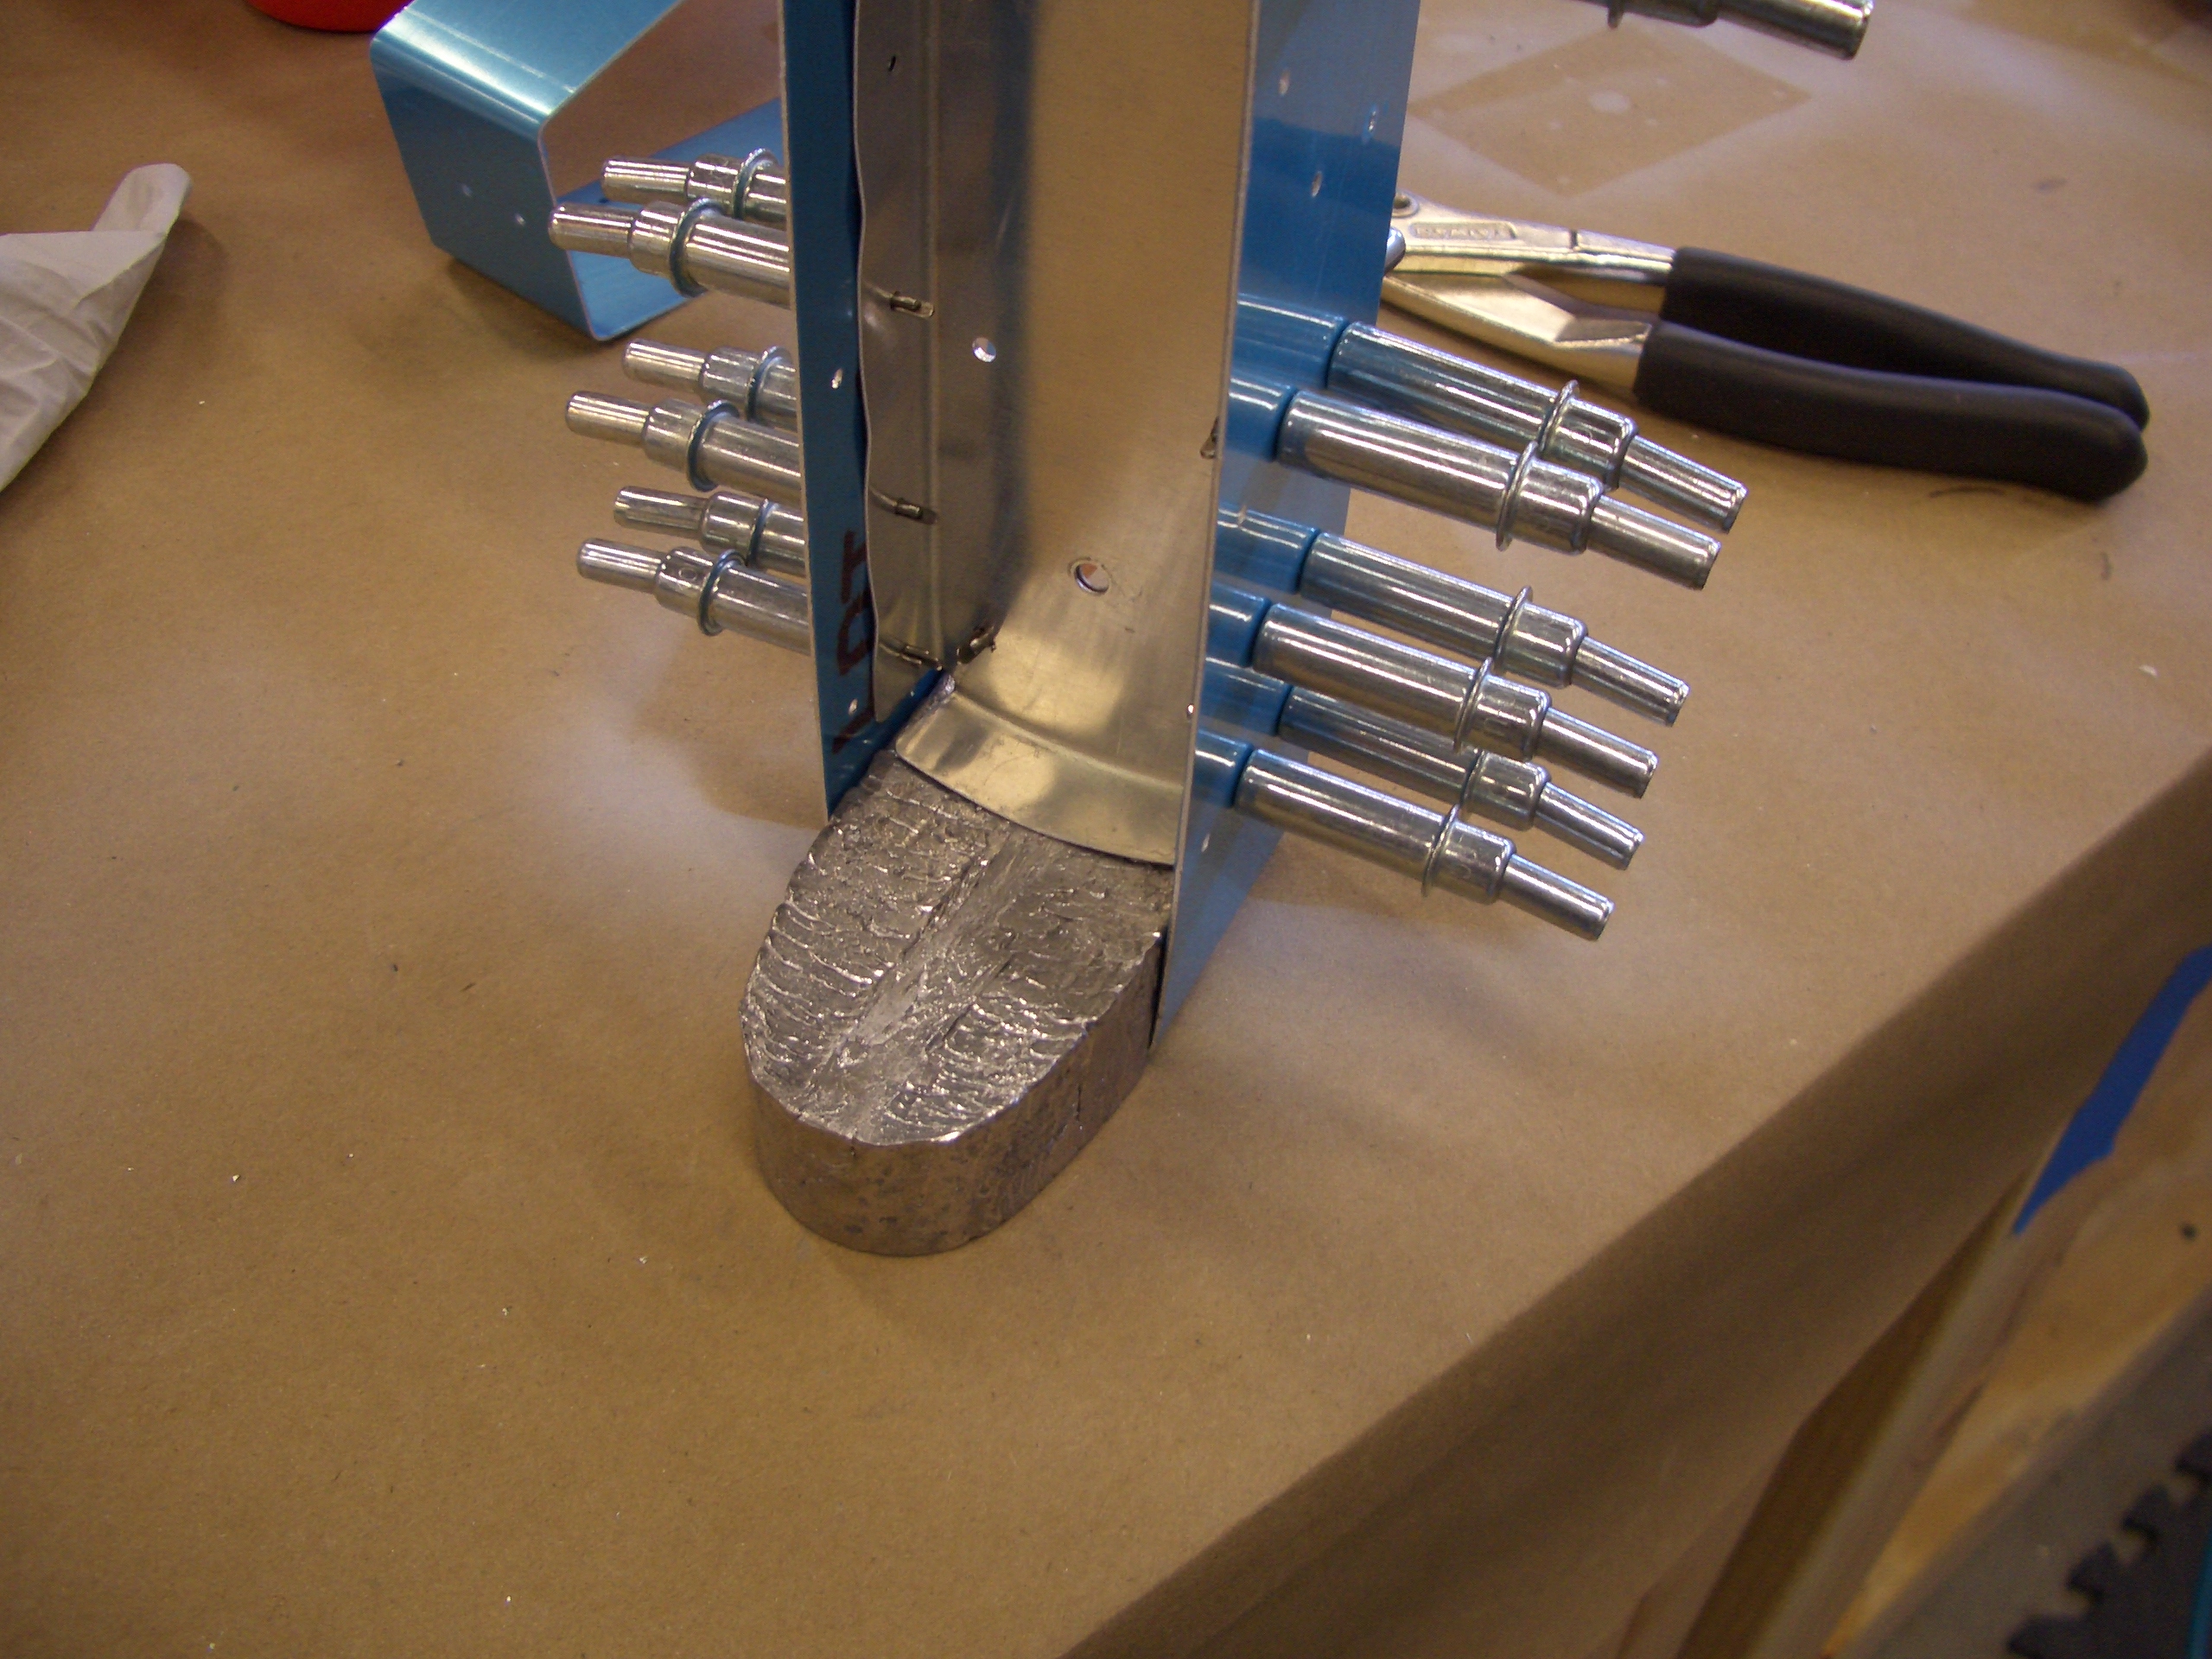
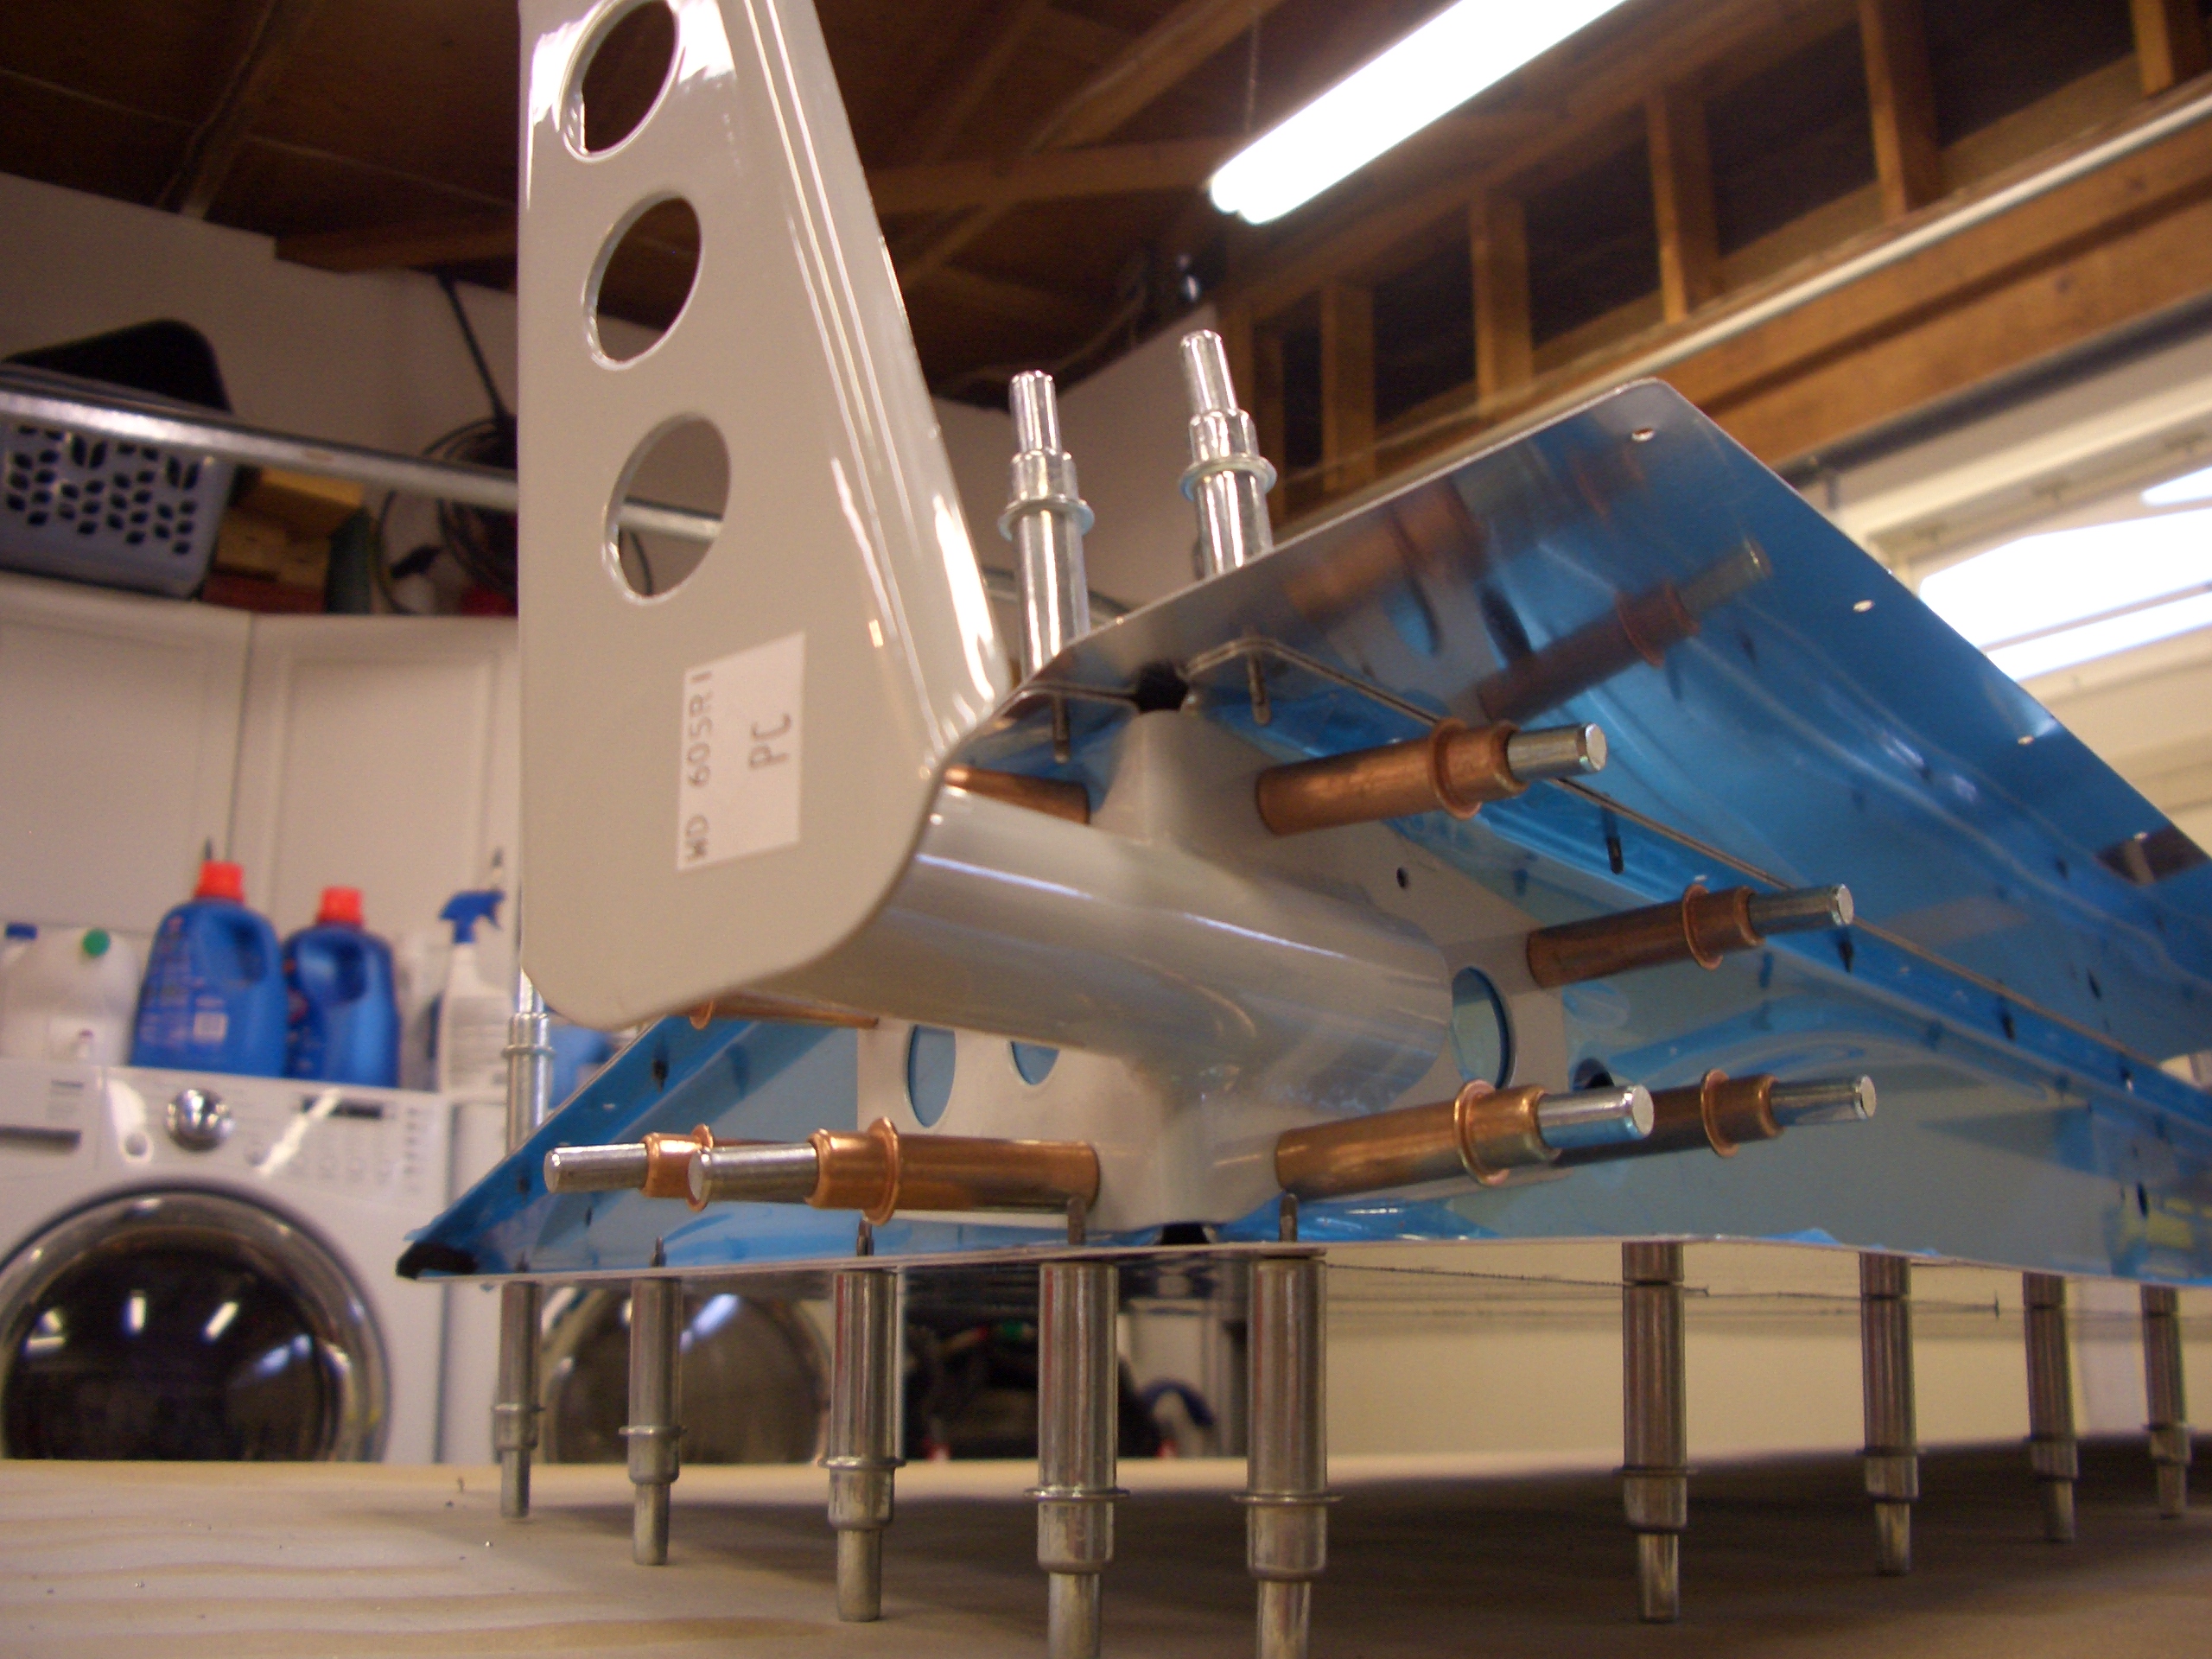
I clecoed the counterbalance rib to the end rib and attached both to the spar. Getting the last holes in the spar flange to line up with the holes in the counterbalance rib was a real pain and required several iterations of adjusting the bend of the counterbalance rib flange for that last hole.

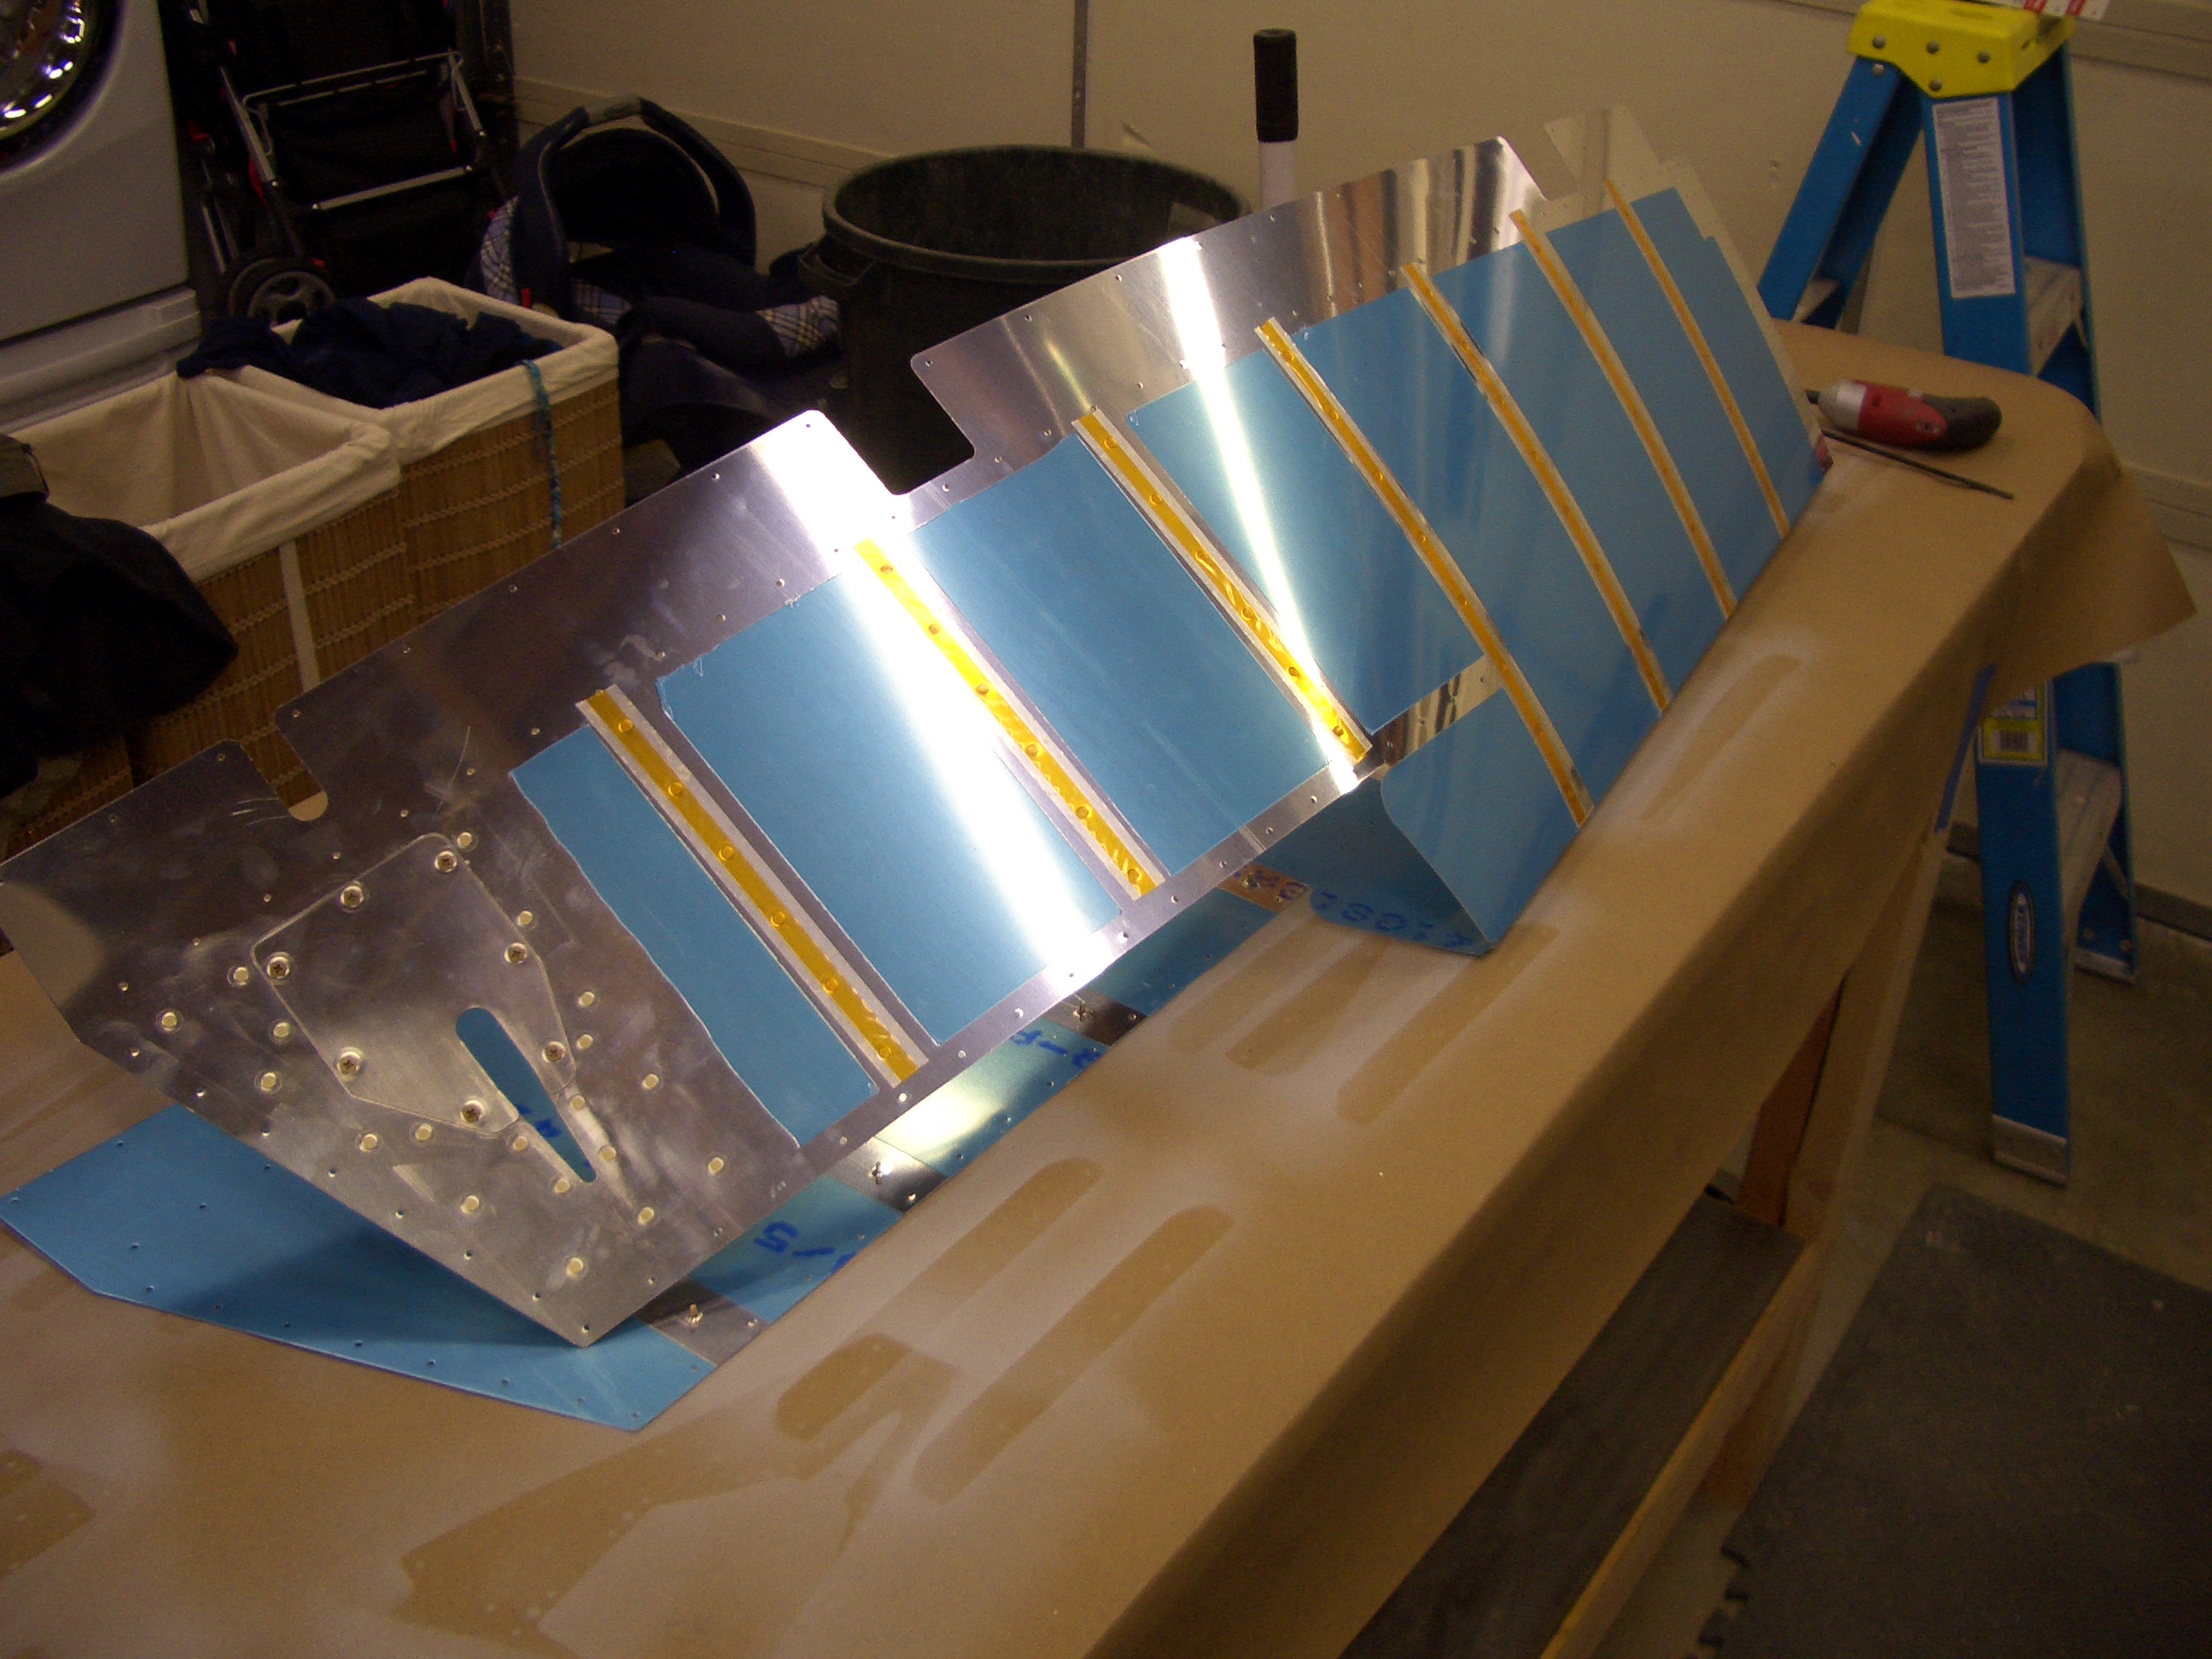
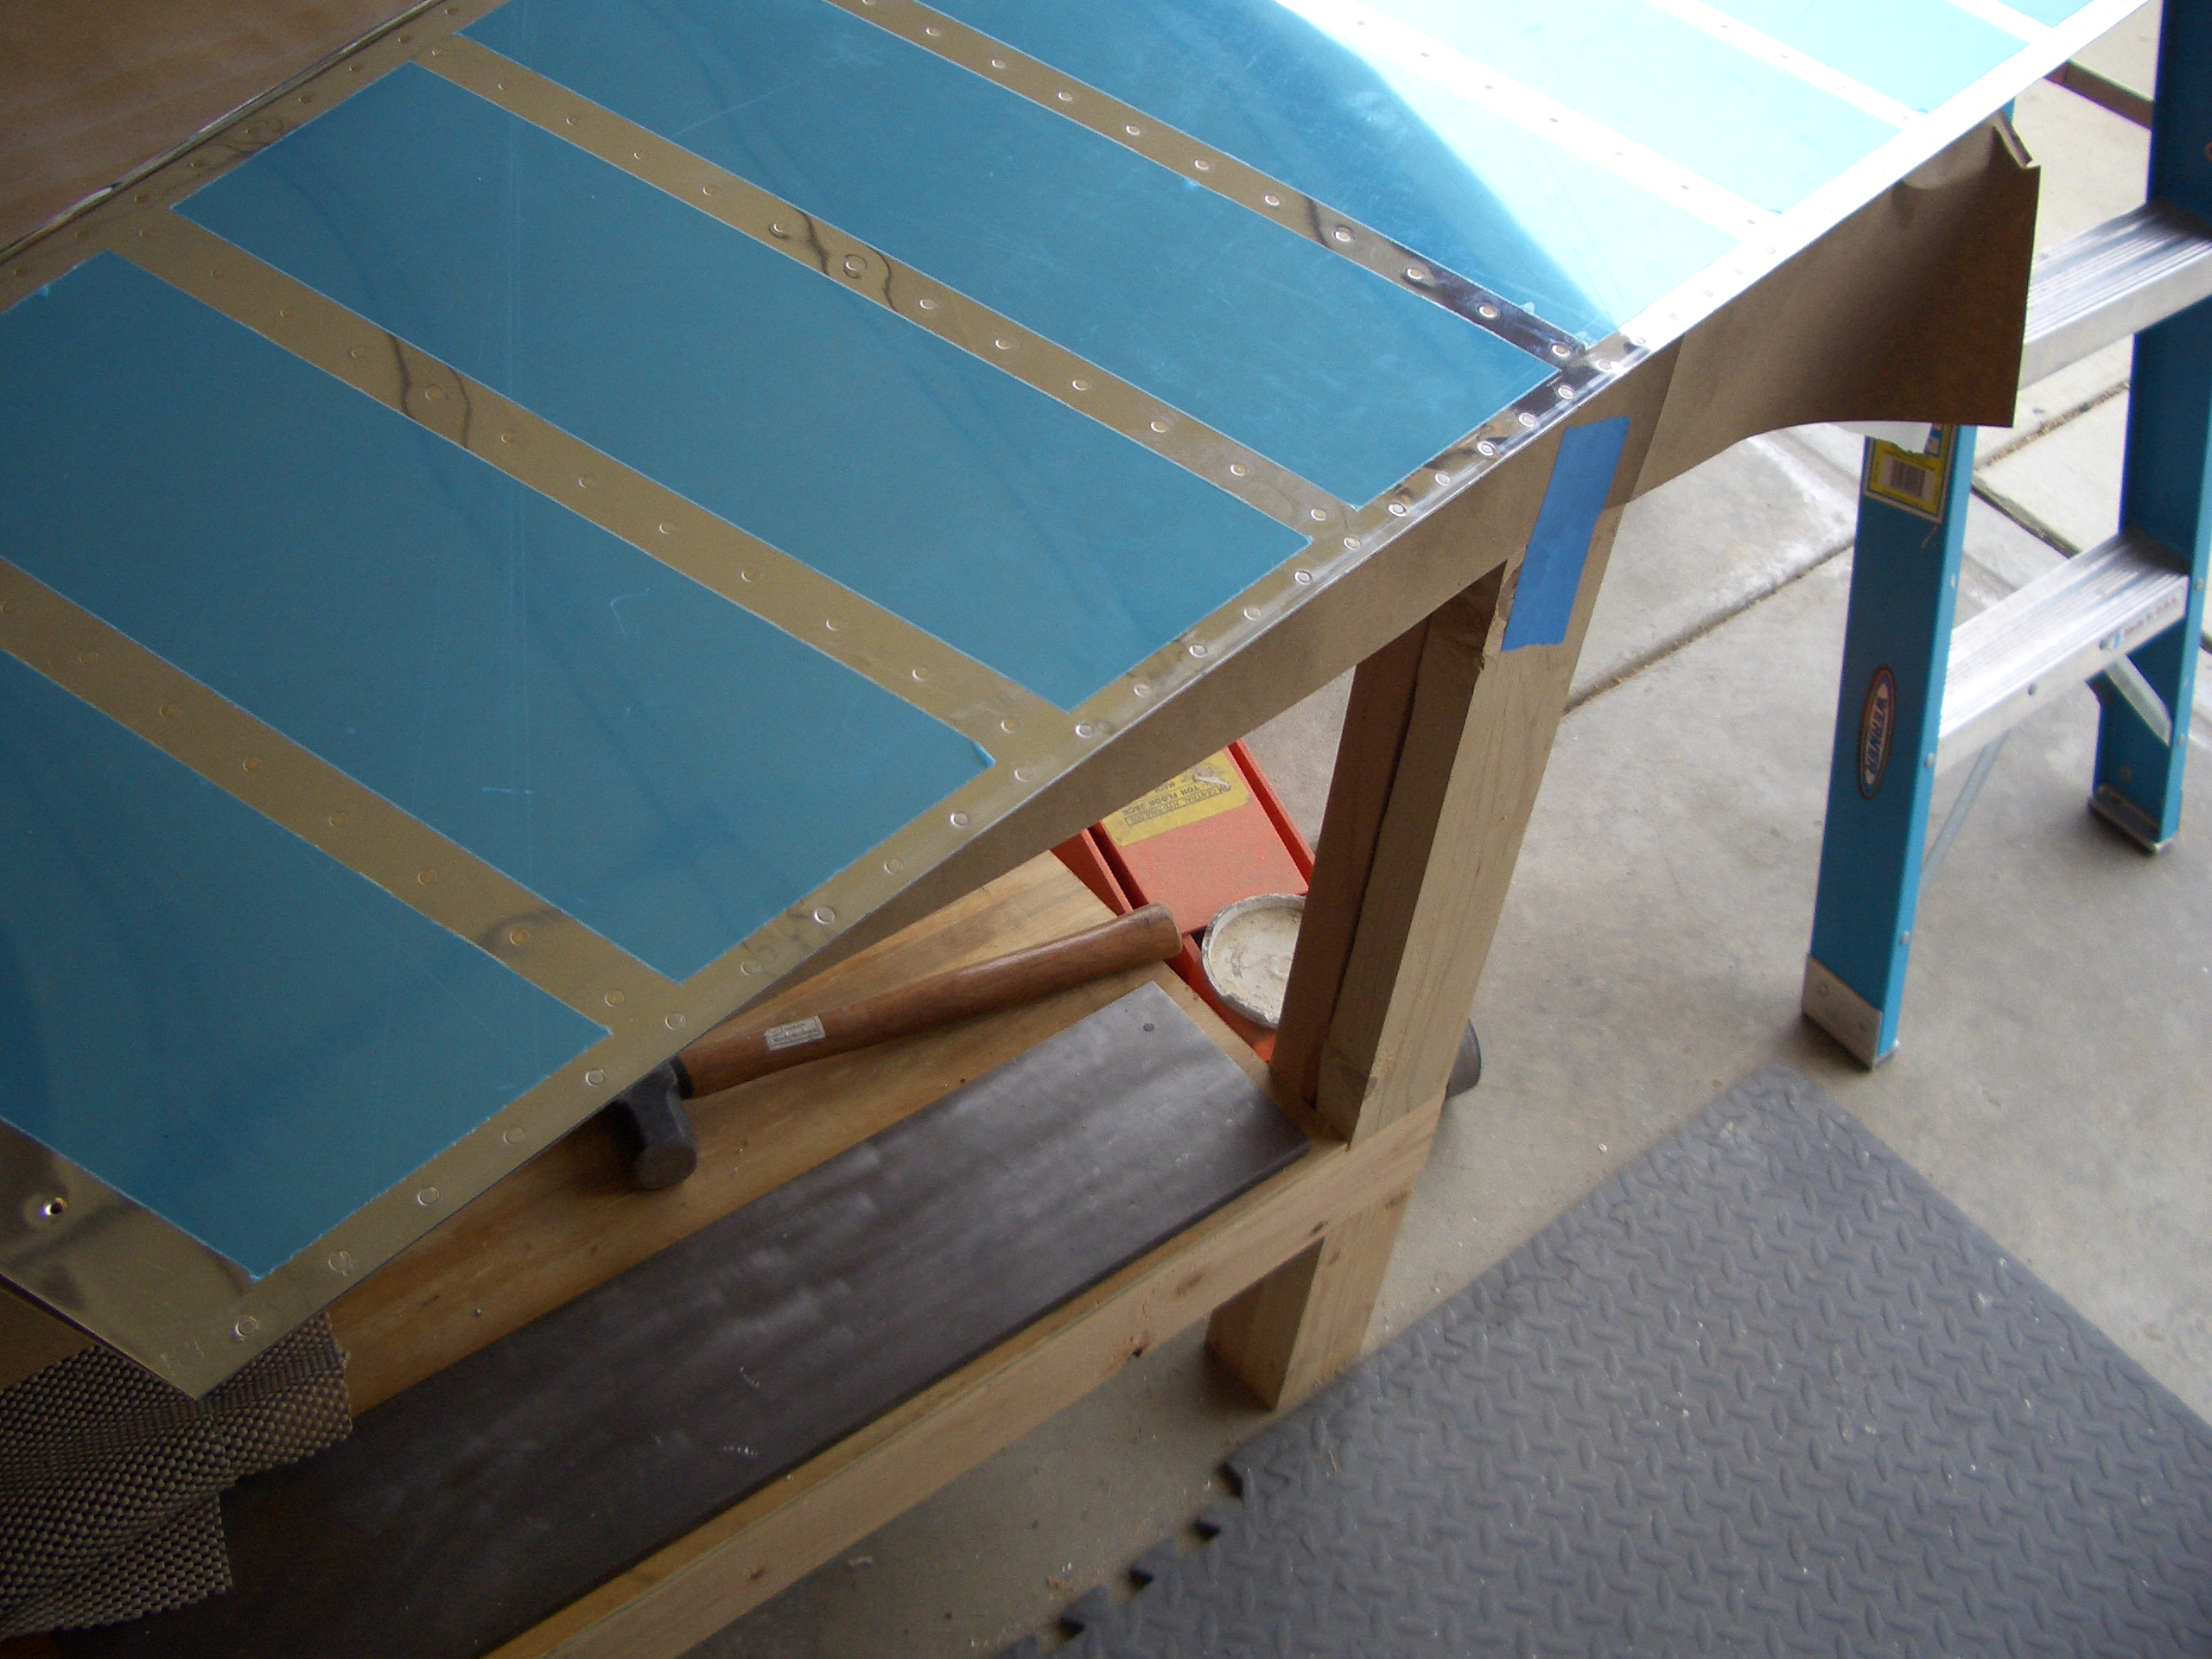
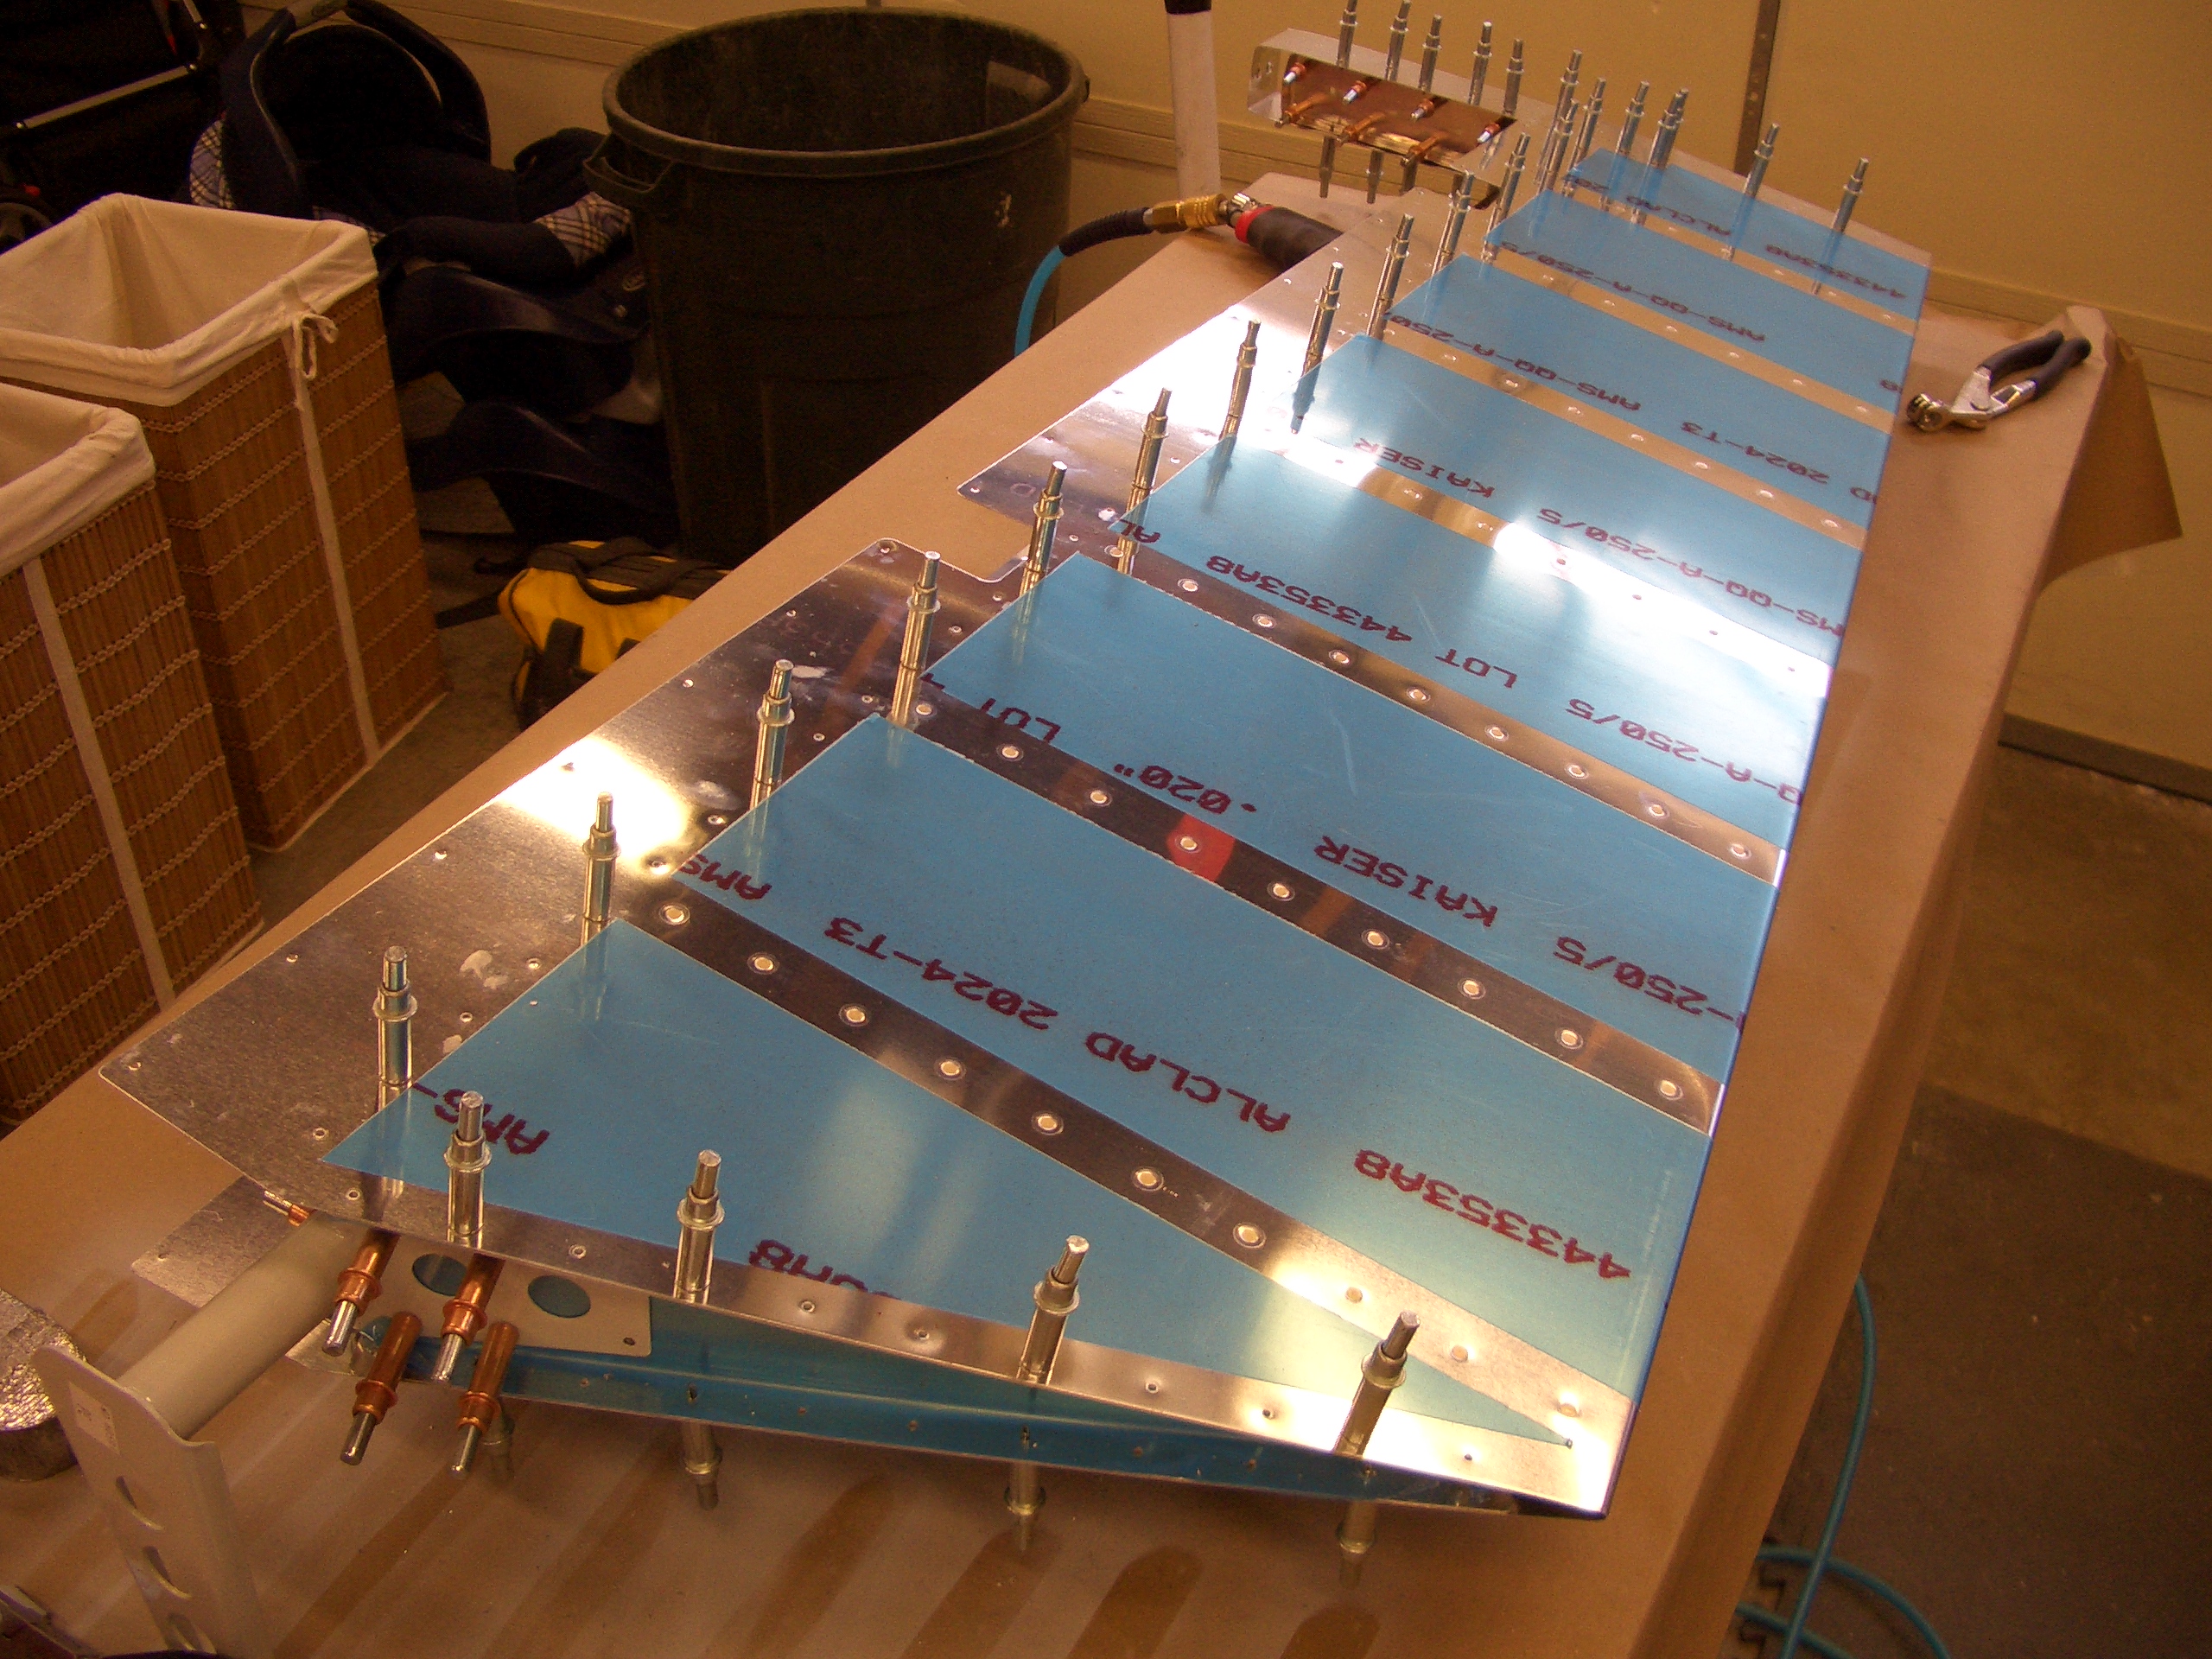
These pictures look the same as yesterday, but all of the holes have been drilled. Here’s the left elevator.
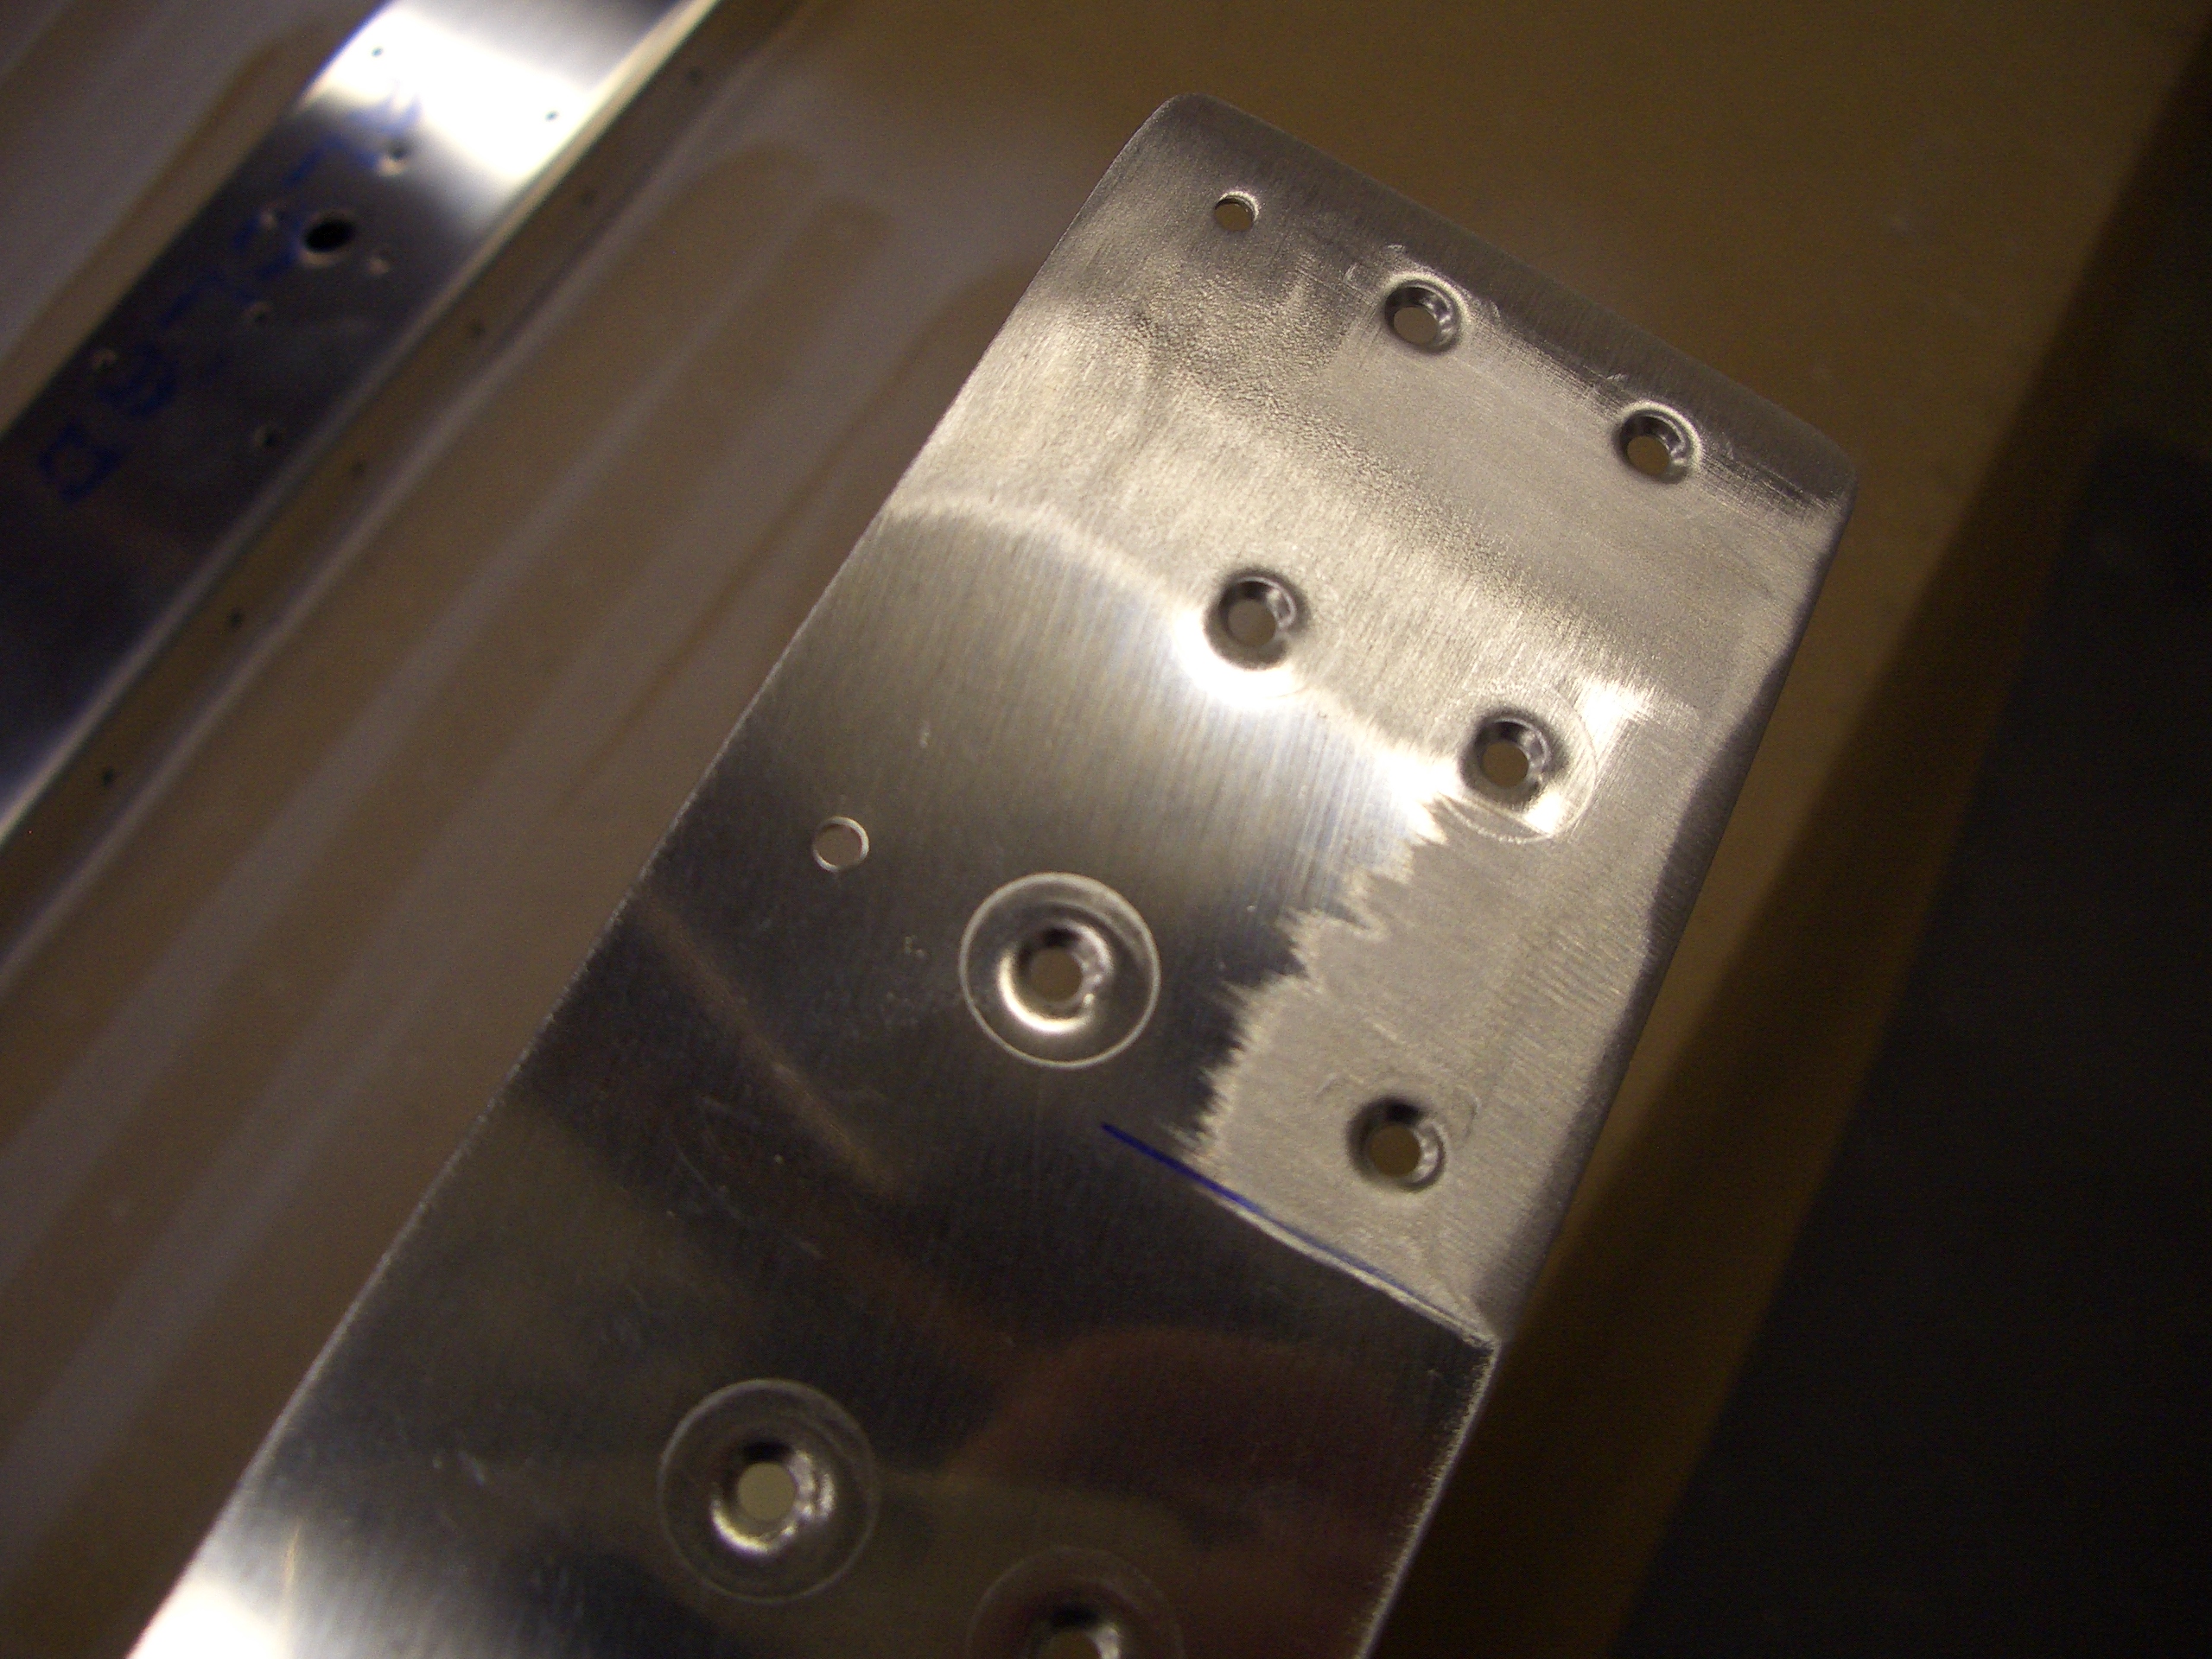
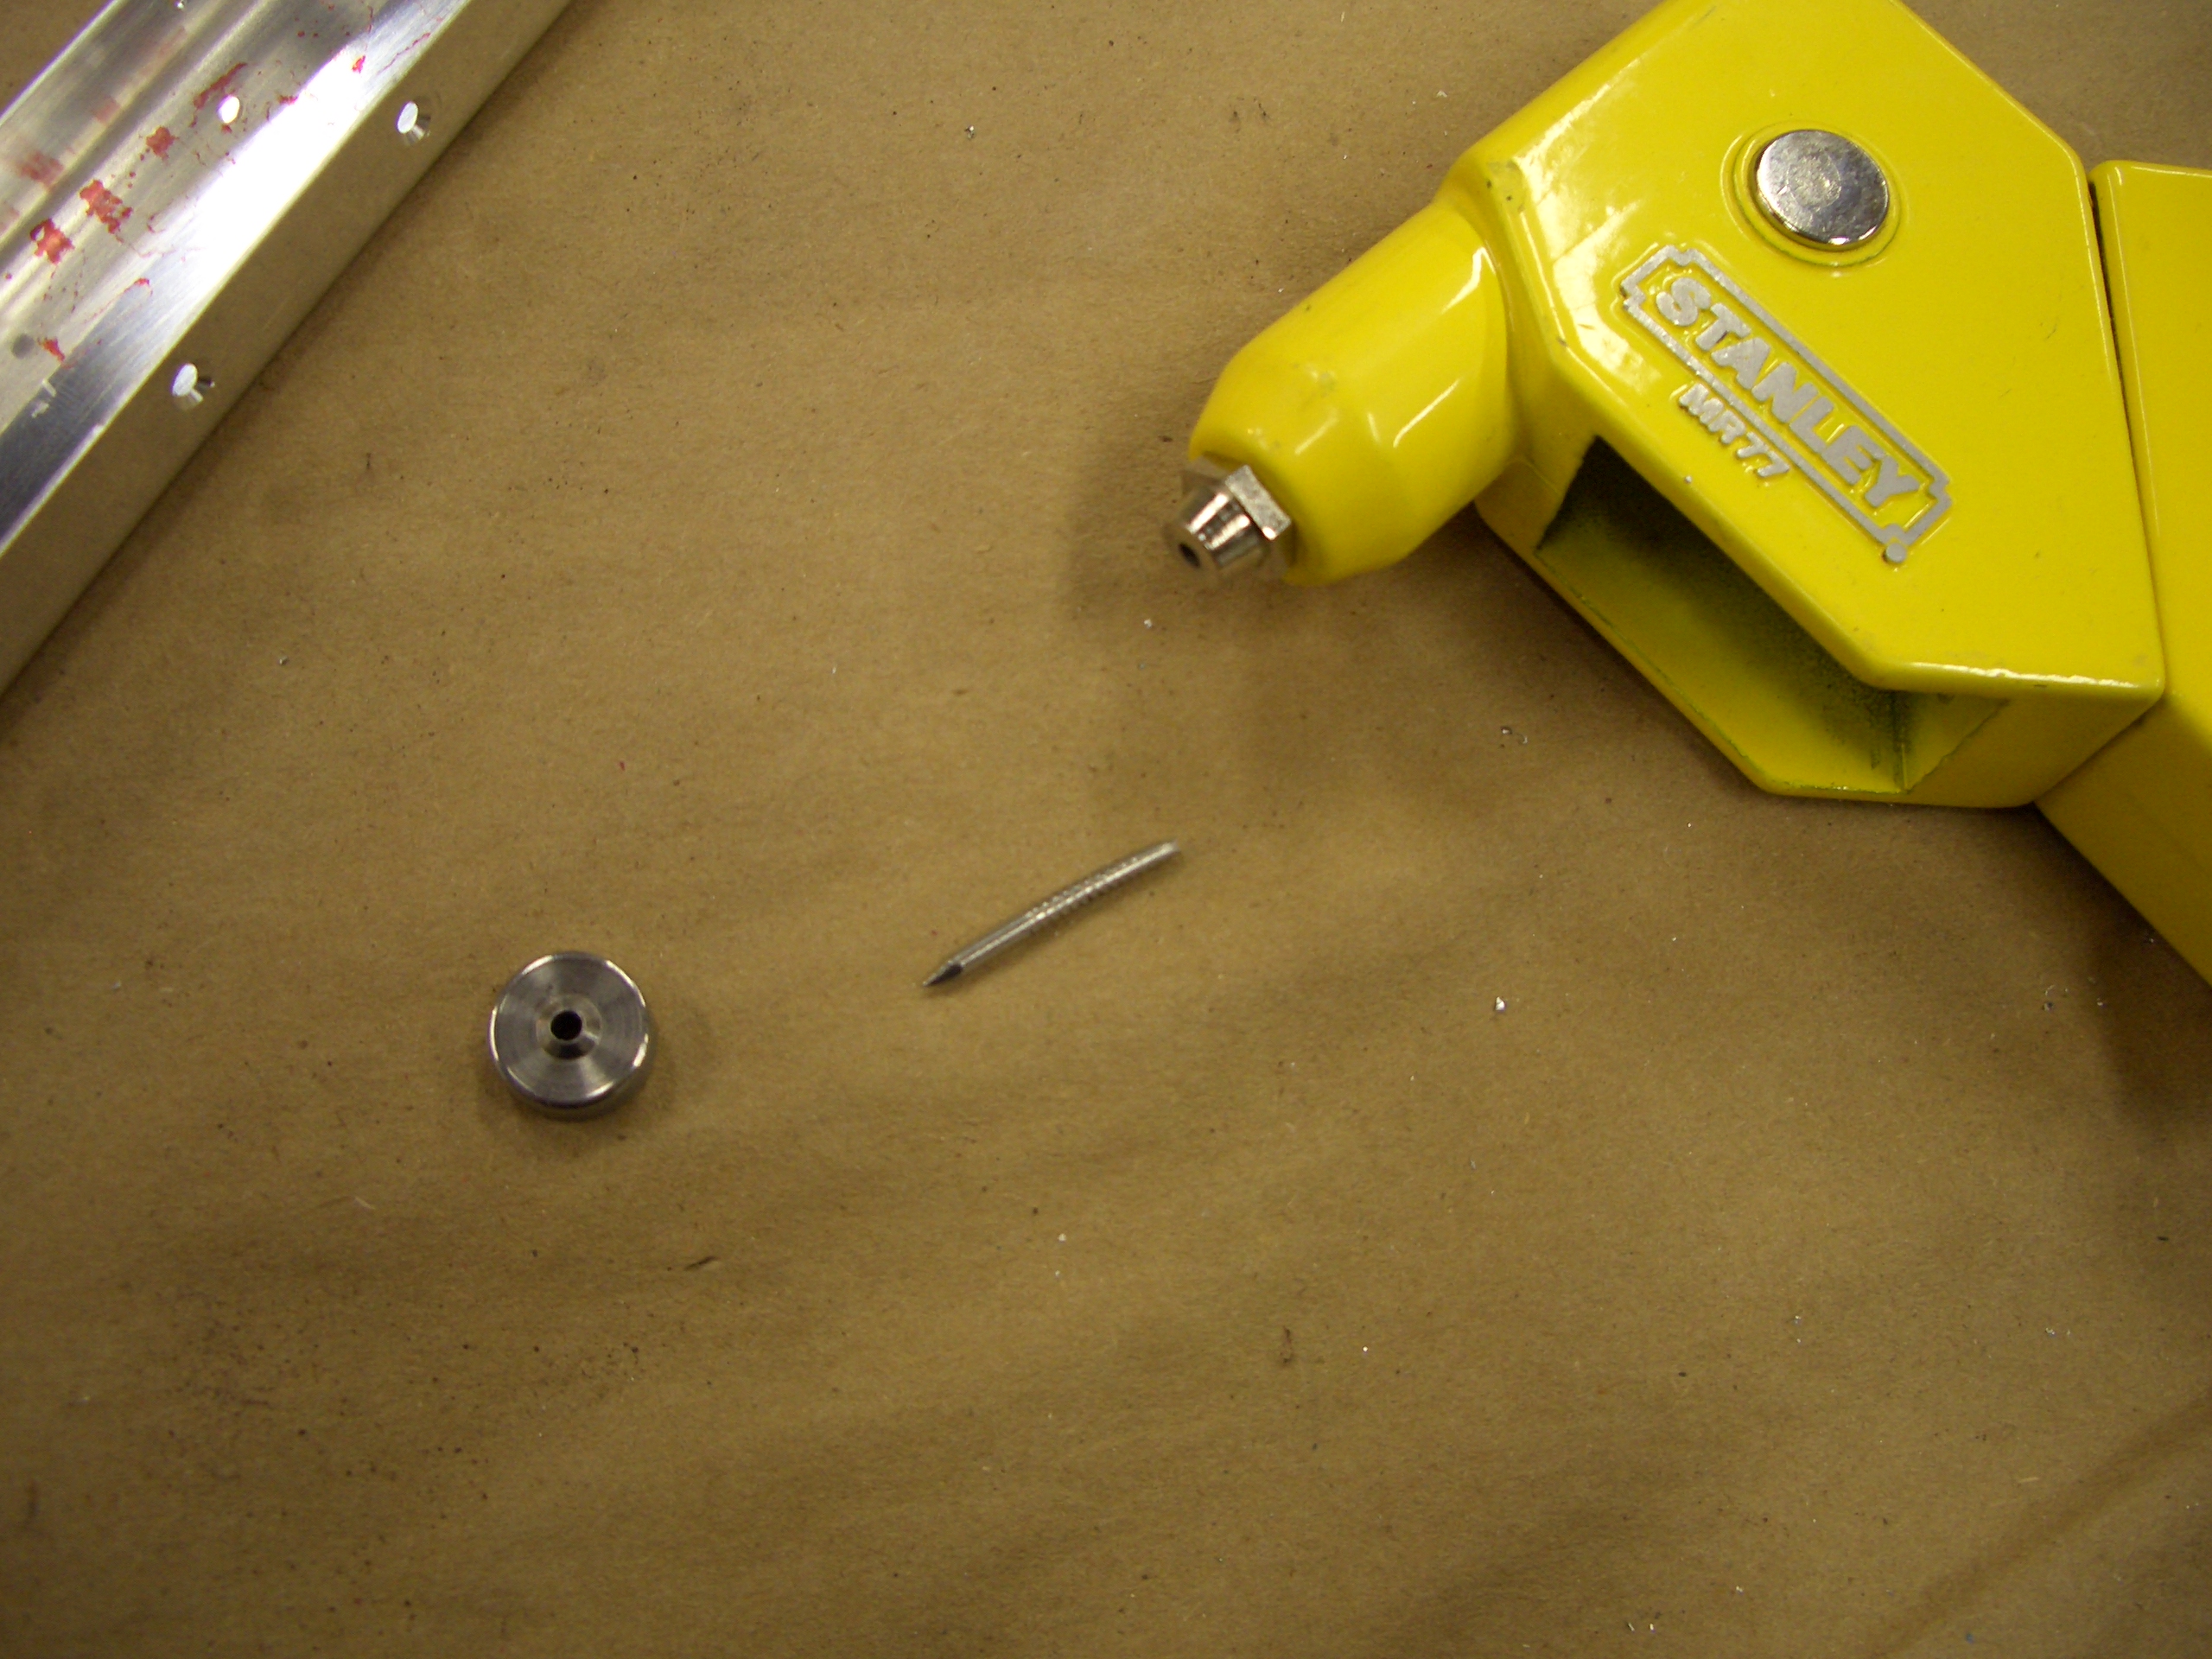
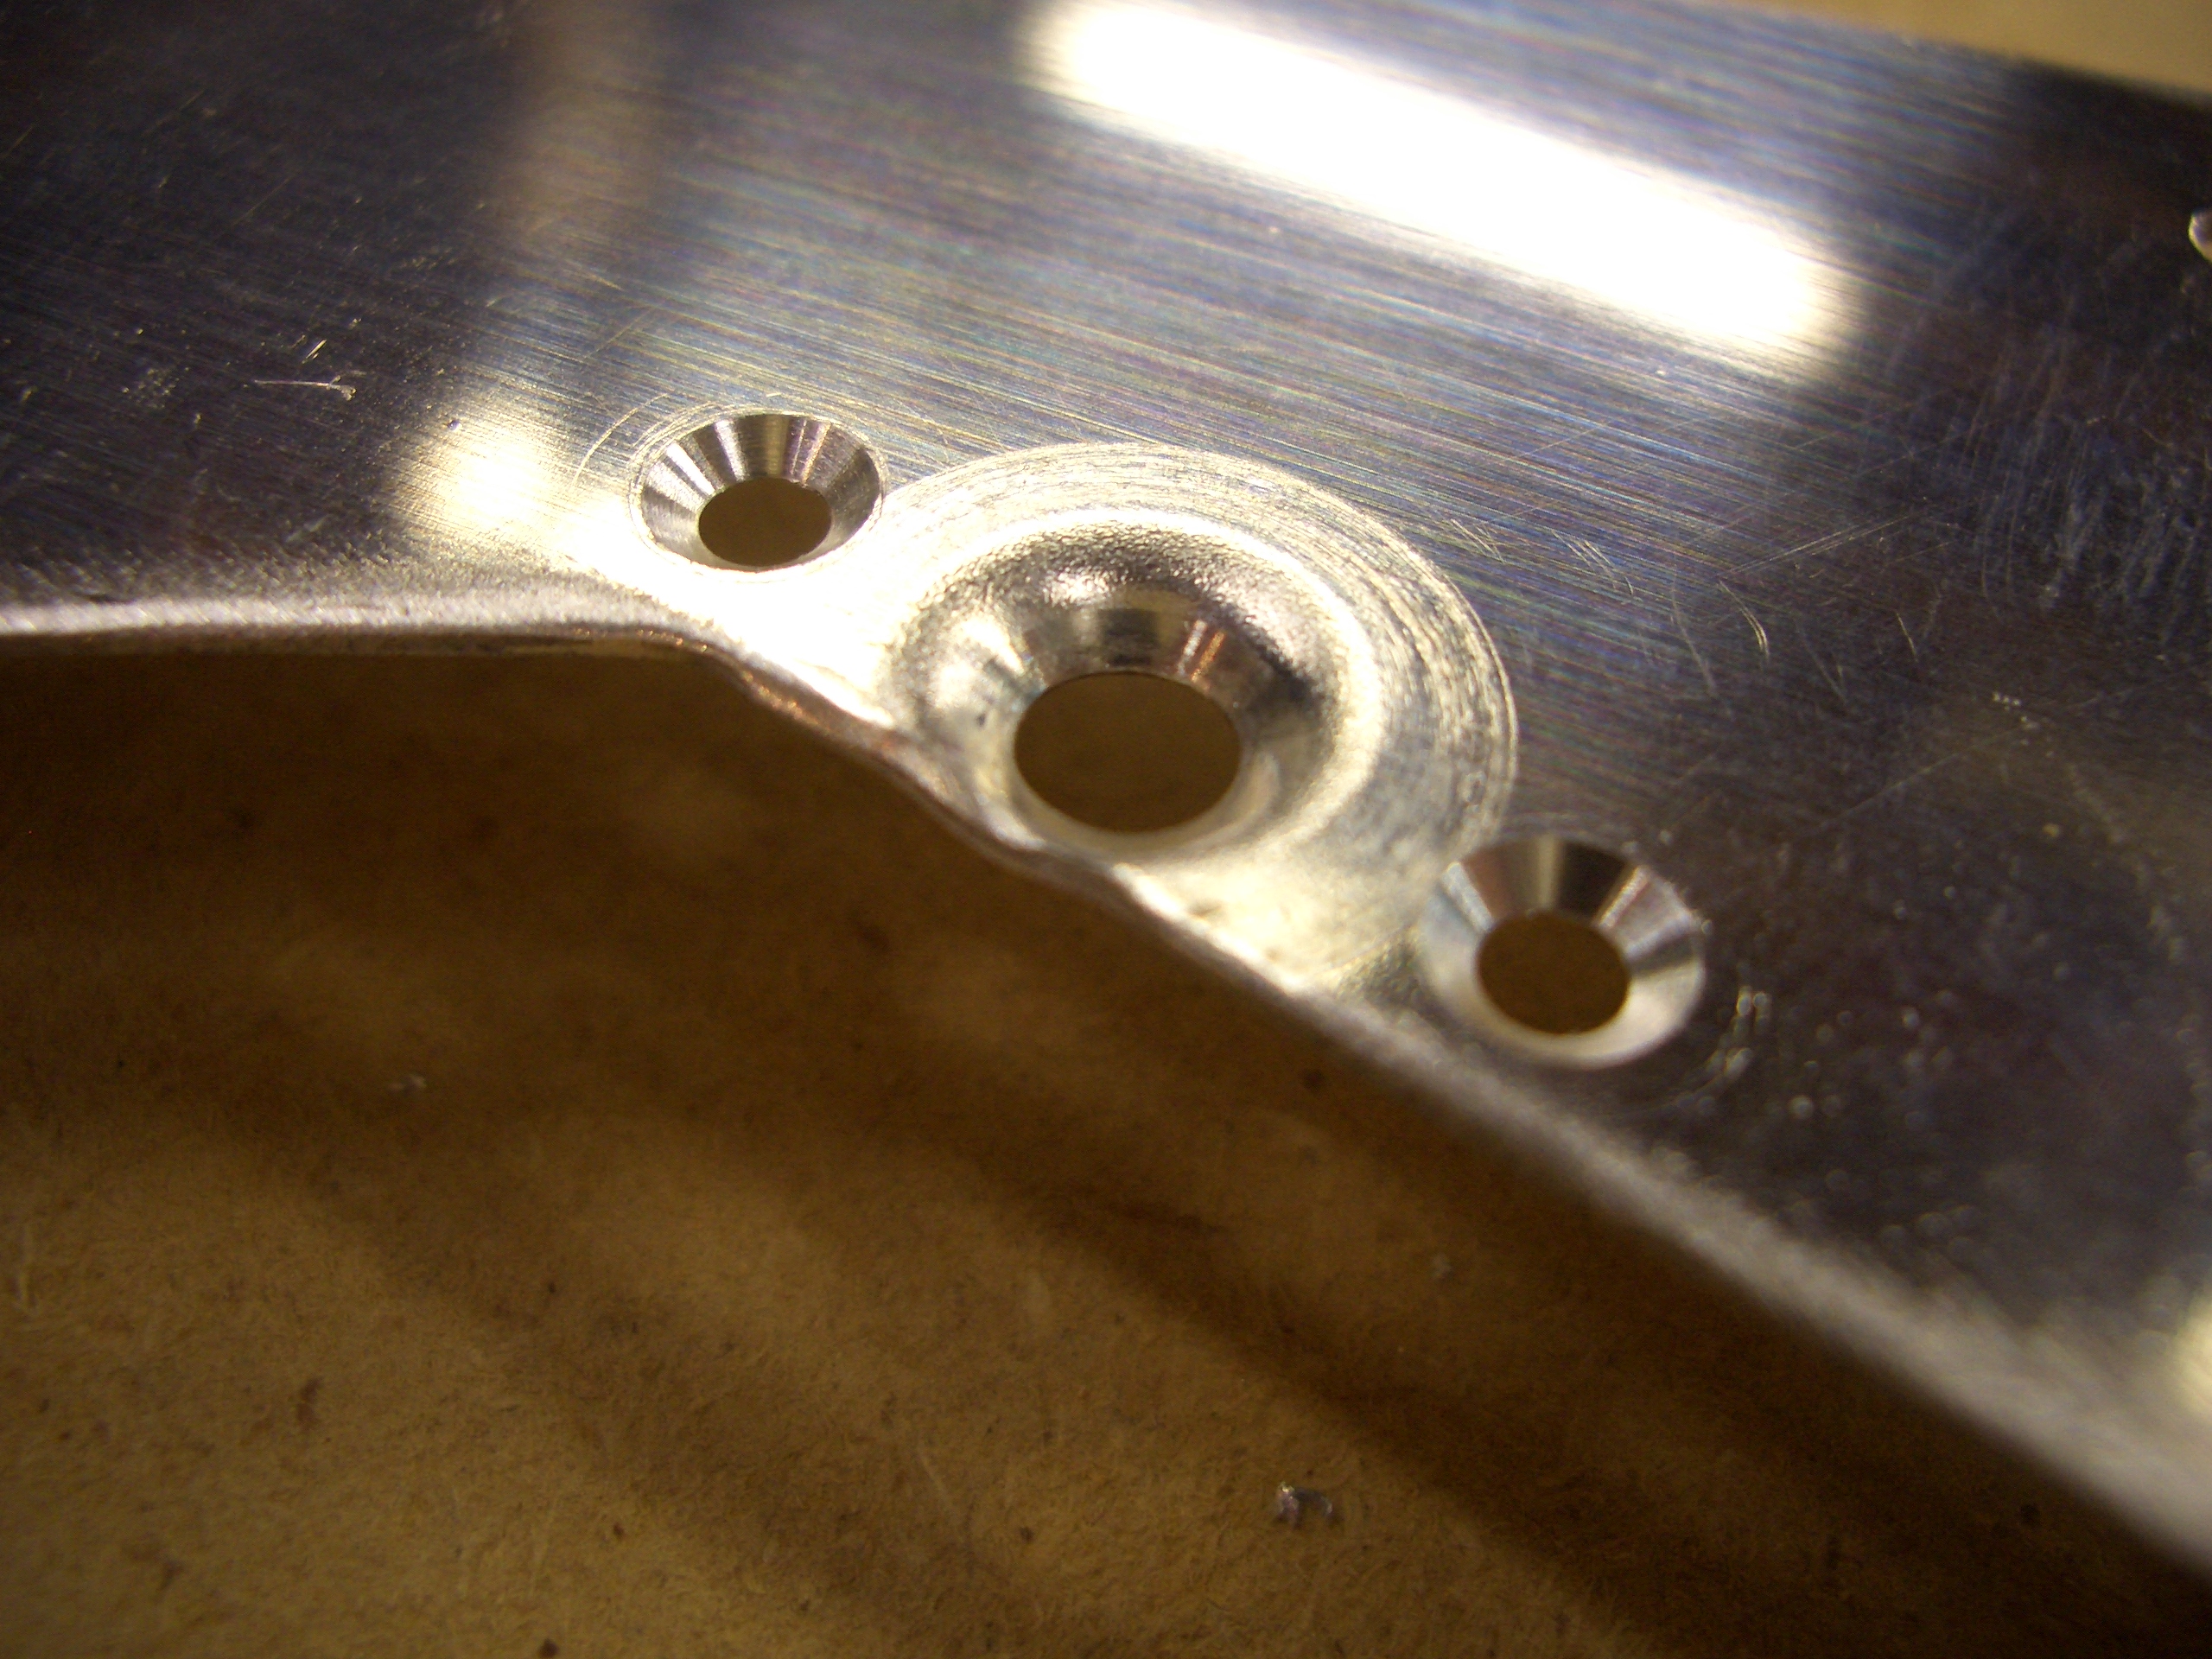
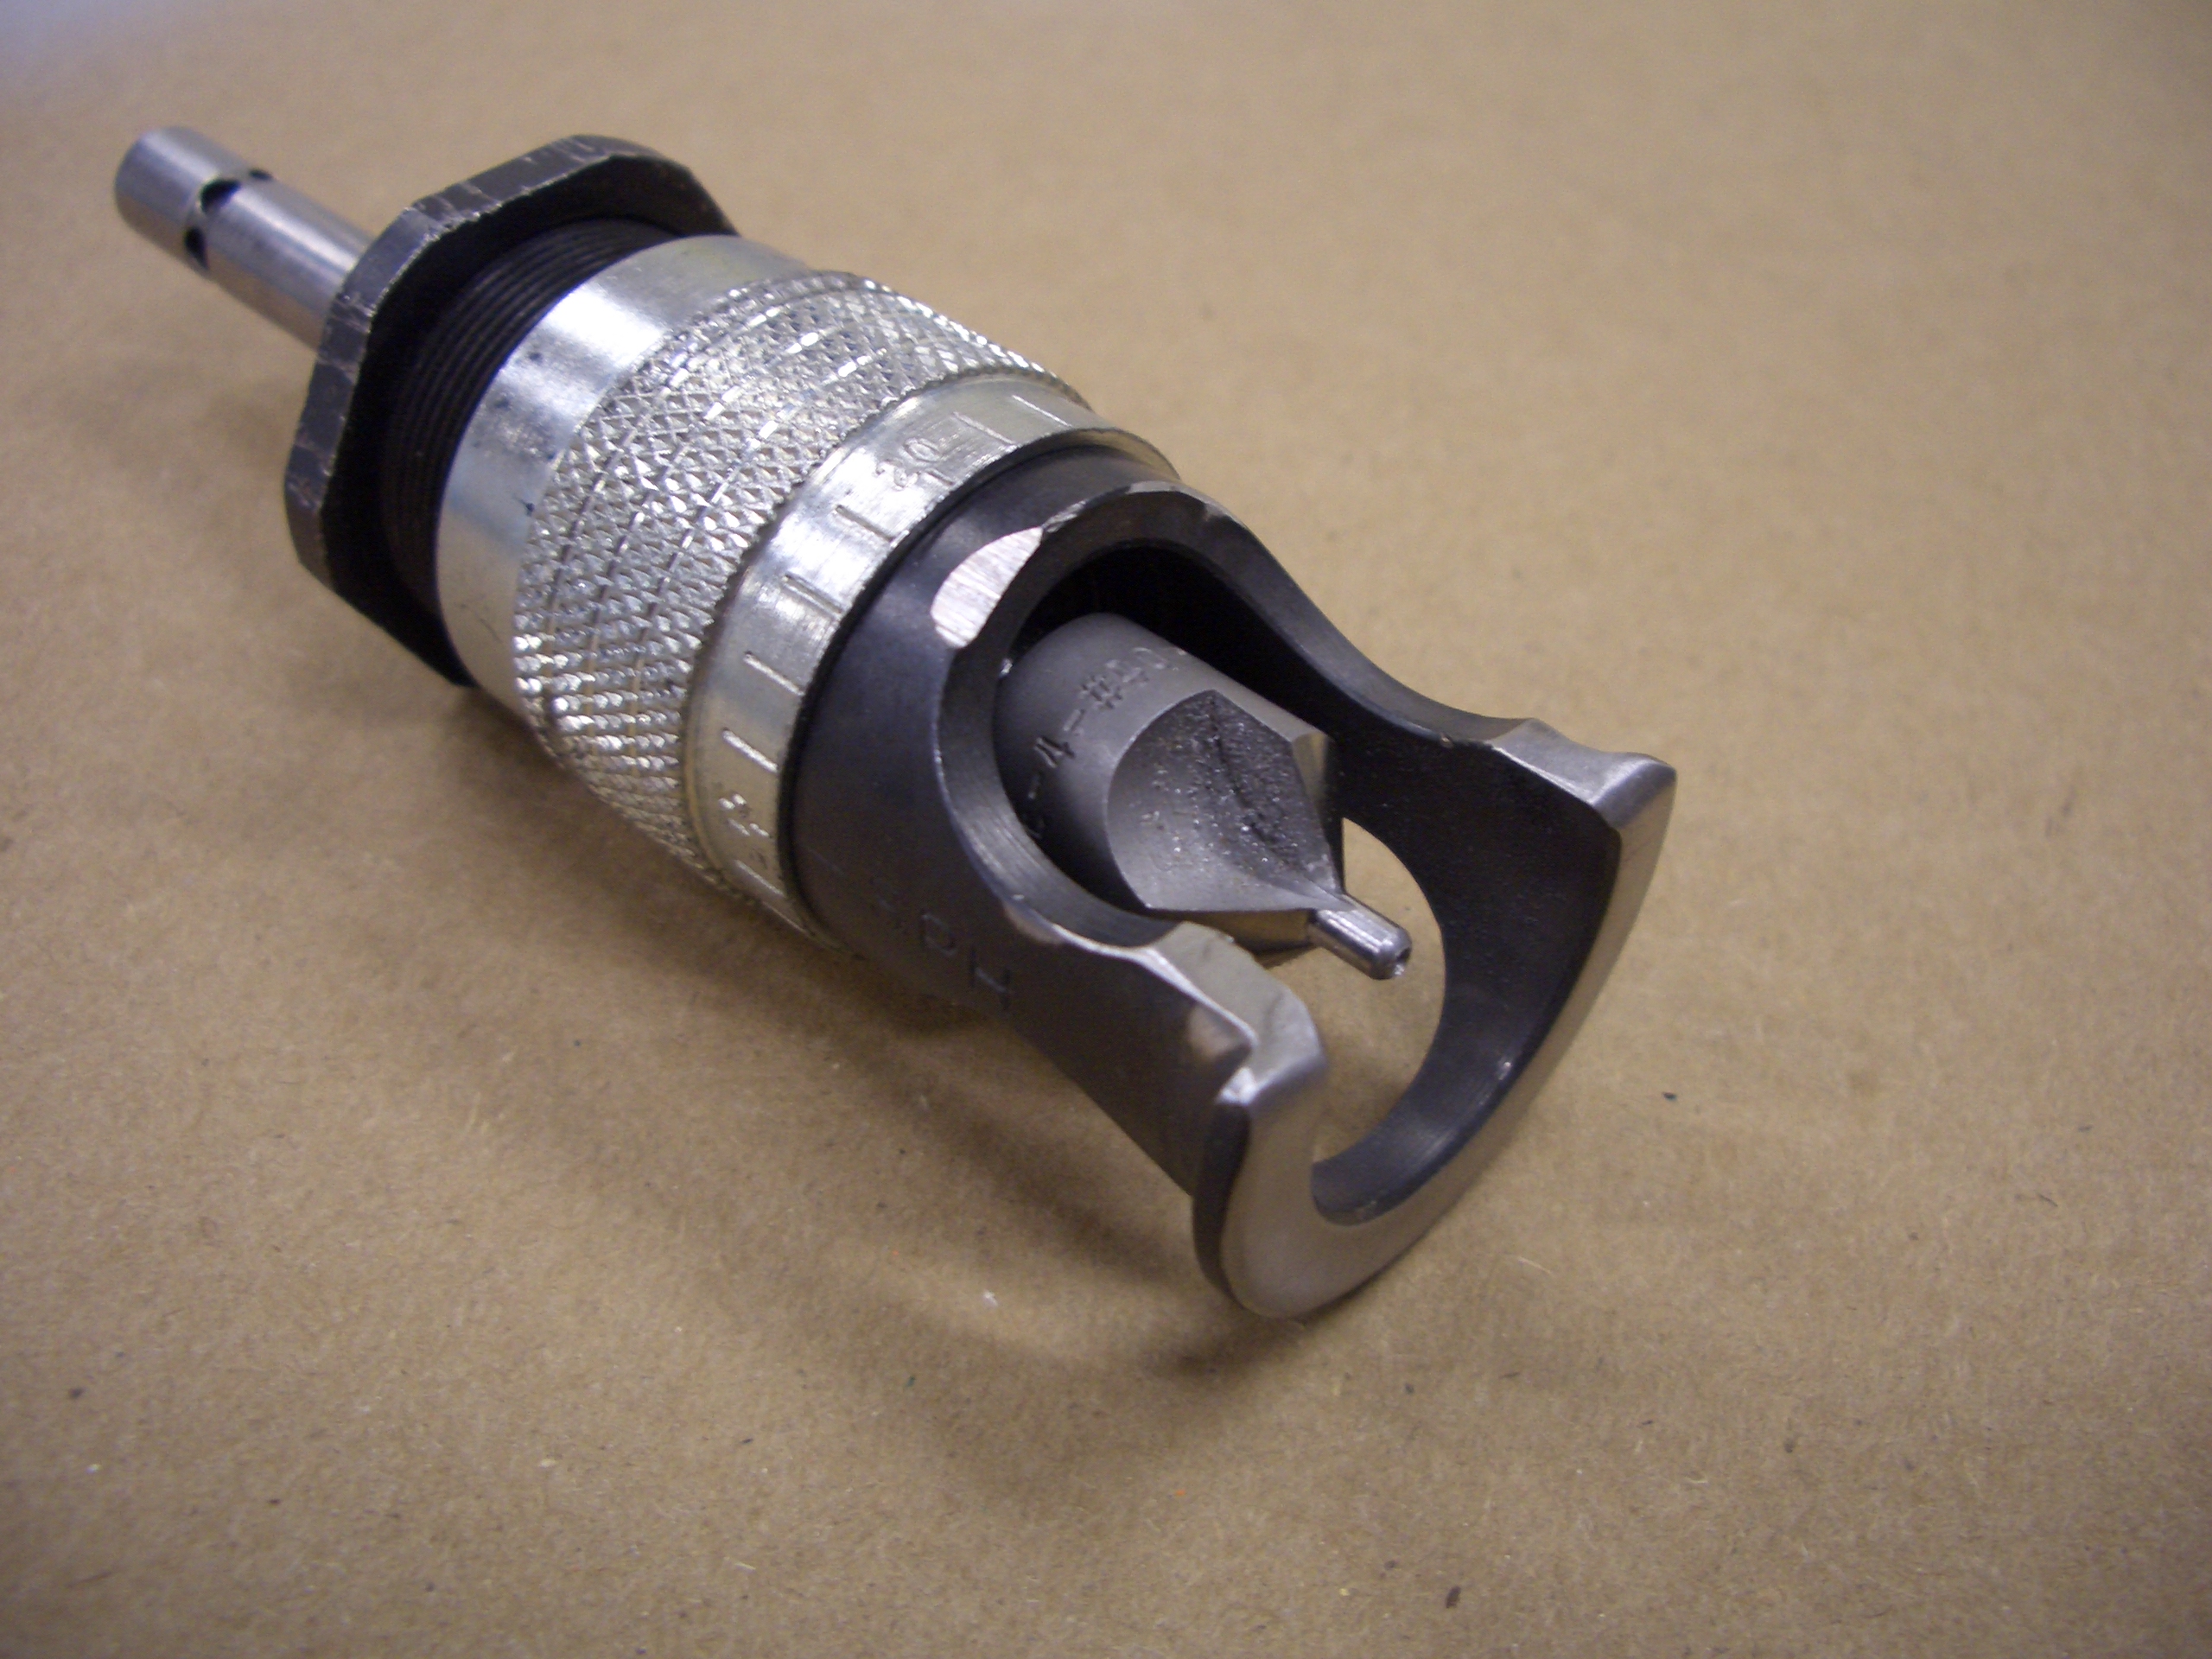
A few of the holes in the elevator spars have to be countersunk, but the spar flange is too close. I took one of my extra countersink cages that I picked up on eBay and ground off part of the foot to allow it to get up close to the flange.
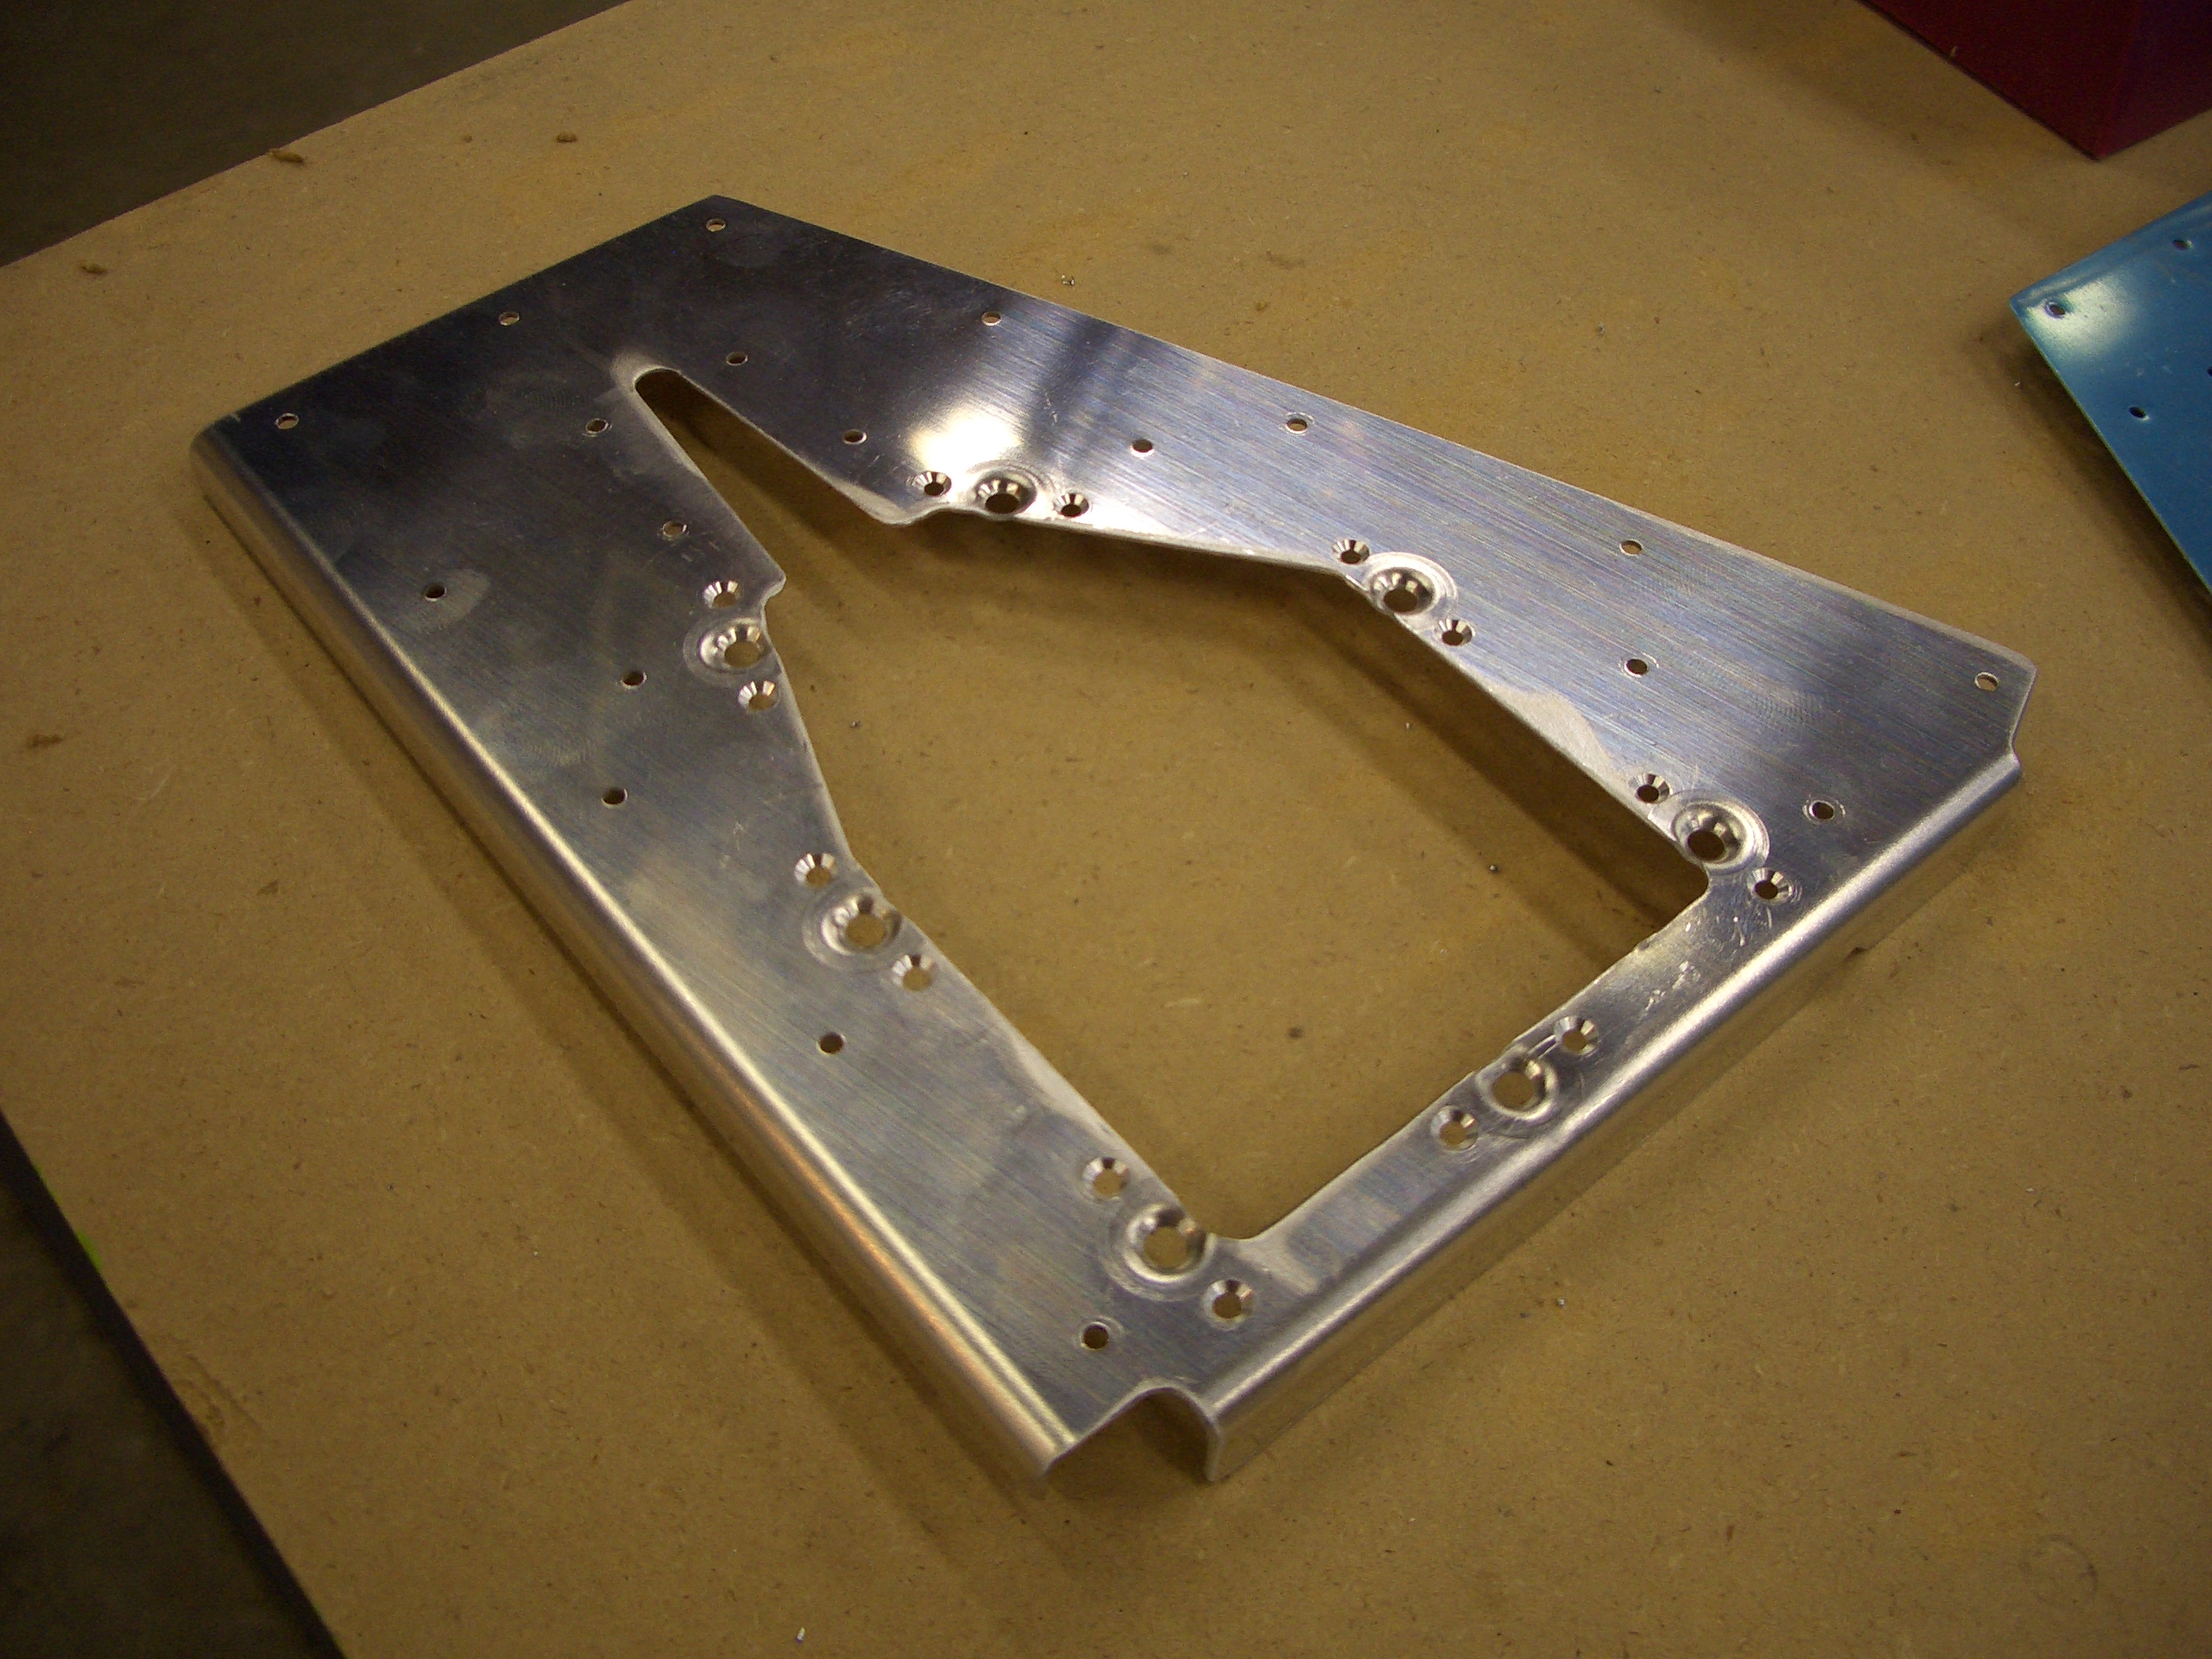
I haven’t had much time to work on the plane the last few days because work’s heating up. We’re working 7 days a week to get the new iPhone 3.0 software out the door. I need a little break though, so I managed to get a few of the elevator parts ready for priming. Here’s the counterweight skin. I beveled the side and back edges where the main skin overlaps to prevent a bulge in the skin at this spot.