Did a Little Firewall Forward Work

Geez, I haven’t worked on the project much lately.  I’ve been busy with other projects, and that’s likely to continue for a couple more months.  Anyway, I managed to squeeze an hour in on the project tonight.  First up, I got an order from McMaster Carr with some smaller Tygon tubing and nylon fittings.  This will allow me to run a continuous 1/8″ piece of tubing from the transducer manifold all the way to the Lightspeed ignition box.

I also final torqued the fuel line fittings at the mechanical fuel pump.

…as well as at the fuel servo.

I also got a large adel clamp so that I can anchor the fuel line to one of the intake tubes on the run from the mechanical fuel pump to the servo.

Worked on Canopy, Rear Window, and Final Tail Skin

Using a belt sander followed by some hand sanding, I trimmed the aft edge of the canopy to the line I marked earlier.  There will be some slight additional sanding to open up the gap between the forward and aft windows once everything is locked in position.

Andre stopped by and we knocked out the deburring and dimpling of the final tail skin.  I was hoping we’d get this riveted on today, but we ran out of time.

Later in the evening, I came out and roughly positioned the rear window.

I marked the edge of the window and wrote “Do Not Cut” all along the line to ensure I wouldn’t accidentally cut along this line.  The window has to overlap the skin about 5/8″ to provide room for the screws that attach the window to the skin.

As the plans specify, I initially trimmed the window to 1 1/4″ beyond the window edge.  This allows the window to slip under the skin.

Prepped Rear Window for Drilling

I used a piece of masking tape to mark all of the holes that attach the rear window to the top skin.  I laid out the masking tape 5/16″ from the edge of the skin (half of the 5/8″ overlap between the window and the skin).  I marked the start and end points on the tape, then laid the tape out straight to lay out the holes.  I then put the tape back on to transfer the holes to the skin.

Here’s a closeup of the transferred holes.  Afterward, I punched the skins and drilled these out with a #50 drill.  I drilled these small so they would act as a pilot for the plexi bit.

I also trimmed off a bit off the base at the forward end of the rear window to clear the cabin frame attach angles.  Without this, the window can not be pulled fully down against the cabin frame.

Finally, I reinstalled the window in preparation for drilling.

Drilled Rear Window and Riveted Aft Top Skin

I centered and clamped the rear window in place using the 1/8″ spacers along the top of the cabin frame.  I’m using these because I’m gluing the rear window to the cabin frame with sikaflex.

Starting at the center, I alternately drilled down both sides with the 1/8″ plexi bits.

Now that the rear window is in its final location, I put some tape along the marked line.  I’ll trim this back to this point and will then probably sand both the forward and aft windows to open the gap up to the recommended amount.

My buddy Andre stopped by and we knocked out the riveting of the final aft top skin.  I left the forward ears unriveted since I need to disassemble and paint a bunch of the interior components before everything is put together for good.

Worked on Baffles

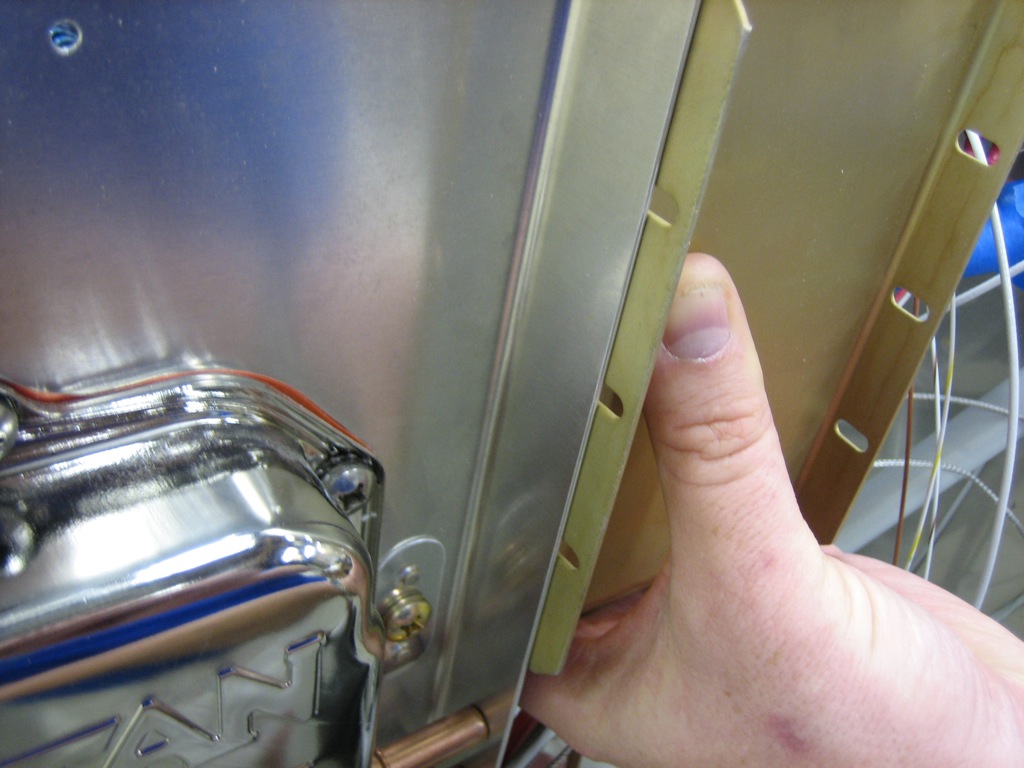
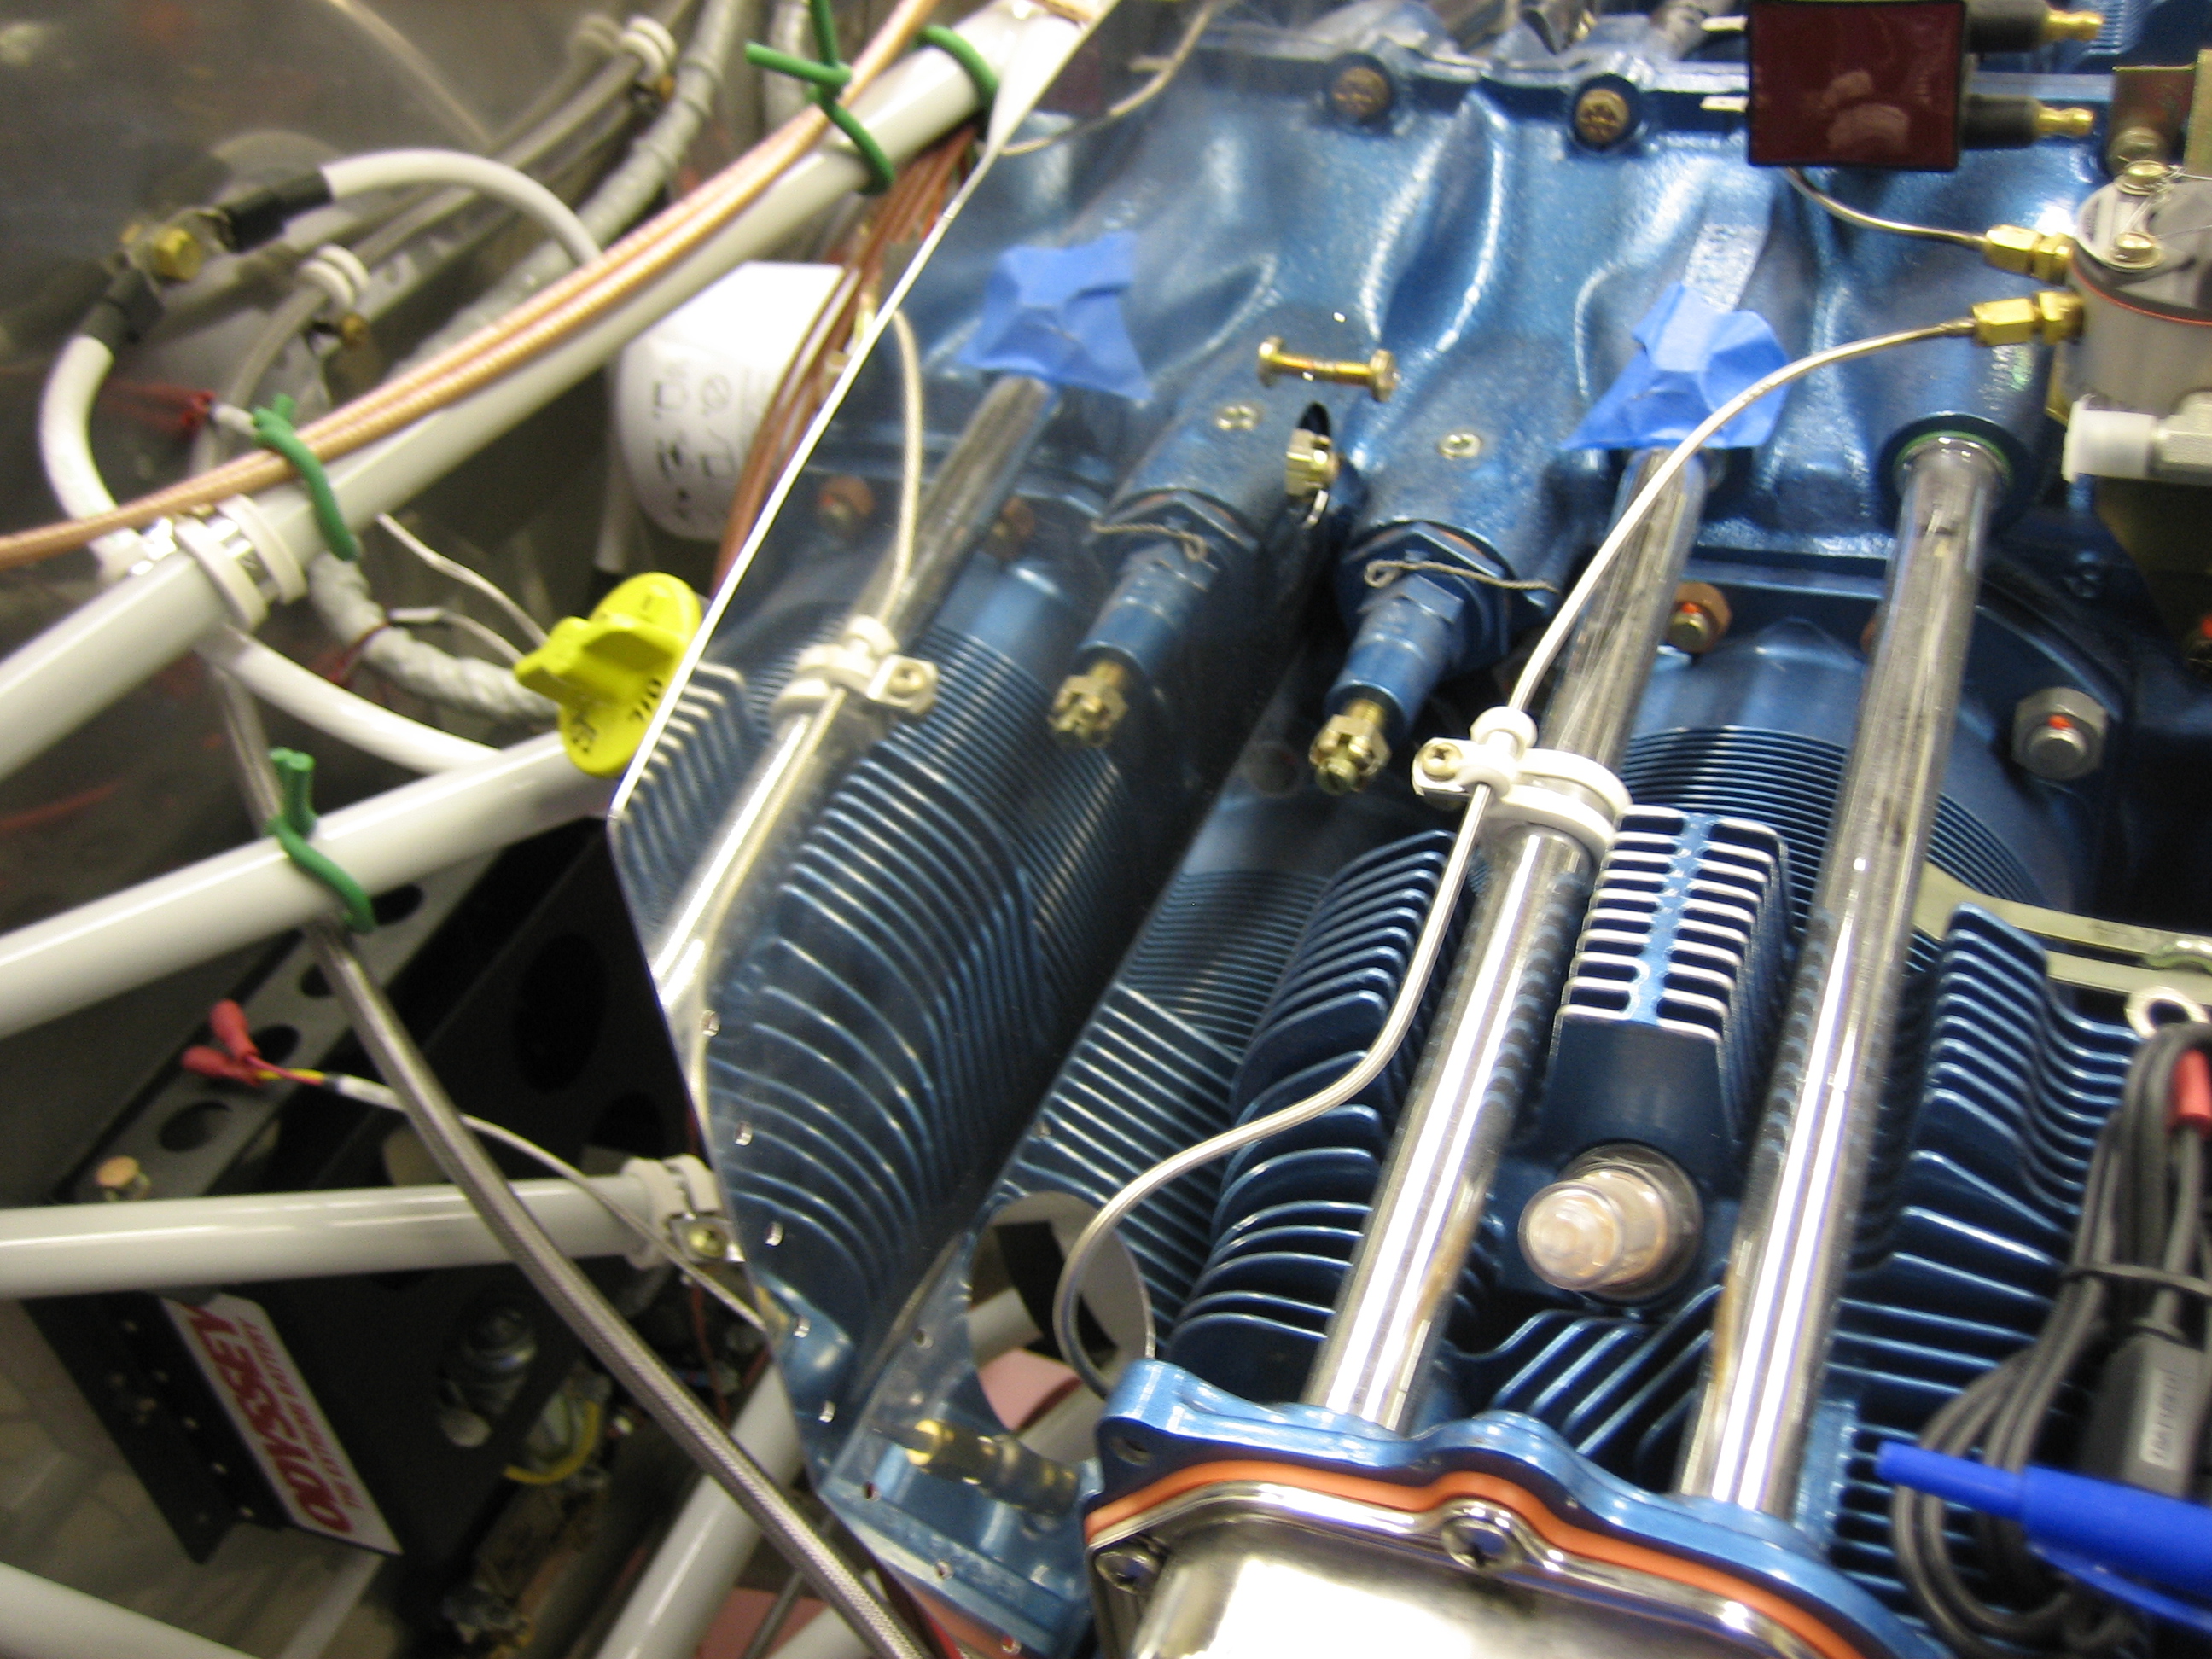
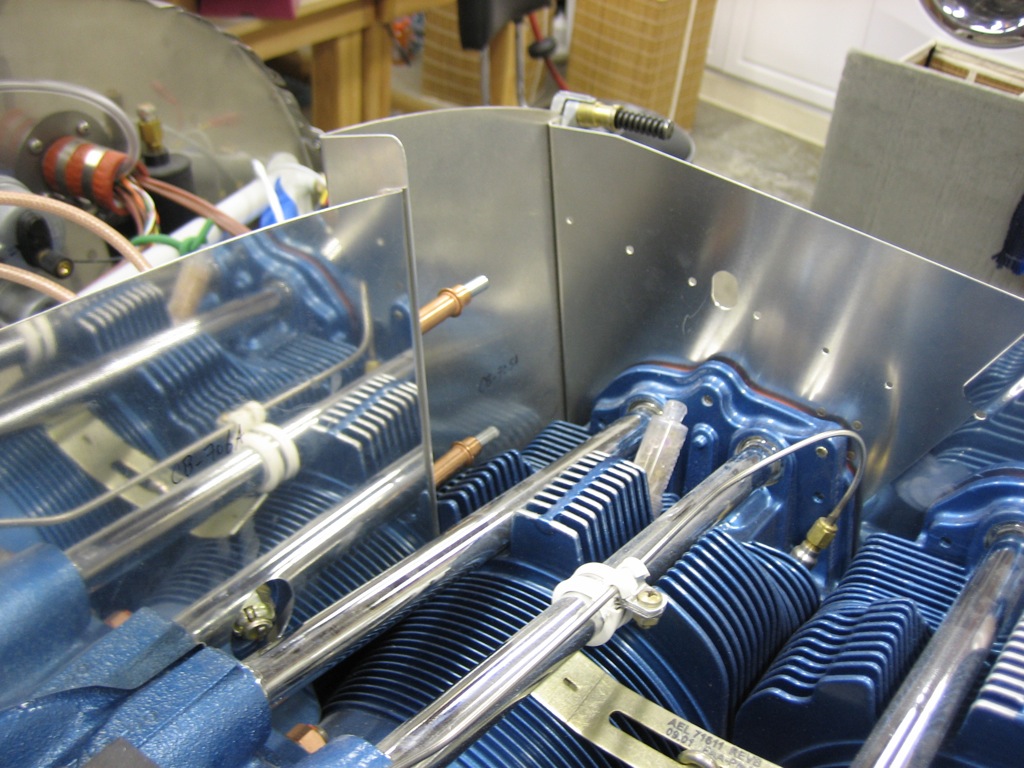
I’m waiting on some sheet stock from Aircraft Spruce to make the canopy side skins (I can’t use the stock included in the kit because I moved the joint line forward to line up with the longeron bend and it isn’t long enough).  I decided to pick back up on the baffles since I like to have multiple parts of the aircraft under construction simultaneously.  I managed to get the whole rear wall and left side wall rough fit.  Here’s a view of the rear wall on the right side.  This piece required quite a bit of trimming to fit around the upper engine mount bolt.

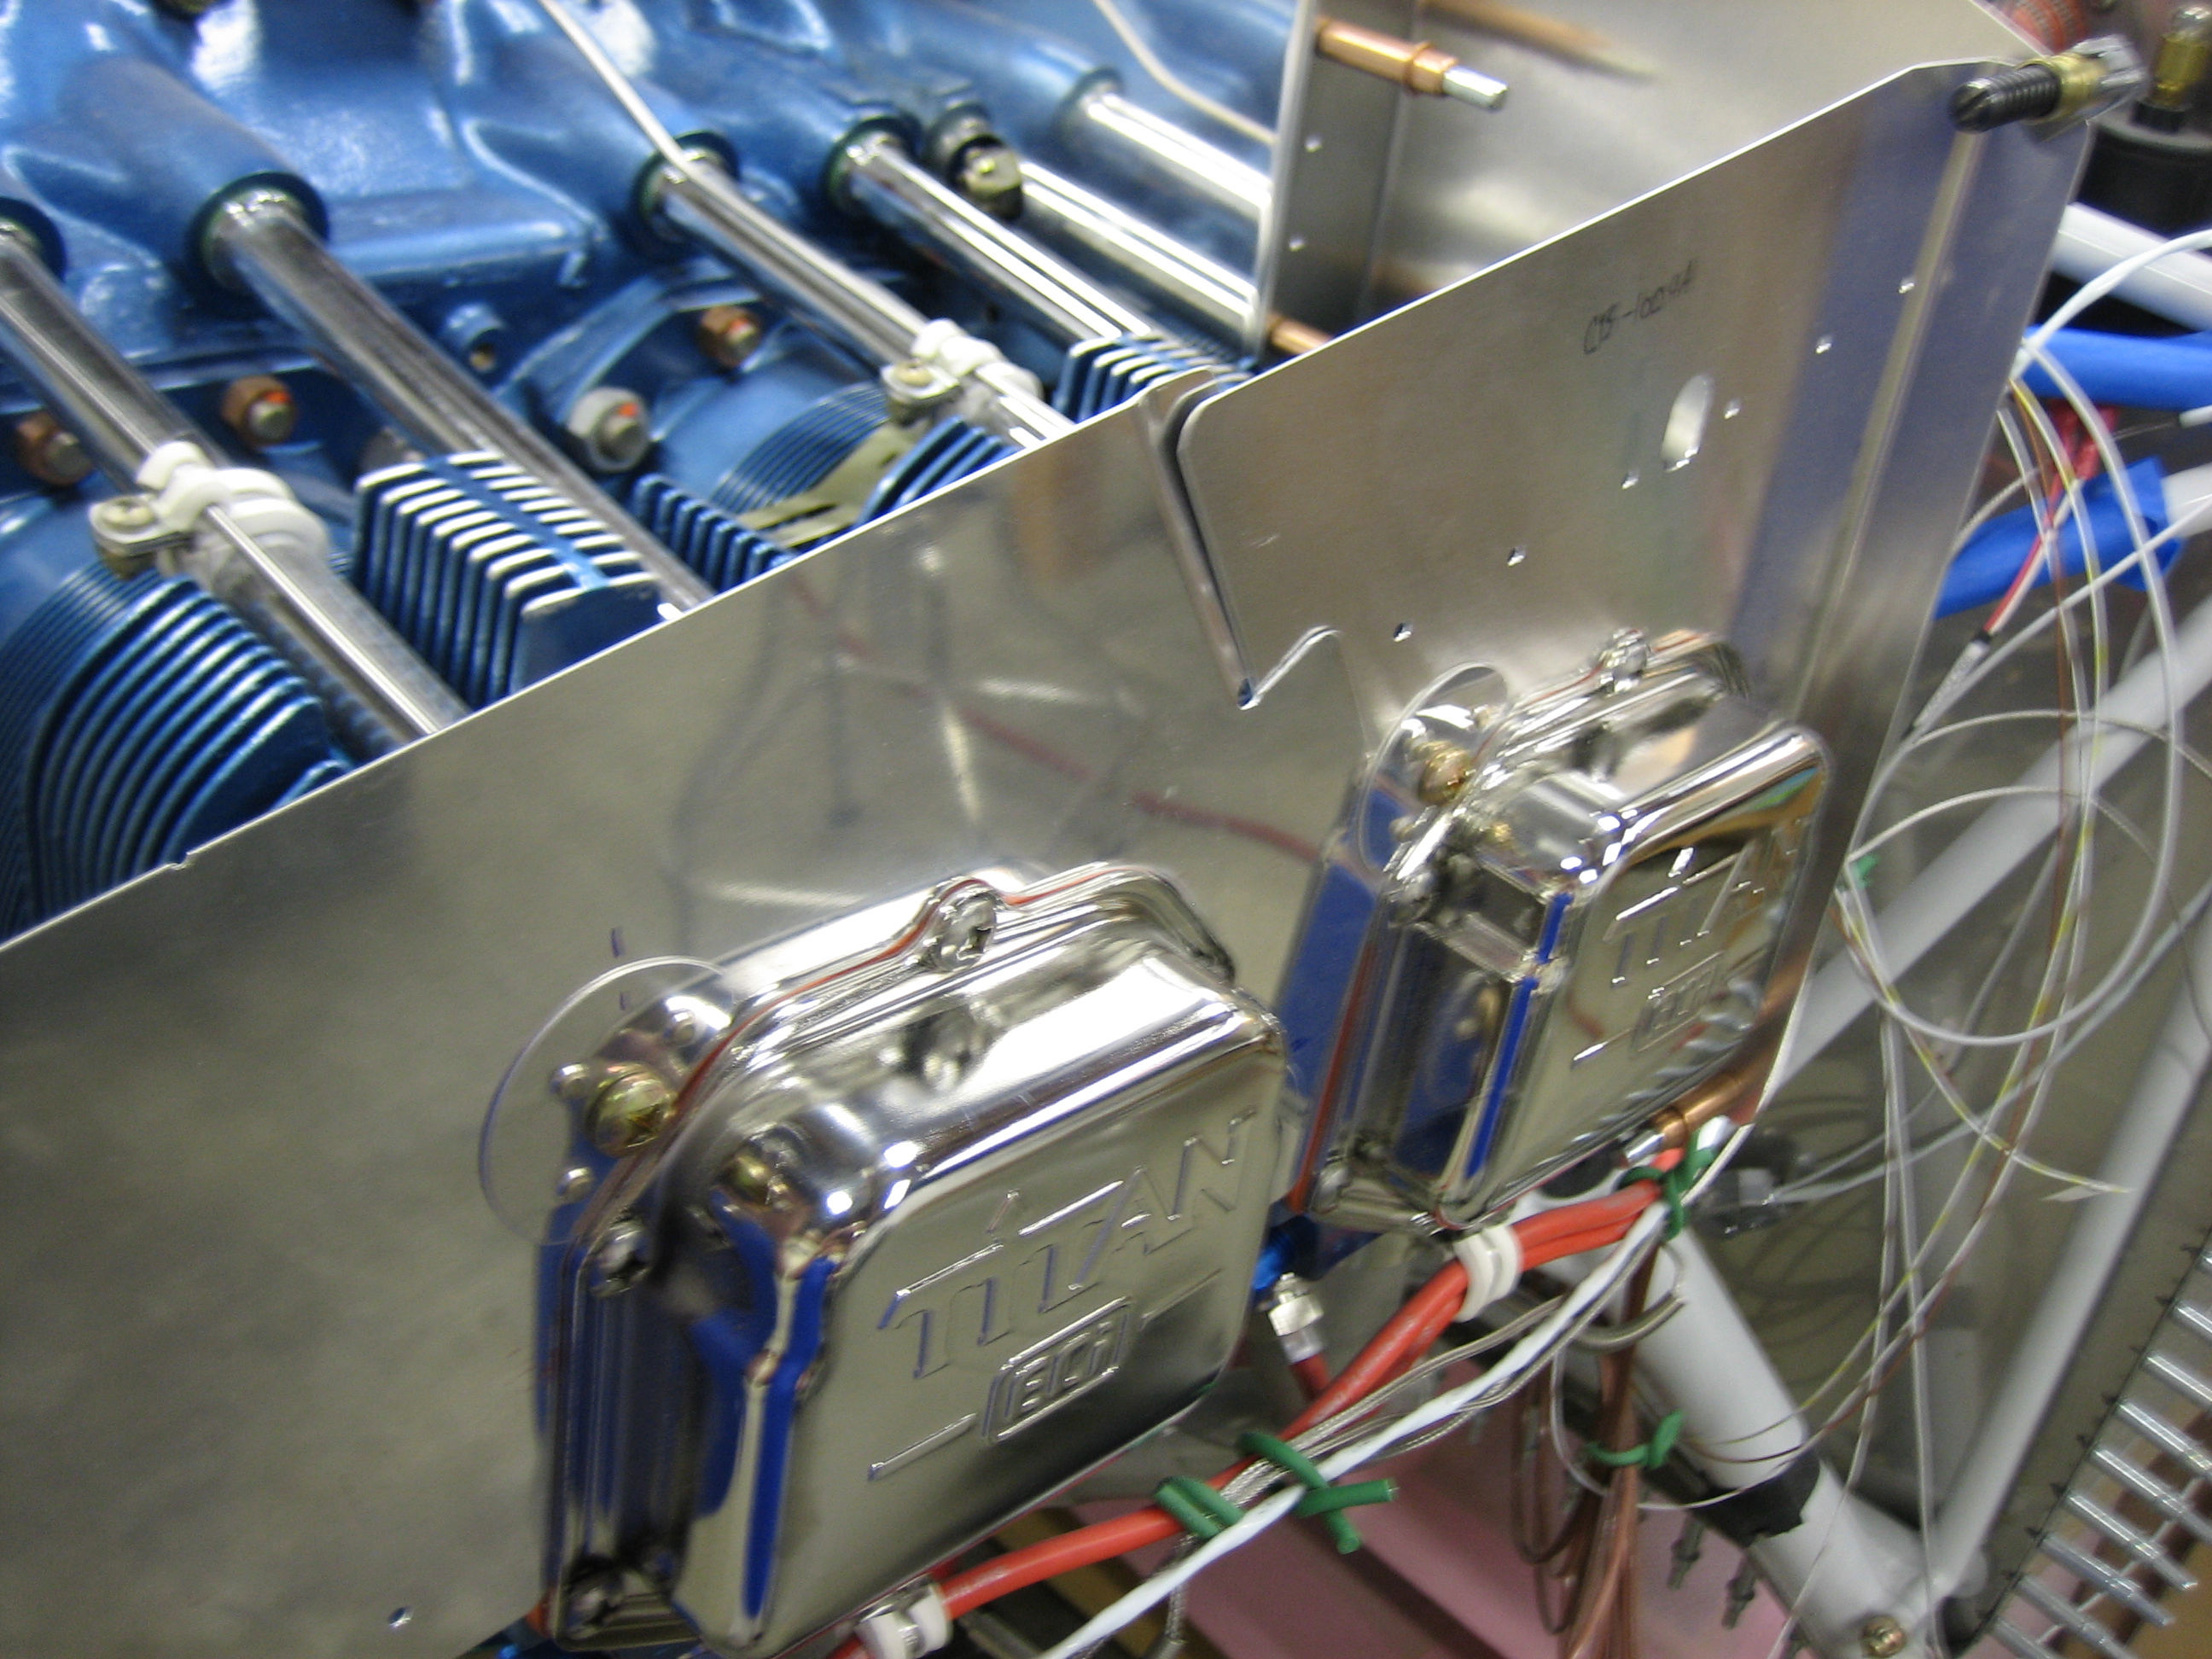
Here’s a view of the left rear wall.  The recessed portion will eventually contain a hole for the oil cooler.

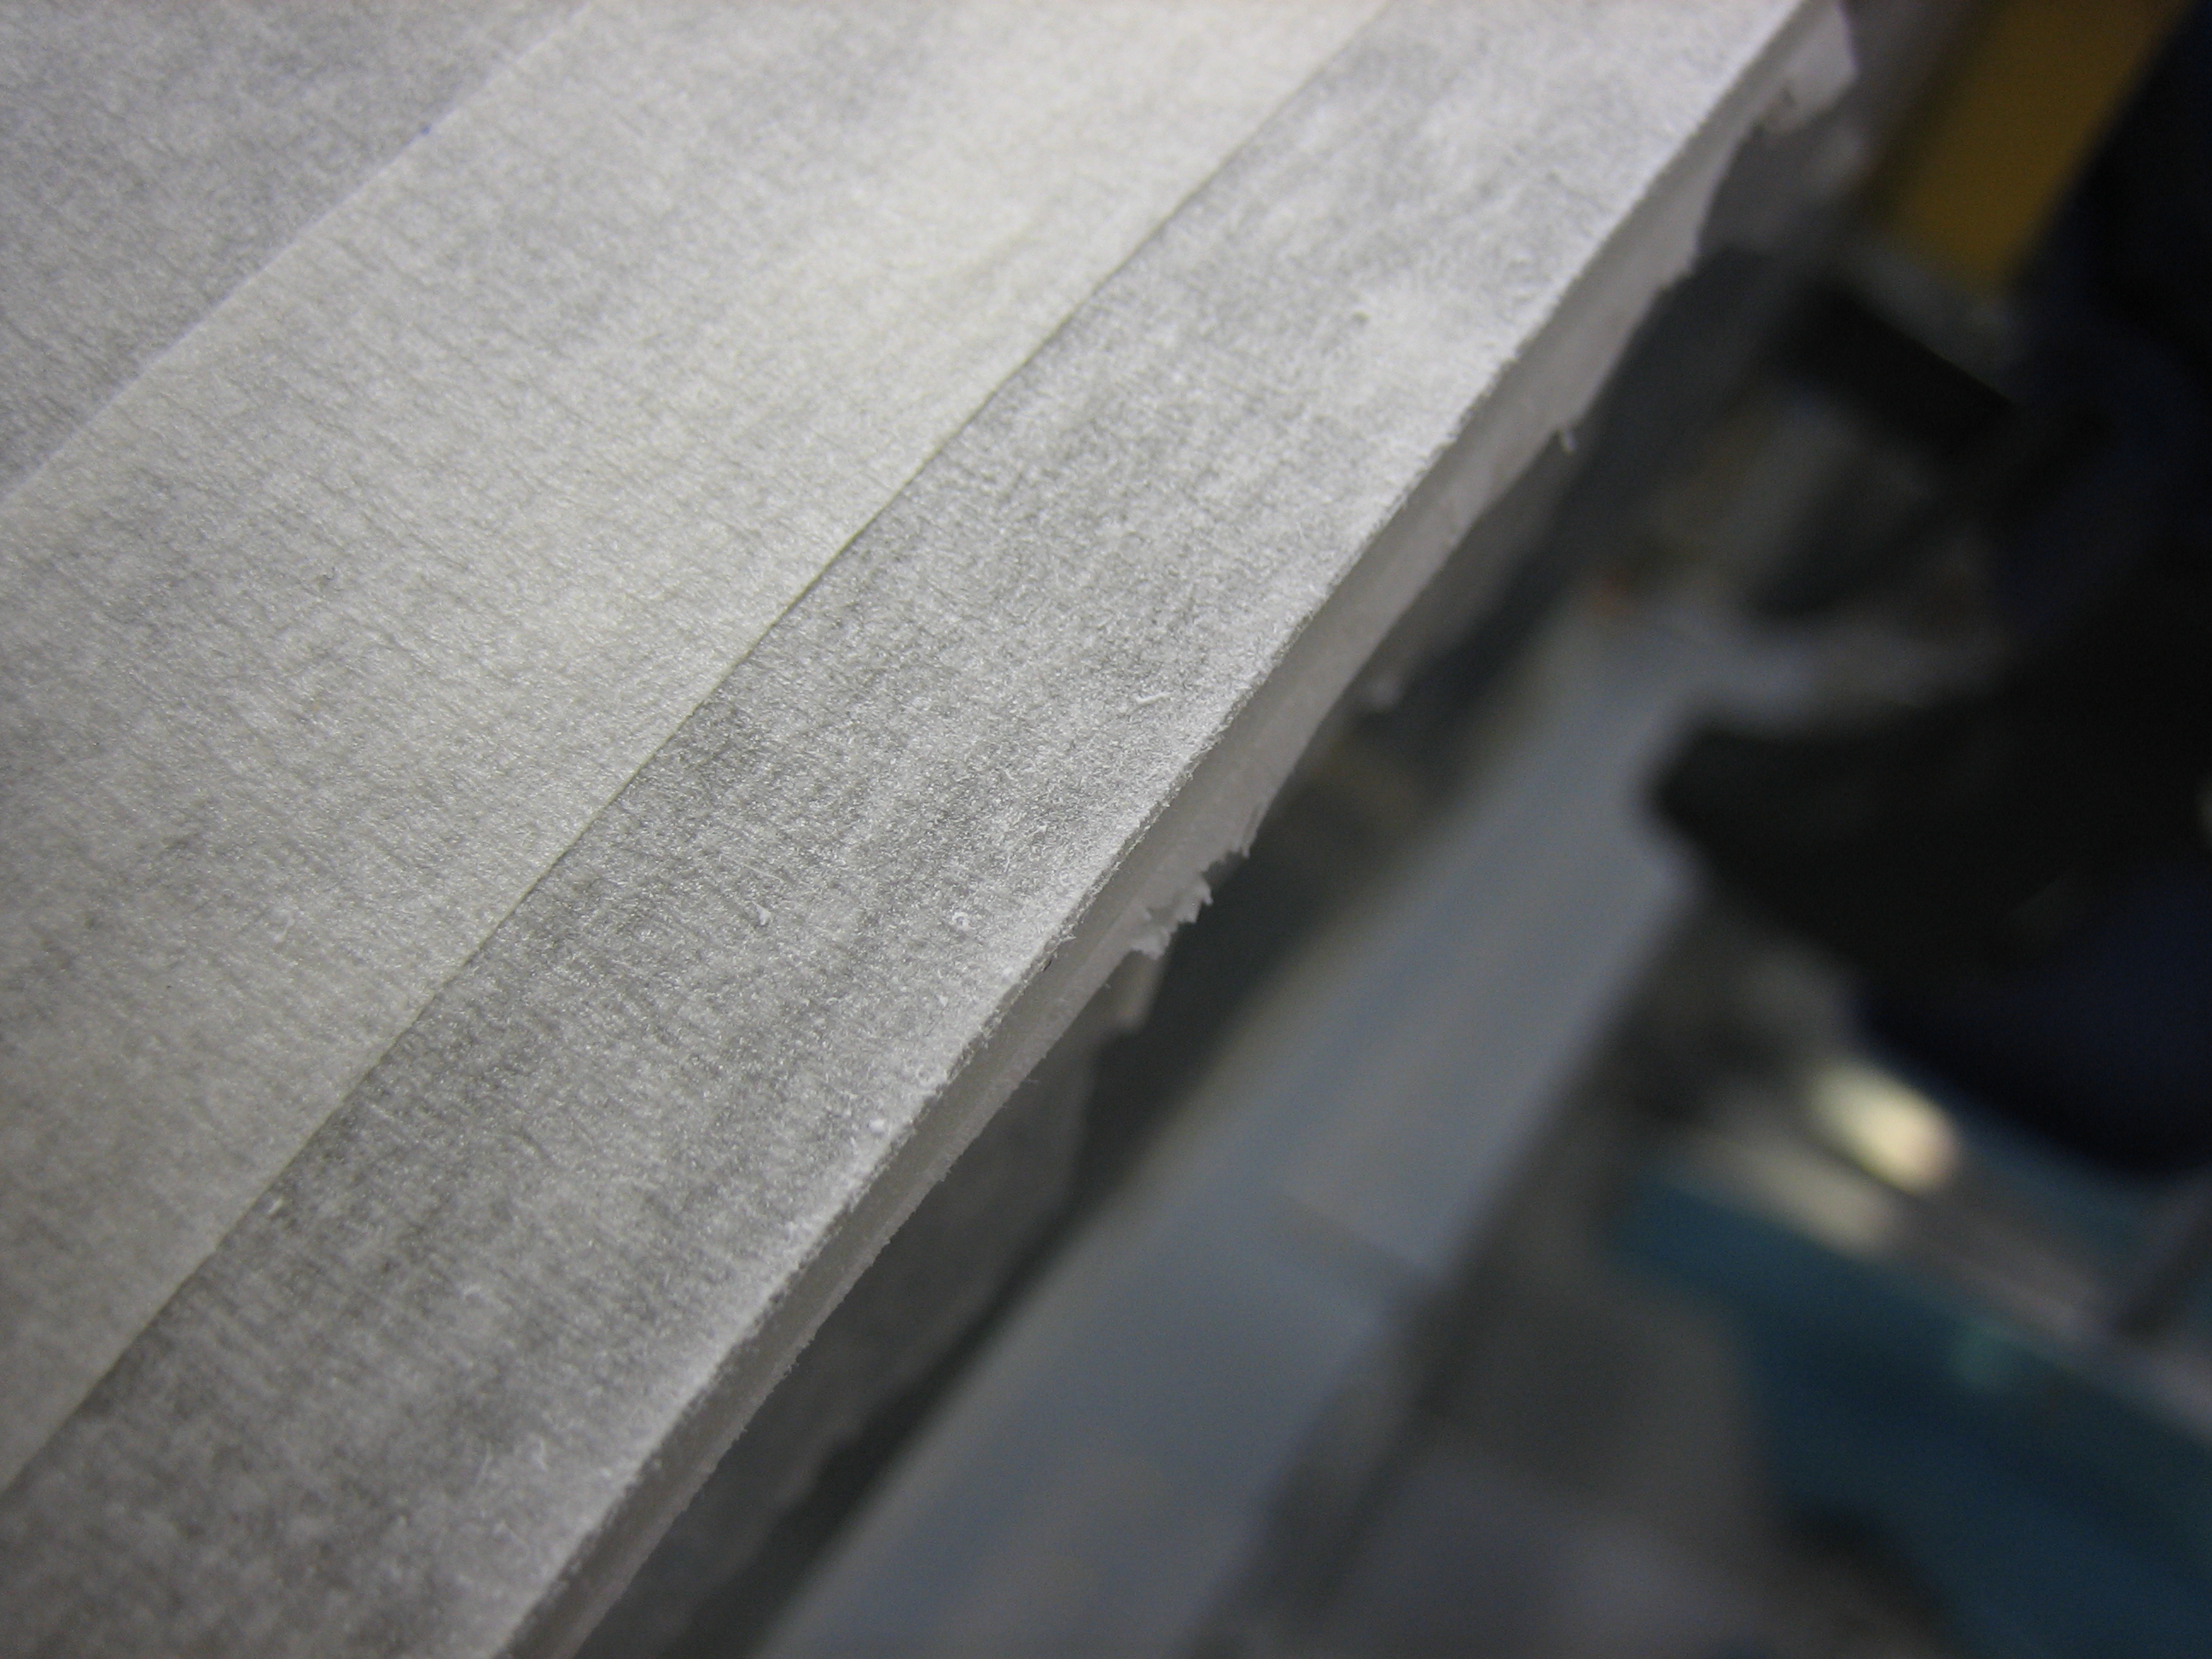
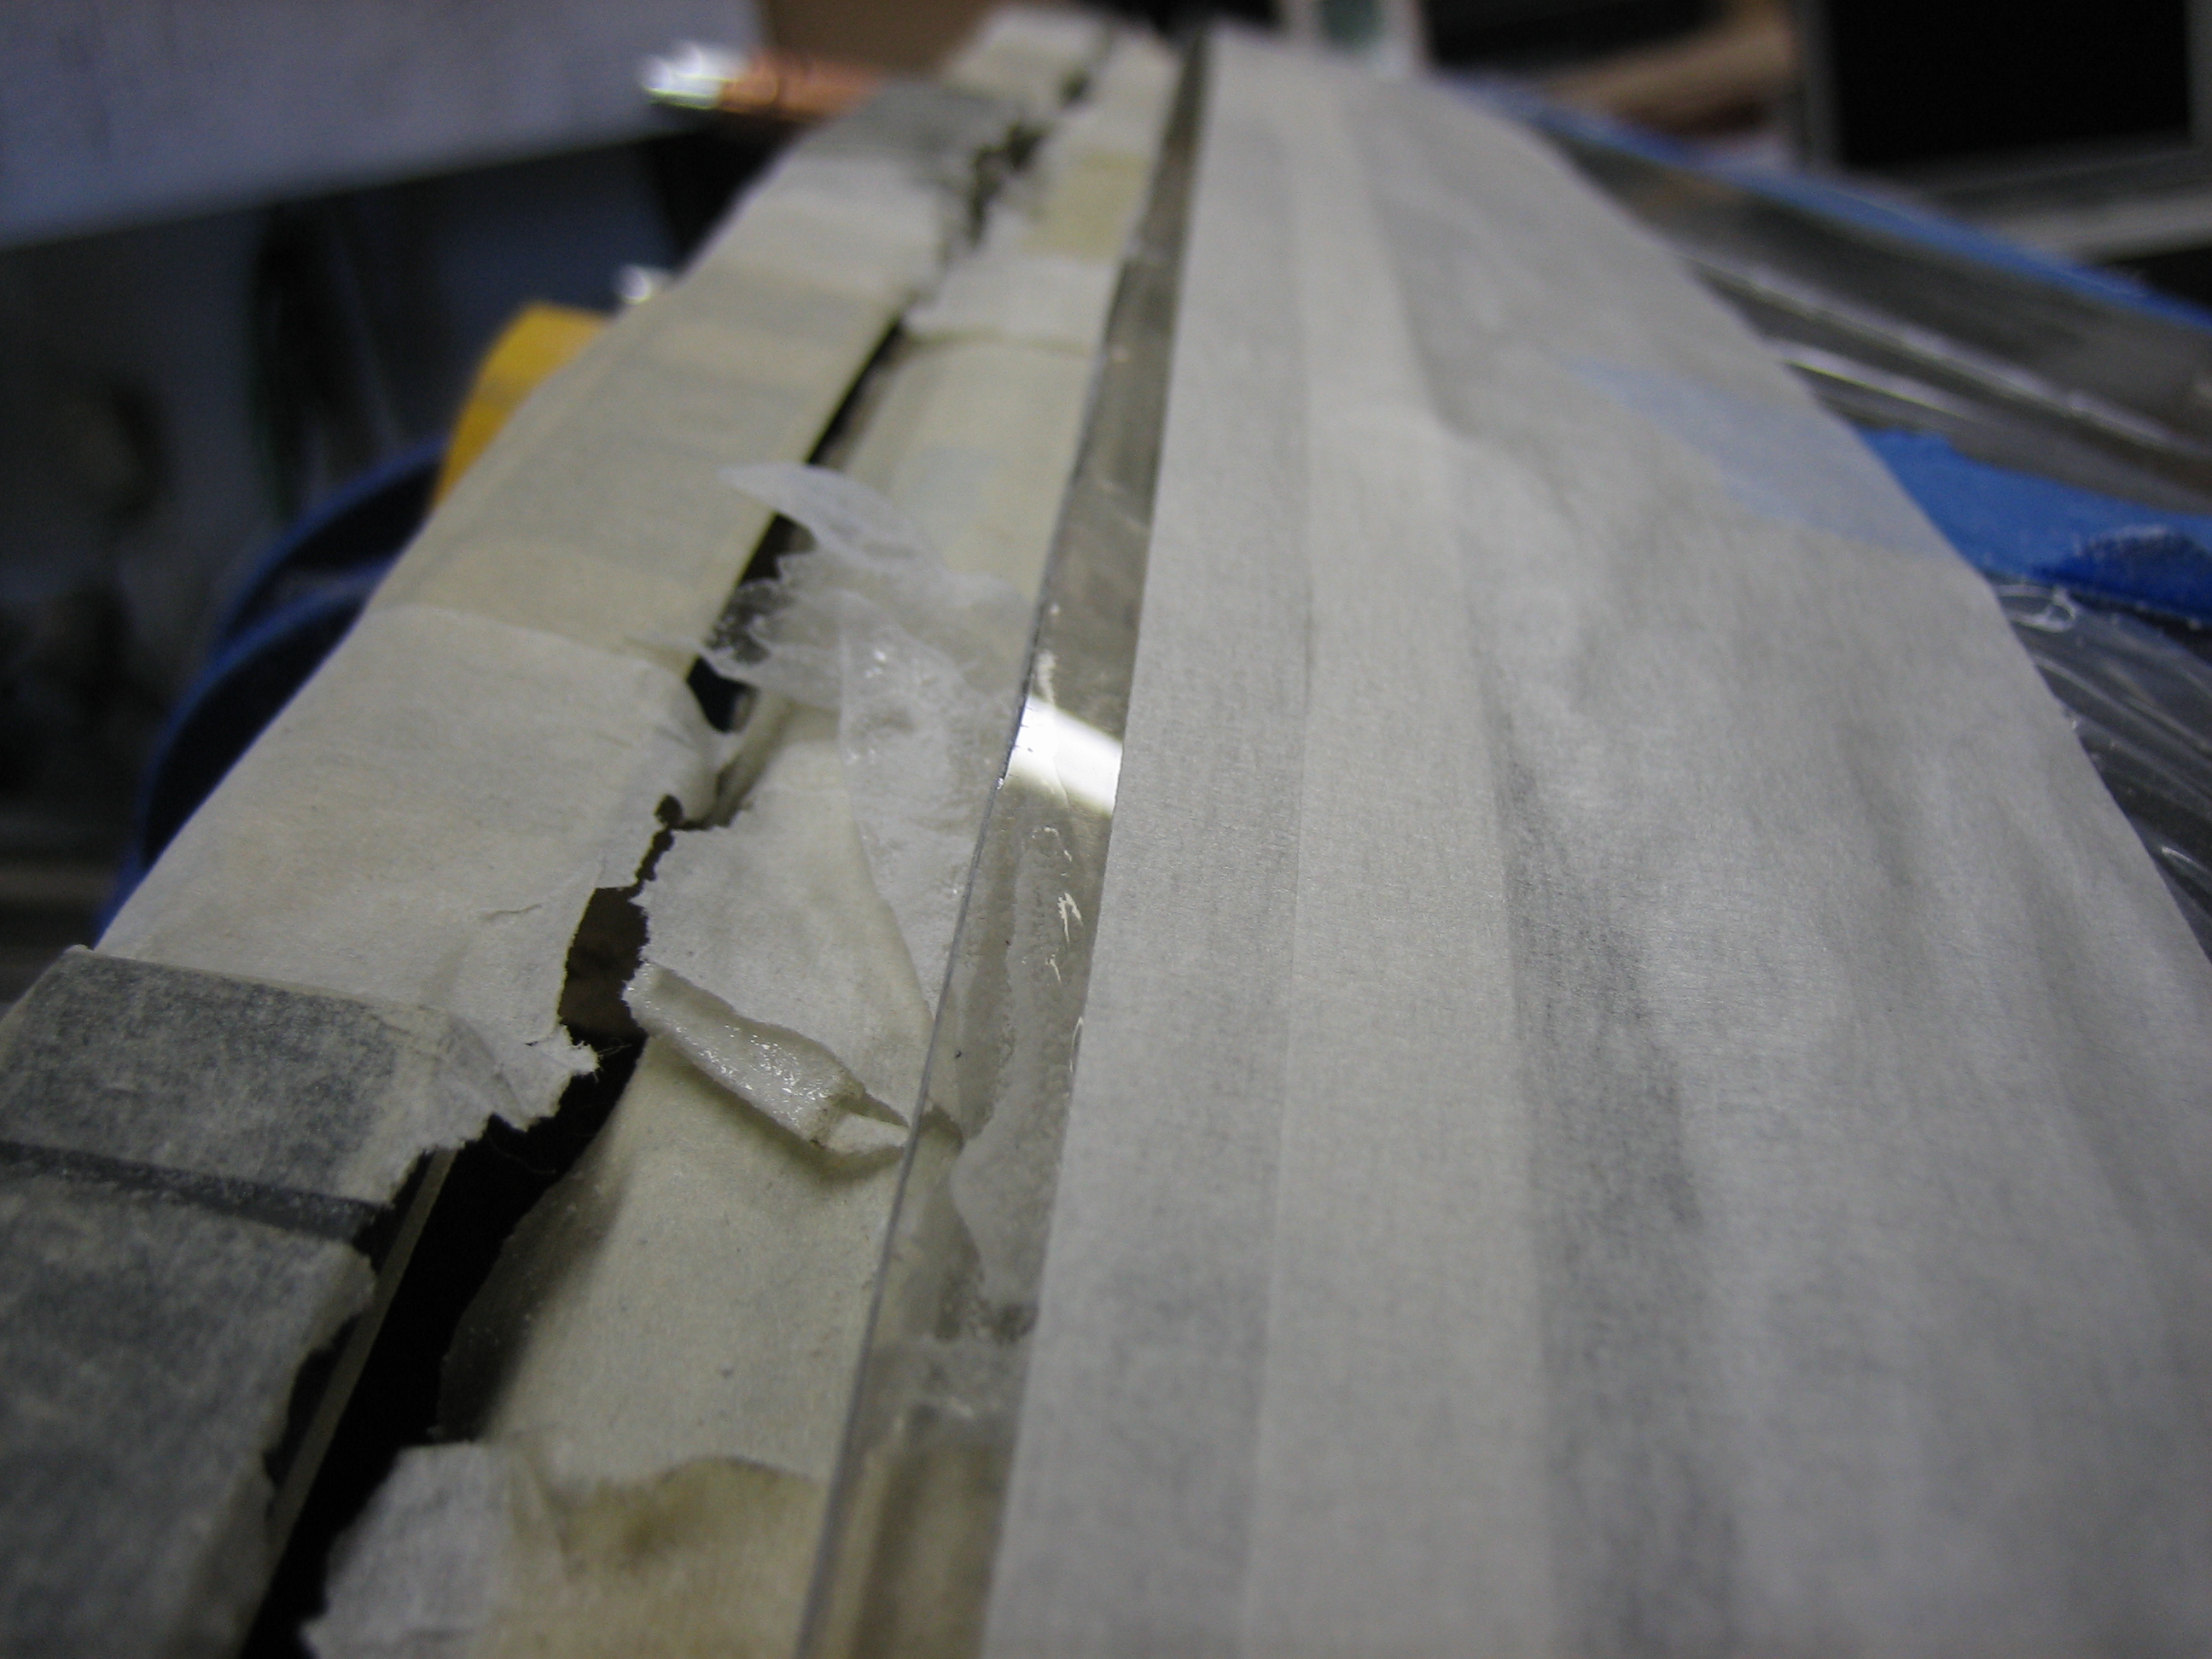
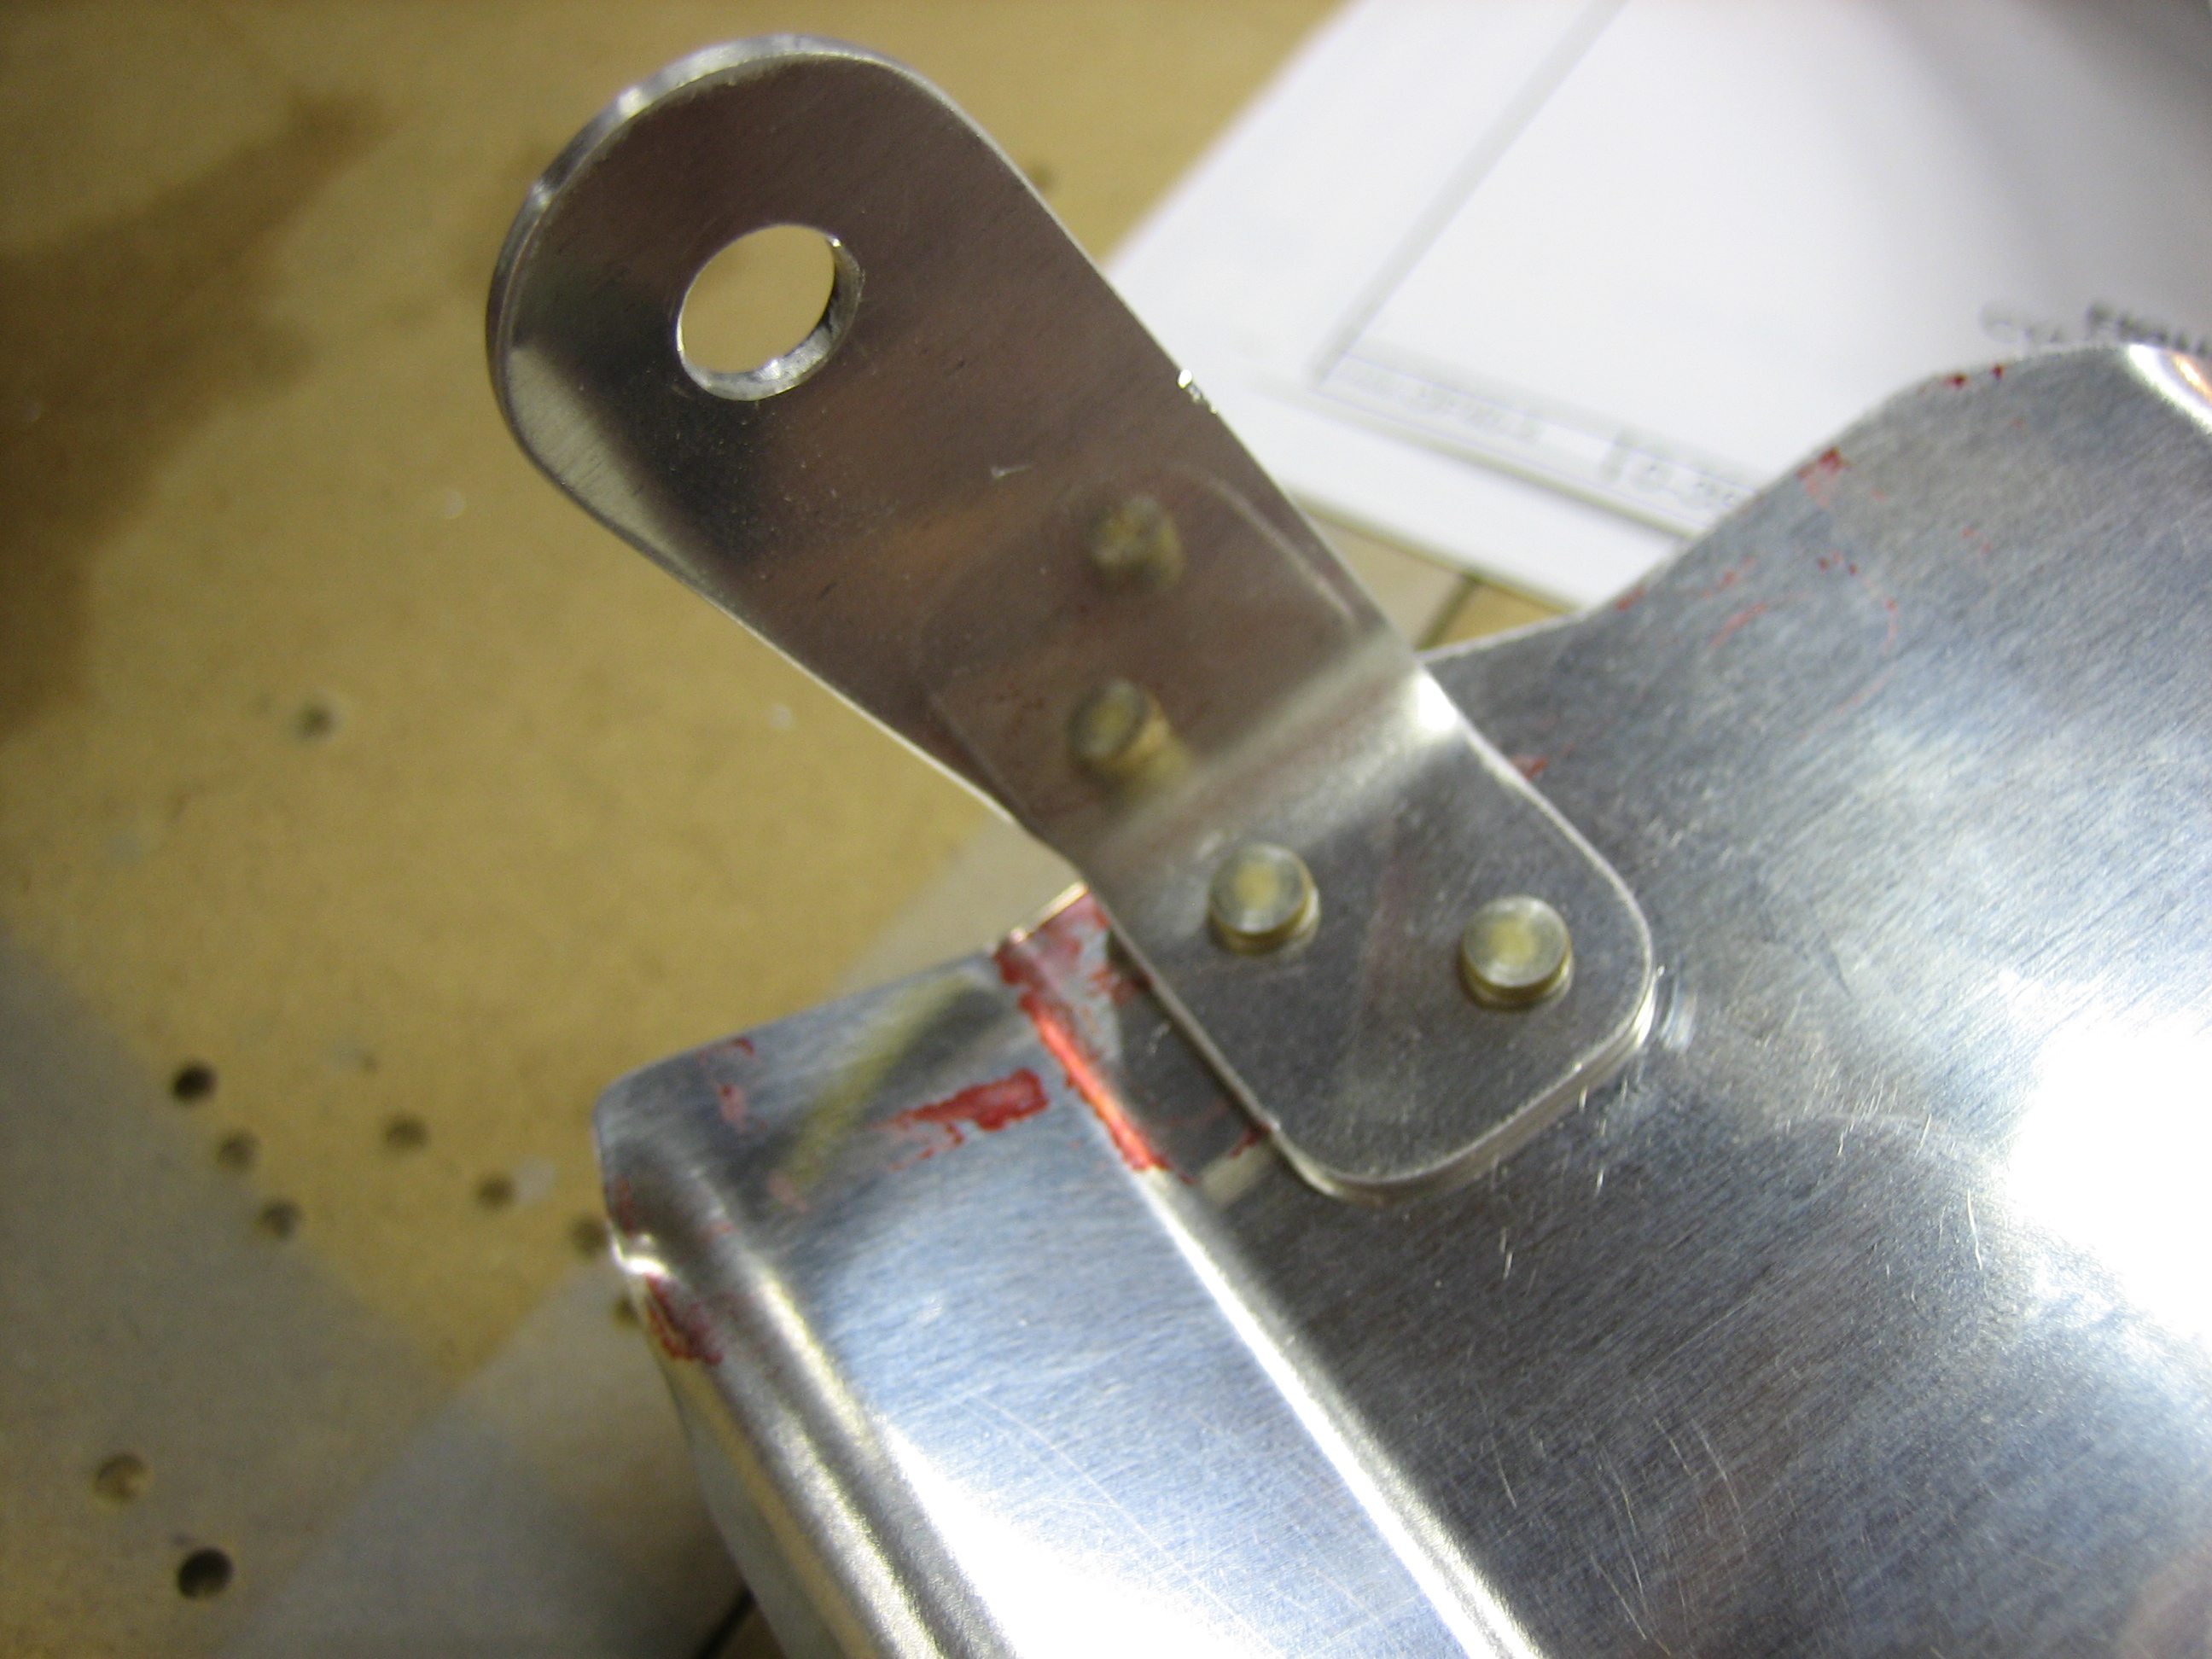
And here are the pieces that make up the left side wall.  You can see here that small doublers are riveted on where the screws attach the baffles to the cylinders.

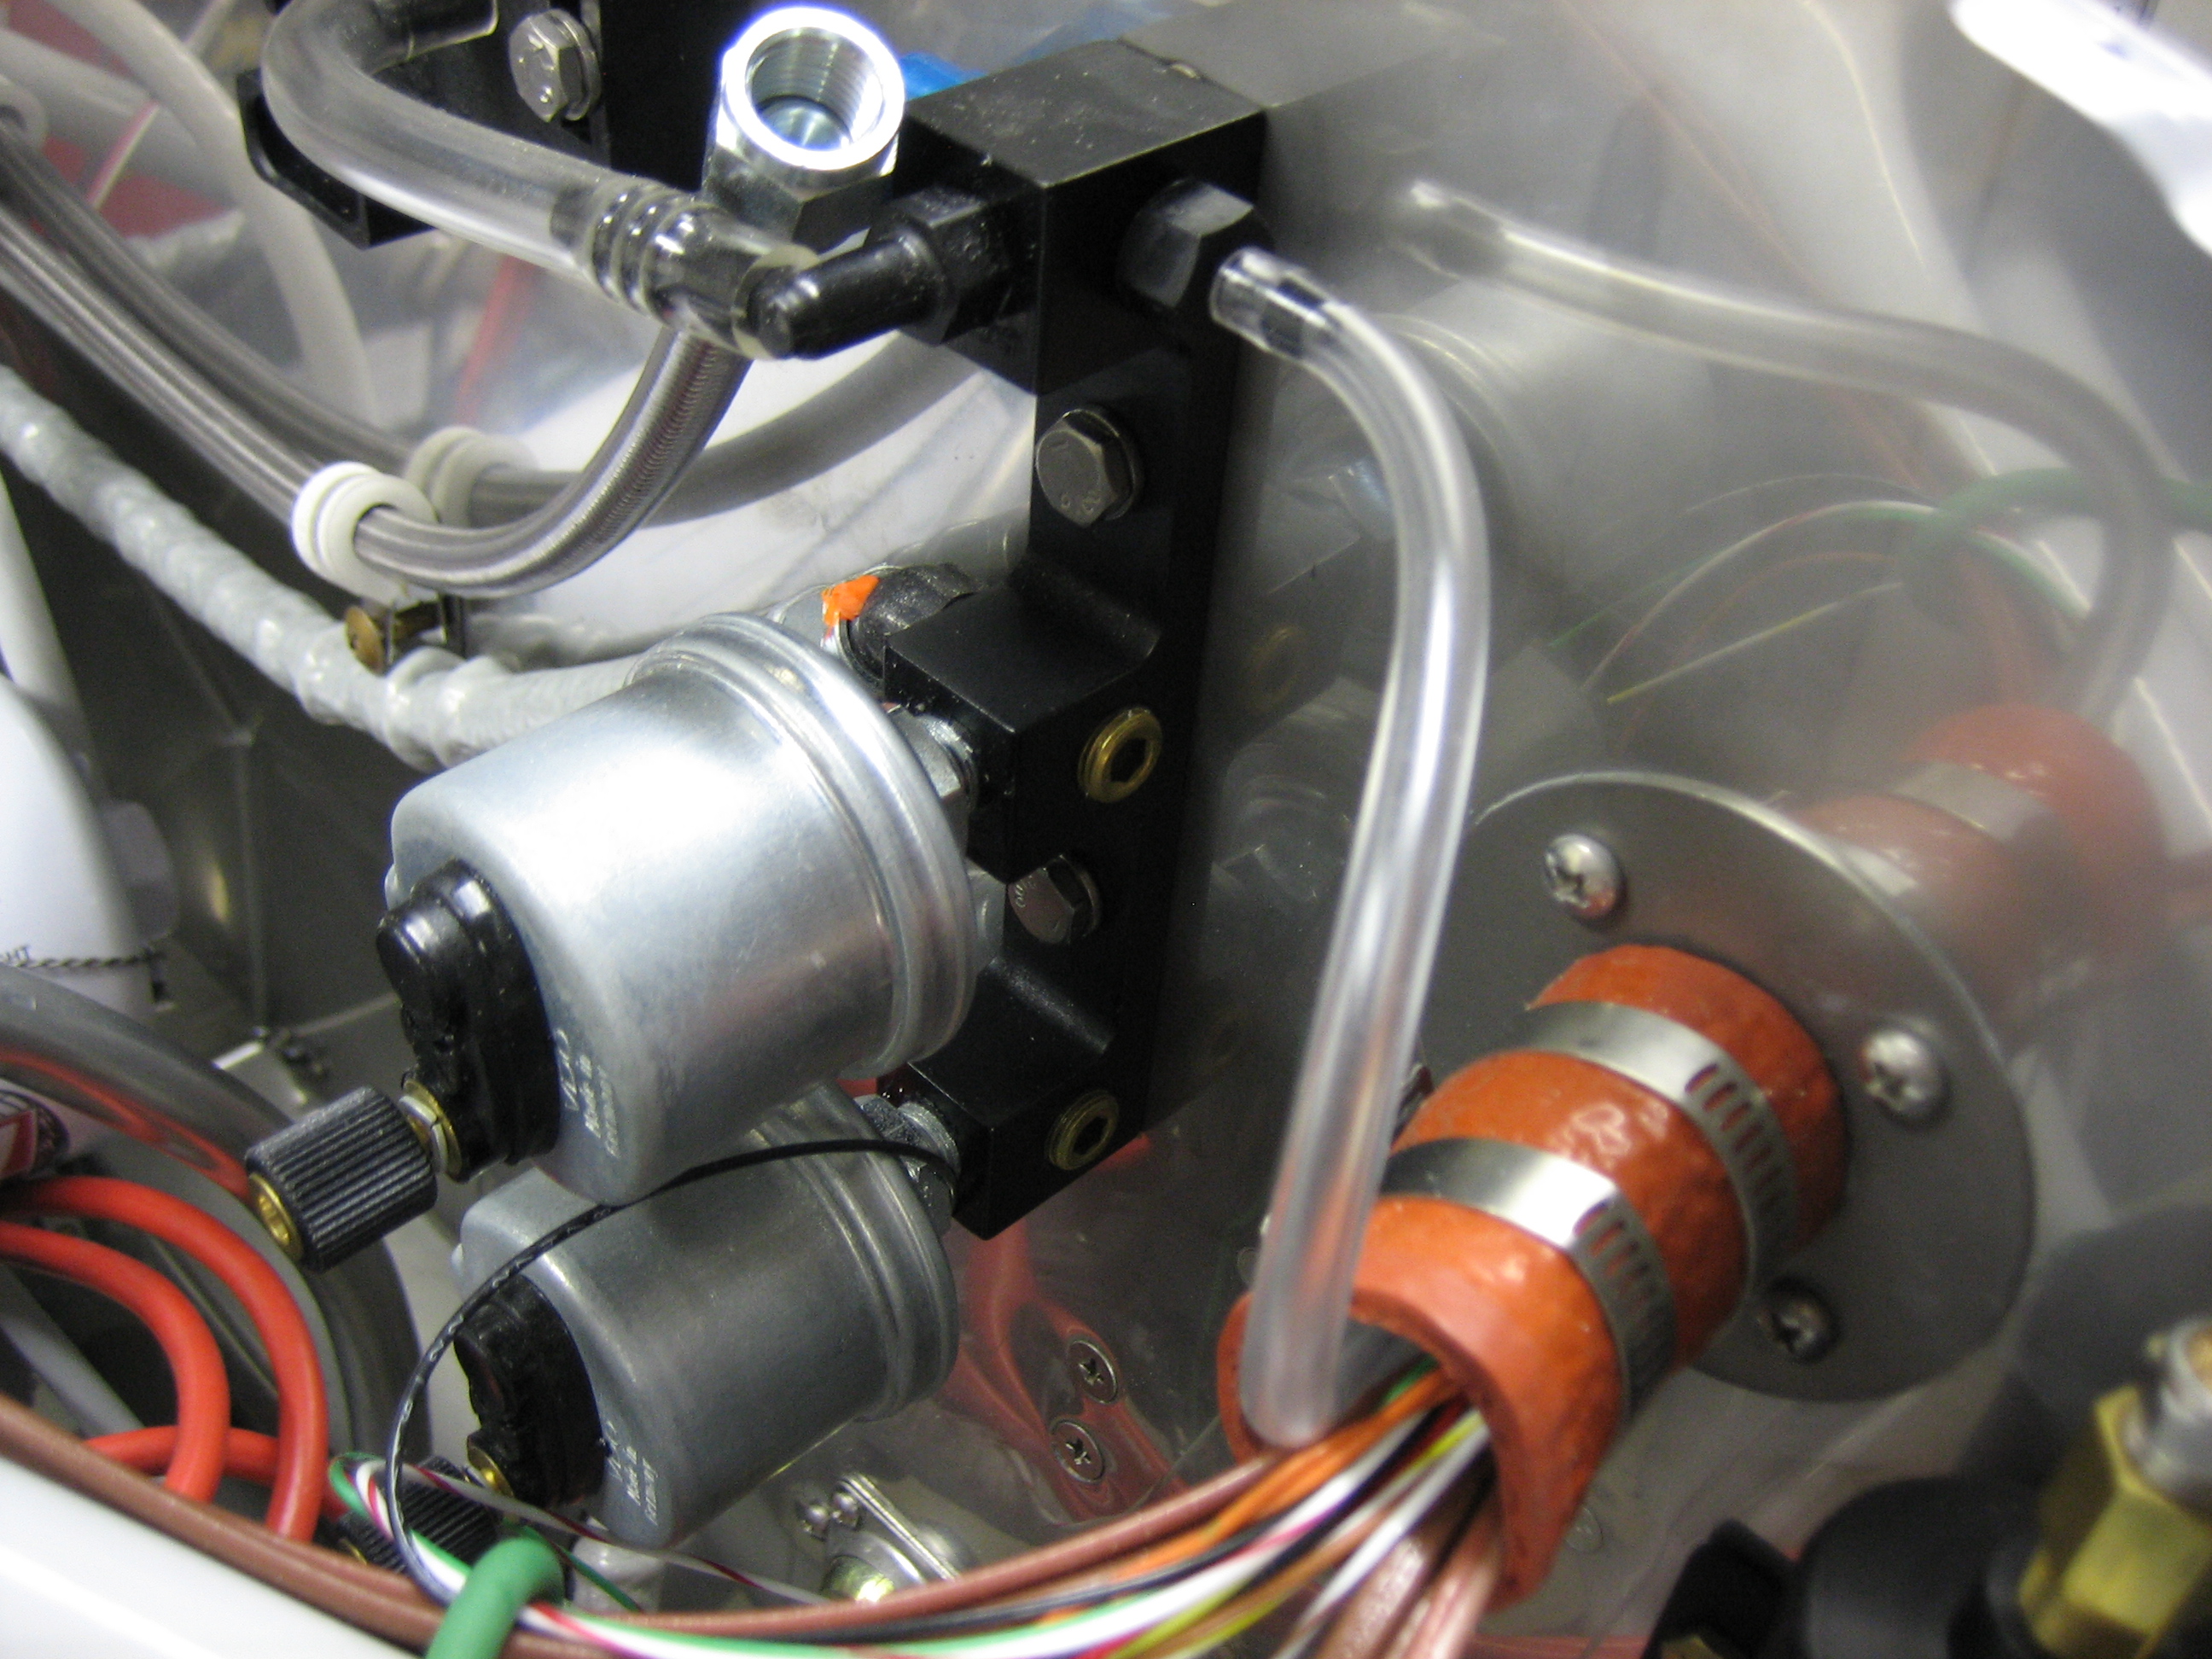
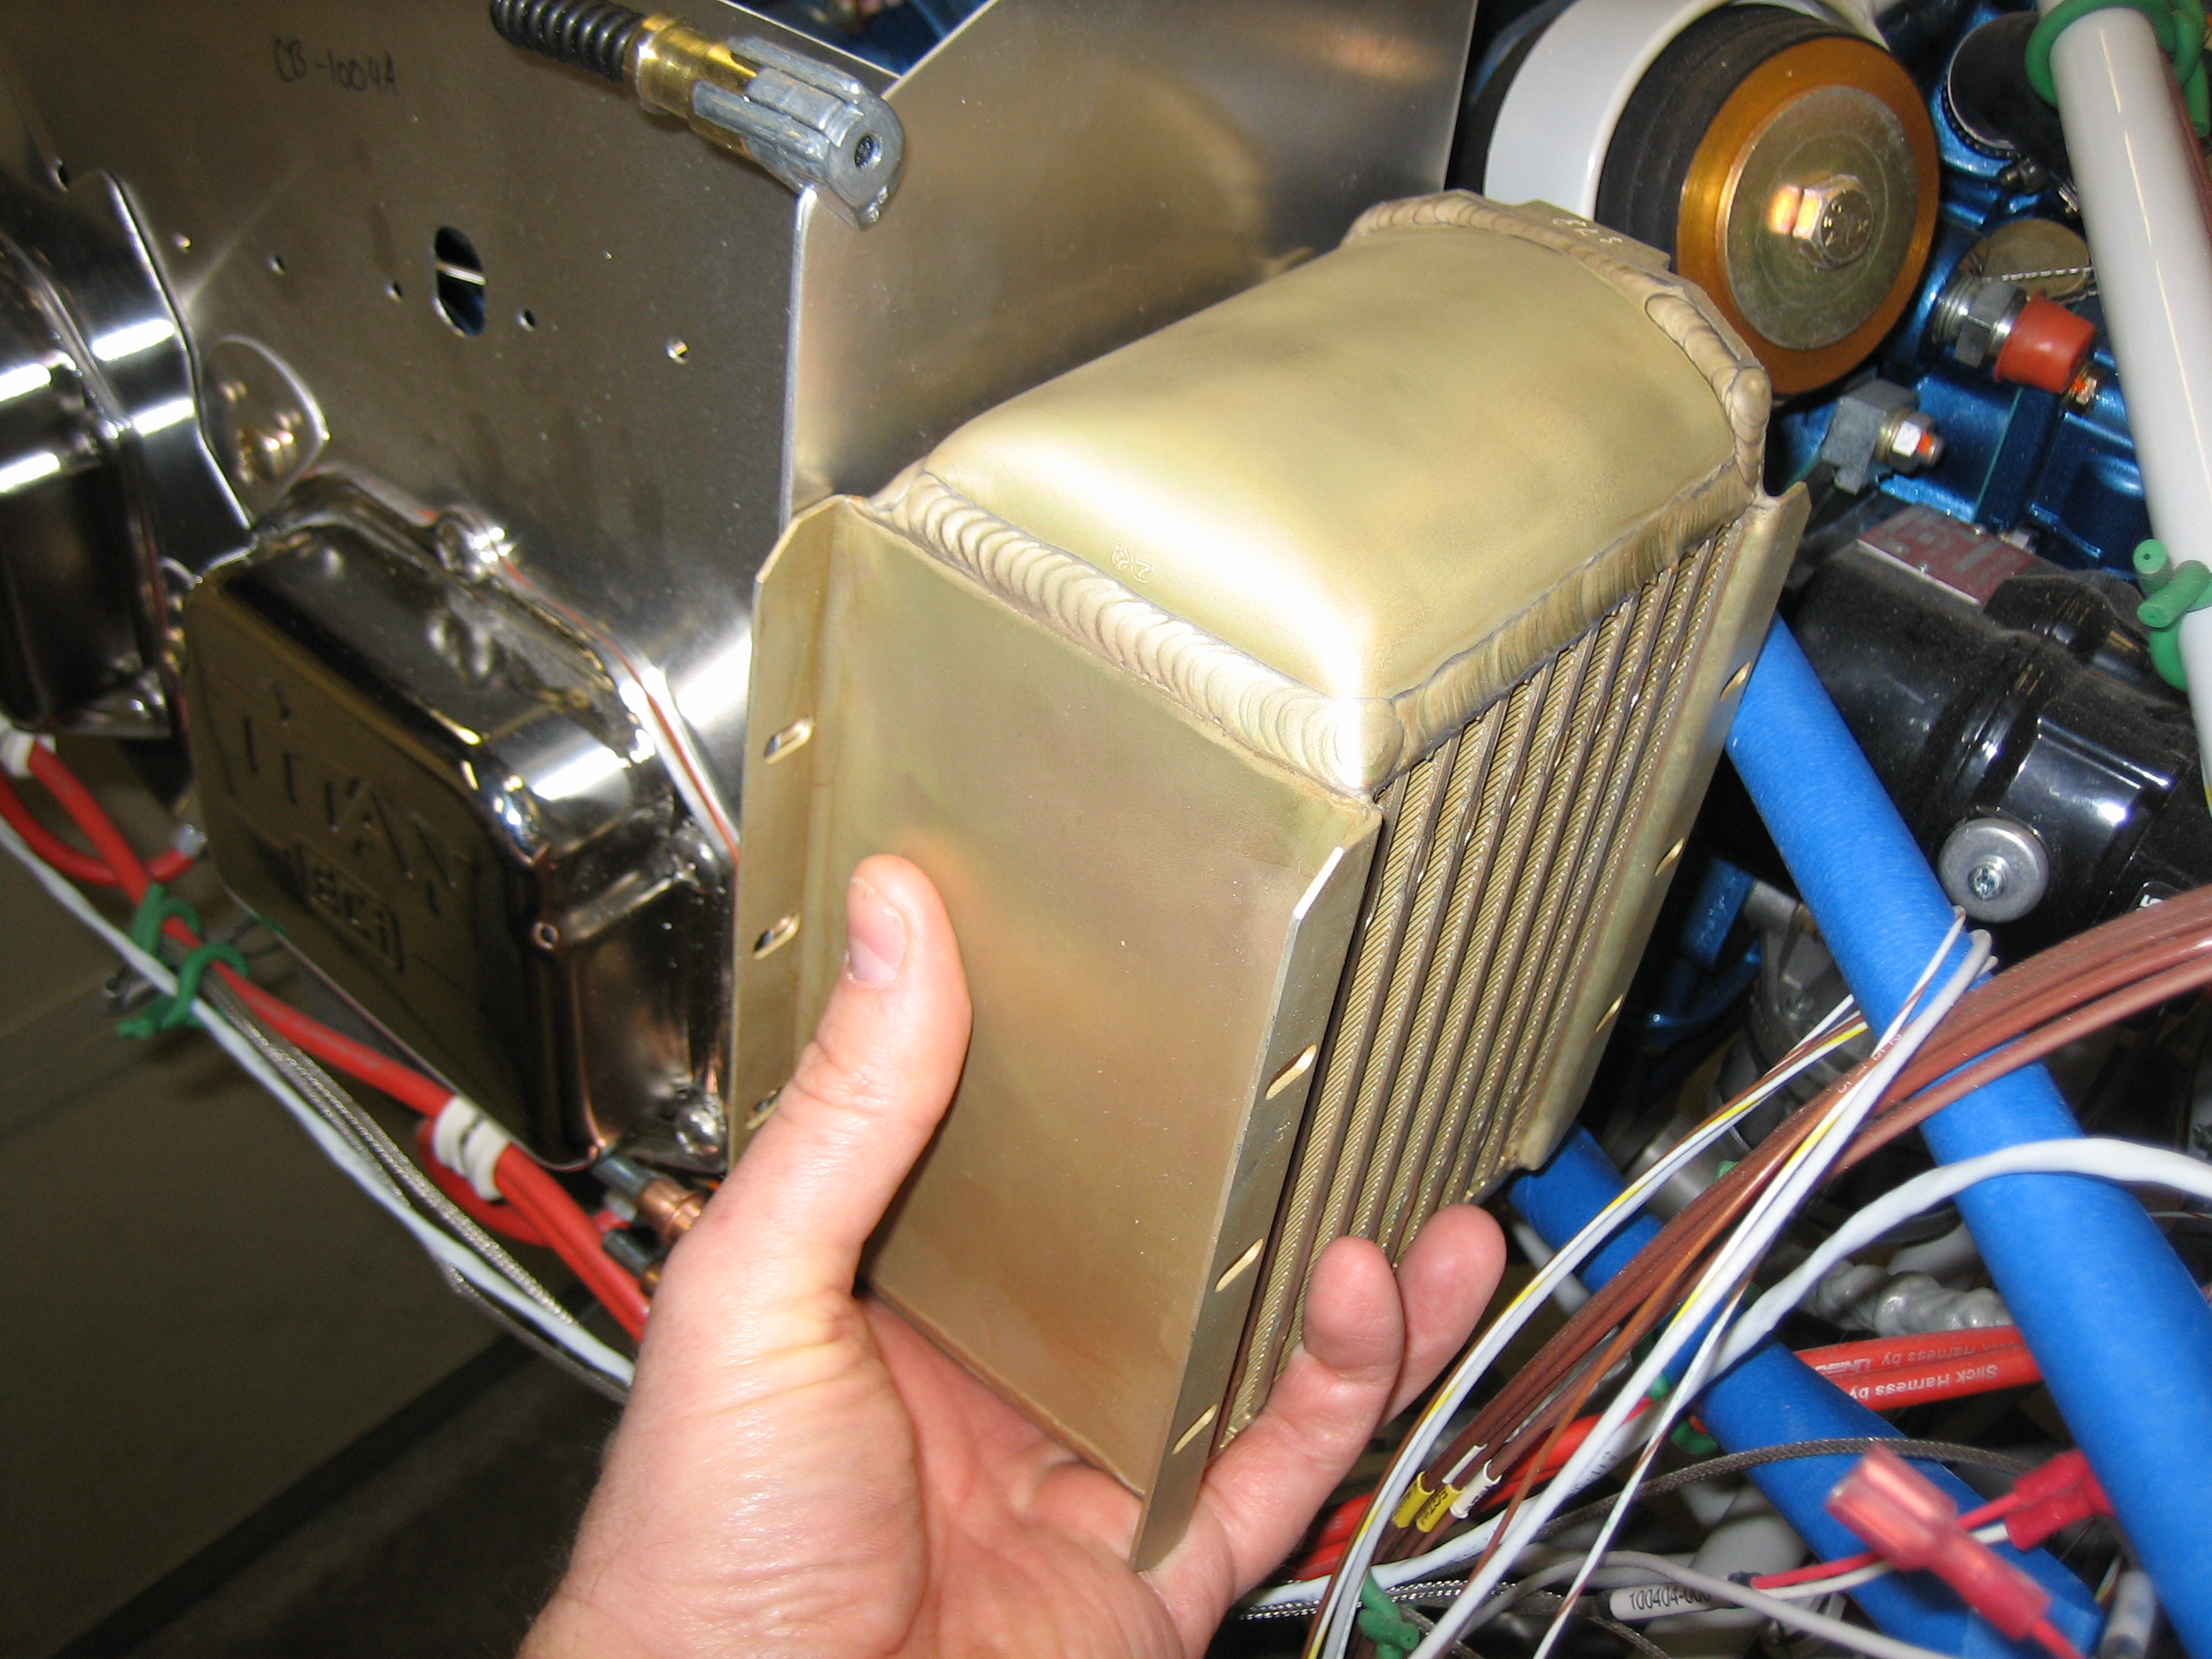
Here’s roughly where the oil cooler will be mounted.  Since I’ve installed an IO-375, Bart at Aerosport recommended I install the Stewart Warner 10599R instead of the more common 8432R.  This is over 1″ wider than the 8432, so the fit is snug.  Even with the oil cooler touching the engine mount (I will eventually cut away a notch to give some clearance), the flange sticks past the edge of the baffles.

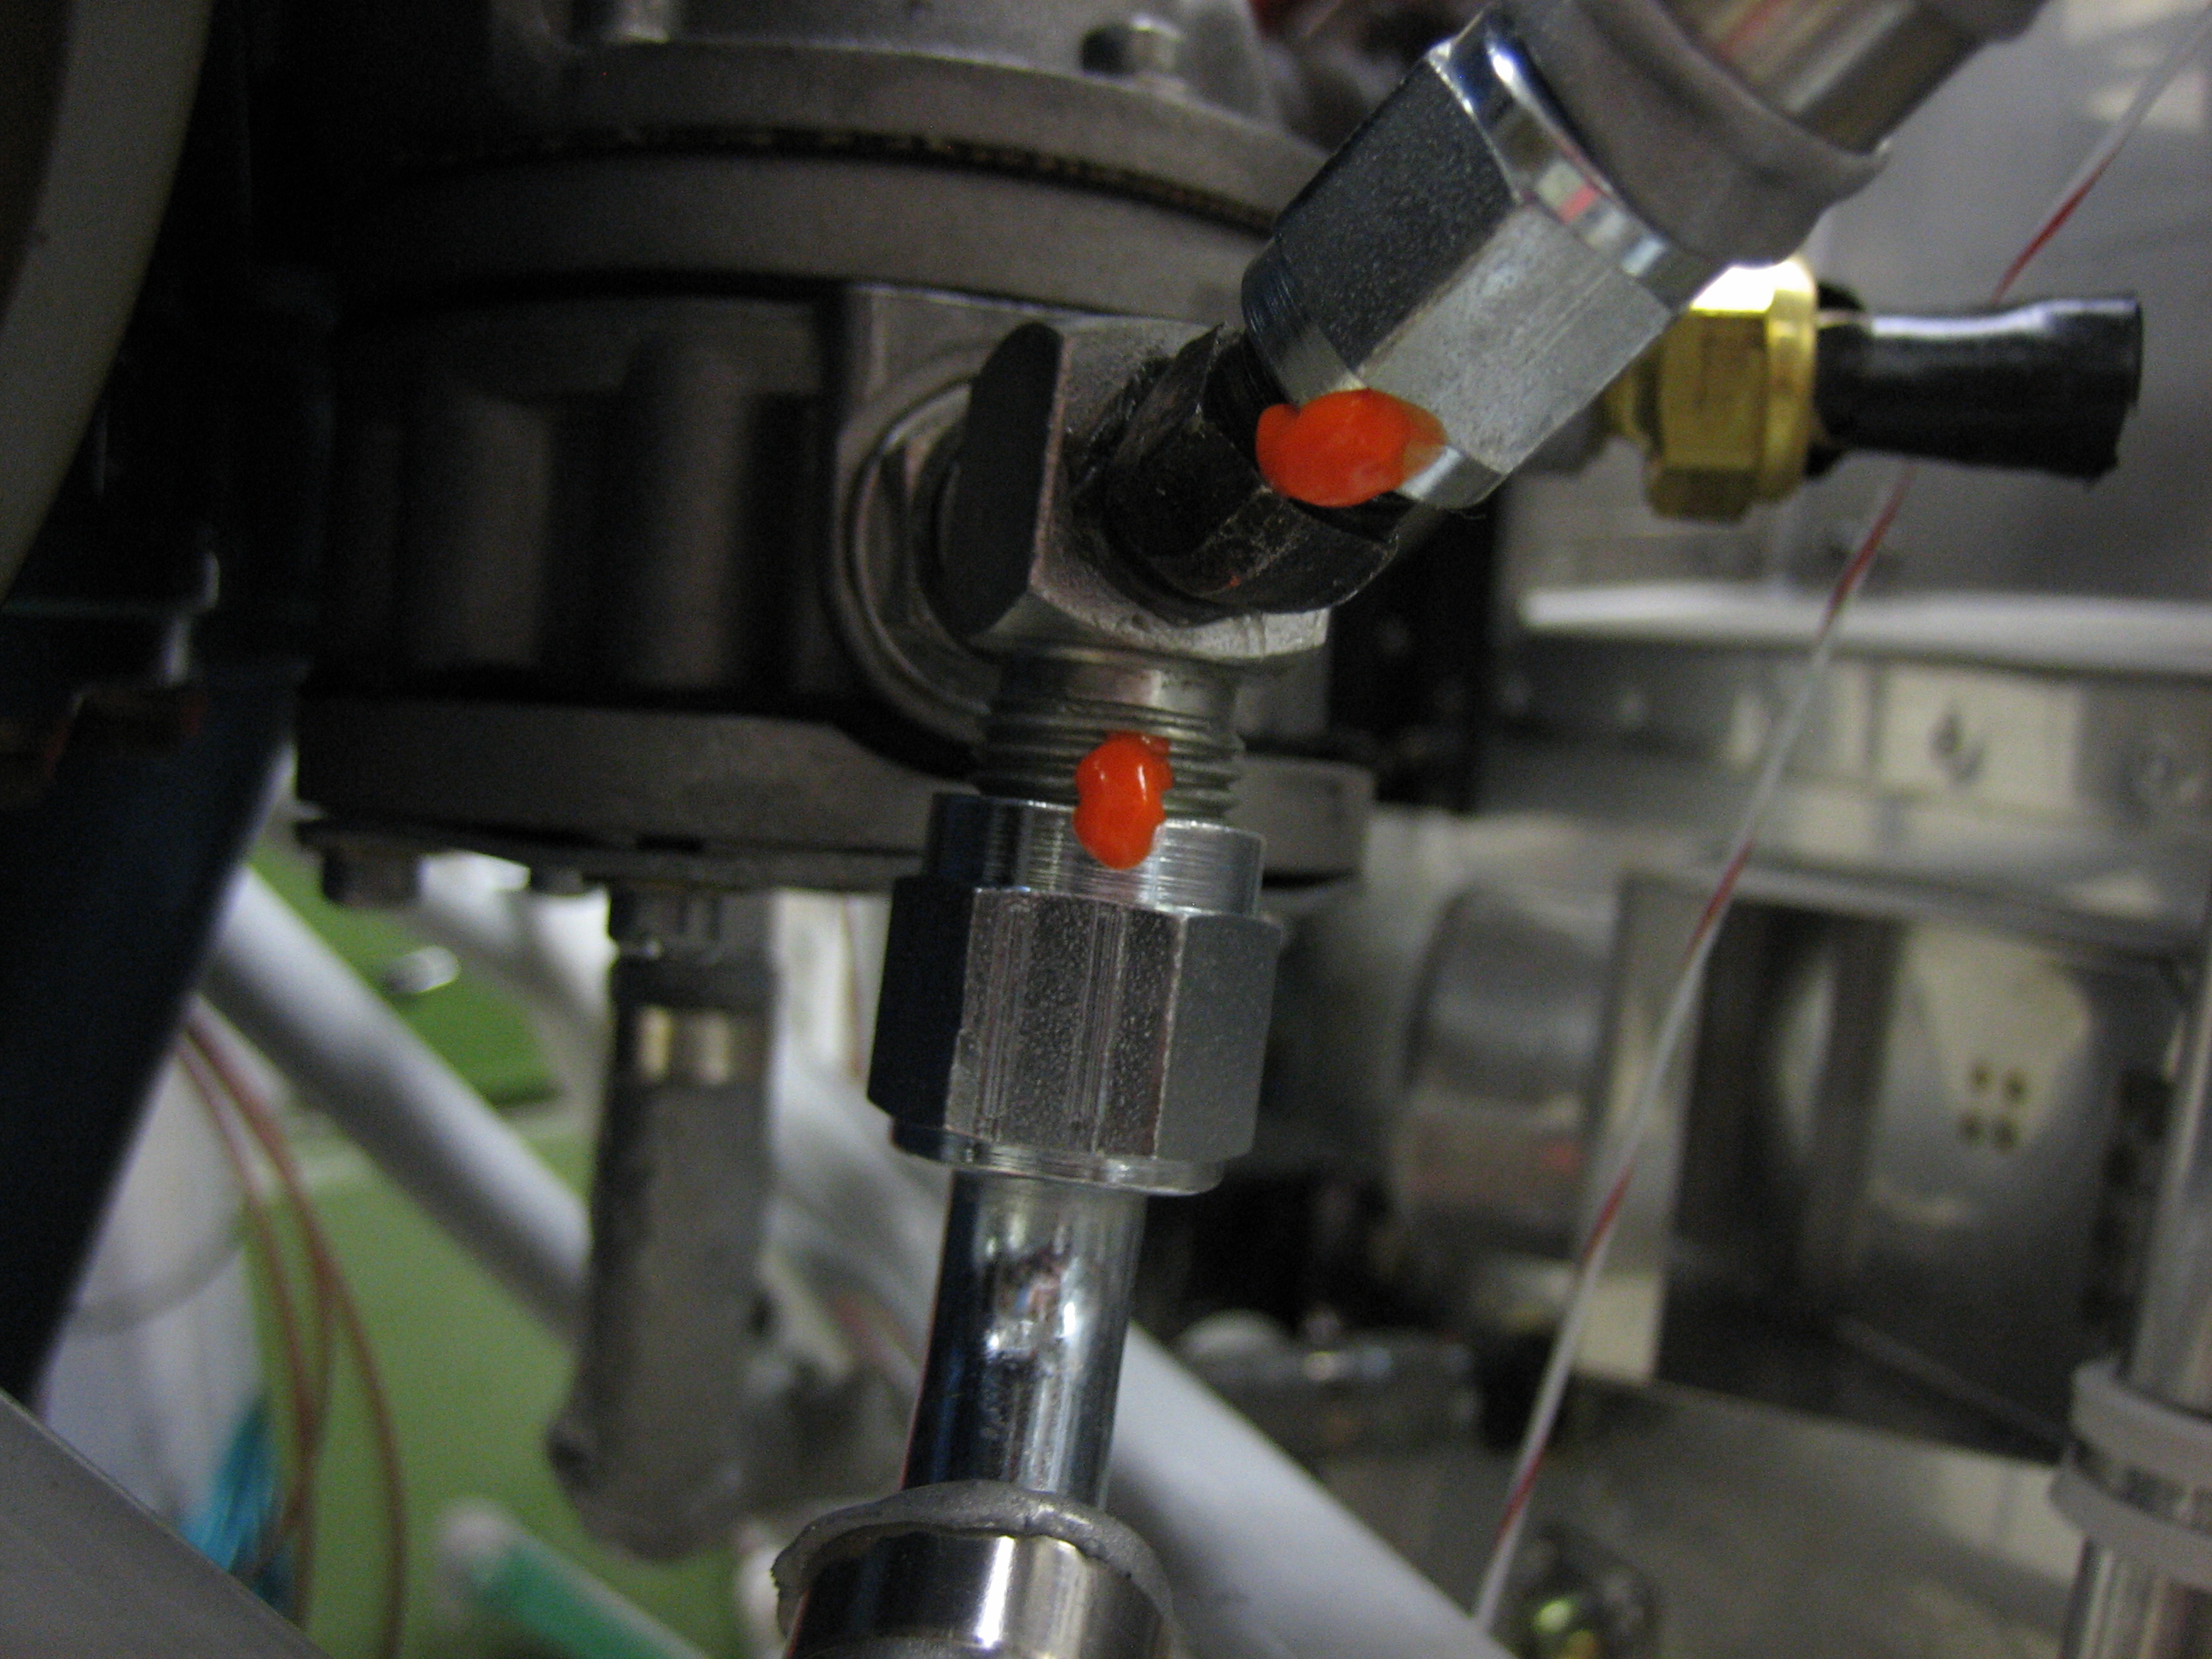
Here’s a look from the front side showing that the mounting holes in the oil cooler stick past the edge of the baffles.  I will need to fabricate a mounting bracket to support this.  I’m not ready to do anything on it yet though since the plans recommend waiting until the baffle seals are installed and then positioning the oil cooler as high as possible.  There is also still a small chance that I’ll mount the oil cooler on the firewall.

Finished Cutting Rear Window

I finally finished the bathroom remodel, so I can get back to the plane.  When I left off, I had marked but not trimmed the front edge of the rear window.  I broke out the cutting wheel and pretty quickly trimmed this off.

Despite being only 60º in the garage, undeburred plexiglass is still ridiculously flexible.

Now that the holes are drilled, I laid out a line 5/16″ behind the holes and trimmed the aft edge of the rear window as well.  The cutting wheel is officially retired!  There will be some minor fitting left to do, but I’ll do all of that with the belt sander.

More Work on Baffles

I drilled and riveted on a support brace to the right aft wall.  It was a mistake to rivet this on now as it makes installing the right aft wall very difficult.  Since this wall has to go on and off a bunch of times before it’s on for good, I’m going to drill this brace out.

I drilled the vent attach flange.  This is not the cheesy one that comes in the kit.  Instead, I purchased a single piece flange from Aircraft Spruce.  The hole pattern for the included flange doesn’t work, but this will cover the existing holes, so I just drilled four new ones.

Here’s the crappy little flange that’s included in the kit.  Everyone says these break eventually, so I’m just going to send it back.

I also fit the vent screen.  This will keep bugs and other shit from getting blown into the cabin.