Trimmed Canopy, Started Canopy Frame Reinforcement

Before work, I sanded back the canopy so that it didn’t hit the joggle.  The canopy can now be pulled down tight against the frame.  Now that the canopy is sitting down all the way, the sides will need a minor trim, but I’m going to hold off on that for the moment.

Before doing the final trimming on the canopy and drilling it to the frame, I want to finish up the canopy frame so that everything will be in precisely it’s final position.  First up is to prep the canopy frame reinforcement.  These pieces further tie the forward canopy frame channel to the top skin and make the frame far more rigid.  I spent about an hour deburring these.  There are a ton of nooks and crannies.

The holes need to have flanges to stiffen them.  Following the advice of several builders, I quickly fabricated this little tool out of some scrap angle and the rollers from the Avery hand rolling tool.

I bent the flanges in one of the pieces.  This was pretty hard on my hands, so I stopped after the first piece.  I’ll finish these up tomorrow and then start trying to fit them to the frame.  It’s really amazing how much these flanges stiffen these pieces.

Worked on Canopy Frame Reinforcement

I finished flanging the lightening holes and then fit the center reinforcement and drilled it to the forward channel.  The rear flange won’t be drilled to the skin until the frame is clamped back to the fuselage.

The side reinforcements are much trickier.  The flanges placed around the holes severely distort them, and it takes quite a while to bend them even close to the final shape.

After much fiddling, I drilled the forward flanges to the channel.  I then tweaked the aft flanges so they lay flat against the skin.  I need to do a little trimming along the inner edge (along the black line that’s partly visible on the left) to provide some clearance from the hinge supports.  The reinforcements needed to be shifted inward so that one hole that’s shared with existing structure will have sufficient edge distance.

More Work on Canopy Frame Reinforcement

I finished drilling the canopy frame reinforcement pieces to the forward channel.

Six little clips need to be fabricated from some 0.032″ stock.  I cut pieces out slightly oversized using snips then stacked and drilled them.  Using some clecoes to keep them aligned, I then sanded them so they were uniform and rounded the ends.

After individually touching them up on the scotchbrite wheel, they’re ready for attachment to the canopy reinforcement pieces.

I clamped them in place and drilled one side of each piece.  I’ll drill the other side once the canopy frame is square.

I put the canopy frame back on the fuselage so that it’s locked in its final position.  I then clamped a piece of scrap wood across the top skin to keep it flat while drilling the aft flanges of the reinforcements.

Here you can see that the other side of the clamp is holding another piece of scrap wood that is keeping the center reinforcement piece tight against the skin.  Without this clamped, it’s hard to know how hard to push up on the reinforcement while drilling.  Too hard, and the top skin will bow upward.

Here you can see that the entire aft flange of the reinforcement pieces have been drilled (the center lateral row of clecoes.  The only thing left is a couple of the end flanges that still only have one hole.

I’m not sure why I took this, but here’s the inside.

Finished Drilling Canopy Frame, Started Strut Mounts

I finished drilling the end flanges of the reinforcement pieces and then disassembled the frame.  My buddy Andre stopped by and got most of this deburred.

While he was working on that, I fabricated the forward strut mounting points from bar stock.  Somehow the center holes ended up drilling up slightly off-center, but this won’t matter as the aft attach points can easily be adjusted to make the struts the right length.  These were surprisingly time-consuming to make since their fabricated from raw stock.  They have to be cut to length, corners rounded, holes drilled and tapped.  There’s at least an hour of work in these two pieces.

Drilled and Attached Forward Strut Mounts

I drilled the forward strut mounts to the canopy frame using a #21 bit.  I was a little worried that the bit could damage the threads I already tapped into these holes but it was a non-issue.  The shavings did clog up the threads, but running the tap back through them cleaned them up nicely and the screws still threaded in snugly.

I then clecoed the skin back on and opened the holes up to #12.

I attached the mounting blocks using some scrap bolts.  The frame will eventually get countersunk and the skin dimpled, so these will be replaced with flush head screws, but this is fine for the remainder of the fitting.

Here’s the inside of the mounting block.  The ball fitting for the strut will thread into the center hole.

Fabricated and Attached Aft Strut Mounts

Using some 1/8″ thick aluminum sheet, I fabricated the components for the aft strut mounts.  The strut ball ends mount through the large holes on the top.  The smaller pieces are spacers to keep the struts from hitting the canopy frame.

The aft mounts need to be mounted 6.125″ aft of the canopy rail split line.  I measured and laid out a mark.

I positioned the mount and used a small vise-grip clamp to clamp it to the aft canopy rail, then drilled it to the rail.  I then tried to bolt the mounts to the canopy rails while they were in place, but this proved to be too much of a pain given the limited access behind the rail.  I ended up pulling the canopy rails off to bolt these in place.

I also screwed the forward ball ends into the forward mounts.

Finally, I popped the struts in place.  This took a huge amount of force, but this is expected given that these need to lift a fairly heavy canopy with a pretty short lever arm.  The force of this strut did slightly alter the canopy position which created a tiny gap between the forward canopy skin and the forward canopy rail.  The gap is too small to do anything about though, so I’m going to leave it.

Disassembled Canopy Frame

I disassembled the canopy frame so that I can prep it for final assembly.  I can already tell that the struts push the canopy frame far enough forward that the front edge of the canopy skin will need a little more trimming to keep from interfering with the forward top skin.  This whole process has been much slower than I’d like because everything you do causes something to shift and parts have to go on and off so many times.  I’d rather take my time and hopefully end up with a canopy that fits nicely instead of trying to rush through this and end up with a sloppy fit.

Received More Hoses From Bonaco

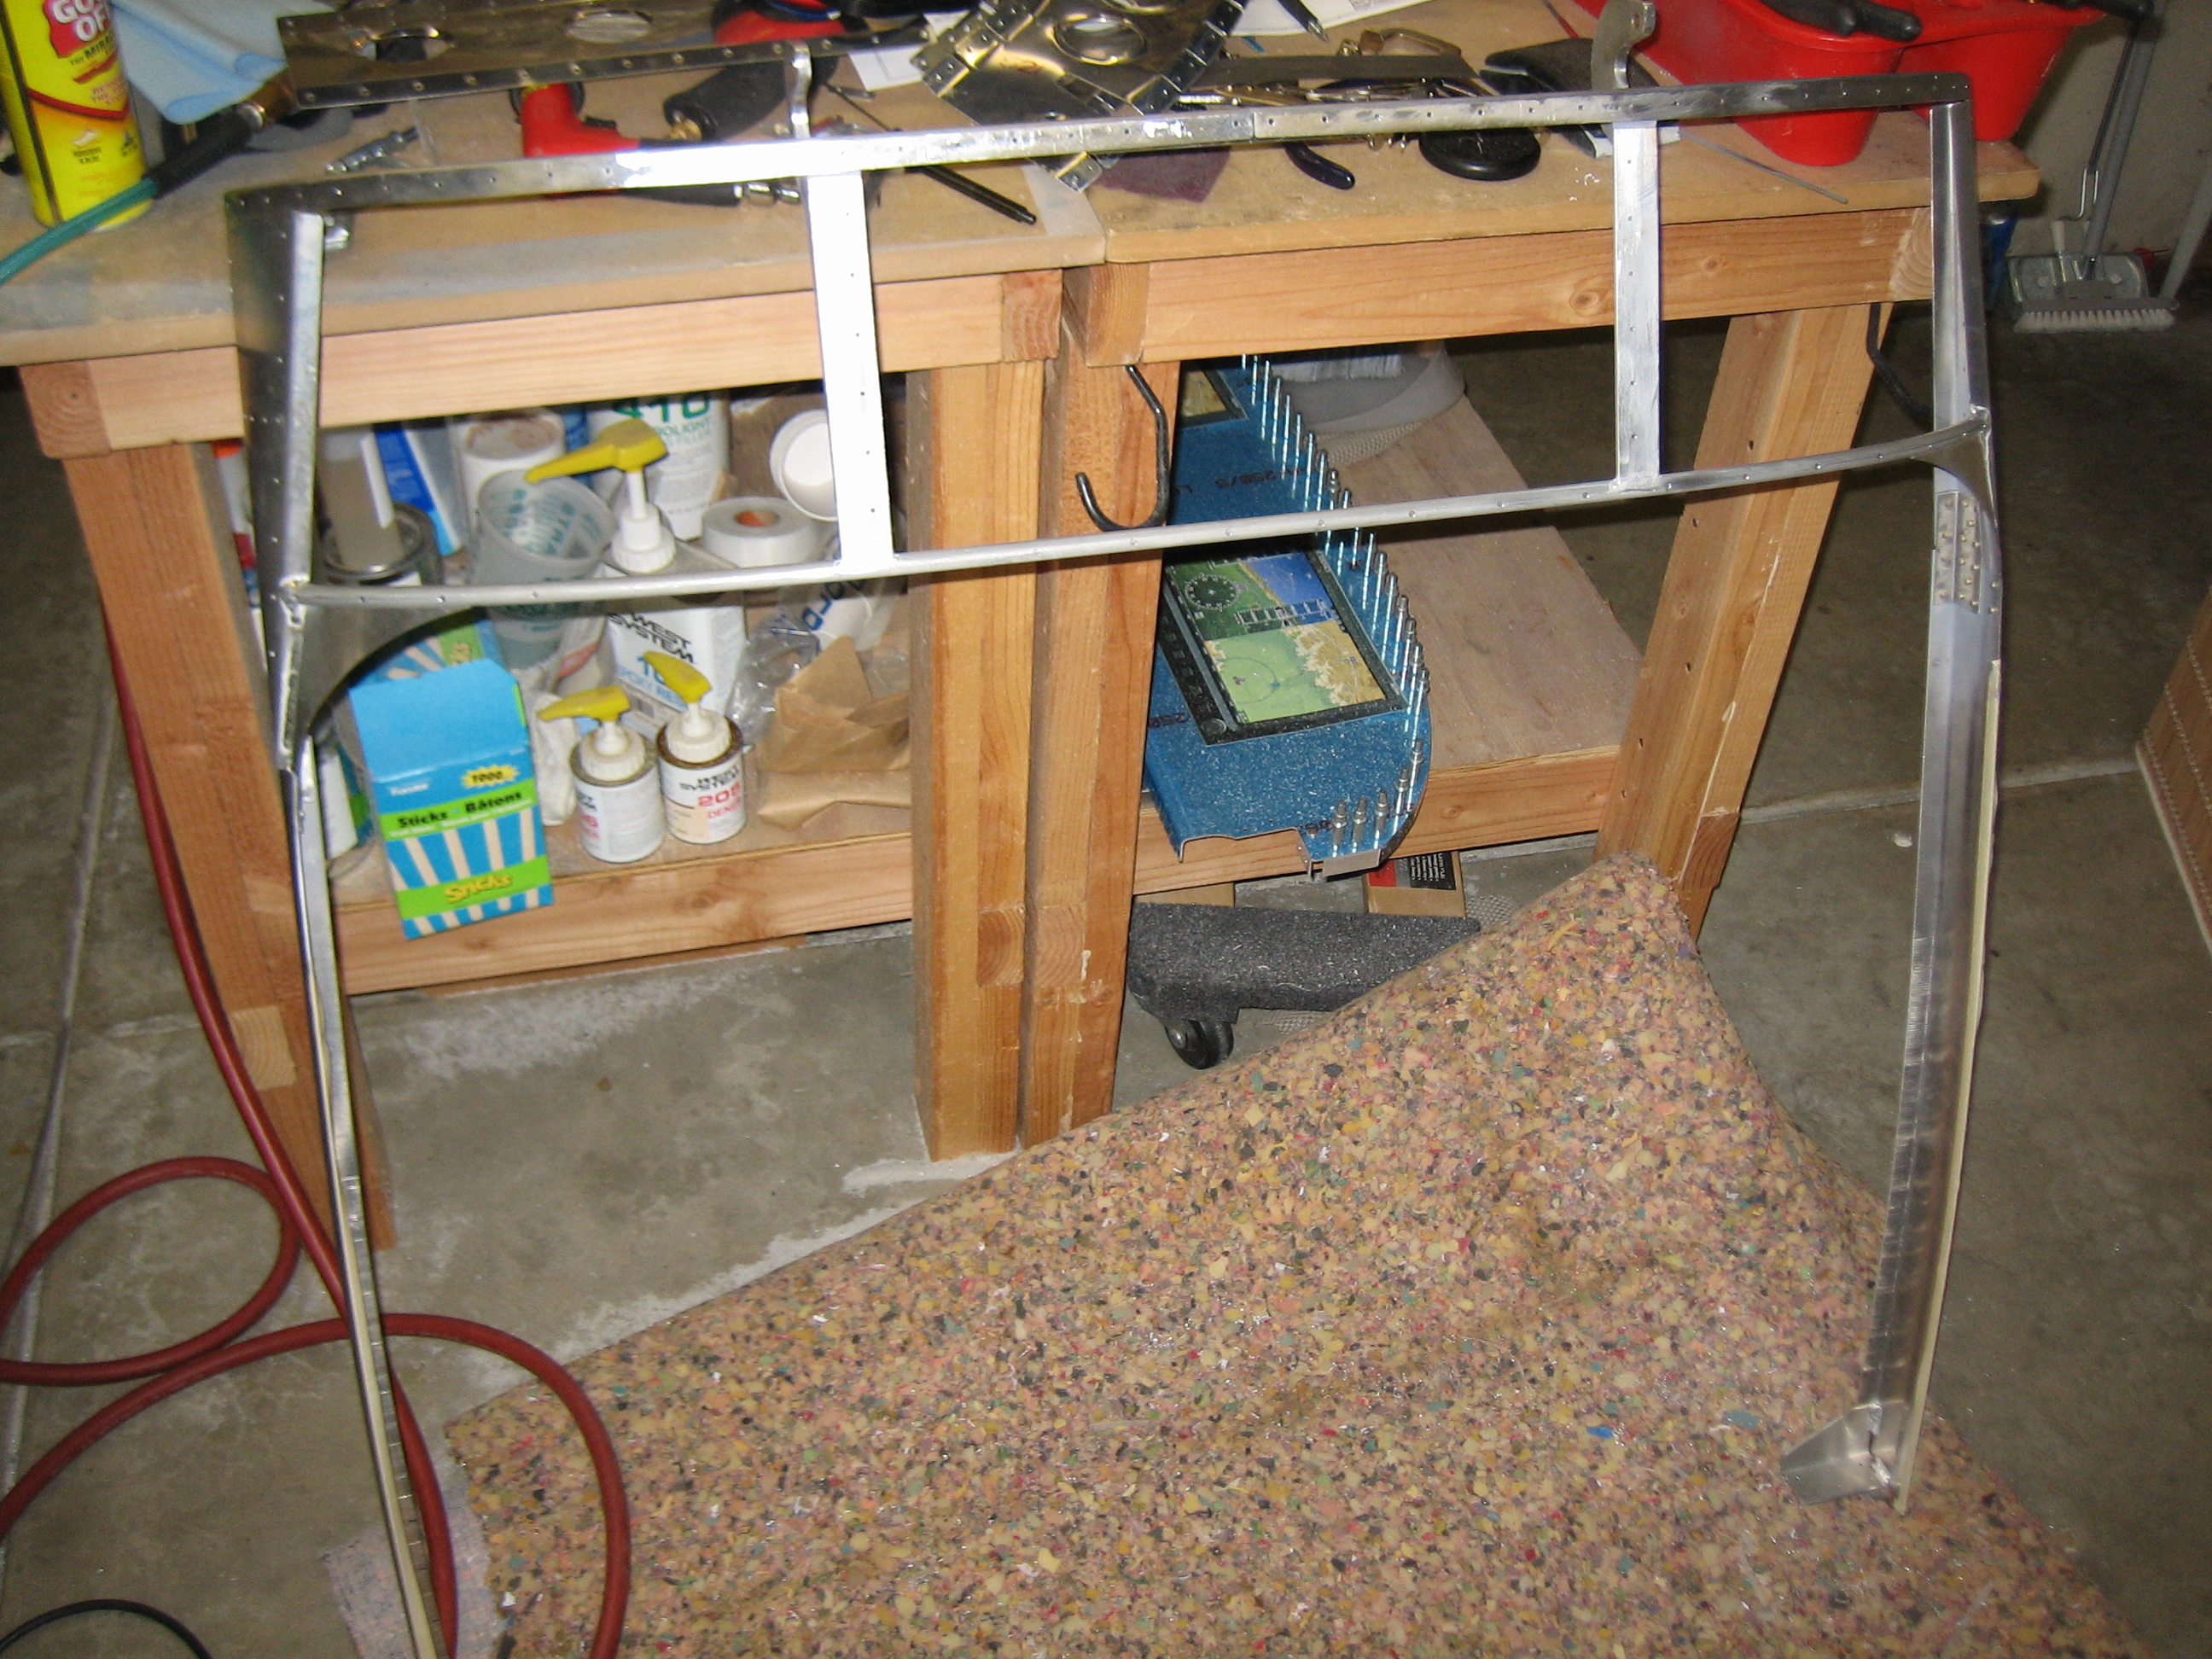
Wow, over two weeks since I’ve touched the project.  I’ve been out of town for most of that time on various trips as well as planning for our imminent bathroom remodel.  I did get some flying in though; my dad and I flew my Cardinal down to TX for a funeral.  Roughly 24 hours of flying over two days; fun, but very exhausting.

I received another shipment of hoses from Bonaco today.  I haven’t written anything about my experiences with them, but I’ve had no end of trouble getting correct hoses from them.  Brett has always been great to work with and has always corrected any problems, but I’m simply astonished at the number of problems I’ve encountered.  Not a single order has come in correct the first time, and one hose took three tries for them to make it correctly.  Brett offered the most recent batch of hoses for free in an attempt to make up for all of the problems, but even this order had problems.

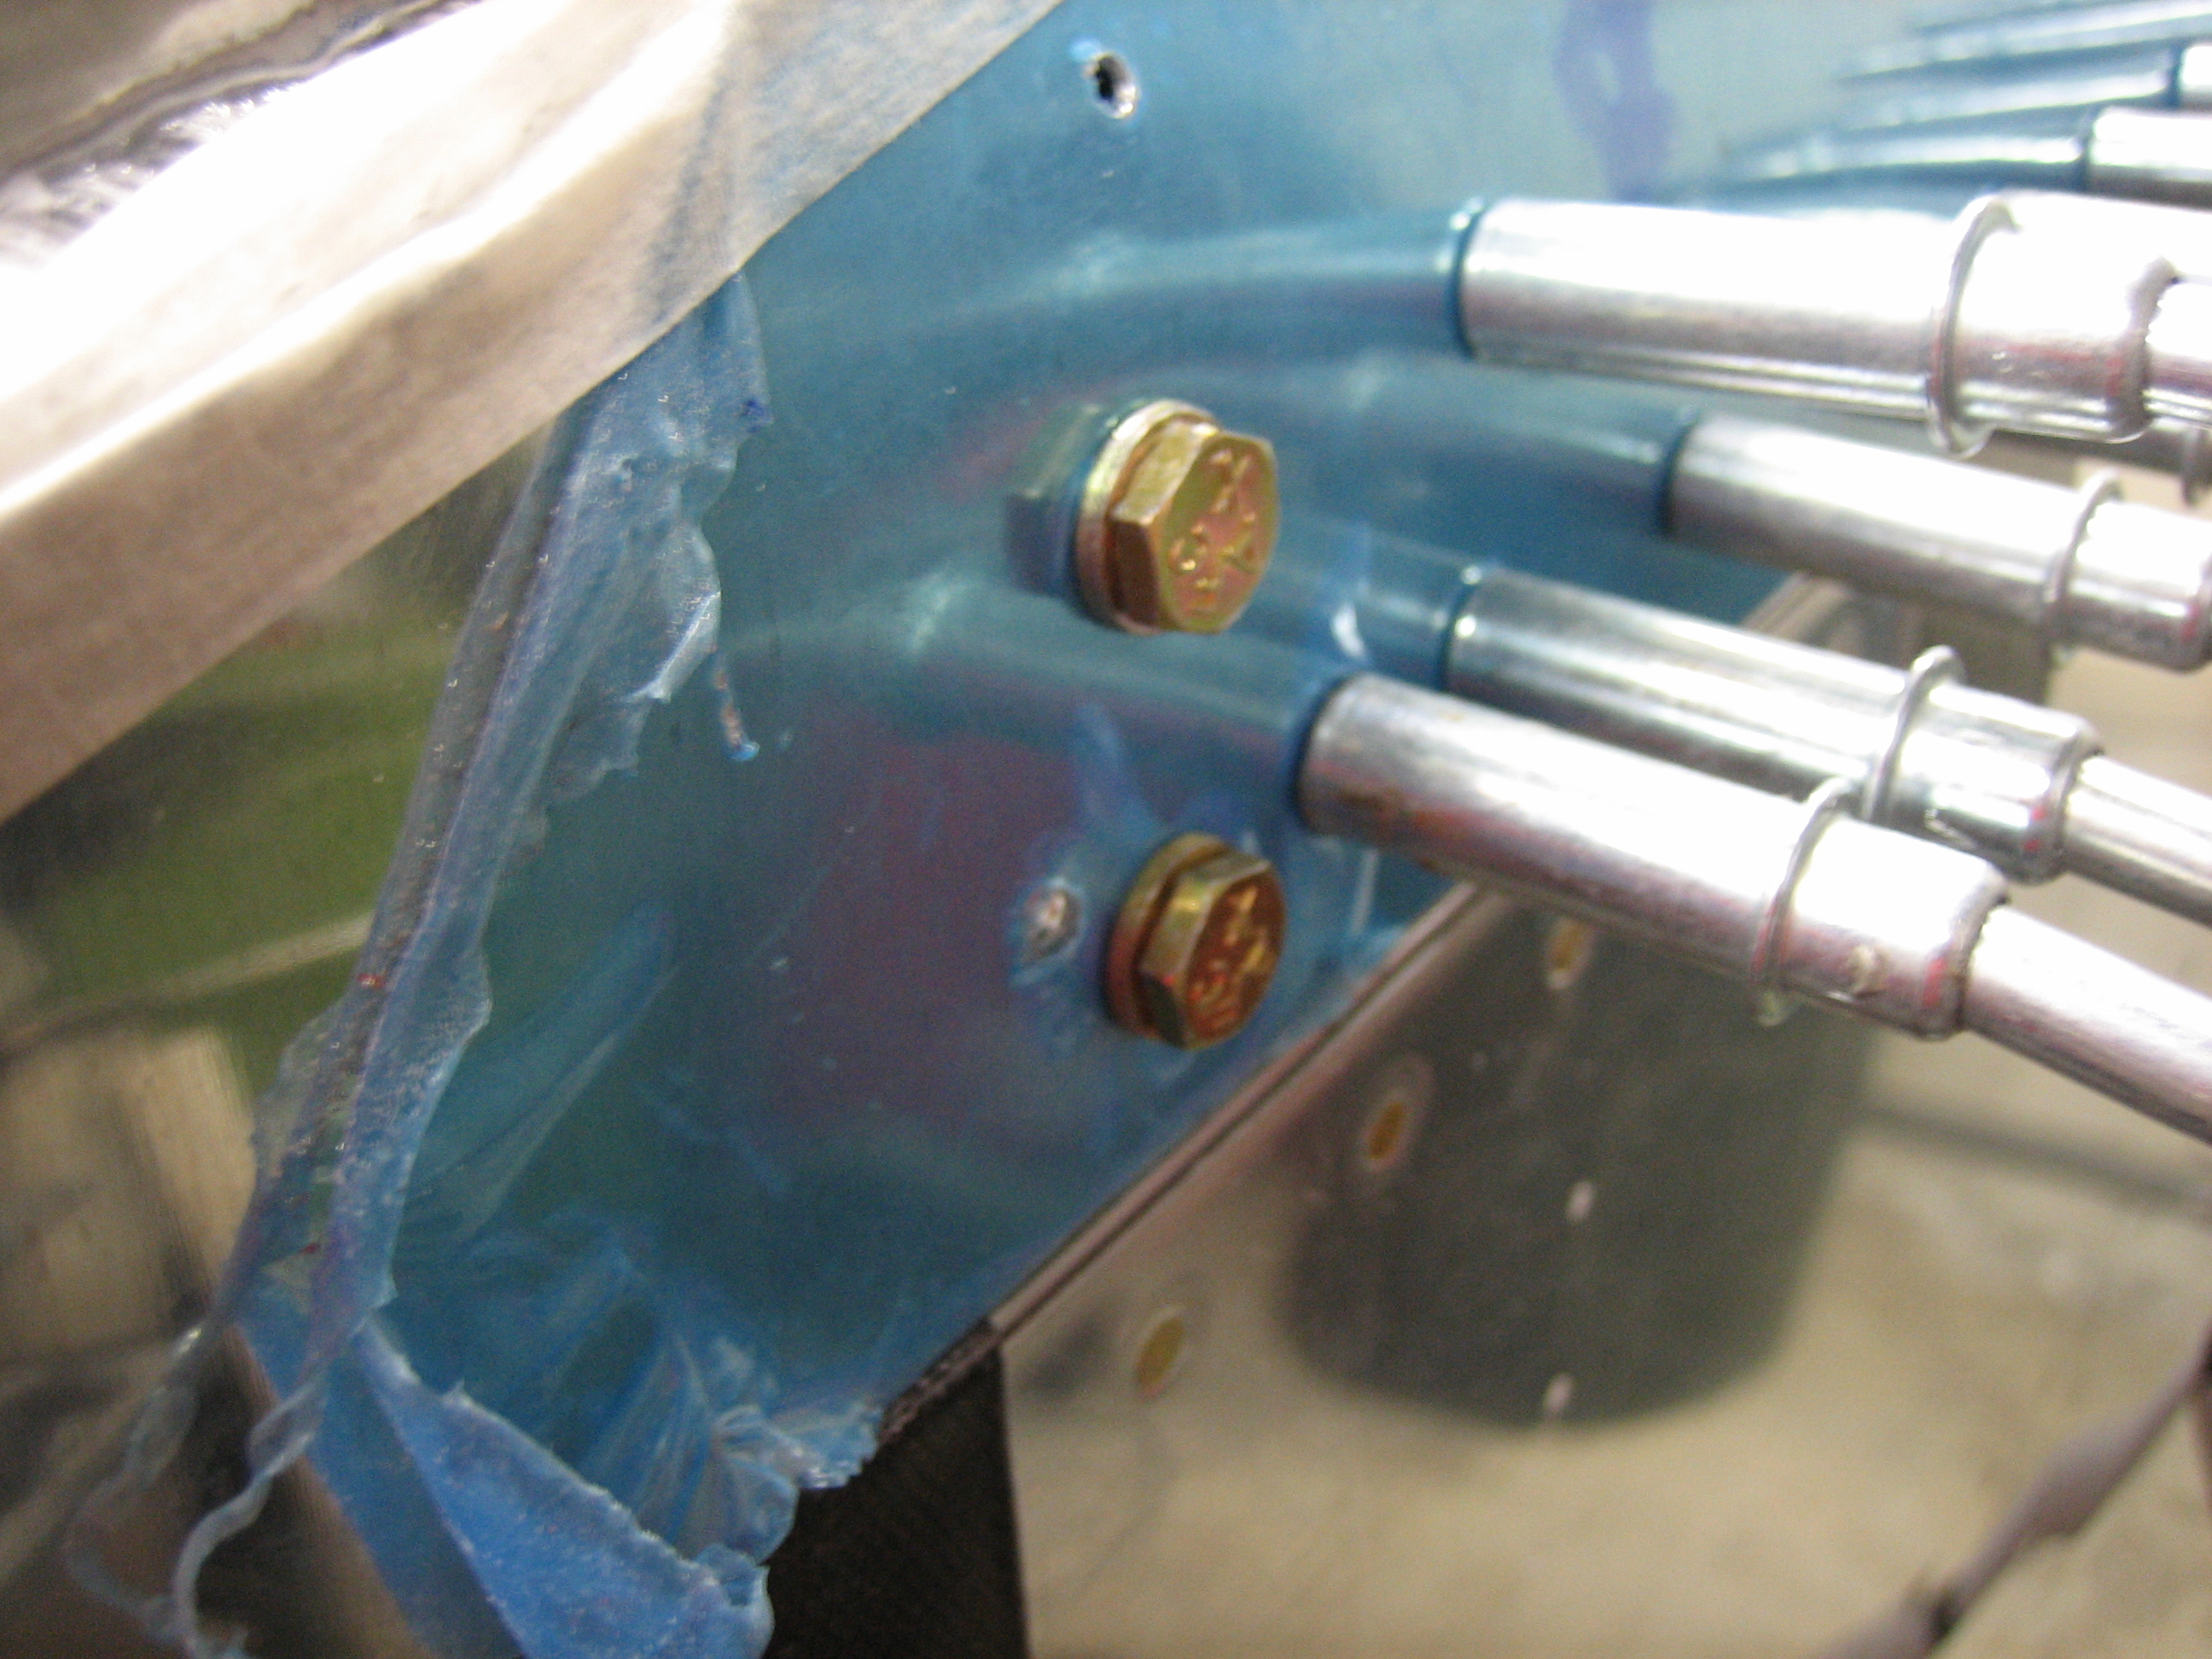
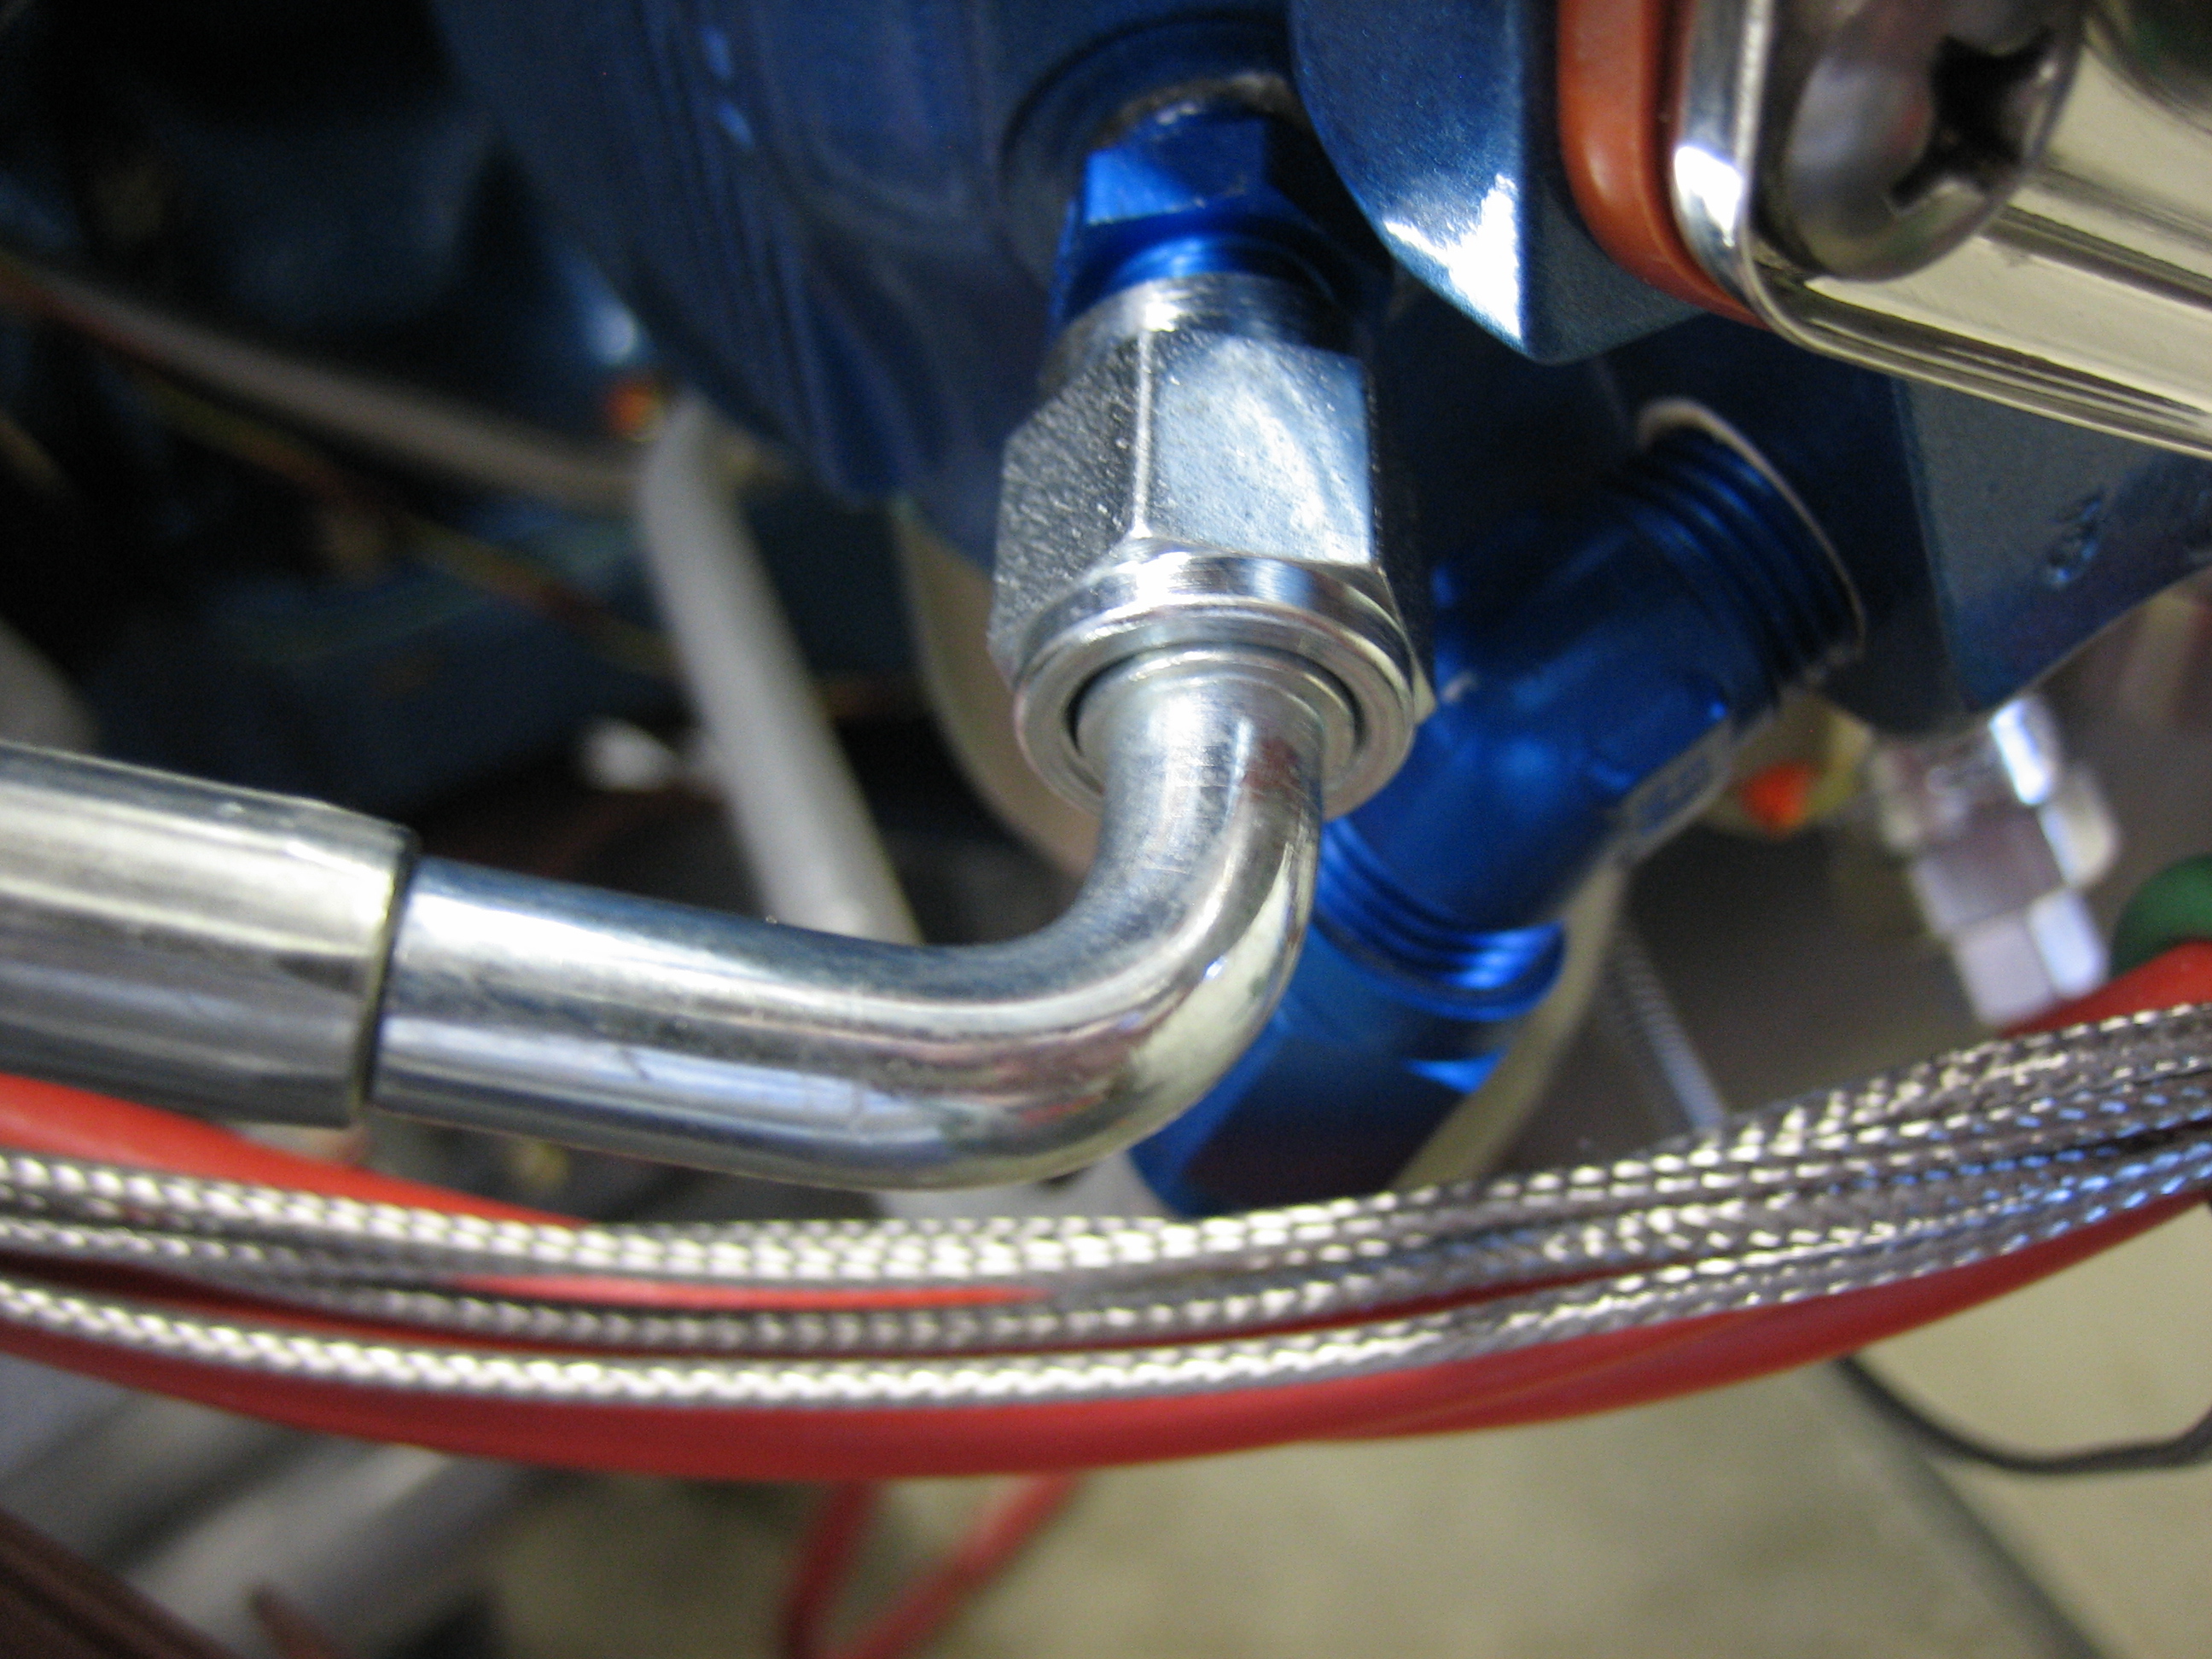
First up is the manifold pressure hose.  This was supposed to have aluminum fittings, but as you can see, they messed up and installed steel fittings.  I installed it anyway to see if the length and routing is acceptable.  It’s a little long, so I may order a replacement that fits better and has aluminum fittings.

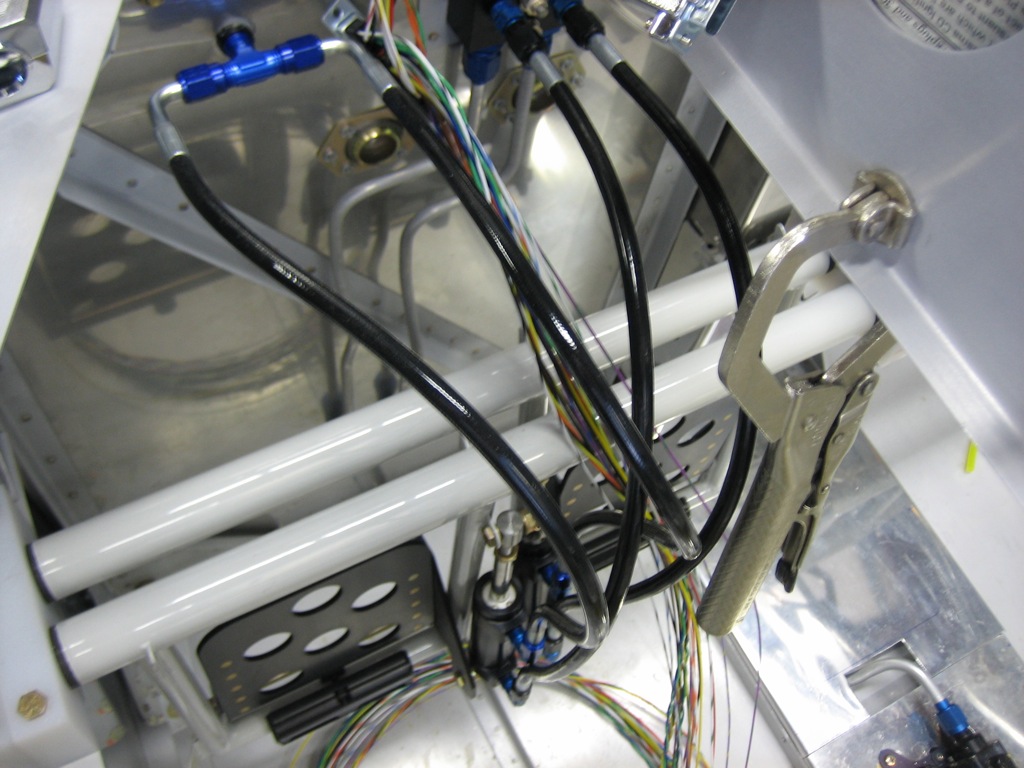
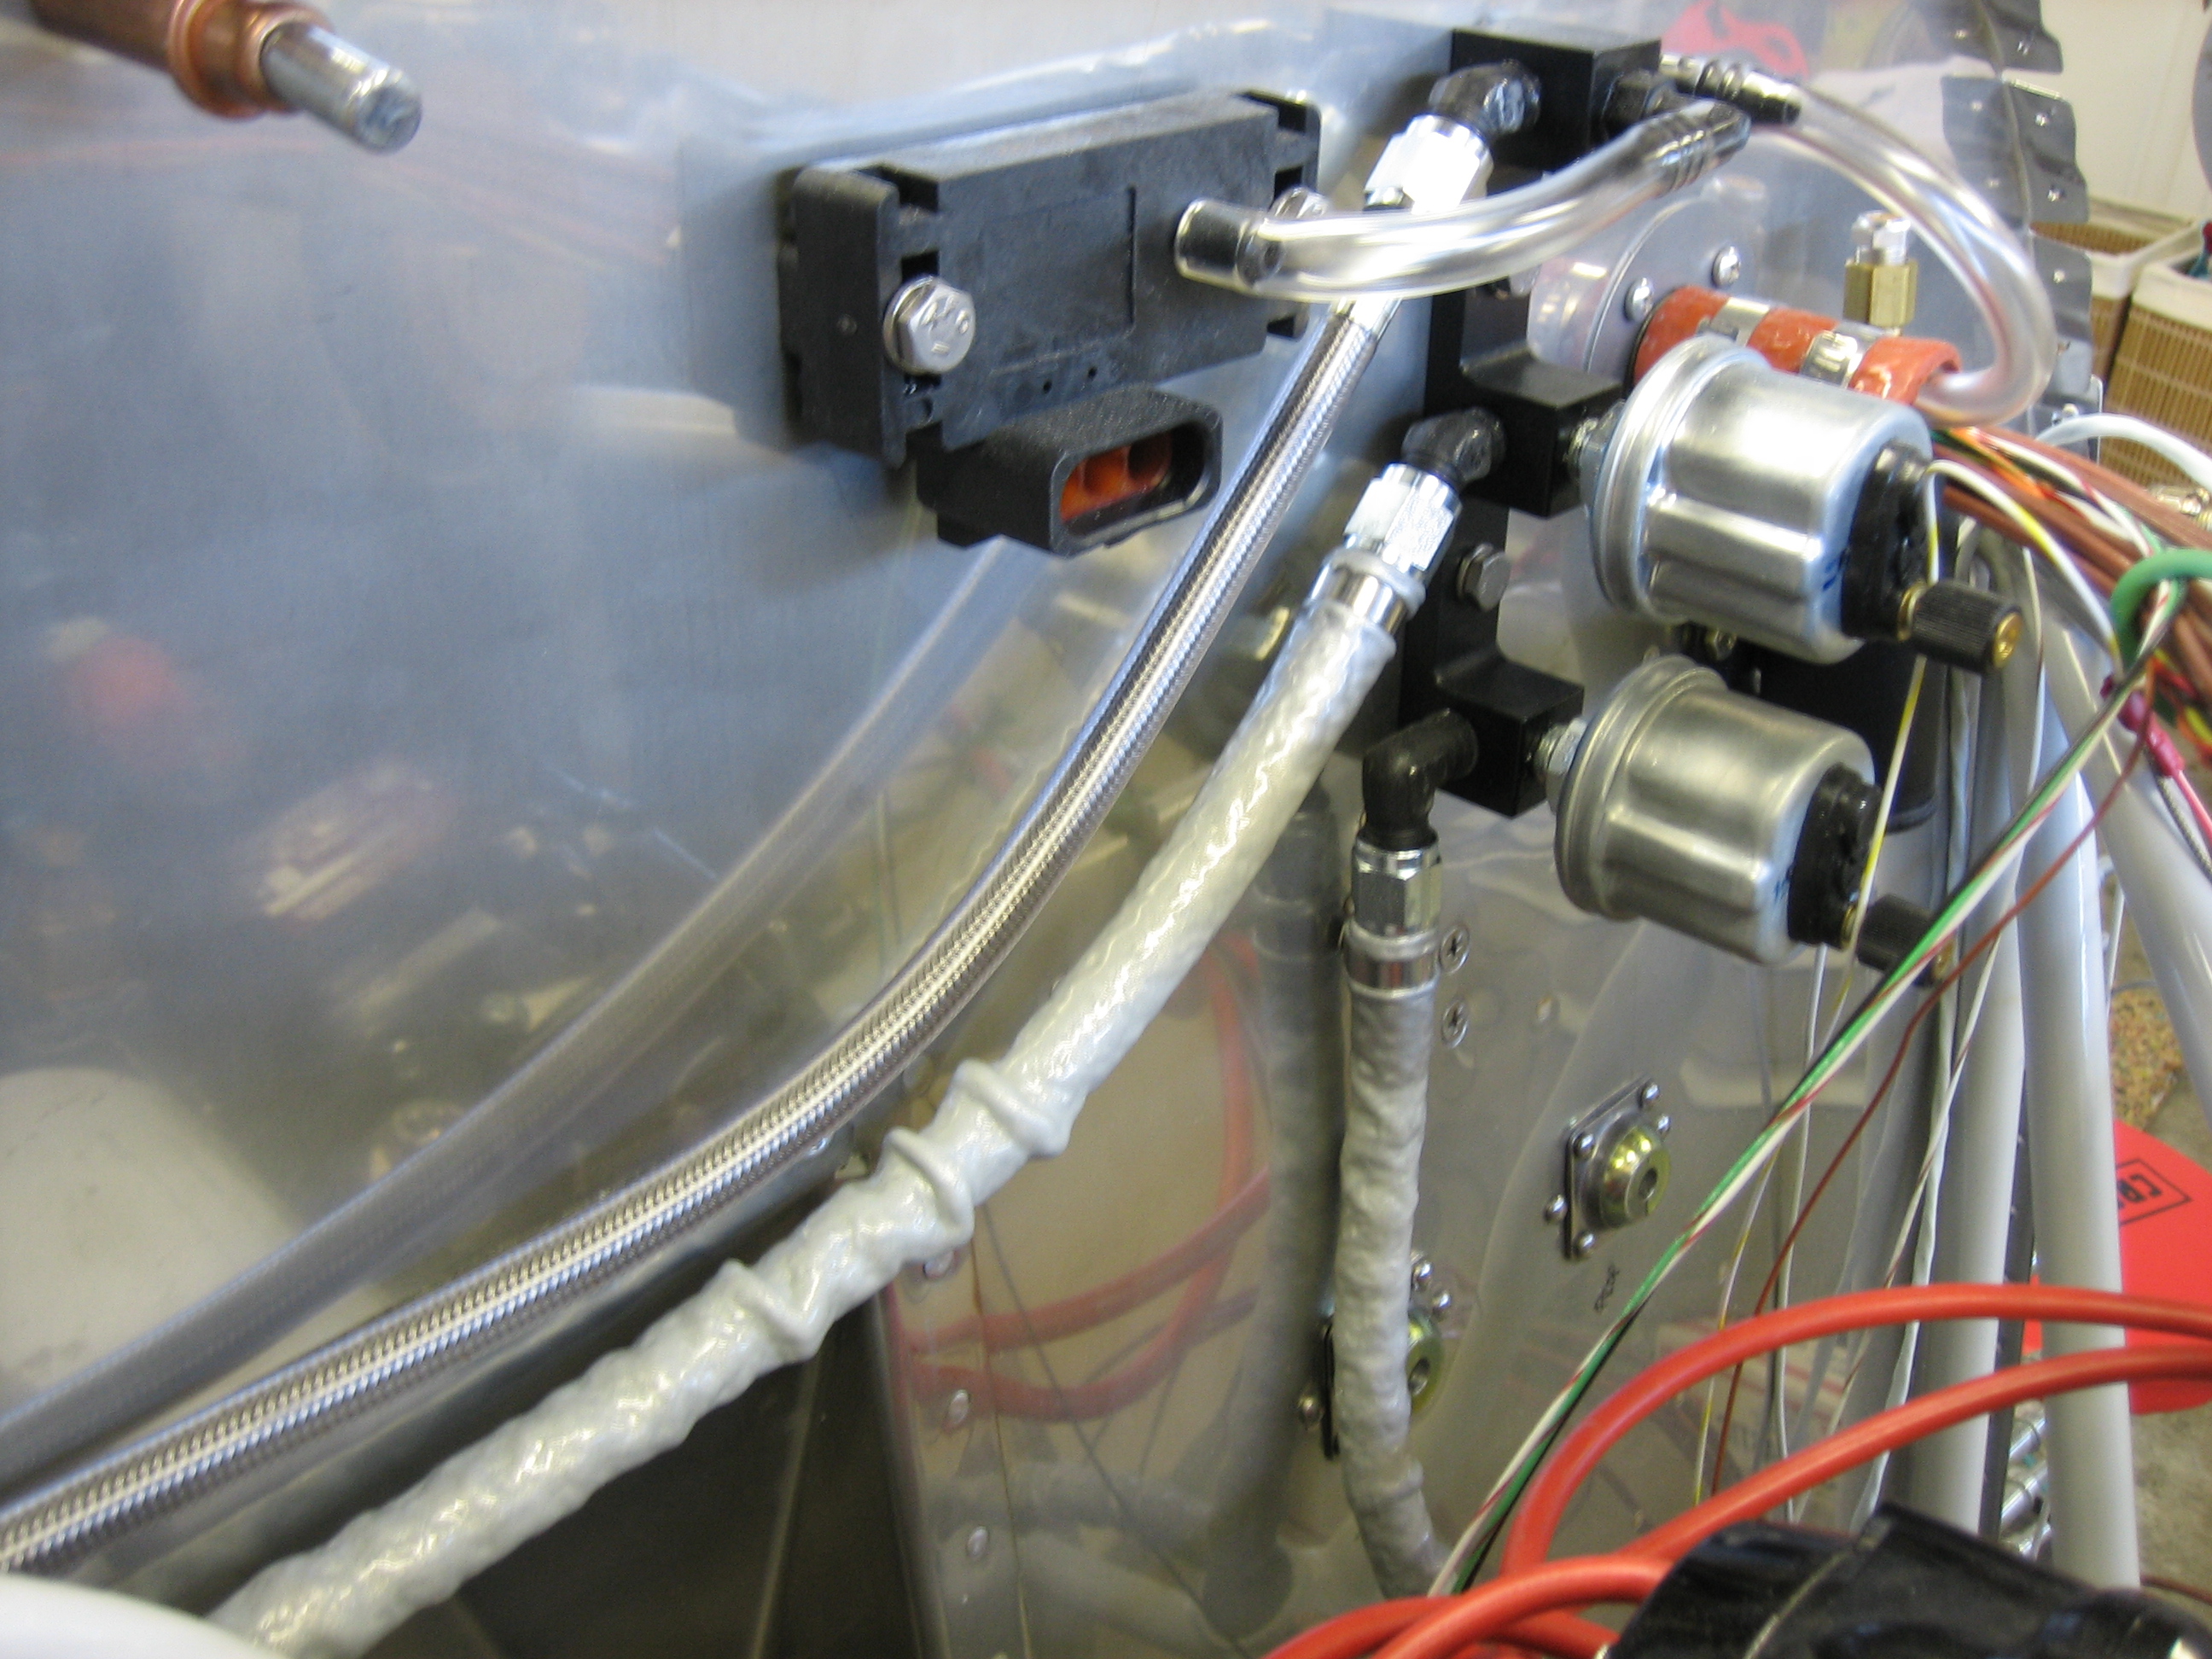
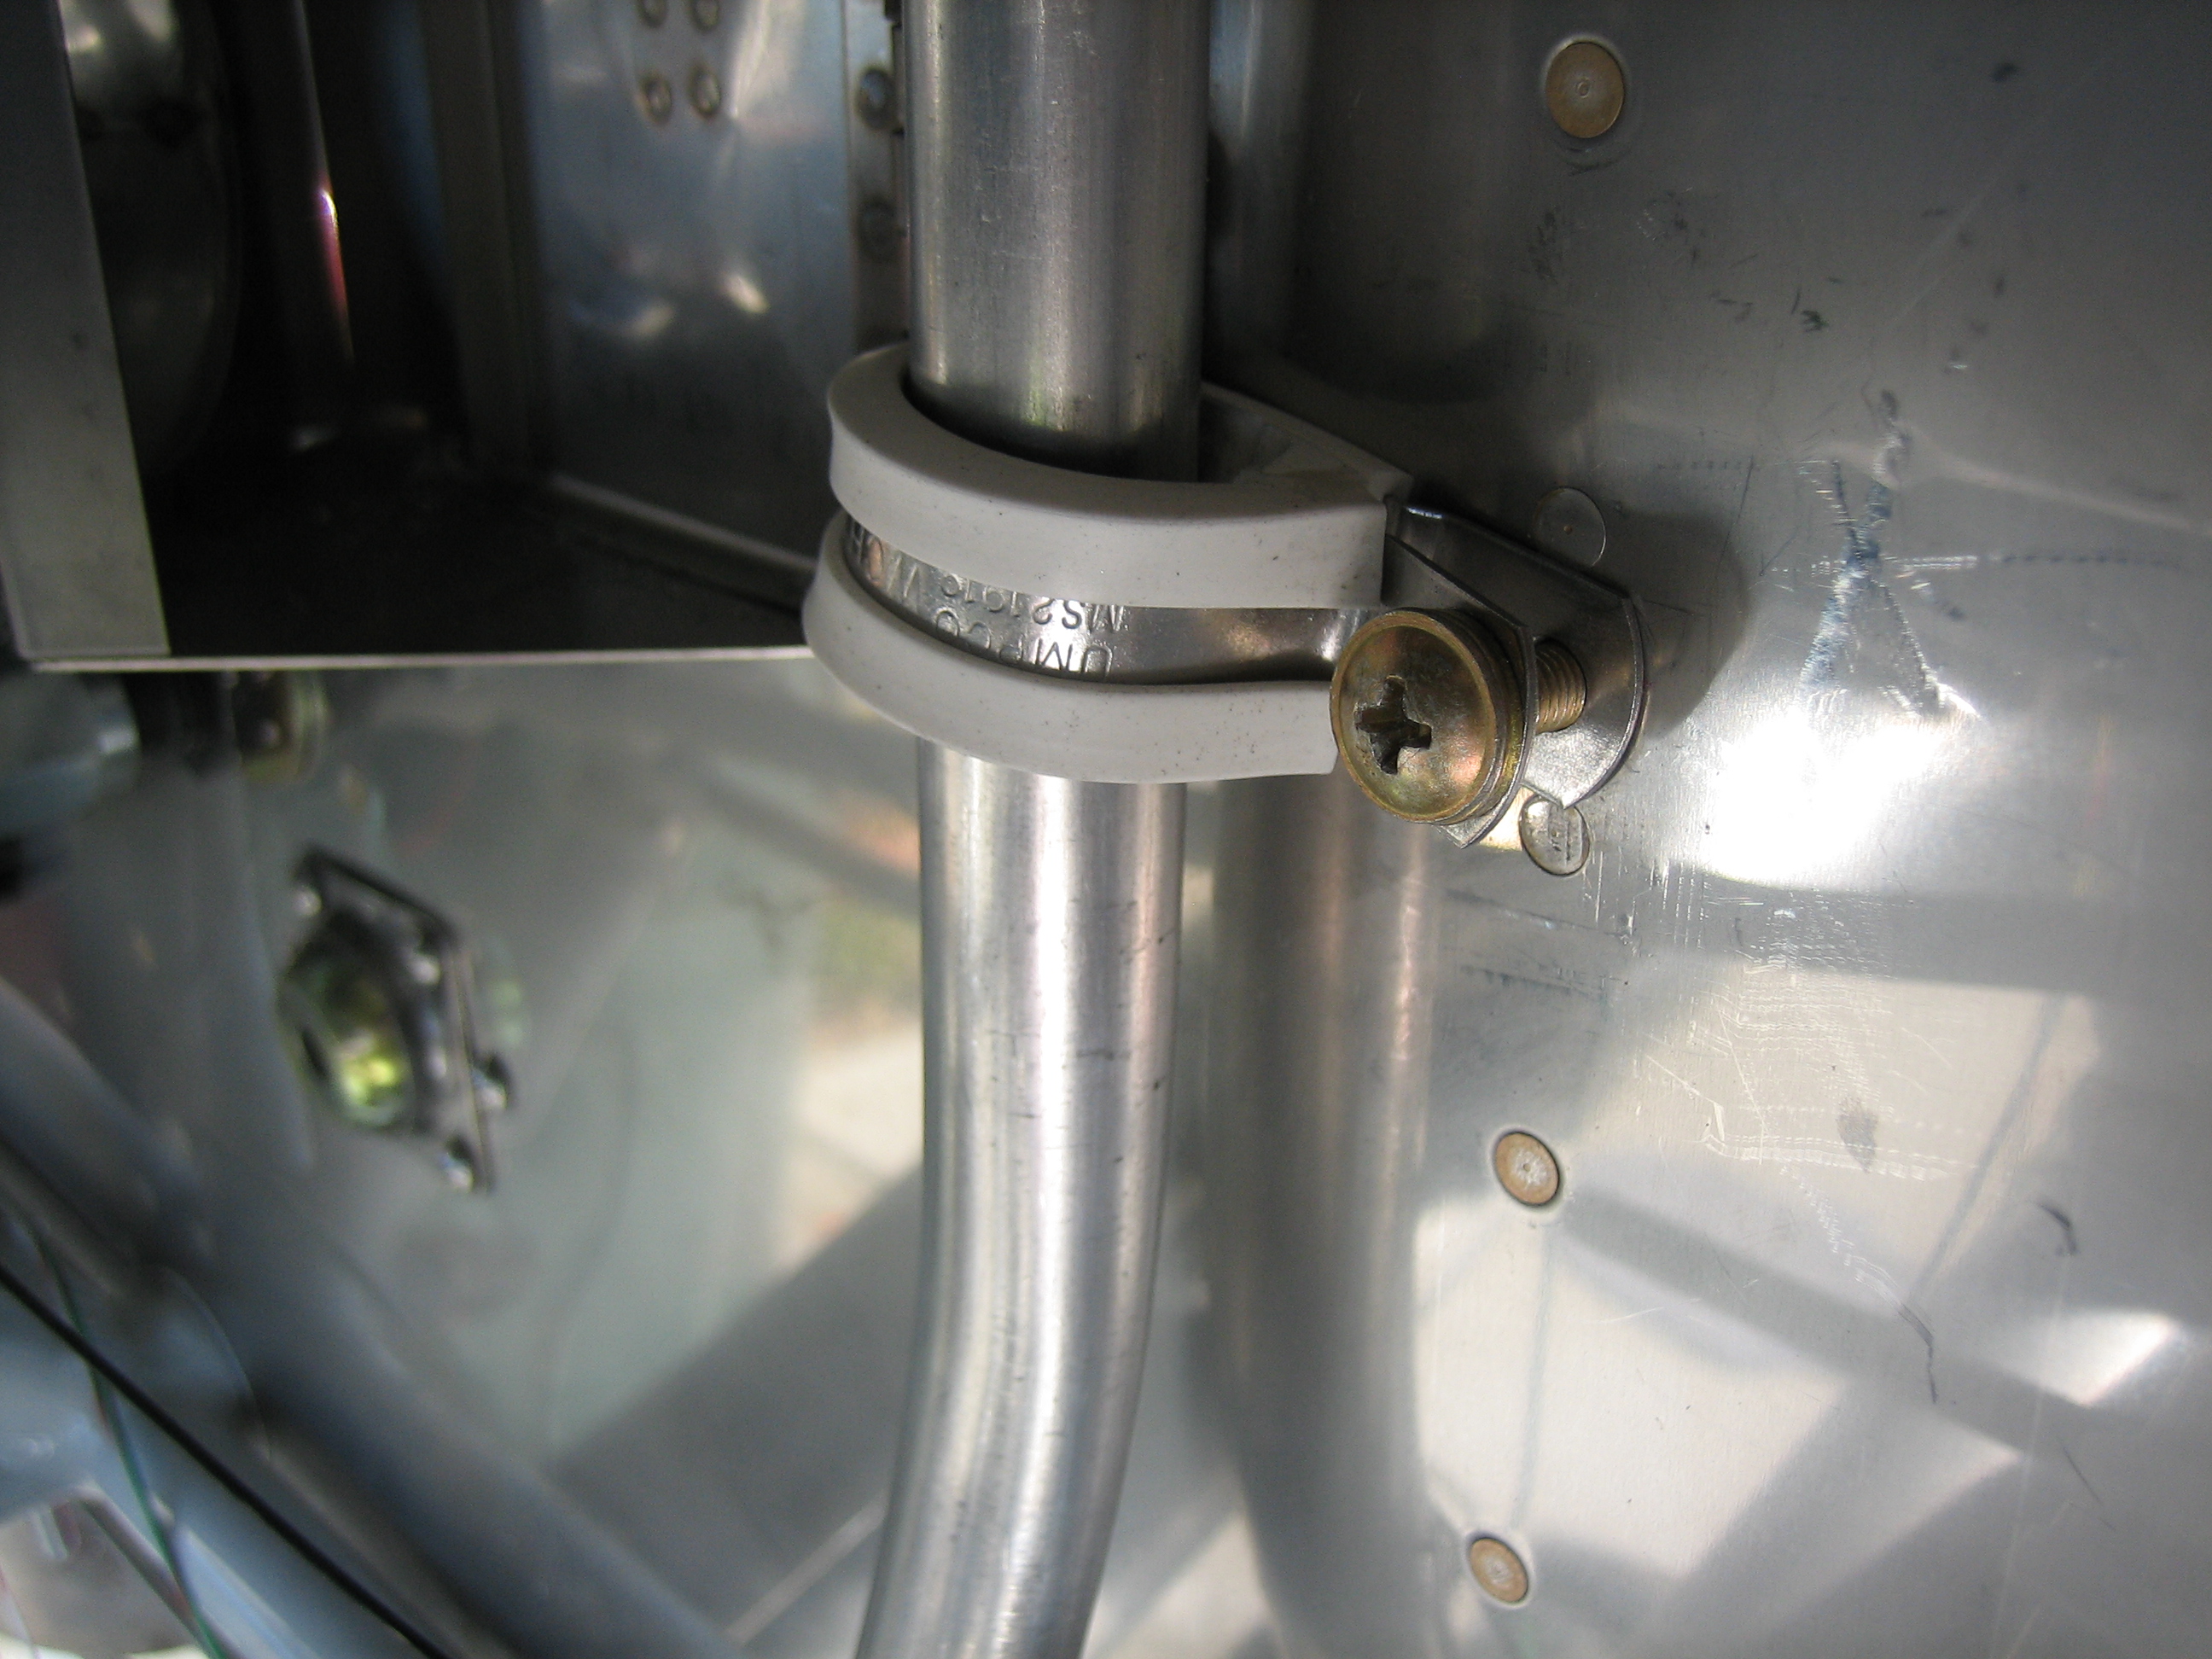
I also received the oil pressure hose.  This screws into a restrictor fitting on the accessory case and connects to the pressure transducer manifold.

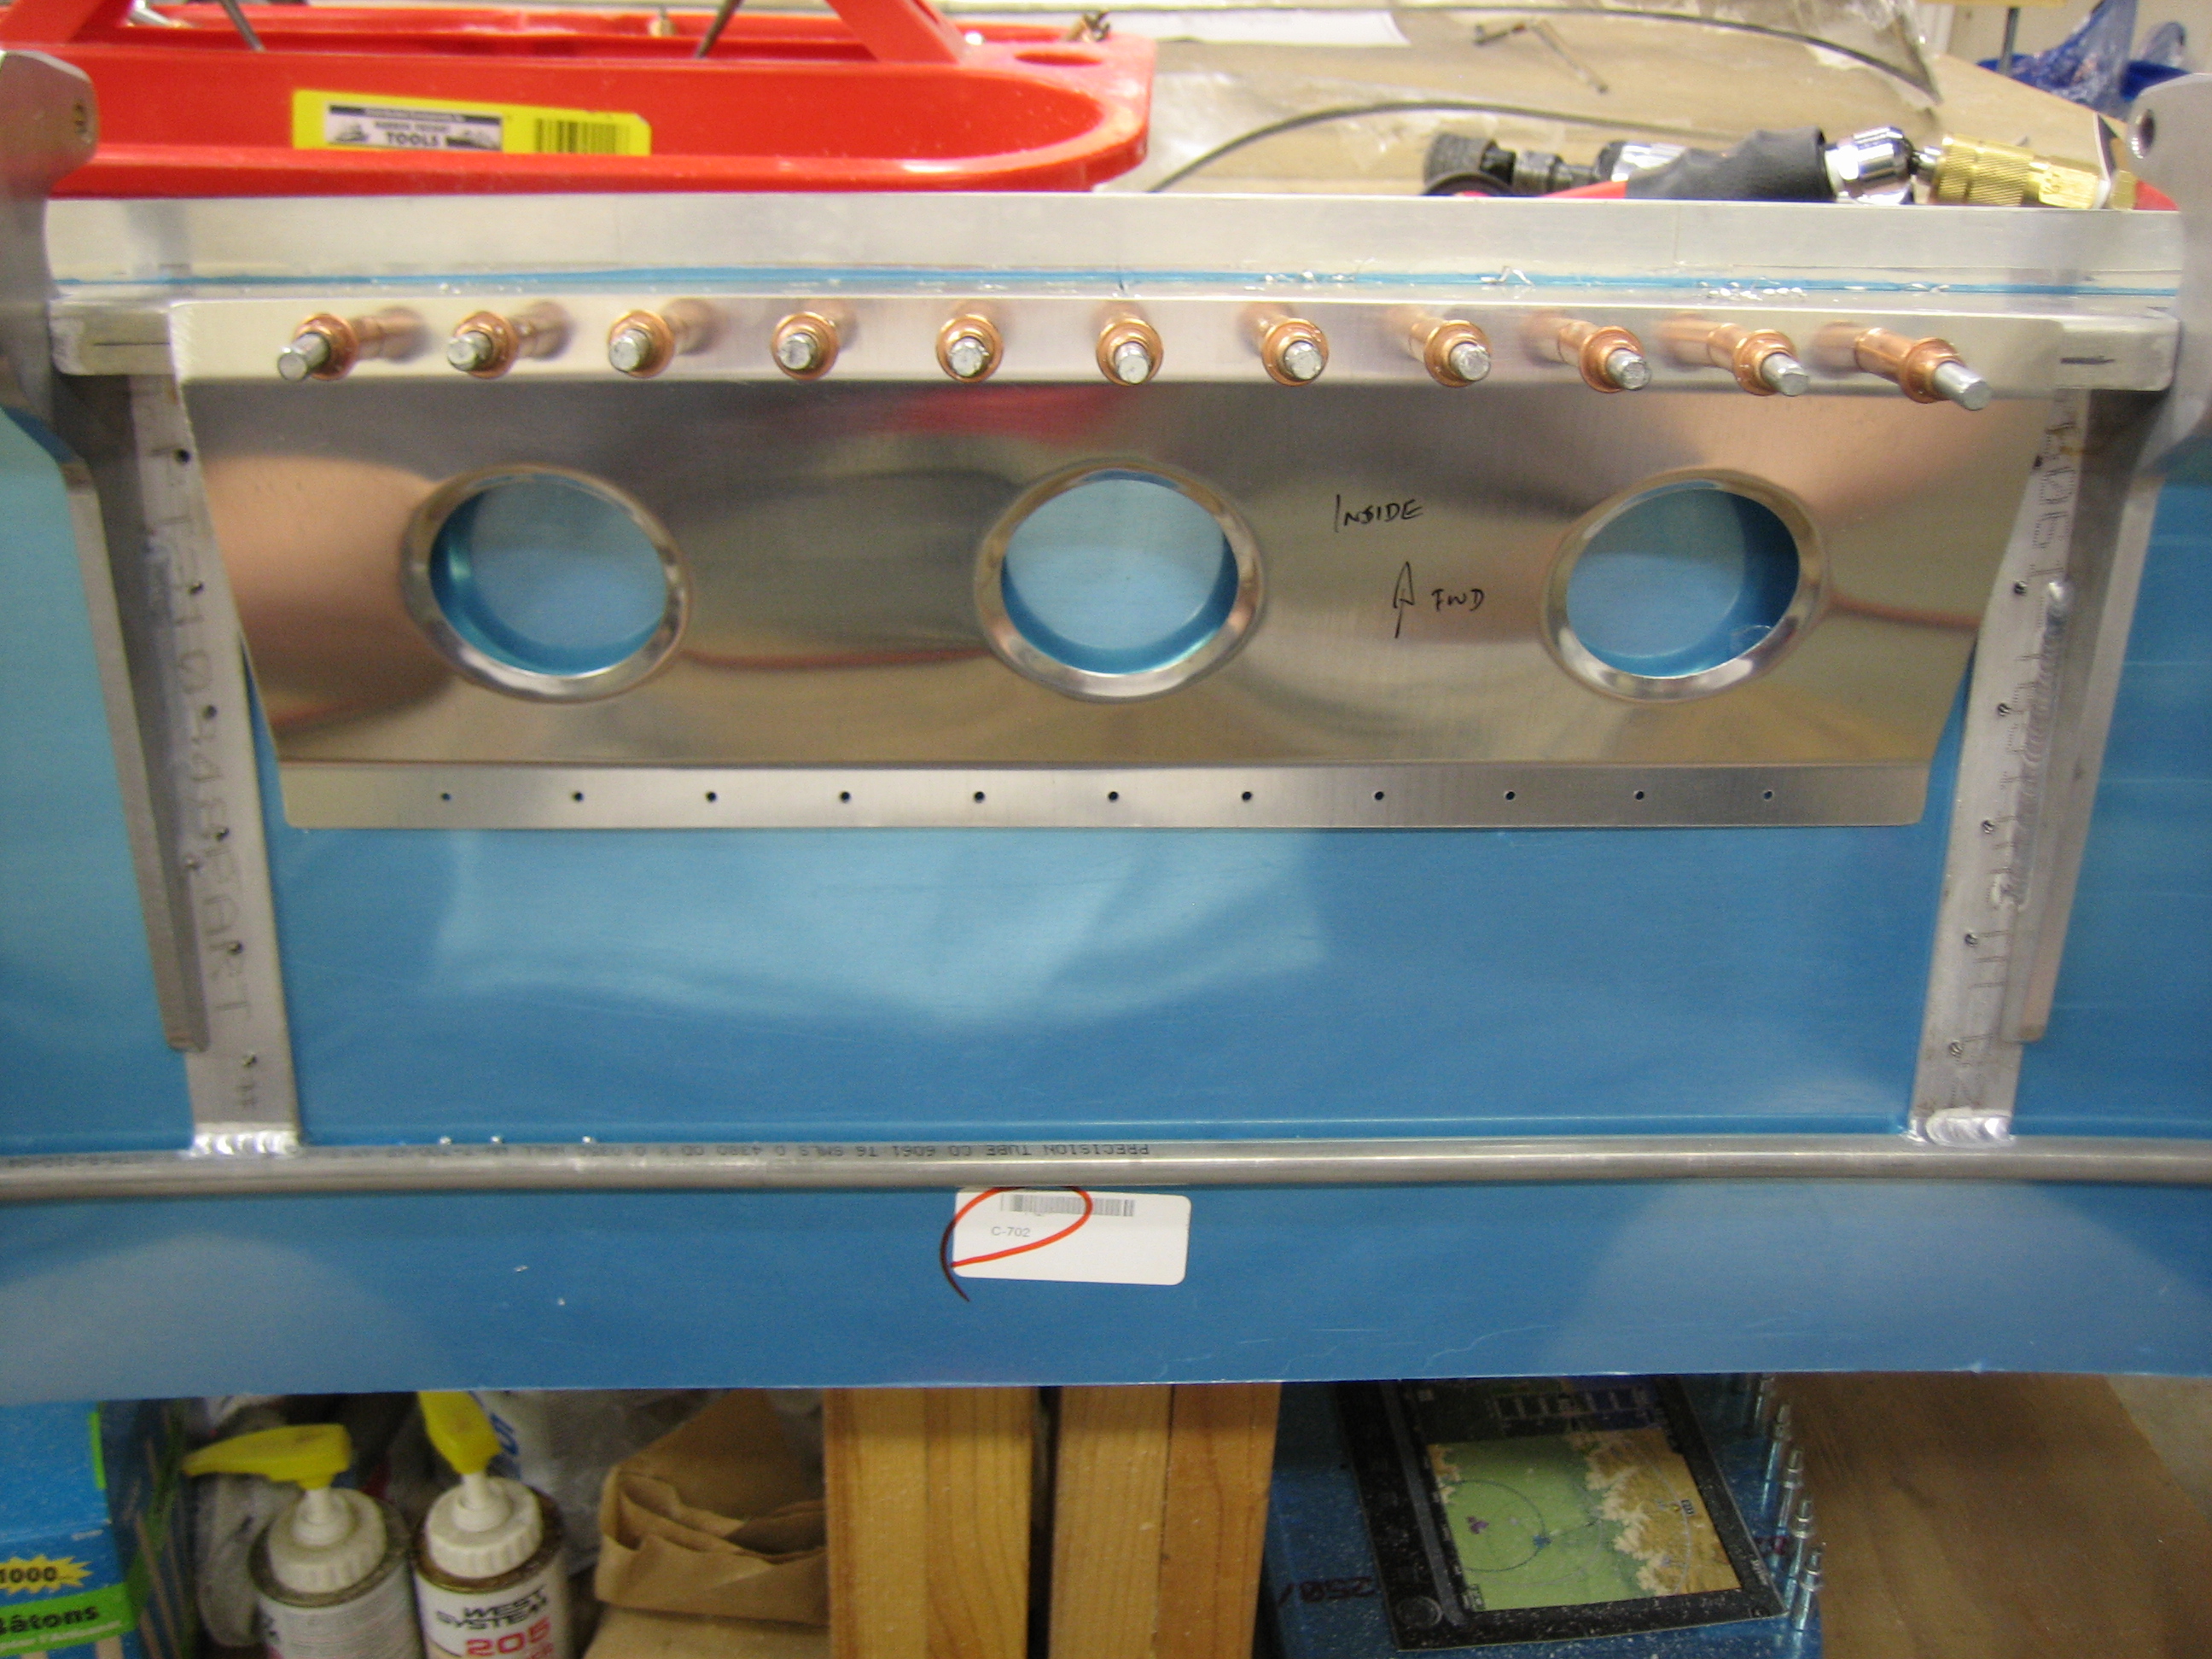
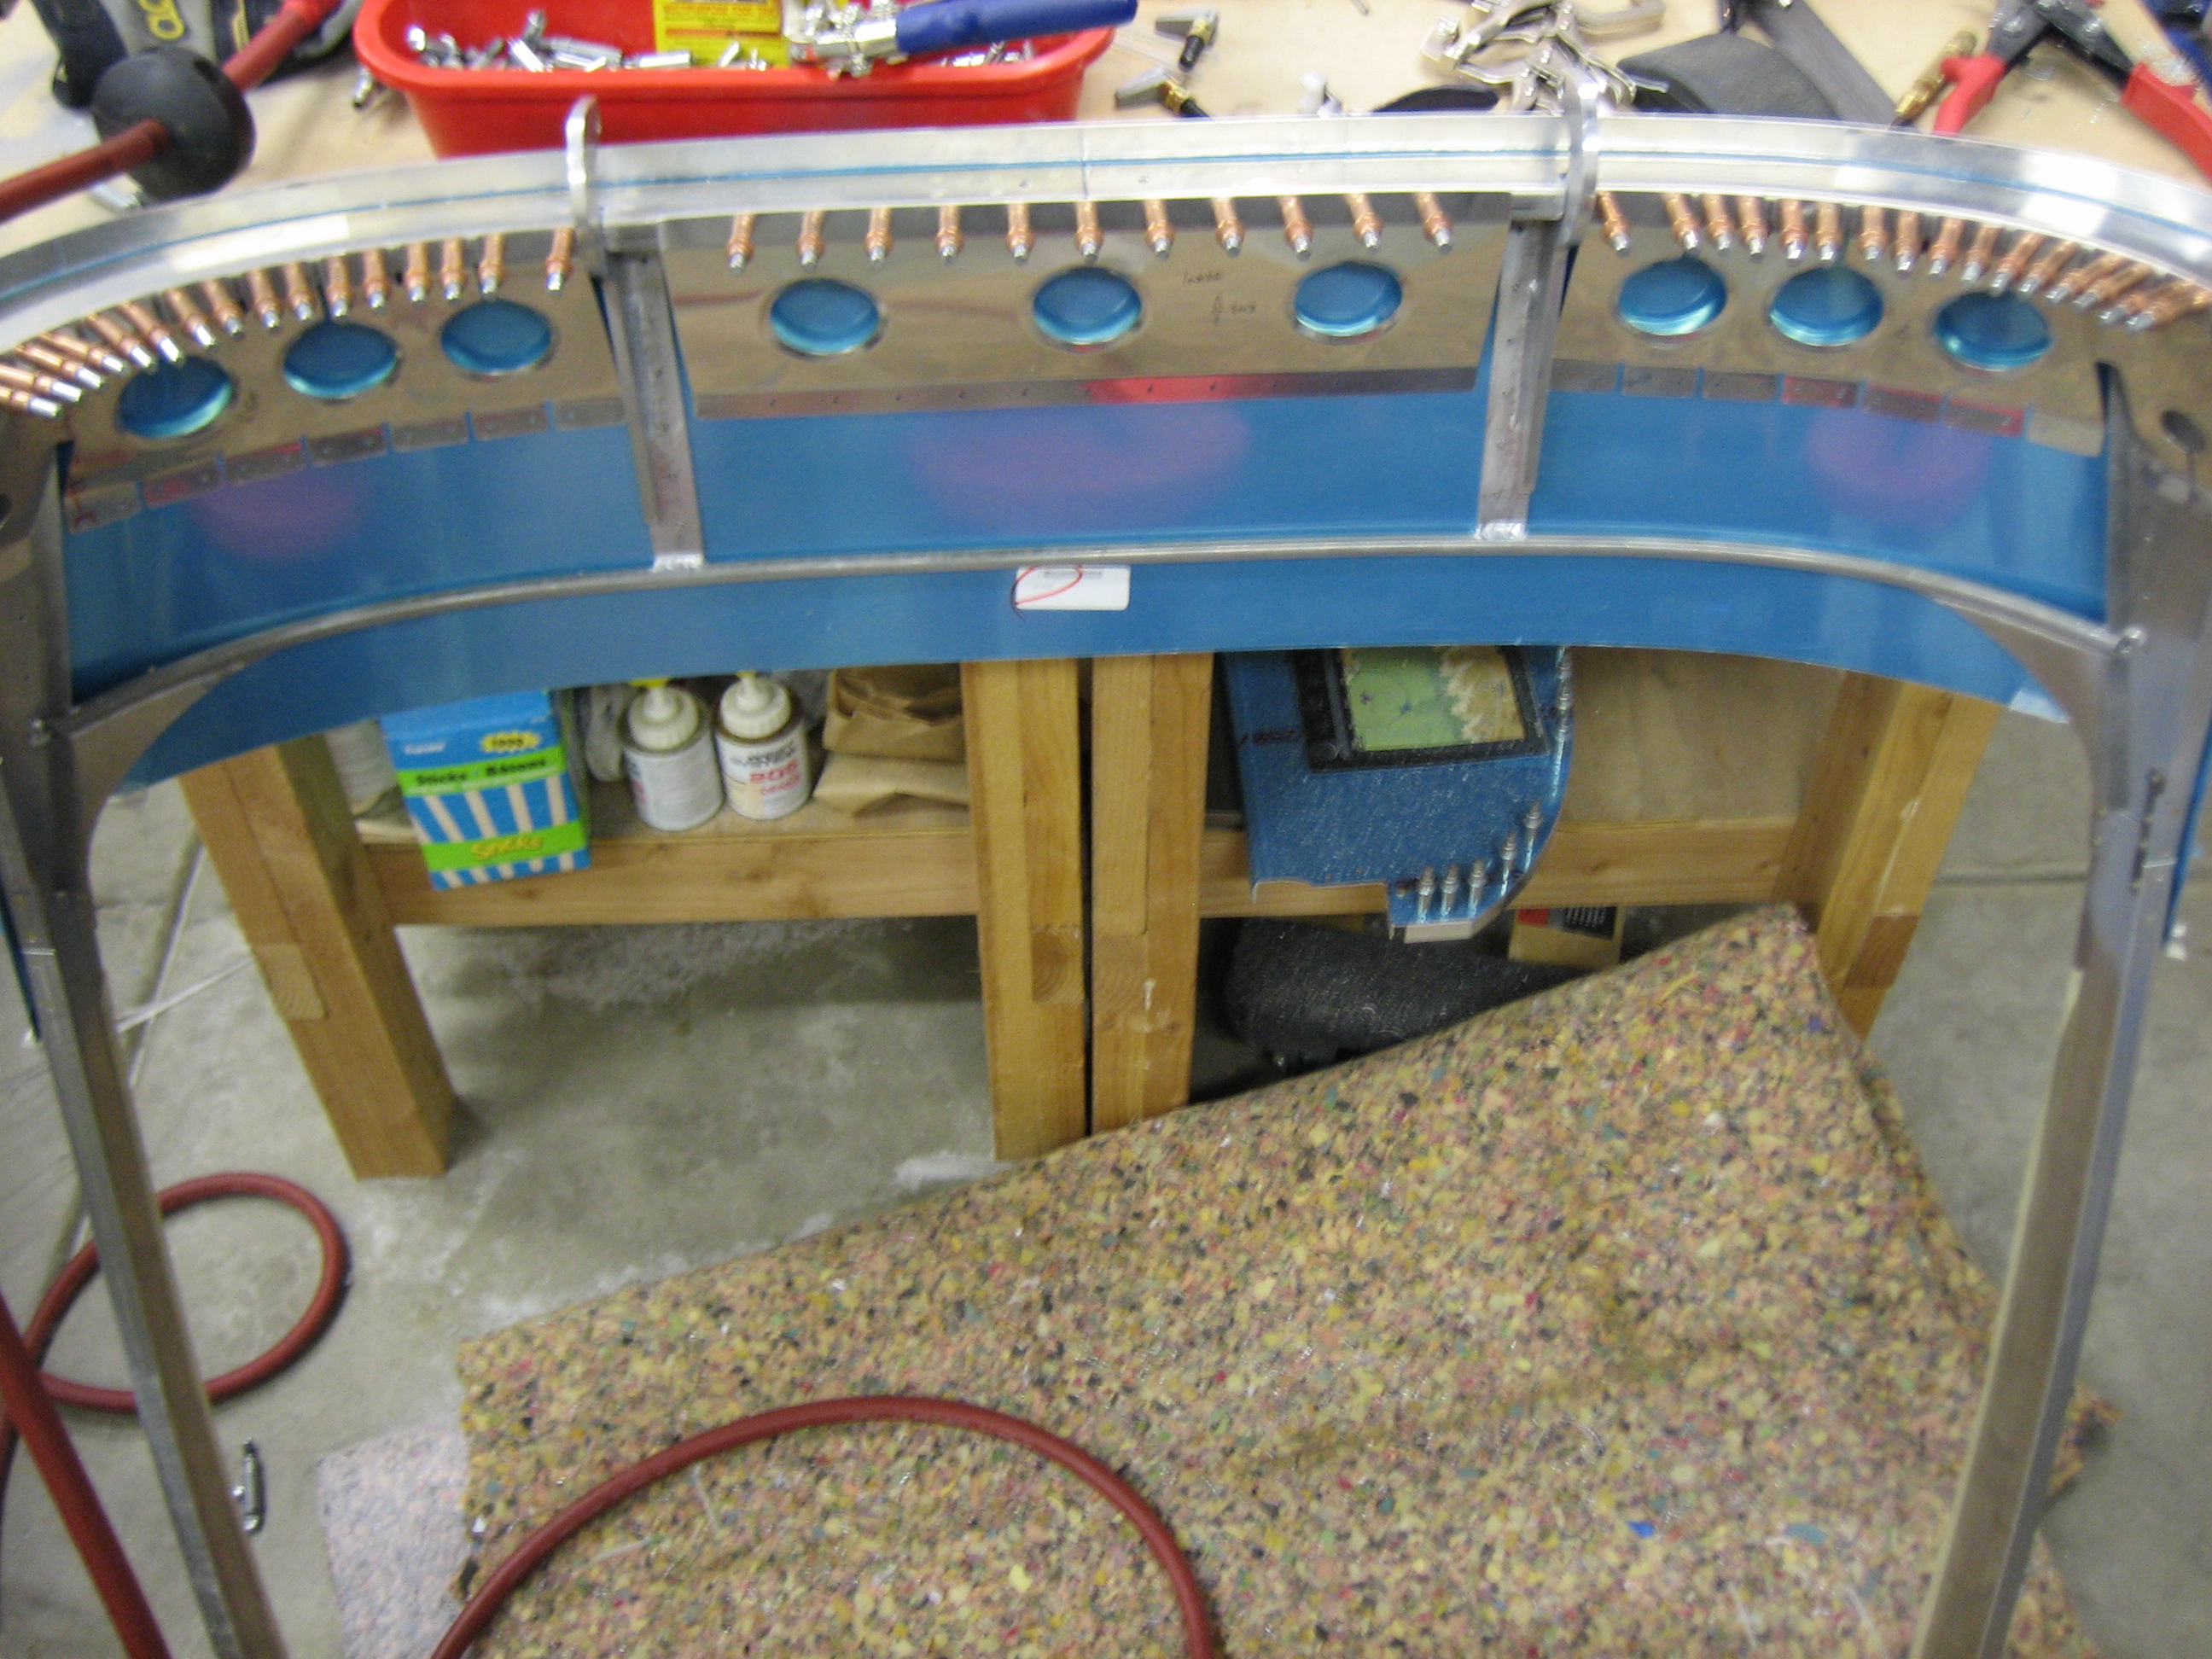
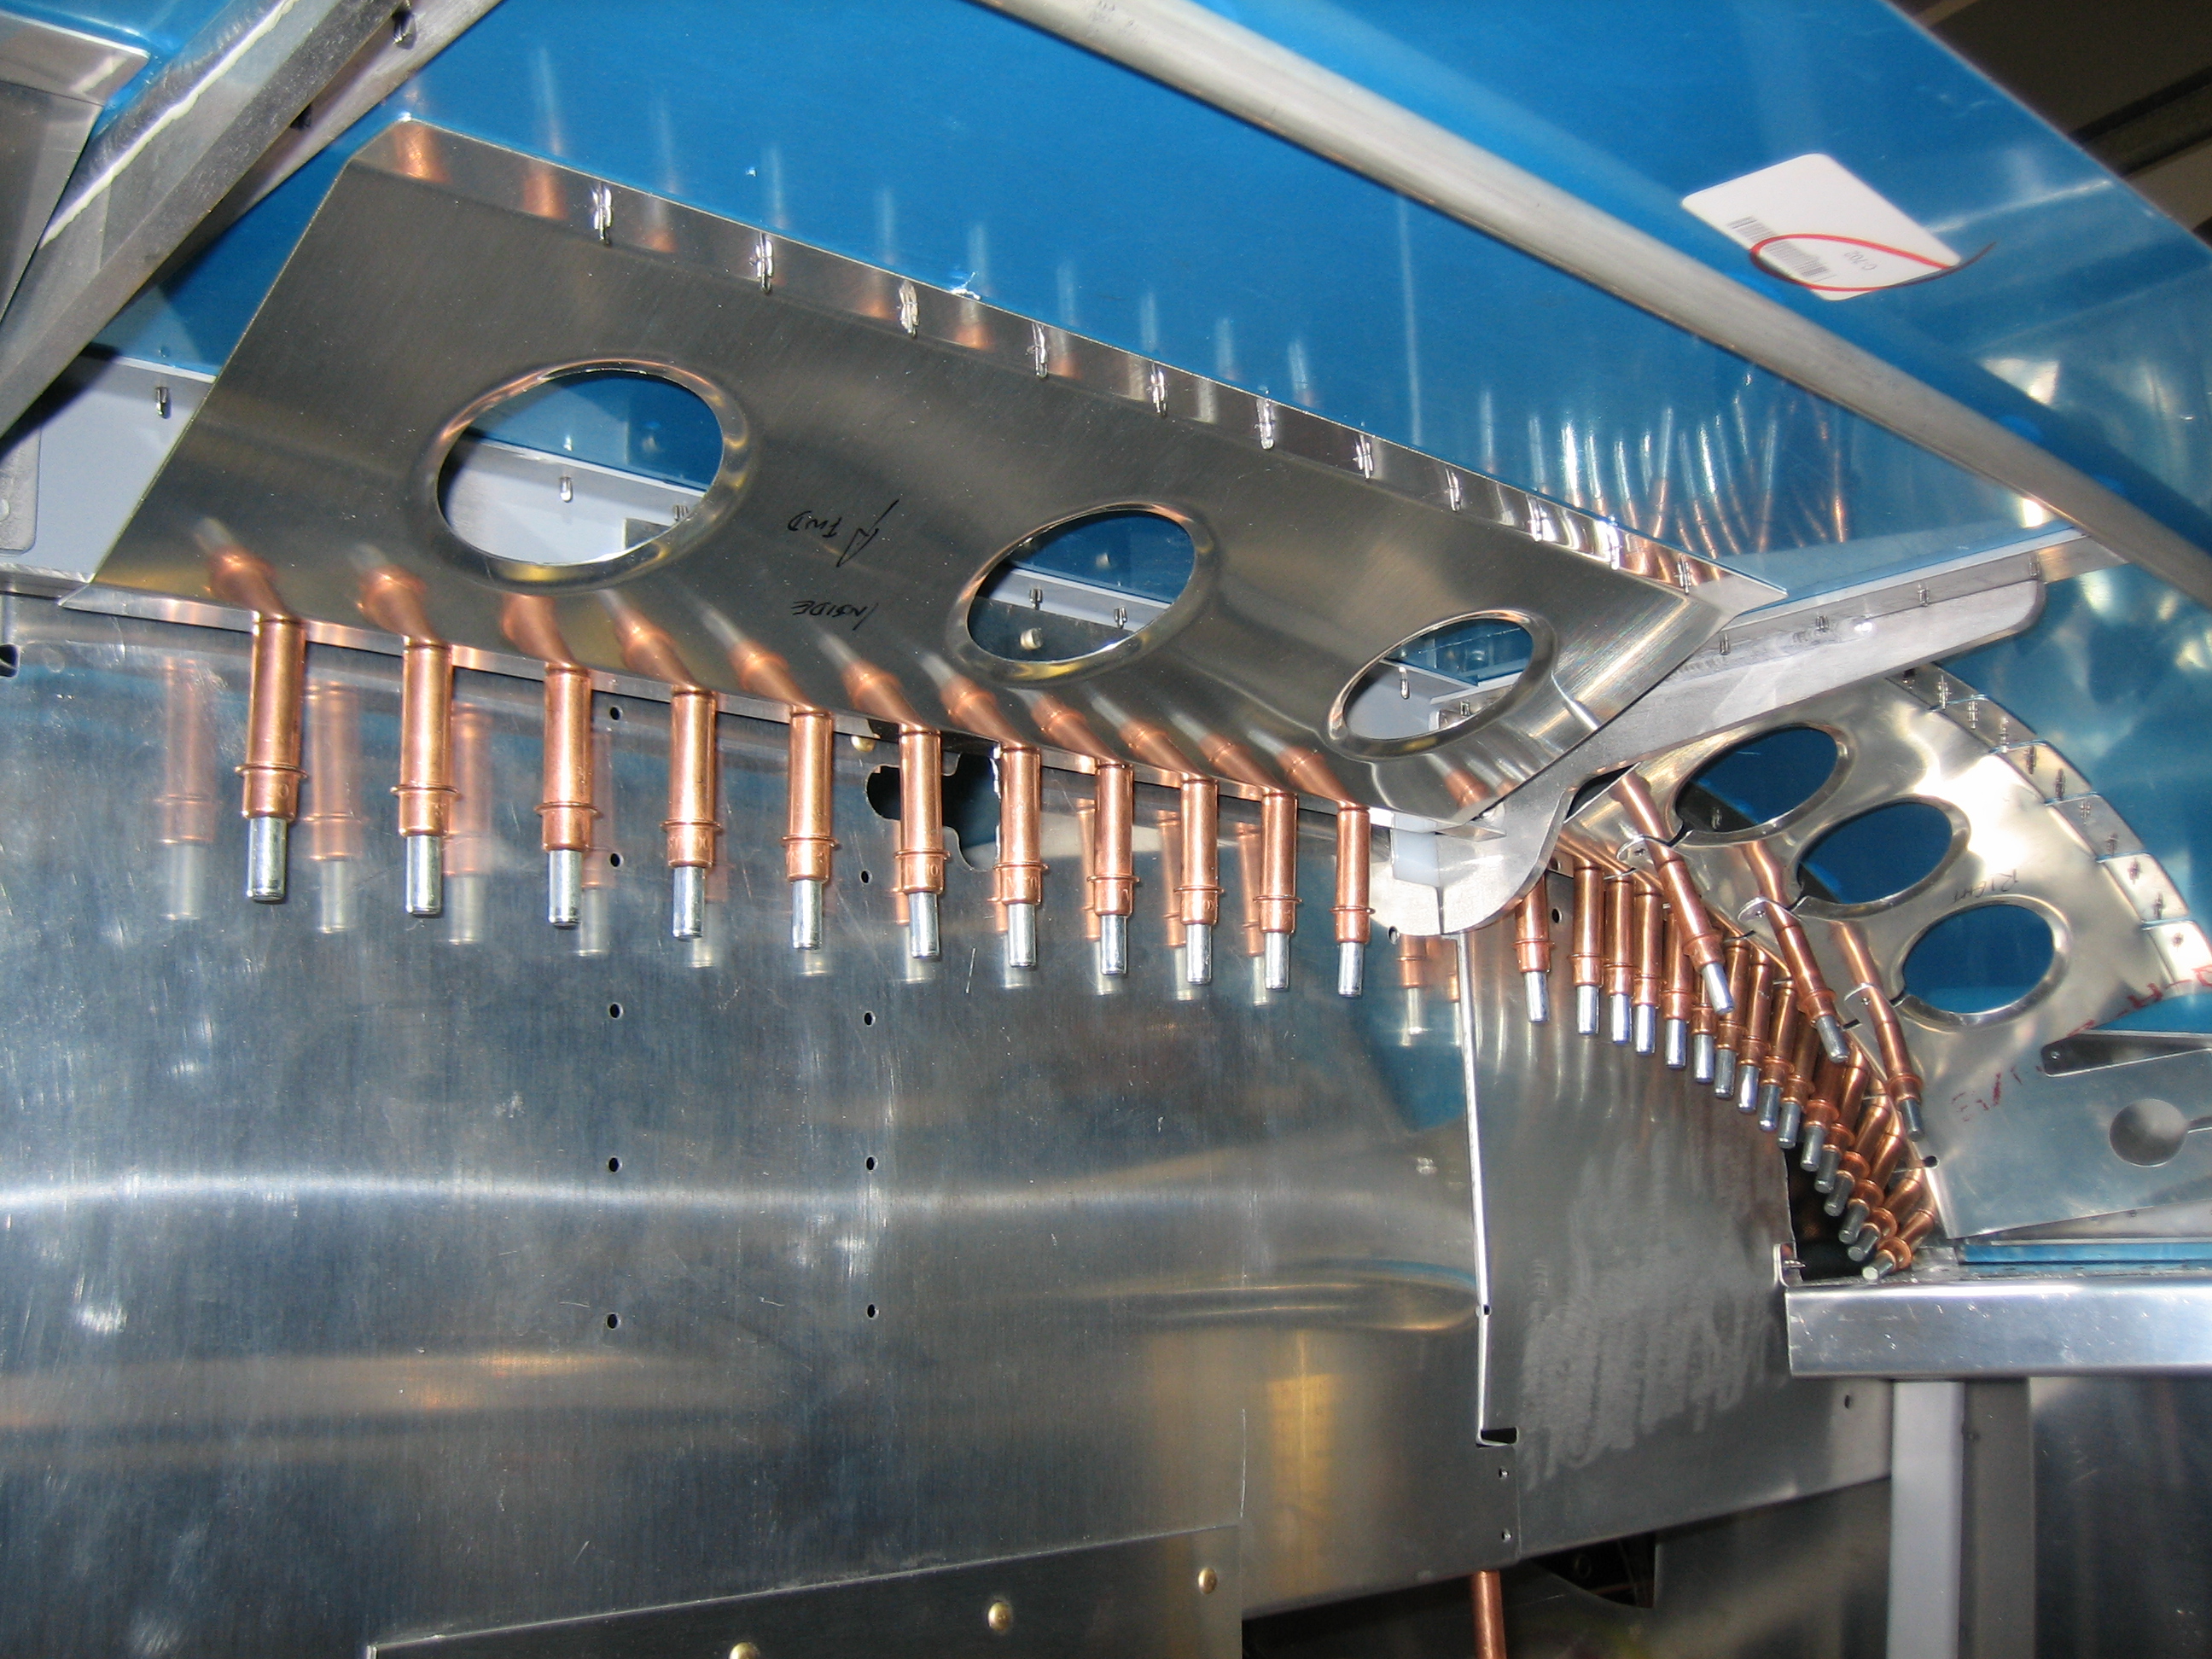
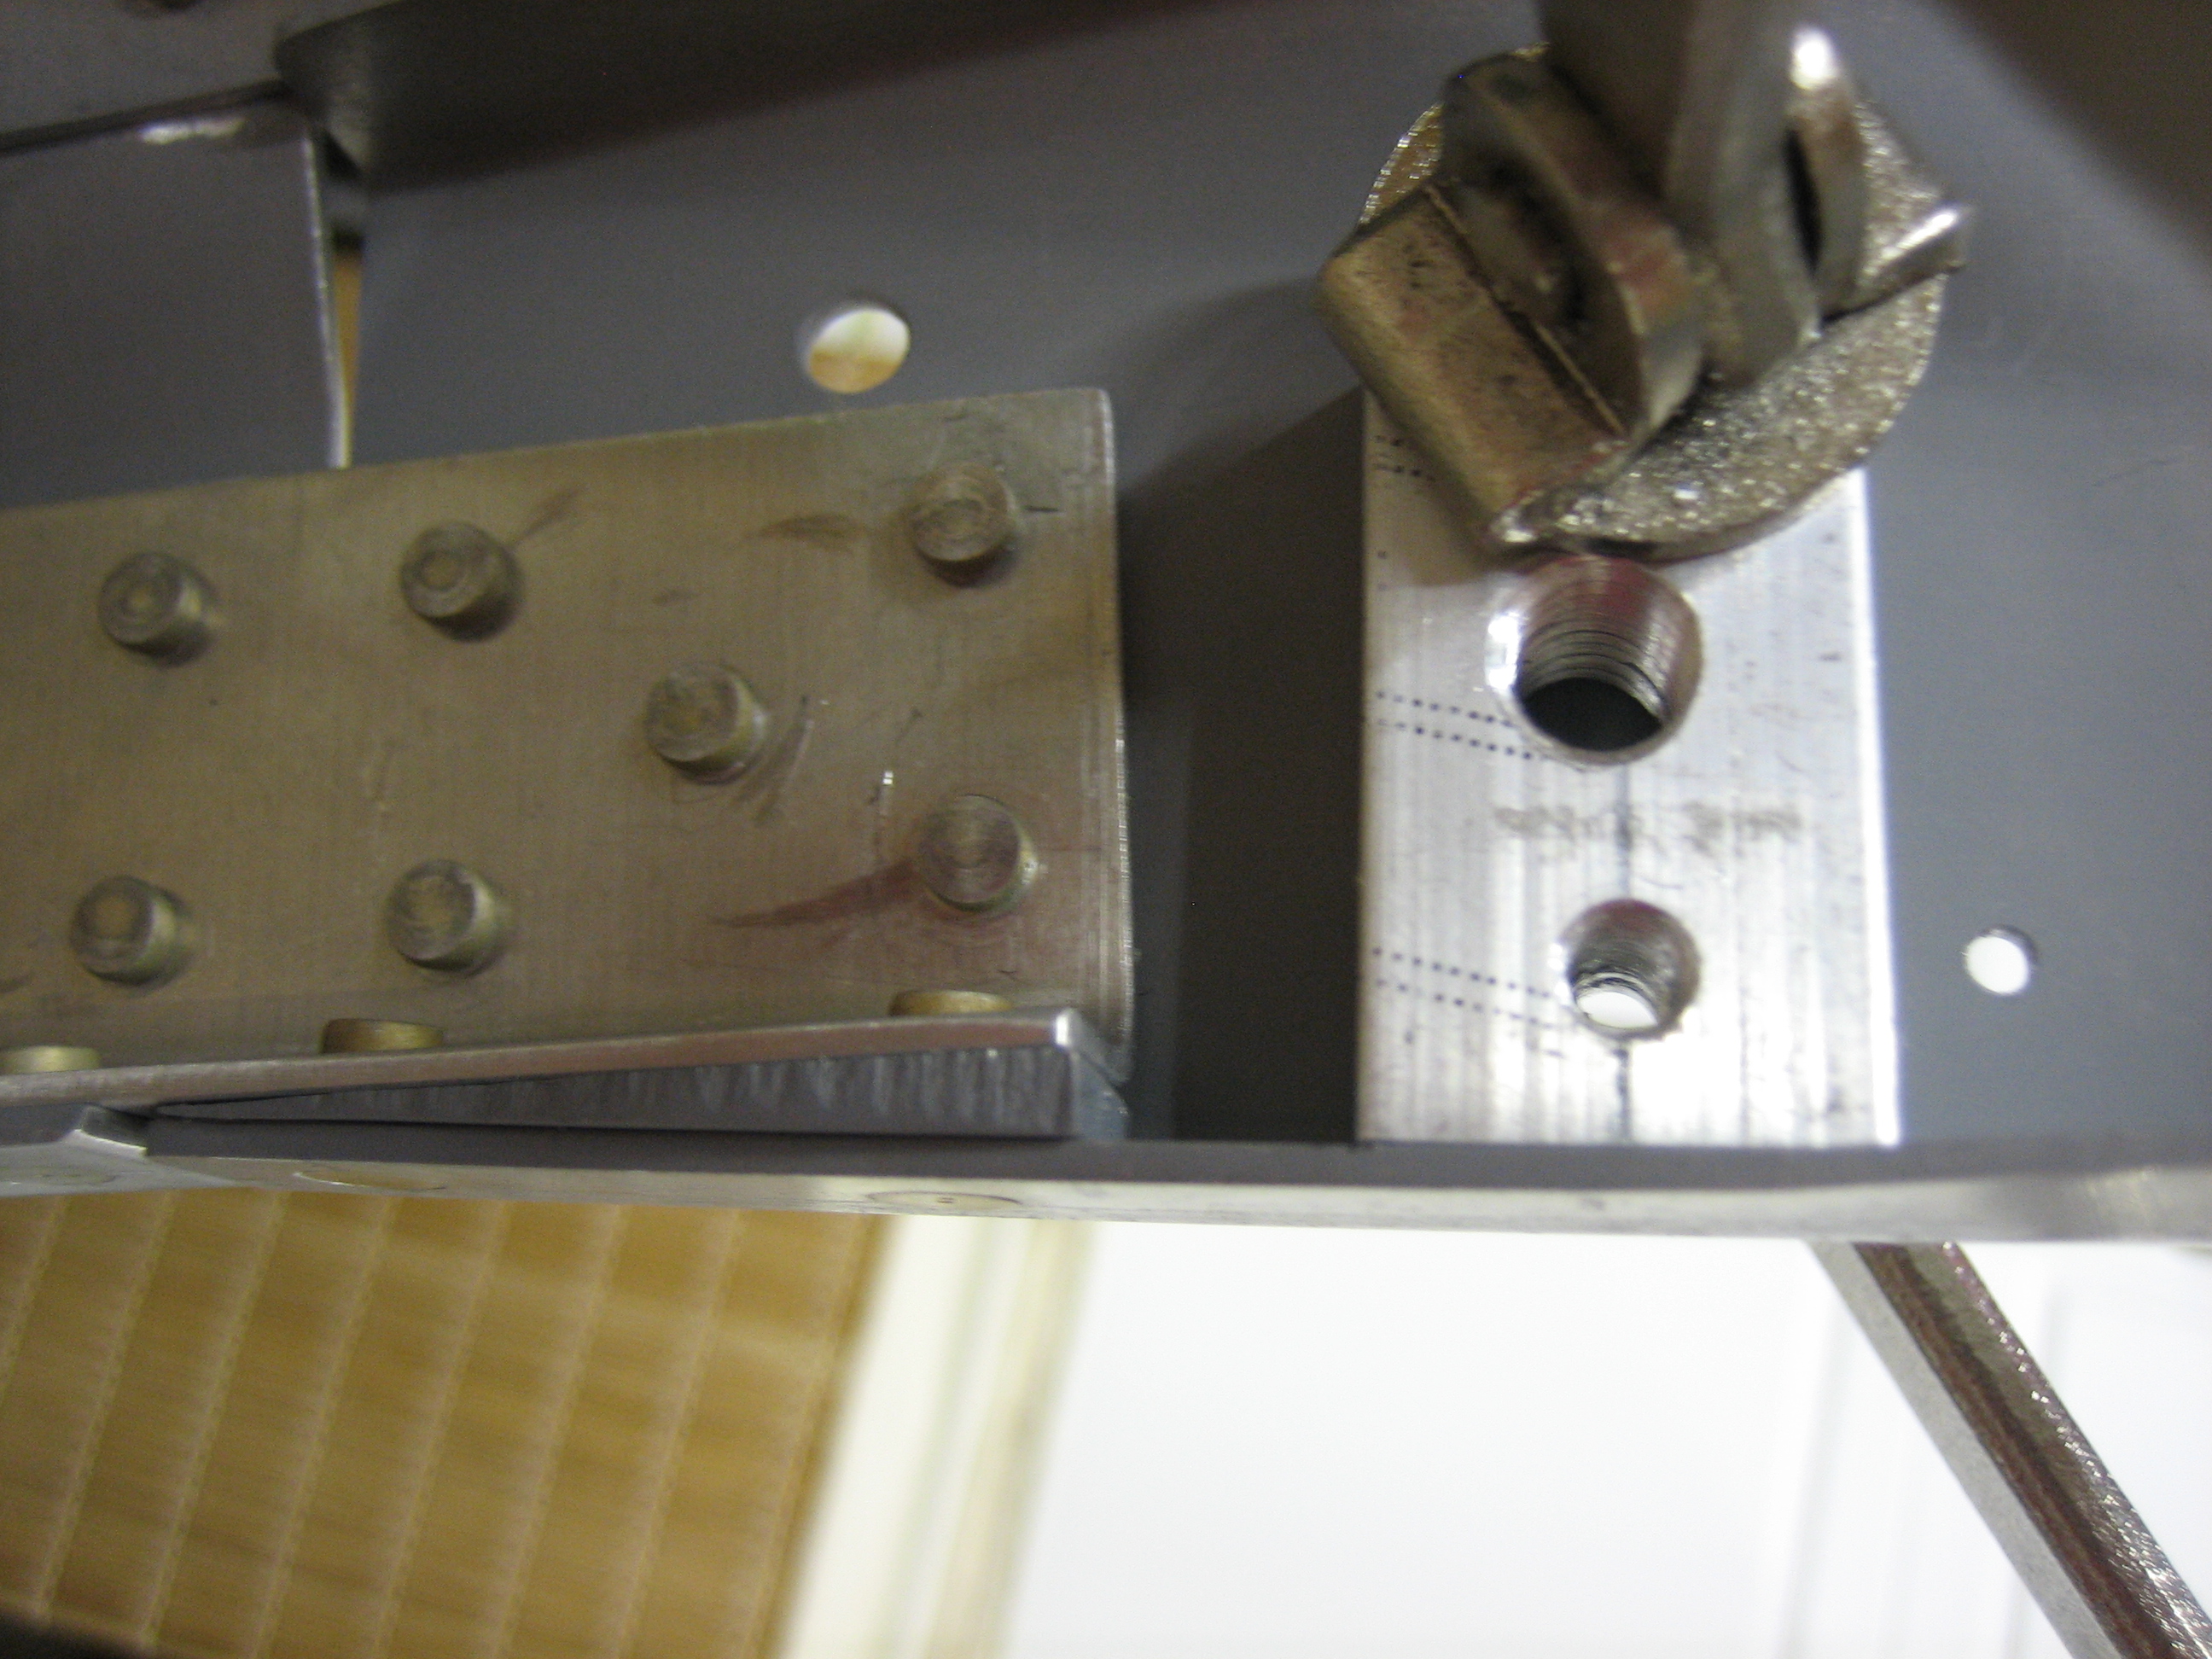
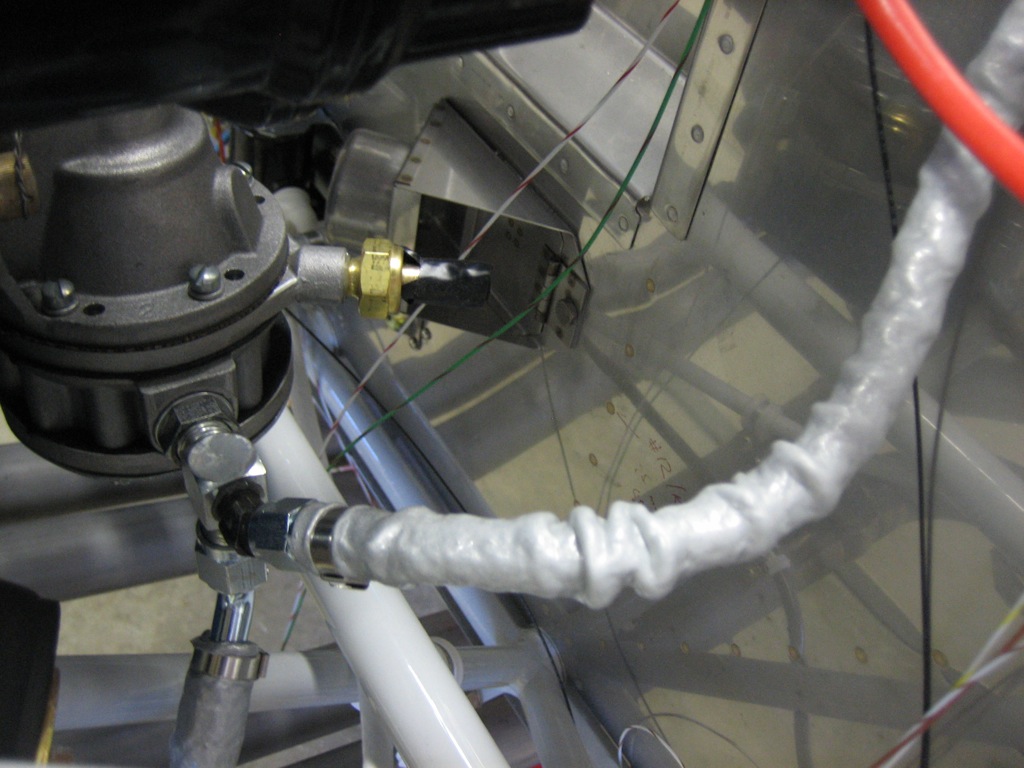
Here are where these hoses connect to the manifold.  The top line (without the firesleeve) is the manifold pressure hose.  The middle hose is the oil pressure line.  The bottom line which goes straight down is the fuel pressure hose.

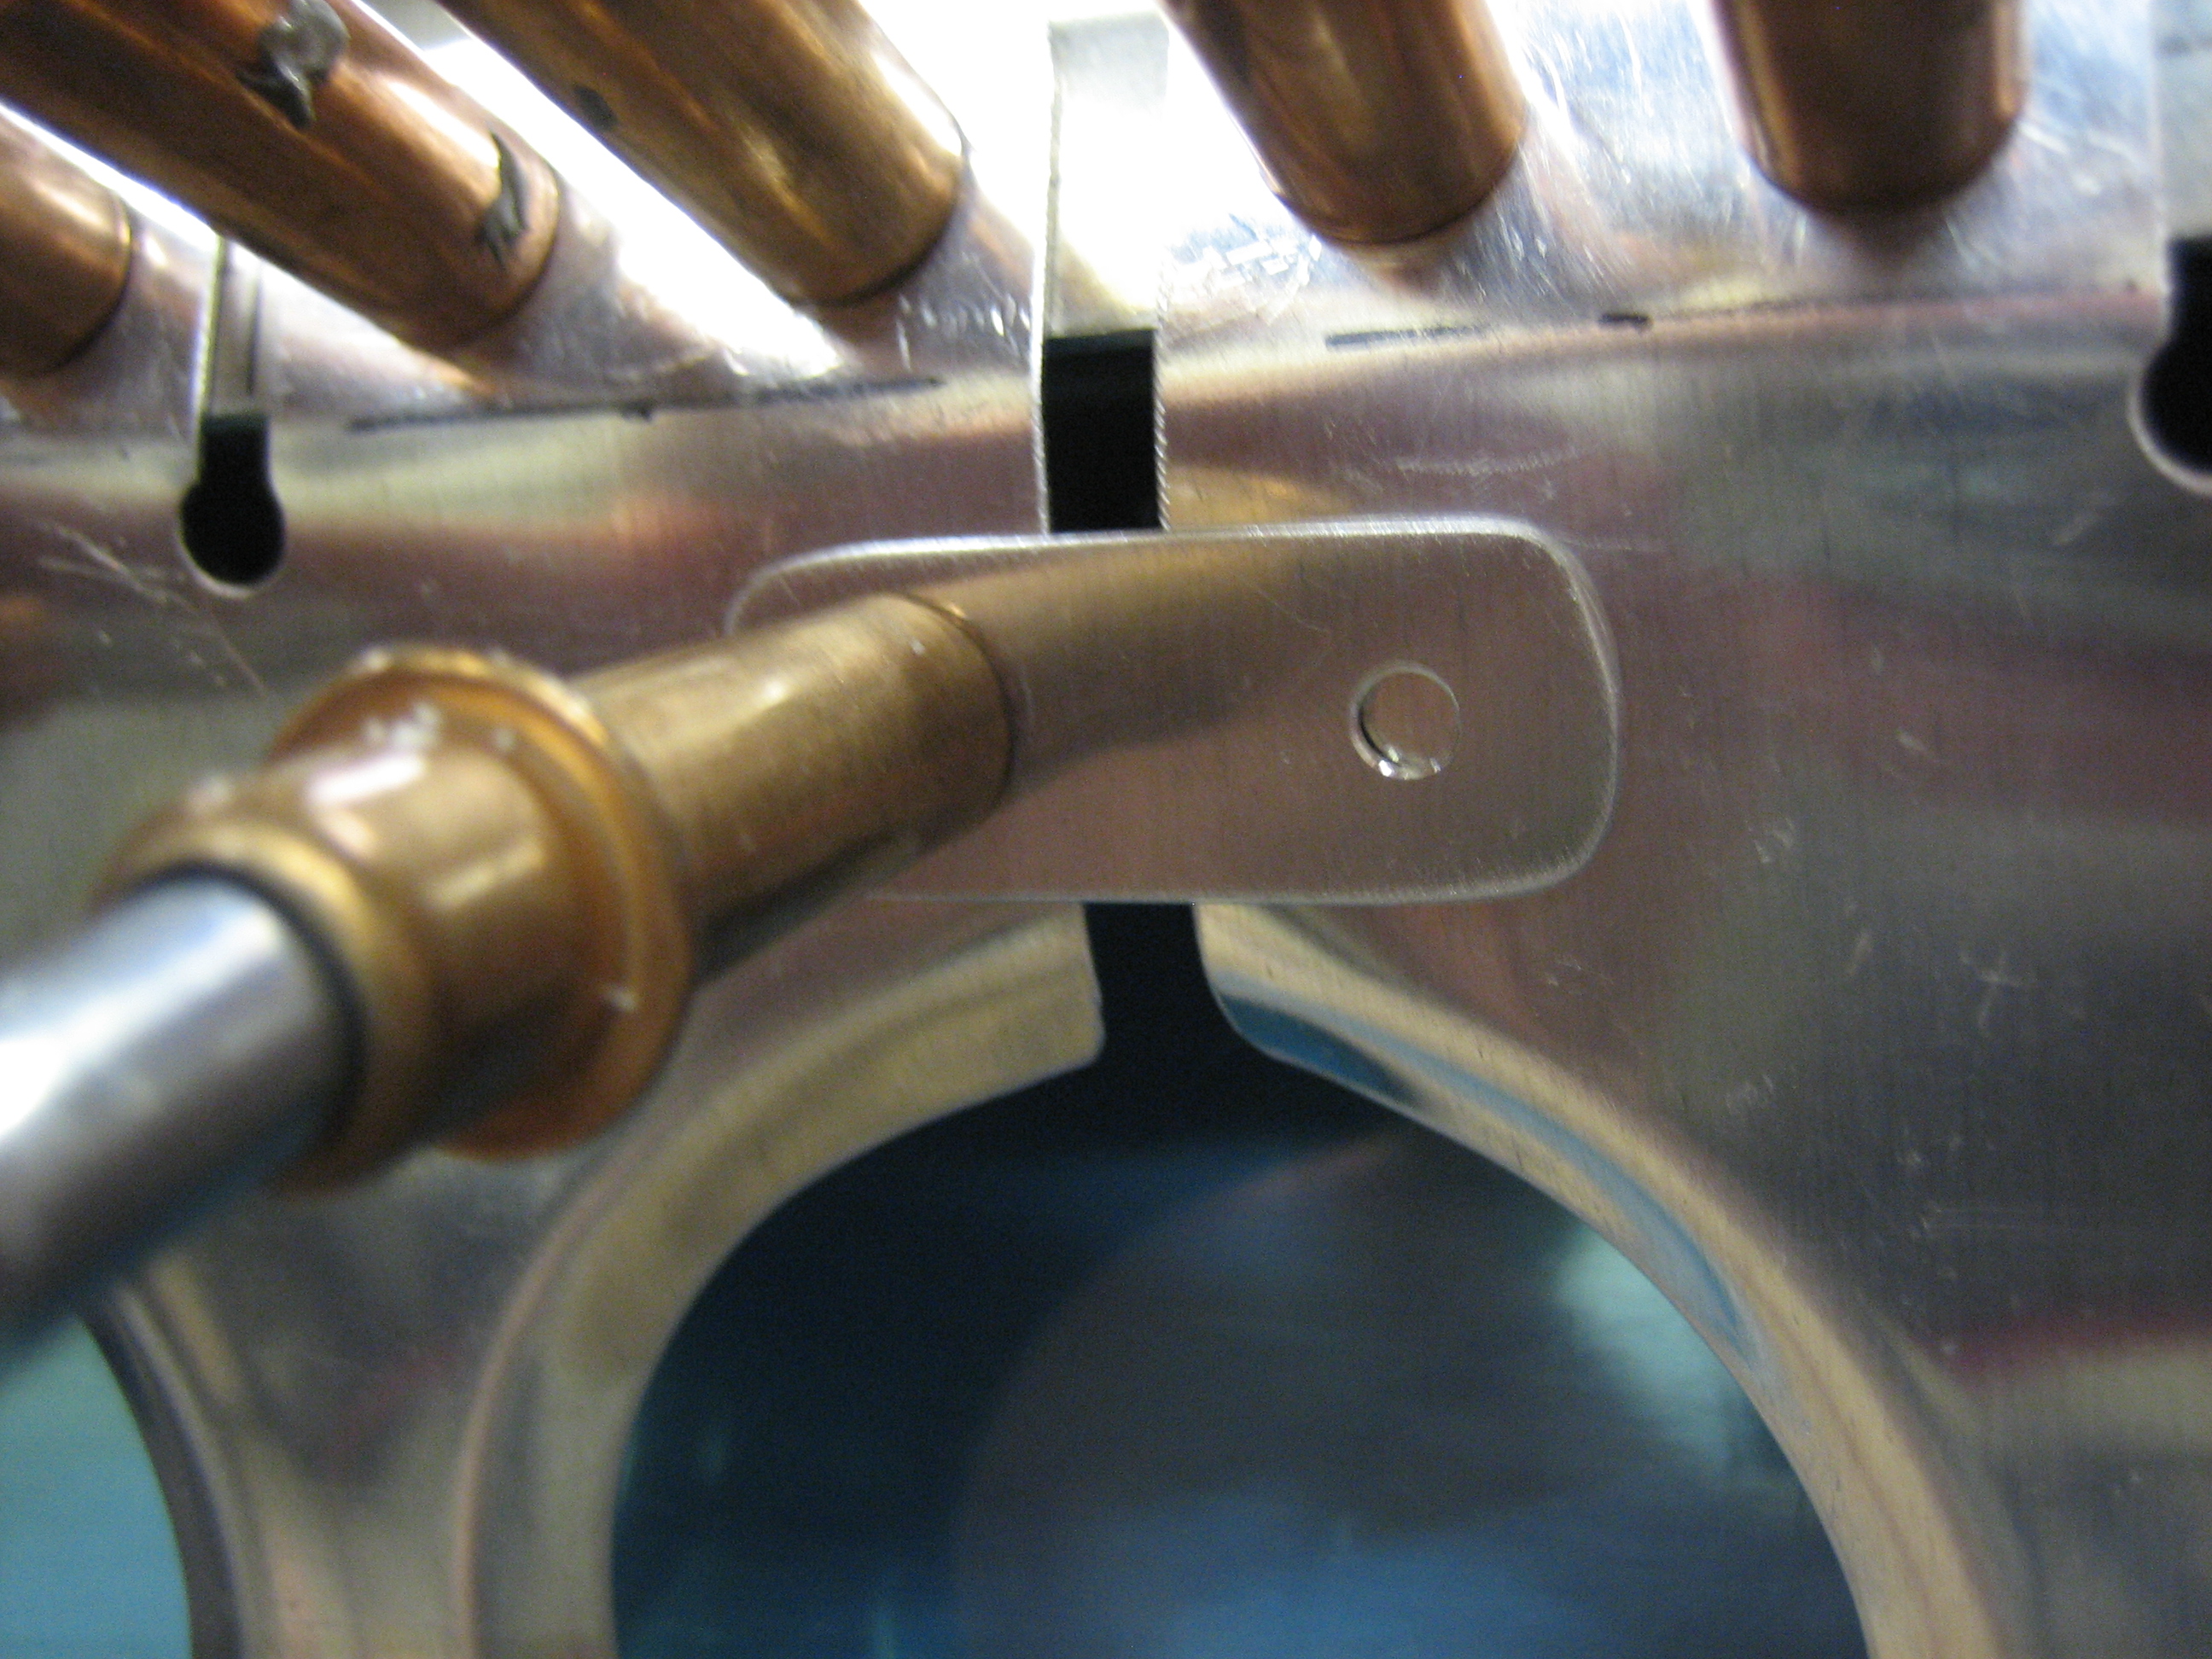
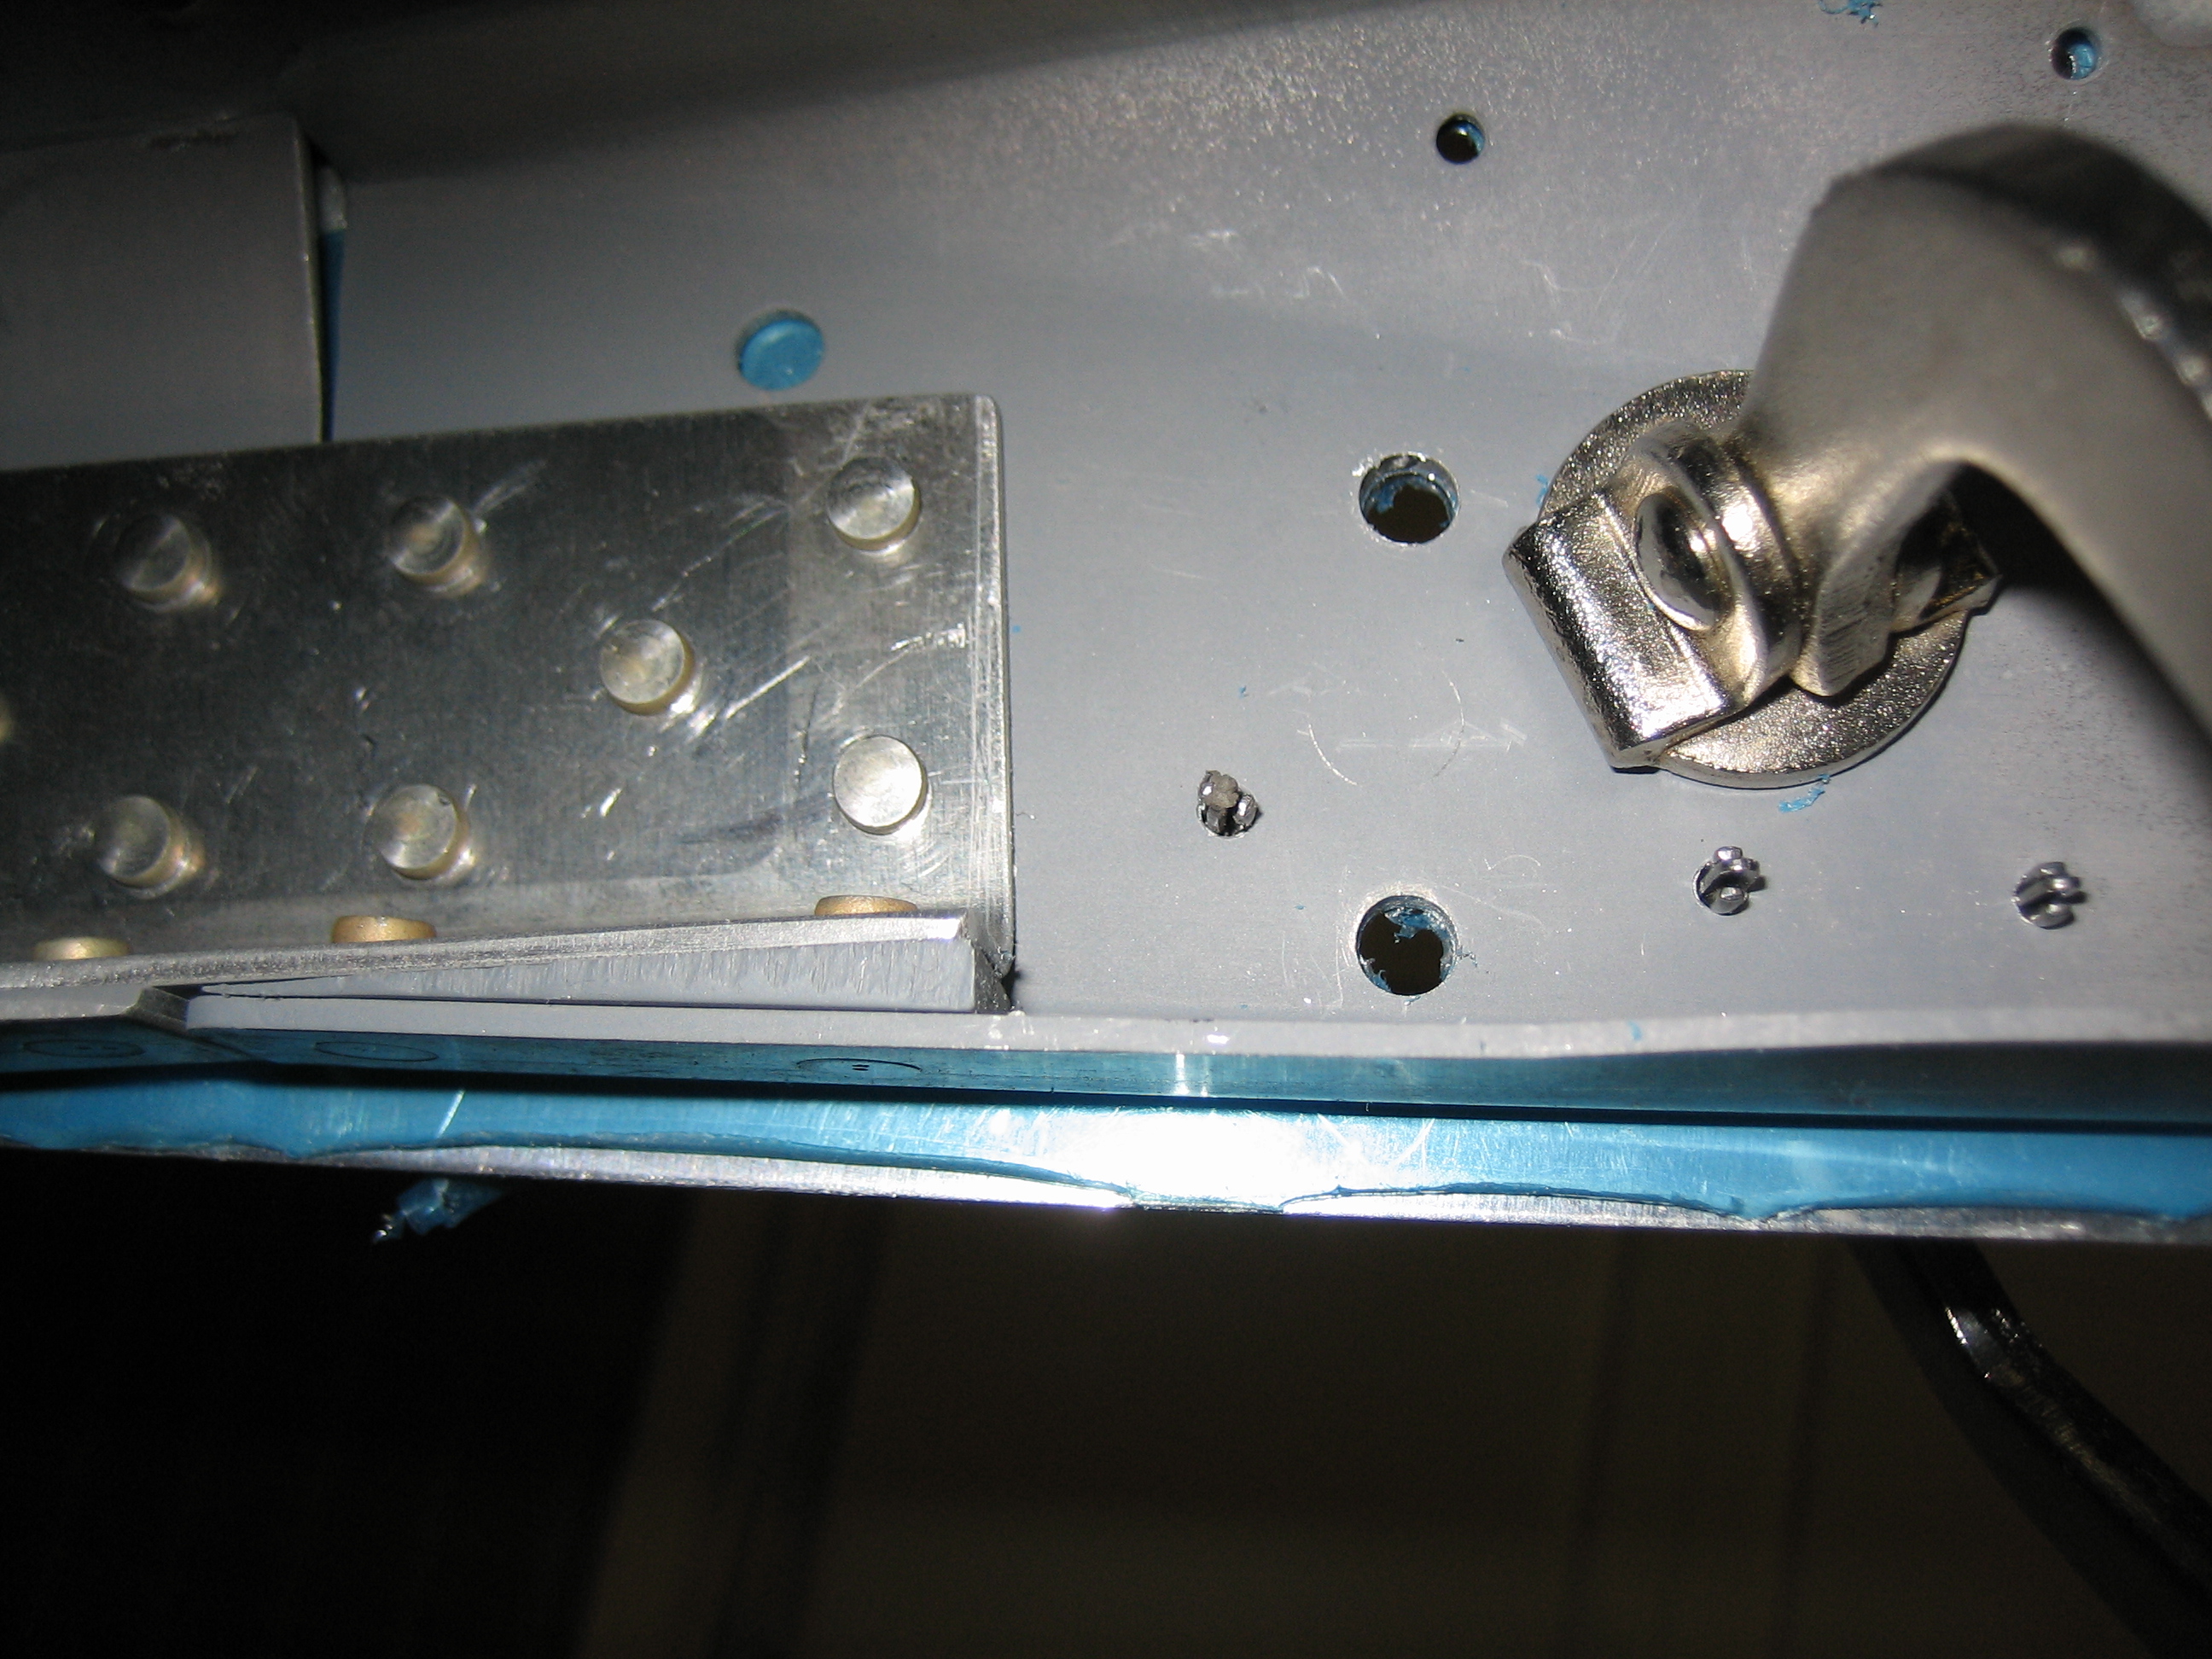
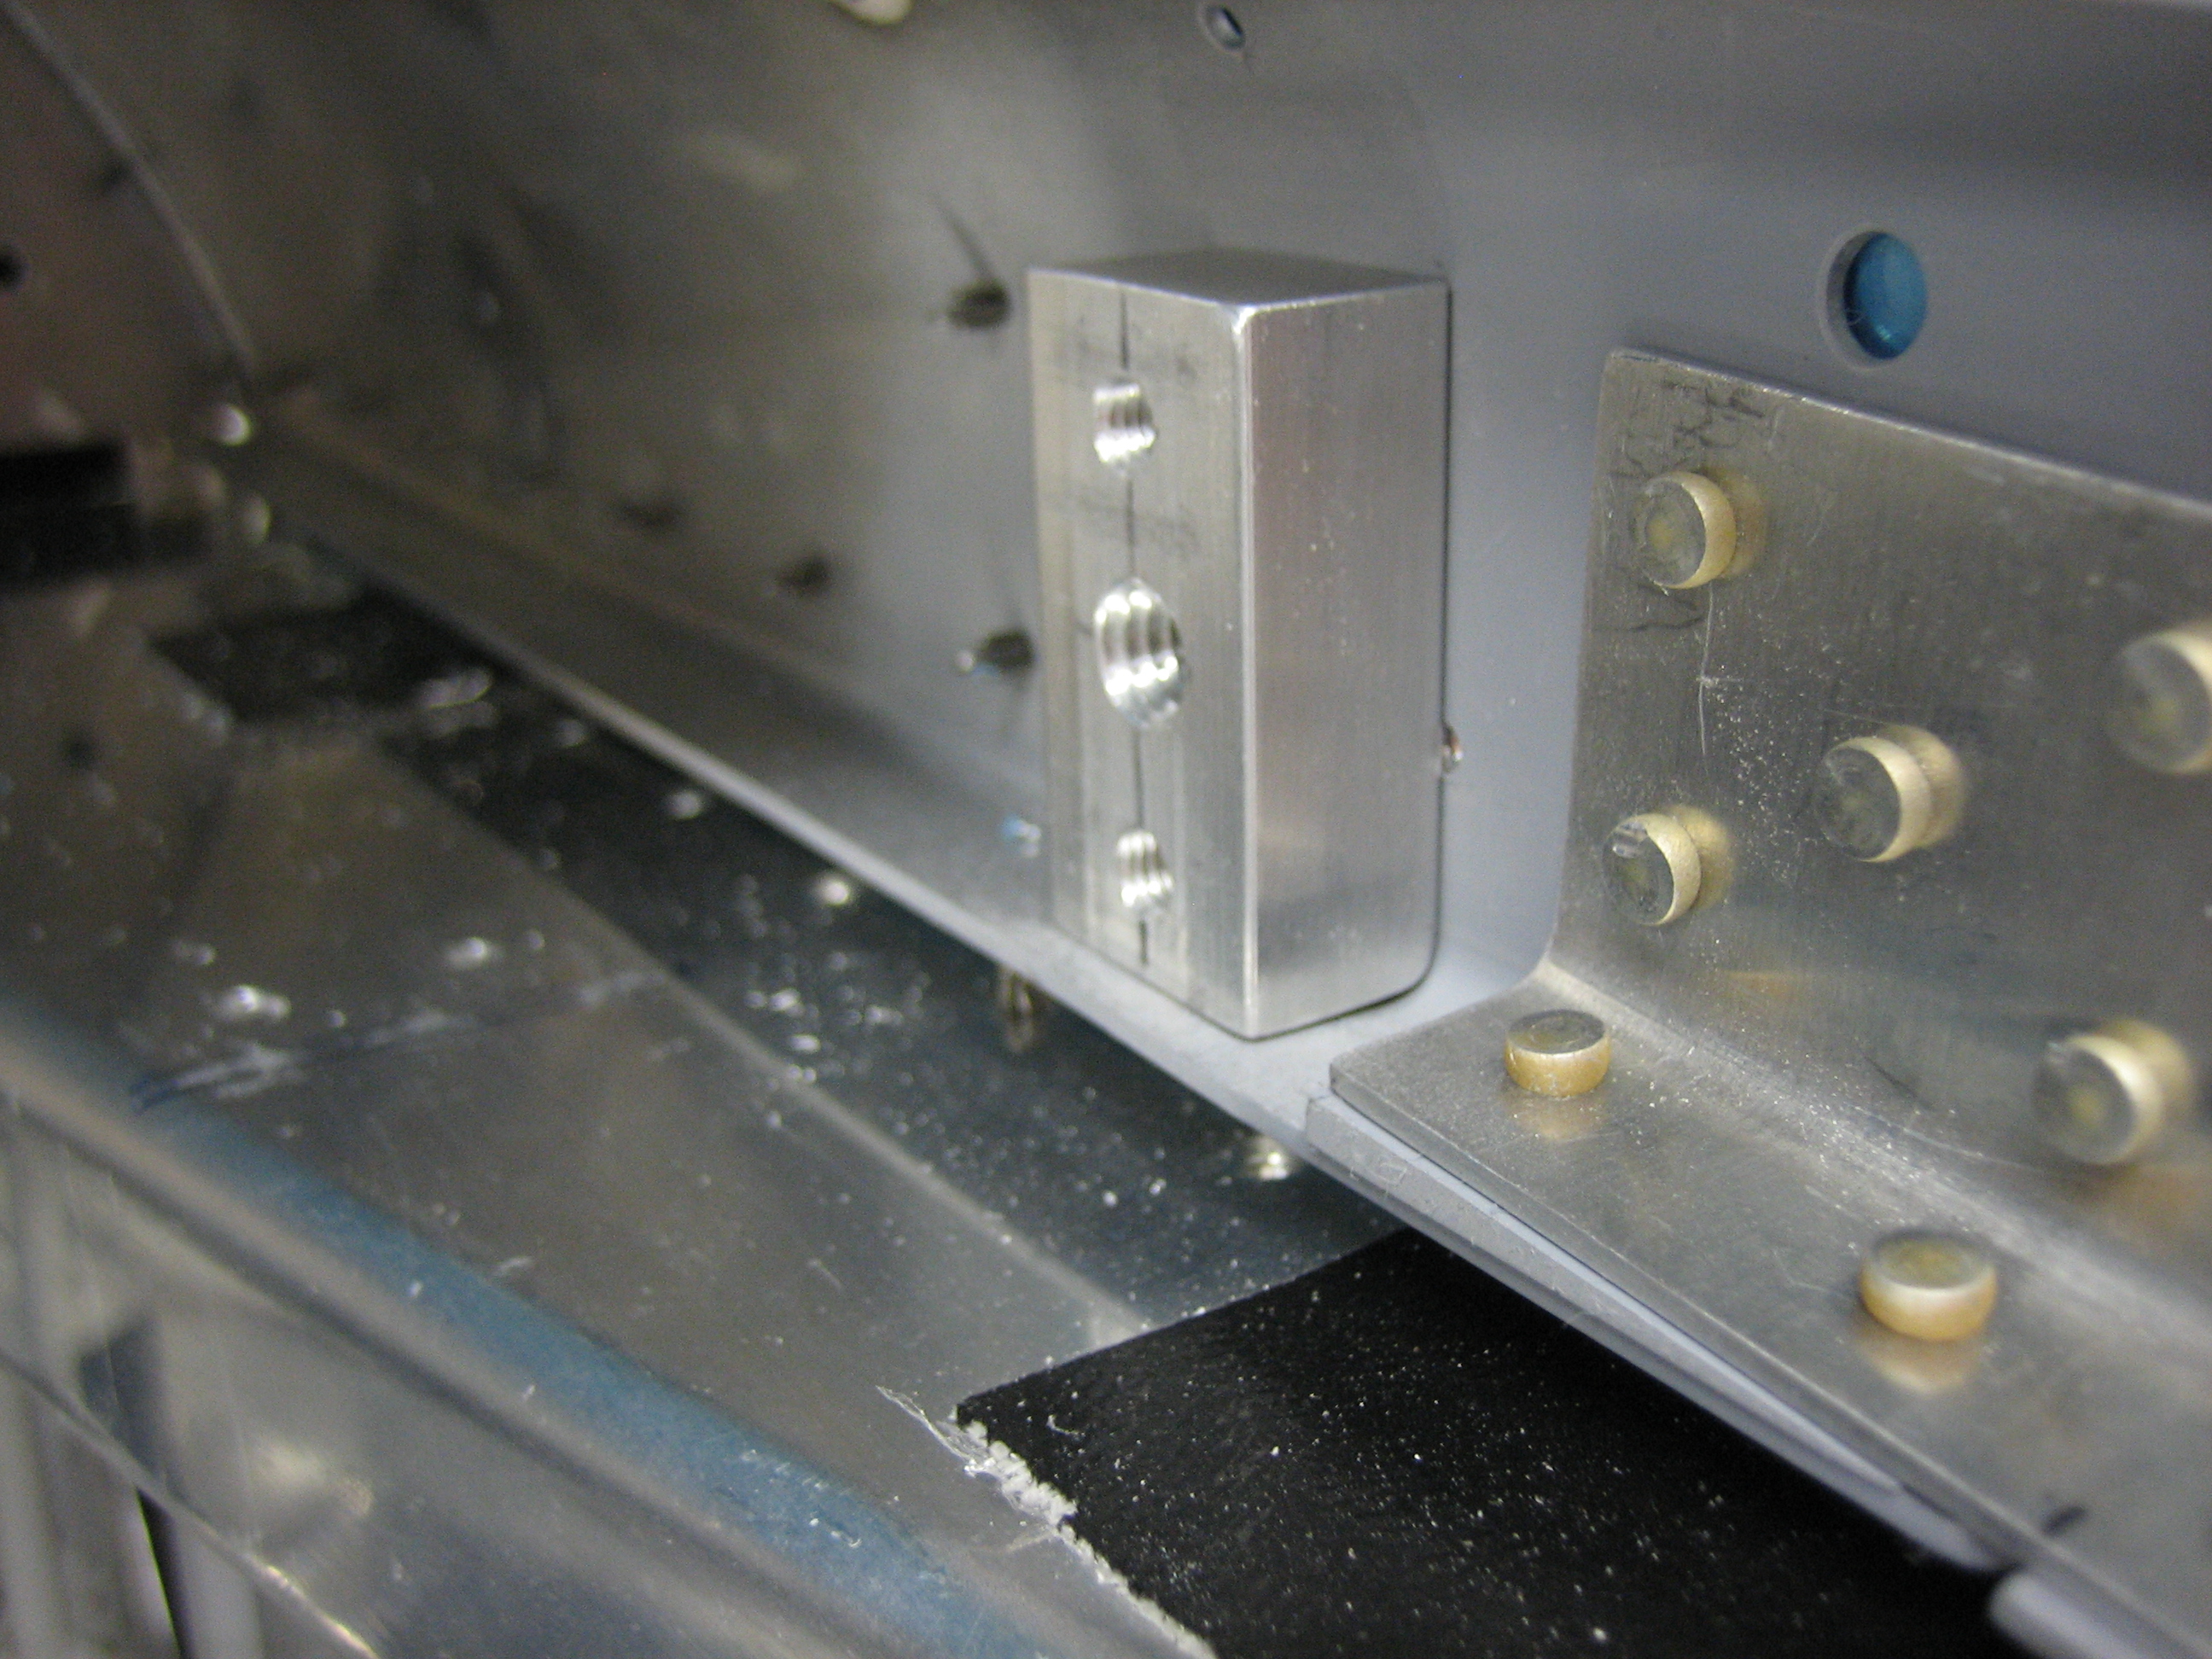
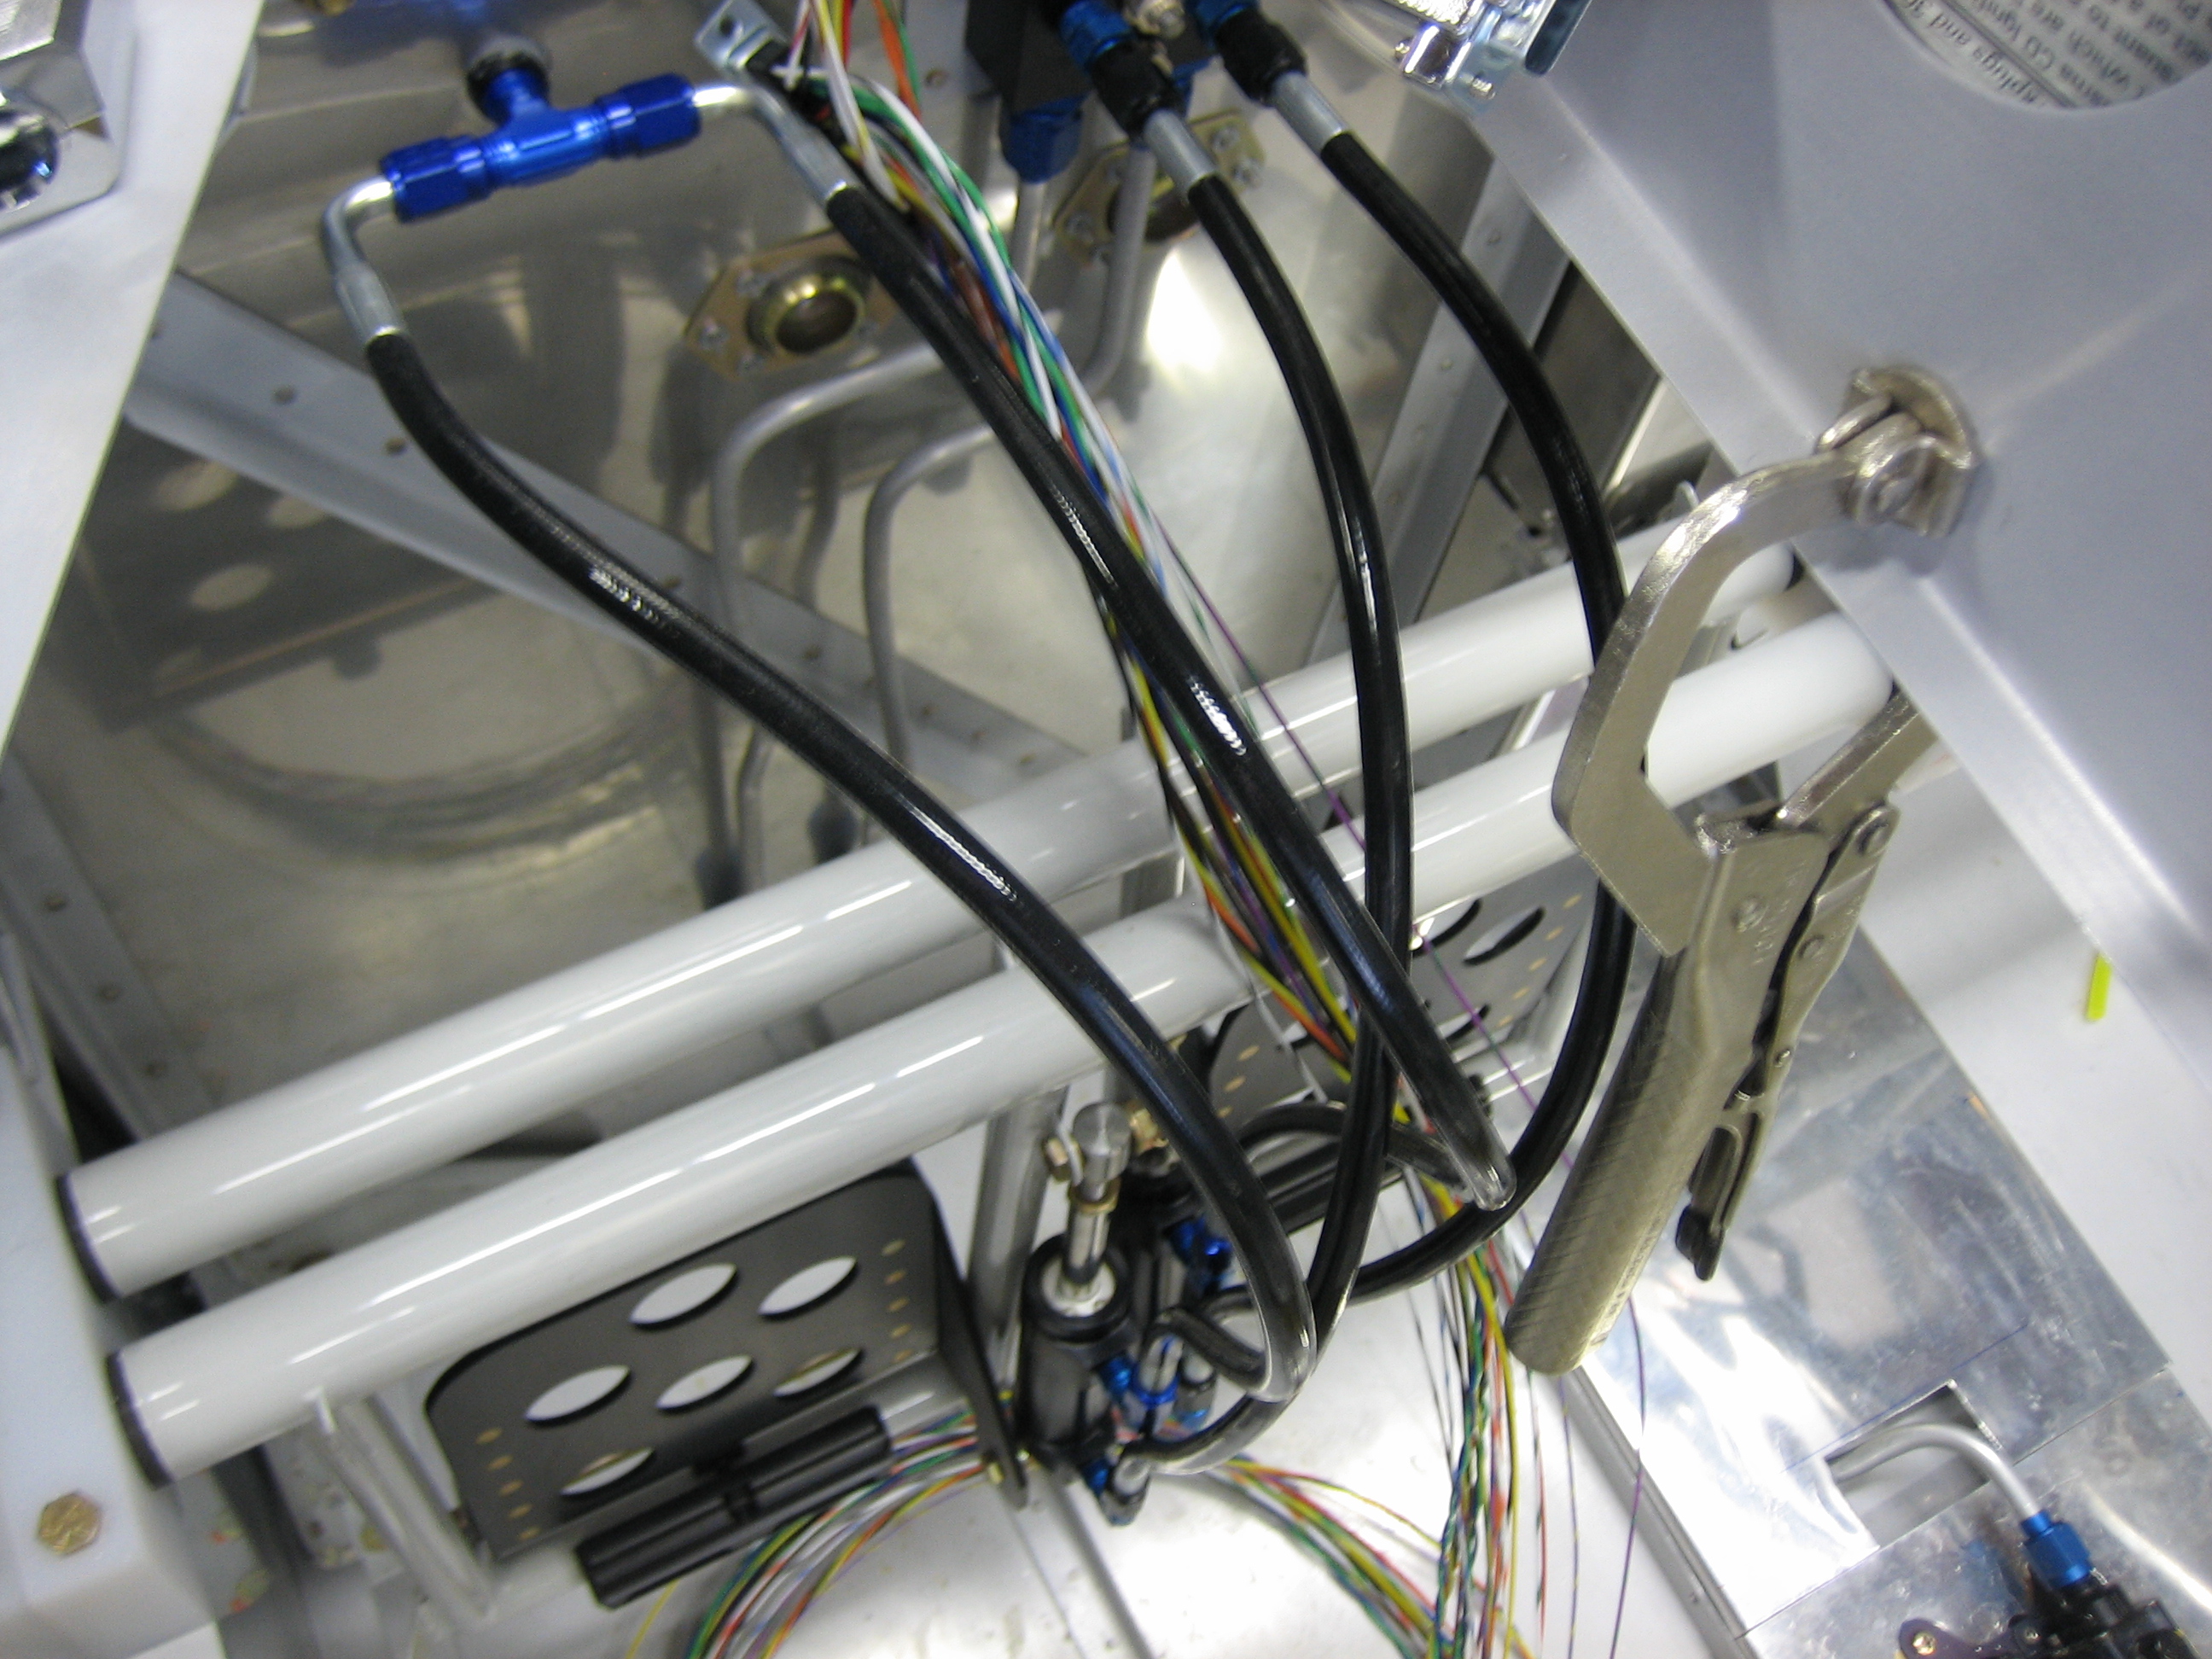
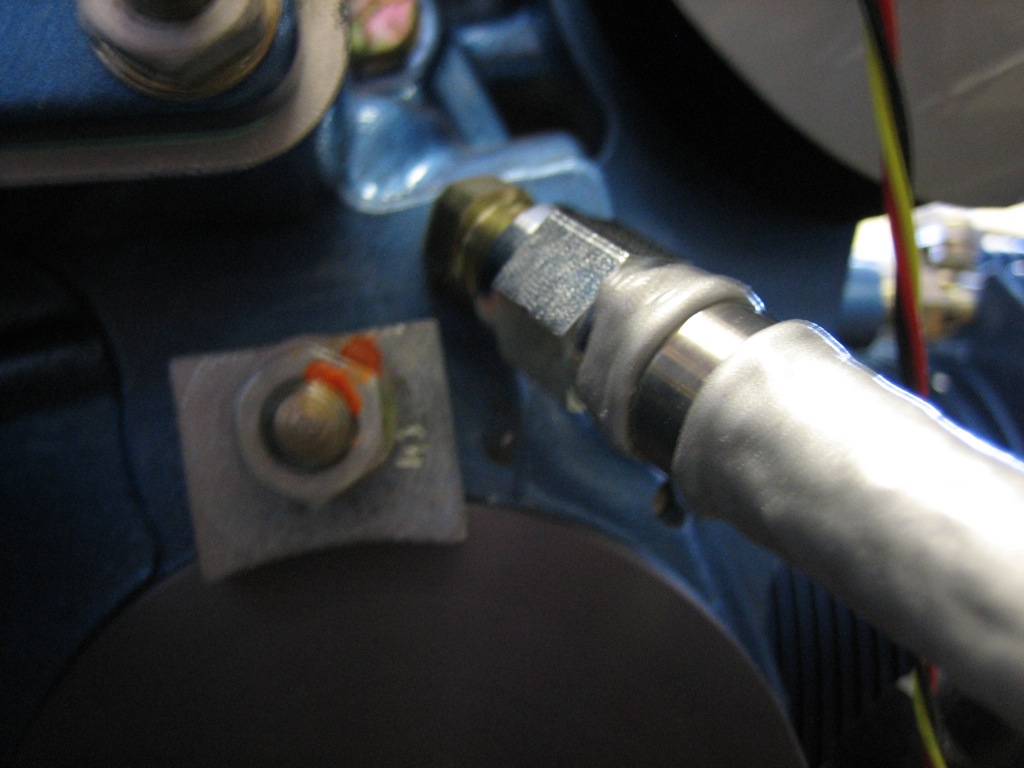
Here’s the other end of the fuel pressure line.  The angle fitting needs to be replaced with a restrictor fitting, but I’ll wait until I have a few more things to order before ordering that.

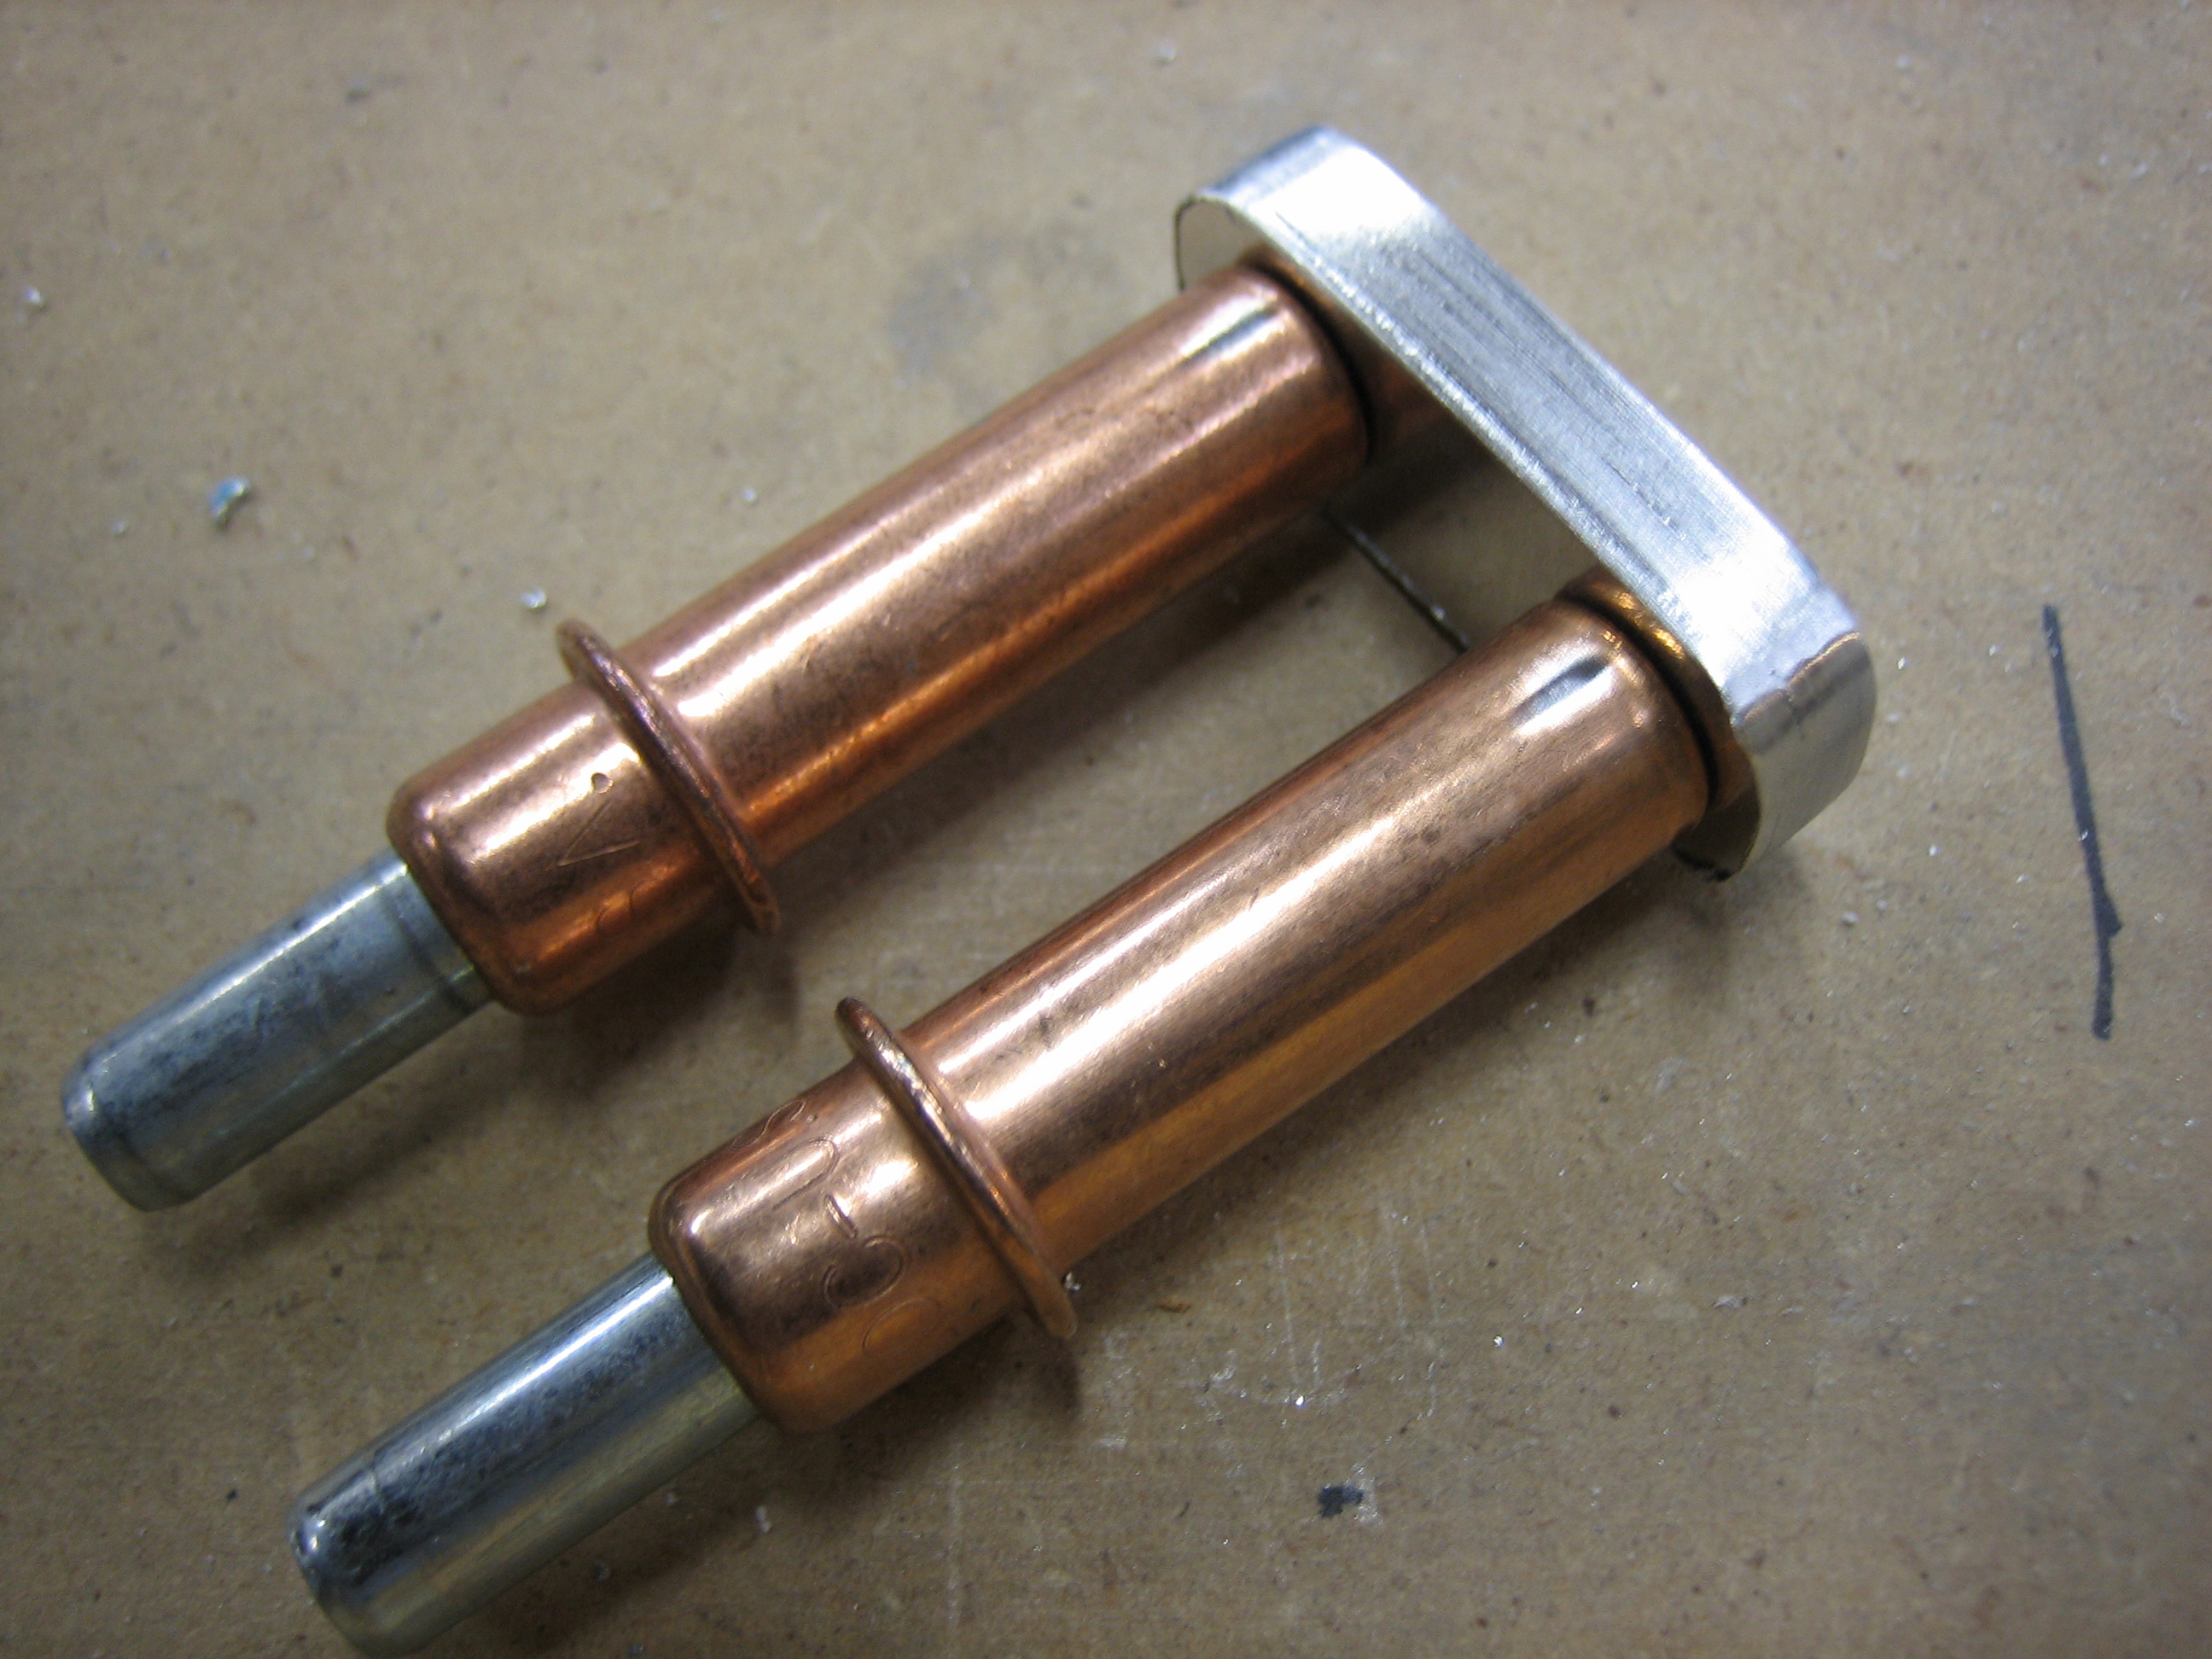
I also received the final two brake lines.  These were also not made correctly; I ordered these with blue fittings, but they came in black.  I may swap out the other ones for black fittings and re-anodize the fittings that thread into the master cylinders anyway, so I’m not concerned about this mistake.

Fit Breather Tube

I fit the crankcase breather tube this afternoon.  The tube attaches to a fitting at the top of the accessory case with a piece of rubber tubing.

The tubing attaches to the firewall with an adel clamp near the heater box.  I had to drill out one of the rivets and rivet on a nutplate.  This adel clamp is the wrong size, but I don’t have any of the correct size.

The bottom of the tube is cut so that it’s parallel to one of the exhaust pipes.  I’m not sure if this is too close or not, but I’ll do the final adjustment when I install the exhaust hangers.  This is installed close to the exhaust pipe so that any residue that is vented through the breather will be burned when it hits the exhaust pipe.

Worked on Canopy Frame

I resumed working on the canopy frame tonight.  There are some shims that need to be fabricated that will fit between the canopy frame and the skin.  I used some feeler gauges and a digital caliper to determine the various gaps.  I’ll start making the shims tomorrow.