Fit Left Main Gear Leg

I fit the brake flanges to the gear legs.  It was only after I took this picture that I realized the bolt had to come back out to fit the caliper mounting bracket.  This required reaming the holes in the mounting brackets (which were slightly undersize) out to 1/4″ for the 1/4-20 socket head bolts.  I have no idea why these aren’t standard AN hardware.  In fact, the nut looks like something you’d find at the hardware store, but this is what Van’s specifies.

I reamed the caliper holes out with my 1/4″ chucking reamer for the AN4 bolts that hold the caliper mounting bracket to the brake bracket and attached in with some AN4-6A bolts.  I would have used AN4-5A bolts except that I didn’t have any.  The plans specify AN4-11A bolts because these also go through some spacers and the wheel pant mounting bracket.  I’ll do the phase 1 flights without that bracket installed though since it’s prone to cracking without the wheel pant in place, so this will probably be how this stays all the way to first flight.

I lubricated the gear leg with some AeroShell 33MS grease (the only grease I’m using for the entire airplane), and slipped it into place.

I installed the AN5-21A bolts ad torqued them down.  AN5-20A would have been better since I had to use two washers, but I don’t have any.

Finally, I repacked the wheel bearings with fresh AeroShell 33MS grease and mounted the wheel and brake caliper.  Nothing’s been final torqued at this point.

Fit Right Main Gear Leg

I fit the right main gear leg tonight and packed the right wheel bearings.  The tailwheel spring has not been installed yet, so the tail is still sitting on a sawhorse.  The plane is only a few inches taller than it was when the entire fuselage was on sawhorses since I intentionally set them high because of how tall I am.  Access to the inside while leaning over the longerons is still totally fine.  The plane is also much more stable this way.  Although the sawhorses were steel, the legs could move back and forth slightly, so this is a definite improvement.

Picked Up Prop and Governor

I lucked out on the purchase of a propeller earlier this month.  Early last year, a number of builders organized a group buy through American Propeller Service for the Whirl Wind Aviation 200RV propellers.  I missed out on the group buy because it happened right around the time I started on the kit and I wasn’t looking for a prop yet.  Luckily another builder had a $1,000 deposit in this group buy that he needed to sell.  By the time that I saw his email though, at least four people had responded that they’d take it.  I sent him an email and offered him $1,500 for his deposit, and that was enough to put me at the top of the list.  I sent him the money and he transferred the slot to me.

I paid for the rest of the prop and ordered a PCU5000 governor at the same time.  Since American Propeller Service is based in Redding, CA and I’m in San Jose, CA, I decided to fly our Cardinal up to get the prop.  I got up at 4:50 and was wheels up by 6:50.

Here’s a shot of the north bay with the mothball fleet visible near the center of the picture and Napa, CA just beyond.

I got a tour of the propeller shop as well as the engine shop where we had our Cardinal’s cylinders overhauled last year.  They have a great shop and really do outstanding quality service.  If you need a prop, give Kevin Russell a call there and tell him I sent you.

Afterward, I loaded the prop, spinner and governor into the back of the plane and headed home.

Redding, CA is just south of Mt. Shasta, and it’s visible on a clear day for 100 miles in any direction.

The flight up was into heavy headwinds, so the 192nm flight took nearly 2 hours.  The return flight was quick though with 150+kt ground speeds for most of the flight and 170+kt ground speeds as I started a shallow descent out near the Travis Air Force Base.

Here’s a shot of one of the blades.  The 200RV is a hollow carbon fiber blade with a nickel leading edge erosion shield.

Here’s the tip of the blade using my hand as a reference so you can see just how short the chord is at the tip.

Here’s a shot of the widest part of the blade with my hand as a reference.

The Whirl Wind propellers all come with a spinner that is ready to bolt on.  With any other prop, I’d have to fit the Van’s spinner myself.

Here’s the aft mounting plate for the spinner.  The entire spinner is made of carbon fiber, so I should never have to worry about this cracking.

Here’s the governor that I picked up.  This will bolt on to the back of the engine and regulates oil pressure to the prop to vary blade pitch.

Plane Is On Its Gear

Jenn helped me suspend the canopy from the rafters so that it’s out of the way and isn’t likely to get bumped.  I used two straps at each end and ran the ropes through some scrap boards so that the ropes wouldn’t try to squeeze the canopy sides inward.

I slipped the tailwheel into the mount and wheeled the plane out into the sun for the first time.

With the plane on the lawn, I spent quite a while cleaning out the garage.  I needed to change the layout so that I’ll have room to install the engine and still close the garage door.  I moved the benches along side the fuselage and cleared a spot along the back wall next to my tool box so that the tailwheel can tuck right up against the wall.  Here is everything back in place.

Installed Center Tunnel Nutplates

I installed the nutplates along both sides of the center tunnel in the seating area.  This uses a mixture of one and two legged nutplates.

Next, I reinstalled the front and rear flap motor covers so that I could fit the remaining parts of the center console.

Next, I started fitting the z-channels that will support the center tunnel cover.  There will be one of these on each side with a piece of 0.040″ sheet connecting them.

Fabricated Pushrods

I fabricated a couple of the pushrods used in the control system.  The shorter one ties the two sticks together in roll.  The longer one transfers the pitch forces from the sticks to the elevator bellcrank.  I still have to fabricate the pushrod that connects the elevator bellcrank to the elevators.  I primed them (including the inside of the larger one) with the rattle can primer since the inside of the fuselage is not exactly a high moisture area.

Finished Fabricating Center Cover, Worked on Controls

I bent the forward edge of the center cover top upward to match the slope of the forward seat pans.  This bending brake has come in handy for a lot of things in the build.

I drilled the top to the side z channels.  I intentionally drilled the top to the channels prior to drilling the channels to the floor so that I could ensure the top edges line up perfectly with the apex of the channels.

I had to sand/file away almost 3/8″ from the back edge to get this to fit down flat against the floor.

I laid out and drilled the holes on one side of the cover.  I drilled some screws in part way so that the z channel is up about 1/32″.

This keeps the cover level while I use a strap duplicator to match drill the other two holes.

After screwing the cover down tight against the floor, I drilled an additional #8 hole in the turned up end that will allow the cover to be screwed to the forward seat pan.

I then installed a nutplate on the underside of the seat pan.

The copilot’s stick is removable so that it can be taken out when not needed.  The stick is a tight friction fit in the base, but Van’s recommends installing a bolt through the pair to keep the stick from inadvertently pulling out.  Apparently, this is due to an accident that happened a number of years ago when the copilot’s stick pulled out while somebody was trying to land the plane from the right seat.  The problem with this approach is that it means removing the copilot’s stick requires tools and would be inconvenient at best.  A number of builders recommended using a quick release locking mechanism.  I ordered a few of these clips from McMaster-Carr.  Since the copilot’s grip wiring is going to be running past this clip, I slipped on a piece of heat shrink tubing since the edges are pretty sharp.

I drilled/reamed a 1/4″ hole through the stick and base, then installed the clip into the stick.

When the stick is inserted into the base, the clip locks the two together so that there is no way they can come apart inadvertently.  When I want to remove the stick, I just have to push in on the button and pop the stick out.  There will be a small 2 circuit Molex connector inside the stick for the copilot’s PTT switch that will need to be disconnected.

Finally, I reinstalled the control stick mount.  I need to fiddle with the washers a little bit to make this pivot smoothly.

Engine Arrived!

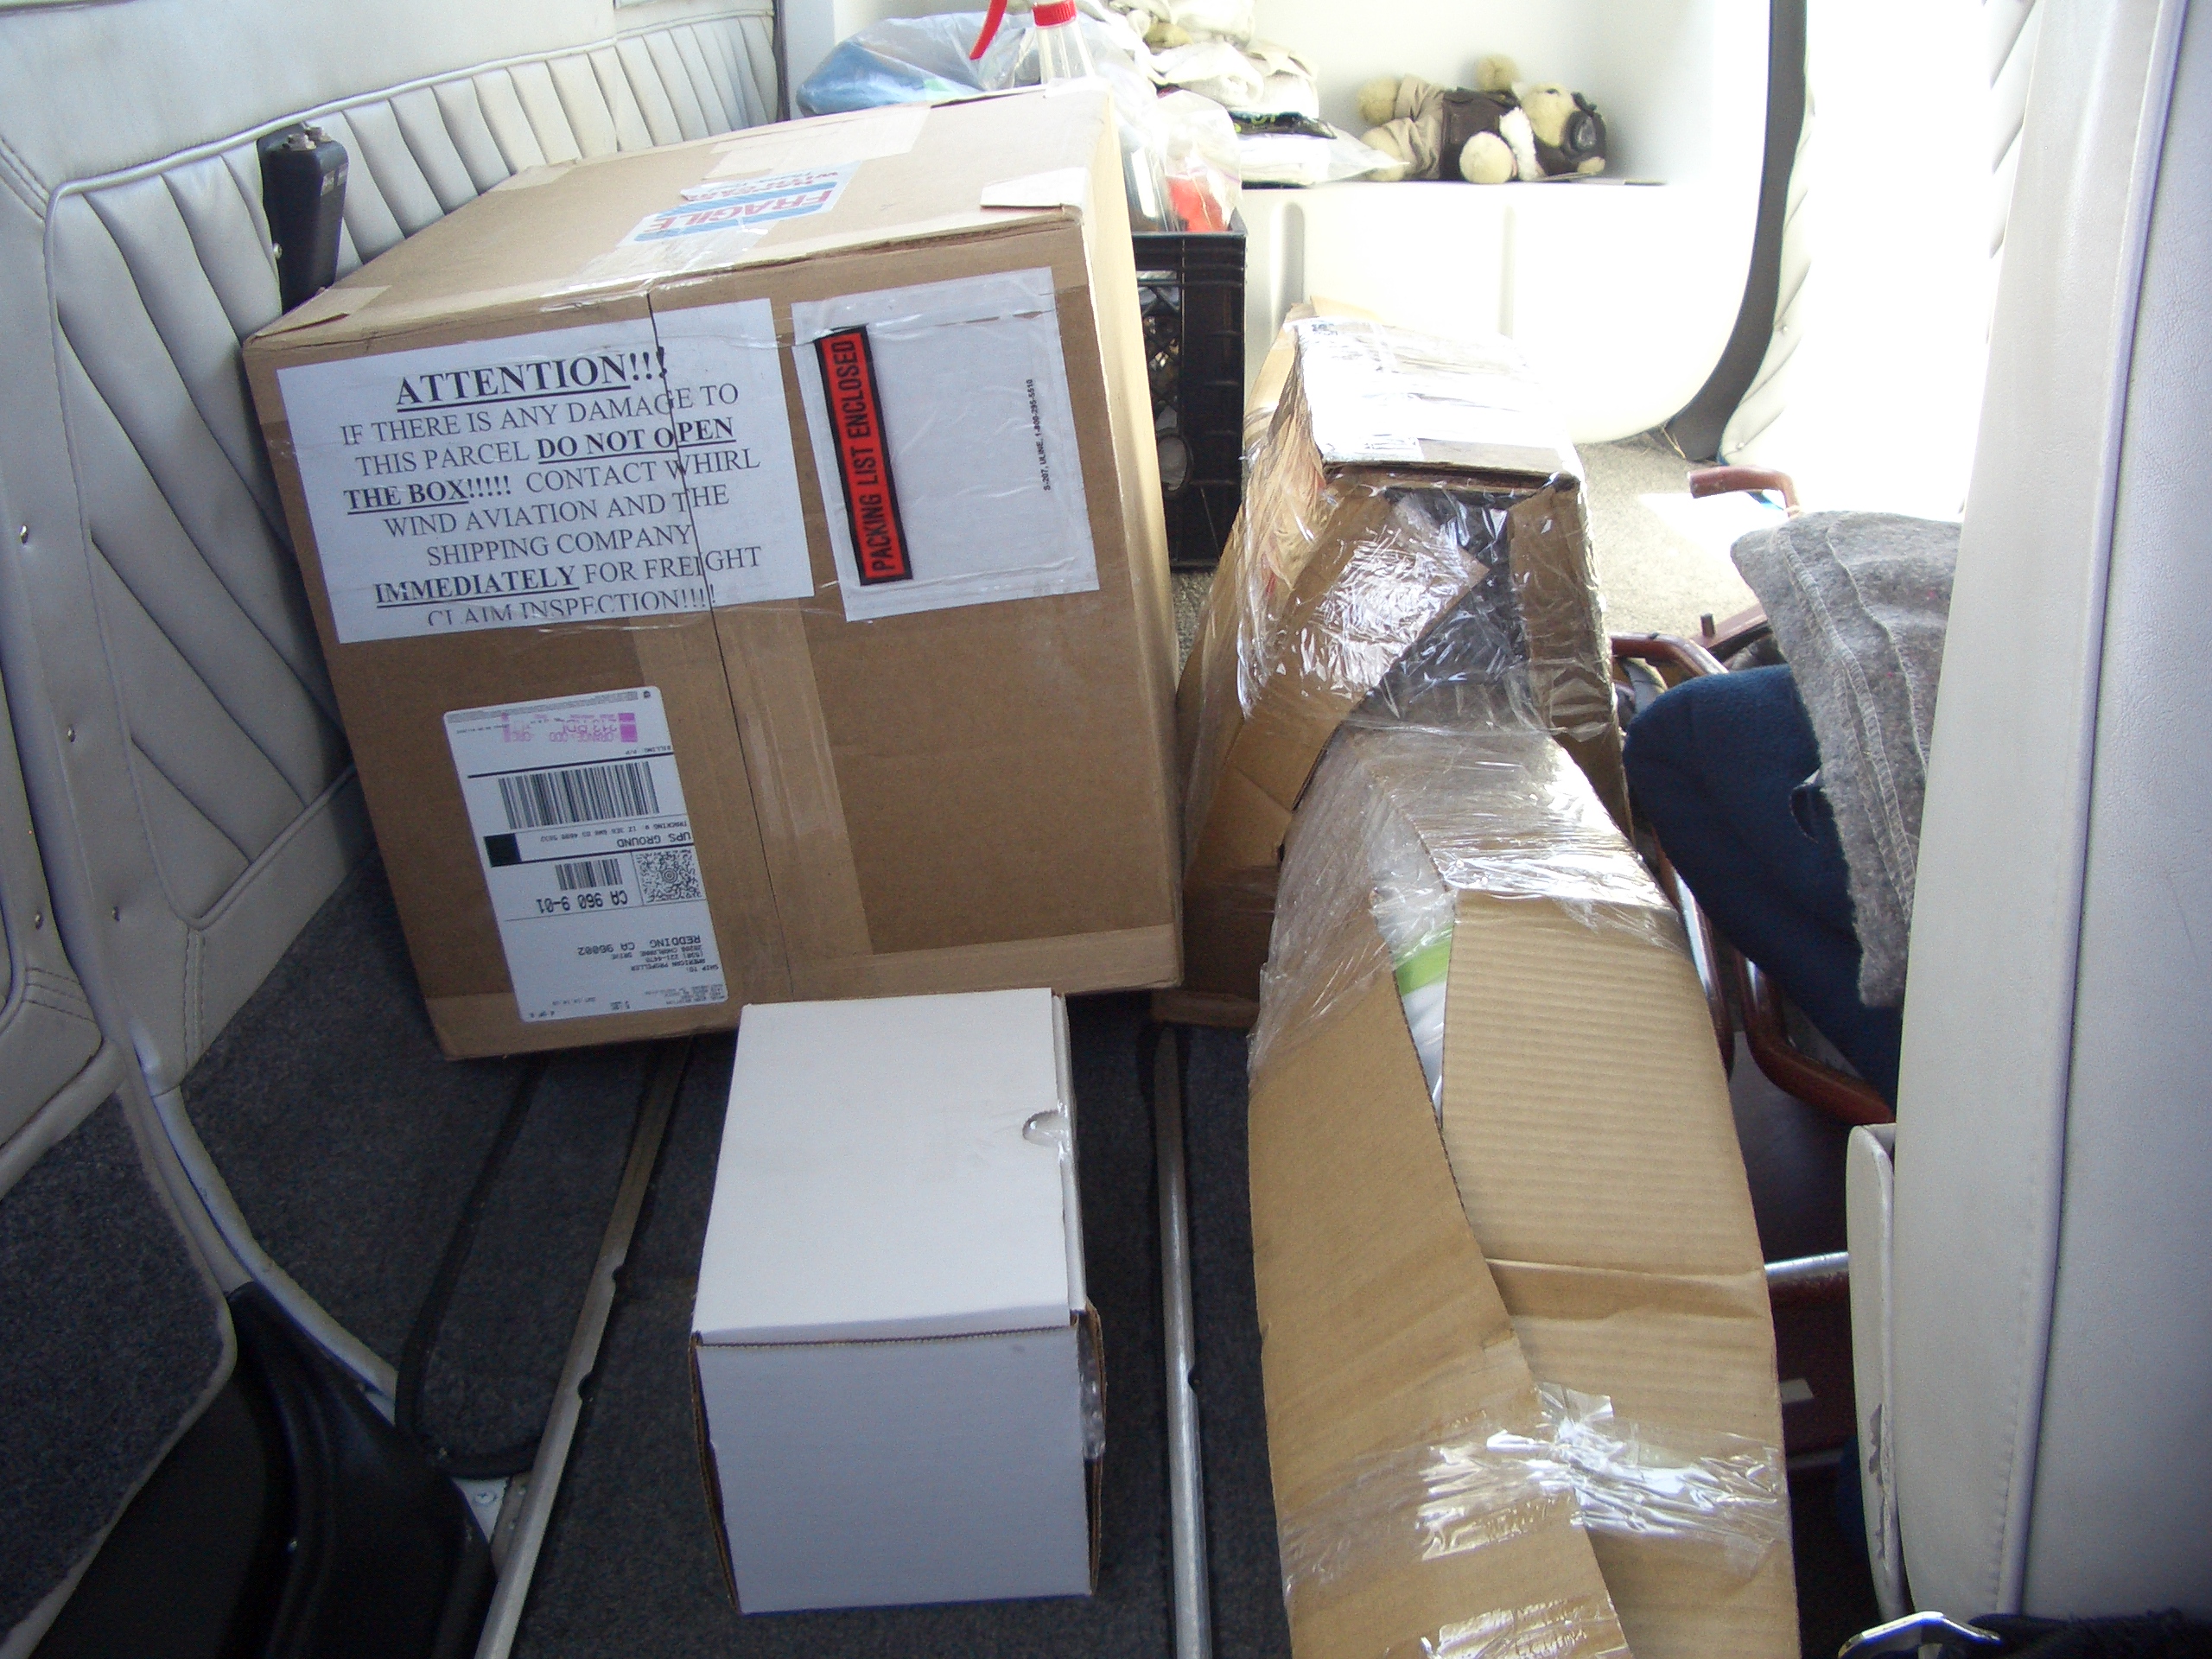
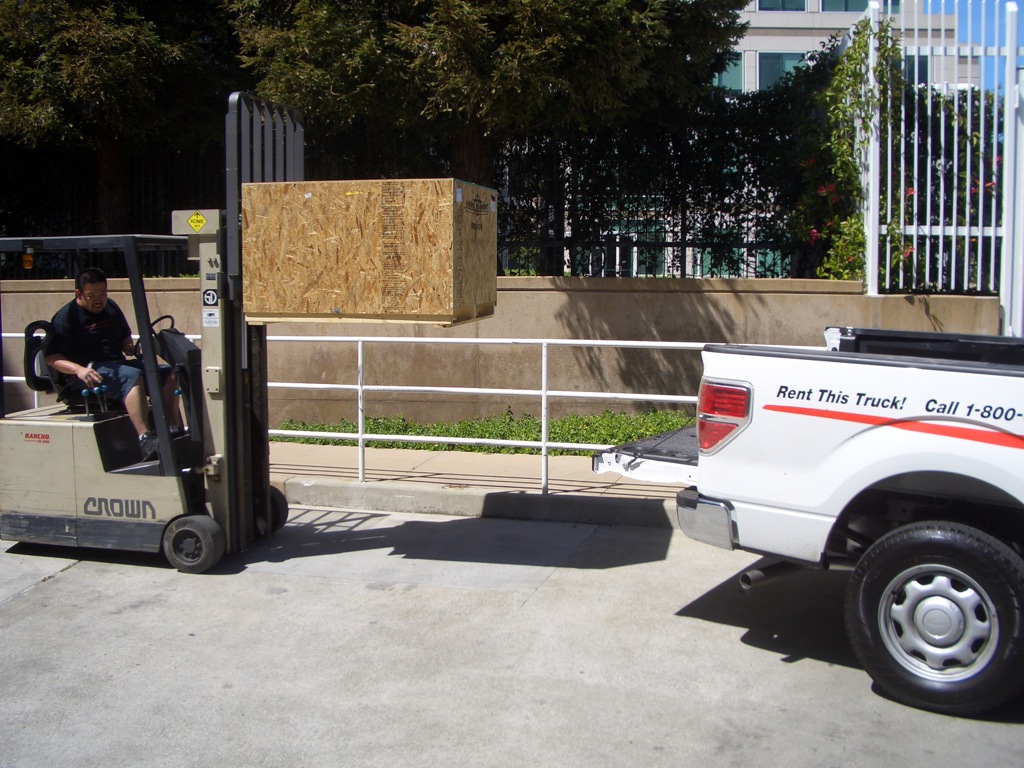
My engine shipped last friday and arrived at Apple’s loading dock this afternoon.  The crate is bigger than I expected at about 3’x4′ and about 2.5′ tall.  According to the shipping documents, it weighs 400lbs.

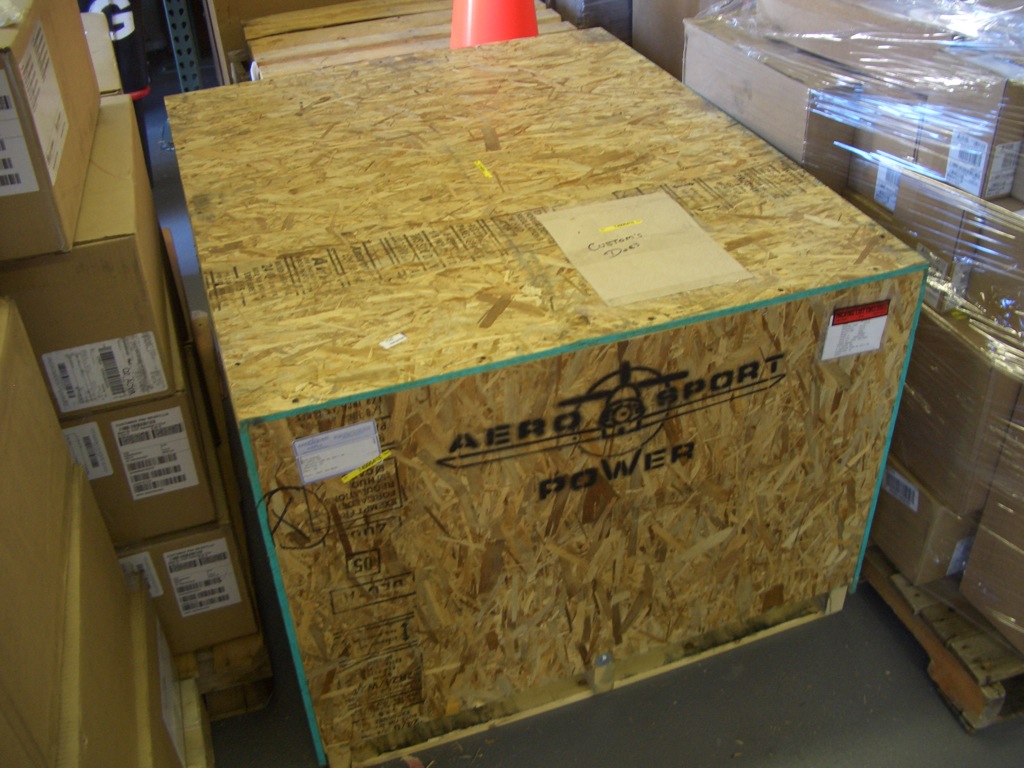
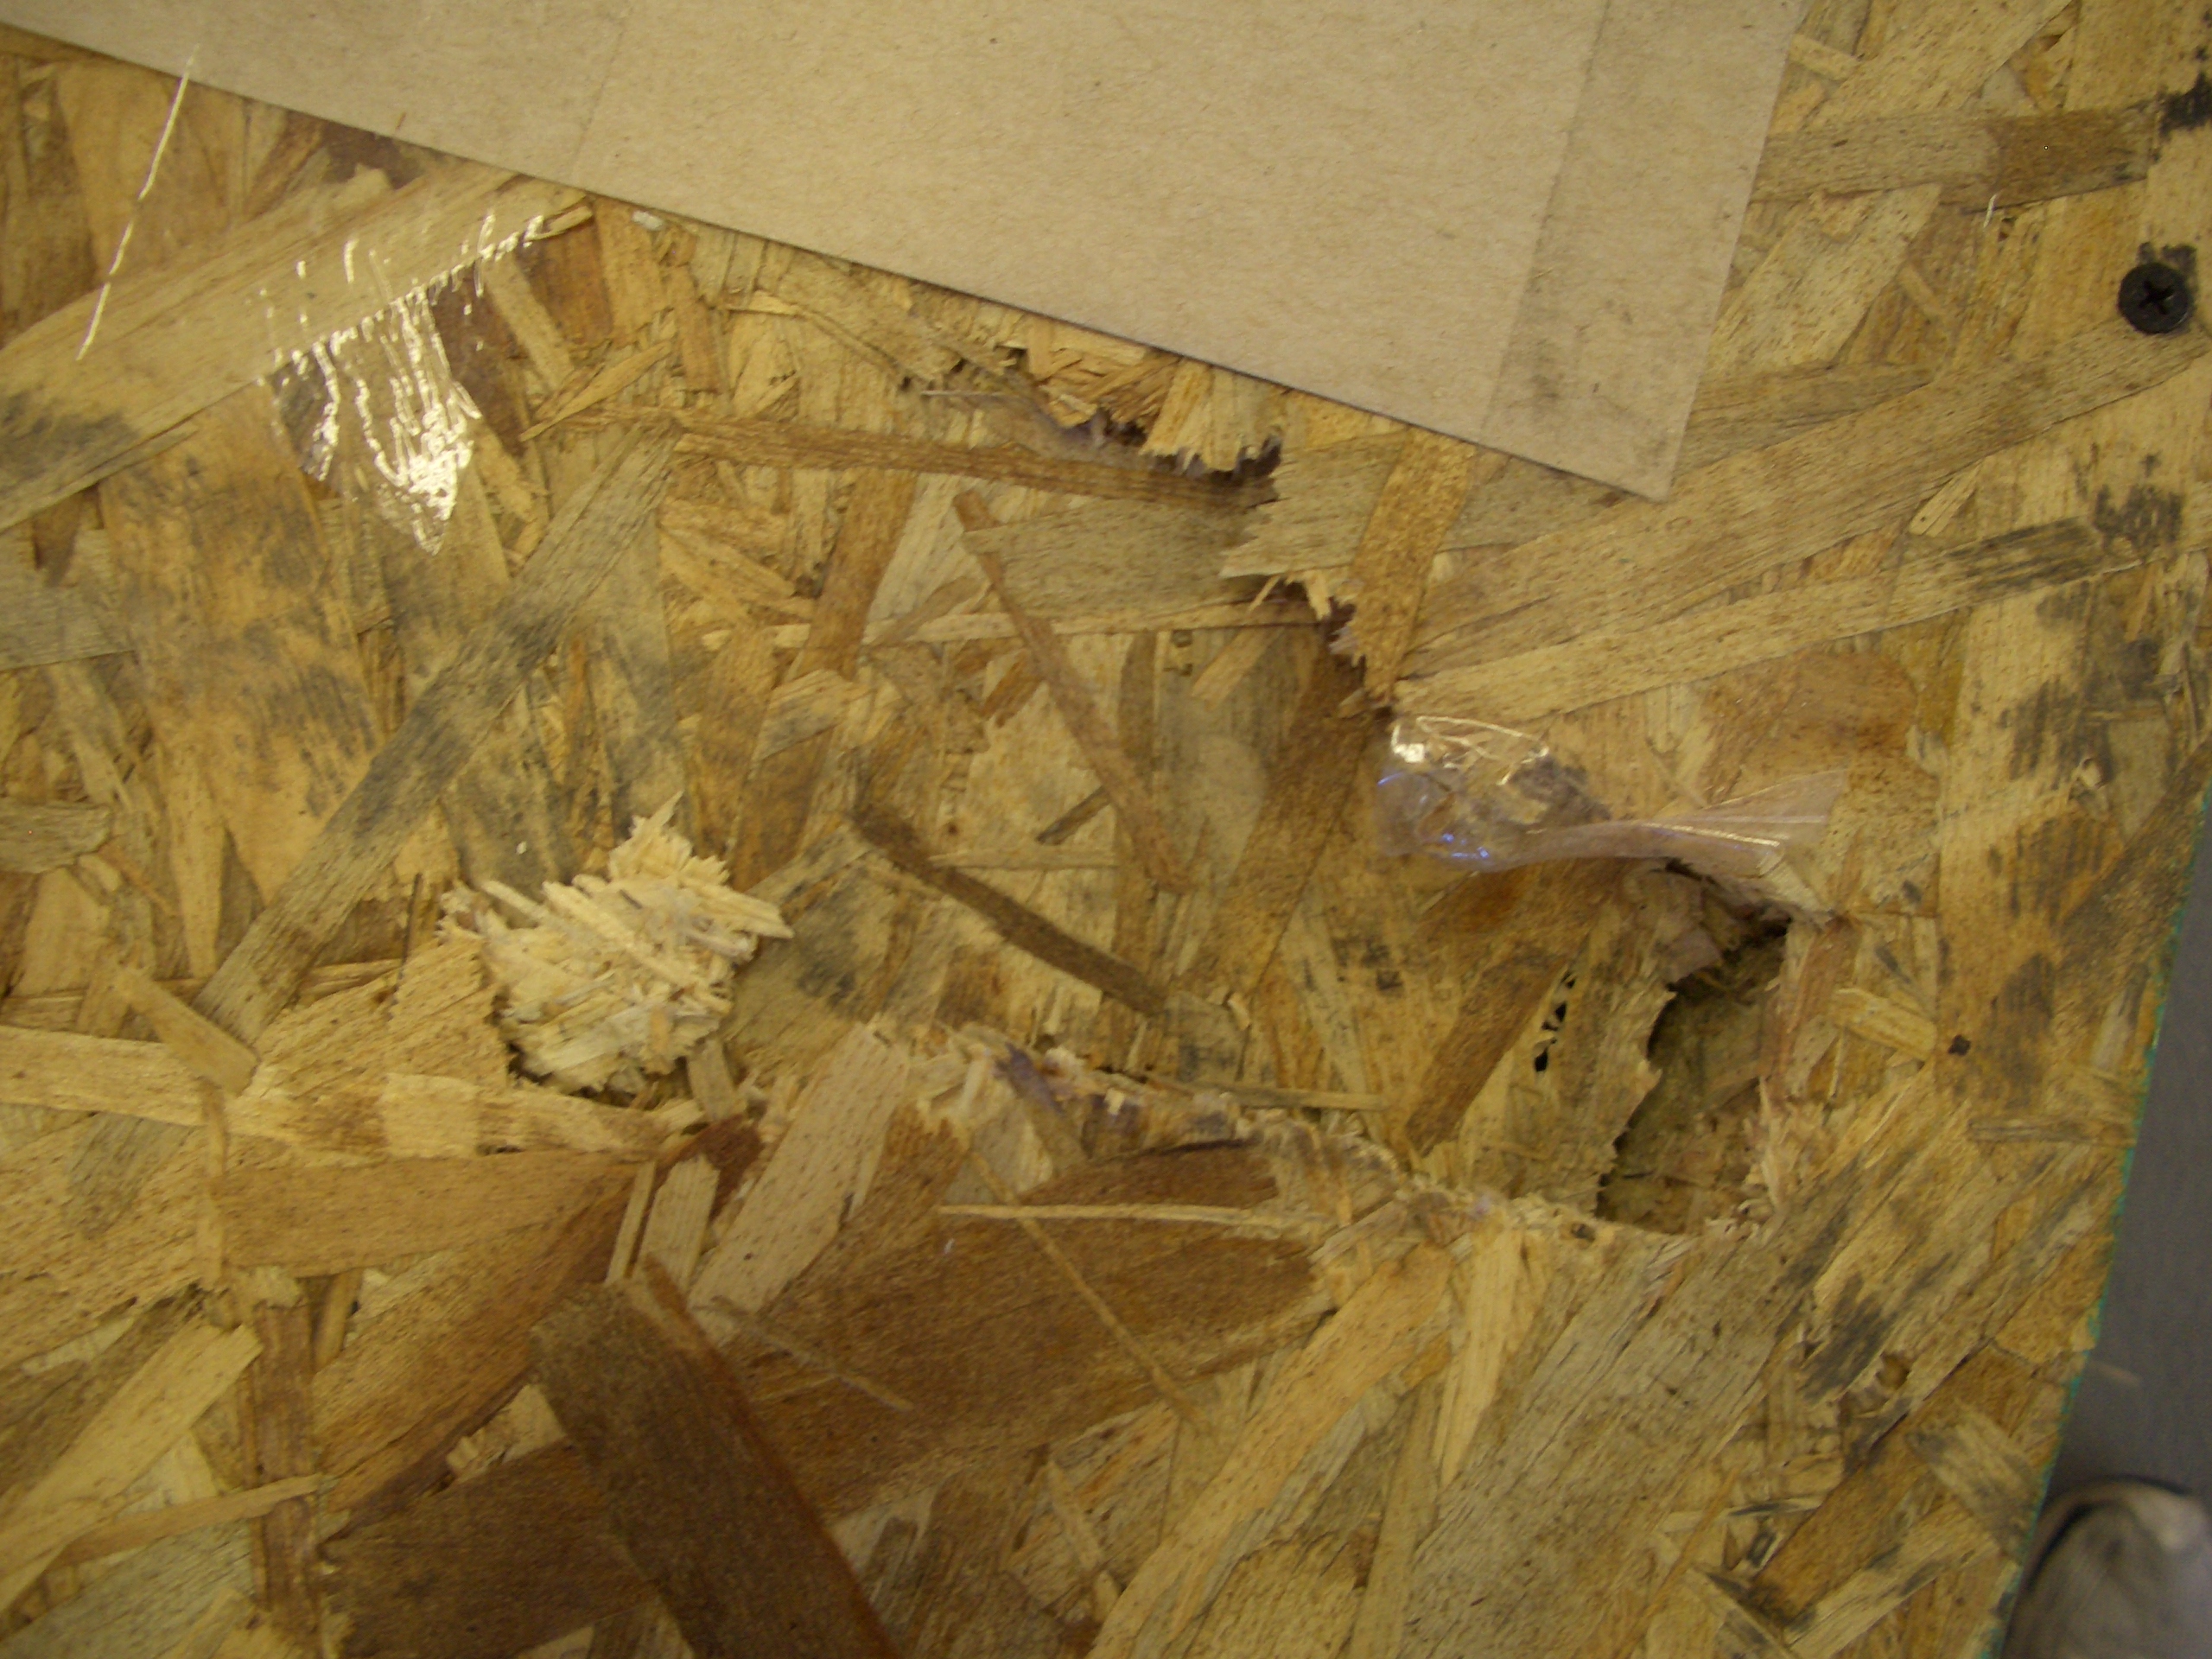
There was a little damage to the top of the crate near one end.  Probably something that was placed on top of this crate that broke through.  Hopefully there’s no damage to the components.

I rented a U-Haul pickup and the receiving guys loaded it into the back with their forklift.

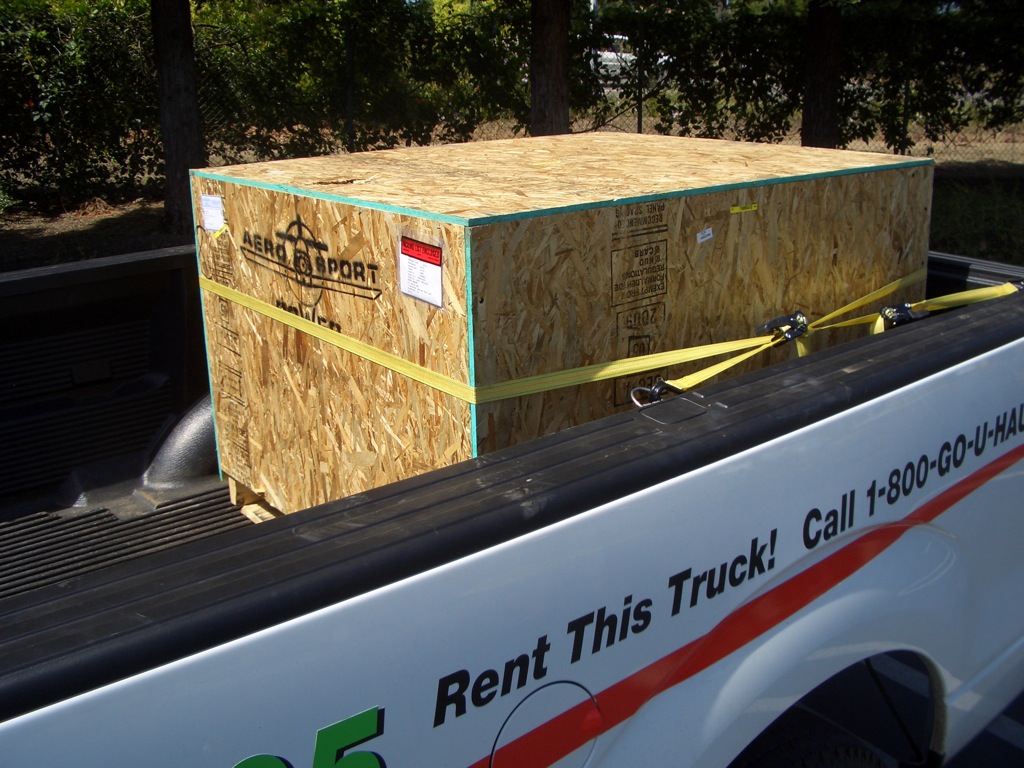
Here’s the crate strapped in and ready for the ride to my house.  My friend Josh from work helped me run this home and unload it with an engine hoist.

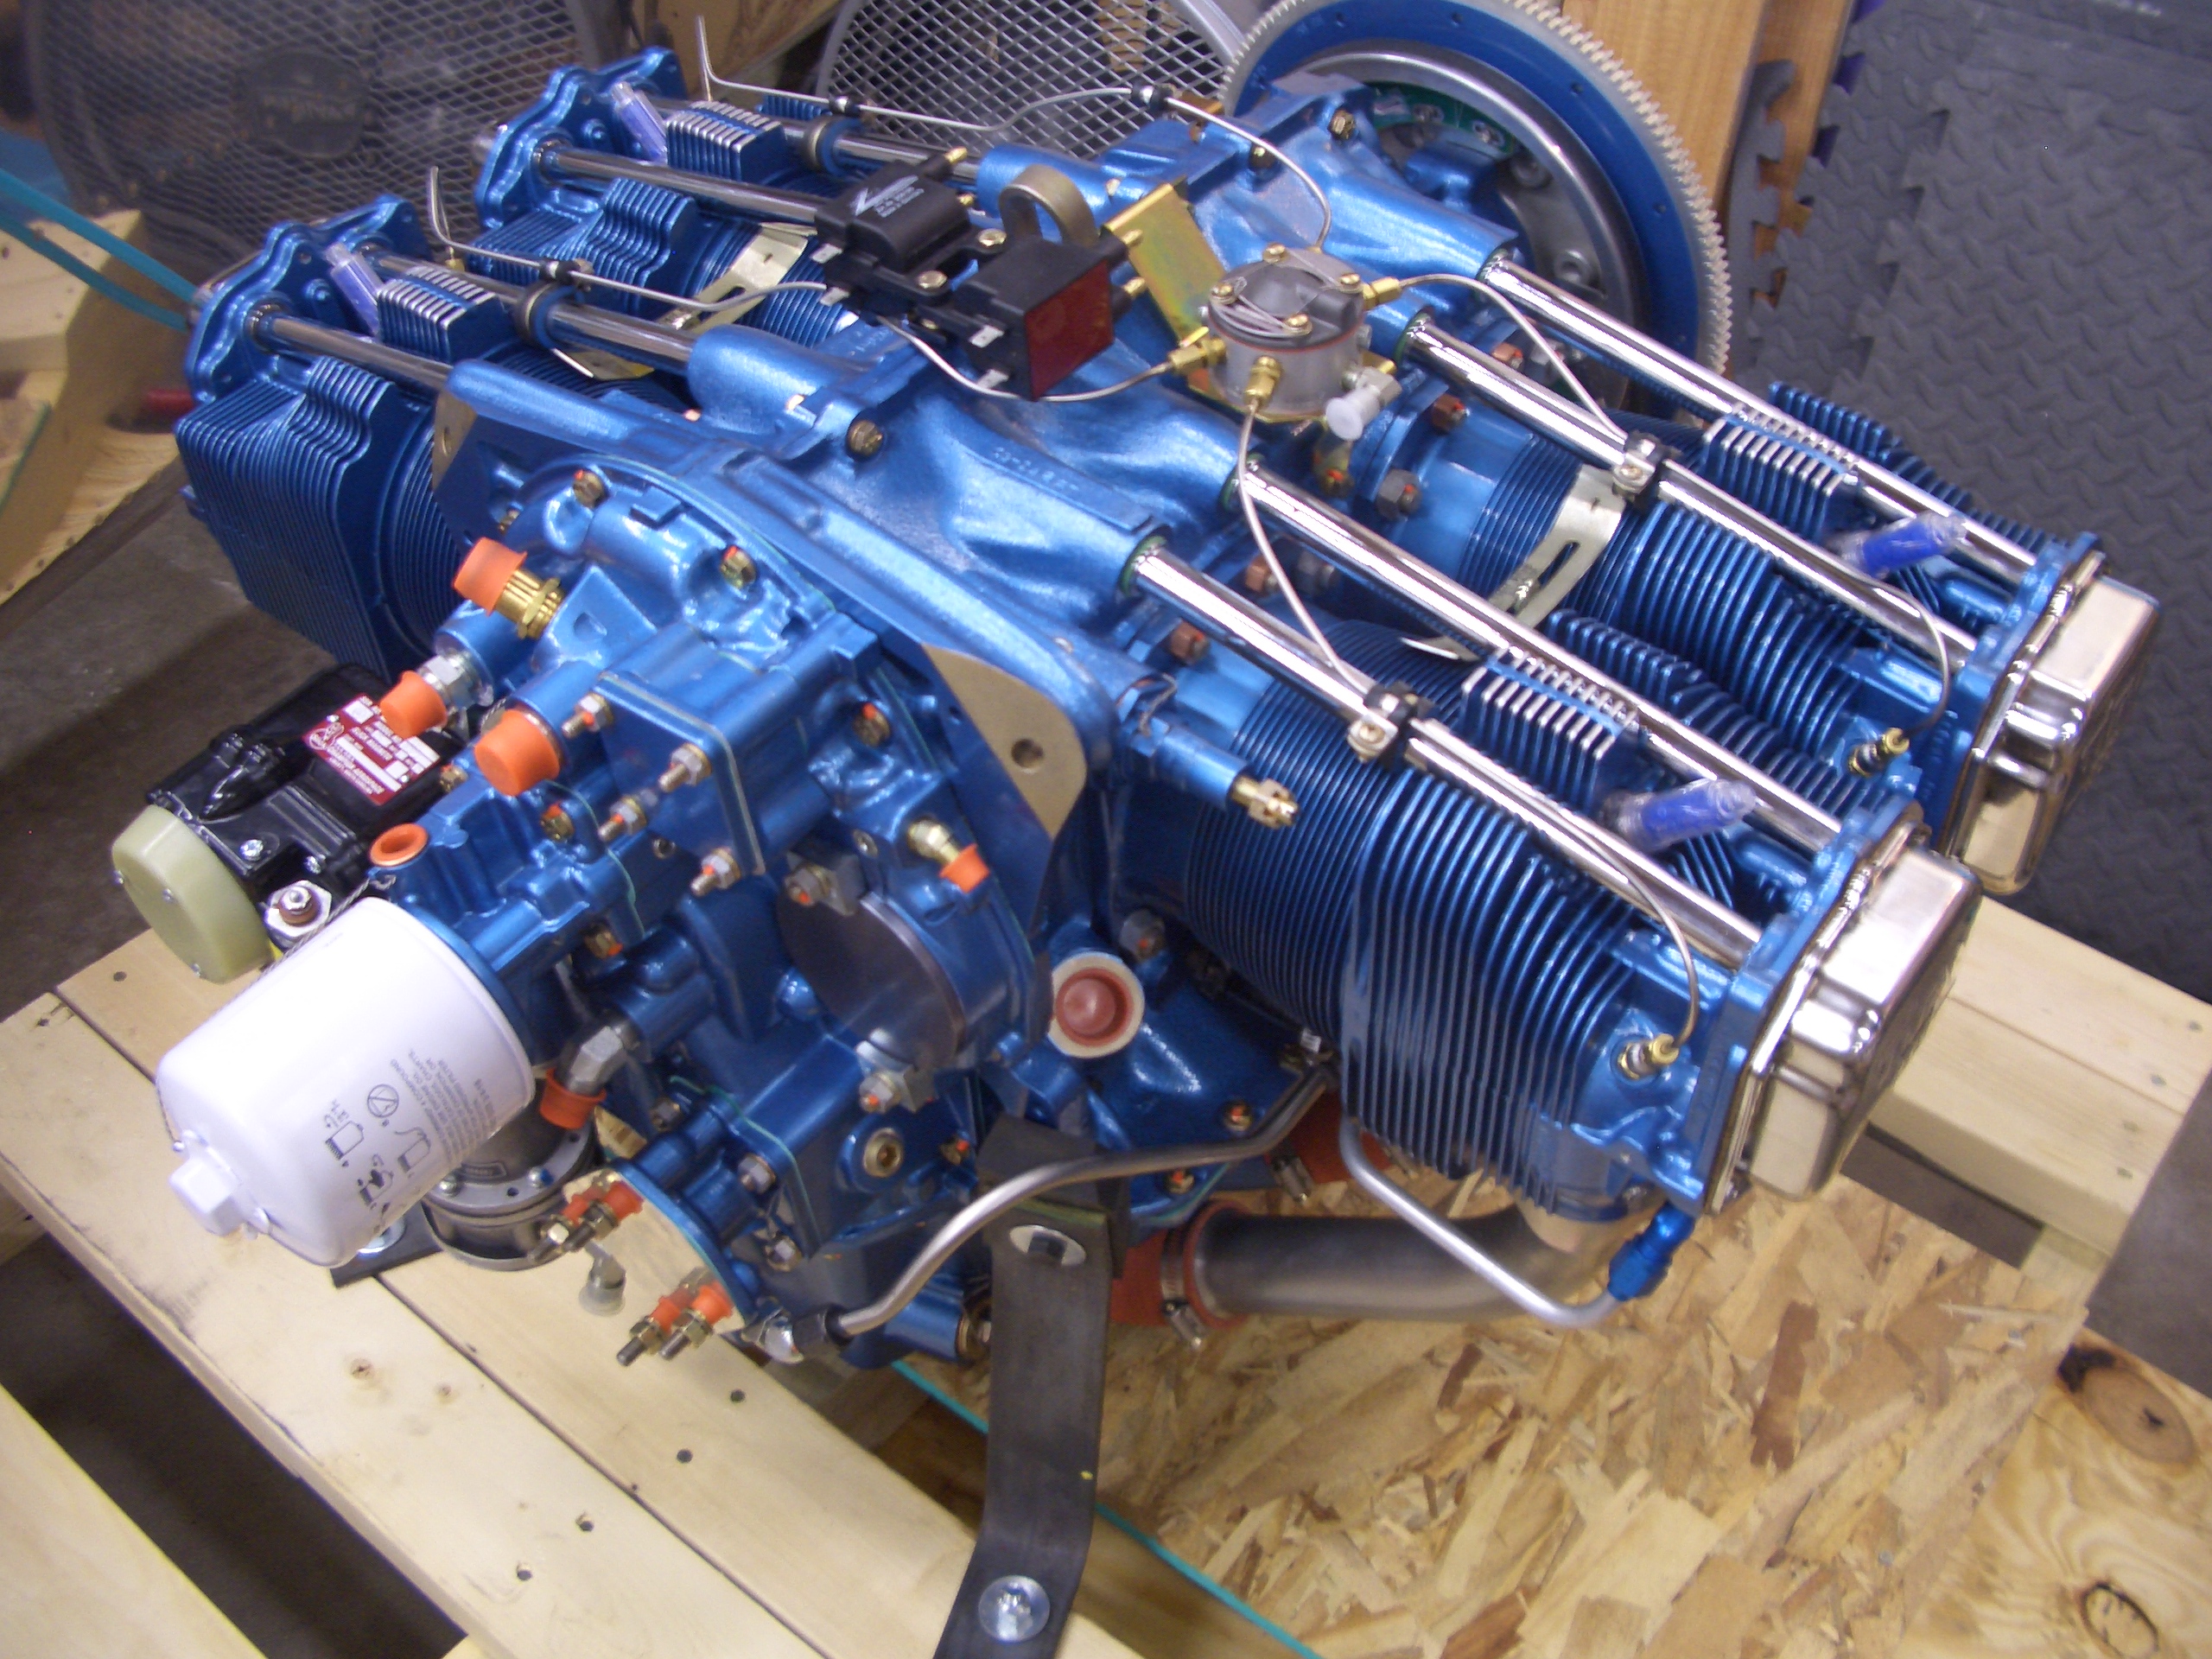
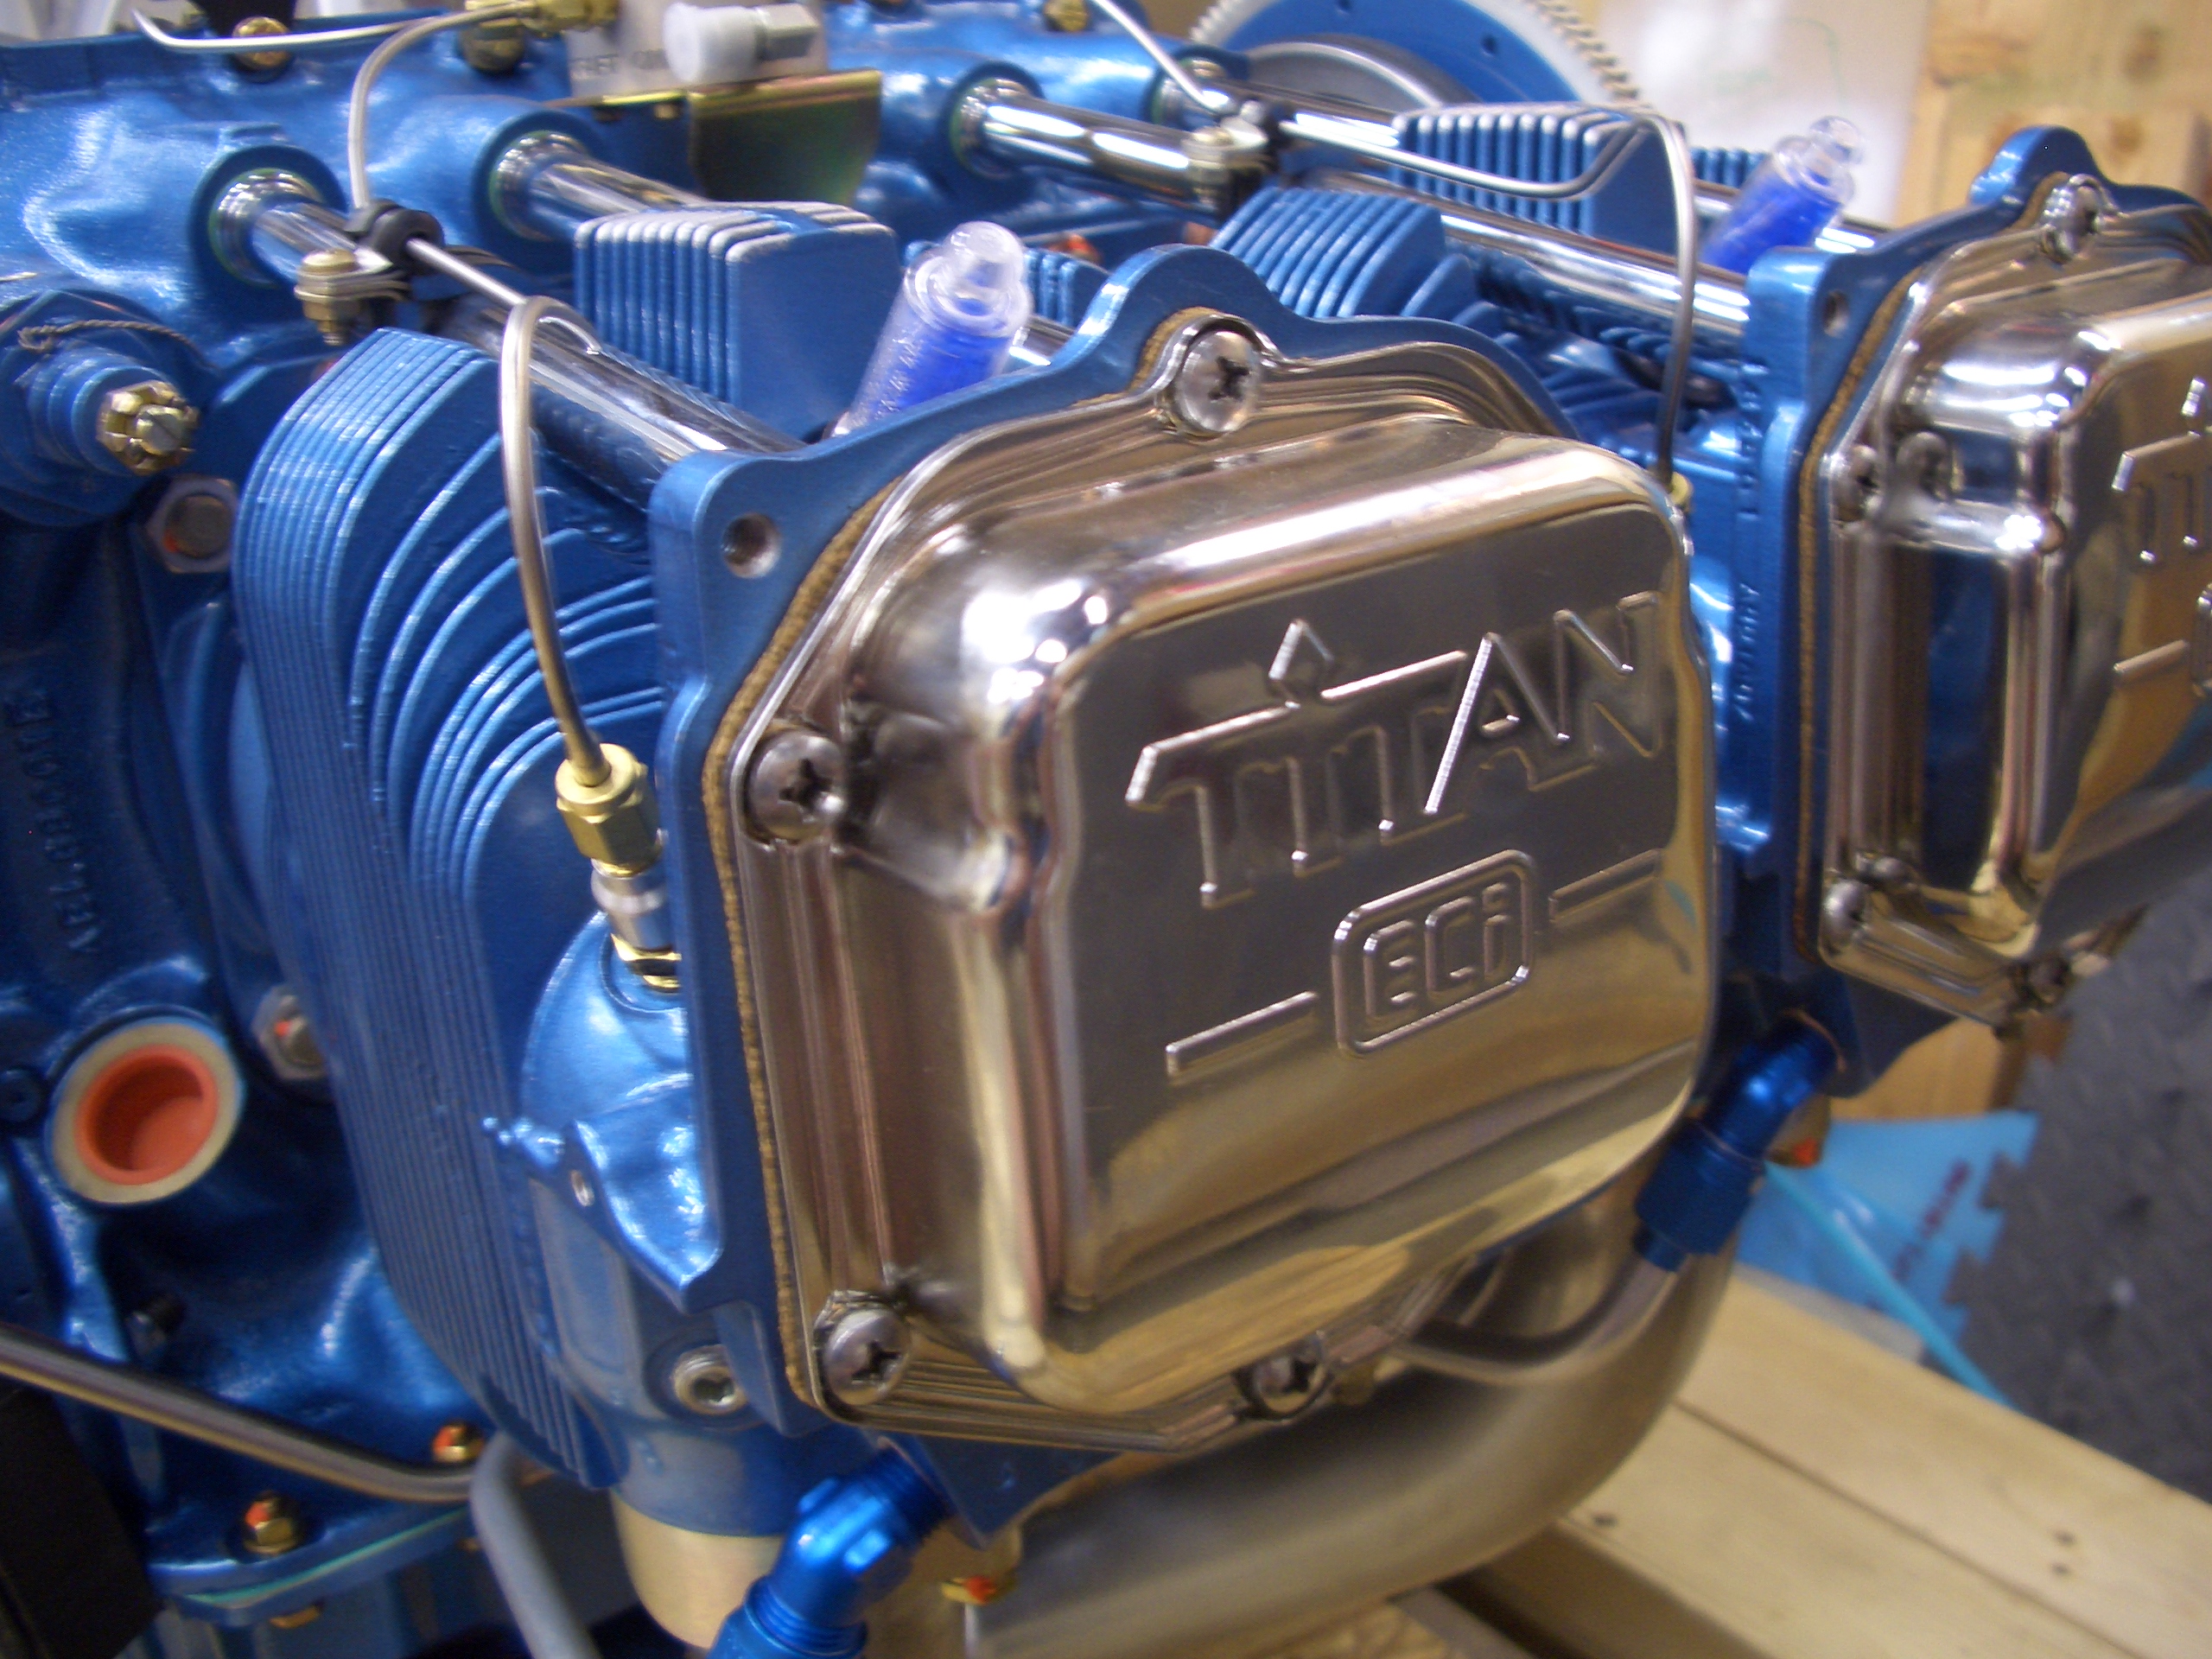
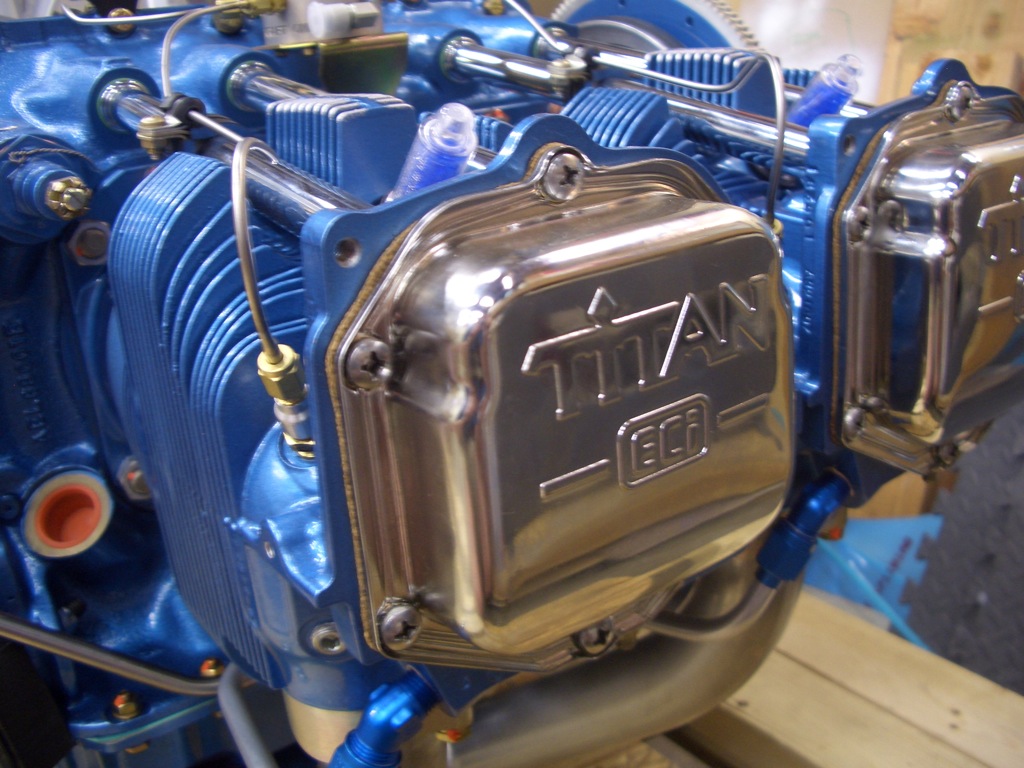
After work, I removed the crate (though the engine is still on the forklift pallet).  The engine looks fantastic.  It’s painted metallic blue (one of their stock colors) with chrome push rod tubes and valve covers.  This is an Aero Sport Power IO-375 engine with a Superior cold air induction sump.  It dyno’d at 196-198 hp on the test stand.

Aero Sport builds these from ECI components.

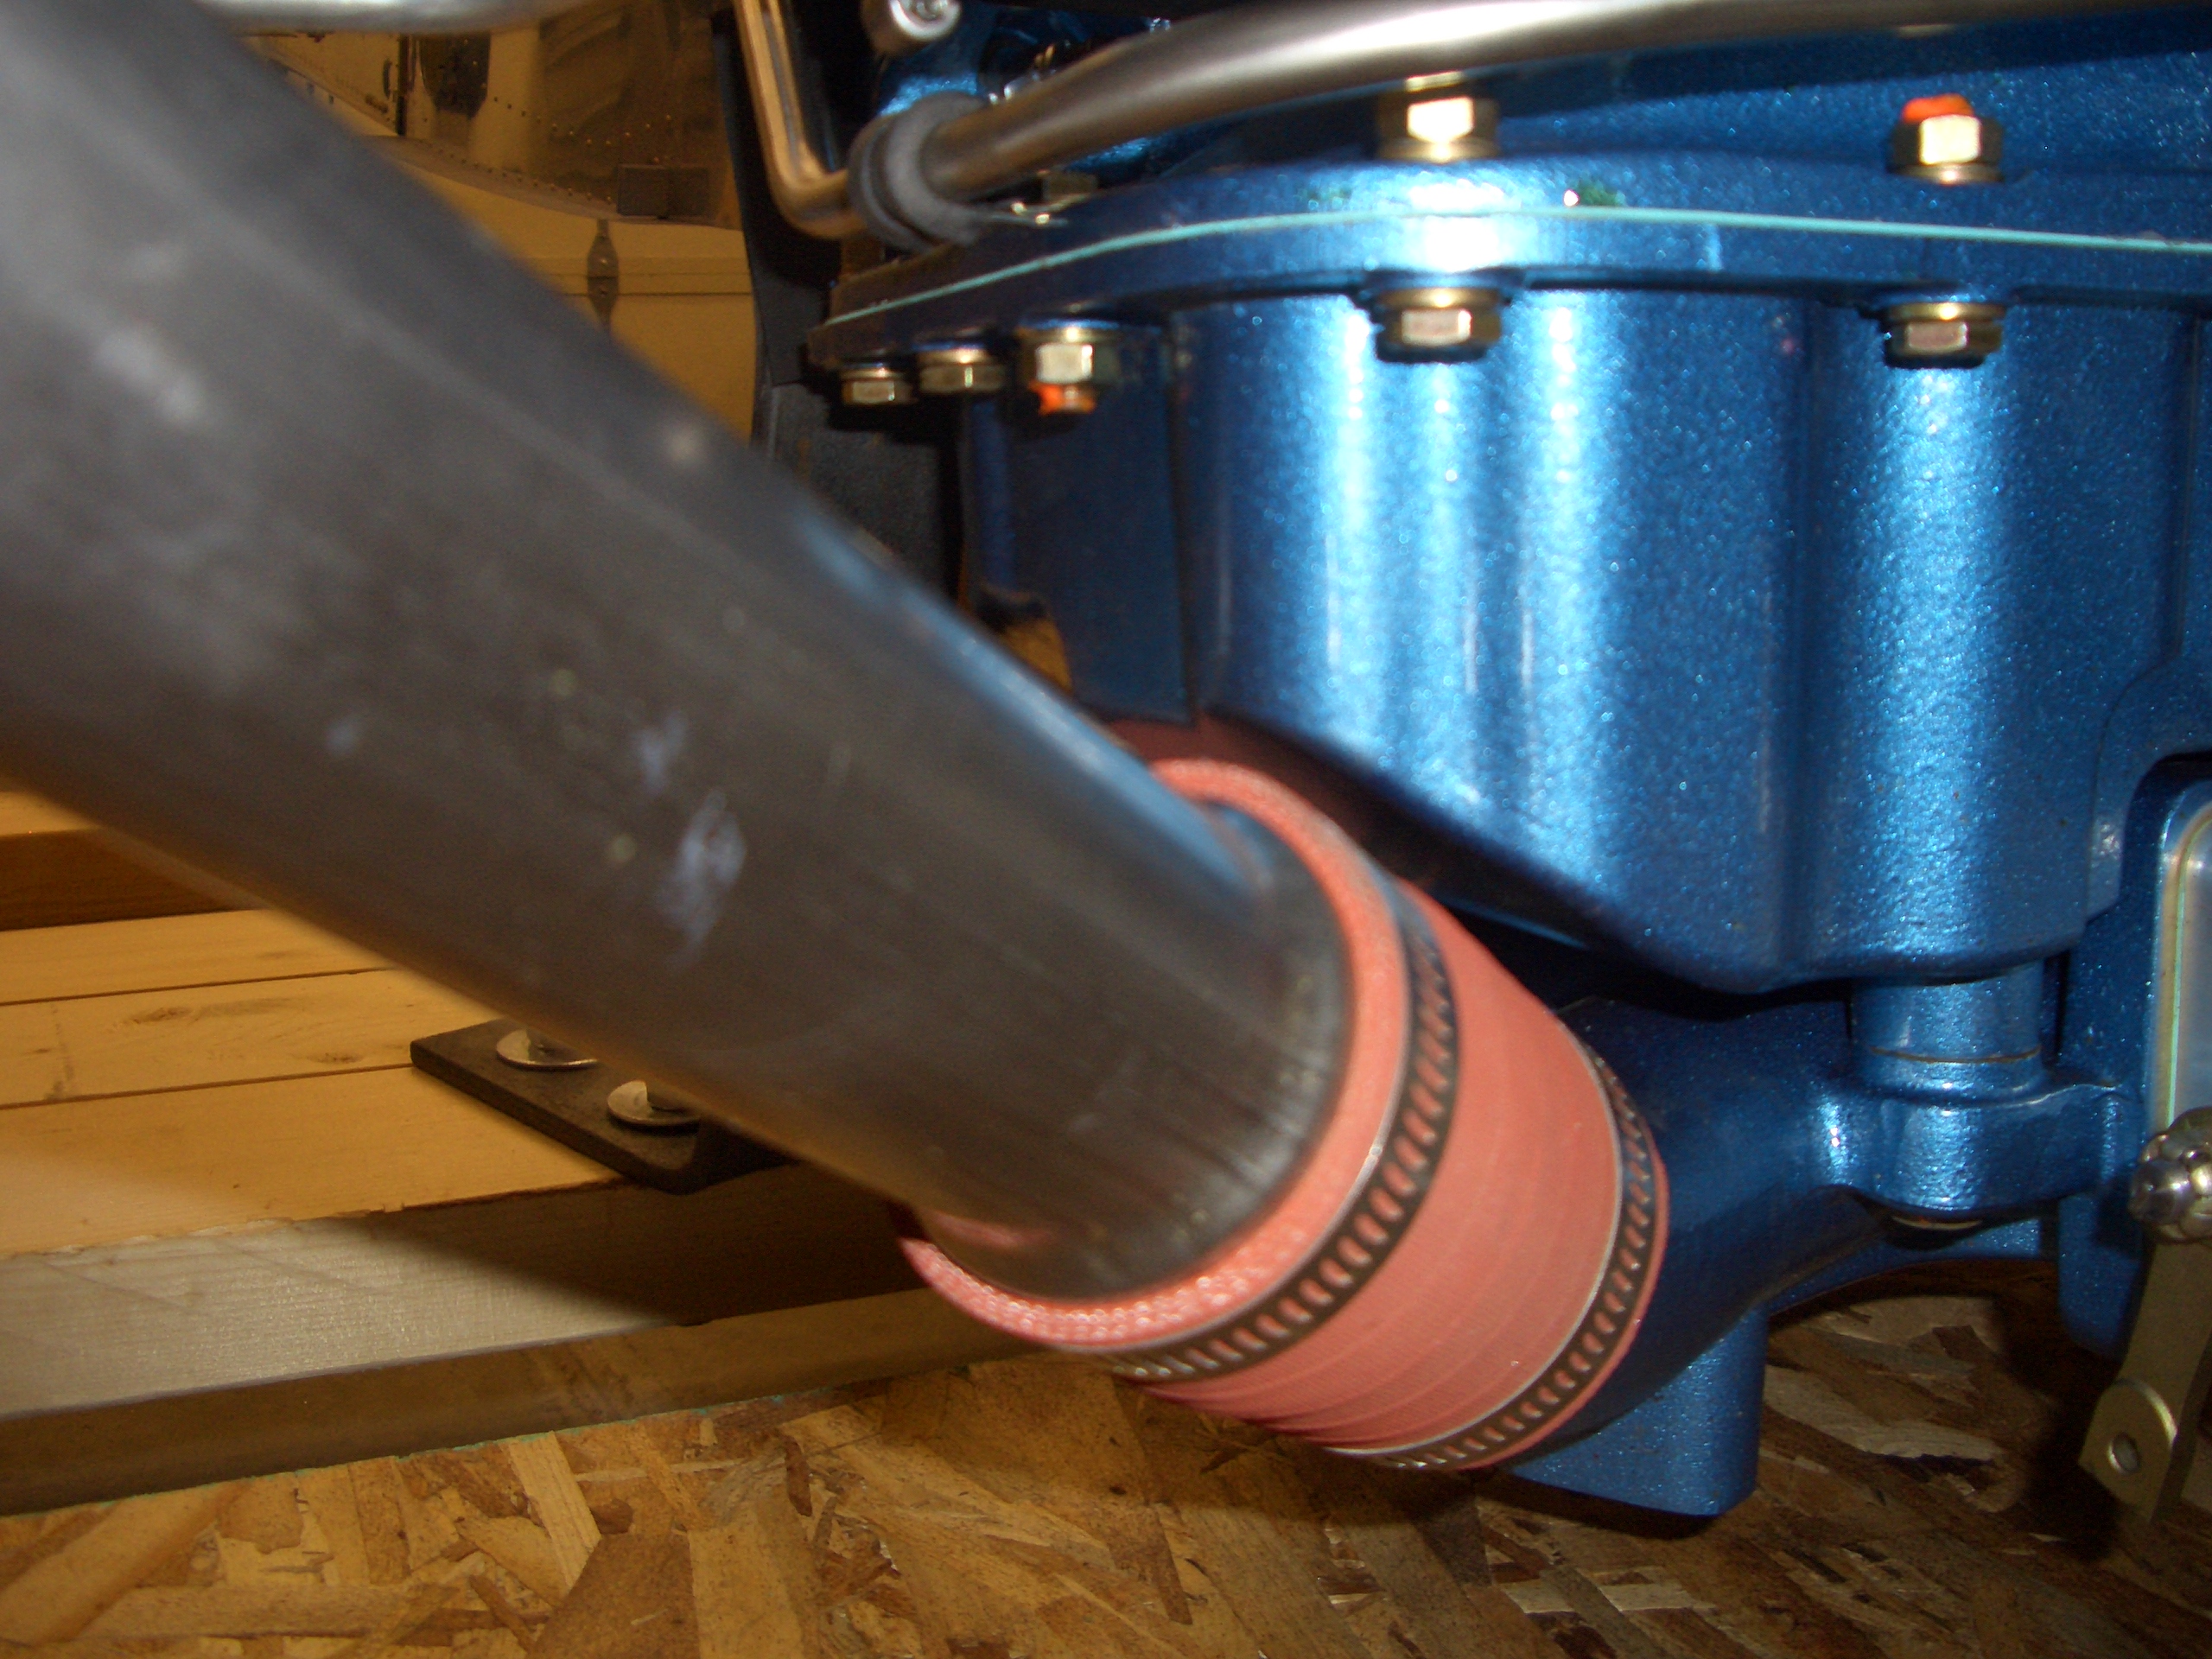
Here’s the Superior cold air sump.  You can sort of see that the intake tubes don’t run through the oil pan which keeps the intake air cooler than traditional sumps.  The intake tubes are stainless steel (just like the exhaust pipes will be).

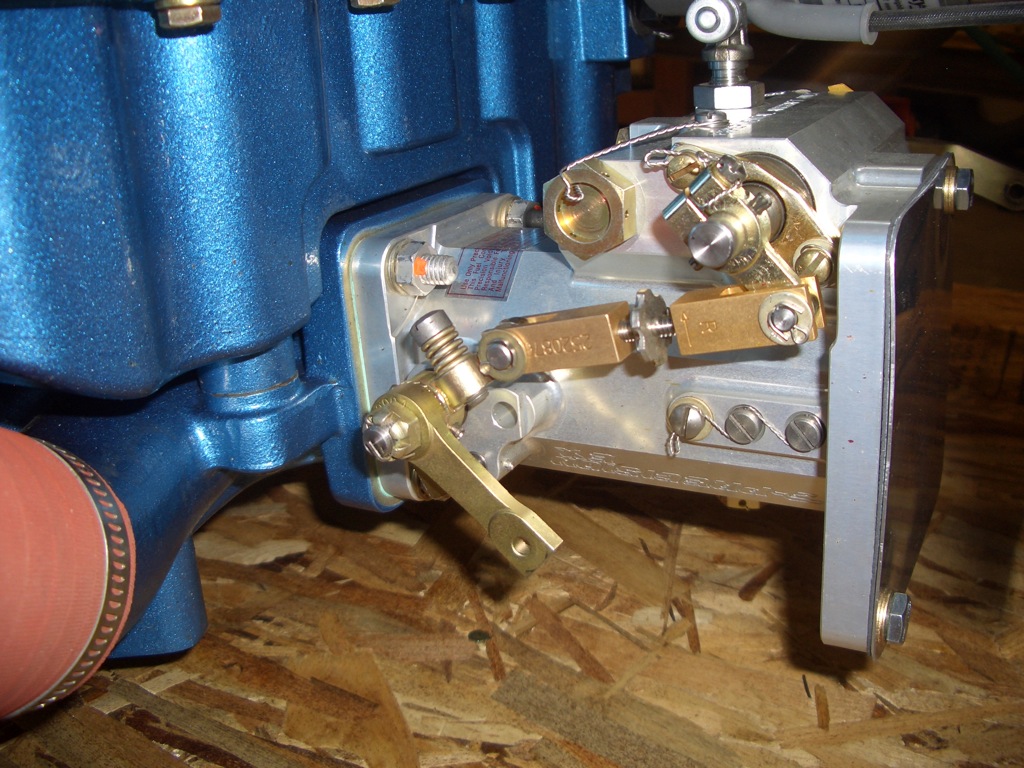
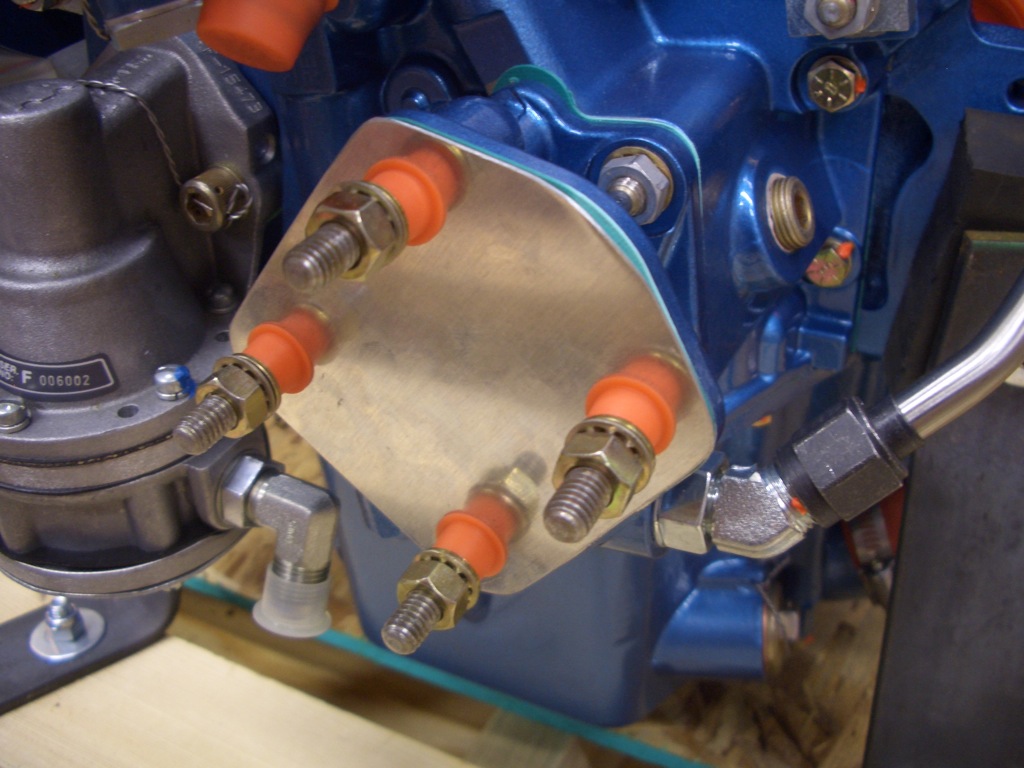
This is the Silver Hawk EX fuel injection servo.  Intake air will come through the opening covered by the plate on the right.

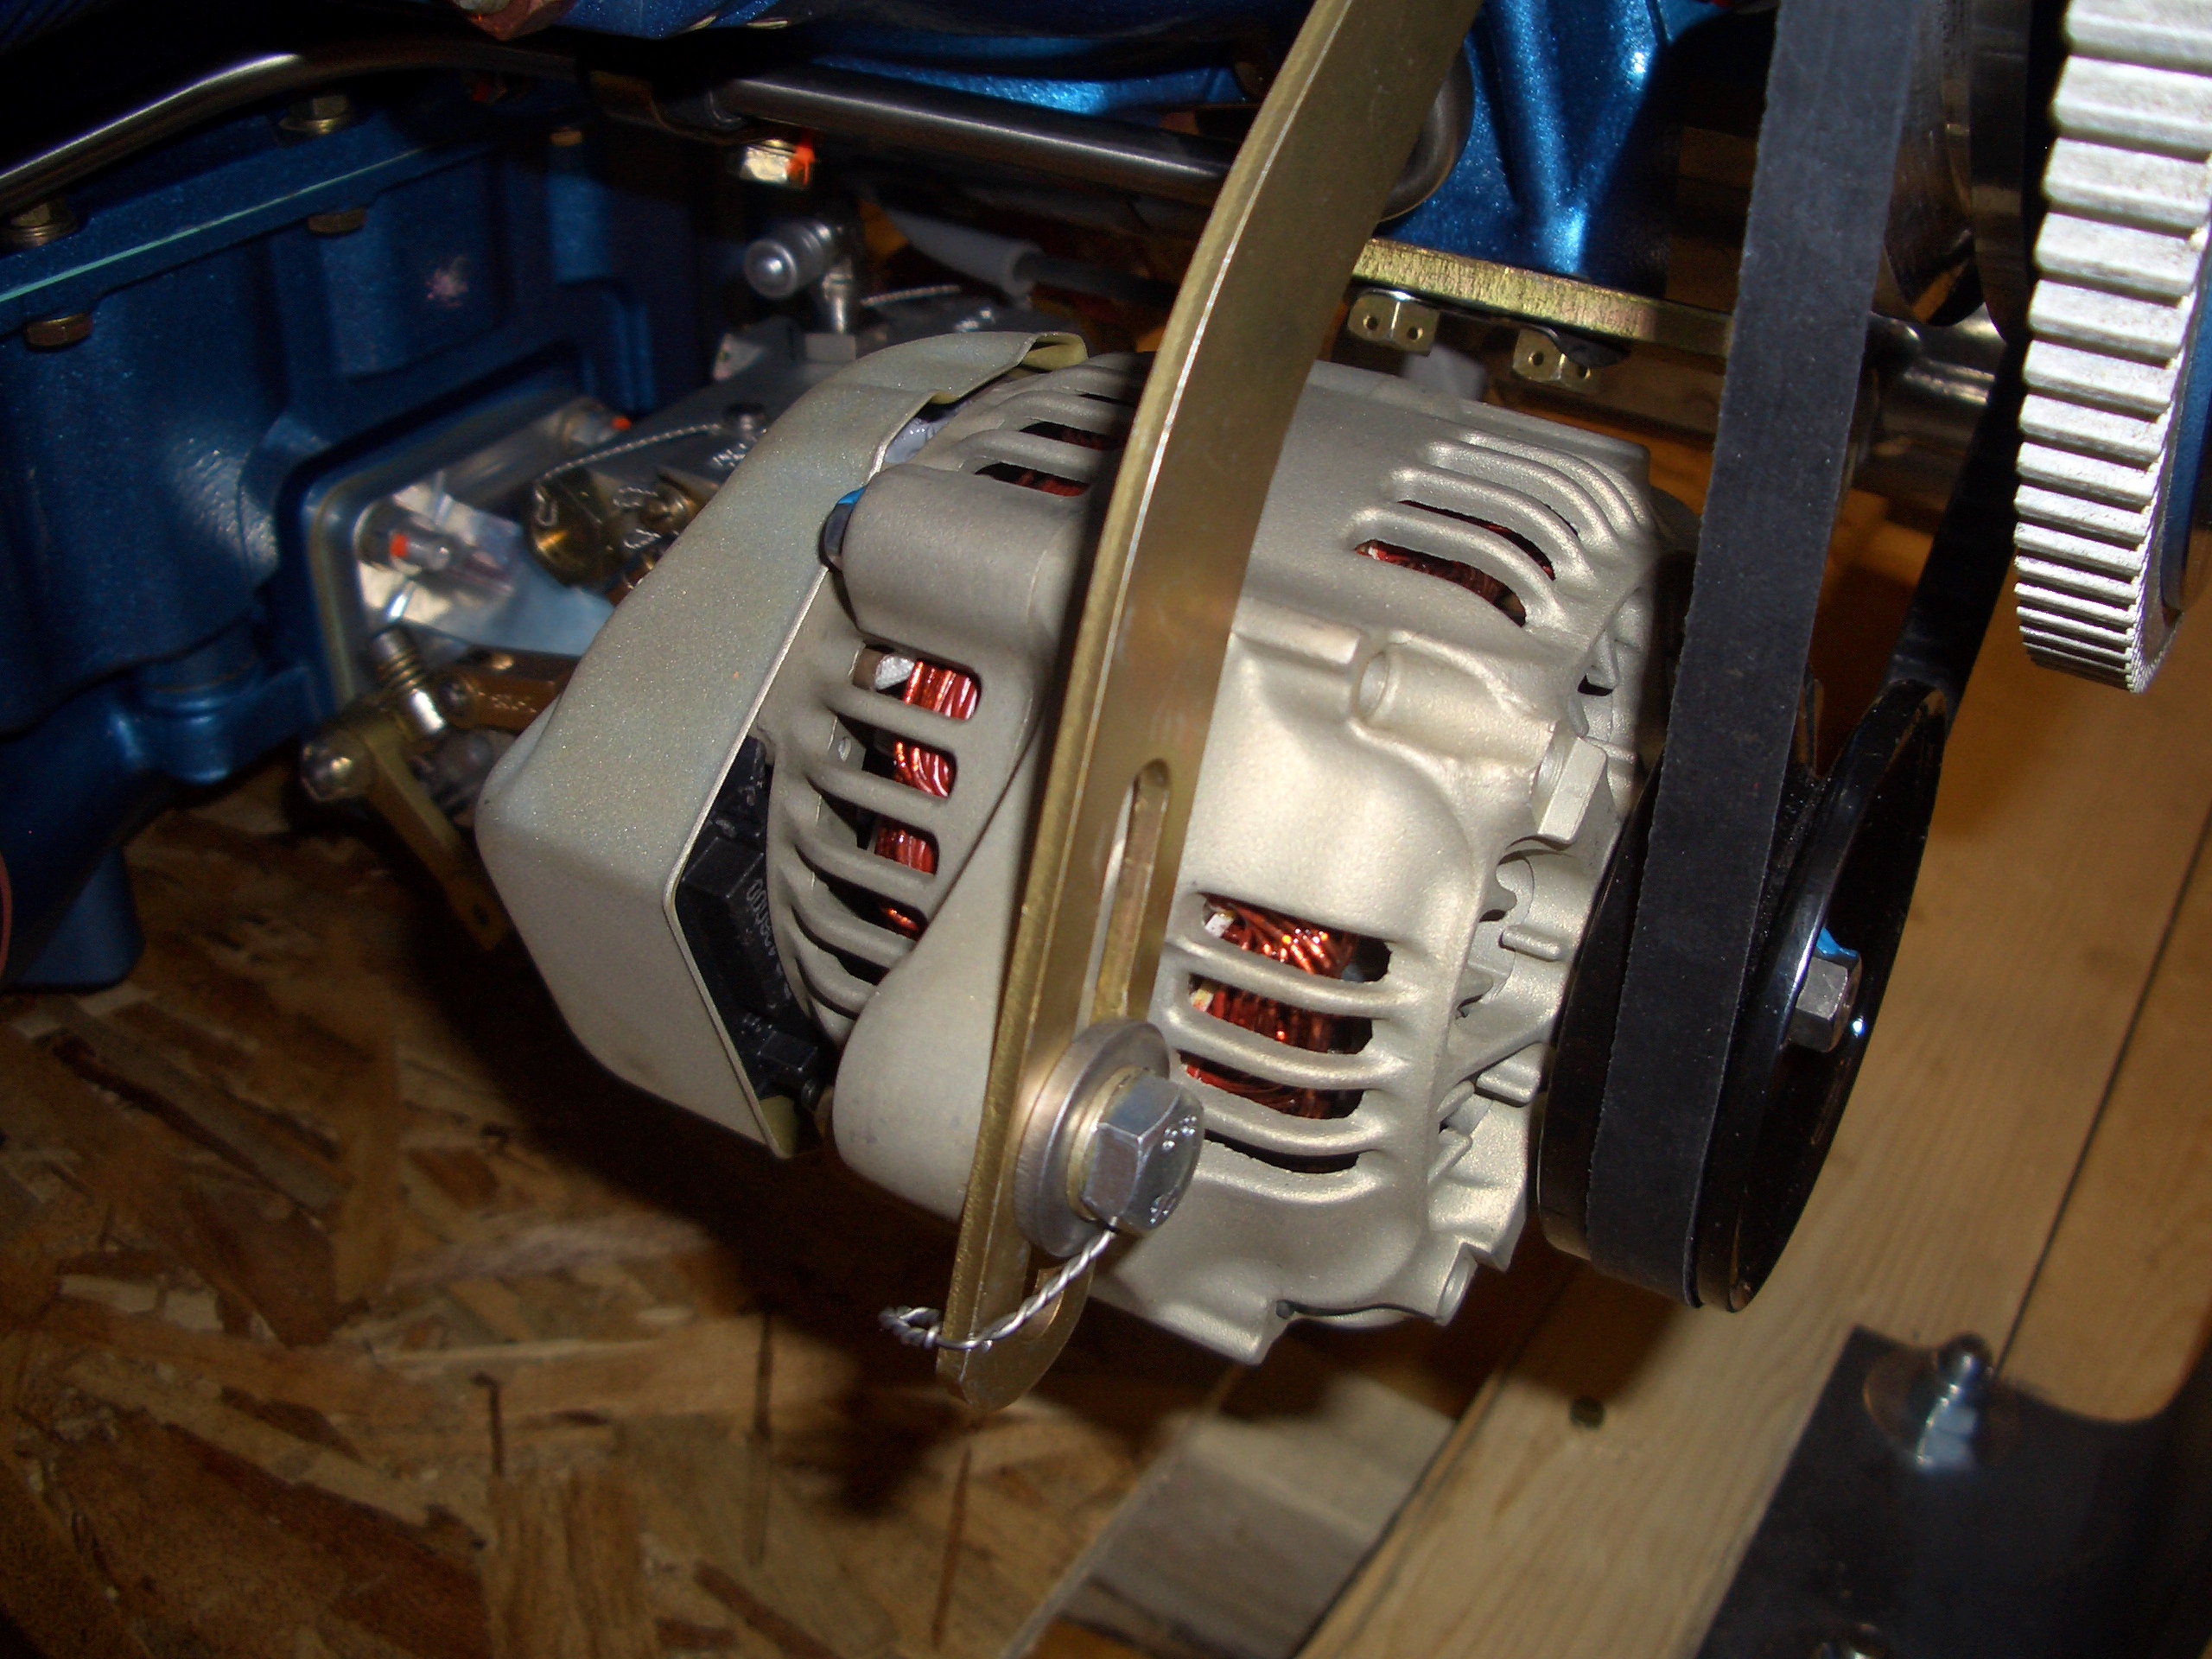
I also ordered a B&C Products 40 amp alternator that was preinstalled.

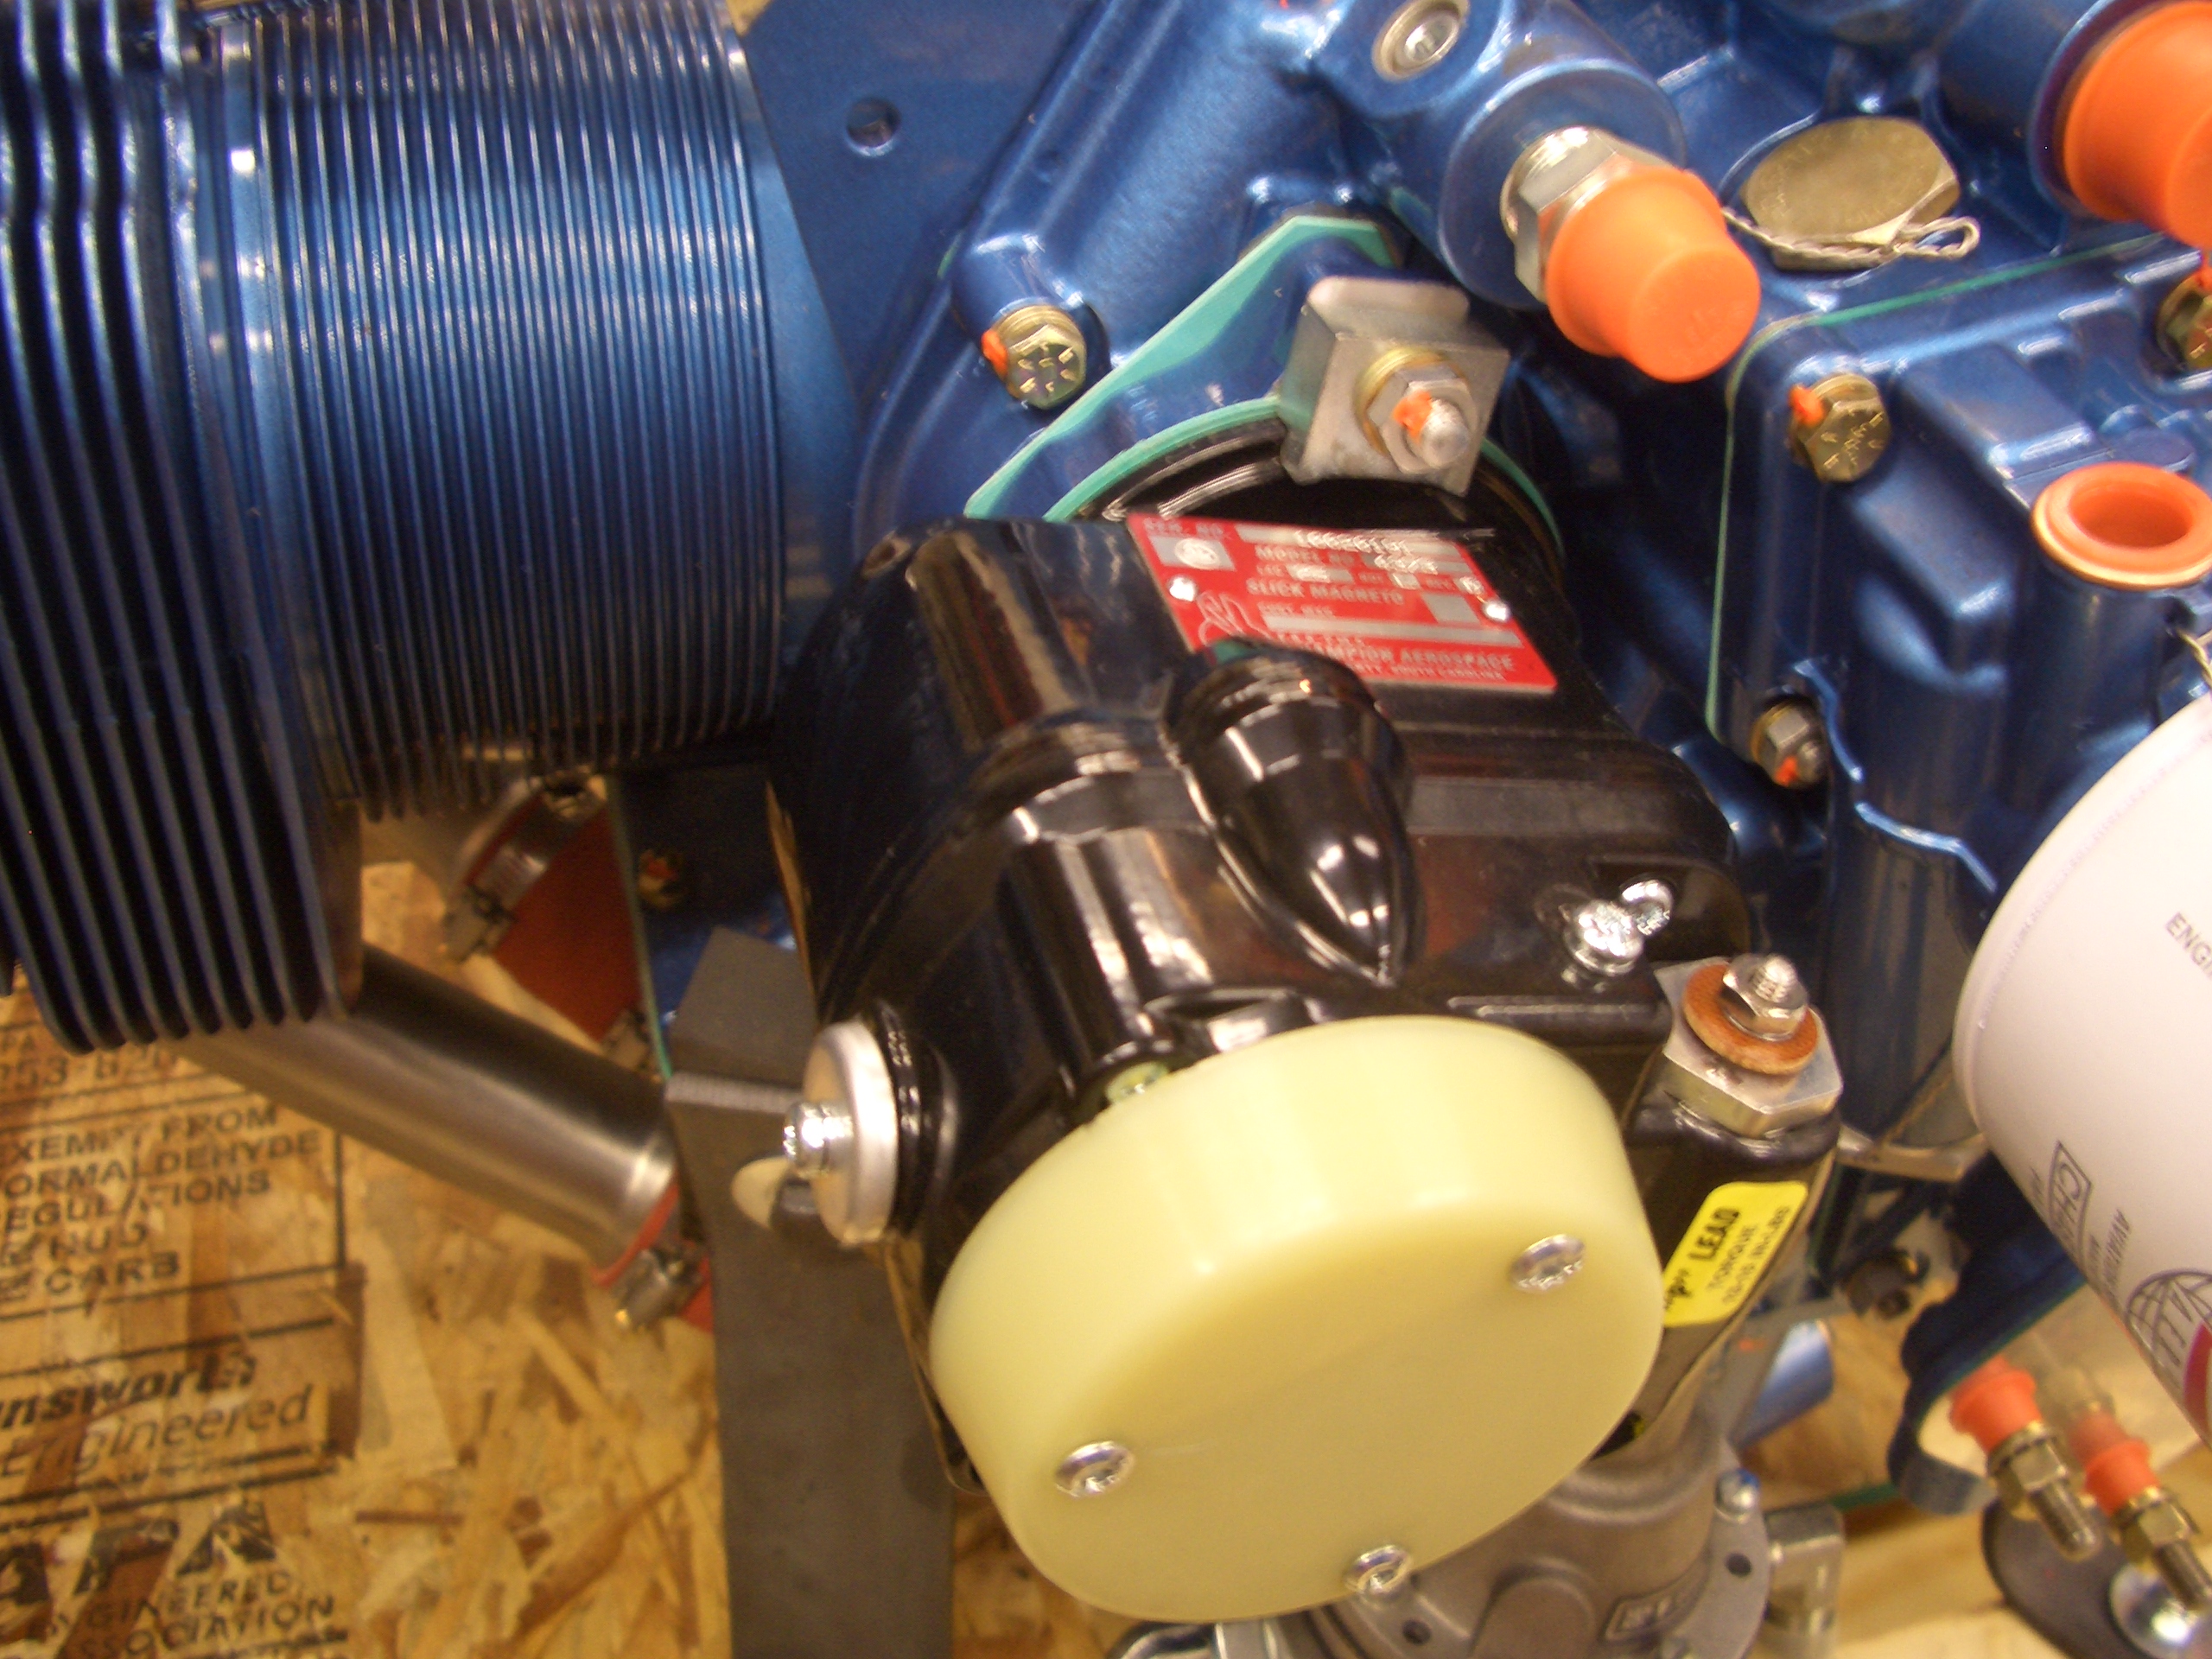
Traditional aircraft engine run dual magnetos for the ignition system.  I’m using an electronic ignition for one set of spark plugs, but I’m using a traditional mag for the other set.  This provides two independent ignition systems, one of which is not dependent on the electrical system.

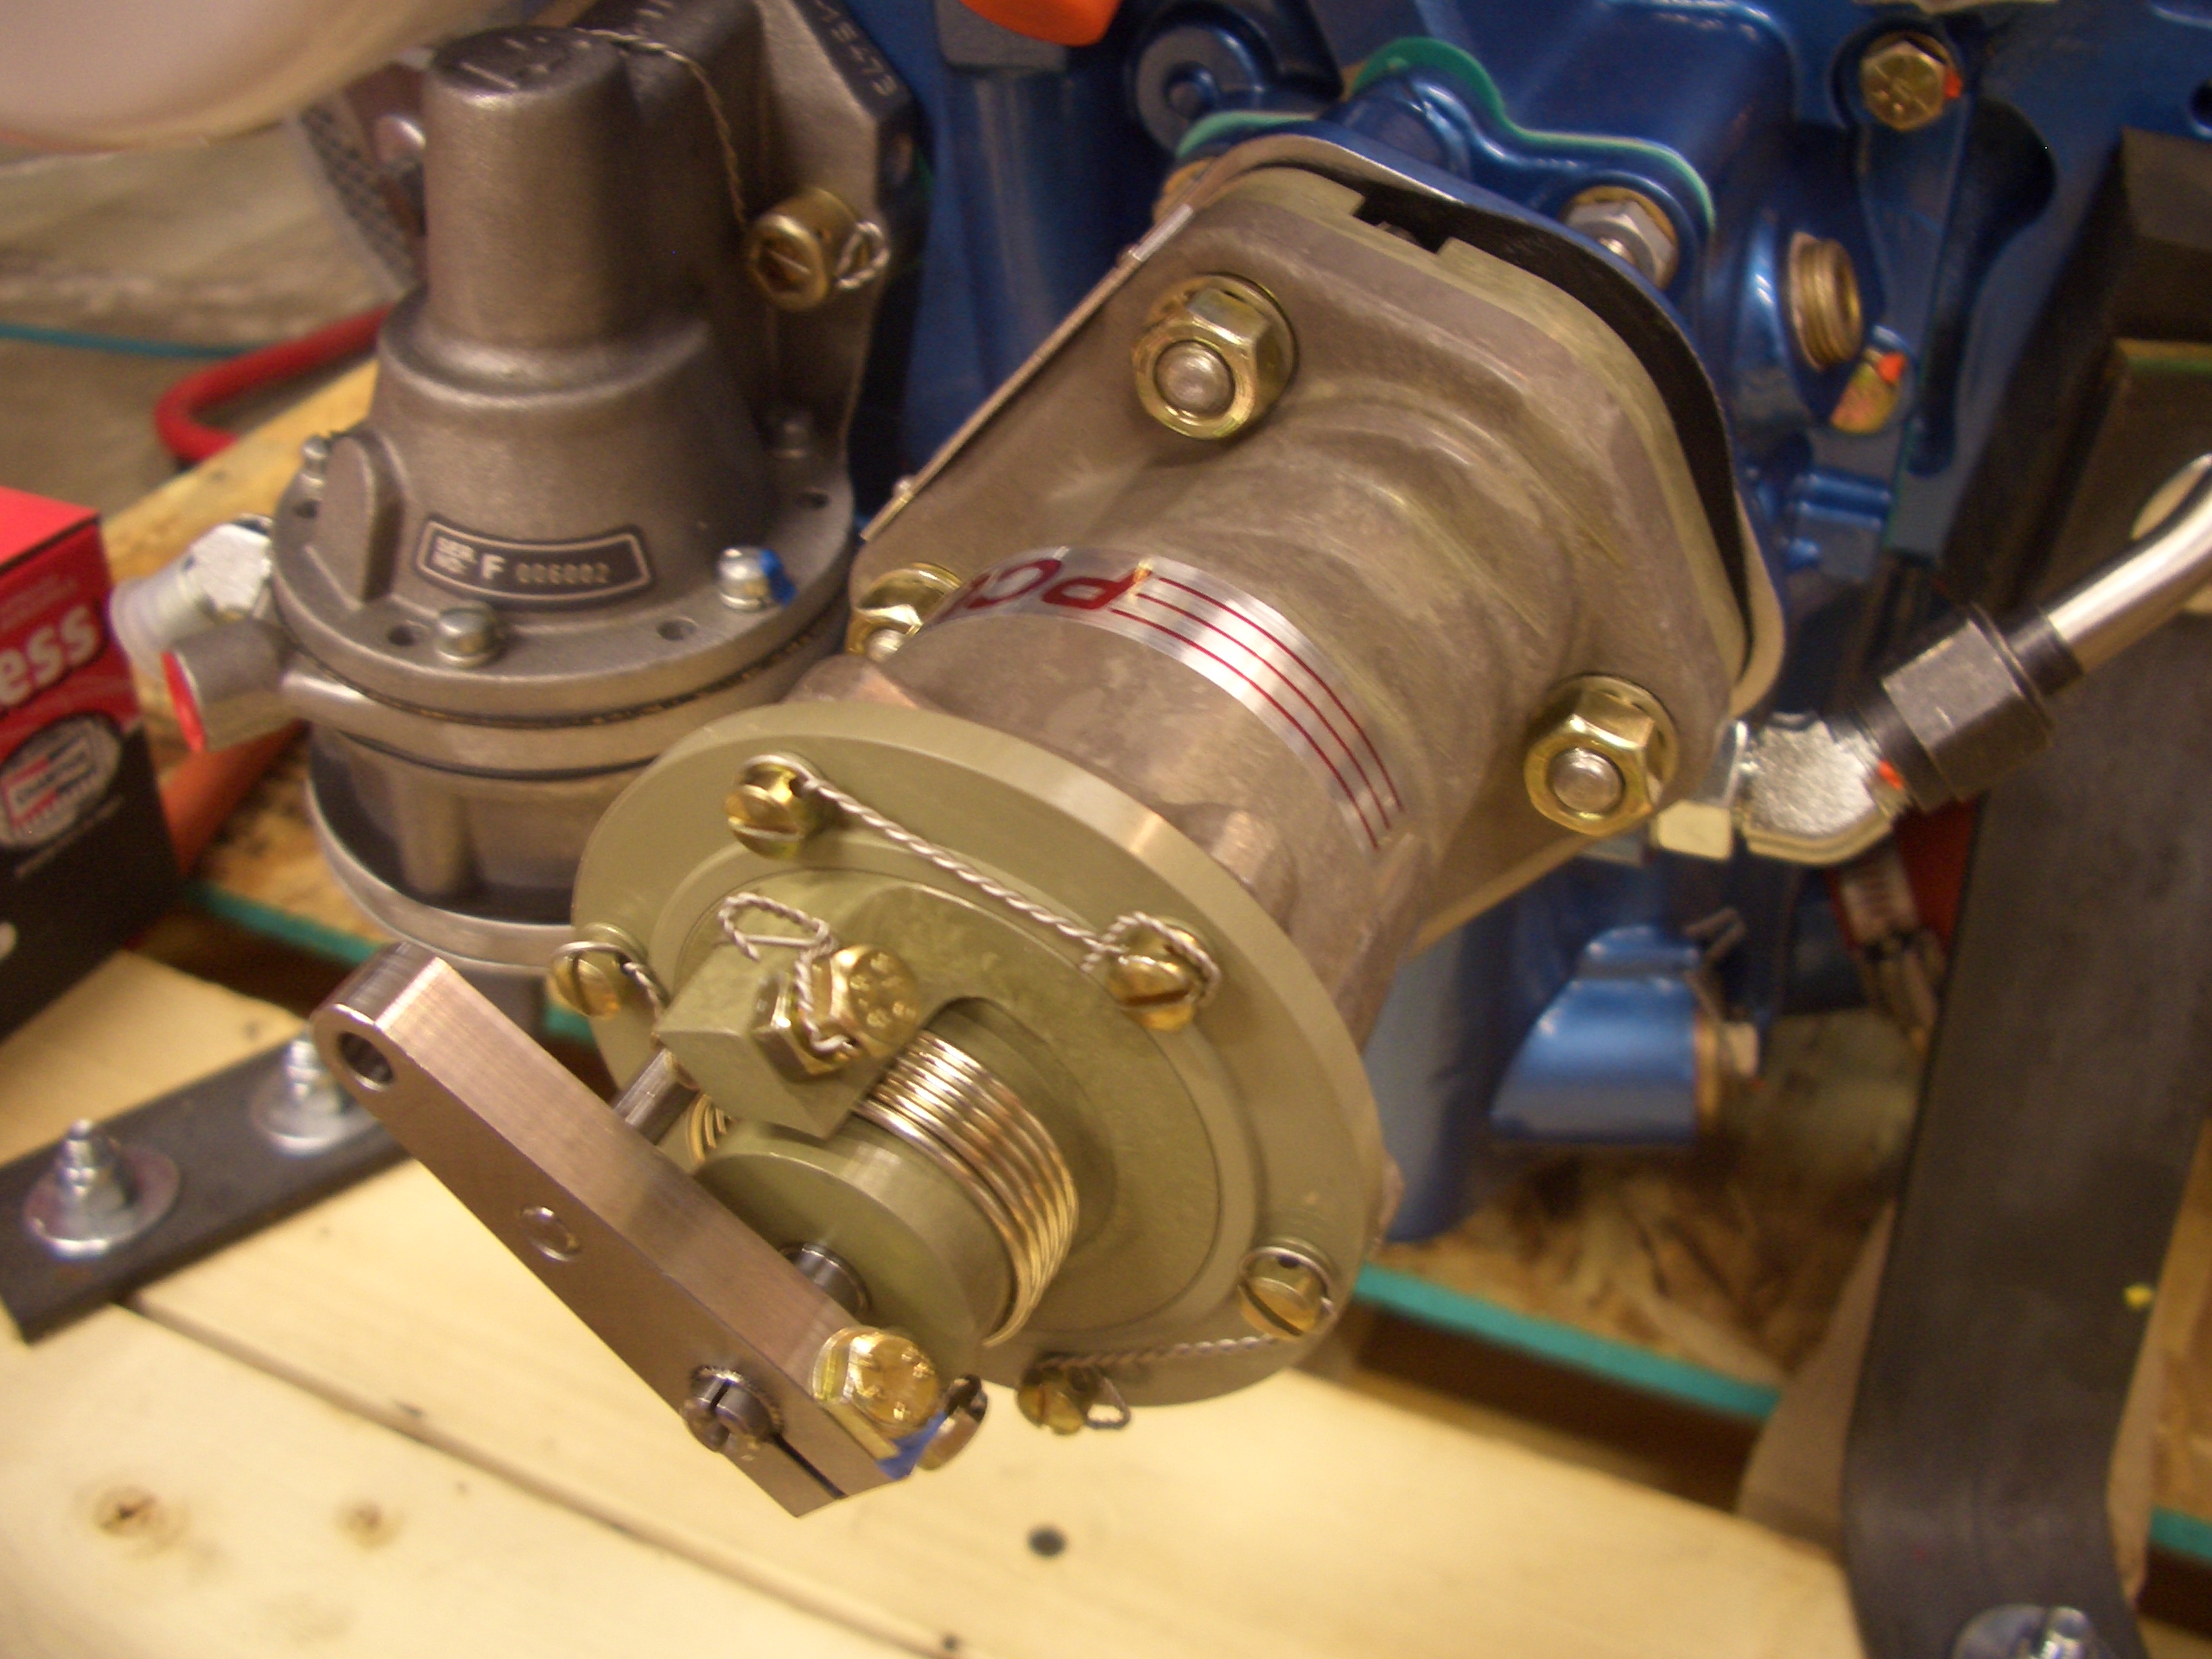
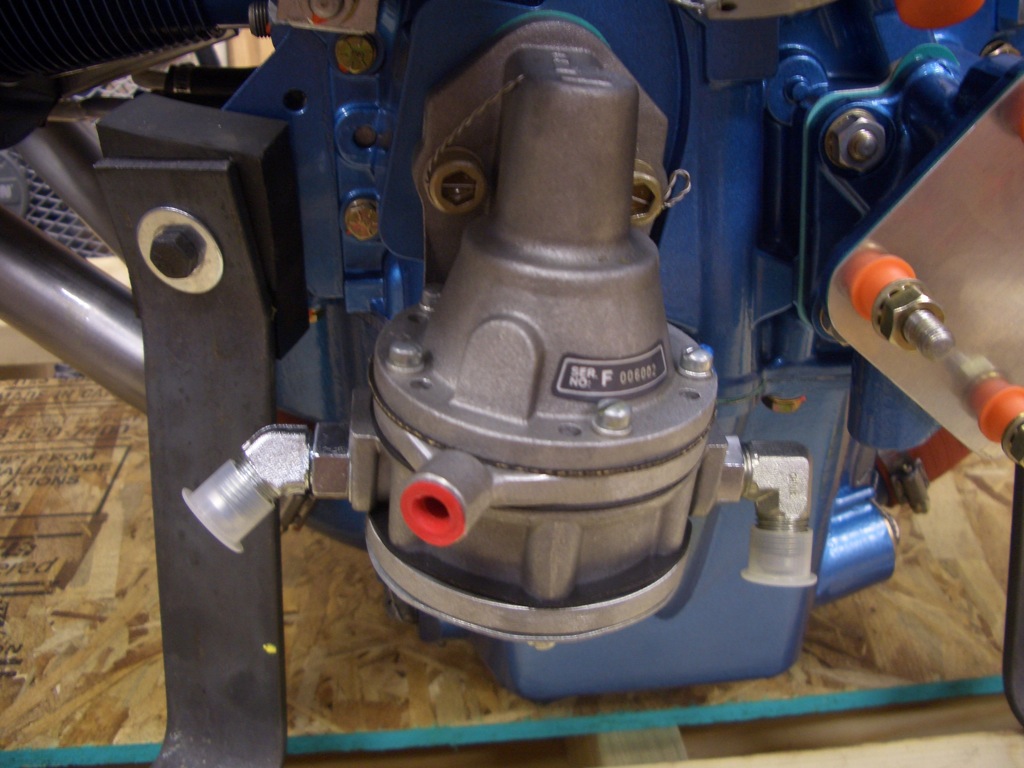
This is the mechanical fuel pump.  The fuel first passes through an electric fuel pump in the cabin.  This provides fuel delivery redundancy in case the mechanical pump fails.

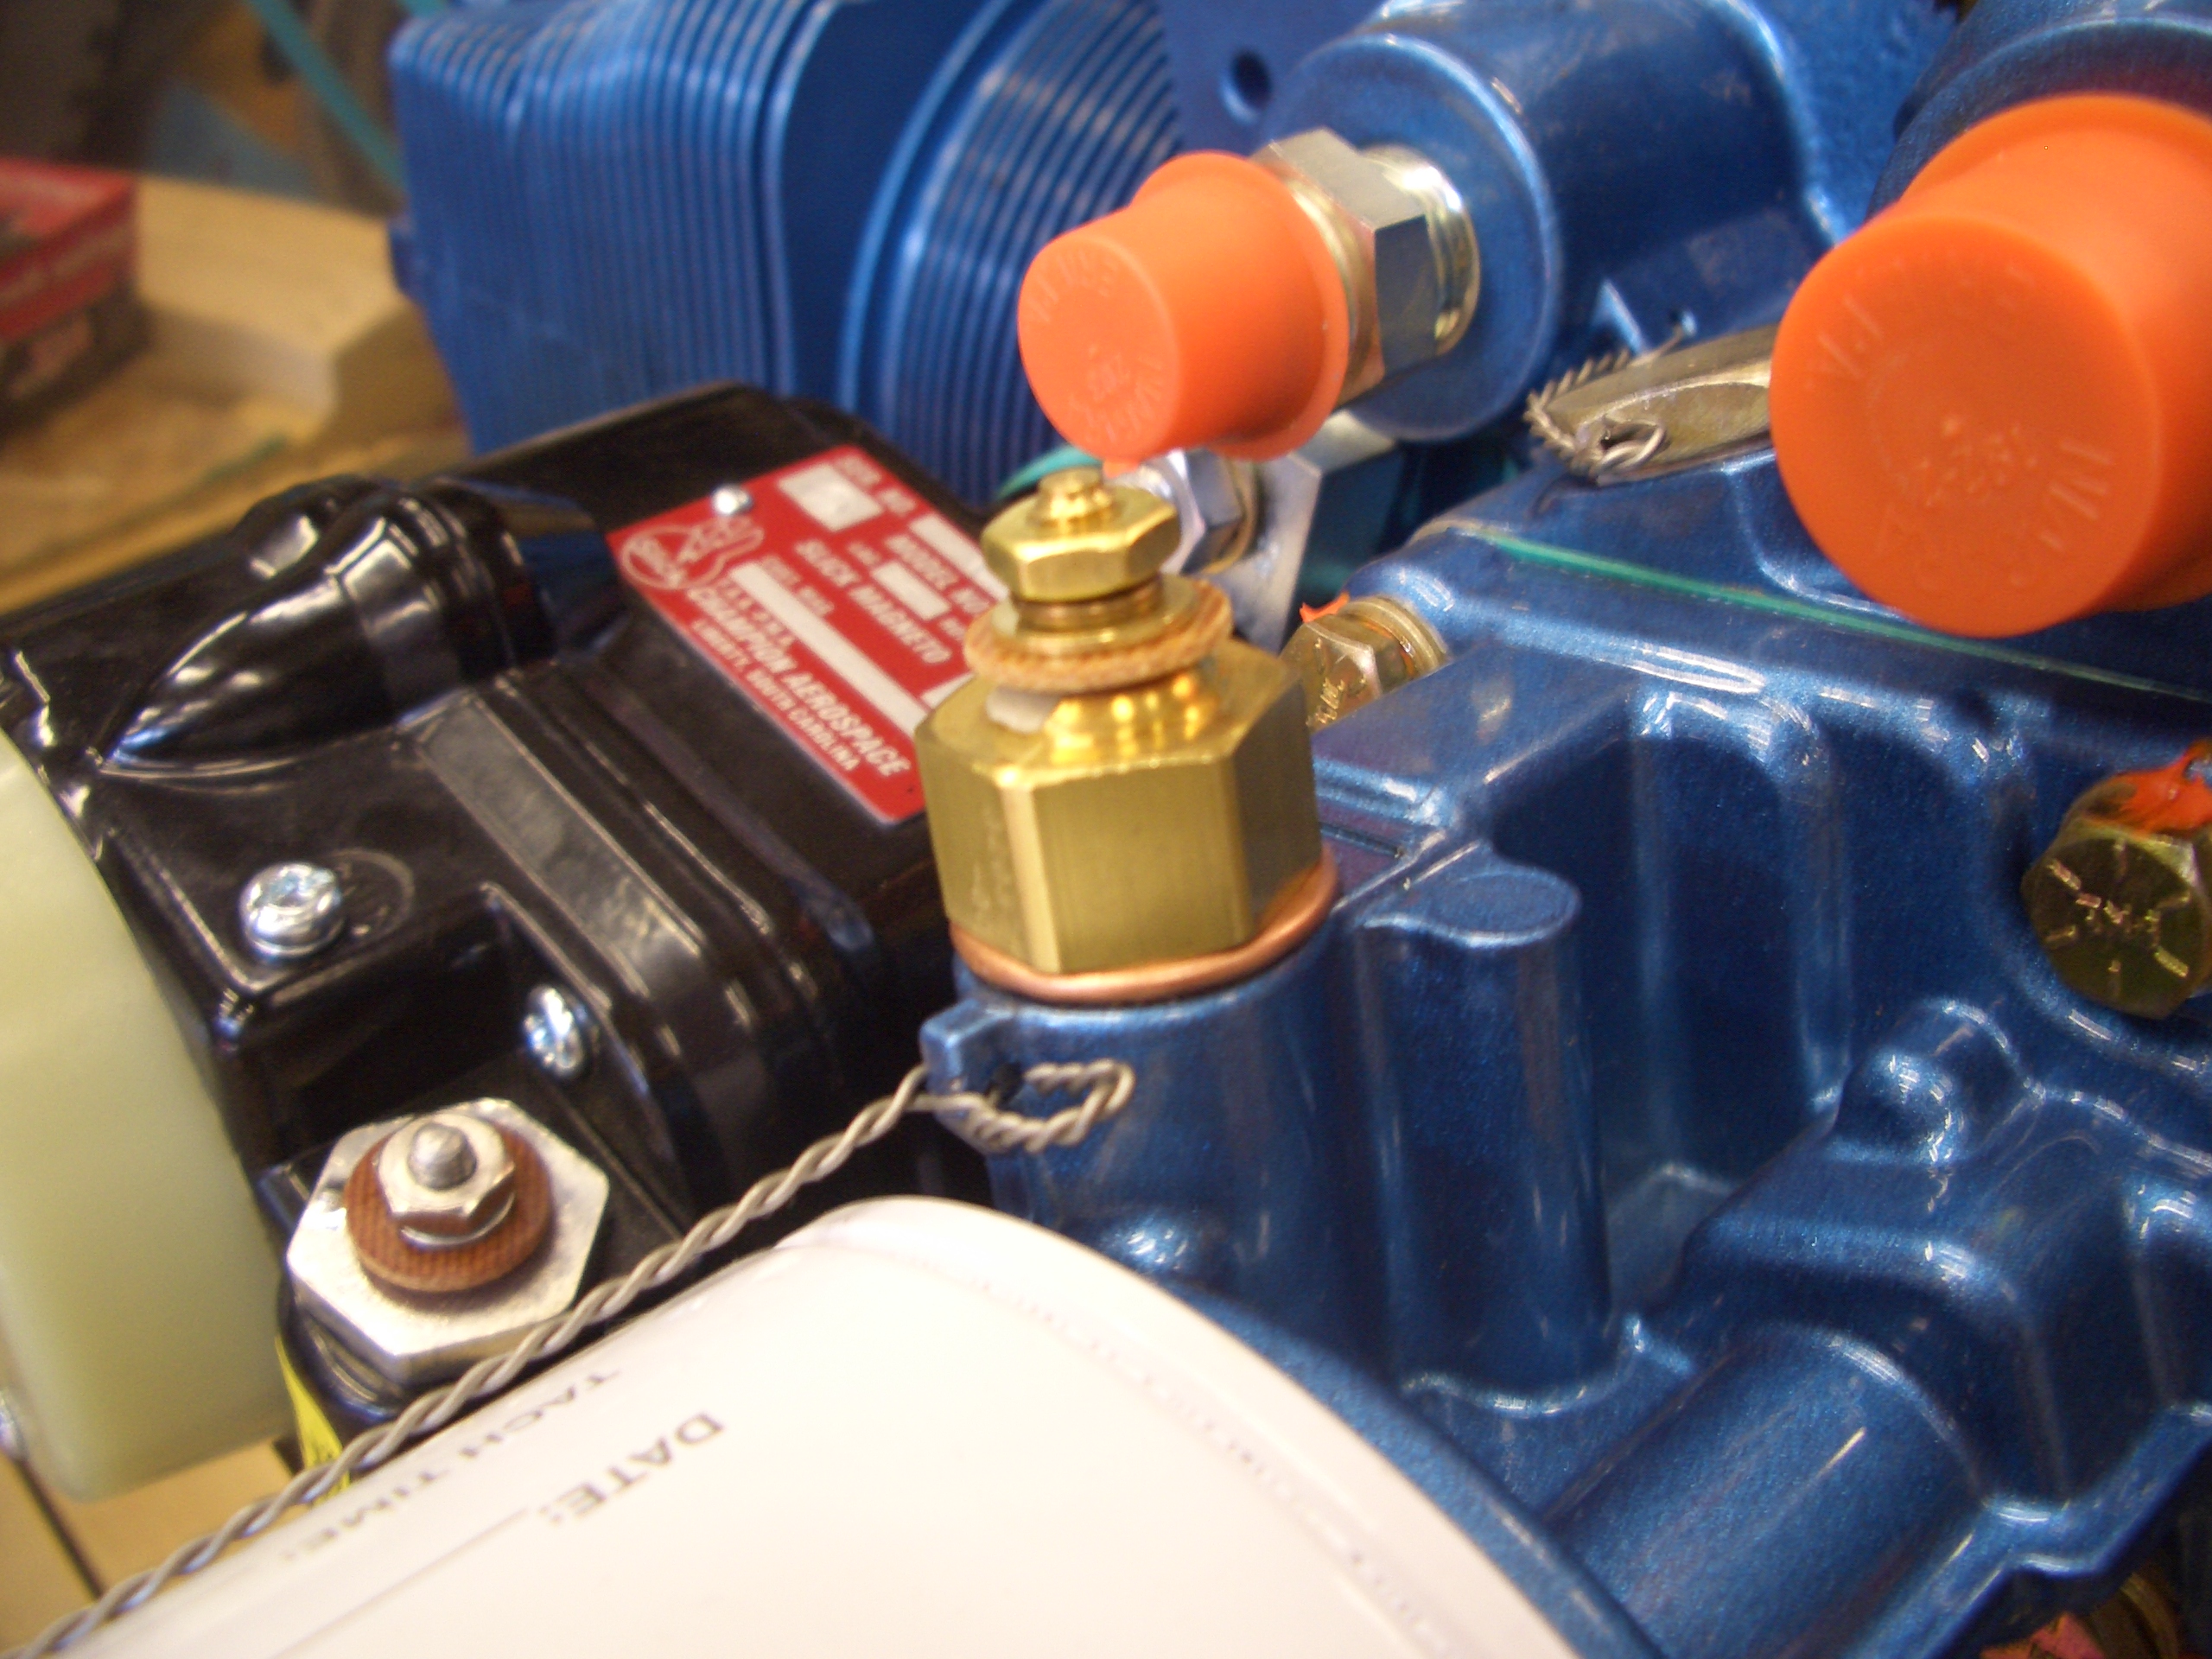
This is where the propeller governor will mount.  Fortunately, the studs are already installed, since I’ve heard these can be a pain to put in.

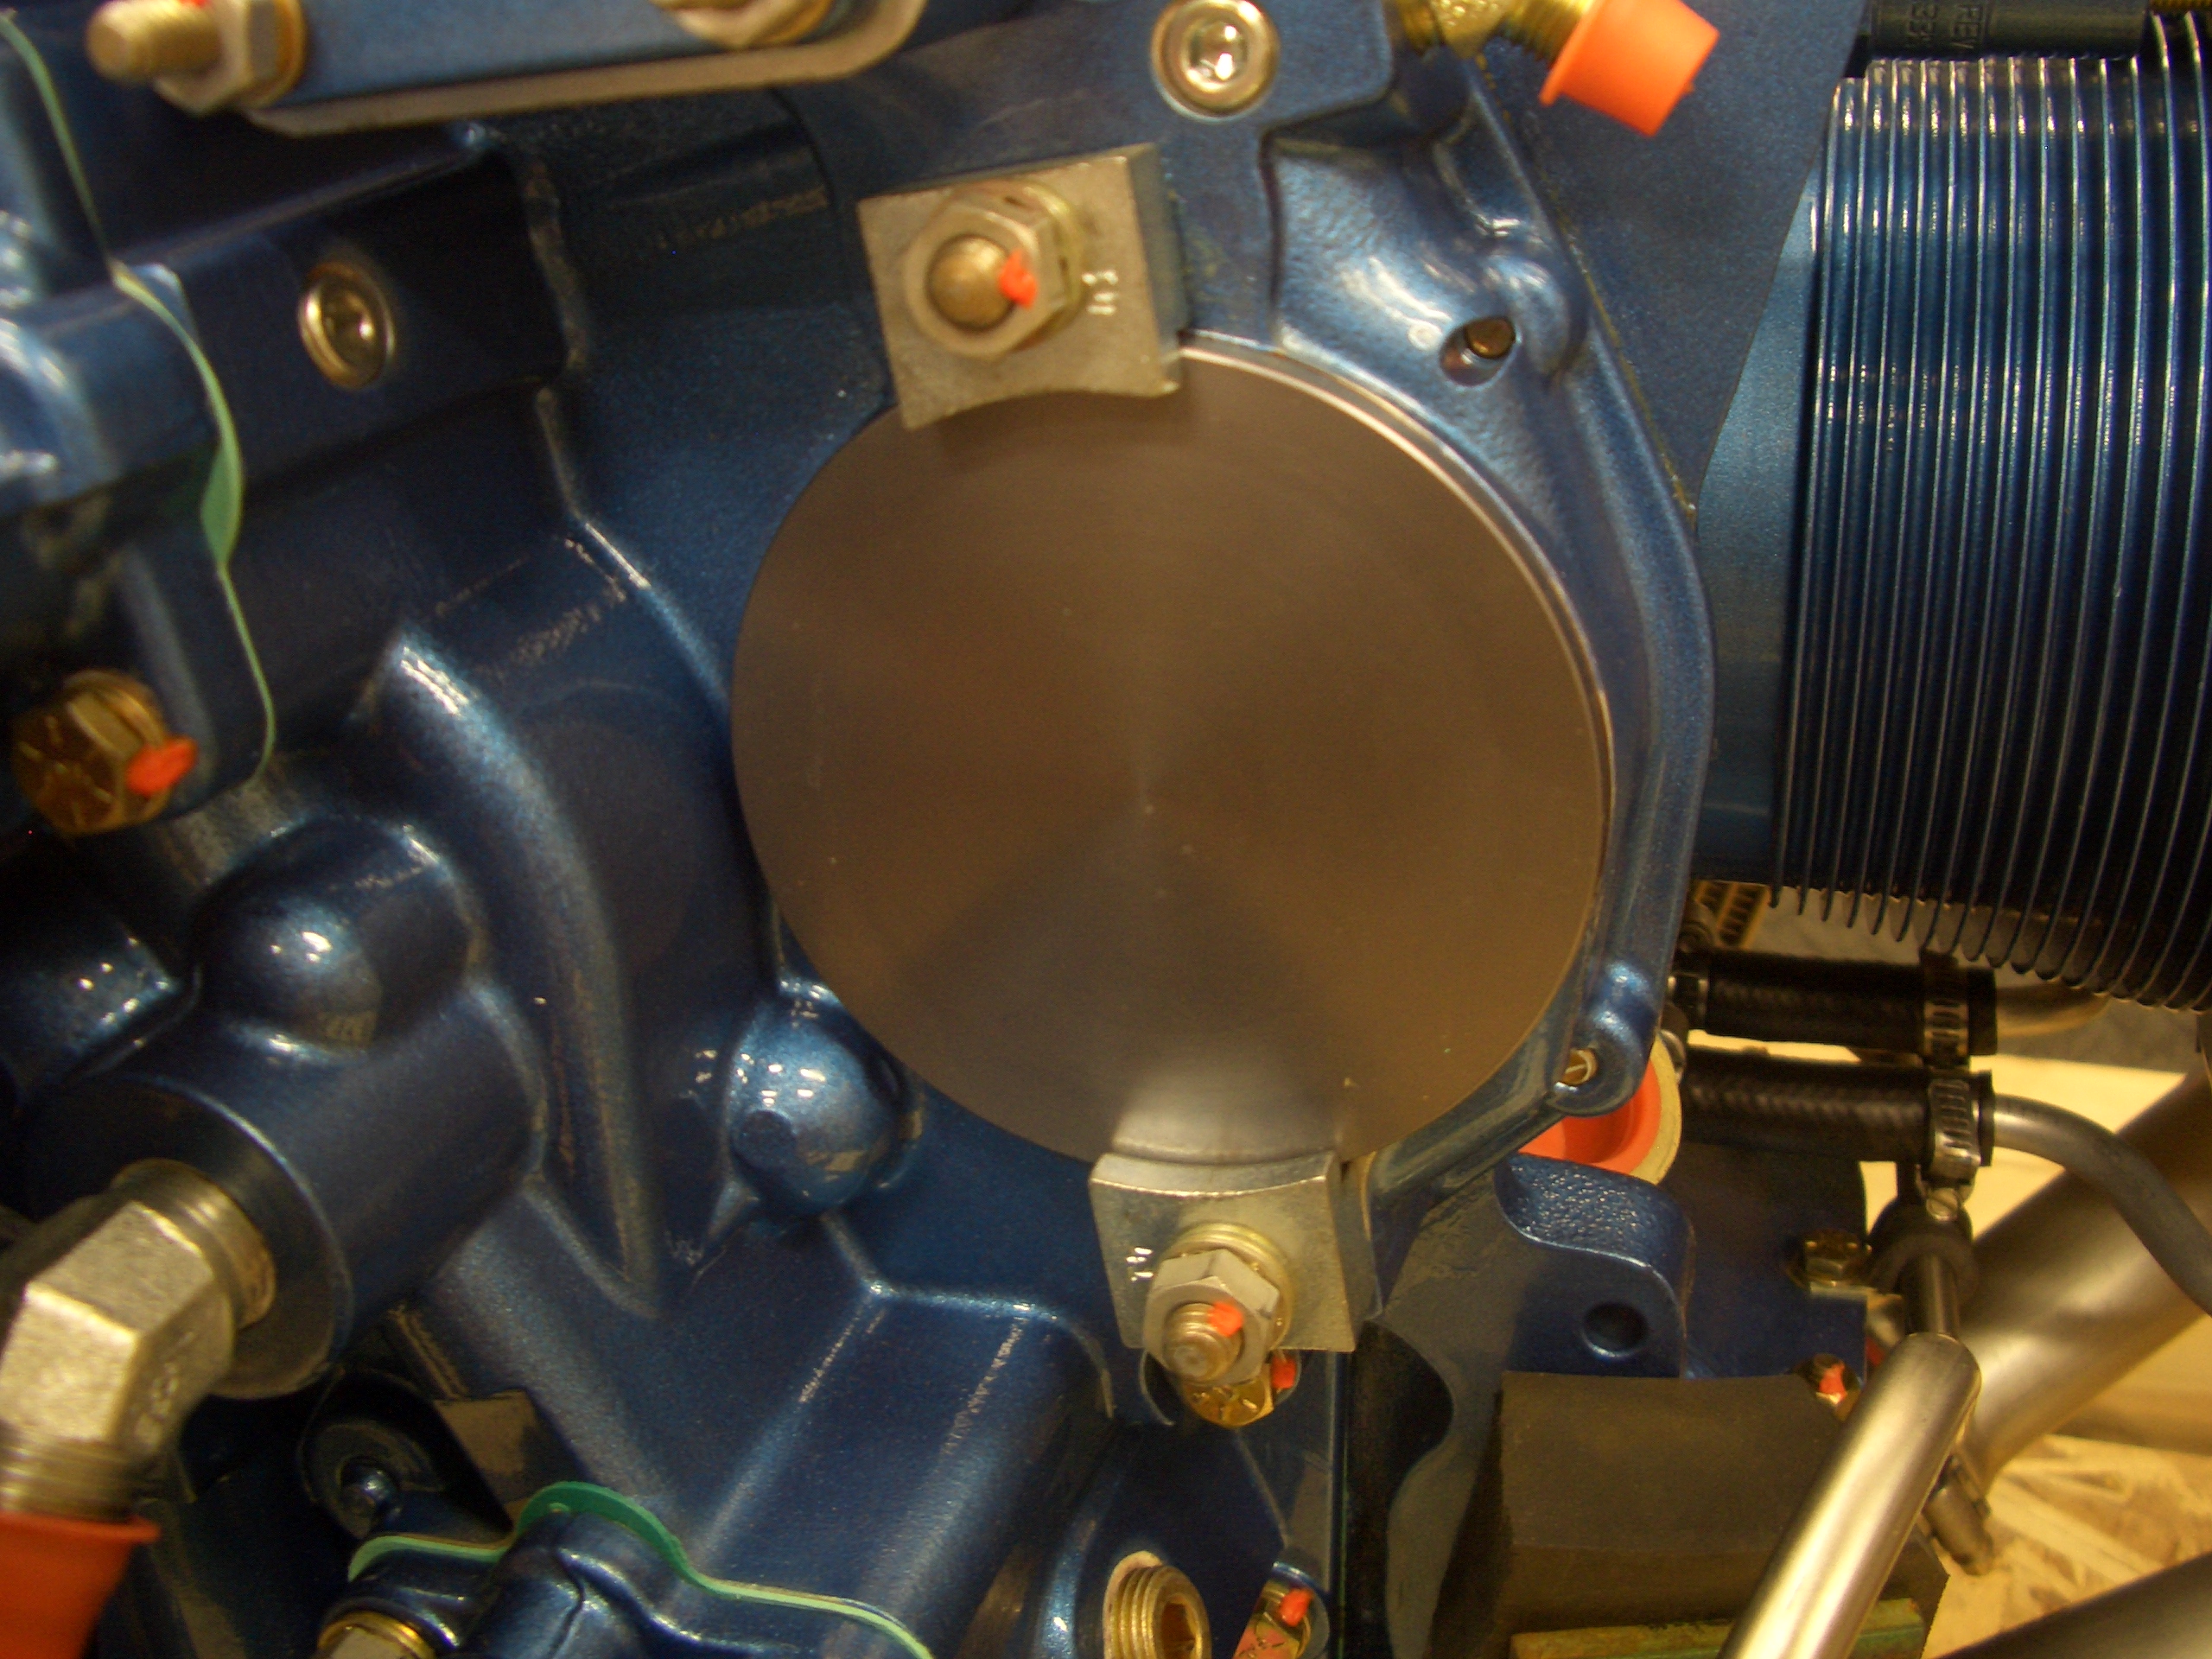
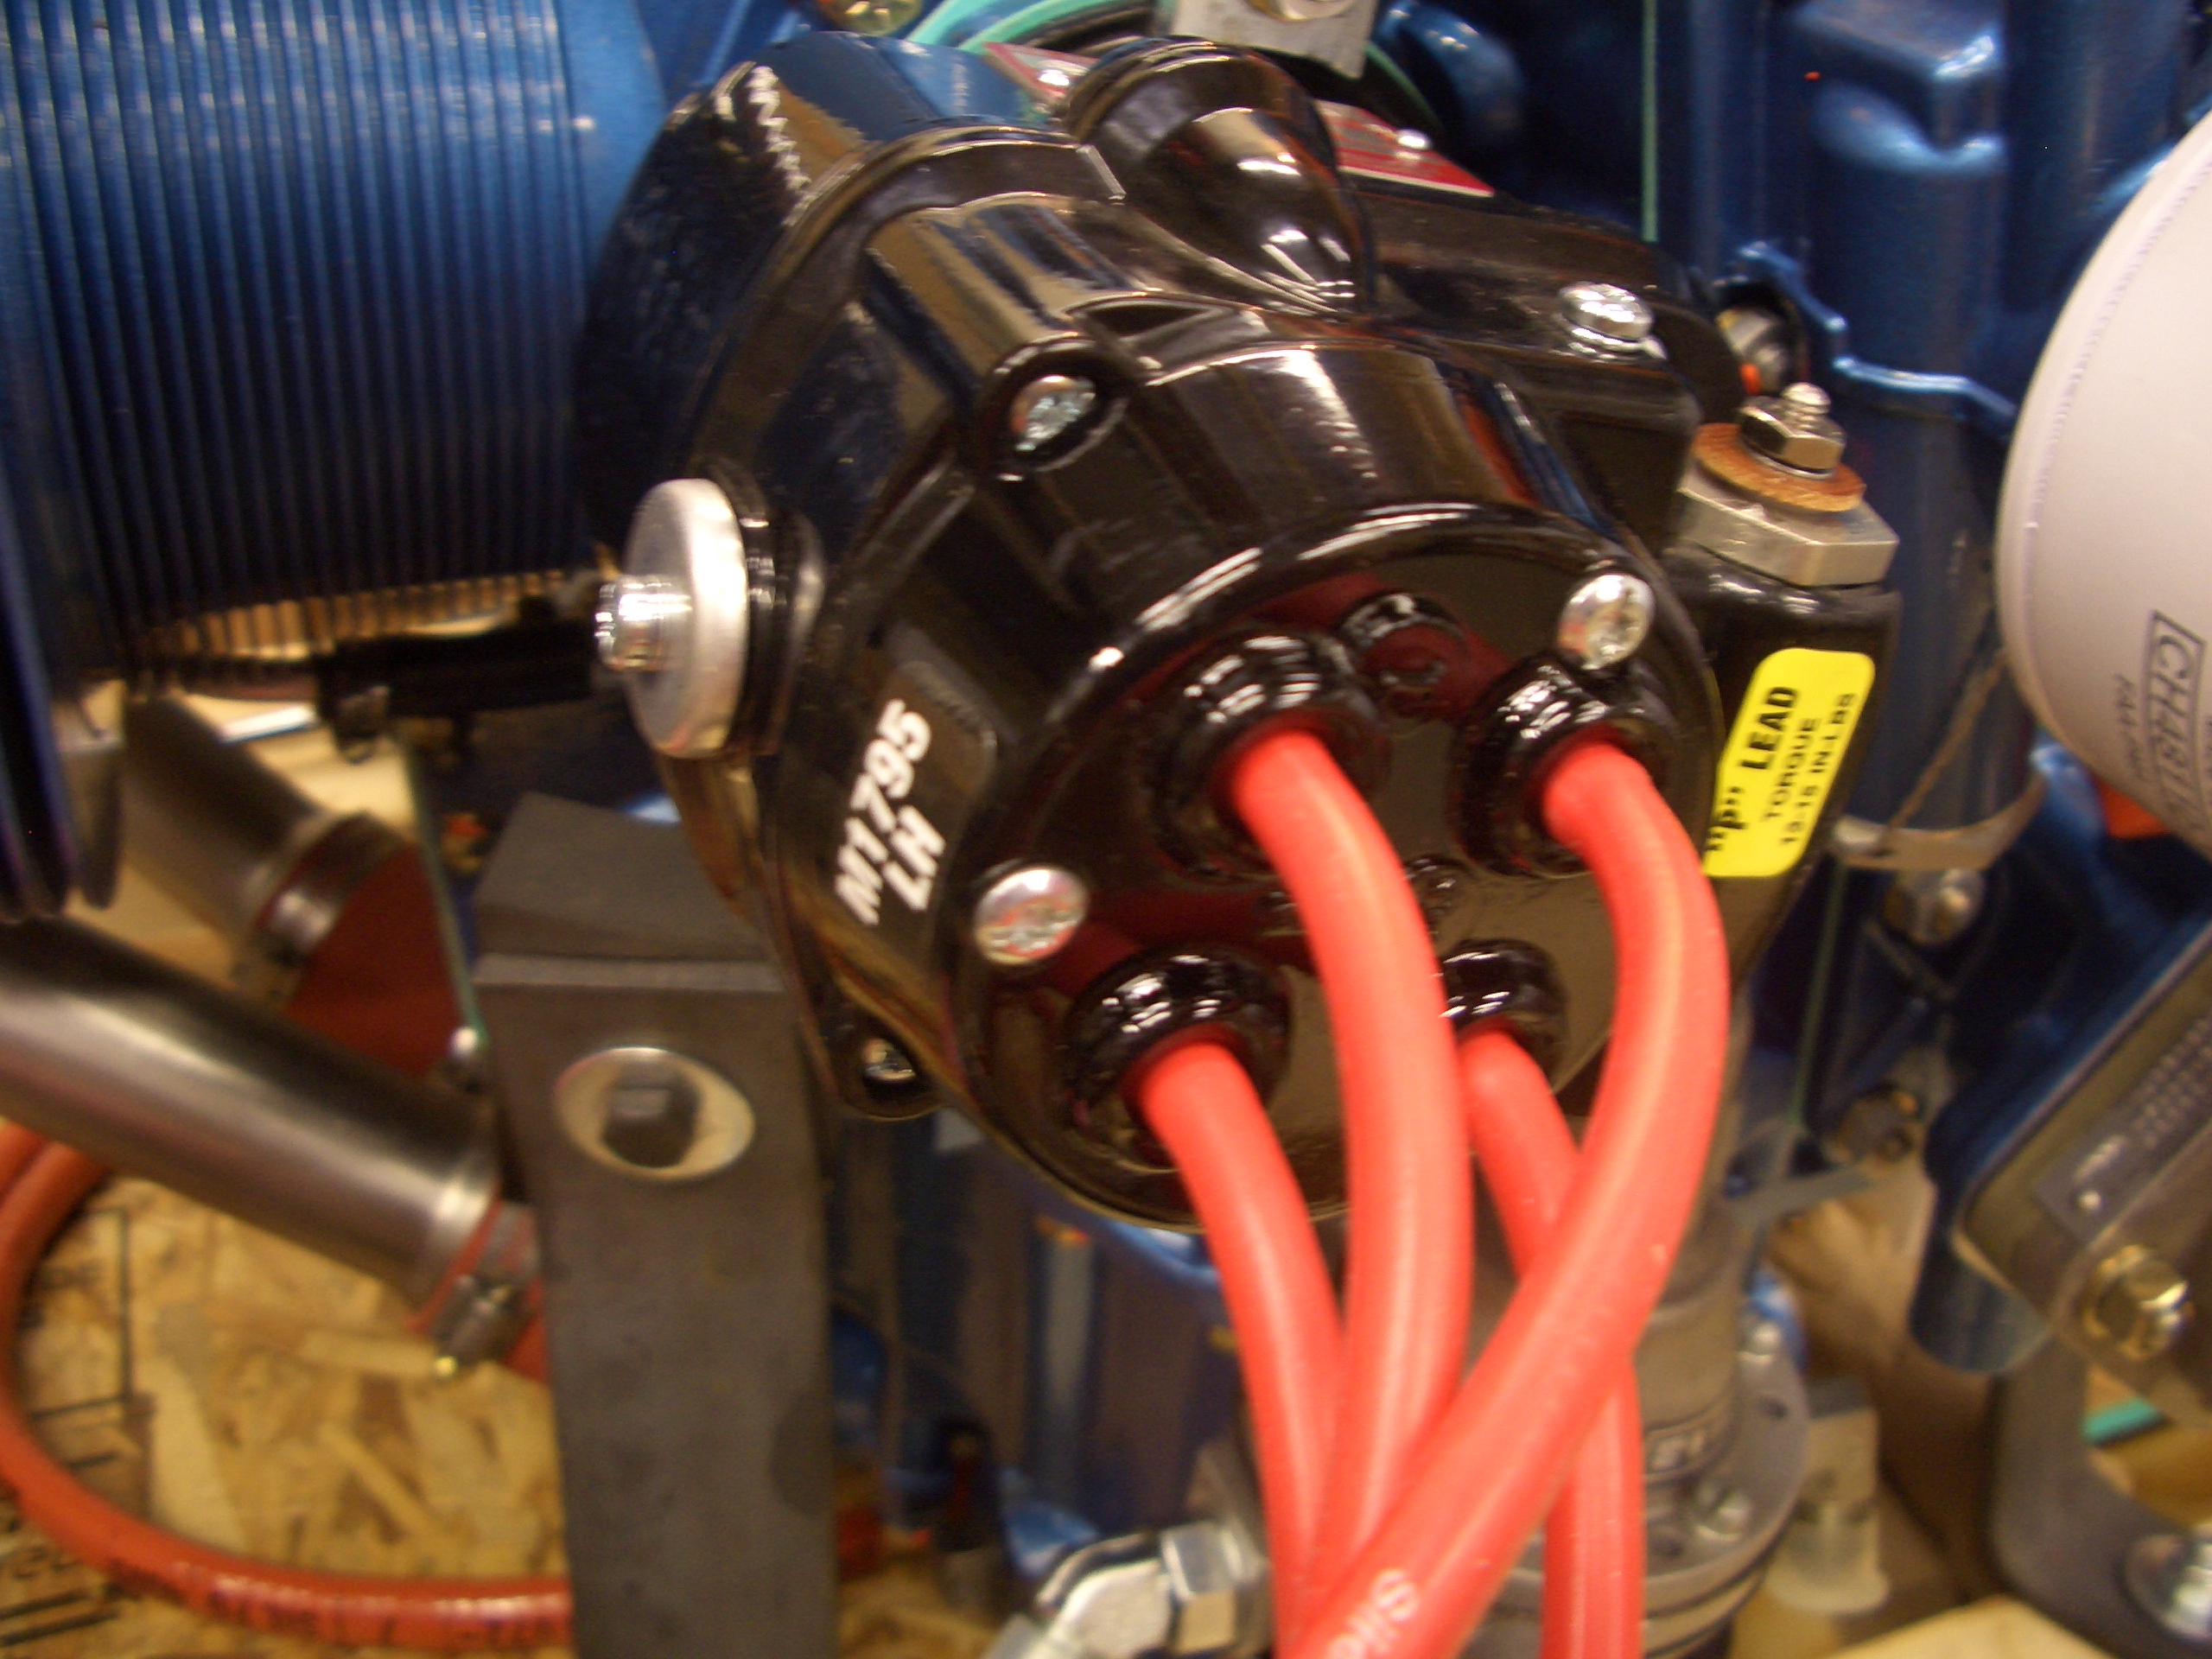
This is where the other magneto would mount if I were using dual magnetos.  Since I’m using an electronic ignition with a direct crank sensor, this is unused.  I may install a B&C Products SD-8 standby alternator here at some point.

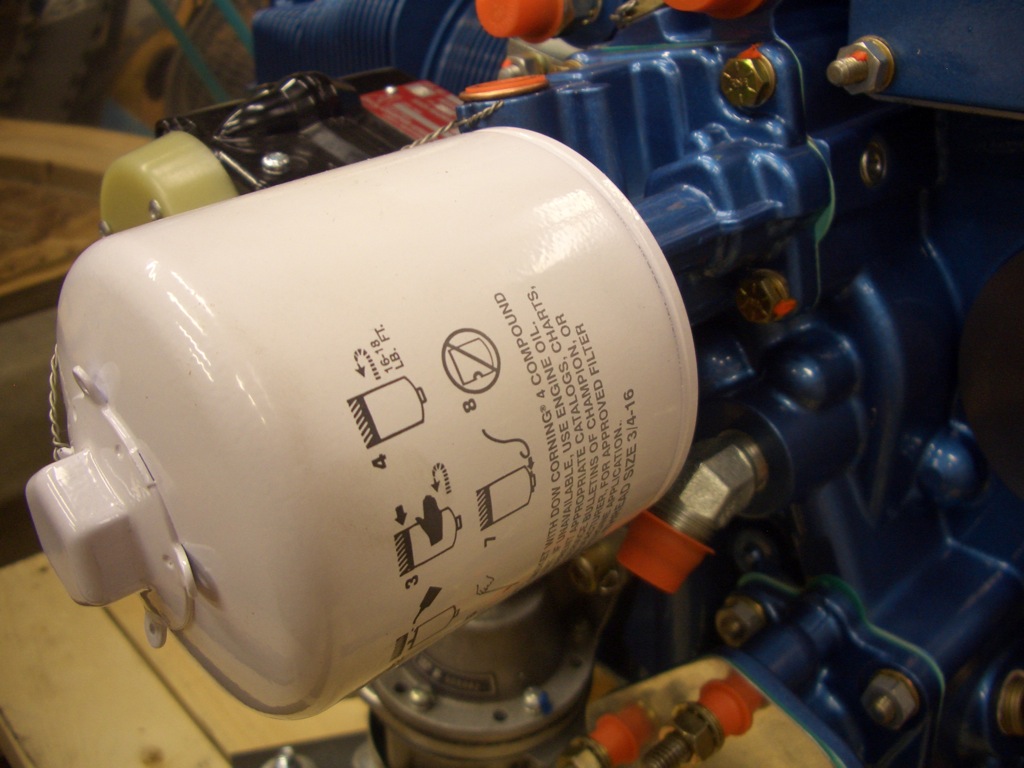
The oil filter mounts on the back of the engine.

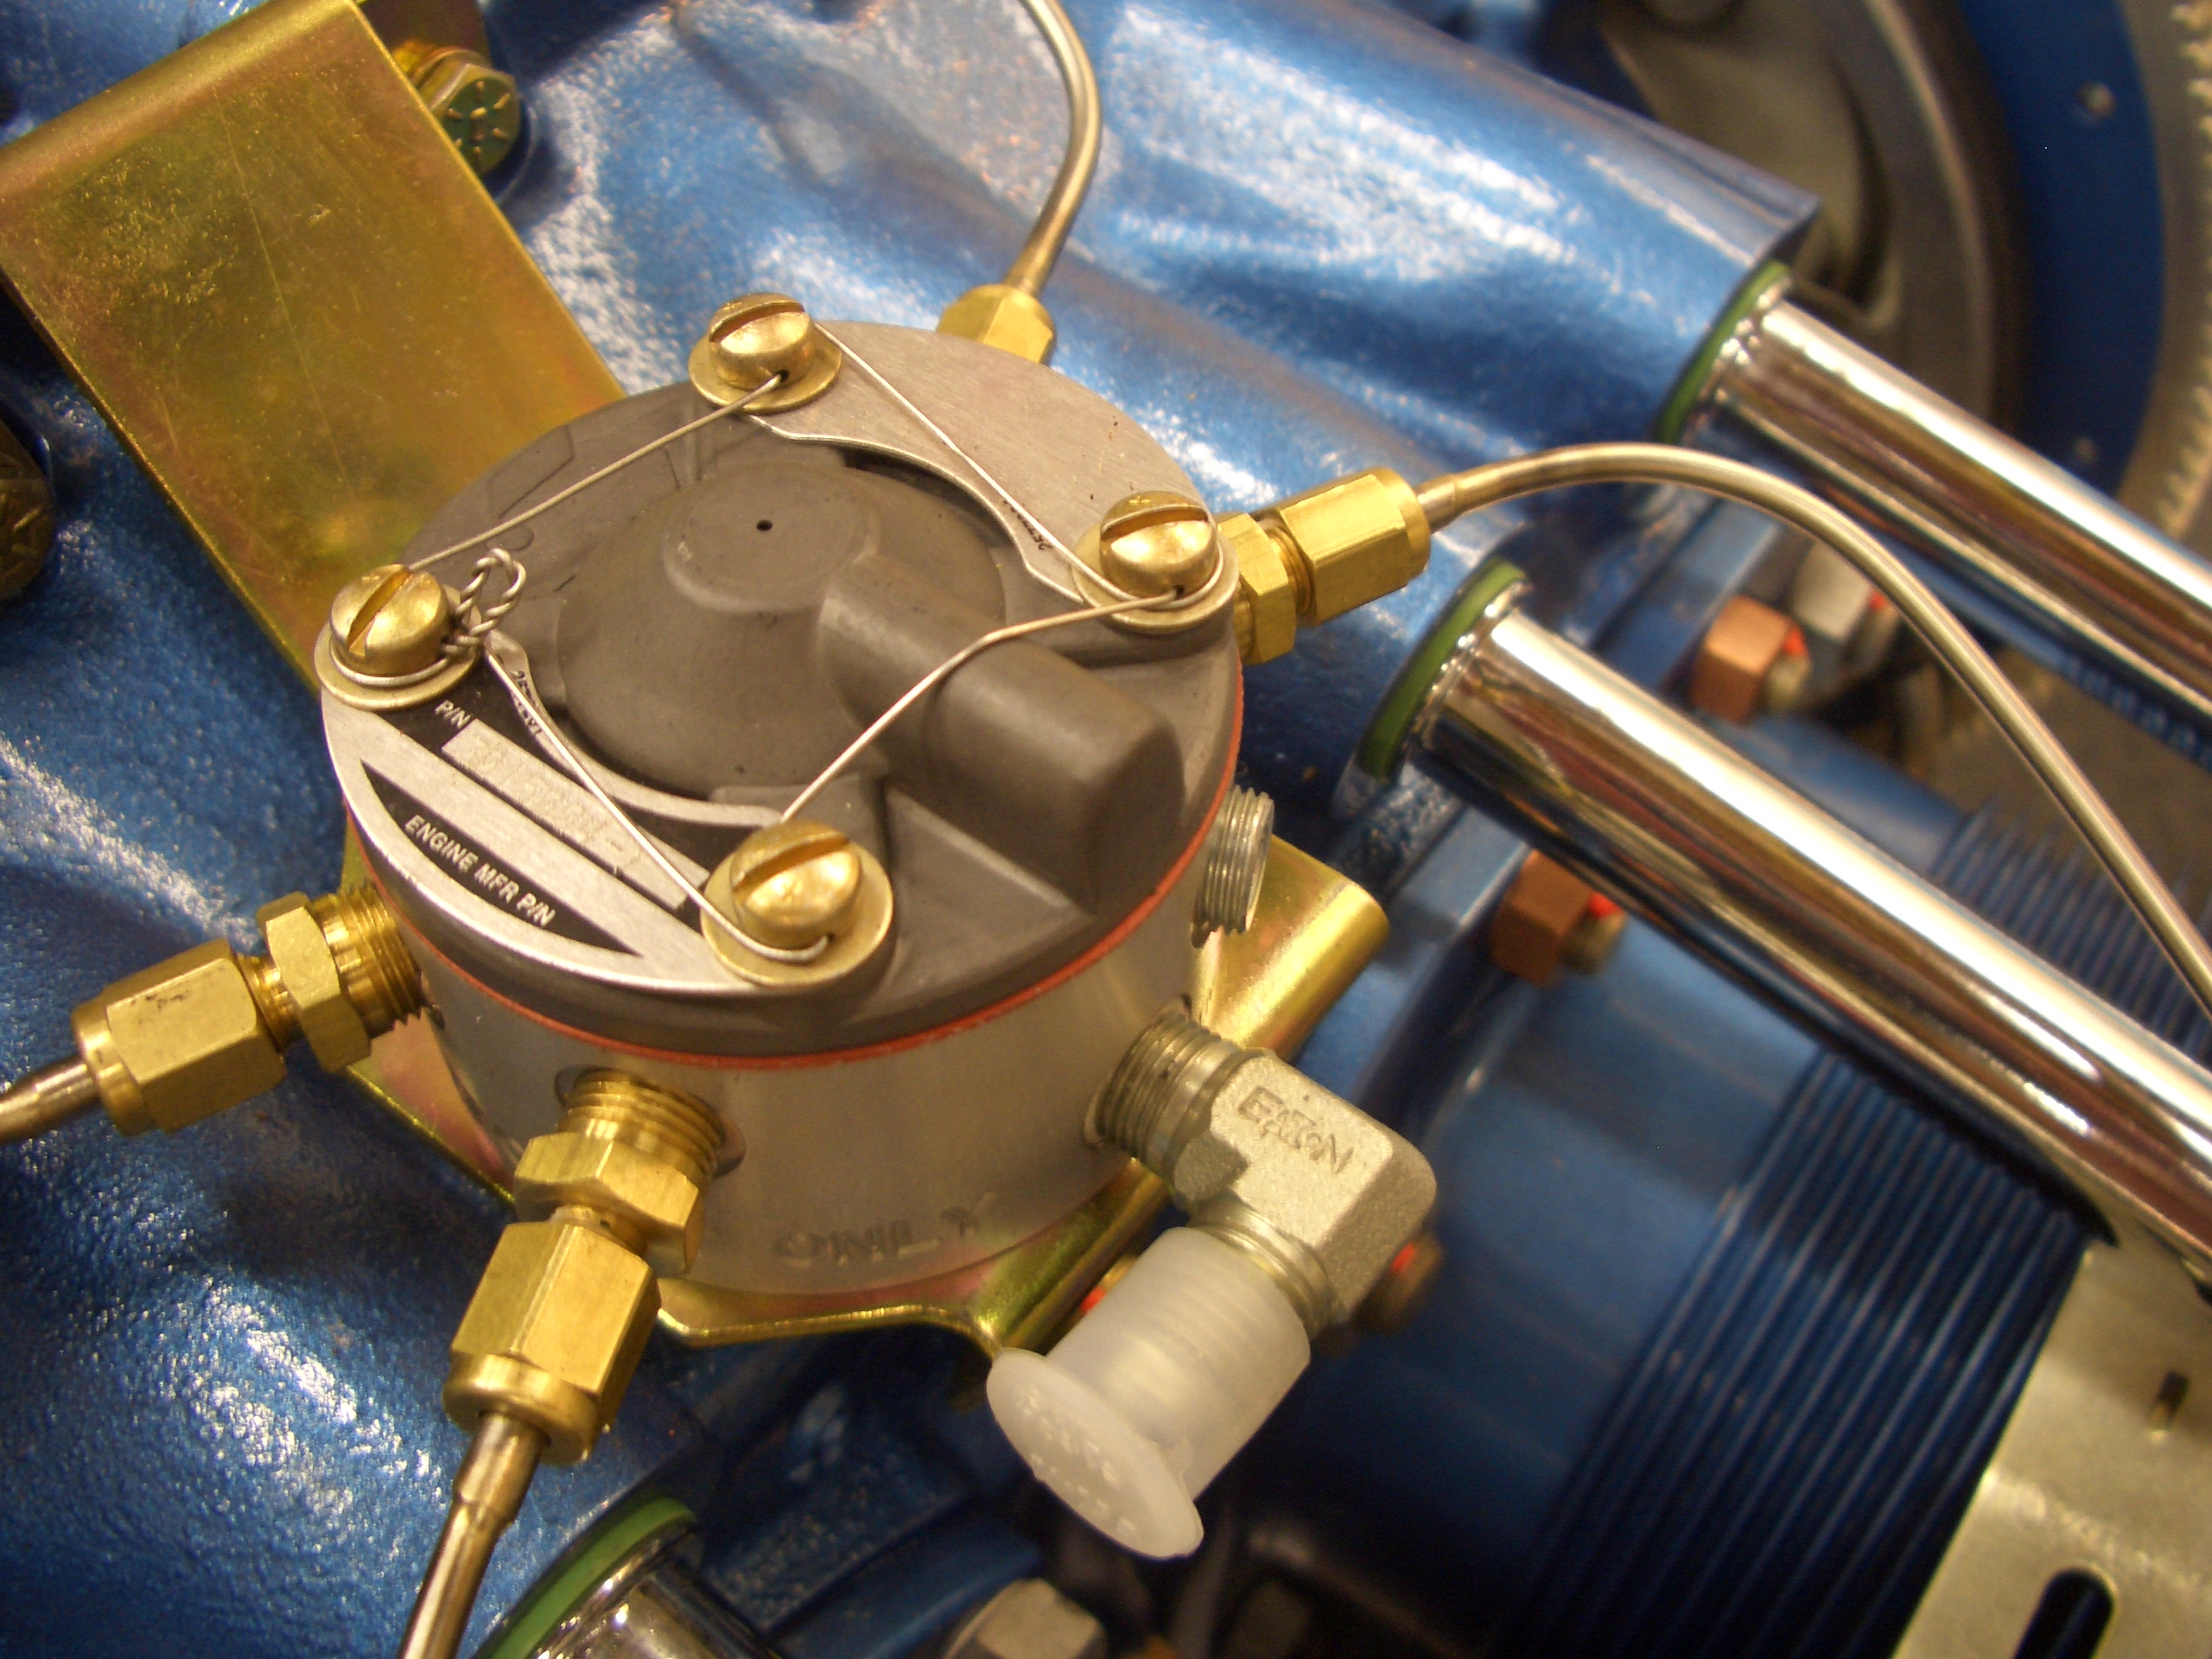
Here is the fuel distribution spider mounted to the top of the engine.  There are stainless steel lines from here to each of the cylinders.

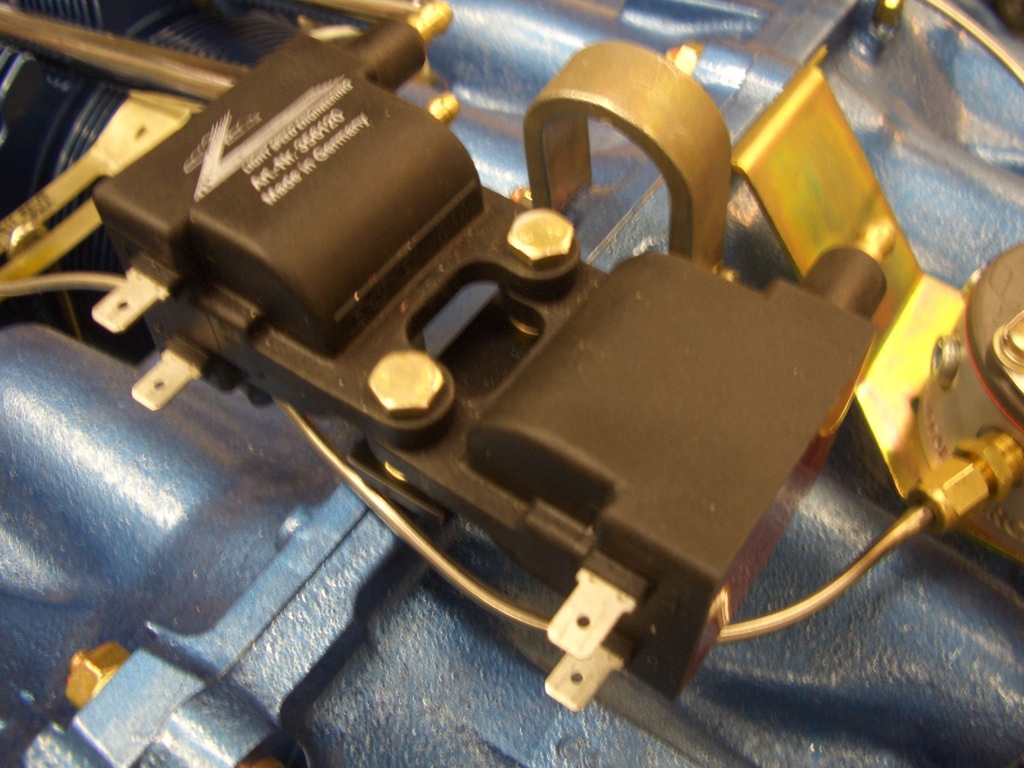
These are the ignition coils for the electronic ignition.  These will fire the top spark plugs while the magneto will fire the bottom plugs.

The electronic ignition detects the crank position using this crank sensor mounted inside the flywheel.  There are tiny magnets installed into the flywheel that pass by sensors on this circuit board.

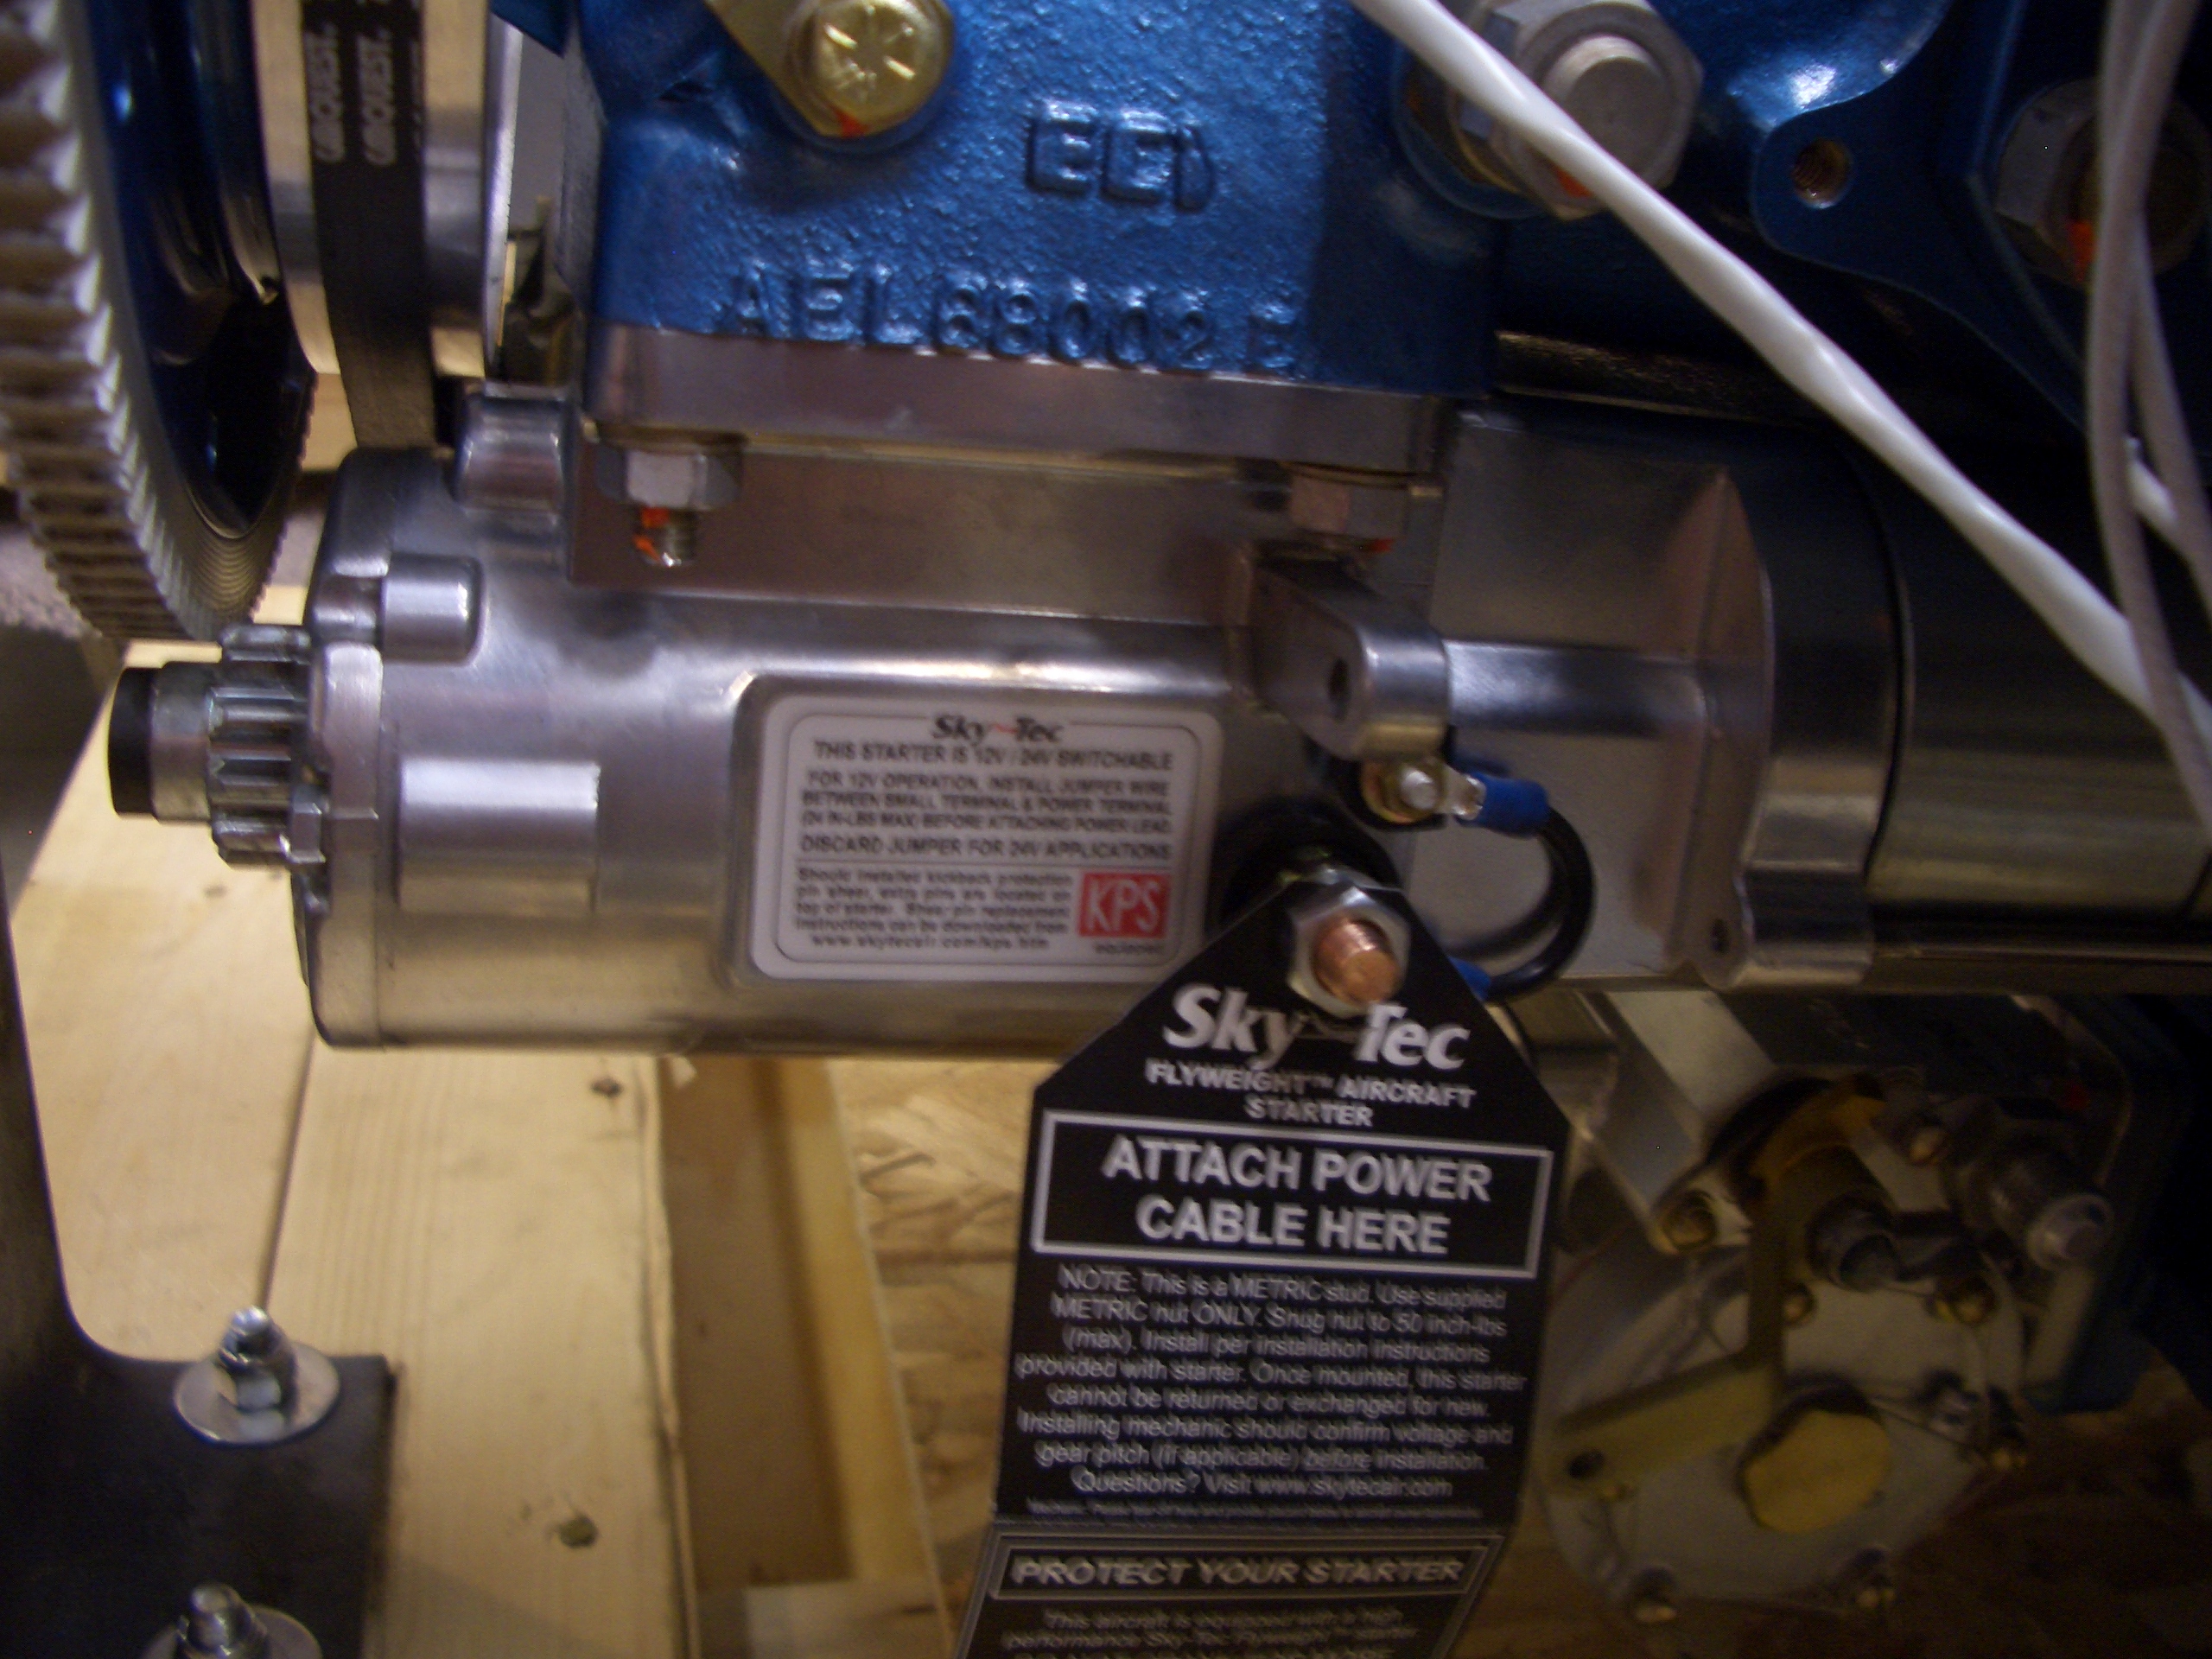
Aero Sport engines come with a Sky Tec Light Weight Inline starter.  Early versions of Sky Tec starters suffered from quality problems, but the company created new clean sheet designs that are very high quality.  I haven’t heard of anyone having issues with any of the newer model Sky Tec starters.

The B&C alternator requires an external voltage regulator.  This has a built-in crowbar over voltage protection feature to nearly instantly take the alternator off-line if it starts to go over voltage.

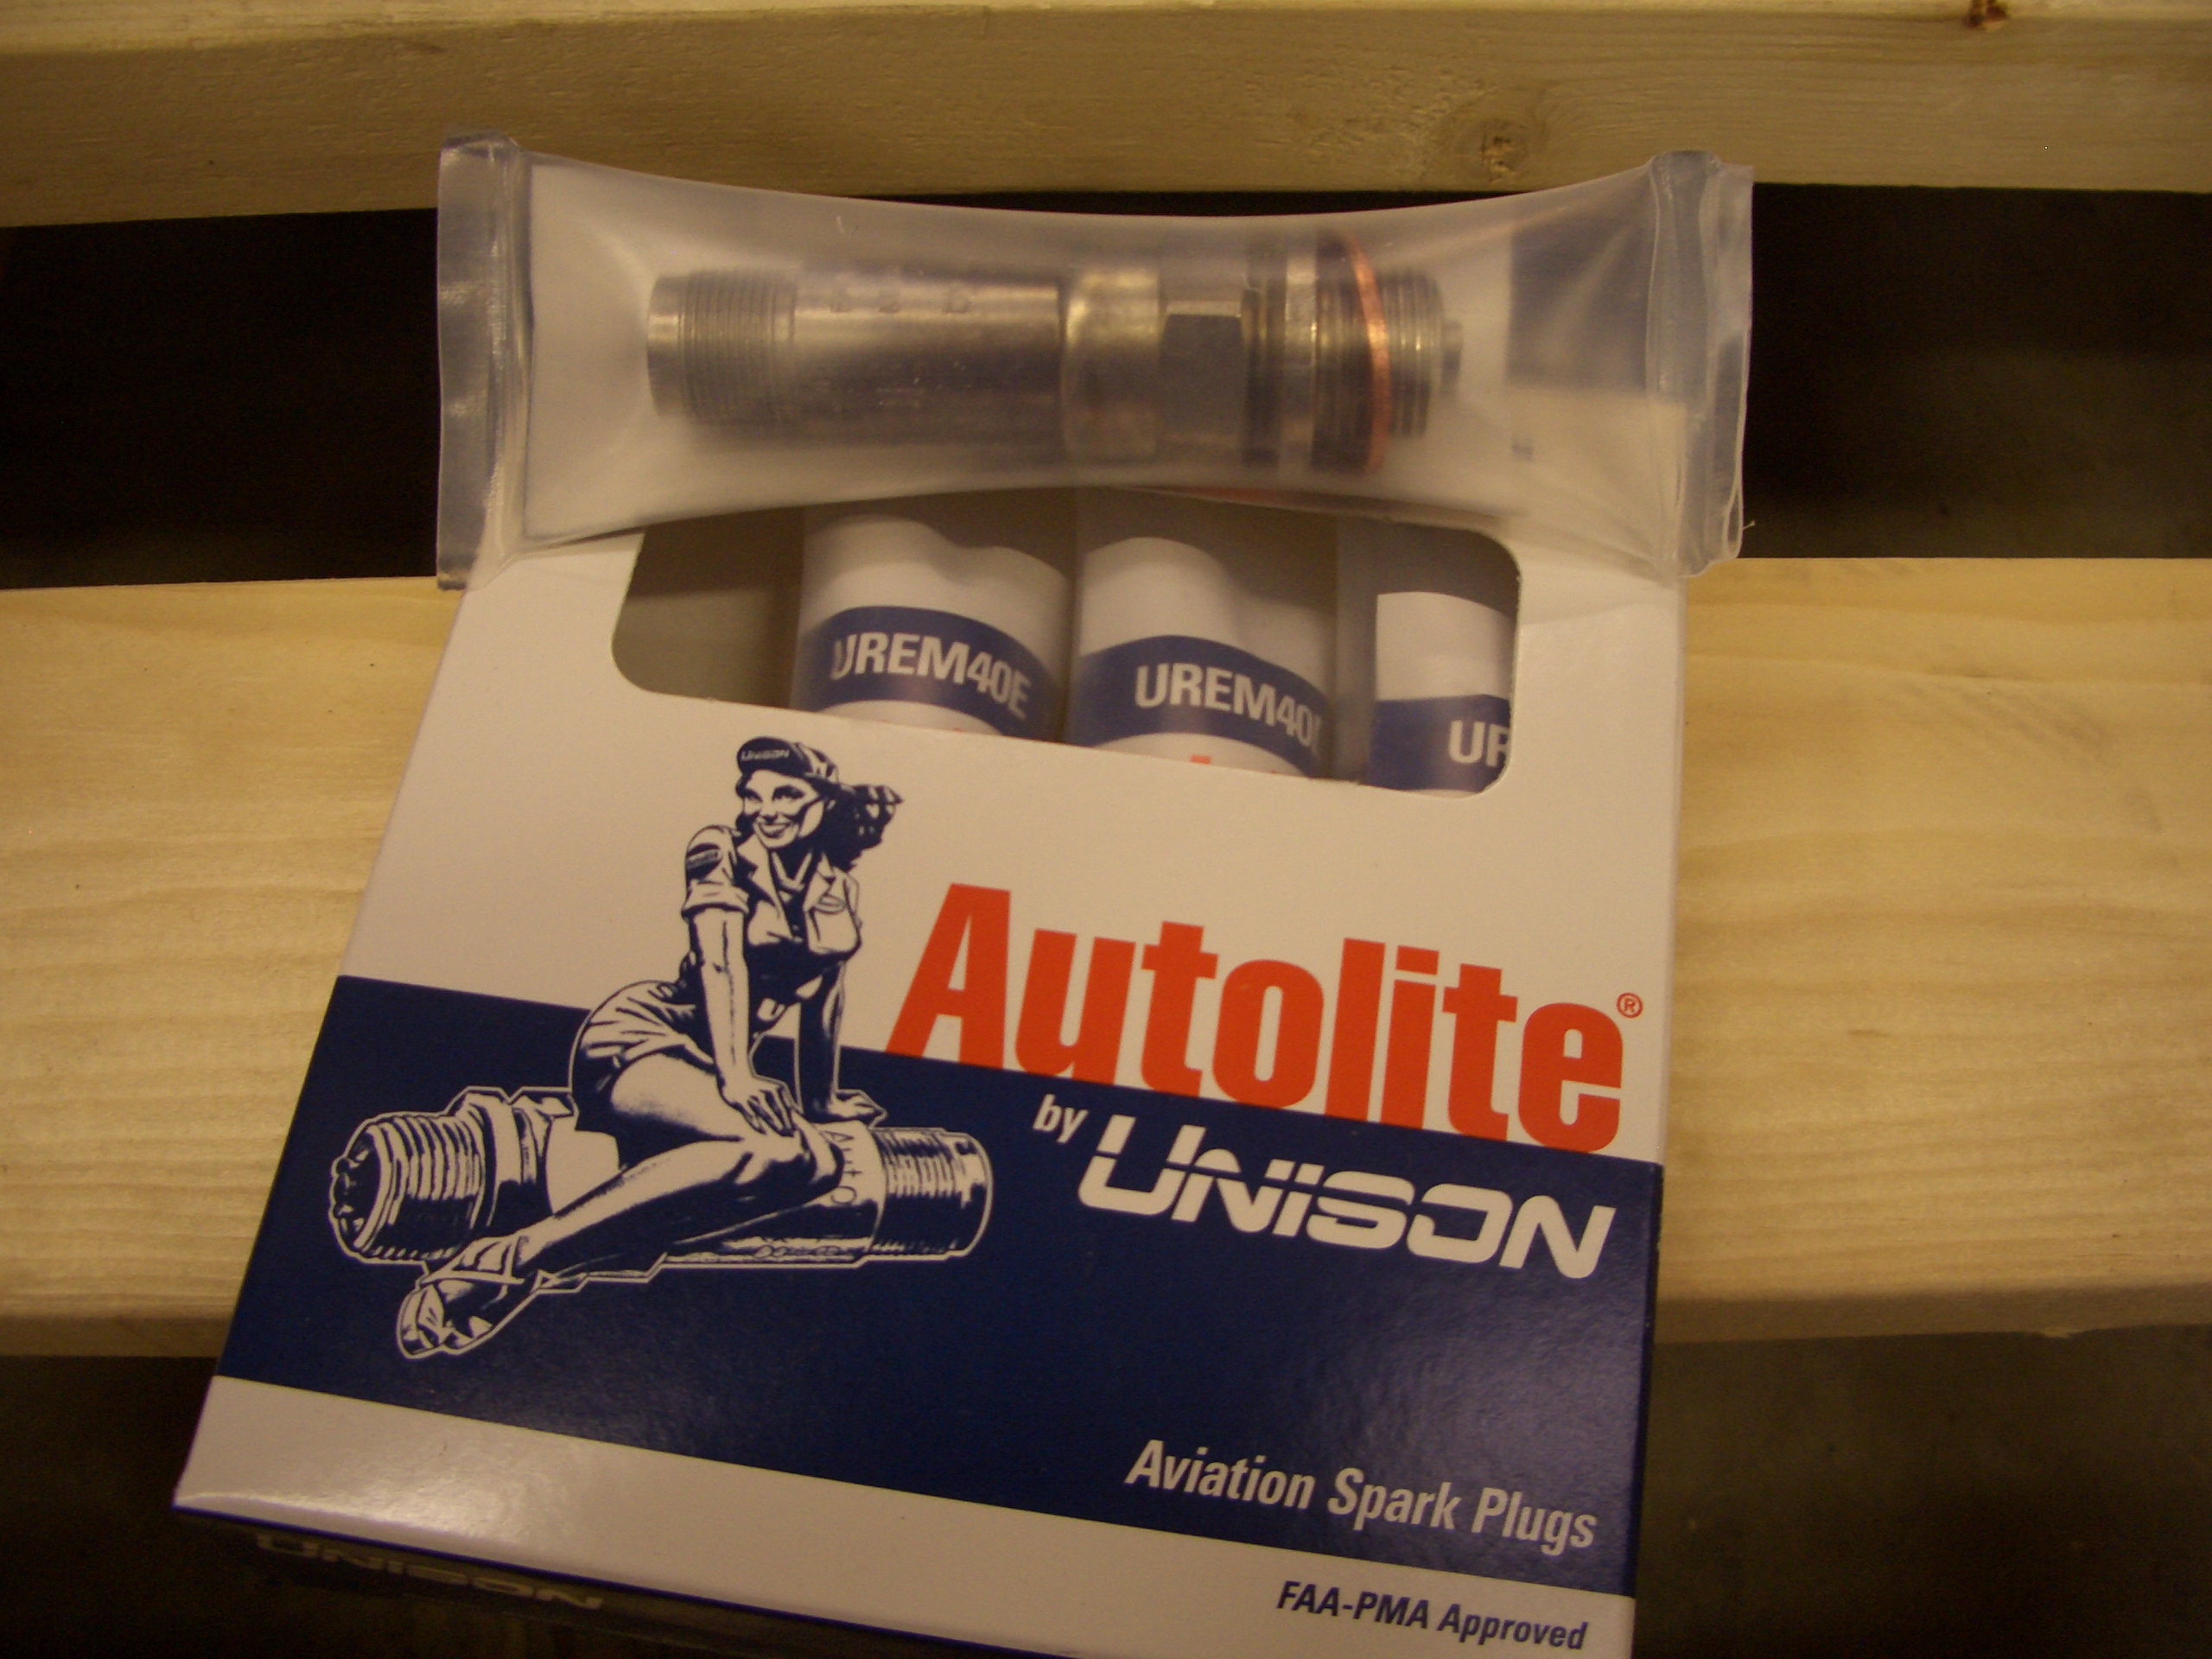
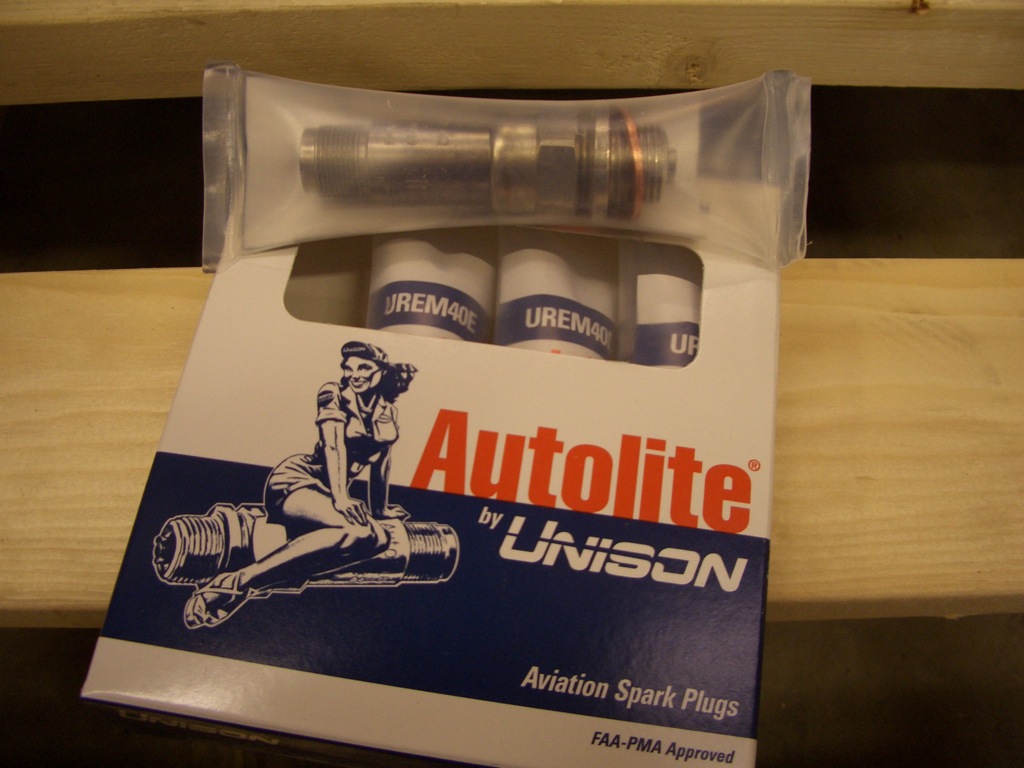
The crate also included new aviation spark plugs for the bottom set.

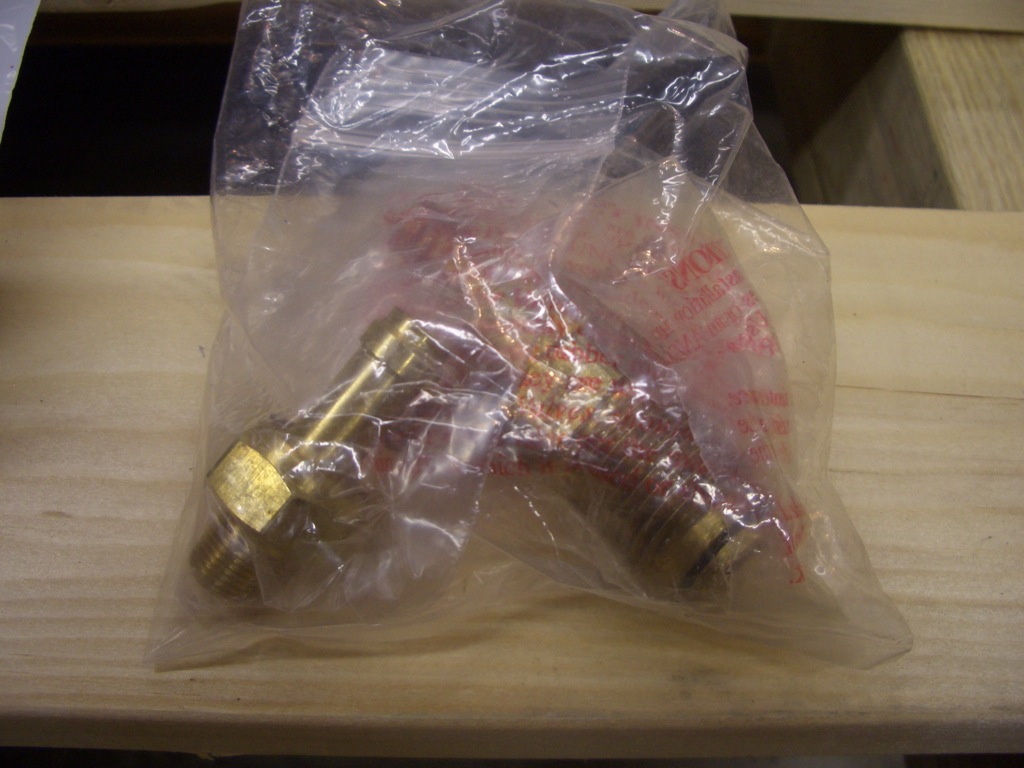
There are also some fittings that presumably need to be installed somewhere.

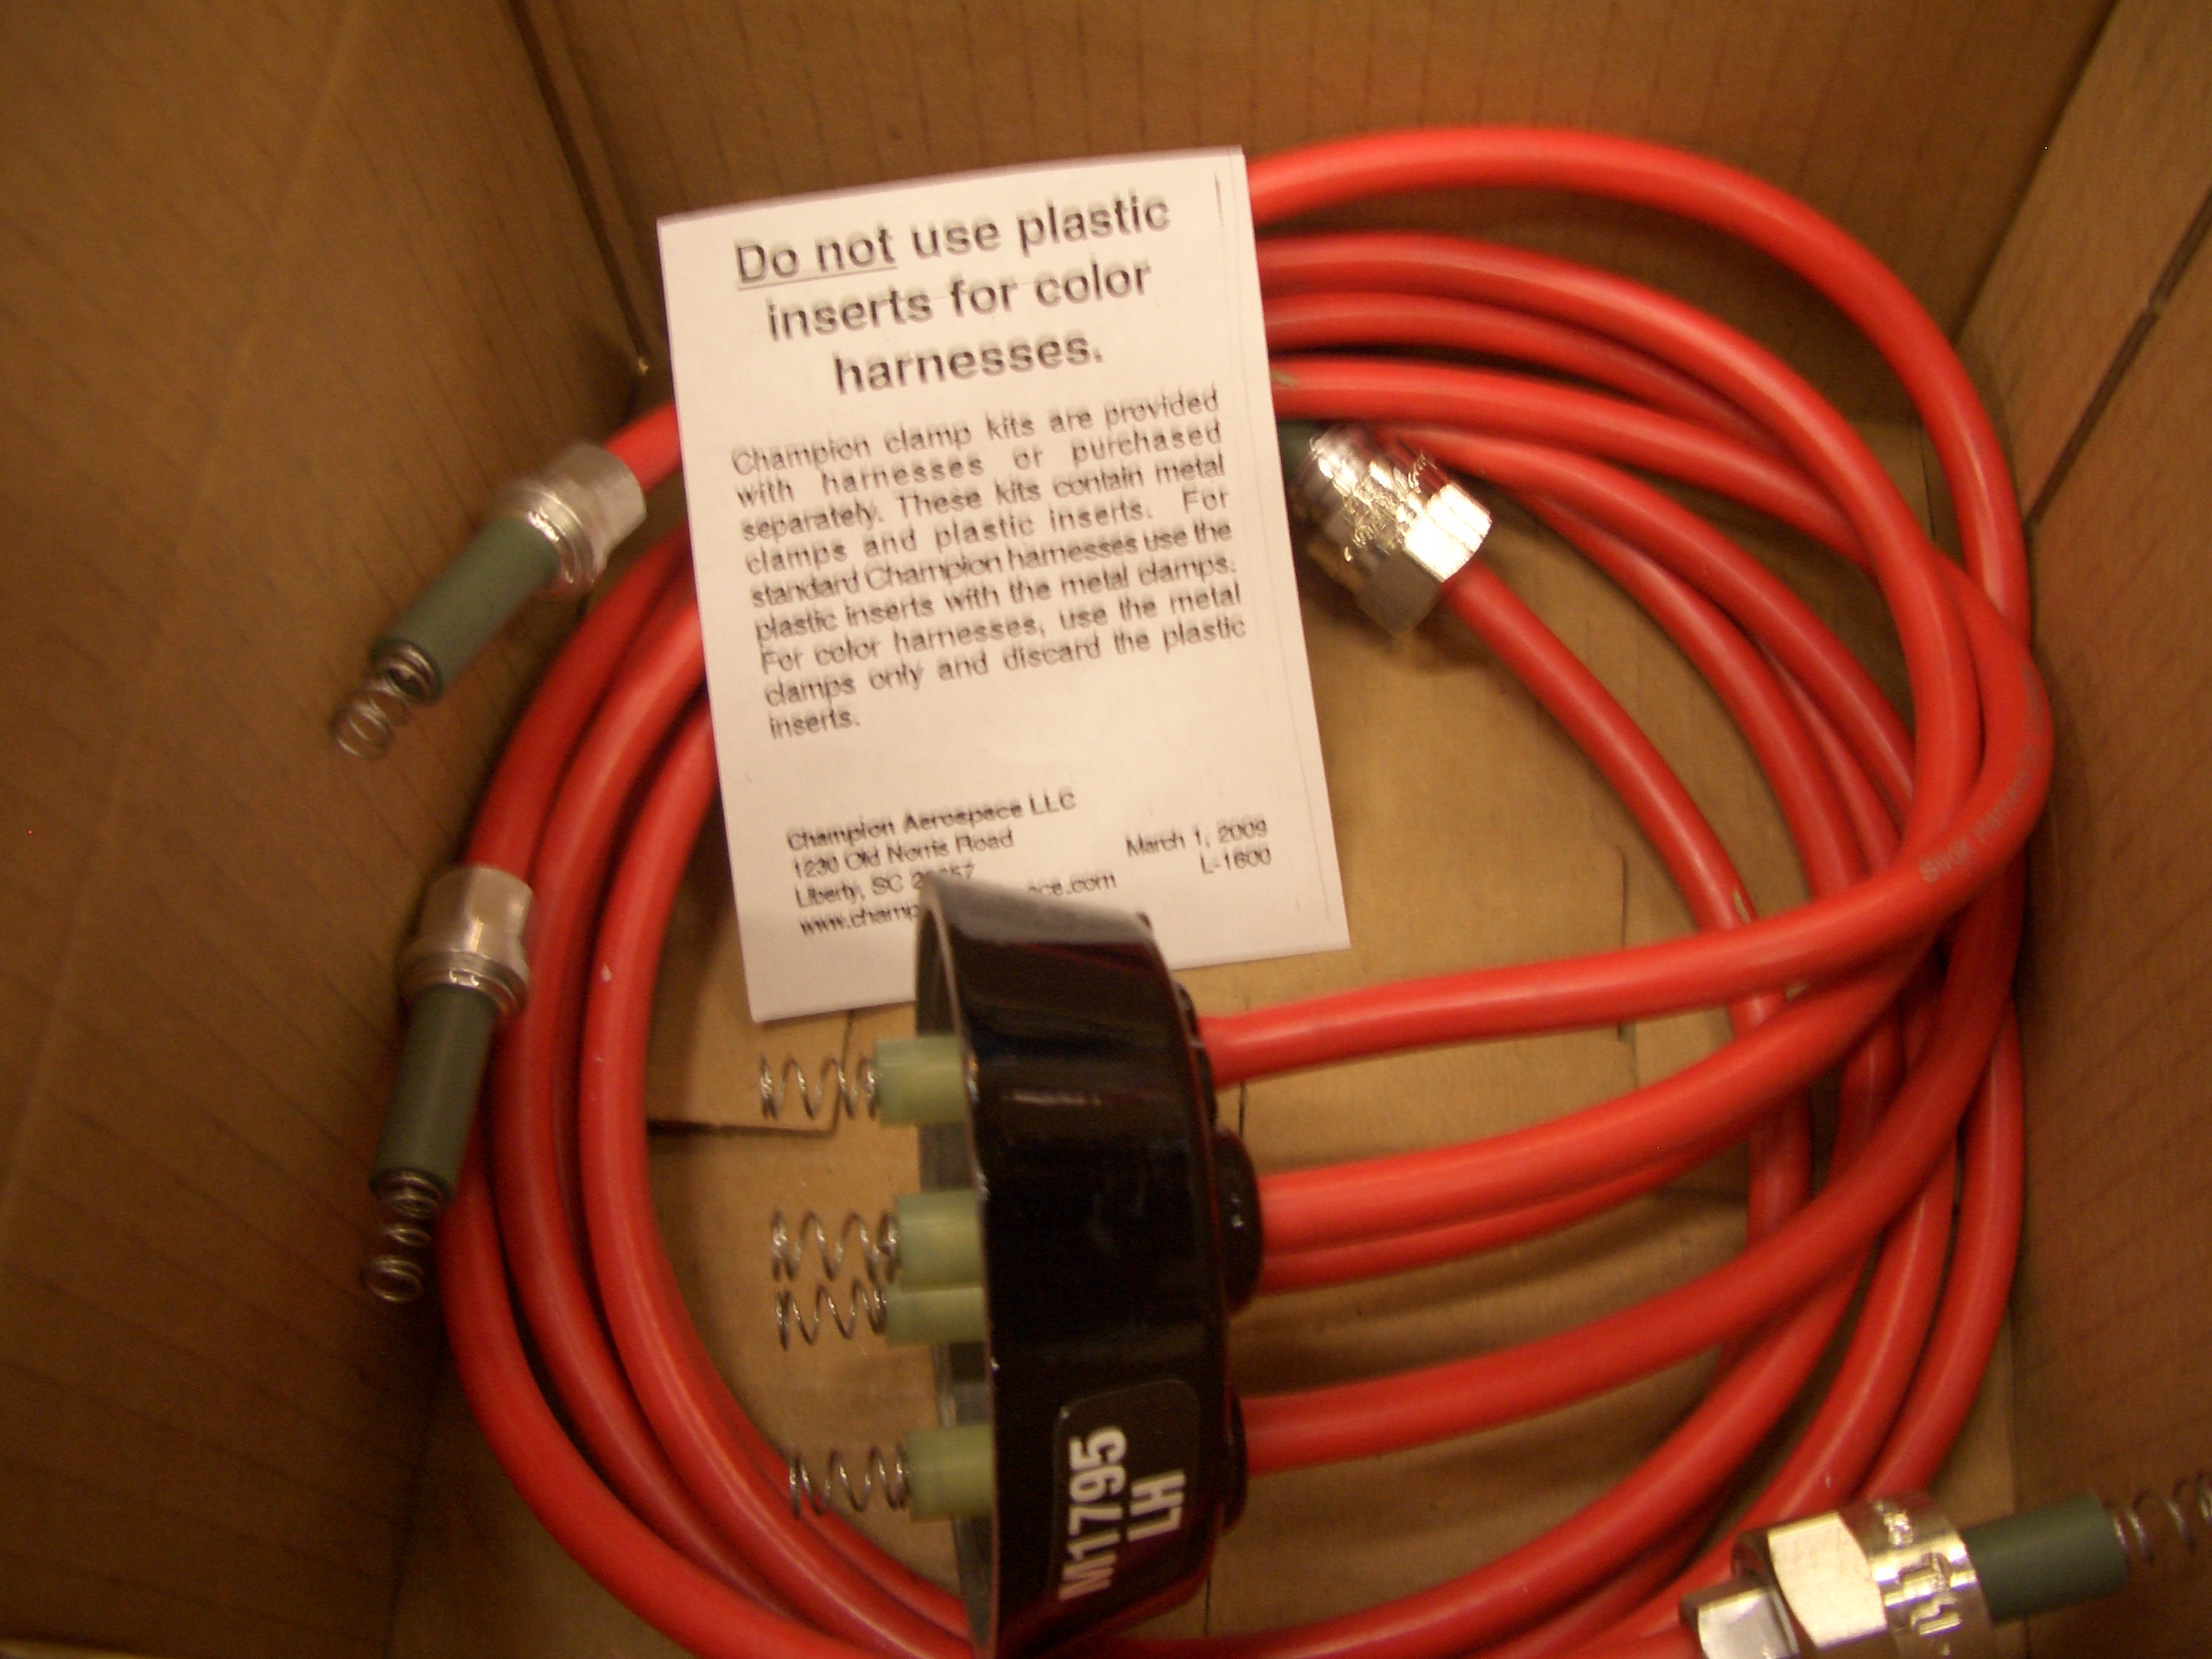
Here are the spark plug wires for the magneto.

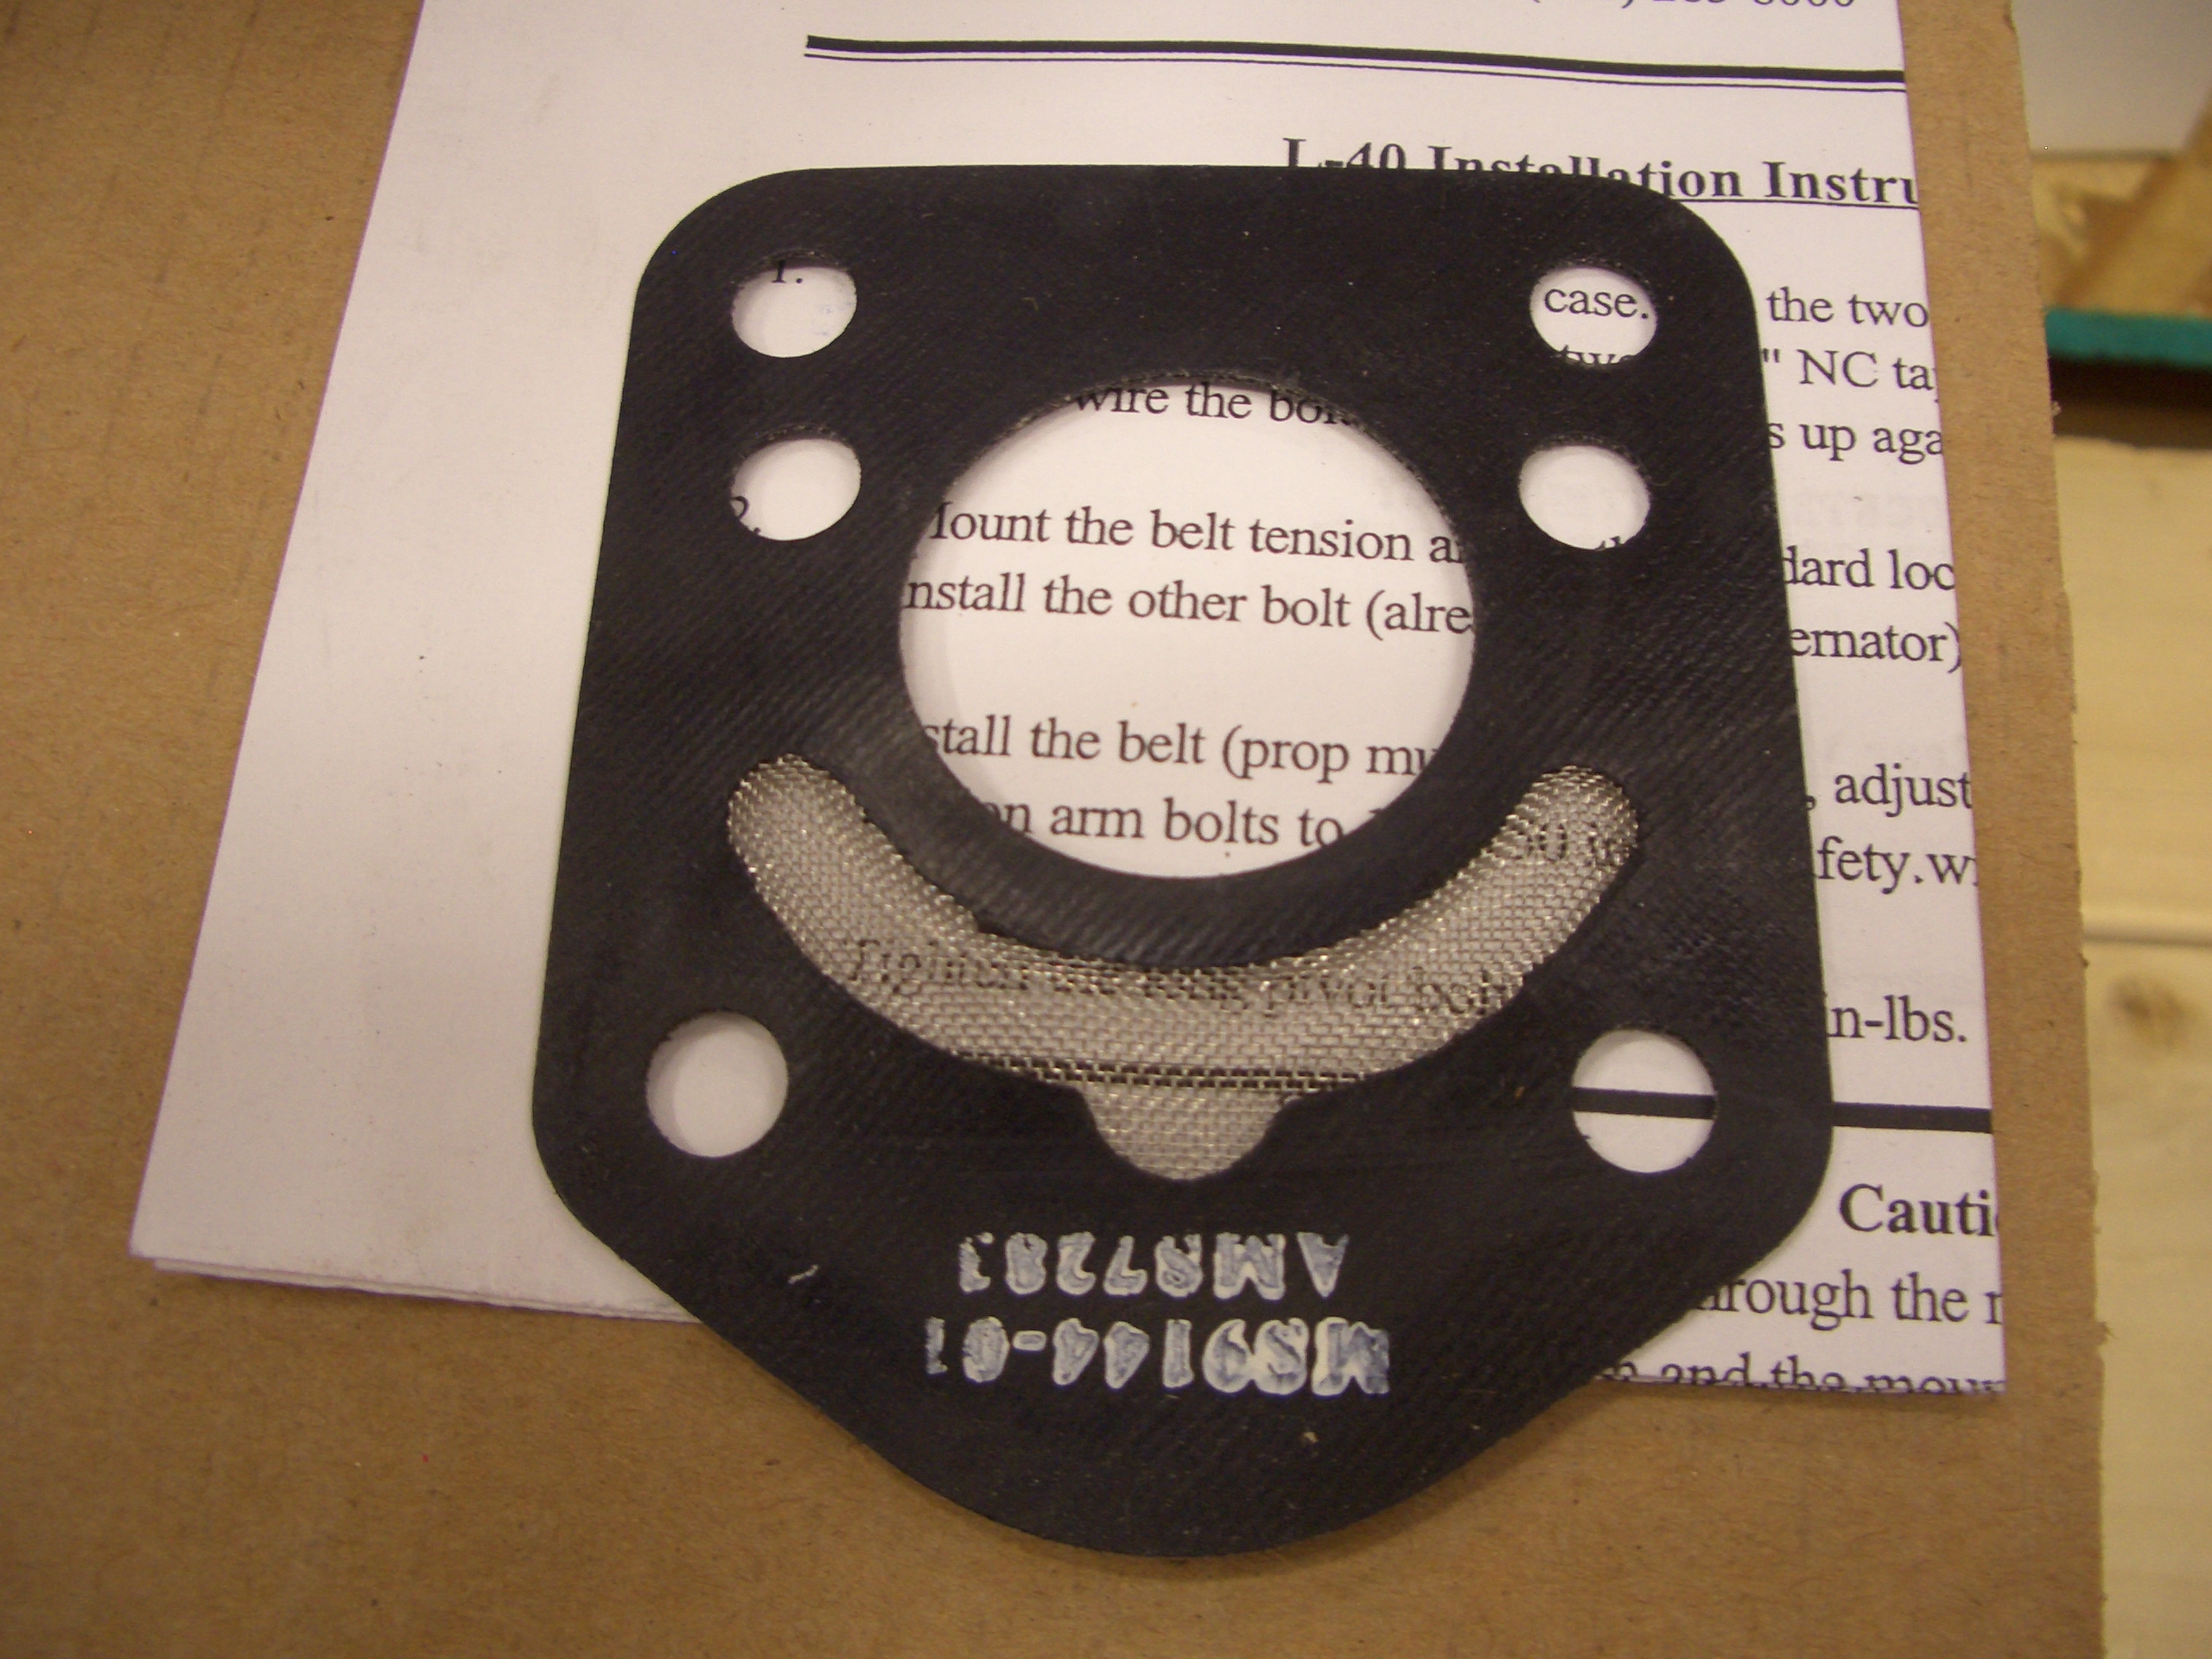
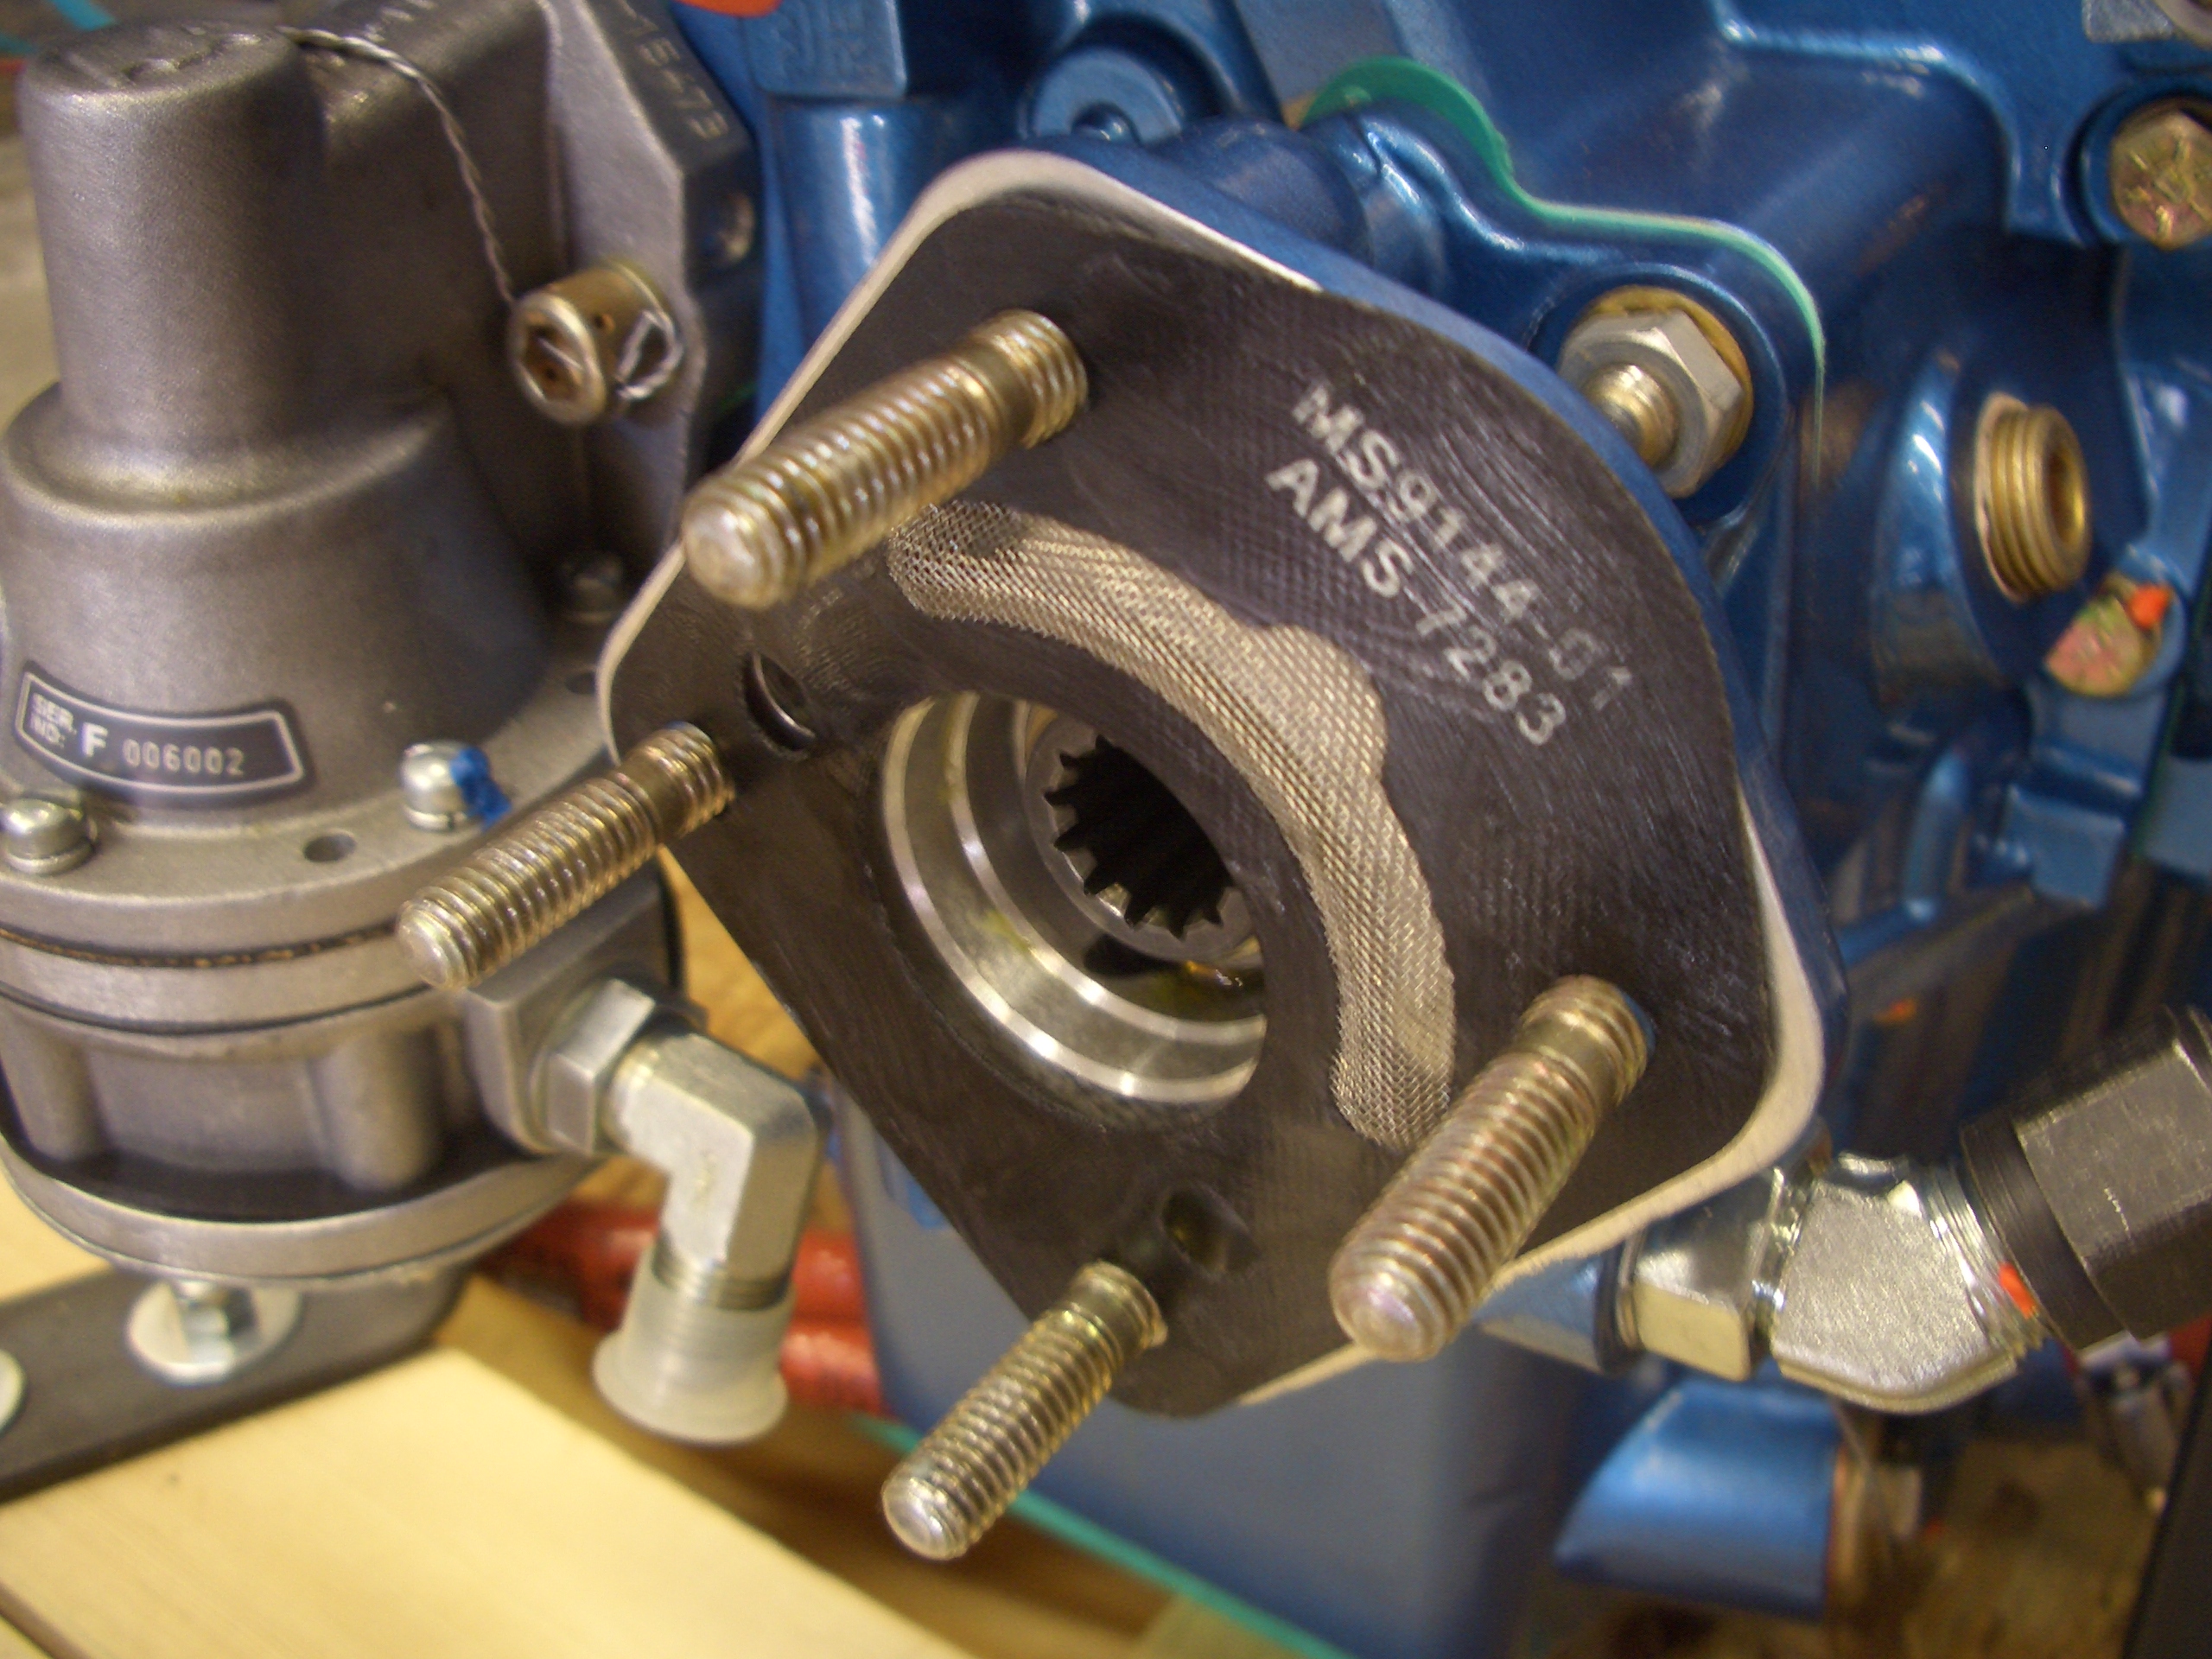
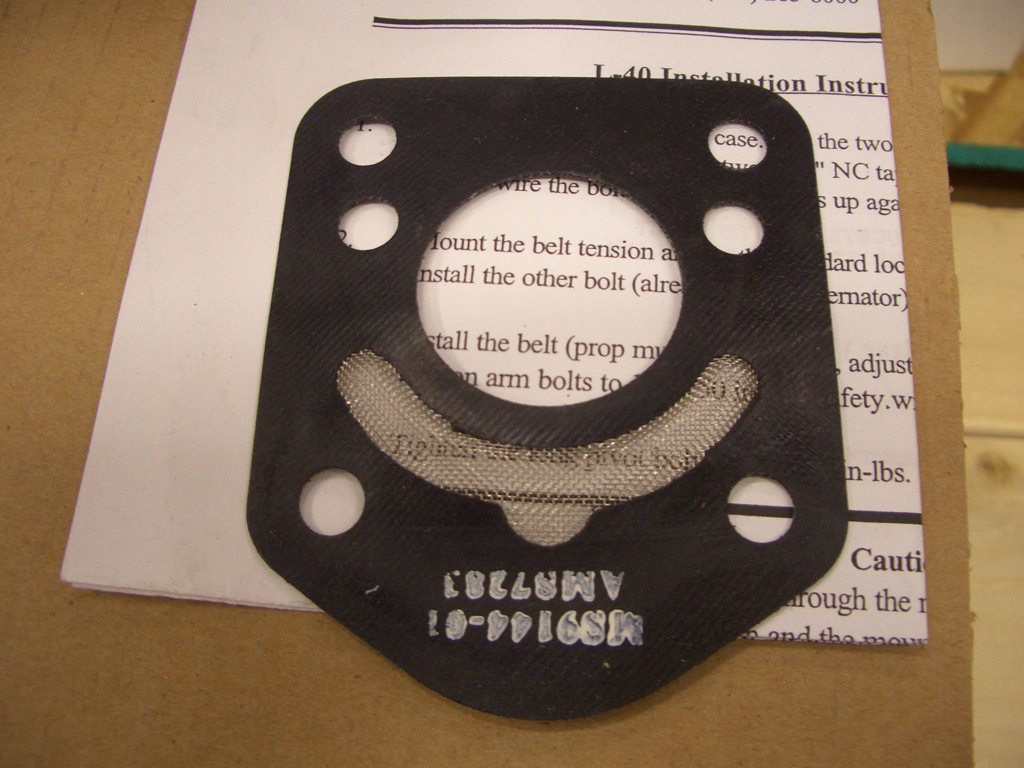
This is the propeller governor gasket with a stainless steel screen to keep debris out of the governor.

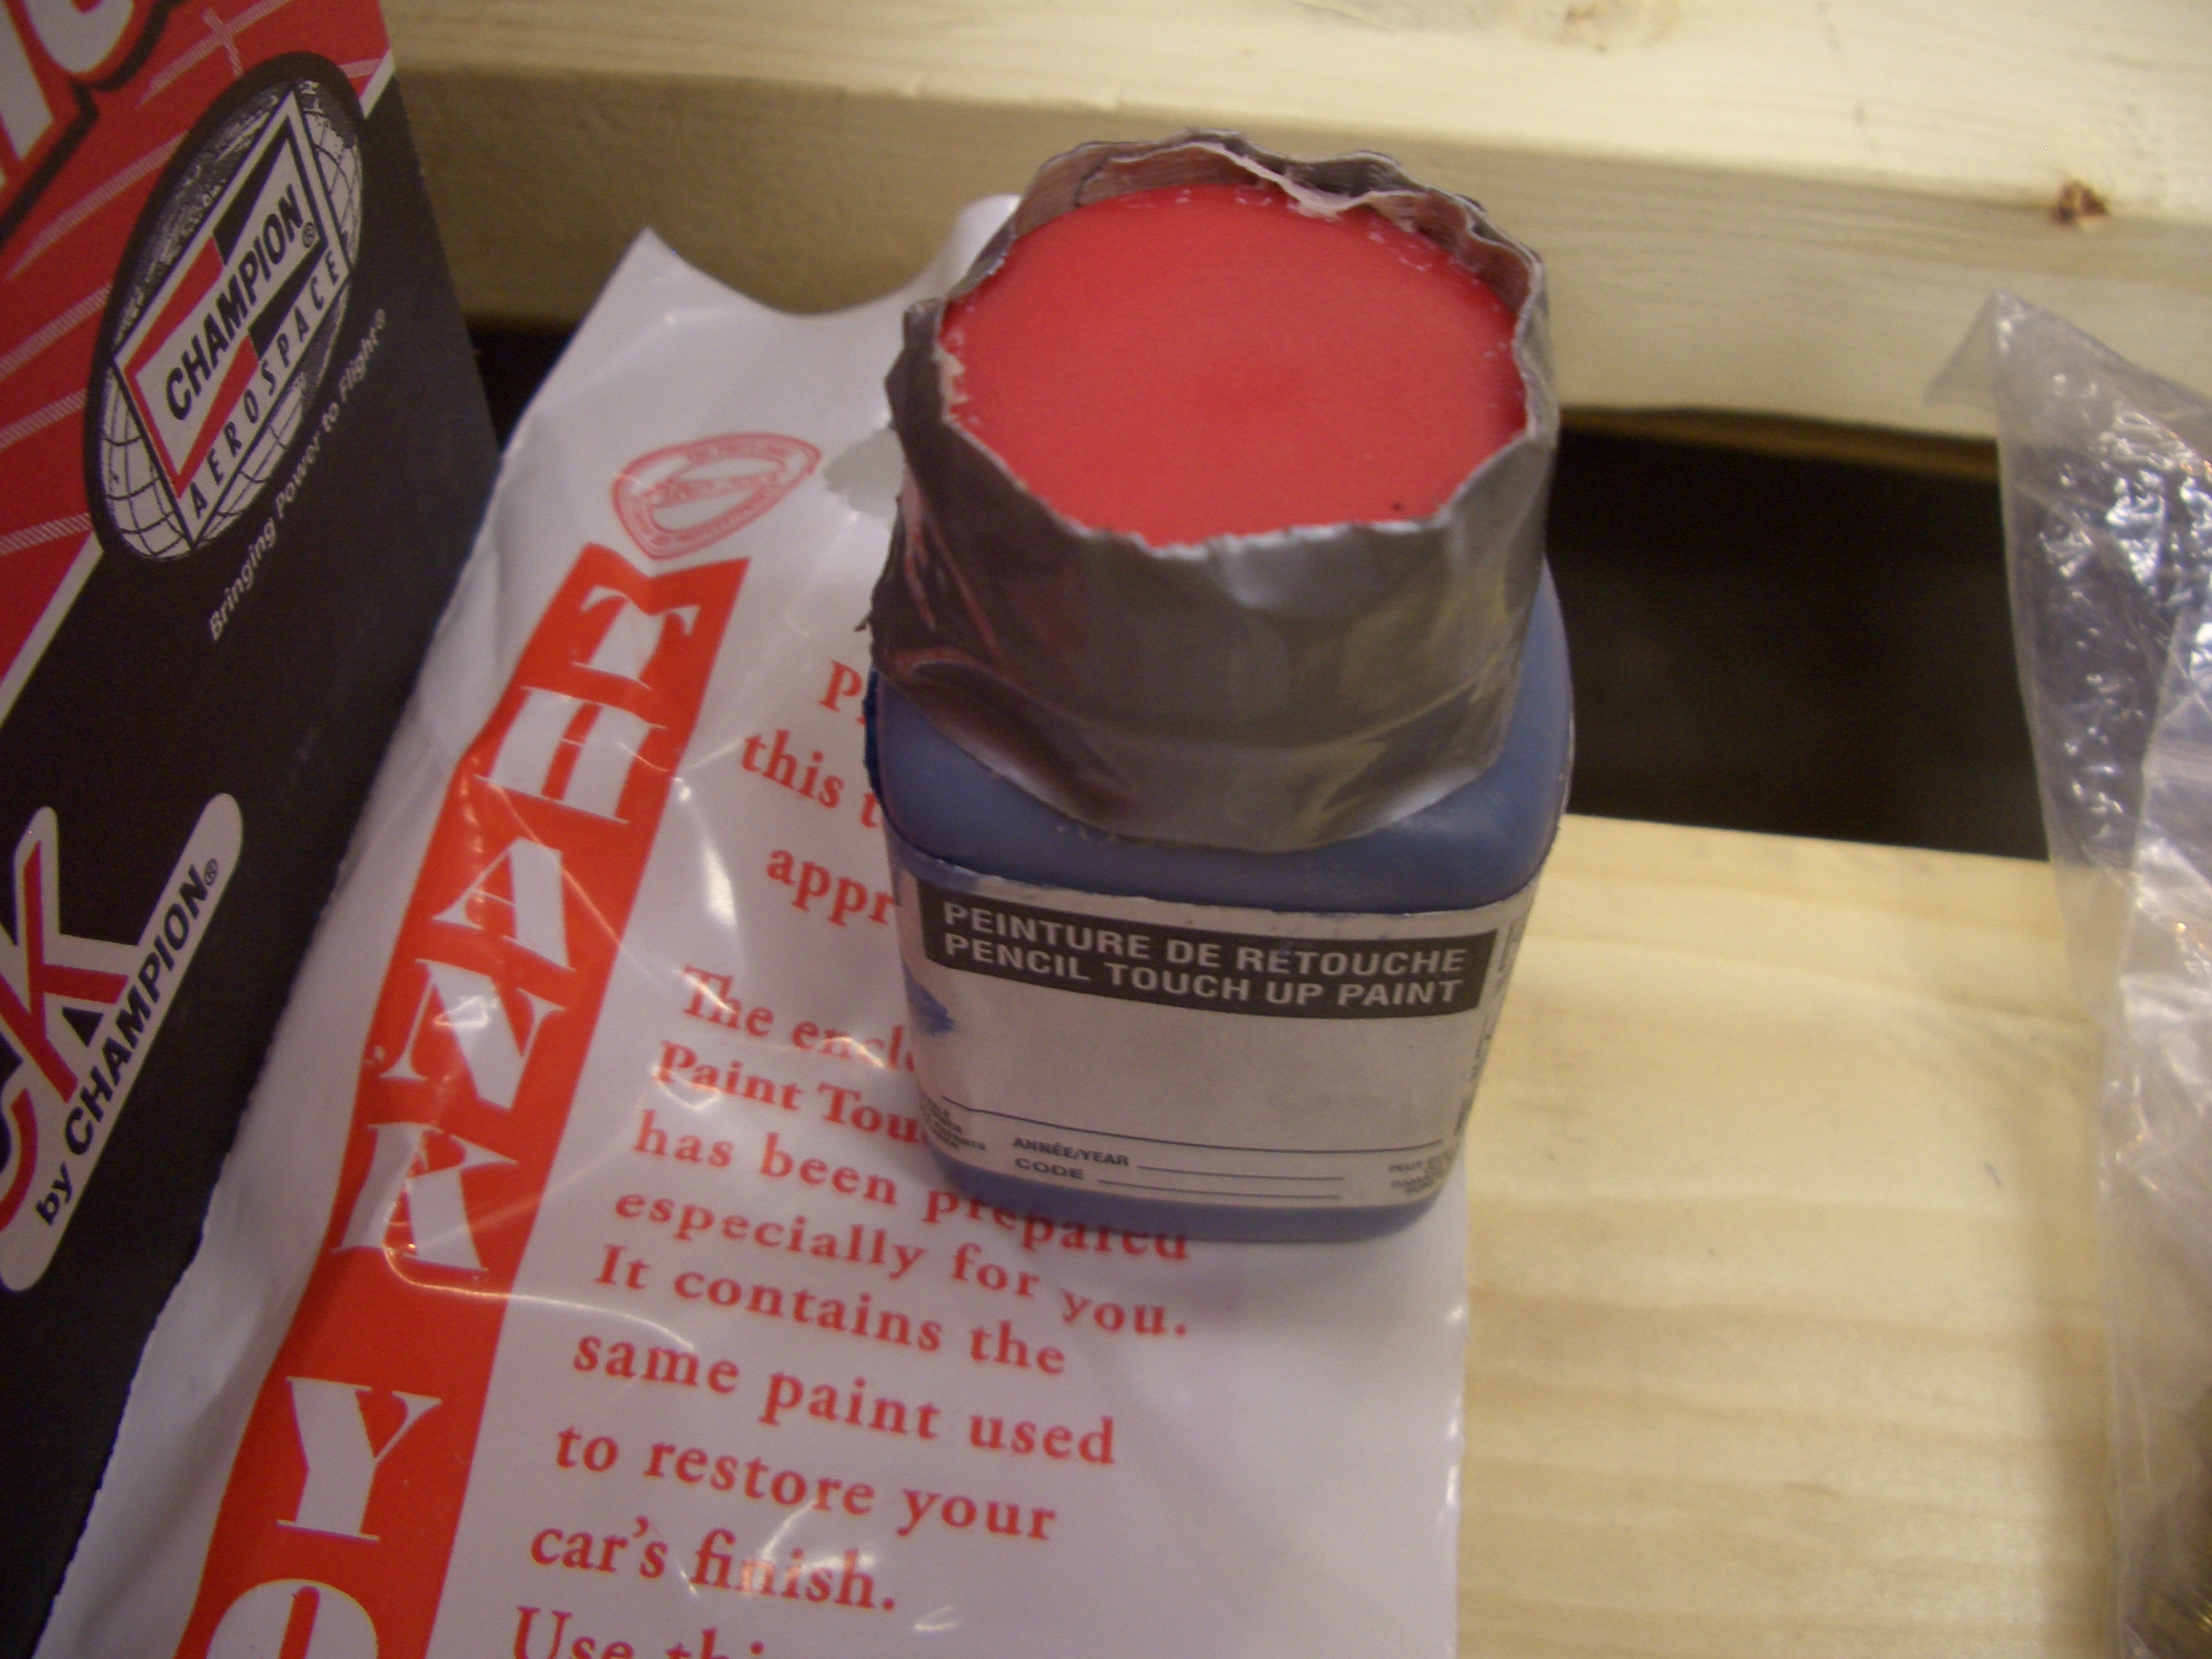
Aero Sport kindly included a small bottle of touch up paint for the inevitable scratches that I’ll get on the engine before it’s ready for flight.

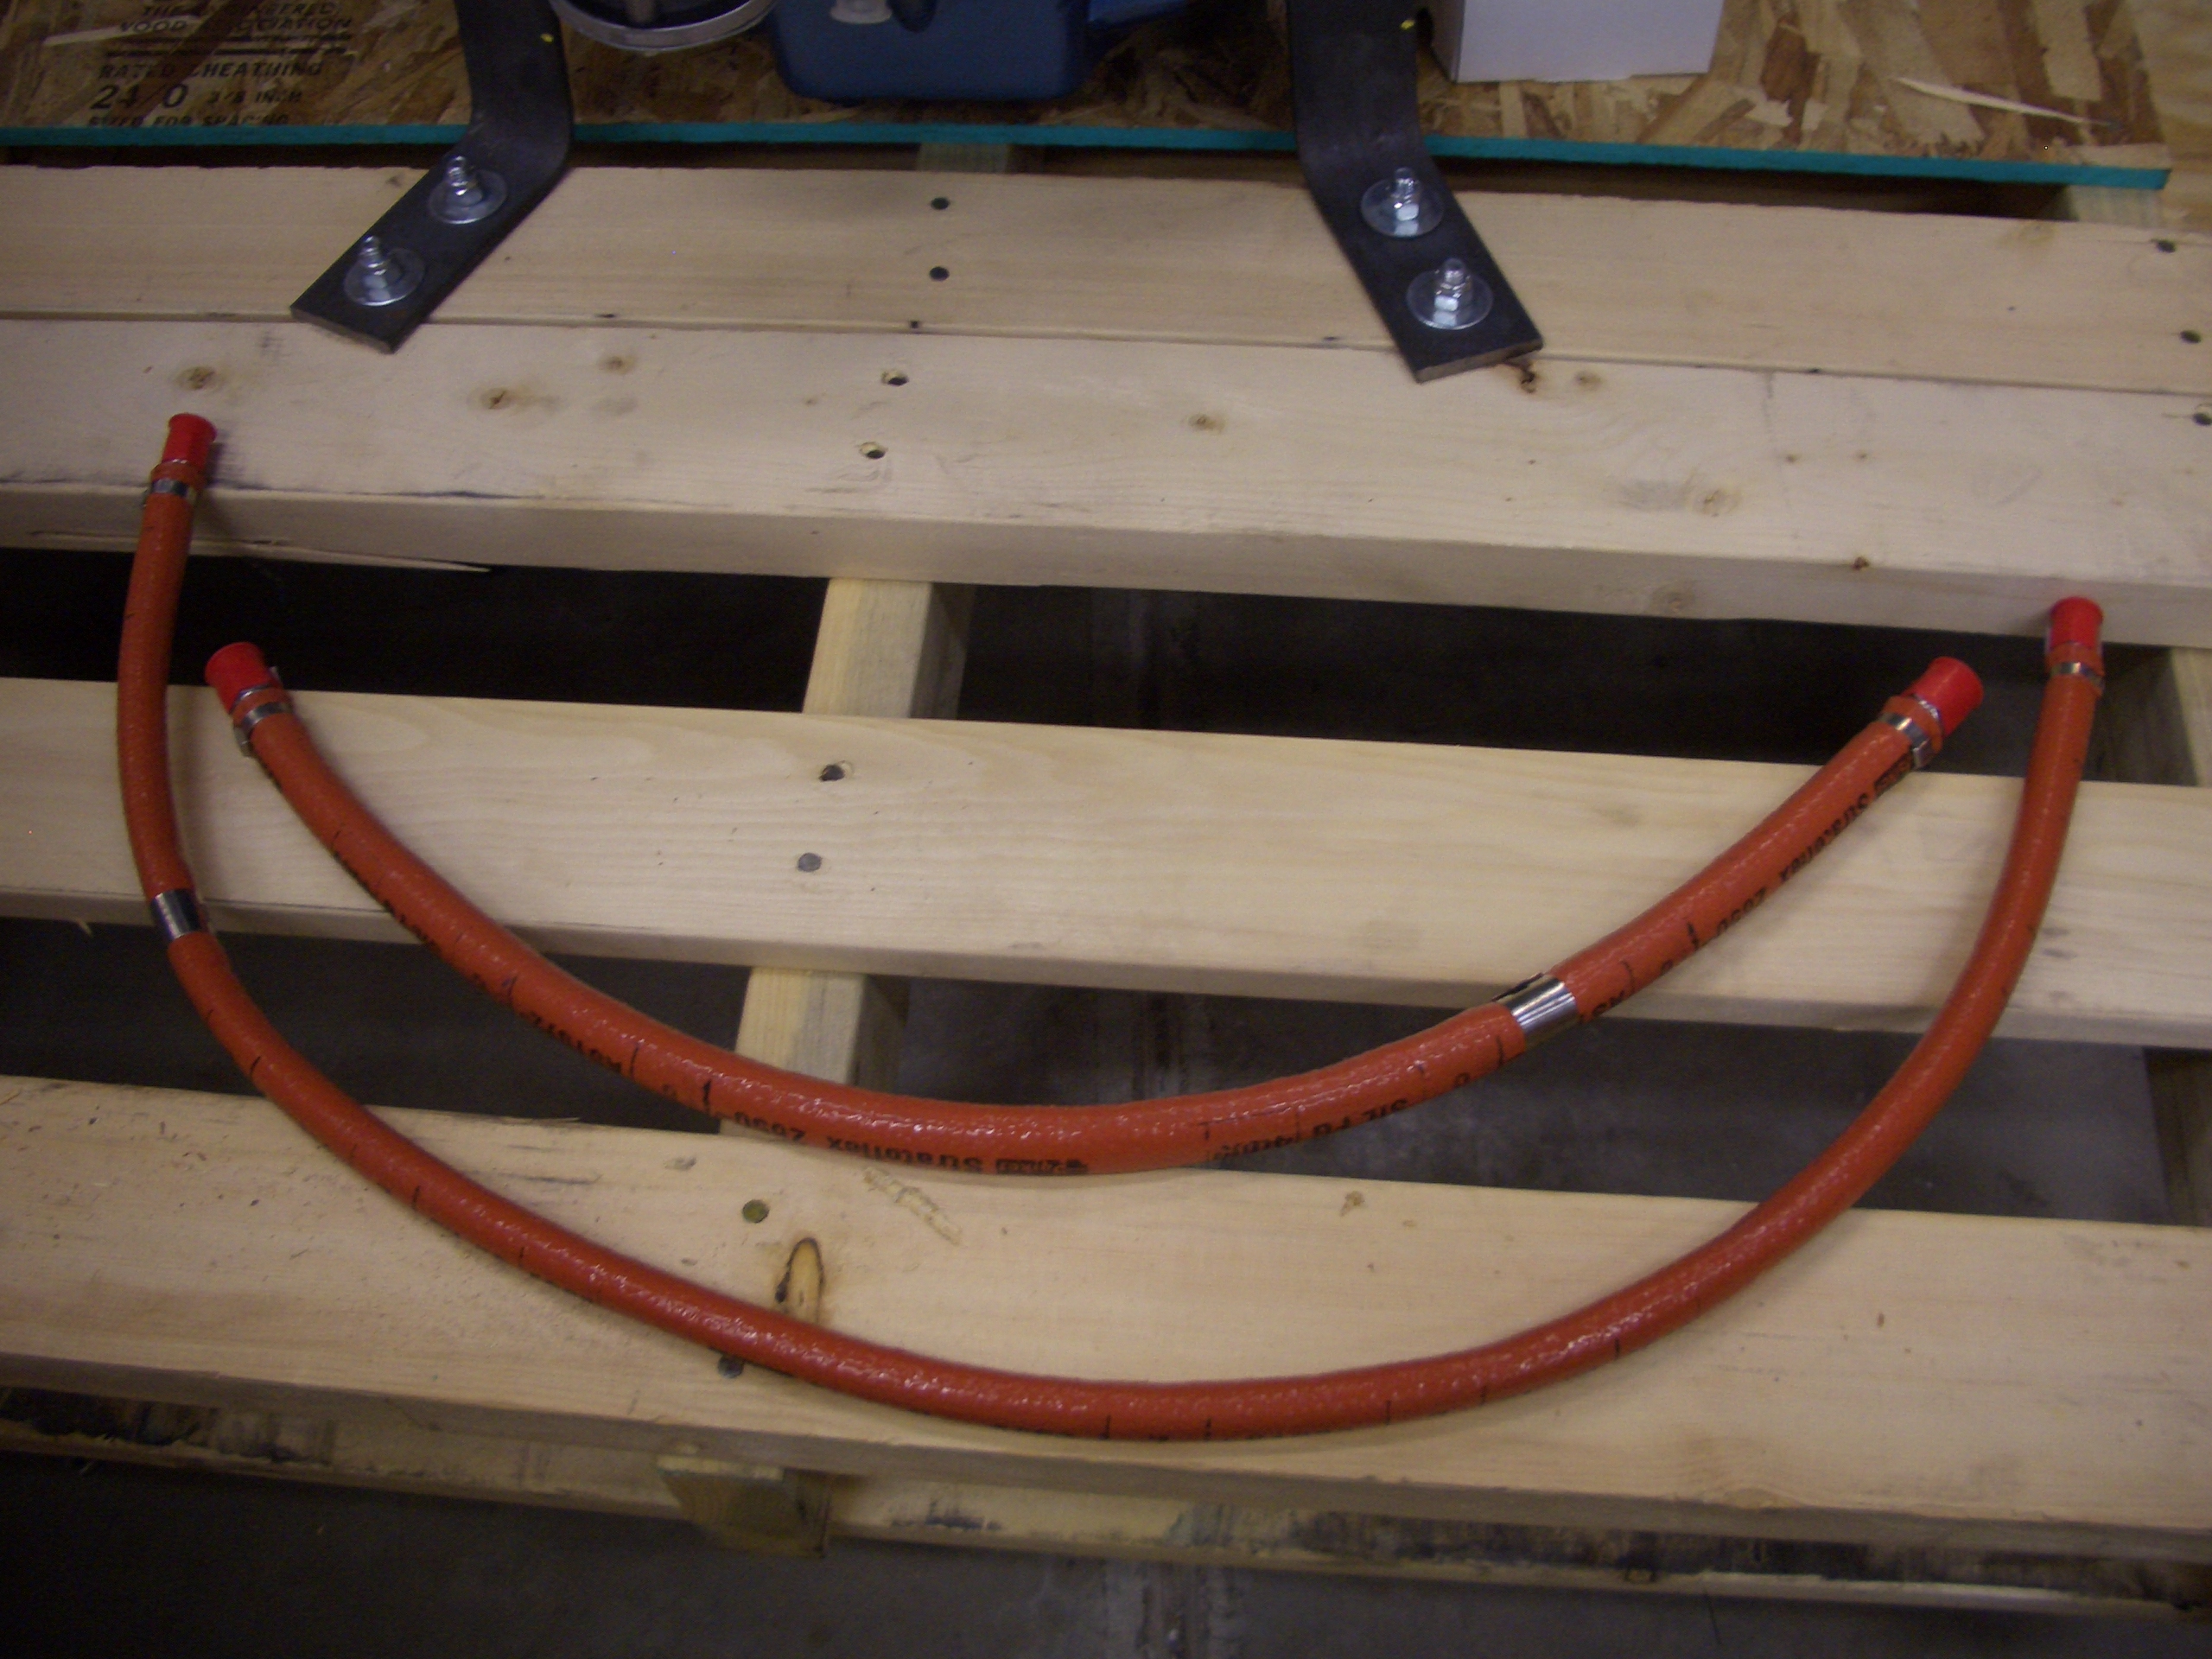
The crate also included a couple of firesleeved oil hoses.  I’ll need to figure out what these are for.

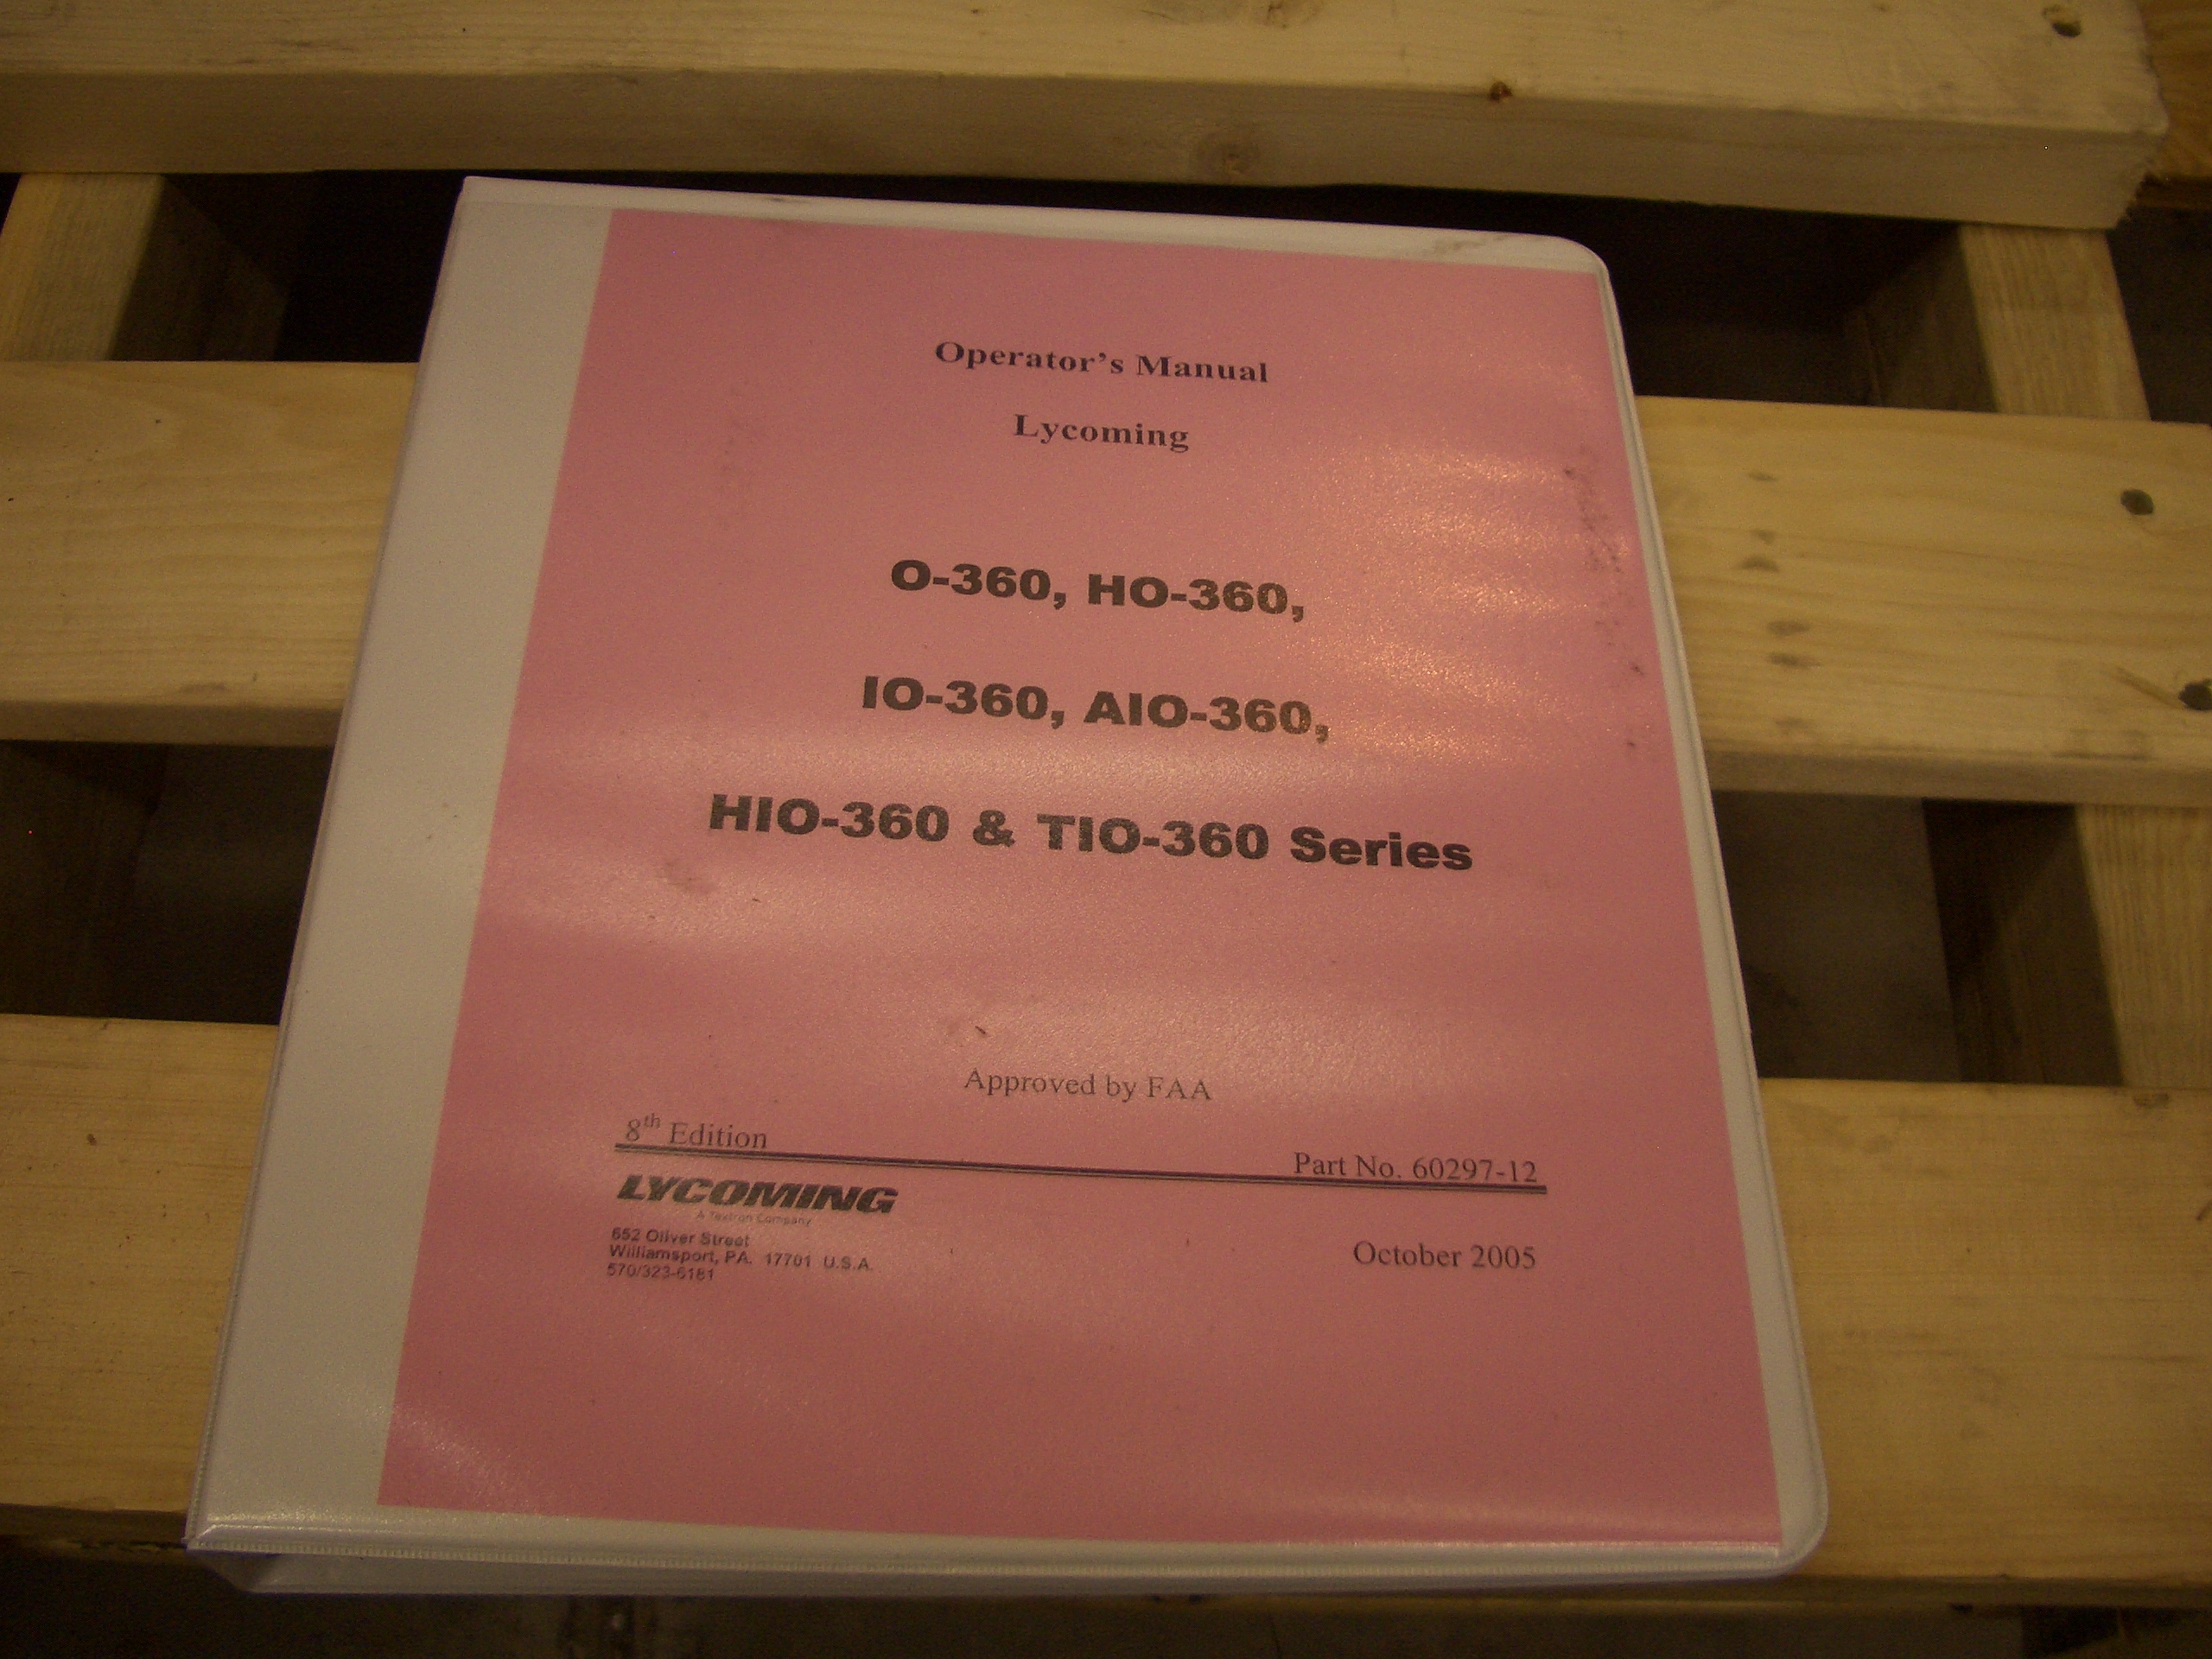
Aero Sport also included a Lycoming operator’s manual.

They also sent a couple of t-shirts which was super nice of them.

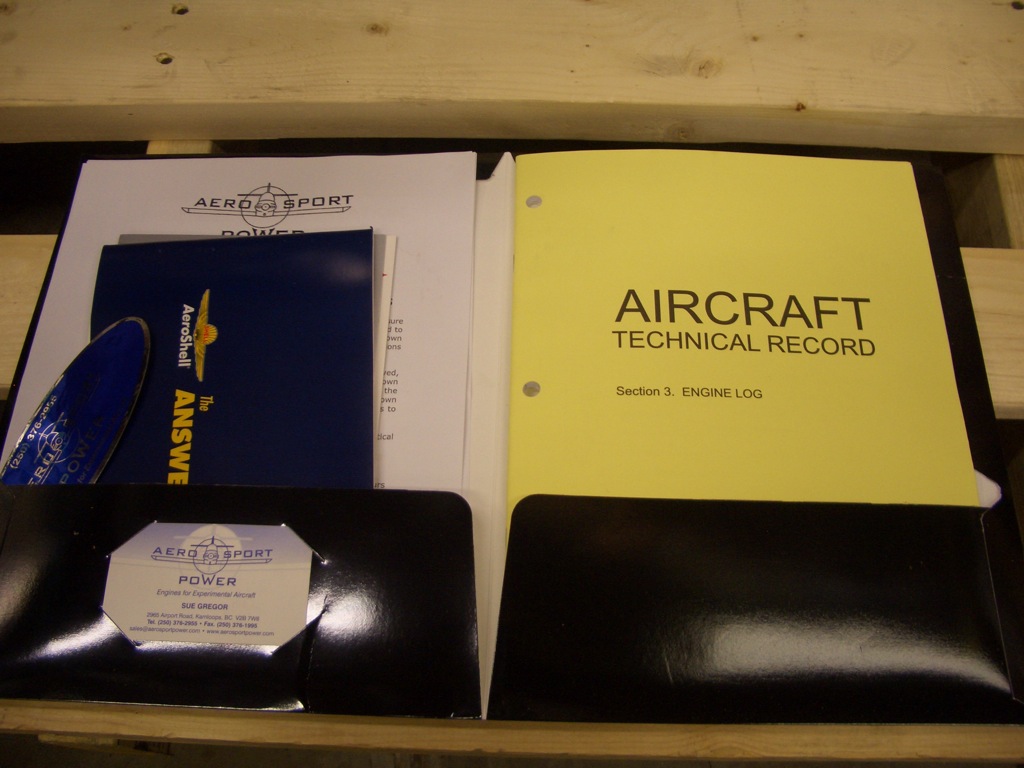
There is also a packet of info from Aero Sport that includes an engine log.

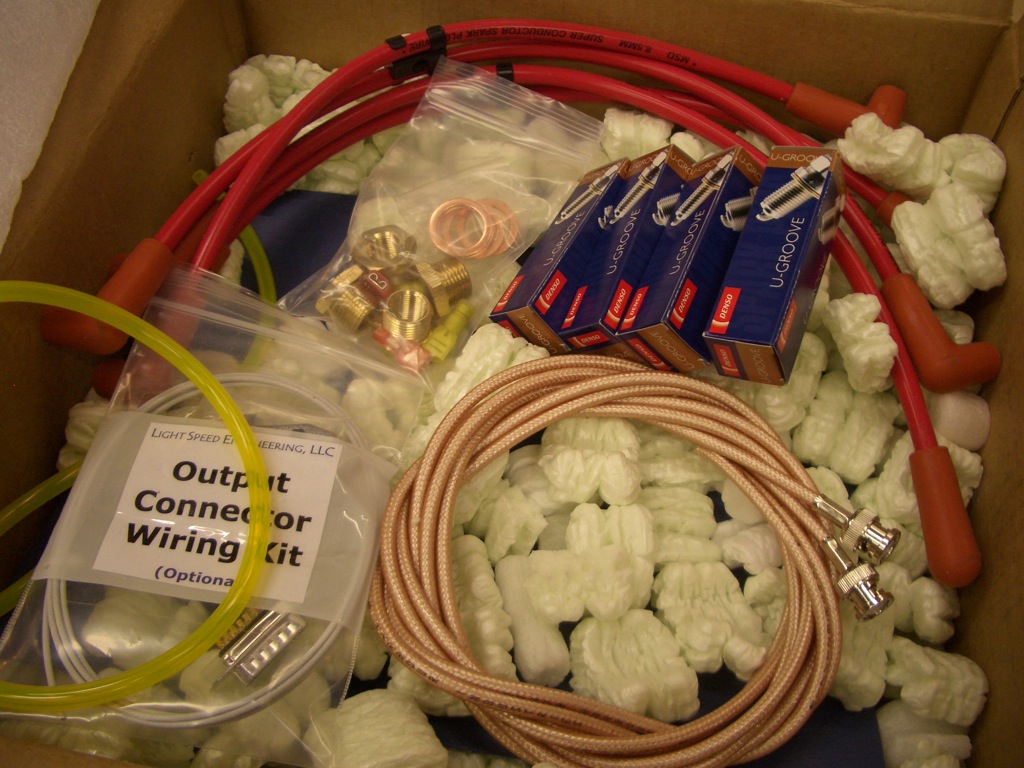
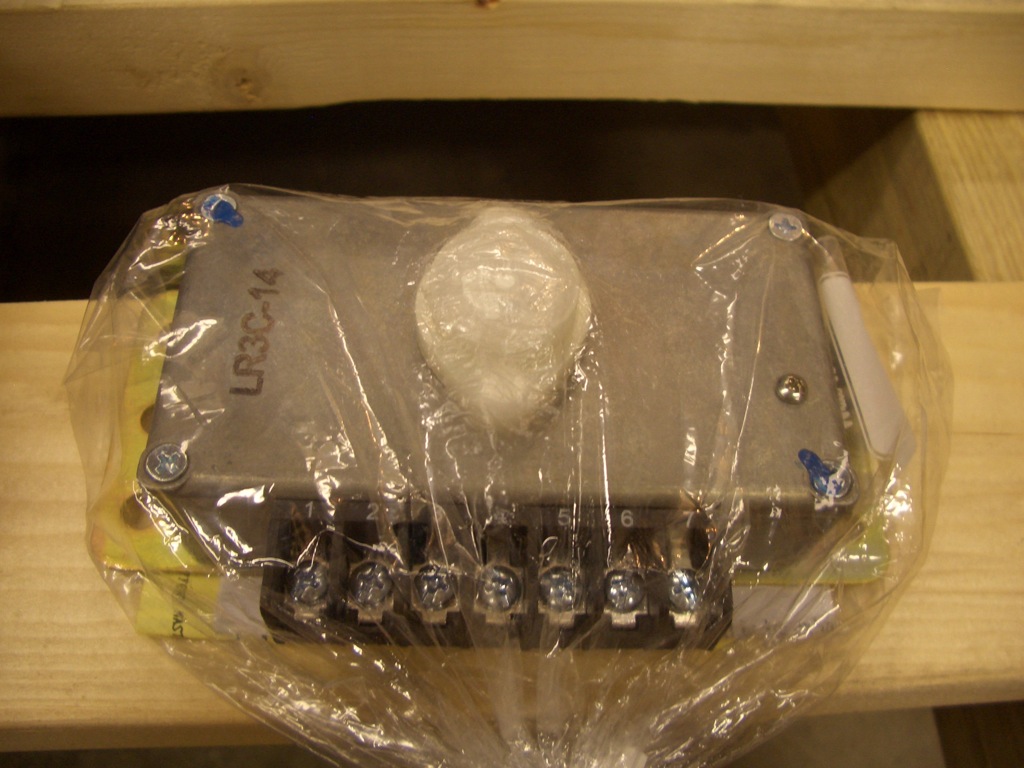
Here’s the brain box for the Lightspeed ignition.  This will mount behind the firewall to keep it away from the heat and from engine cleaners and water.

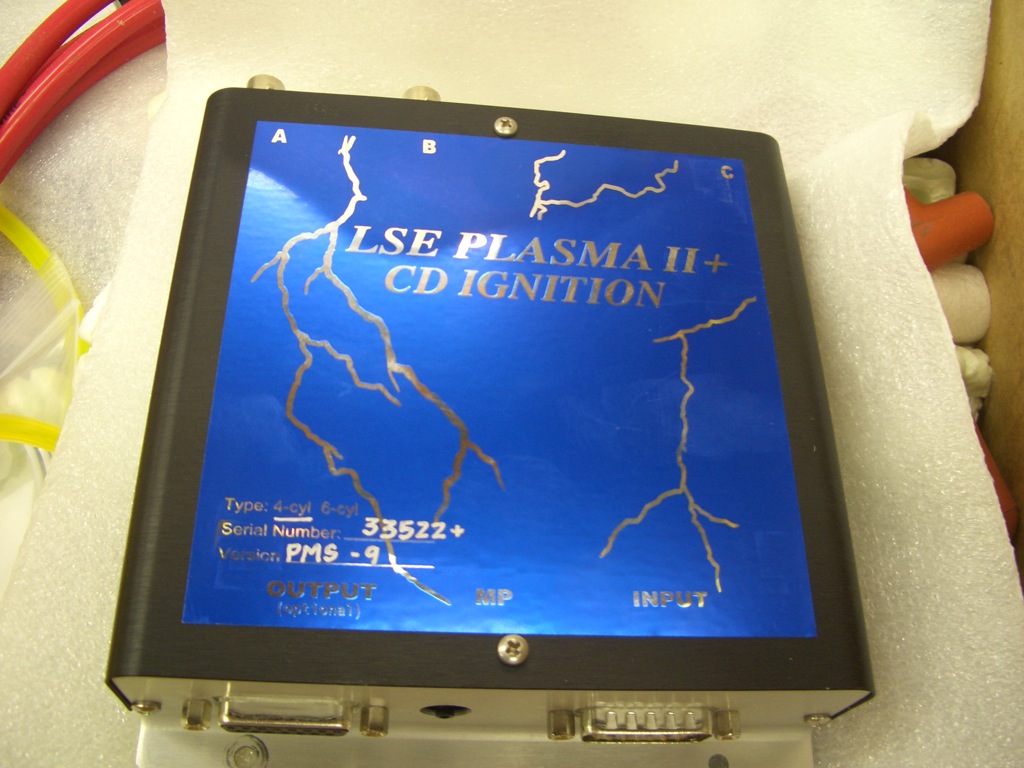
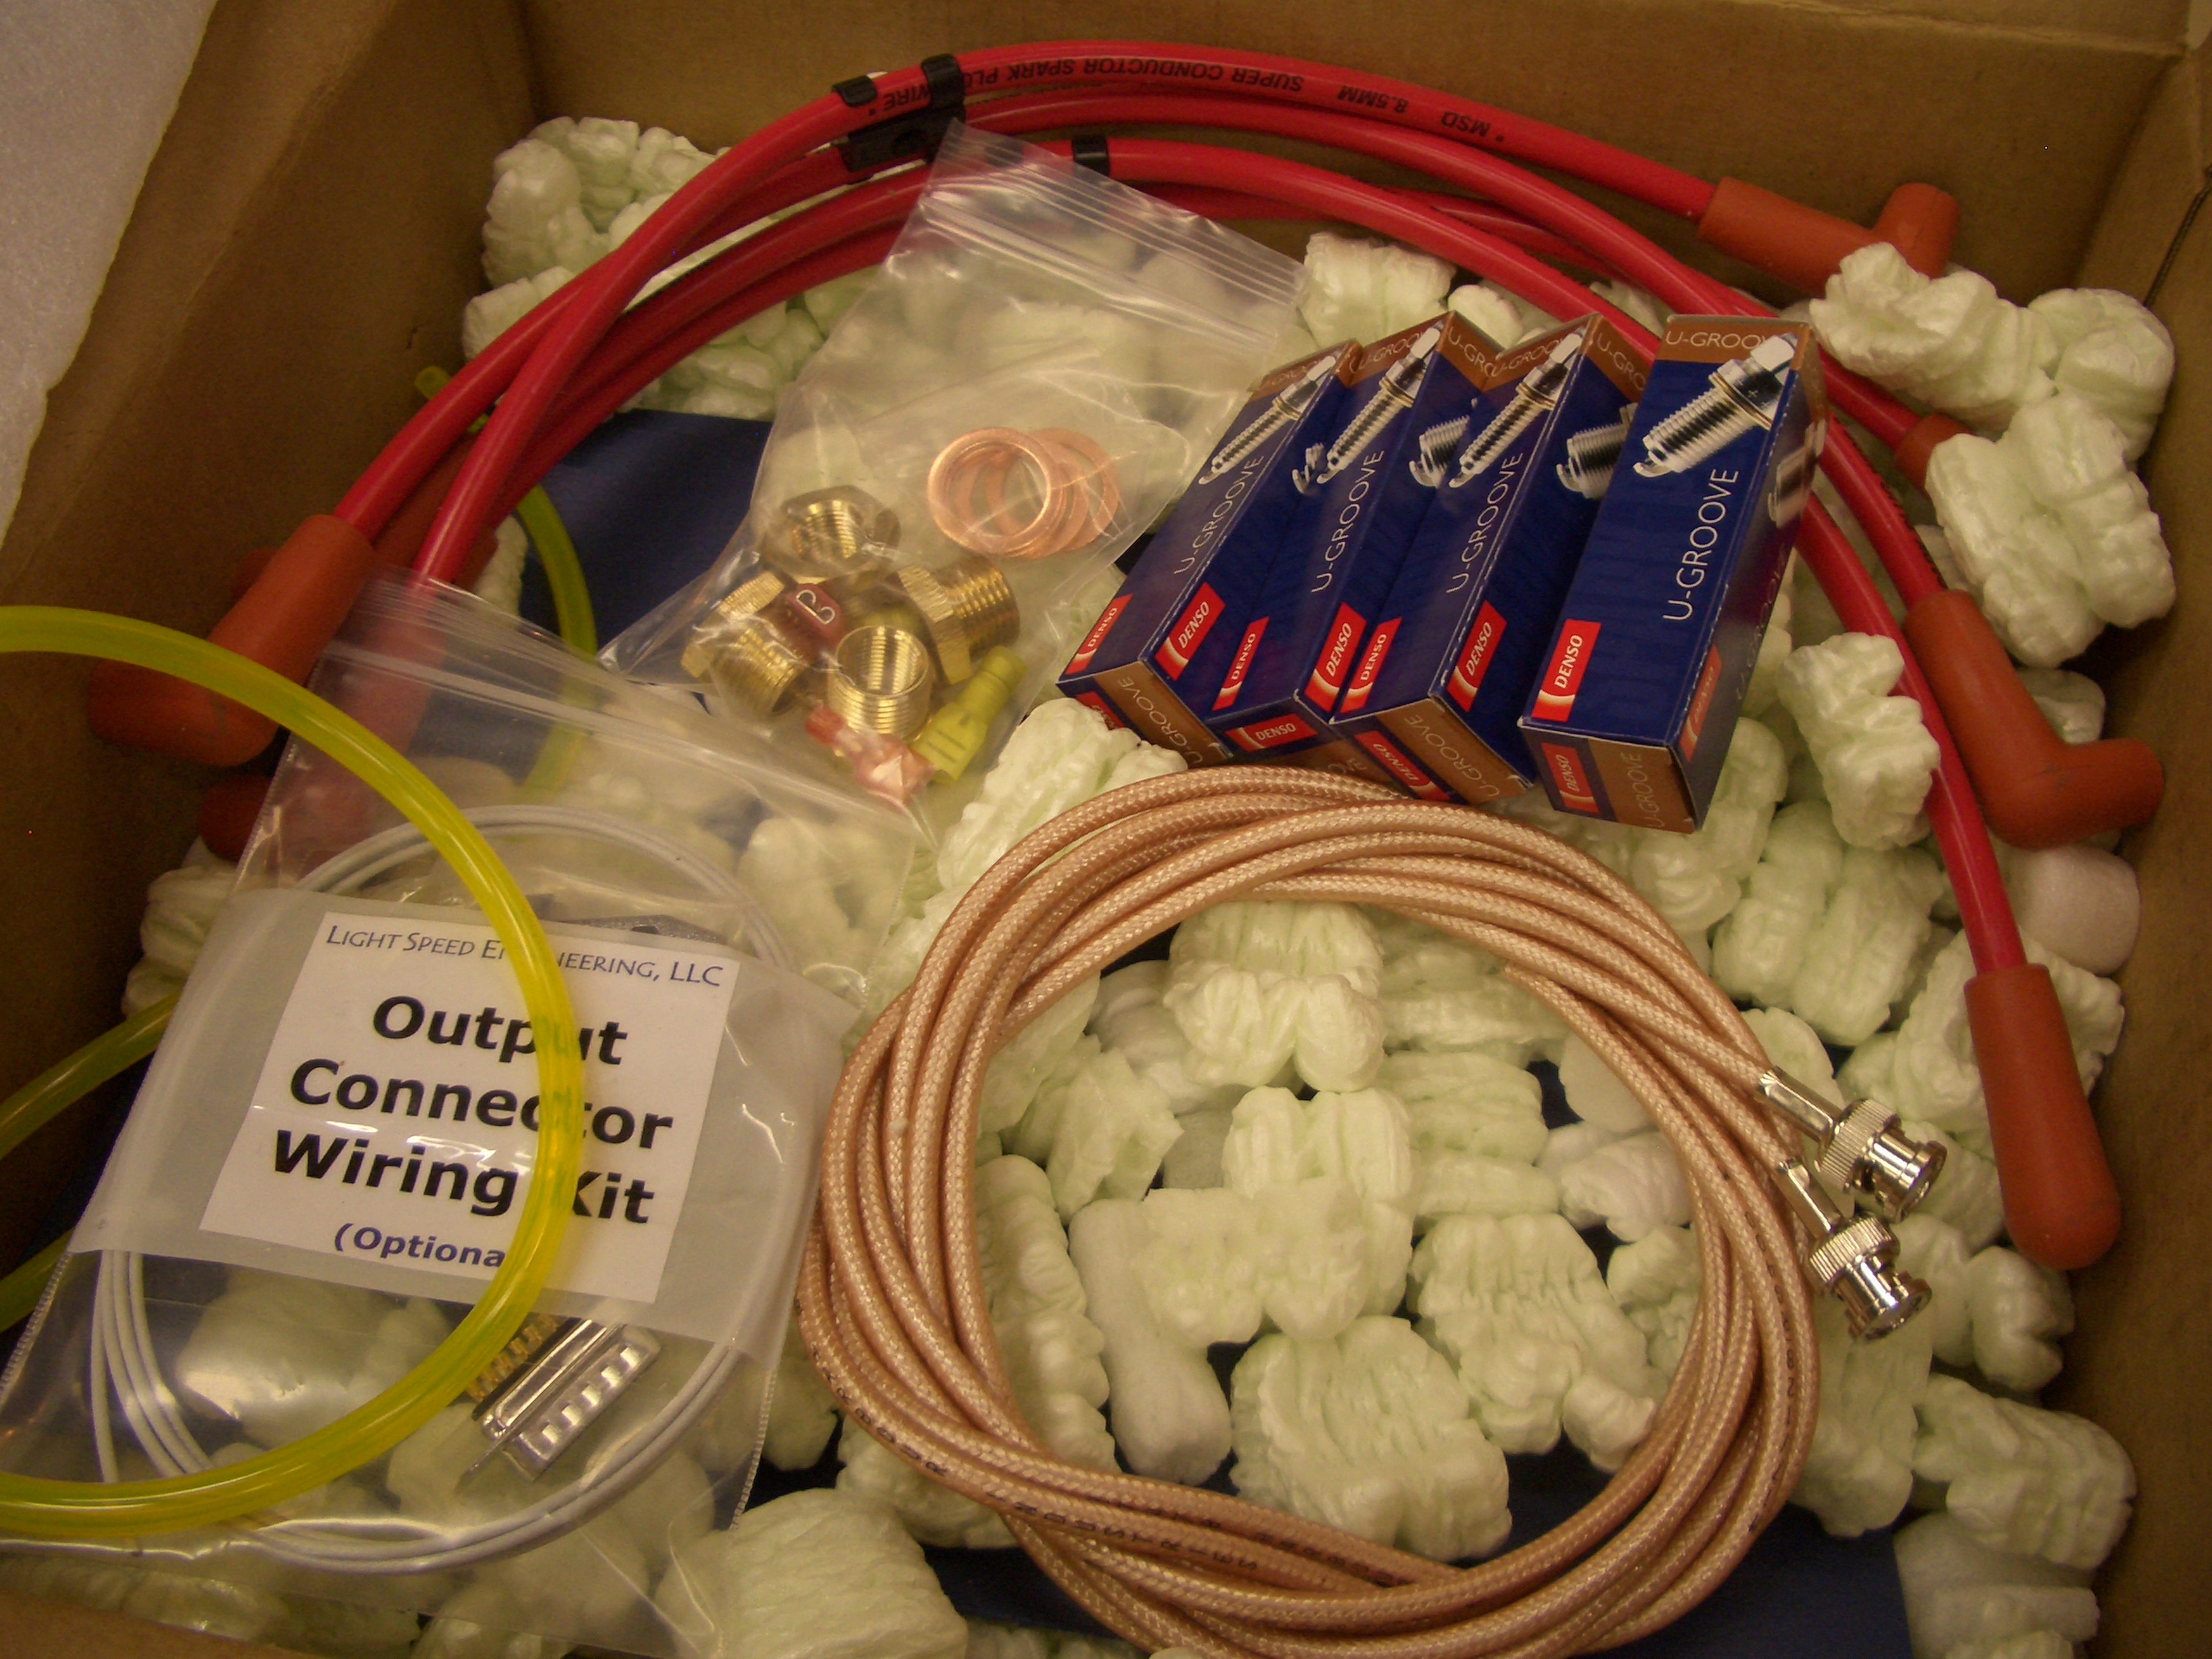
The box from Lightspeed also includes a set of automotive plugs, adaptors, spark plug wires, etc. for hooking up the electronic ignition.

Engine Accessories and Controls

I did some reading today in the manuals that came with the engine to determine where various sensors are installed.  This is the spot for the oil temperature sensor (which is included with the Dynon probe kit).  Fortunately, Aero Sport included the crush washer under the orange cap that was in this spot.  I haven’t torqued this down yet because I’ve been unable to find a torque value for this fitting.

I also took off the cover plate for the prop governor mounting pad.  I put a thin coat of grease on the gasket and installed it on the pad.

Finally, I installed the PCU 5000 X governor on the pad.  I haven’t torqued these either since the cable mounting bracket will have to attach using a couple of these bolts.  It looks like there will barely be enough threads showing without that, so I’ll have to ask about whether I can just back these studs out a couple of turns or not.

I also took the cover off of the back of the magneto and installed the wire harness.  These use T20 screws, and I wouldn’t have had enough room to get my torx driver between here and the firewall if I had waited until the engine was hung.

I also shaved a few thousandths off a couple of AN960-10 washers to allow this center control piece to pivot freely.  The bearings used in the control mounts are very sensitive to side loading.  Even 5-10 thousandths of an inch difference between the mount spacing and the spacing in the control piece was enough to make moving this have some noticeable friction.  It’s completely frictionless now.

Started Seat Backs

My buddy Andre stopped by and we started working on the seat backs.  Andre started fabricating the various angles while I got started modifying the upper seat adjustment mechanism.  I laid out and cut lightening holes according to the plans.  I have no idea why they didn’t lay these out evenly along the length.

The ends need a couple of tapering cuts so that they look cooler.

I laid out all the holes along the four sides according to the holes and them drilled them through both seat backs simultaneously.  I only drilled these to #40 right now.  Once everything is drilled, I’ll step these up to #30.

Two of the 0.063″ angles need the corners rounded over.  I used my trim router and a 1/8″ roundover bit to radius the corner.

After cleaning this up on the scotchbrite wheel, you can see how it tucks nicely into the bend at the top of the seat back.

Finally, we match drilled the side and top angles to one of the seat backs.