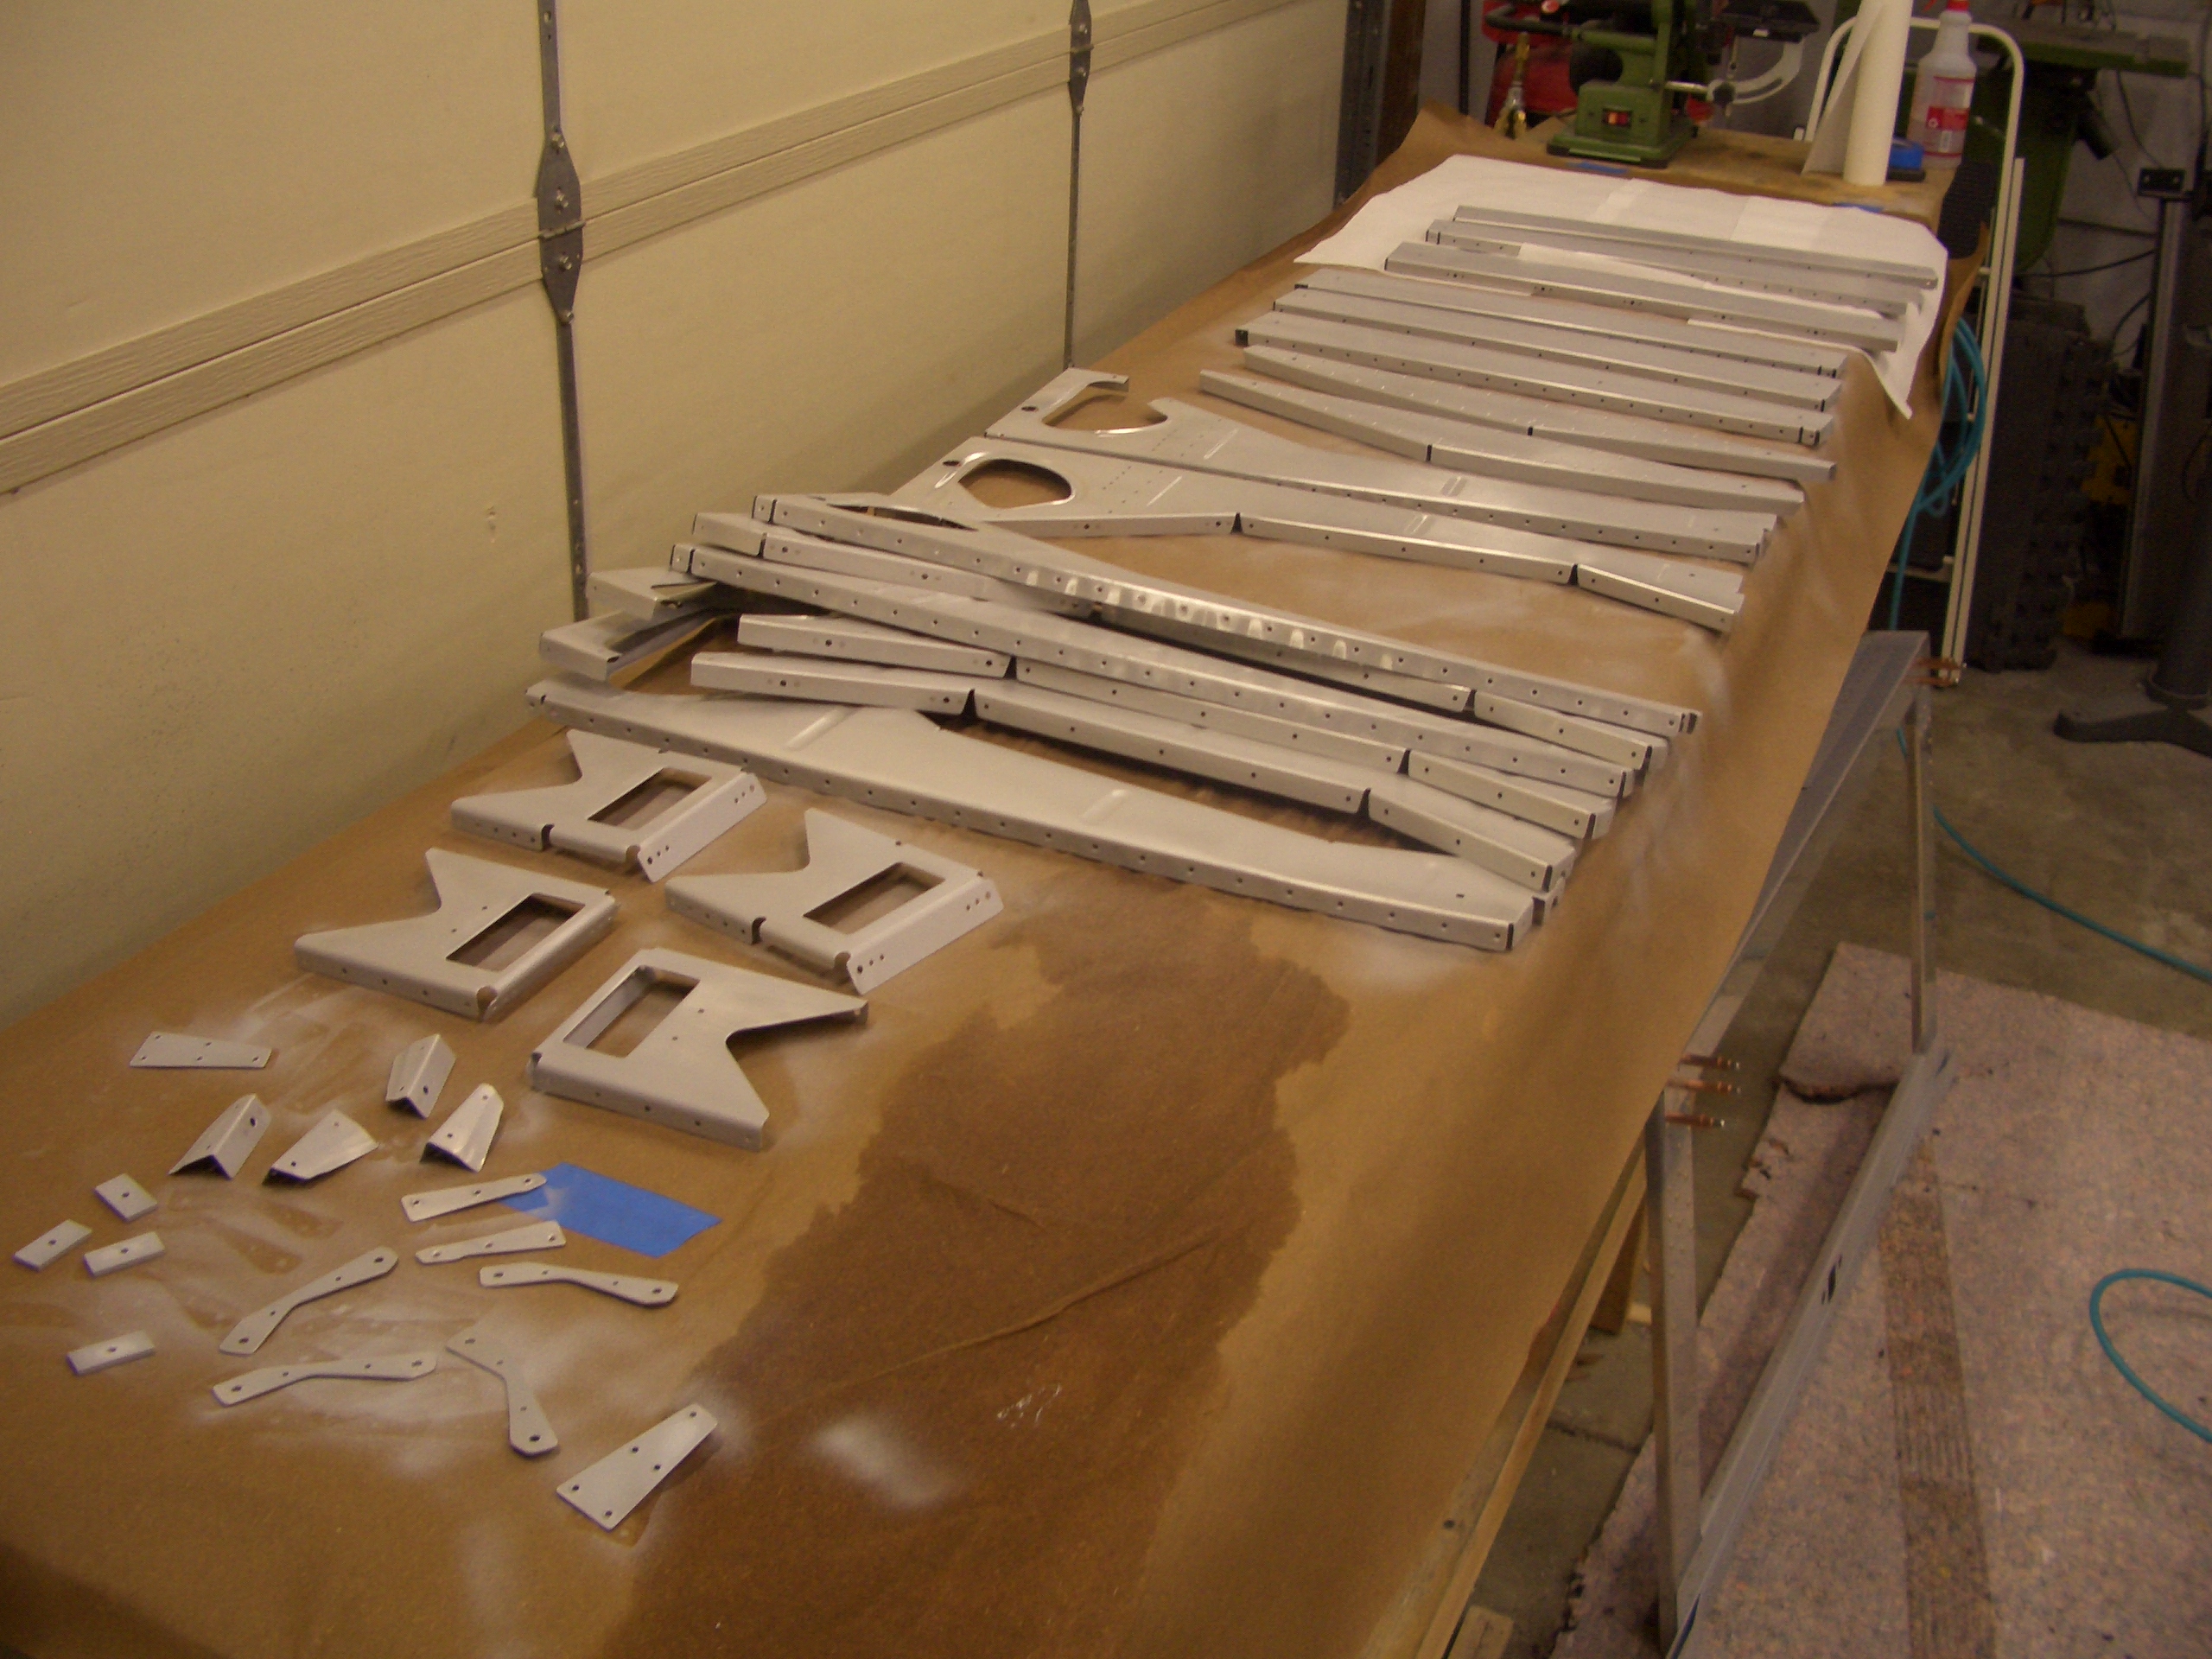
I finished deburring and dimpling the remaining center section components and stayed up until well after 2 AM (on the 29th) getting everything cleaned and primed. I’m exhausted, but wanted to finish this so that I can begin final assembly tomorrow.

I finished deburring and dimpling the remaining center section components and stayed up until well after 2 AM (on the 29th) getting everything cleaned and primed. I’m exhausted, but wanted to finish this so that I can begin final assembly tomorrow.
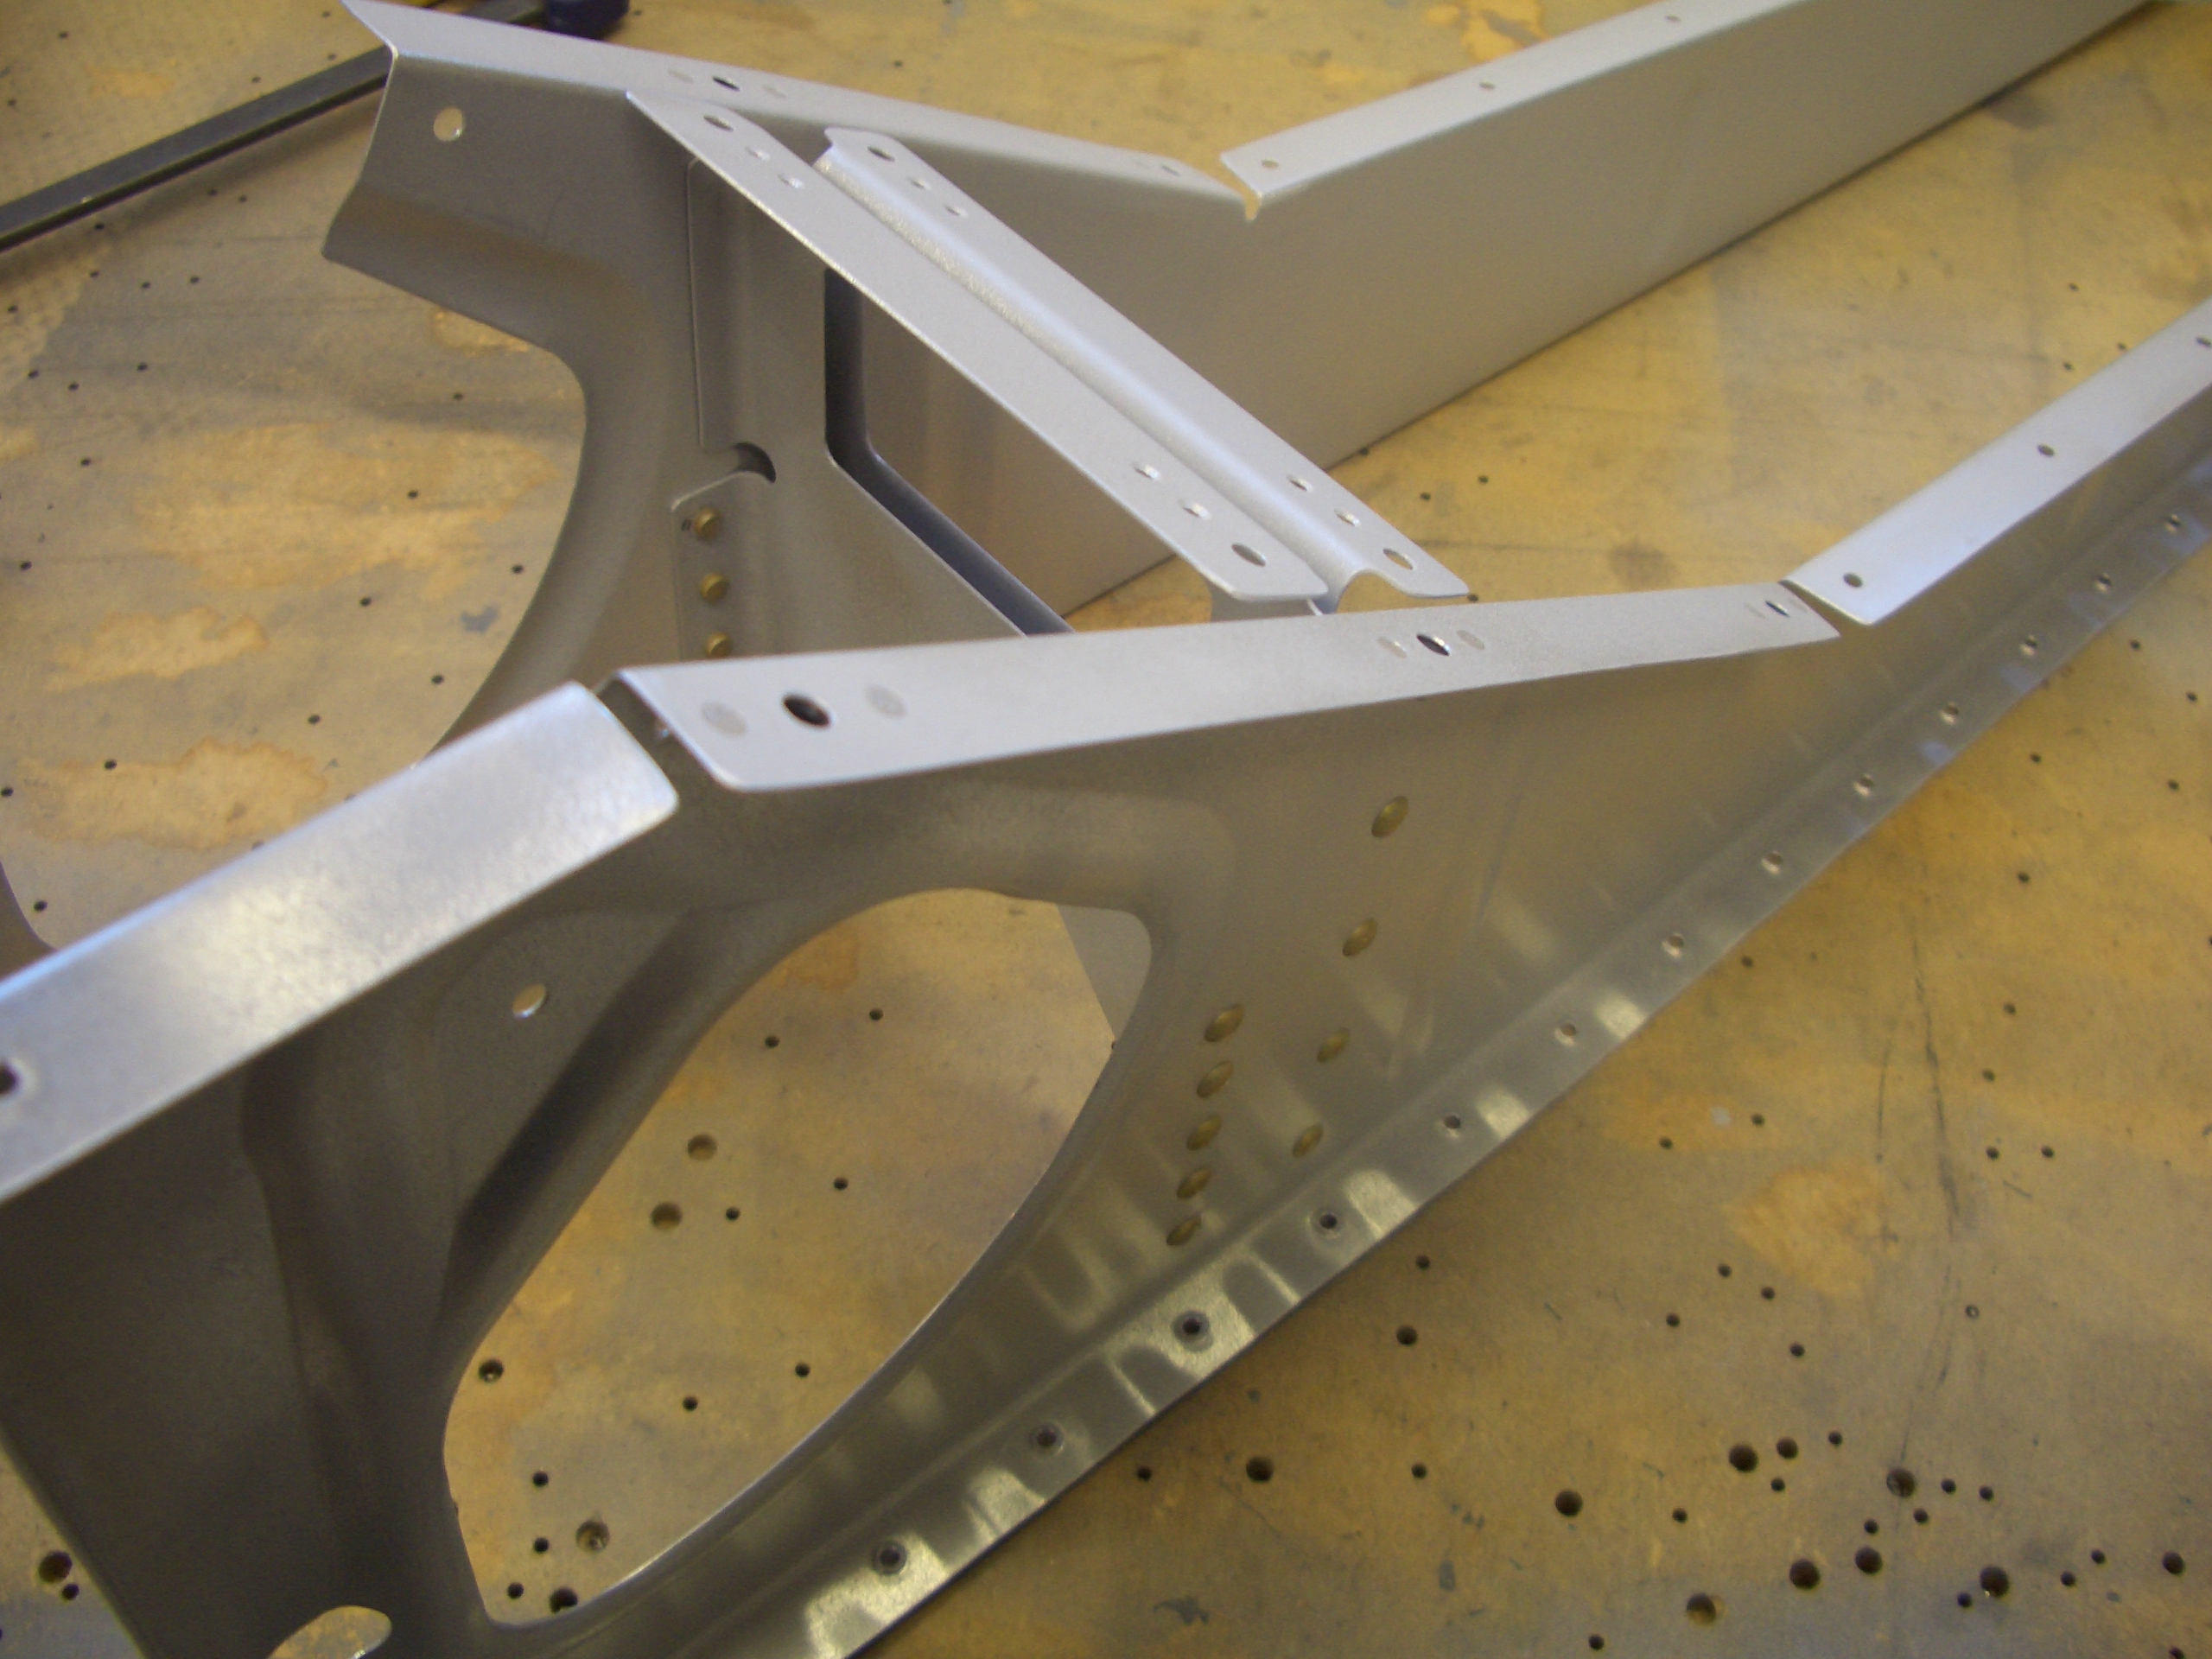
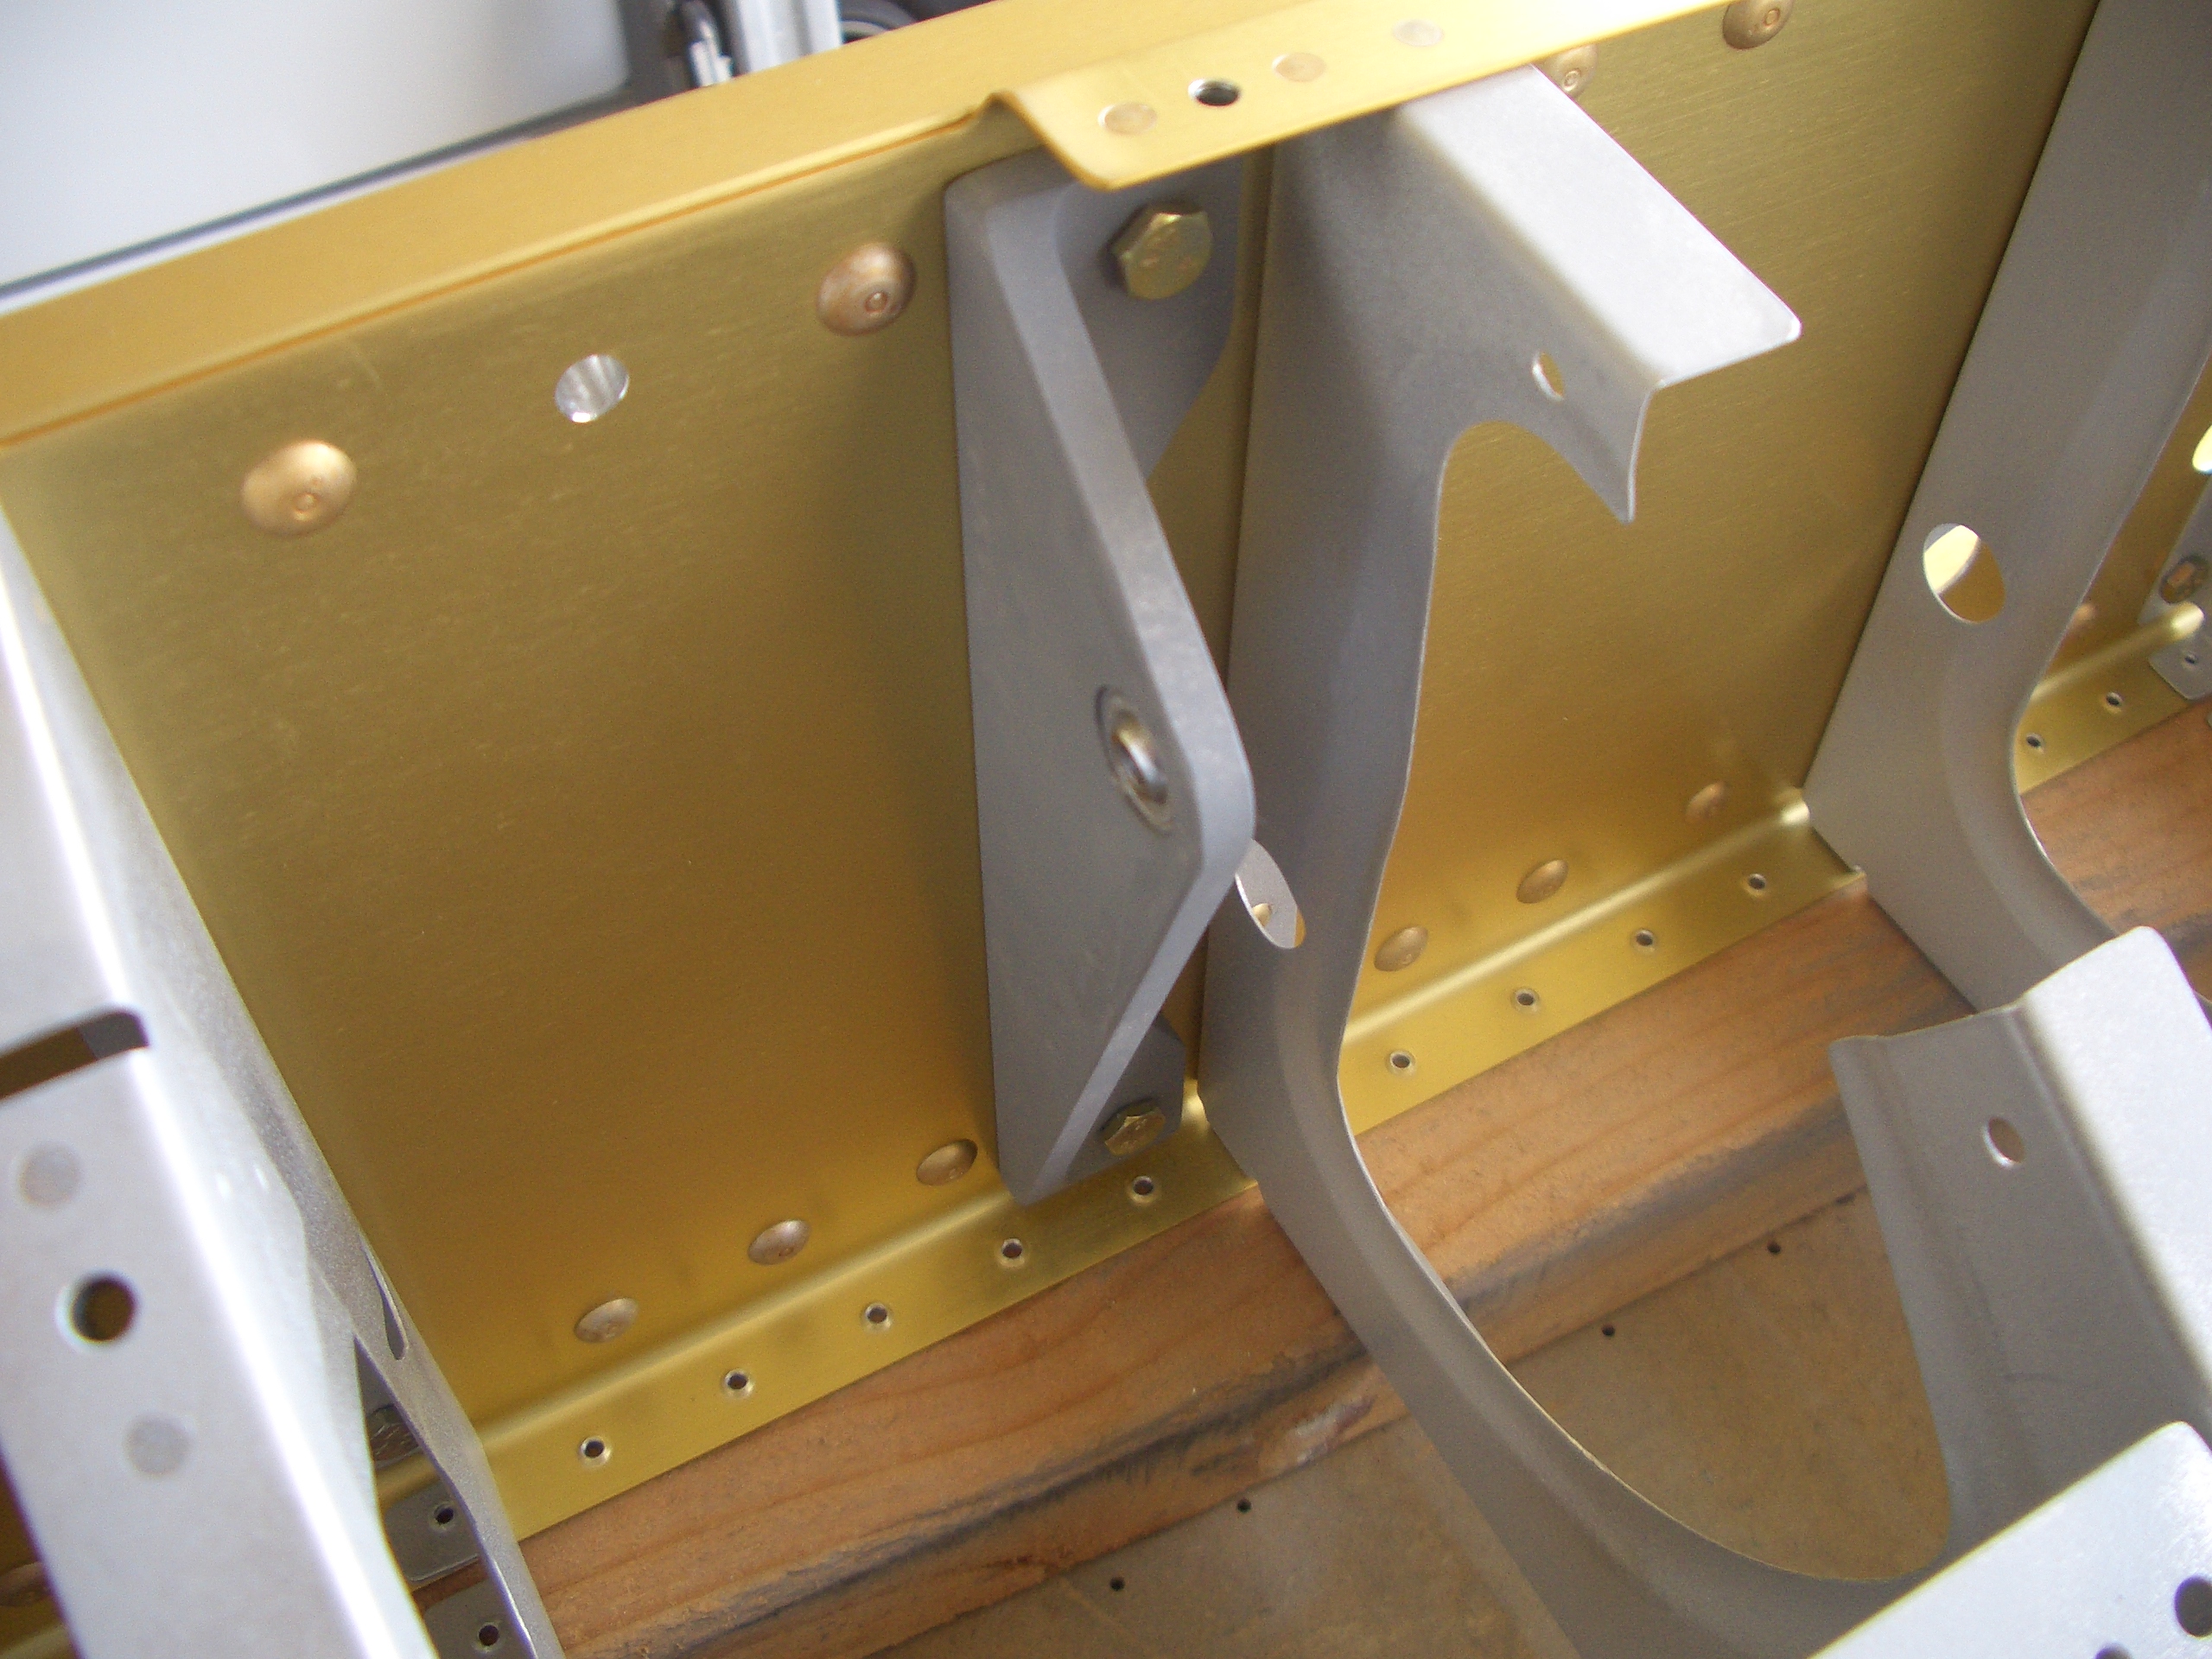
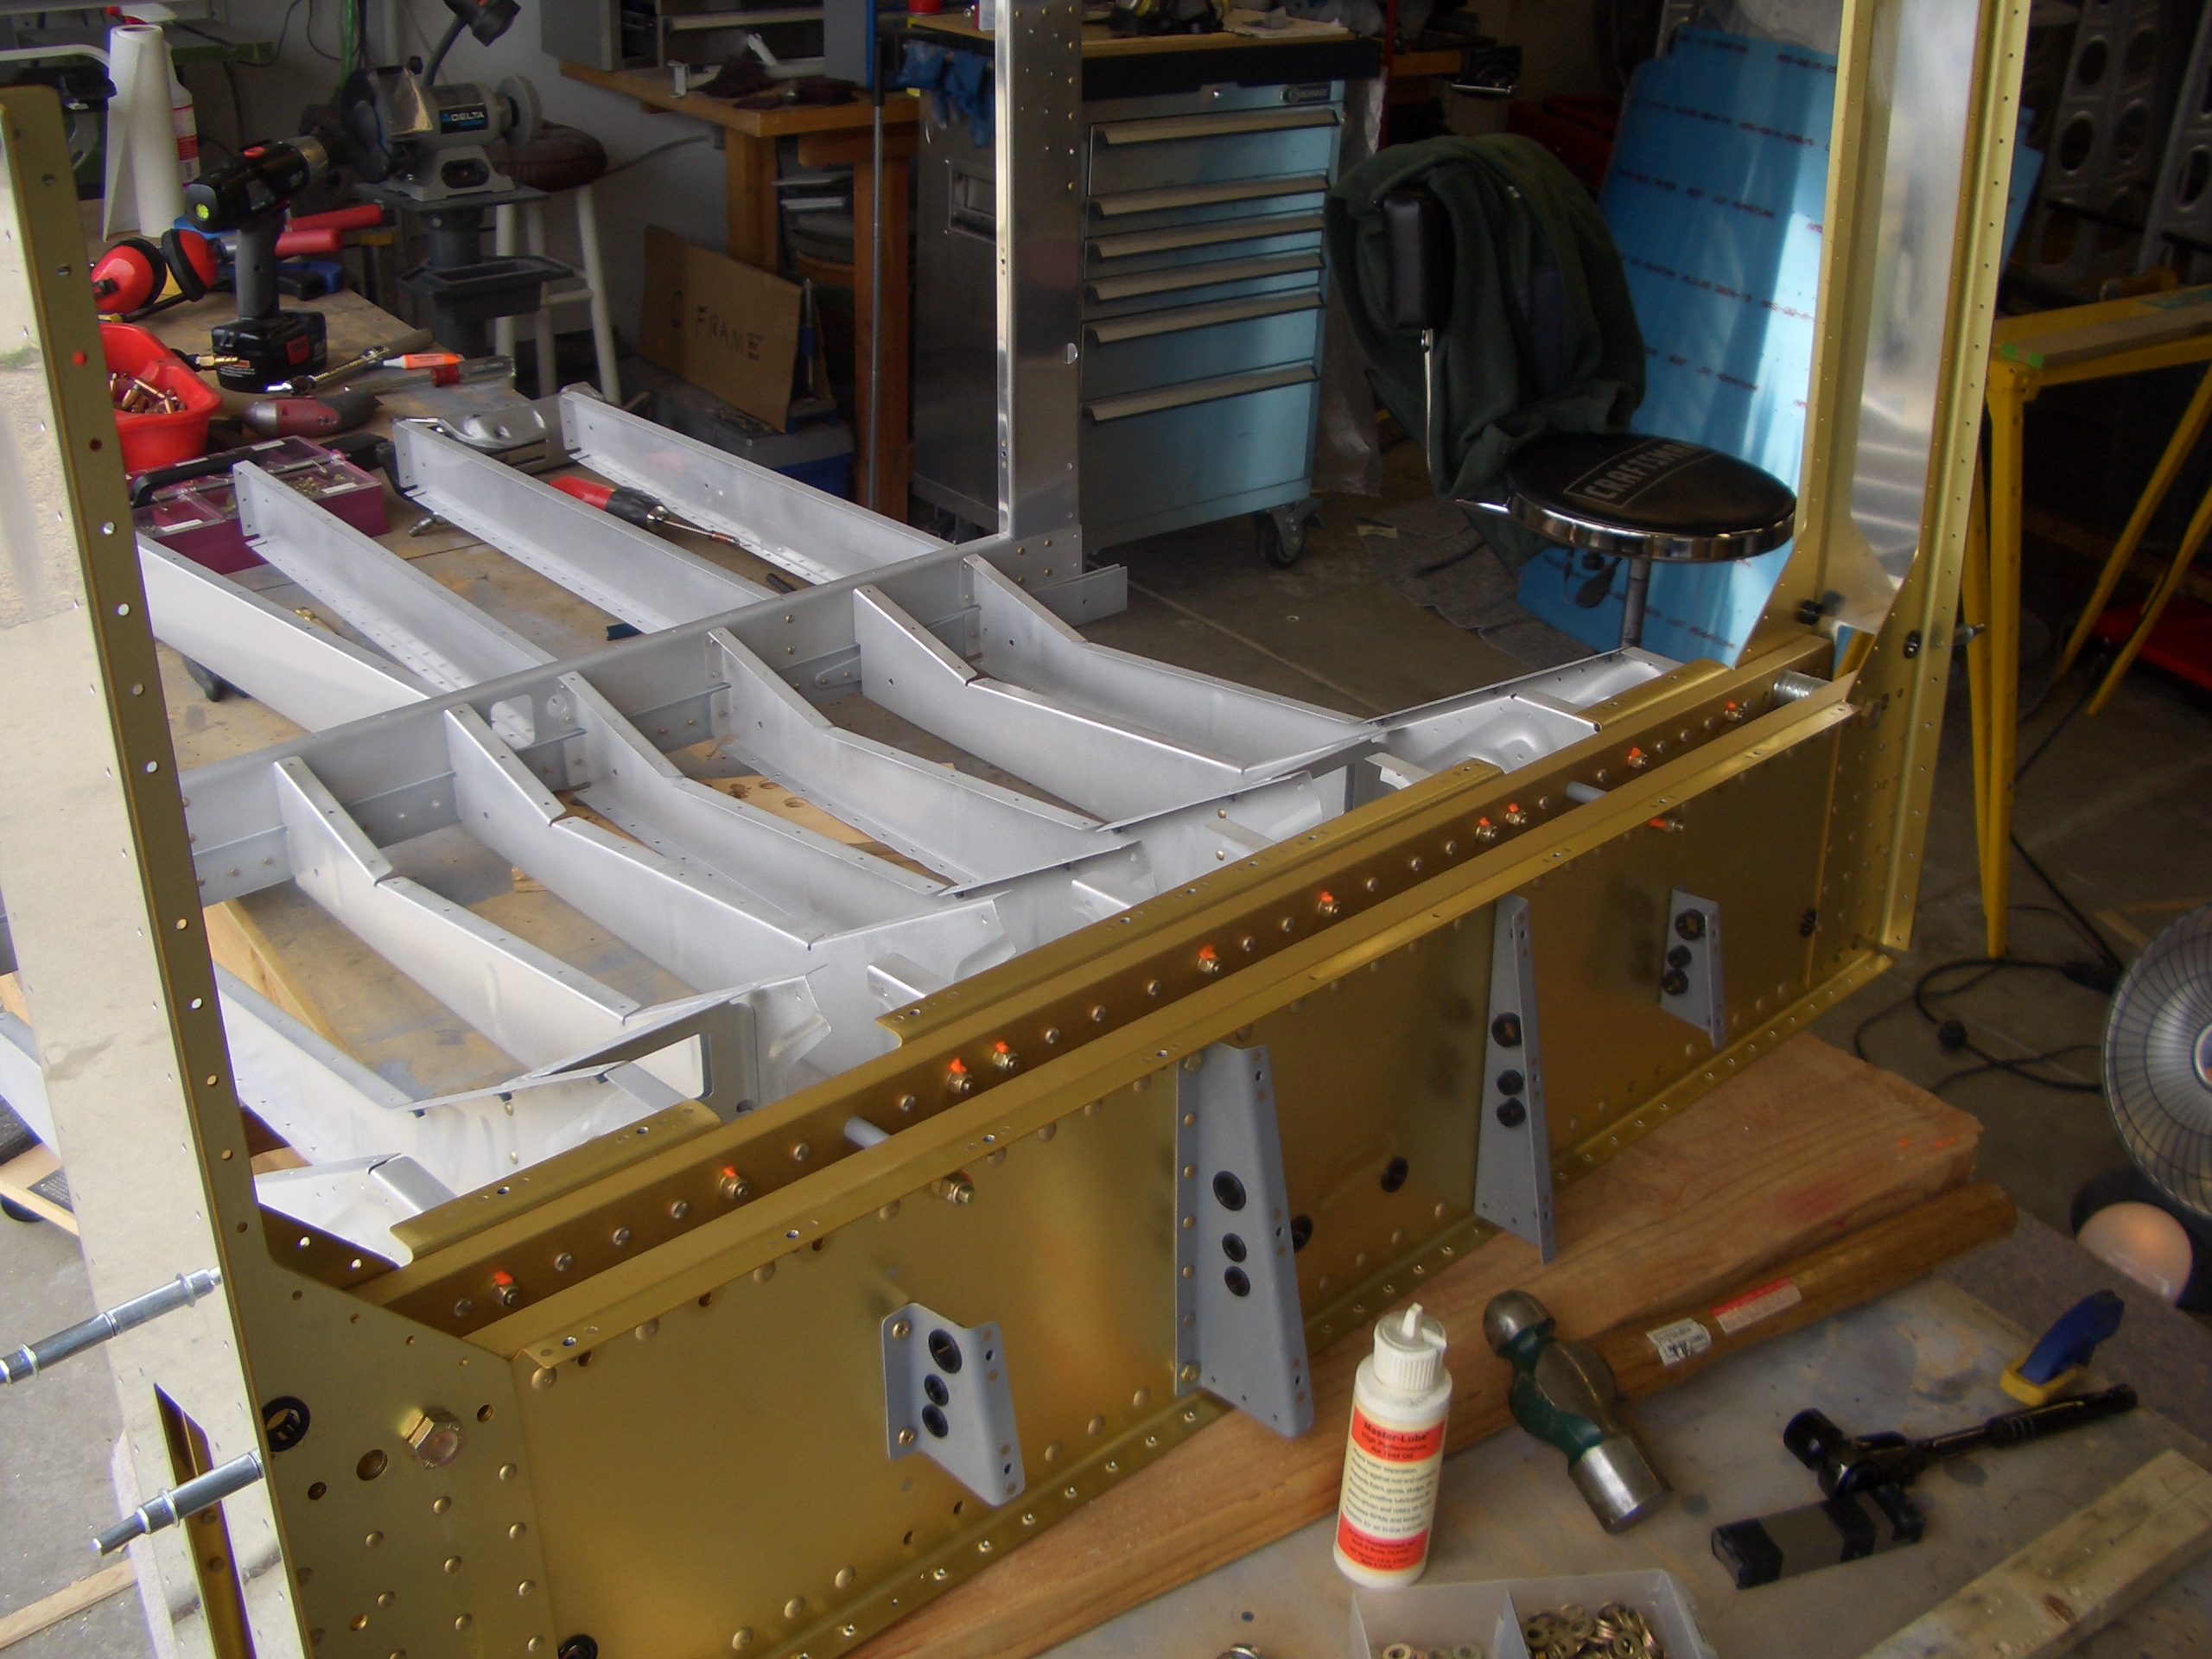
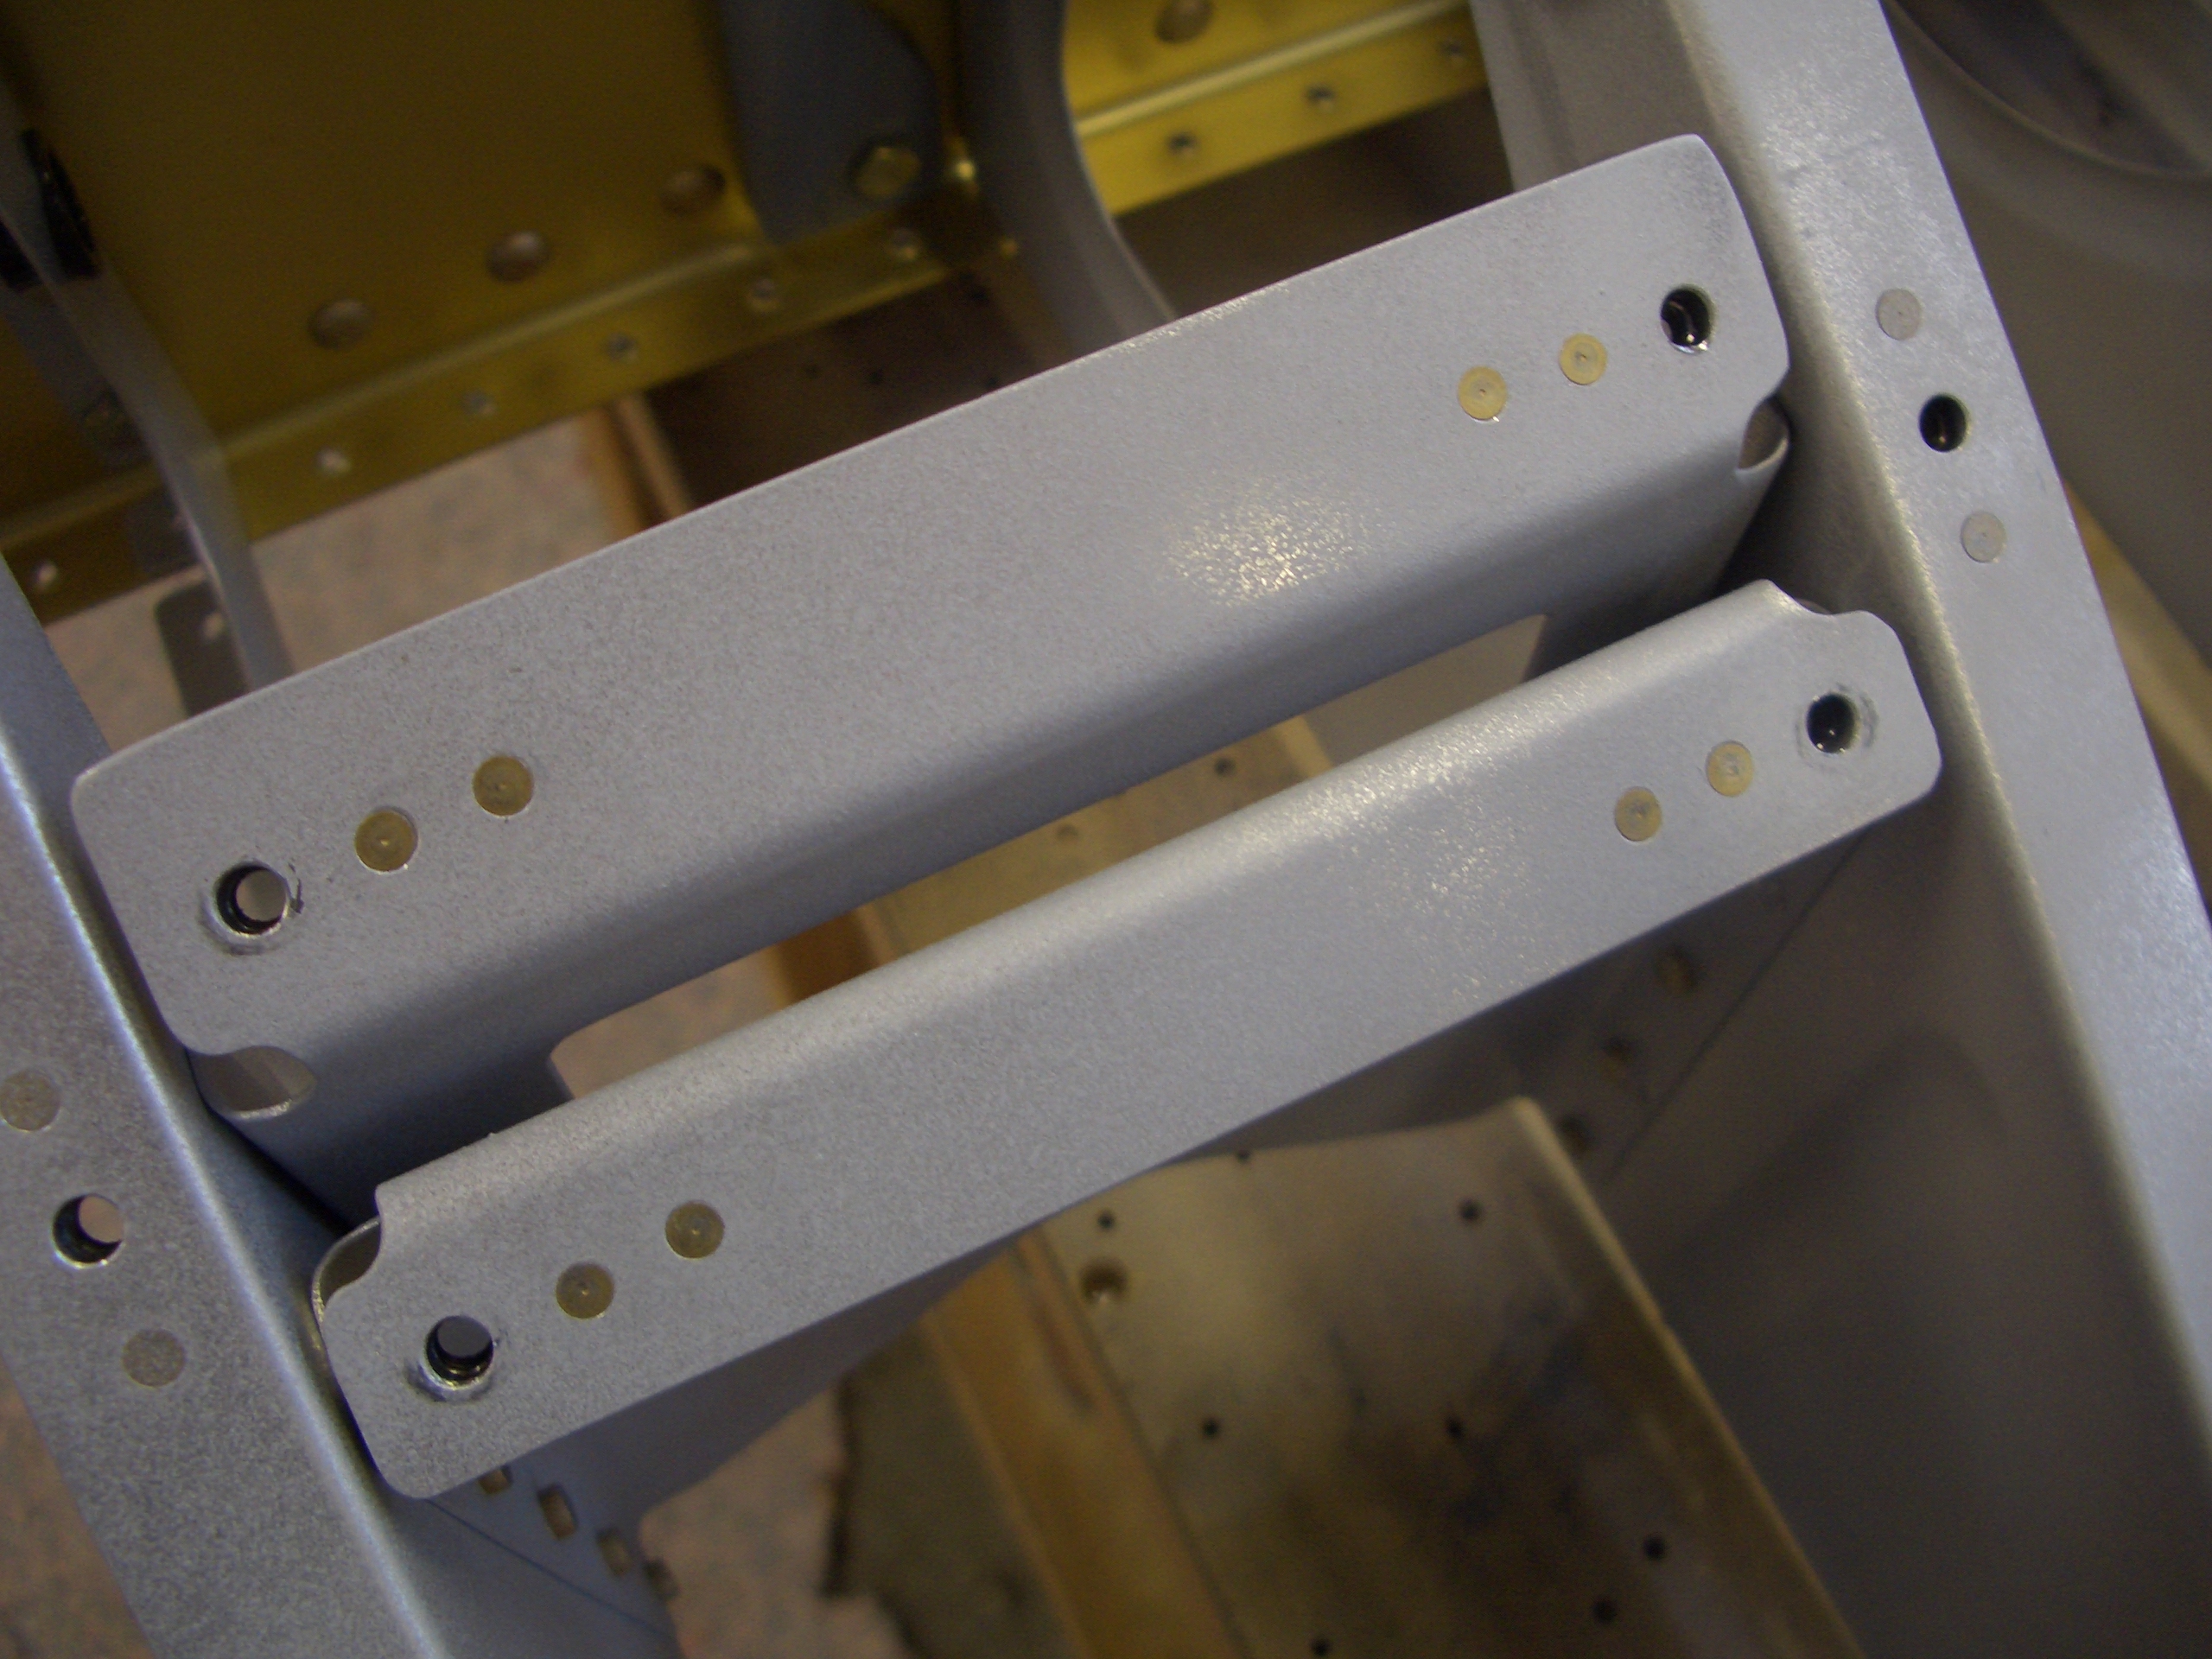
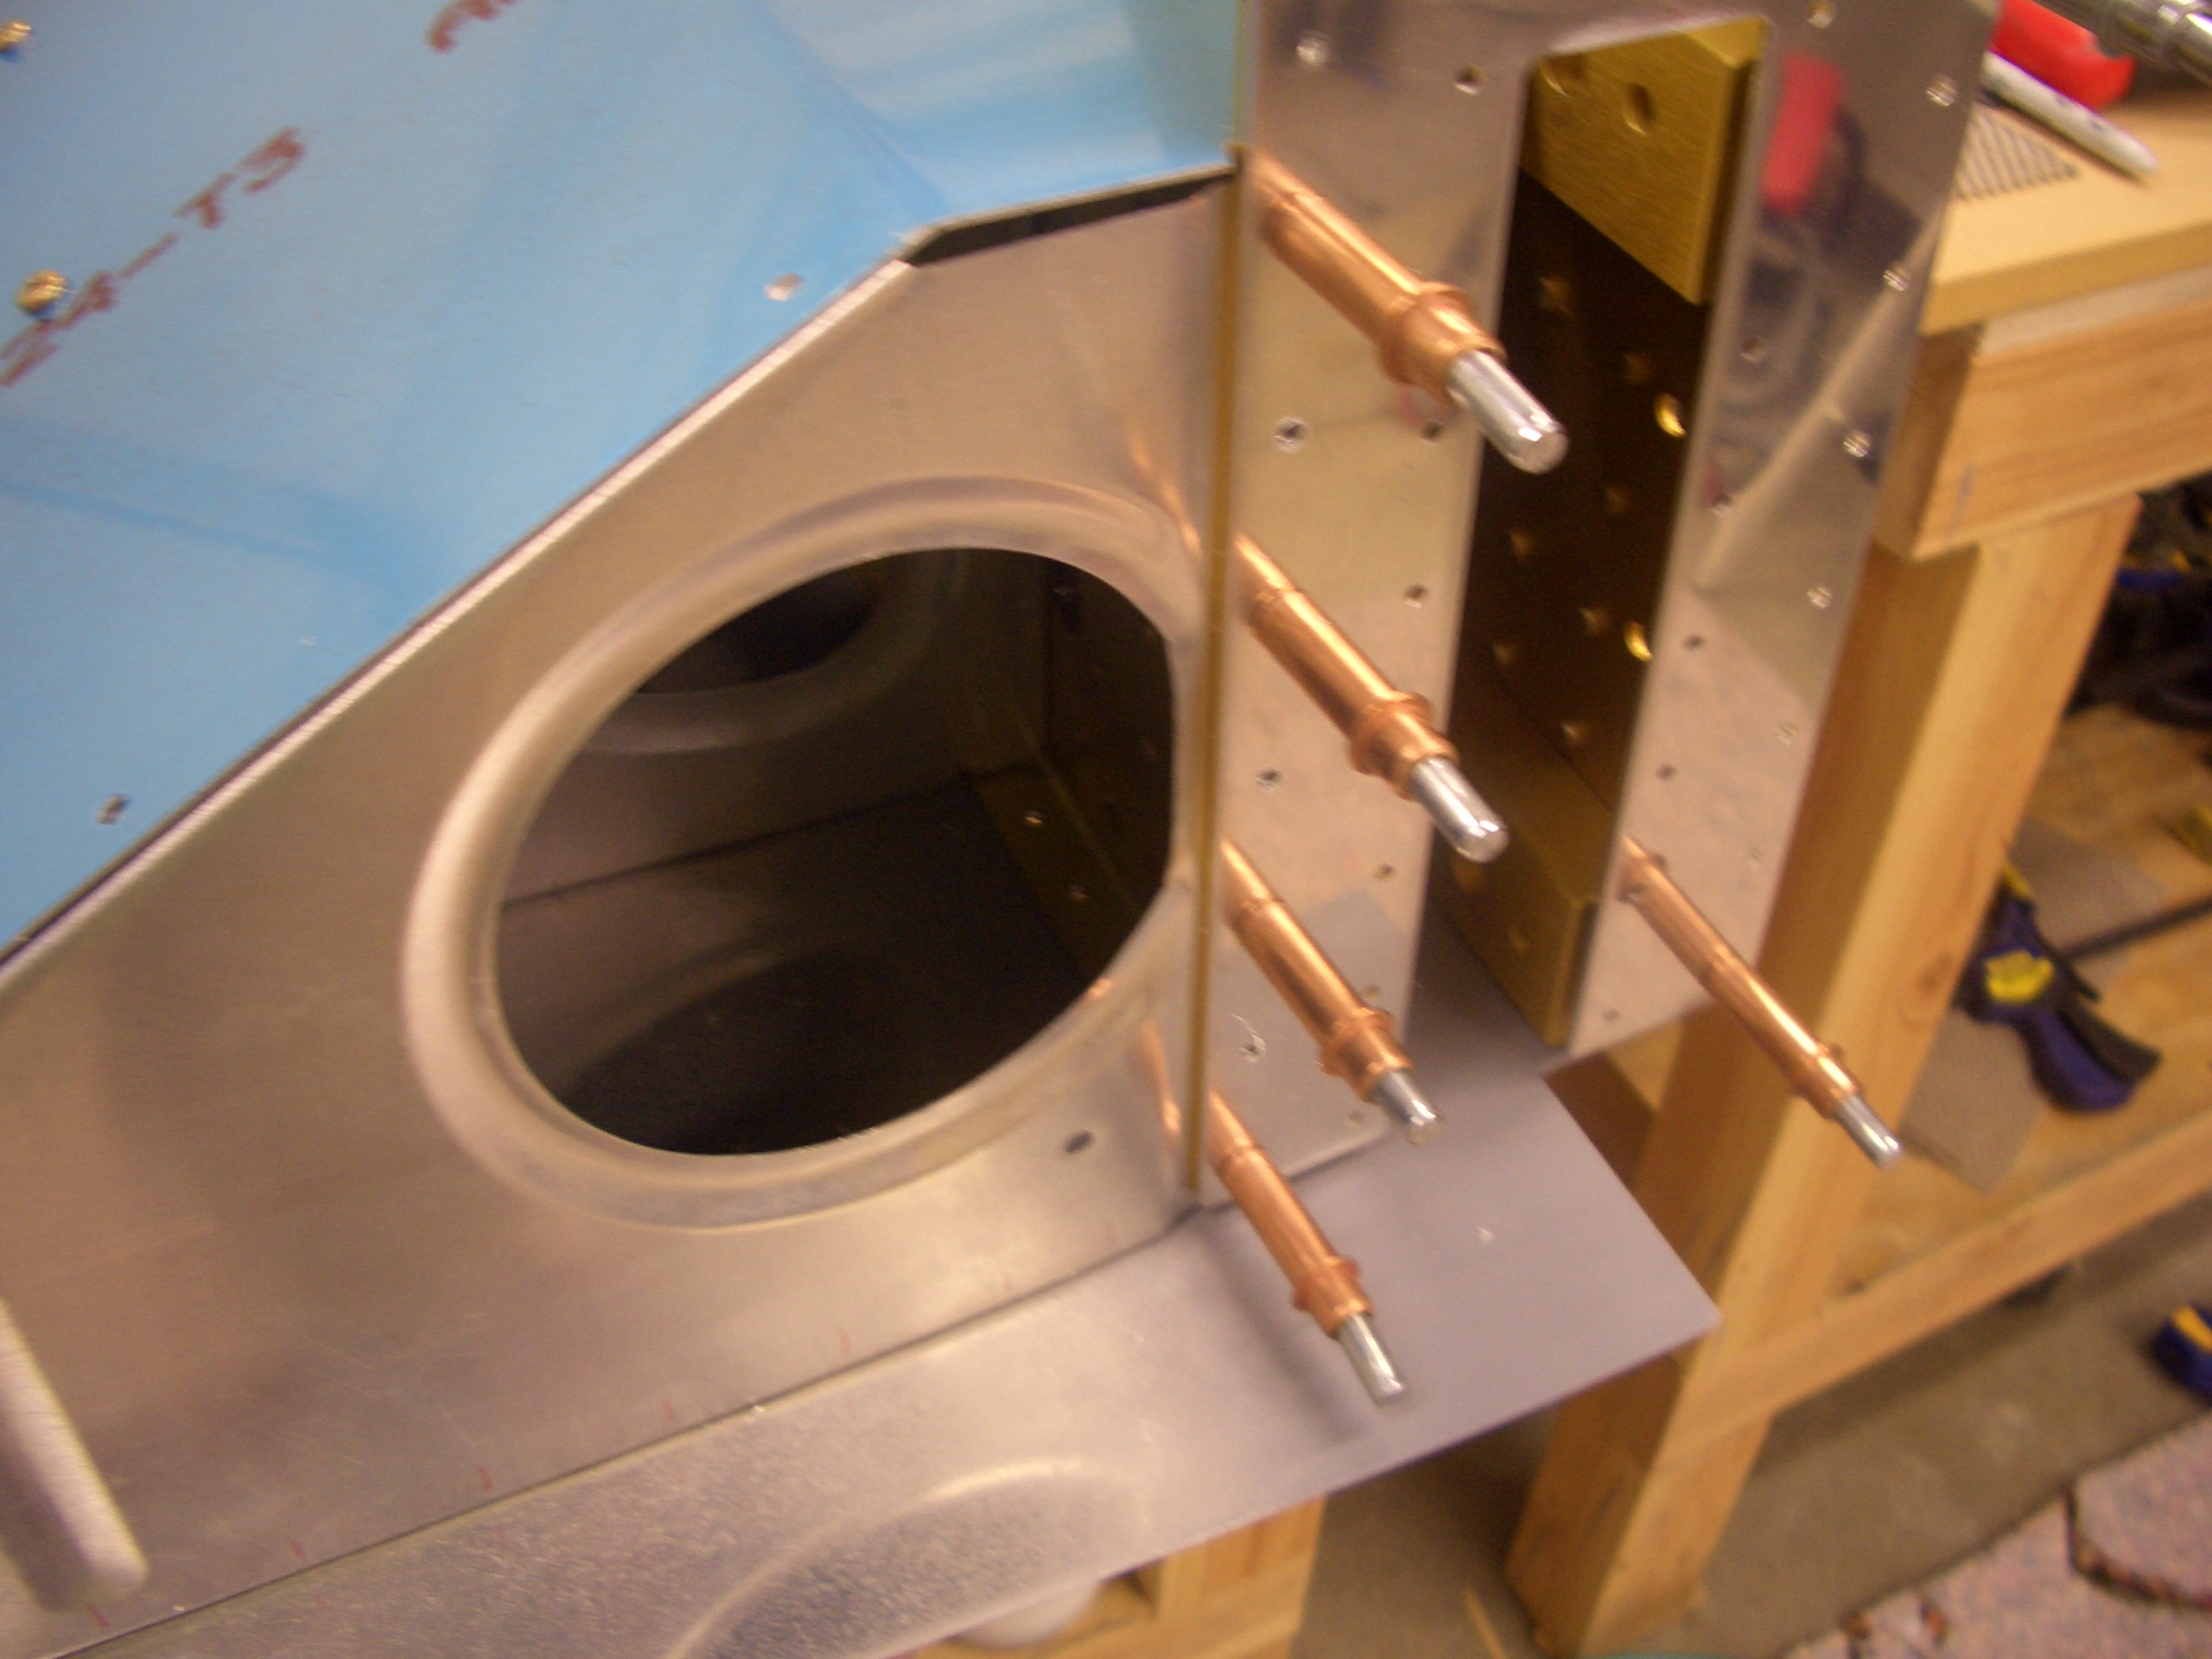
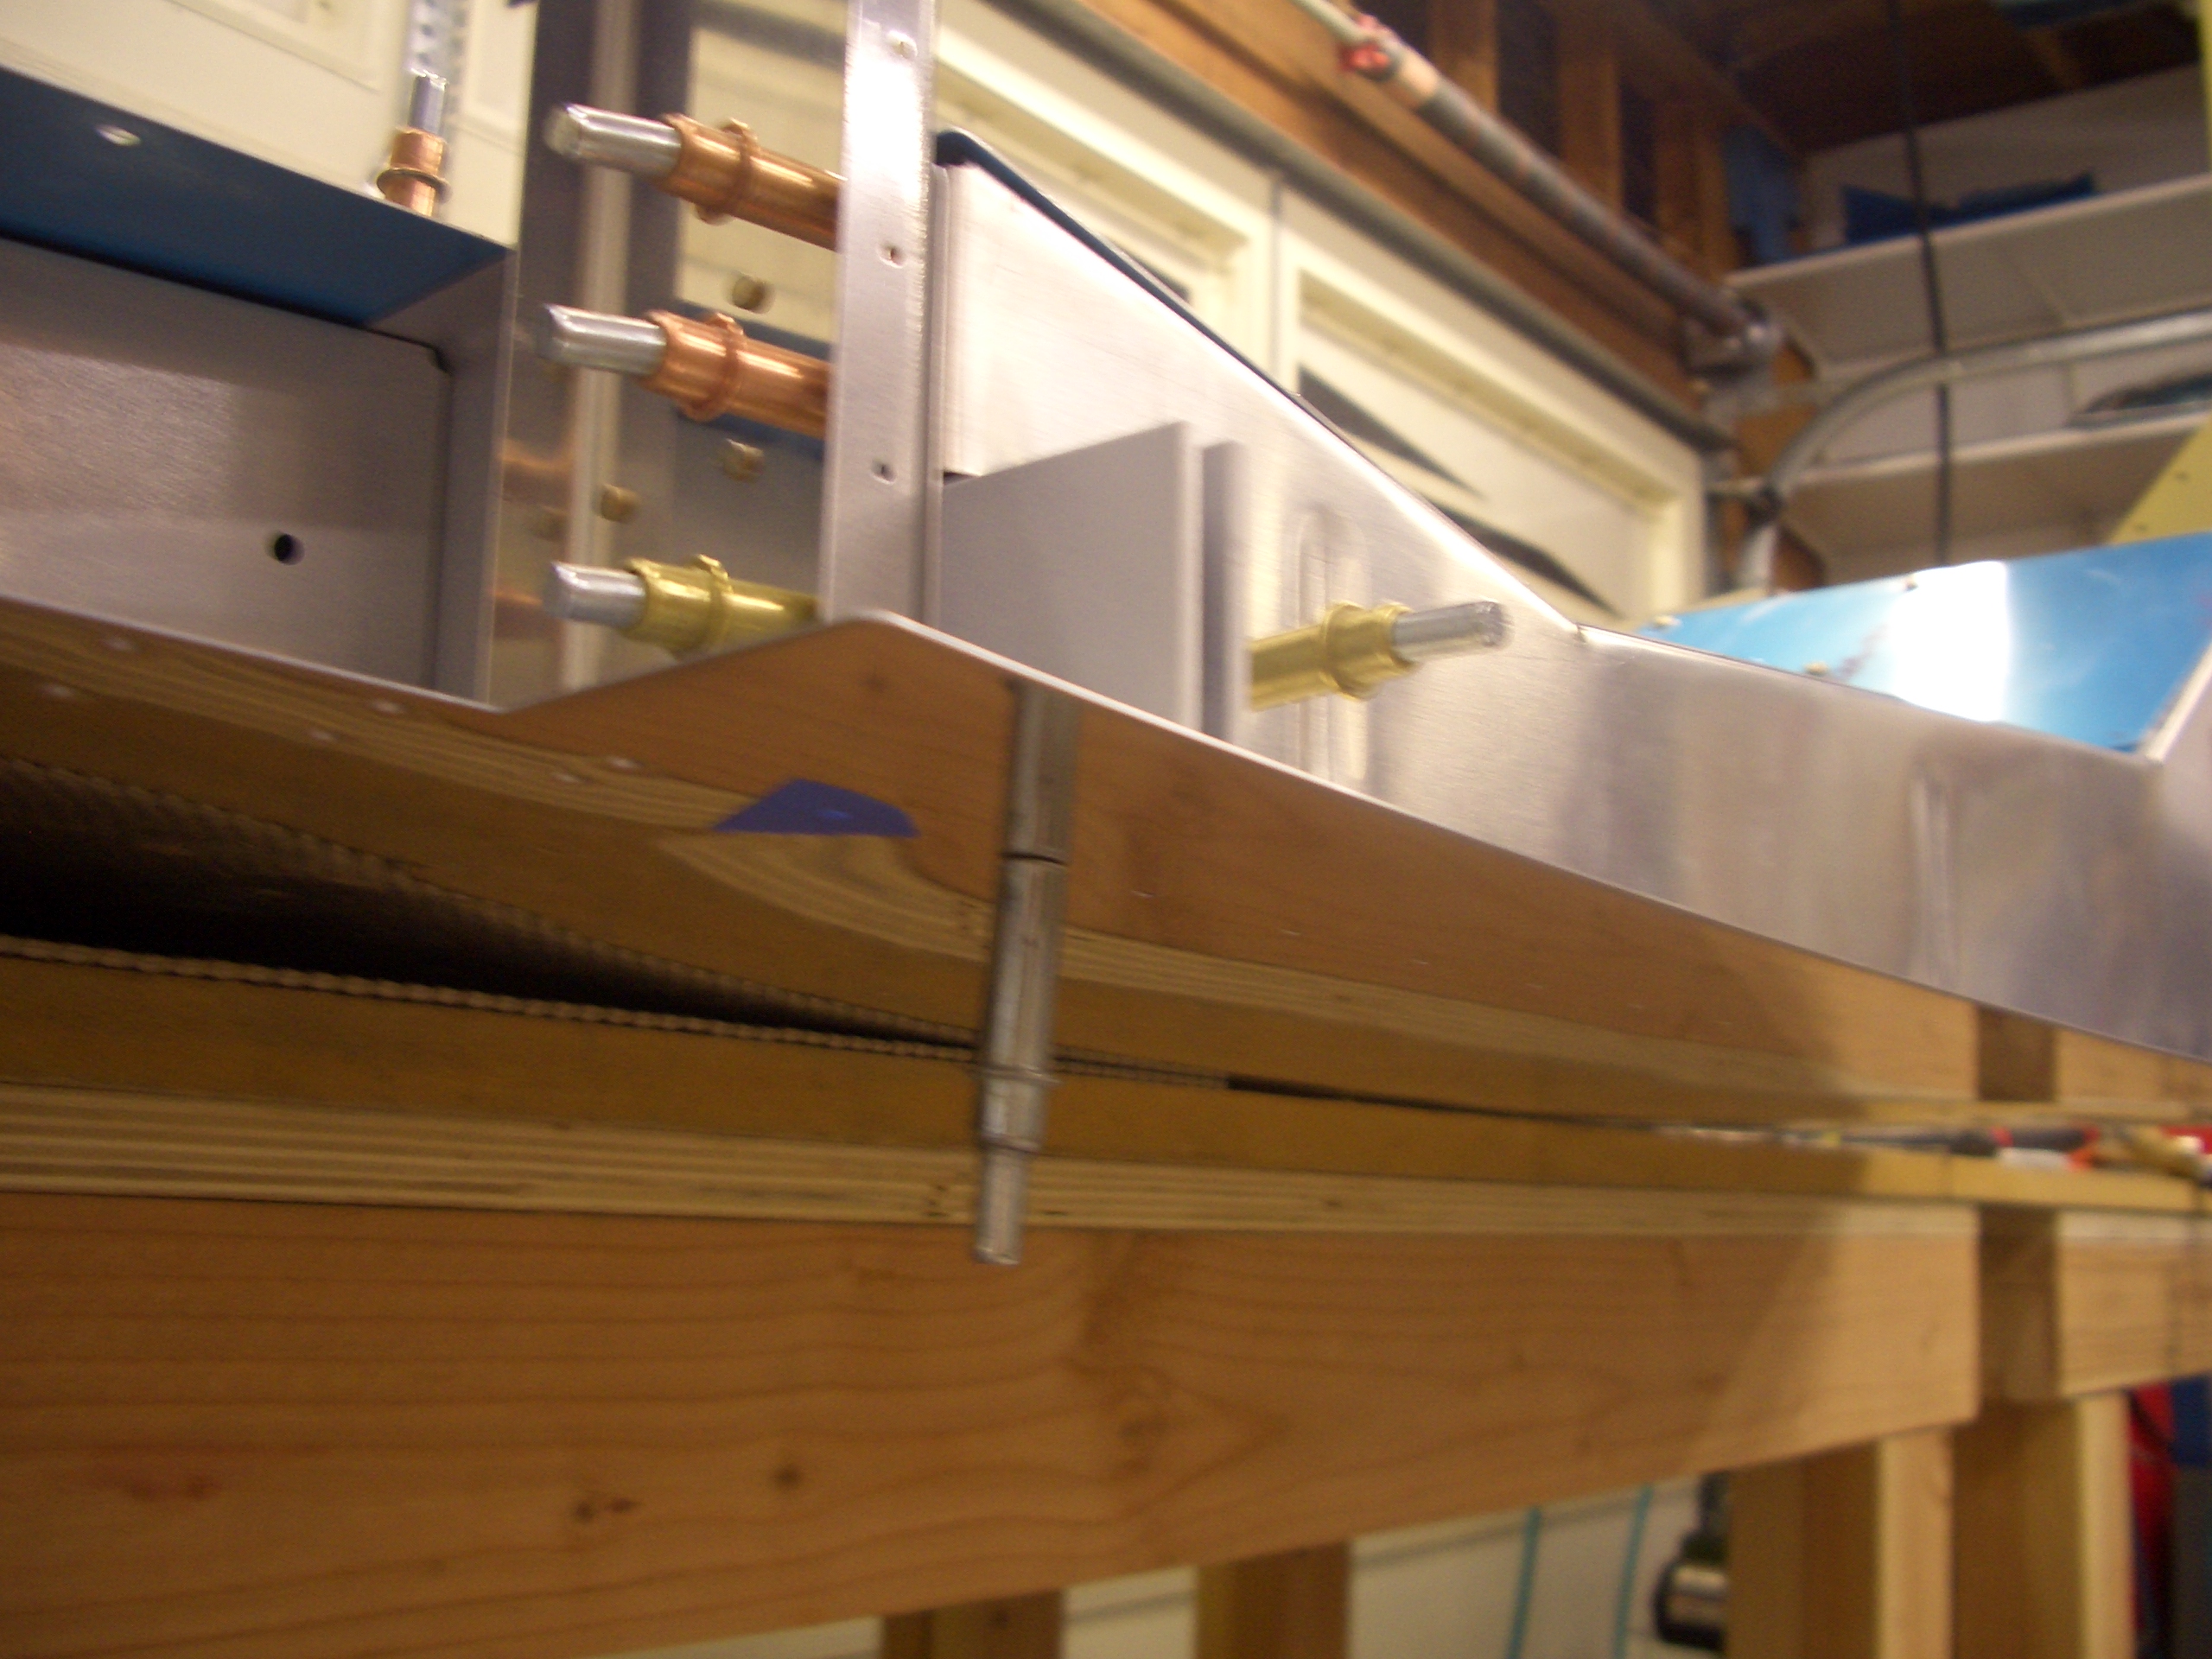
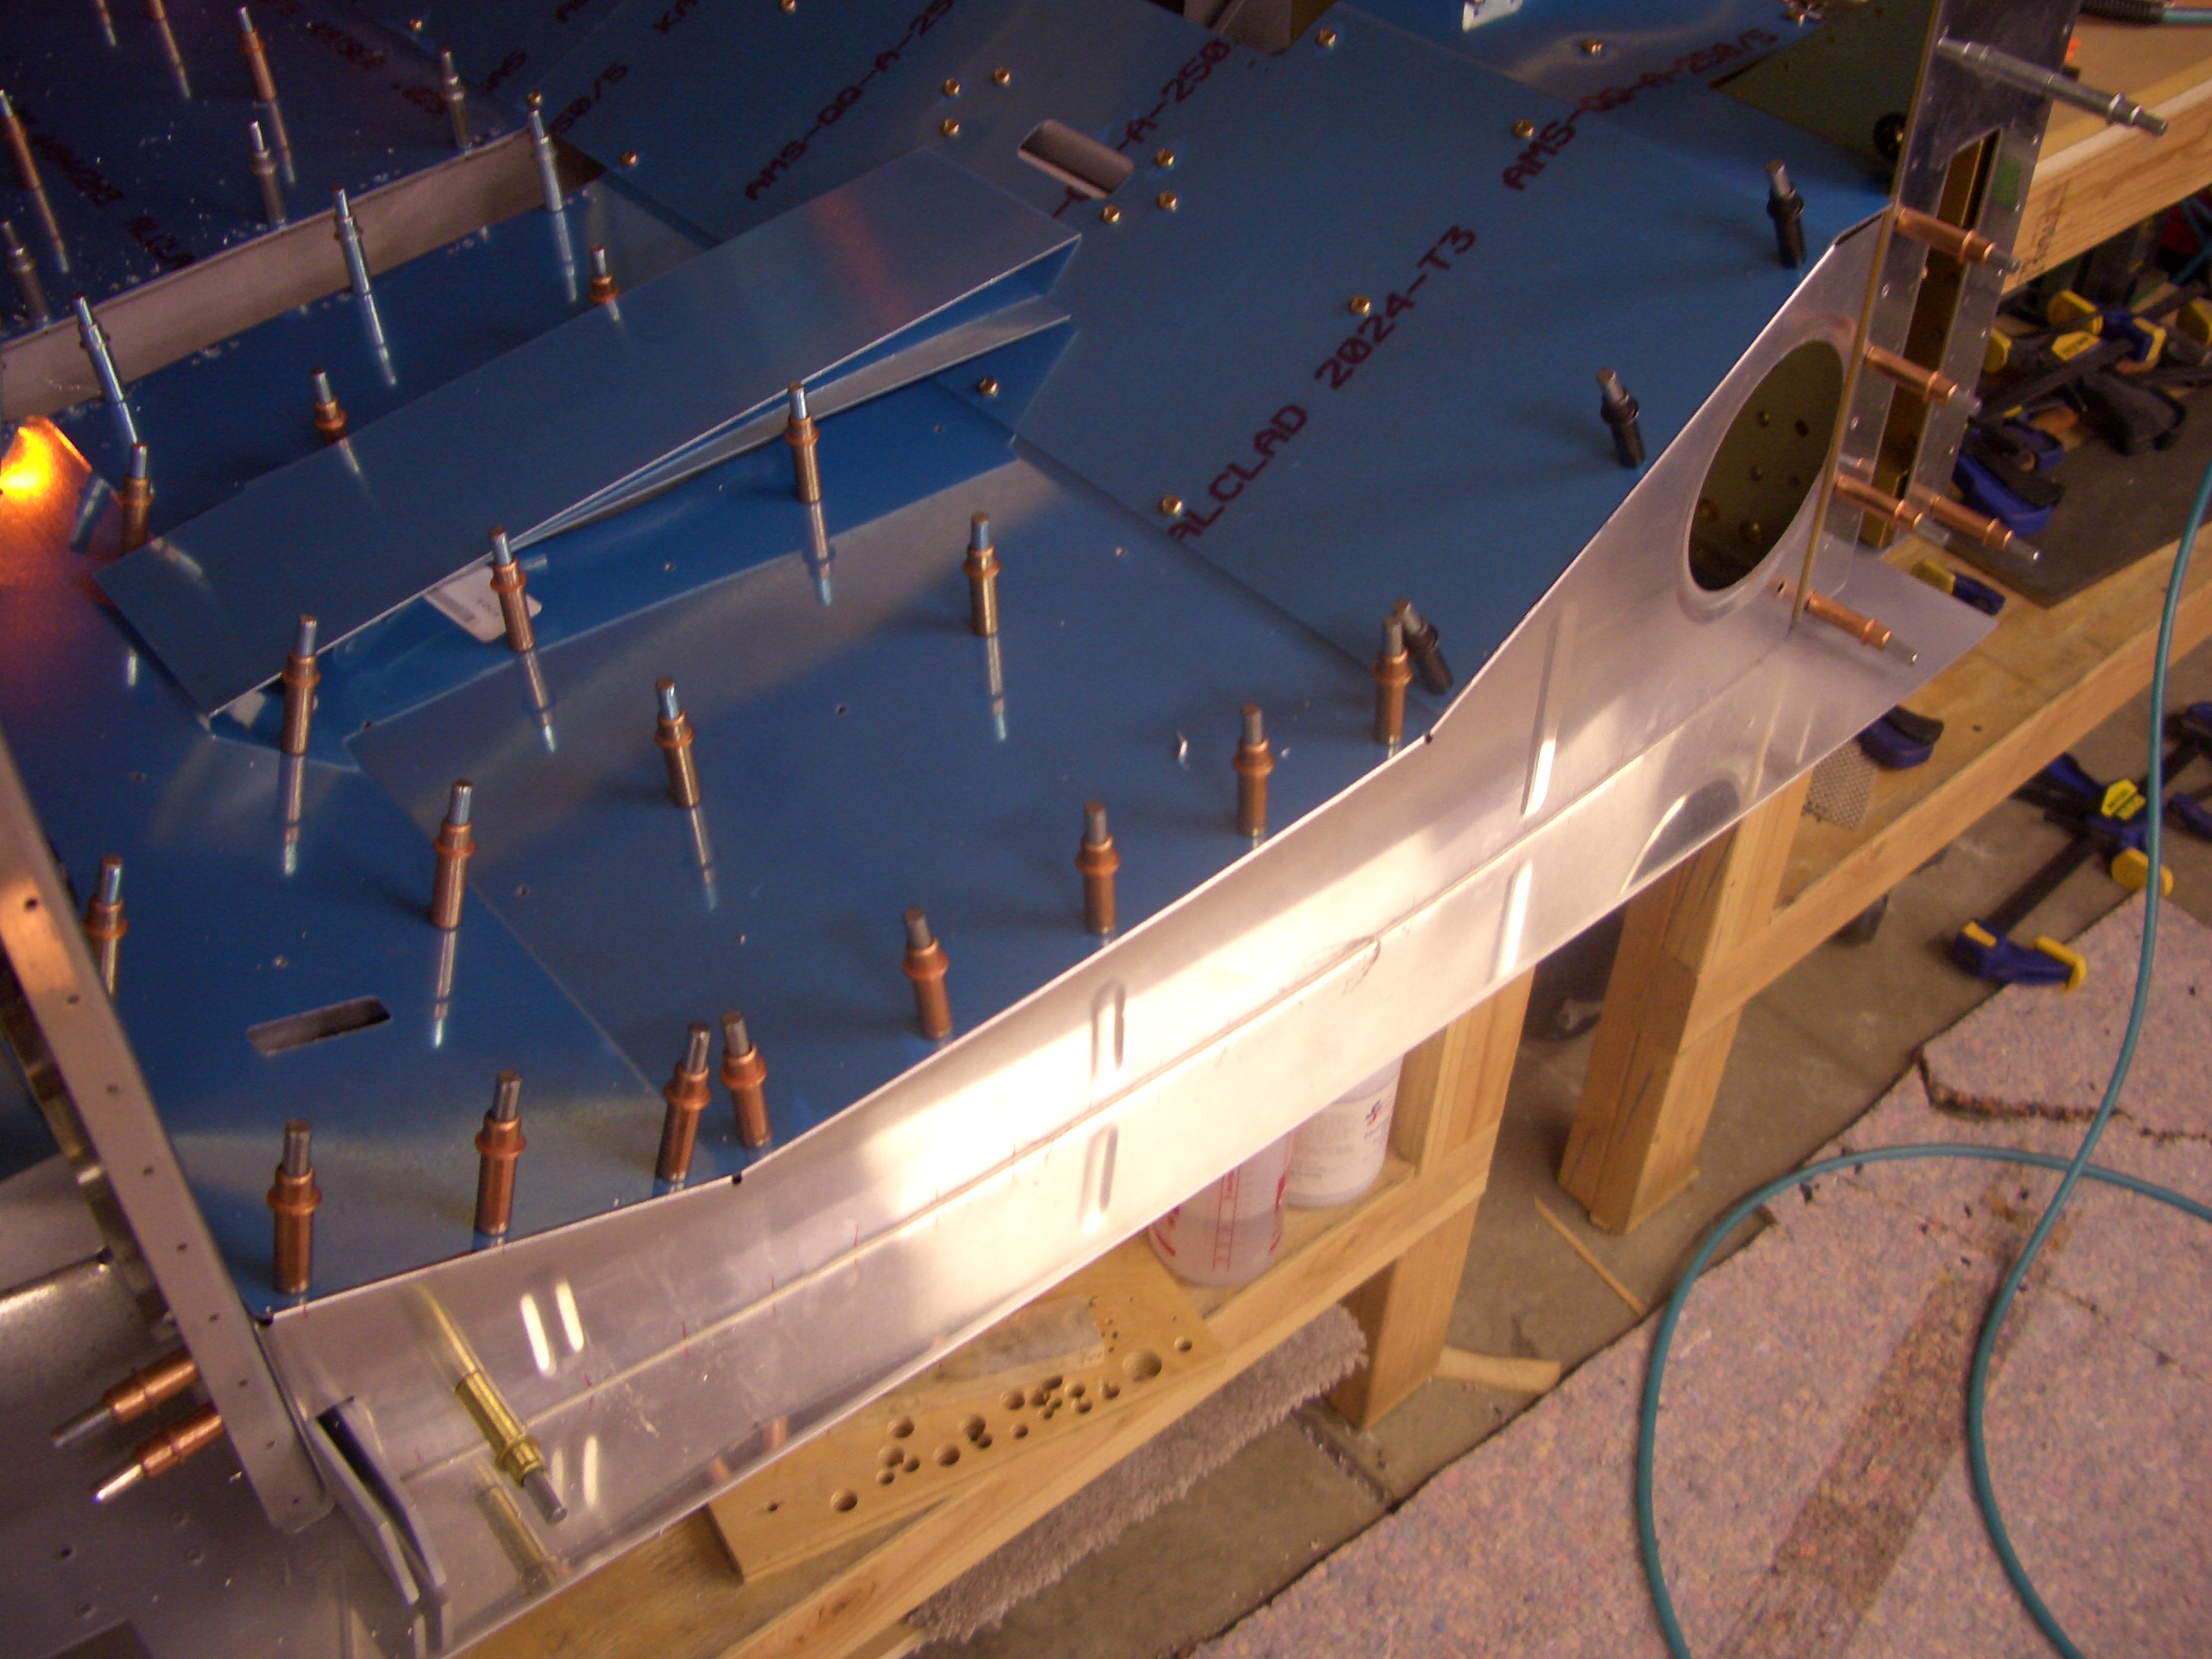
I started final assembly of the center section this morning. First up is to rivet the crotch strap brackets to the appropriate ribs. I used solid rivets here instead of the blind rivets called for in the plans. These can all be reached with the squeezer when the ribs are out in the open like this.
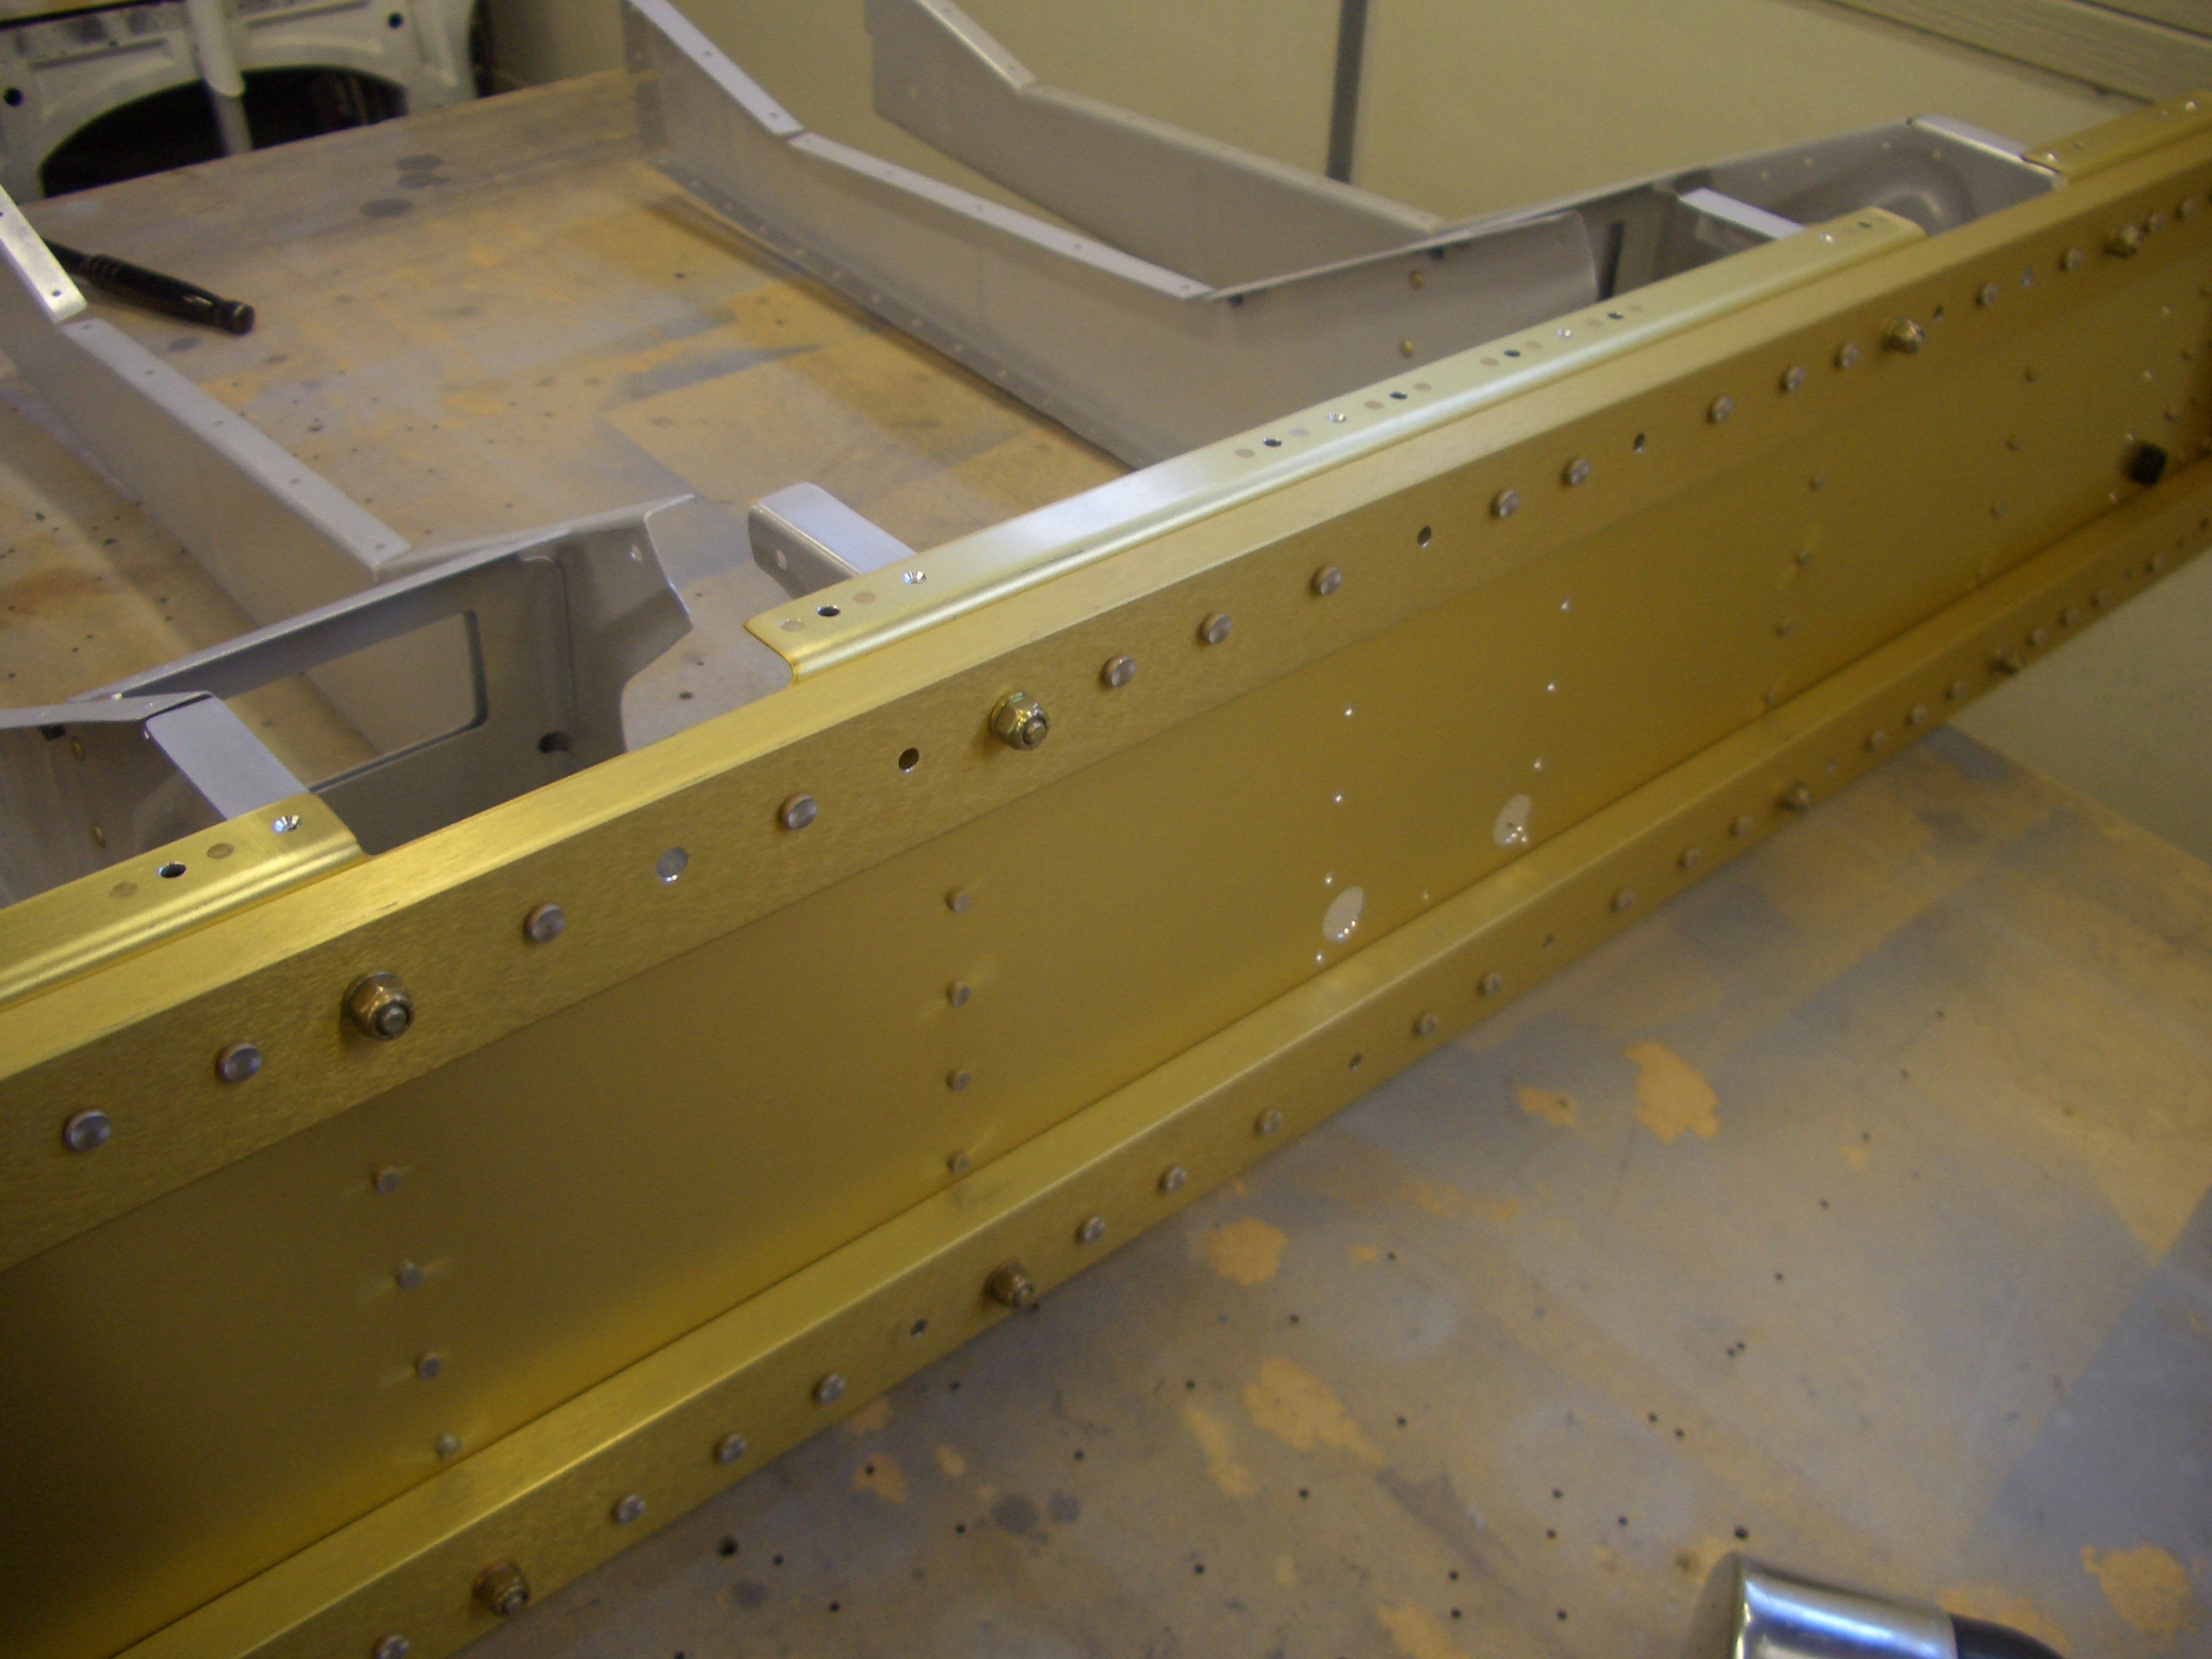
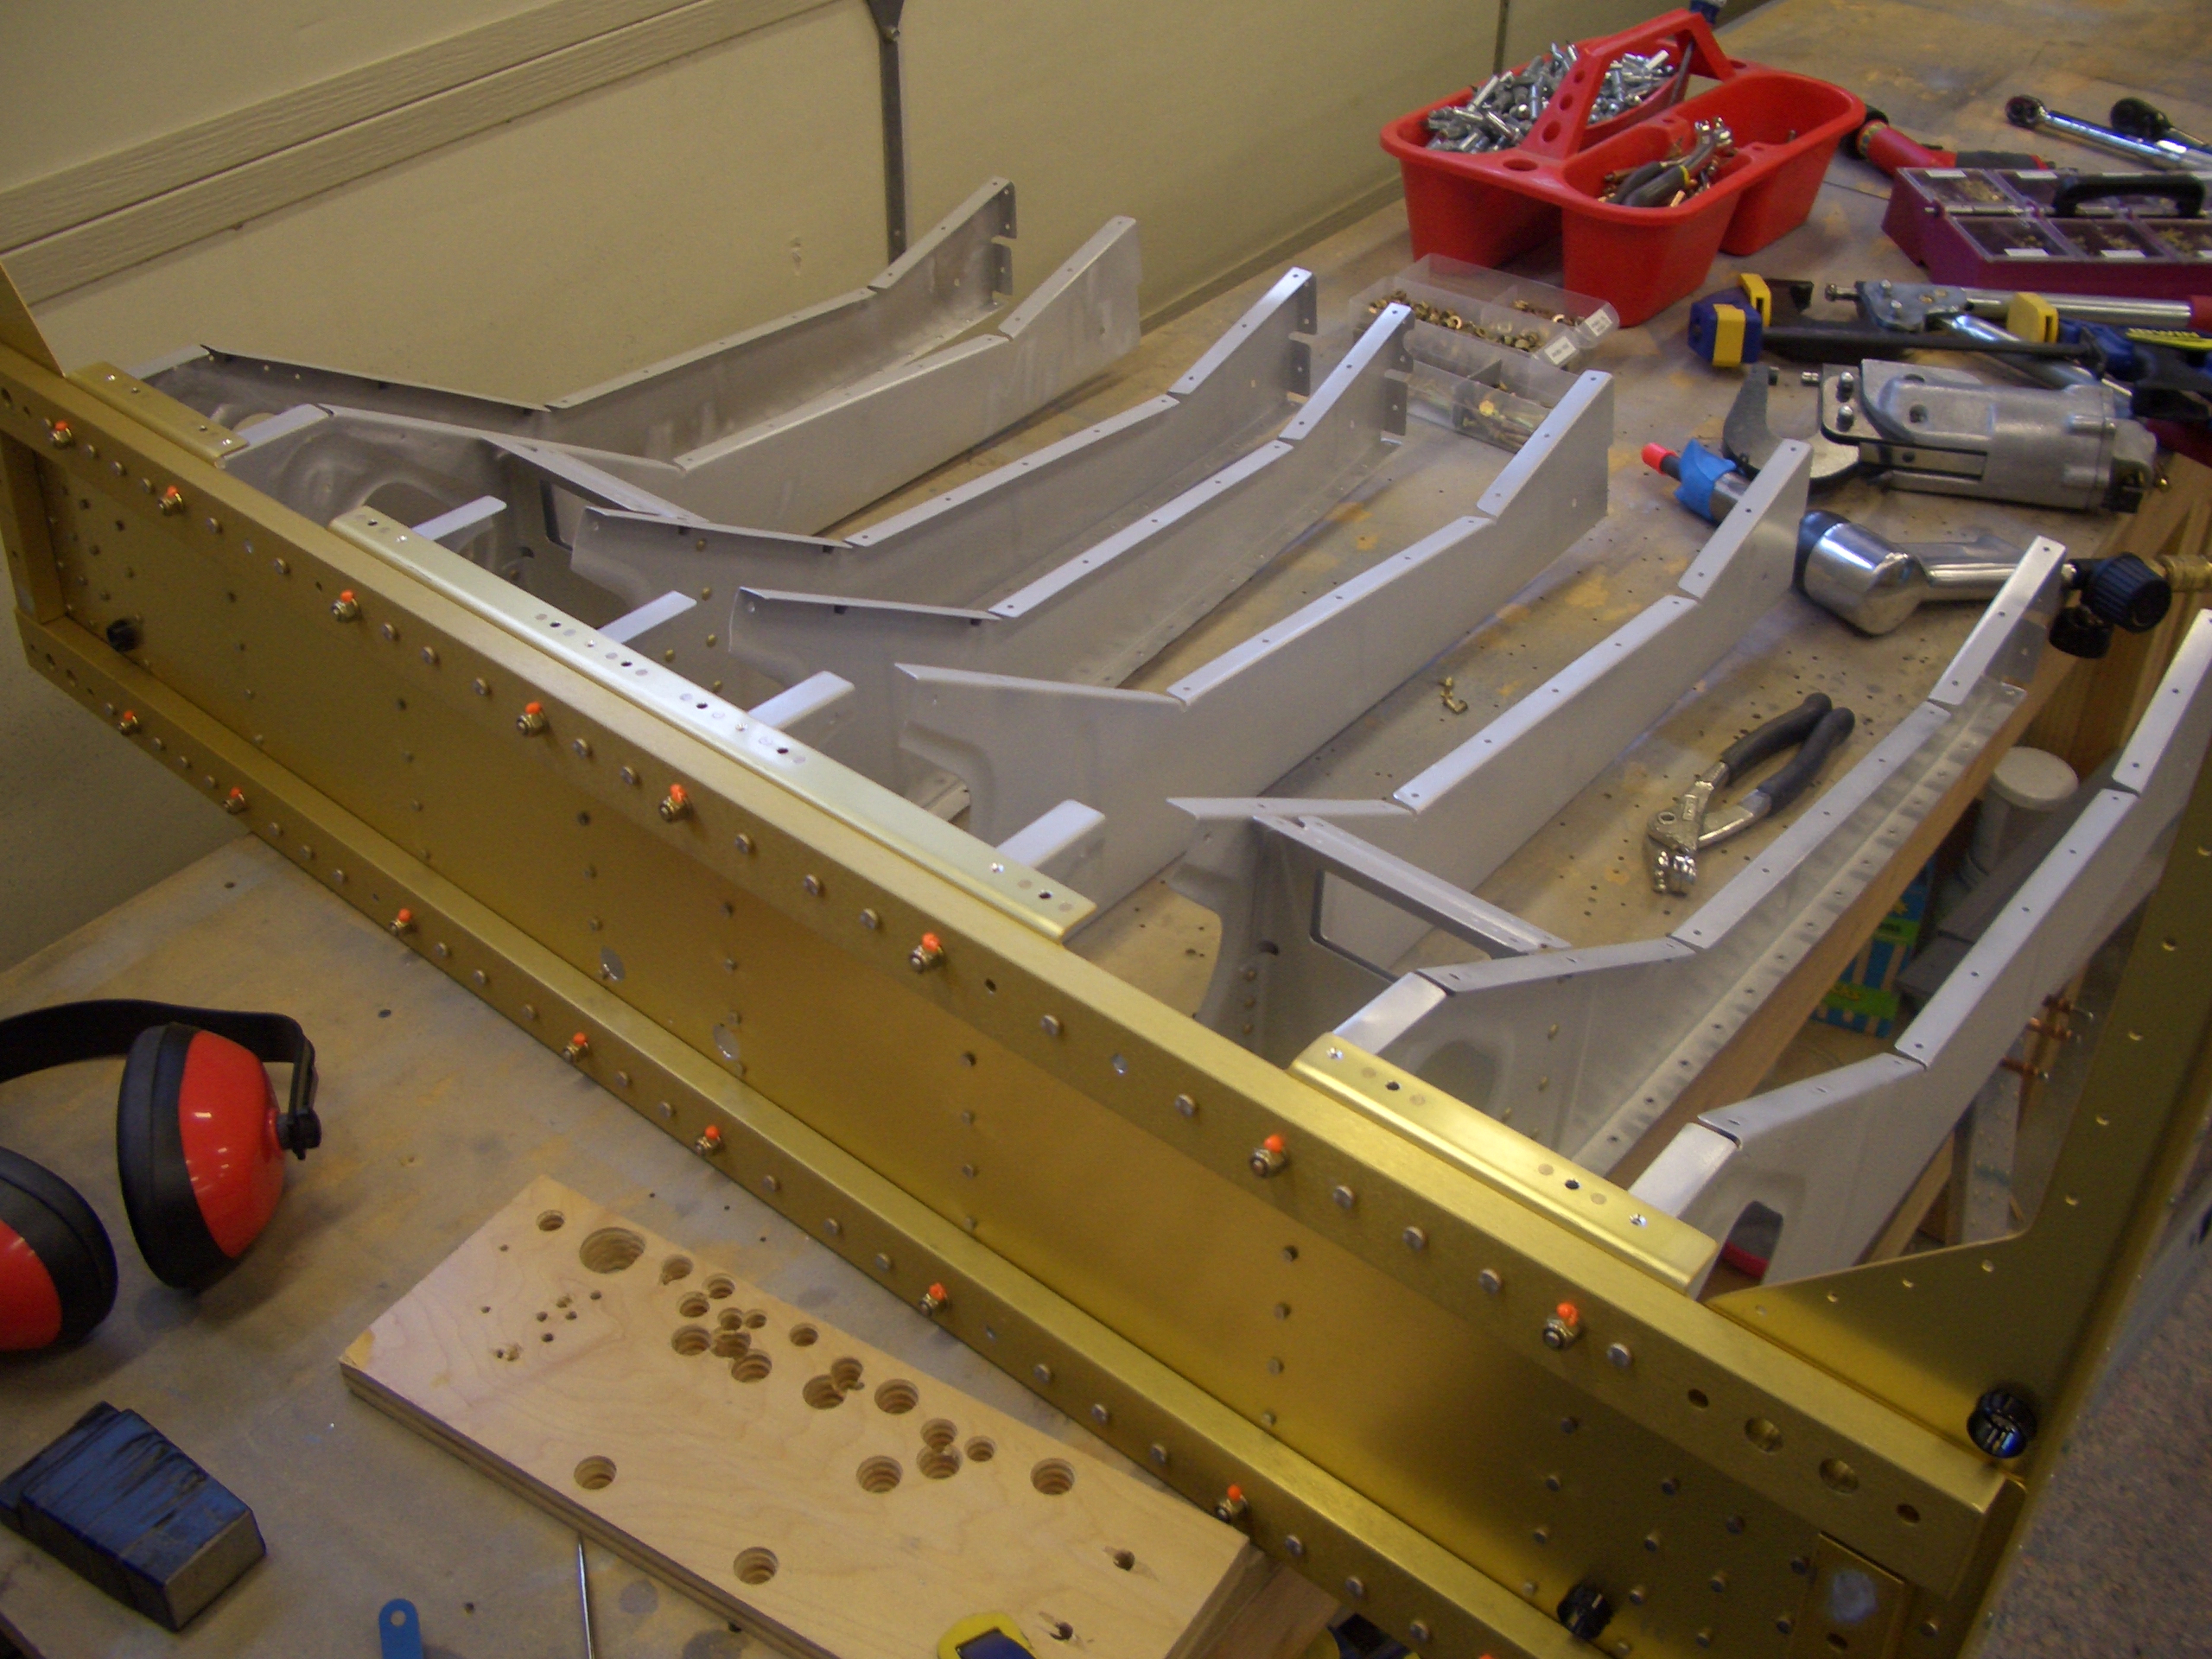
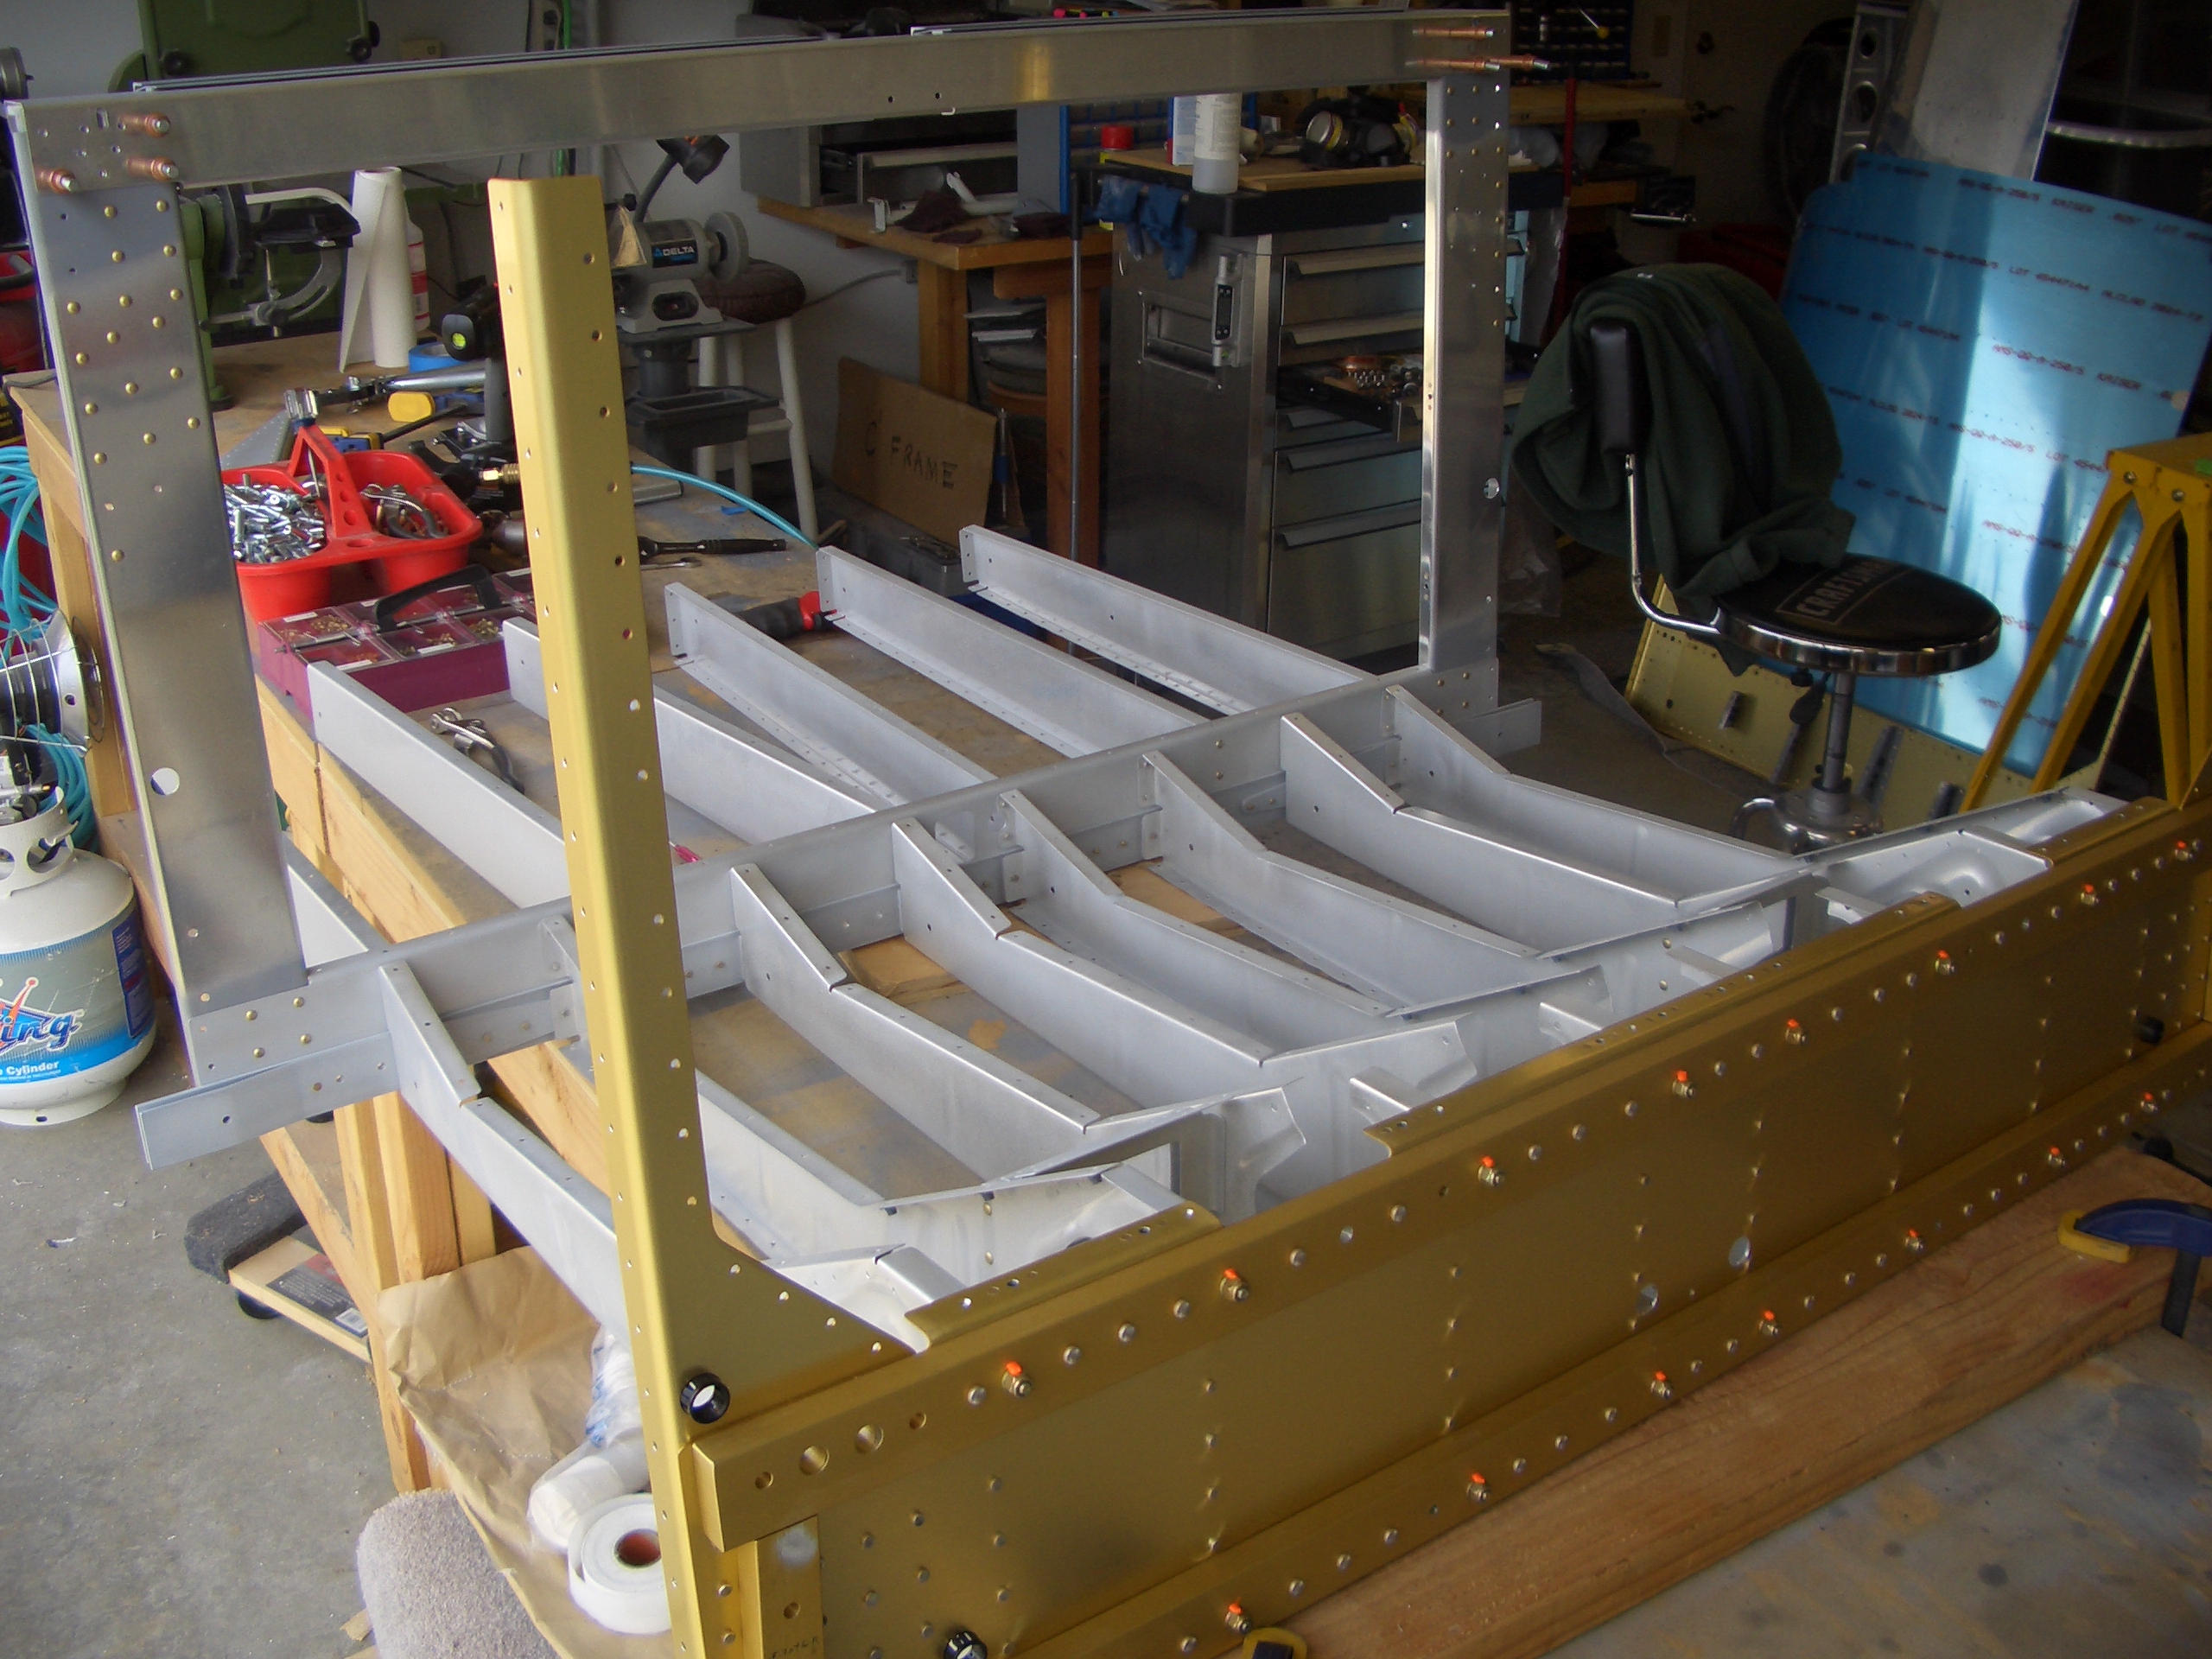
Jenn graciously offered to help me rivet part of the center section (after midnight no less). We made it through a fair amount before Jenn’s wrist hurt too much from operating the gun. Hopefully we can finish this up tomorrow so that I can start working on joining the center and aft fuselage segments.
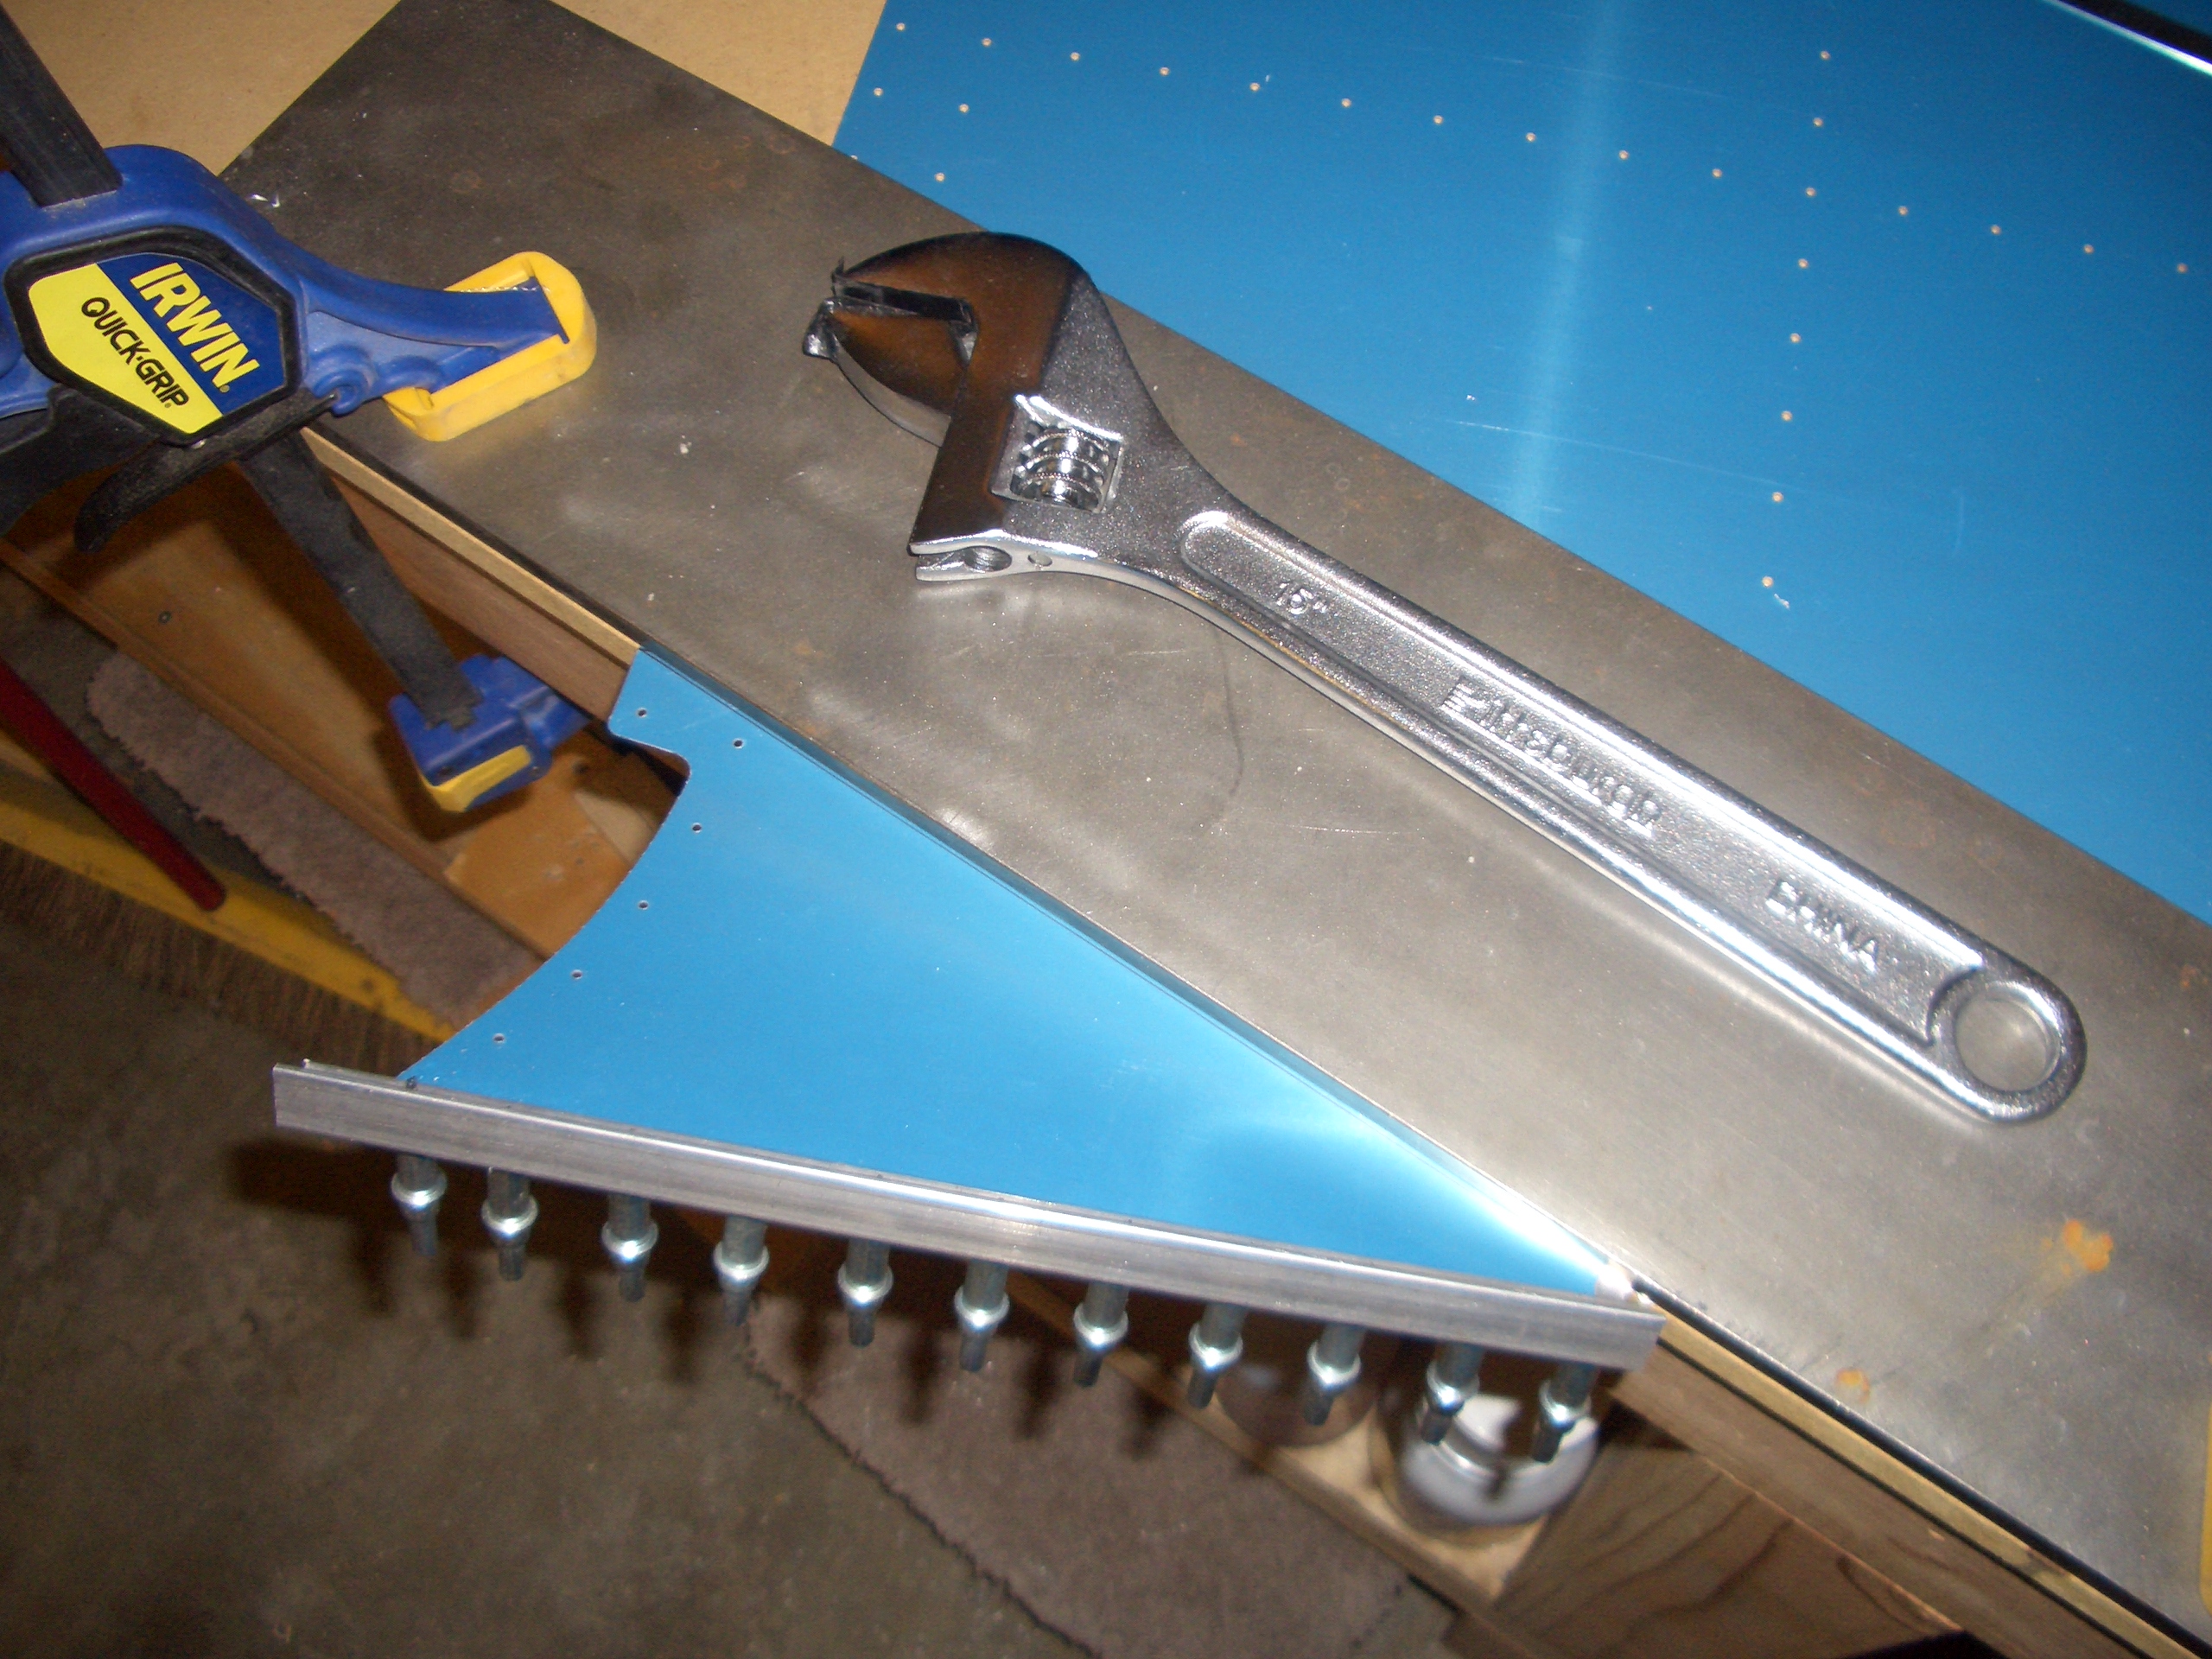
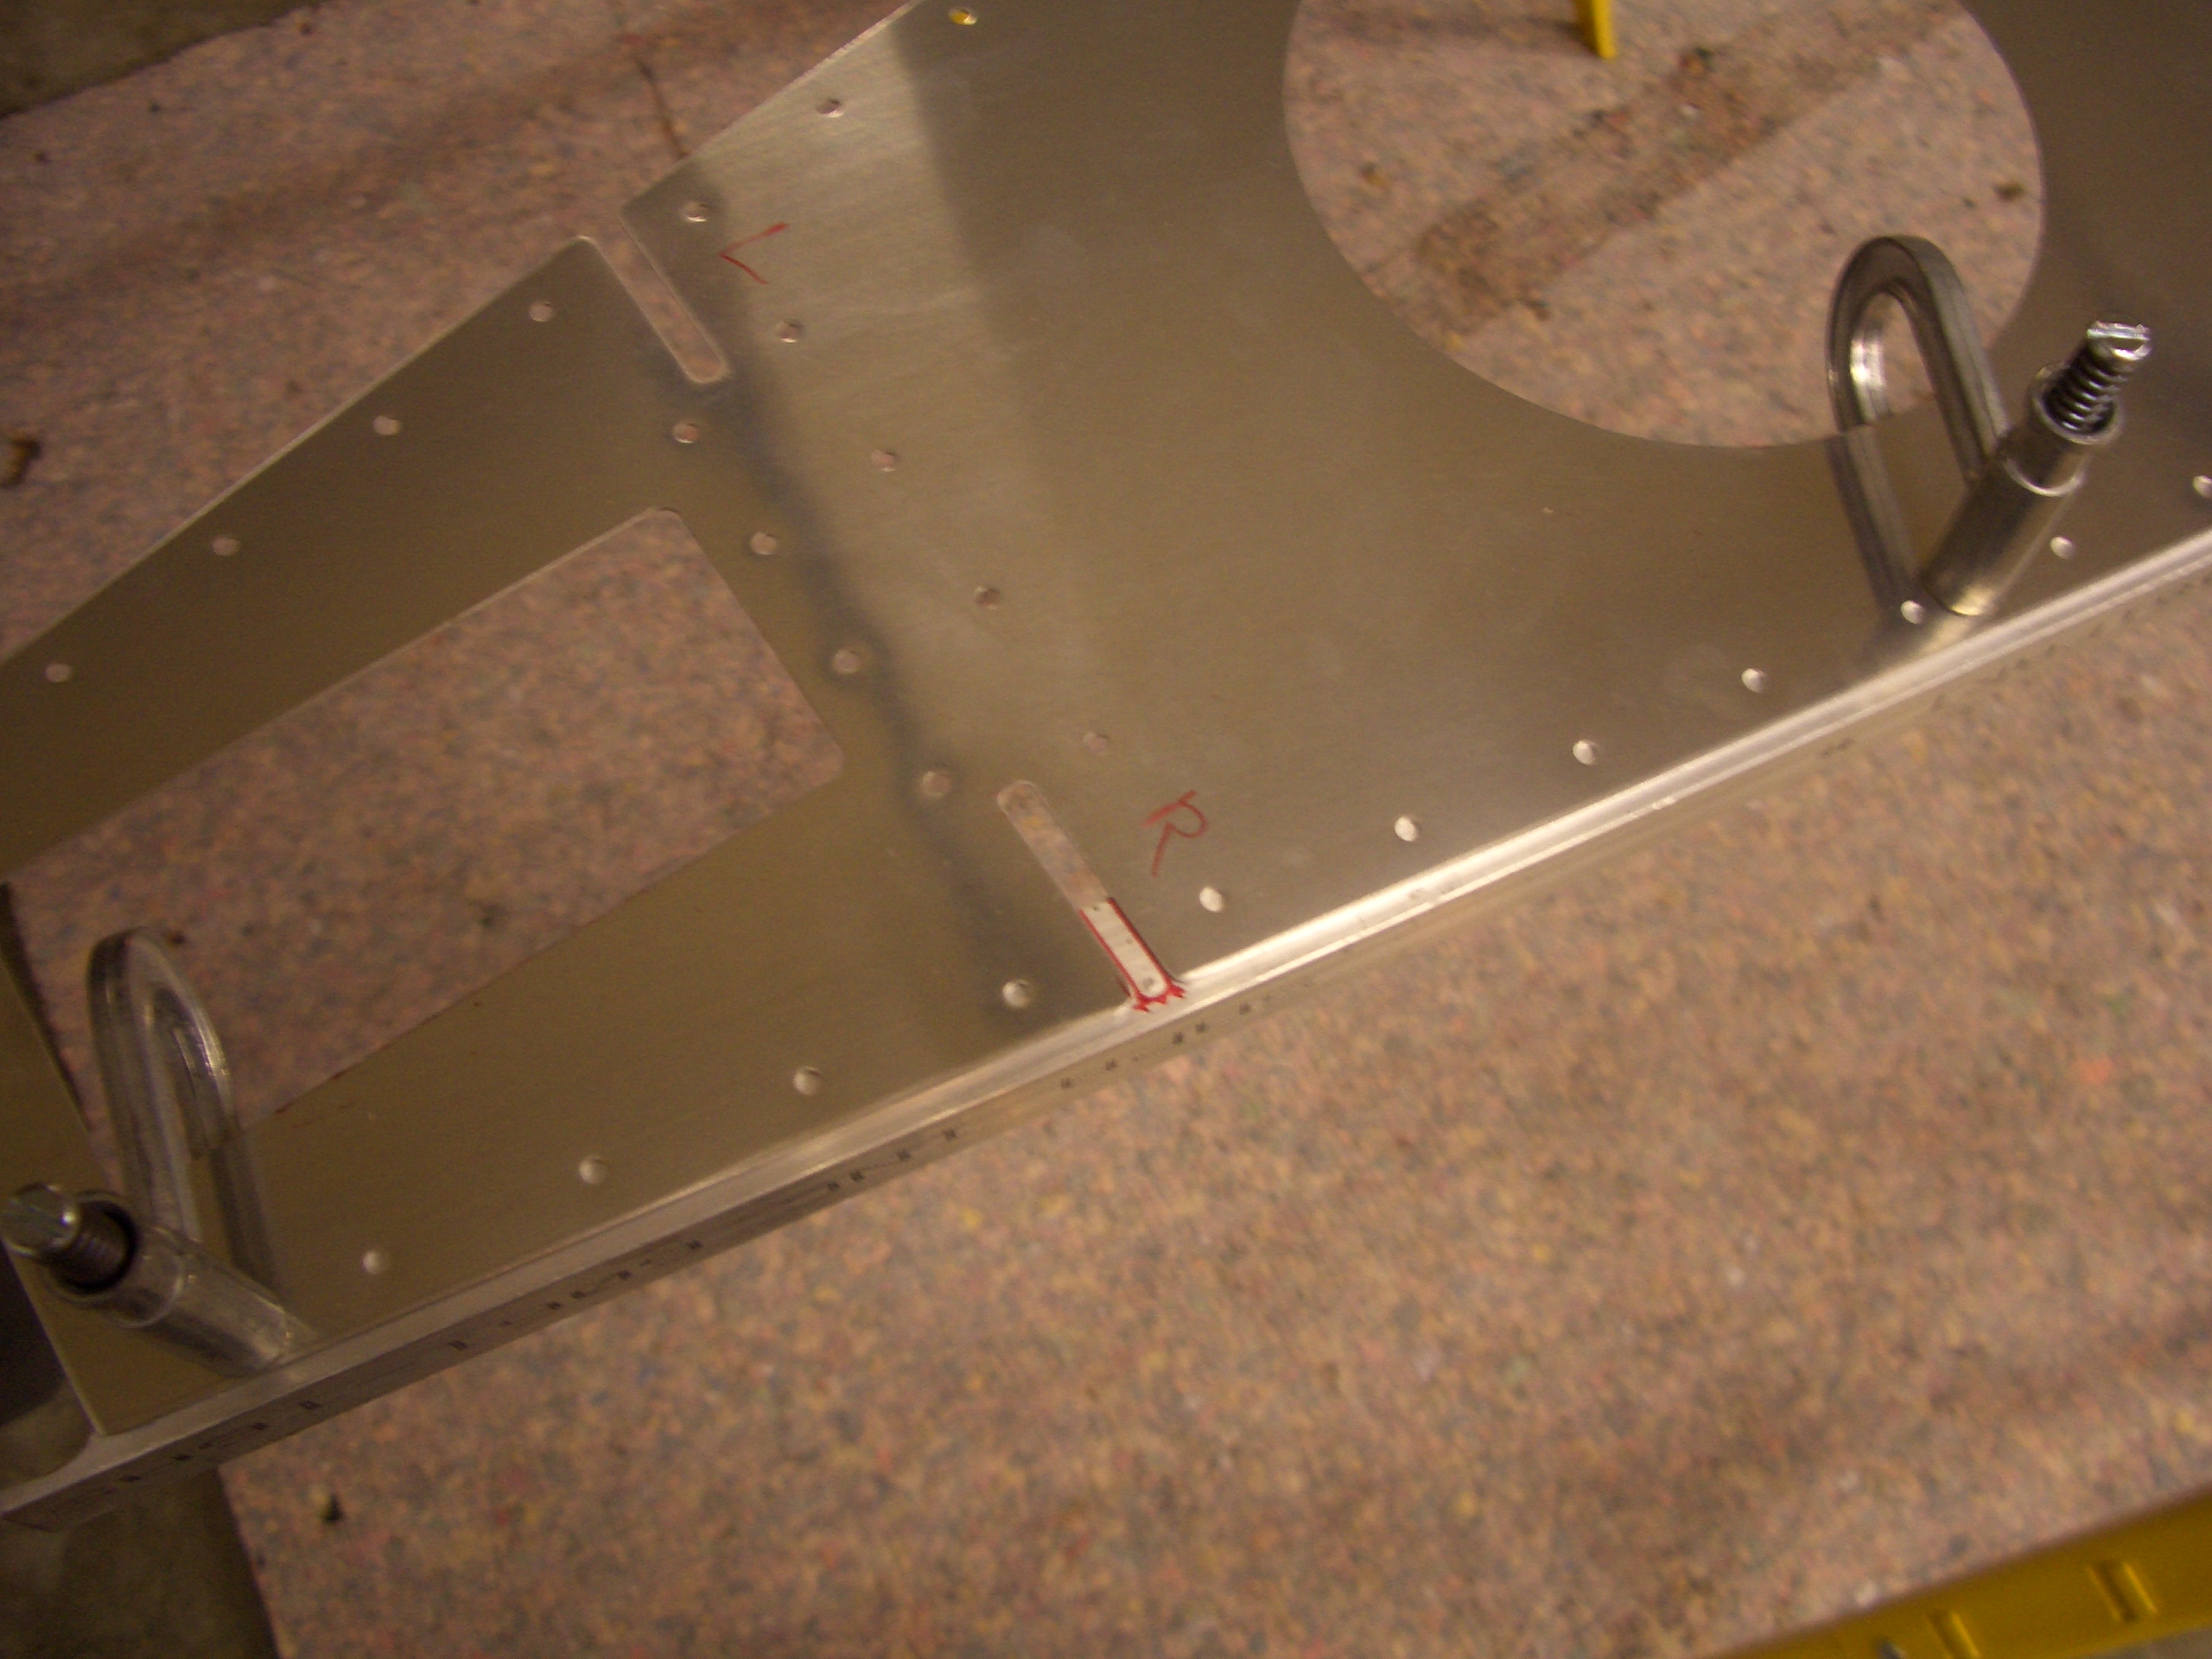
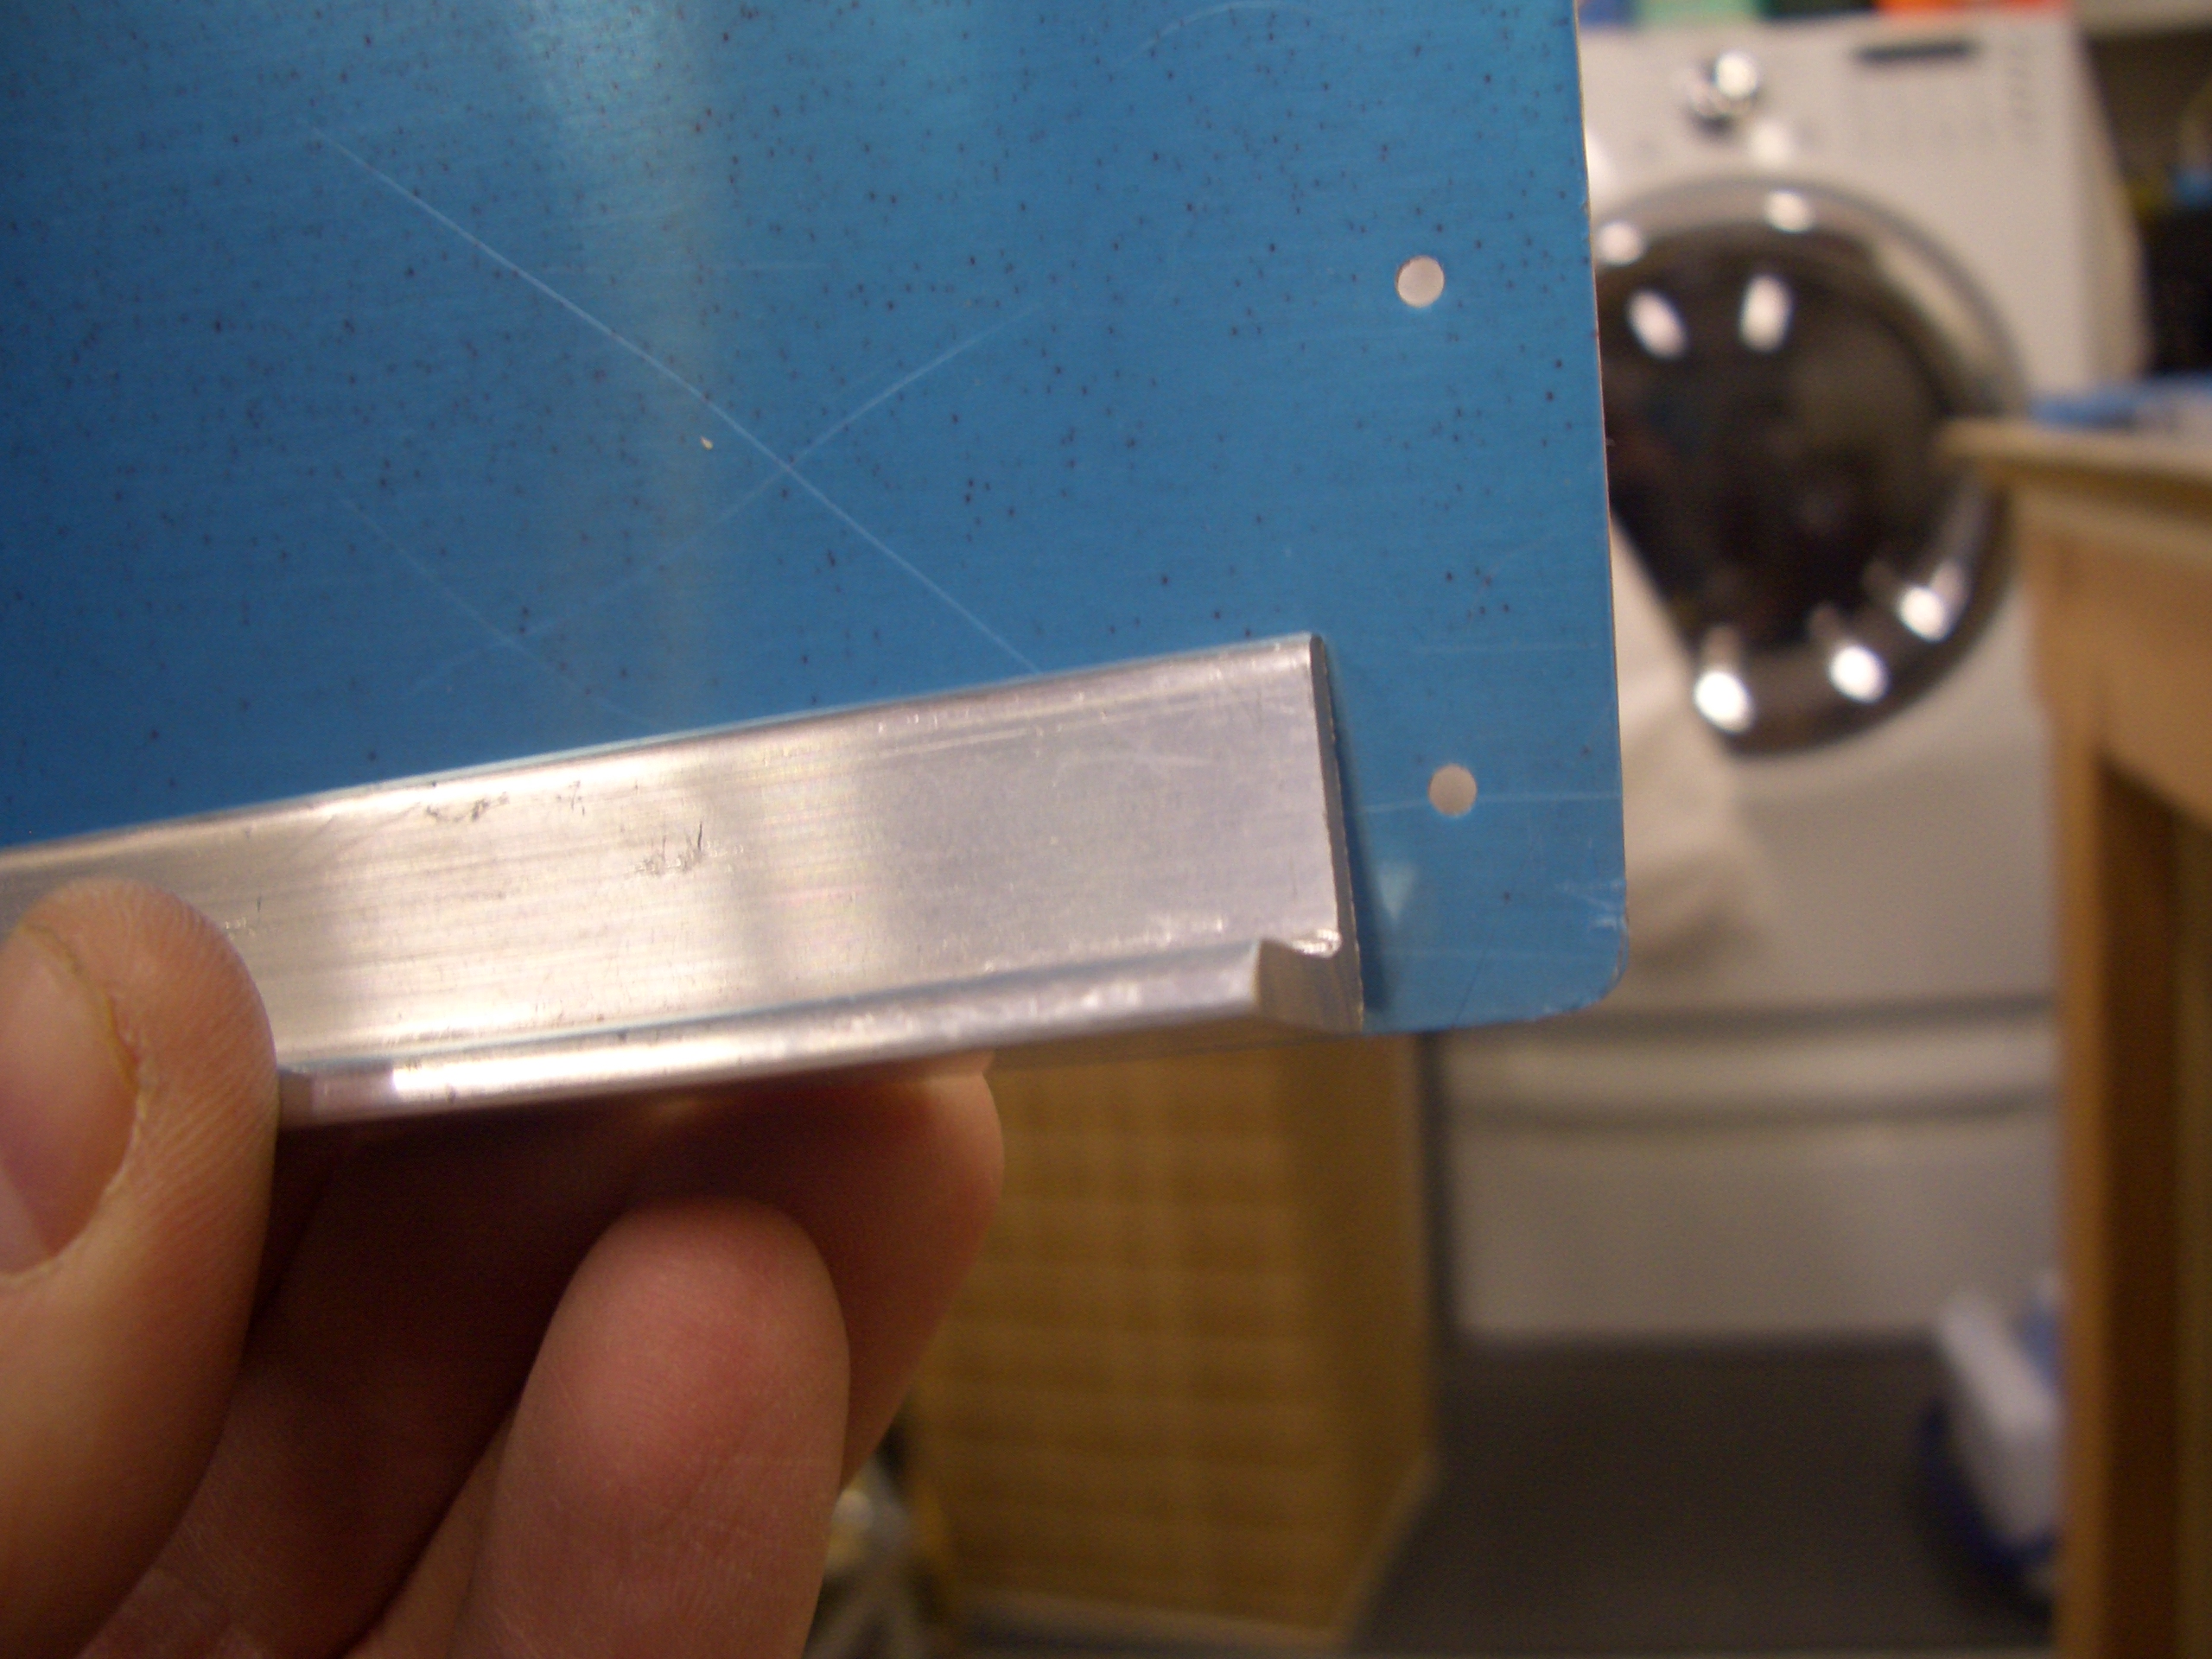
The canopy rails need to be modified. The plans specify slightly different modifications for the tip-up vs. the sliding canopy.
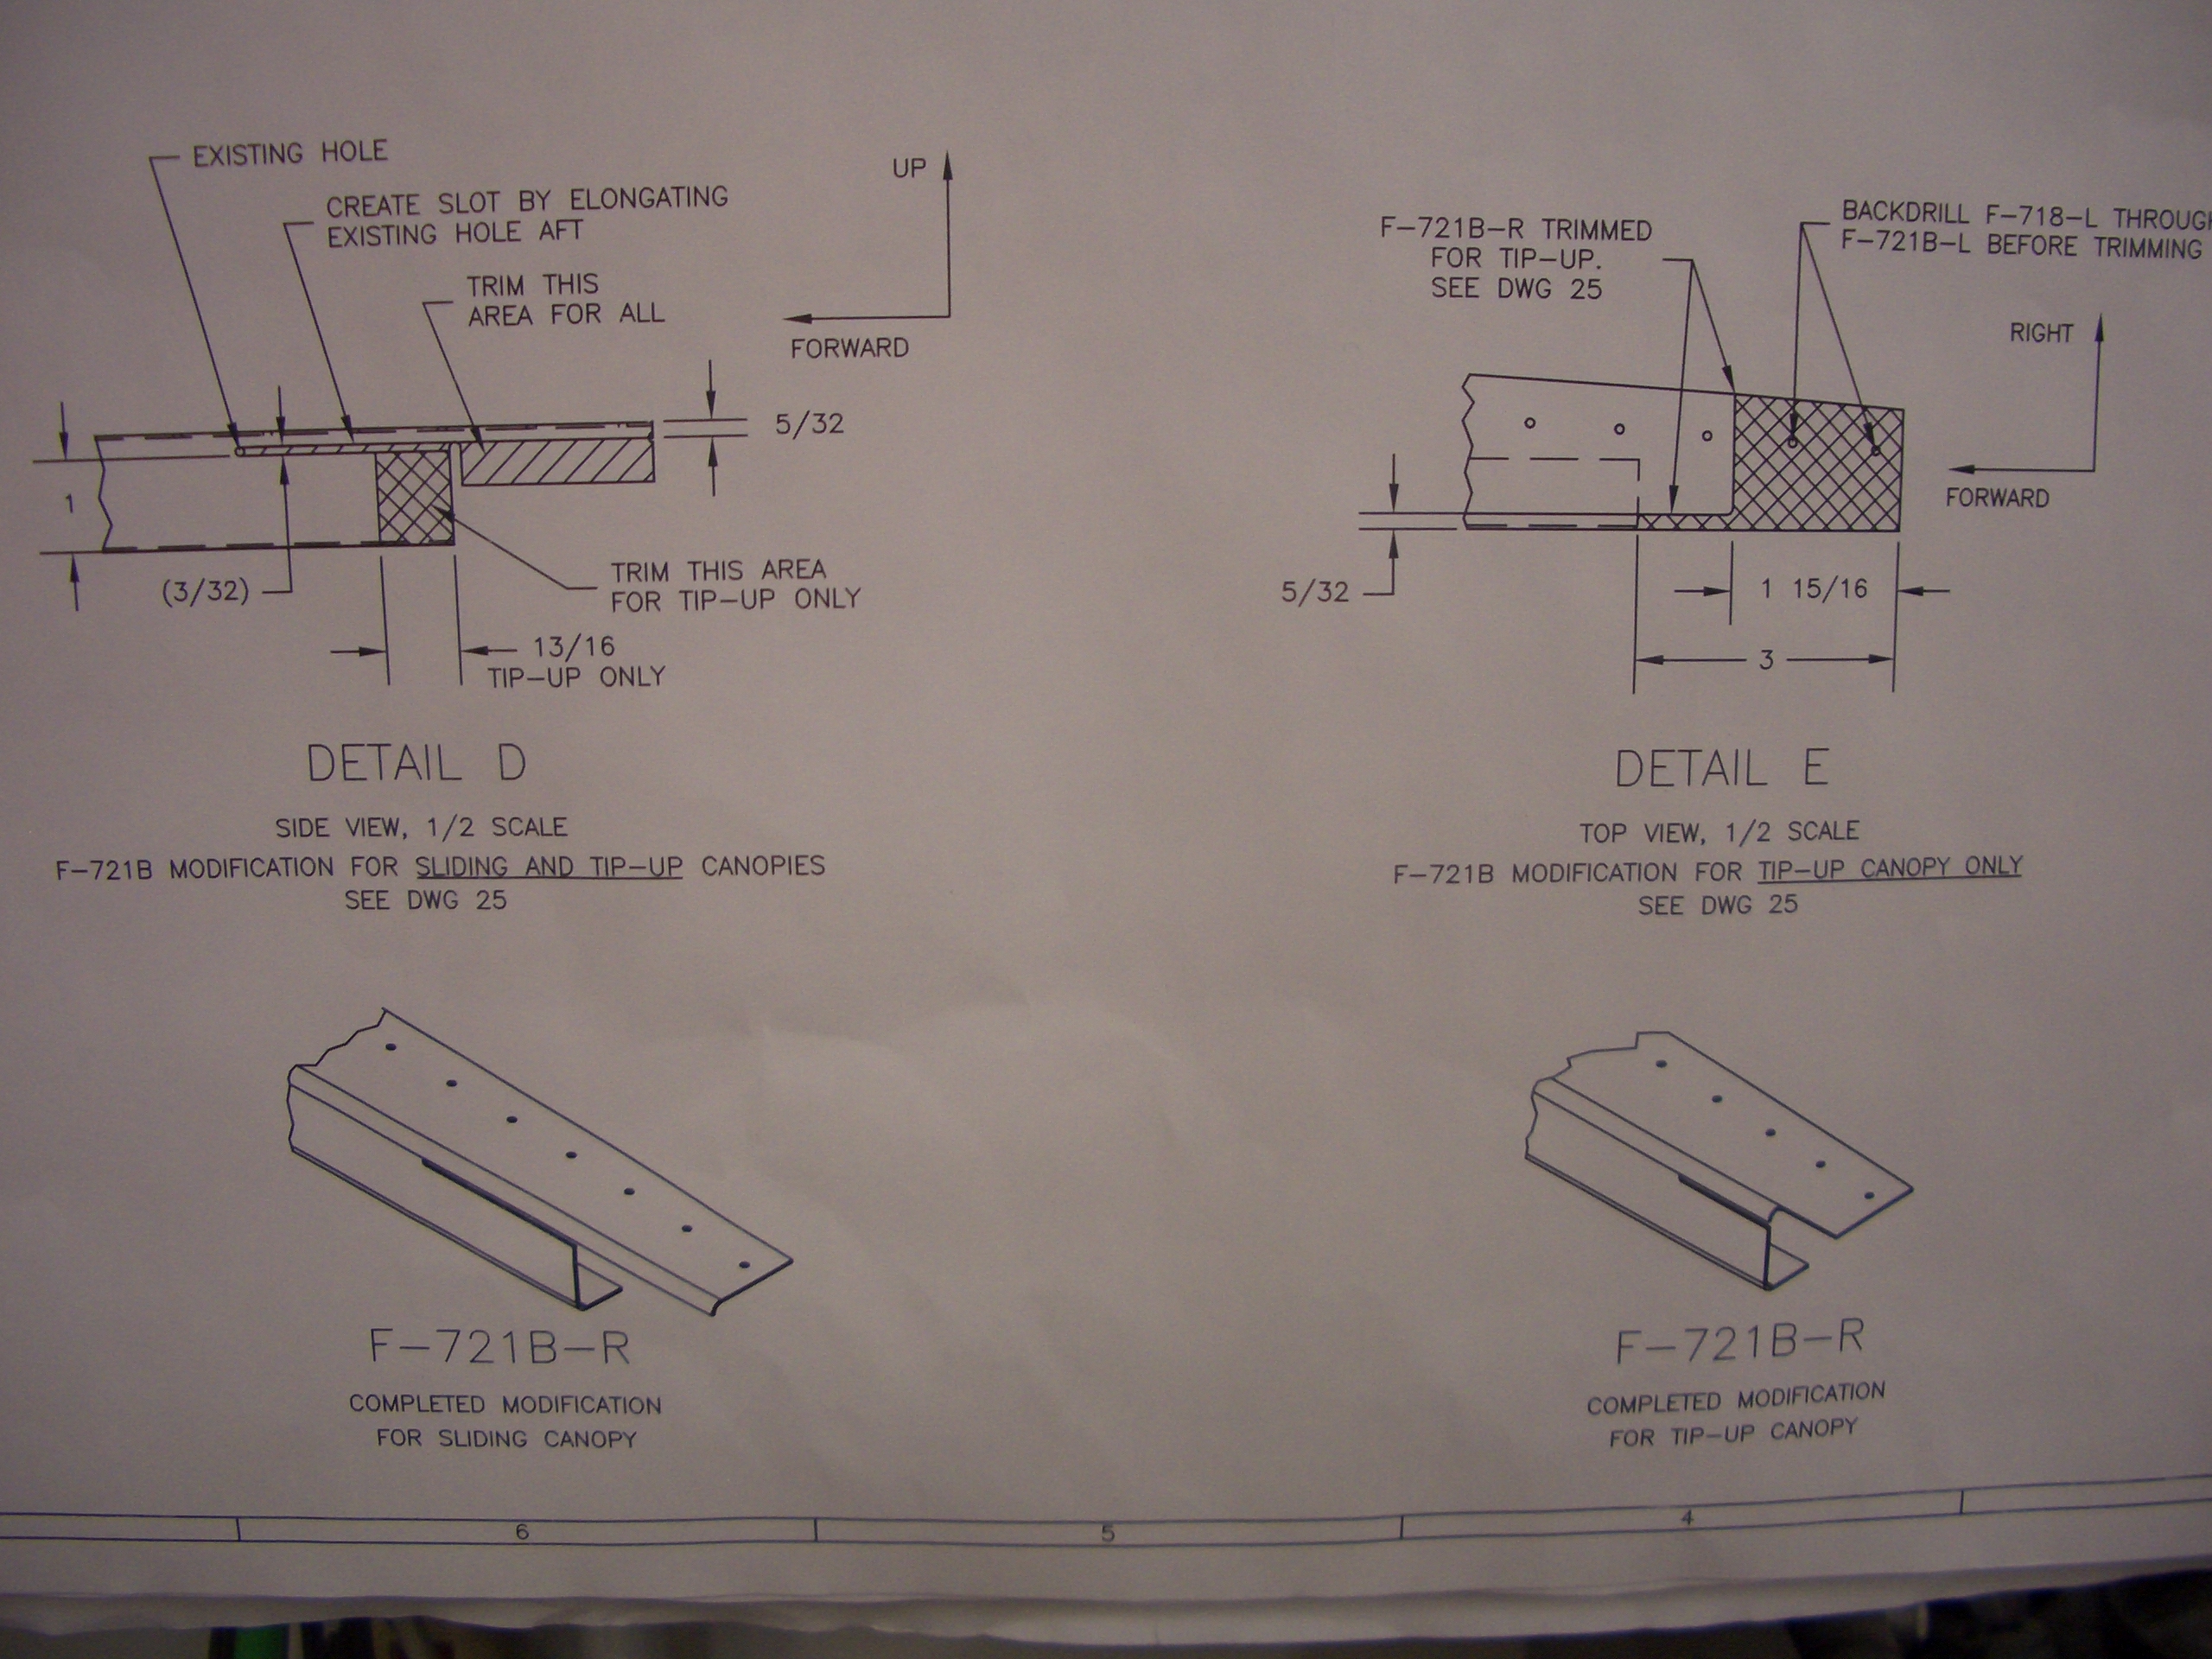
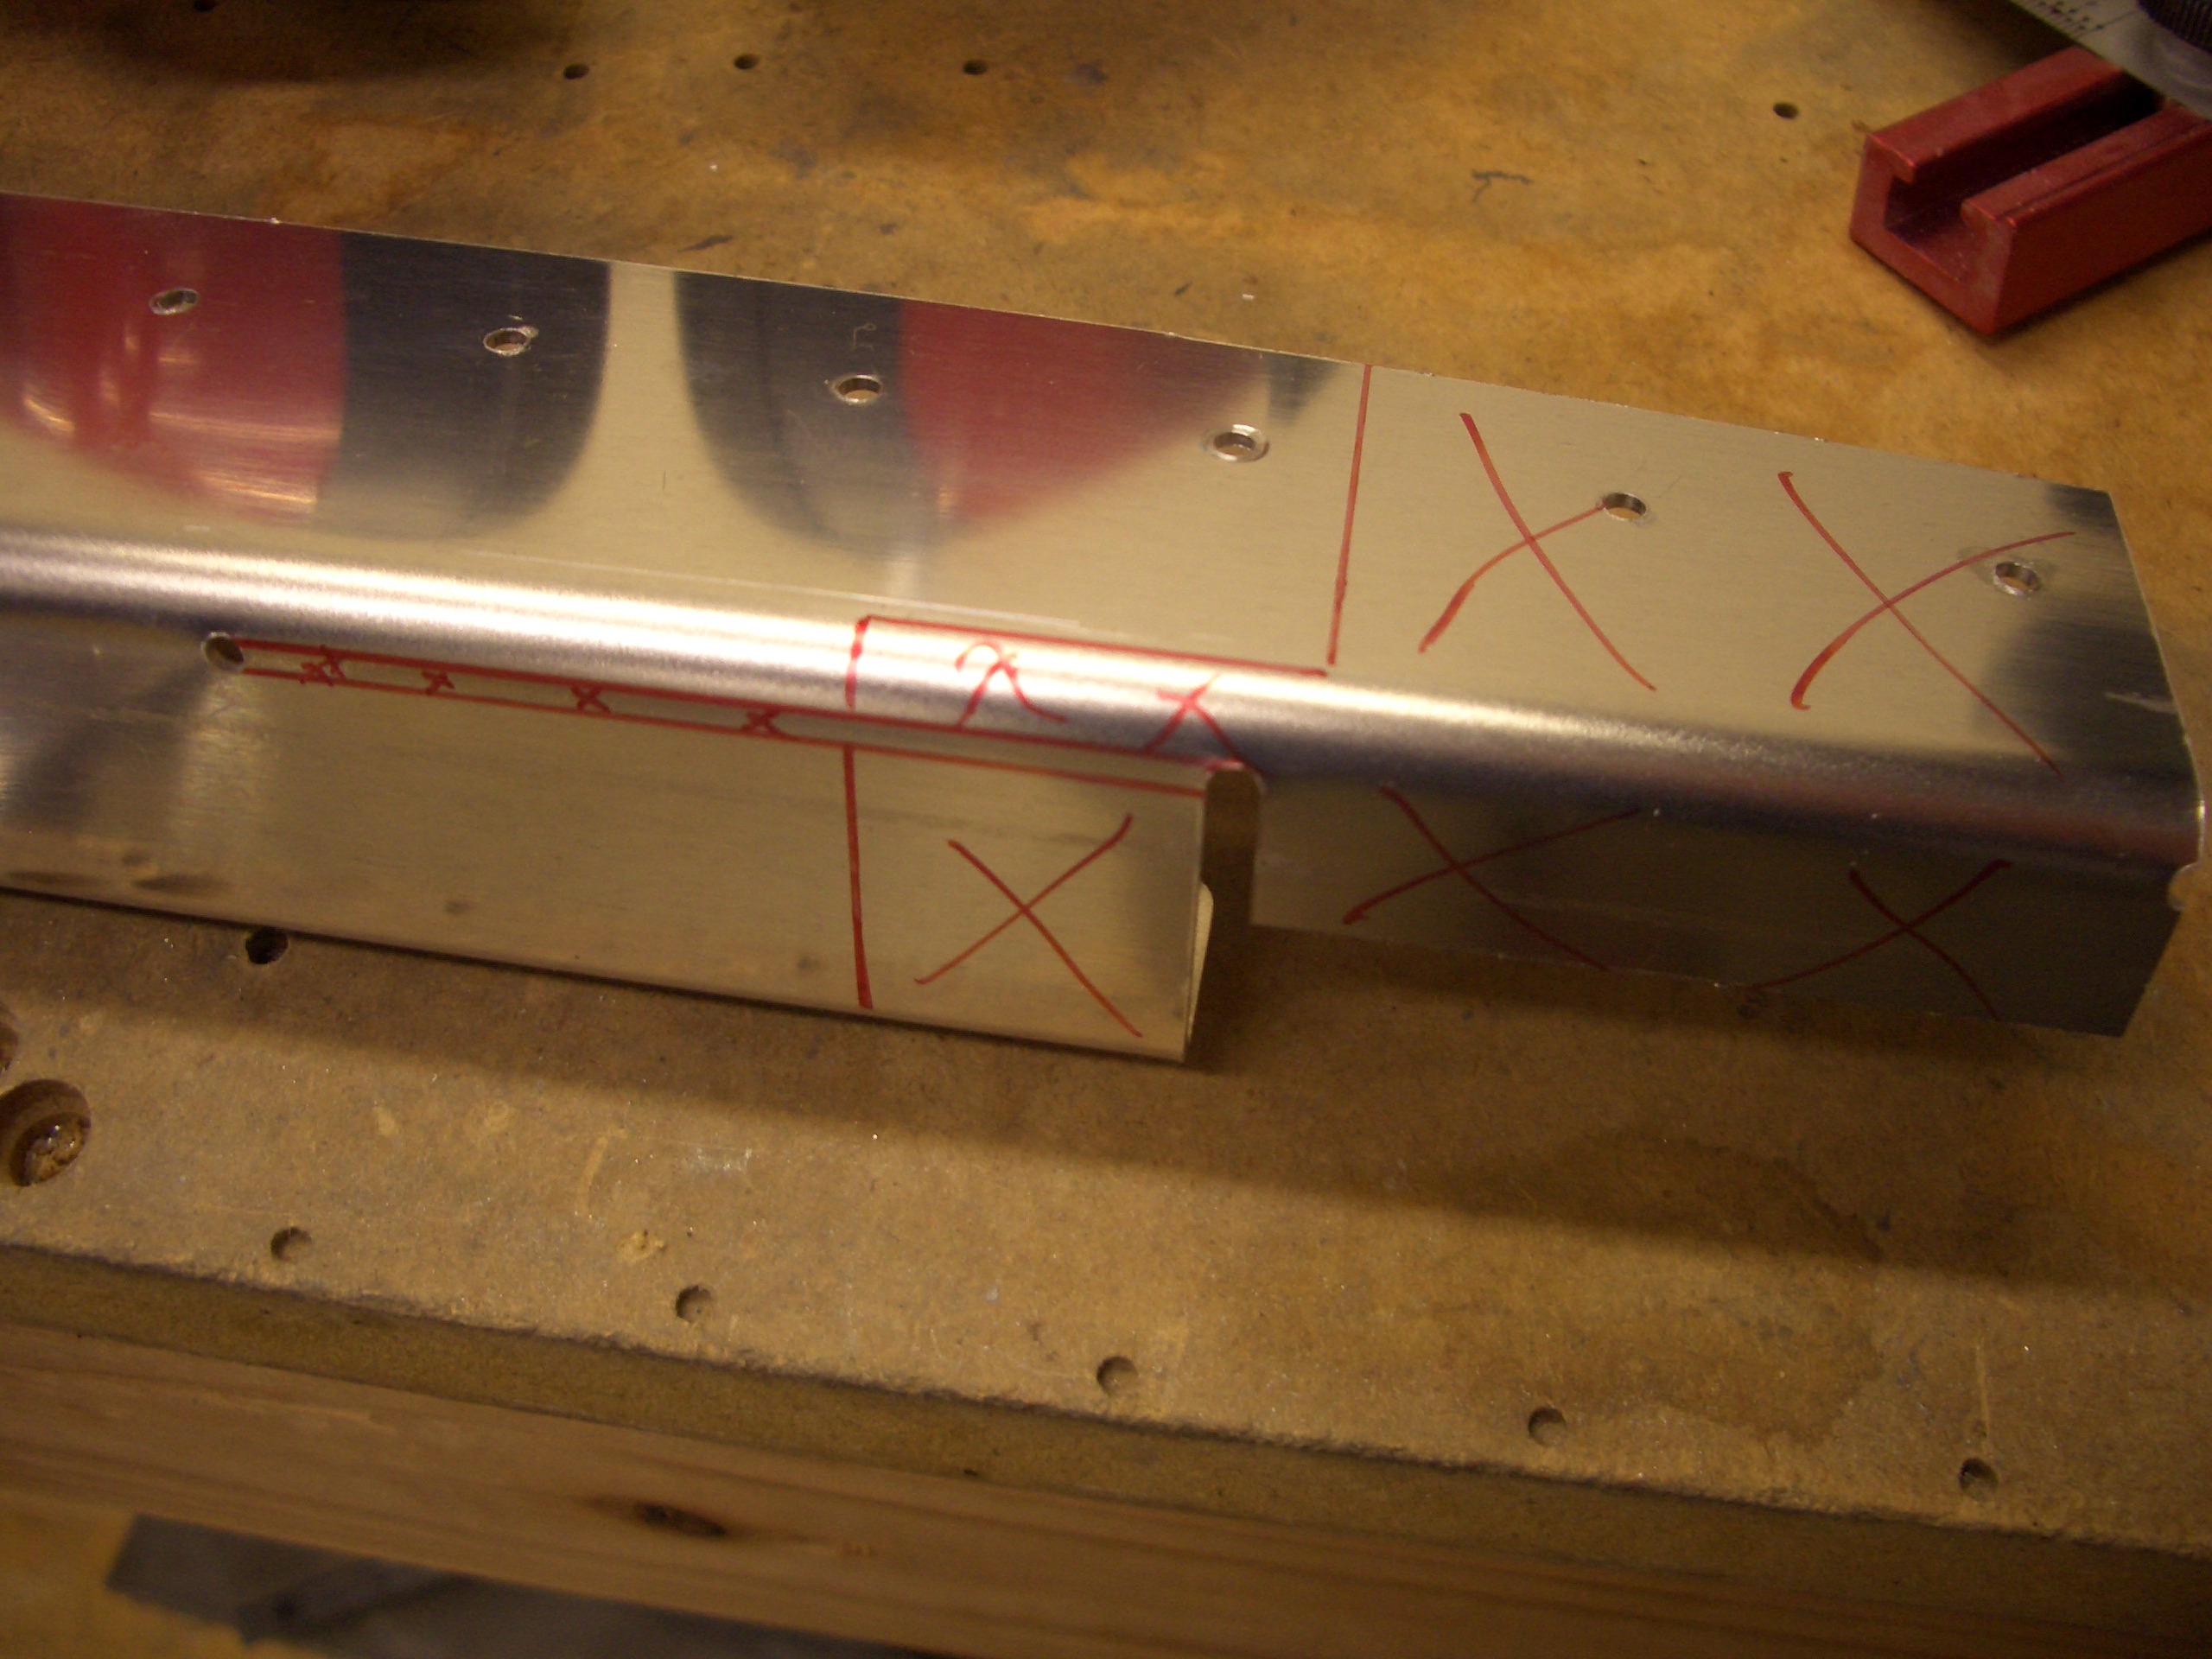
I’ve measured out and marked the areas to be removed.
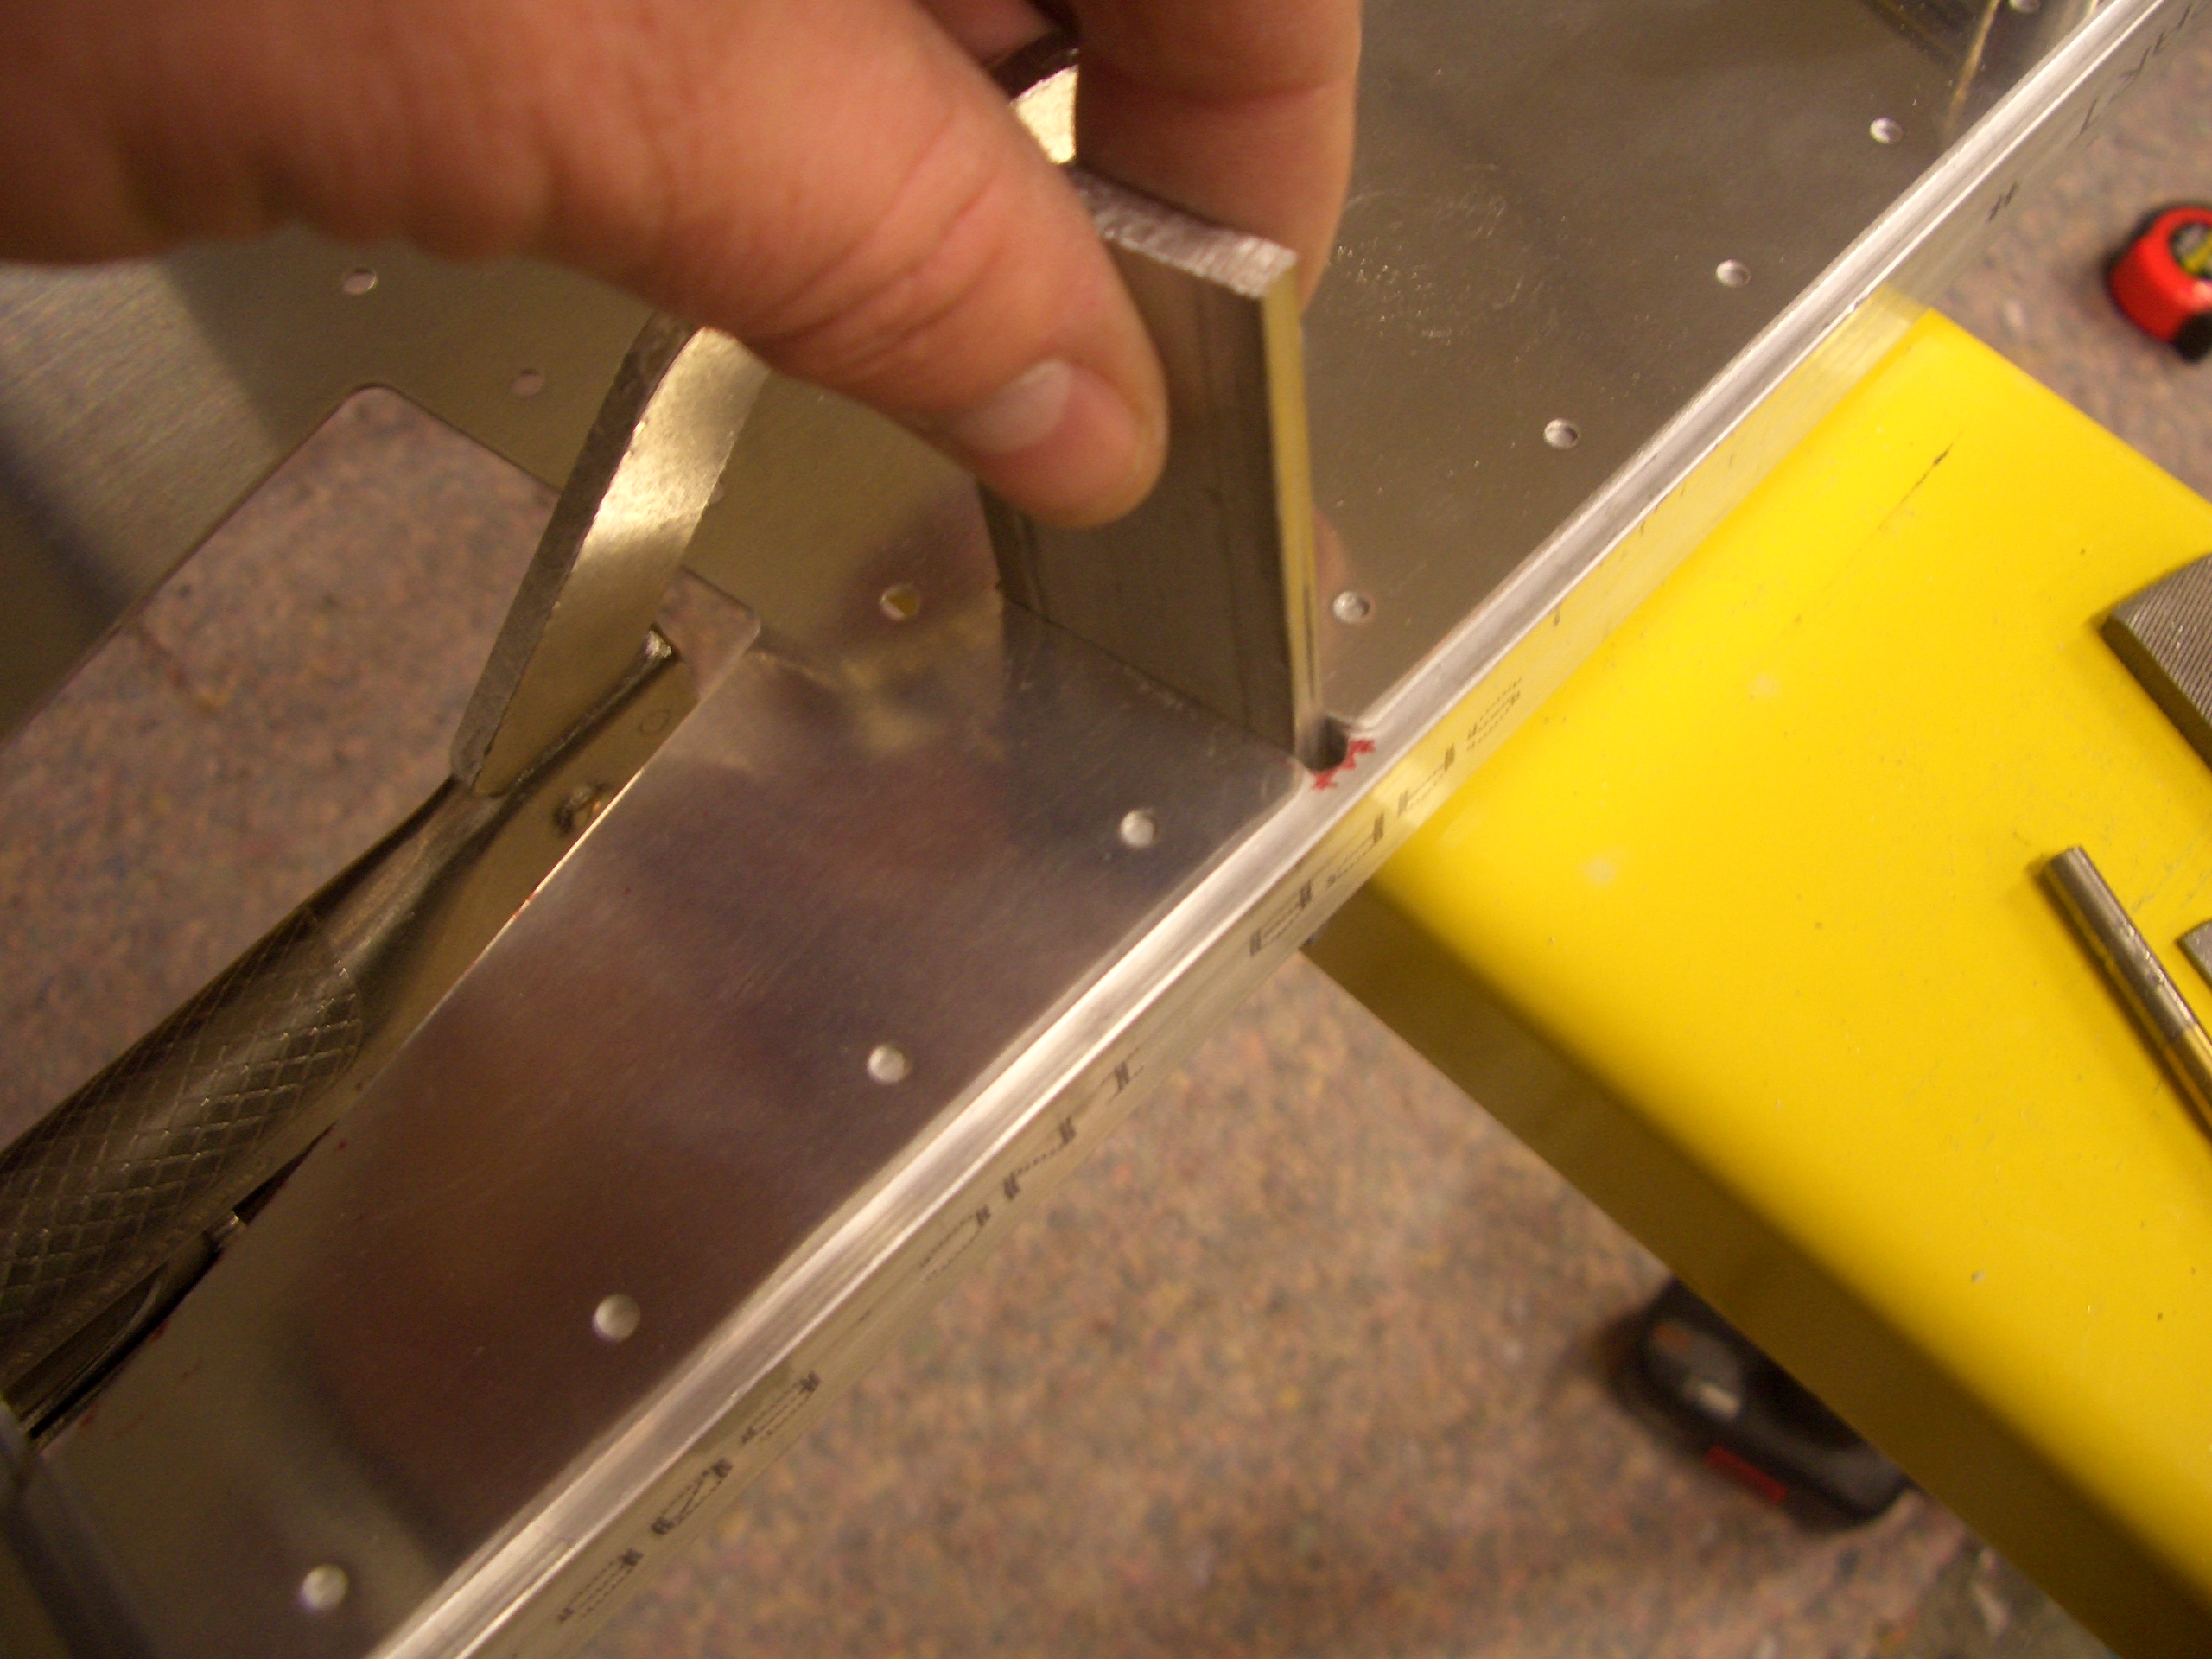
The cutoff wheel makes quick work of making distortion free cuts in the rail, but it can get away from you, so I kept it back from the line 1/16″ or so.
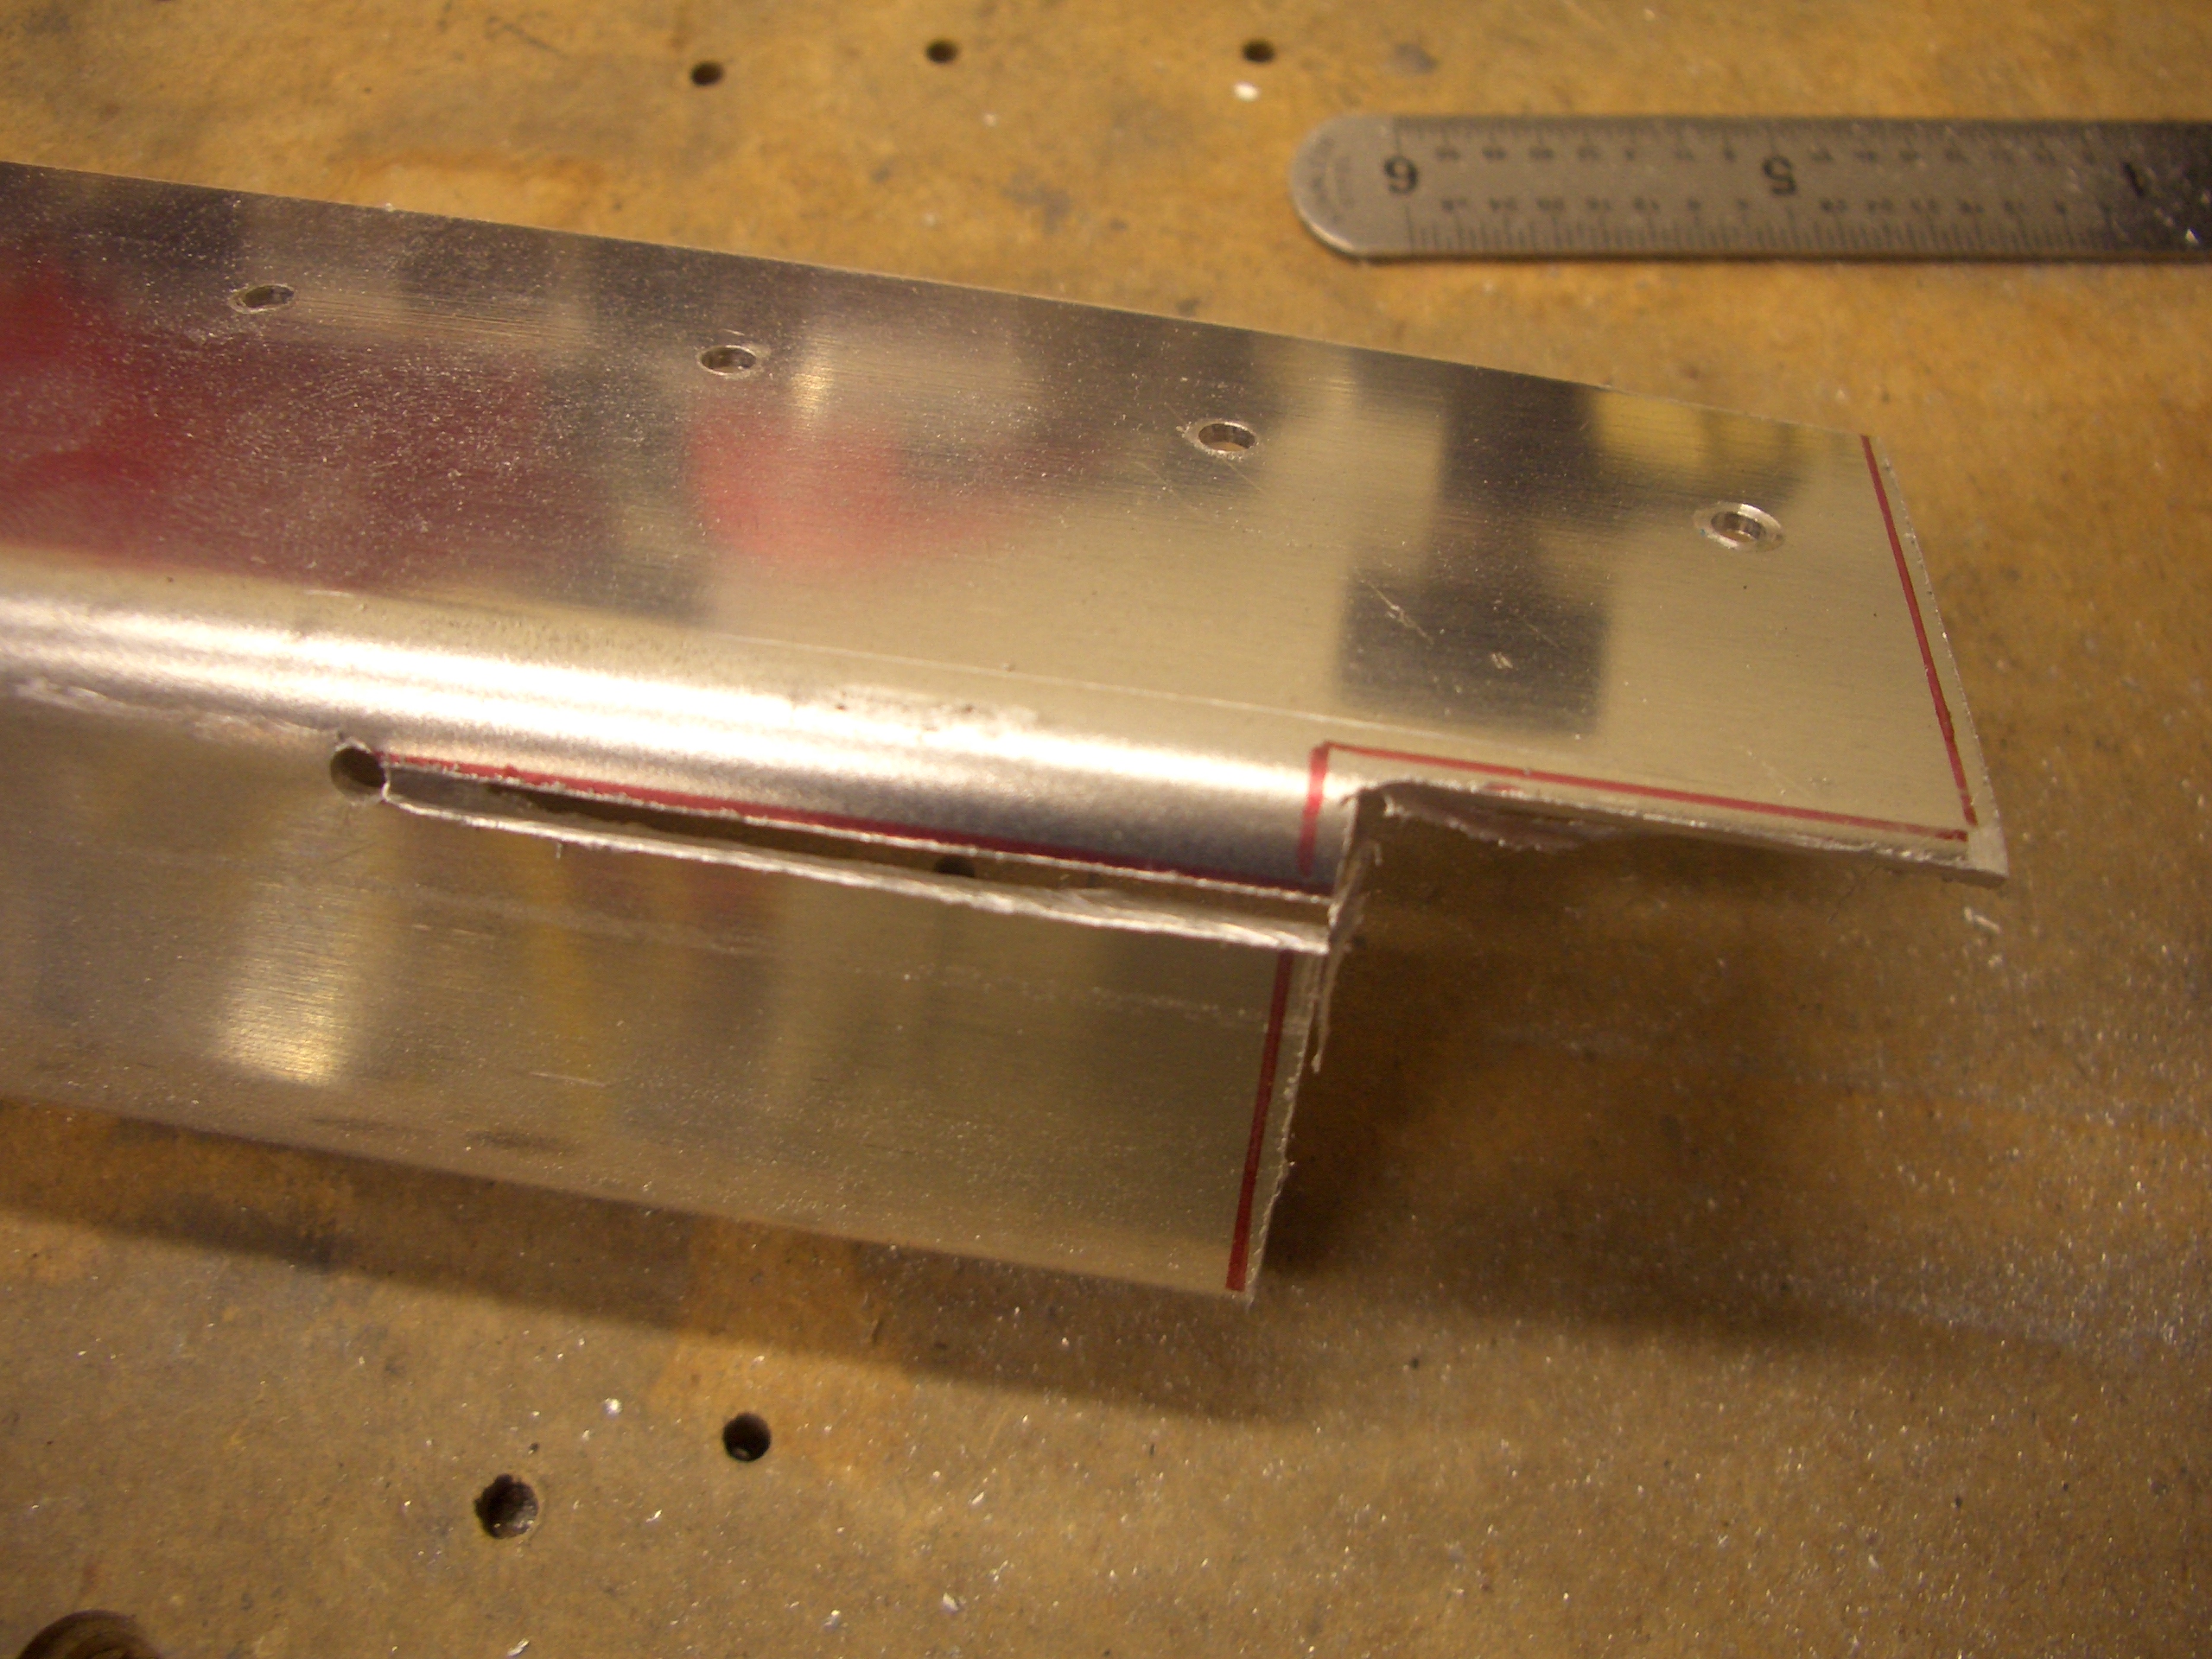
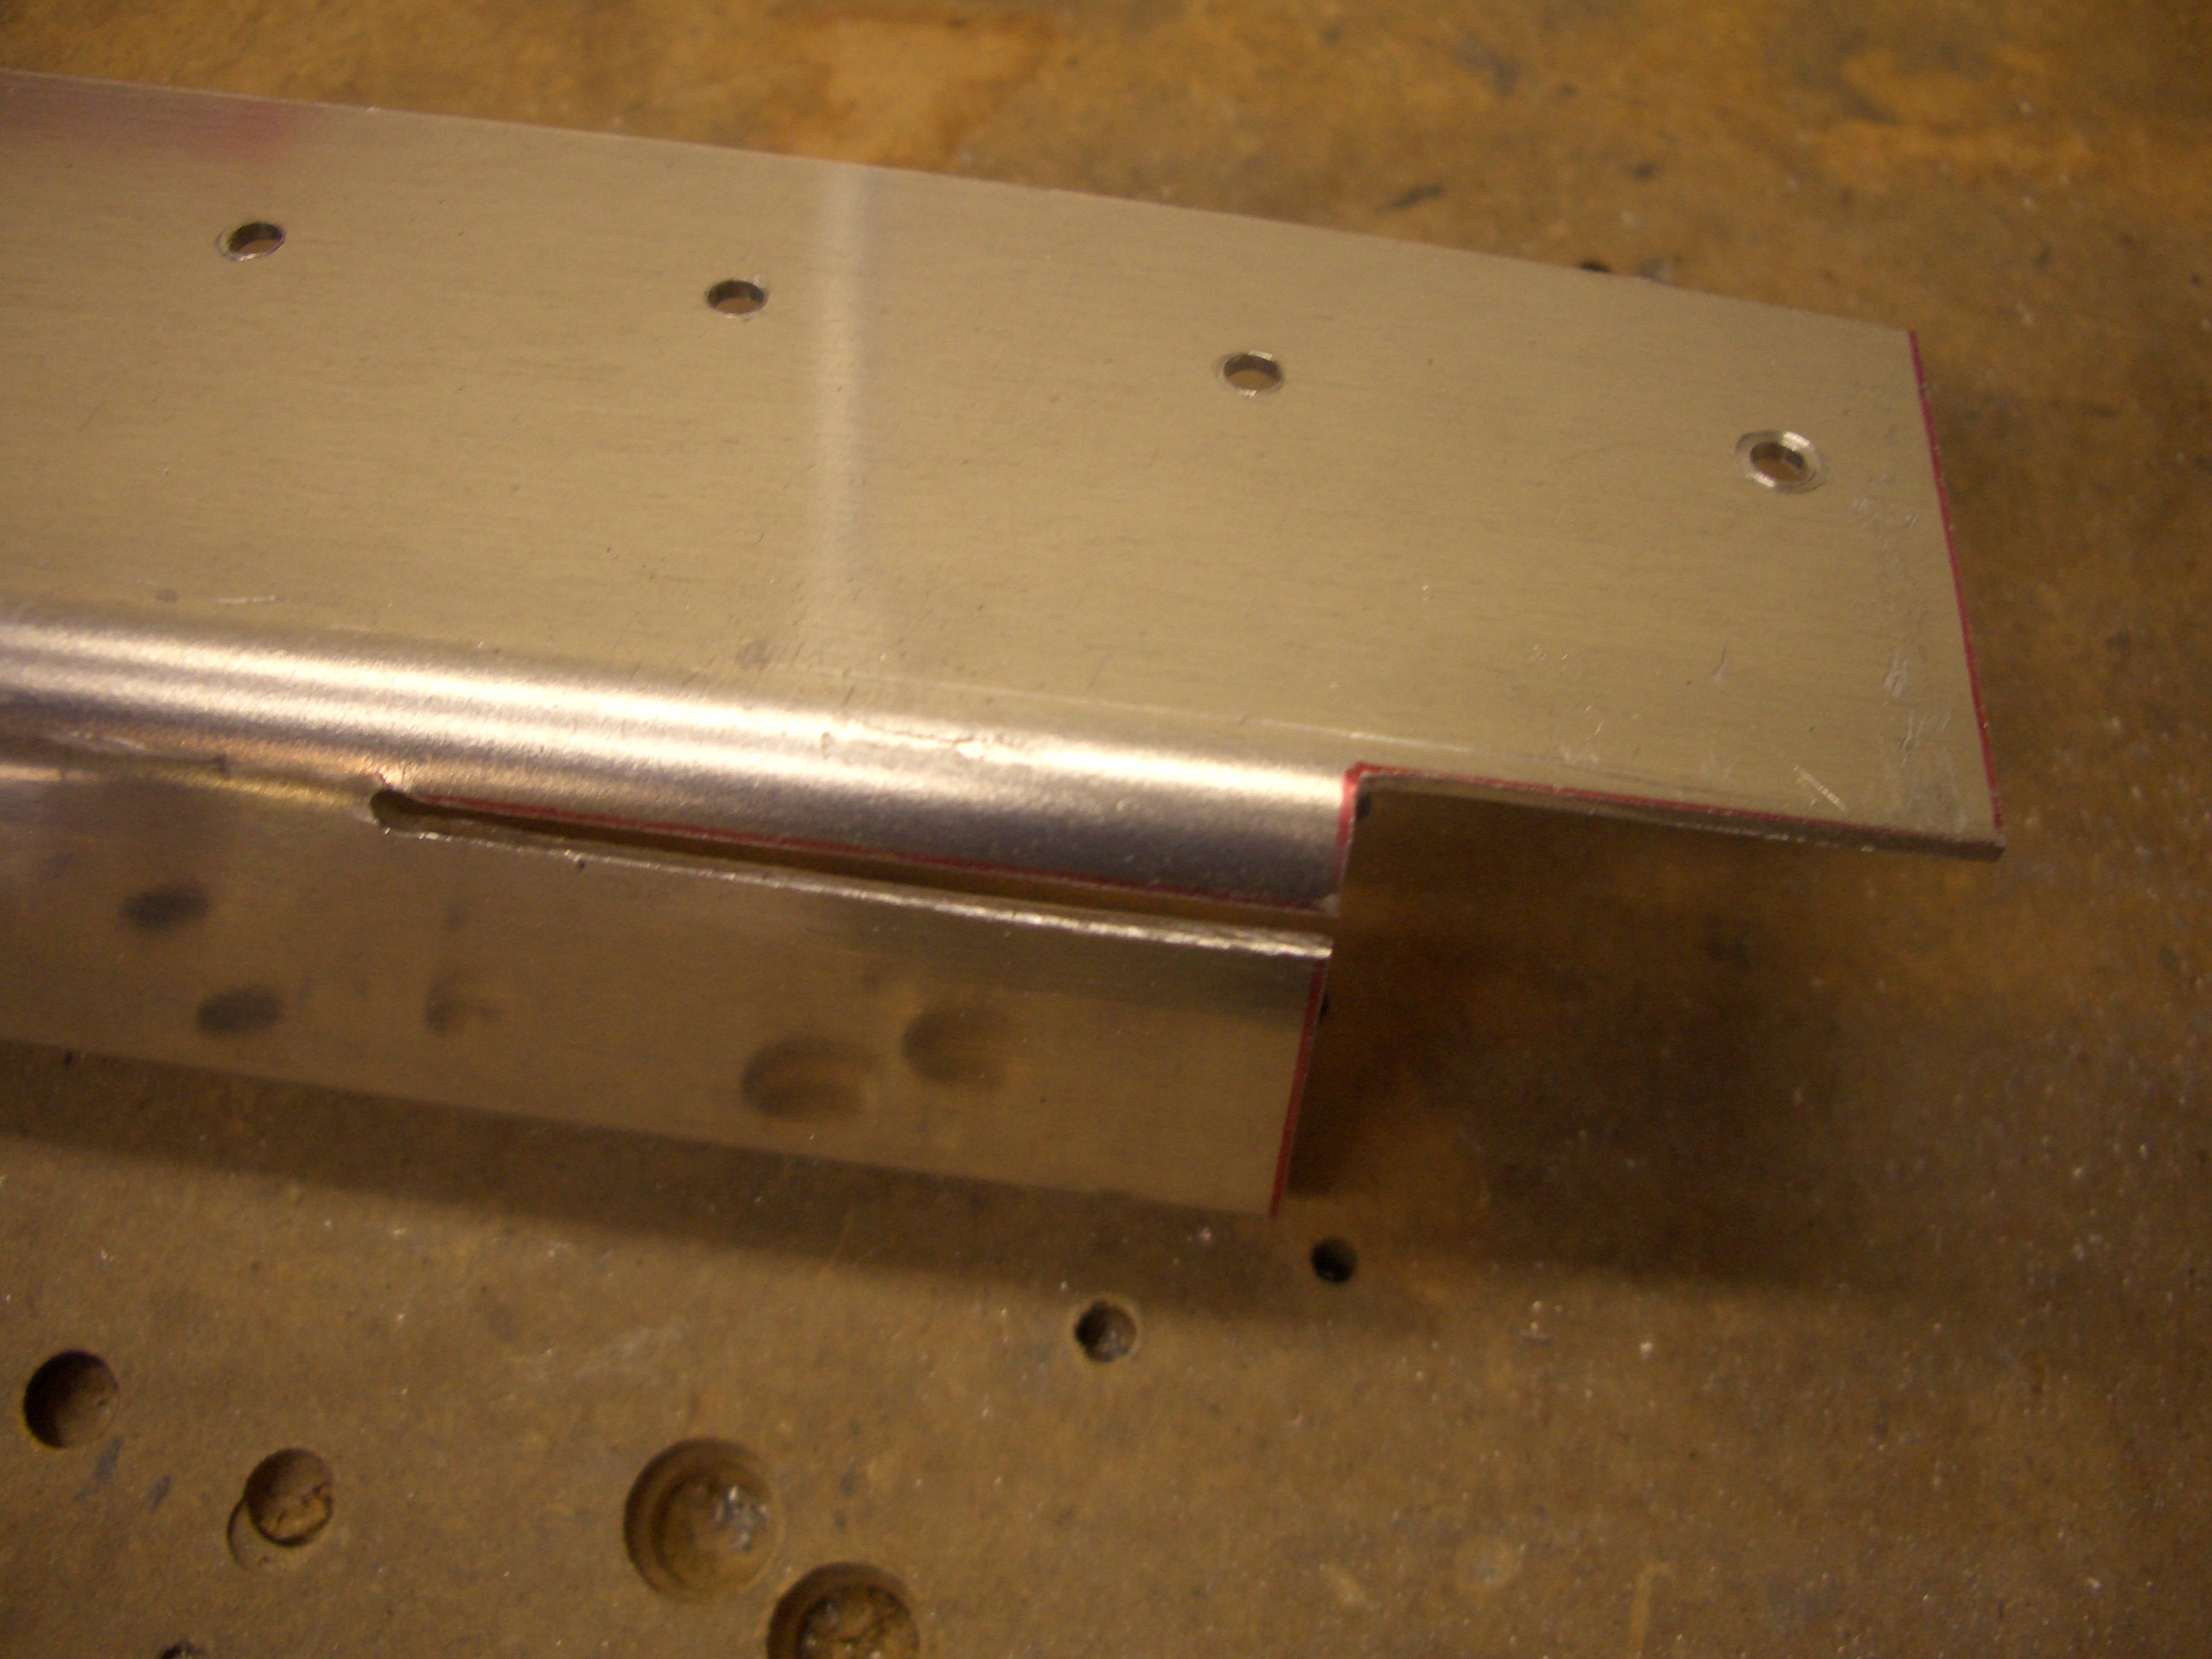
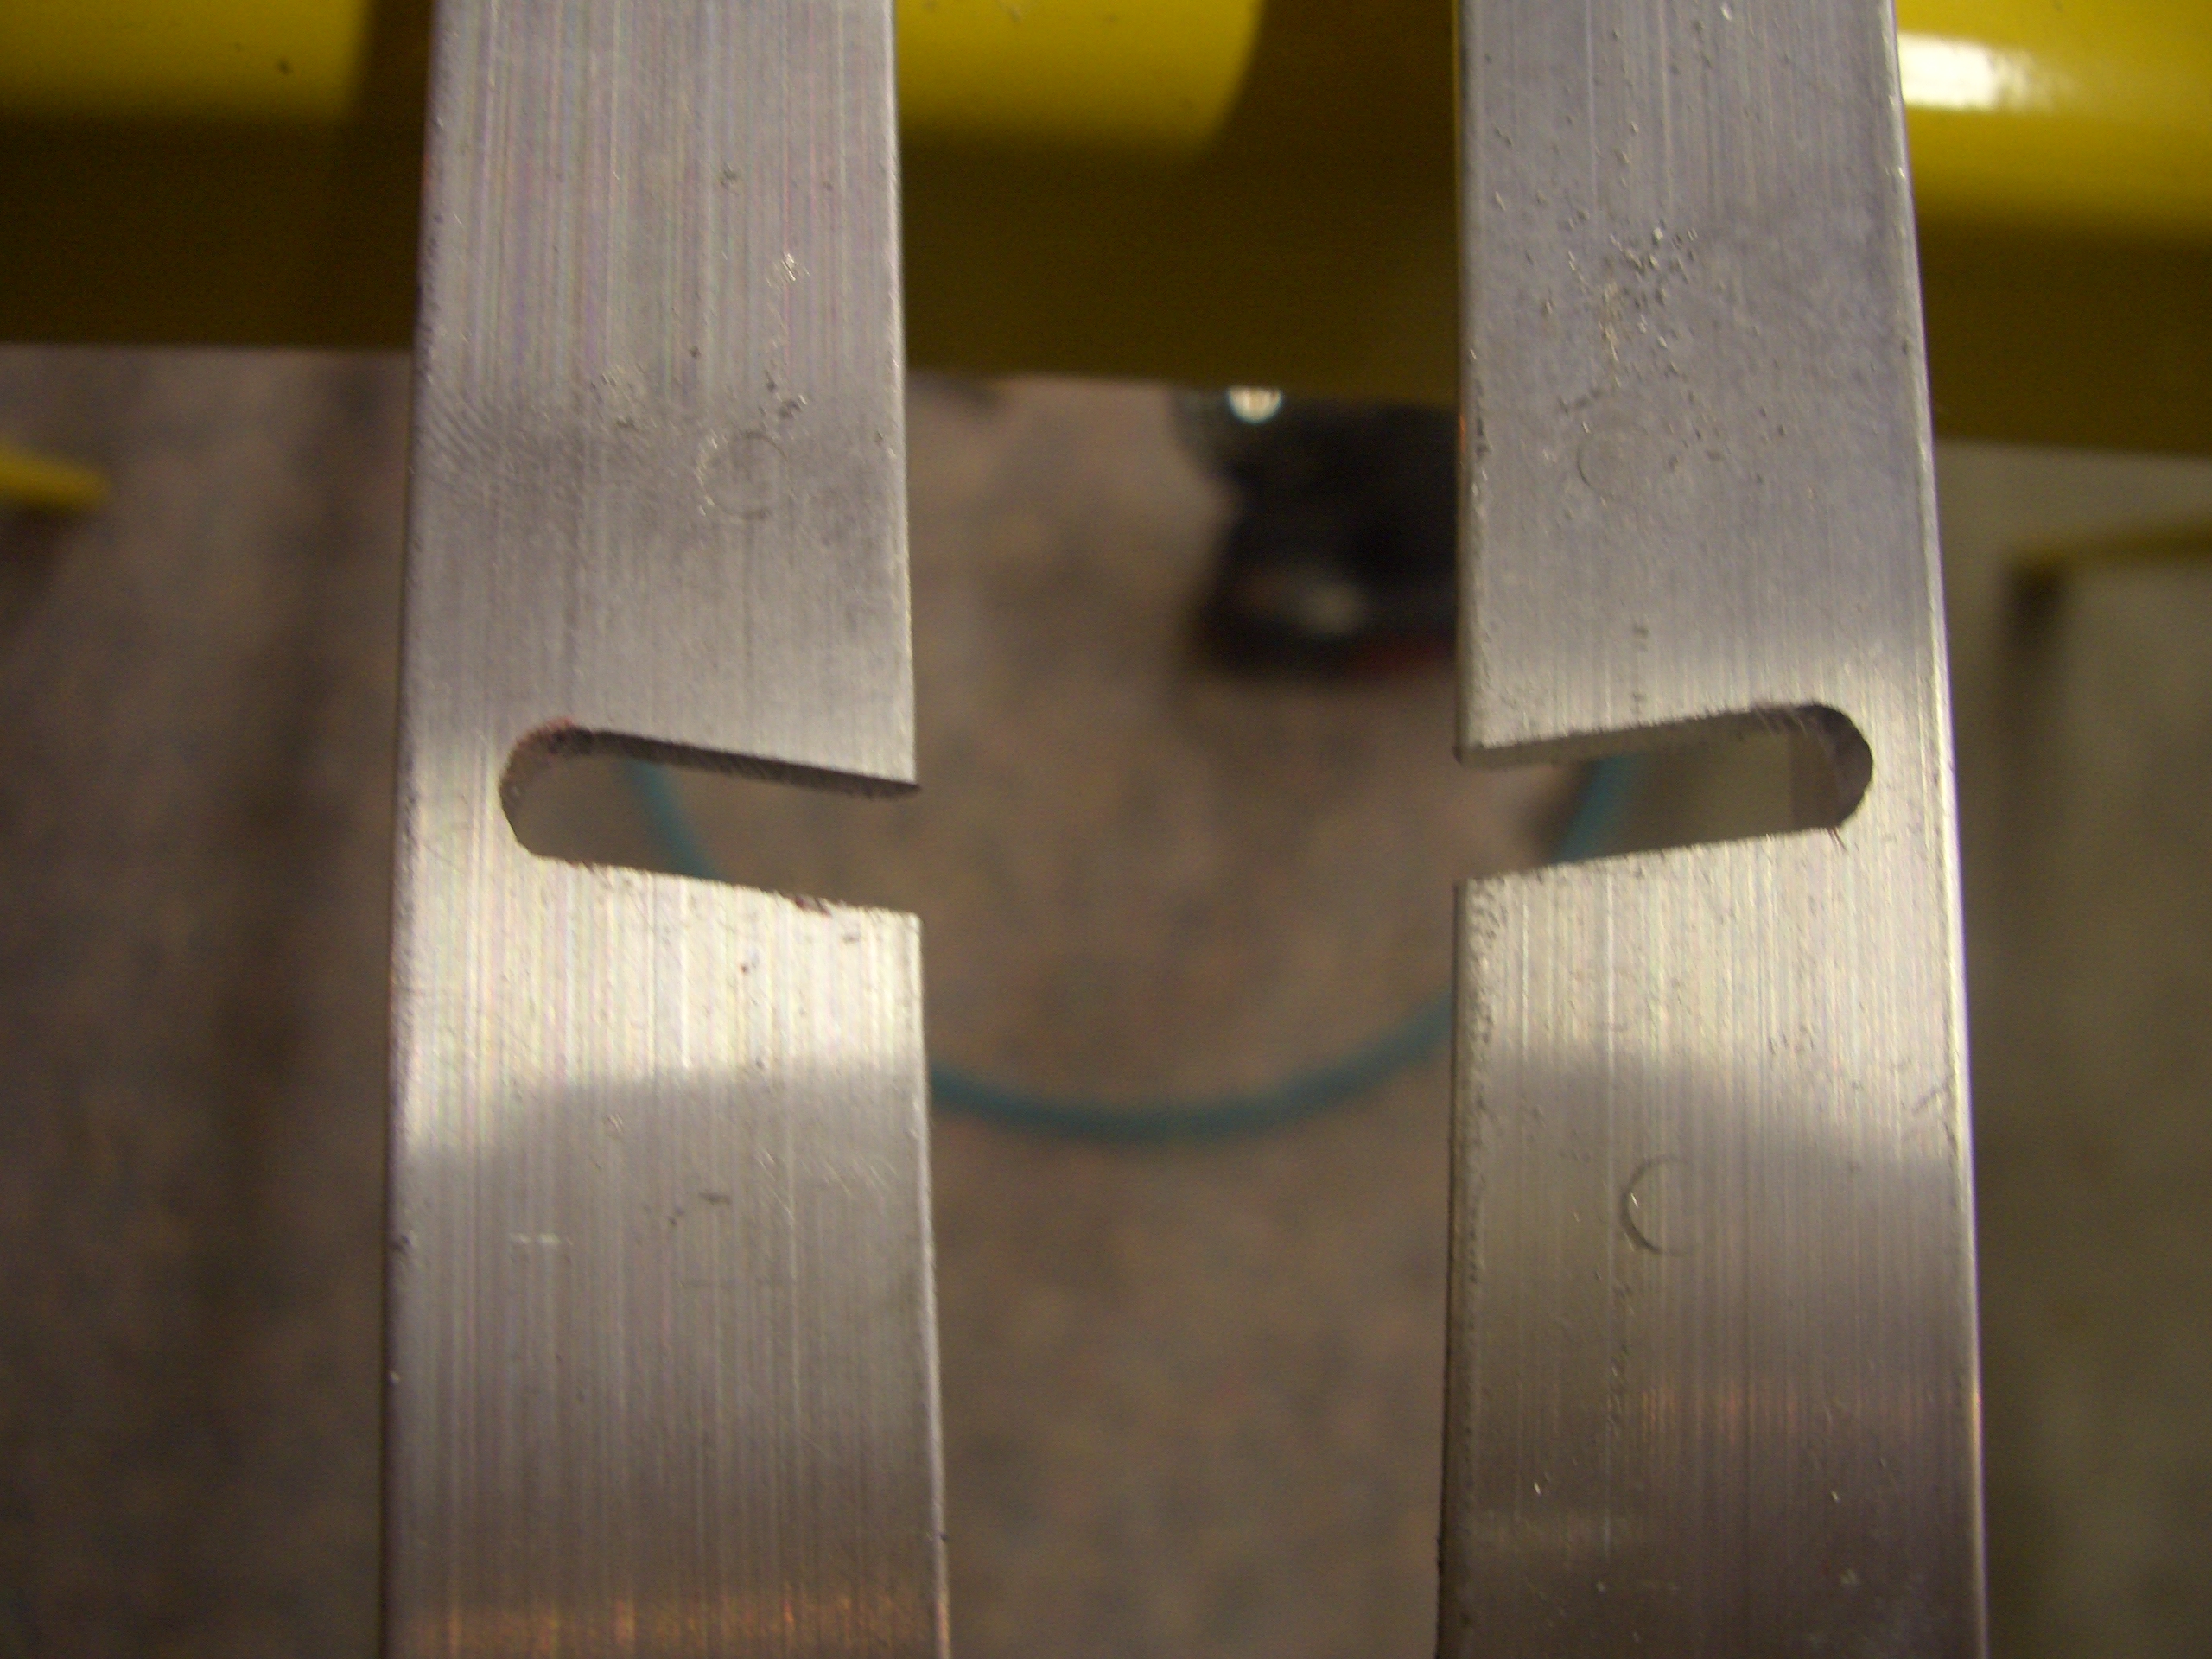
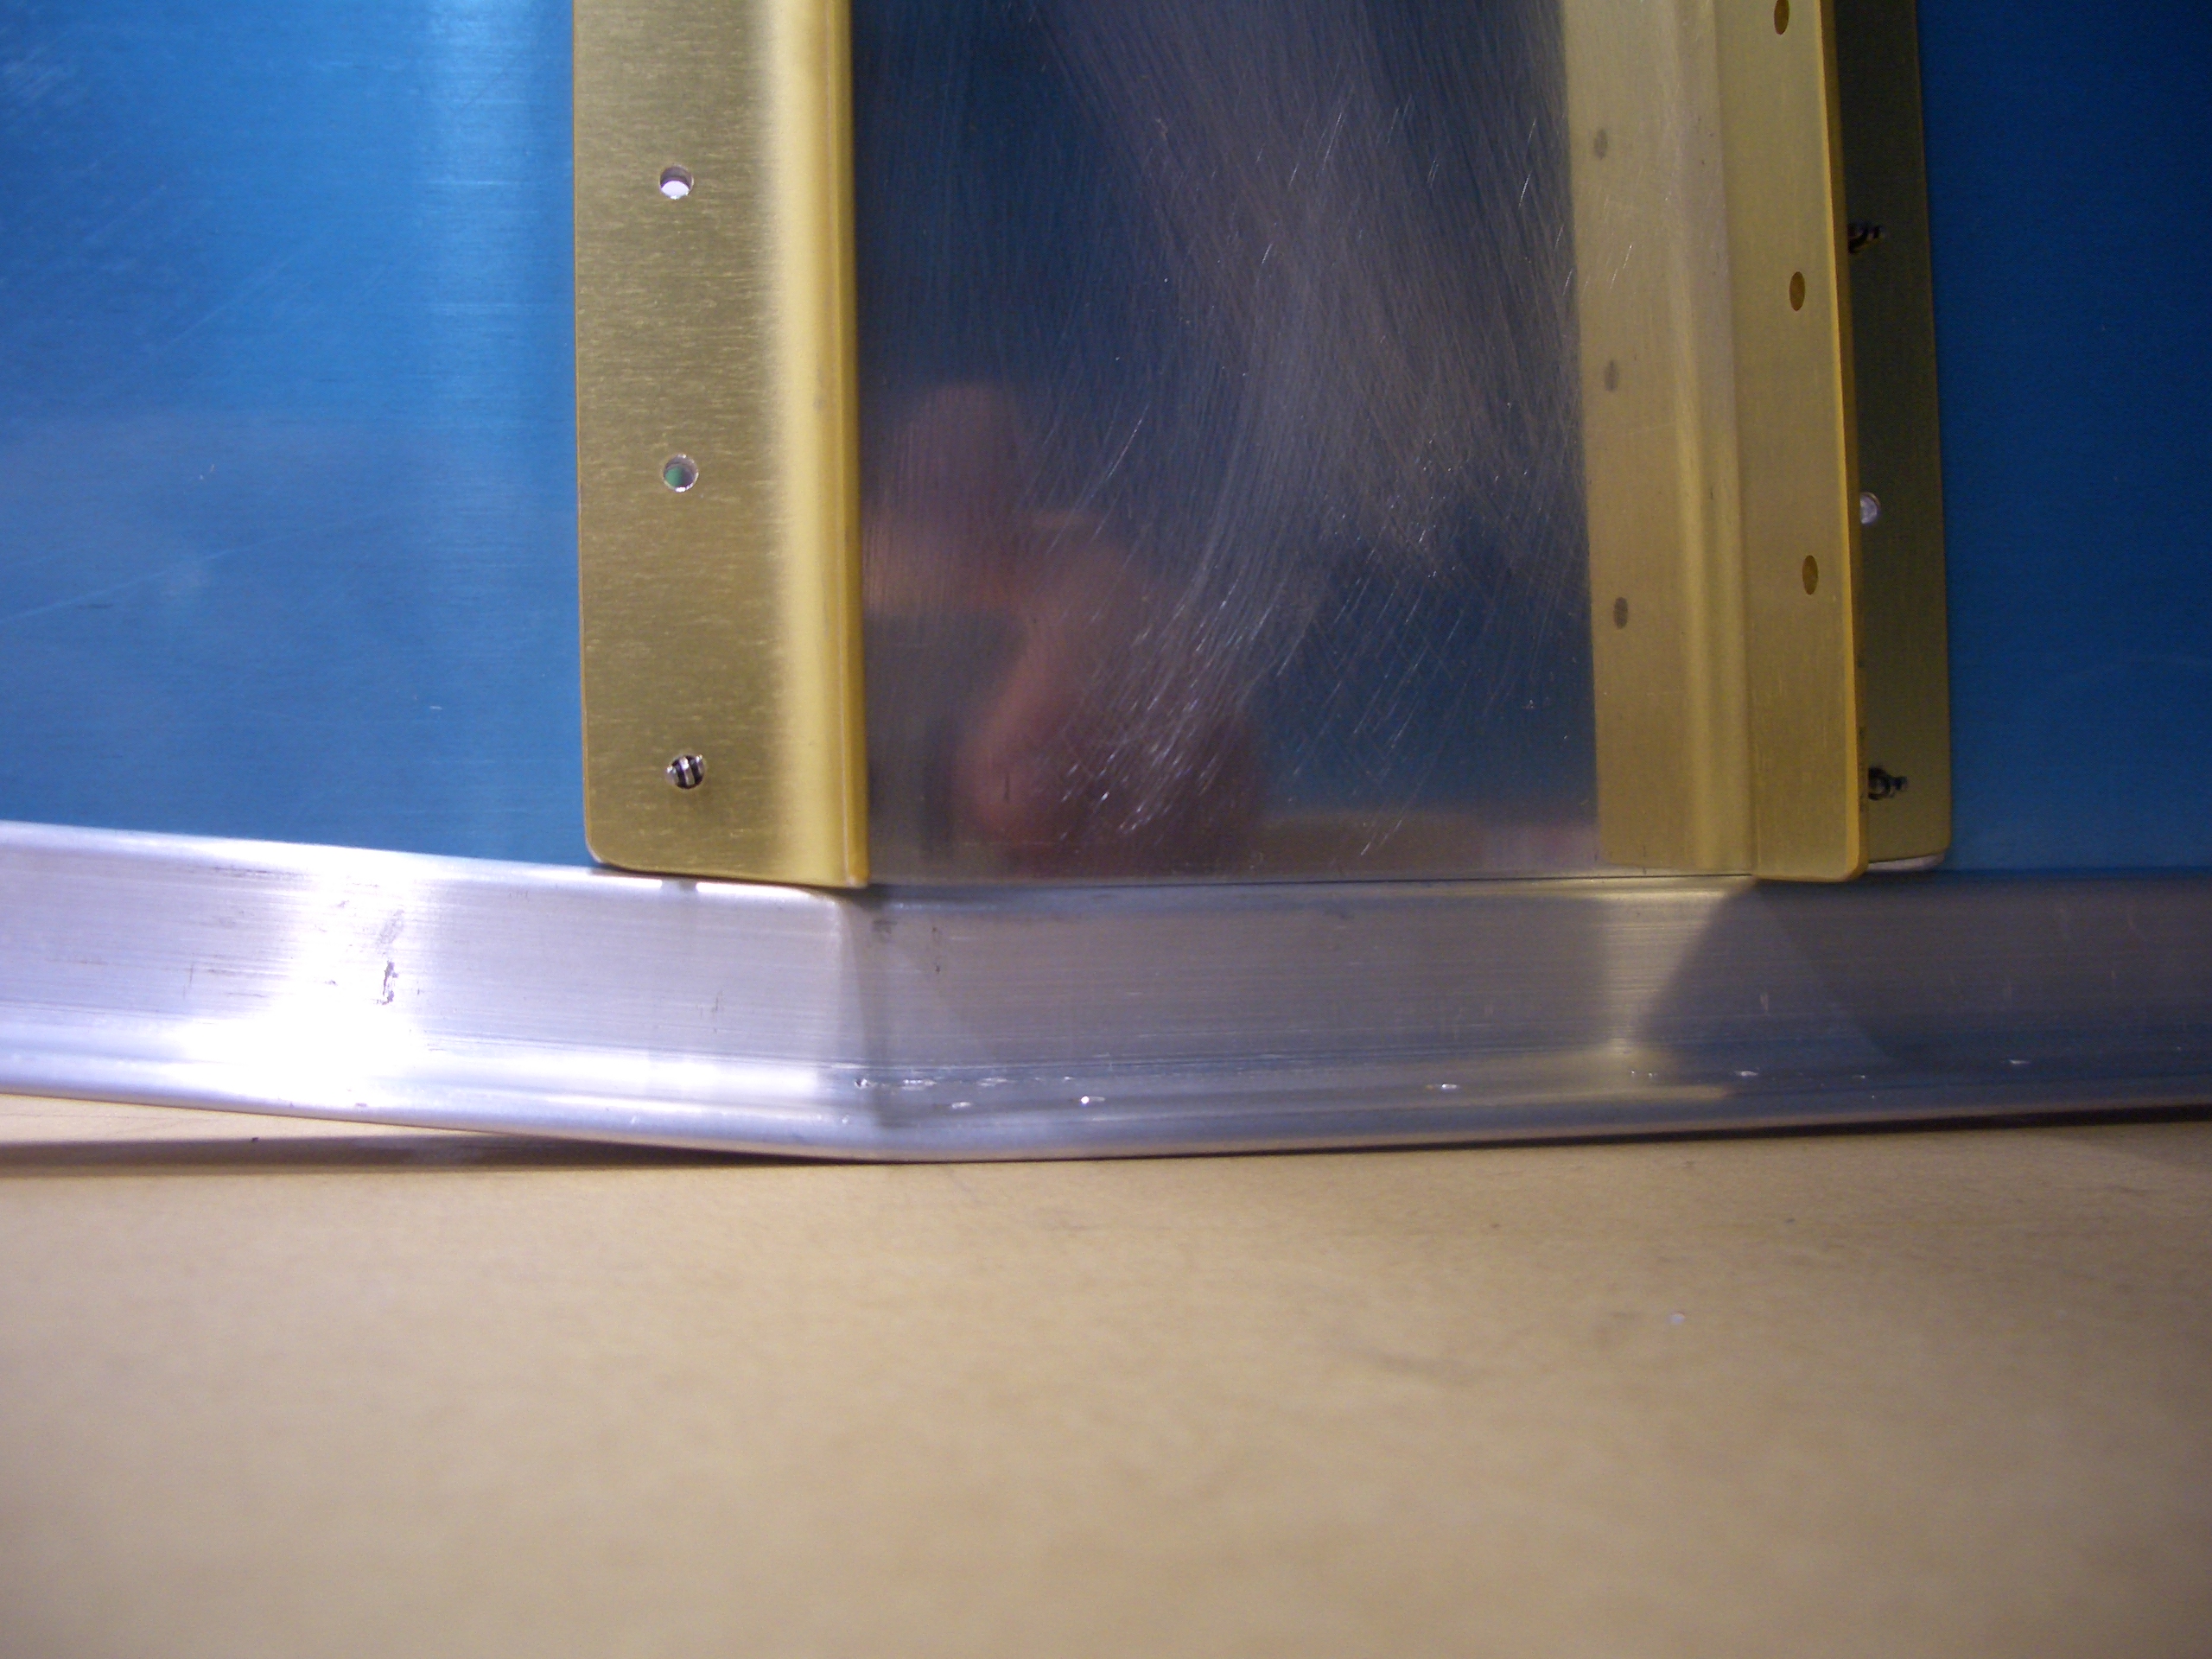
After a few minutes of filing, here is the finished result. The top edge of the slot will be seen in the cabin, so I made sure it is perfectly straight. The other side will be under part of the canopy latch, so it doesn’t matter as much if it is absolutely perfect.
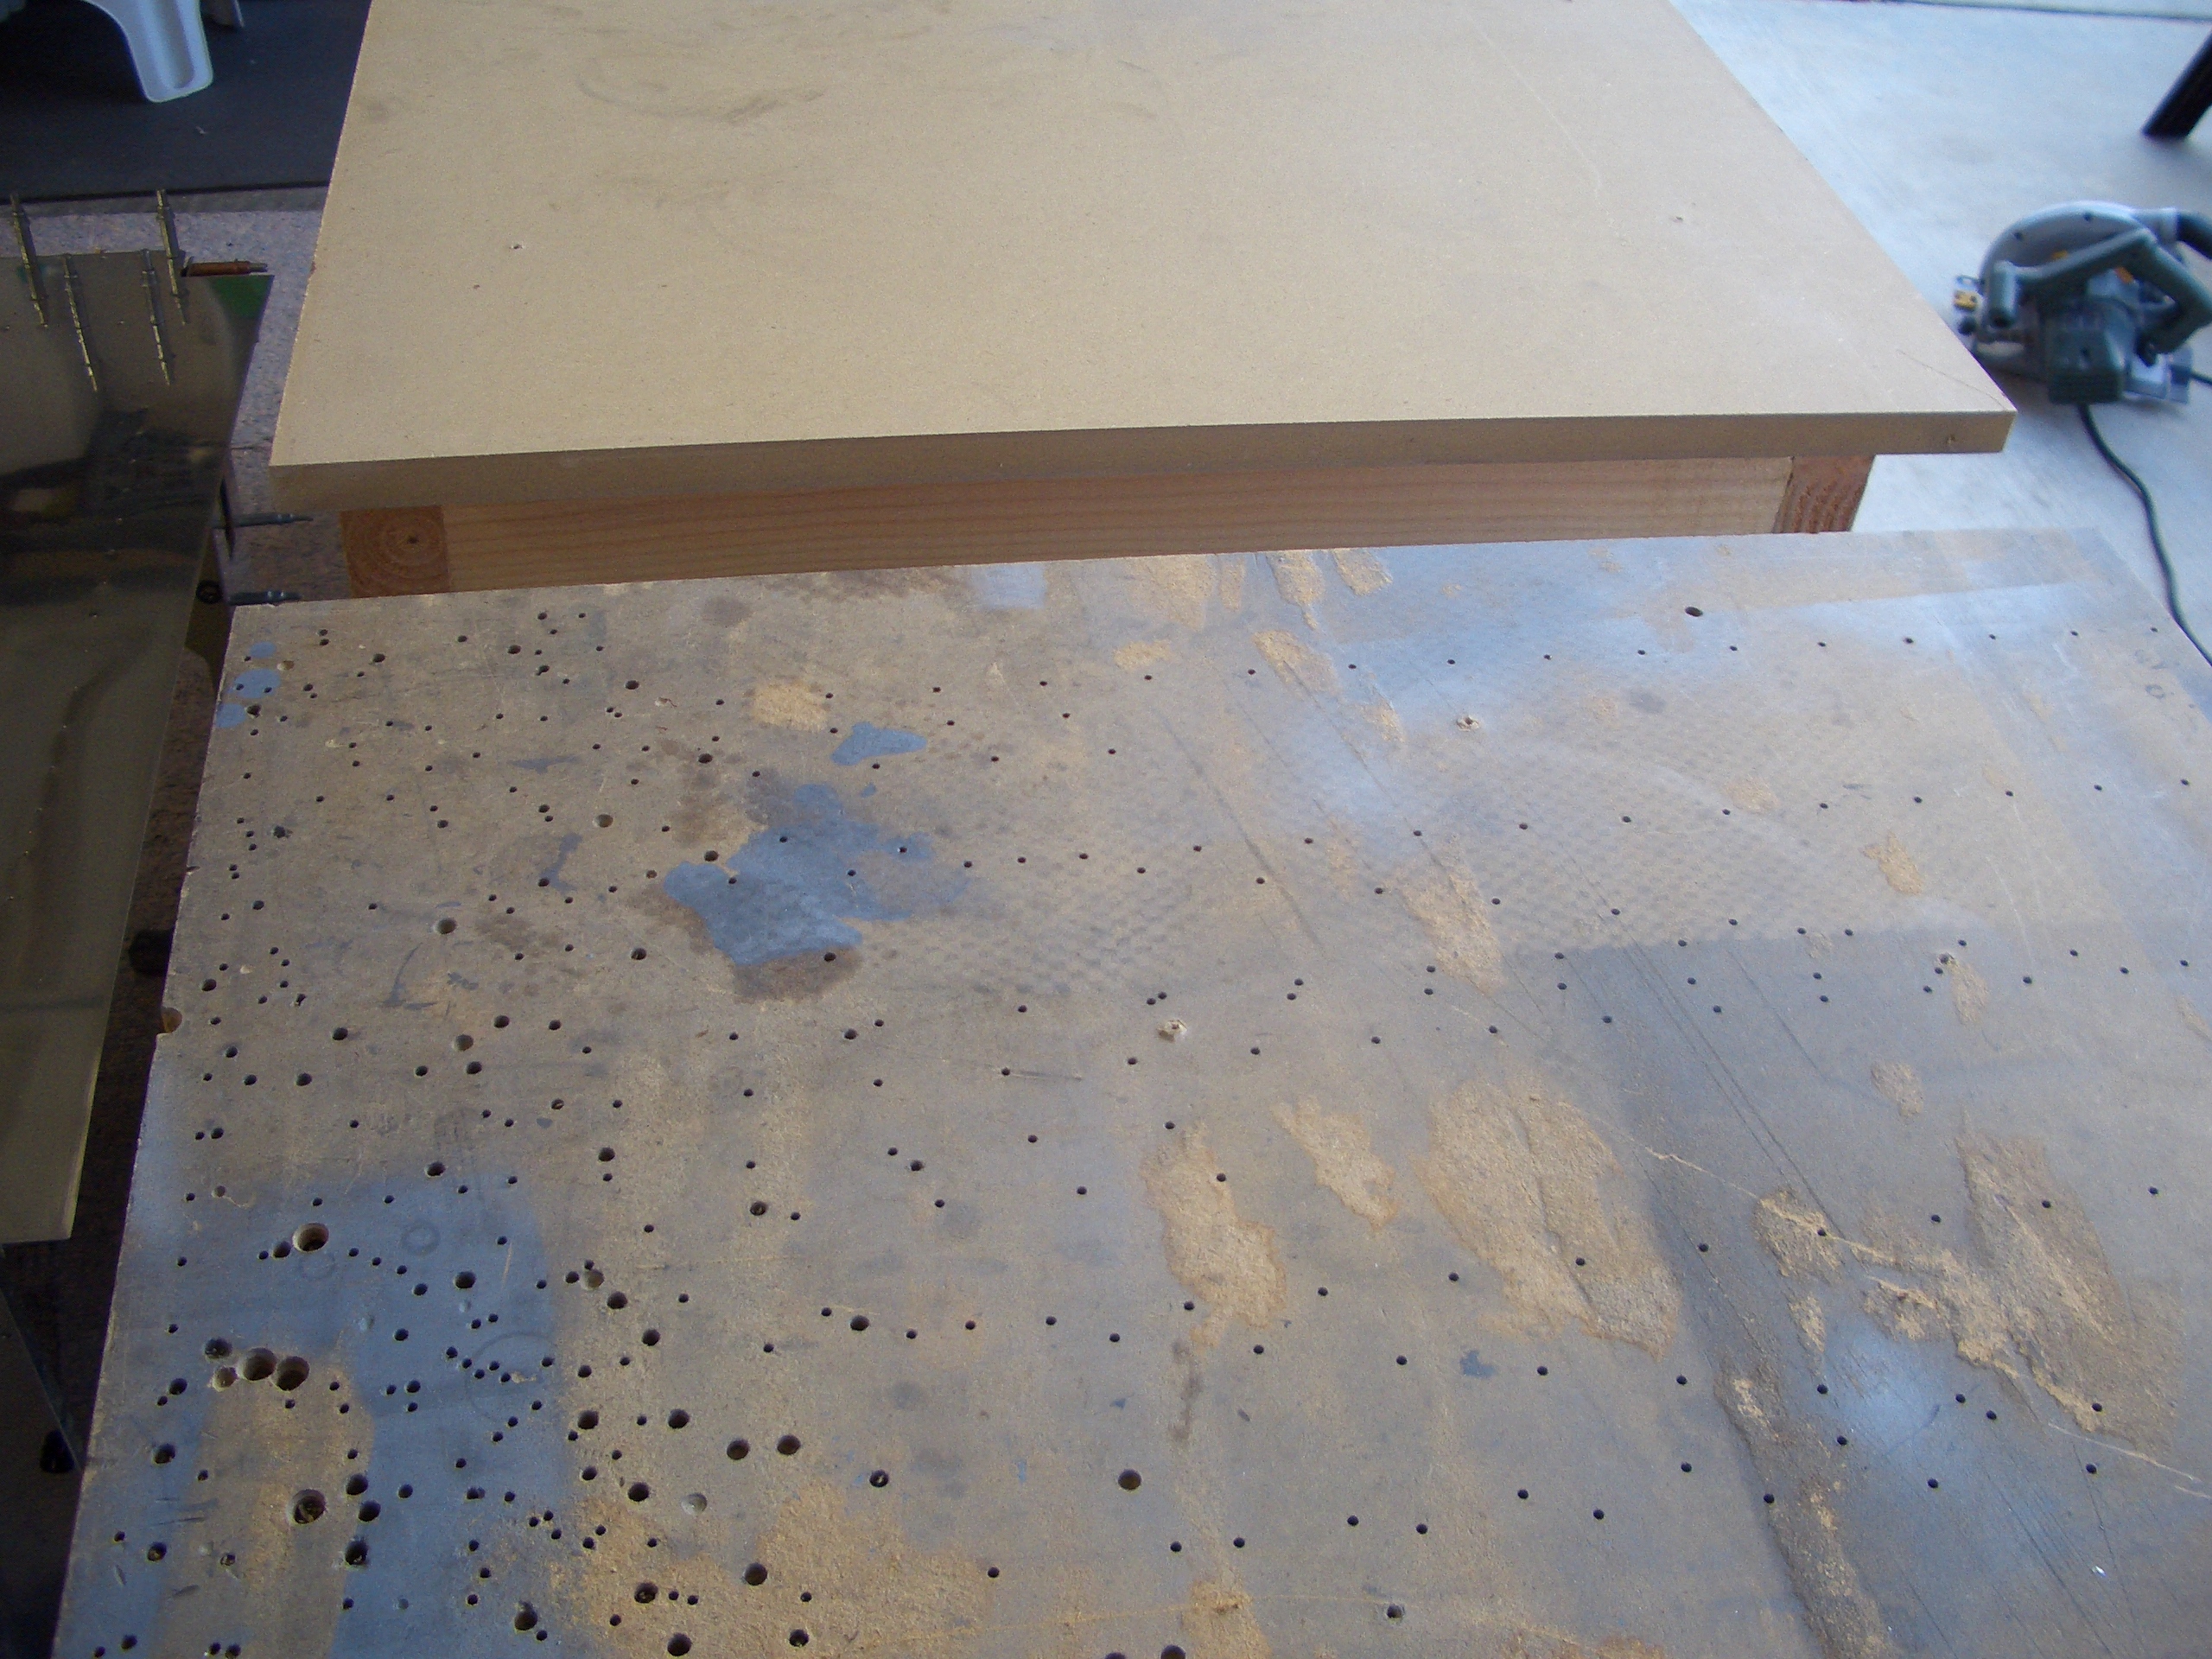
I spent a little time cleaning up the garage today. I also decided to flip the tops of my workbenches over. As you can see, I routinely drill through parts directly into my bench (and frequently cleco parts to the bench). I also sometimes prime small parts by just laying them on a paper towel and shooting the primer, so the tops also had quite a bit of overspray on them. Here, you can see that the underside is pristine.
Some builders try to keep the tops of their benches pristine, but I consider these expendable surfaces. It’s only a few bucks in MDF to restore the top to new condition.
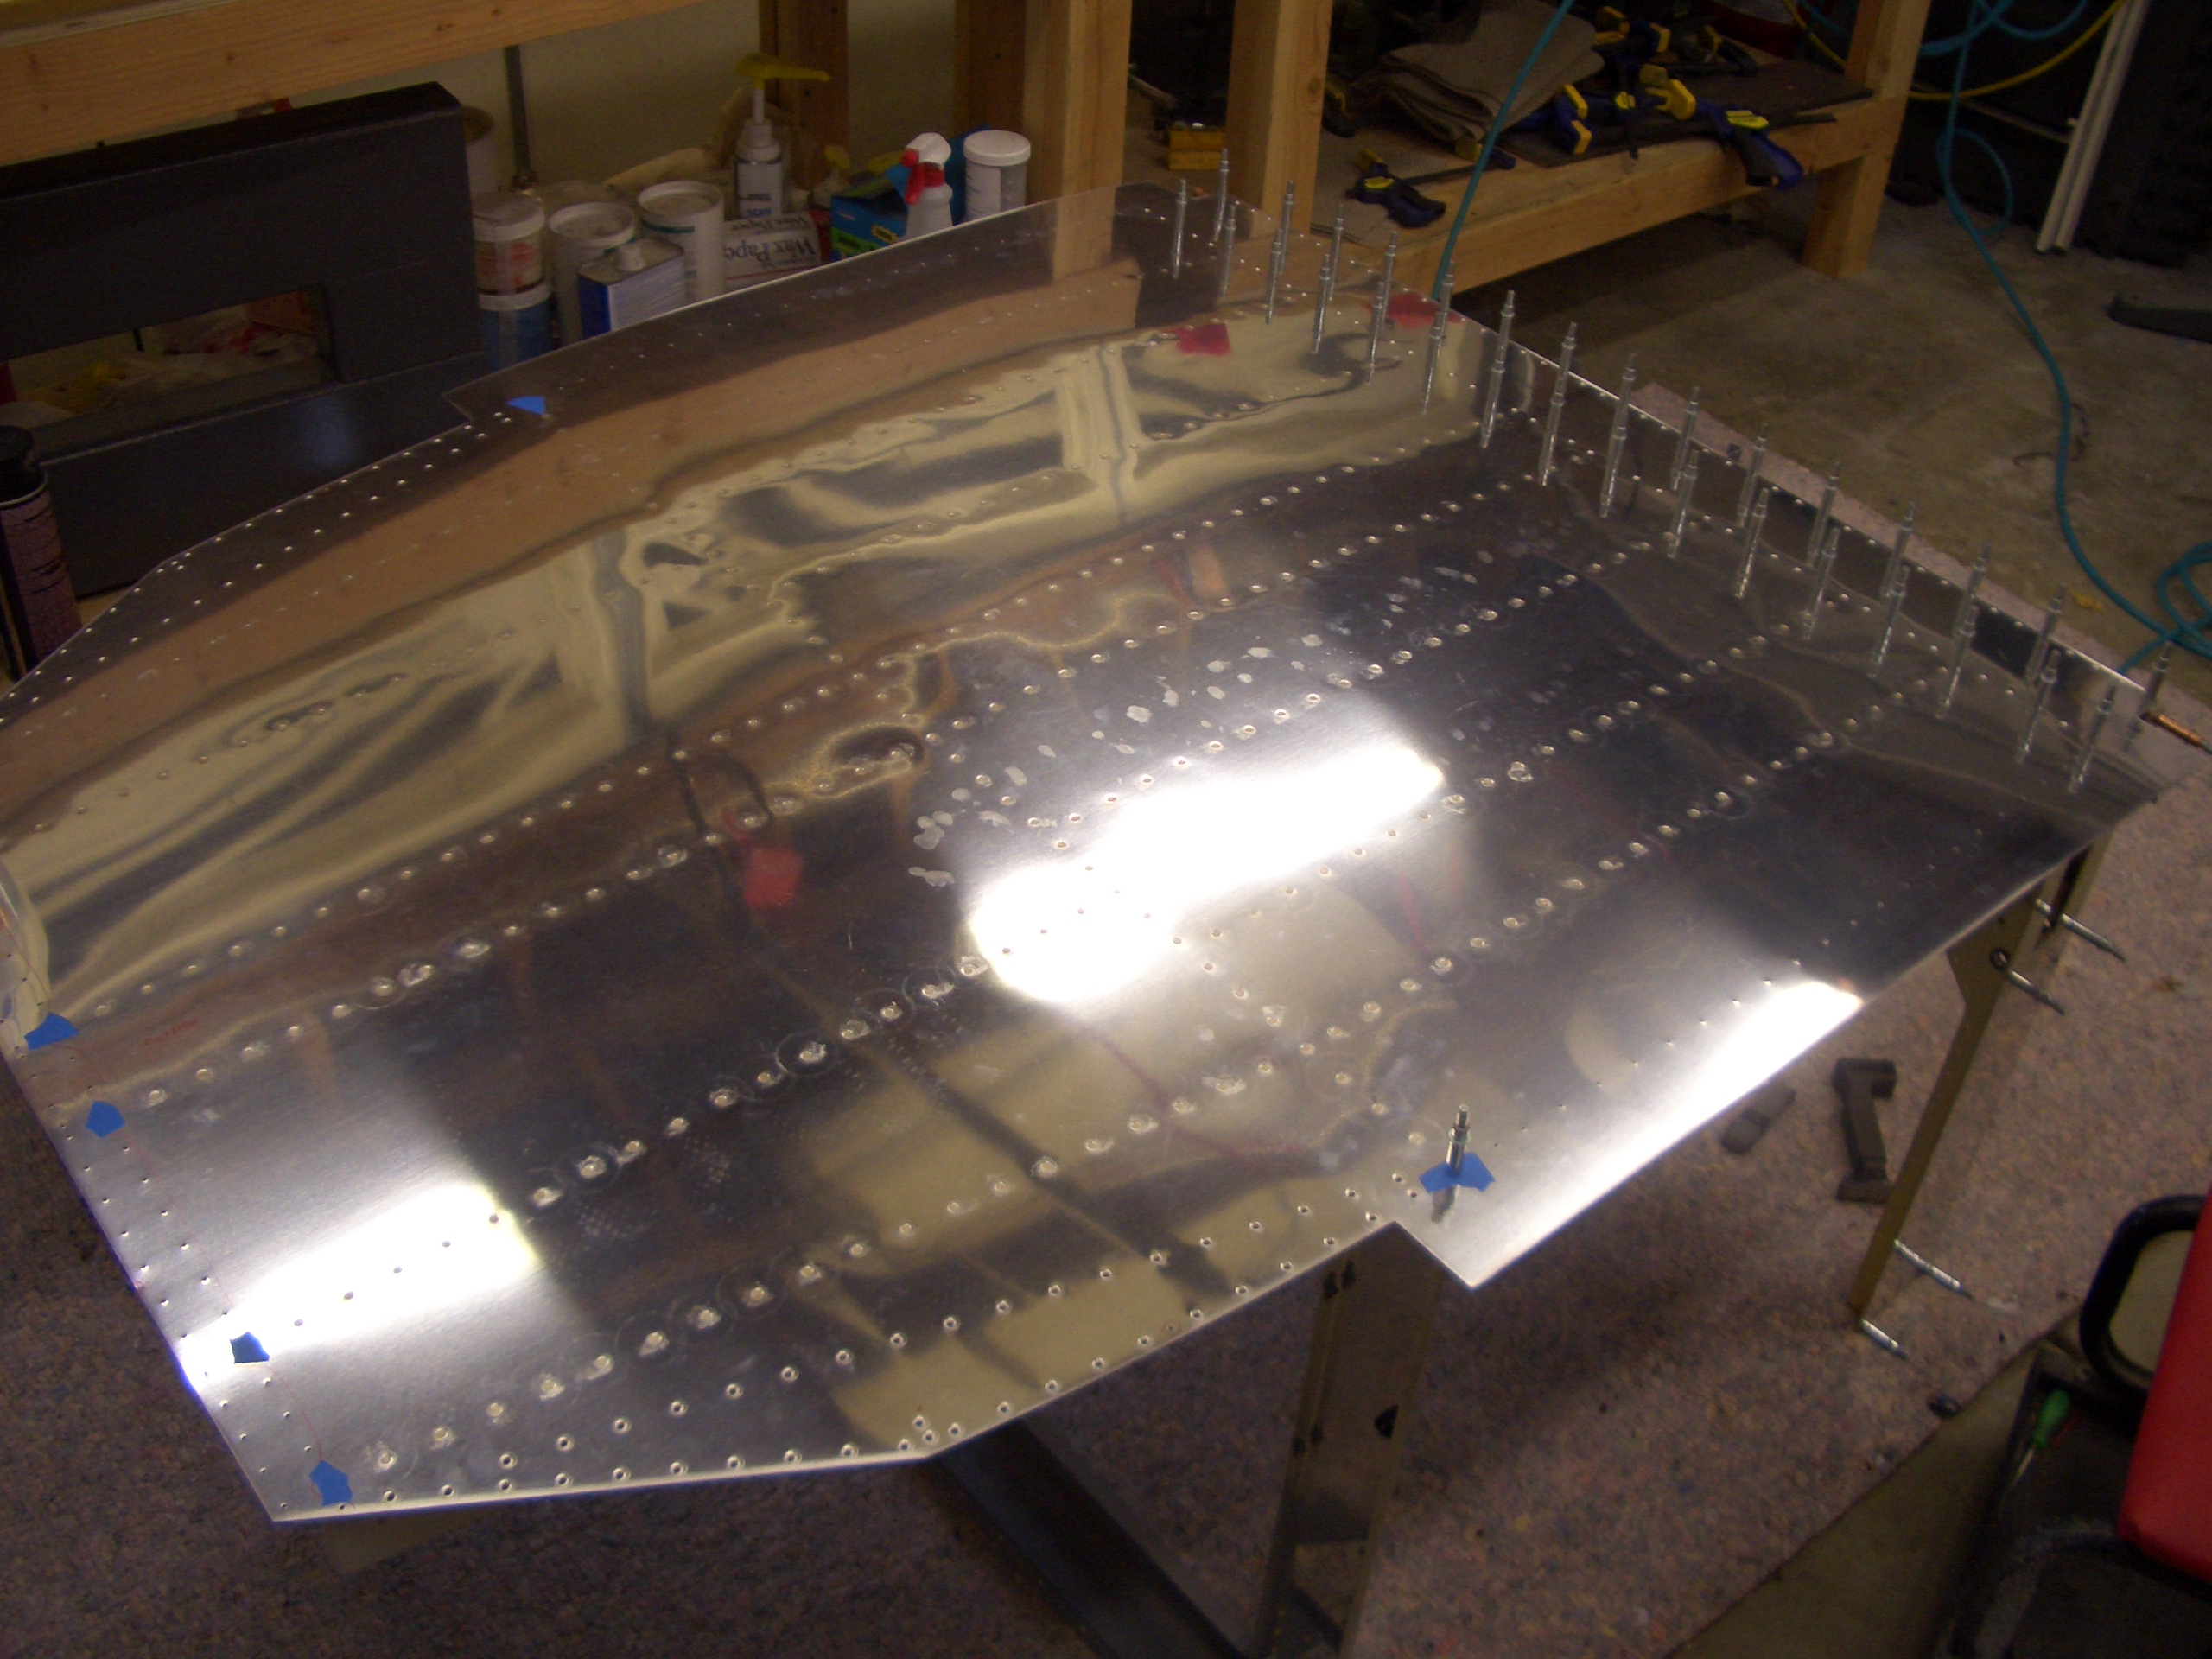
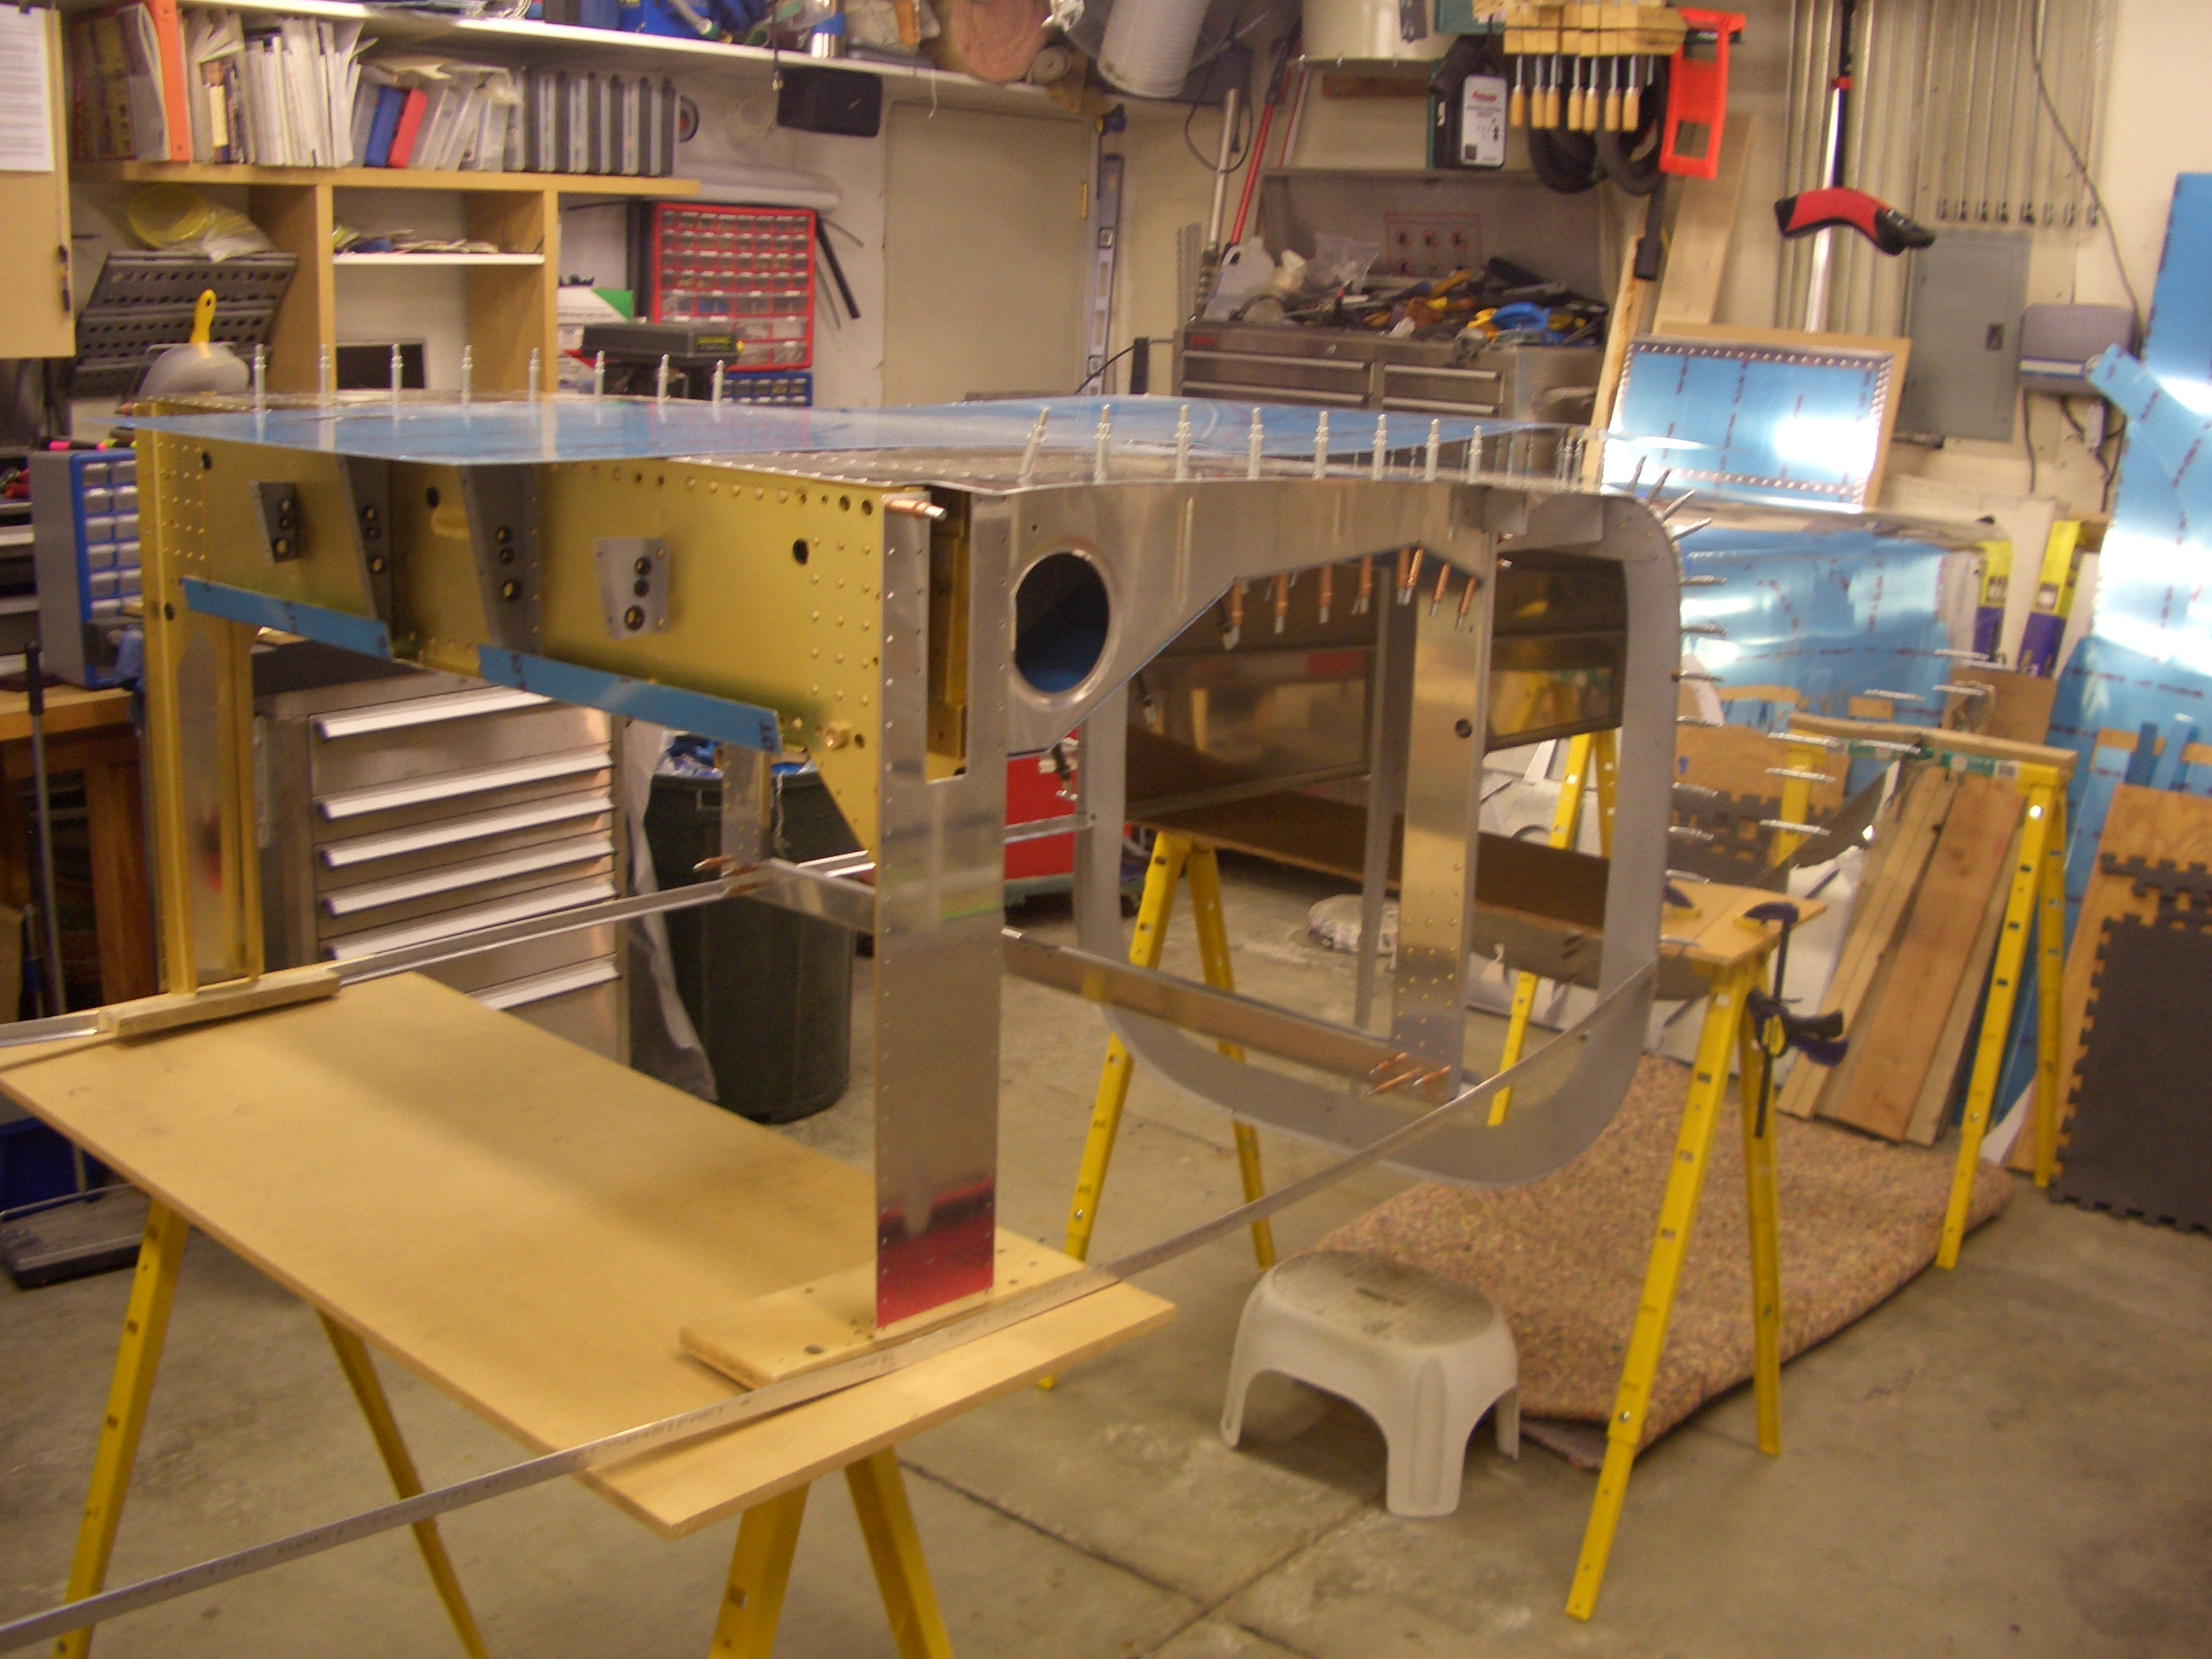
I didn’t have much time to work on the plane today, but I wanted to get the center section flipped over and put the seat pans and baggage floors in place. The baggage floors and rear seat pans lined up easily, but the forward seat pans (the ones with the large holes near the front spar for the control sticks) are having issue. I started fluting the seat ribs near the front end which seems to be helping significantly. I still have some tweaking to do before these fit nicely, but it’s late and I’m beat.
I finished tweaking the seat ribs today so that all of the holes in the forward seat pans lined up without having to pry the ribs into place.
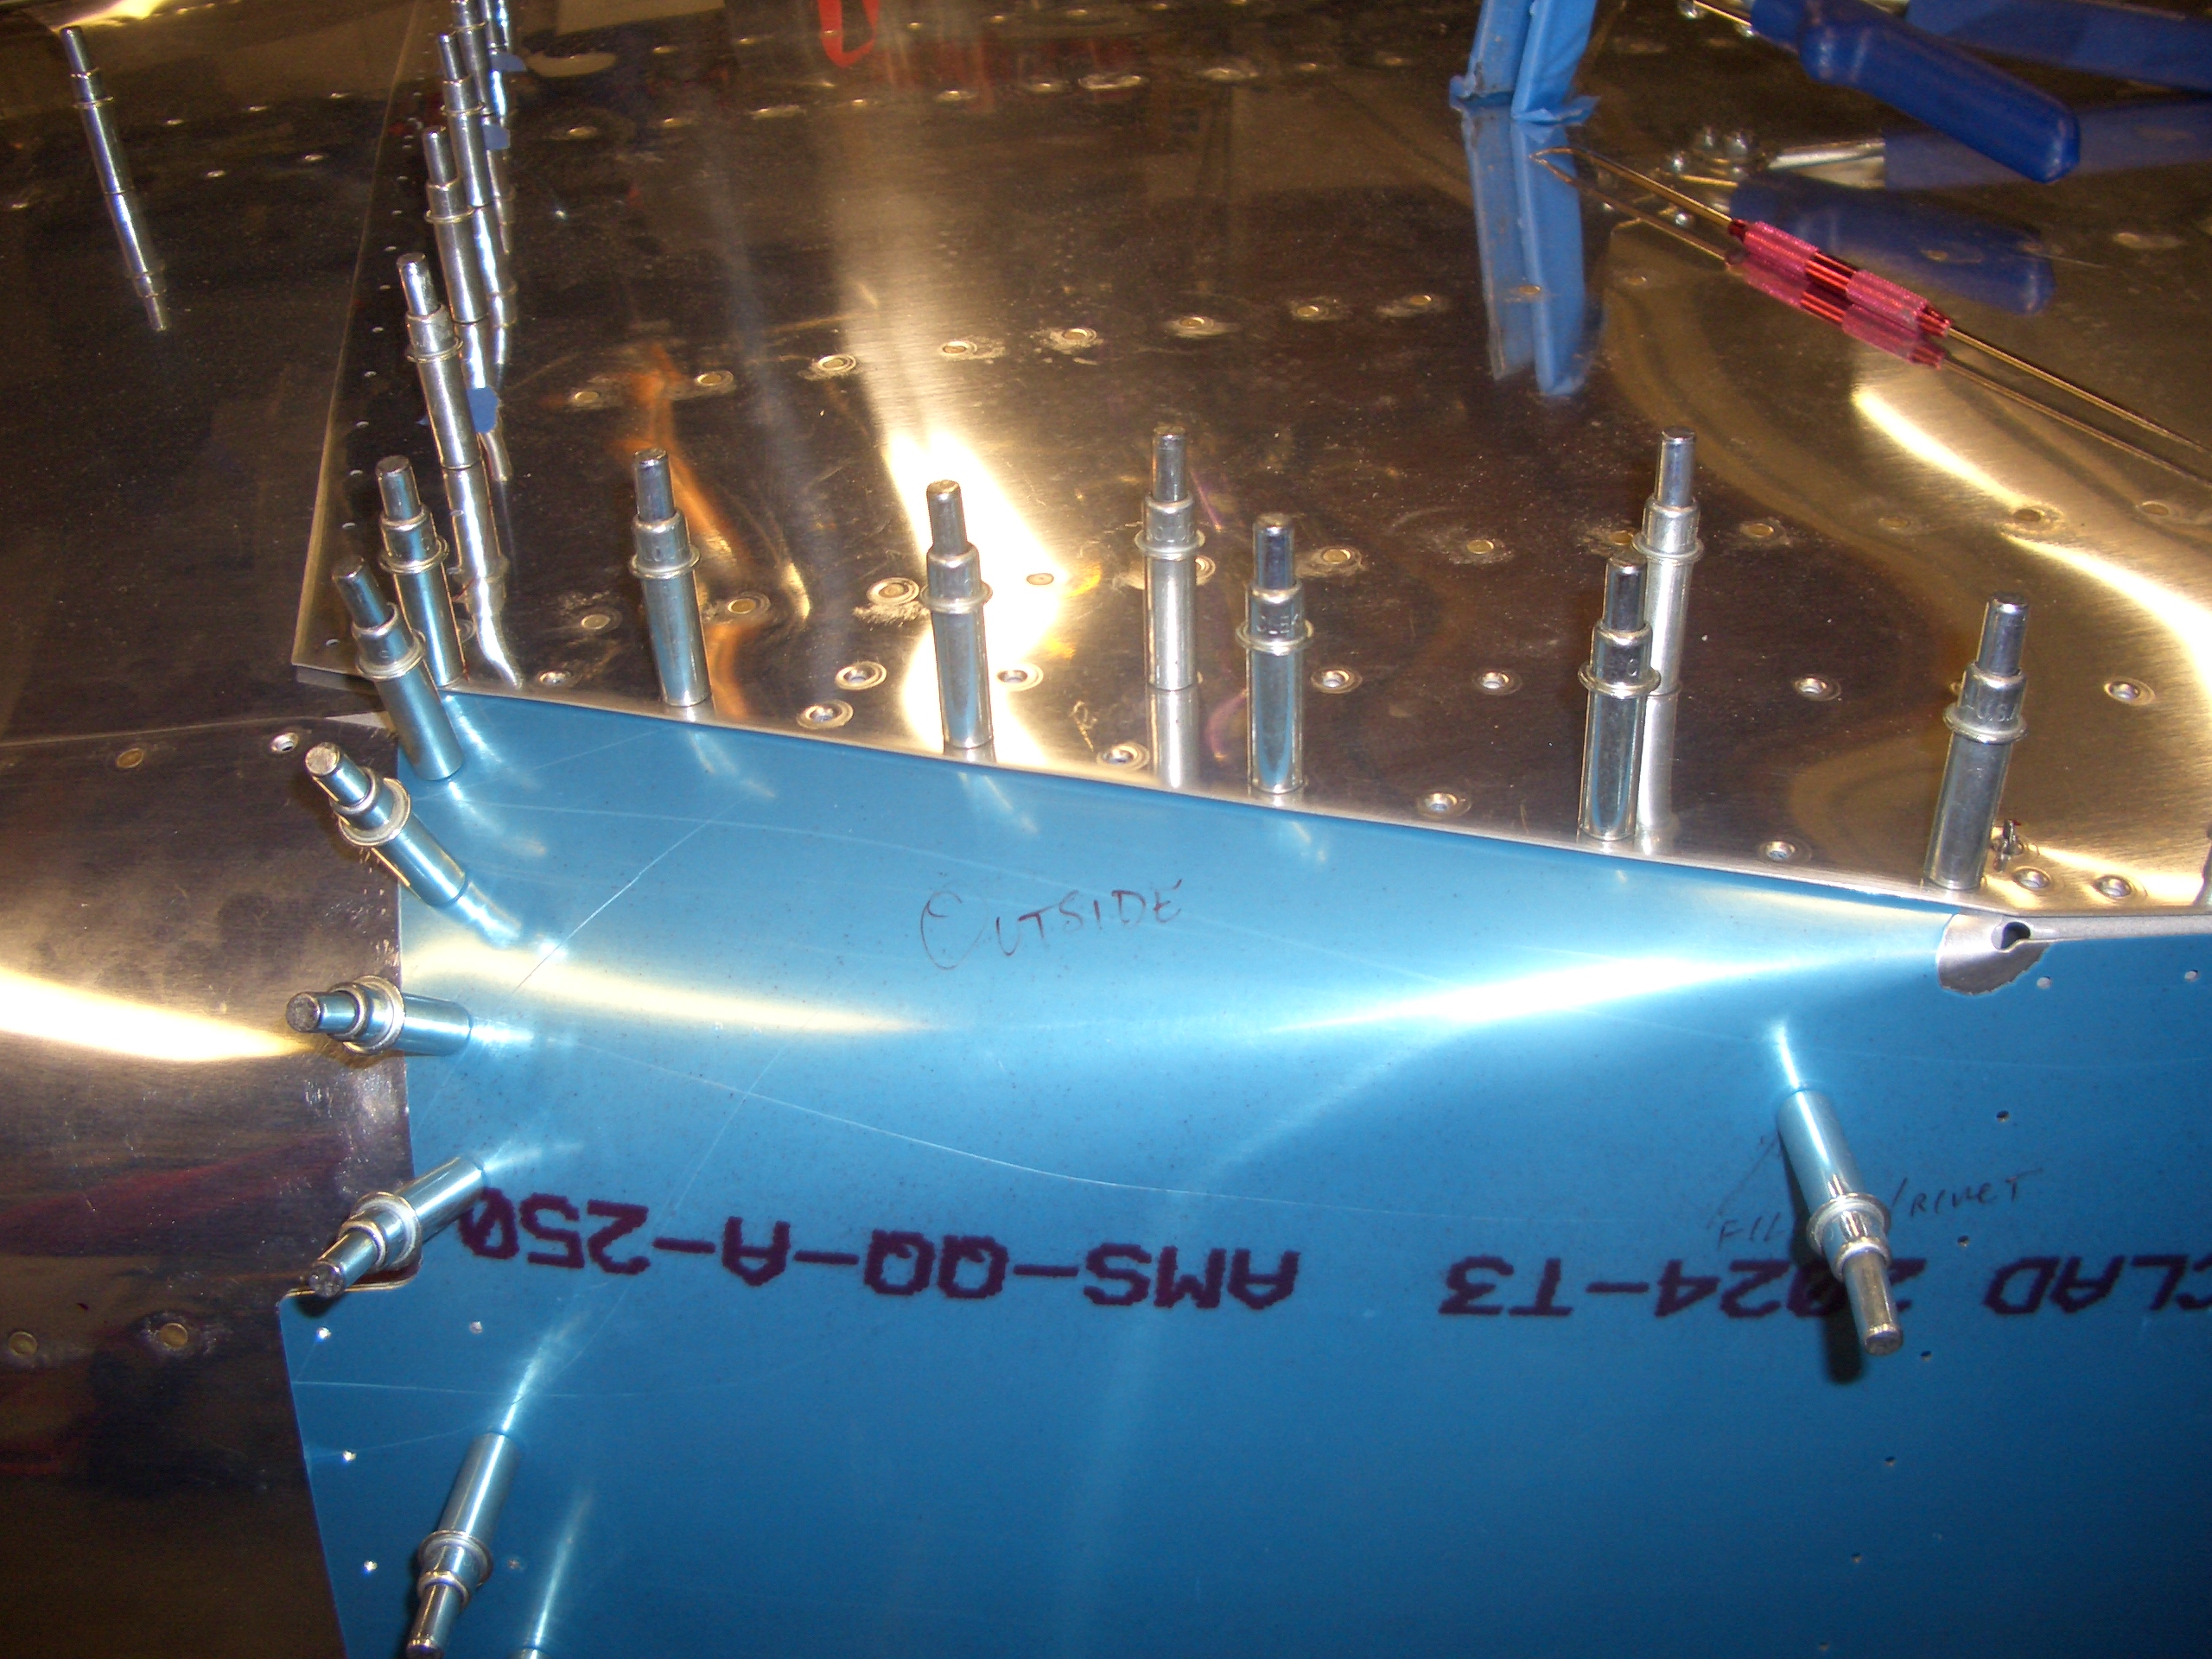
I fit the right side outer seat rib and match drilled it to F-704.
I clecoed the aft end of the rib in place through the #30 holes (copper colored clecos) and drilled a single hole through the bottom skin (through the center line I previously marked) to define the lateral position of the rib and then match drilled the #12 hole through the bottom rear of the rib (gold colored cleco on the left). The gold colored cleco sticking out of the side of the rib on the right was just used as a handle to tweak the lateral position of the rib. I need to flute the center portion of the top of the rib to match the curve in the seat pan, so this still needs to come out again before I’m ready to match drill it to the seat pan.
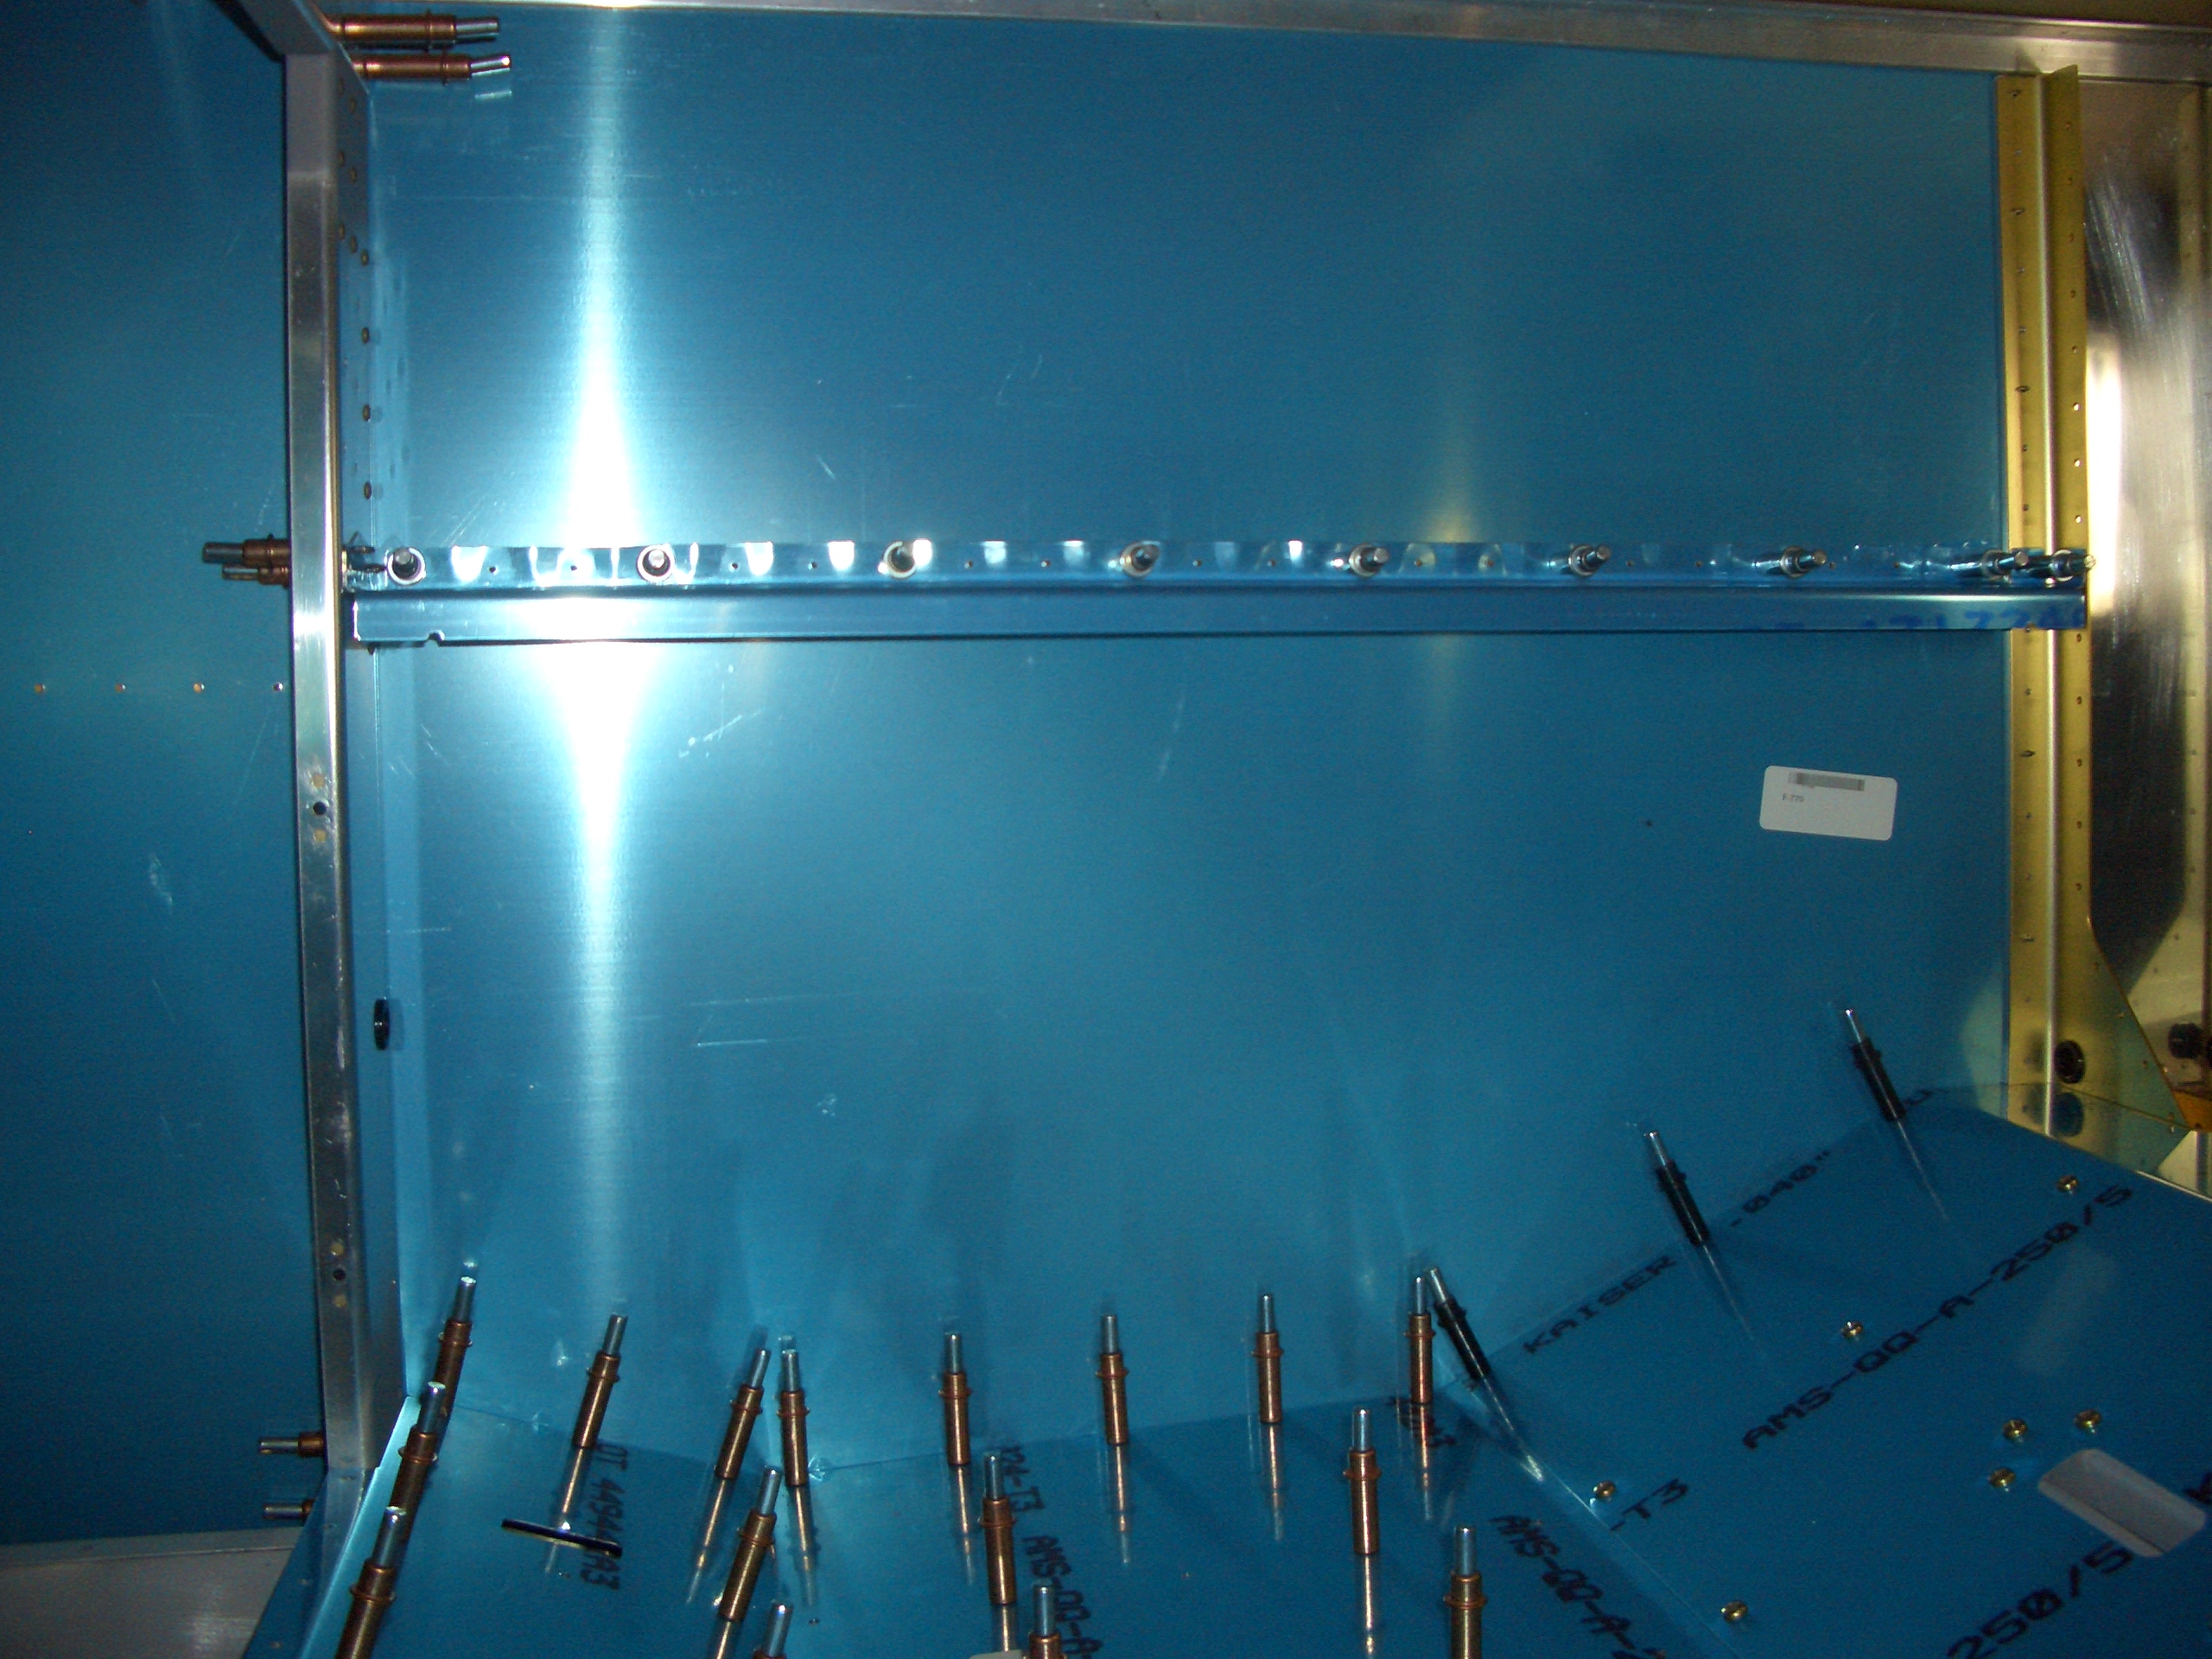
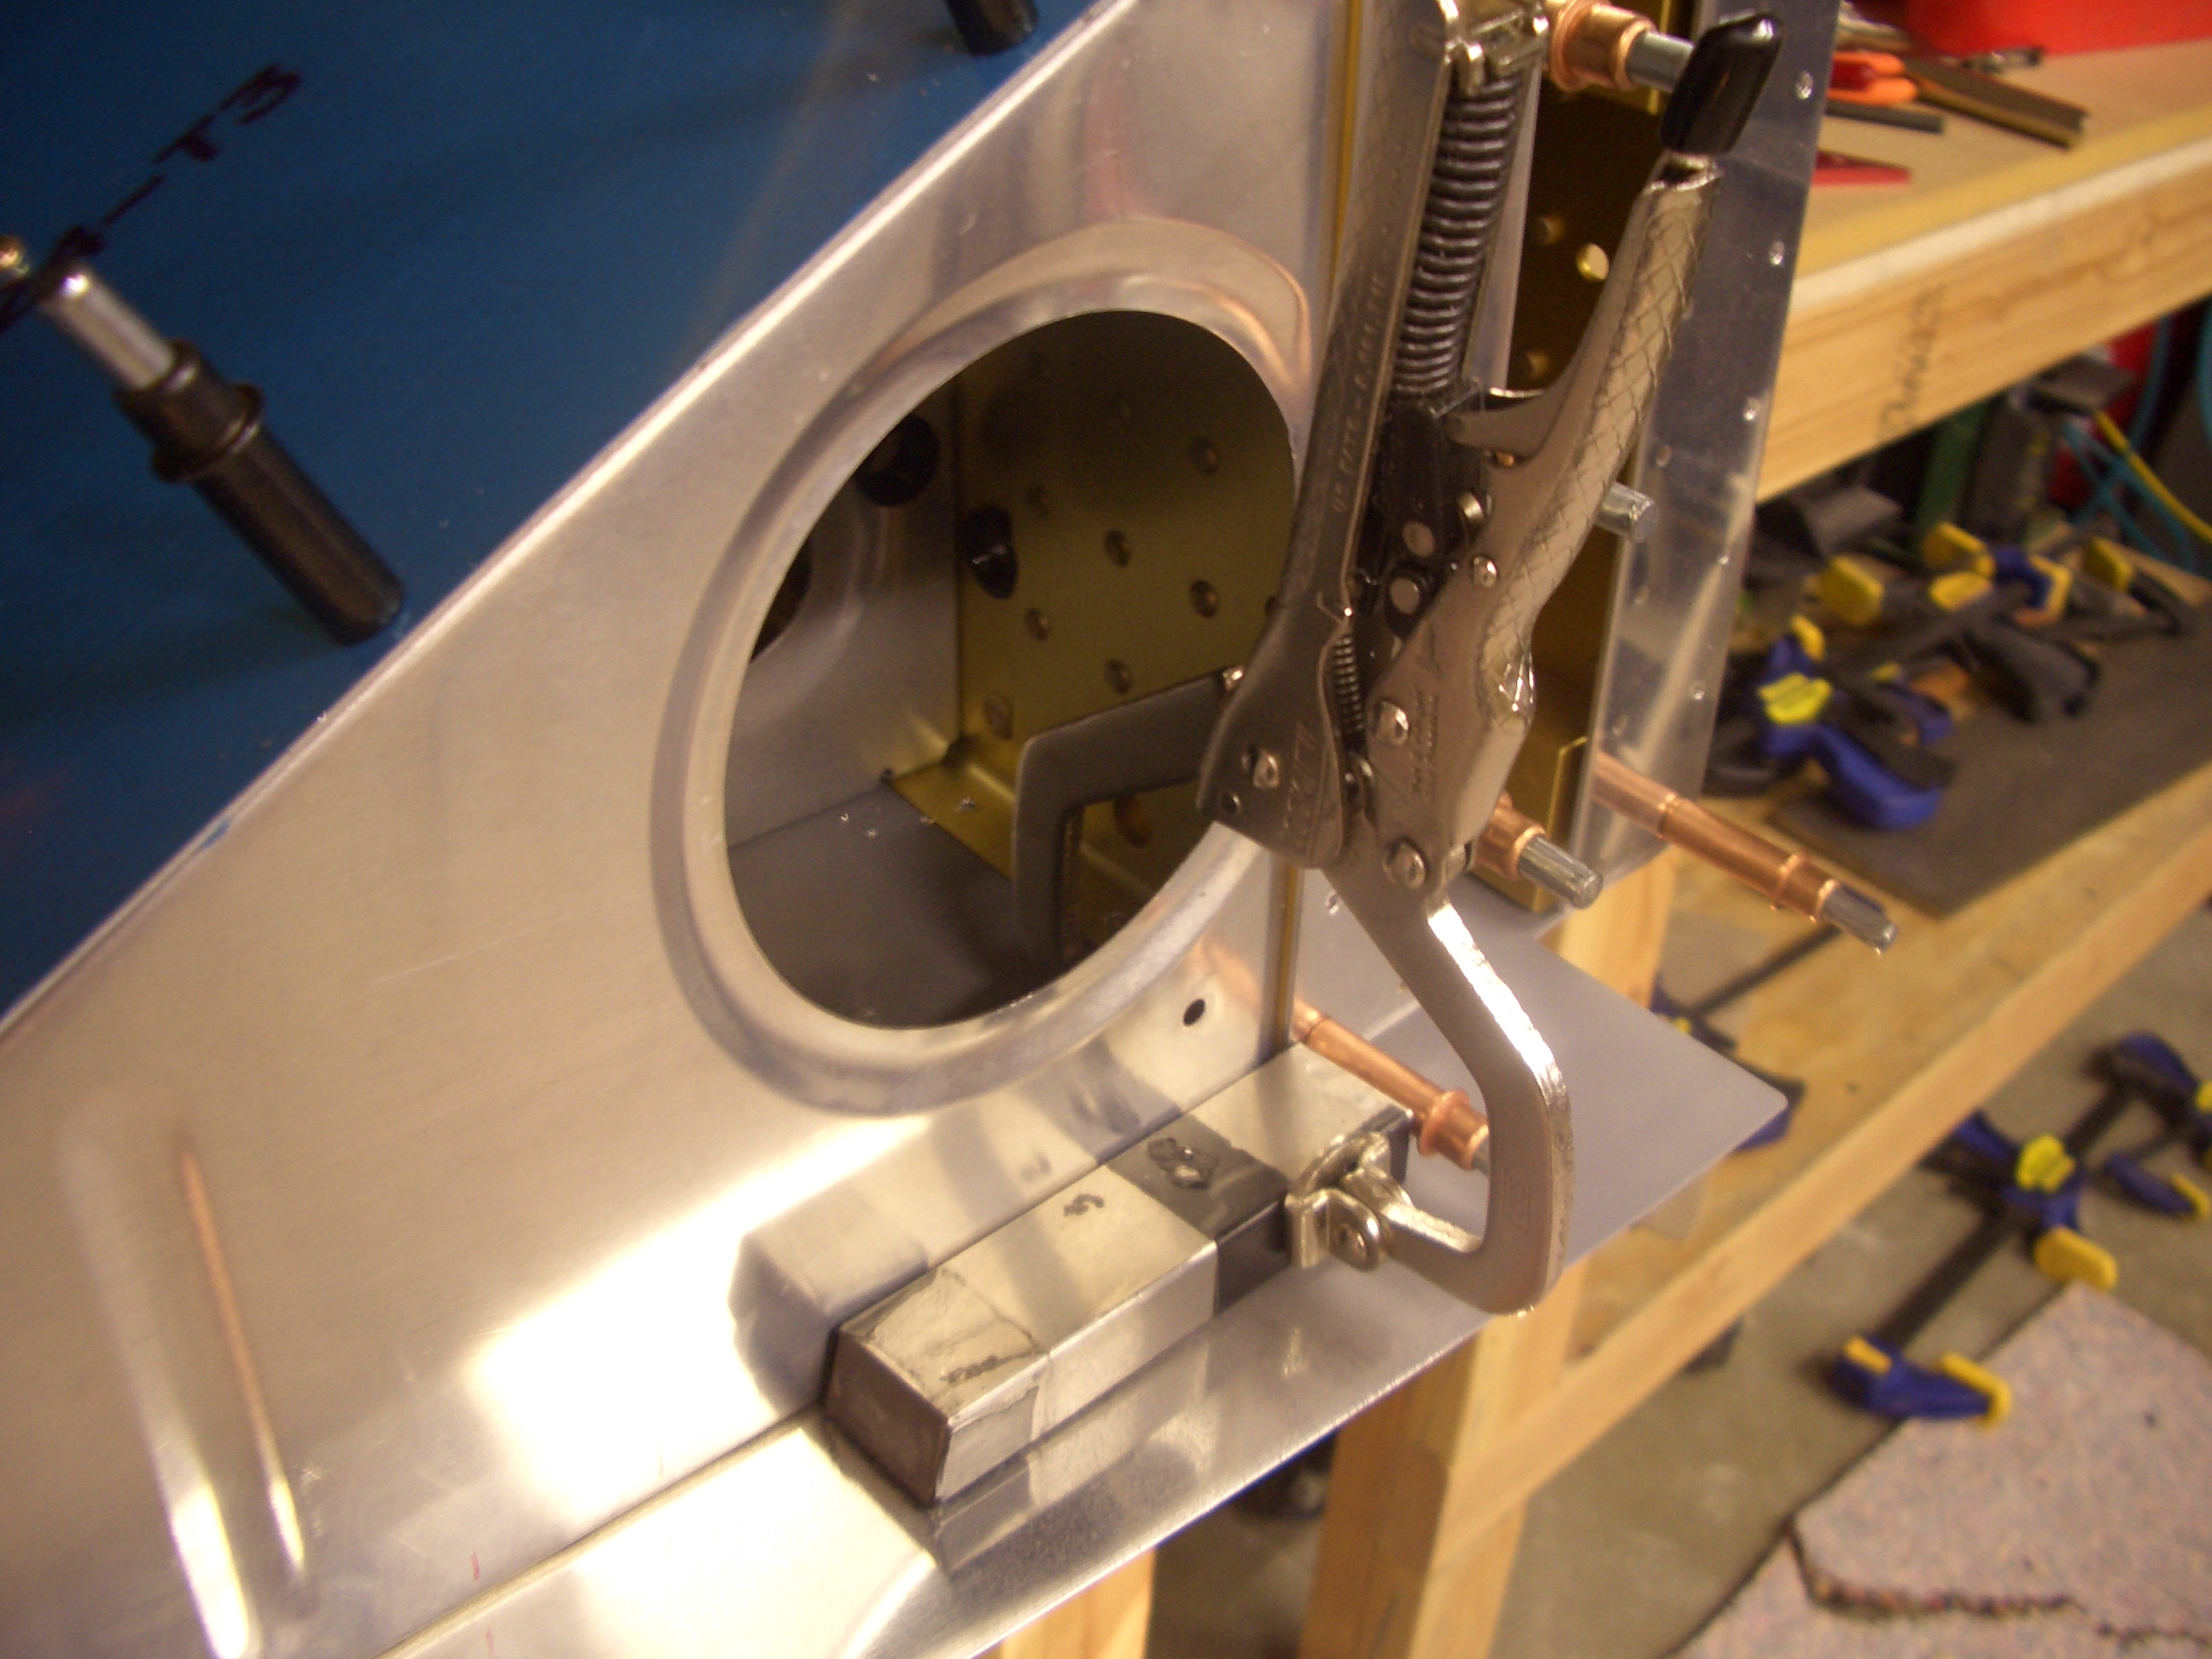
I positioned the web of the outboard seat ribs 1/32″ past the end of the seat pans and drilled the top flanges out with #19 near the front (the black cleco near the upper left of the picture) and #30 the rest of the way. Afterward, I clamped my tungsten bucking bar to the forward end with the tip just hanging over the F-704 side doublers. This ensures these two parts are perfectly coplanar since the side skin spans this joint. I then drilled the first hole in the bottom skin to lock in the lateral position of the rib.
The center line that I drew on the bottom flange of this rib was perfectly centered for the entire length of the rib, so I match drilled it to the bottom skin.
Here is the rib fully drilled to the center section. I then repeated these steps on the left side.
Before the center and aft fuselage sections can be mated, a notch has to be cut in the longerons to allow the vertical bars on F-711 to slip through. The plans provide dimensions on where to position this aft deck, and the existing slot can be used to mark for the notch.
After drilling the end to just under 3/16″, I used a mini hacksaw to cut out the waste (a regular hacksaw would have required me to remove the aft deck to make the cut). I then filed the longeron until it exactly matched the cutout in the aft deck and had a perfect 3/16″ radius starting 1/8″ from the outer leg of the longeron.
I then repeated the procedure on the other longeron. I’ve noticed several builders drilling two 3/32″ holes to define the radius at the end of the notch, but check the plans carefully, the radius is supposed to be 3/32″, so you need a 3/16″ diameter curve at the end of the notch. I filed this until a 3/16″ drill but nestled into the curve. I still need to smooth everything out with some scotchbrite, but the aft and center fuselage sections are ready to join.
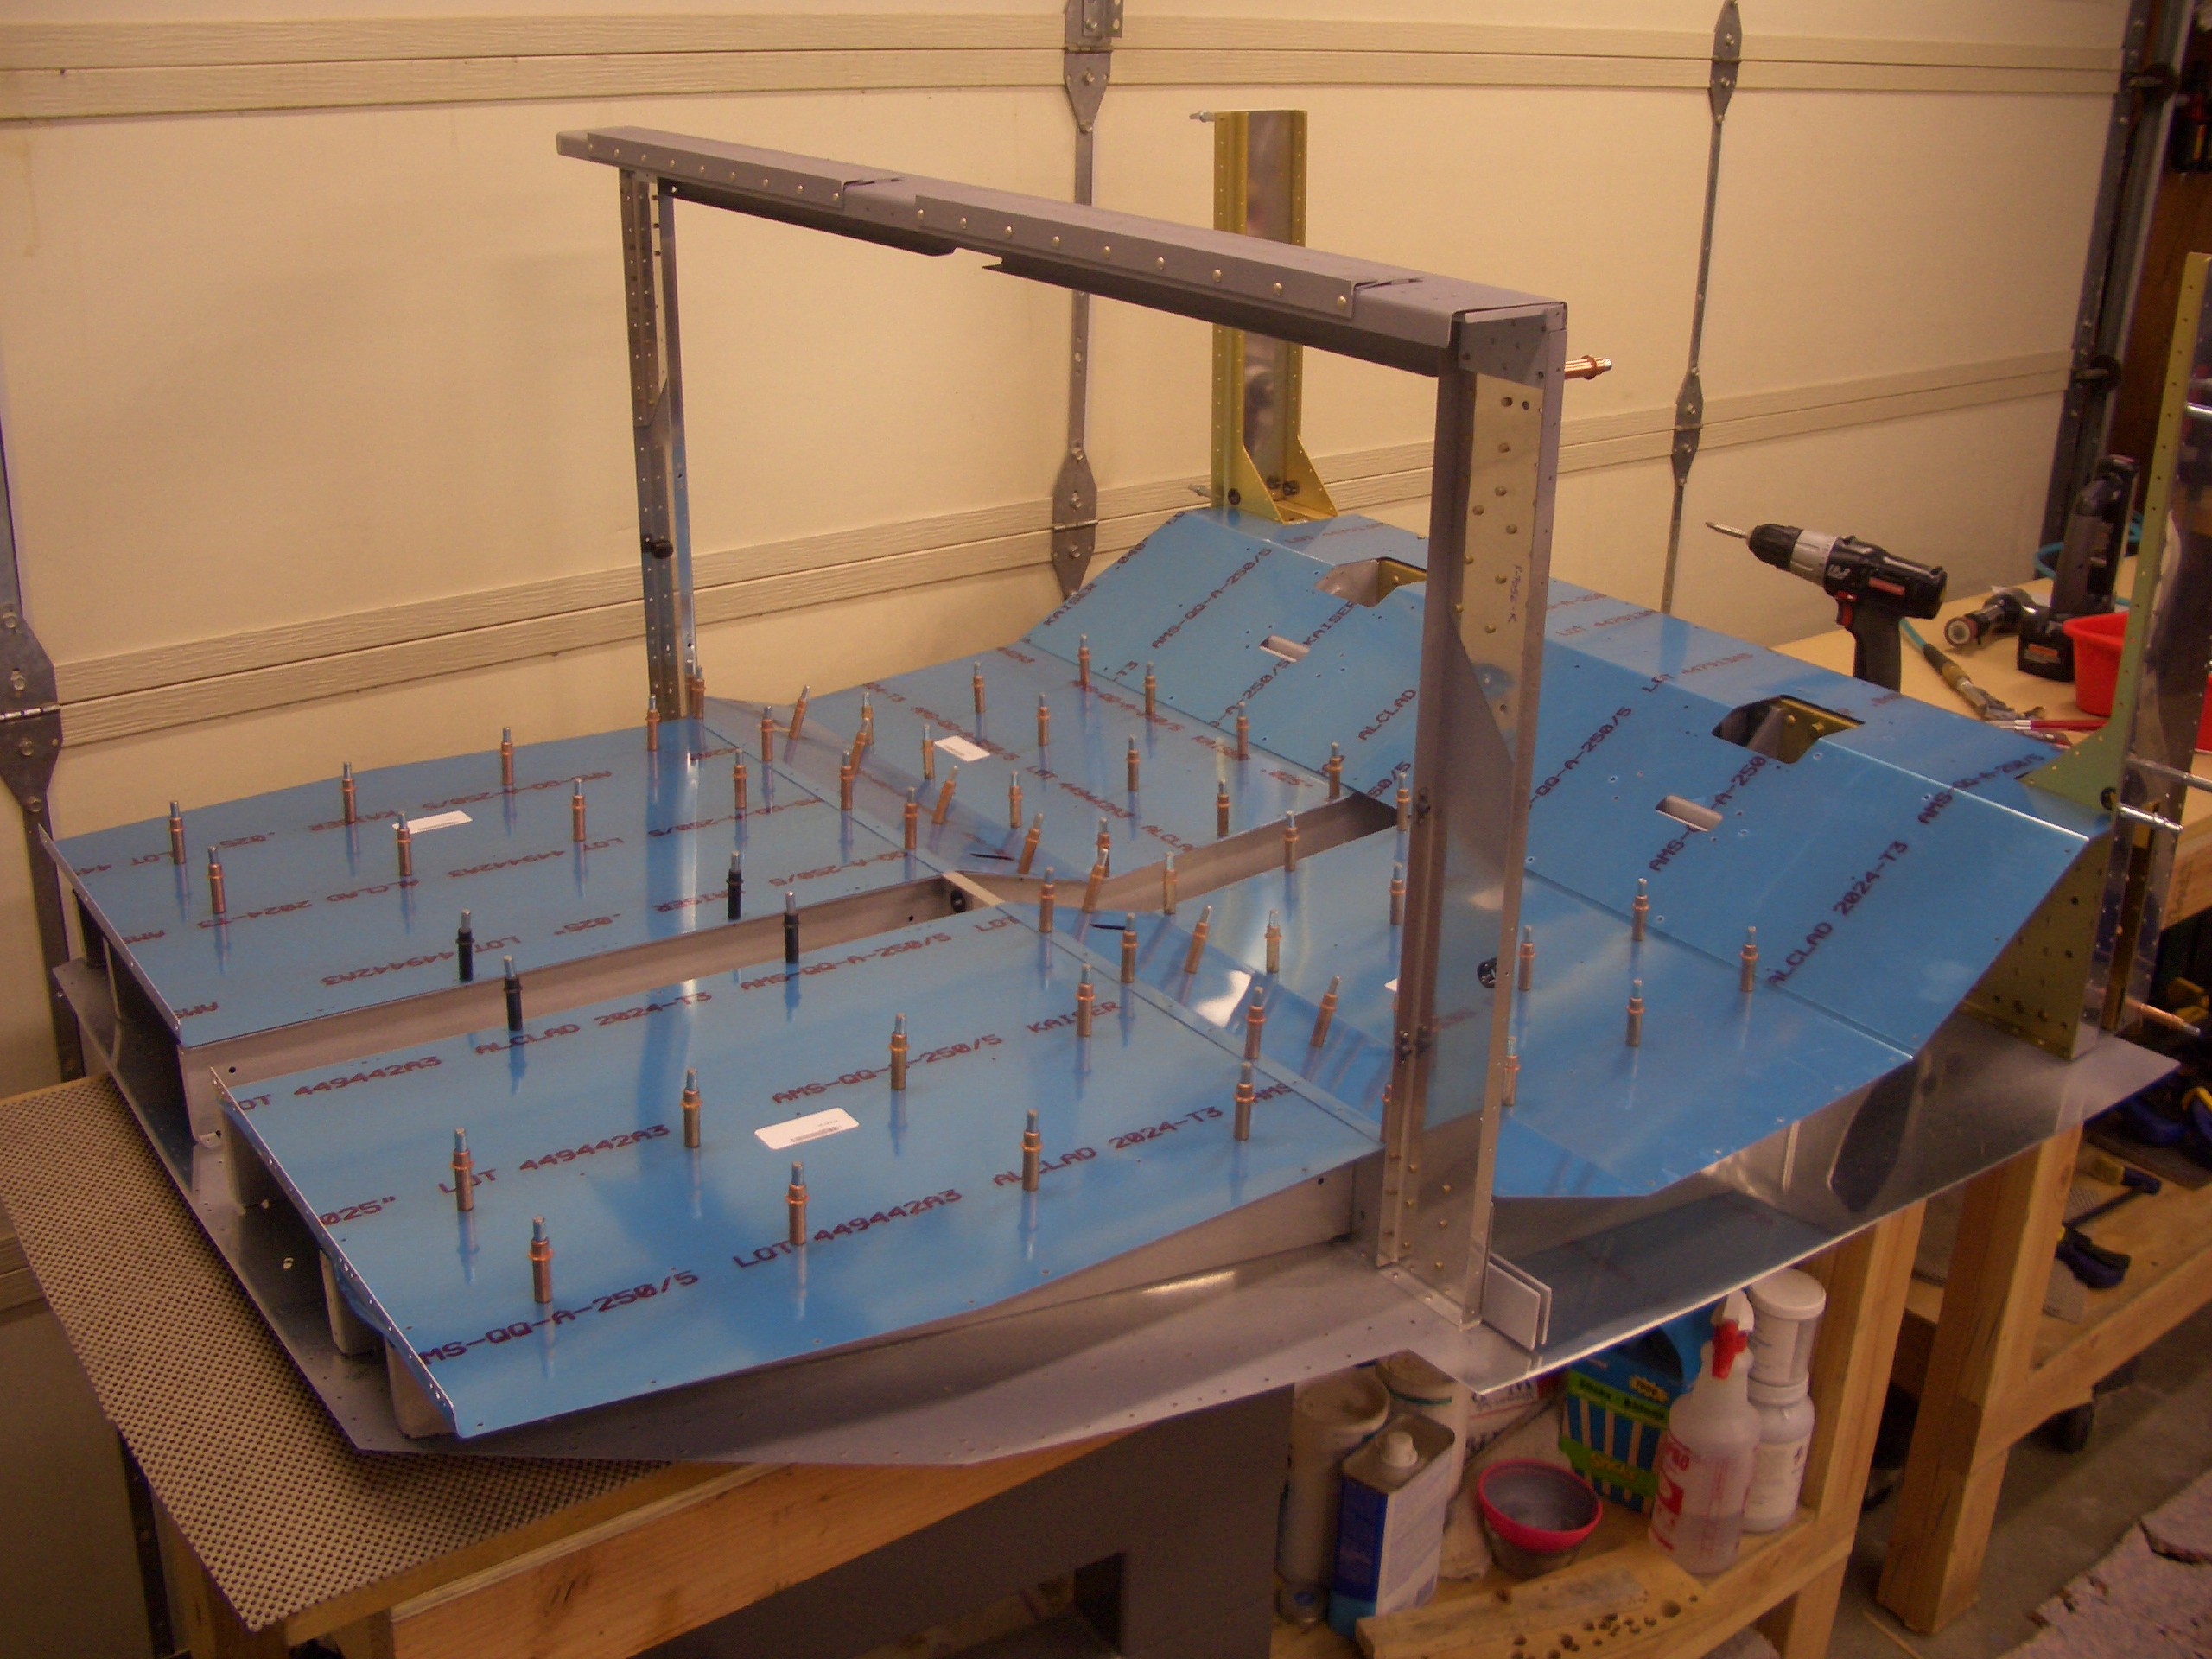
After rearranging some things in the garage, Jenn came out and gave me a hand joining the center and aft fuselage sections. I ended up having to remove the baggage floors in order to be able to coerce part of the bottom flange of the baggage ribs to fit over the F-706 bulkhead. Do yourself a favor and just leave the baggage floors out until you get the bottom skins clecoed together.
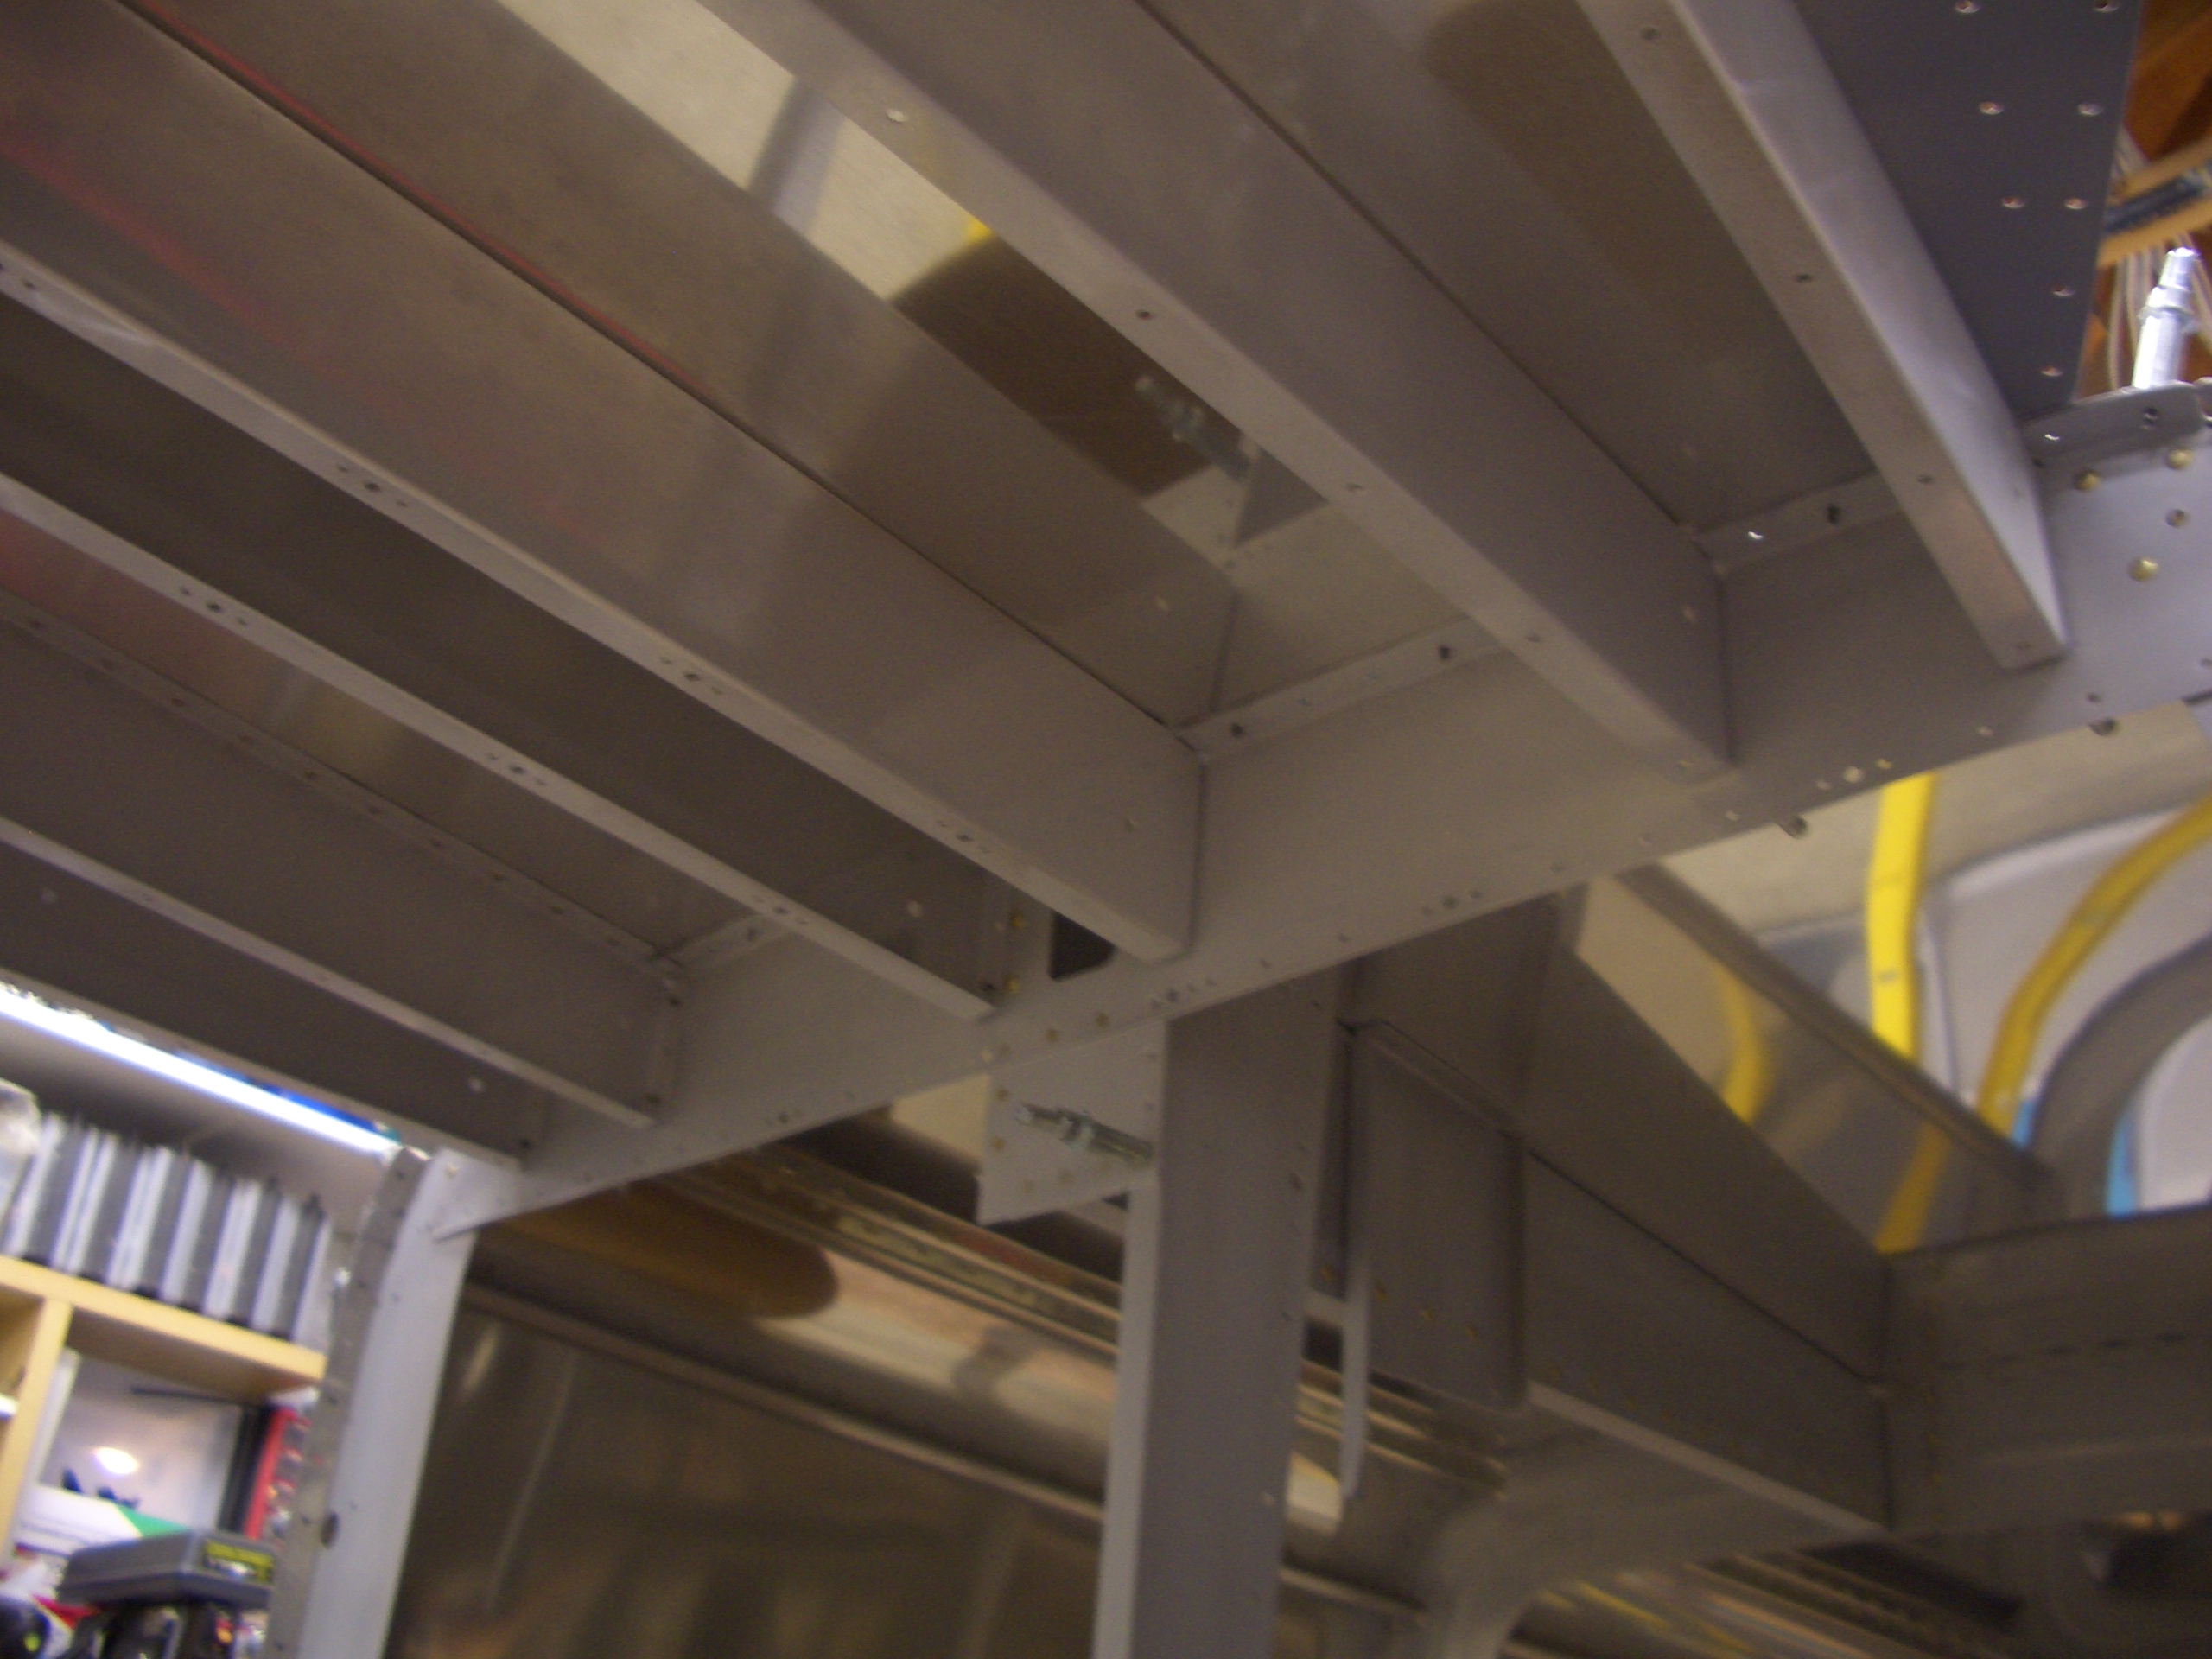
Here is what it looks like underneath. The baggage ribs also cleco to F-706.
It looks like I nailed the downward bends in the longerons. They perfectly follow the angle on F-704.
The front edge matches up perfectly.

Here’s the other side showing how accurate these bends ended up.
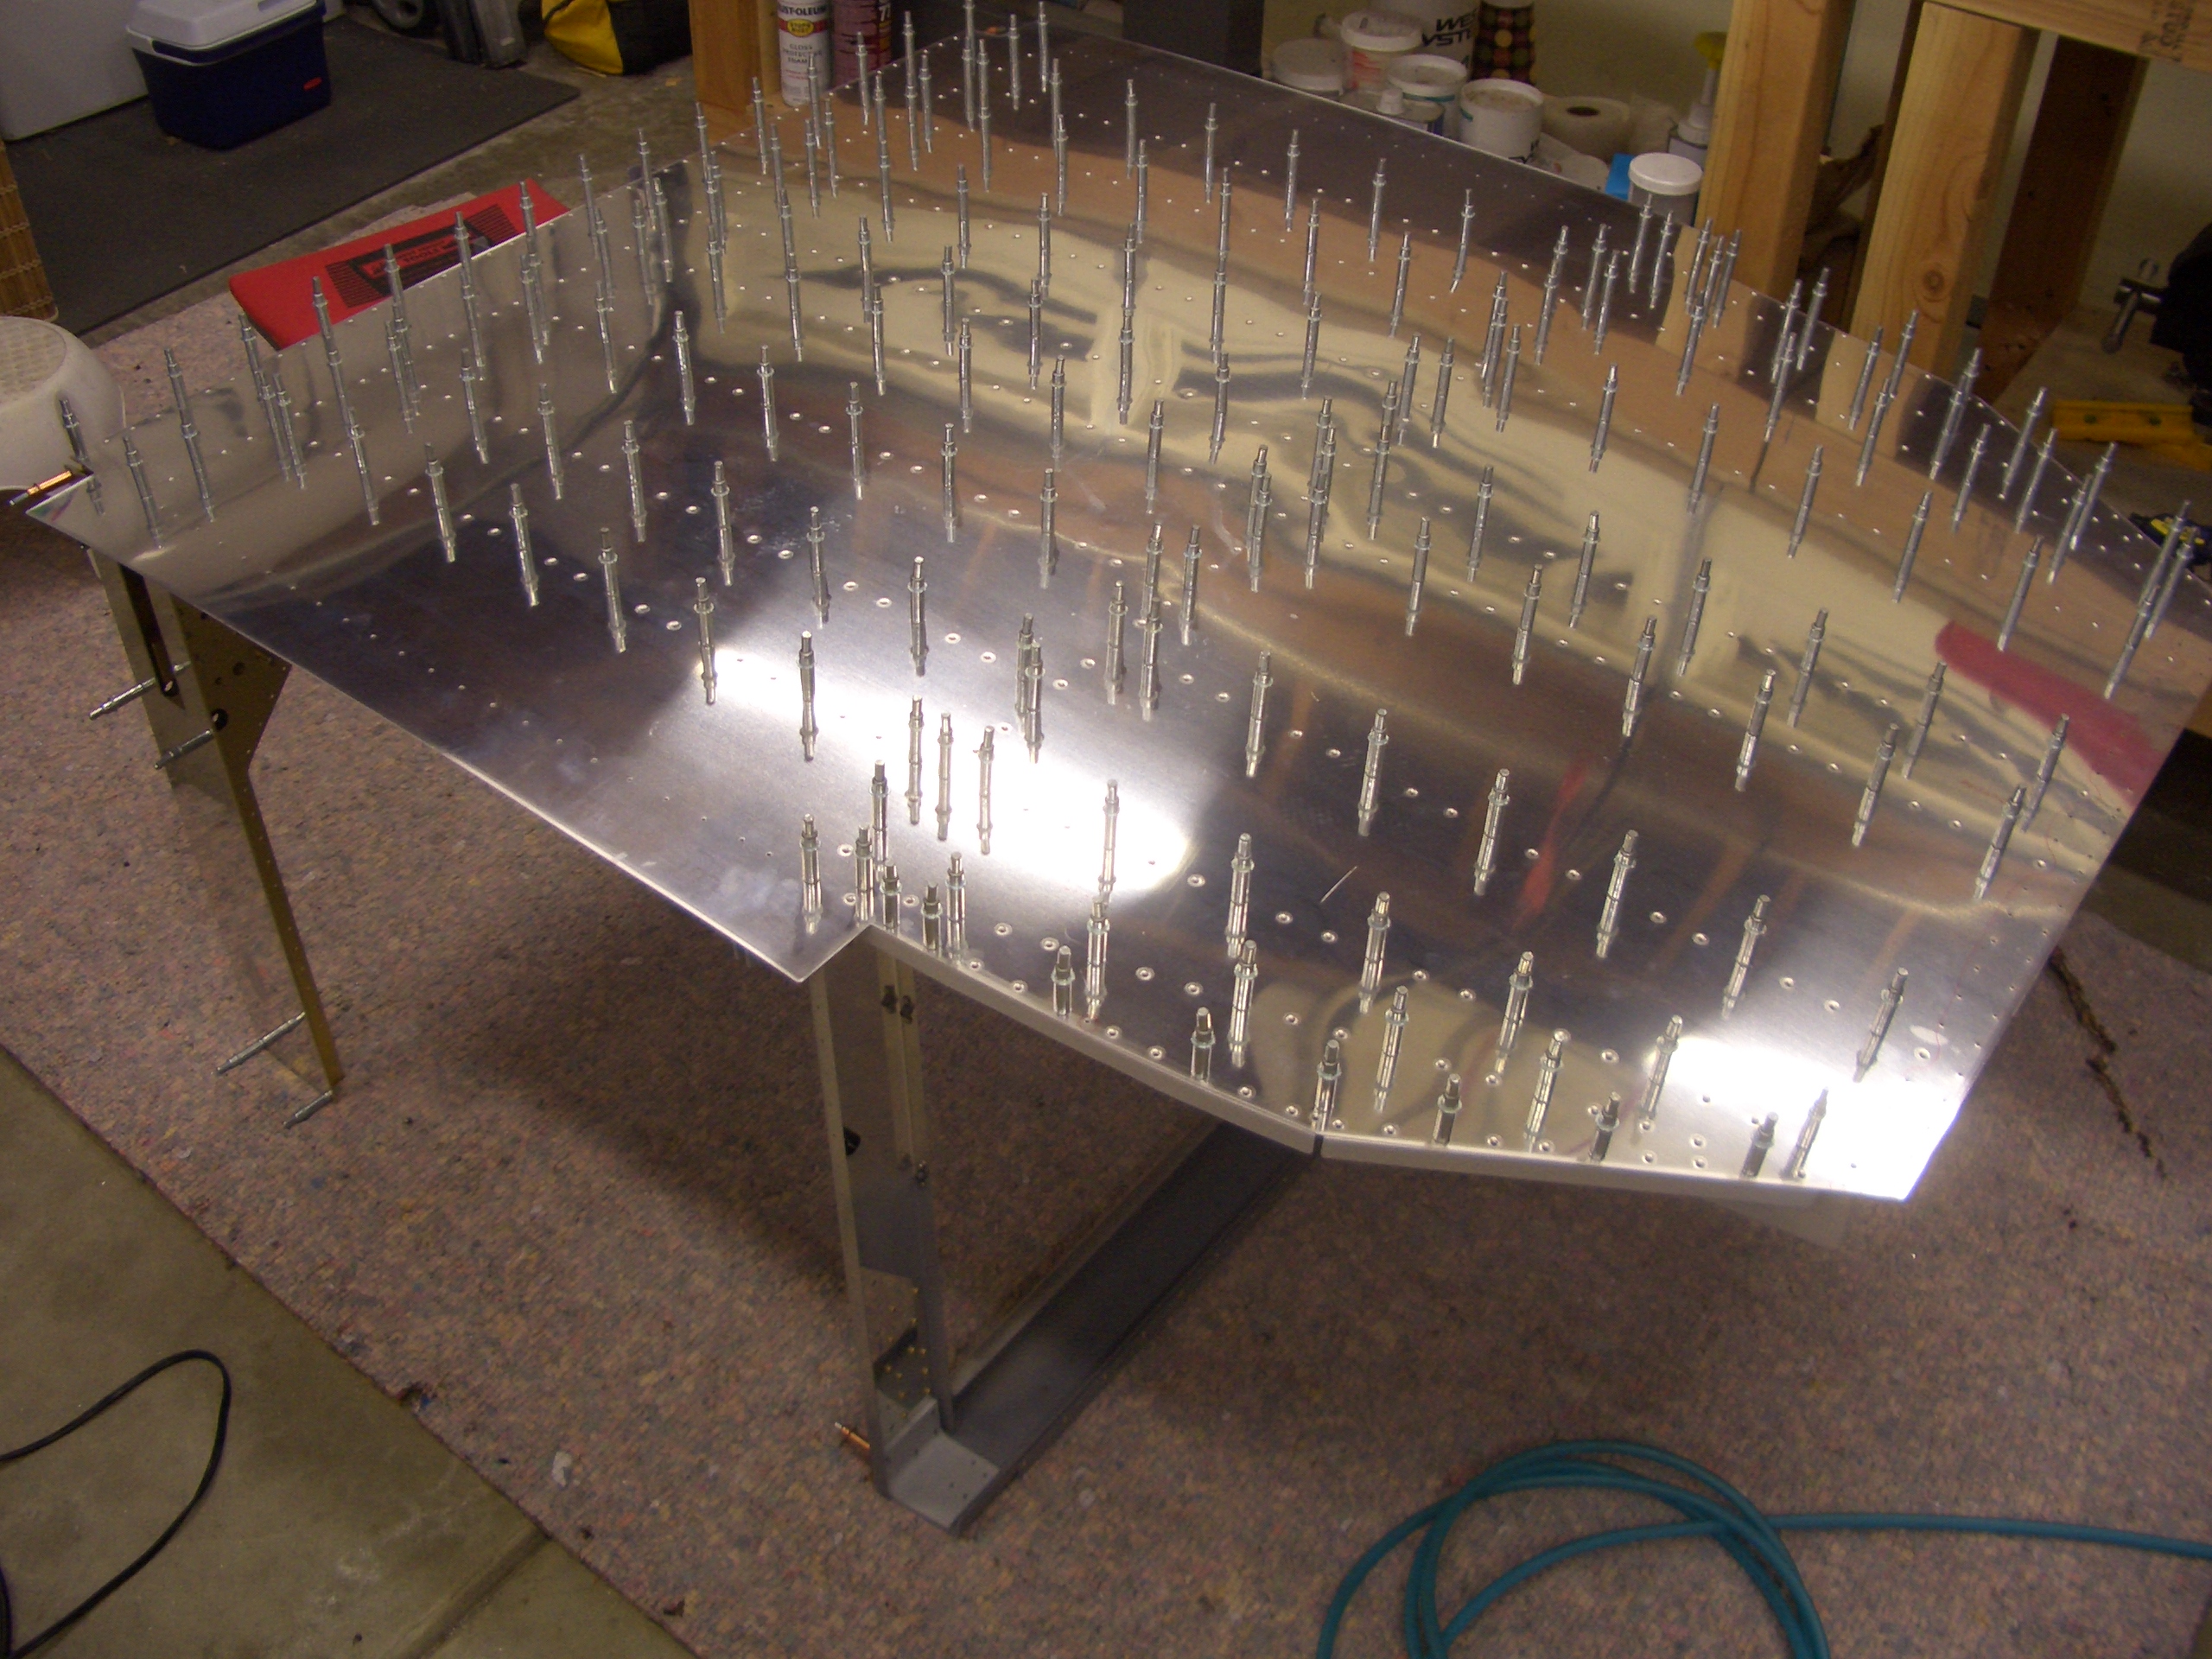
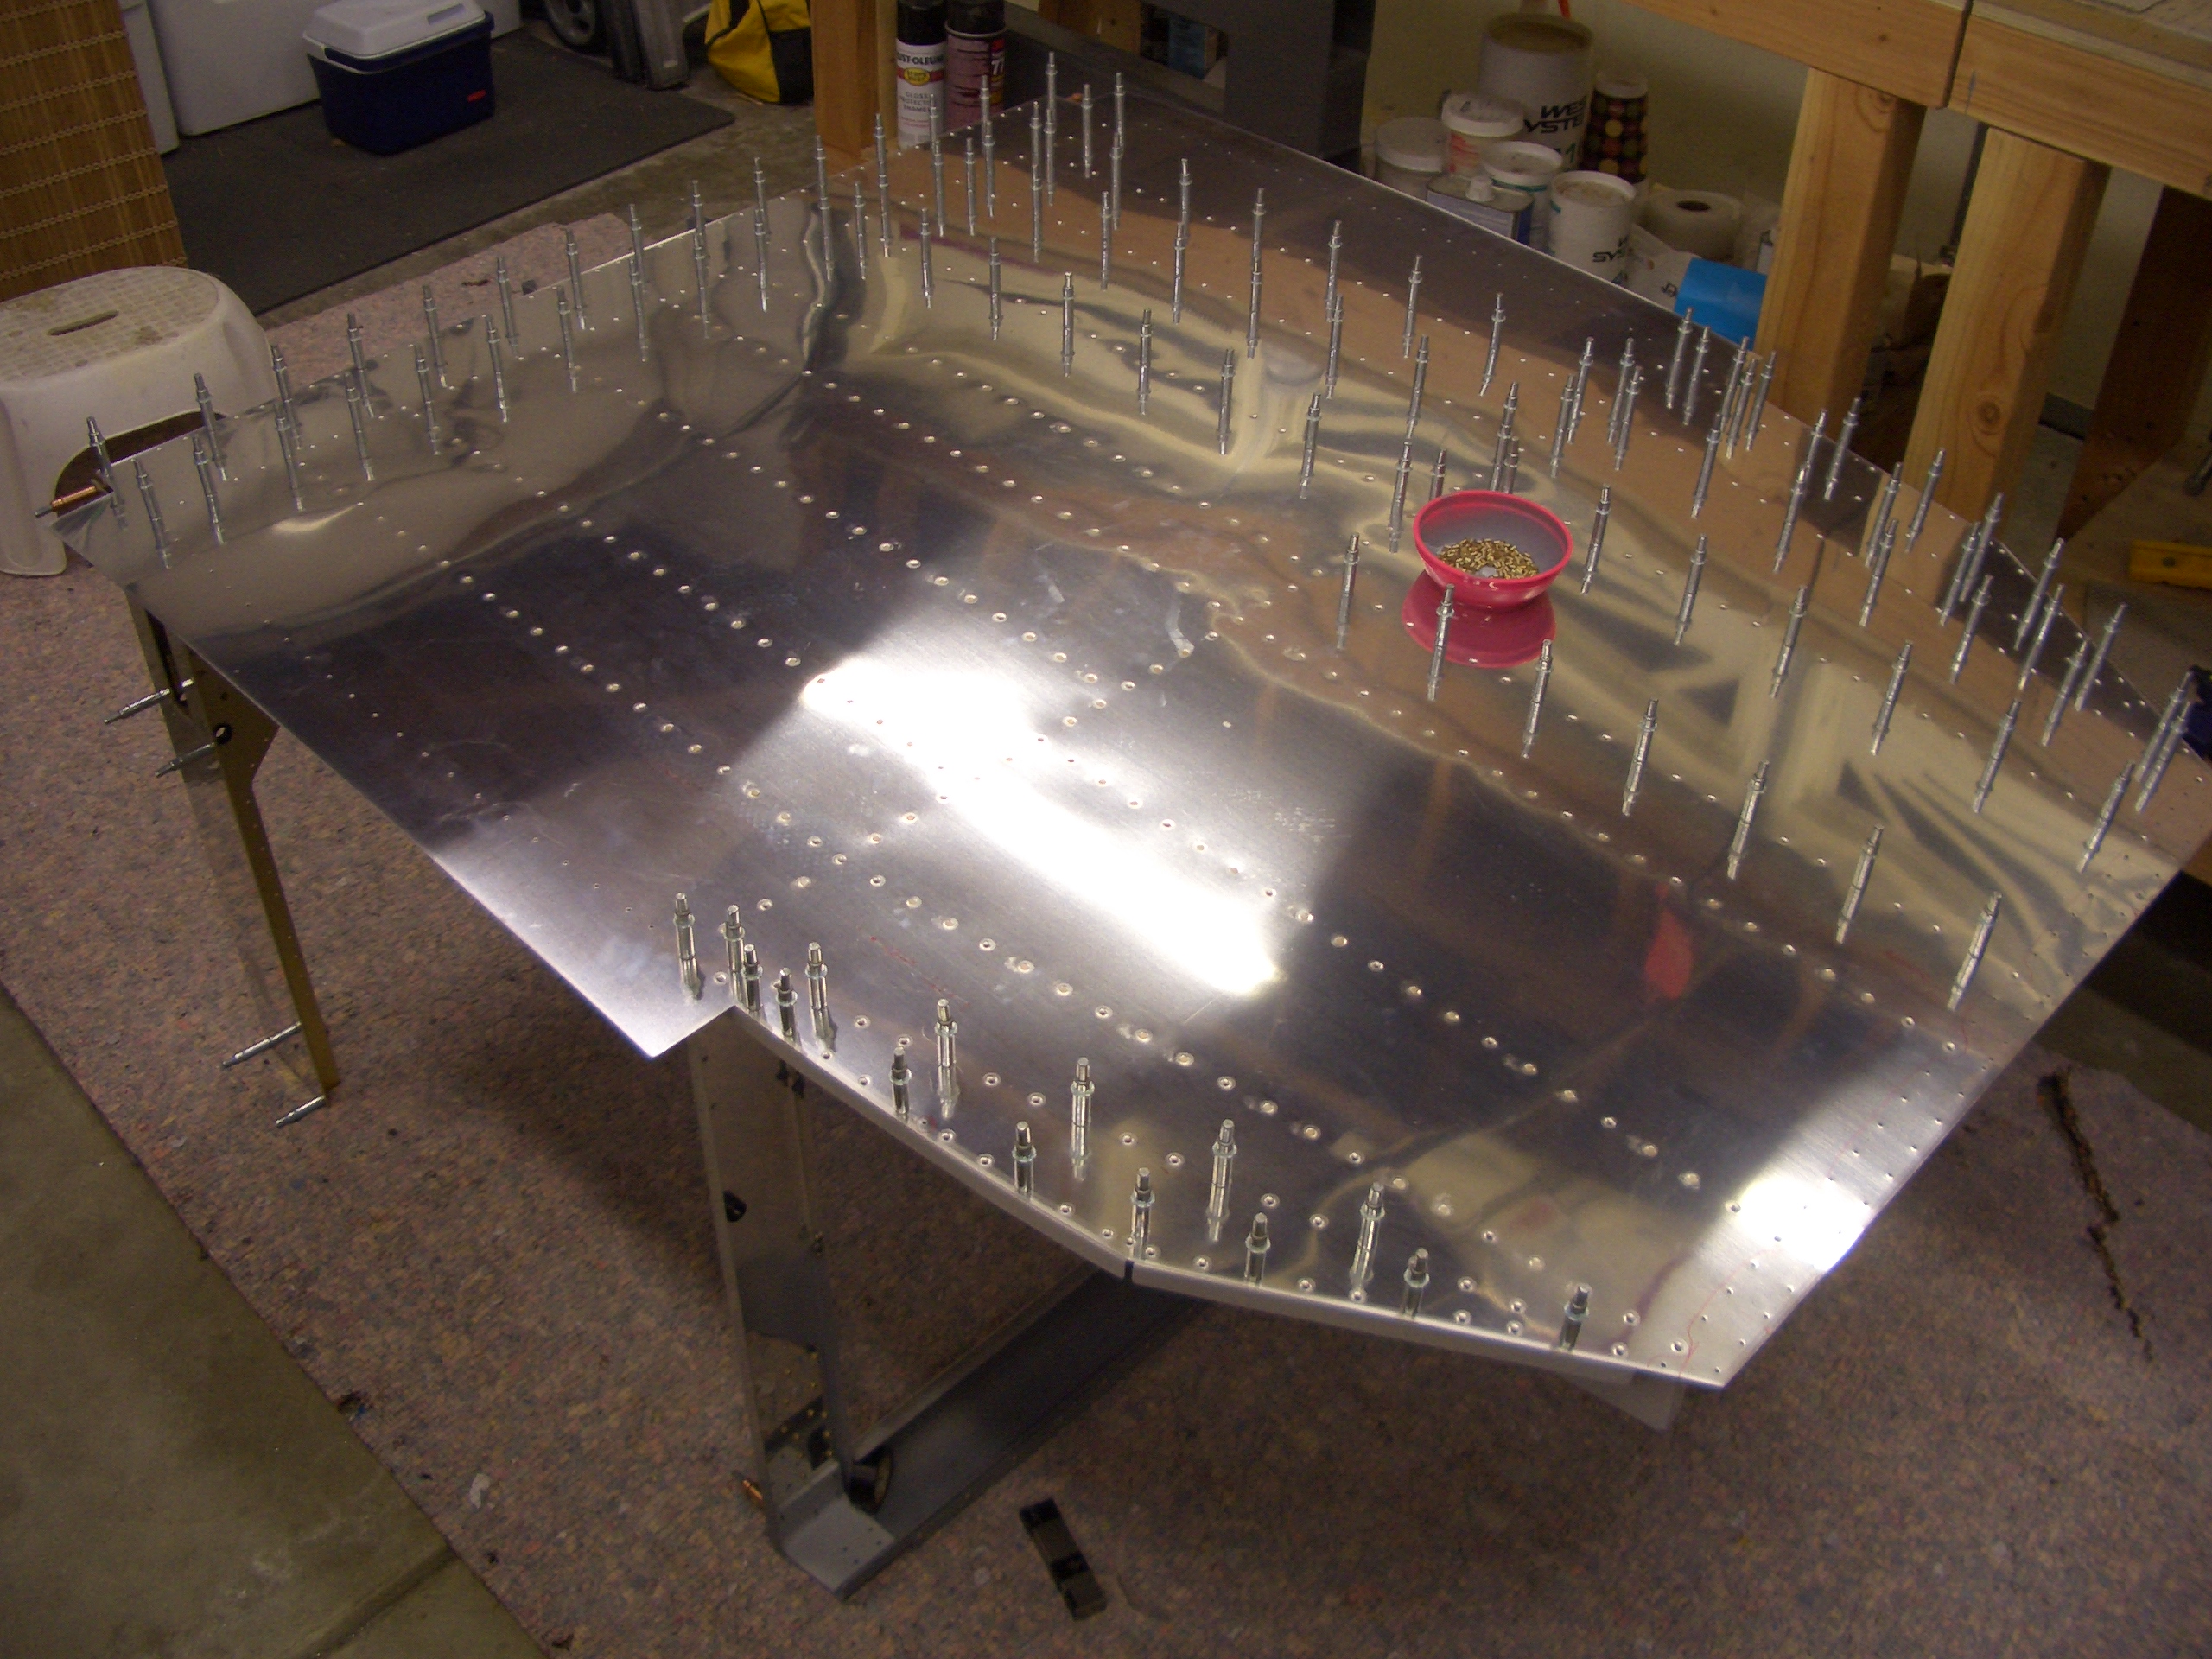
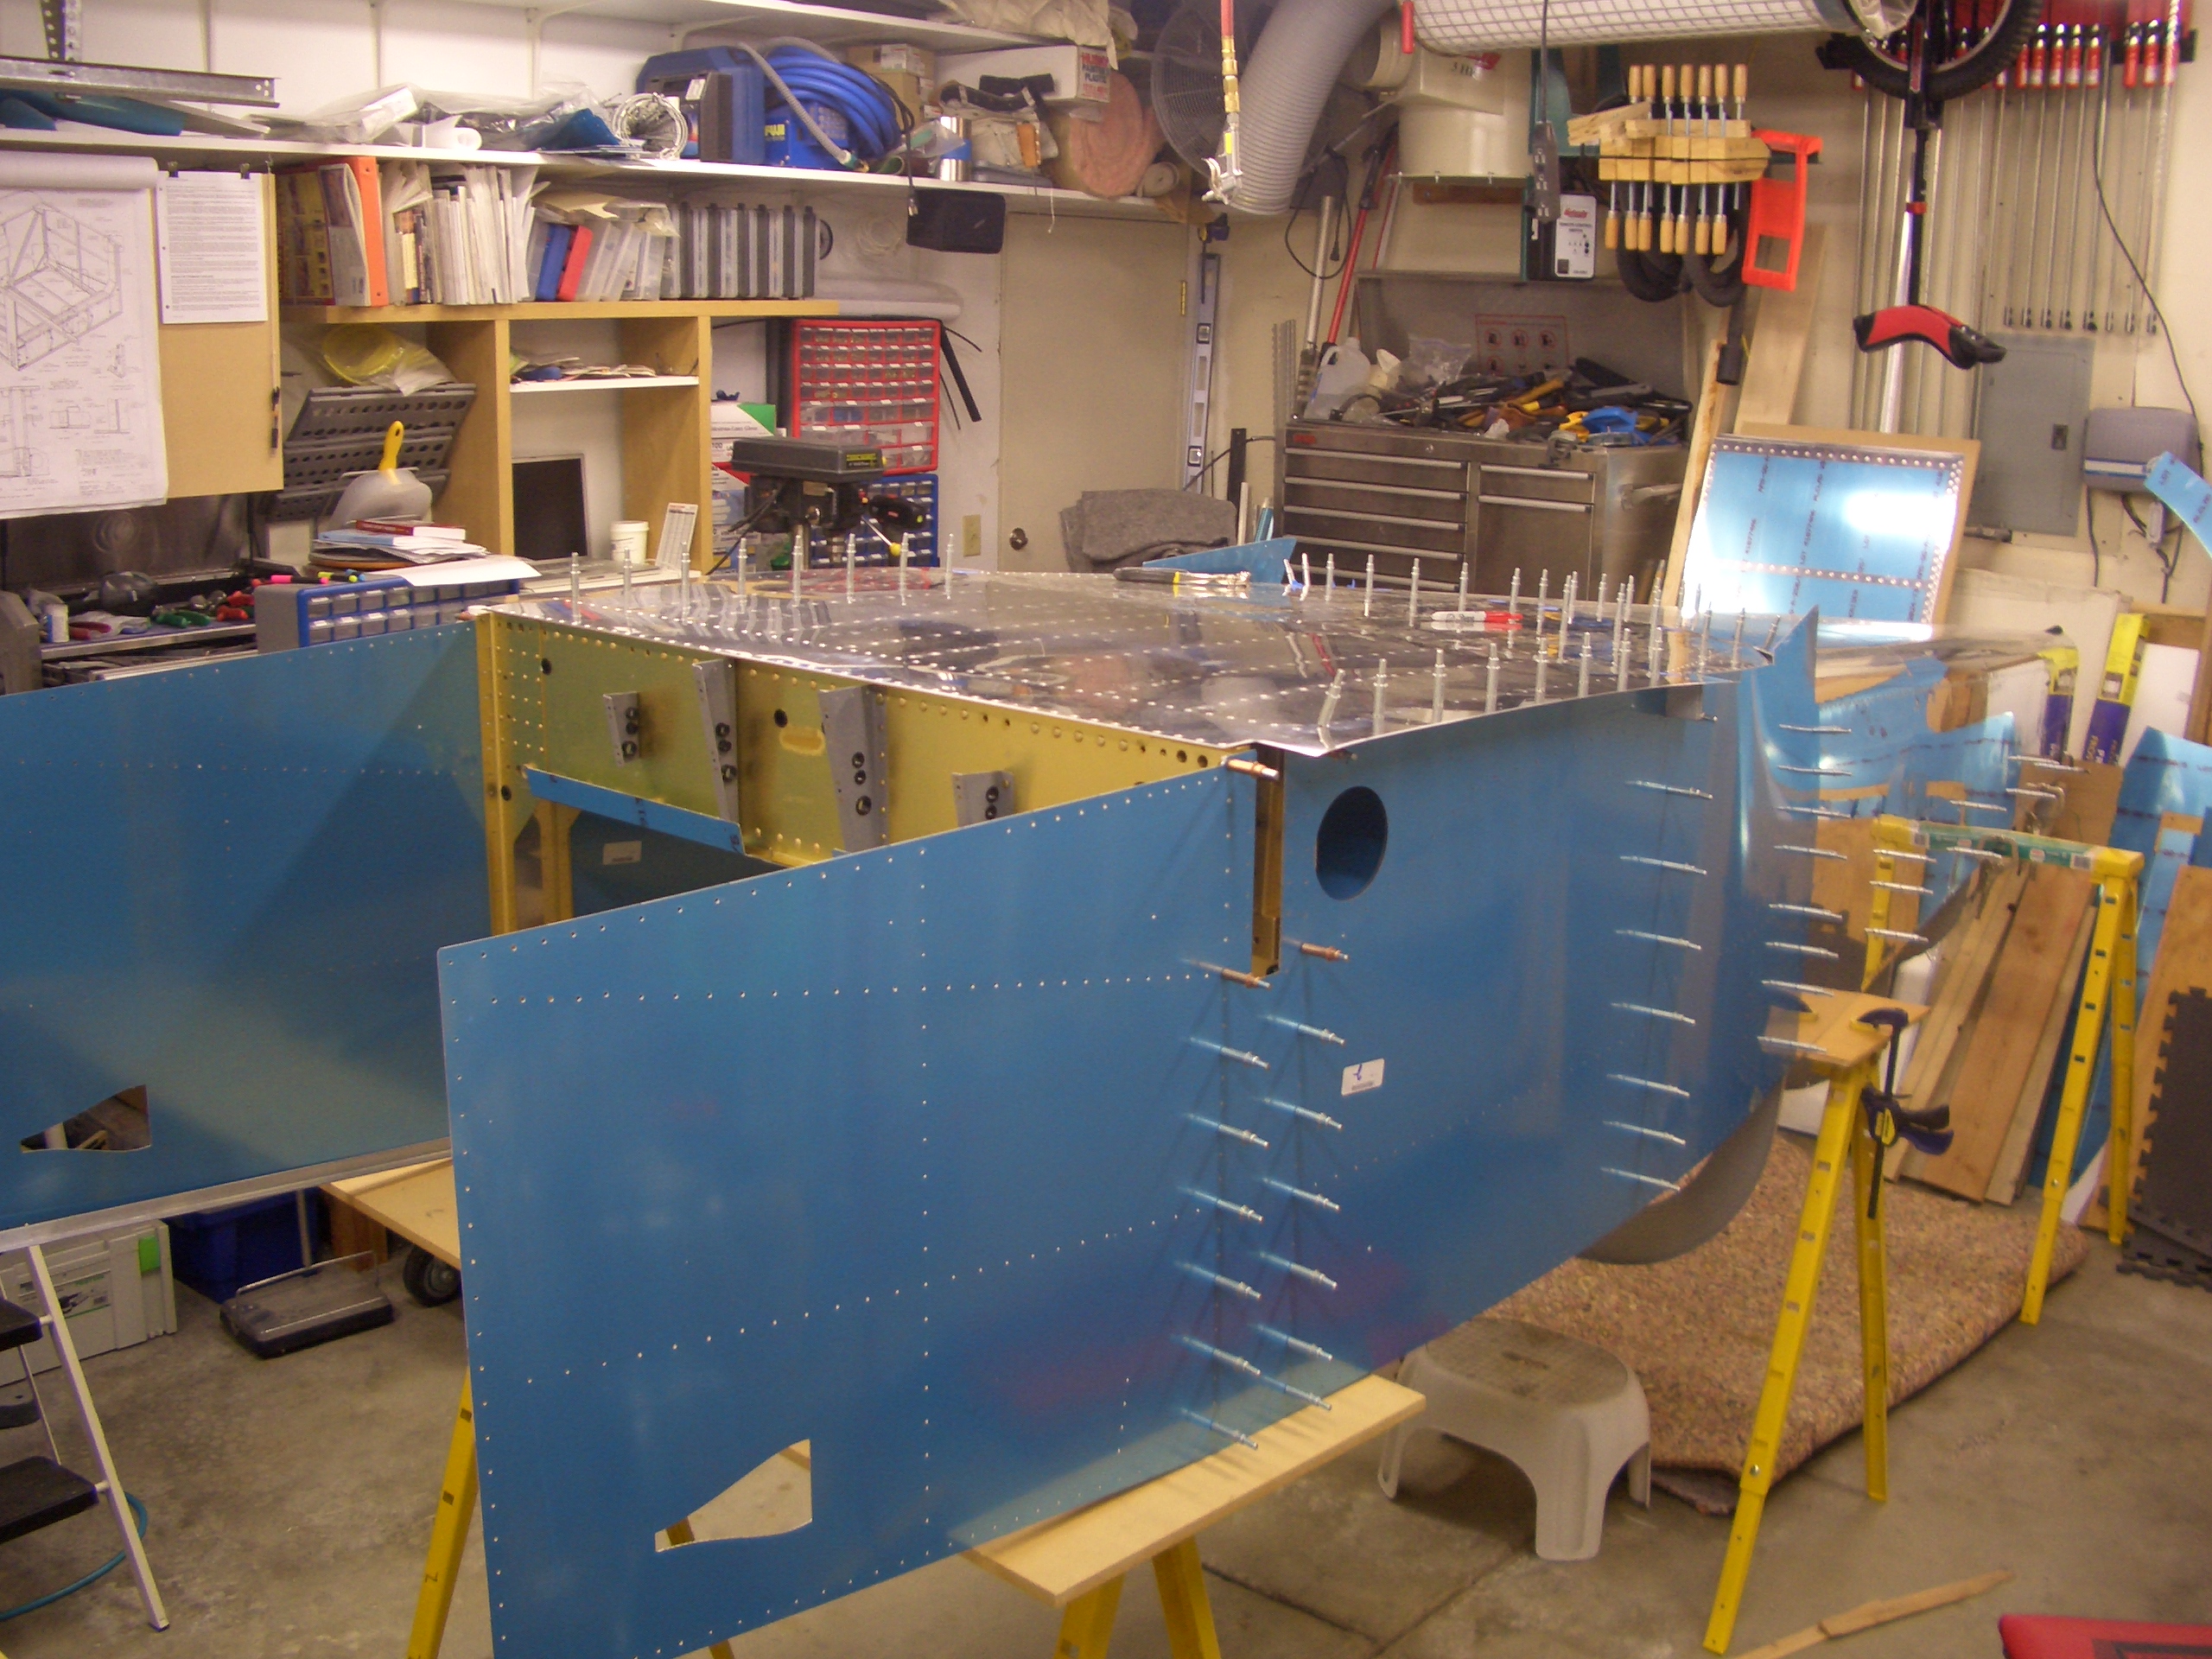
It was very late (after 12:30 am), but I just had to cleco on the side skins to get a feel for how big this thing it. I ended up having to remove the shim under the tail to get the holes to pull in to alignment, but now everything fits perfectly.
I’m starting to have serious space problems in my garage. I’m going to have to move my benches around just to be able to walk from one side of this to the other. Fortunately, my next door neighbor offered to let me store my wings in his garage (tied up to the rafters), so that will free up a ton of space.
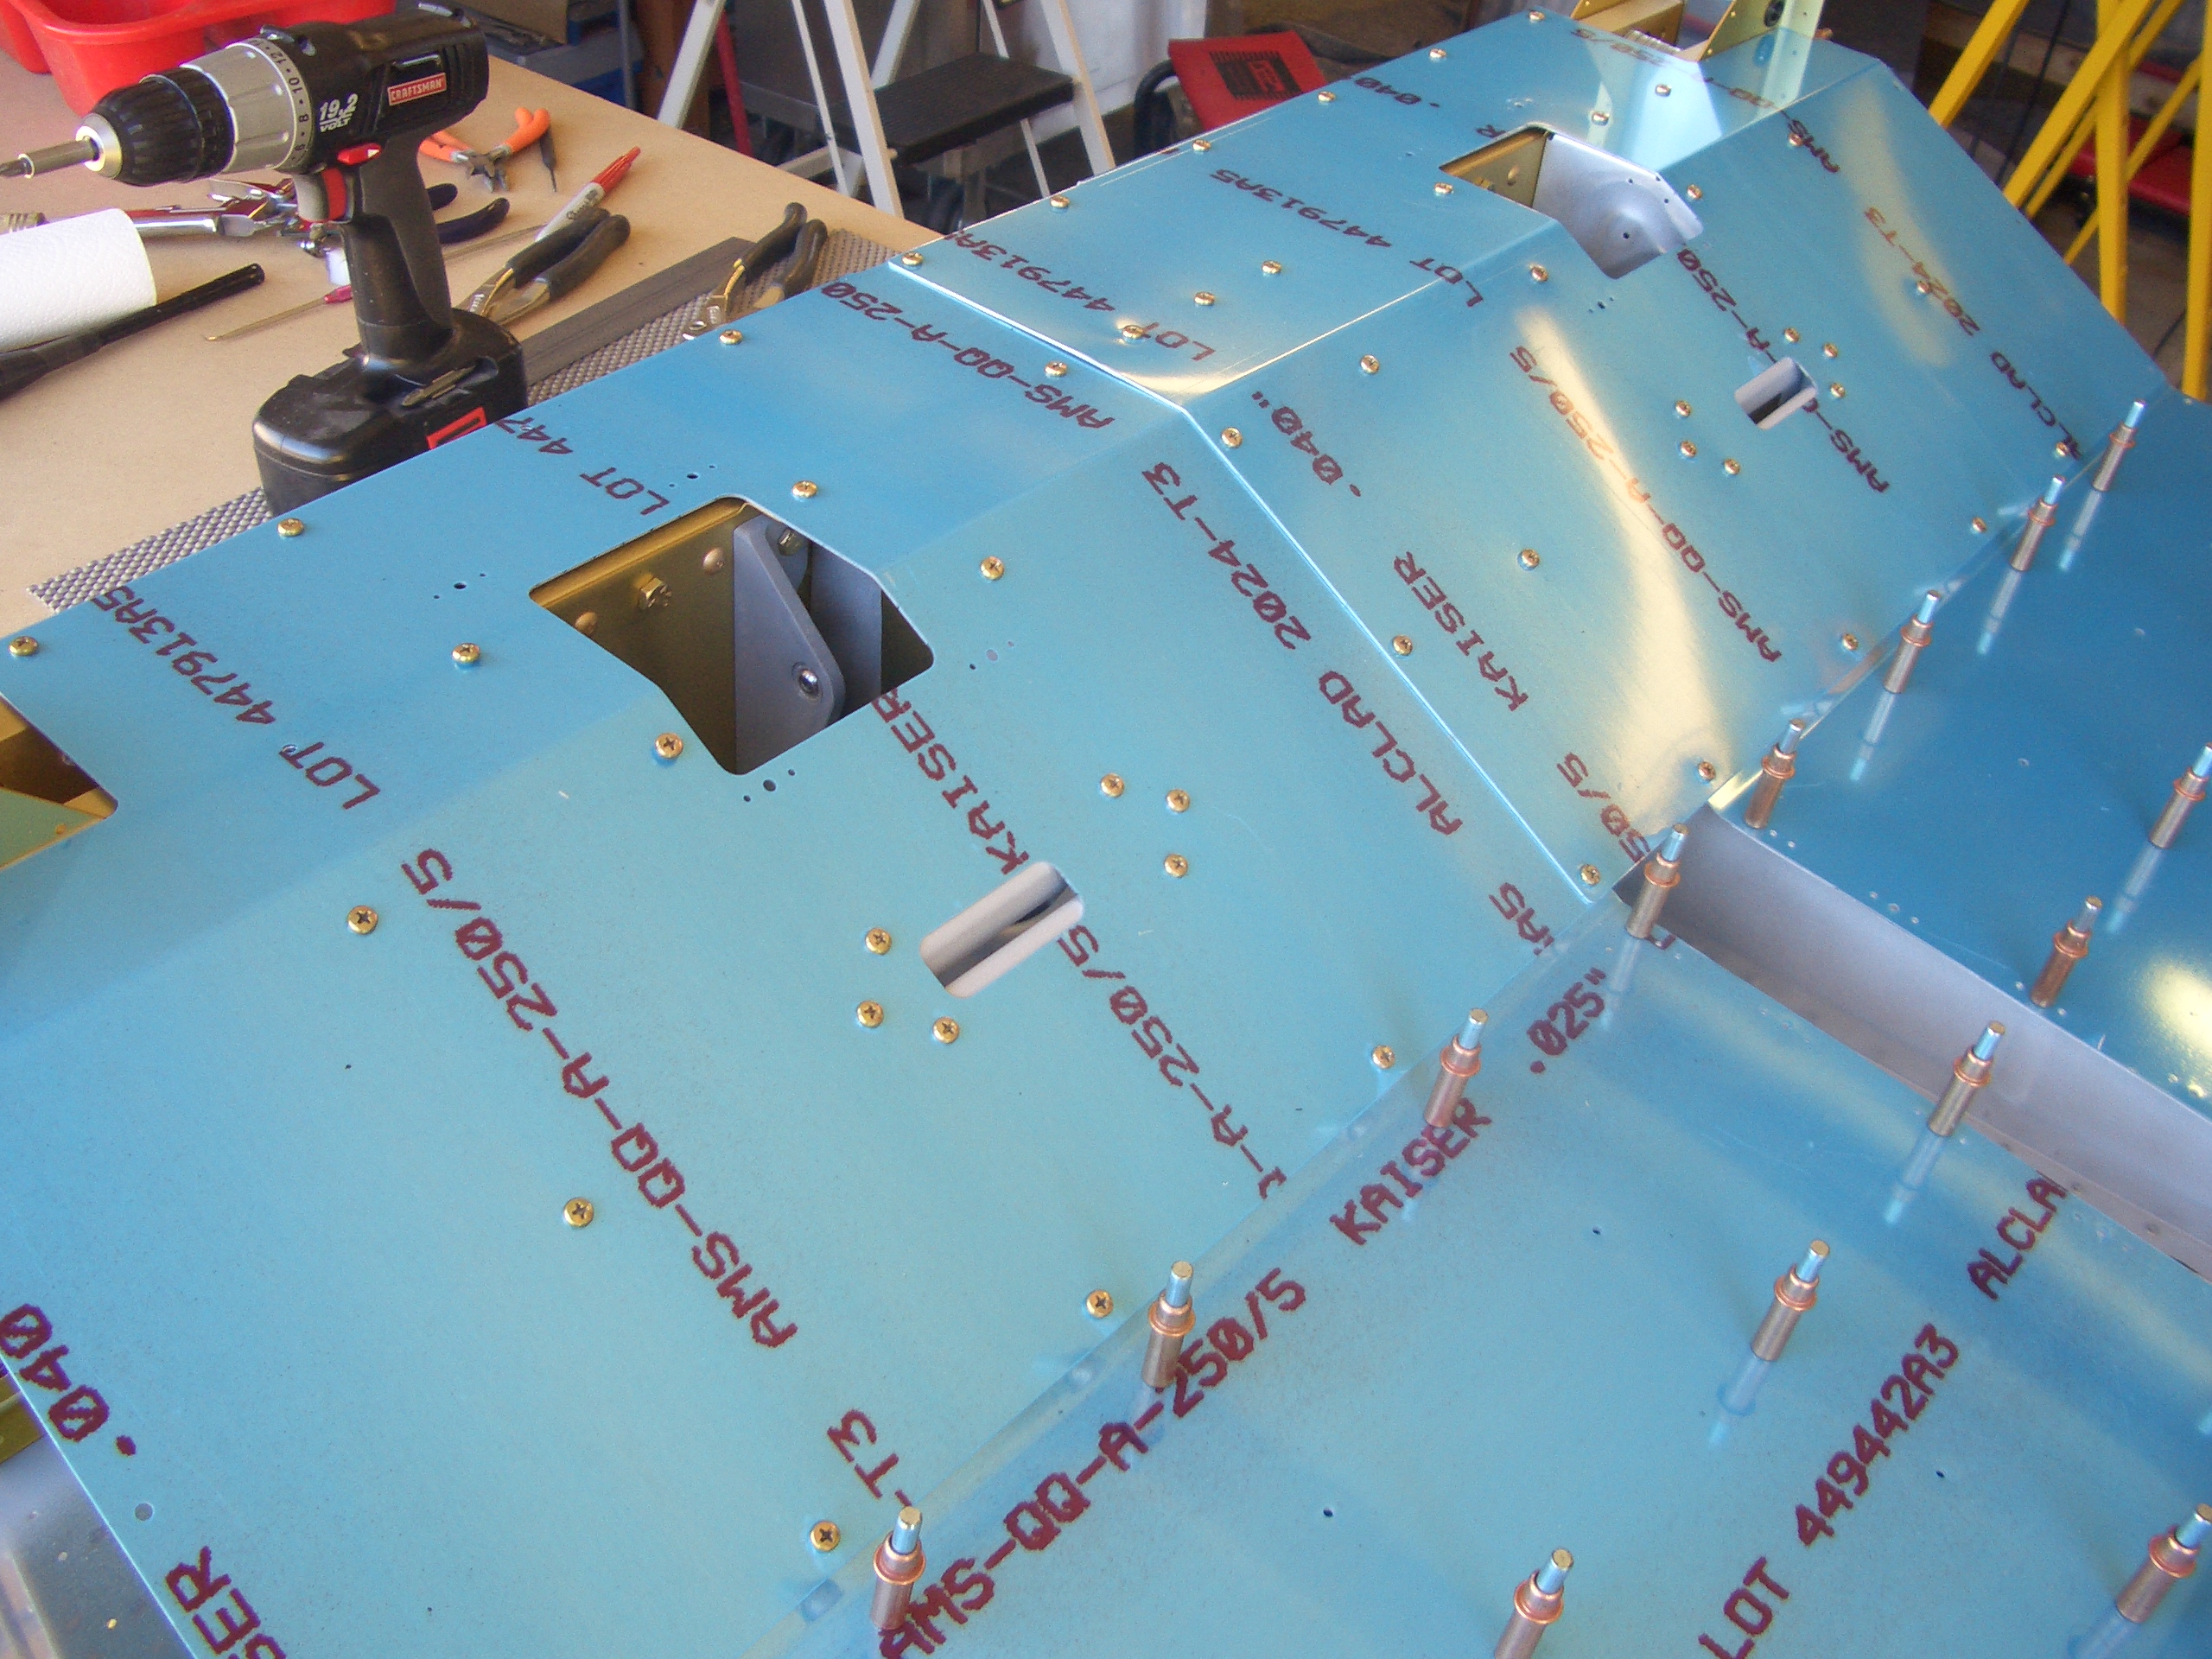
I drilled the armrests to the side skins and F-704 and F-705 (although the fuselage is upside down, I took this picture upside down so this is how the armrests will look from the cabin). The arm rests need some minor fluting to get the holes to line up in the side skin. This is unfortunate since this will be seen in the cockpit unless I add upholstery on the side walls.
The armrests are pretty flimsy, and I’ve heard numerous stories about people bending these when passengers get in and out of the plane. There are several ways to strengthen these, so I’ll almost certainly modify them so they’re stronger.