Fuselage has Shipped!

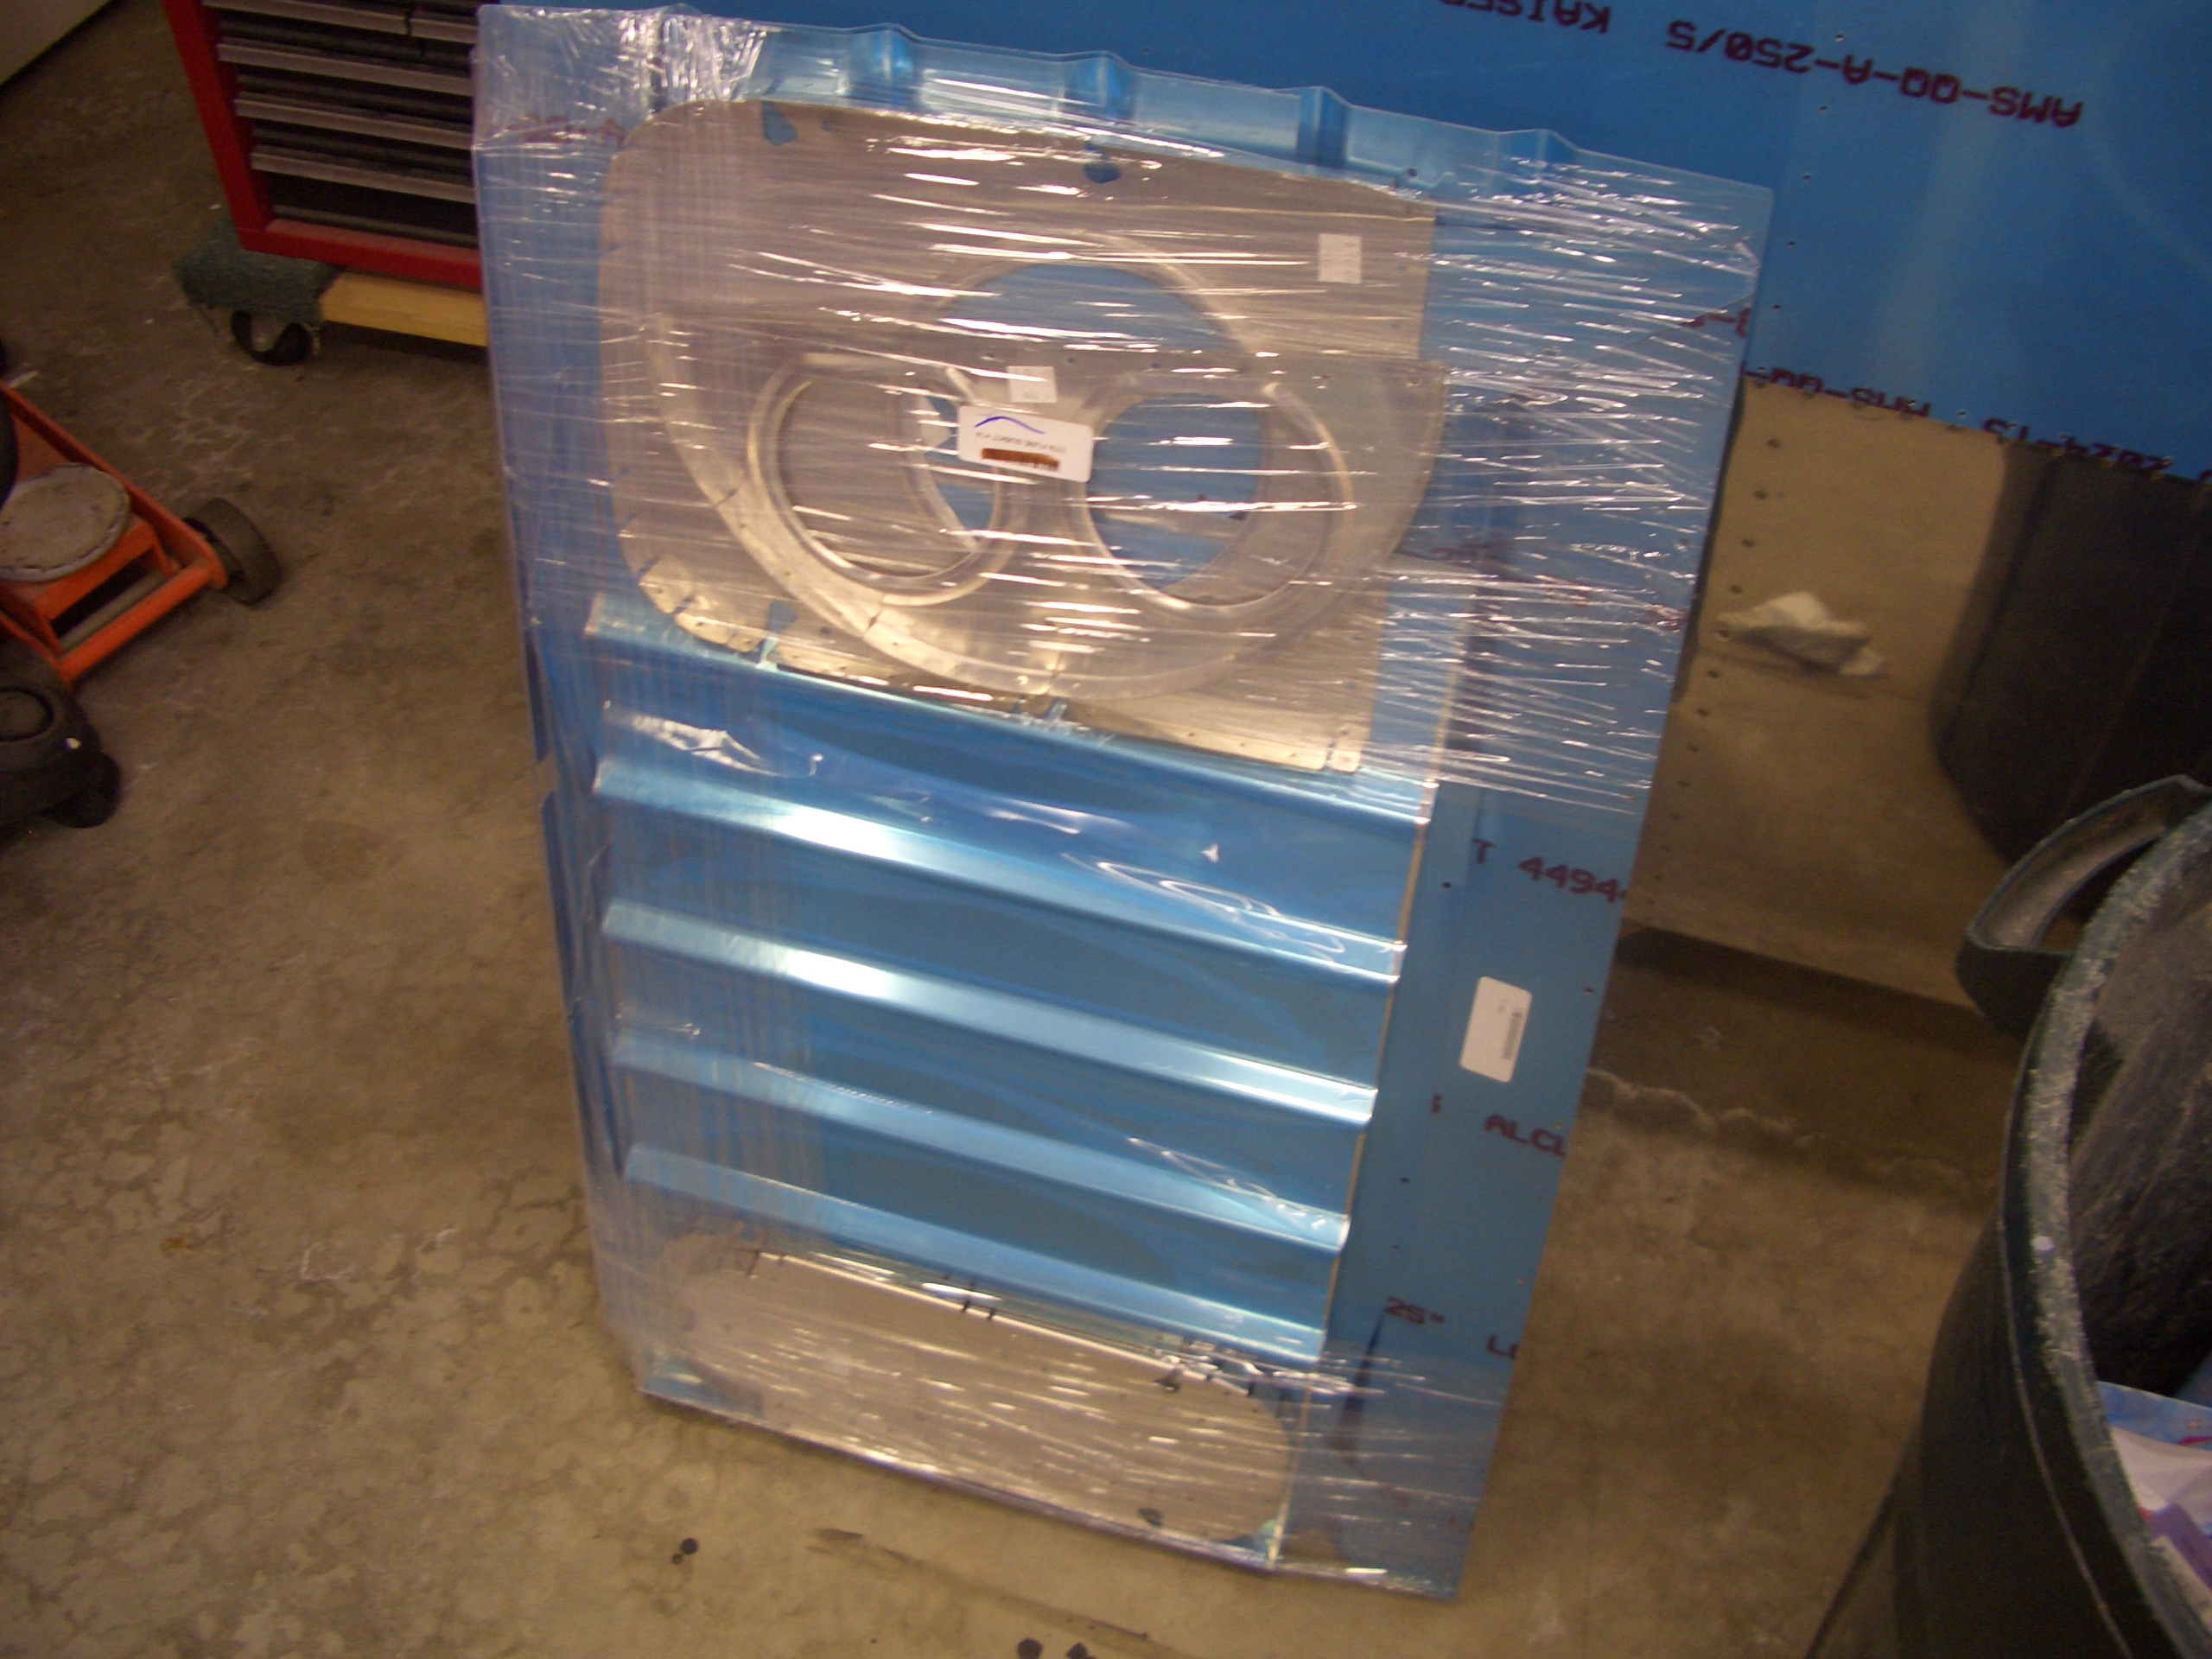
My fuselage was scheduled to ship next week some time, but on a fluke I checked my credit card online today and noticed I had been charged for the fuselage.  I called Van’s to see if I could get an estimate on when it would ship and was told it had shipped yesterday.  I called FedEx freight and they told me that it will be here tomorrow!  Holy lack of notice Batman!  If I hadn’t checked, I wonder when I would have found out.

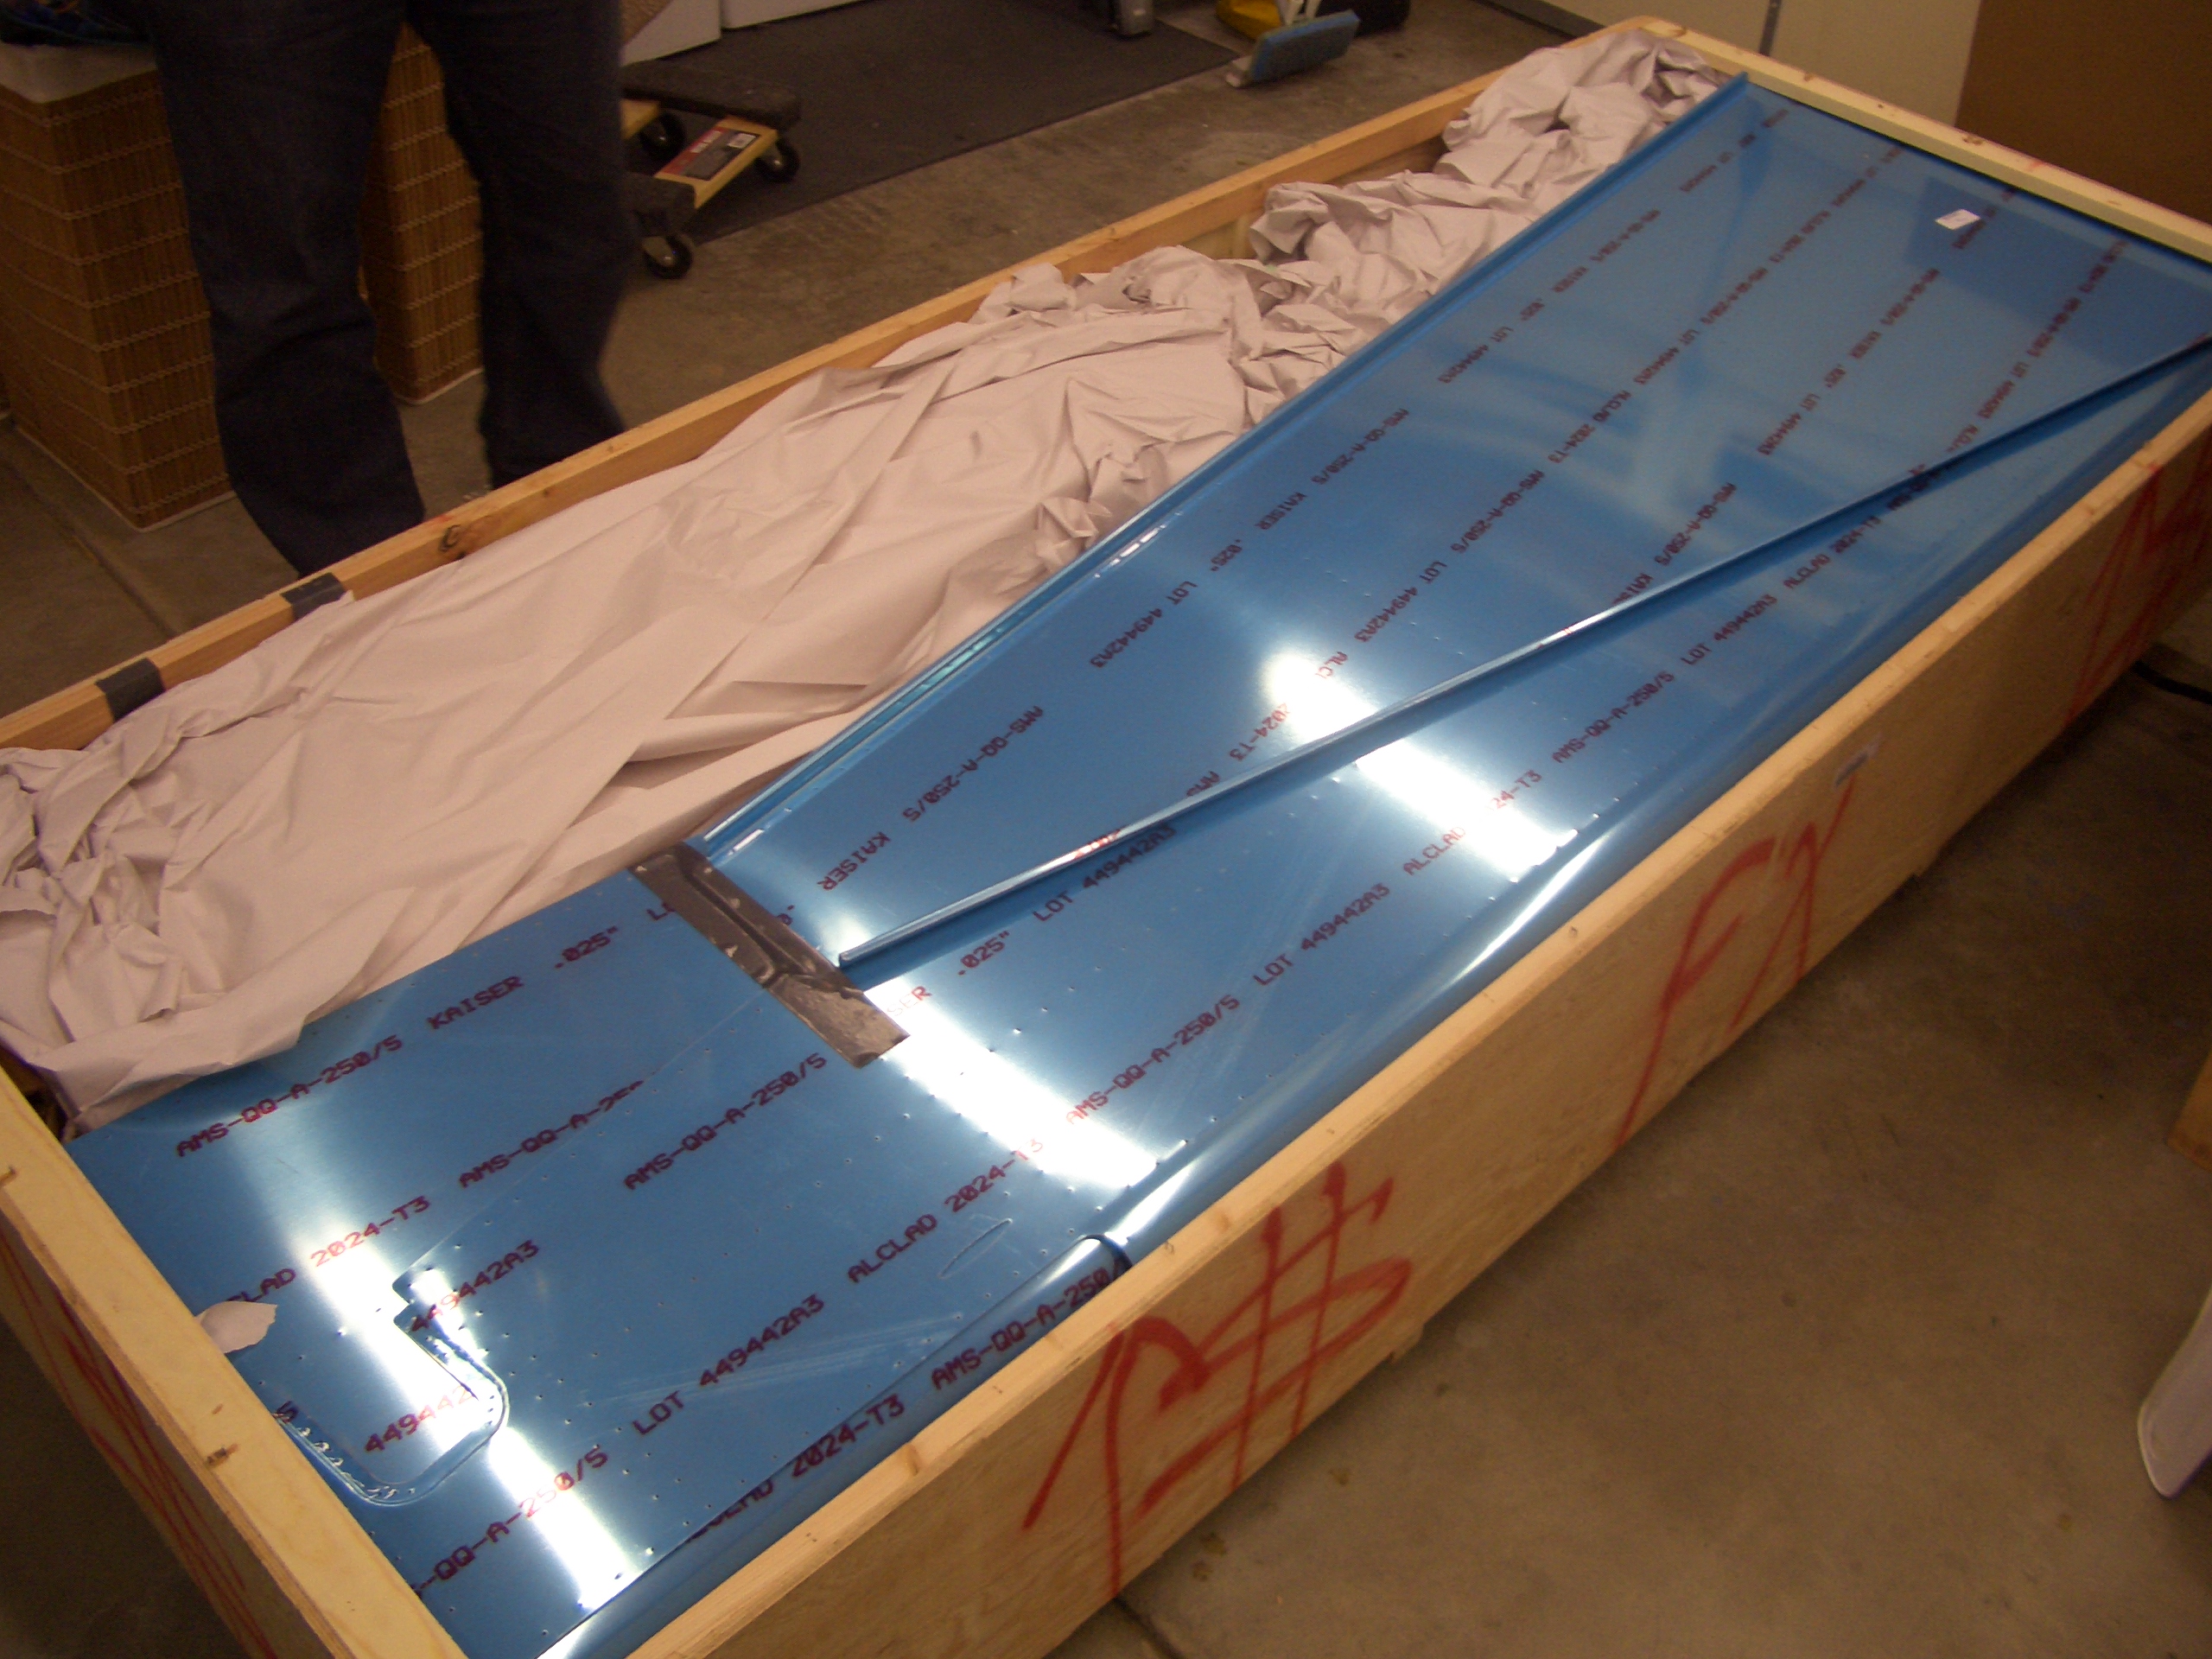
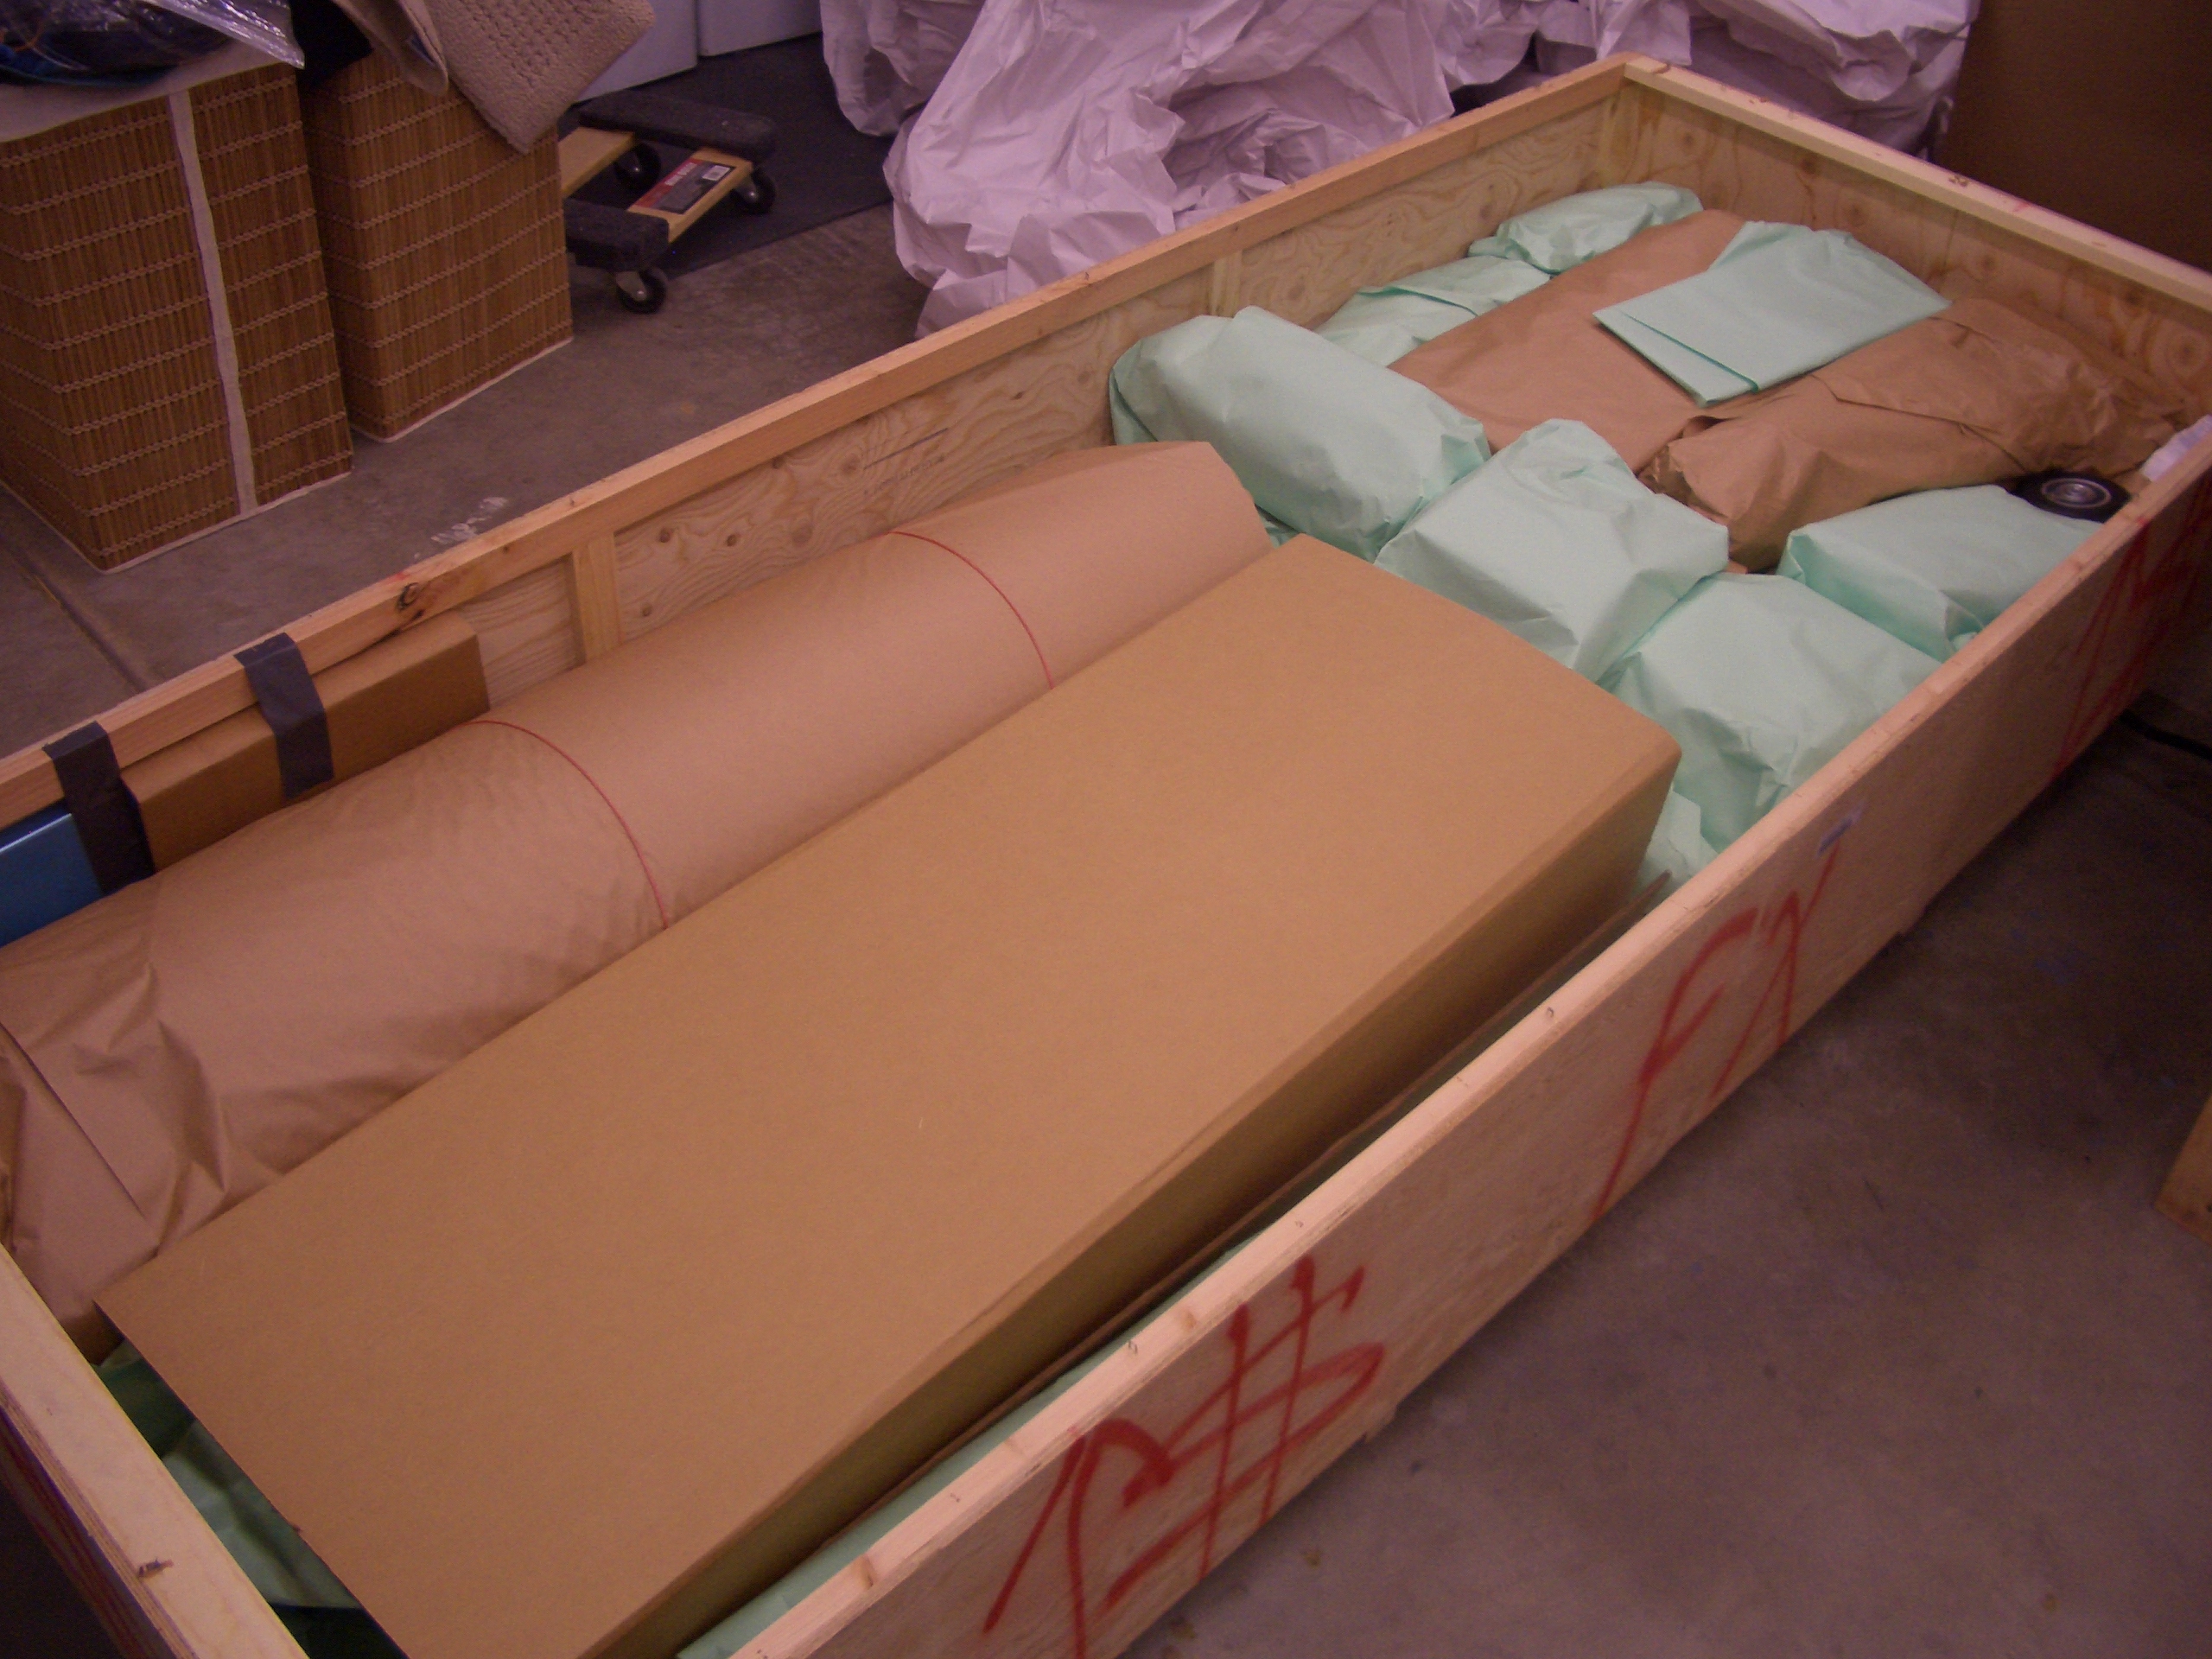
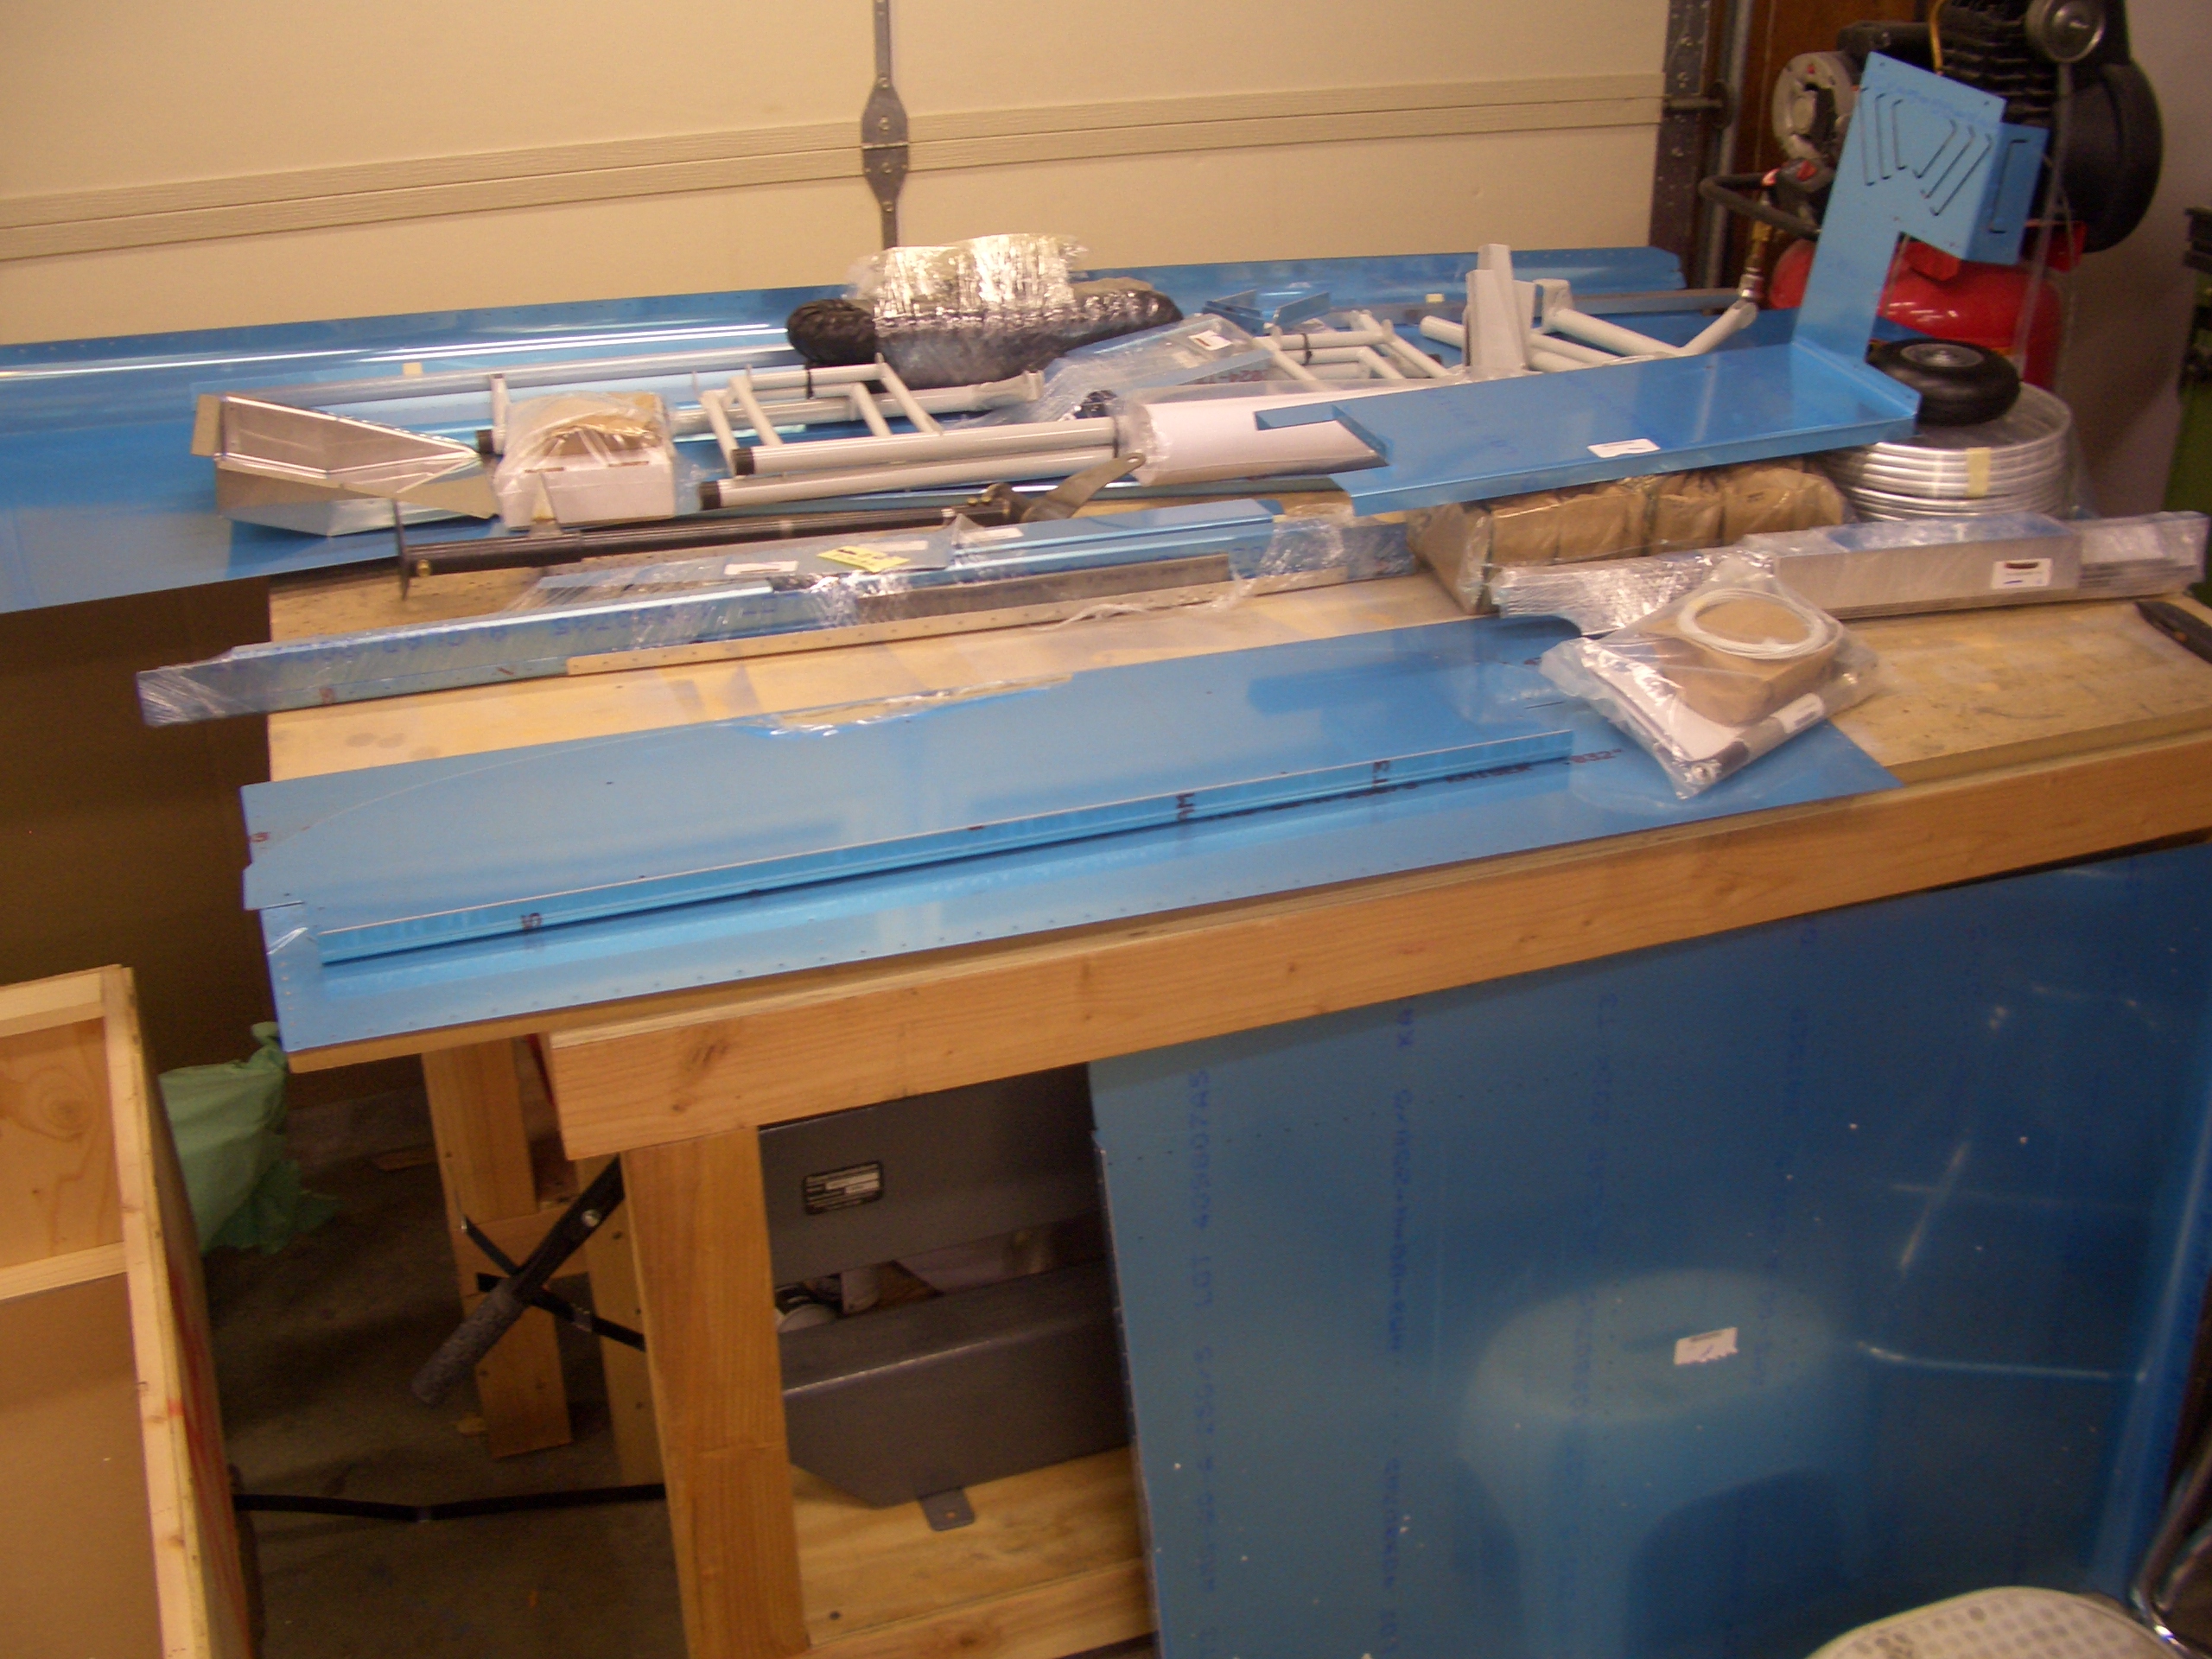
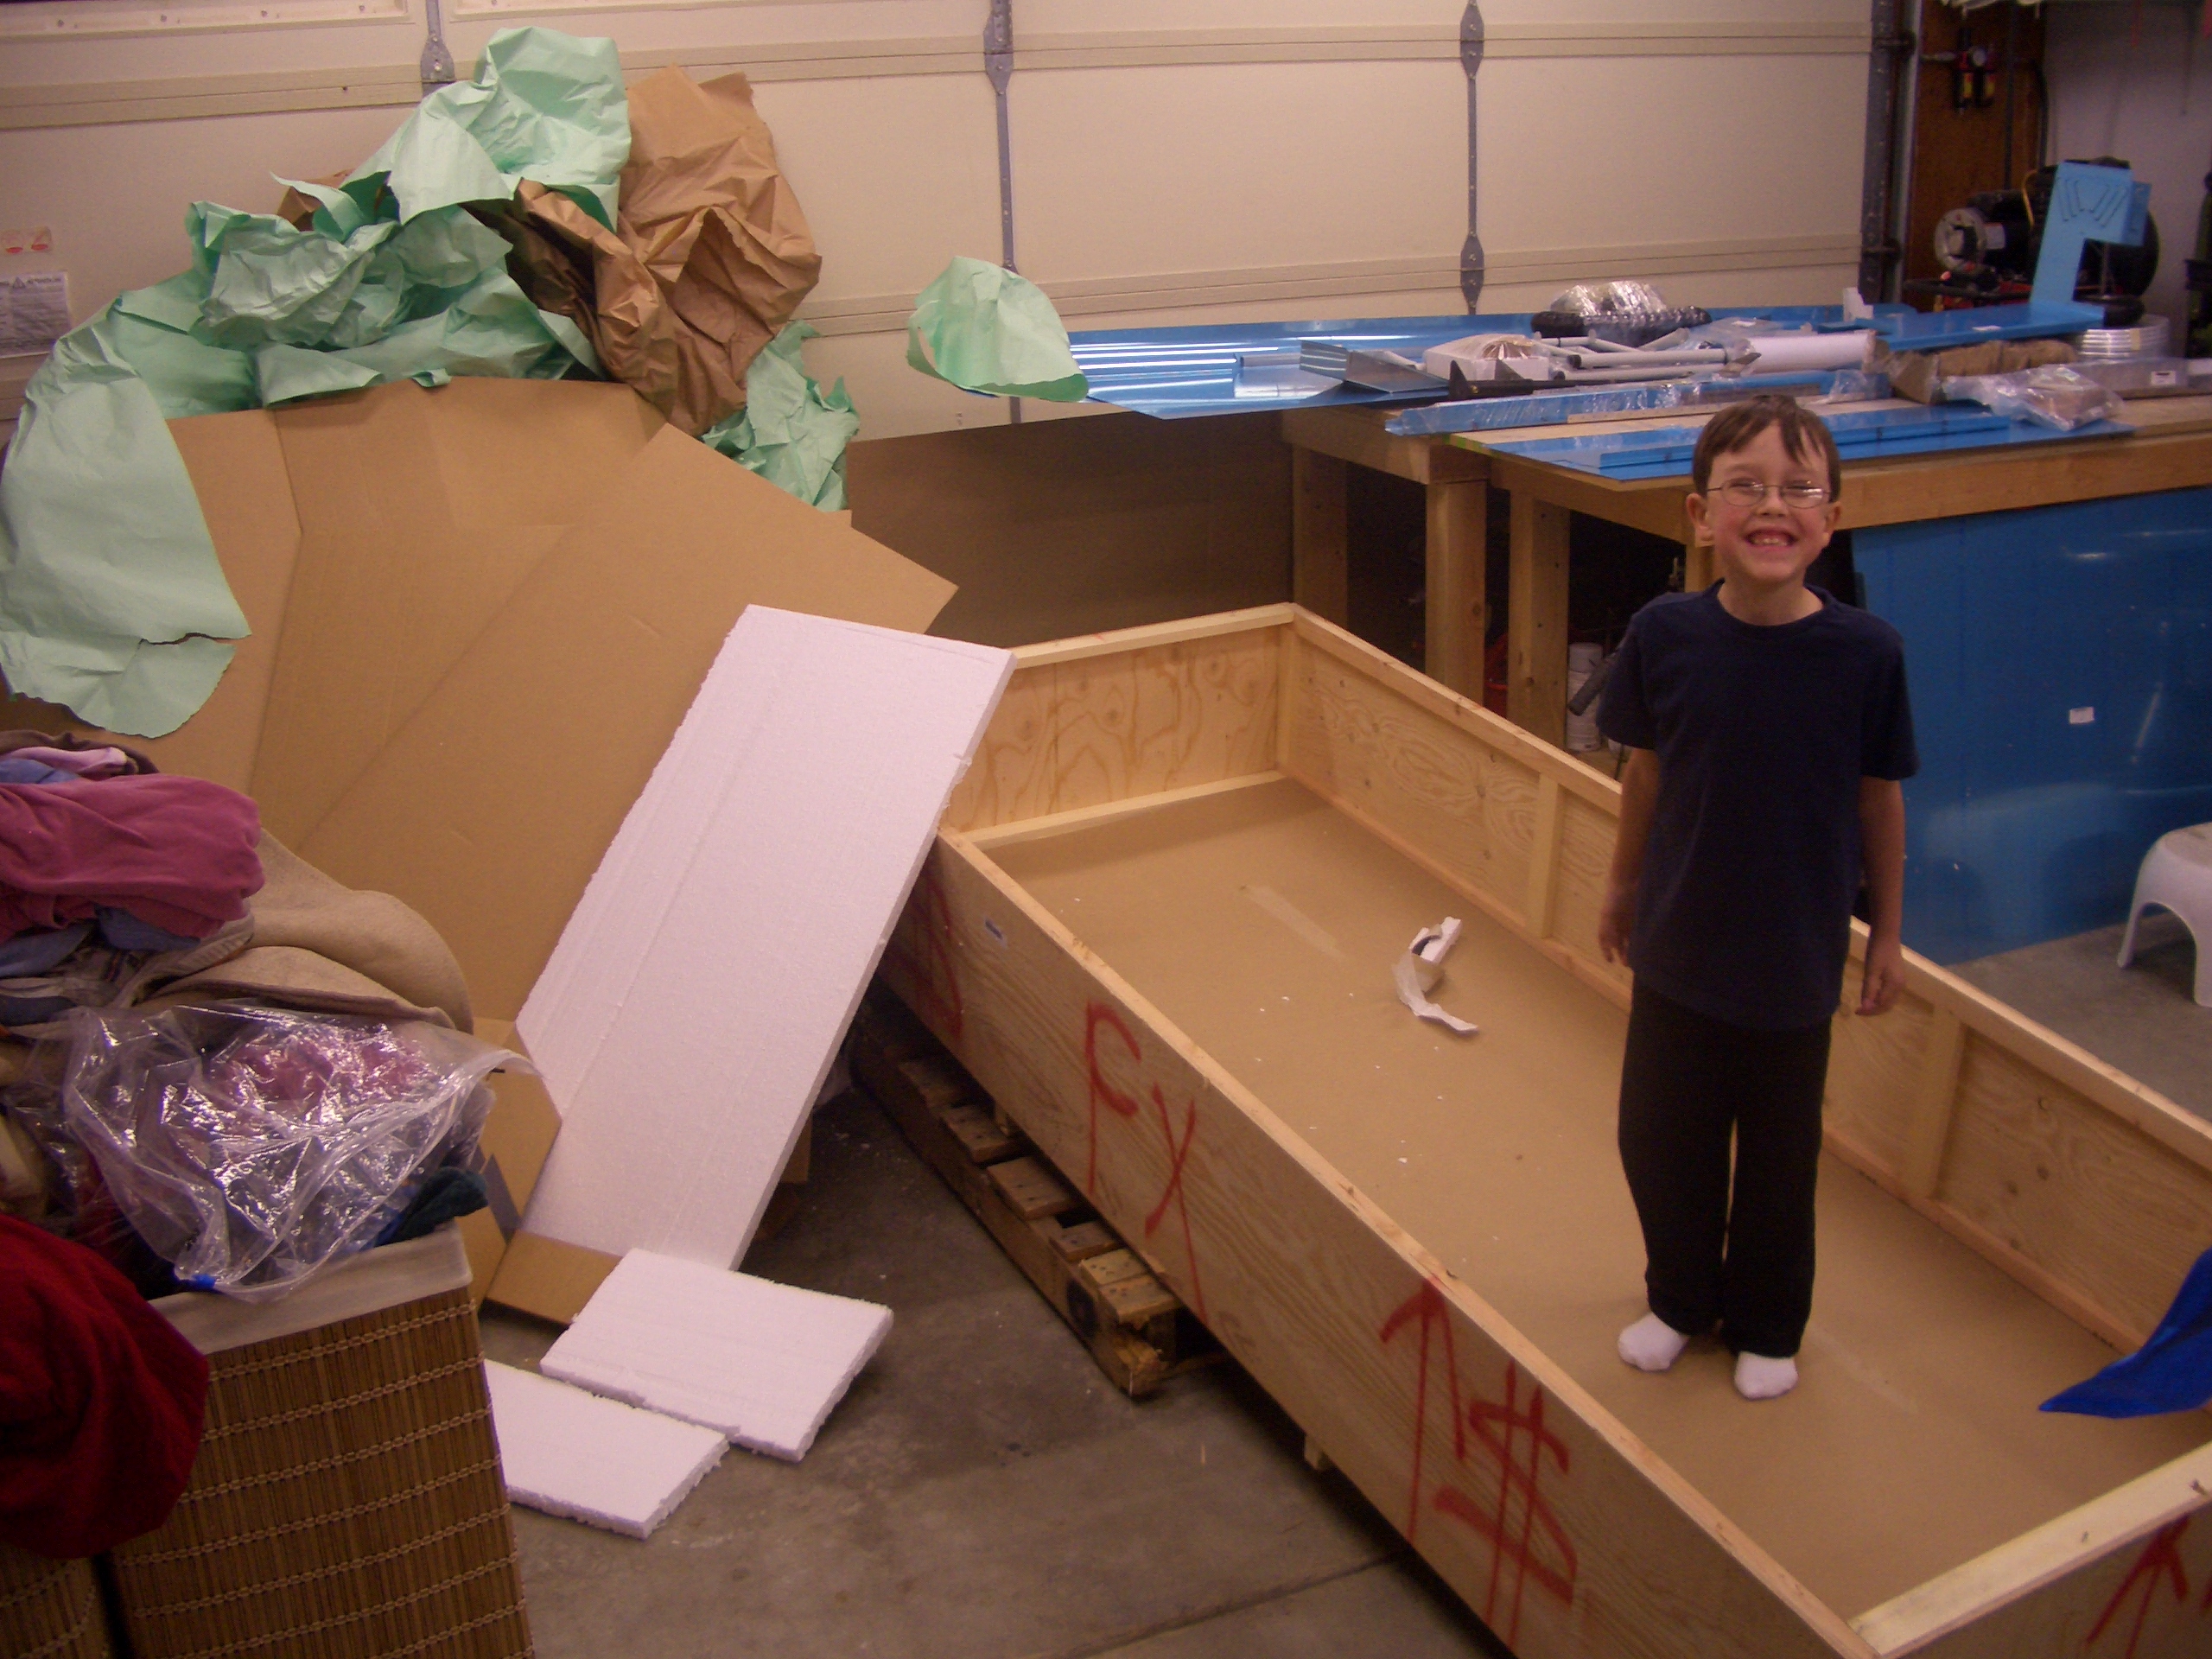
I didn’t do any work on the plane tonight, but I did spend a couple of hours cleaning up the garage and making room for the fuselage crate.  The crate is pretty big (about 8′ long, 3.5′ wide and 1.5′ thick and it weighs over 300 lbs), so once I get it into the garage, I still need room to get around it and unpack it.

Received Fuselage, Started Inventory

My fuselage kit showed up today.  I wasn’t home when the driver showed up, but Jenn opened the garage door and the driver placed the kit inside.

My buddy Andre stopped by tonight and we cracked the crate open.

Van’s does a great job of packing these crates so there’s no wasted space.  About the only empty space in the whole crate was inside the rolled up skins on the left here.

We unwrapped all of the parts and stacked them around the garage.  My workbenches are completely covered now.

A bunch more parts are stacked on my other workbench.

And parts are leaned up against the wings.

…or set on the floor.

The pile of paper and cardboard is pretty substantial.  My son Matthew thought the empty crate was a great thing to play in.

Here is the inventory.  10 sheets with probably 30 items each.

I made it through all of the larger parts and placed them up on my shelves.  I still have to inventory all of the small bags, but that can wait until tomorrow.  So far I’ve only found a couple of items that were supposed to be in one subkit but weren’t.  I’ll see if they happened to be placed in one of the bags, but otherwise I’ll have to call Van’s about them.  There were also a couple of backordered items, so I’ll need another shipment from them anyway.

Finished Inventory

I was up until 3 AM finishing the fuselage inventory.  I found the two parts I thought I was missing.  I only found one mistake where Van’s sent me some of the wrong kind of screws.  I’ll give them a call on Monday to get this corrected.

I still need to reorganize my storage bins to get everything put away, but that can wait until tomorrow; I’m beat.

Started Assembling Firewall

Even though there is work left to do on the wings, I was excited to get started on the fuselage.  First up is to fabricate the firewall.  There are several parts that have to be fabricated from rough stock.  These are fabricated from some beefy 0.187″ thick angle stock.

This stiffener is fabricated from some 0.063″ angle stock.

These attach angles tie together the lower firewall stiffener, two upper firewall stiffeners and later the forward floor stiffeners of the fuselage.  These need to be spaced 3/32″ from the flange of the lower stiffener.  The easiest way to do this is to use a #40 drill bit to position the angle.  Behind the angle are a couple of shims that are scotch taped in place so that all of these can be drilled together to the firewall.

Using plenty of boelube, these are match drilled using the firewall as a guide.

After fabricating a couple of additional stiffeners, I clecoed all of the stiffeners and weldments to the firewall.  The four gray brackets in each corner are powder coated steel weldments that will eventually tie the fuselage longerons directly to the engine mount through some beefy bolts.

Received Reservoir Dog

I’ve been out sick the last couple of days, so I haven’t been able to do anything on the plane, but my order from Peterson Innovation showed up today.  They make a slick little product called the Reservoir Dog that fits on your brake fluid reservoir to keep brake fluid from spilling out when you’re inverted.  As you can see in the picture below, it fits between the aluminum reservoir and the breather cap that comes from Van’s.  It contains a check valve that allows air into the reservoir when you’re upright, but seals tight when inverted.

Bottom Wing Skin Prep

Now that I’m feeling better, I got started prepping the bottom wing skins for riveting.  I deburred and dimpled two of the skins and installed the nutplates in three of the six cutouts.  After the wing skins, I only have a small punch list of items to complete before I’m ready to rivet the bottom skins on:

  • Put remaining tank bolts in place and torque all tank bolts.
  • Put proseal around conduit where it penetrates each rib to prevent vibration from cutting through them.
  • Reroute roll servo wire through smaller rubber grommet so that the wire can’t move as much.
  • Fix a couple of bent rib flanges inside the main spar flanges
  • Fabricate a support angle to tie the pitot tube mount to the adjacent rib to keep the skin from having to carry any flexing load.

Safety Wired Final Bolts on Roll Servo

I safety wired the remaining two bolts on the autopilot roll servo.  These are the bolts at either end of the short pushrod from the servo to the aileron bellcrank.  These nuts as well as the remaining nuts in the aileron control linkage have been final torqued and torque sealed (orange lacquer).  This is the bolt on the servo end of the pushrod.

This is the bolt at the bellcrank end of the pushrod.  I drilled a tiny #50 hole in the flange of the bellcrank to safety wire the bolt to.

Pitot Tube Mount Support

I fabricated a short piece of angle to tie the pitot tube mount to the adjacent wing rib.  Positioning this required putting the pitot mount and bottom wing skin in place so that the piece of angle could be clamped to the rib.  After removing the mount and bottom skin, the angle could be drilled to the rib.

Below the large push tube, you can see one of my experiments in keeping the pitot and AOA tubing away from the push tube.  I’m not going with this arrangement, but I’ll post something in a few days about how I’m handling this.

Here it is with the mount back in place.  This bit of angle adds considerable rigidity to the mount.

Disassembled Firewall

I fabricated the F-601TD brake reinforcement doubler and match drilled it to the fuselage.  I also laid out and drilled the 7/16″ holes through this and the firewall.  Drilling stainless is pretty hard on cutting tools, but I used some foam that is a tapping lubricant and that seemed to work really well.

Here are all of the components that came off of the firewall.  I deburred all of these except for the steel brackets at the top.  There’s still a lot of work to do here as the firewall side of most of these pieces needs to be machine countersunk to receive the dimples in the firewall.

The plans don’t make any mention of it, but the F-601Z aux fuel firewall doubler isn’t required if you’re using a fuel injected engine as I will be.  Leaving this out means a lot fewer unnecessary holes in the firewall.