Drilled Flap Skins, Ribs, and Spar

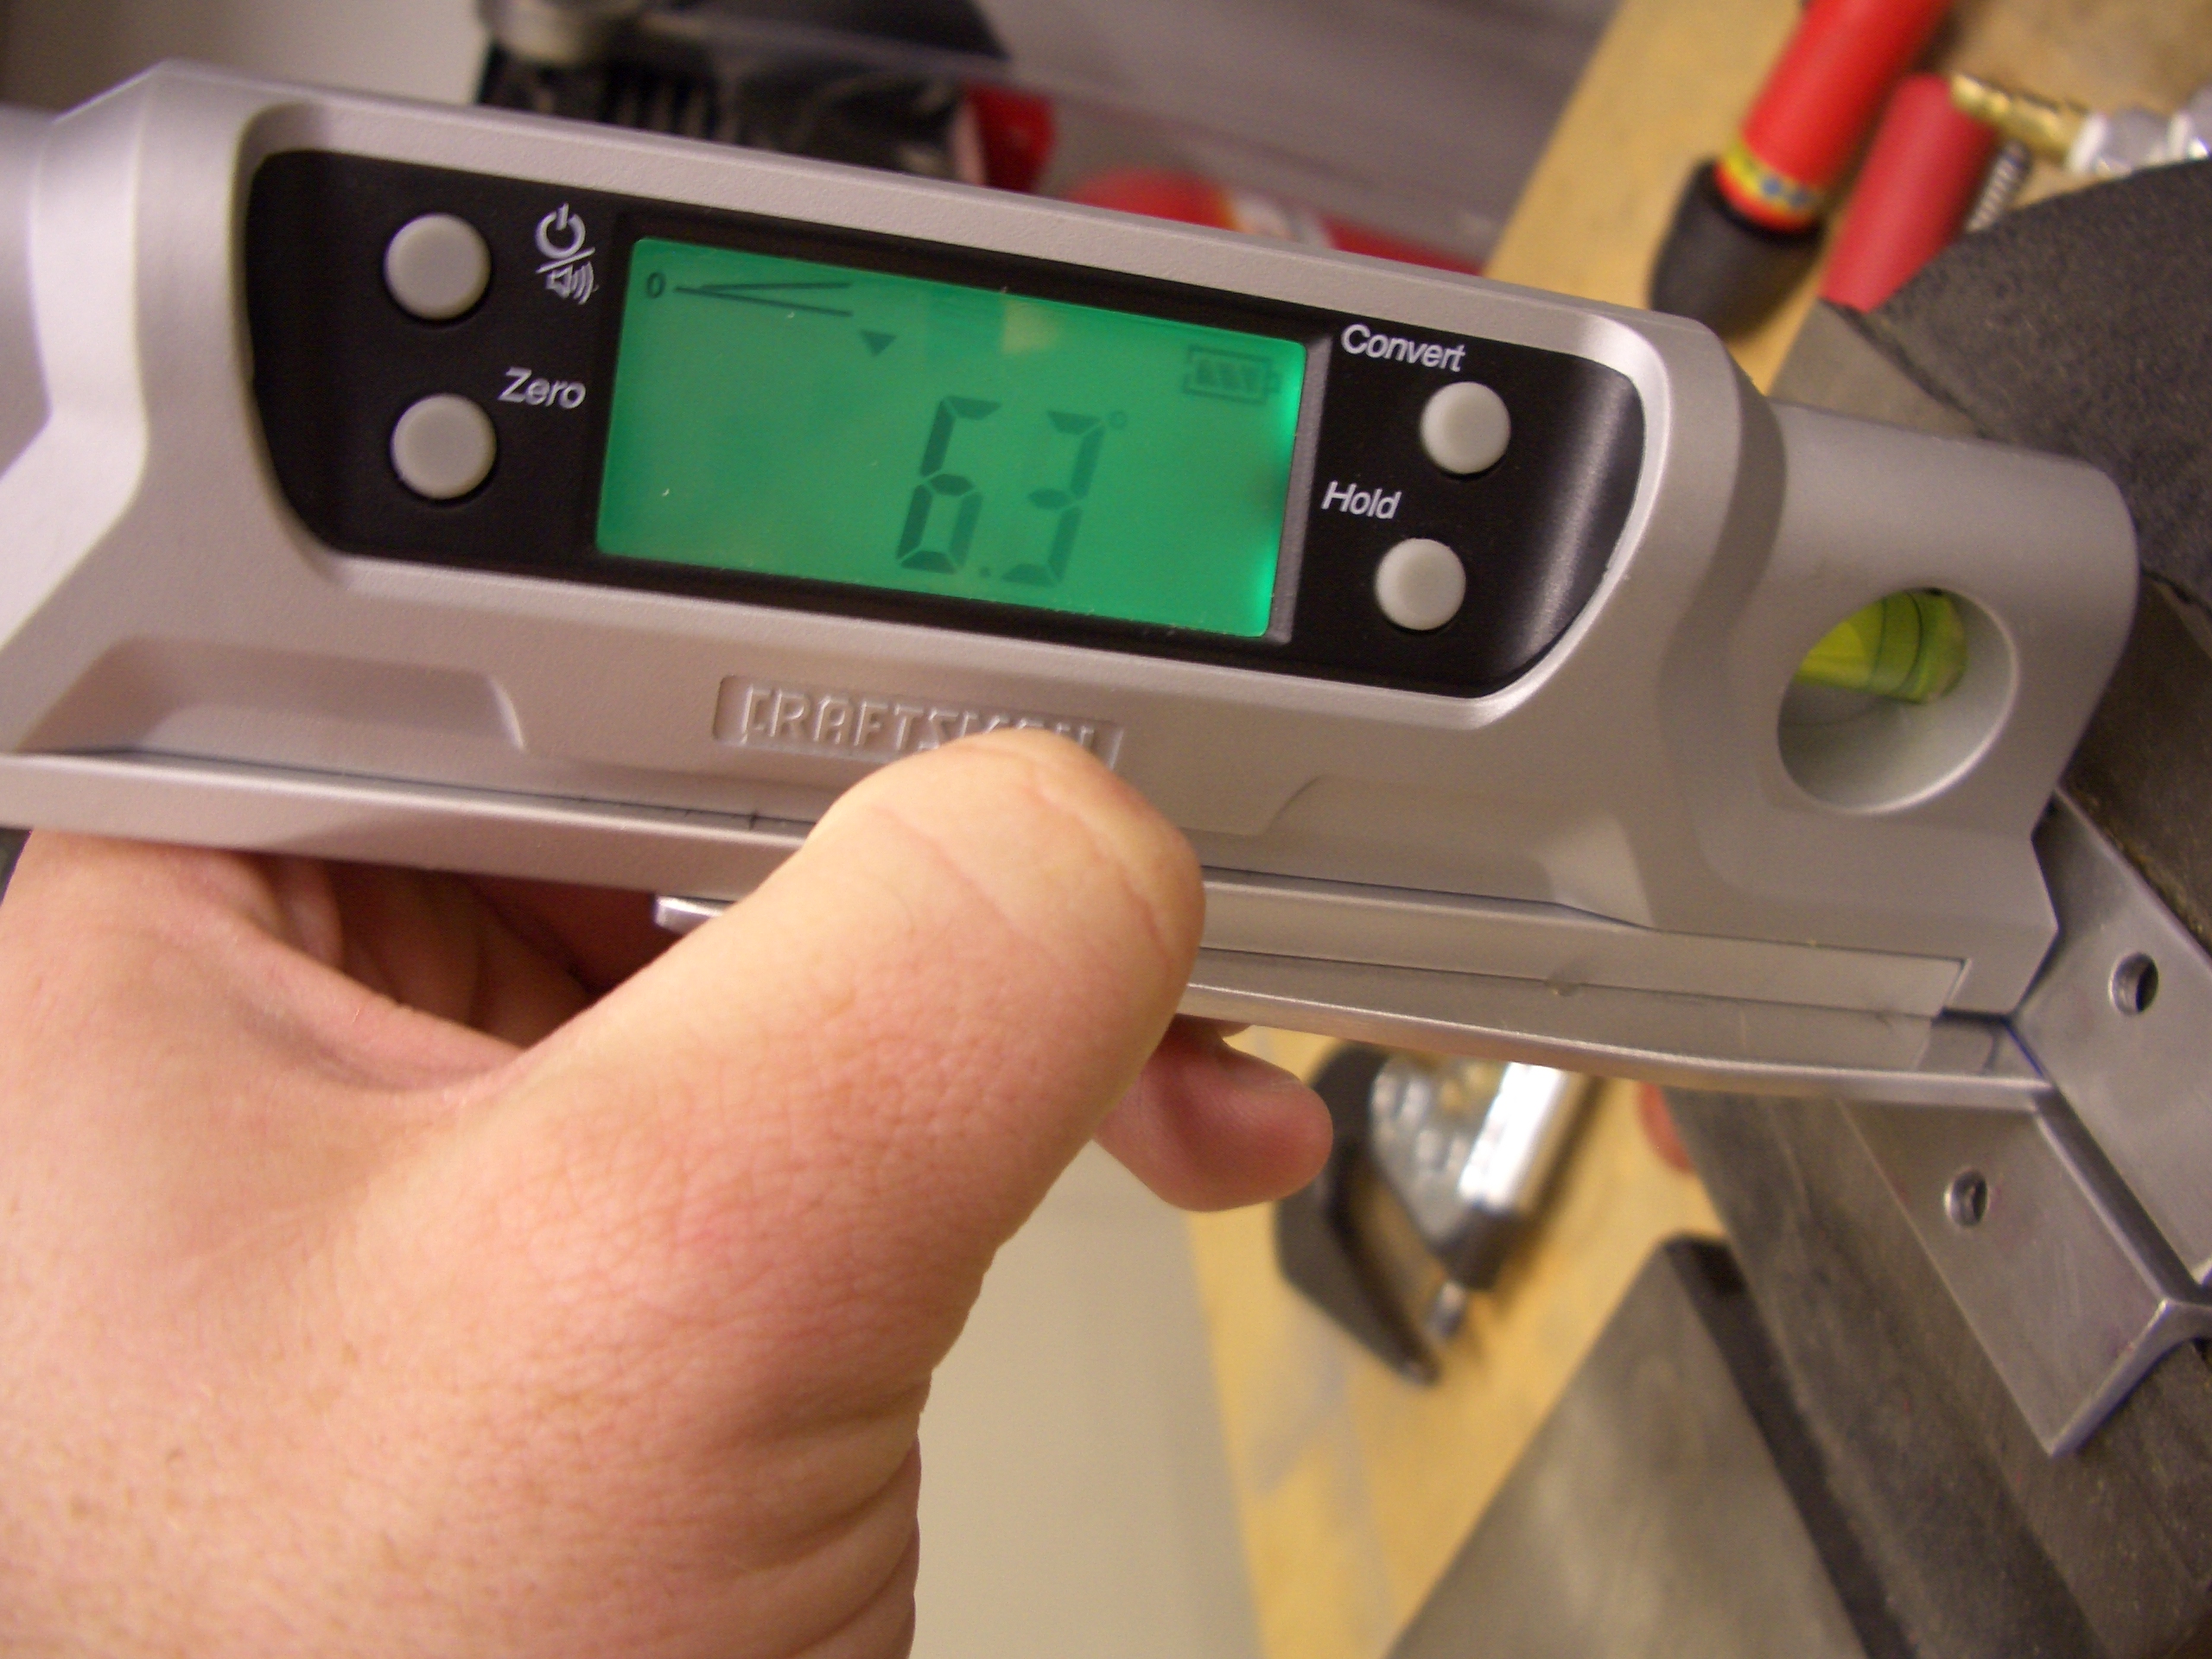
My son and I were both sick today, but I was feeling enough better by this evening to put a little time in on the project.  I started by drilling the hinge to the flap skin and spar.  I’m using the recommended 1/4″ edge distance.  If it turns out I don’t have enough edge distance on the other side once the flaps are aligned with the ailerons, I’ll switch the wing side out with the P4 hinge material that has a longer leg.

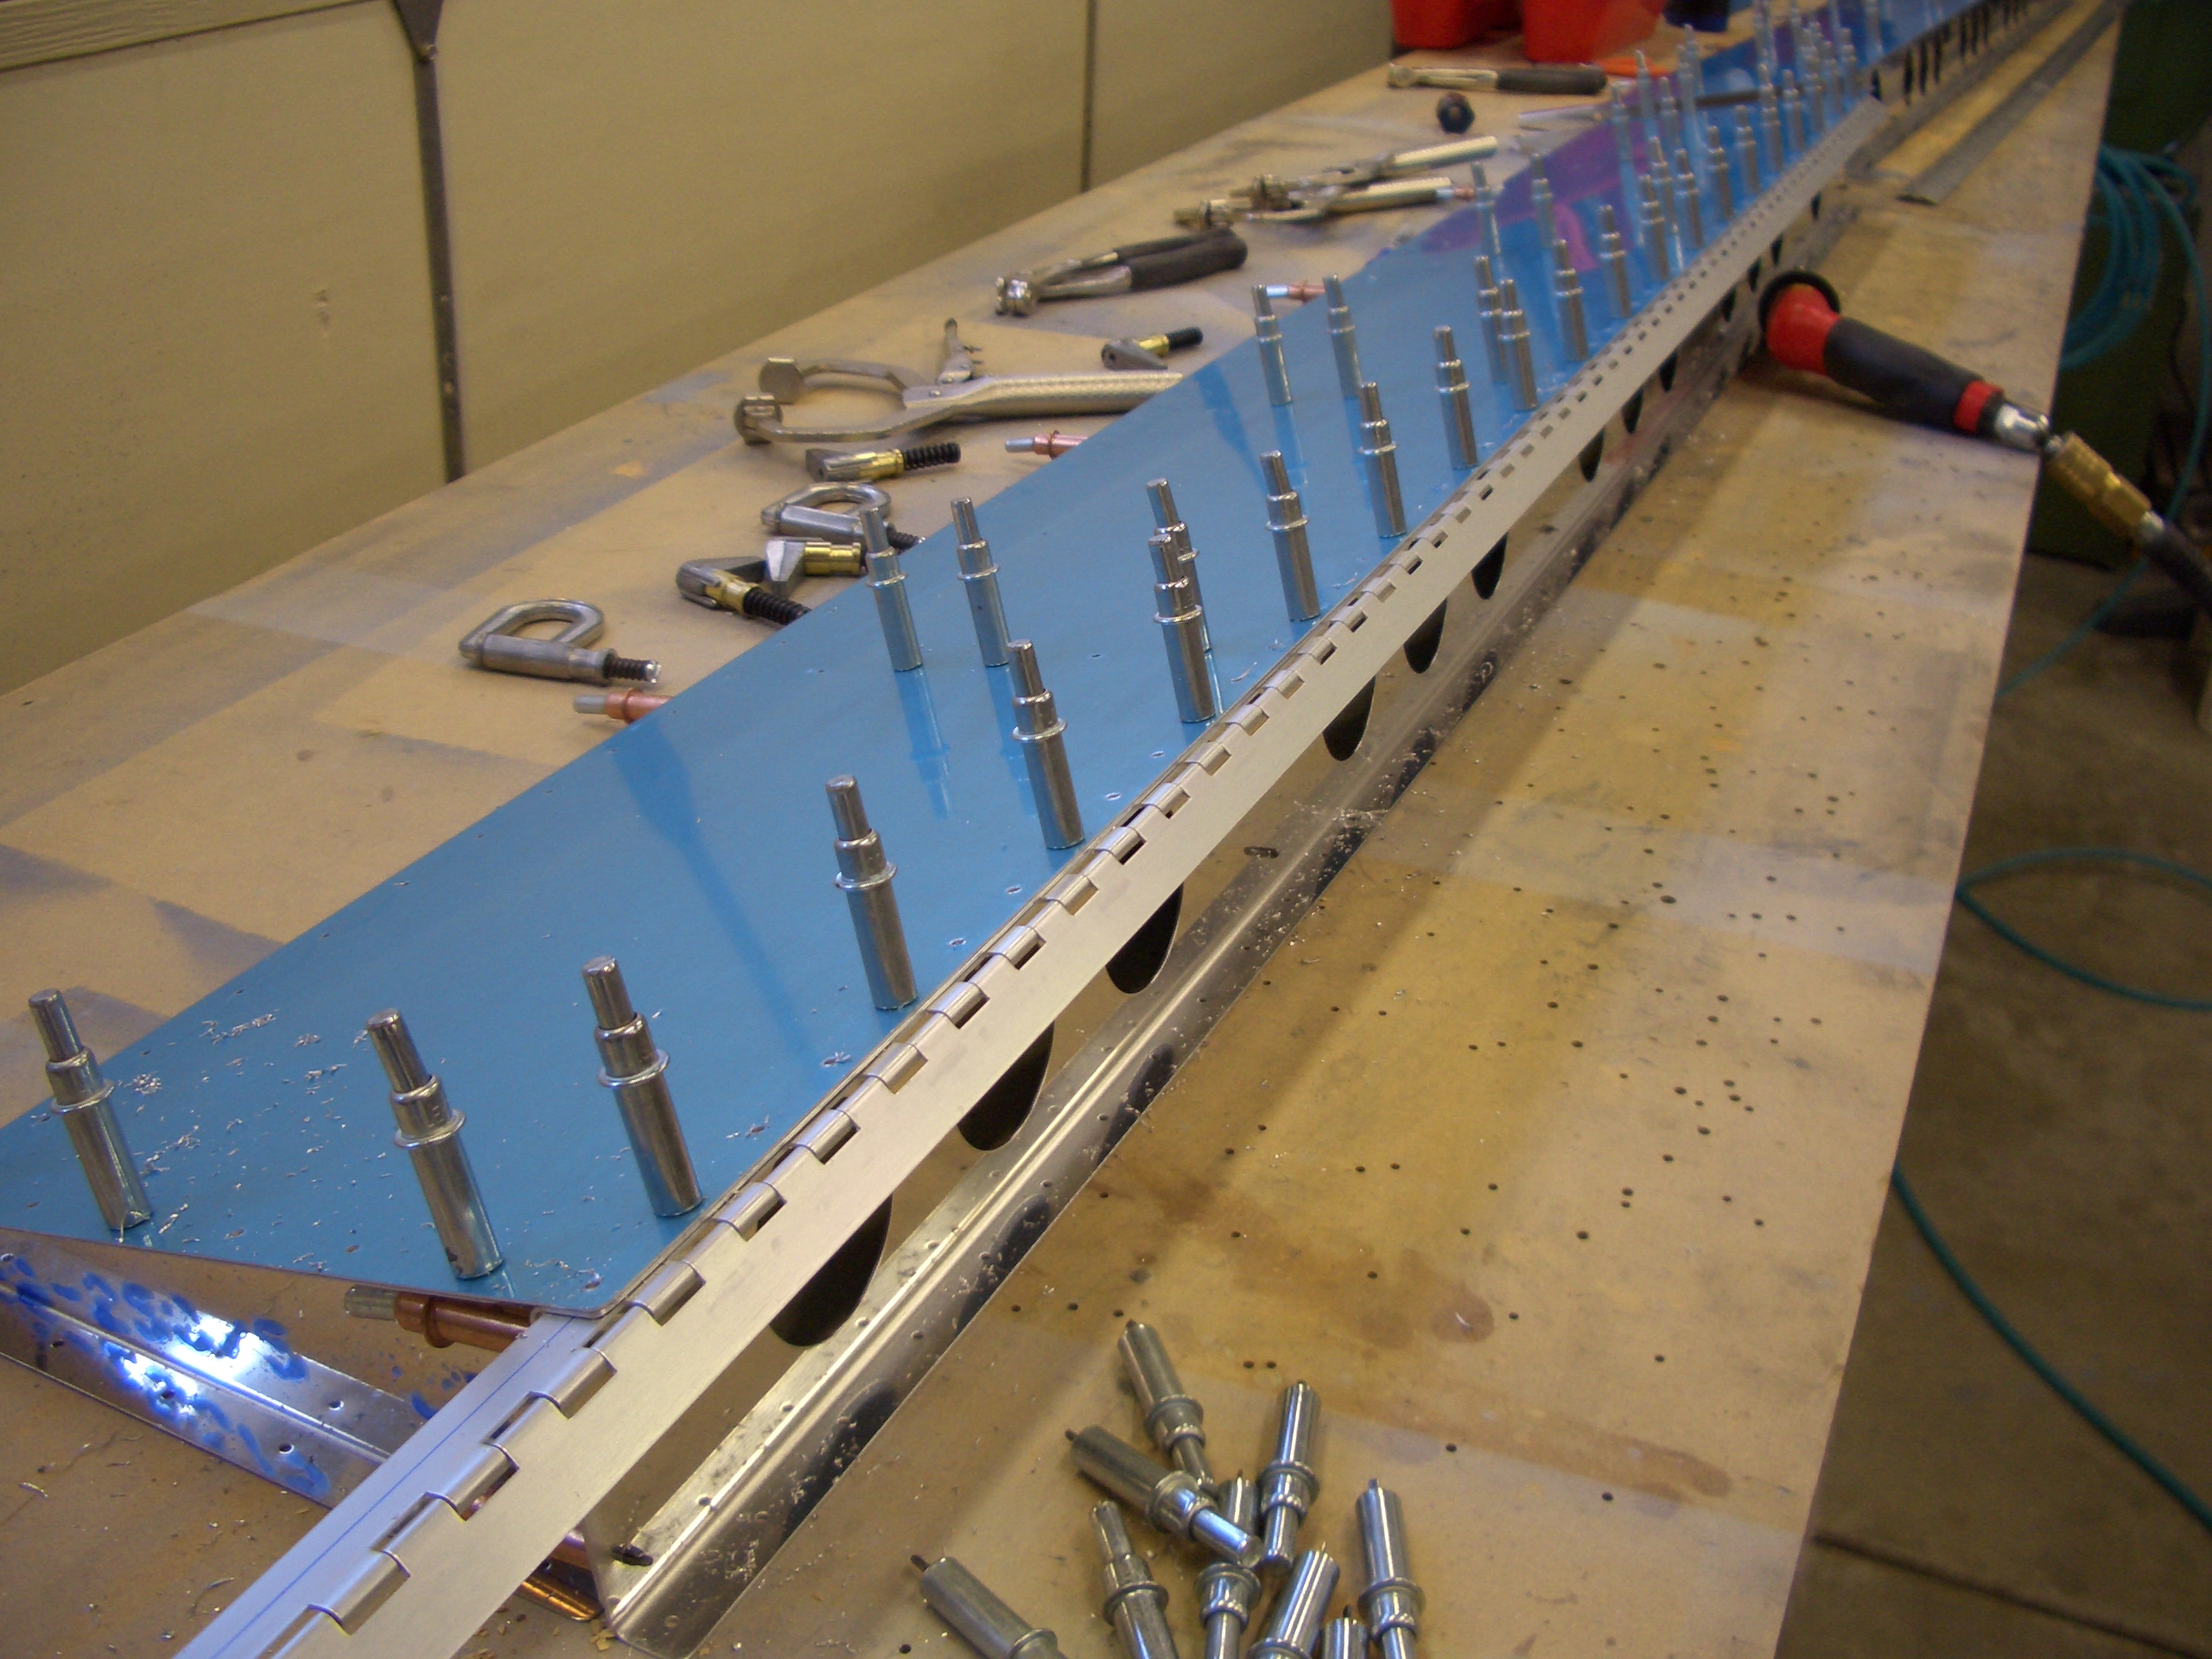
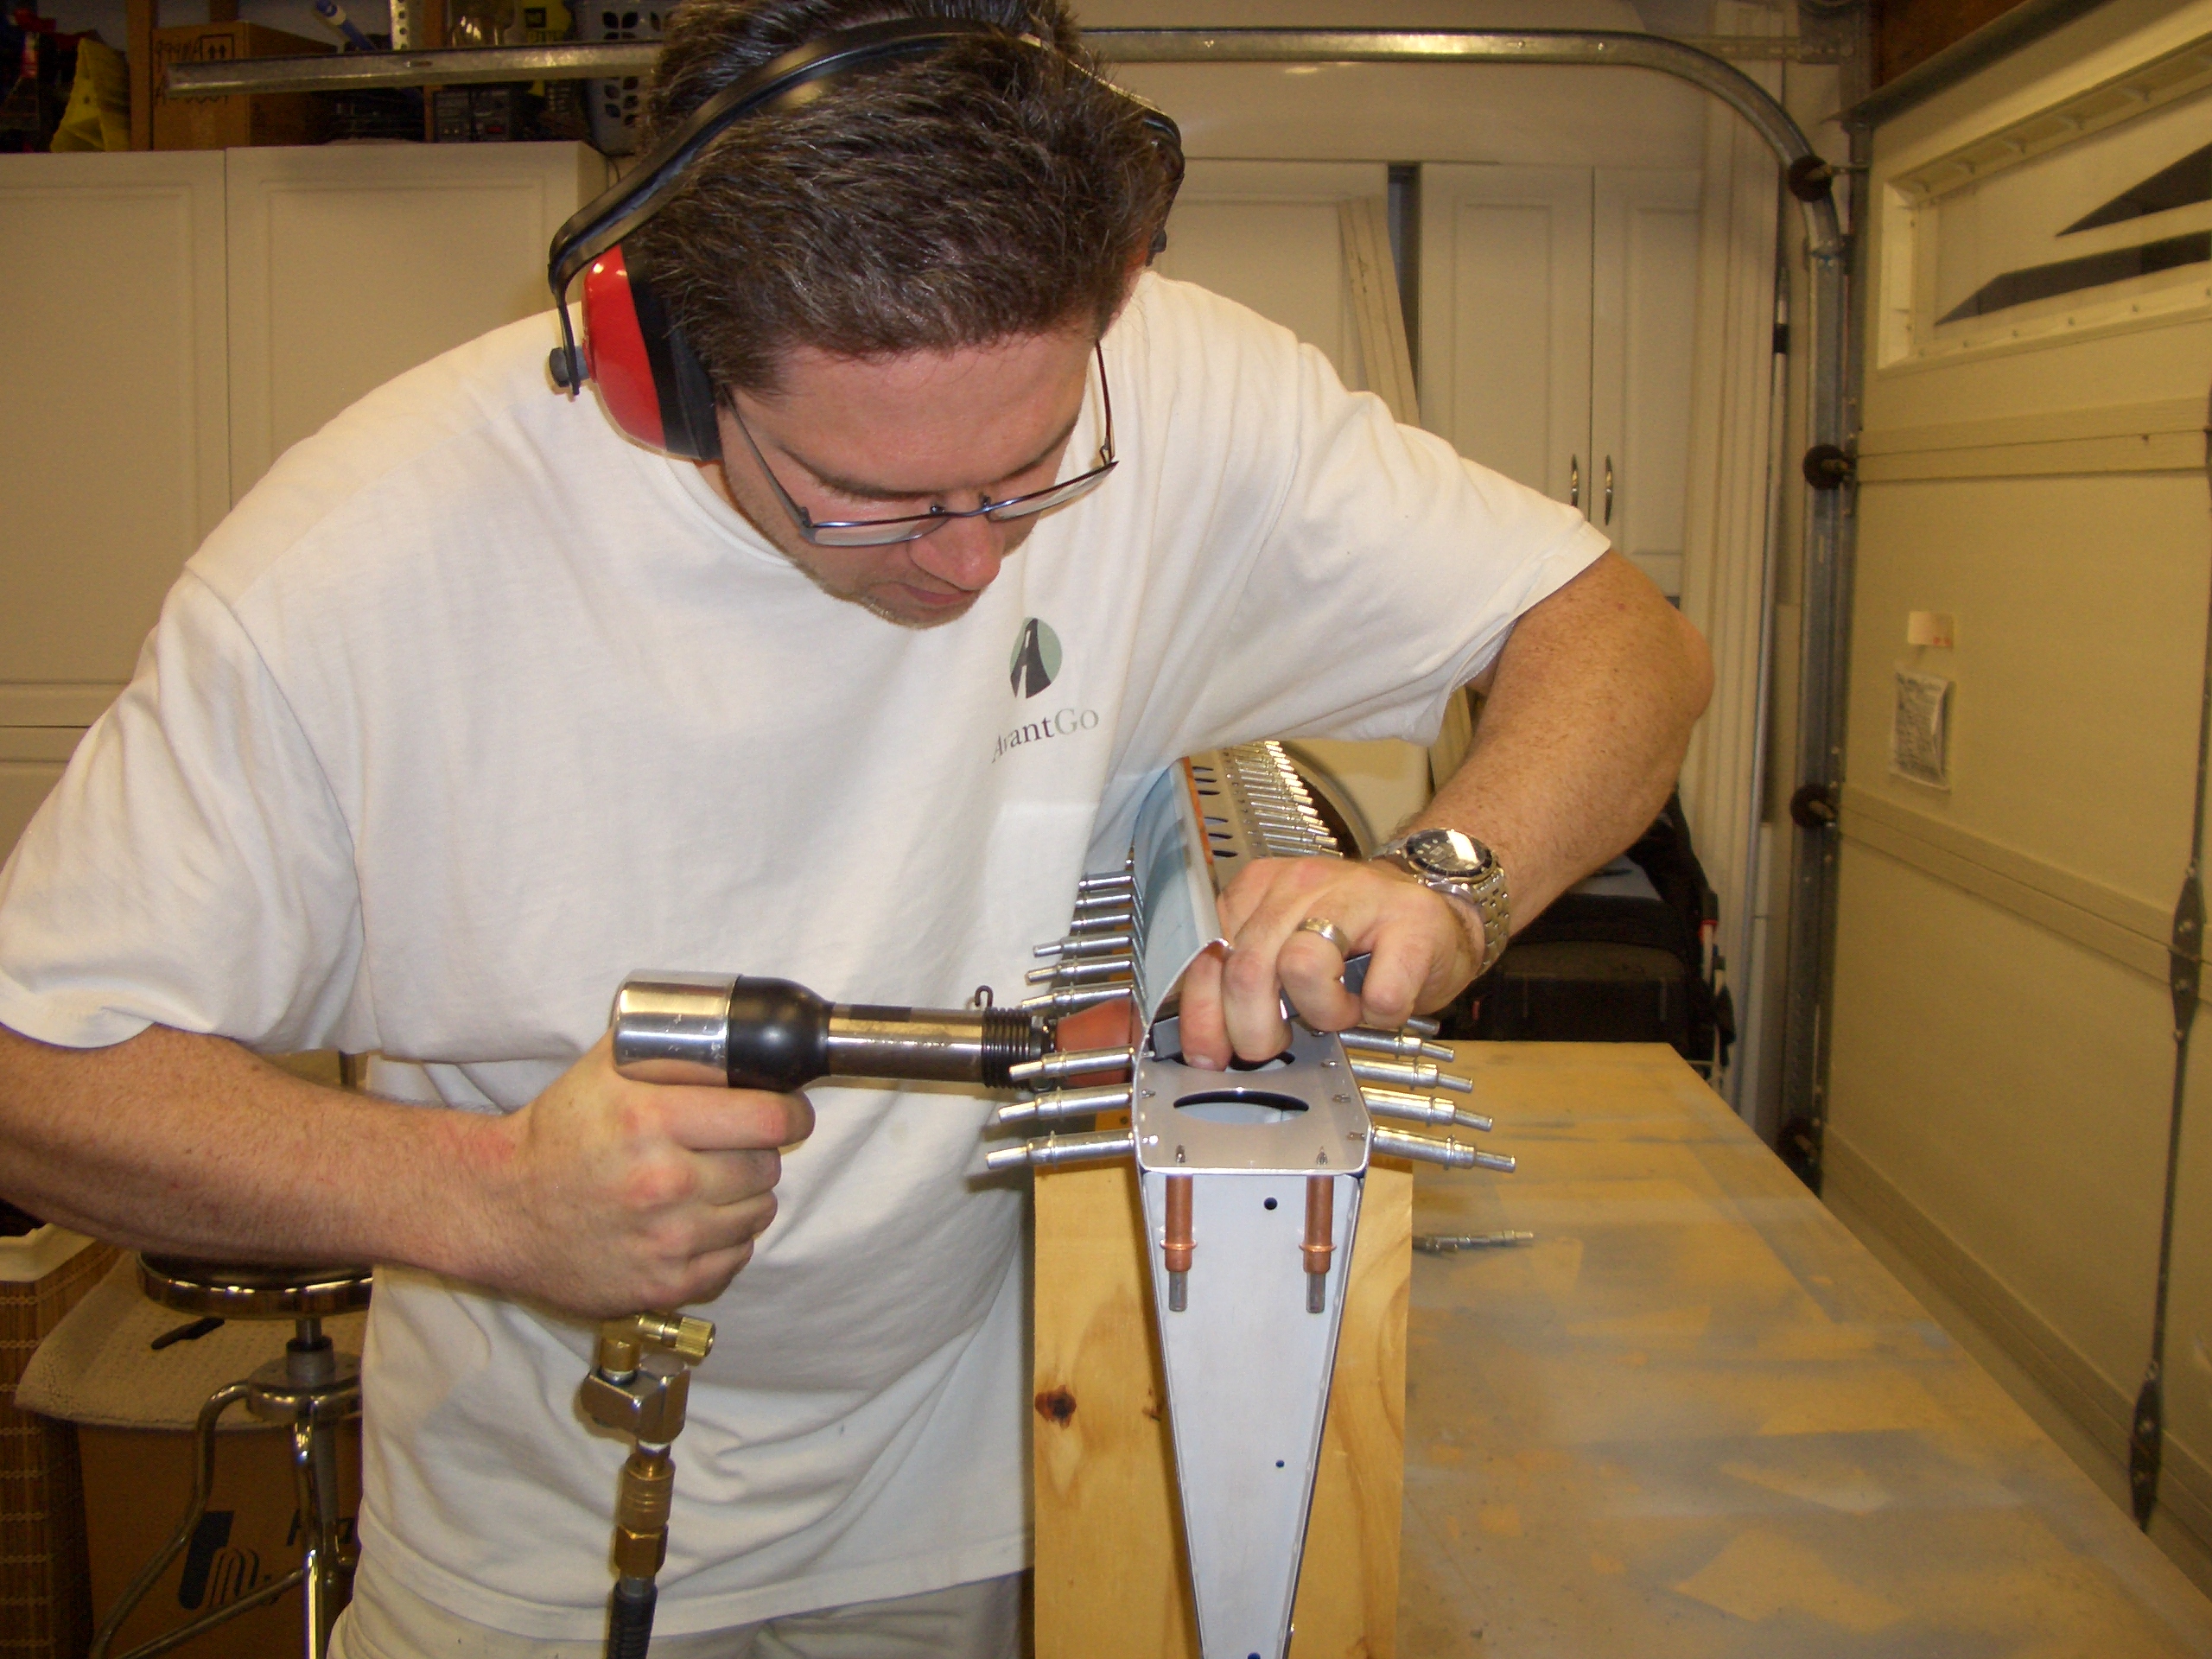
I had just ordered these long reach cleco clamps and they worked beautifully for holding the hinge material on while I drilled it.  I only ordered two, but they were so handy that I wish I had ordered several more.

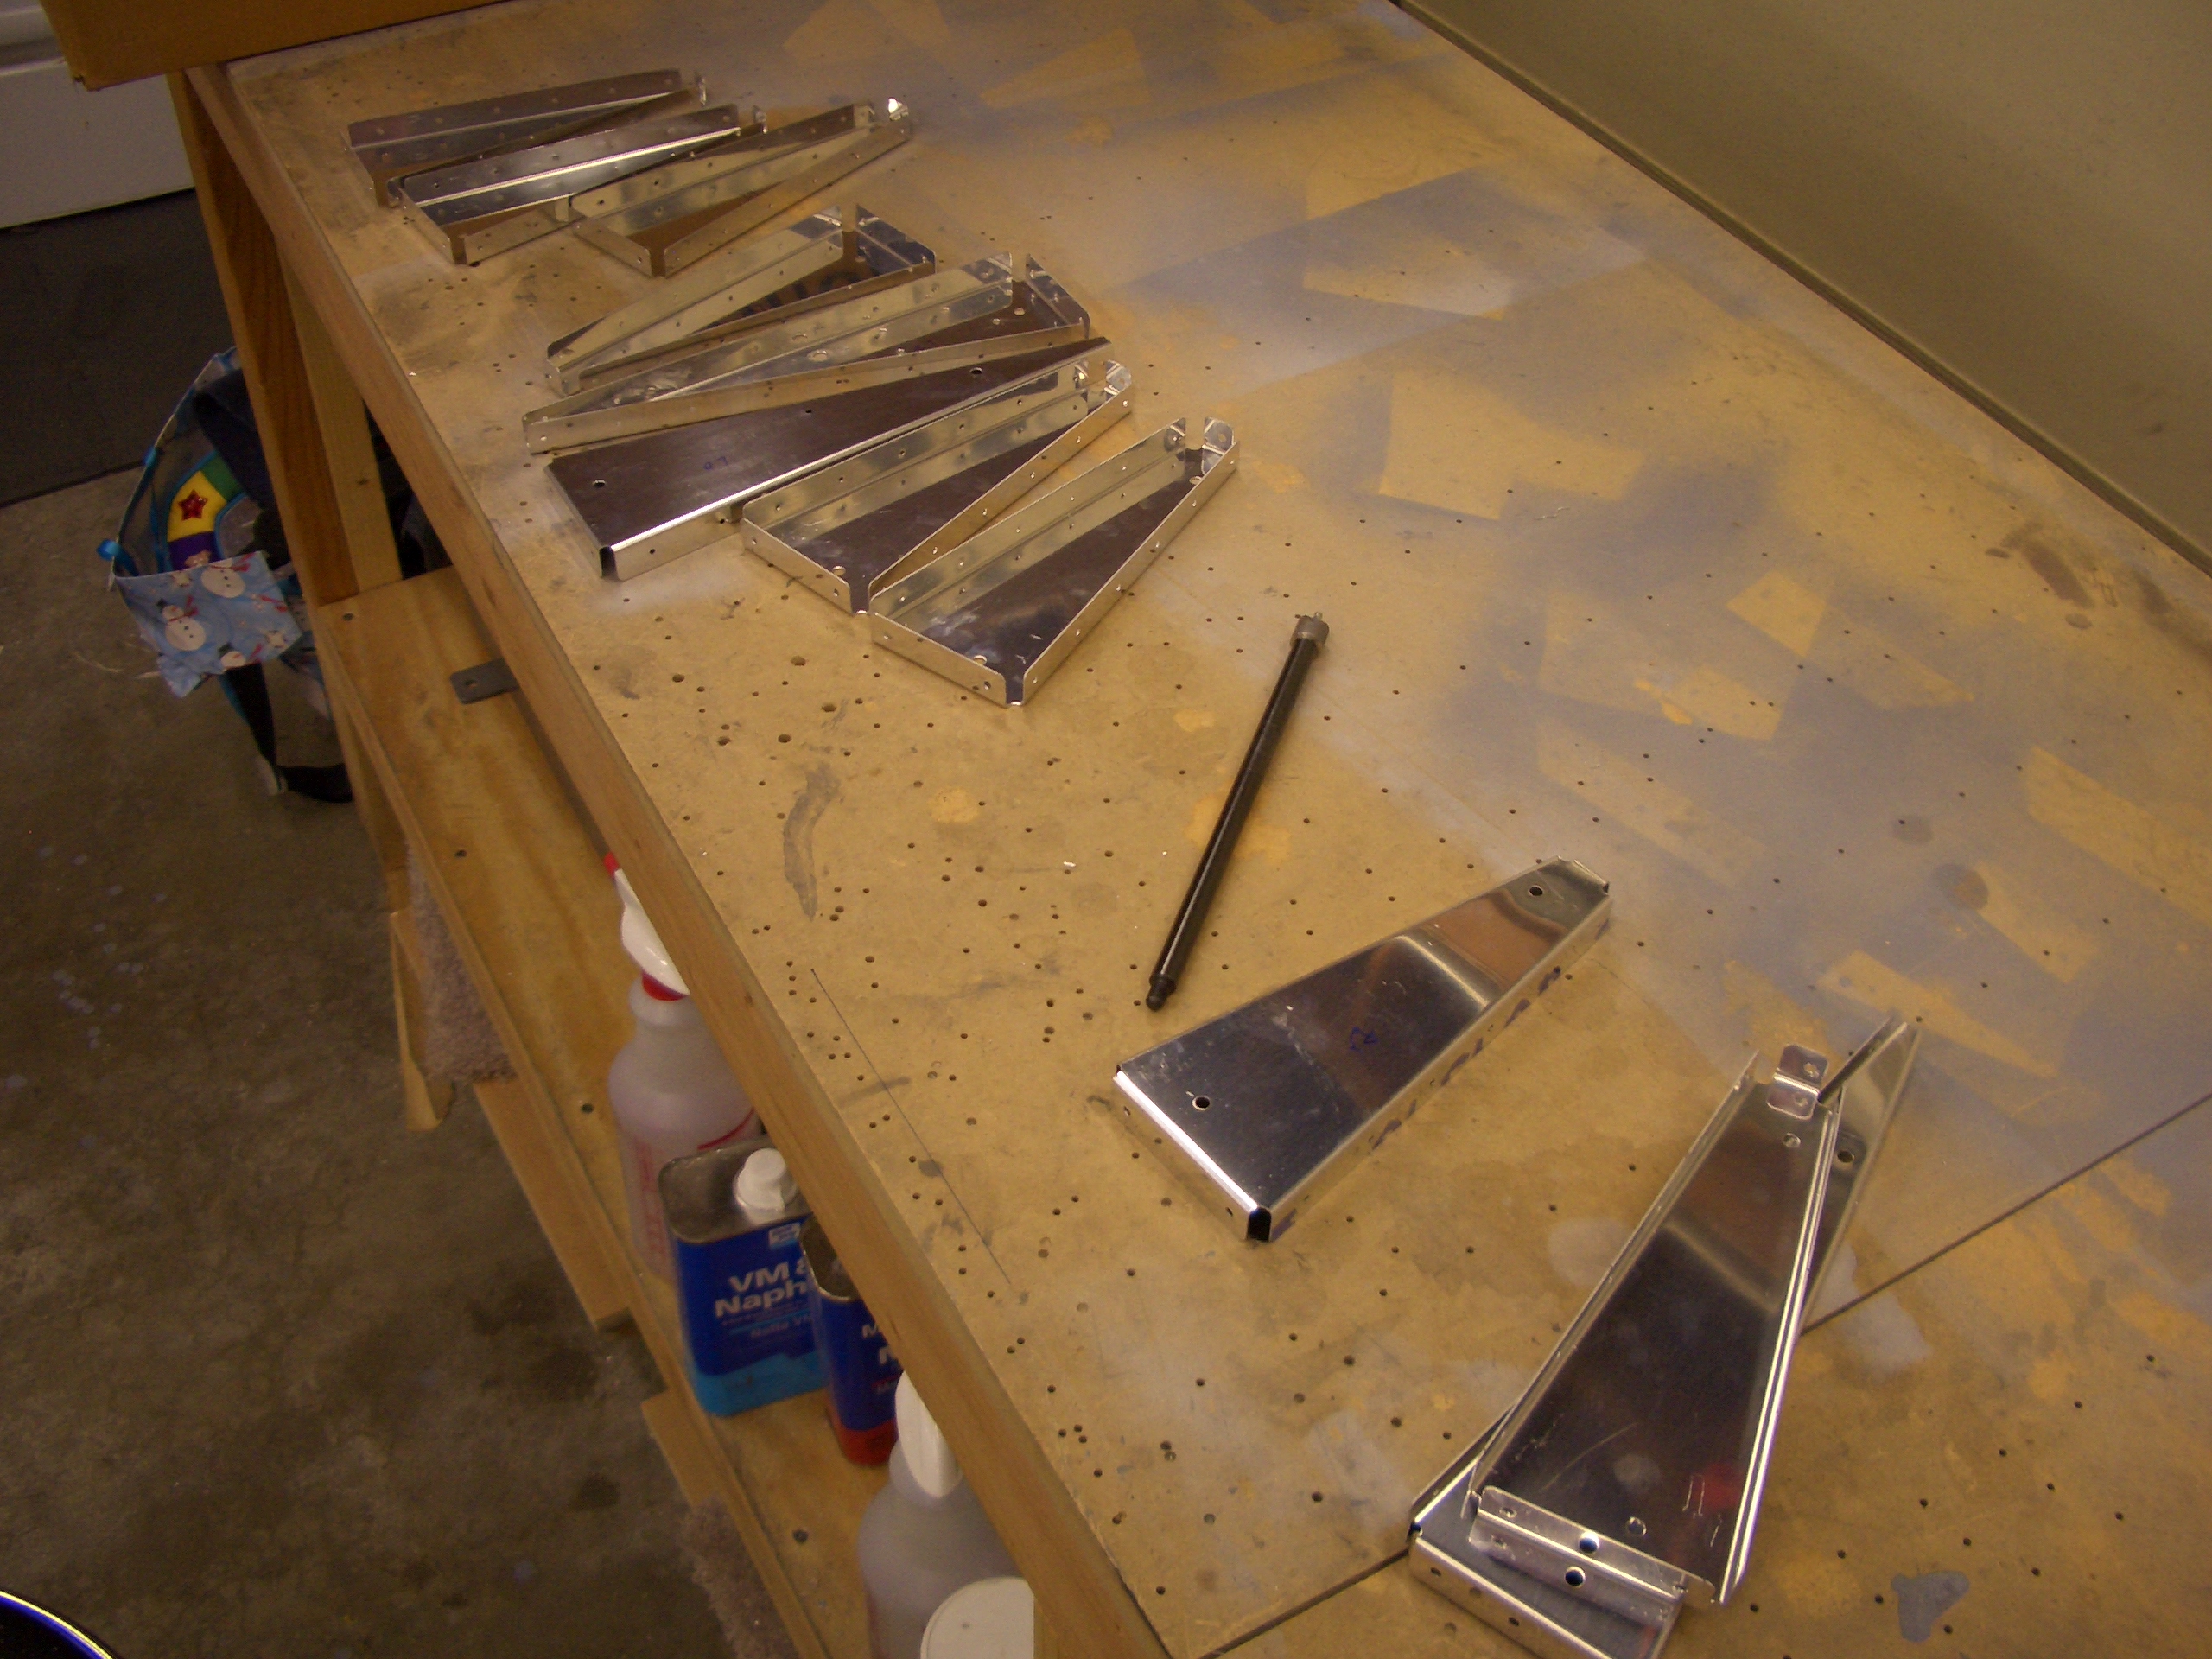
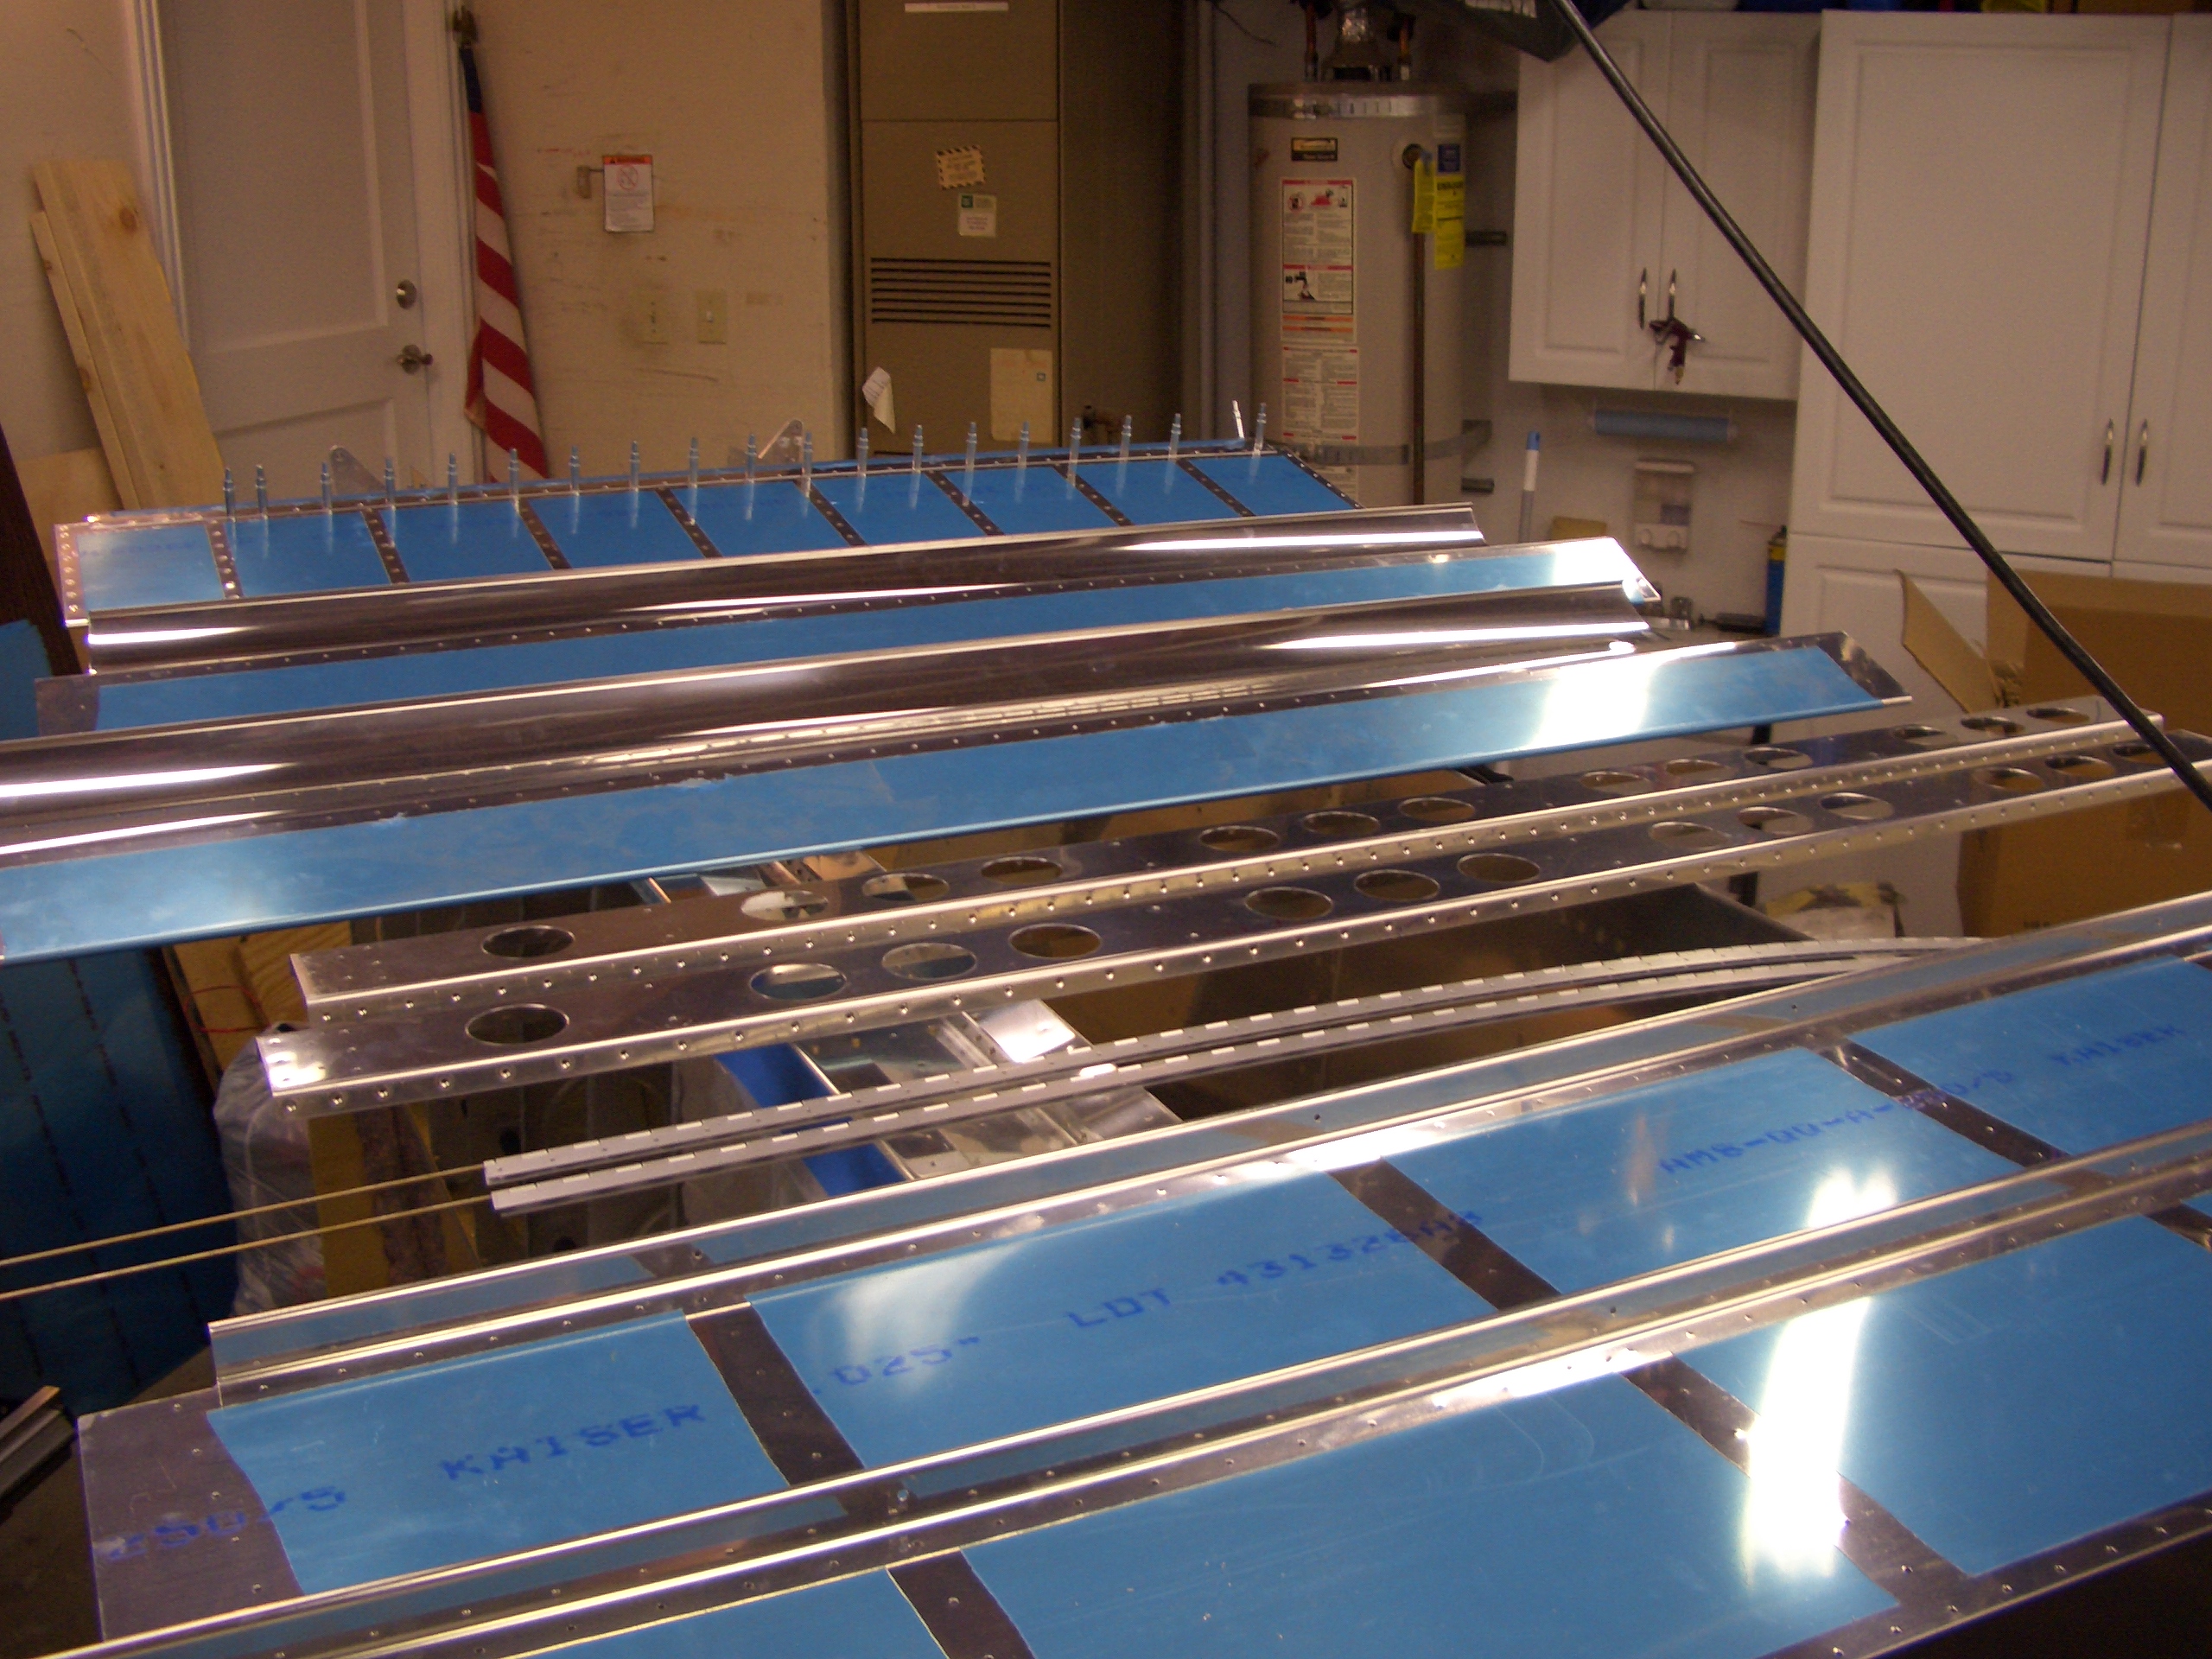
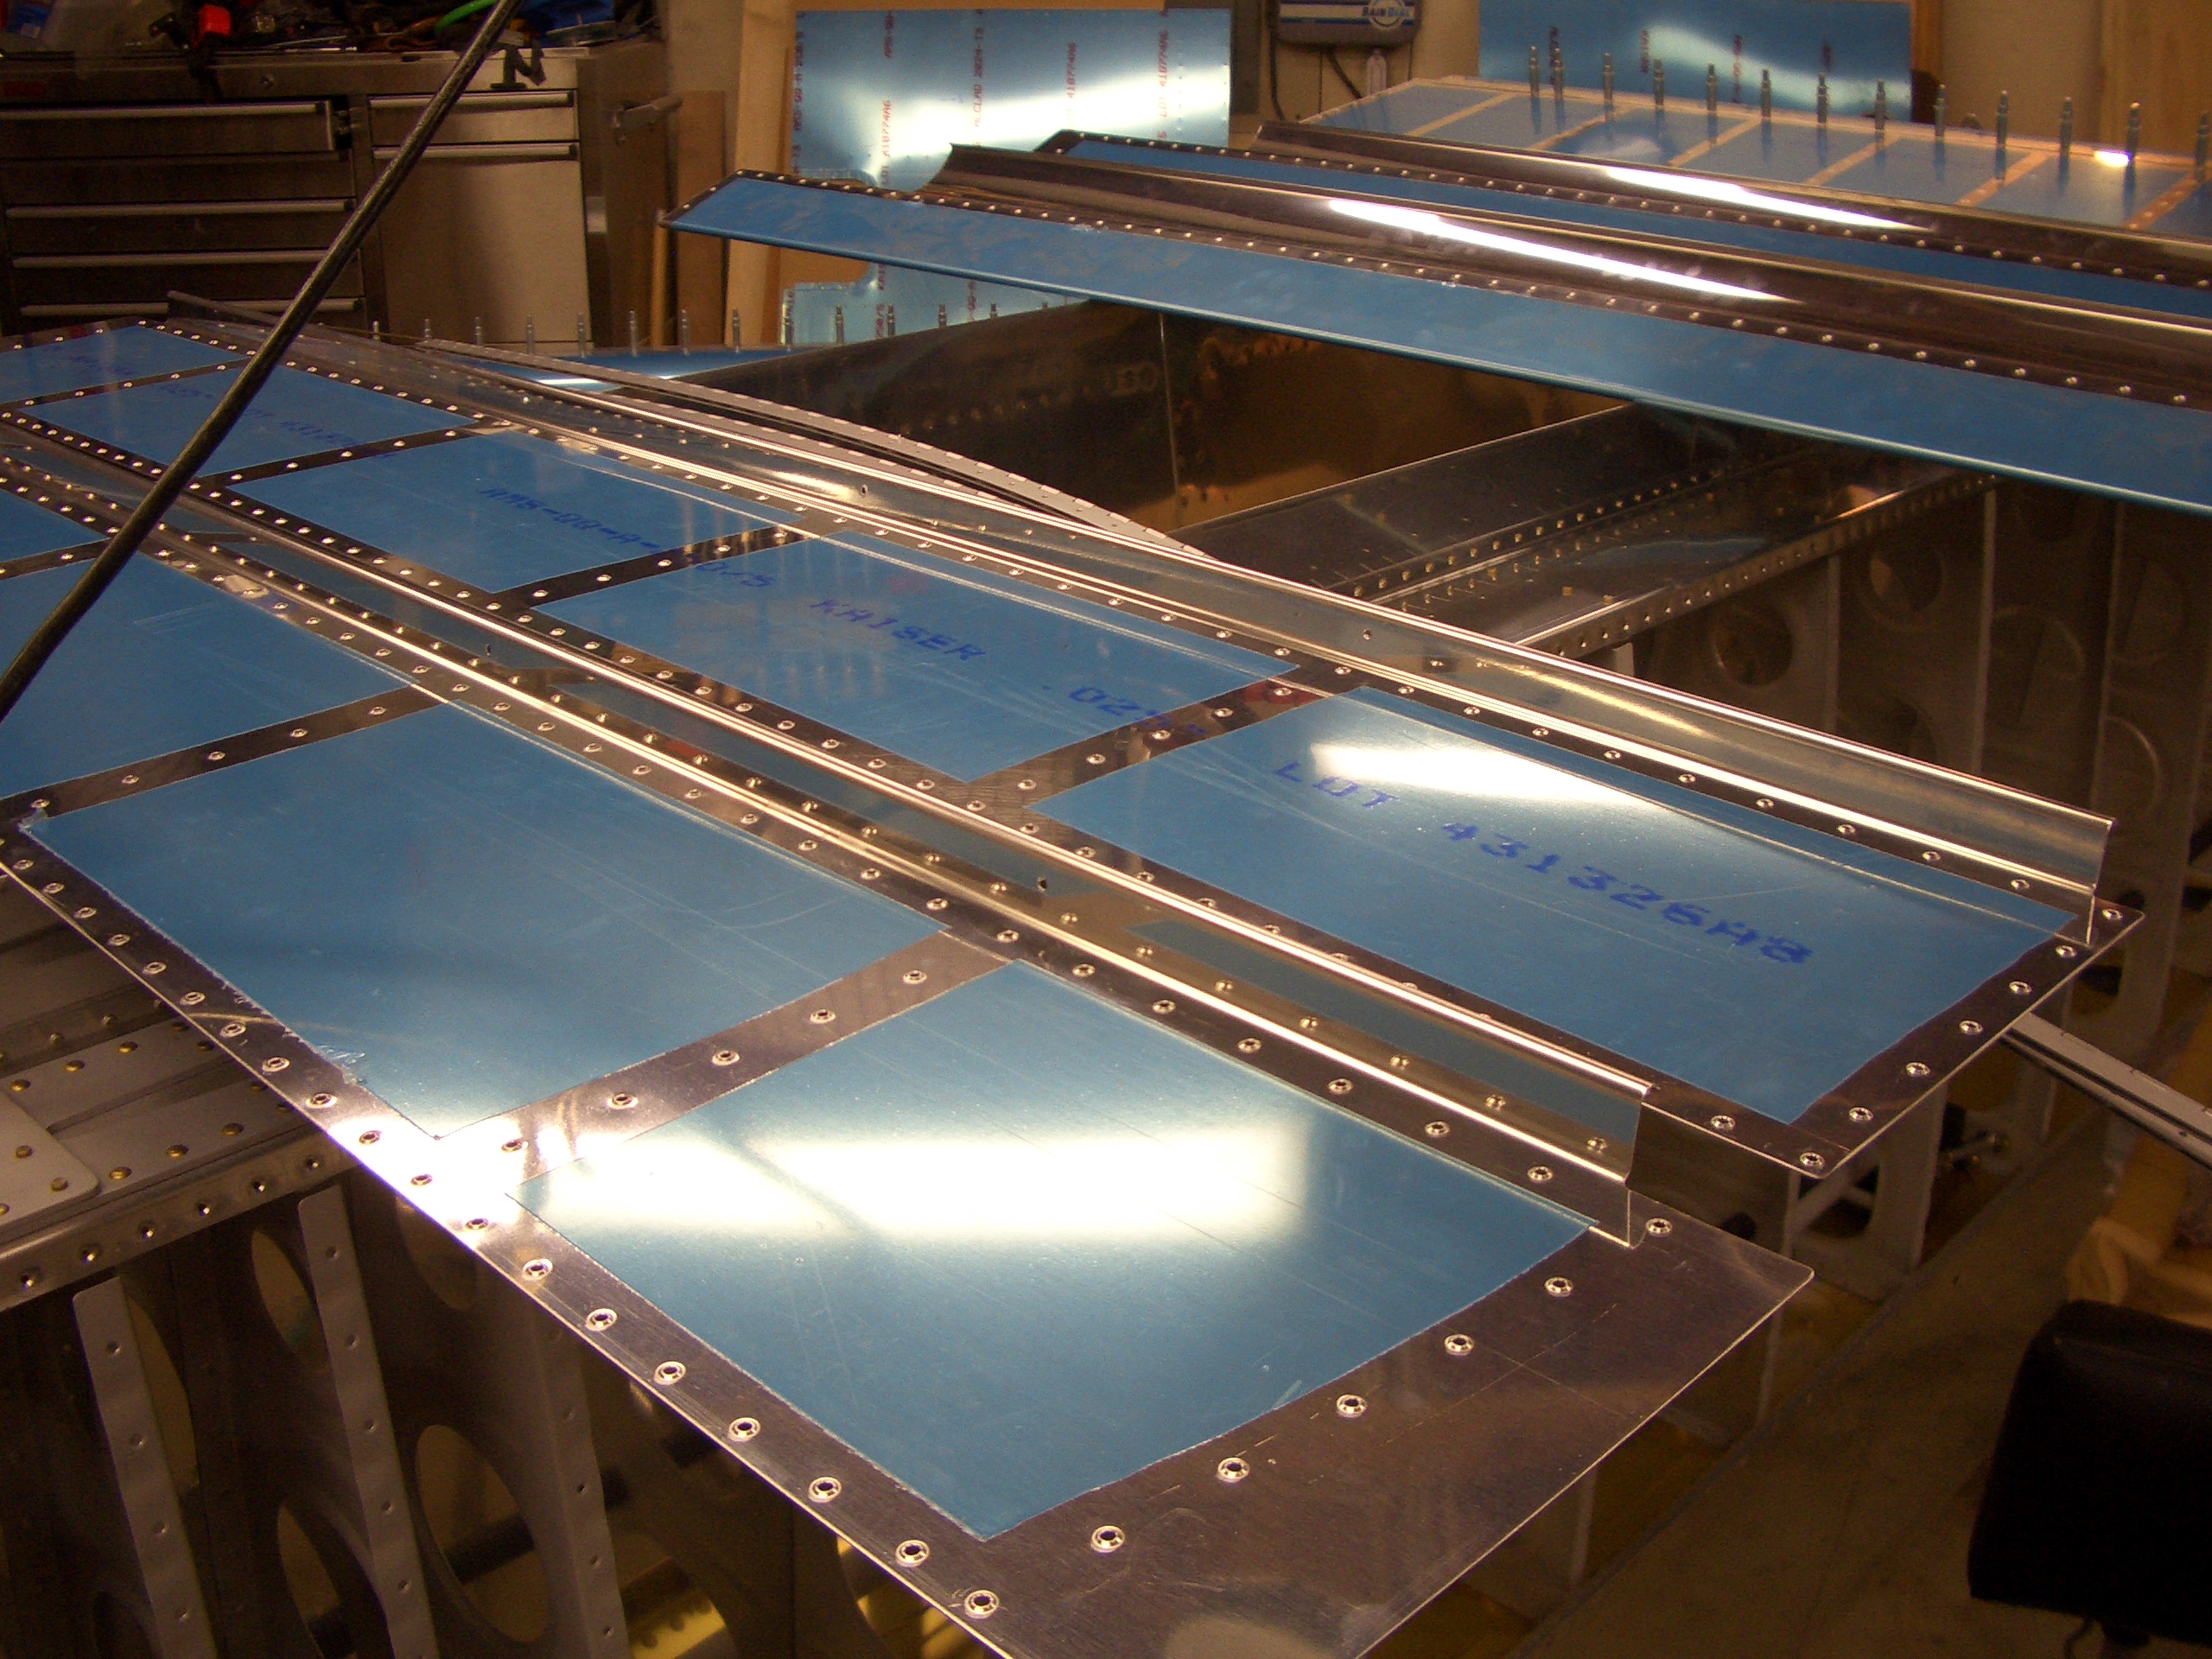
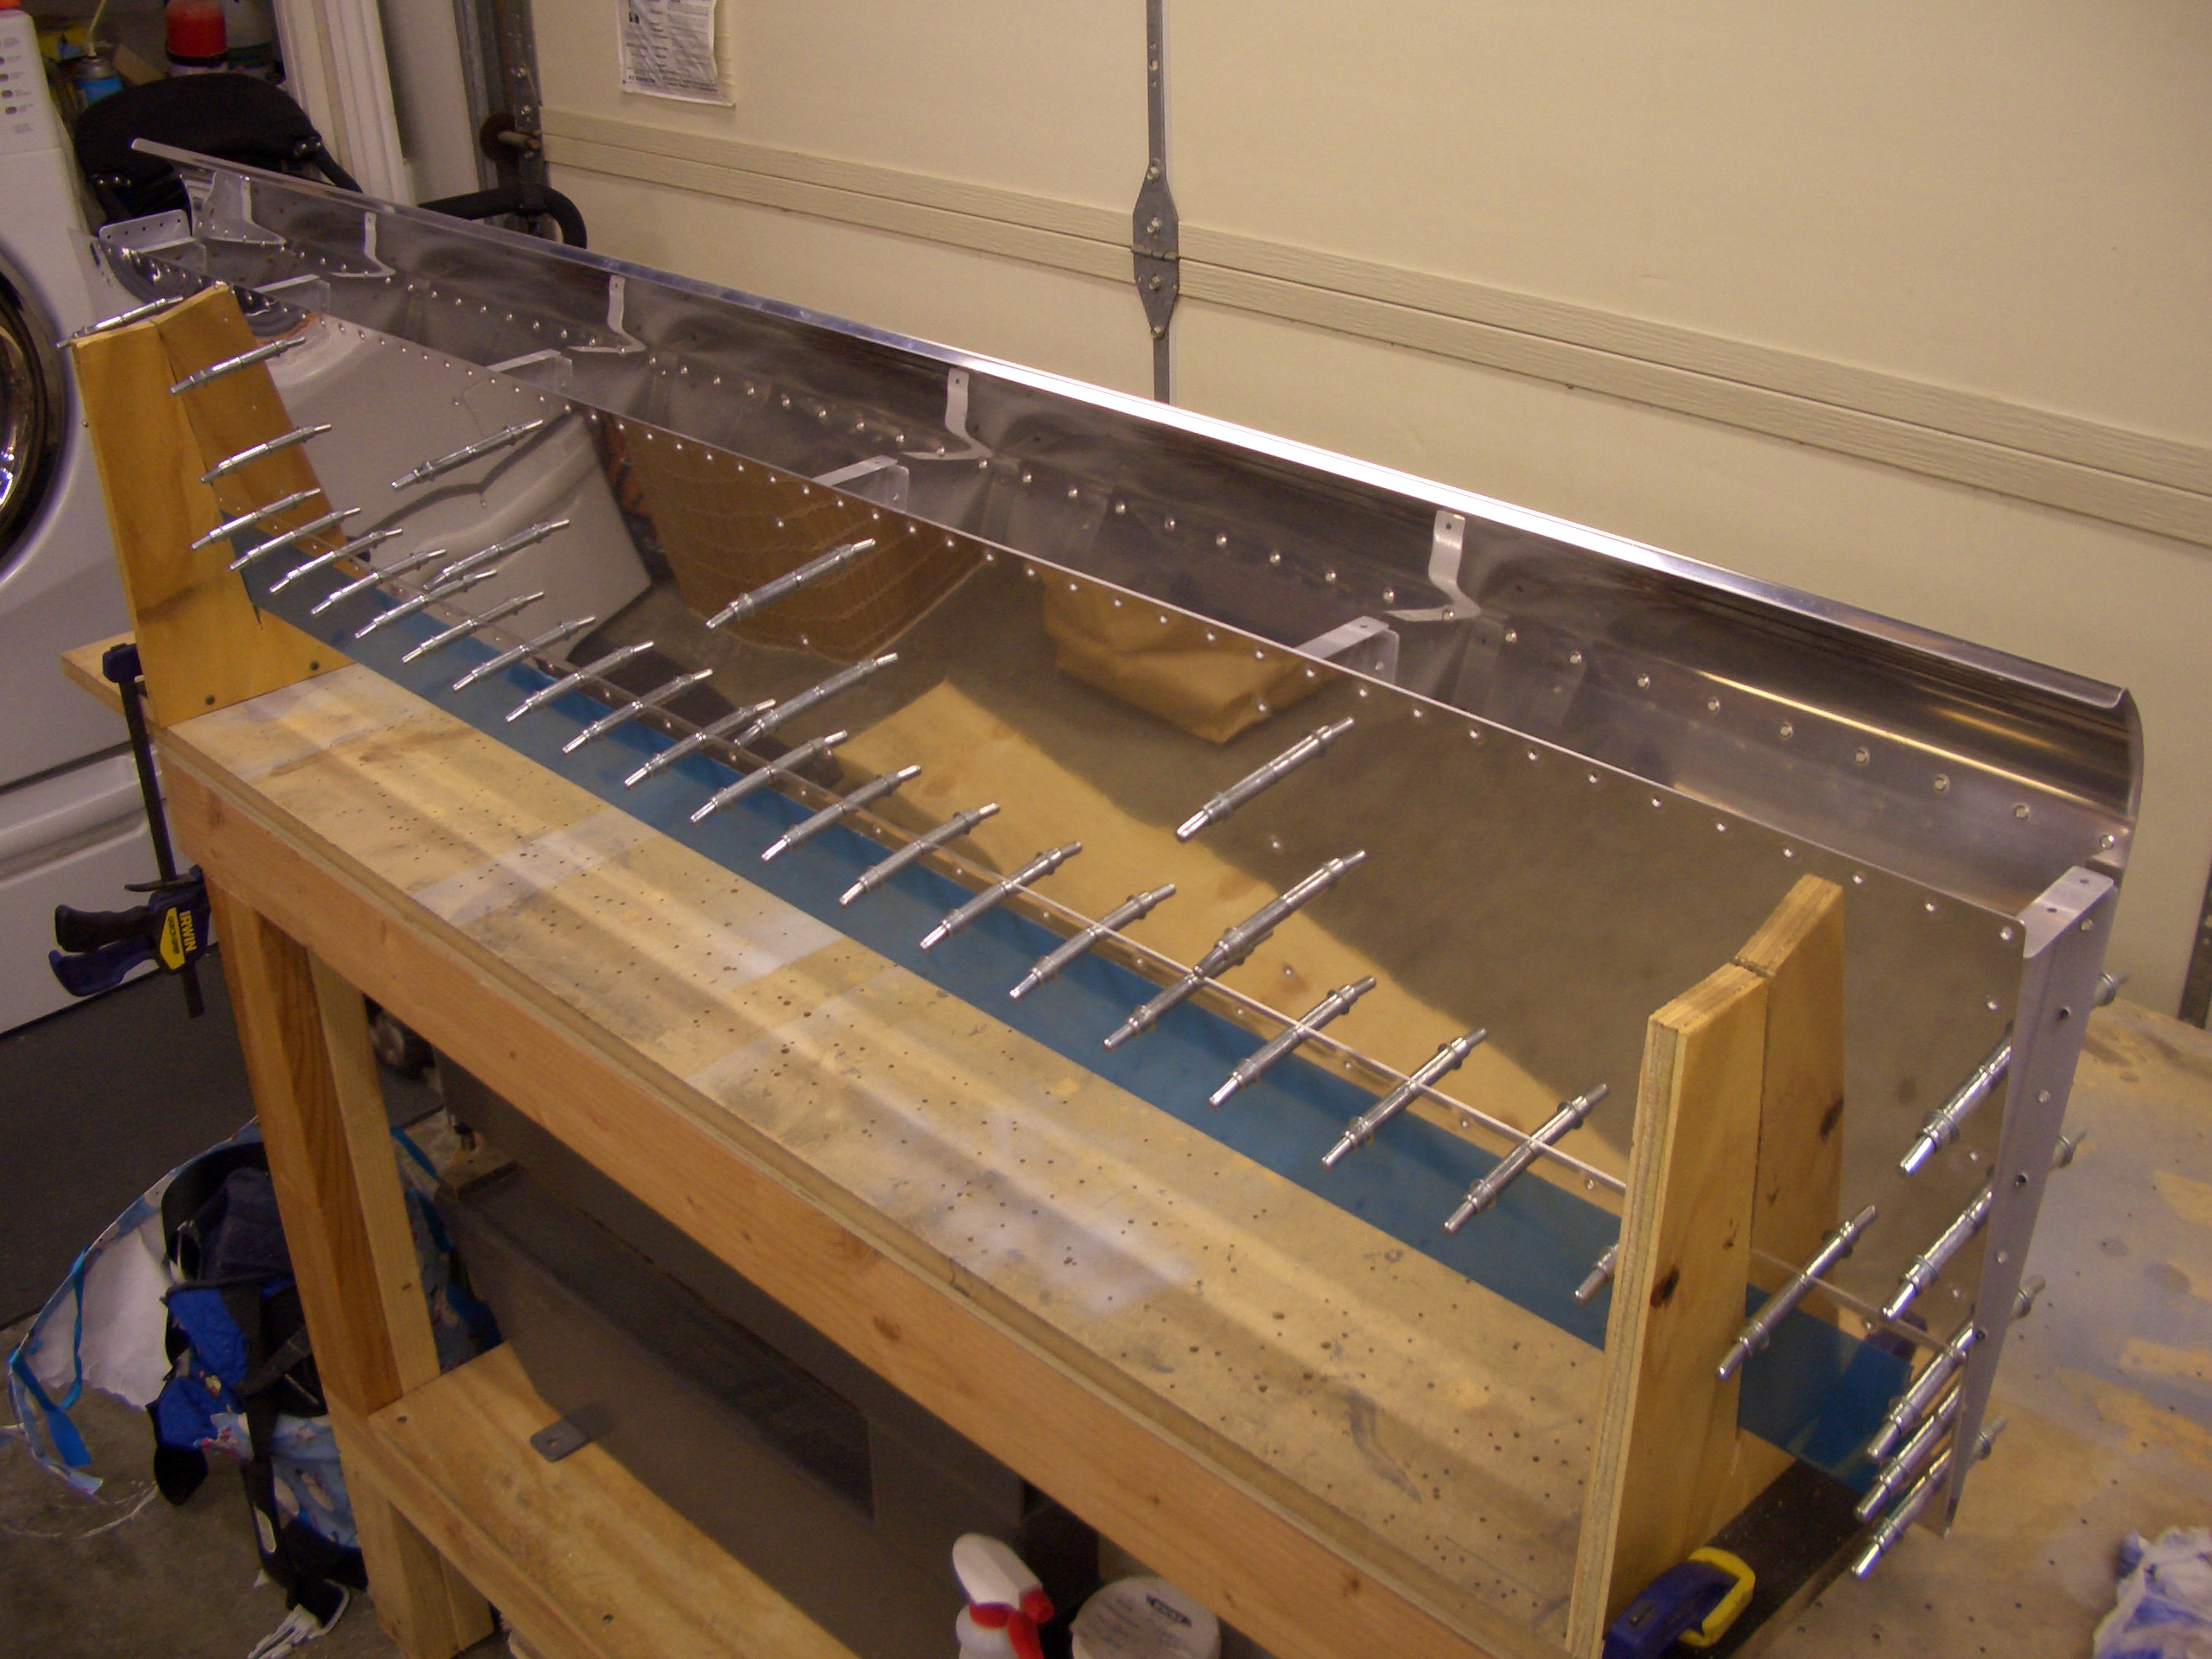
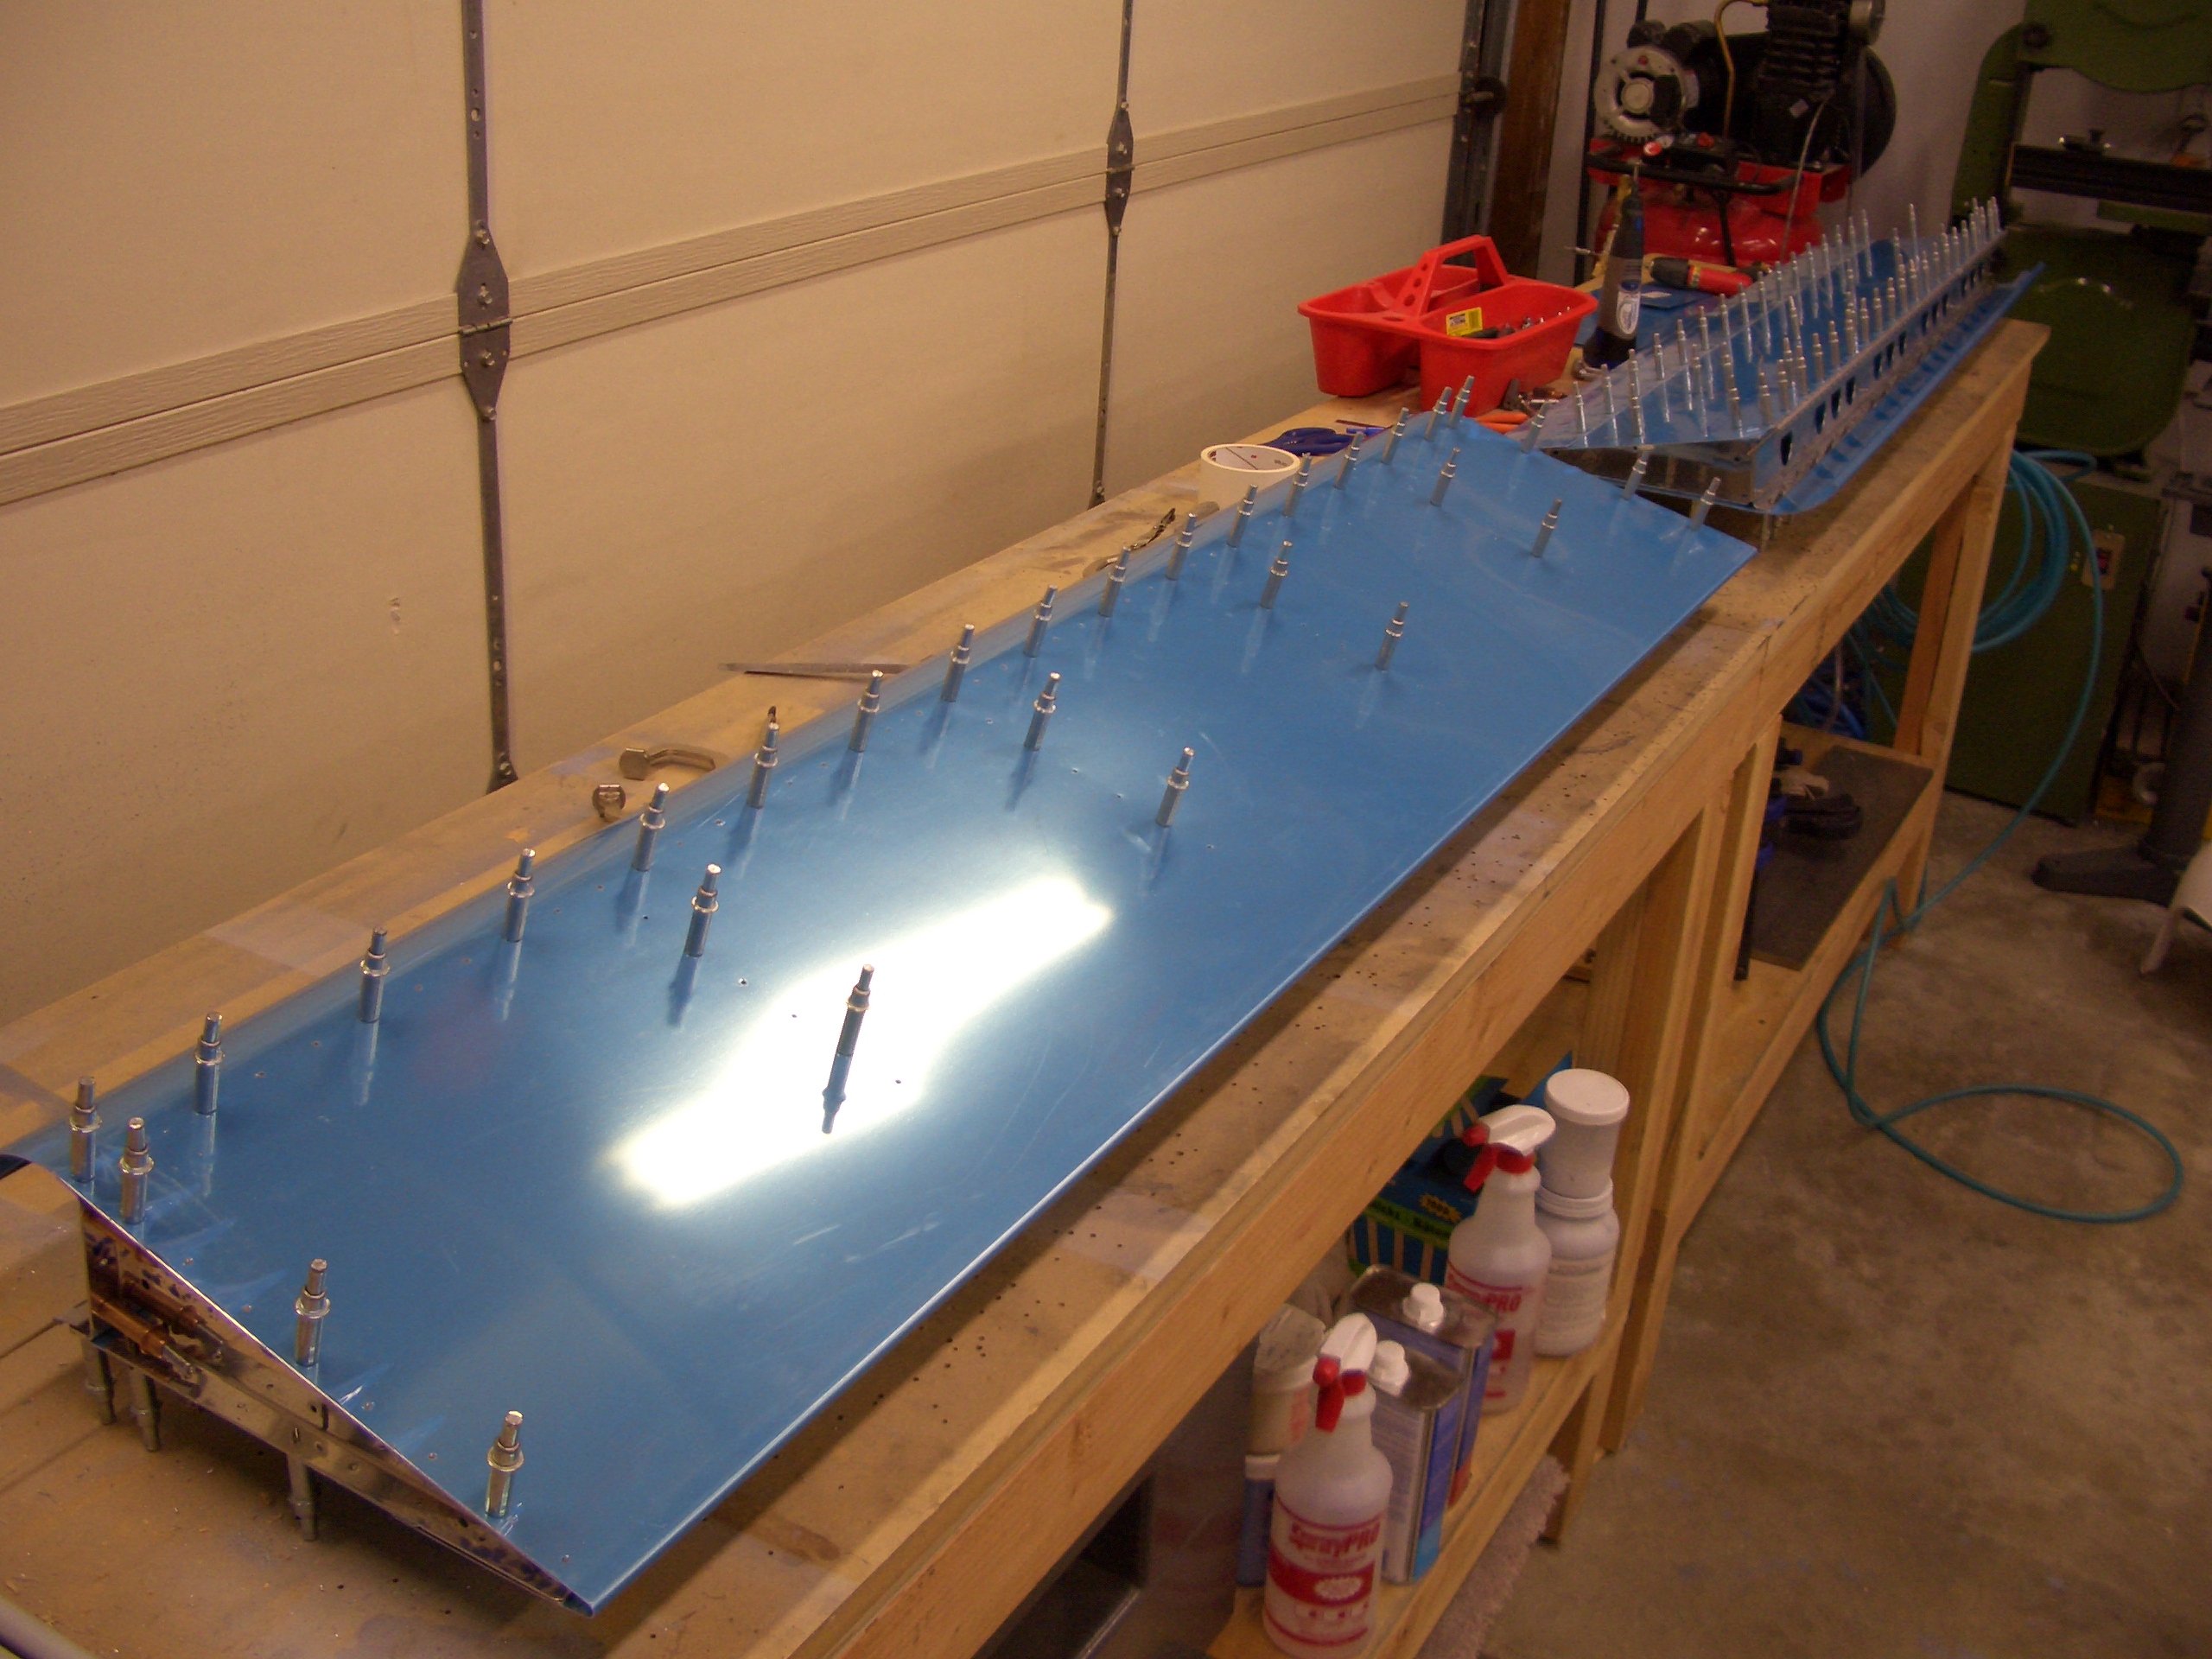
I put the top skin on and drilled all of the holes to final size.  I didn’t take any pictures of it, but I also needed to make four 0.024″ shims for the inboard and outboard ribs to take up the space between the top skin and the rib where the bottom skin stops short.

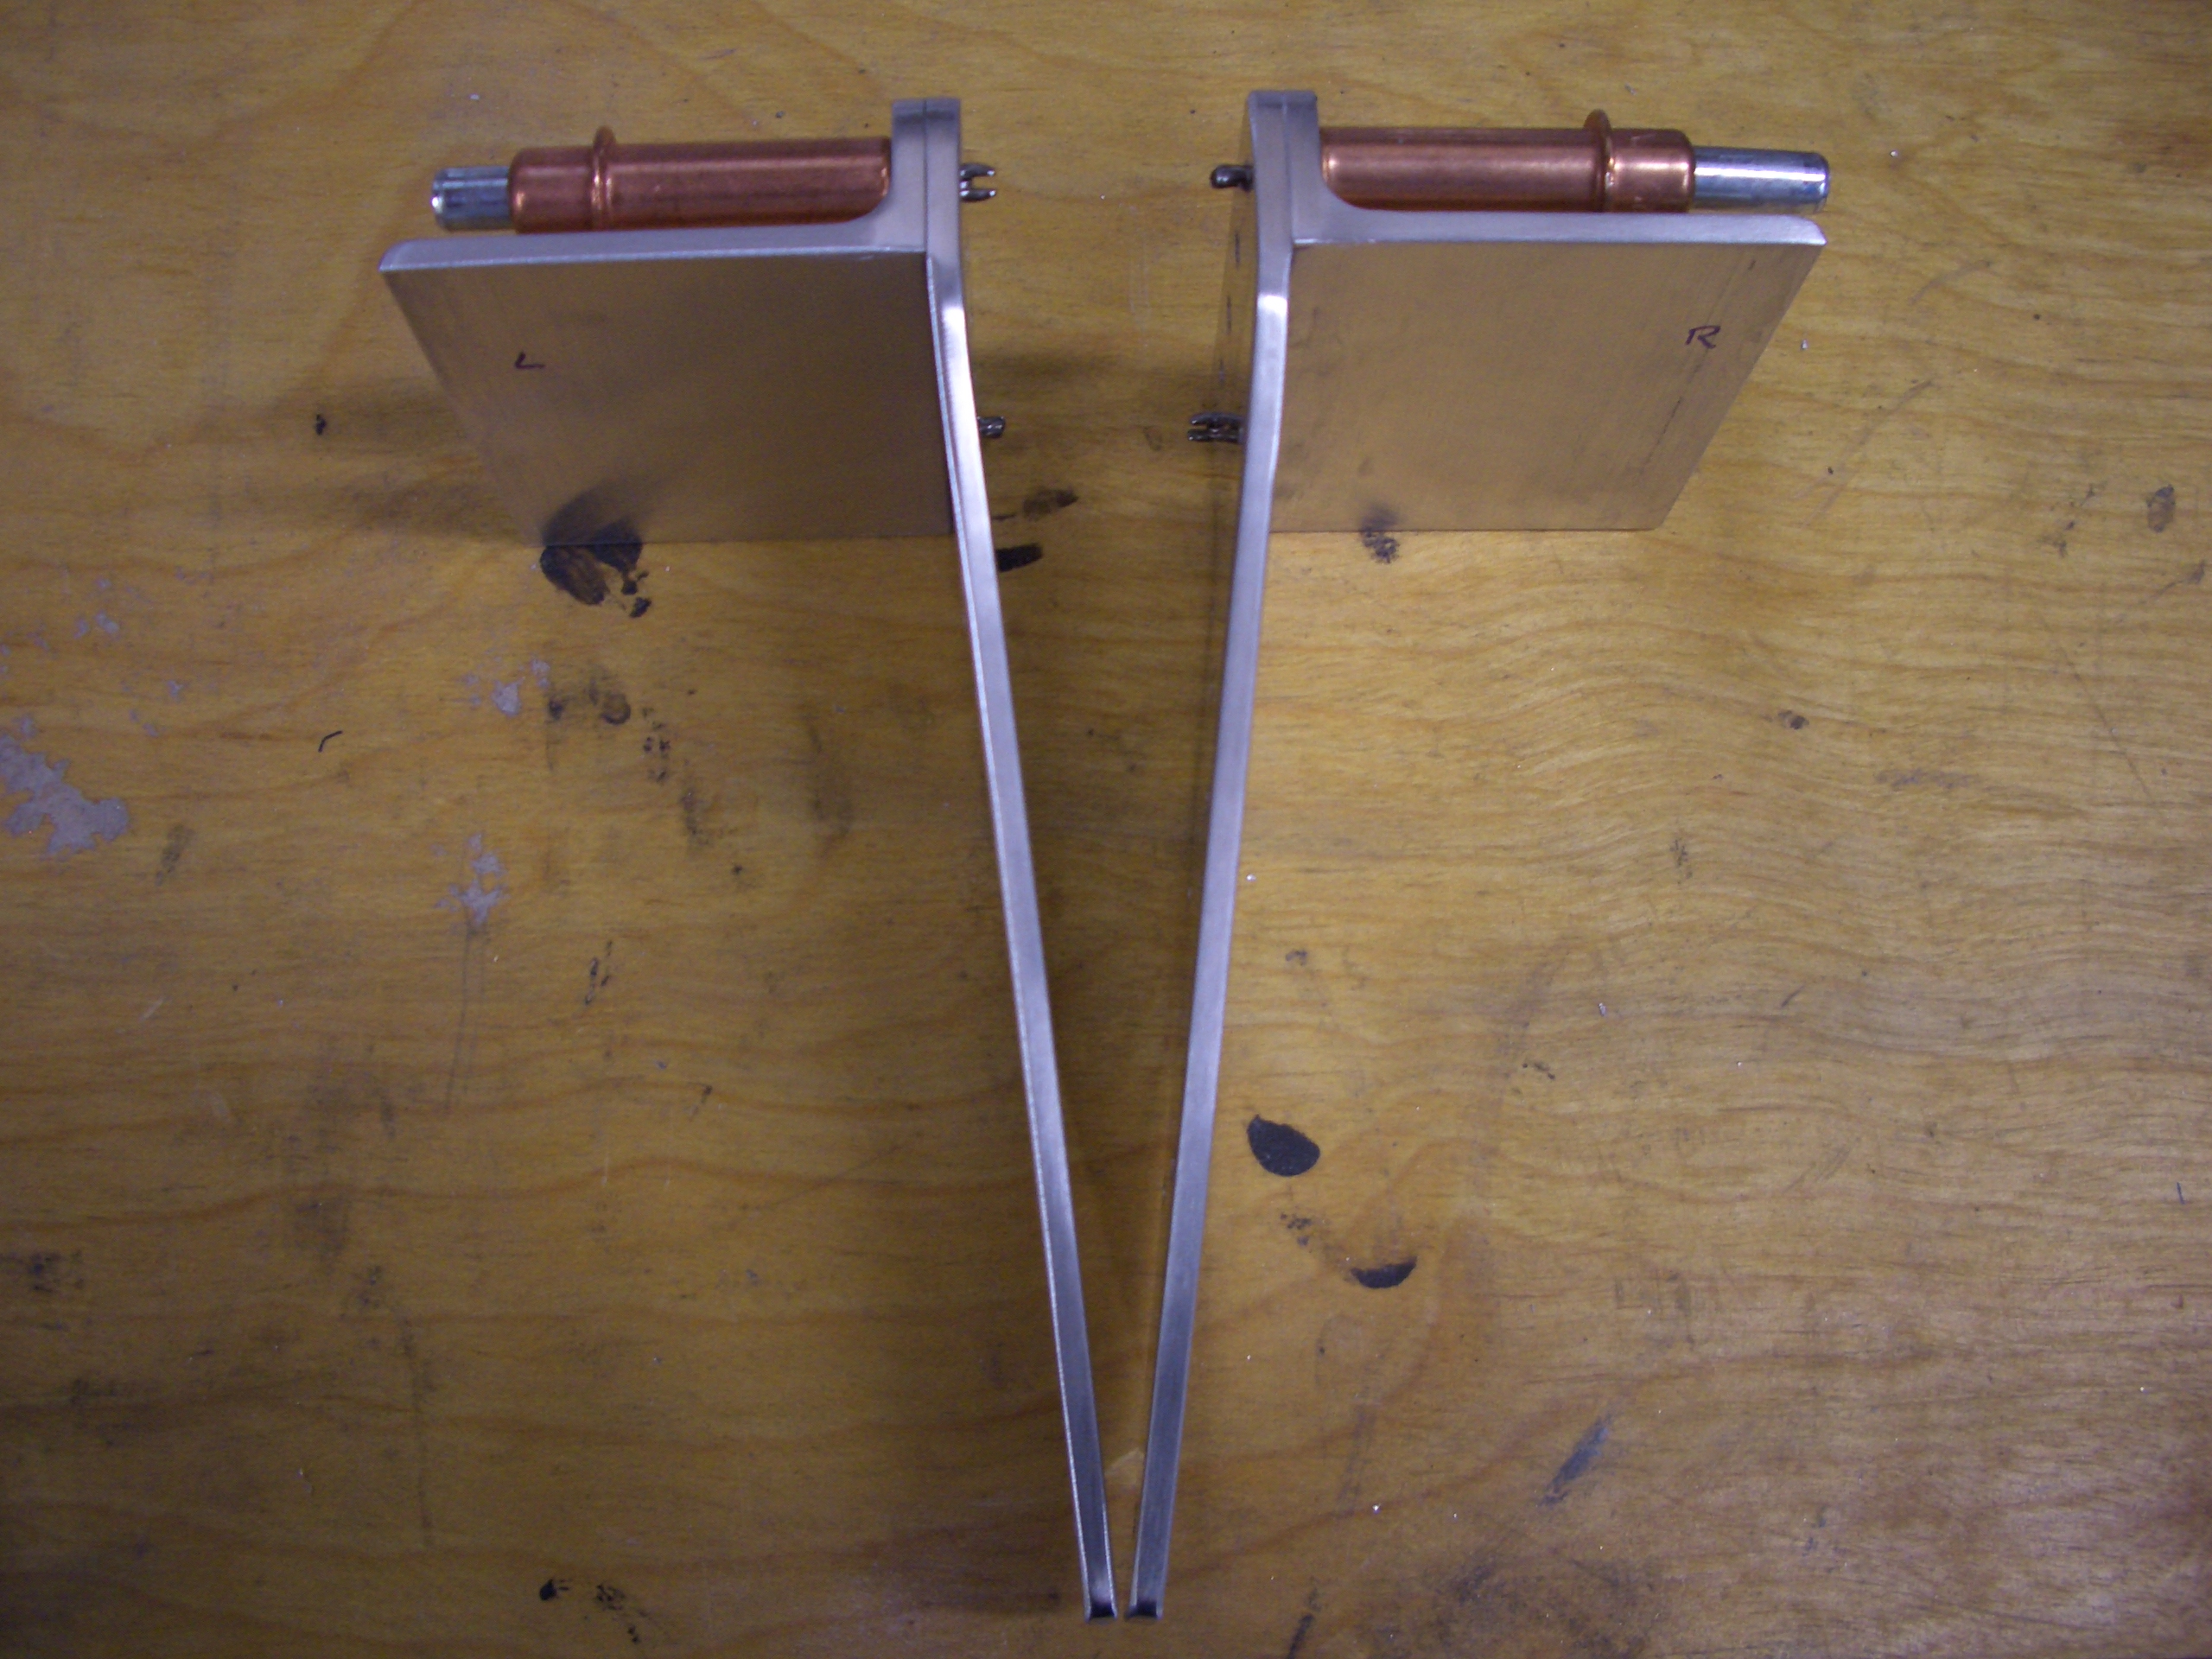
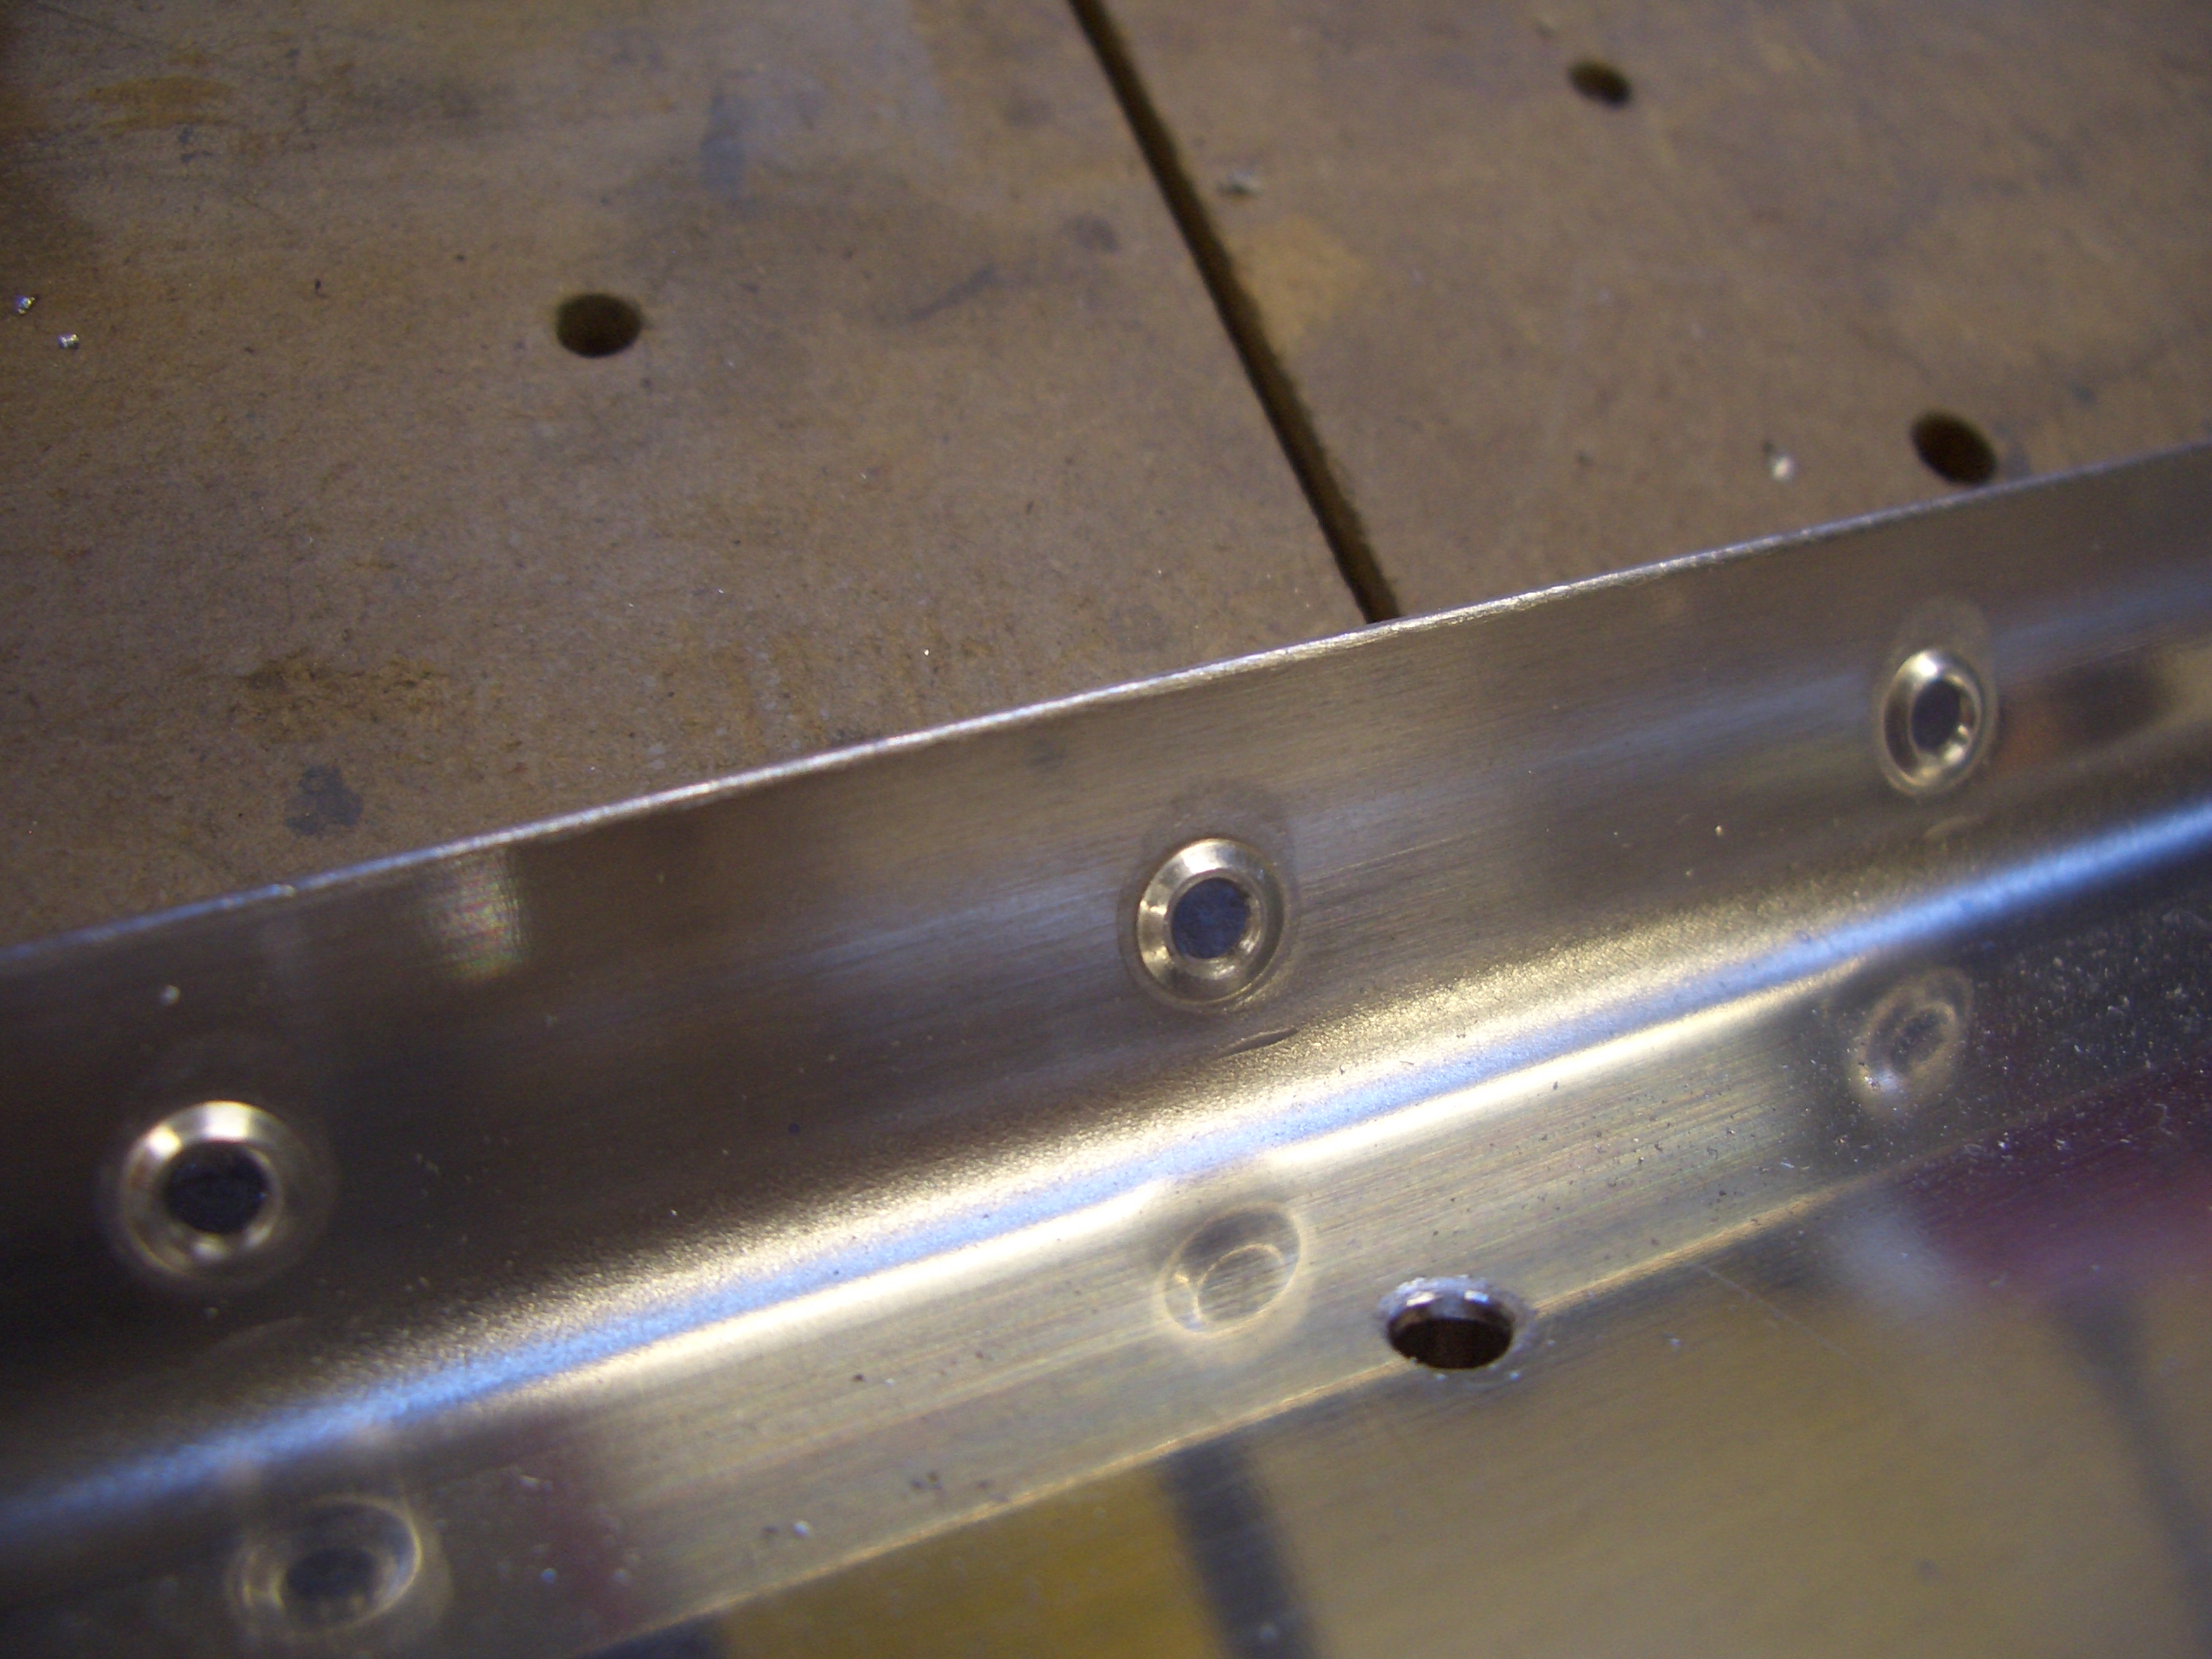
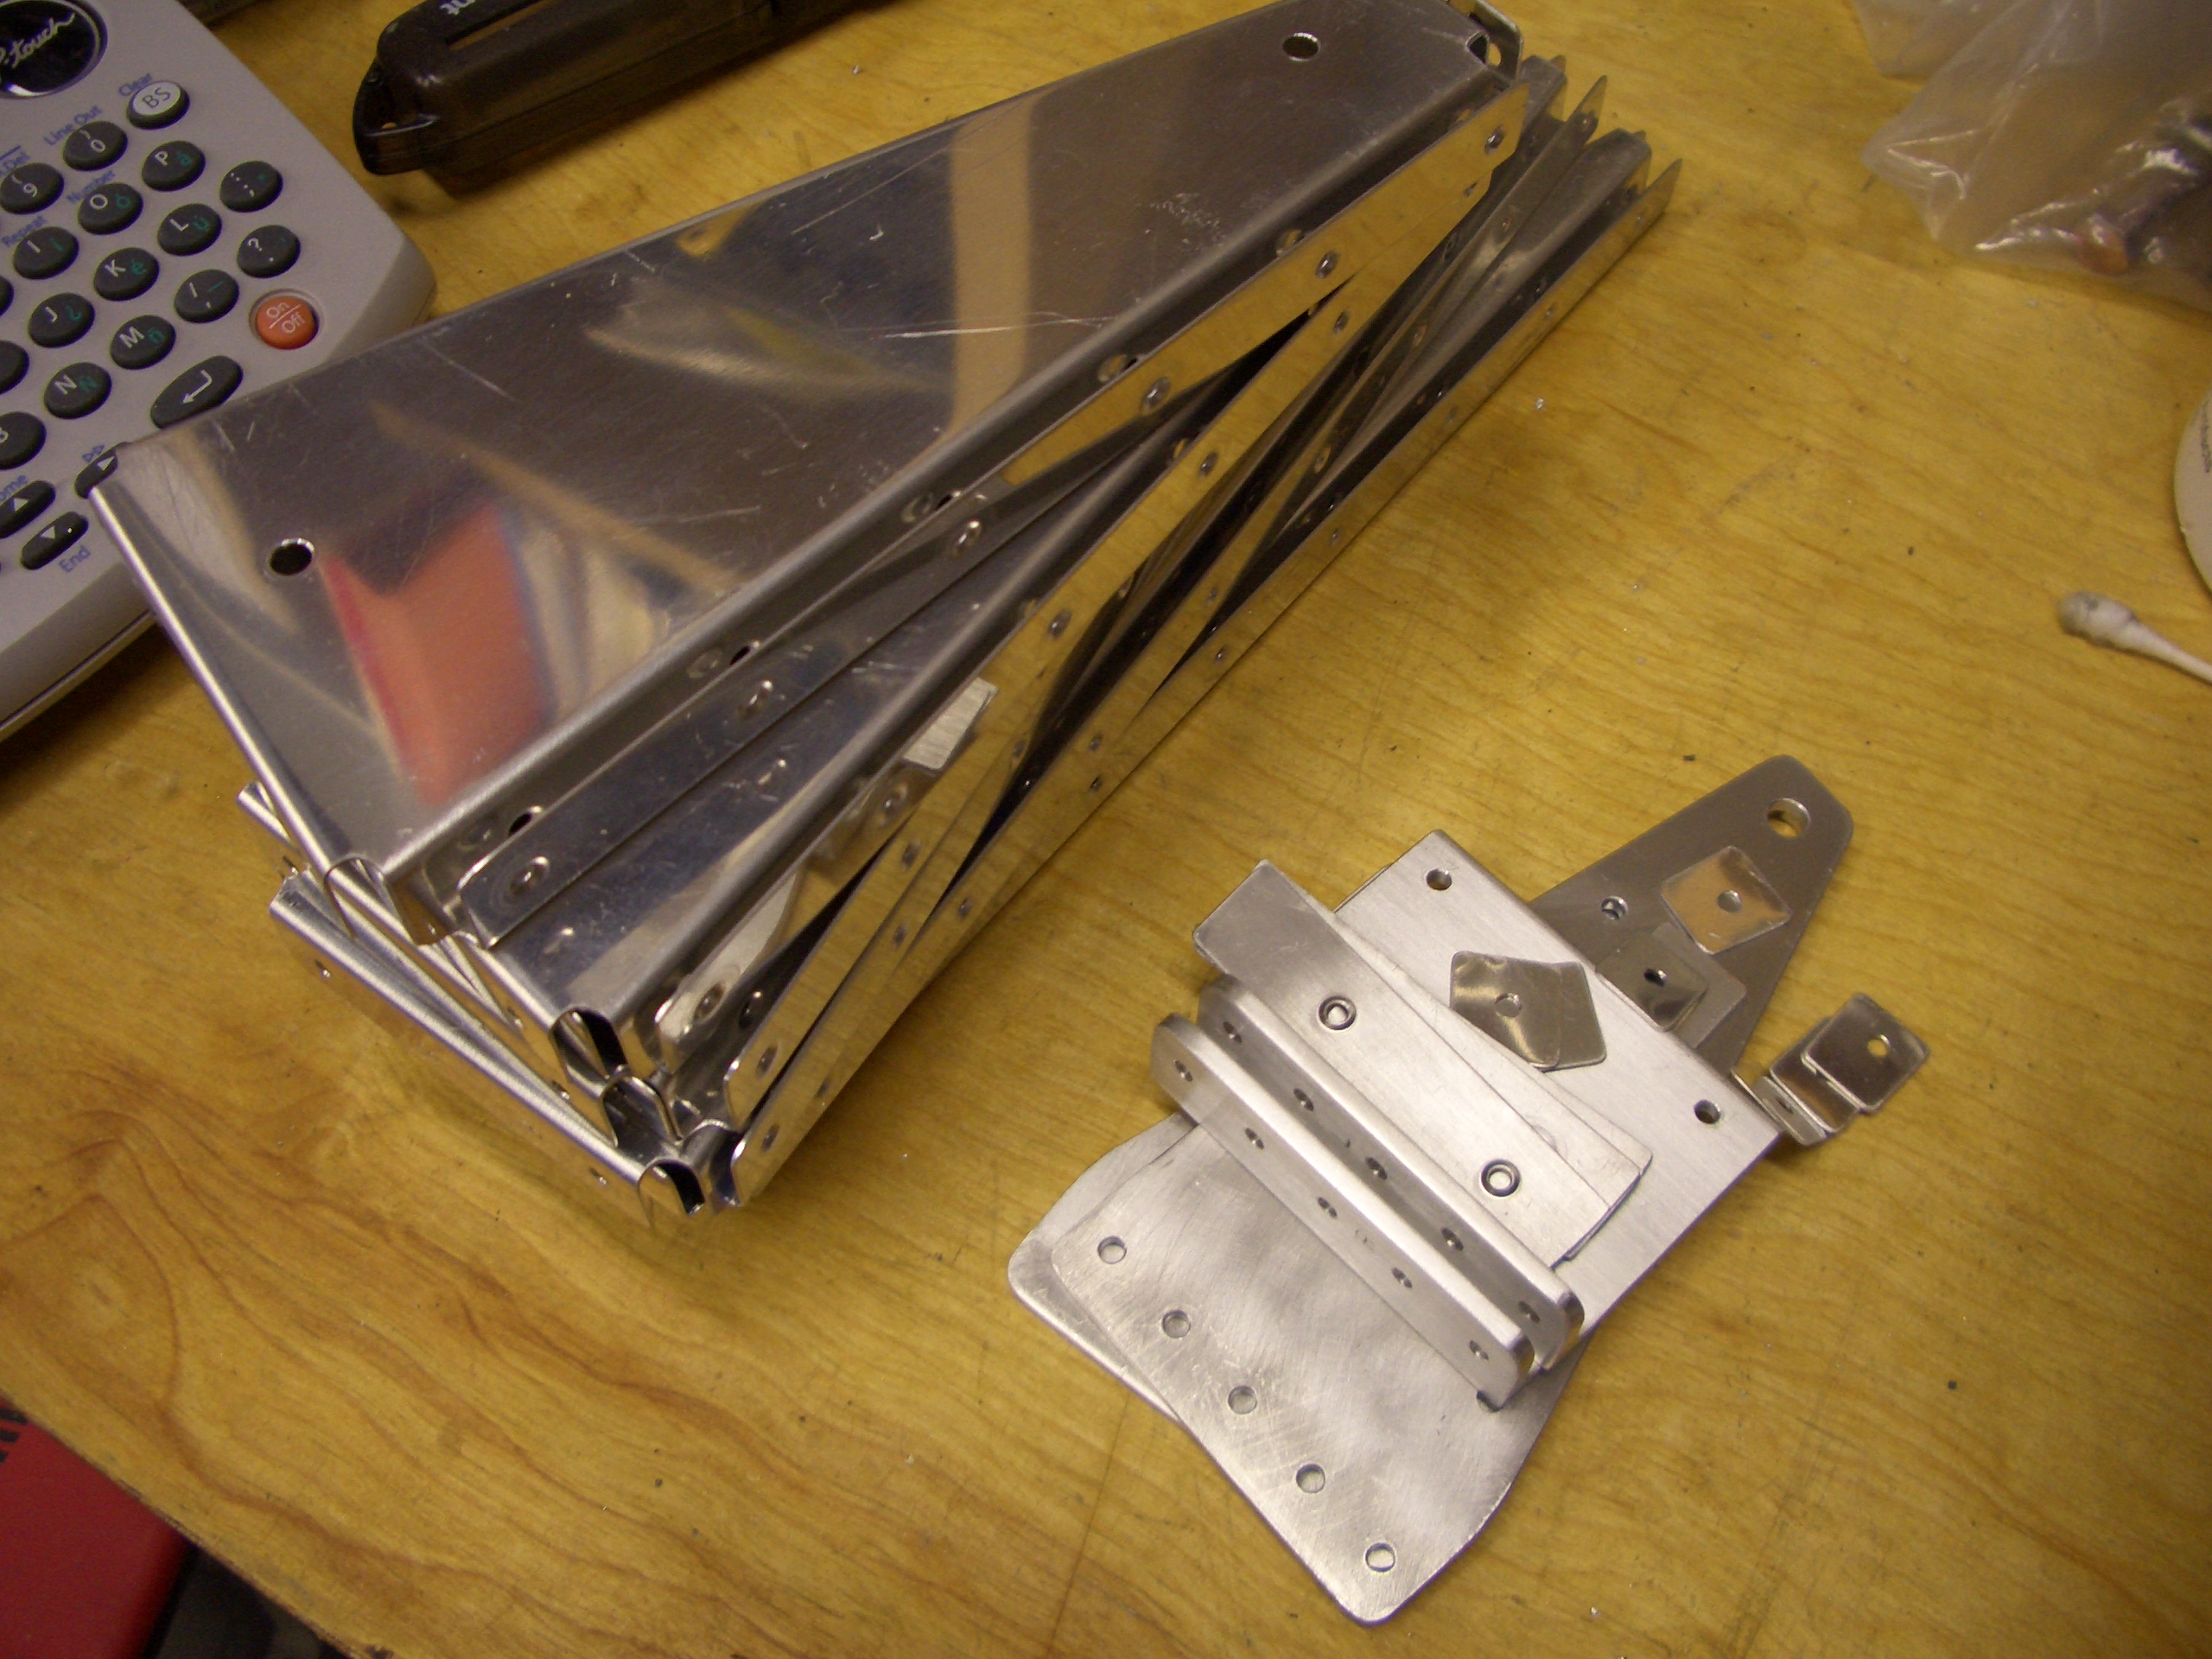
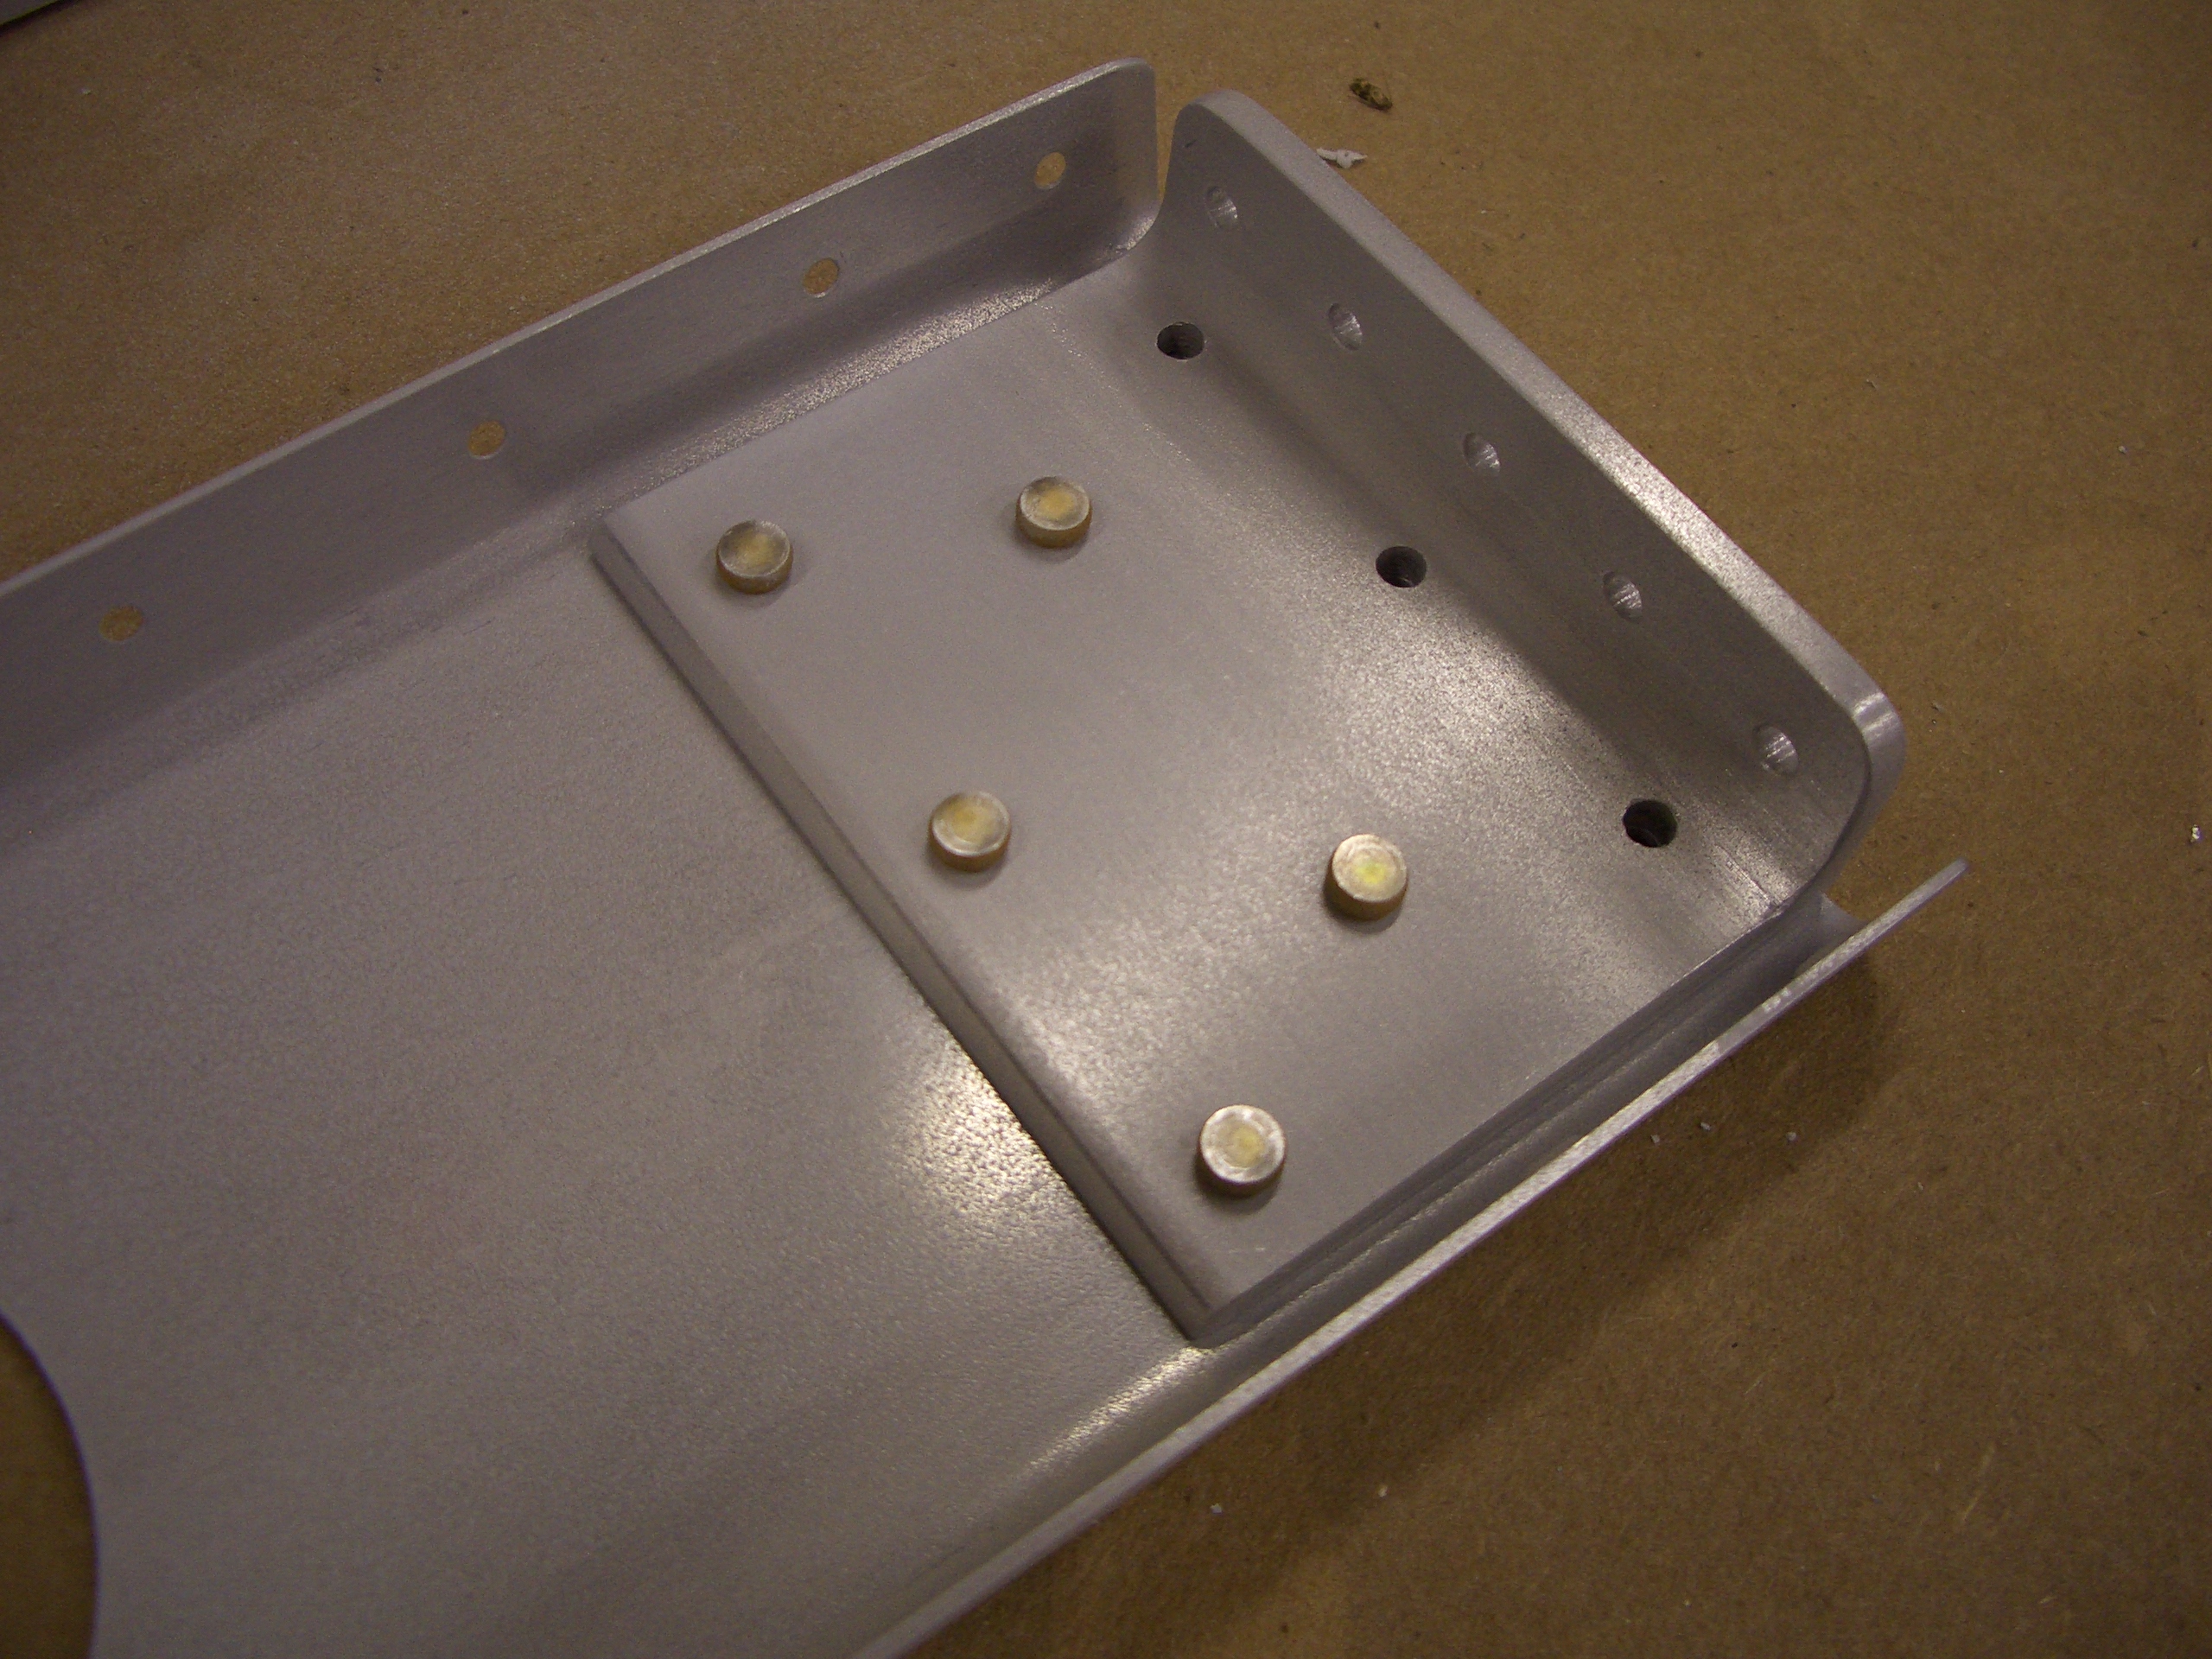
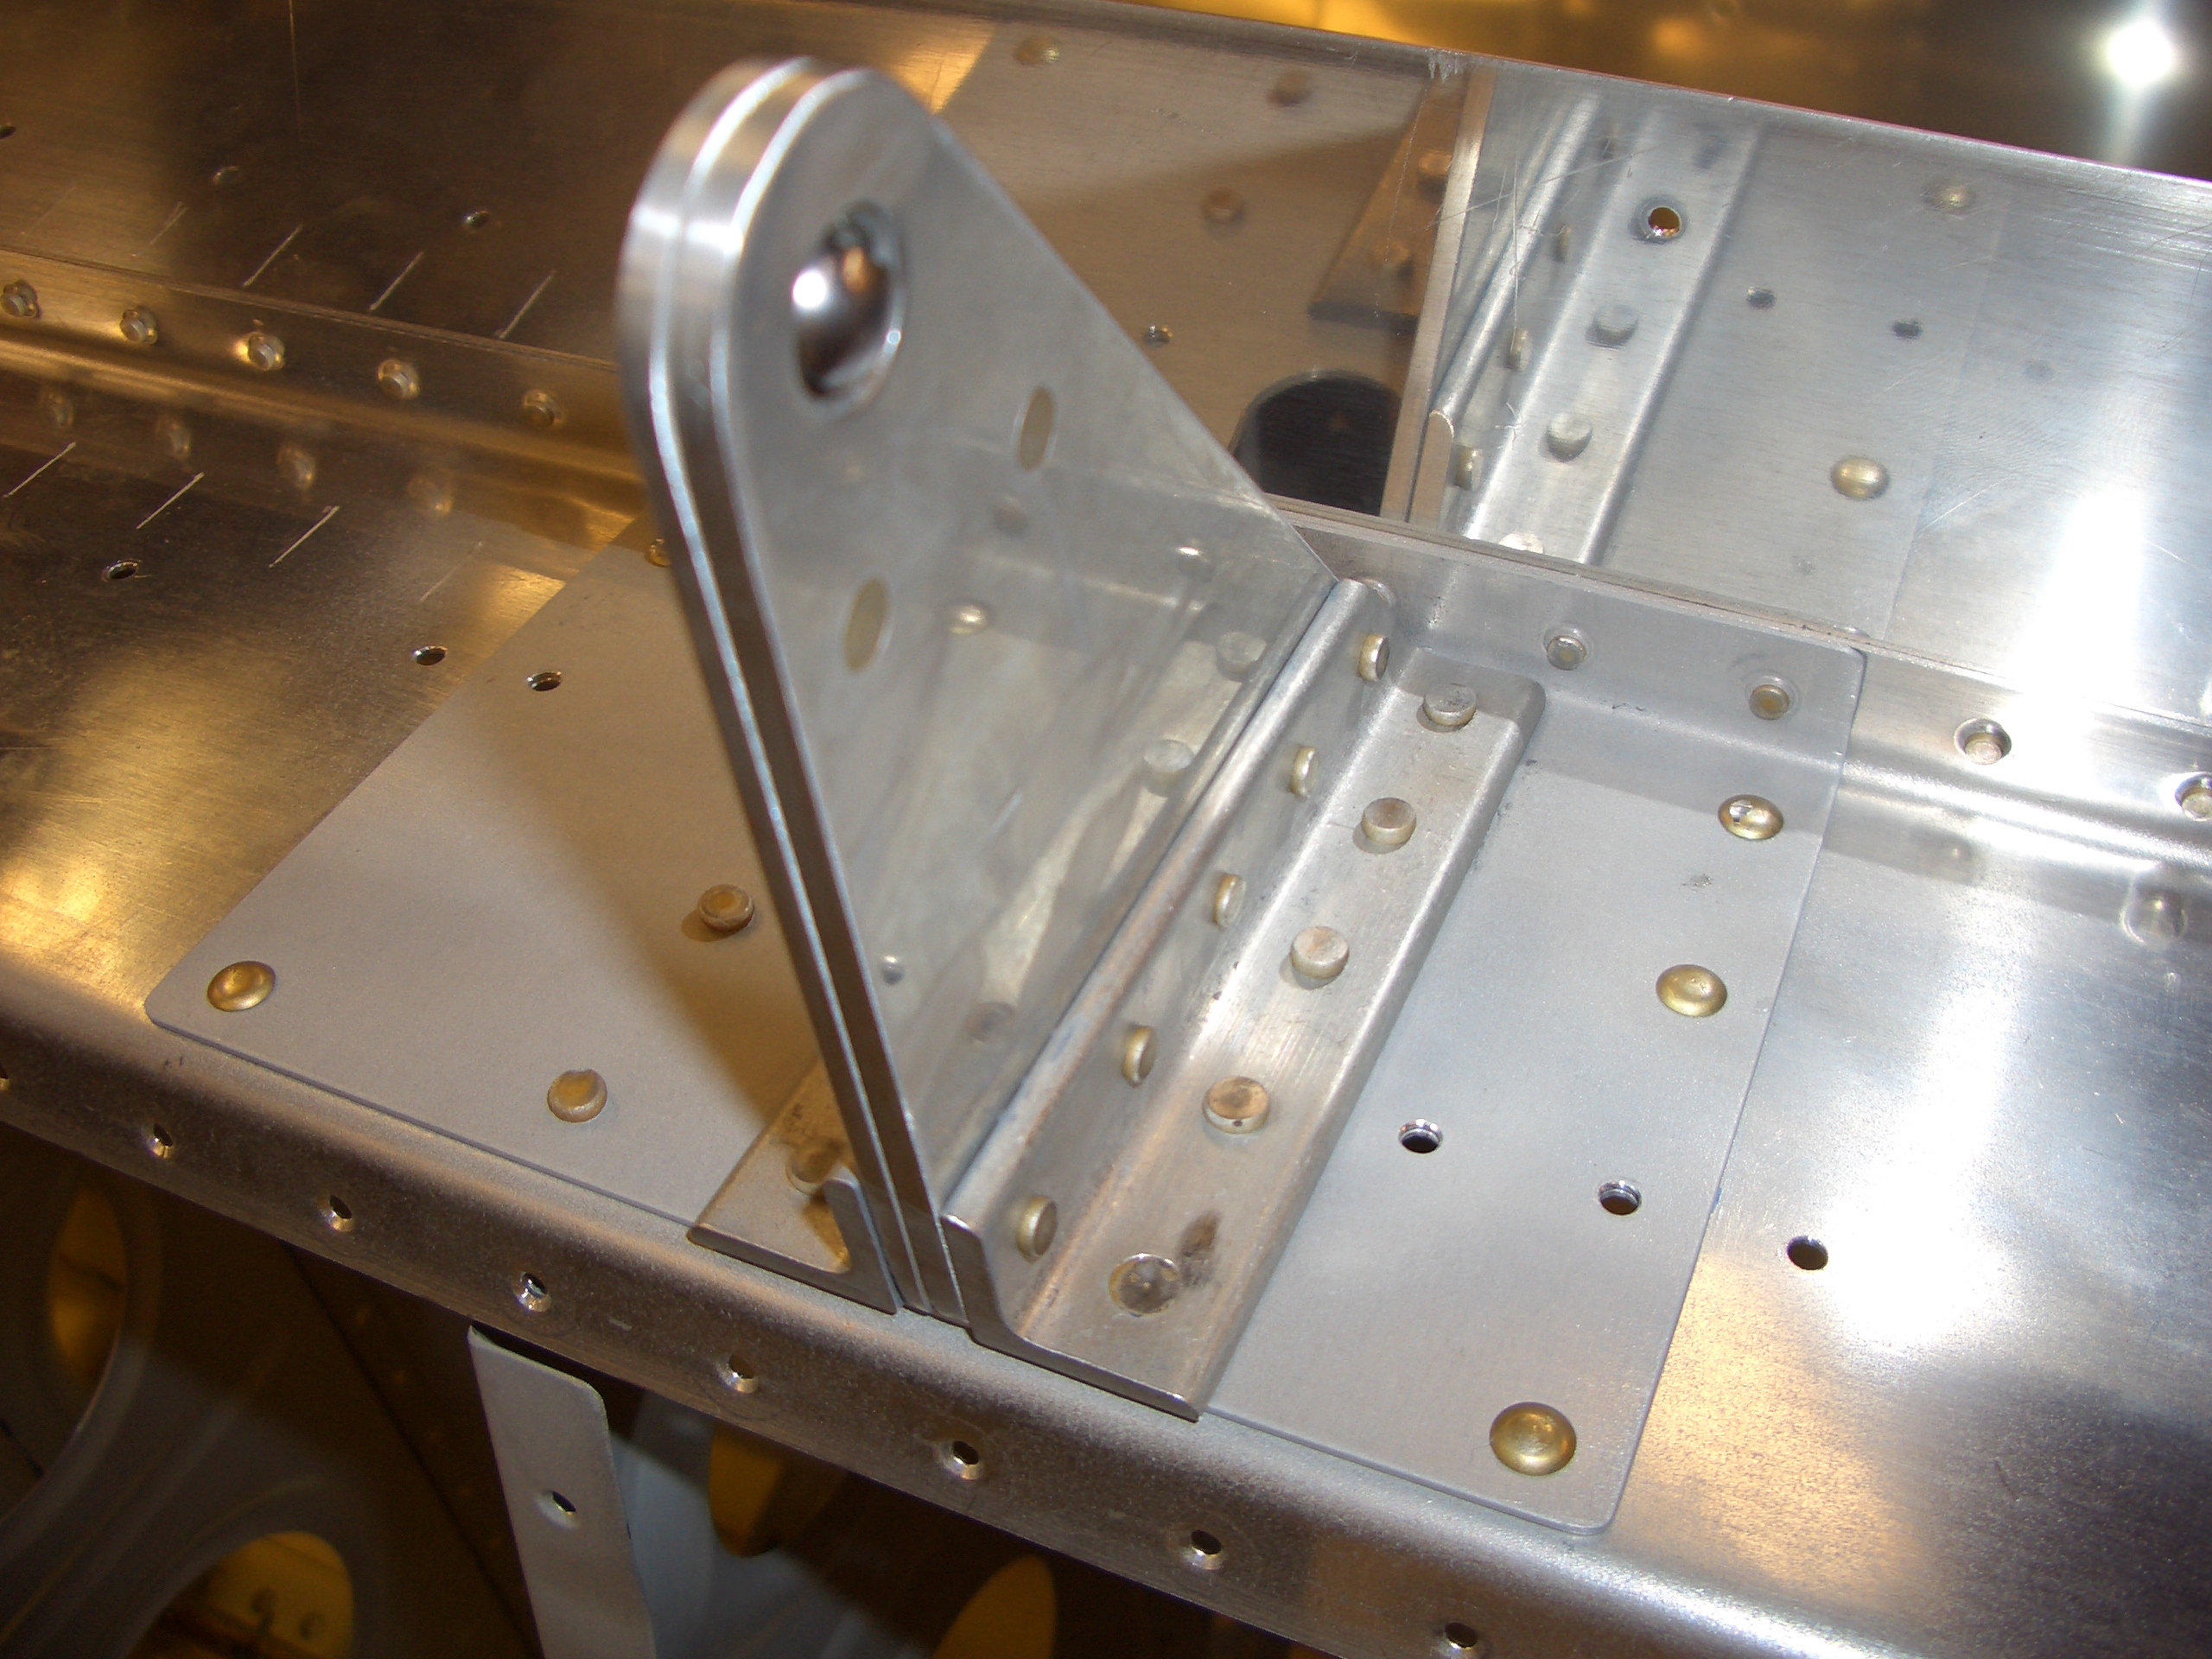
Here’s a closeup of the inboard end of the right flap.  A bracket will rivet around this corner that connects the flap pushrod to the flap and transfers the load from the rib and spar into the pushrod.  The hinge along the lower right (where the hinge pin is sticking out) will rivet to the flap brace and bottom skin of the wing.  The curved top edge will tuck under the trailing edge of the top wing skin.  I can see why they say this is the easiest control surface to build.  I only started on this last night, and with the exception of the bracket I just described, this is ready for disassembly, deburring, priming and reassembly.

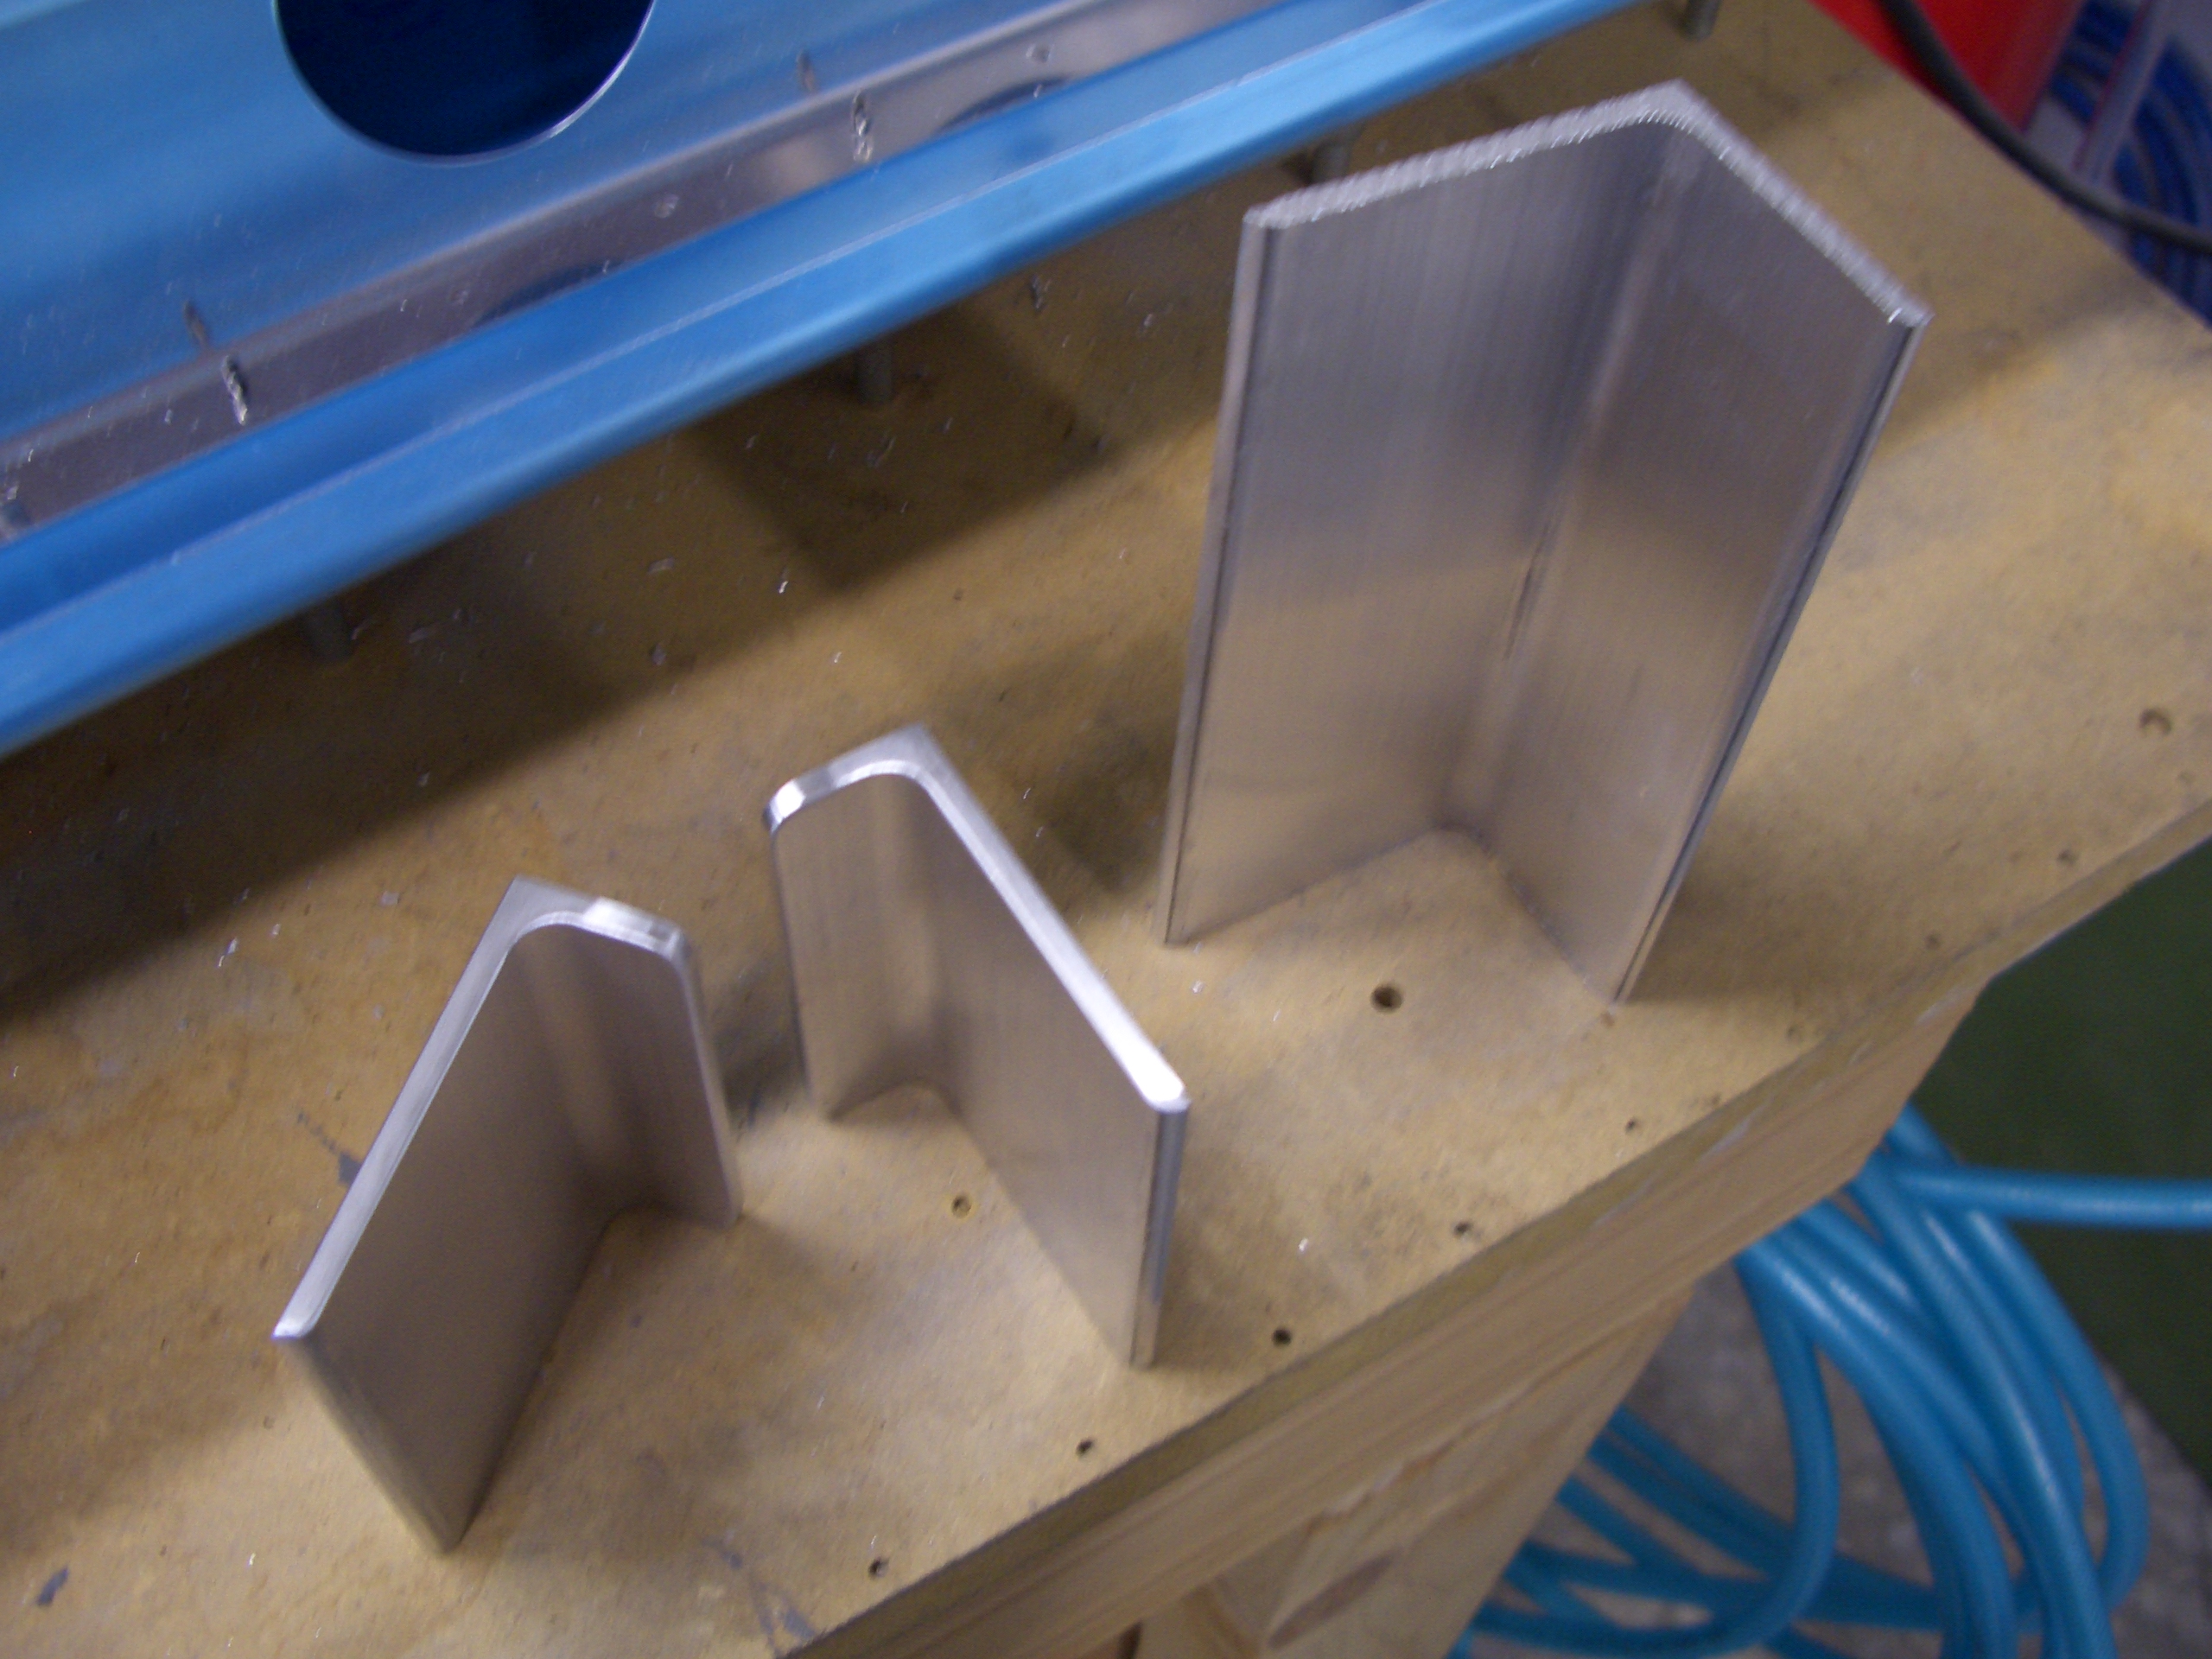
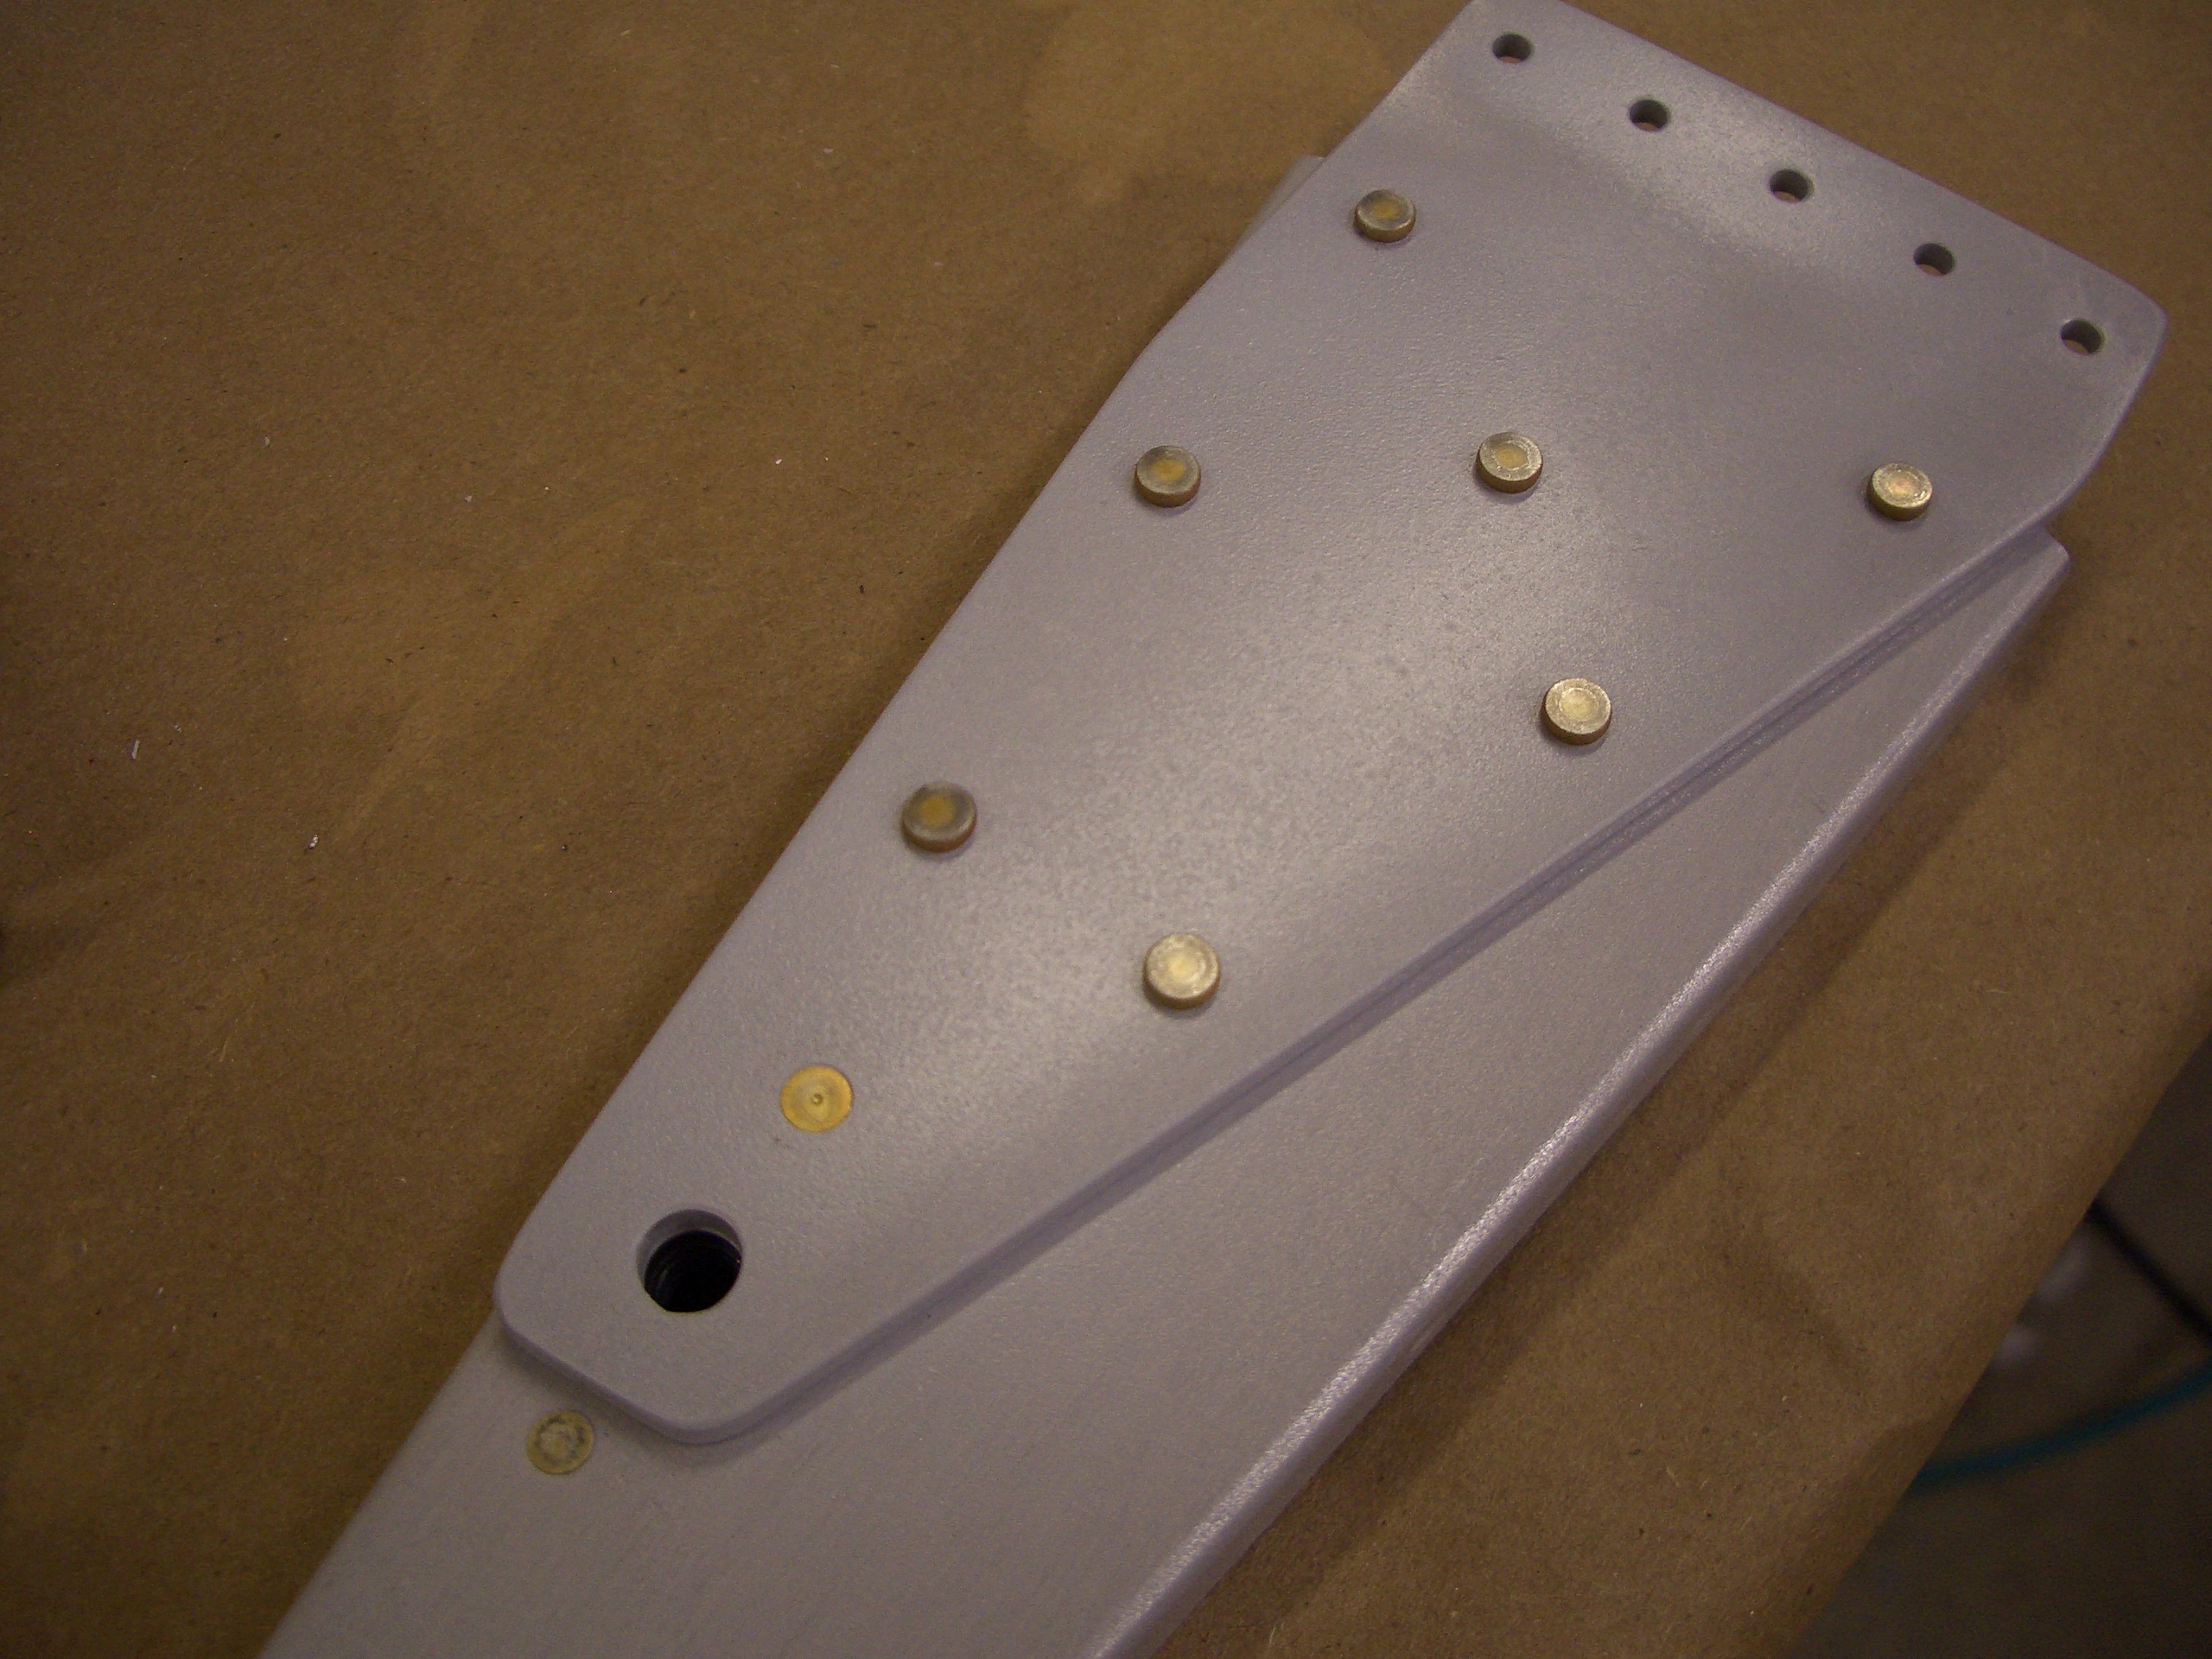
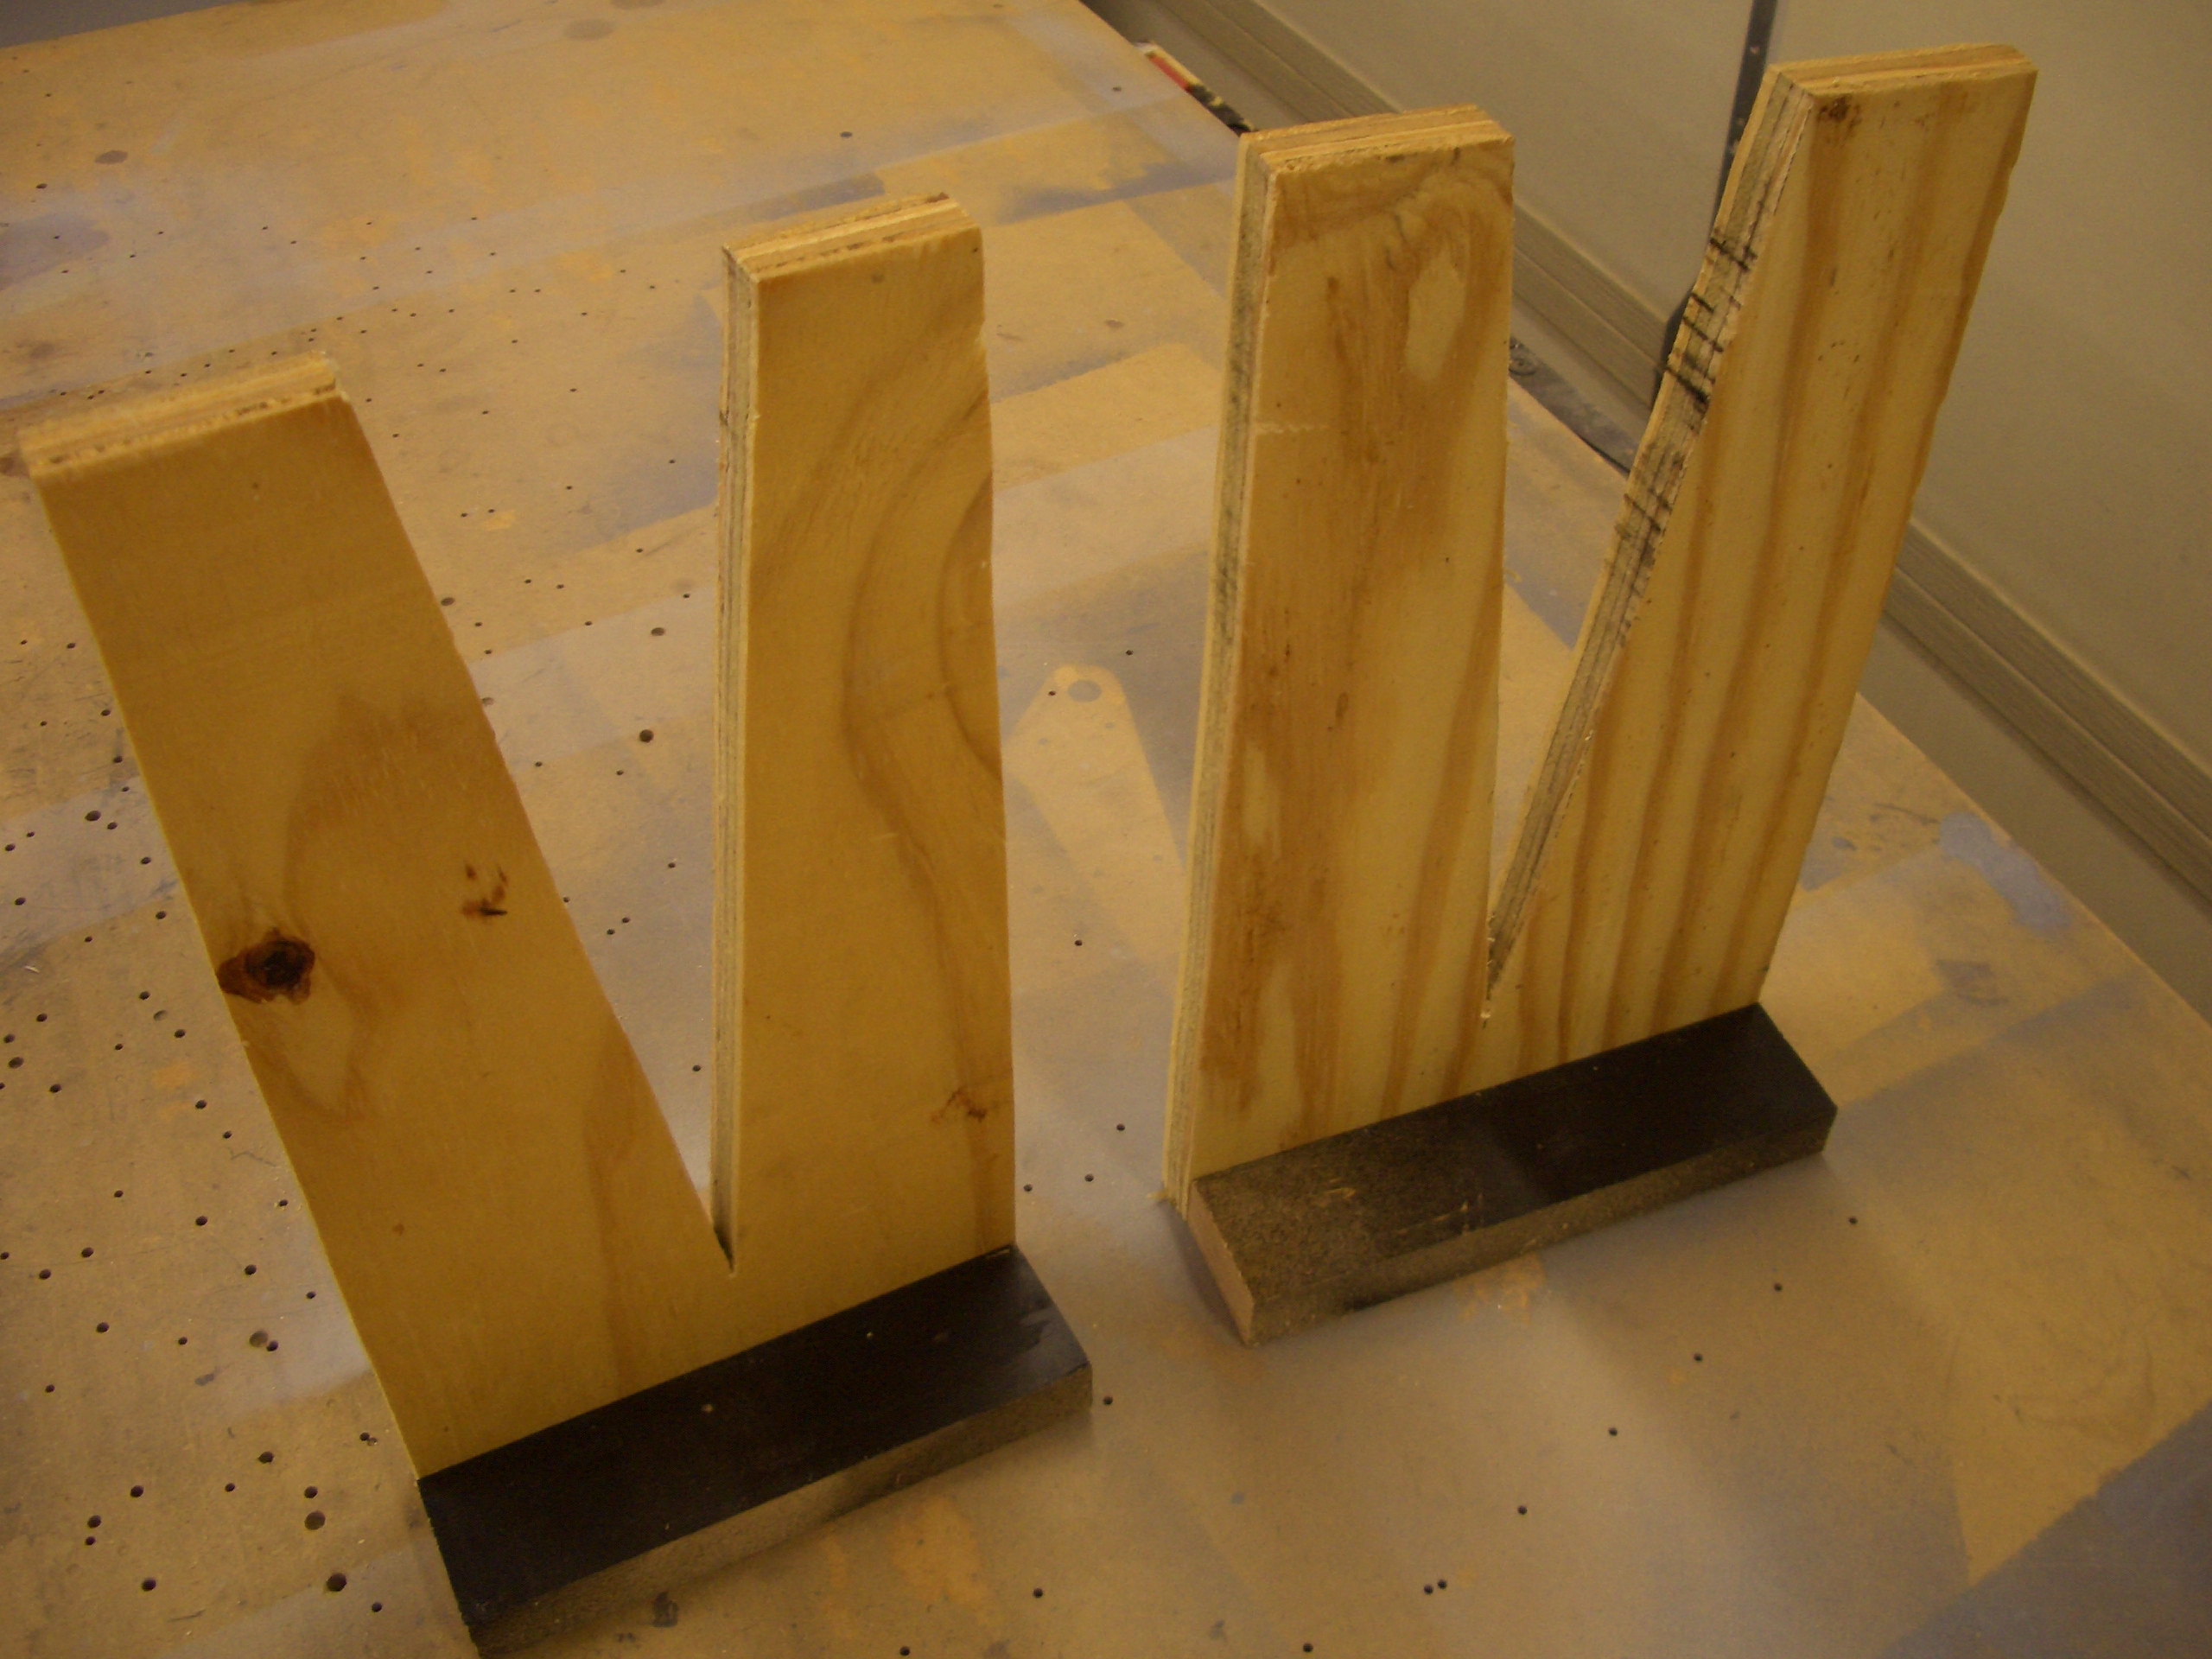
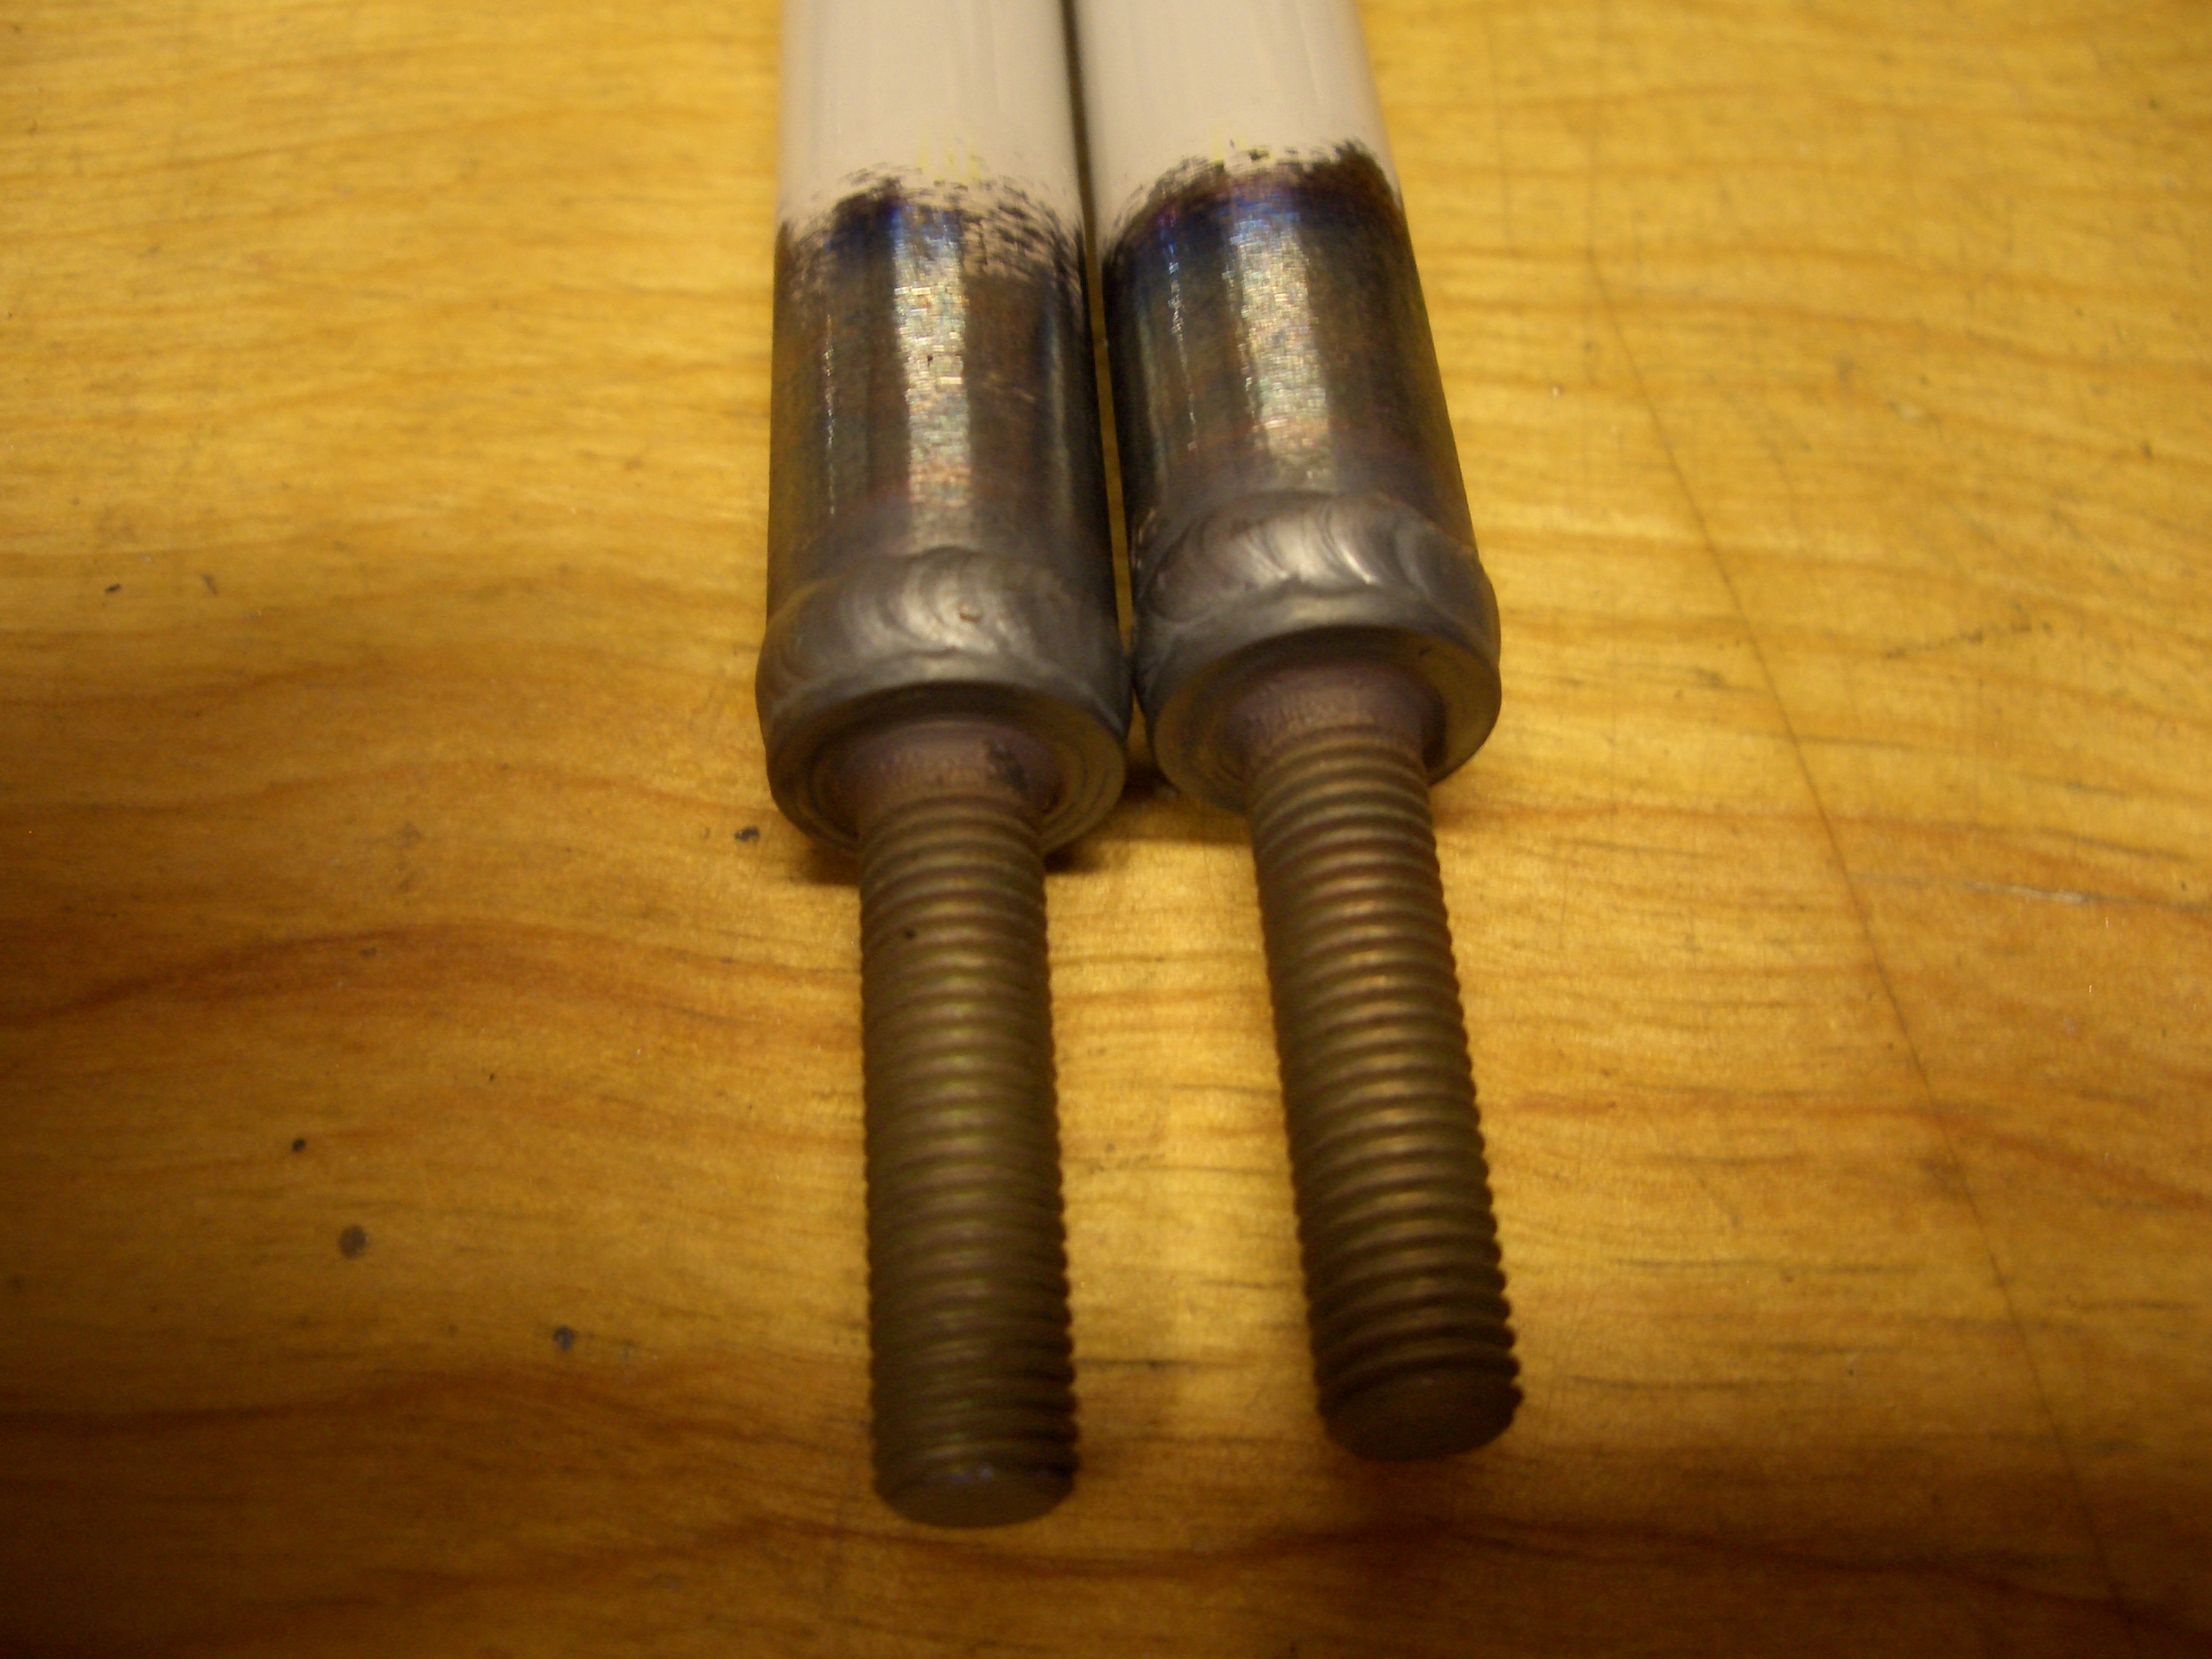
The portion of the bracket that rivets to the flap spar has to be fabricated out of a long piece of the aluminum angle on the right.  I cut two pieces to length and cut off part of the short leg to get the two pieces on the left.  It’s late, so I’ll match drill these to the rest of the bracket tomorrow.

Flap Brackets

The flap brackets needed to be bent to 6.3º.  I used my fancy digital level to zero out the angle before bending and beat on this with a deadblow mallet until it read 6.3º.  I then repeated this for the other bracket.

Here are the two brackets clecoed back together.  You can see the angle clearly here.  I need to diassemble the flaps and match drill these to the spars and inboard ribs, but I don’t have time tonight.

Deburred Flap Components

No pictures tonight since it would just be another shot of a pile of parts on my bench.  I finished deburring all of the flap ribs, brackets, and shims and dimpled/countersunk everything.  Once I get the spars ready, the flap components can be primed.

Deburred Flap Parts

The bottom edge of the spar needs to be machine countersunk because the flap hinge mounts on the inside surface of the spar.

The top edge can be dimpled to receive the skin dimples.

Here are the flap skins, spar, and hinges, all deburred and ready for priming.

The flap ribs, brackets and shims are also all ready for deburred, dimpled/countersunk, etc. and ready for priming.

Started Riveting Flaps

I started tonight by riveting part of the flap brace to the spars (except for the holes that also attach the inboard ribs).

I riveted the remaining part of the flap brace to the inboard ribs.  The nutplates have to be riveted on with flush rivets (AN426 on the top and NAS1097 on the bottom) to clear the rod end on the flap pushrod.

I also fabricated the spacers that are used to take up the extra space between the ears of the brackets (yes I know that the order of one of these is backward, but these have to come apart to bolt these brackets to the ailerons).

Finished Prepping Flaps for Riveting

I built a couple of v-blocks to hold the flaps while riveting.

I clecoed the flaps together.  Andre is stopping by in a couple of days to help me rivet the ailerons and flaps, so I’m trying to get everything ready so that we can hit the ground running.

I spent probably 15 minutes per flap to get the trailing edge bend perfect so that the flap skin is straight from the spar to the trailing edge radius.

I also fabricated the other two spacers that attach the aileron hinge brackets to the aileron.  The shiny object near the left is an extra COM-3-5 bearing that I used for spacing.  I didn’t take a picture of it, but the outboard brackets just use AN960-10 and AN960-10L washers, so I didn’t need to fabricate spacers for them.

Wingtip Landing Lights

I decided to get started on the wingtip landing lights tonight.  I’m using the Van’s landing light kit which provides two 75W halogen bulbs in each wingtip (one each for taxi and landing).  I may upgrade the landing lights to HID or LED lights if these don’t provide enough light and I do enough night flying to matter, but I don’t see any reason to do that before I’m flying.

First up is to trim extra material from the rear part of the bulb holders.  Here you can see the extra material sticking out from around the front part of the bulb holders.

After trimming and running these over the scotchbrite wheel, these are nice and flush.

Next up is to fabricate a dozen tapered spacers from some tube stock.  These have a 70º slope to them to allow the bulb attach screws to sit flush against the spacer even though the wingtip surface that these screws go through is swept back 20º.  This will all become clear when I start attaching the lights to the wingtips.

Started Riveting Flaps and Ailerons

My friend Andre stopped by tonight and helped me rivet the parts of the flaps and ailerons that are easier with two people.  We started on the ailerons by screwing them down to a couple of boards clamped to the bench.  This made the ailerons rigid enough to rivet.  We only drove the rivets along the top of the spar that must be shot/bucked.  The end ribs can be squeezed and the bottom of the spar uses blind rivets.

We shot and bucked all of the rivets holding the flap skins together and to the ribs.  We then planned on riveting the top of the spar, but I really need to get the hang of shooting and bucking by myself since there will be a lot more of that with the fuselage.  Since Andre has always been so willing to stop by and give me a hand (which I’m eternally grateful for), I really haven’t done much solo work with the rivet gun.  I set a few just to see how they turned out, and they all look great.  I can easily finish these by myself.

The aileron brackets would be a little tougher though, so I had him give me a hand riveting these on.  Once the ailerons are done, they will be ready to hang on the wing.

I picked up my aileron pushrods from the welder today, and they look fantastic.  They had to grind off some of the powder coat and machined the cadmium plating off of the mating surface of the rod end before TIG welding them.  I’m going to clean these up and then put a fresh coat of epoxy primer on them before installing them on the wing.