Post Oshkosh Inspection

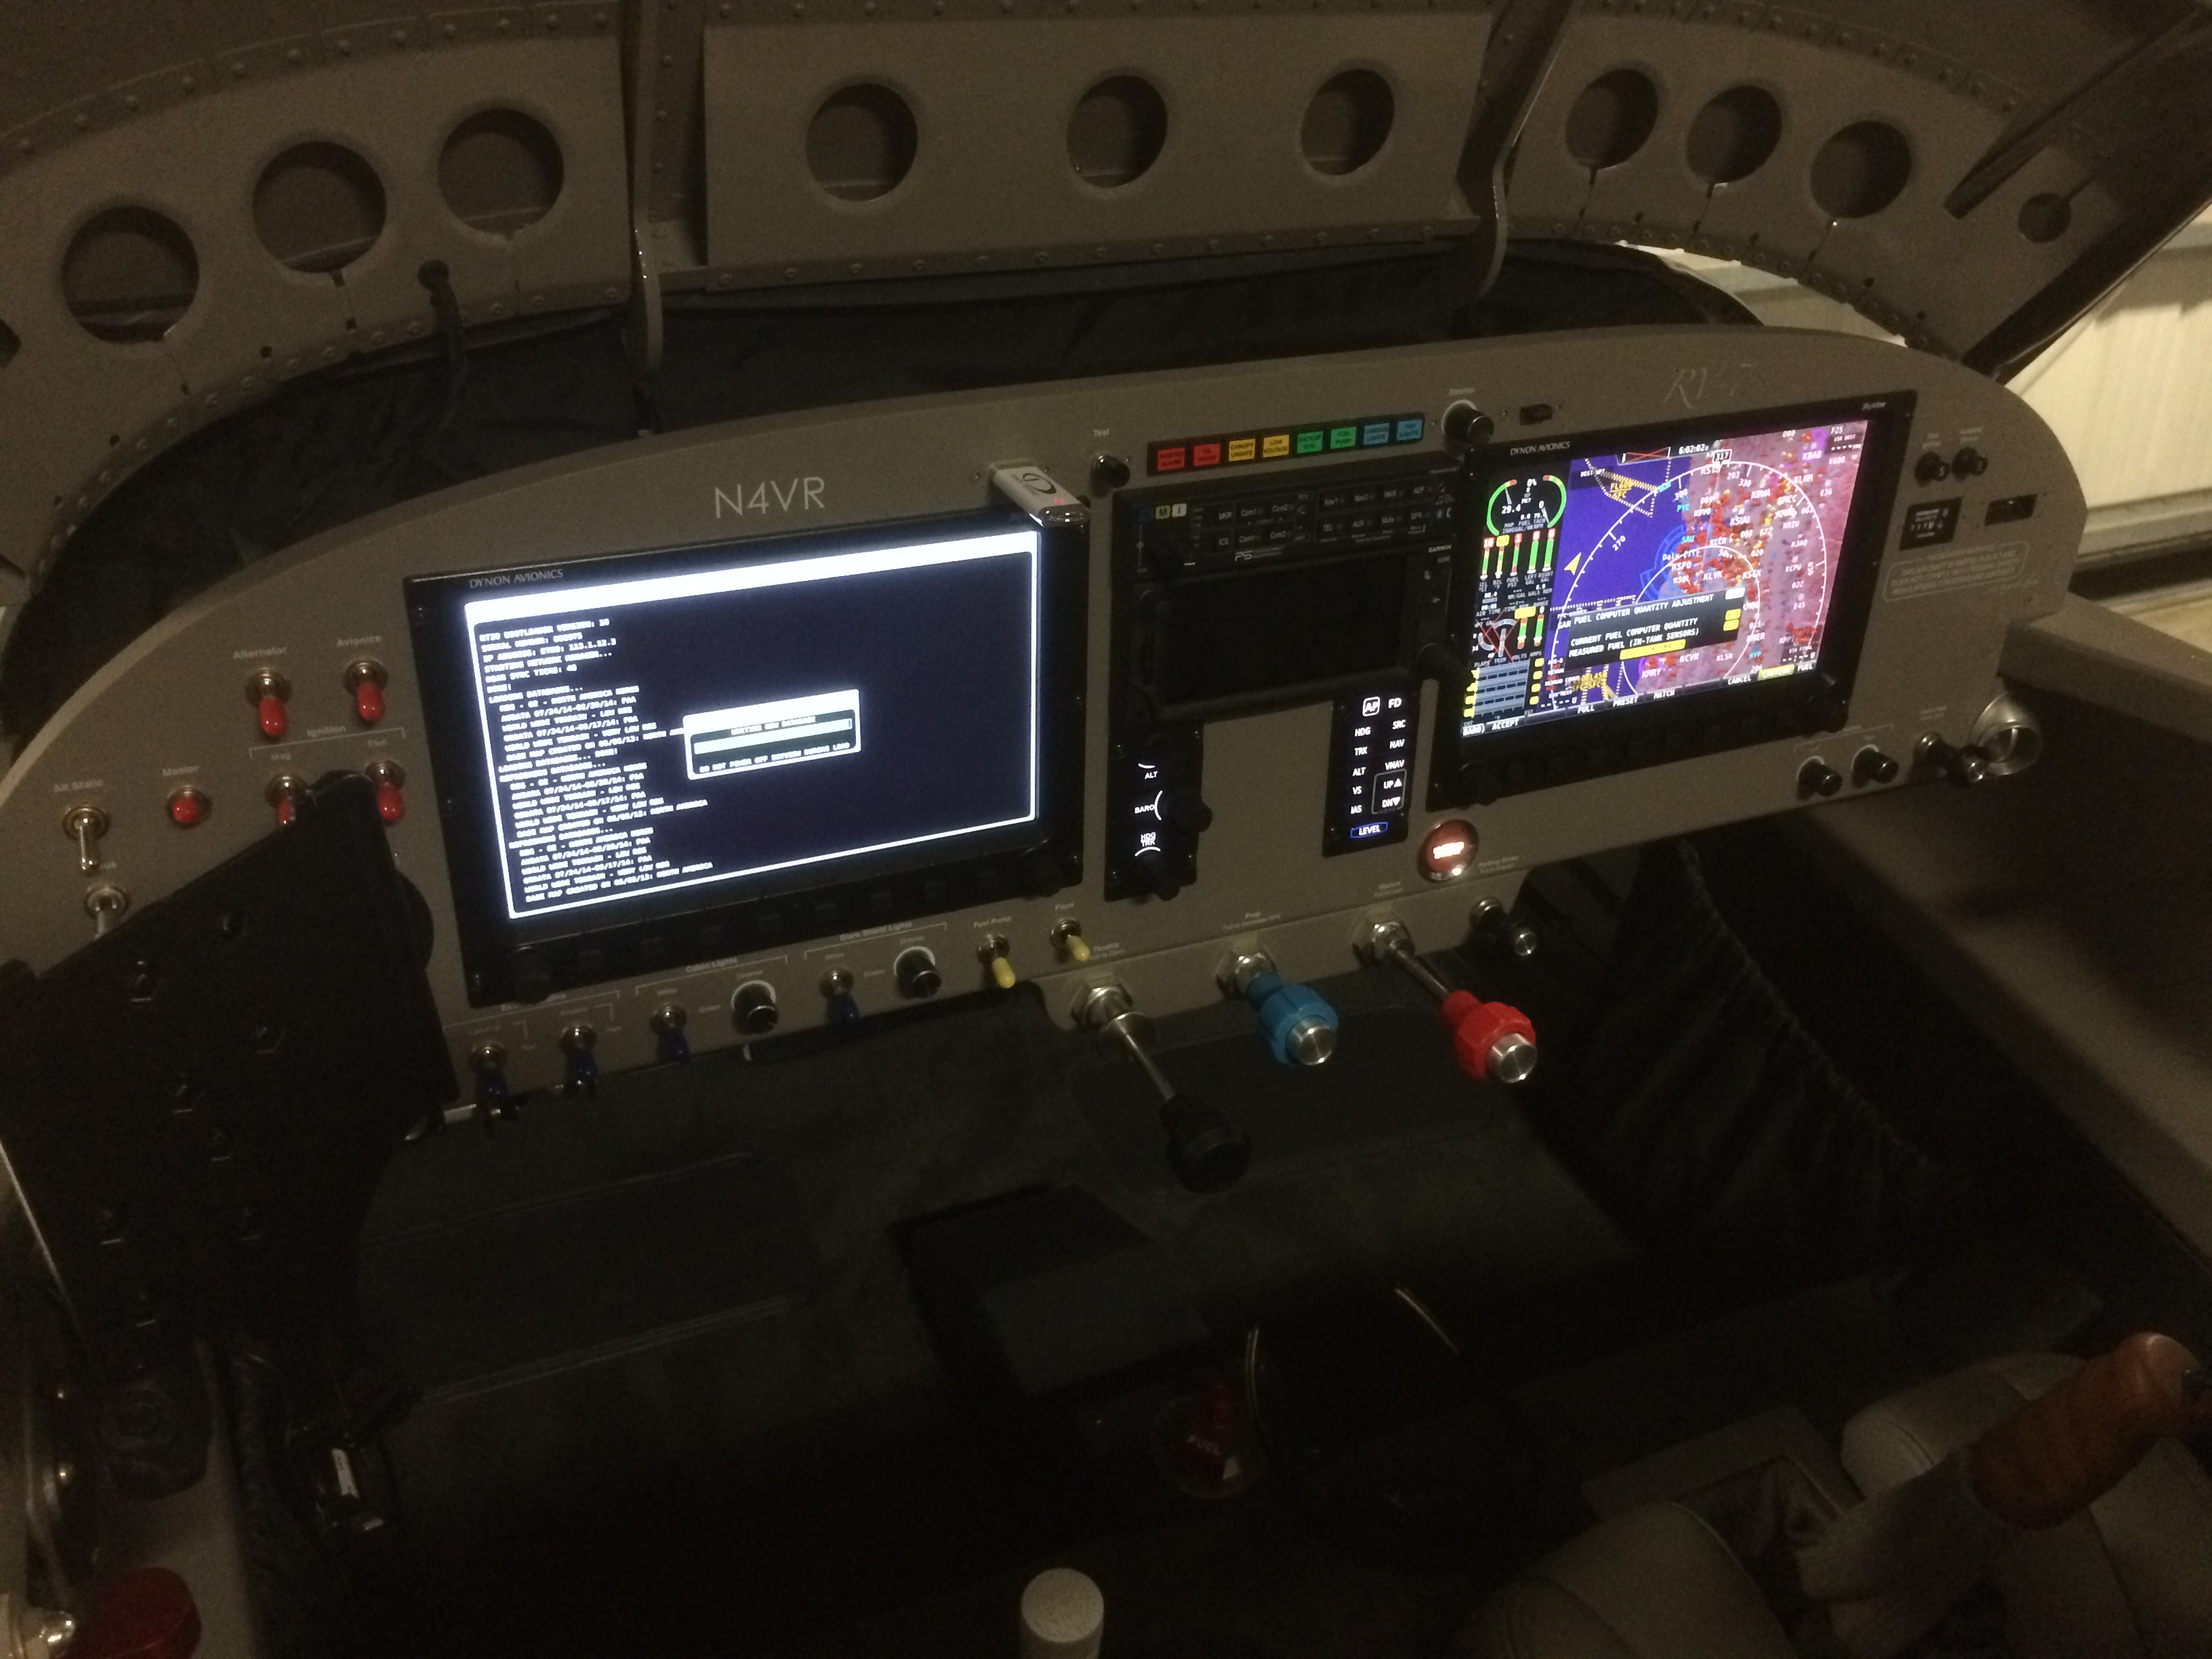
Work has kept me busy the last couple of weeks, but I wanted to give the plane a thorough inspection after the trip.  While I was doing the inspection, I upgraded the SkyView system with the version 11 software that was announced at the show.  It included a new very-high resolution database, so it took quite a while to load.

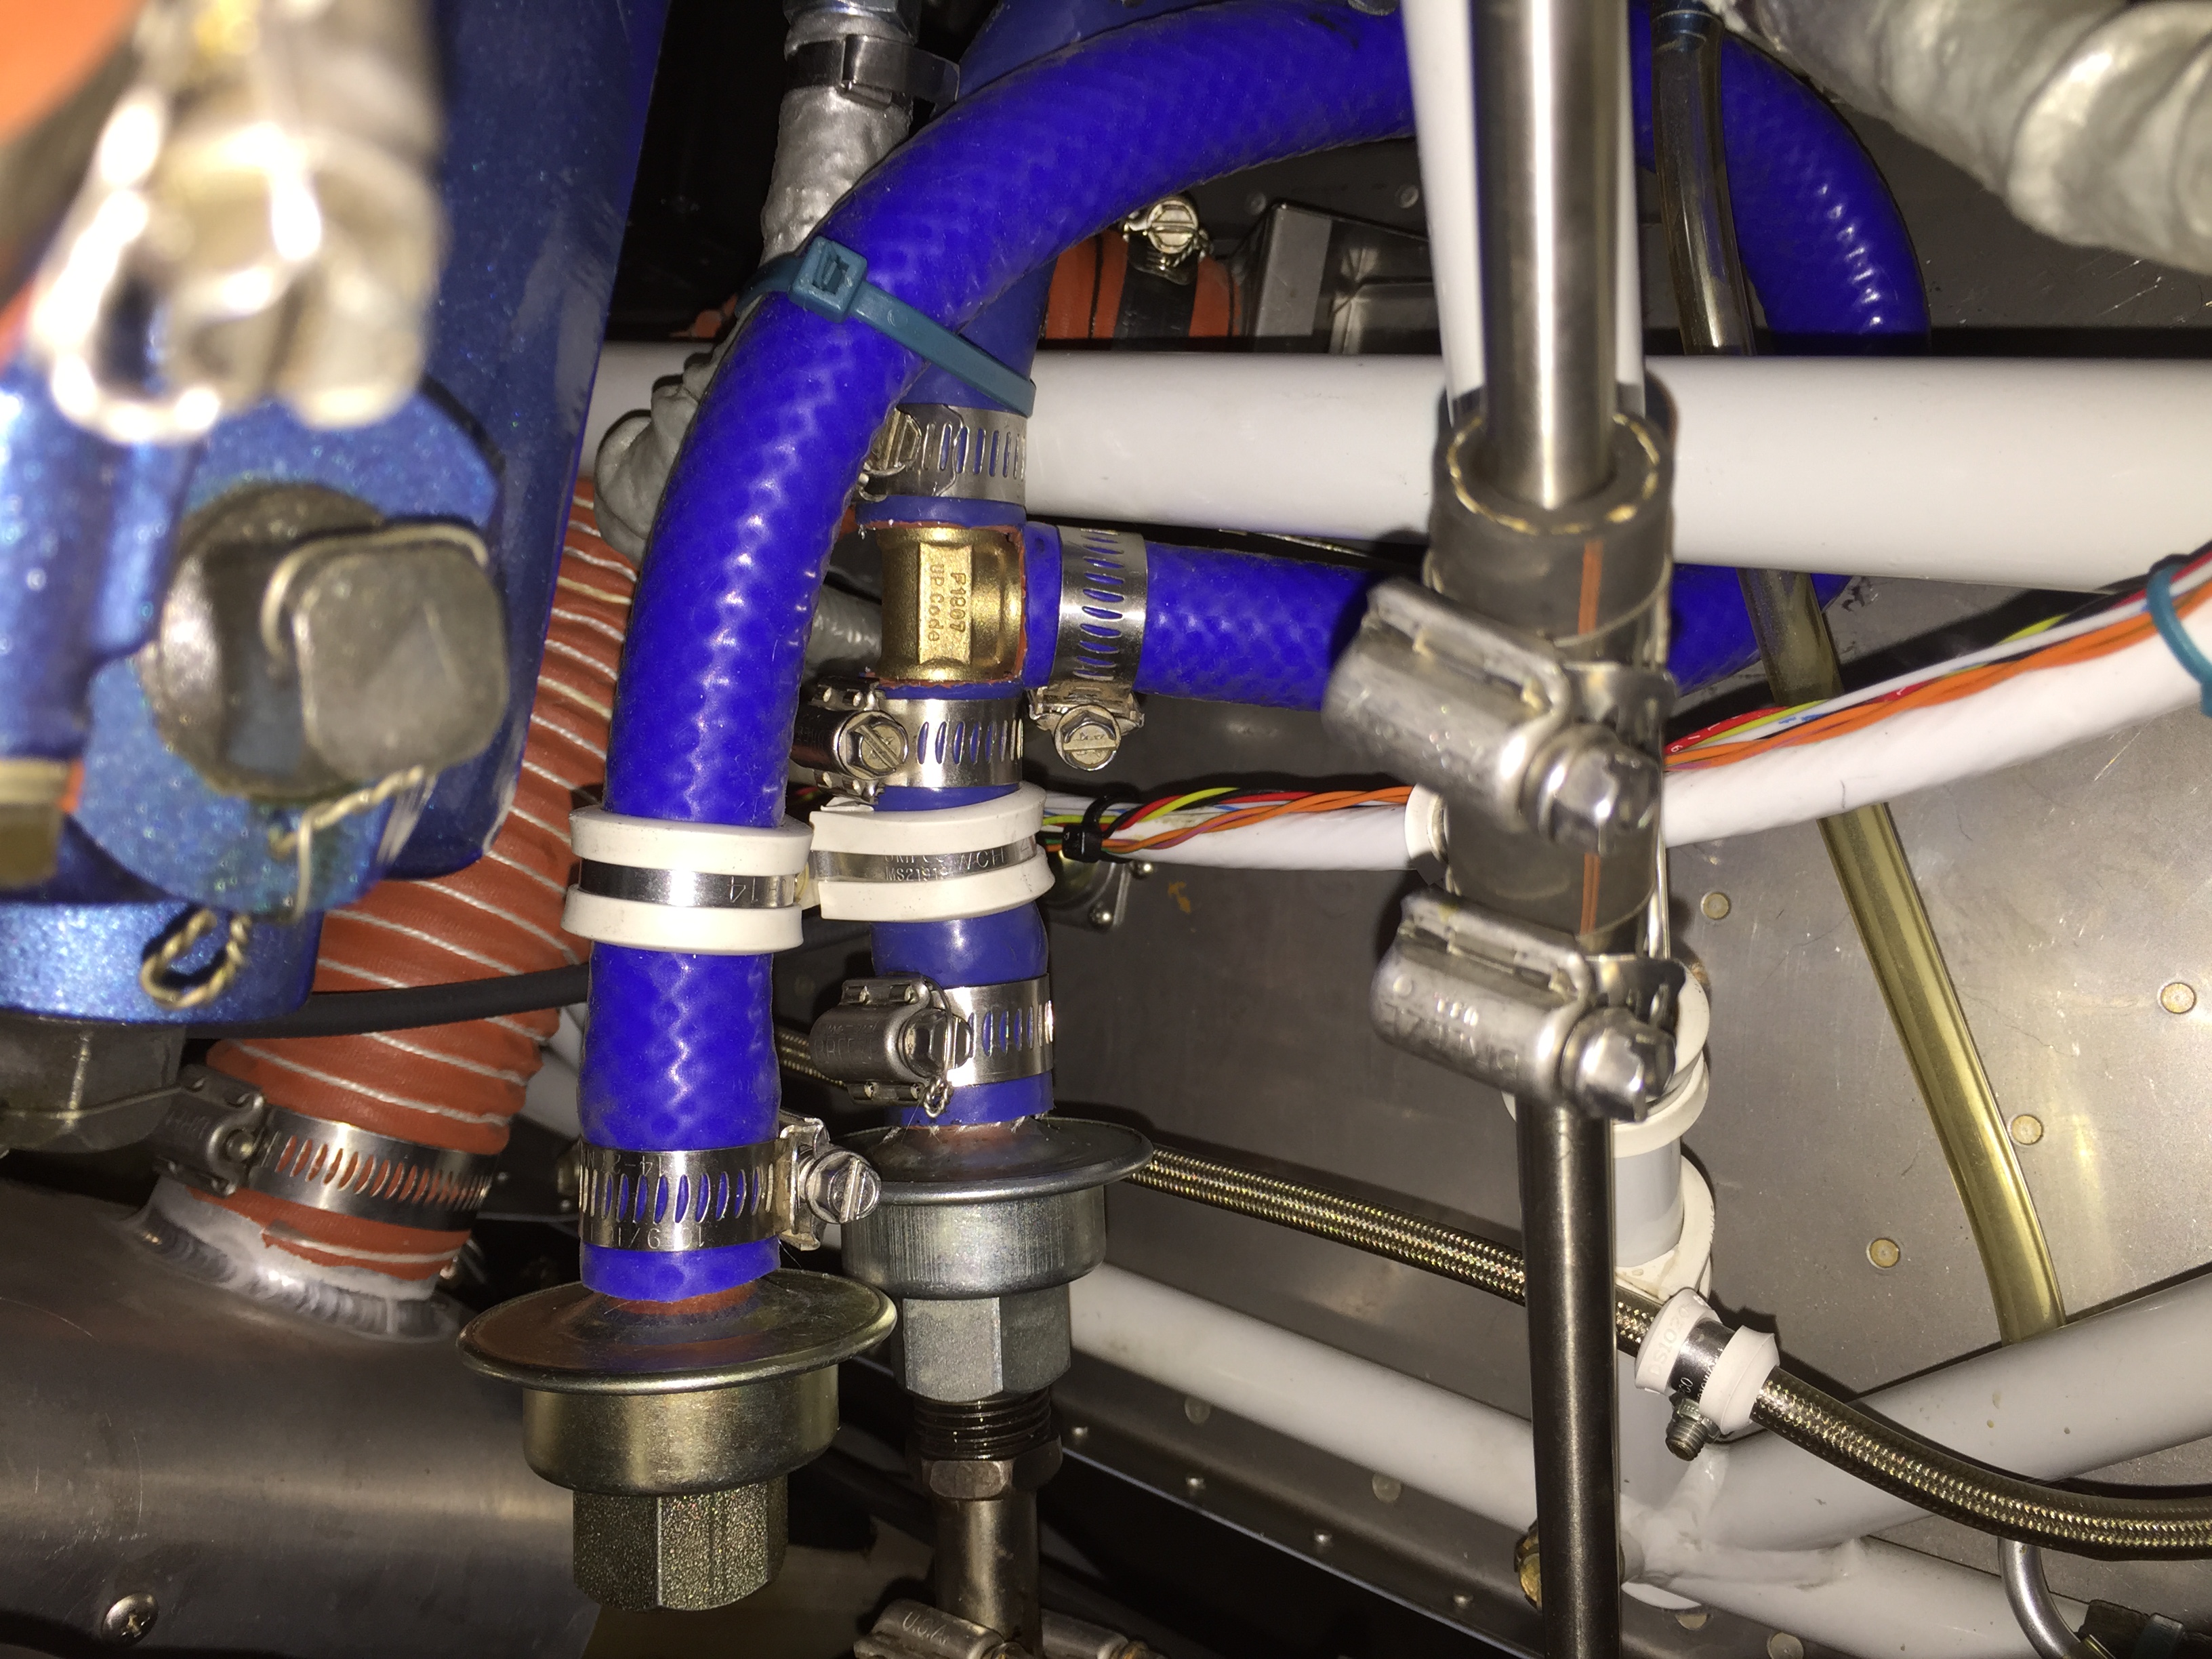
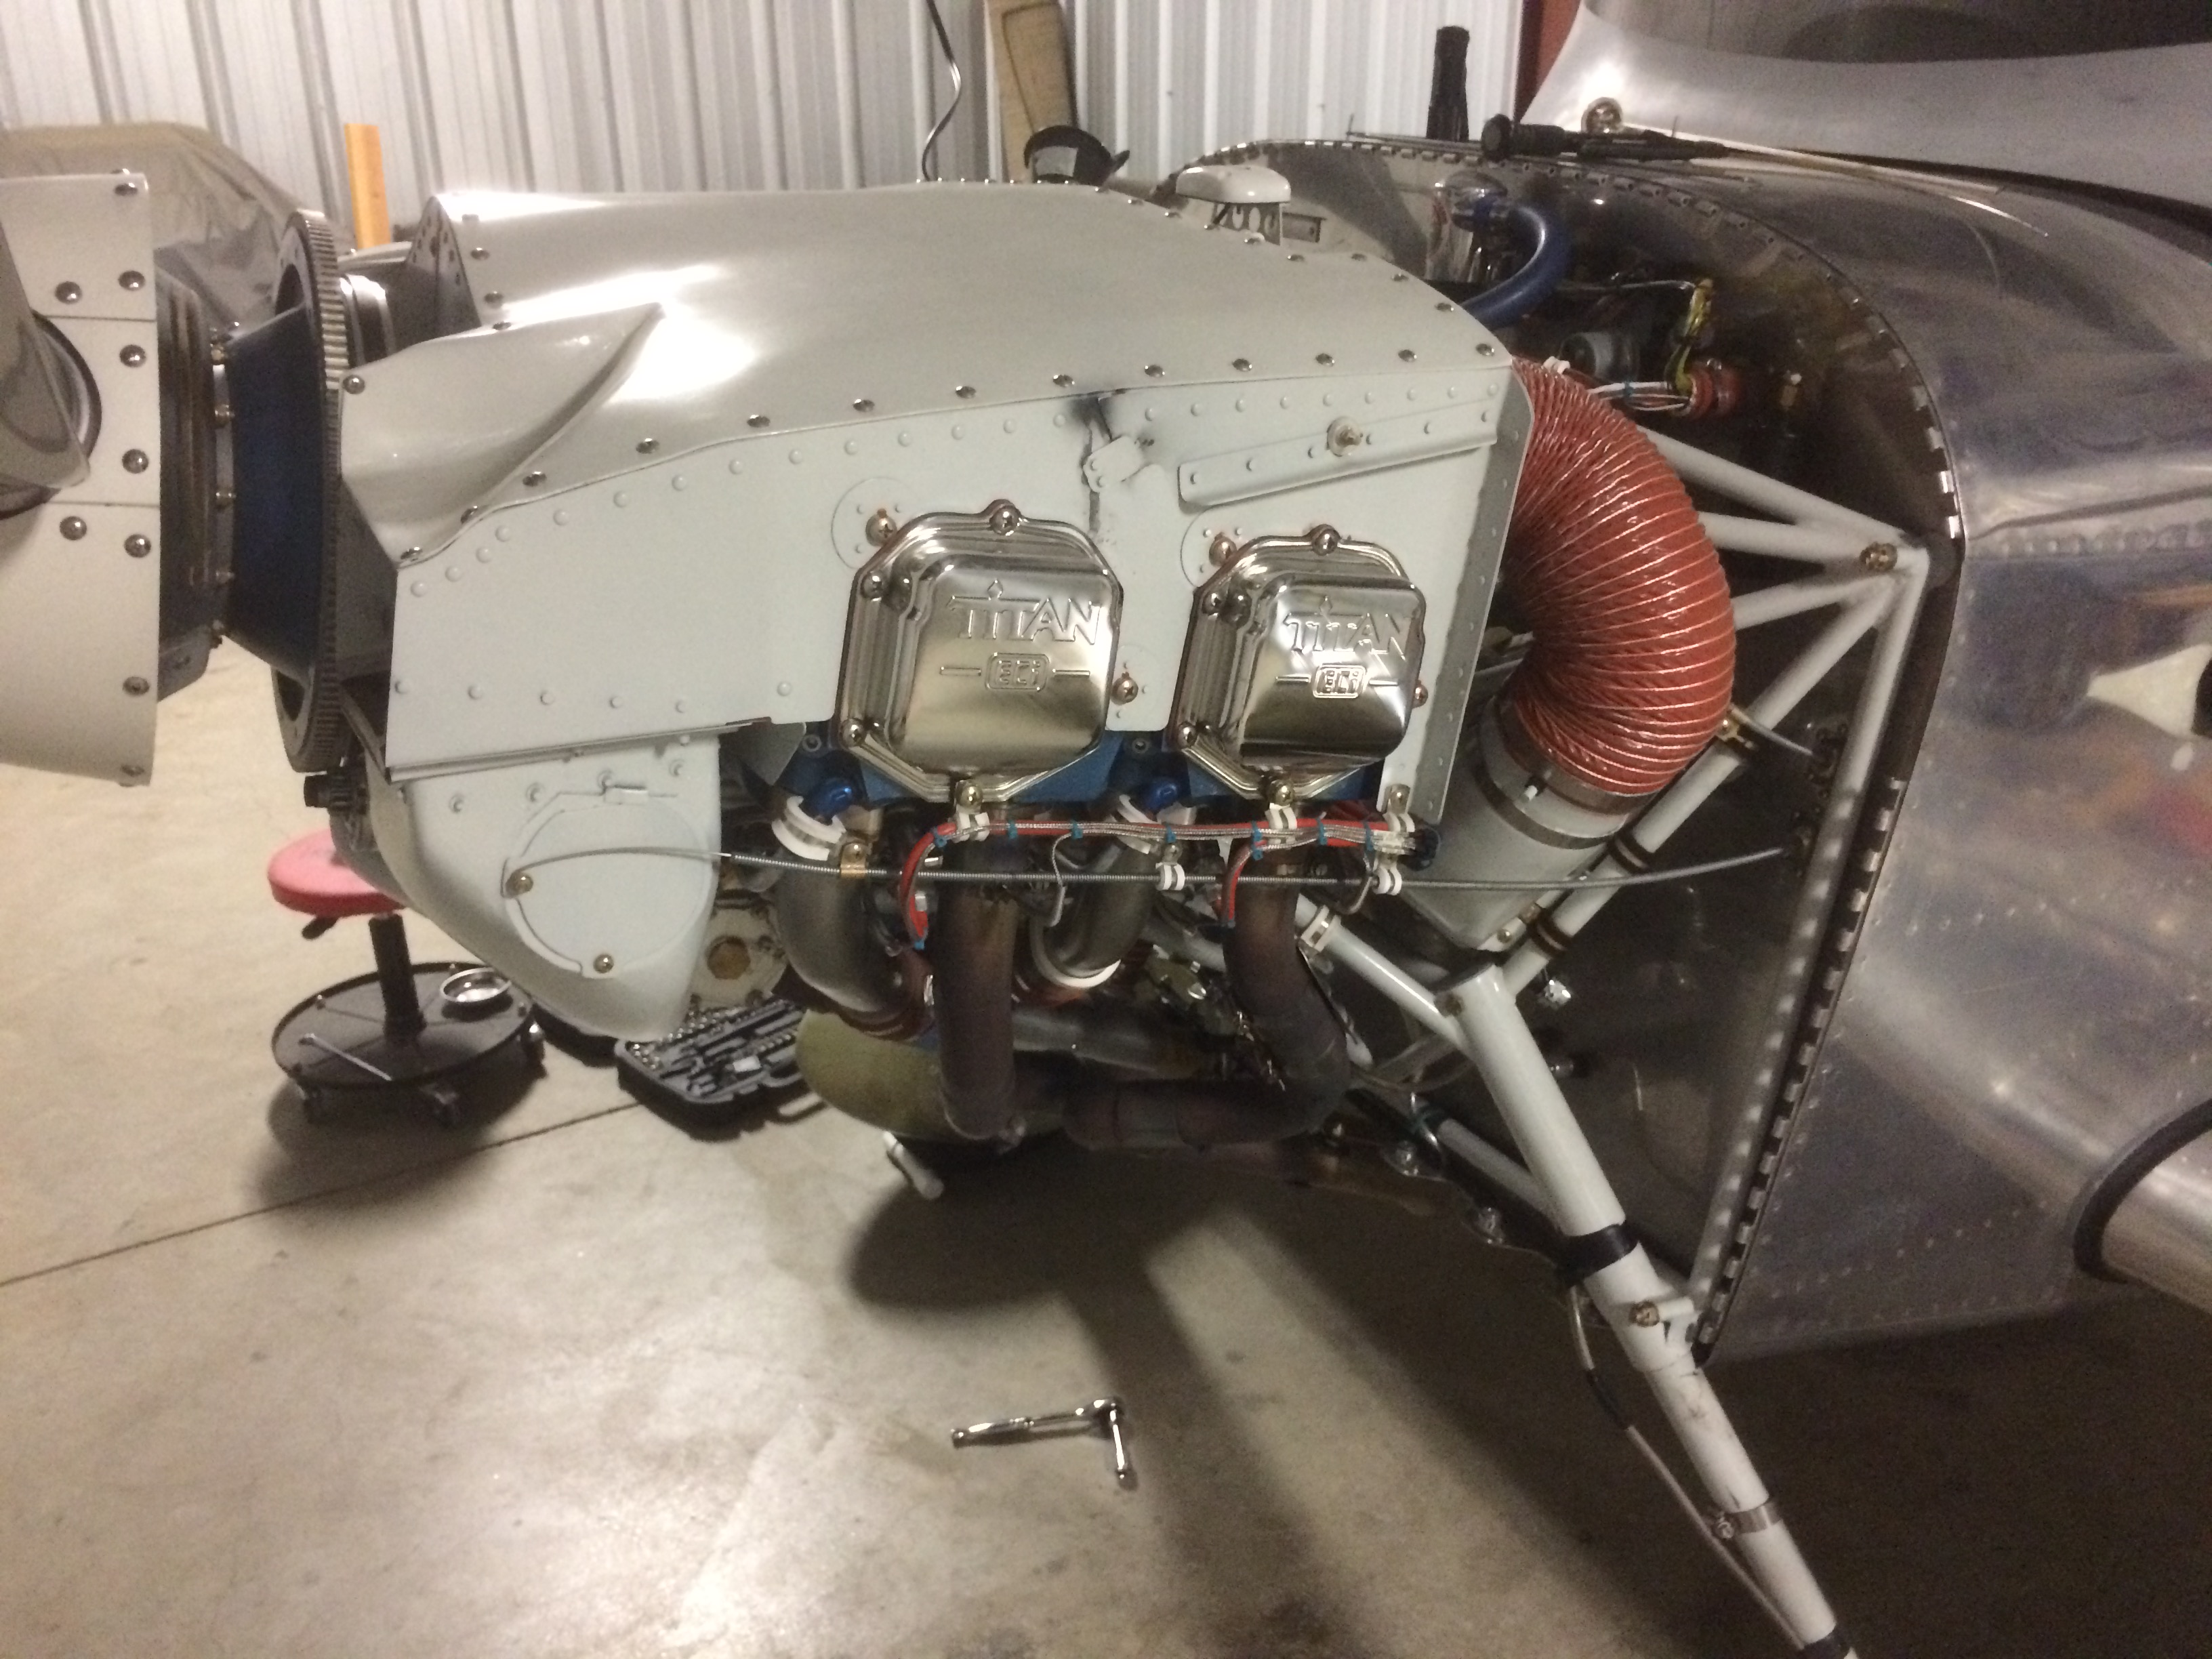
I gave the engine compartment a thorough inspection.  There were no surprises, and everything looks great.

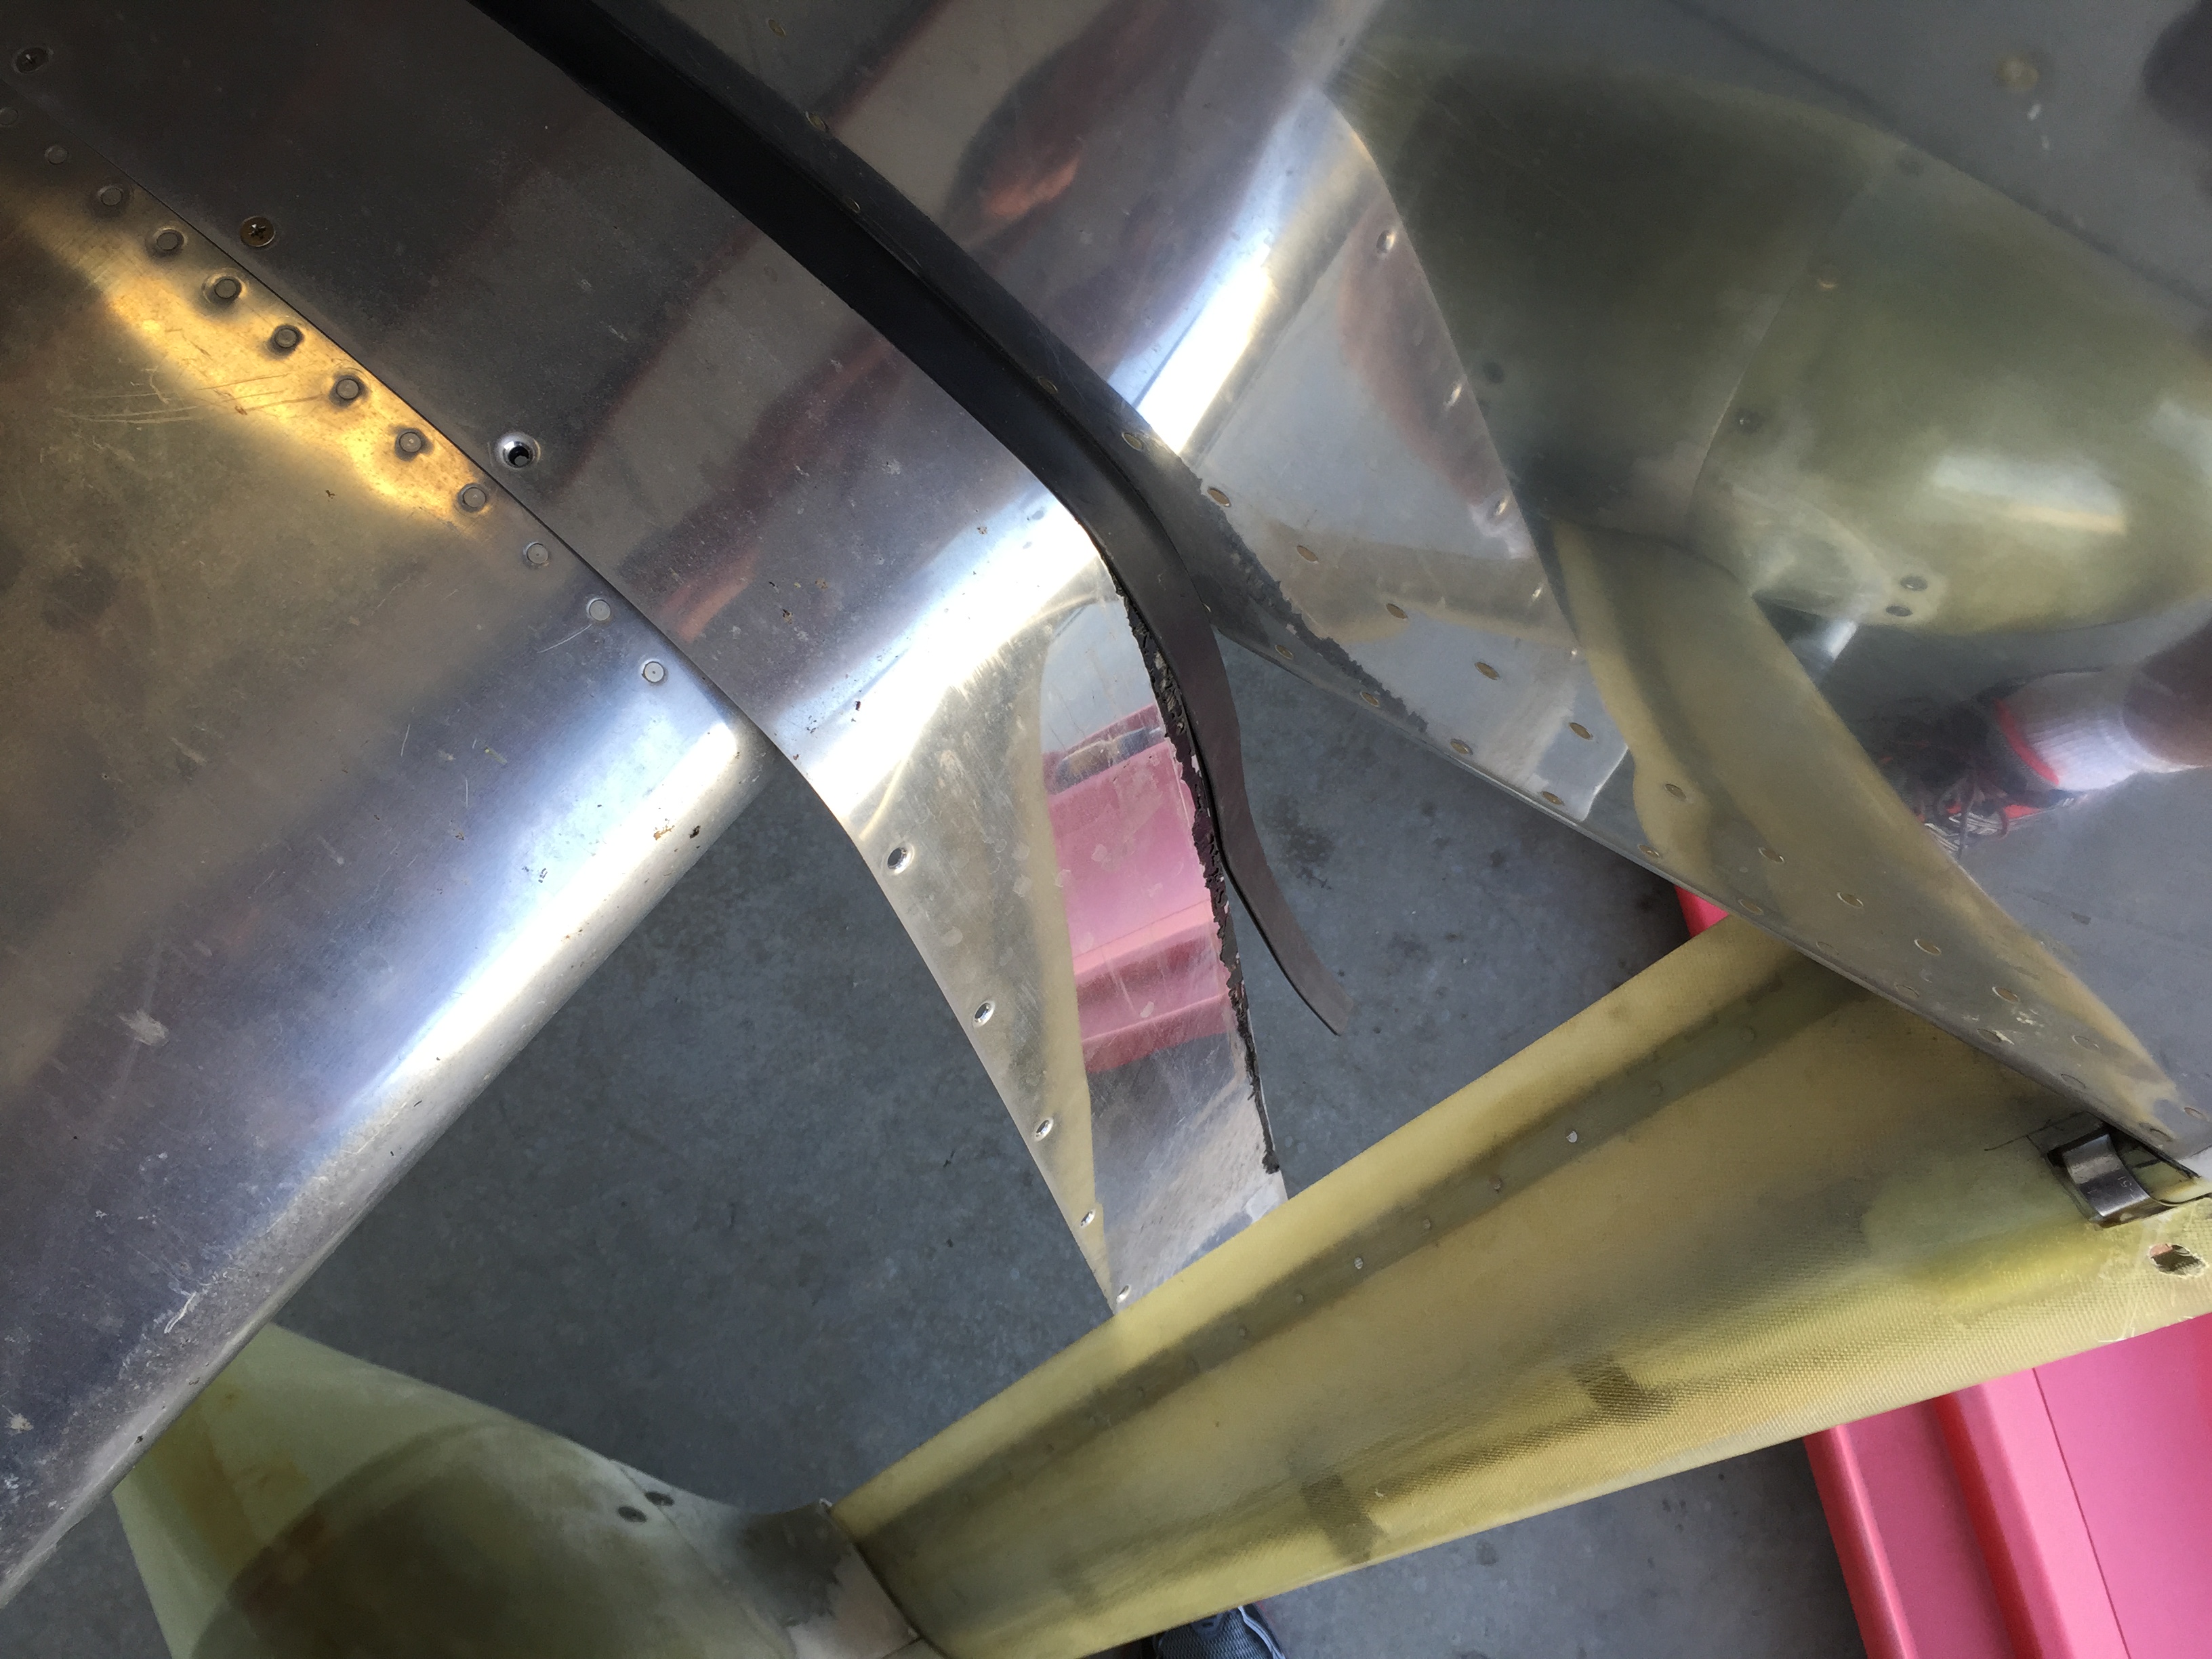
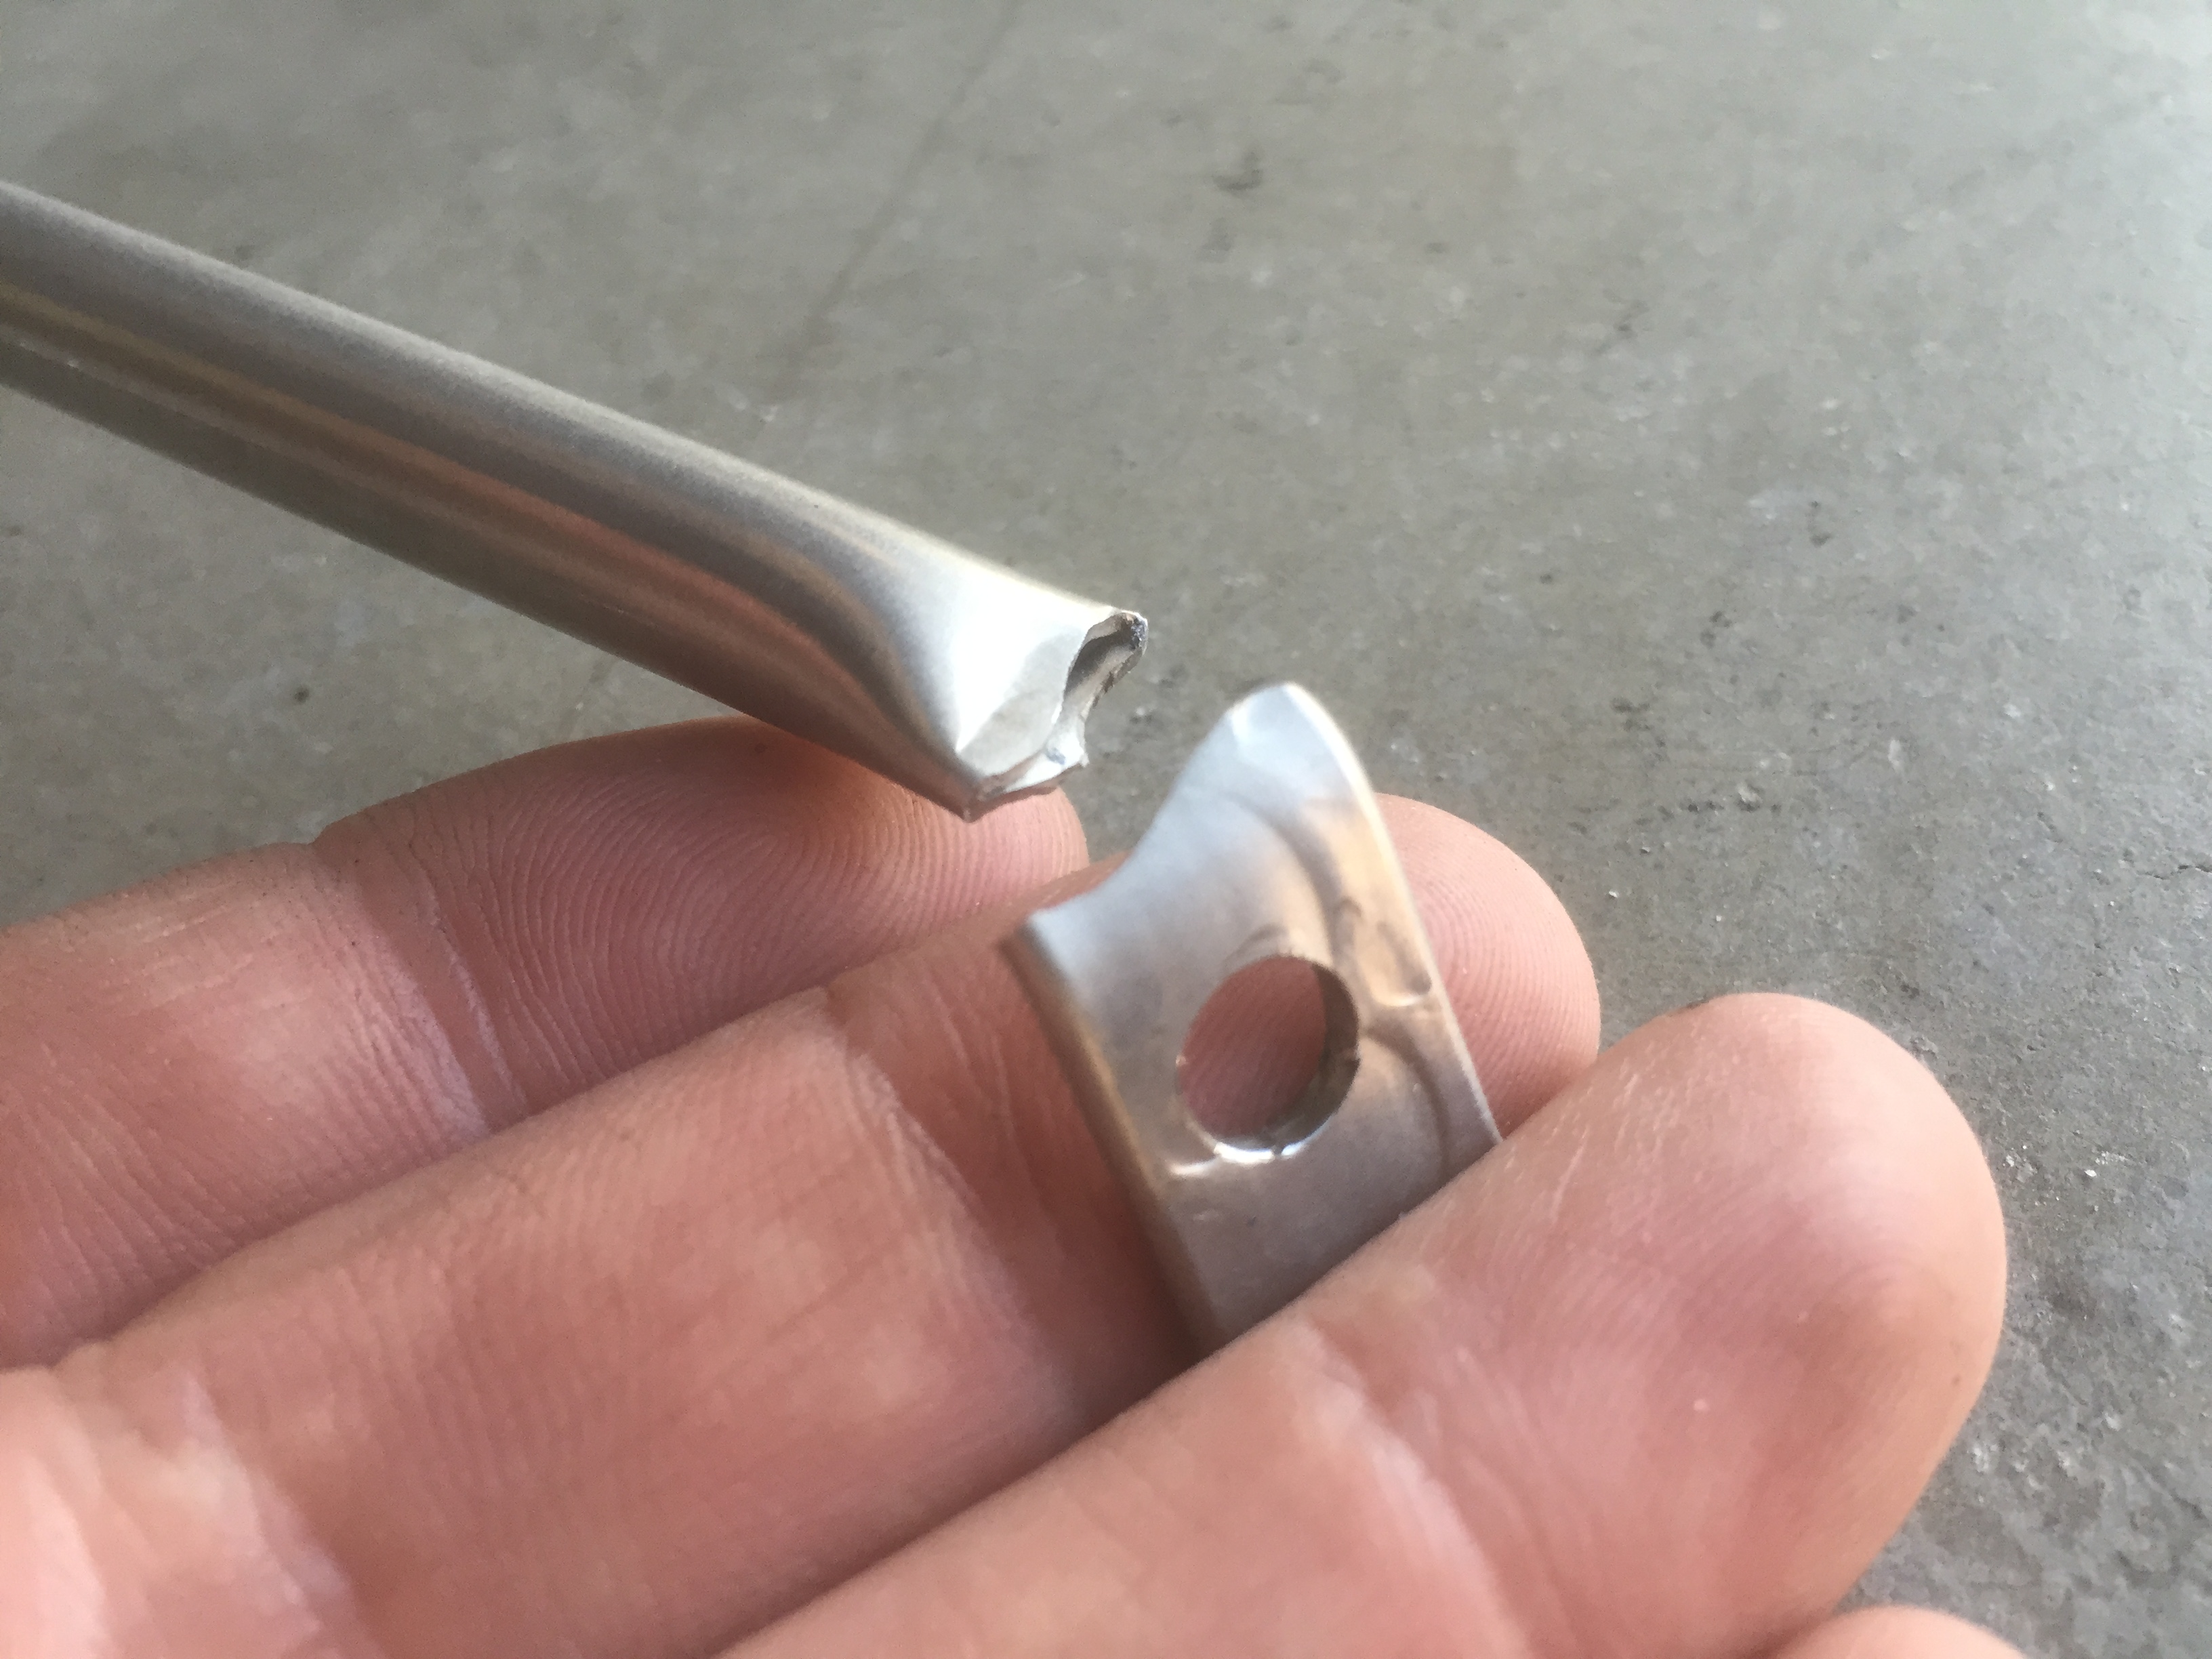
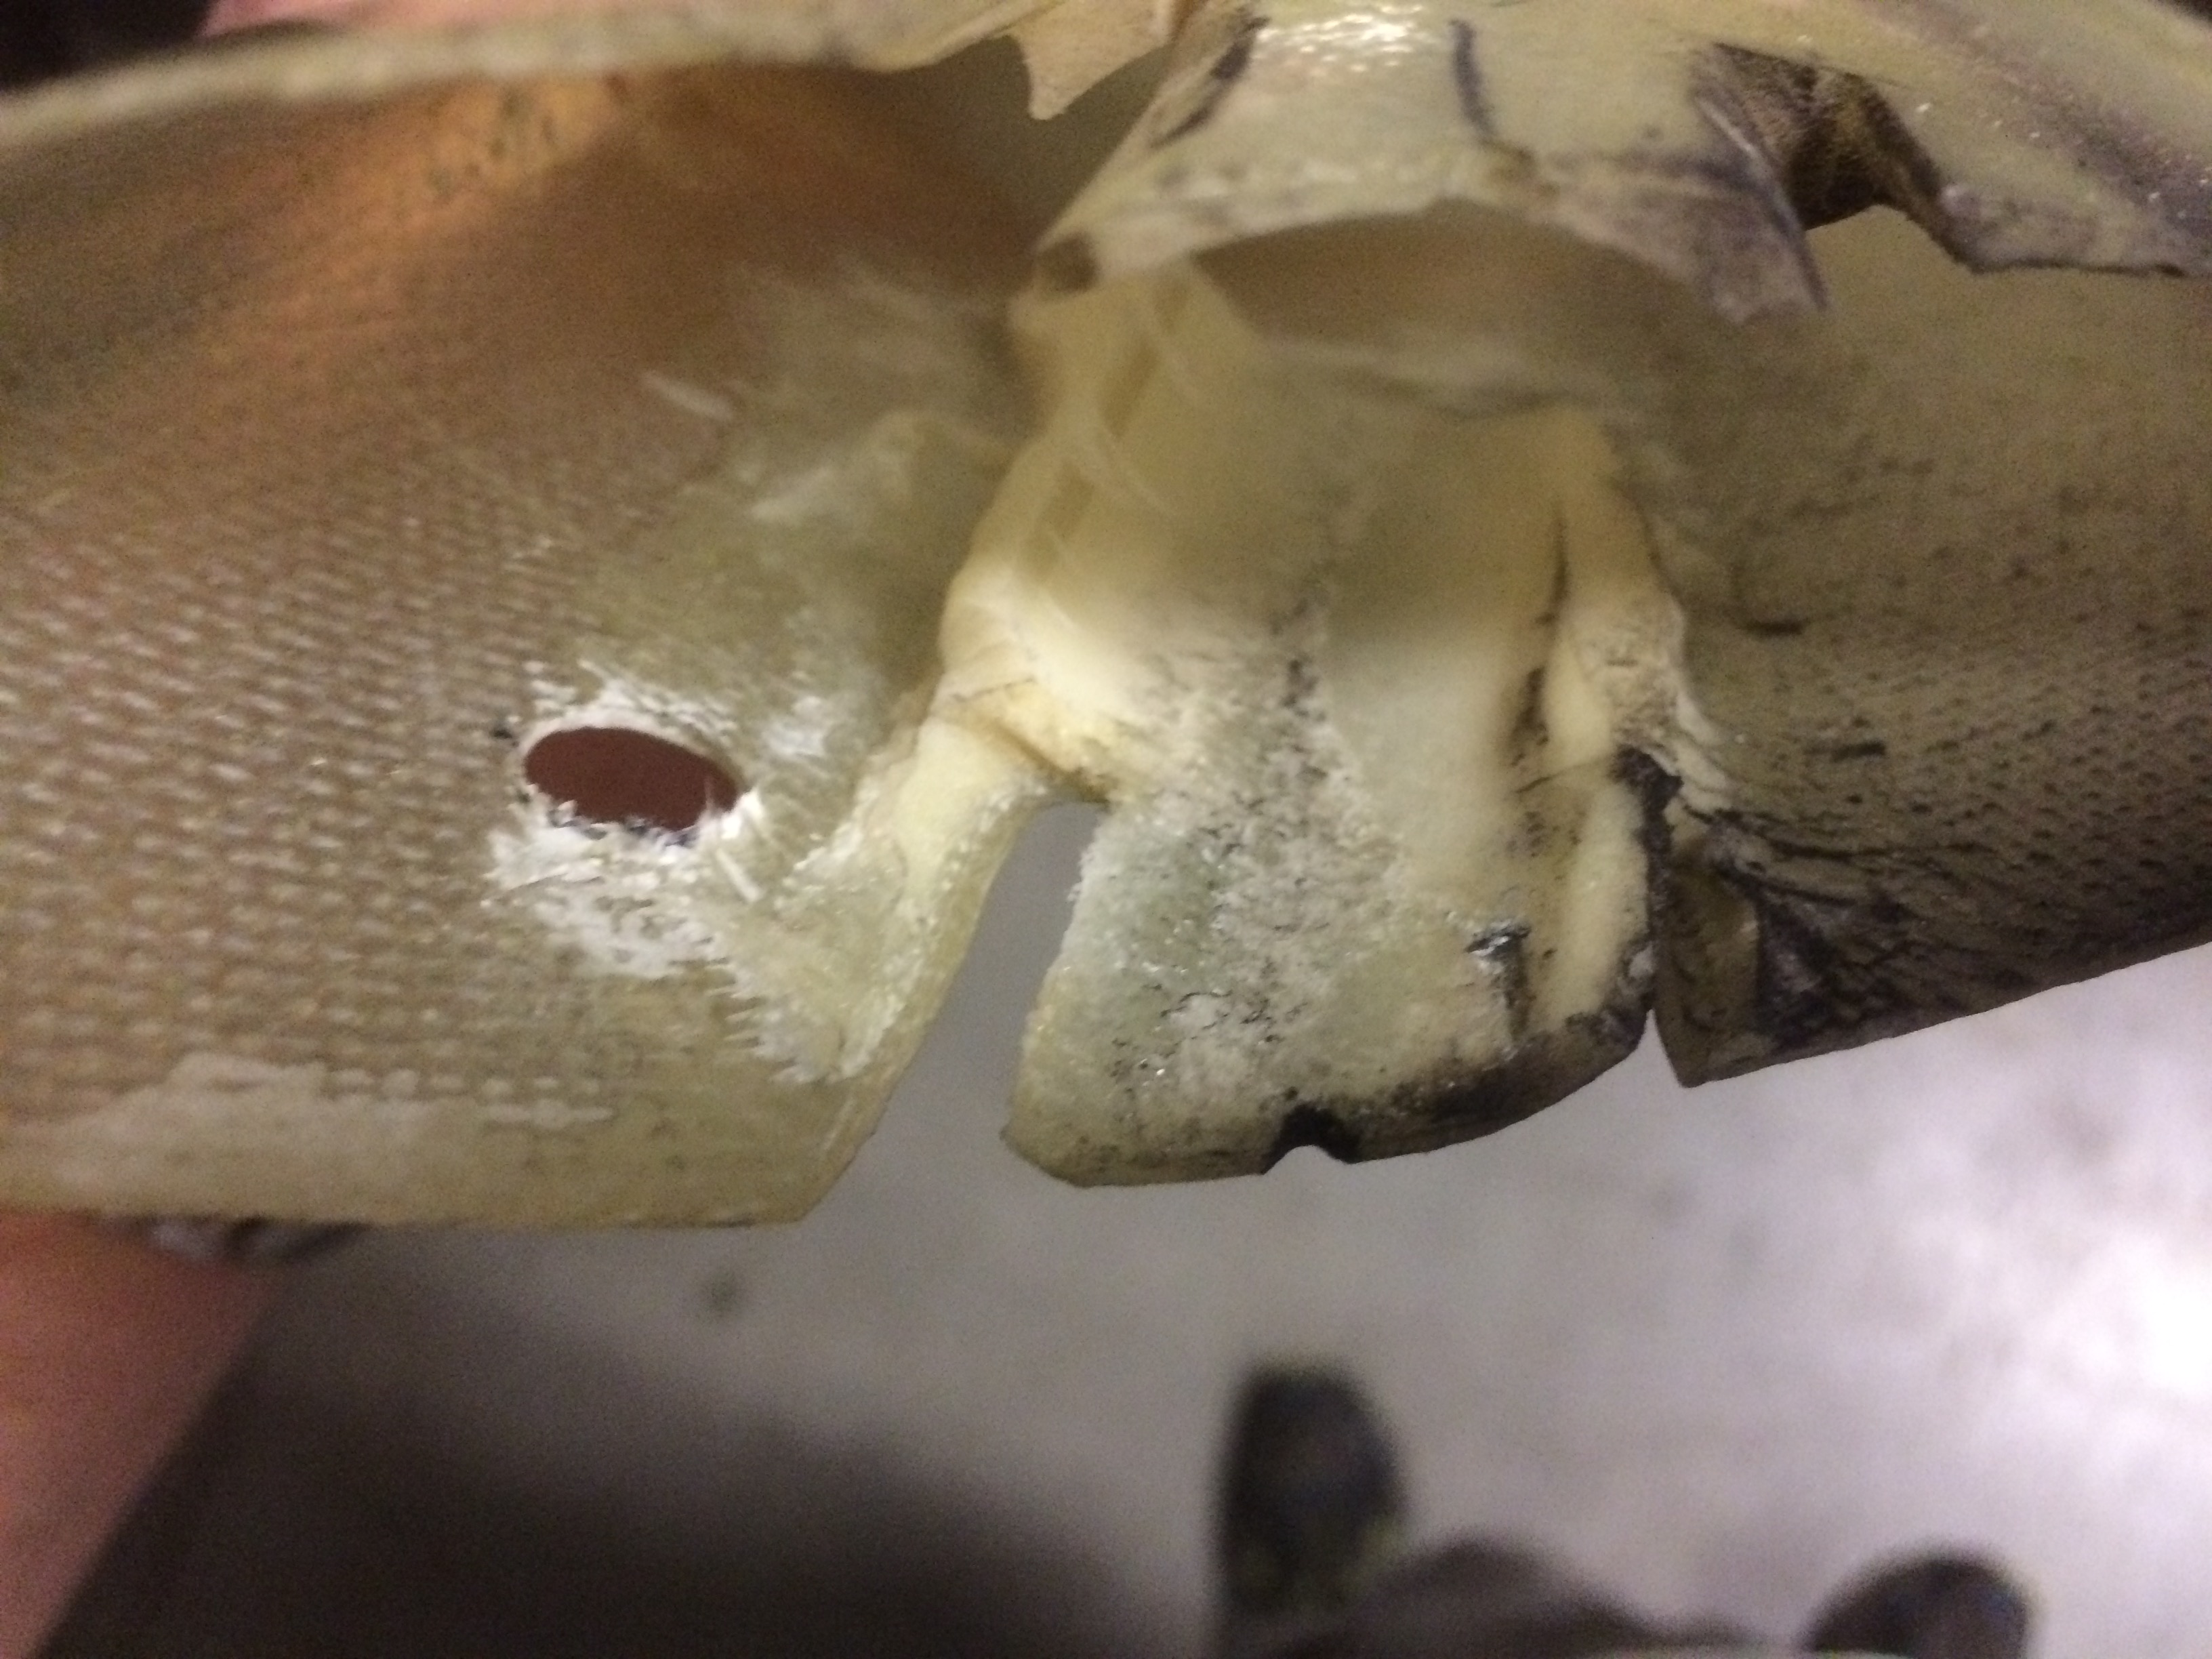
One of the tabs on the upper gear leg fairing broke off.  This allowed the clamp to loosen and the gear leg fairing to slide down a bit.

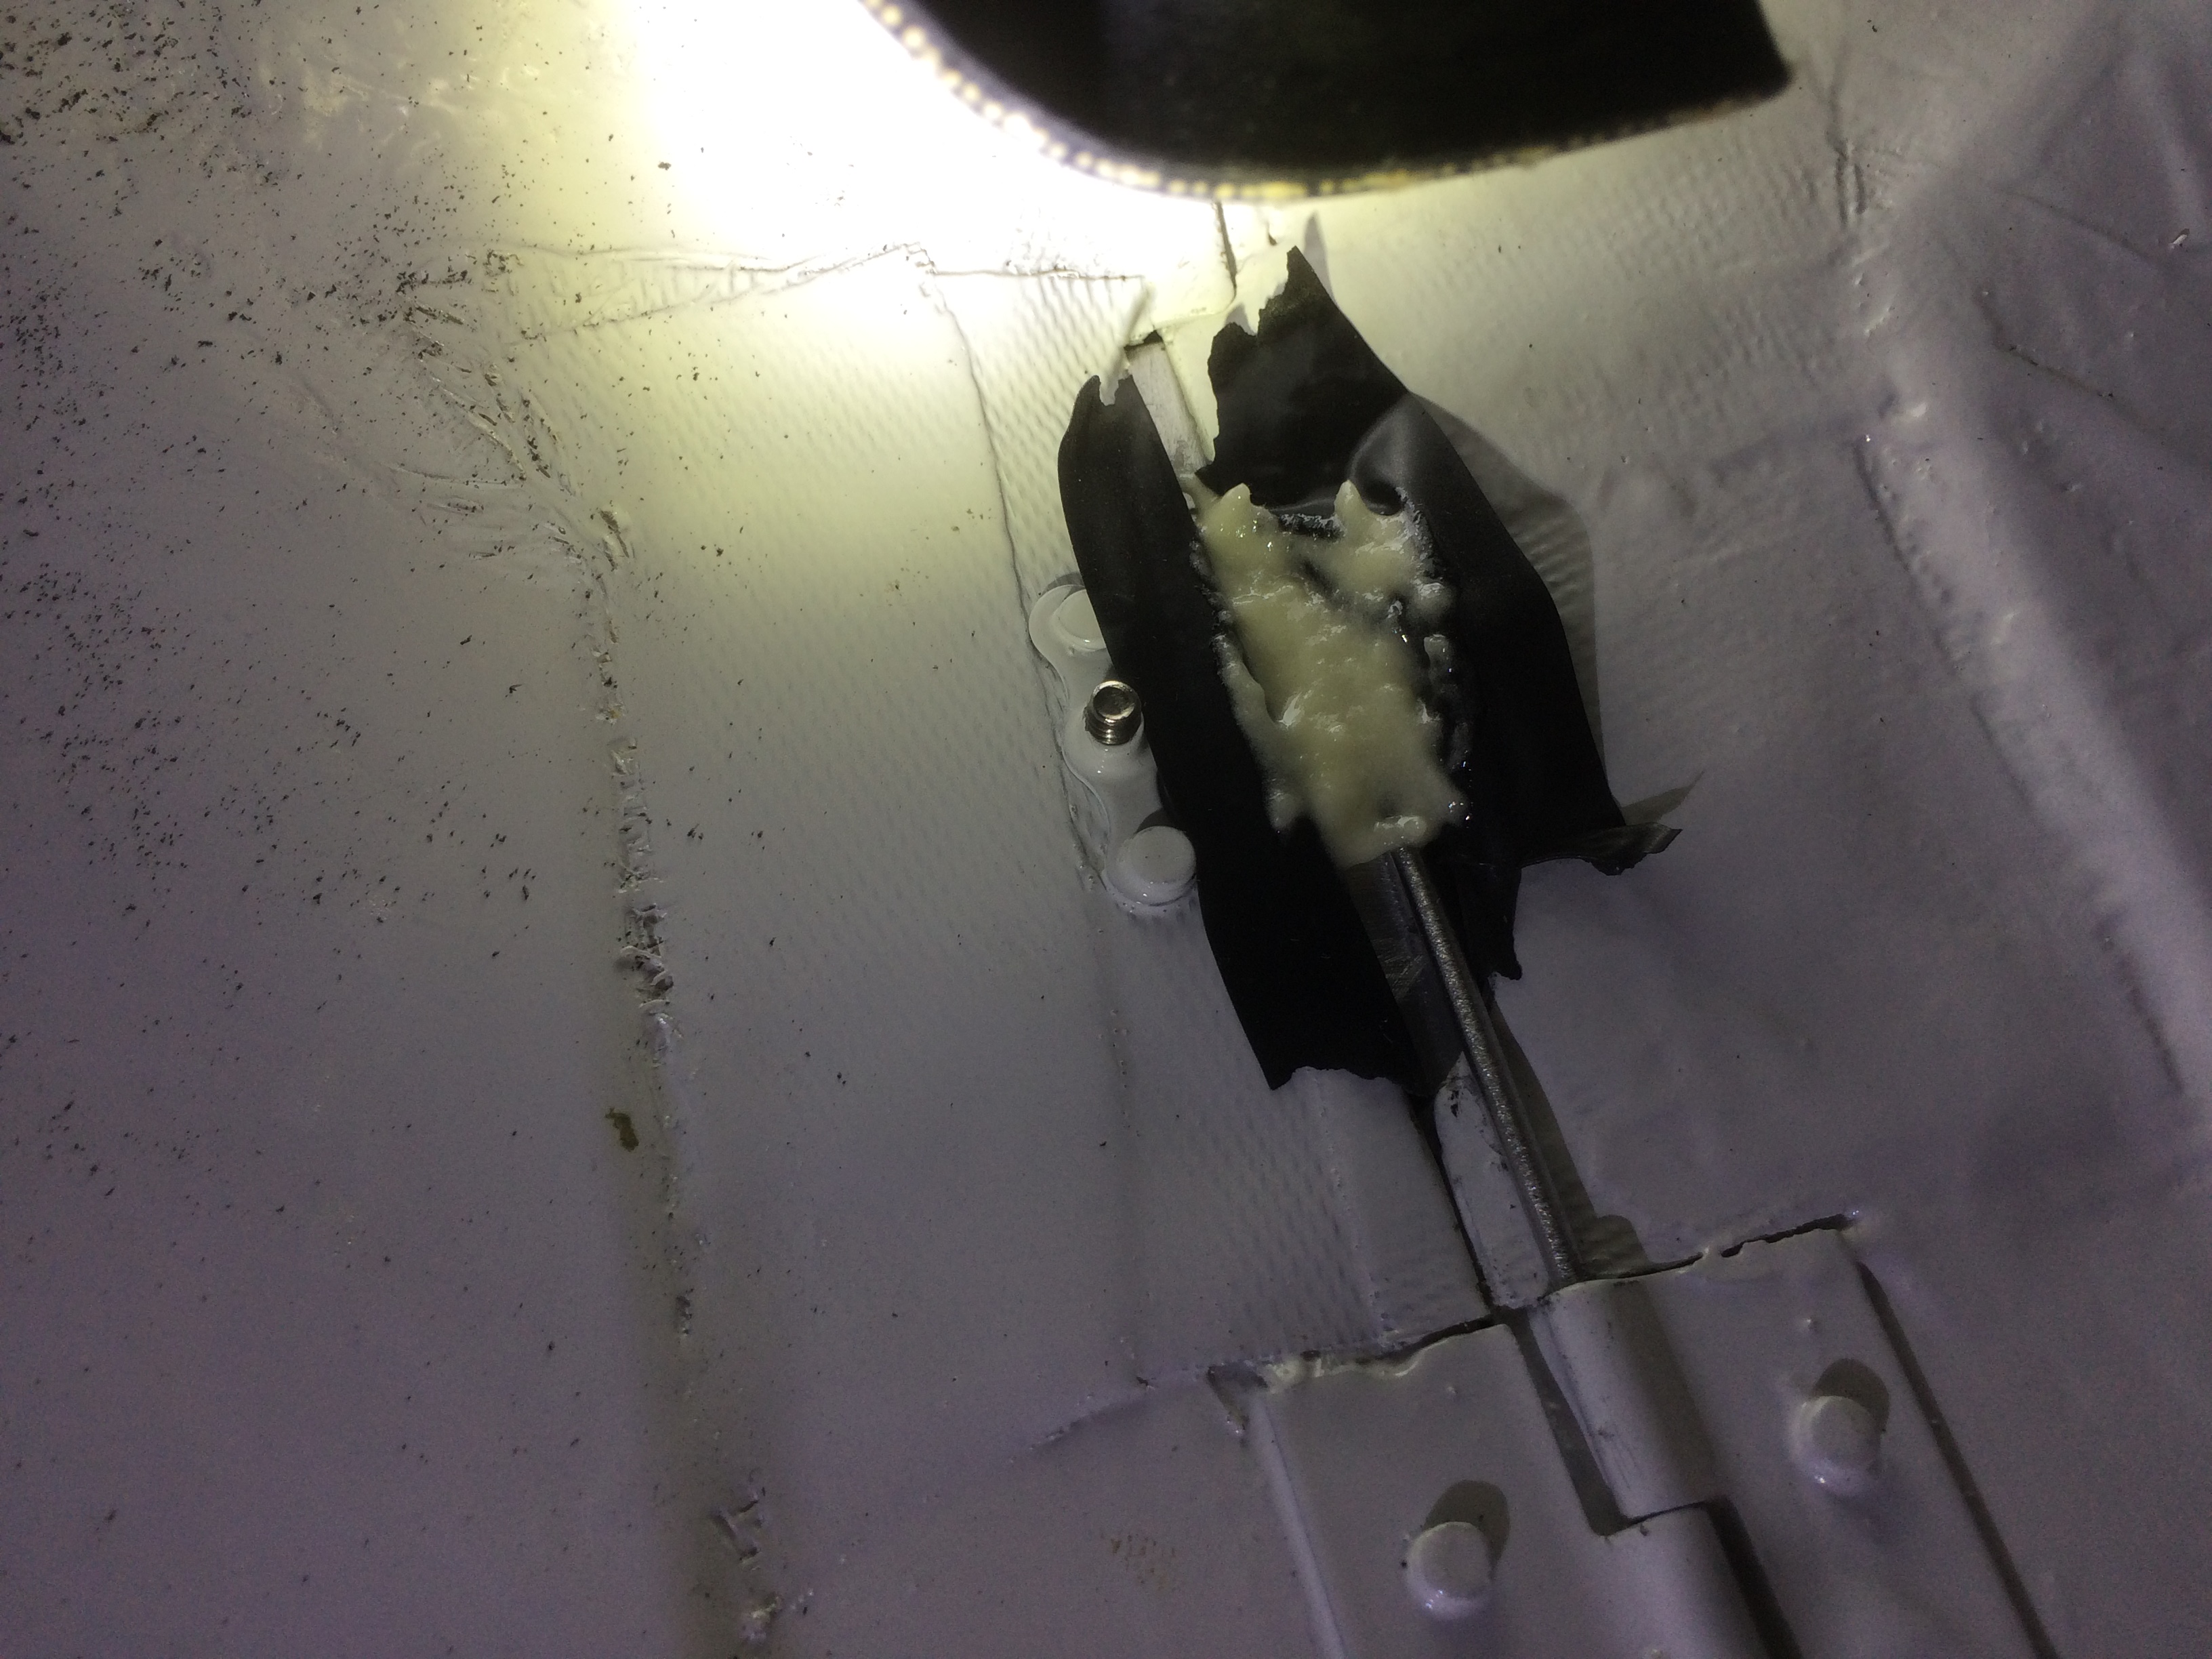
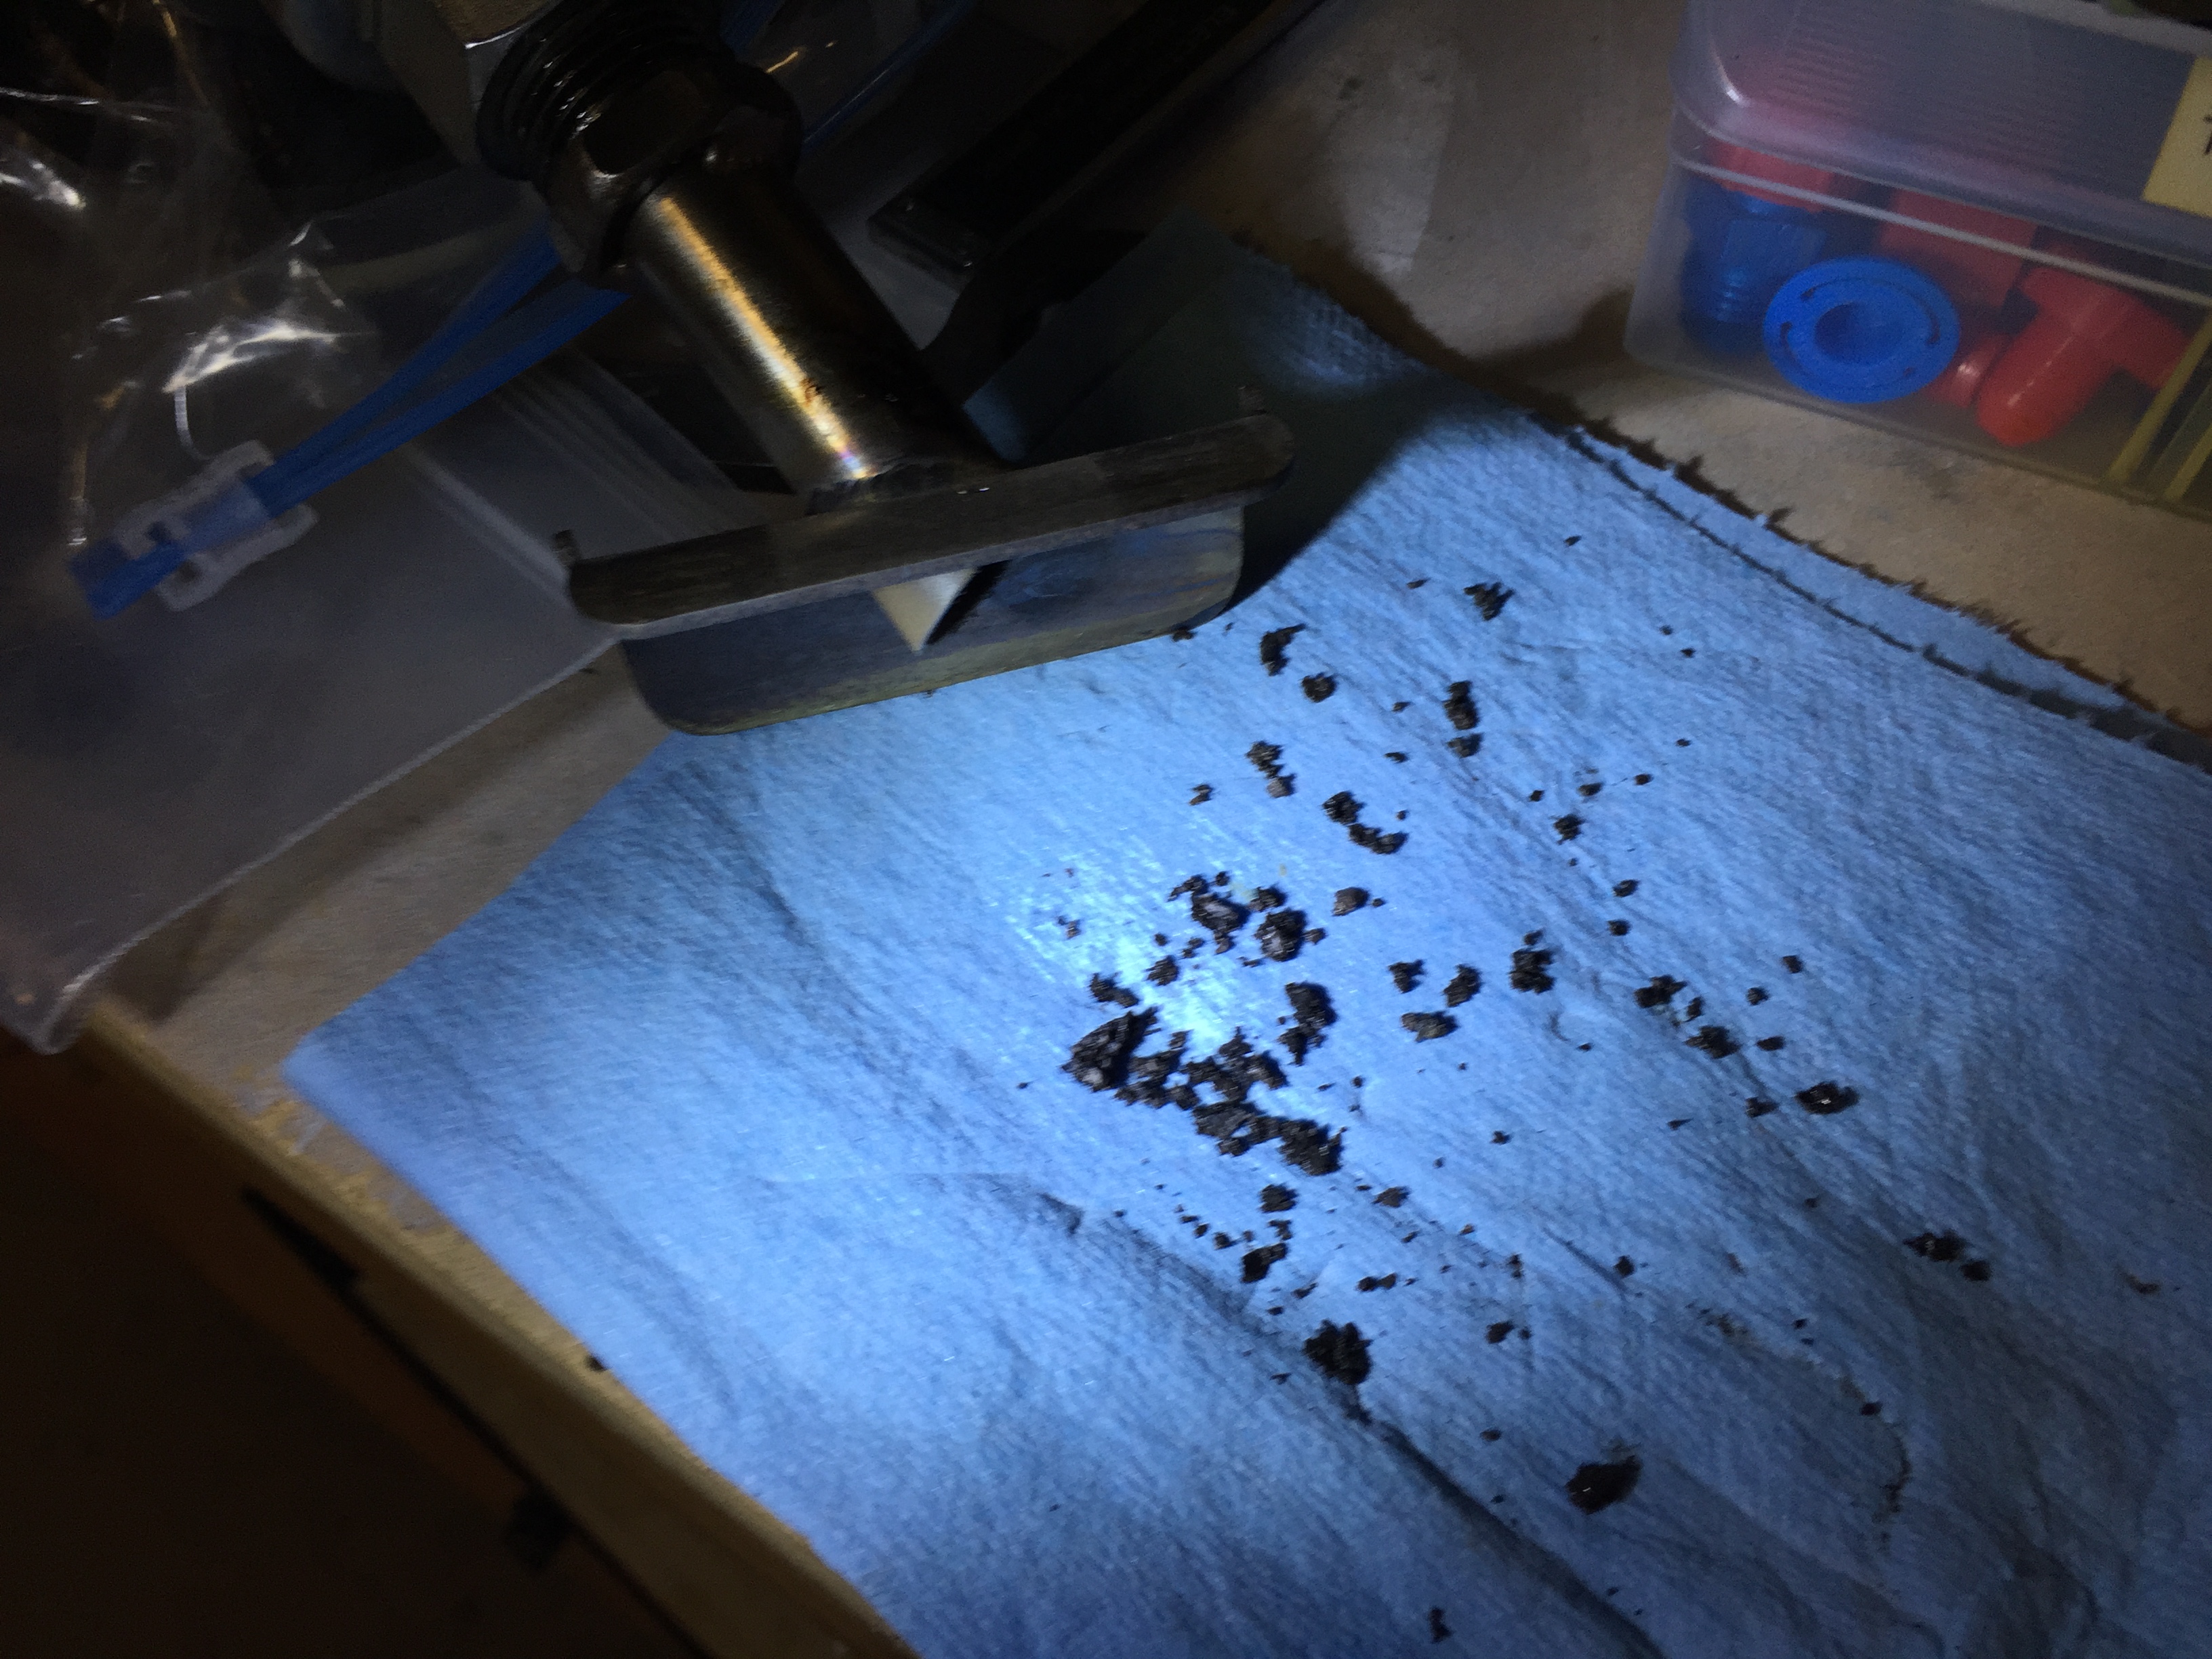
The side cowl hinge pin also broke loose from the hinge pin cover.  I cleaned out the old JB Weld and mixed up some epoxy/flox.  After applying some electrical tape around the opening to prevent the epoxy from adhering, I applied the epoxy.  After it cured, I popped it off and cleaned up the excess.  This seems quite a bit stronger than the JB Weld, so hopefully it will hold up.  Other than these couple of issues, there were no faults on the plane.

Modified Breather Vacuum Valve

There is a thread on Van’s Air Force about carbon build up in the breather tube.  I pulled the tube off and there was some build up (maybe 10% of the cross-sectional area of the tube).  Most could be easily removed with a pick, but I used a wire brush to get the inside of the tube totally clean.  Here are all of the carbon bits that came out of the tube.

If this tube were to totally close off due to carbon buildup, it could pressurize the crankcase and blow out the front oil seal.  To prevent this, I put a T in the breather line and ran that to a second vacuum valve positioned above the exhaust pipe to burn off any oil that might drip out.

Removed Wing Root Fairings

The rubber on the lower right wing root fairing came loose and started banging into the bottom of the airplane in flight.  I pulled of the fairings, and the rubber easily came off.  It looks like the 3M weatherstrip adhesive I used didn’t work well.

Alpine County Camping Trip

Some local RV pilots arranged a camping trip at the Alpine County Airport. We had about 10 planes show up on Saturday morning to the quiet little strip nestled in the foothills of the eastern side of the Sierras.  I took my 11-year-old son which was his first real trip in the plane.

There’s not much there, just a 5k’ runway and a small ramp, but there is a really nice spot to camp just a couple of hundred feet off to the side of the runway.

After everyone showed up, we hiked down to the Carson River for lunch and to wade in the water.

After resting back at camp for a bit, a few of us decided to hike to the top of a small hill on the other side of the runway (you can see it to the far left of the first picture). The terrain was pretty easy going and we reached the top after 45 minutes or so.  Here’s a nice shot looking back toward the Sierras.  Lake Tahoe is just beyond those mountains.

Floxed Flange on Wheel Pants

The flange on the forward half of the wheel pants had gotten pretty thin over the top due to sanding to try and line up the surface with the top of the aft half.  There was also a gap underneath the flange which was causing the flange to flex down when tightening the screws.  I applied a layer of packing tape to the aft flange and some electrical tap to the joint.  I then mixed up some epoxy/flox and applied it to the underside of the forward flange and installed the pants.

Cleaned up Floxed Flange

I cleaned up the layer of flox I applied to the wheel pants flange.

You can see how much thickness it added to the flange.  The flange is much stiffer now and fits really tightly over the rear half of the wheel pants.  With the screws tightened down now, the flange no longer flexes and distorts.

Broken Exhaust Support

While taxiing in from a flight, I heard an odd clunk. I took off the cowling to do a careful inspection and found that both exhaust supports cracked all the way through right at the bend. Squeezing this tubing flat and then bending it clearly put too much stress in the metal.

The bottom of the support just has a flattened piece of stainless steel tubing bolted to a bent piece of mild steel. The mild steel is much tougher and can withstand the vibration without cracking.

I replicated this arrangement at the other end of the supports.  Fortunately, it was a pretty quick fix and this should be much more durable.