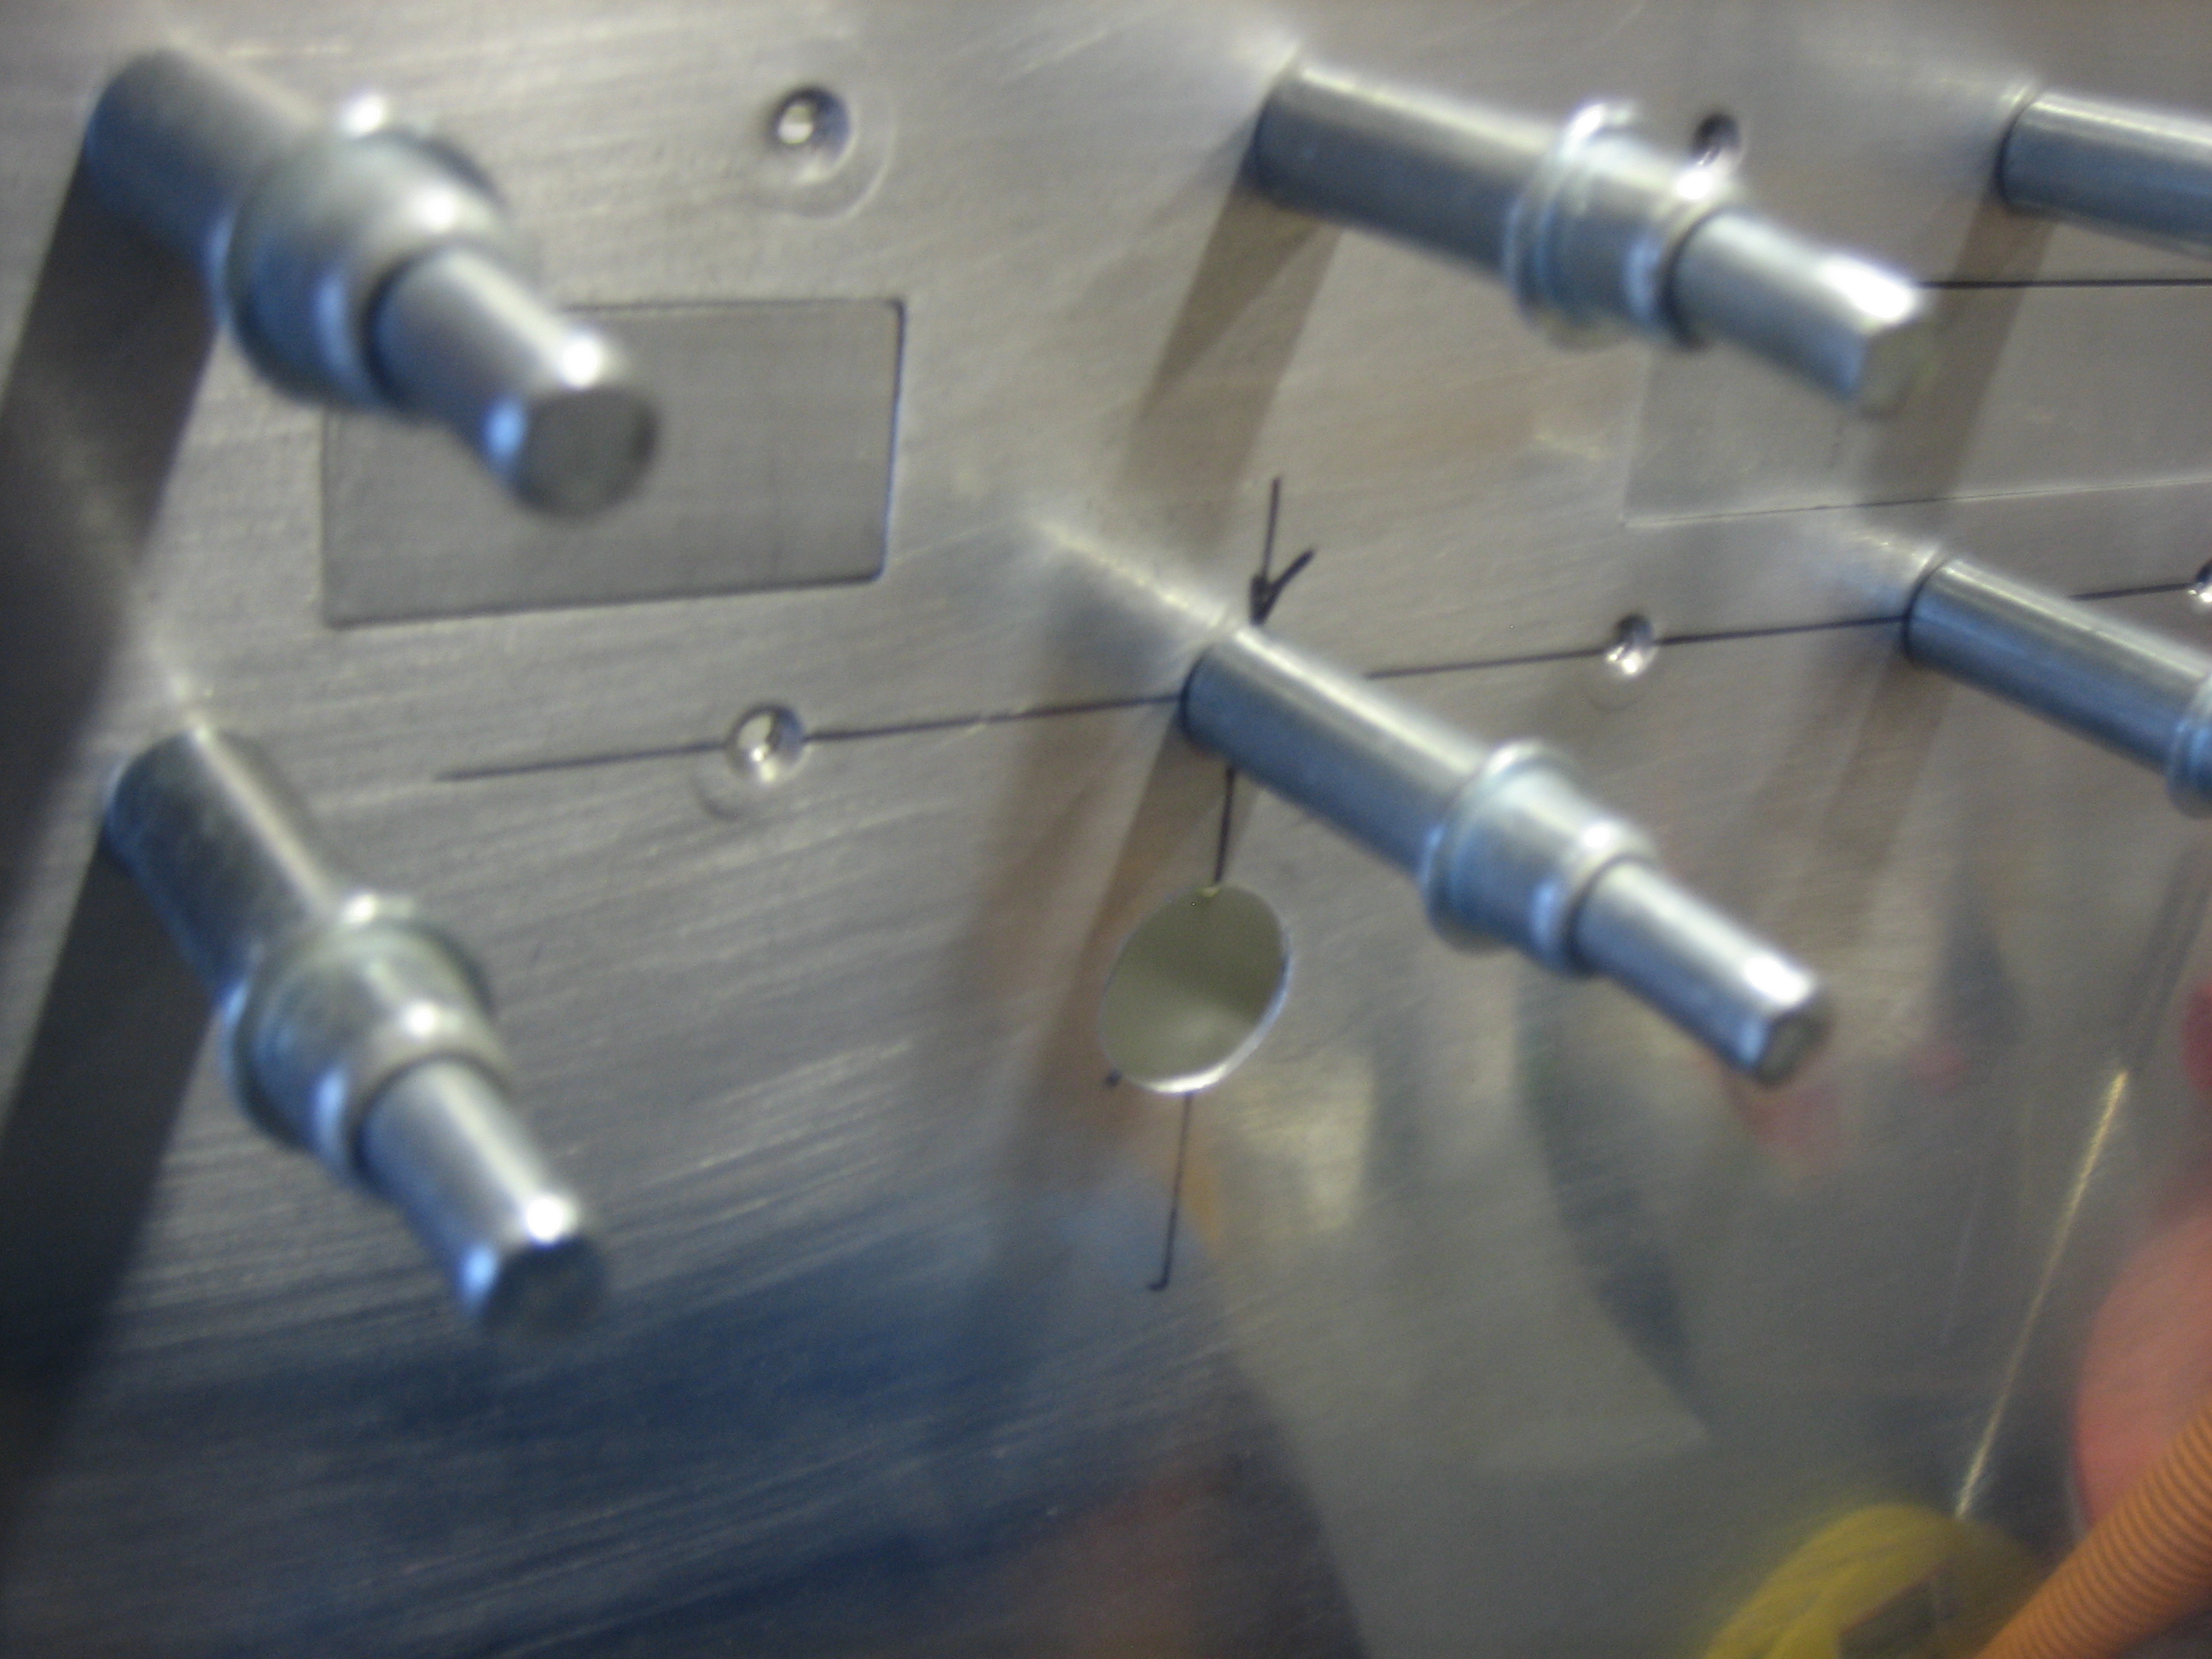
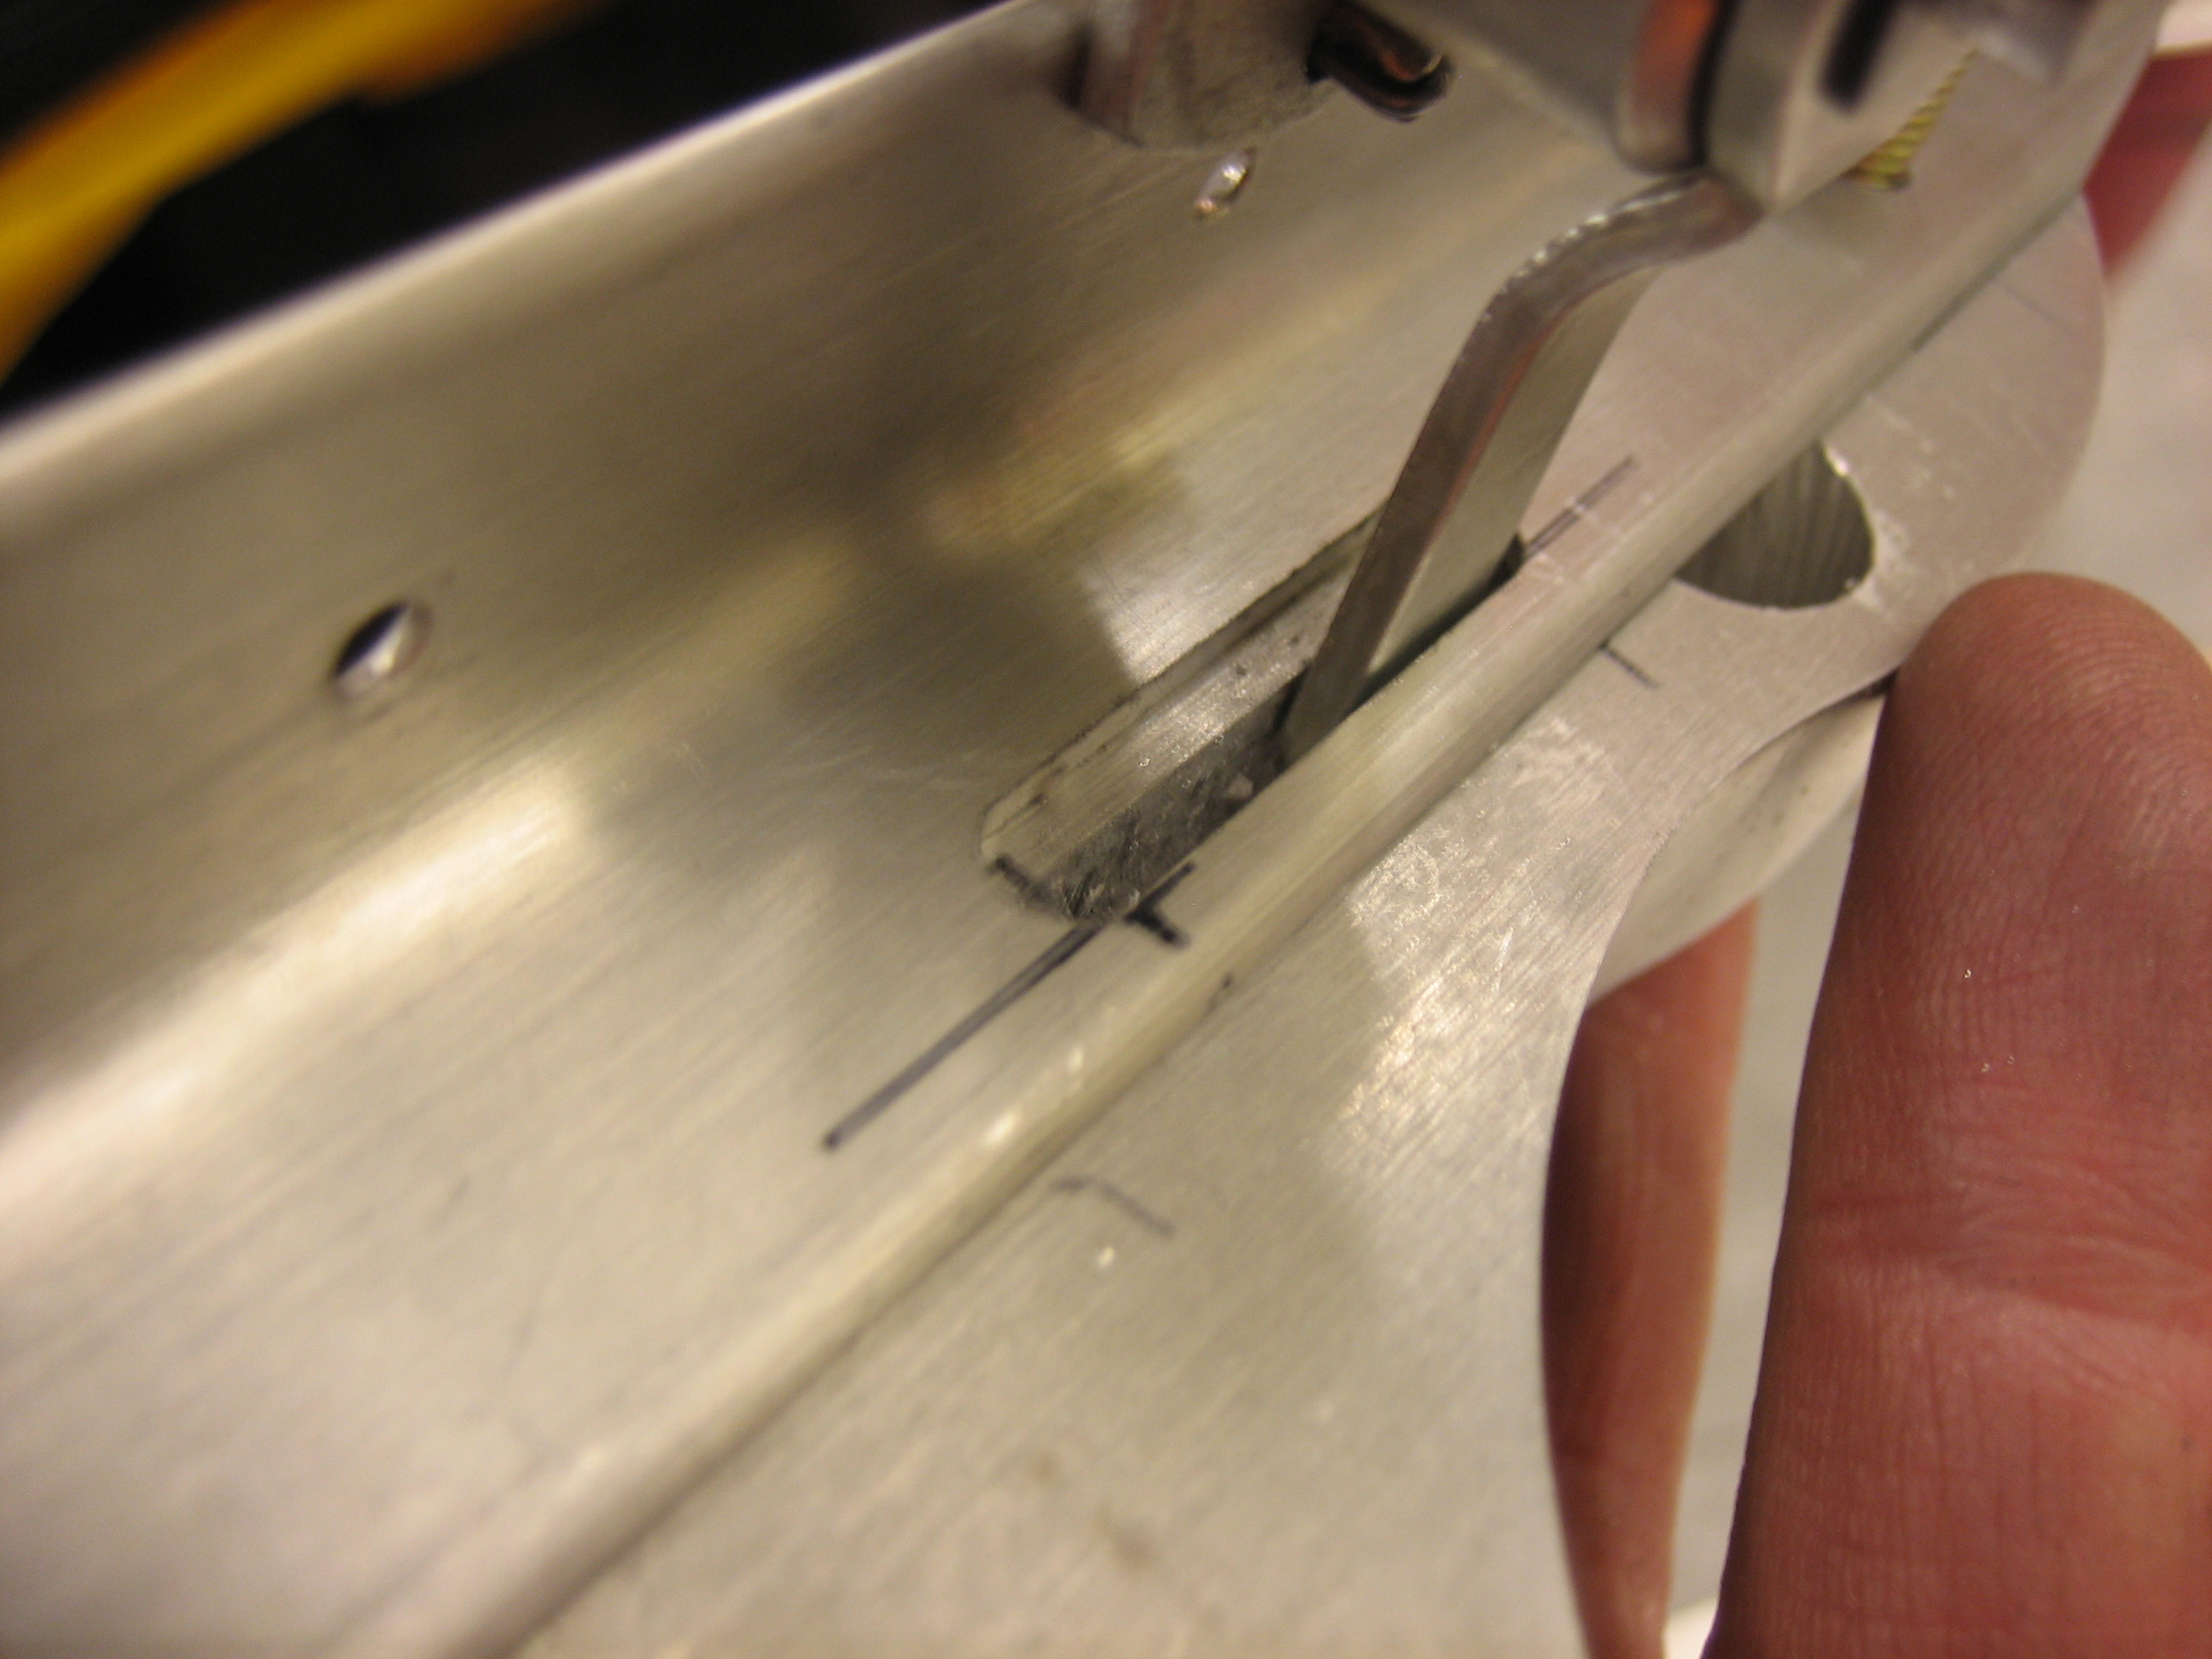
I drilled a hole in the side of the fuselage skin for the canopy latch lock. Getting this hole positioned correctly required numerous measurements and calculations to ensure that the lock wouldn’t interfere with any part of the latch.
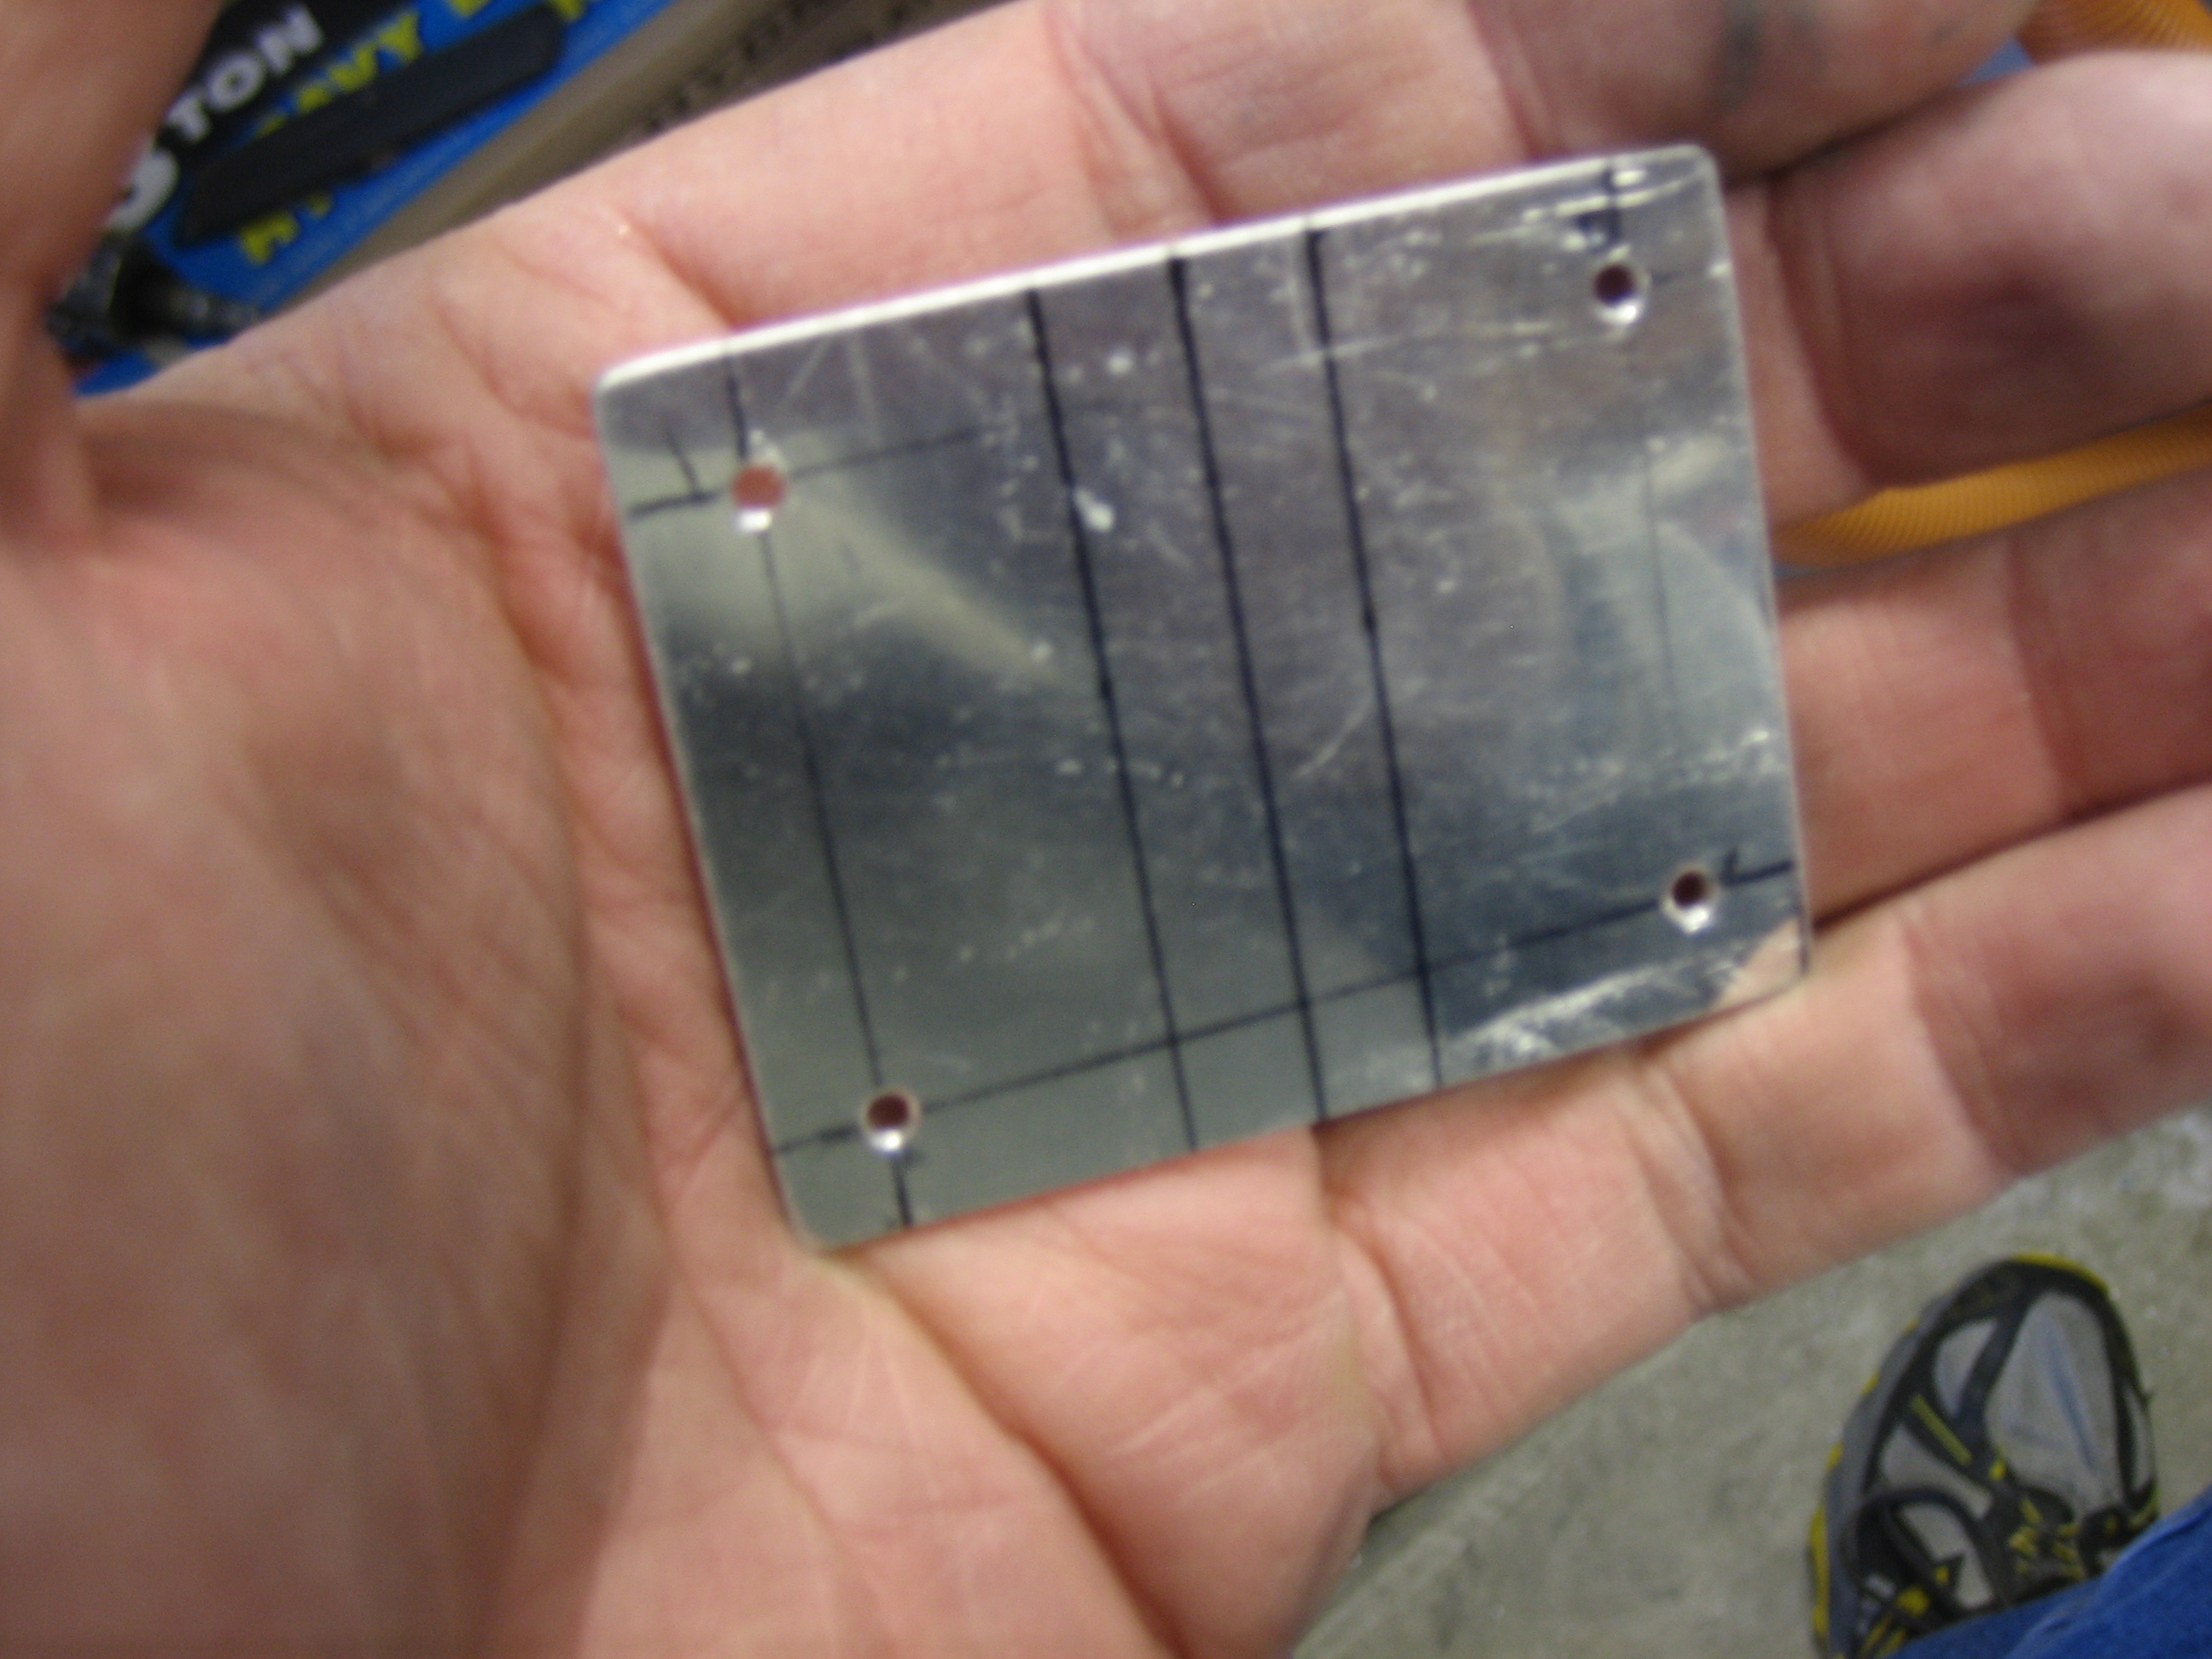
I fabricated a 0.063″ doubler plate to position the lock so that the face is flush with the skin. The plate will be centered over the hole, so I added some layout marks to help center it.
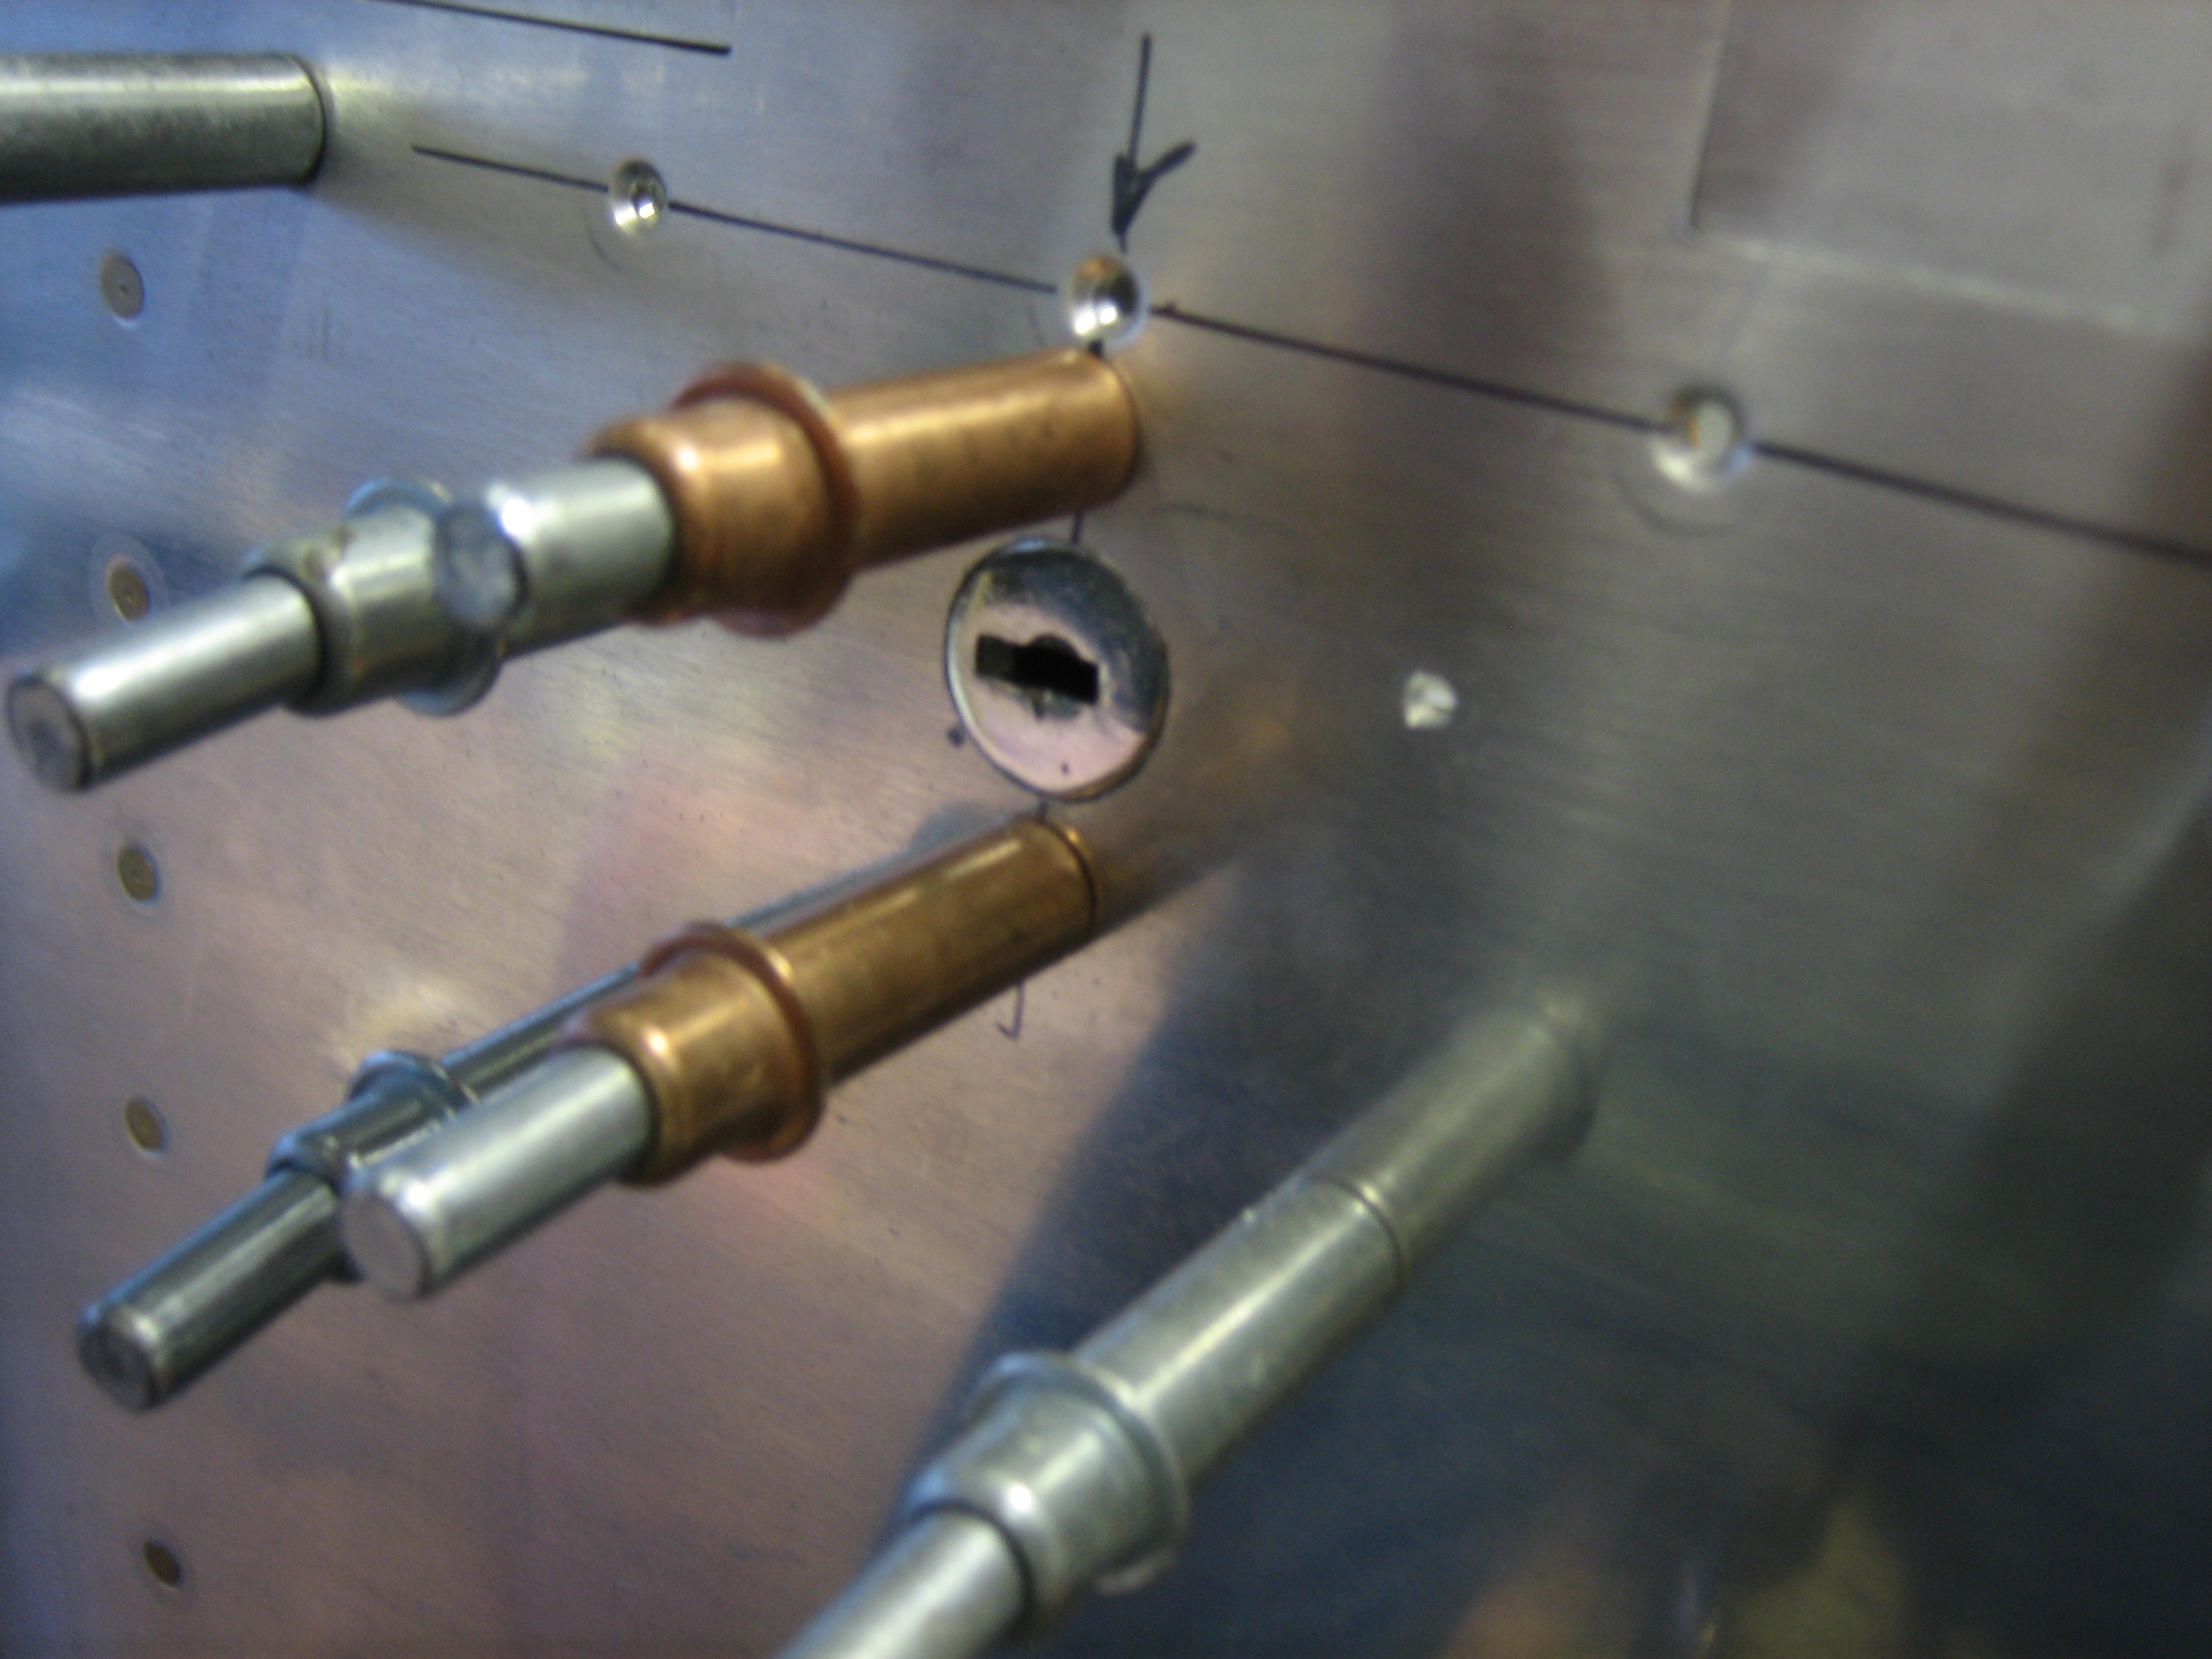
After drilling the plate to the skin and drilling out for the lock, I installed everything to see how well it lines up. The lock is almost perfectly flush with the skin.
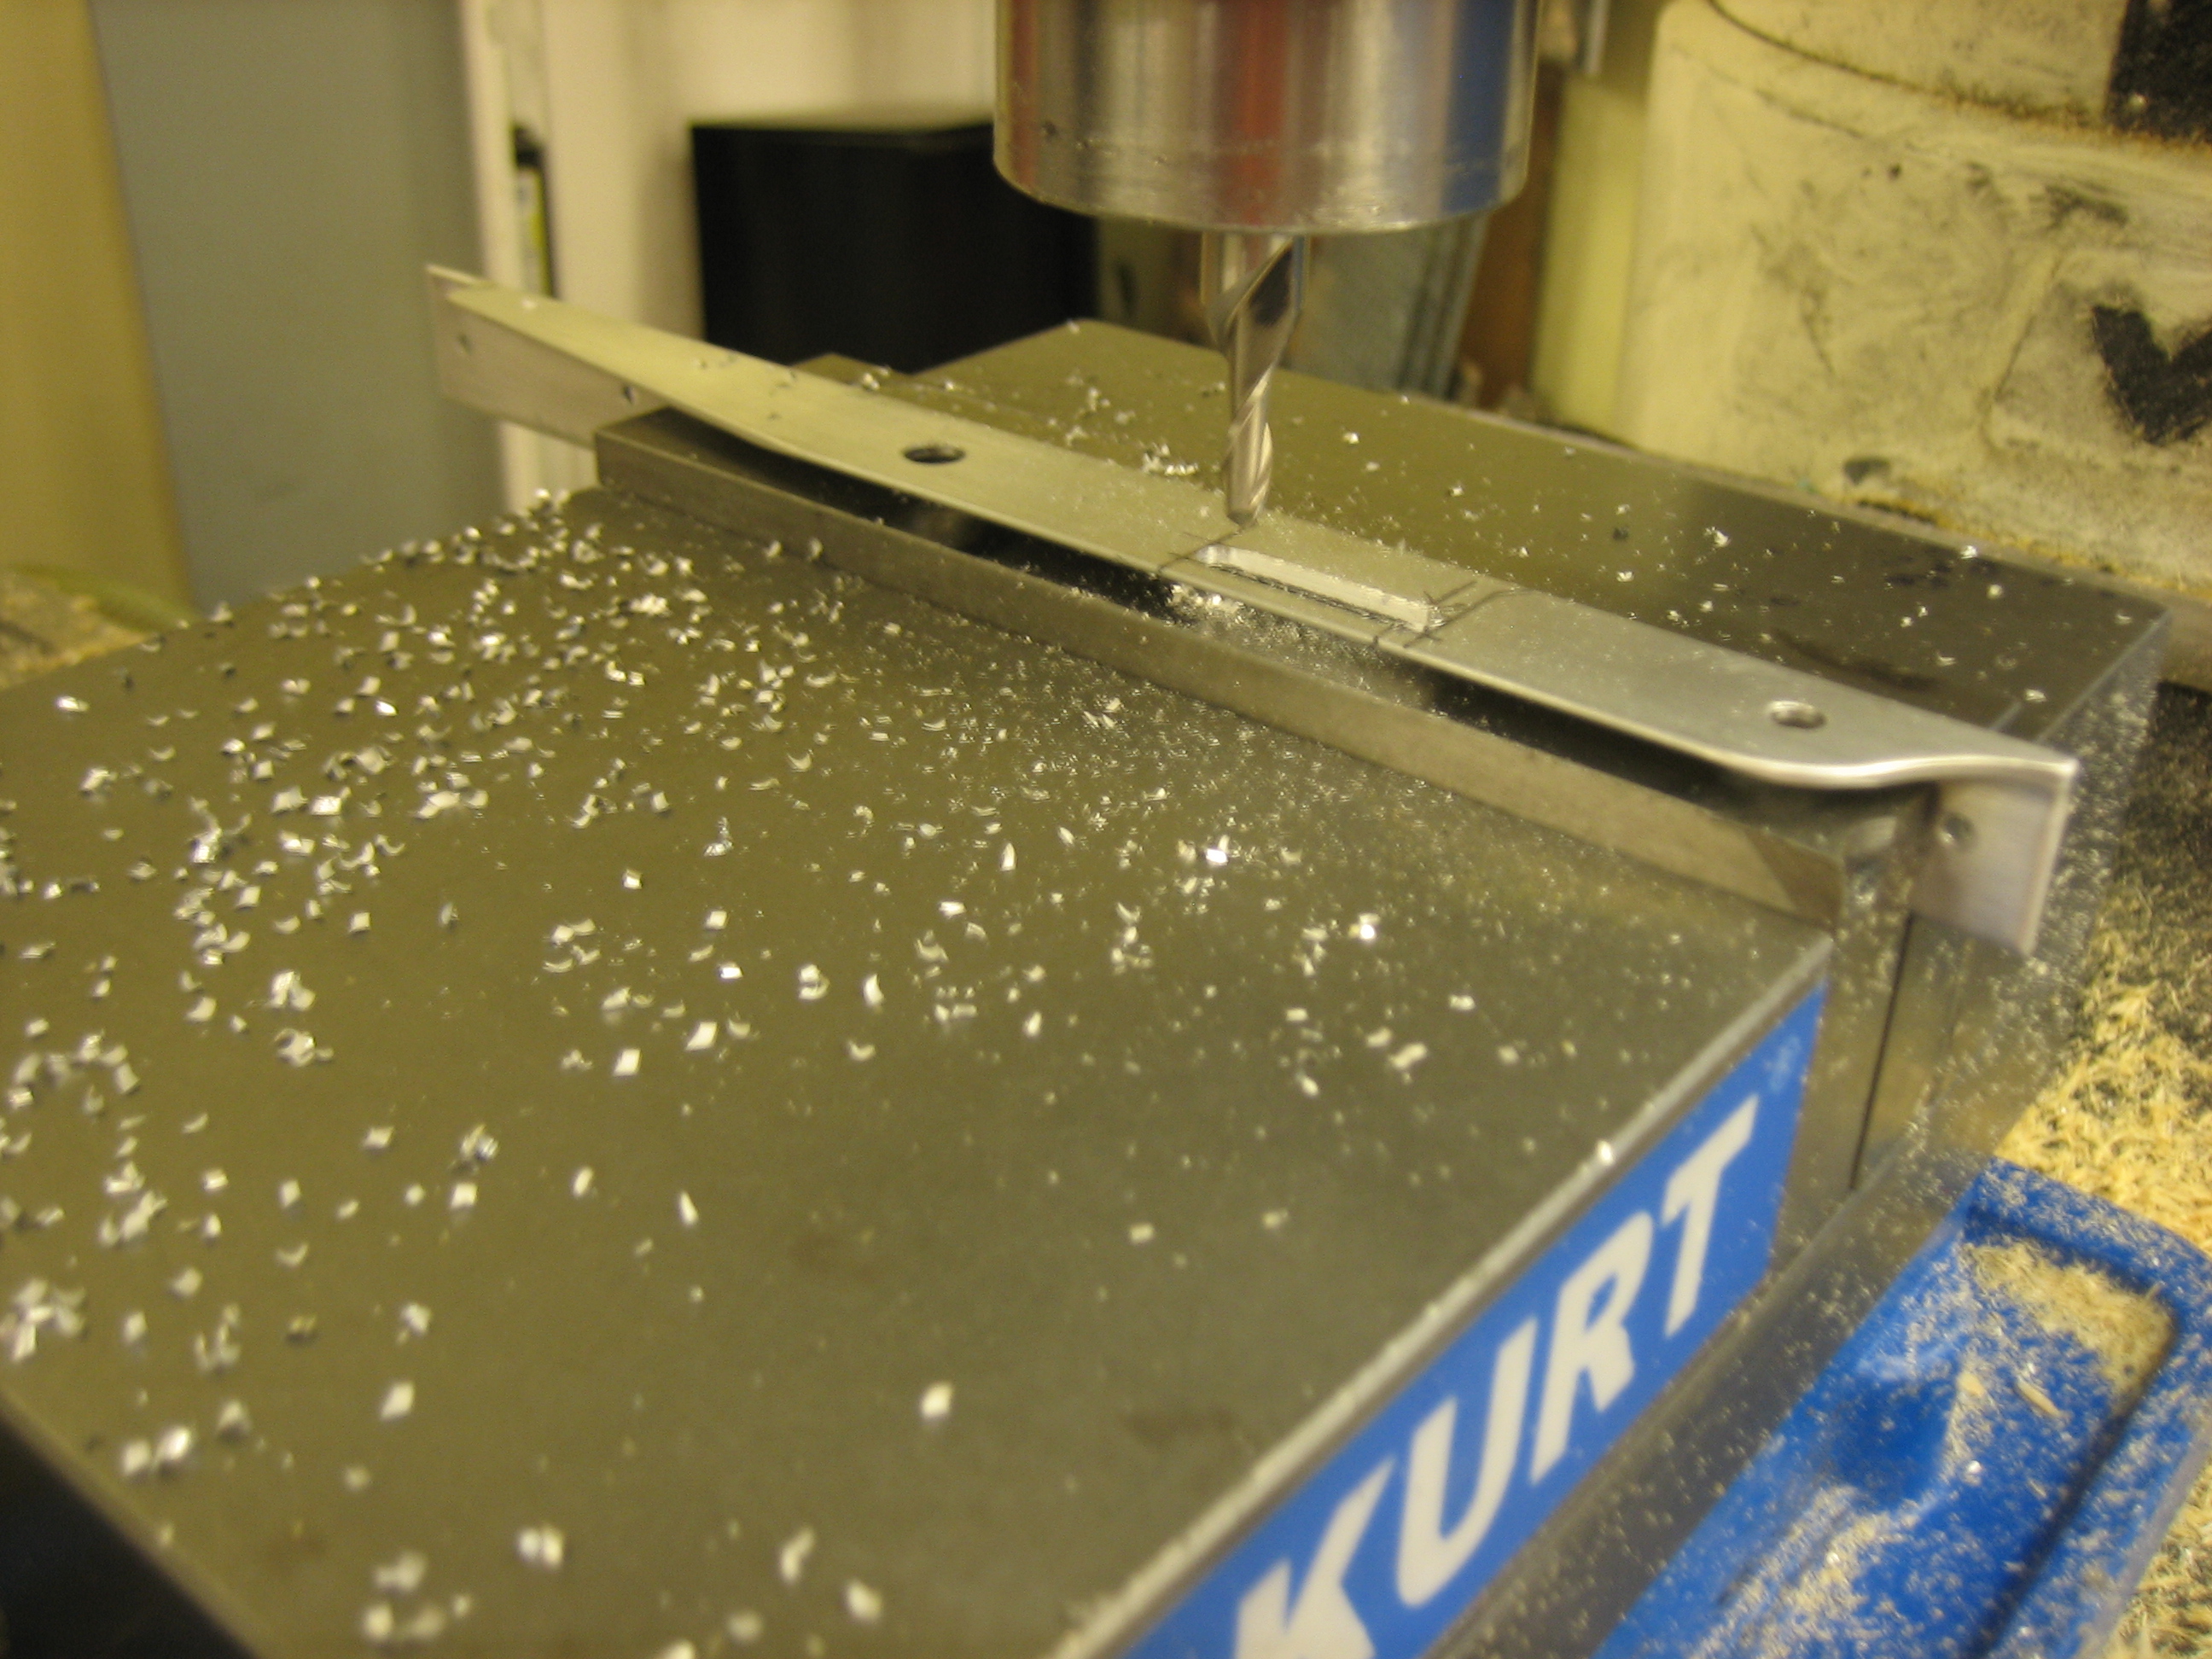
Next, I needed to mill out the slot for the cam. I headed to the Tech Shop and quickly milled out a slot in the lower mounting angle.
I then milled out a corresponding slot in the latch handle.
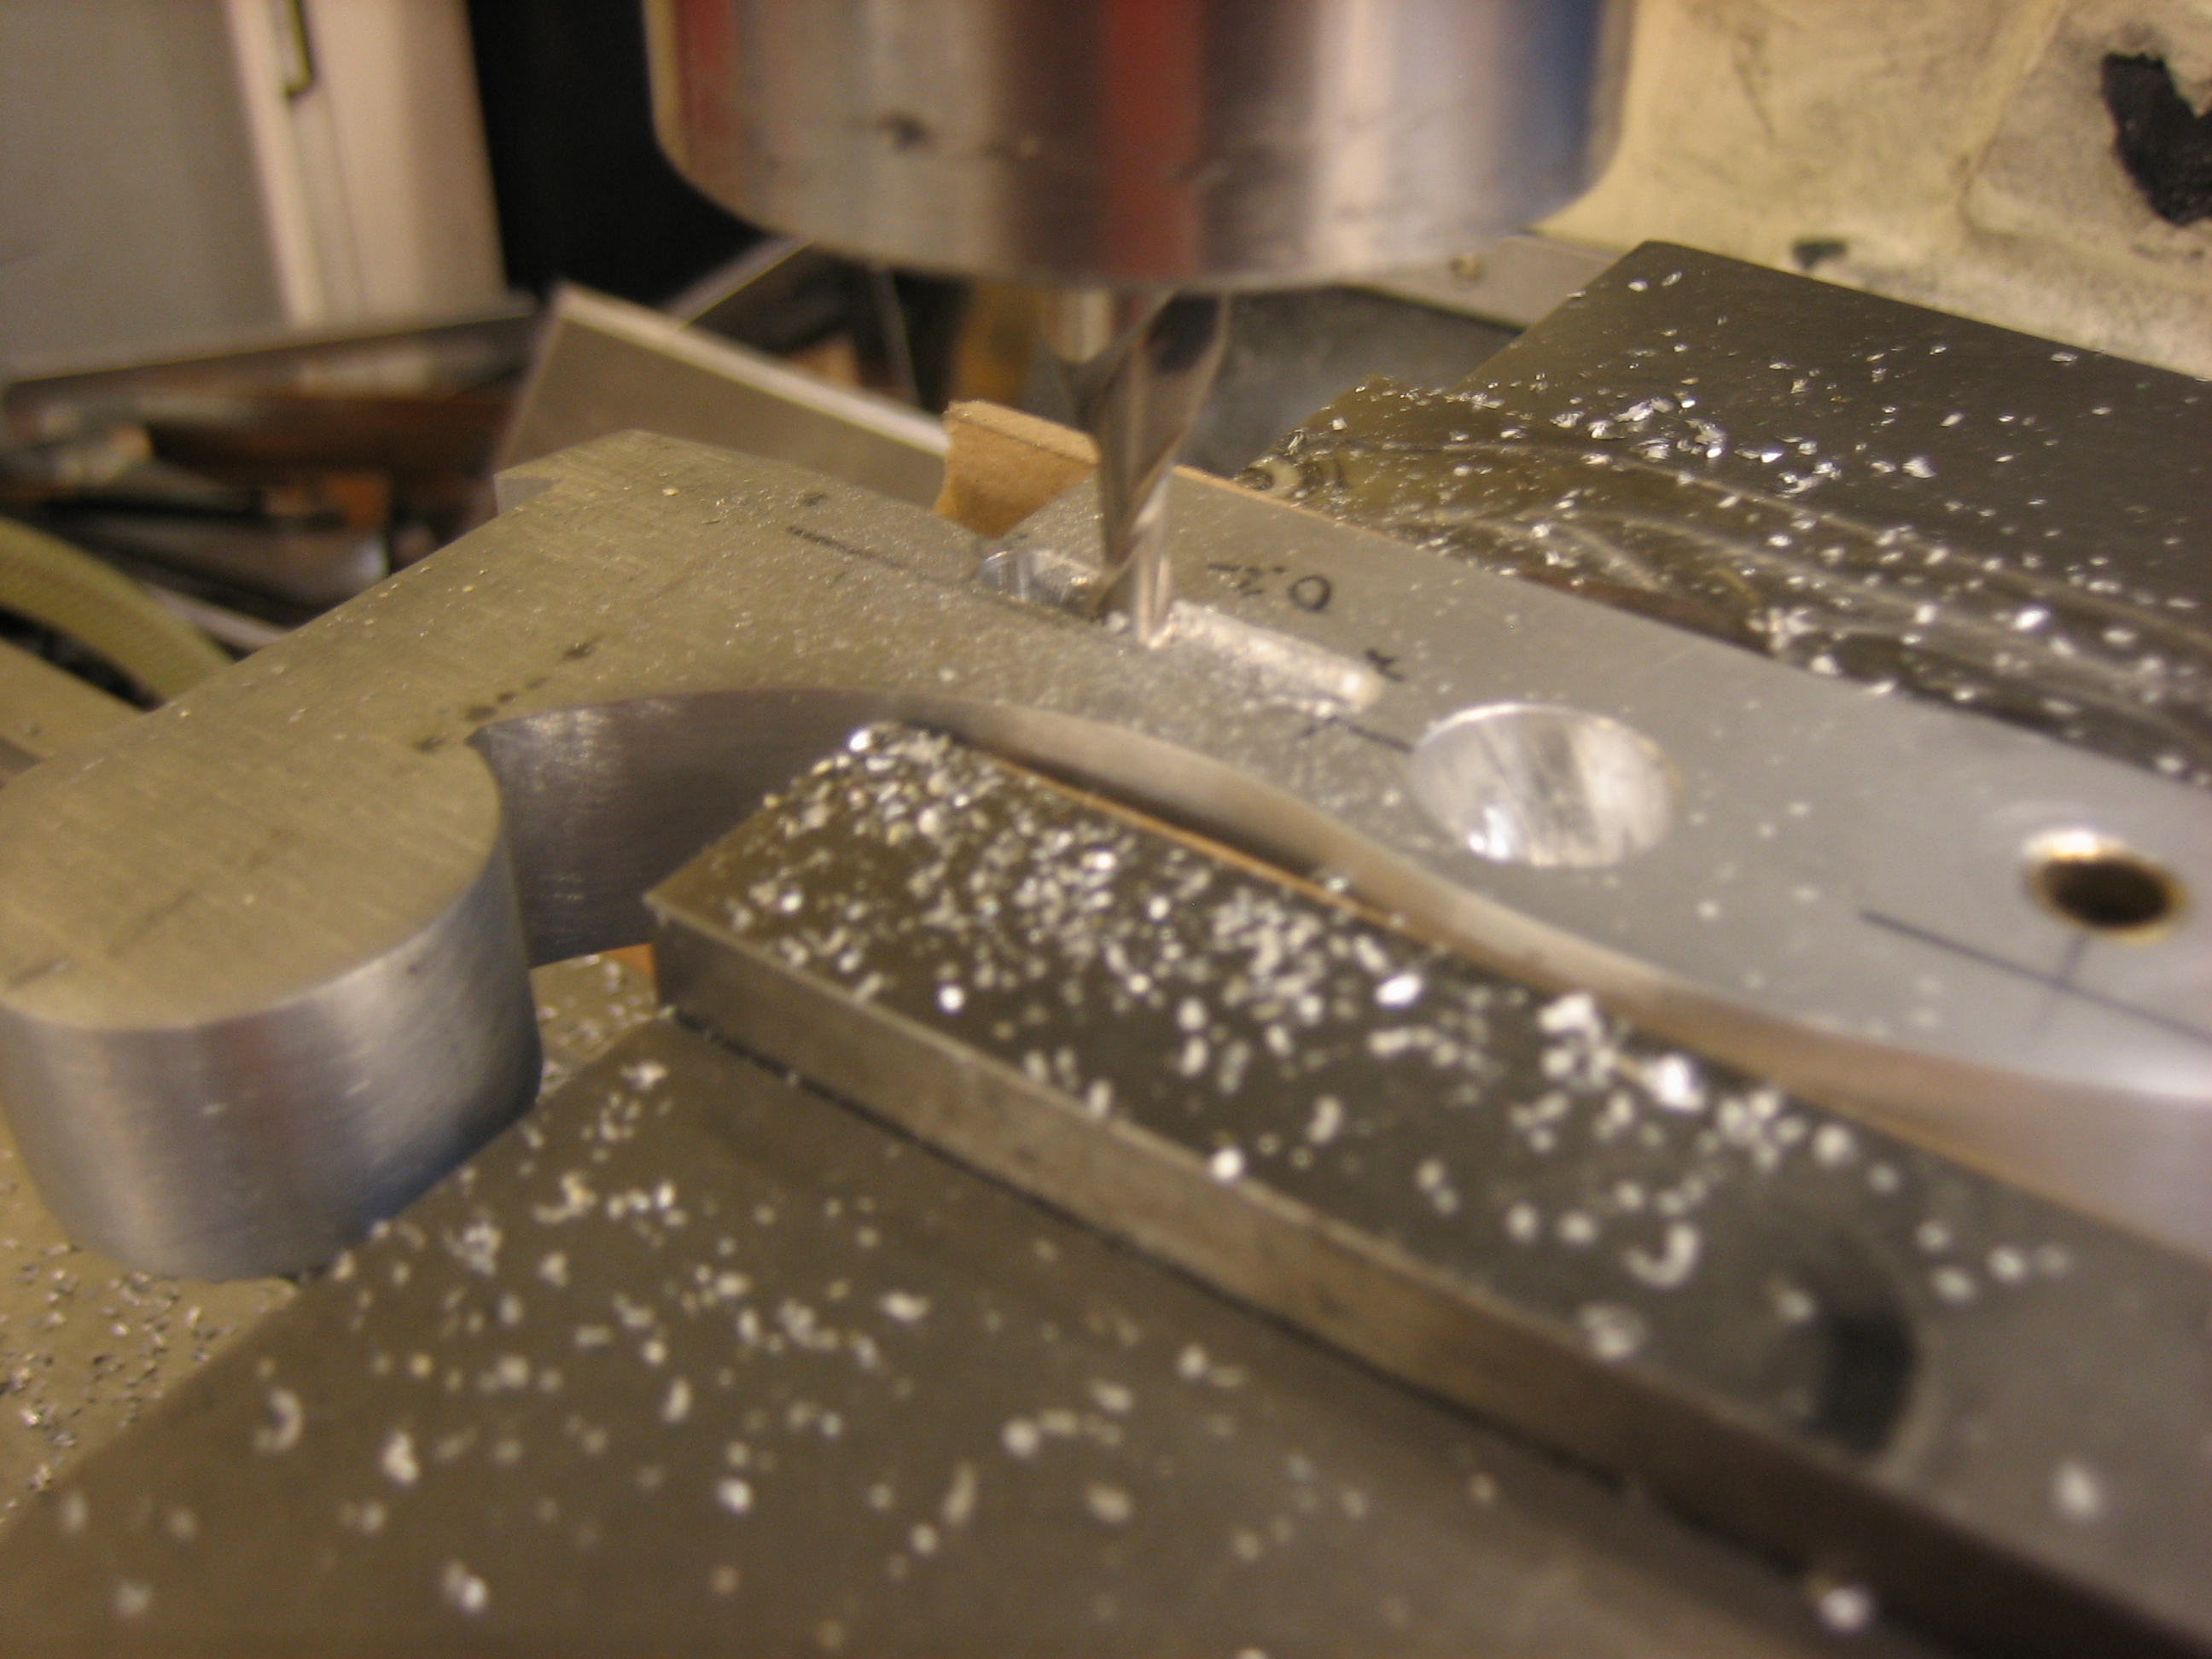
The cam is only about 0.080″ thick, but my smallest mill was 3/16″. Because of this, I had to offset the slots so that the cam would just fit.
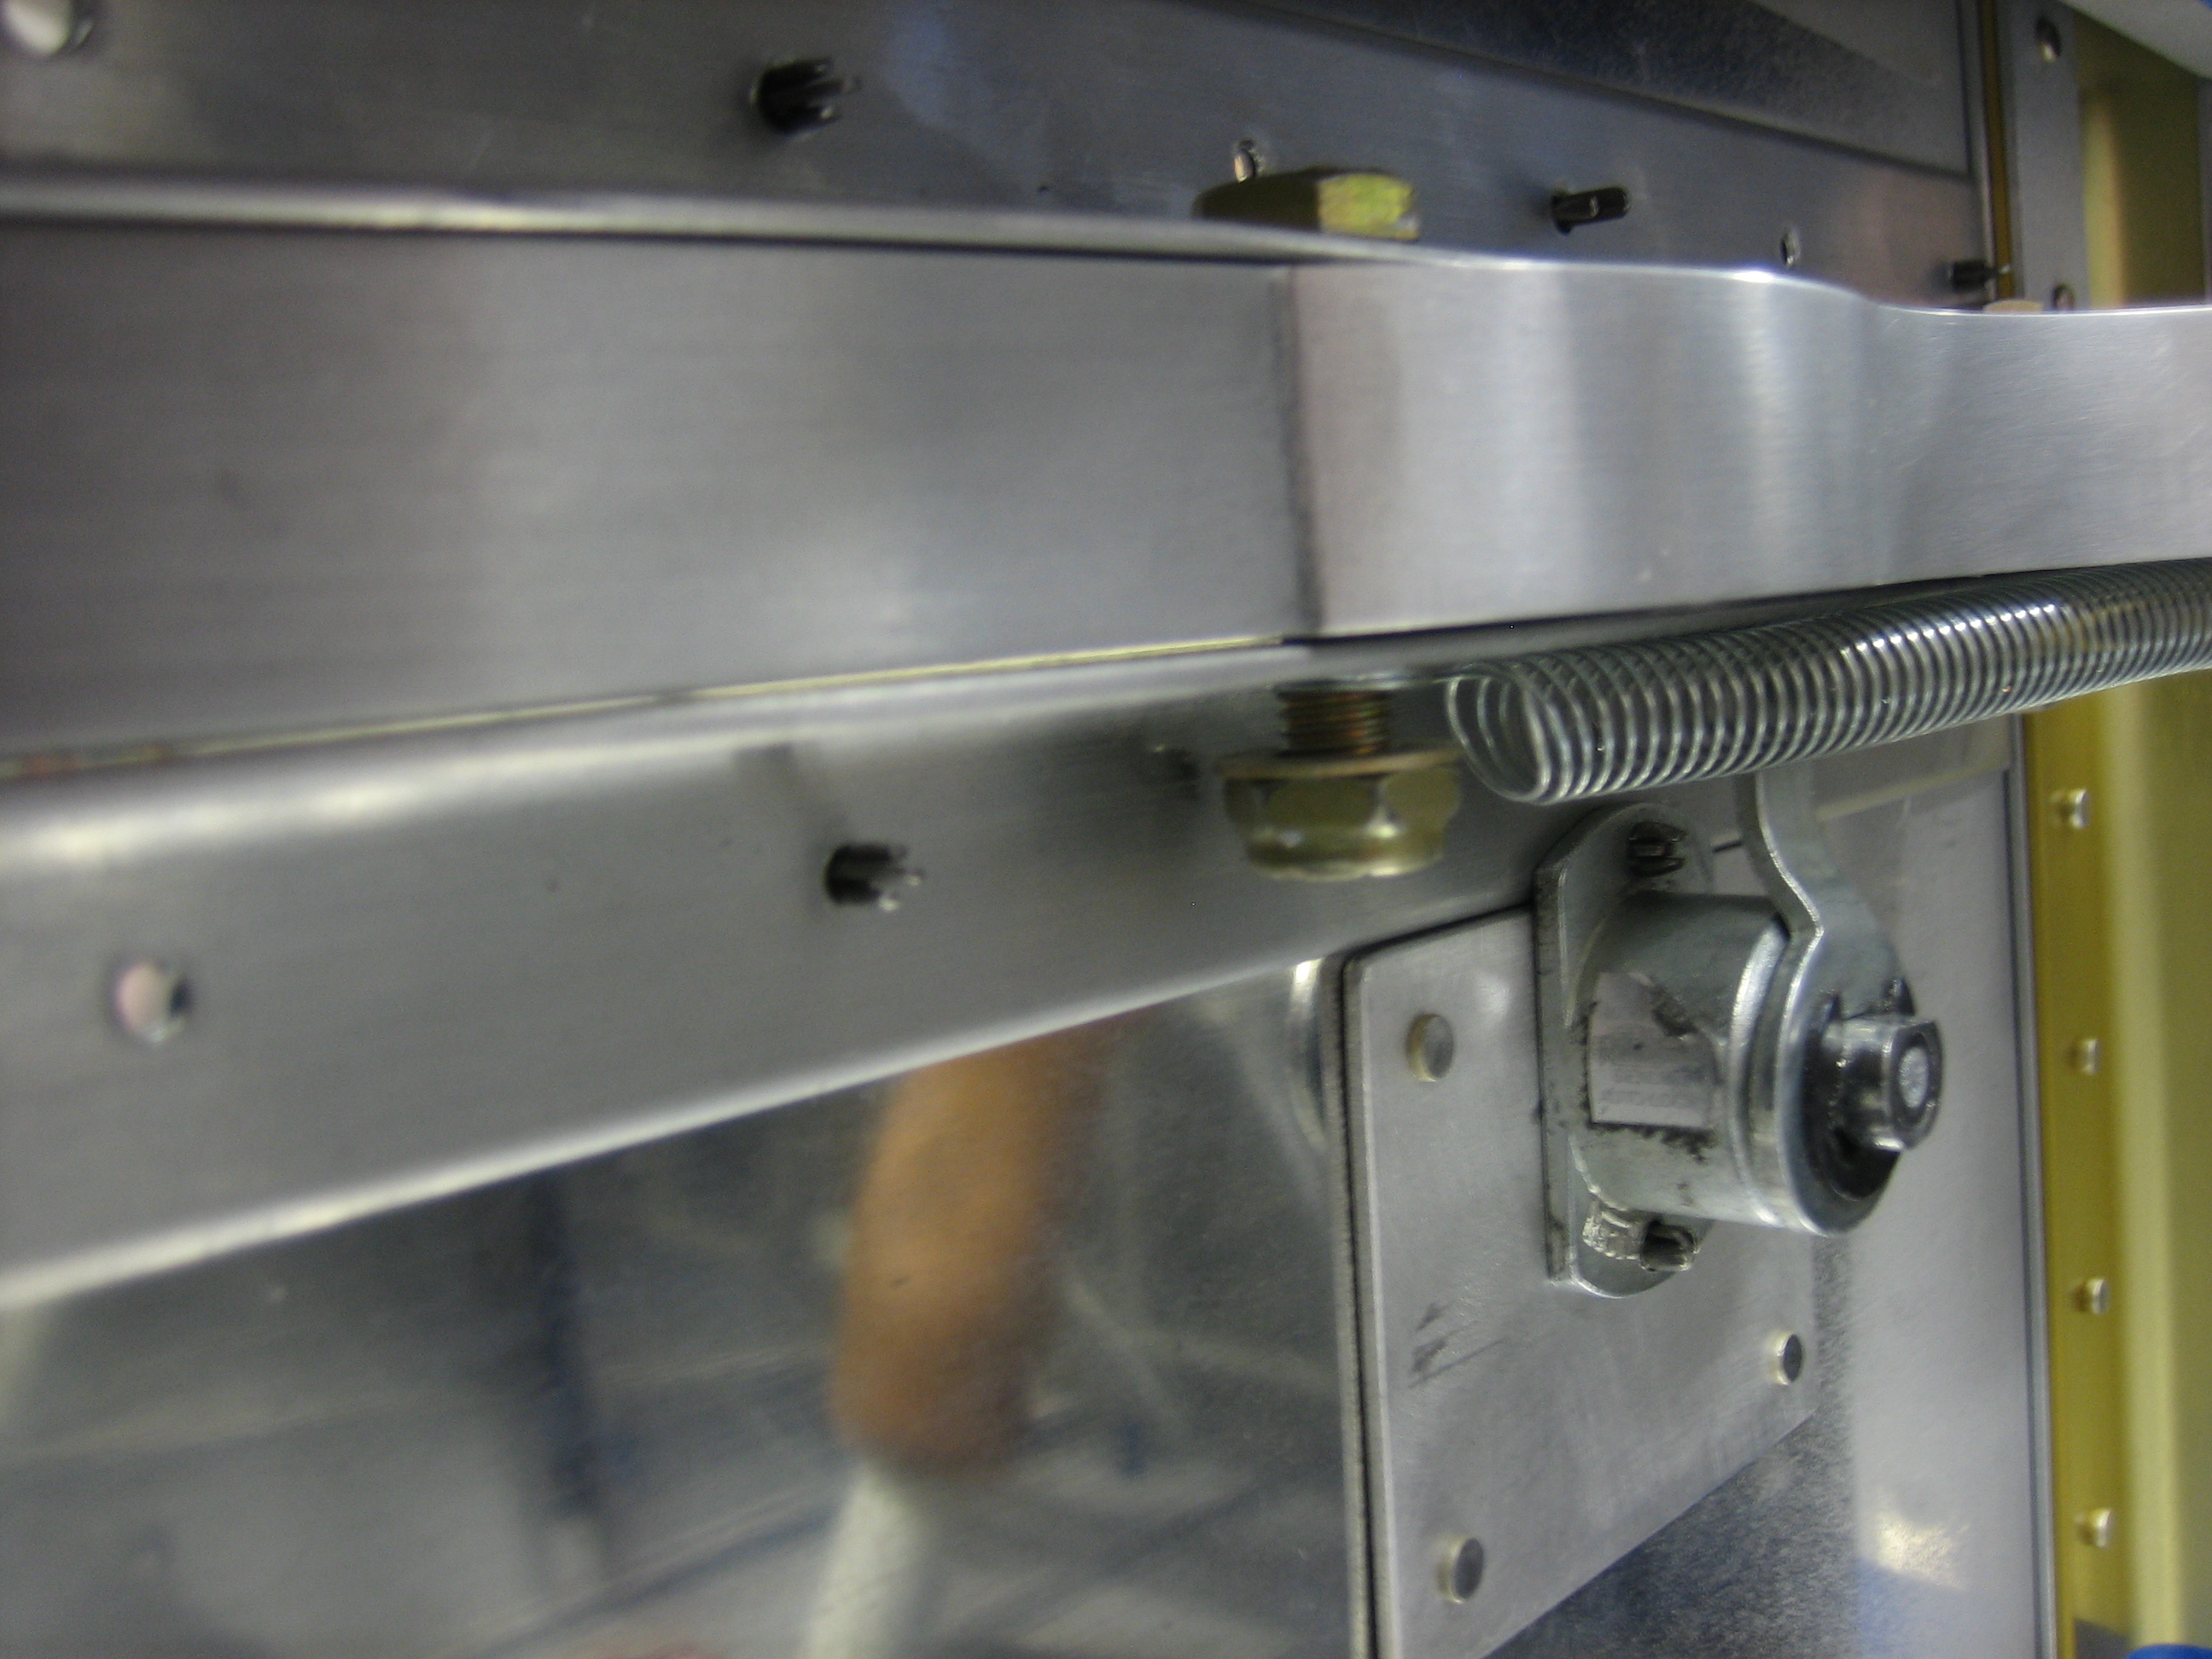
After reinstalling the components in the plane, I tested it out and everything works perfectly. Here’s the latch in the unlocked state.
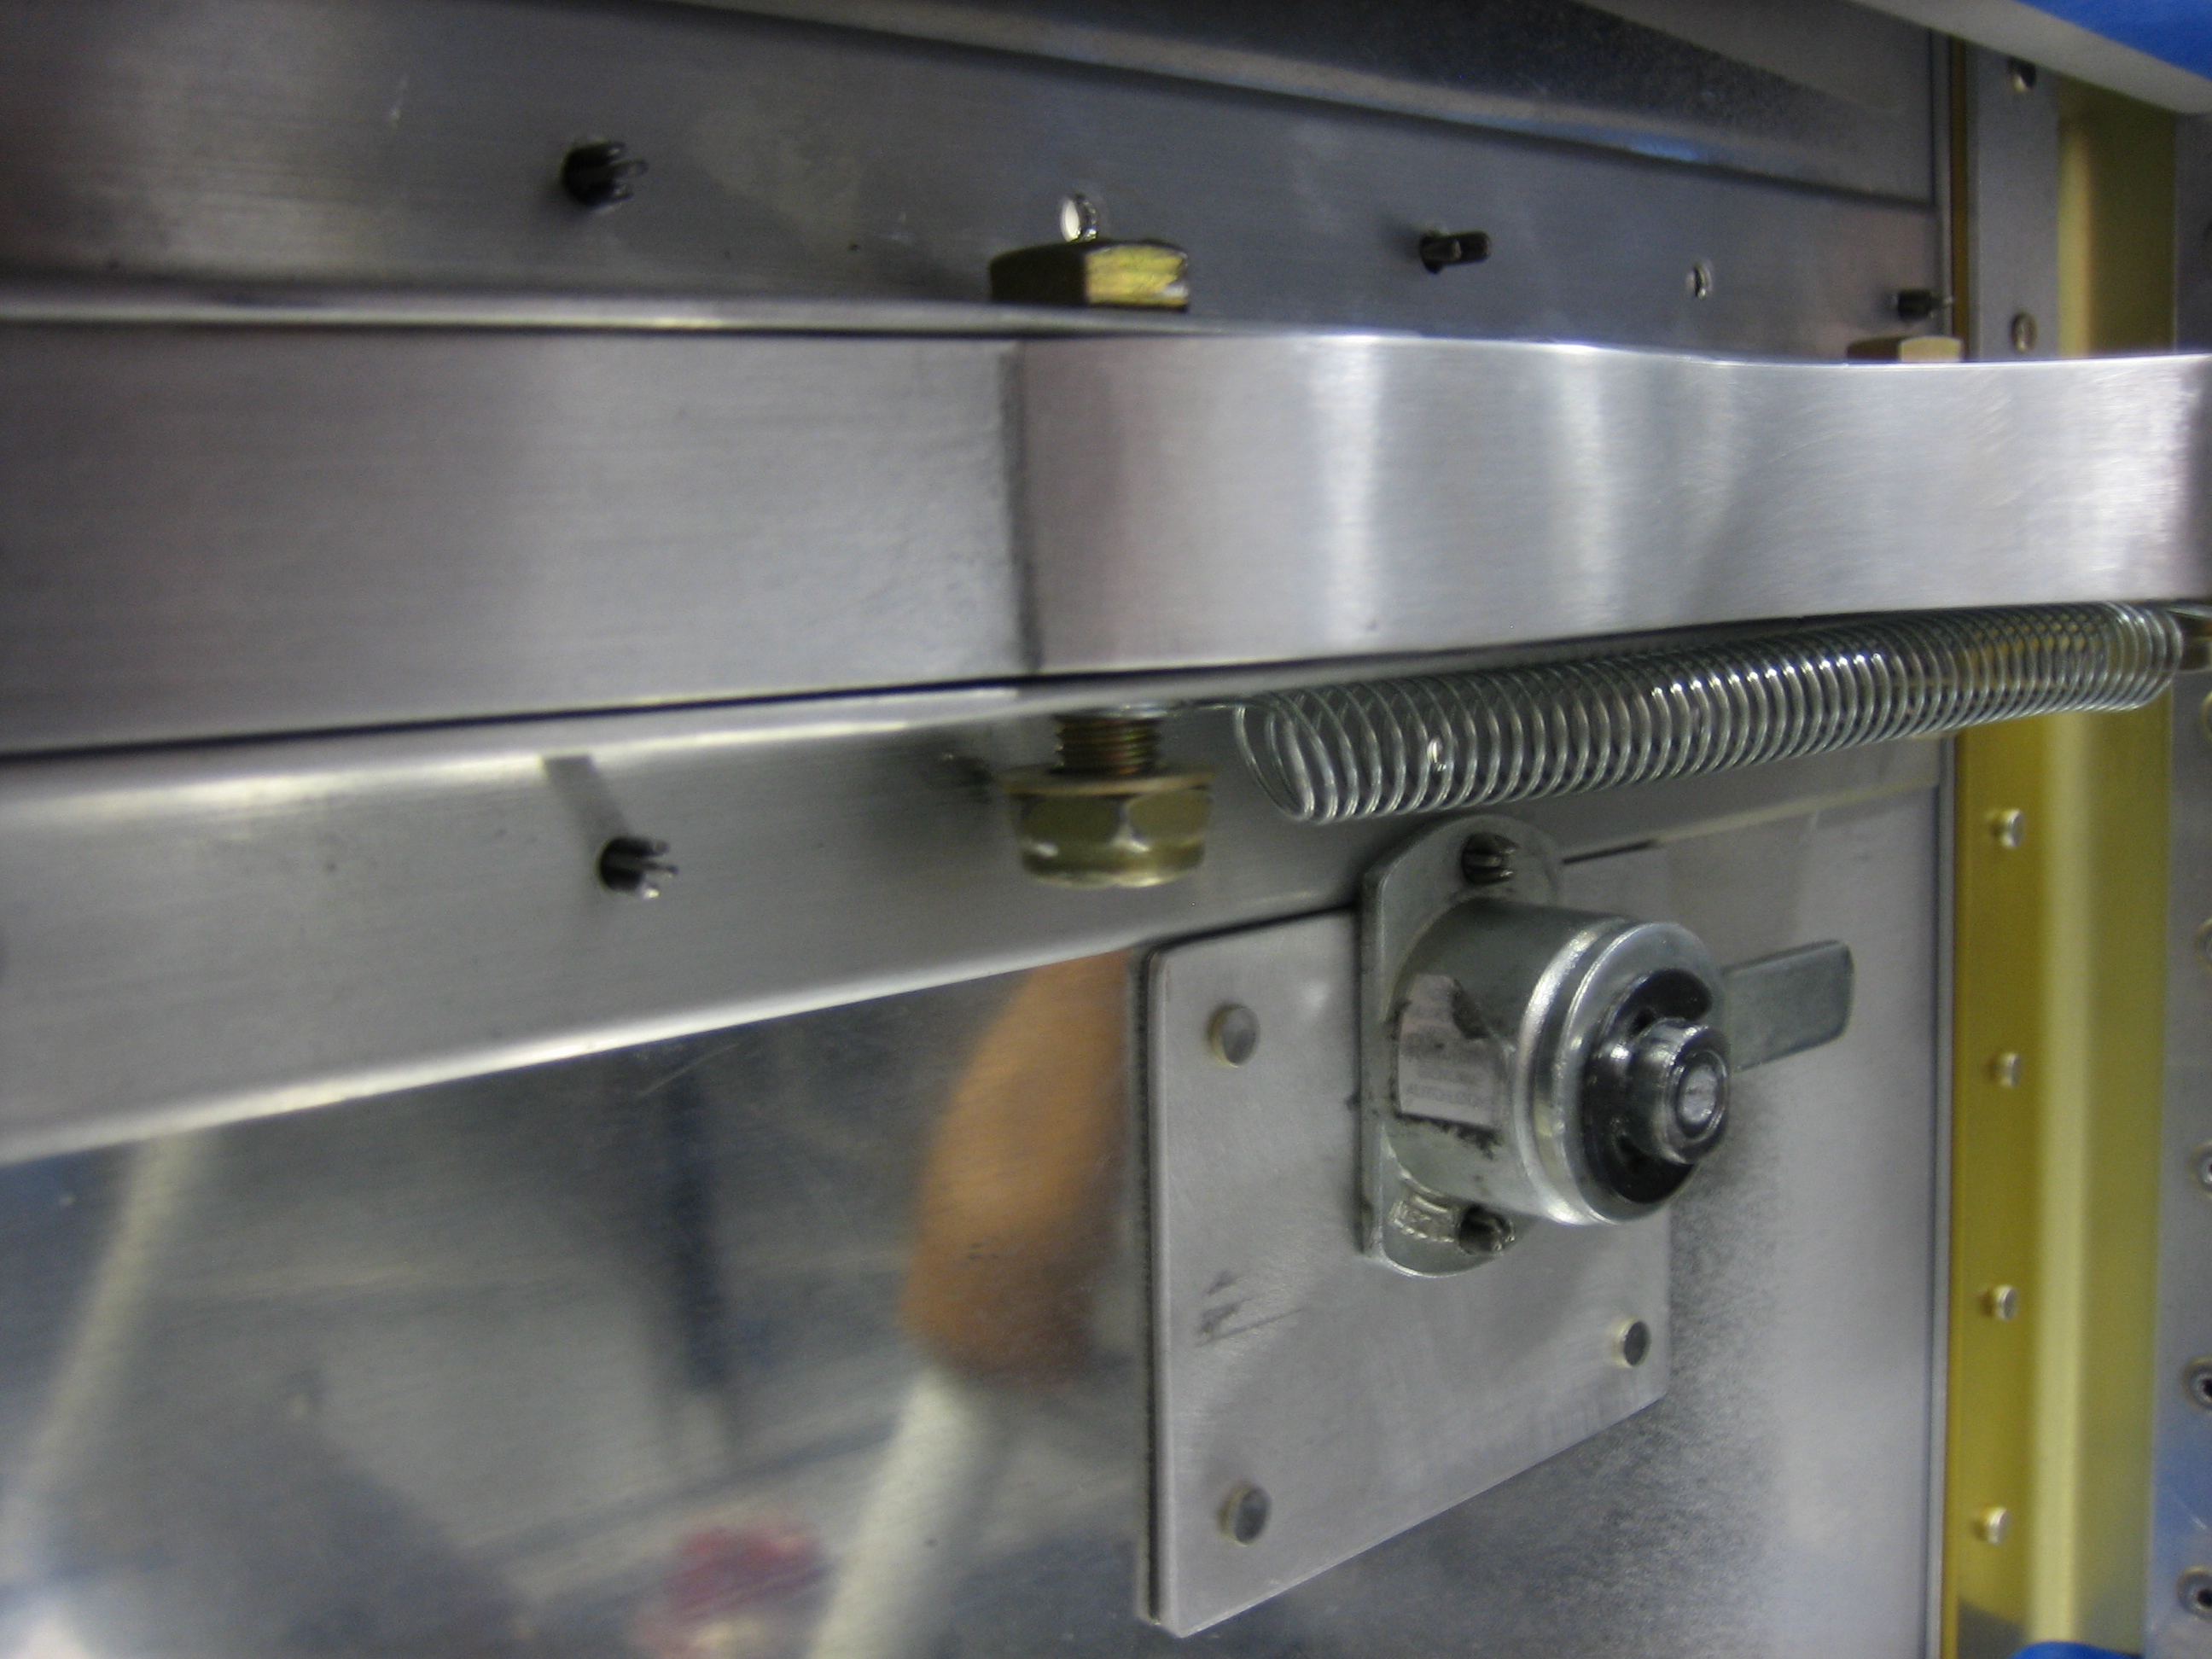
And here’s the locked state. With the latch locked, the handle is completely immobilized. I’m super happy with how this turned out. Everything about the latch and lock is flush with the fuselage skin. I’m sure I’ve picked up a huge amount of speed without the handle and cam lock sticking out from the fuselage :-).