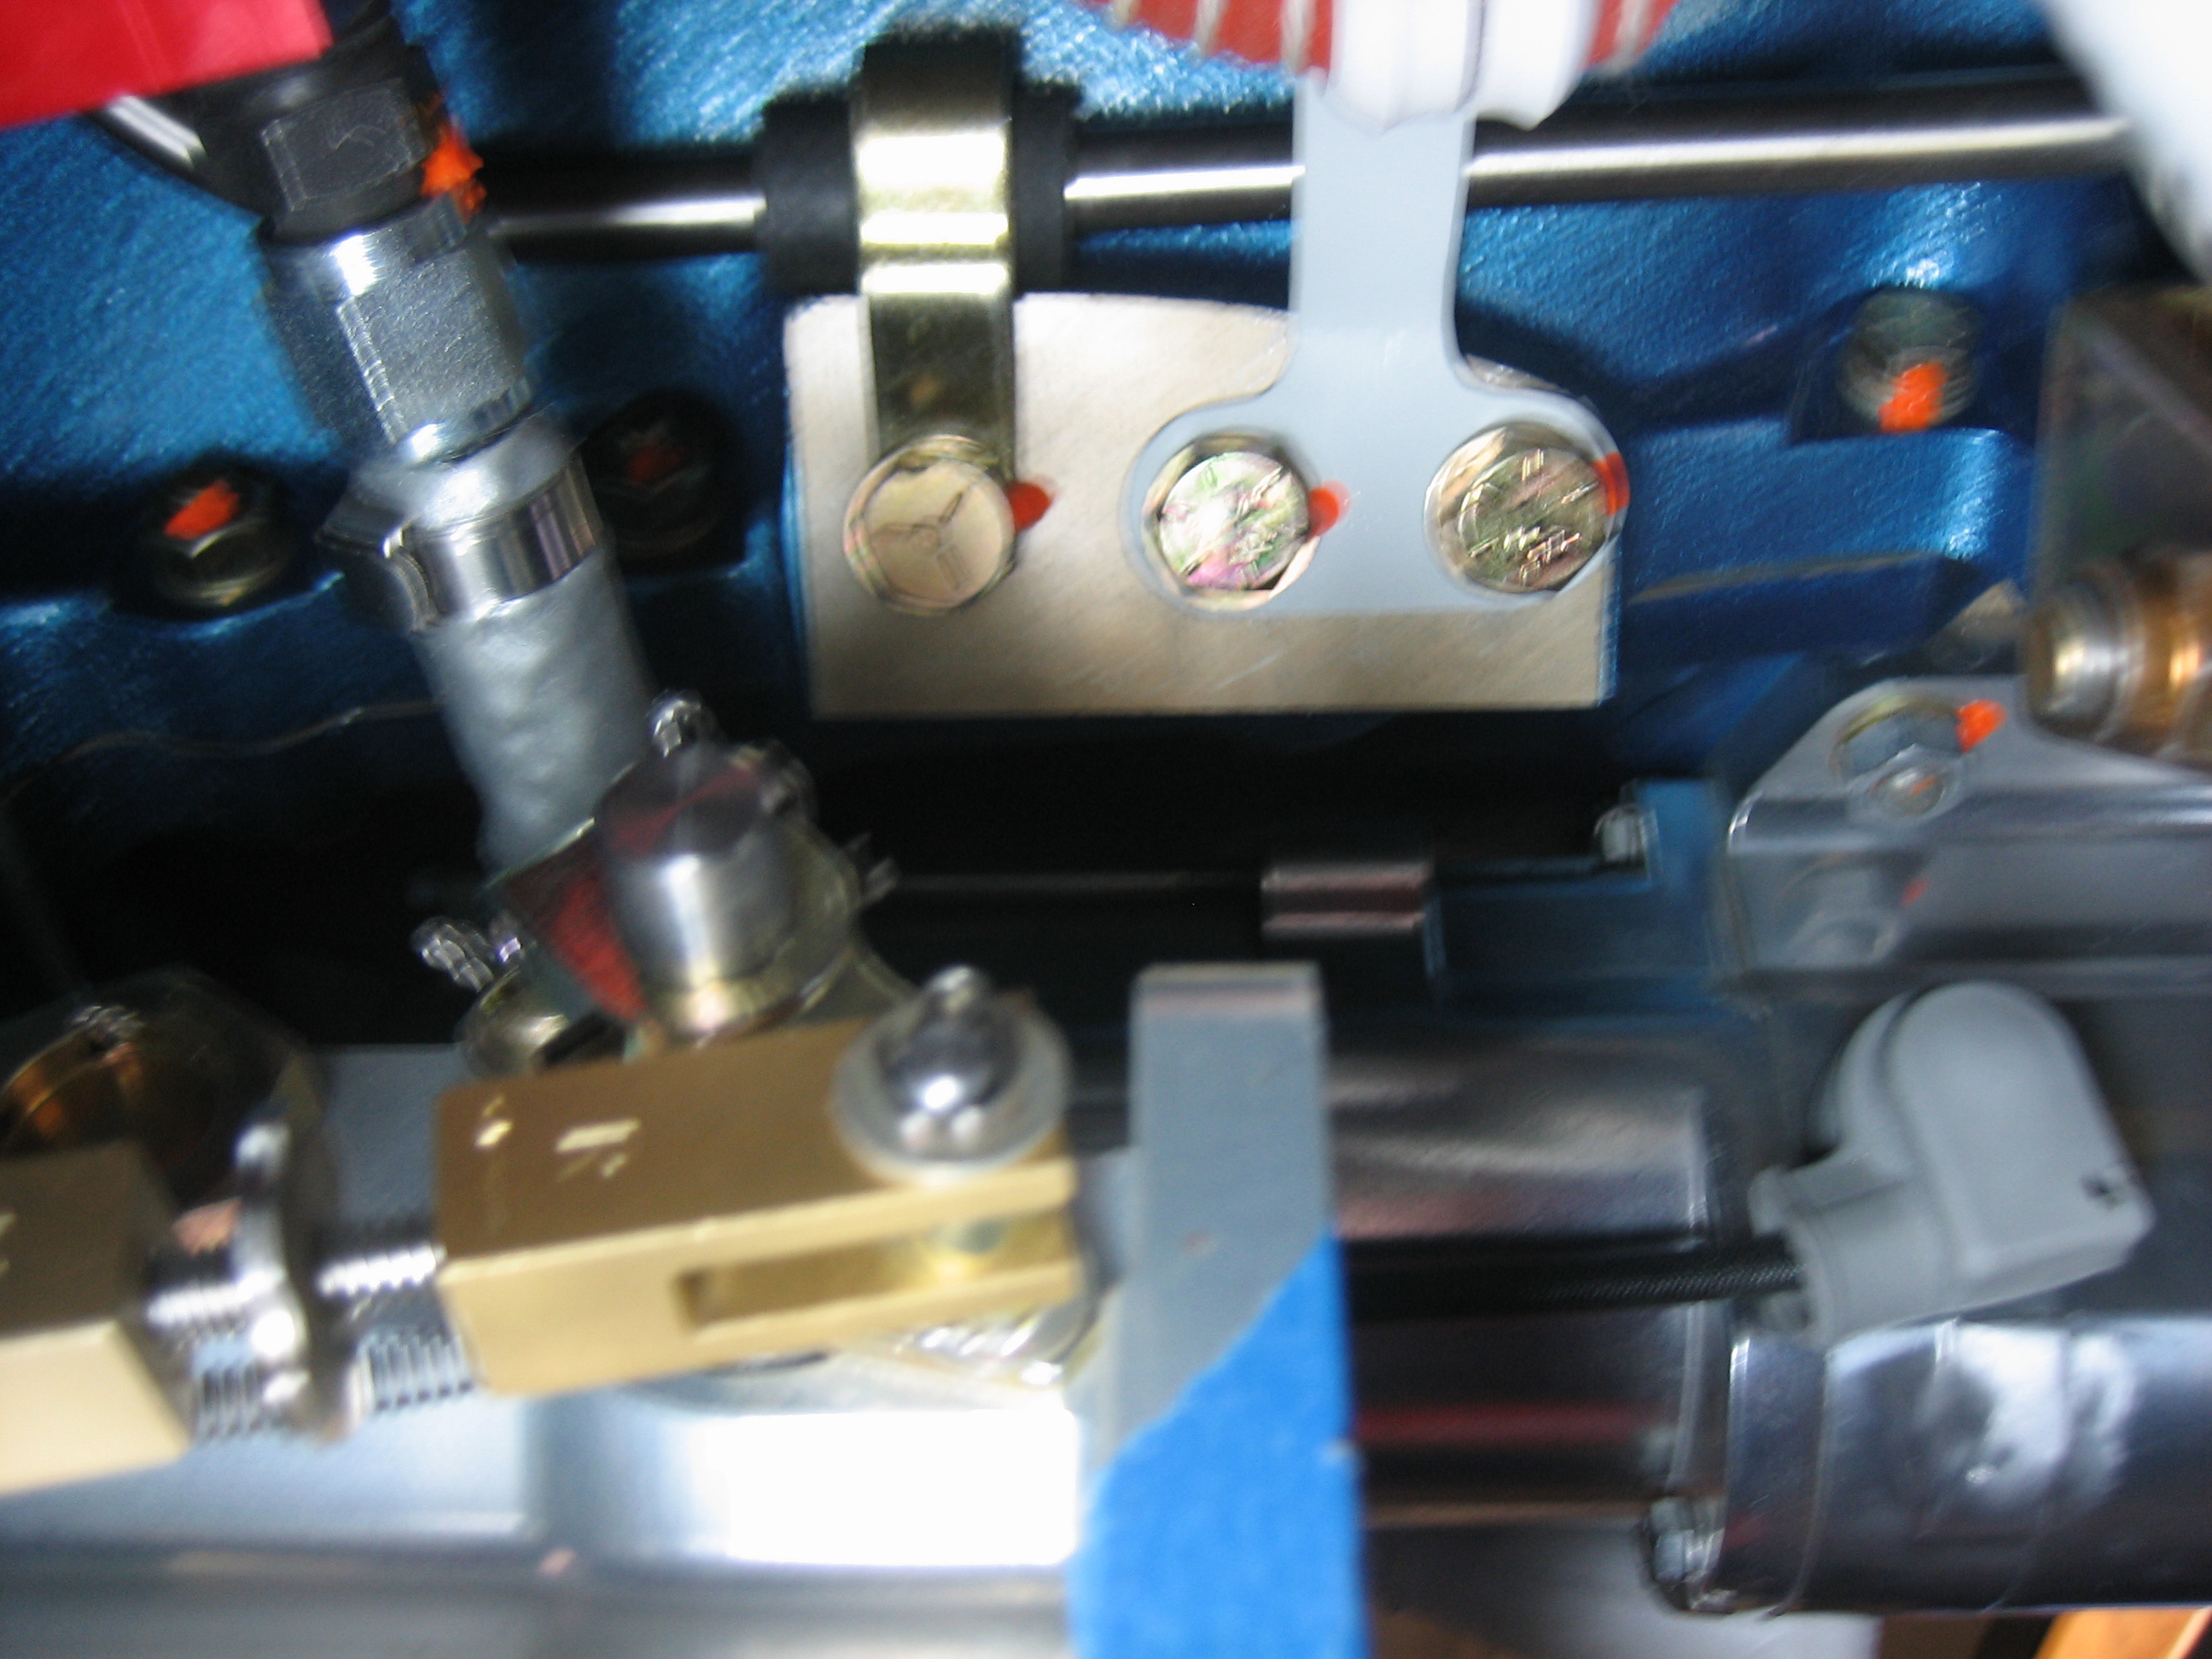
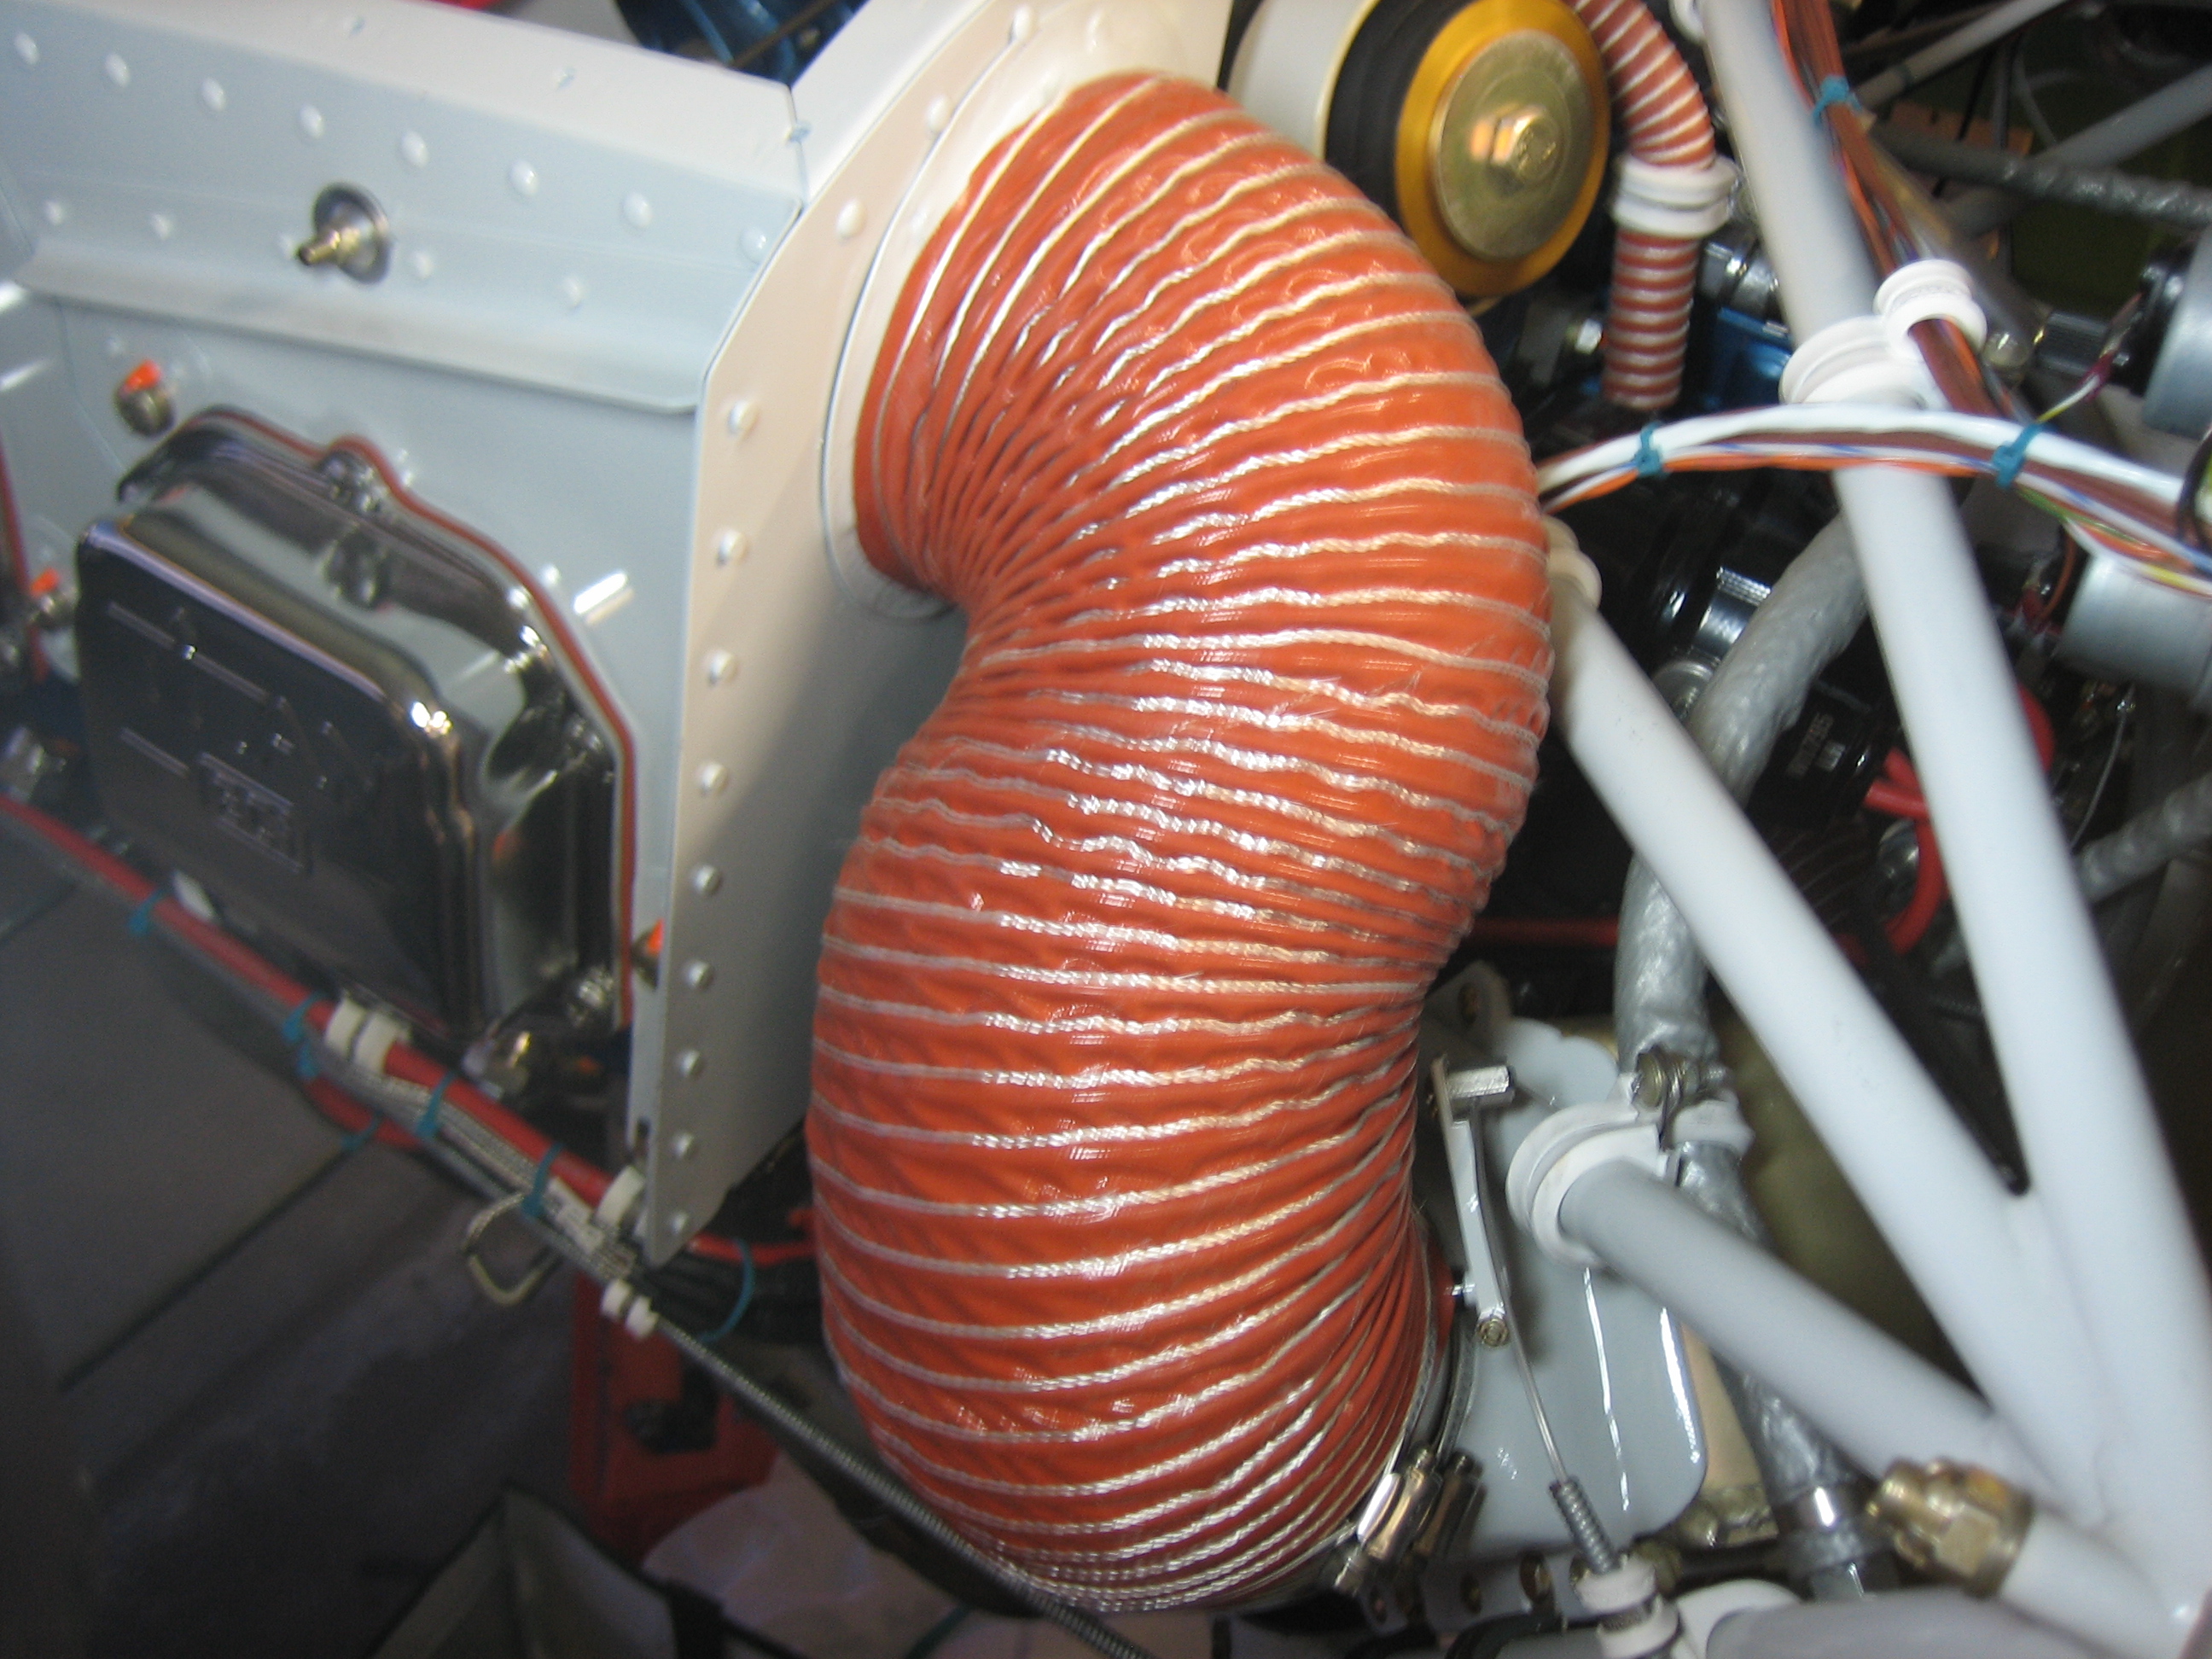
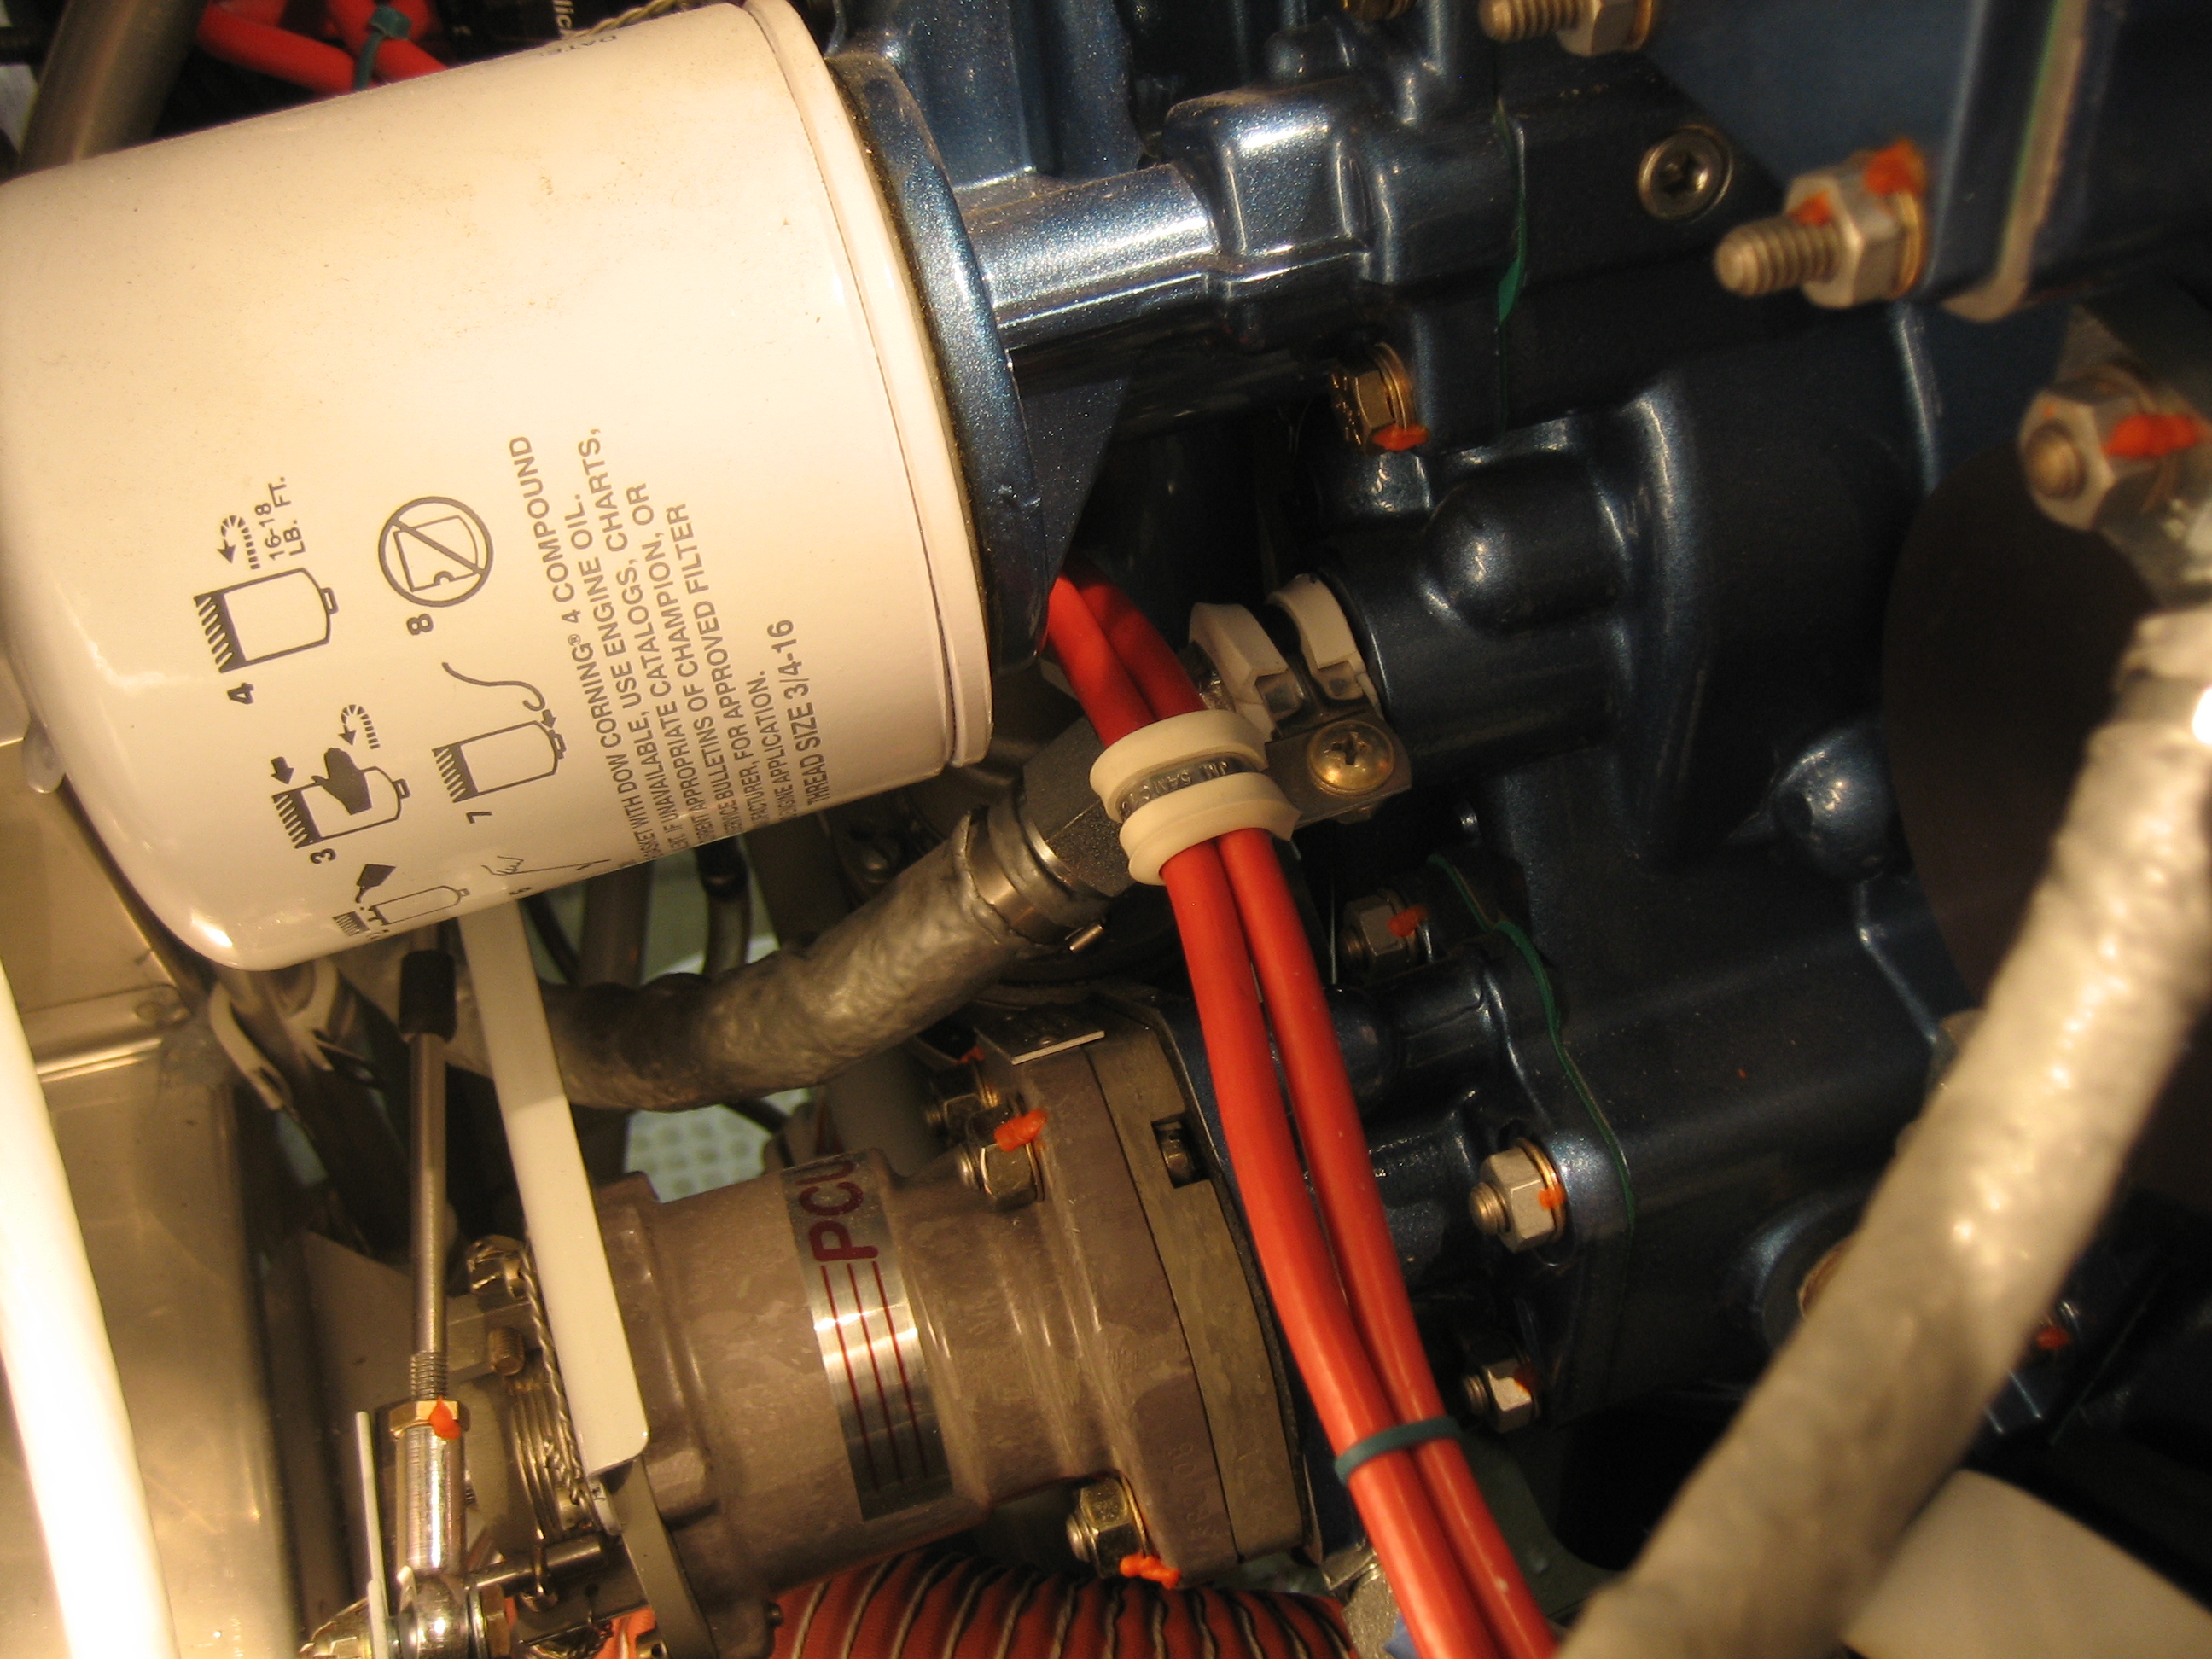
The right side mag wires were unsupported all the way from the engine mount on the right side to the magneto and were hanging just below the oil filter where they will be in the way during oil changes. I used a couple of adel clamps to secure the wires to the fitting on the lower oil cooler line to keep them forward of the oil cooler. This will also keep them from rubbing on anything as they pass under the oil filter.
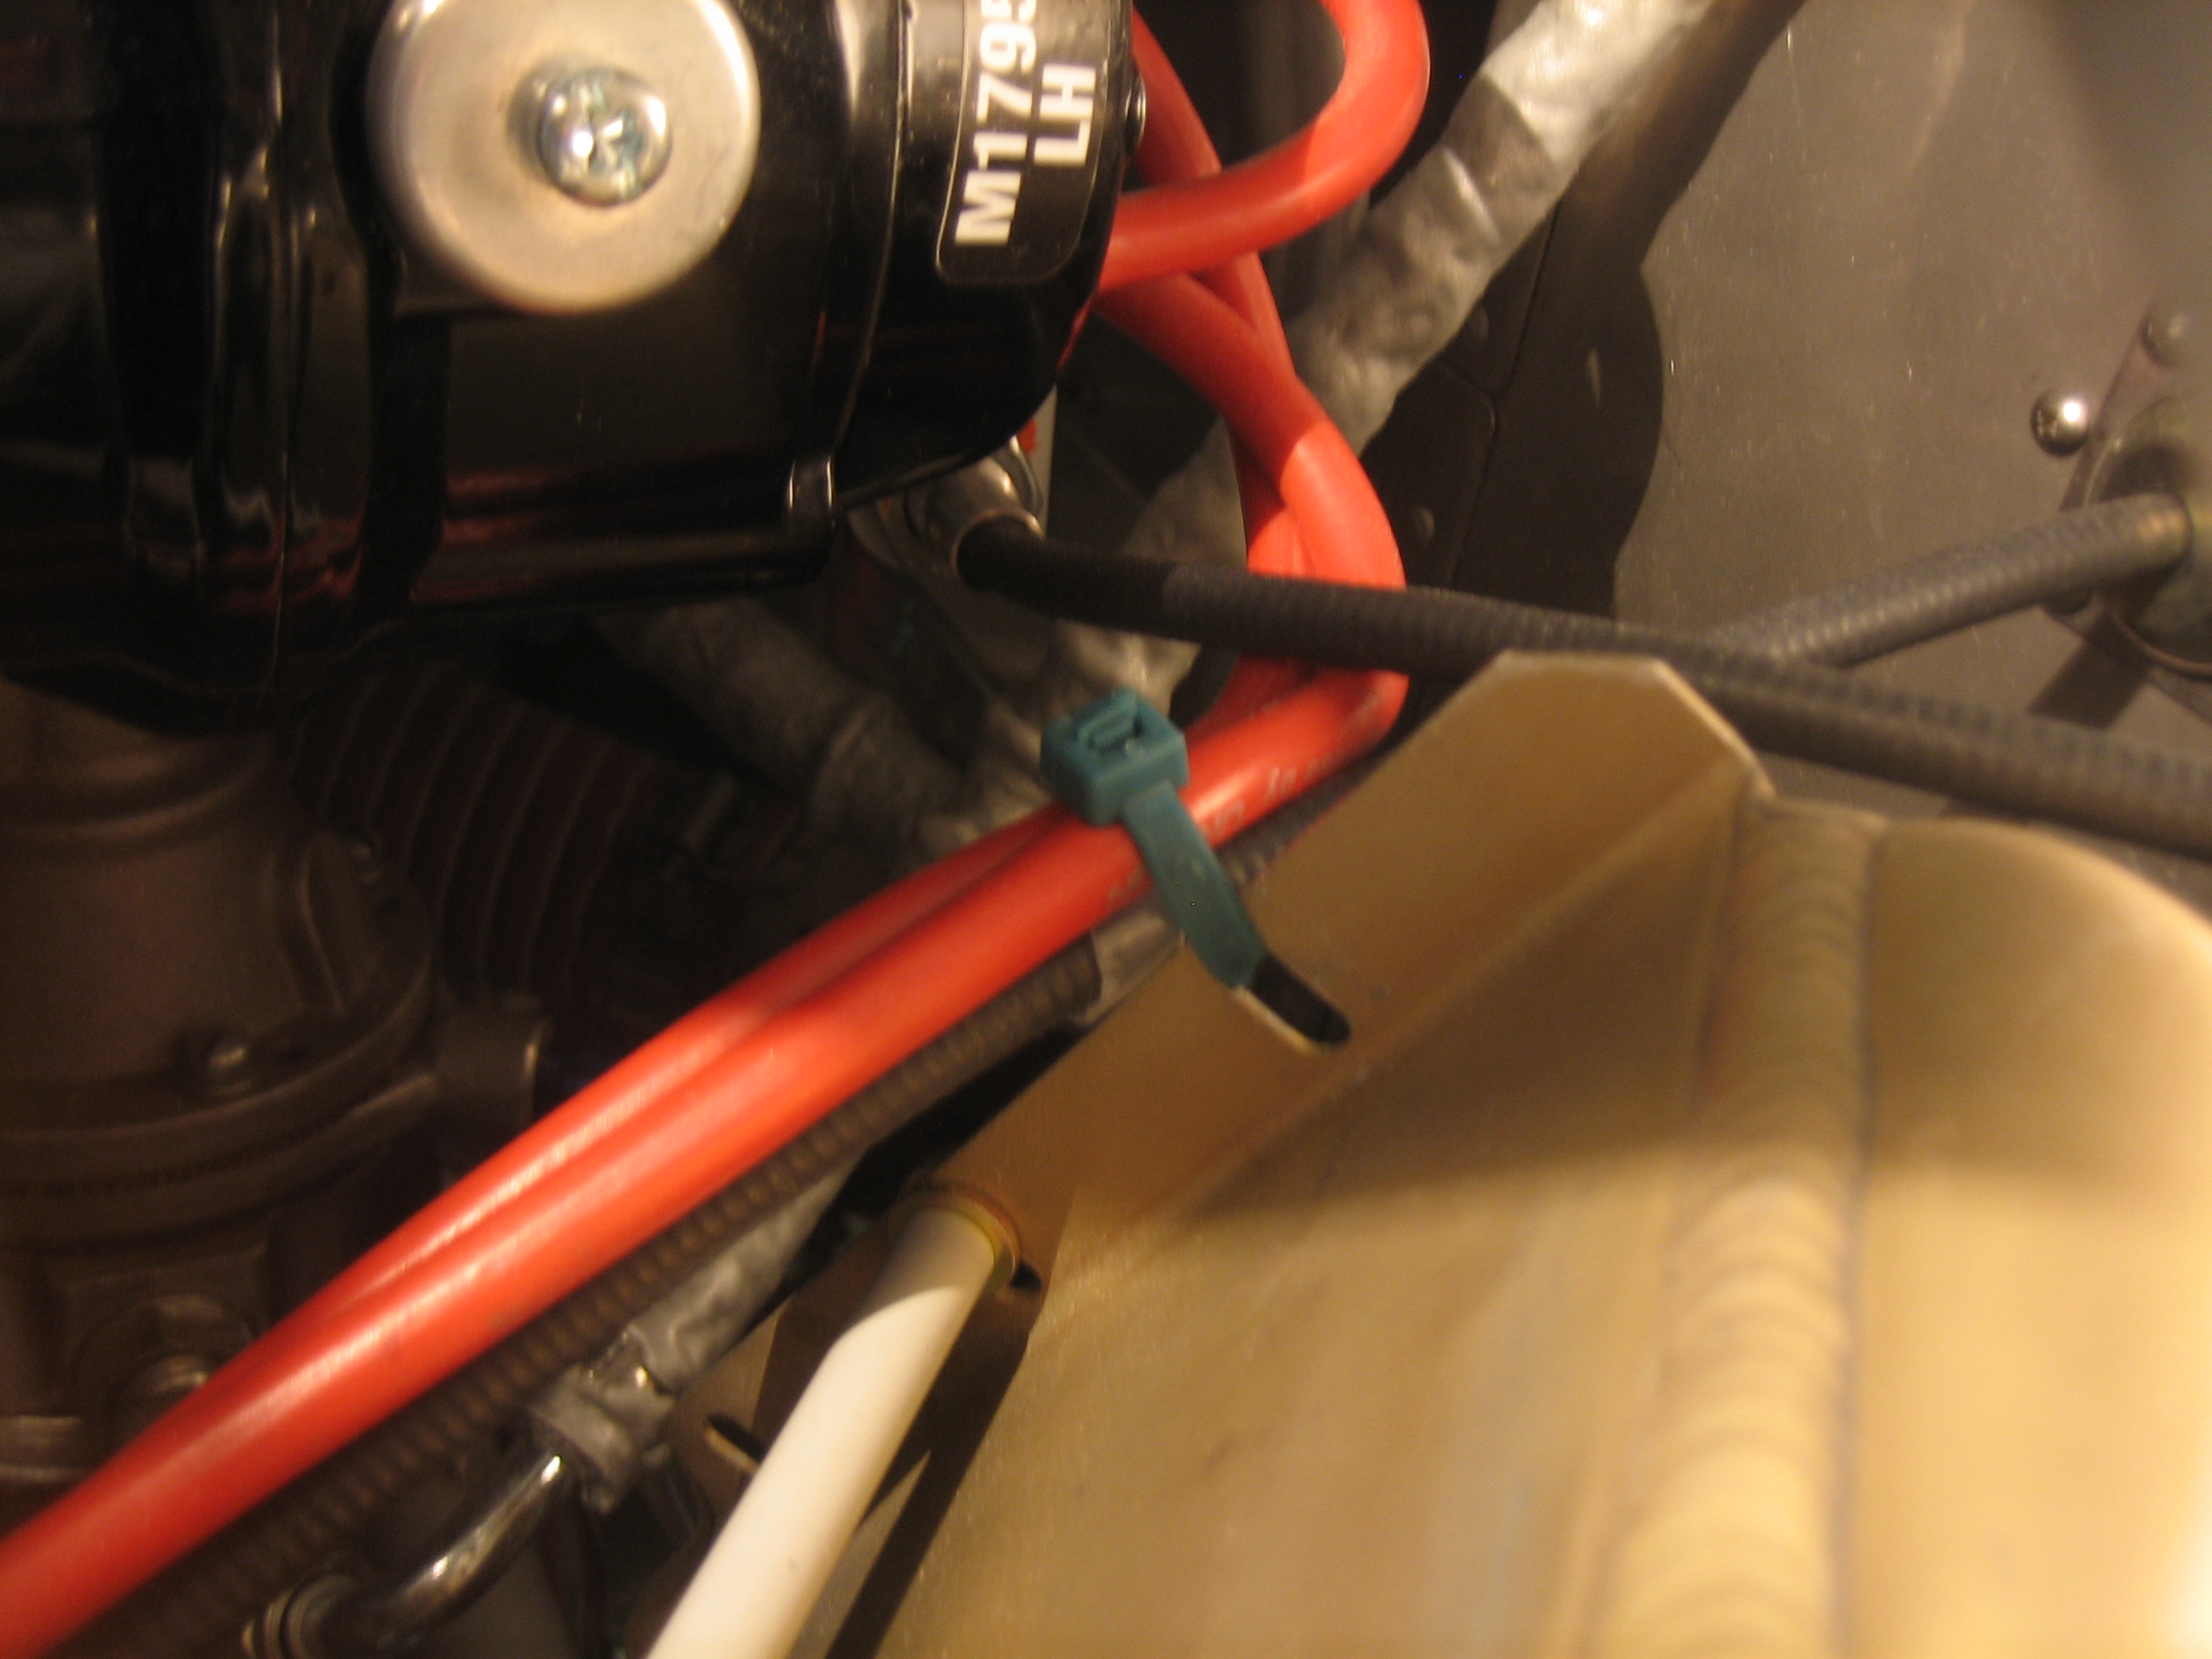
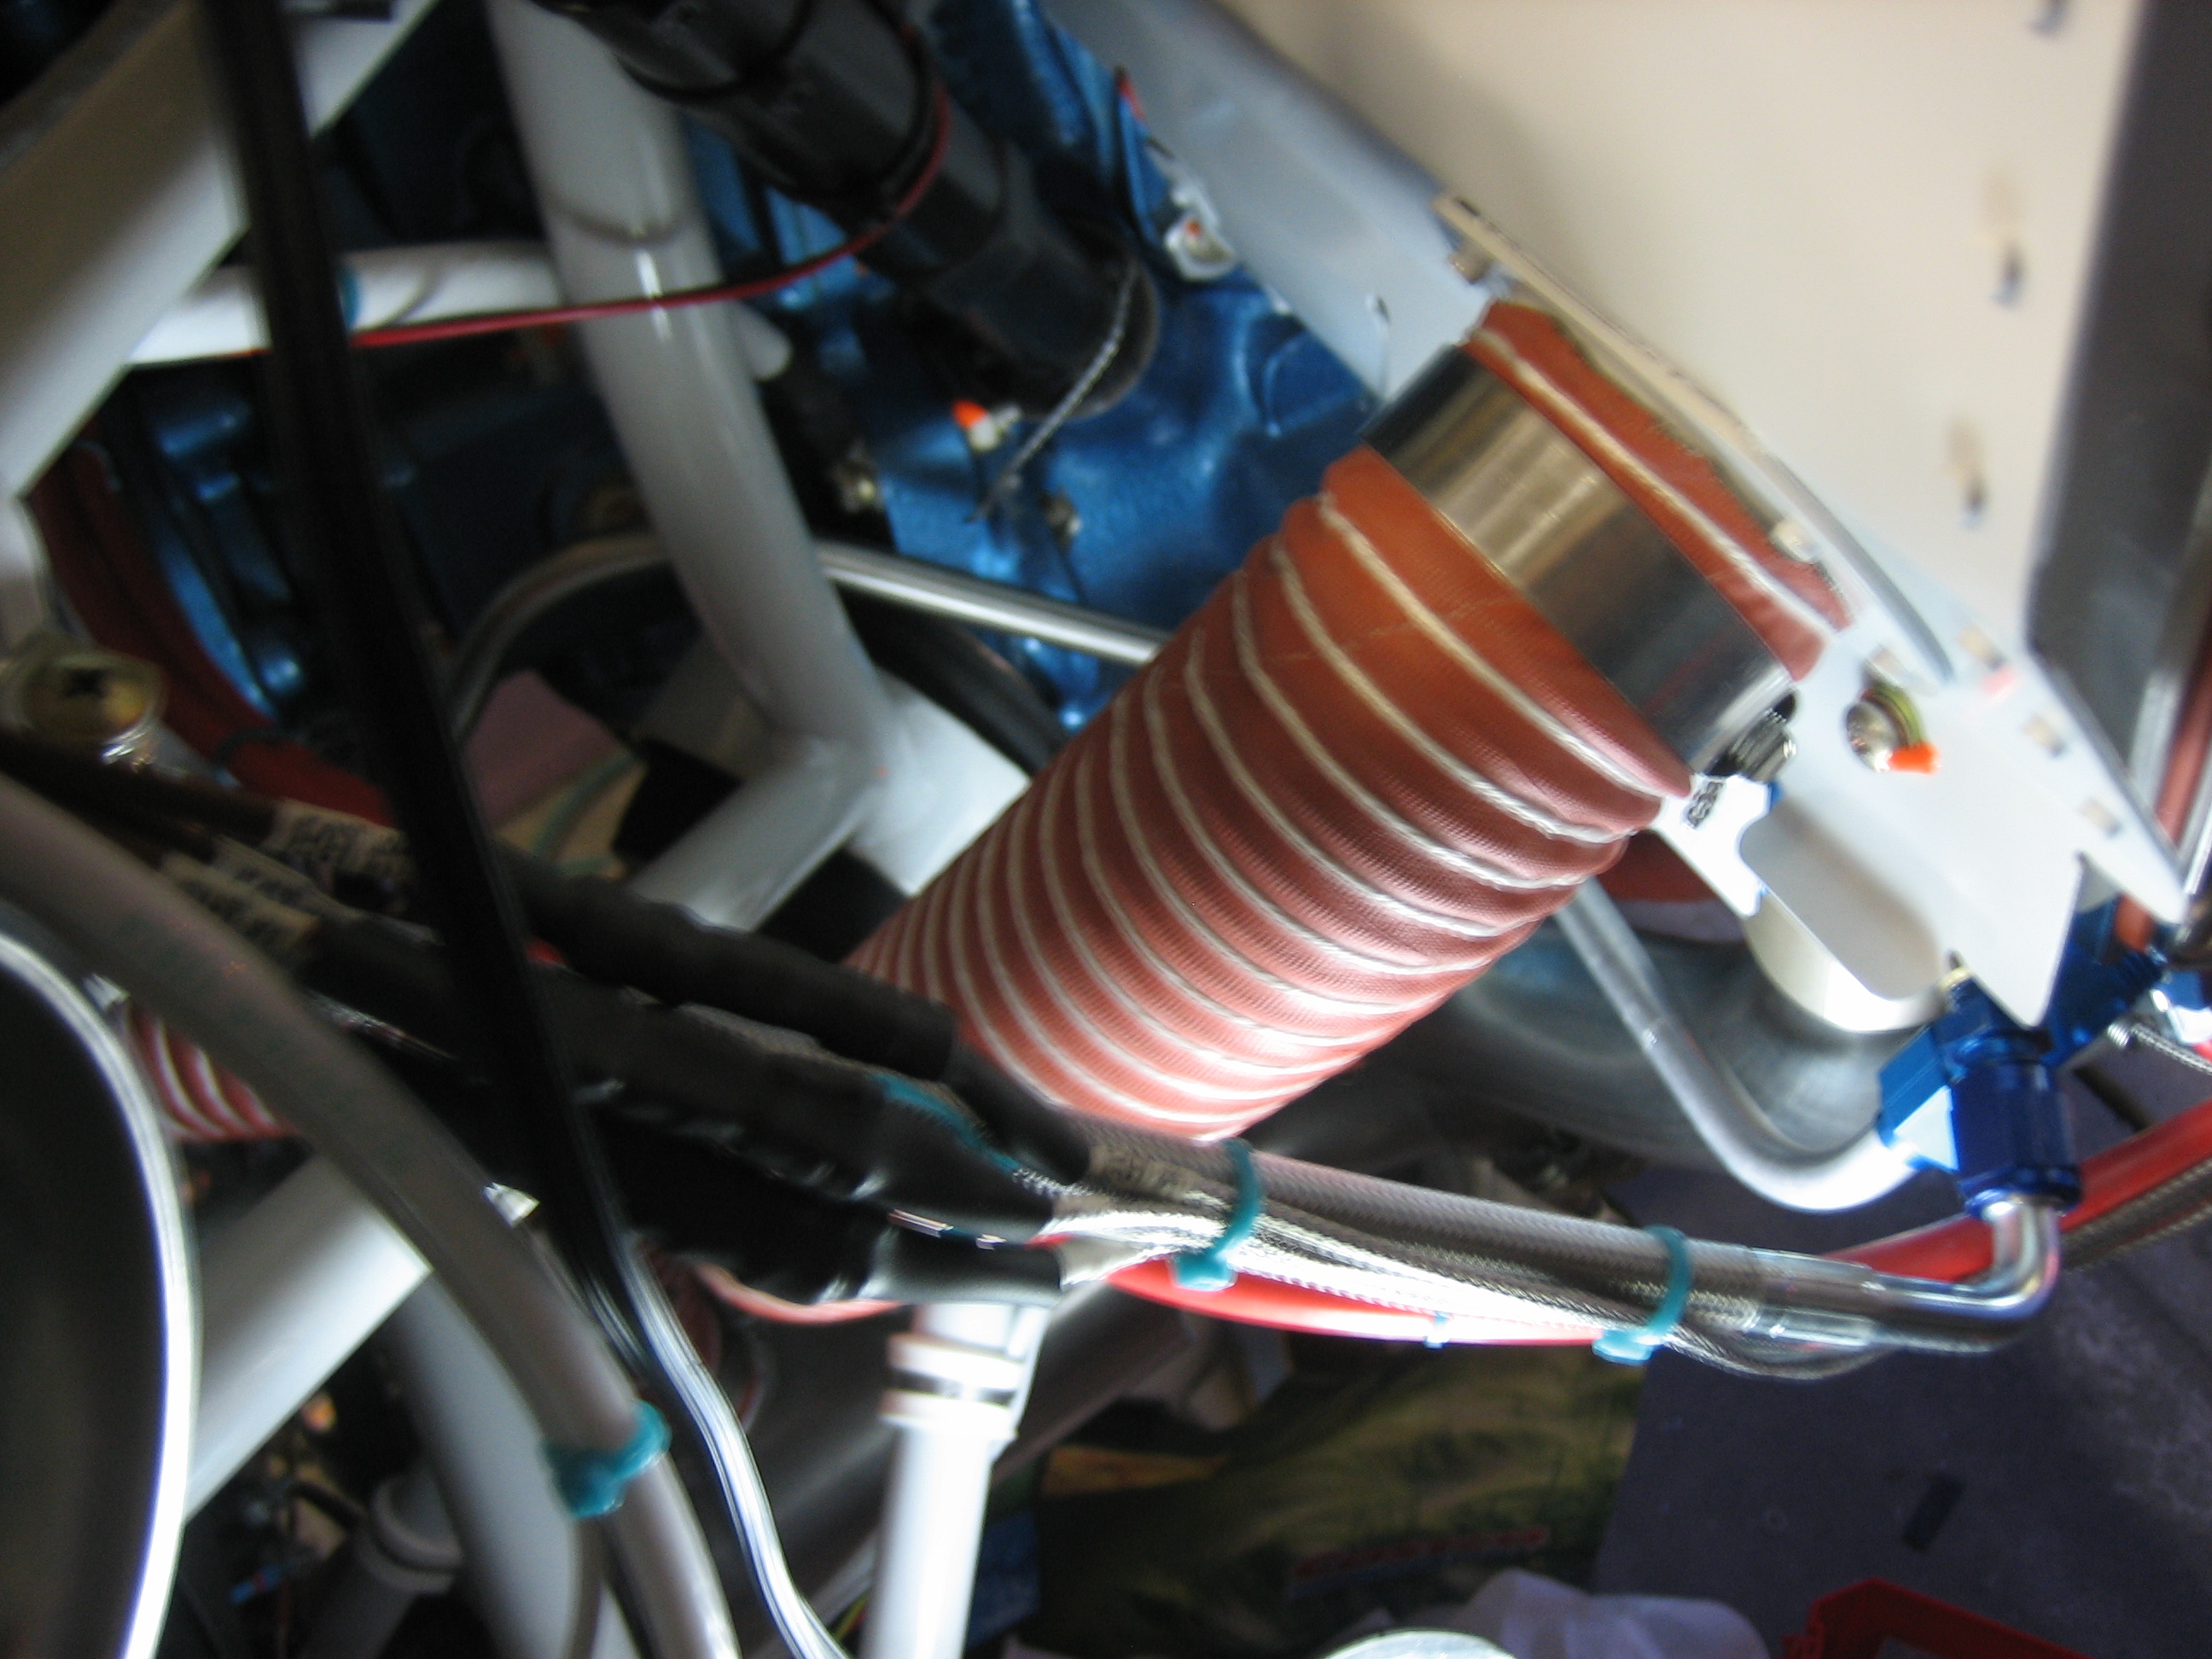
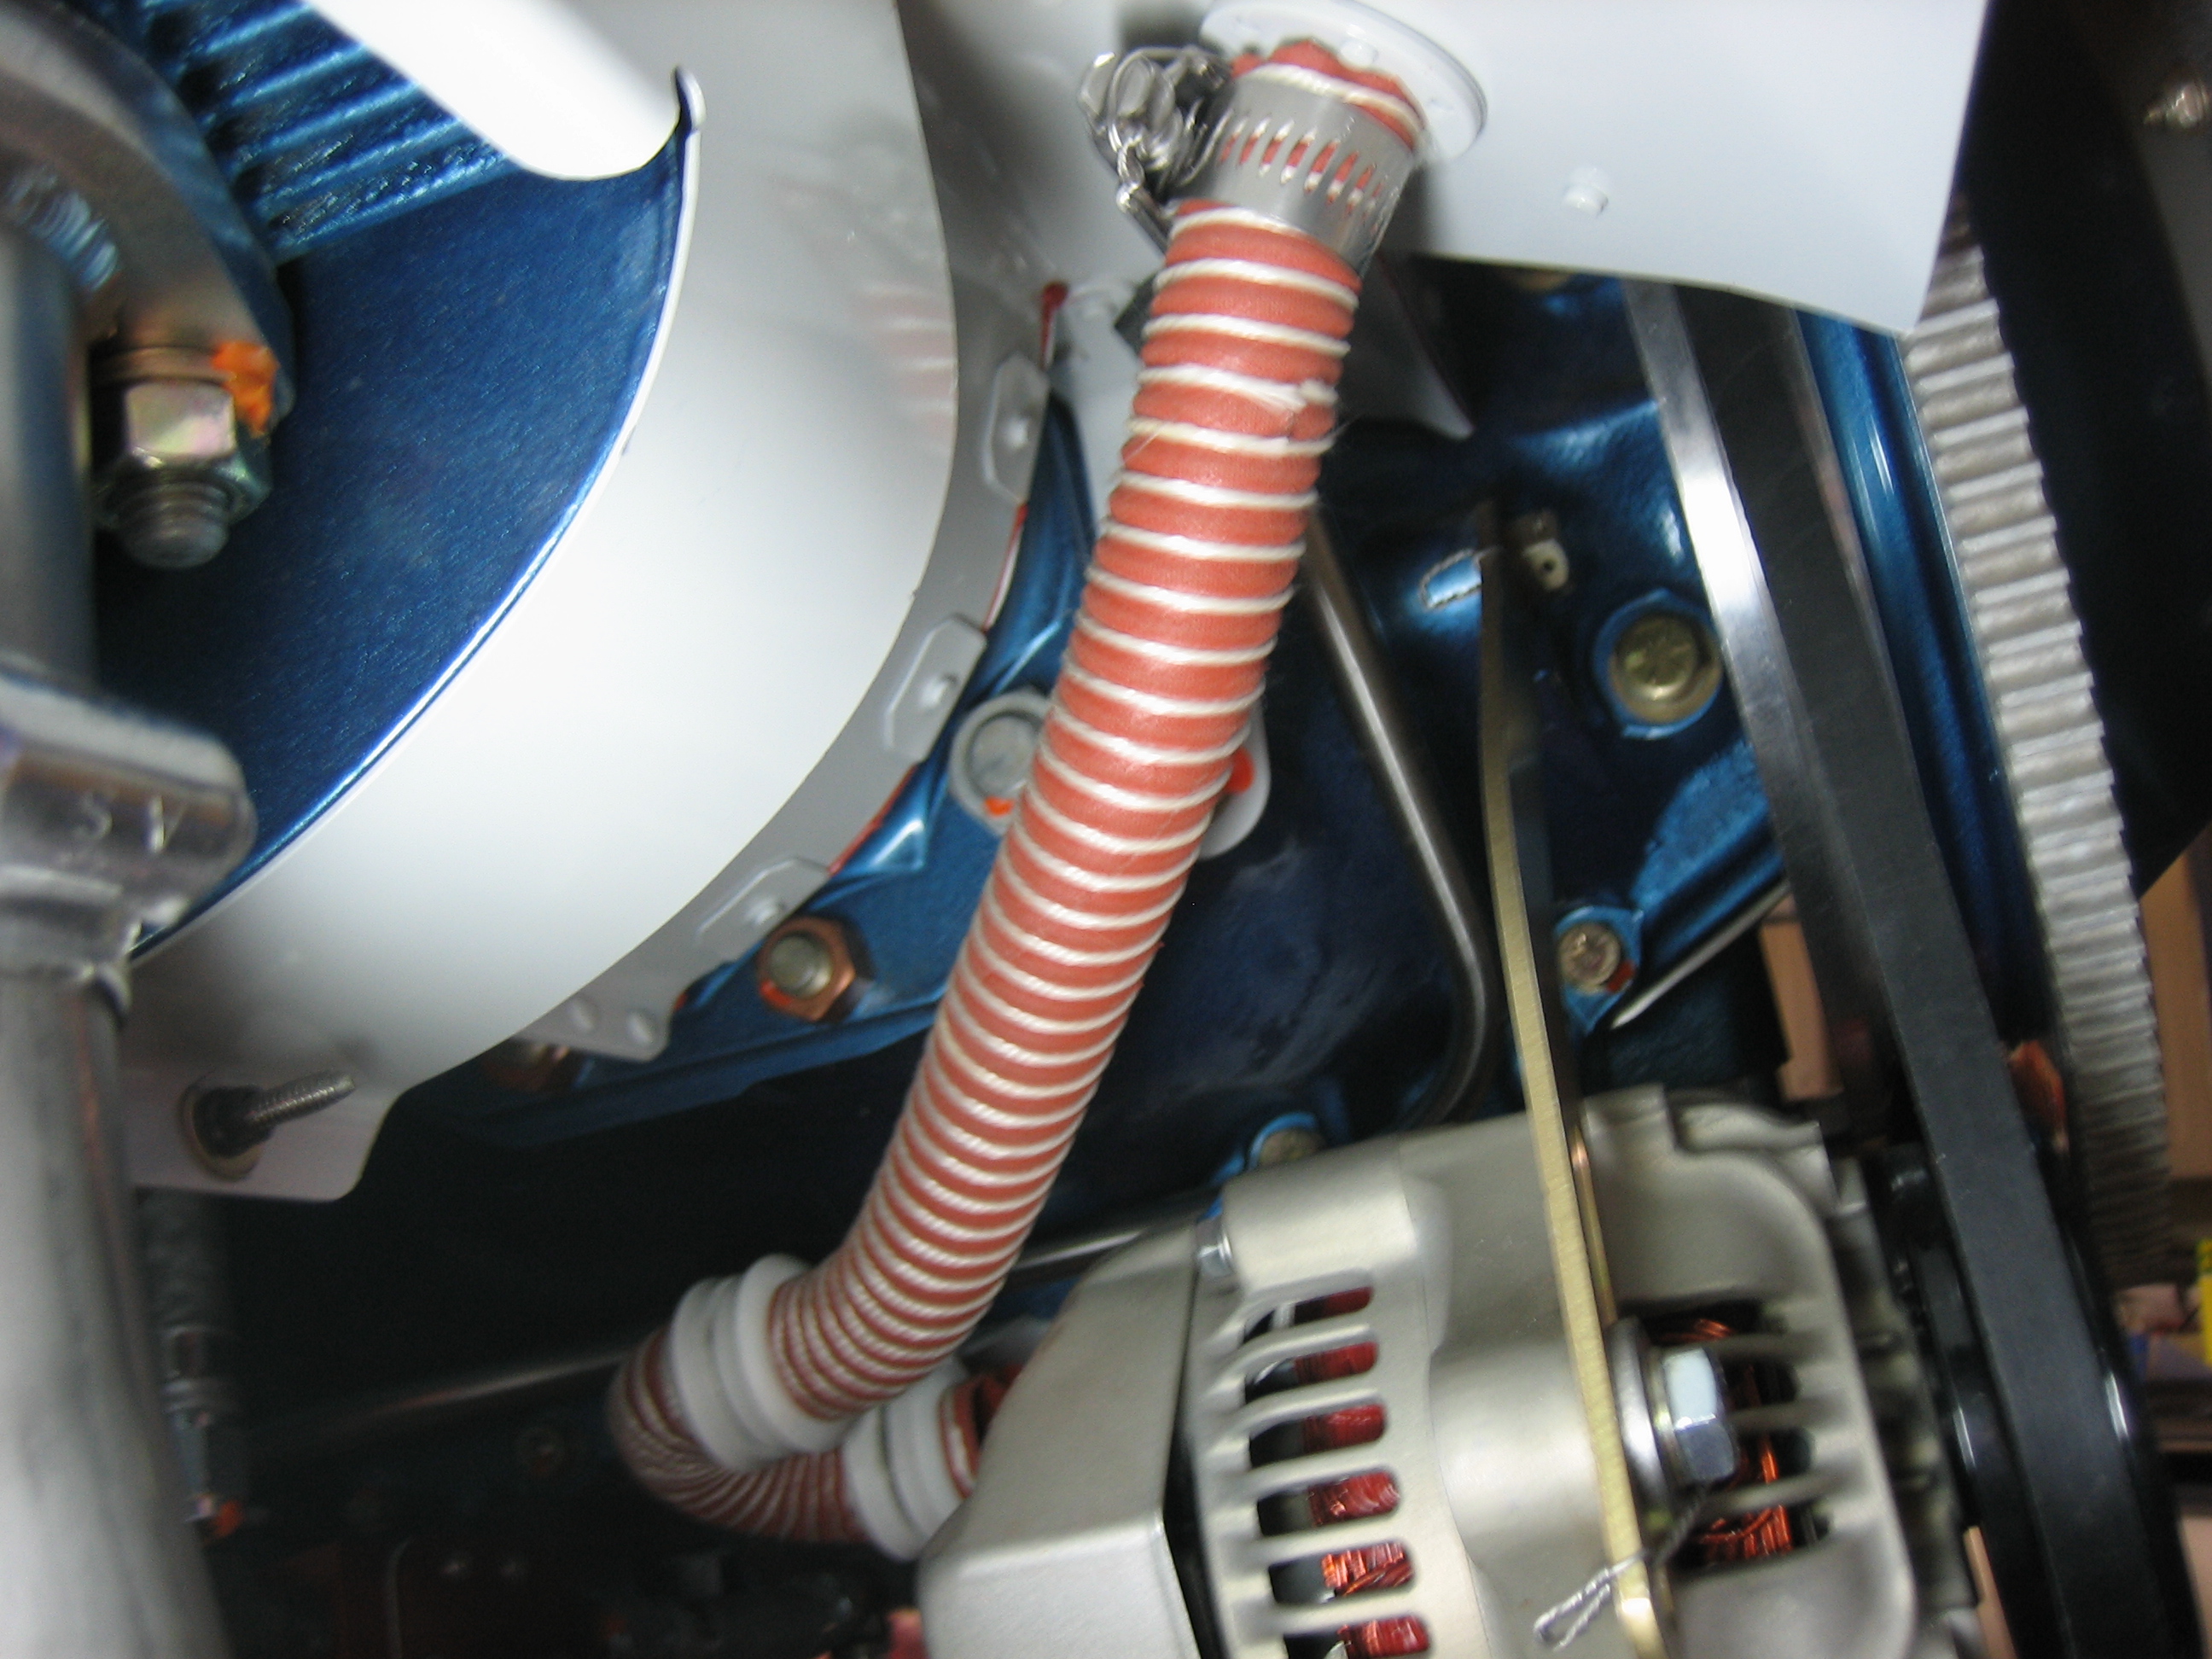
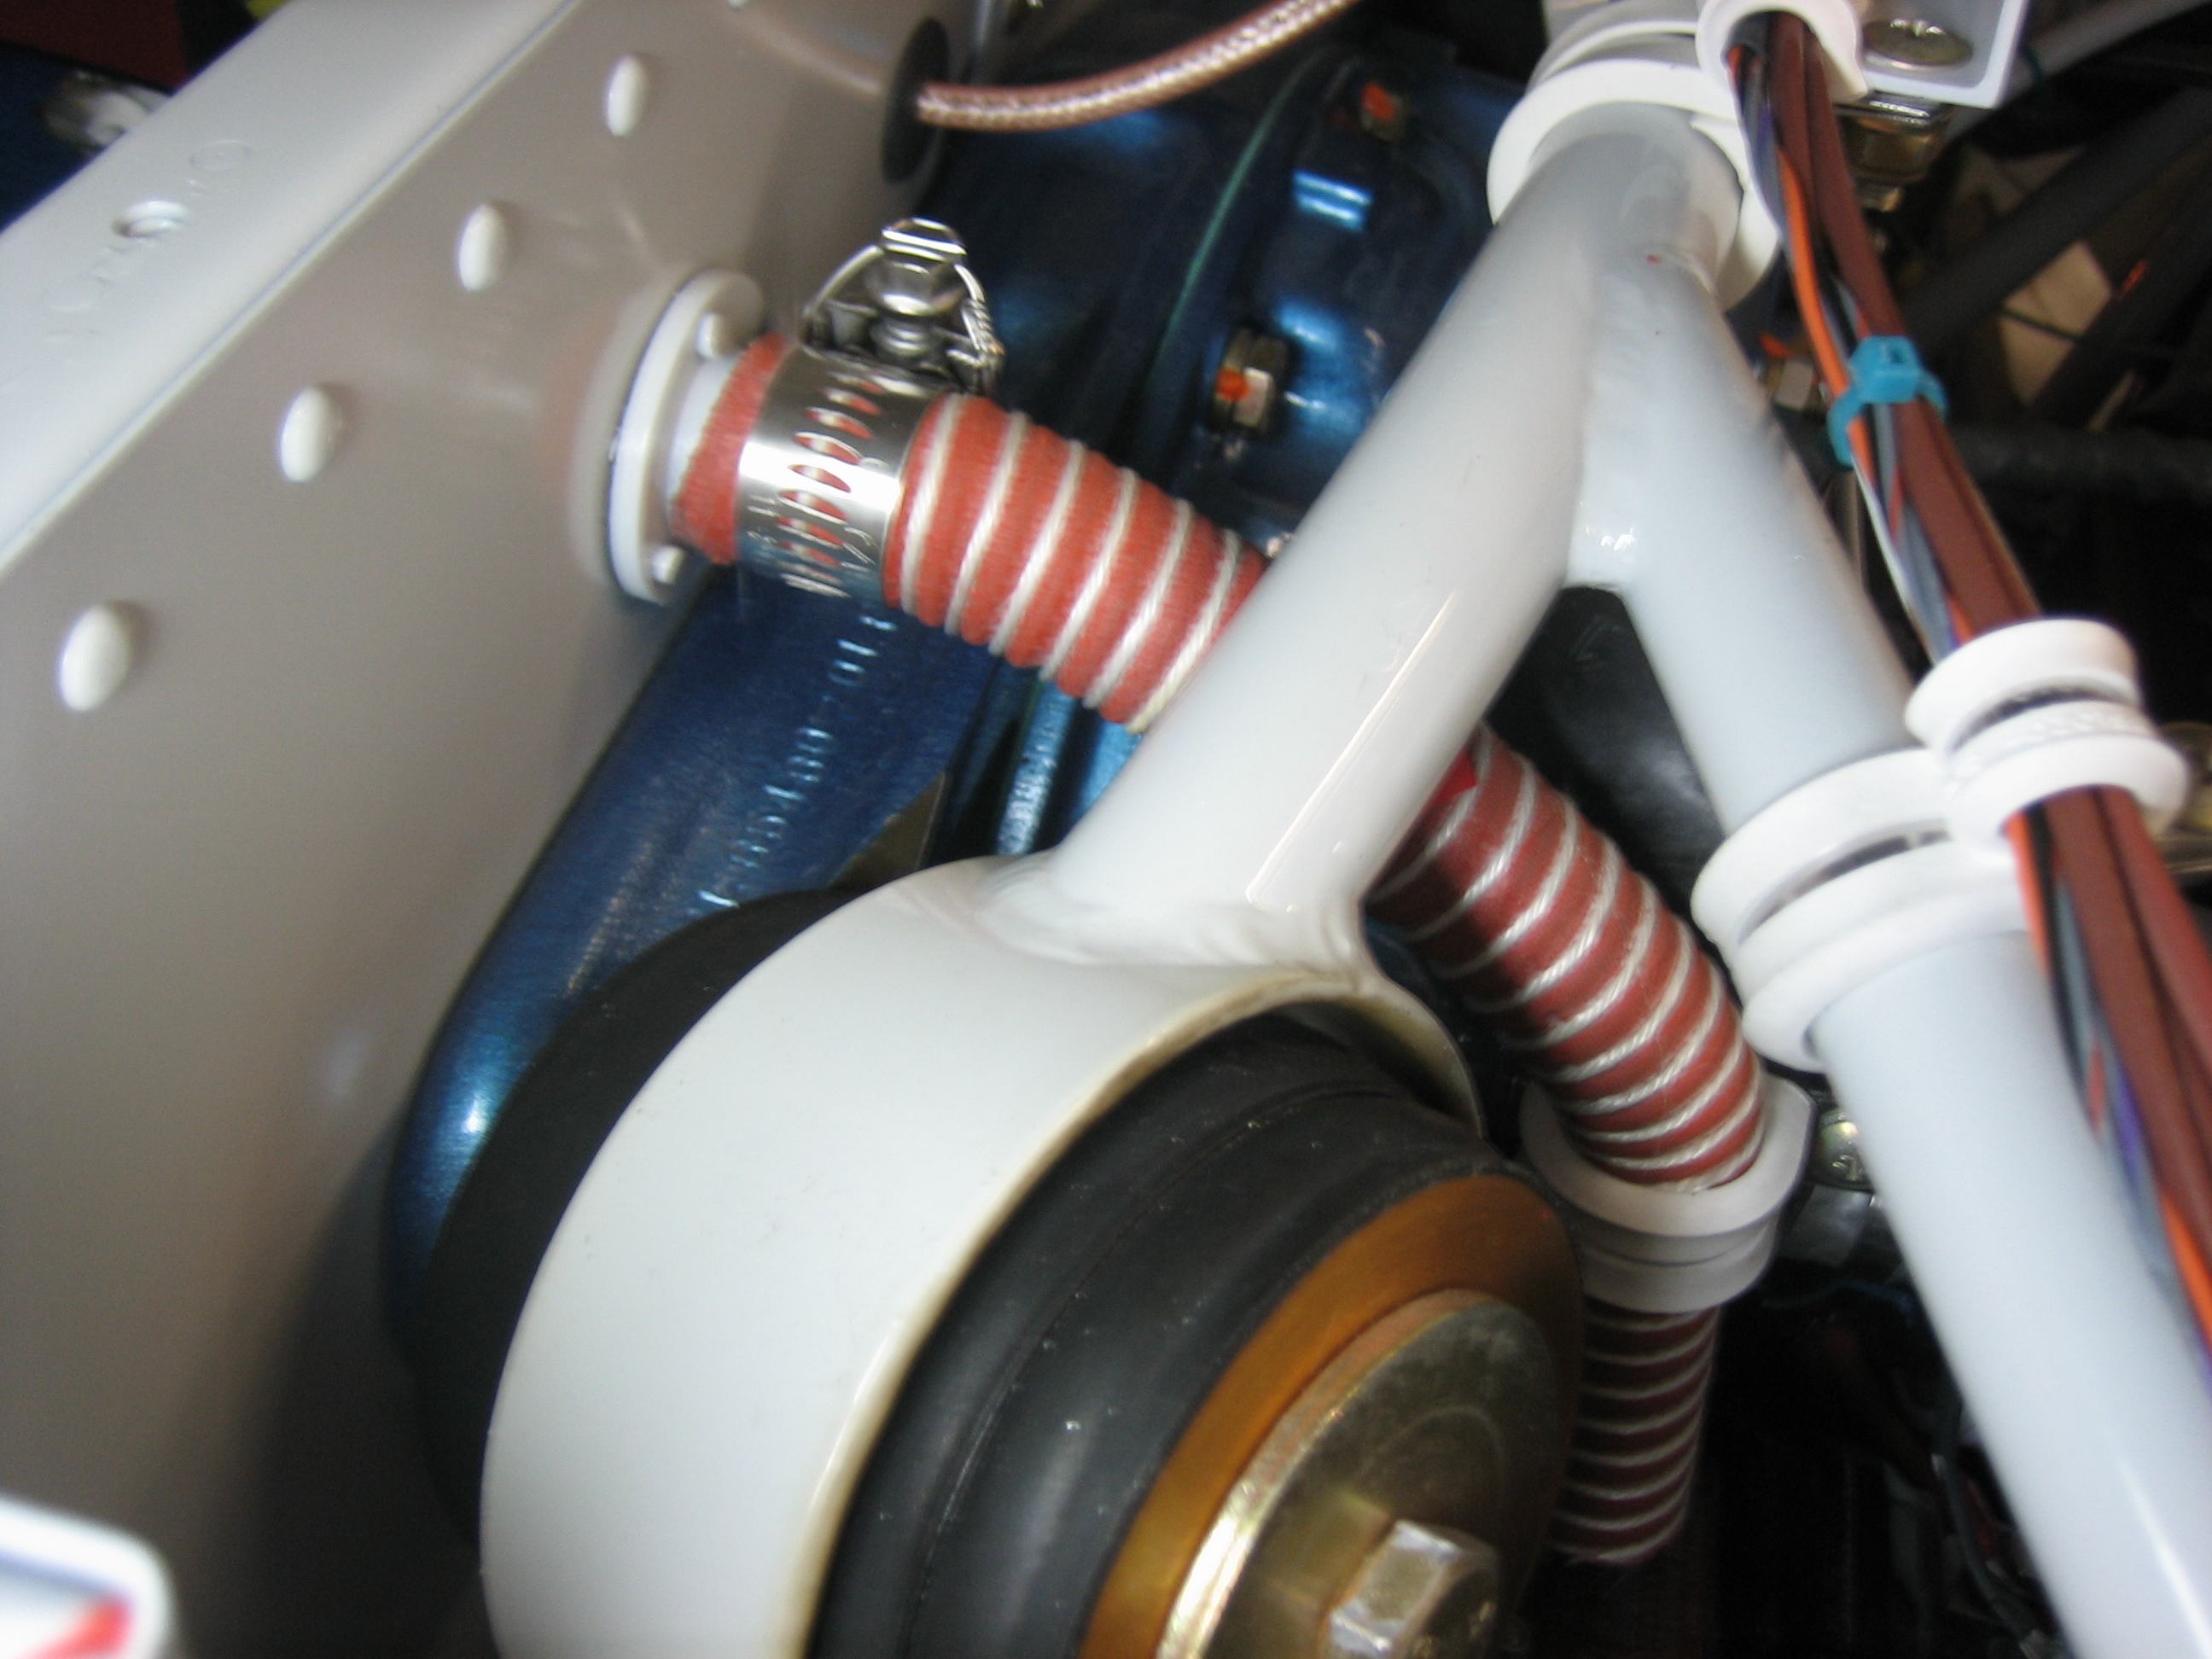
The wires on the left side and the mixture cable were running against the oil cooler flange, so I needed to secure them to prevent them from rubbing. The angle is wrong for an adel clamp without using a bracket, so I just used a large tefzel zip tie. I added a small piece of spiral wrap around the mixture cable to provide a little cushion.