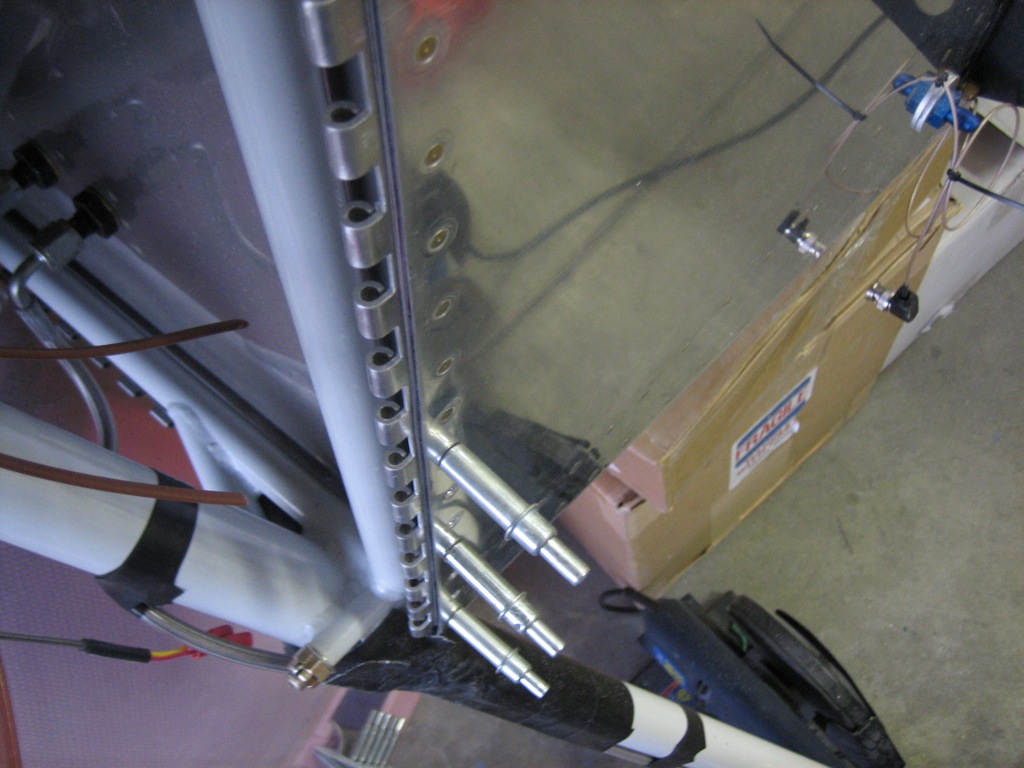
Now that I know where the side hinges will rivet to the firewall, I riveted the sides of the firewall flange above that point.
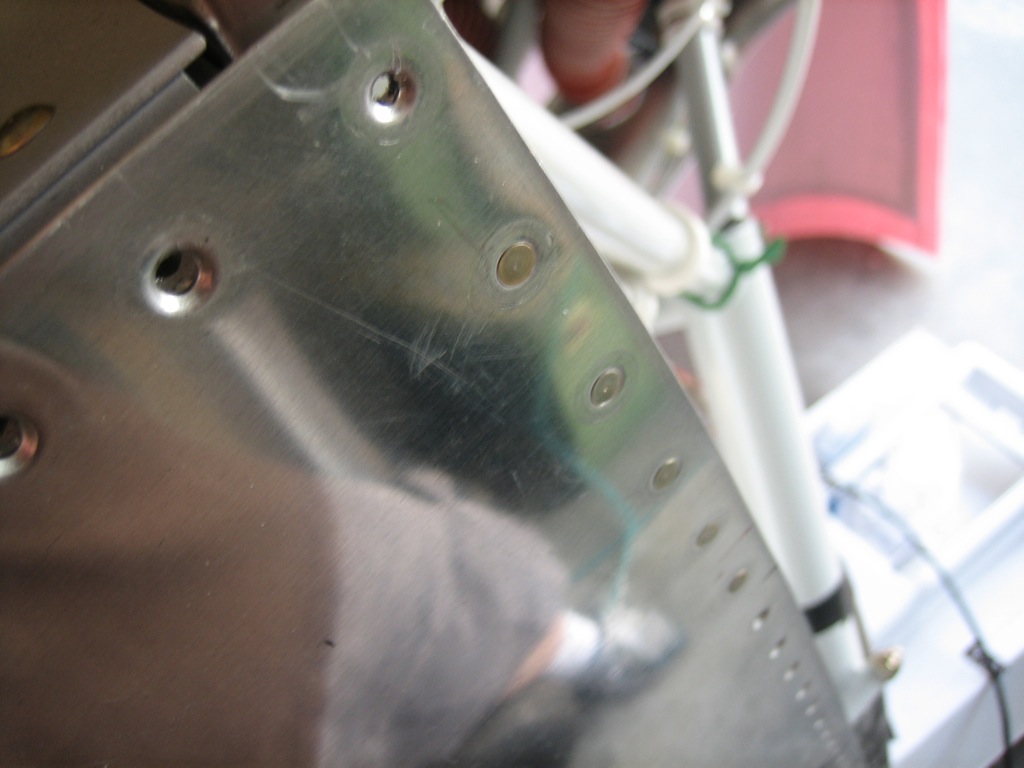
Then riveted the hinges on below that. The bottom seven rivets can’t be reached with the squeezer, so I’m going to have to shoot and buck them somehow.
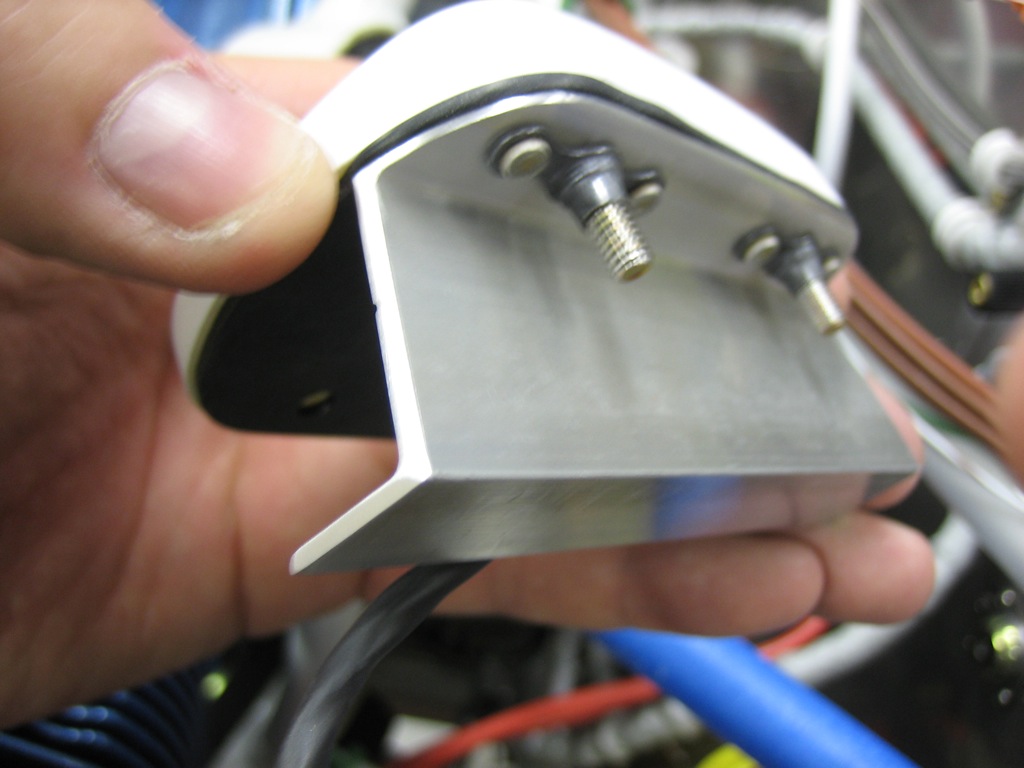
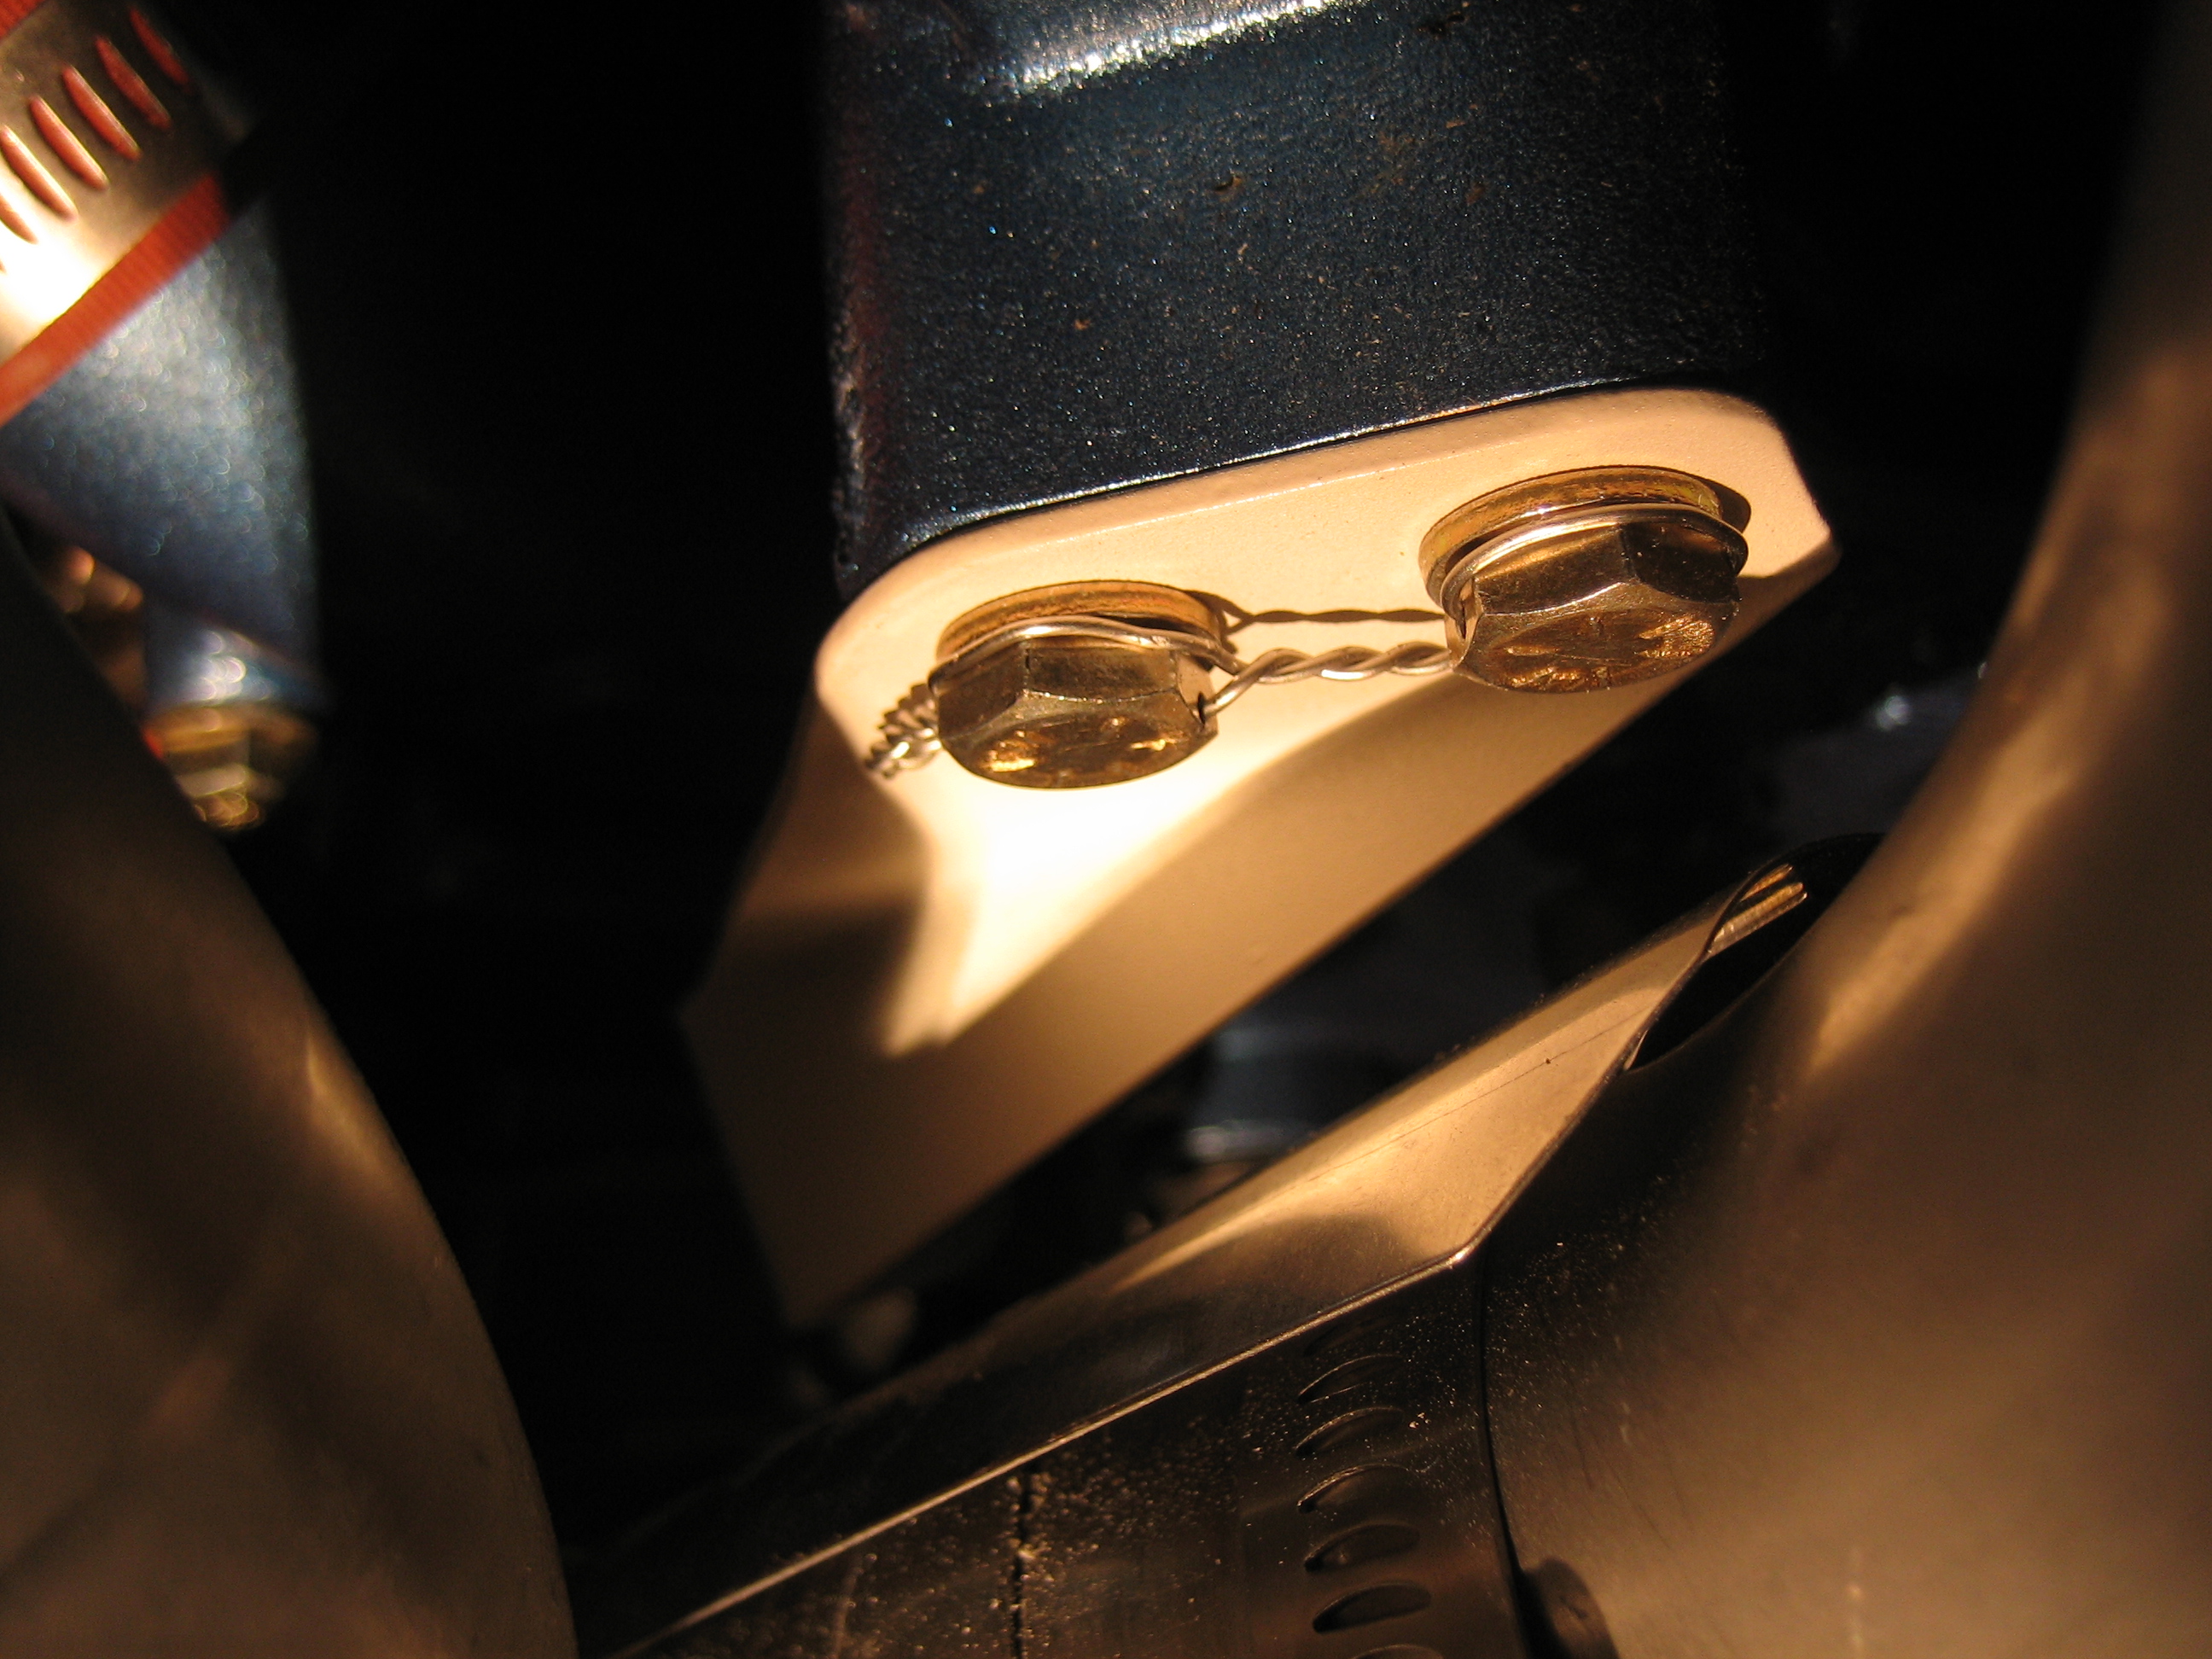
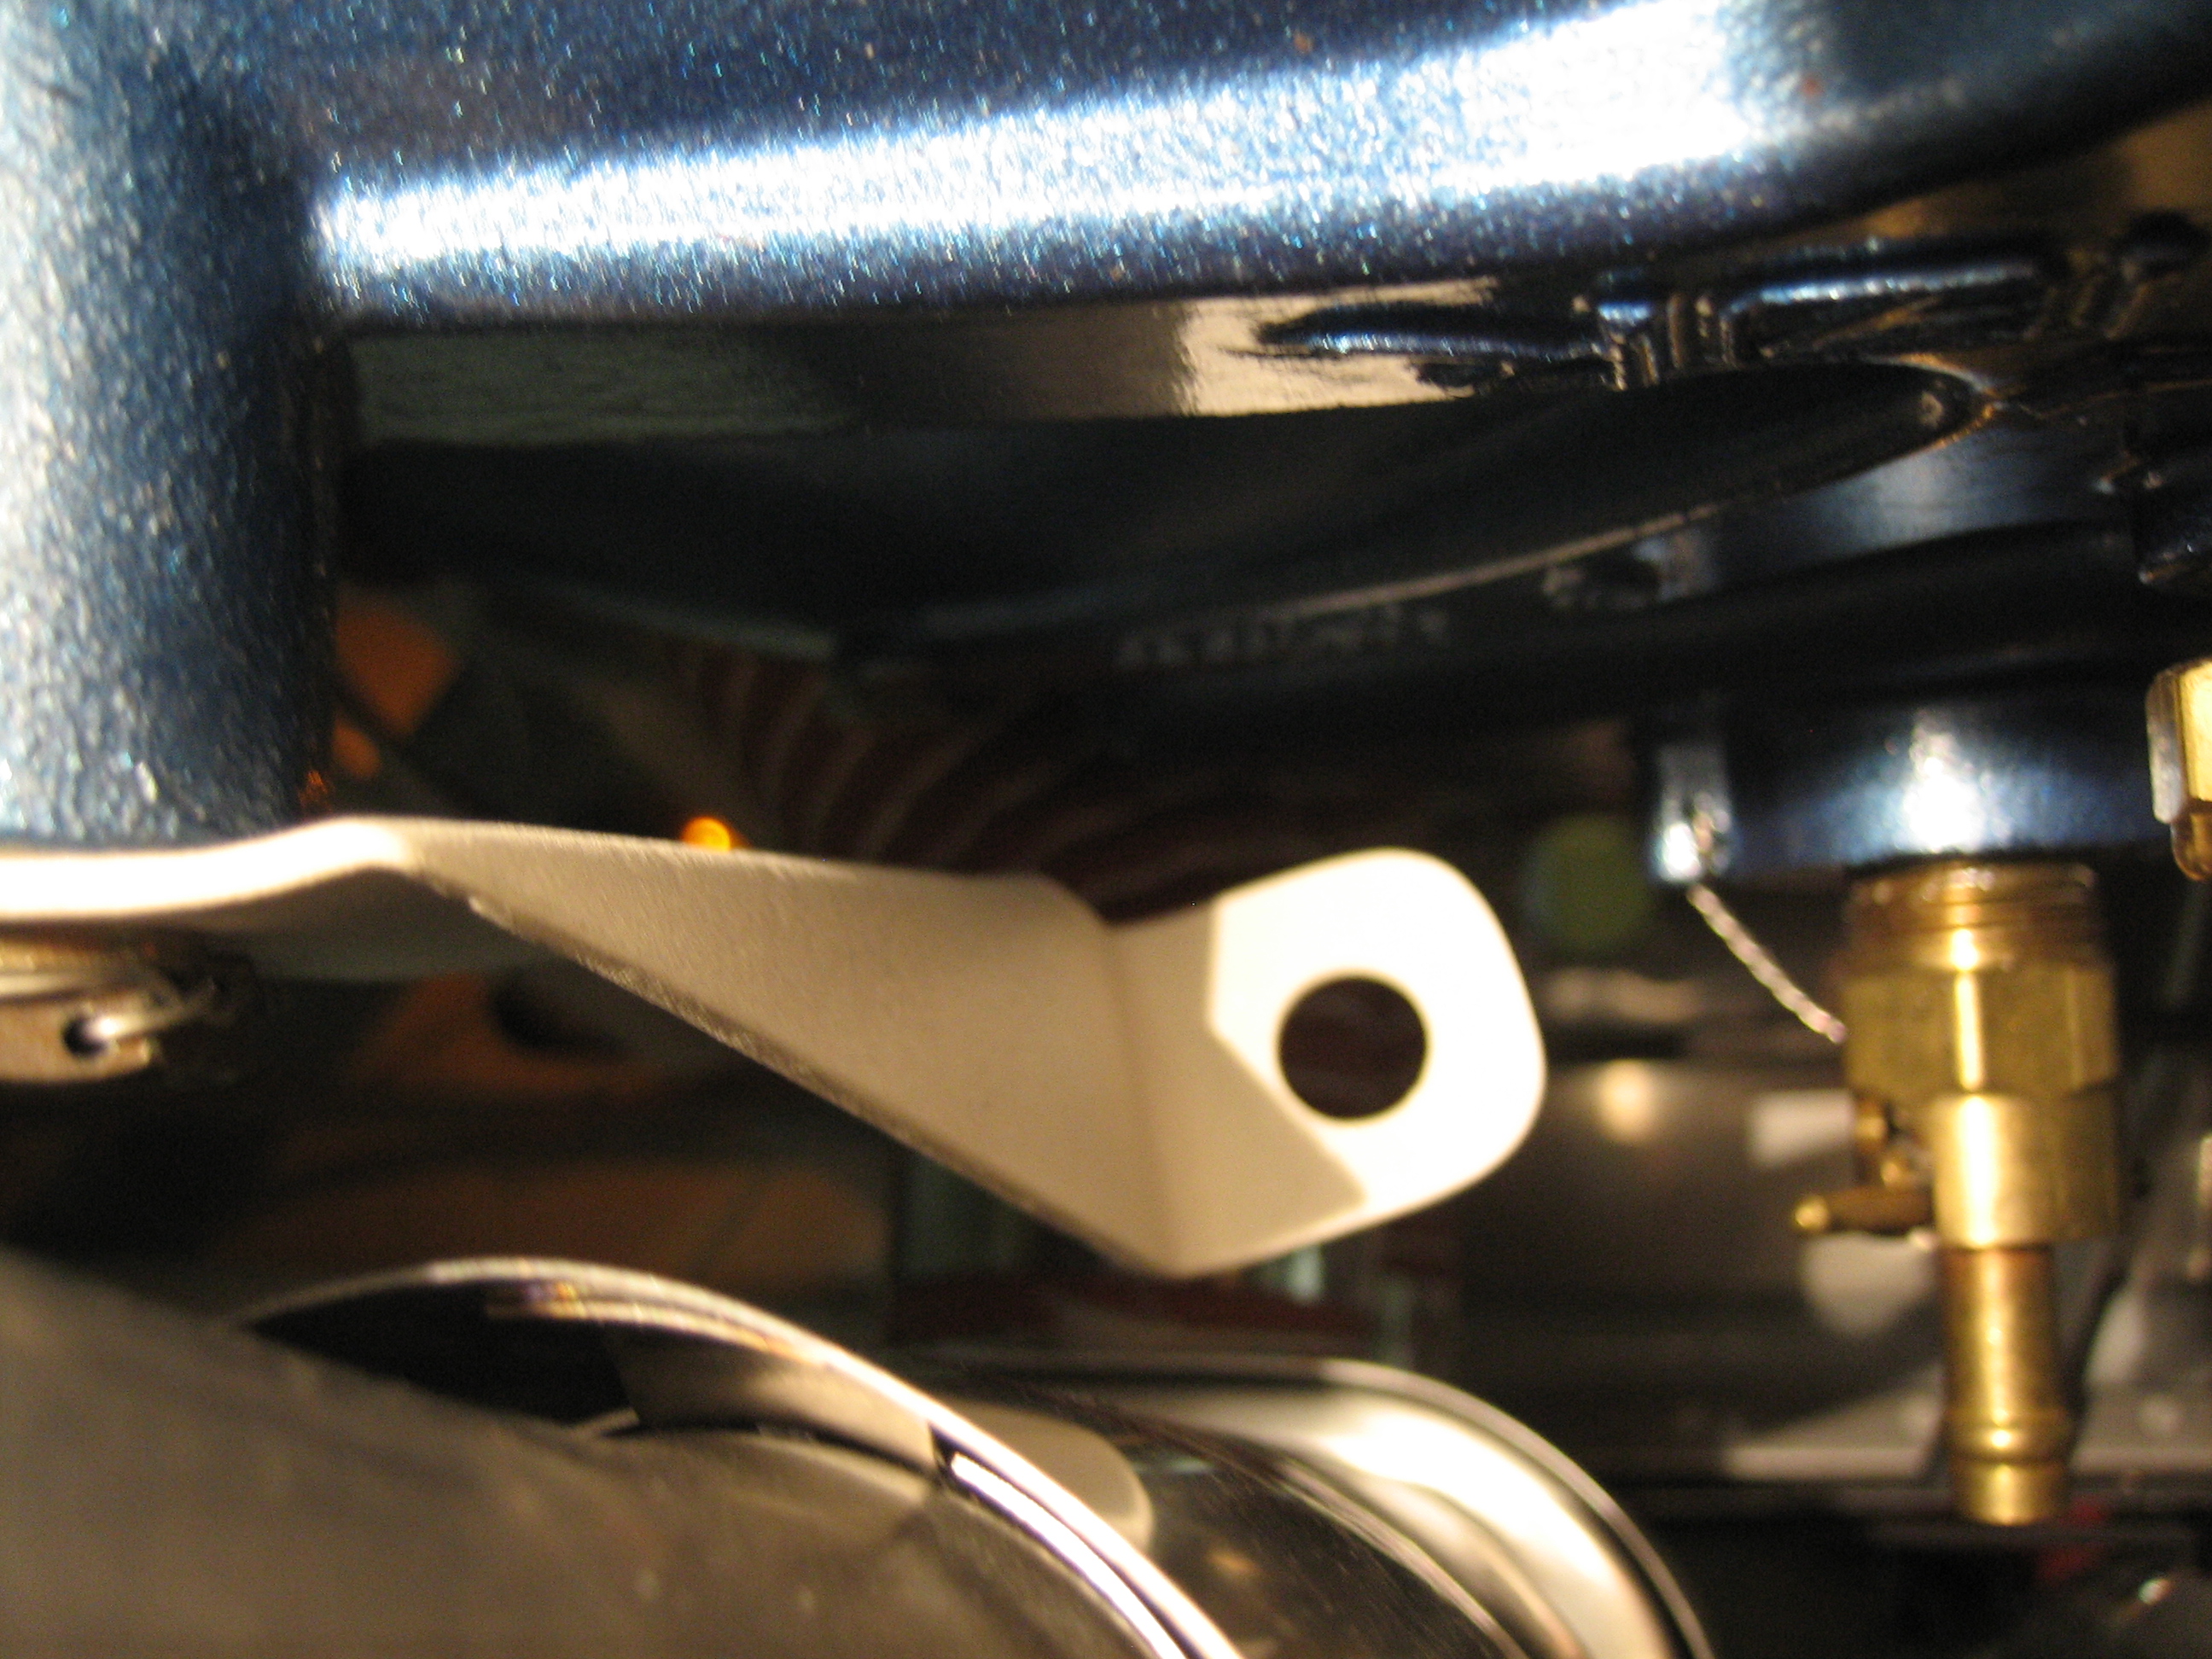
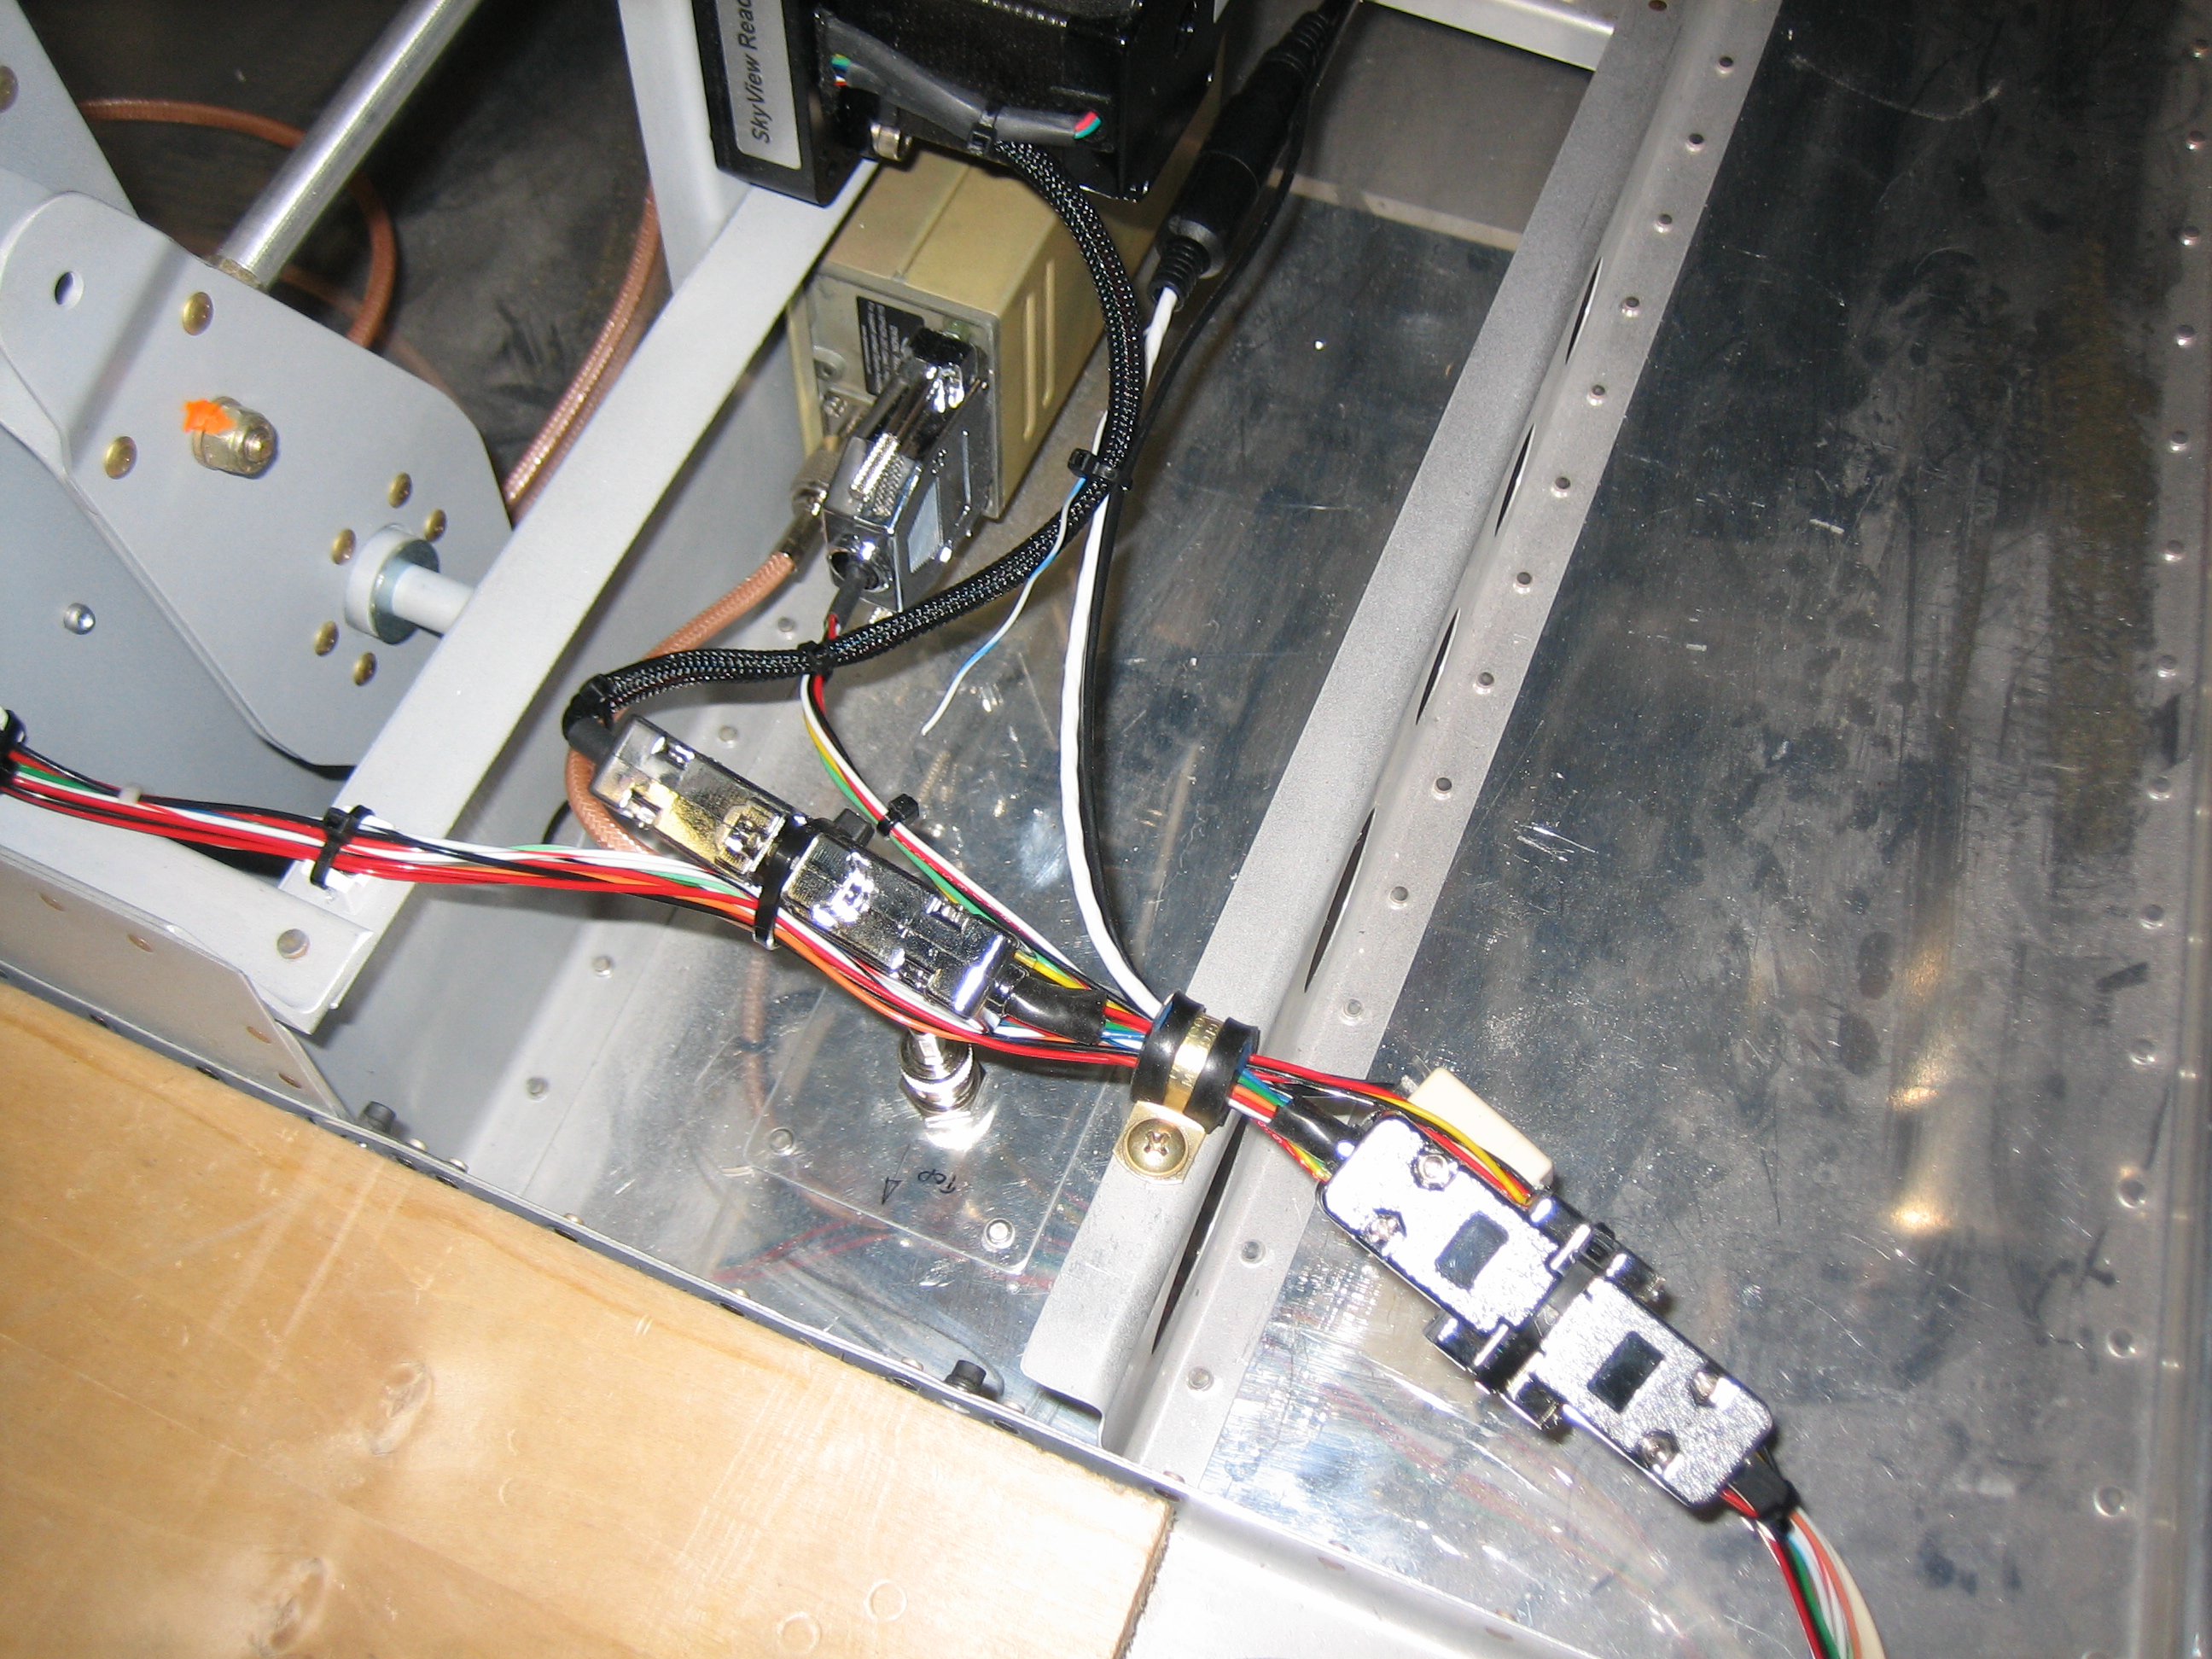
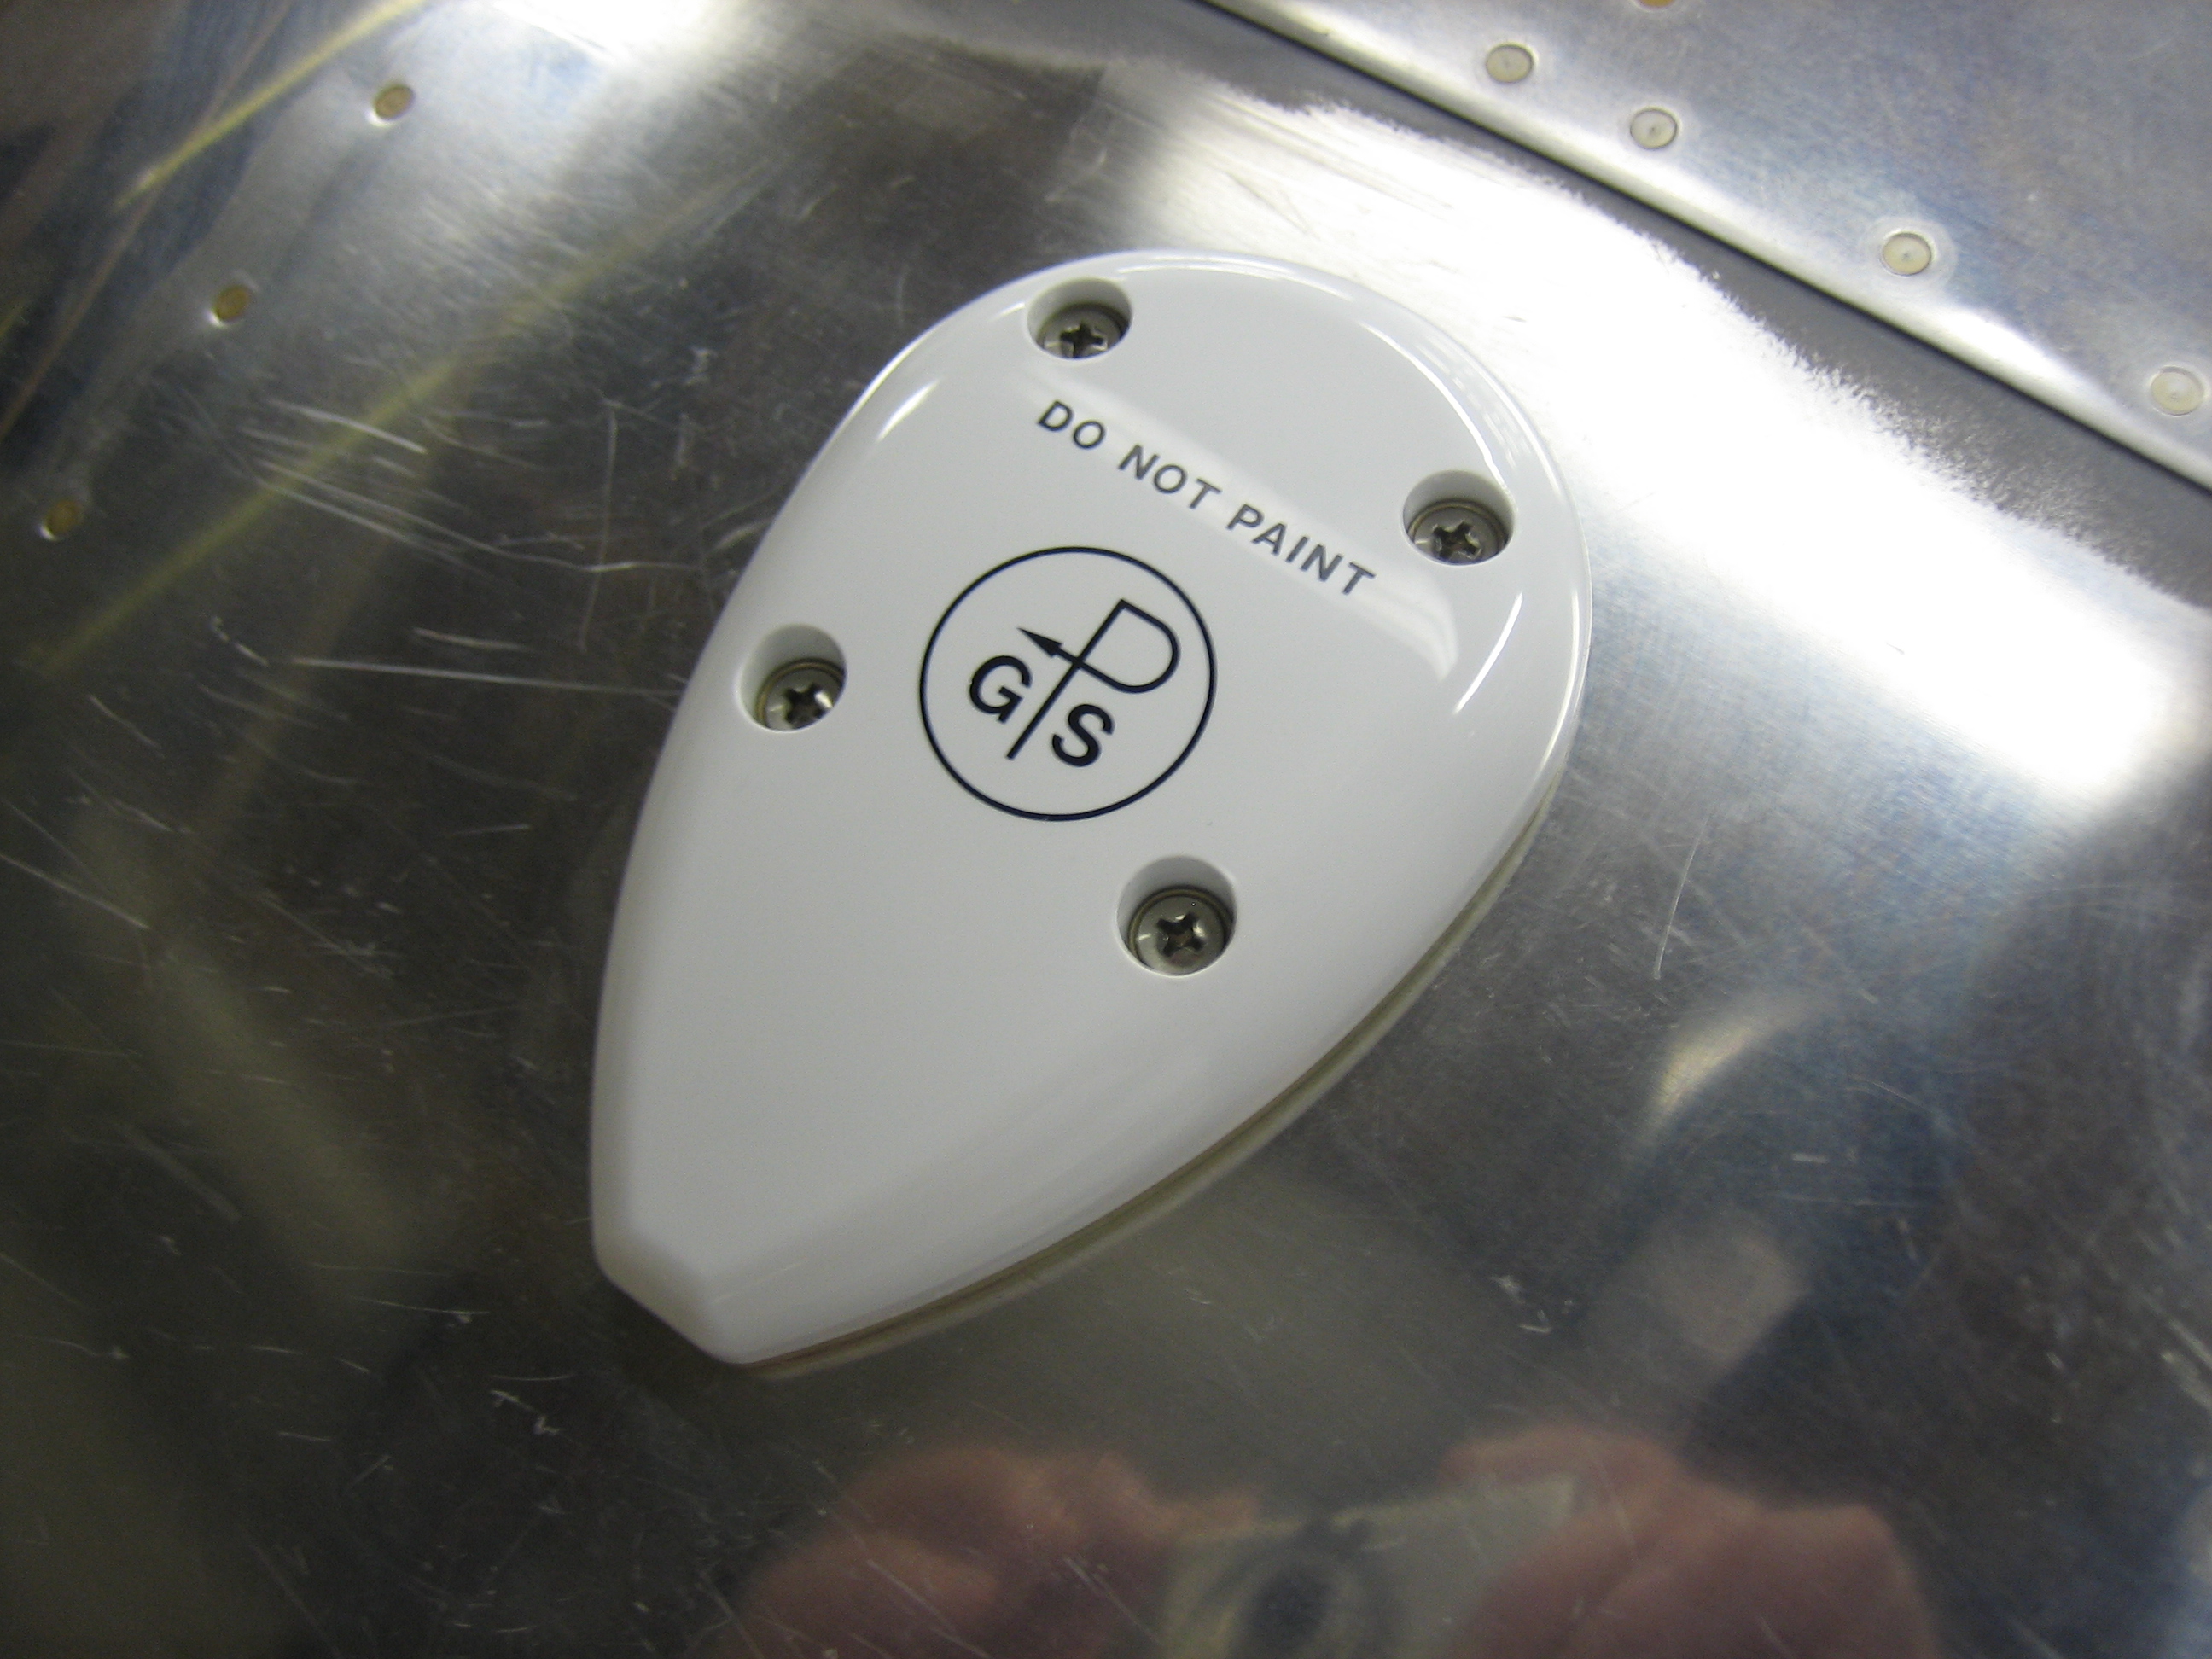
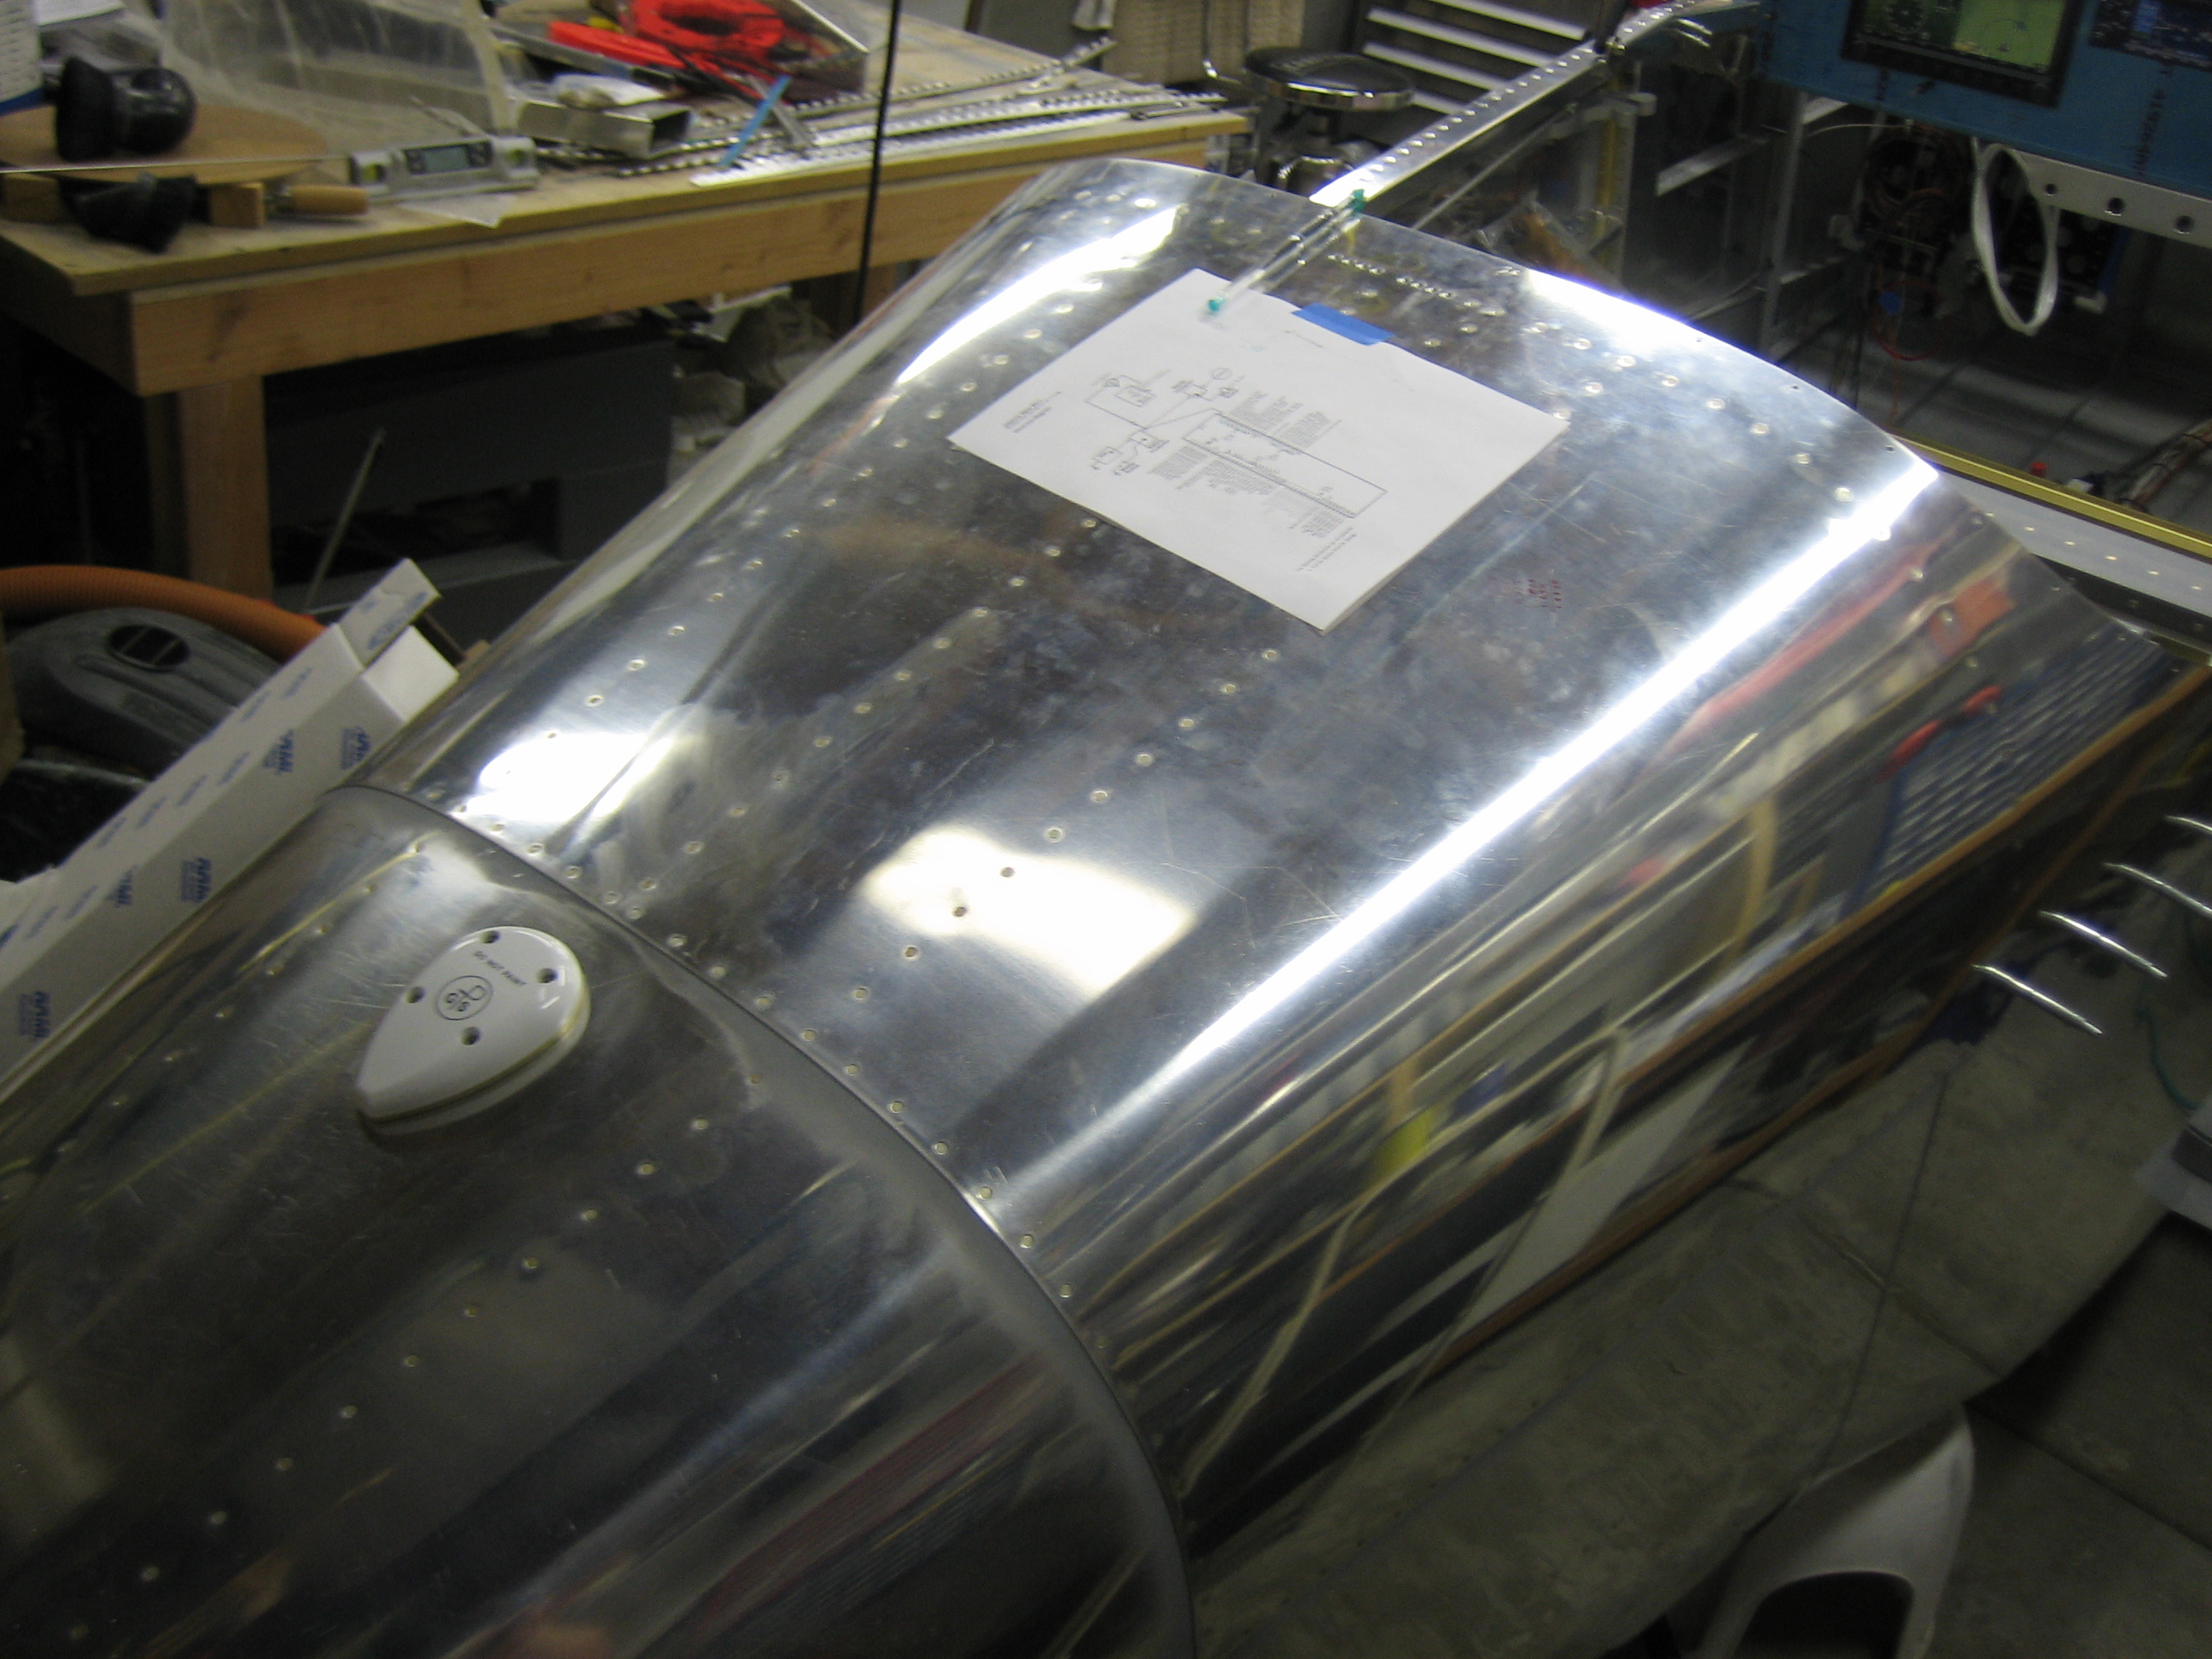
I’ve been planning on mounting the Dynon GPS antenna under the cowl. Most builders fabricate a little shelf that runs between the engine mount and the firewall, but that would get in the way when changing the oil. Since I only have one antenna to mount, I decided to fabricate a small mount that will attach directly to the engine mount. I placed the straightedge between the top of the firewall and the spinner to see how high I can go. The actual cowl in convex through here and will actually provide more clearance than this.
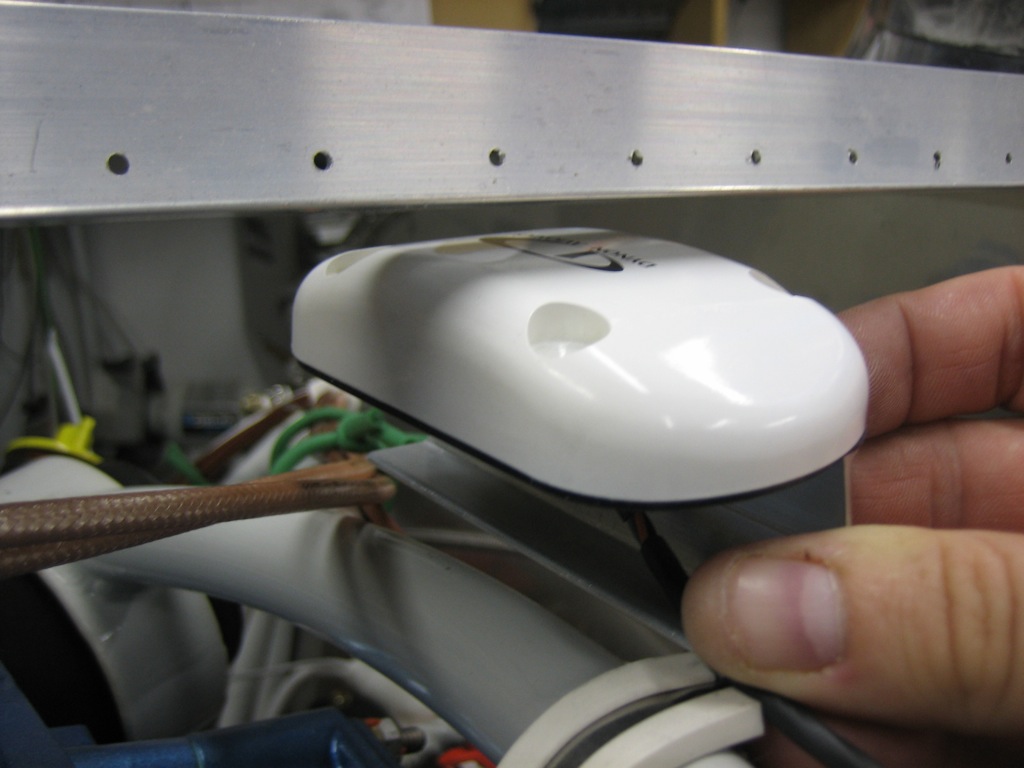
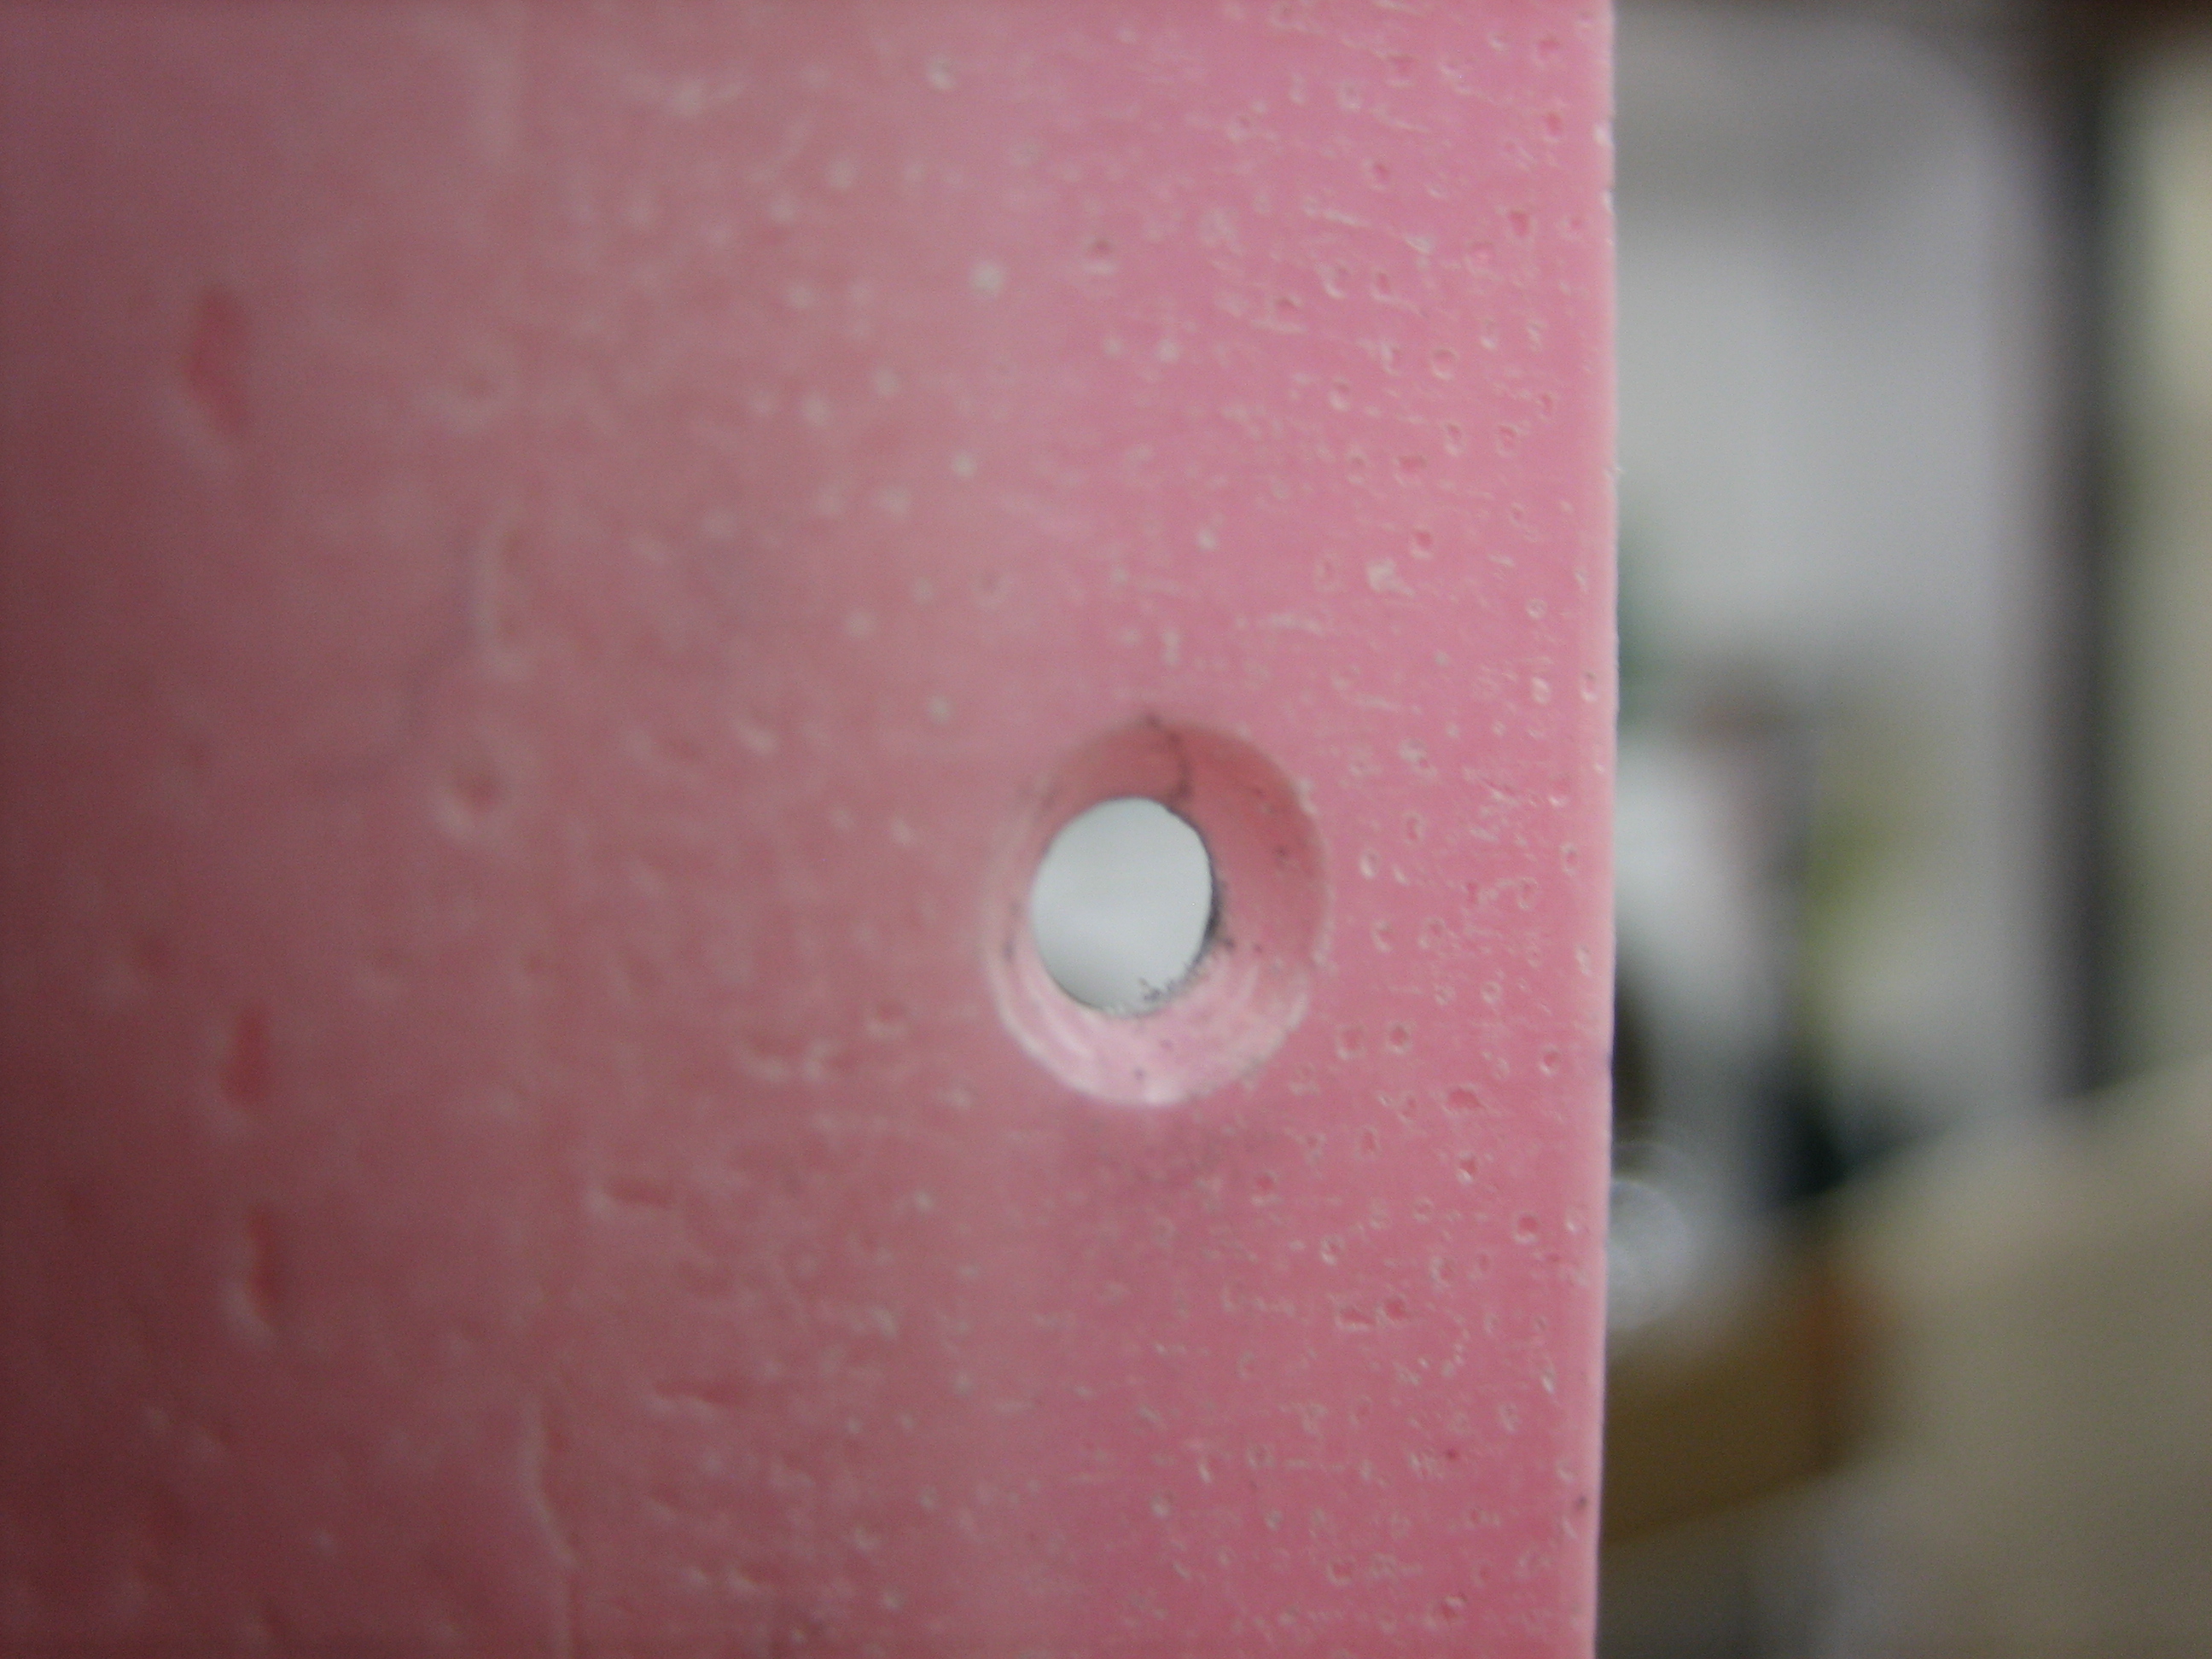
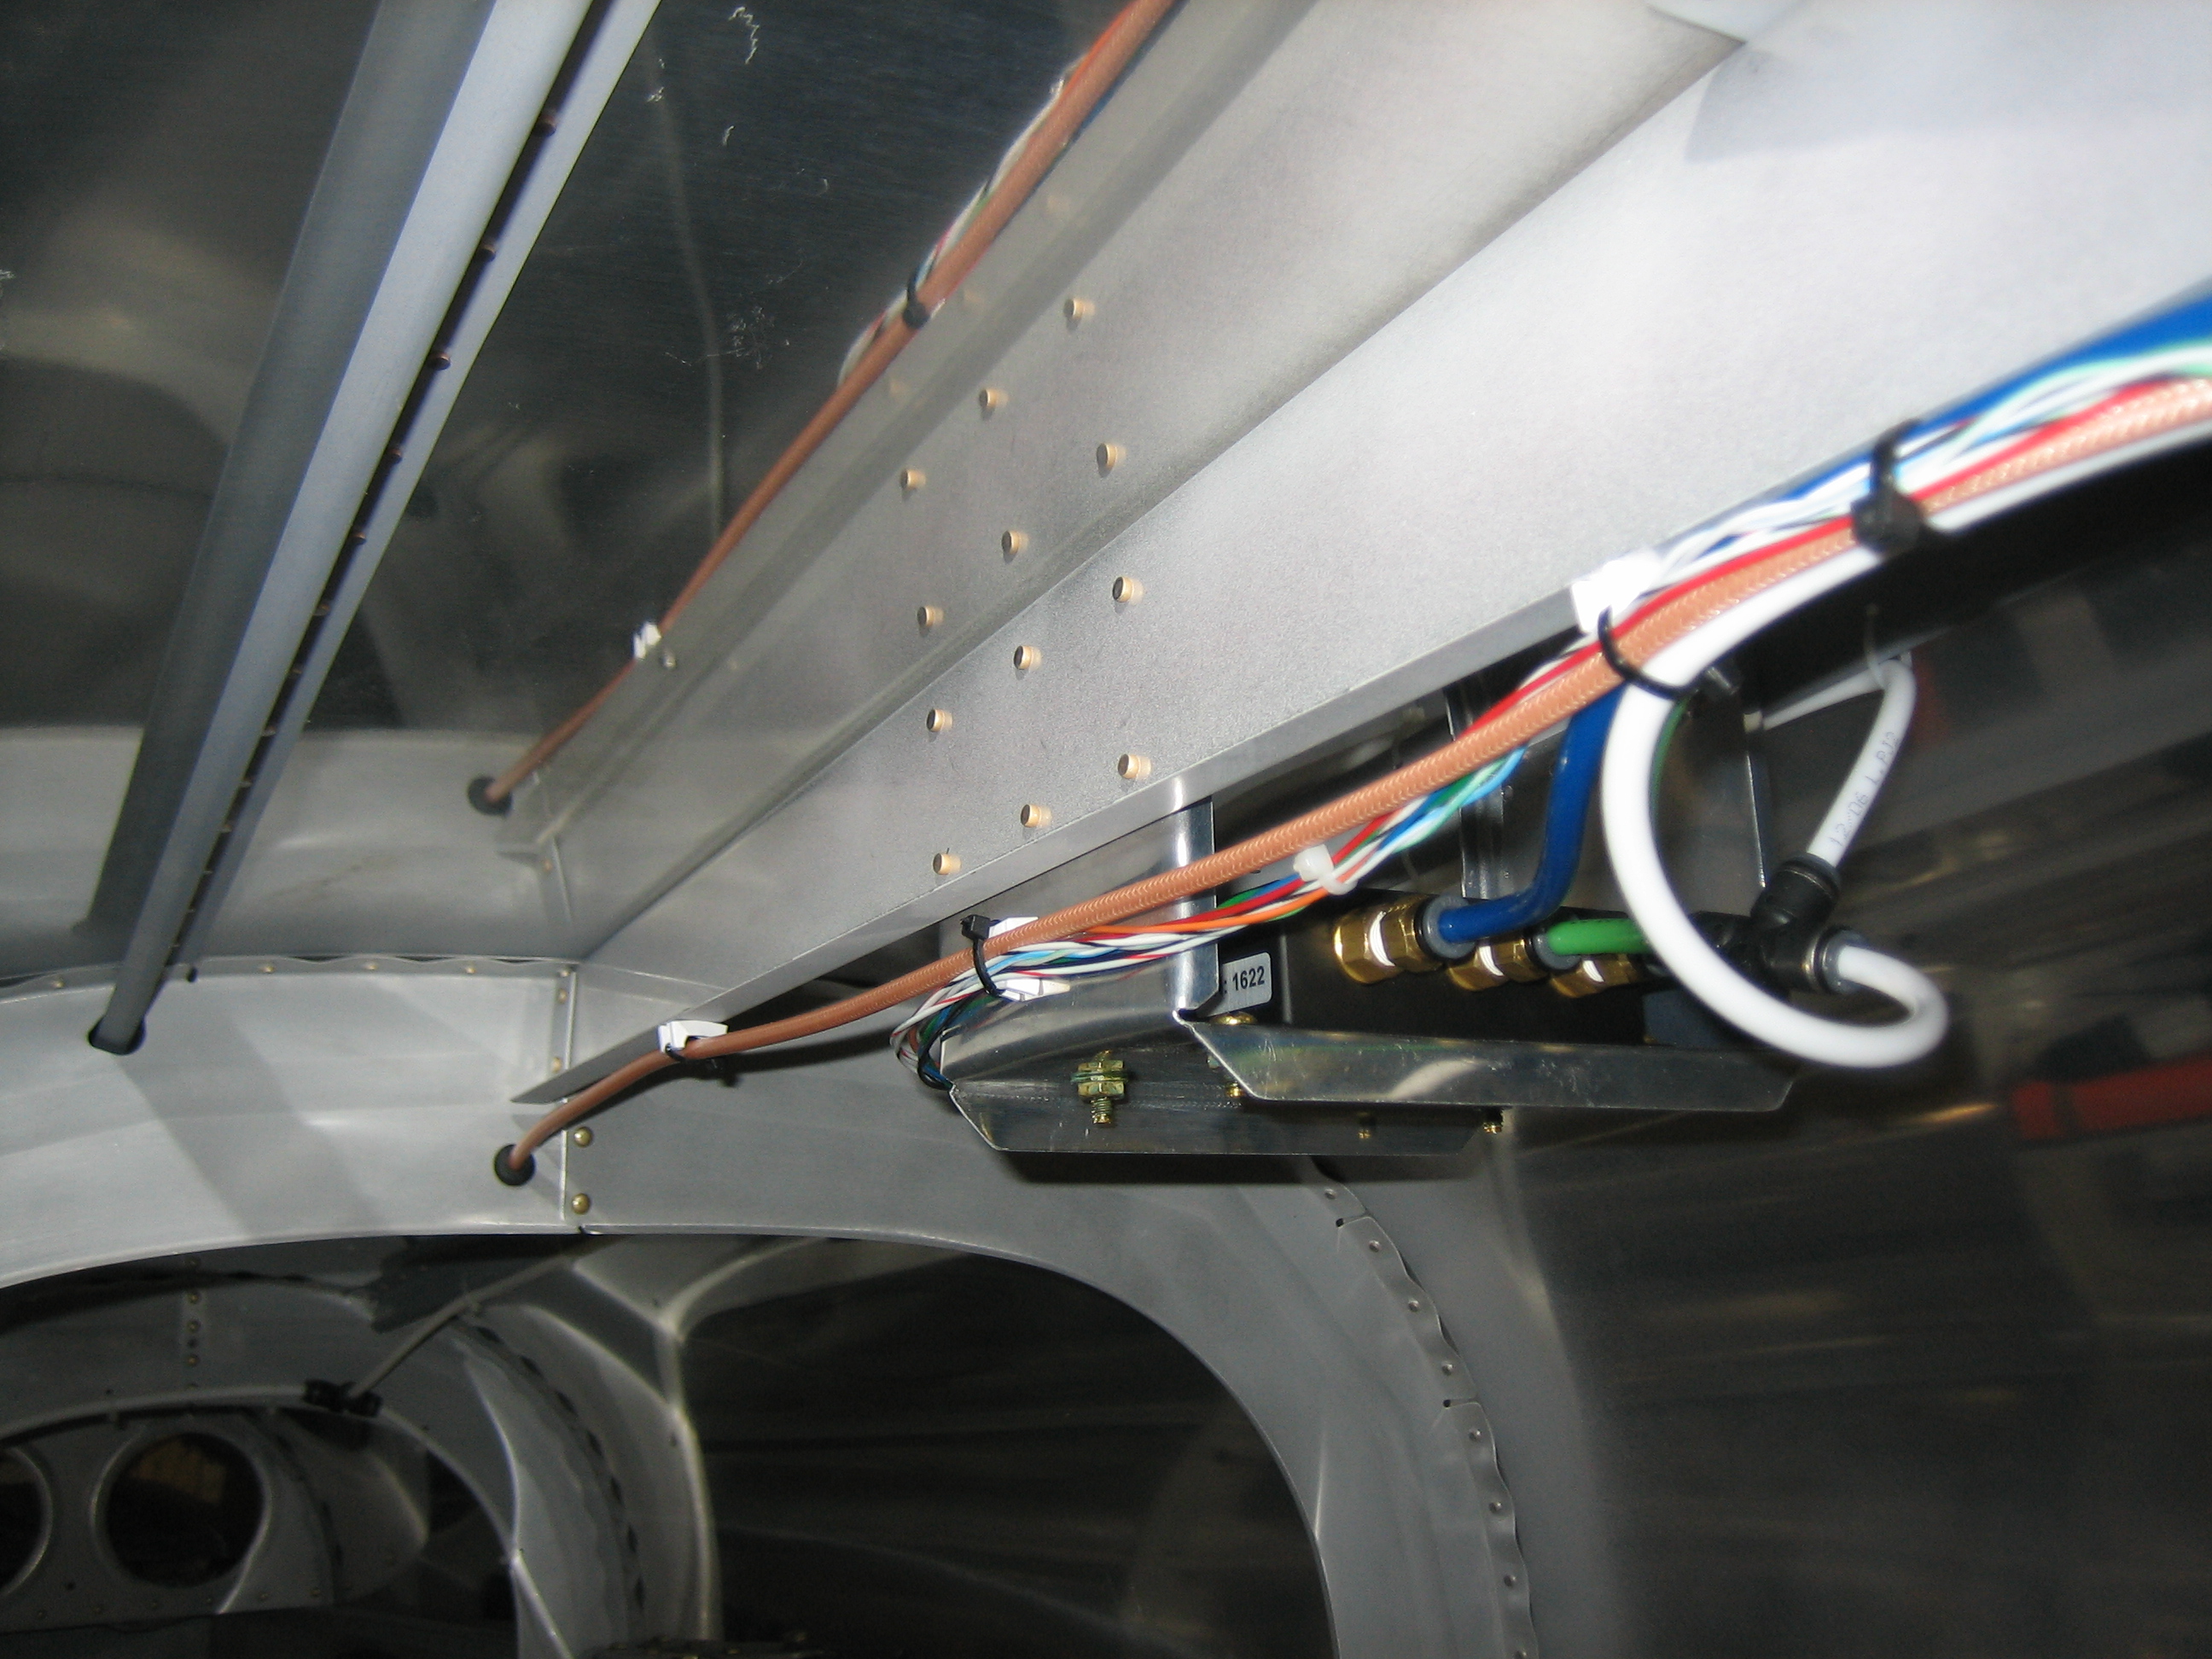
The mount is just a short piece of Z channel that I trimmed to fit the antenna. I’ll drill a couple of holes in the bottom flange and attach it to the engine mount with a couple of adel clamps.