Prewired ELT

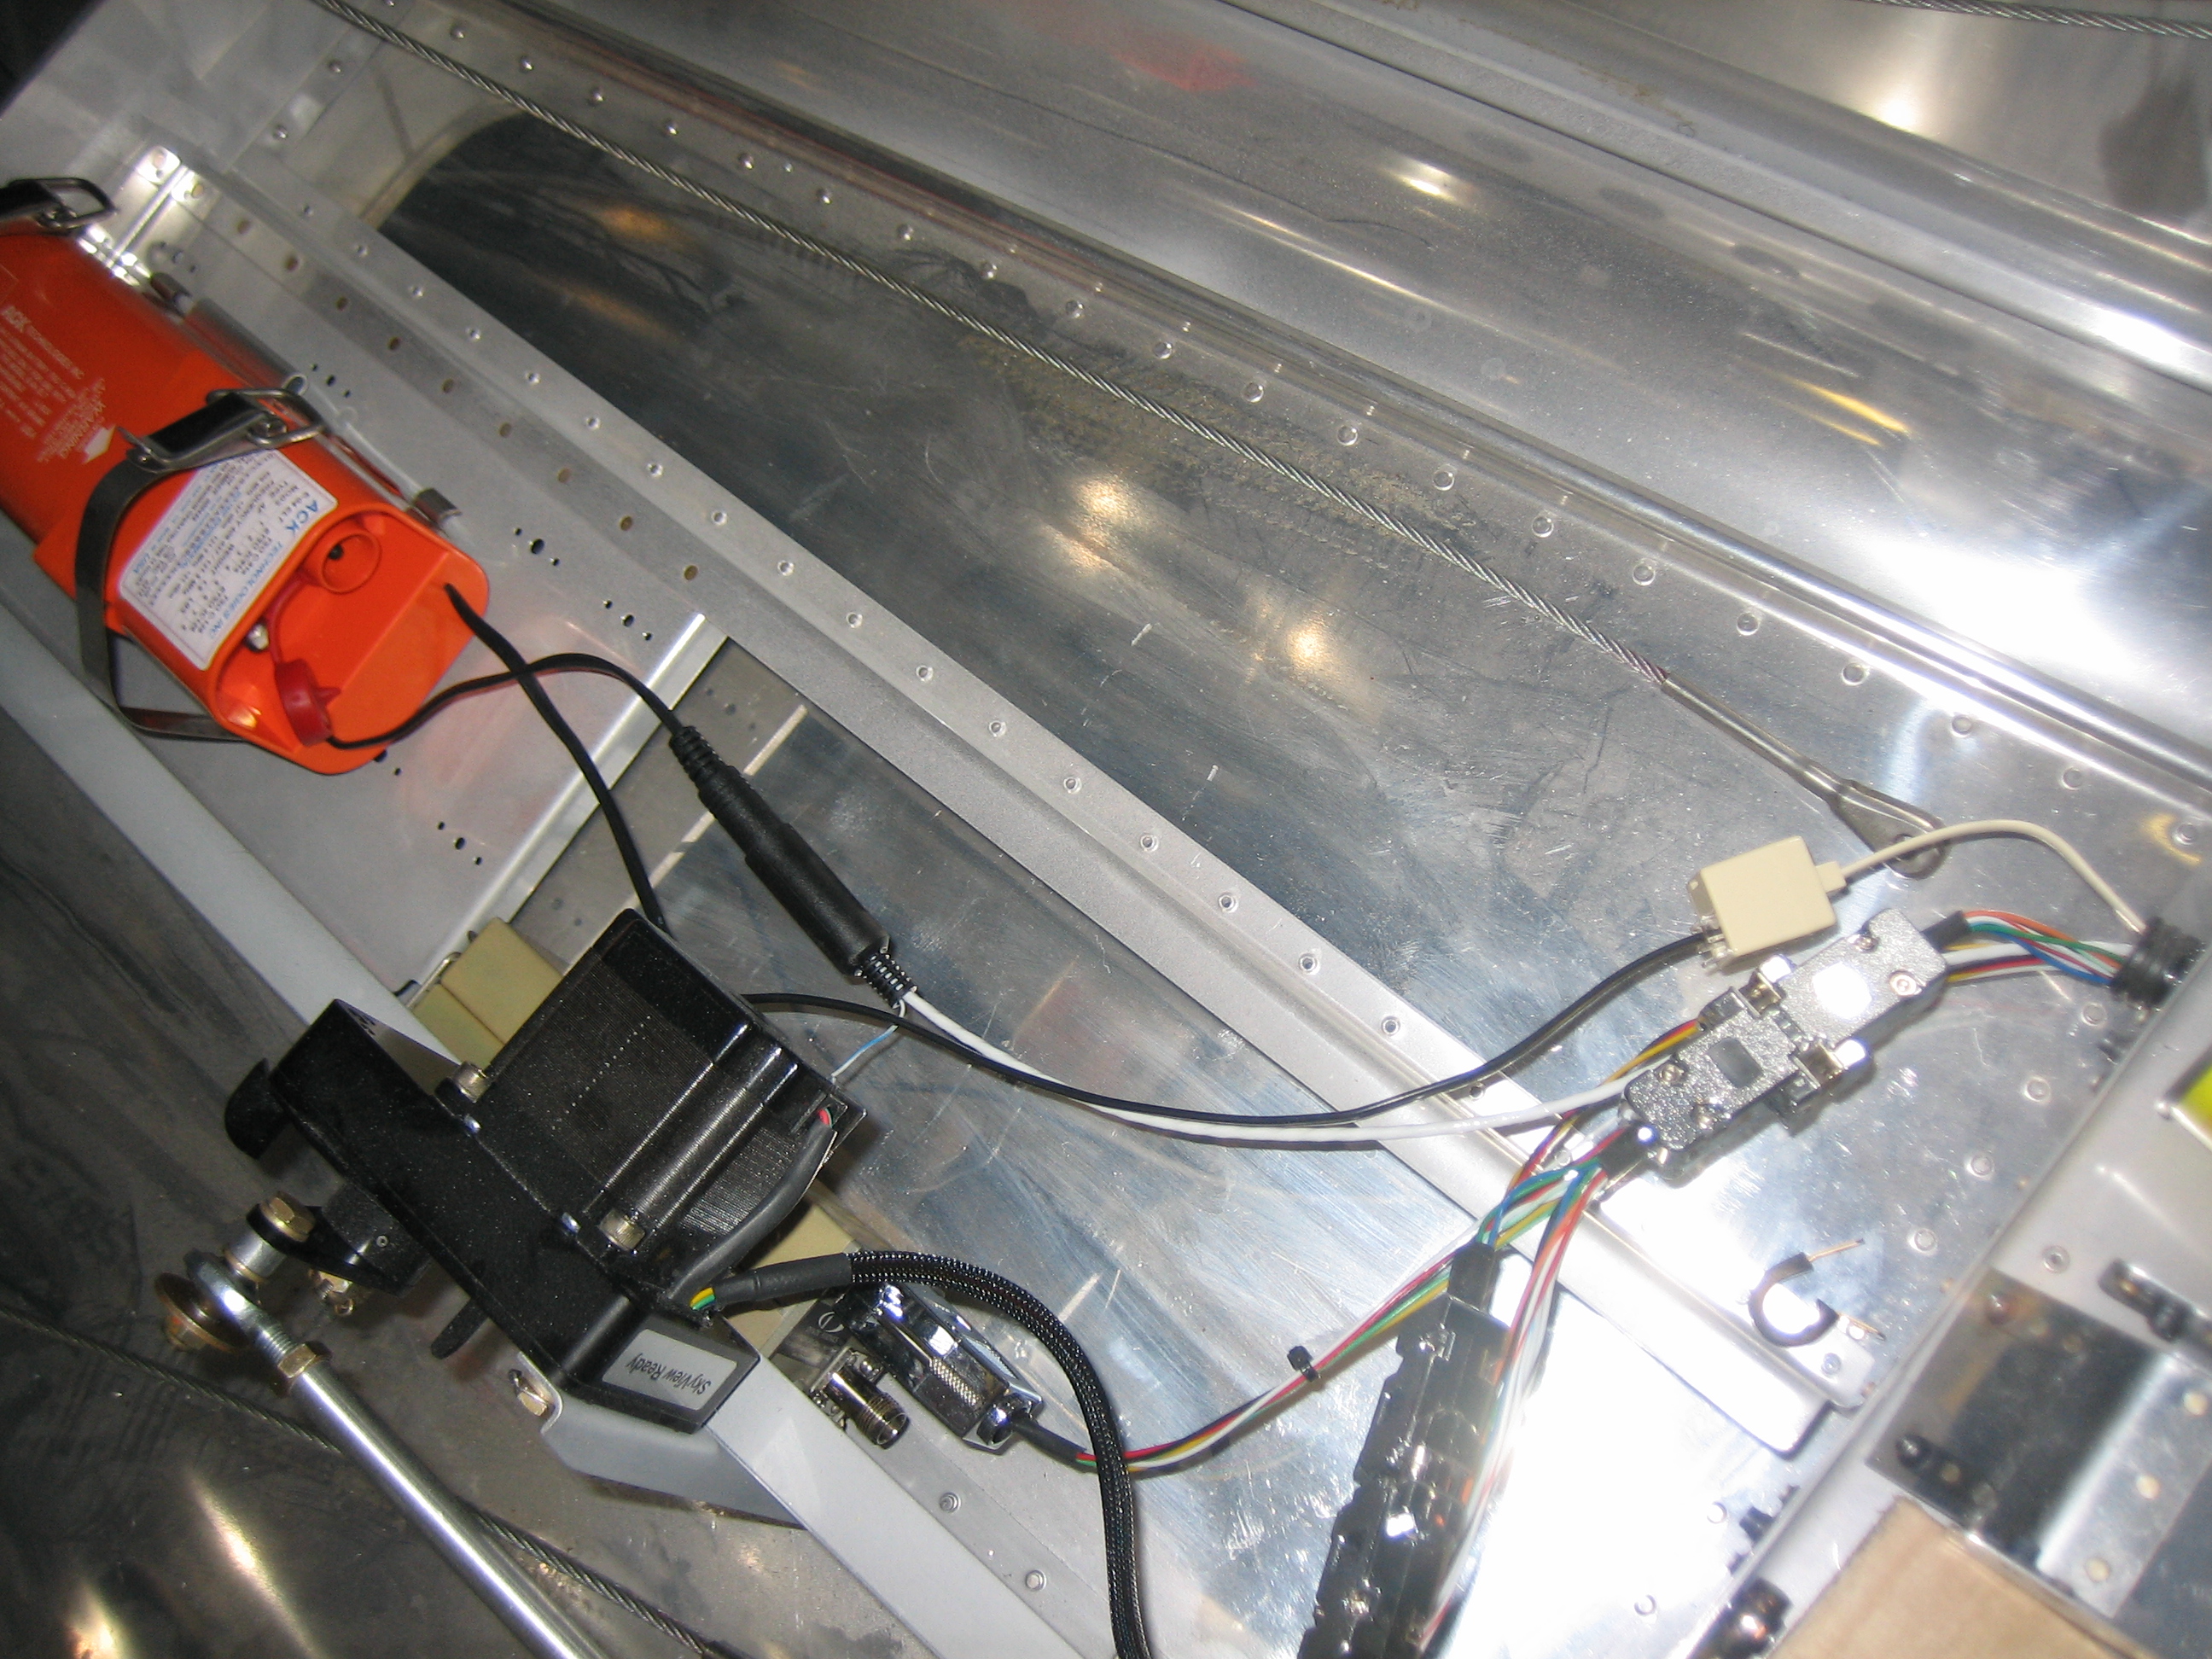
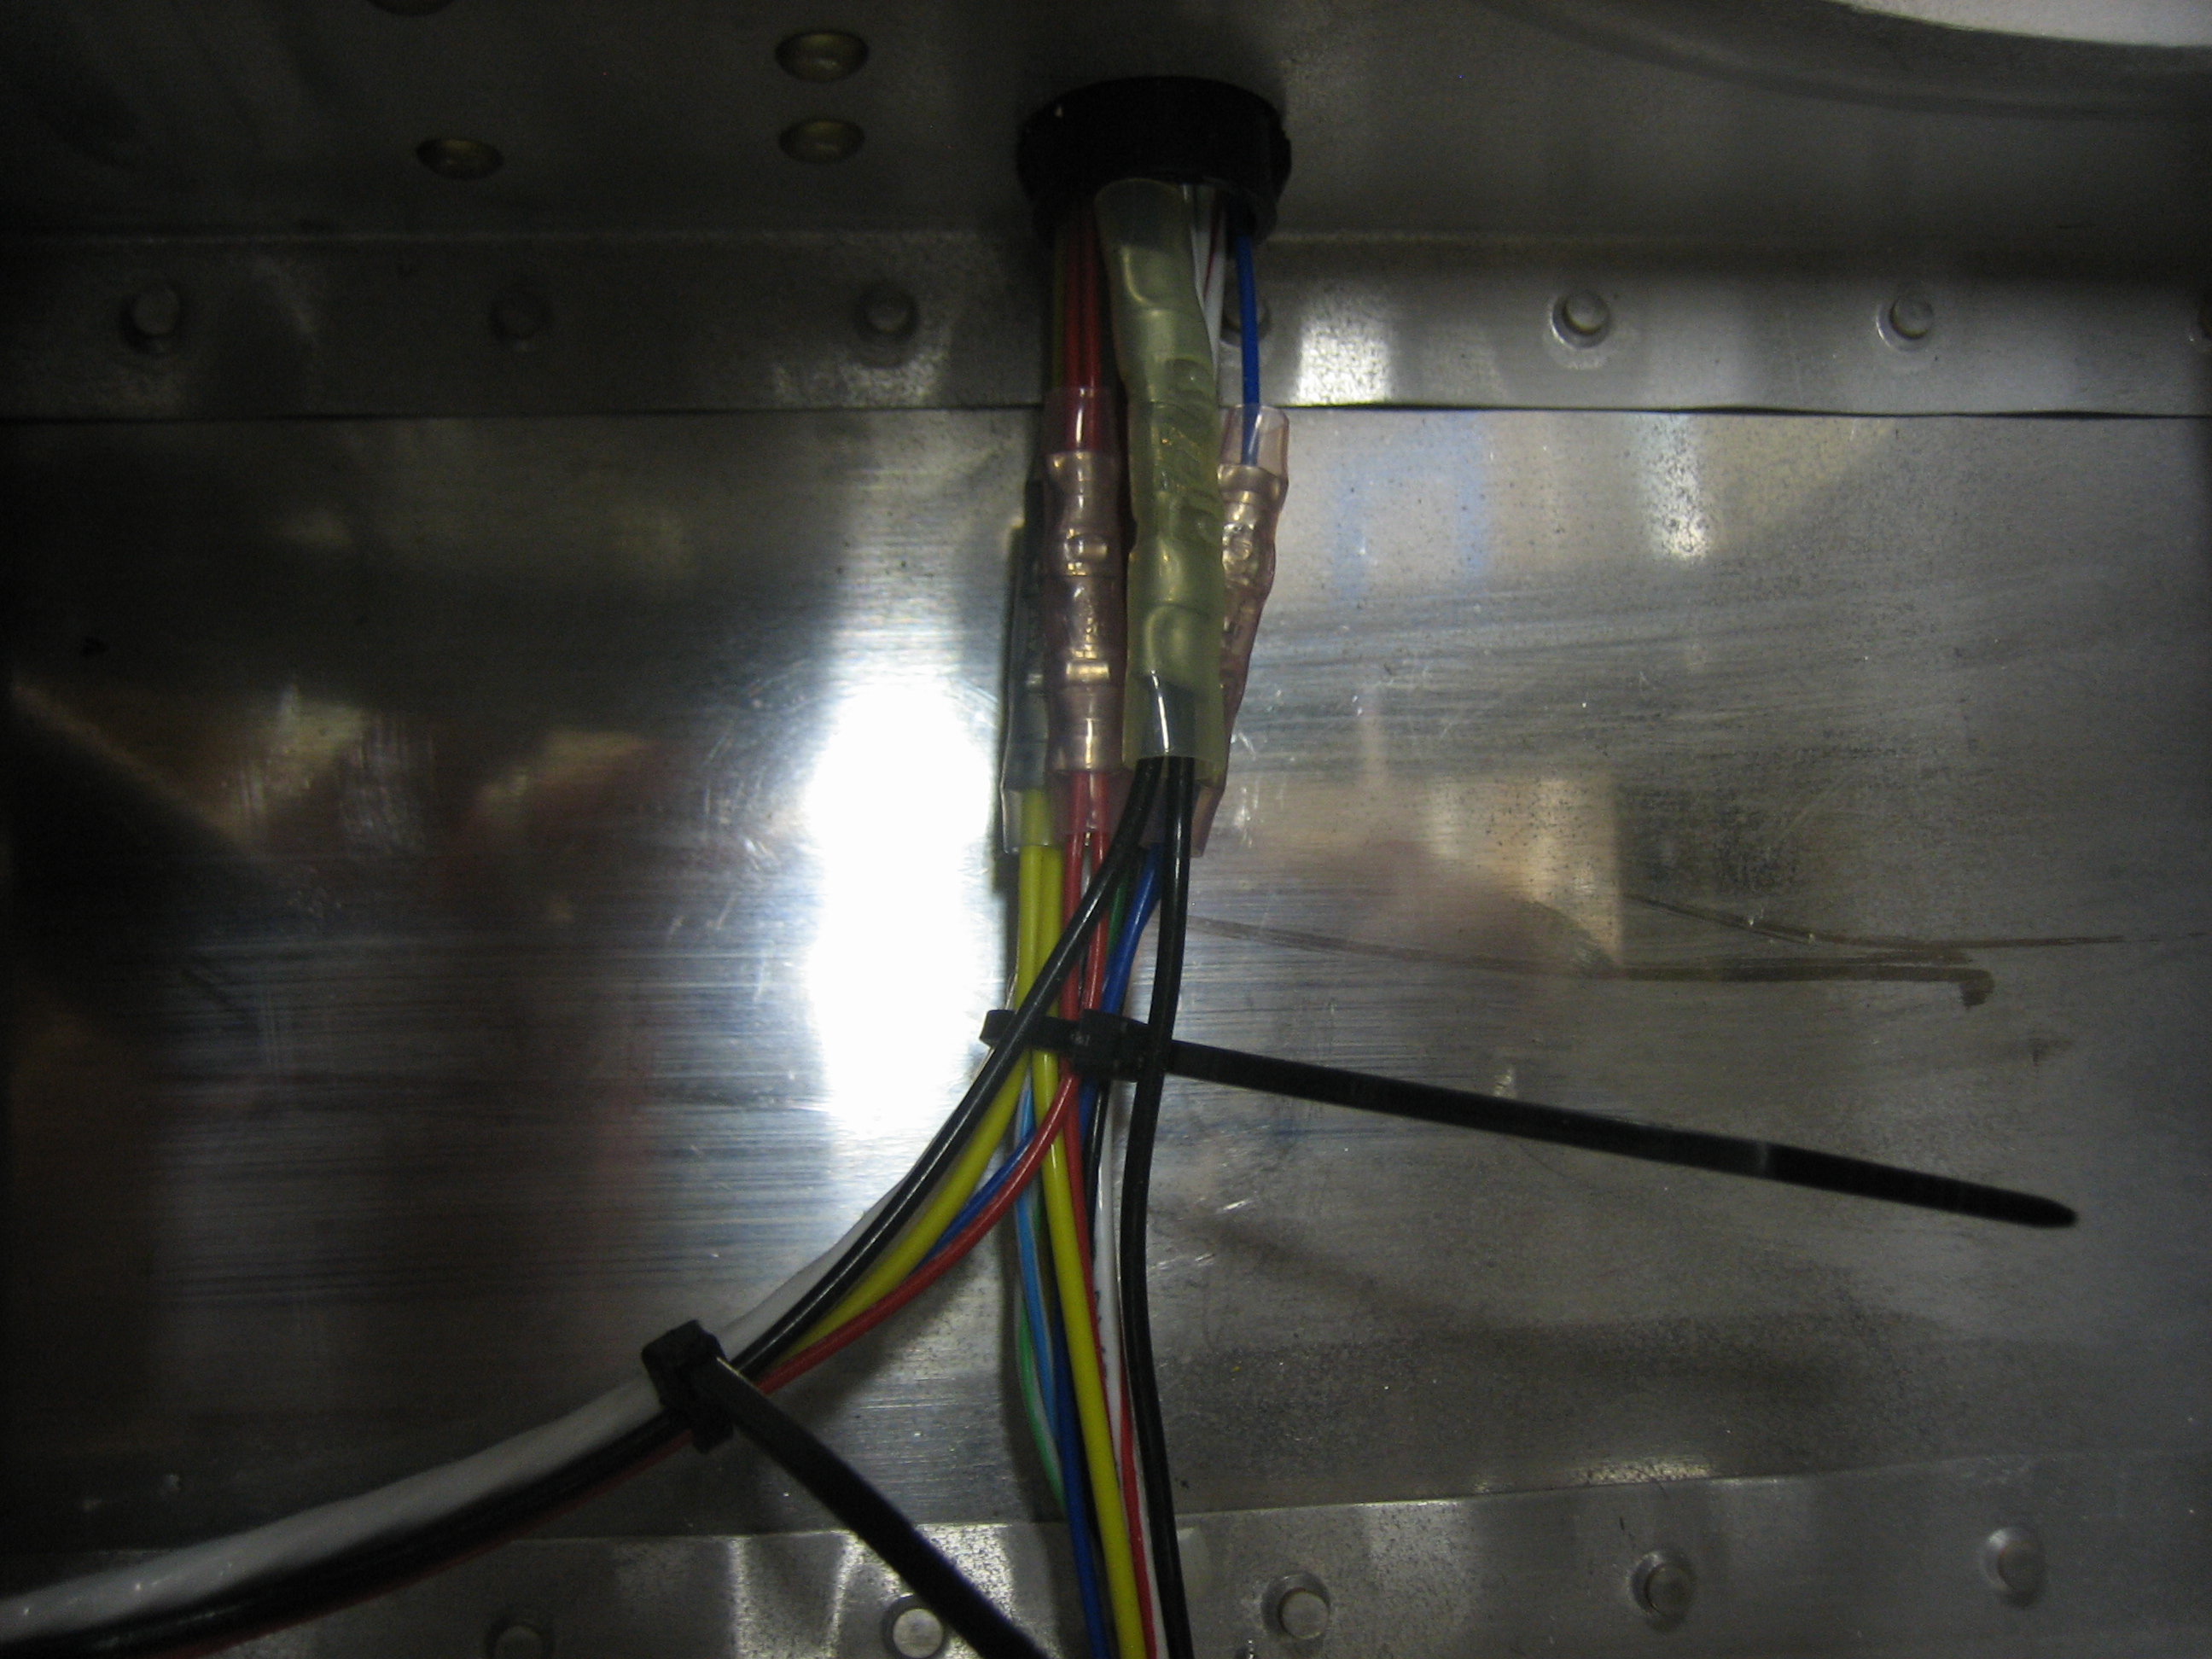
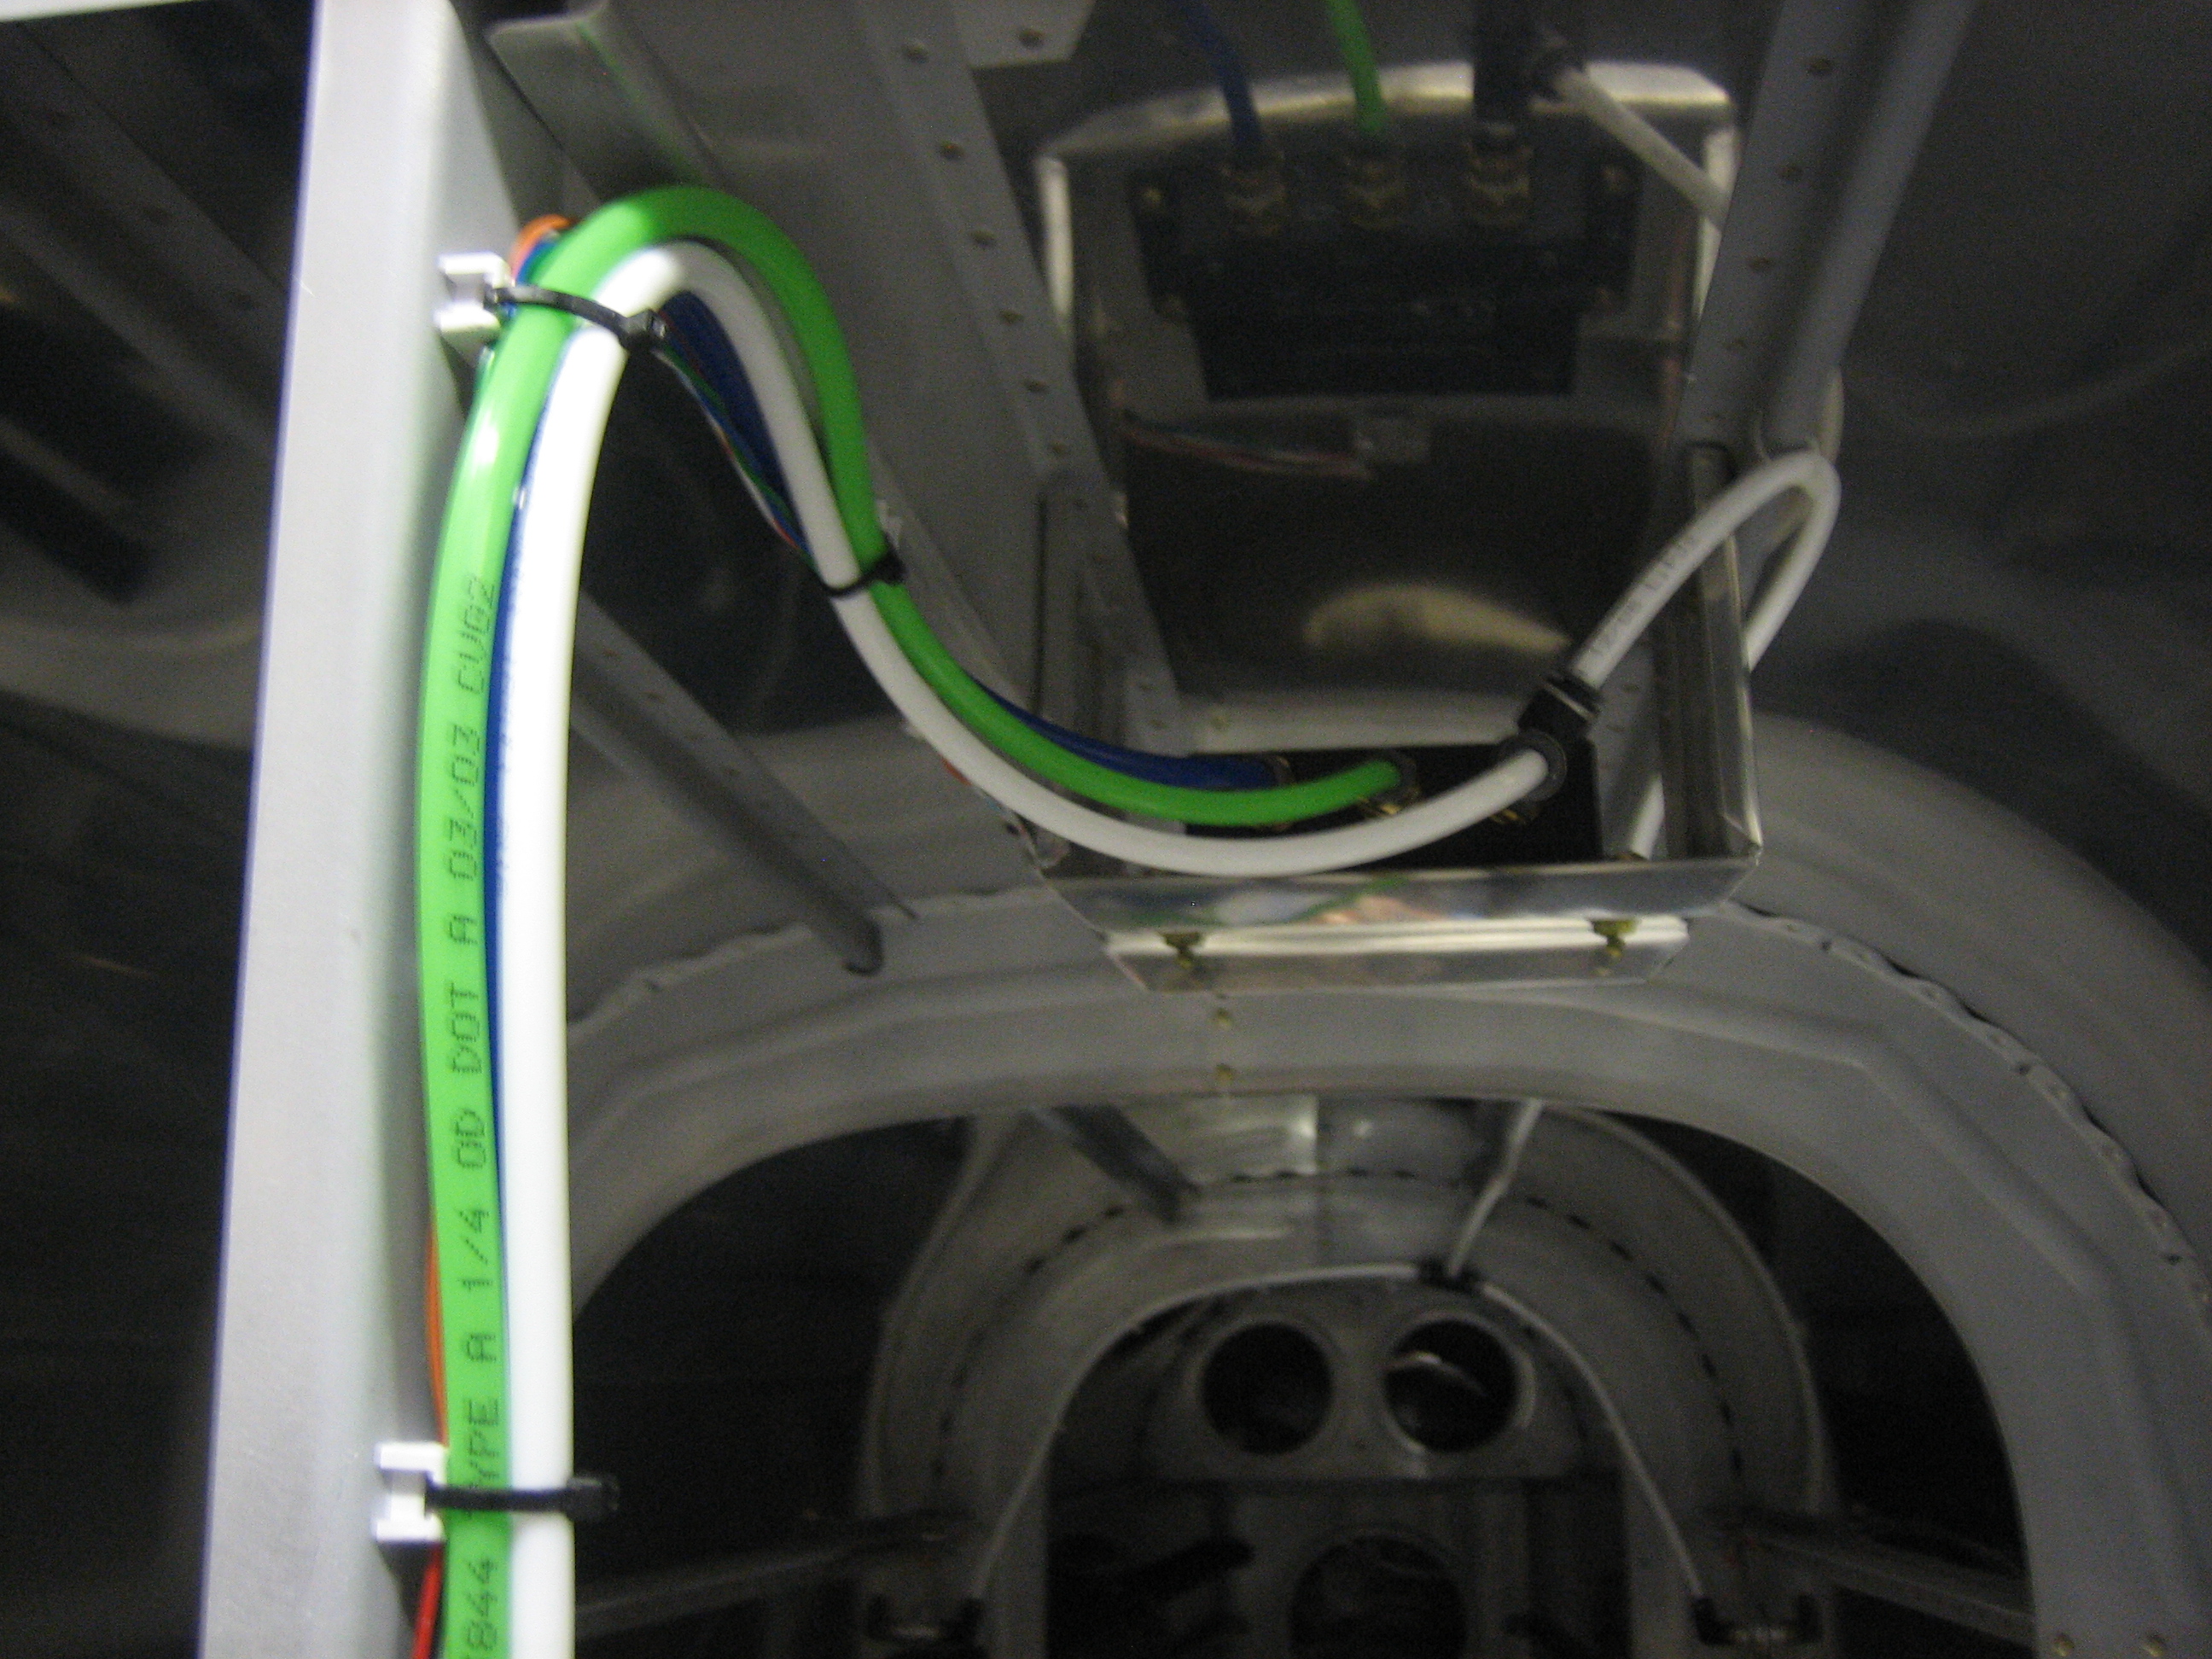
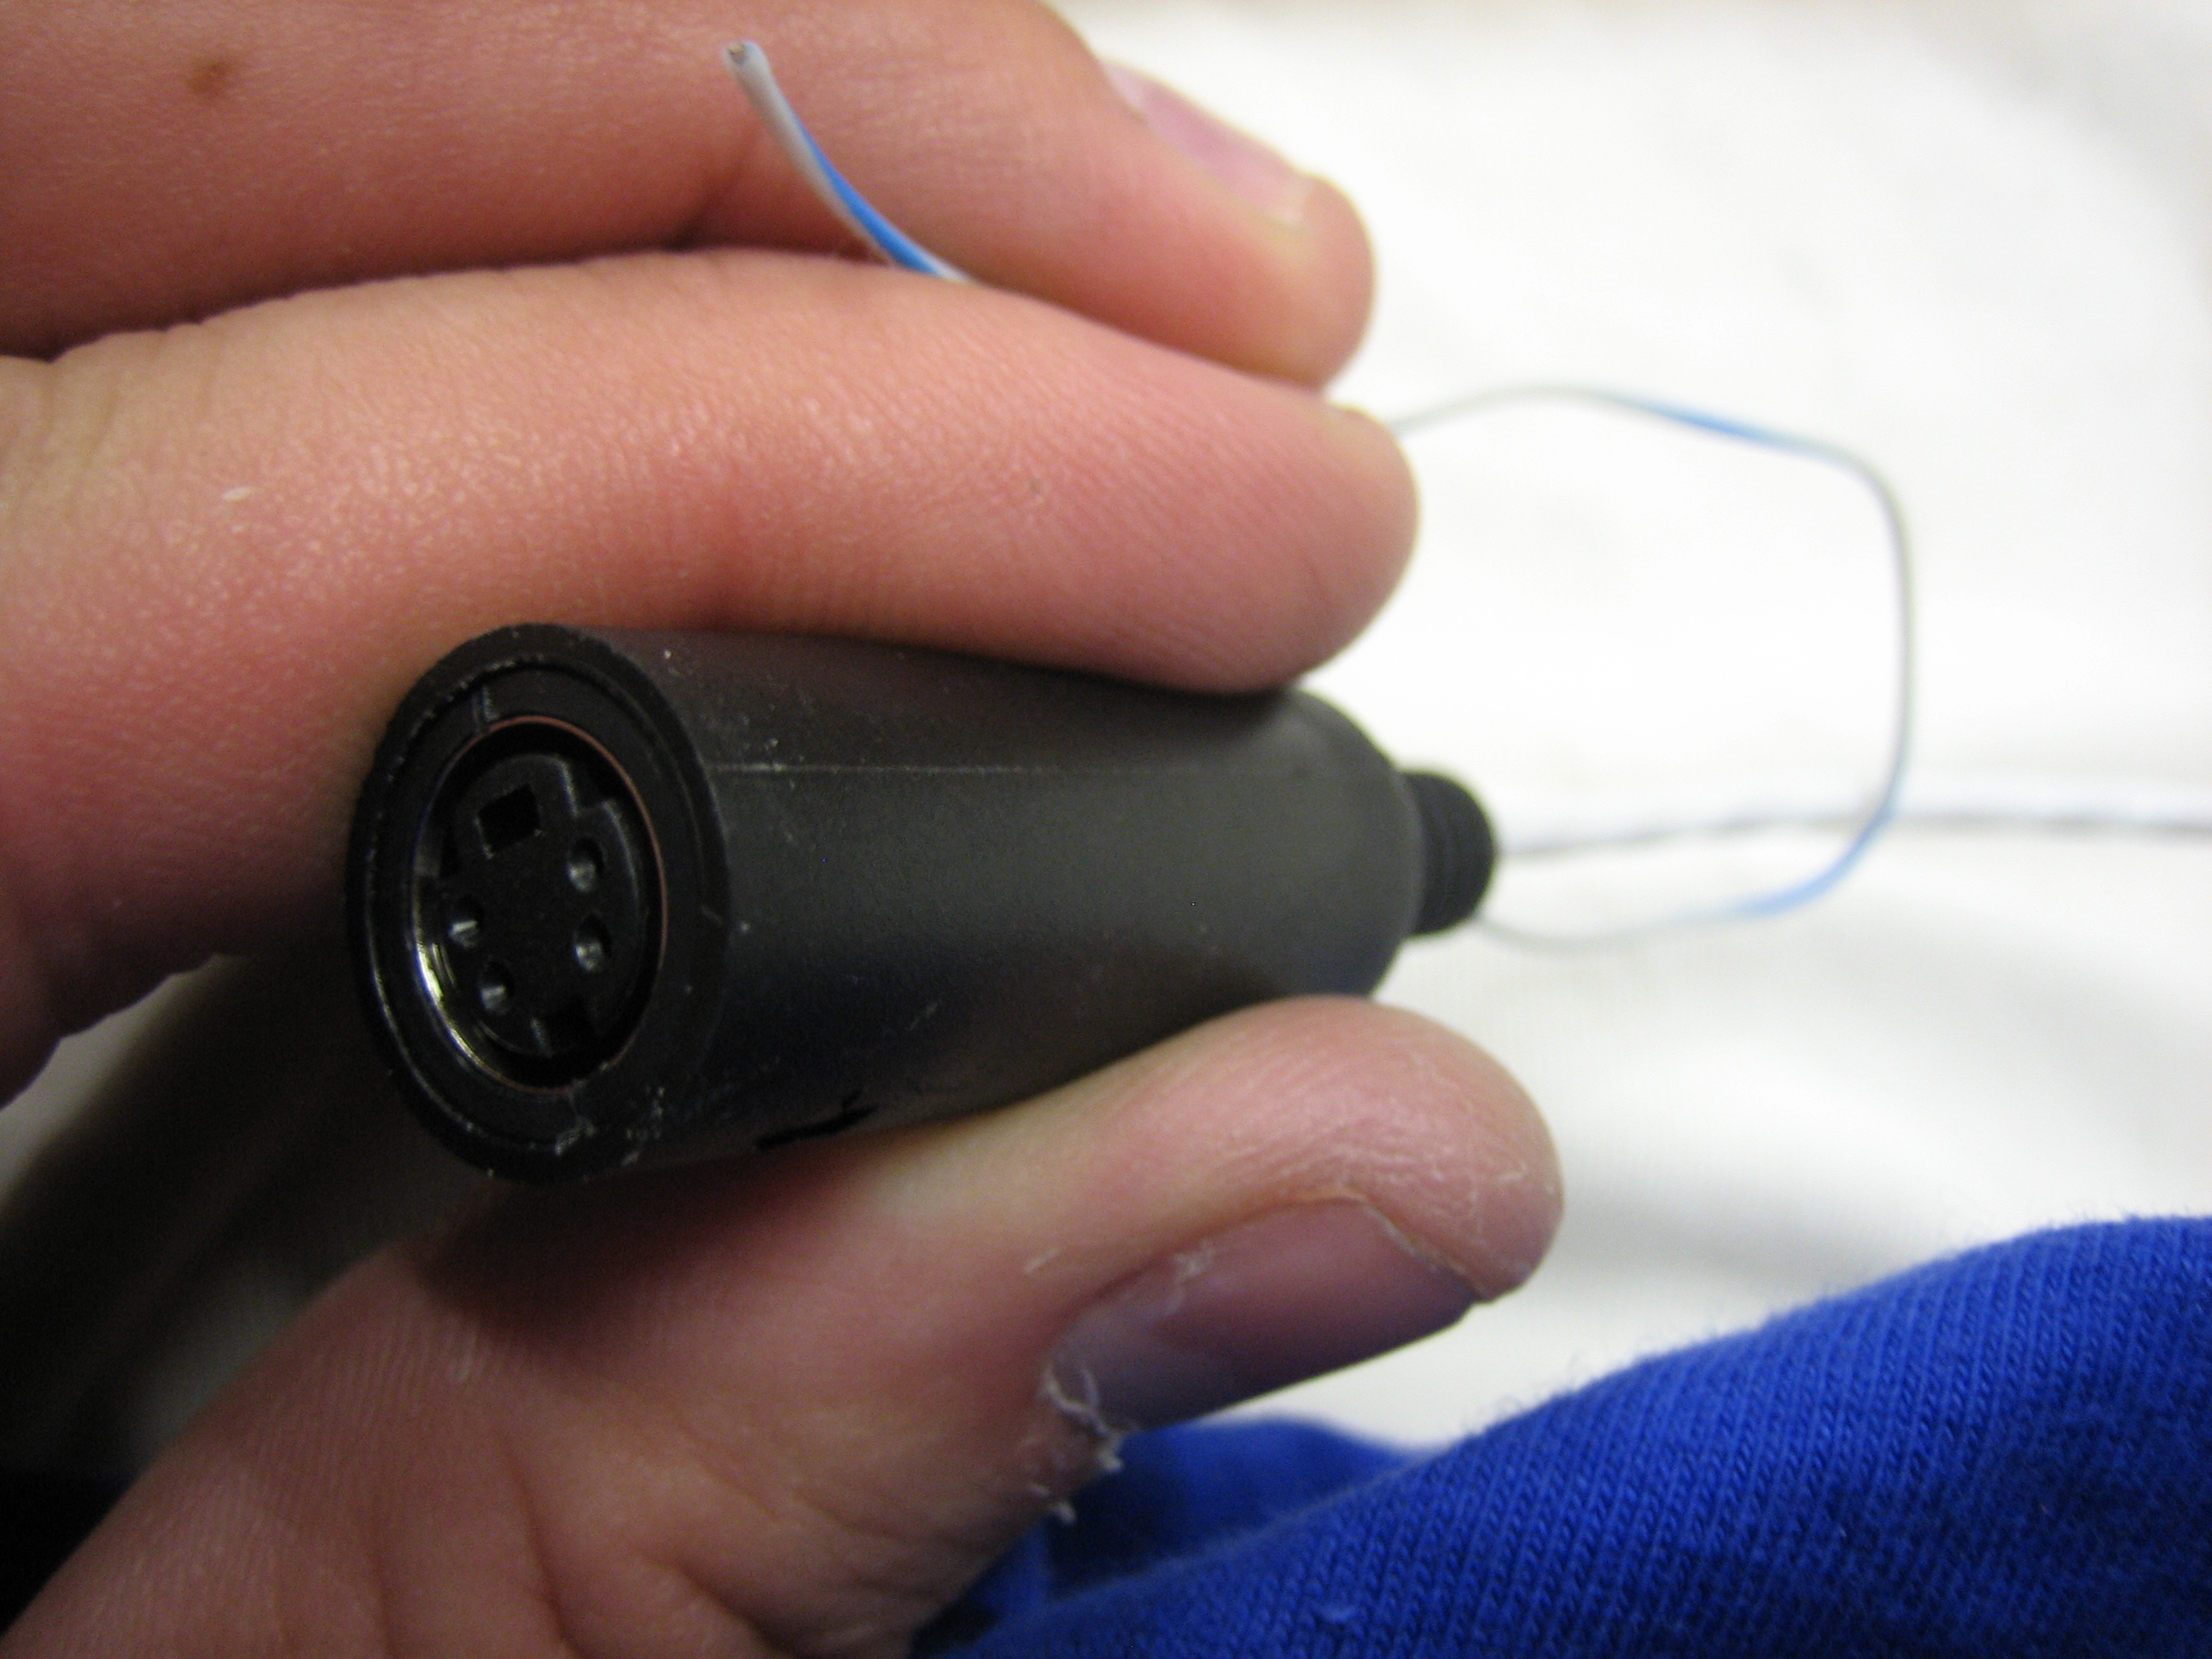
I received an order from Aircraft Spruce today with some three conductor shielded wire, so I attached it to the female mini din connector.  This is really a stupid connector to use.  The solder cups are way too small even for 24AWG wire, but I eventually got everything soldered together and used some shrink tubing to stabilize the wires.  The connector is then filled with E6000 to further stabilize the wires and the sleeve is slipped over it.  The other issue with this connector is that it doesn’t positively lock together, so it can vibrate loose.  ACK’s instruction manual says to use some tape to keep the two halves together which is a little cheesy.  The extra wire coming out of the connector is used during installation to monitor the signal received from the GPS.

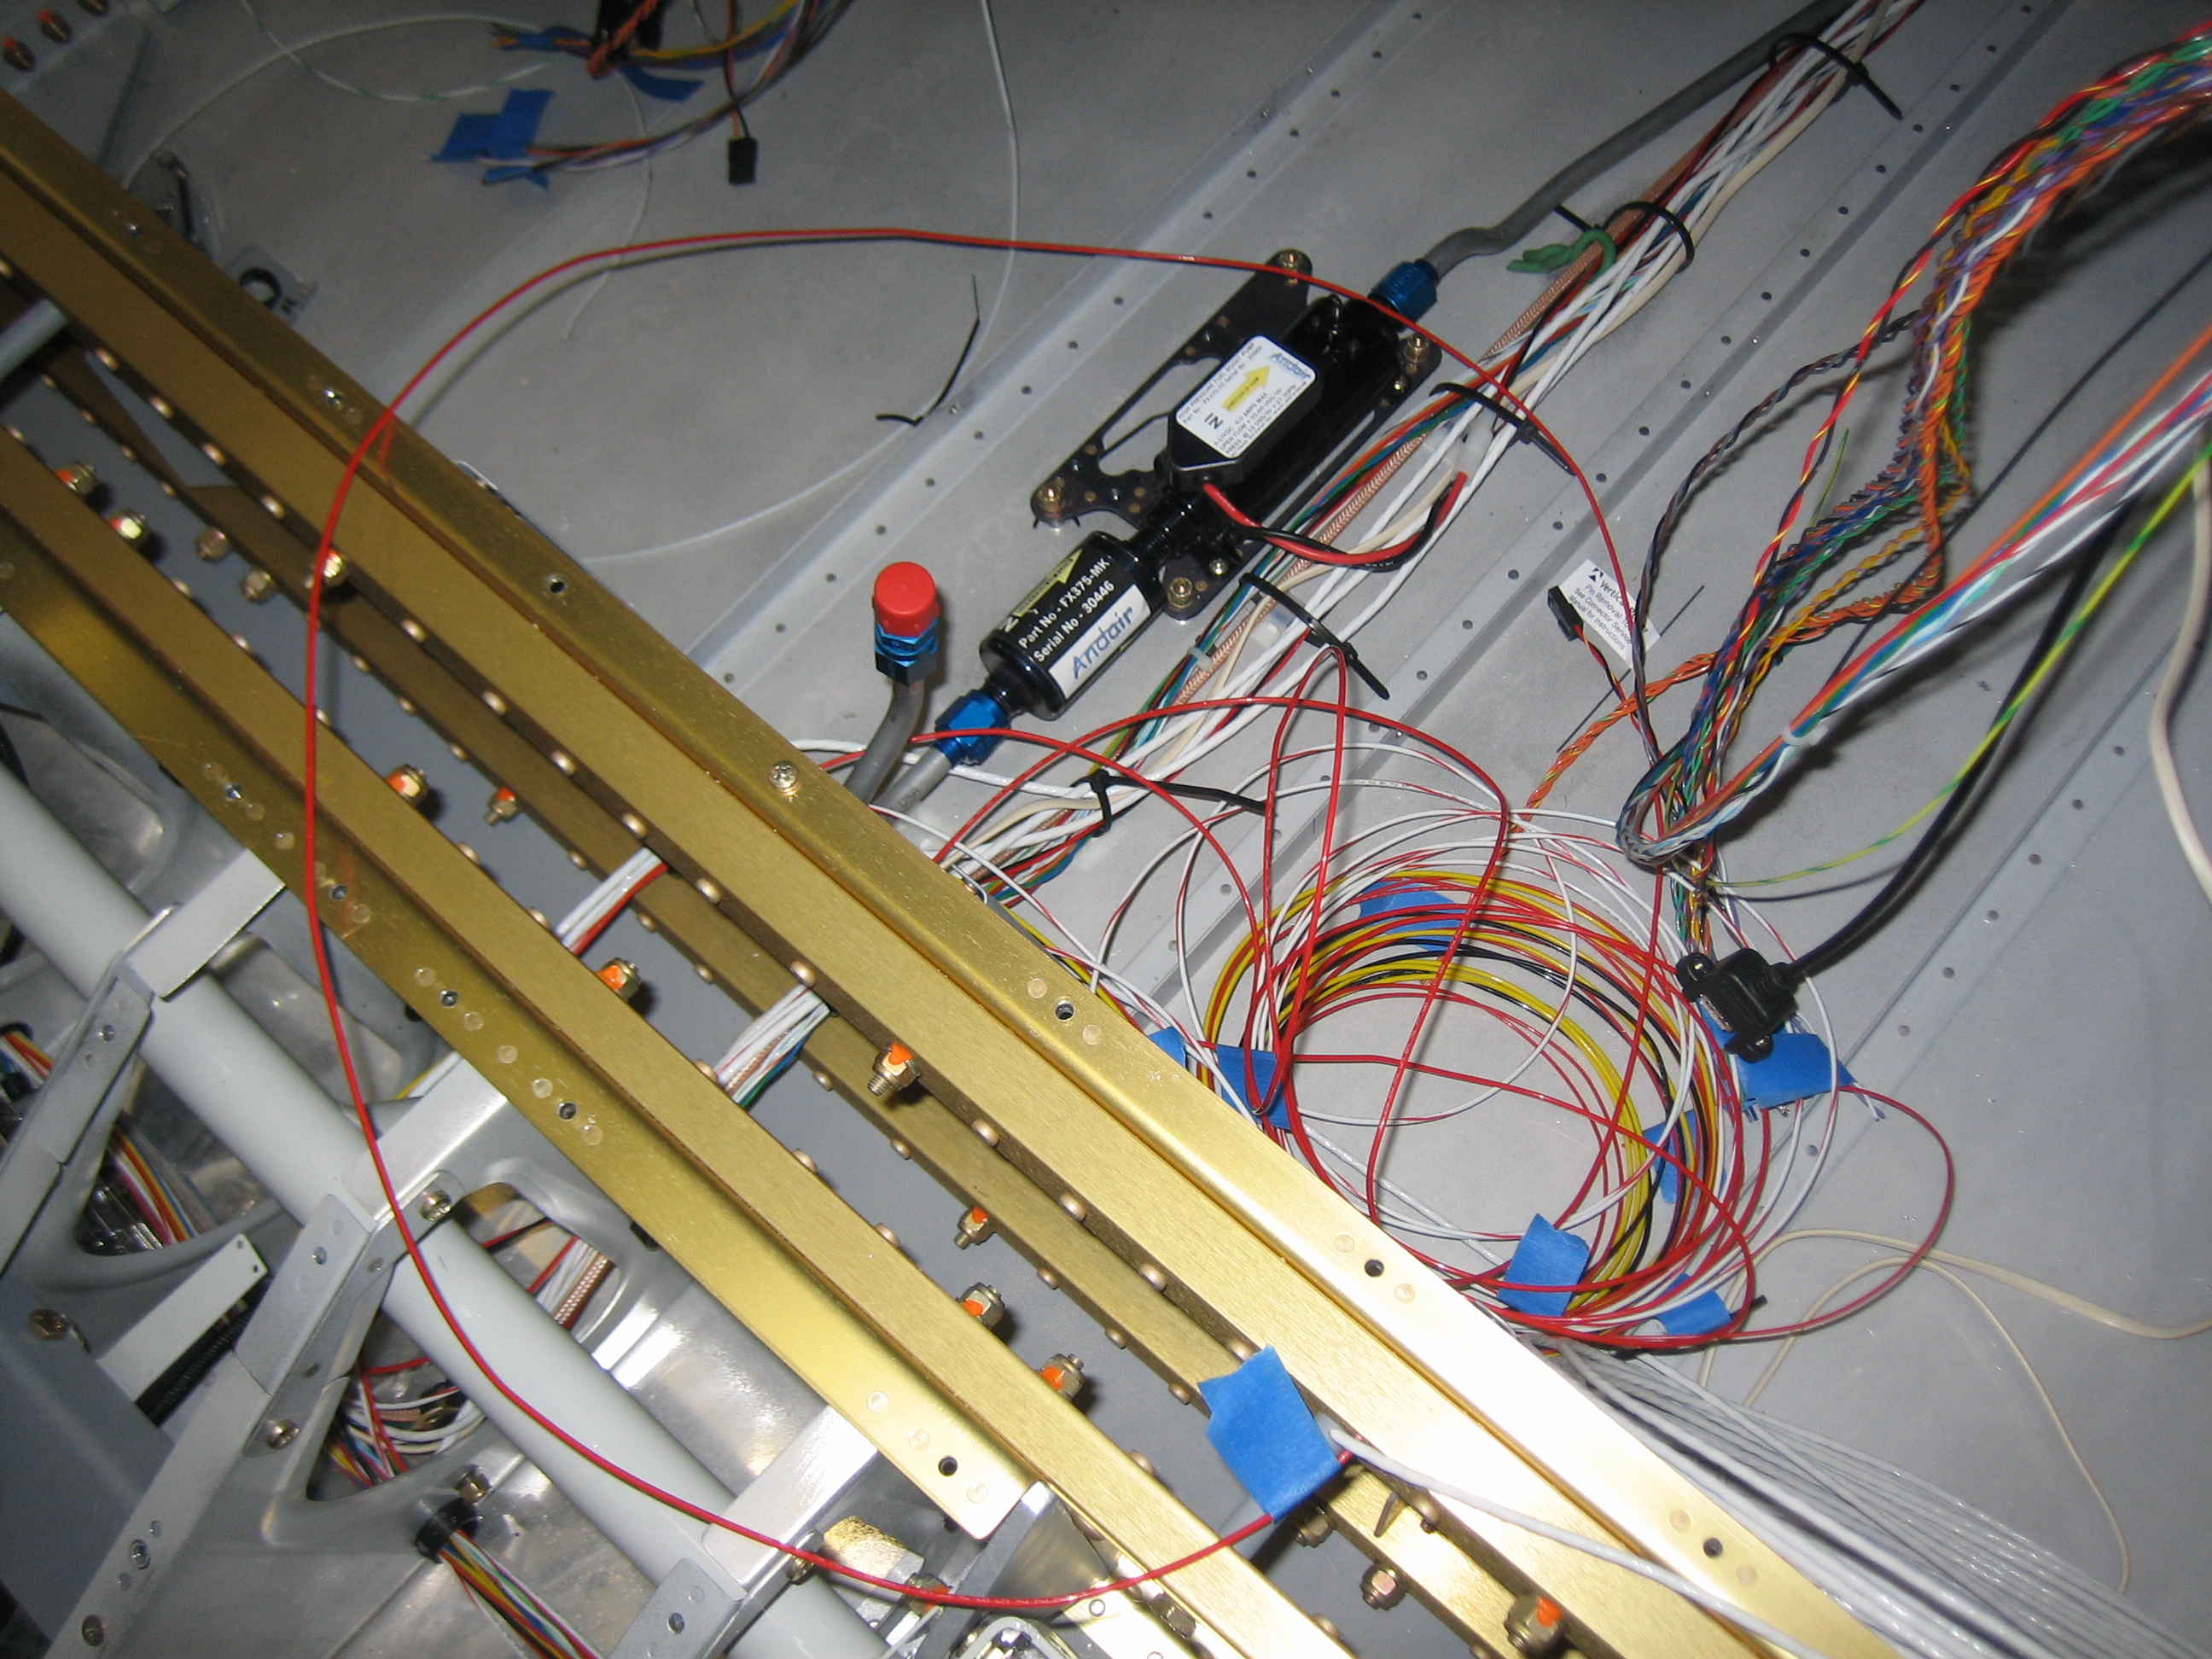
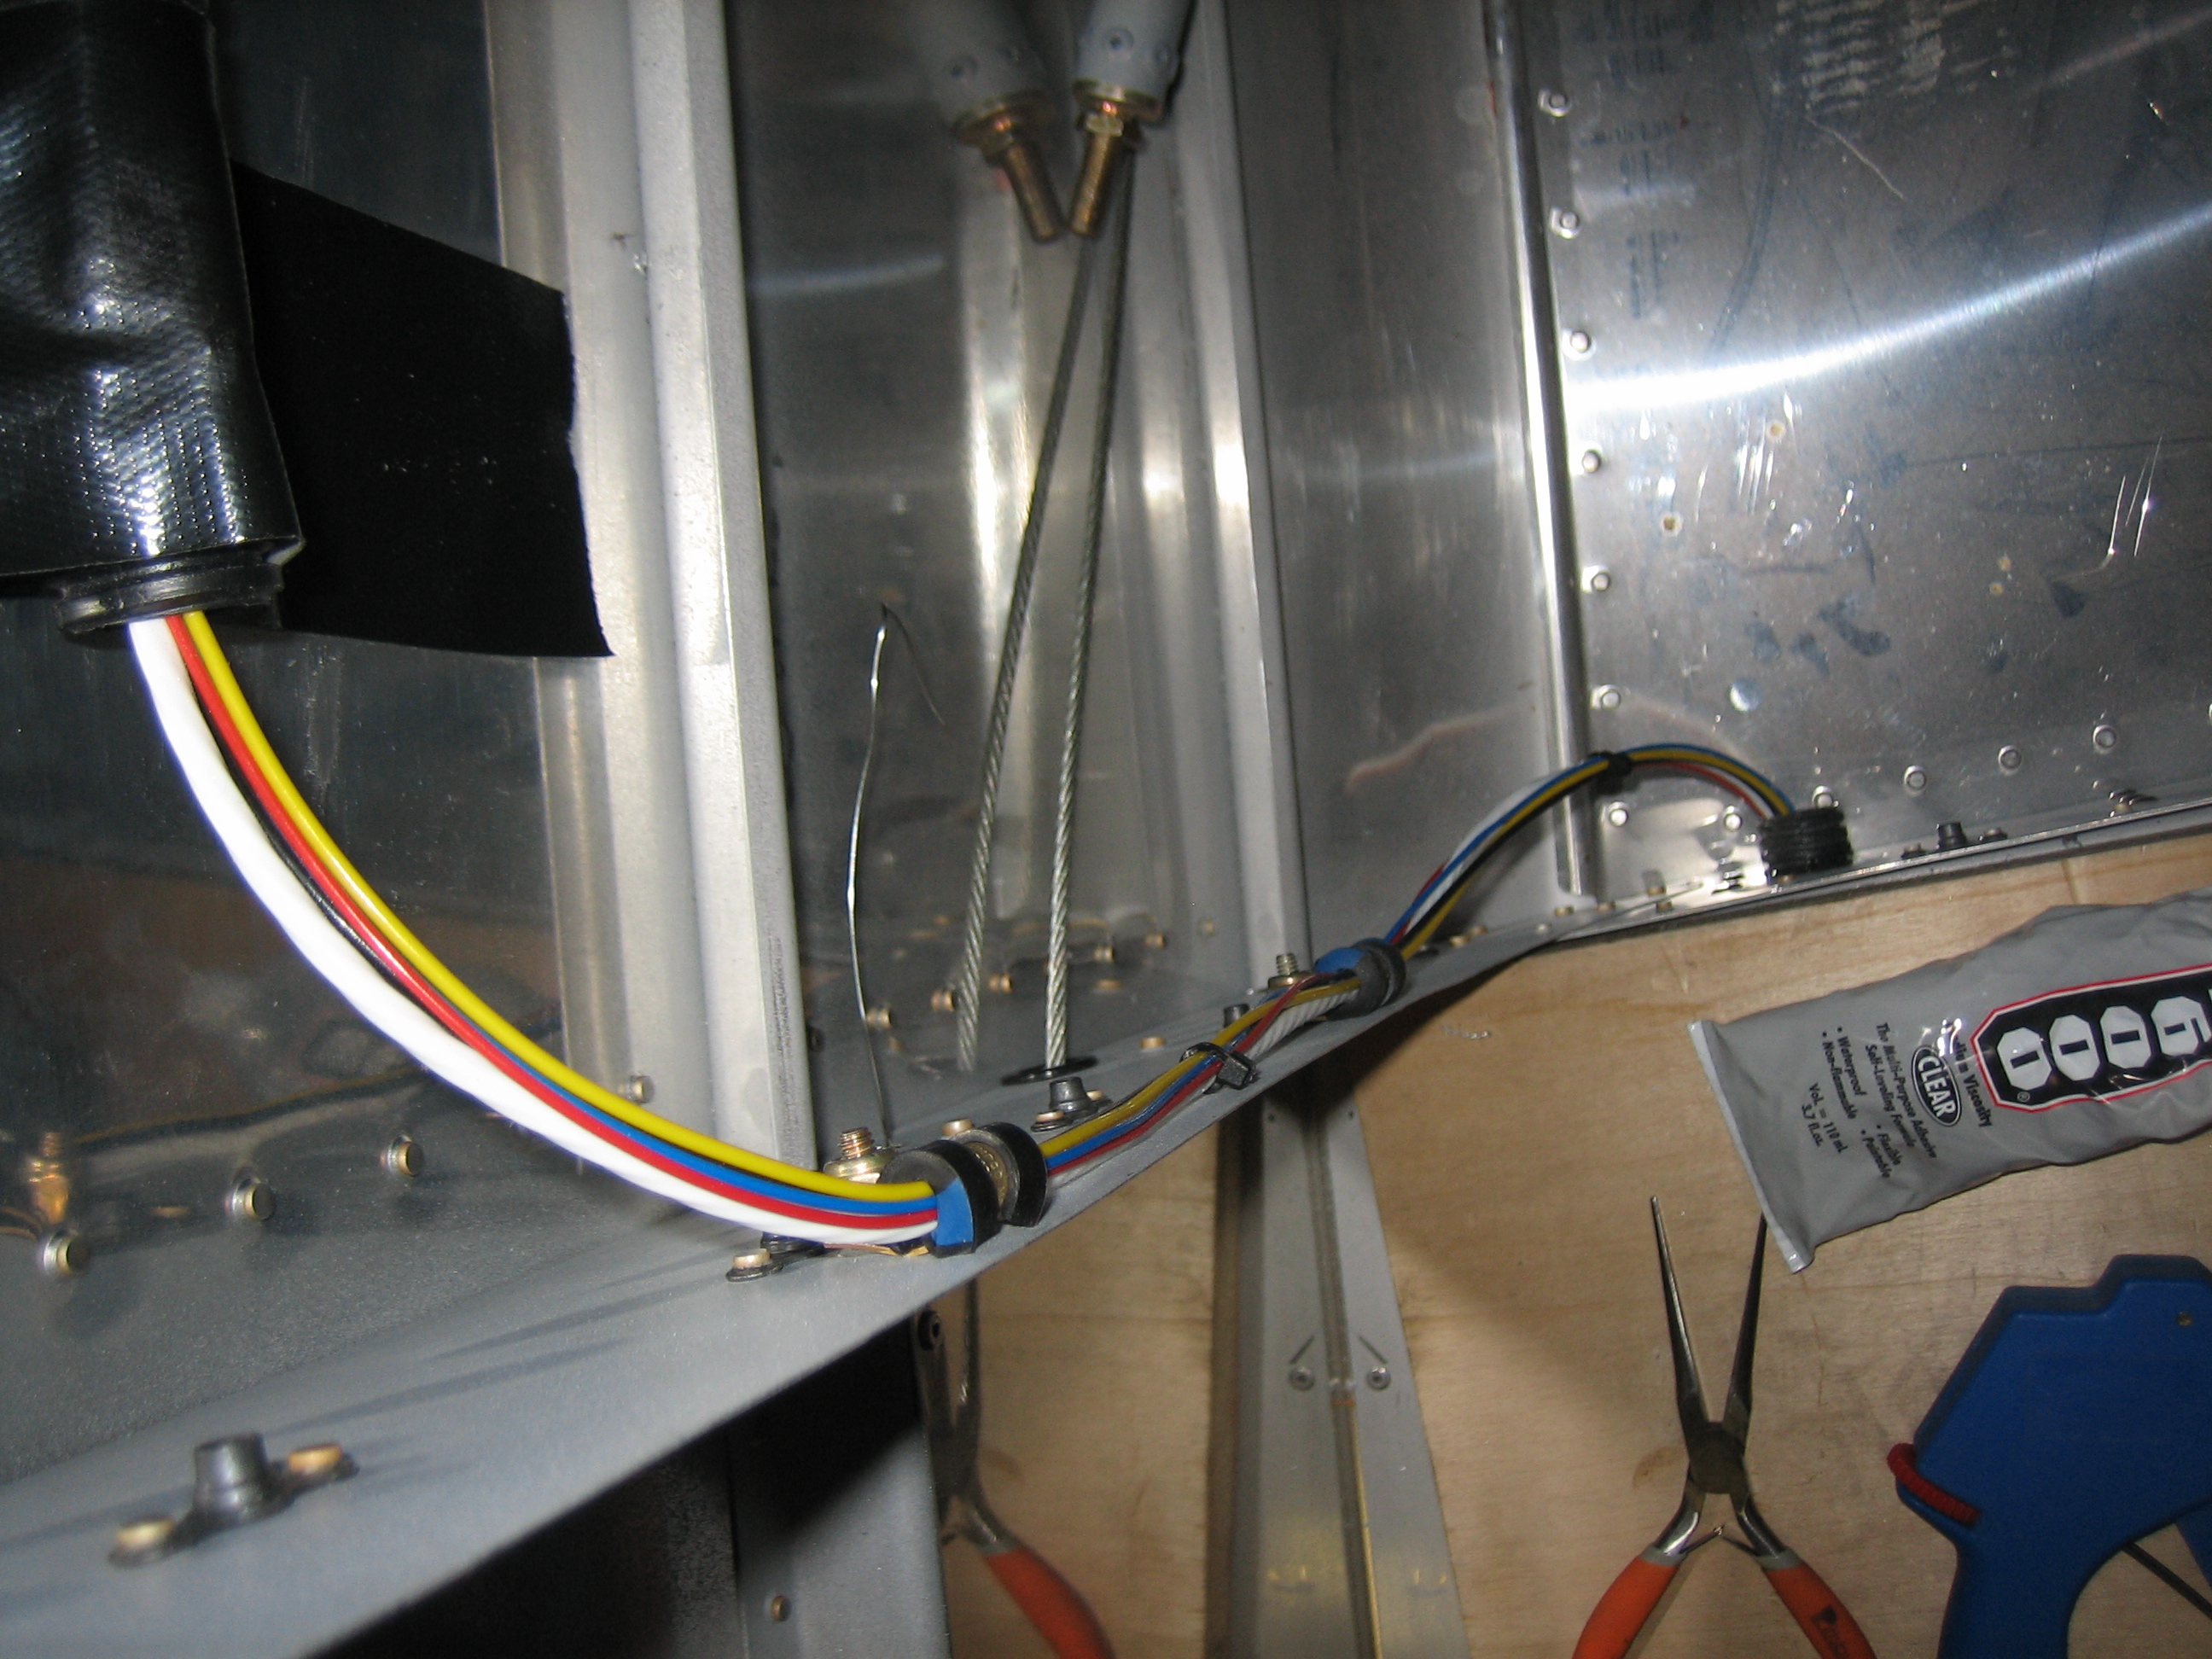
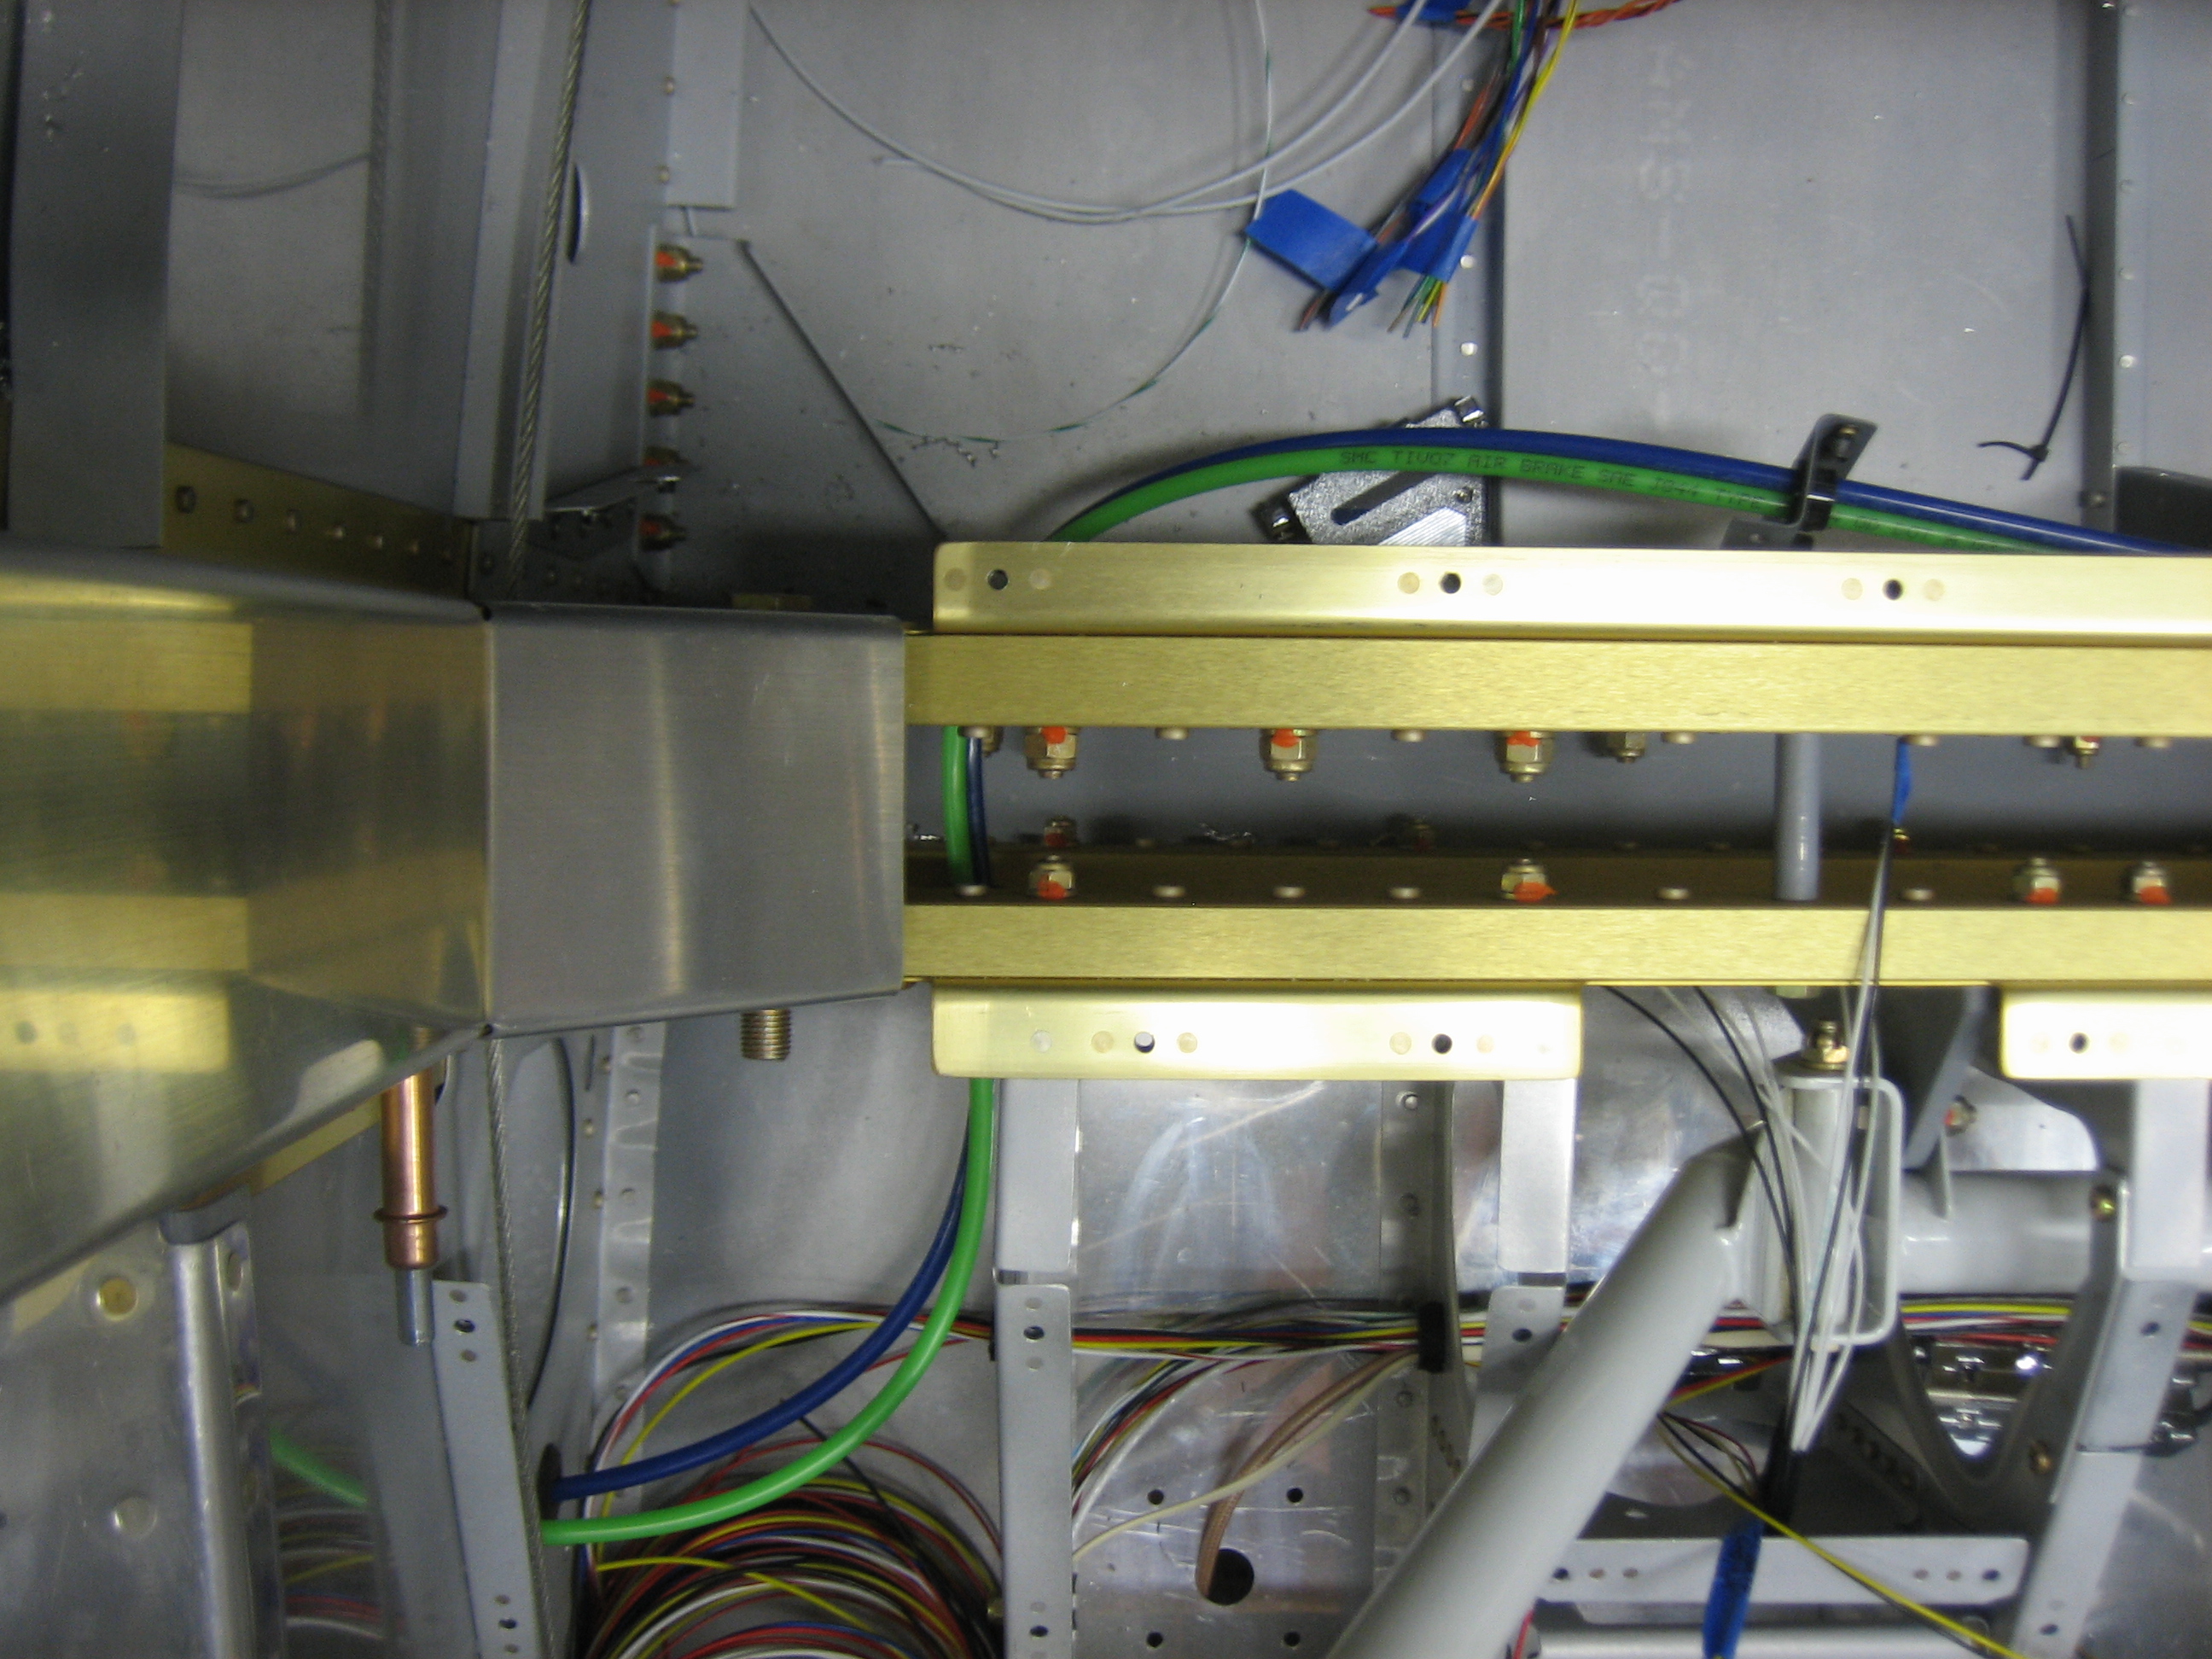
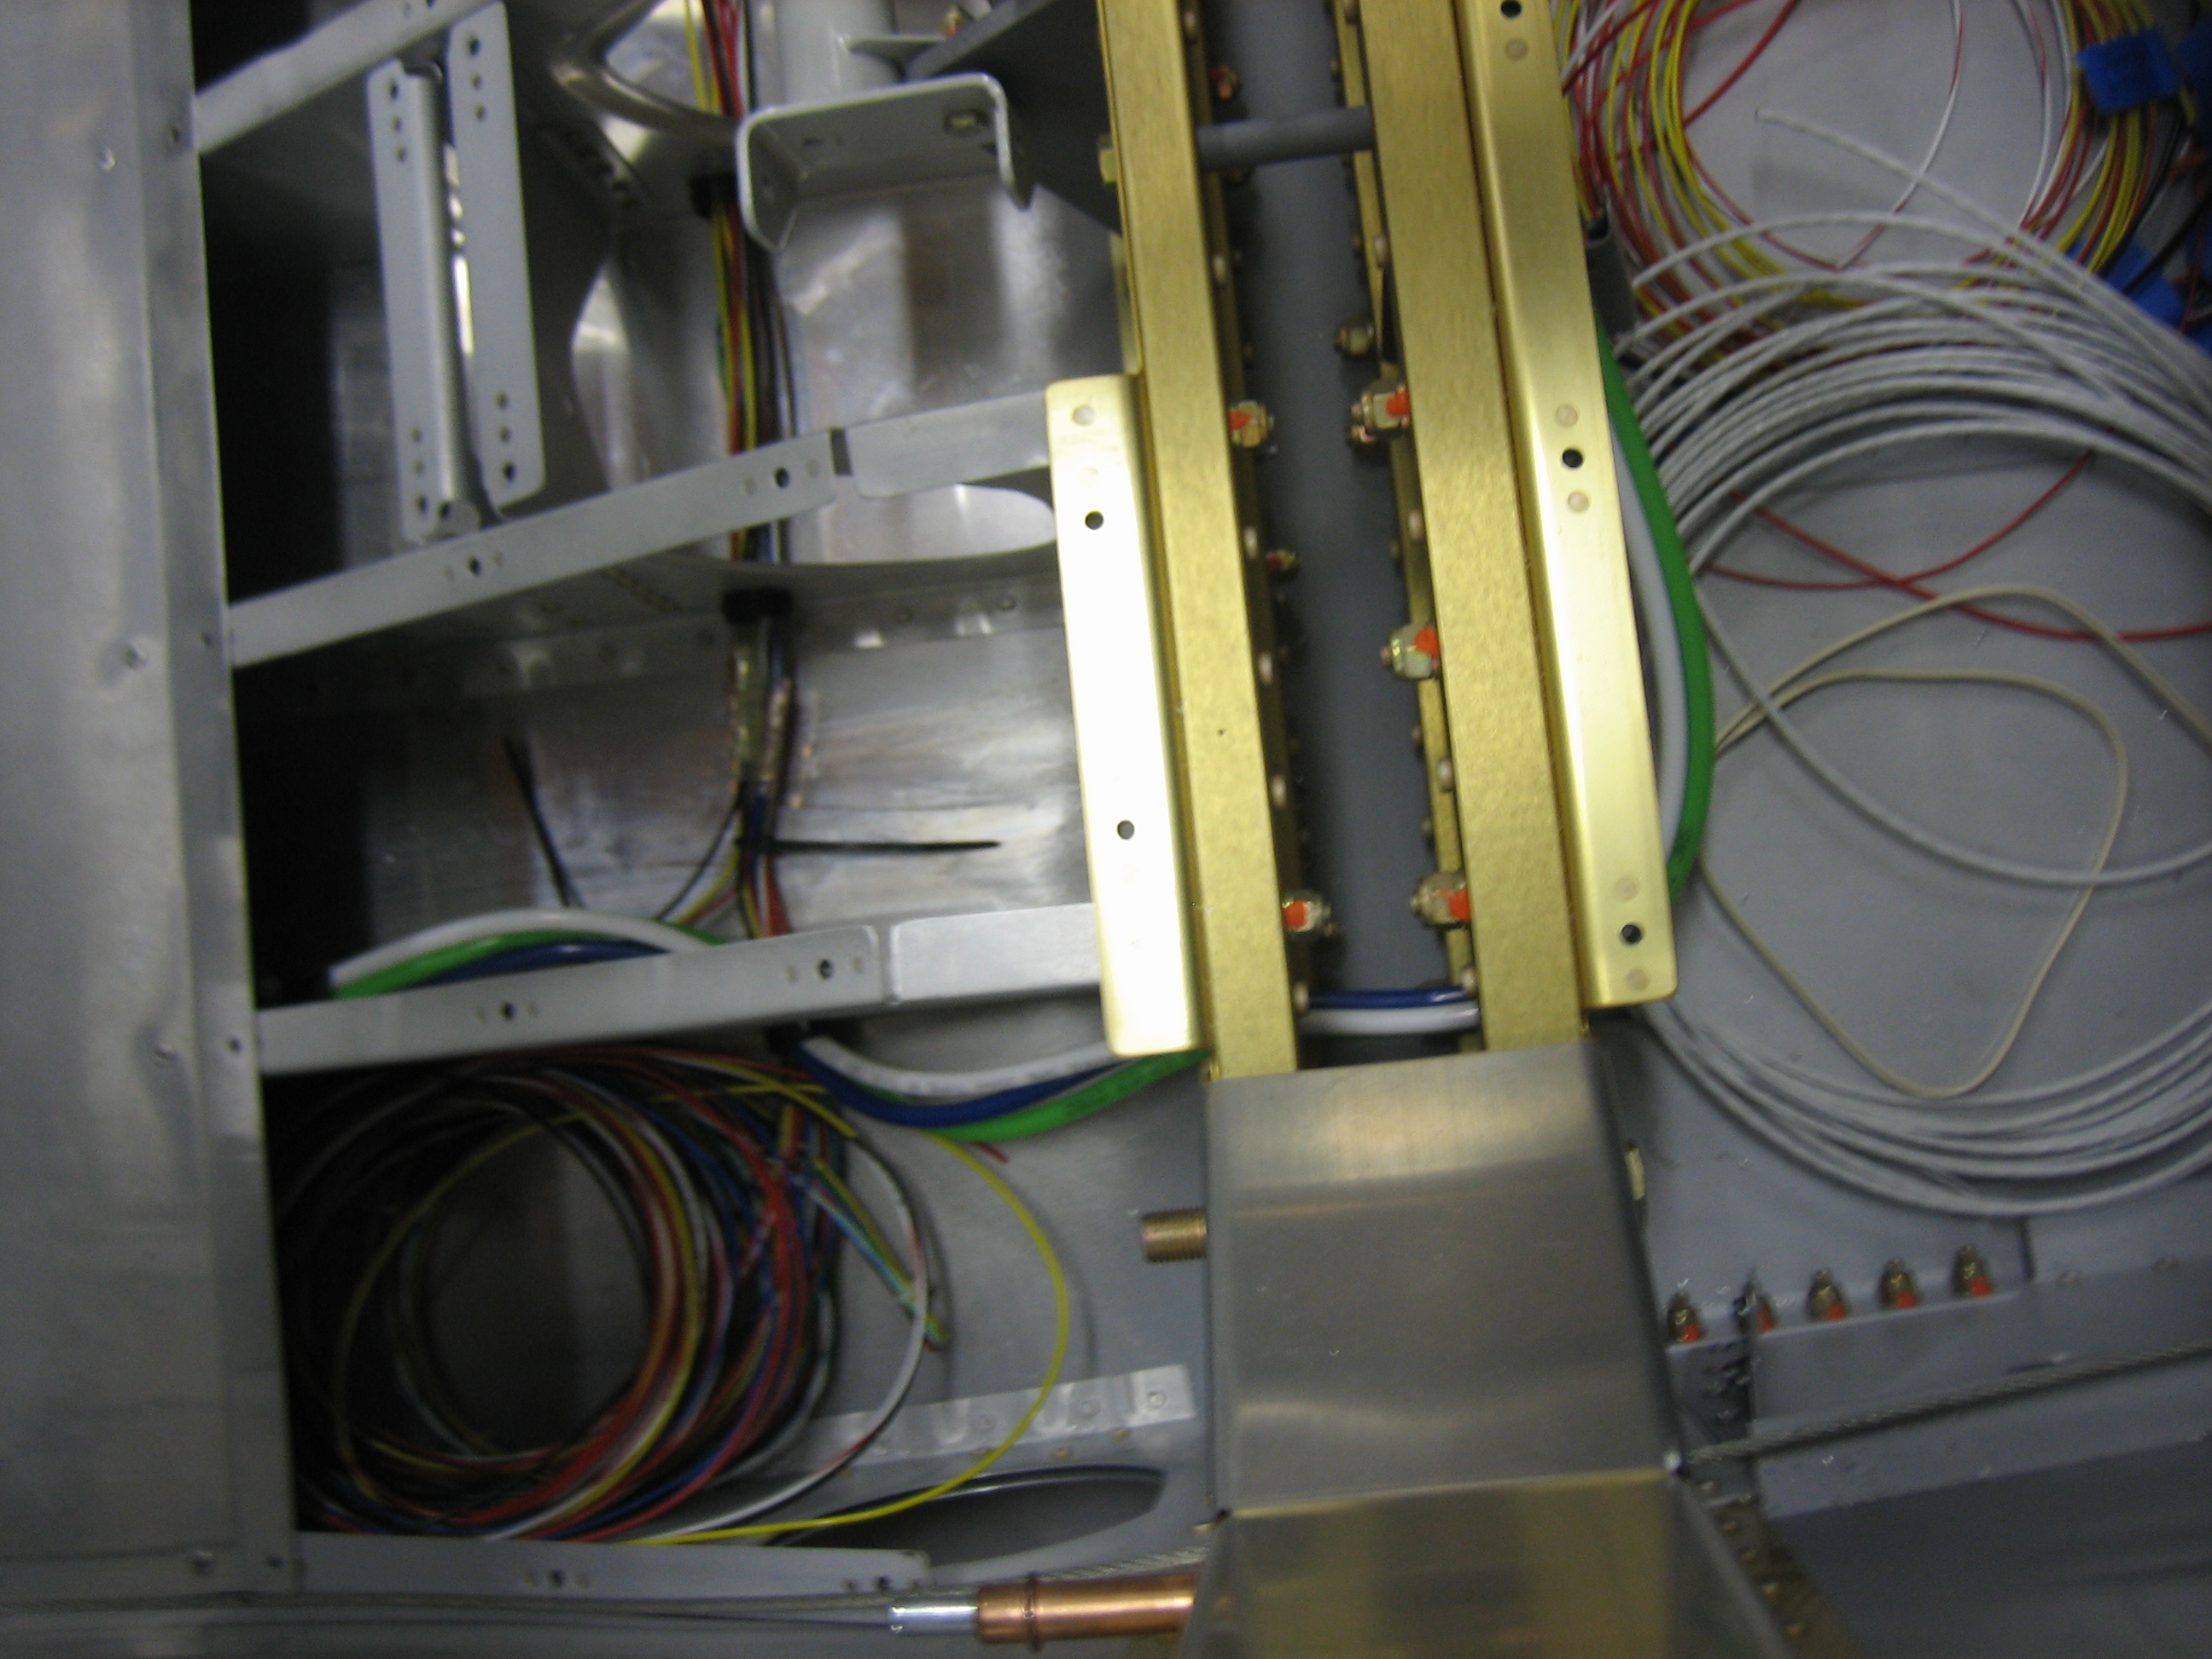
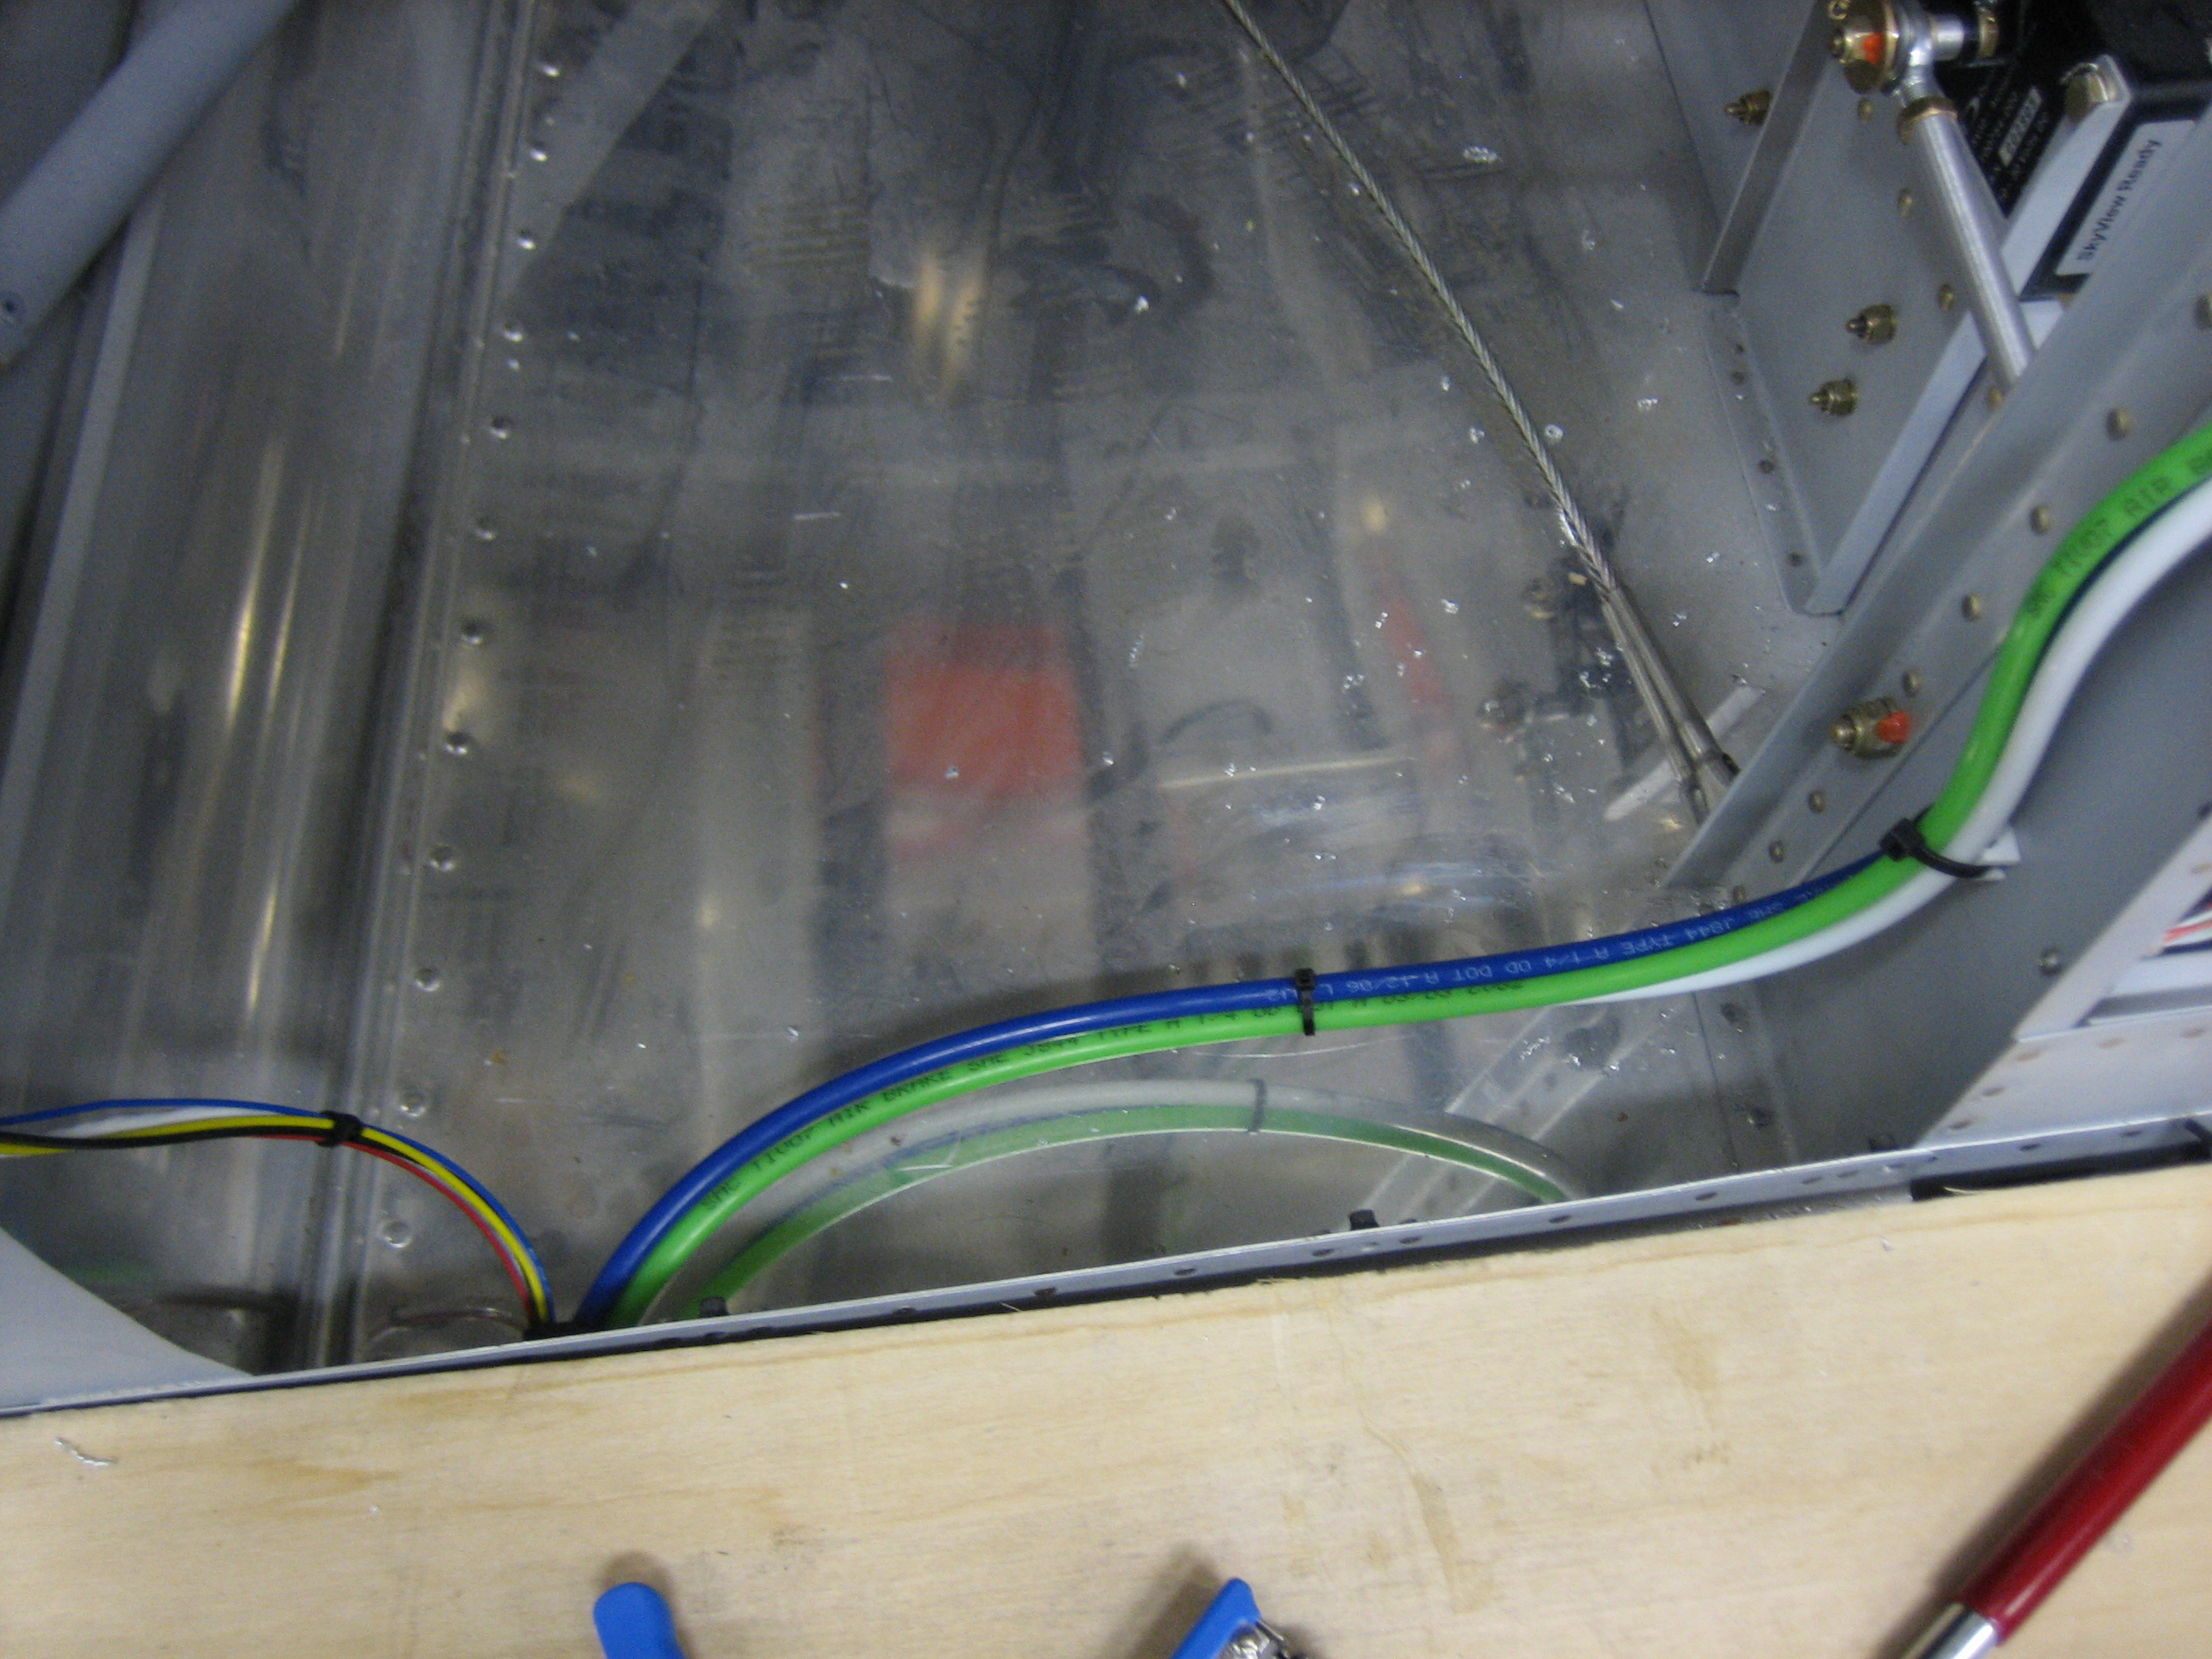
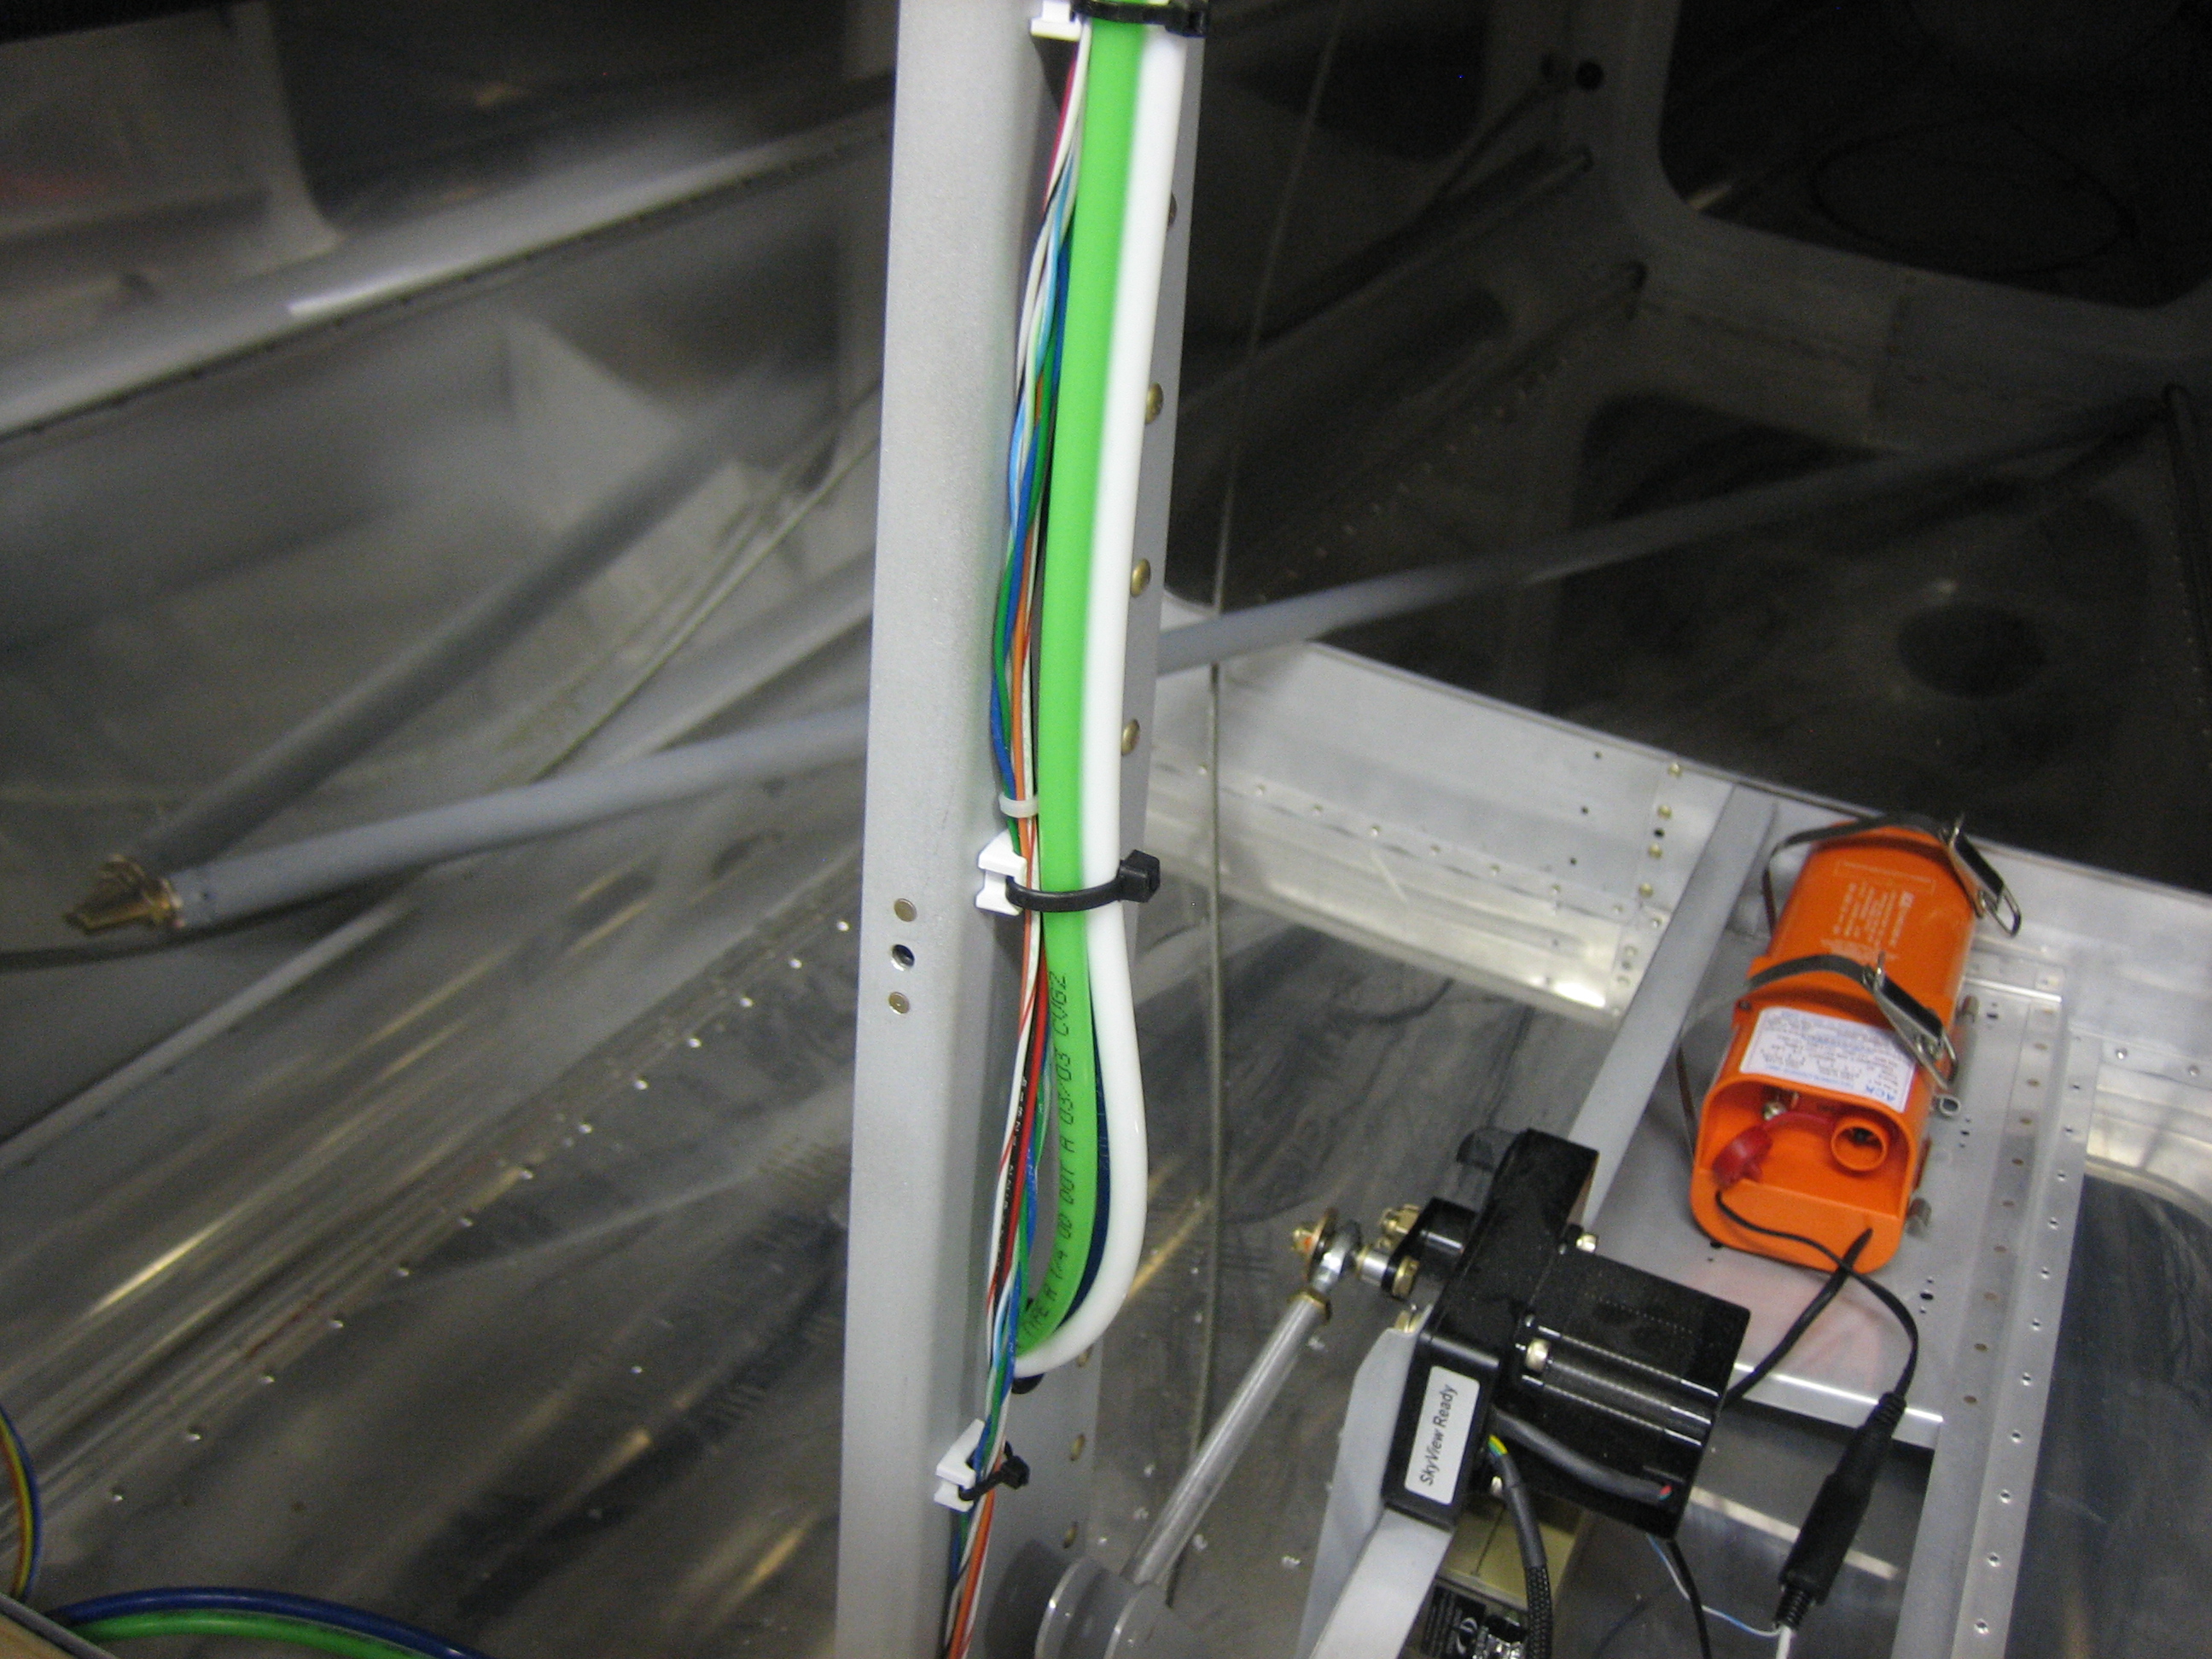
I then ran the shielded wire up to the front of the cabin.  I still need to secure the wires in this area, but that will have to wait until I rivet this shelf in place.

Wing and Tail Light Wiring

Along with the shielded 3-conductor wire for the ELT, I received the wire for the wing and tail lights.  I’m going with the Aveo Engineering AveoMaxx 6-in-1 lights.  I bought color coded wire to match the AveoMaxx wire colors (except for 18AWG orange which I couldn’t find).  I strung most of the wires to just forward of the spar.  I can’t run them all the way forward just yet since the forward top skin is on while fitting the cowl.  The remainder of the wire is coiled up in the tail and wing root area.

More Wing and Tail Light Wiring

I finished up the ground wire with the exception of the bit of 14AWG from under the seat up to the firewall.  I’ve got 18AWG ground wires going to each of the two wing tips and the tail.  These are tied together with the 14AWG that will ground at the firewall.  This saves me having to run all three ground wires all the way forward.  I’ve done the exact same connection for the strobe and nav power wires from the VP-X.

Fitting Upper Cowl

No pictures tonight, but I got back to work on fitting the upper cowl and trimmed the aft end until it fits nicely along the firewall flange.  I probably had the top cowl on/off ten times tonight while iteratively trimming 1/32″ at a time.  I’m getting close to the point where I can mark the sides for trimming.

Finished Exterior Lighting Ground

I got an order from Aircraft Spruce today with some 14AWG black wire for the ground wire that ties the tail and wing wires together and runs up to the firewall.

The adhesive zip-tie base that attached the end of the tailcone conduit had fallen off, so scuffed everything up and used some E6000 adhesive to anchor the base to the side wall.  There is no way this is coming off now.

More Cowl Work and Pitot/Static/AOA Plumbing

I spent a little time earlier today working on the cowl.  I made the side cuts, then did a bunch more sanding to get the fit as nice as I can.

Afterward, I decided to do the pitot/static/AOA plumbing.  This is where the pitot (green) and AOA (blue) lines will go into the fuselage.  The lines from the wings will connect to these connectors.

The pitot and AOA lines run forward of the spar and then across the fuselage.

They then run back through the spar along with the static tube (white).  This may seem like a somewhat circuitous route, but the left under-seat conduit is pretty full, so I needed to run the lines through the right under-seat conduit.  Unfortunately, there’s no good path across the fuselage aft of the spar for lines this large.  I could have drilled more holes in the seat ribs and installed snap bushings, but that’s a real pain in the ass at this stage of construction.

The pitot and static lines needs to run up to the instrument panel to connect to the backup EFIS and alt static valve.

The lines come out of the right under-seat conduit and then run up the center post.

The lines cut through a hole in the post and then join the network cable in the run up to the ADAHRS.

The pitot and AOA lines connect directly to the ADAHRS.  The static line connects to a tee to join the aft tailcone run to the forward fuselage run.

Drilled Upper Cowl to Firewall

After a little more trimming of the aft end of the upper cowl, I strapped it down and laid out holes on approximately 1″ spacing for drilling the cowl to the hinge.  I then drilled one hole on each end of the hinge and one in the middle to lock the upper cowl into its final position.

Afterward, I tucked the upper cowl behind the lower and marked the trim line on the upper cowl.

It looks like the side joints are going to work out perfectly.  The extra material that the factory added on gave me just enough material to overlap slightly so that I can create a perfectly straight joint.

The other side looks great too.  It’s too late to run the power tools tonight, so I’ll try and trim this tomorrow.