Sealed Firewall Recess and Started Modifying Axle Nuts

I used some 3M FireBarrier 2000+ to seal the openings around the firewall recess so that I can finish off attaching things to the firewall.

While waiting for that to dry, I started modifying the axle nuts for the Avery Tools jack stand brackets.  I drilled the nutplate out from the end of the nuts and then drilled a 1″ hole in the end of each nut using a 1″ hole saw.

The bracket will get installed over the end of the nut and the nutplate will be reinstalled on the bracket.  A groove will need to be filed in each nut so that this bracket will be flush with the end, but this will wait until I’ve drilled the axles to the nuts so that I can install these brackets parallel with the ground.  This will make it easier to reach the screws on each side so that I can take the bracket off when jacking up the axle.

Shipped Cowl and Plastic Side Panels

I stopped by the post office this morning and shipped off the plastic side panels.  Despite the fairly large size of the box, it was only $15 to ship it to Oregon.  The cowl was over their size limits, so I had to take it to UPS.  Despite it being only a little bit bigger box and not that much heavier, UPS charged $230 to ship it!  What a fucking ripoff…

Packed up Interior Panels and Cowl

After much back and forth with Van’s, it looks like my cowl was trimmed too much at the factory.  I spoke with Mike and Gary at M&W Composites (who manufacture the cowl for Van’s), and they agreed it seems wrong and asked me to ship it back to them so they can lay up some more glass along the sides.  I packaged up the cowl and plastic side panels so that I can ship them out tomorrow.

Finished Trimming Side Panels

I did a little further trimming on the canopy latch handle brackets and then trimmed the side panel to fit around it and the push/pull tube.

Here’s a closeup of the cutout around the canopy latch.  The fit is snug across the bottom and aft end and follows the side caps along the front edge.

Here’s a closeup of the cutout for the push/pull tube.  I’ll need to paint the area behind here and around the latch handle since the side panels won’t completely cover these areas.

Started Fitting Classic Aero Designs Aviator Side Panels

Luke at Classic Aero Designs recently sent me the unfinished Aviator side panels so that I could custom fit them to my plane.  Since I’m using shorter air vent brackets and an after market canopy latch, I asked him to leave them uncut so I could trim them to exactly fit my air vent brackets and canopy latch handle.  They marked the planned cut lines in silver ink.  I cut around the air vent, and you can see they would have removed way too much material.

I also trimmed the aft end to tick under the canopy latch plate and to fit around the canopy latch torque tube.  The marked cutout to the right is for the rod that connects the canopy latch handle to the idler arm.

Worked on Instrument Panel and Air Vents

I fabricated the additional clips that attach the instrument panel to the forward canopy supports.

Here’s another shot from behind the instrument panel showing where these clips attach.  You can also see that I’ve finished the left air vent support bracket and drilled it to the side skin.

Here’s the front side.

I only used the top three holes to attach the bracket since these vents are smaller than the Van’s stock plastic vents.  I’ll fill the bottom holes with an extra rivet.

Here you can see how I ensured the air vent brackets were coplanar before drilling the brackets to the side skins.

Replaced Andair Fuel Pump

Andair recently posted that they had updated their fuel pump design and offered a free upgrade for anyone that had purchased one of the older designs.  Mine arrived today and I quickly installed it.  The controller is now integrated, so that leaves an empty spot next to the pump on the mounting bracket.  I don’t think I’ll mount anything here though.

Fit ELT

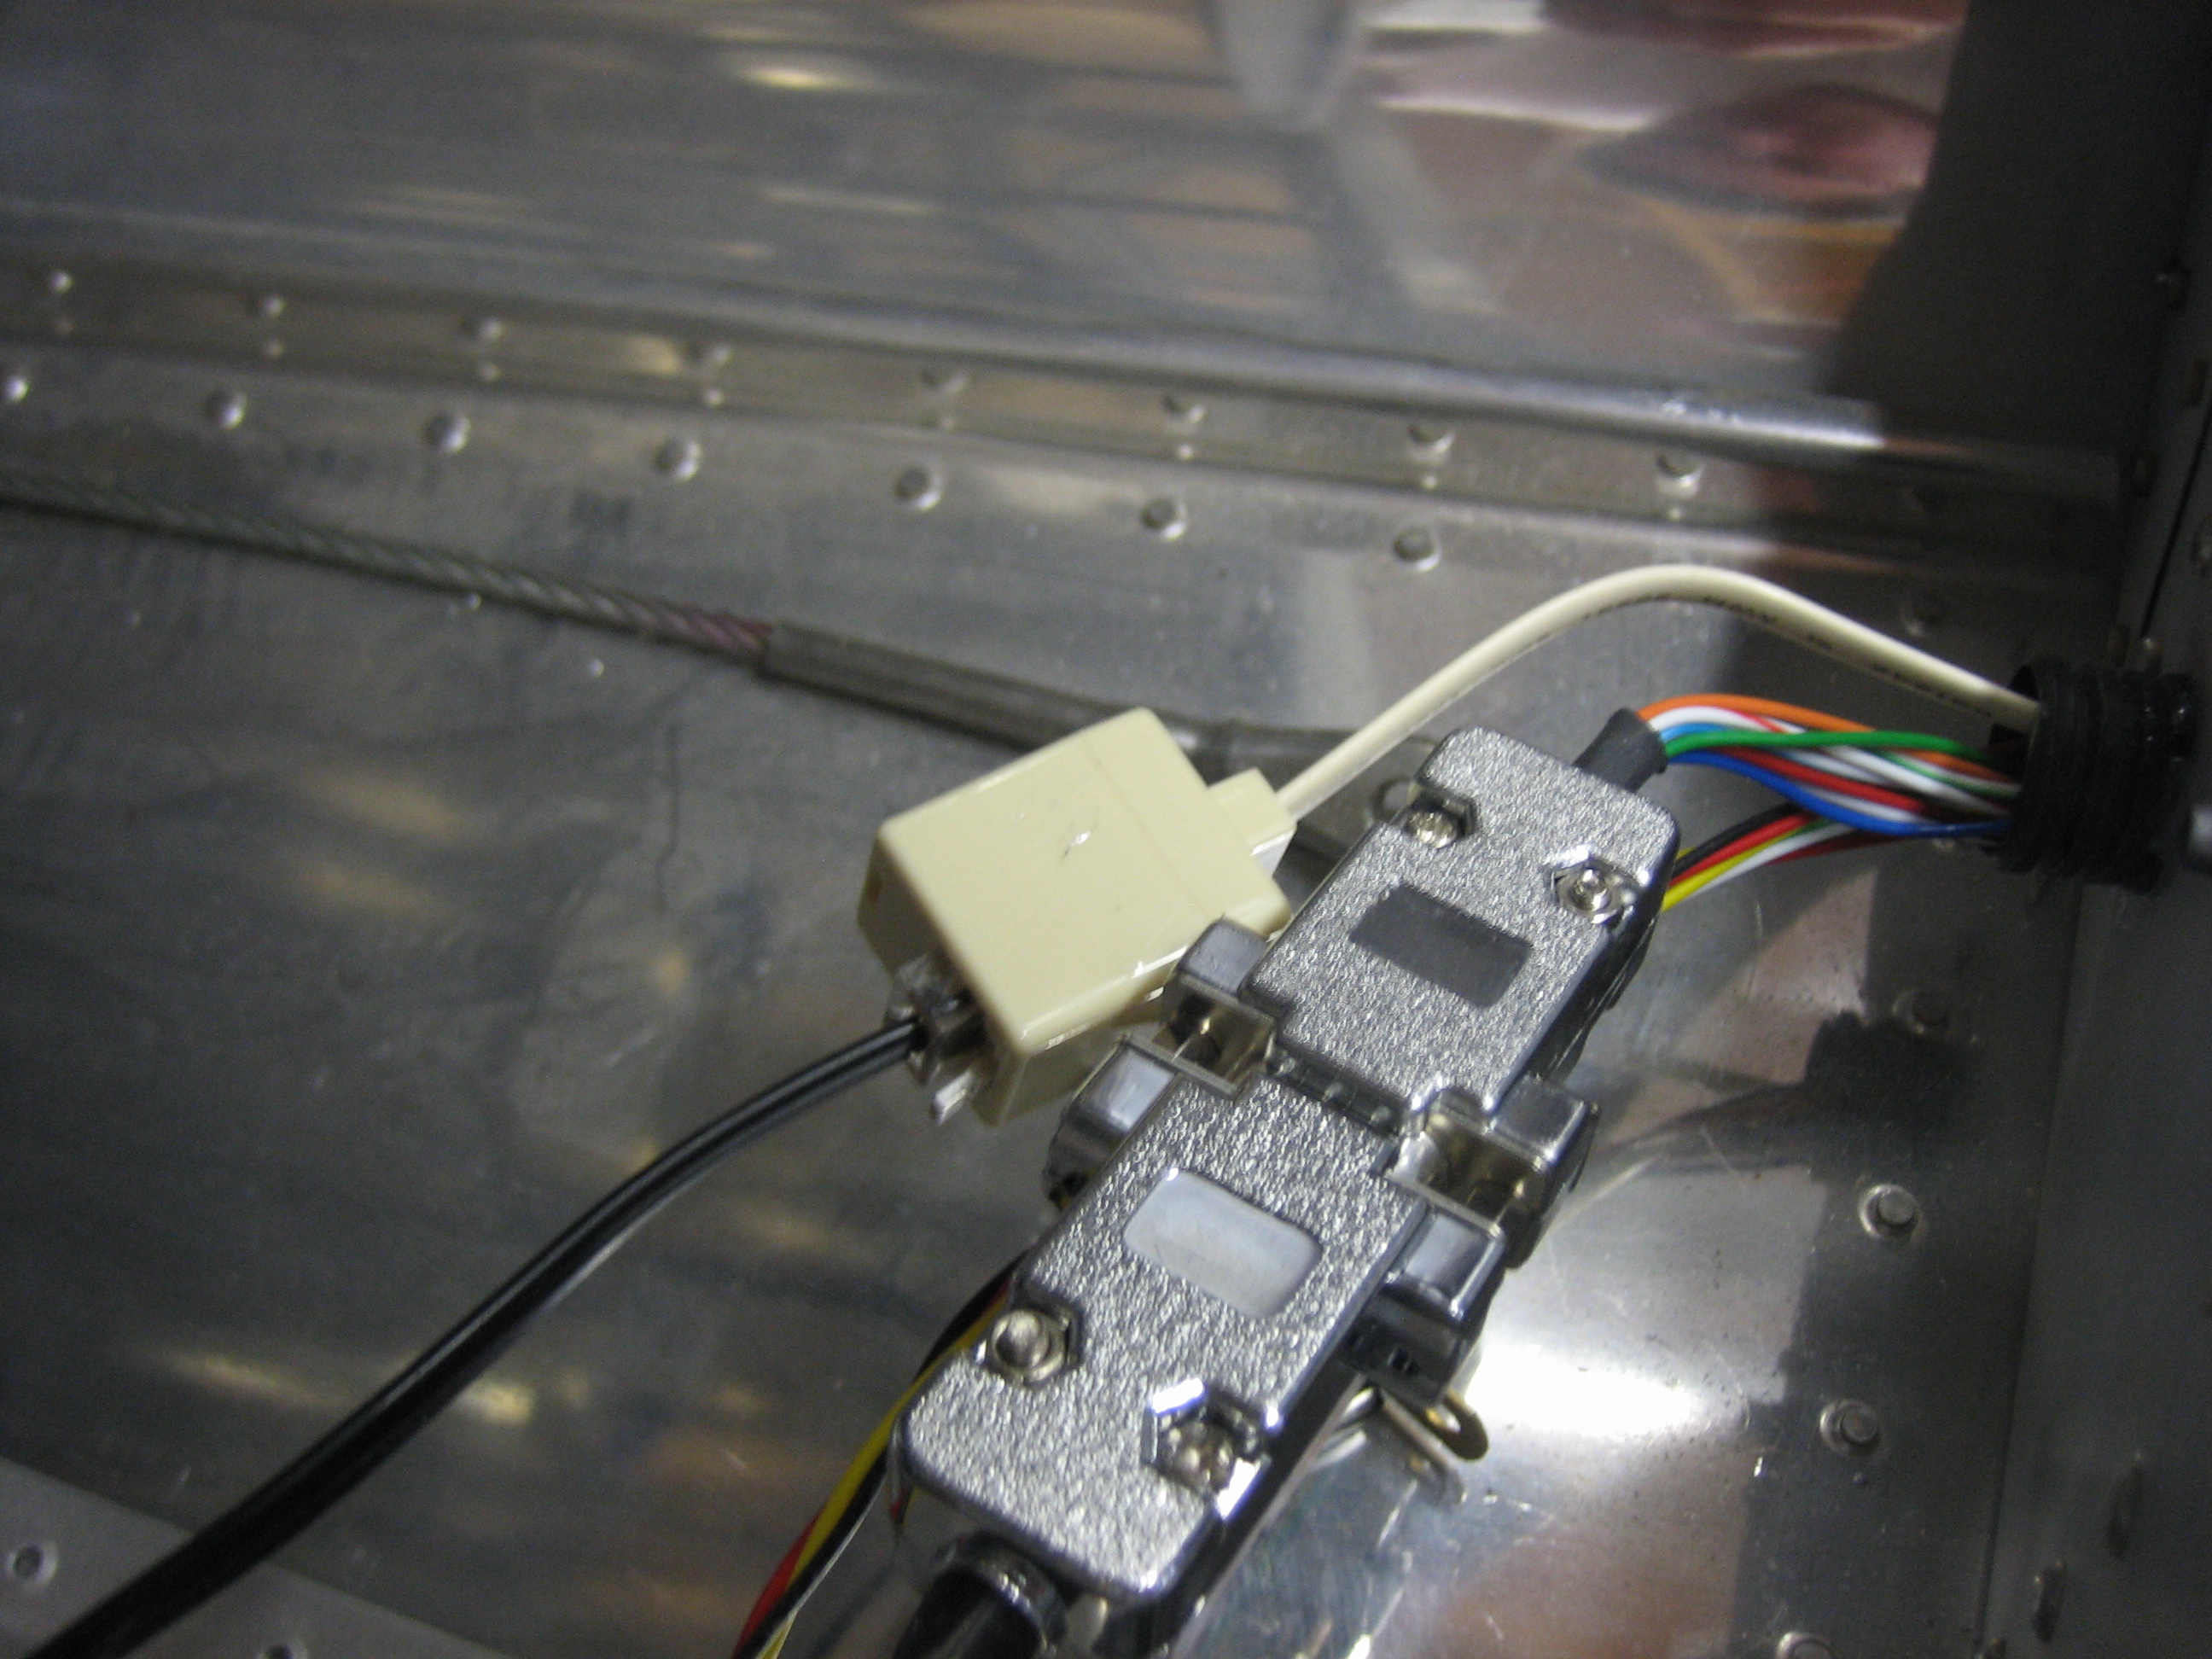
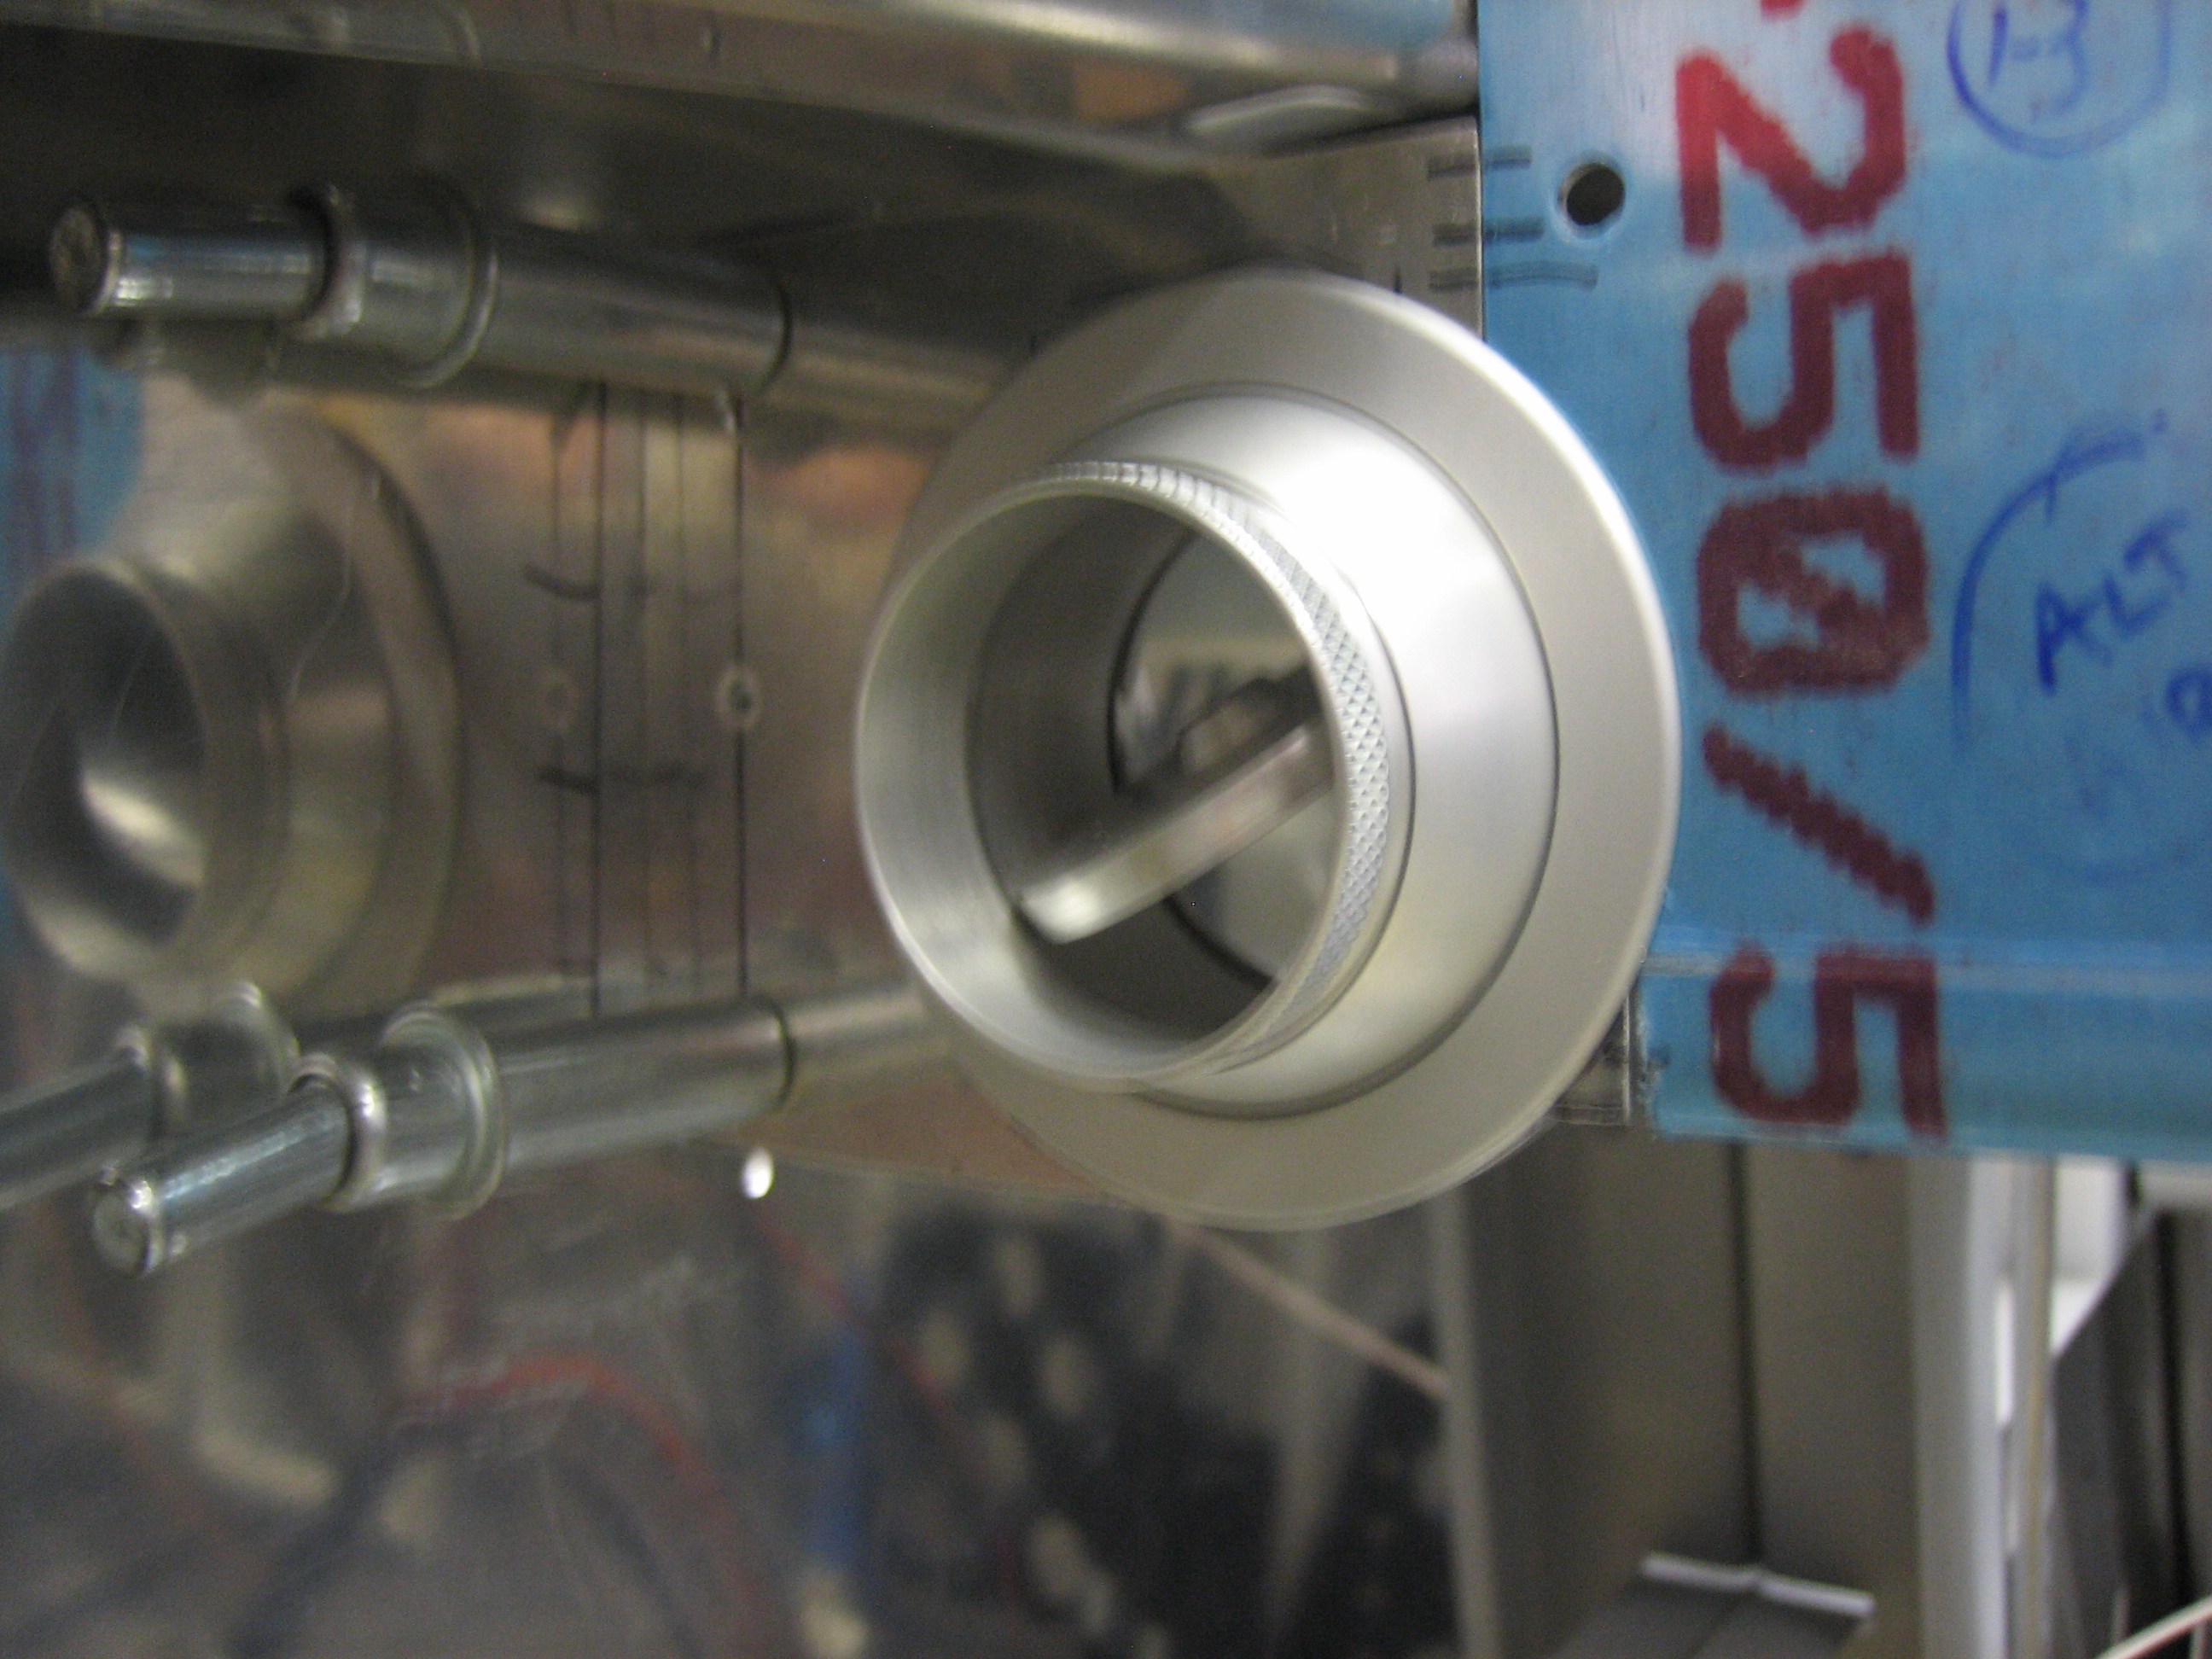
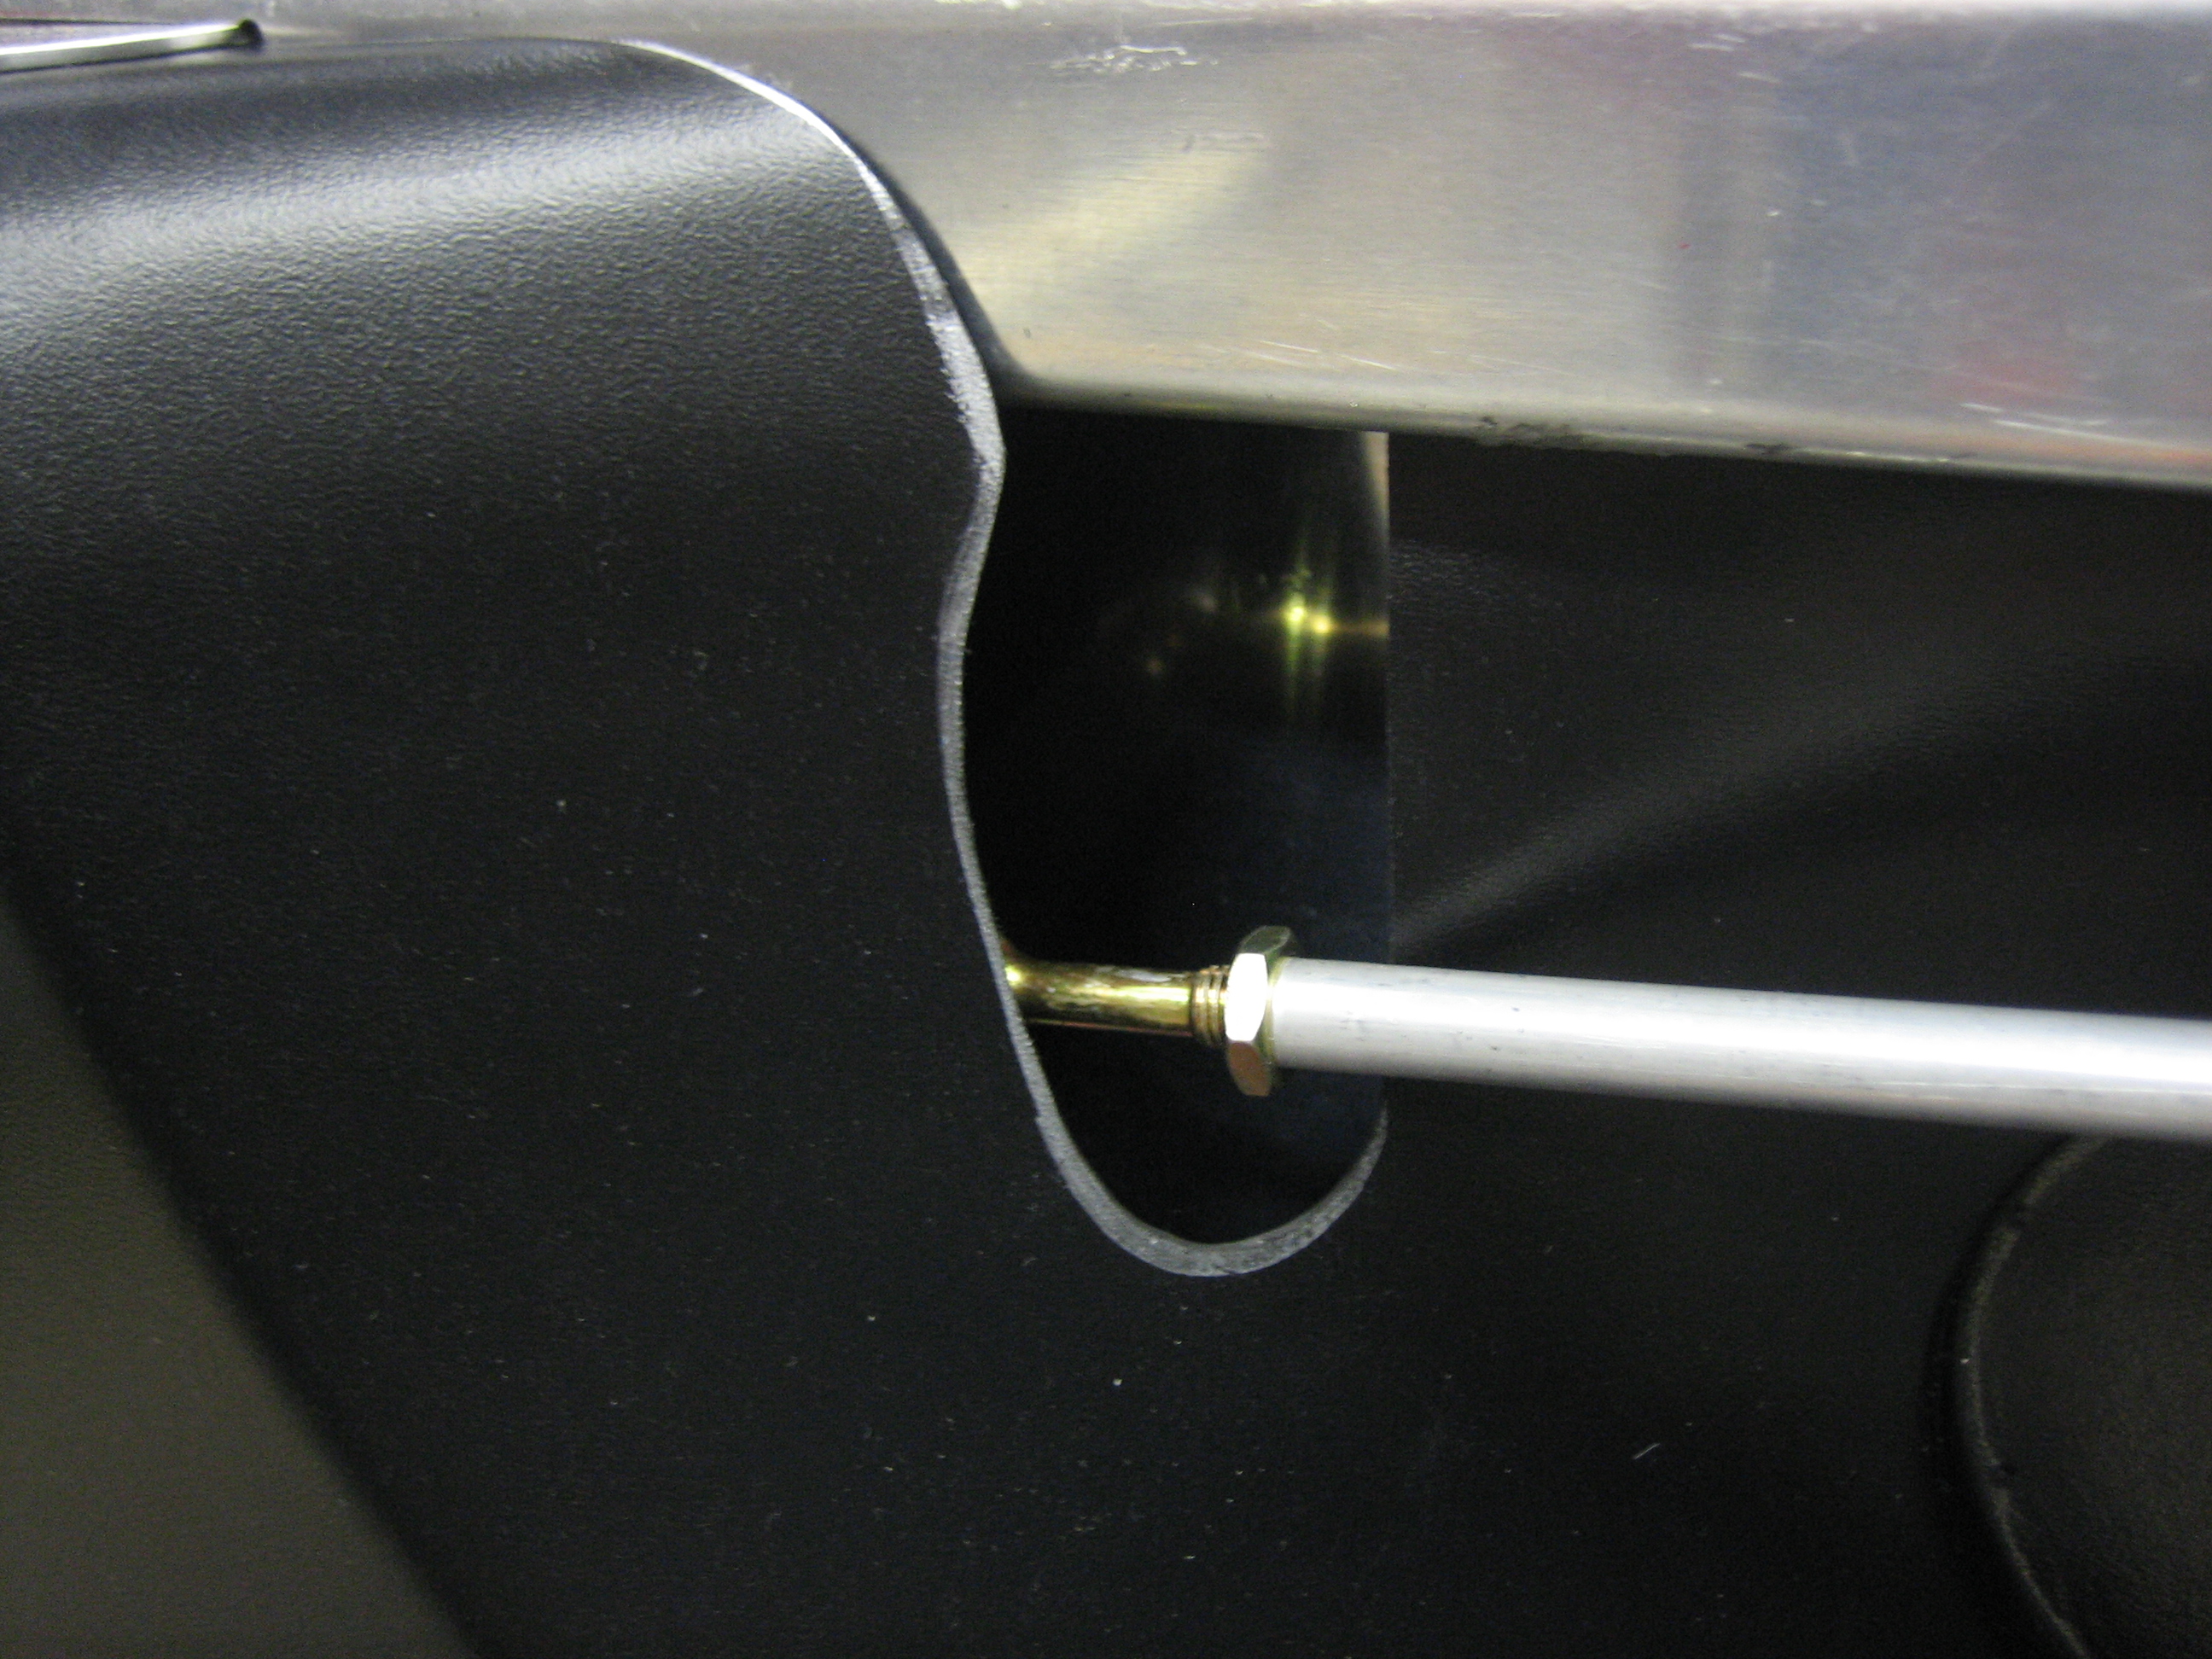
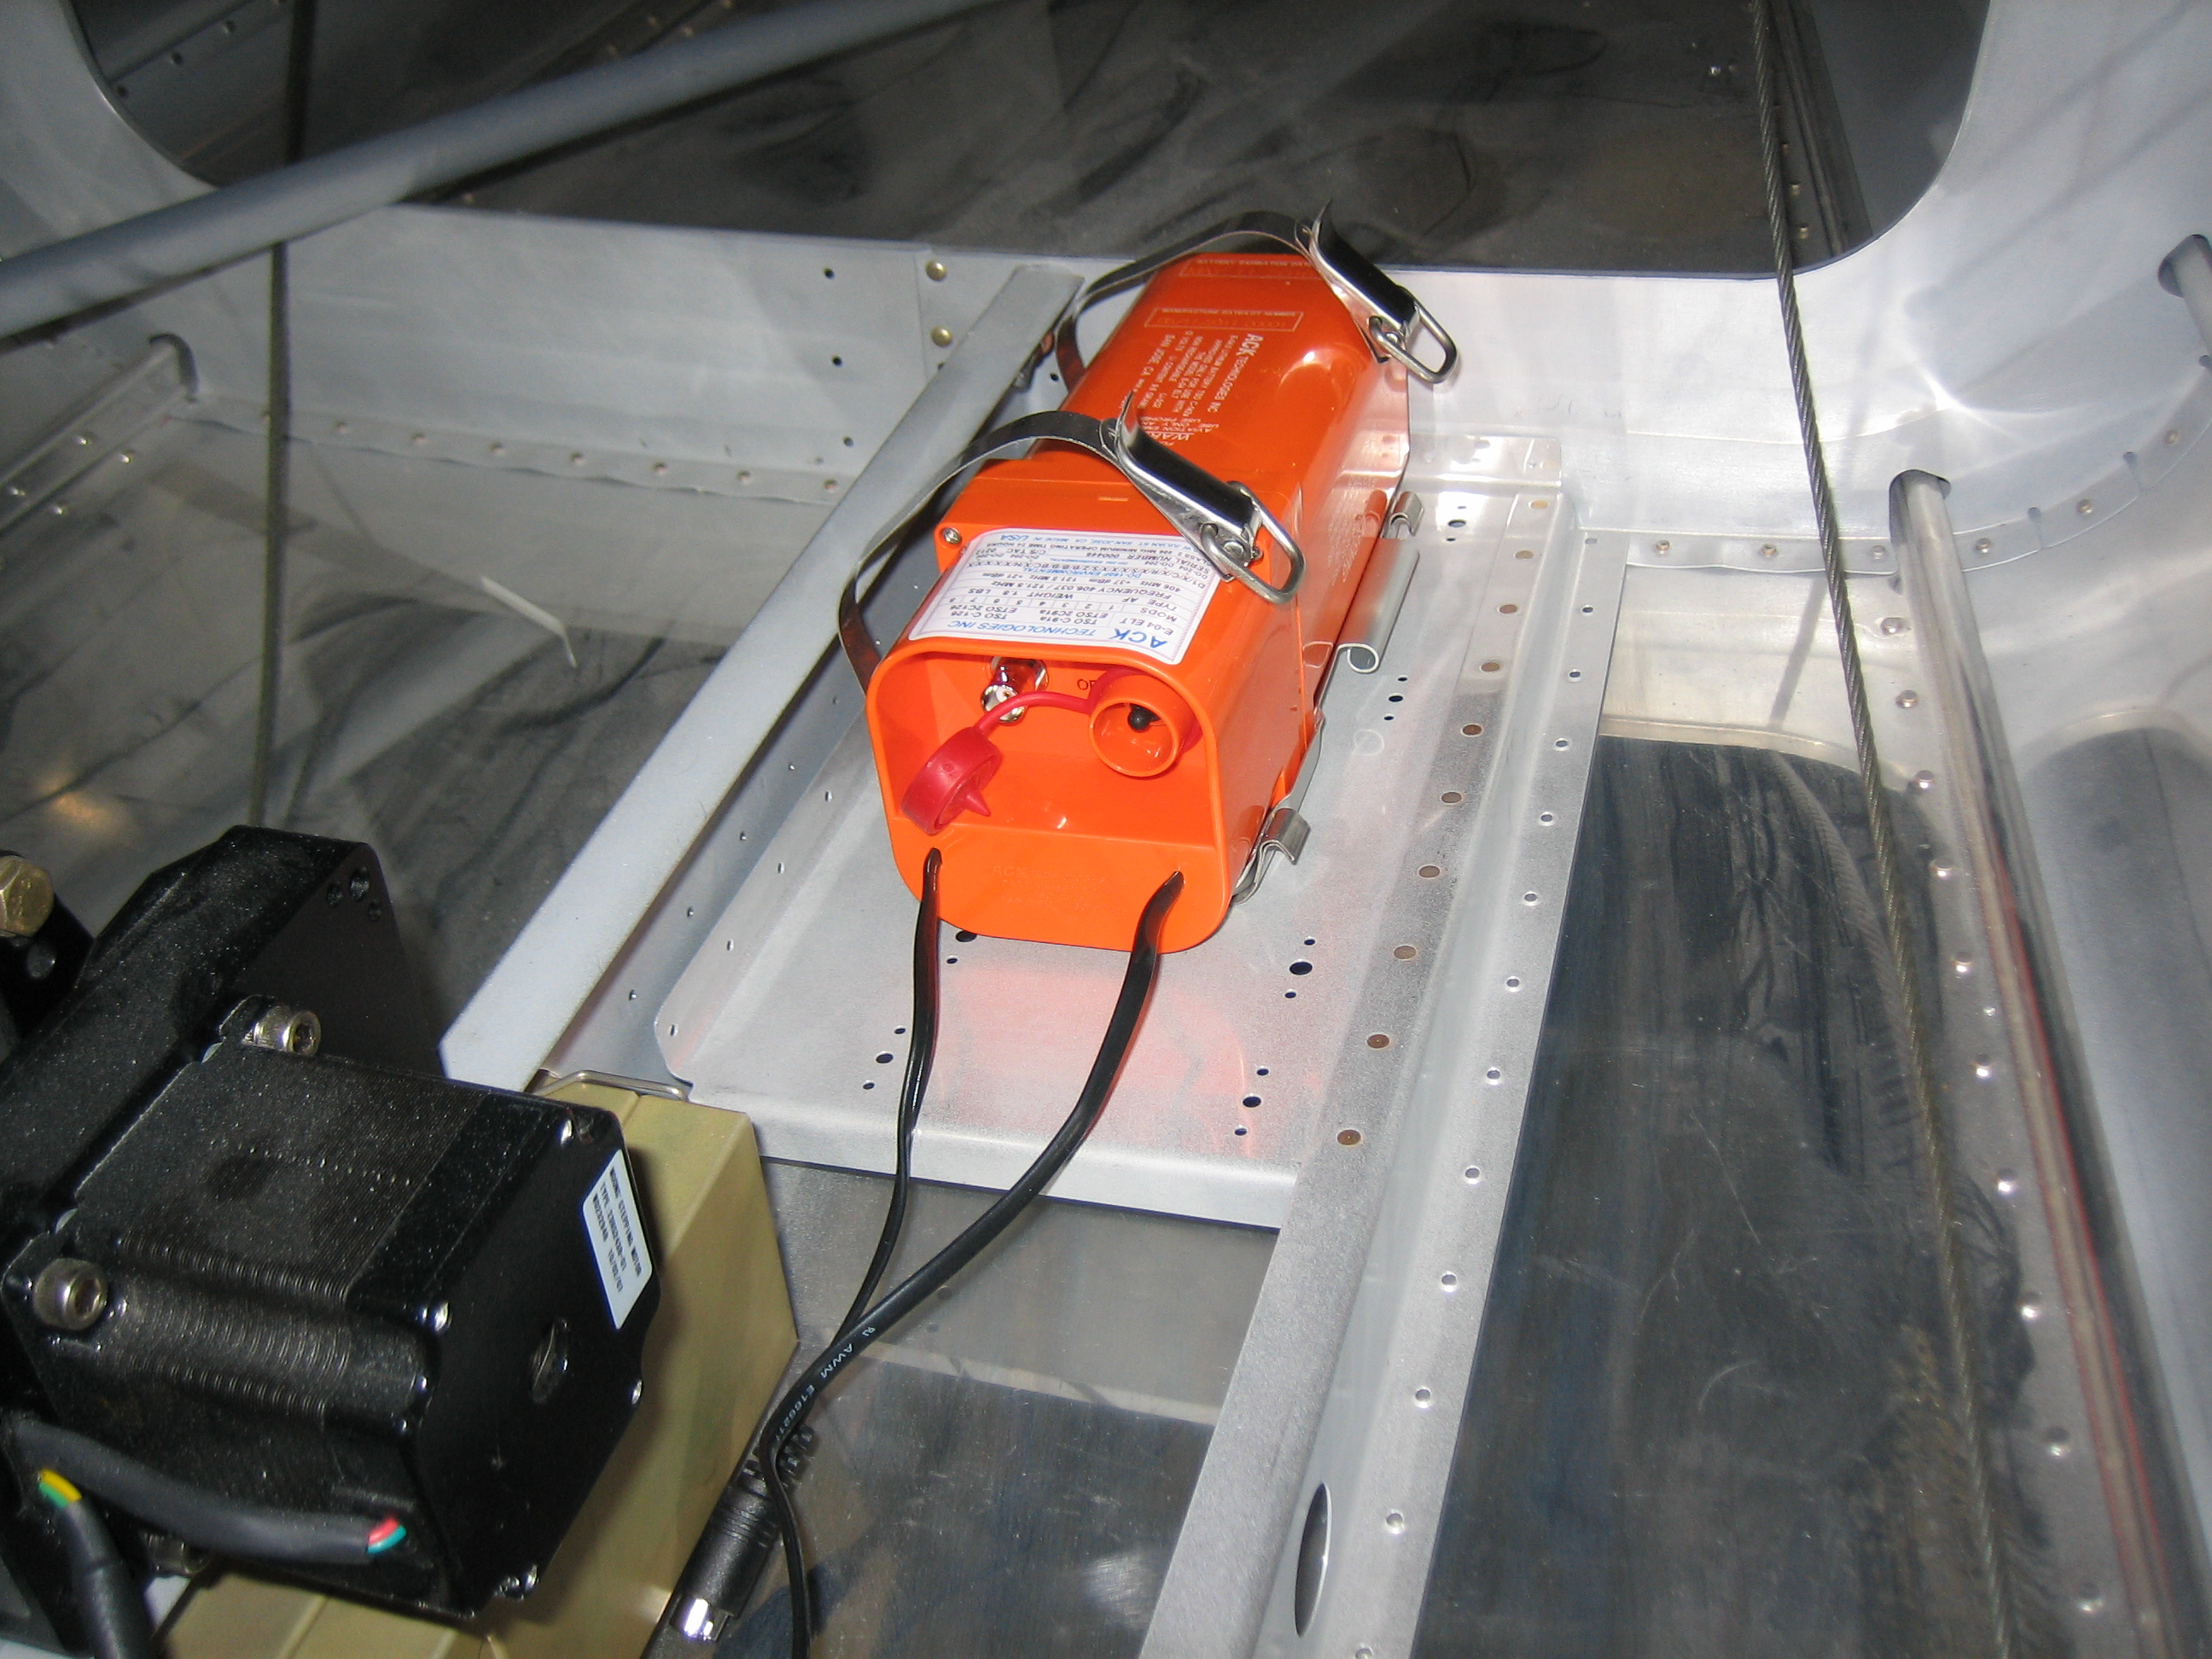
My ELT showed up yesterday from Gulf Coast Avionics.  I drilled the mounting plate to the shelf and installed nutplates so the mounting plate can be removed in the future if necessary.  There are three connections necessary for the ELT: a telephone cable that connects the ELT to the audio alert box and remote interface, an insulated four-conductor wire for power, ground, and GPS serial input, and the antenna cable.

I connected the telephone wire and snaked the other end through the conduit and up behind the panel.  I had to cut the RJ12 connector off of the end so that it would fit through the conduit, but that just gave me an excuse to buy another tool so that I could crimp a new connector on the other end after I was done :-).  Even if I hadn’t needed to cut the end off to route the wire, I would probably have done so anyway so that I can make the wire the exact length necessary instead of coiling up the extra wire.