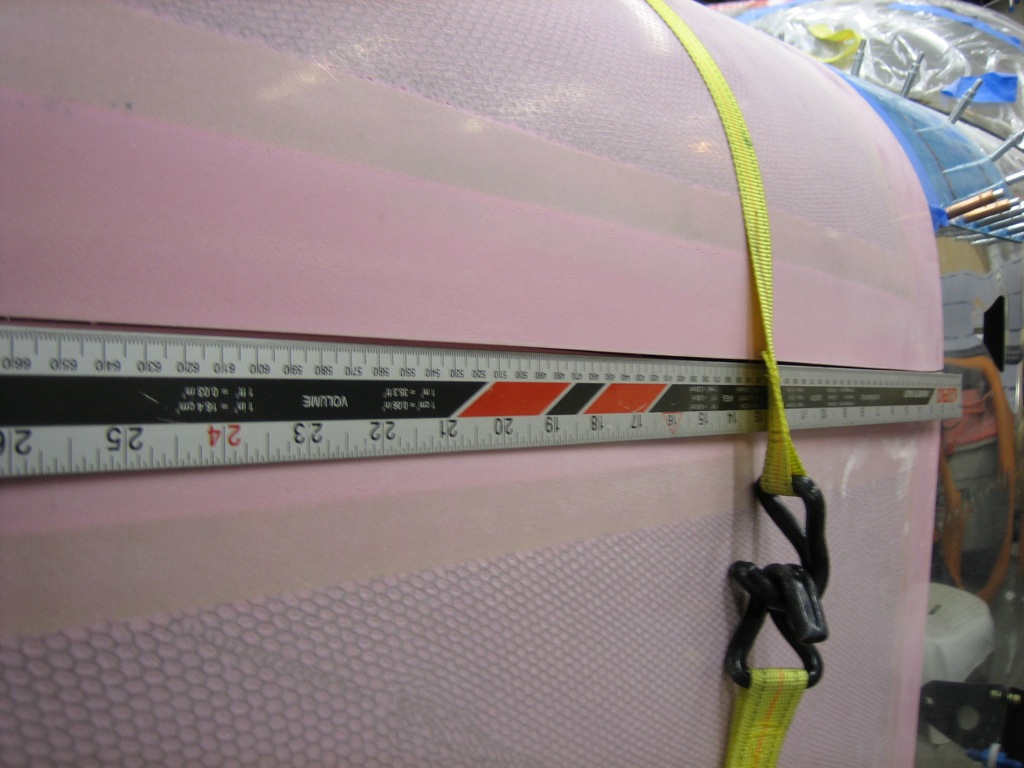
I finished adjusting the flange on the front to be perfectly round and then drilled a hole on each side to lock in the position.
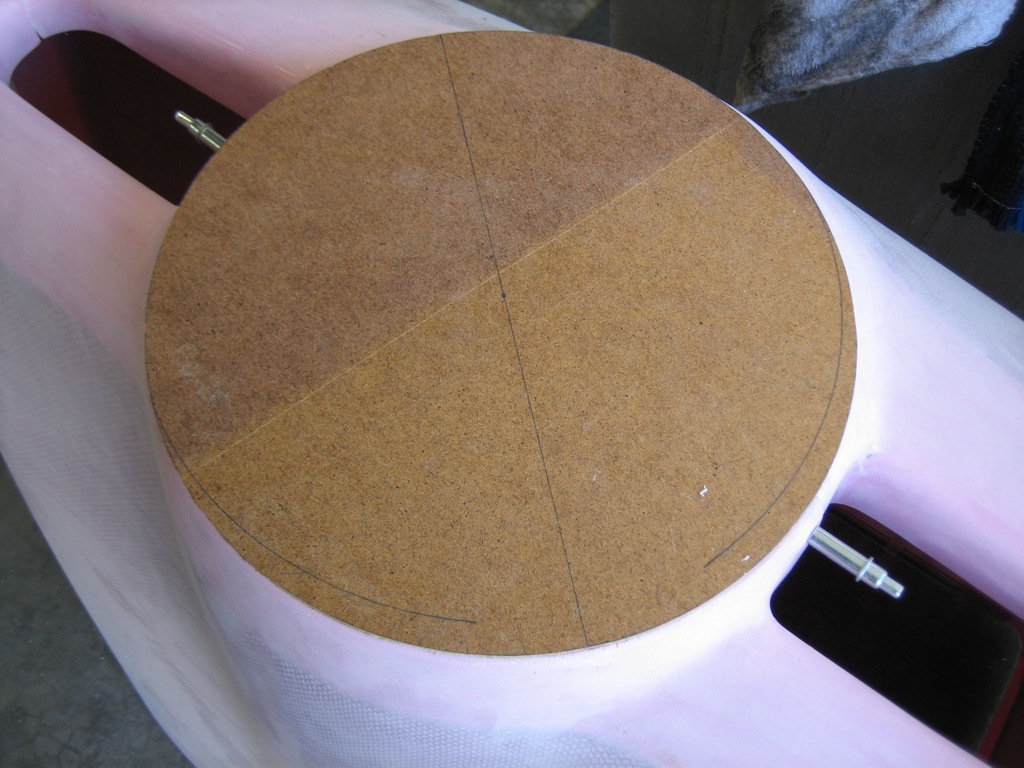
The plans specify that you mark a line 2″ aft of the firewall flange as a reference point for trimming. As I’ve seen several other builders do, I used some 2″ wide painters tape.
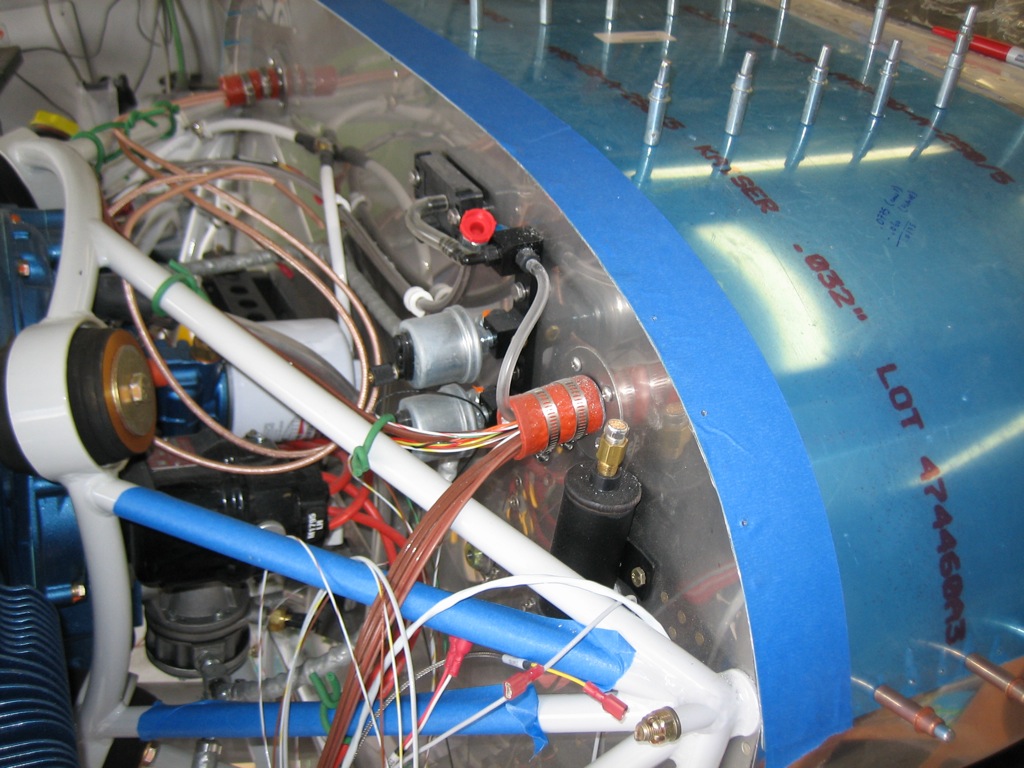
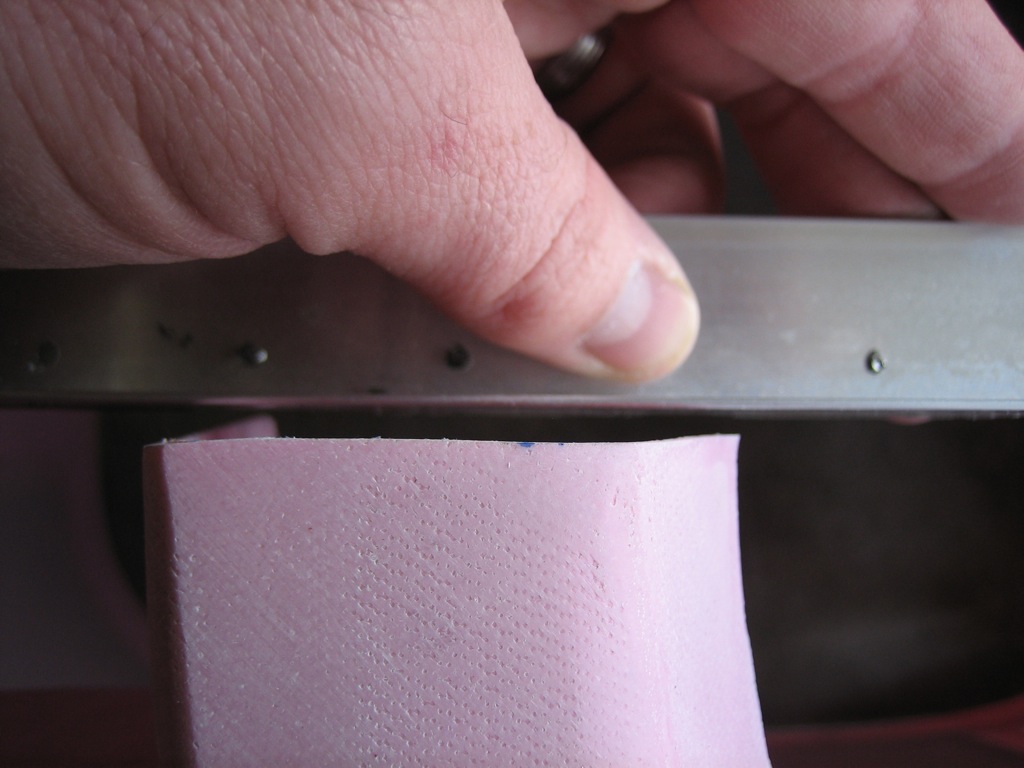
I laid a straightedge across the top cowl to see how the four flanges lined up. Three were nicely in line…
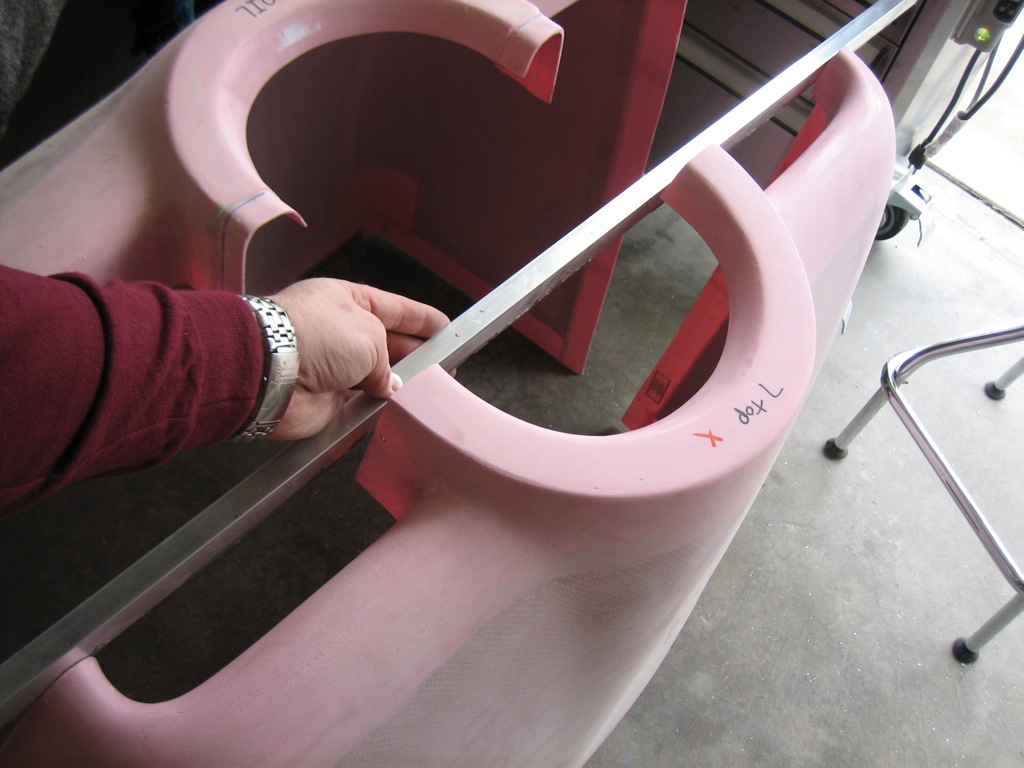
However, one of the flanges sits about 1/8″ shy of the line.
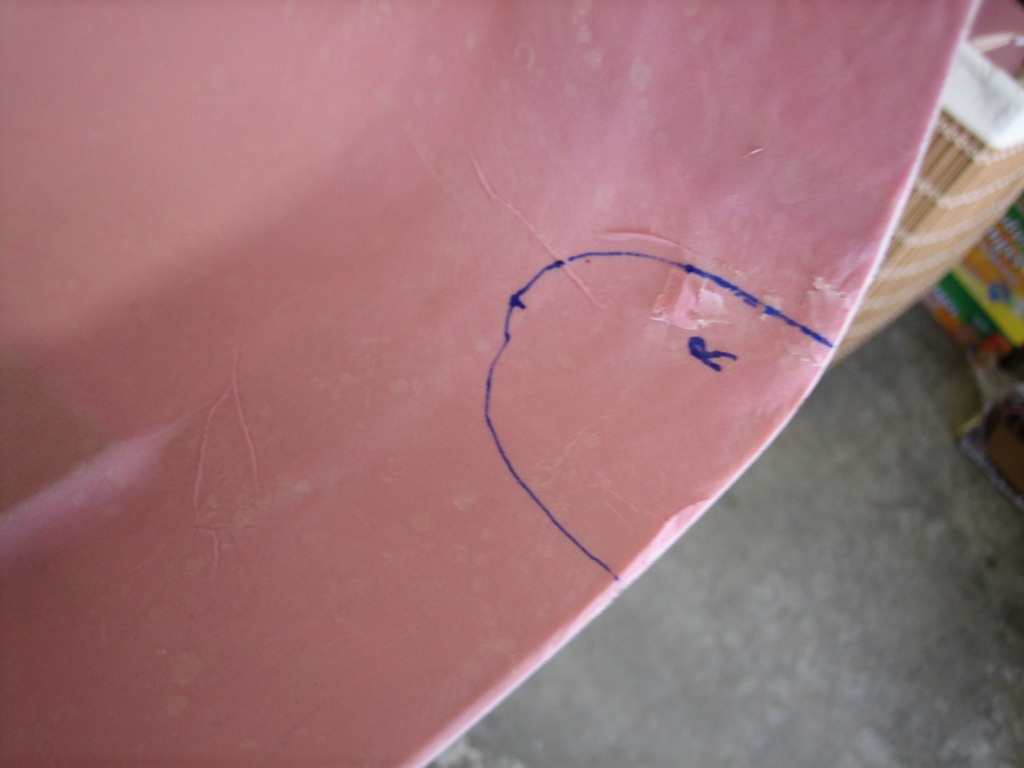
After doing a bunch of research on cowl fitting, I decided to fit the bottom cowl first. I started by making a paper template for the gear let cutouts.
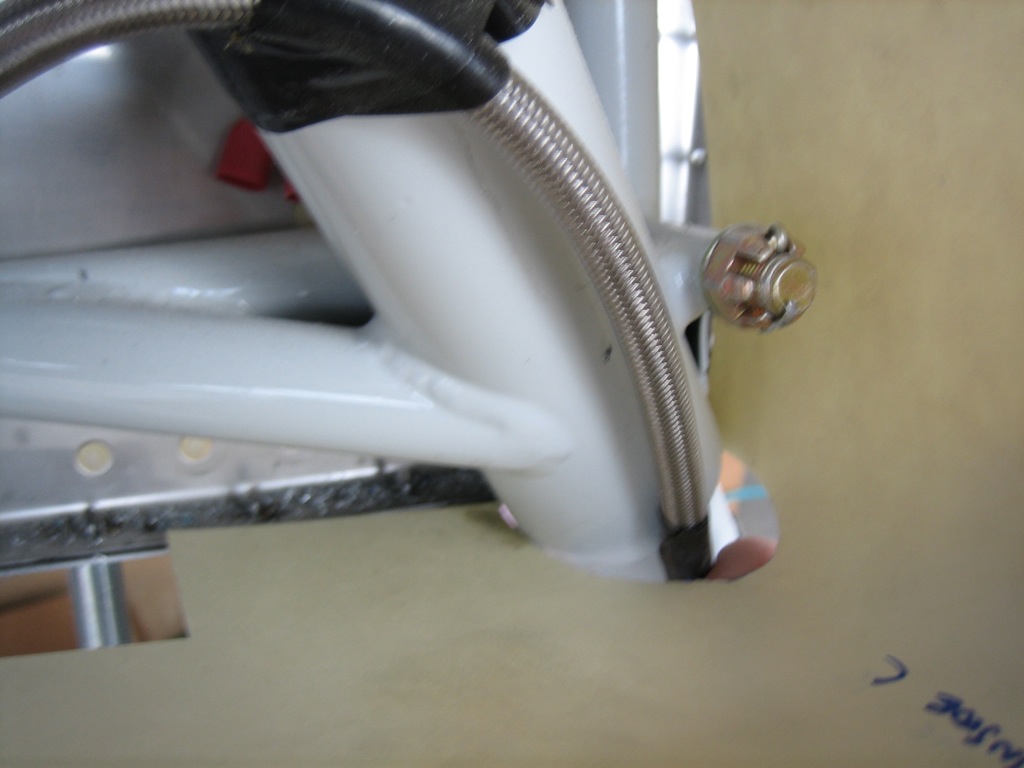
I transferred this to the cowl and then cut it out with the angle grinder.
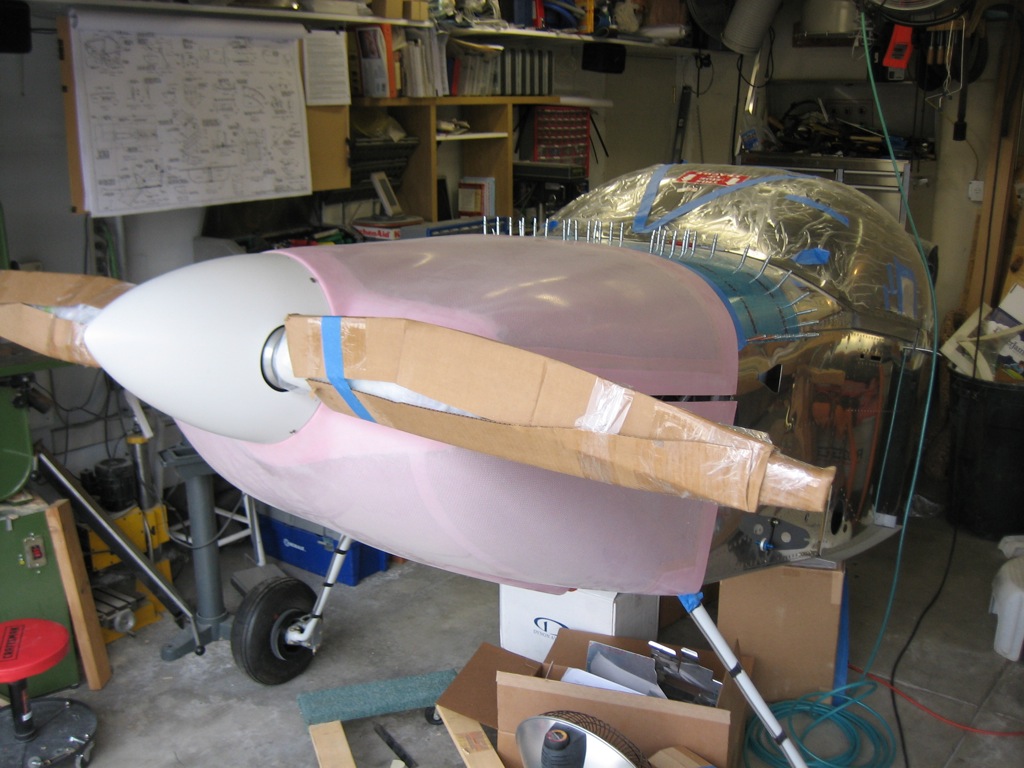
After loosely fitting the cowl halves, I just had to take a picture. This is looking pretty damn sweet!
The flanges around the inlets needed a little trimming to get the joint tight. This is pretty close.
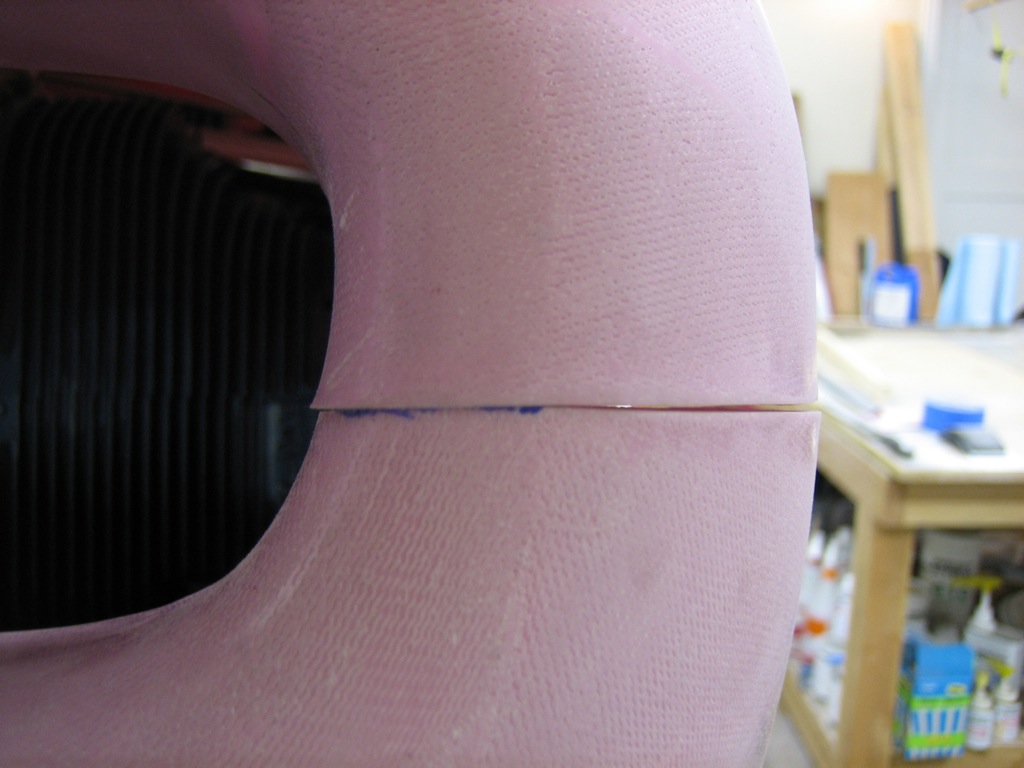
After a little further trimming of the gear leg holes, the cowl halves fit together reasonably well. There’s still a small gap down the side, but that should disappear after making the trims along the aft edges.
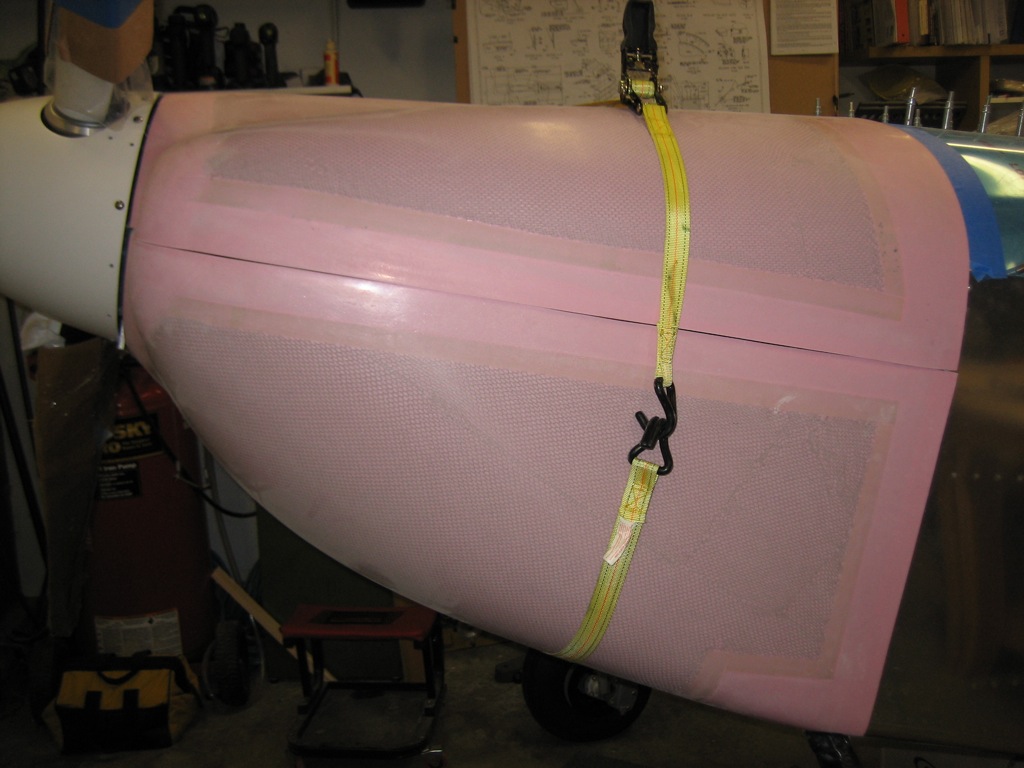
This is a problem though. Even if the gap pulls tight, the joint along the right side isn’t remotely straight. I can’t cut a straight line here because that would just make the gap even wider. The instructions (as well as other builder’s websites) indicate that the sides should overlap during the trial fitting. I’m starting to wonder if these pieces weren’t trimmed incorrectly at the factory.
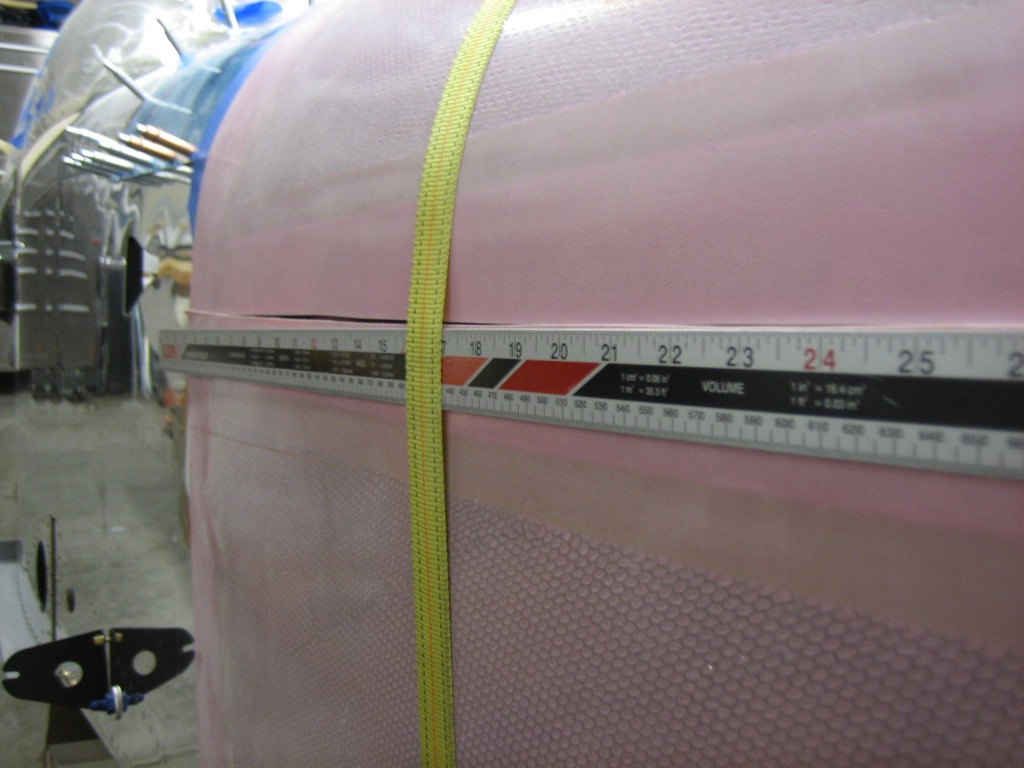
The joint on the left side is pretty close to straight though. I’m going to email Van’s tech support and see why these flanges aren’t overlapping and what they suggest I do about it.
