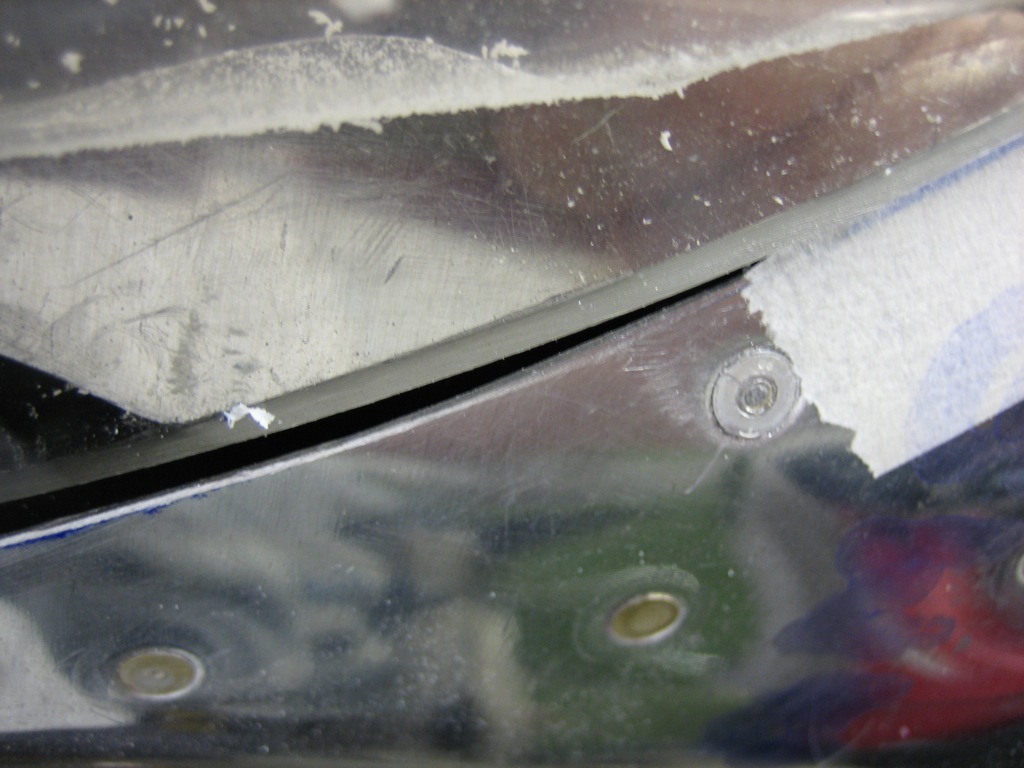
I repositioned the canopy and clamped it down. I then used a 1/8″ plexiglass drill bit to drill through the canopy, aiming for the 3/32″ holes already in the frame.
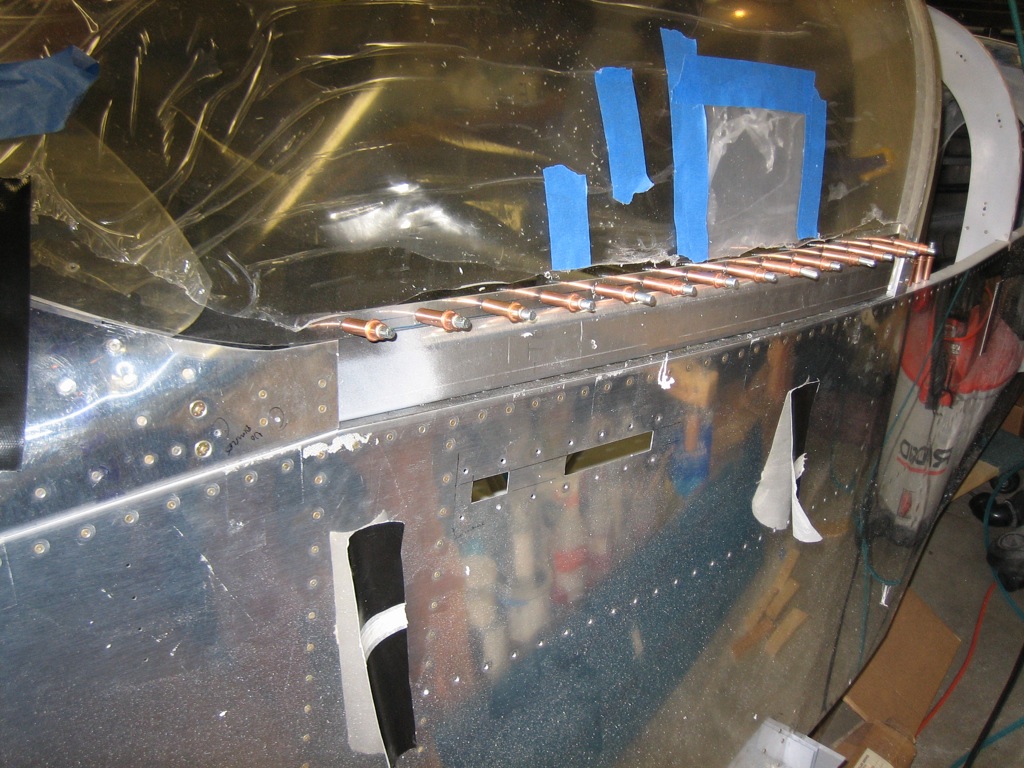
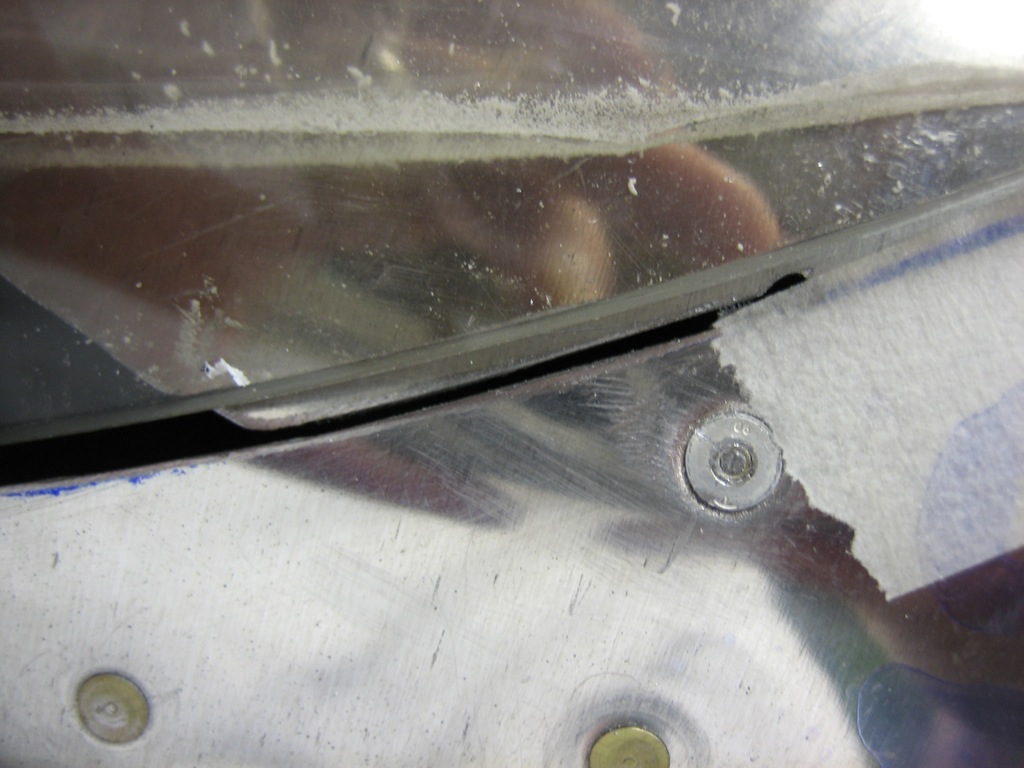
Unfortunately, despite my best efforts, the front of the canopy pulled up about 3/32″ of an inch on the left and 2/32″ on the right. This is a pretty common problem, and the fix is fairly easy. The canopy can be pushed down flush with very little force, so I’ll fabricate a couple of aluminum clips that can be riveted to the canopy frame to keep it tight while I lay up the fiberglass along the front joint.
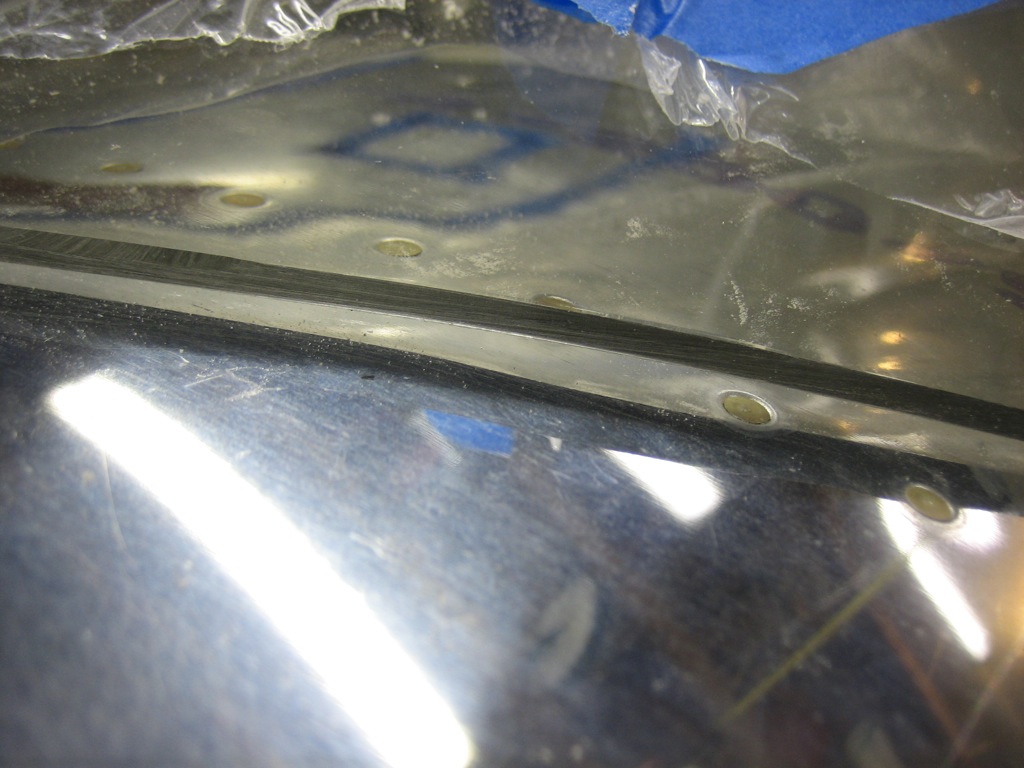
Now that the canopy position is locked in, I laid up some masking tape to define the area to be painted. I’m going to paint the part of the skin that is under the canopy a flat black to avoid glare.
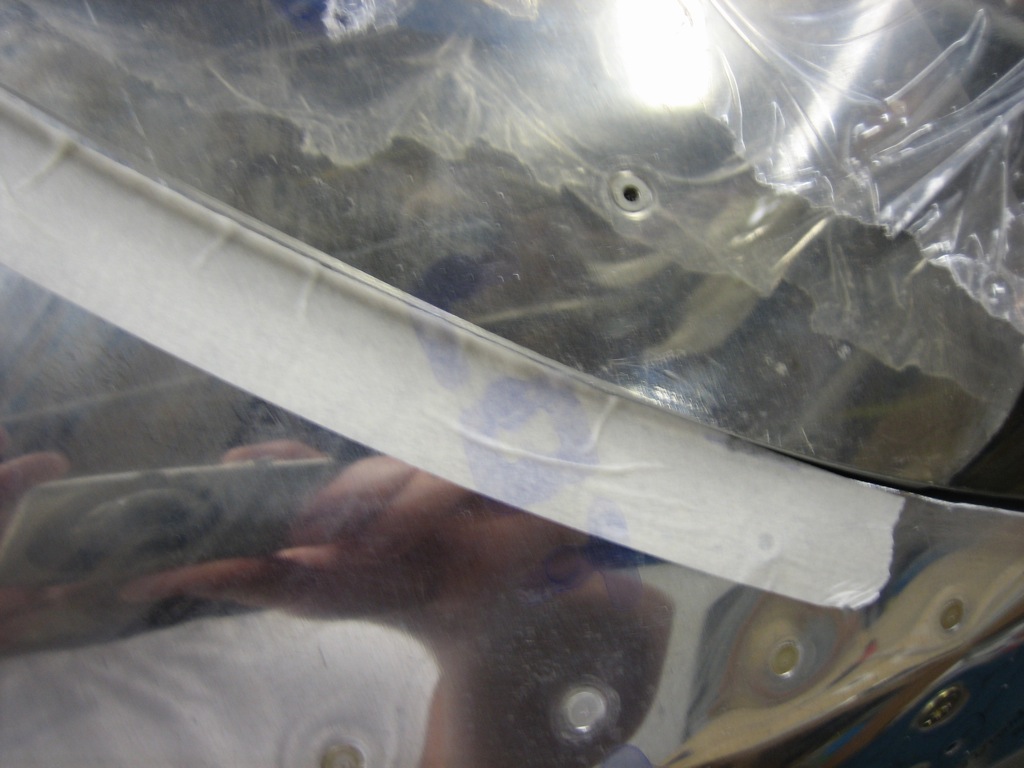
I trimmed along the line I defined a couple of days ago, this allows the canopy to transition more gently from the skin to the side channels.
Here’s a shot from a different angle showing the gradual transition. This is a much better solution than extending the notch forward.
