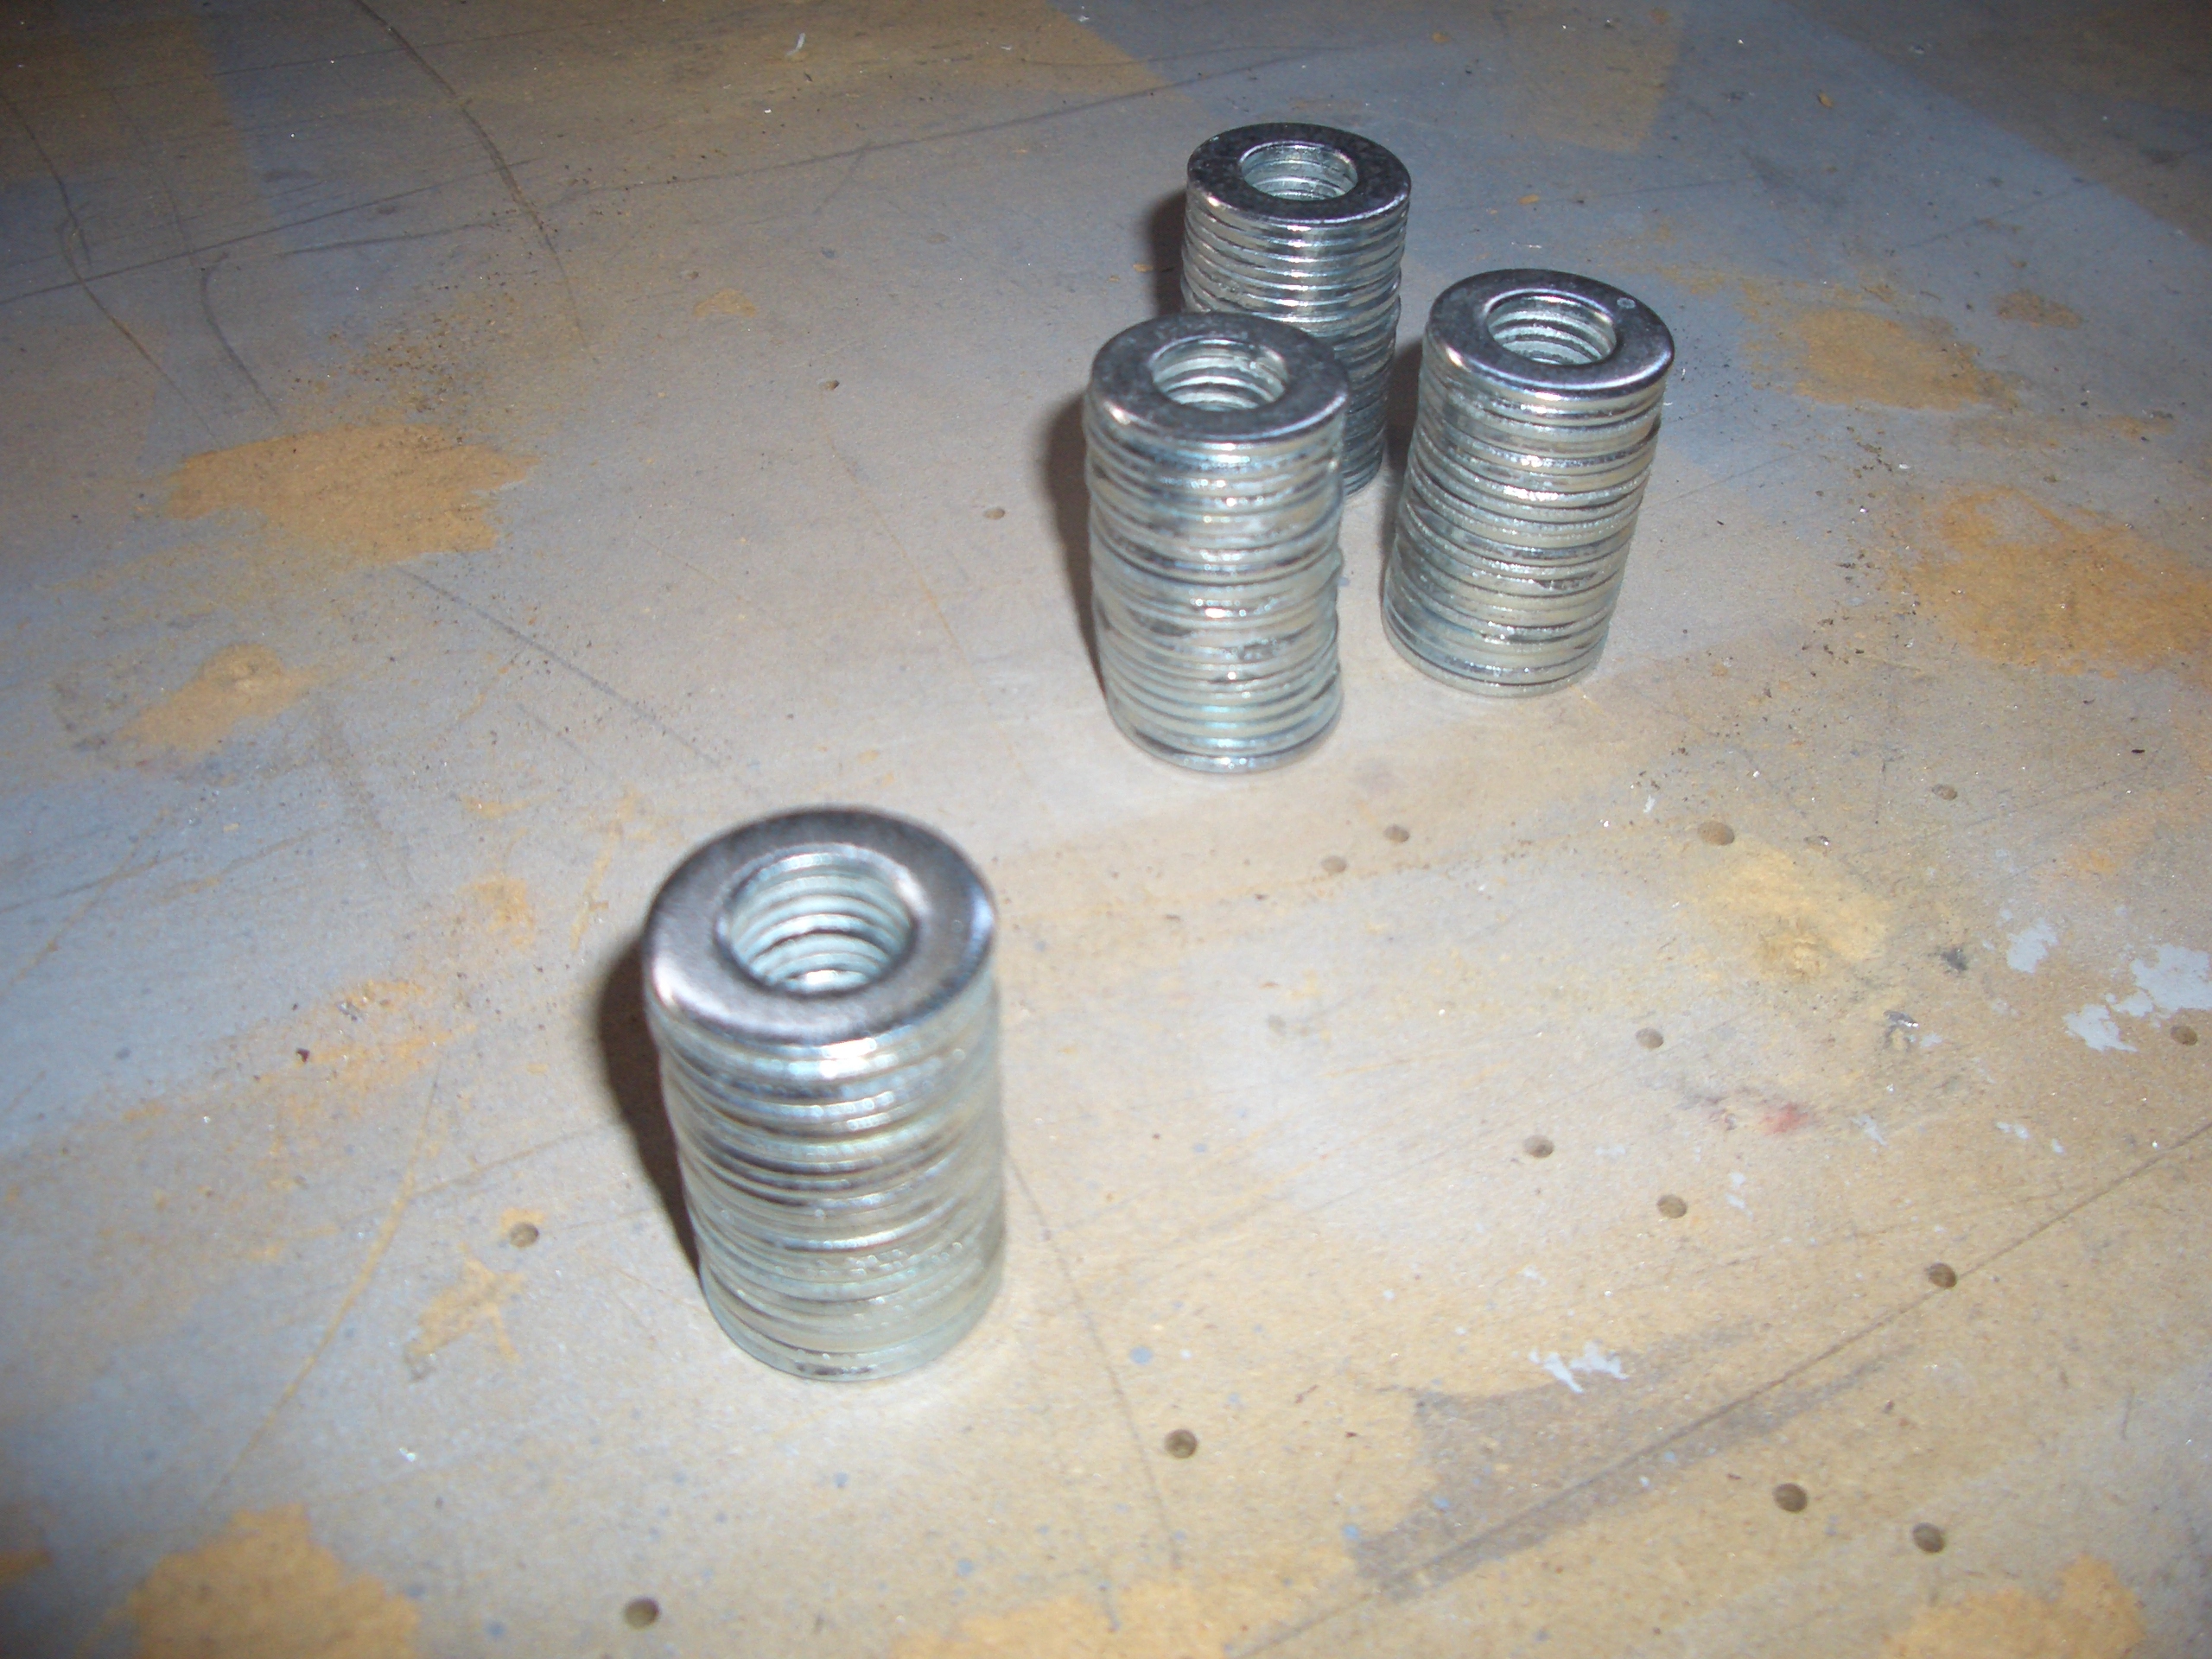
I started the center section tonight. This is the section containing the seats and the baggage area. First up is to fabricate the spacers that will keep the two halves of F-704 the proper distance apart so that the wing spars can slide in easily. The plans say to make these 1.438″ thick, but my spars were more like 1.441″, so that is the dimension I used. My method was to superglue a number of 7/16″ washers together until I had almost enough thickness and then use shims of aluminum tape to bring the spacers to within 0.001″ or so of the correct dimension (erring slightly over rather than slightly under).
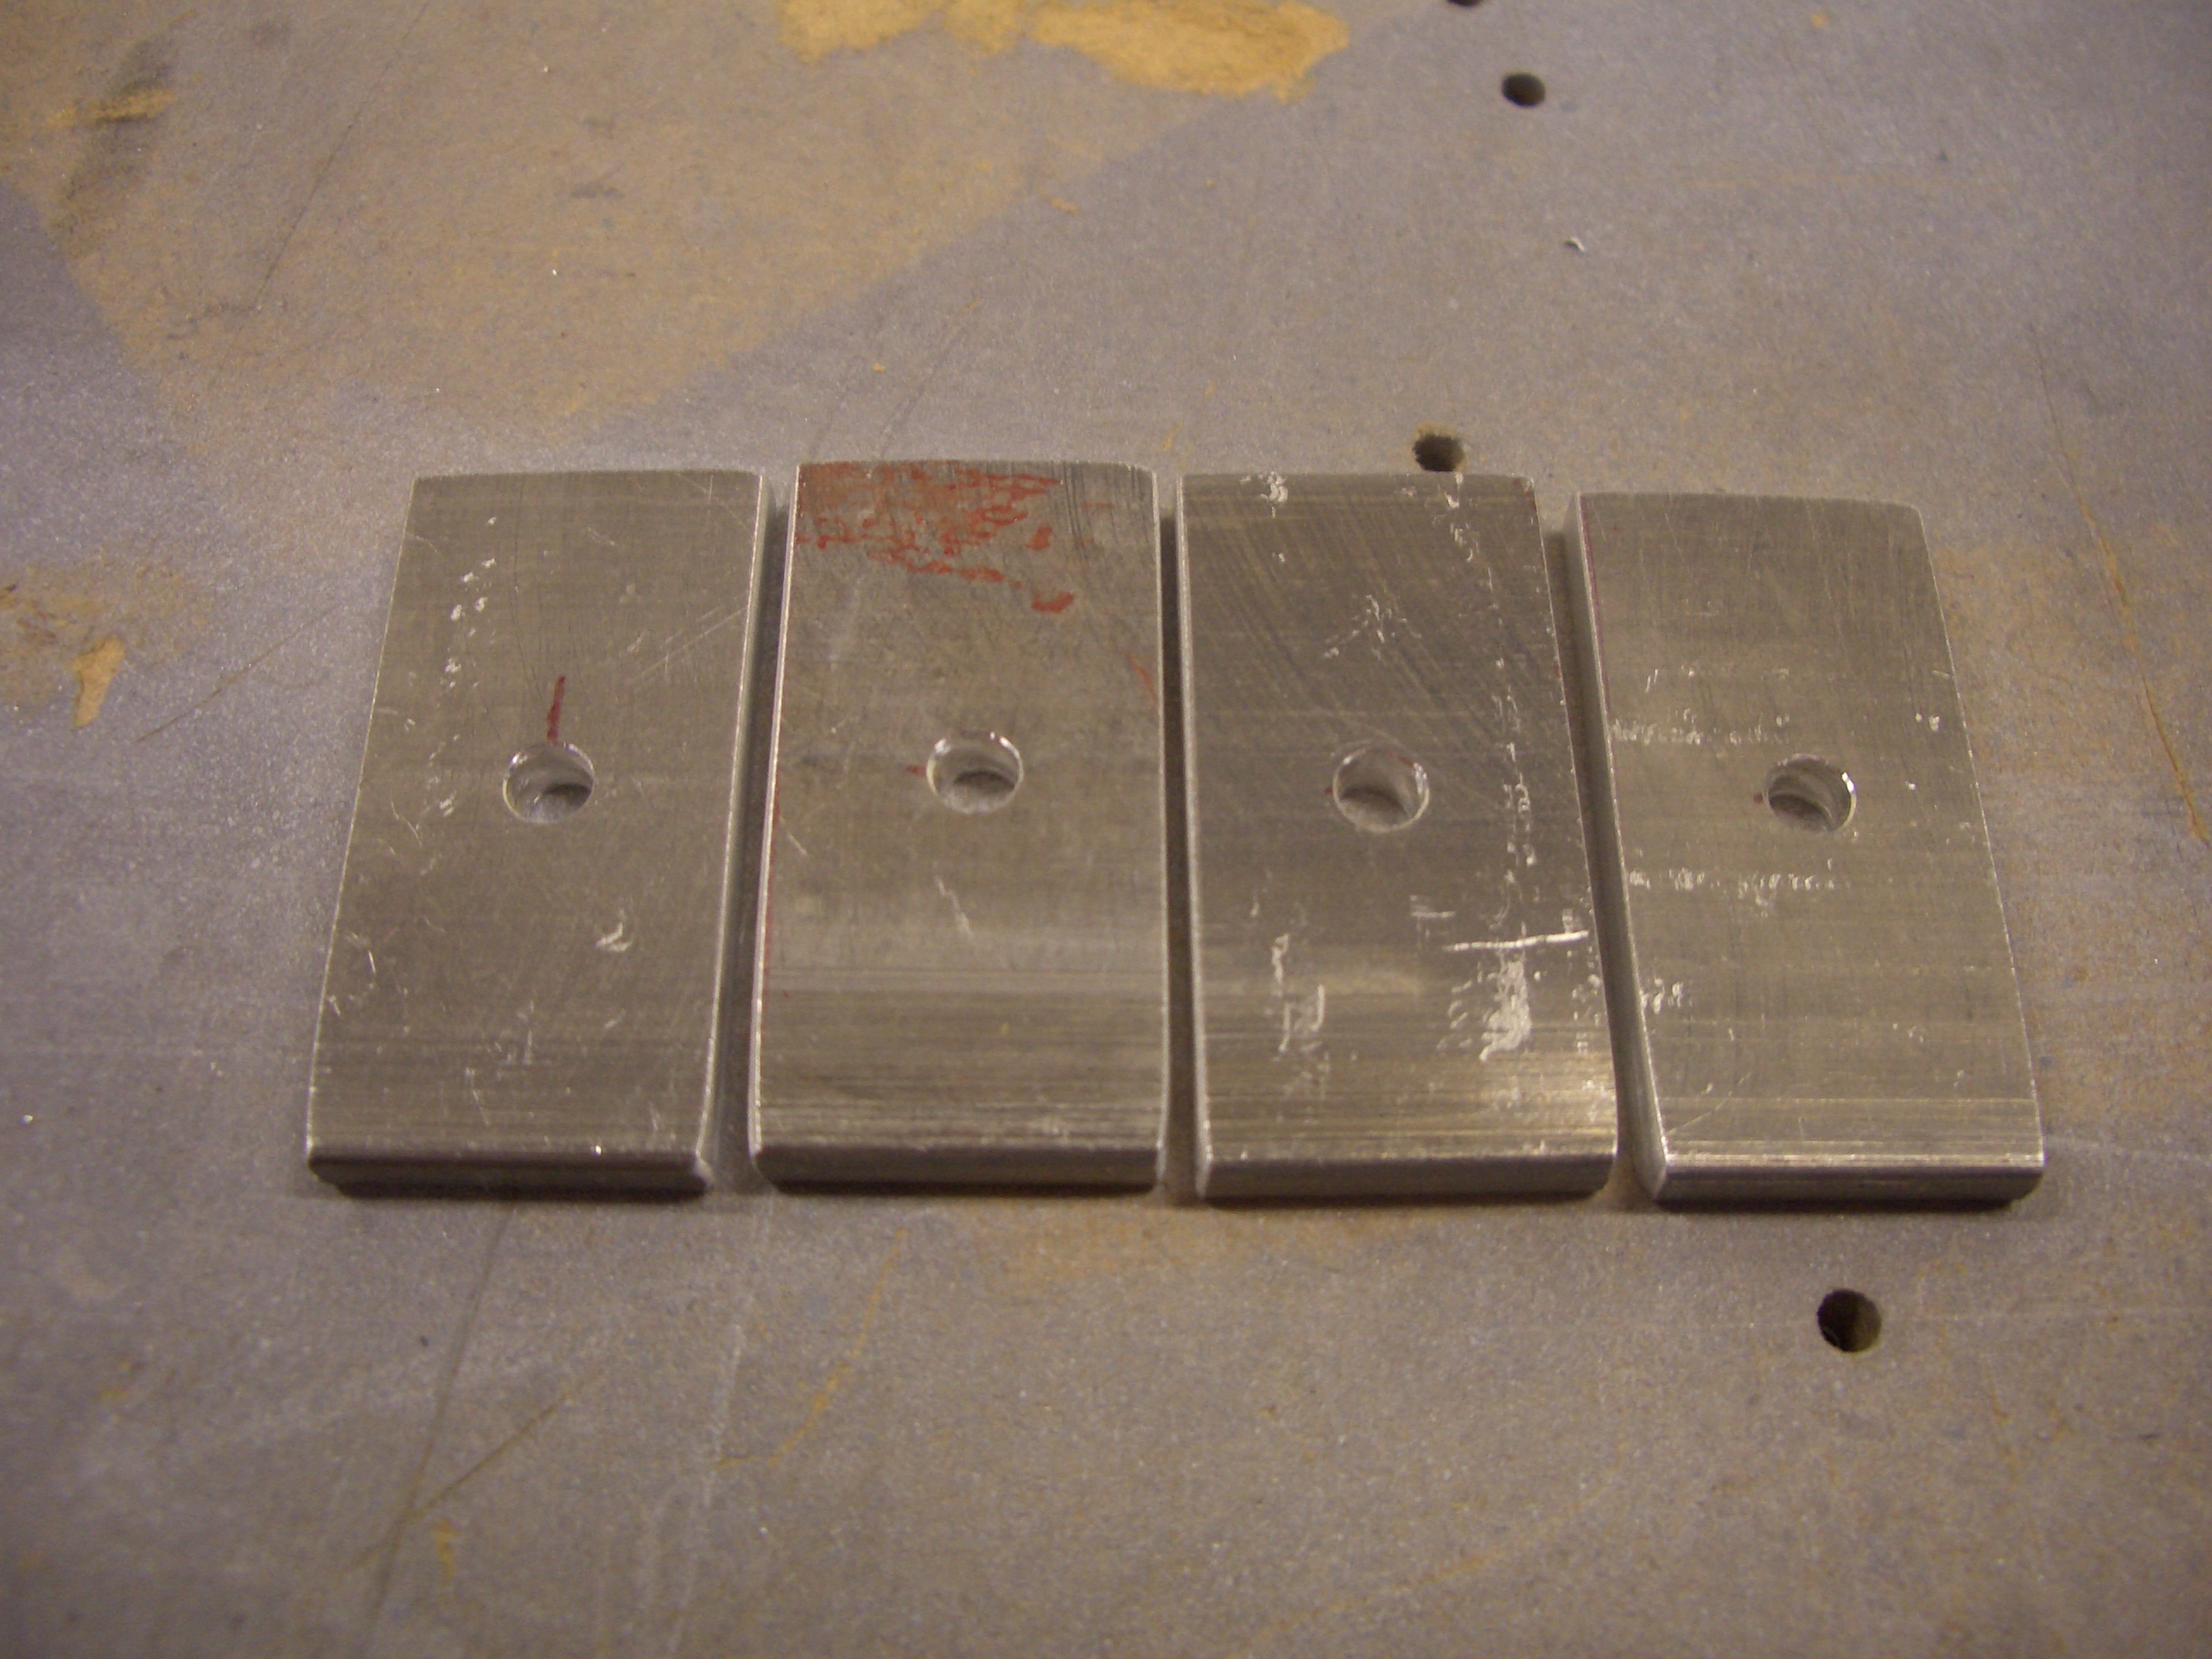
Next up was to fabricate some spacers from 1/8″ bar stock. These will fit between the center seat ribs and the rear spar.
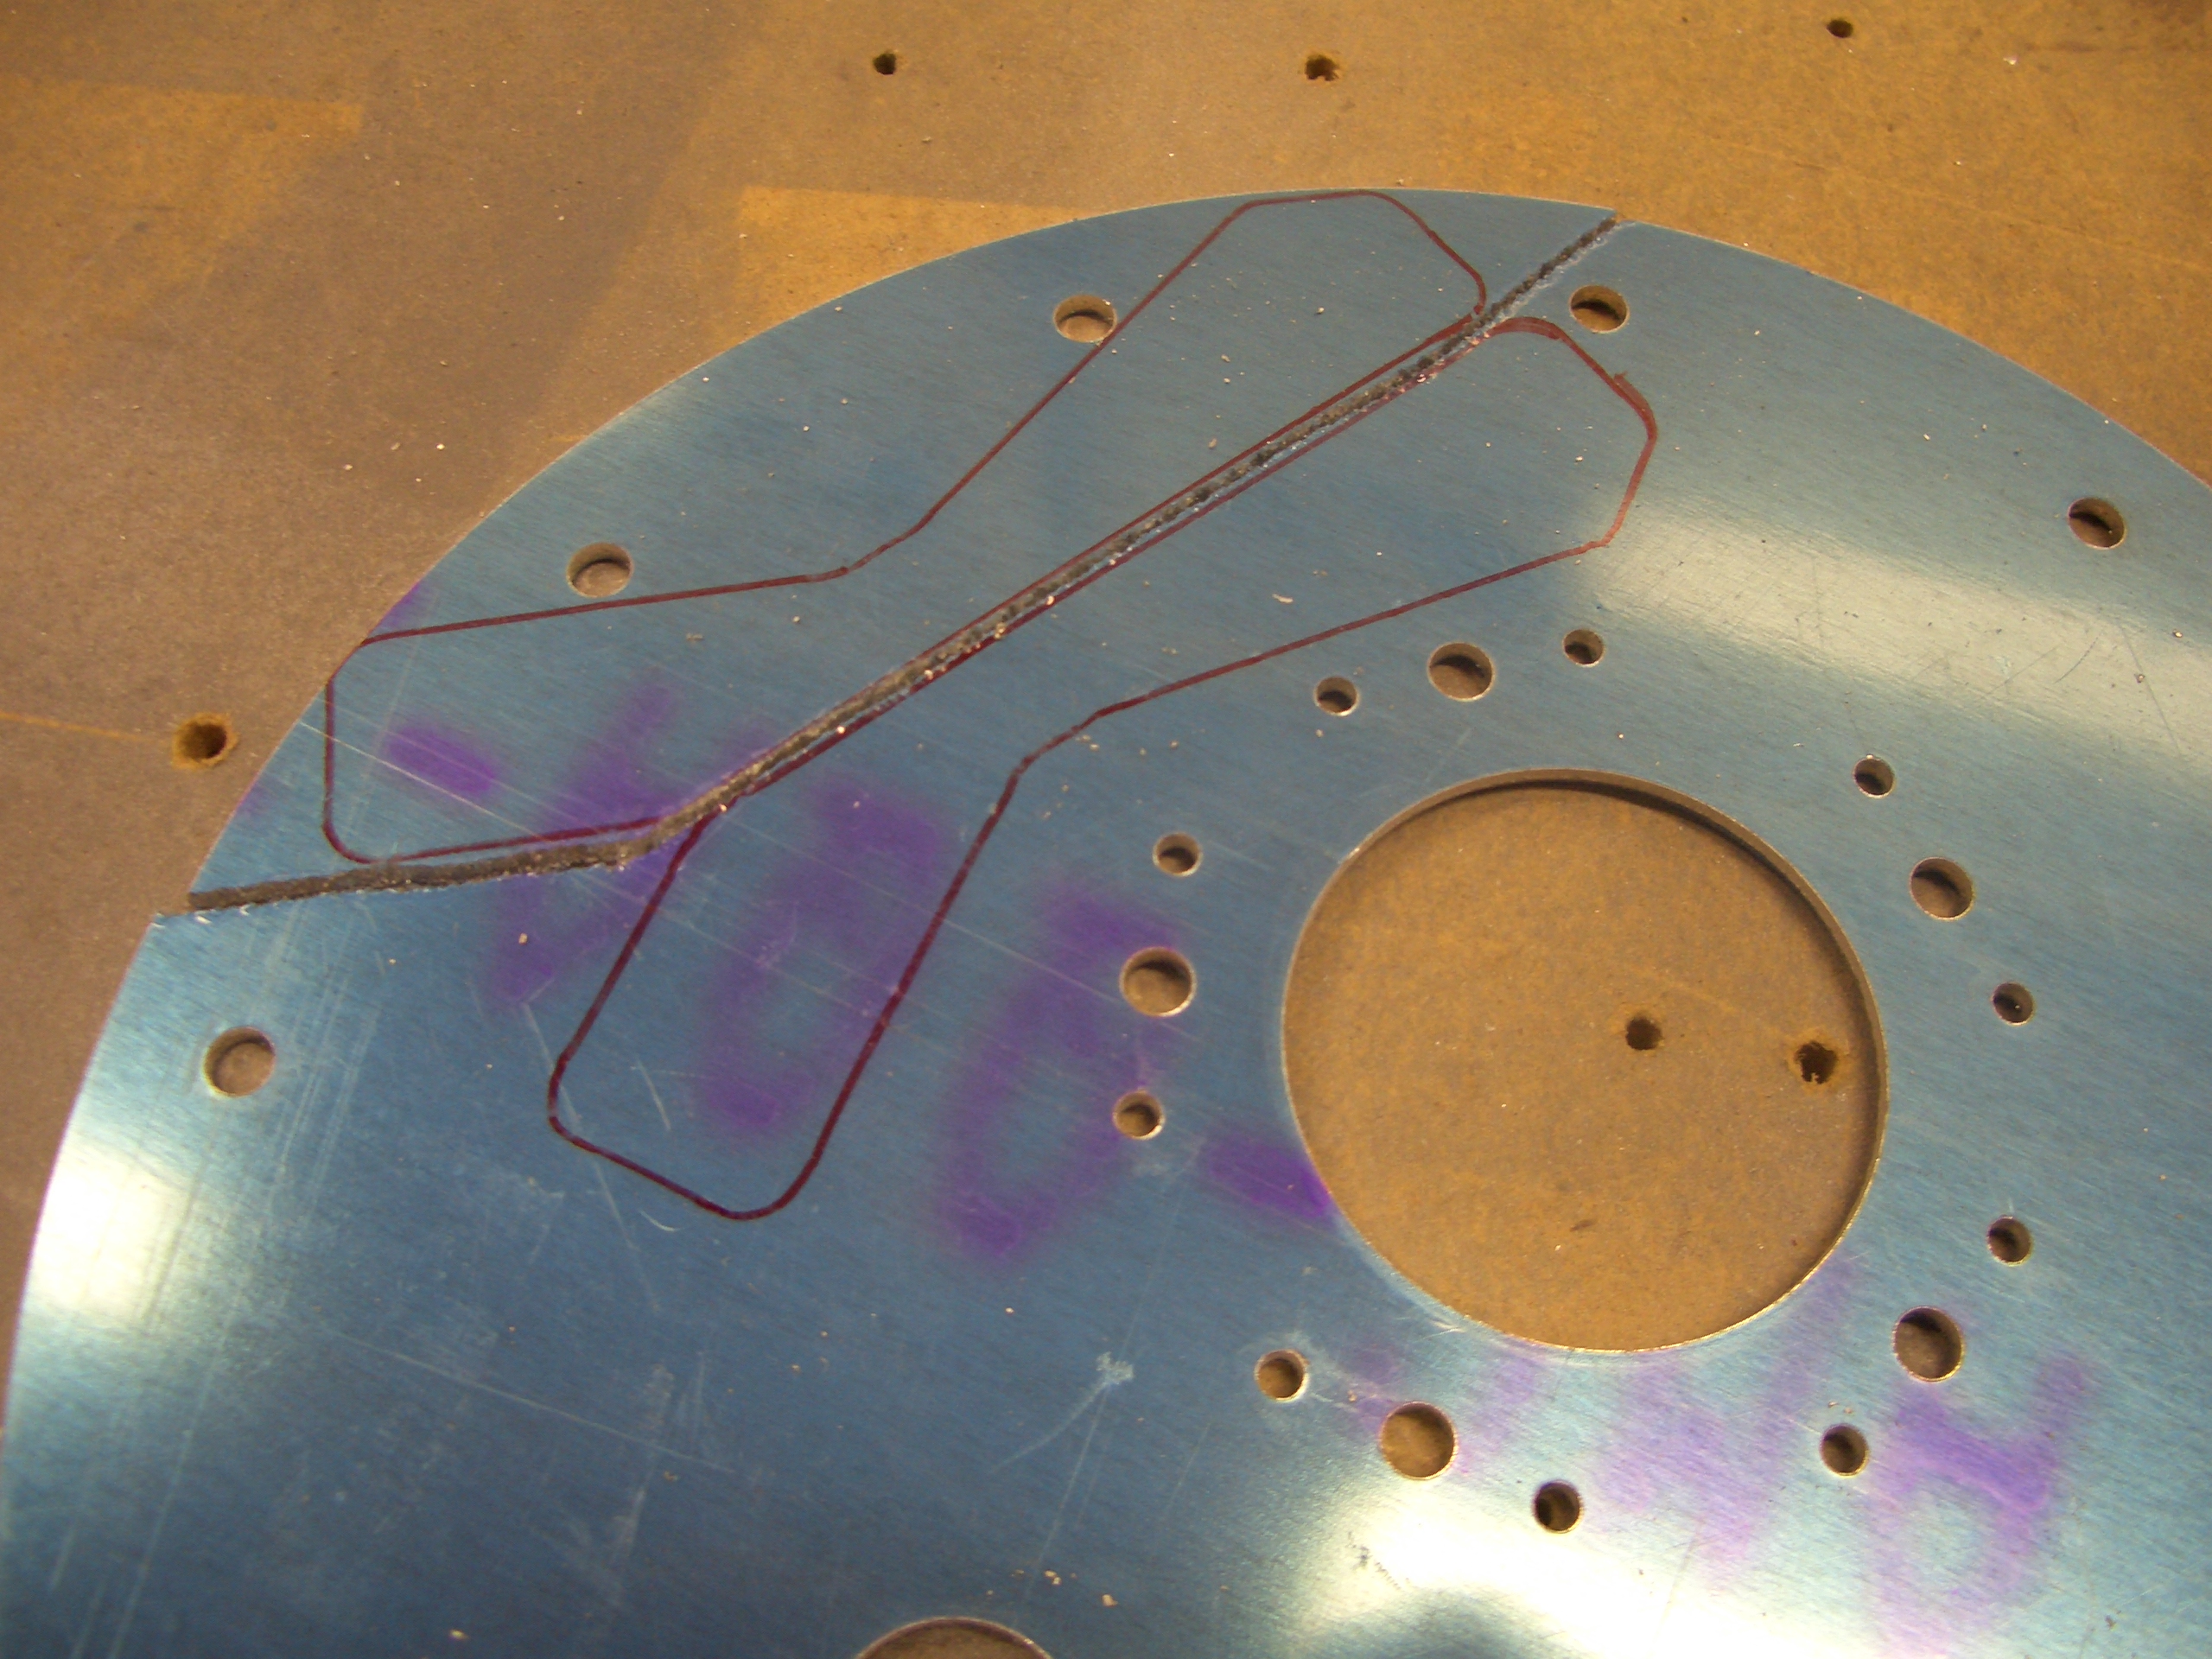
The plans have you modify the center two seat ribs with a small removable section so that the control center section can be removed. Many builders modify the center four ribs instead to make this task easier. The removable sections need clips that span the gap to retain the strength of the rib. These are pre-fabricated out of 0.063″ sheet, but the kit only provides two. The only extra 0.063″ sheet stock I had handy was the extra fuel tank access plates that are used when you’re not using flop tubes, so I traced the clips onto the plate and cut them out on the band saw.
After match drilling them to the existing clips, I clecoed all of them together and sanded them until the profiles matched.

Here are the four clips, ready to be installed.

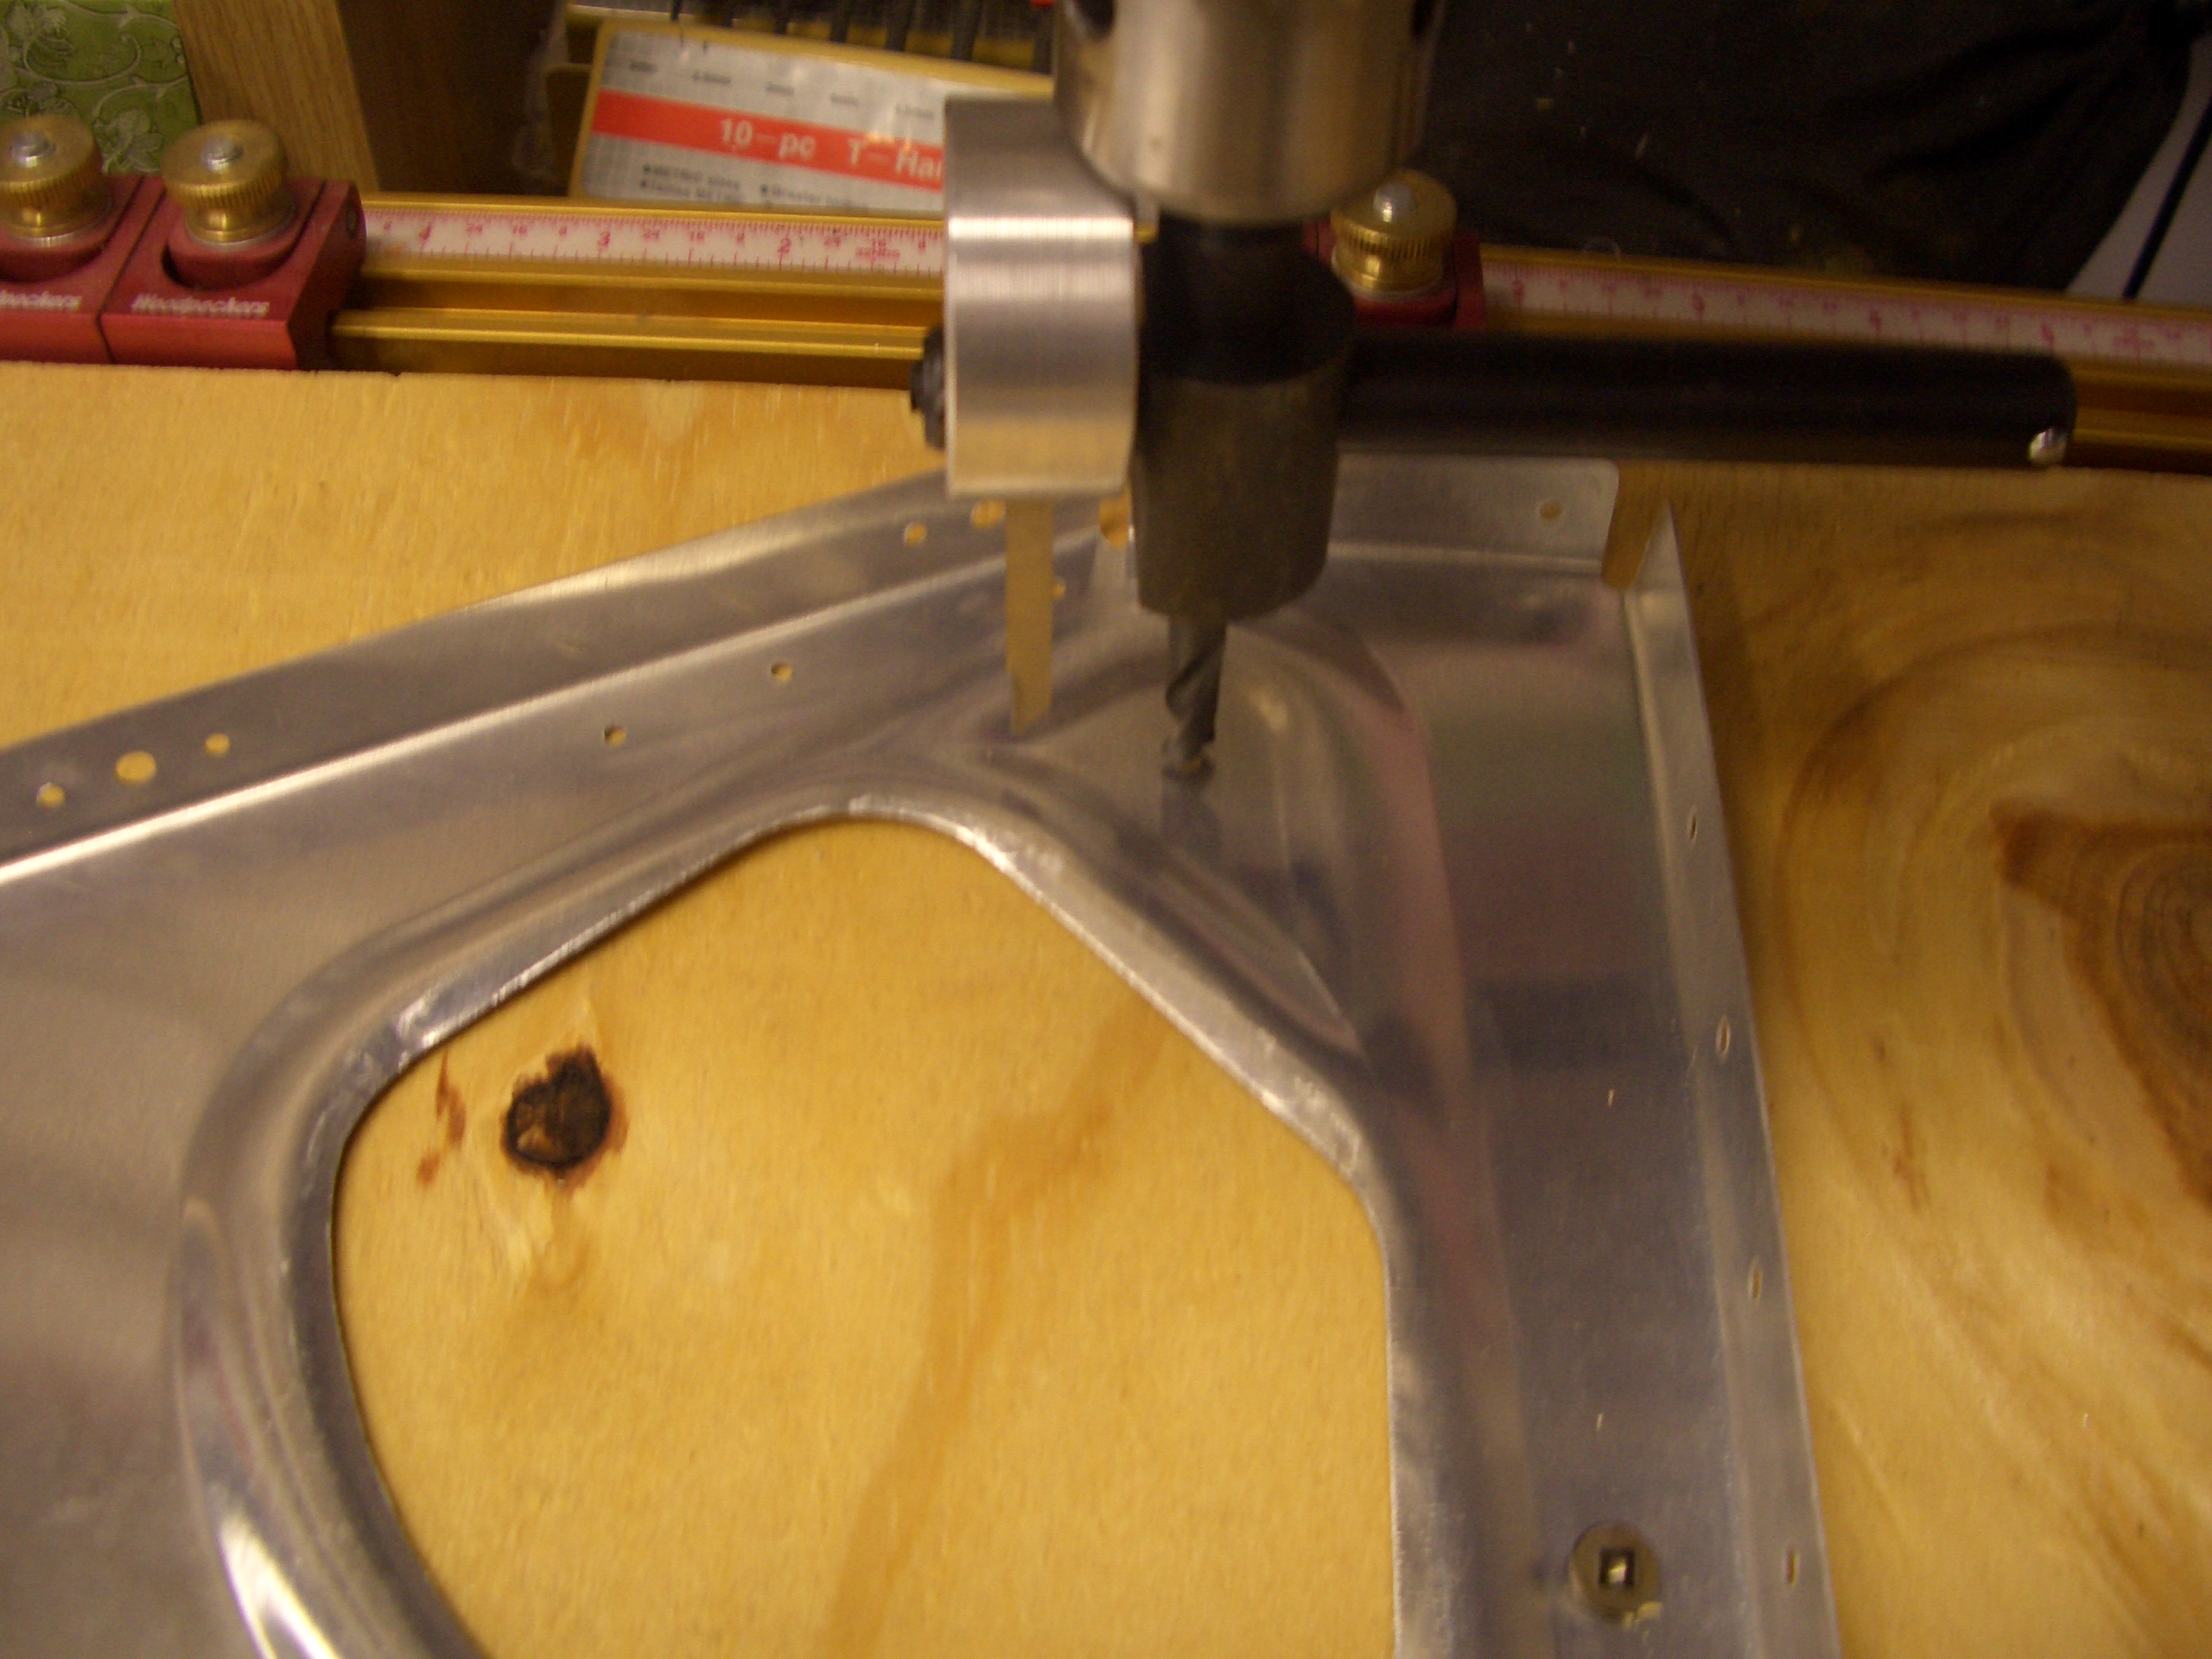
To modify the ribs, the first step is to cut a 1.5″ hole around the tooling hole already provided. I used my new Craftsman fly cutter and knocked these out in just a few minutes (the old Harbor Freight fly cutter was junk and this would have taken forever).
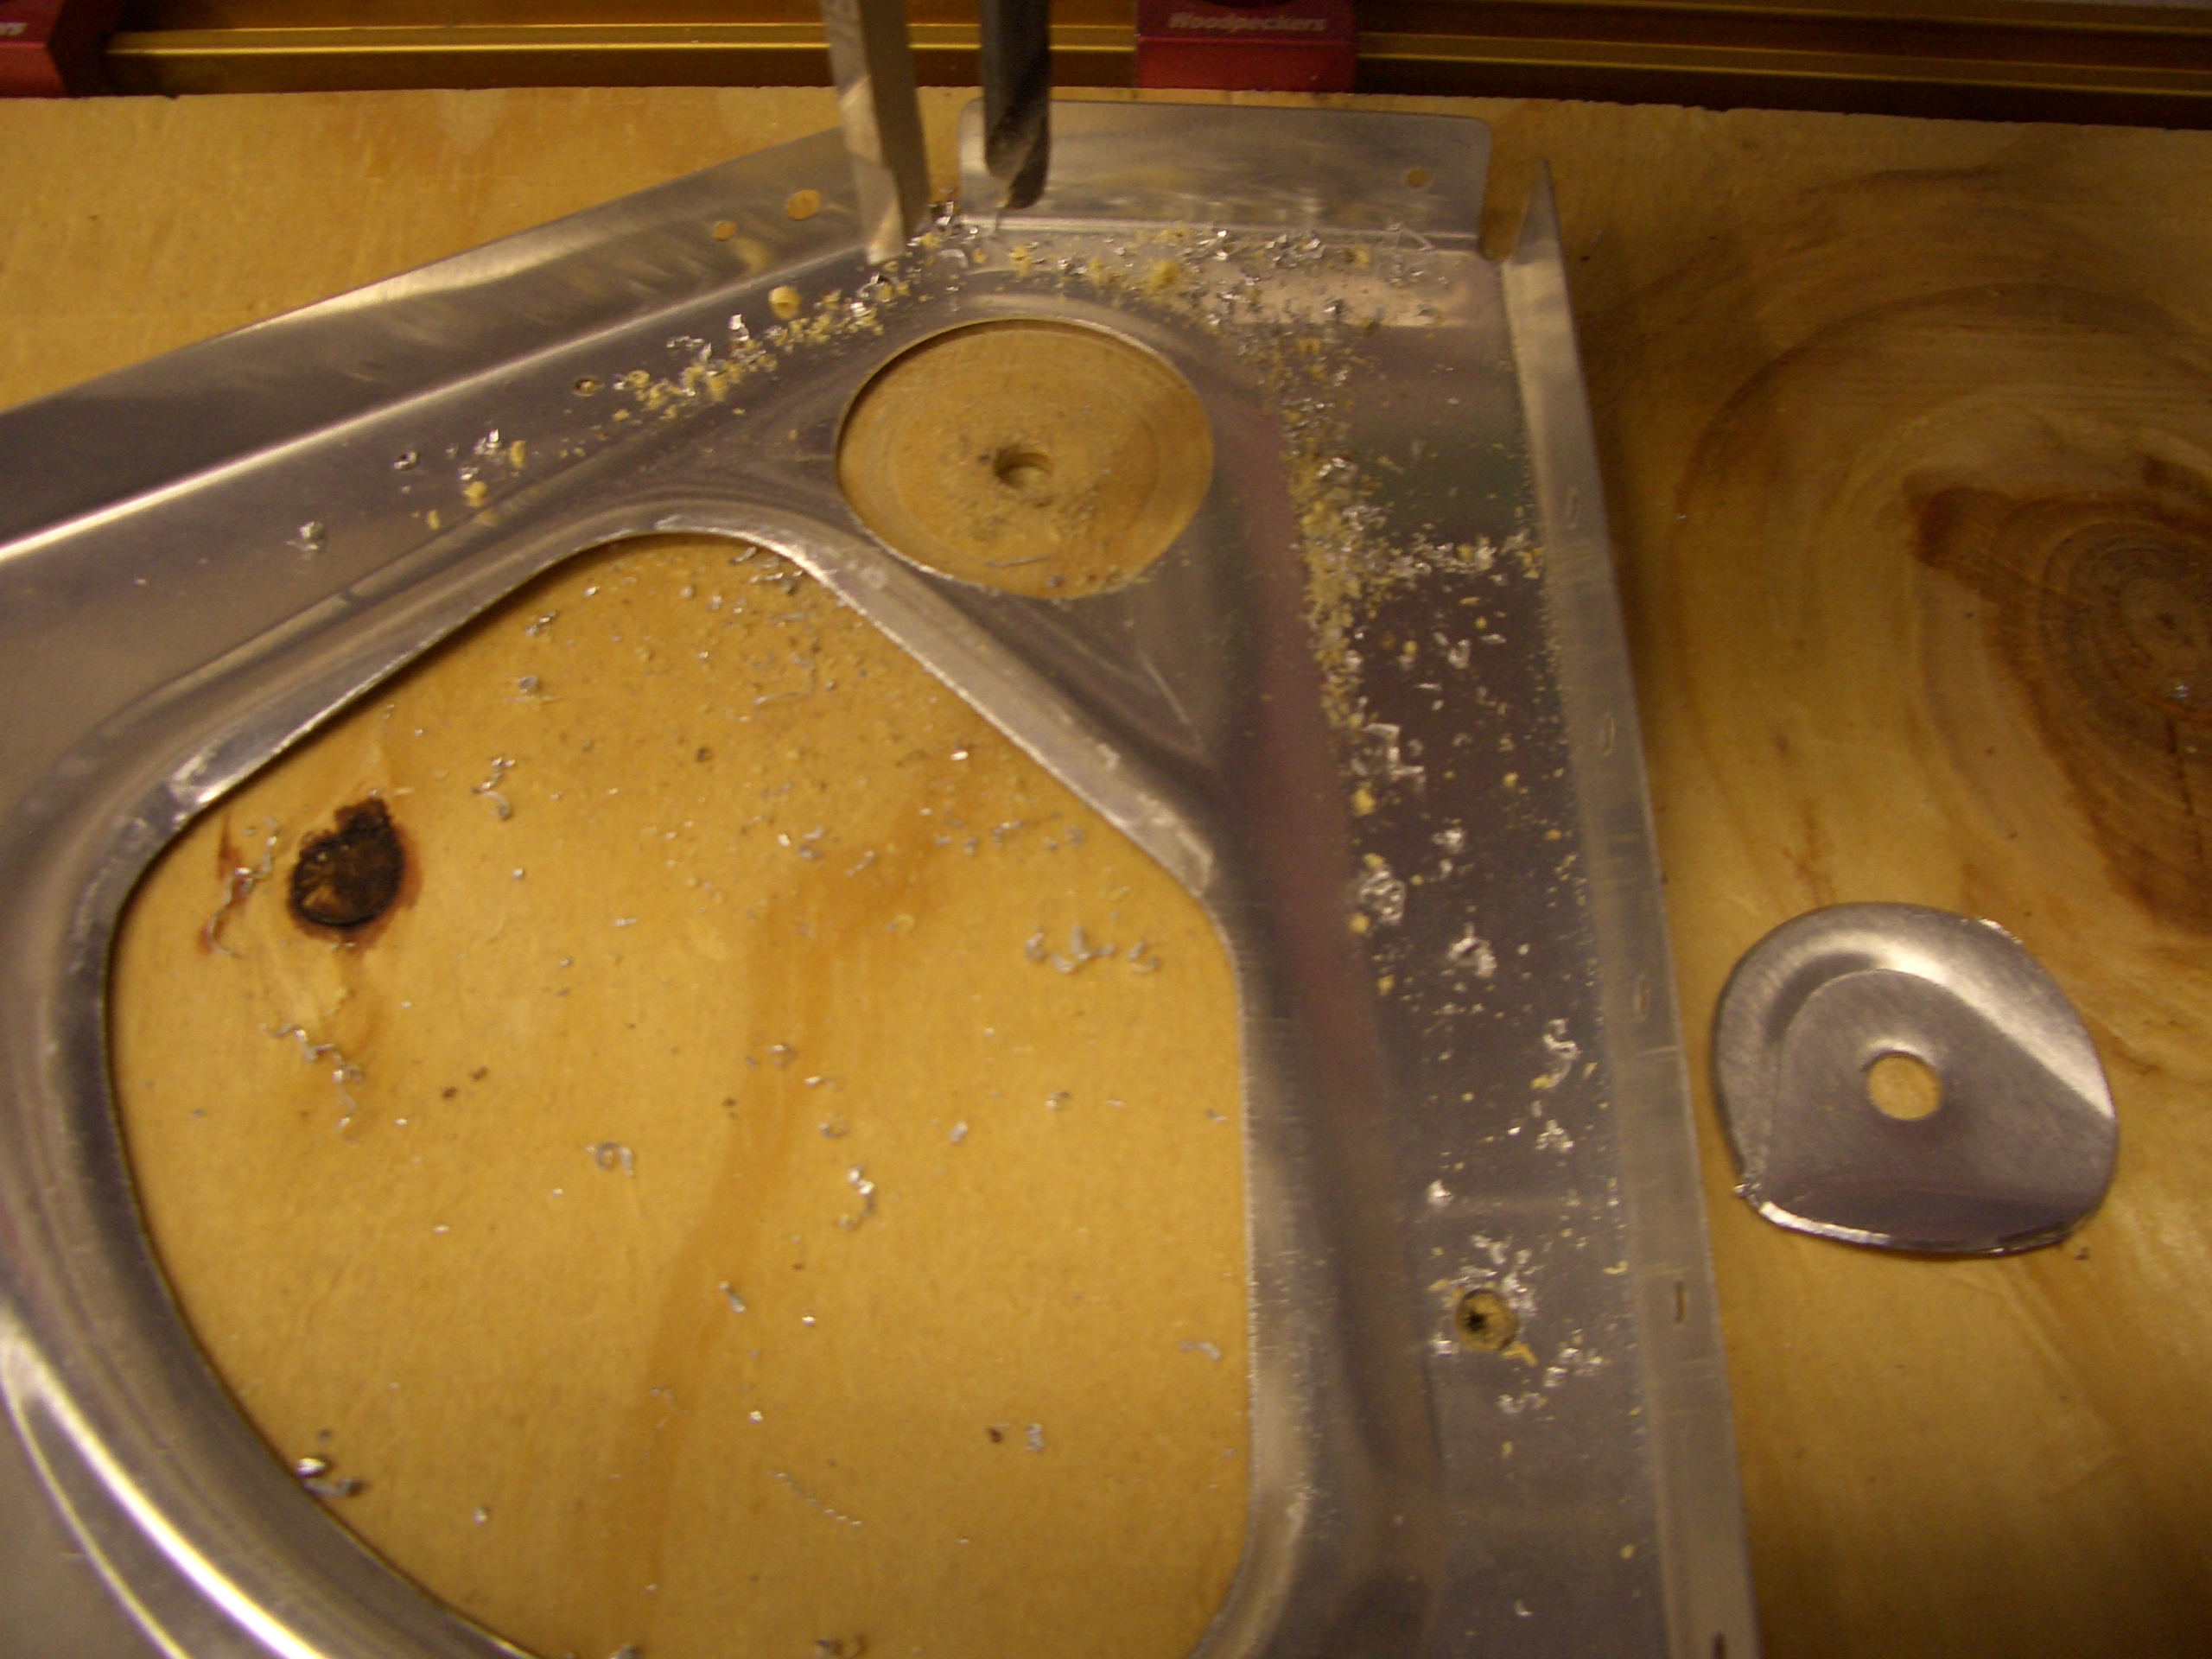
Here’s the result. The area between these two holes can now be trimmed out with some snips.
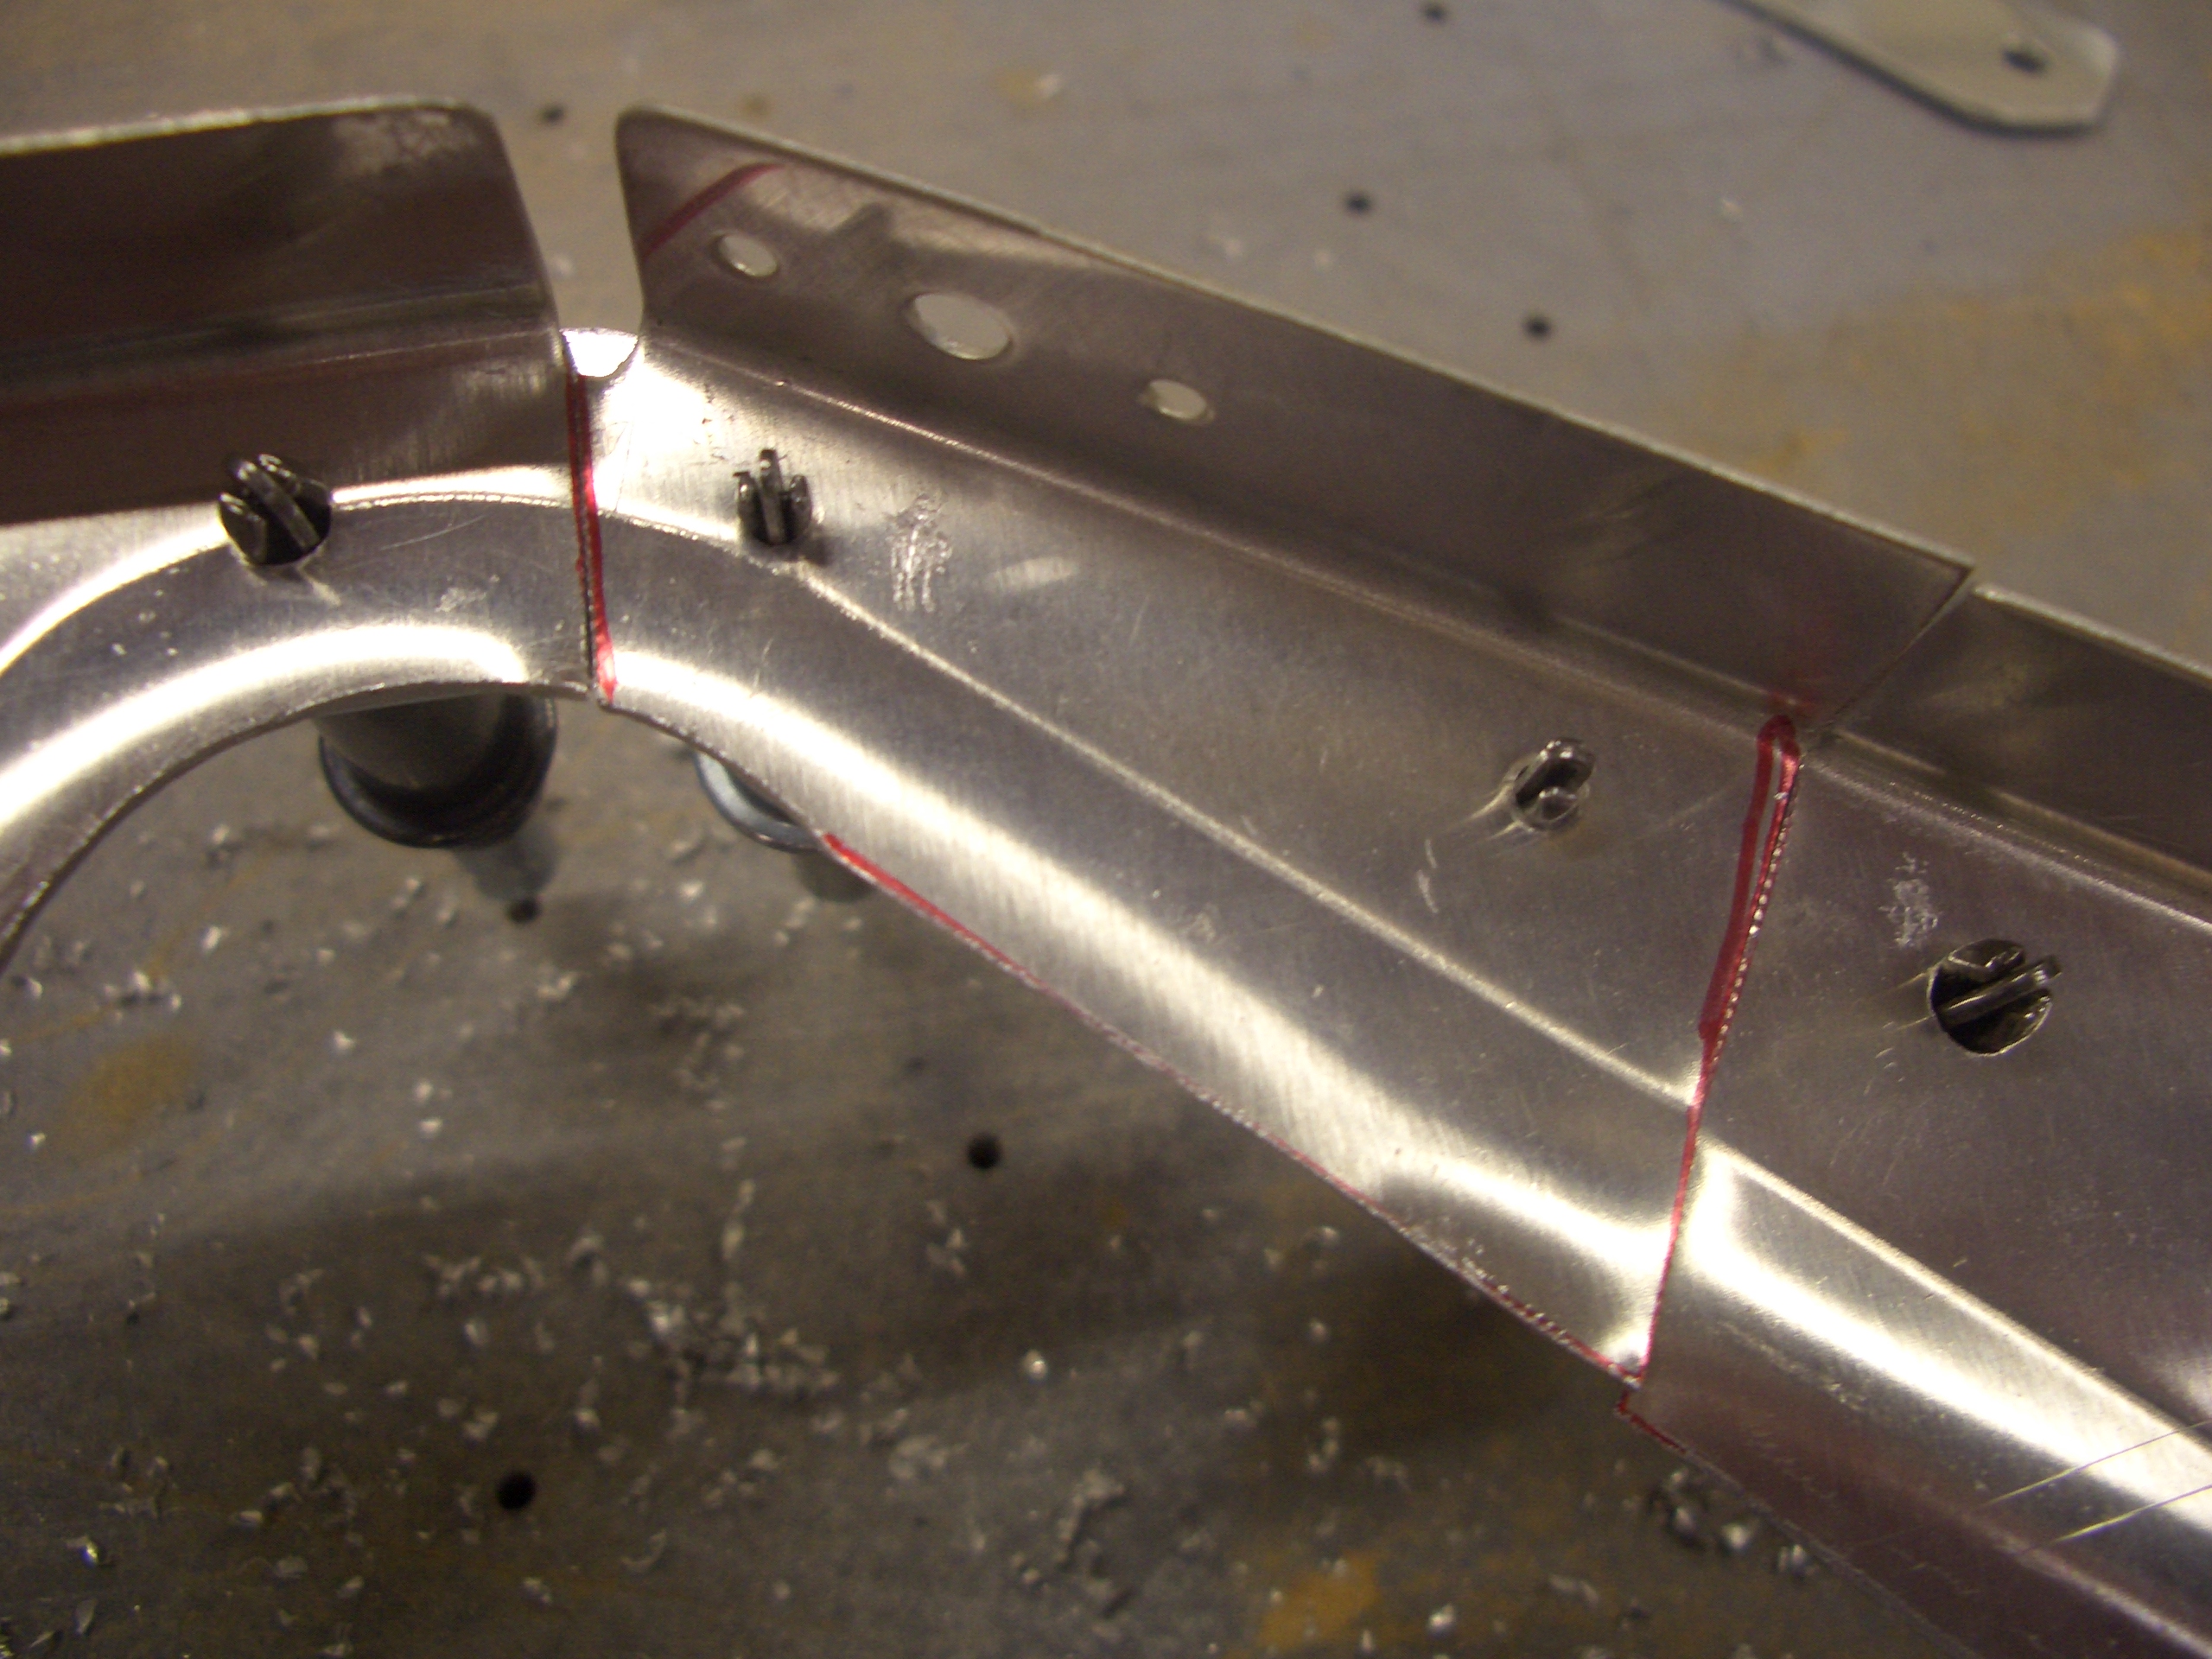
Next, a small portion near the top can be snipped out. Here it’s clecoed back in place to show how the retaining strap (on the other side) will span the gap.
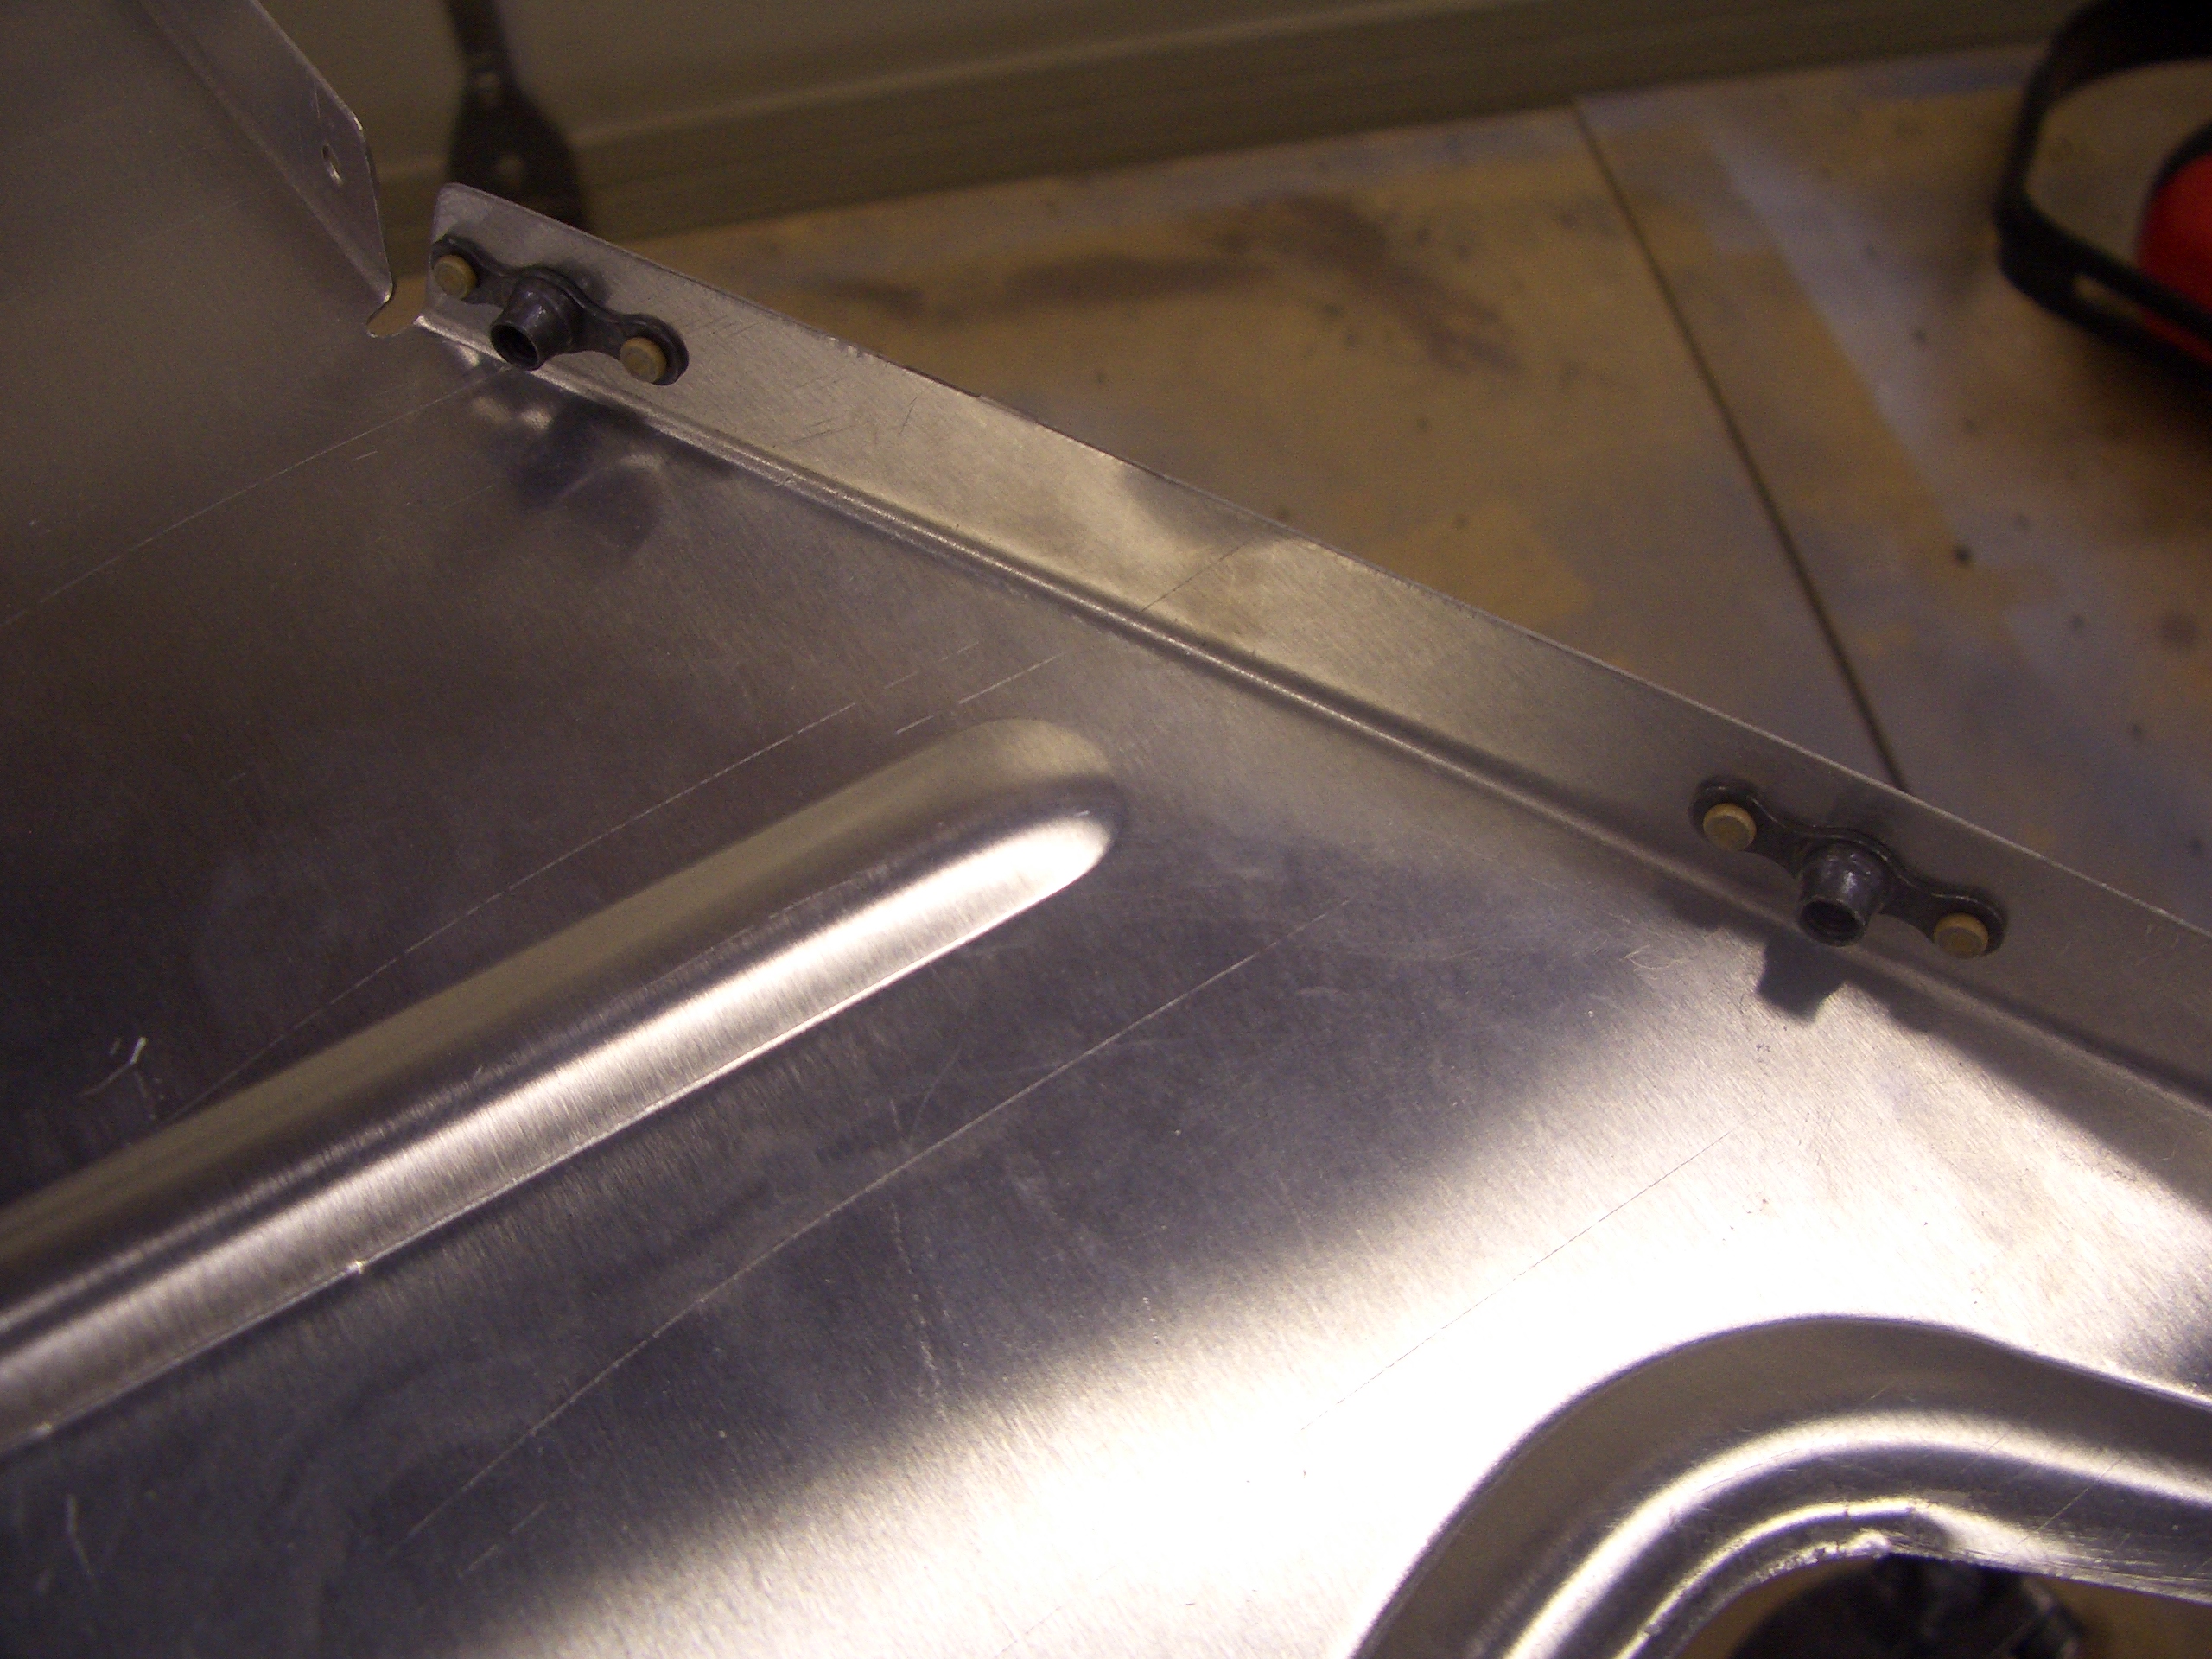
Finally, a couple dozen platenuts need to be installed on the seat ribs so that the seat pan can be removed to access the controls.
I used to drill the center hole with a #19, cleco these in place, drive a screw in to make sure it was aligned with the hole and held firmly, then match drill the skin through the platenut to make sure the rivet holes were perfectly inline. After deburring and countersinking, I would then put the screw back in to ensure the platenut was still aligned with the hole.
I think this is significant overkill though Given the accuracy of these pre-punched kits, the holes are already exactly in the right spots, and drilling these out can’t move the hole significantly. So tonight I tried something a little simpler. I drilled the center holes out to #19 and the side holes out with #40, all without attaching the platenut. After deburring and countersinking the rivet holes for NAS1097 rivets, I riveted the platenut in place without putting a screw in. Every single one came out perfect. This is going to make installing platenuts significantly faster from here on out.
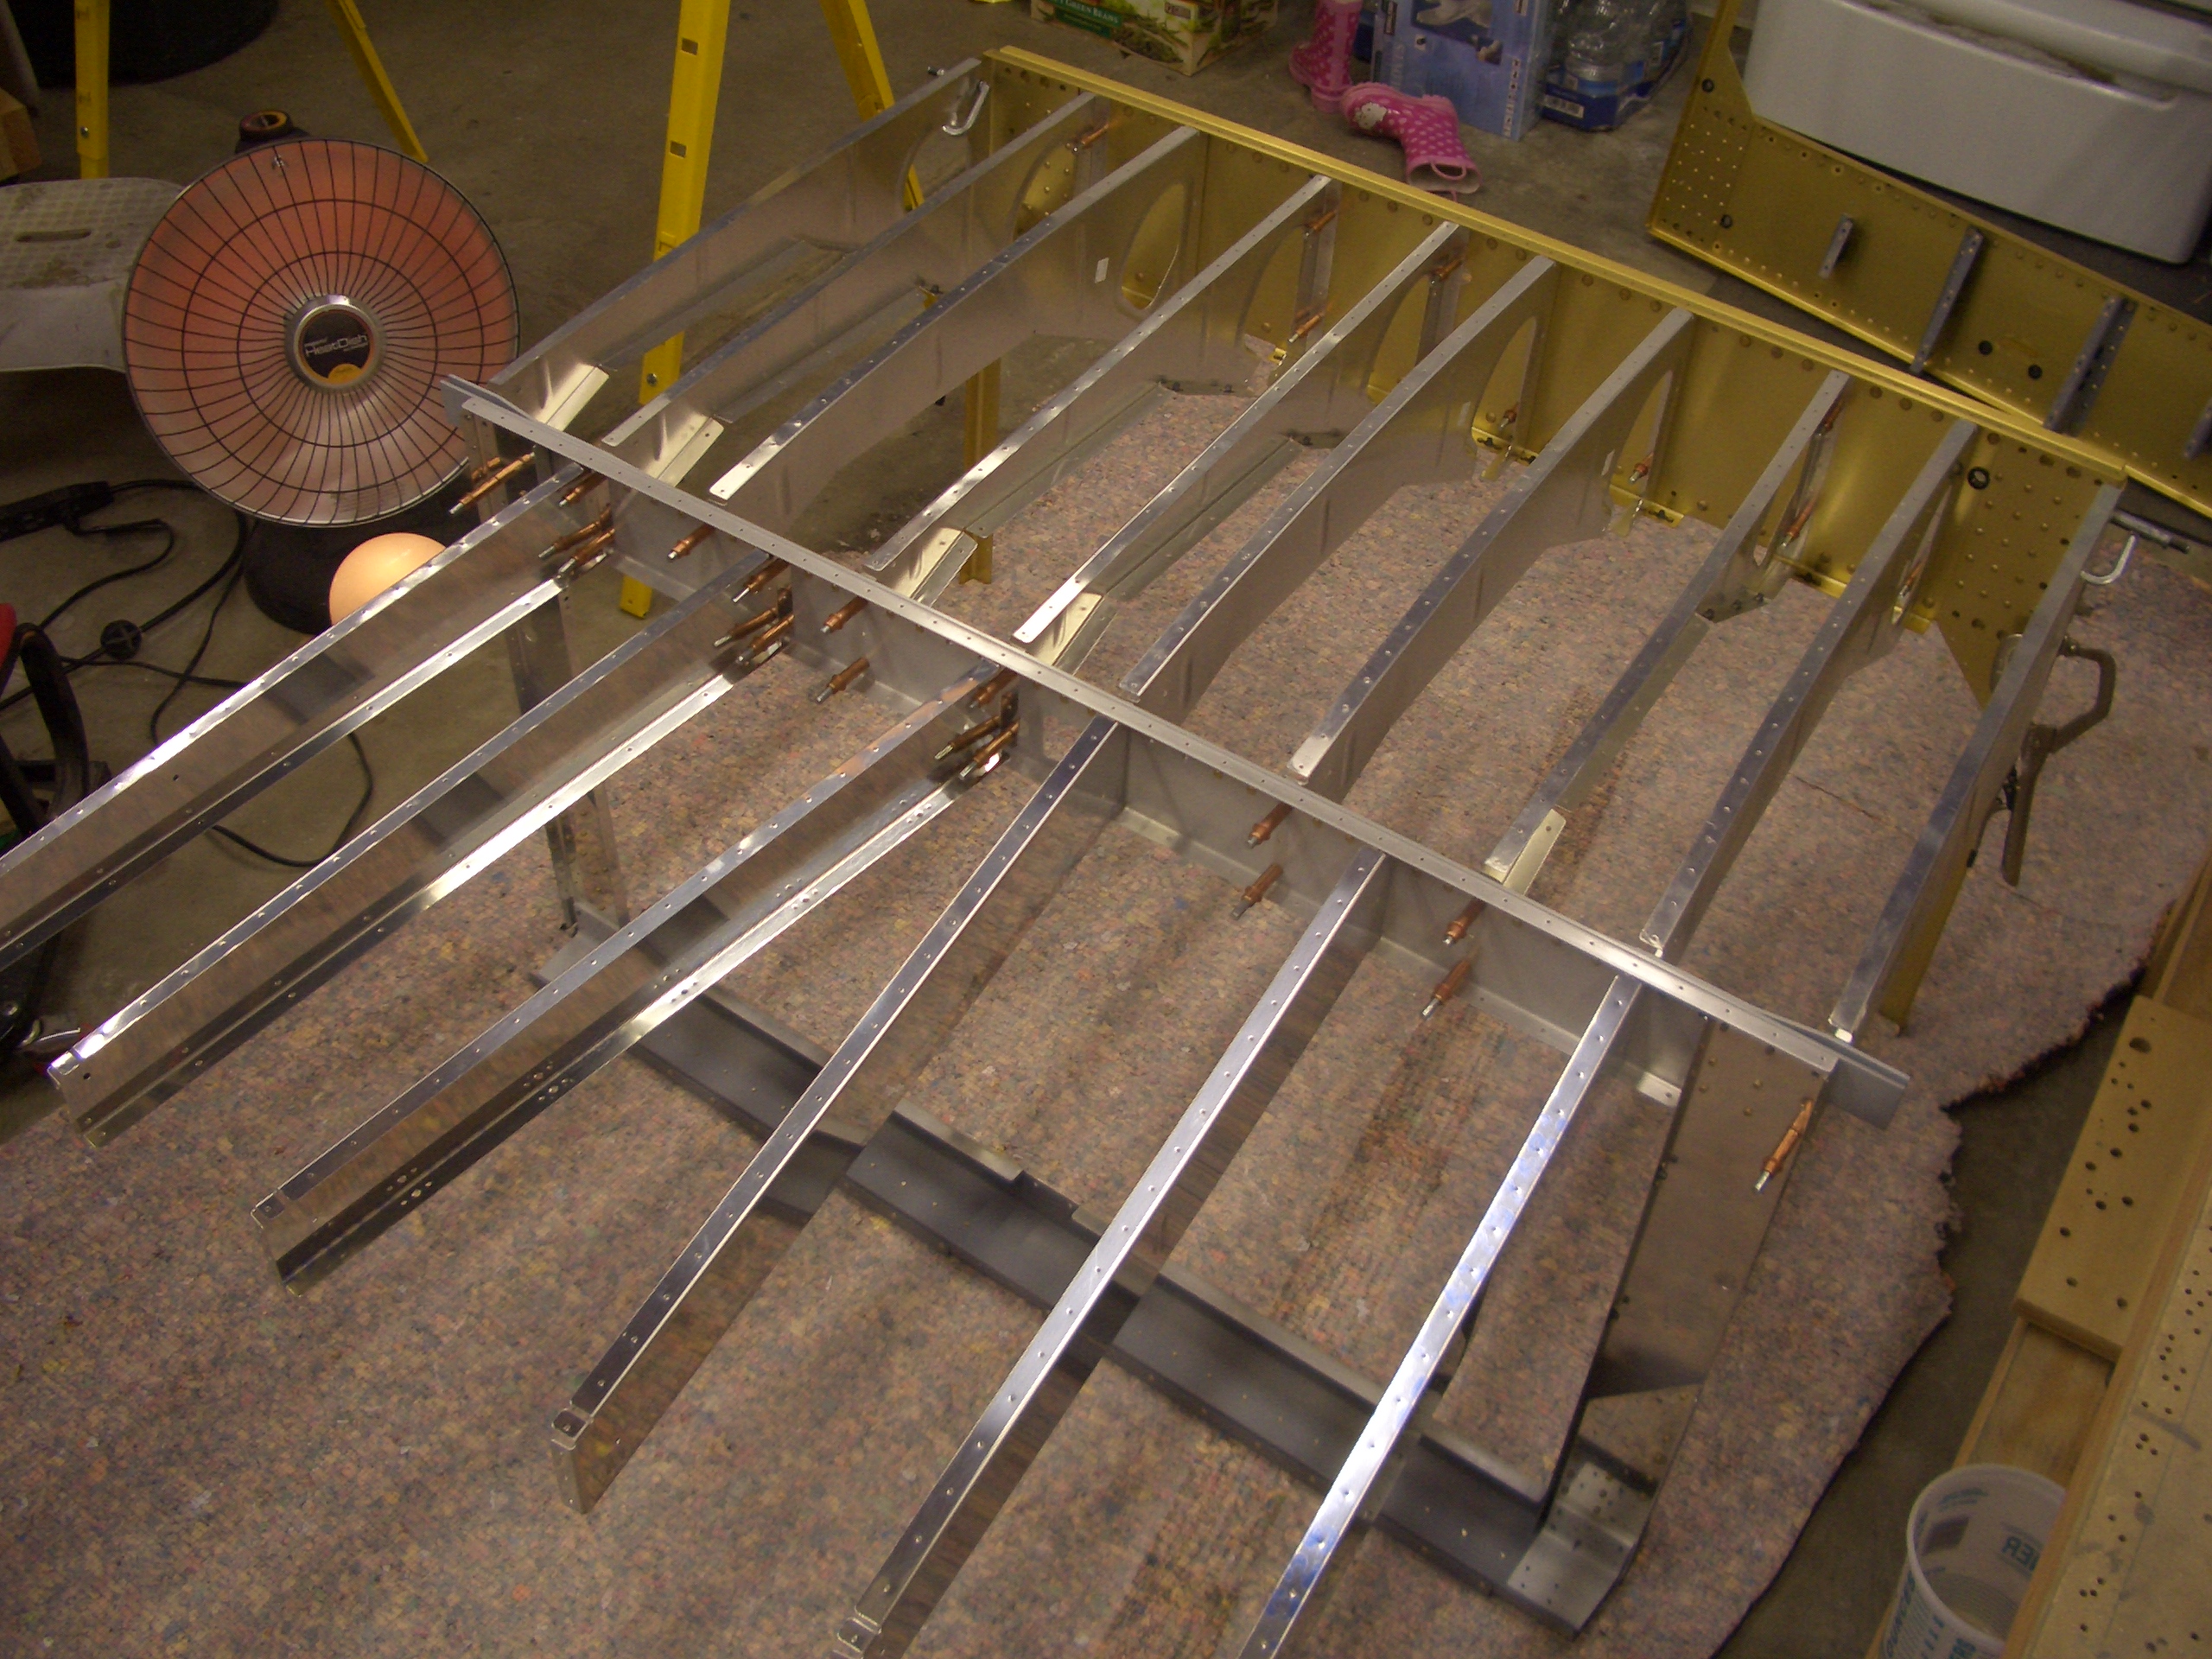
It was late, but I wanted to cleco the center section together tonight to see what it looked like. First up is to cleco all of the seat ribs to the aft portion of F-704.
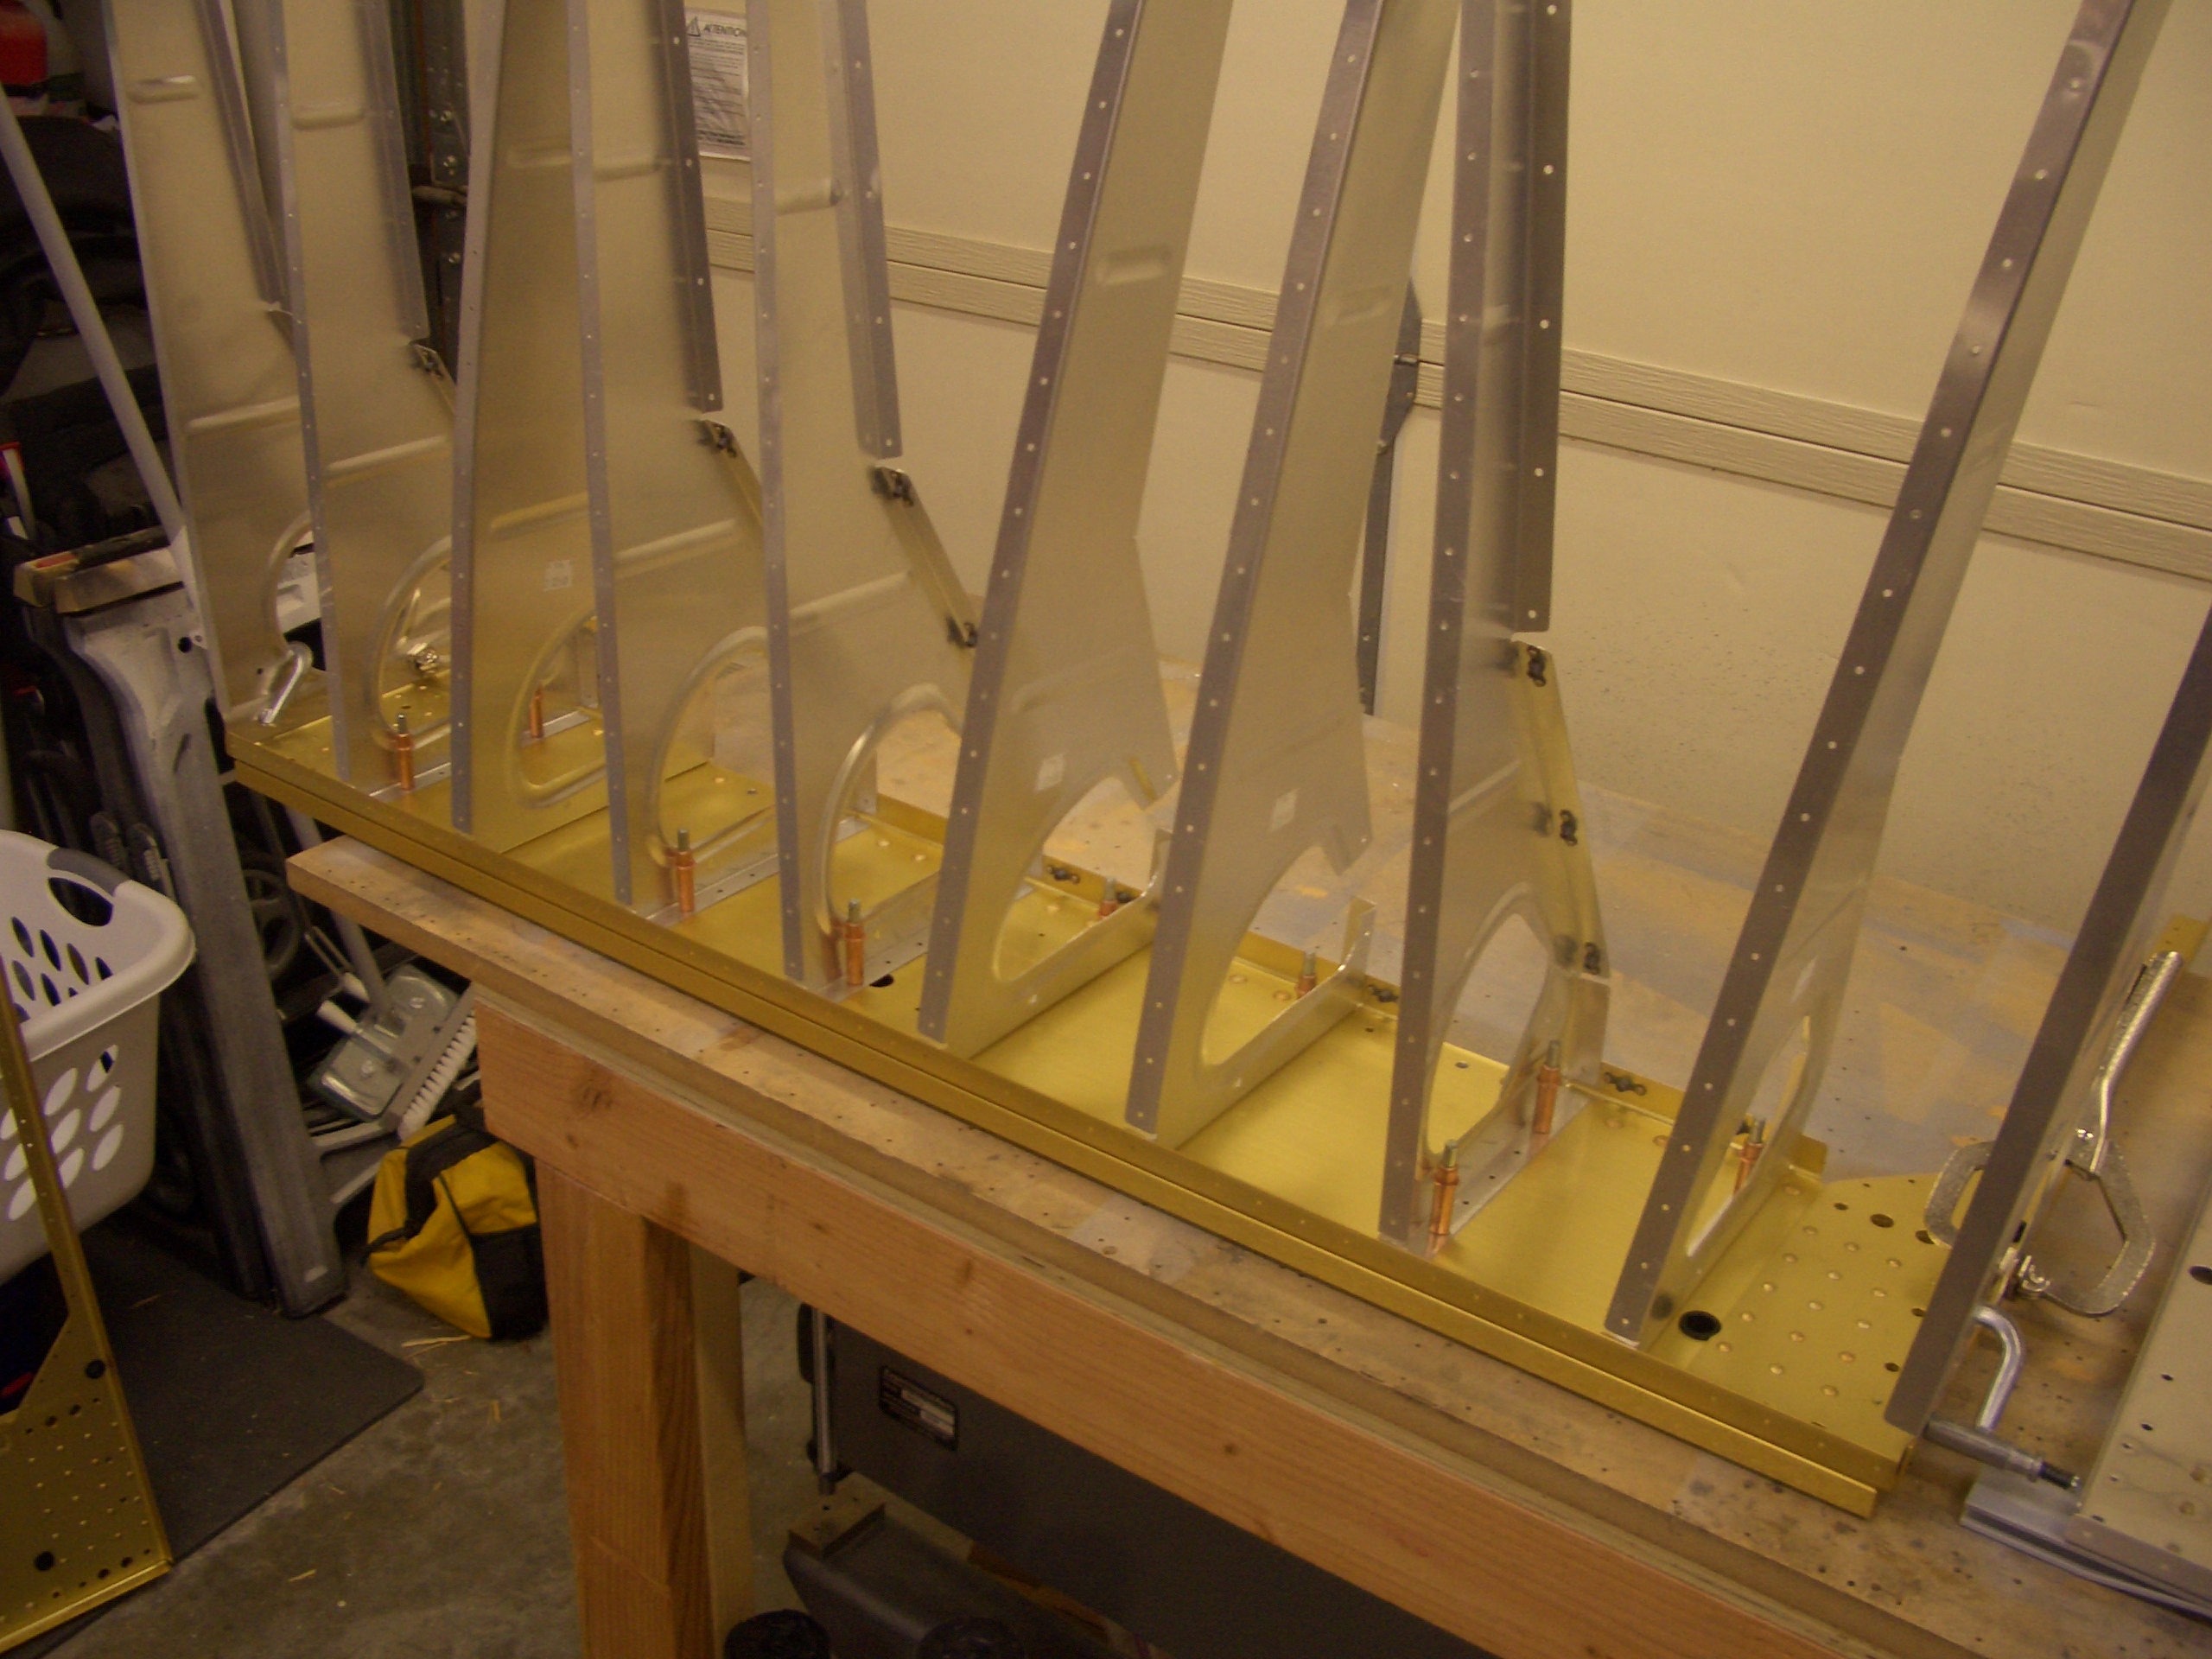
The baggage ribs are clecoed to the aft side of F-705.
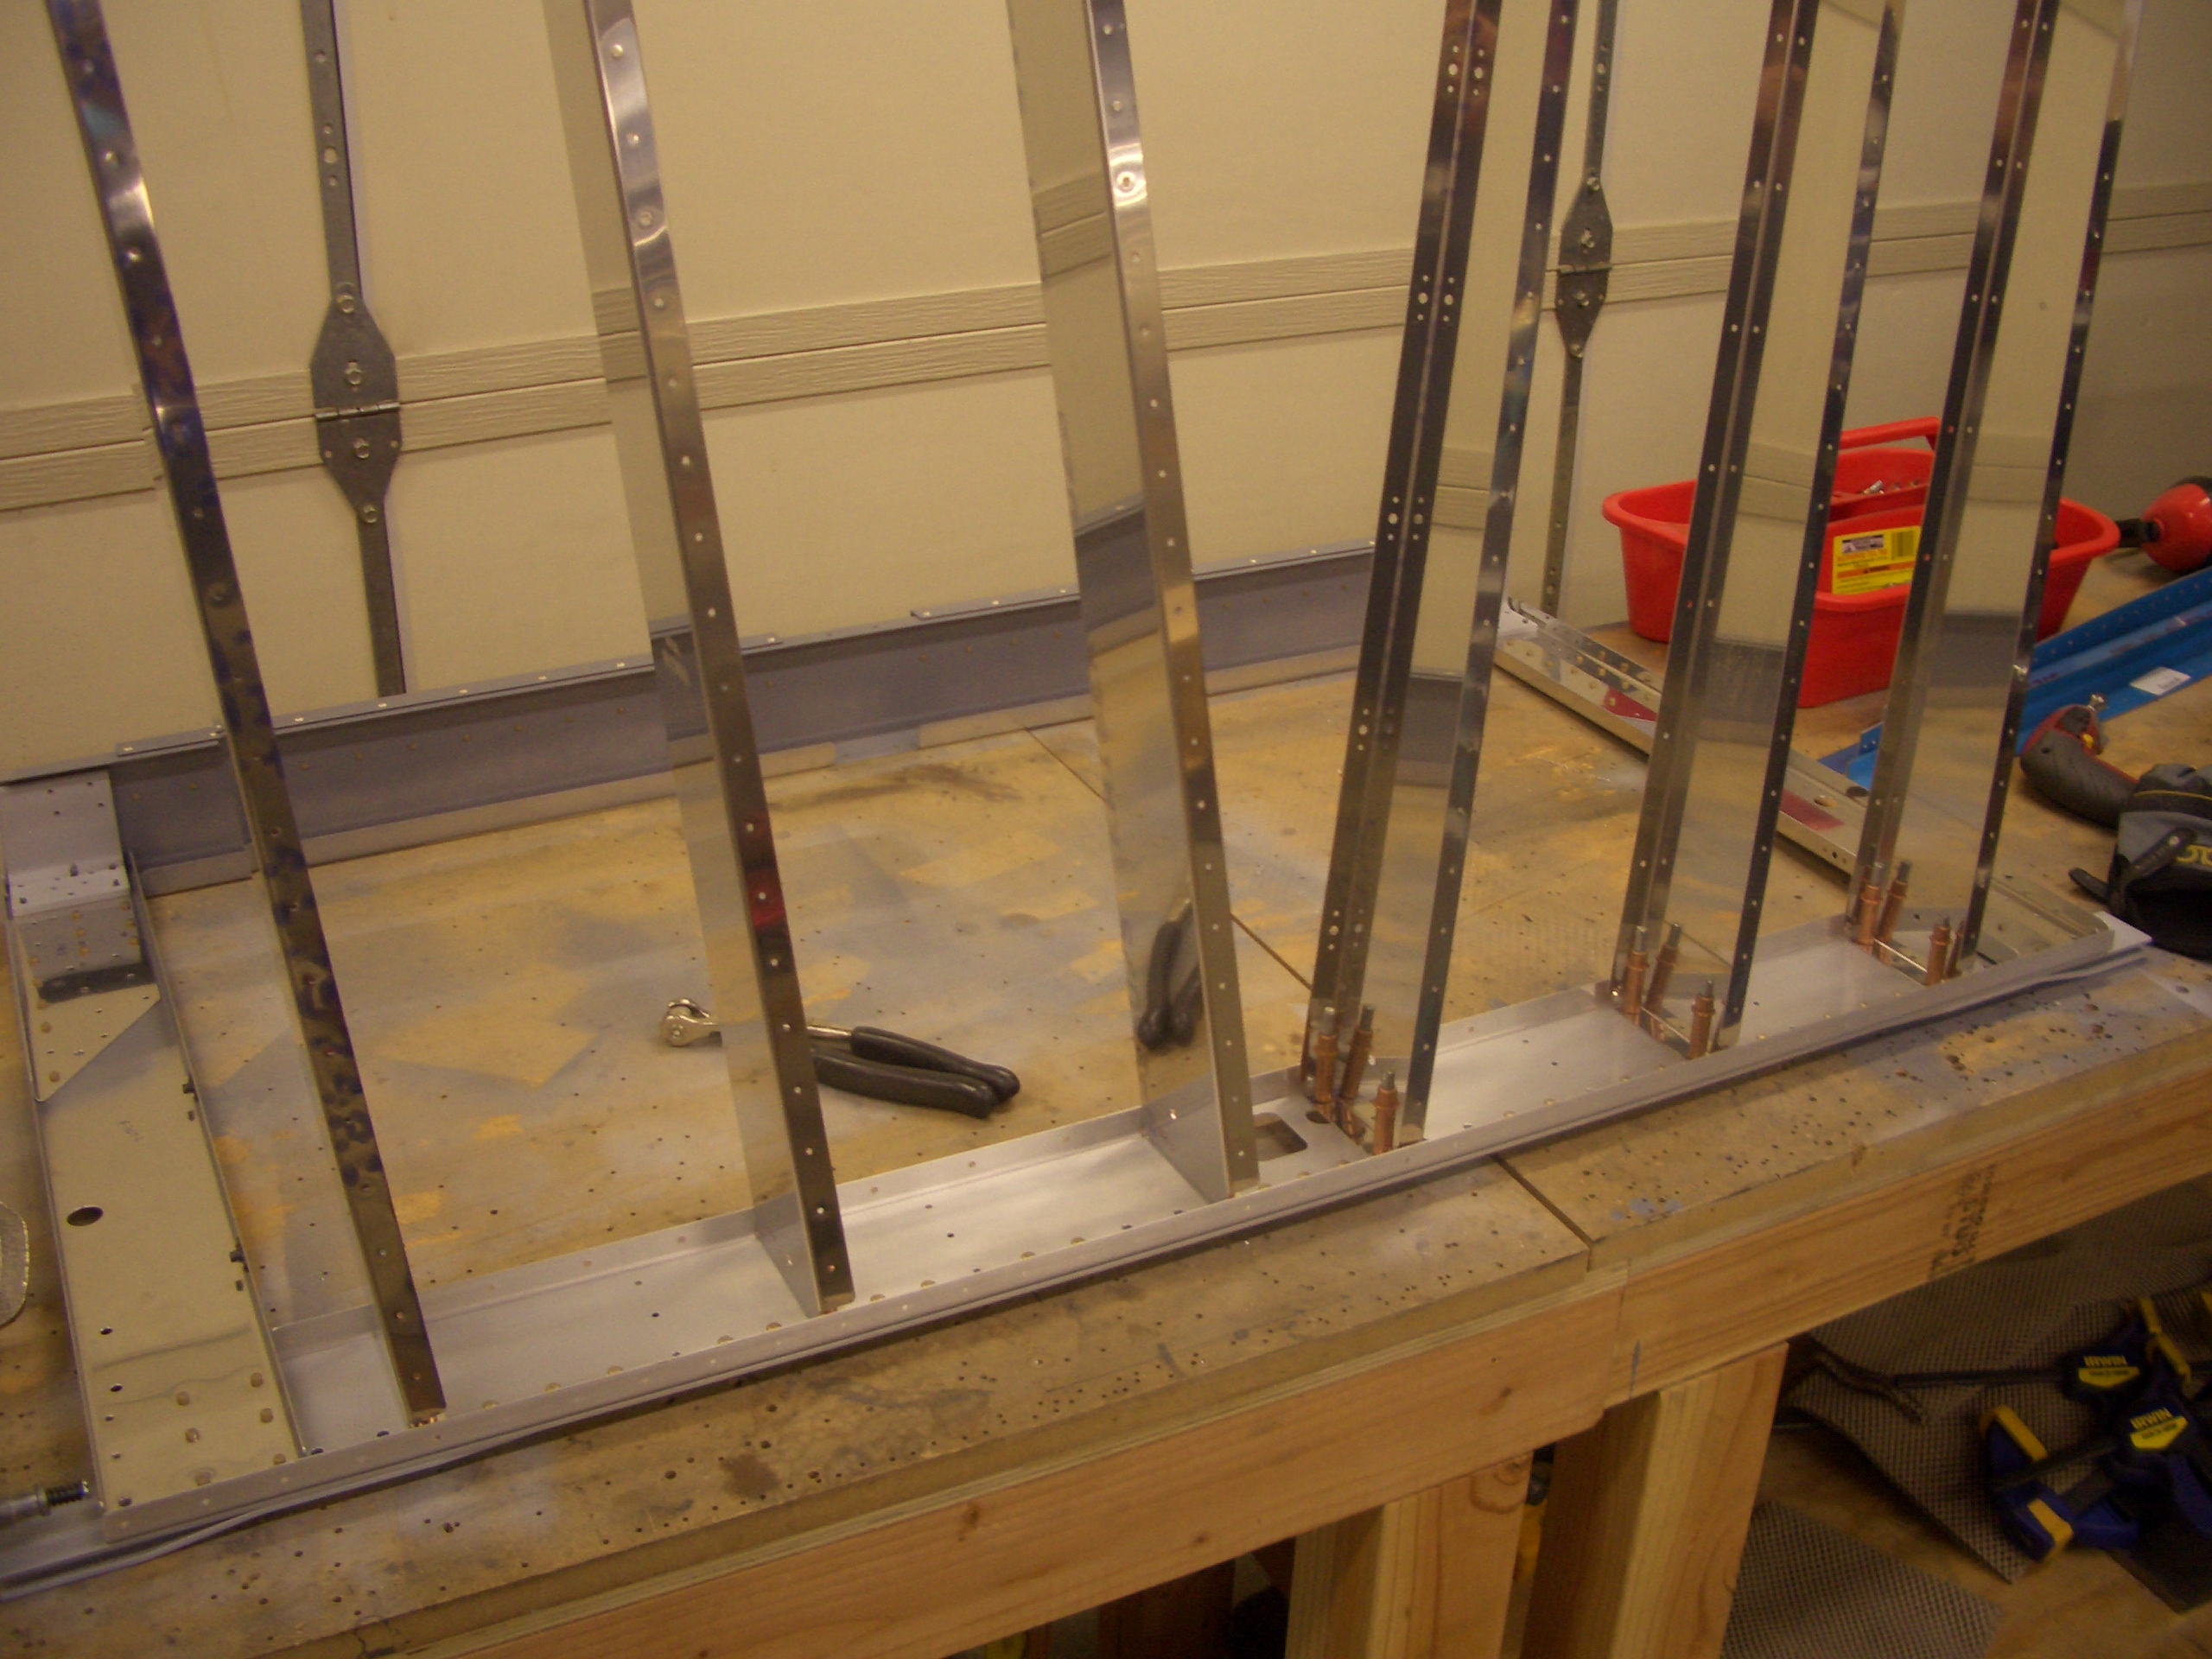
Finally, the two sections can be joined. It was at this point I noticed that I forgot to flute the ribs (it’s nearly 1 am, so I’m obviously getting a bit tired). This seems like a good stopping point for the night. I’ll flute these ribs and proceed from here tomorrow.