I installed the aileron braces tonight. All of these rivets could be squeezed, so I could do this after the kids went to bed without making too much noise.
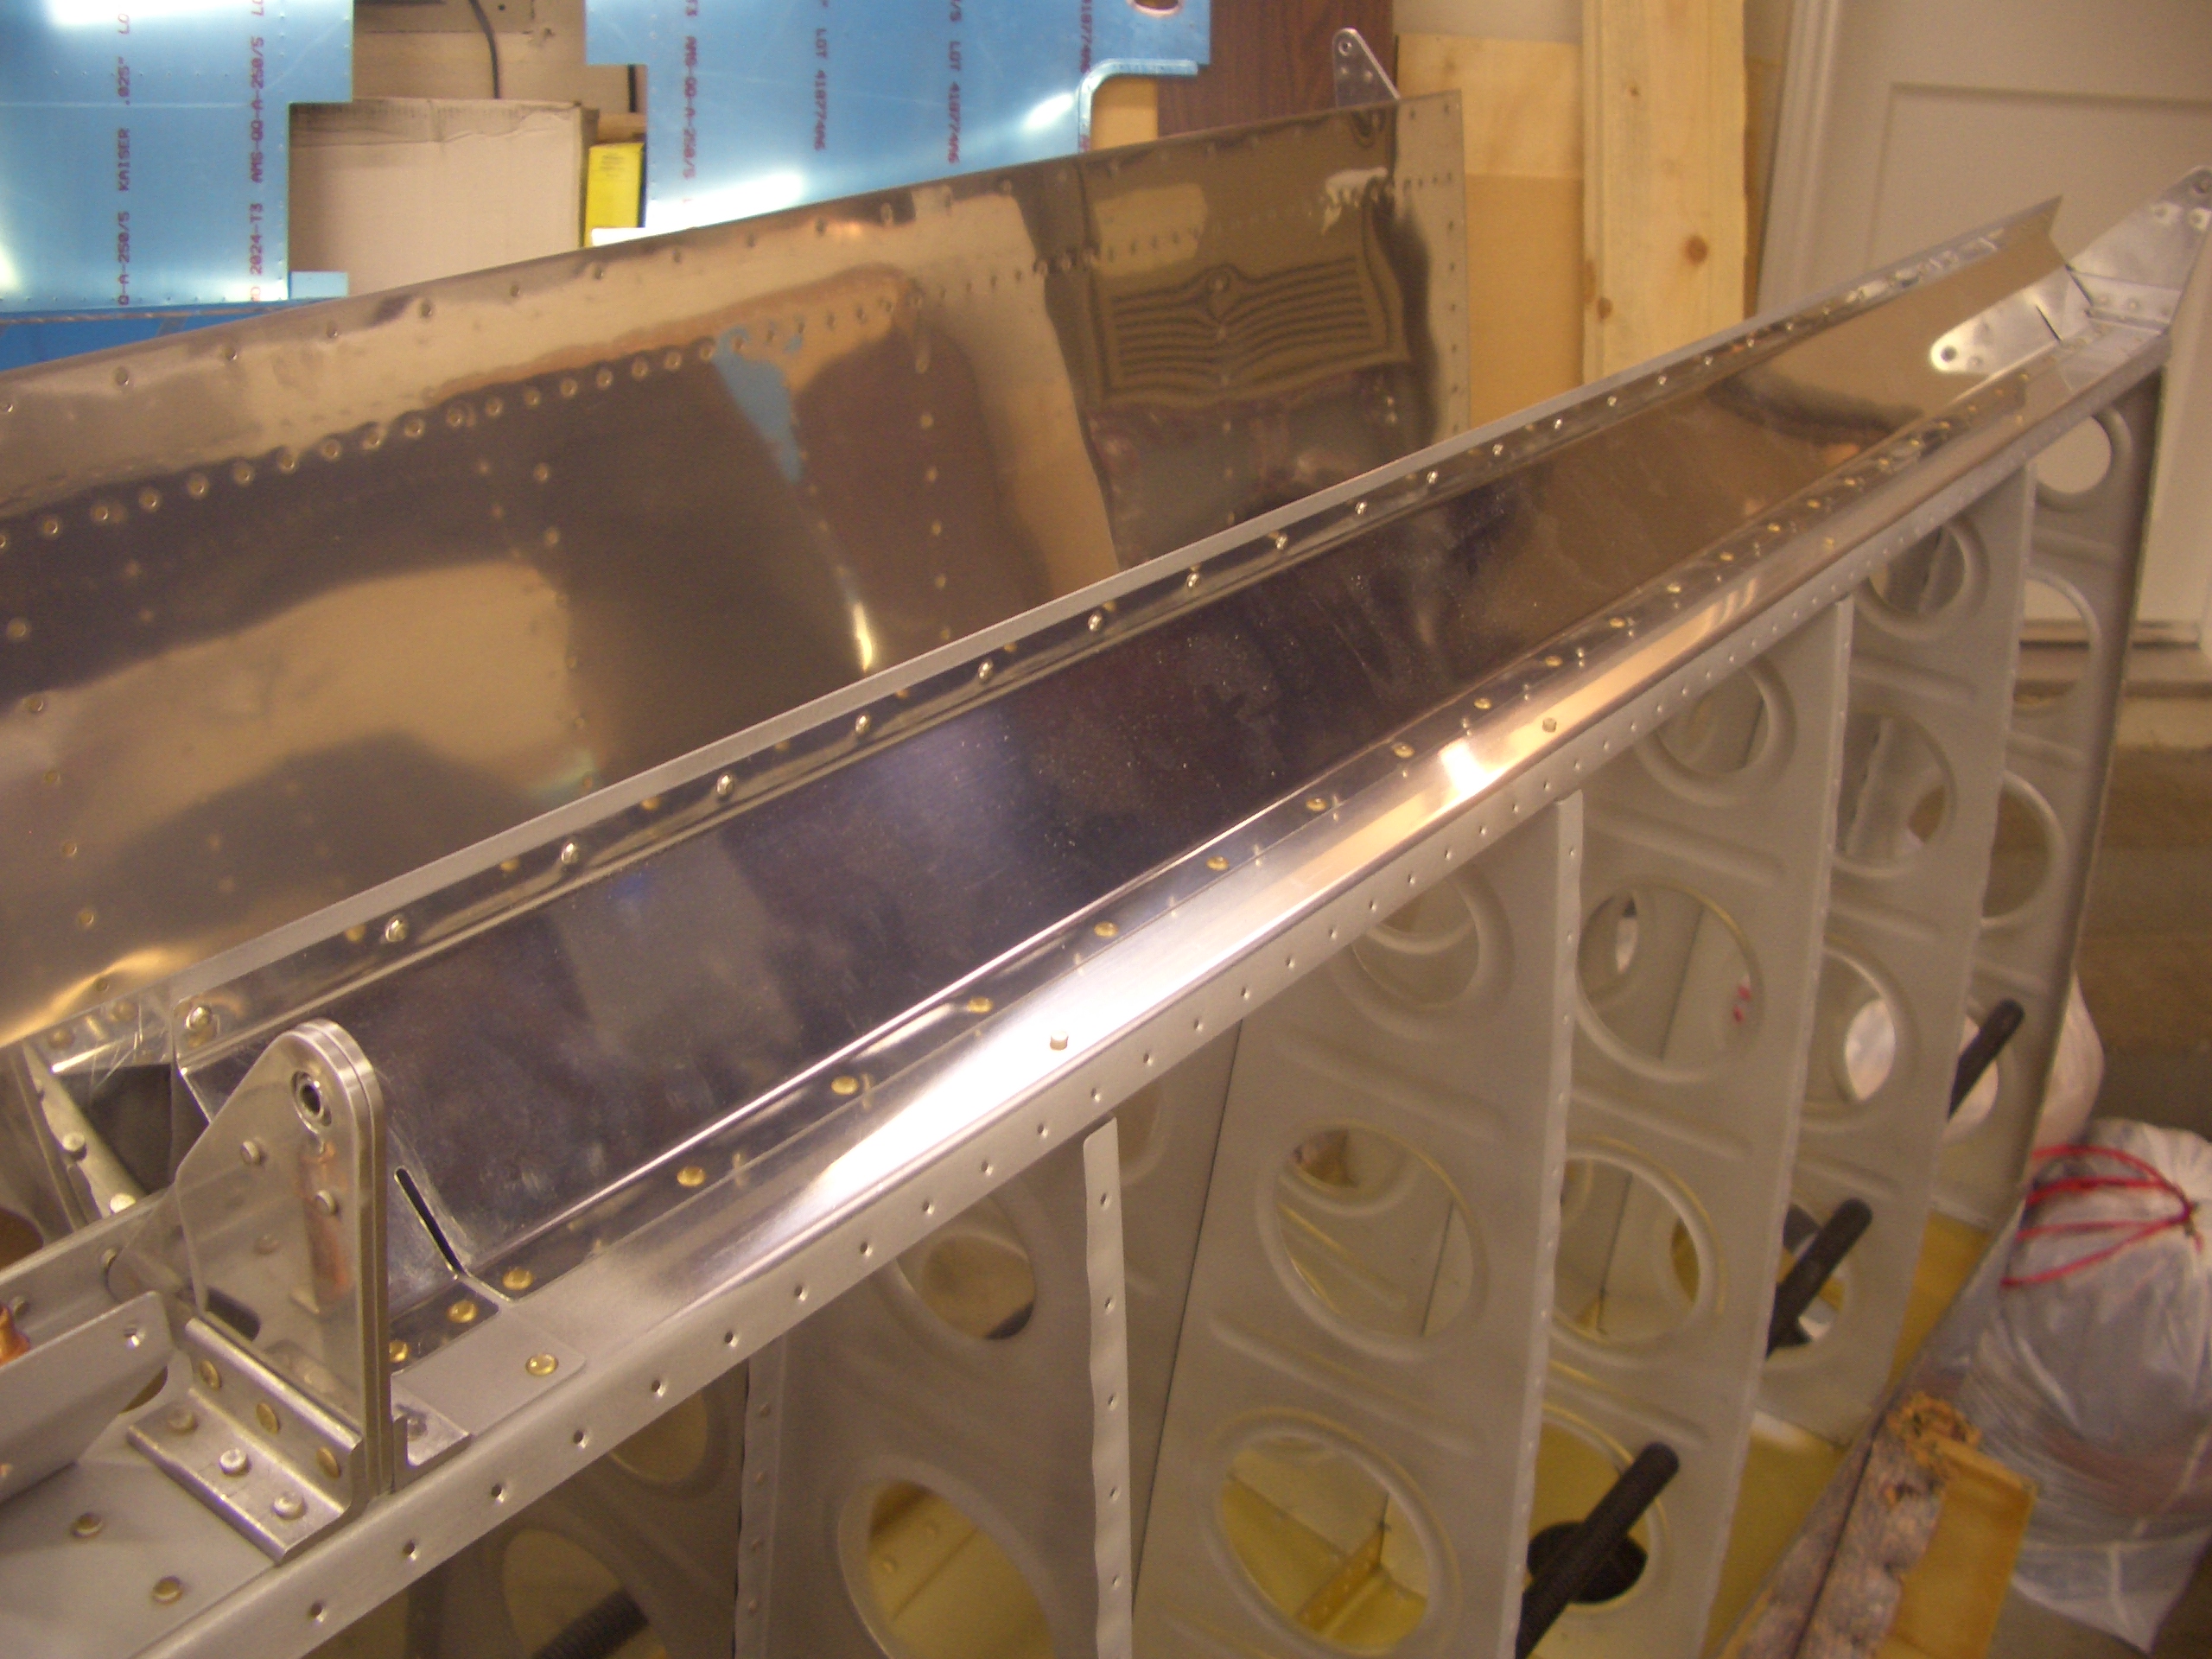
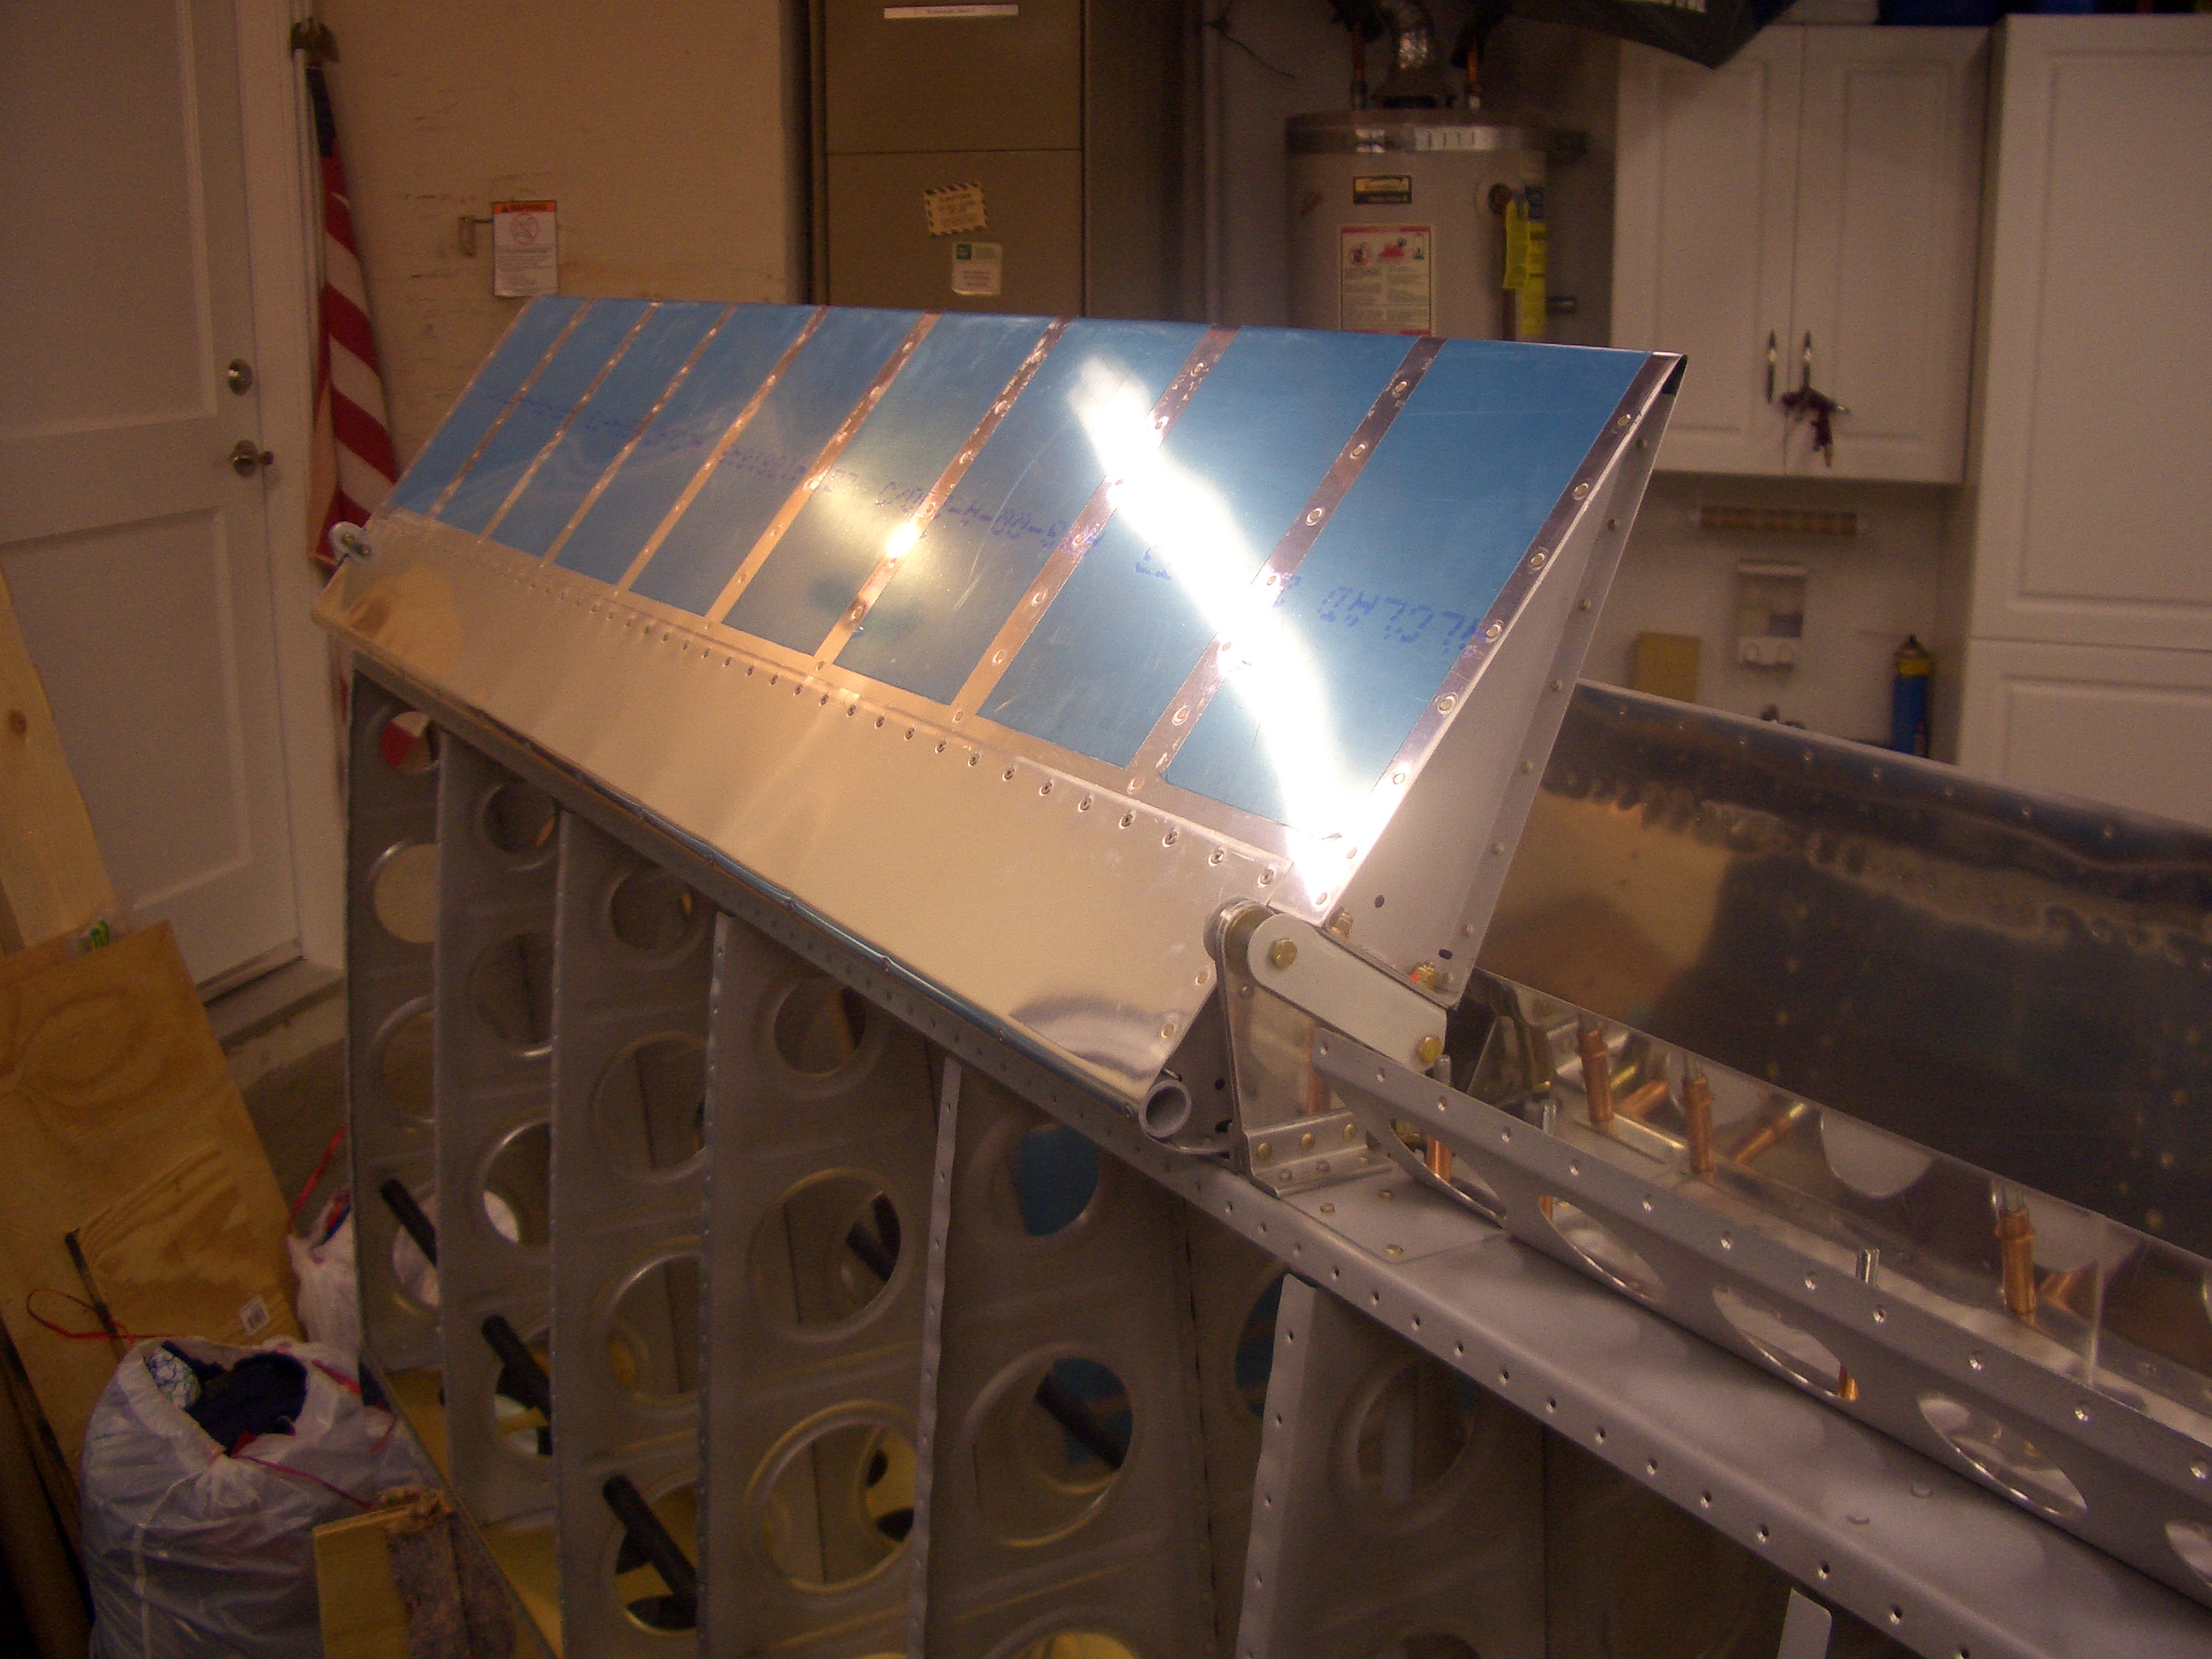
Here is a closeup of the outboard part of the flap brace. The relief cut on the left allows the brace to step up onto the rear spar doubler, and the complicated shape on the right allows it to follow the outboard aileron hinge bracket closely. The brace is riveted onto the rear spar with universal rivets, but is riveted to the top skin with AN426AD3-3 rivets which are the shortest rivets I’ve had to use on the project so far (and I assume the shortest I will have to use). I assume these rivets are so short so that there is clearance here for the aileron.
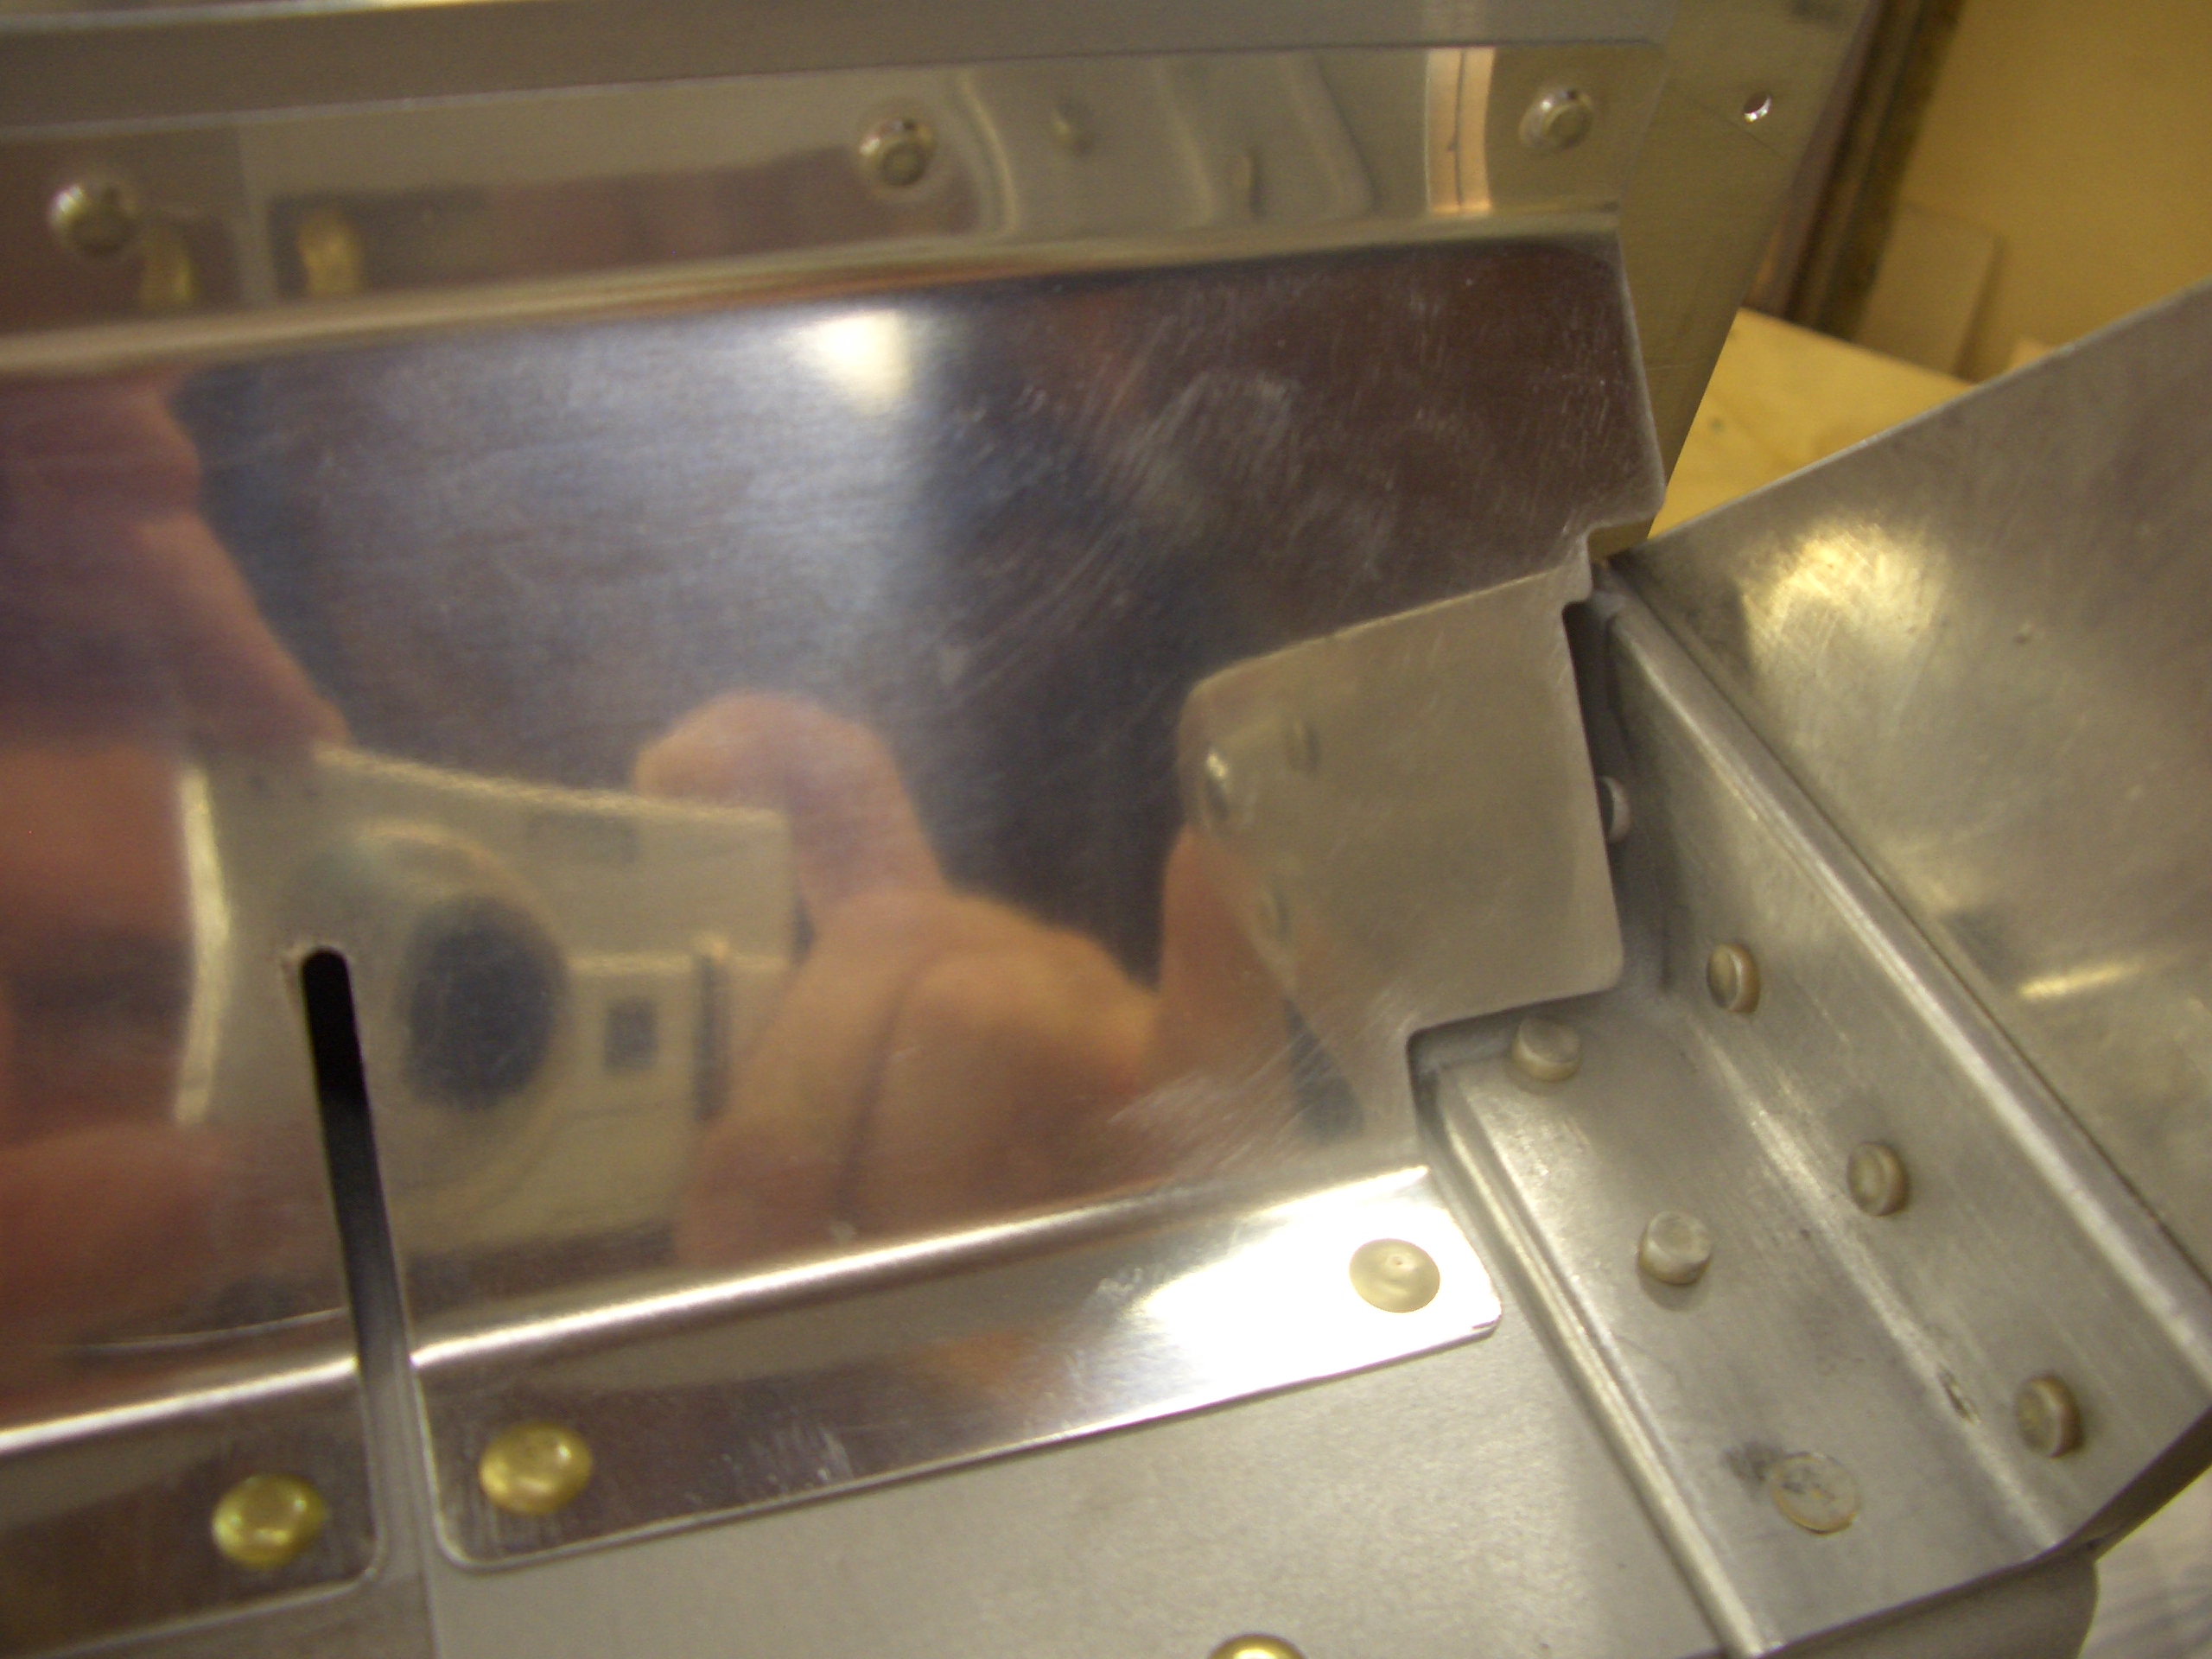
I also clecoed on the flap brace, but couldn’t rivet it on because these will have to be shot and bucked since the brace blocks access with the squeezer.
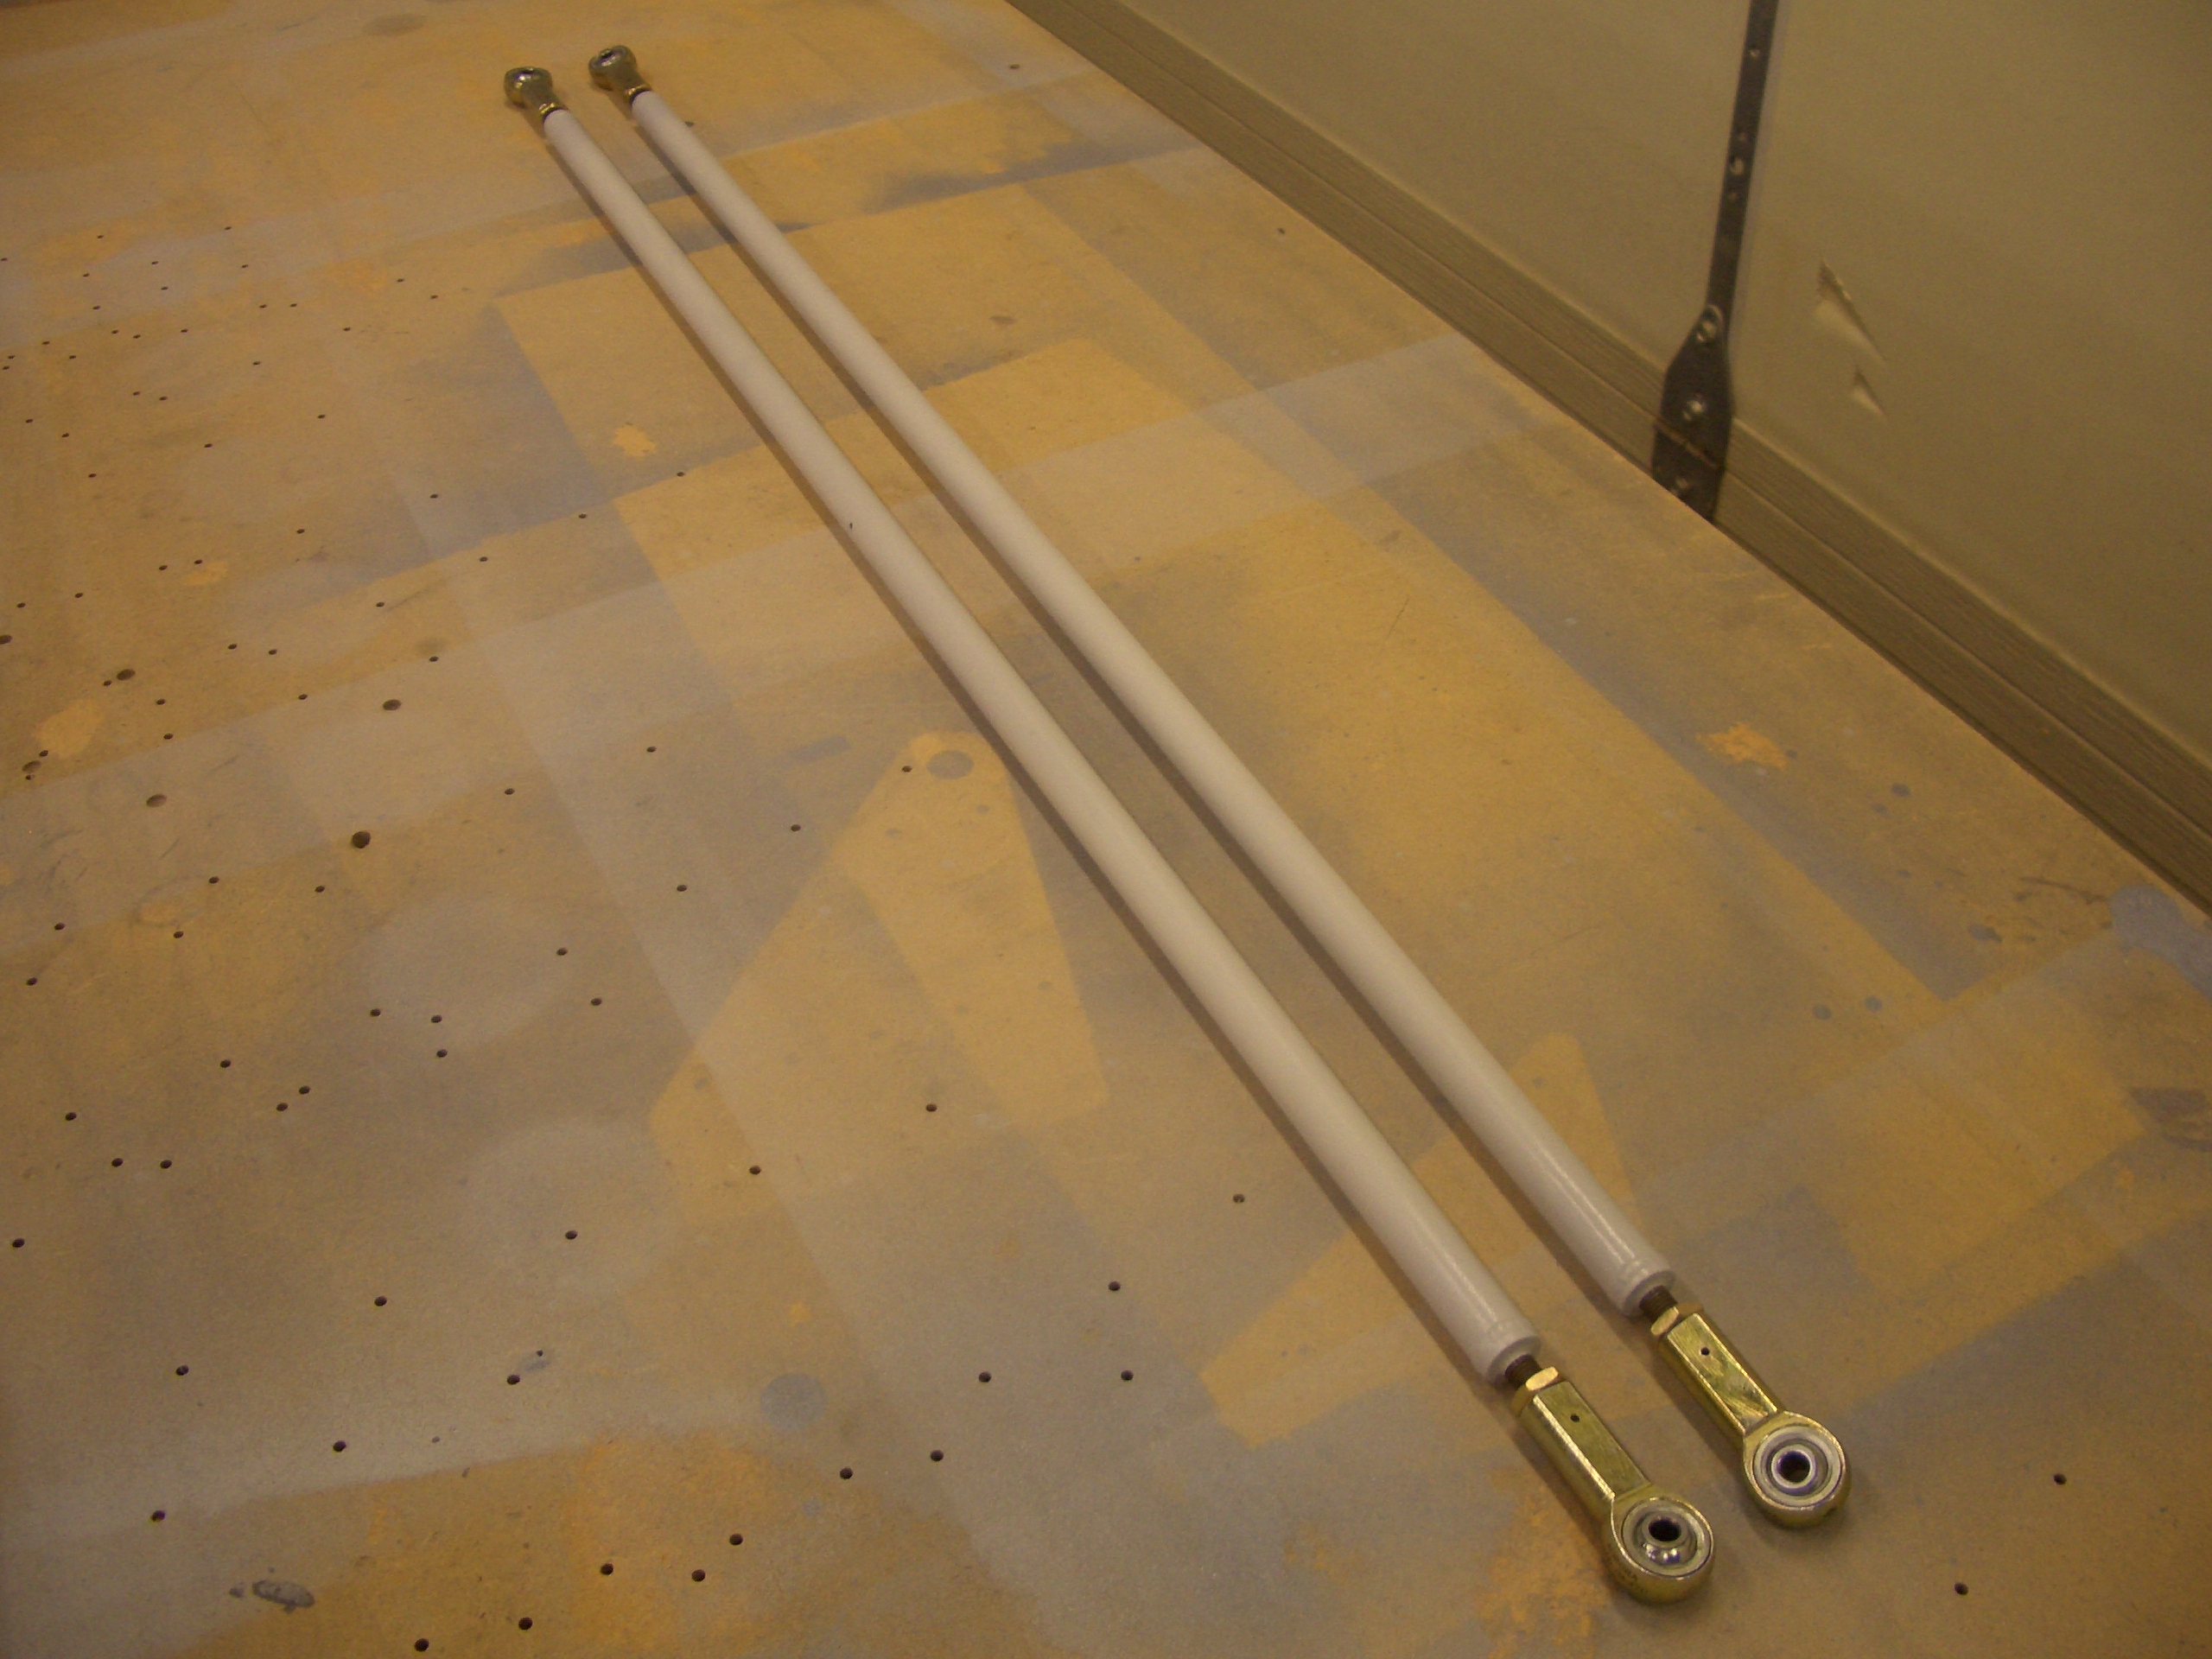
I assembled the rear pushrods. The jam nuts are not torqued down yet since I will have to adjust these to final length once they’re installed.
I went ahead and loosely installed the left aileron on the wing. None of the bolts are tightened down since this may have to come back off at some point.
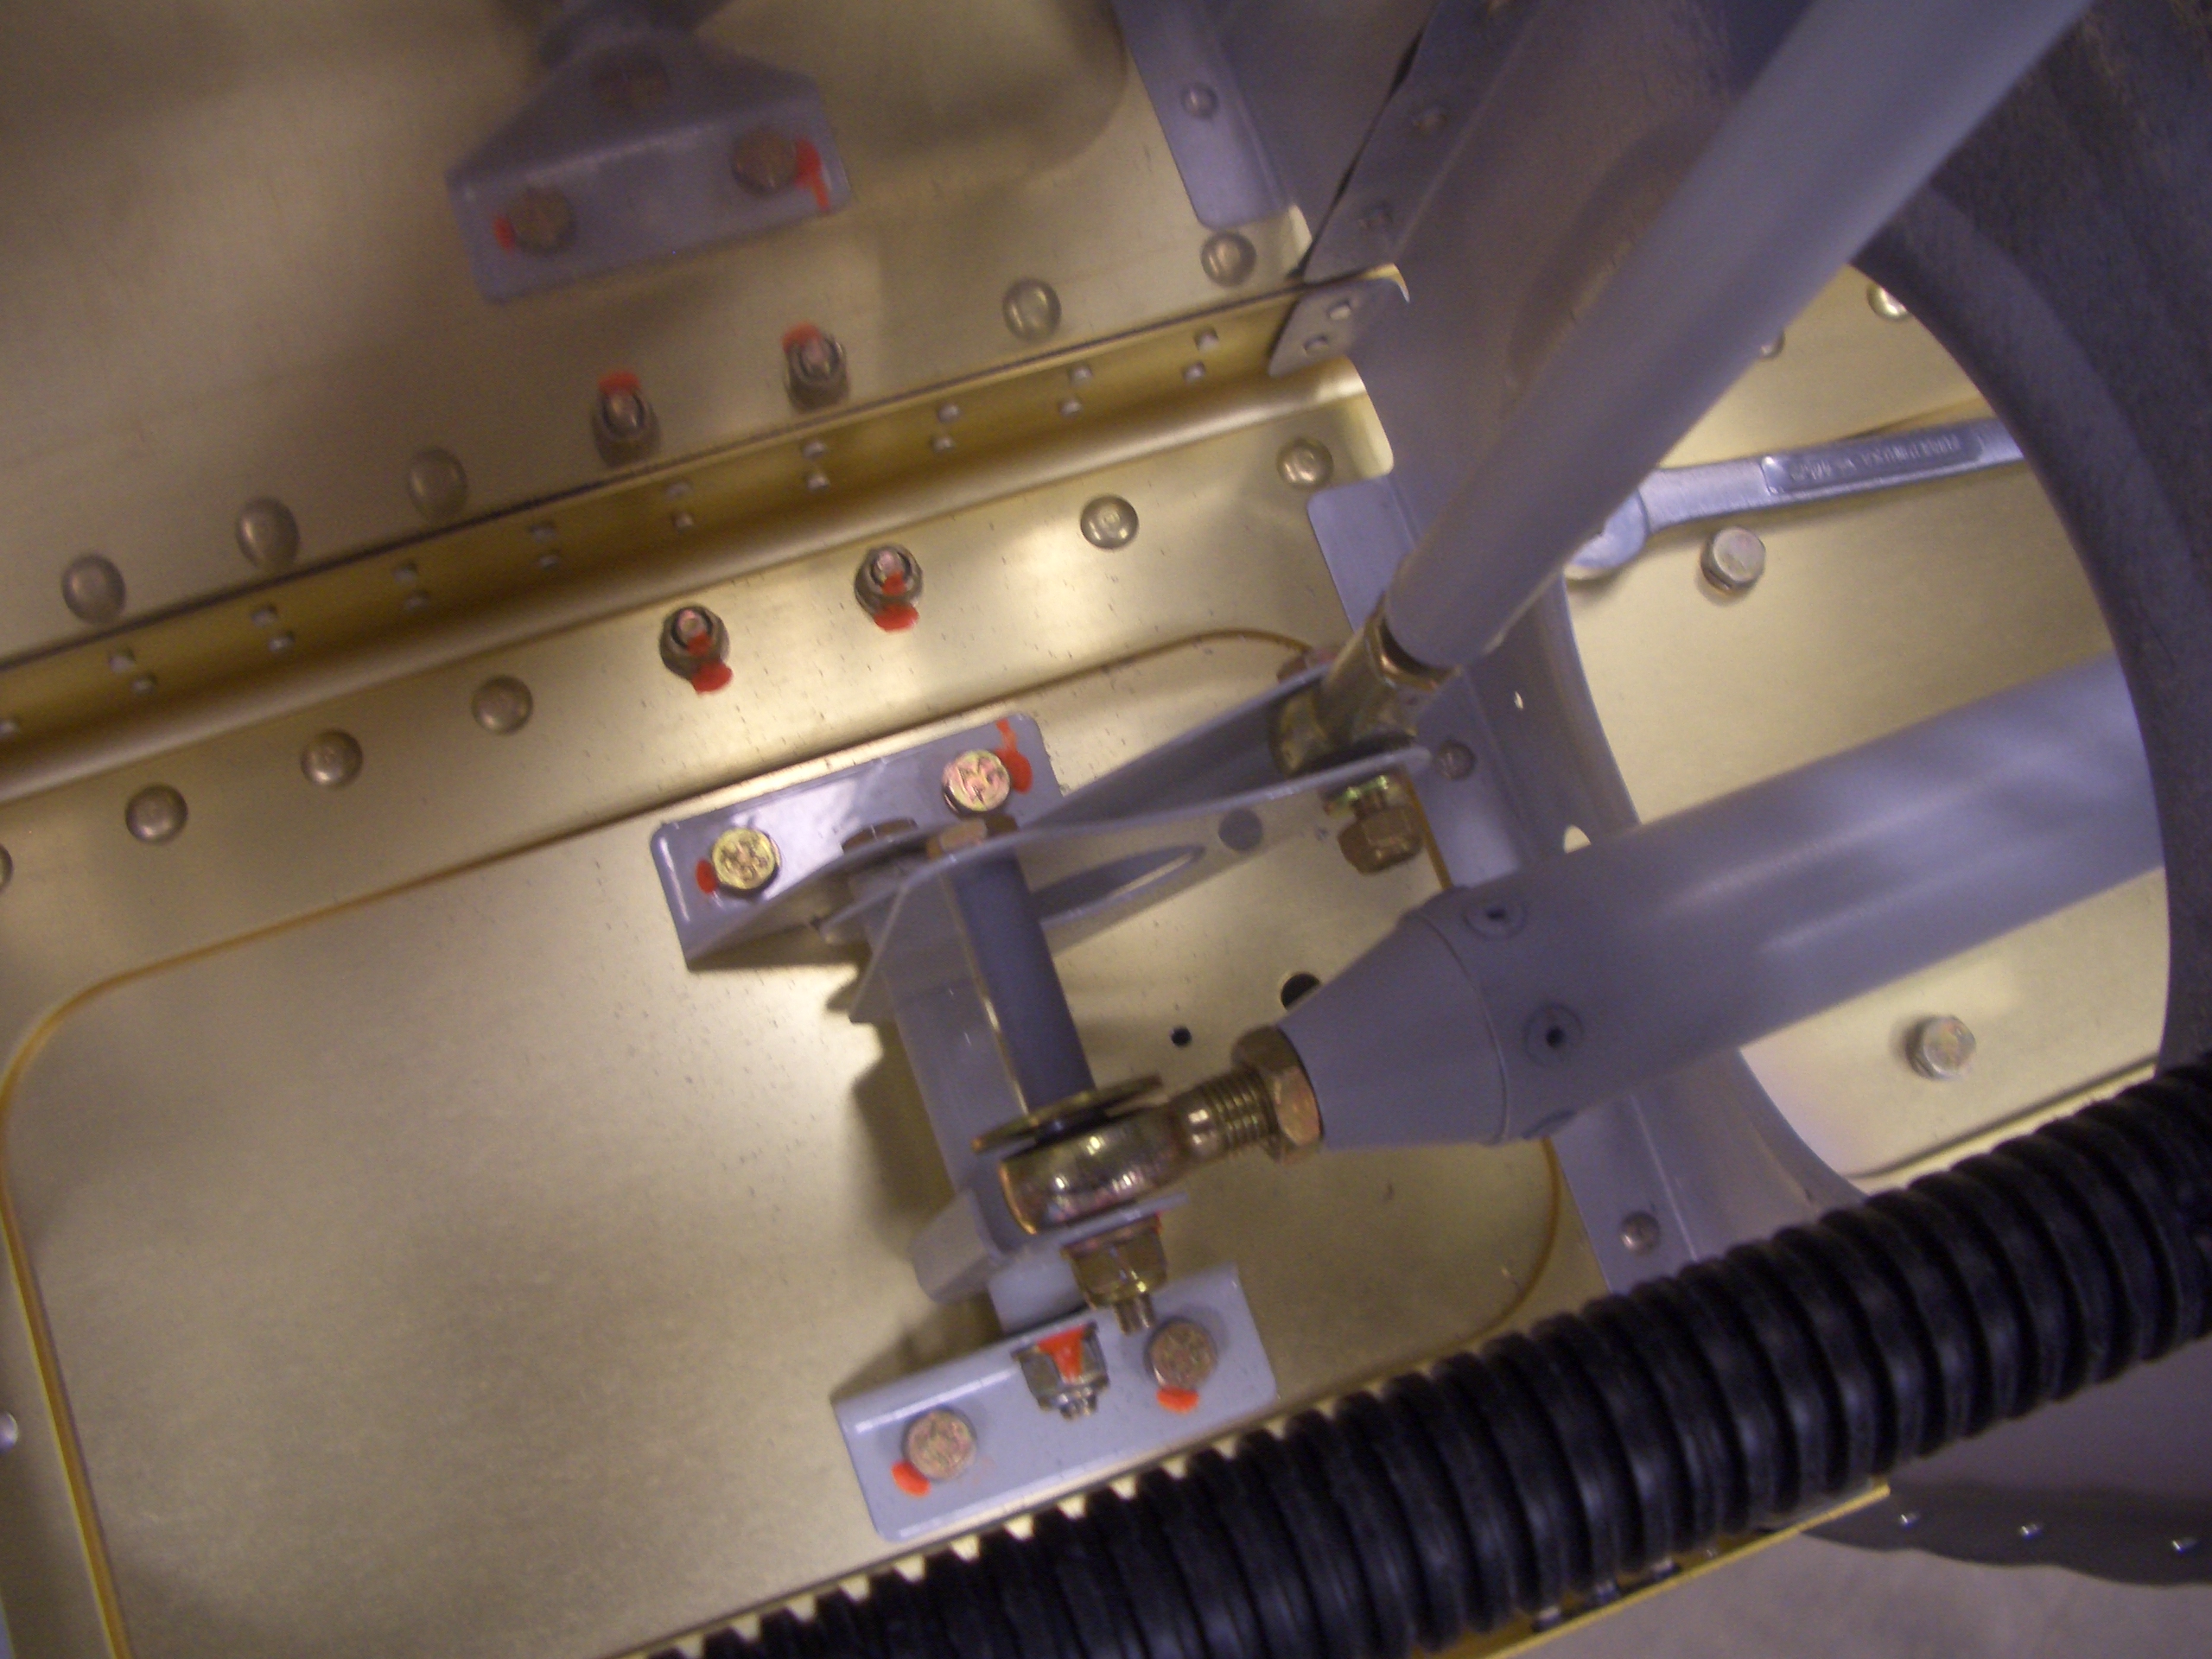
Here is a closeup of how the pushrod comes through the rear spar. It’s clear now why the hole is oddly shaped as the pushrod traces a curved arc as the aileron is swung through full travel. I verified with the digital level that the aileron can exceed the maximum allowable up/down travel. I still need to fabricate the aileron stop that will limit the travel to the recommended amount.
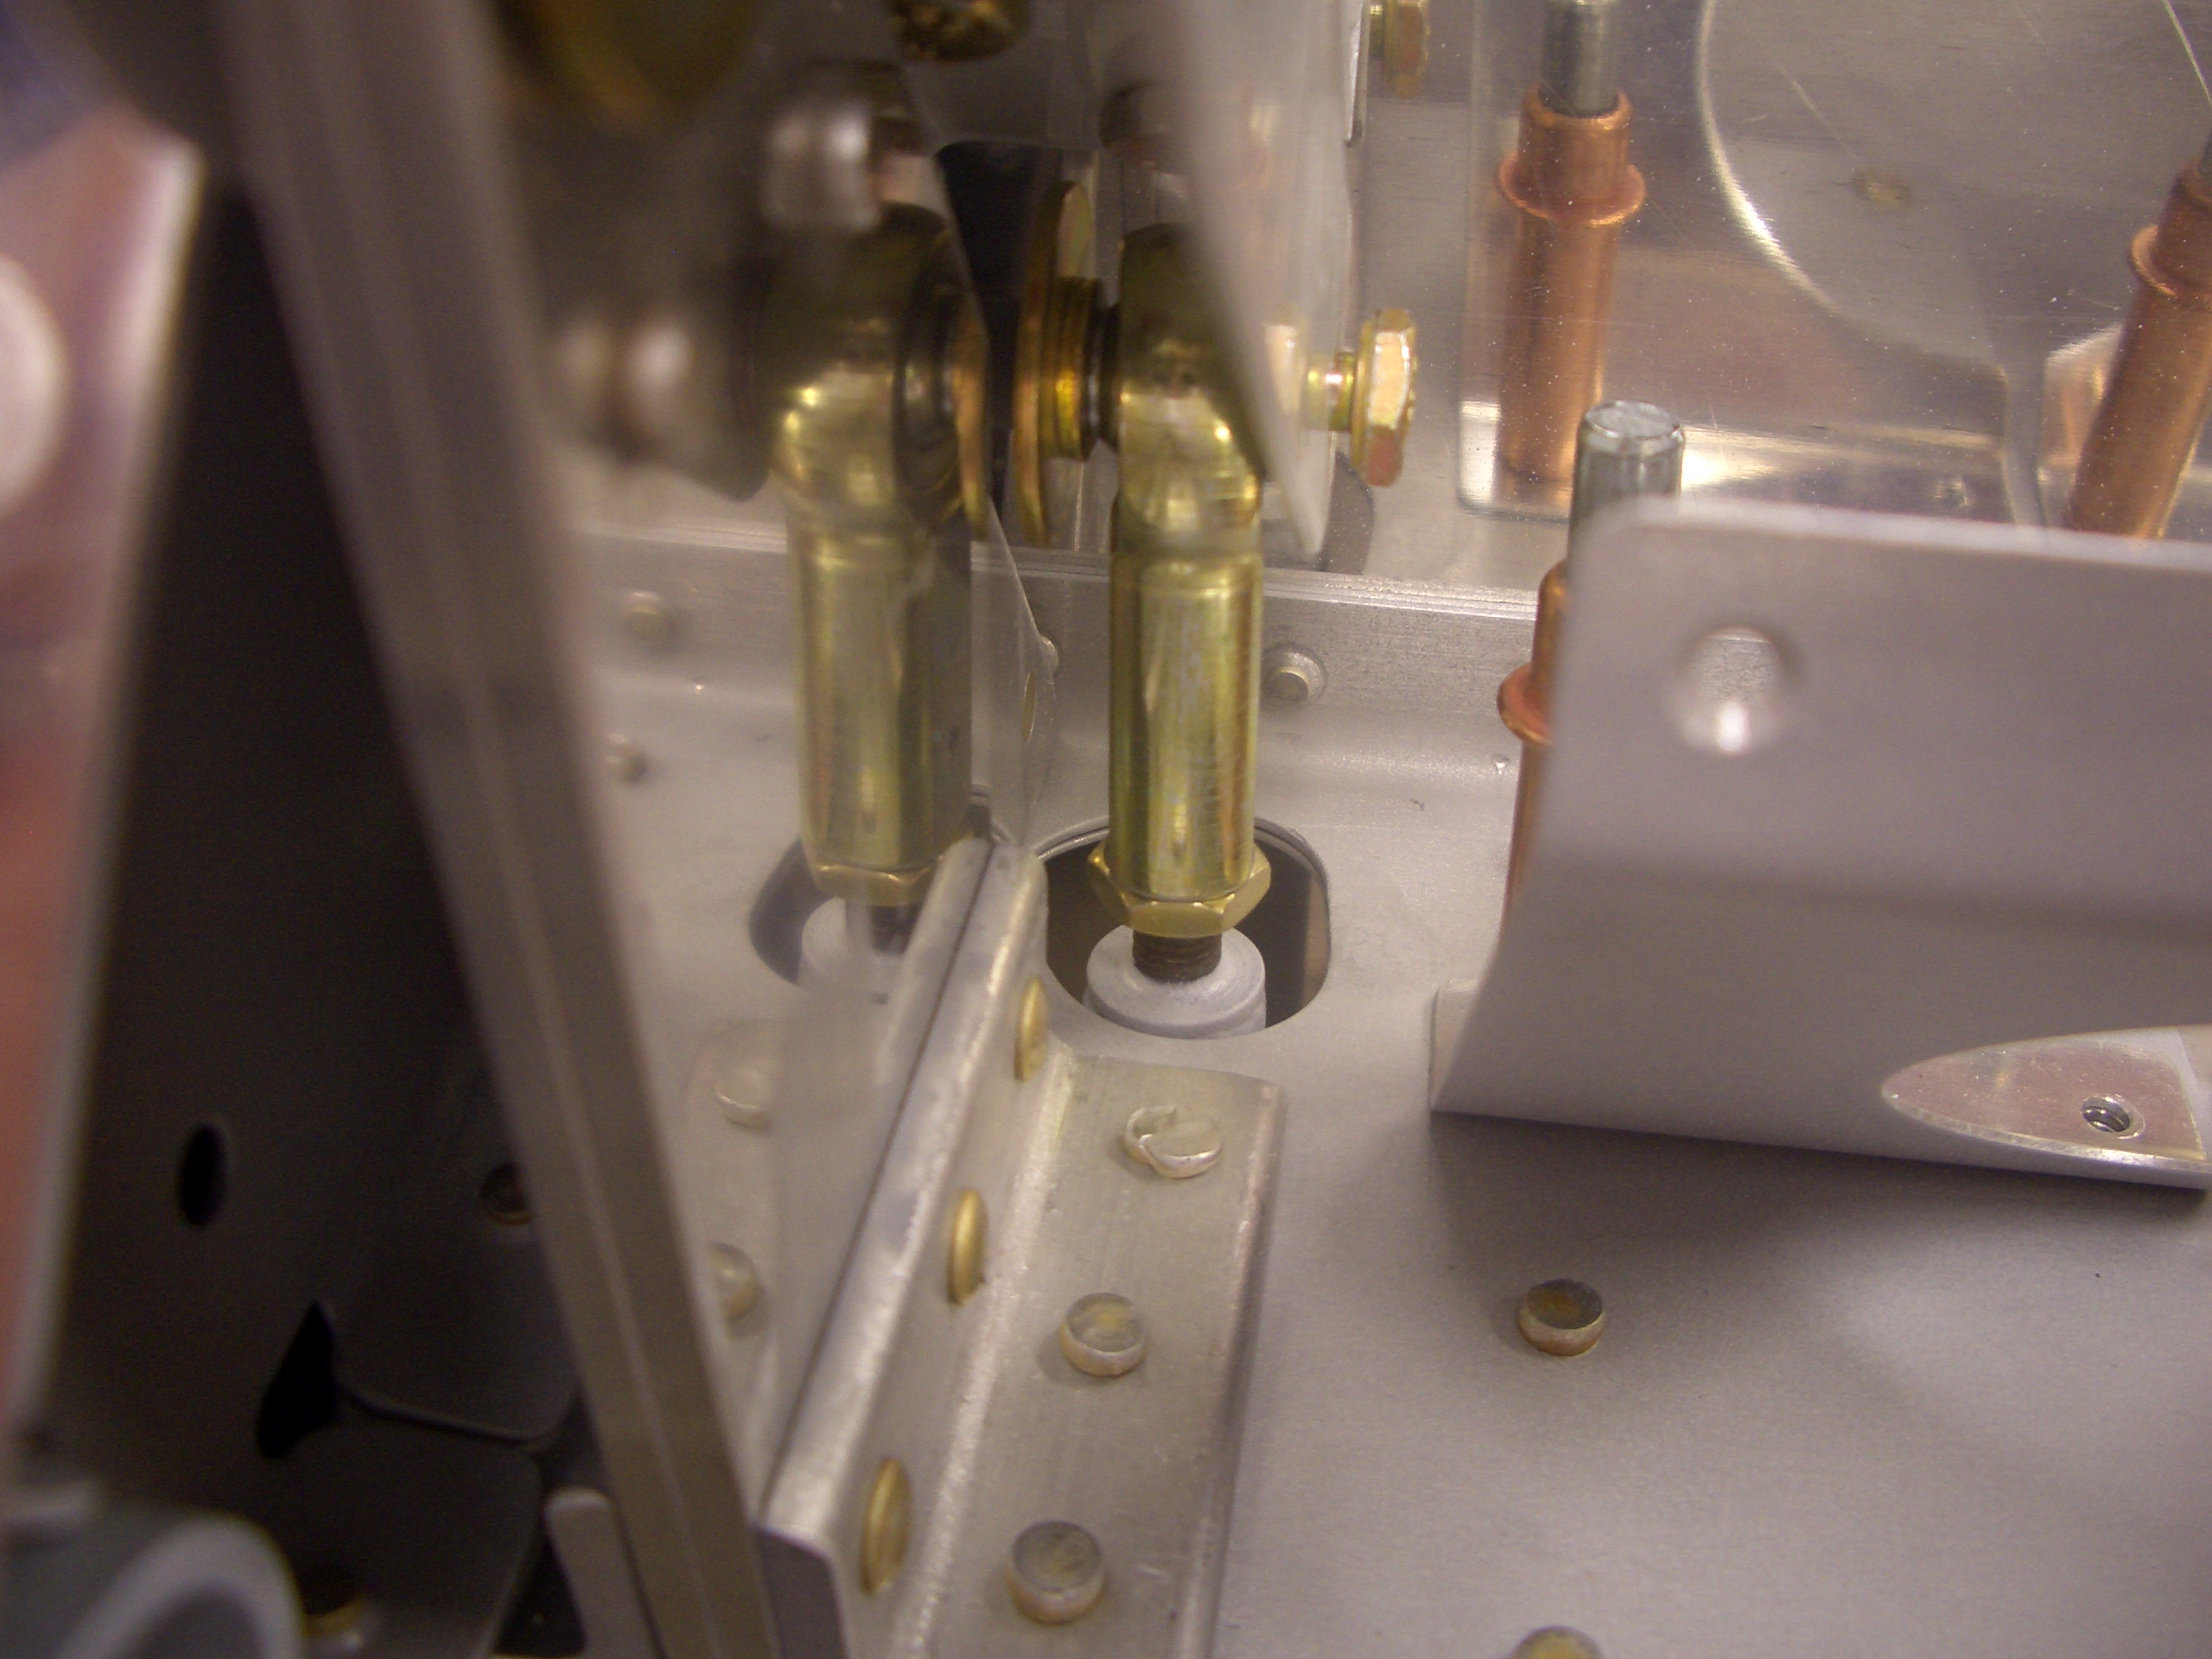
Here is how the pushrod attaches to the bellcrank. Again, nothing is torqued down until I know that it’s on for good.