I got started this morning by forming the scarf joint where the inboard and outboard top wing skins meet just behind the tank skin. This keeps the skins from sticking up where they are doubled up.

Andre stopped by and we got started by riveting the leading edges onto the spars. This required the double offset rivet set I modified the other day. Bucking these was tricky since it required reaching way into the leading edges through the lightening holes and bucking blind. We managed to get all solid rivets into these holes.
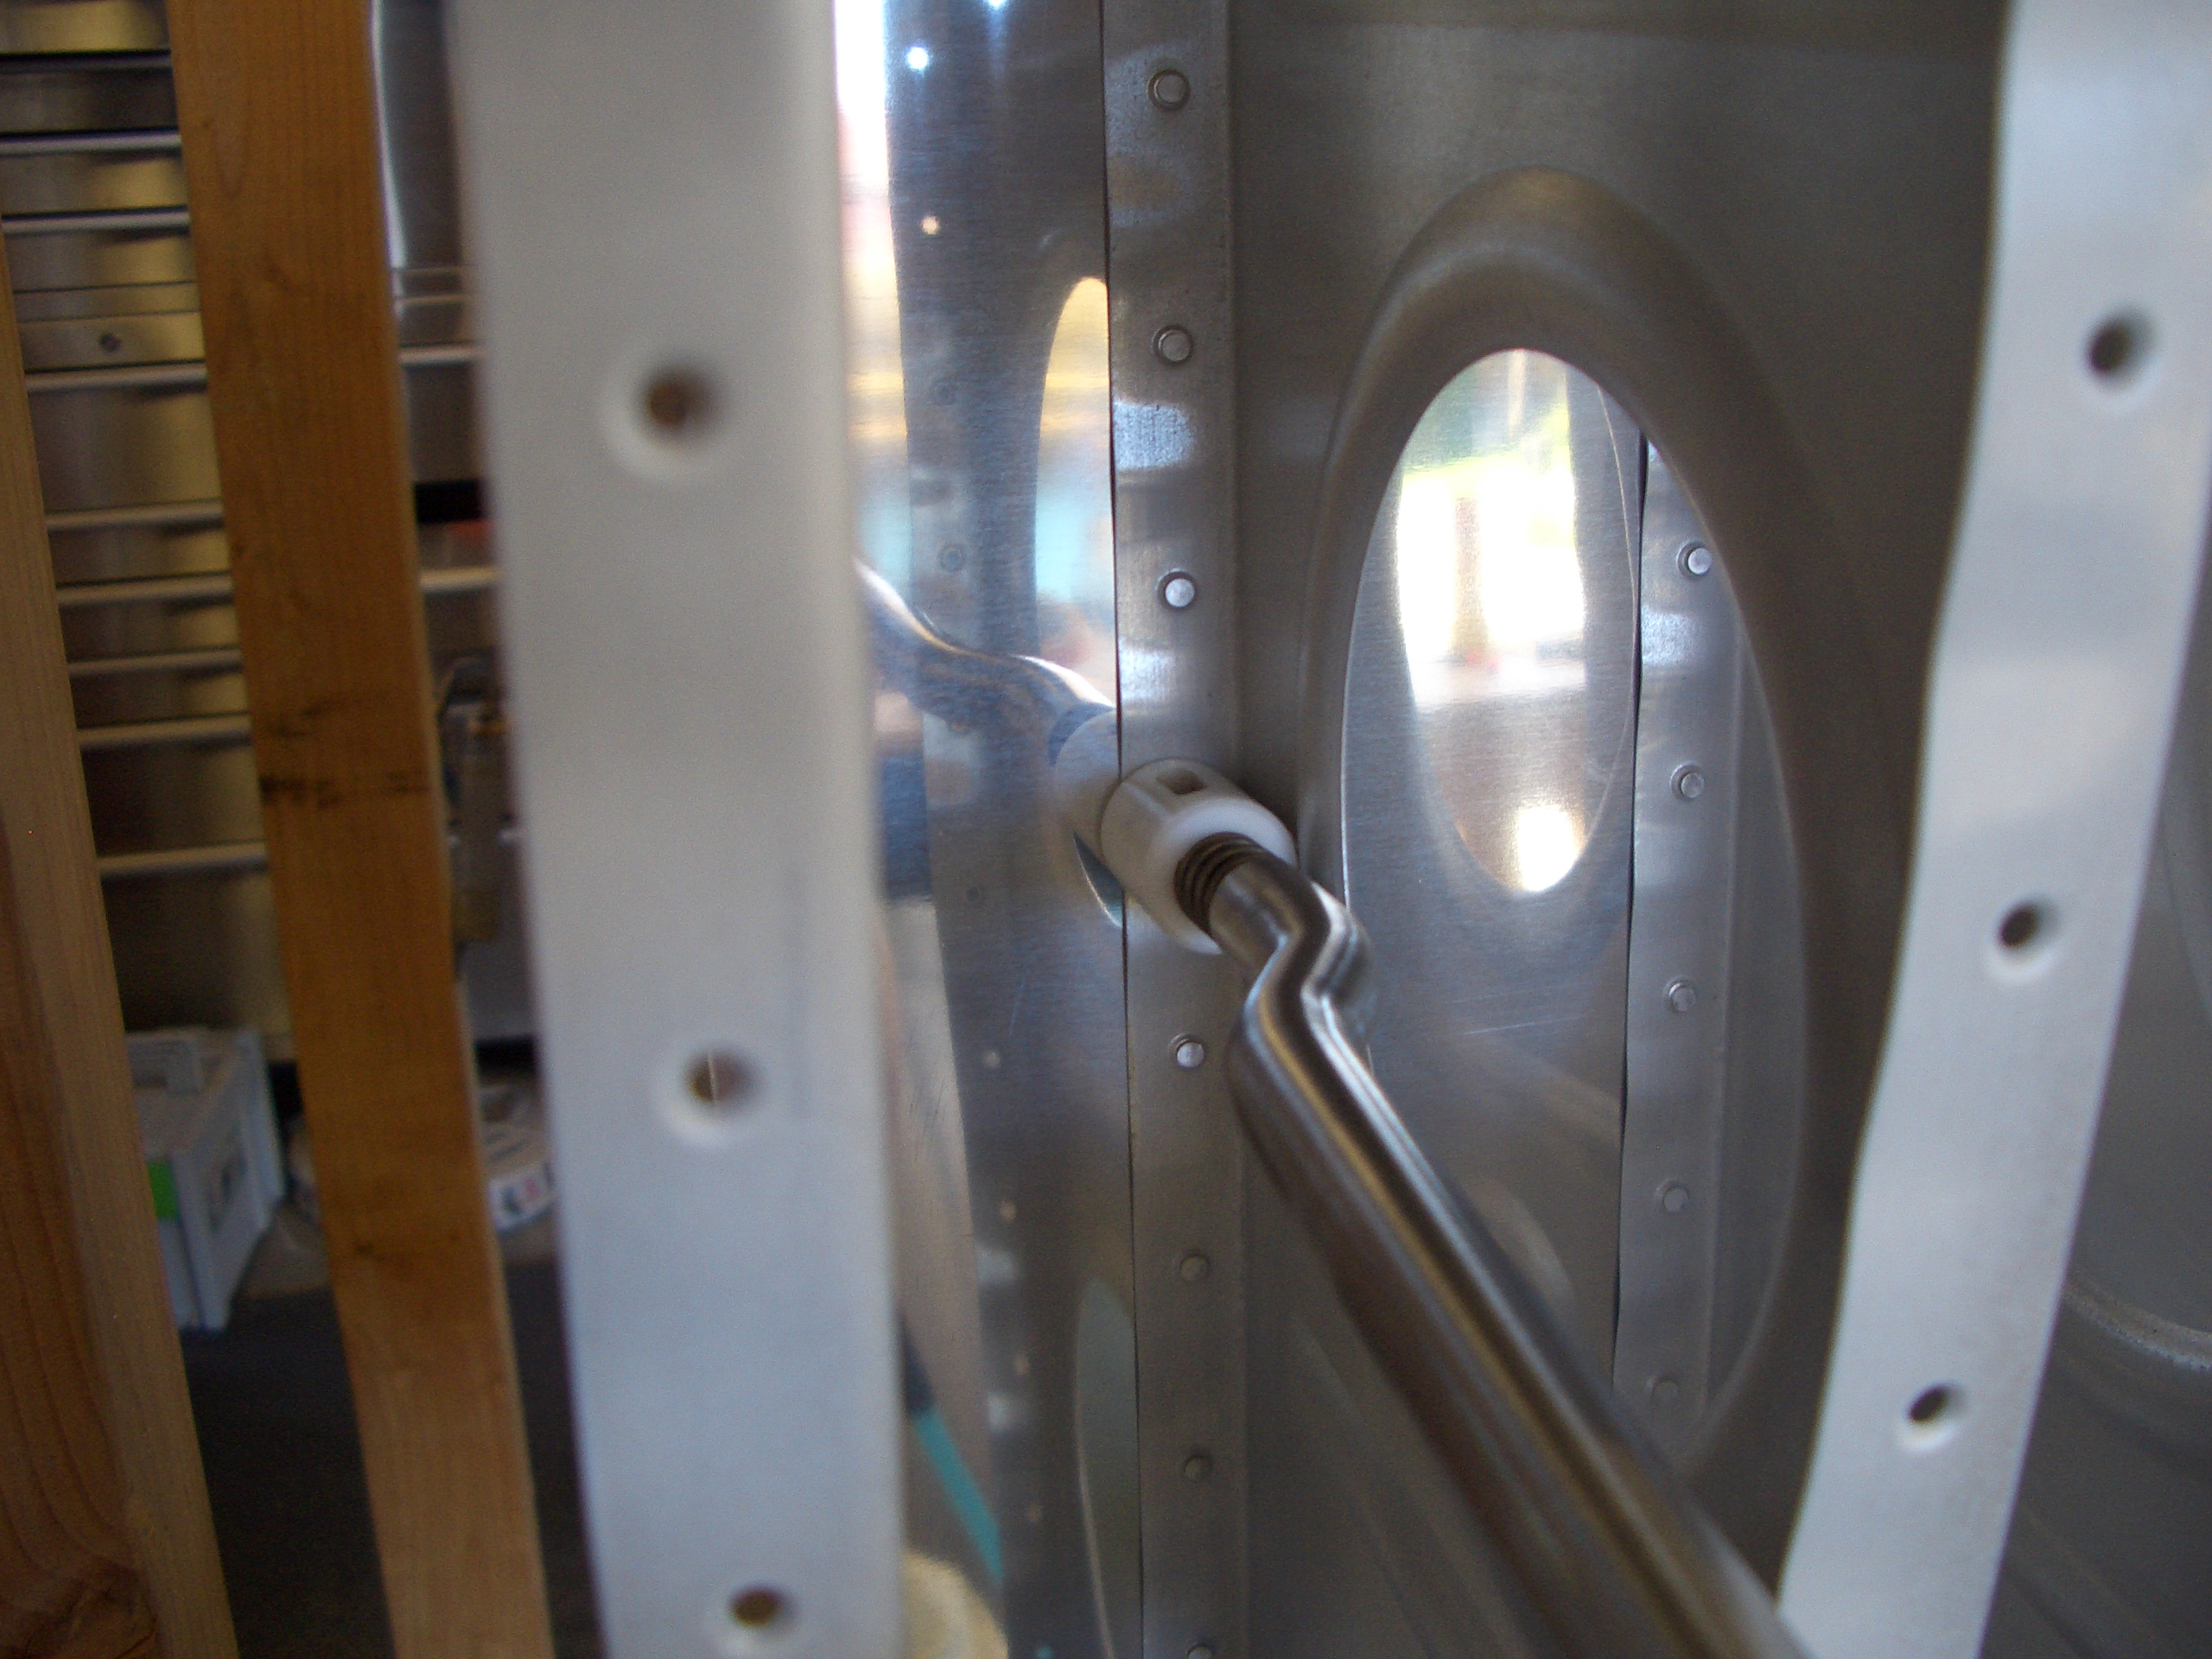
Here’s a shot inside the leading edge showing the shop heads for some of these rivets.
Afterward, we squeezed the rivets along the spar.

We then clecoed the wing skins on (remembering the wing-walk doublers of course).
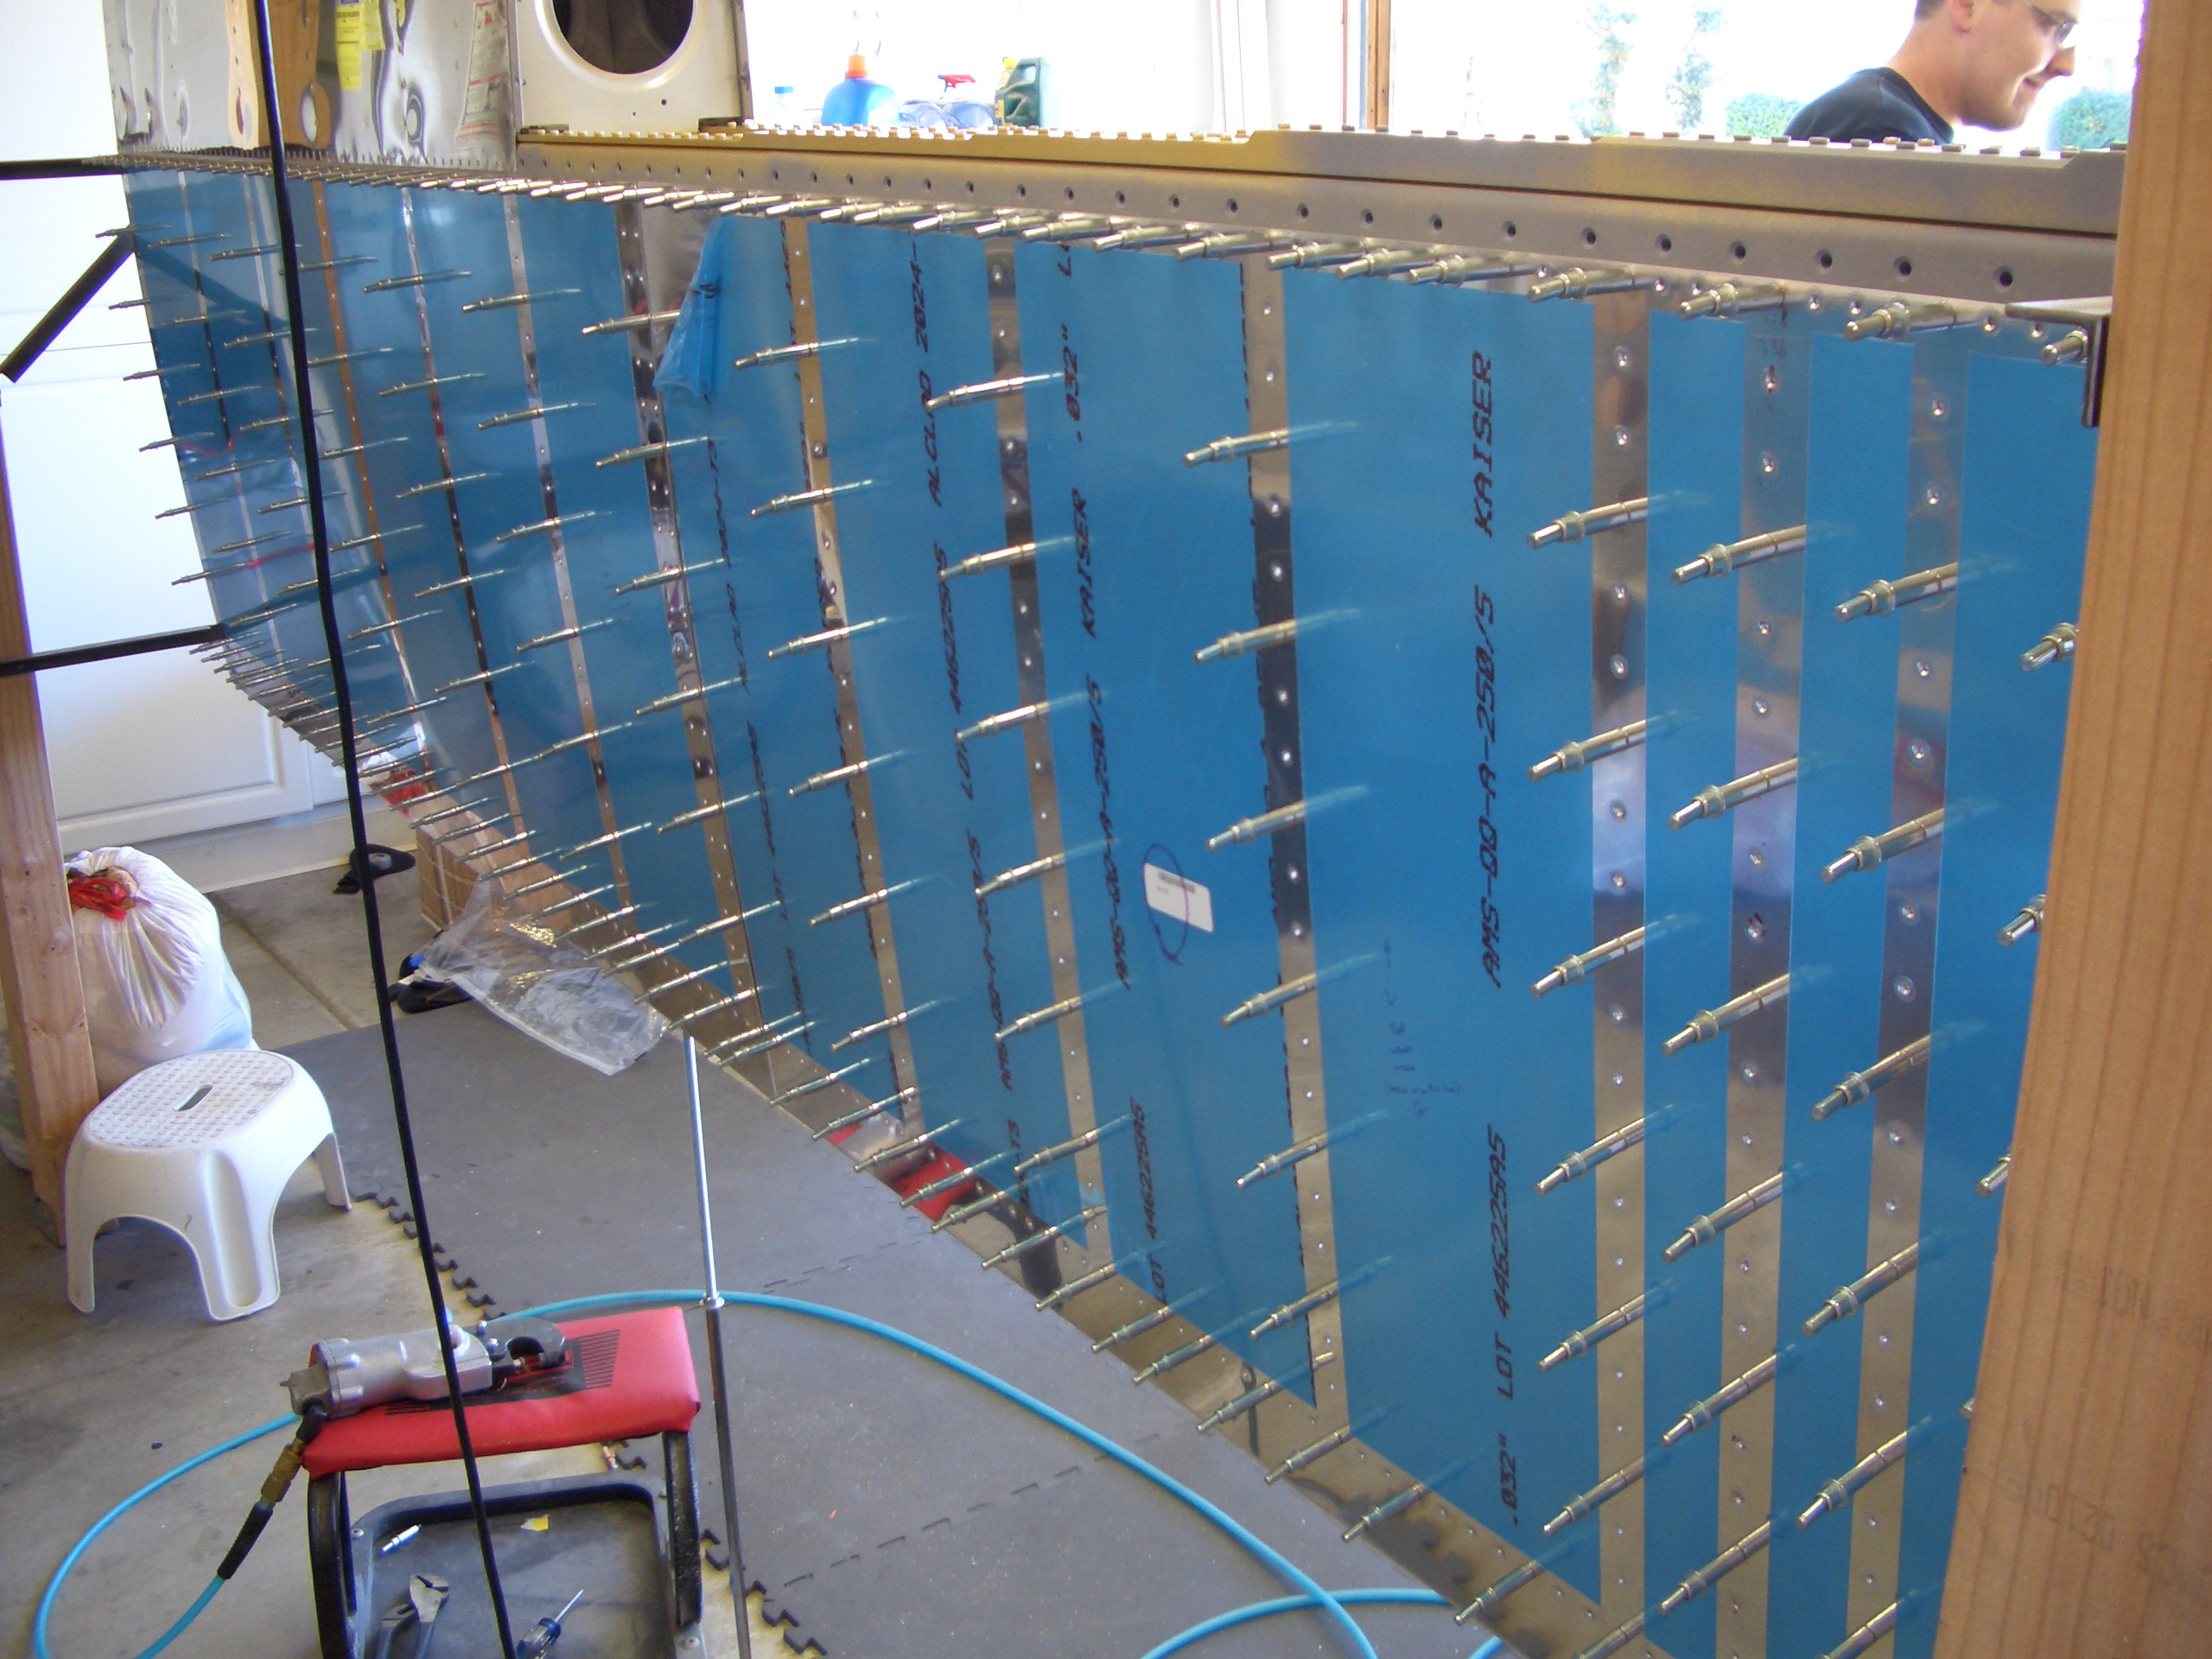
We back-riveted all of the skins on using a 5 lb back-rivet bucking bar. This was held against the outside of the skins while…
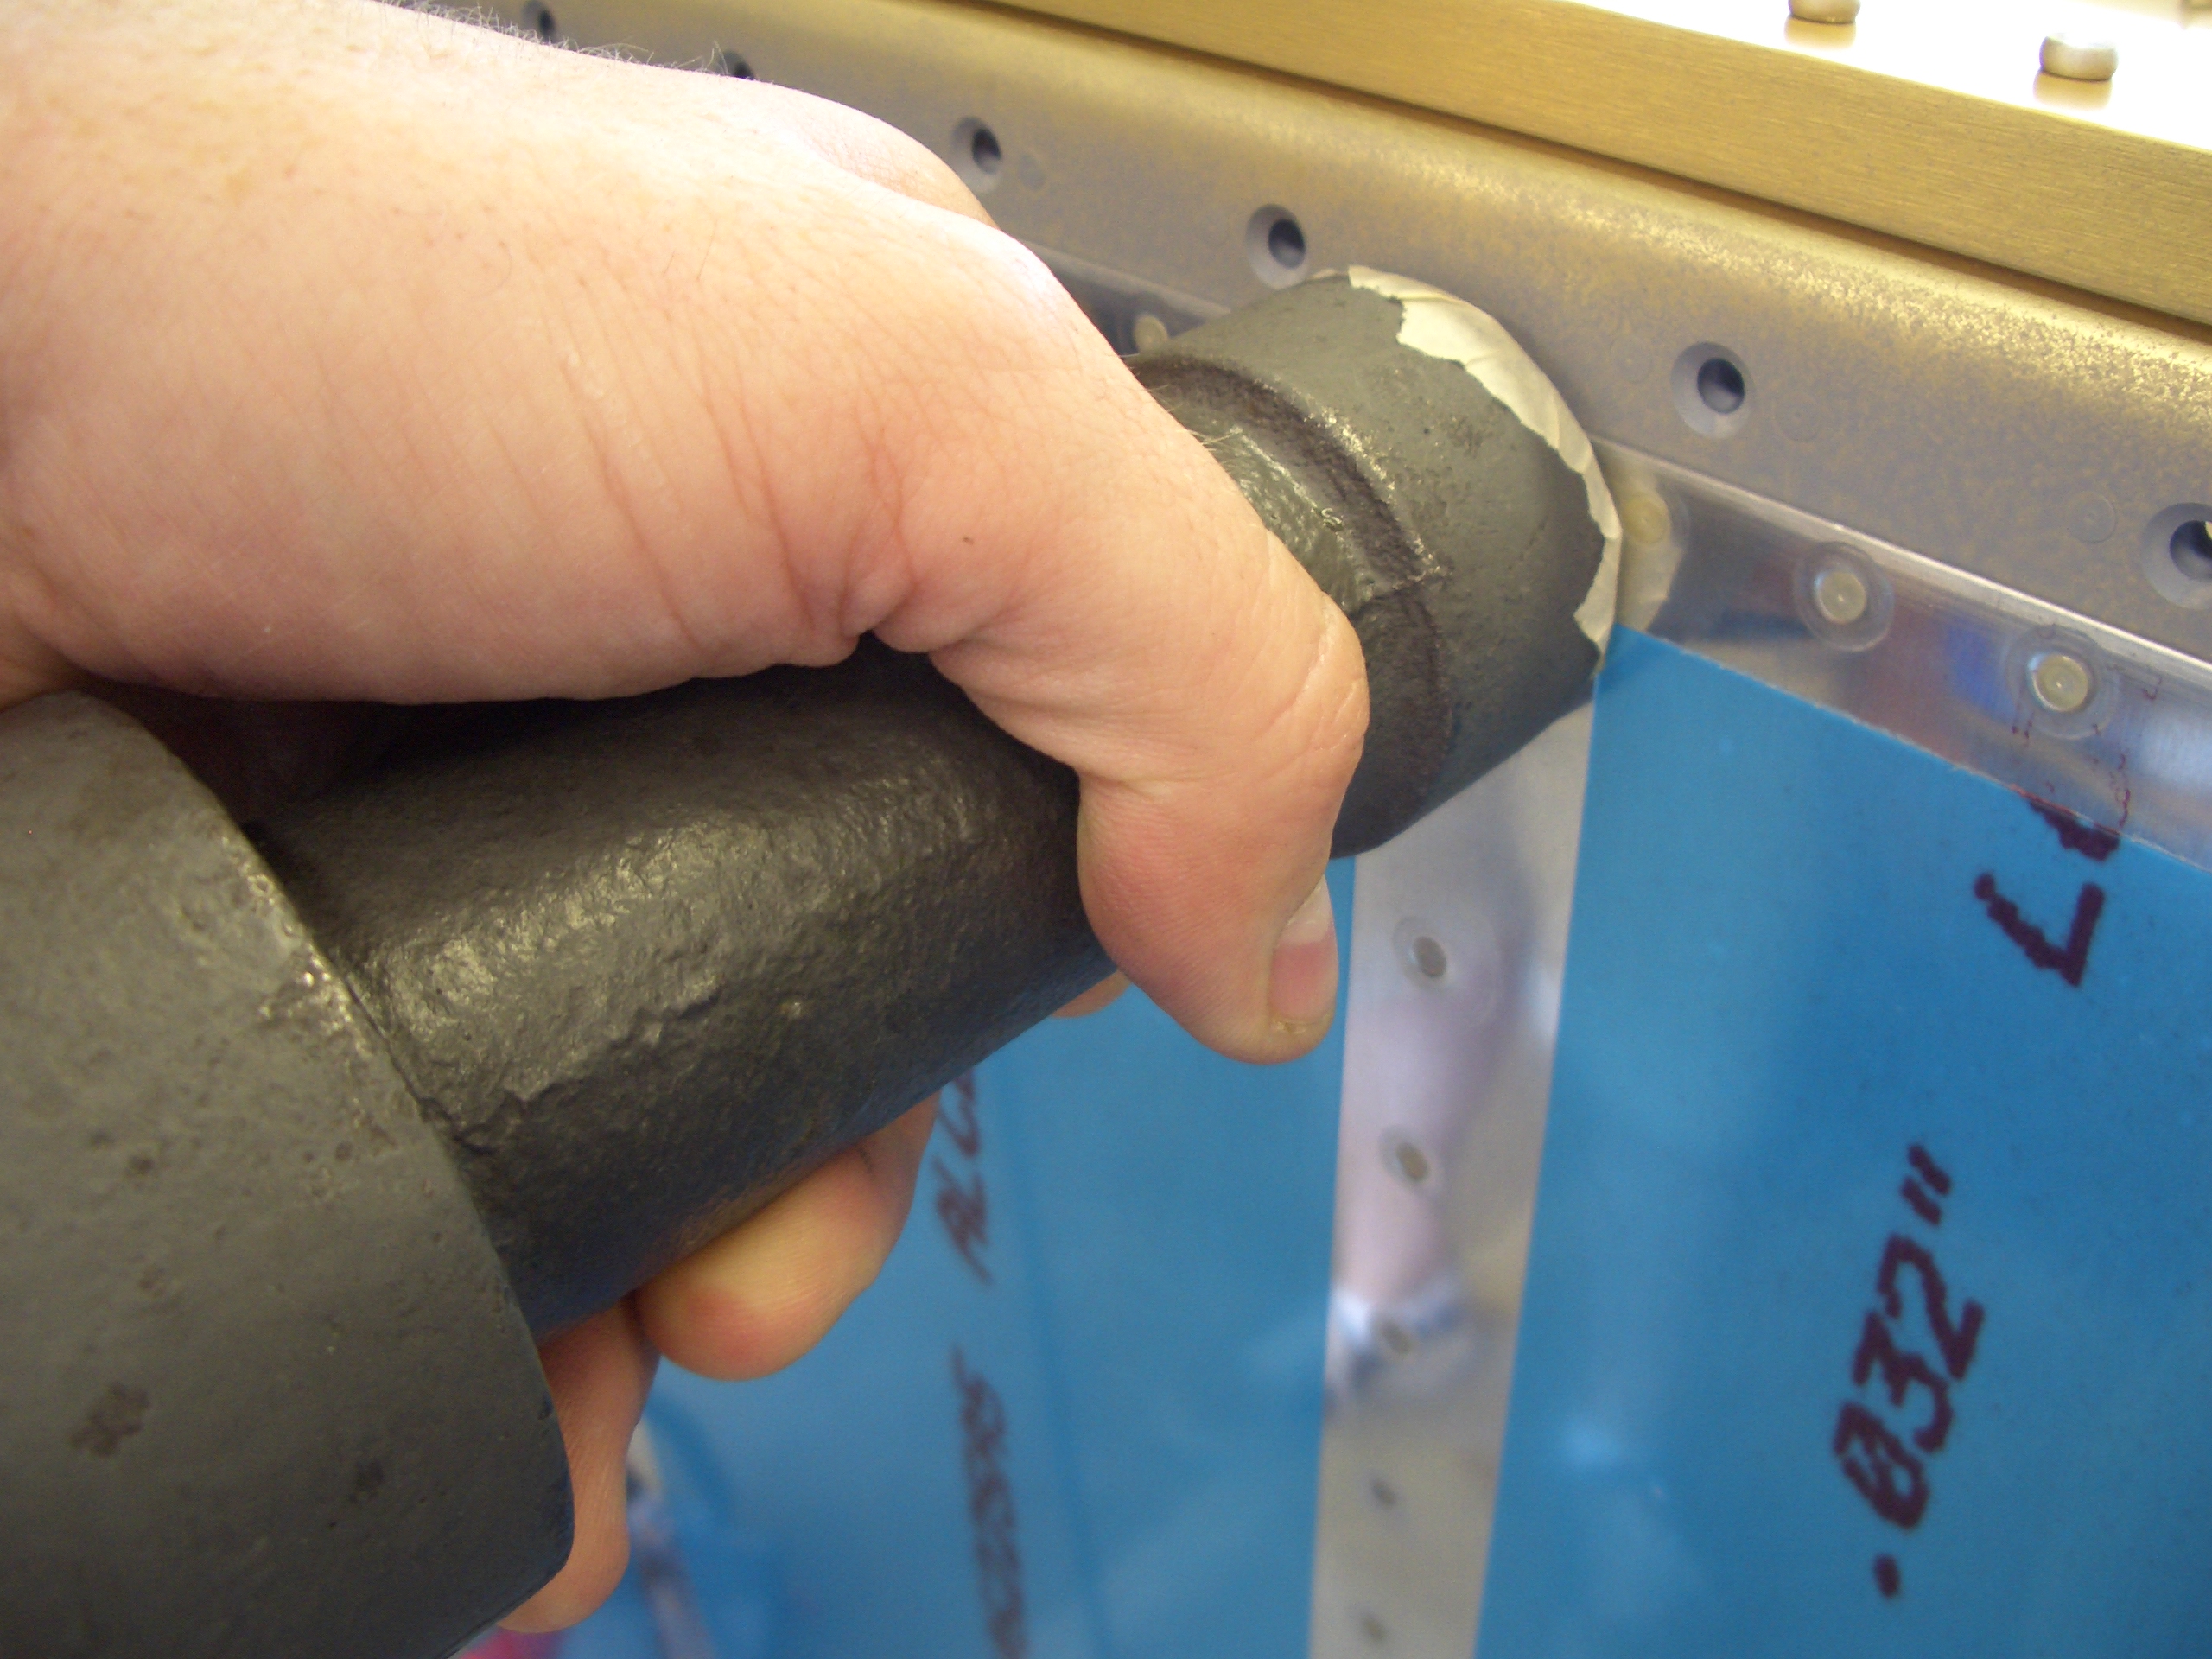
…the rivets were driven from the inside using an extended reach double-offset back-rivet set. This worked beautifully. The outside of the skins look perfect and we didn’t have to reach between the ribs to hold the bucking bar as we would for normal shooting/bucking (which is painful between the wing walk ribs.
After squeezing the rivets on the rear spar, the left wing is ready to come off the wing jig.
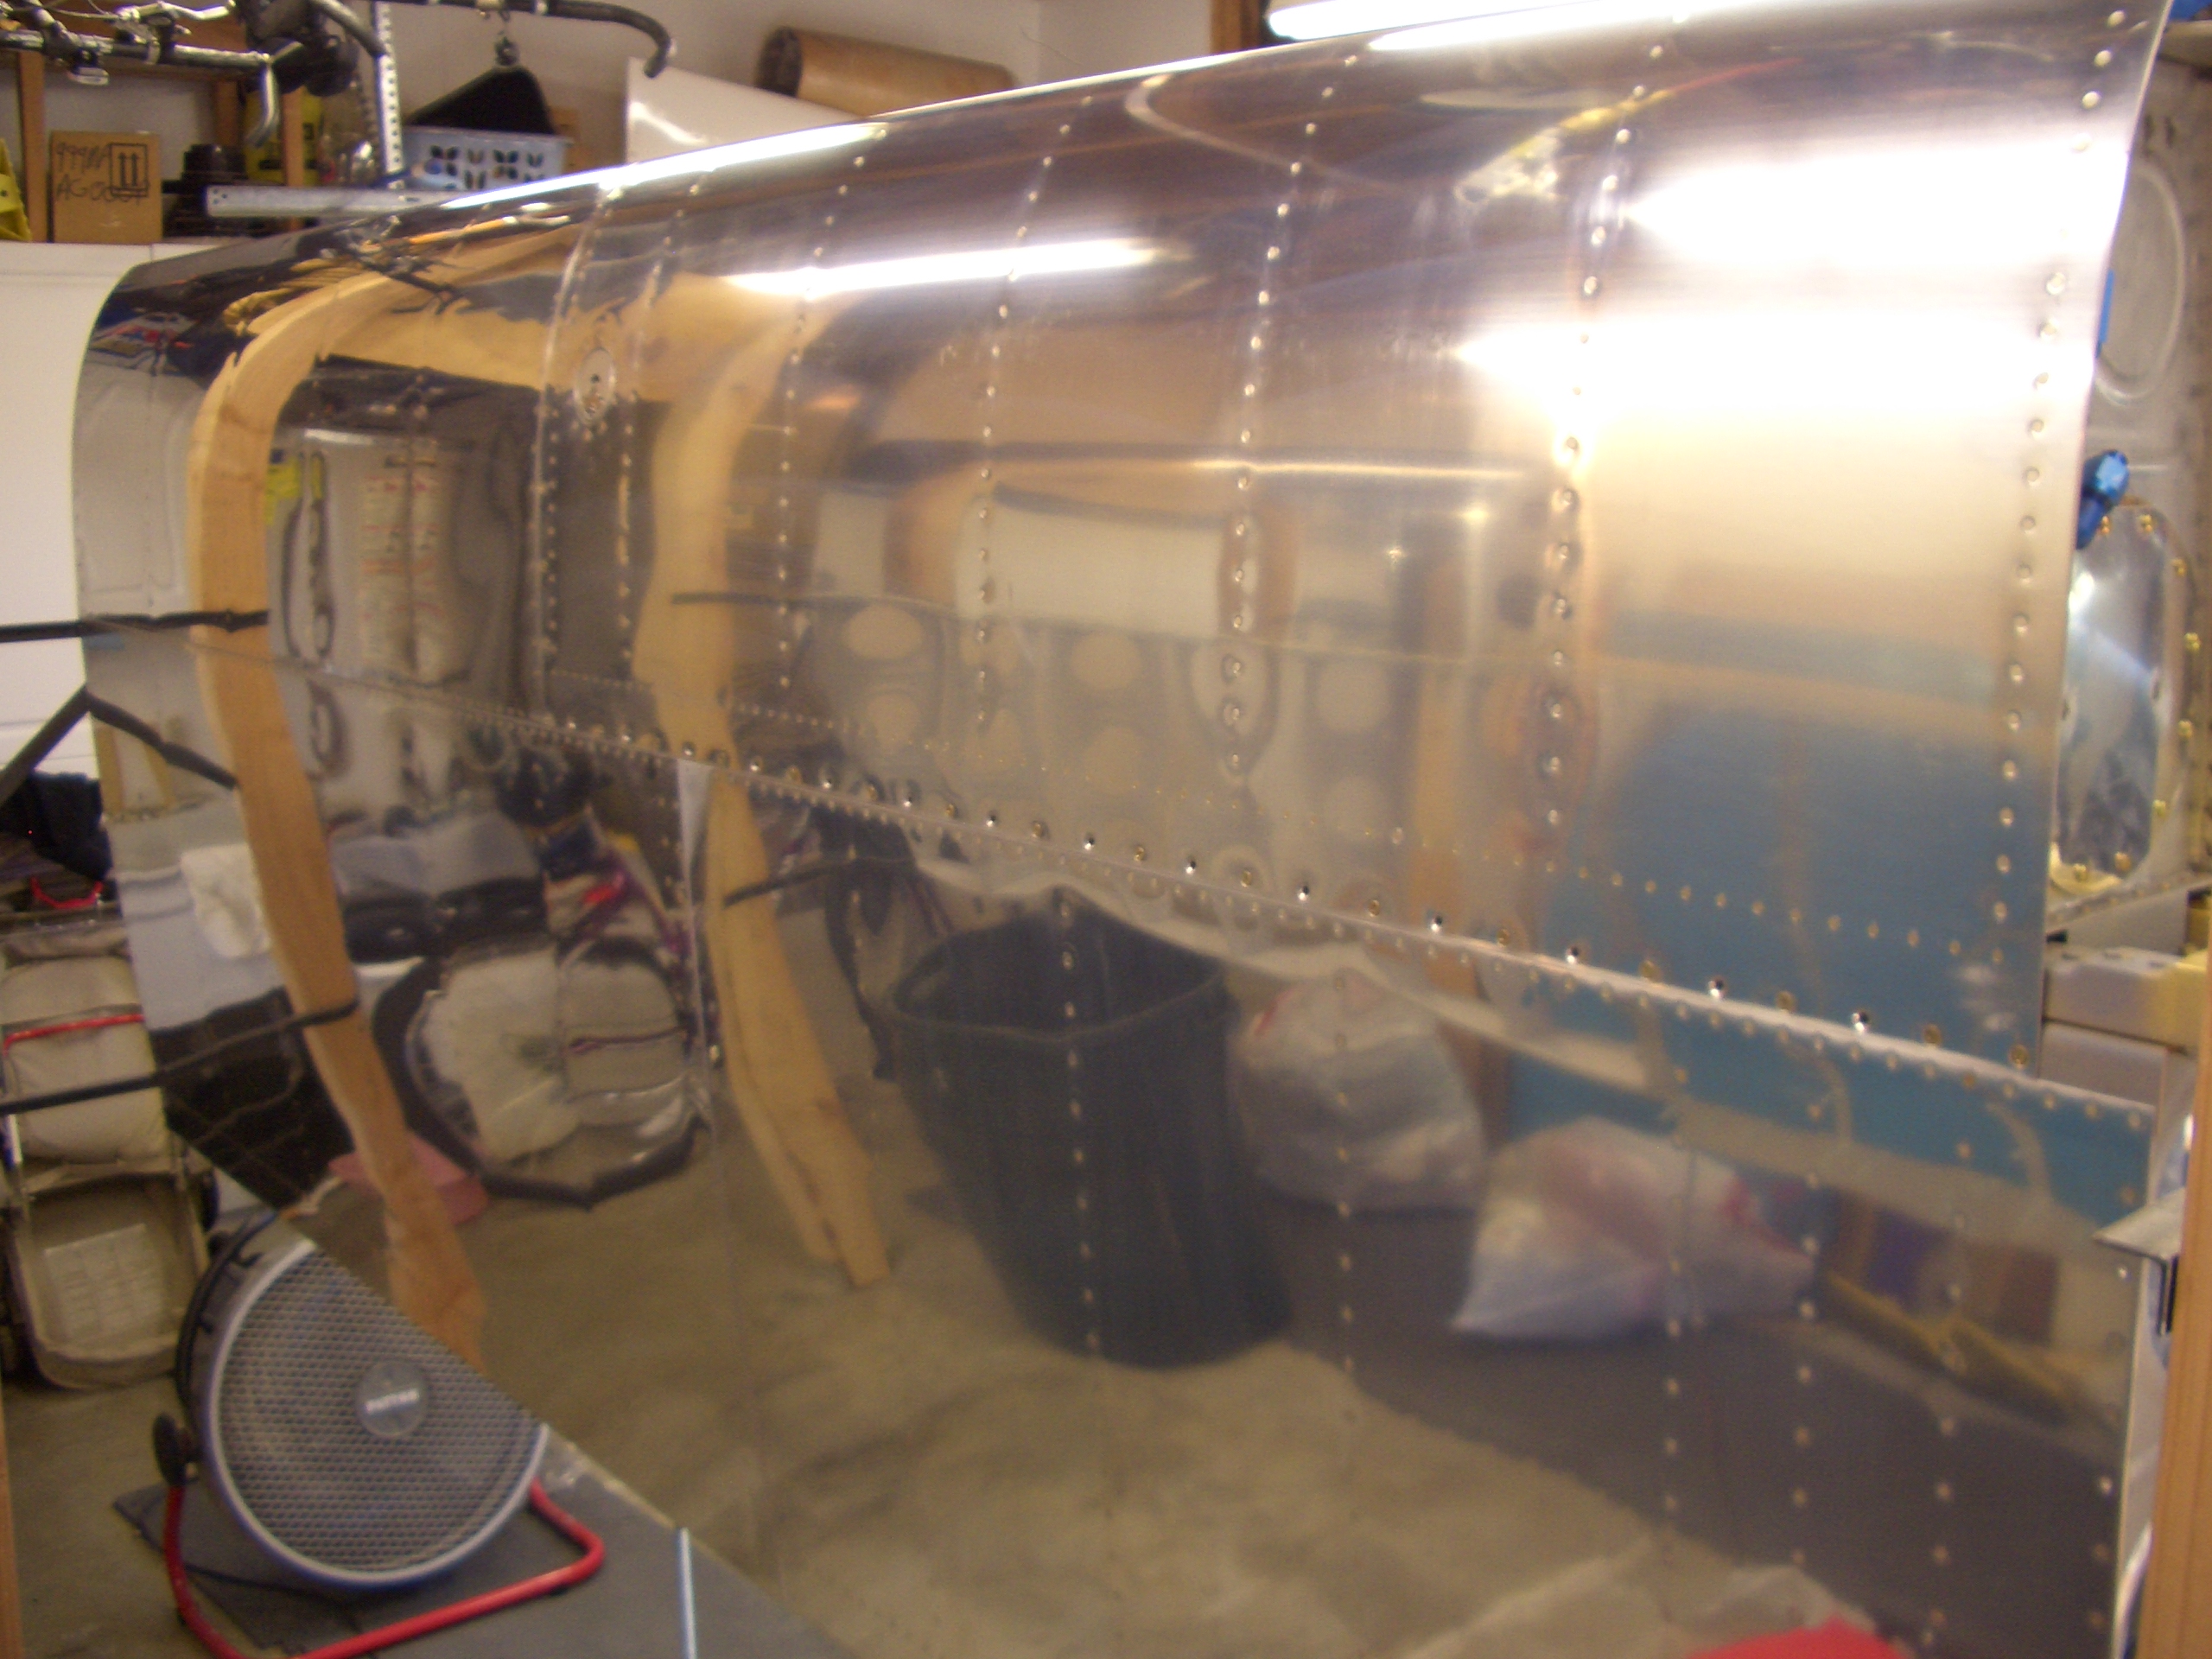
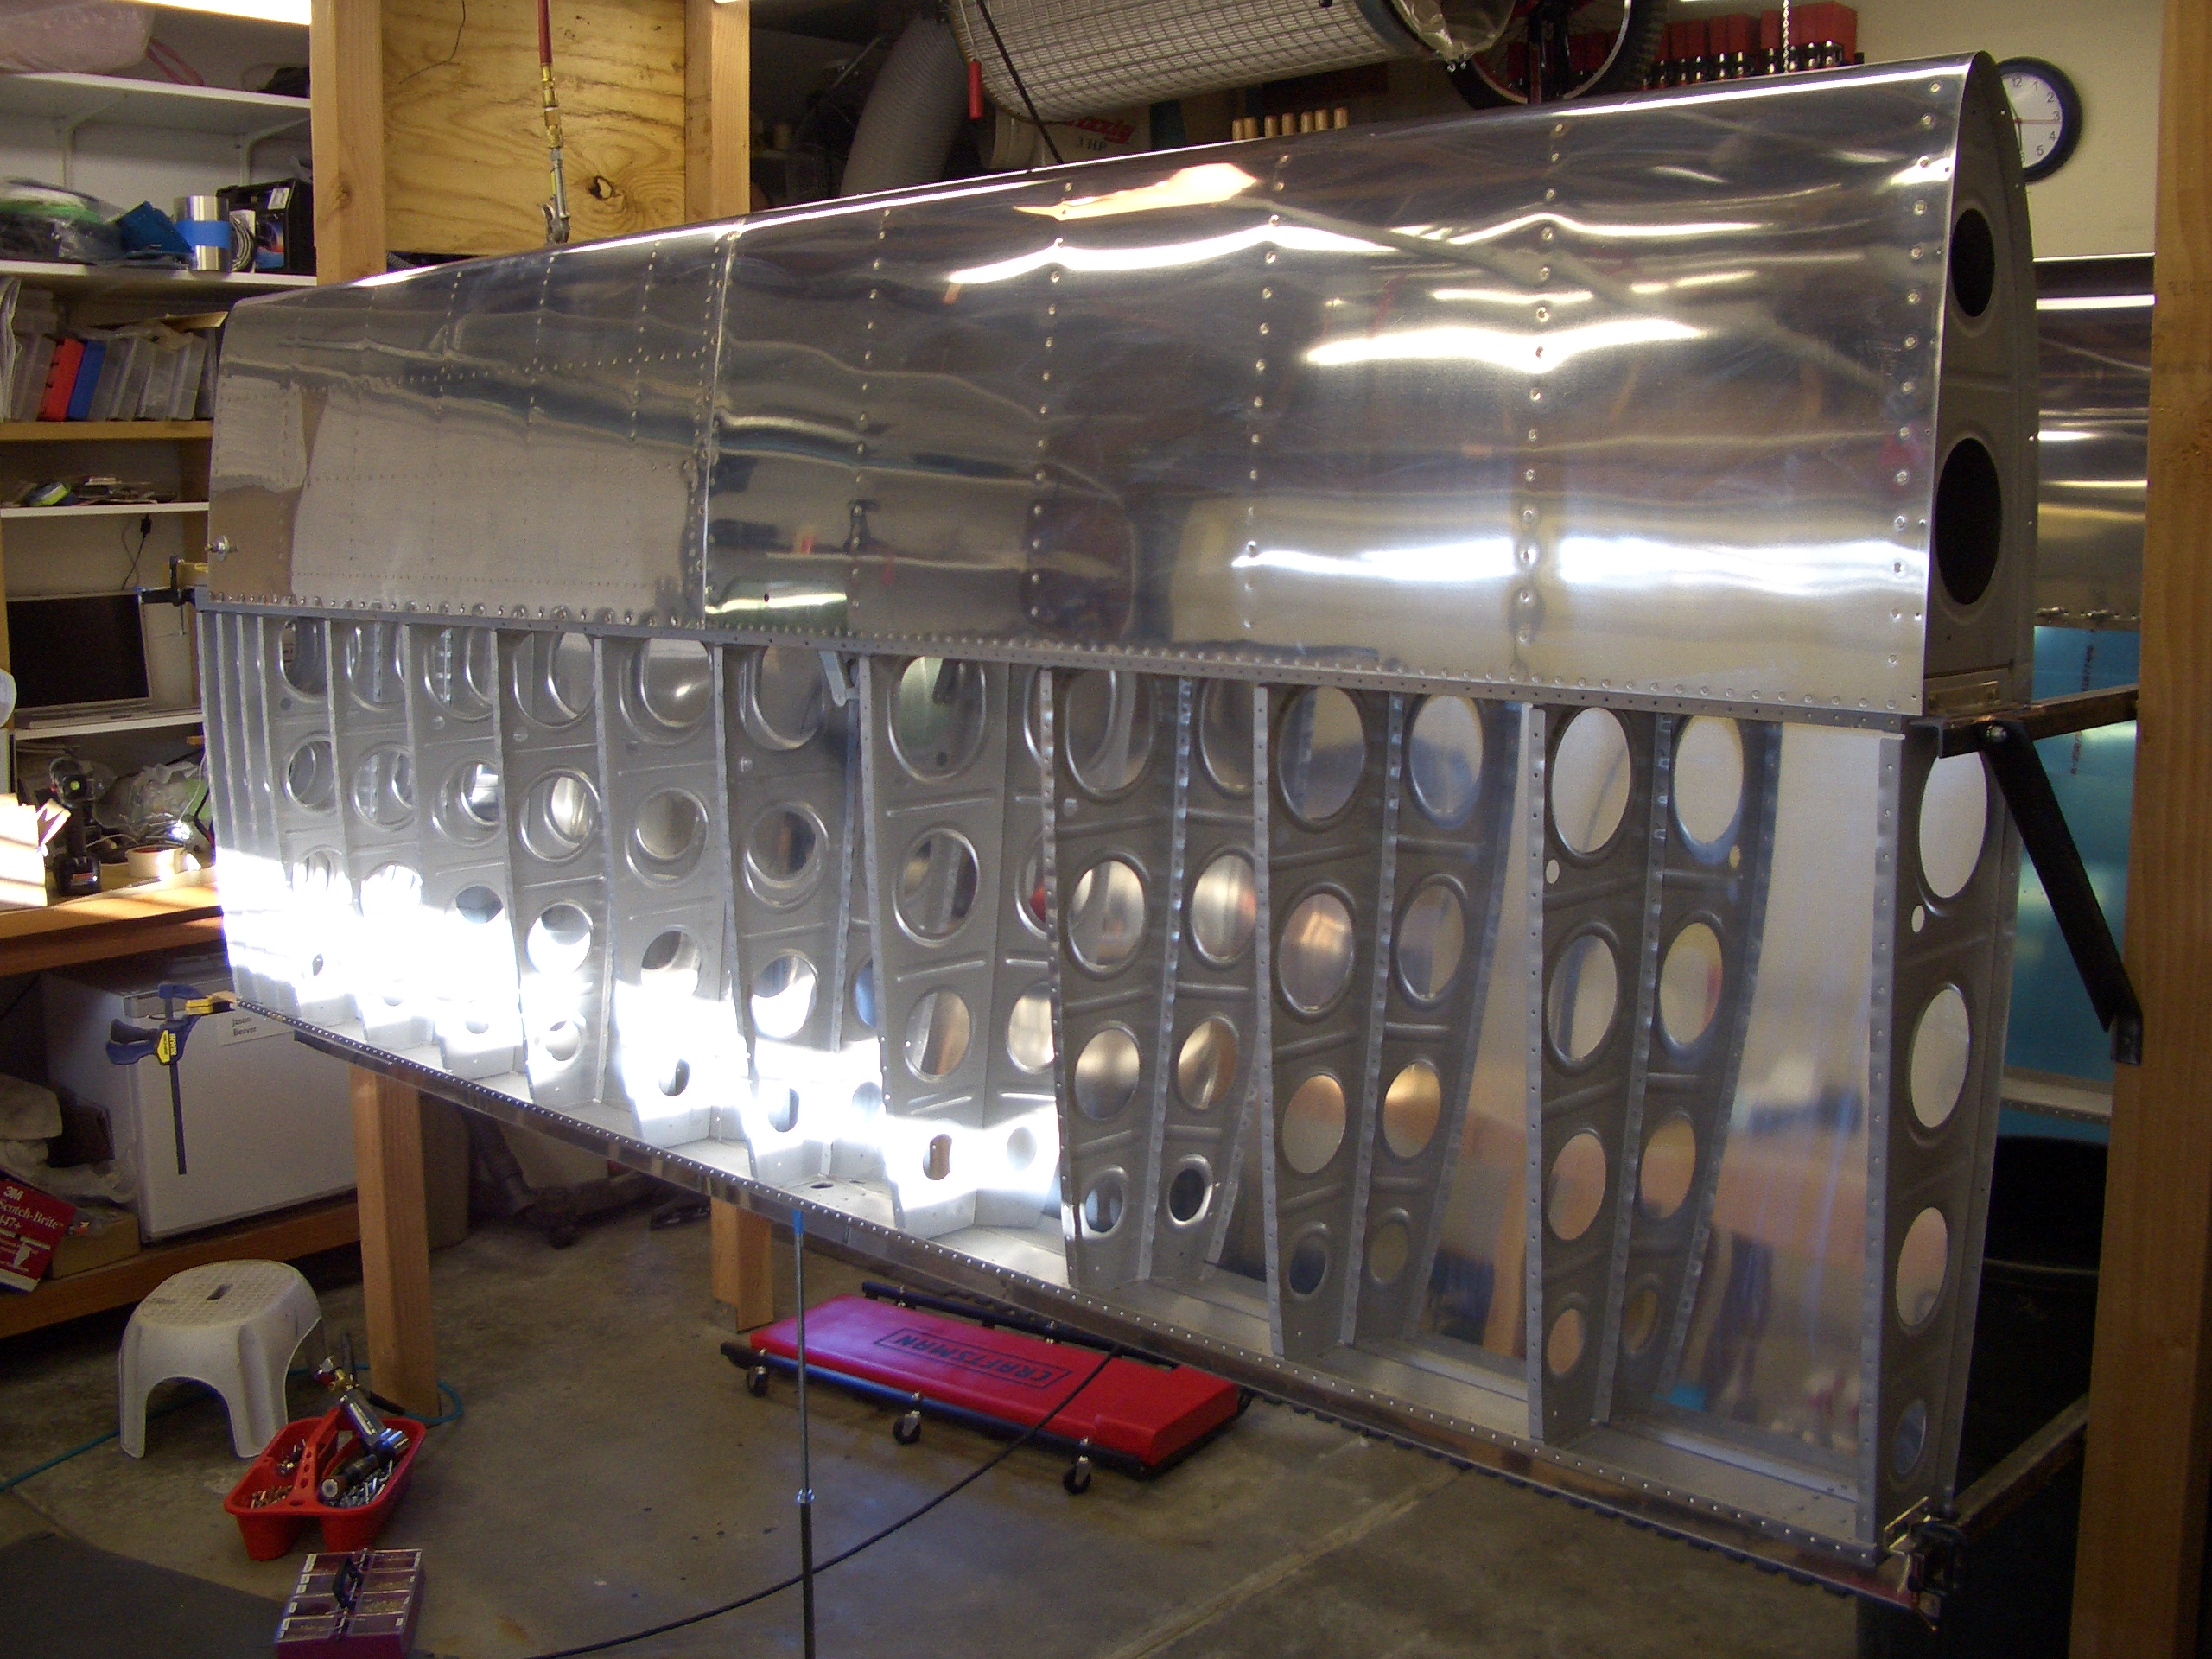
Here is the top of the wing from the outboard end.

Here is the bottom of the wing. The bottom main skins (inboard and outboard) are riveted after everything else in the wings are complete (ailerons, flaps, control linkage, pitot tube, autopilot servo, etc.).