I used the Checkoway method to fit the tanks to the wings. Since his site has been taken down, I’m going to document this rather carefully so that other builders can refer to it if necessary.
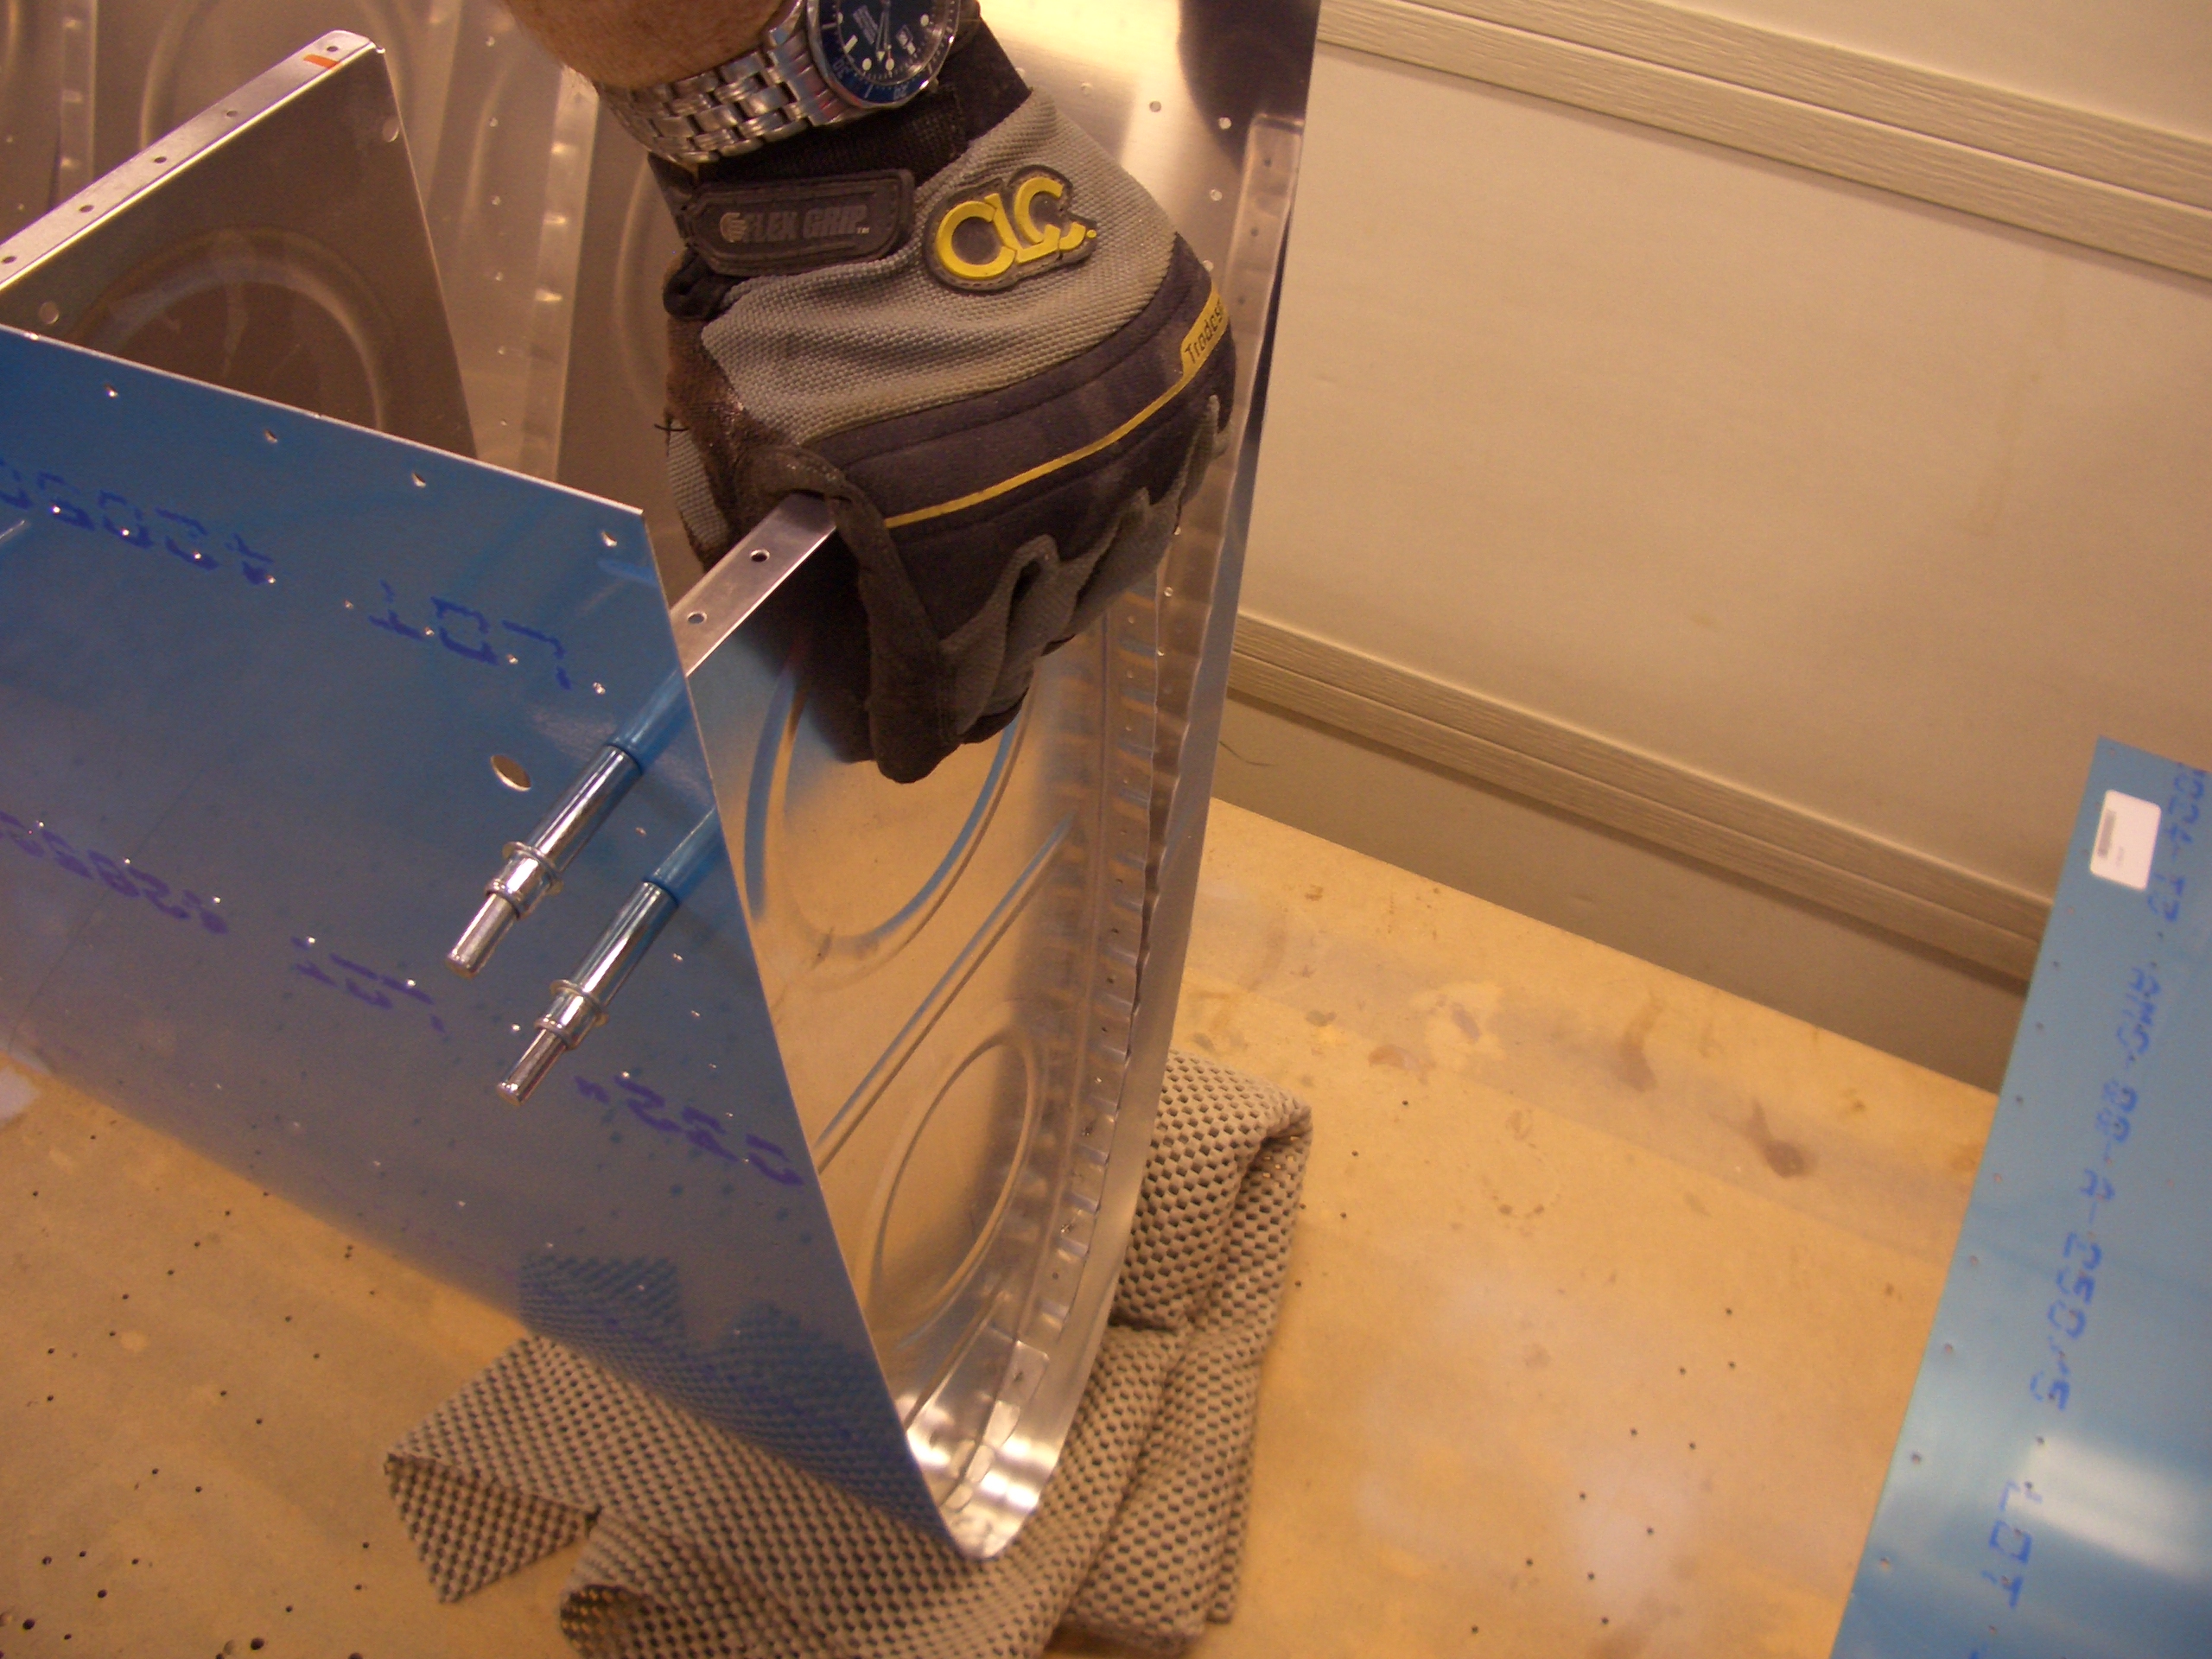
First up is to assemble the tank. I’ve heard of many other builders struggling with getting the ribs to seat fully in the leading edge using the instructions Van’s provides. I’m using an alternate technique that works very well and let me assemble each of the leading edge section in about 5 minutes with virtually no struggle. The first step is to cleco the first few holes on the top side of the skin near the leading edge.

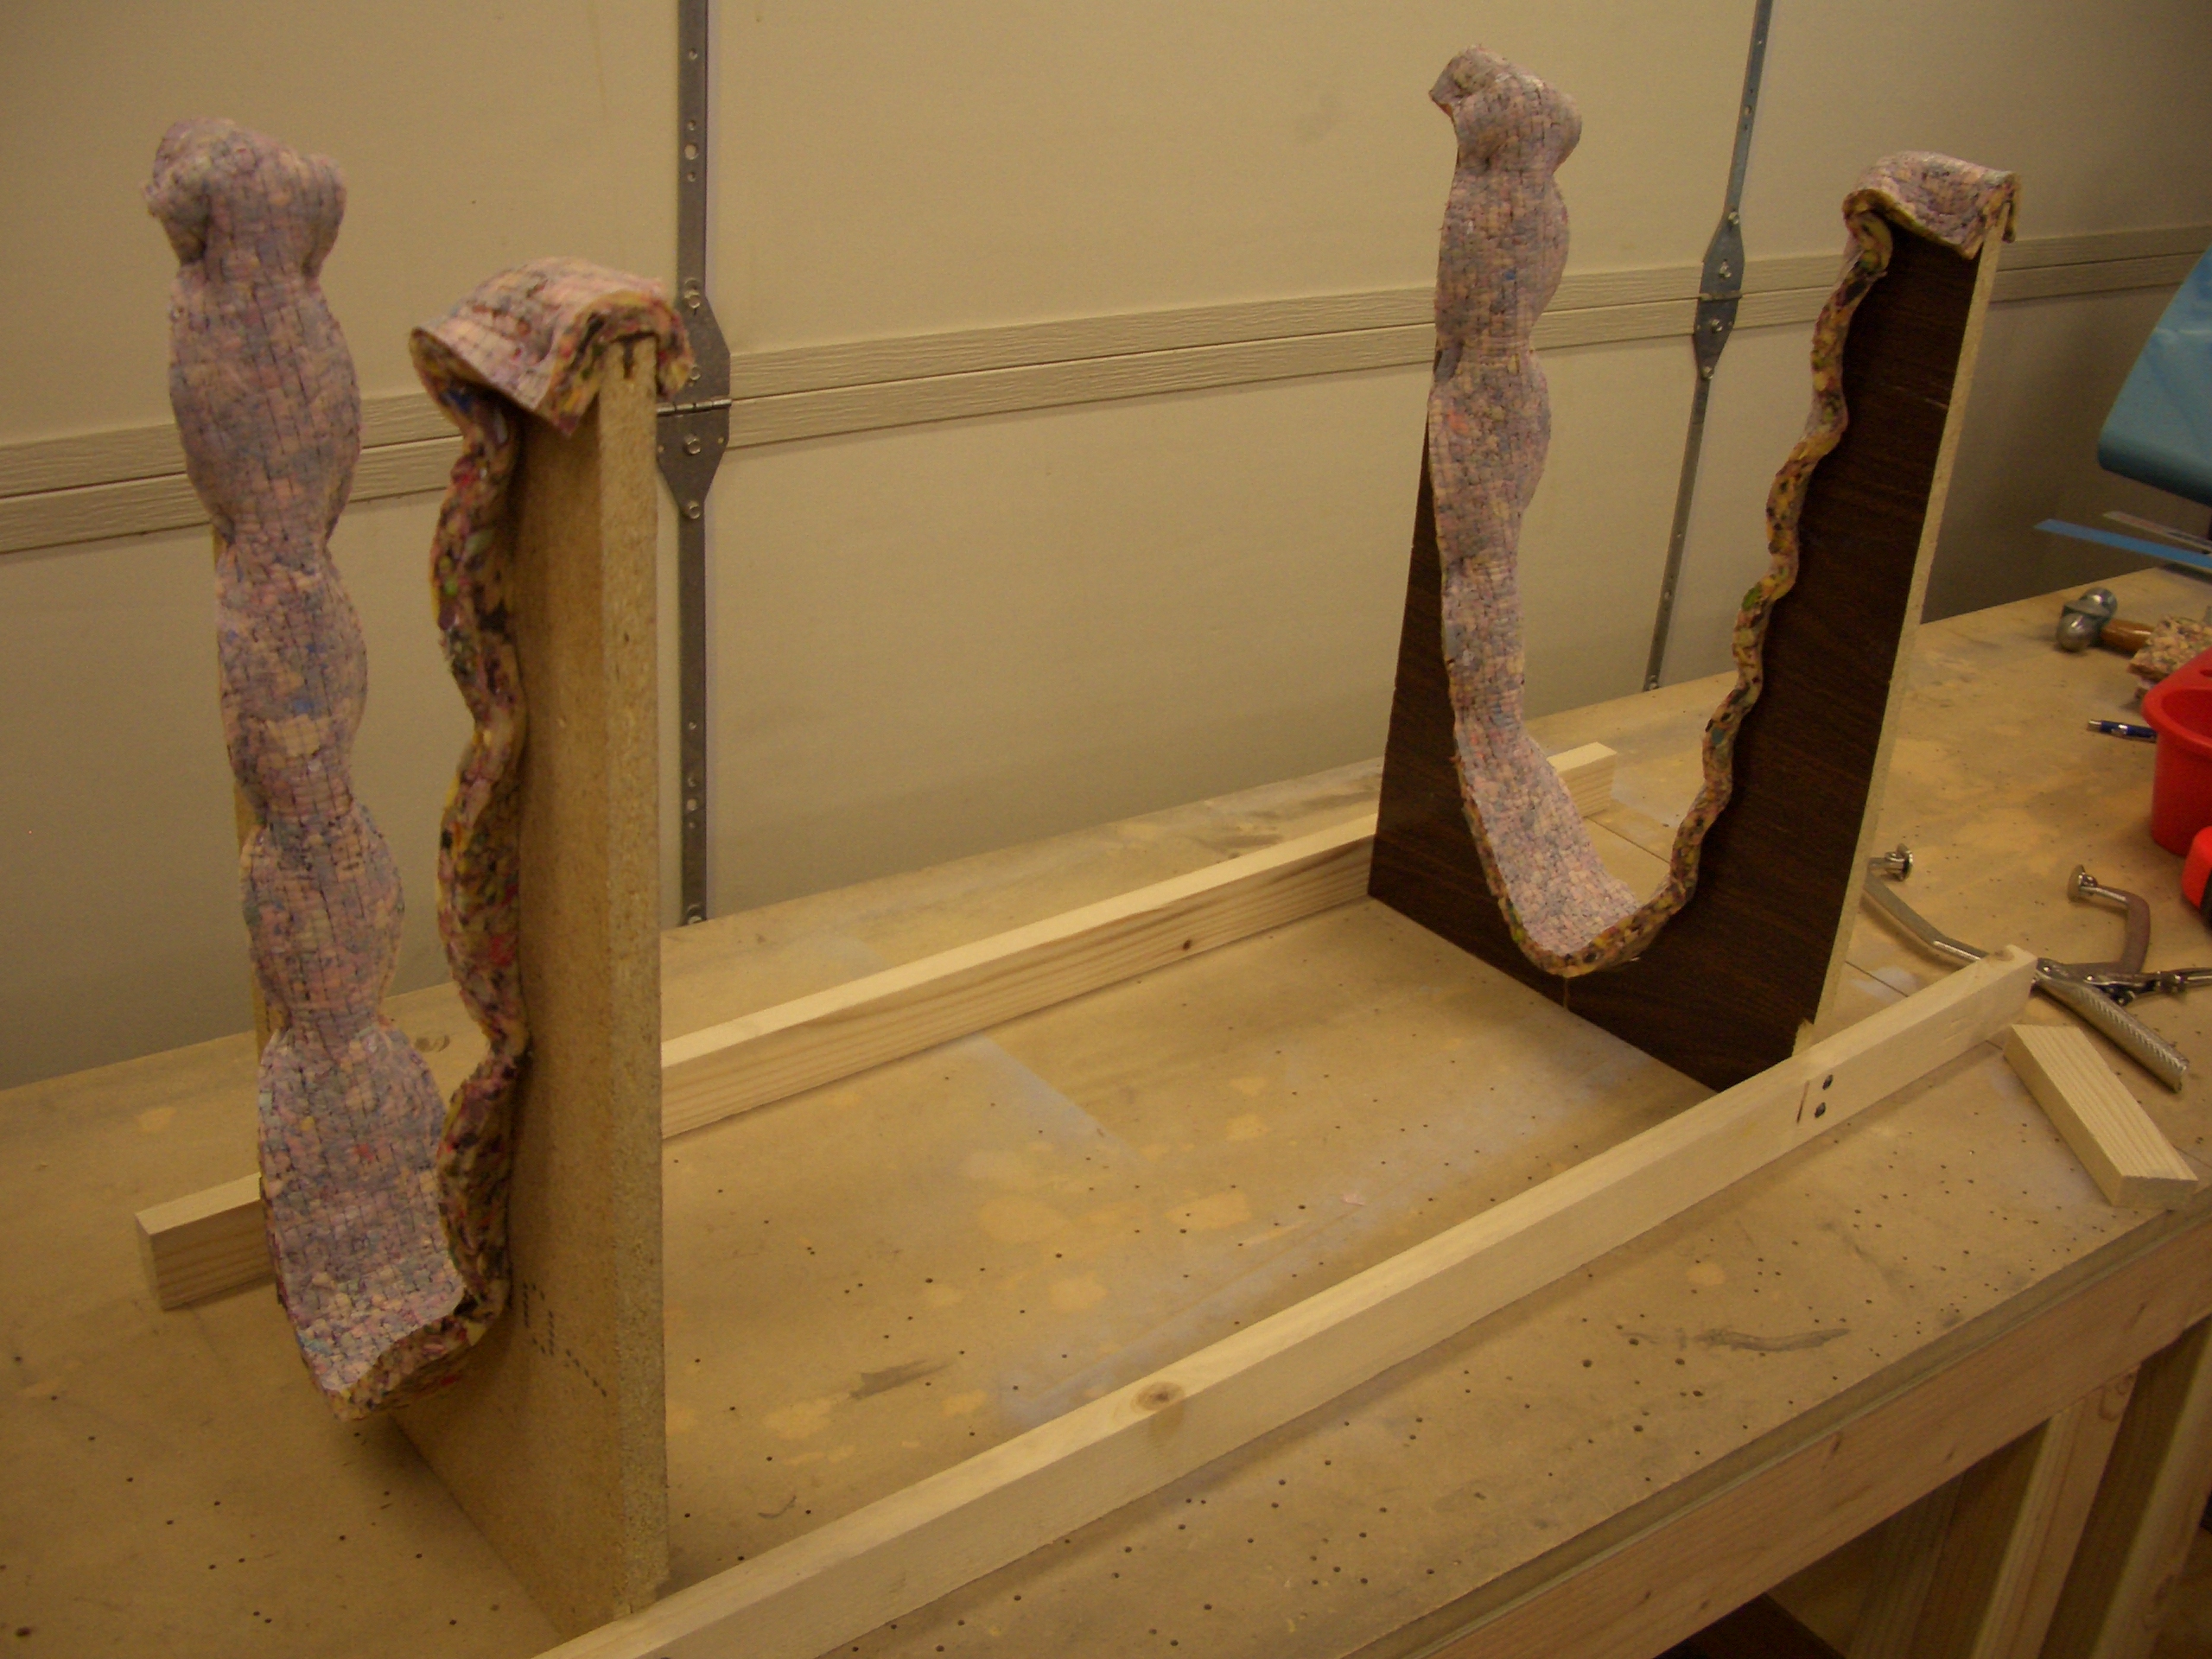
Next, pad the leading edge with something that is firm but will conform to the leading edge somewhat. I used a dense foam mat that’s folded over a few times. Stand the section up on the leading edge with the rib you’re working with directly over the pad. Push down firmly with one hand while the other hand puts a cleco in the topmost hole on the bottom of the skin. By pushing down firmly, you can easily get the hole in the rib close enough that the cleco can be pushed through and the cleco can be used like a lever to pry the holes into alignment (make sure you’ve pushed all three pieces of metal at the tip of the cleco through both holes before doing this or you’ll damage the cleco).
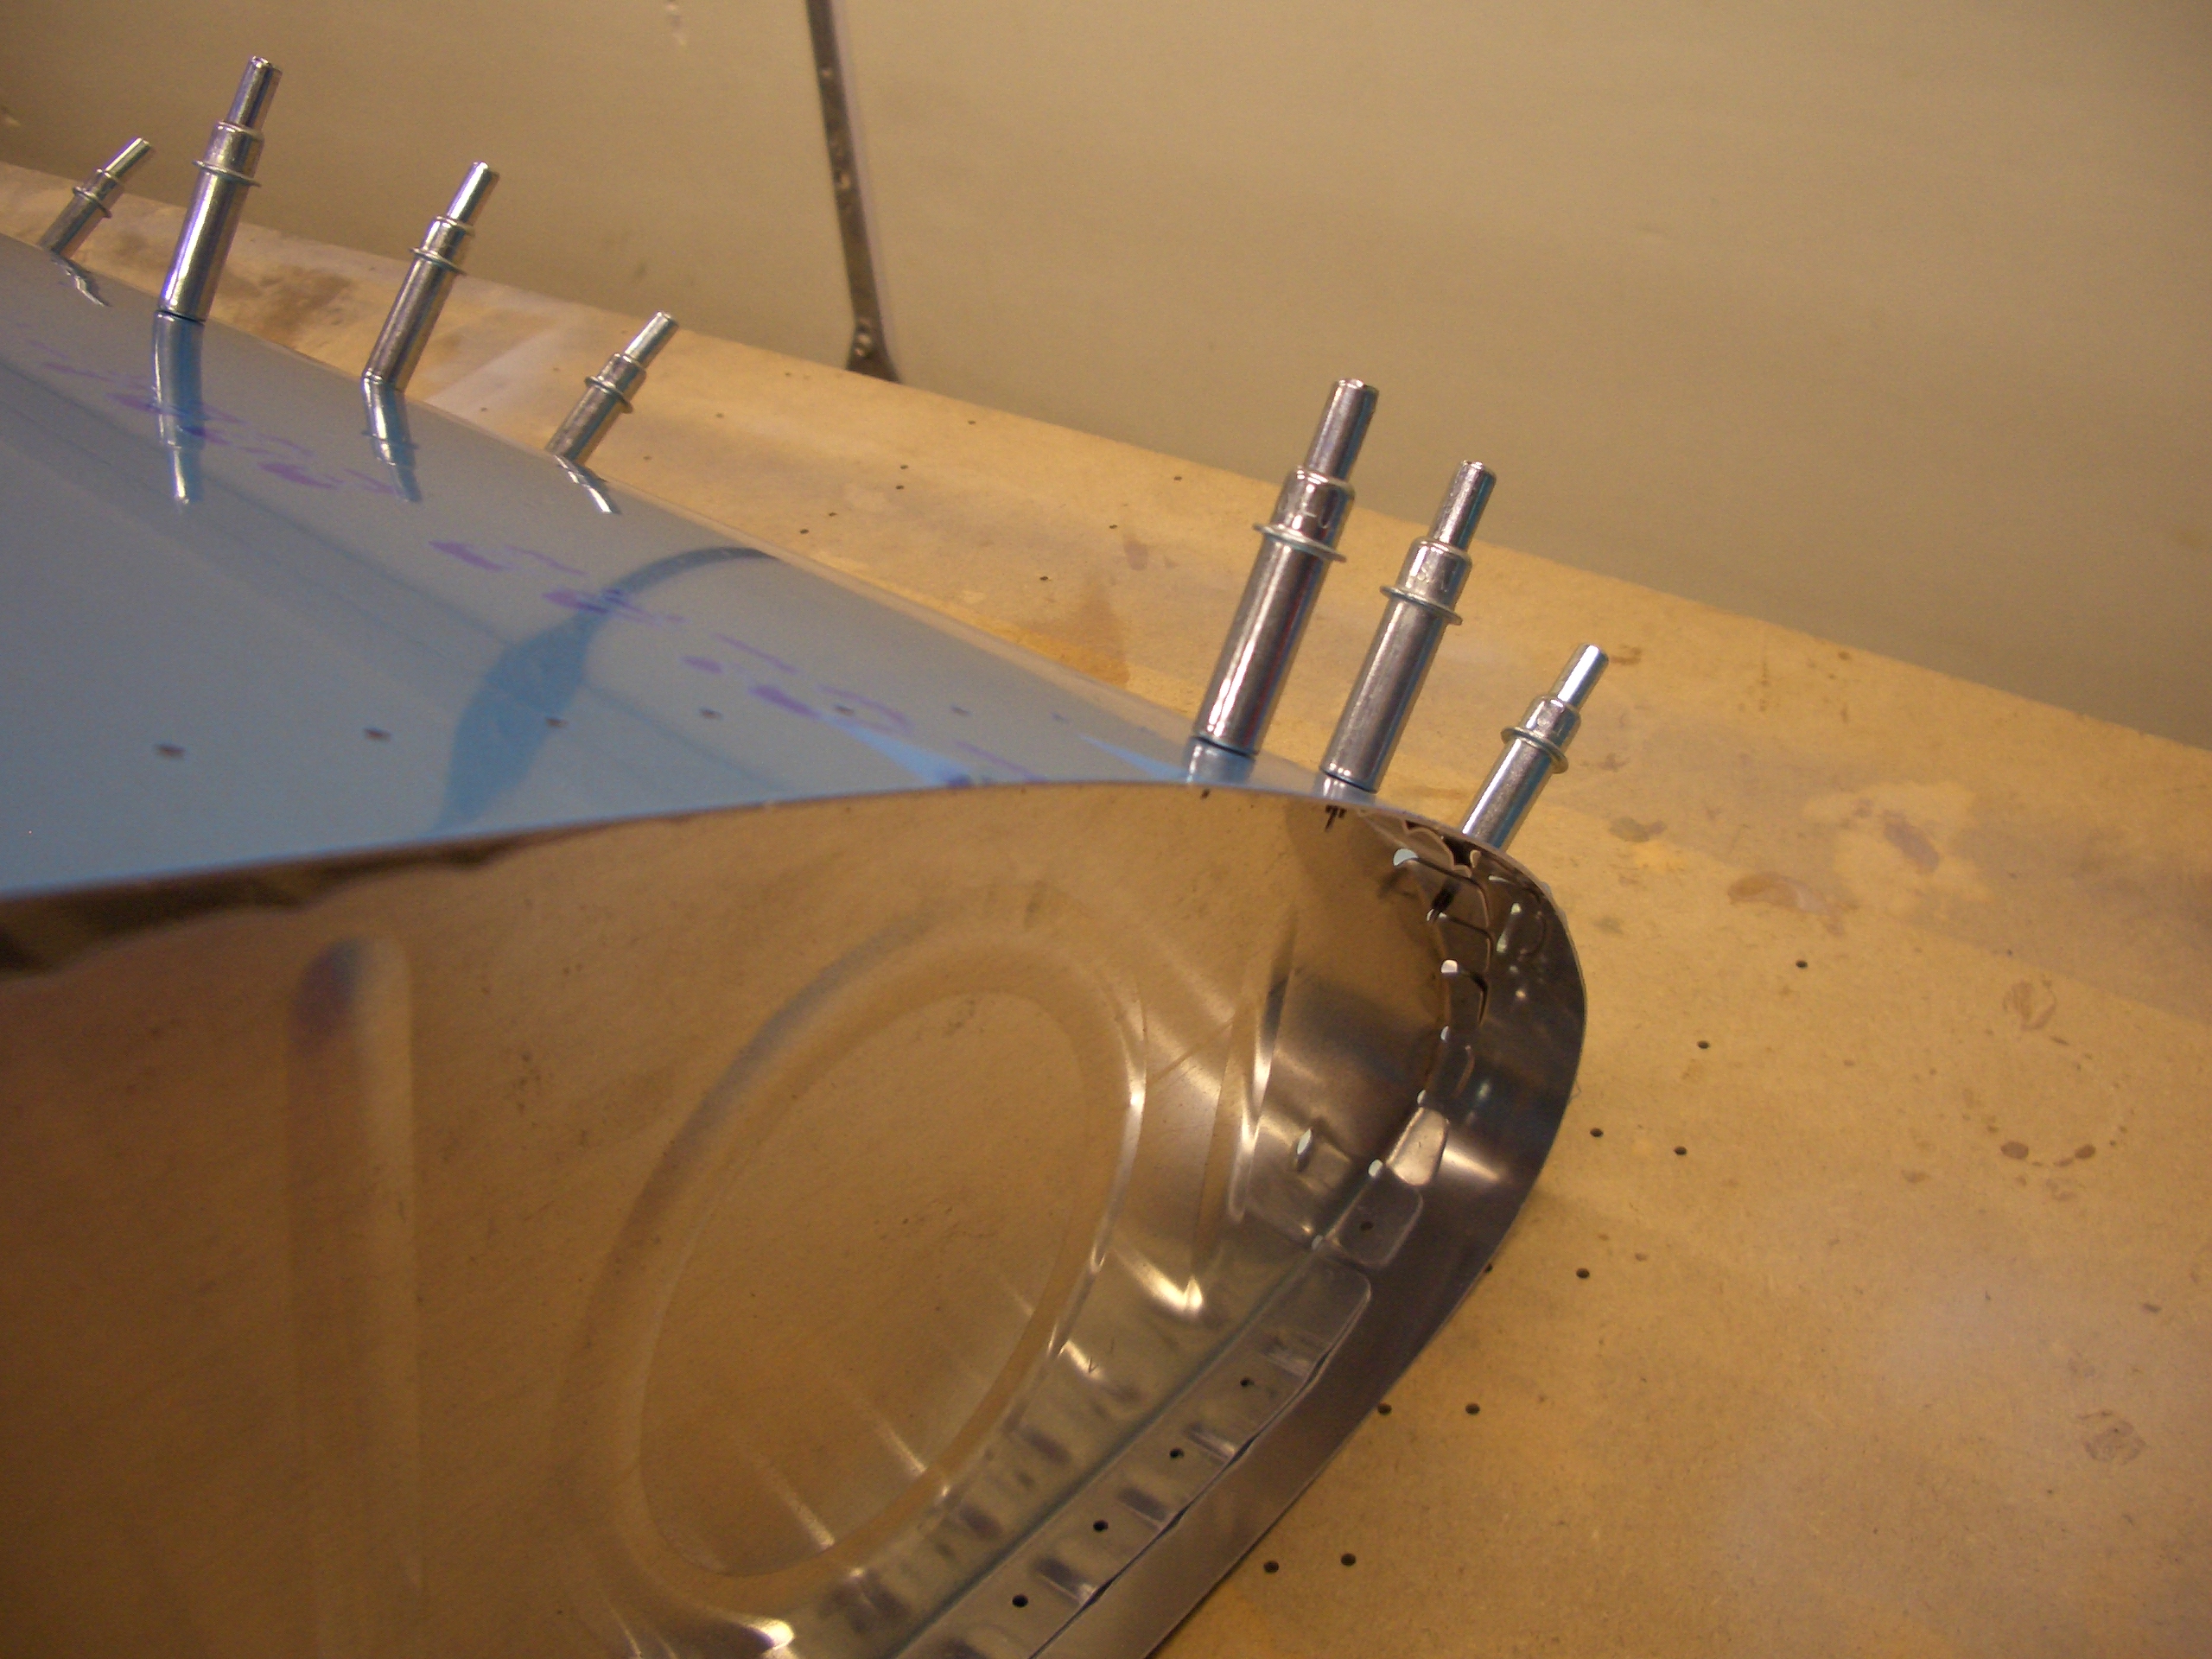
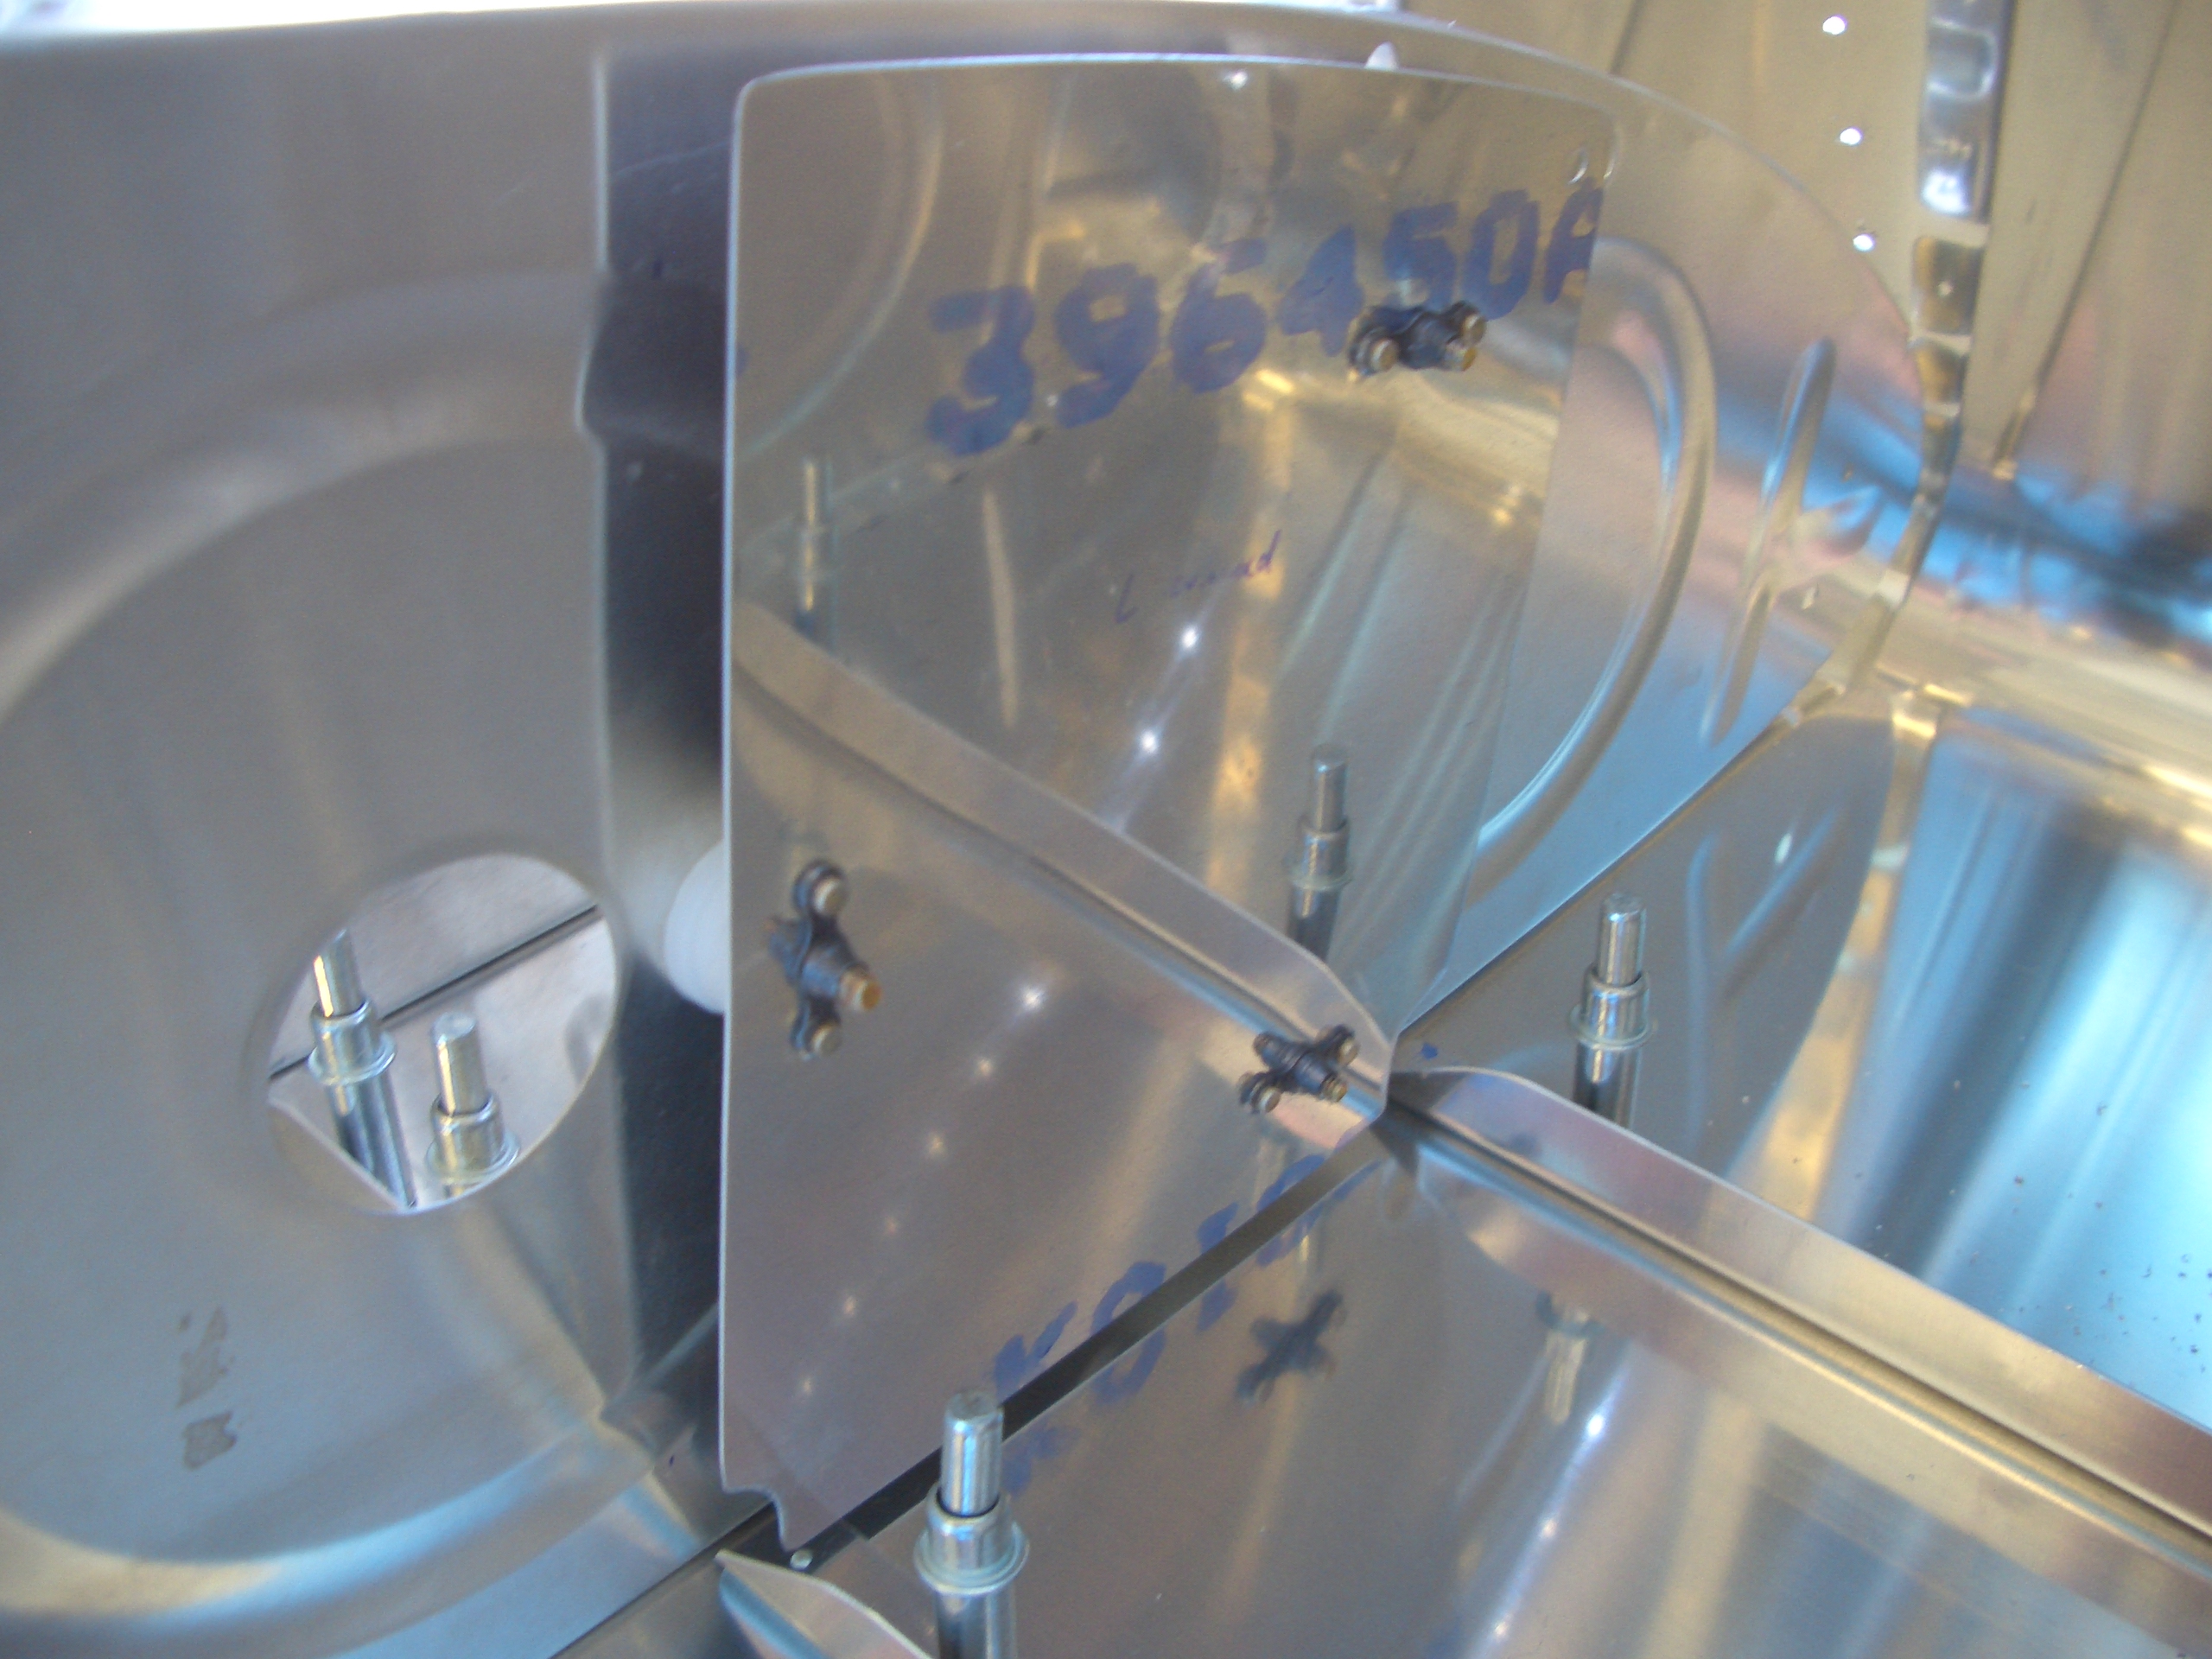
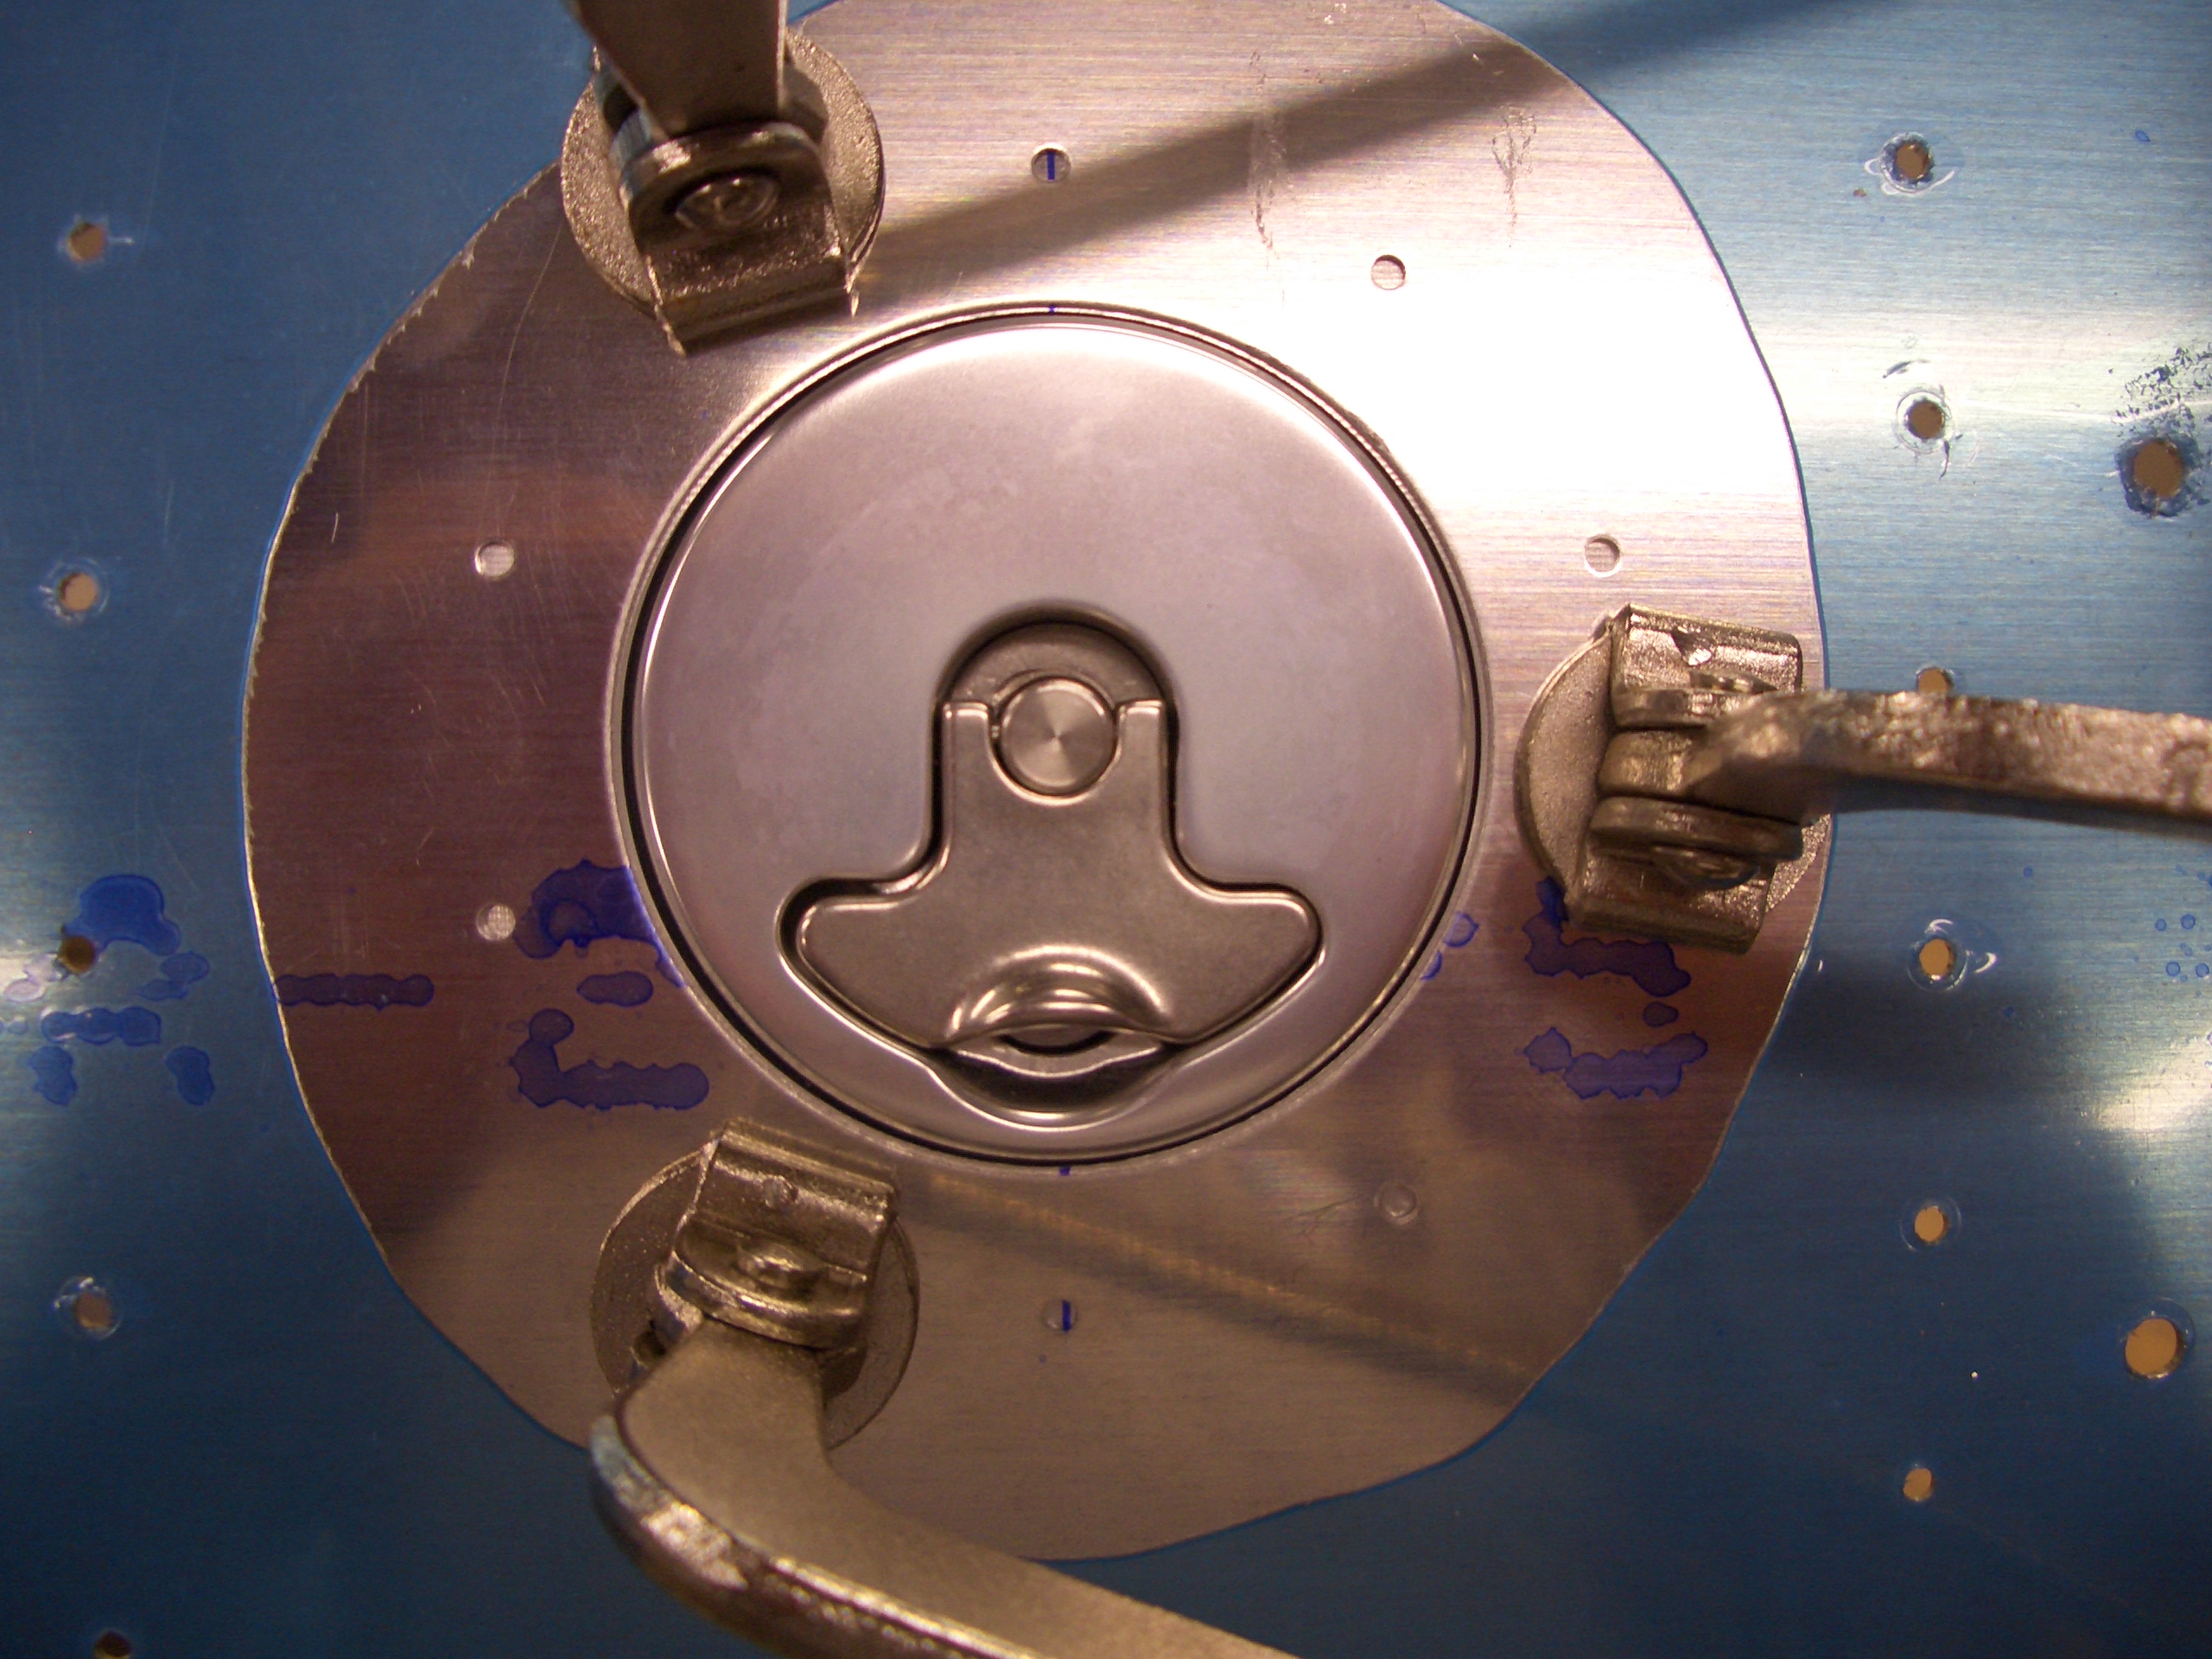
Next, remove the plastic from both sides of the tank baffle and cleco it in place (yes I know I hadn’t removed the plastic yet here).

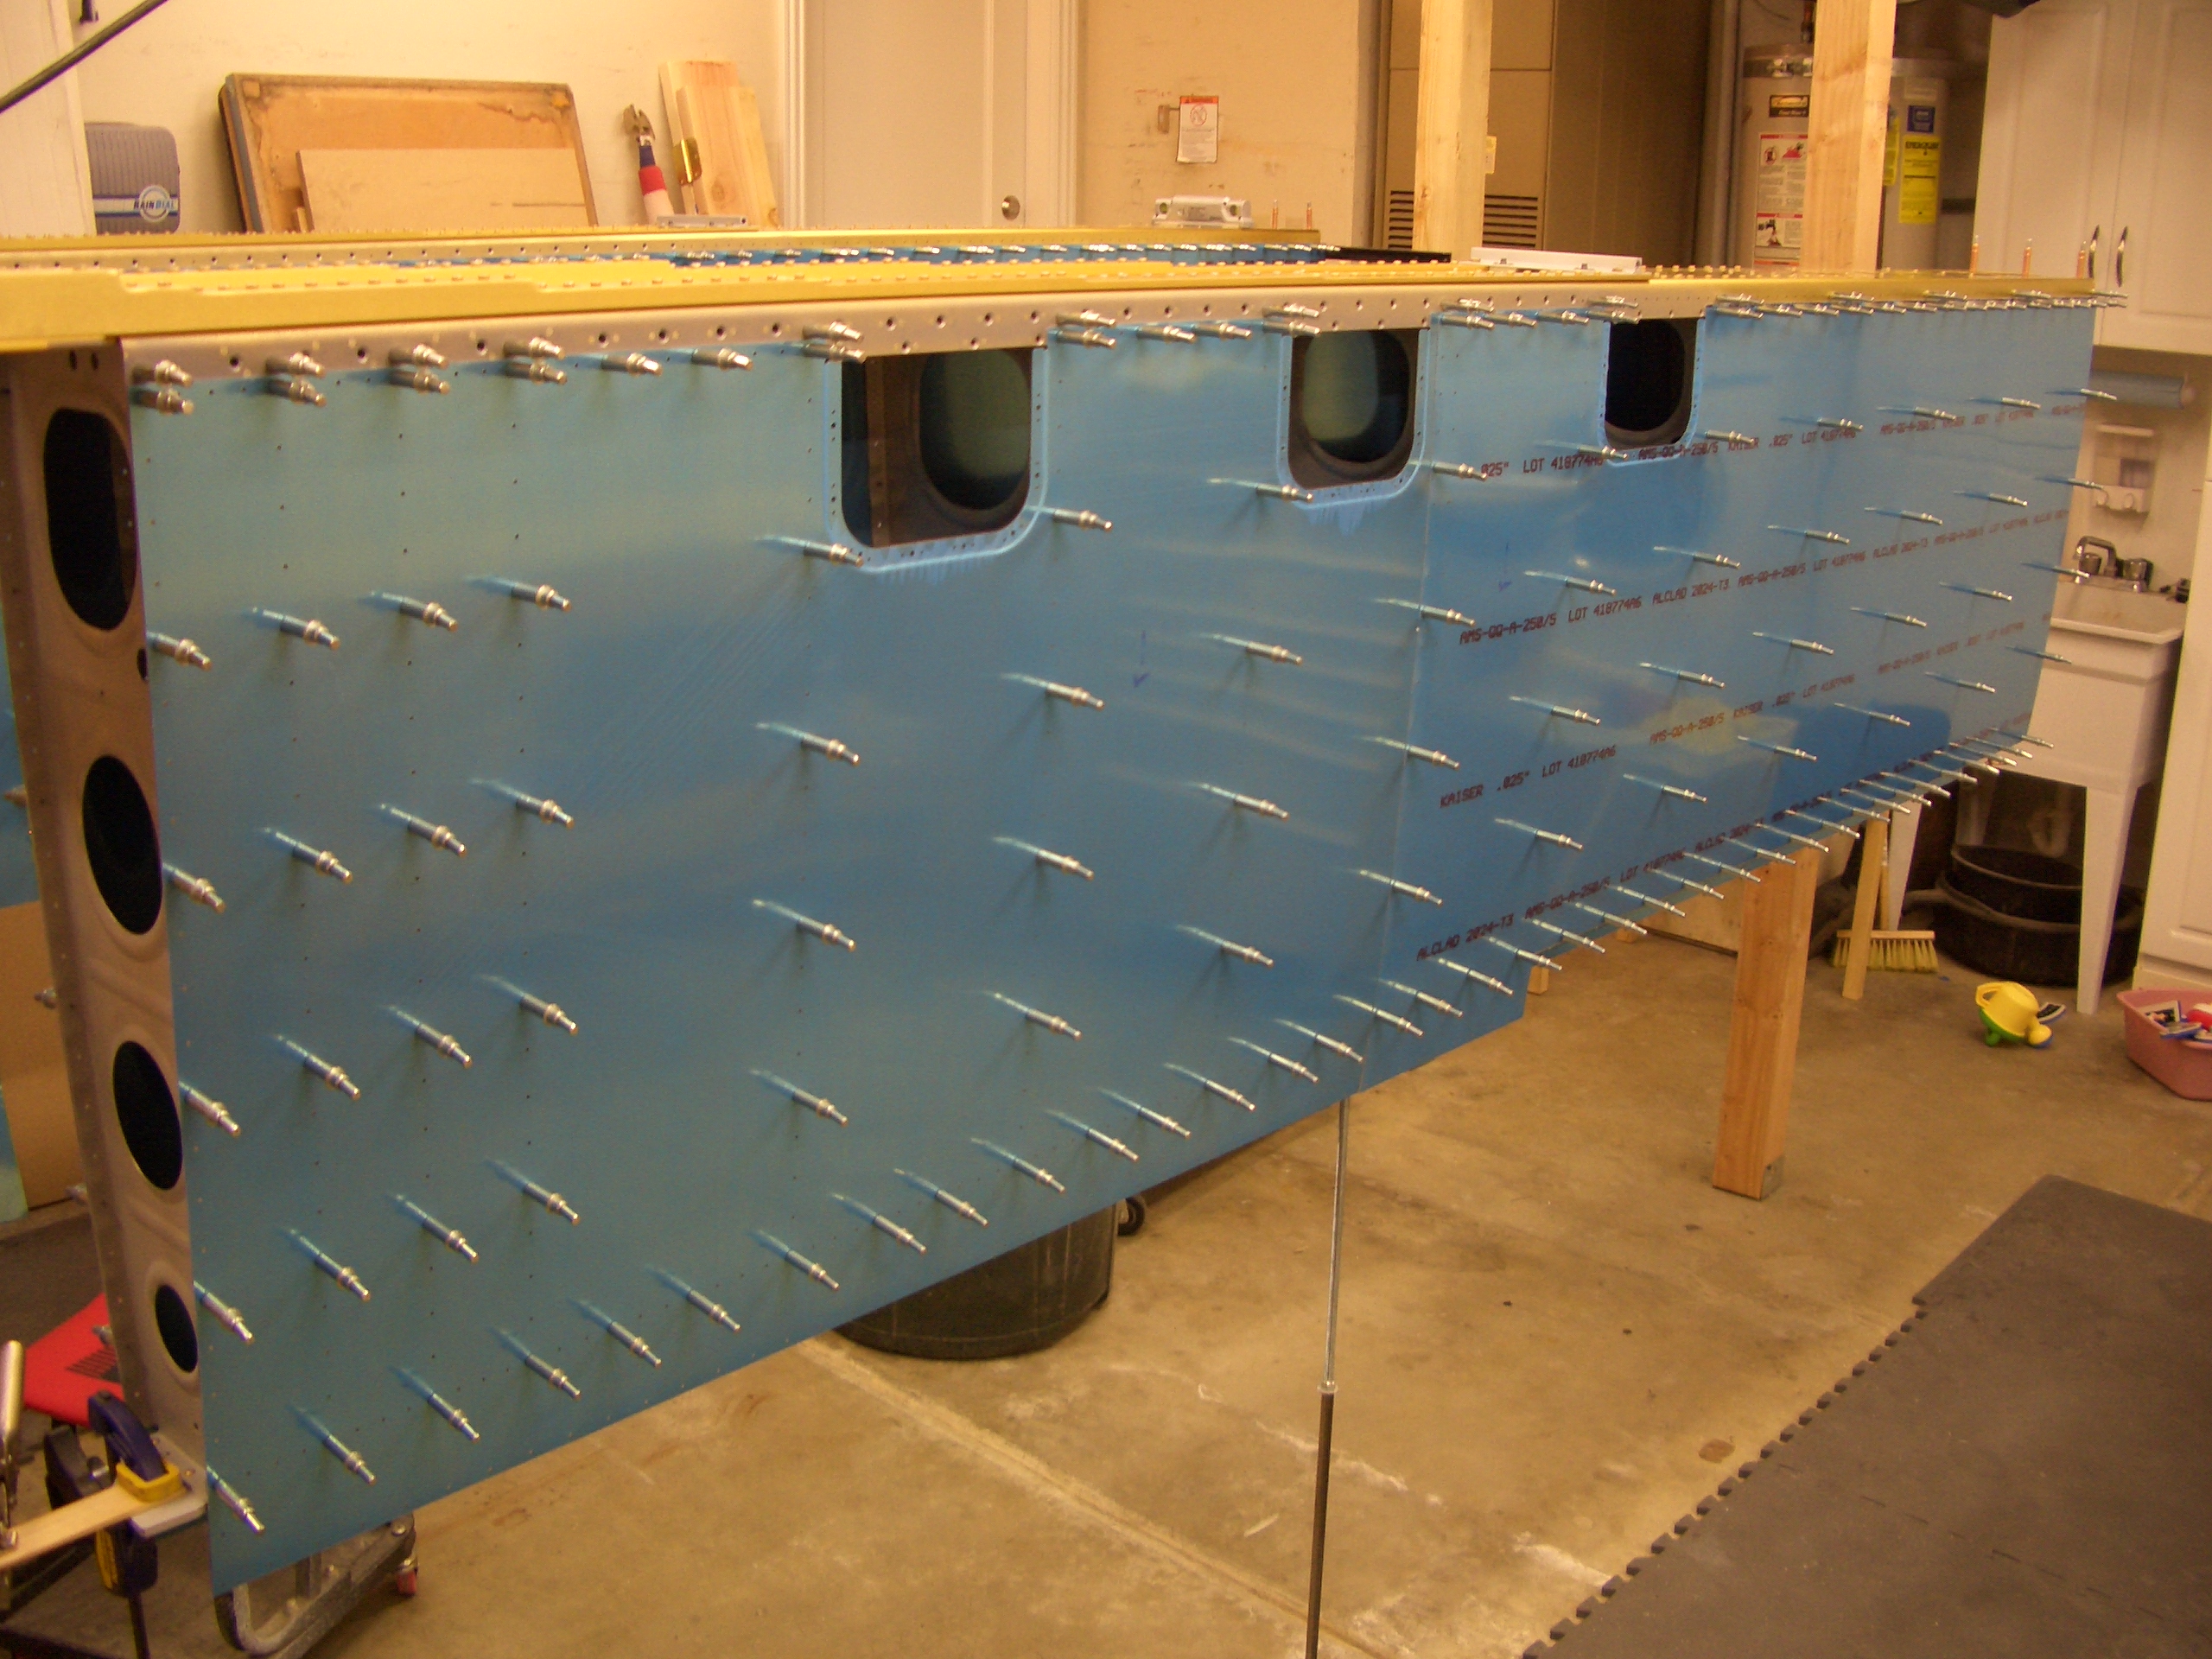
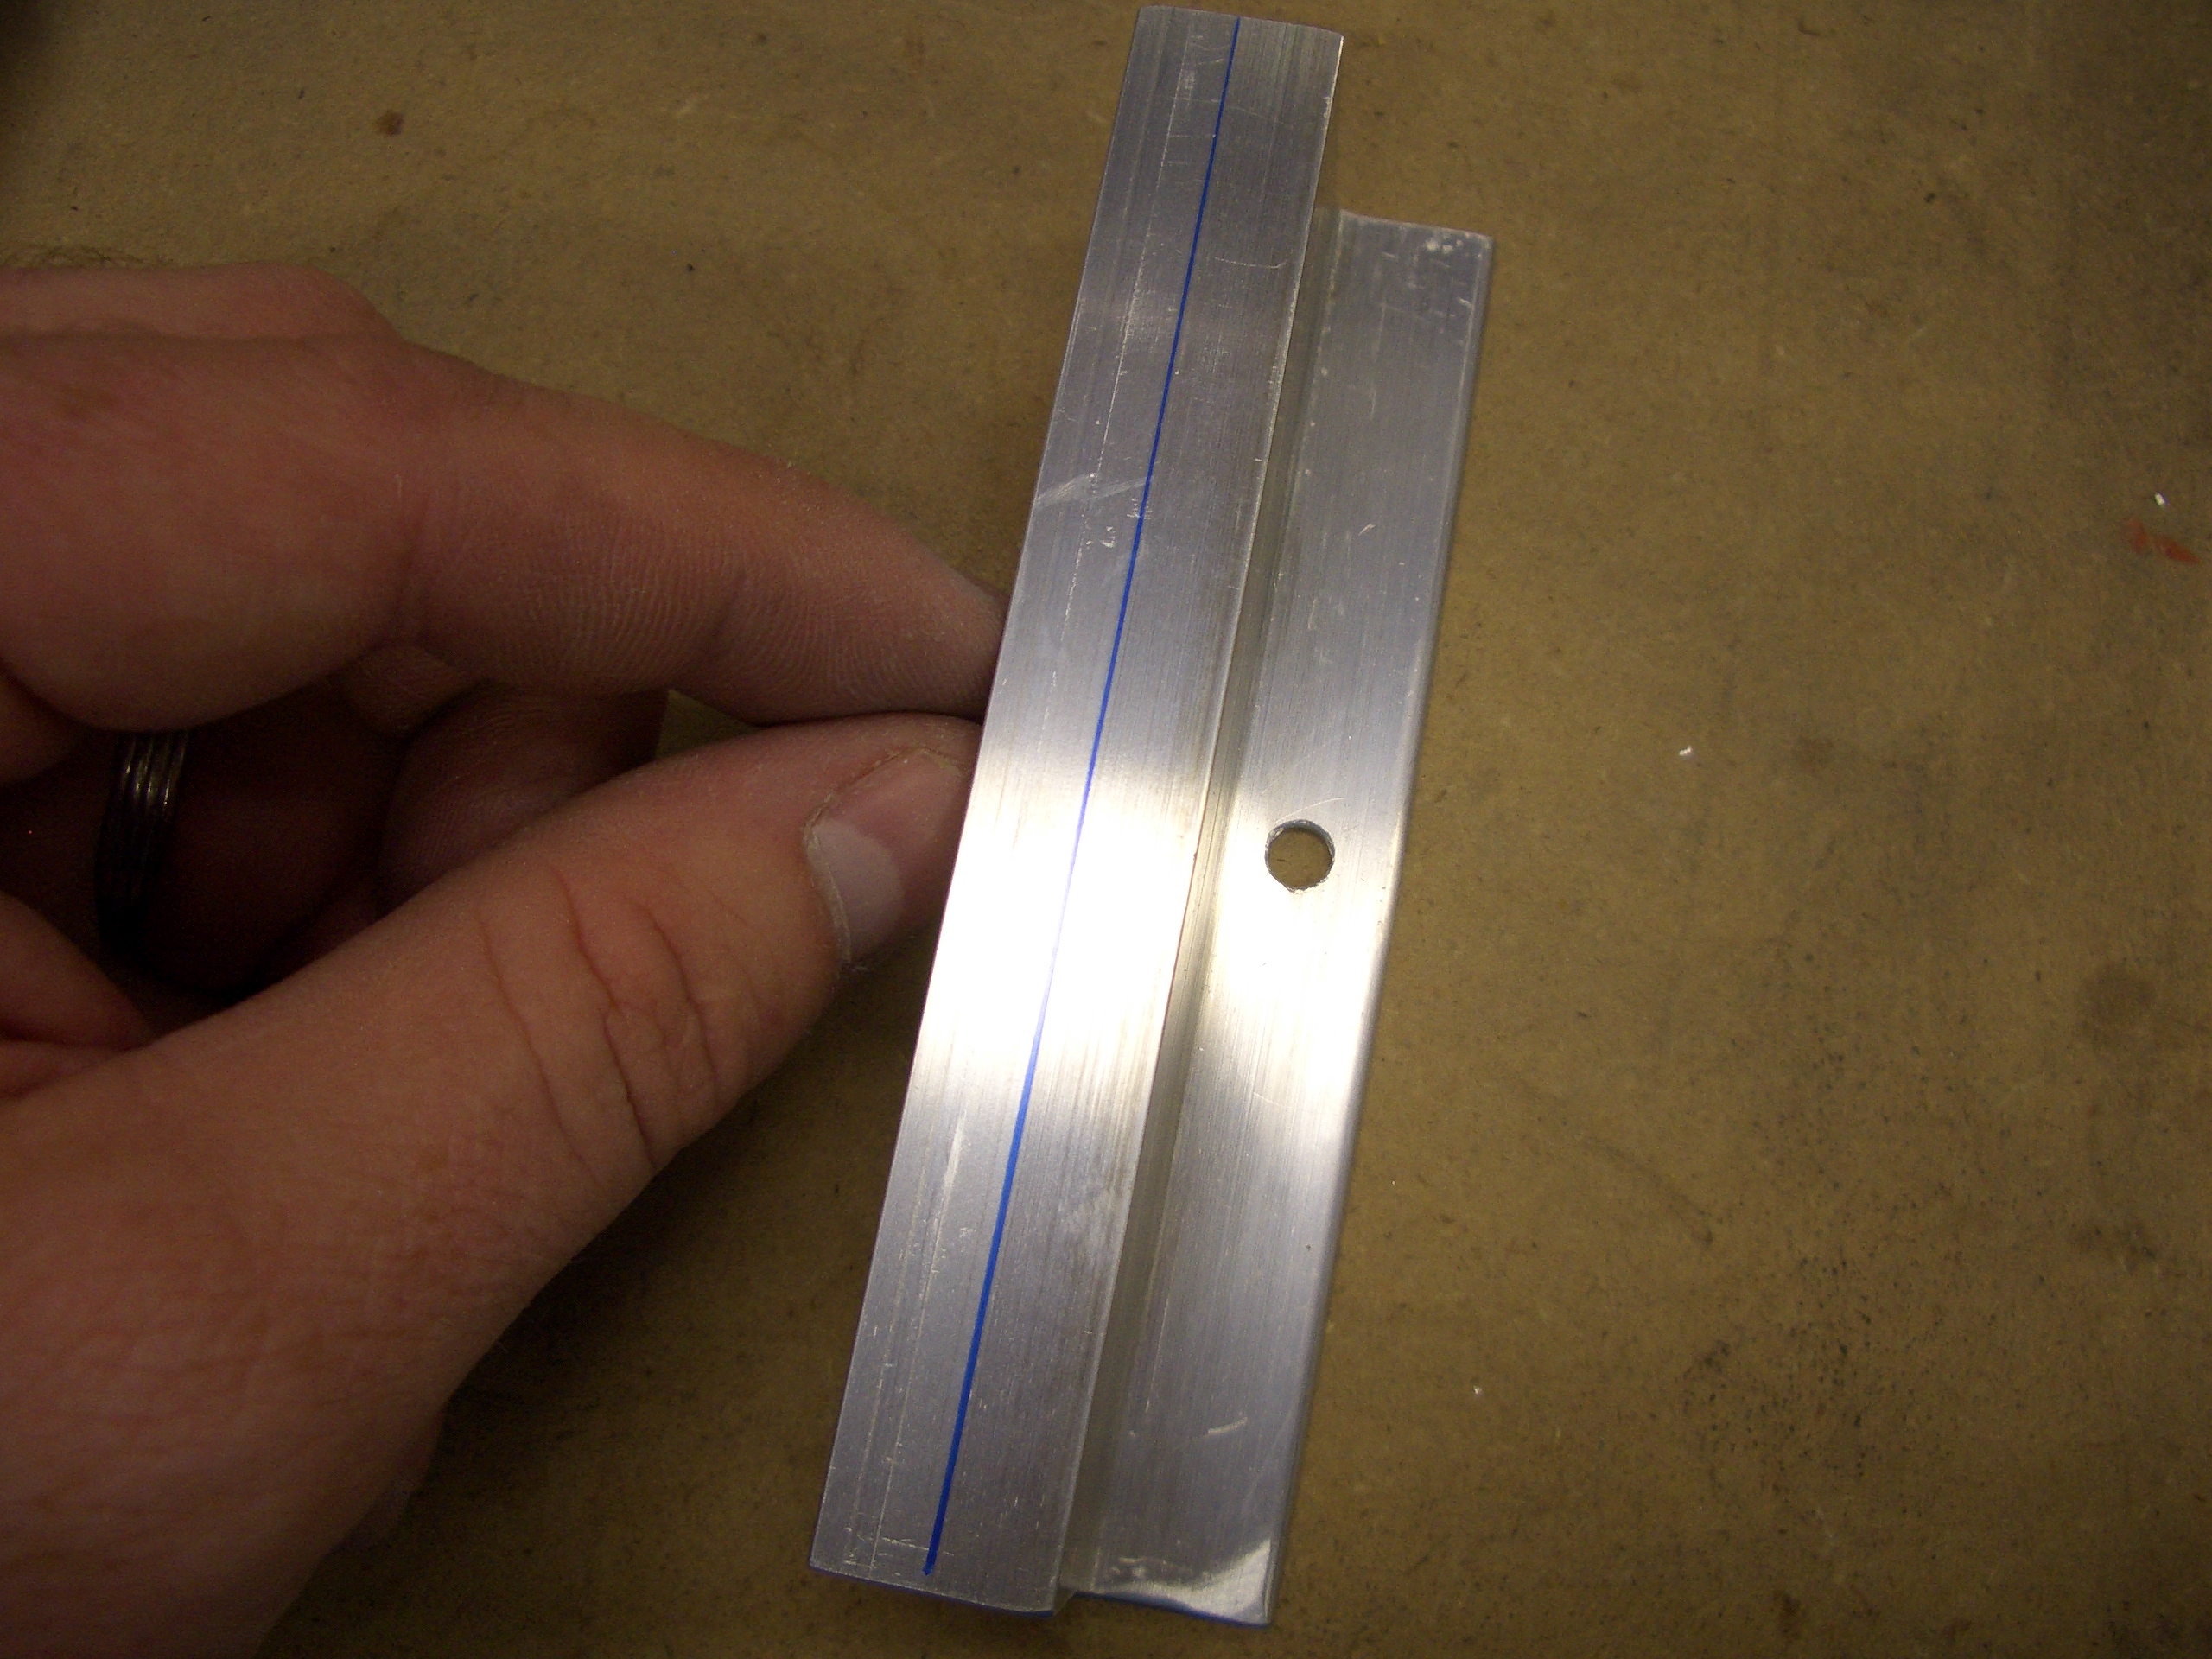
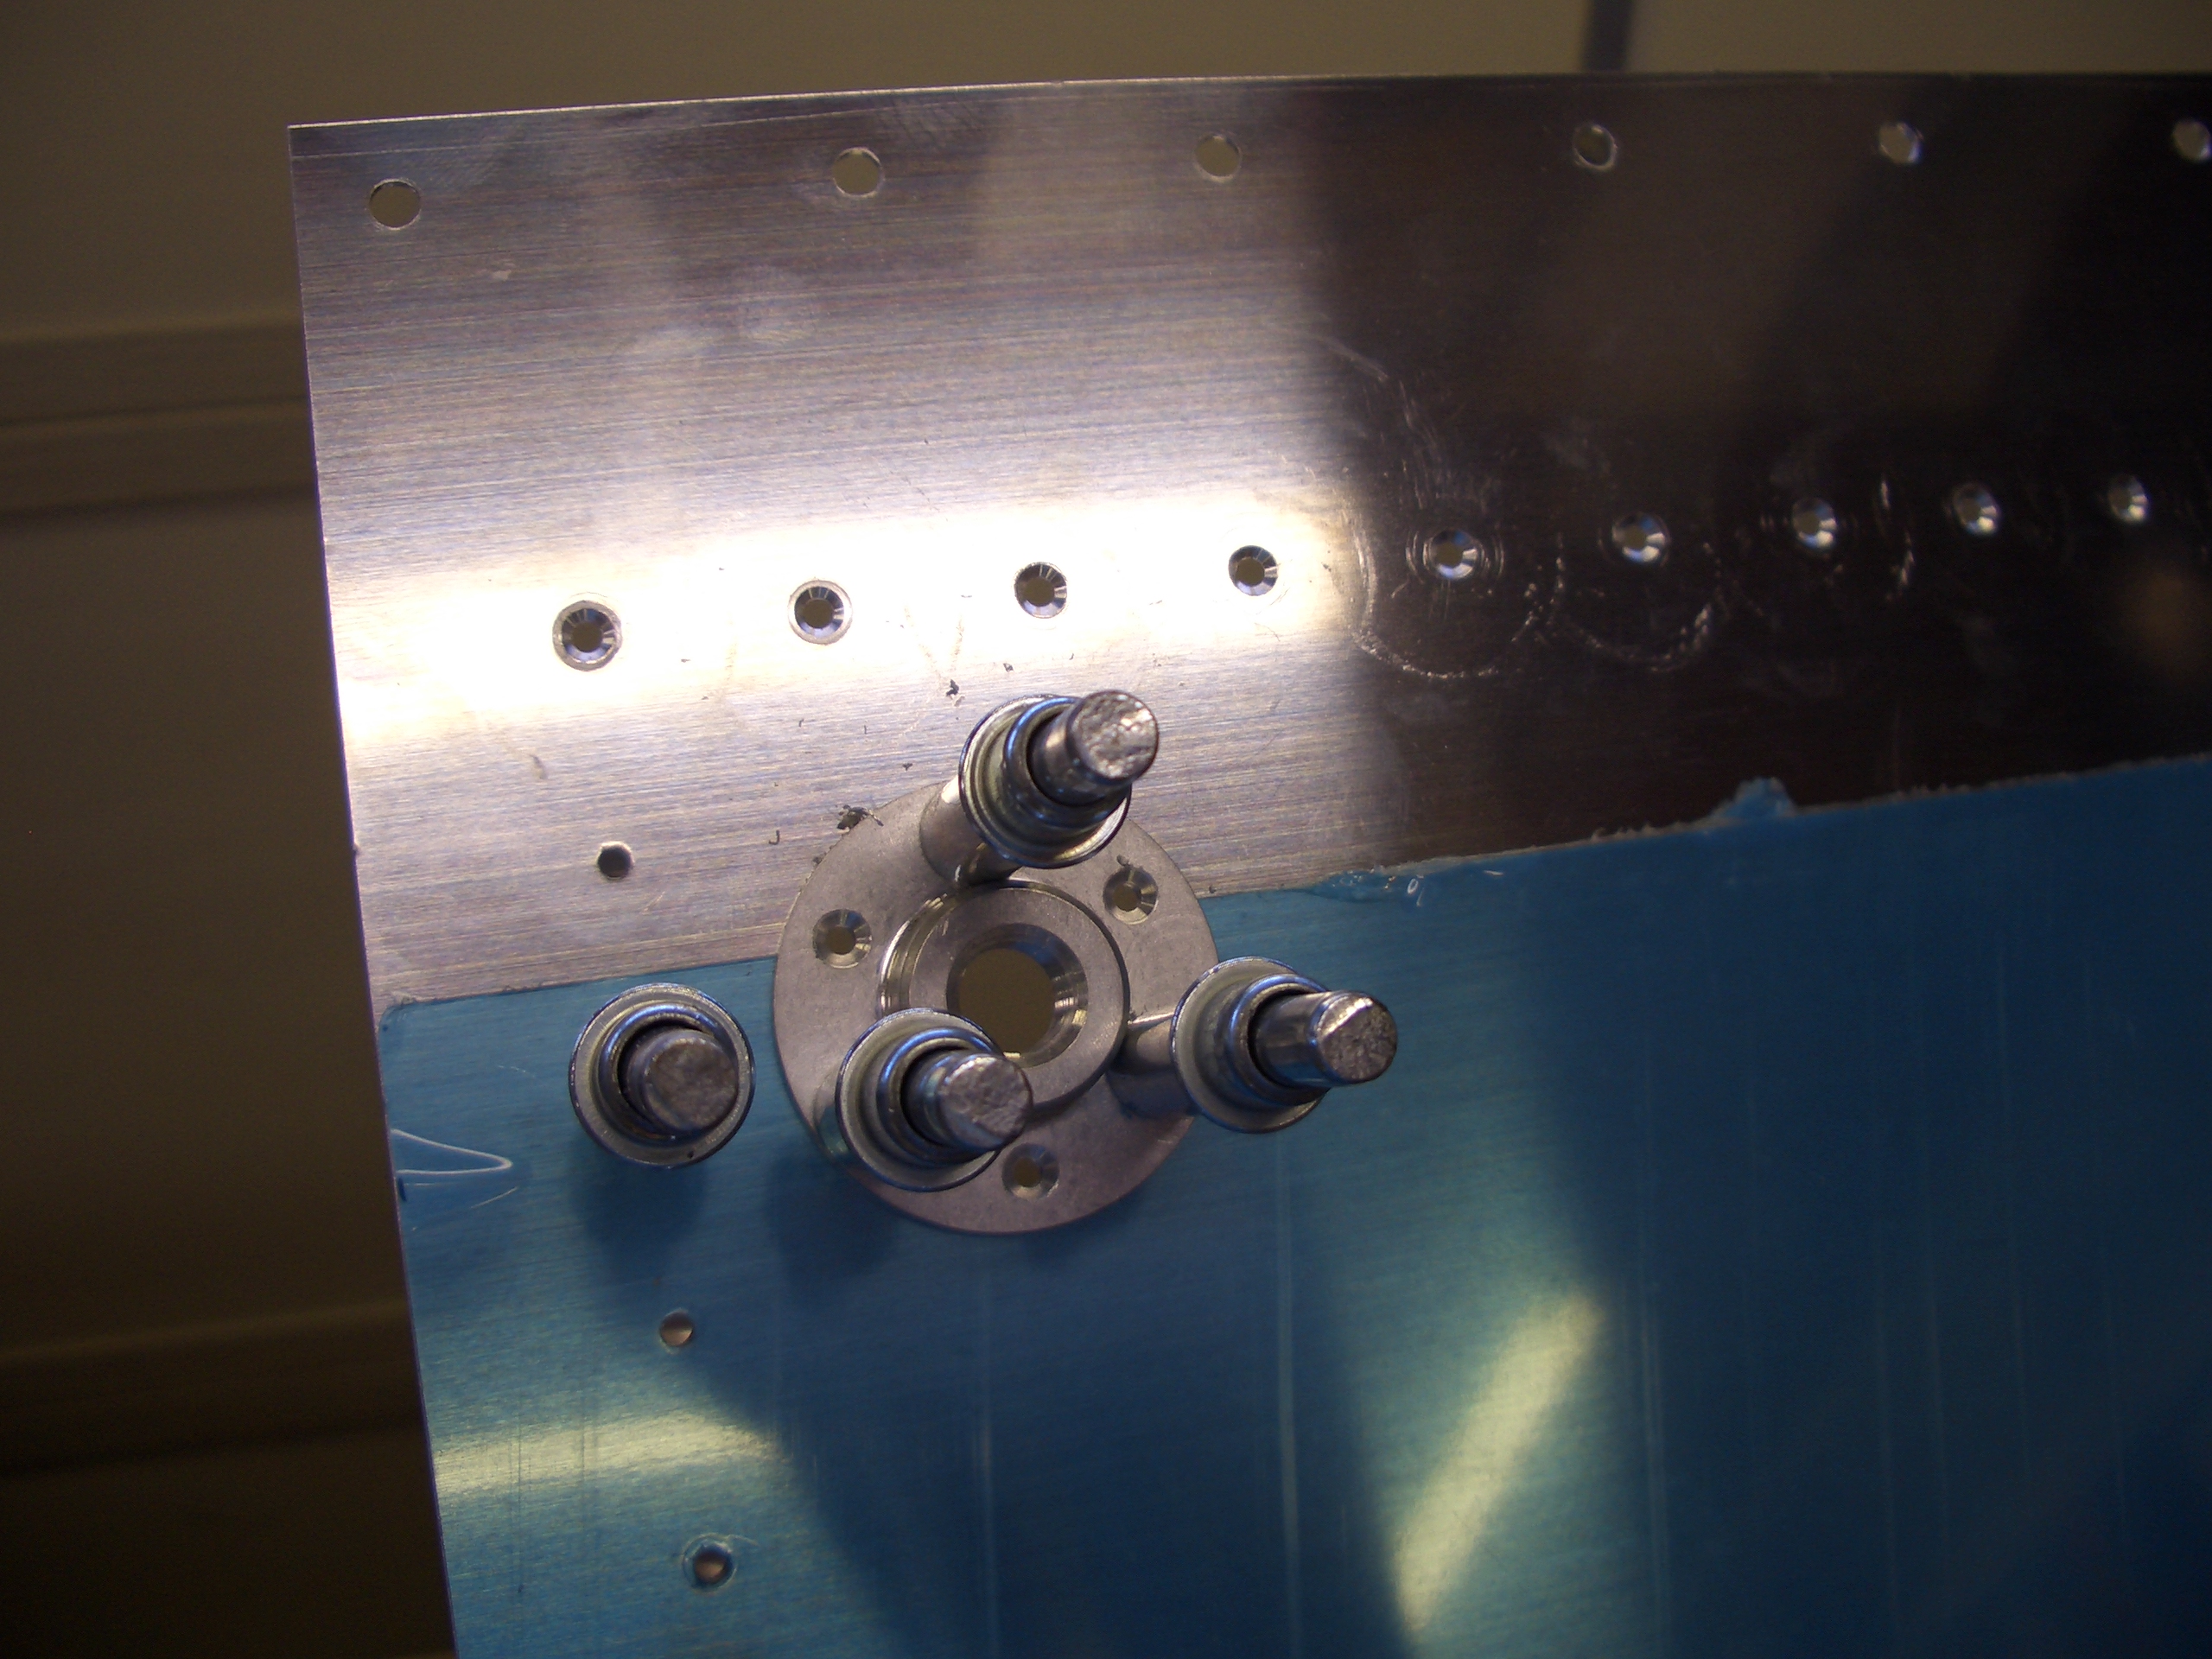
Next, drill a 3/16″ (or #11) hole in each of the z-brackets. The root most bracket should have its hole shifted about 1/16″ away from the web (relative to the center) to allow a wrench to be placed over these bolts.

The rest of the brackets should have the hole shifted about 1/16″ toward the web. This will give a little more room on the other flange for the pop rivet tool to seat the pop rivets that hold these brackets onto the tank.

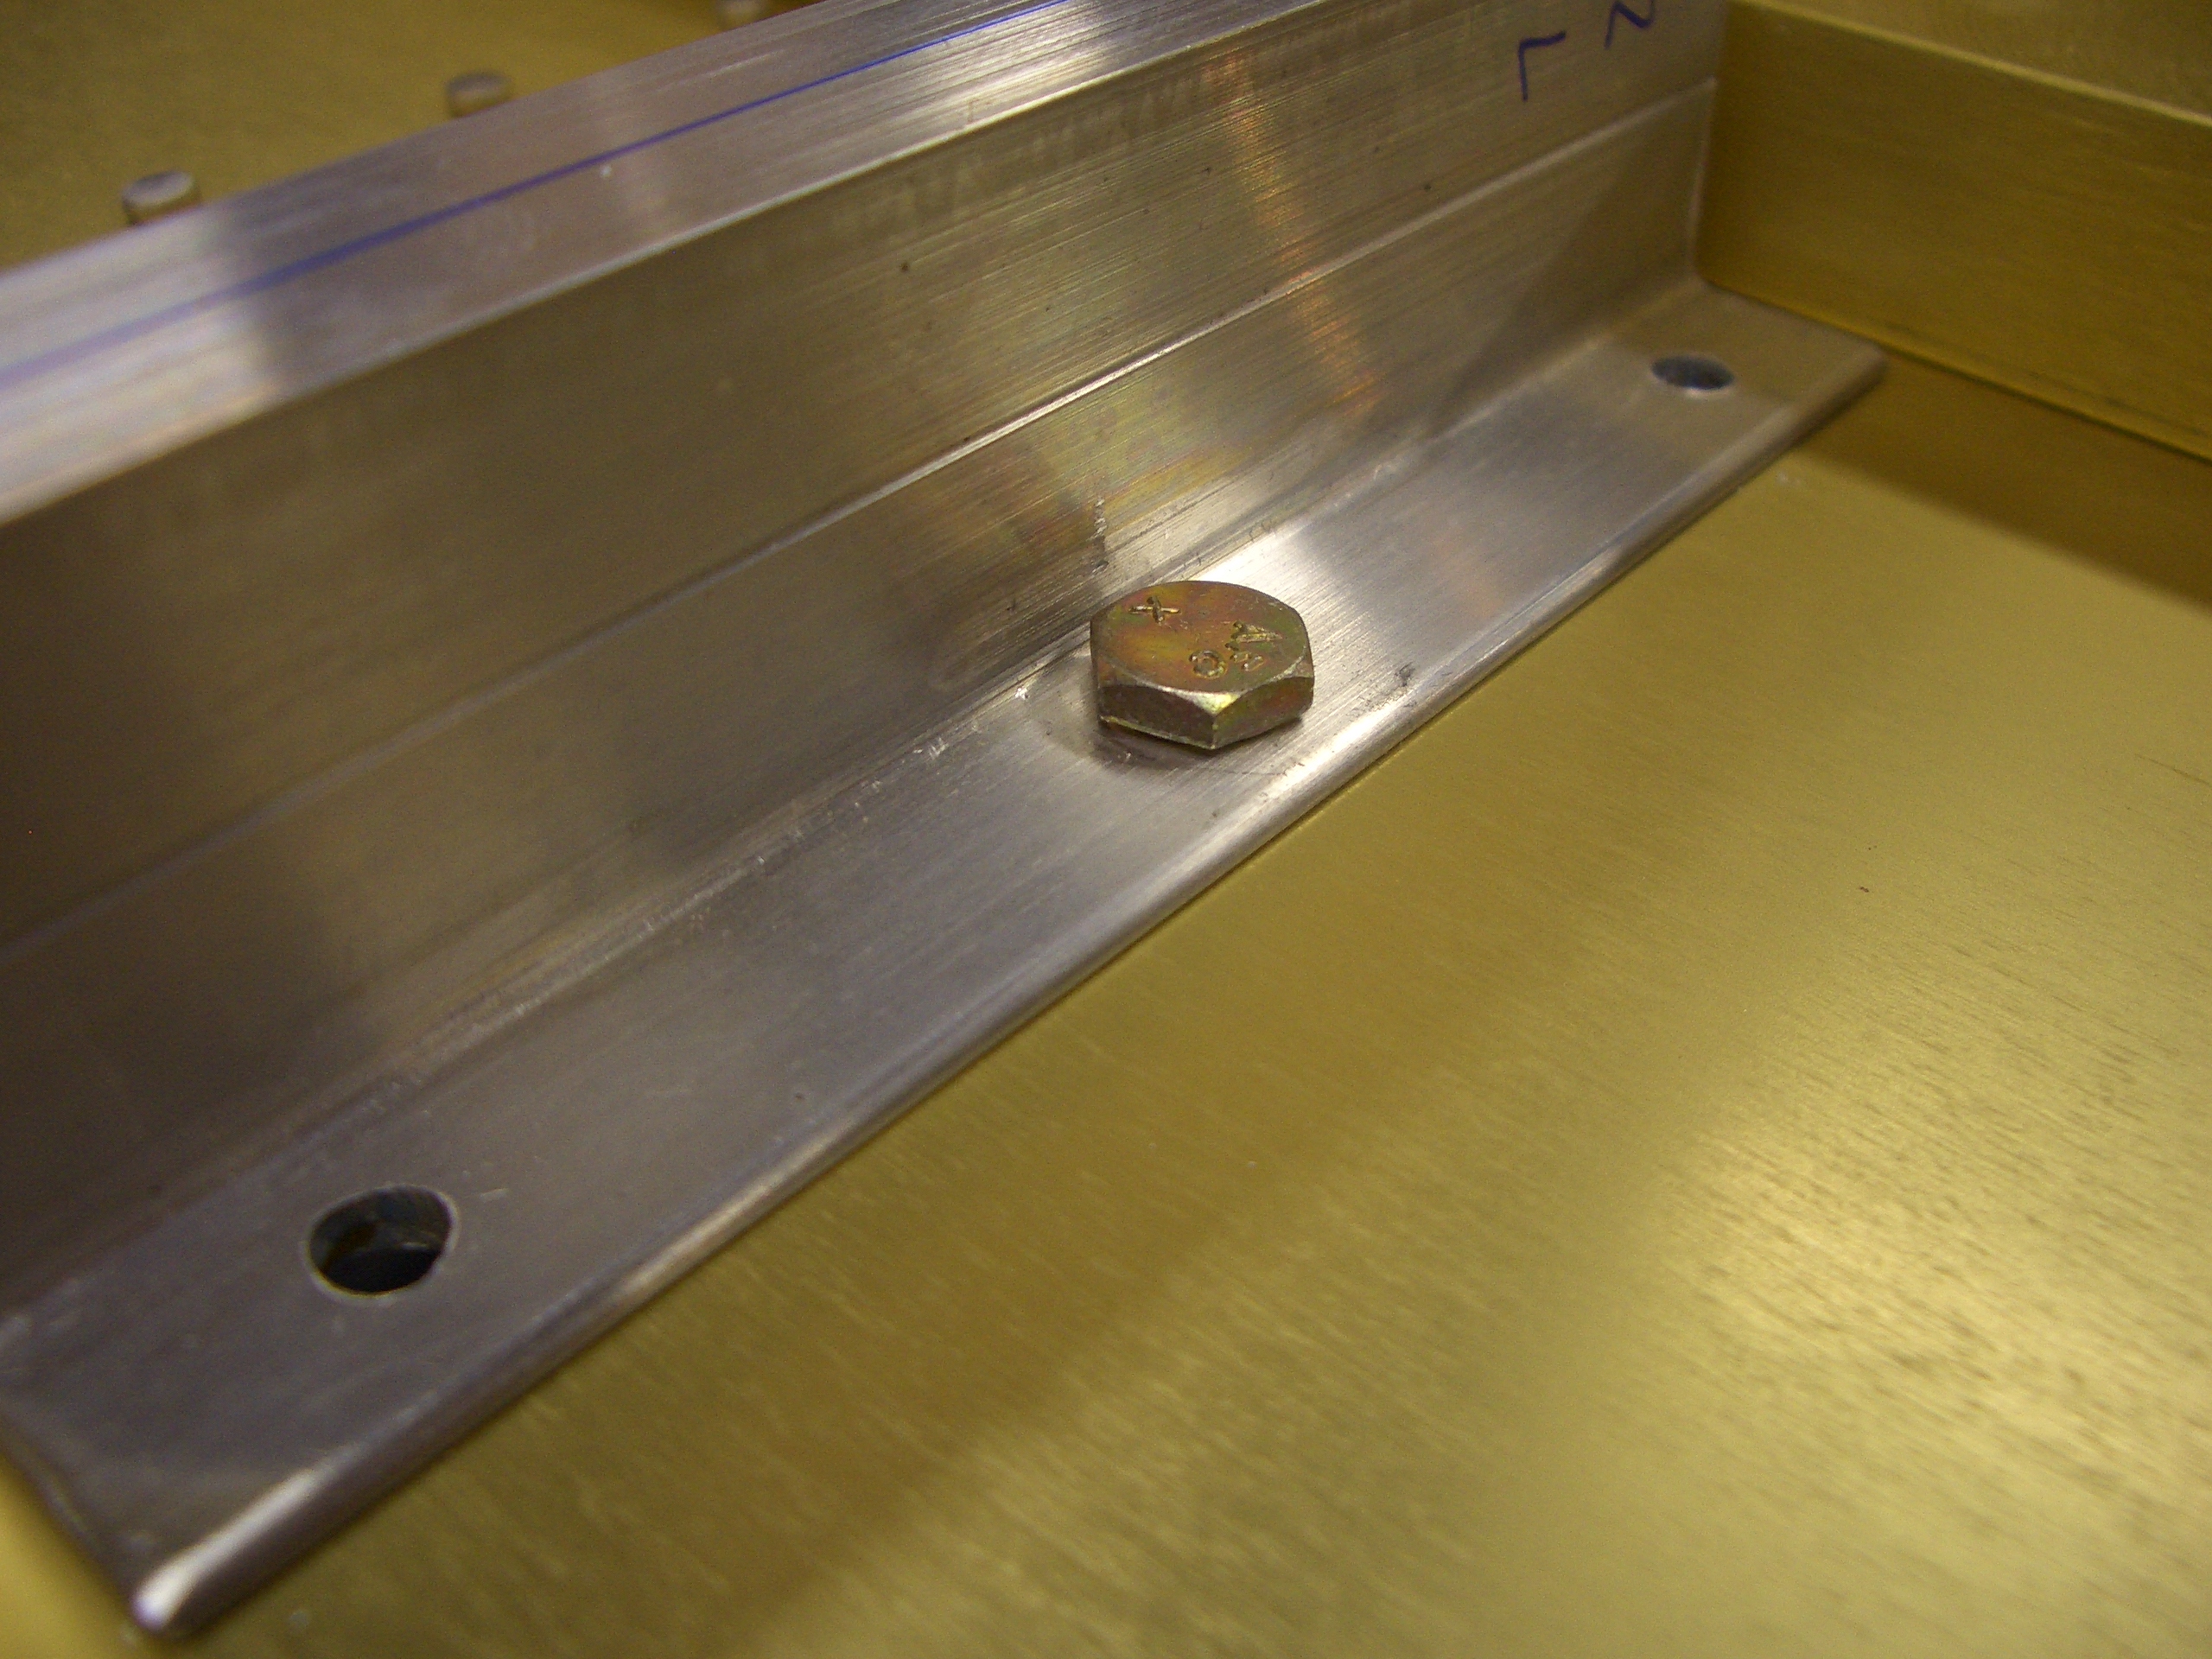
Using this center hole and some scrap bolts, tighten these brackets firmly to the spar (making sure to get the flange orientation correct).
After all brackets have been bolted to the spar, back drill them through the holes already in the spar.

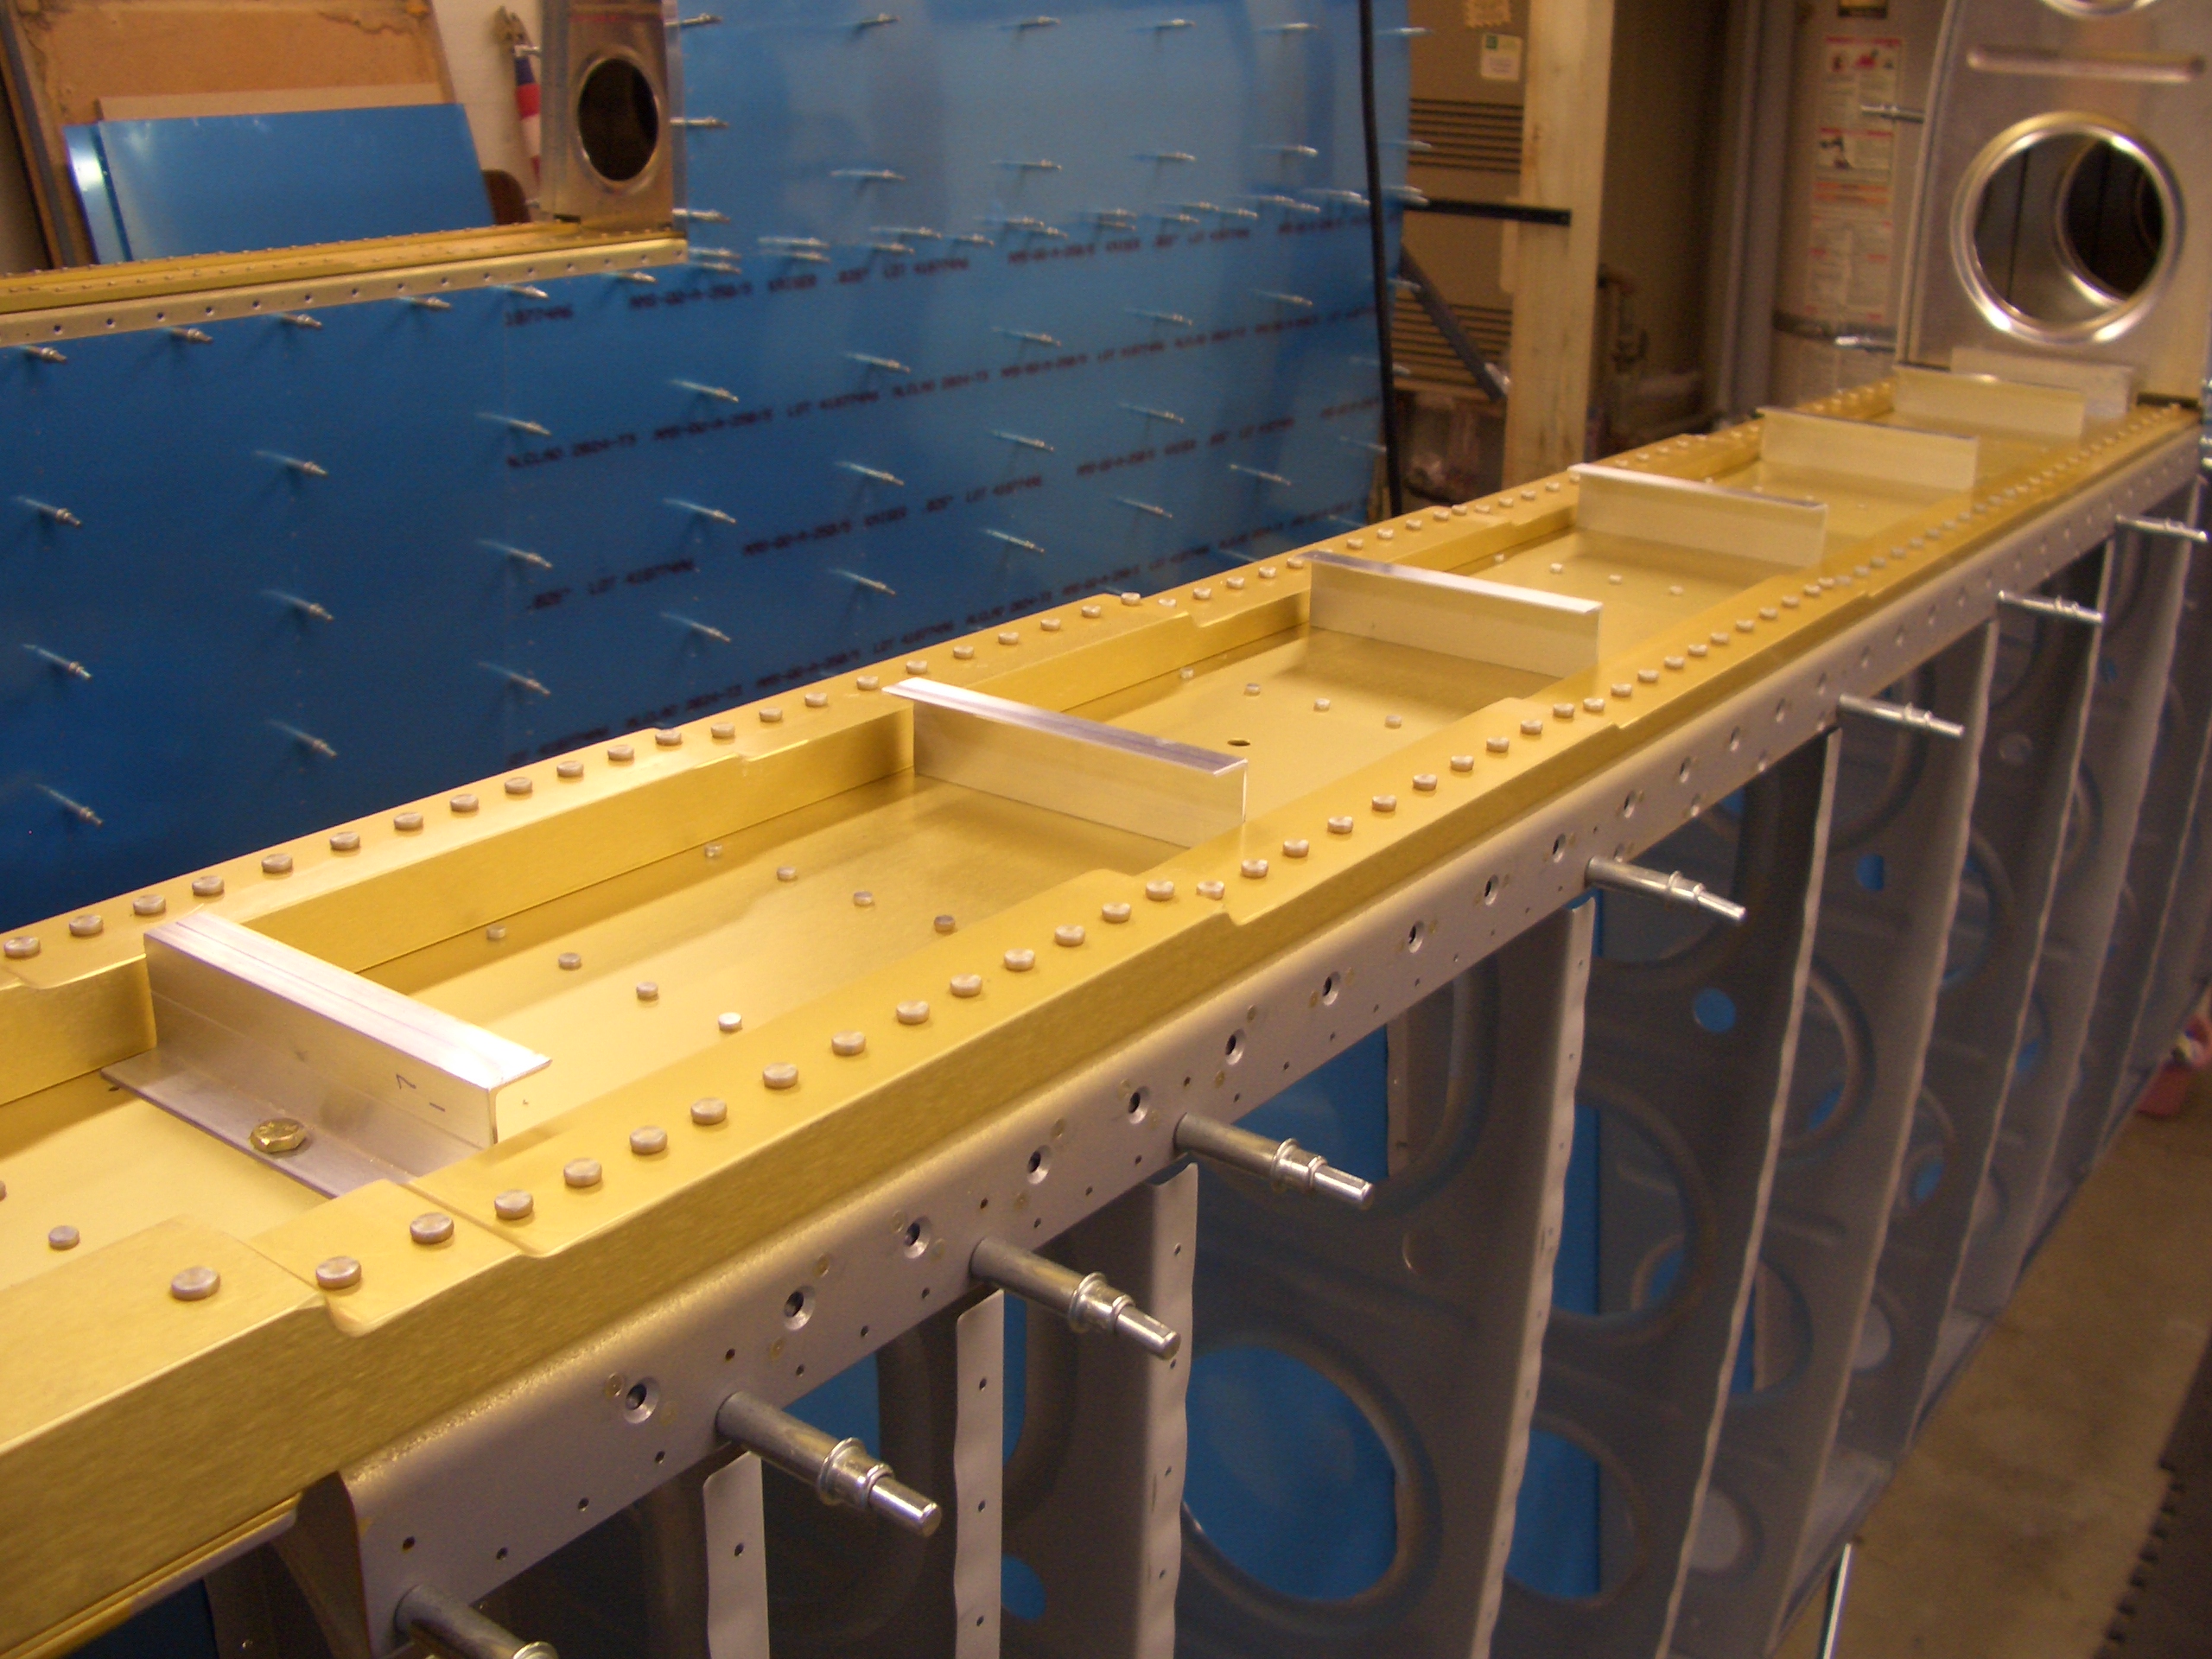
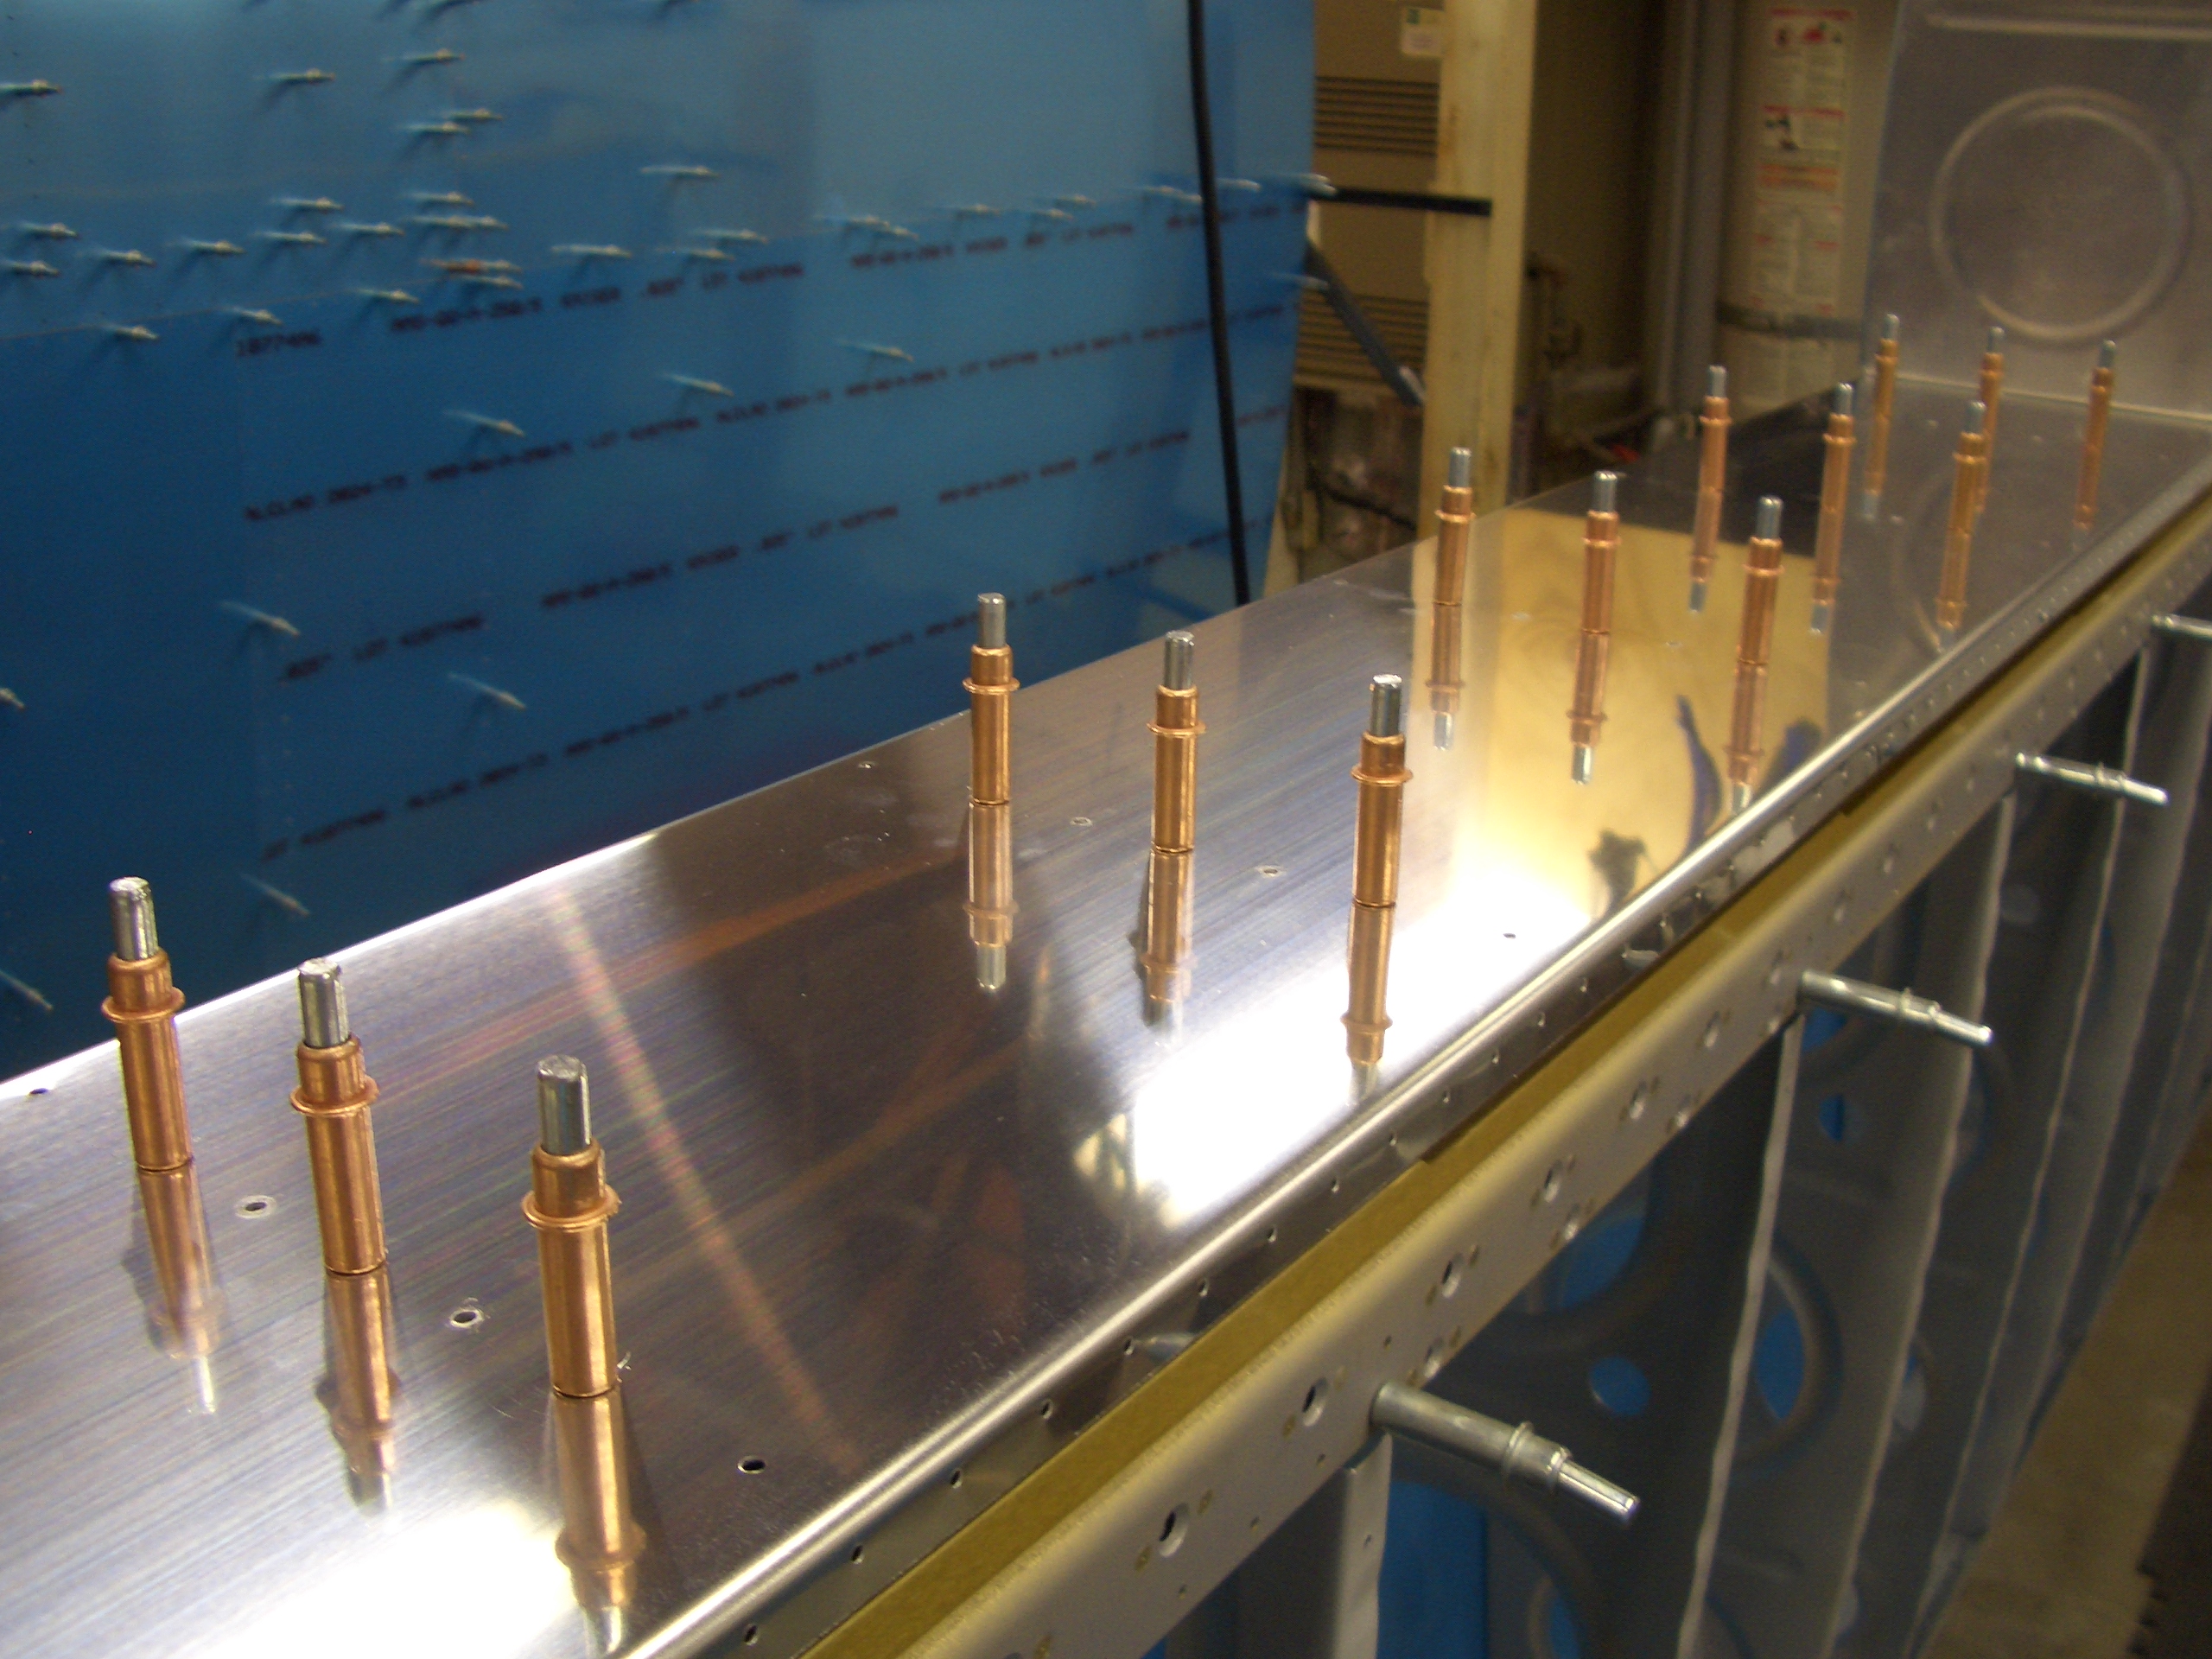
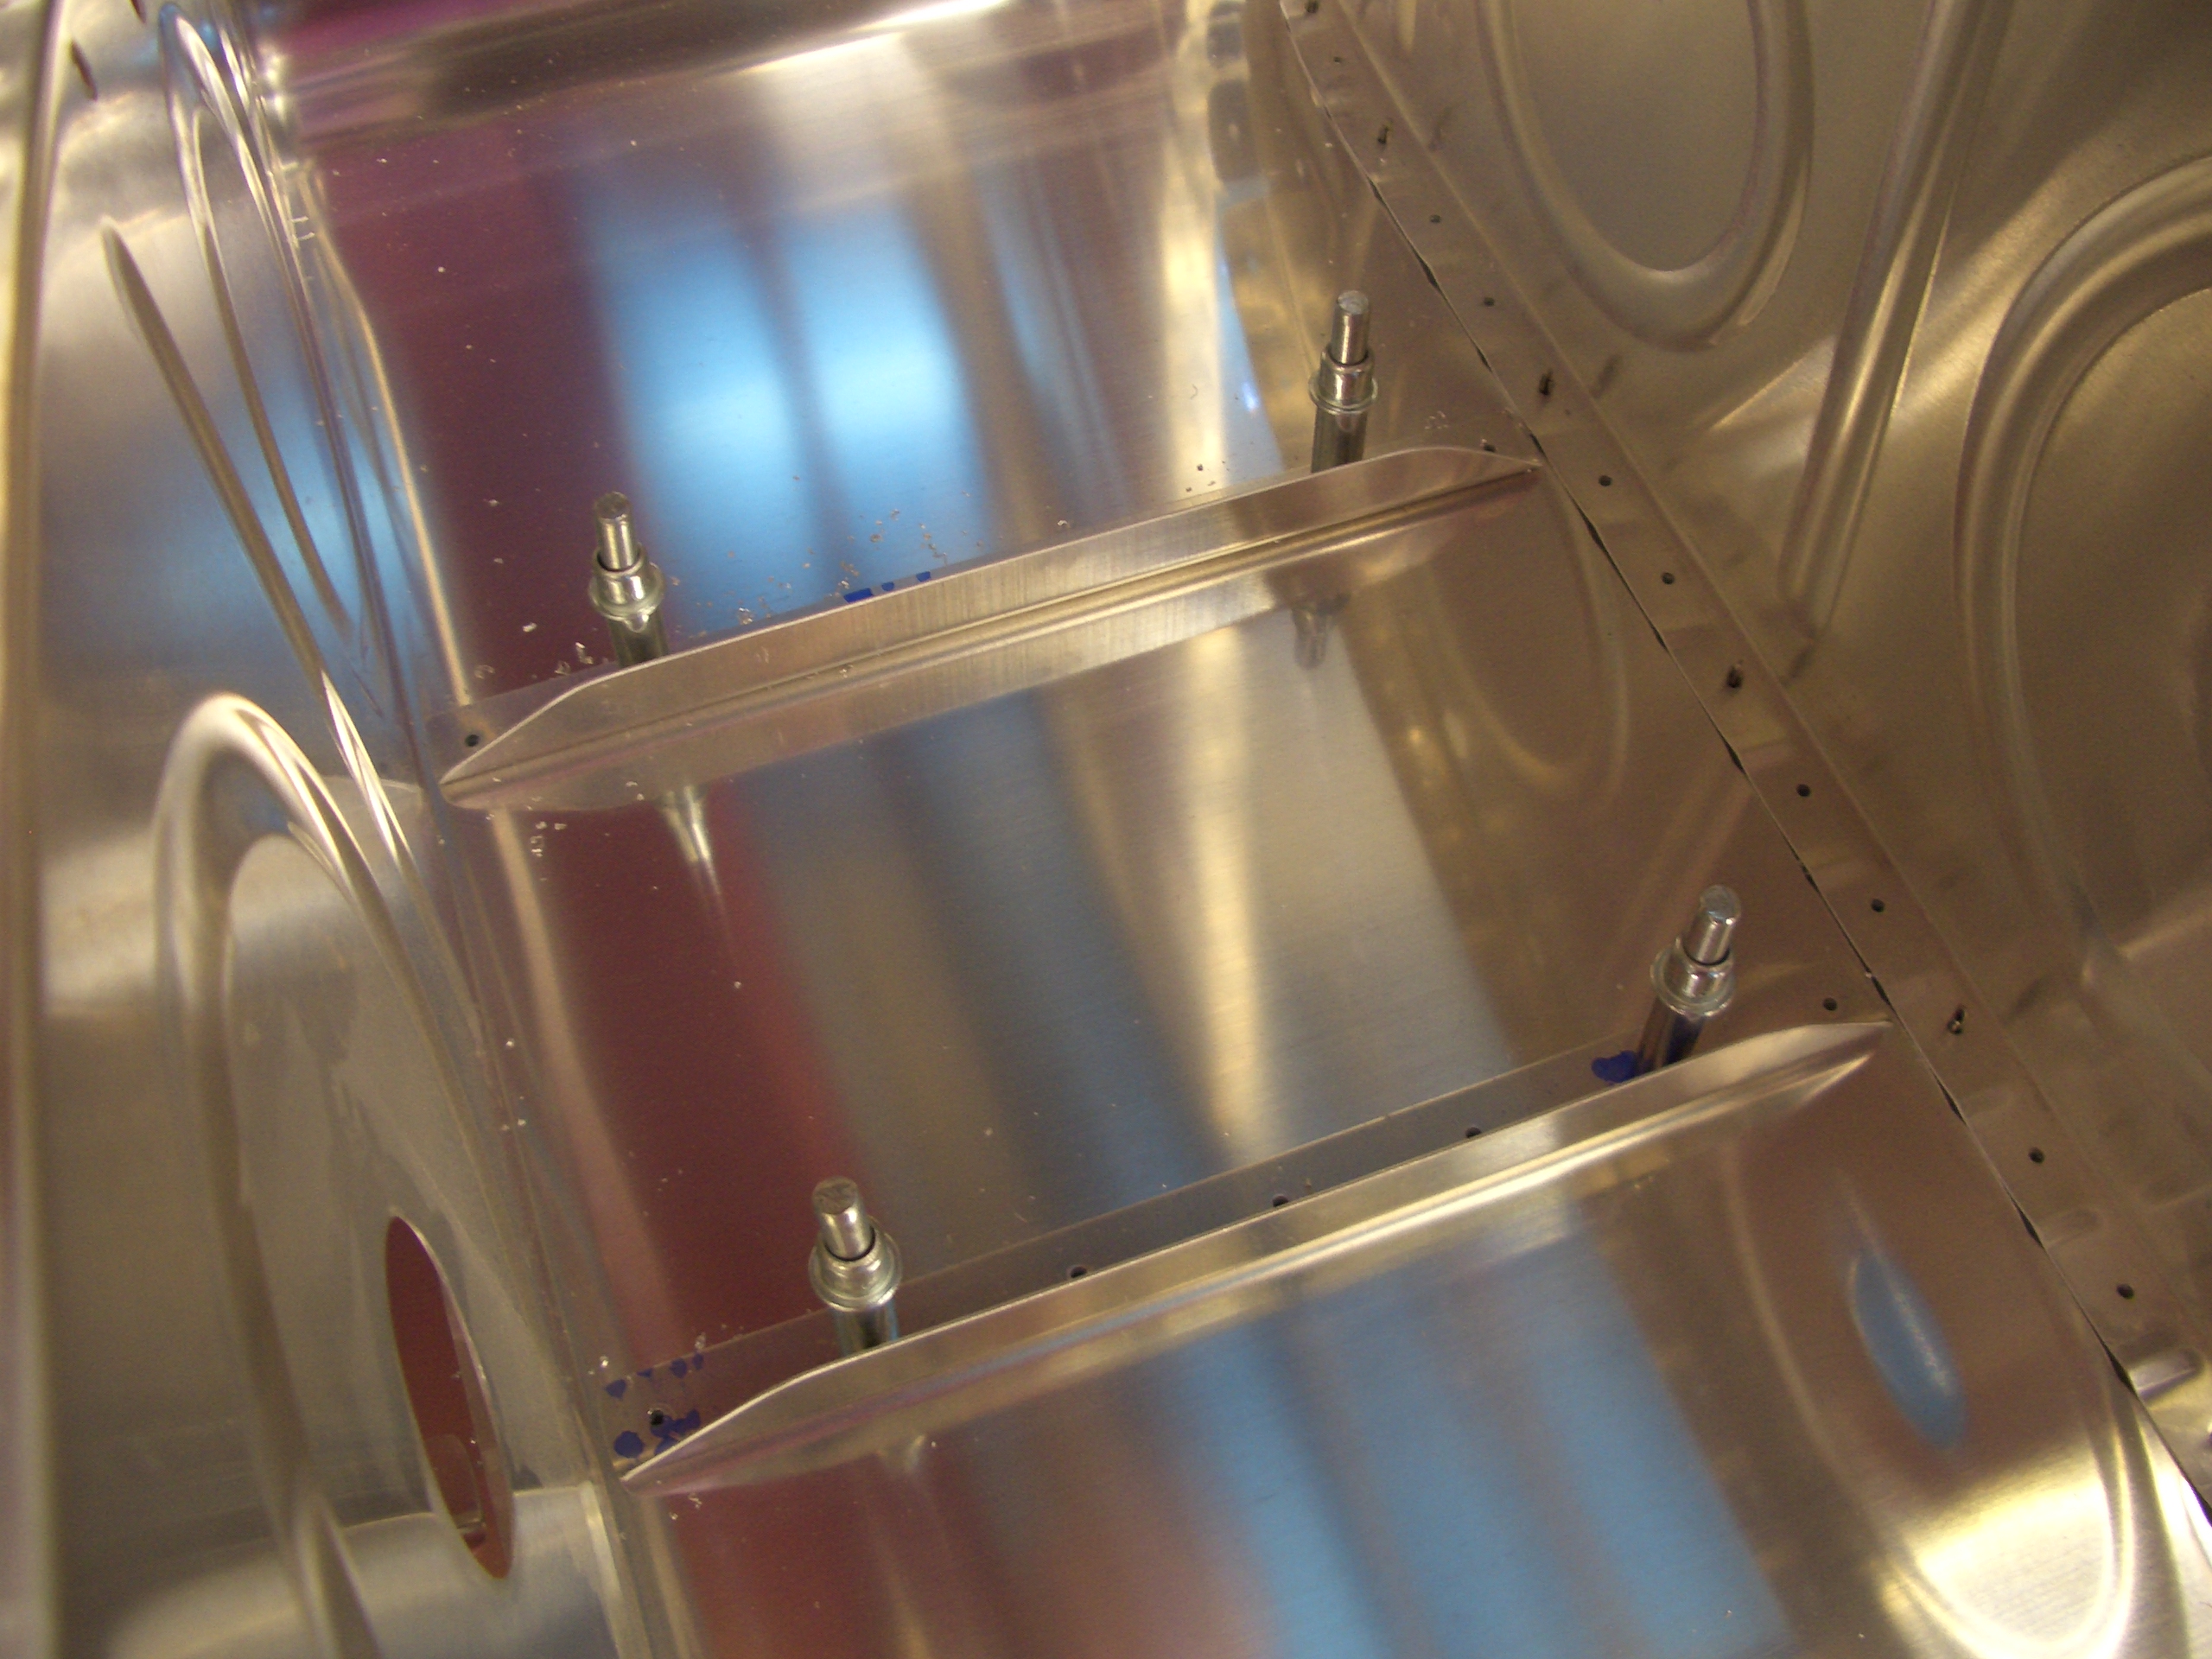
Here is a closeup of what you should end up with.

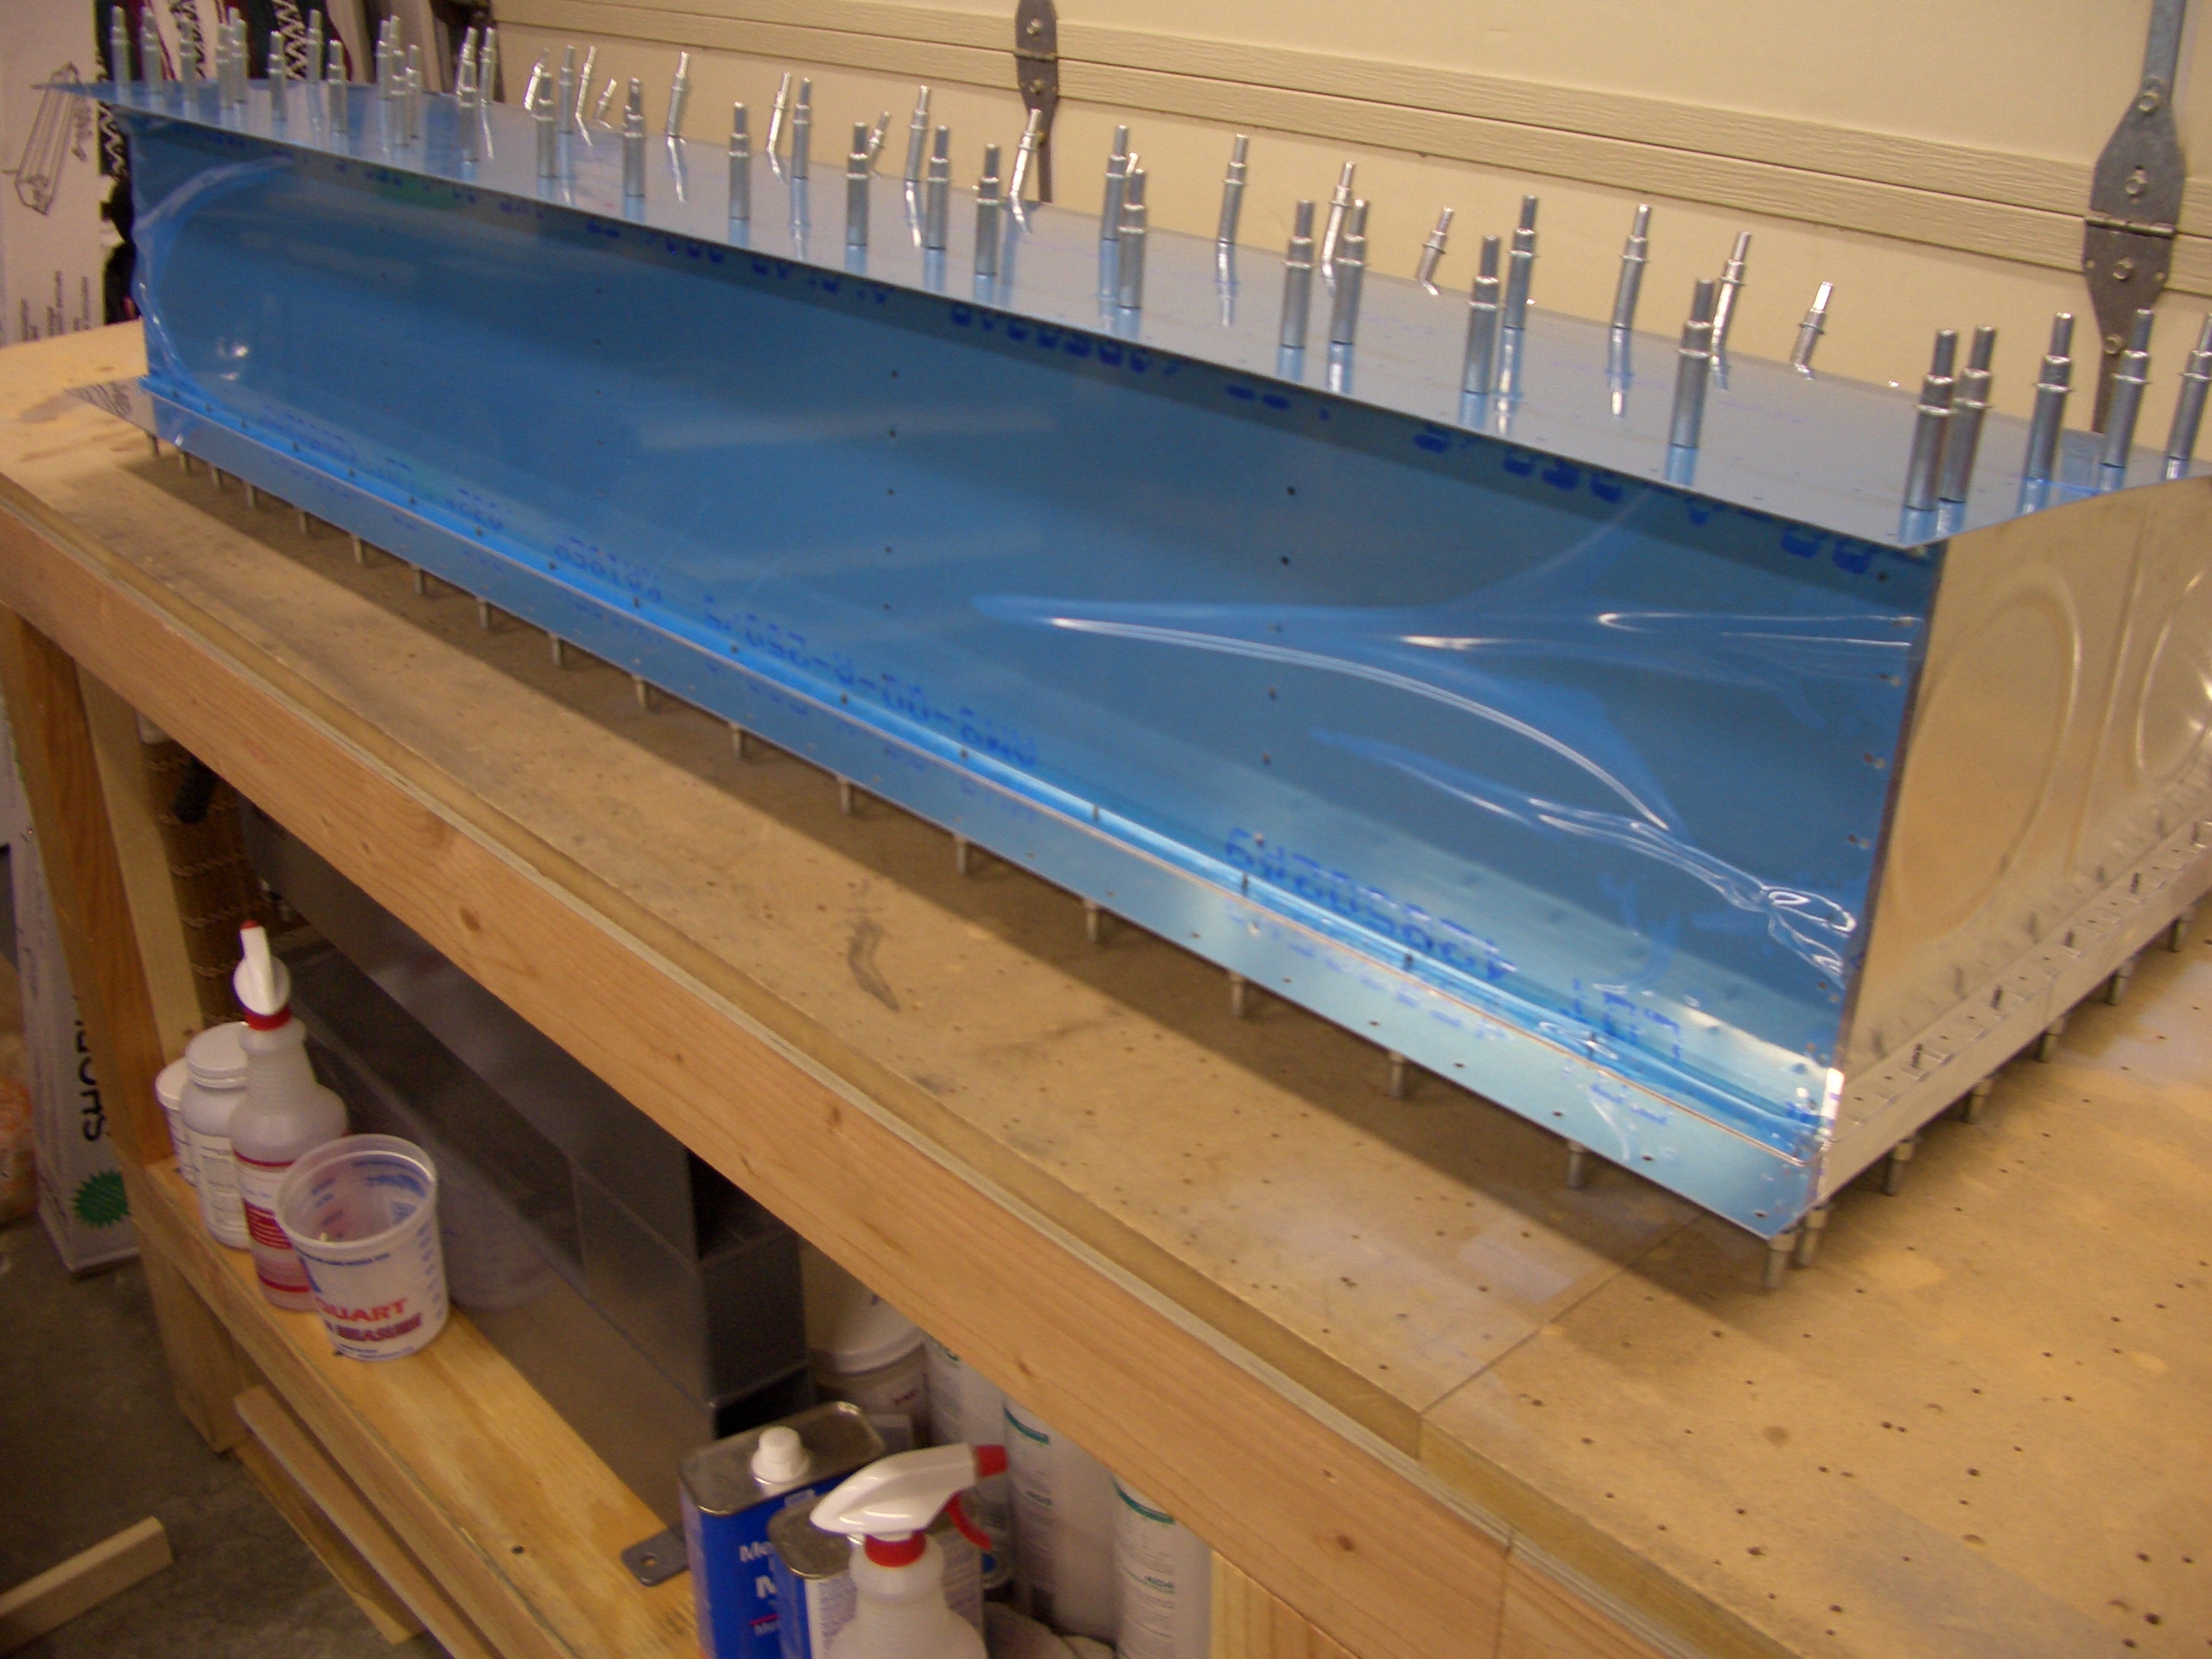
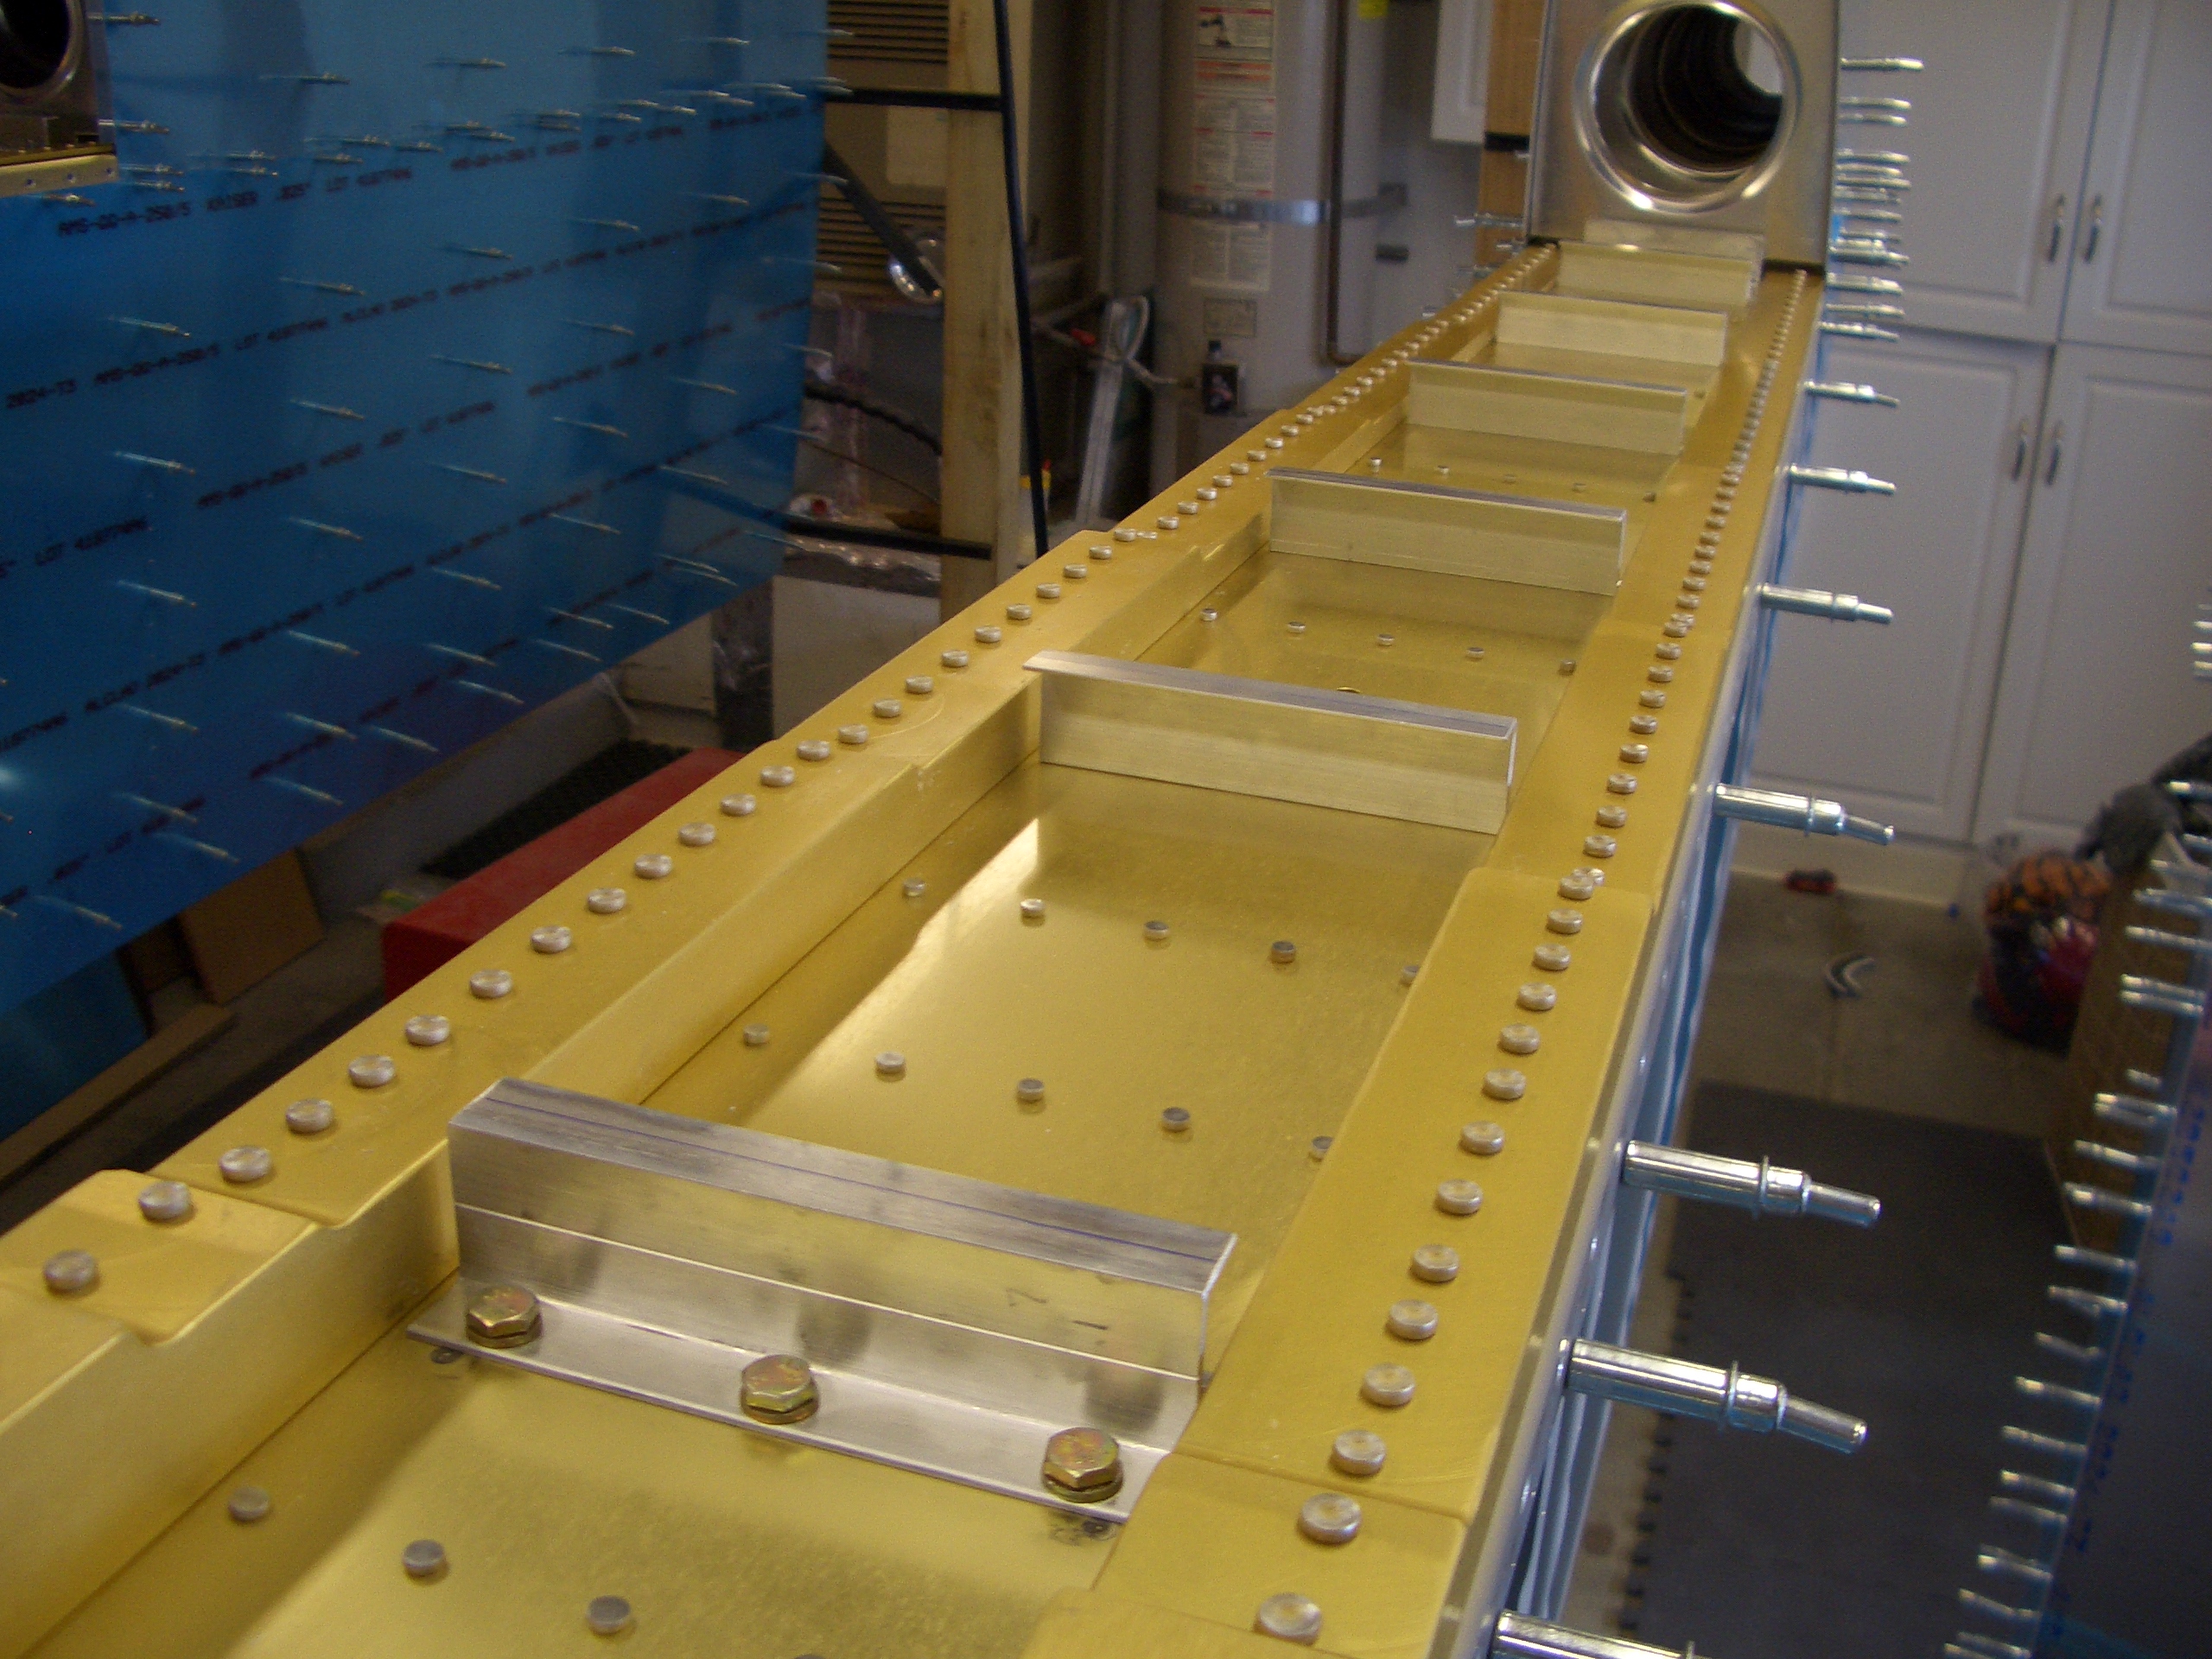
Next, remove all of the brackets from the spar and attach platenuts to all but the inboard z-bracket. For the inboard bracket, the platenuts are attached to the rear of the spar. Go ahead and attach those platenuts as well now too. After that, bolt all of the z-brackets to the spar. I used all three bolts here because I found there was some minor hole adjustment that had to be done for the bolts to fit through cleanly and I wanted to make sure that that was done before the z-brackets were match drilled to the tank baffle.

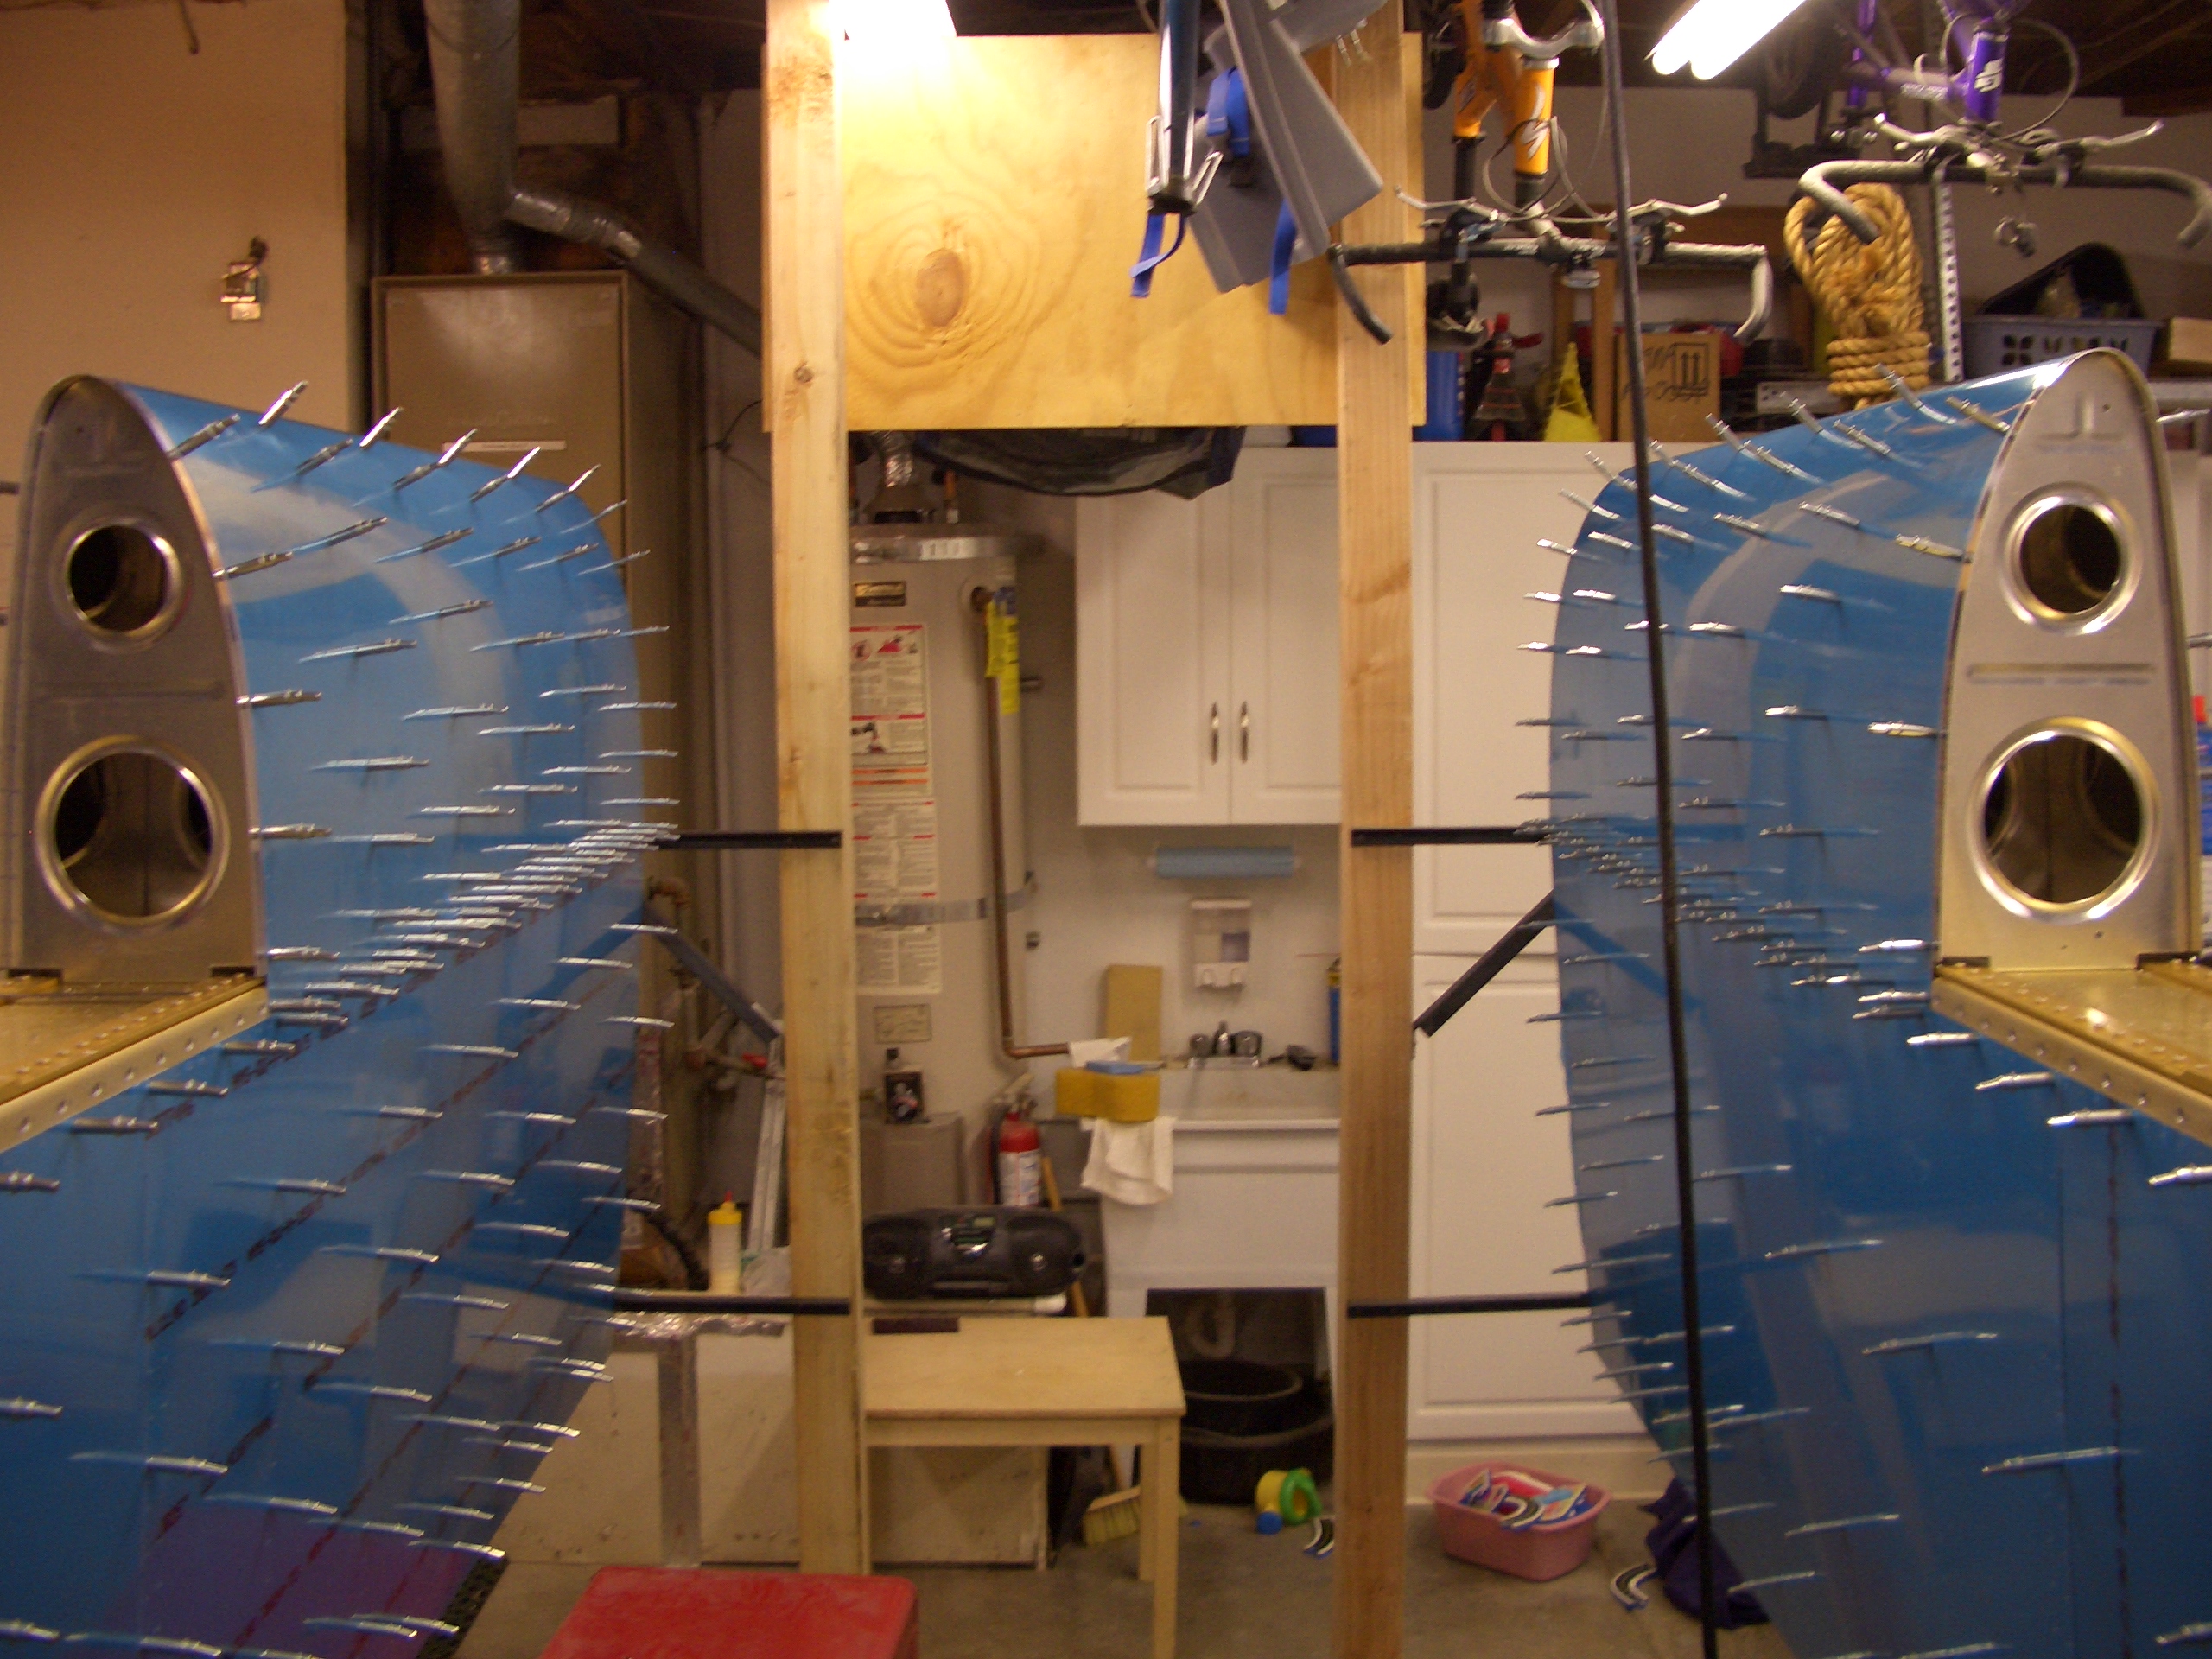
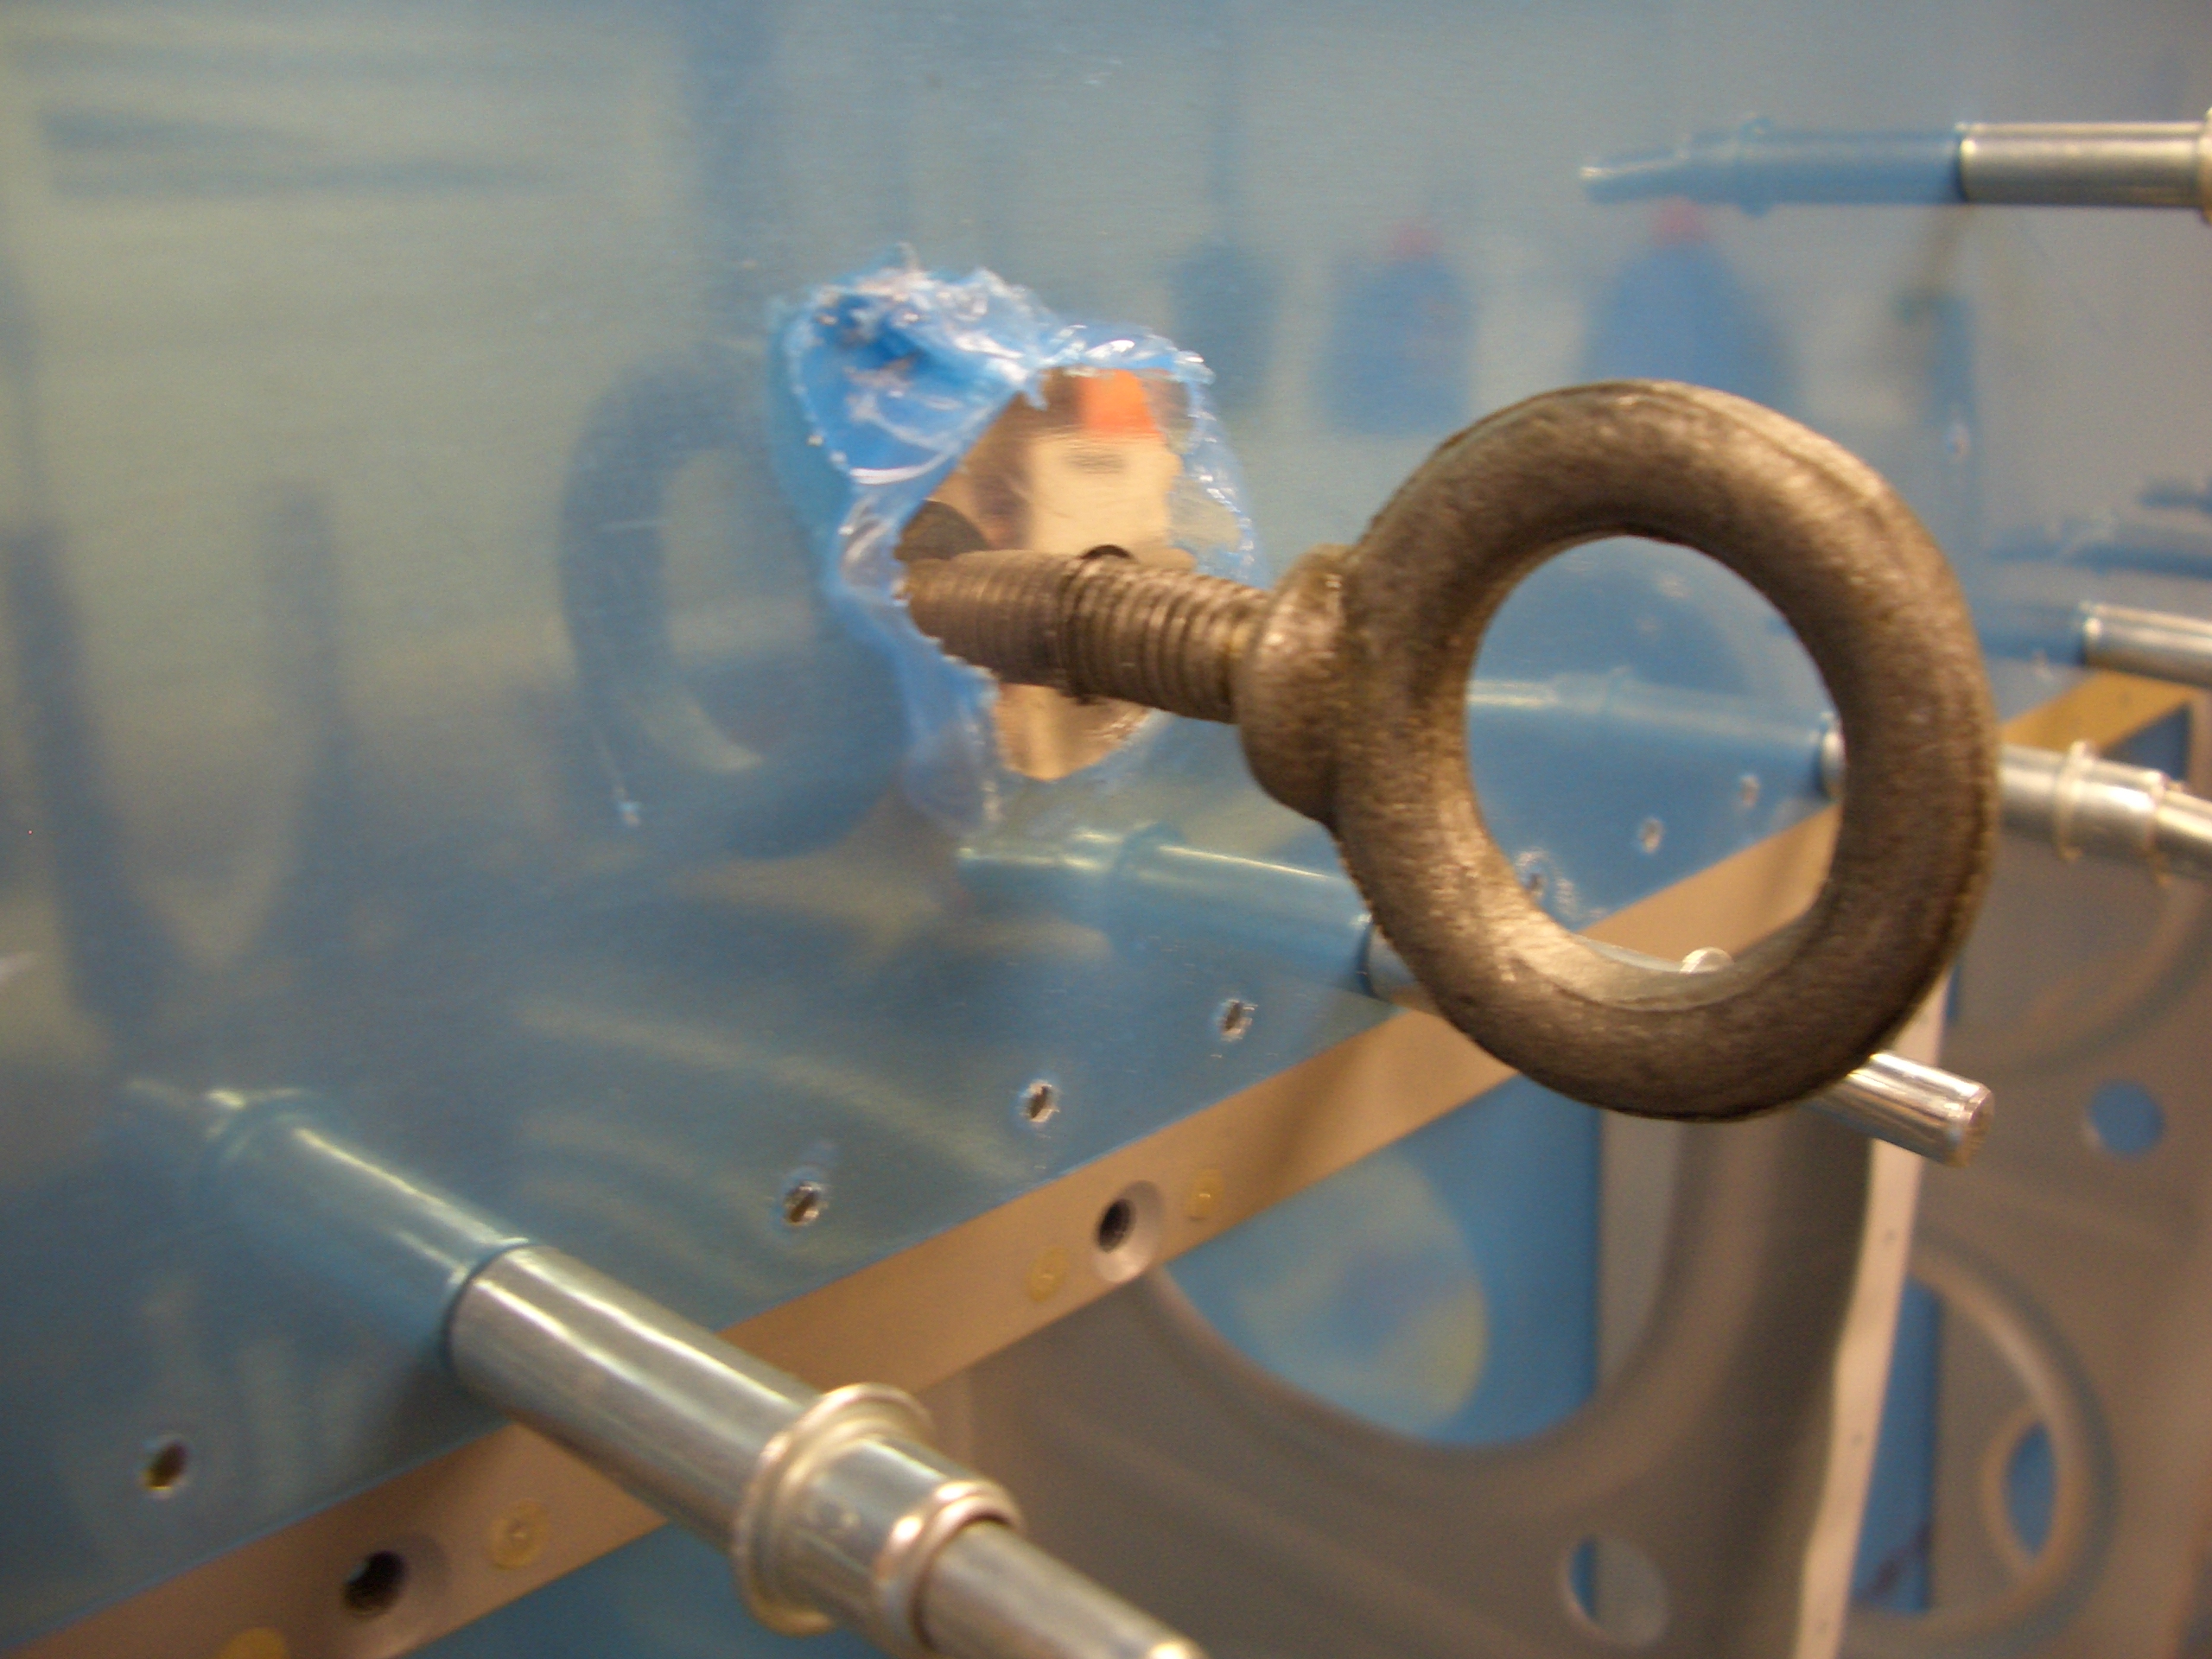
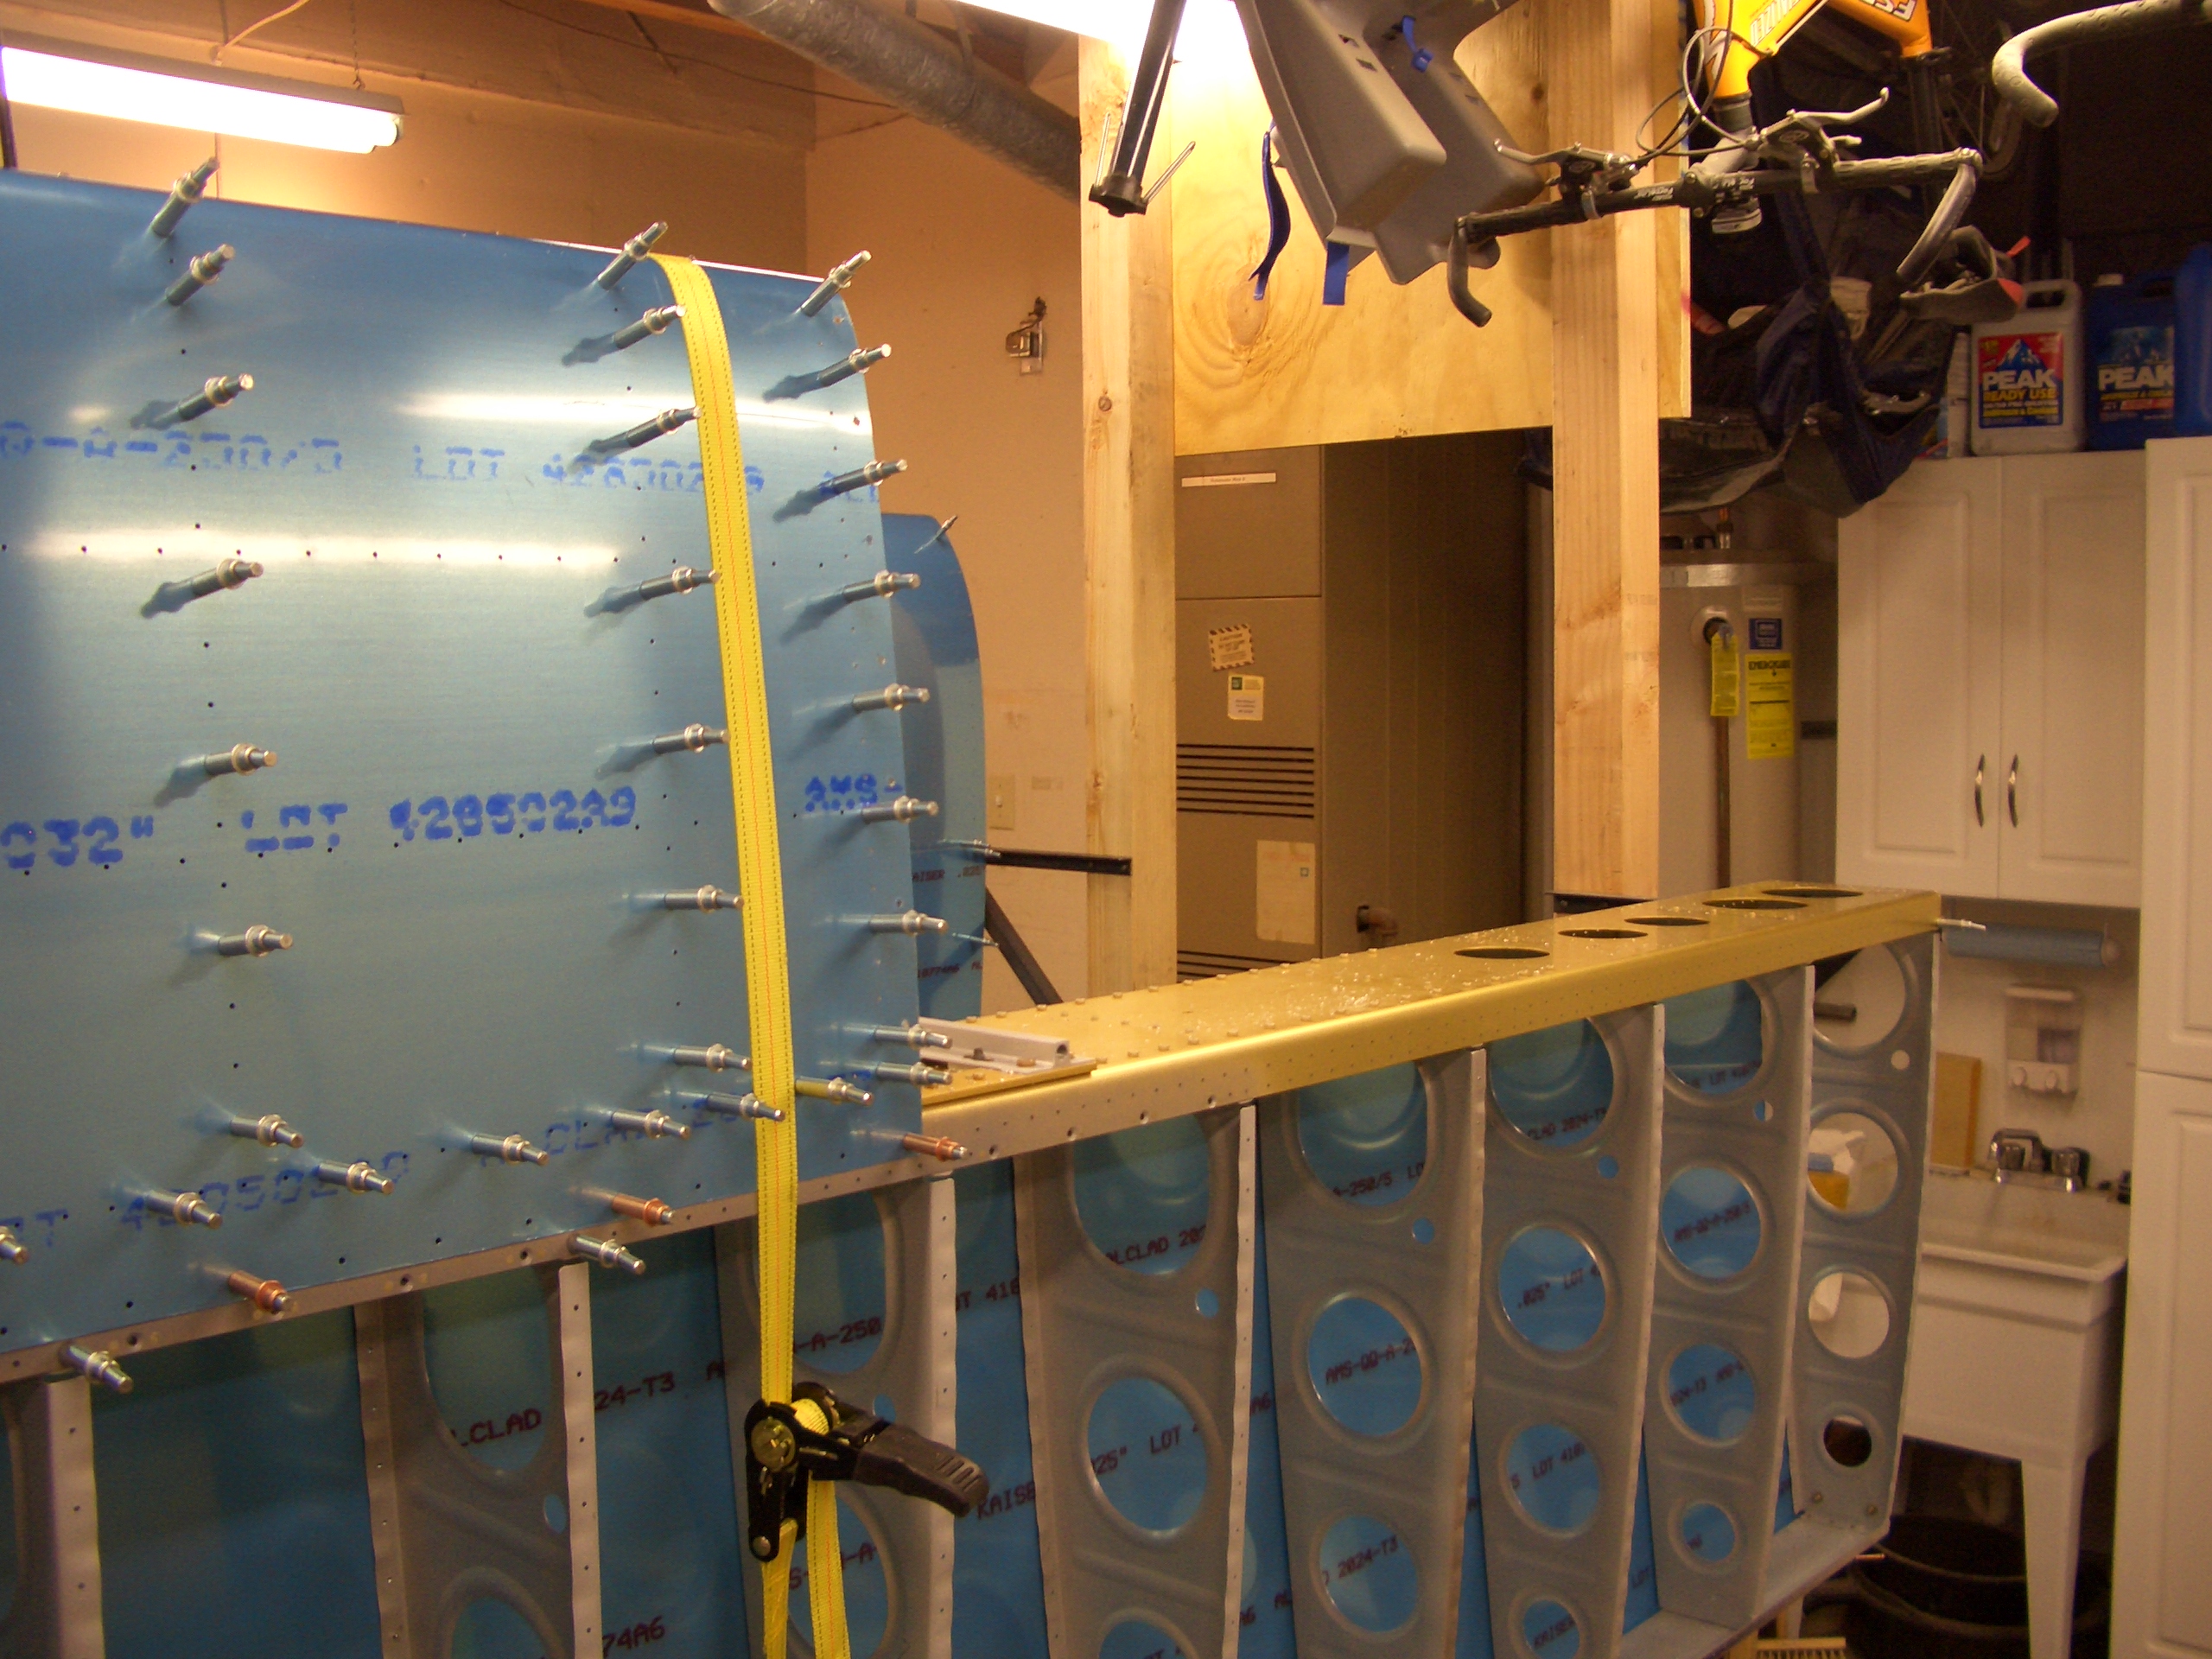
Put the tank on the wing and push it firmly against the outboard leading edge. Use some straps to pull the tank tight against the wing so that the skins are touching. Make sure the joints are tight all the way around before proceeding.
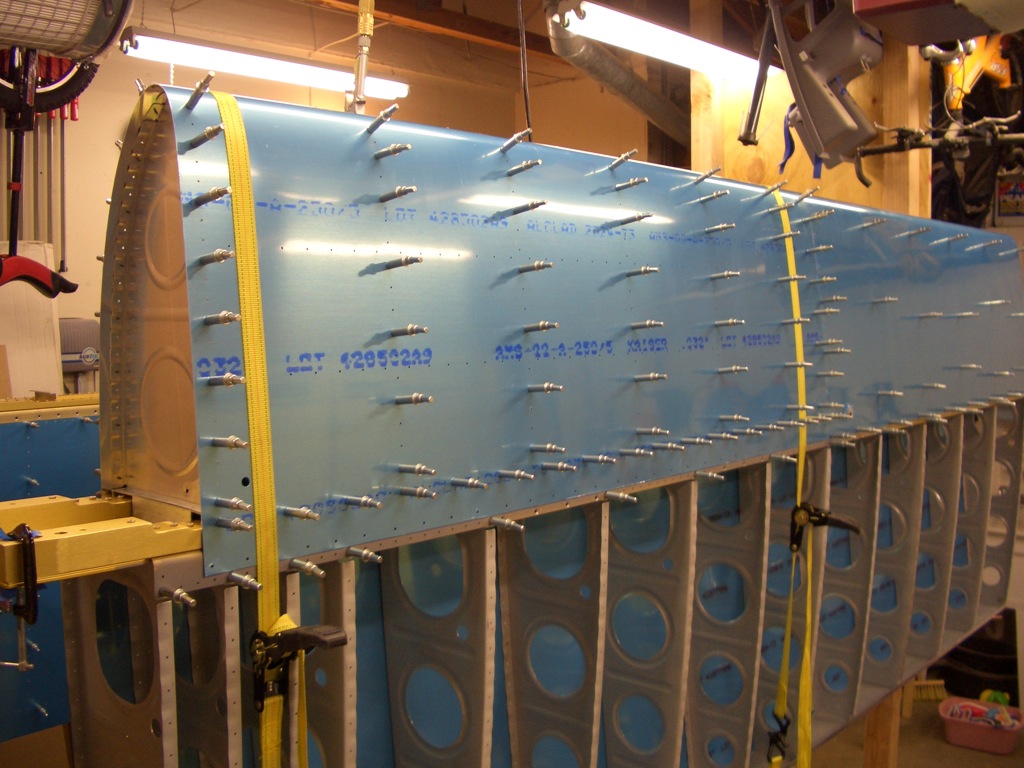
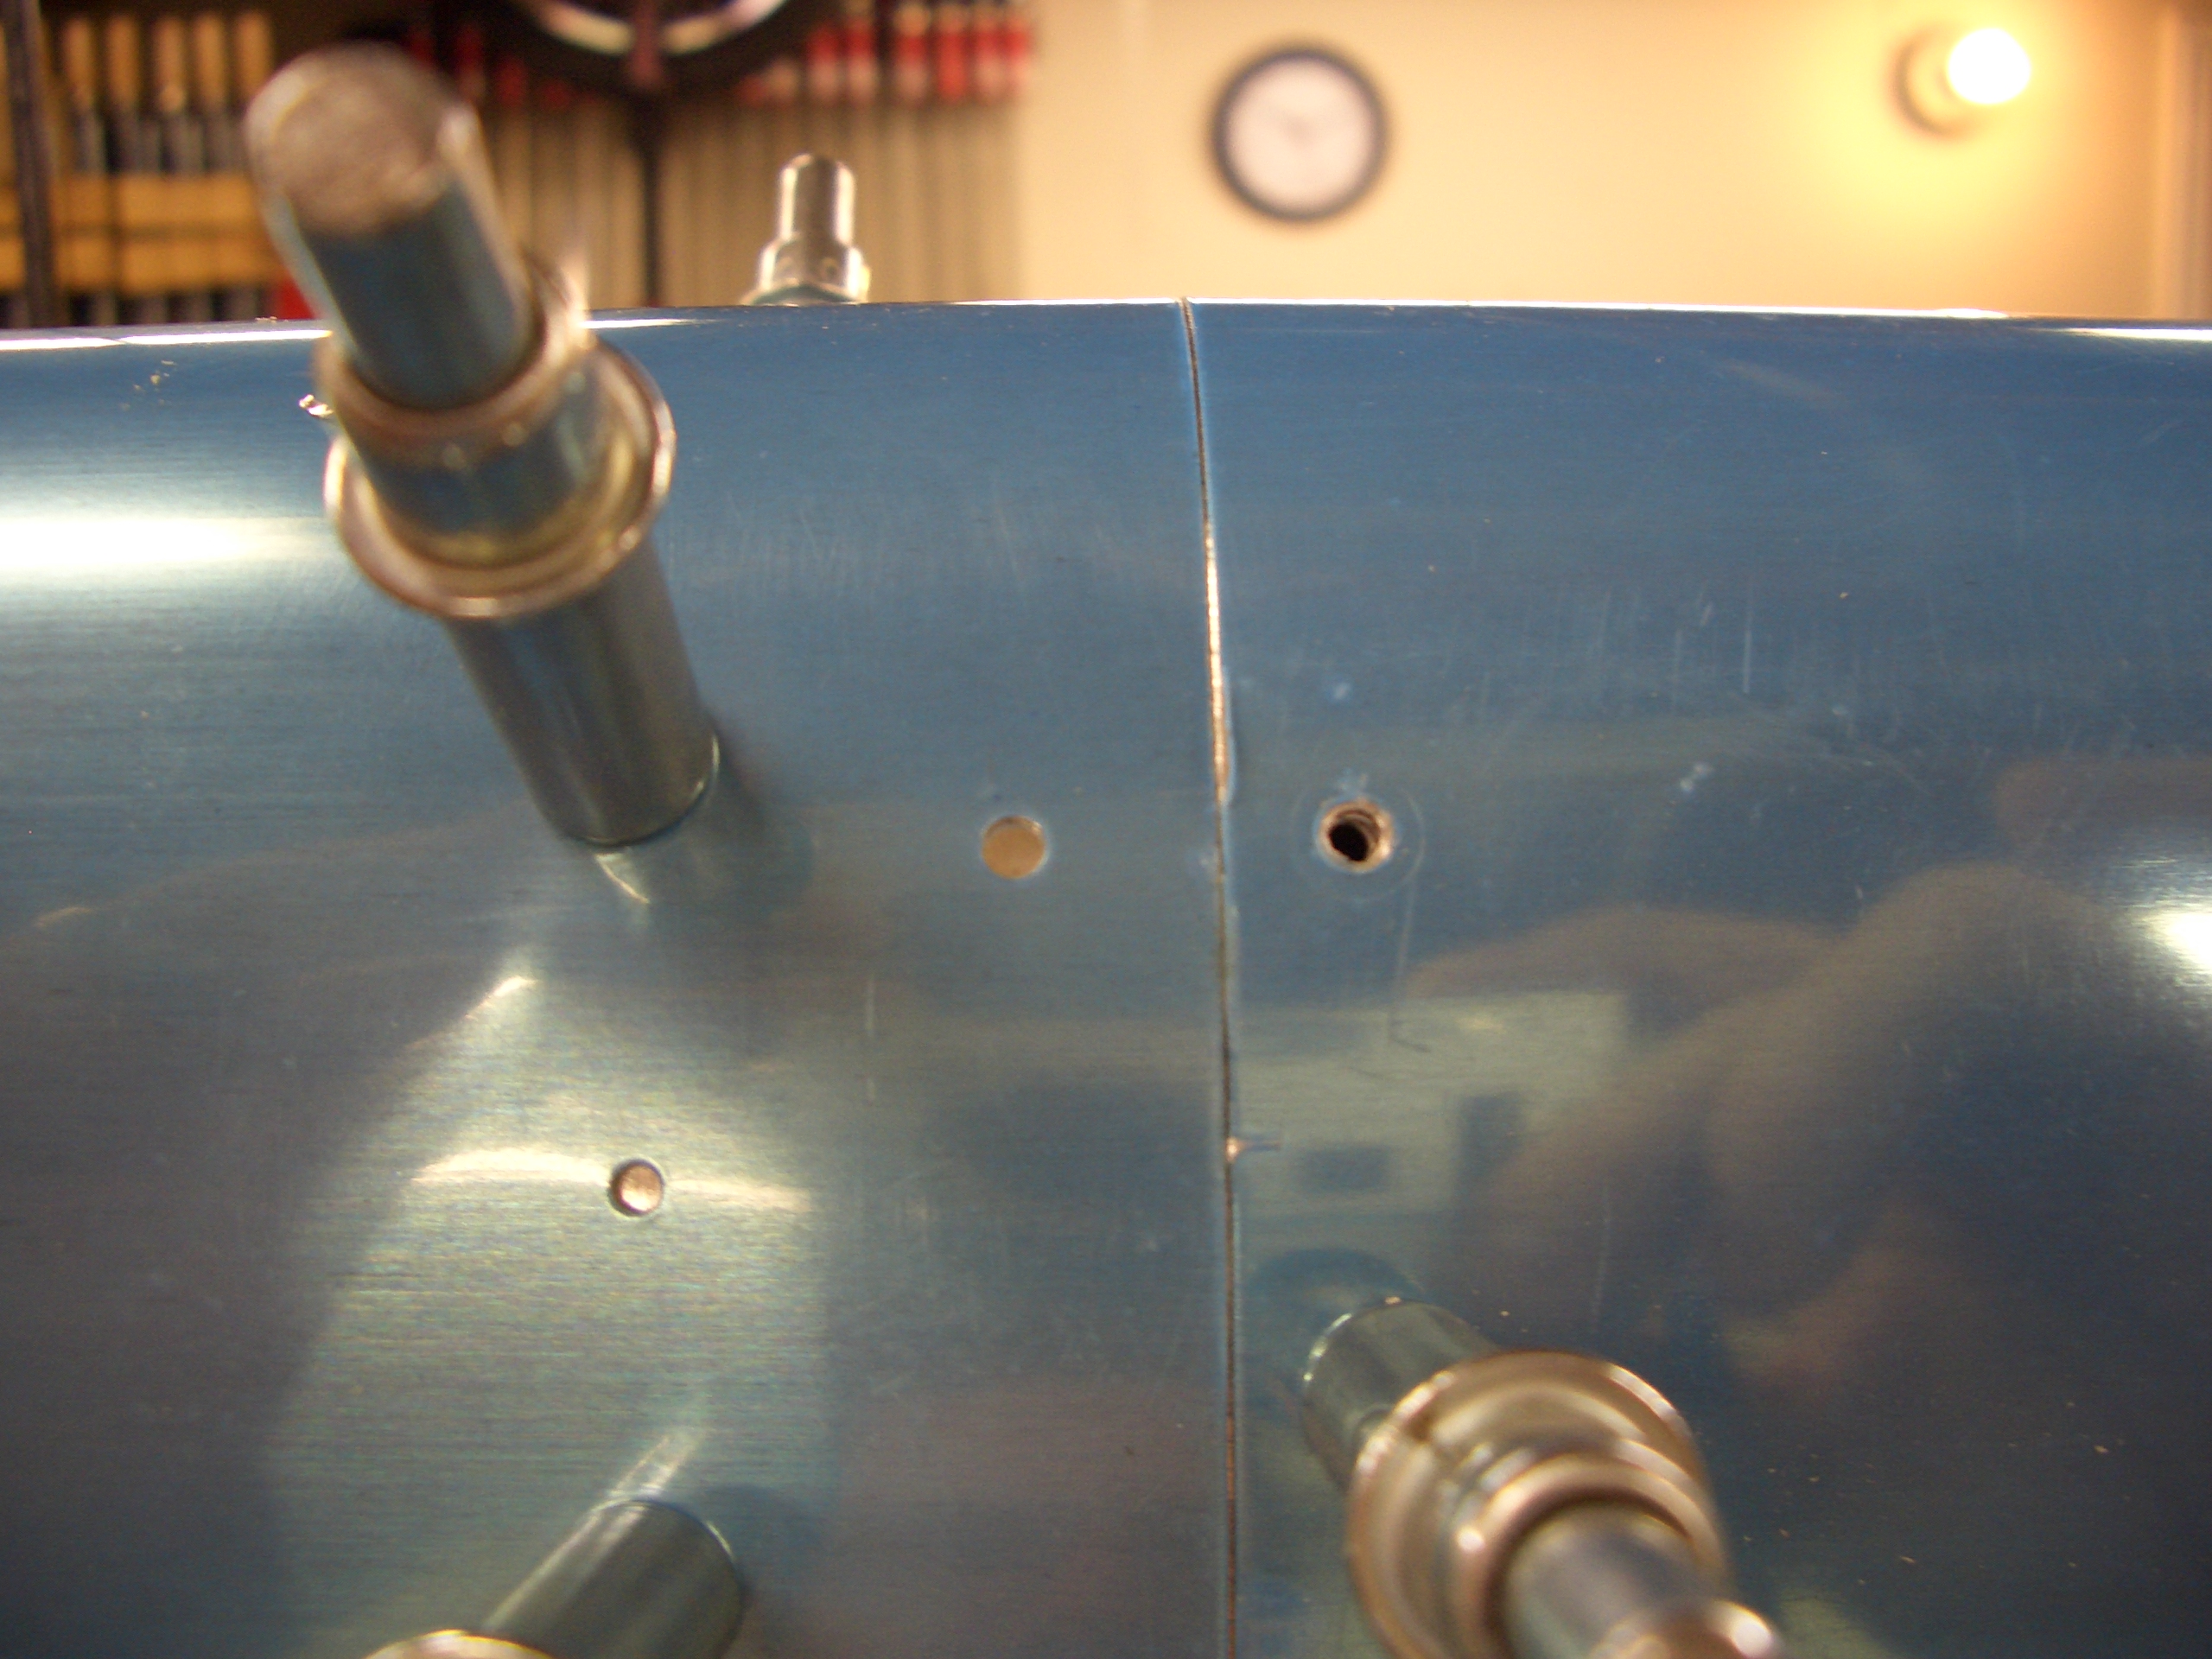
Here’s a closeup of the joint between the inner and outer leading edges. You can see that the leading edges are perfectly flush and the joint between the skins has virtually no gap.

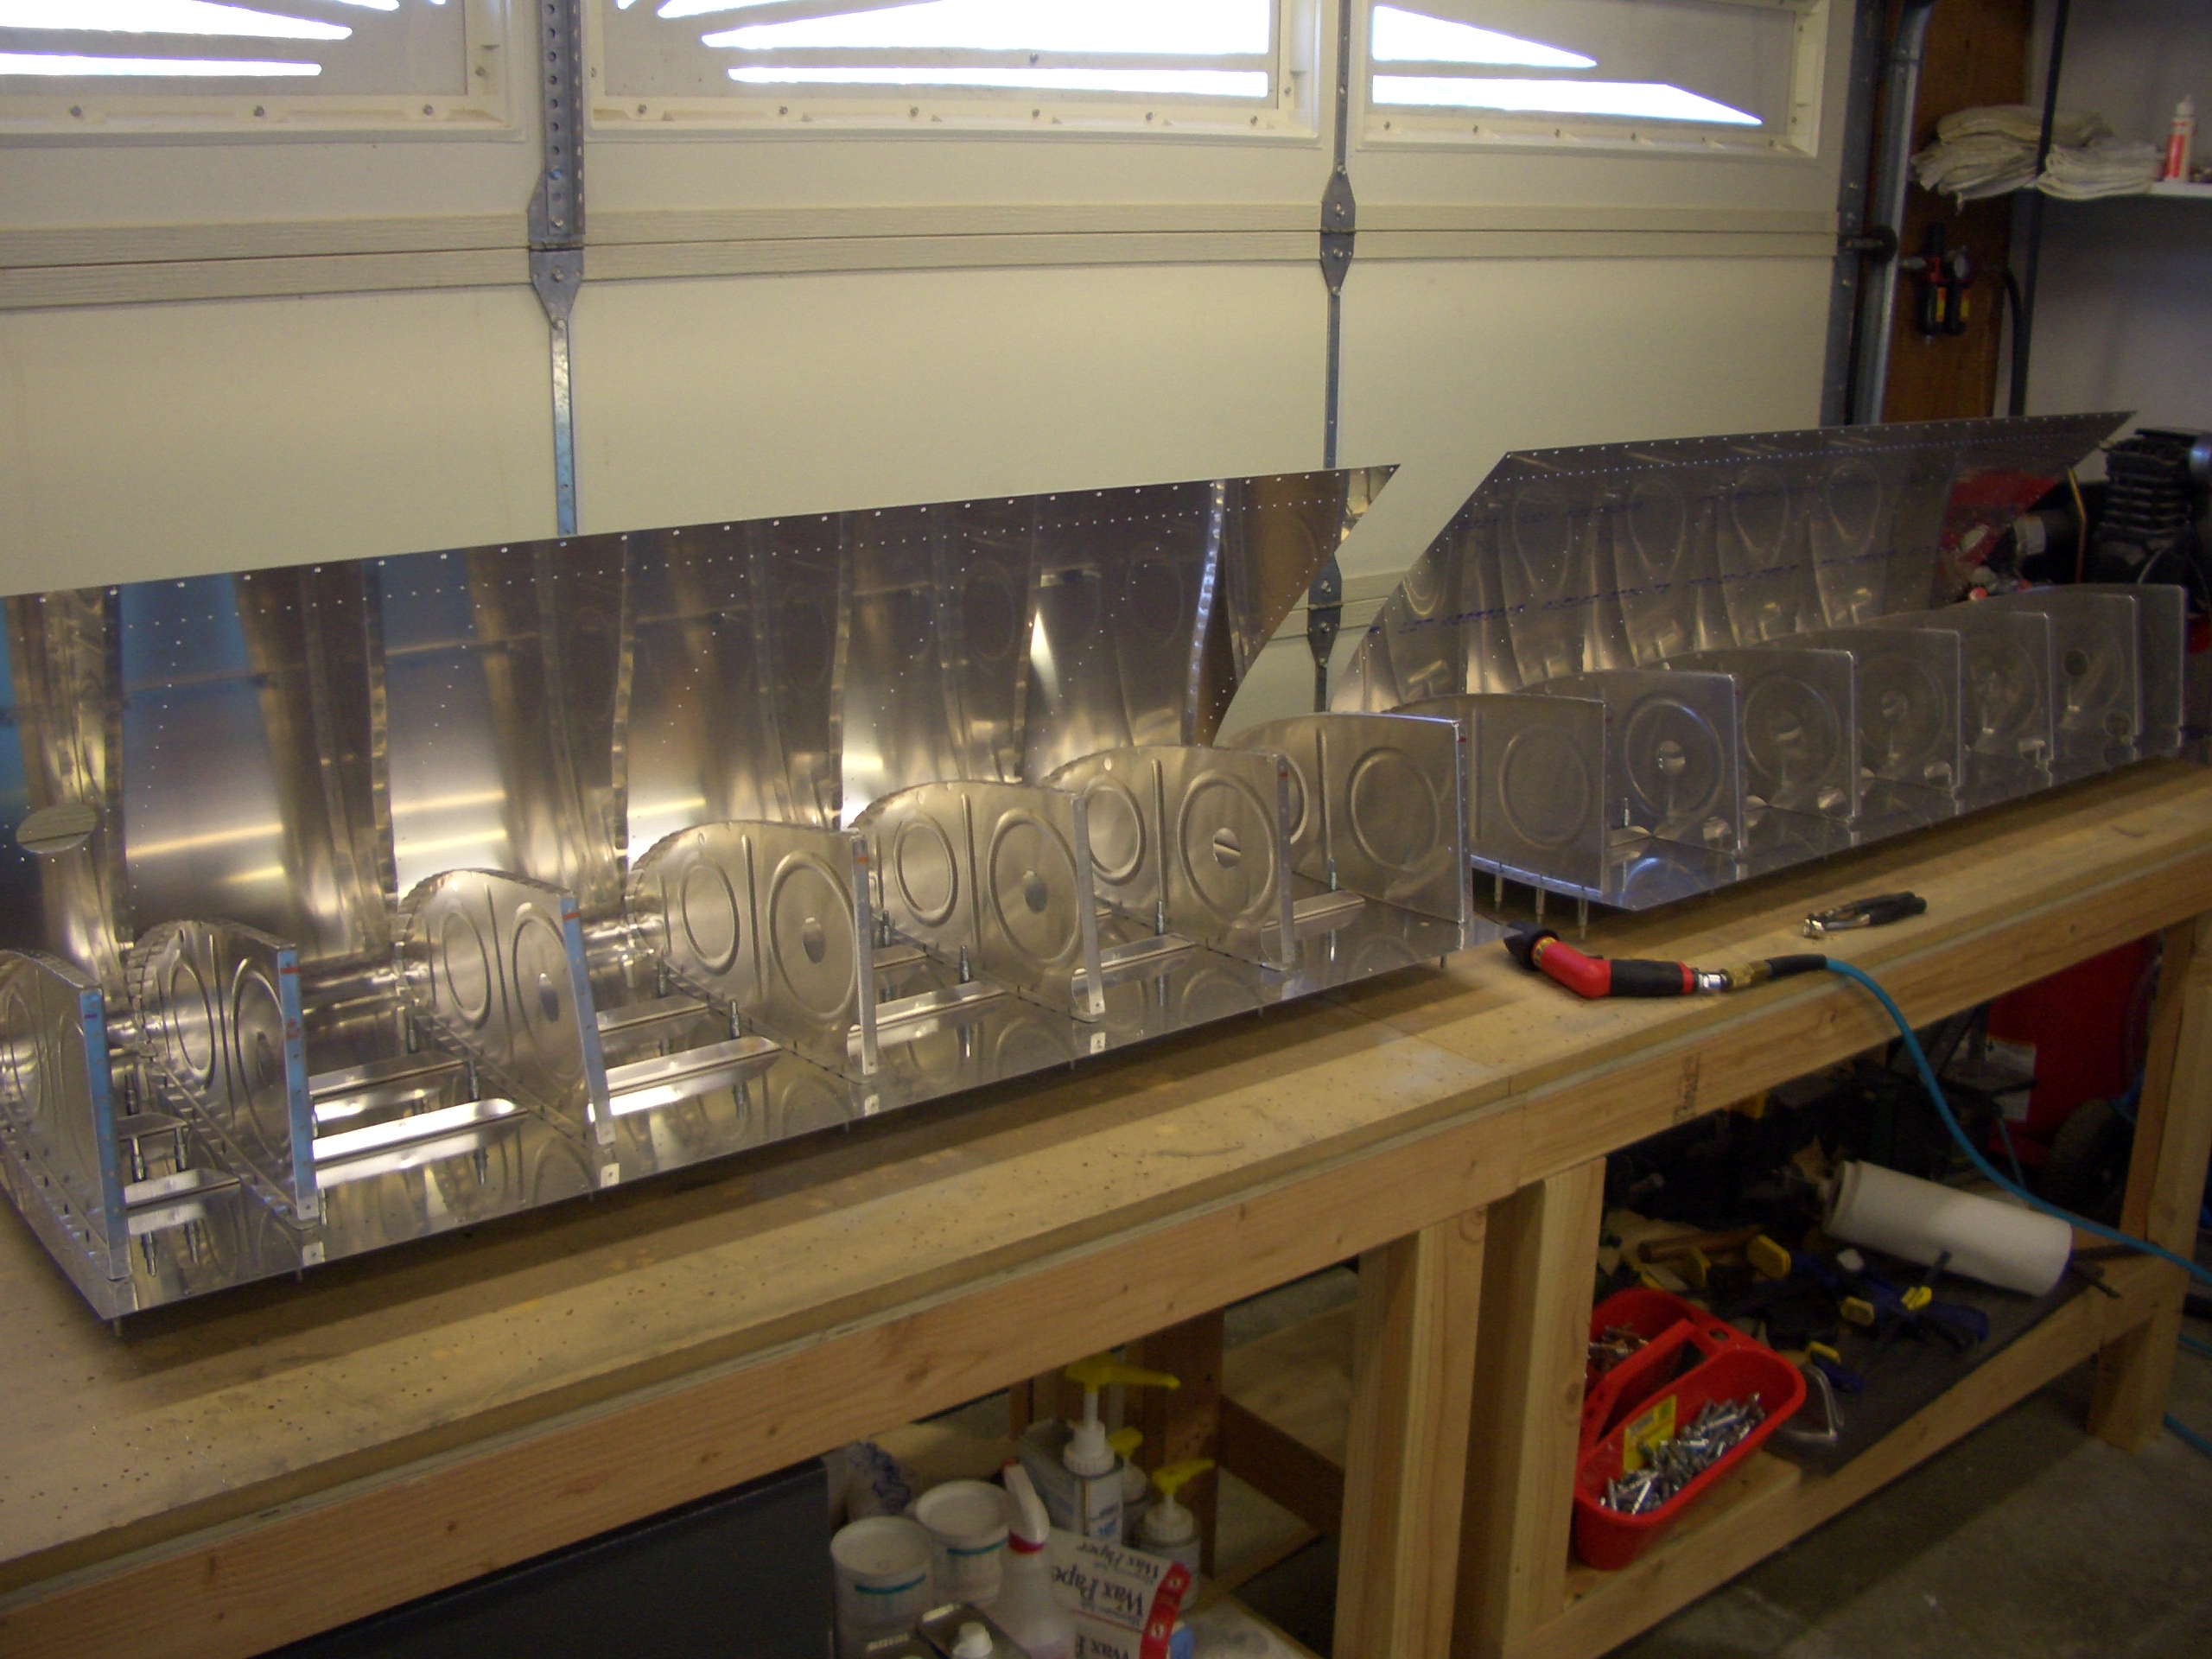
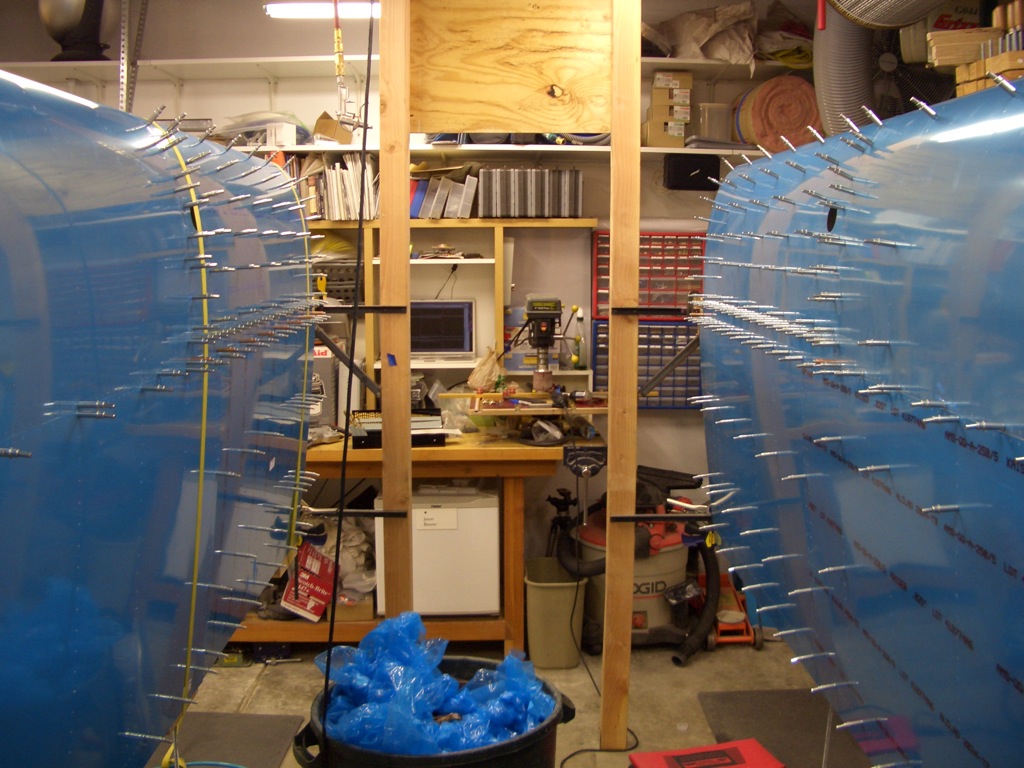
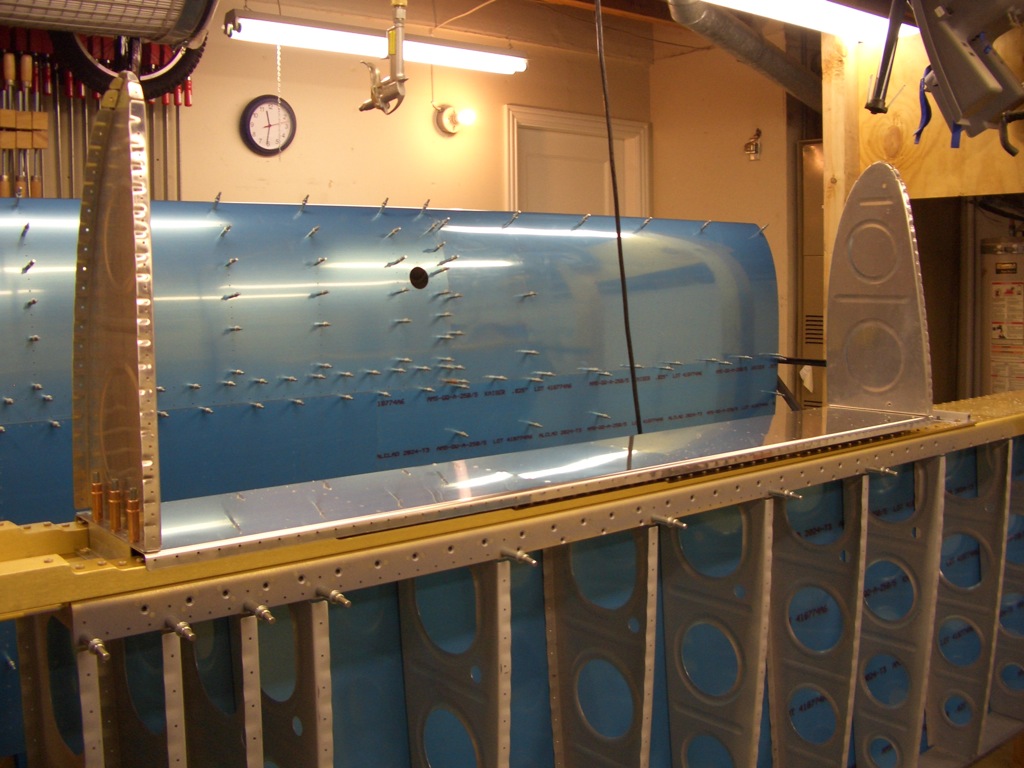
I’m doing both wings at the same time. Here’s a shot of both tanks in place.
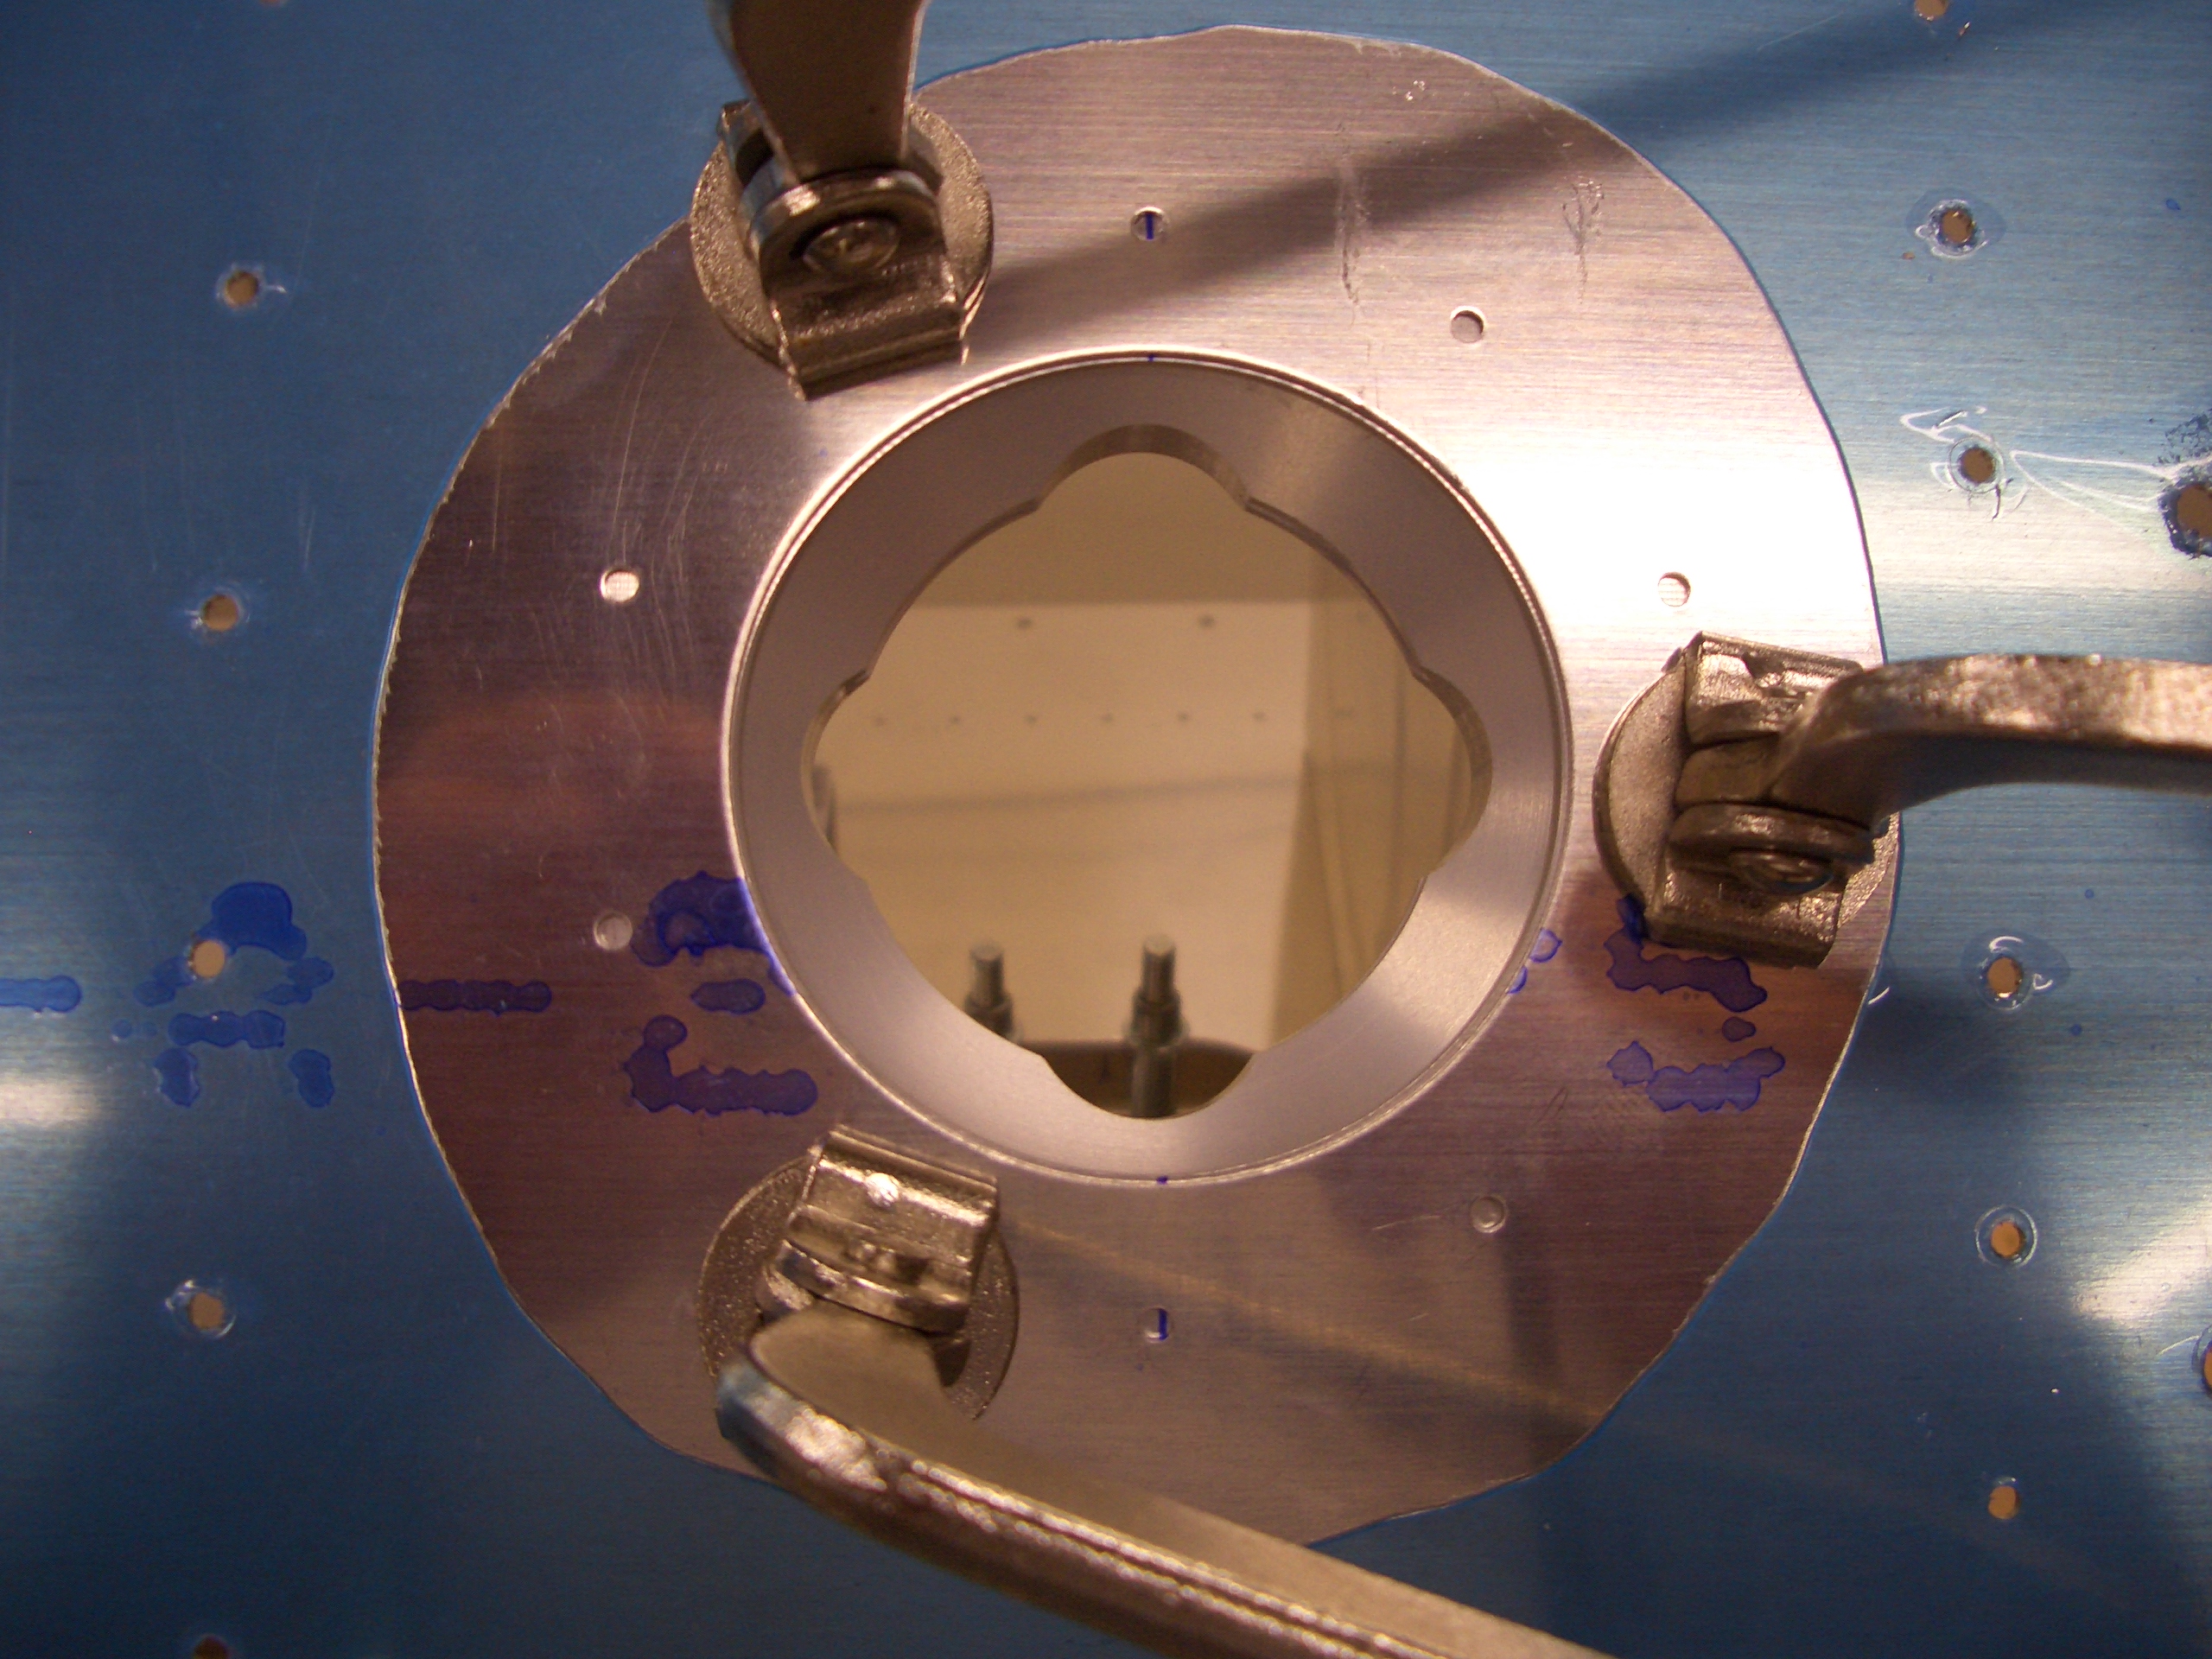
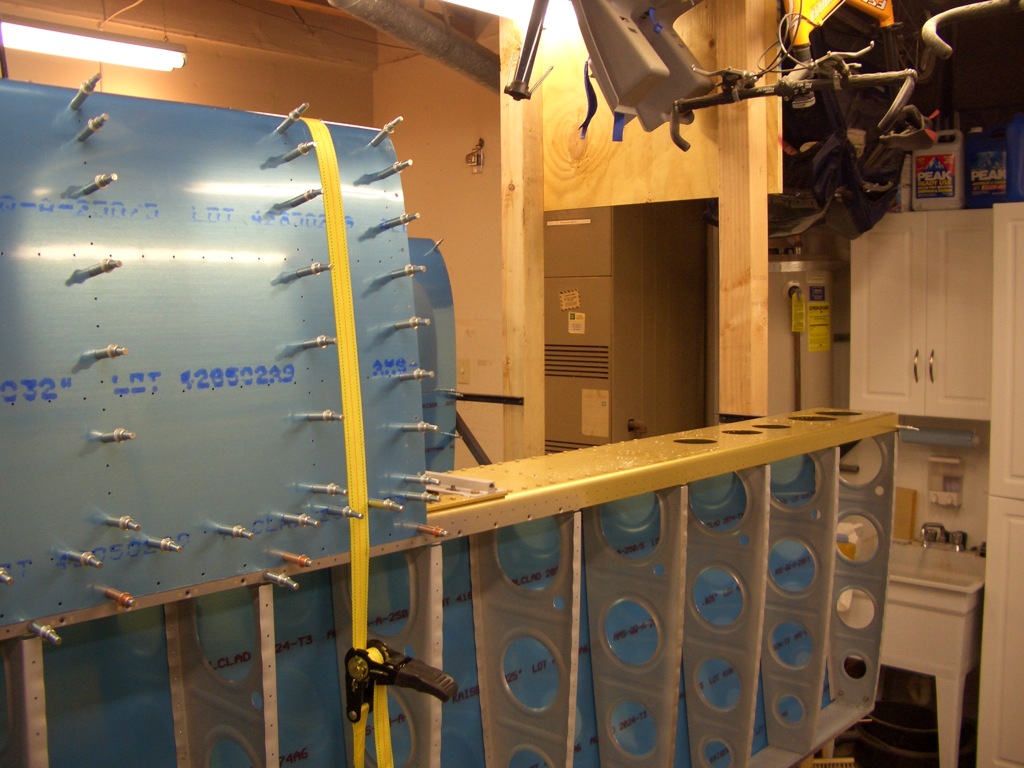
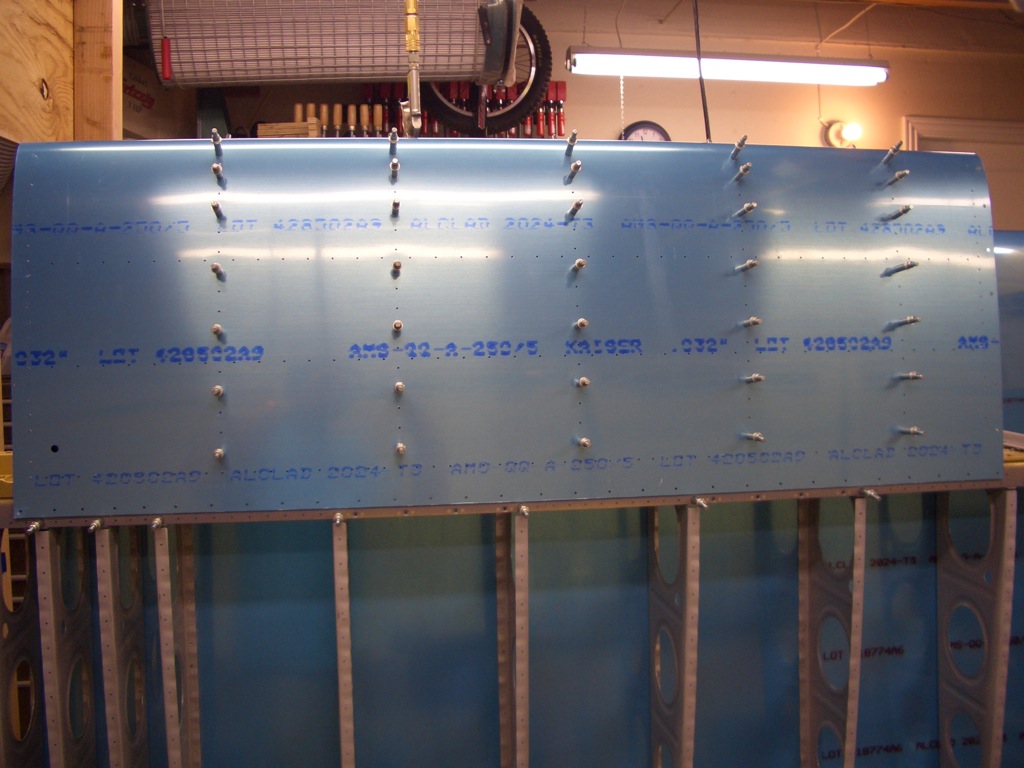
While the tank is in place, drill the tank to joint plate holes out to #19.

Now, drill the inboard z-bracket to the tank baffle and inboard rib. This is the only part of the baffle that can be reached right now.
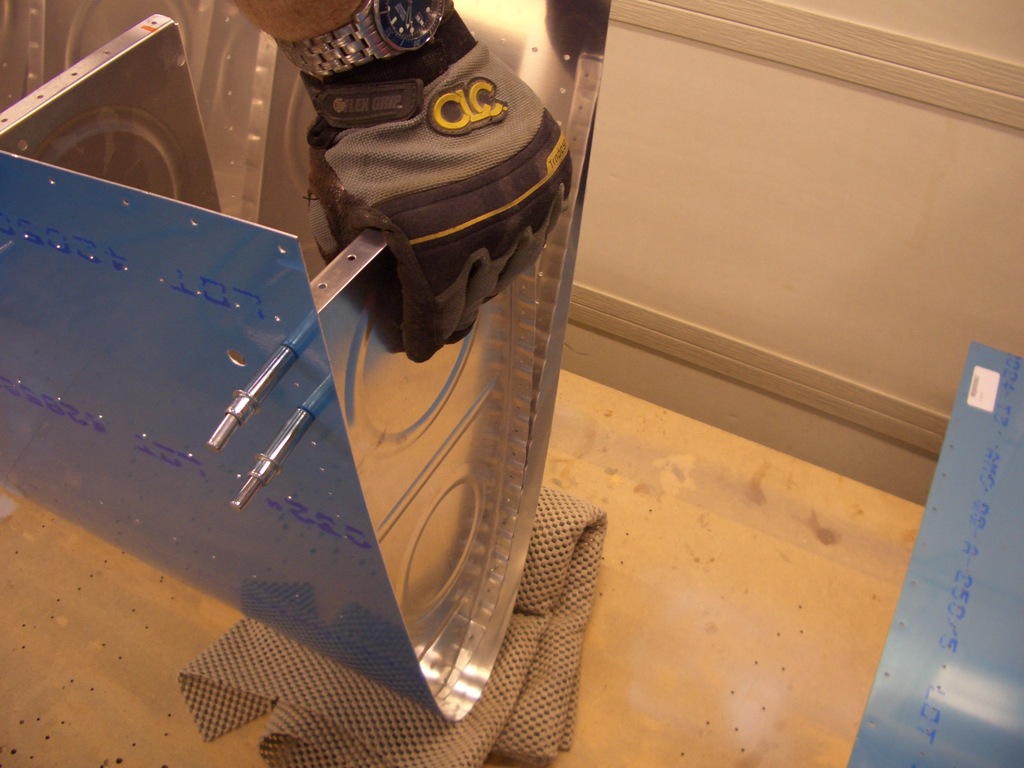
Take off the outboard leading edge.
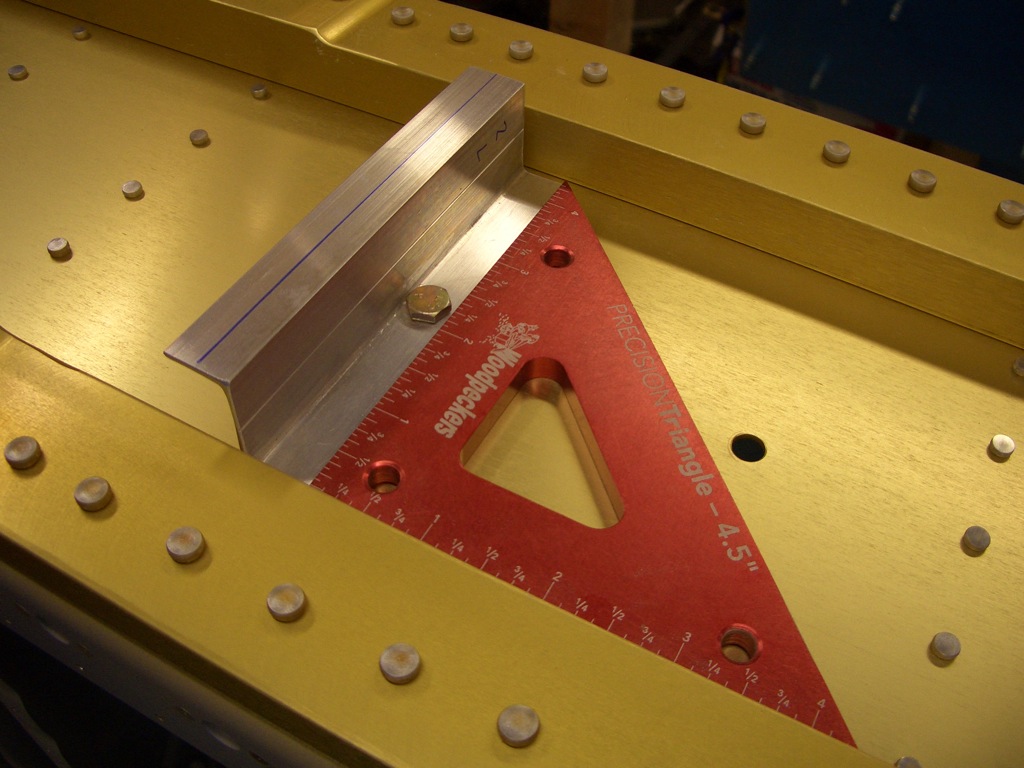
This gives you access to the outboard z-bracket. Drill these holes out to full size.
Now, remove all of the clecos holding the tank skin to the spar, baffle, and end ribs.
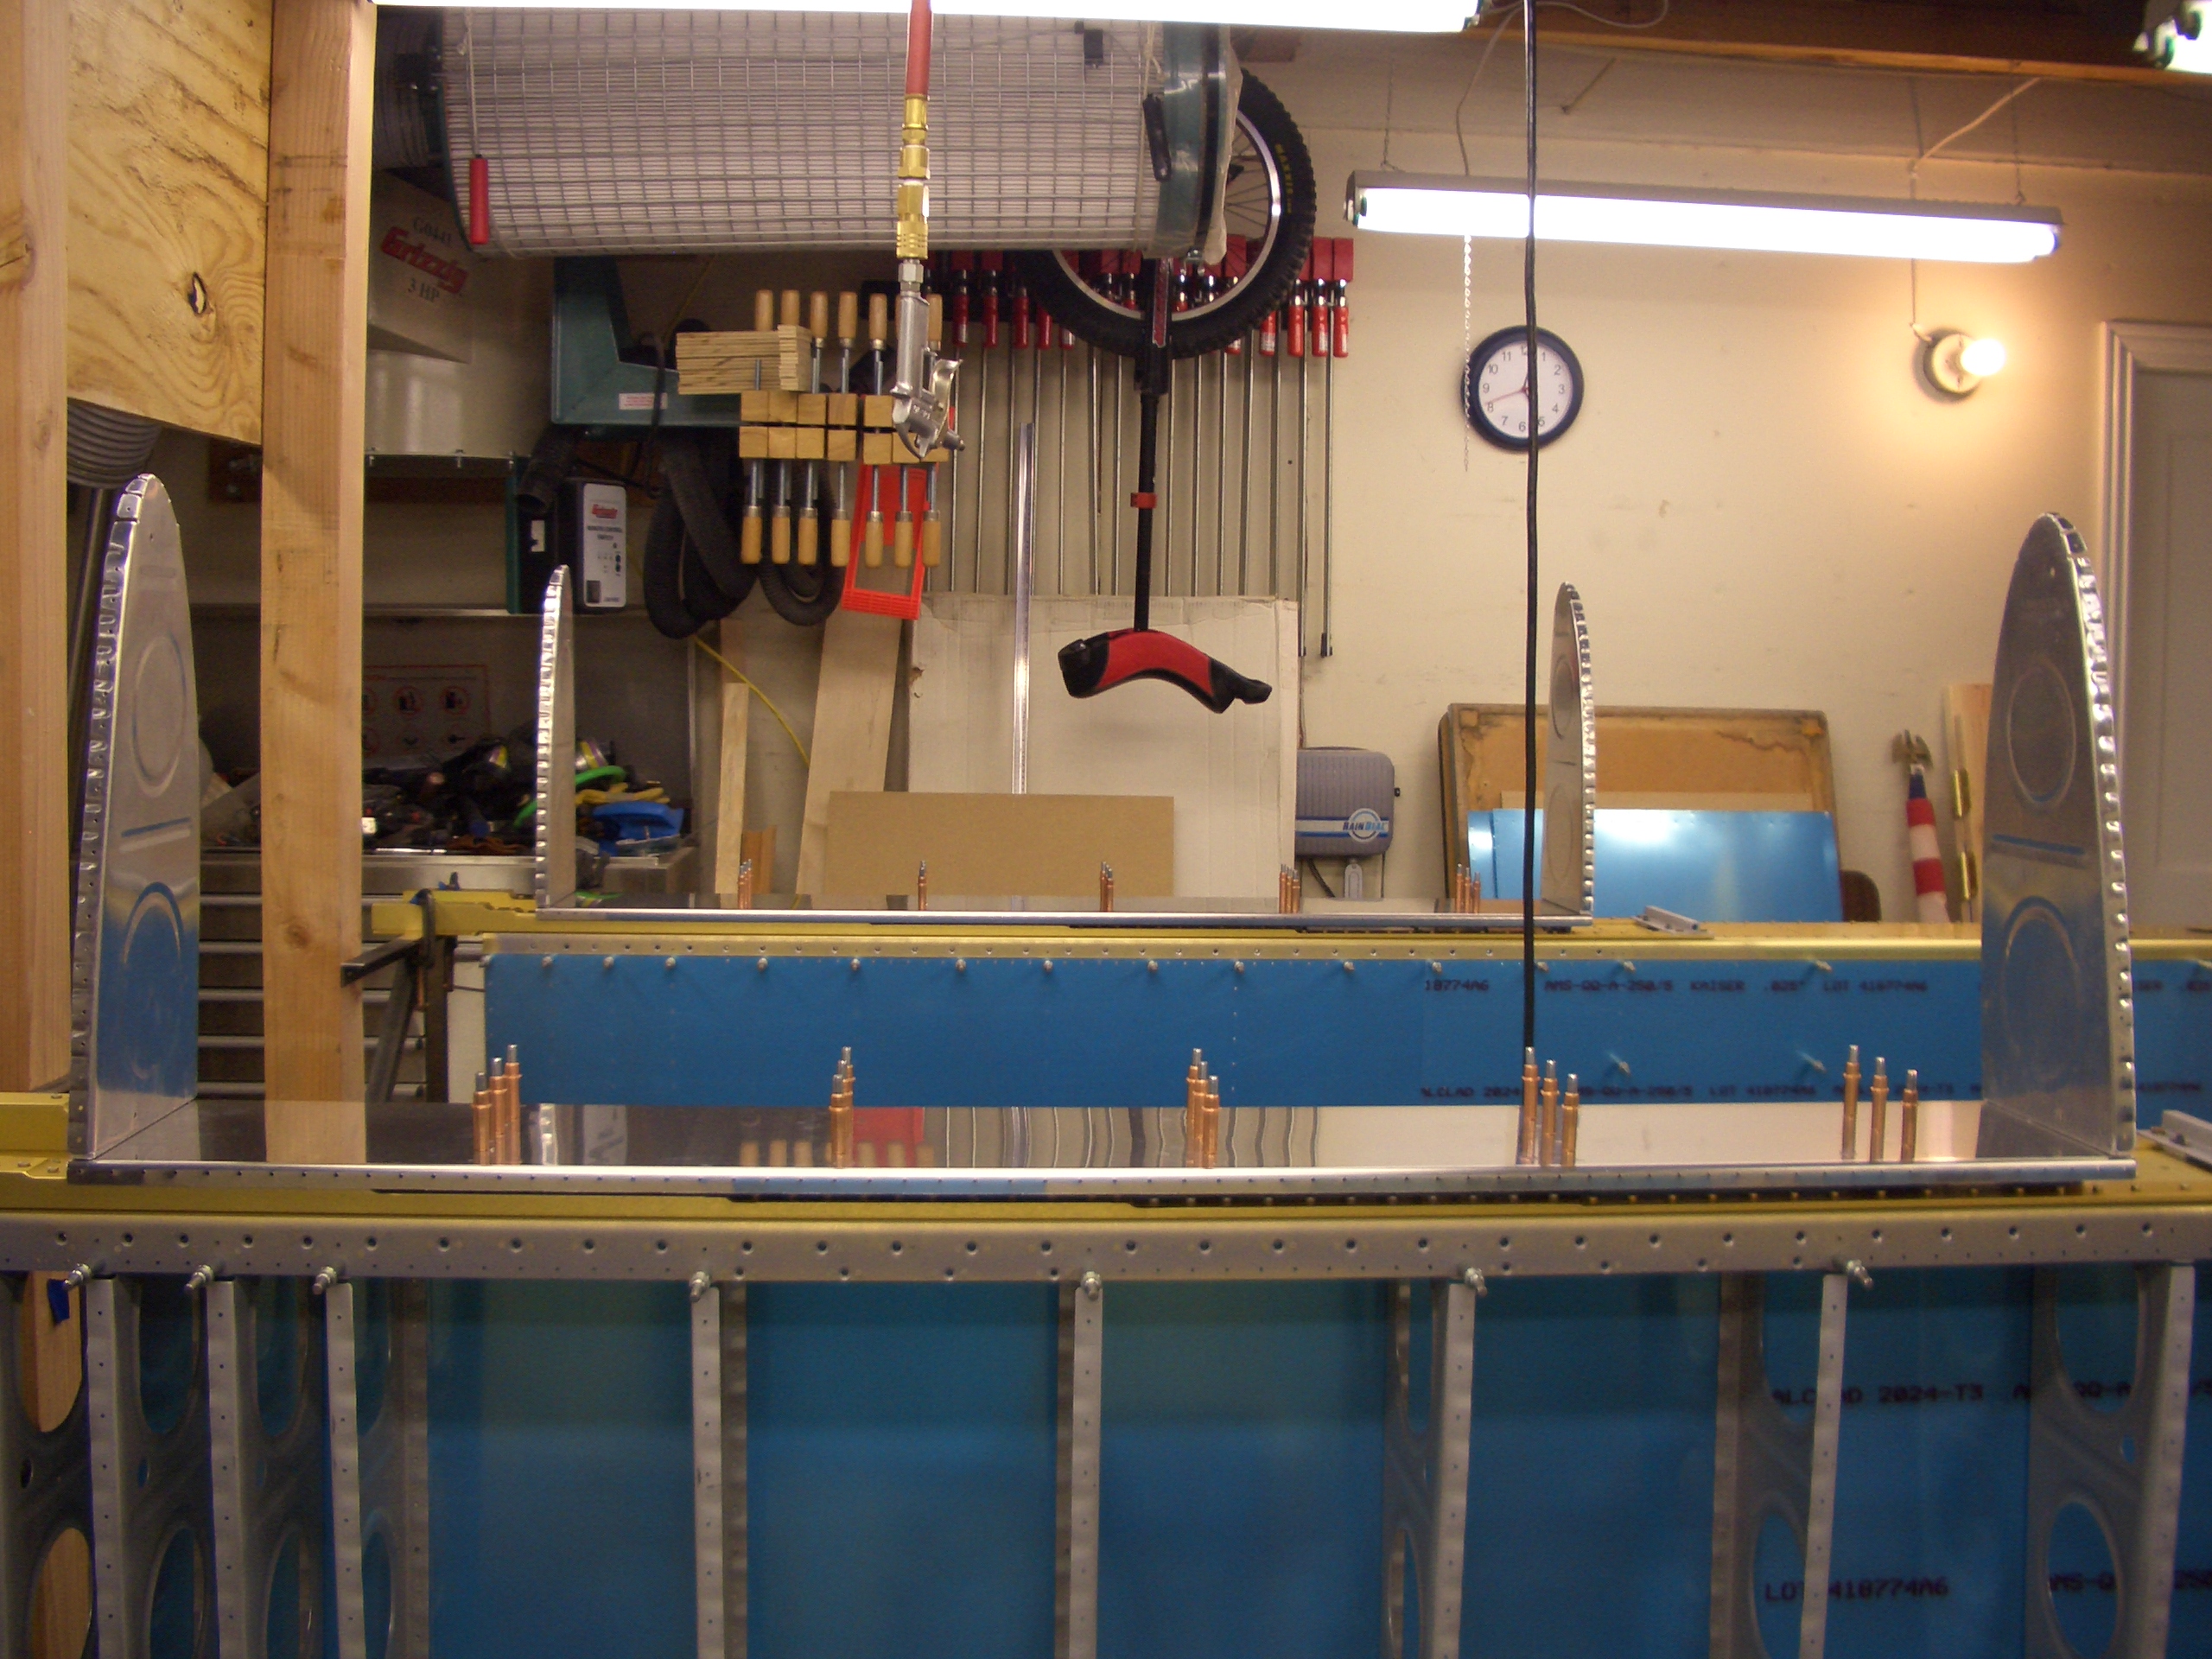
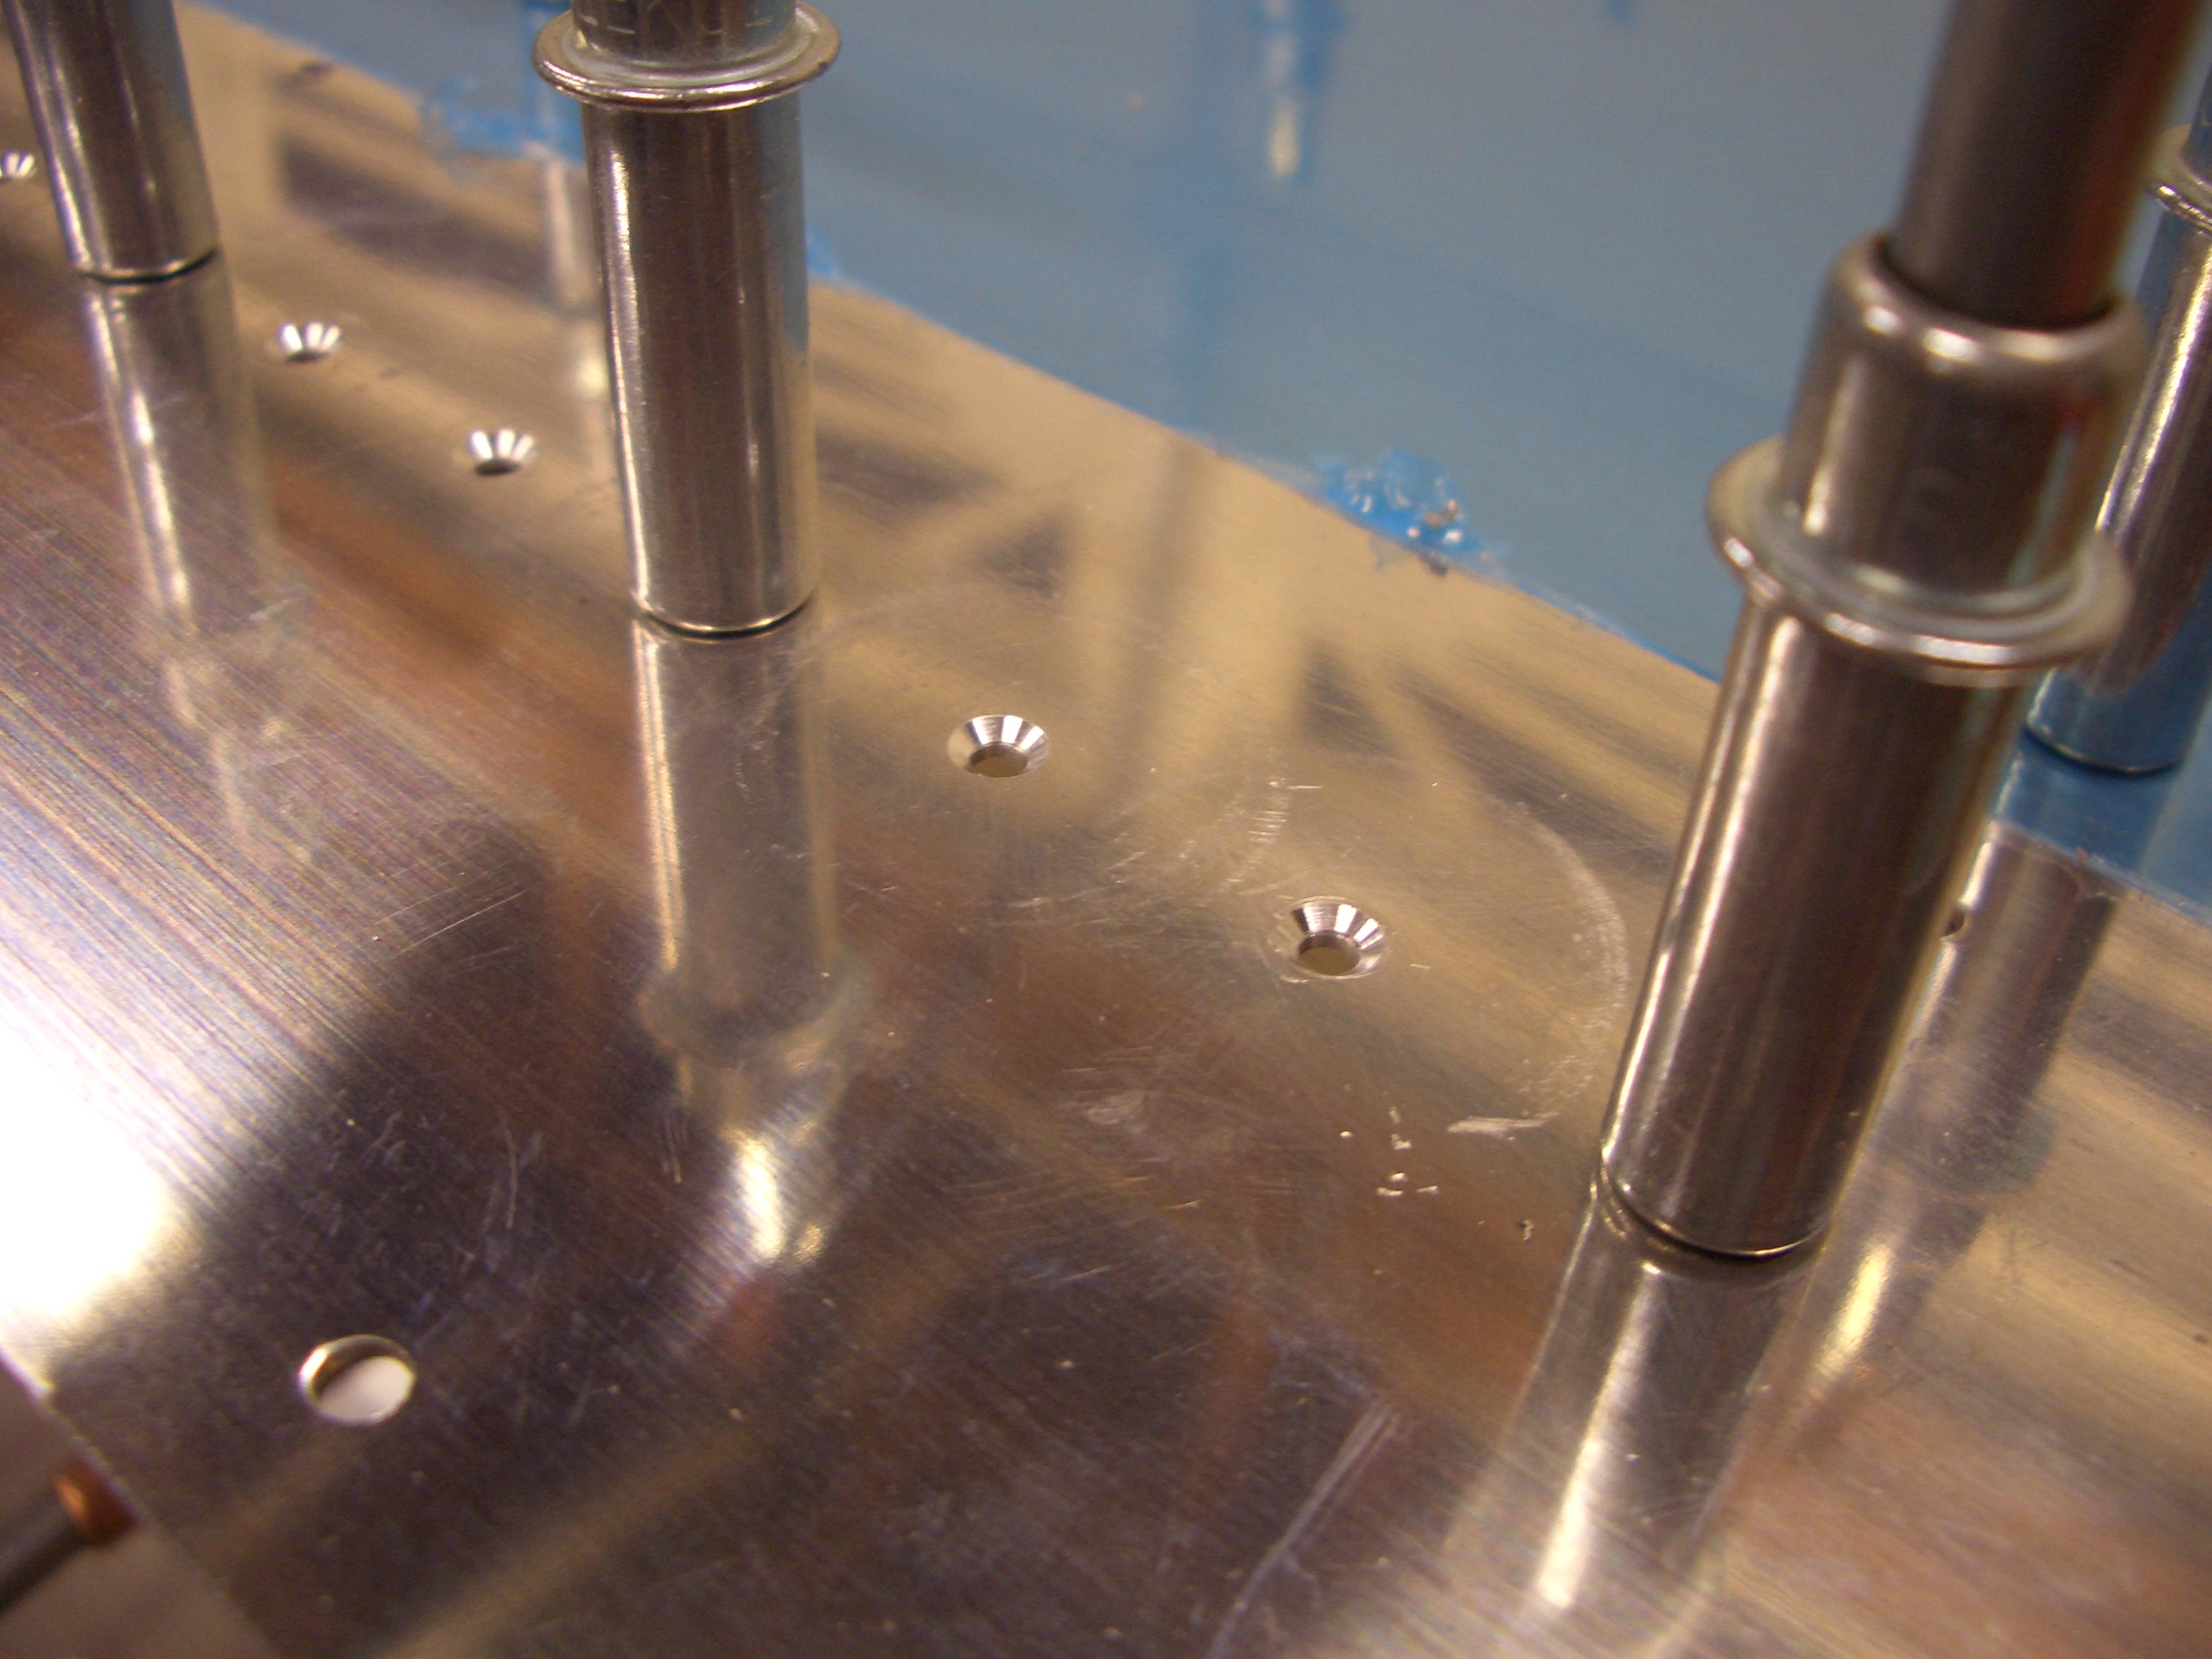
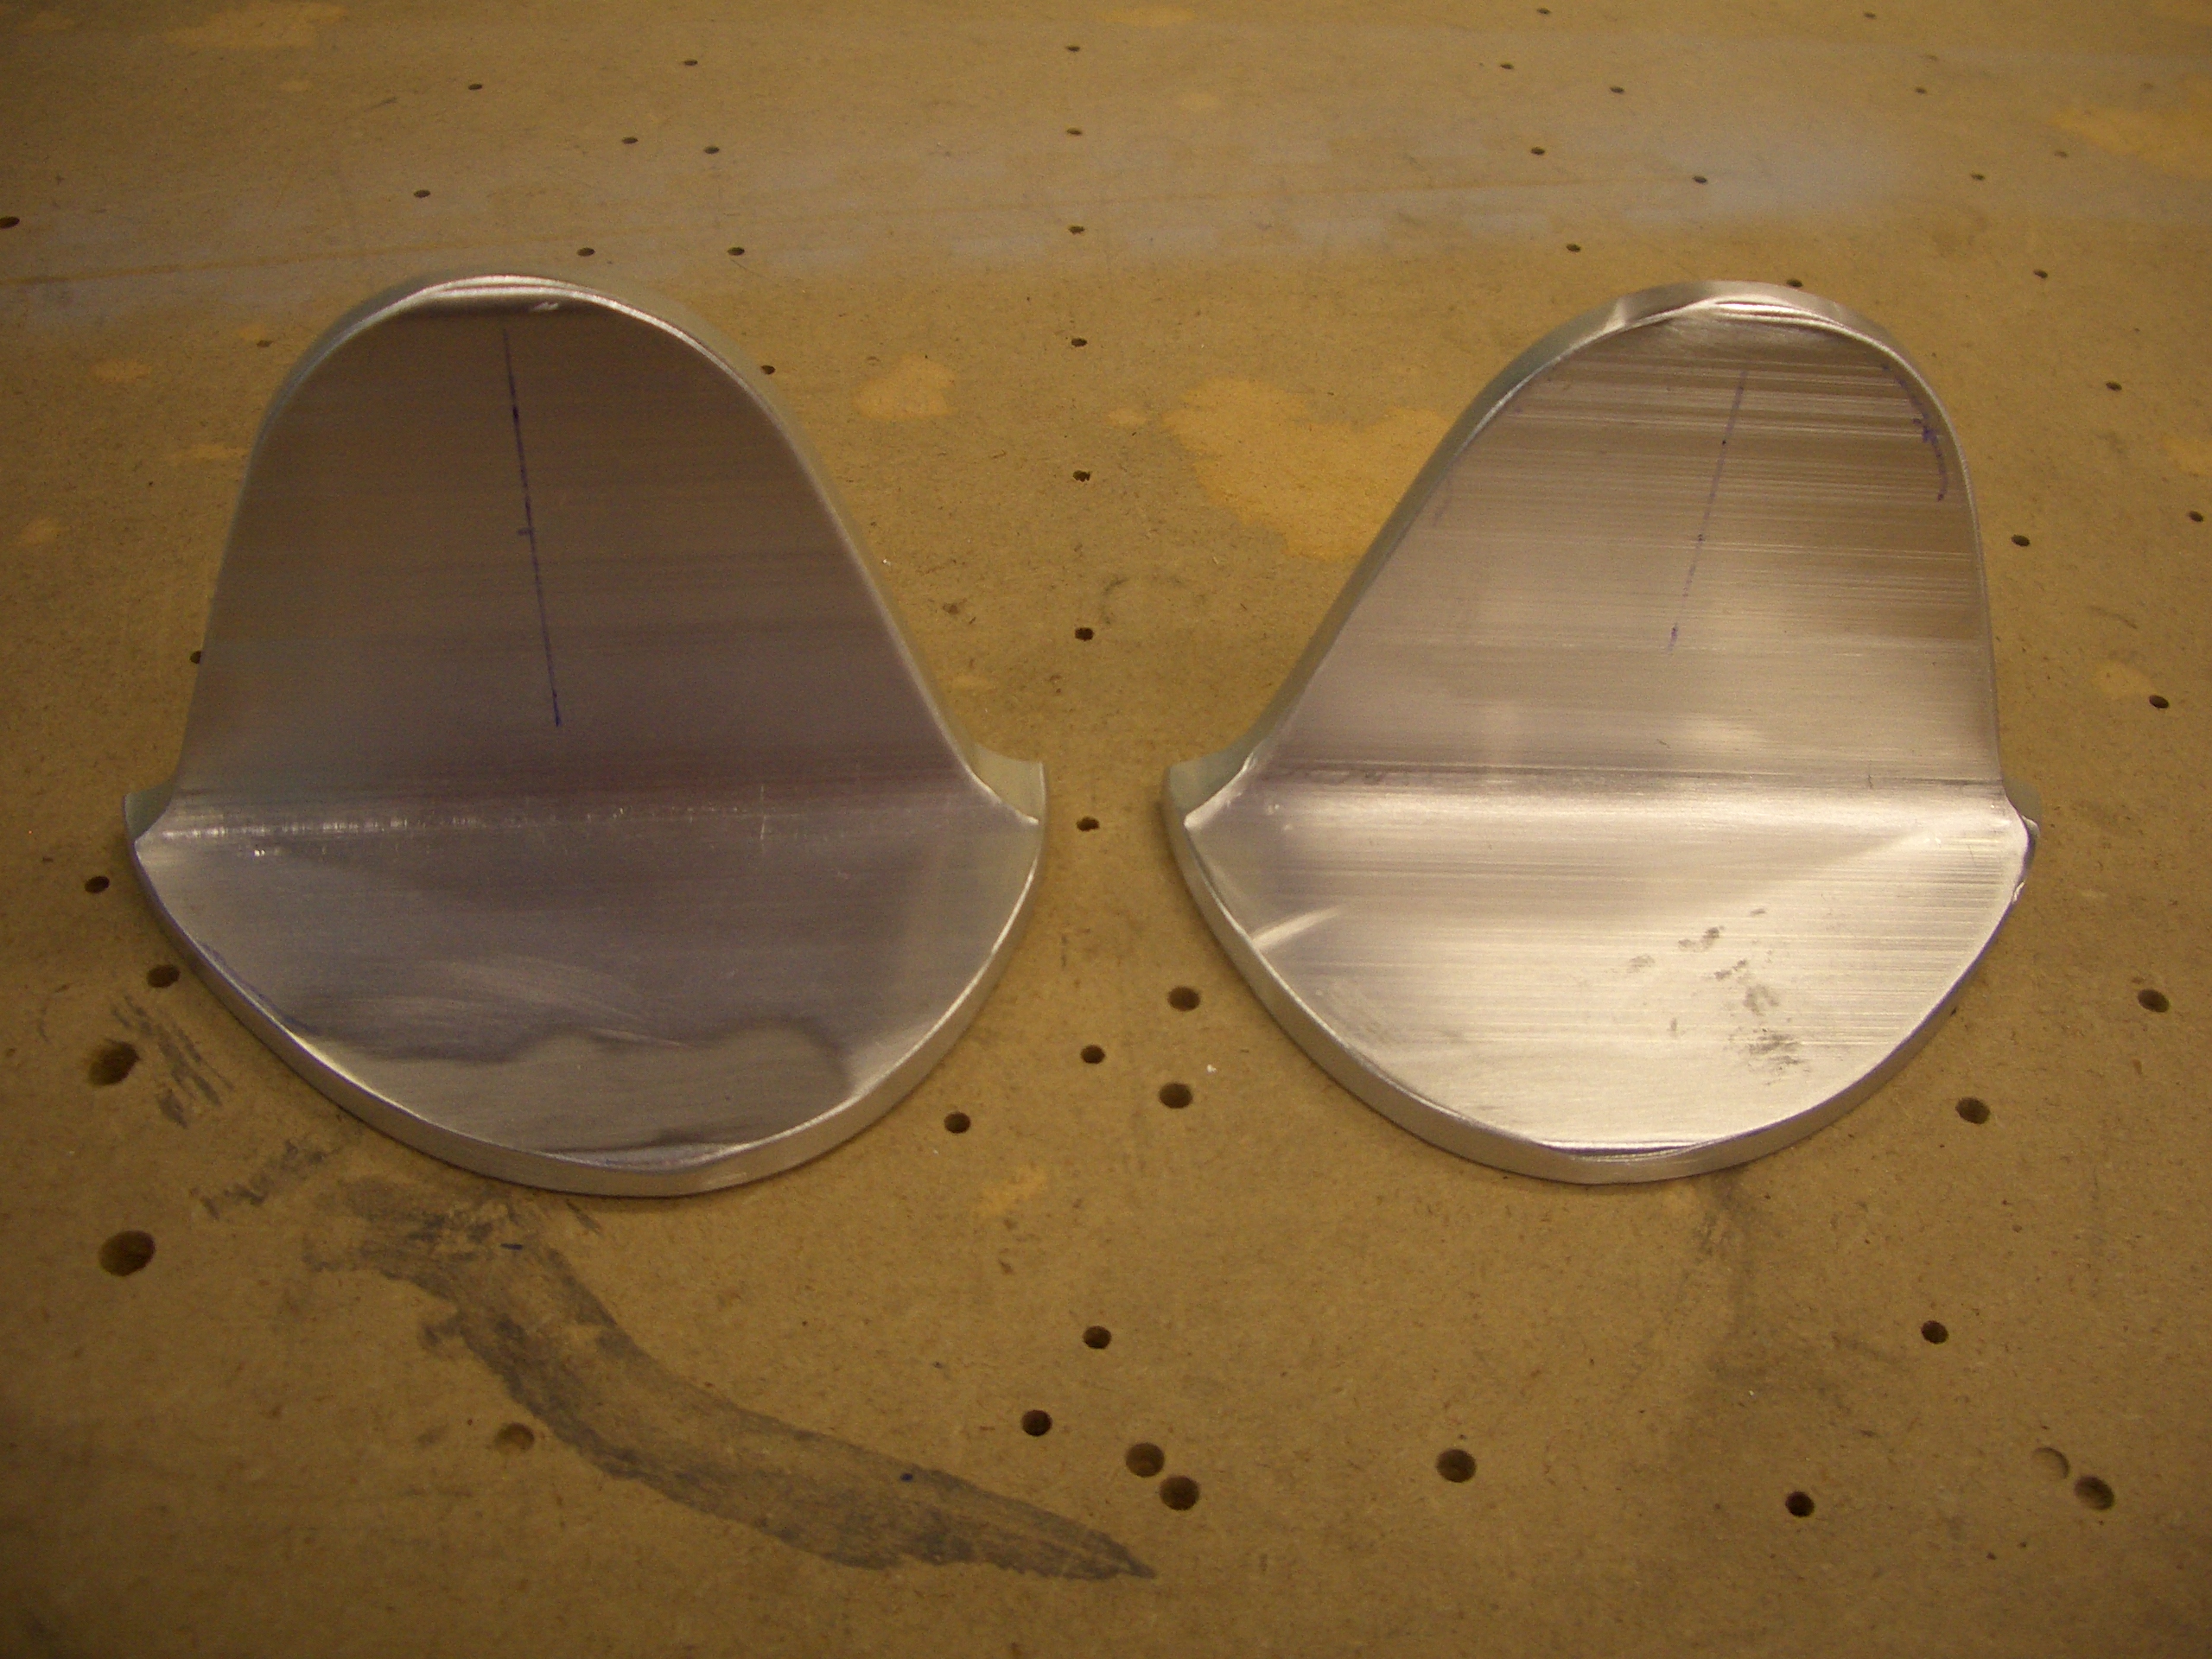
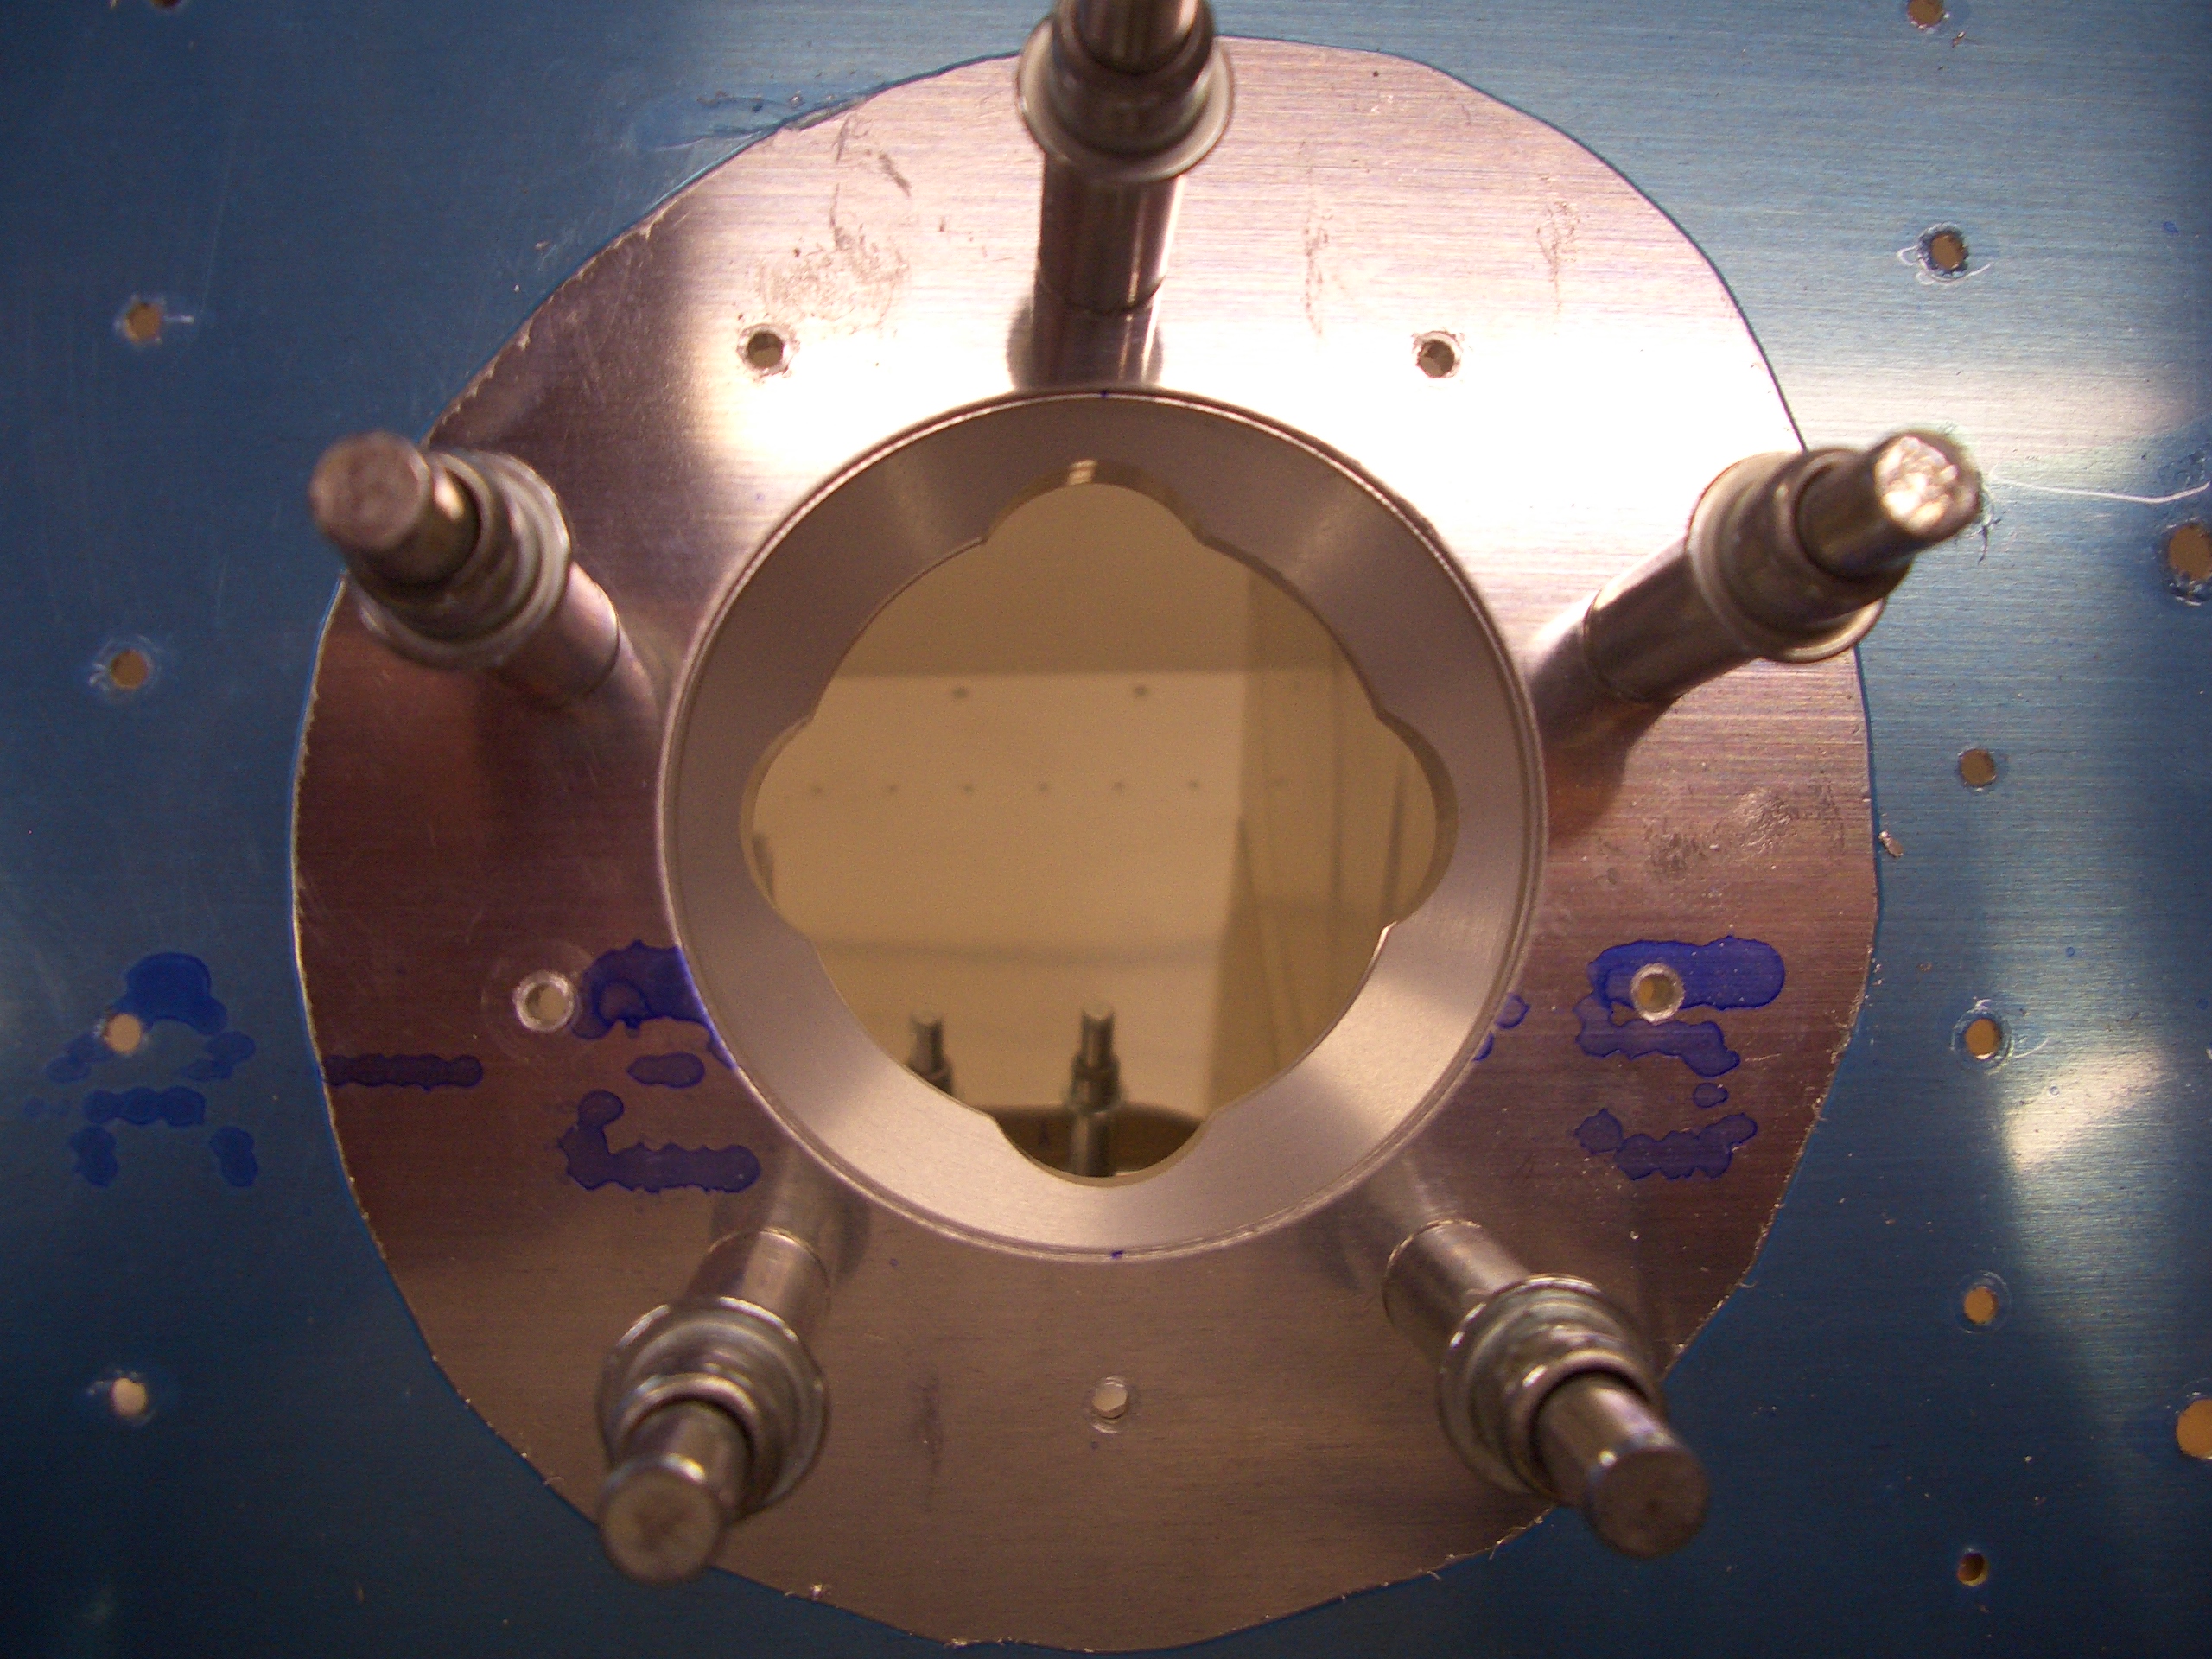
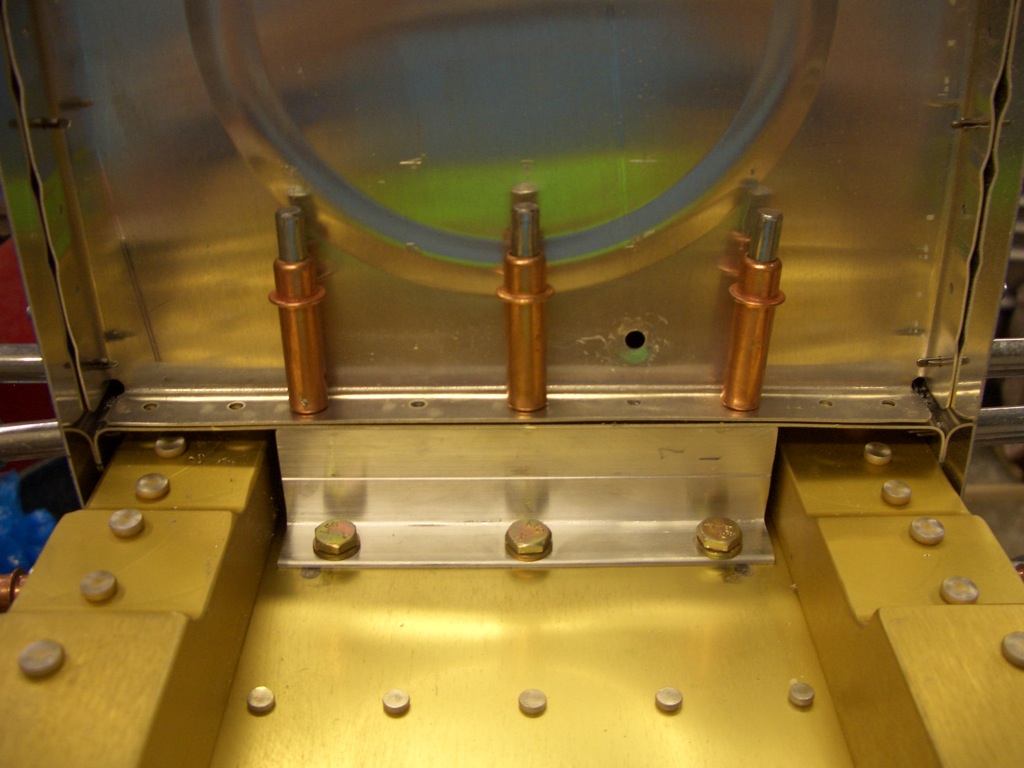
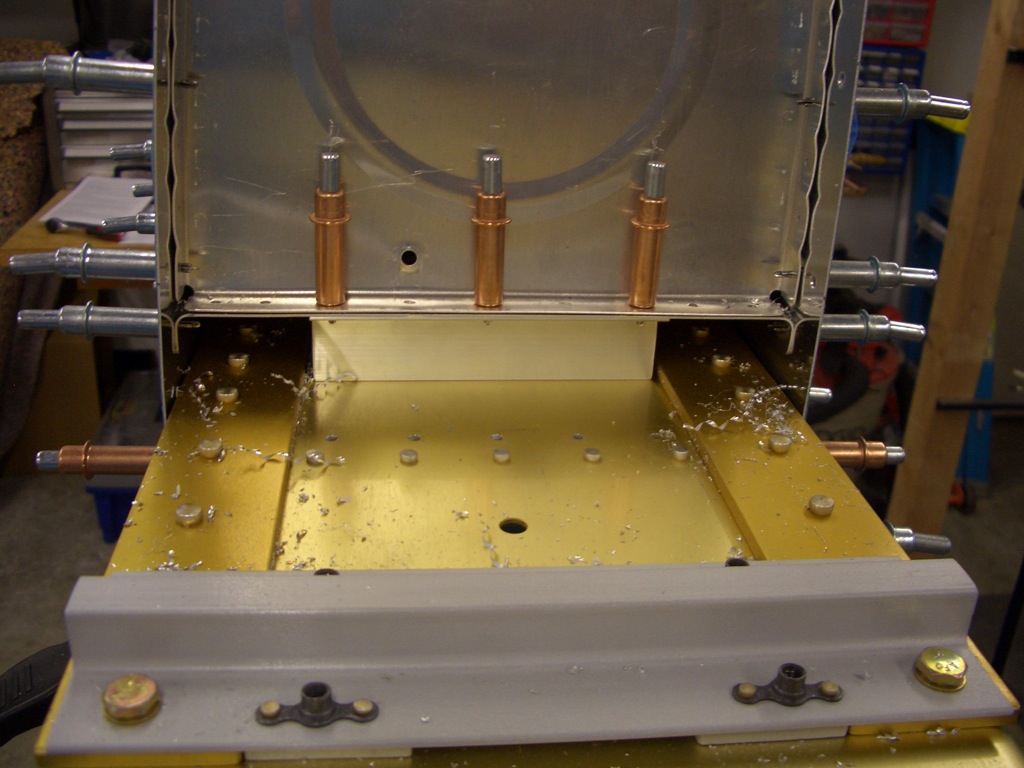
After removing the skin and interior ribs, you are left with the baffle in the perfect position to ensure tank alignment.
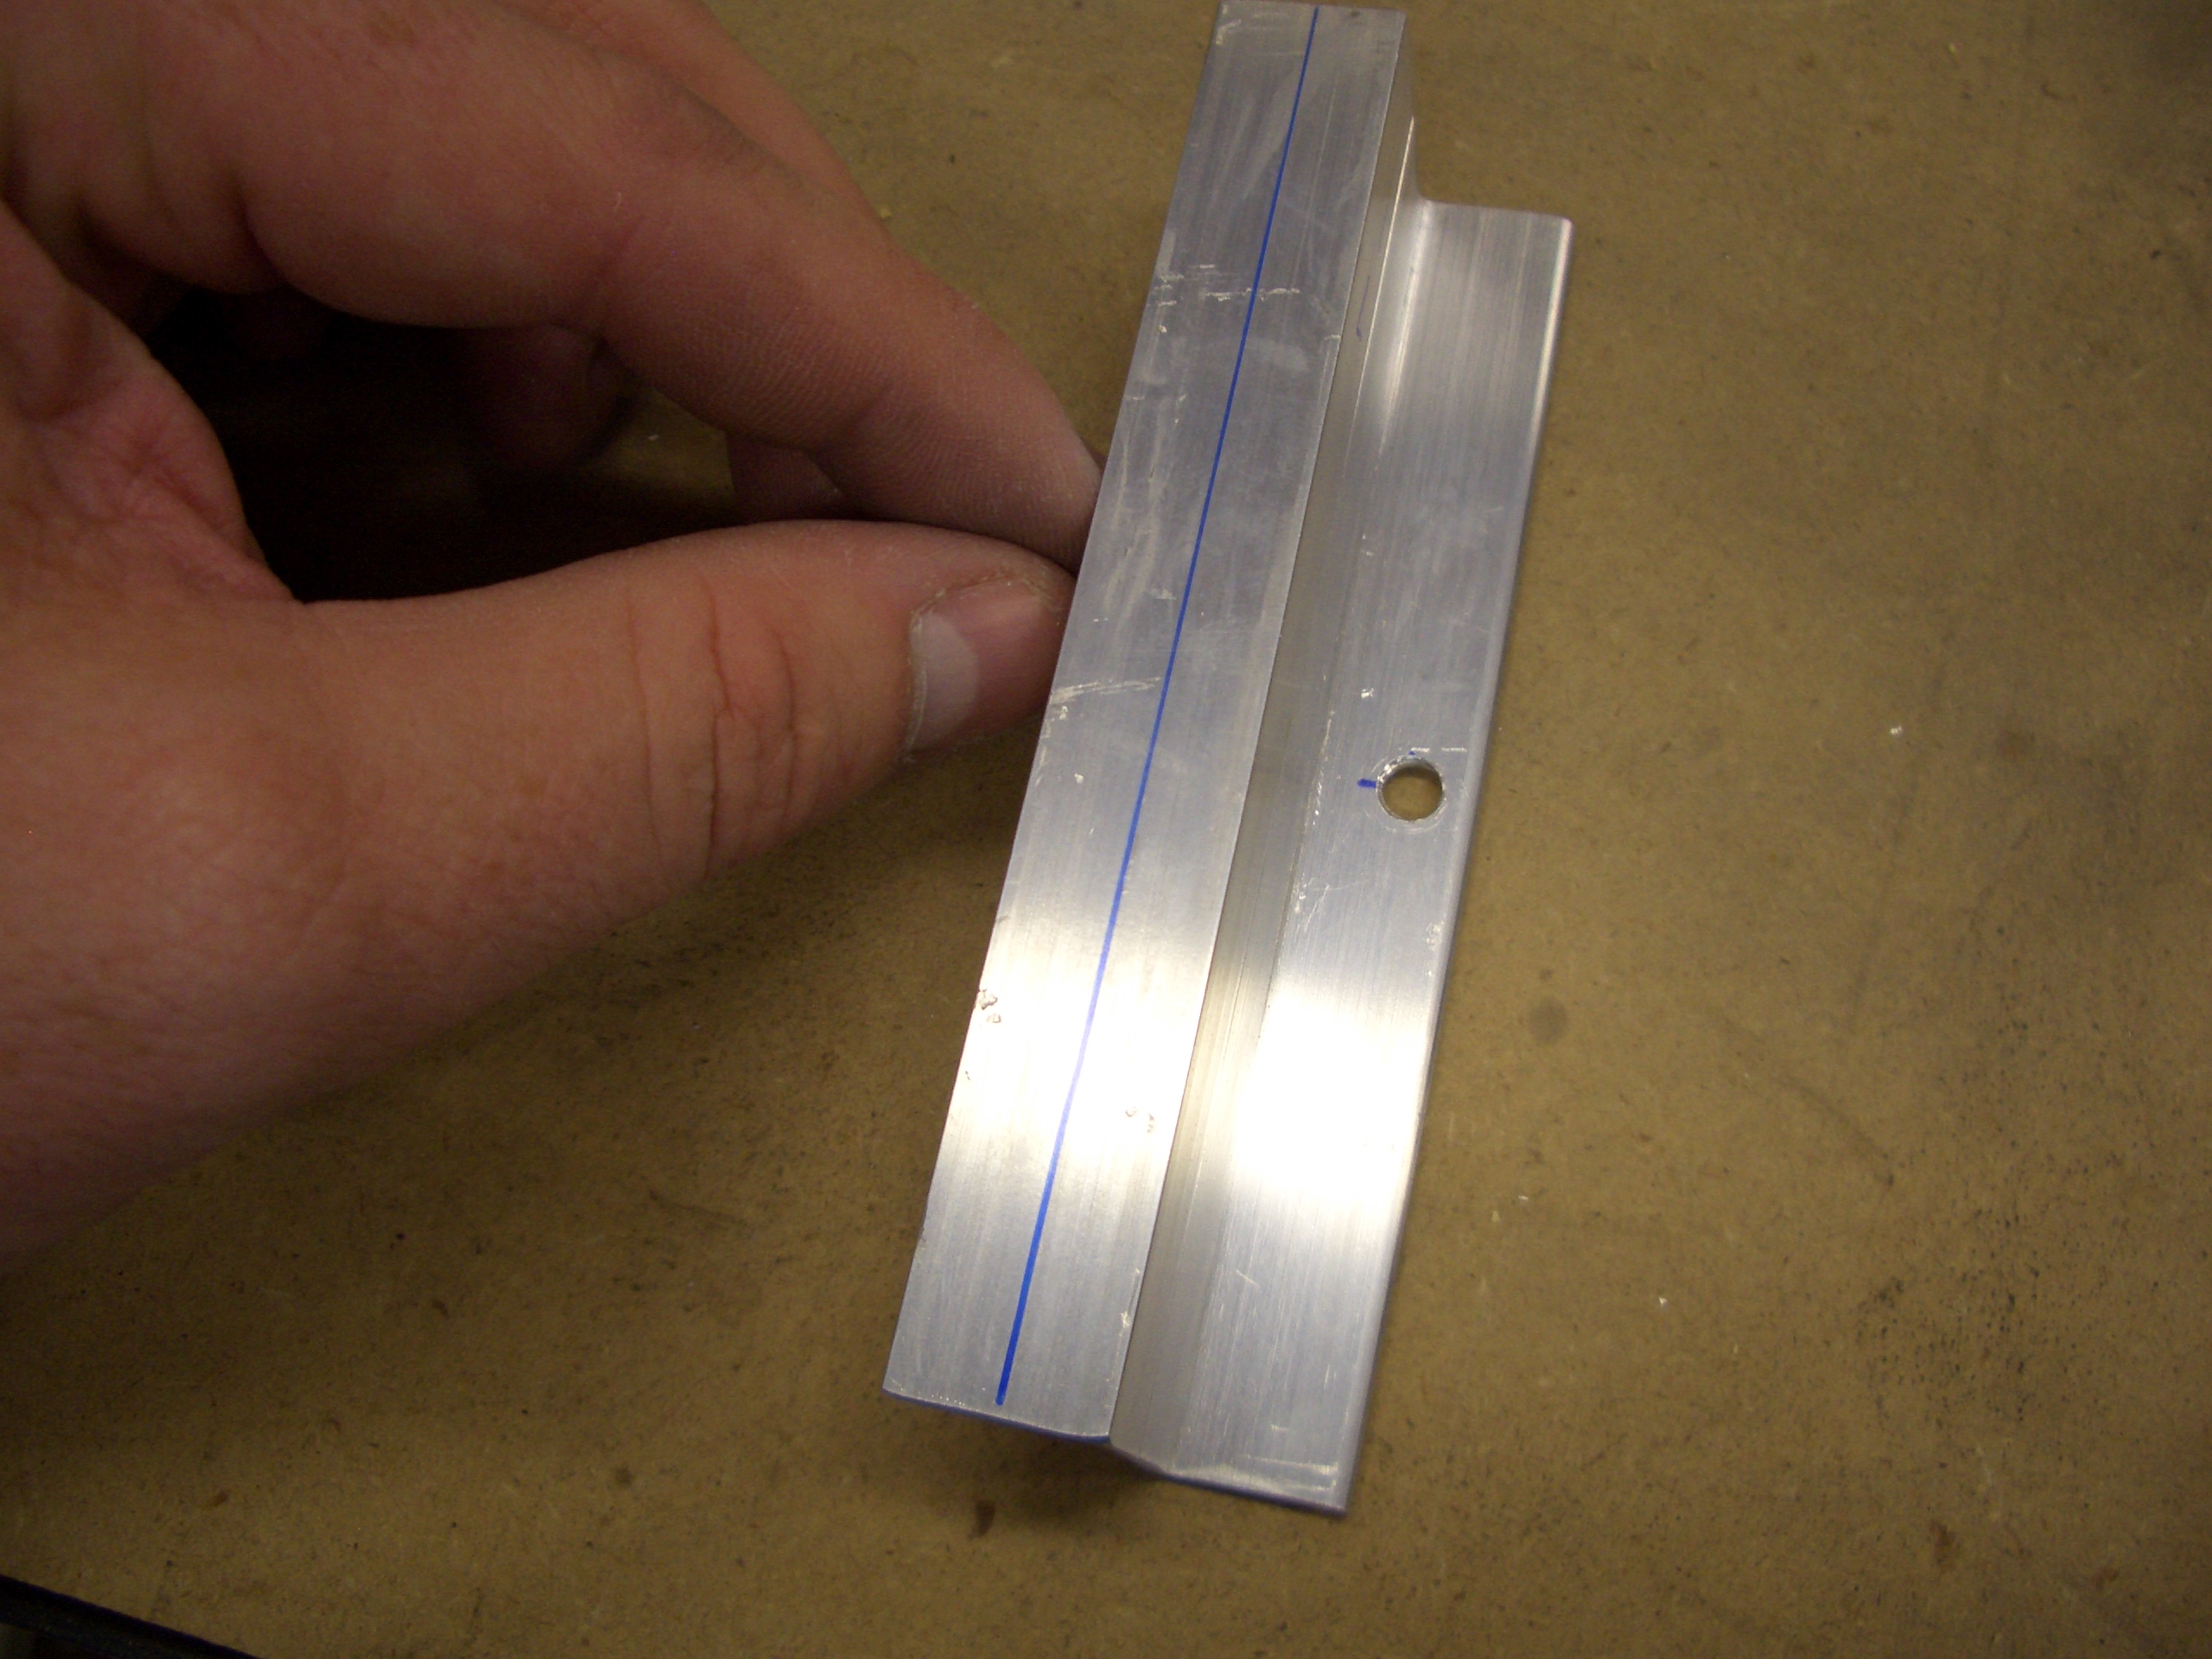
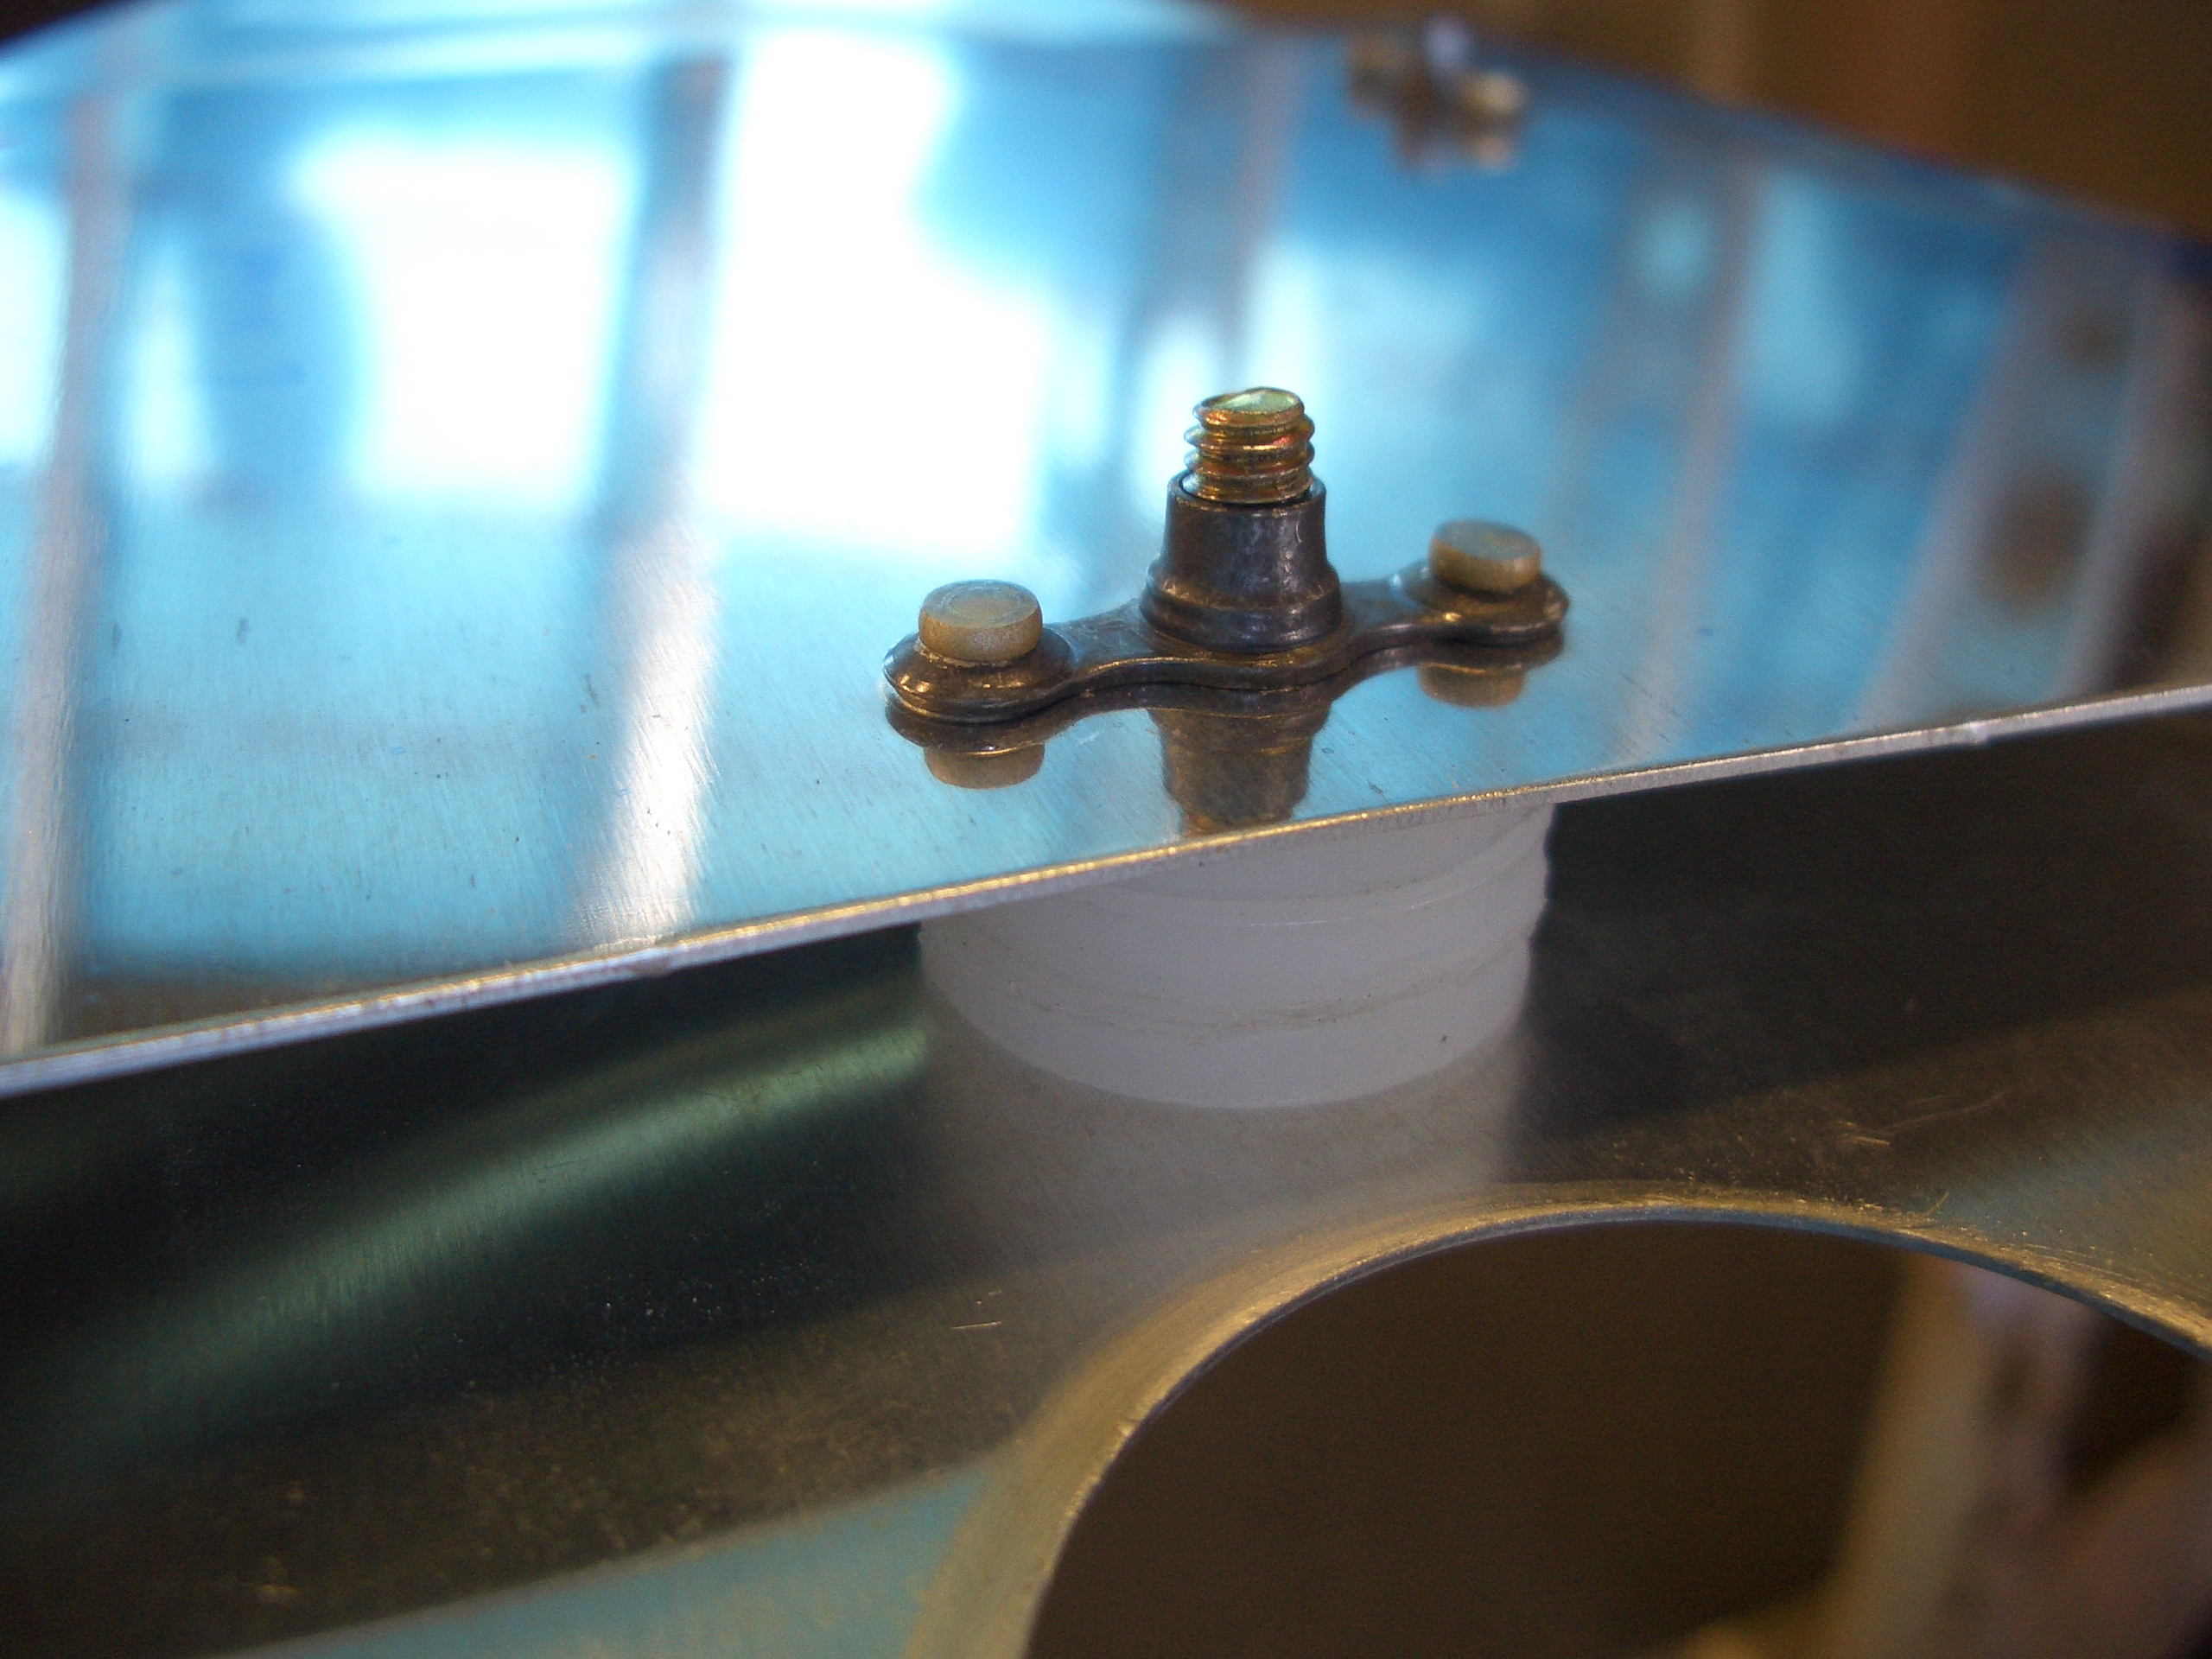
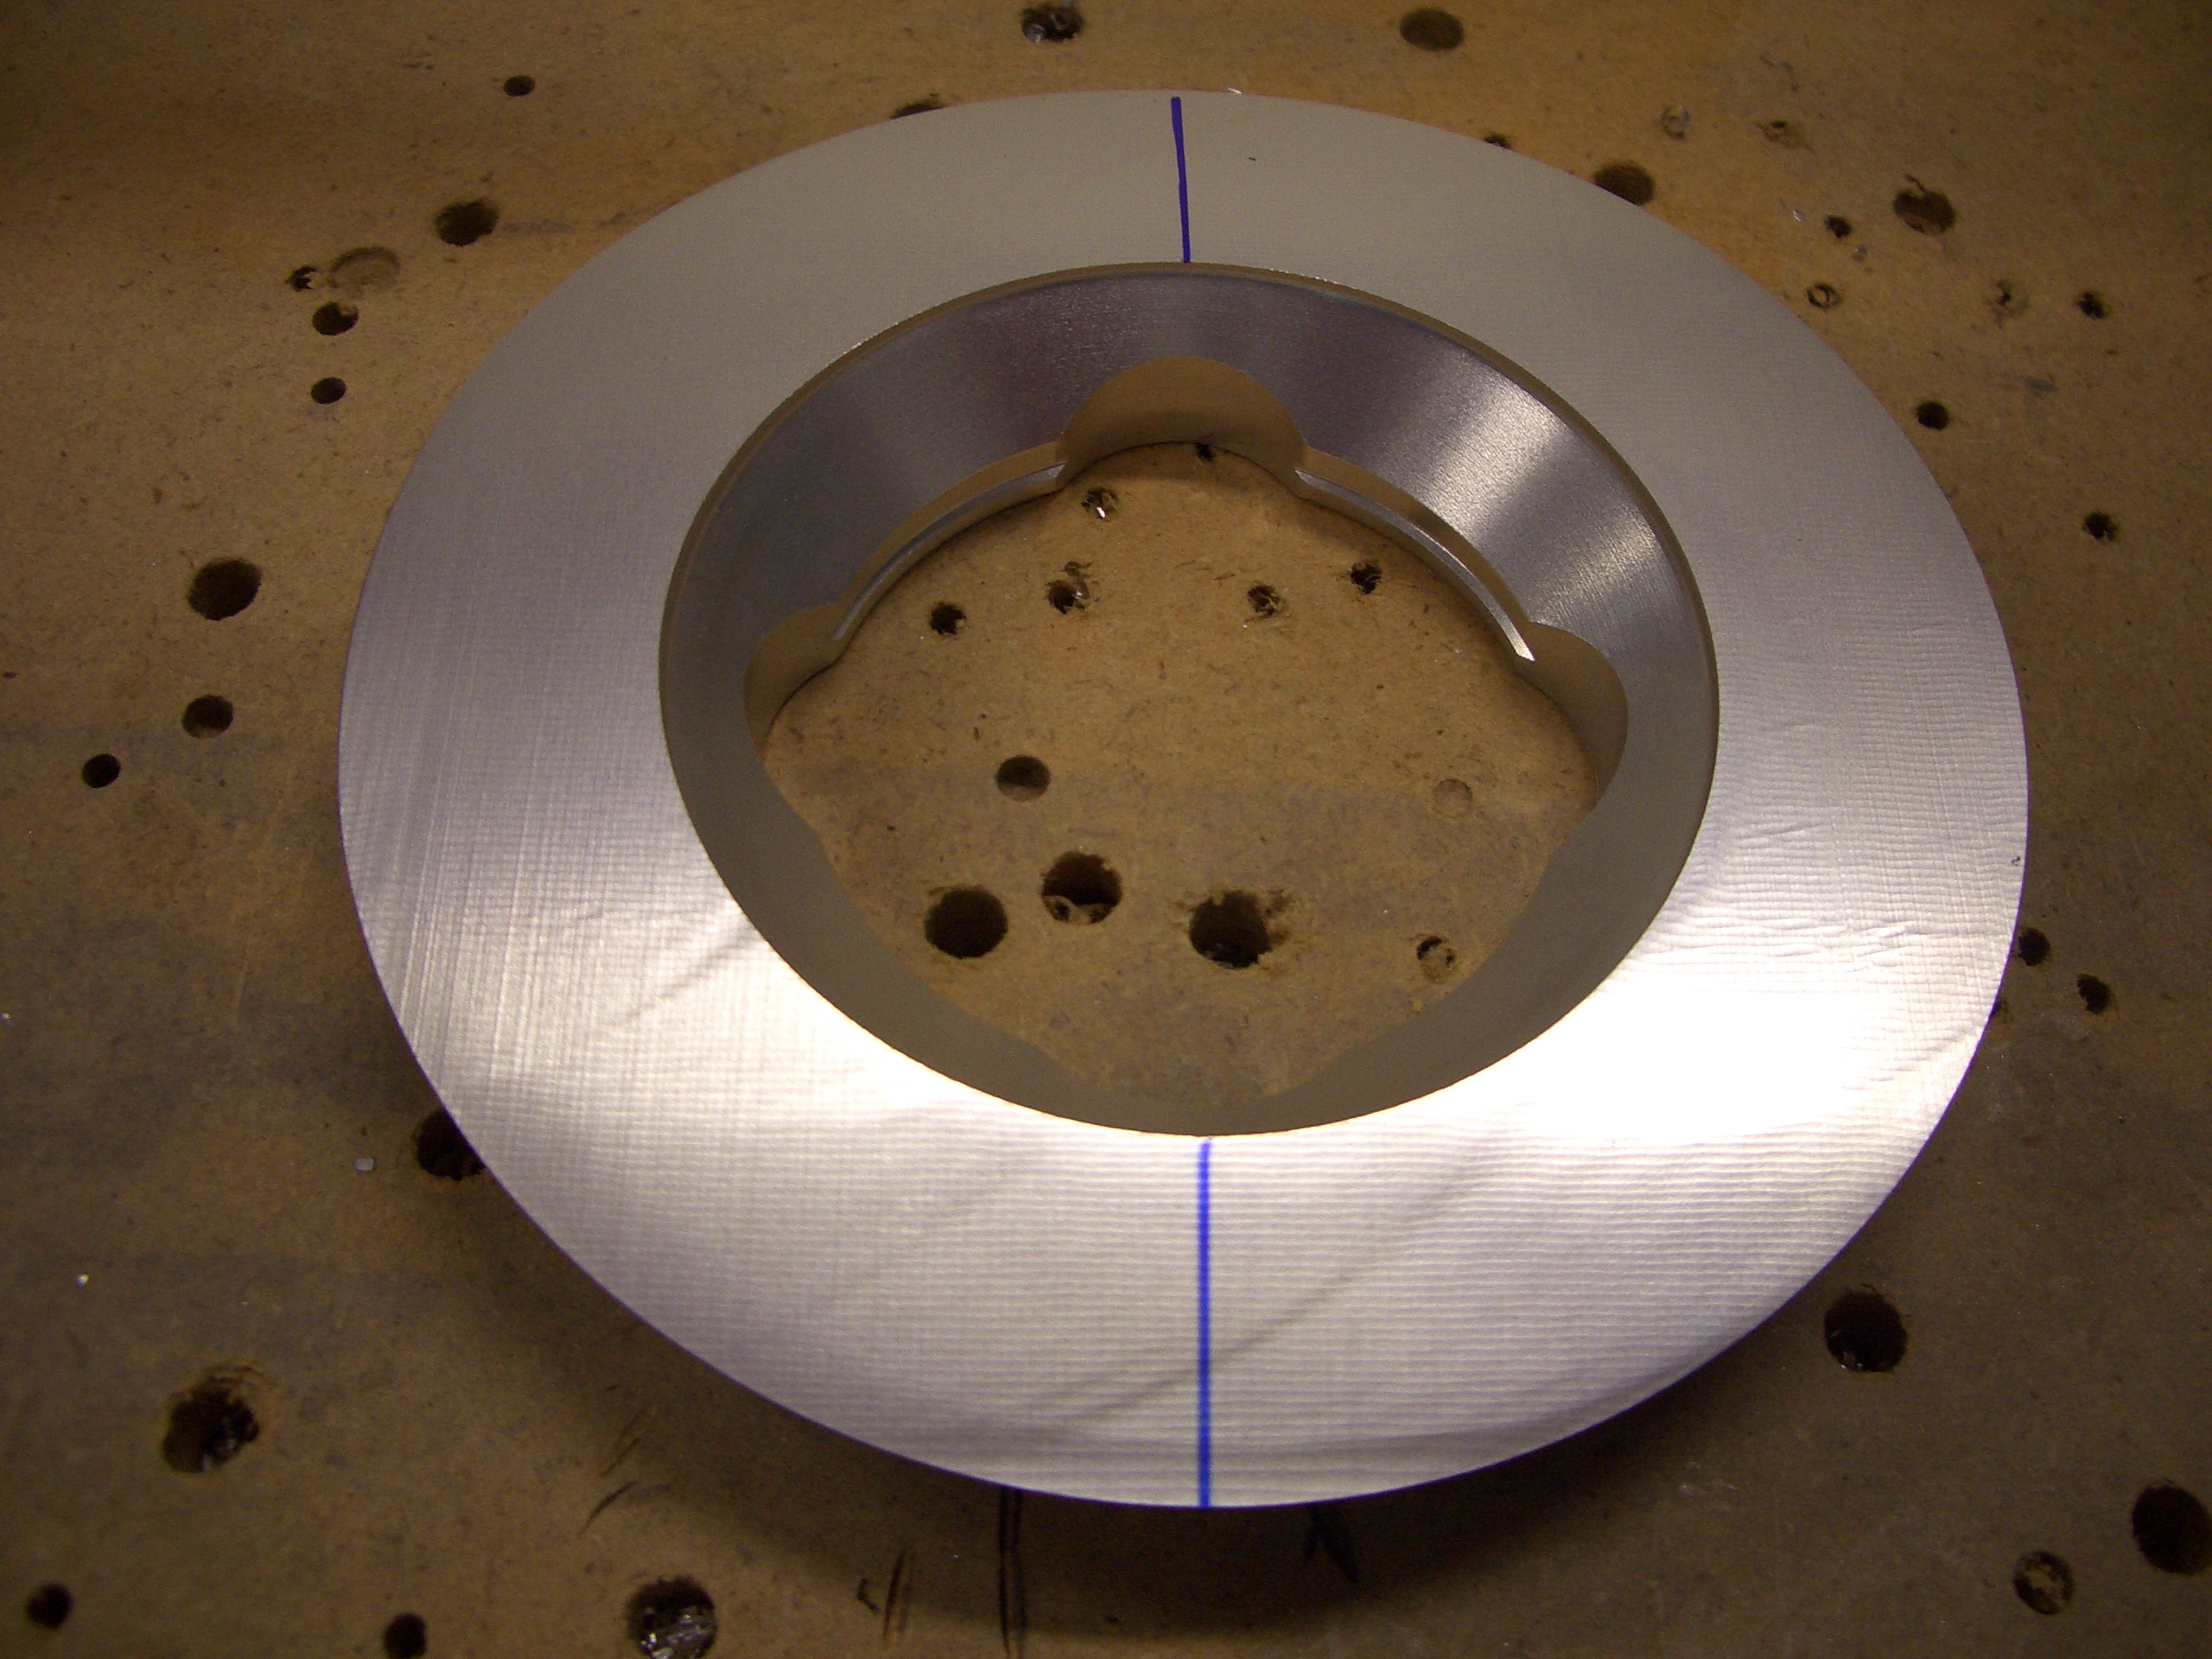
If you zoom in on this picture (click any picture on this site to zoom in), you can see that the centerlines that were drawn on the flanges show through the holes.
Now, drill the remaining holes in the baffles to the z-brackets.

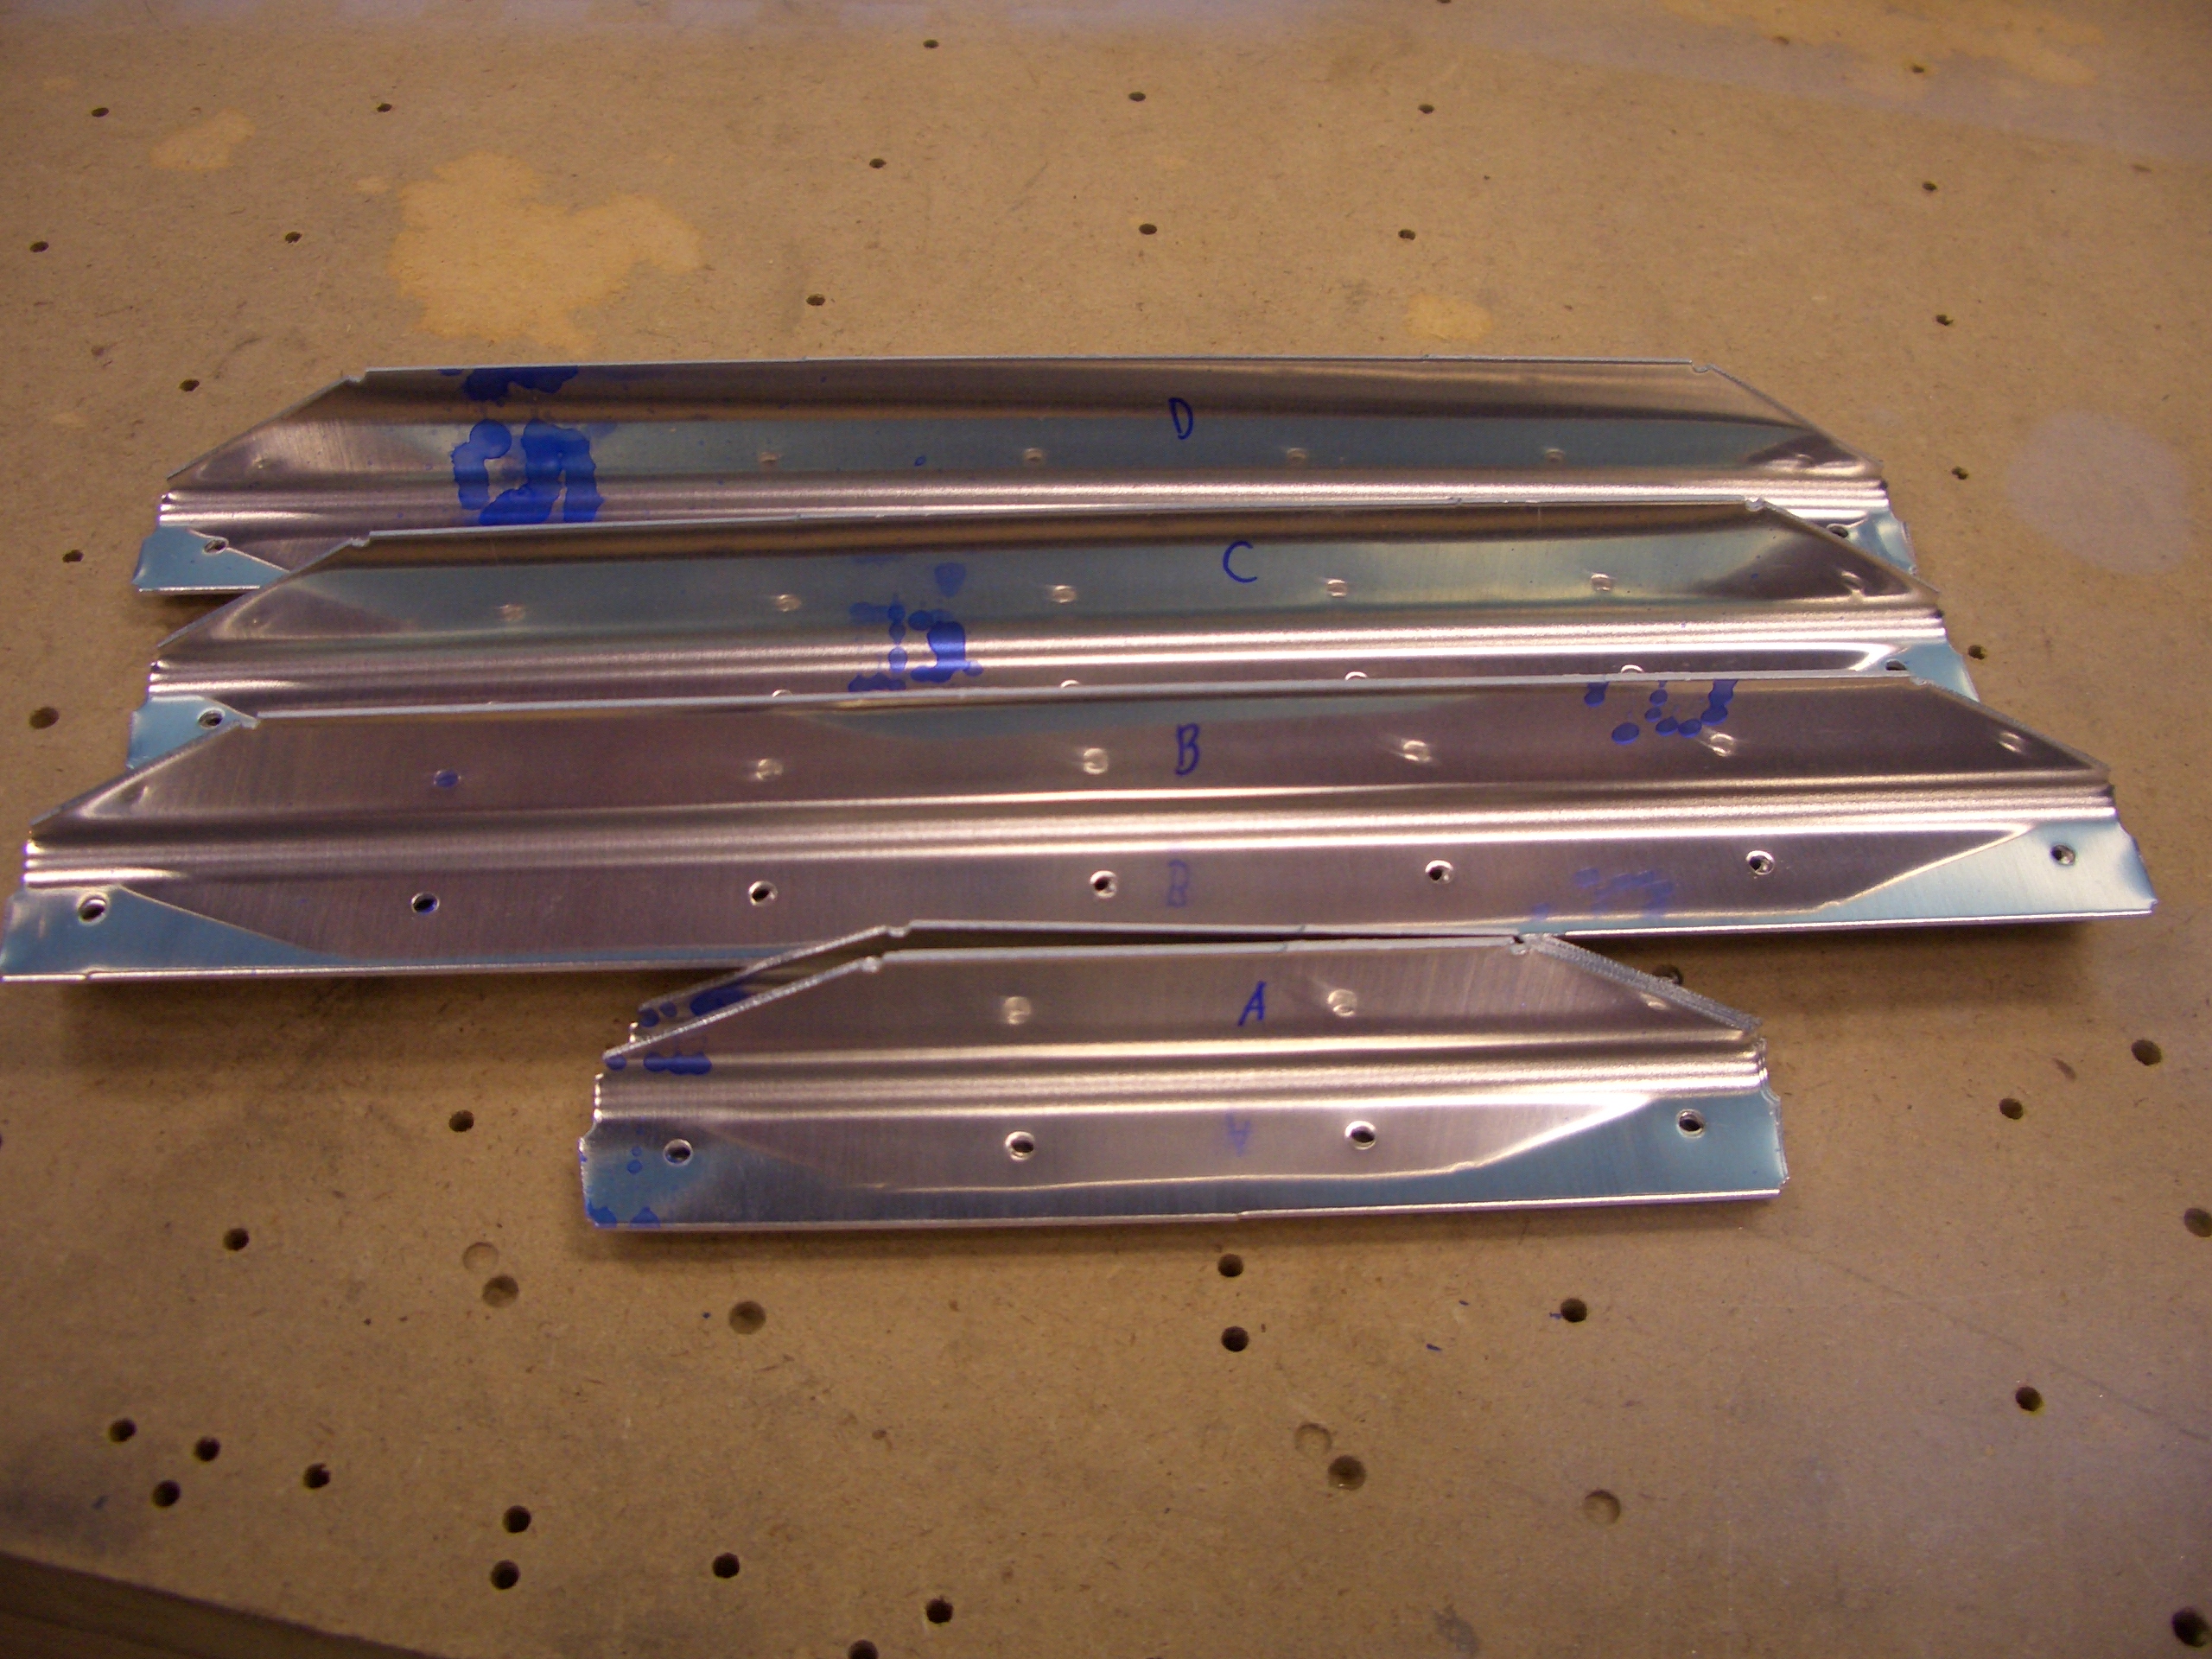
This took me an entire day, but both tank baffles have been drilled to the spars.