Installed Stops in Tie-Down Brackets

I stopped by OSH tonight and bought some 3/8″ 16tpi, 1/4″ long threaded plugs to use as stops in the tie-down brackets.  The tie-downs that Van’s provides can screw in until they contact the wing skin and then crush it.  These plugs provide a hard stop for the tie-downs to tighten against.


Here you can see that they simply thread into the tie-down brackets.


The lighting is poor, but you can see the plug deep inside the bracket.  The tie-down rings thread into the bracket and stop against these plugs with about 1/8″ clearance between the tie-down ring and the wing skin.

Tanks are Leak Free!

I came out early this morning and the water level had dropped nearly 4″ which is exactly as calculated for a nearly 10º drop (I was more precise than that, but that’s not important).  I can now claim the tanks are leak free!  I’m really glad that’s over with and there are no leaks.  The tanks weren’t especially hard to build, nor was the tank sealant nearly as bad to work with as I had heard.  I was more concerned that if I had a leak, I might have to open the tanks back up to fix it (requiring cutting access holes in the back baffle).

Deburring Wing Ribs

I countersunk one more group of holes on the main spars and then took a break from that to start deburring the holes in the main ribs.  I did all of the outer sides of the holes and then used a couple of drill extensions to get the inner sides of the holes.

Deburred and Dimpled Wing Ribs

I finished deburring the inside edges of all of the left wing’s main ribs and then dimpled all of them.  There are over 500 main rib holes per wing, so this took about two hours.  I don’t have any pictures of it, but I also finished countersinking the main spars for the skin attach rivets.


I can see why people say that if they were to build again, they would opt for quick build wings.  The wings are definitely boring in many spots.  It’s not that each individual task is boring, it’s just that there are many spots where a task needs to be repeated dozens or hundreds of times. If the quick build wings had been available with capacitive fuel senders, then I might have considered them, but I really didn’t want float senders.

Deburred and Dimpled Left Rear Spar

I deburred and dimpled the rear spar on the left wing.  The rear spar is much thicker than the ribs, so after dimpling the spar with the squeezer, I had to use the microstop countersink to make the dimples a little bit deeper so that the skin will seat fully.

I also received an order today from SteinAir with my roll servo wire and an assortment of snap bushings and grommets.

Deburred and Dimpled Wing Ribs

No pictures again today since all I did was deburr and dimple the right wing’s main ribs and the pictures wouldn’t look any different than the one from a couple of days ago.  I ran out of steam before I could do the rear spar so that will have to wait until tomorrow.

Started Working on Leading Edge to Tank Joint

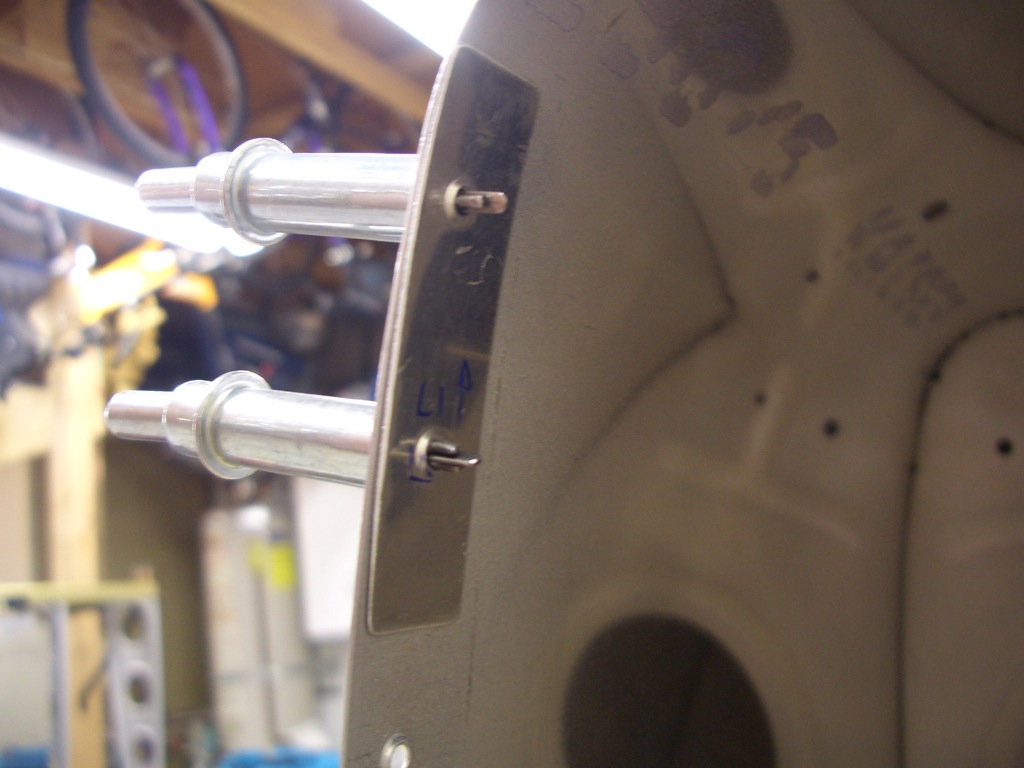
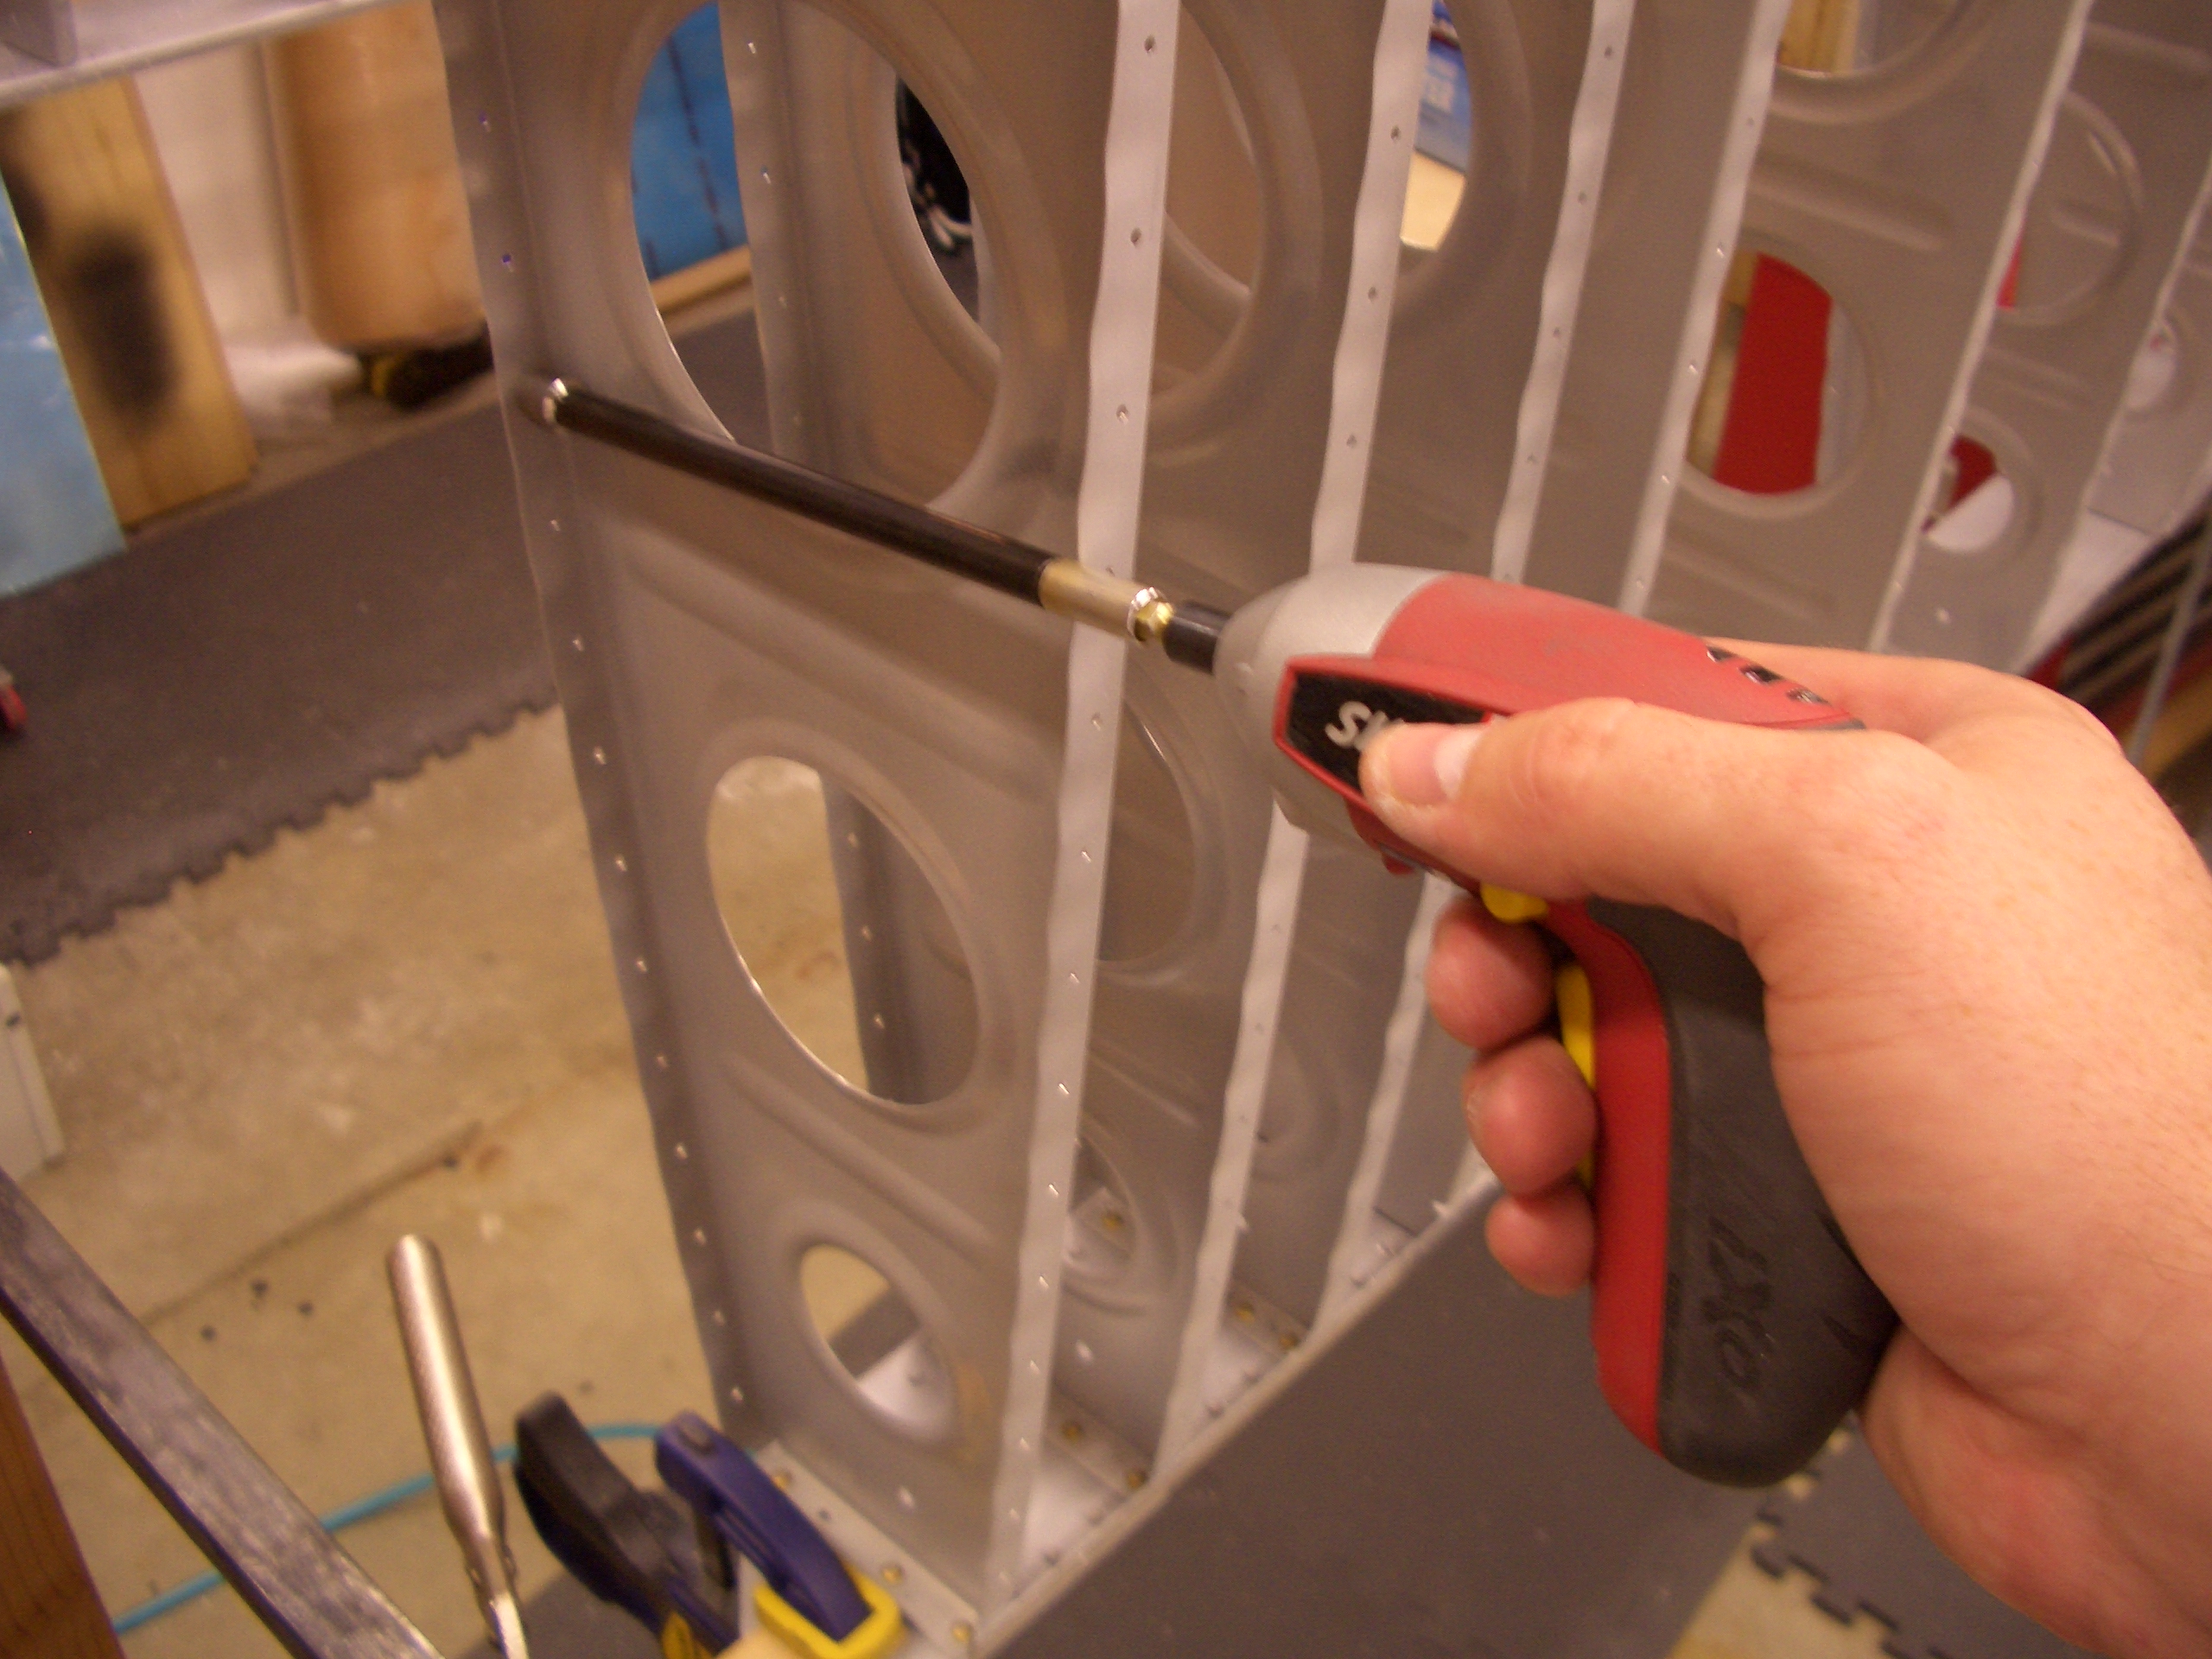
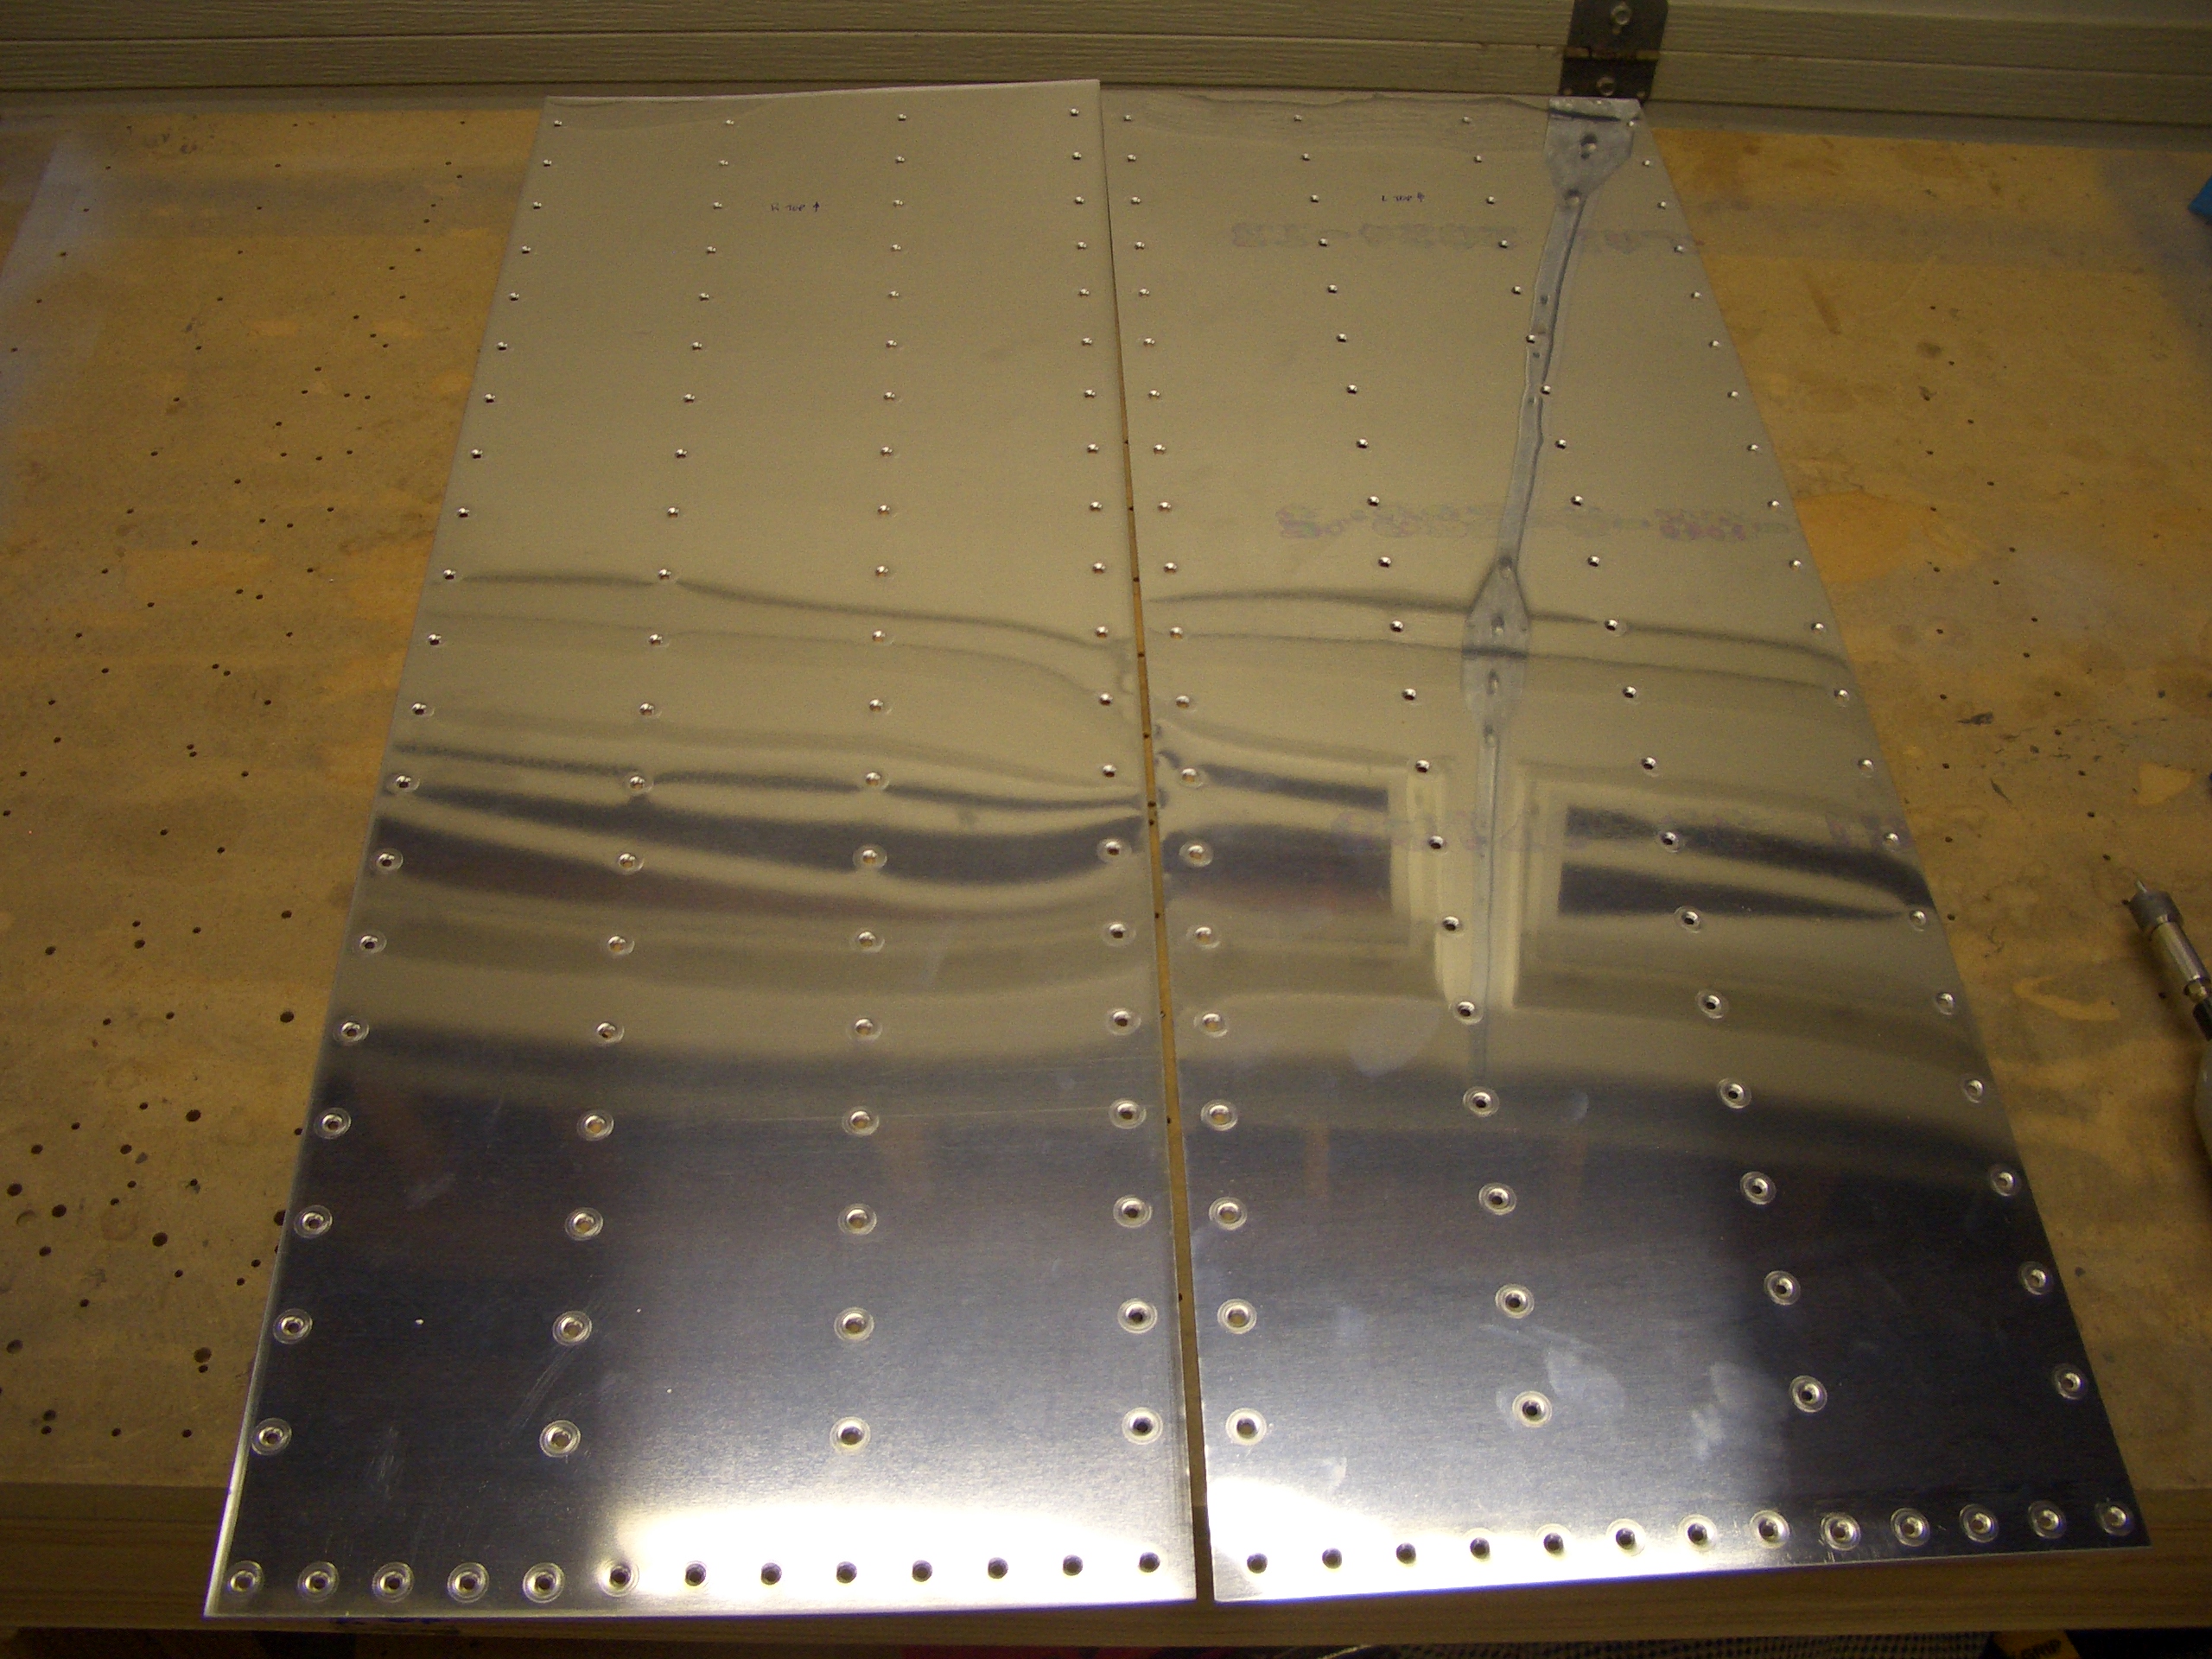
I finished deburring and dimpling the right wing’s rear spar and then started working on the leading edge to tank joint.  If you recall from a week or so ago, the tank and leading edge skins aren’t perfectly flush along the joint.  To fix this, I needed to shim out the outboard leading edge skin to be flush with the tank skin.

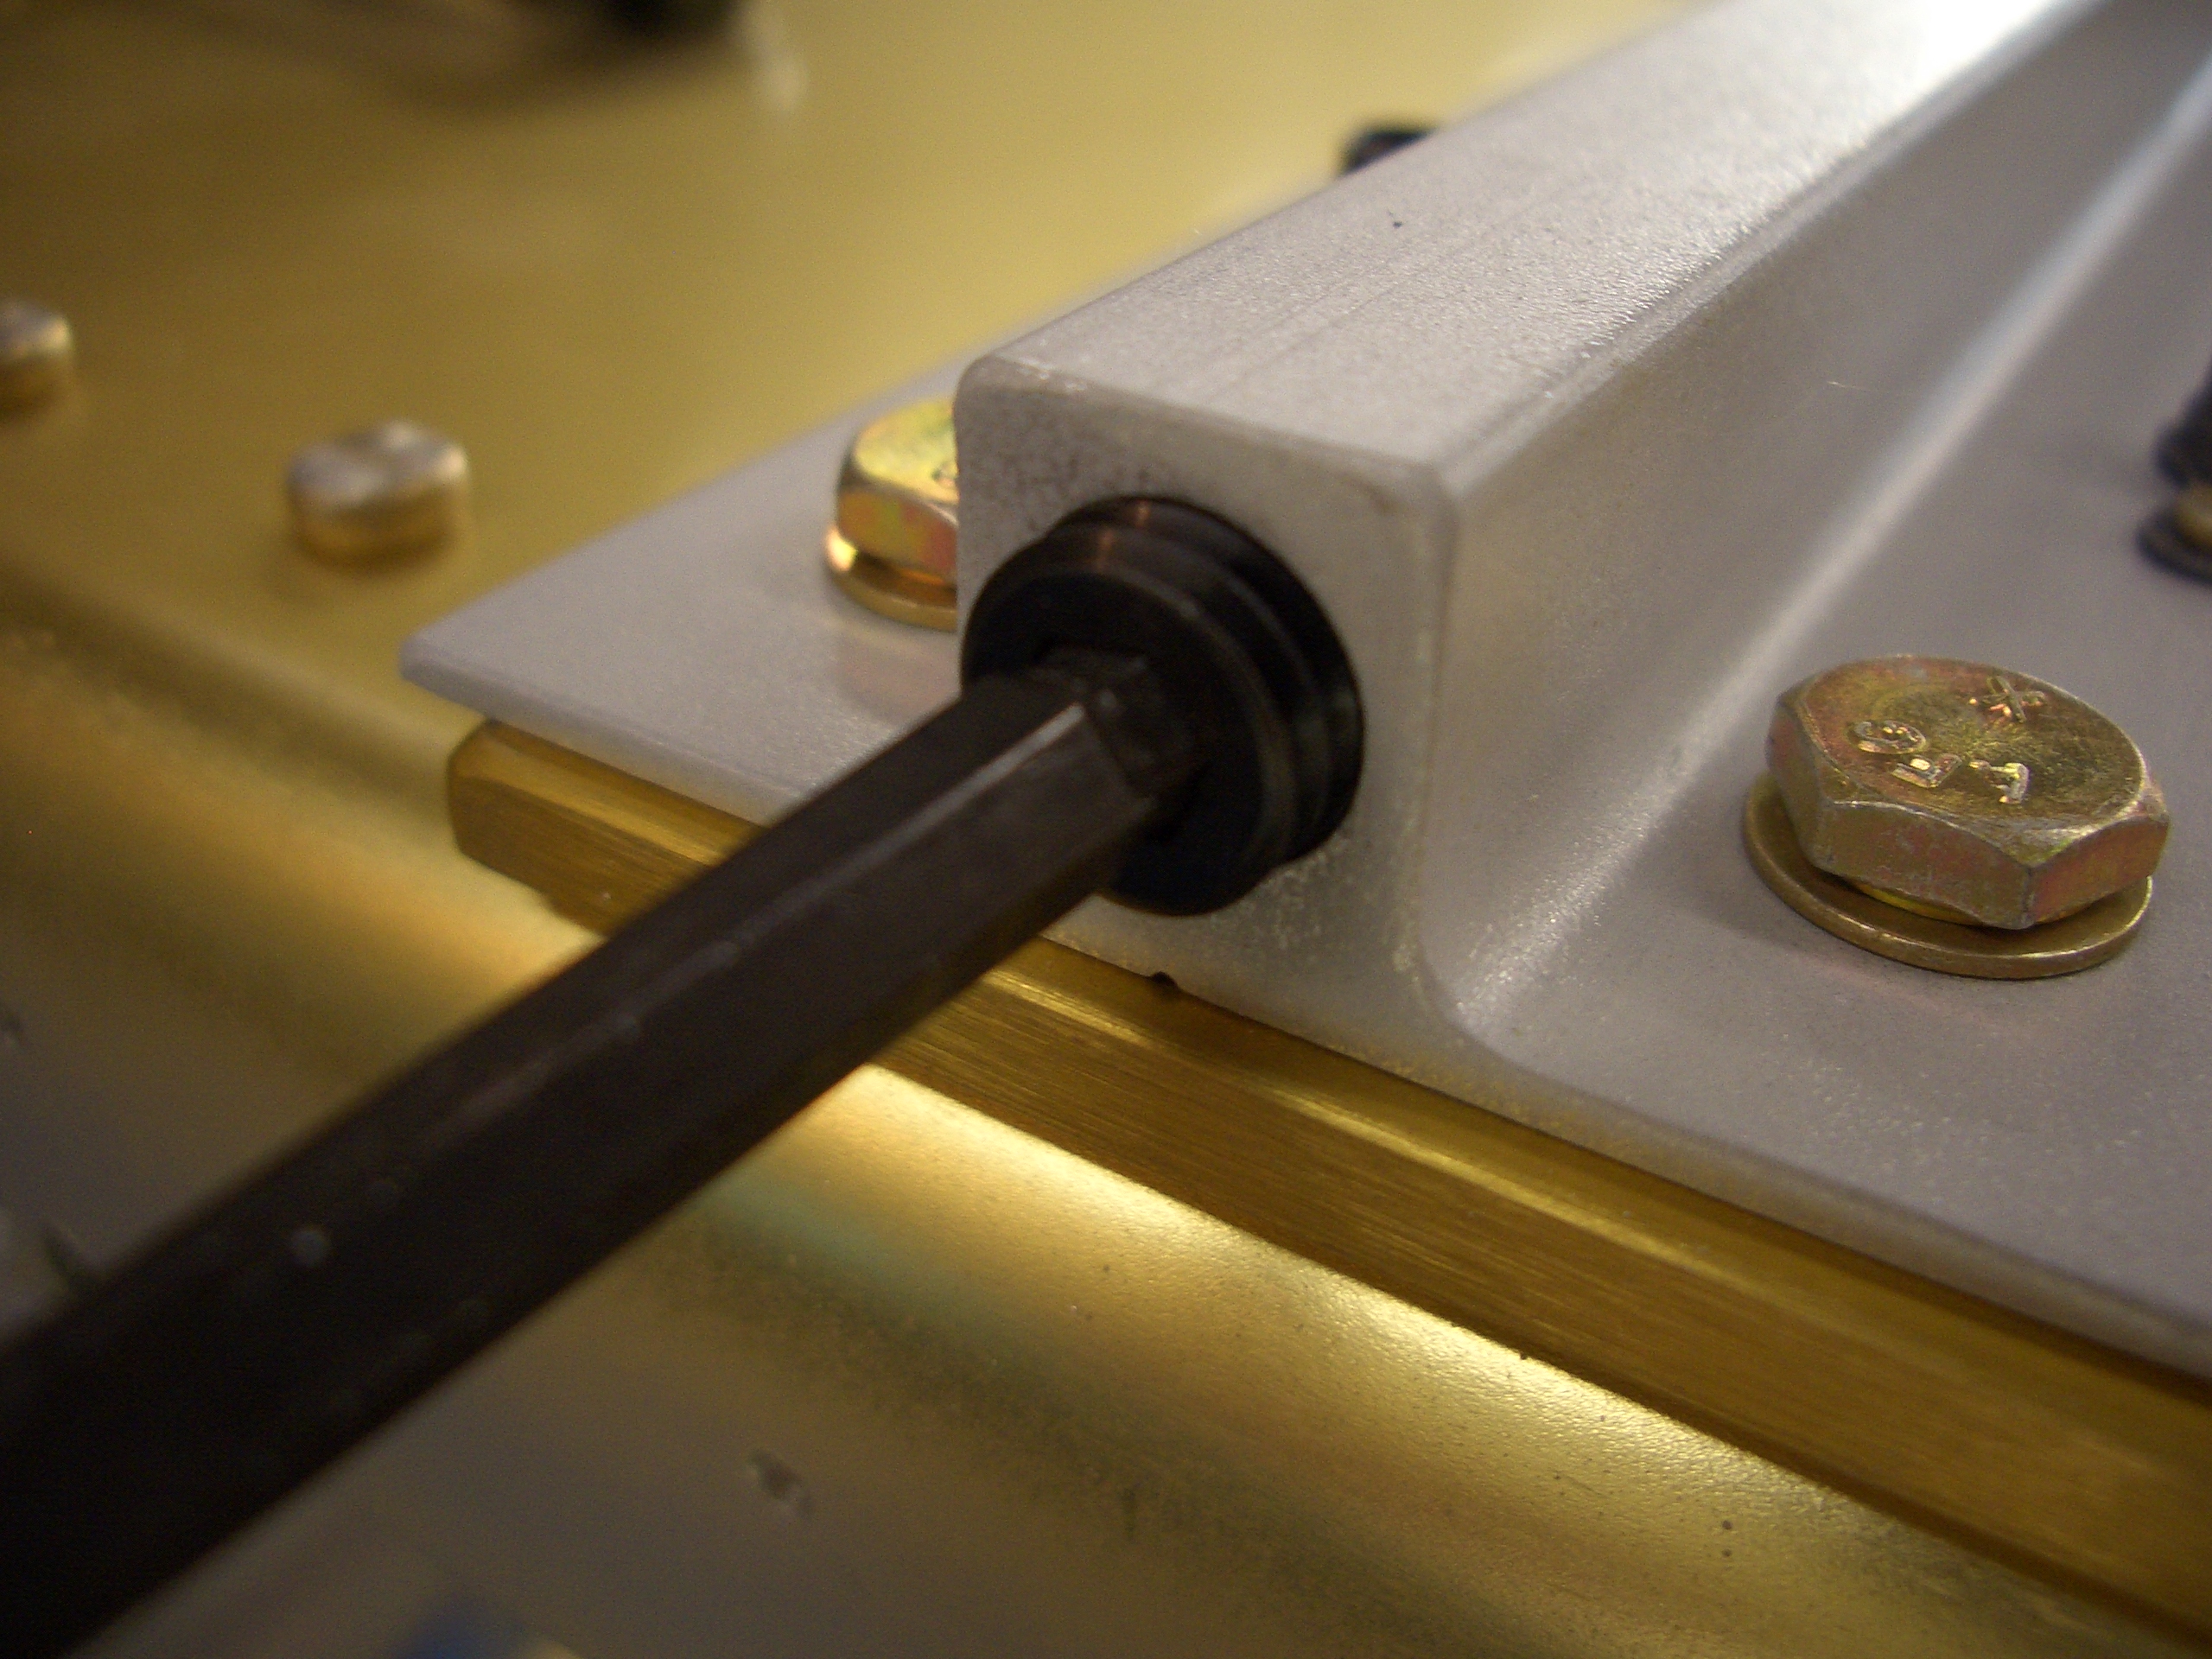
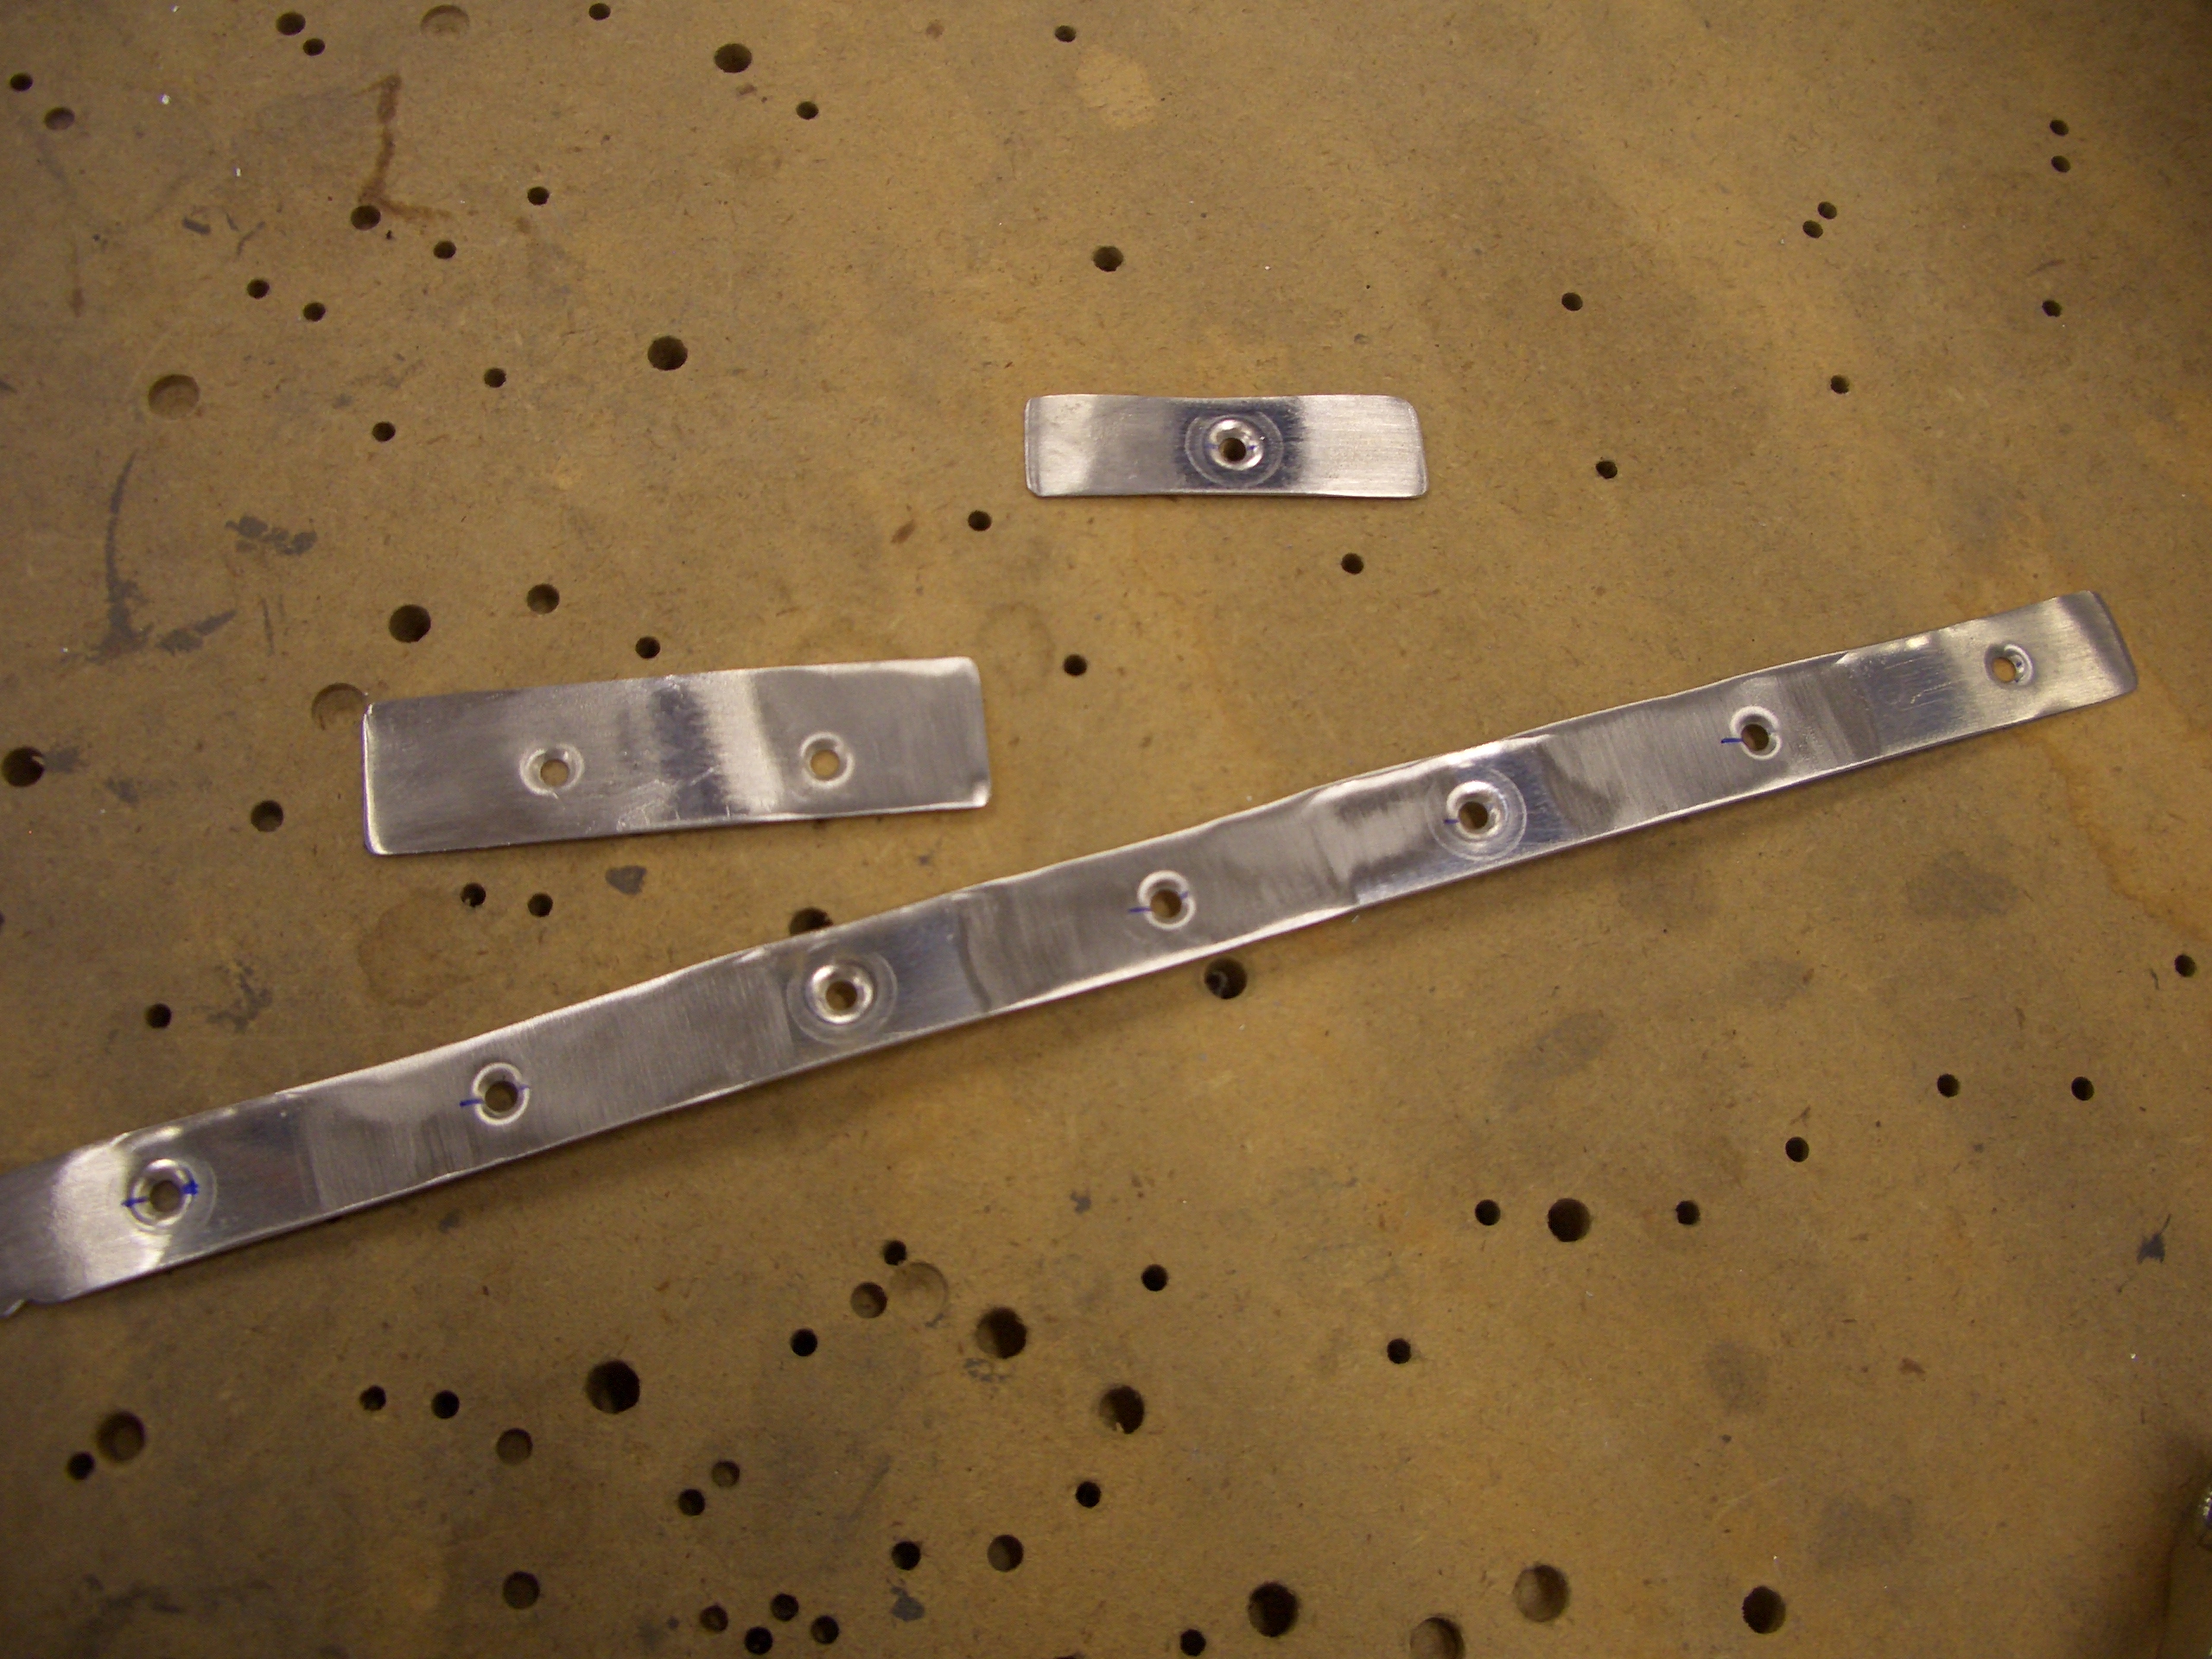
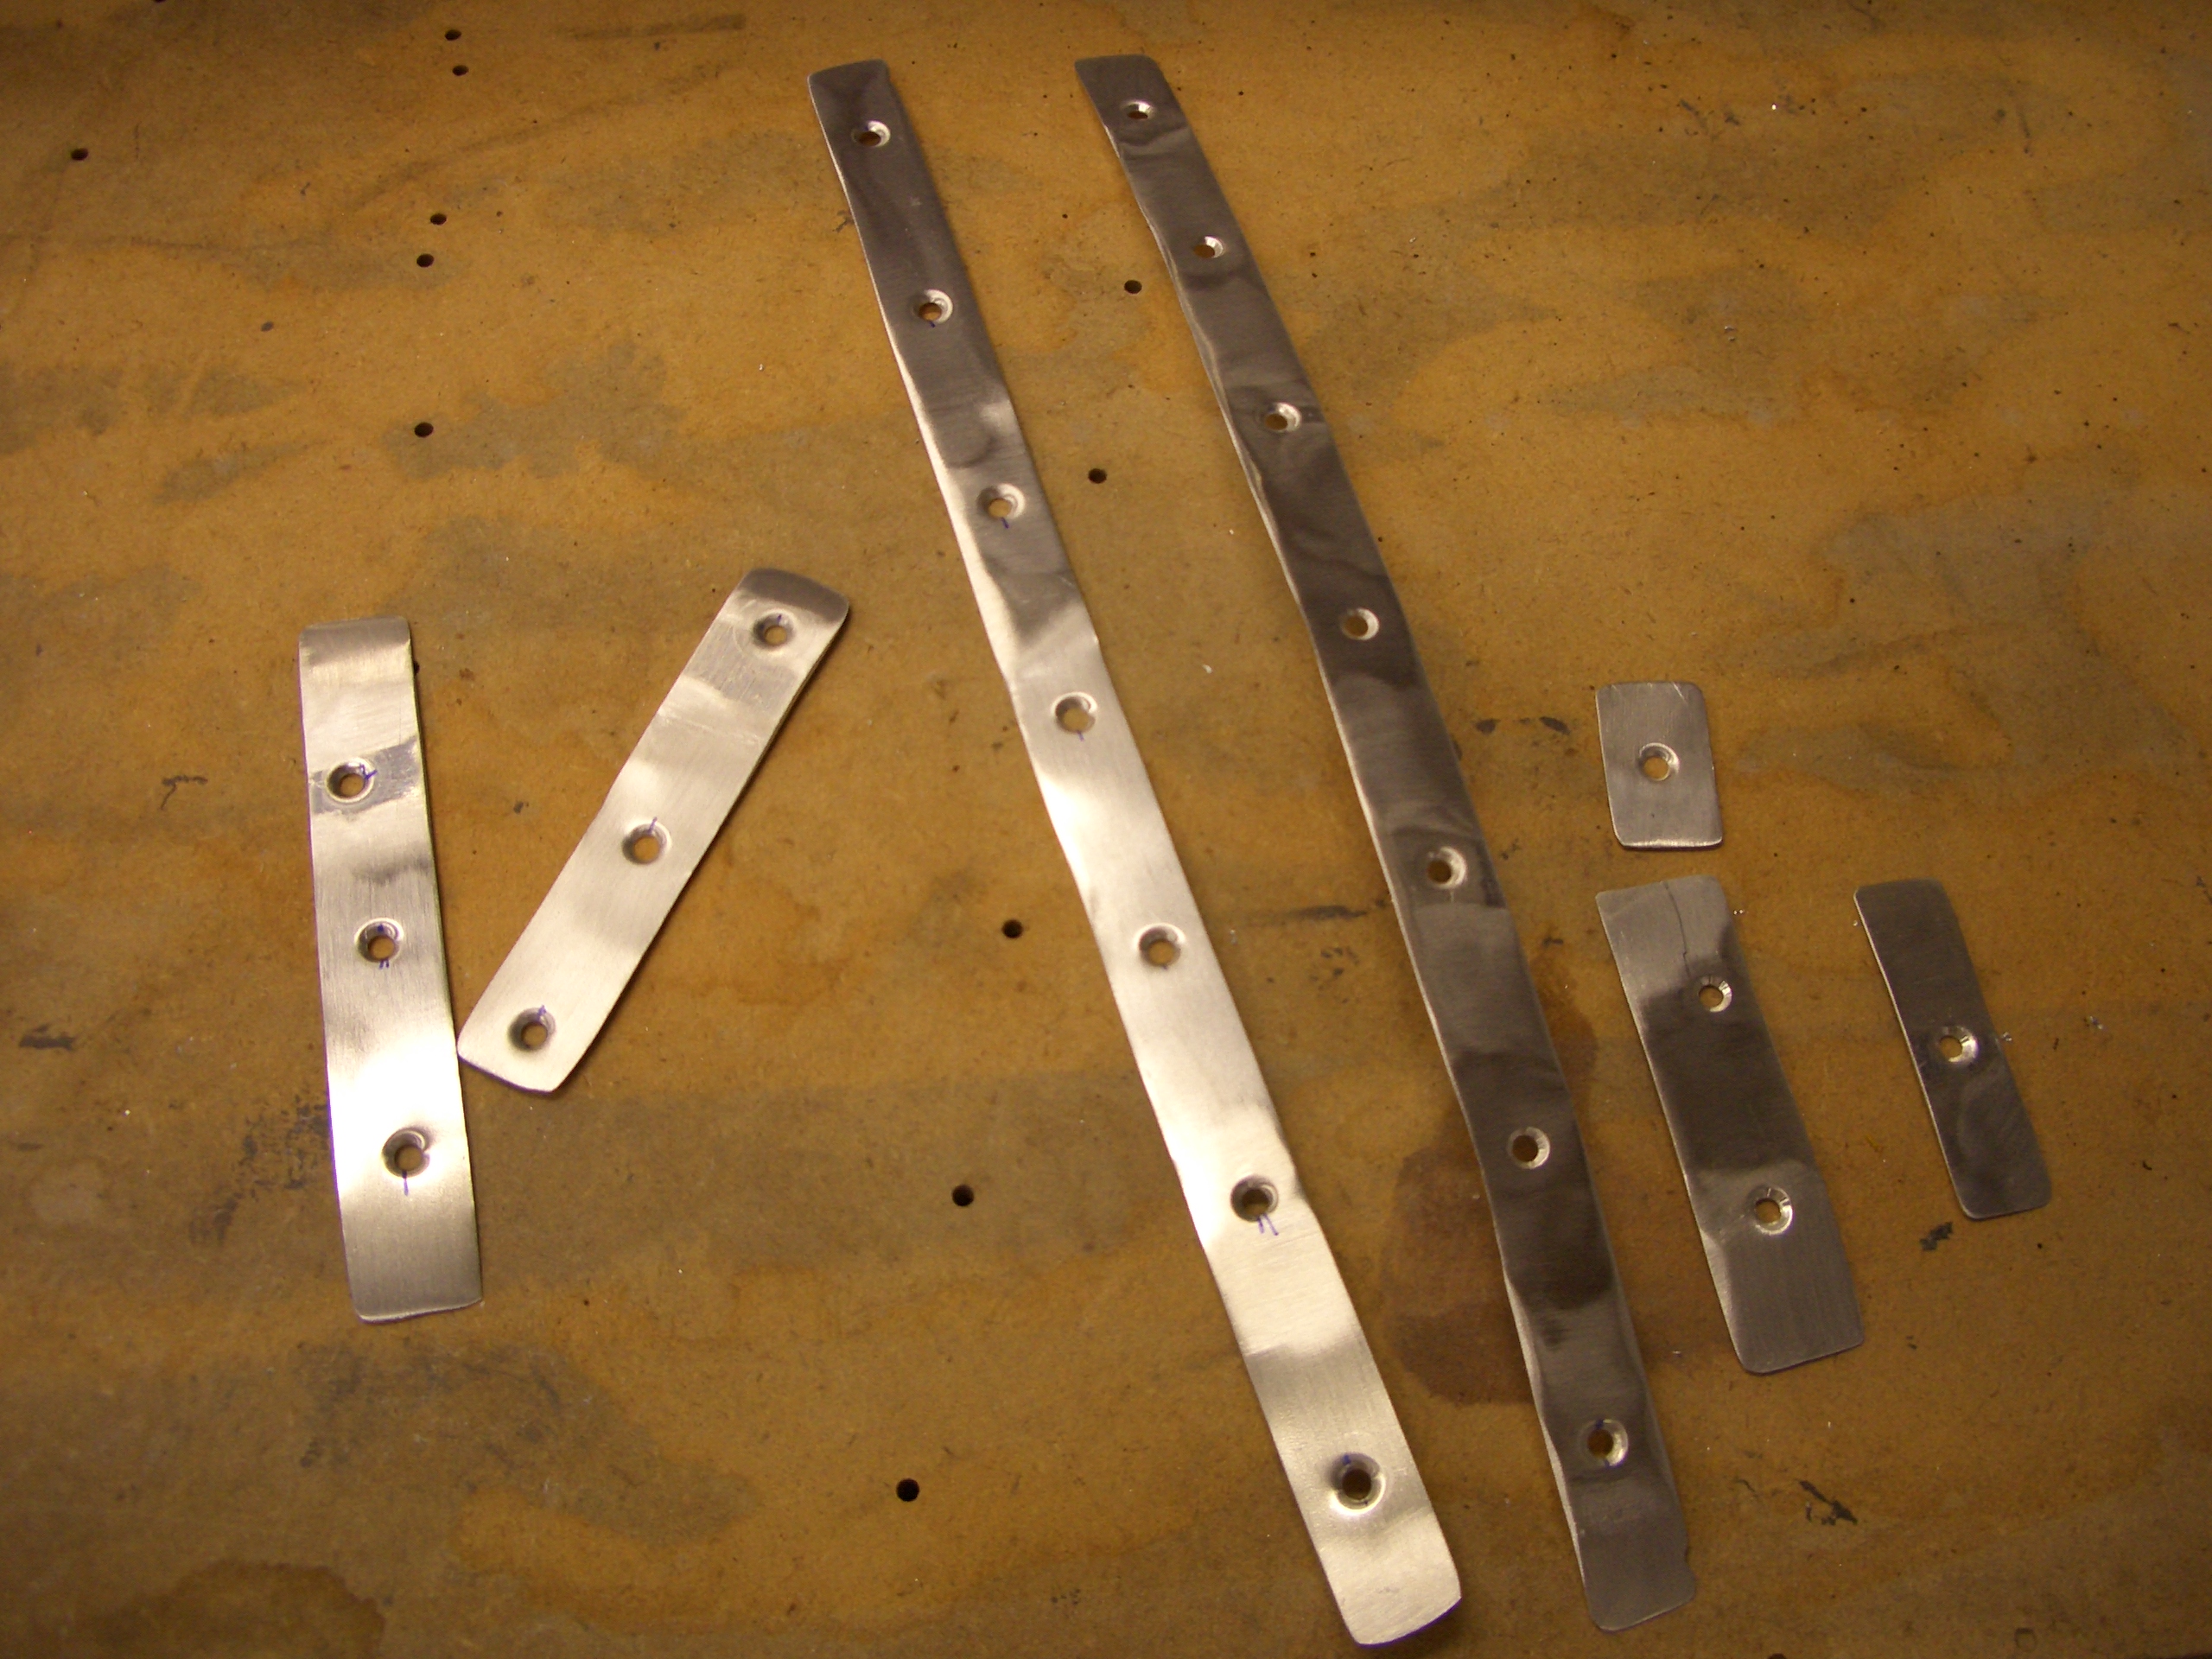
I took some measurements along the joint to see how much shimming needed to be done and then drilled out all of the rivets on the inboard rib of the outboard leading edge section (the one containing the tank splice plate).  Next, I fabricated a few shims shown below for one side of one of the joints.  If you click the picture to zoom in, you can see that parts of the shims have been run against the scotchbrite wheel to vary the thickness along the shim.


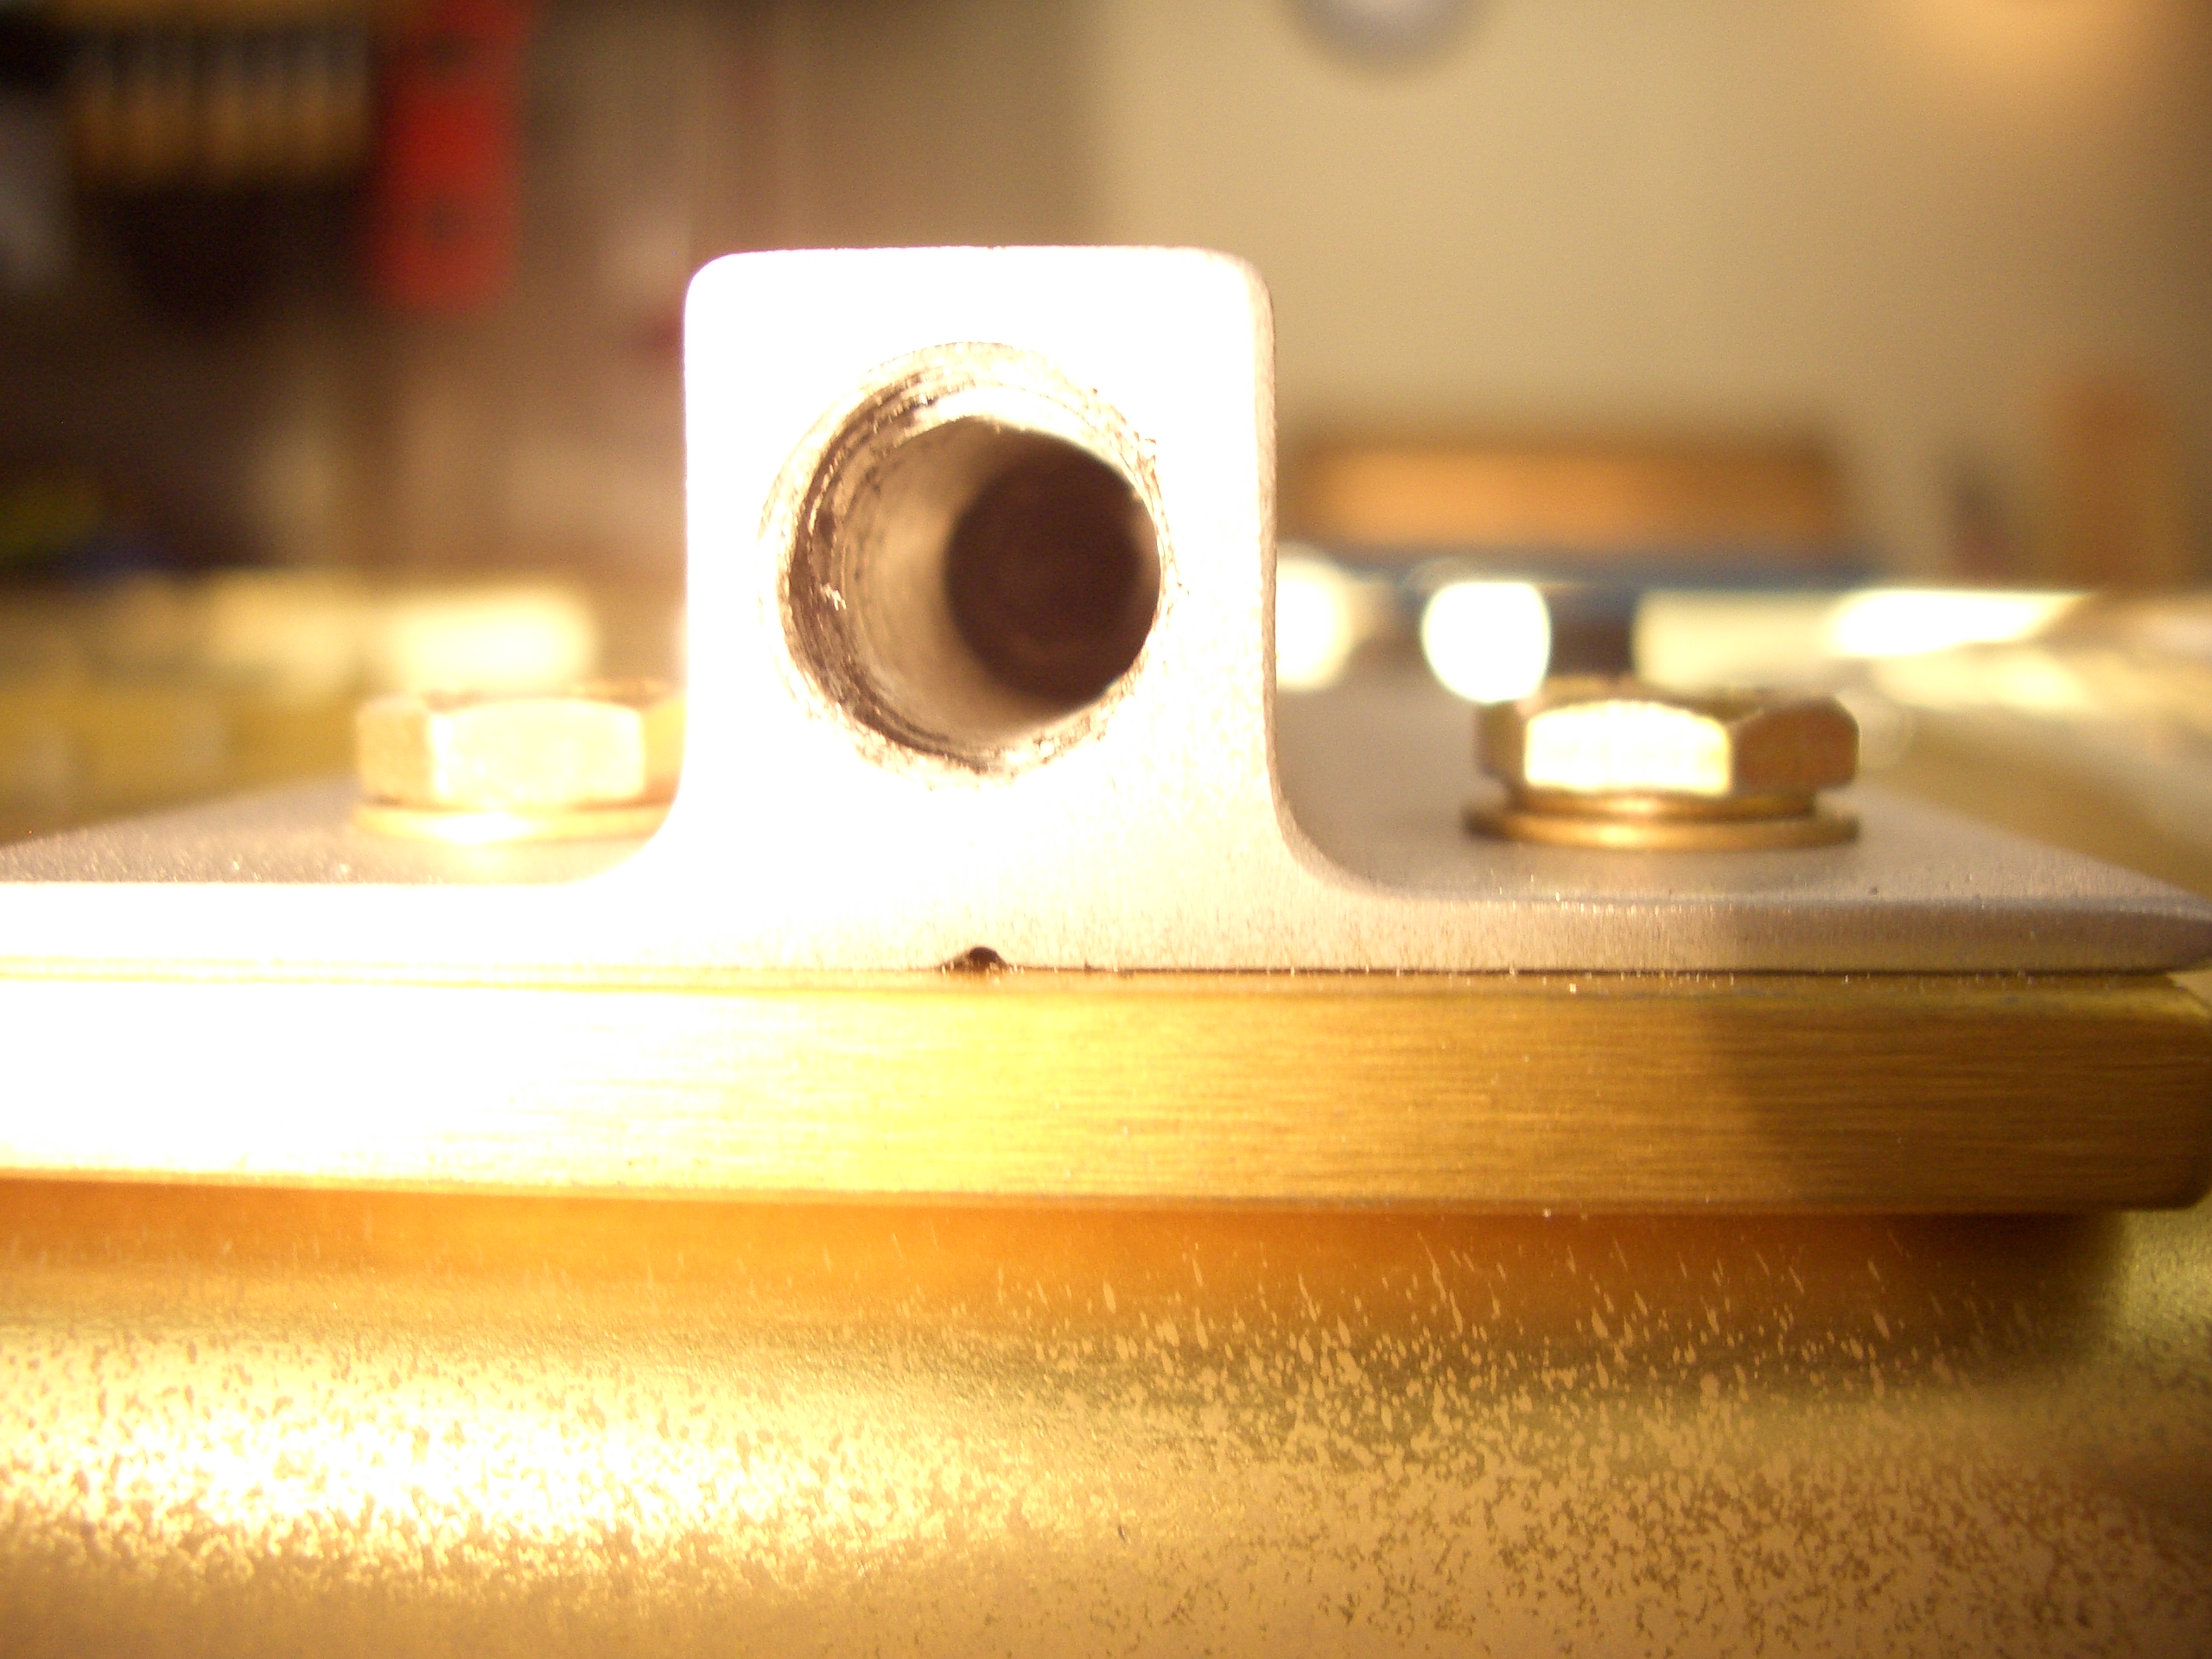
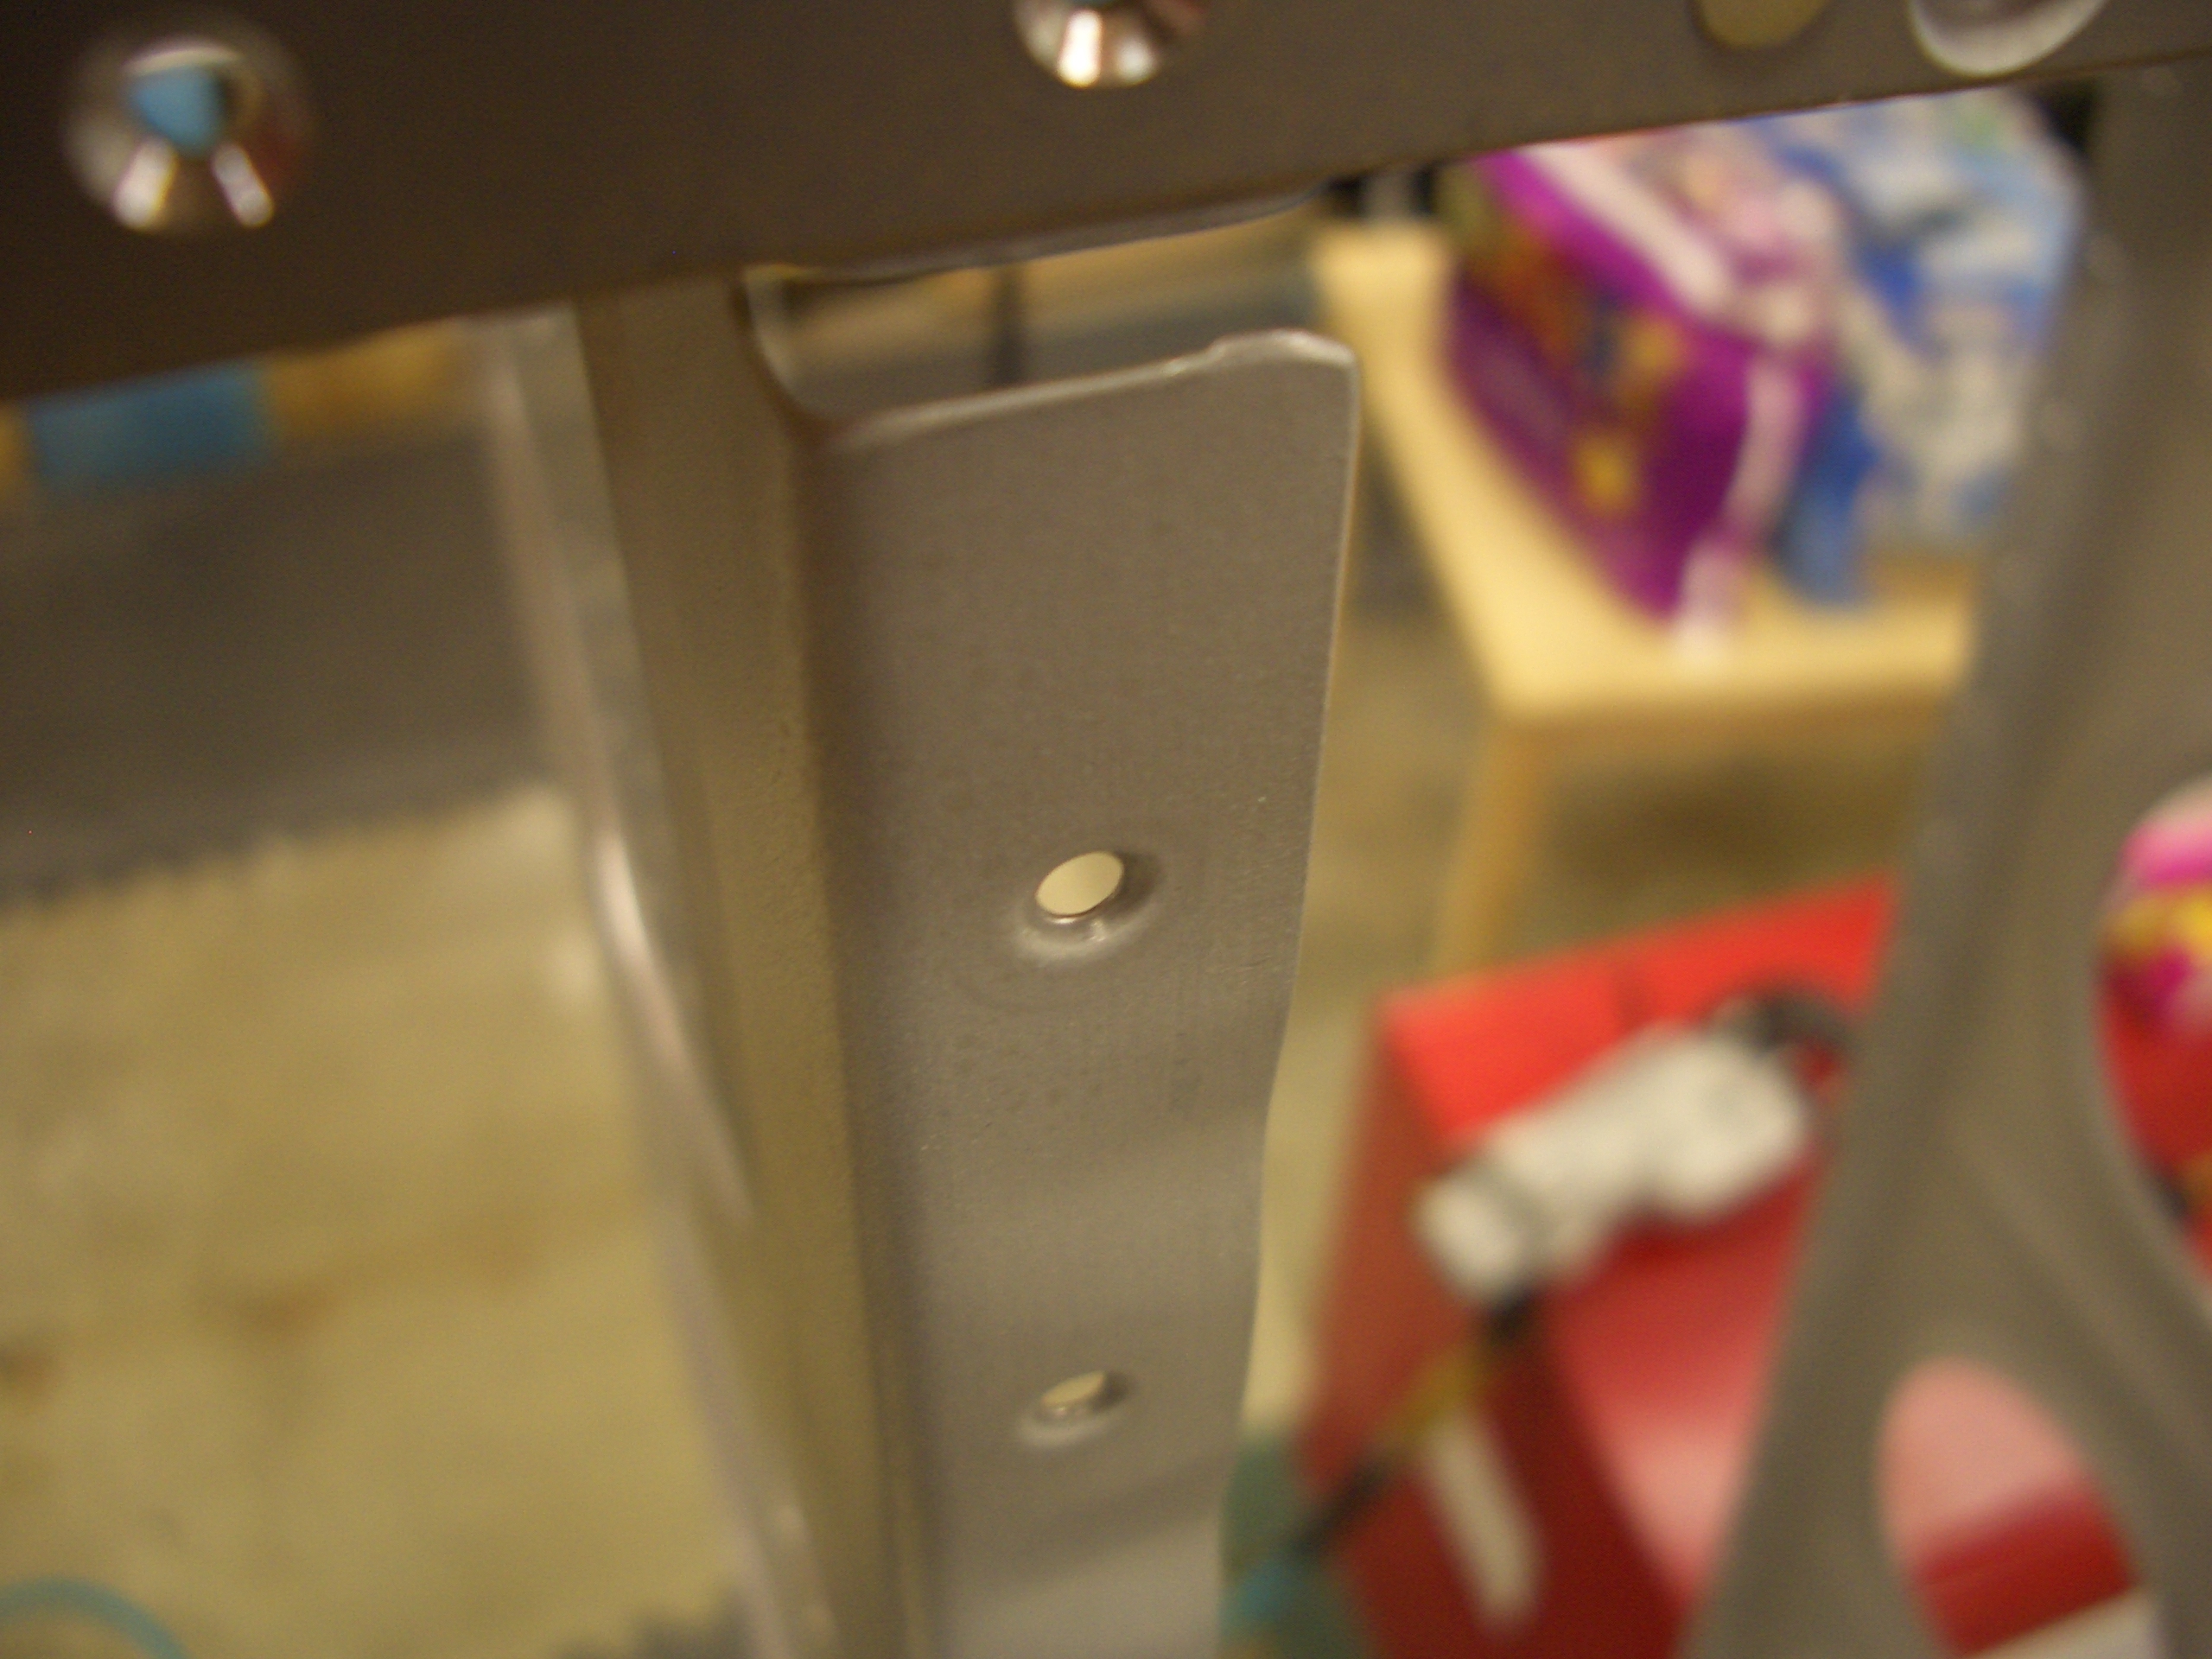
Here you can see one of the shims in place on the inside of the outboard leading edge skin.  These still need some fine tuning and will need to be primed before they’re installed.  These shims are only for the bottom side of the right wing, so there are quite a few more shims to be fabricated before I can rivet this all back together and install the leading edges on the wings.

Finished Shims for Right Tank

I finished fabricating the shims to make the outboard leading edge flush with the tank on the right wing.  It’s hard to tell from this picture, but these shims vary in thickness along their lengths anywhere from <0.010″ to around 0.040″.  Unfortunately, it’s really hard to tell for sure if these are exactly the right thickness because clecos can’t exert enough clamping force to pull everything together as tightly as rivets will.  I’m just going to have to rivet it together and trust that my measurements were accurate.

Wing Skin Prep

Working on shims is slow tedious work, so I took a break tonight and started working on the main wing skins.  Here are the two wing walk doubler skins, deburred and dimpled.  These will be primed before installation since any water that seeps between the skins could be trapped there for a while before it dries out and I want to do everything I can to avoid corrosion.


I also started on one of the larger wing skins by removing the plastic along the rivet holes.  A 50 watt soldering iron makes extremely quick work of this.

More Wing Skin Prep

I finished deburring and dimpling the left inboard top main wing skin.  You can see the four closely spaced rows of rivets near the top of this picture.  These are for the ribs in the wing walk area.  It’s taking me about 90 minutes per wing skin to remove the plastic, prep the edges, debur both sides of every hole, and dimple.  Since there are eight main wing skins total (two each on the top and bottom of each wing), I figure it will be about 12 hours total of this kind of work to get all of the wing skins prepped.  I really understand why people say the wings are boring.