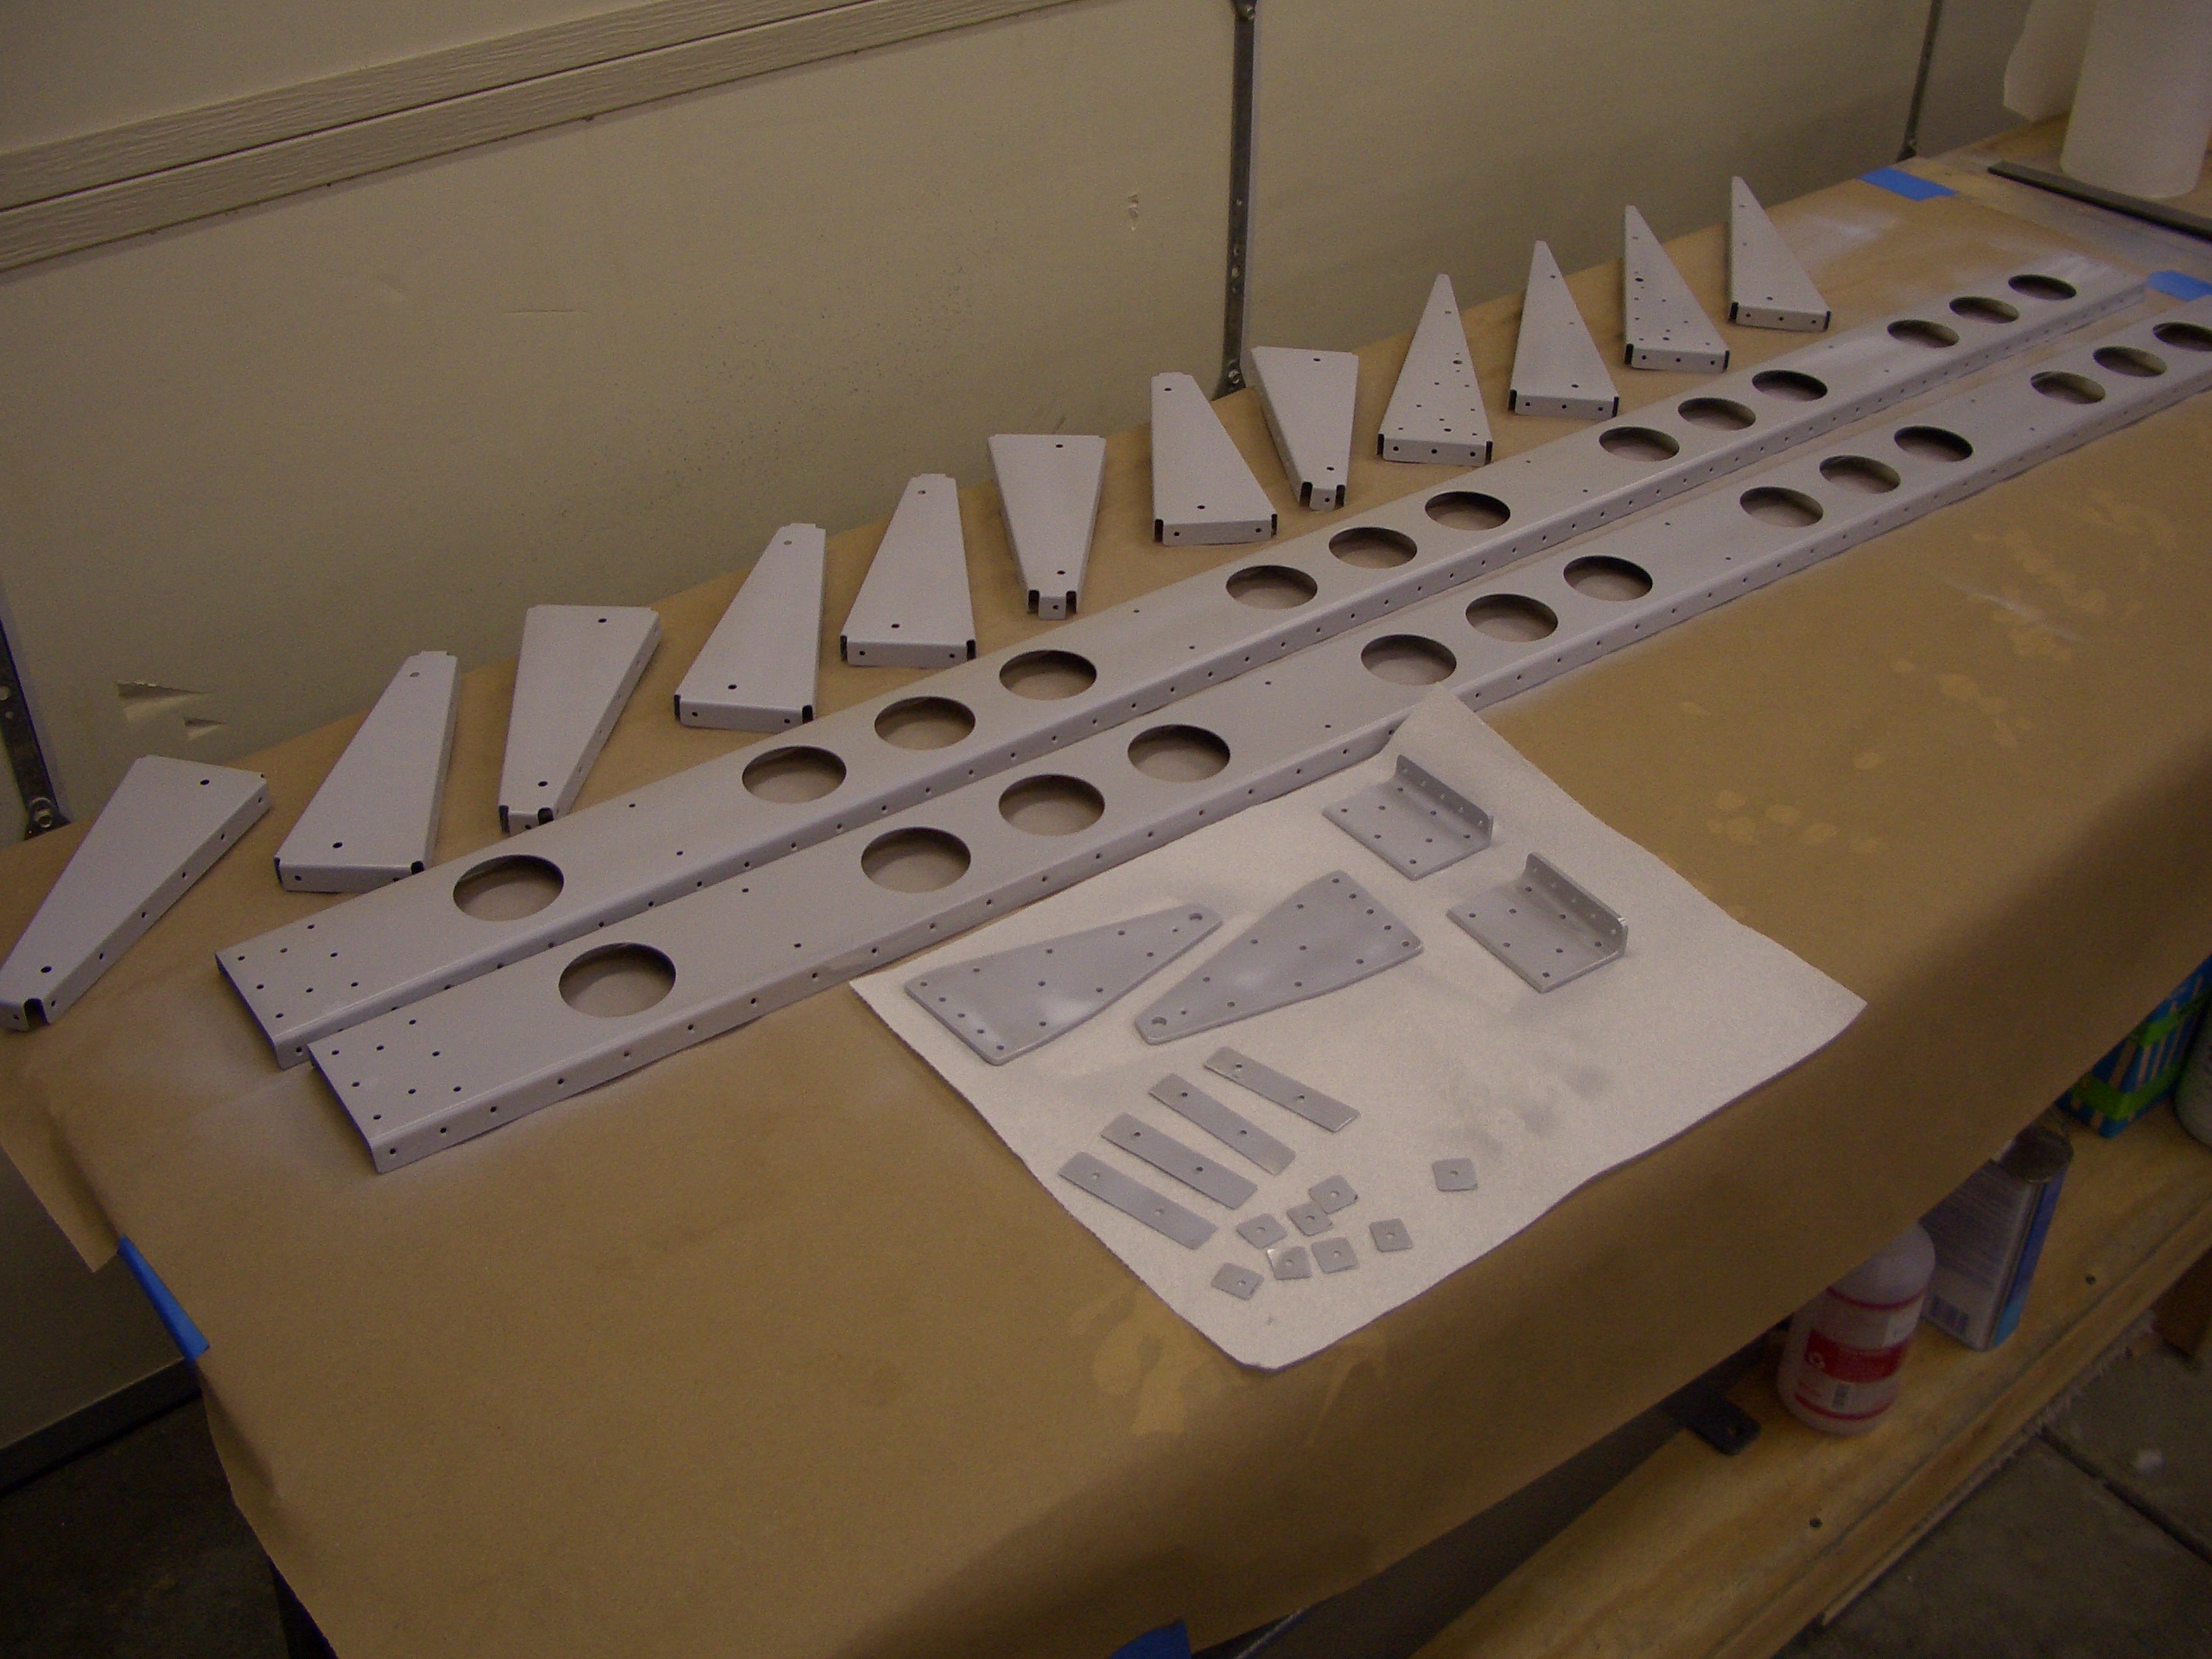
I primed all of the flap spars, ribs, brackets and shims.
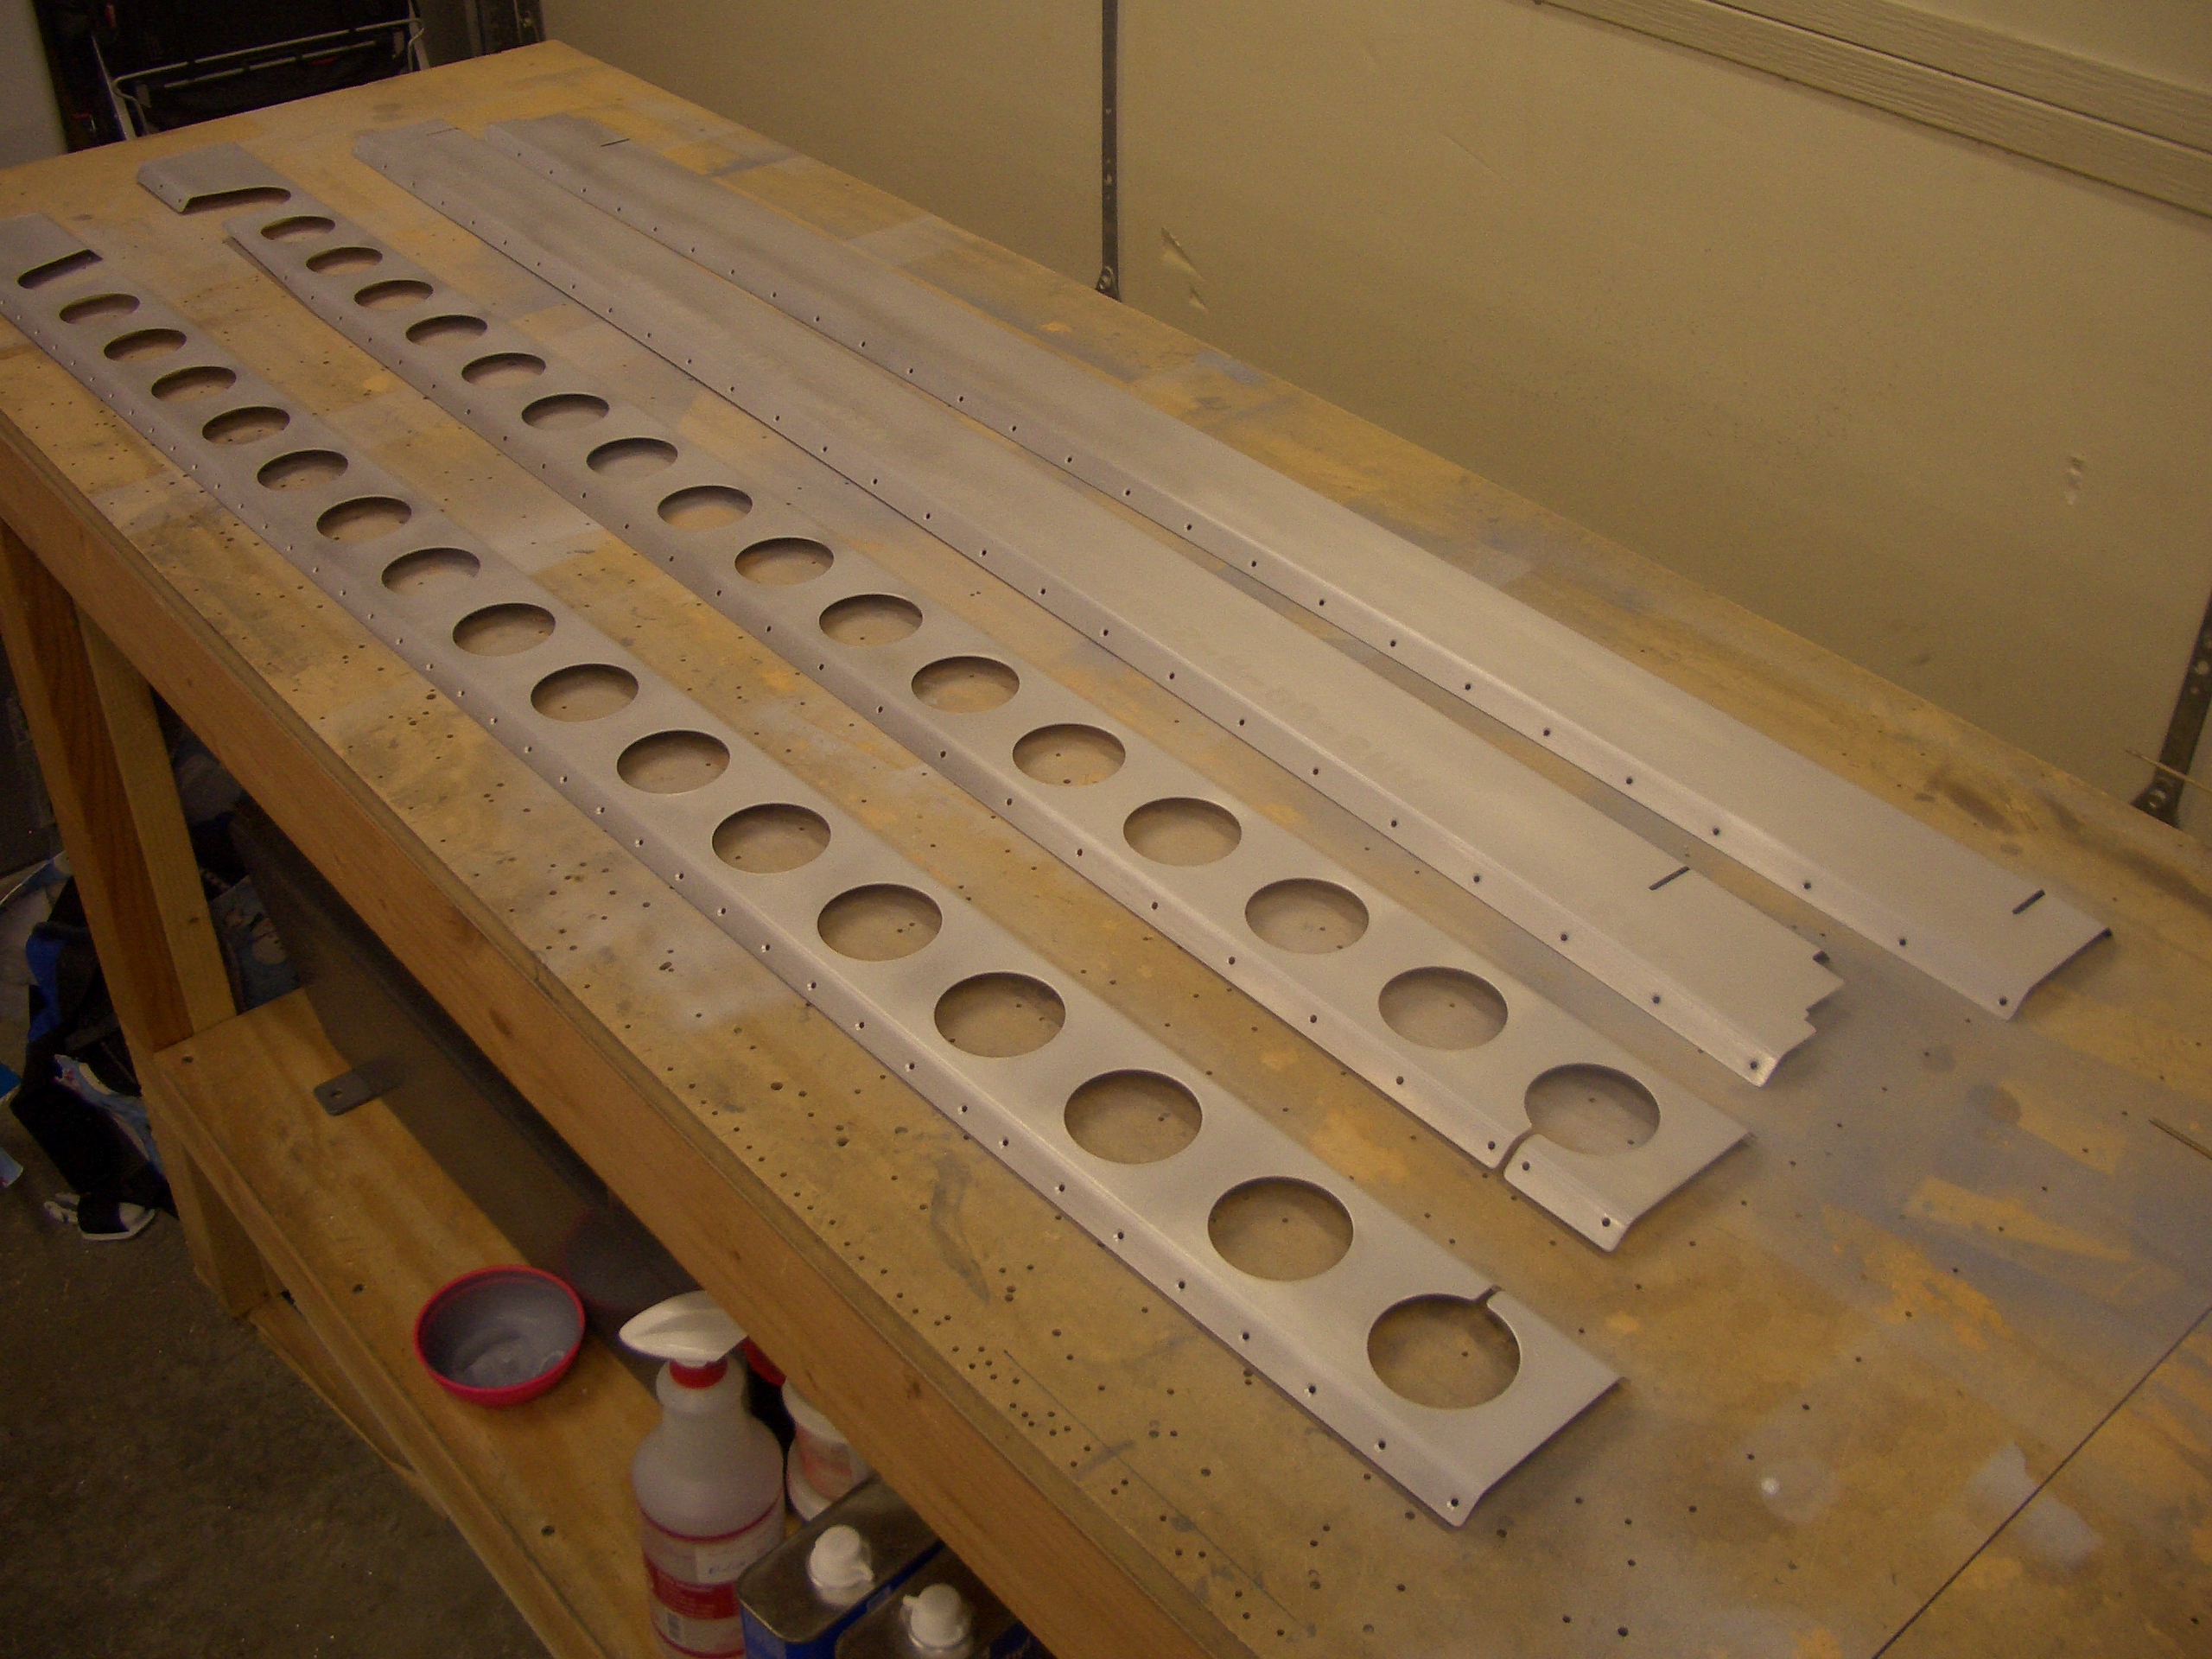
This picture looks a lot like the one from last night; the difference is that now all of the skin holes have been dimpled. The flaps are now ready for riveting.

I primed all of the flap spars, ribs, brackets and shims.
This picture looks a lot like the one from last night; the difference is that now all of the skin holes have been dimpled. The flaps are now ready for riveting.
I started tonight by riveting part of the flap brace to the spars (except for the holes that also attach the inboard ribs).
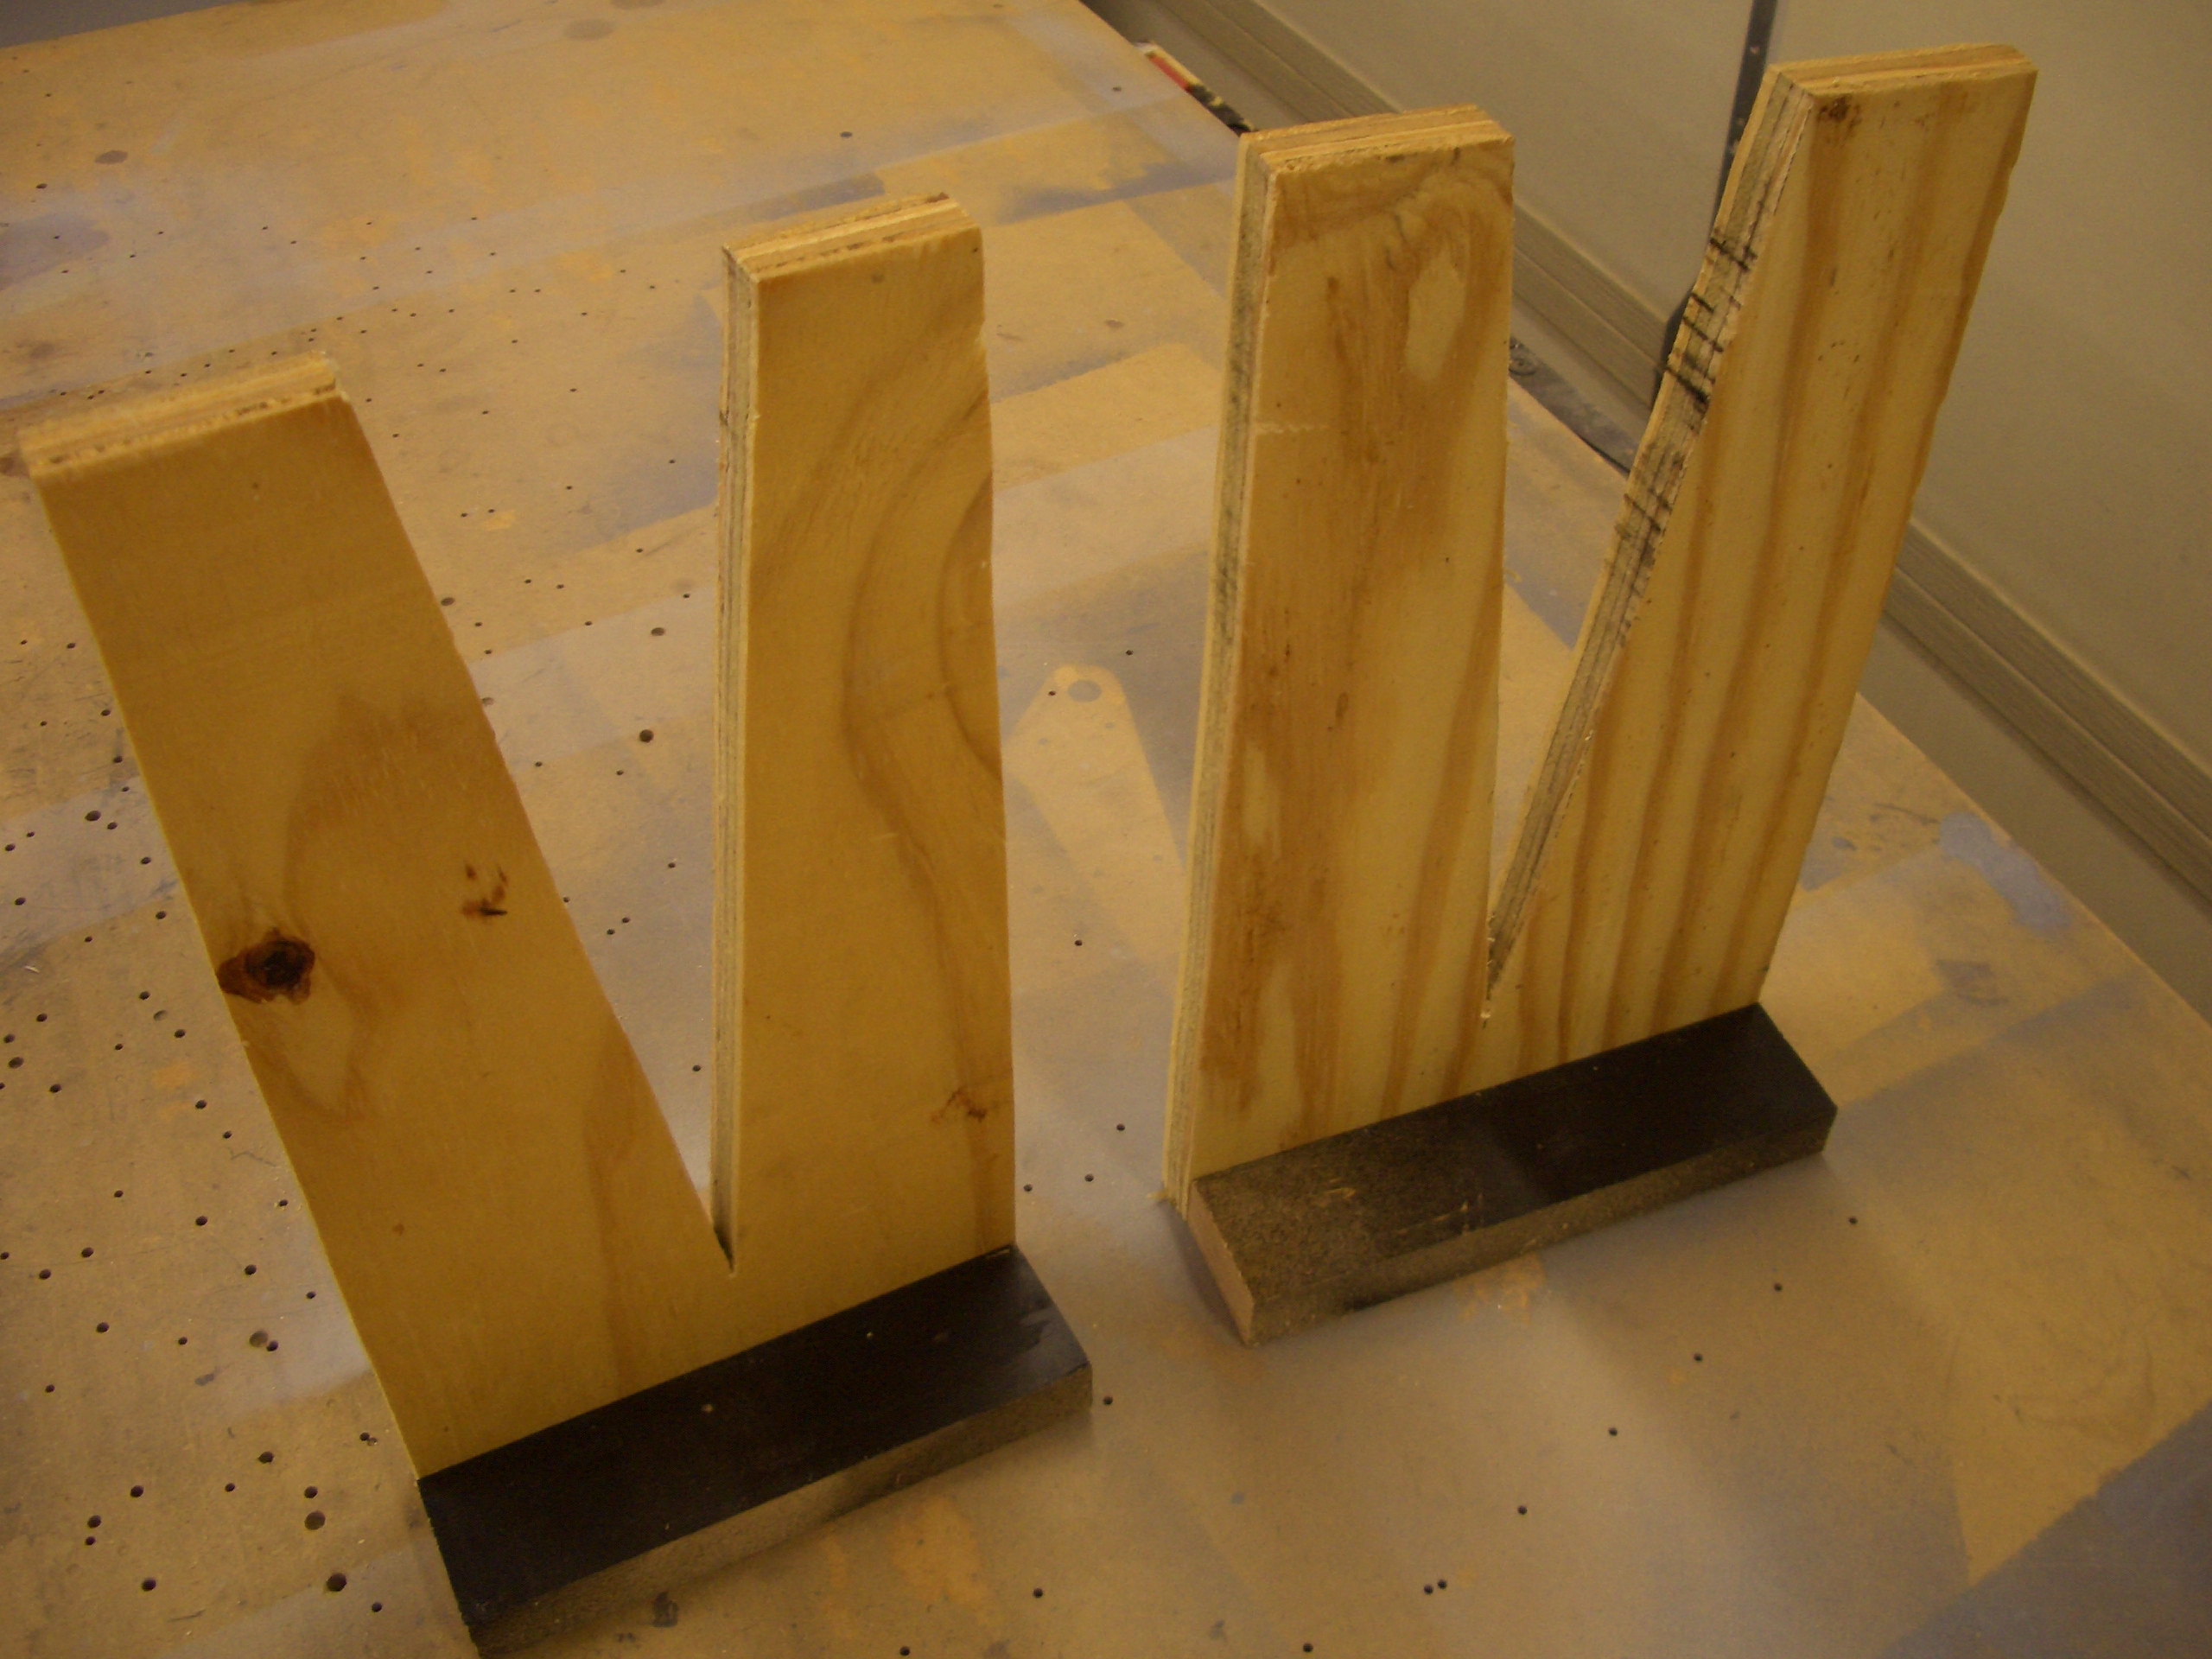
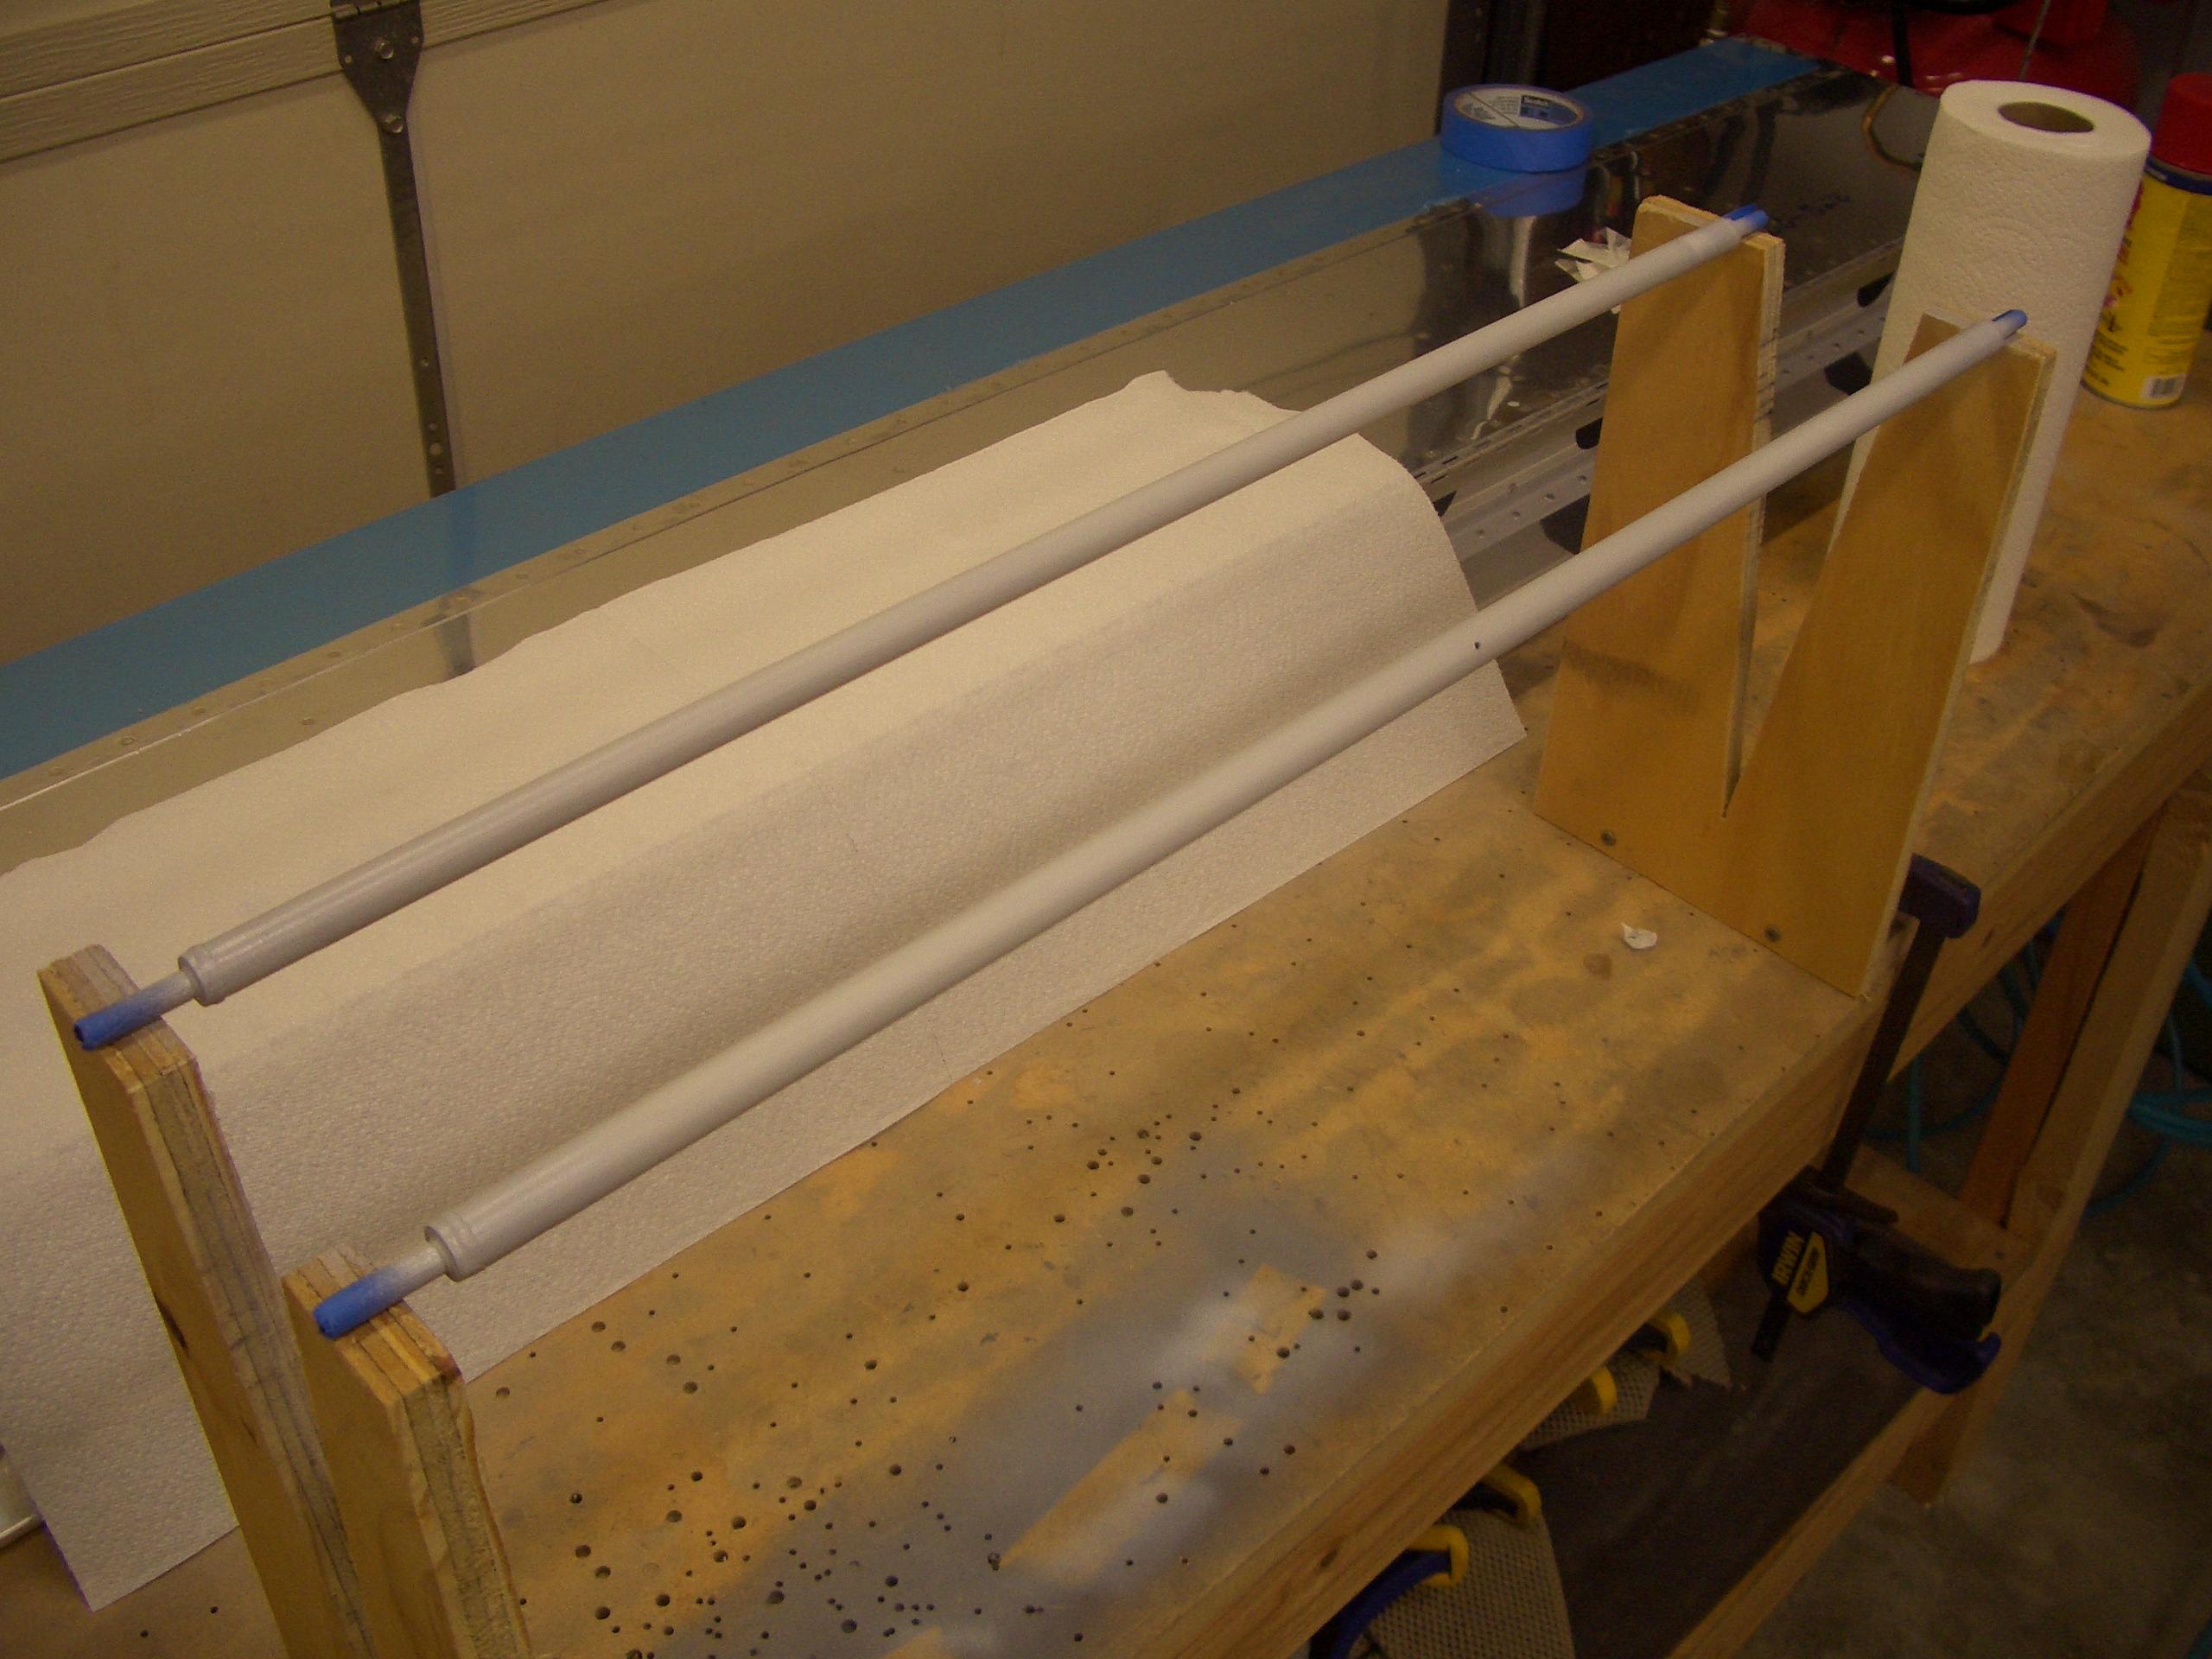
I built a couple of v-blocks to hold the flaps while riveting.
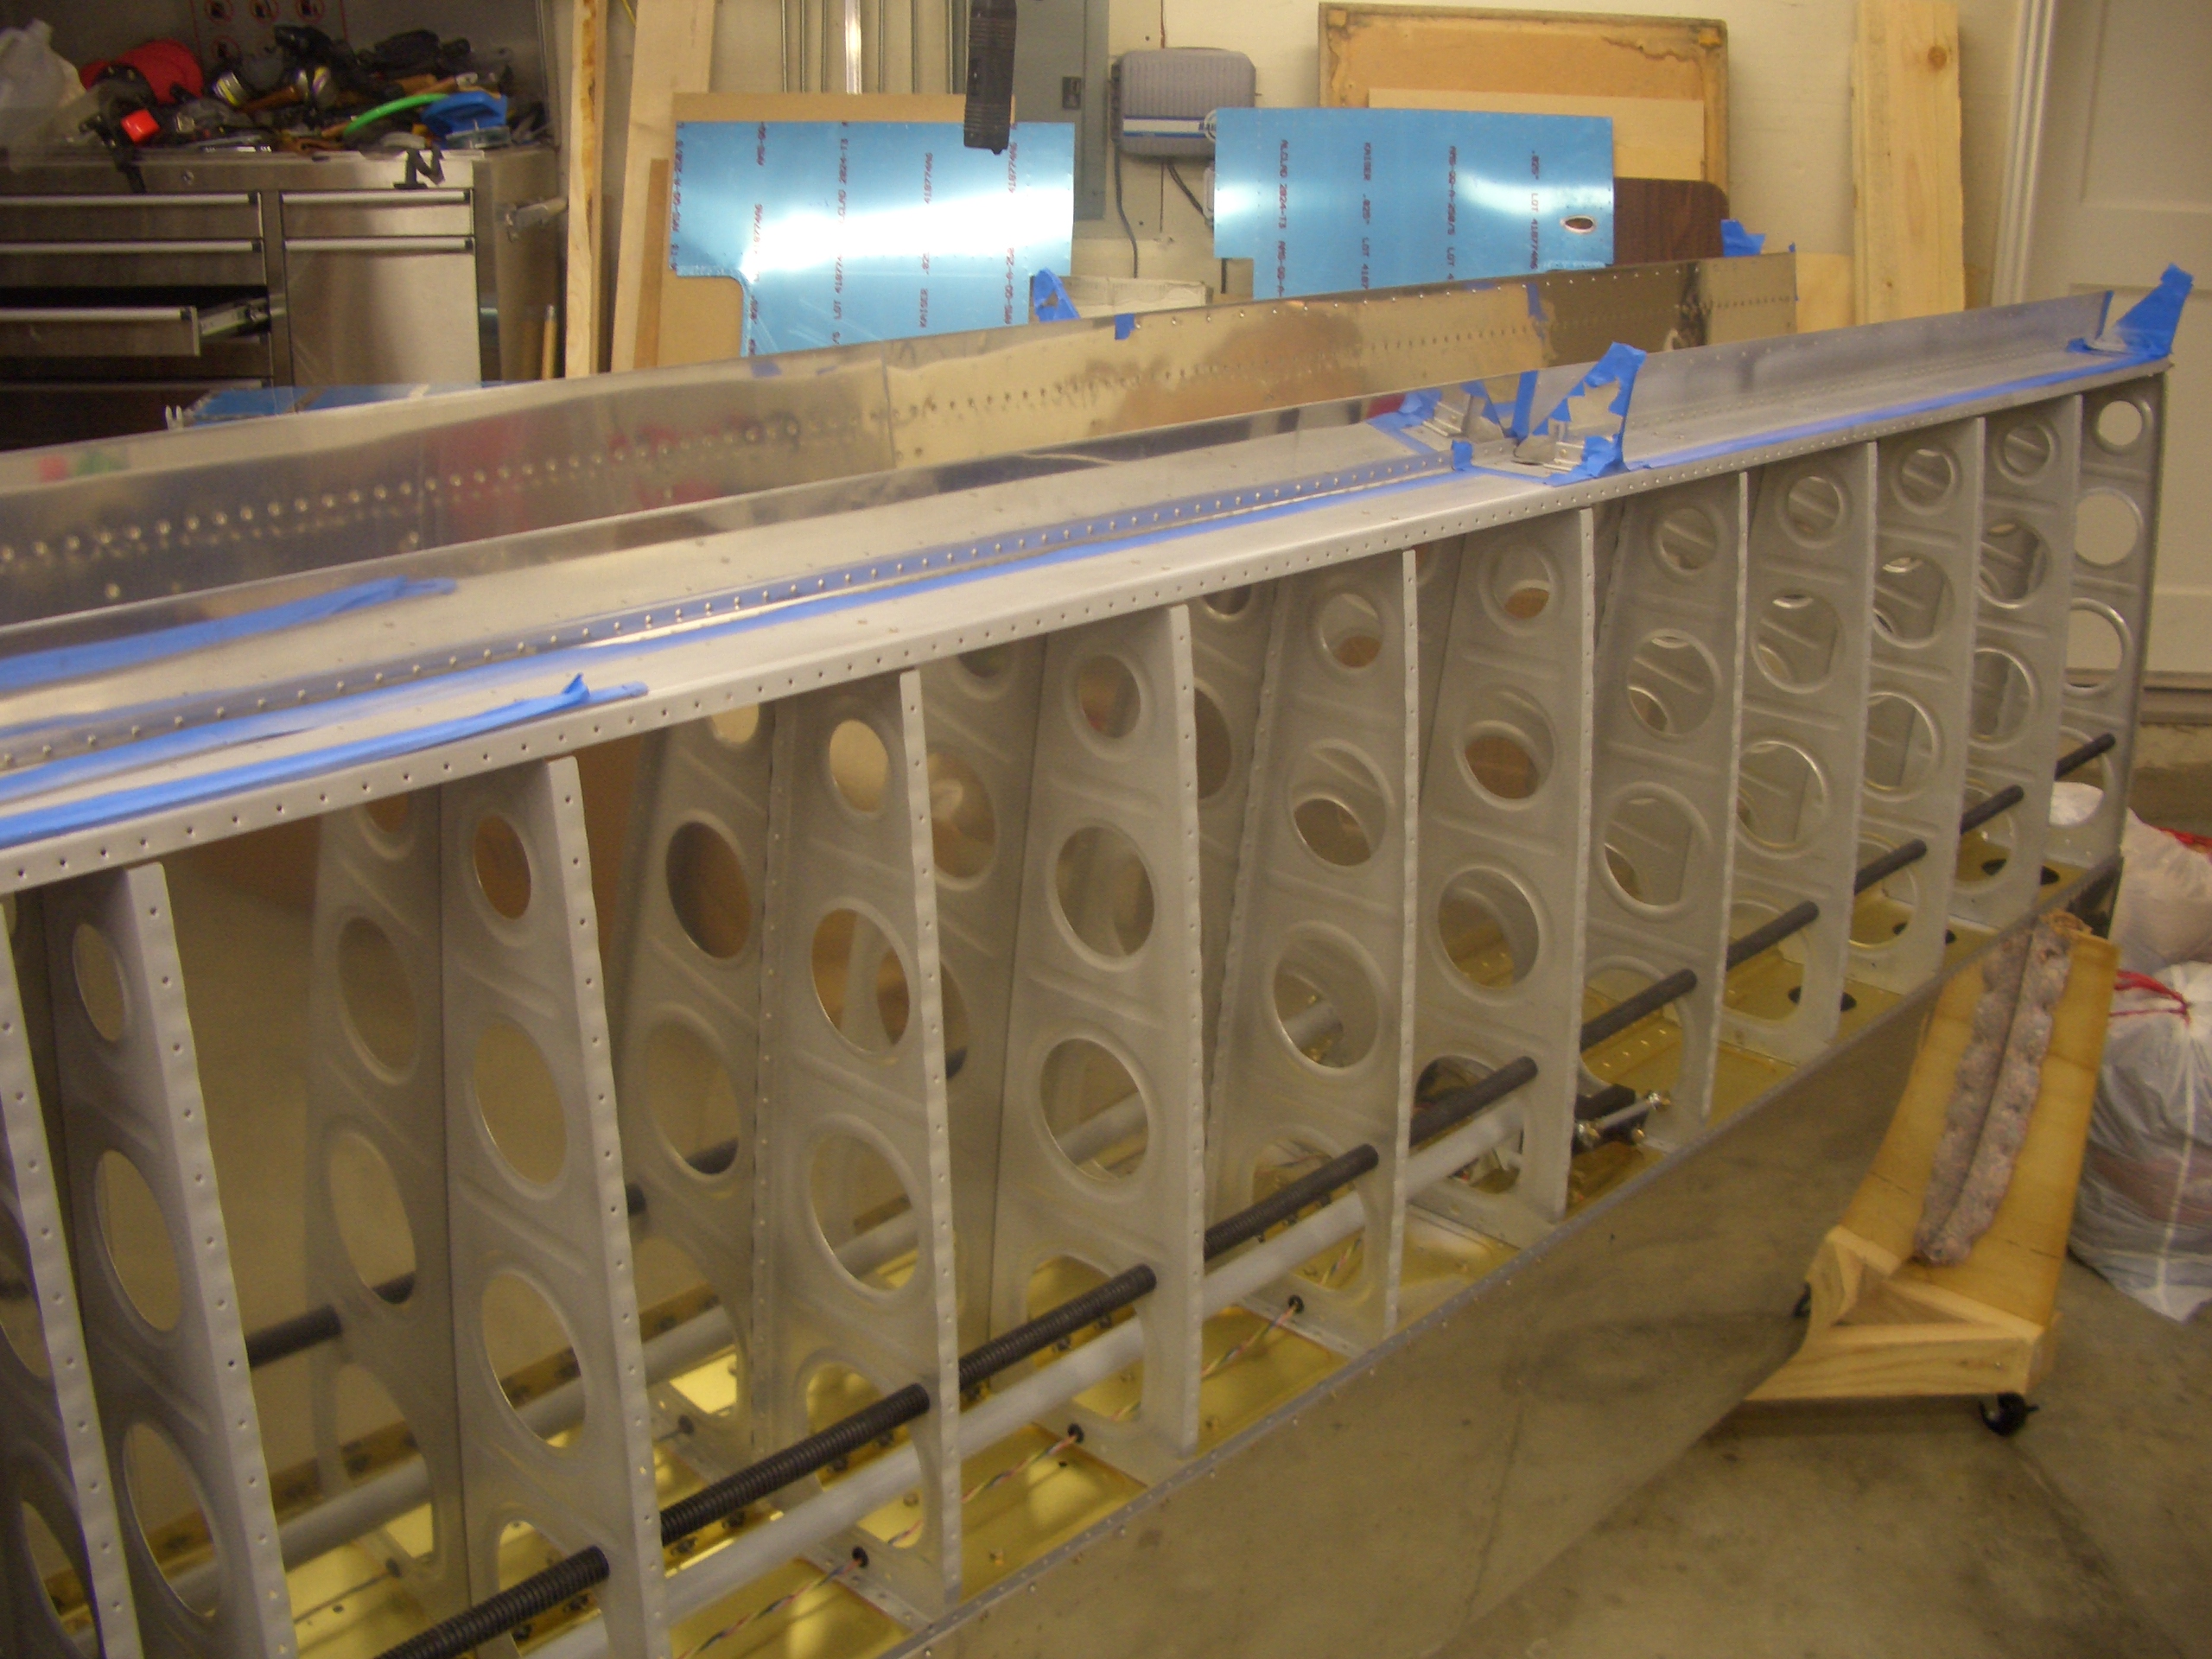
I clecoed the flaps together. Andre is stopping by in a couple of days to help me rivet the ailerons and flaps, so I’m trying to get everything ready so that we can hit the ground running.
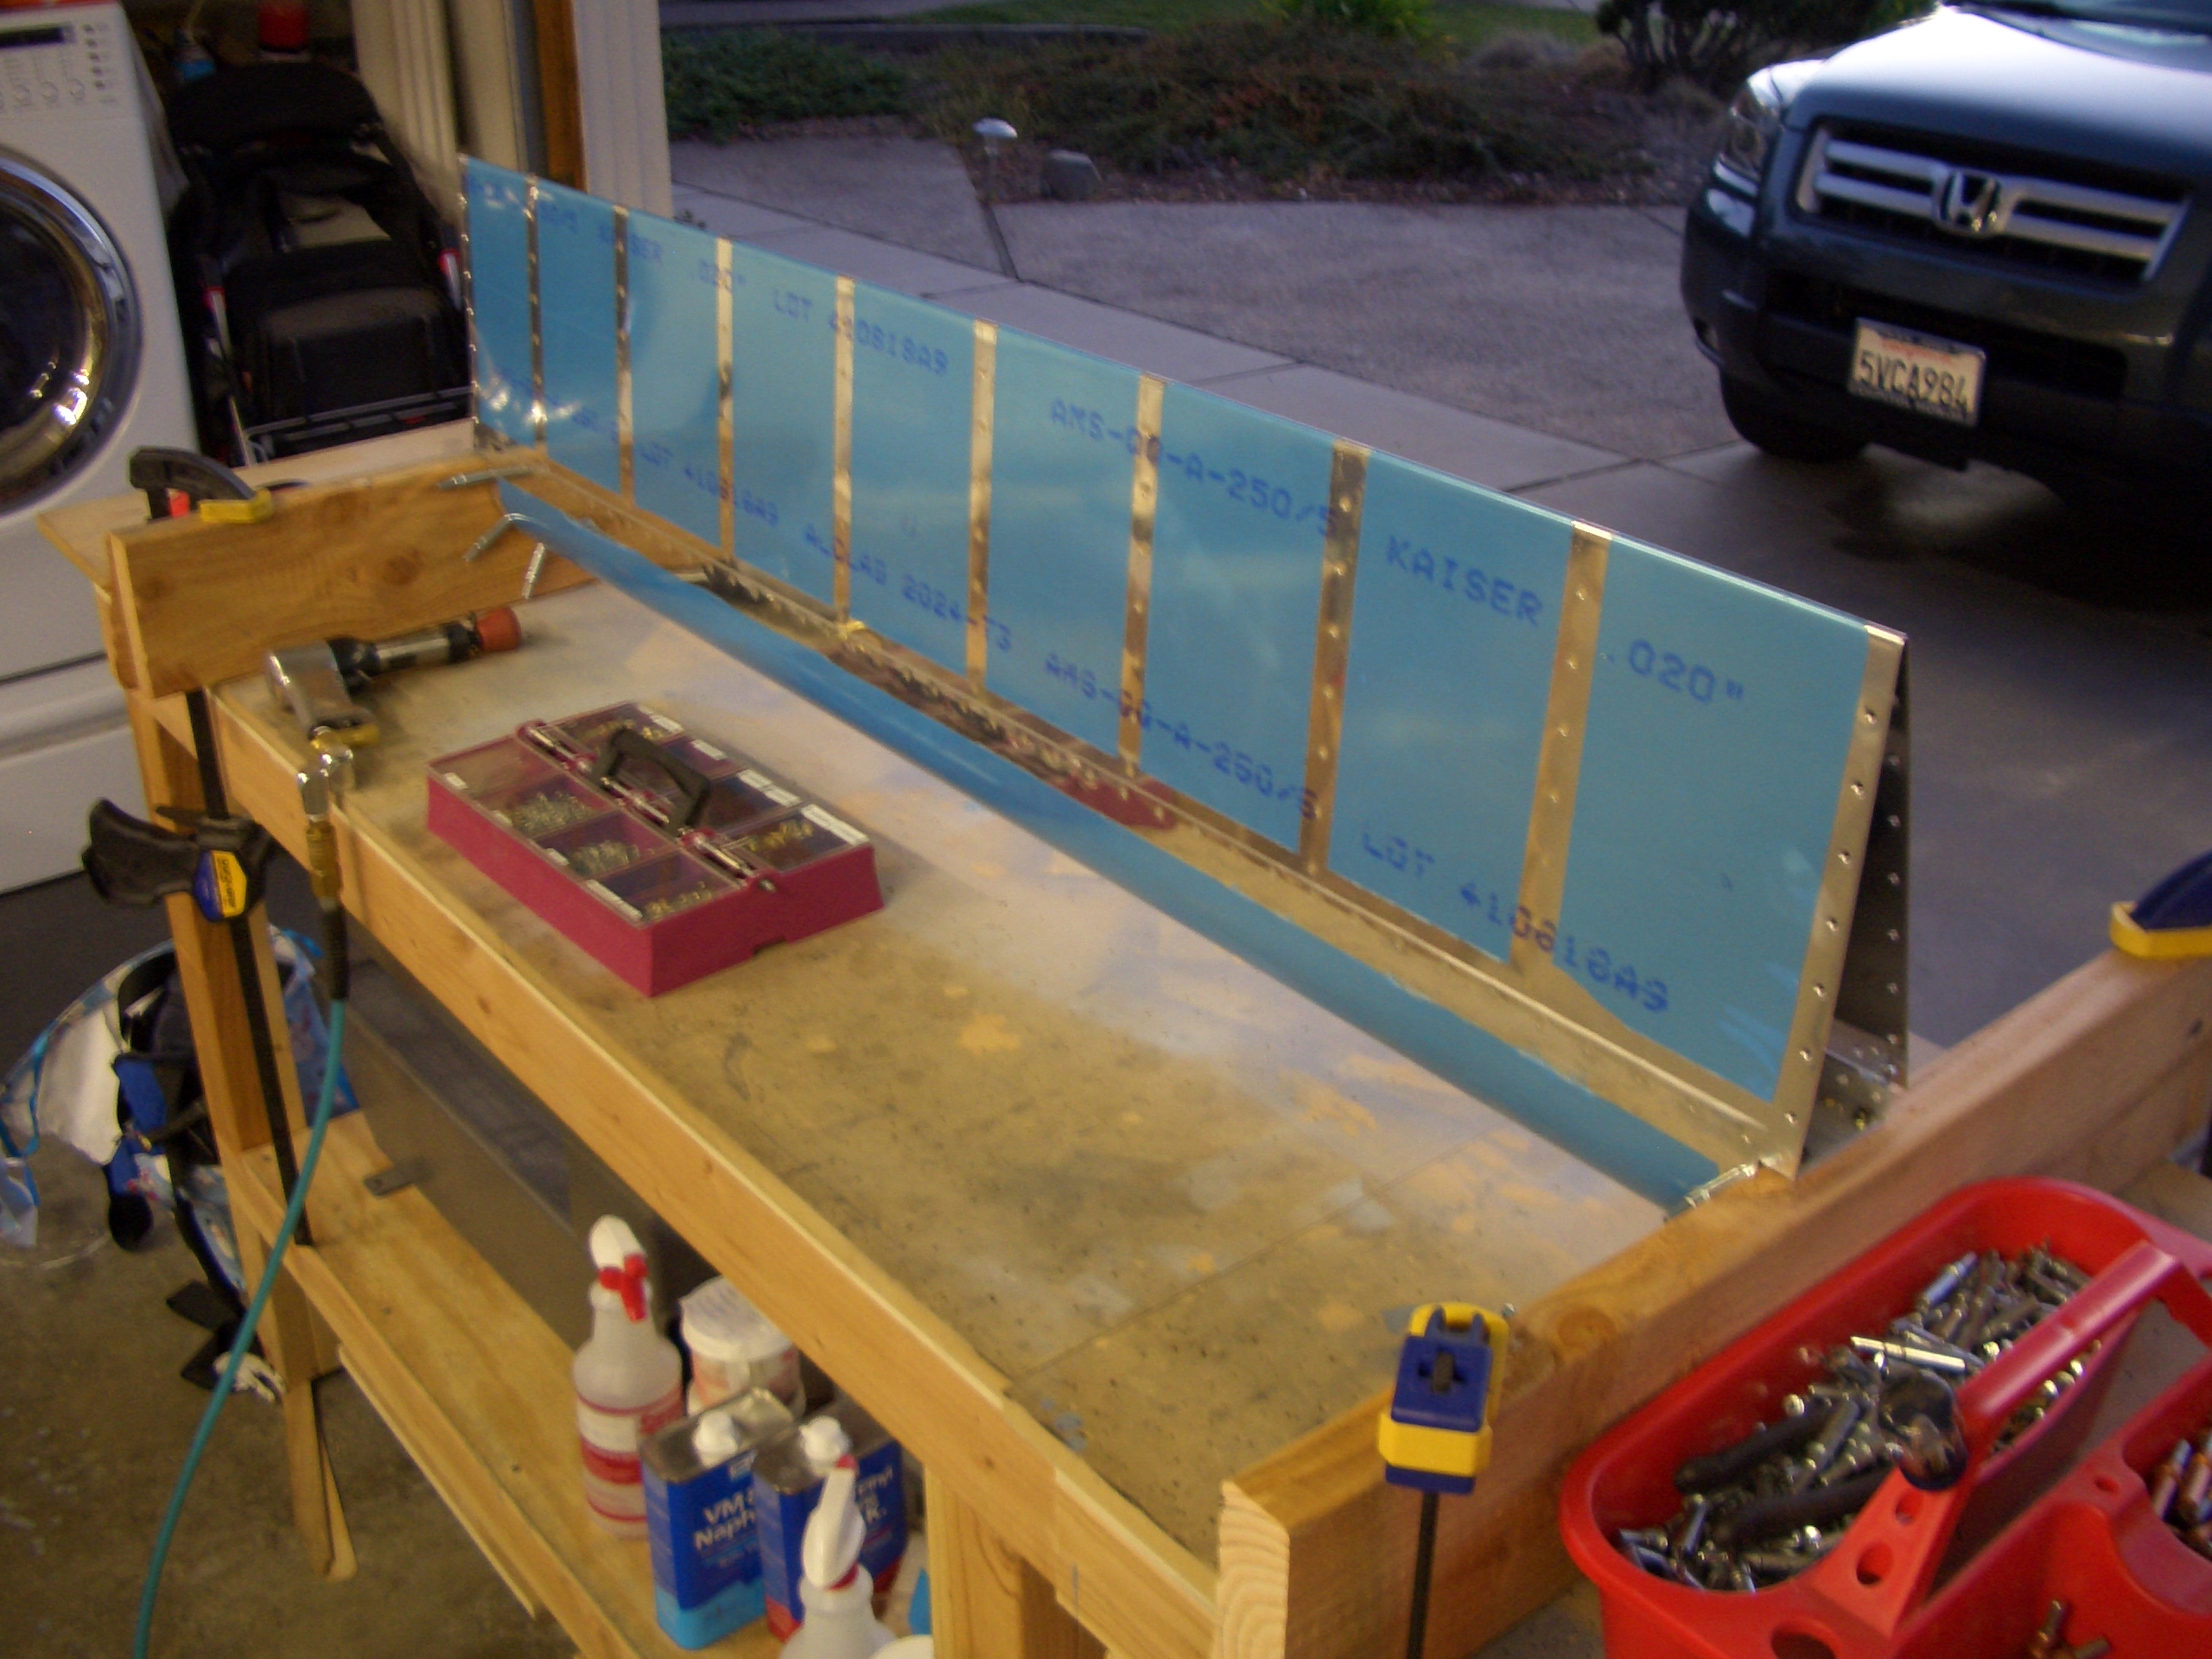
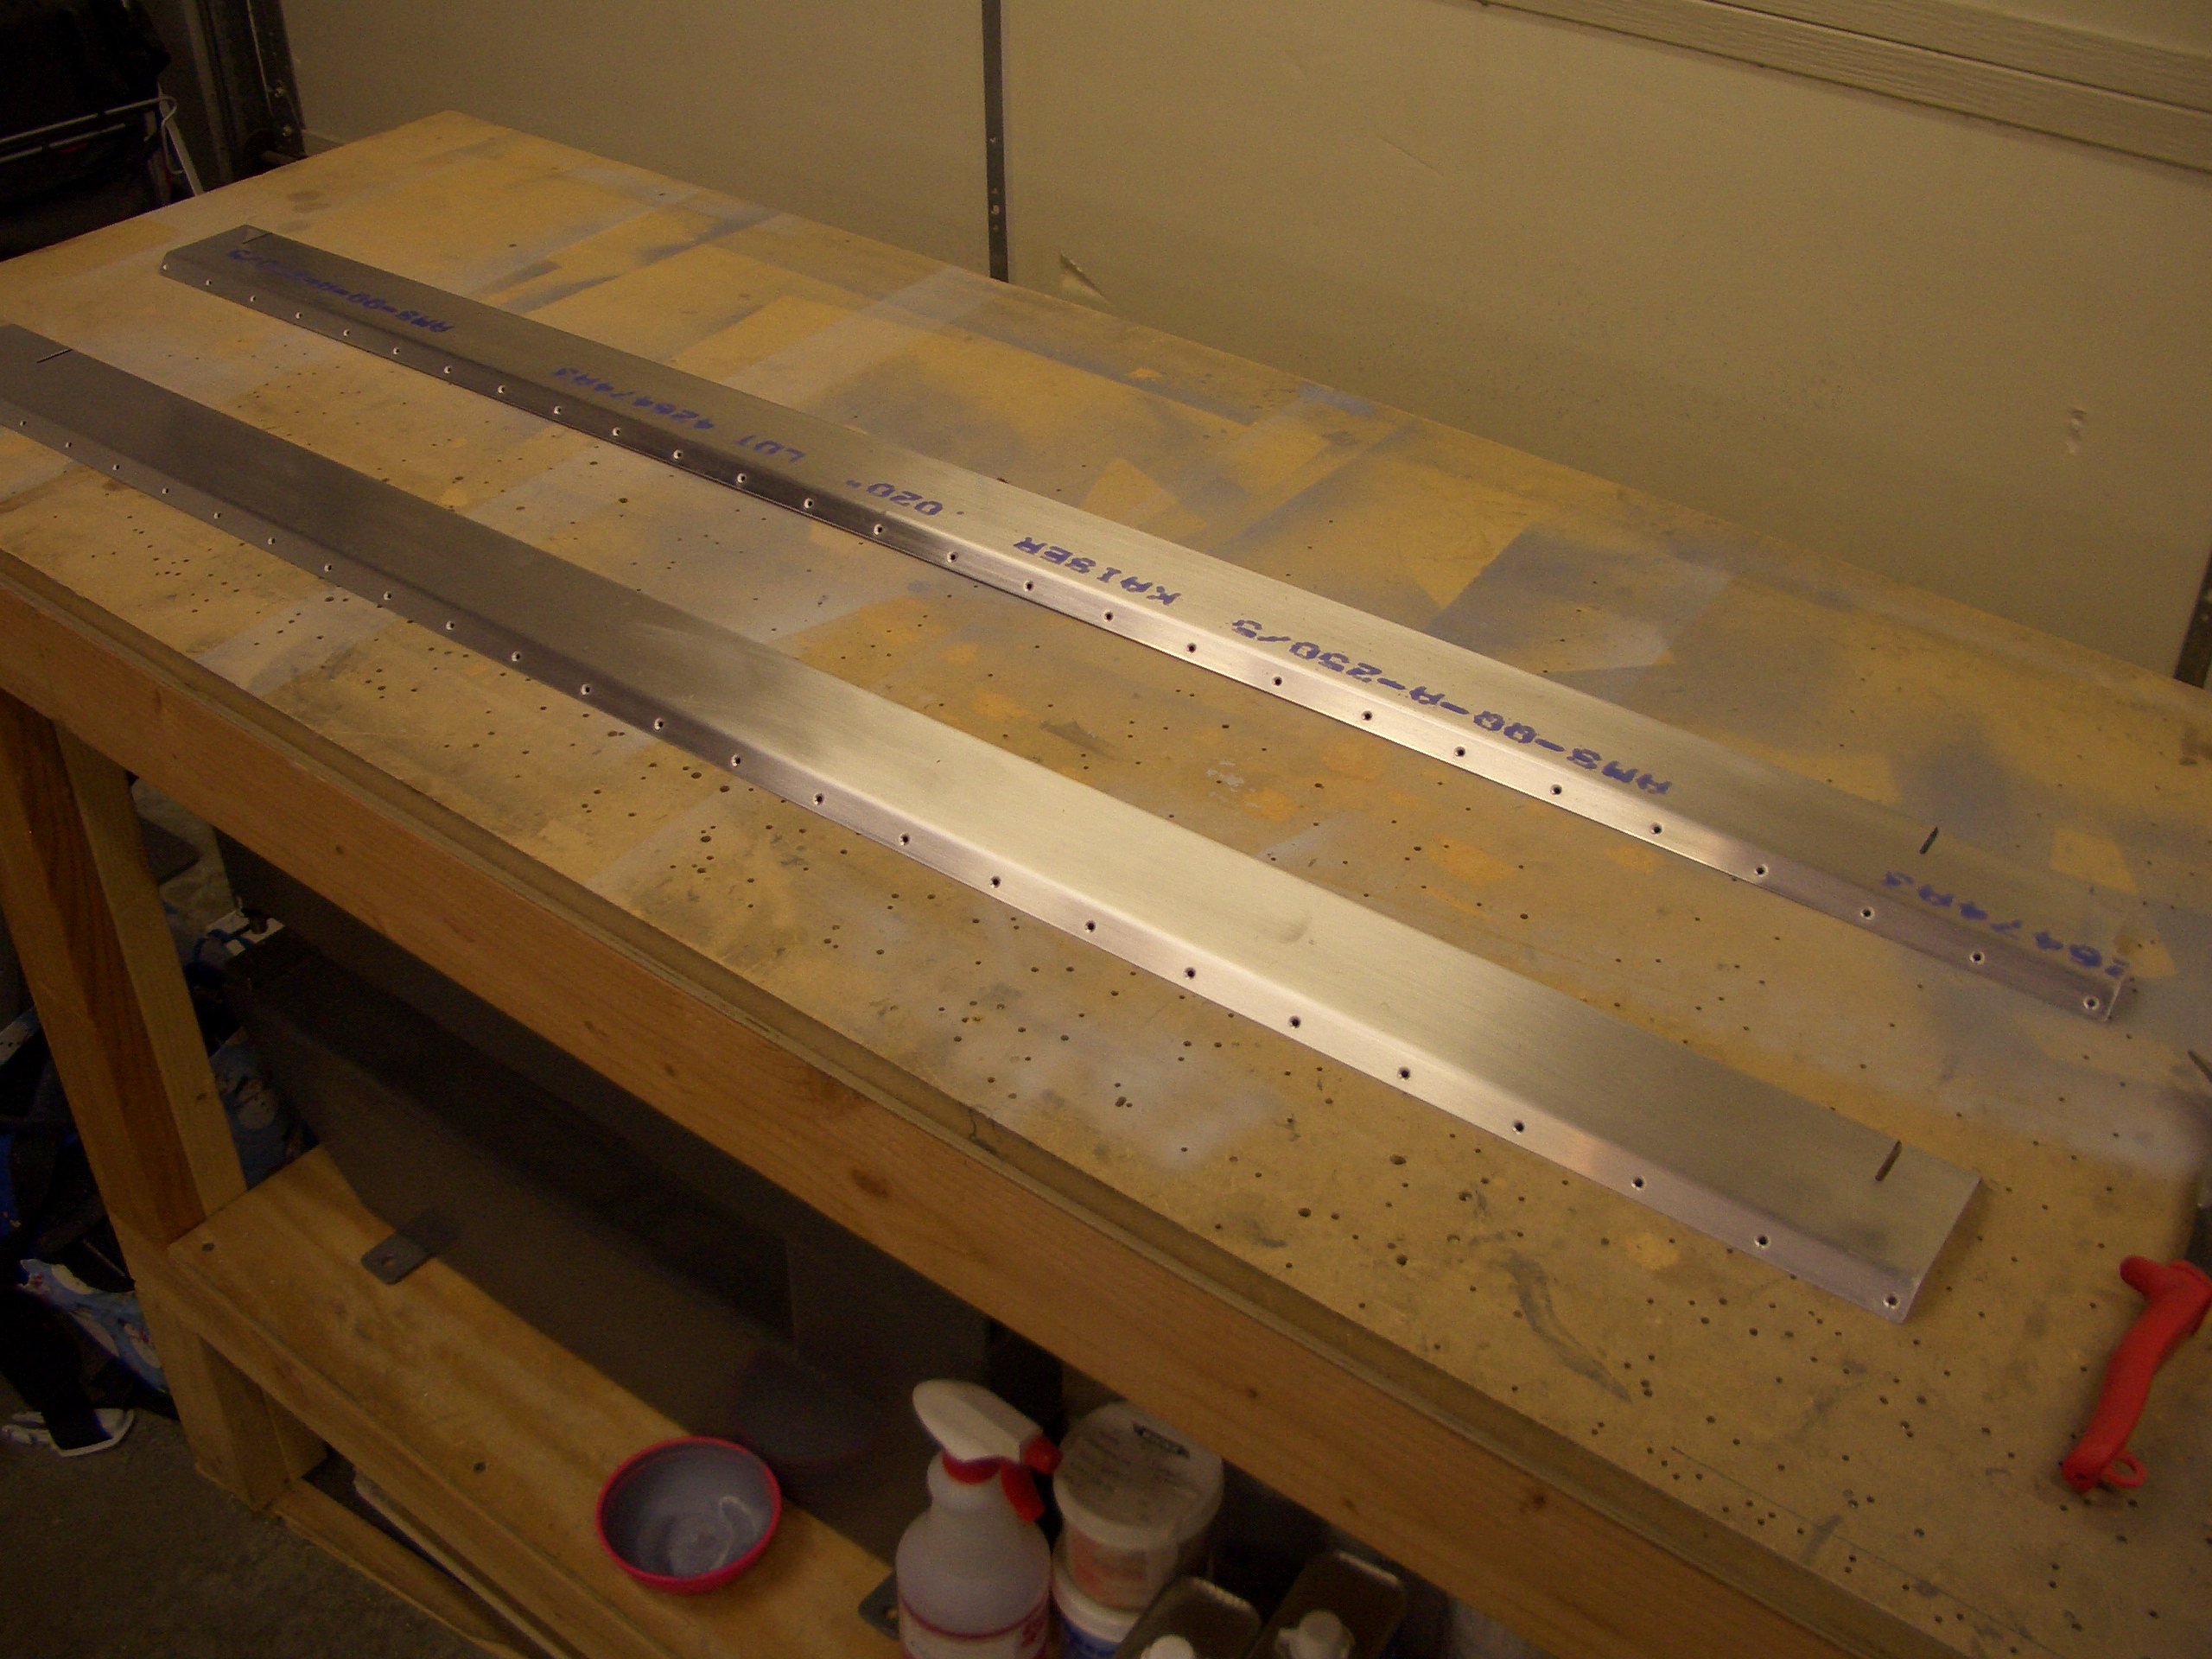
I spent probably 15 minutes per flap to get the trailing edge bend perfect so that the flap skin is straight from the spar to the trailing edge radius.
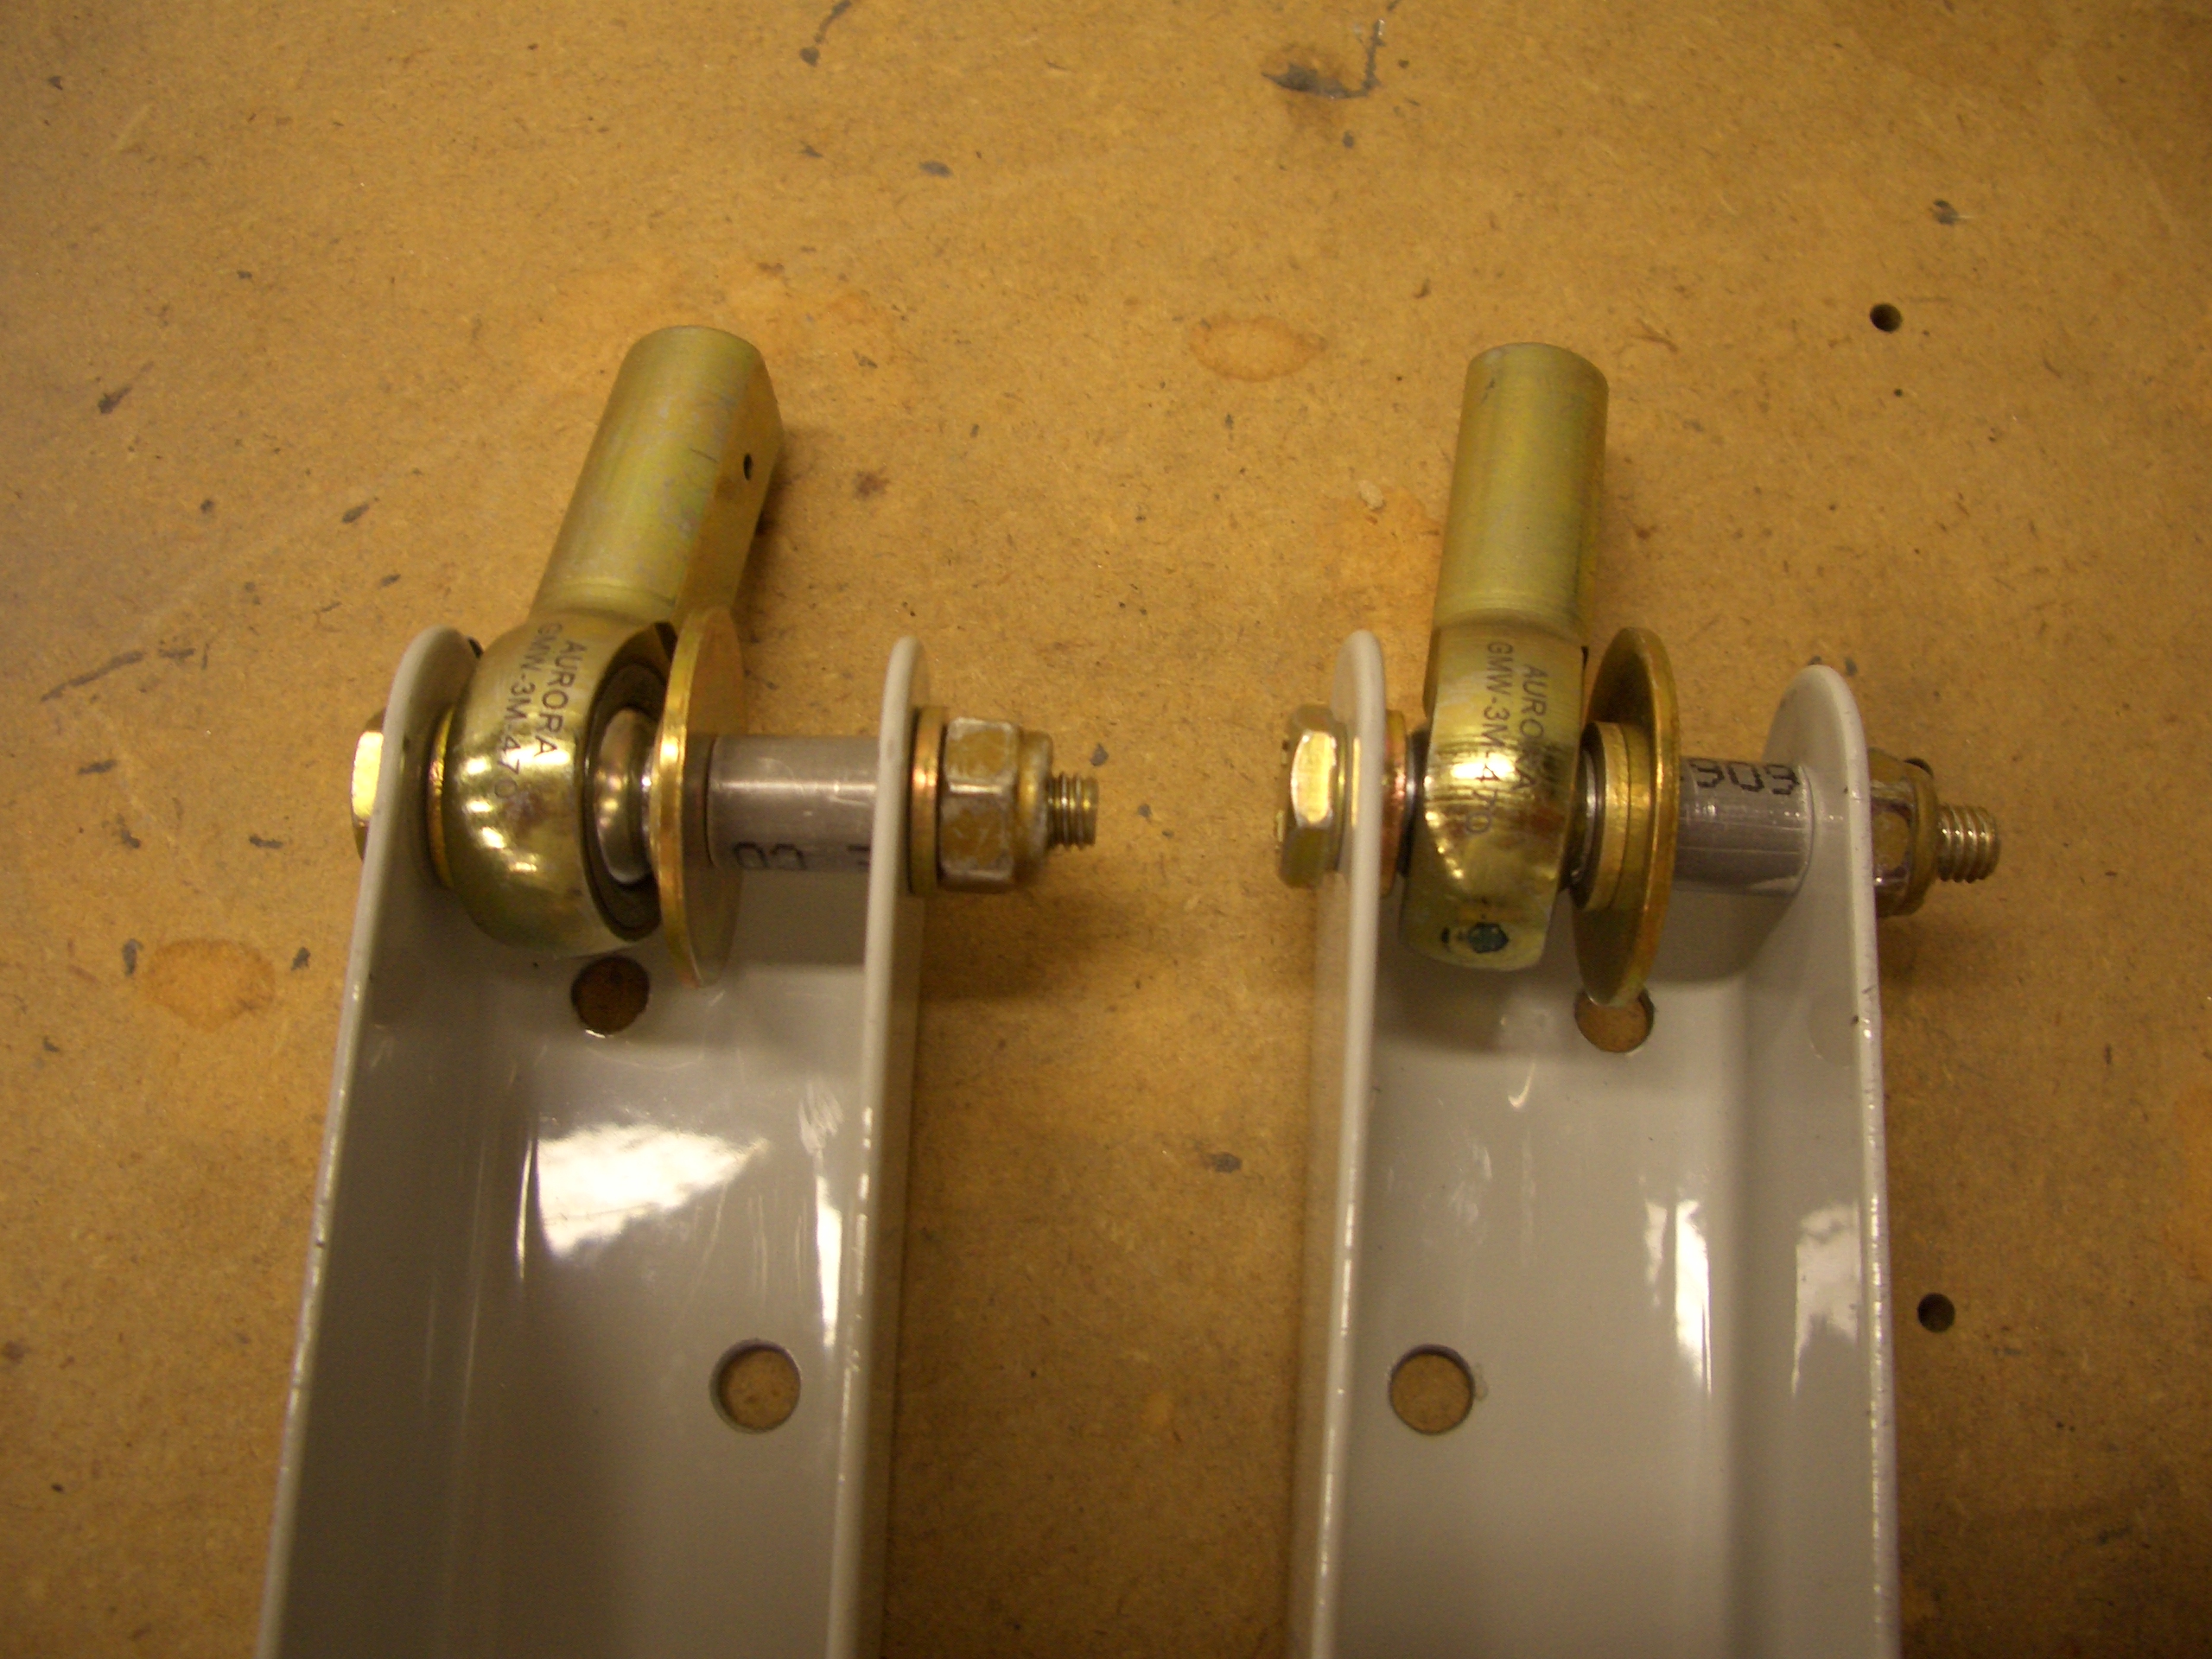
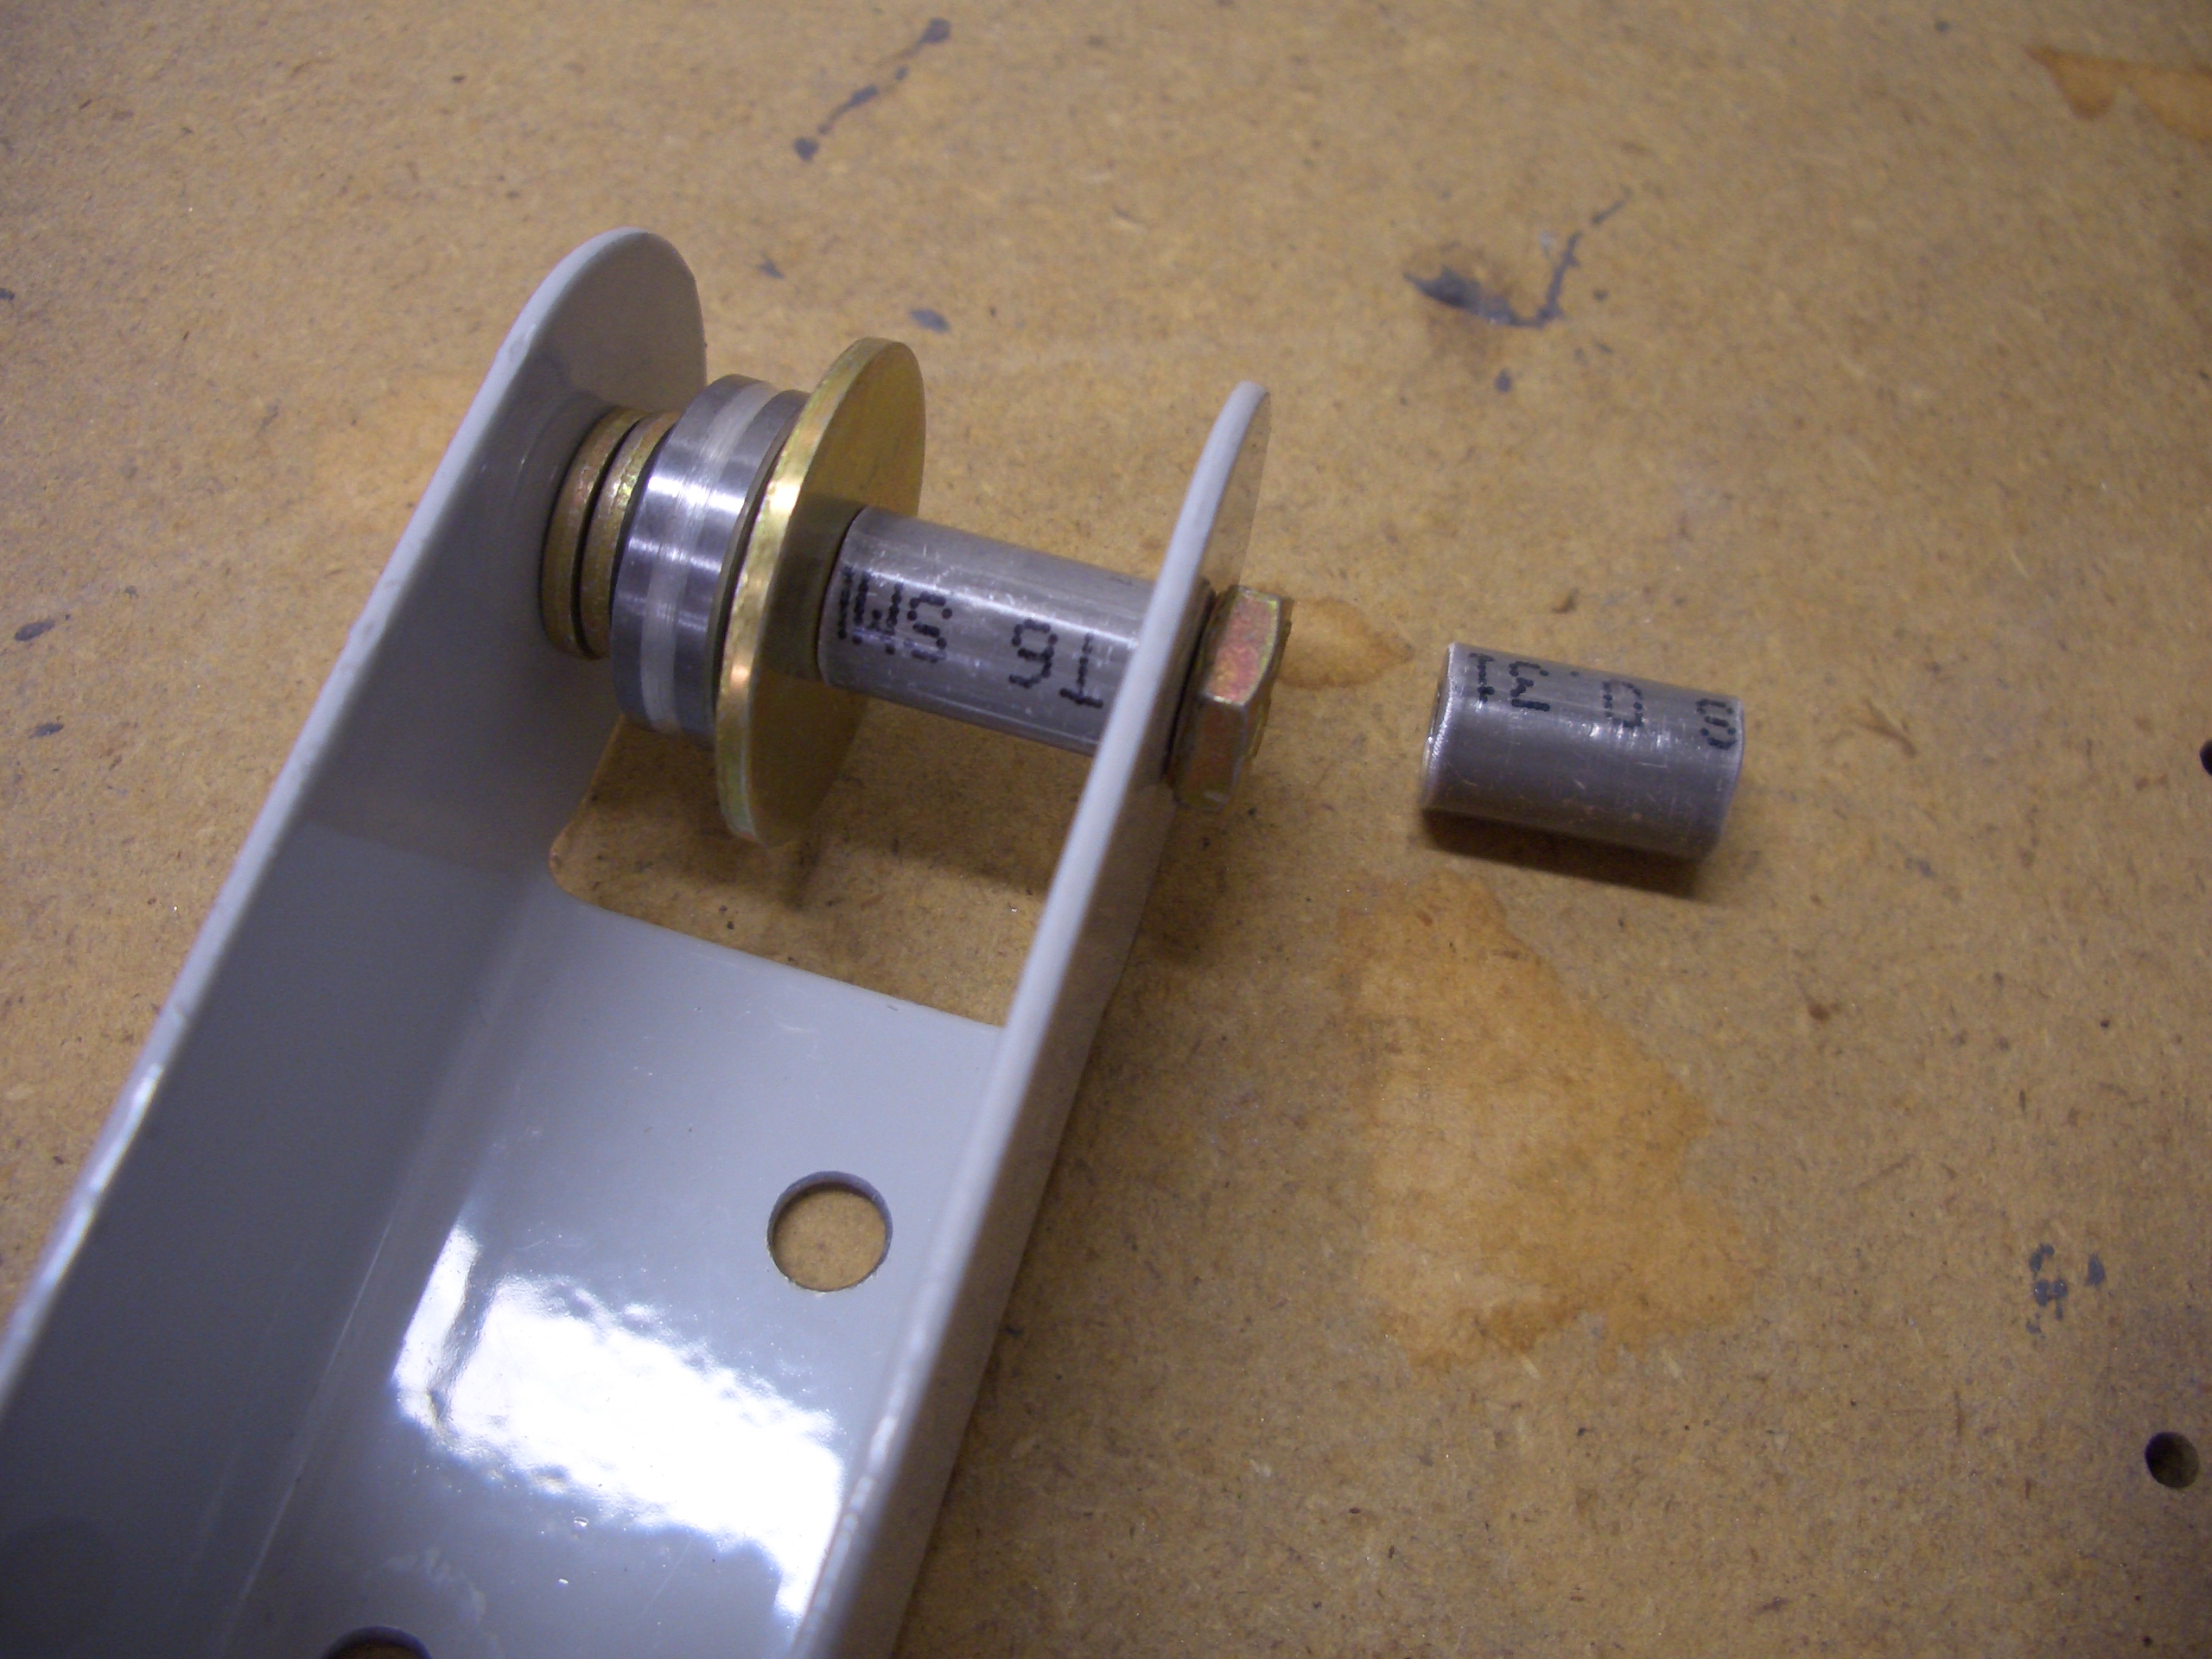
I also fabricated the other two spacers that attach the aileron hinge brackets to the aileron. The shiny object near the left is an extra COM-3-5 bearing that I used for spacing. I didn’t take a picture of it, but the outboard brackets just use AN960-10 and AN960-10L washers, so I didn’t need to fabricate spacers for them.
I decided to get started on the wingtip landing lights tonight. I’m using the Van’s landing light kit which provides two 75W halogen bulbs in each wingtip (one each for taxi and landing). I may upgrade the landing lights to HID or LED lights if these don’t provide enough light and I do enough night flying to matter, but I don’t see any reason to do that before I’m flying.
First up is to trim extra material from the rear part of the bulb holders. Here you can see the extra material sticking out from around the front part of the bulb holders.

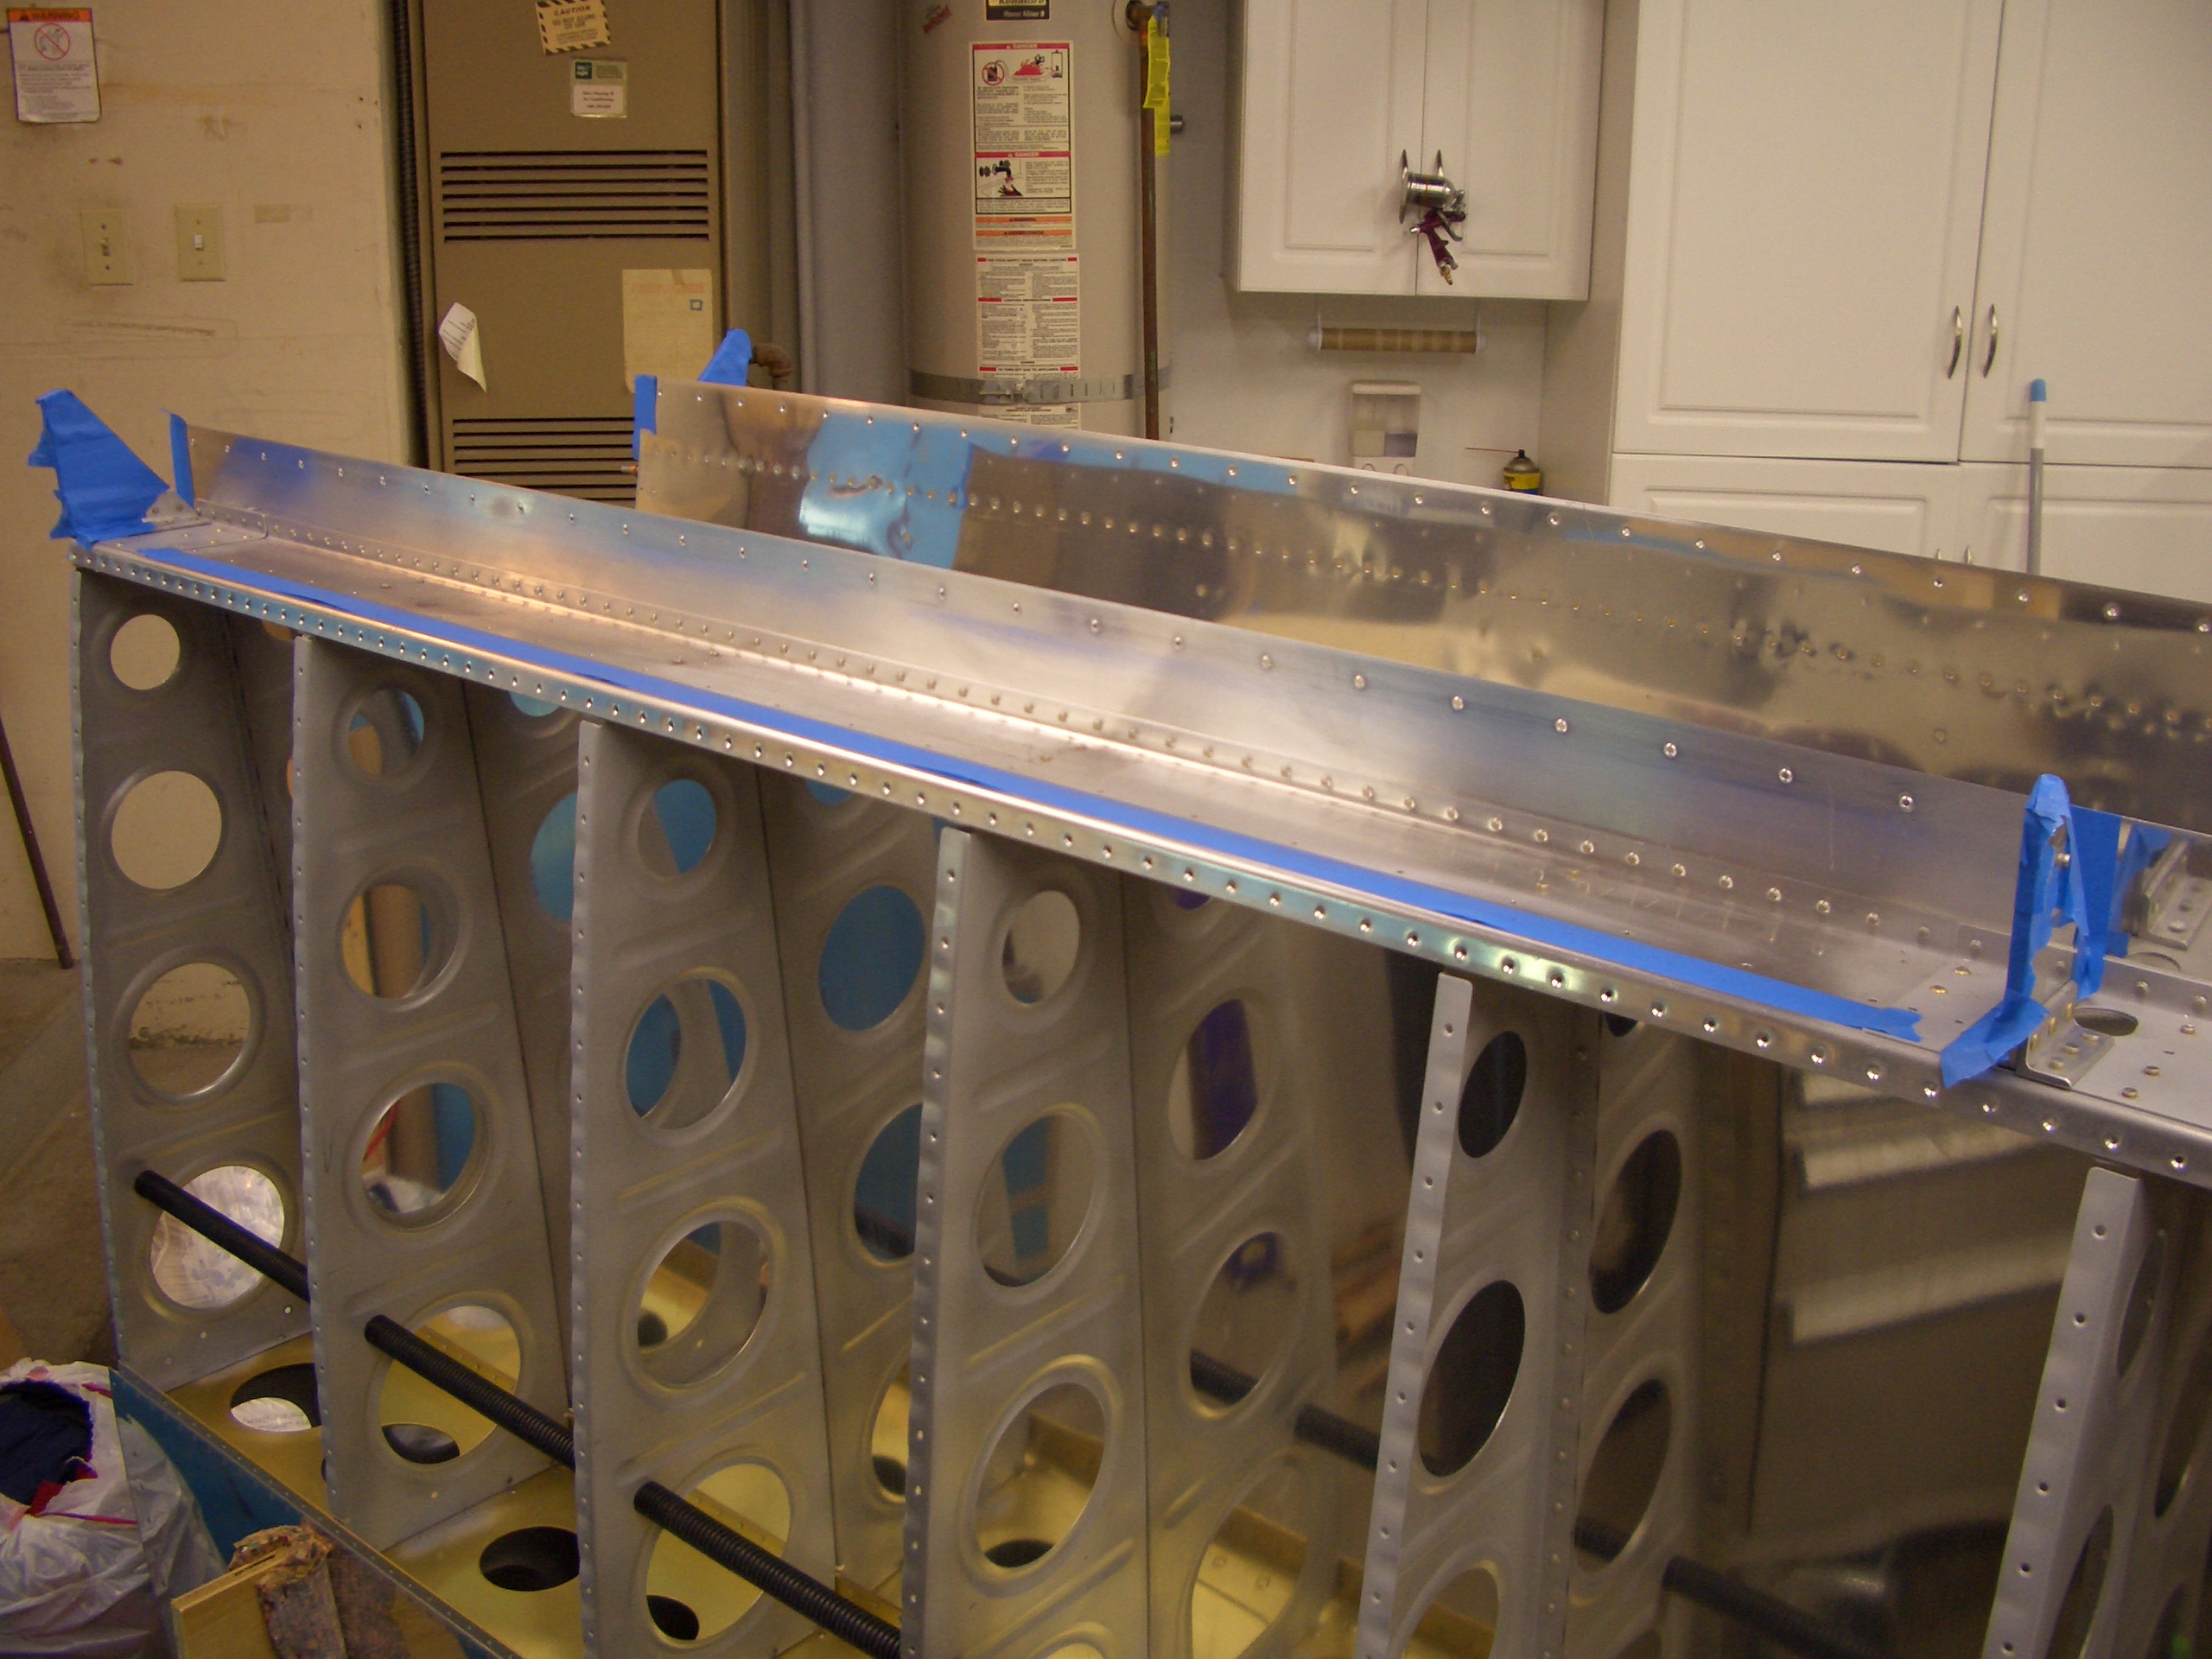
My friend Andre stopped by tonight and helped me rivet the parts of the flaps and ailerons that are easier with two people. We started on the ailerons by screwing them down to a couple of boards clamped to the bench. This made the ailerons rigid enough to rivet. We only drove the rivets along the top of the spar that must be shot/bucked. The end ribs can be squeezed and the bottom of the spar uses blind rivets.
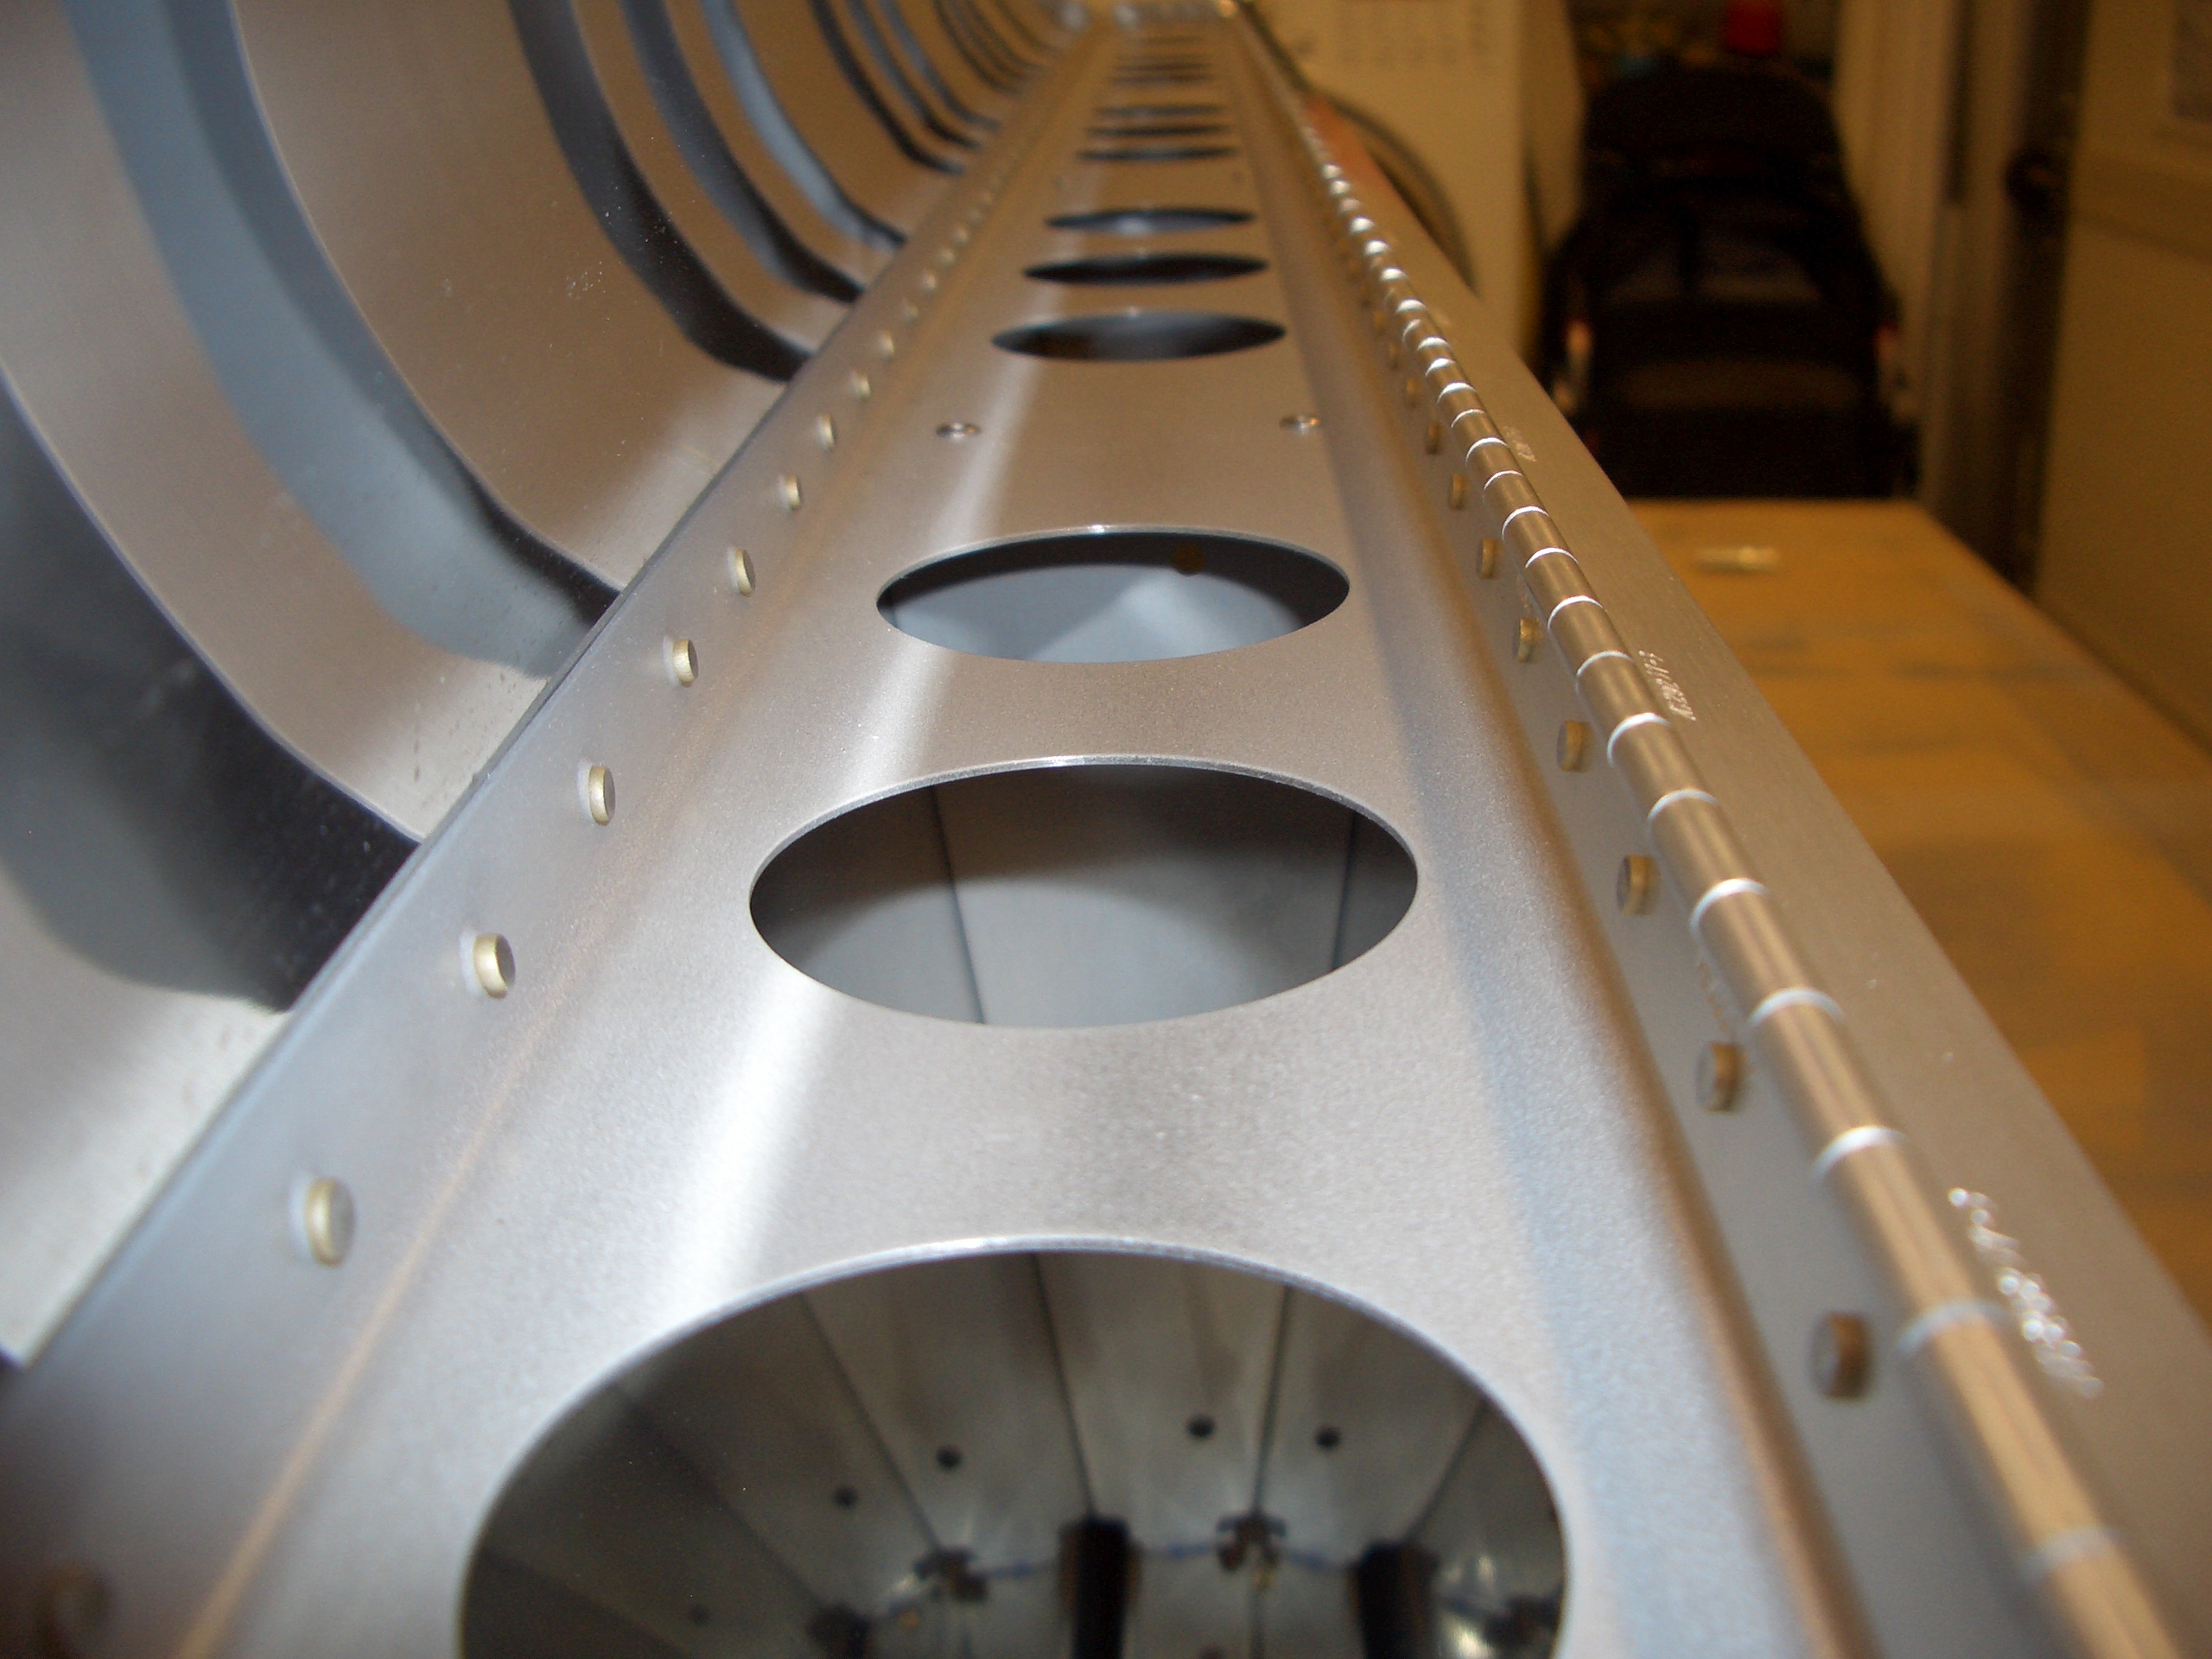
We shot and bucked all of the rivets holding the flap skins together and to the ribs. We then planned on riveting the top of the spar, but I really need to get the hang of shooting and bucking by myself since there will be a lot more of that with the fuselage. Since Andre has always been so willing to stop by and give me a hand (which I’m eternally grateful for), I really haven’t done much solo work with the rivet gun. I set a few just to see how they turned out, and they all look great. I can easily finish these by myself.
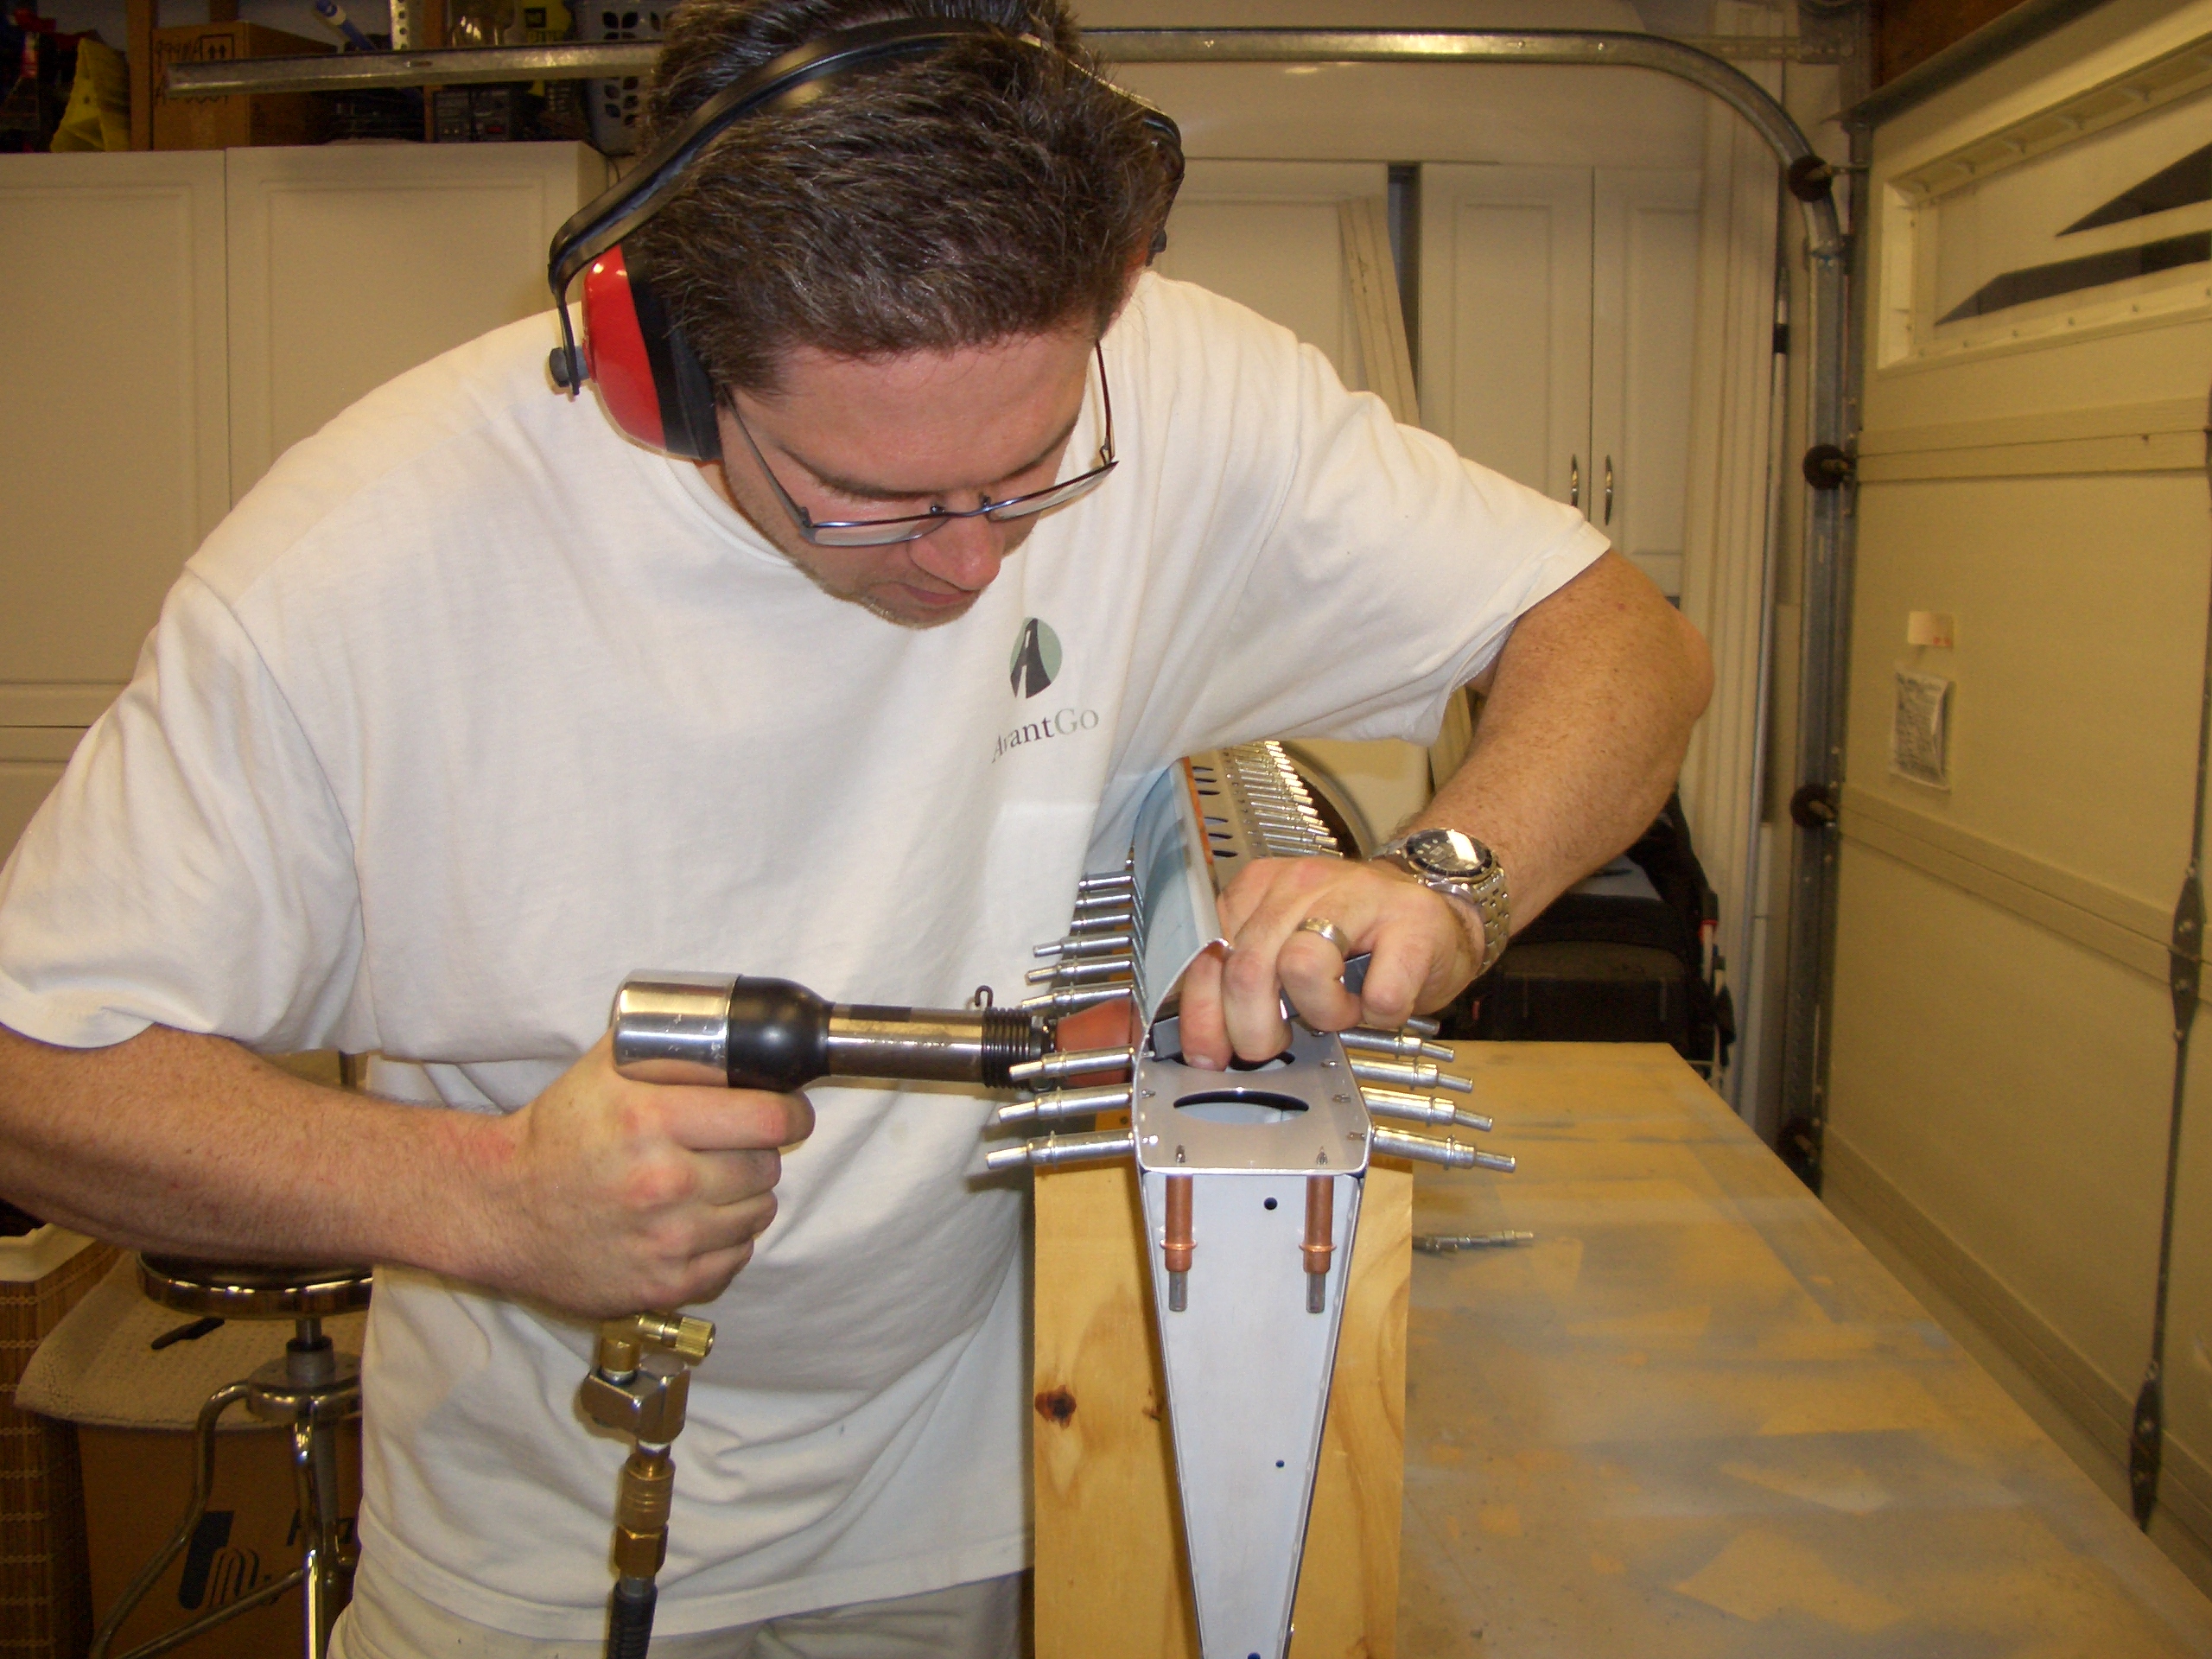
The aileron brackets would be a little tougher though, so I had him give me a hand riveting these on. Once the ailerons are done, they will be ready to hang on the wing.
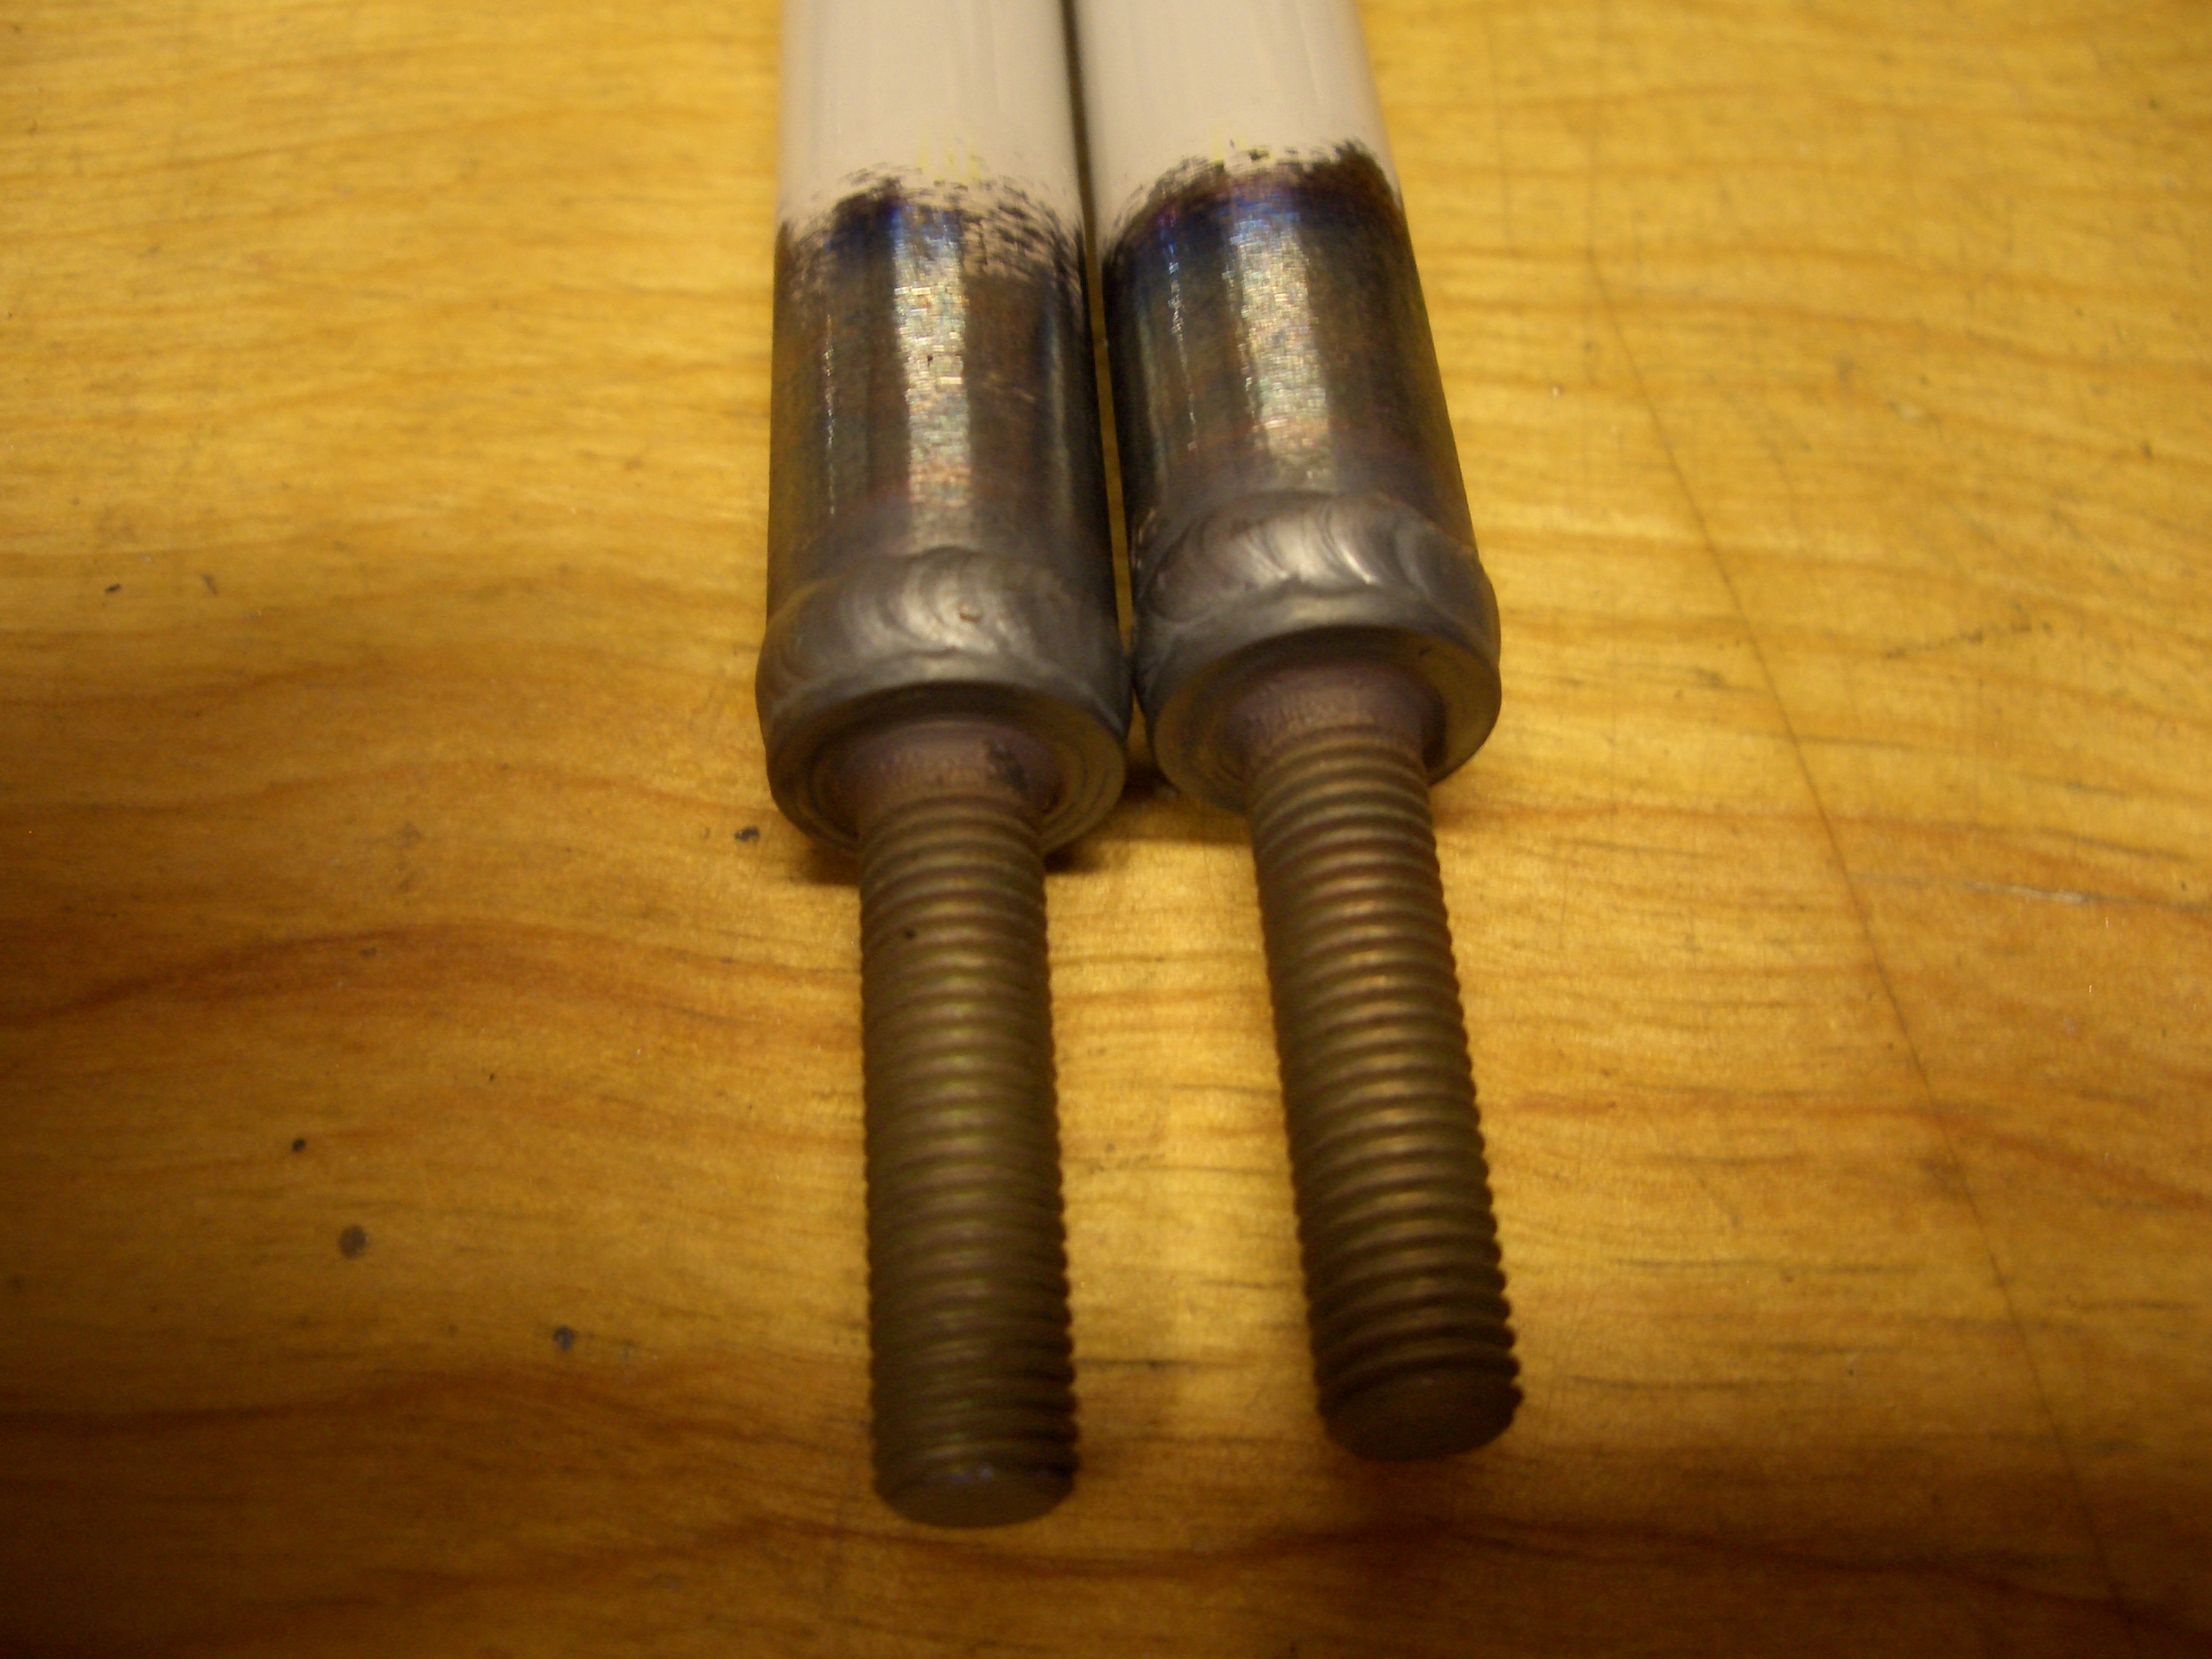
I picked up my aileron pushrods from the welder today, and they look fantastic. They had to grind off some of the powder coat and machined the cadmium plating off of the mating surface of the rod end before TIG welding them. I’m going to clean these up and then put a fresh coat of epoxy primer on them before installing them on the wing.
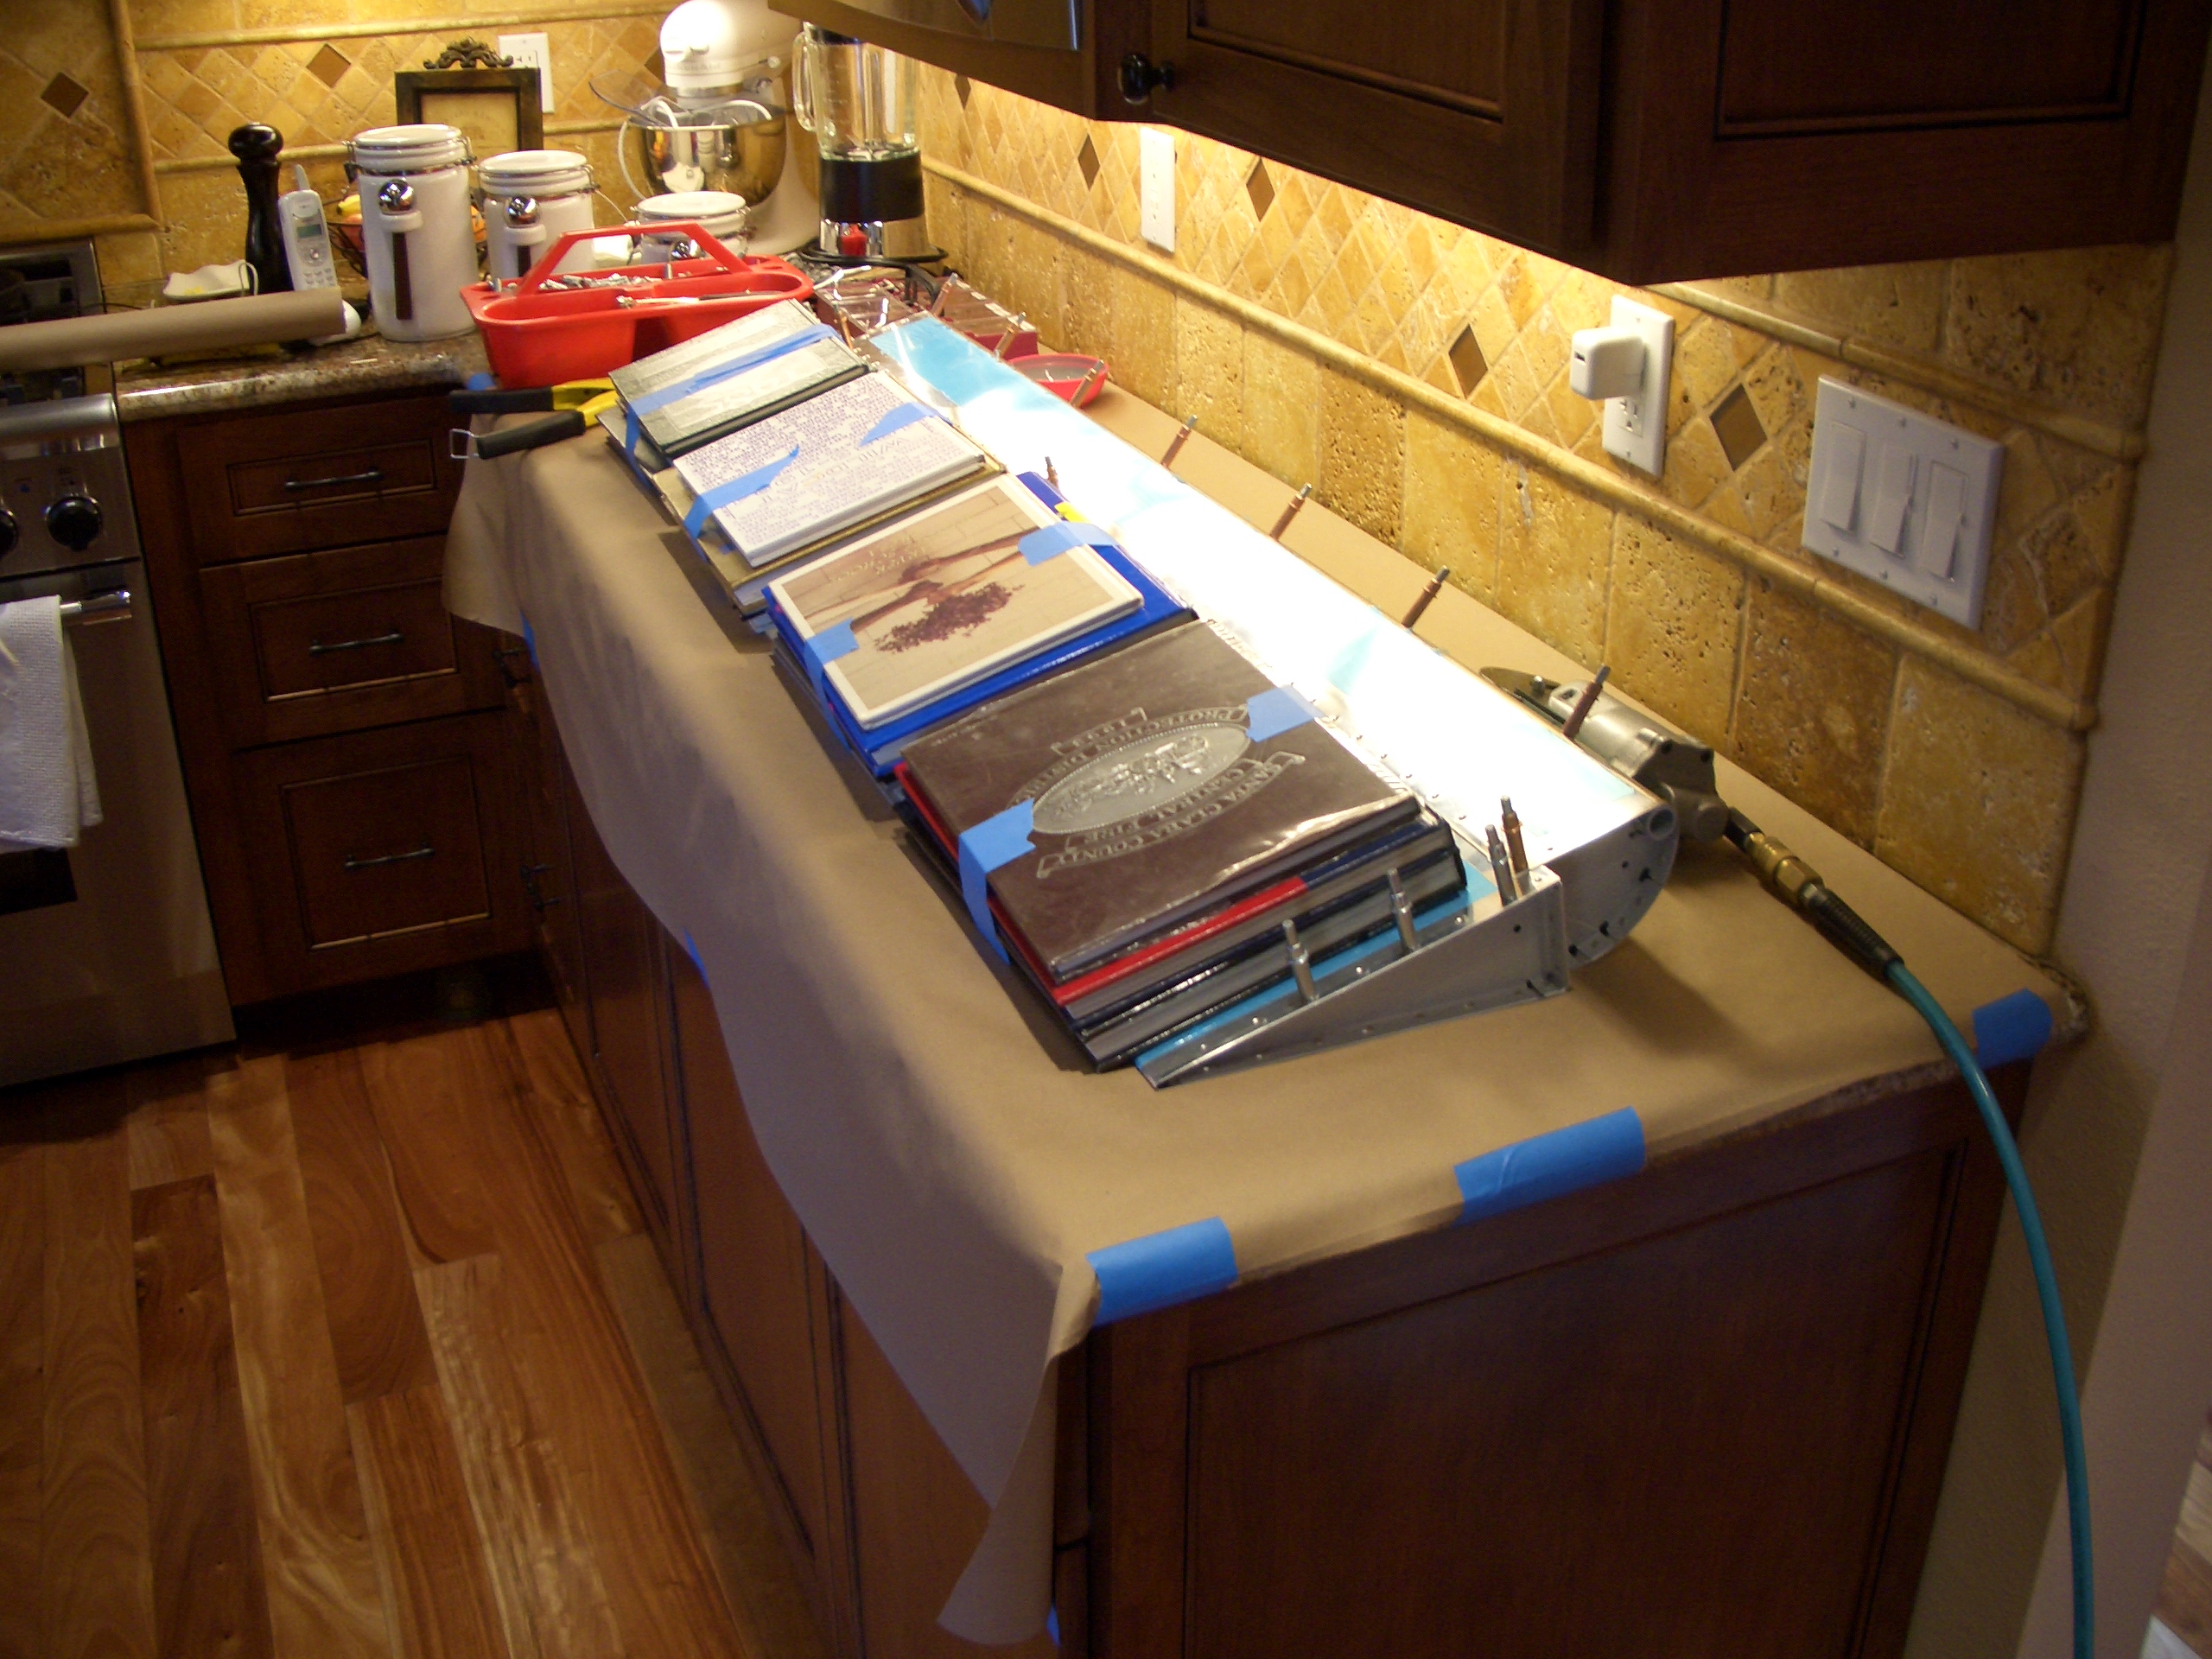
I moved the ailerons to the kitchen since our granite countertops are the flattest surface in our house. I weighted them down with some books.
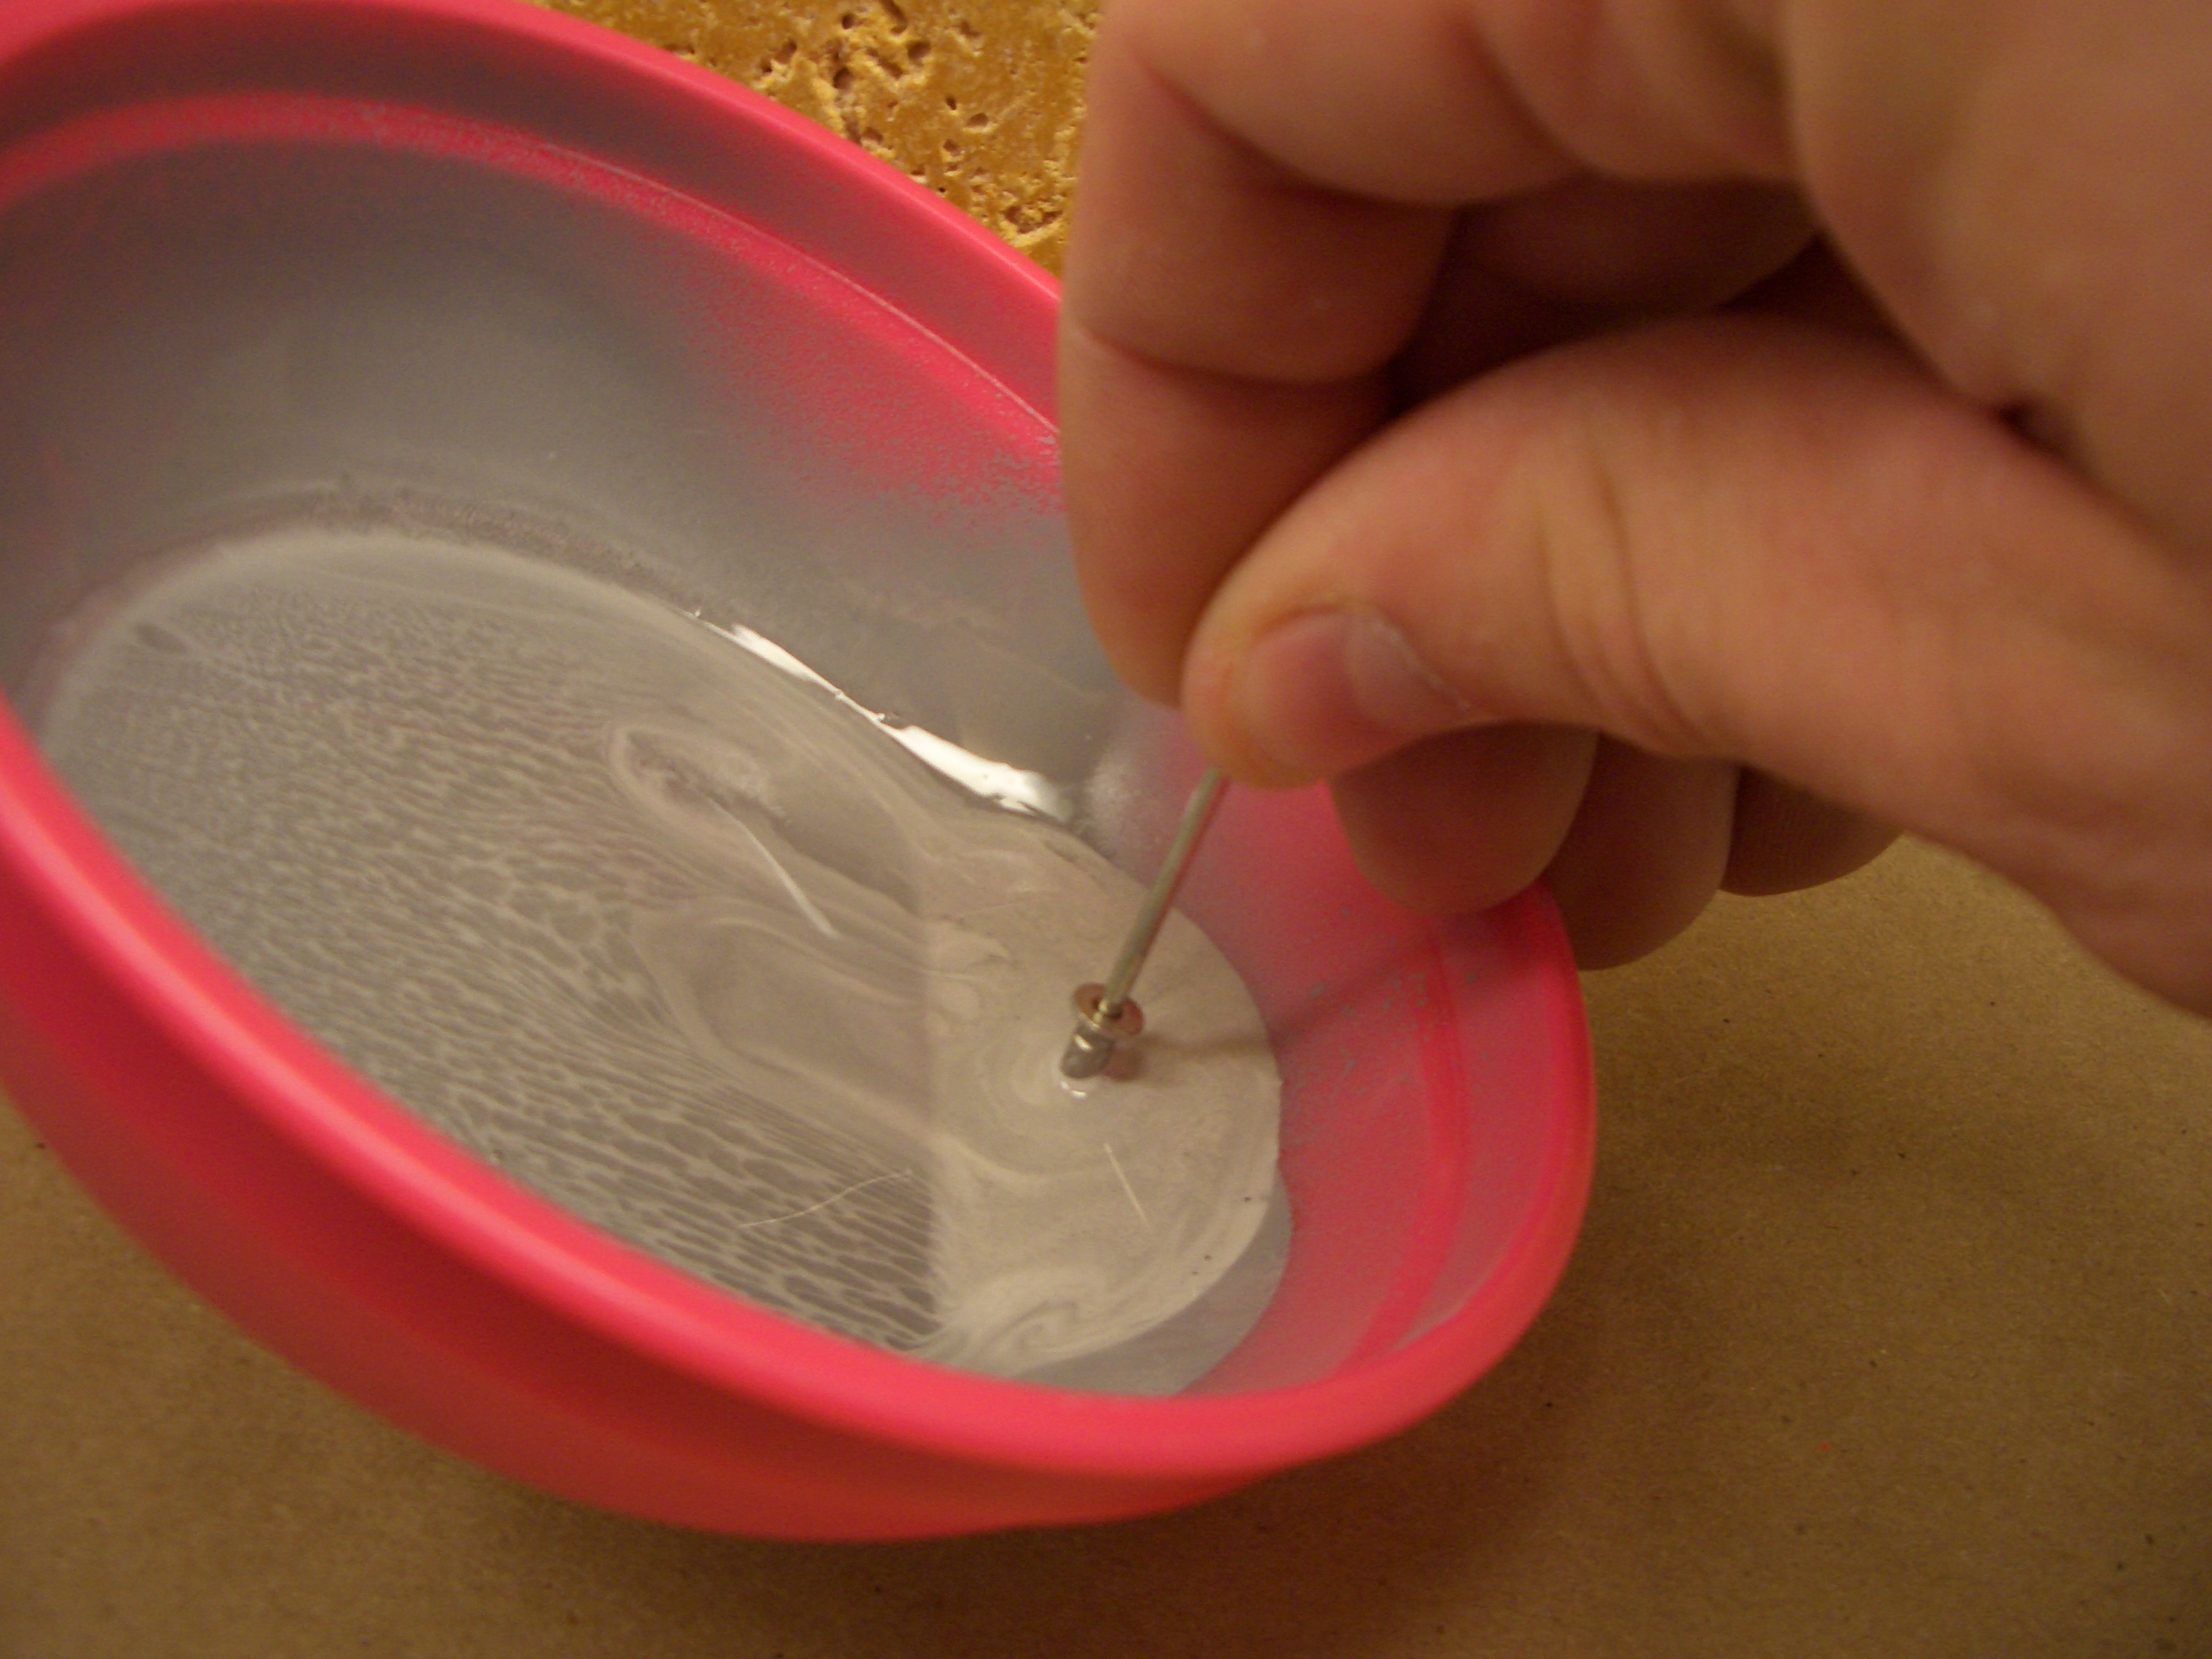
I set the pop rivets in the counterbalance weight wet since these are aluminum rivets holding on a galvanized steel pipe.
These are pop riveted on first.
Then the nose rib rivets are set, followed by the rivets on the main ribs. Finally, blind rivets are used to fasten the nose and trailing edge skins to the bottom of the spar.
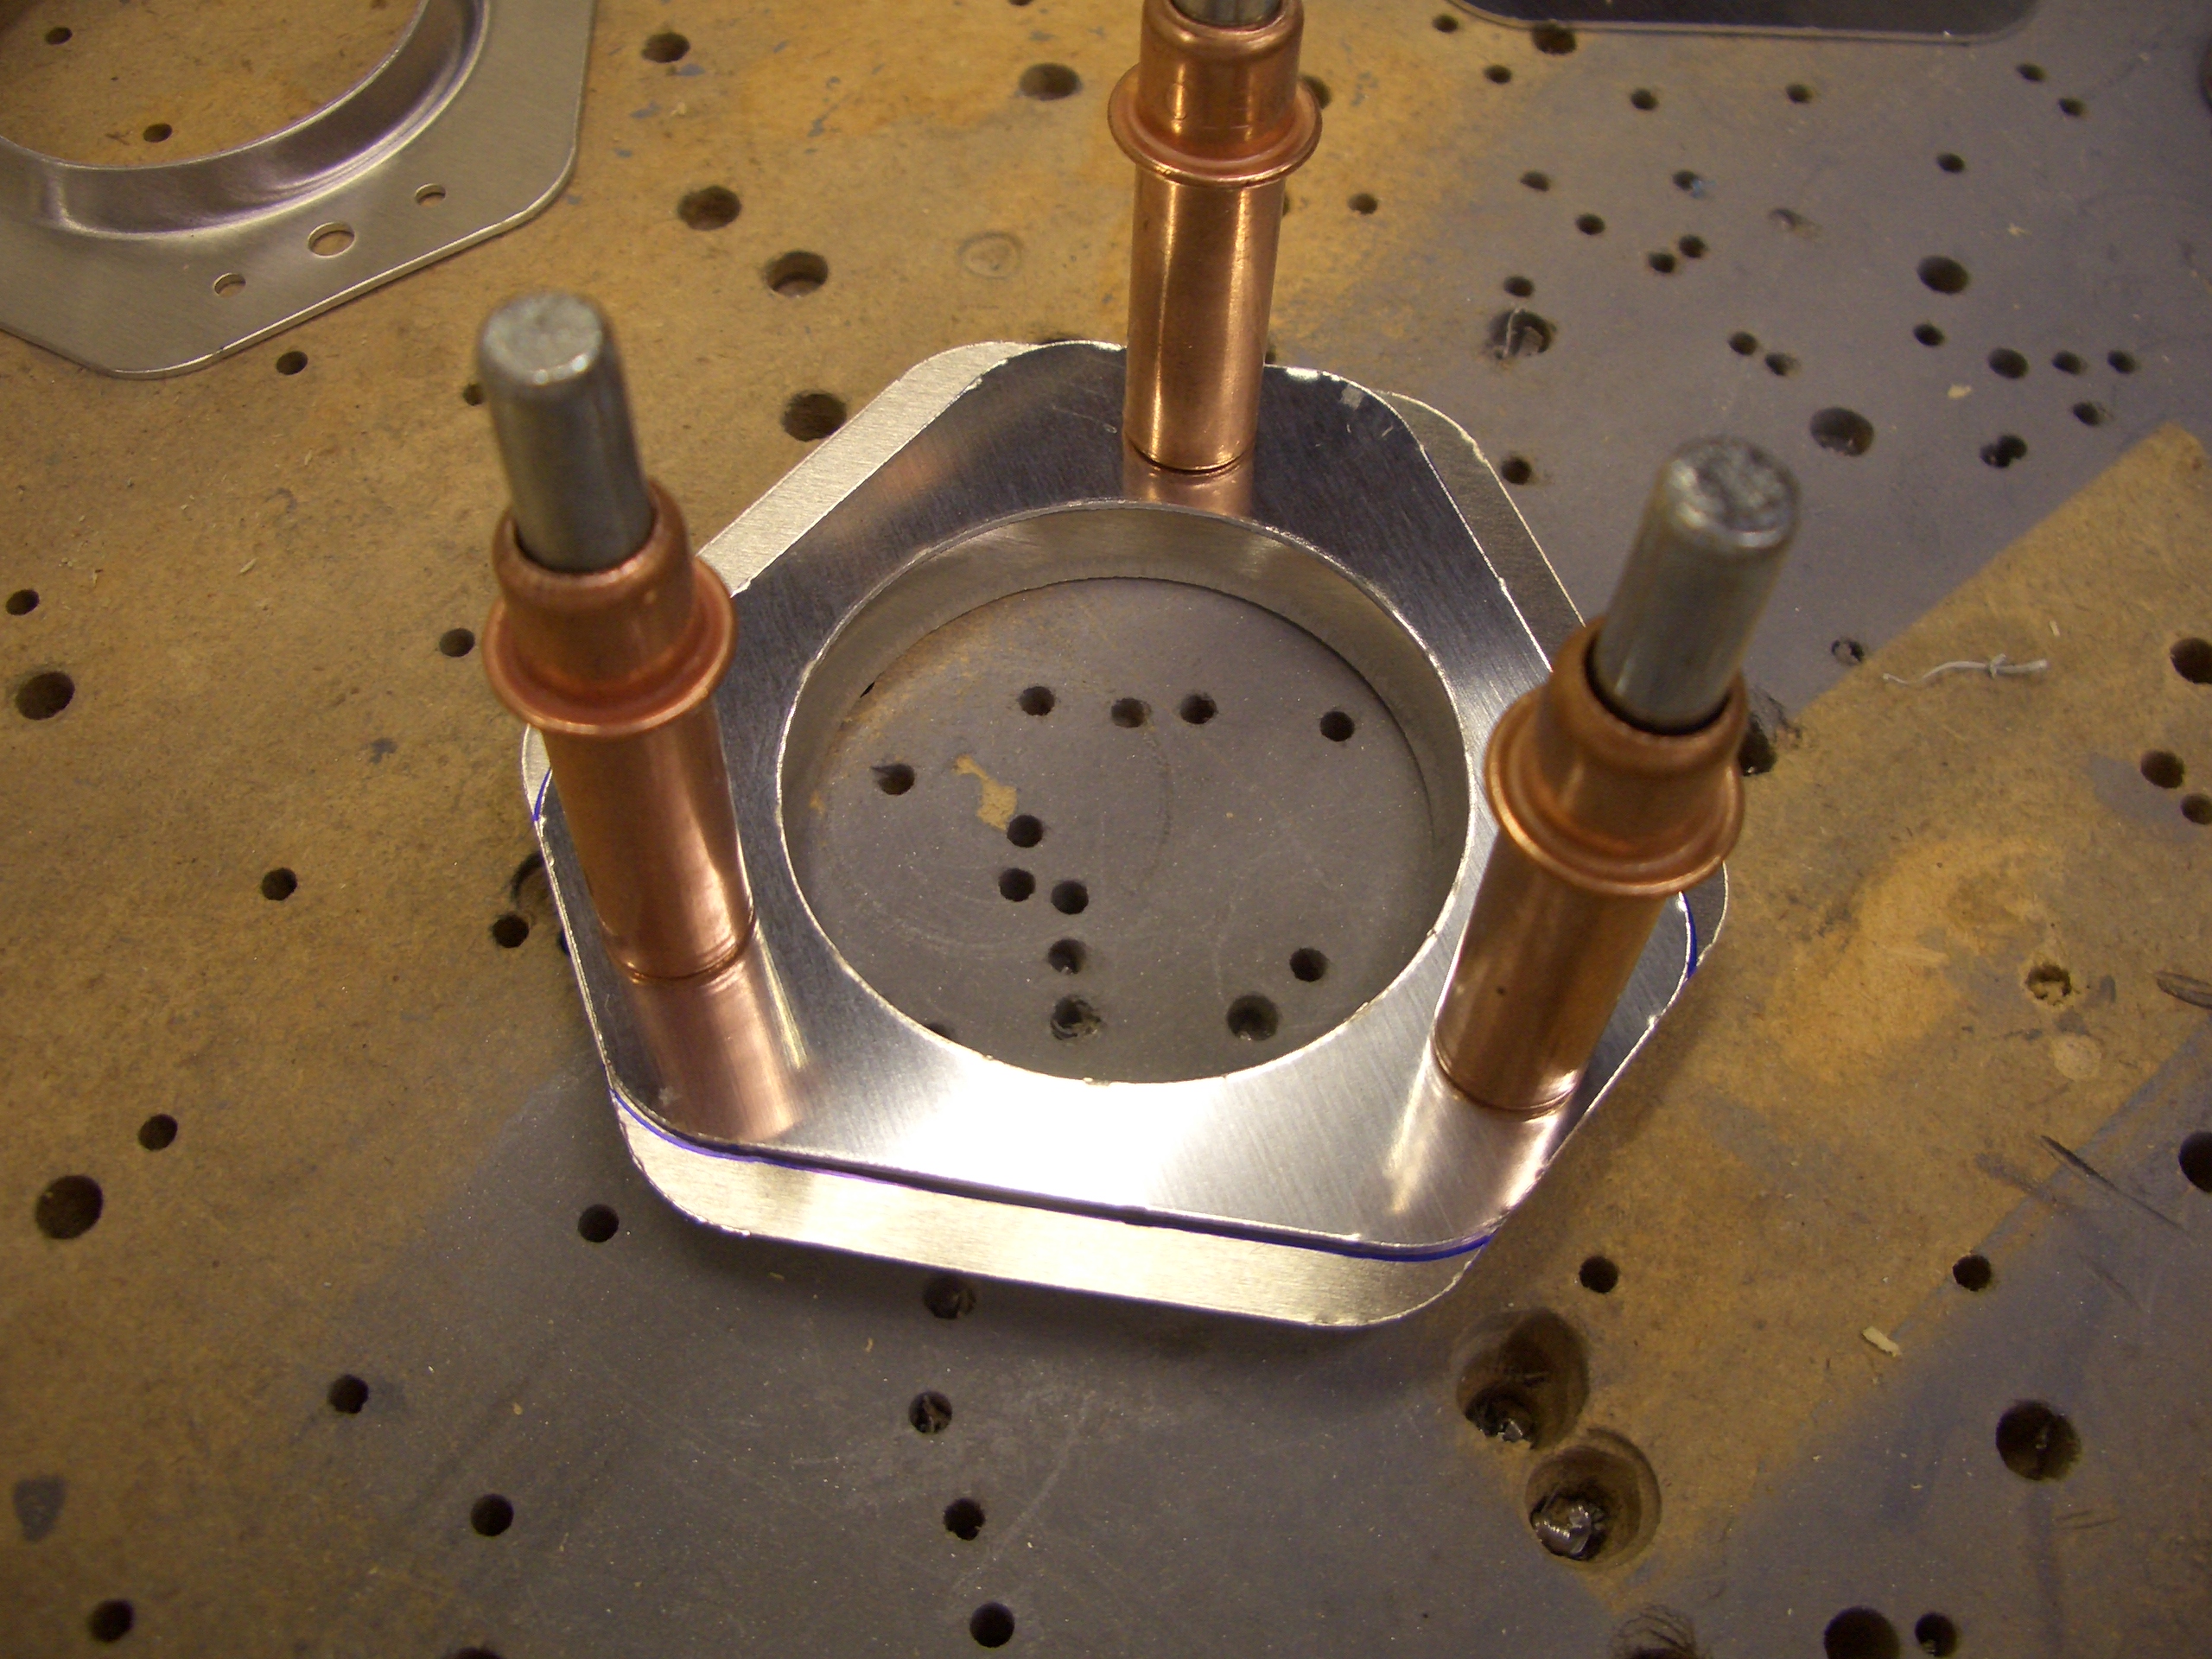
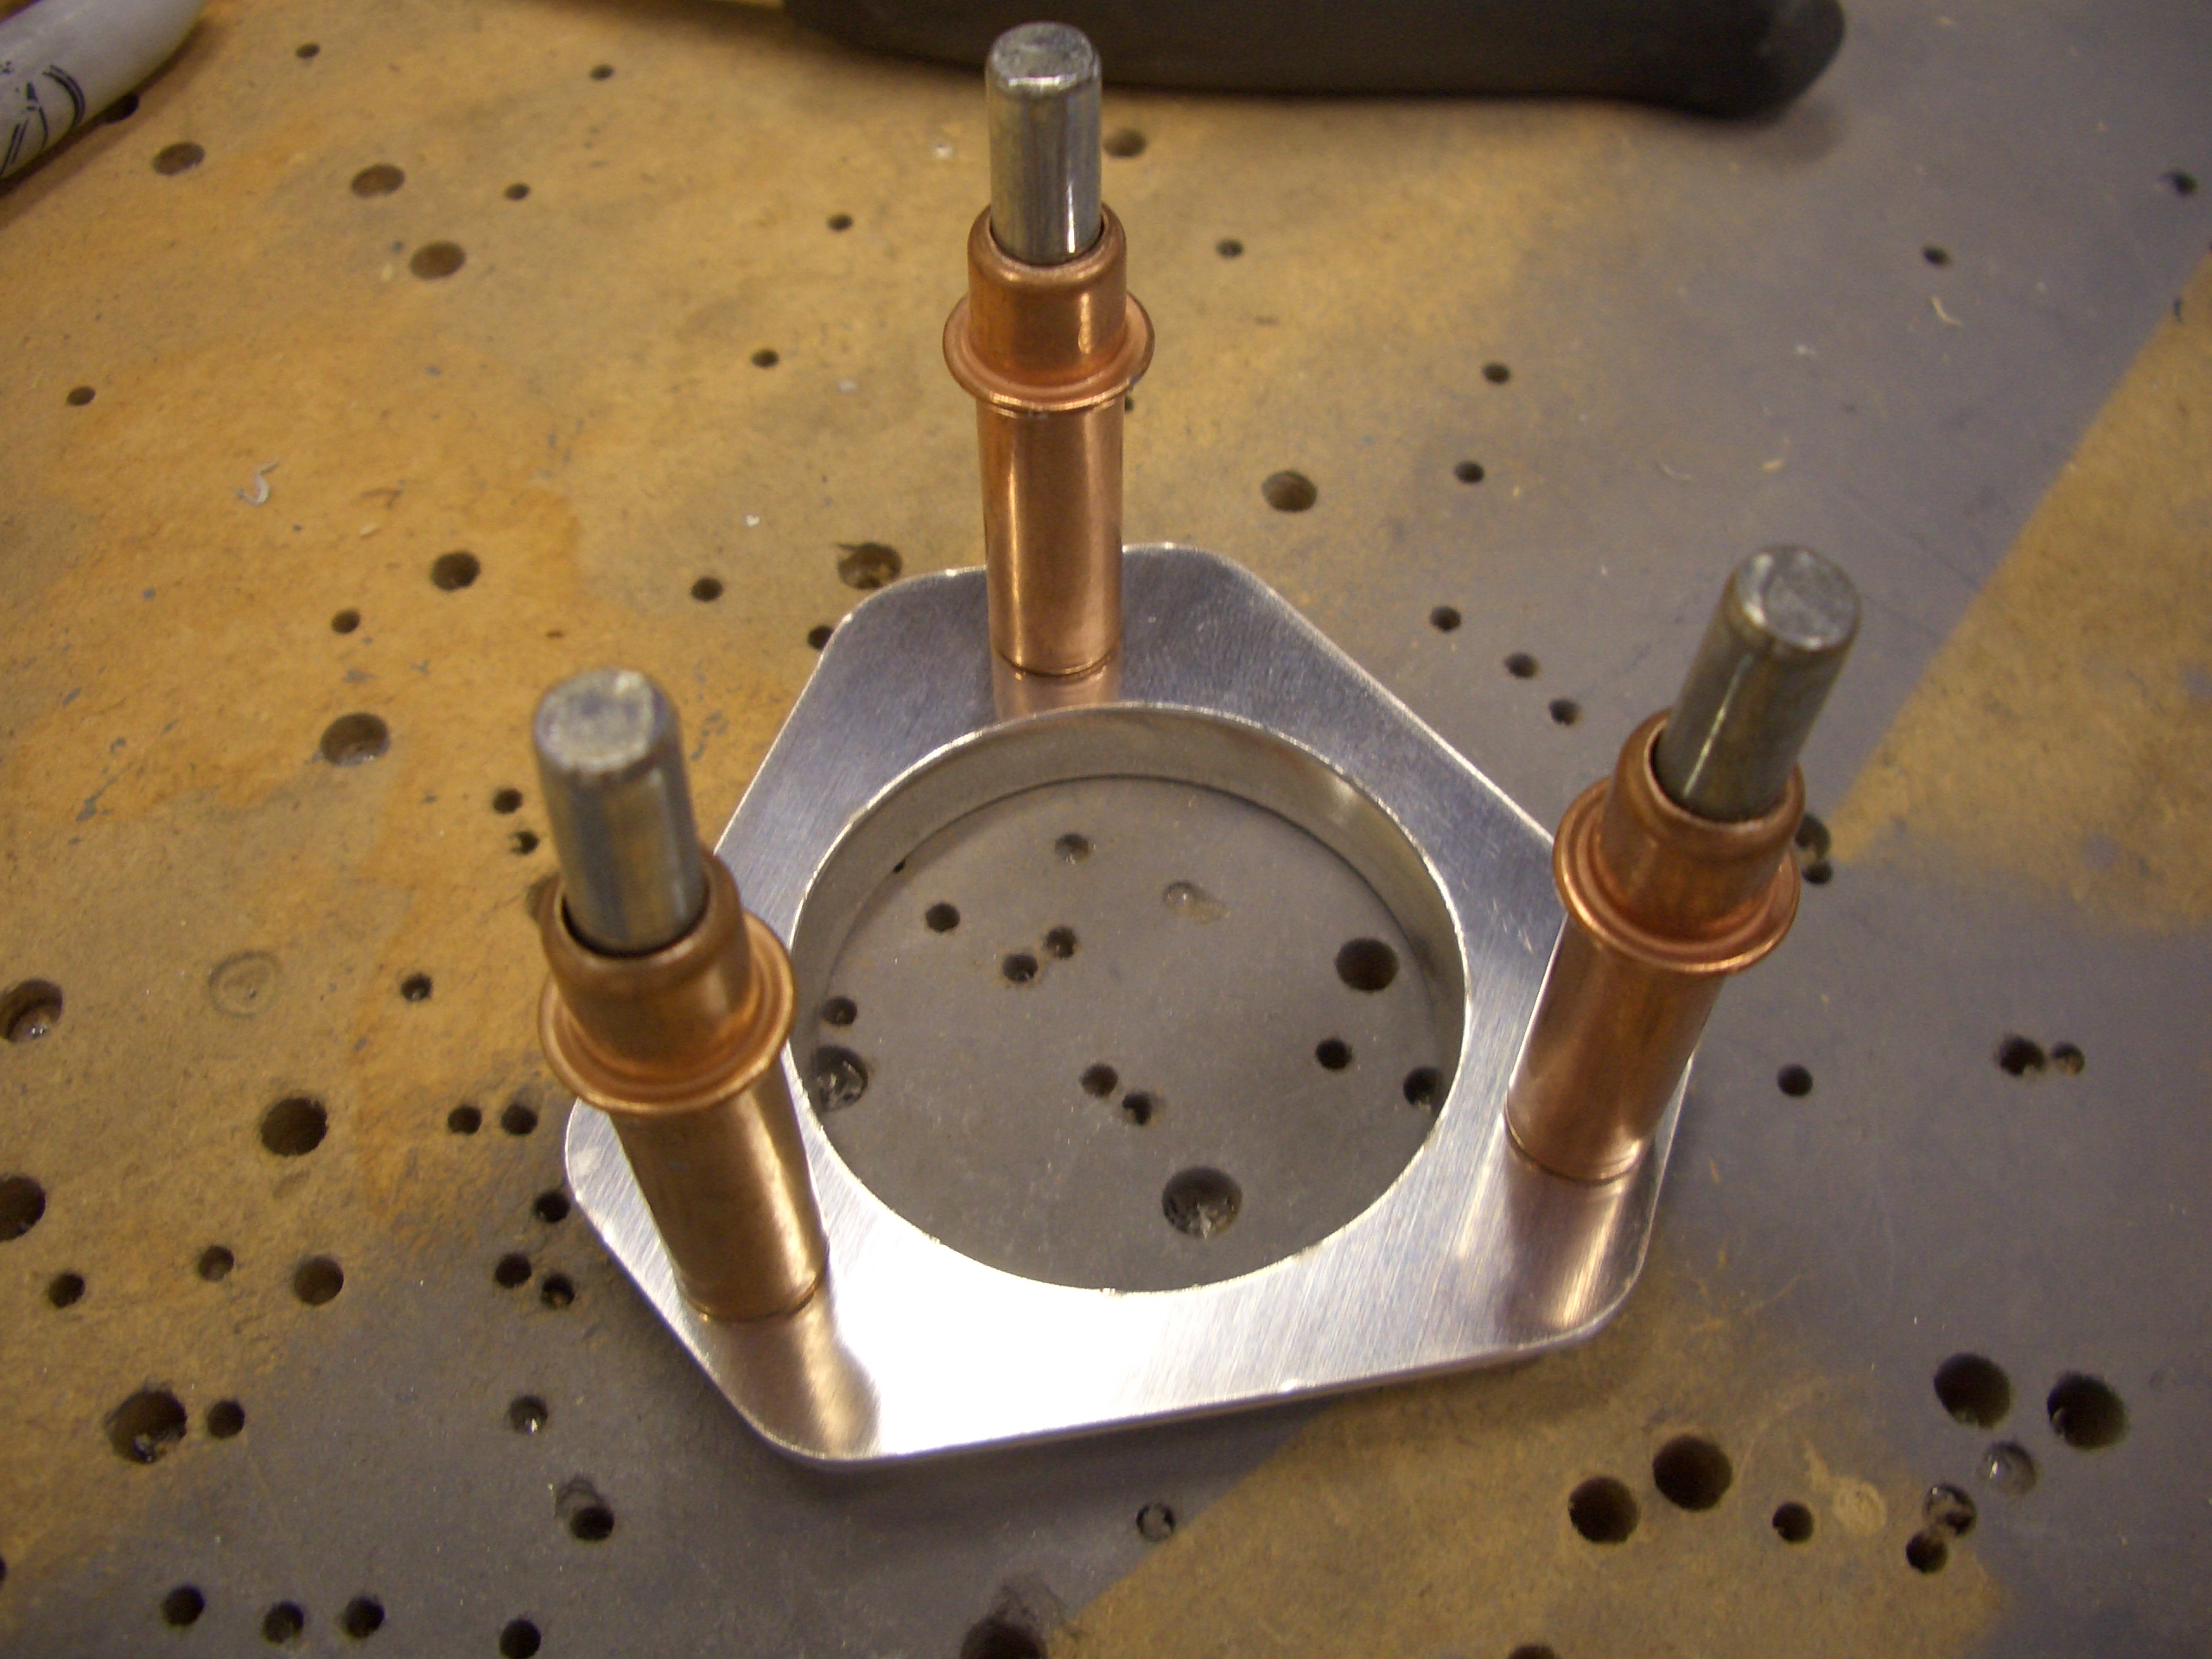
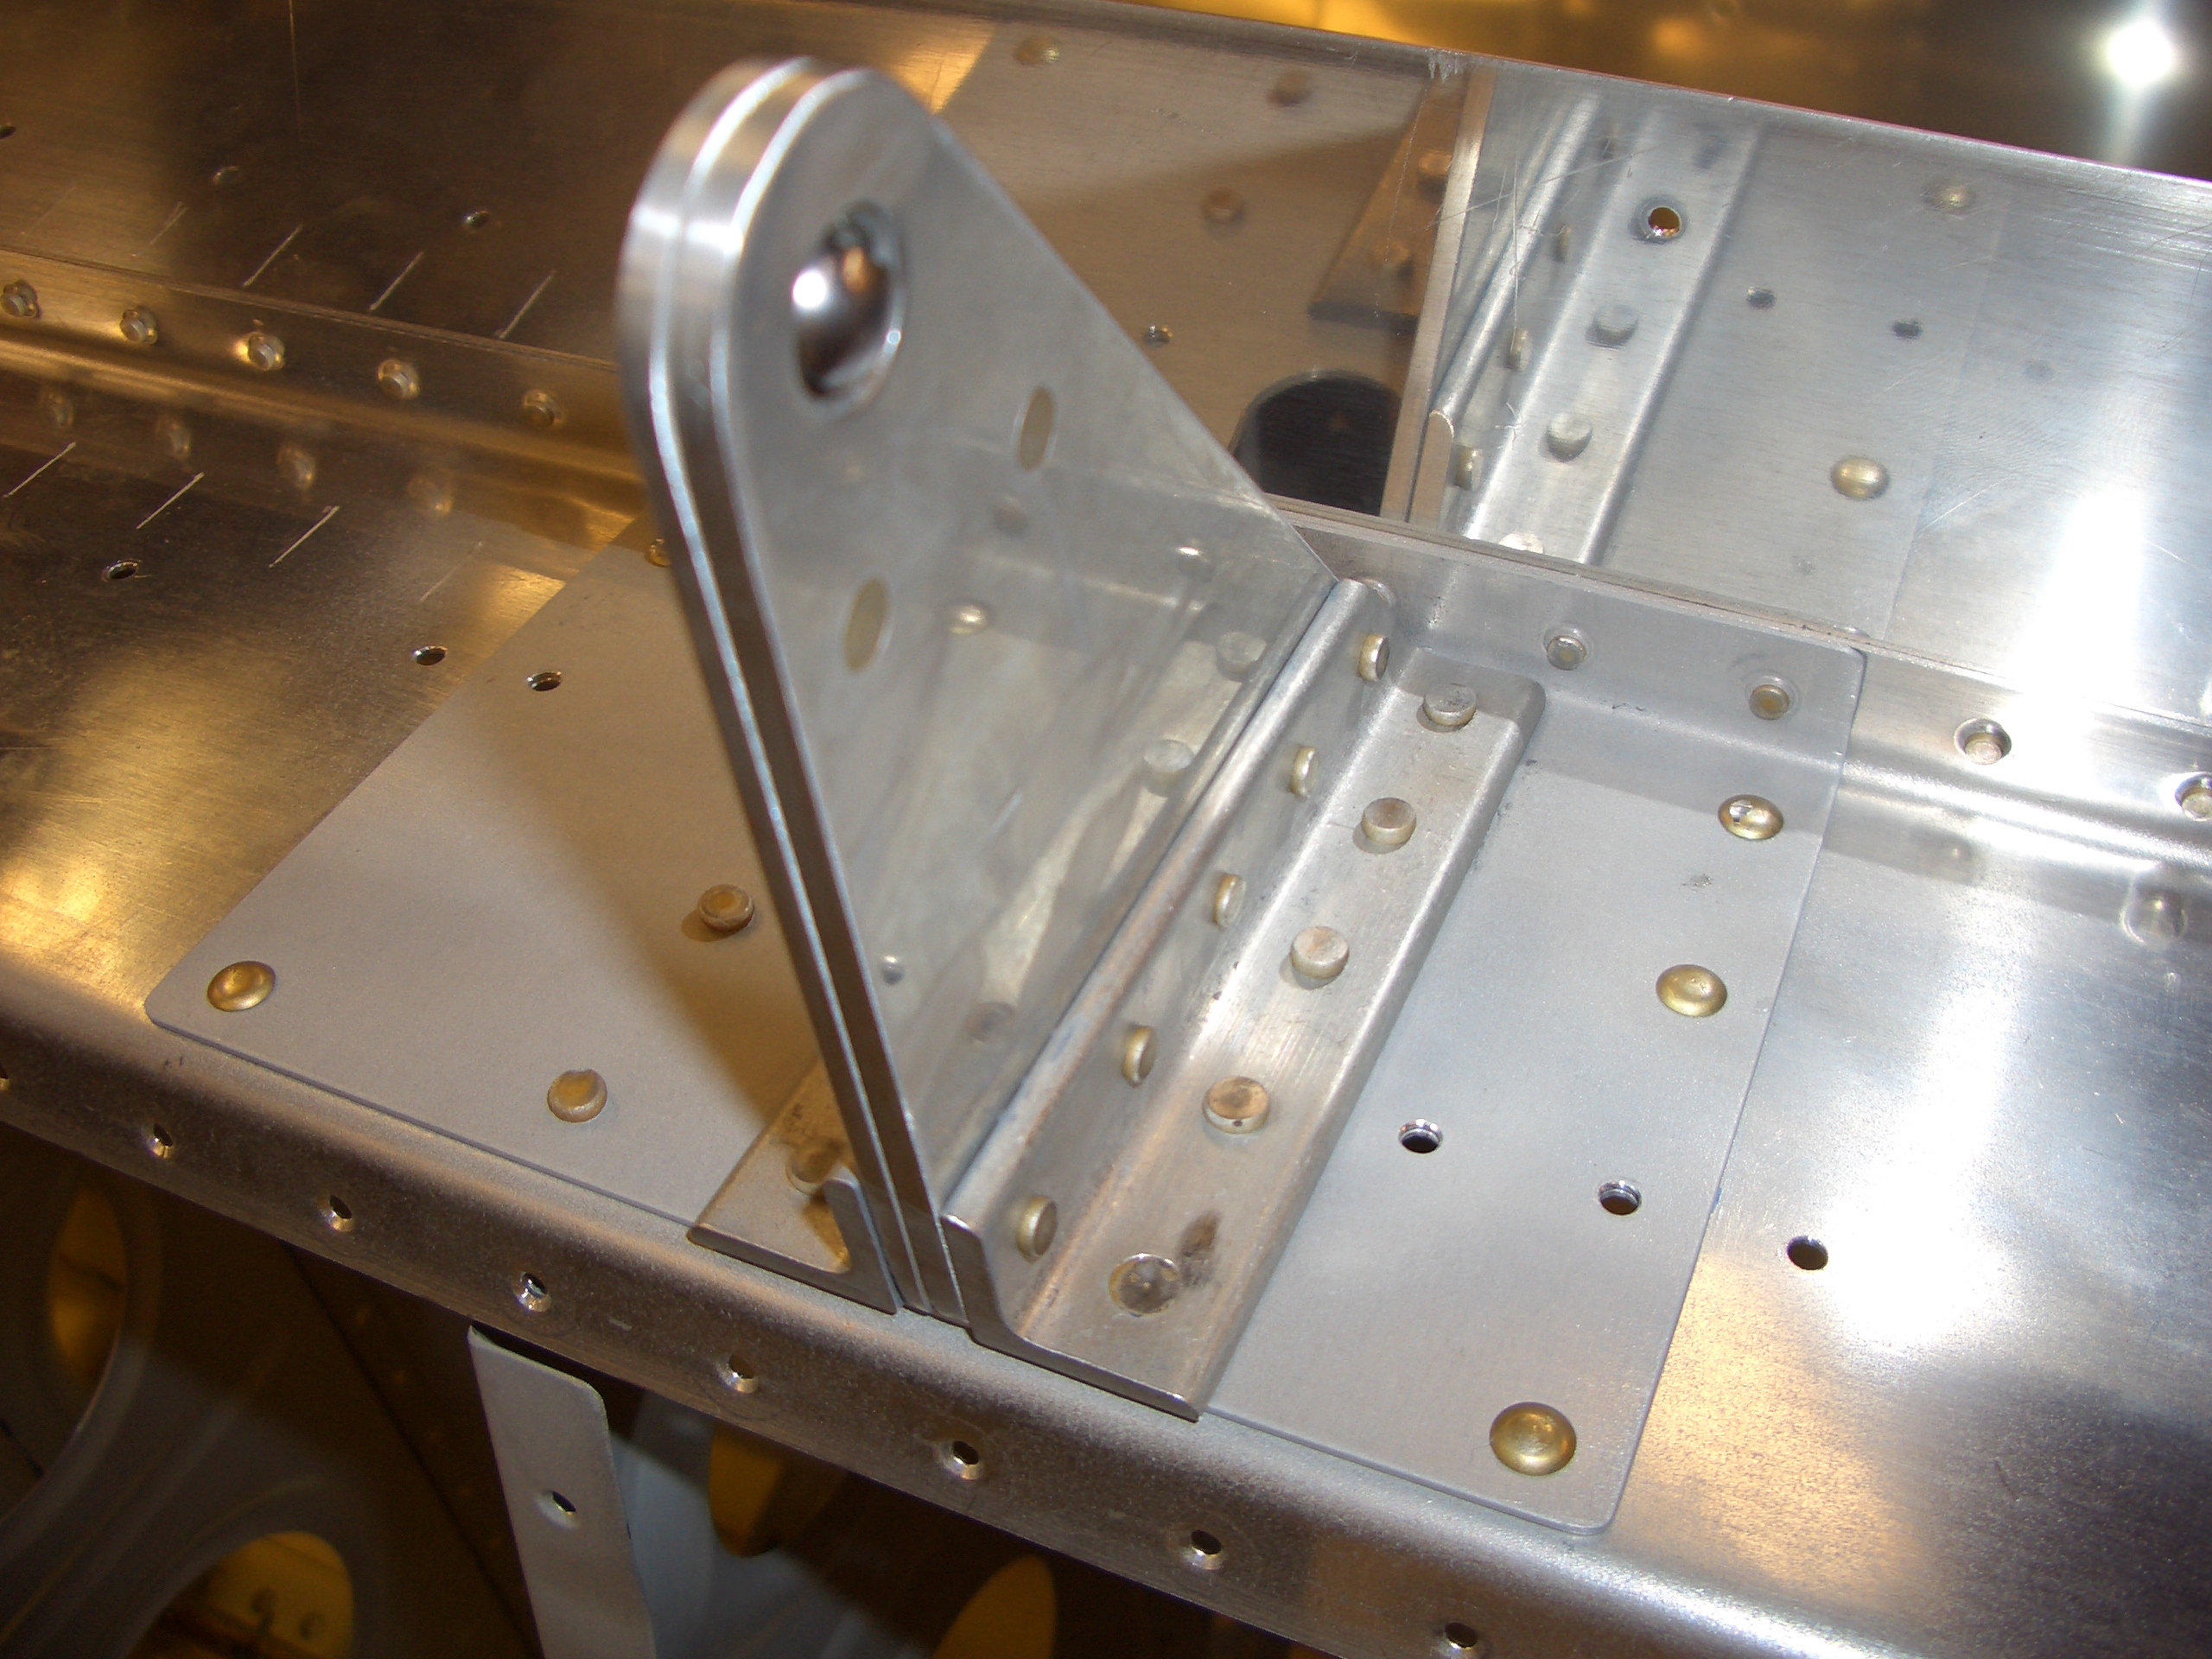
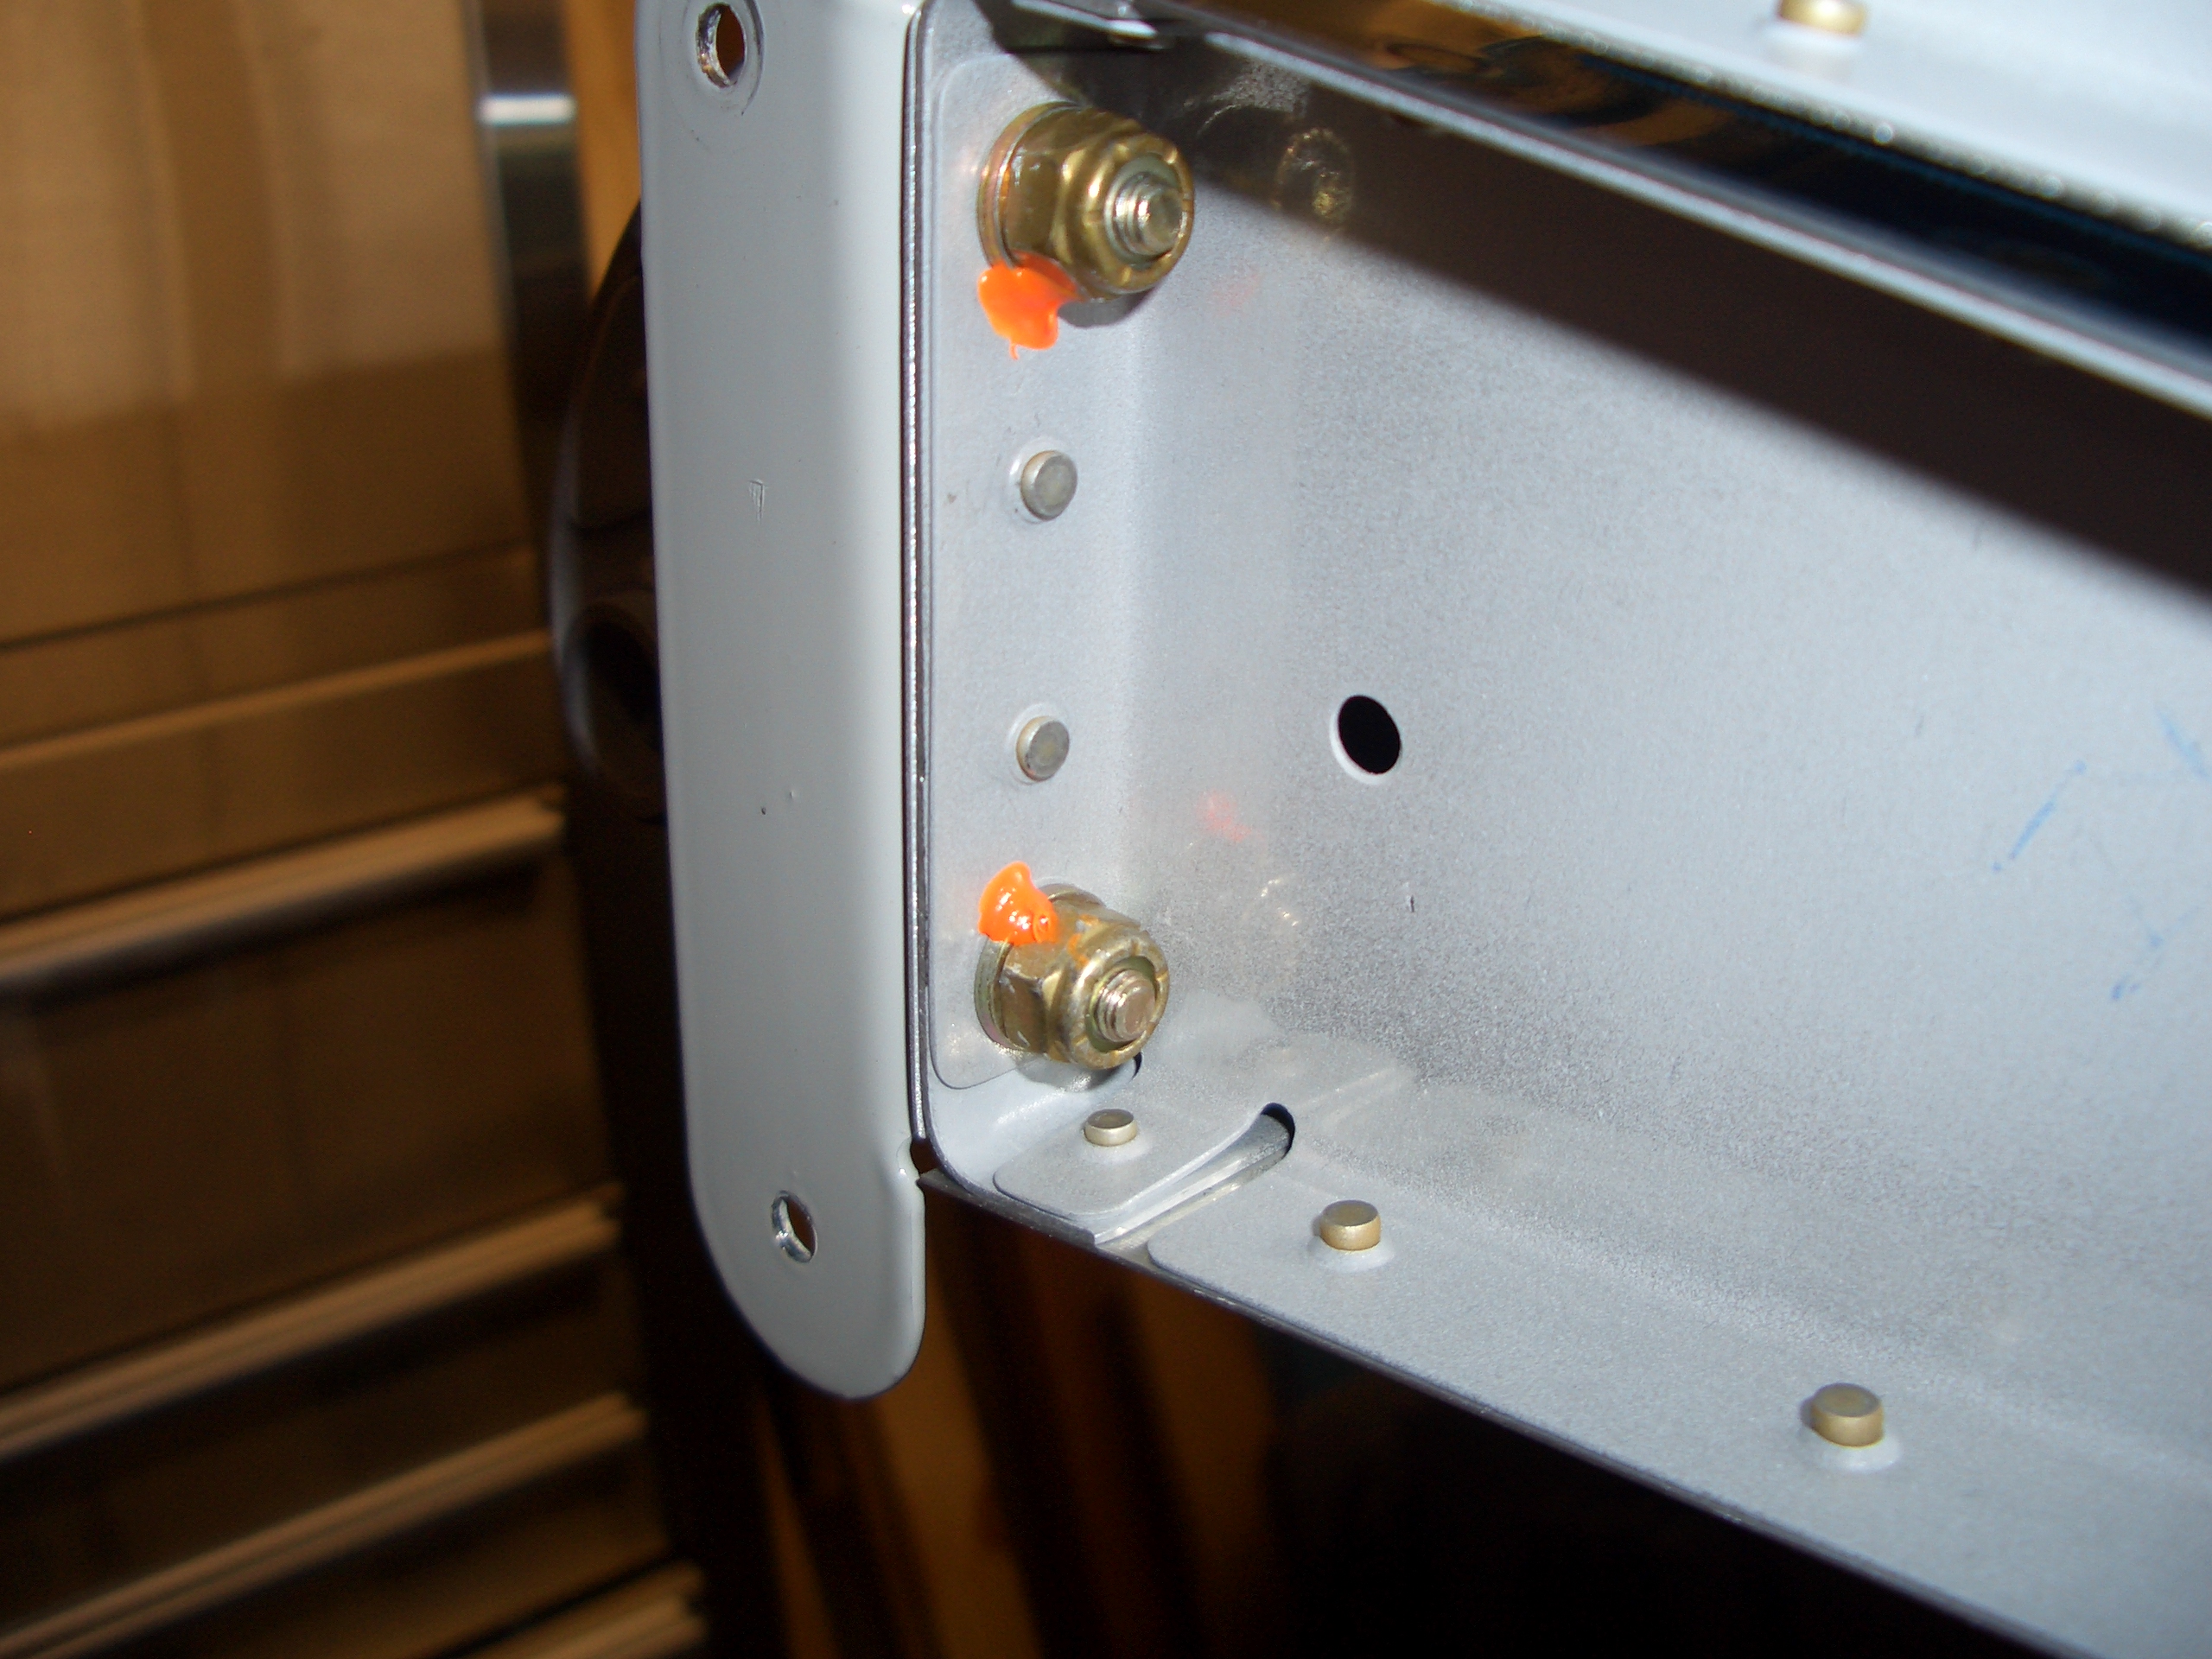
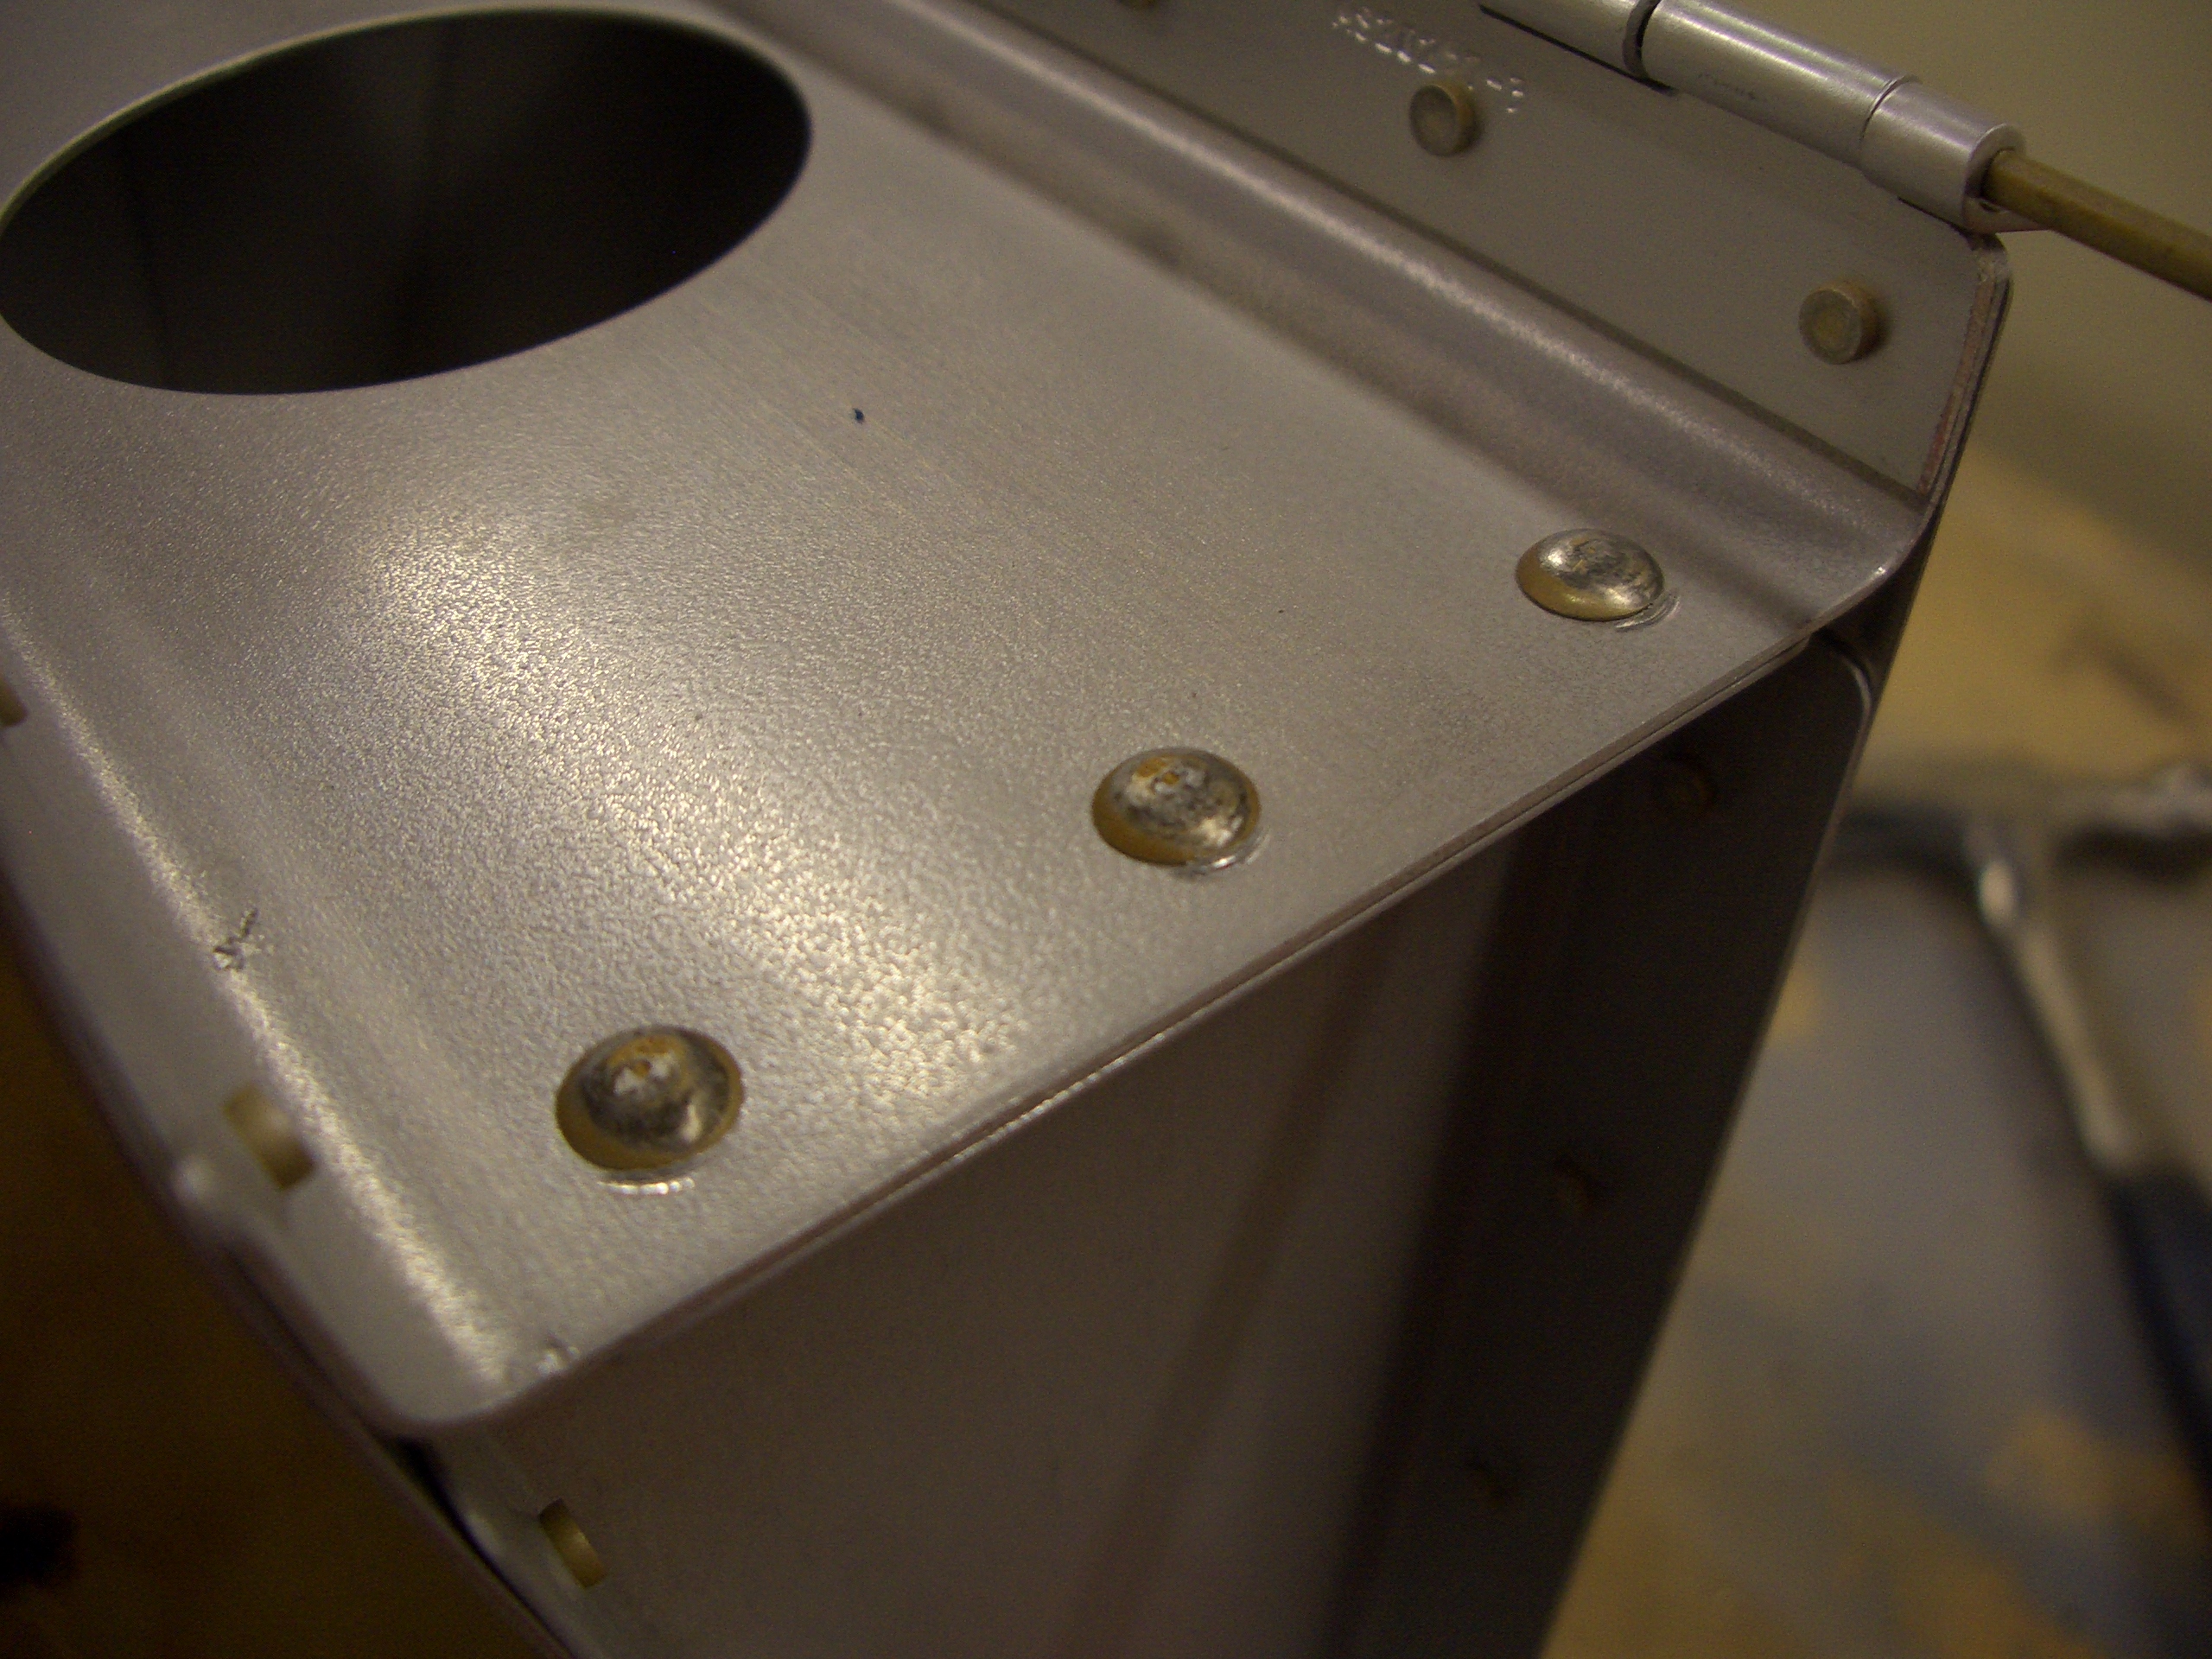
After everything is riveted on, the hinge brackets can be bolted to the spar. I’ve added some torque seal so that I can confirm these bolts are still tight during preflights.

The outer bolts get torque seal on the nut side. The bolt above with torque seal threads into a nutplate on the other side of this rib.
I’m hoping to get the ailerons and flaps completed this weekend, so I got started tonight by squeezing the rivets on the top side of the leading edge and trailing edge ribs. The next step is to weight these down to a flat surface before putting in all of the rivets on the bottom of the aileron. My benches are not as flat as I would like, so I’m planning on using our kitchen countertops to do the final riveting. It’s too late tonight to start that, so I’m done for the evening.
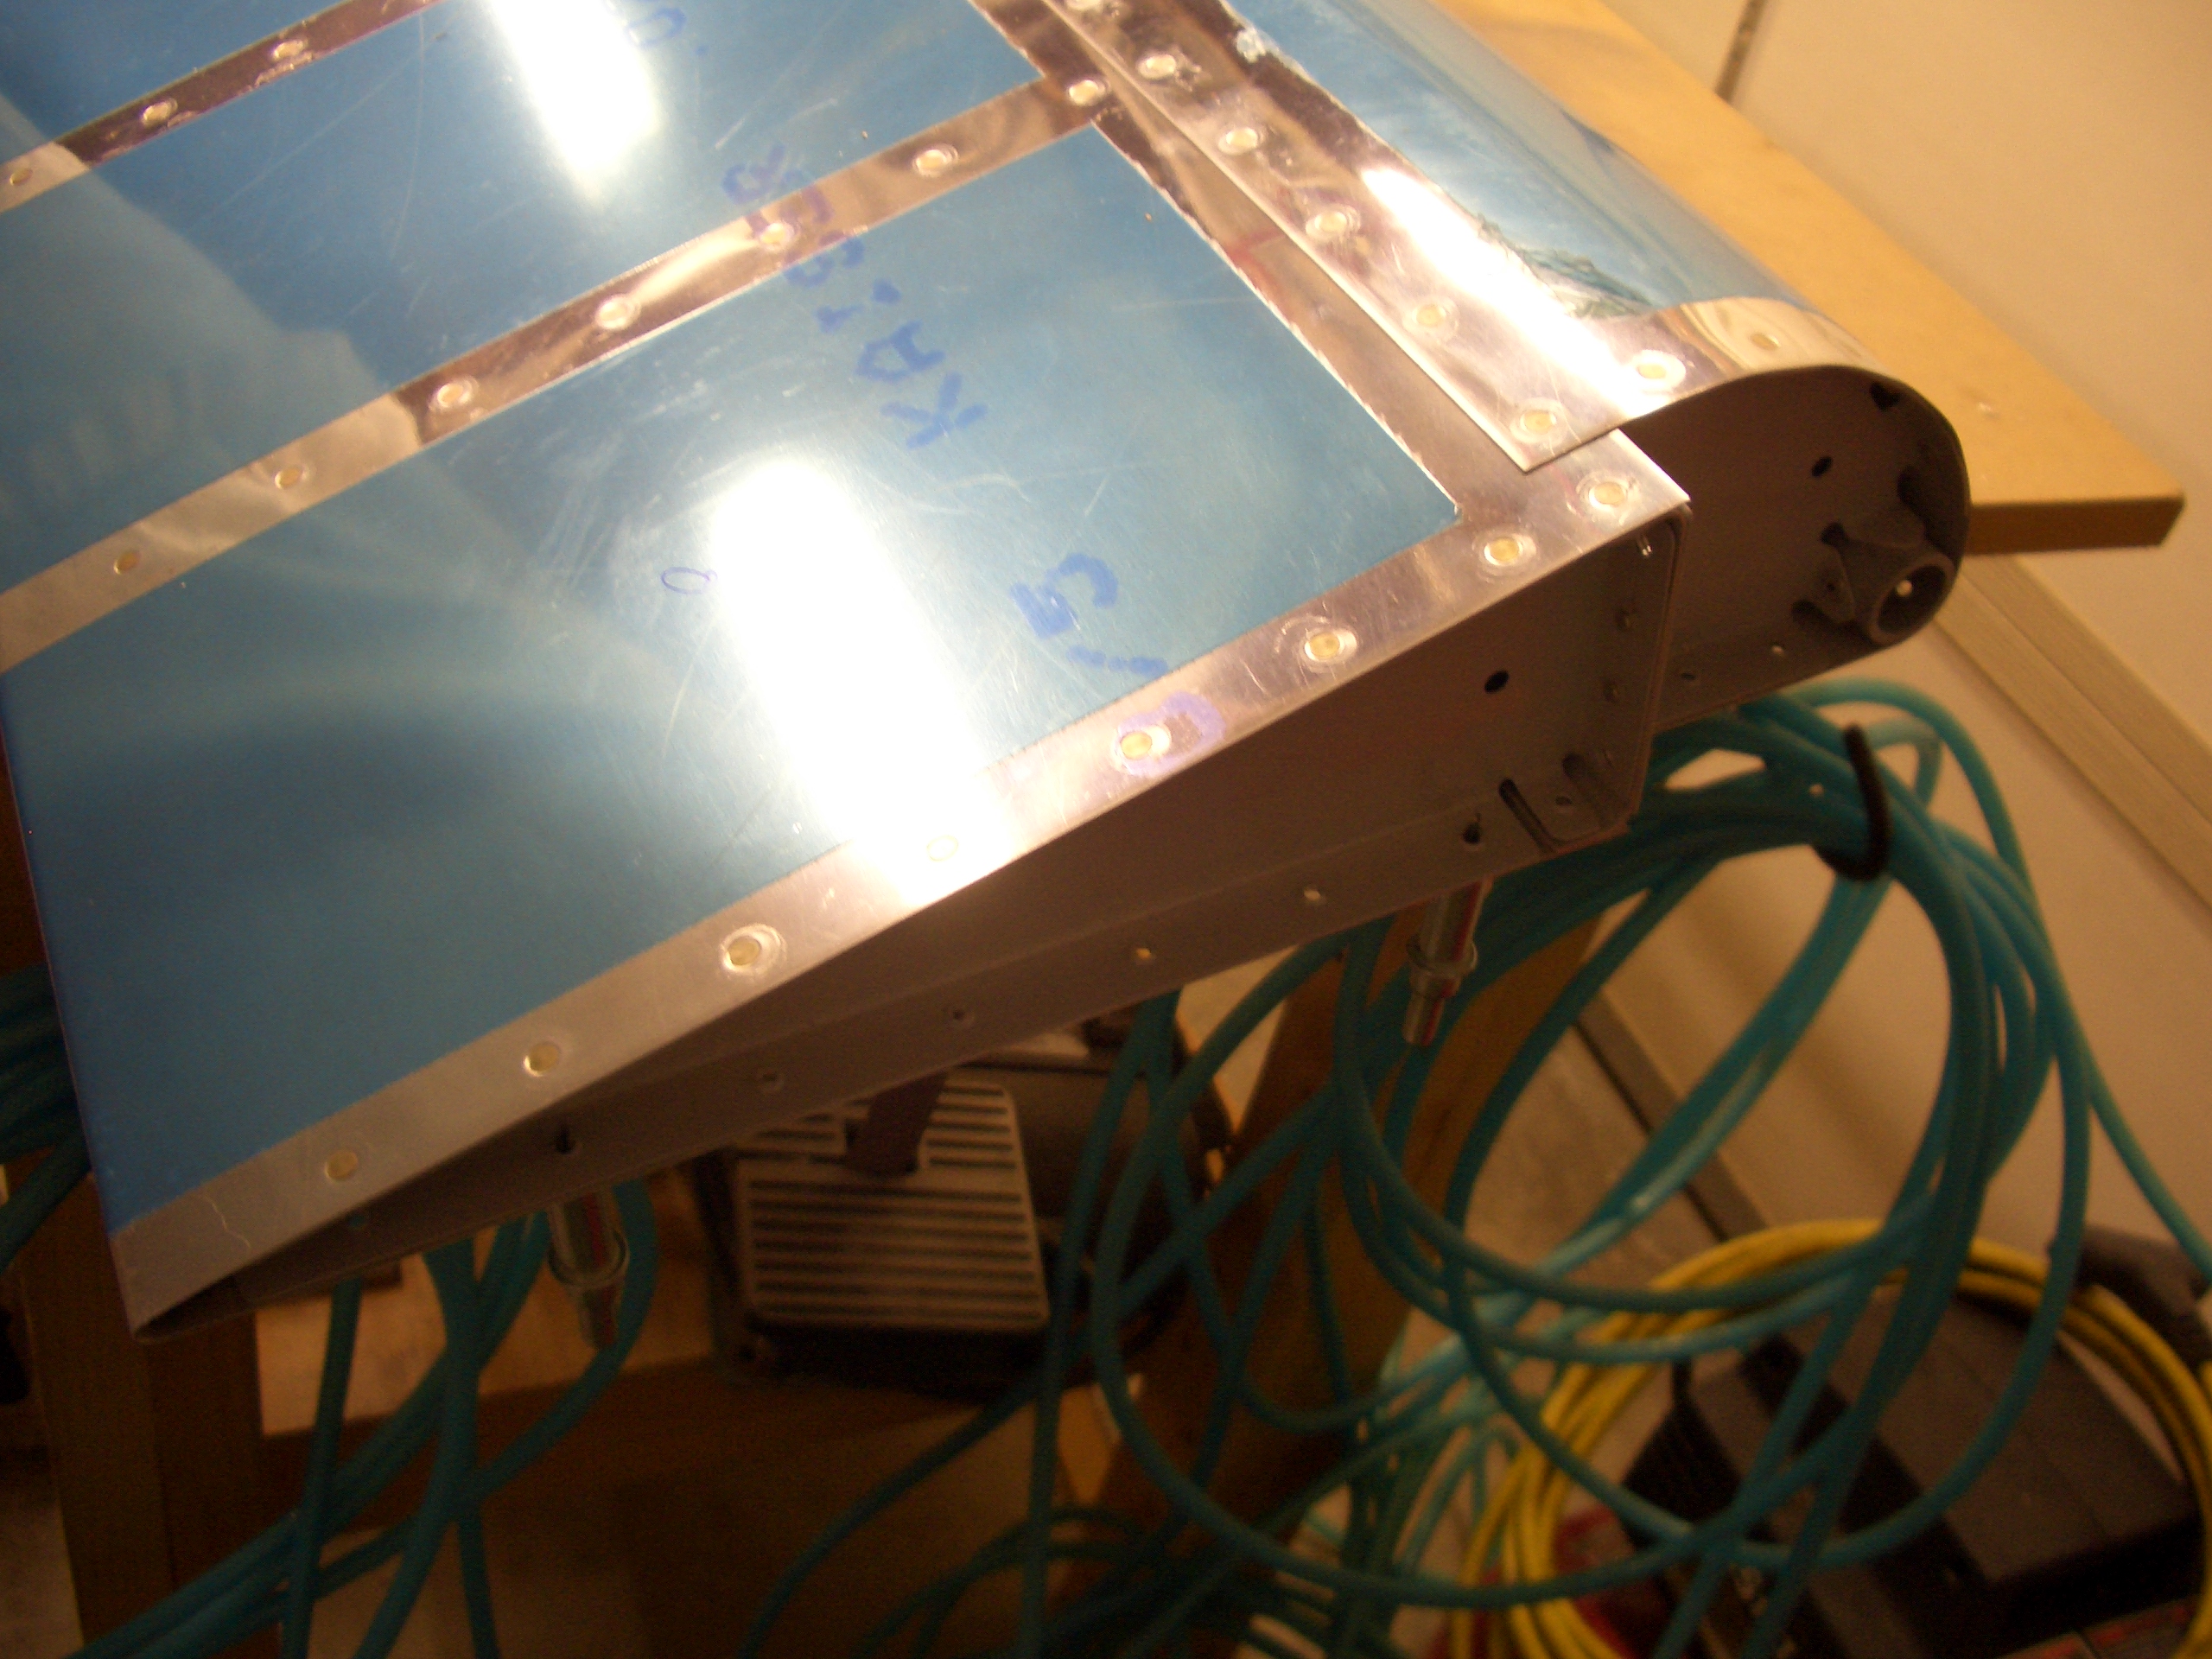
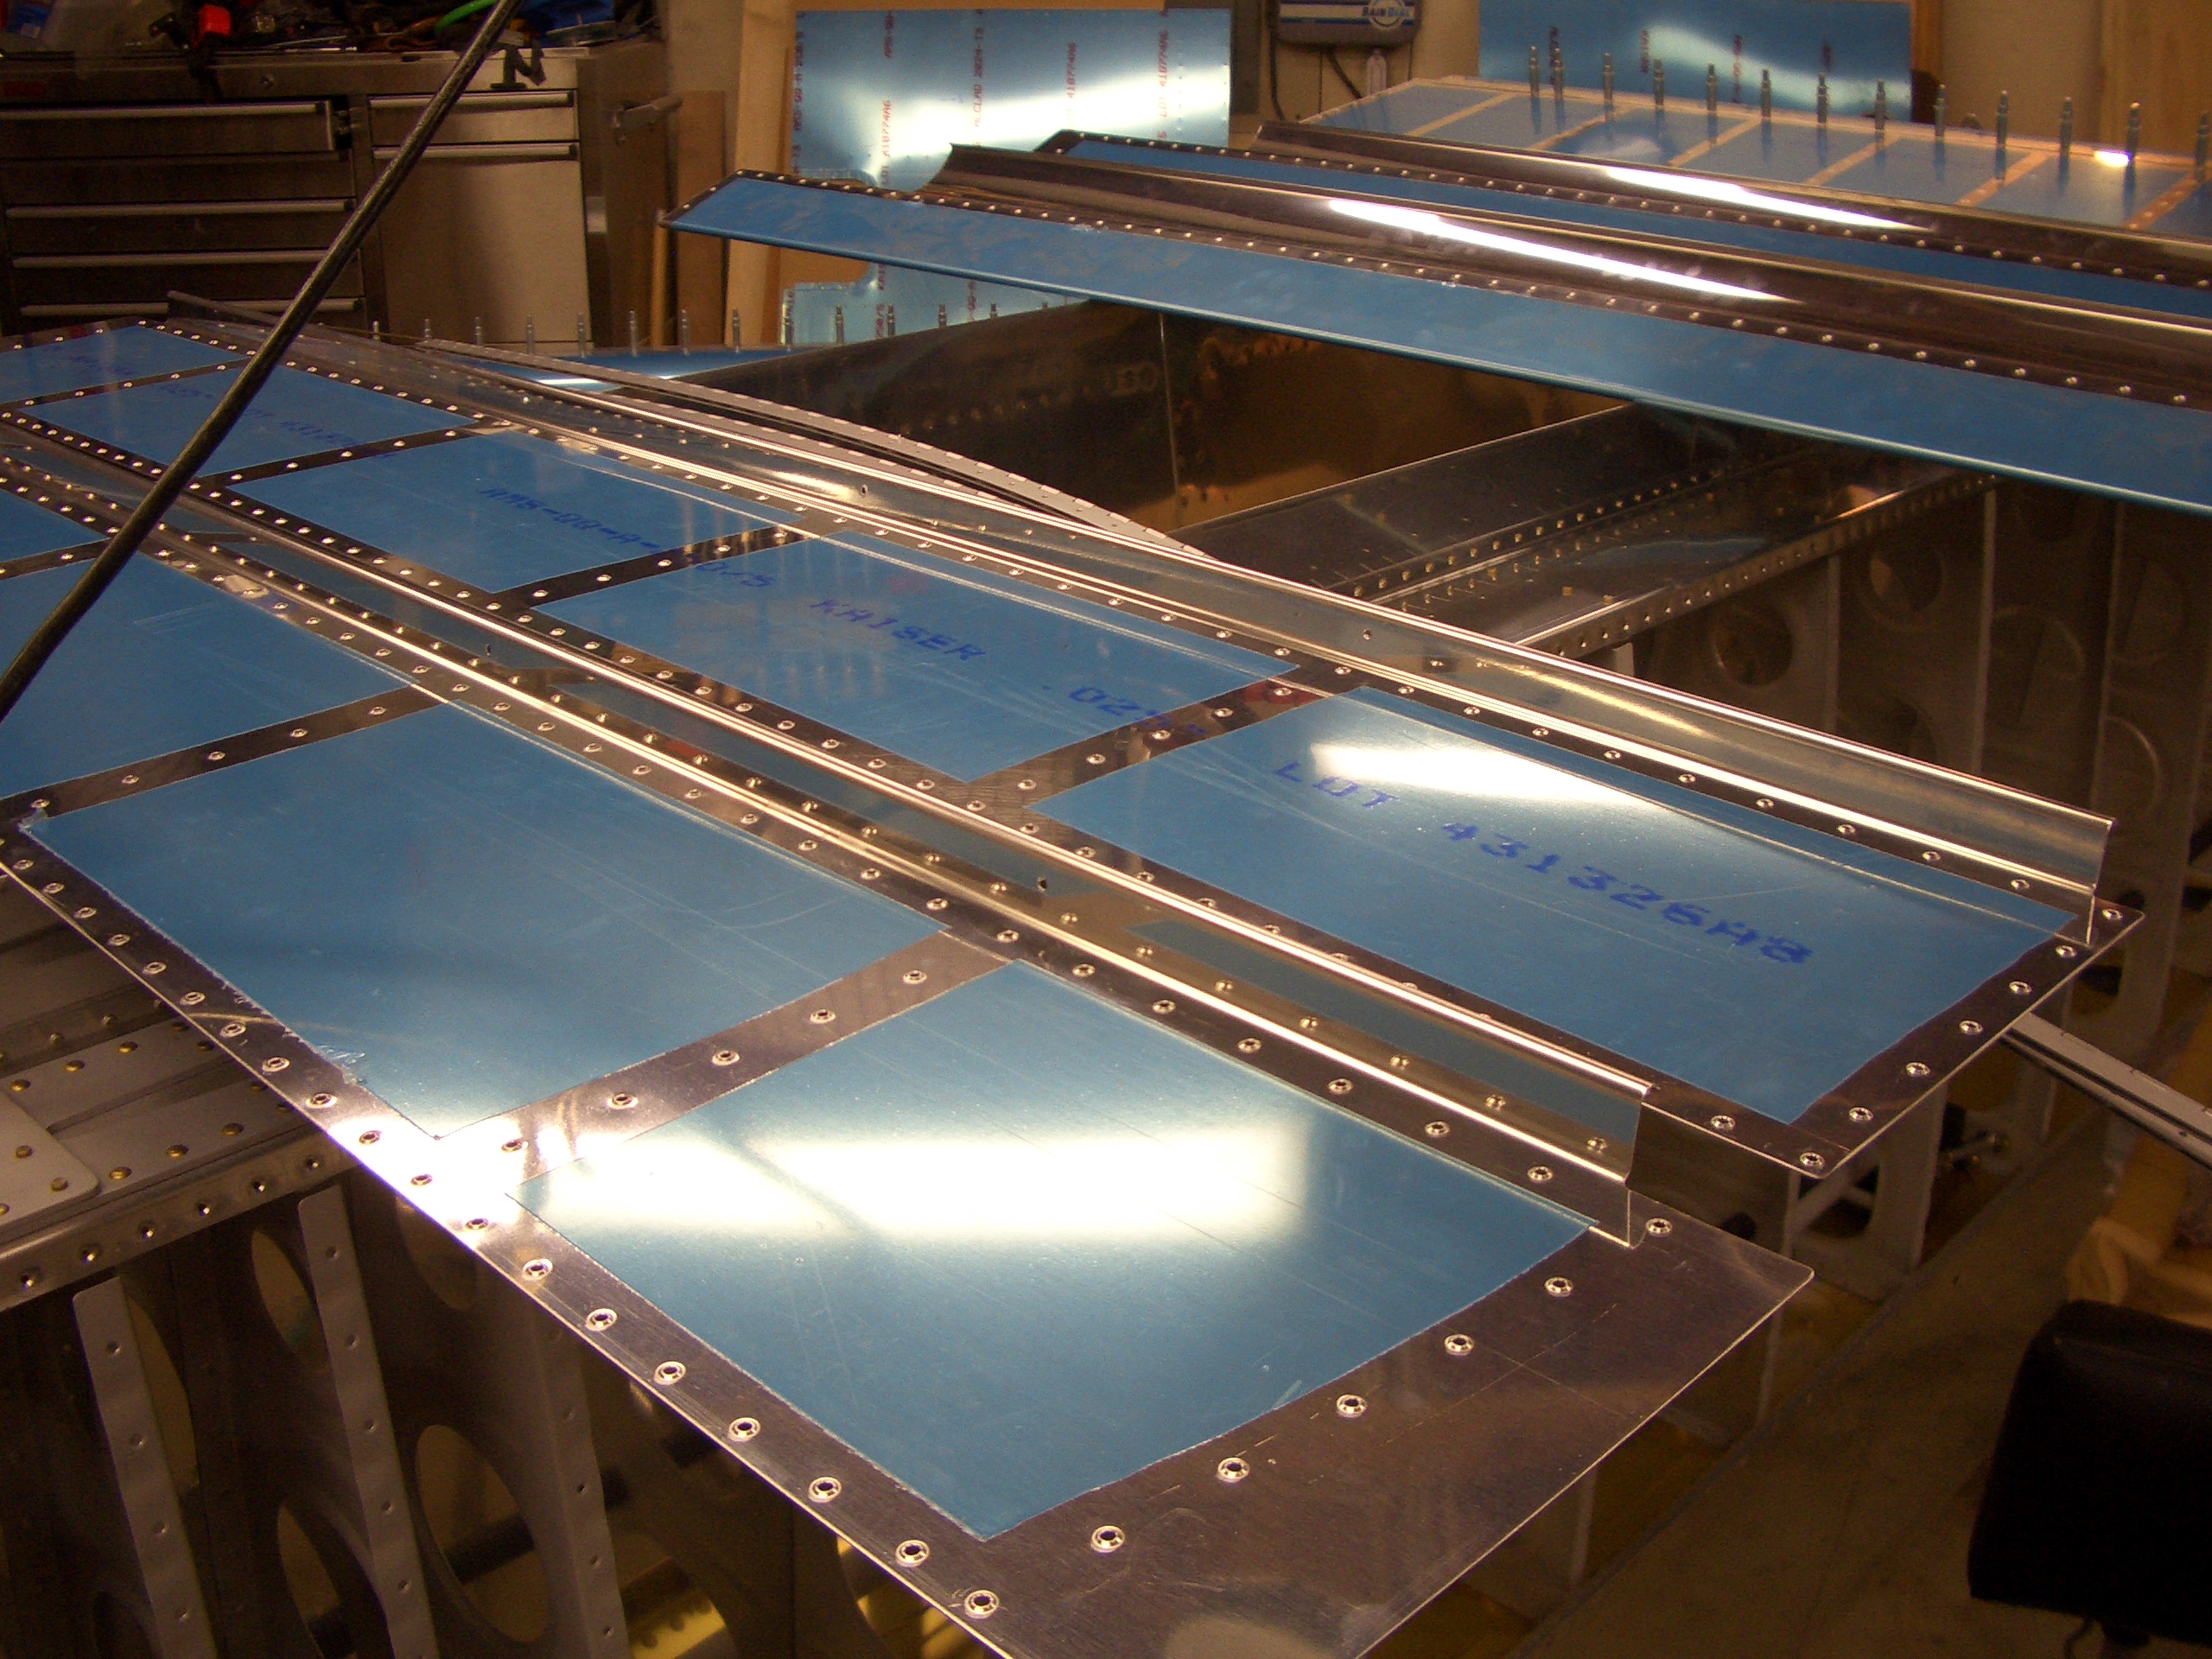
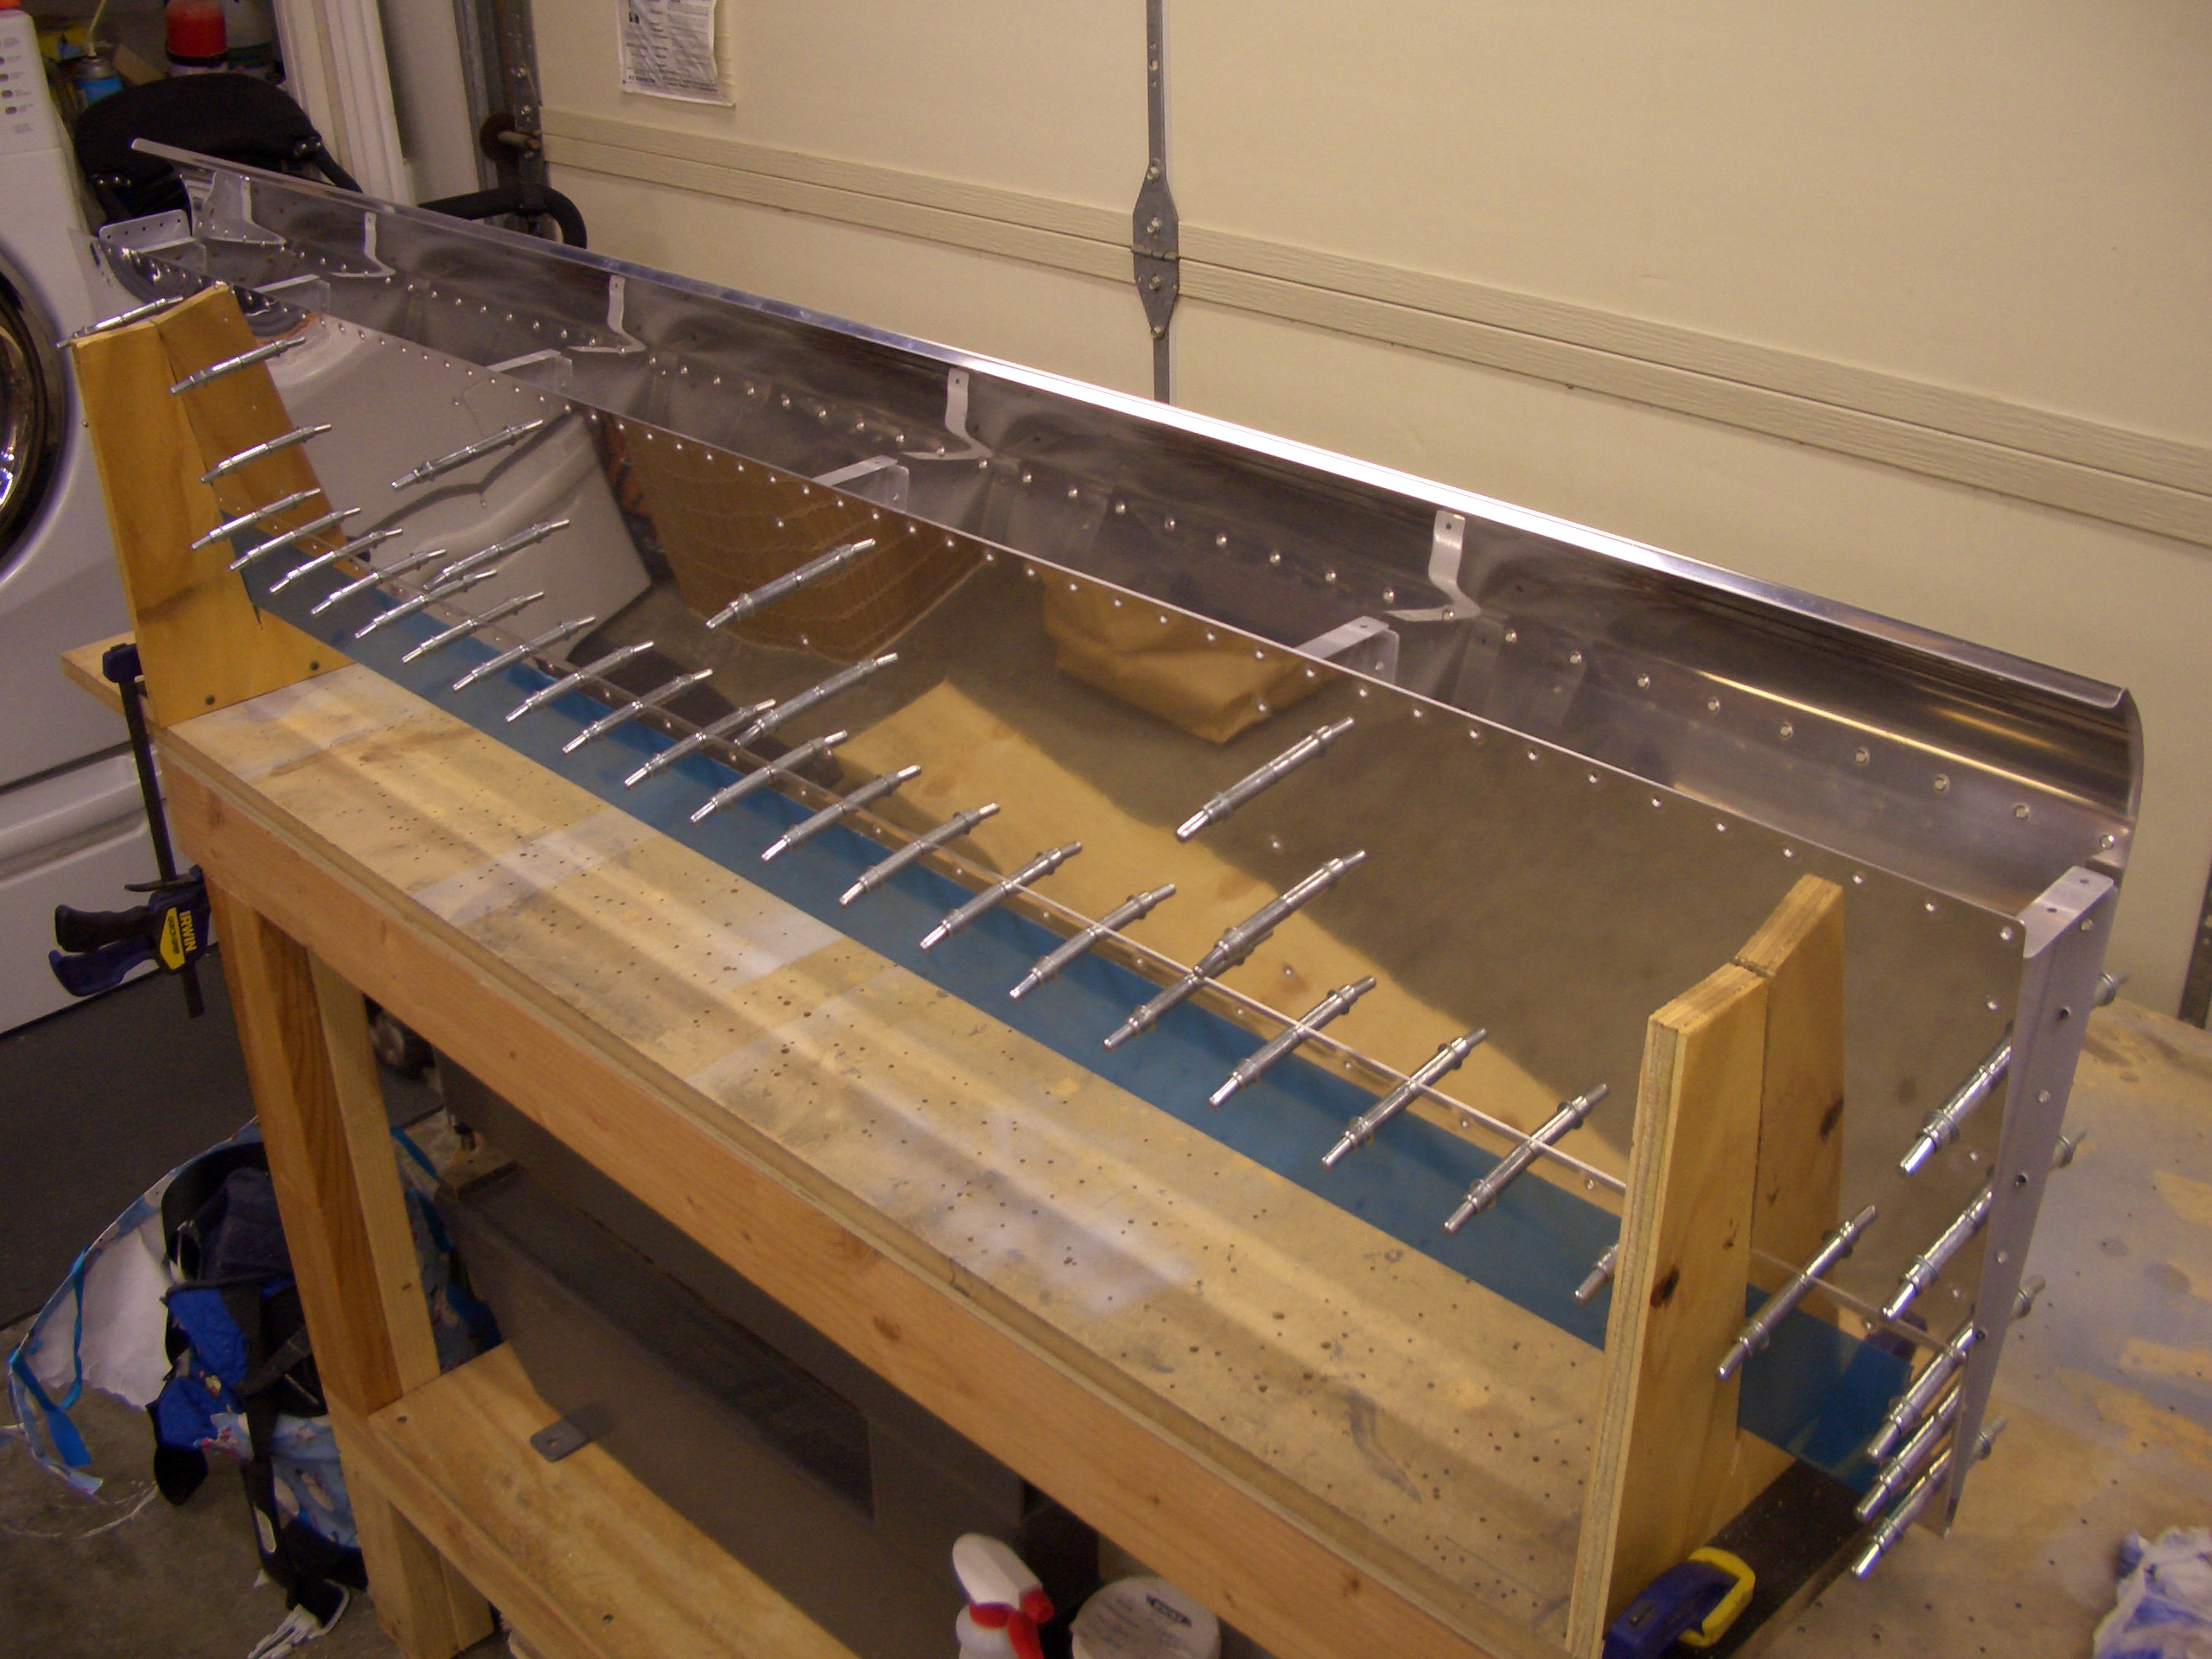
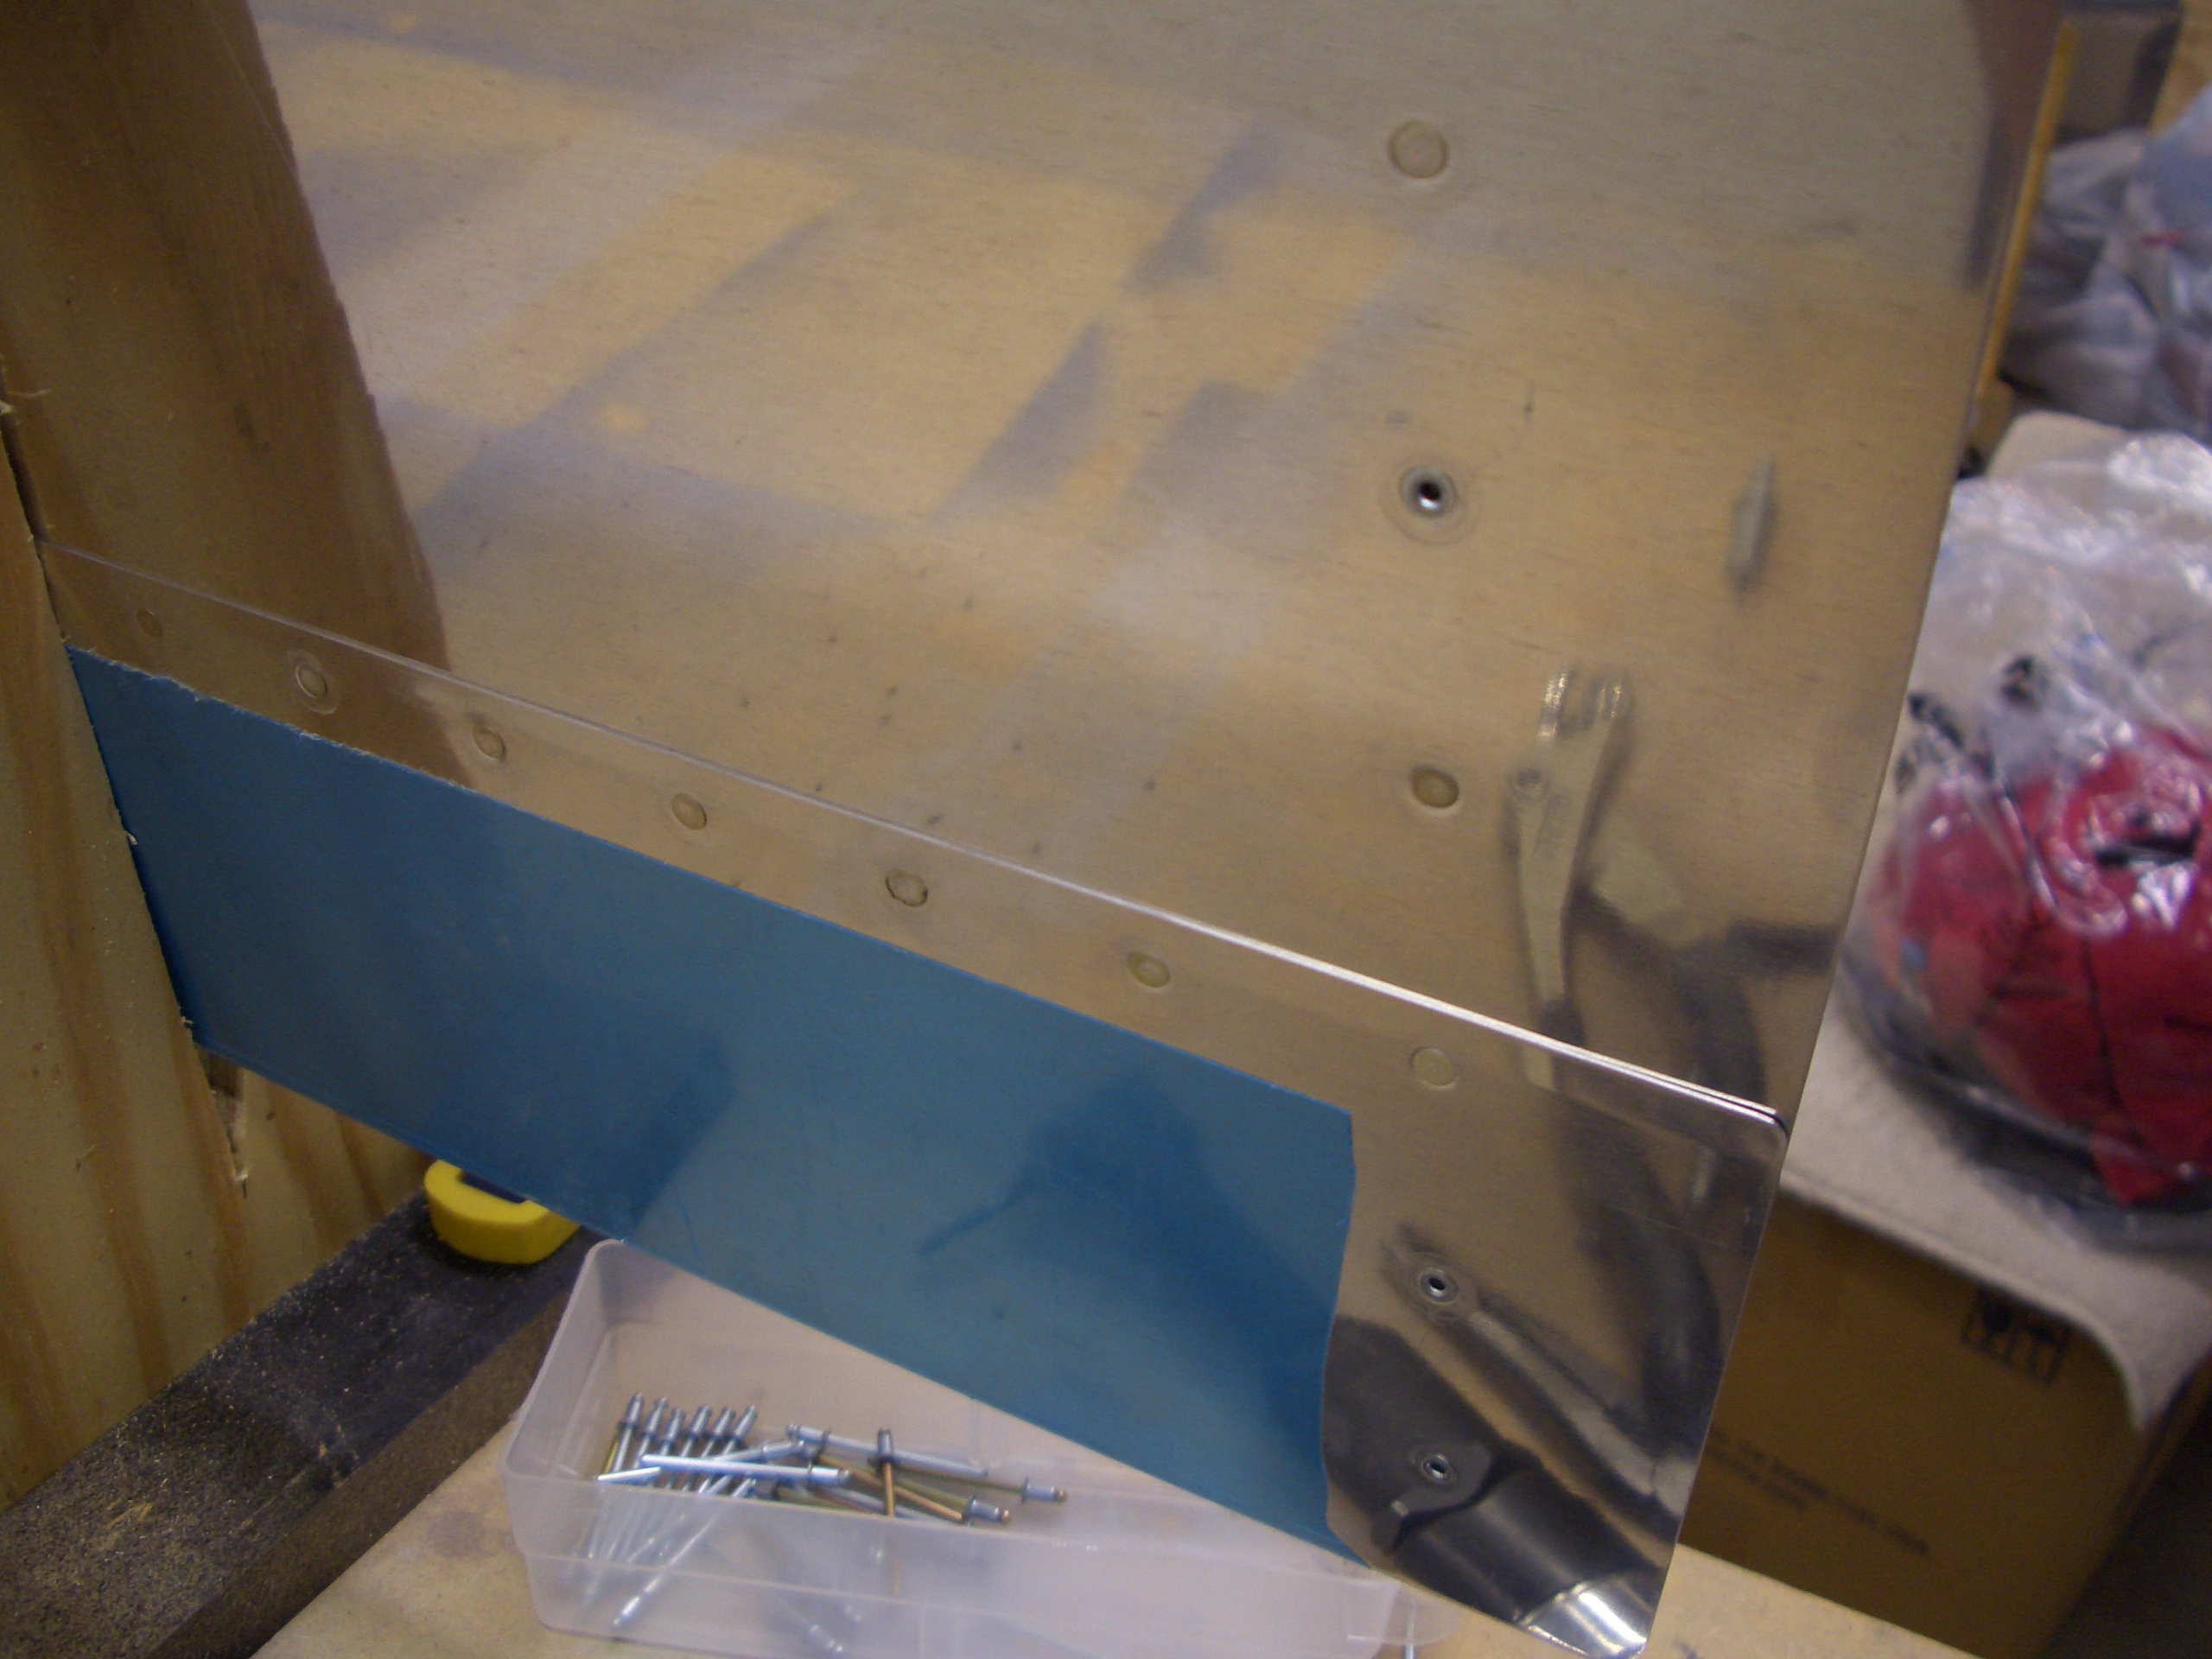
After shooting and bucking the rivets along the top of the spar (the left side of this picture), I weighted down the flaps on the kitchen countertop just like the ailerons, and squeezed the rivets along the bottom of the spar that holds on the flap hinge. This picture looks funny because the top skin is reflecting (and distorting) the spar lightening holes.
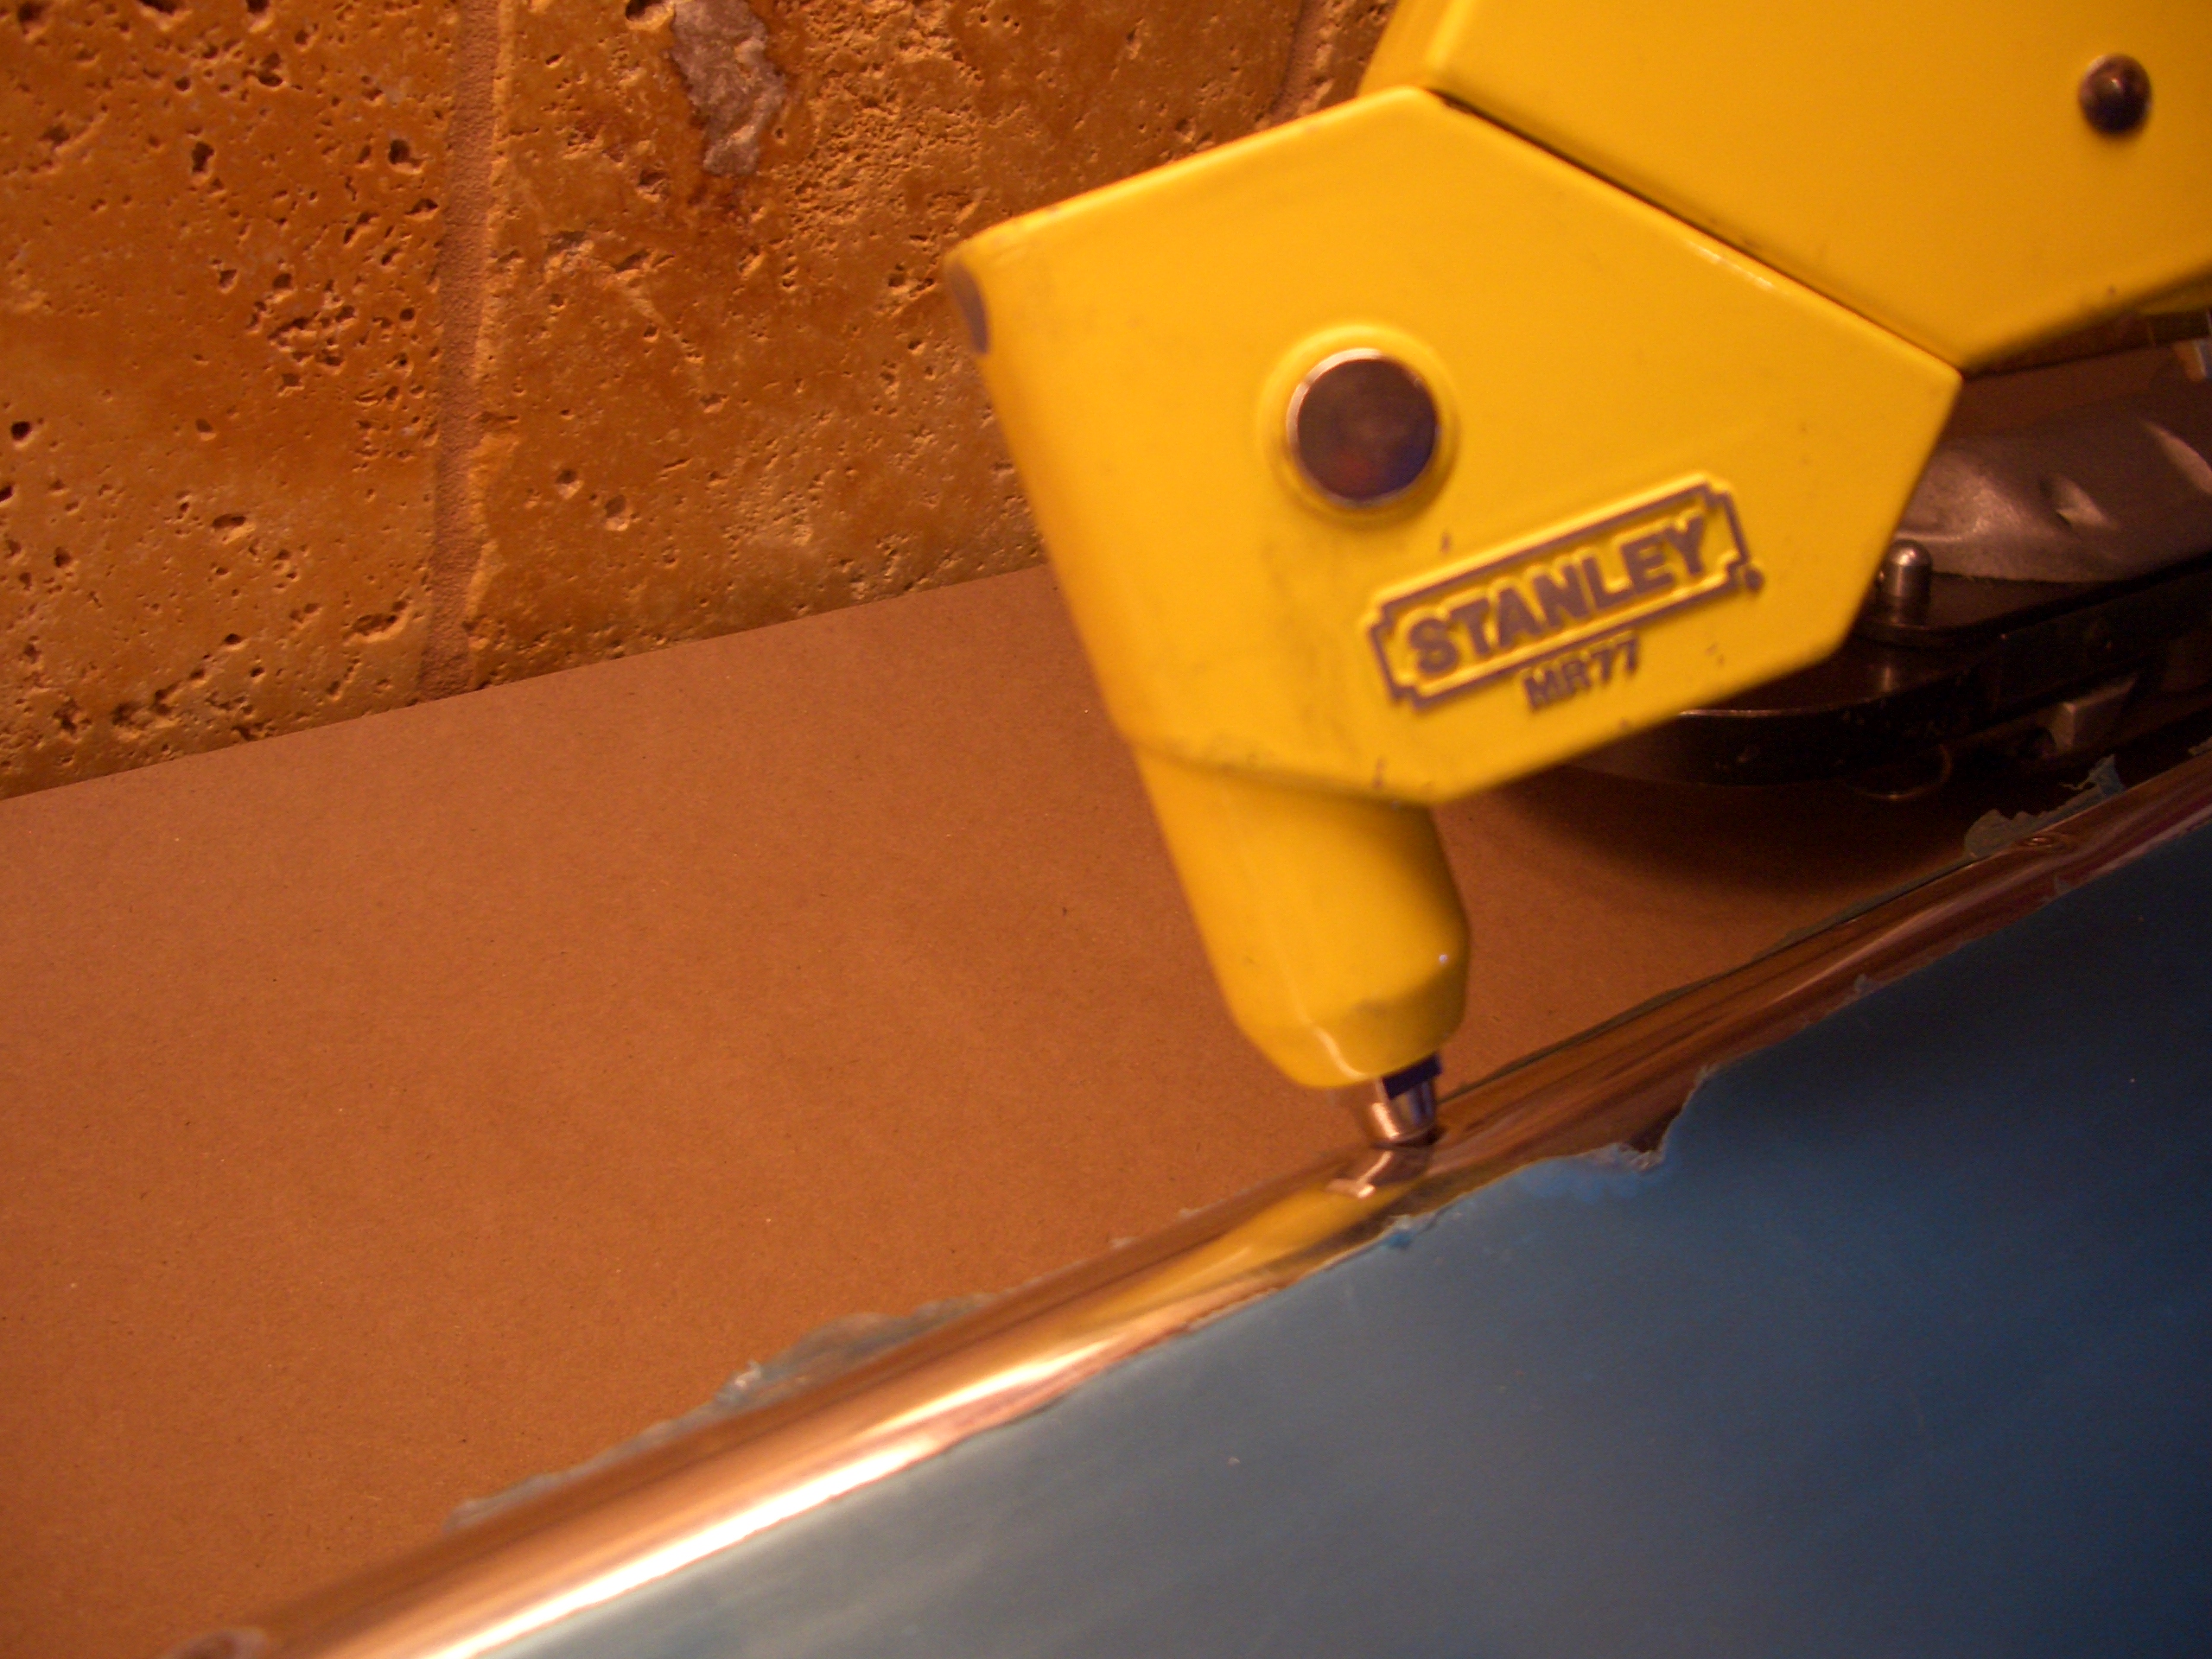
The plans call for LP4-3 rivets here, but I’m running short, so I set AN470AD4-4 rivets here instead. I shot and bucked these solo using a double offset rivet set since you can’t get a squeezer in here.
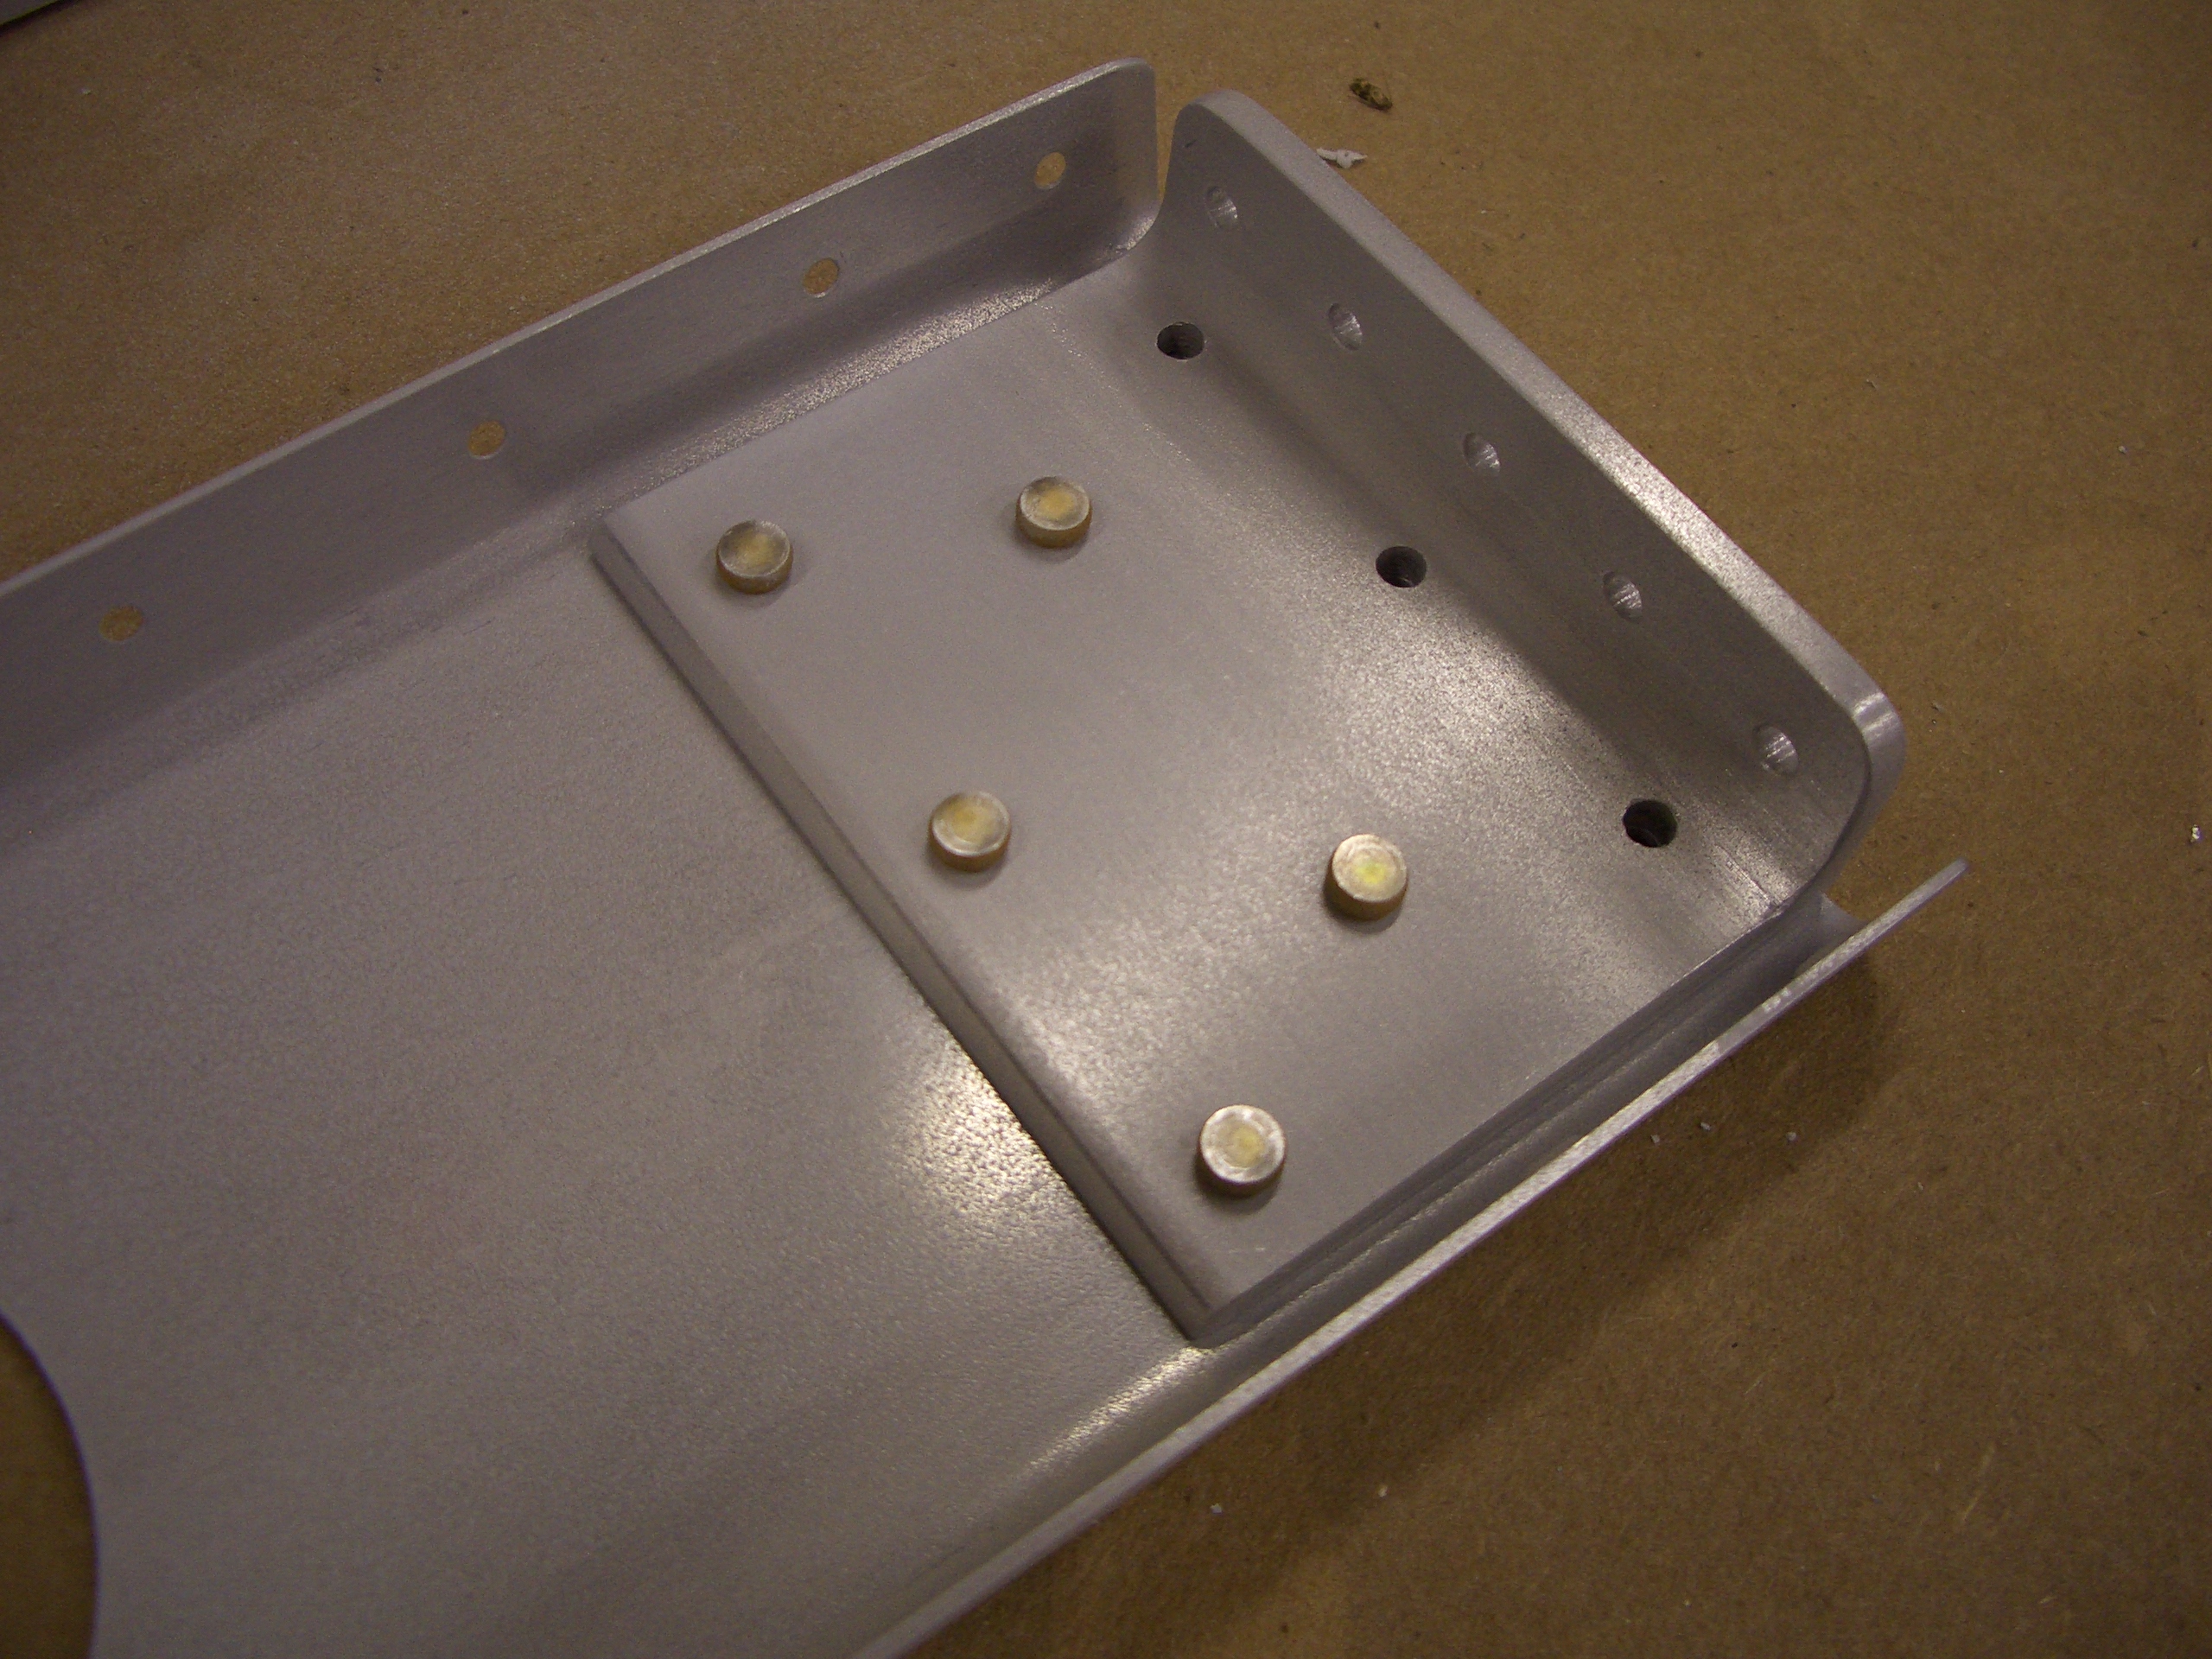
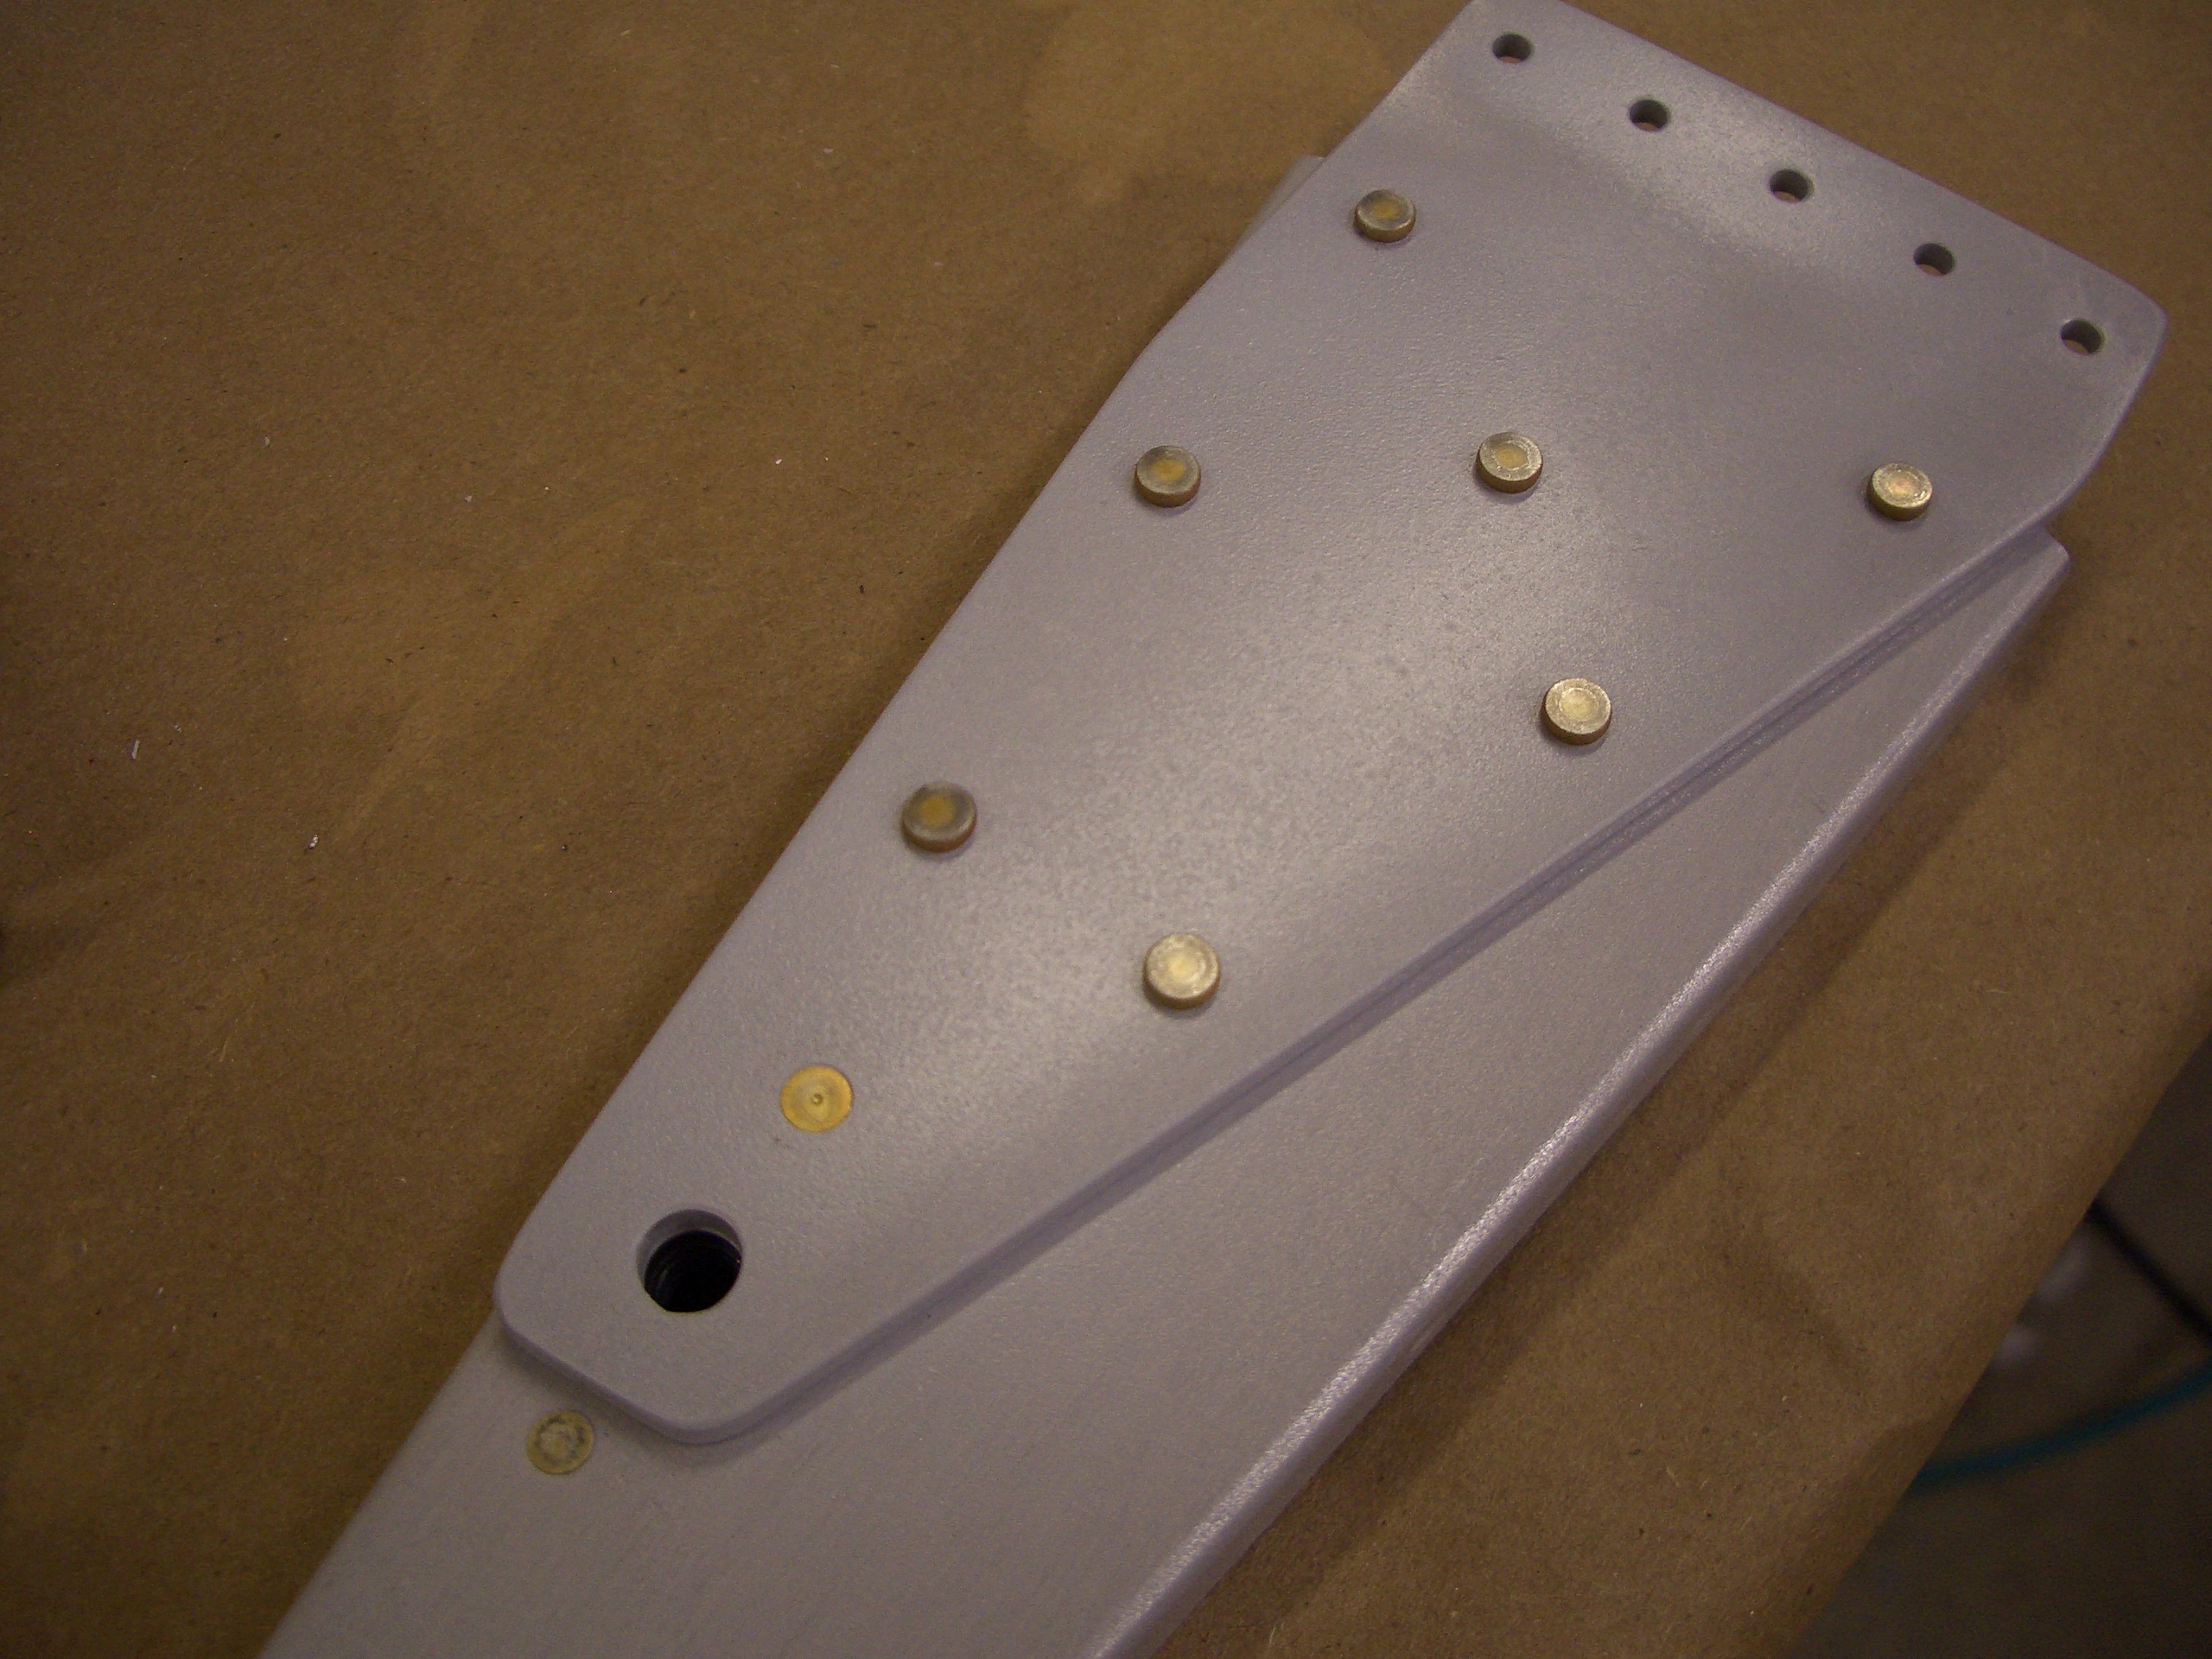
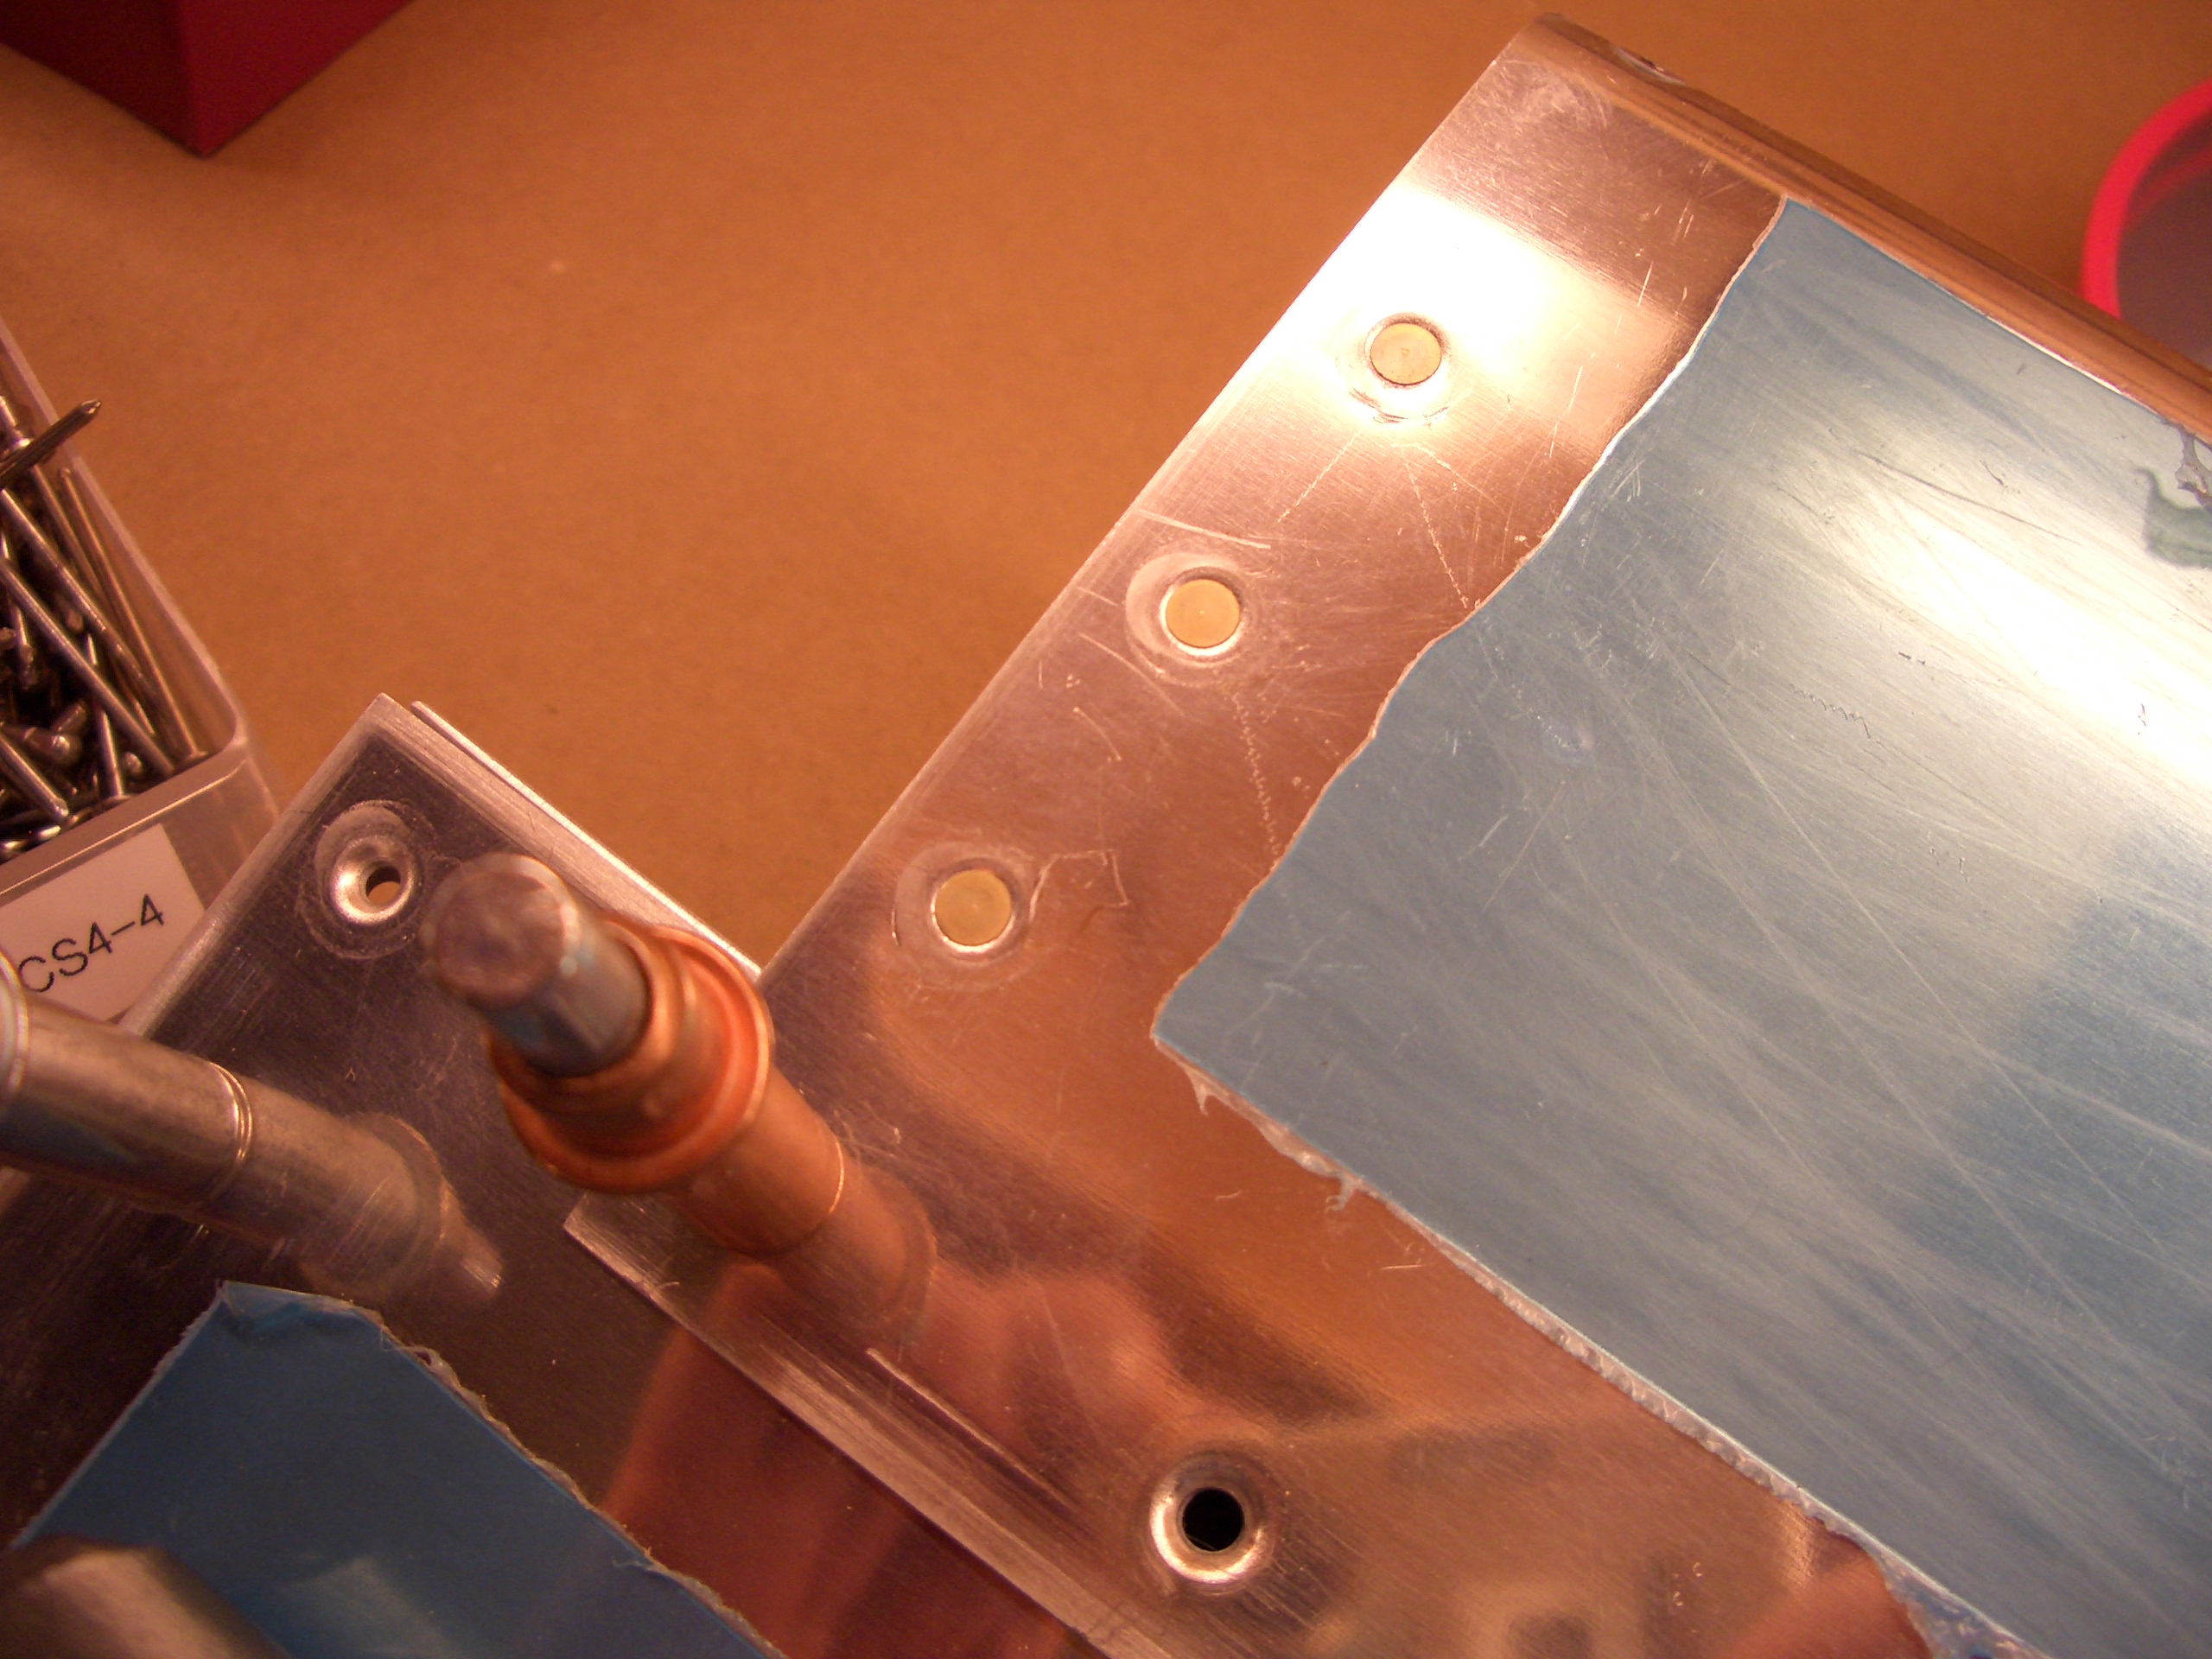
The two flap brackets are riveted together using 5 AN470AD4-7 rivets. These rivets help transfer the force from the flap pushrod into the spar.
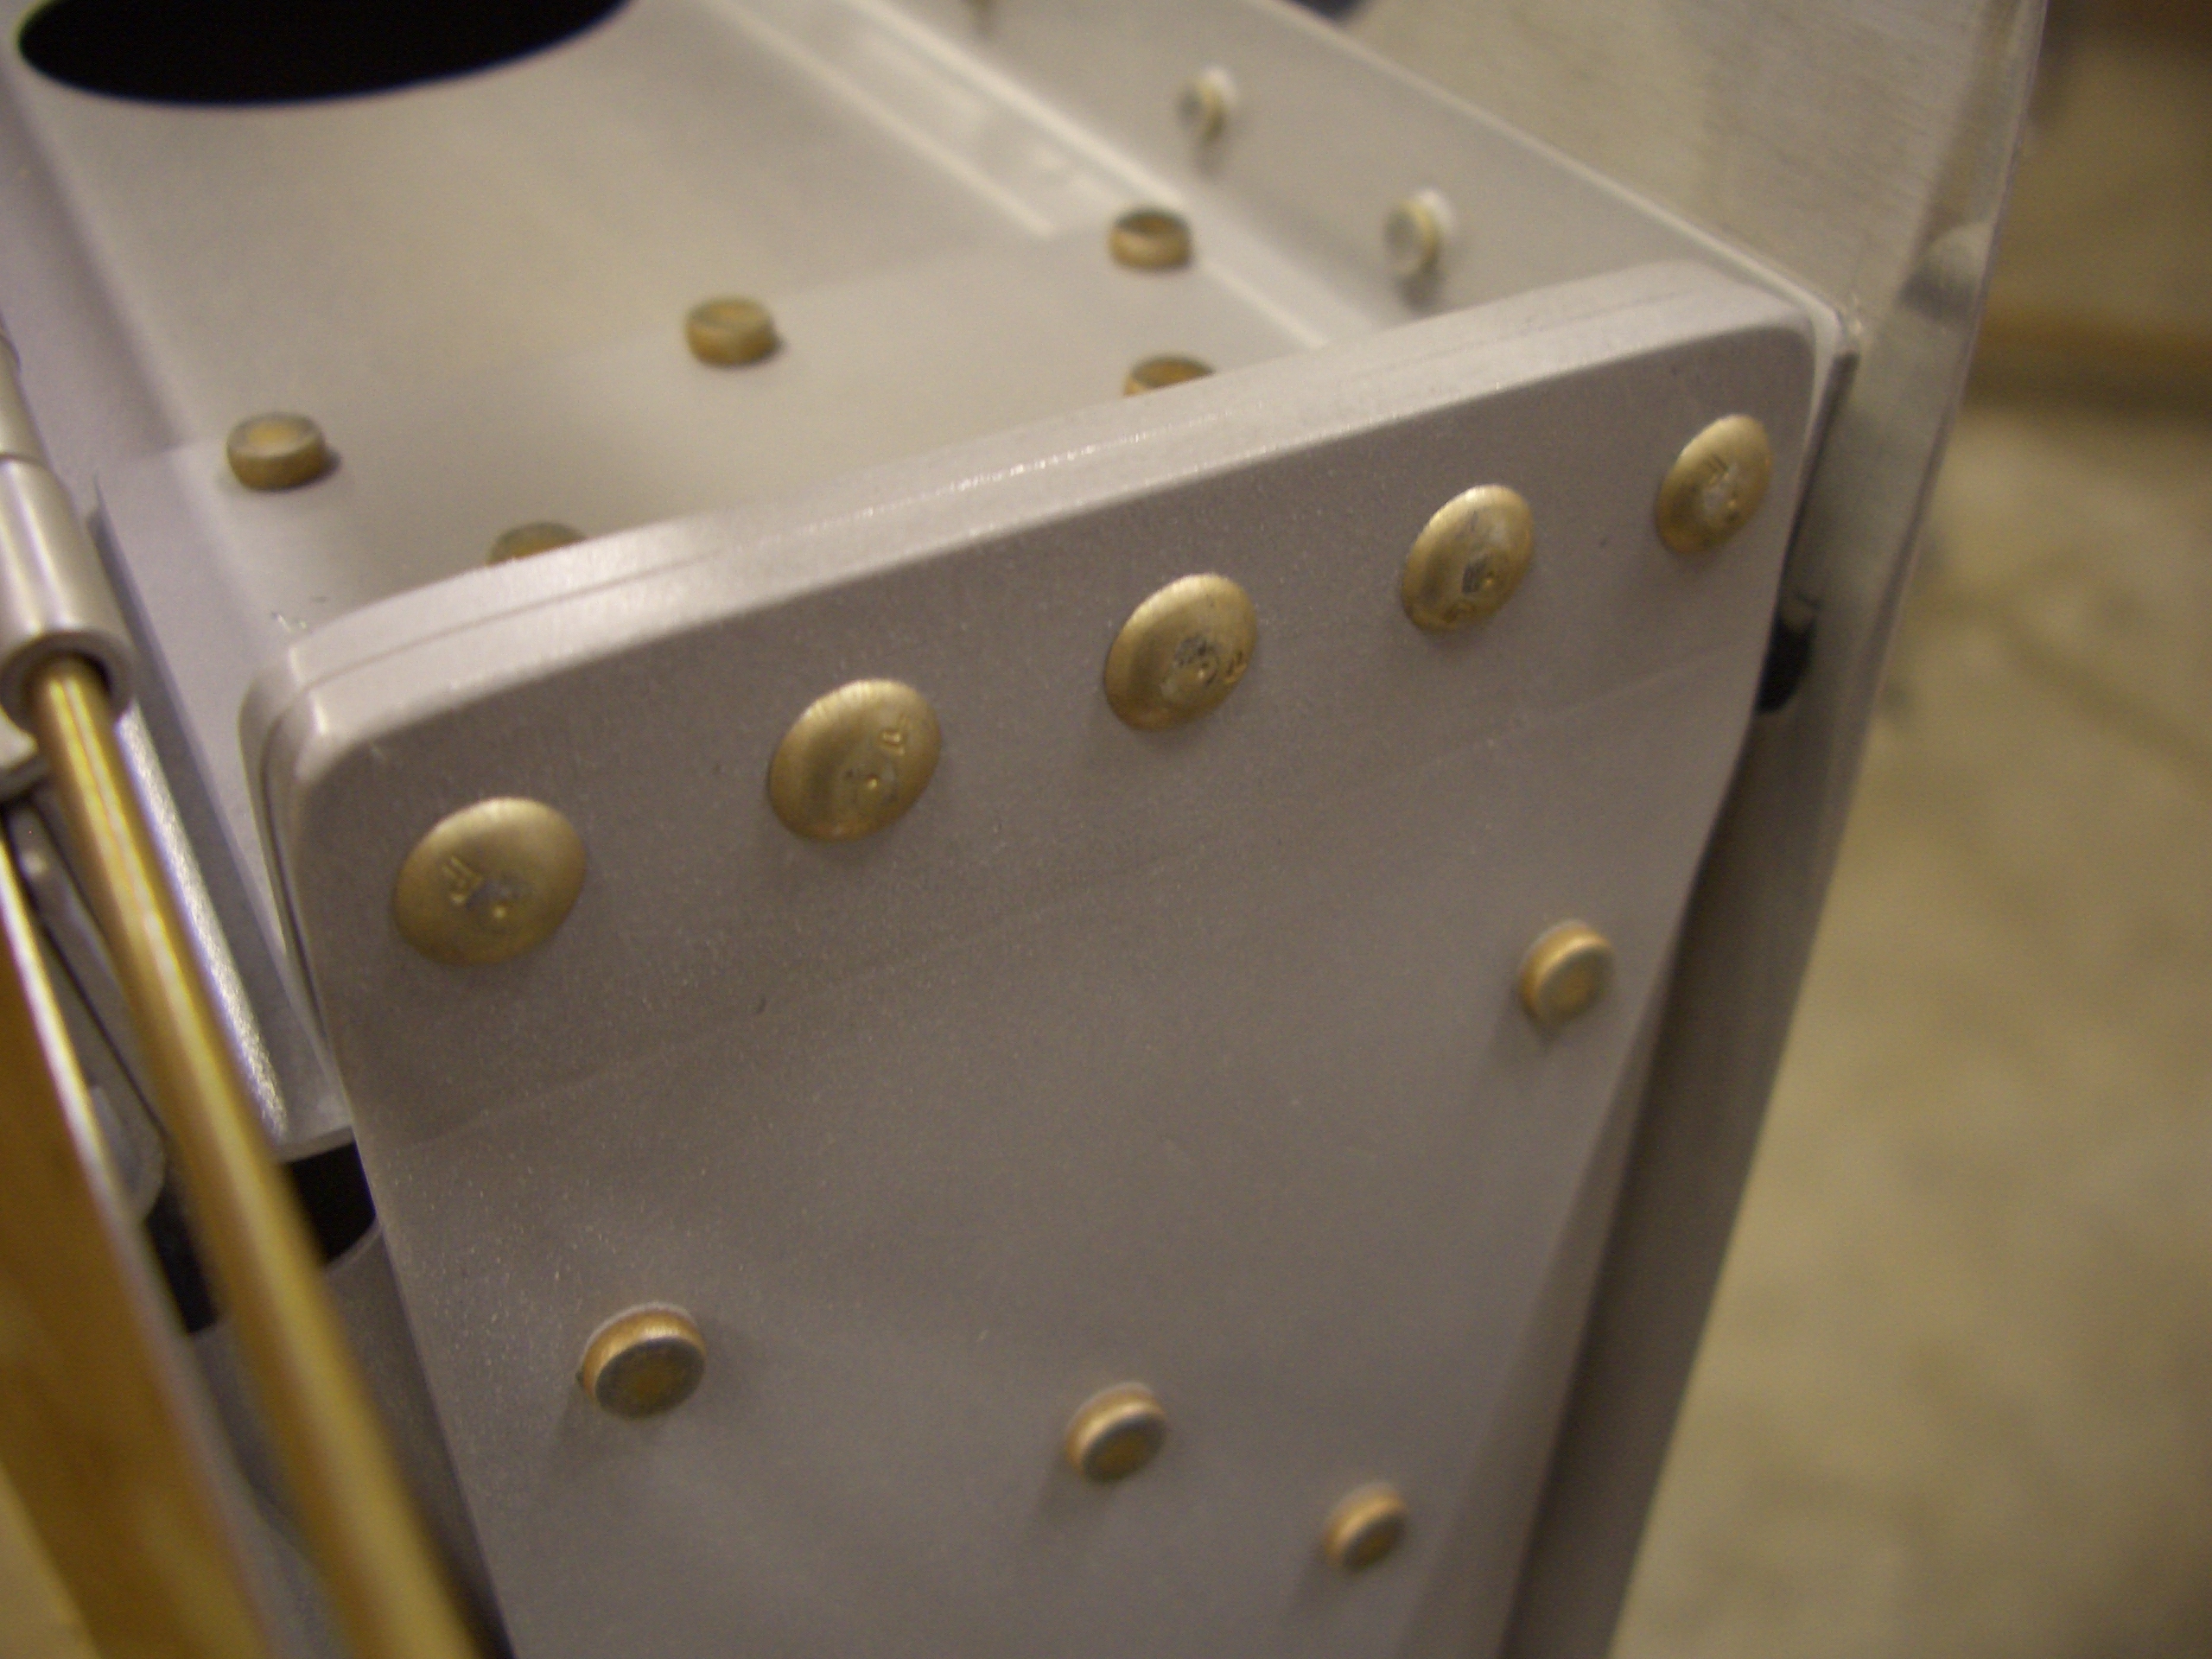
Finally, a few MK319-BS rivets are used near the trailing edge of the flaps (where there is no access to buck these). I had to use one additional MK319-BS rivet on the bottom of each flap (shown here near the top of this picture) when the flap pushrod nutplate interferes with bucking this rivet.
I finished deburring the aileron braces and dimpled for the holes that attach them to the skin. I decided to prime under the aileron braces, so I clecoed them on, taped around them, and scuffed the area with a scotchbrite pad.
I’m trying to avoid getting primer on parts of the airplane that will later be painted with the exterior color since I will have to reprime then anyway (since the top coat has to be applied to the primer within a limited window of time).
I also scuffed the backside of these braces with a scotchbrite pad since I’m not going to be etching these.
I think tonight will be the last priming session for the wing. I mixed up some epoxy primer and injected a few ccs into each aileron push tube through the hole that the welder drilled to relieve pressure during welding. I then swirled the tubes around to coat the entire inside with the primer.
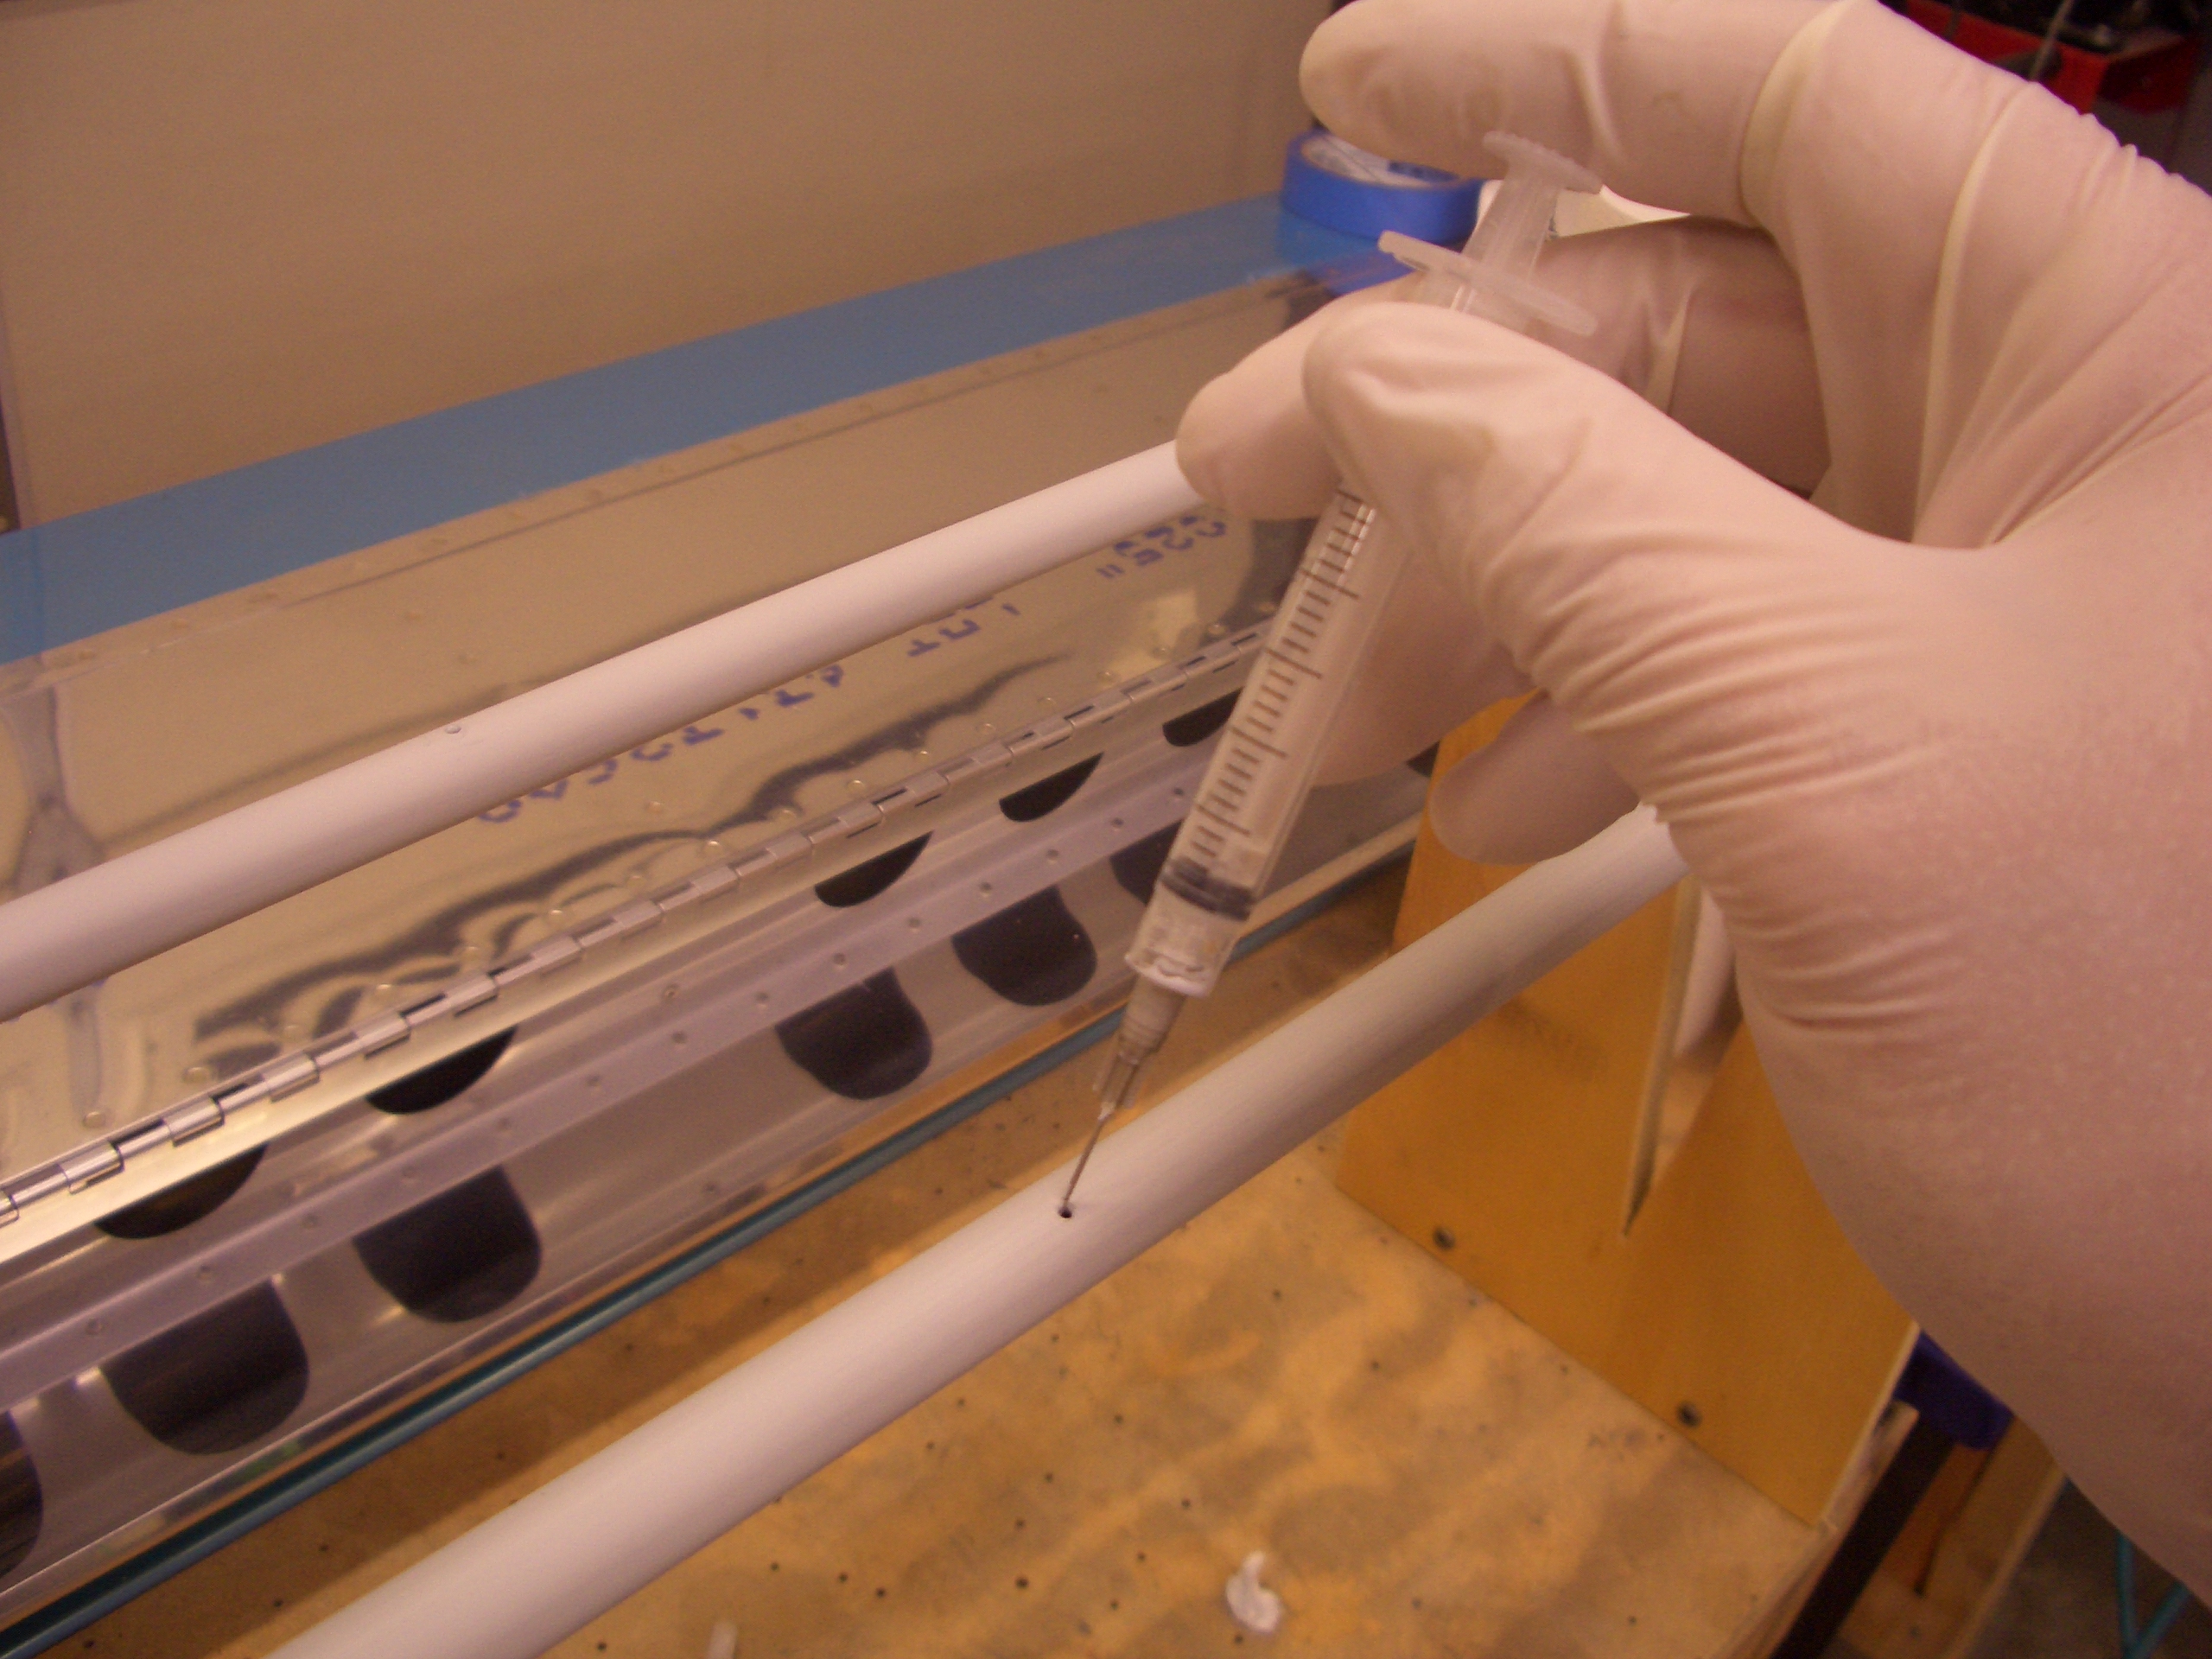
I then primed the outside of the tube except for the threaded ends.
I then primed the back side of the flap and aileron braces.
And finally, I primed the parts of the rear spars and skins that will be covered up by the braces.