
Although I had previously calibrated the capacitive fuel senders by setting the empty and full points, I still needed to fill the tank in 2 gallon increments to create the voltage to fuel level mapping. I started with an empty tank and created the first calibration point. I thought it was a little odd that the sensor showed 5 volts, but didn’t give it too much thought. I added the first 2 gallons, but the sensor still showed 5 volts. I was pretty convinced something was wrong at this point, but I added a couple more gallons to confirm. Sure enough, the sensor still showed 5 volts. I started to worry that the sender was outputting a bogus value, but I decided to confirm all of the settings first. Fortunately, I pretty quickly found out that I hadn’t configured the correct input pins on the EMS. I needed to switch from the default (pins 20 and 21) to the ones I wired the senders to (pins 22 and 31) and change the input type to capacitive from resistive. With that change, I was getting voltage values that made sense for both tanks (2.9 volts from the left tank which is probably around half full and under a volt for the right tank which had the four gallons I just added). Unfortunately, I now need to empty the right tank again to redo the calibration. I could try to drain the four gallons out, but it’s probably easier to just fly again and run that tank dry.
Flight Testing and Airplane Move
I got down to the airport mid-morning so that I could fix the lower empennage fairing. I trimmed the extra glass I added and then worked on the rivnut that replaced the ClickBond nut plate that popped off. I drilled the hole out to 0.182″ and then filed a notch for the keyed rivnut. The keyed variety has a small protrusion under the head to prevent the rivnut from rotating if it ever loosens up. Finally, I reinstalled the fairing. I still have some filler to apply, but it’s looking much better.
After buttoning everything up, I took the plane out and flew for a little bit. The right fuel tank calibration looks good and showed a full tank, so I switched to the left tank so I could run it dry in order to calibrate it. I headed down to Hollister so that I could help Greg with the reassembly of his RV-8. I got there a little bit before the plane and the crew showed up, so I stayed in the pattern for a bit and practiced wheel landings. I bounced one, but the other three were very nice.
After helping to unload, we grabbed some lunch and got started on the reassembly. After some final prep work, we got the wings slotted in and a couple of close tolerance bolts in on each side. We got both ailerons attached and hooked up the fuel and vent lines.
It started getting dark and I needed to be back on the ground at South County before night. I headed out right around sunset and got back up to South County in just a few minutes. It was still fairly bright out, so I stayed in the pattern for a bit and did some touch and go’s as the sky darkened so that I could get used to the sight picture and get a feel for how bright the landing and taxi lights are. I stopped about 10 minutes before it got truly dark, but it was good practice and it looks like the lights are plenty bright.
Firewall Forward Inspection and Flight Testing
I got down to the airport really early this morning because I wanted to take care of a couple of things and get some flight time before heading back to Hollister to help Greg. I pulled the cowl and gave everything a thorough inspection. One of the things I found was that the oil filler tube could be rotated a little bit by hand. Since the safety wire hadn’t moved, I think the fiber washer just compressed a bit. I used a wrench to snug the tube back down and then redid the safety wire to keep it tight.

I also adjusted the high RPM stop on the governor 1 full turn to increase the maximum RPM a bit. I’ve only been seeing a little over 2600 RPM at the stop. Although I’ll likely have to adjust it further, I redid the safety wire to ensure this can’t move.
I buttoned everything back up and took off again. I figured I could get at least an hour of flight time before landing at Hollister again. I decided to shoot an instrument approach to get some more experience with the autopilot and interaction between the GTN and the SkyView. I loaded up the GPS 31 approach at CVH with the RUDNY transition and engaged the autopilot. I duplicated the approach waypoints in the SkyView since they don’t yet automatically stay in sync with the GTN (though this is coming). The GTN did turn anticipation and smoothly guided the autopilot onto the initial leg of the transition. I programmed an altitude step-down and commanded a 500 fpm descent. The autopilot turned smoothly to intercept the final approach course and held the descent rate rock solid. I broke off the approach a couple of miles out and climbed back up to 6,000 ft.
I headed over to the acro practice area and did a couple of rolls to warm up. I then tried a loop for the first time. The plane really builds speed fast on the down line, but pulling some G’s takes care of that nicely. Next, I tried a hammerhead on about an 80º upline to keep some positive G on the engine for oil pressure. The rudder is quite a bit more powerful than anything I’ve flown before, so the rotation at the top was crisp and quick.
Finally, I decided to do a few spins to learn how the plane recovers. The plan was to start with an incipient spin entry with an immediate recovery. I climbed up to 8,000 ft and positioned myself near the South County airport in case I needed it. I pulled the power smoothly back to idle and started slowing up. Right at the stall break, I fed in full left rudder and the plane rolled about 90º to the left and the engine stopped cold. The prop came to an immediate stop straight up. I had already initiated the spin recovery and I immediately rolled level and got the nose down into a glide.
One of the questions Dave Morss asked me to determine if I was ready for flight testing was how I reacted in an emergency situation. I’ve only had a couple of surprises in my years of flying, but I knew that I tend to remain calm and work the problem. When the prop stopped, my only reaction was to utter the word “interesting”. After establishing the glide, I hit the engine start button and got the propeller windmilling again, but the engine still wasn’t producing power. I still had the mixture pulled way out, so I opened the throttle to give the engine some more air. After a few seconds, the power came back smoothly. I climbed back up and decided to try again, but this time over Hollister since they have much bigger runways in case I couldn’t get the engine started again.
After arriving over the airport, I again pulled the power to idle and started to slow up. I slowed more gradually this time so that I could monitor the engine more closely. As the plane slowed, the engine RPM slowly dropped. When it got down to around 400 RPM, I knew something was wrong and I added power back. The engine stumbled a bit as the power came back up, but it ran smoothly again at around 75% power. I pulled back to around 40-50% power and the engine started running rough again. I brought the power back in and started examining the engine monitor more closely. My EGTs were down a bit, so I decided to try leaning the engine further and repeating the approach to stall. This time, the RPM held steady at about 700 RPM all the way through the stall break. I didn’t repeat the spin entry, but I feel comfortable now that the problem was simply an over rich mixture for the altitude.
I landed at Hollister to help Greg with his RV again. It took much longer than we expected, but we were able to wrap up all of the spar bolts and get the nuts torqued. The ailerons and flaps still need to be hooked up, but other than that, the plane looks pretty close to being ready for inspection.
I knew I was pretty close to empty on the left tank, but I wanted to run it dry on the flight back, so I left a little early to ensure I would have sufficient light. I ended up flying for nearly 20 minutes before the tank ran dry. I then switched to the right tank and landed at South County.
Calibrated Left Fuel Tank
I calibrated the left fuel tank tonight. I ended up adding 20.44 gallons of fuel which is only 0.01 gallons more than the right tank. That’s way less than the margin of error for the fuel measurement I was using, so I’m considering the two tanks identical in capacity and in unusable fuel level. I filled both tanks all the way to the top so that I can begin calibrating the fuel flow sensor on upcoming flights.
Flight Testing
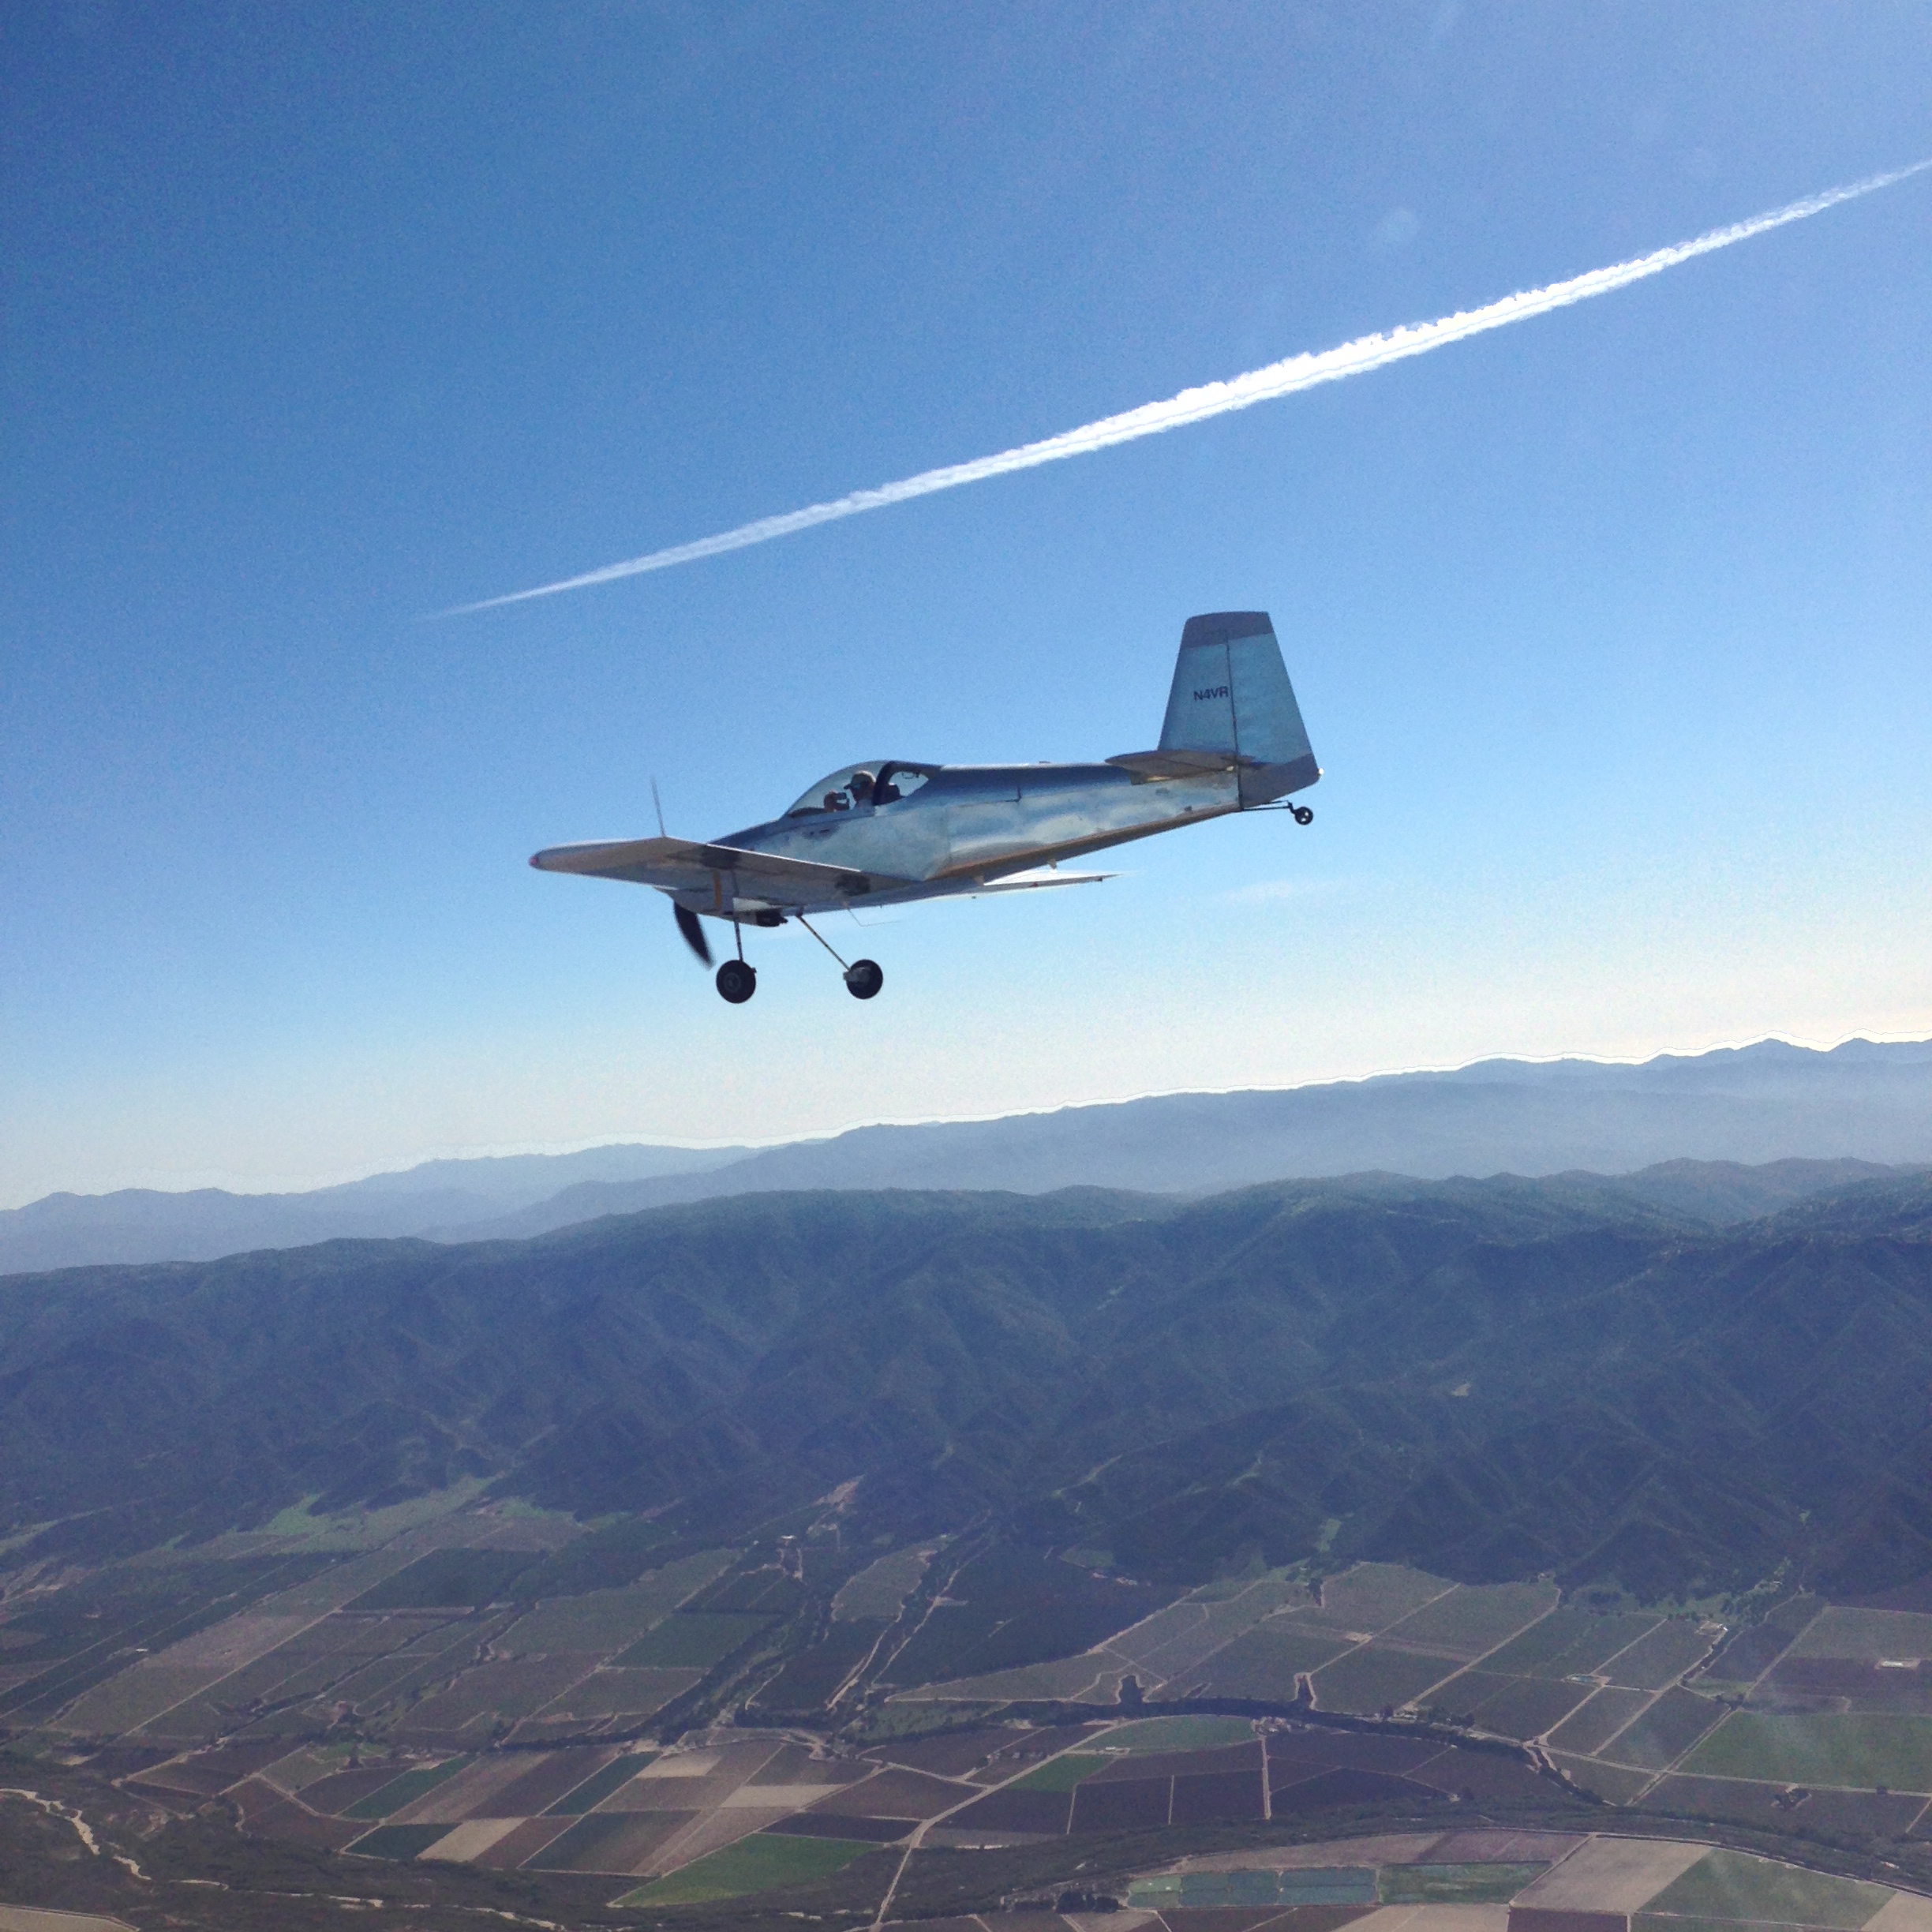
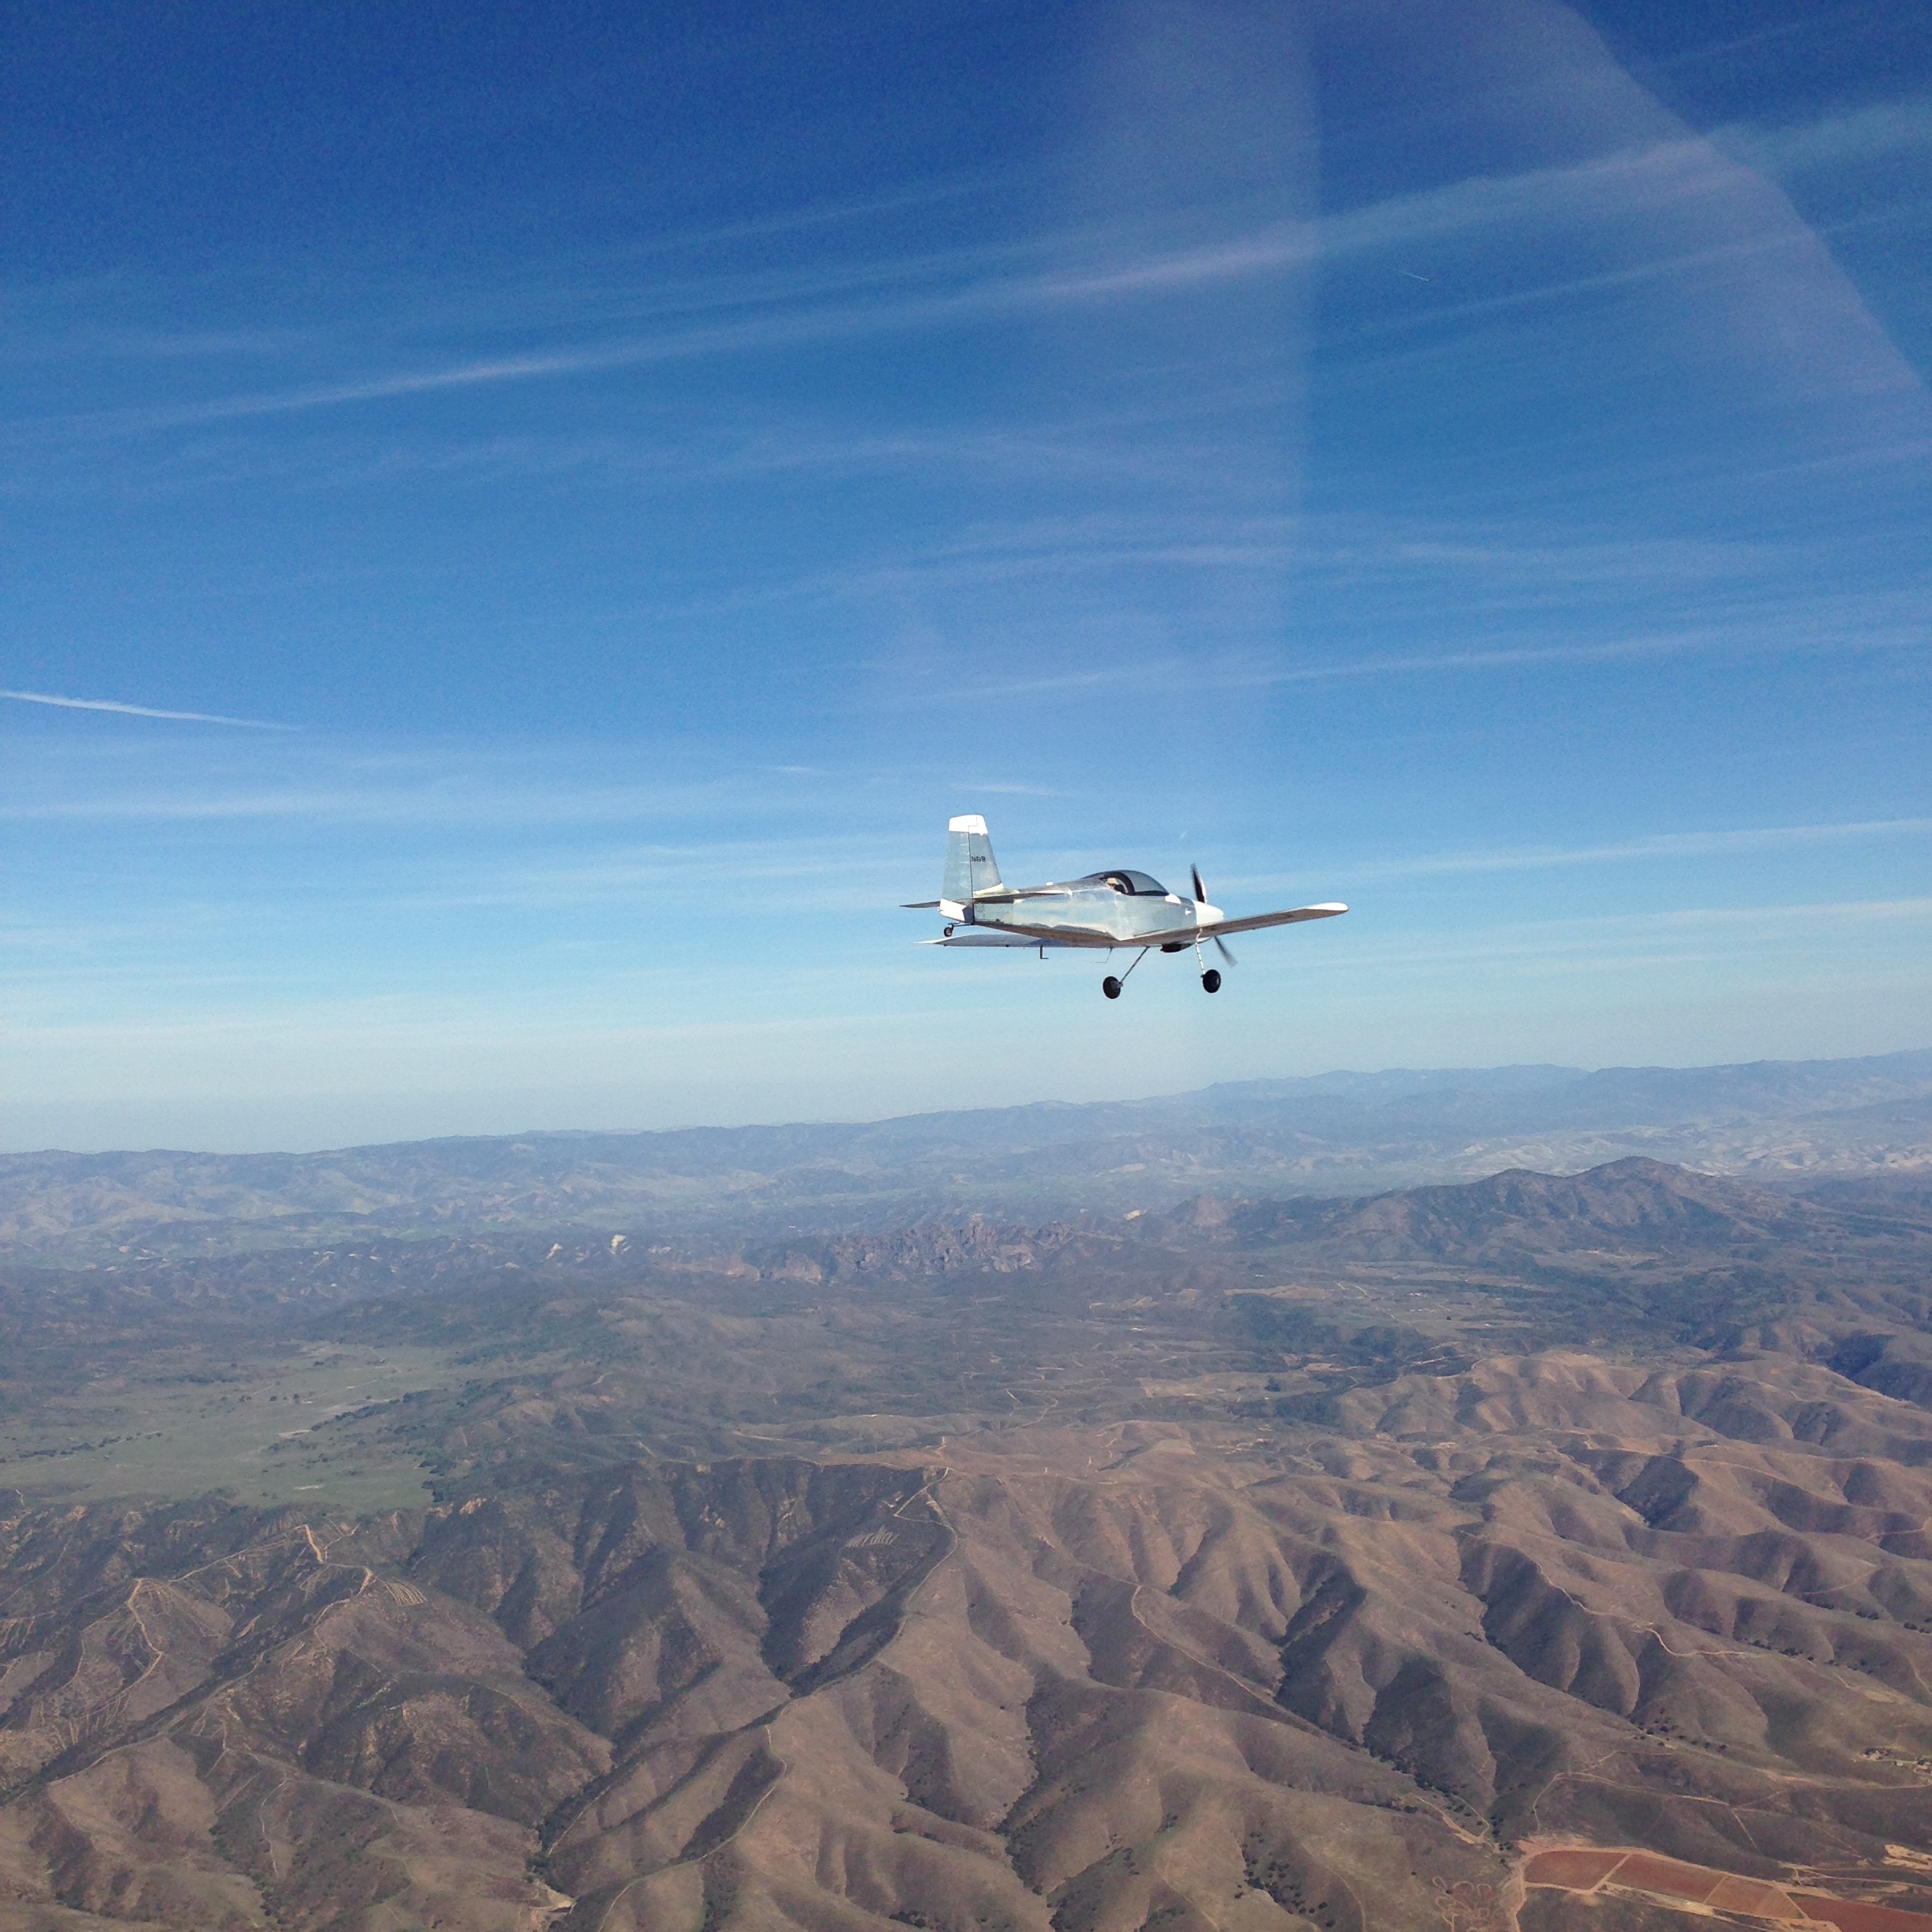
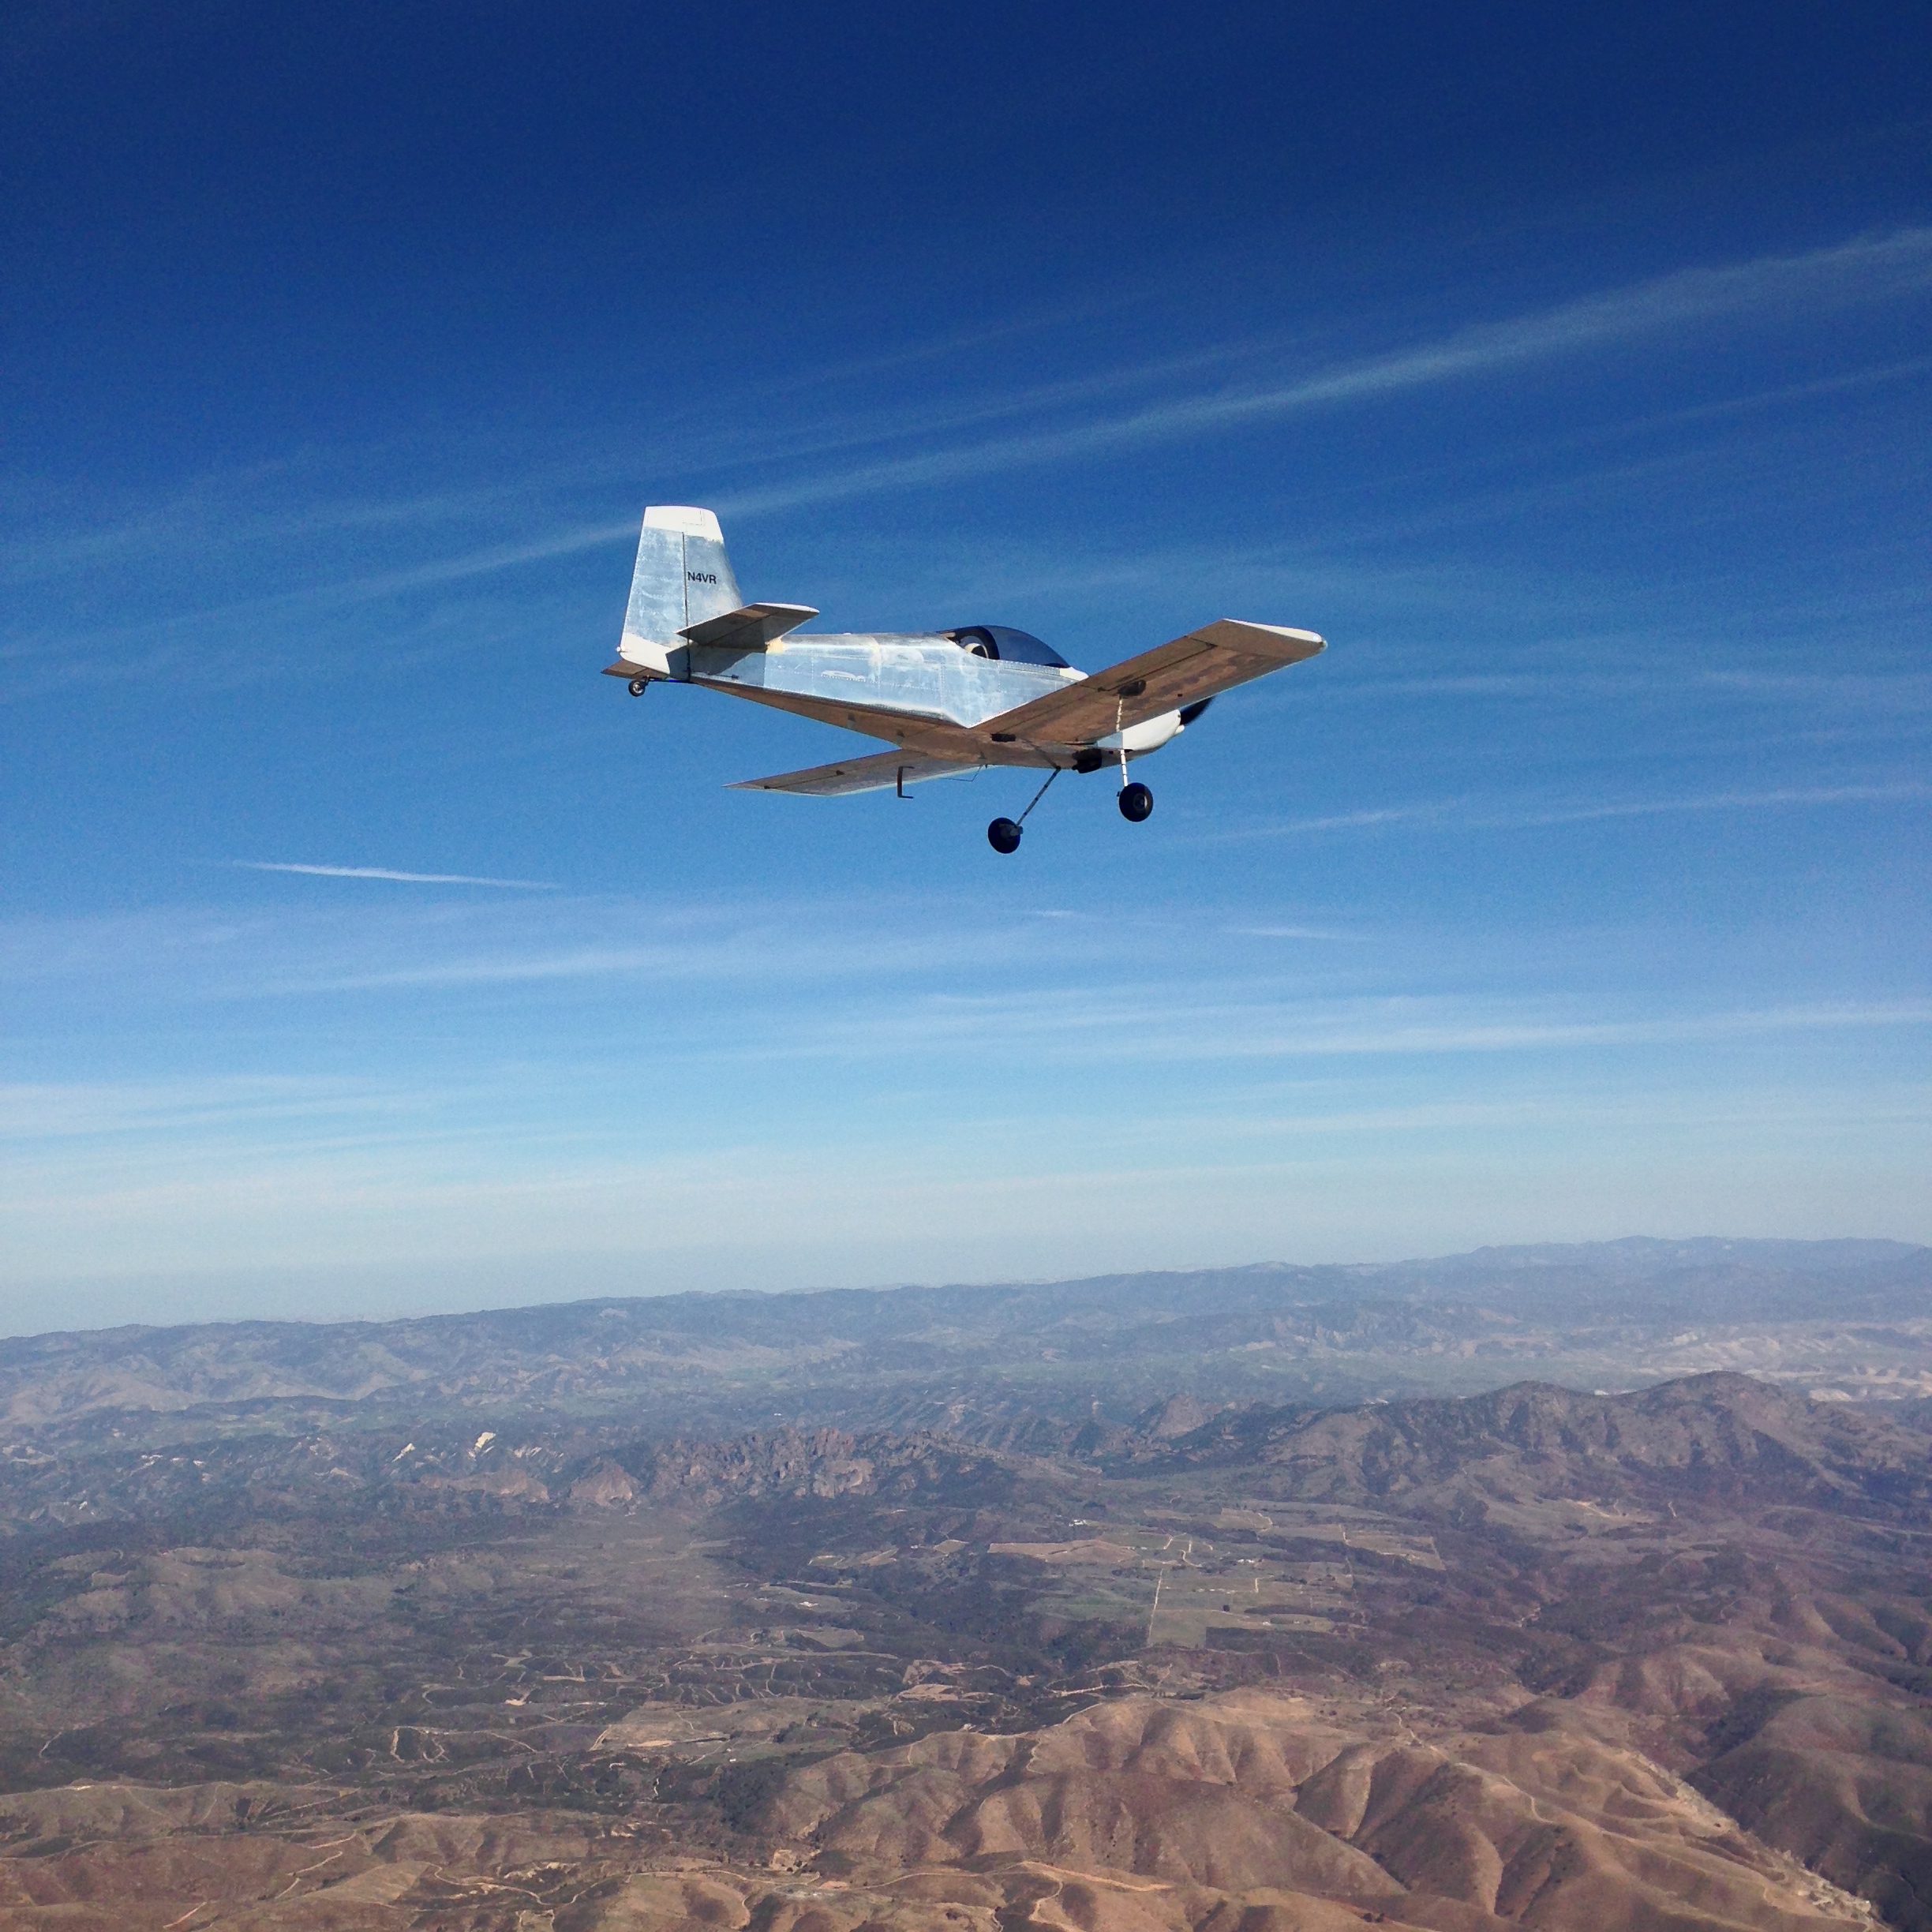
I spent the whole day yesterday helping my buddy Greg get ready for his first flight in his RV-8. He had his airworthiness exam in the morning, then I gave the plane one last thorough inspection before everything was buttoned up for the first flight. Since the flight went great and there were no squawks to fix, we decided to meet up for lunch in Watsonville with some other friends and then go do some loose formation work. Greg got several very nice pictures of my plane in flight.

We traded places and I flew formation next to him for awhile. I’m new to formation flight, and it’s definitely hard work flying in tight with another plane. I was constantly adjusting the controls and varying the engine power.
After 15 minutes or so, we broke formation and I headed out to the central valley and climbed to 10,000 ft for some higher altitude tests. On one of my earlier flights, I had a brief episode where the fuel flow indication briefly dropped to zero. The fuel flow itself didn’t drop since the engine was continuing to make power and my airspeed didn’t vary. I had just run a tank dry for the fuel calibration, so I chalked it up to some air bubbles in the fuel line interfering with the turbine in the fuel flow sensor. Today however, I started getting some fuel flow indication fluctuations in the climb to 10,000 ft, and the flow indication stayed very irregular while I was up there. When I came back down to 6,000 ft, the fuel flow indications were rock solid.
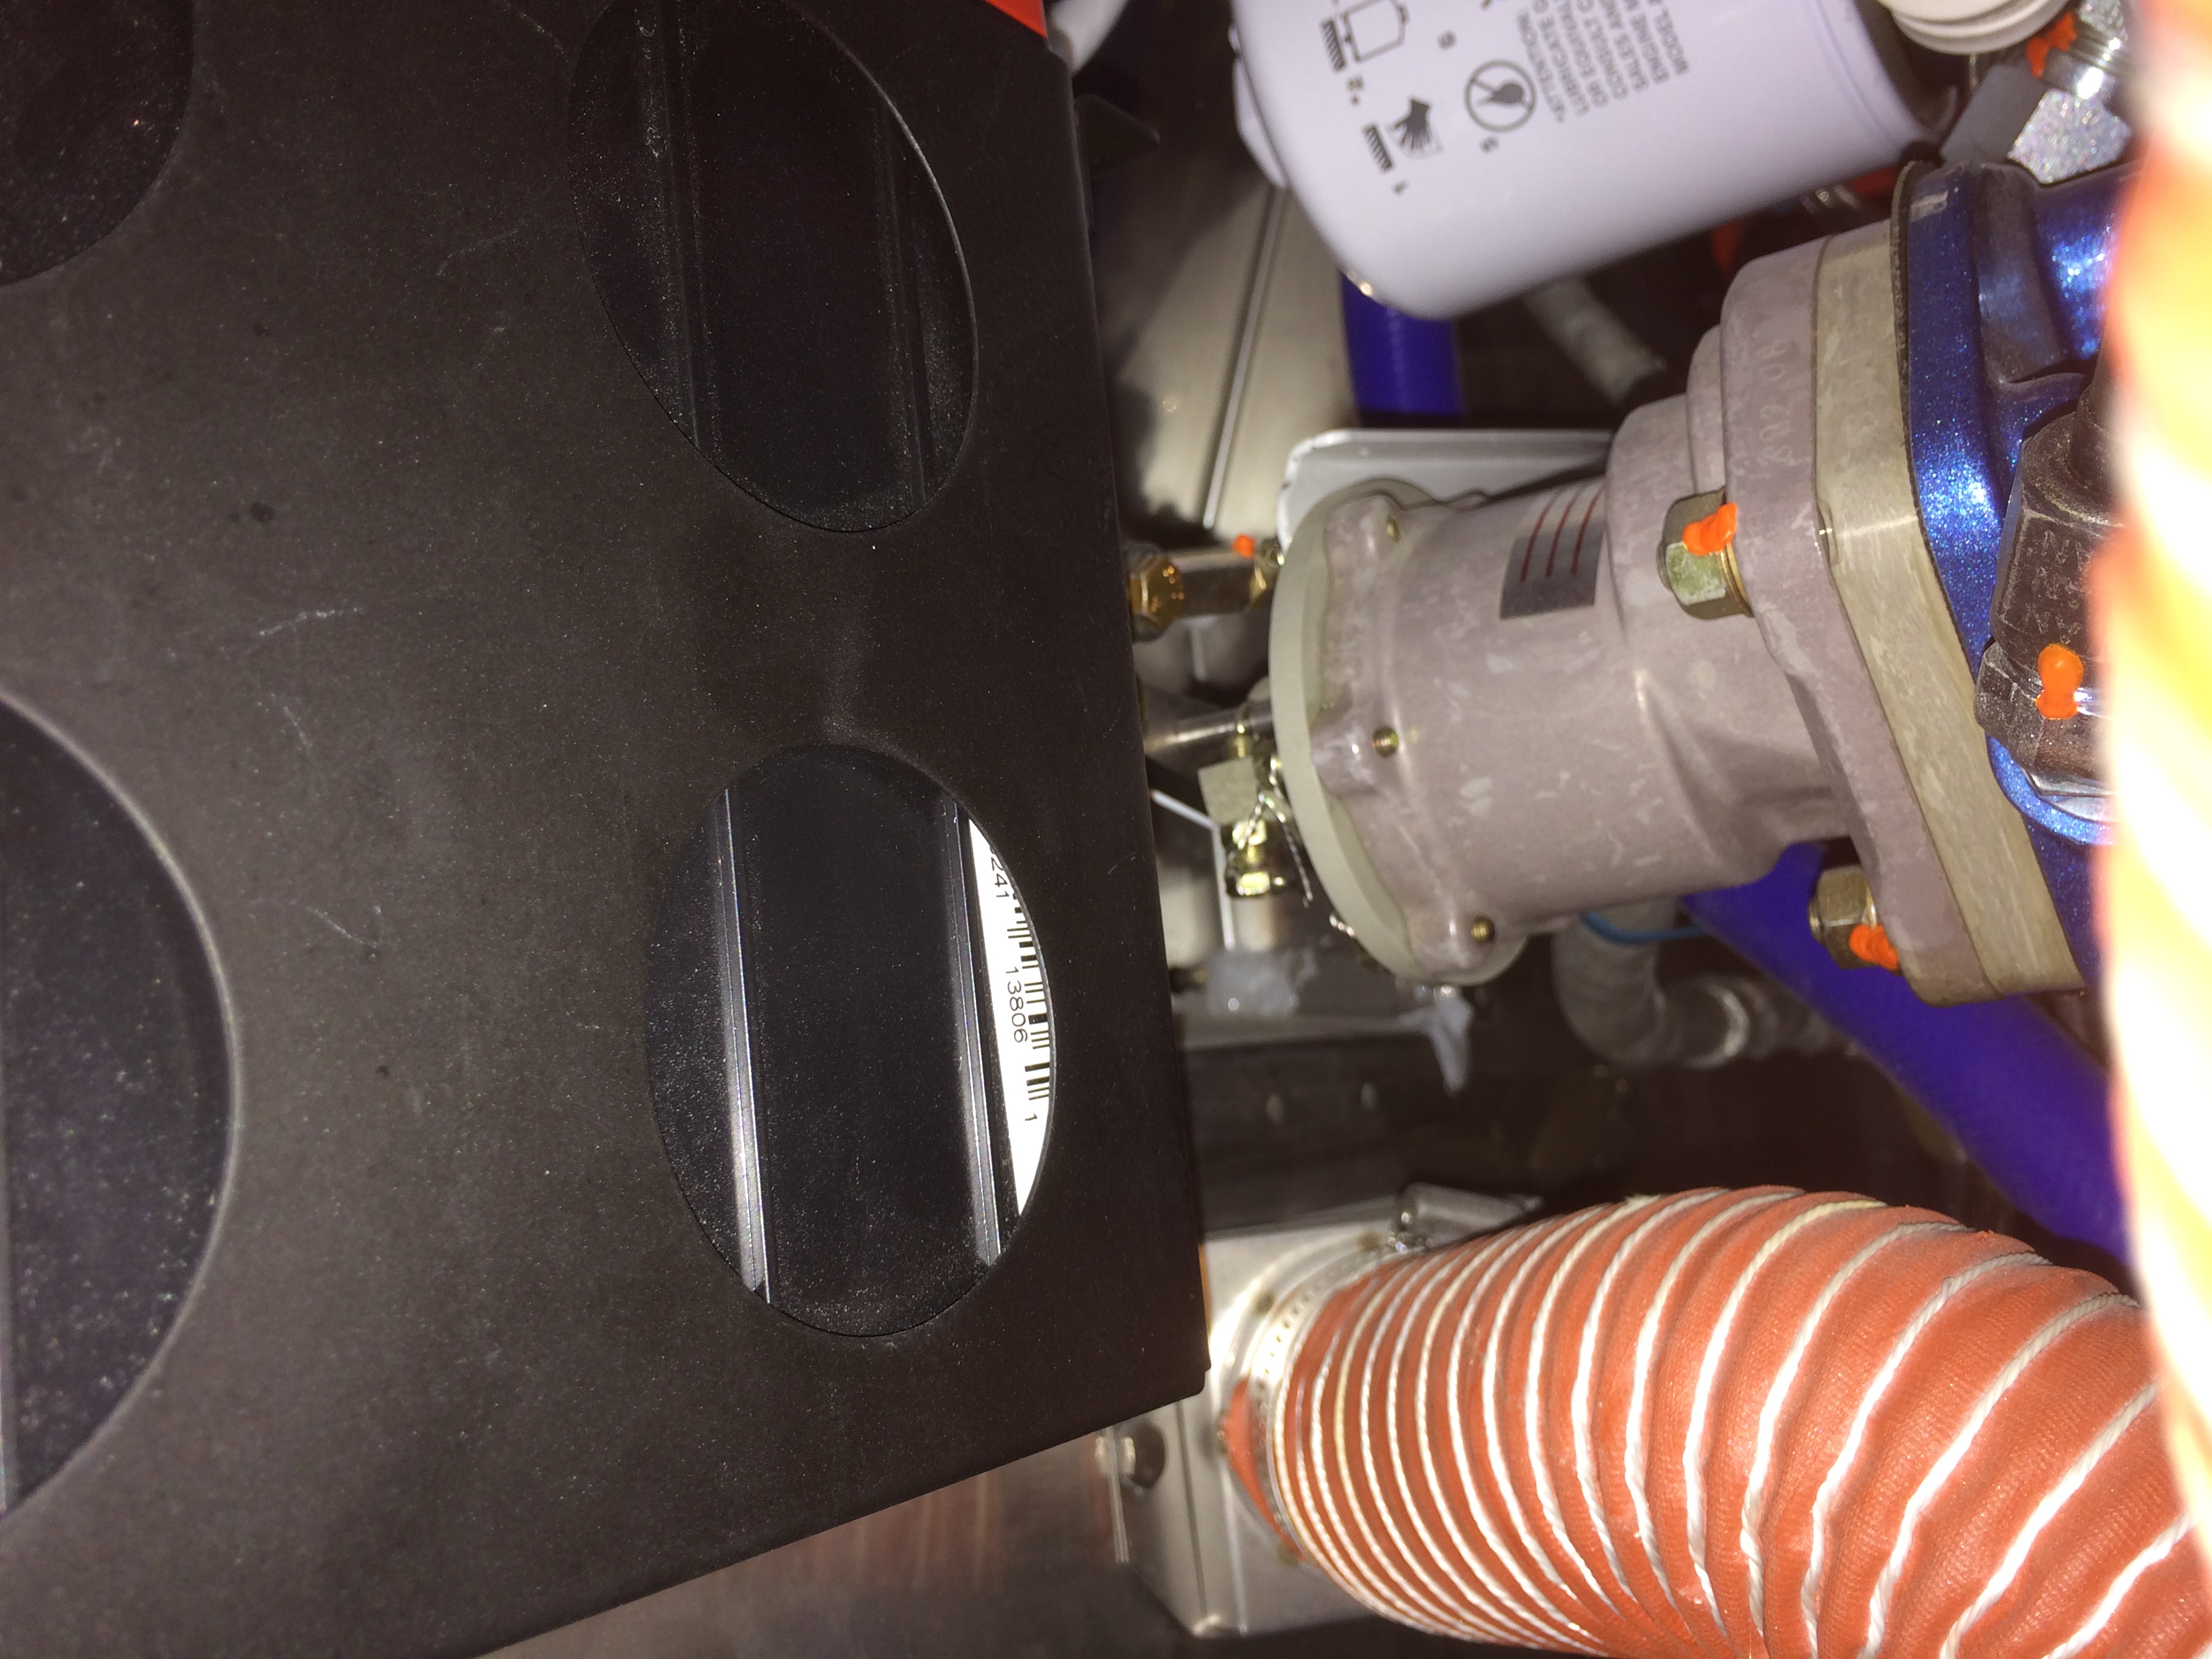
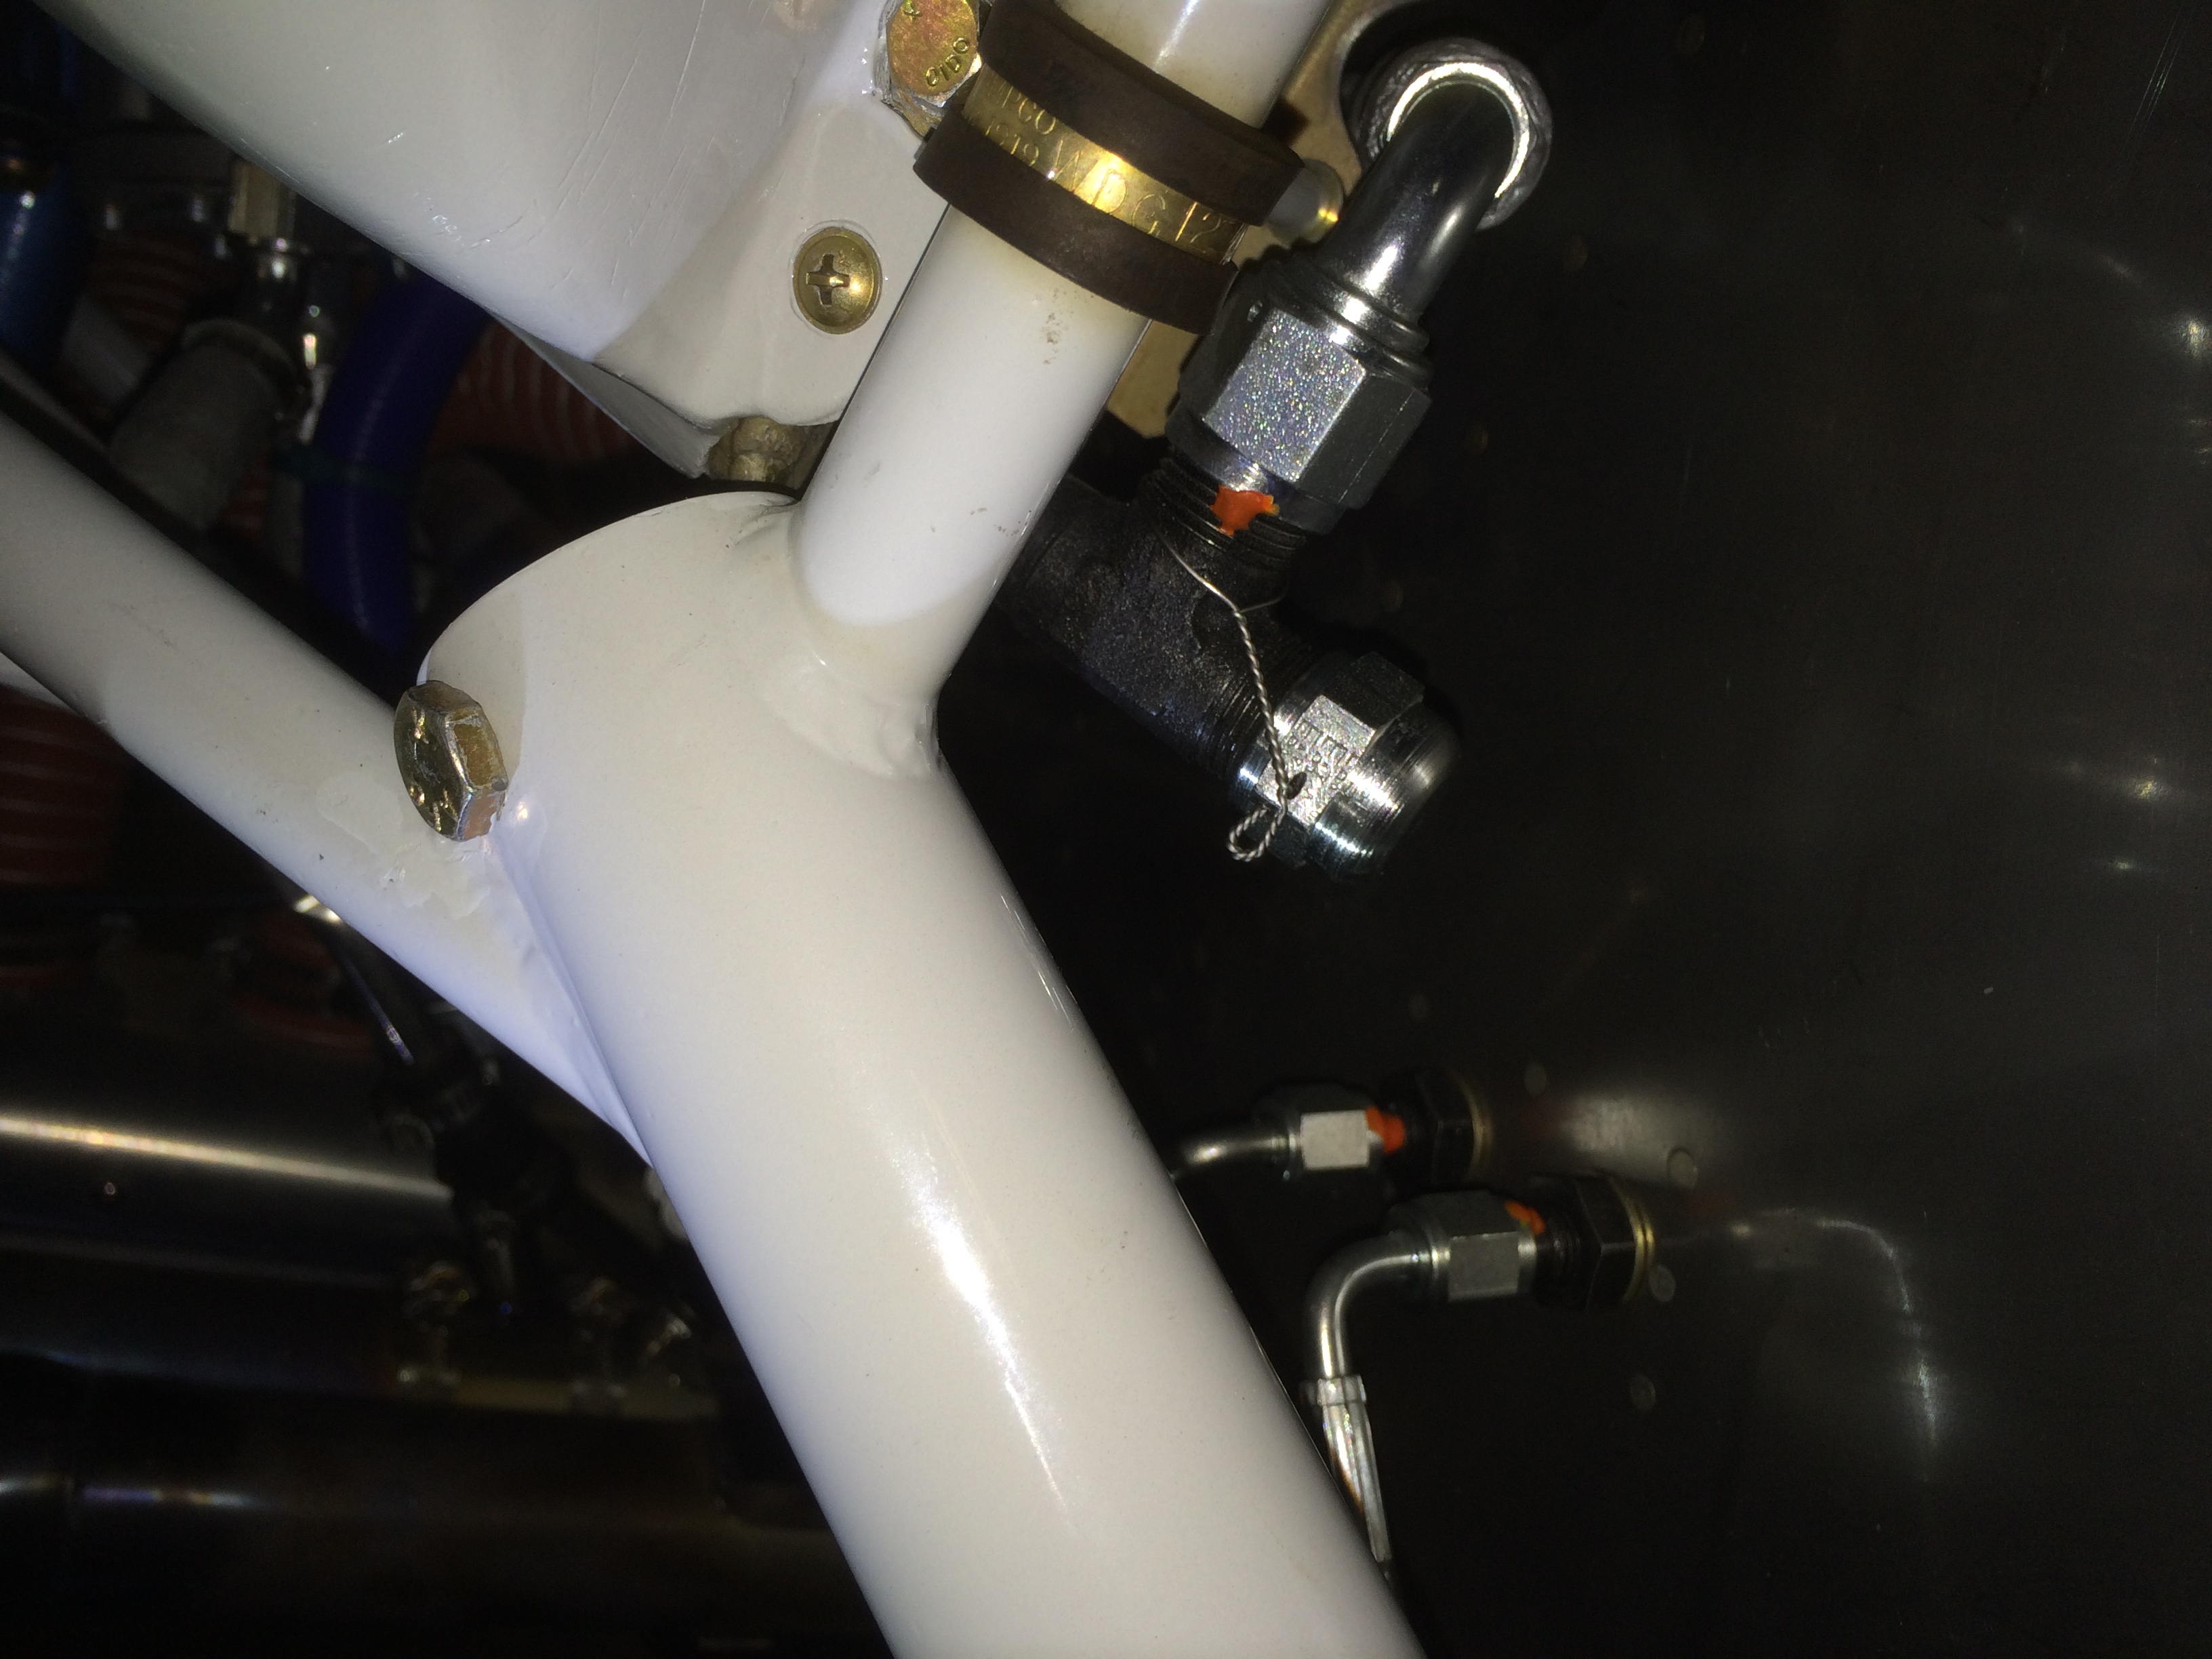
I’m starting to think the problem might be heating of the fuel flow sensor. The sensor is after the fuel servo, and below the engine where it is exposed to the heated air that just flowed past the cylinders as well as radiant heat from the exhaust pipes. The only way the sensor is cooled is by the fuel flowing through it. Since there is less fuel flowing through at higher altitudes, it can pick up more ambient heat from its environment which can lead to bubbles in the sensor. I’ve ordered some extra thick fire sleeve from McMaster Carr, and I’ll use that to wrap the sensor and adjacent fittings. I may also wrap it in some reflective foil wrap to reflect radiant heat from the exhaust pipes.
I landed back at South County with 9.9 hours on the hobbs, so I decided to take the plane down for an oil change and thorough inspection. While waiting for the oil to drain, I pulled out the interior.
Finished Oil Change and RAM Mounts
I wrapped up the oil change by installing a steel cap that Greg gave me to replace the aluminum one that I previously had installed. I installed and torqued it down in order to mark where to drill for safety wire, then removed and drilled it. I now no longer have any aluminum fittings anywhere forward of the firewall containing flammable liquids (oil, fuel and brake fluid). I then filled the engine with oil.
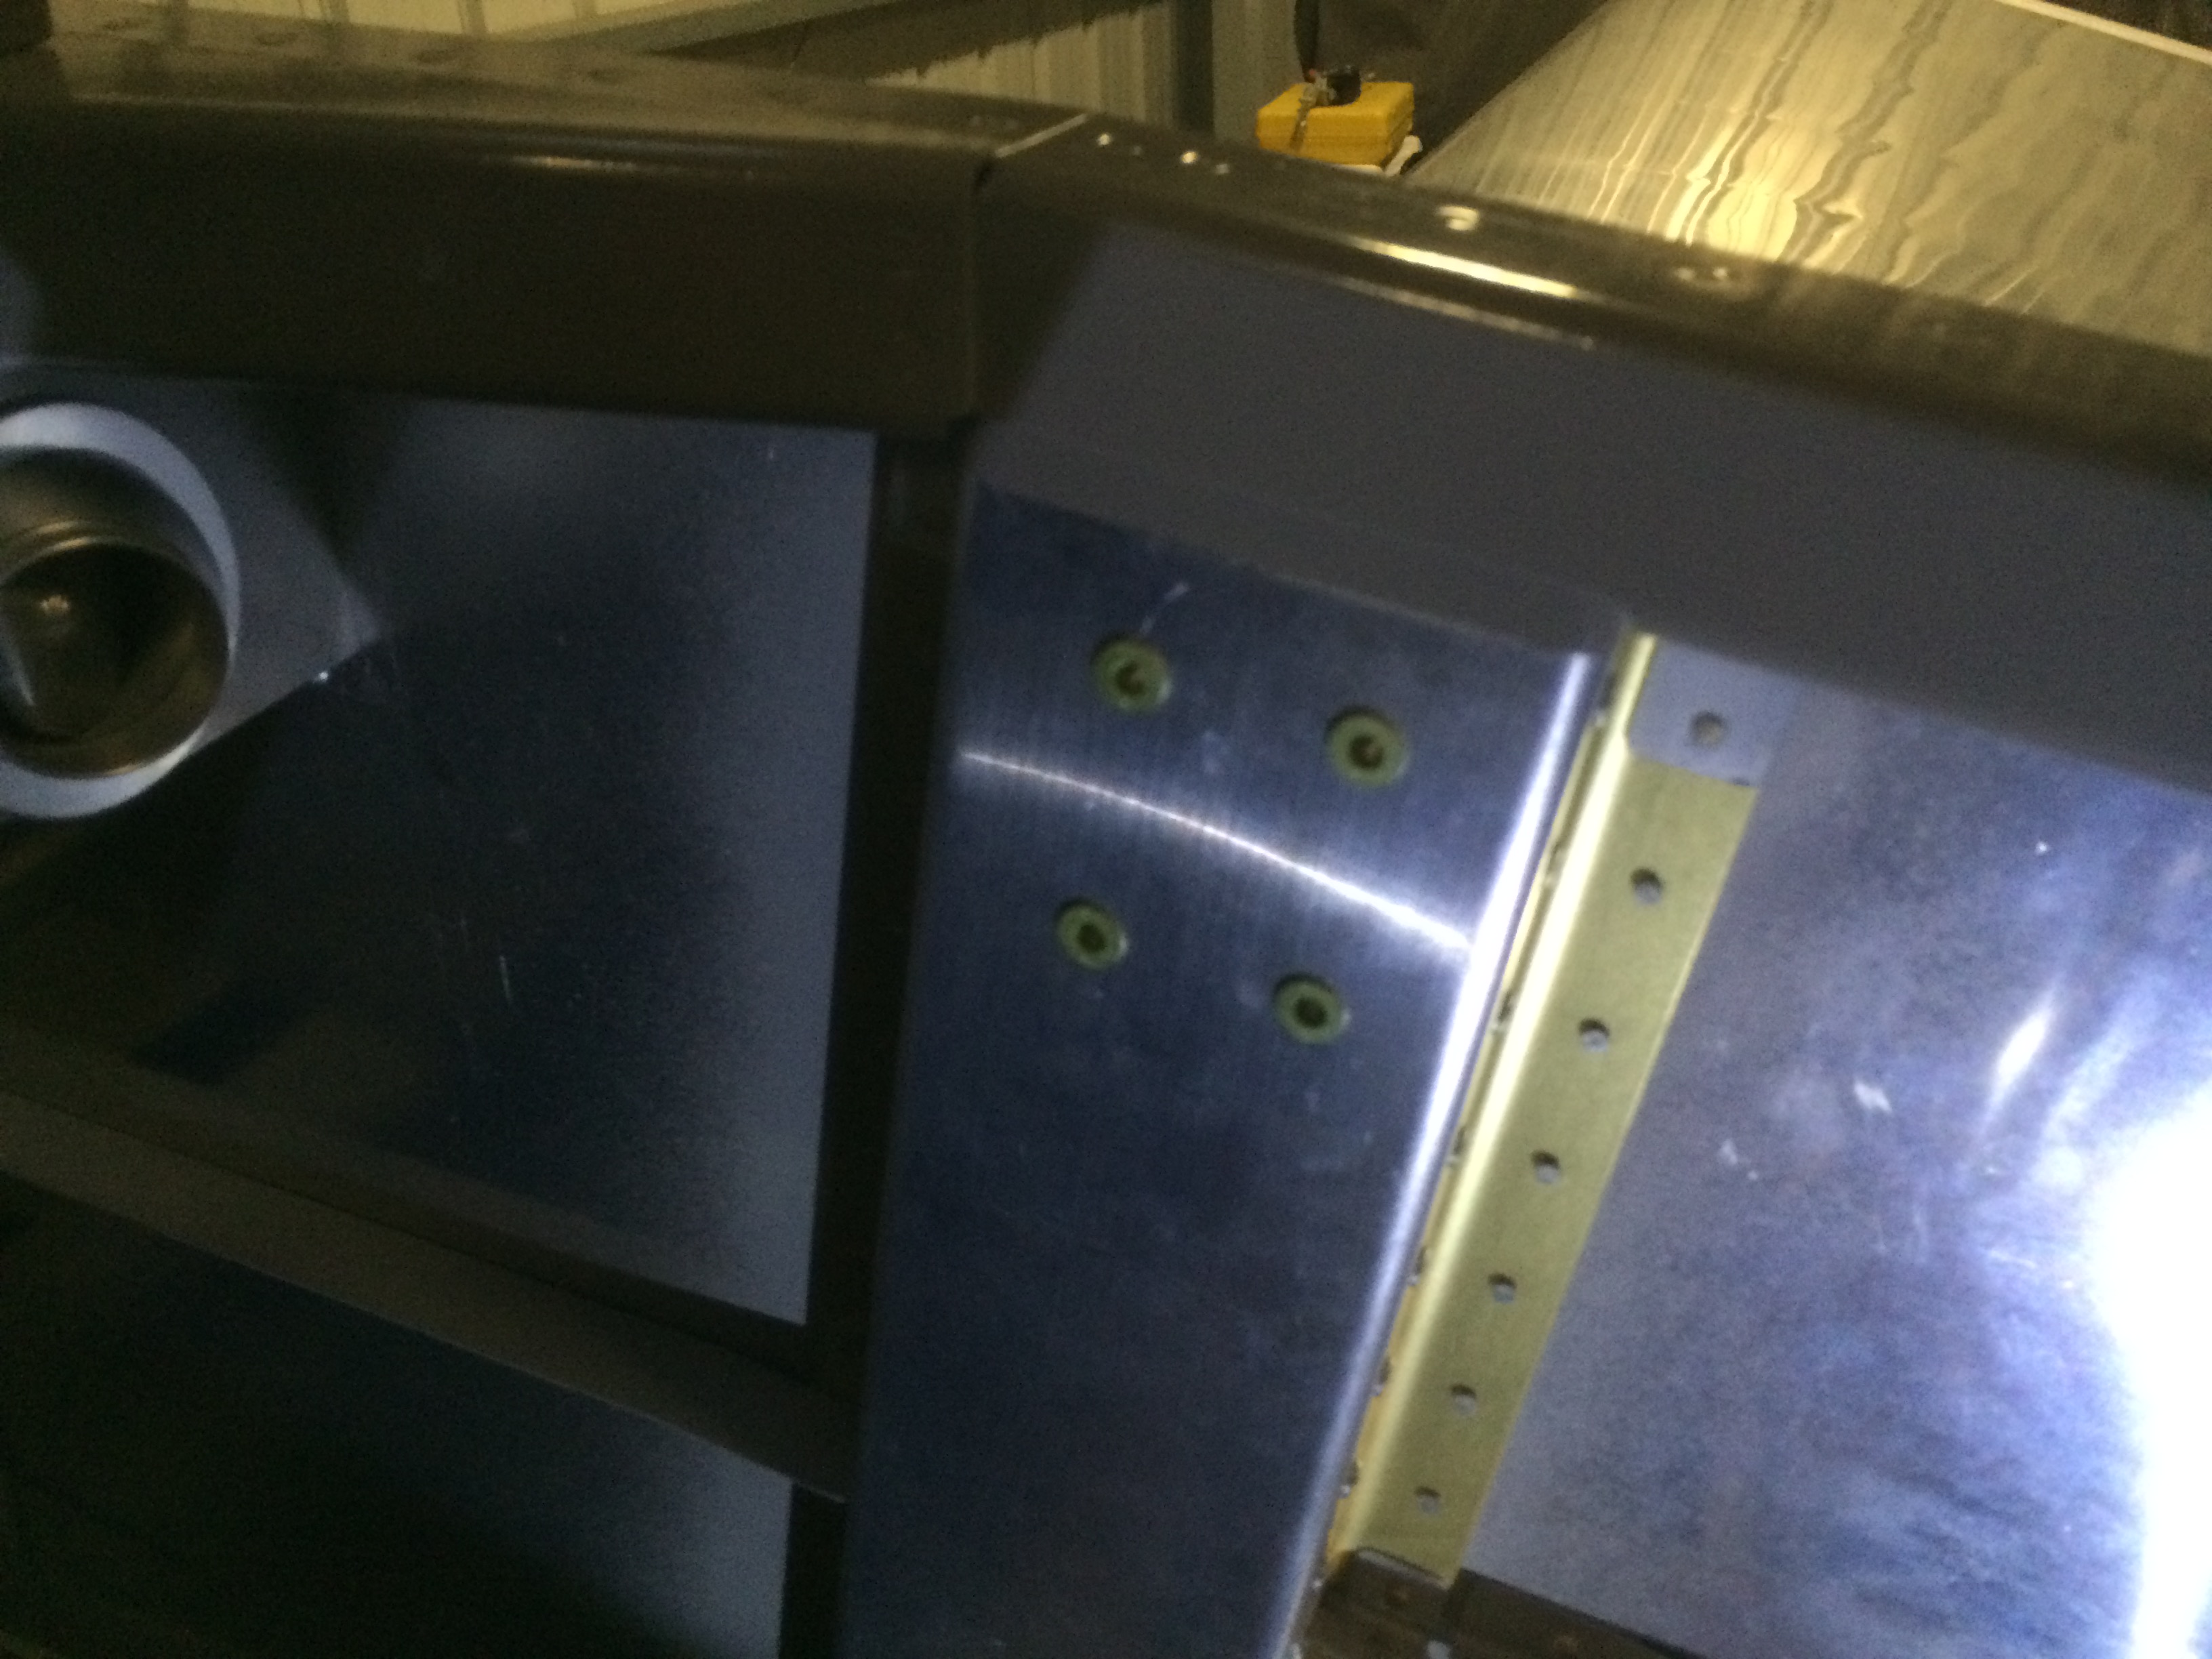
While I had the interior out, I decided to install a couple of RAM ball mounts. While the upper side panels were still in place, I marked and drilled through them and the upper channel here. I then removed the upper side panels and installed some NAS1329A08K75 rivnuts.
I reinstalled the upper side panels and then attached the RAM ball mounts. Here’s the one on the passenger’s side.
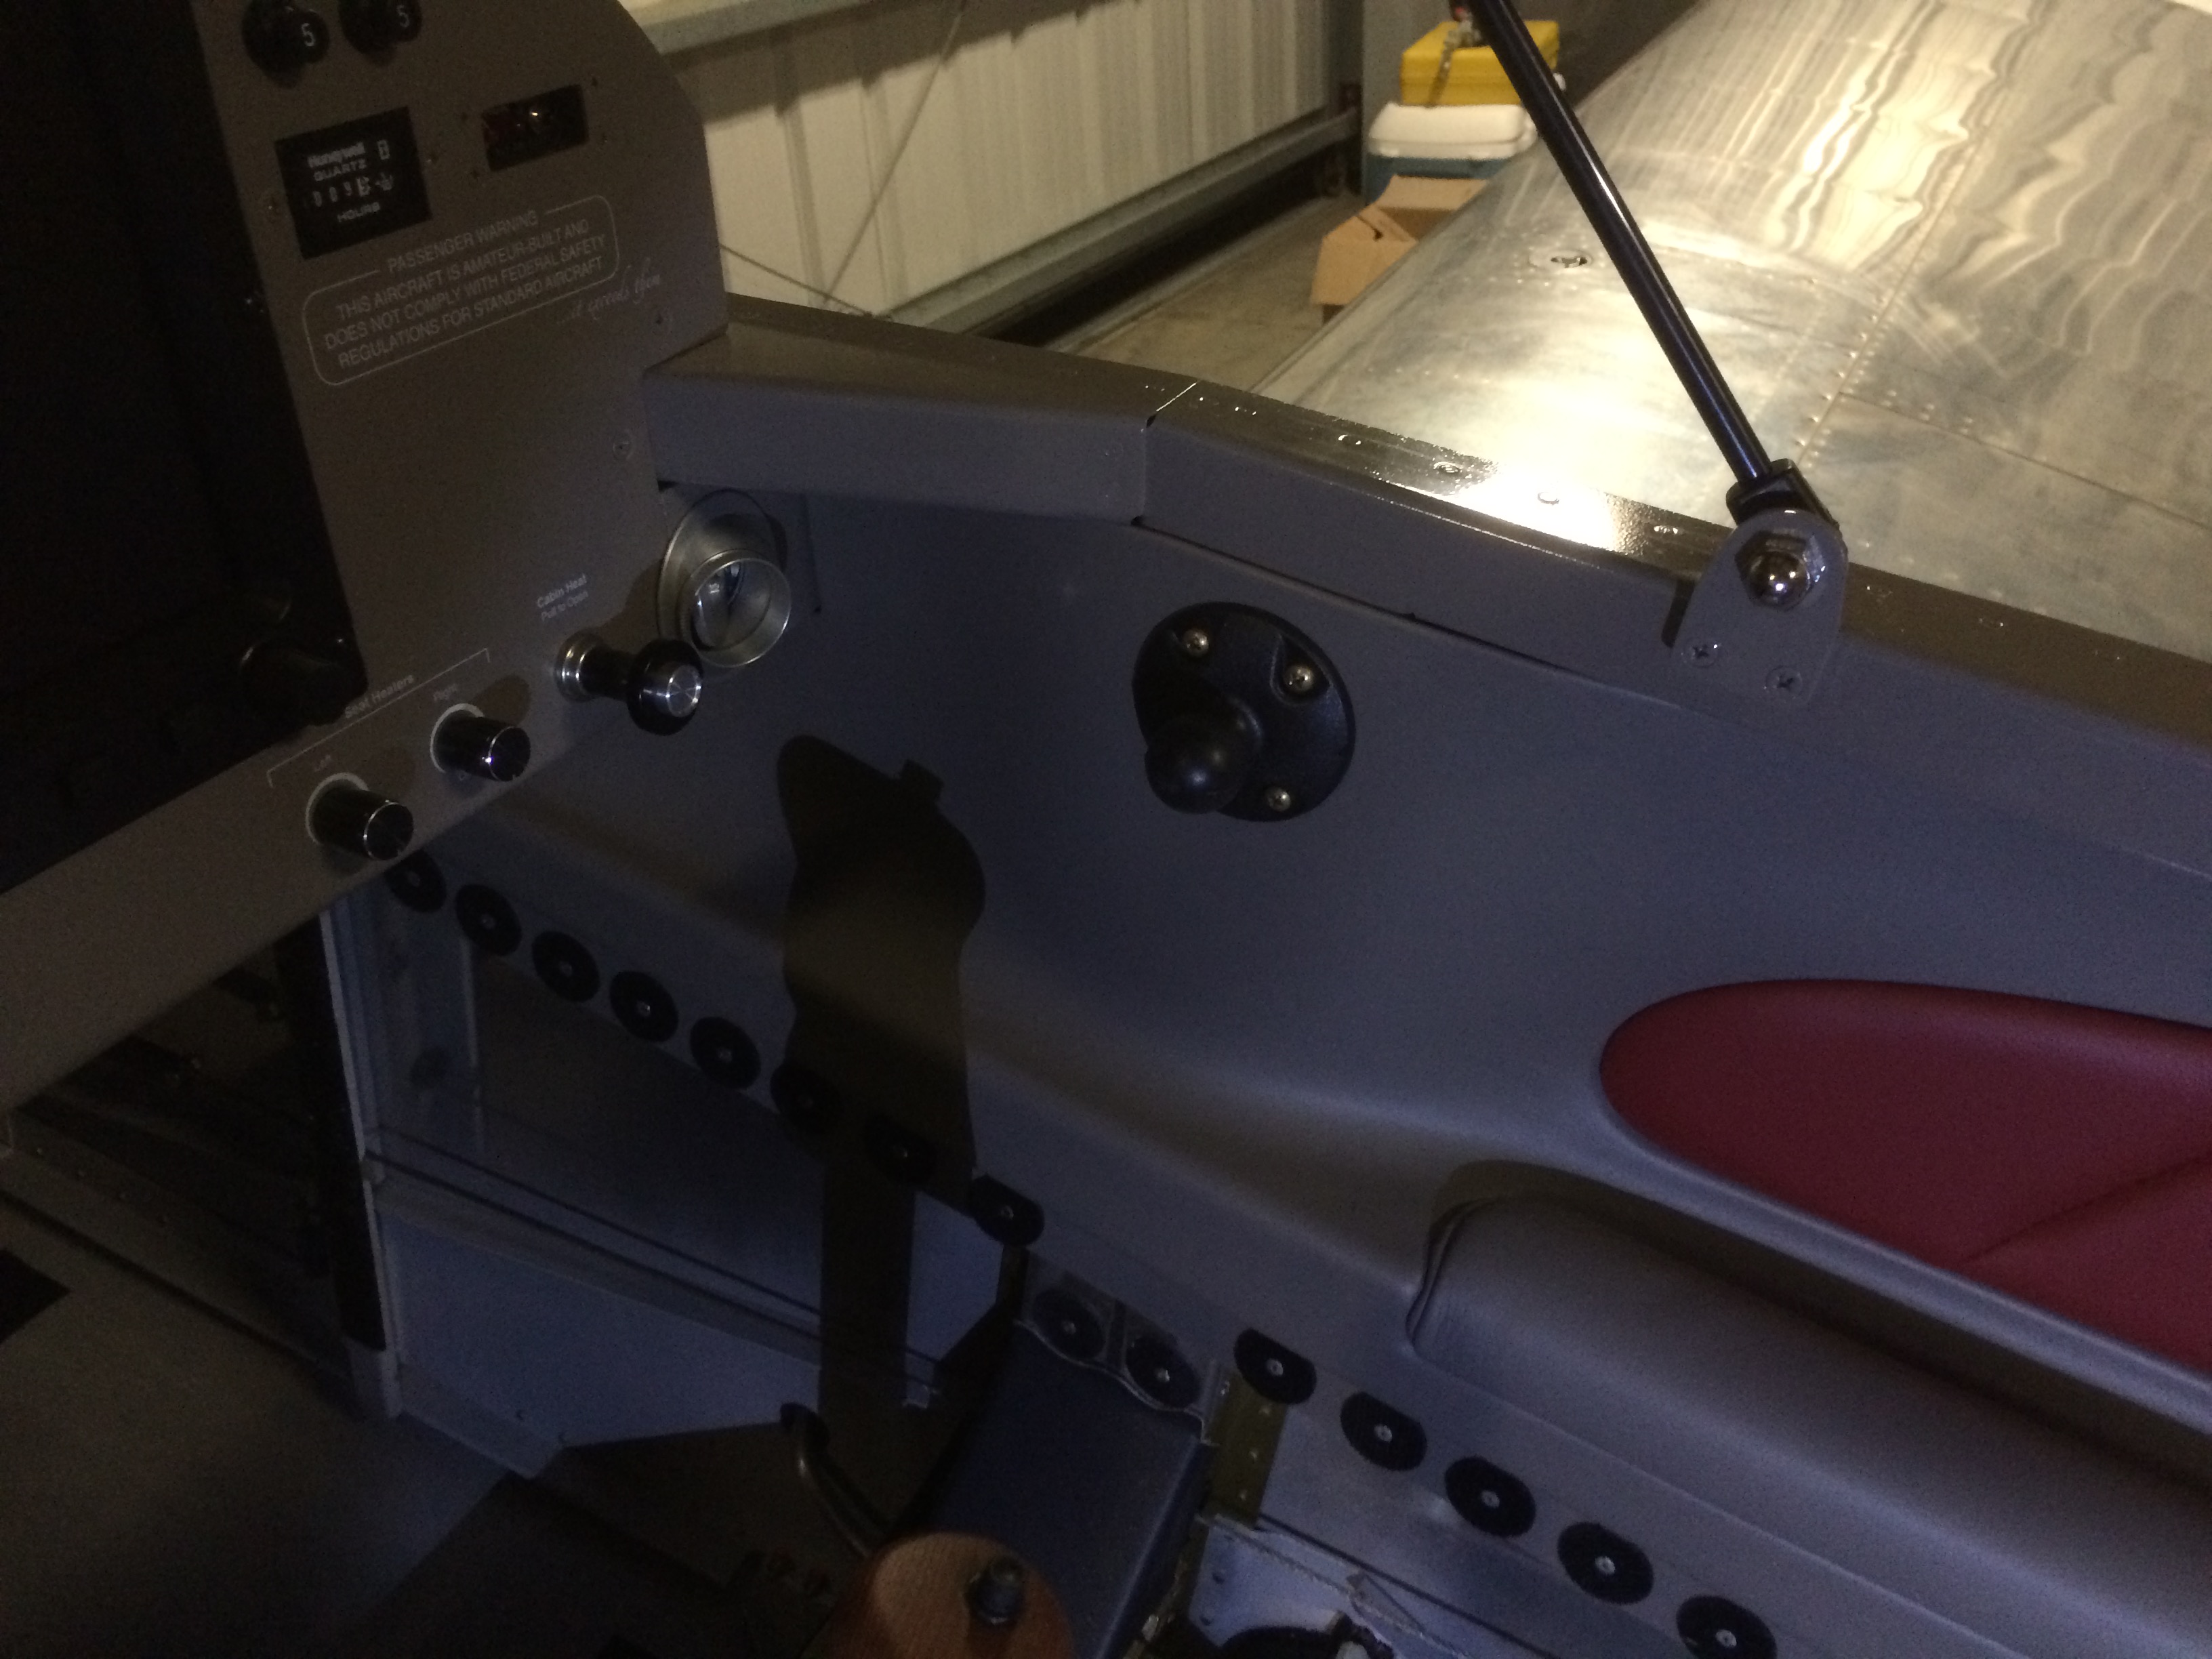
Here’s the one on the left side.
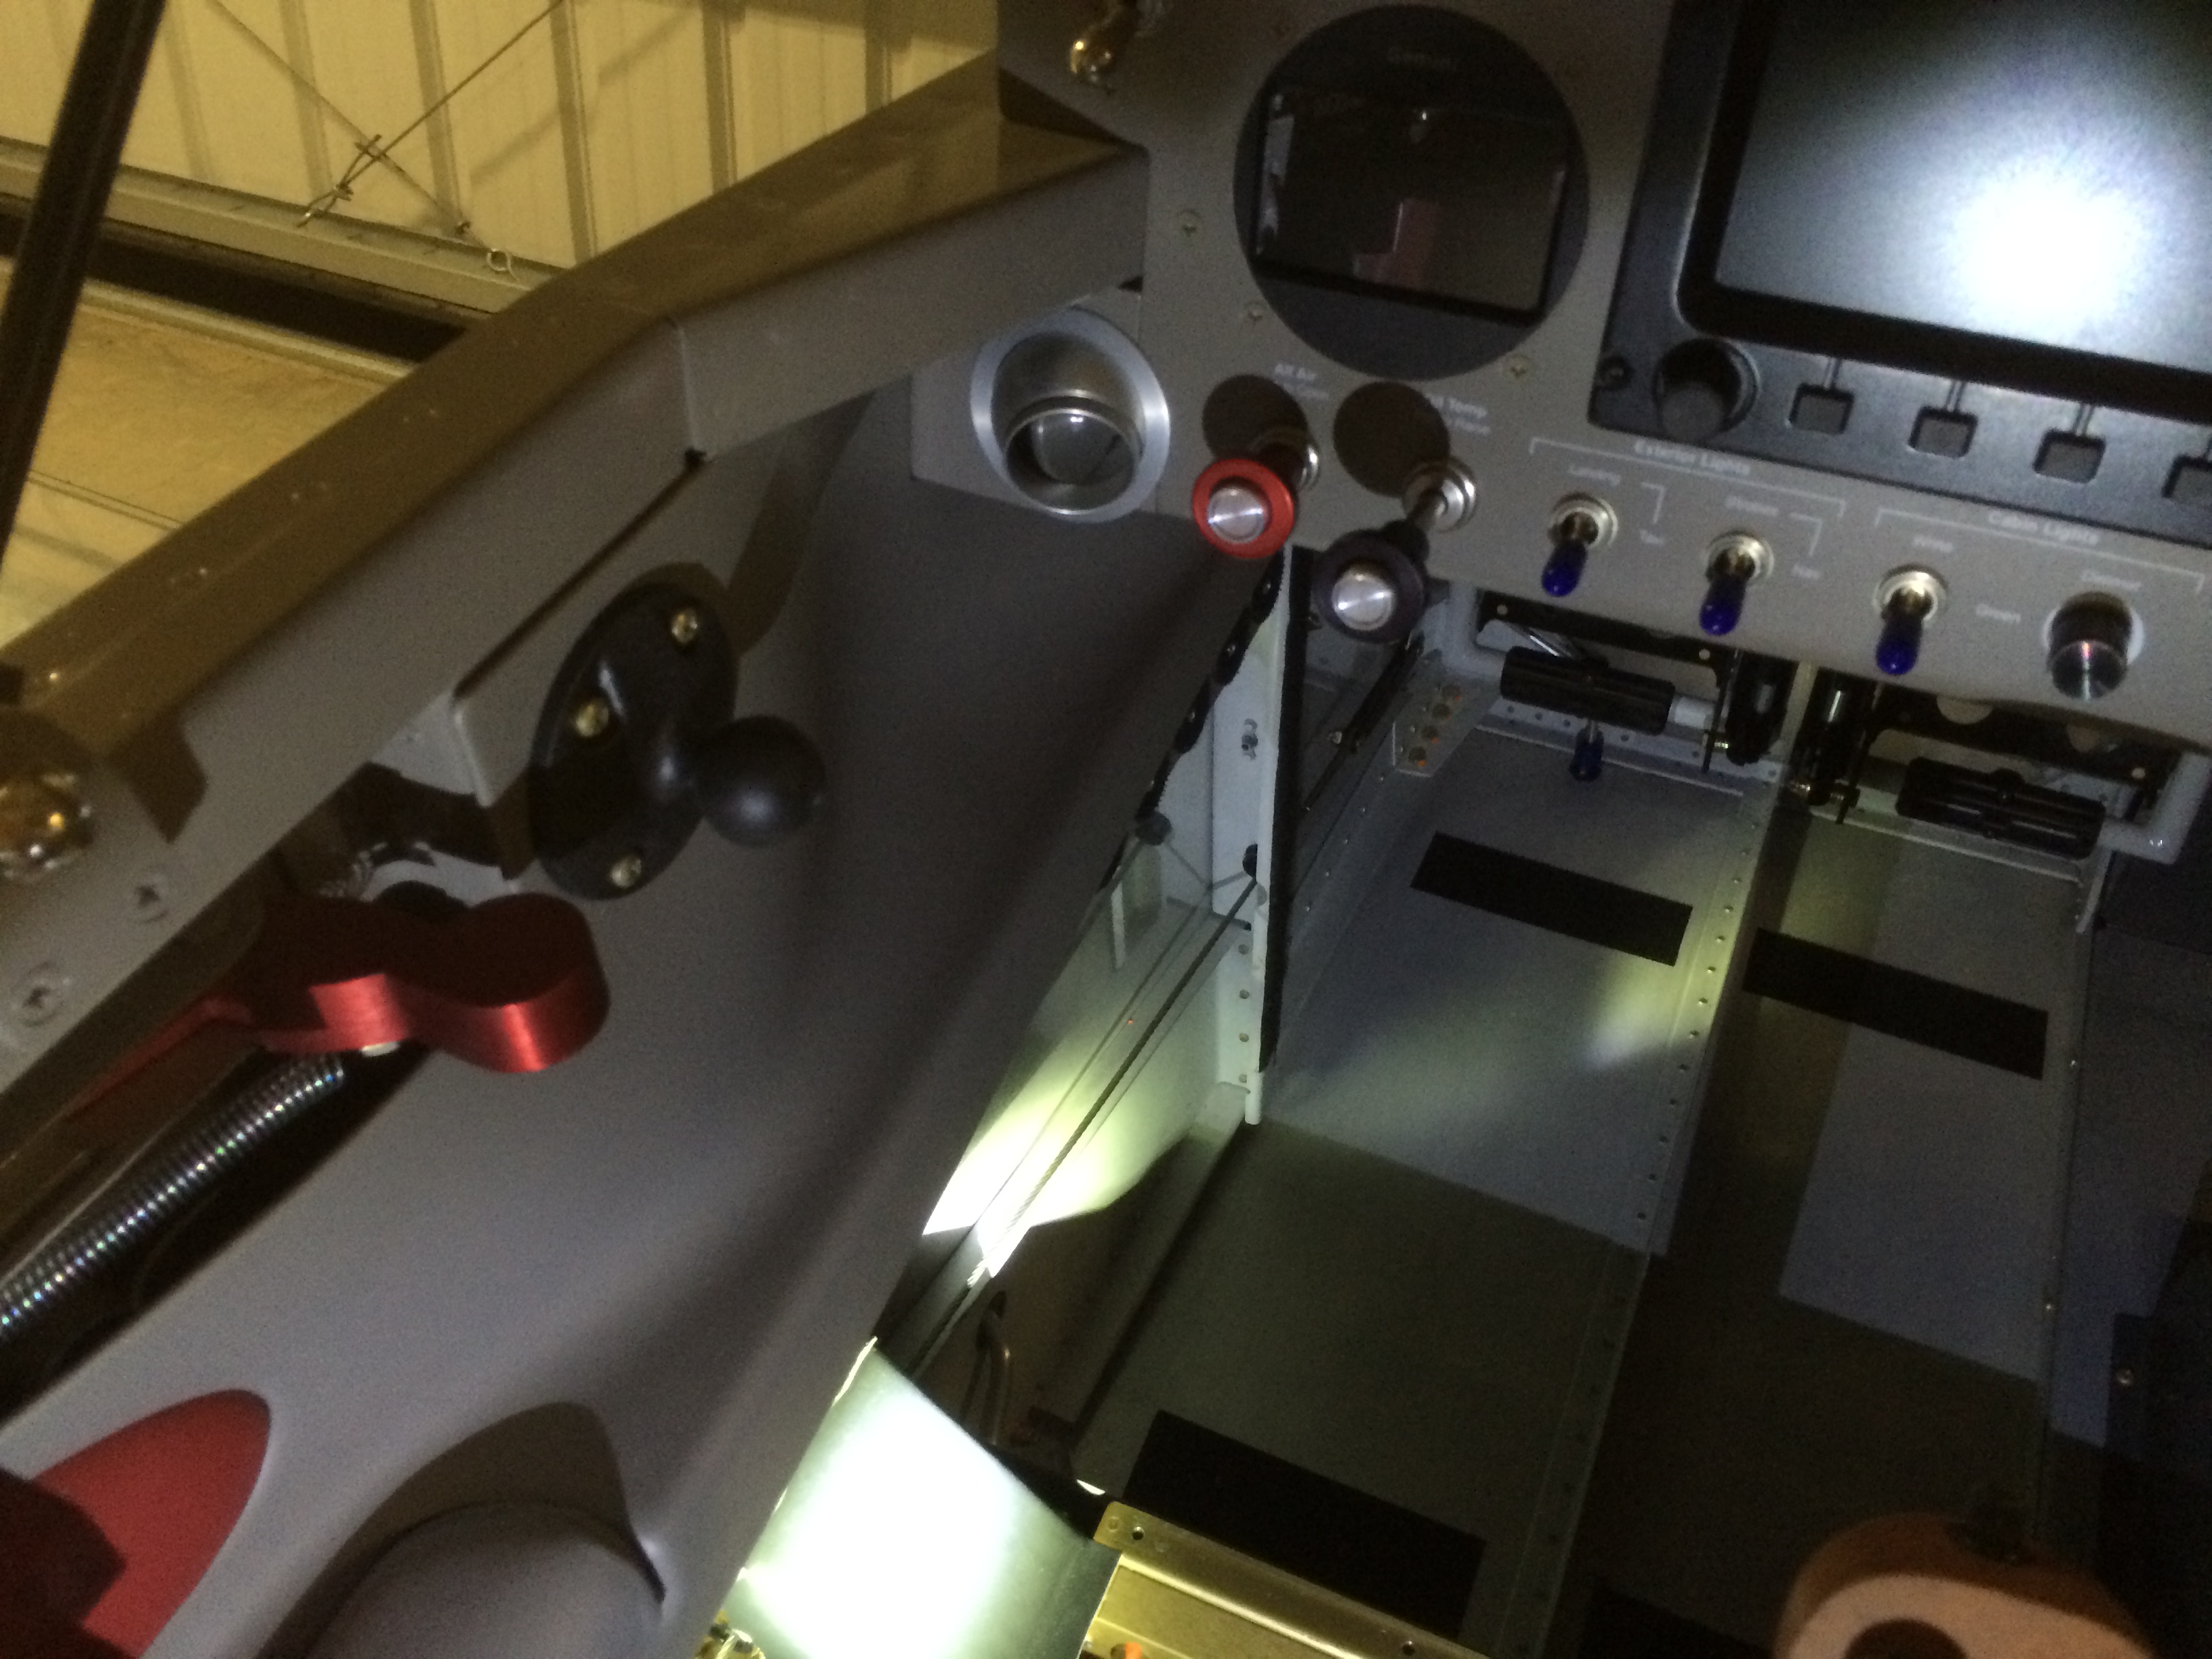
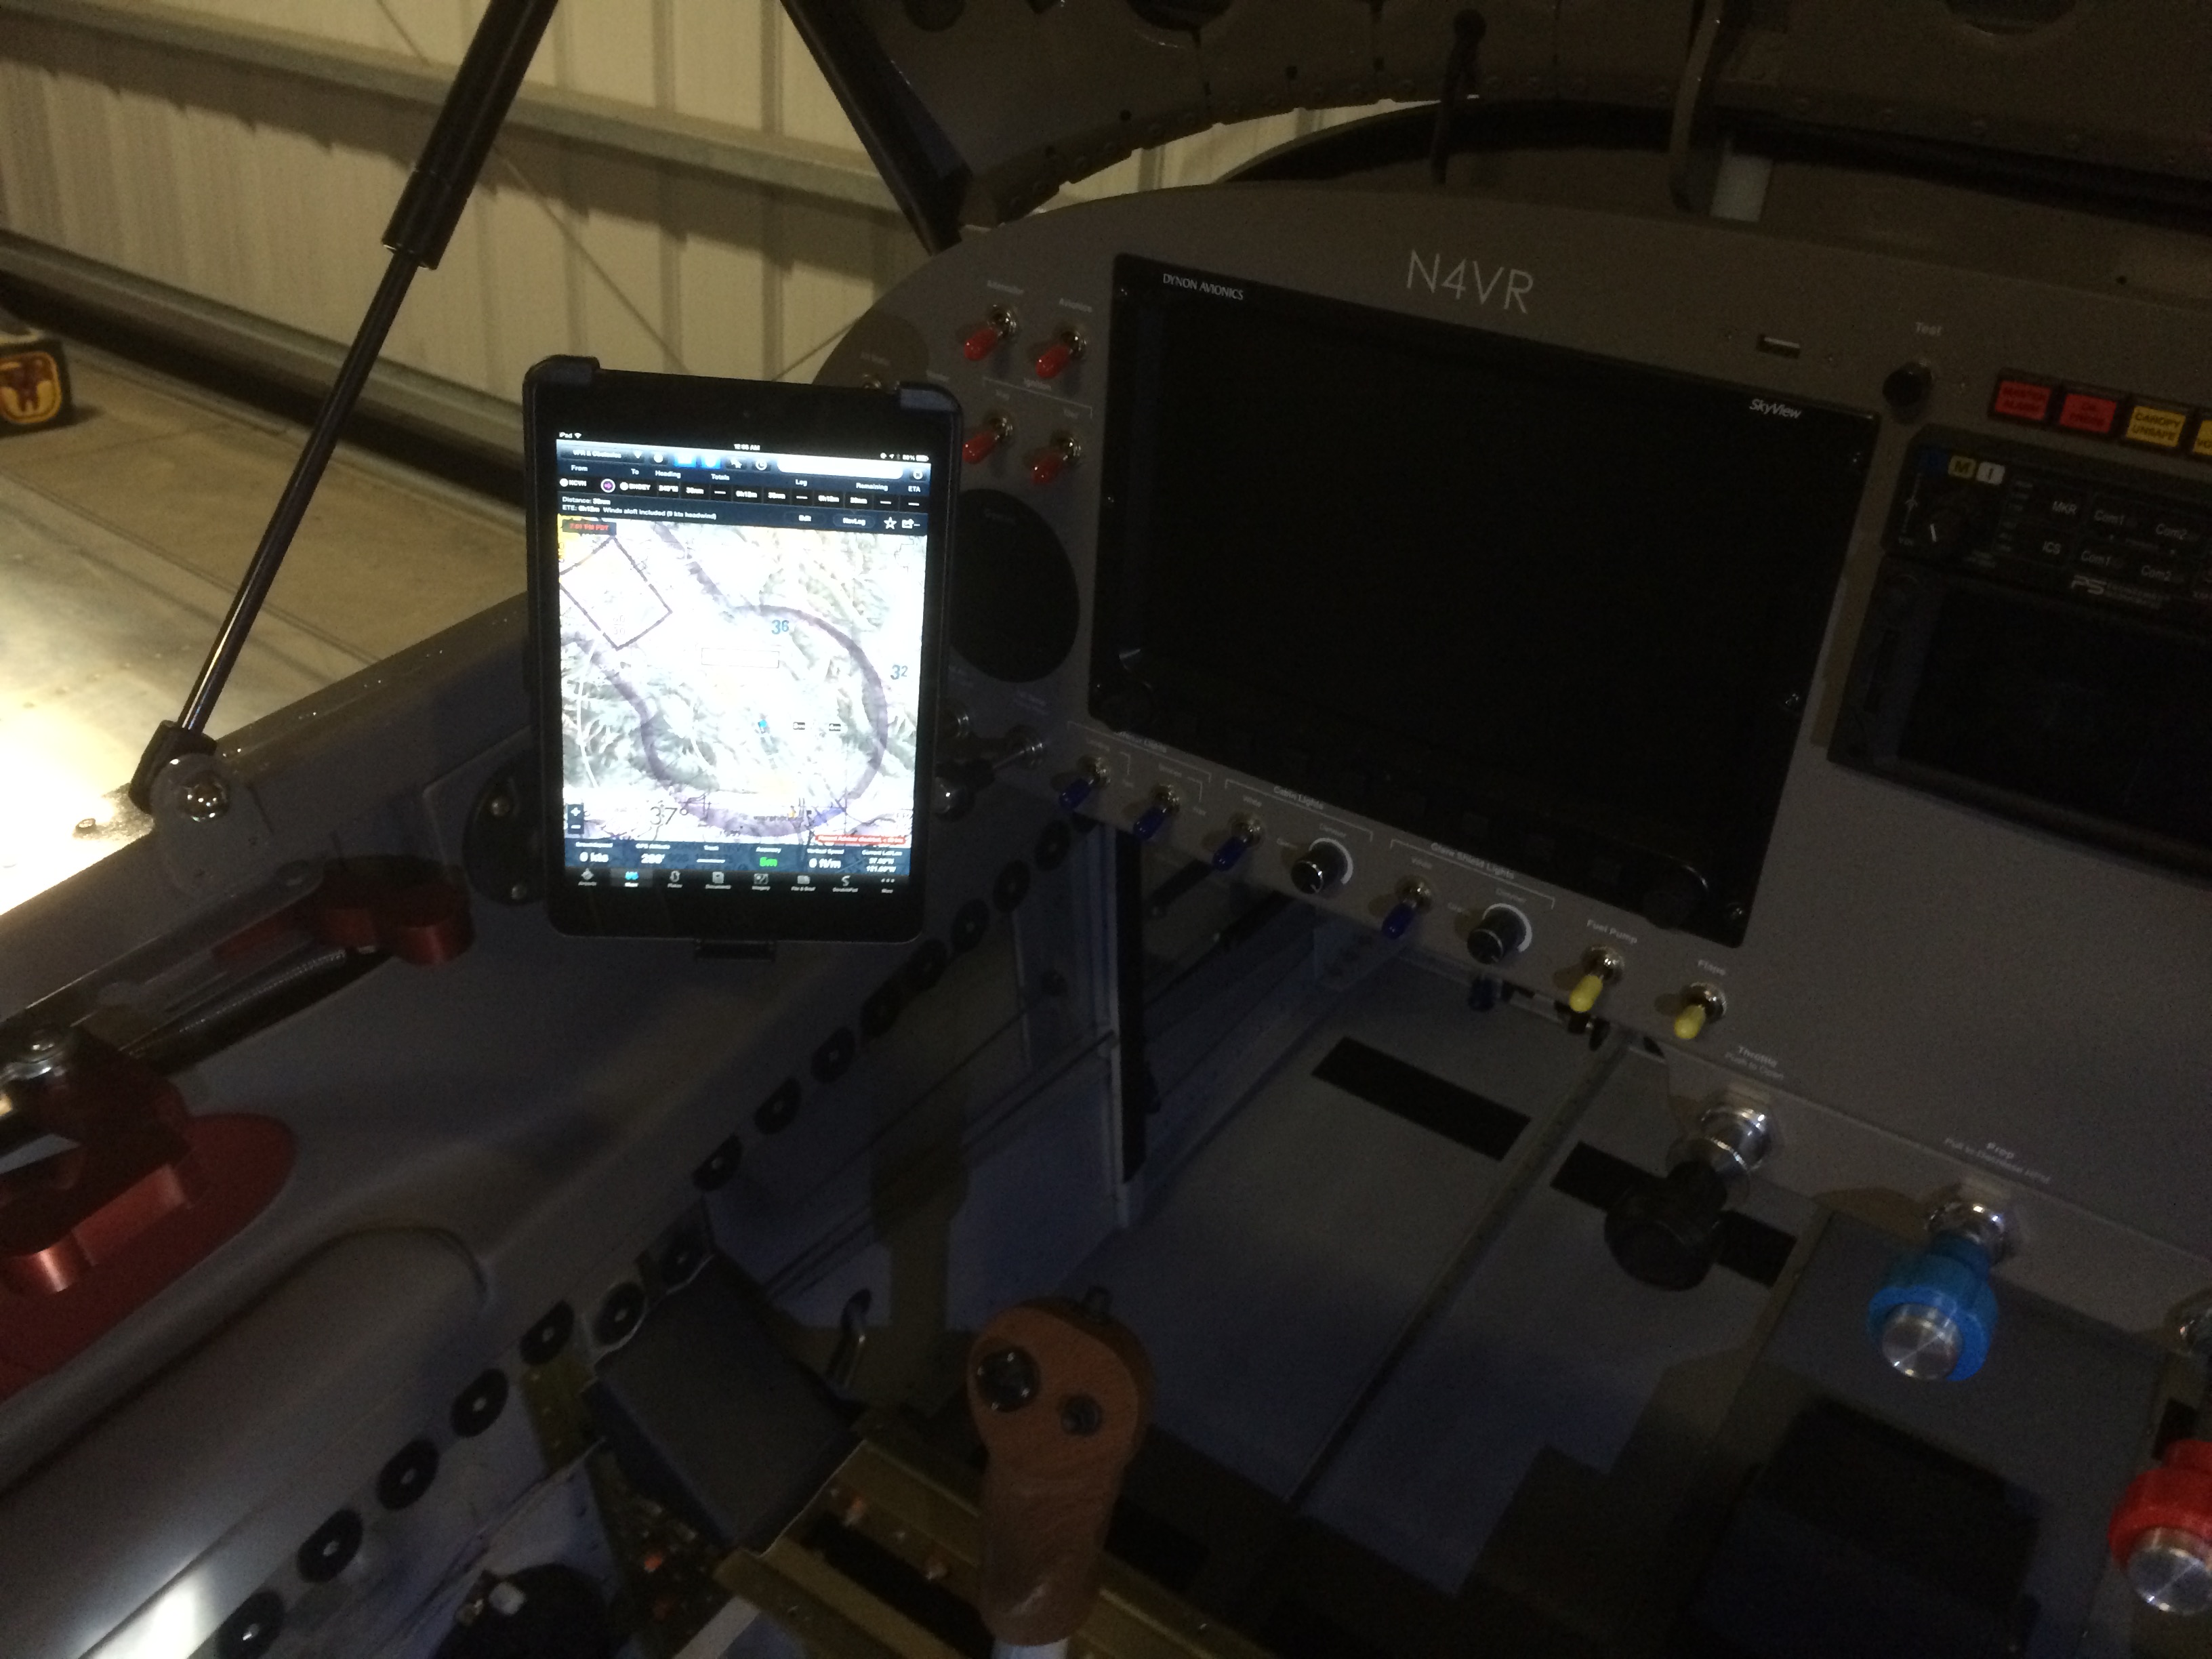
I’ve been flying with an iPad mini for ForeFlight since I like it as a nav backup and I keep my POH, avionics owner’s manuals, etc. in there. I was just laying it on the seat, but that’s a pain when I want to do some acro. Mounting it should keep it handy but also keep it from flying around the cockpit when inverted.
Spin Testing
I snuck in a quick flight after work before it got dark. I had four goals for the flight: check prop RPM, confirm the fire sleeve fixes the fuel flow at high altitudes, do some spin testing and confirm idle mixture. On takeoff, the prop RPM came up to 2680, so I’m getting really close on the RPM. One more small tweak should get me there. I set up a cruise climb at 2500 RPM and about 120 kts and was still able to reach 10,000 ft by Hollister (less than 15 nm away). This plane really wants to climb. I continued the climb up to 12,500 ft and flew around a bit. At first, the fuel flow was rock solid around 12 gph (still reading high) with none of the dips near 0 gph that I saw earlier at 10,000 ft. After flying along for a few minutes though, I started getting occasional excursions up to around 16 gph, but they would generally come back down within a few seconds. It looks like I still have some work to do here.
I descended back down to 8,000 ft near an airport so that I could do some spin testing. I first slowed an did a couple of stalls to ensure the engine was leaned properly, then climbed back up to start spin testing. The started with an incipient spin. As the stall broke, I applied full left rudder and the plane rolled about 90º to the left. I applied full right rudder and broke the stall, then rolled level and pulled out of the dive. The recovery was nearly instantaneous, so I climbed back up and tried a second one with the intention of waiting a moment before recovery. This time, the plane rolled well past 90º and the spin started to accelerate. I applied full right rudder and was able to stop the spin after about 3/4 turn. The recovery wasn’t quite as instantaneous, but still very positive. I continued to repeat the testing, letting the spin develop further each time. The spin really accelerates after the first turn but stabilizes pretty quickly after that. It spins quite a bit faster than the Decathlon I have been flying, and fully developed spins seem to take nearly 1 full turn to recover, but recovery is always positive. After doing a number of spins to the left, I did a handful of spins to the right with roughly the result. All of these were power off with ailerons neutral. I’ll try power on and in/out spin ailerons on subsequent flights. Overall, it’s a fun plane to spin. One surprise was that the SkyView really freaks out while spinning. On one recovery, It showed me upside down after recovering to straight and level. It fixed itself within just a few seconds (which is substantially better than most competing EFISes).
After landing with a nice warm engine, I taxied back to the hangar and did a slow mixture pull to confirm a small RPM rise. There was no perceptible rise, so I think I overshot the correct mixture and I’m now running too lean. I’ll adjust it before the next flight.
Airplane Inspection Party Writeup in Kitplanes Magazine
One of the builders who stopped by my Airplane Inspection Party back in January is the Editor-in-Chief of Kitplanes magazine, Paul Dye. We spent some time chatting about my reason for choosing to hold an inspection party and my effort to build my plane in a very public way. With so many eyes on my plane over the years (both in person and from around the world through this website), countless issues have been caught before they could have caused a problem.
In this month’s issue of Kitplanes Magazine, Paul wrote up his visit in the editorial. He was encouraging others to be as open and willing to take criticism as I was. Far too many builders are afraid to let others examine their work for fear of exposing their mistakes. Sadly, those are often the builders who most need another set of eyes on their projects.
Paul was very complimentary of my idea for a party: “Having a large number of experienced builders and opinionated pilots (are there any other kind?) drop in to dissect your many years of careful work takes intestinal fortitude of the highest order–and it shows a commitment to honest, open risk management that should be our standard in the Experimental world.”
He was also very complimentary of my work: “Truth be told, it was one of the nicest building jobs I have seen in all my years of working on airplanes and being a tech counselor. When a builder takes the time to lay the flat EGT wires against each other in a perfectly rectangular bundle, you know he has paid attention to details.”
I really hope others take Paul’s message to heart. We need to keep an eye out for each other; our lives are on the line.
Three Ship Formation Work
I spent most of the weekend working (not on the plane), but I did get out a bit to meet up with a prospective RV builder down at Hollister. He checked out Greg’s RV-8 and my RV-7, and we talked quite a bit about what’s involved in building. Greg’s son Nicholas then arrived with his transition instructor in another RV-7, so we decided to do some three ship formation work.
We started out with me flying lead since I have the least formation experience. Greg was off my right wing and Nicholas was off my left.
We then switched positions and I flew off of Nicholas’ right wing. This was the first time I’ve ever flown this close to another plane, and it was a huge amount of work. You literally can’t take your eyes off the lead plane for a second or you could move substantially out of position.
We then moved into a left echelon formation with Greg taking the lead and me in the middle. I still have a ton to learn, but this was a blast.
Dynamic Propeller Balancing and Fairings
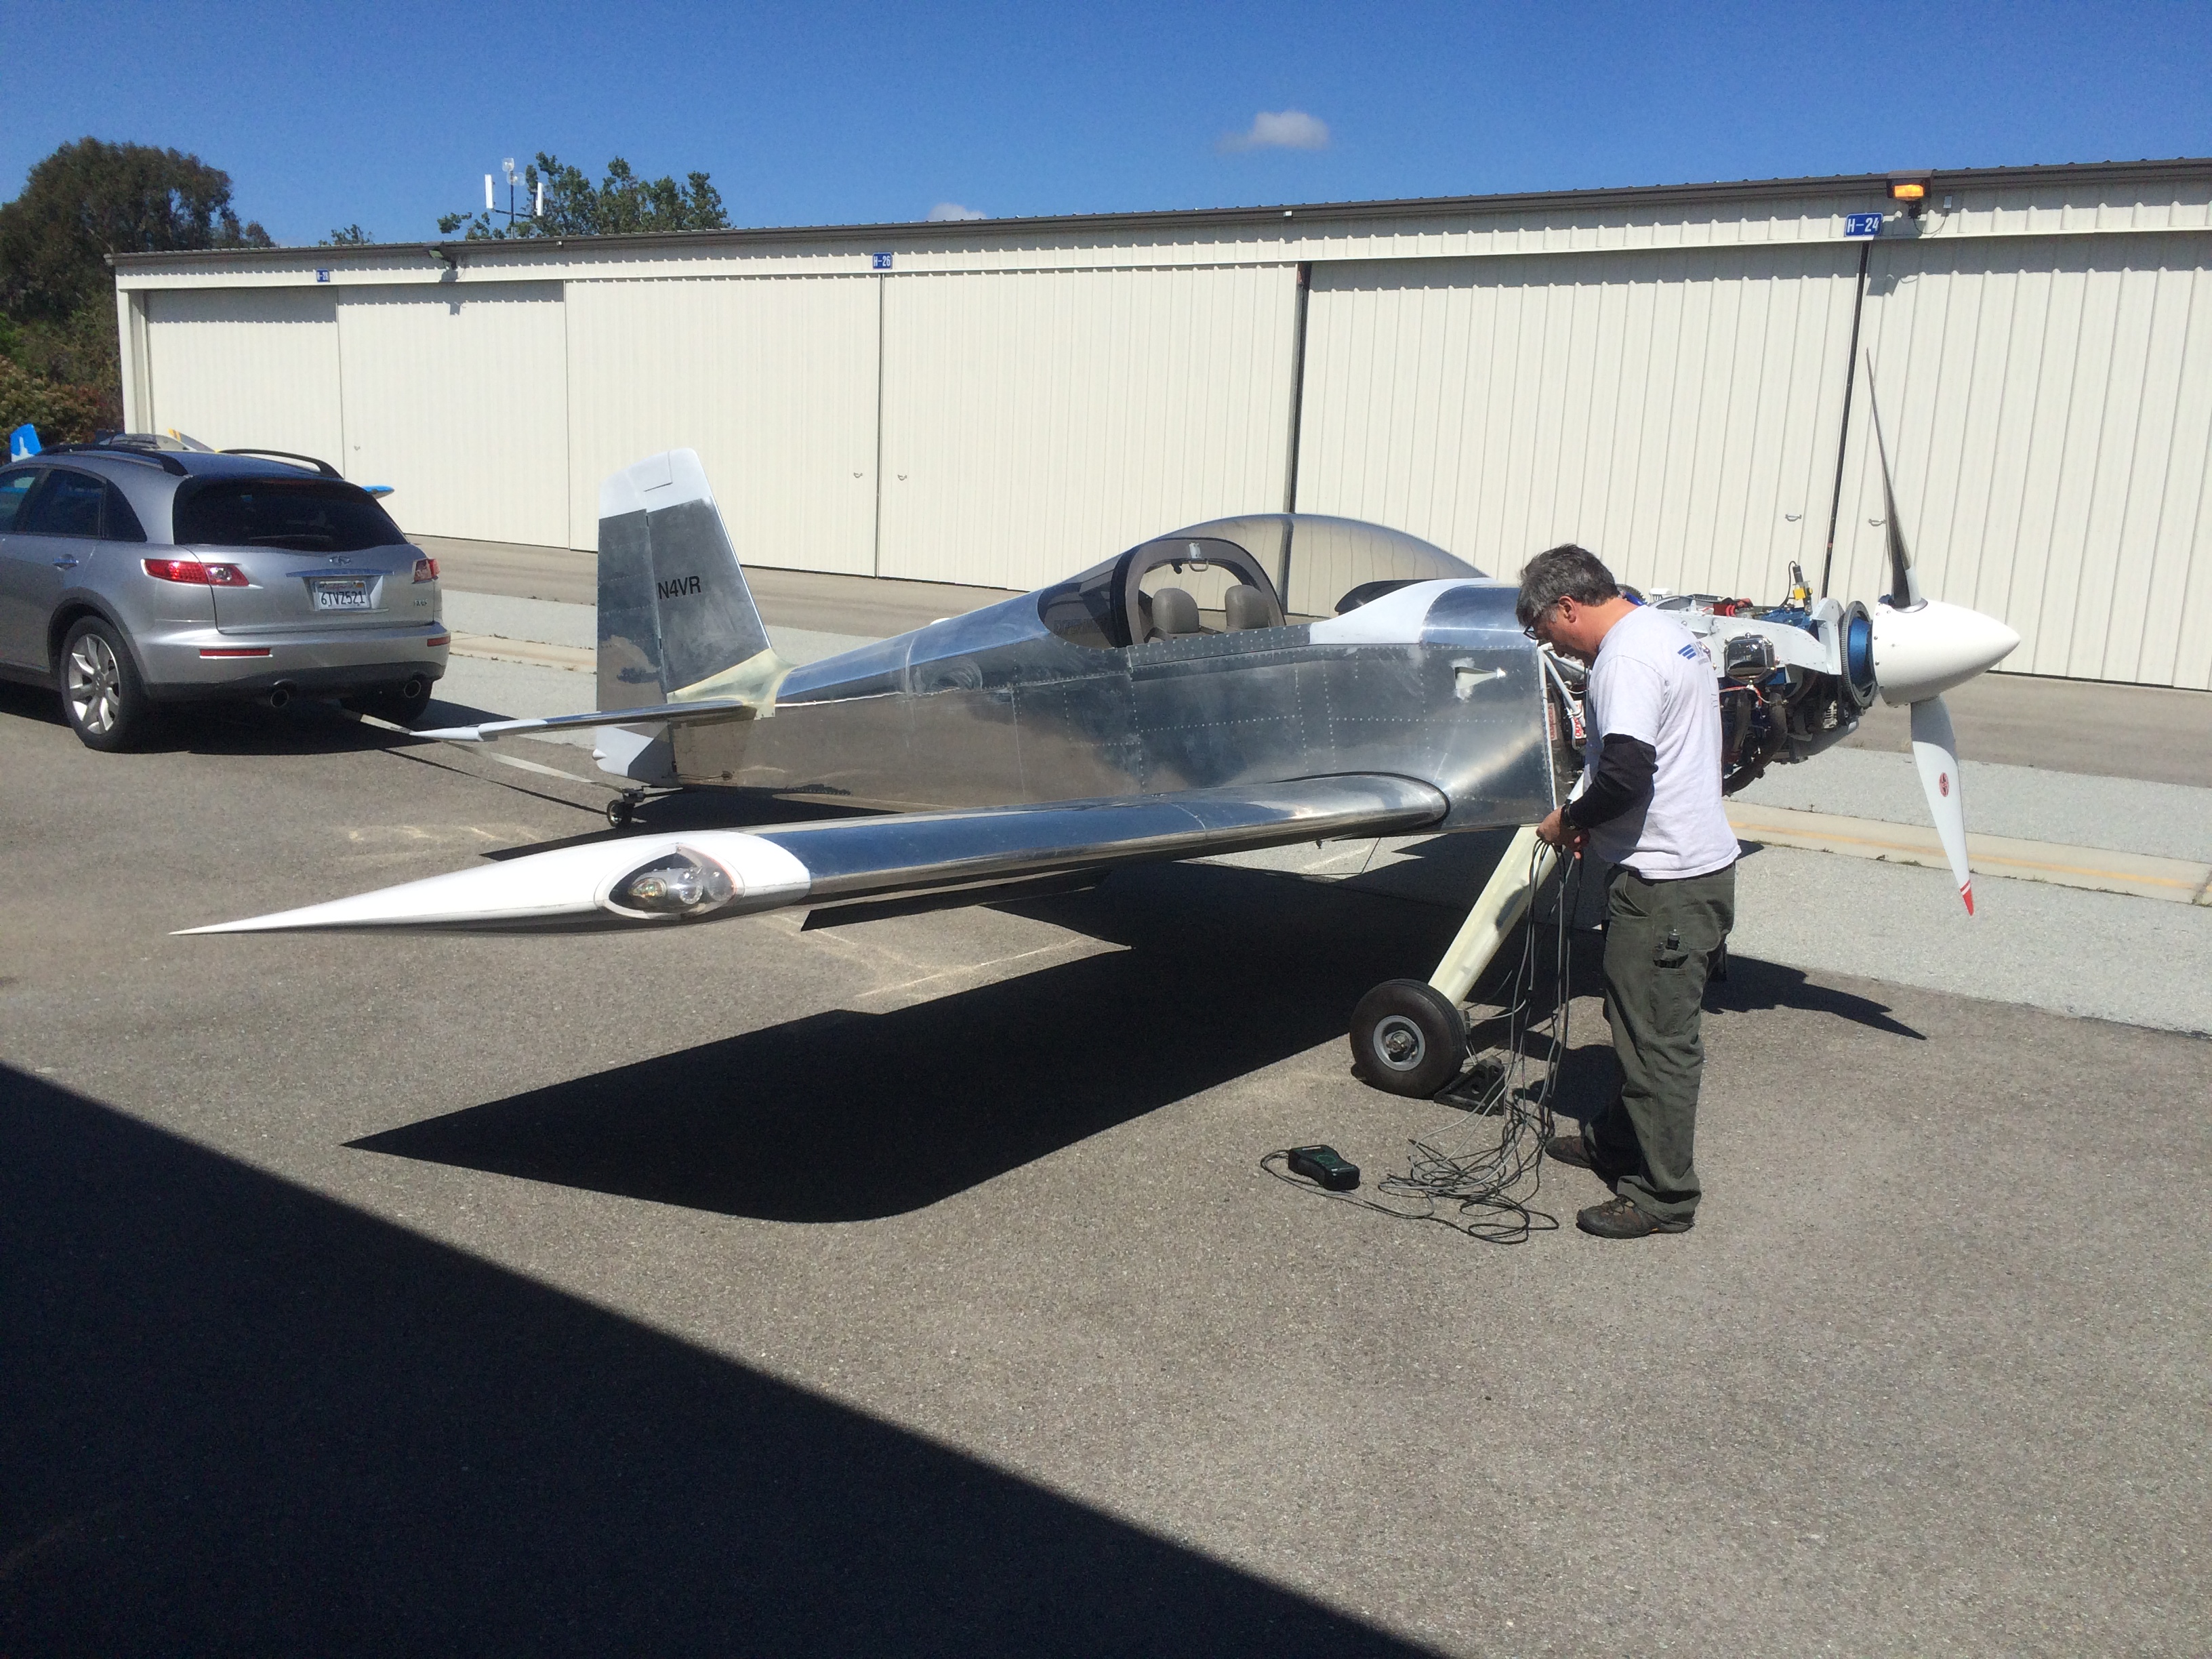
Lee Apaka flew down this morning to balance the propellers for Greg and I. Since I’m running at 2500 RPM with wide open throttle, we tied the plane back to the car and chocked the wheels. Greg and I both have really smooth engines (a testament to how well Aerosport Power builds then), but they can always be better. Greg started out at 0.35 IPS (inches per second), so Lee added 17g of weight (a bolt and some area washers) to the spinner backplate. Amazingly, he nailed it on the first time and hit 0.02 IPS. Anything under 0.1 IPS is pretty good, and 0.02 is somewhere between excellent and perfect.
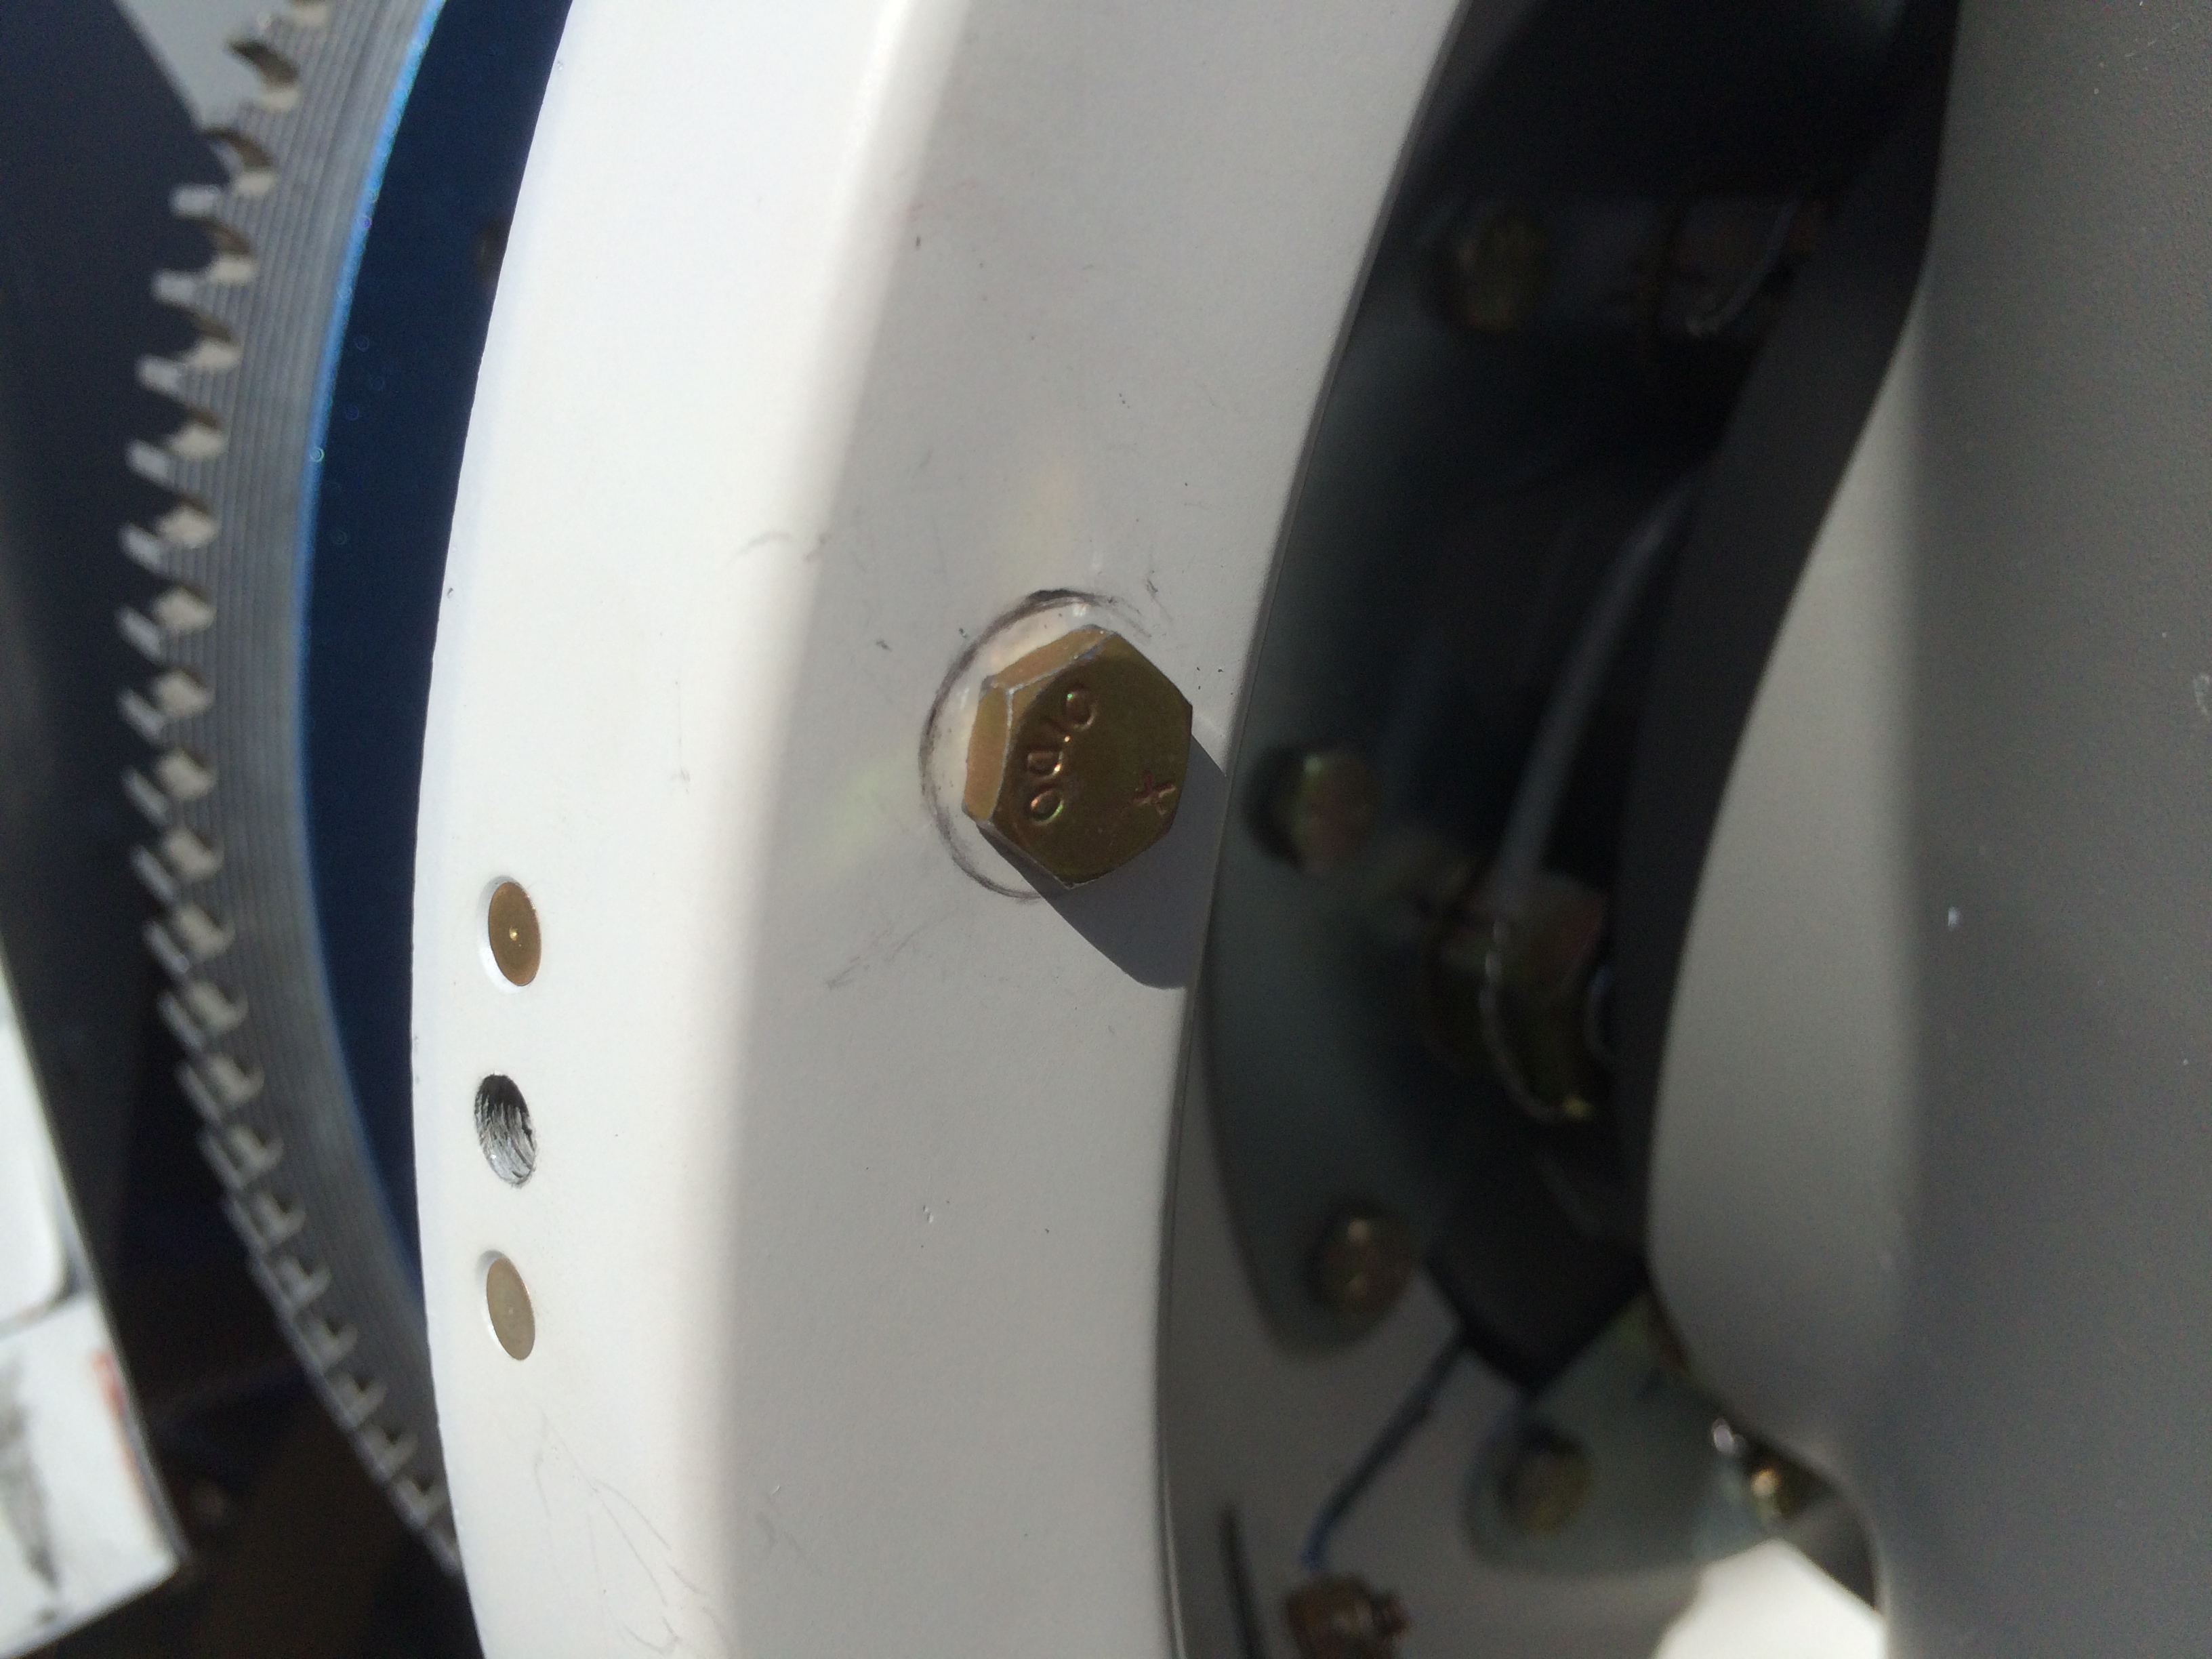
After Greg wrapped up his run, I pulled my plane into position and Lee hooked up his gear. I was only at 0.12 IPS when we started, so I was already a bit better. We added 5.9g to my spinner backplate and ran it again. That dropped me to 0.11 IPS. The formula wanted another 6+g mounted just a few inches away from the first weight. Lee decided instead to add one more washer and a slightly longer bolt. I did a third run and hit 0.02 IPS. I’m super happy with the results.
Here’s where the weight was added to the spinner backplate. There is a washer and an AN364 nut on the other side. Our fix was to add one additional washer under the head shown here.
I jacked up the plane and started working on the gear leg fairings.I laid up some additional fiberglass inside and then mixed up some epoxy/flox mixture and gooped it around the line where the fairing will sit against the gear. I then started working on the wheel pants. With the fuselage level, I supported the rear of the fairing to get the center 8 5/8″ from the ground while simultaneously adjusting the fore/aft position so that the outer support bracket edge lines up with the step in the fairing. I then drilled it to the outer fairing.
